Blog by Steve Laug
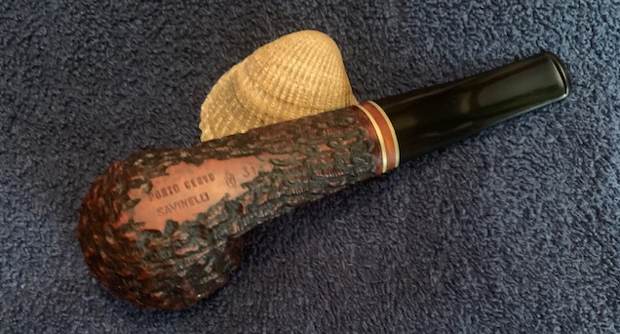
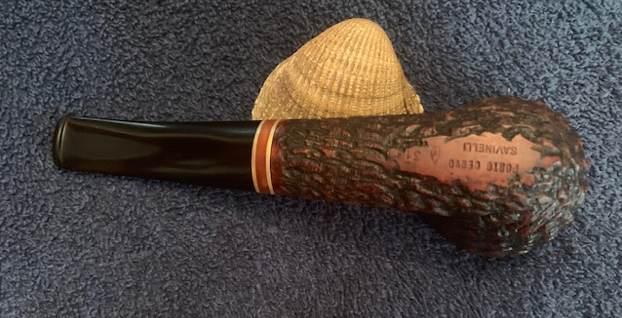
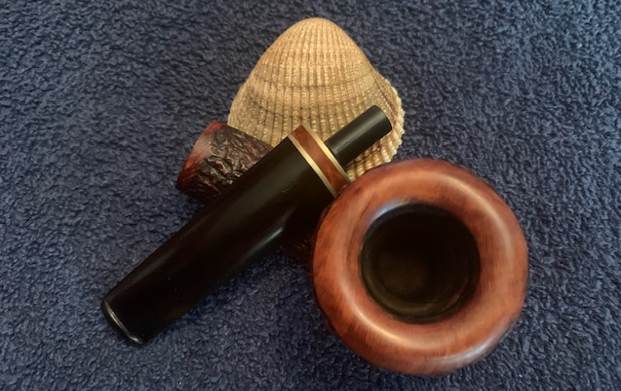
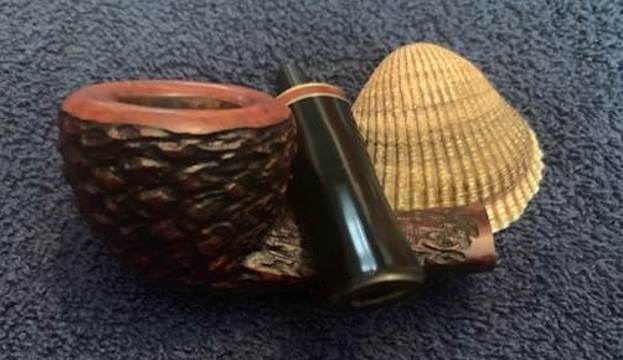
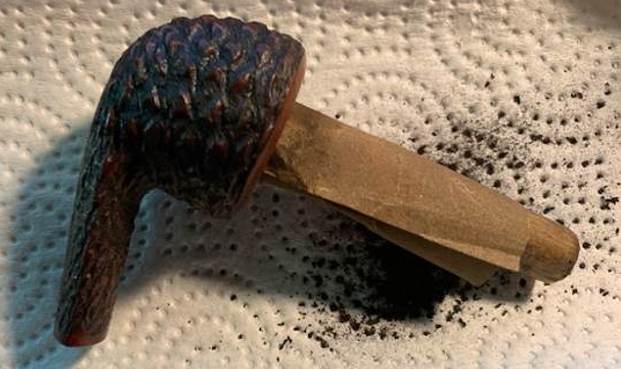
This is another one of those pipes that has been here for a long time and I have no memory where it came from. I had not been cleaned so it is not one that ever went to Jeff for clean up. It was a mess. The bowl has a moderate cake (mainly in the top half of the bowl) and a heavy lava overflow on the smooth, crowned rim top. The edges look very good. The rusticated finish is rugged and deep and is nice in the hand. It is dirty with grime and grit deep in the rustication. The pipe stinks like heavily cased aromatics. The brass band is part of the stem and is dull and oxidized. The stem is oxidized, calcified and has tooth marks and chatter on both sides ahead of the button. It looks like the stem had a Softee Bit at some point as the discolouration gives that sense. The tenon is drilled for a 6mm filter or a Balsa Filter. I took some photos of the pipe before I started my work on it.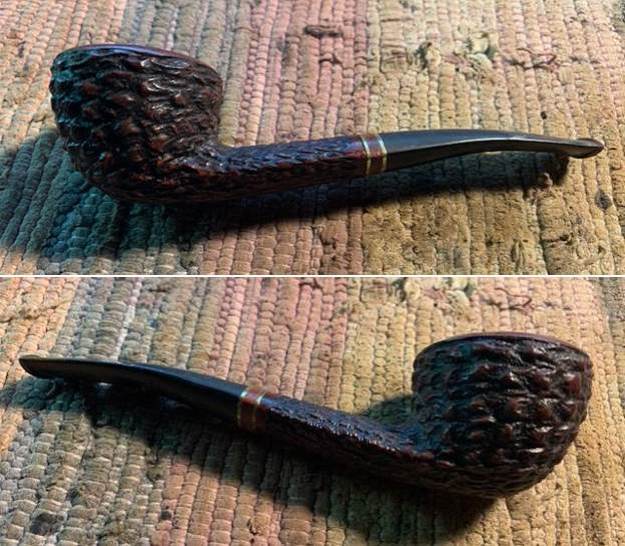
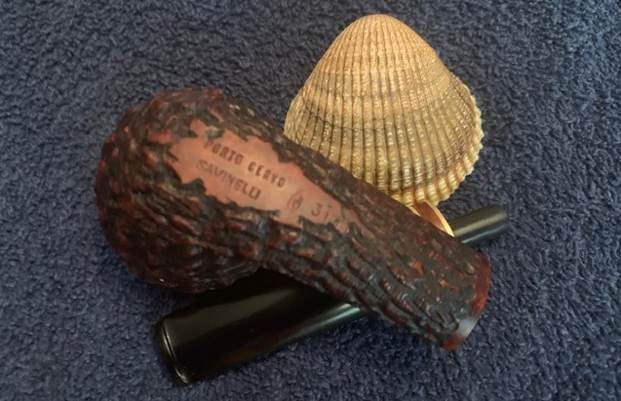
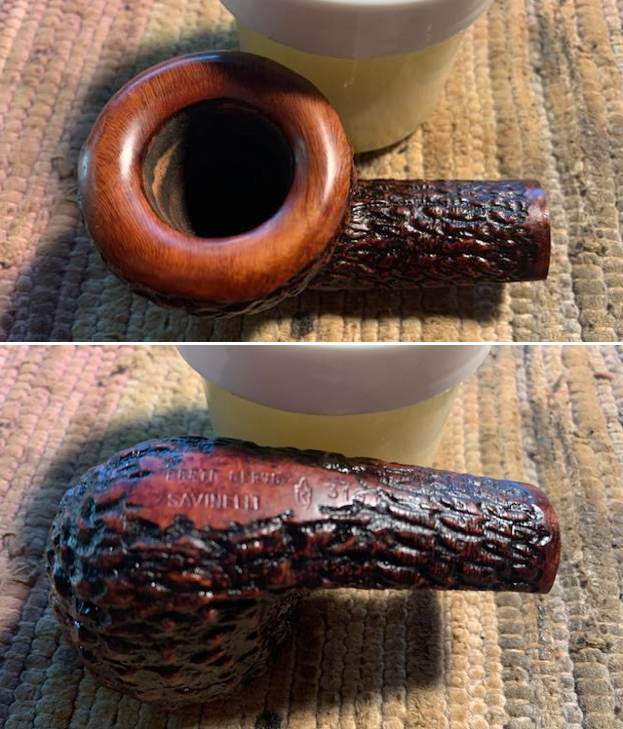
 I took close up photos of the bowl and the stem. You can see the thick lava build up on the rim top and down into the bowl. It is really a mess. The stem surface has the mark from a Softee Rubber Bit Guard that is clear and there is calcification and oxidation on the stem. There are also tooth marks and chatter on both sides ahead of the button.
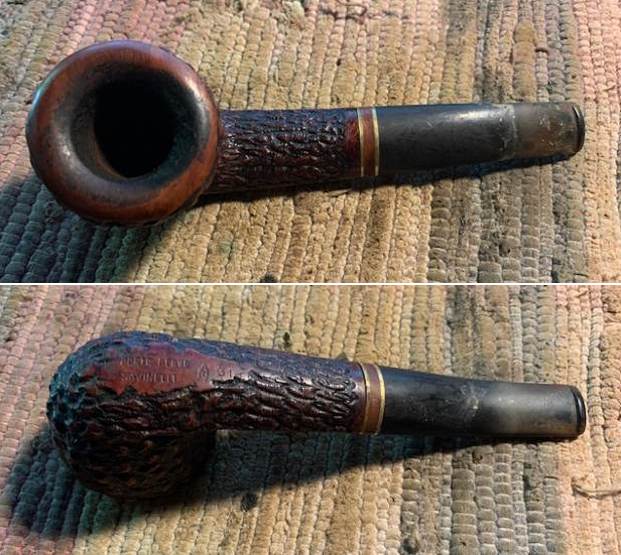
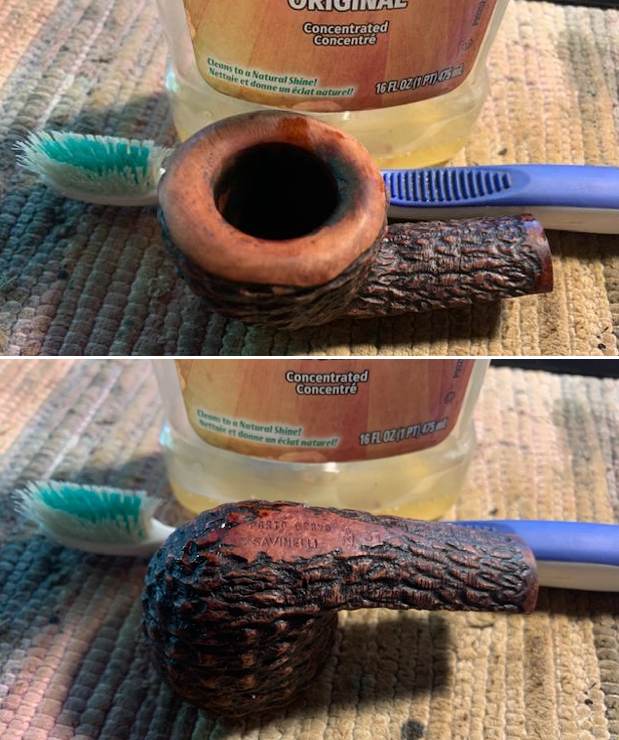
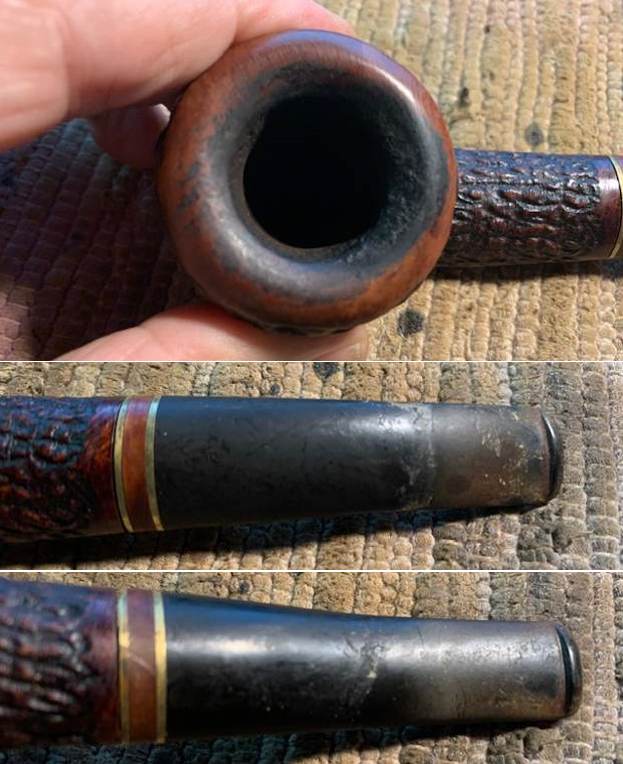 I took a photo of the stamping on the underside of the bowl and shank. It is clear and readable as noted above.
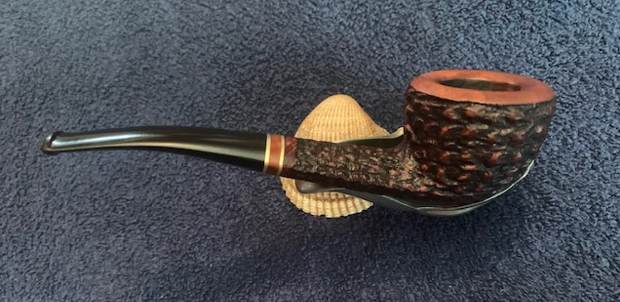
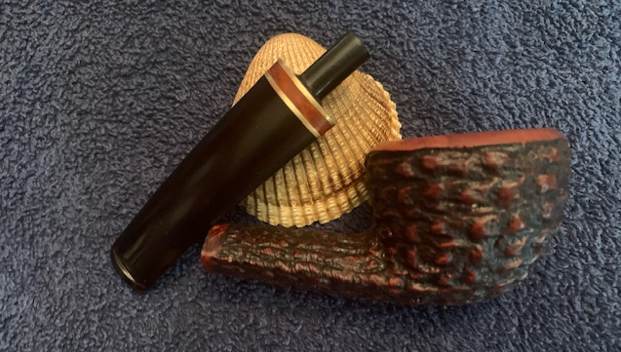
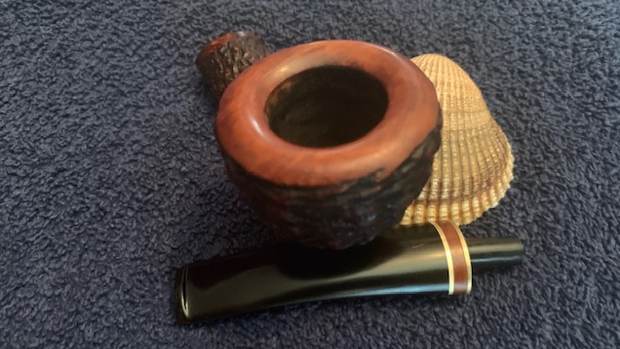
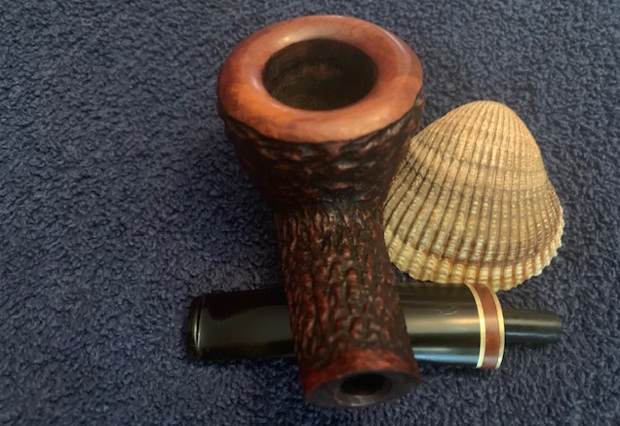
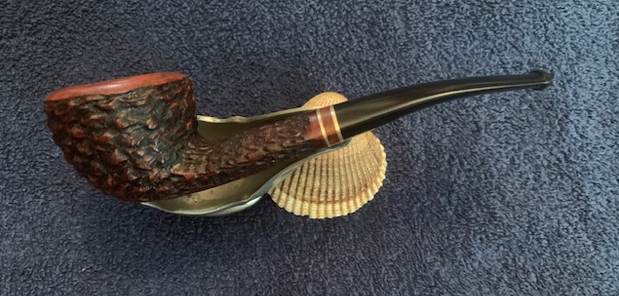
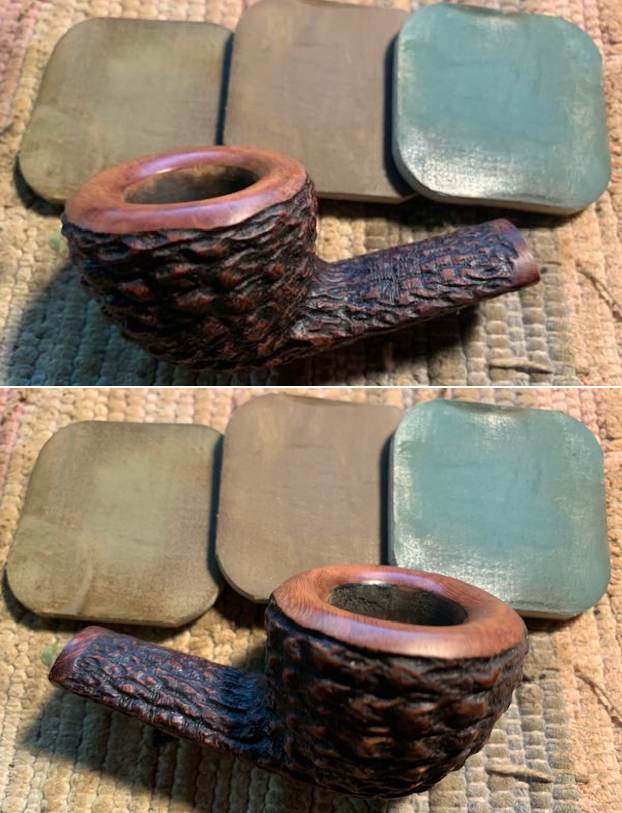
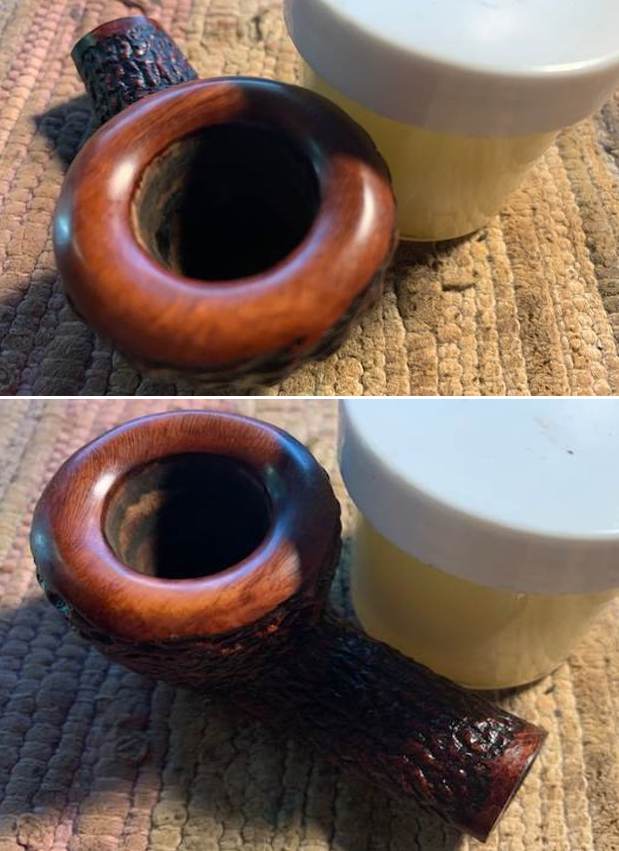
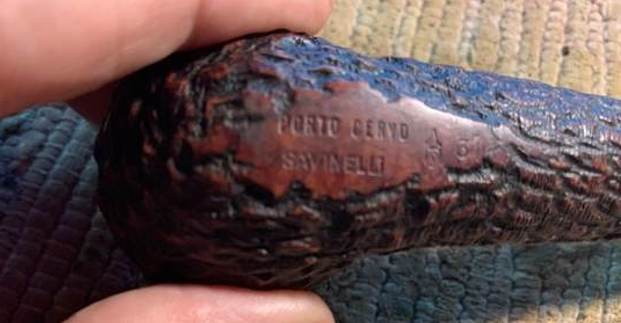 I removed the stem from the shank and took a photo to give a sense of the proportions of the pipe. It is really quite nice looking.
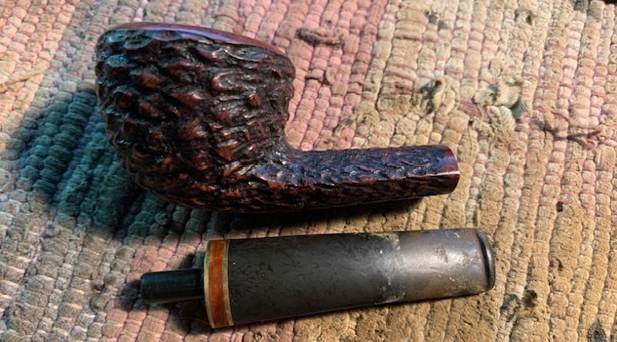 I reamed the bowl with a PipNet pipe reamer using all four cutting heads. I cleaned up the reaming with a Savinelli Fitsall Pipe Knife to remove all debris. I sanded the bowl with 220 grit sandpaper wrapped around a piece of dowel to smooth out the wall of the bowl. The bowl was in excellent condition with no fissures or checking.
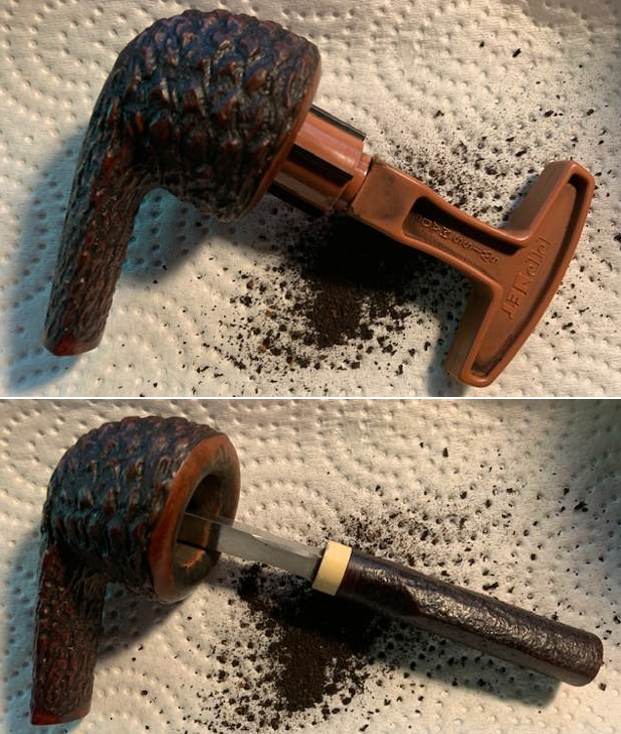
 I scrubbed the exterior of the bowl with a tooth brush and undiluted Murphy’s Oil Soap to remove the debris from the grooves and to soften and try to remove the lava overflow on the rim top. Once it was finished it looked much better. Polishing with micromesh would remove the rest of the debris and raise a shine.
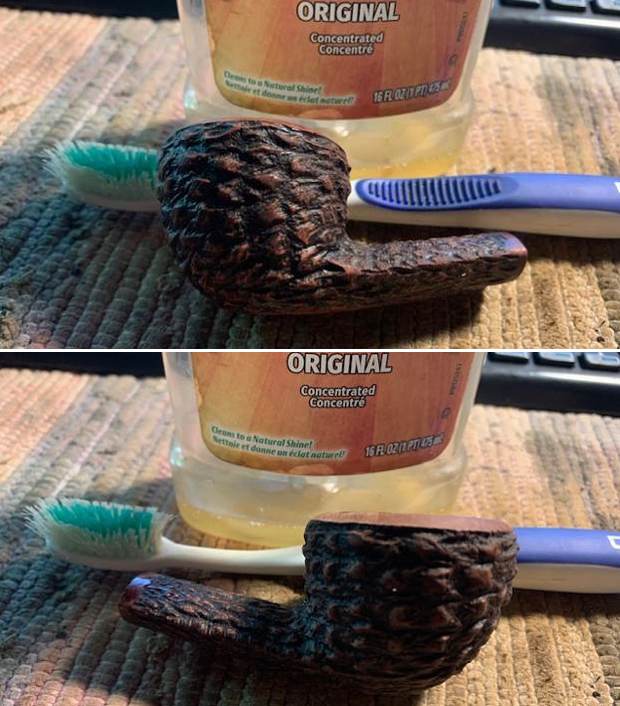
 I dried it off with a towel and decided to address the remaining lava and darkening on the crowned rim top. I used a folded piece of 220 grit sandpaper to work on the top and inner edge until it was clean.
 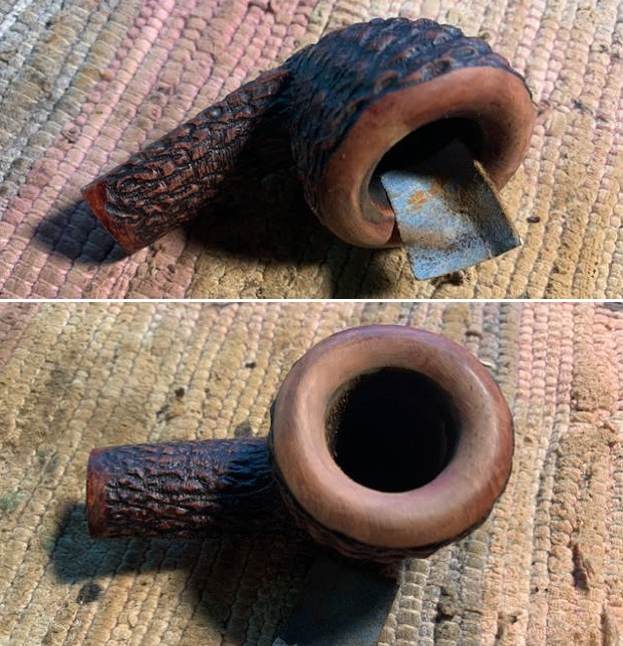 I polished the rim top and edges with micromesh sanding pads – dry sanding with 1500-12000 grit pads to raise a shine. I wiped it down with a damp cotton pad to wipe off the debris after each sanding pad.
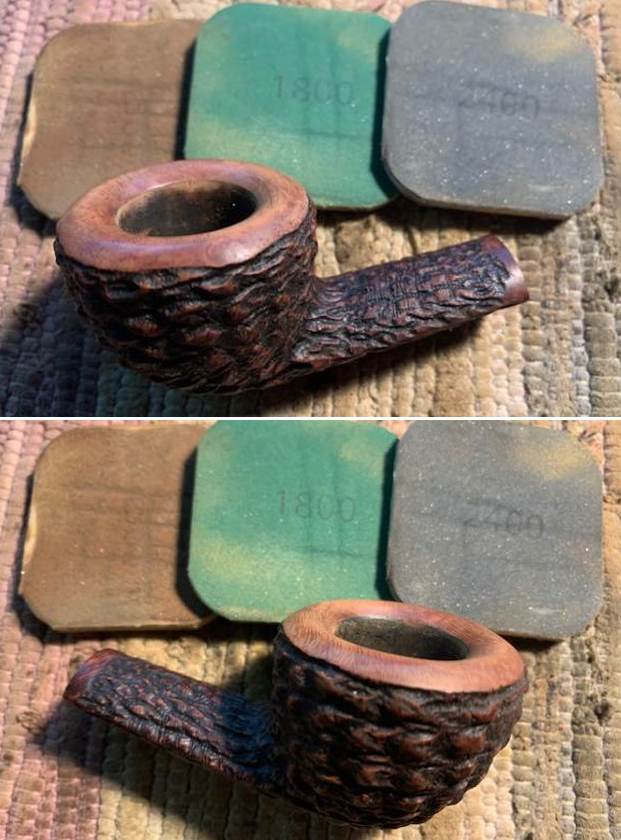

 I worked some Before & After Restoration Balm into the surface of the rusticated briar with my fingertips. I worked it over with a shoe brush to get it deep into the grooves and crannies of finish. I let it sit for 15 minutes then buffed it off with a soft cloth and raised the shine. The bowl looks great at this point.
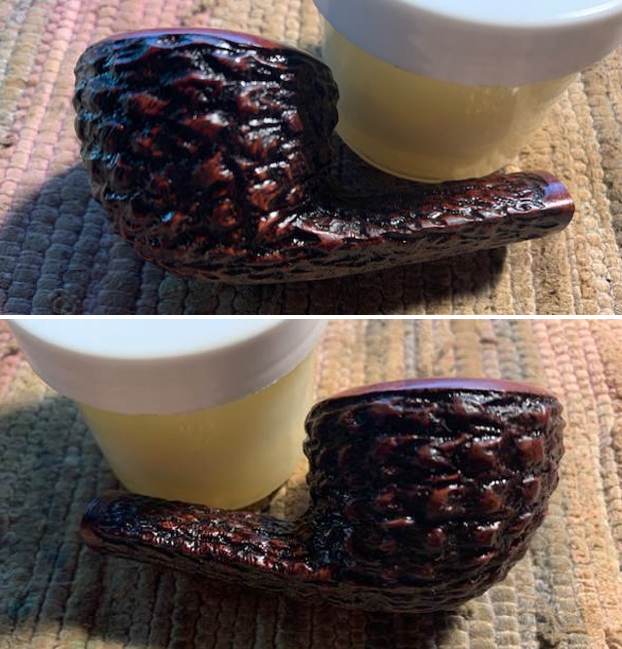
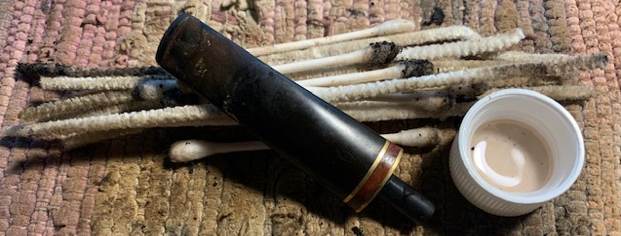
 I cleaned out the inside of the shank and the airway into the bowl and the stem. I scraped the shank out with a small pen knife to remove the thick tars. I then cleaned it with a isopropyl alcohol, cotton swabs and pipe cleaners until it was clean.
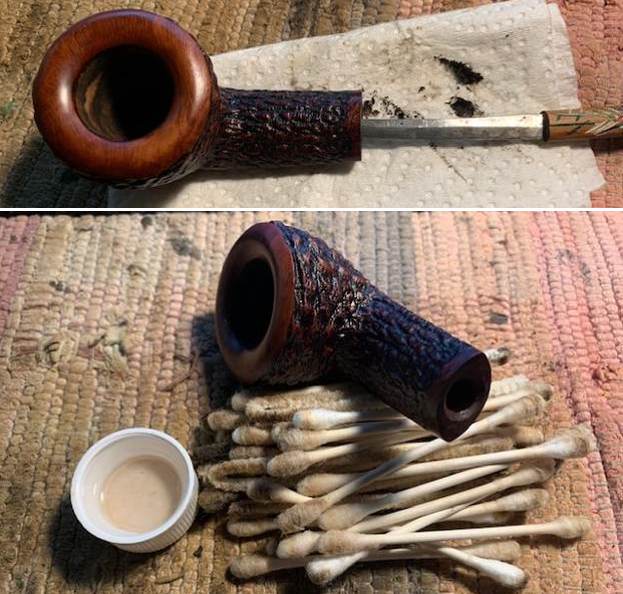
 To rid the bowl of the tars and oils that made the bowl still stink I stuffed it with cotton bolls and twisted a boll into a wick that I threaded into the shank. I used an ear syringe to fill the bowl with isopropyl alcohol and set it in an old ice tray over night to let it wick out the tars and oils.
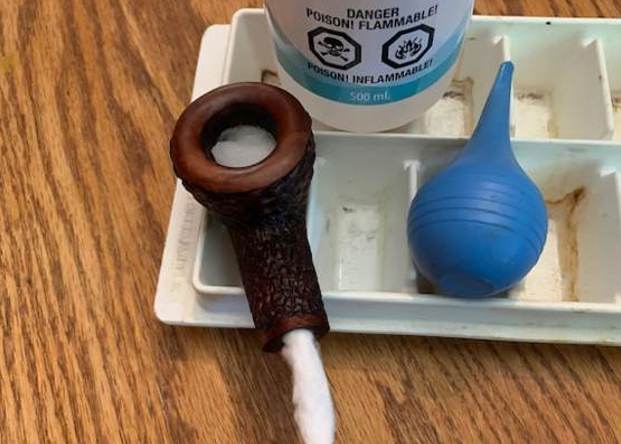 This morning when I went back to the pipe to work on it I took a photo of the cotton to show how the tars and oils had wicked into the pipe. I removed it from the bowl and took photos of the cotton to show how dirty it was.
 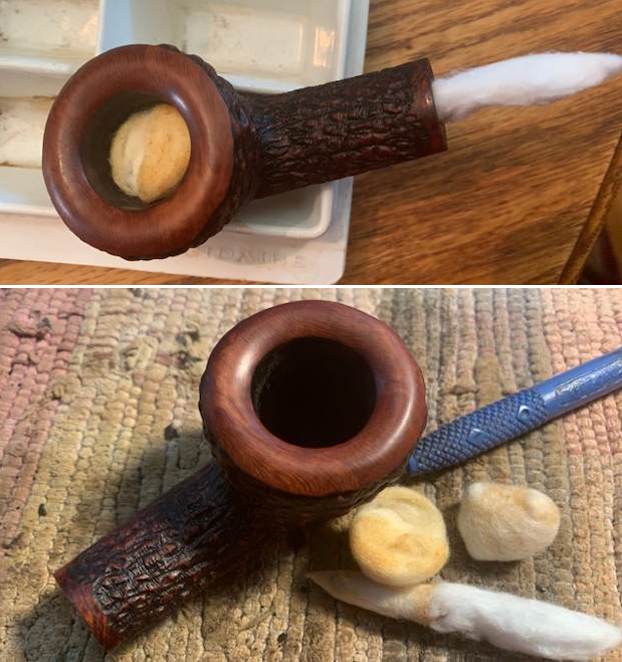 To begin the process of removing the oxidation from the stem surface I scrubbed it with Soft Scrub All Purpose cleanser. It worked quite well to remove a large part of the oxidation.
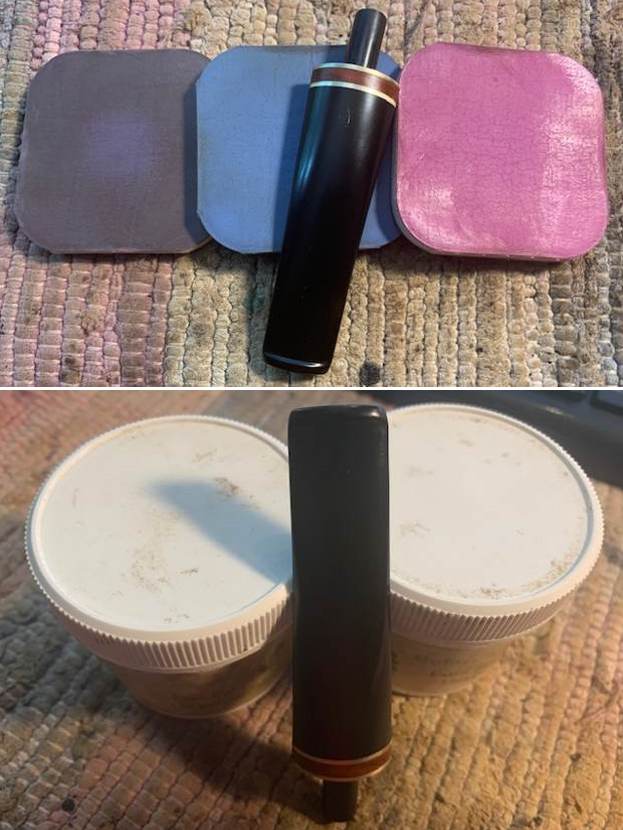
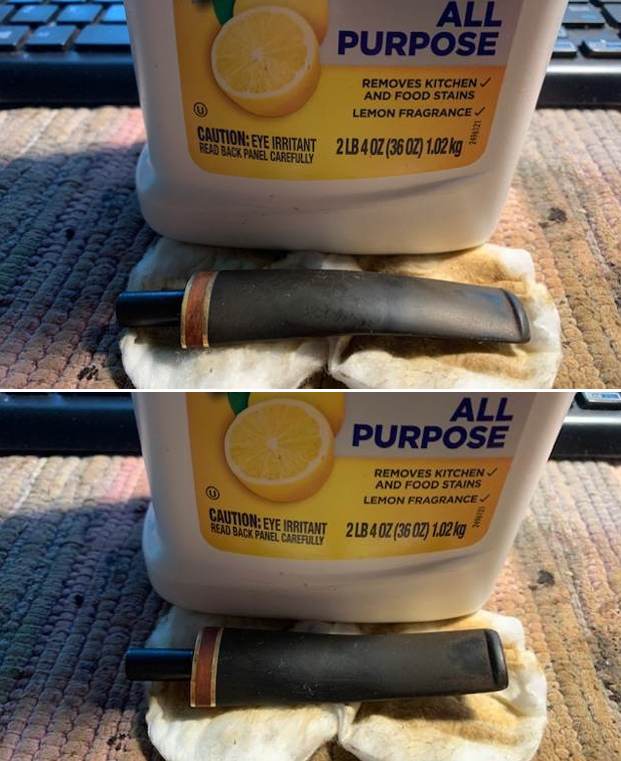 I polished the stem with micromesh sanding pads – dry sanding it with 1500-12000 grit pads. I wiped the stem down with Obsidian Oil after each pad. I polished it with Before & After Pipe Polish – both Fine and Extra Fine and gave it a final coat and set it aside to dry.
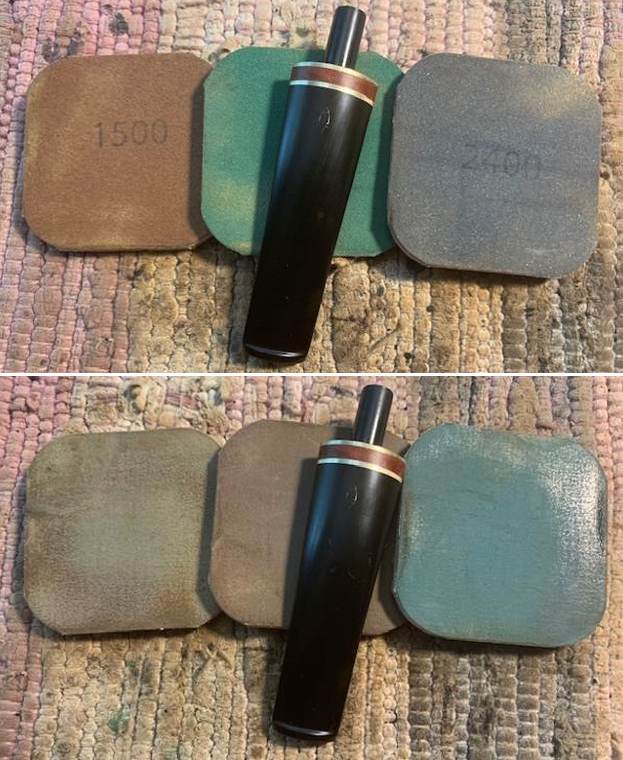
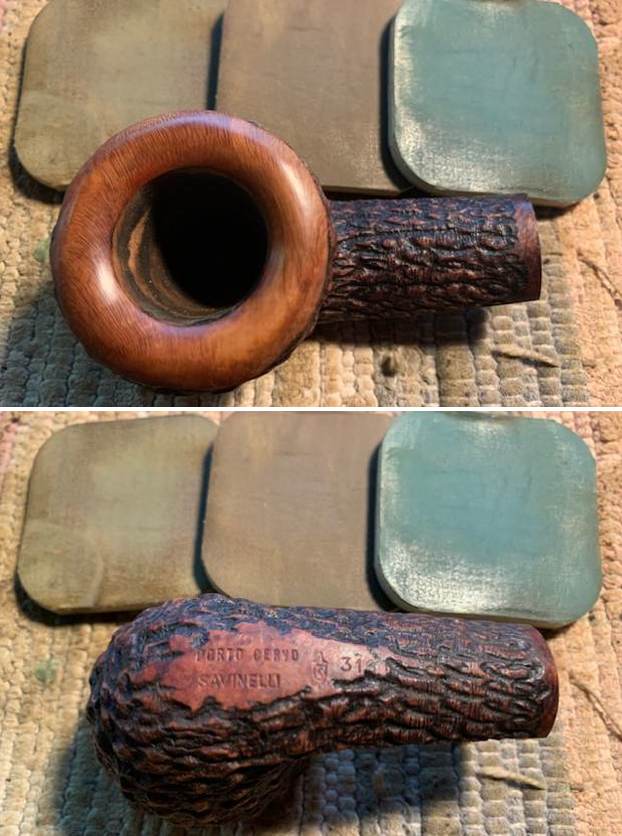
 I touched up the Savinelli Shield S on the stem top with Rub’n Buff Antique Gold. I worked it into the stamping with a tooth pick. I buffed it off with a cotton pad and then rubbed it down with some Obsidian Oil.
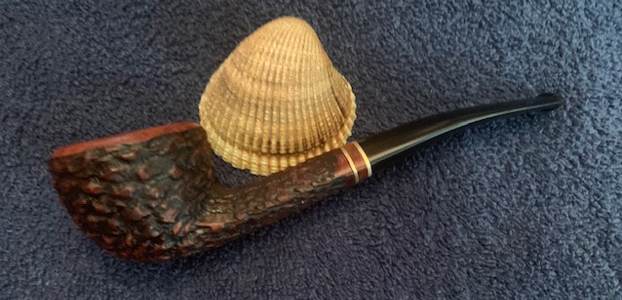
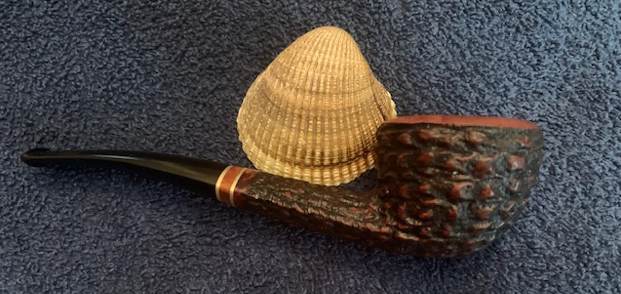
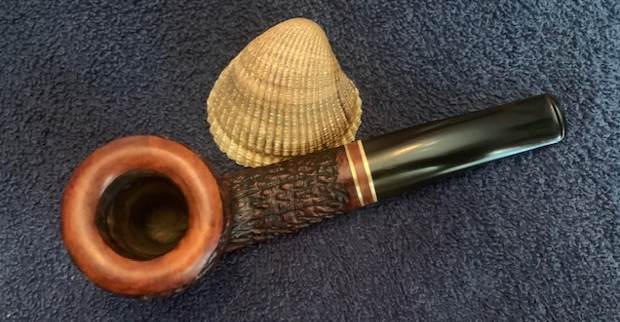
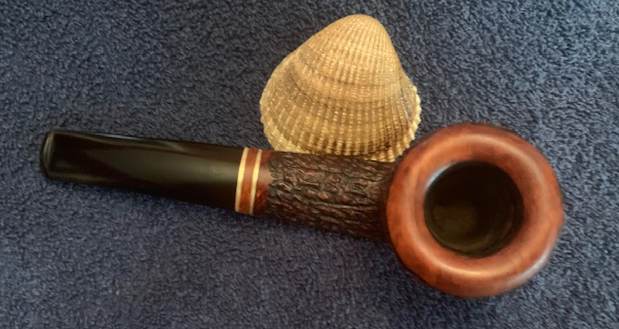
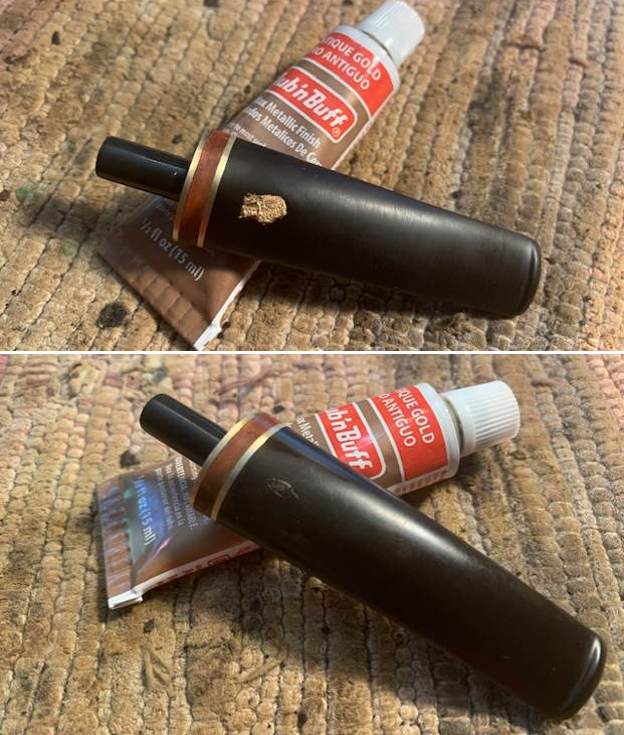 I put the stem back on the Savinelli Porto Cervo 316KS Oval Shank Rusticated Dublin and buffed the pipe with Blue Diamond on the buffing wheel. I polished the briar and the vulcanite of the stem until there was a rich shine. This classic Savinelli shape and finish really highlights a proportionally well carved pipe. Once I buffed the pipe the briar came alive and the variety of colours in the nooks and crannies of the rustication popped with polishing. The black vulcanite stem with the twin brass bands had a rich glow. This Porto Cervo 316KS fits well in the hand and sits right in the mouth. Have a look at it with the photos below. The dimensions are Length: 6 inches, Height: 1 ½ inches, Outside diameter of the bowl: 1 ¾ inches, Chamber diameter: 7/8 of and inch. The weight of the pipe is 1.45 ounces/41 grams. This beauty will be going on the rebornpipes online store in the Italian Pipemakers Section. If you are interested let me know. Thanks for walking through the restoration with me as it was a pleasure to work on.