Blog by Steve Laug
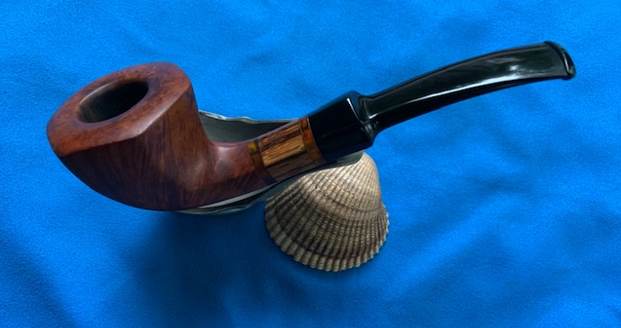
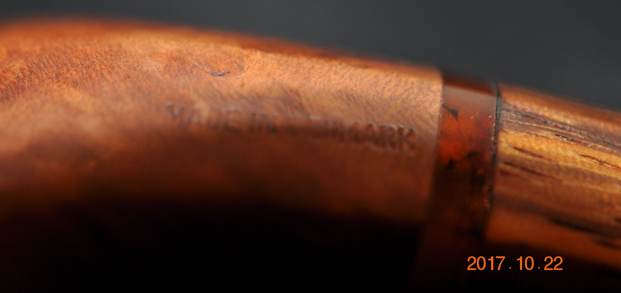
I went through my pipes to choose what to work on next and this one caught my eye. It is a great looking Hexagonal Faceted Freehand. It is stamped on the left underside of the hexagonal shank and read Stanwell [over] Zebrano. On the right side underside it is stamped Made in Denmark and on the top right side it was stamped with the shape number 163. Zebrano pipes have a shank extension of Zebra wood on the end, sandwiched between two wafers of orange acrylic. Jeff was travelling in Europe for a holiday with his wife bought this pipe on 09/16/2017 in Frankfurt, Germany at a bazaar. It has been sitting here in Vancouver cleaned and awaiting my part of the work for almost 5 years. When he found it the finish had thick grime and oils ground into the outside of the bowl and shank. The Zebrano insert had dried out and was rough to the touch. The rim top and inner edge of the bowl had burn damage and was slight out of round. There as a thick cake in the lower ¾ of the bowl and lighter cake on that ¼ of the bowl. The black acrylic stem was scratched and filthy and the inside of the filter tenon sans filter was filthy. It was made for a 9mm filter that I would need to replace. There were deep tooth marks and chatter on both side of the stem near the button. Jeff took photos of the pipe when he got home and got around to cleaning it.
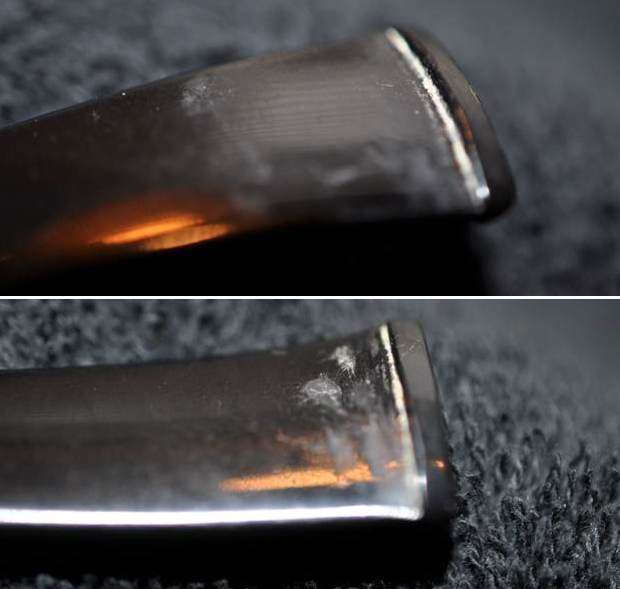
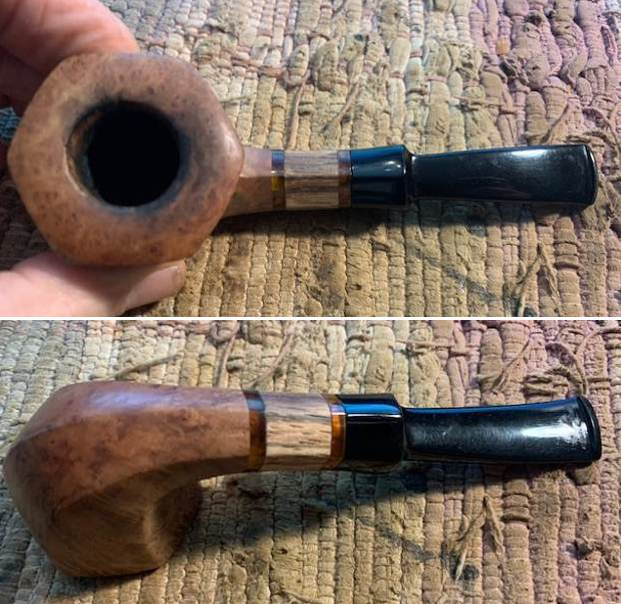
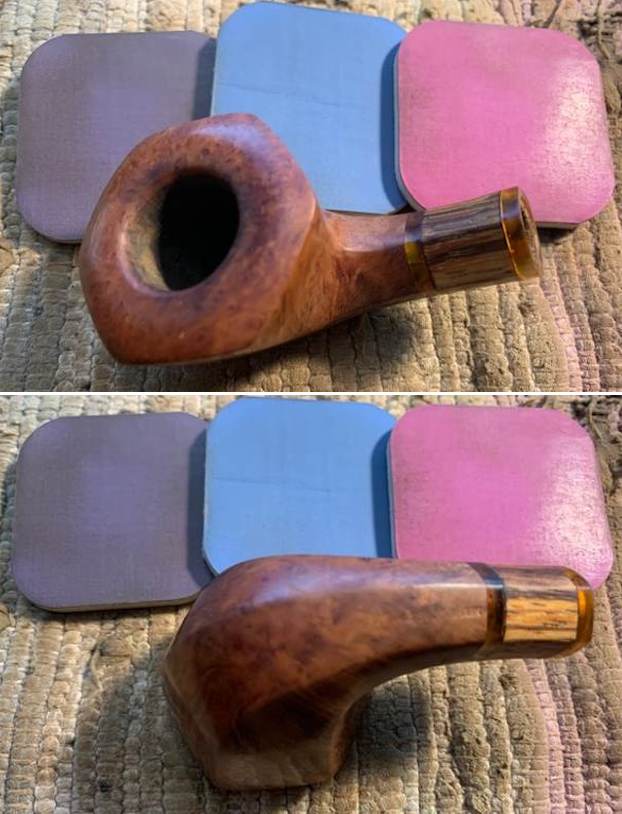
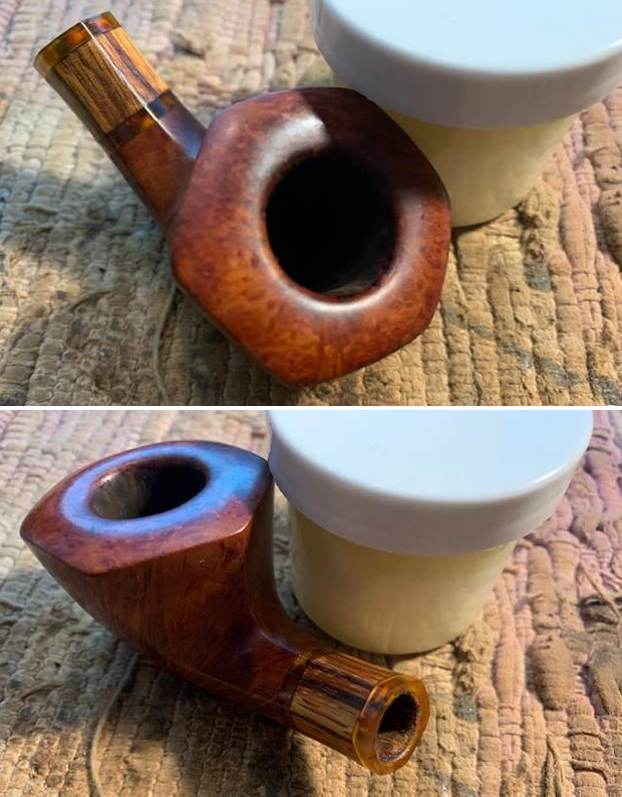
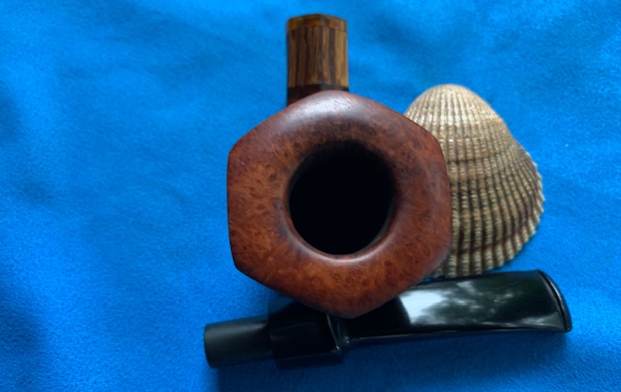
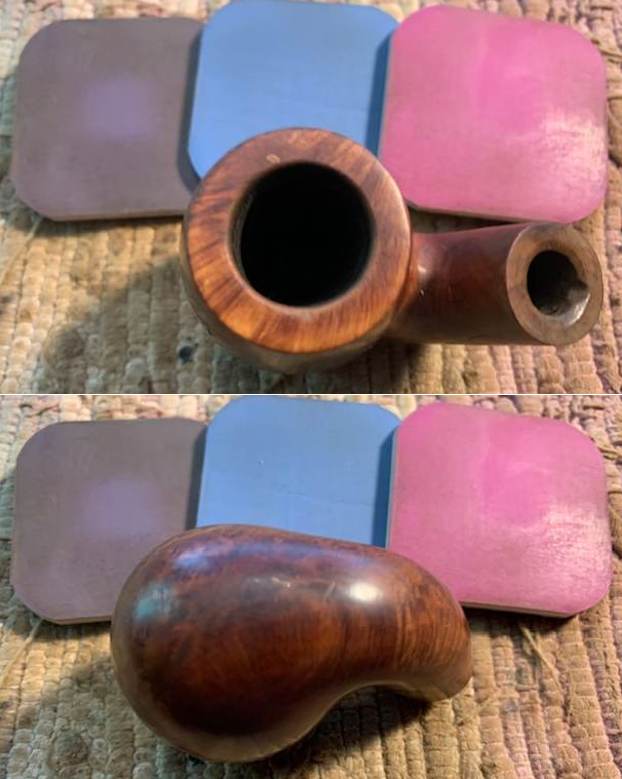
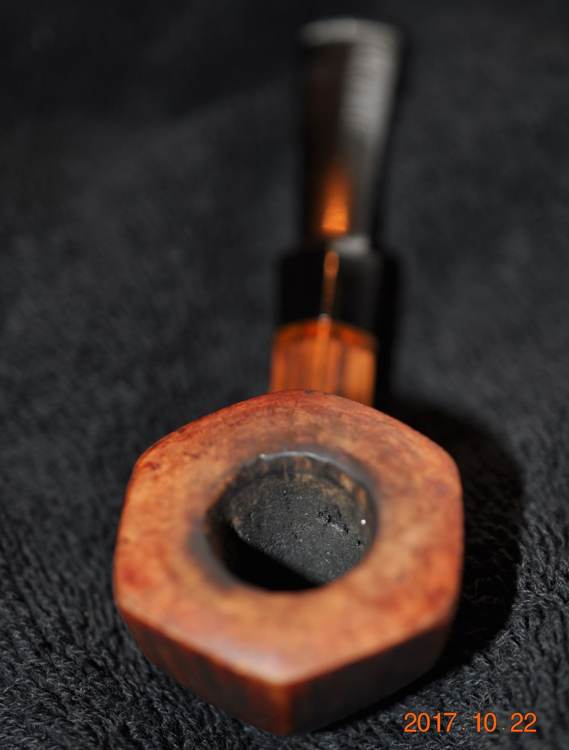 Jeff took photos of the rim top to show the condition of the bowl and edges. You can see the damage on the top and edges. You can see that the bowl is slightly out of round as well. He took photos of the stem surface to show the deep marks and damage on both sides.
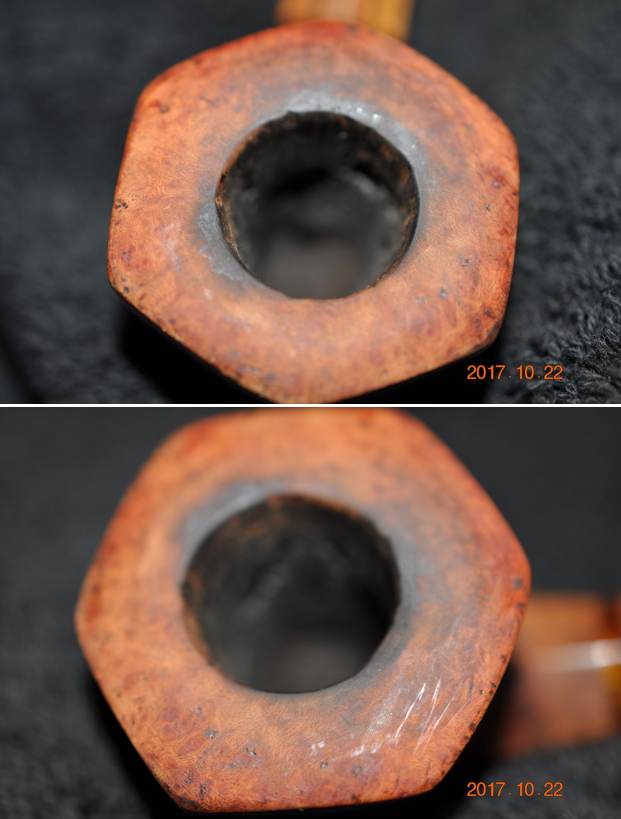
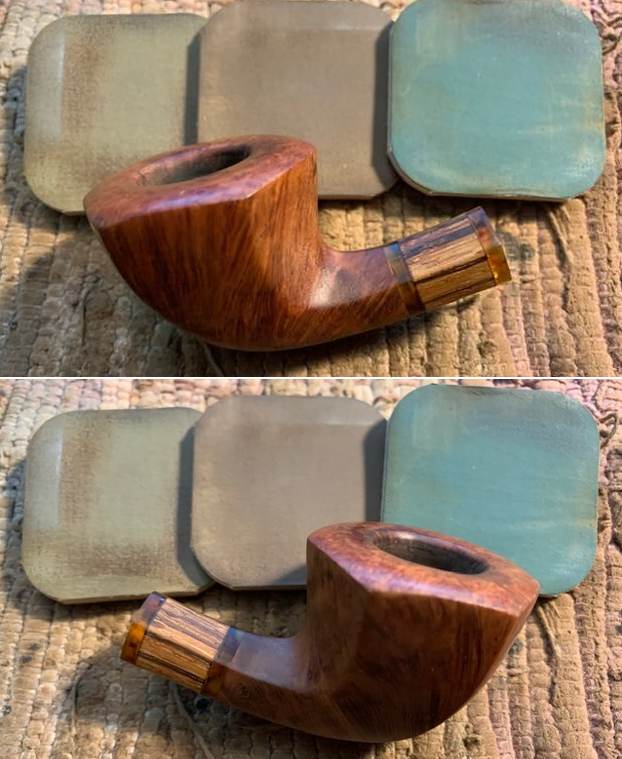
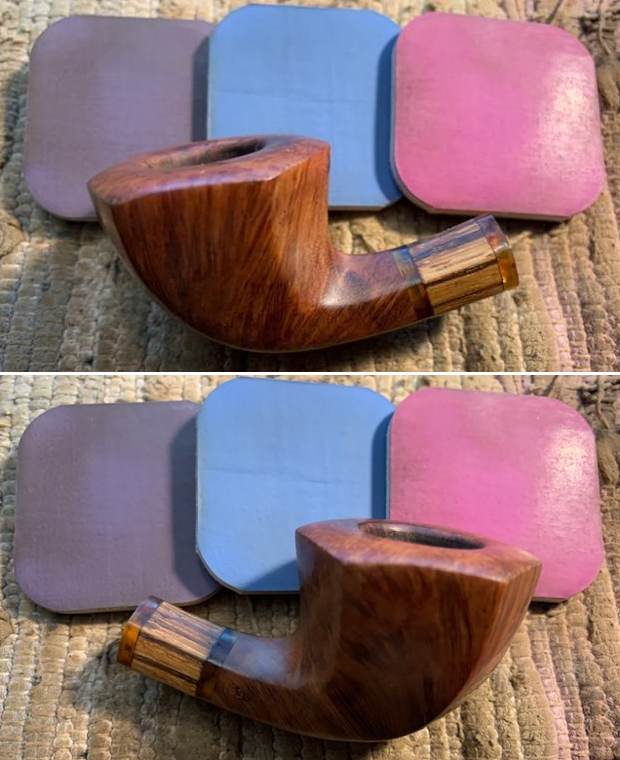
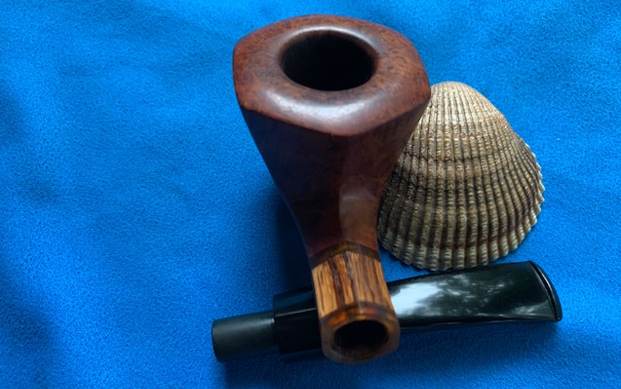
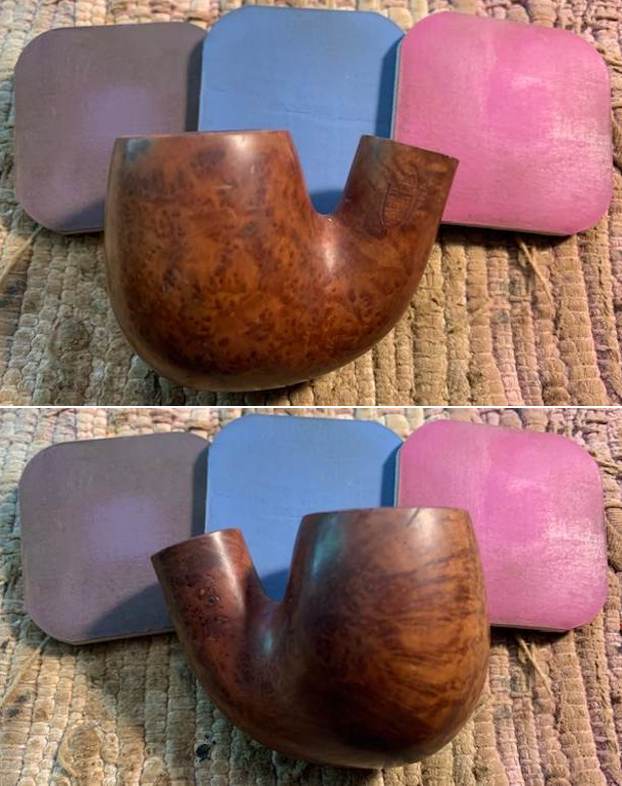
 He took photos of the sides and the heel of the bowl to show the interesting grain patterns in the briar through the thick grime. He took a photo of the Zebra wood insert with the acrylic spacers as well. It was quite beautiful.
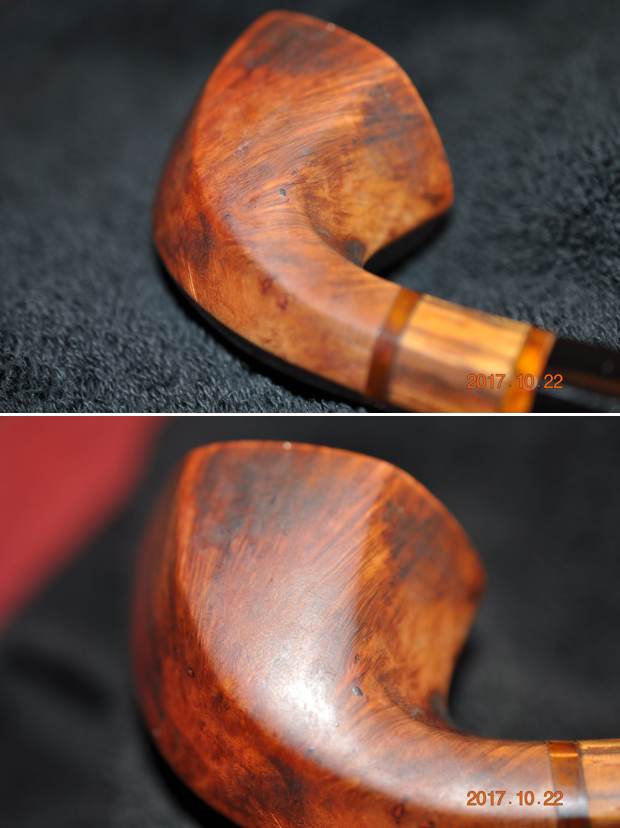
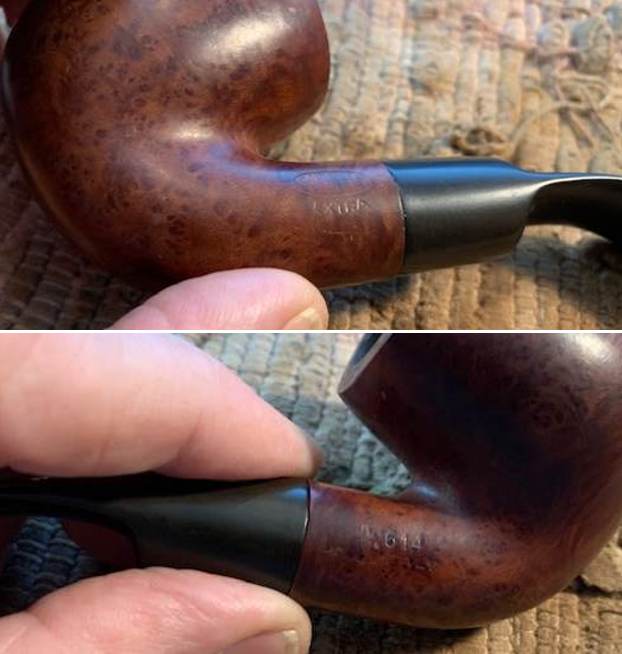
 He took photos of the stamping on the sides of the shank. It is readable but faint in places.
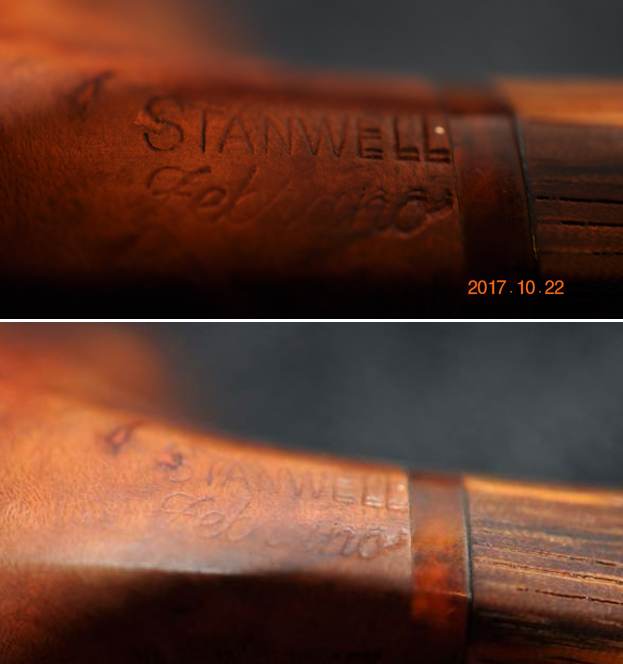
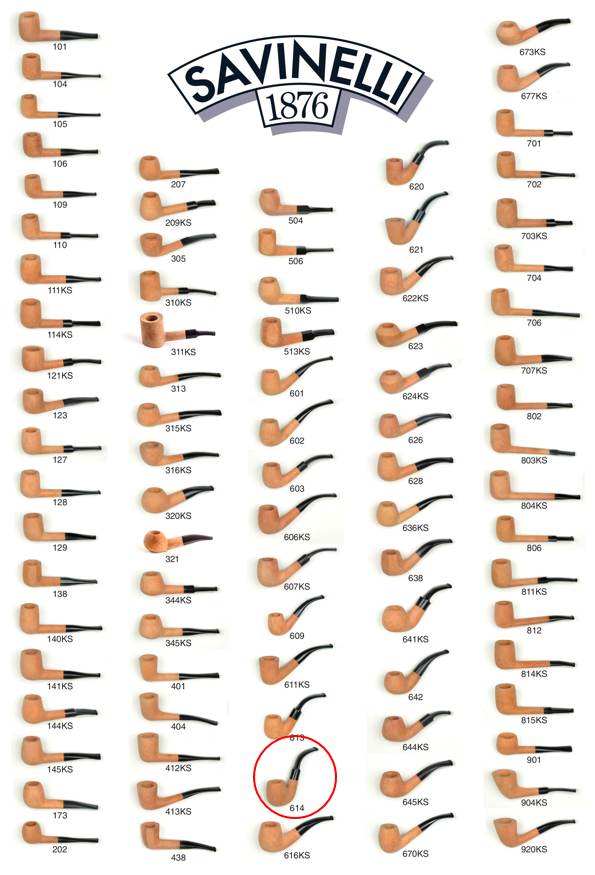
 Before I started working on the pipe I decided to do a bit of digging on the shape and the design. I turned first to a blog on rebornpipes by Bas Stevens the was a compilation of Stanwell shapes (https://rebornpipes.com/2013/09/03/stanwell-shapes-compiled-by-bas-stevens/). There I found the shape number 163. The information given there said that the shape was a Freehand, “Facet”, hexagonal, with brass ring by Jess Chonowitsch. It was a shape designed by Jess Chonowitsch and that was interesting to me.
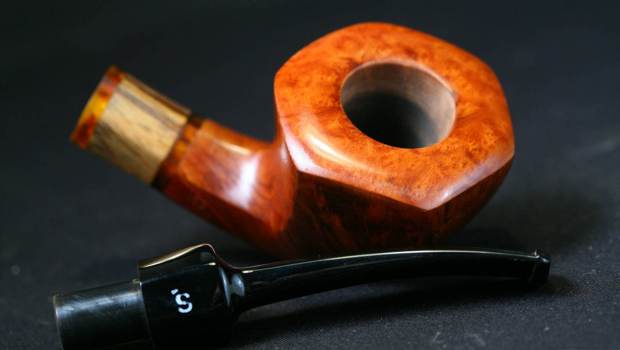
I also looked on Pipedia and on Pipephil’s site and while I could read the history of the brand and gather background the Zebrano line was not mentioned. I did a Google search for the Zebrano 163 shape and found a gallery of photos and information on the pipe. I am including both the information on the brand and a few photos of the pipe. It was helpful information regarding what the pipe looked like originally (https://bn-dev.com/pipes-estate/galerie/galerie.php?pipe=3cb469b6b1b5237bdfe99cec04ff4c5feb267fc0). I quote below:
Marque / brand Stanwell
Marquages / stamping Stanwell zebrano made in denmark 163
Finition / finish lisse / smooth
Longueur / length 14.8 cm / 5.83 in
Hauteur / height 4.49 cm / 1.77 in
diamètre tête / bowl diameter 4.22 cm / 1.66 in
diamètre fourneau / chamber diameter 1.93 cm / 0.76 in
Profondeur / depth 3.41 cm / 1.34 in
Poids / weight 43 gr / 1.52 oz
Forme / shape freehand
Matière tuyau / Stem material acrylique / acrylic (lucite)
Matière pipe / pipe material bruyère / briar
Filtre / filter 9mm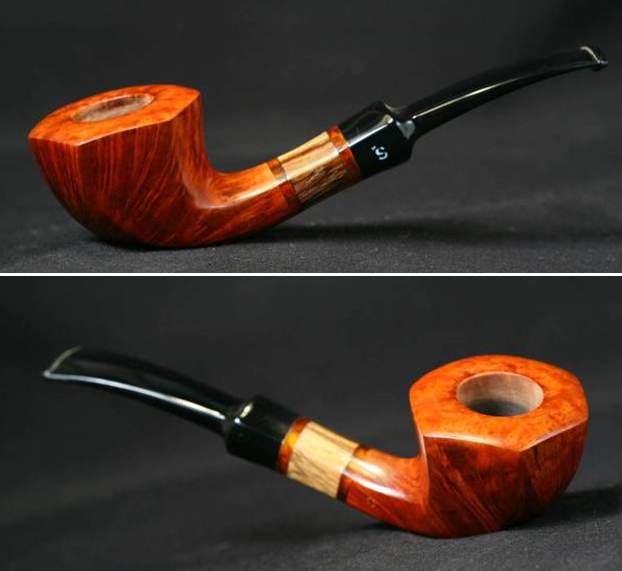
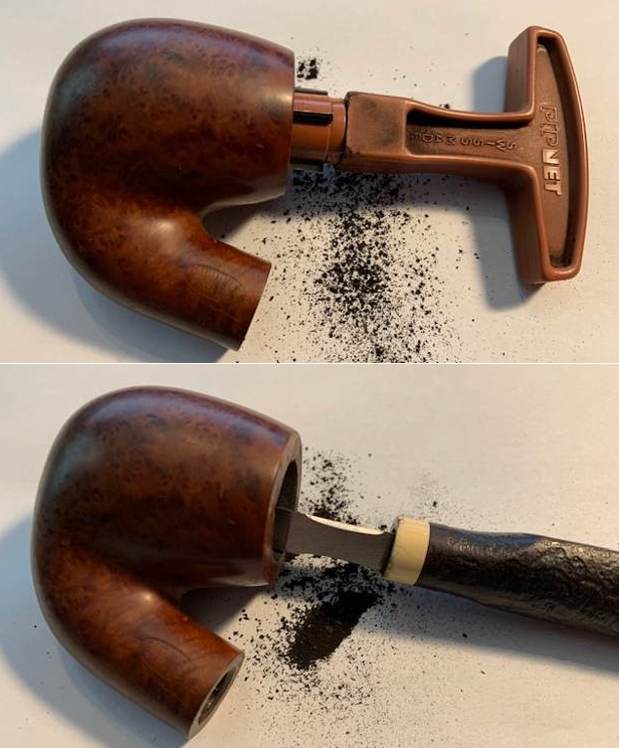
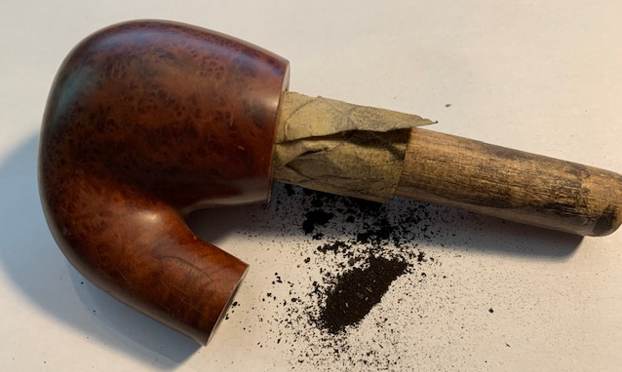
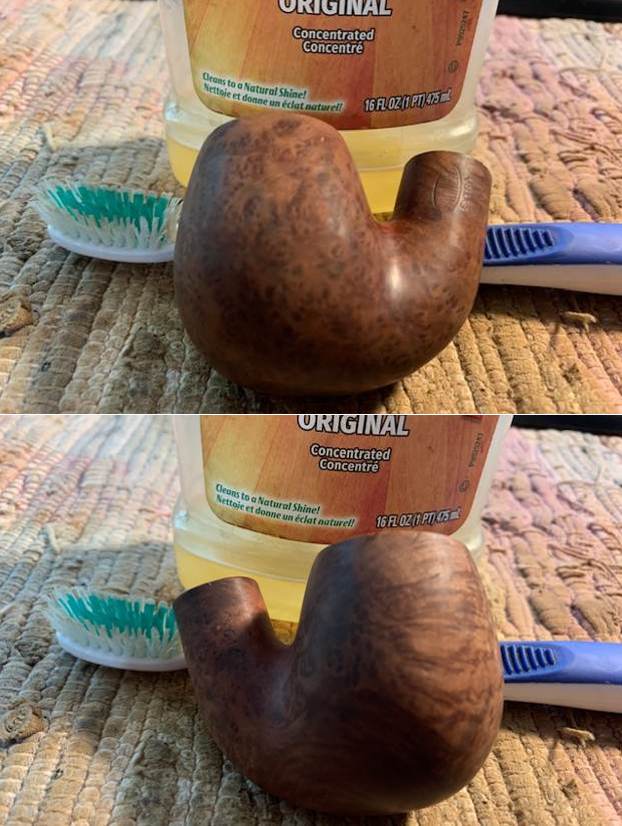
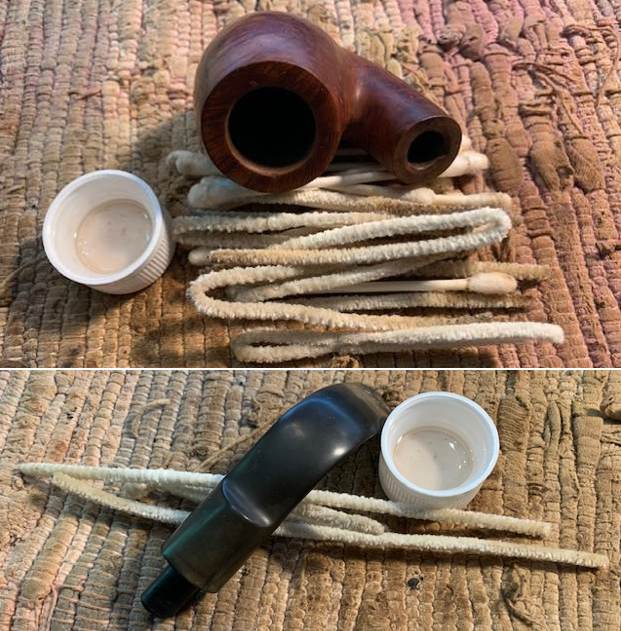
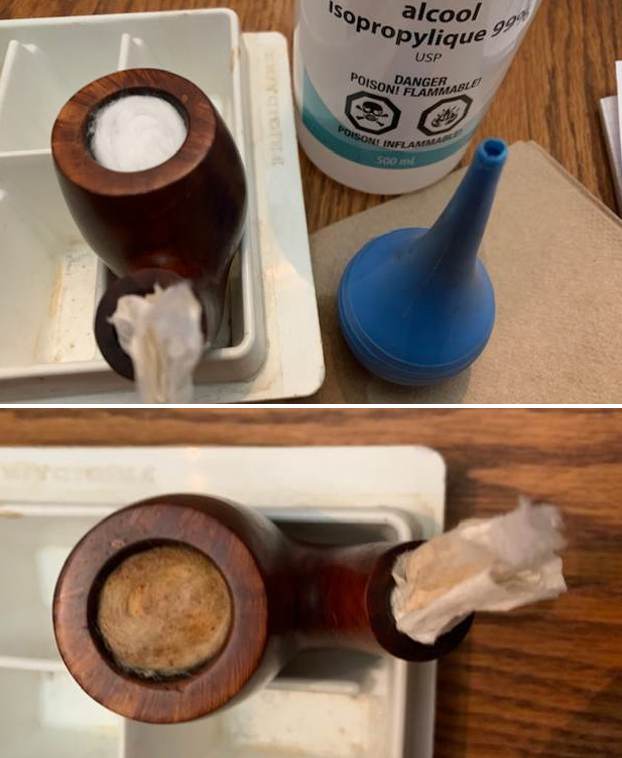
 With that information and a visual idea of what the pipe looked like originally, I turned to work on the pipe itself. Jeff had thoroughly cleaned up the pipe. He reamed the pipe with a PipNet Pipe Reamer and cleaned up the remnants with a Savinelli Fitsall Pipe Knife. He scrubbed the bowl with undiluted Murphy’s Oil Soap with a tooth brush. He rinsed it under running warm water to remove the soap and grime. There was some darkening on the inner edge of the rim and top that would need to be dealt with. He cleaned out the inside of the shank and the airway in the filter tenon and the stem with alcohol, cotton swabs and pipe cleaners. He scrubbed the exterior of the stem with Soft Scrub to remove as much of the oxidation as possible. The acrylic stem was clean but had tooth marks and chatter on both sides ahead of the button. There was no stamped logo on the left side of the stem. I took photos of the pipe before I started my work on it.
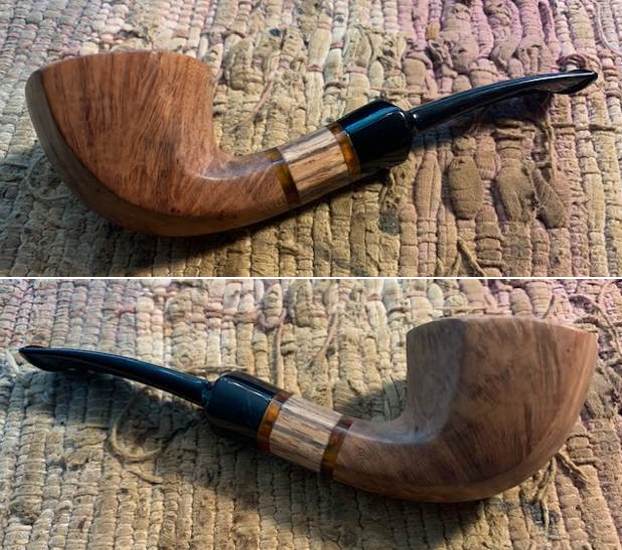
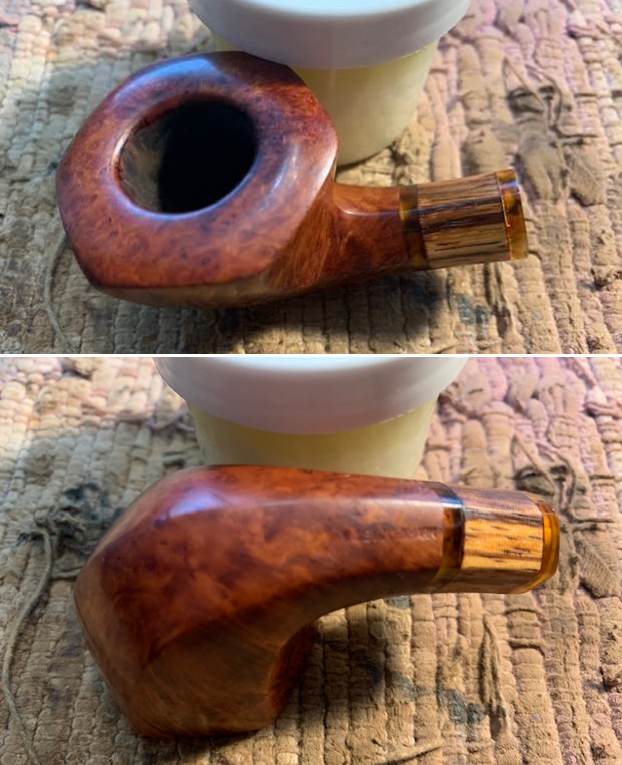
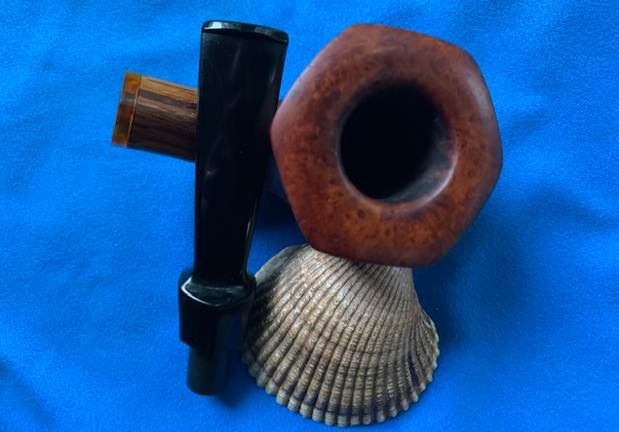
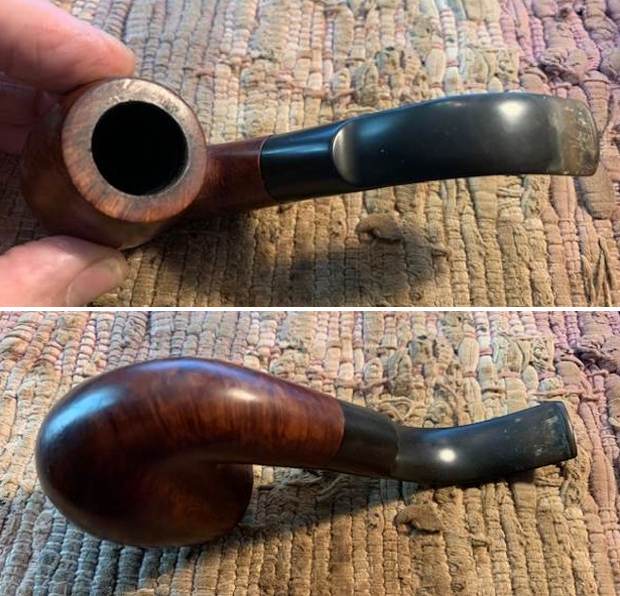
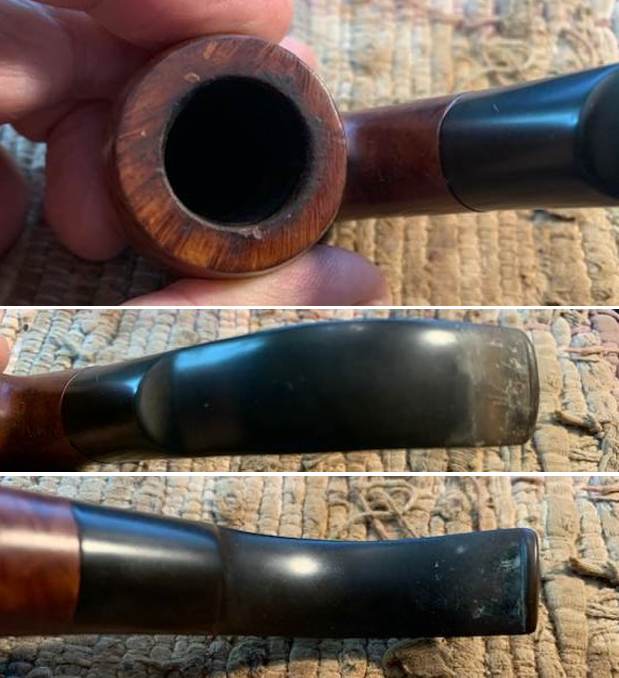
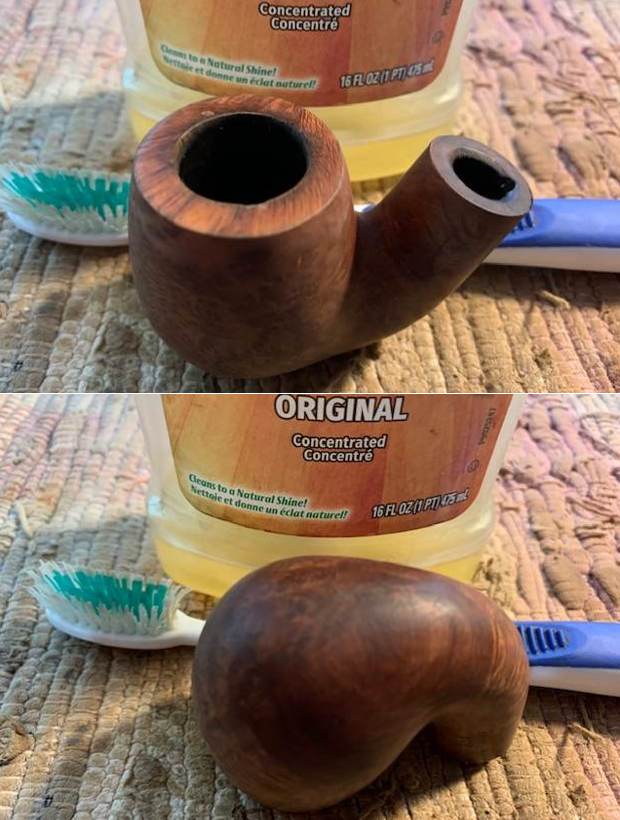
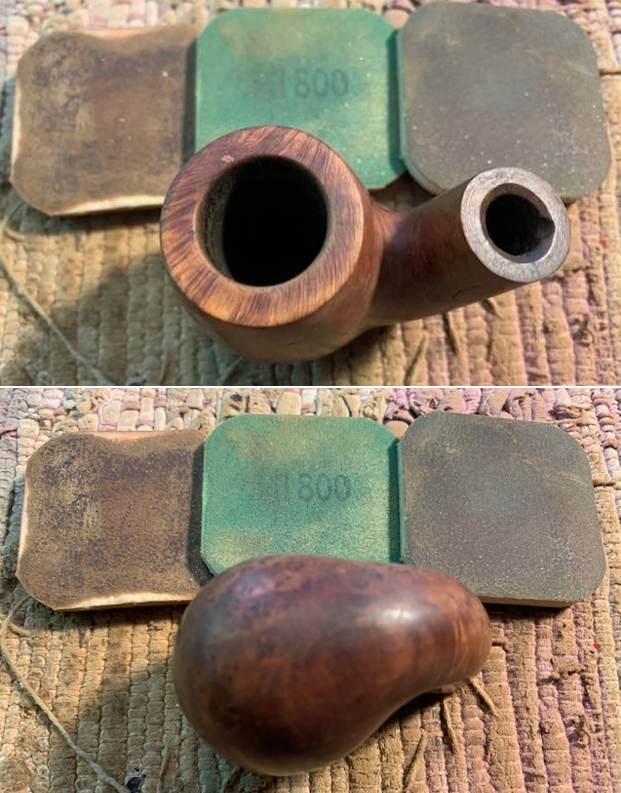
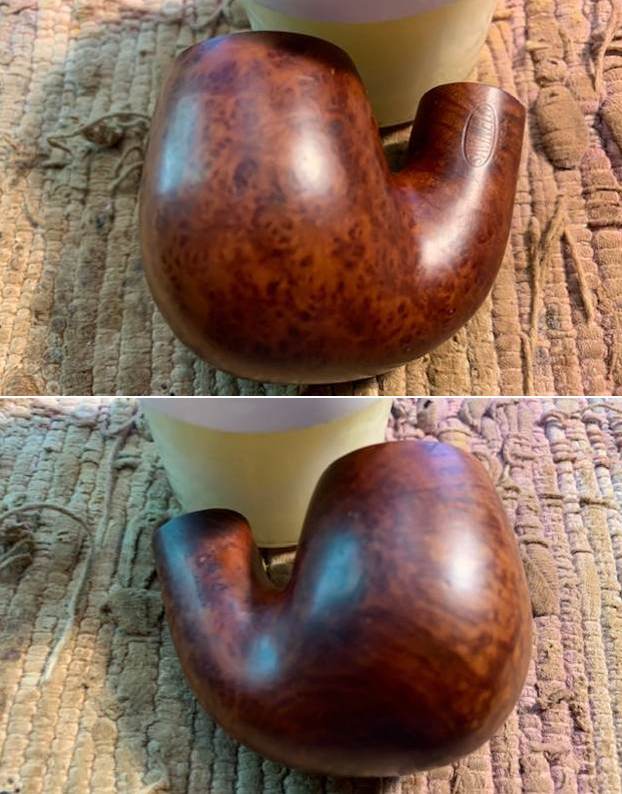
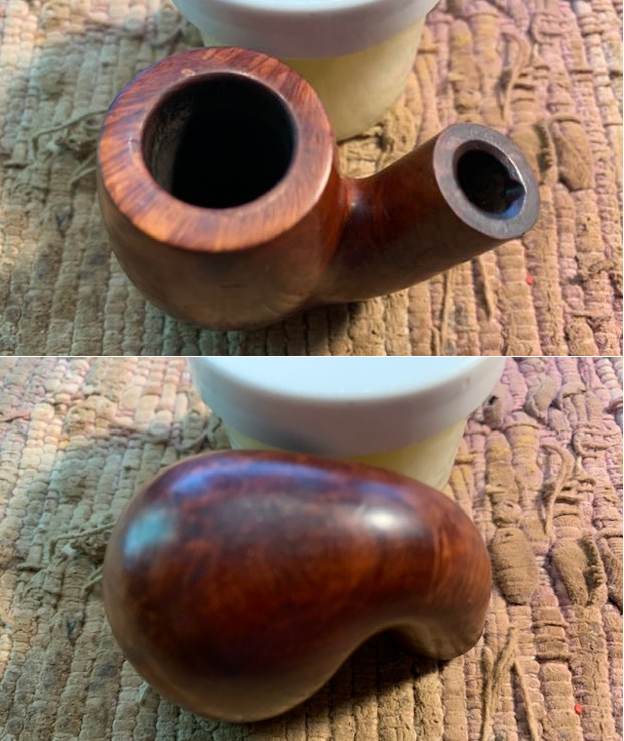
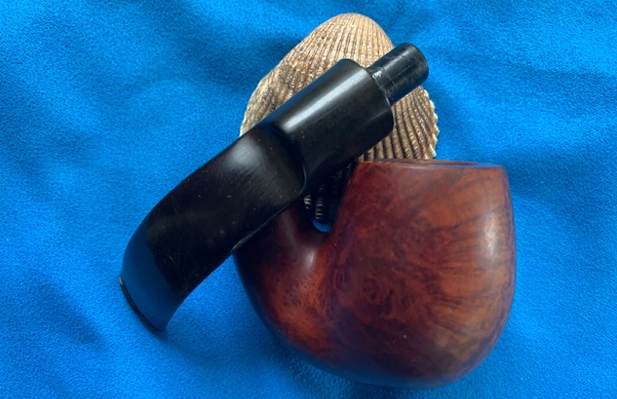
 I took photos of the rim top and bowl as well as the stem to give a sense of the condition of both. The rim top had some damage and darkening to the inner edge and rim top on the right front and back side. The stem cleaned up well and there were tooth marks on the top and underside ahead of the button.
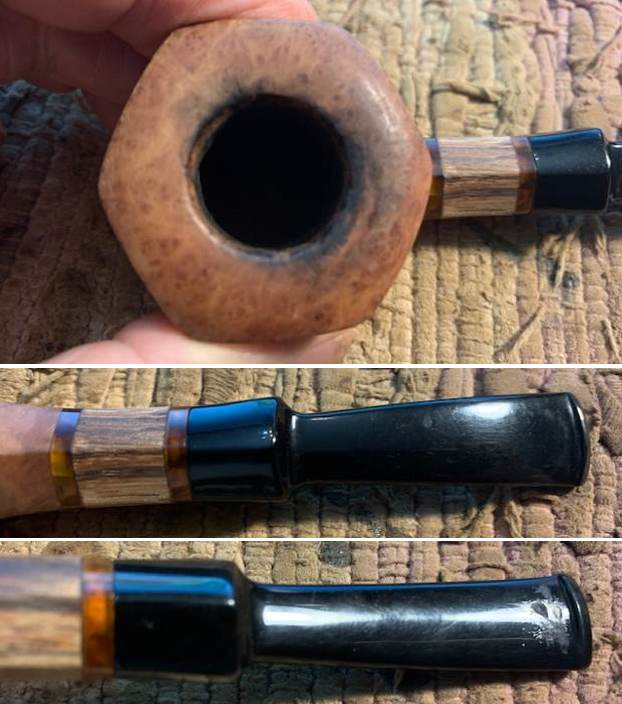 I took photos of the stamping on the underside of the hex shank. The are faint but readable as noted above.
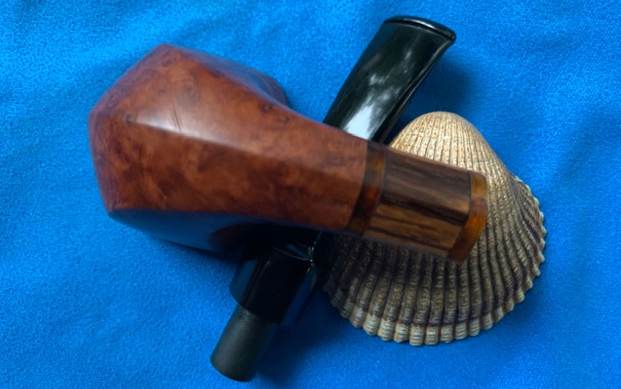
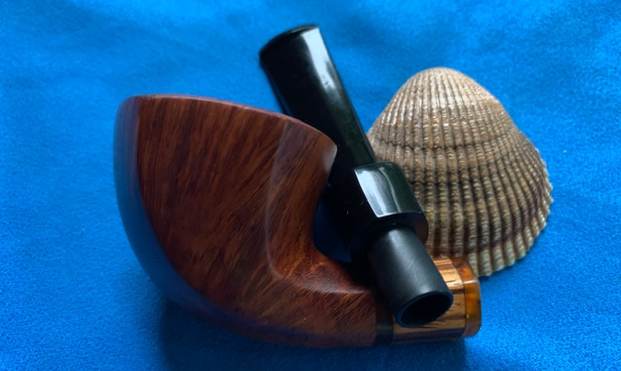
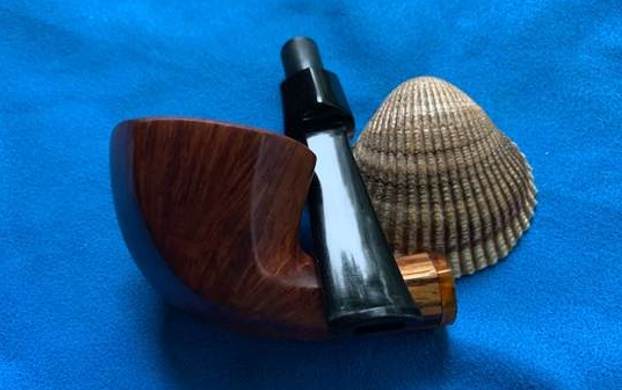
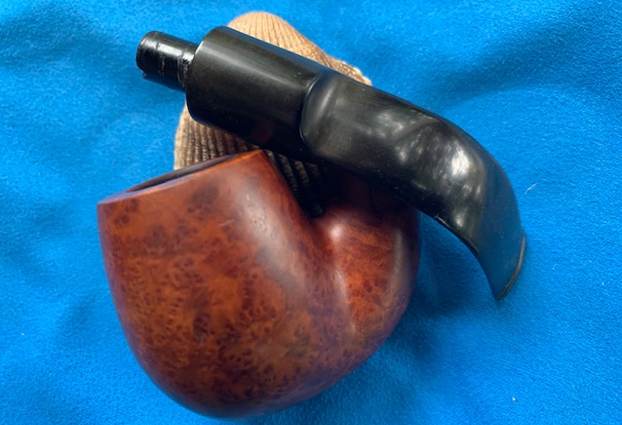
 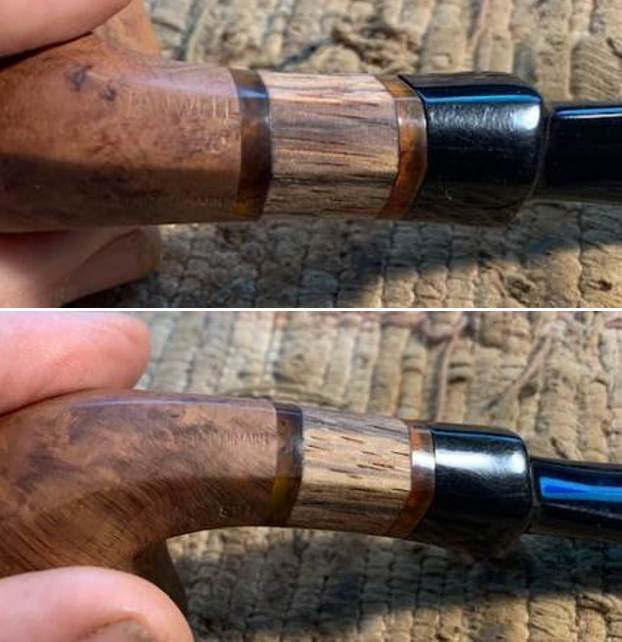 I took the stem out of the shank and took a photo of the overall look of the pipe.
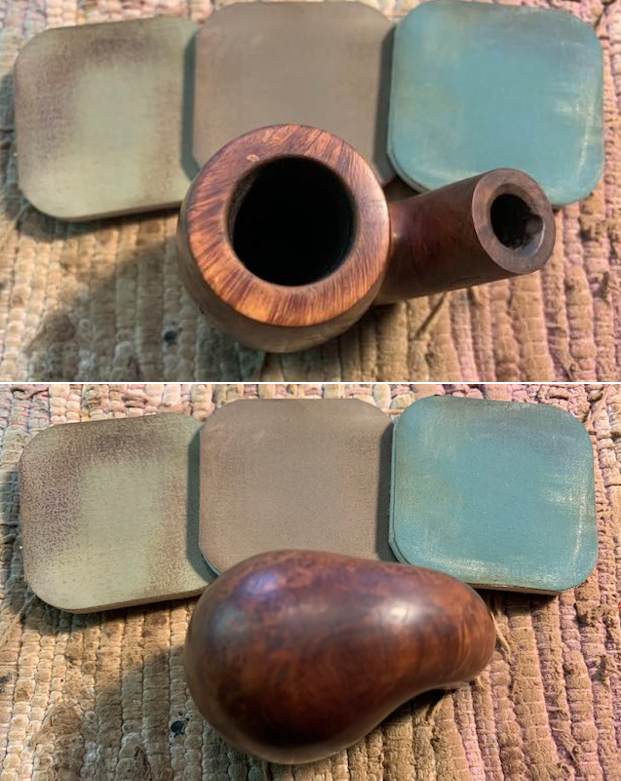
 I decided to start my work on the pipe by addressing the darkening and damage on the inside edge of the bowl and the rim top. I used a folded piece of 220 grit sandpaper to clean up the bevel on the inner edge and the top of the bowl. I wiped the top and edges down with a damp cloth and the rim top and edges looked much better.
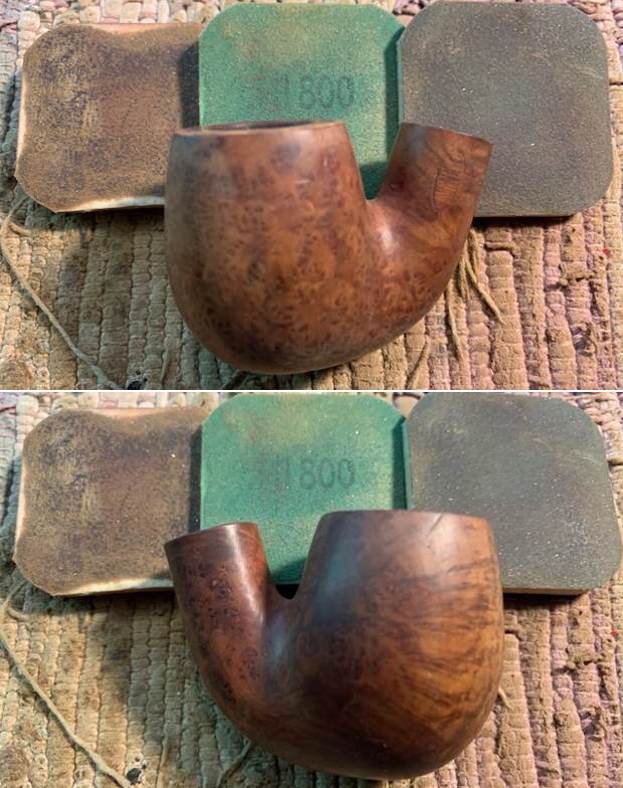
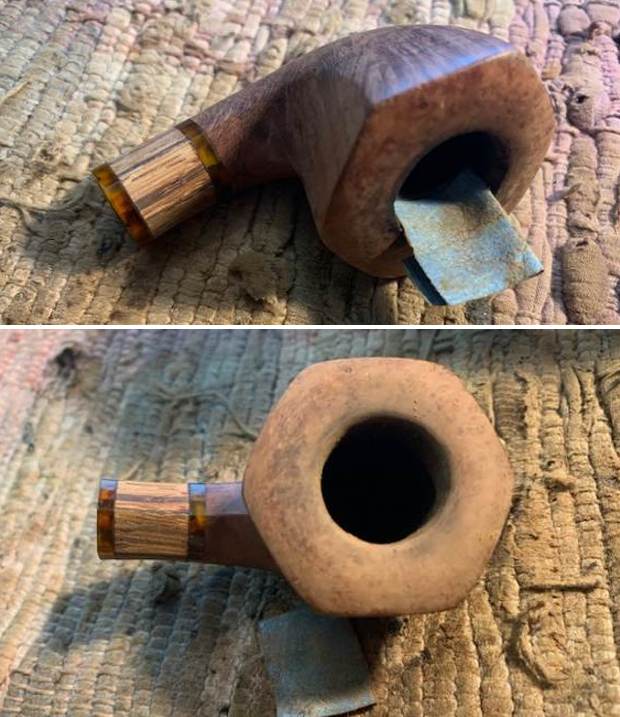 I polished the briar with micromesh sanding pads – dry sanding with 1500-12000 grit pads. I wiped the bowl down after each pad with a damp cloth.
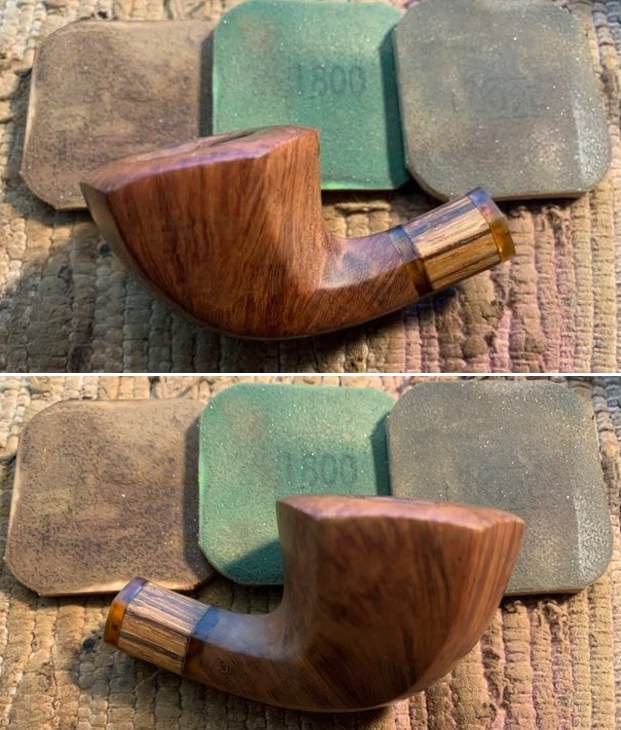
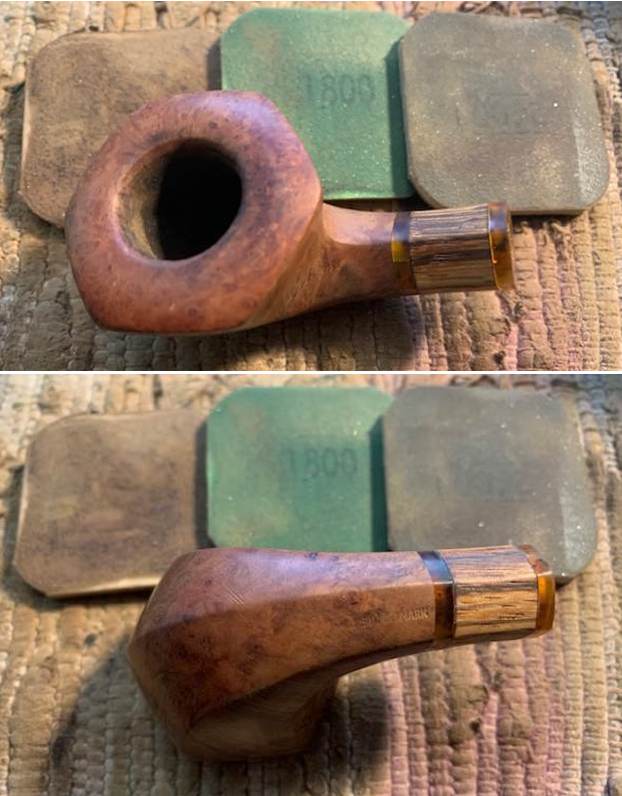

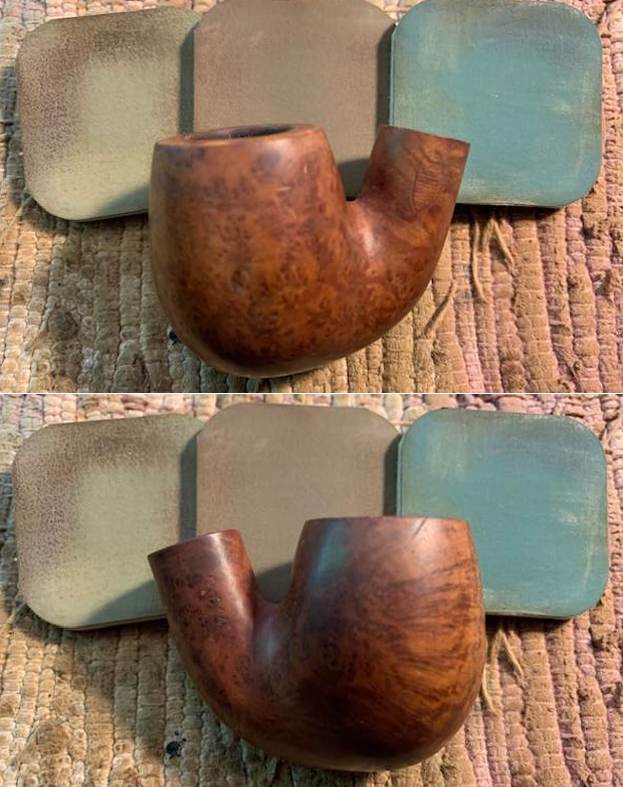
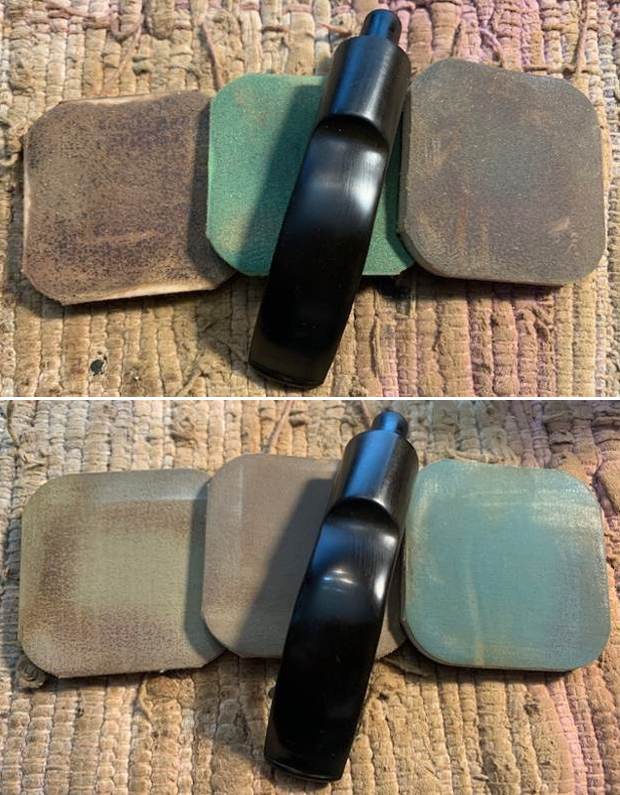
 I rubbed the bowl down with Before & After Restoration Balm. I worked it into the surface of the bowl sides and shank with my fingertips. The product works to clean, enliven and protect the briar. I let the balm sit for a little while and then buffed with a cotton cloth to raise the shine.
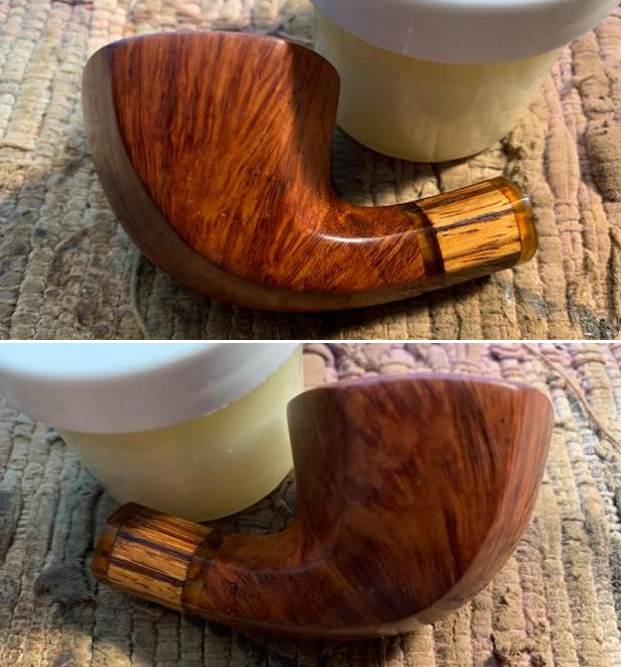
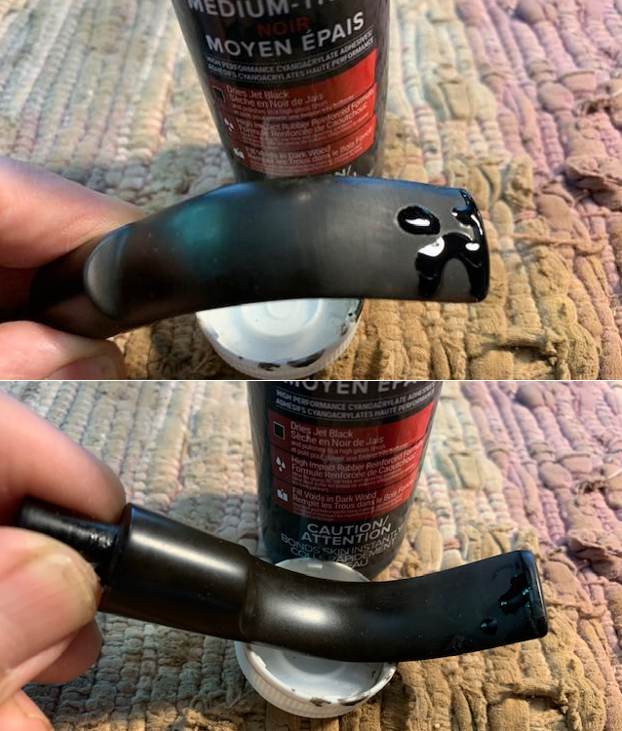
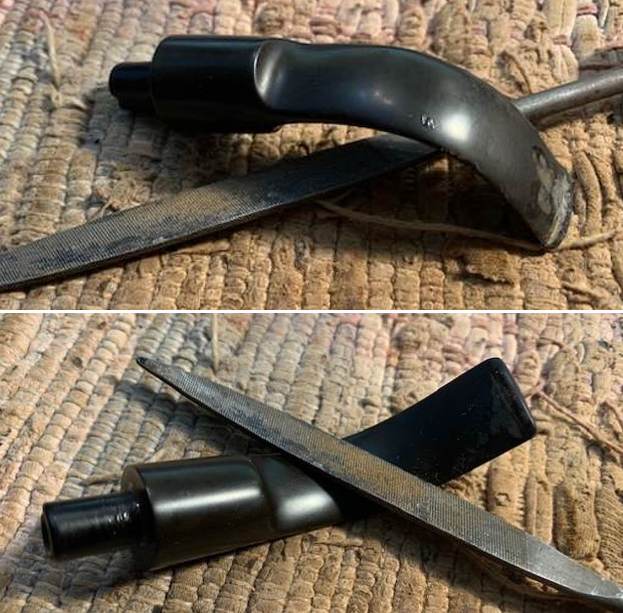
 I set the bowl aside and turned my attention to the stem. I filled I the deep tooth mark on the underside of the stem with clear CA glue. Once it cured I sanded the repair smooth to blend it into the surface of the acrylic. I sanded out the rest of the tooth chatter and marks with the 220 grit sandpaper to smooth them out. I started the polishing of the stem with 400 grit wet dry sandpaper. The stem was looking better with the repairs and polishing.
 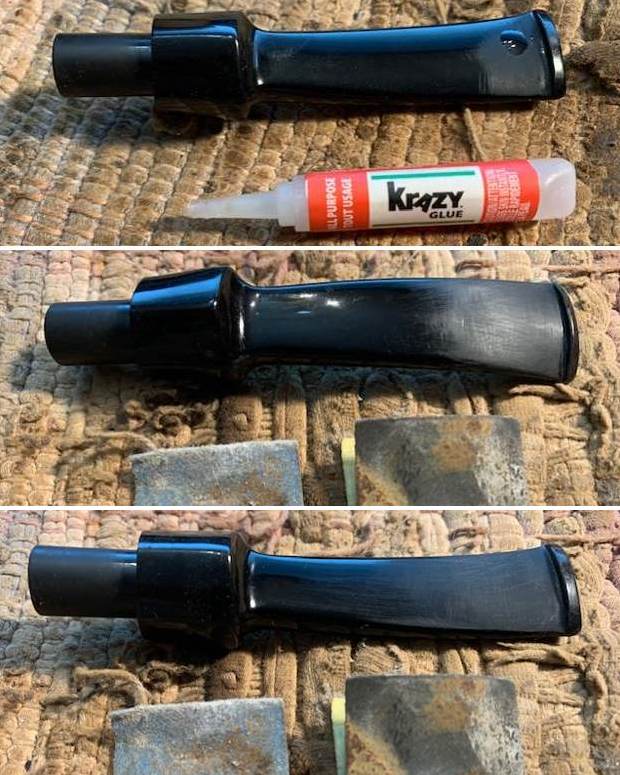 I set the bowl aside and turned to work on the stem. I polished the stem with micromesh sanding pads – 1500-12000 grit pads. I wiped it down with Obsidian Oil after each sanding pad. I used Before & After Pipe Polish – both Fine and Extra Fine to further polish the stem.
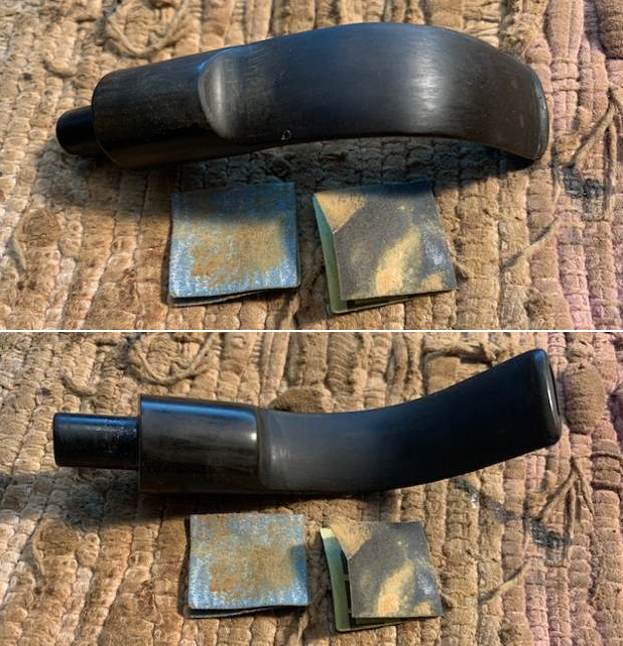
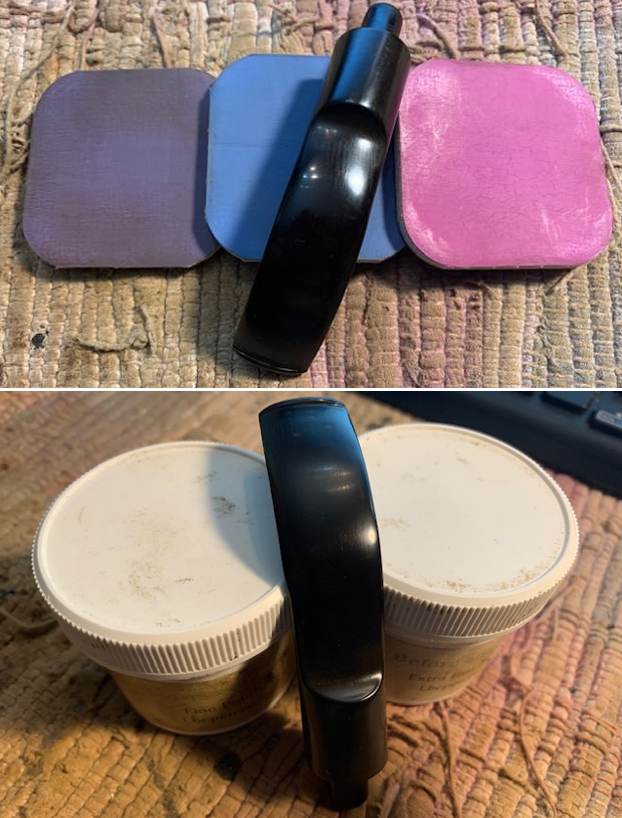
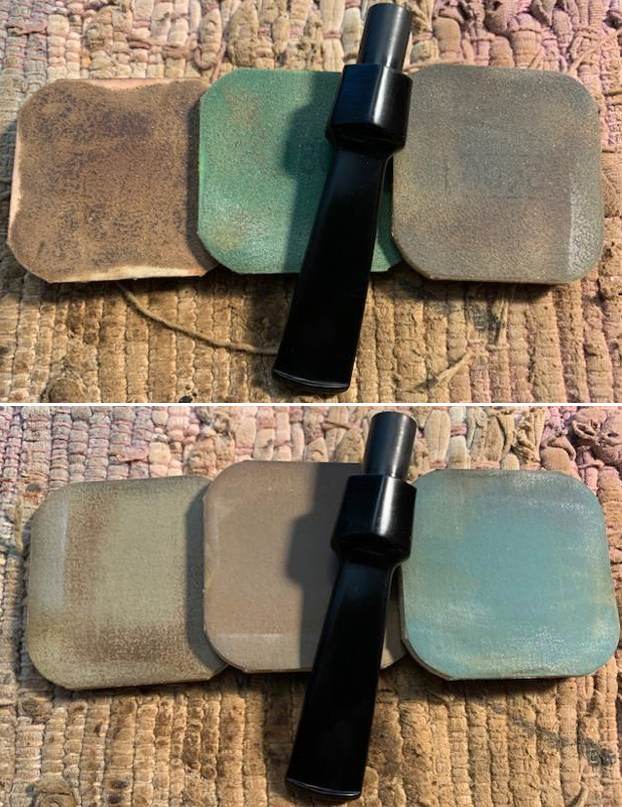
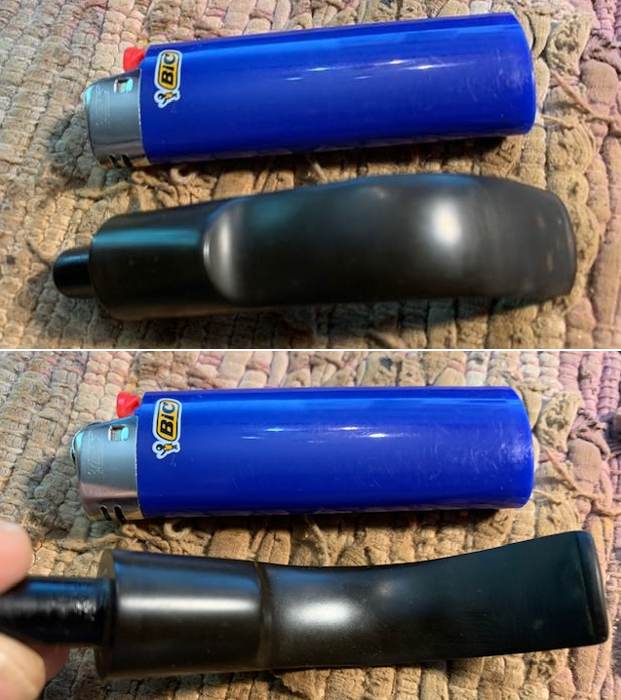
 I have a box of Vauen 9mm System Filters that fit perfect in the tenon on the Stanwell Zebrano. I put one in place in the tenon and took some photos of the fit.
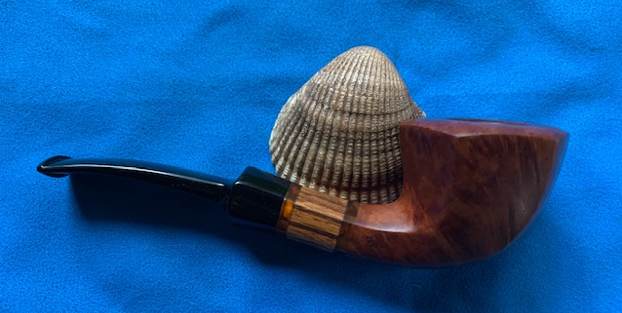
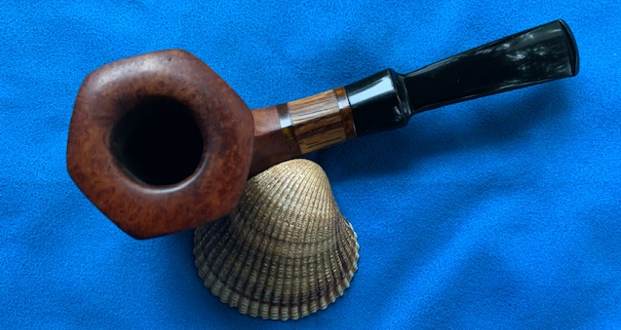
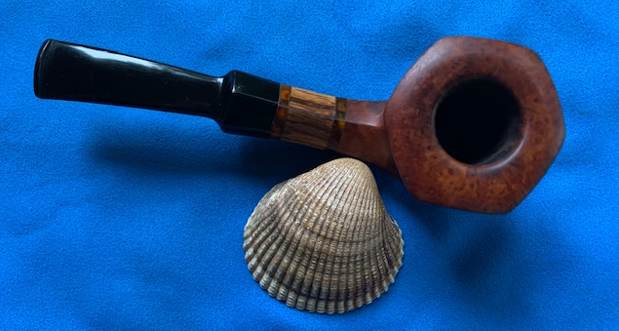
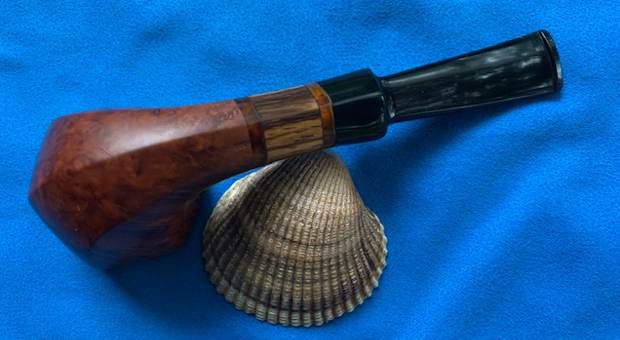
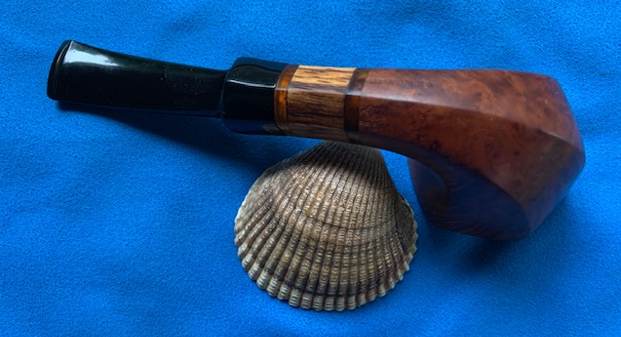
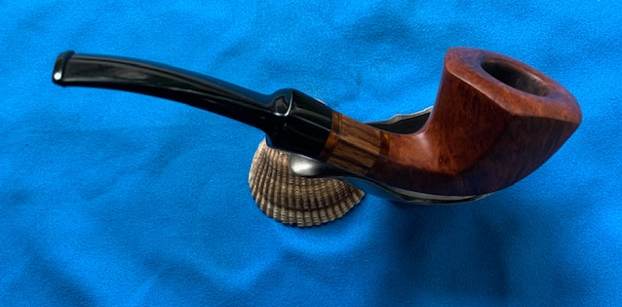
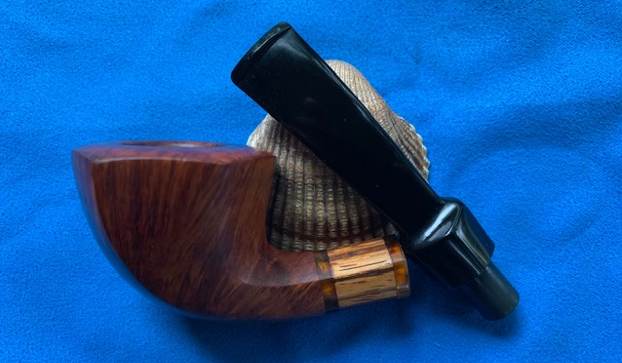
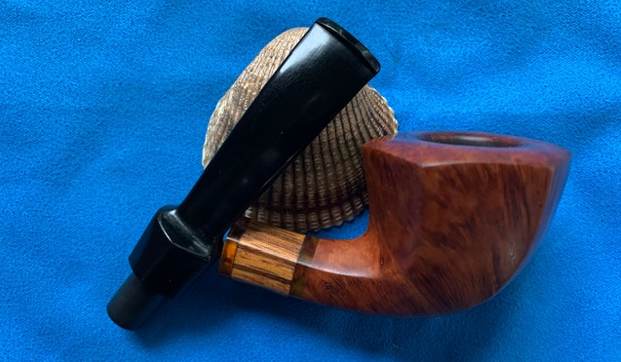
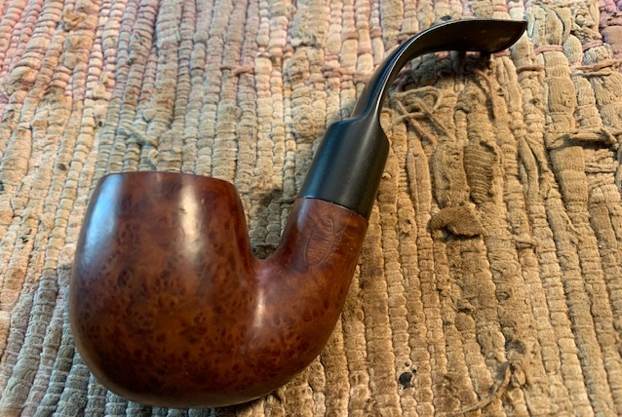
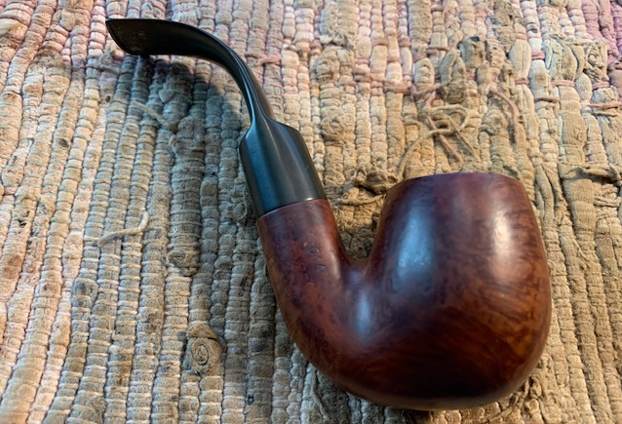
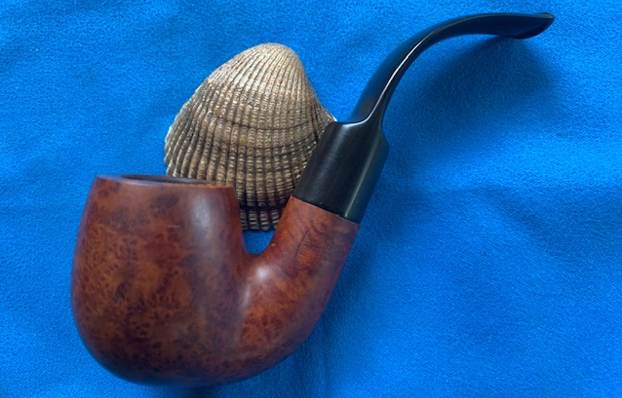
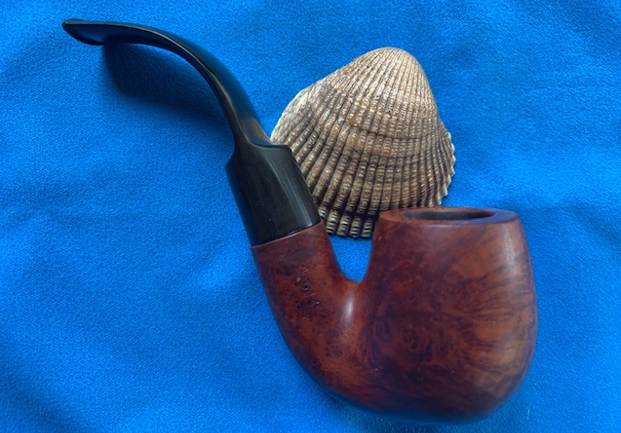
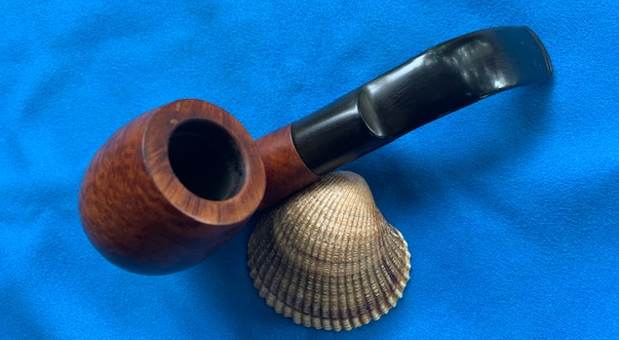
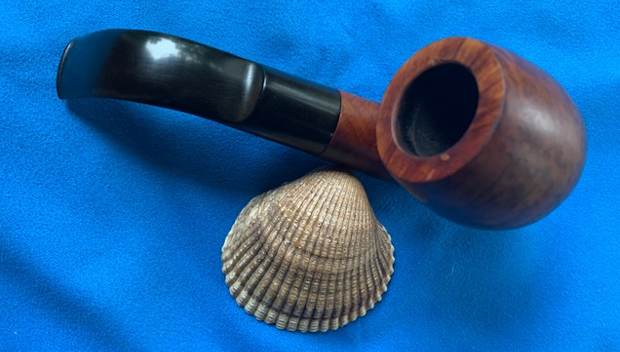
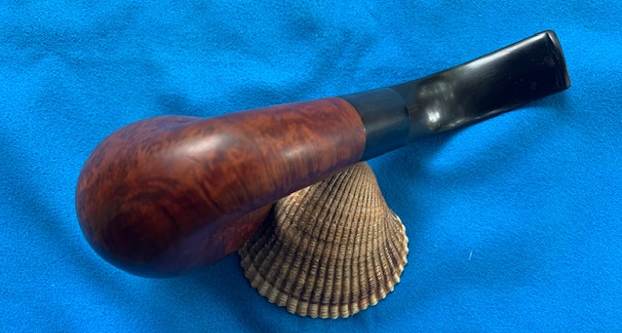
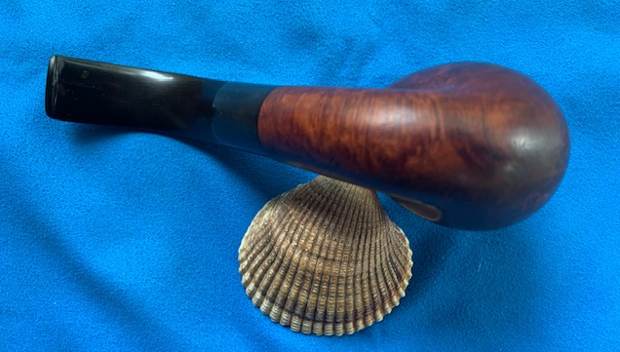
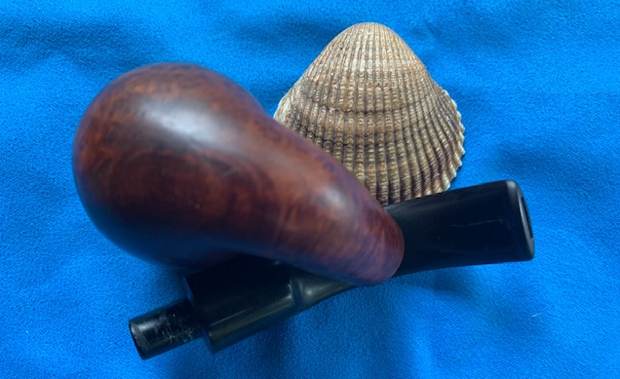
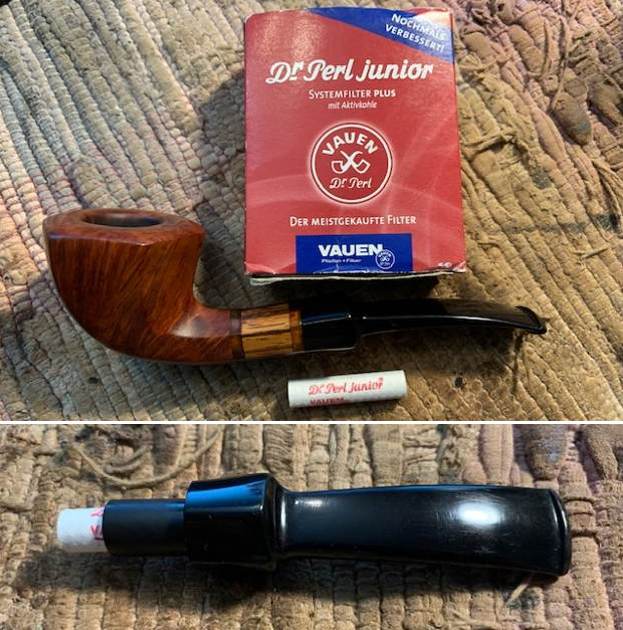 This Jess Chonowitsch Designed Stanwell Faceted Hexagon Freehand 163 with a hexagon acrylic saddle stem fit for 9mm filters is a great looking pipe now that it has been restored. The beautiful grain on the briar and the Zebra wood shank extension that shines through the polished finish is stunning. I put the stem back on the bowl and carefully buffed the pipe with Blue Diamond on the buffing wheel. I gave the bowl and the stem multiple coats of carnauba wax on the buffing wheel and followed that by buffing the entire pipe with a clean buffing pad. I hand buffed the pipe with a microfiber cloth to deepen the shine. The finished Stanwell Zebrano 163 fits nicely in the hand and feels great. Give the finished pipe a look in the photos below. The dimensions of the pipe are Length: 5 ½ inches, Height: 1 ¾ inches, Outside diameter of the bowl: 1 ¾ inches, Chamber diameter: ¾ of an inch. The weight of the pipe is 40 grams/1.41 ounces. I will soon be adding it to the rebornpipe store in the Danish Pipe Making Companies Section. If you are interested in this pipe send me a message or an email. Thanks for reading this blog and my reflections on the pipe while I worked on it. There are many more to come!
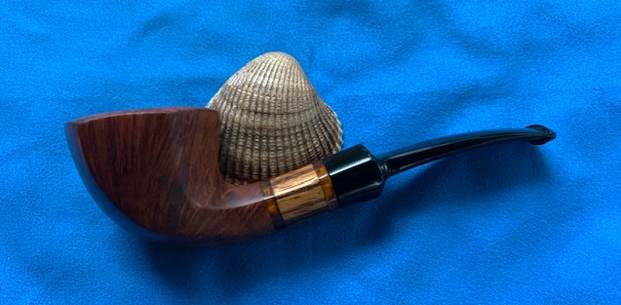


