Blog by Steve Laug
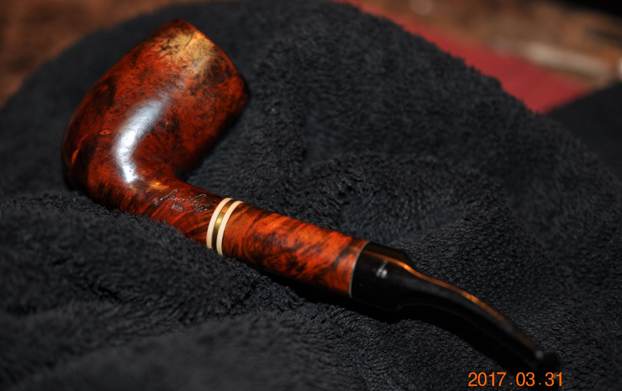
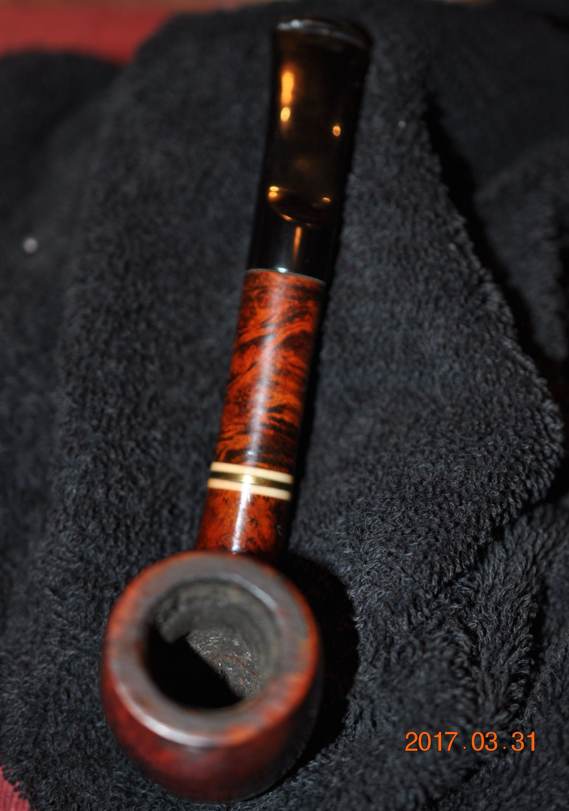
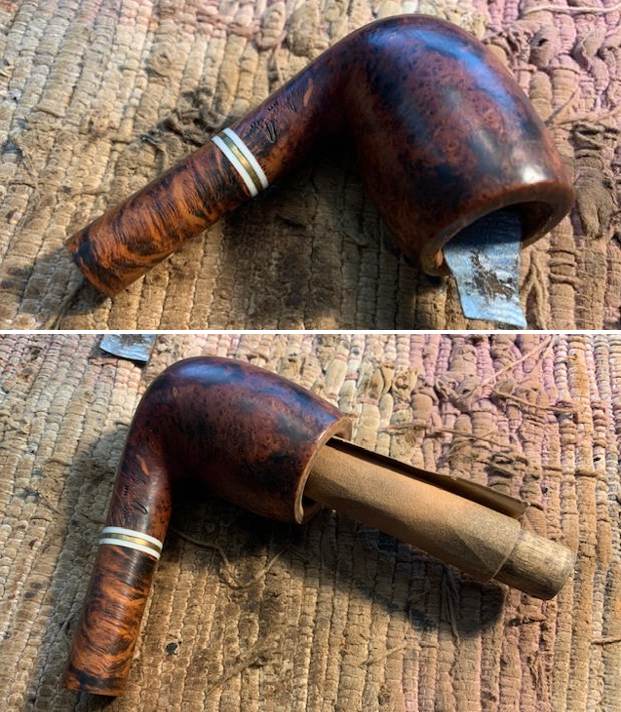
The next pipe on the table is another that caught my eye when I was going through my boxes of pipes to be refurbished. It was purchased off eBay from a seller in Spearville, Kansas, USA in March of 2017. So, it is another that has been sitting here for over five years now. I sent a message to Jeff to see if he had some before photos of the pipe to show the condition when he received it. He did and sent them to me via Messenger. The pipe is a unique shape but it was a real mess. It is stamped on the left side of the shank with the signature of Nino Rossi [over] 1886. On the right side it is stamped with the shape number 138 and on the underside near the stem it read ITALY. The stem had the brand logo stamped on the left side as well and though fade it was readable. The finish was filthy with dirt and grime ground into the briar. There was some fading near the ride top of the bowl. The was some tarnish on the mid-shank brass band sandwiched between two white acrylic spacers. The bowl was heavily caked and there was a lava overflow on the rim top and the inner edge of the bowl. It appeared to me that the bowl edges were damaged but I would not know for sure until the pipe was cleaned up. The stem had tooth marks and chatter on both sides ahead of the button. The inside of the stem and shank was also filthy with heavy tars and oils to the point it was almost clogged. Jeff took photos of the pipe before he started his clean up and I include those now. 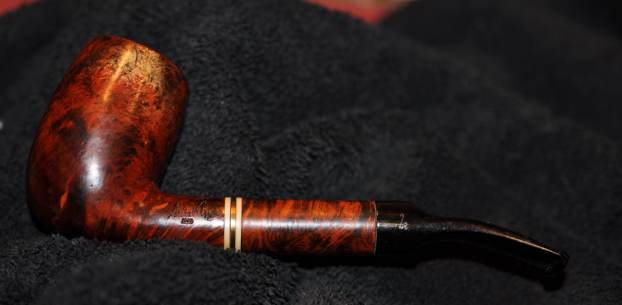
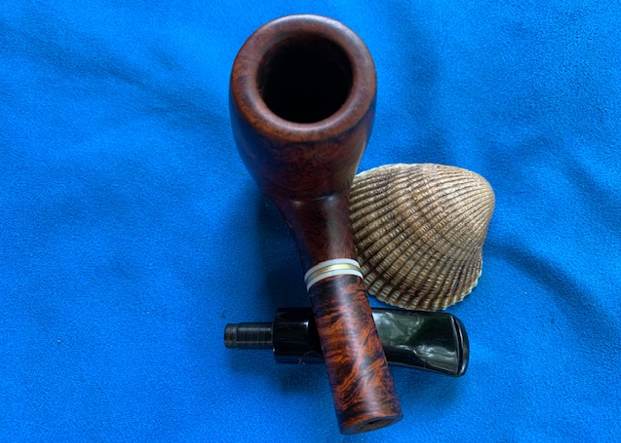
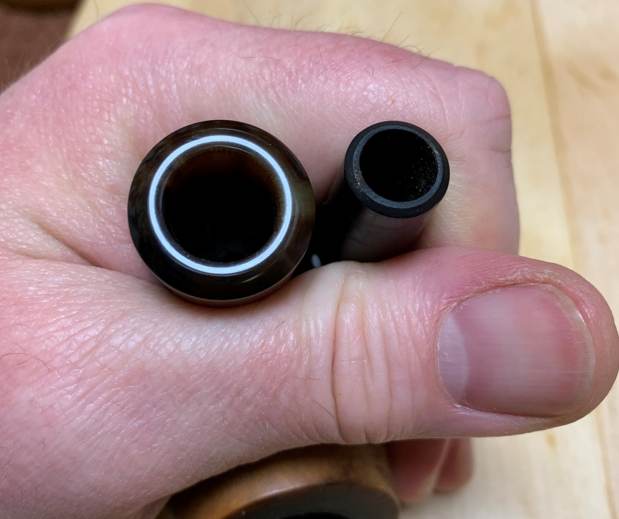
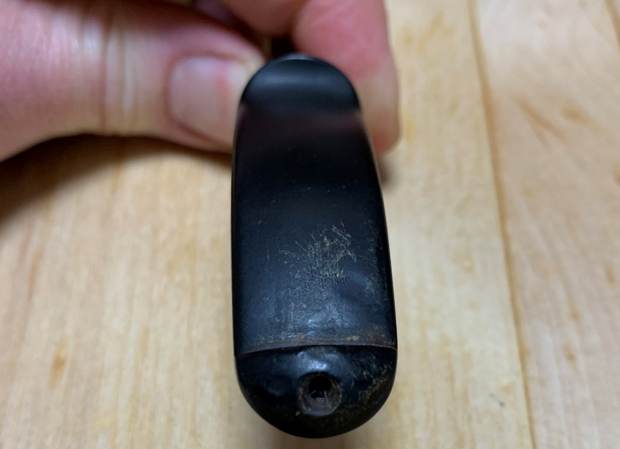
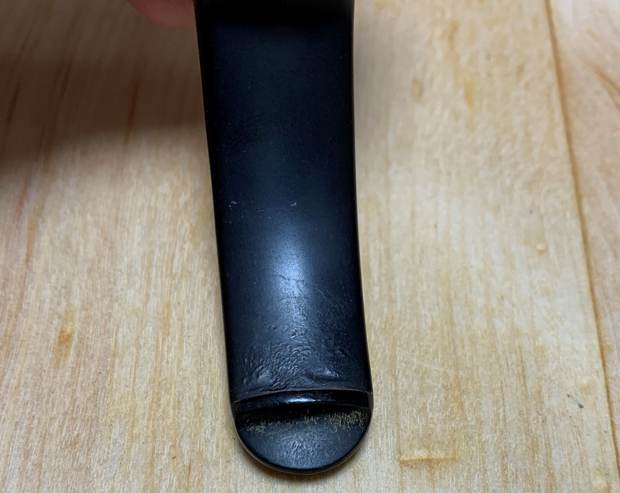
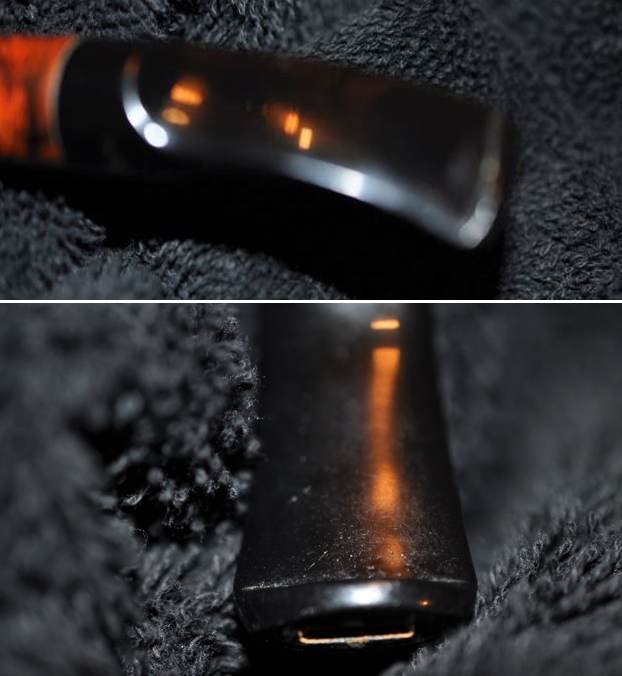
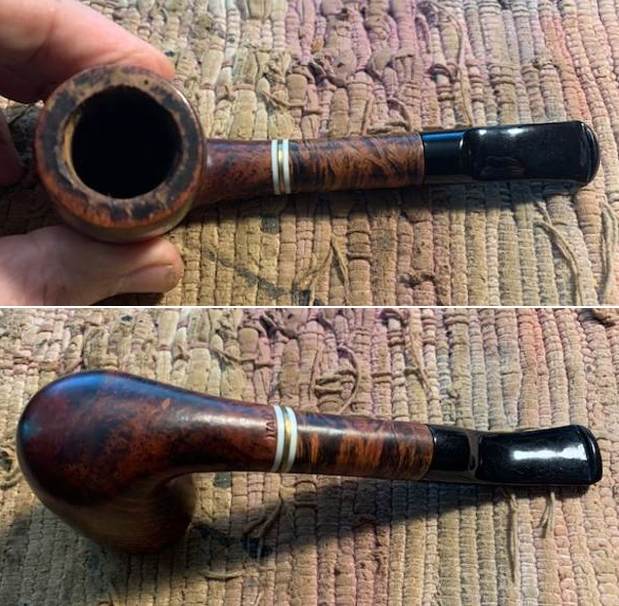
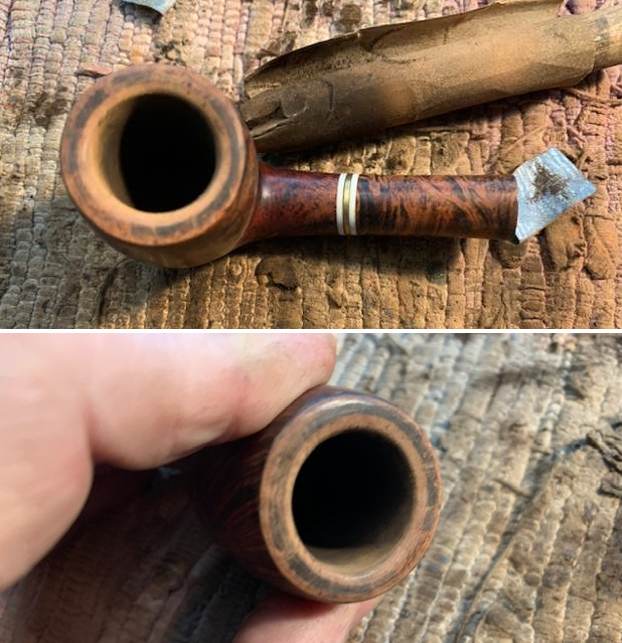
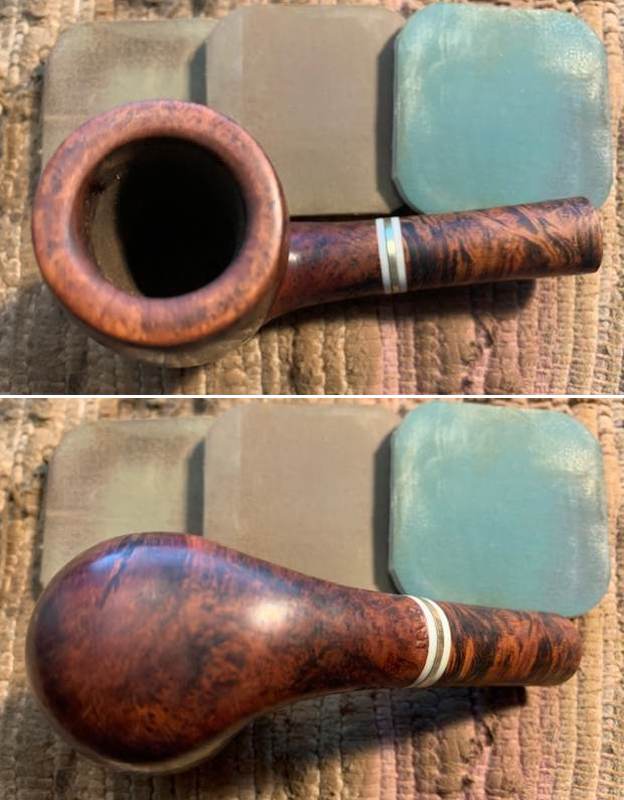
 He took photos of the rim top to show the condition of the pipe and the cake in the bowl. You can see the potential damage on the inner edge. He also took photos of the stem to show the bite marks and chatter on both sides.
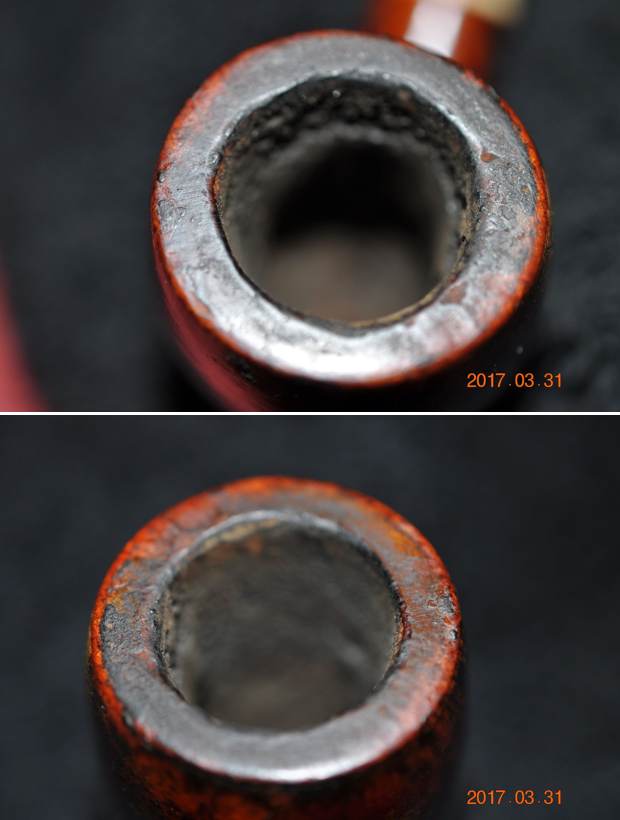
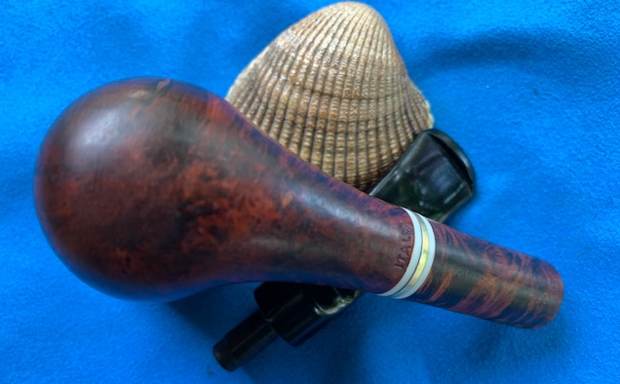
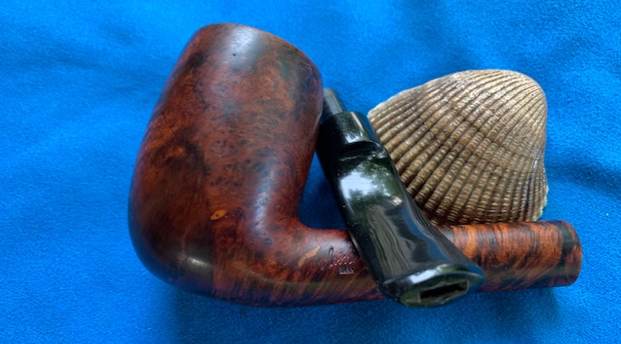
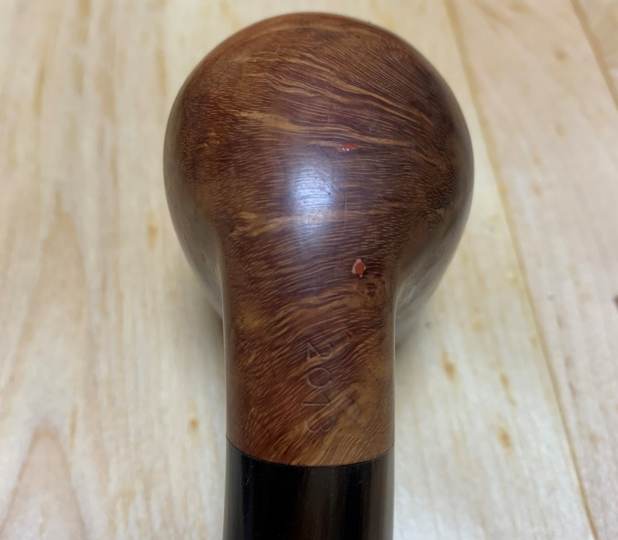
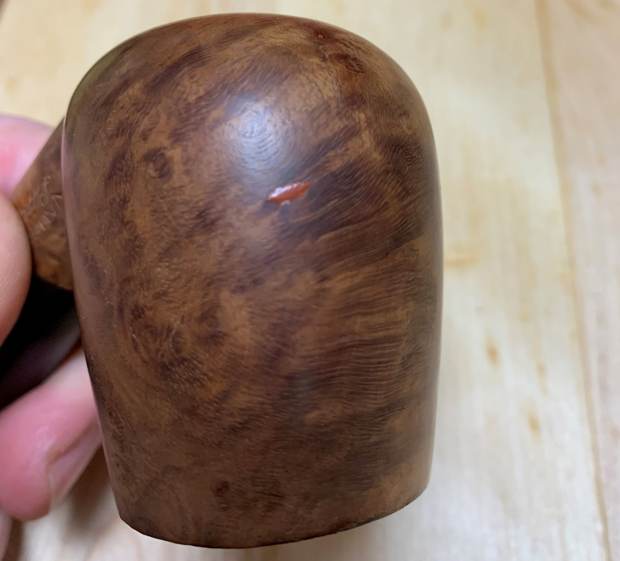
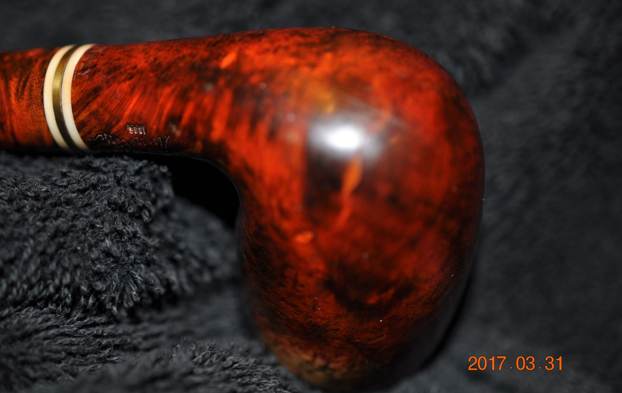
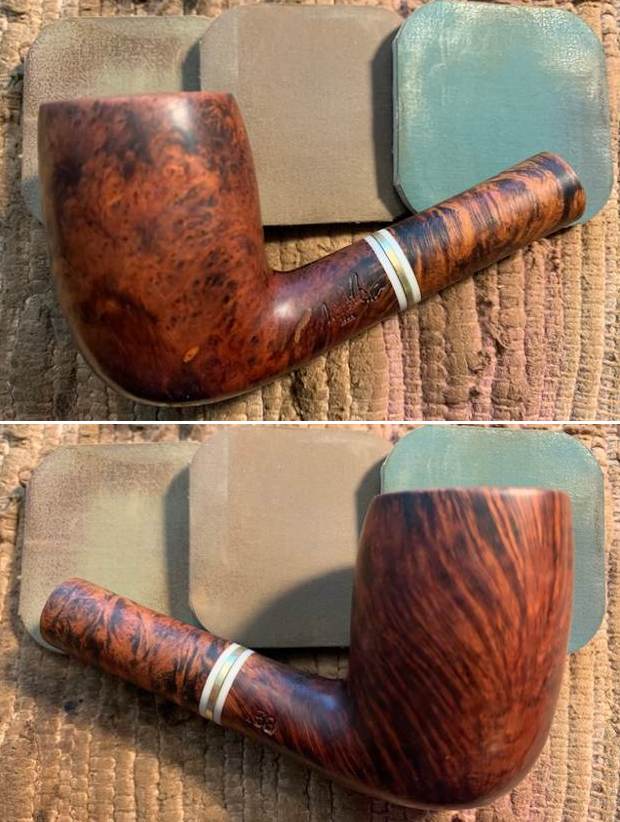
 Jeff captured the grain around the bowl sides and heel in the next photos. It really shines through even the grime. There are worn spots in the finish and numerous fills in the bowl and heel. They blend pretty well and I think after the clean up it will be a beautiful pipe.
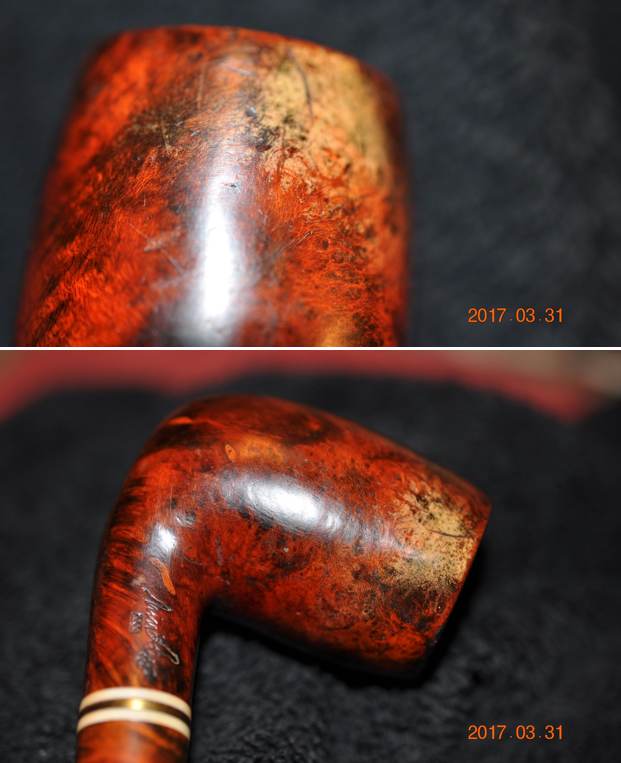
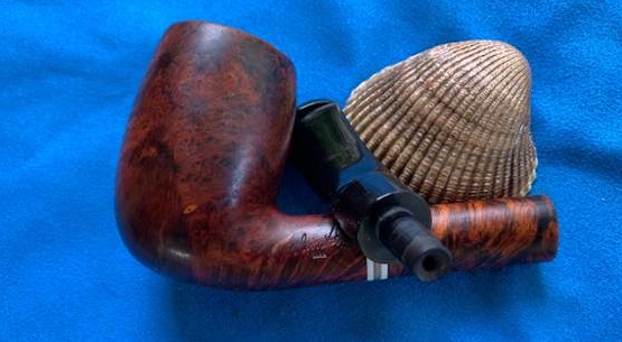
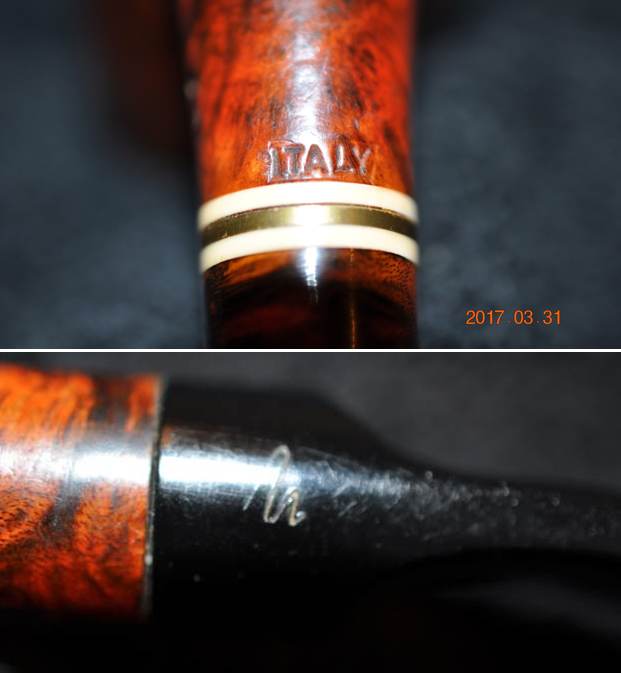
 He took photos of the stamping on the shank sides and stem. He was able to capture them very well.
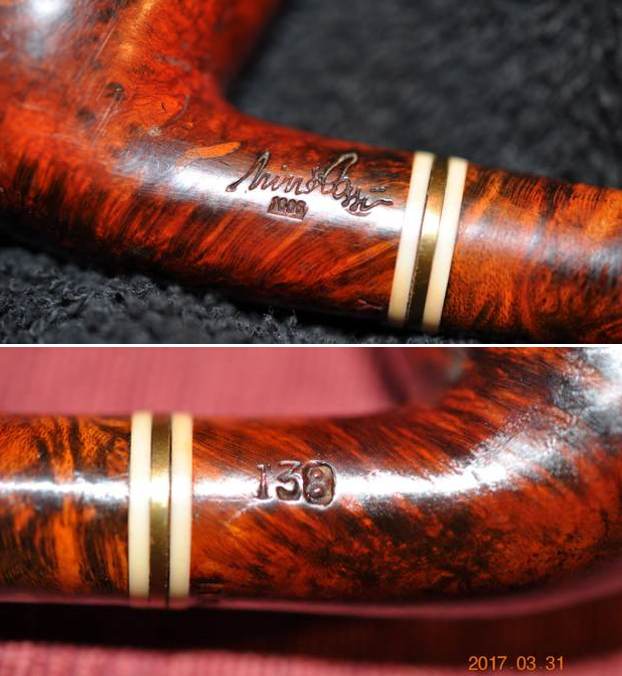
 Before I started to work on the pipe I wanted to remind myself of the background and history of the company. I find that when I do that it gives me another level of appreciation for the pipe that I am working on. I remembered that I had worked on a Nino Rossi 1886 pipe before so I turned to the blog I had written on the brand when I did that pipe and reread the history. Here is the link to the blog (https://rebornpipes.com/2022/01/04/a-fun-restore-of-a-nino-rossi-1886-classico-in-shape-992/). While the shape is slightly different it was informative. I quote from the information I found on the blog below.
I turned first to Pipephil’s site to see what I could learn about the brand as generally the site gives a good summary (http://pipephil.eu/logos/en/logo-n1.html#ninorossi). I quote the information from the side bar below and a screen capture of the pertinent section on the site. I drew a red box around the pipe in the photo below with the same stamping as the one I am working on.
Brand founded in 1886 by Ferdinando Rossi senior. He established a factory in Barasso, 5 miles away from Varese. The pipes production by the 850 employees reached 50,000 pipes/day in 1936. Ferdinando Rossi junior headed the company from 1946 until close down in 1985.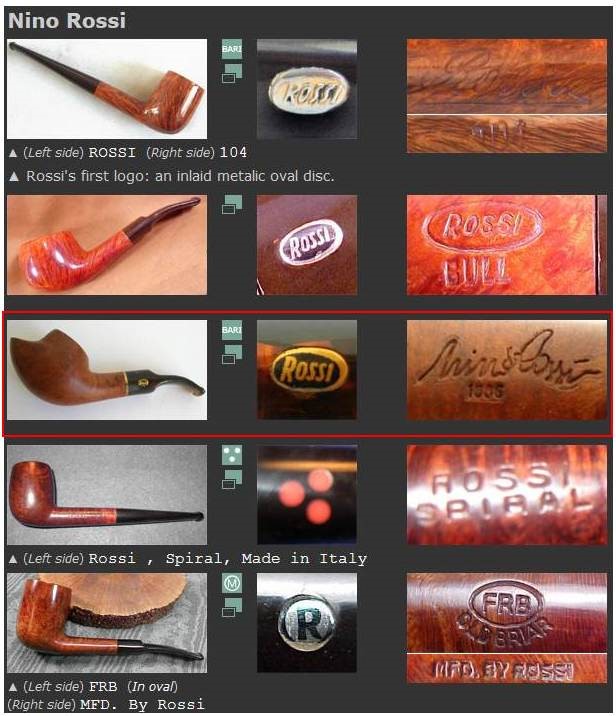 I turned to Pipedia to read the more complete history of the brand and learn what I could about a possible date for this pipe (https://pipedia.org/wiki/Rossi). First, I wanted to understand the 1886 stamp on the shank under the signature stamp. I found that it was the year that the company acquired land and opened Fabbrica di Pipe di Radica Rossi.
Rossi acquired a large area of land in Barasso in the province of Varese and founded the Fabbrica di Pipe di Radica Rossi in 1886. For sure there was no lack of skilled workers and Rossi personally recruited 30 craftsmen of different occupations from the environment to get started. After a few years the enterprise had developed well and entered into export trades. In 1892 e.g., the ledgers registered the first pipes shipped to Brazil.
I quote a summary section of the article below.
From, approximately, Twenties, Rossi pipes were marked with “FRB” (Fratelli Rossi Barasso) or “MFRB” (Manifattura Fratelli Rossi Barasso), into an oval and above “OLD BRIAR” (or similar – sometimes, there was also “MFD. BY ROSSI”, as “Manufactured by Rossi”); on the stem, there was generally the “R” letter in circle. However, “FRB OLD BRIAR” was maintained for the “traditional pipes” (for cheap models – see below), surely, to Sixties.
From, approximately, the fiftieth anniversary (1936), pipes were marked with “Rossi” (in cursive font), with model name just under it; on the stem, there was “ROSSI” (for expensive models like “extra”, which had the best quality; “racine”, which was rusticated by hand; “extra grain”, which was accurately sandblasted; “super”, which had the best briar selection, and a limited production; “fiamma”, which was the best selection of Sardinia and Greece briar, and a very limited production) or “R” in circle (for inexpensive models like “standard”, “grana” and “FRB”).
From, approximately, Seventies, until 1985, Rossi pipes were marked with “ROSSI”, in an oval (sometimes there was also “ITALY” on the shank); on the stem, there was “ROSSI”. In these years, appeared the signature “Nino Rossi” (in cursive font): he was the last heir of the factory.
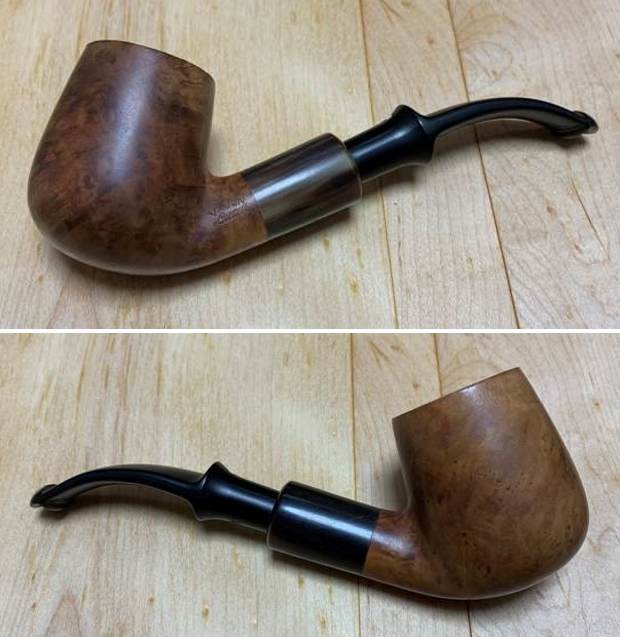
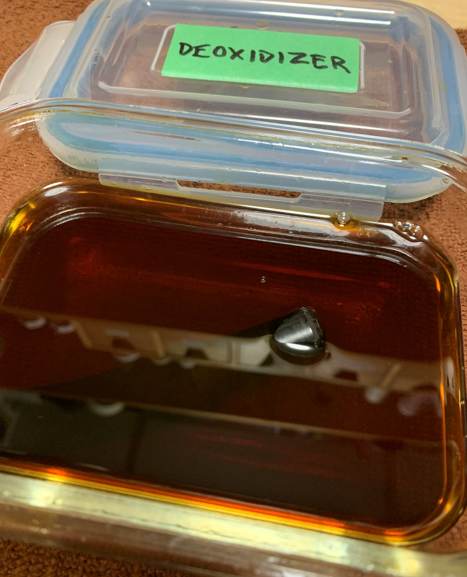
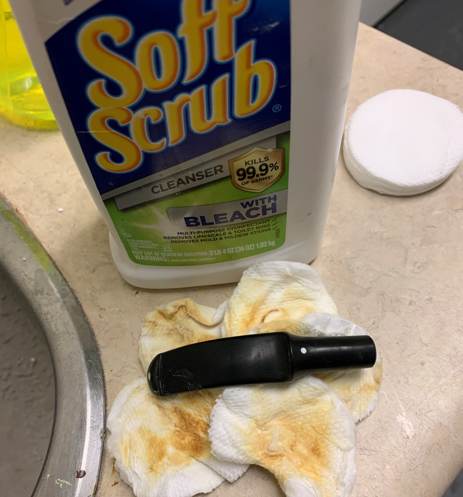
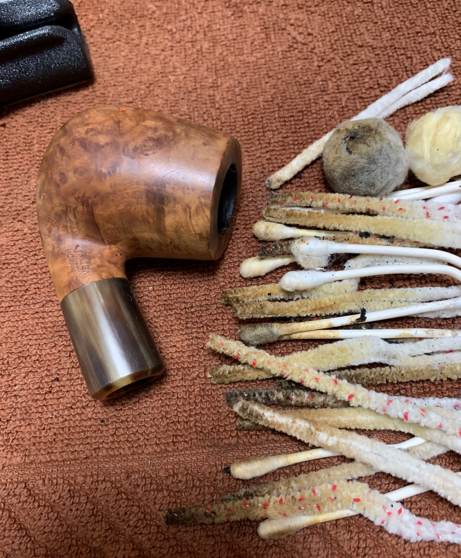
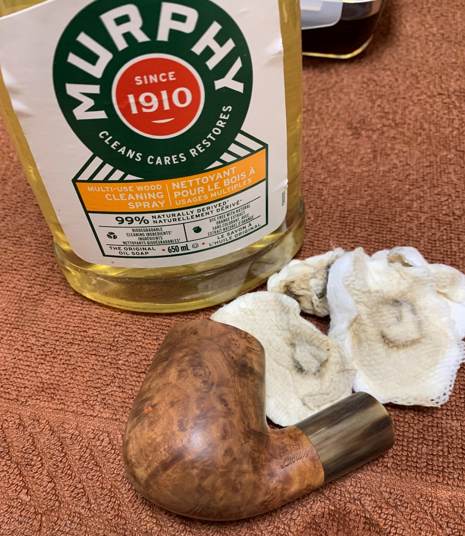
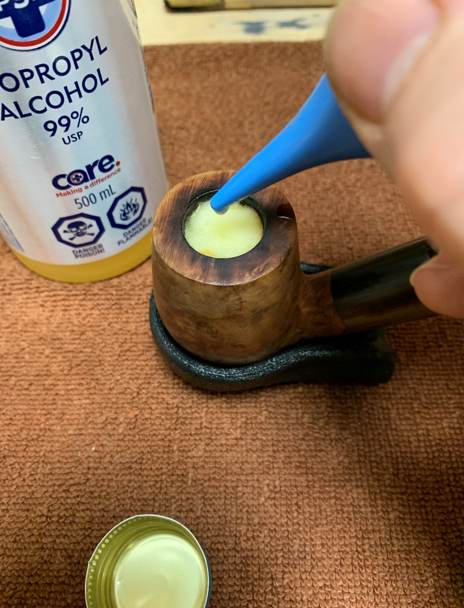
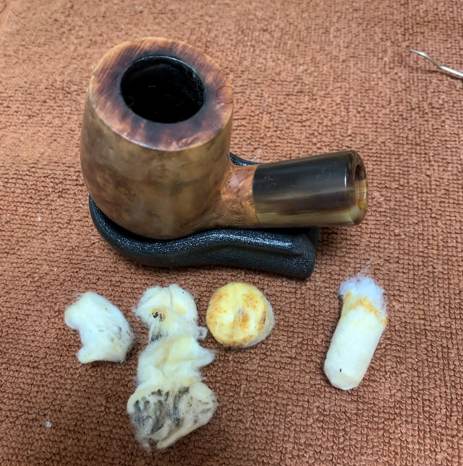
With that information, I turned to work on the pipe itself. Jeff had thoroughly cleaned up the pipe. He reamed the pipe with a PipNet Pipe Reamer and cleaned up the remnants with a Savinelli Fitsall Pipe Knife. He scrubbed the bowl with undiluted Murphy’s Oil Soap with a tooth brush. He rinsed it under running warm water to remove the soap and grime. There was some darkening on the inner edge of the rim and top that would need to be dealt with. He cleaned out the inside of the shank and the airway in the stem with alcohol, cotton swabs and pipe cleaners. He scrubbed the exterior of the stem with Soft Scrub to remove as much of the oxidation as possible. He soaked it in Before & After Pipe Stem Deoxidizer and rinsed it with warm water. The acrylic stem was clean but had tooth marks and chatter on both sides ahead of the button. There was an N logo on the left side of the stem. I took photos of the pipe before I started my work on it. 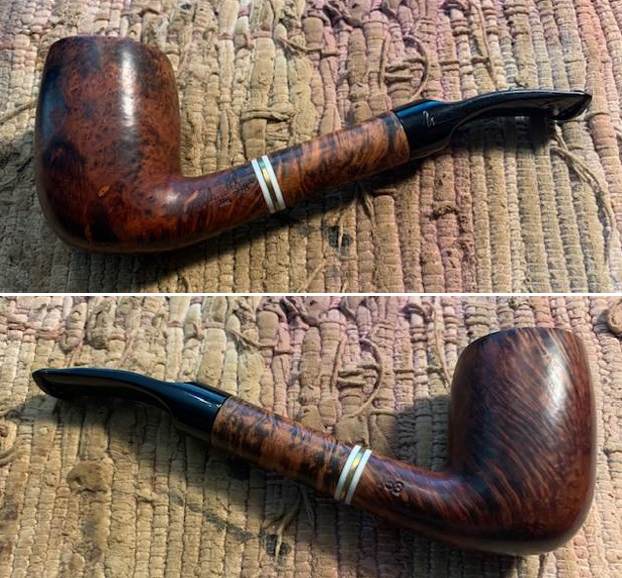
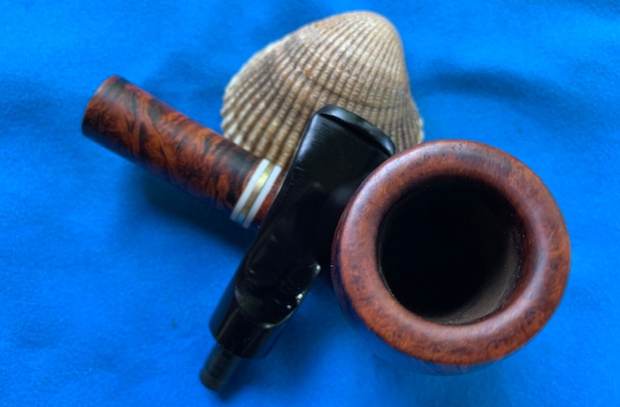
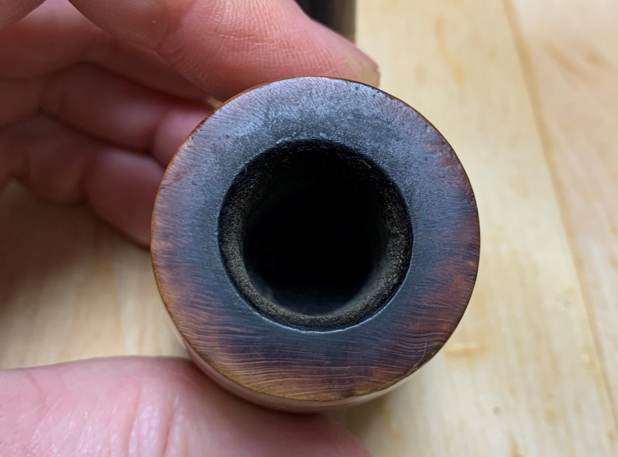
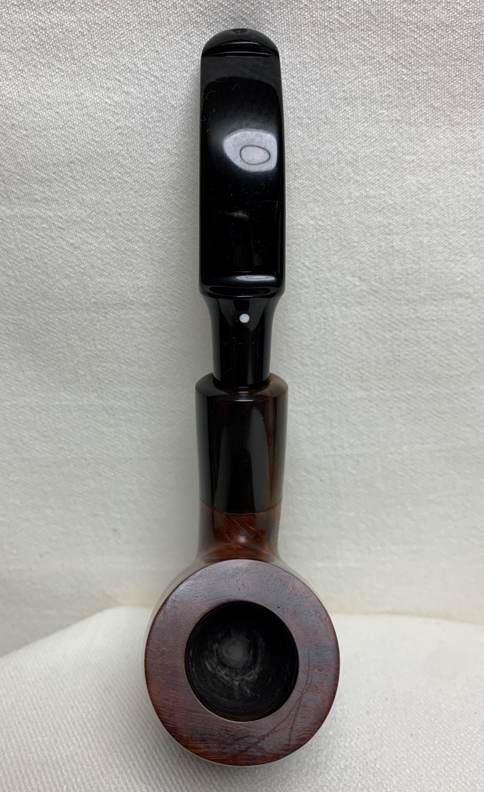
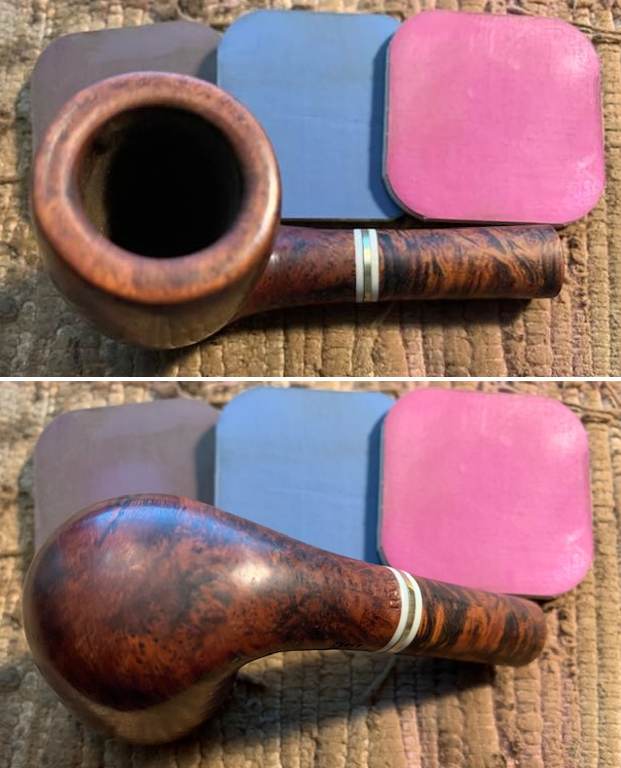
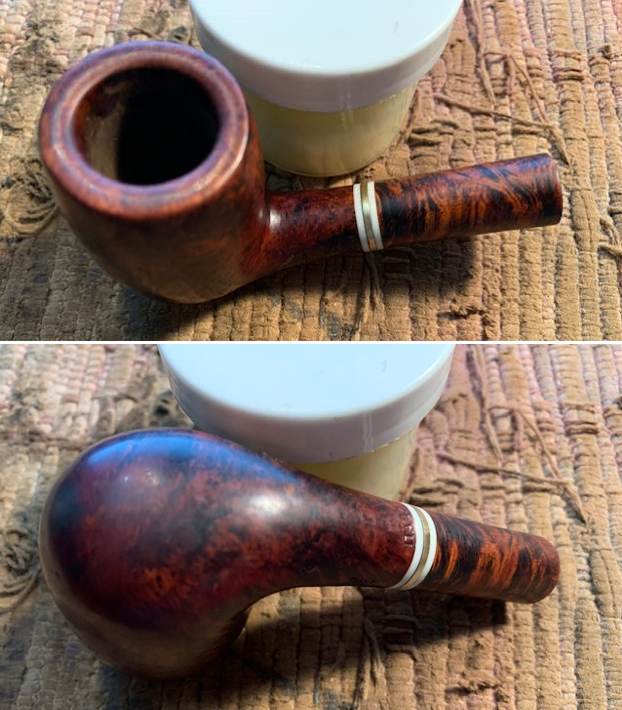
 I took photos of the rim top and bowl as well as the stem to give a sense of the condition of both. The rim top had some damage and darkening to the inner edge and rim top on the right front and back side. The bowl was out of round and need some work. The stem cleaned up well and there were tooth marks on the top and underside ahead of the button.
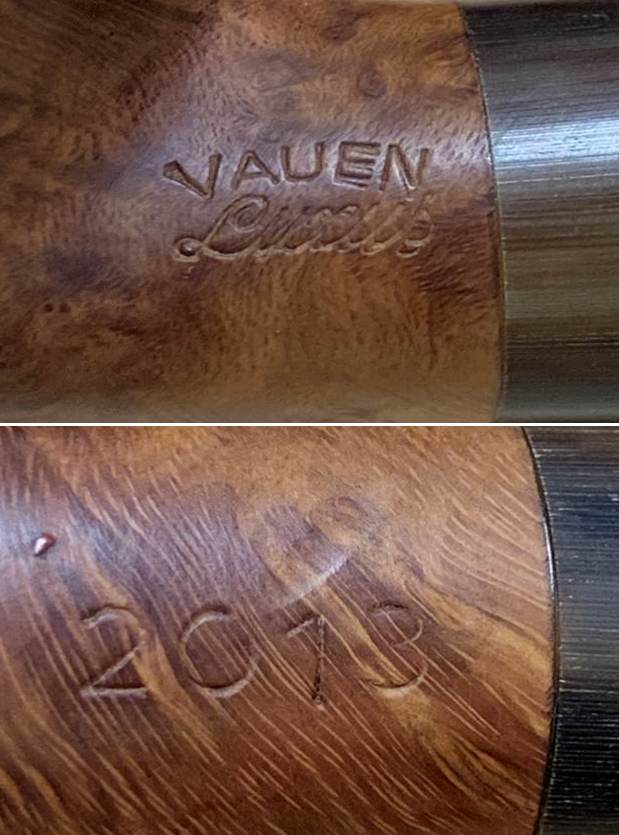
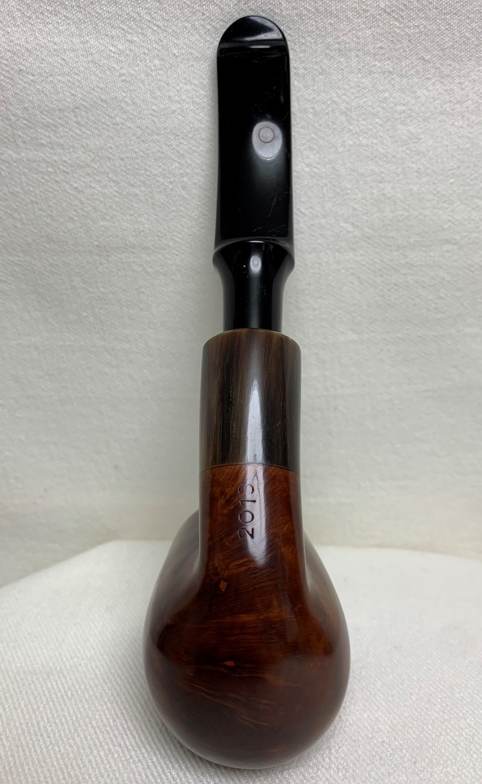
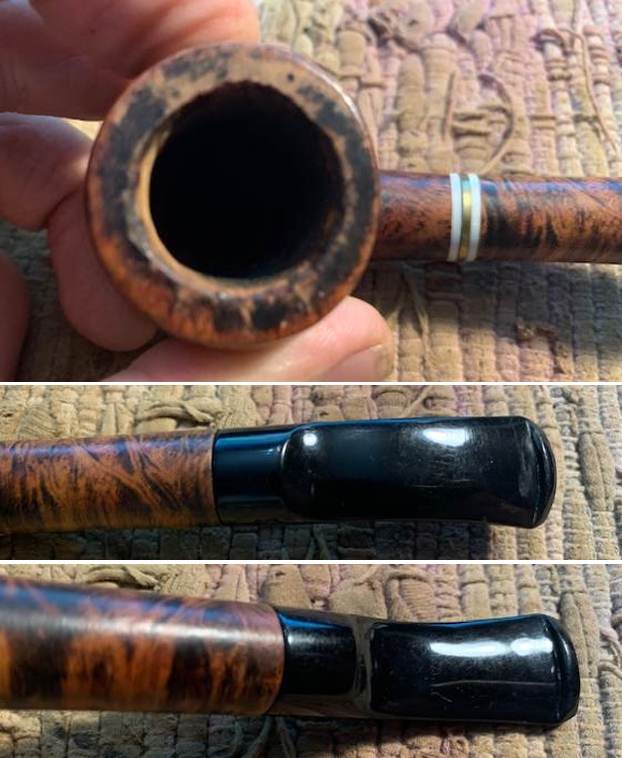 I took photos of the stamping on the sides and underside of the shank. They are readable as noted above.
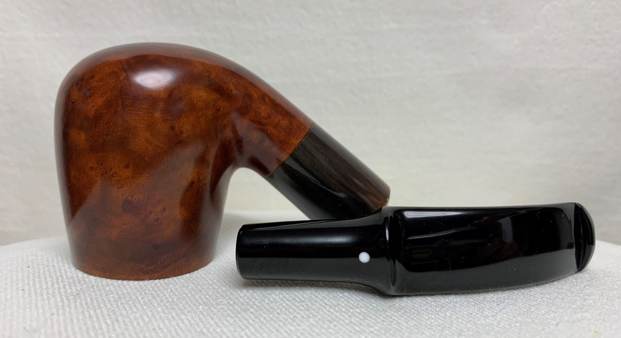
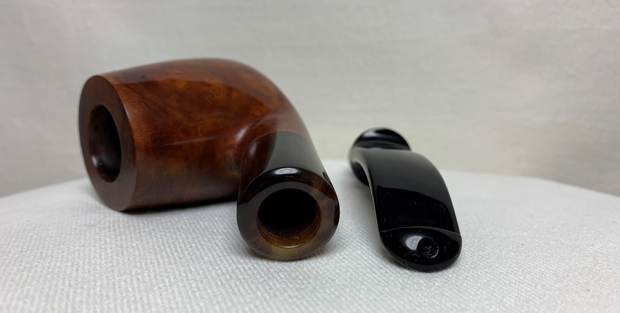
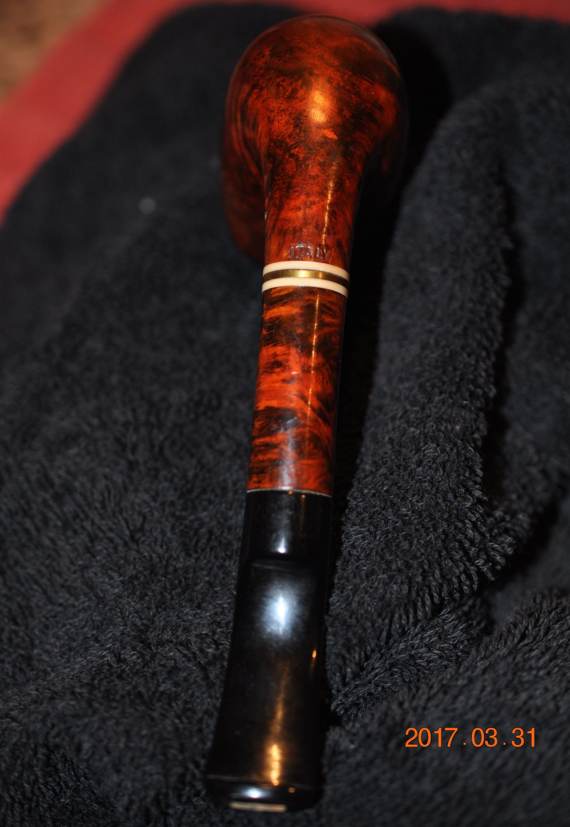
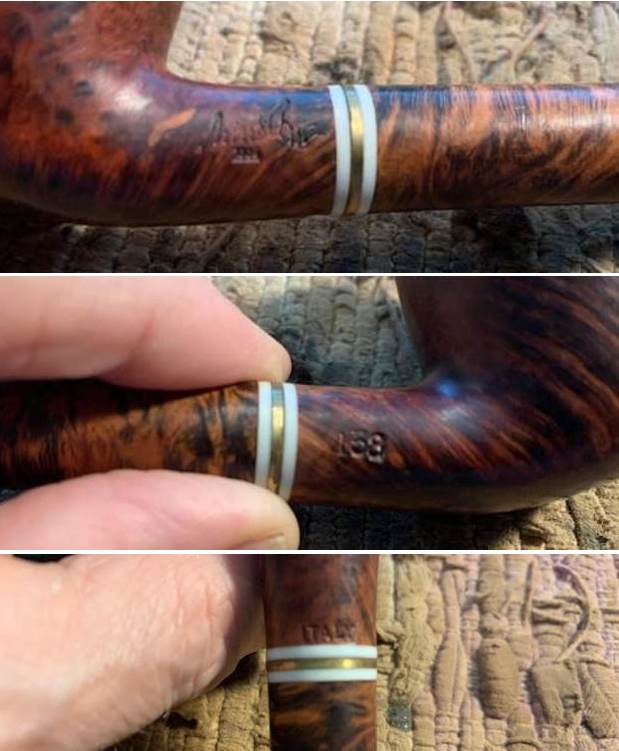 I took the stem out of the shank and took a photo of the overall look of the pipe.
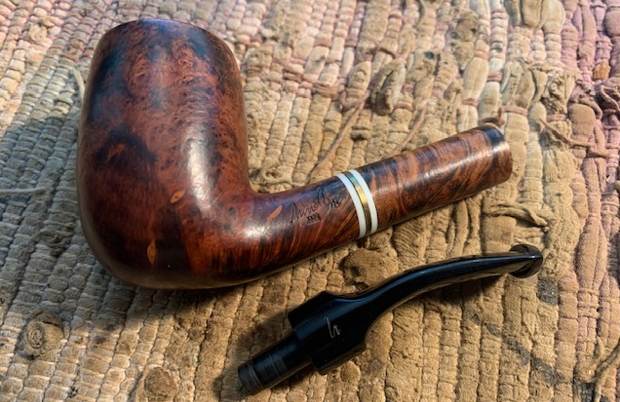 I decided to start my work on the pipe by addressing the darkening and damage on the inside edge of the bowl and the rim top. I used a piece of 220 grit sandpaper and a wooden ball to clean up the bevel on the inner edge and the top of the bowl. I touched it up with a folded piece of 220 grit sandpaper. I wiped the top and edges down with a damp cloth and the rim top and edges looked much better. I wrapped a piece of dowel with 220 grit sandpaper and sanded the inside walls of the bowl to smooth them out.
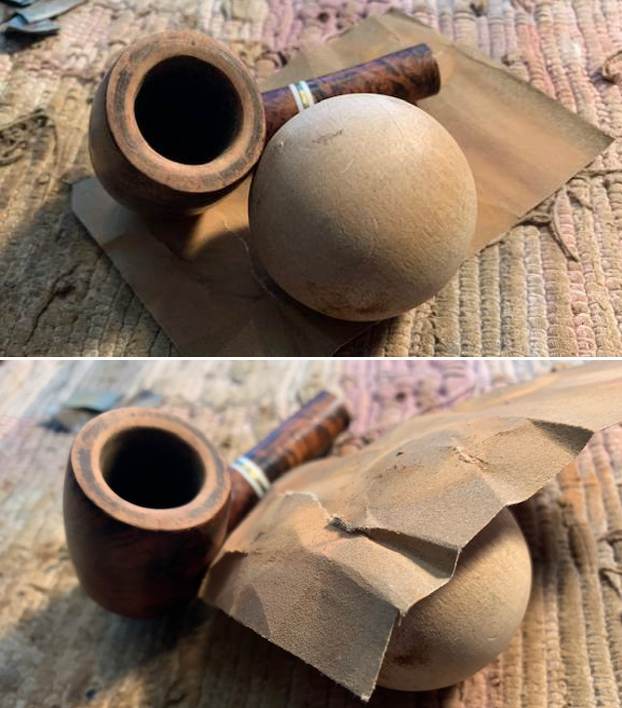
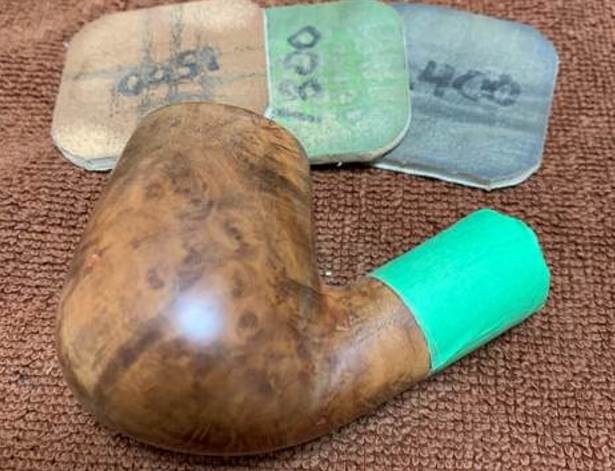
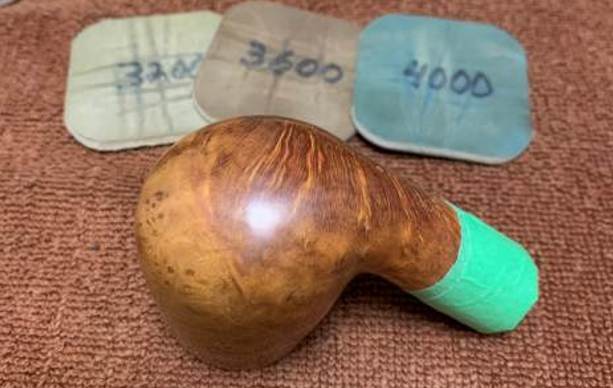
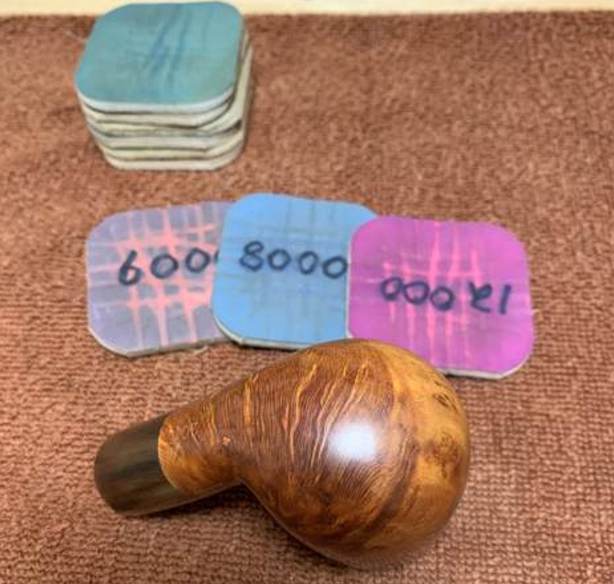
 I polished the briar with micromesh sanding pads – dry sanding with 1500-12000 grit pads. I wiped the bowl down after each pad with a damp cloth.
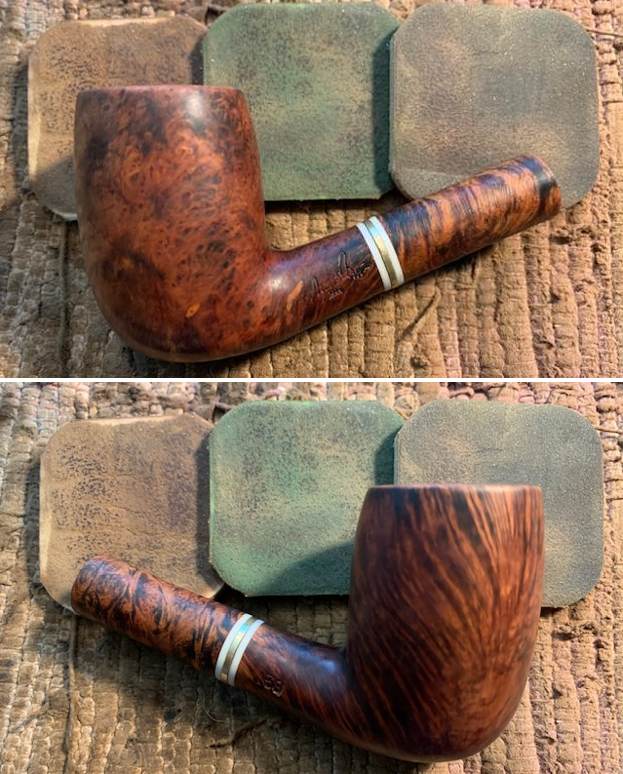

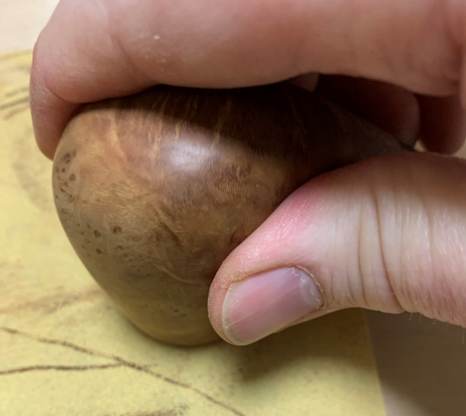
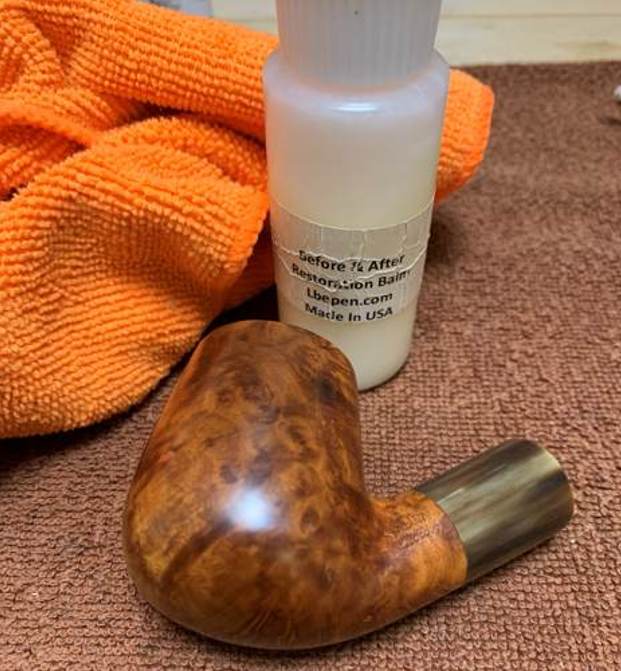
 I rubbed the bowl down with Before & After Restoration Balm. I worked it into the surface of the bowl sides and shank with my fingertips. The product works to clean, enliven and protect the briar. I let the balm sit for a little while and then buffed with a cotton cloth to raise the shine.
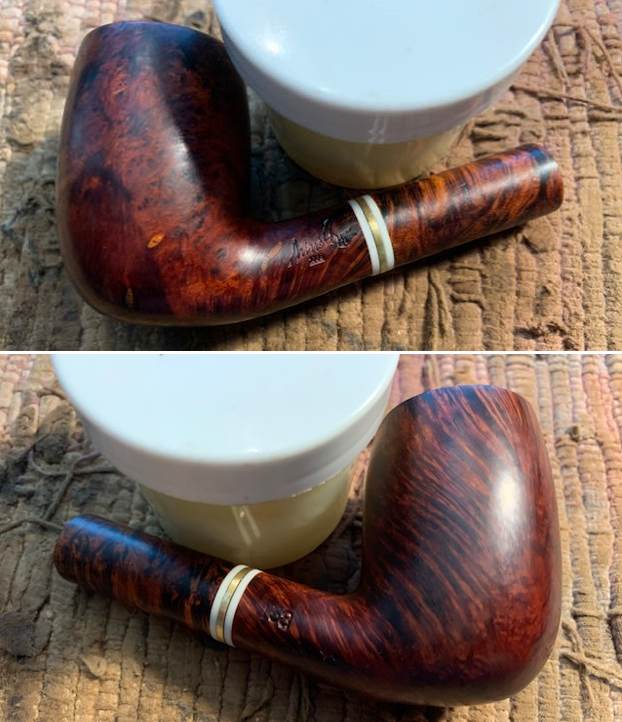
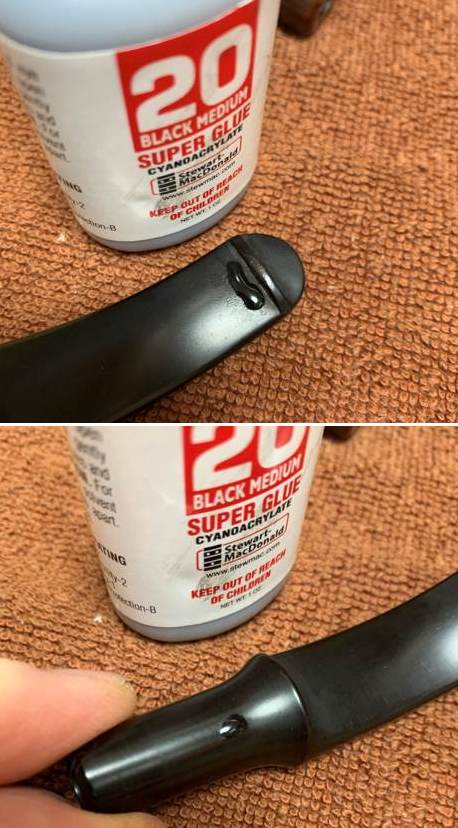
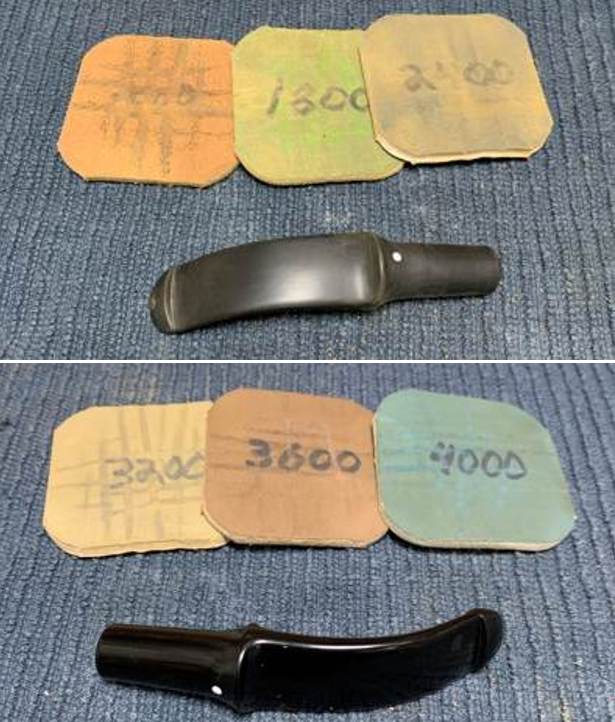
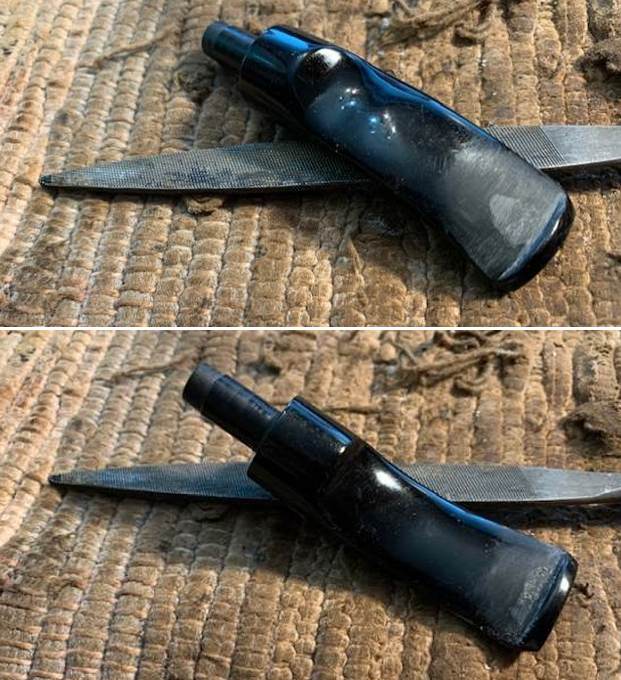
 I set the bowl aside and turned my attention to the stem. I filled I the deep tooth mark on the top and underside of the stem with black CA glue. Once it cured I used a small file to flatten the repair and shape the button edge. I sanded the repair smooth to blend it into the surface of the stem with the 220 grit sandpaper to smooth them out. I started the polishing of the stem with 400 grit wet dry sandpaper. The stem was looking better with the repairs and polishing.
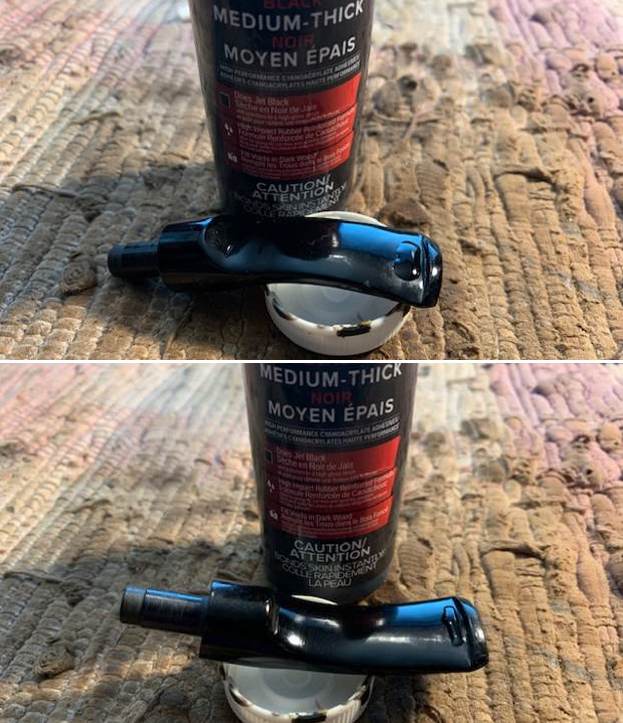
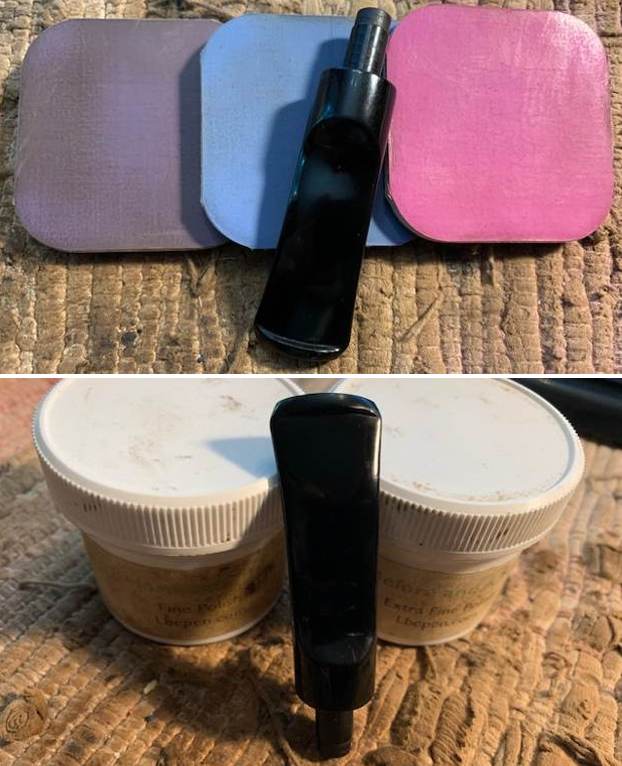
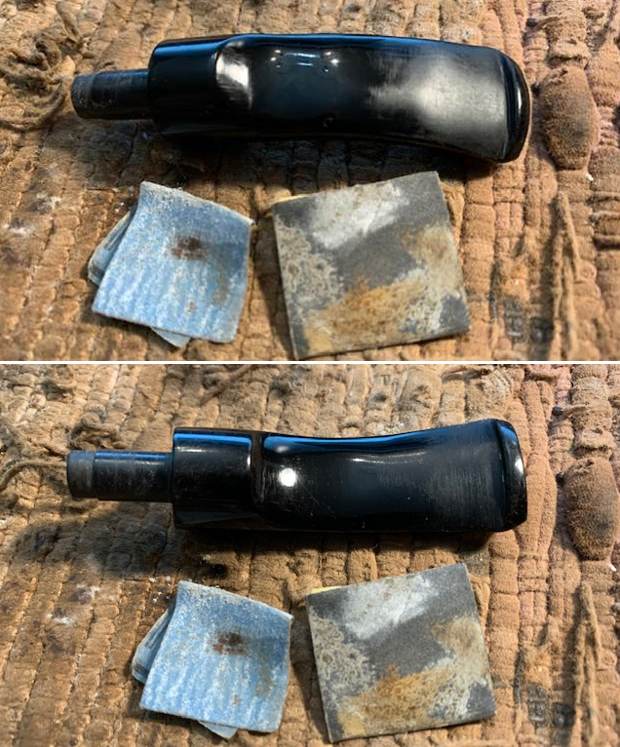 I polished the stem with micromesh sanding pads – 1500-12000 grit pads. I wiped it down with Obsidian Oil after each sanding pad. I used Before & After Pipe Polish – both Fine and Extra Fine to further polish the stem. I gave it a final rub down with Obsidian Oil.
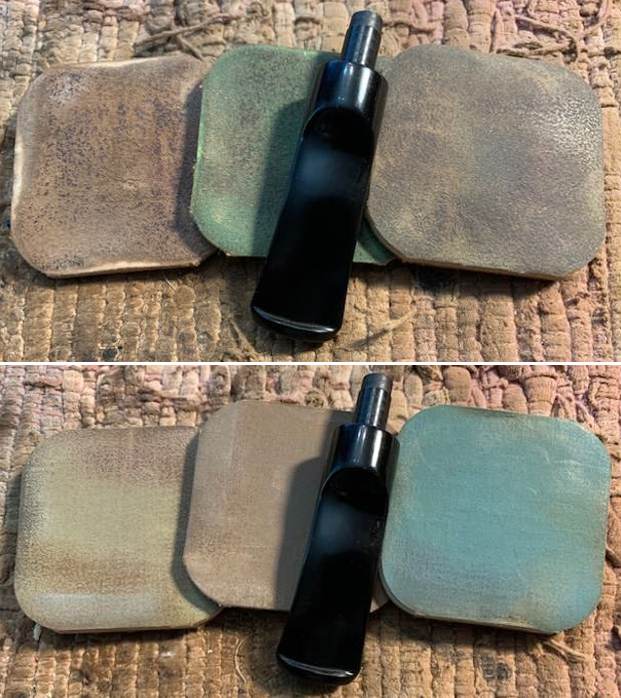
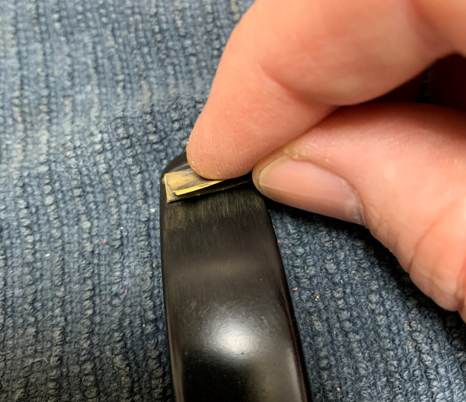
 I used some Rub’n Buff Antique Gold to touch up the N stamp on the left side of the saddle. I applied it and worked it into the stamp with a tooth pick. I buffed it off with a soft towel. The resultant stamp looked very good.
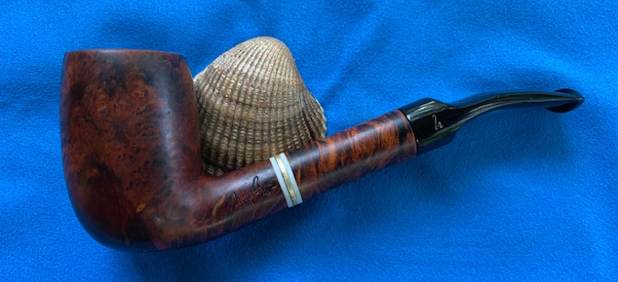
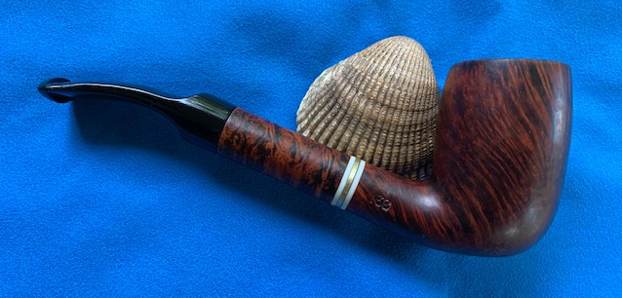
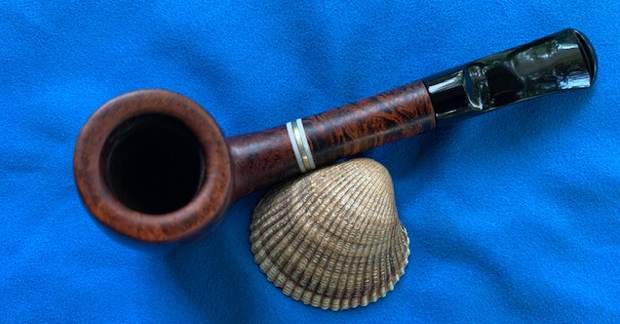
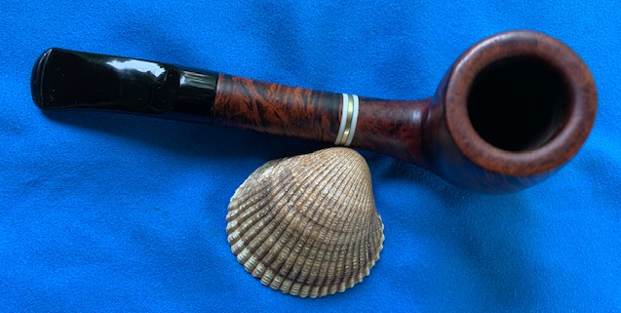
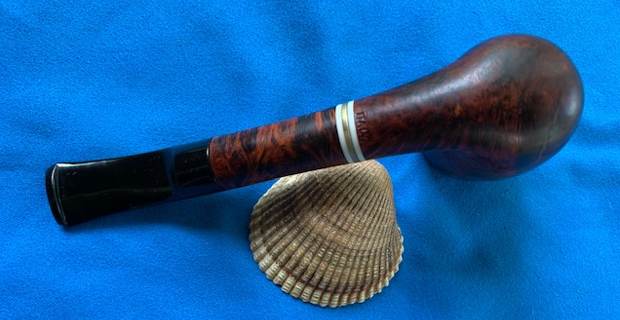
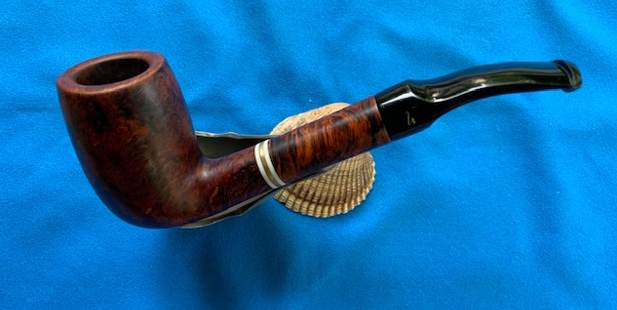
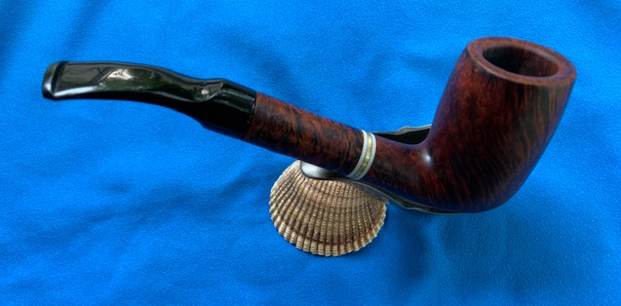
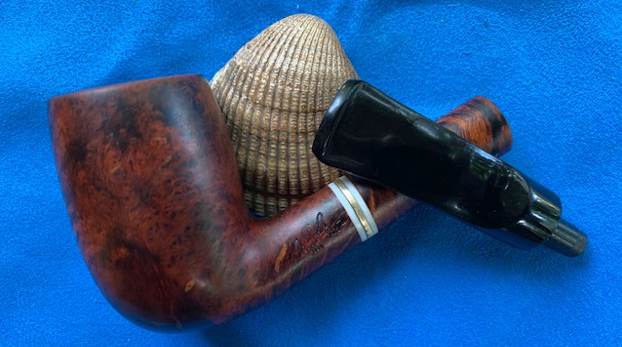
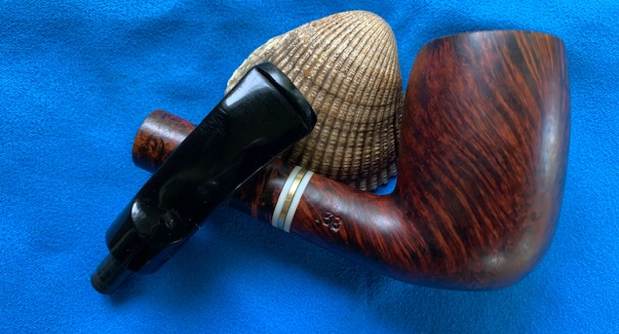
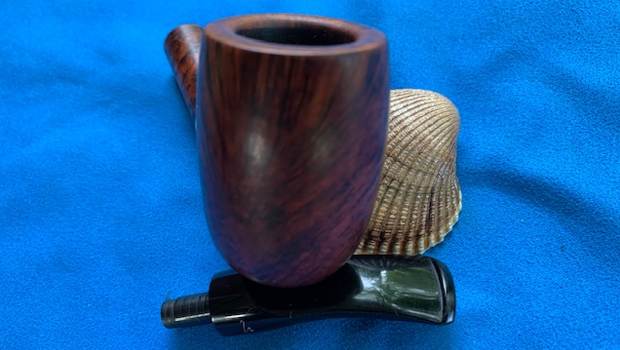
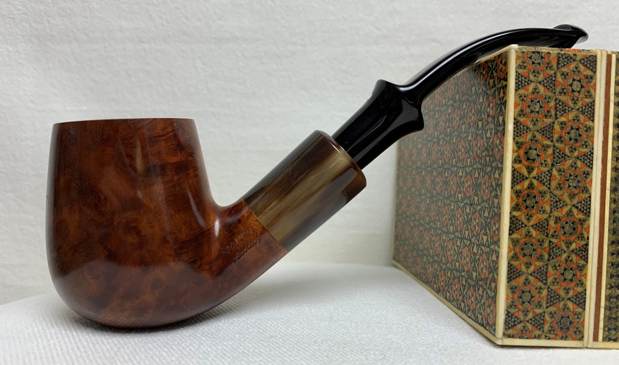
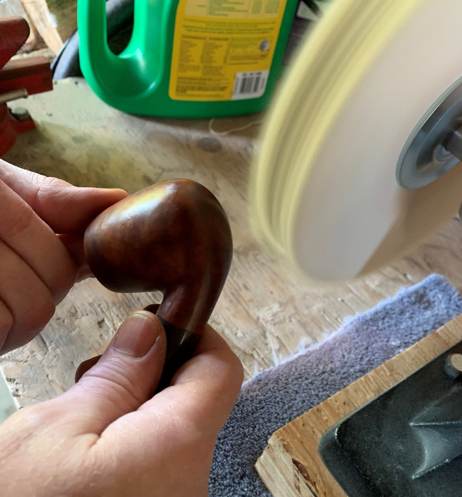
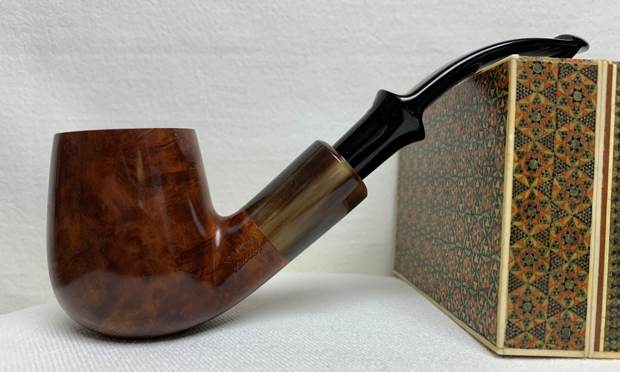
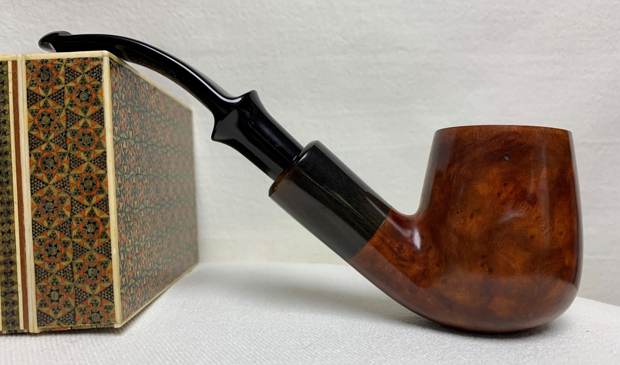
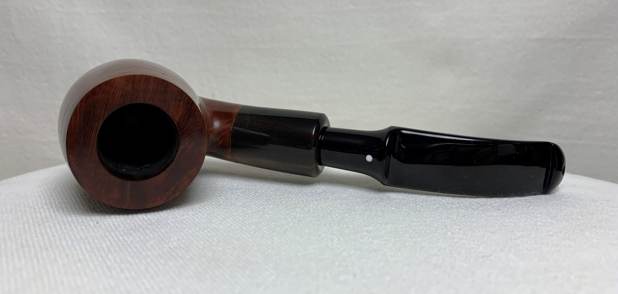
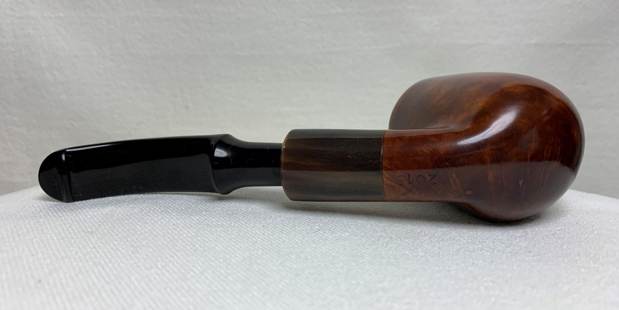
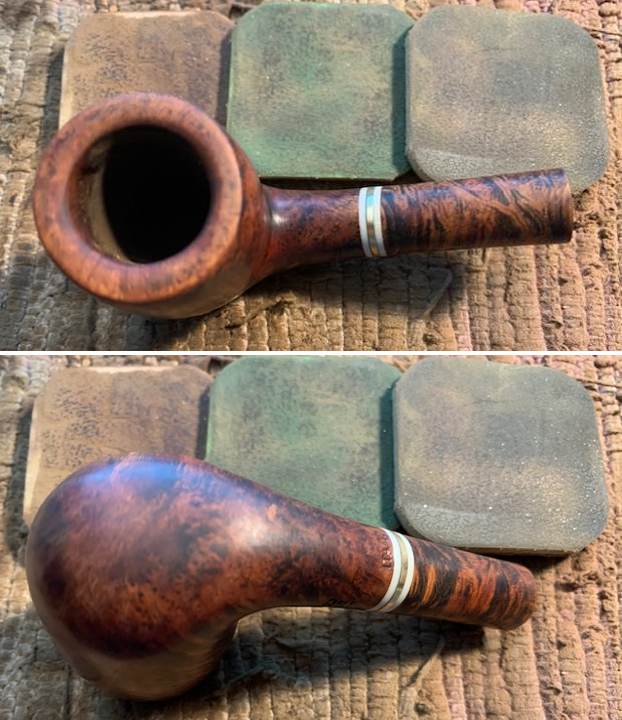
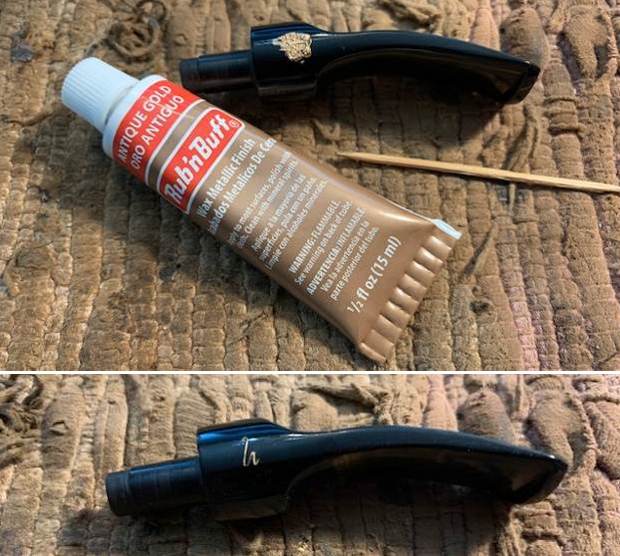 This Nino Rossi 1886 Shape 138 ¼ Bent Stack with a briar shank extension and a short saddle stem is a great looking pipe now that it has been restored. The beautiful grain on the briar and the briar shank extension that shines through the polished finish is stunning. There is a brass spacer with a white acrylic space on each side between the shank and the extension. It looks great. I put the stem back on the bowl and carefully buffed the pipe with Blue Diamond on the buffing wheel. I gave the bowl and the stem multiple coats of carnauba wax on the buffing wheel and followed that by buffing the entire pipe with a clean buffing pad. I hand buffed the pipe with a microfiber cloth to deepen the shine. The finished Nino Rossi 138 fits nicely in the hand and feels great. Give the finished pipe a look in the photos below. The dimensions of the pipe are Length: 6 inches, Height: 2 inches, Outside diameter of the bowl: 1 ¼ inches, Chamber diameter: ¾ of an inch. The weight of the pipe is 56 grams/1.98 ounces. I will soon be adding it to the rebornpipes store in the Italian Pipe Makers Section. If you are interested in this pipe send me a message or an email. Thanks for reading this blog and my reflections on the pipe while I worked on it. There are many more to come!