Blog by Steve Laug
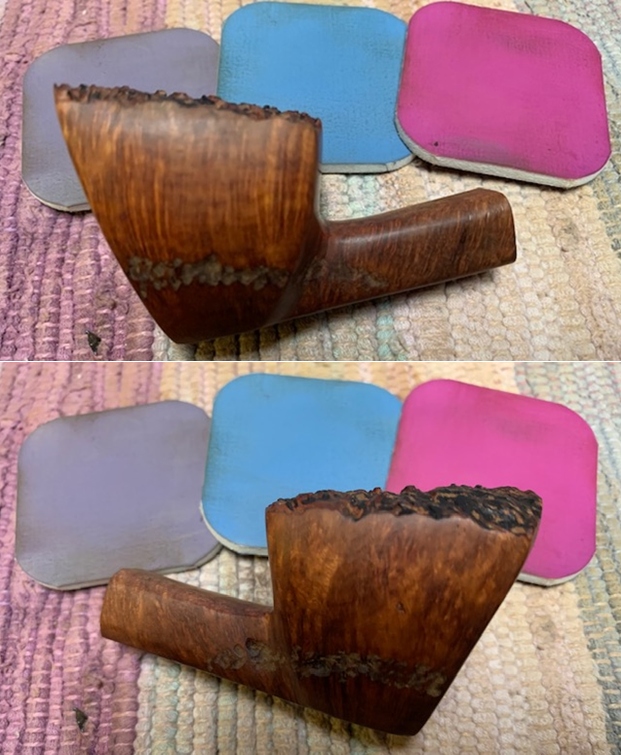
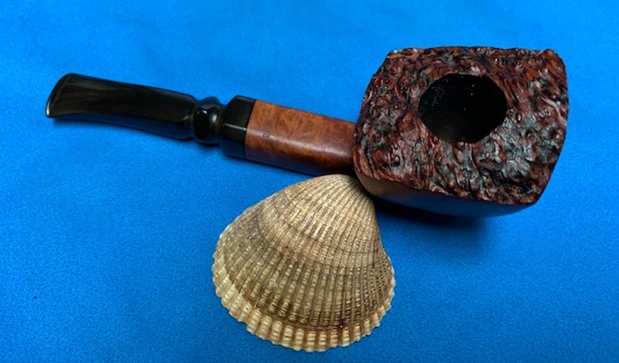
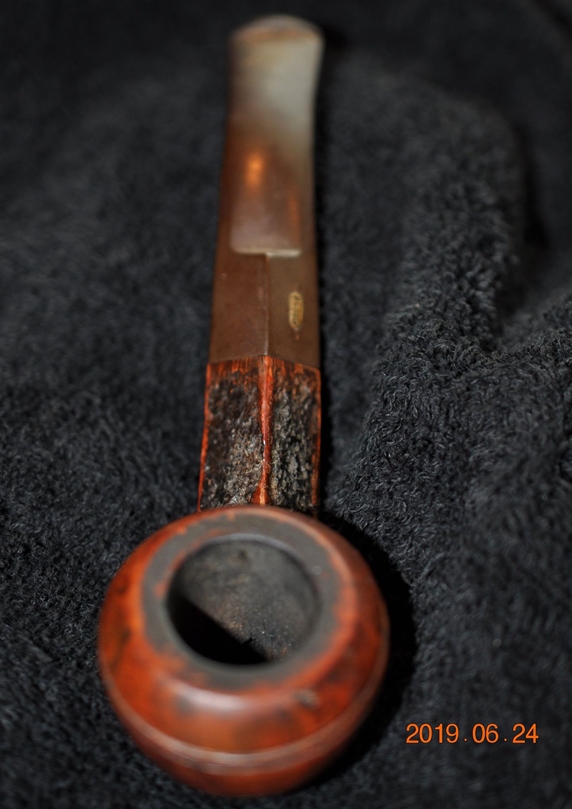
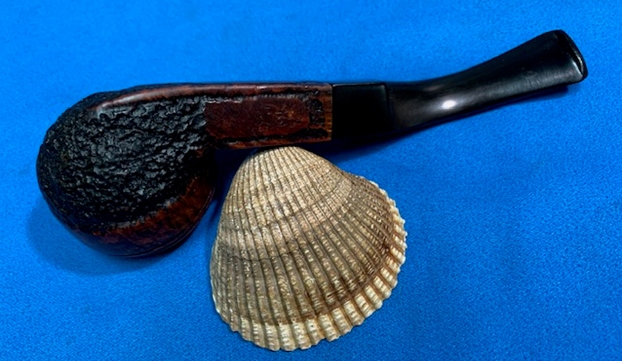
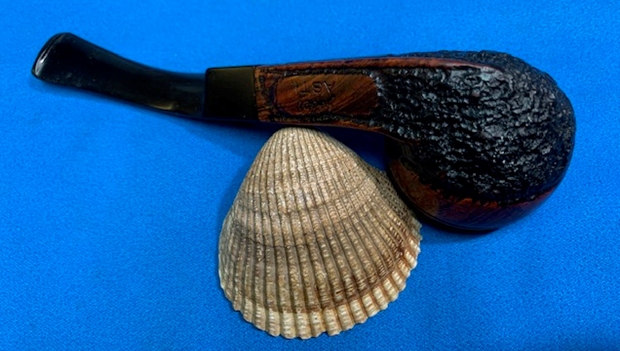
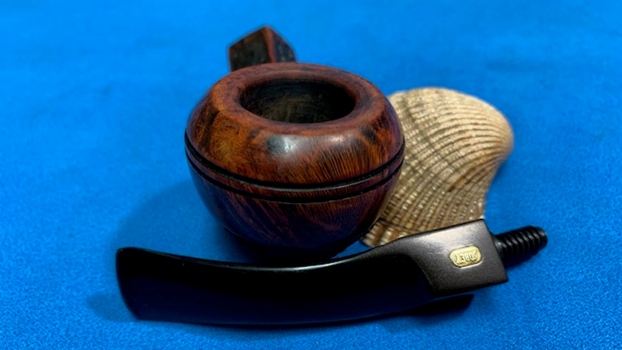
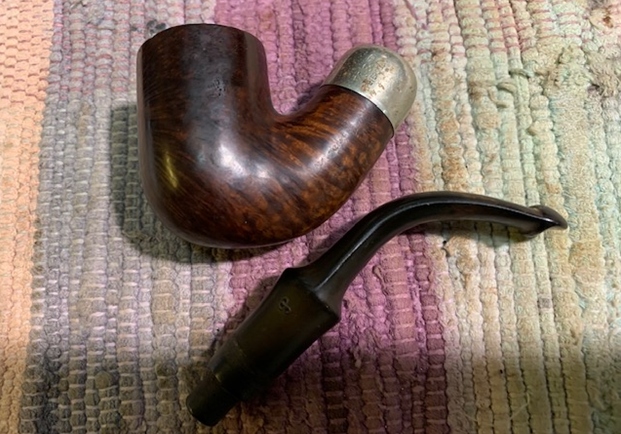
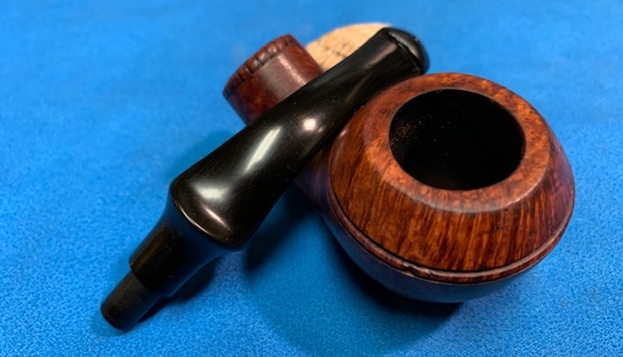
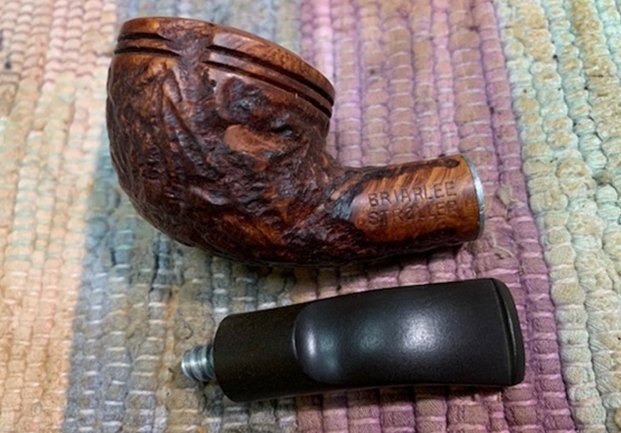
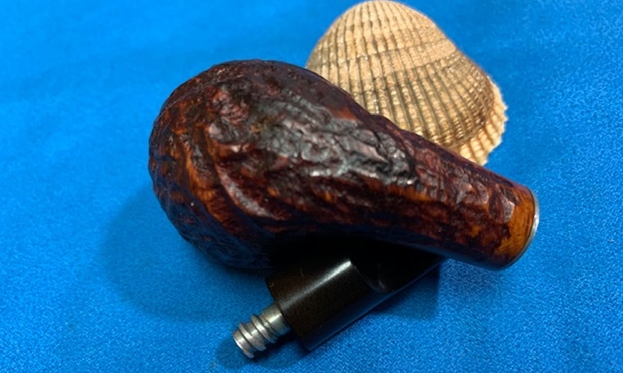
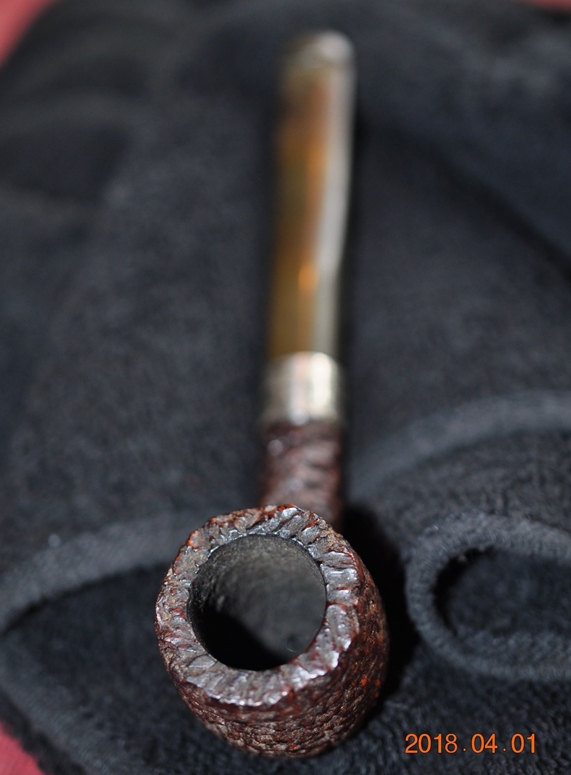
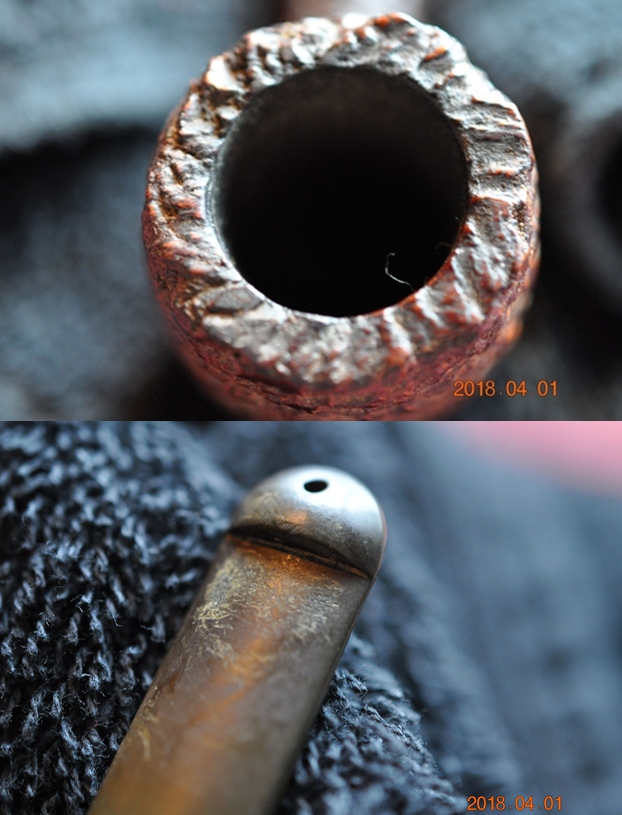
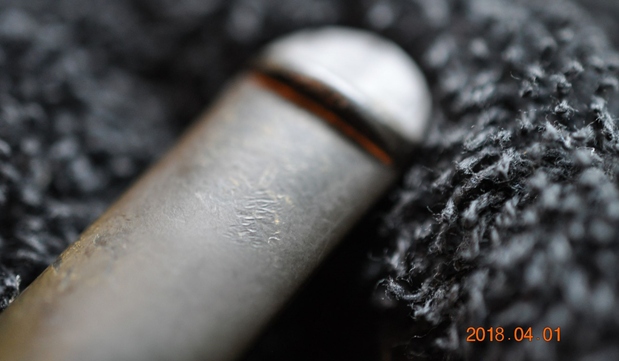
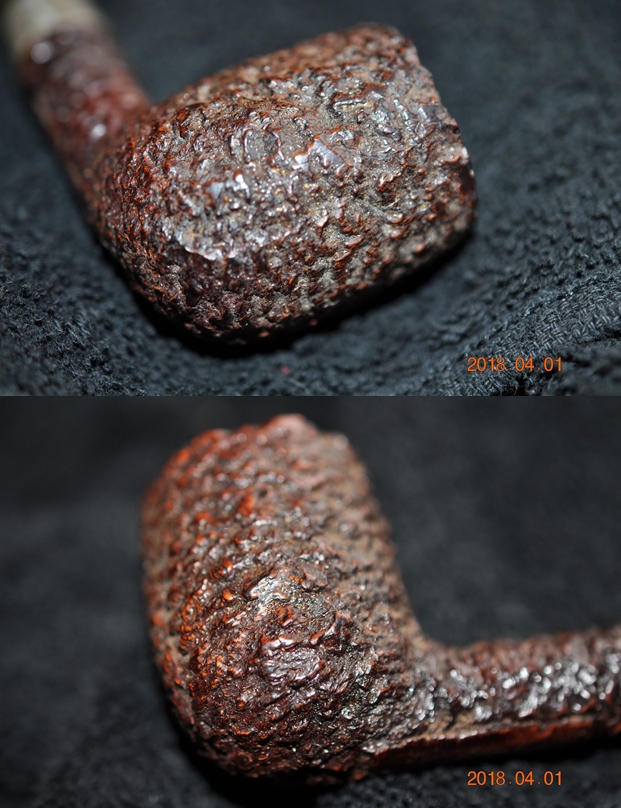
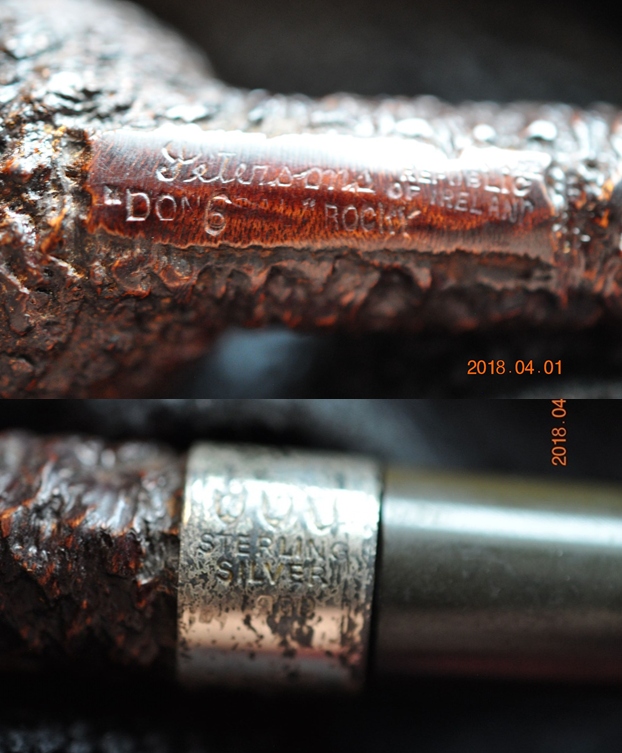
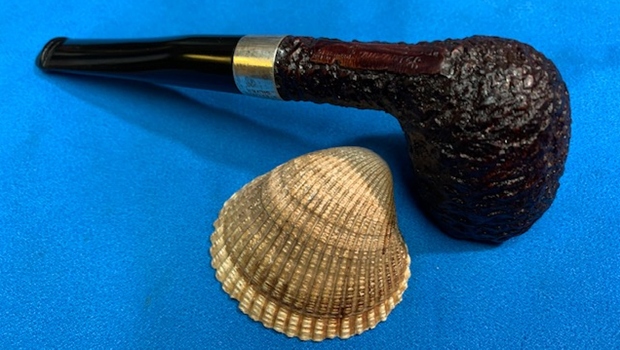
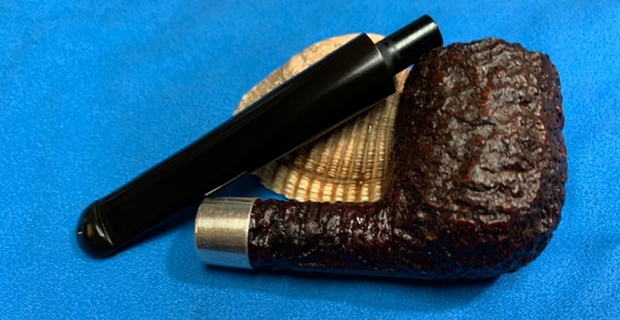
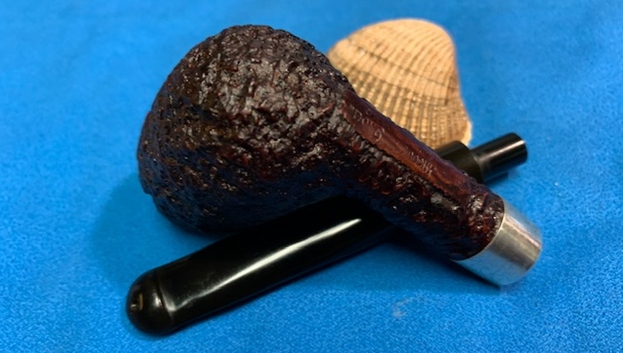
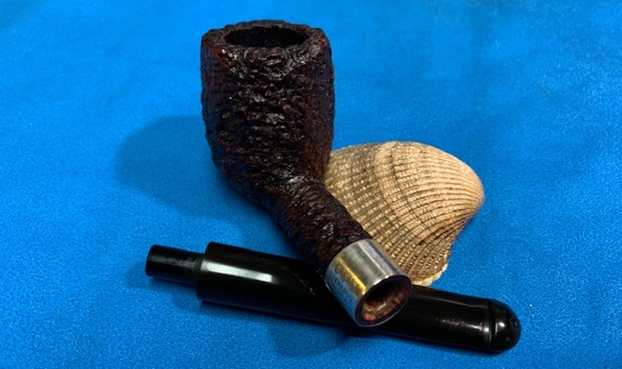
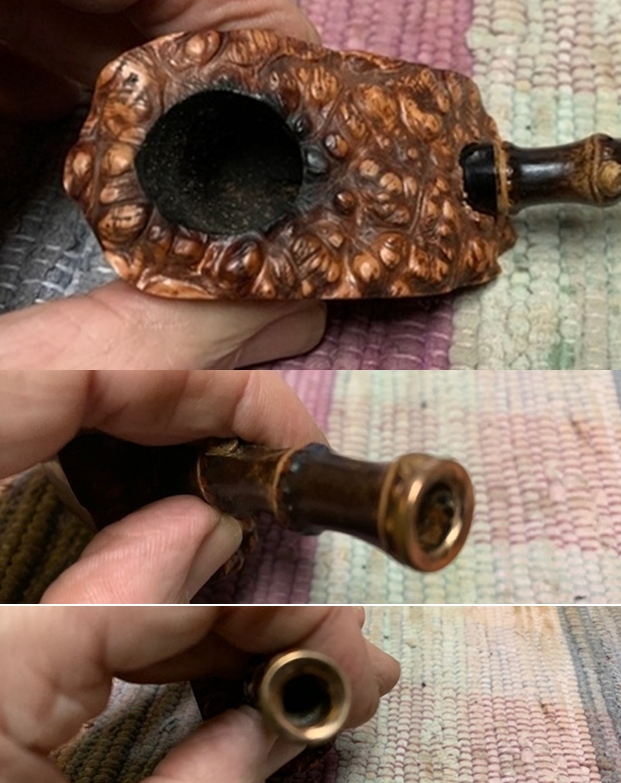
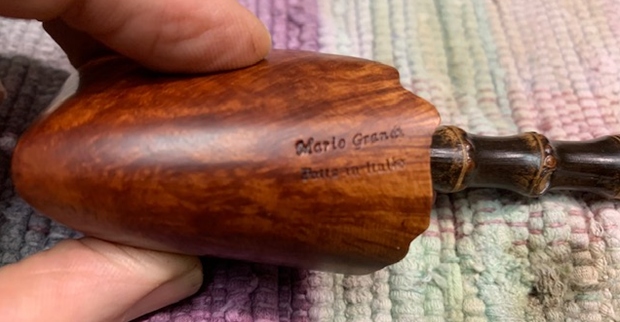
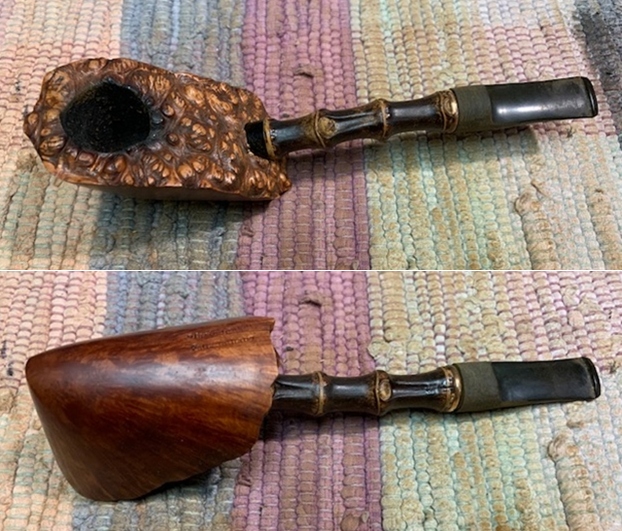
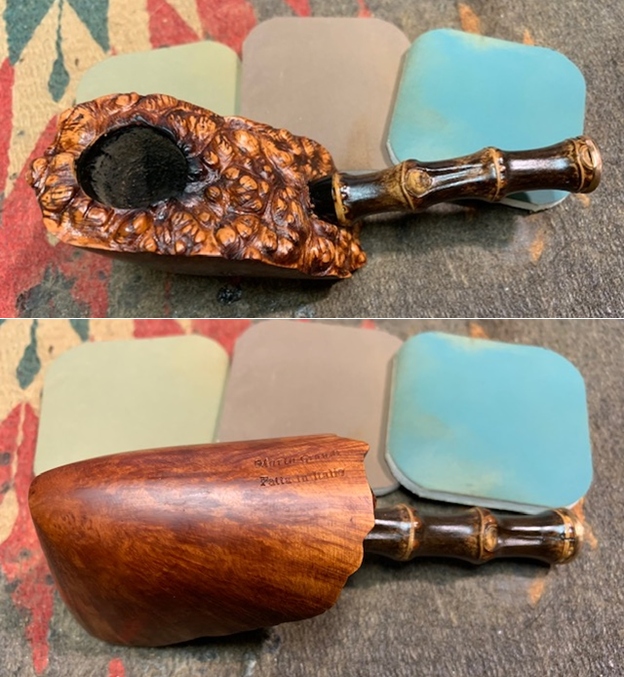
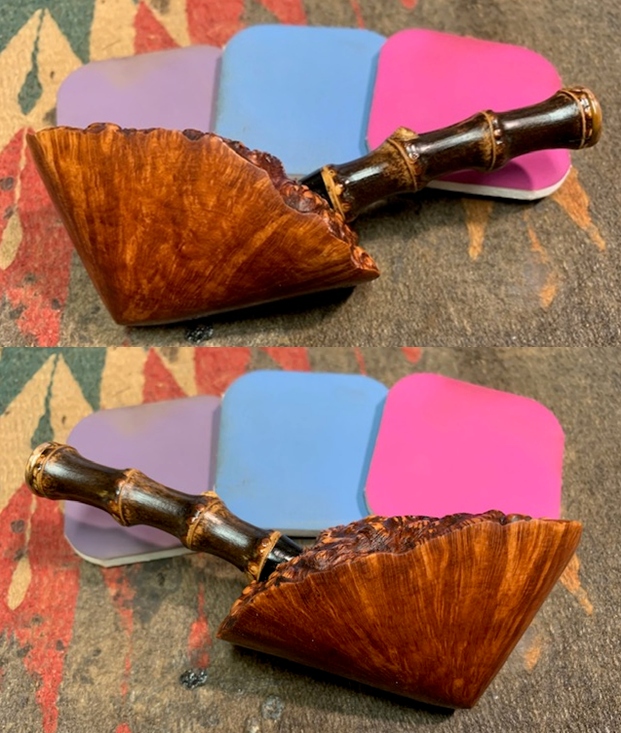
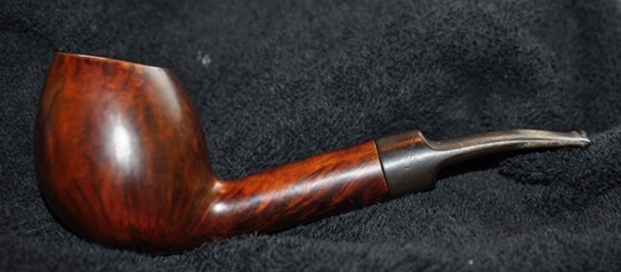
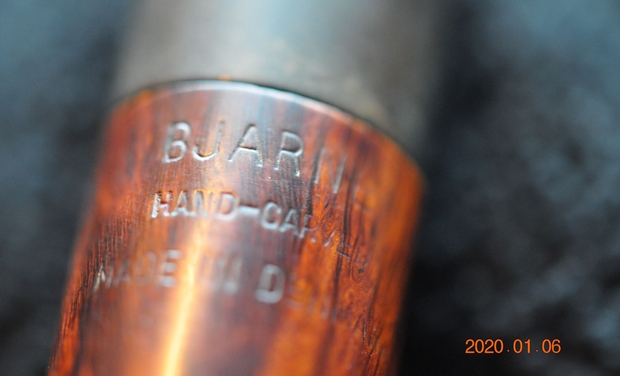
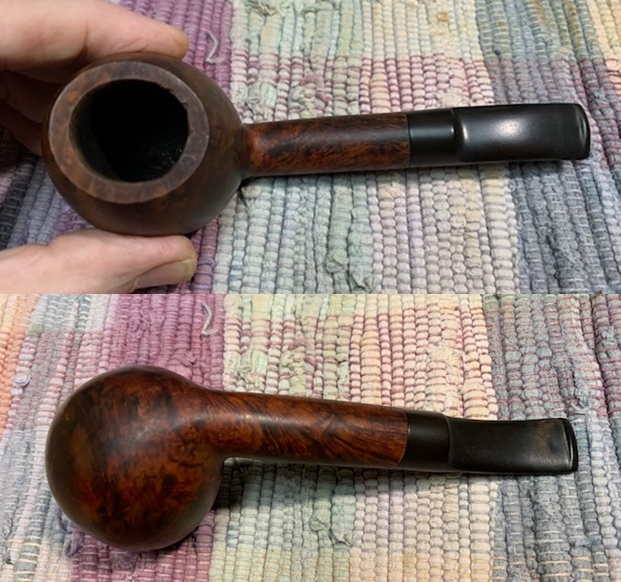
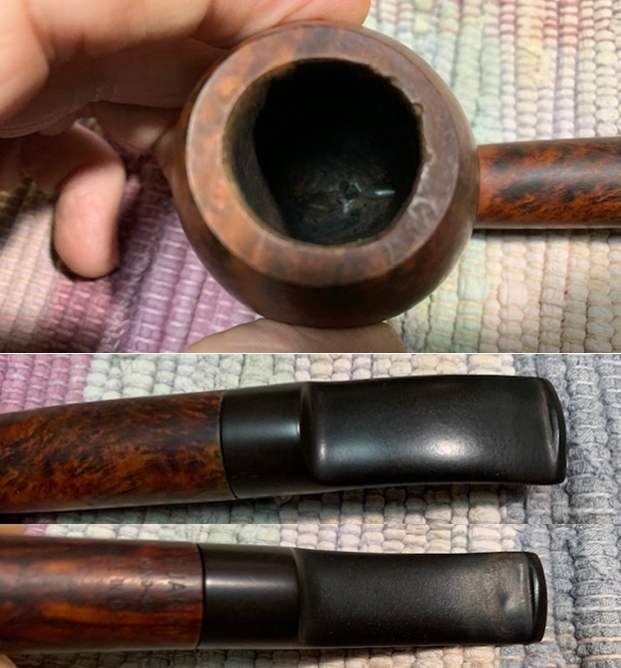
The next pipe on the work table came to us from an auction in Wilkes Barre, Pennsylvania, USA. It is a Panel shaped Freehand pipe with a plateau top and a smooth finish. The pipe has a fancy saddle vulcanite stem. The pipe is stamped on the topside of the shank and reads Brandt. On the underside next to the shank/stem junction it is stamped Hand Cut [over] in [over] Denmark [over] the shape number 32. The finish had a lot of grime on the surface and ground into both the briar and it was very dirty. The bowl was heavily caked and the inner edge of the rim had some darkening. The plateau top was dirty but undamaged. It was hard to tell what condition of the inner edge was because of the lava coat. Only cleaning would make that clear. The fancy square stem was oxidized, calcified and had tooth chatter and marks on the top and underside near the button. The pipe showed promise but it was very dirty. Jeff took photos of the pipe before he started his cleanup work. 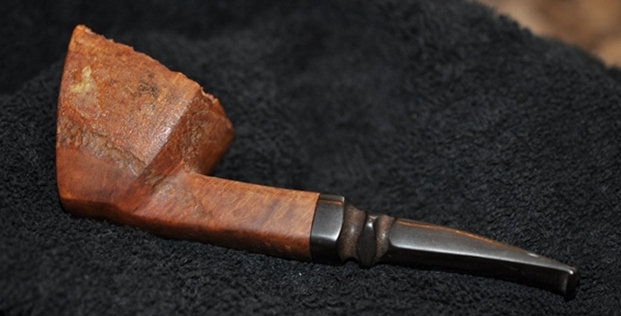
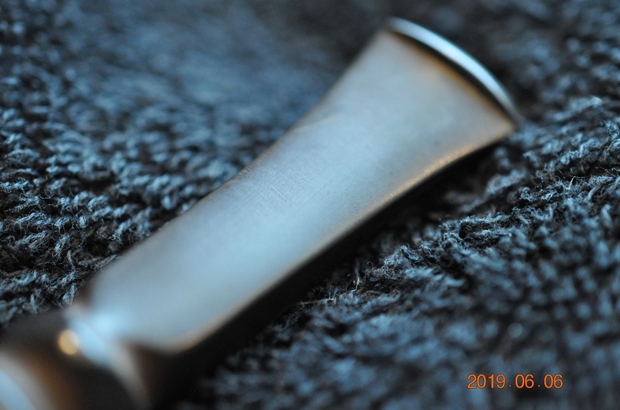
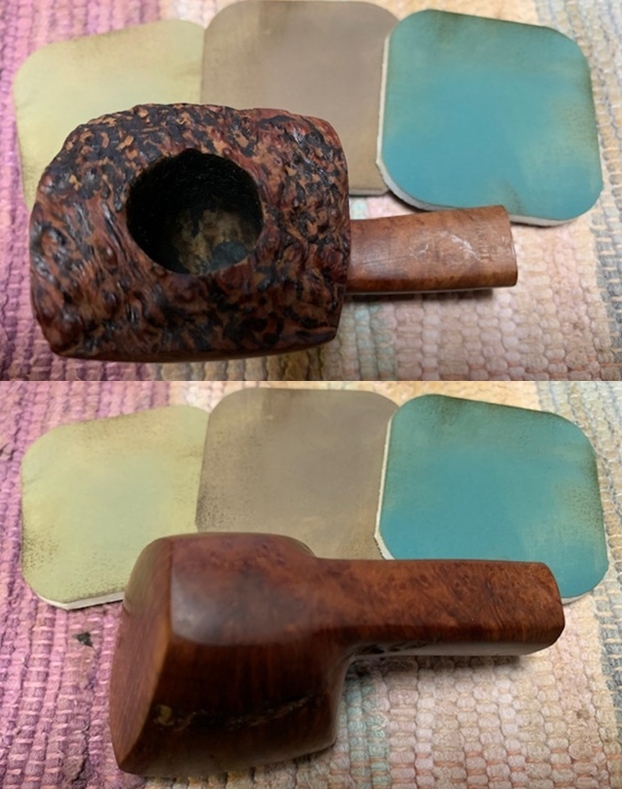
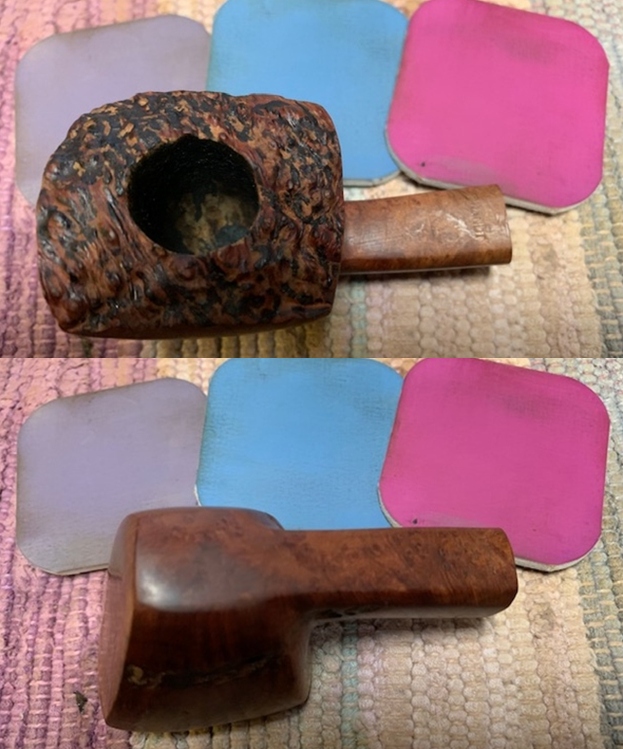
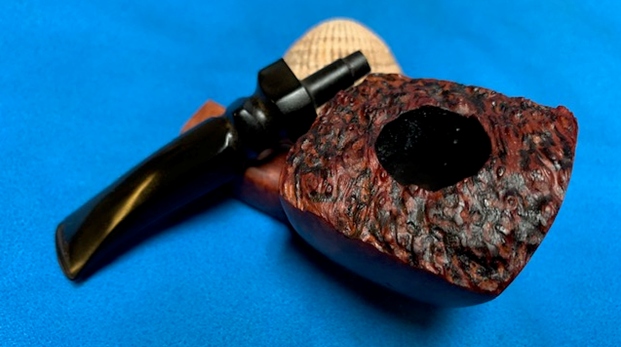
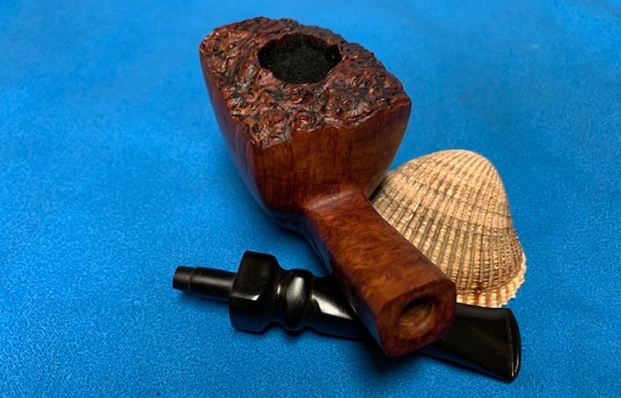
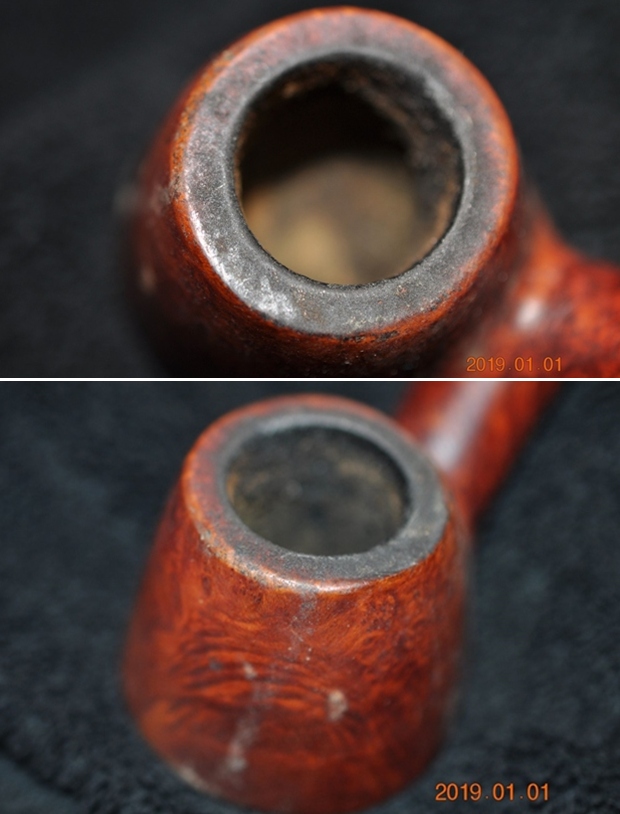
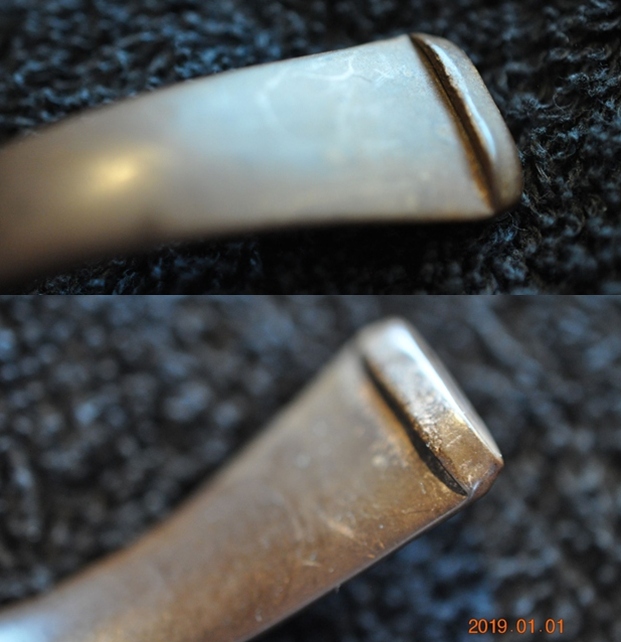
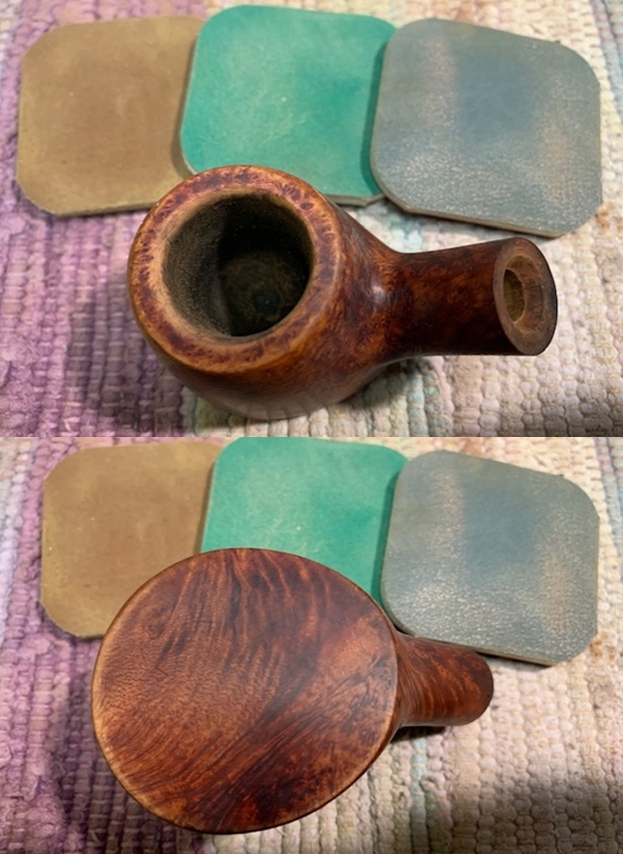
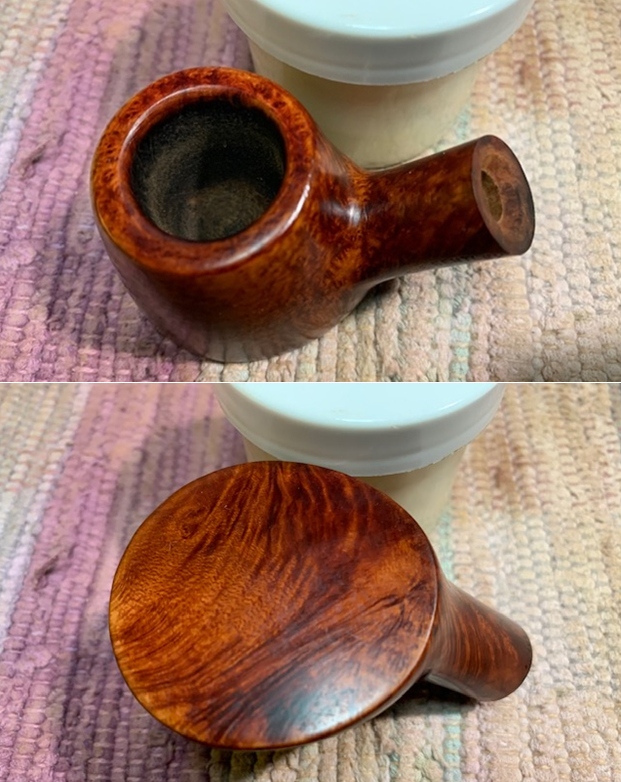
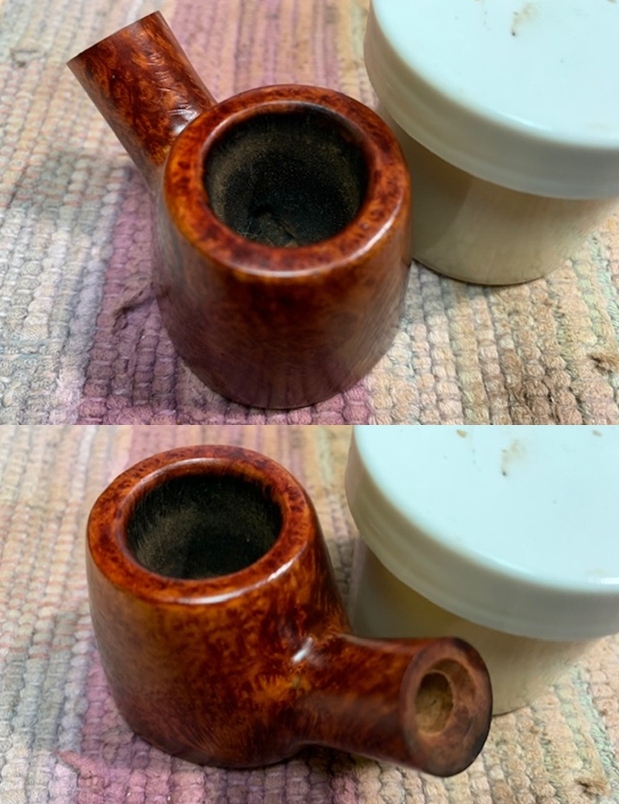
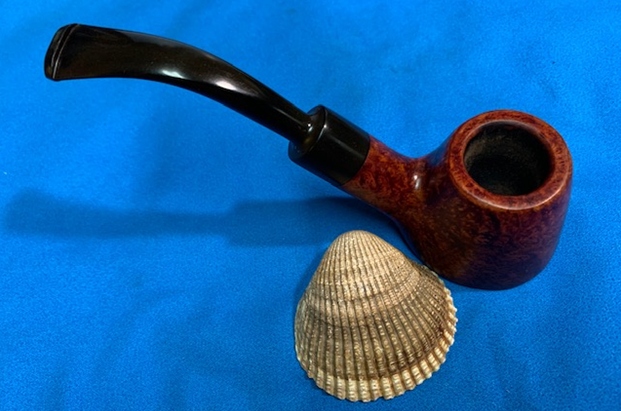
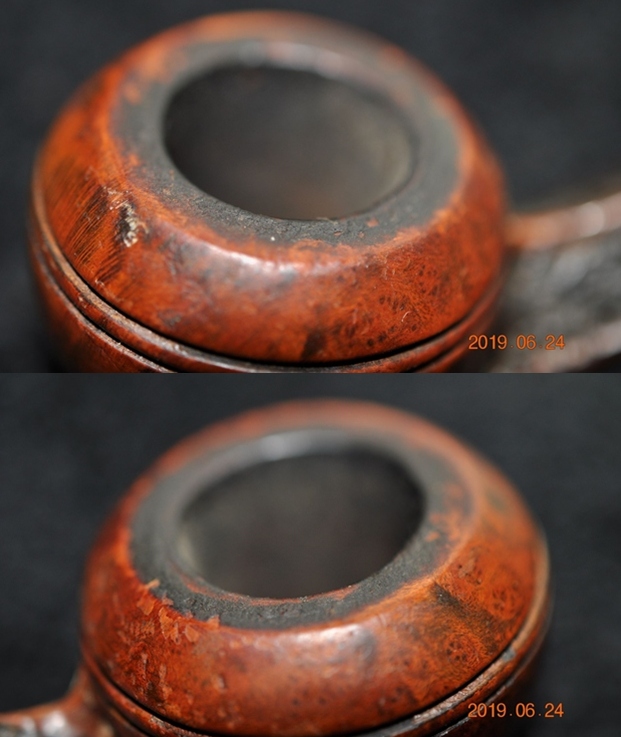
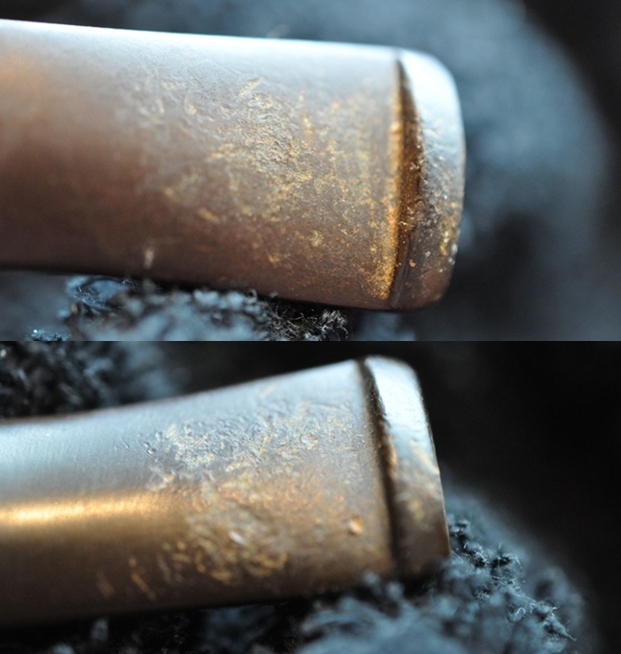
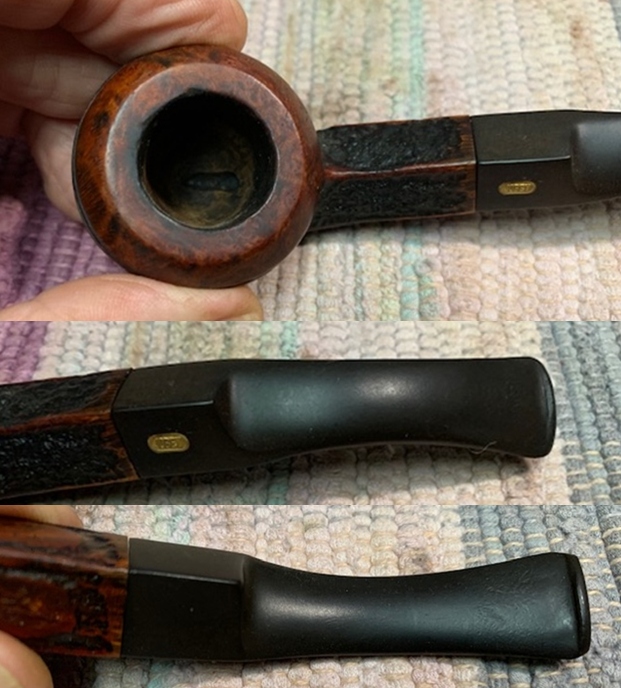
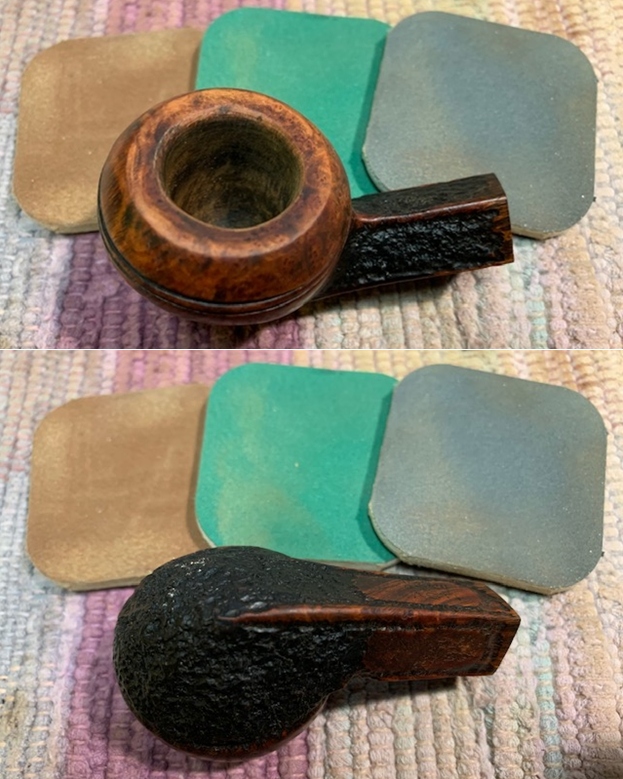
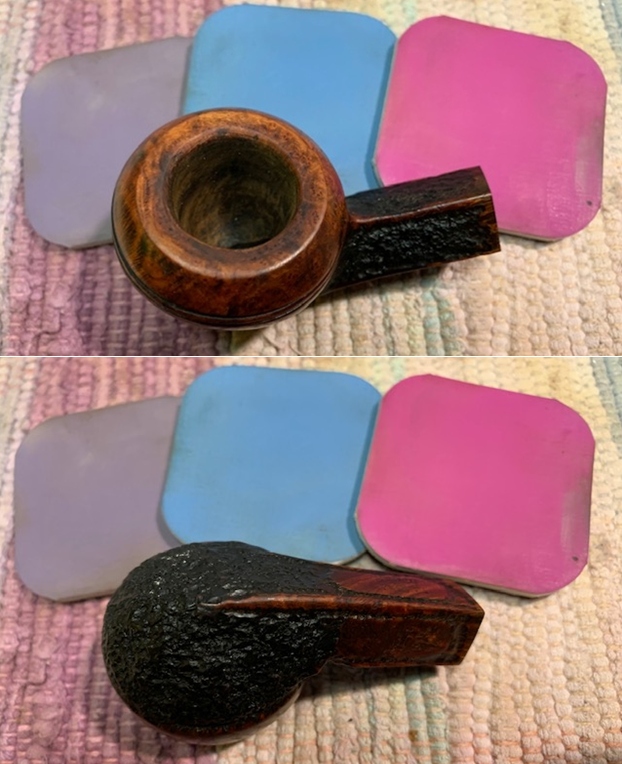
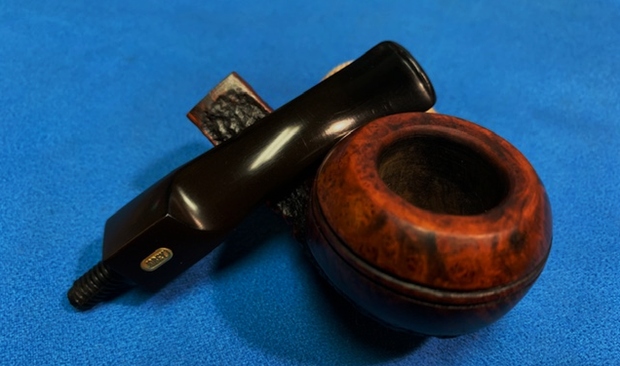
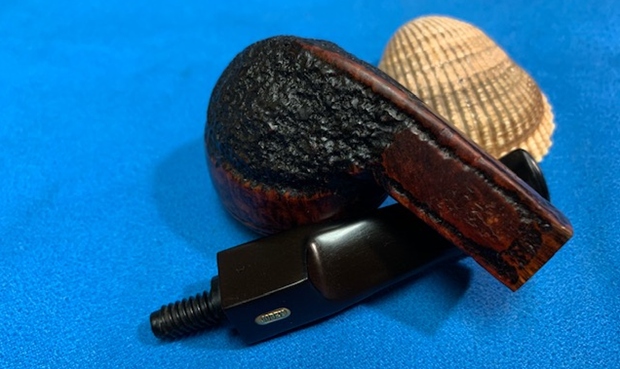
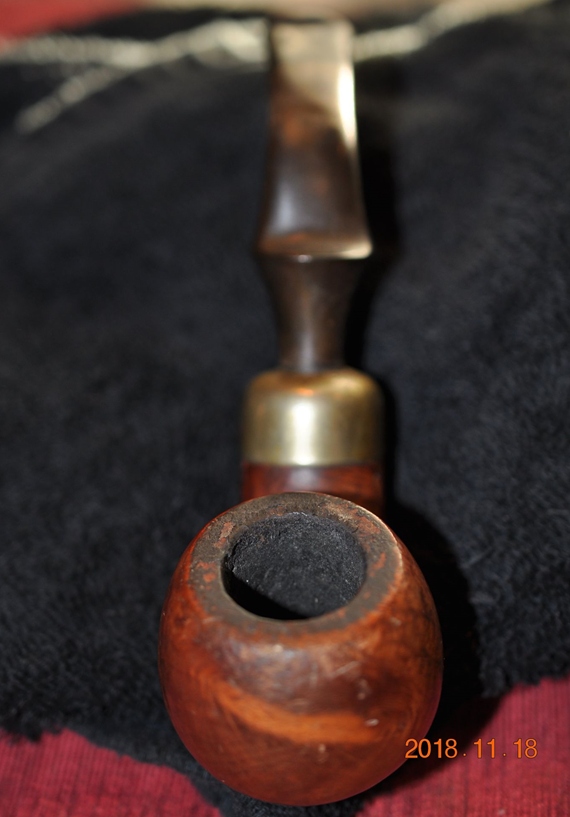
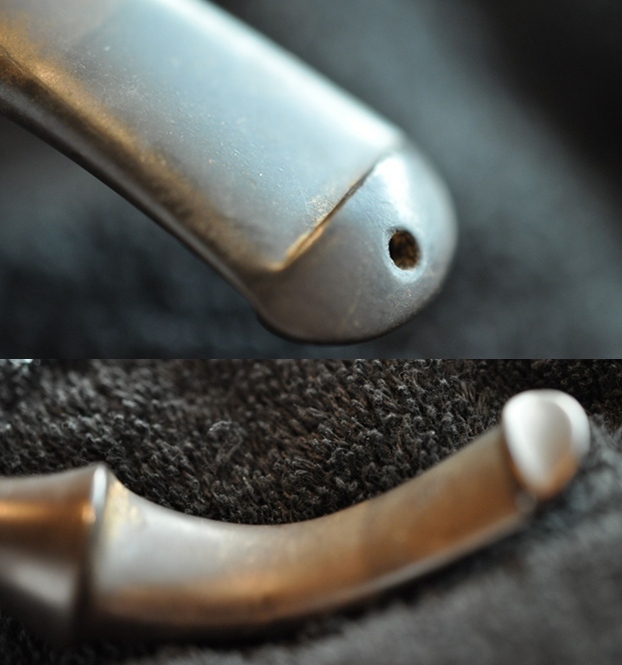
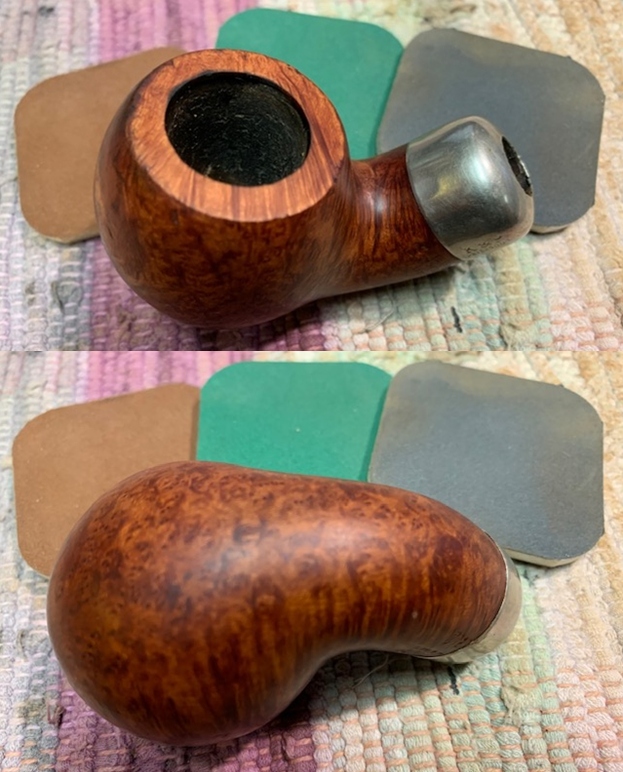
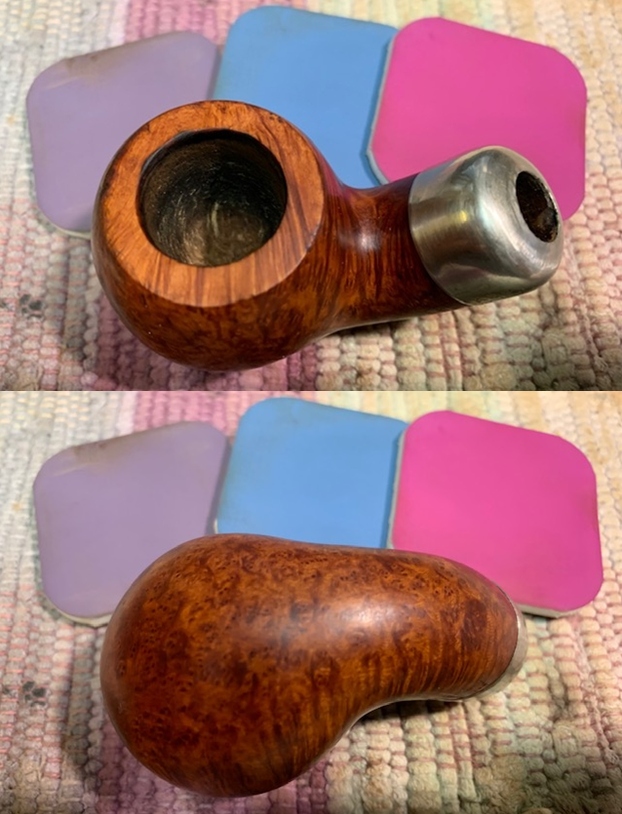
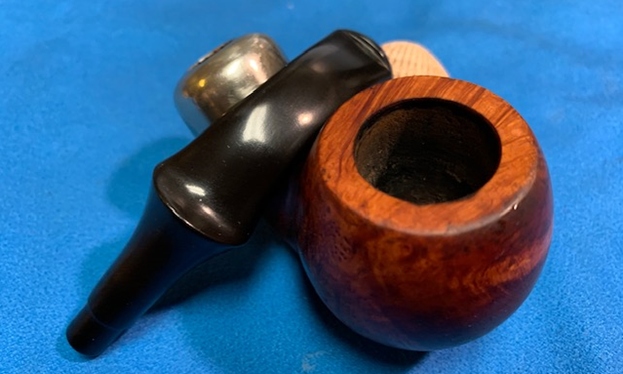
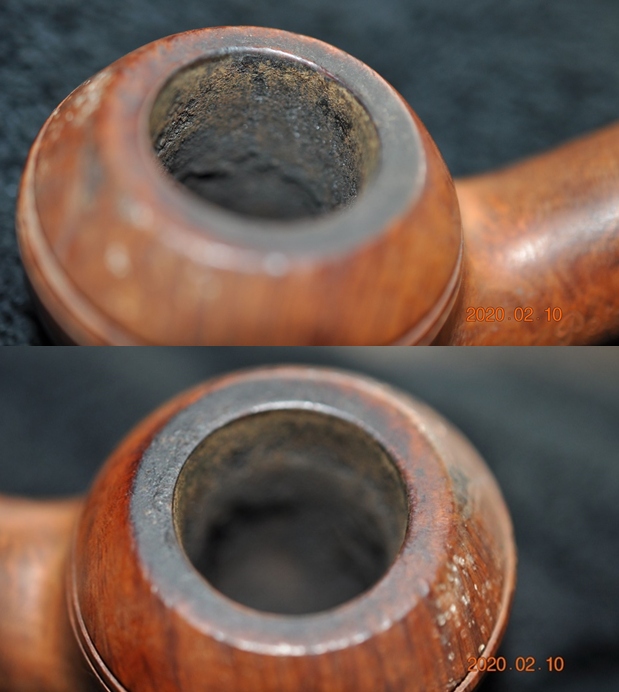
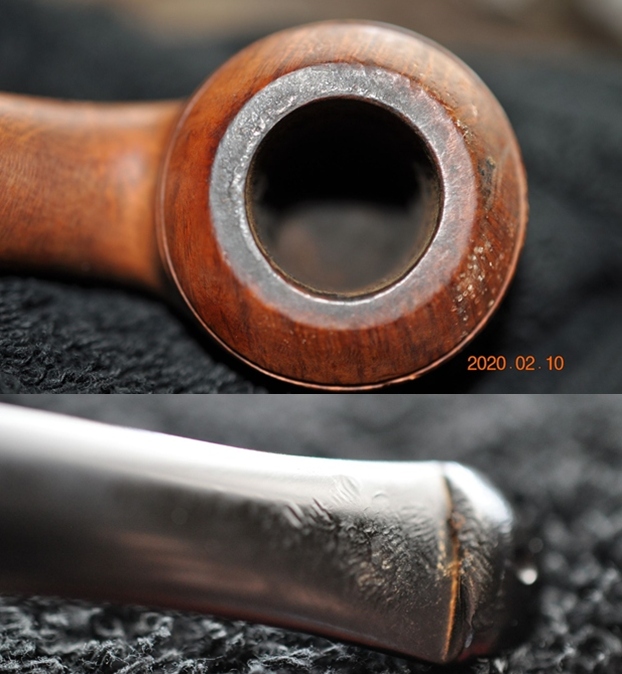
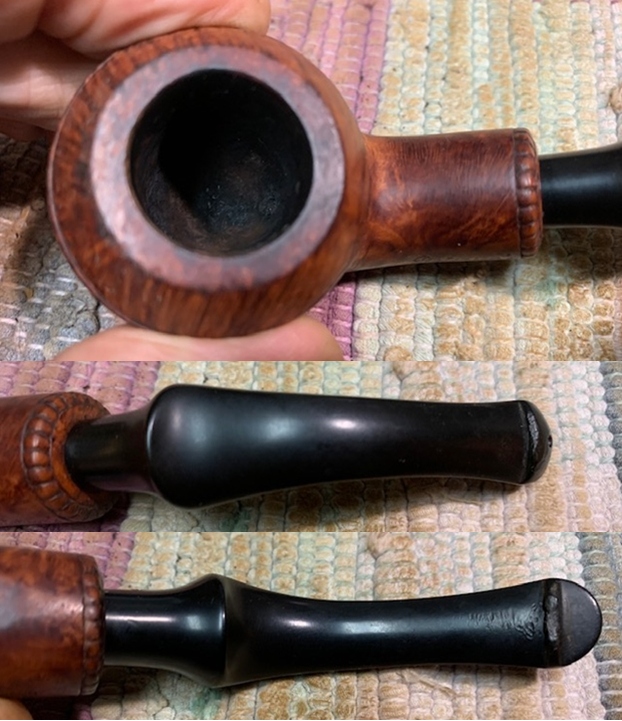
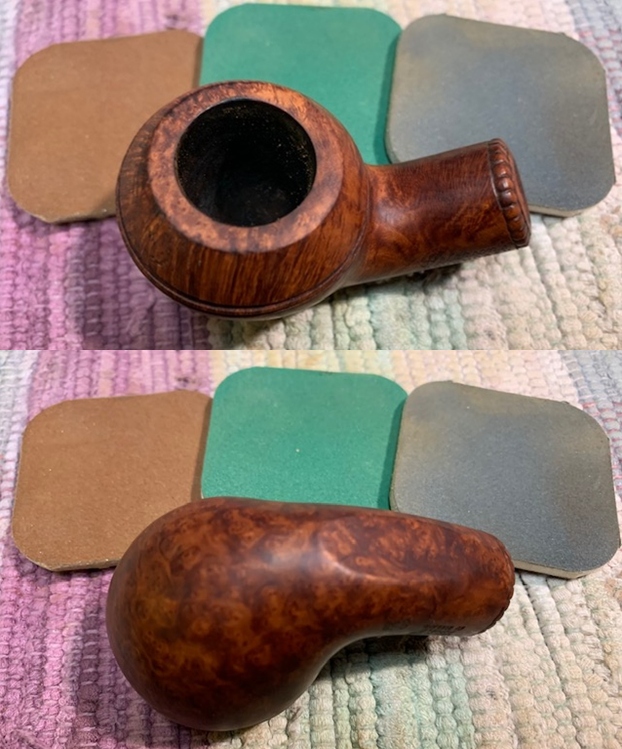
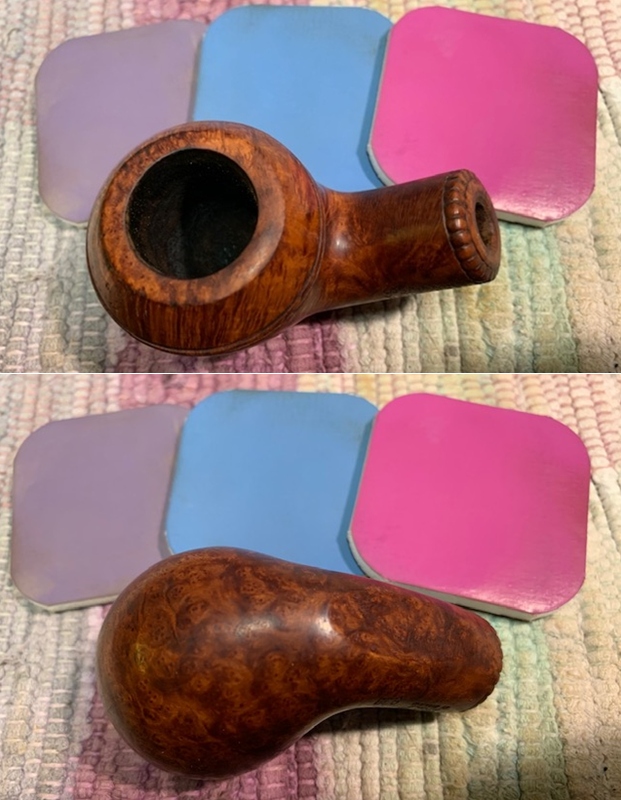
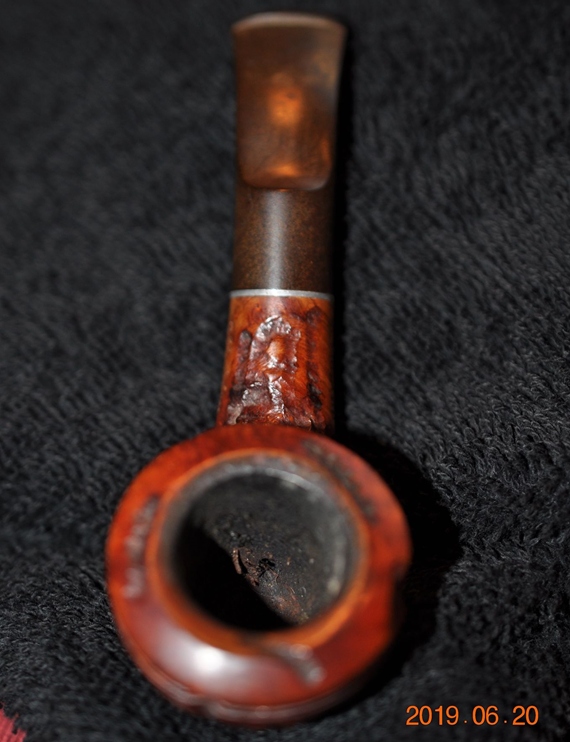
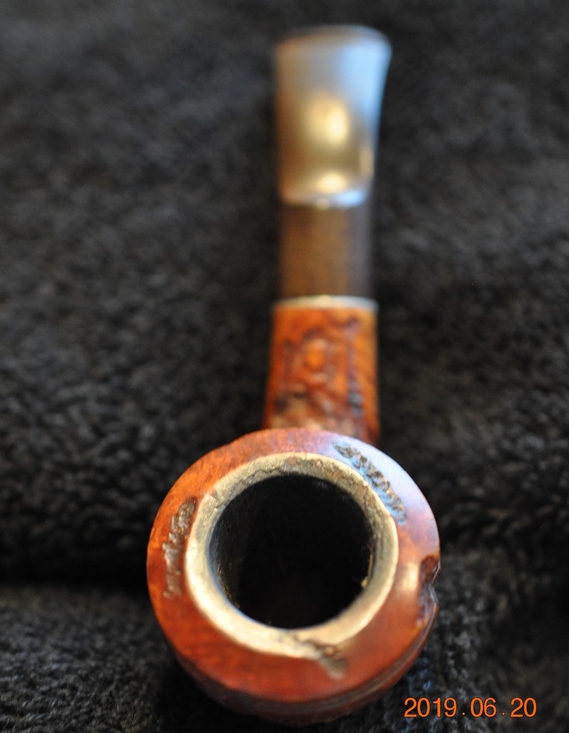
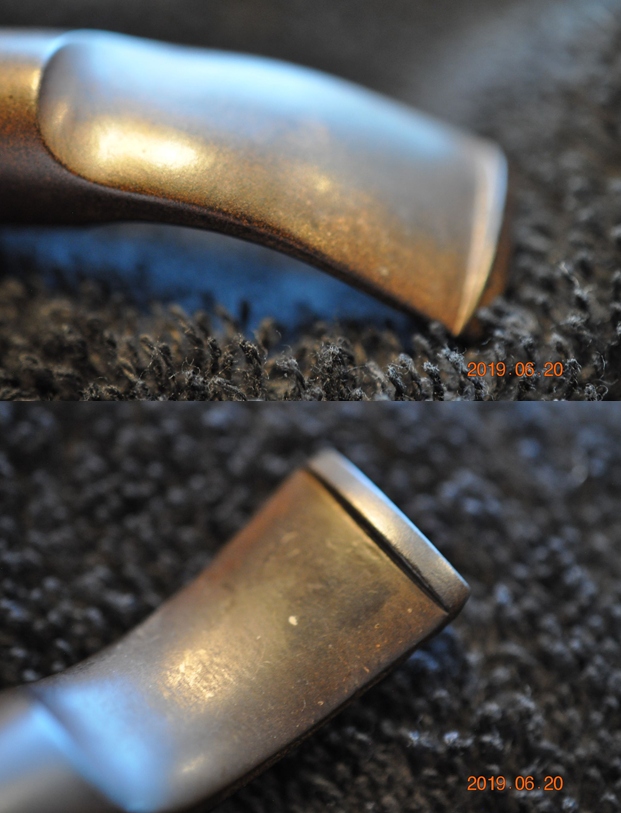
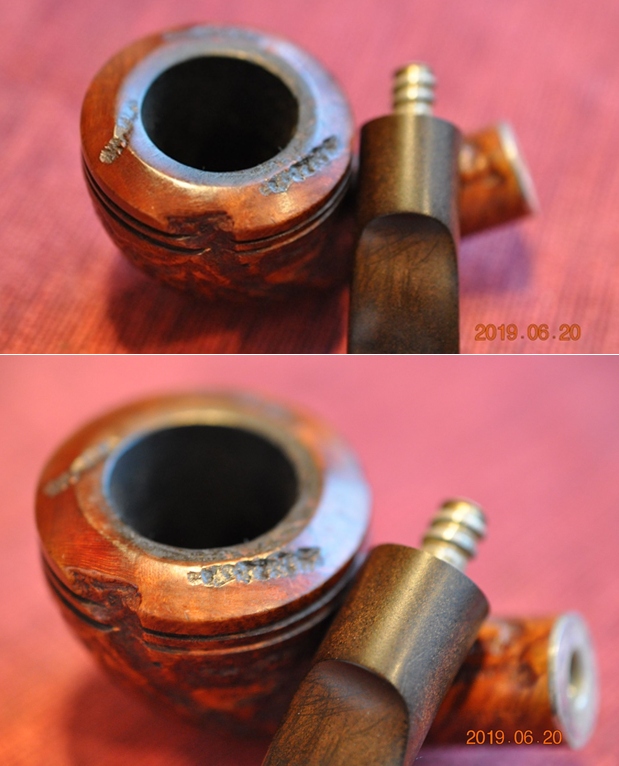
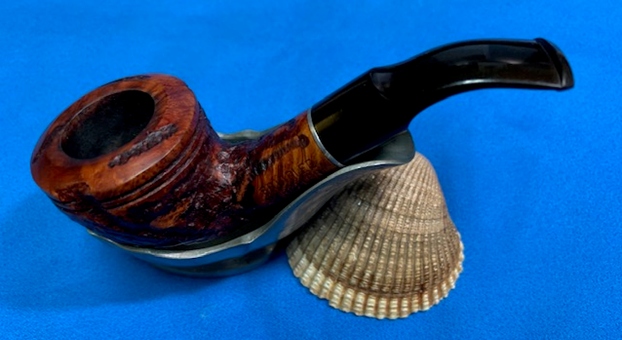
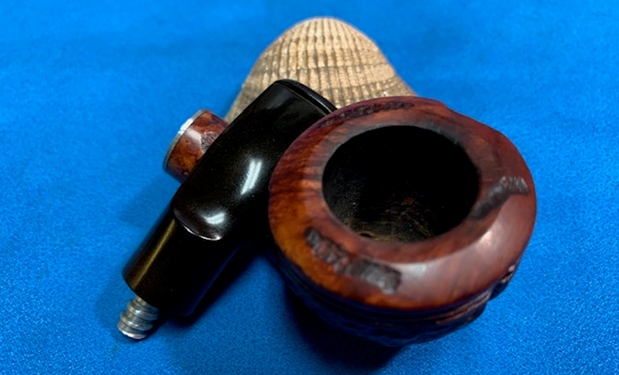
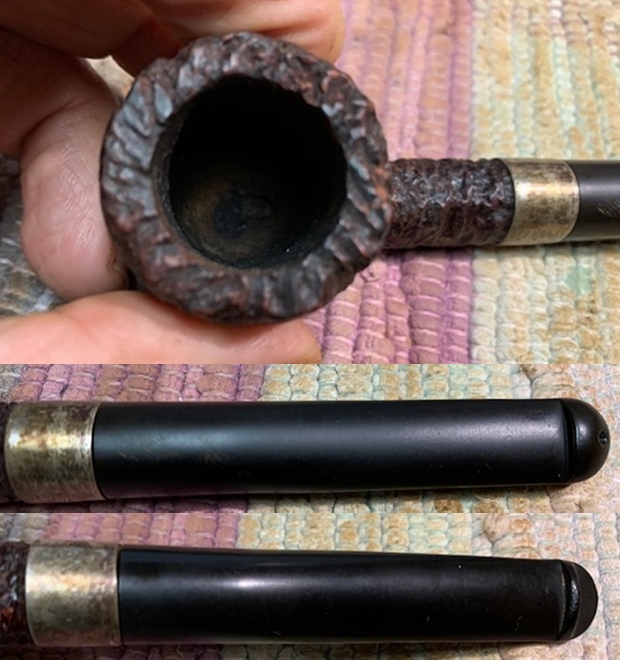
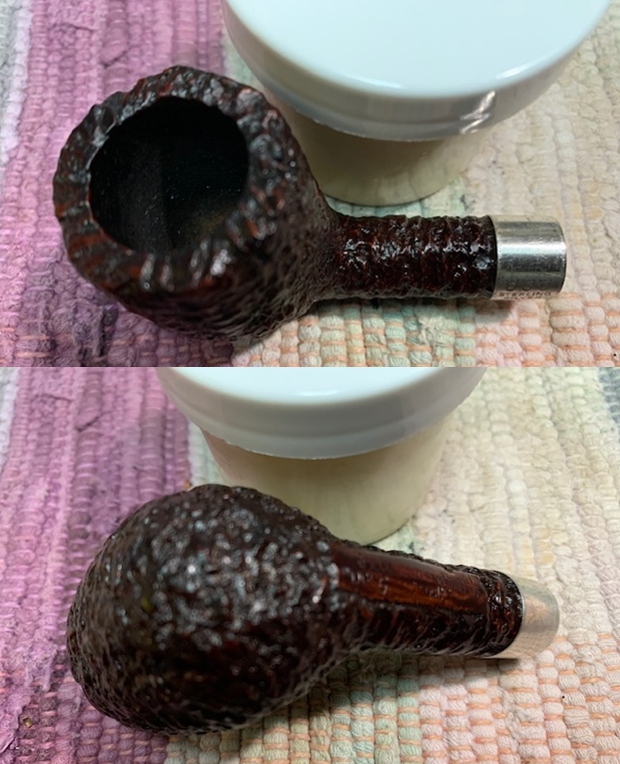
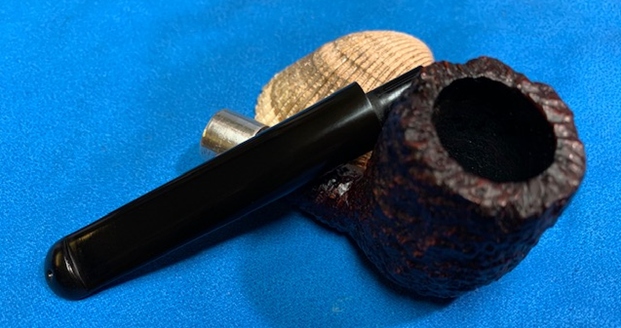
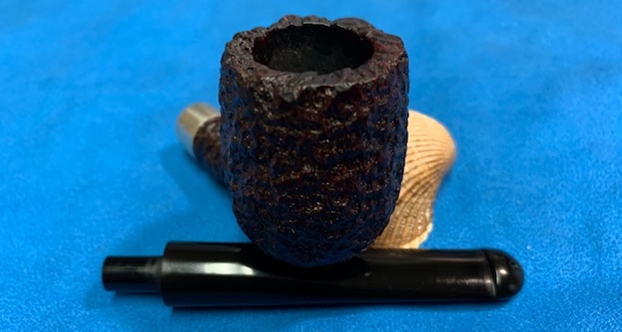
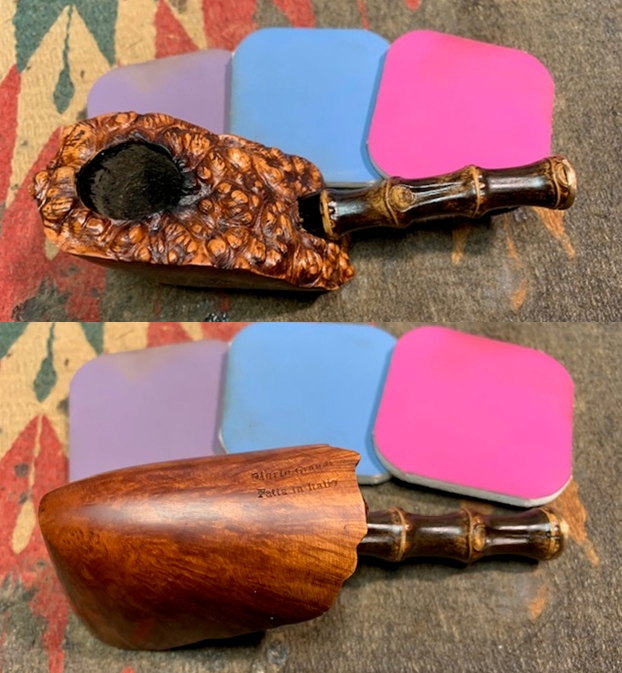
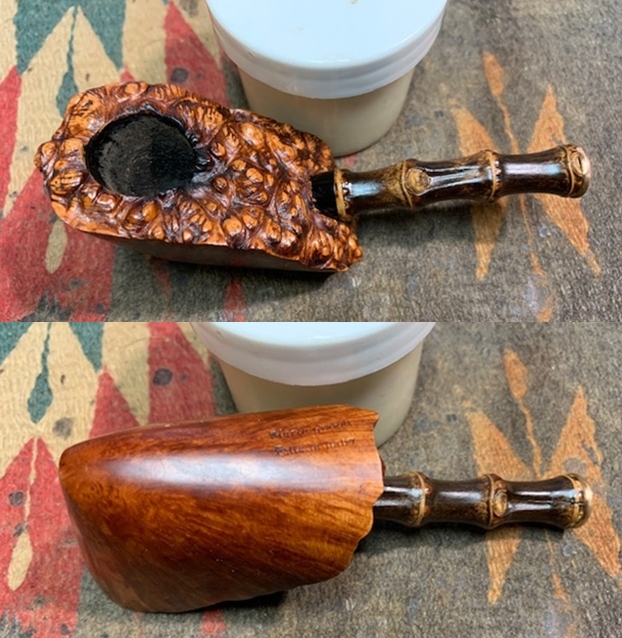
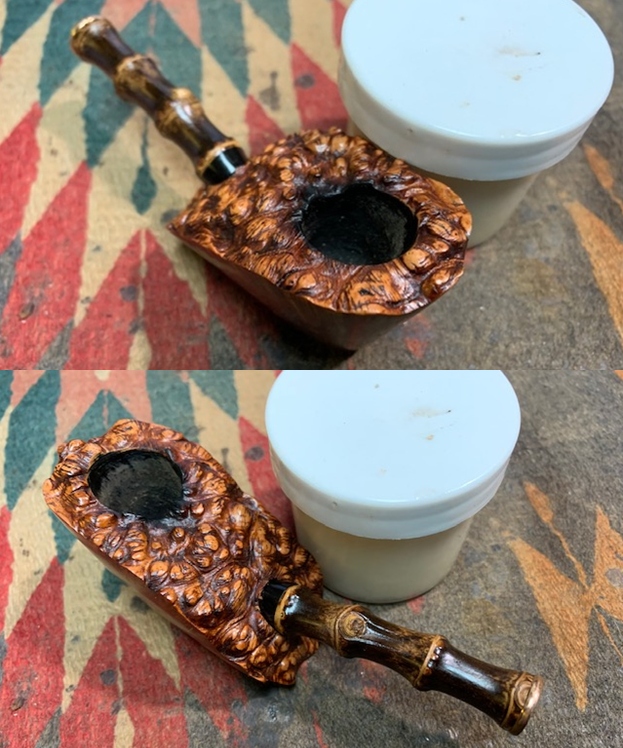
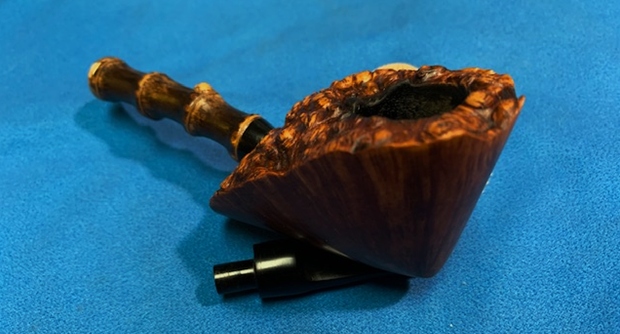
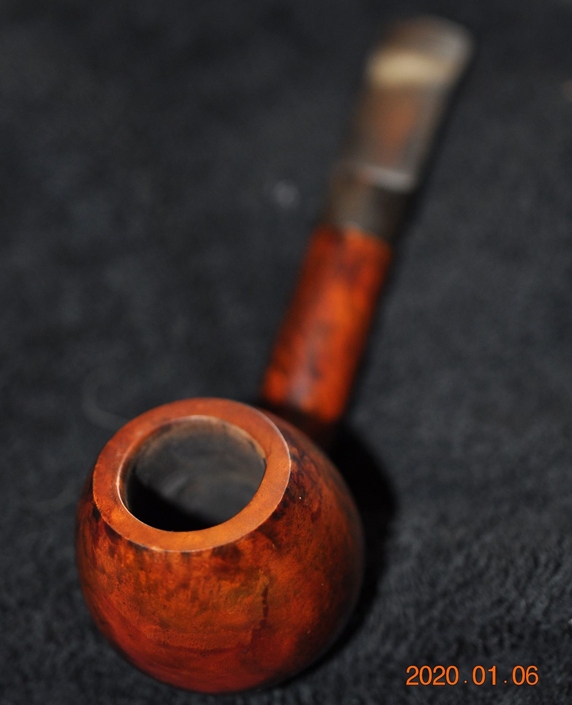
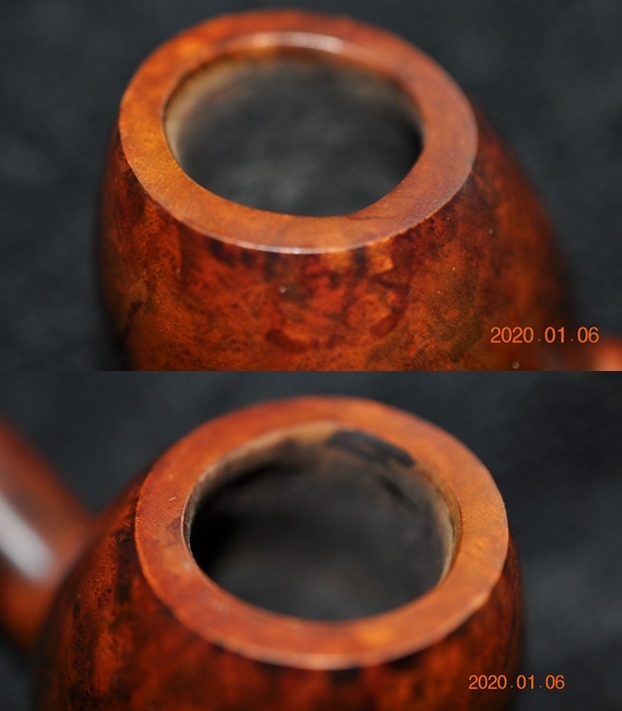
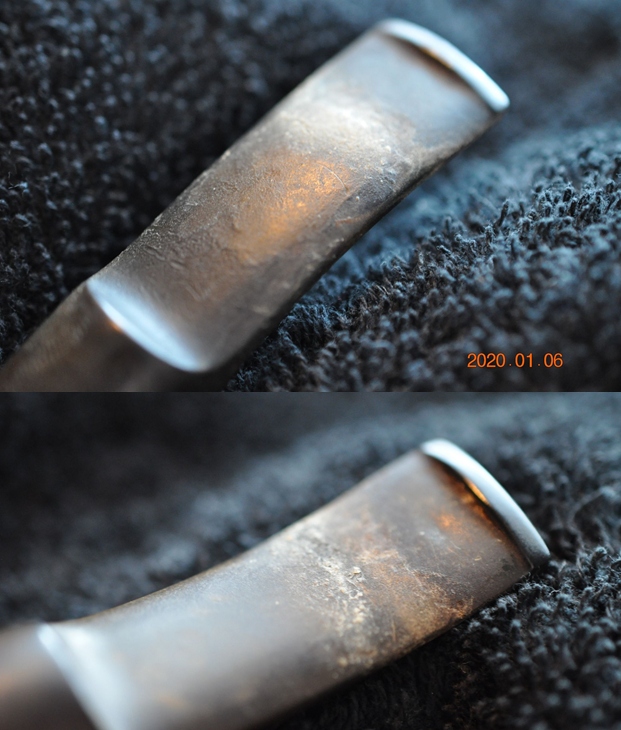
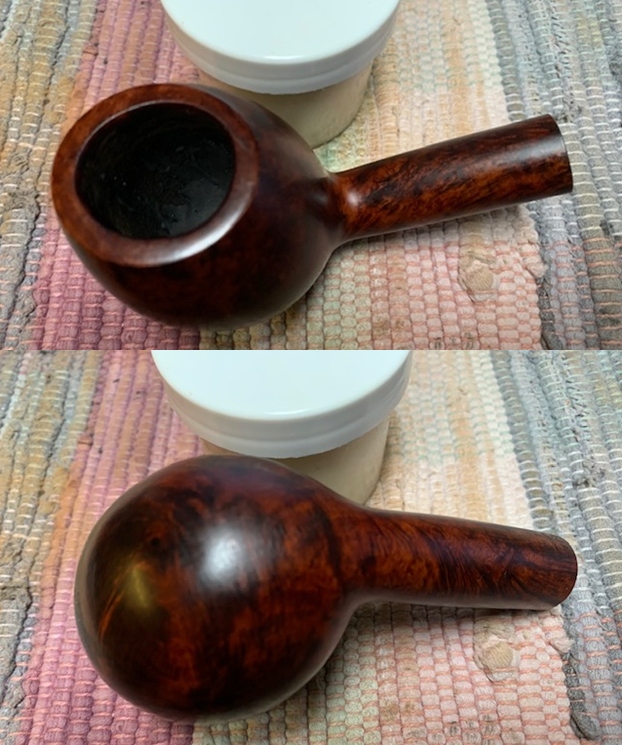
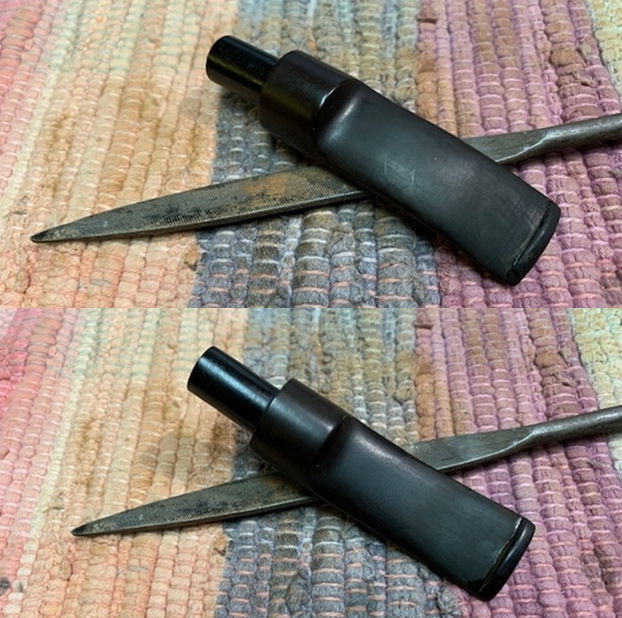
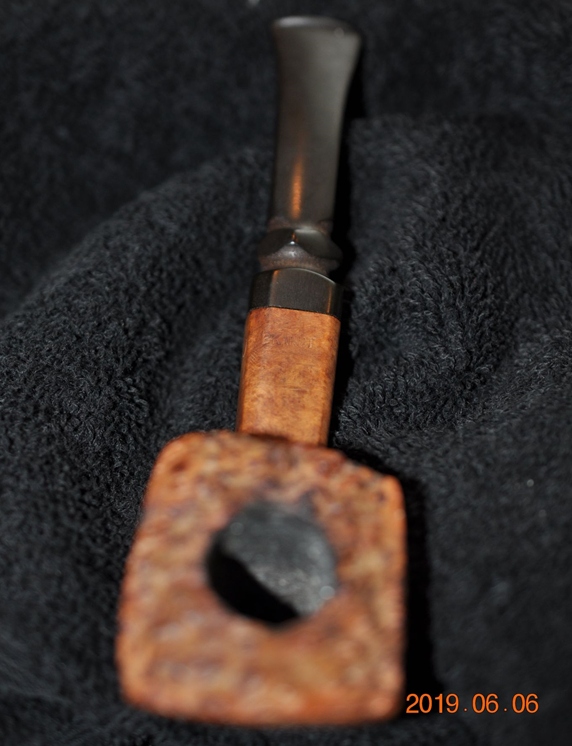 He took photos of the rim top and bowl to give a clear picture of the thickness of the cake and the condition of the plateau rim top and edges. He also took photos of the top and underside of the stem to show the oxidation, calcification and light chatter and tooth marks.
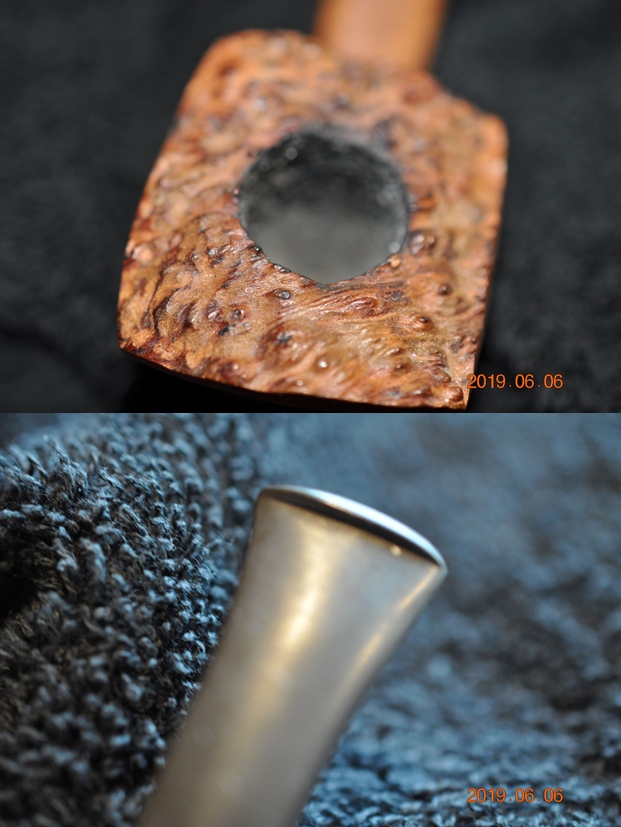
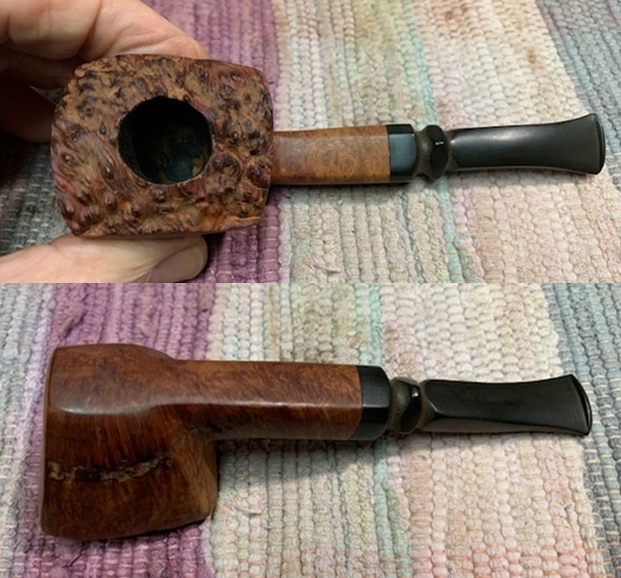
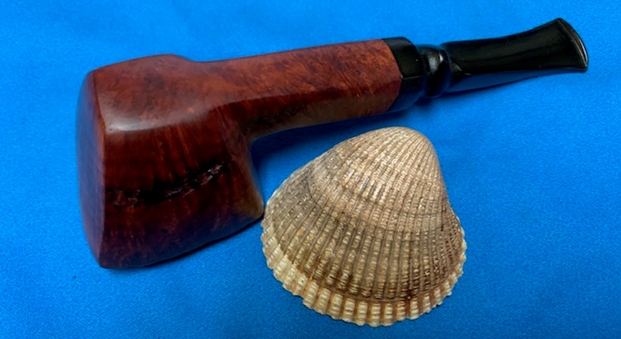
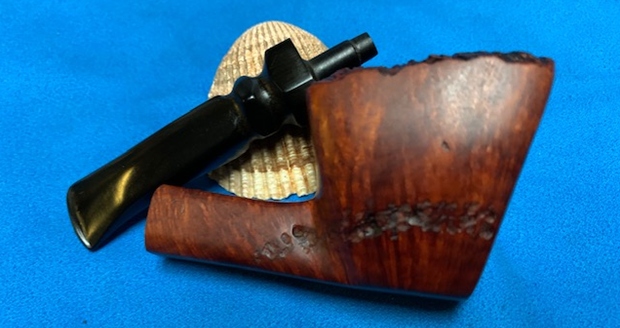
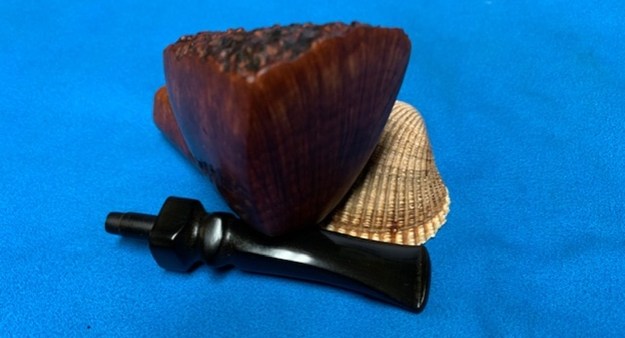
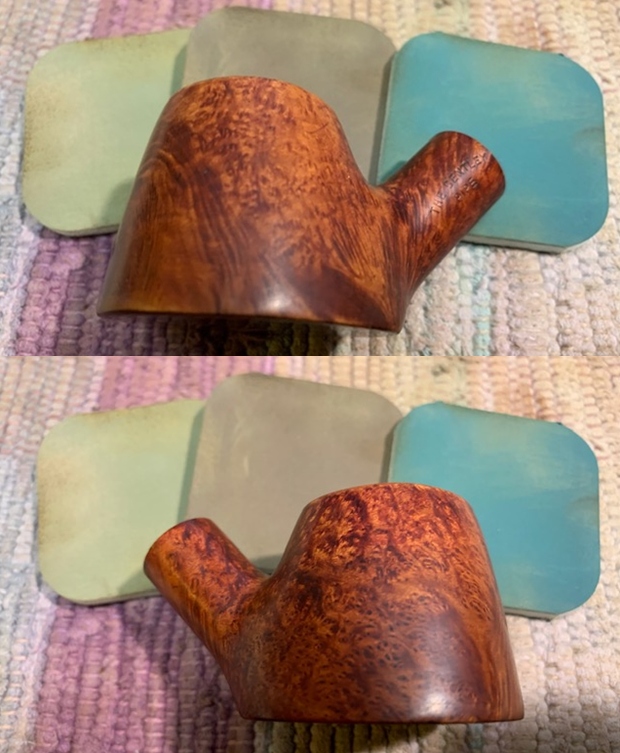
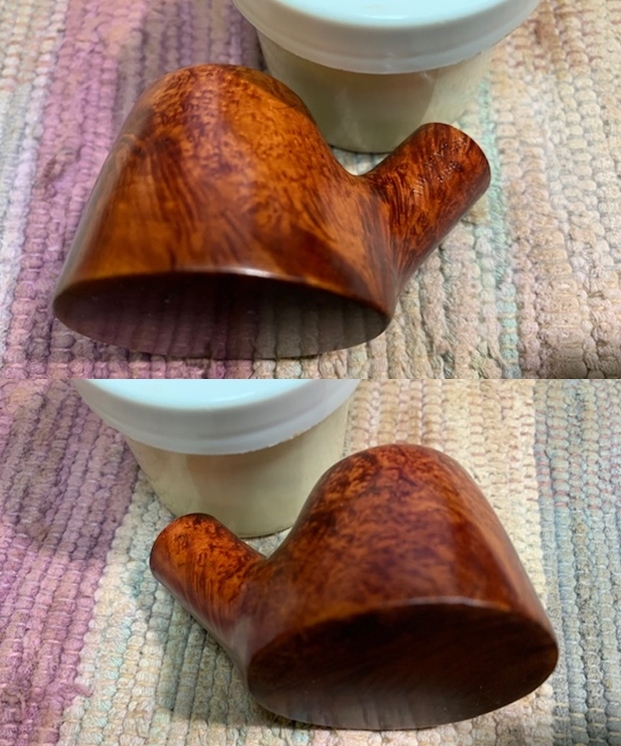
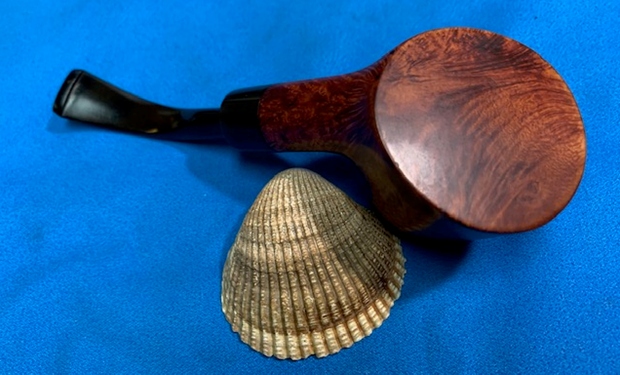
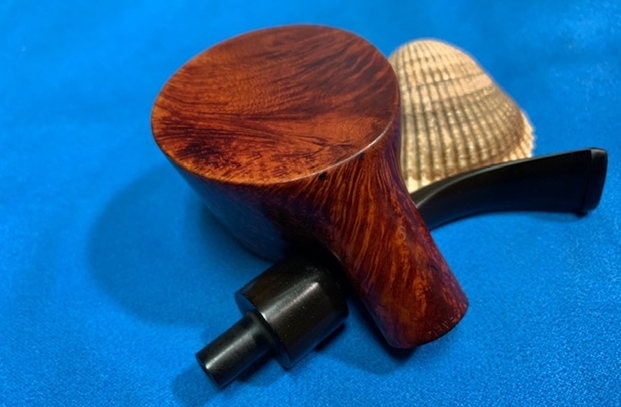
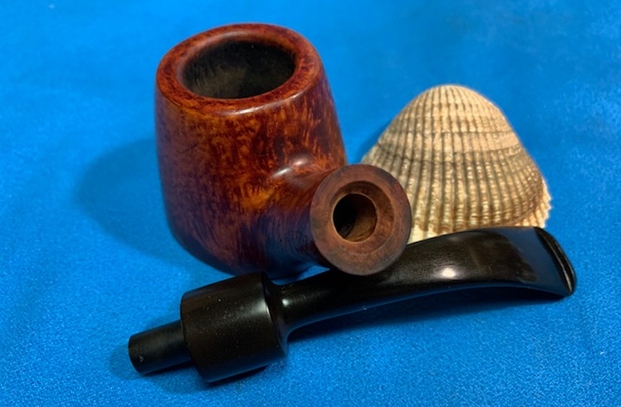
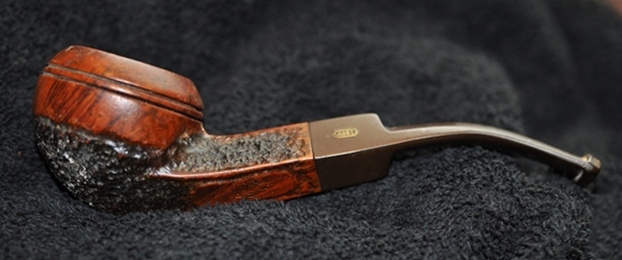
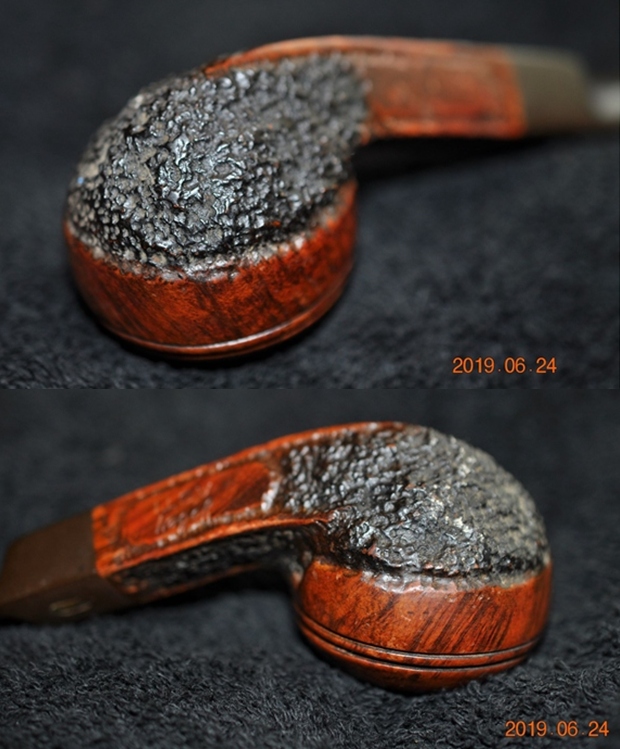
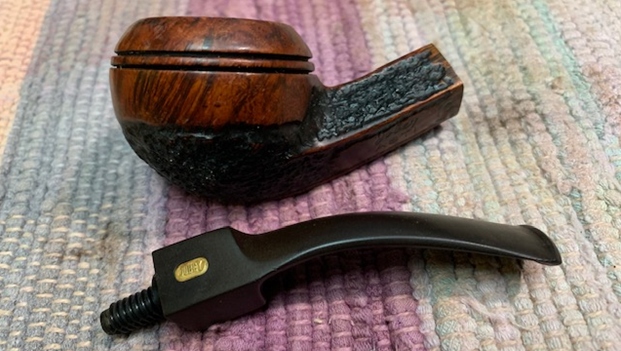
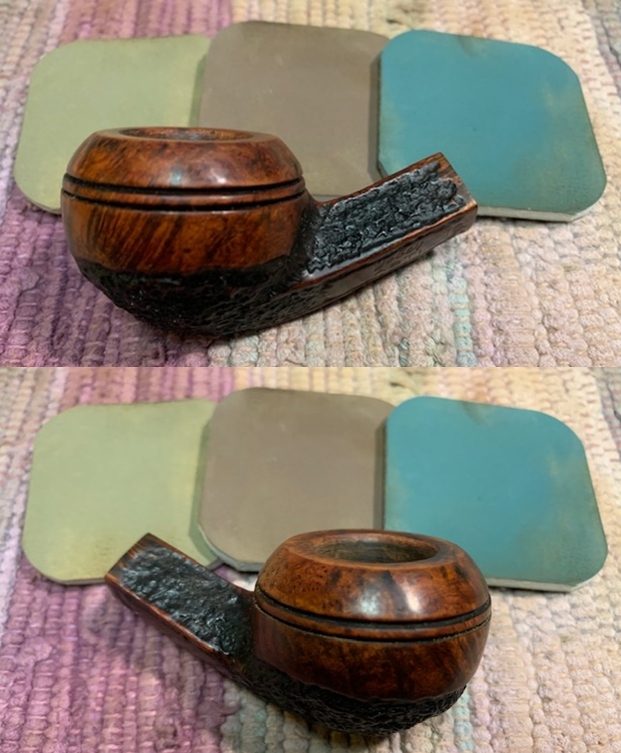
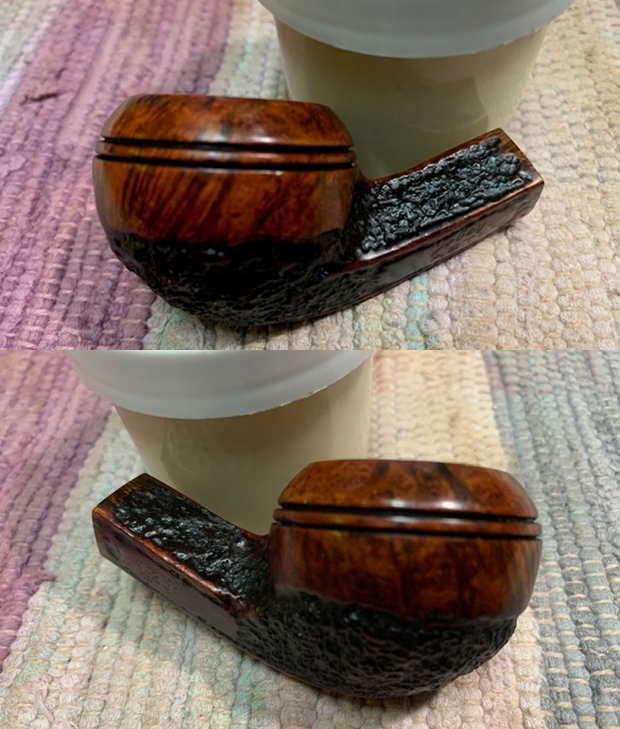
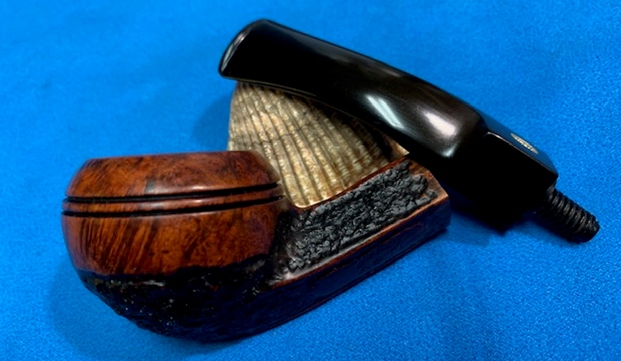
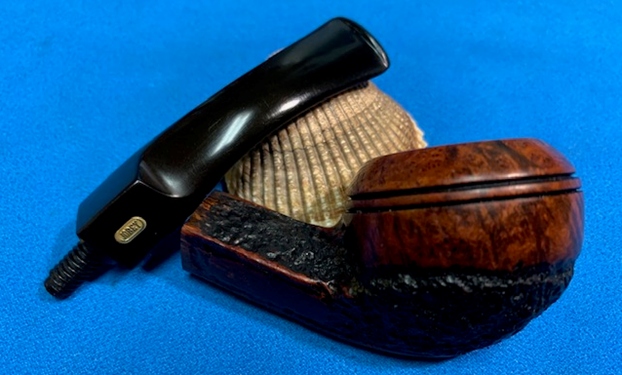
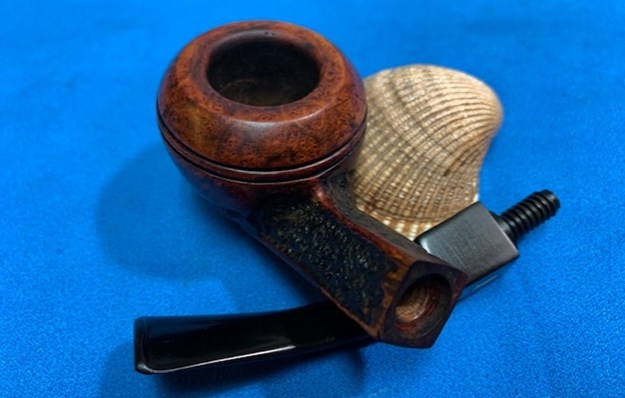
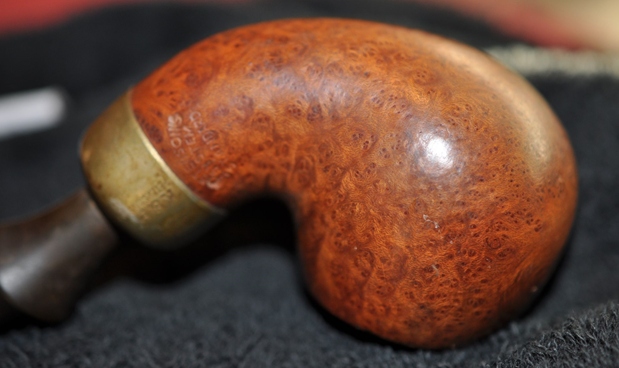
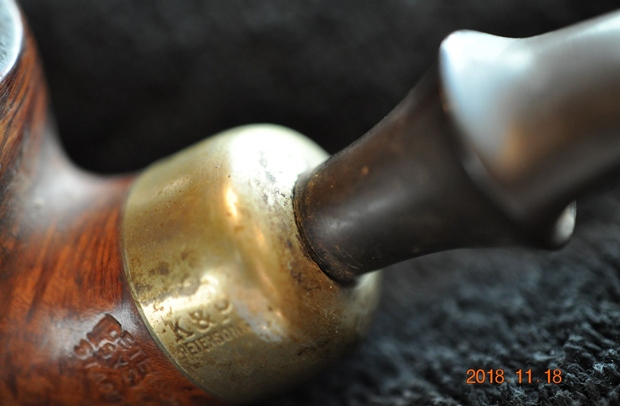
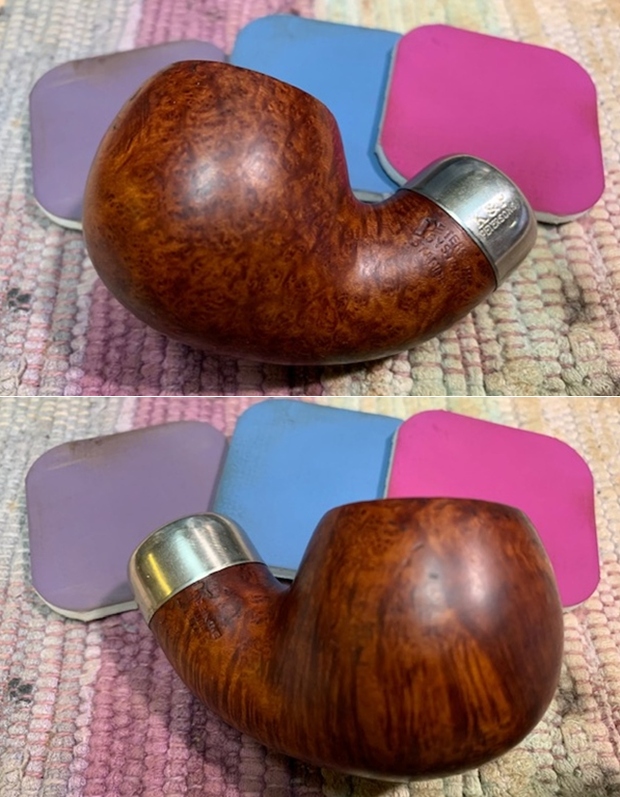
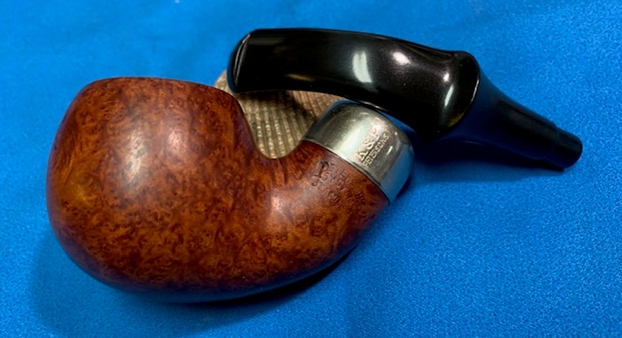
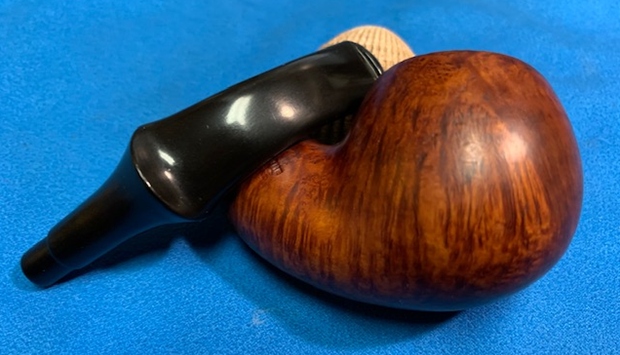
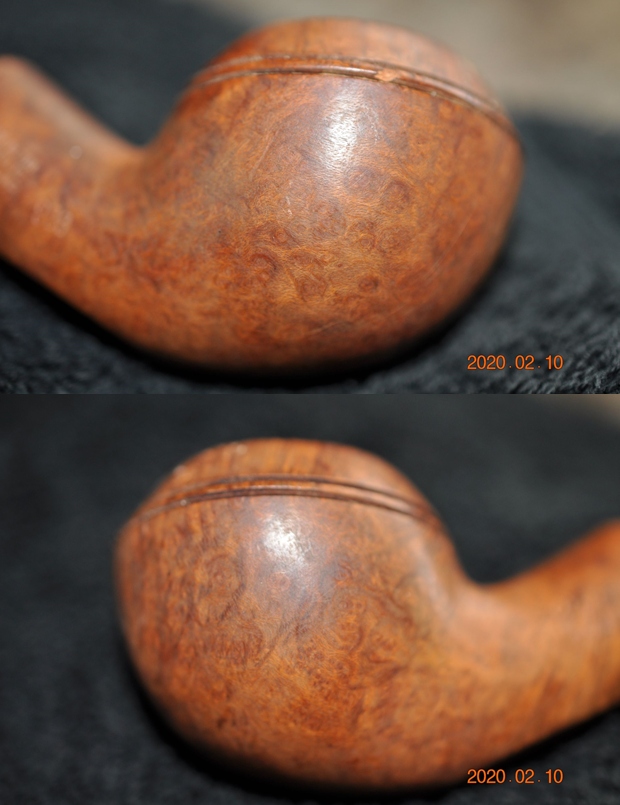
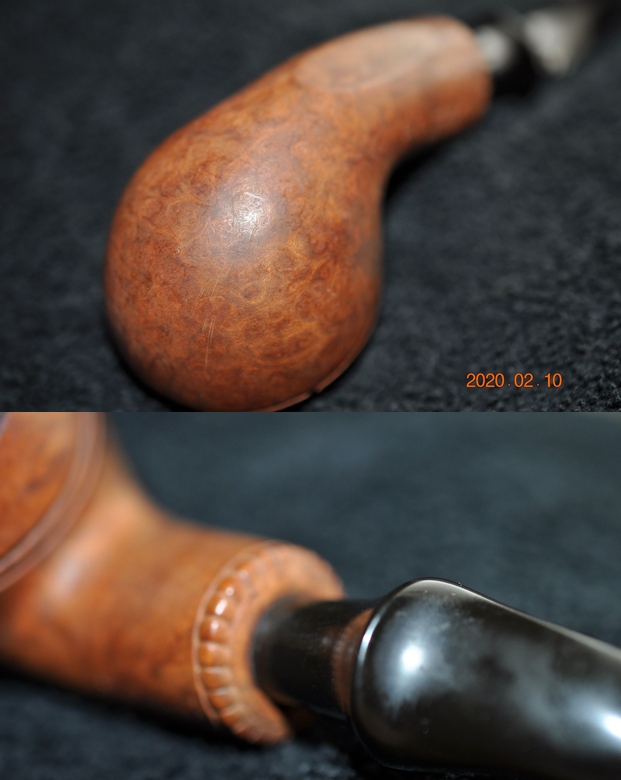
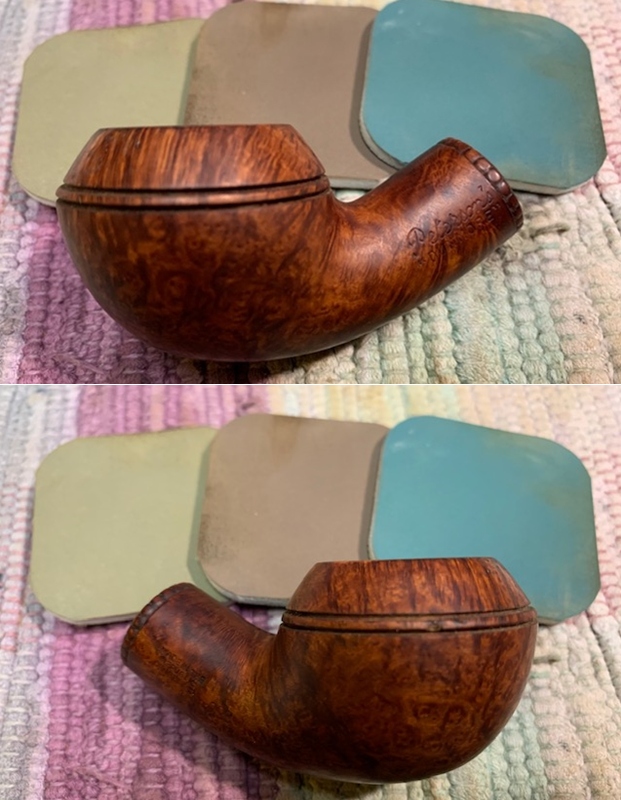
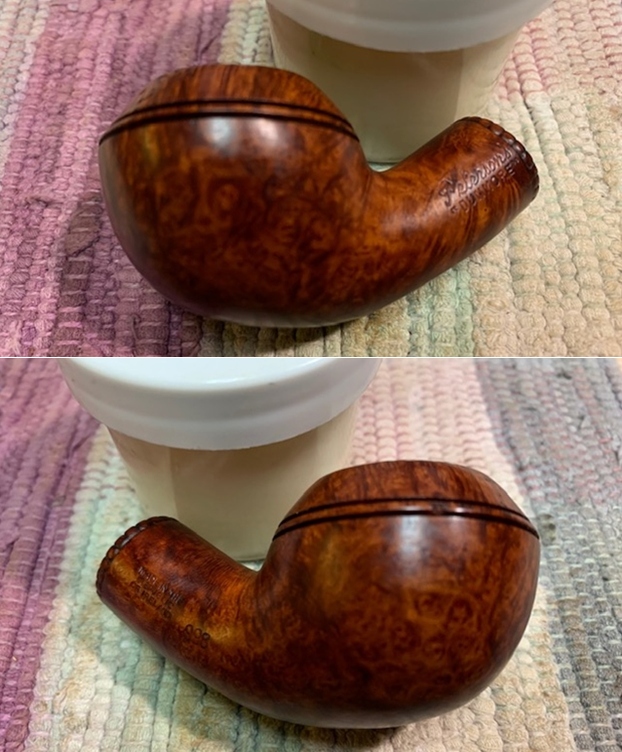
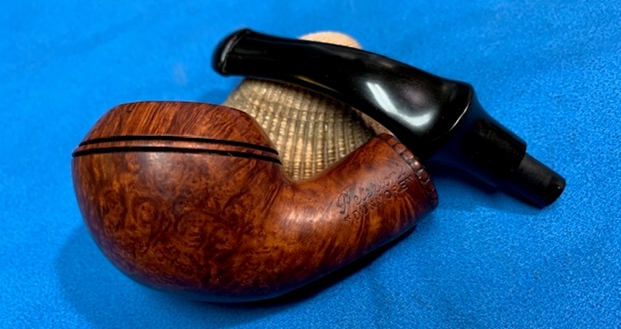
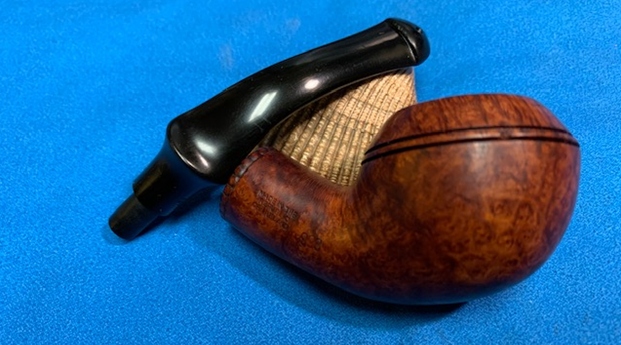
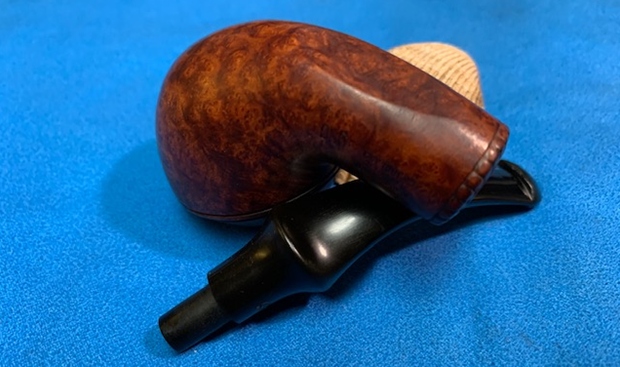
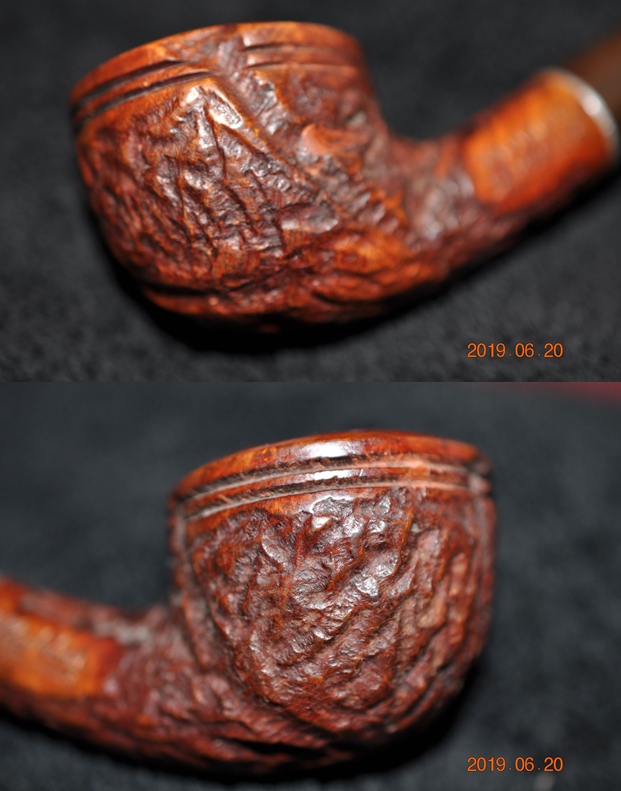
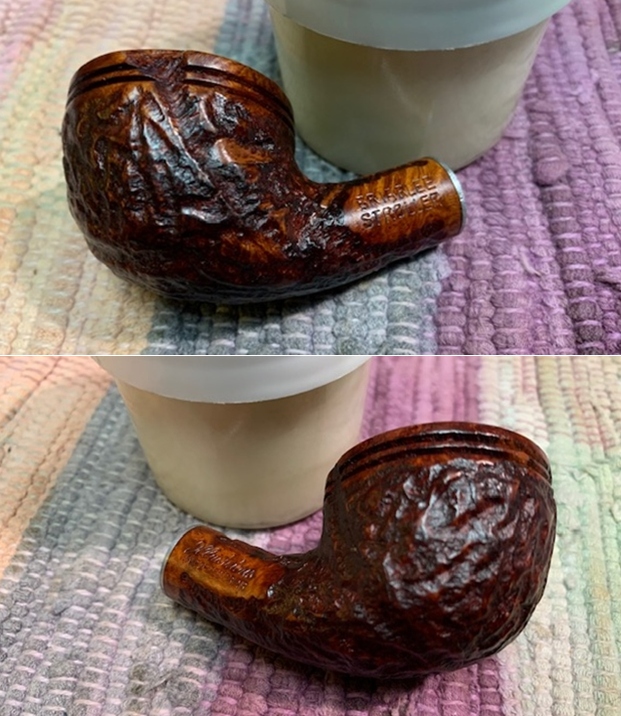
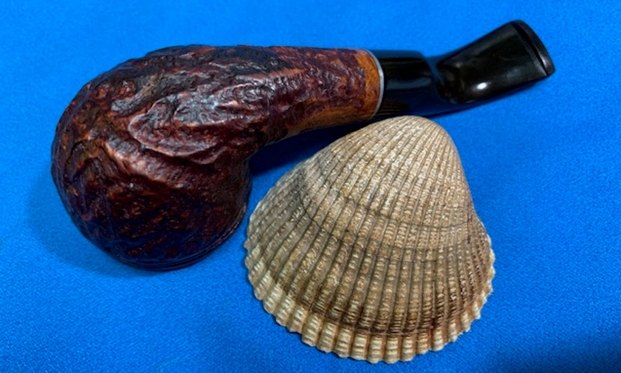
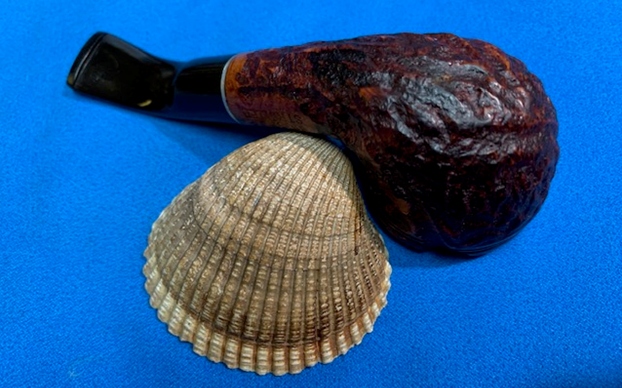
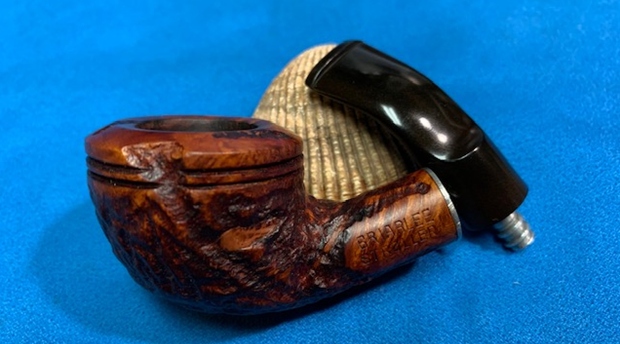
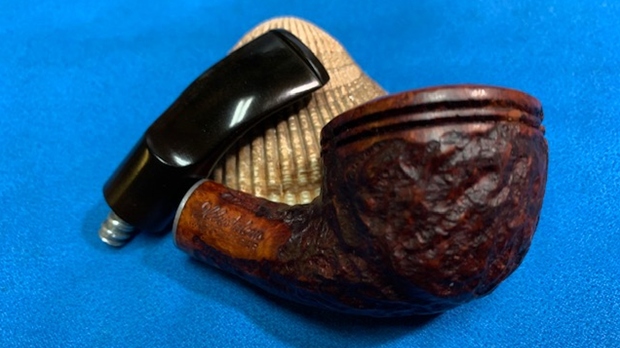
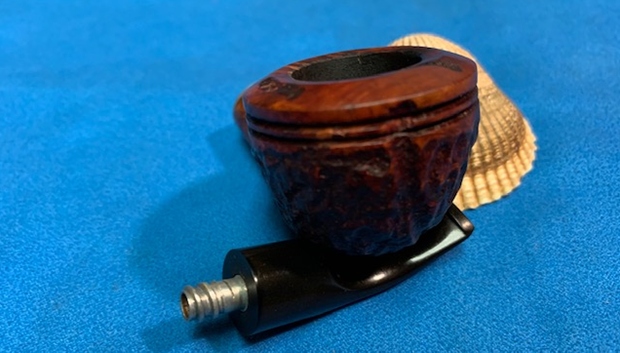
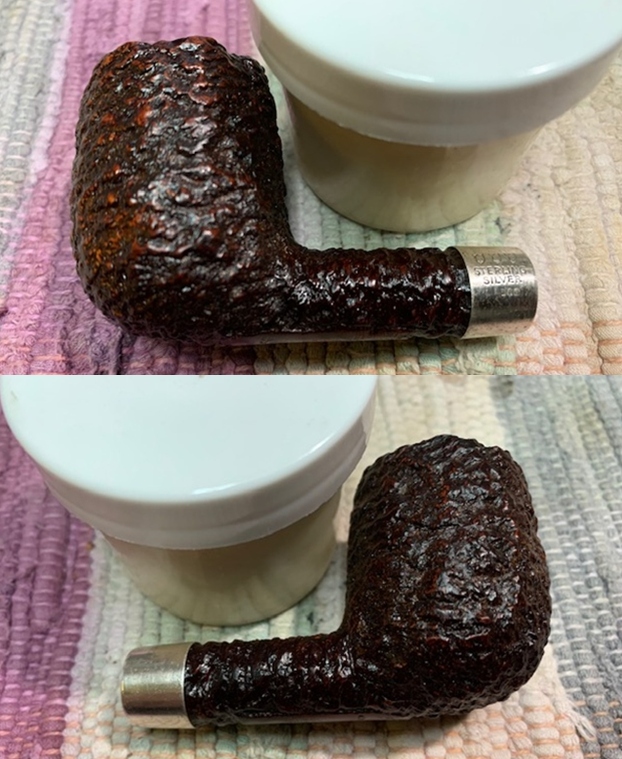
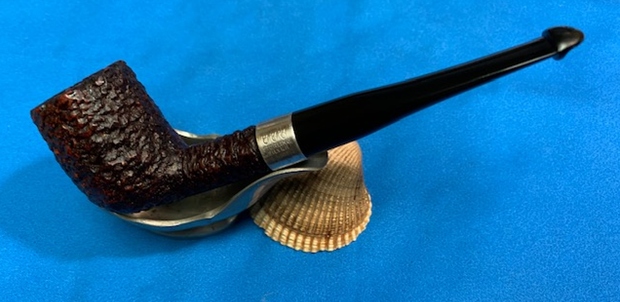
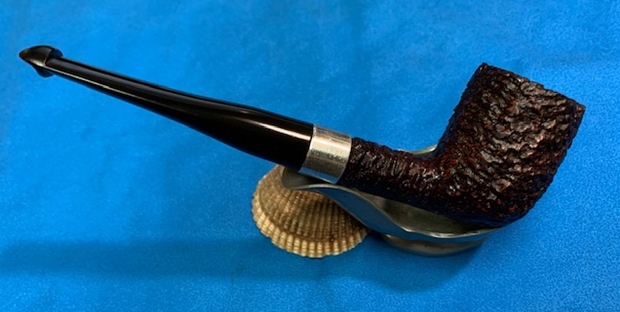
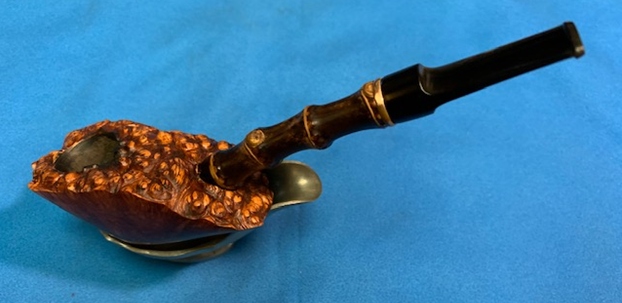
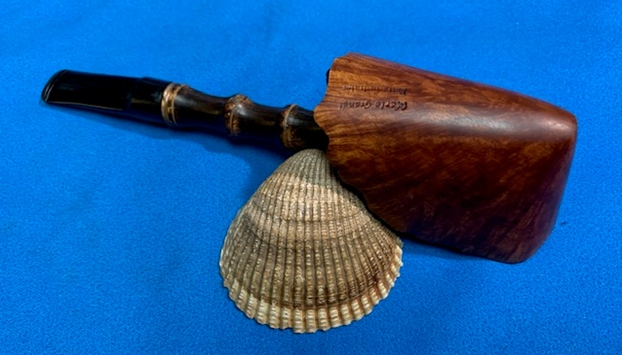
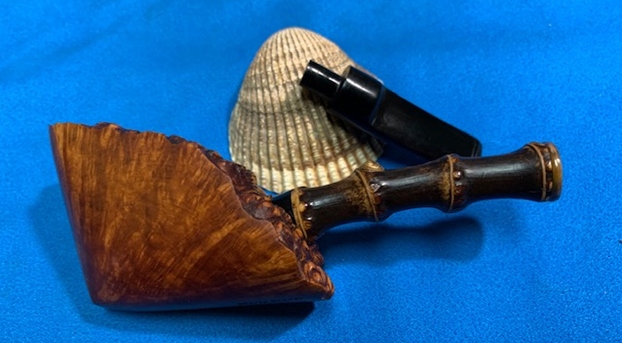
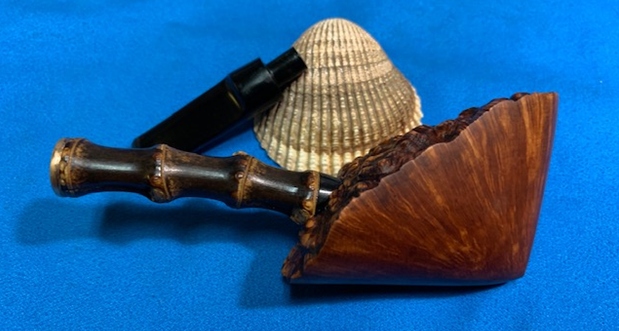
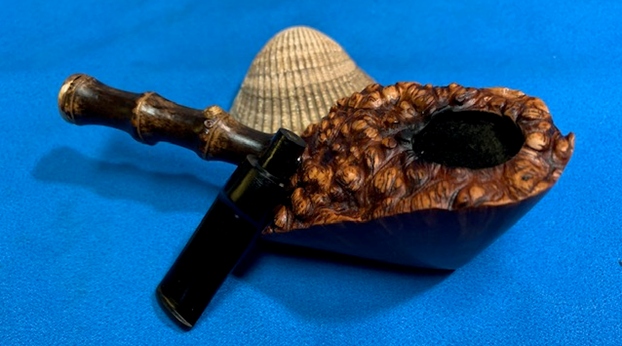
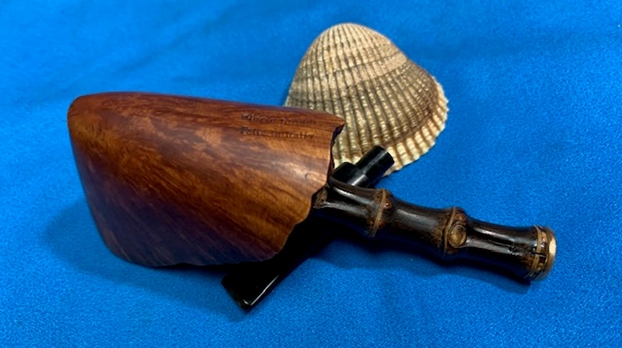
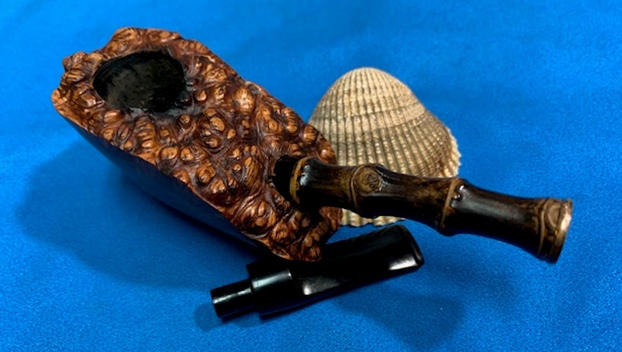
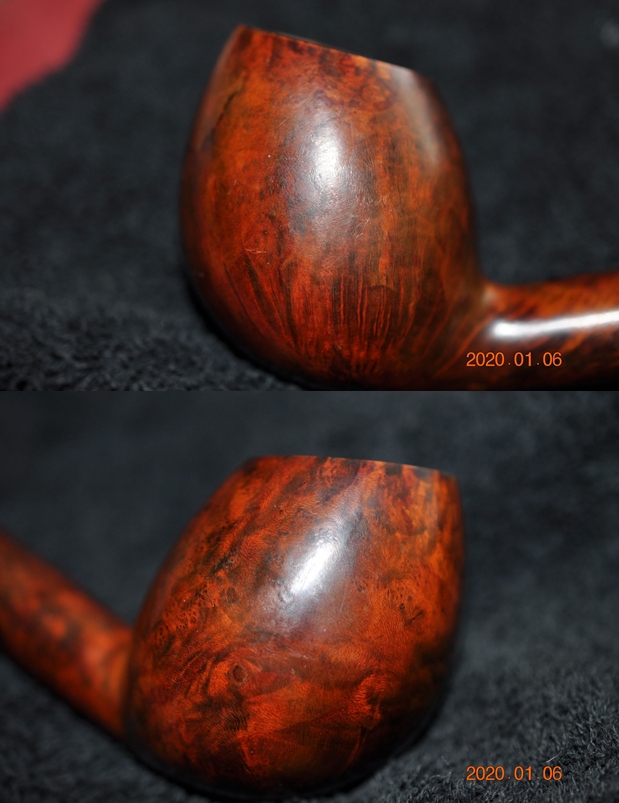
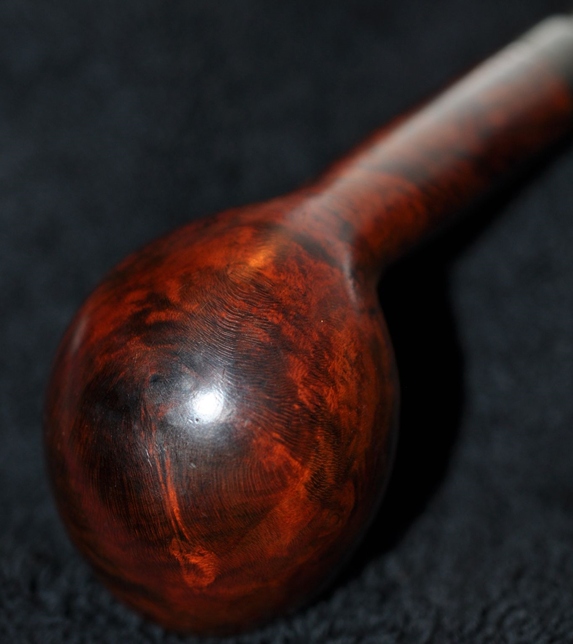
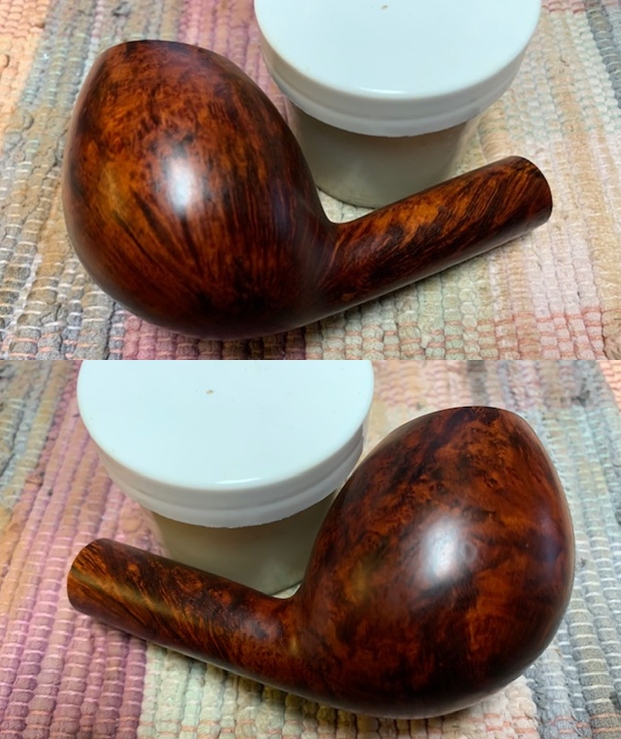
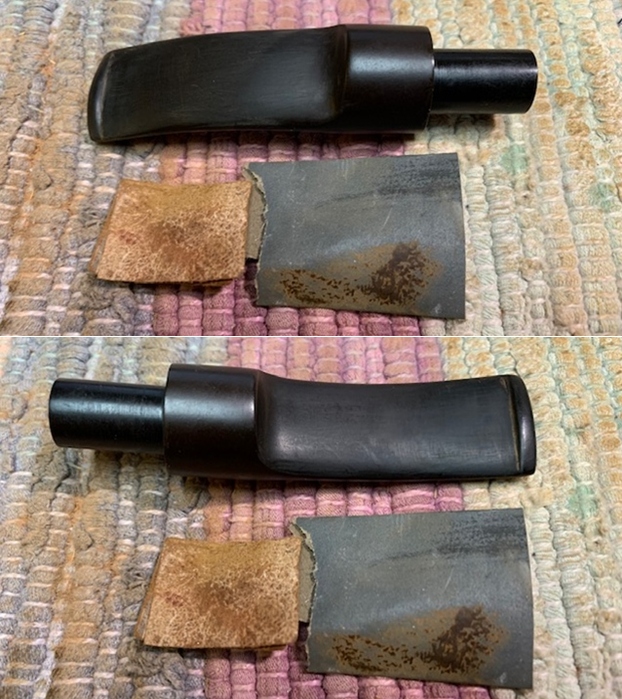
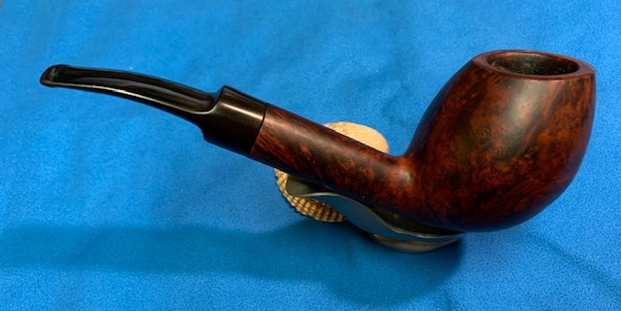
 Jeff took photos of the sides and heel of the bowl to give a picture of what the briar around the pipe looked like.
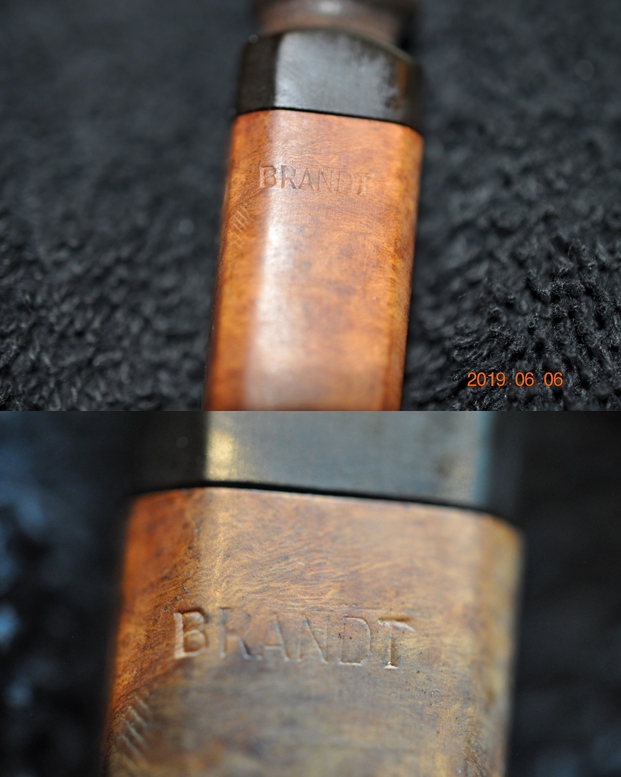
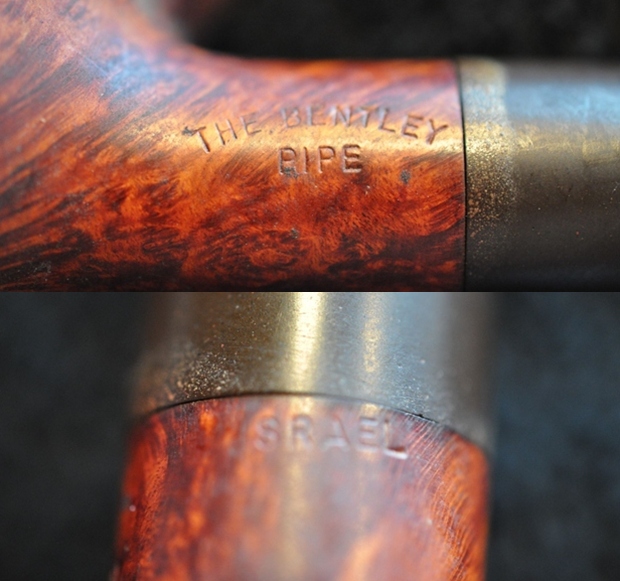
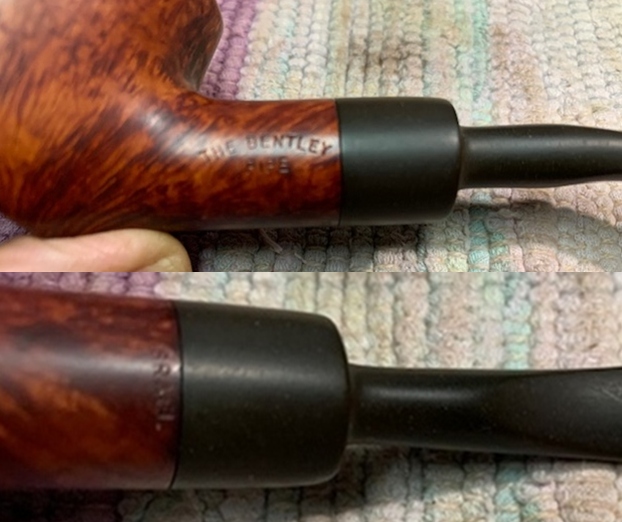
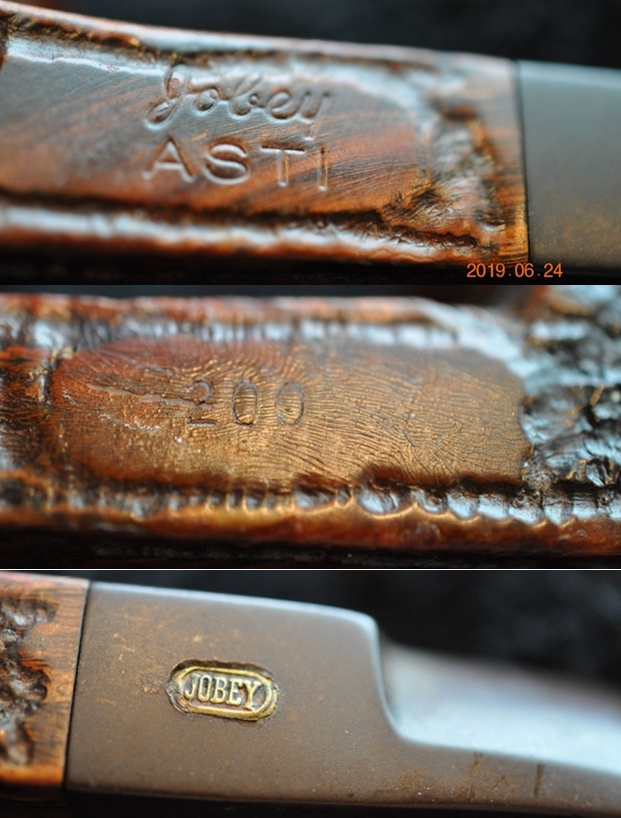
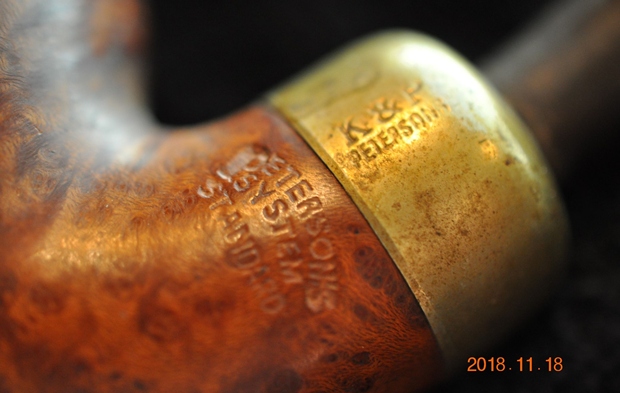
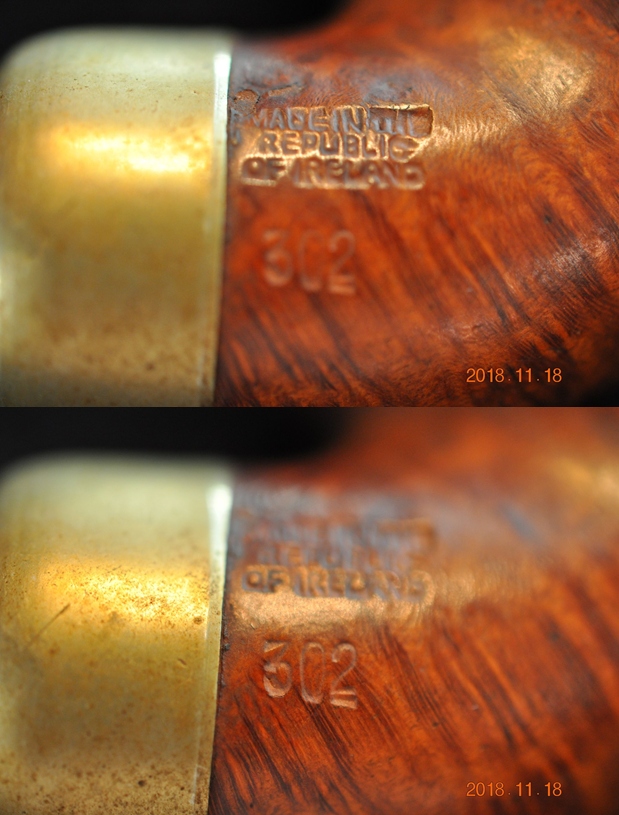
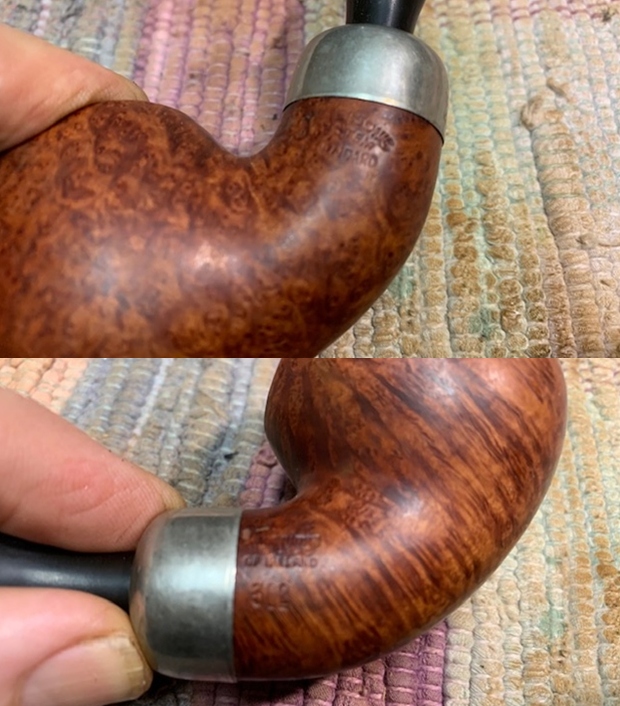
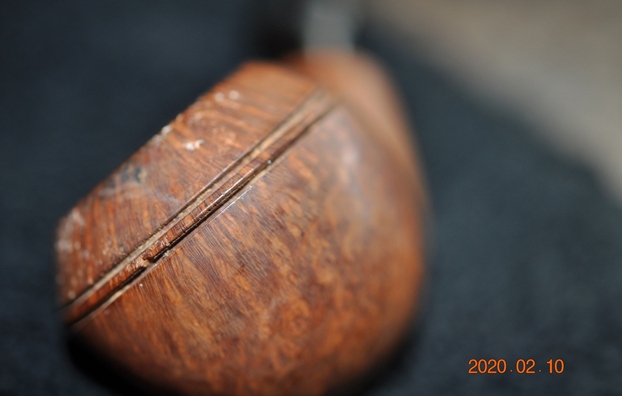
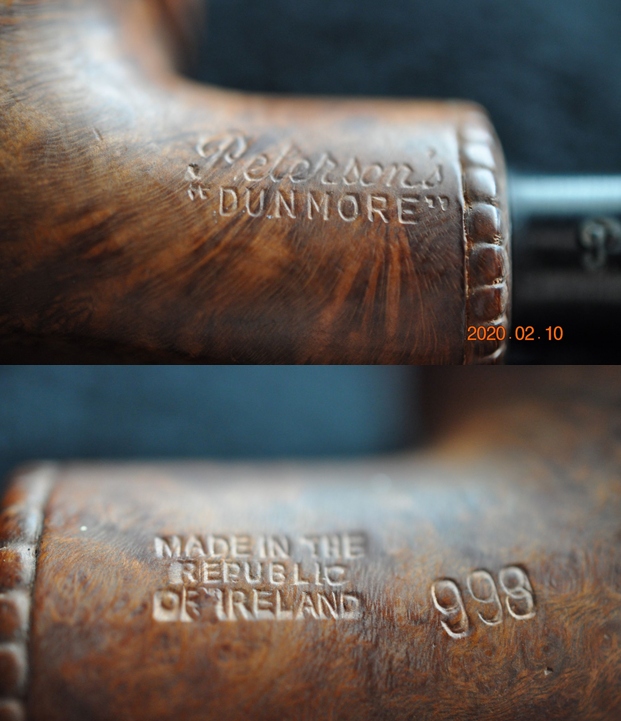
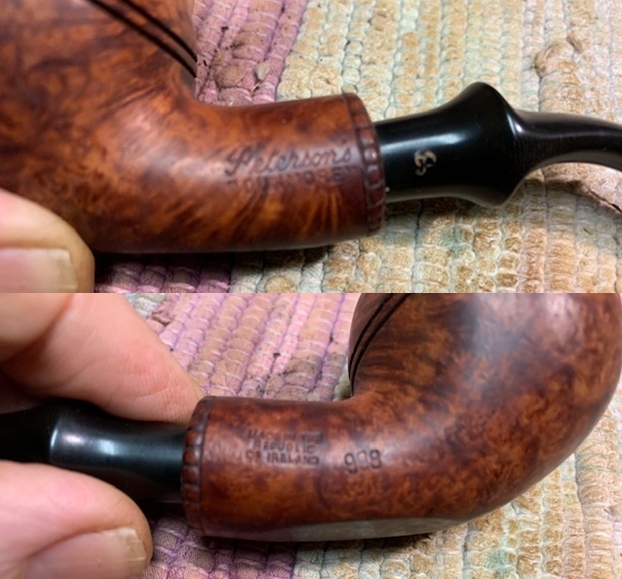
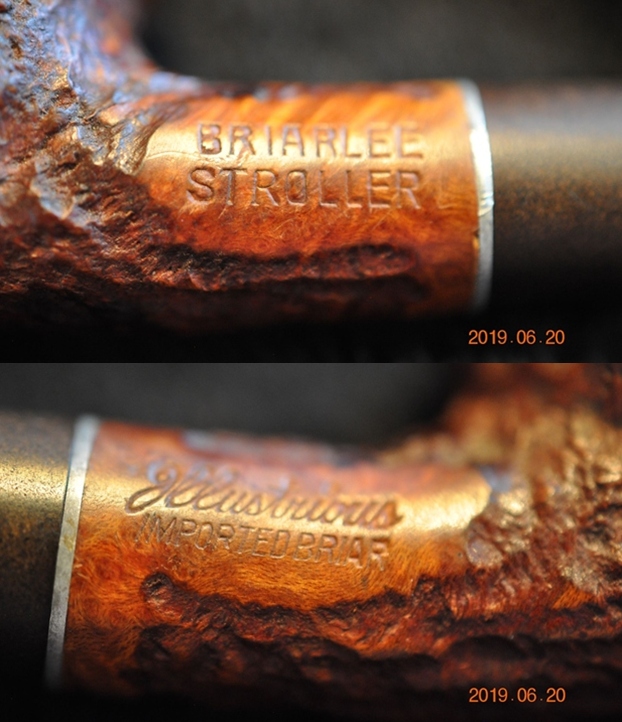
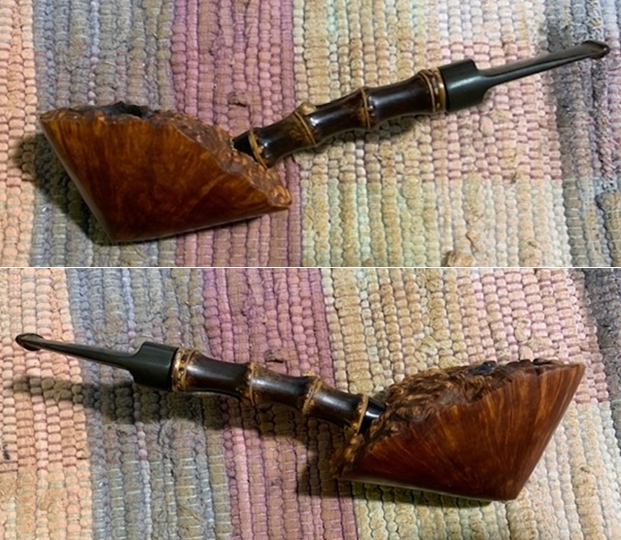
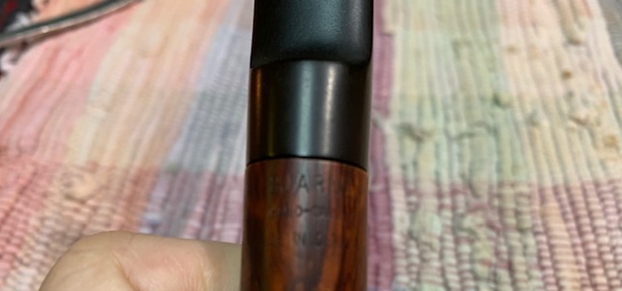
 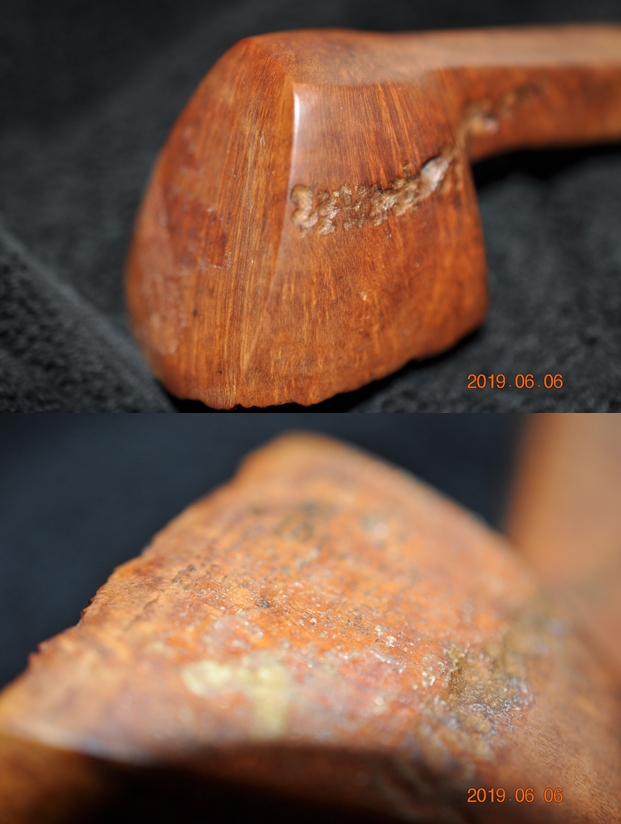 He took photos of the stamping on the top and underside of the shank. It reads as noted above and is clear and readable.
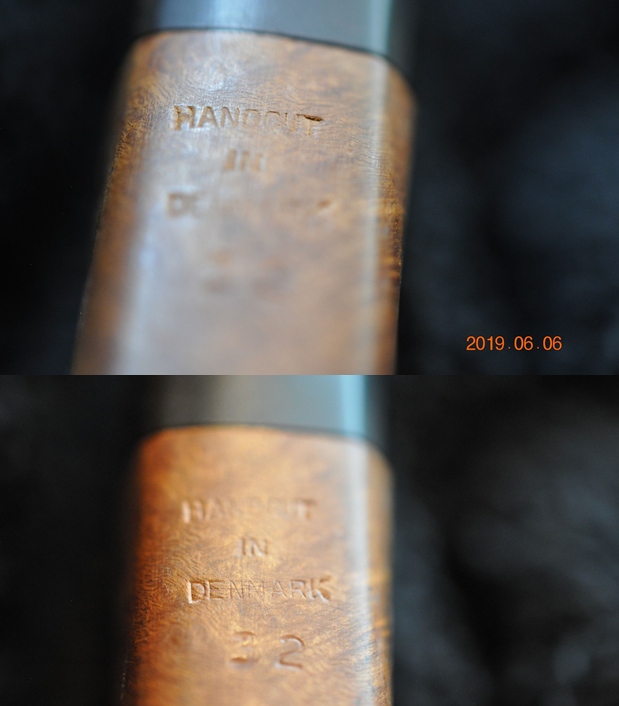
 I turned first to Pipephil’s site (http://www.pipephil.eu/logos/en/logo-h1.html#hansfredbrandt). I found a pipe with the same stamping that was made by Hans Brandt.
 I turned to Pipedia to see what more I could find out on the brand. I looked in the Danish Pipemakers section of Pipedia (https://pipedia.org/wiki/Brandt). There was a great, short article on the brand. I quote it in full below
Hans Brandt is a quite forgotten pipemaker, who worked in the periphery of the legendary Copenhagen pipe shop Pibe-Dan. Very beautifully made, usually rather delicate freehands. Father of pipemaker Fred Brandt and son of pipemaker Frederik Brandt, who made pipes stamped “FBR”. Iwan Ries & Company imported Brandt pipes in the 1970s.
The 1976 Iwan Ries catalog includes this description accompanying a photo of 5 Hans Brandt pipes: “shape conformed.. meet old-fashioned quality in new fashioned shapes – luxury that’s unexpectedly practical! Original..perfectly proportioned! A-B Quality, natural finish..proficiently hand-made in Denmark, only for us. IRC originals..by Hans Brandt..highly talented Danish craftsman. Proud examples of the finest in pipemaking expertise – always ahead of tomorrow, with more devotees every year! Shapes G11 thru G15 – no 2 exactly alike. 24T68-2 $55.00”
That price is roughly $250 in 2020 dollars. They appear on the same page with 2 other “A-B quality” lines of pipes; Savinelli Autographs retailing for $110, and a new line of Danish fancies by Andersen going for $90.
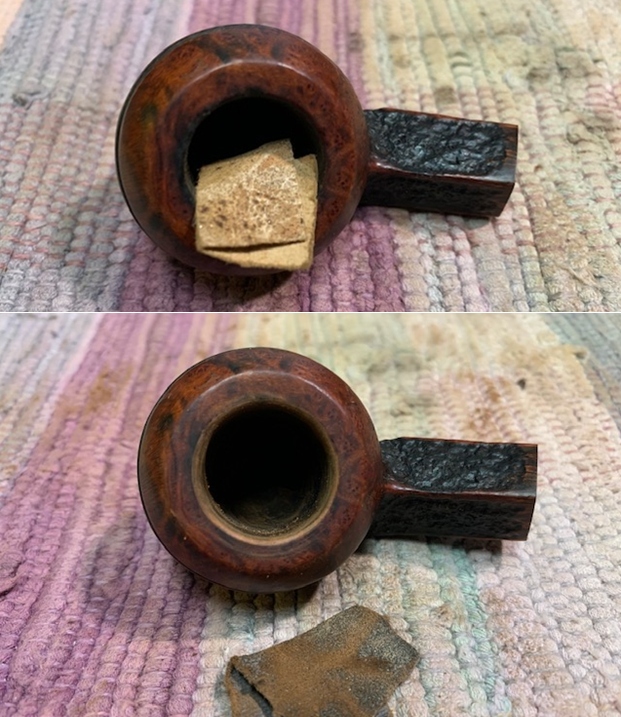
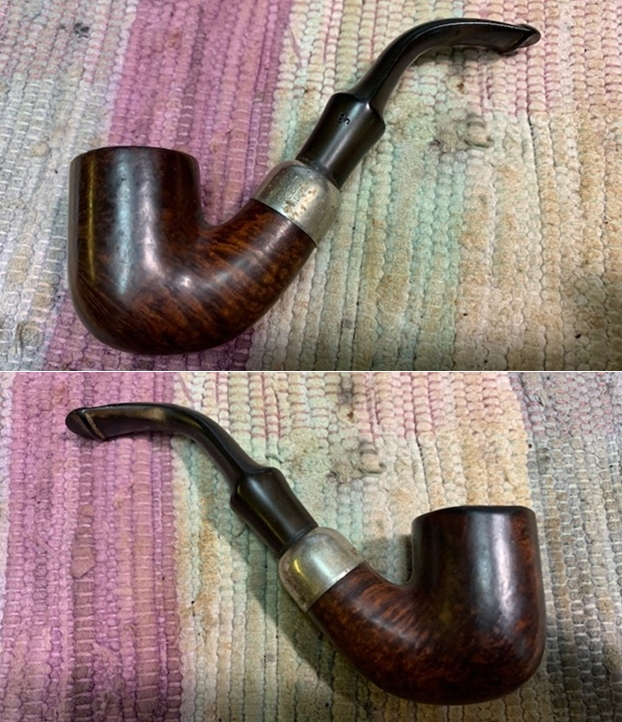
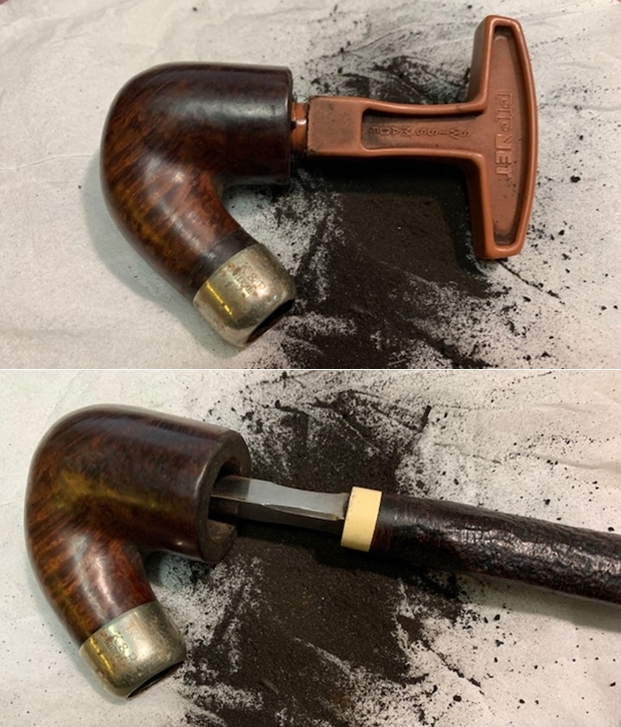
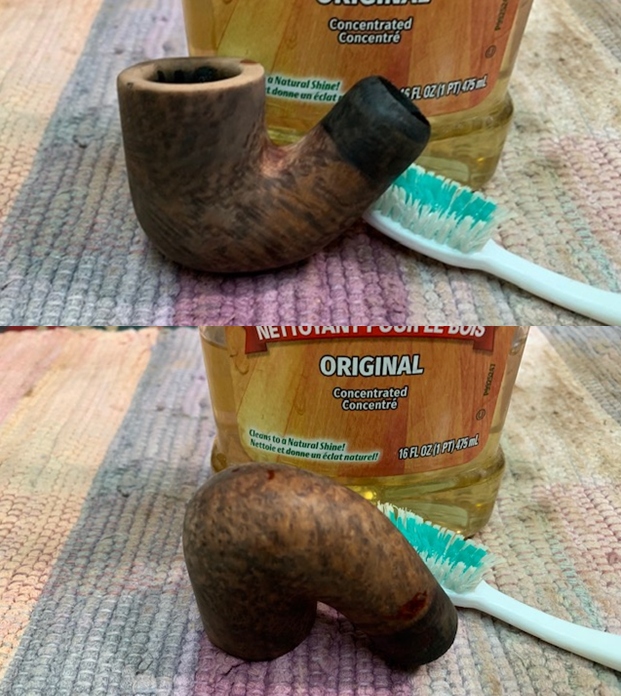
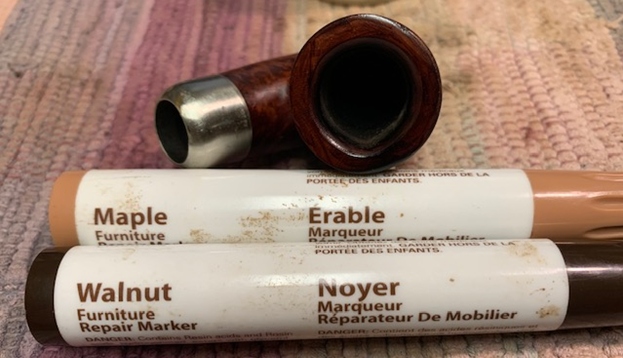
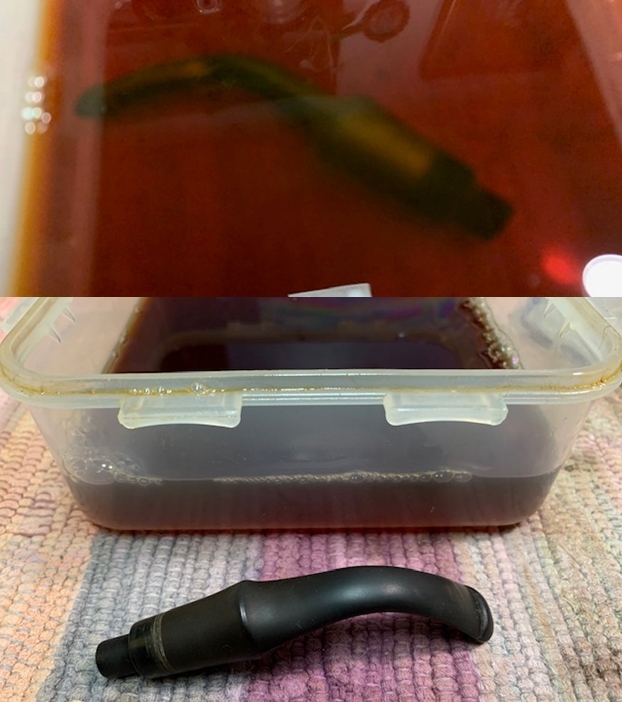
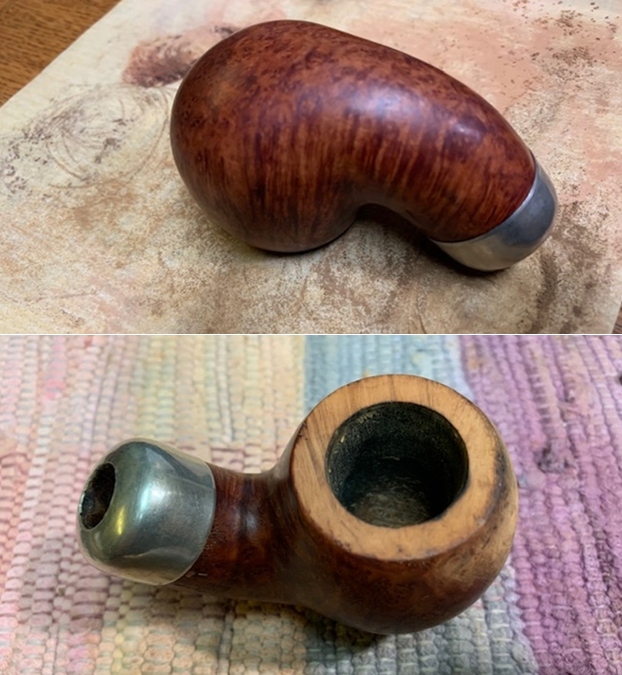
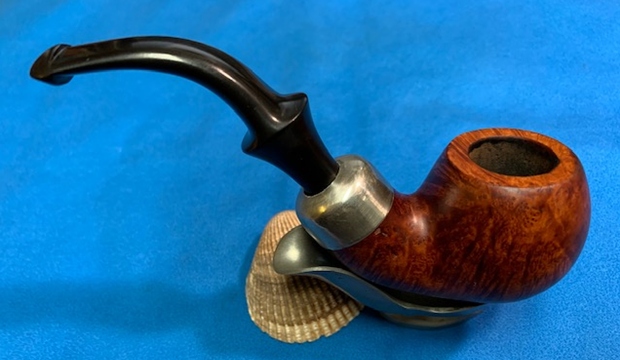
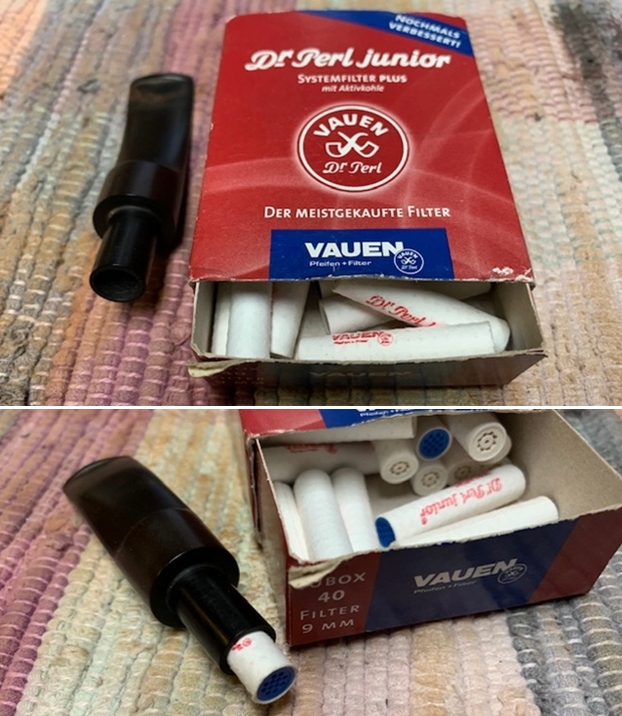
Now it was time to work on the pipe. Jeff had cleaned up the pipe with his usual penchant for thoroughness. He reamed the pipe with a PipNet Pipe Reamer and cleaned up the remnants with a Savinelli Fitsall Pipe Knife. He scrubbed the bowl with undiluted Murphy’s Oil Soap with a tooth brush. He rinsed it under running warm water to remove the soap and grime. He cleaned out the inside of the shank and the airway in the stem with alcohol, cotton swabs and pipe cleaners. He soaked the stem in Before & After Deoxidizer and rinsed it off with warm water. I took photos of the pipe once I received it. 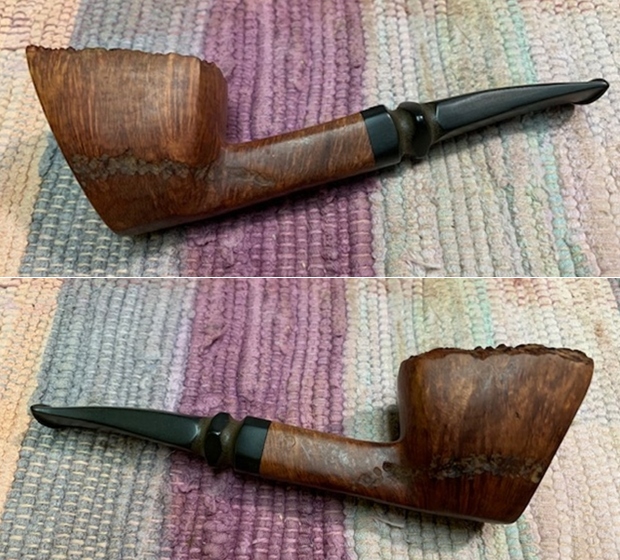
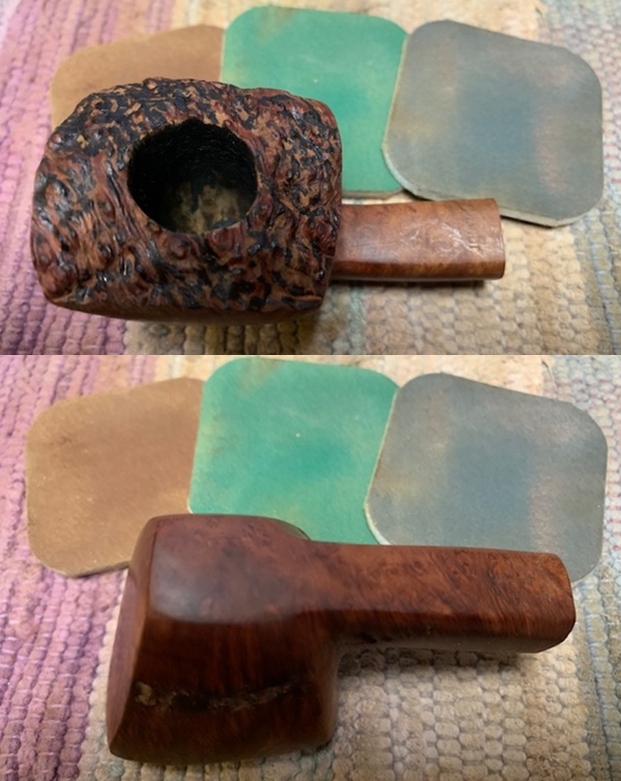
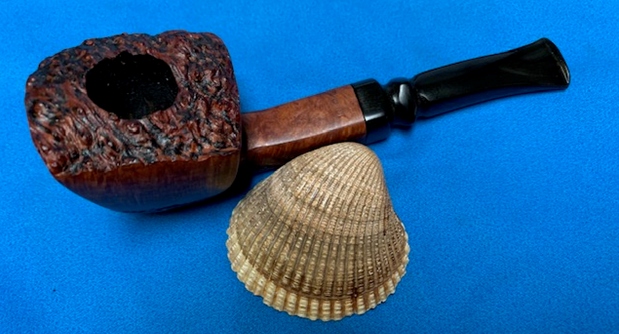
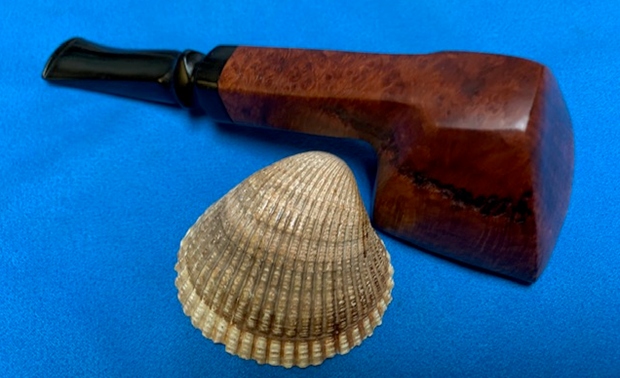
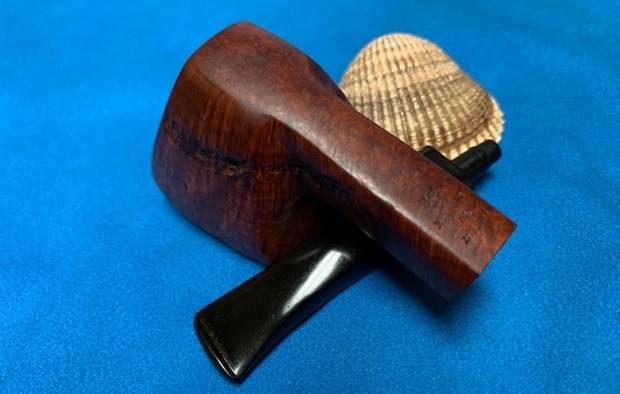
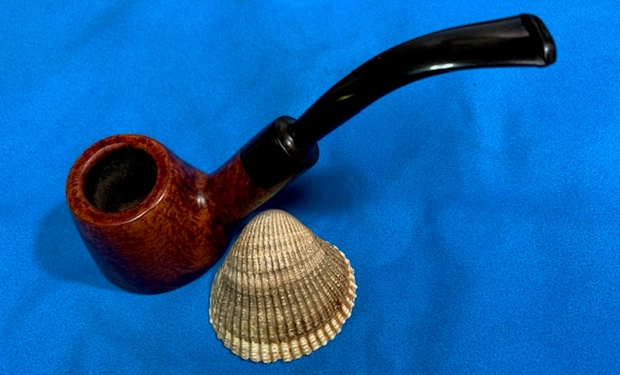
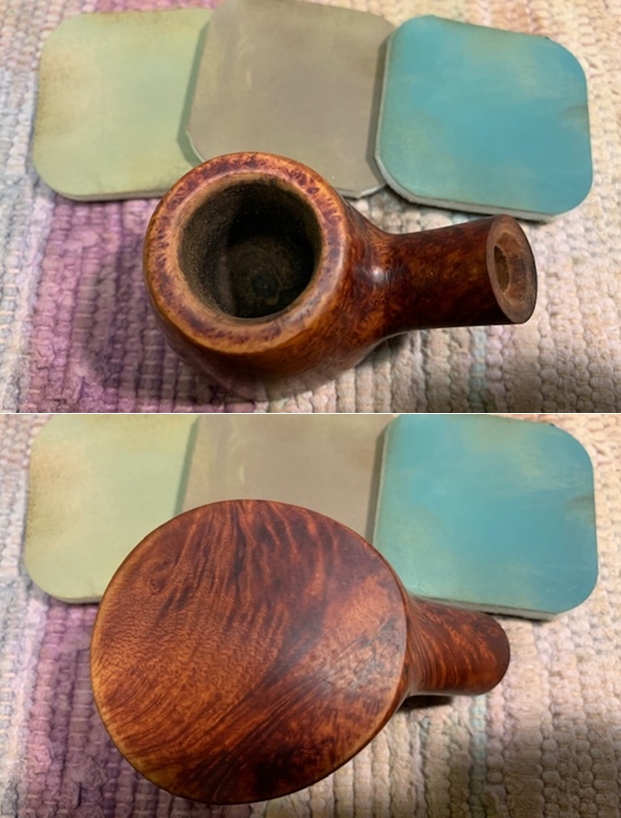
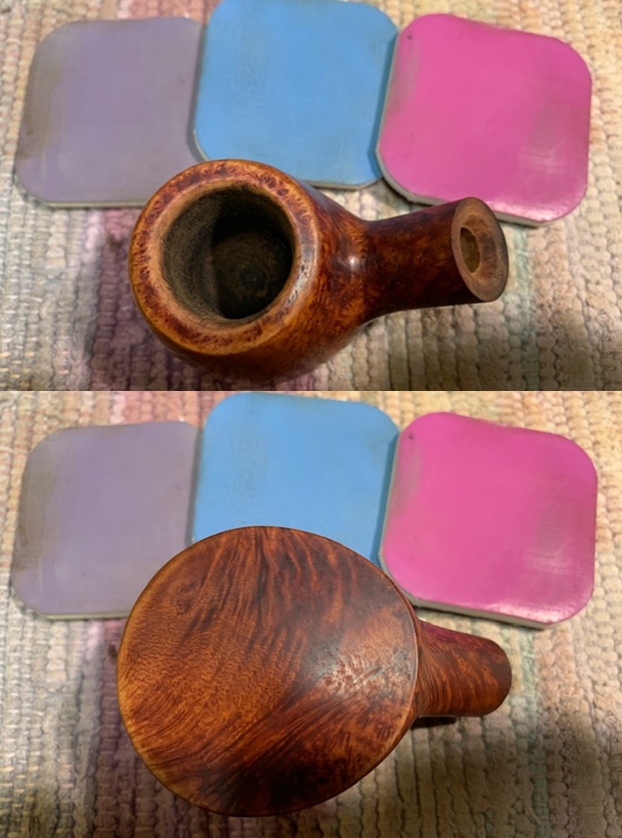
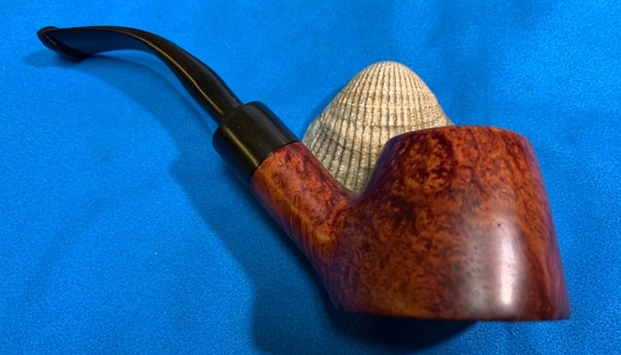
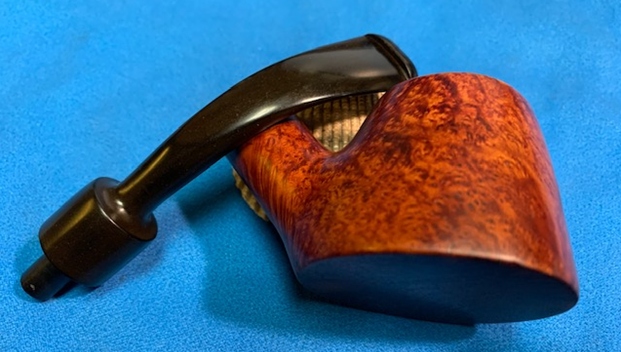
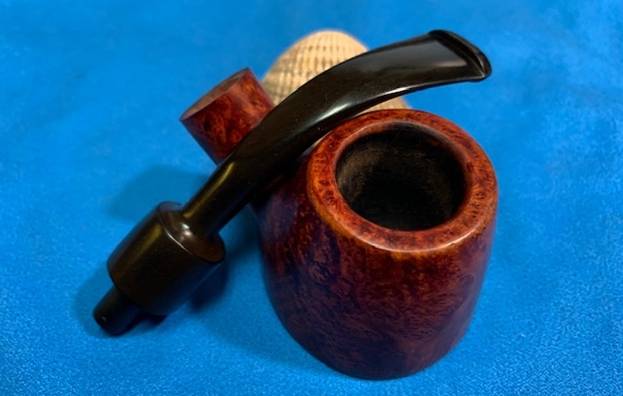
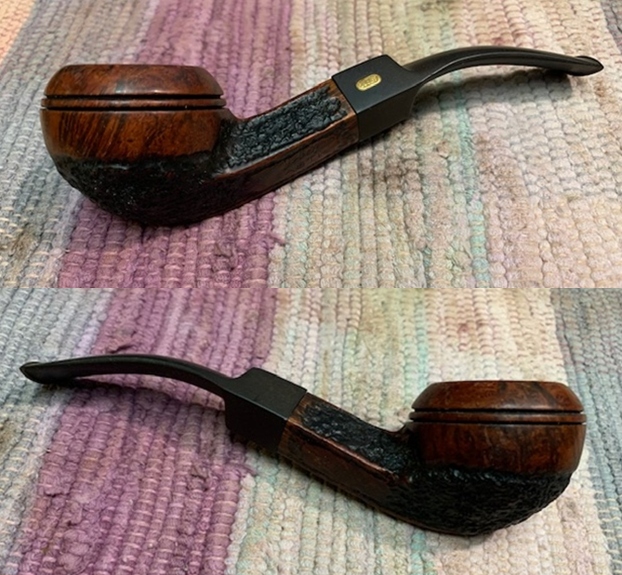
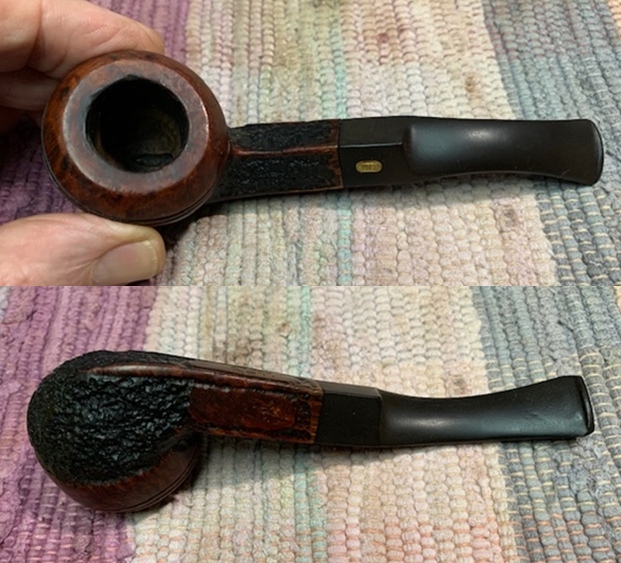
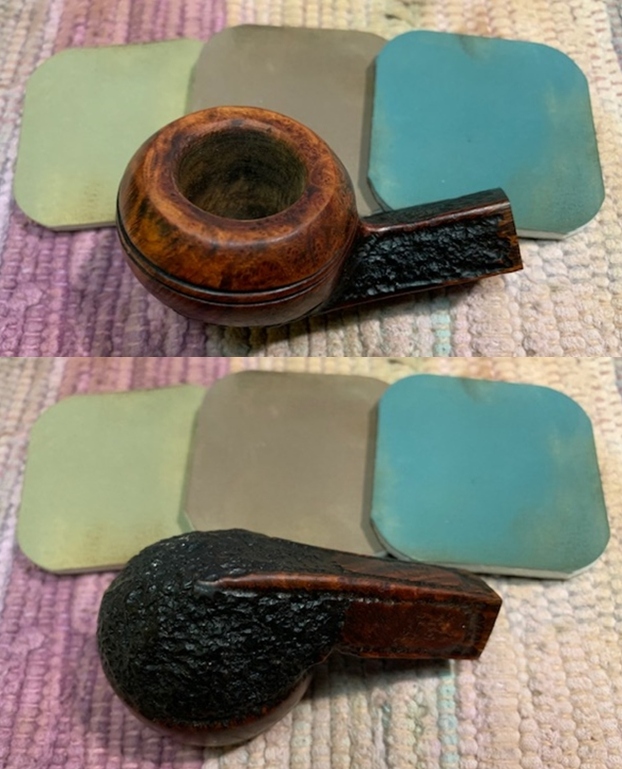
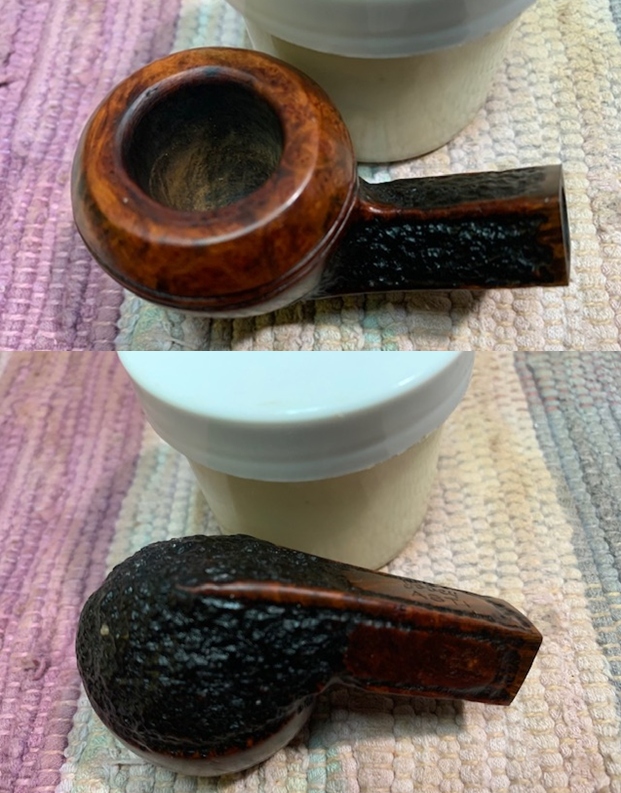
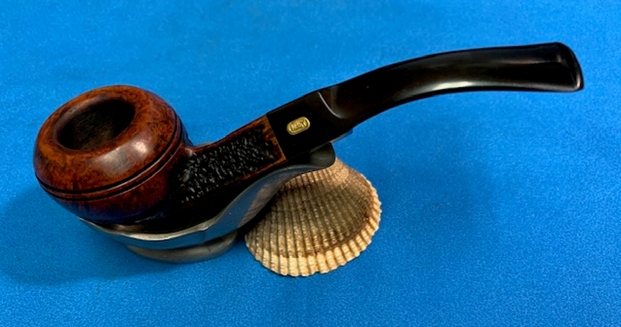
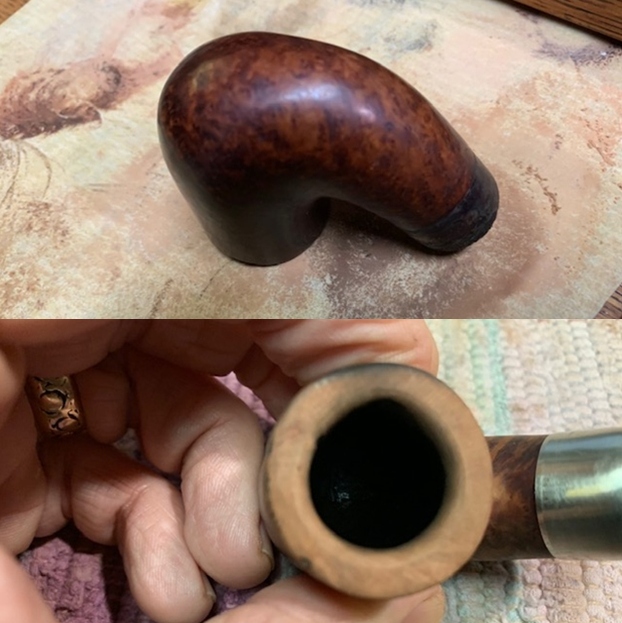
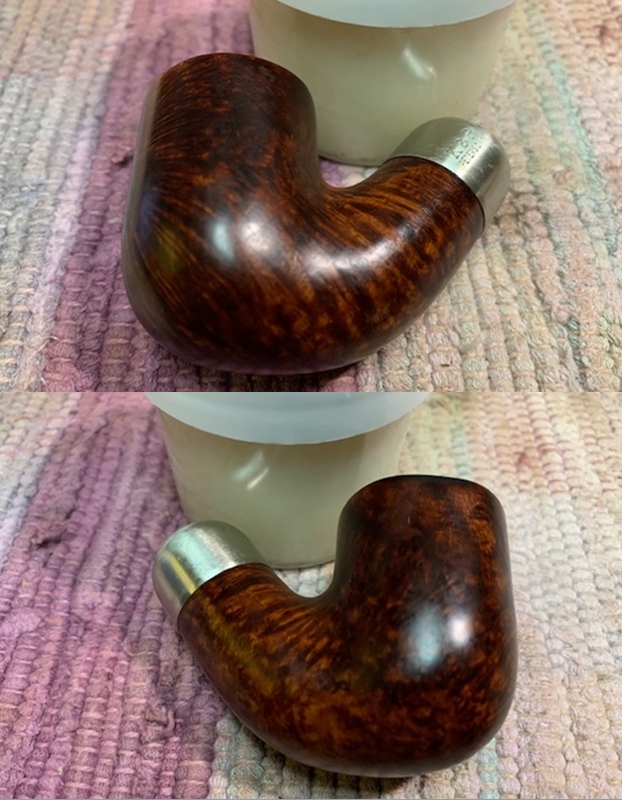
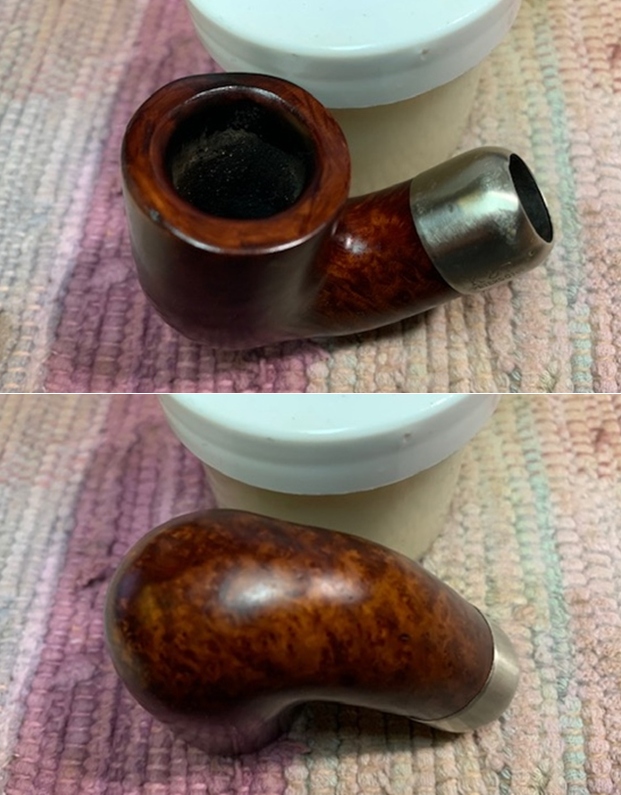
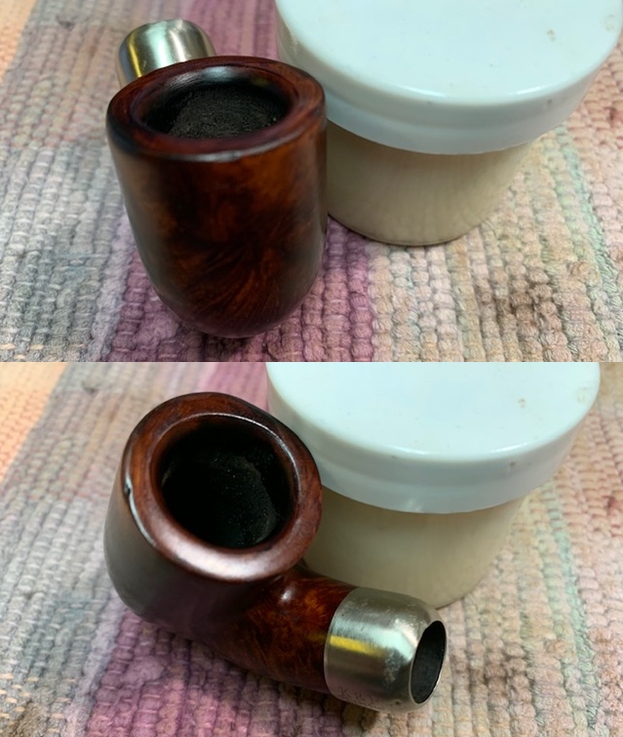
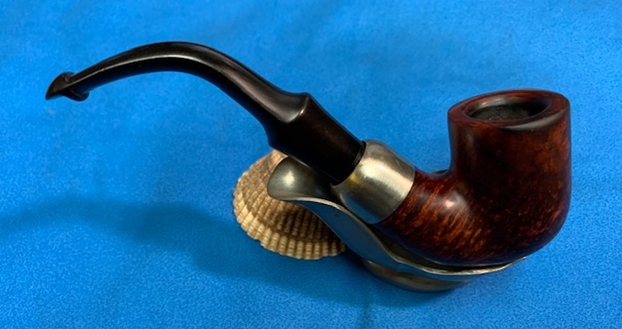
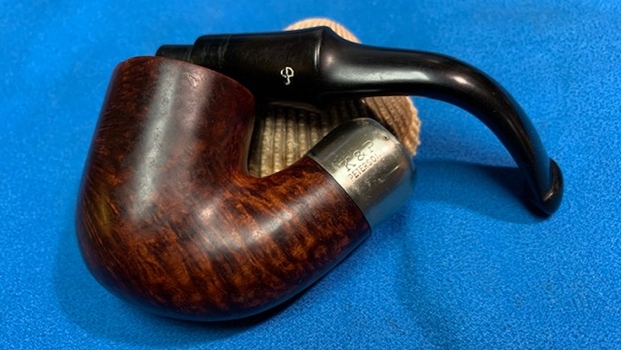
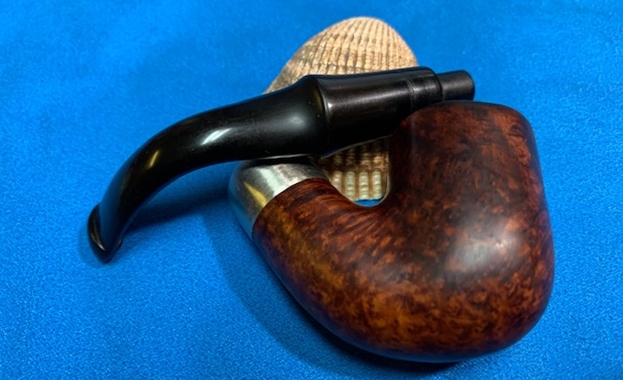
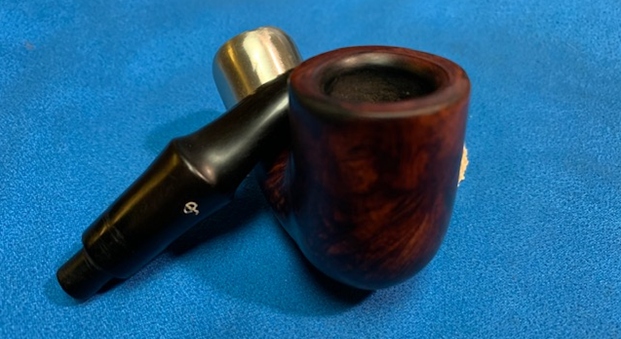
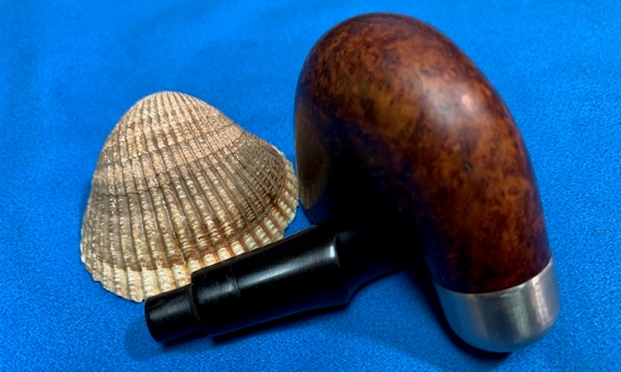
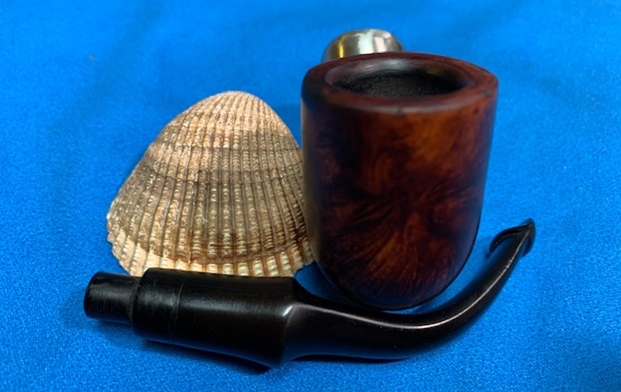
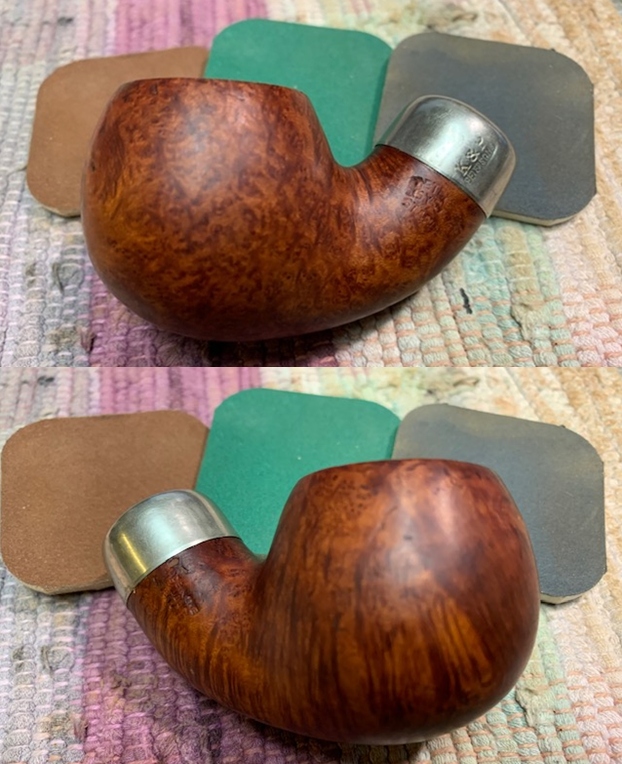
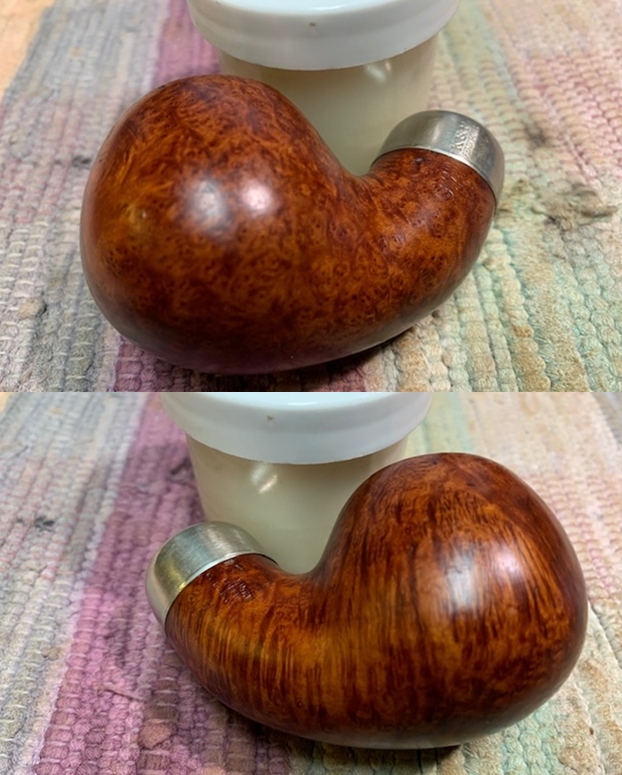
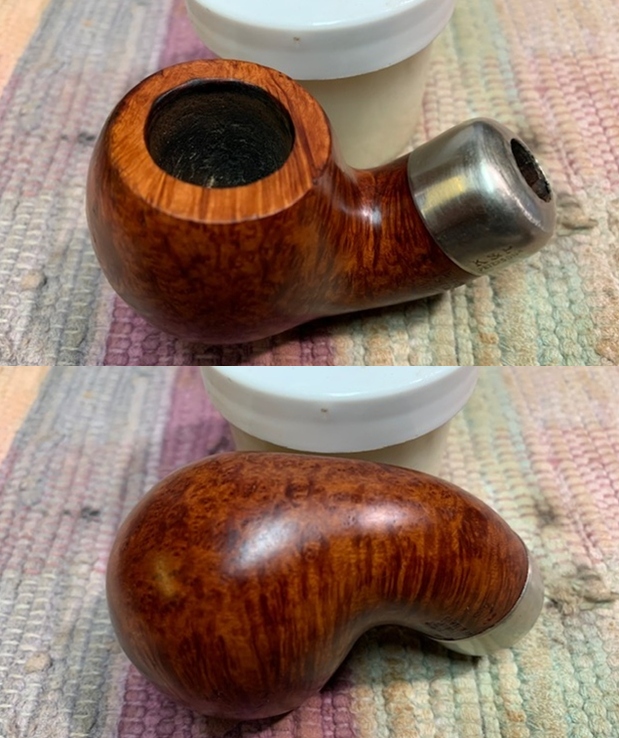
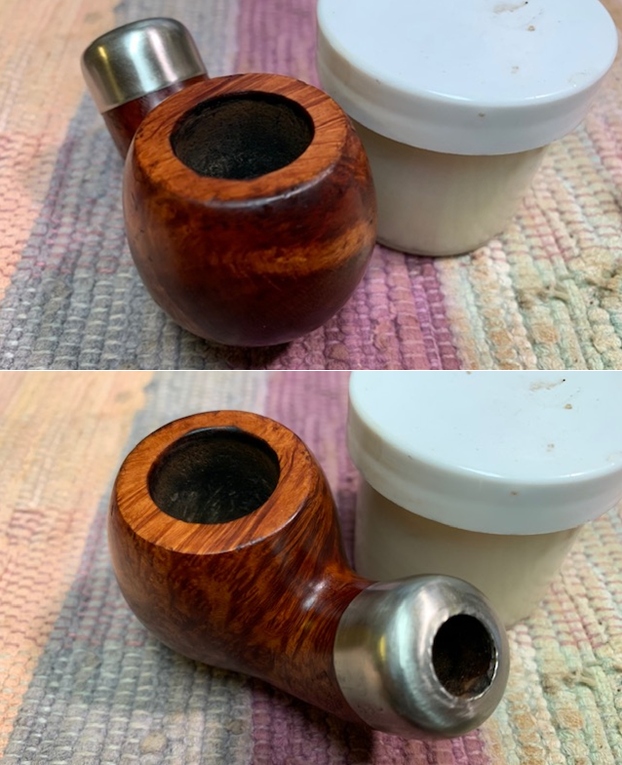
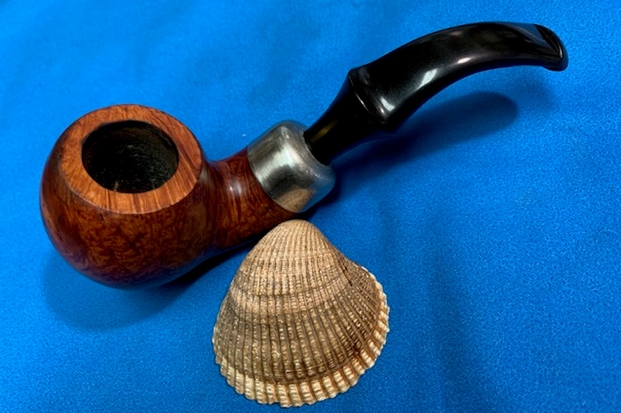
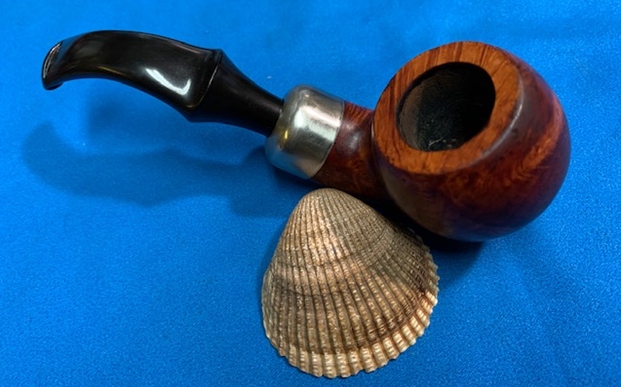
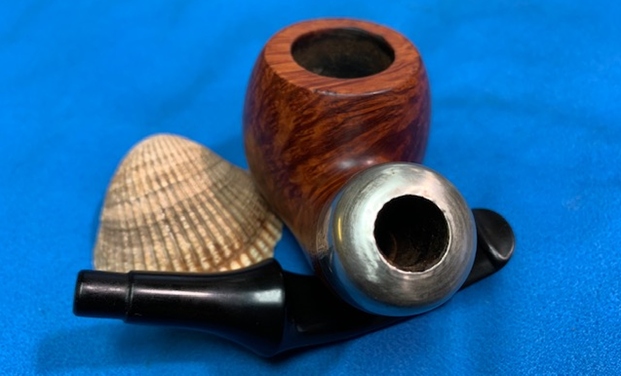
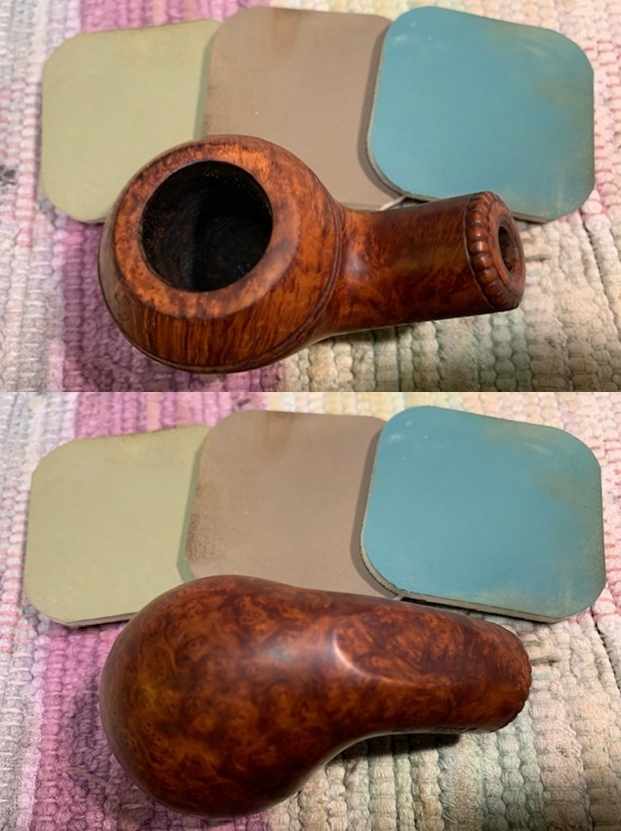
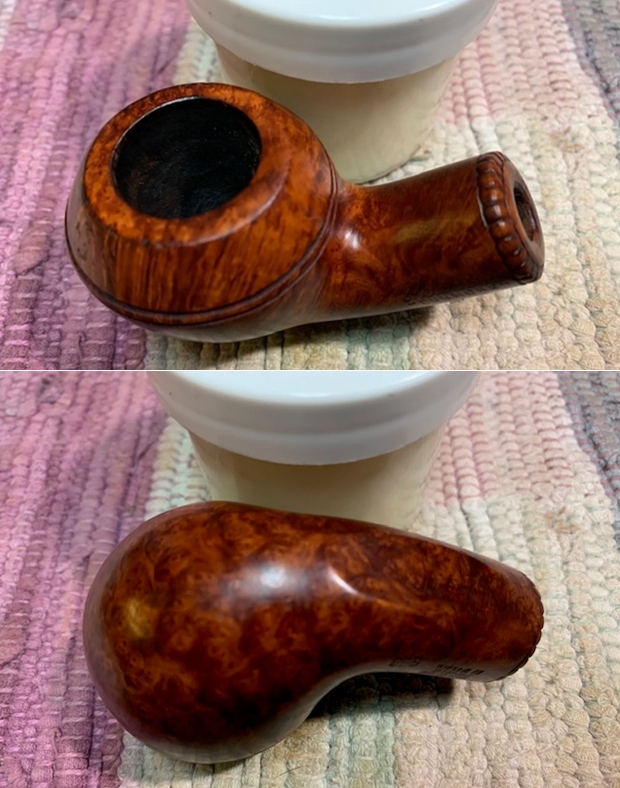
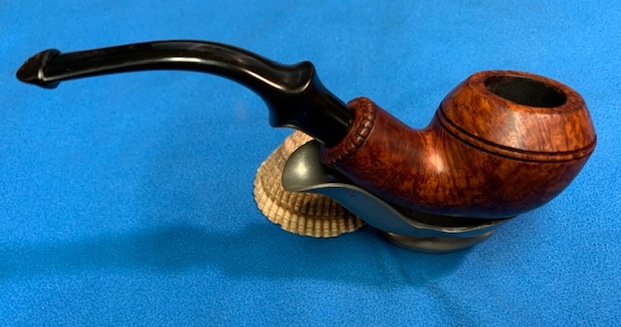
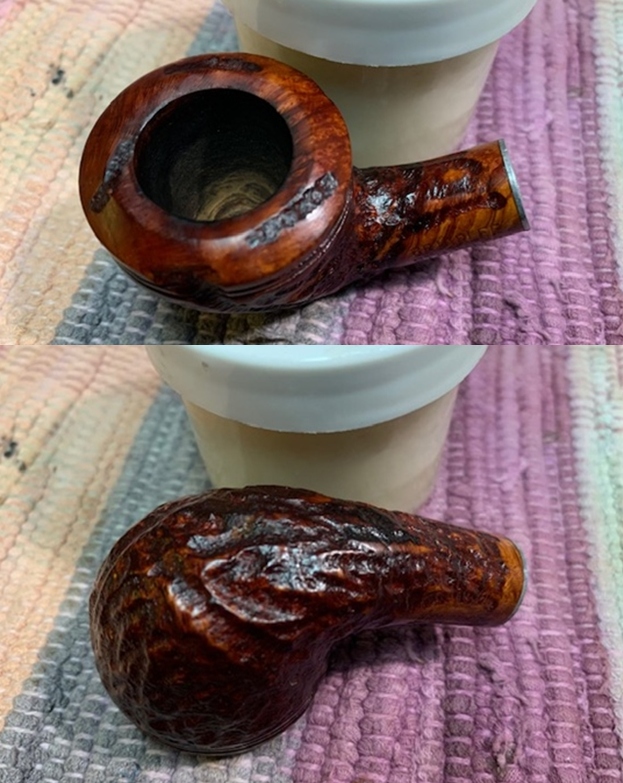
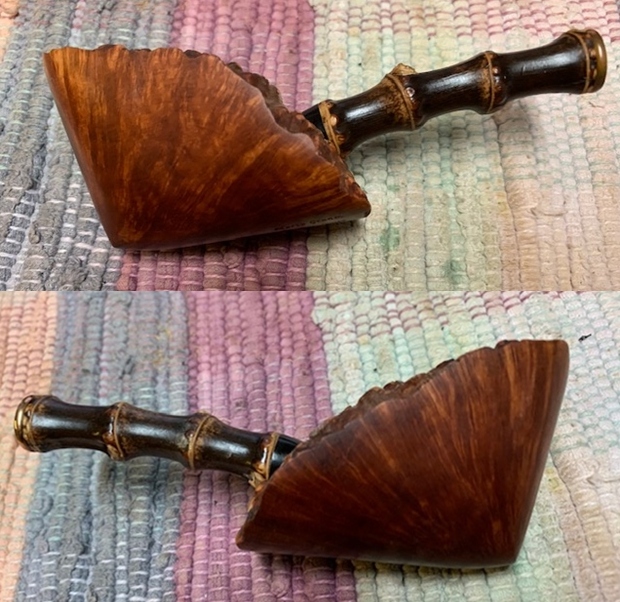
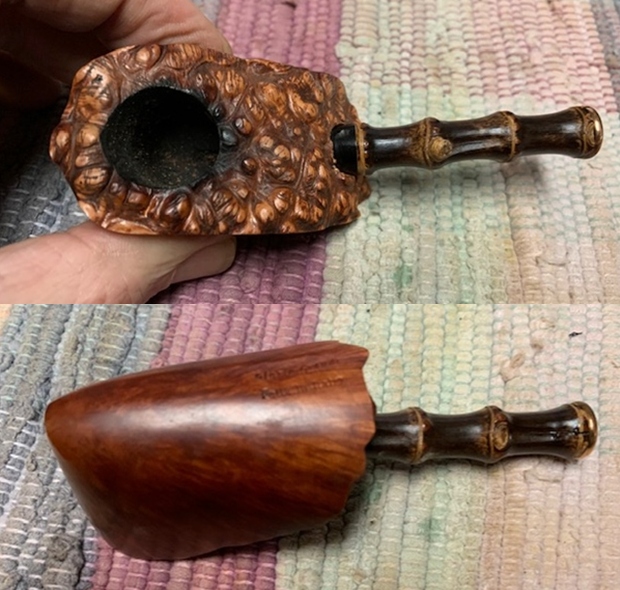
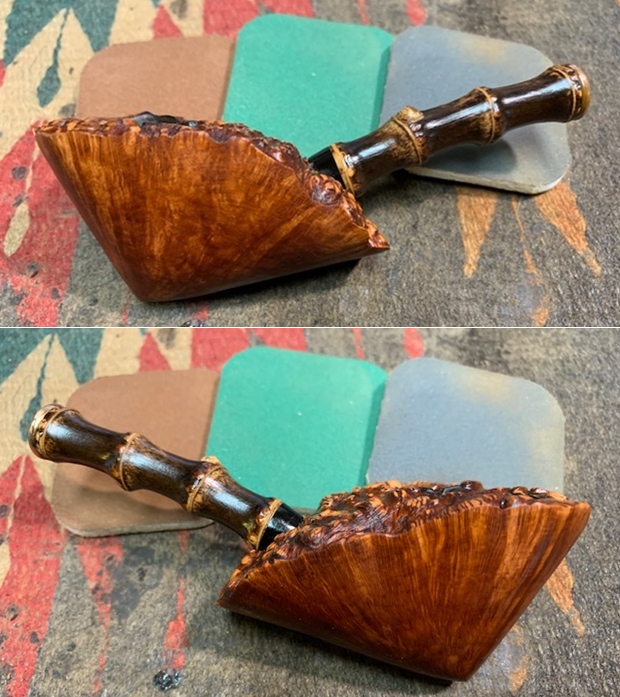
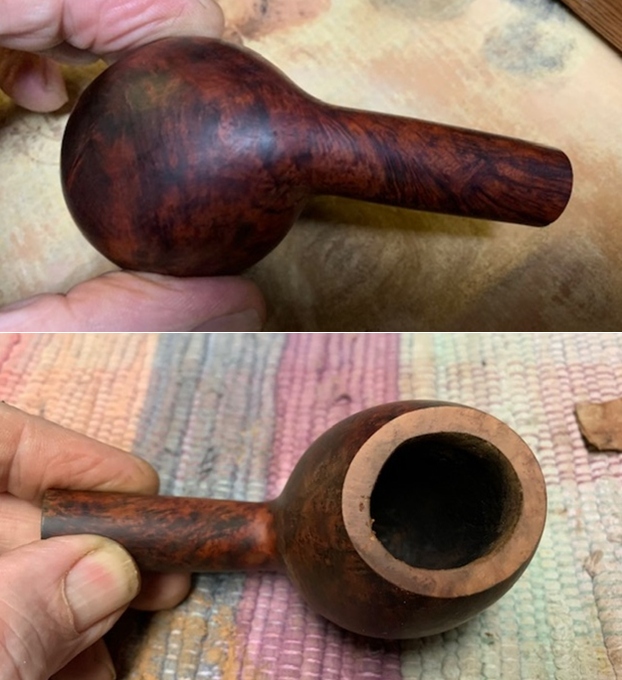
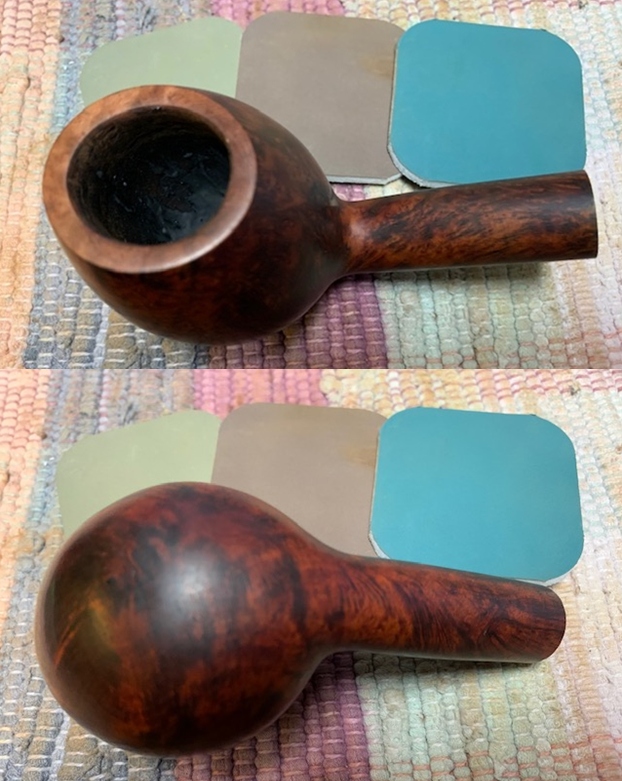
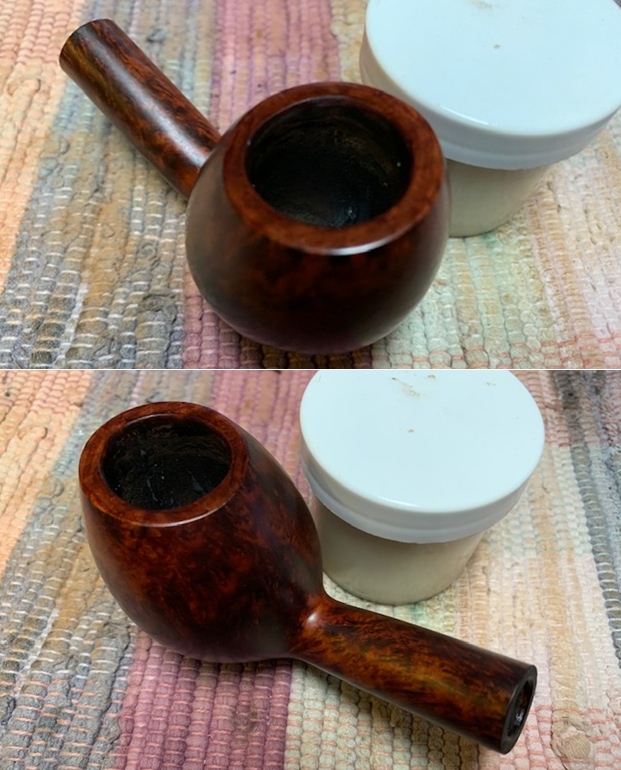
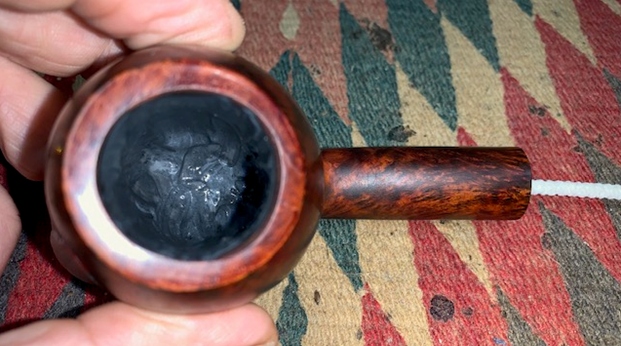
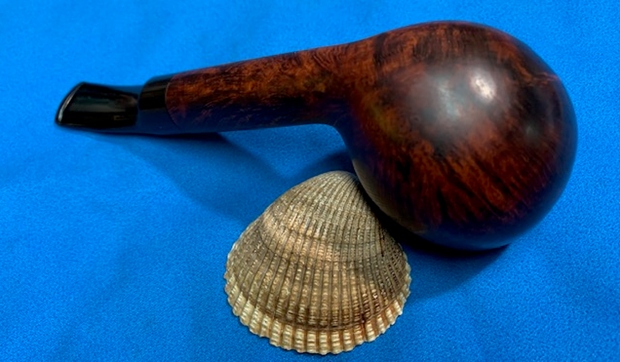
 The plateau rim top and inner edge of the rim looked good. The stem surface looked very good with some light tooth marks and chatter on both sides near the button. It also had some residual oxidation.
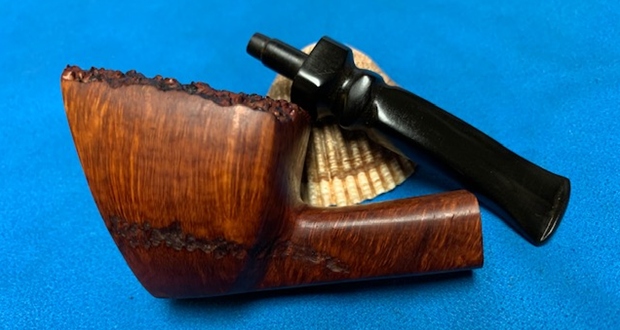
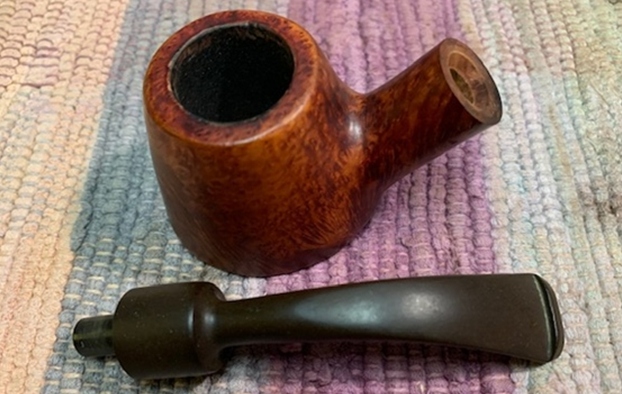
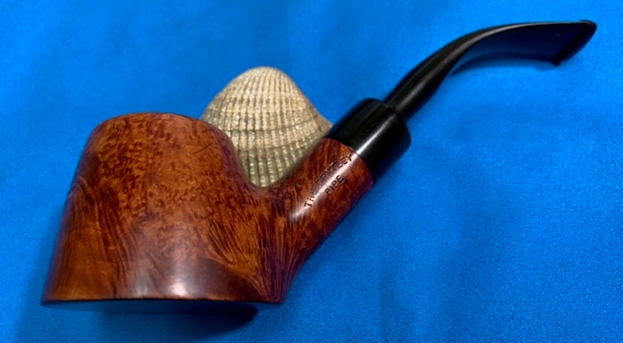
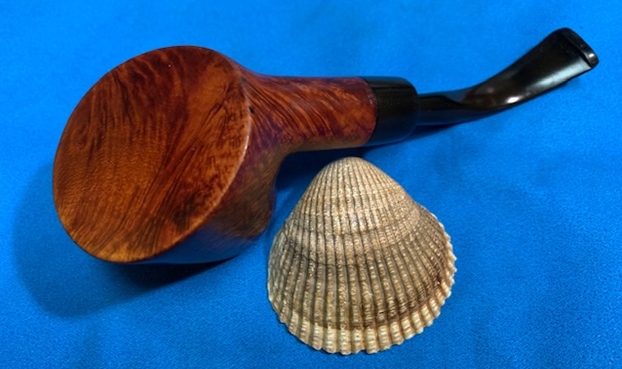
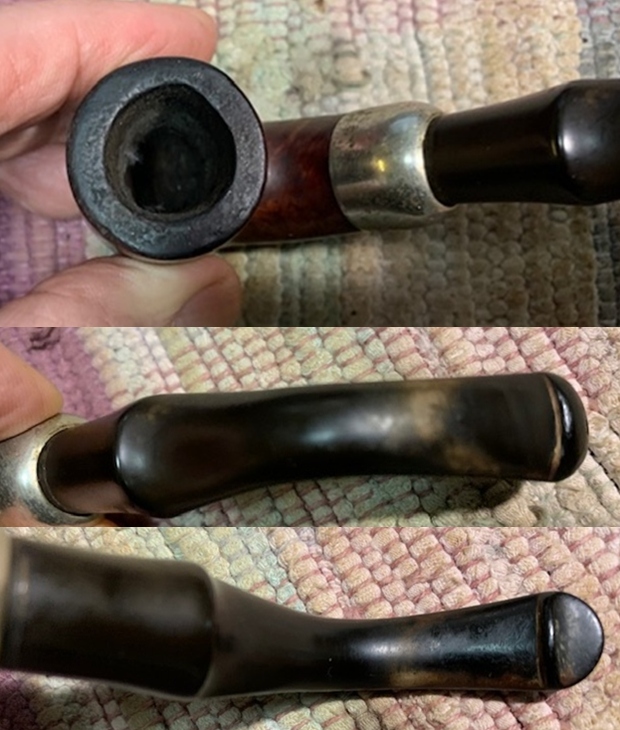
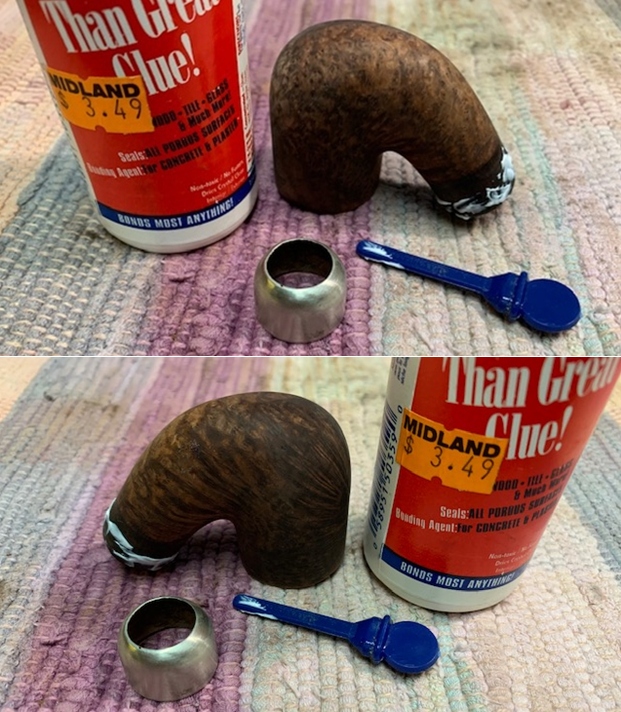
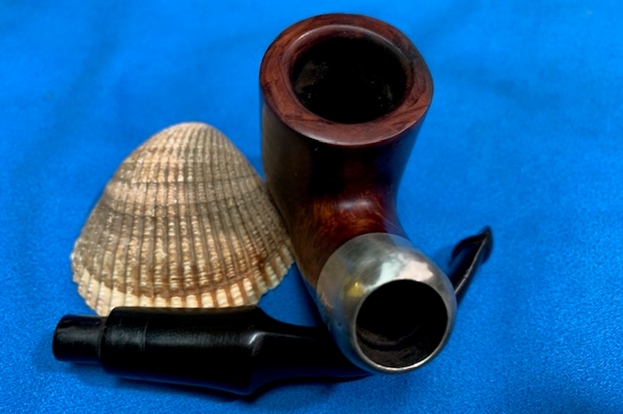
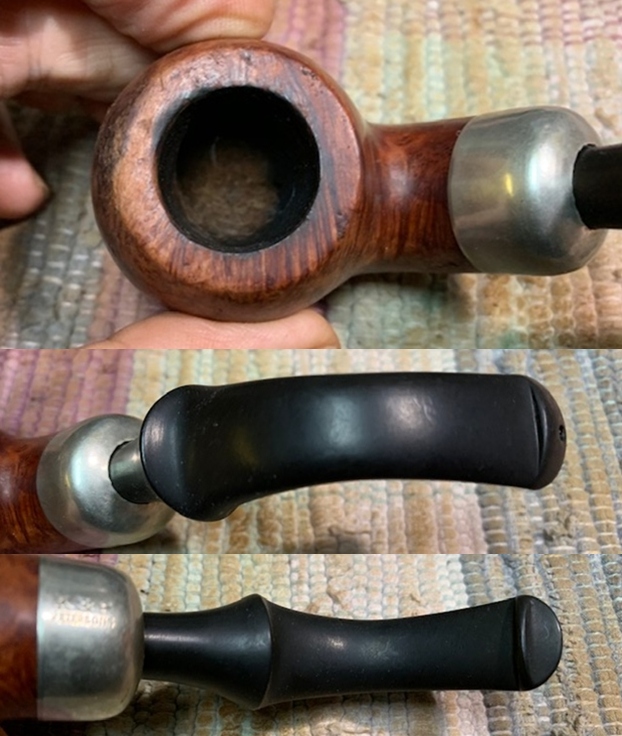
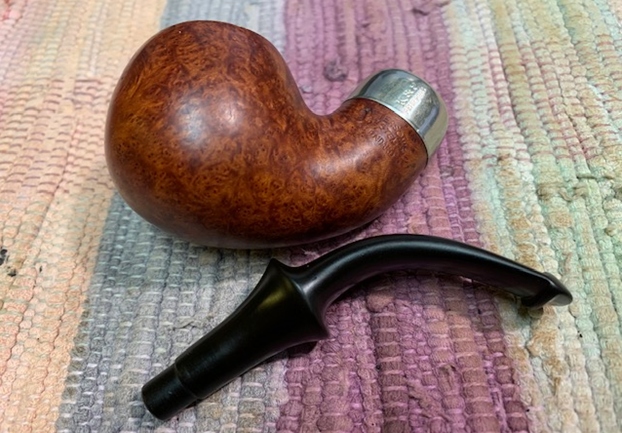
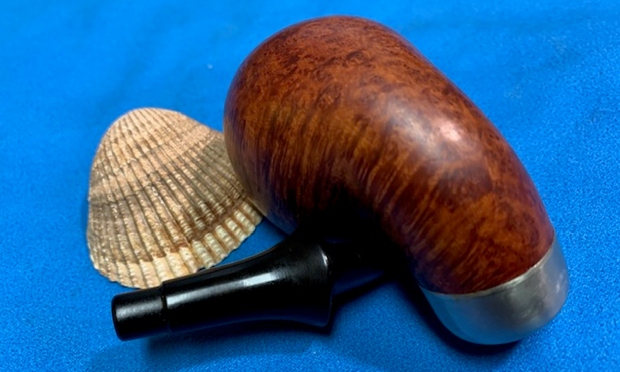
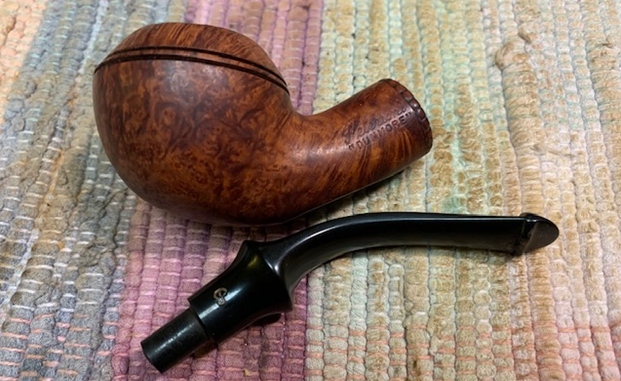
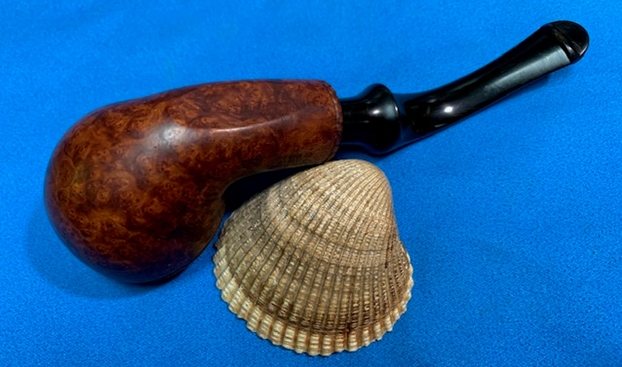
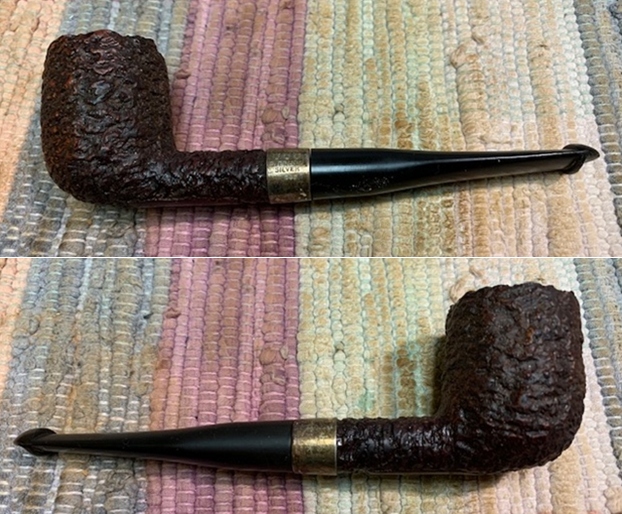
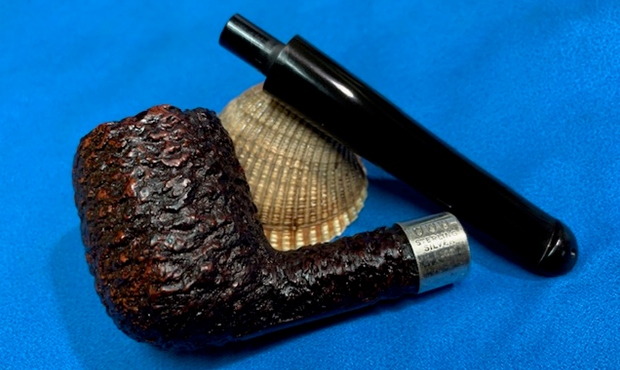
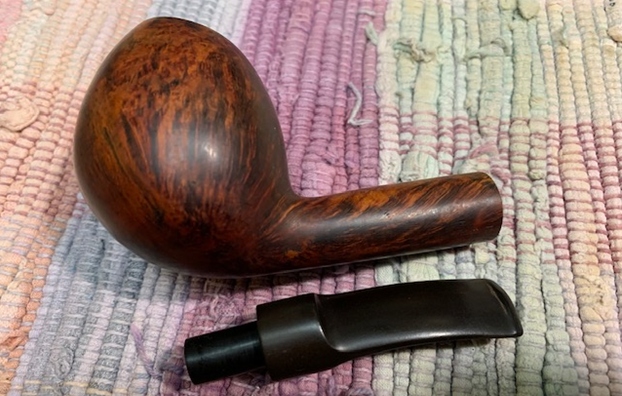
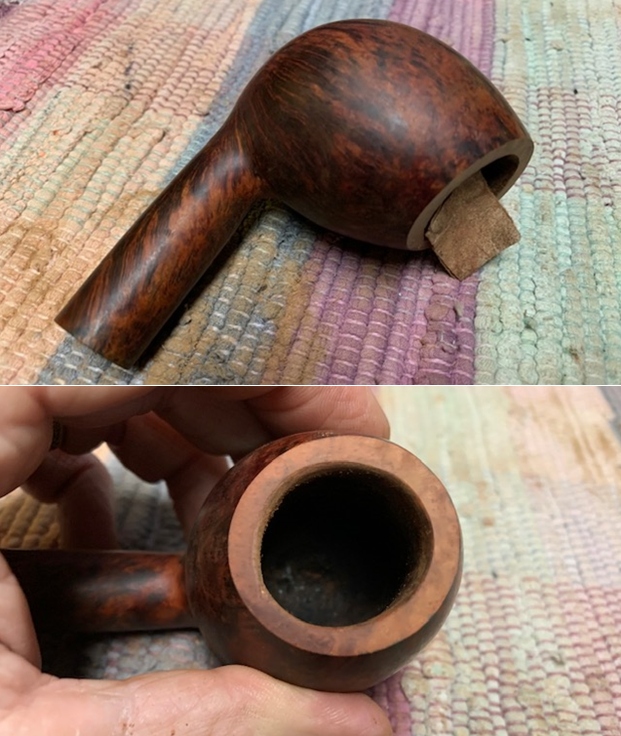
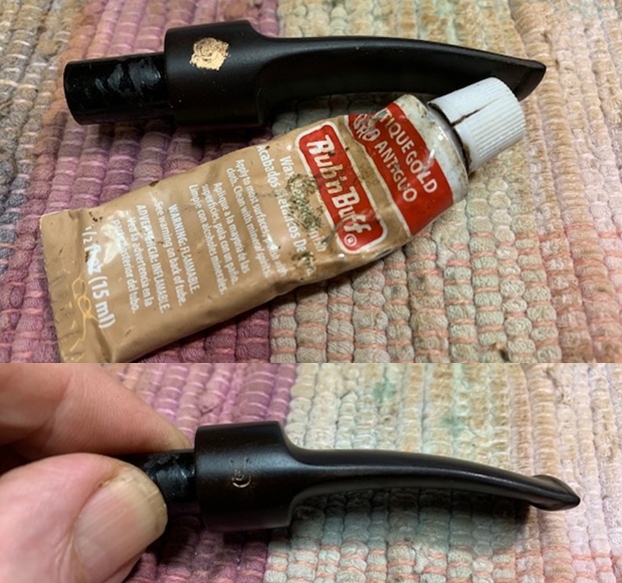
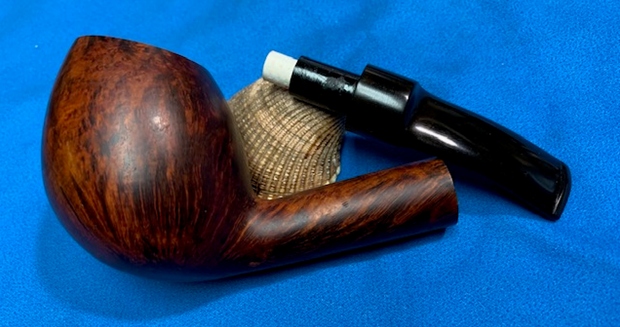
 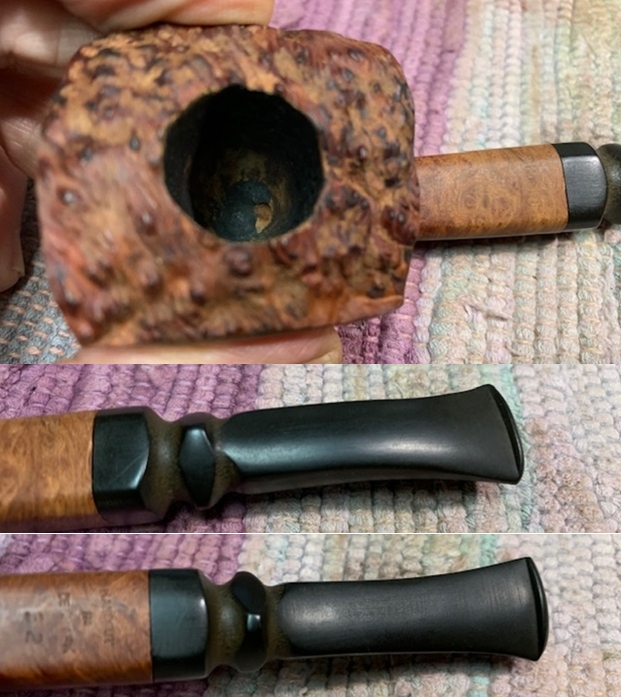 I removed the stem and took a photo of the pipe to give a sense of the whole from the parts.
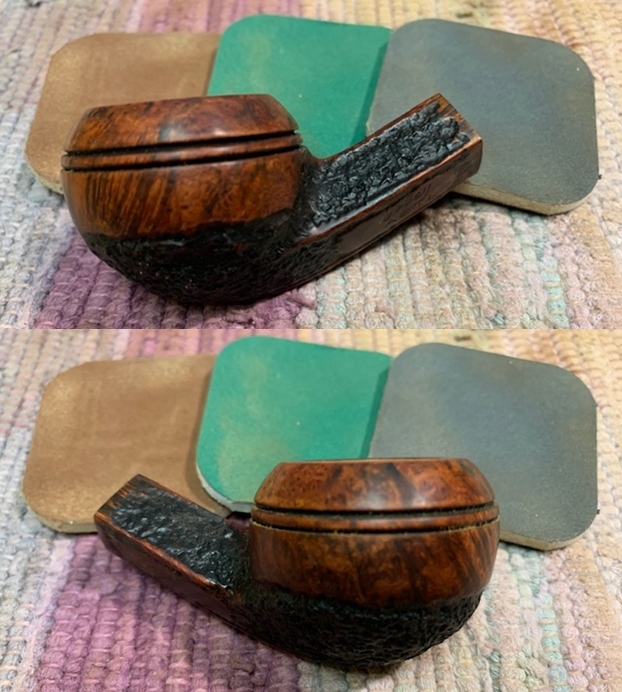
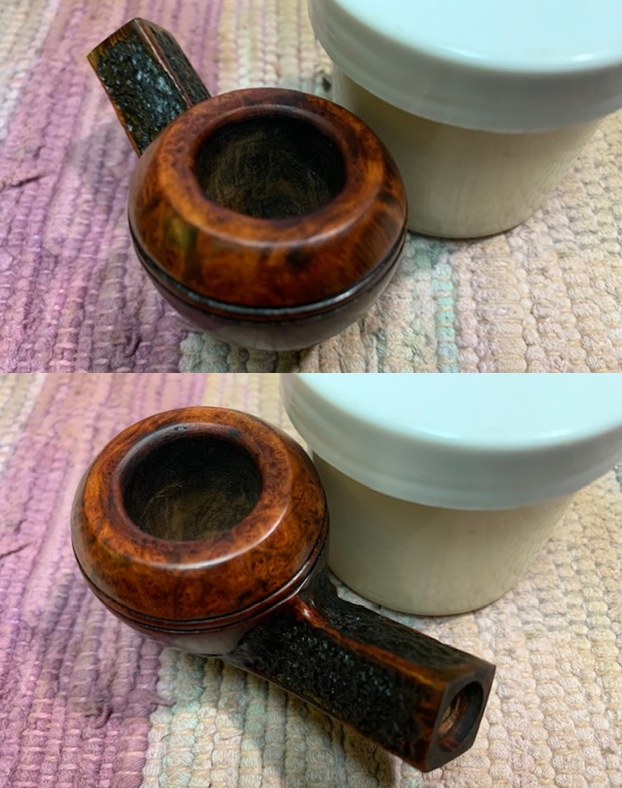
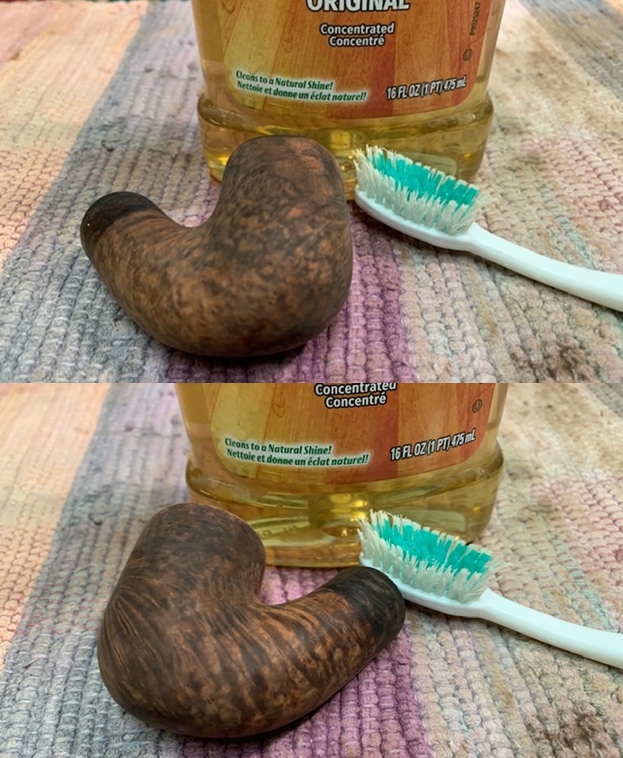
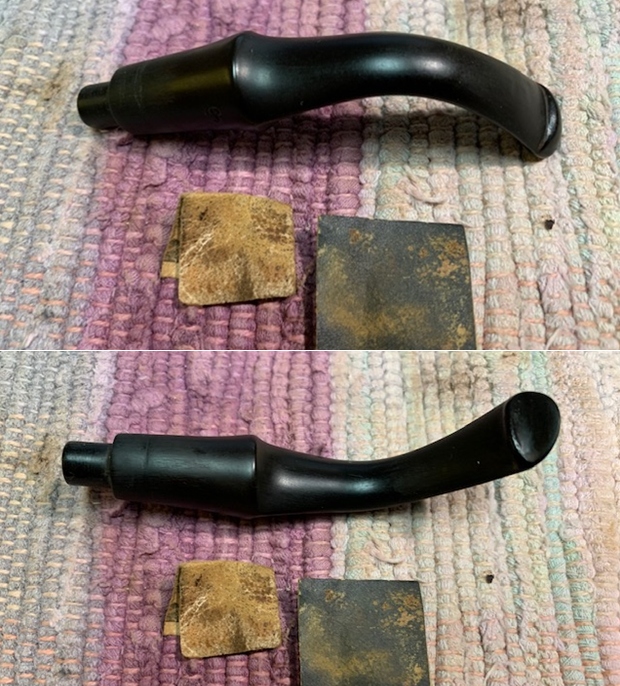
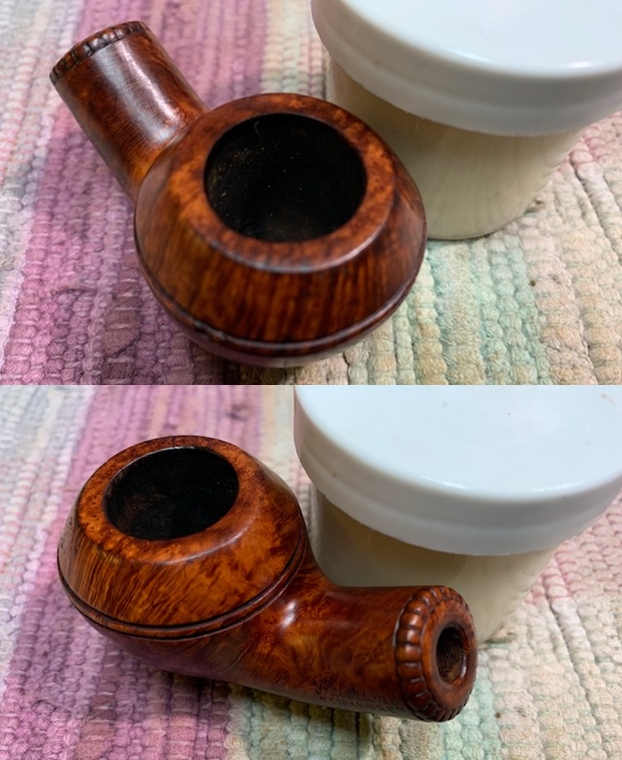
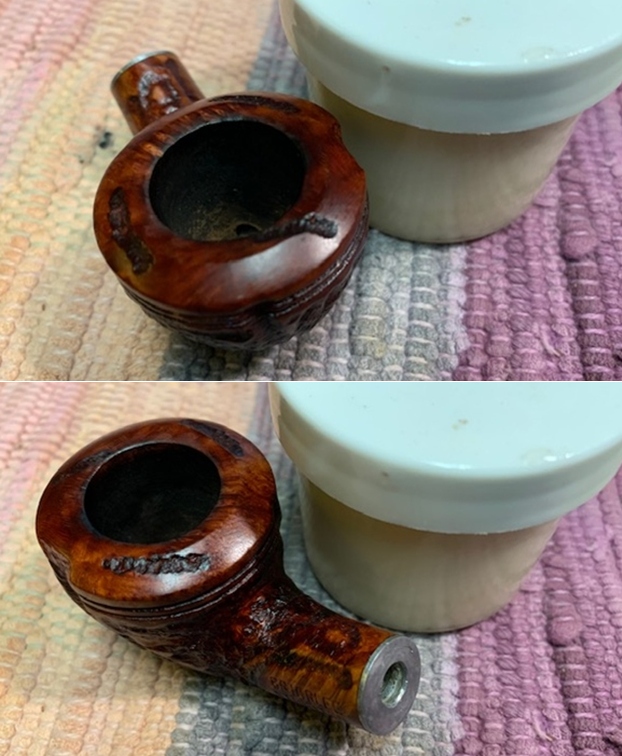
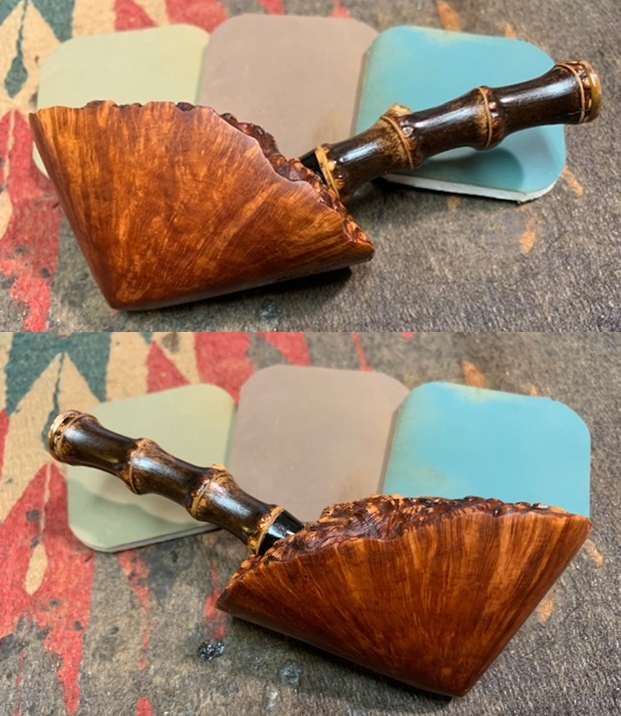
 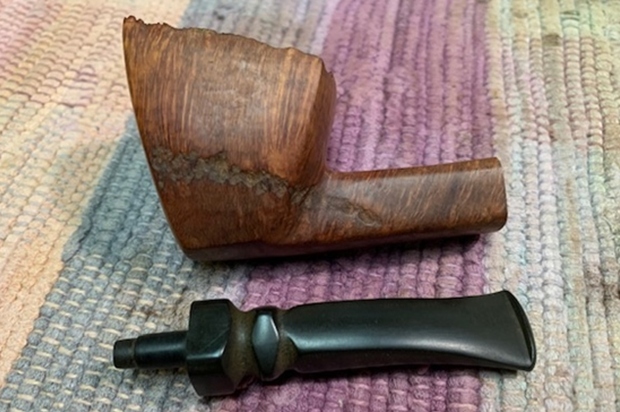 I started my work on the pipe by working over the rim top with a Black Sharpie pen to differentiate the valleys and the high spots on the plateau top.
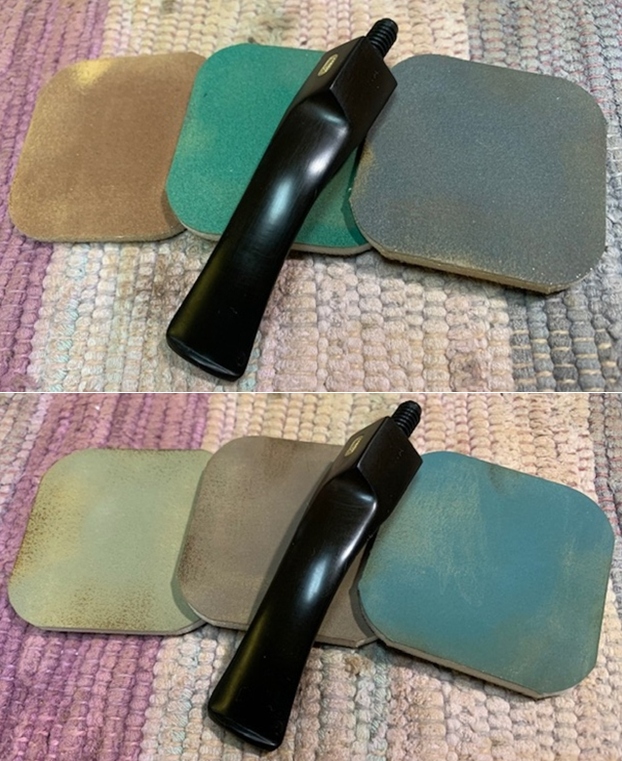
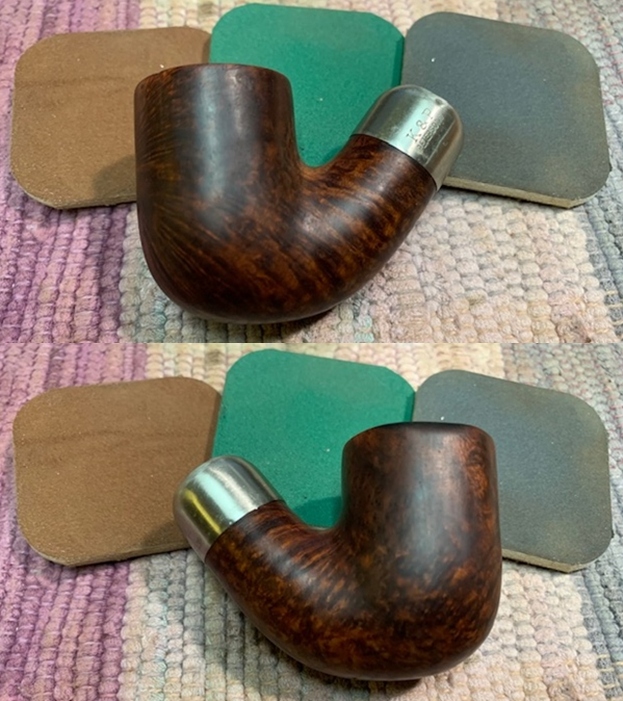
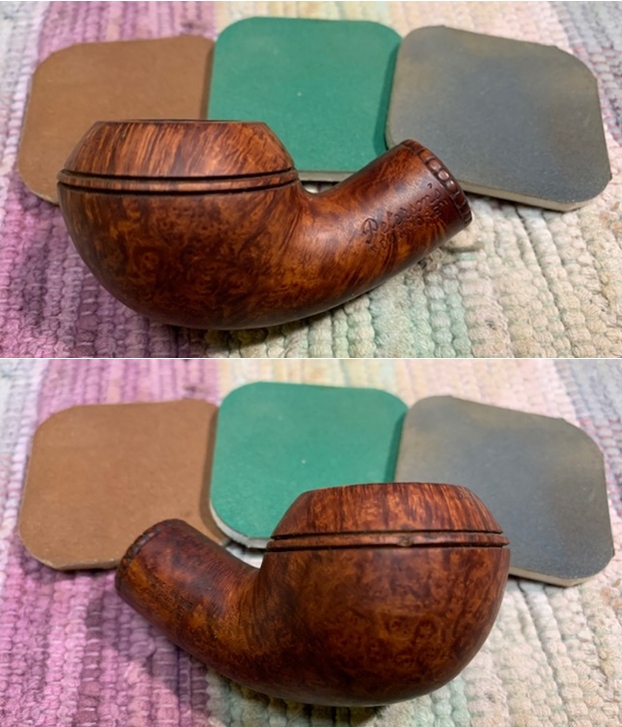
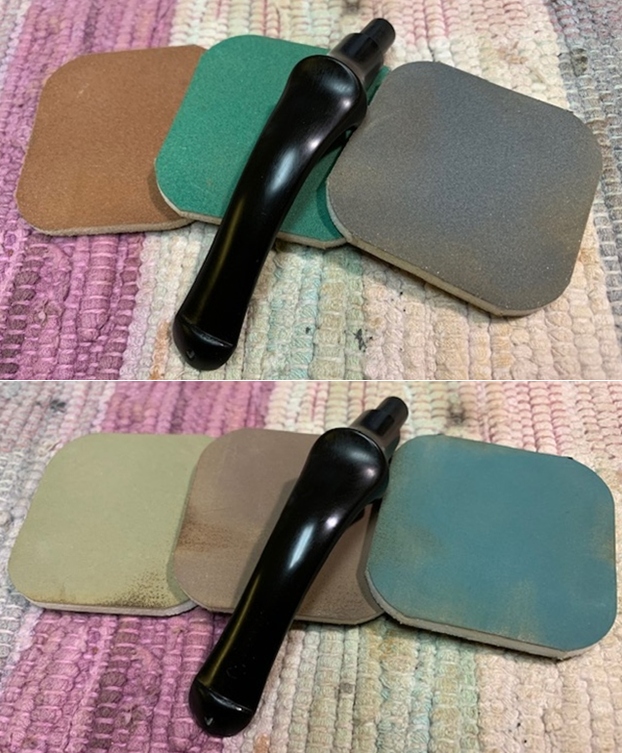
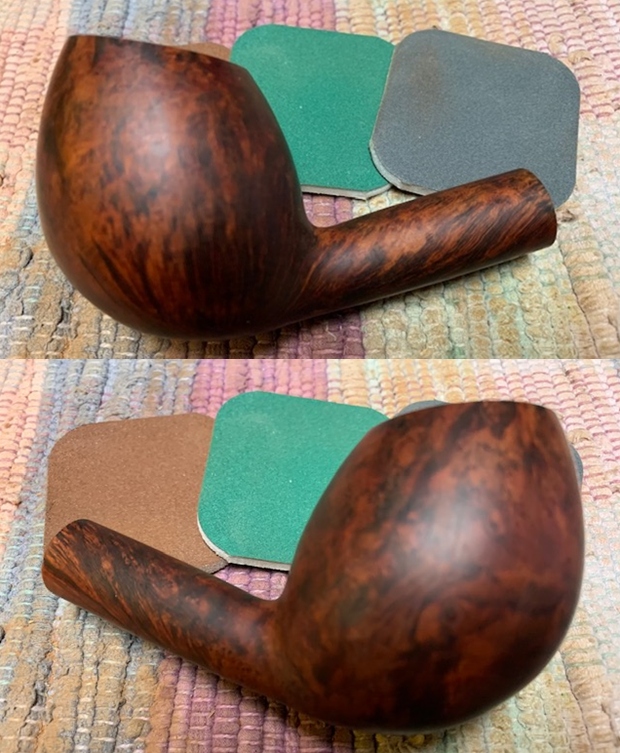
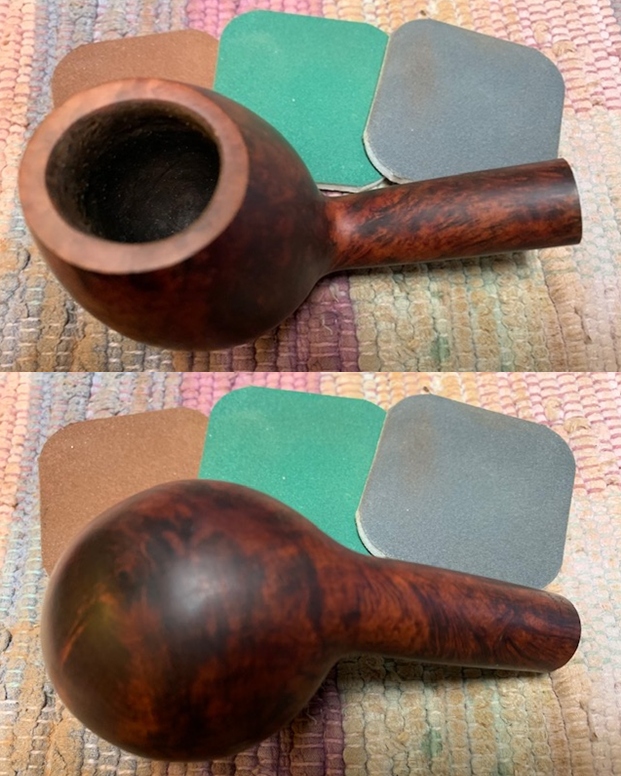
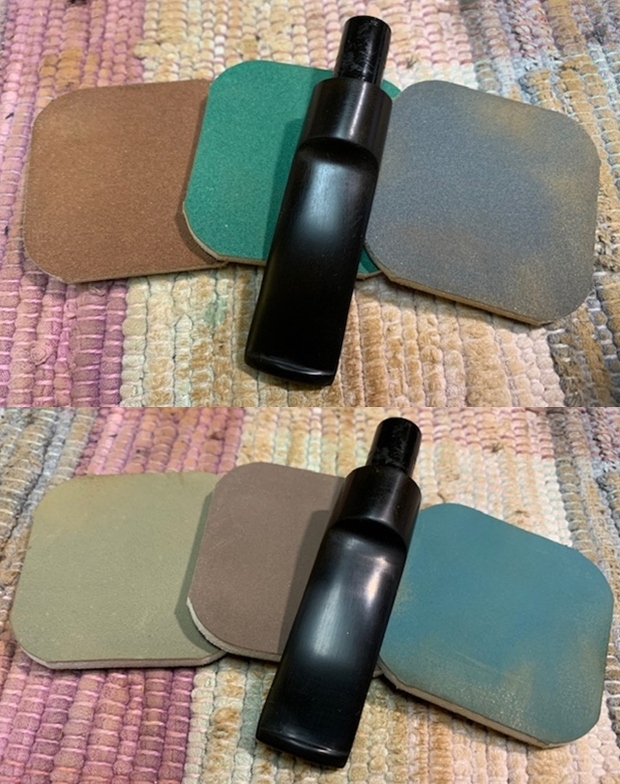
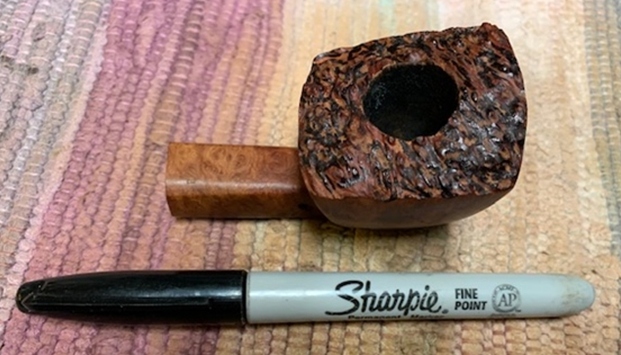 I polished the smooth briar on the rim top and cap of the bowl with micromesh sanding pads – wet sanding with 1500-12000 grit pads. I wiped the bowl down after each pad with a damp cloth.
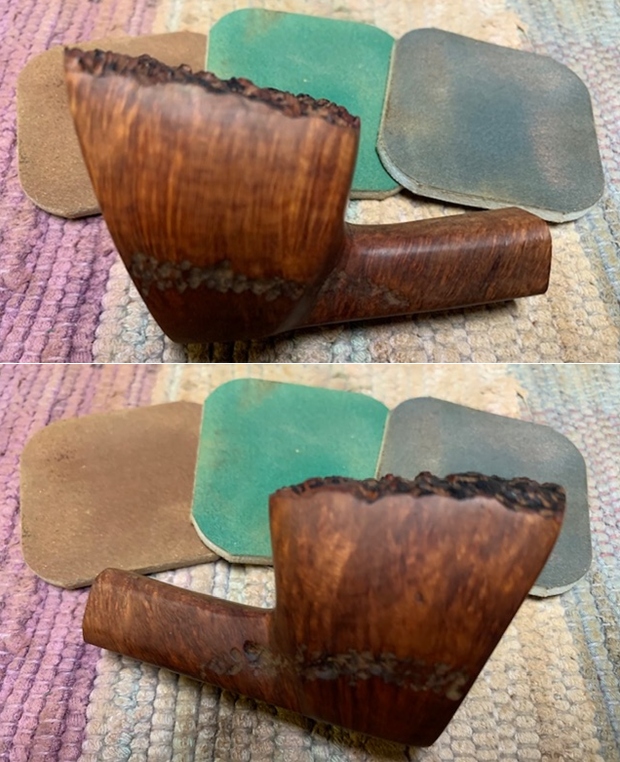

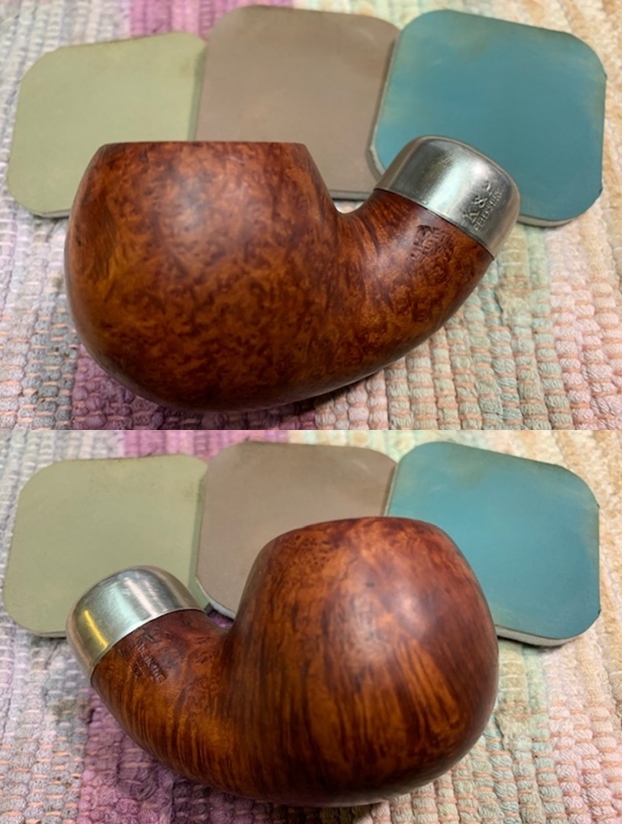
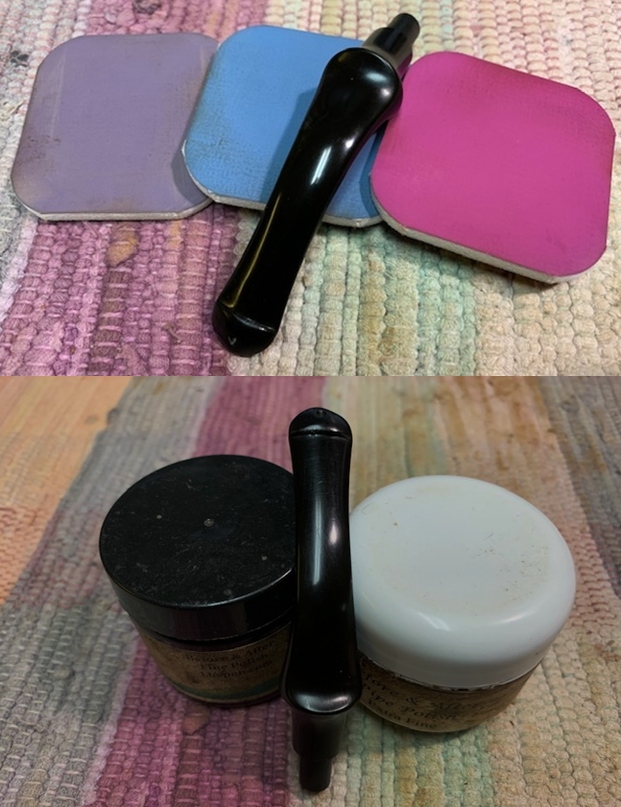
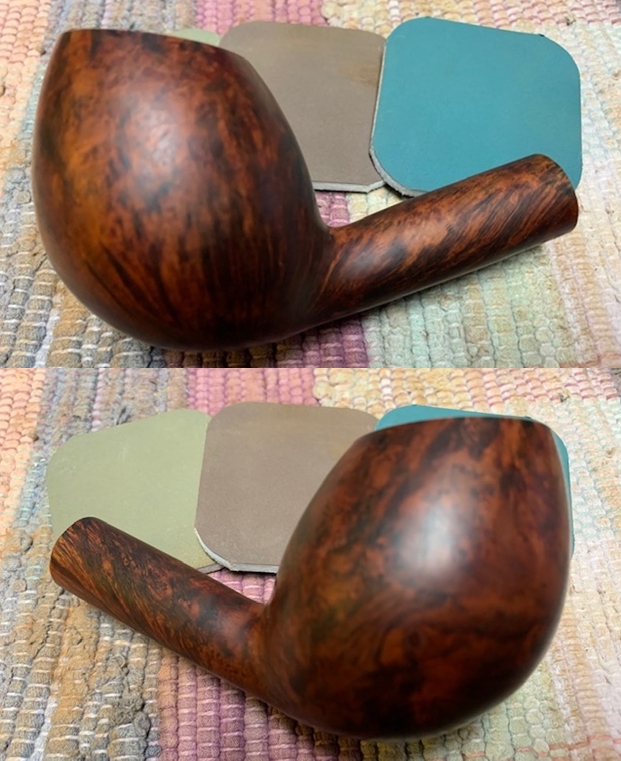
 I rubbed the bowl down with Before & After Restoration Balm. I worked it into the surface of the bowl sides and shank with my fingertips and a horse hair shoe brush. The product works to clean, enliven and protect the briar. I let the balm sit for a 15 minutes and then buffed with a cotton cloth to raise the shine.
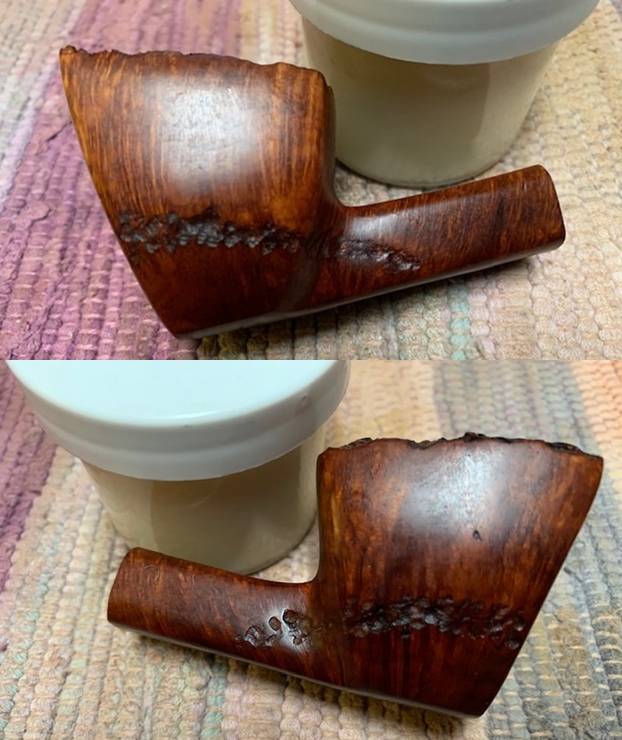
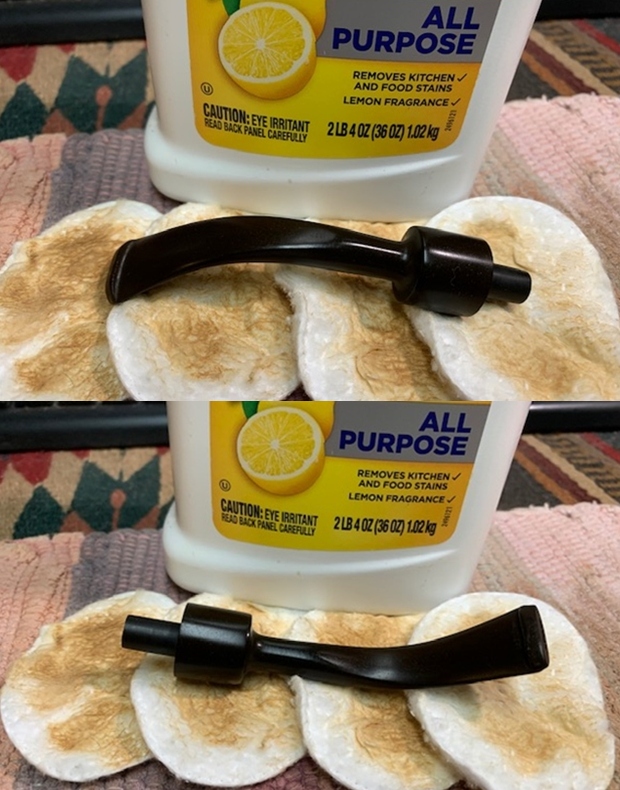
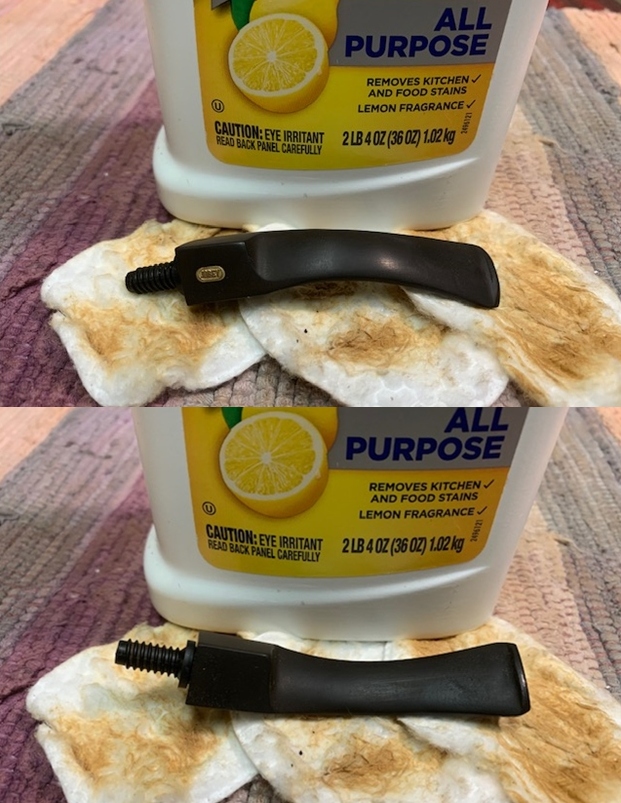
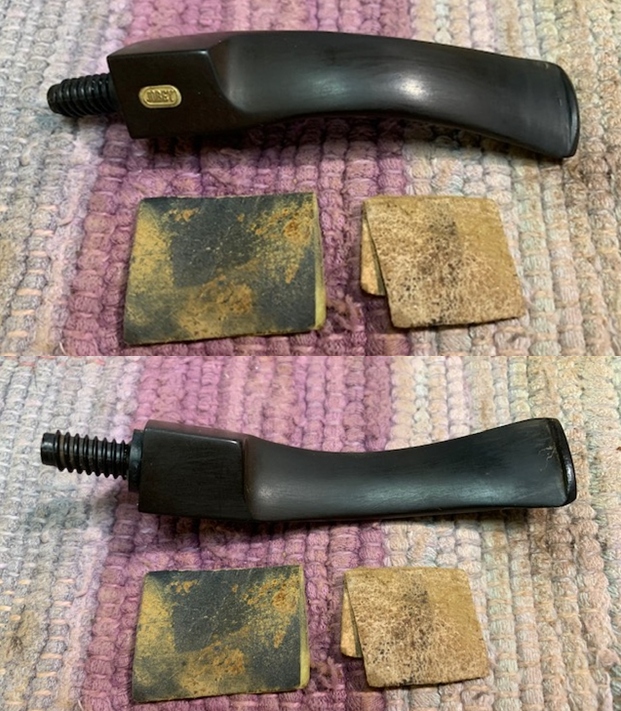
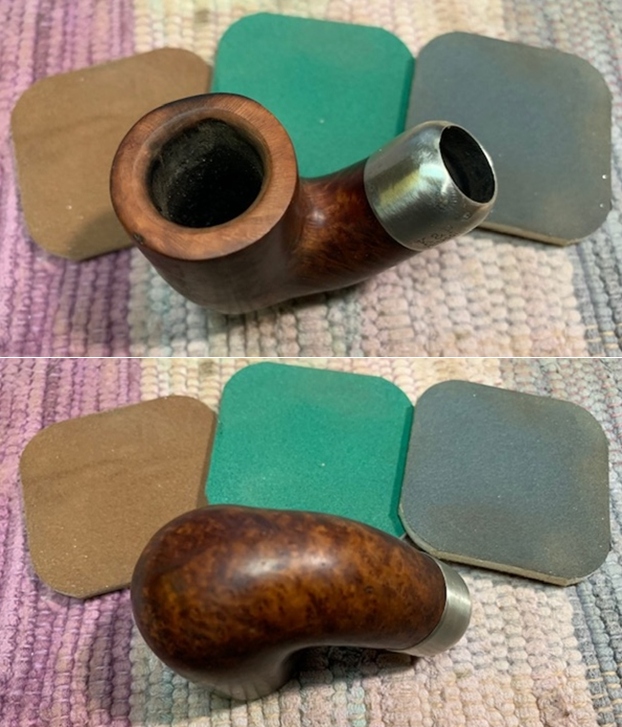
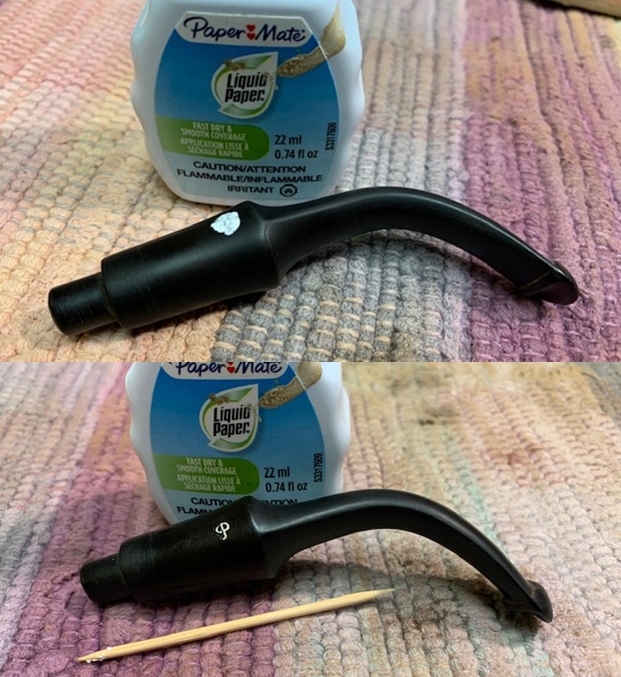
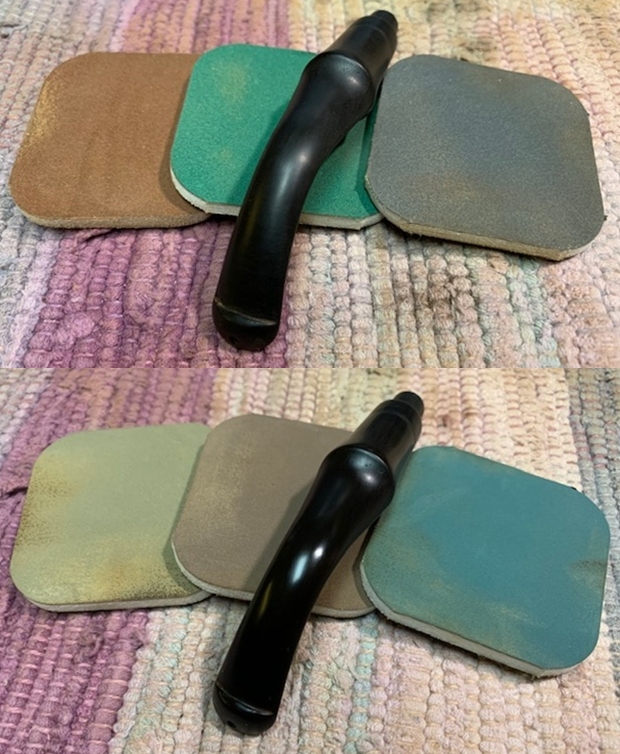
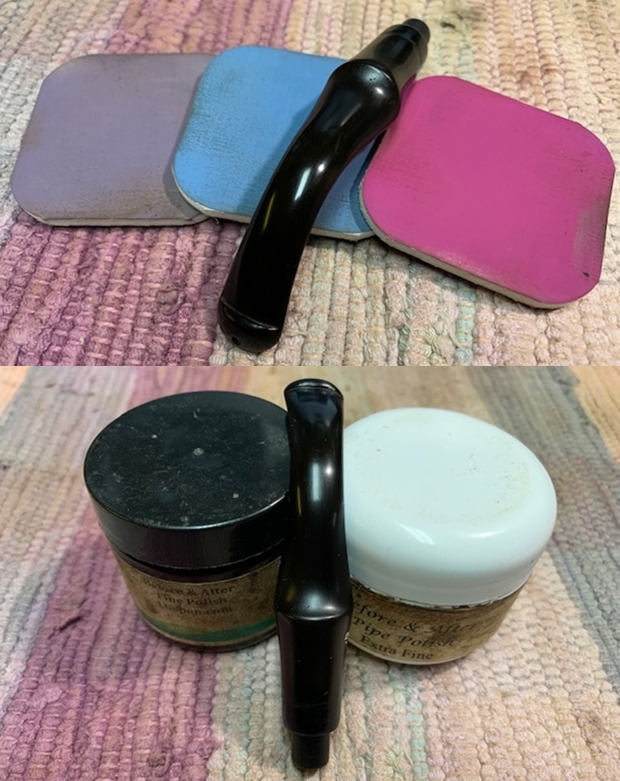
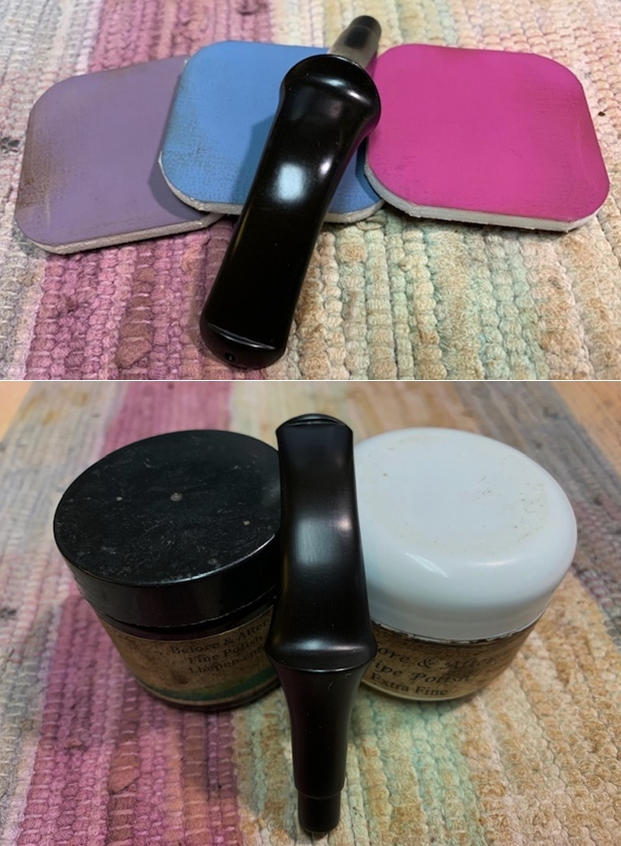
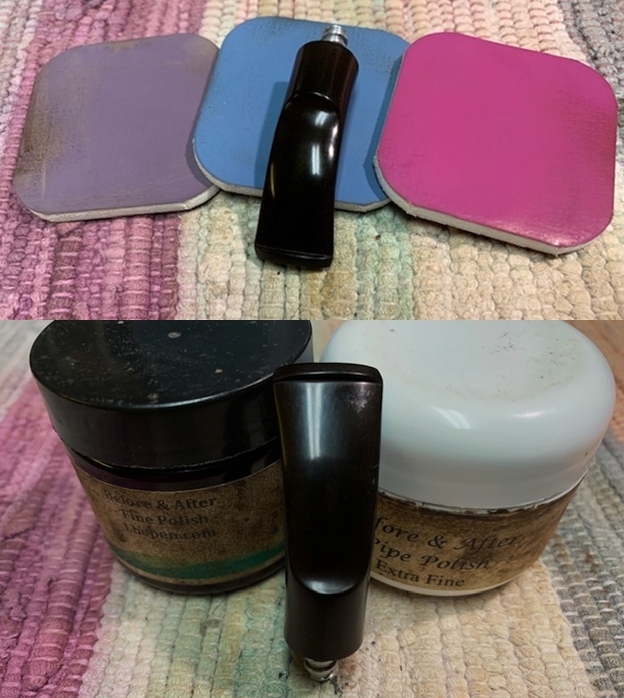
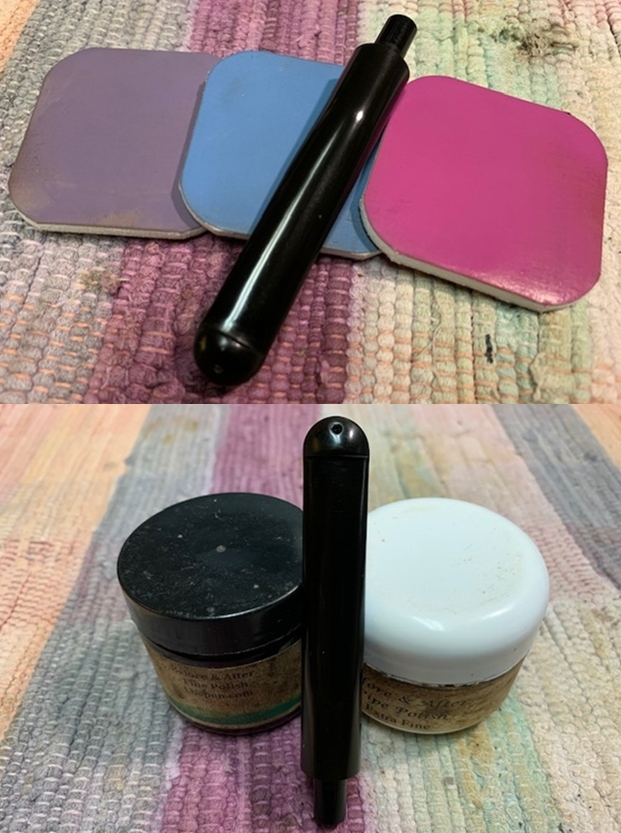
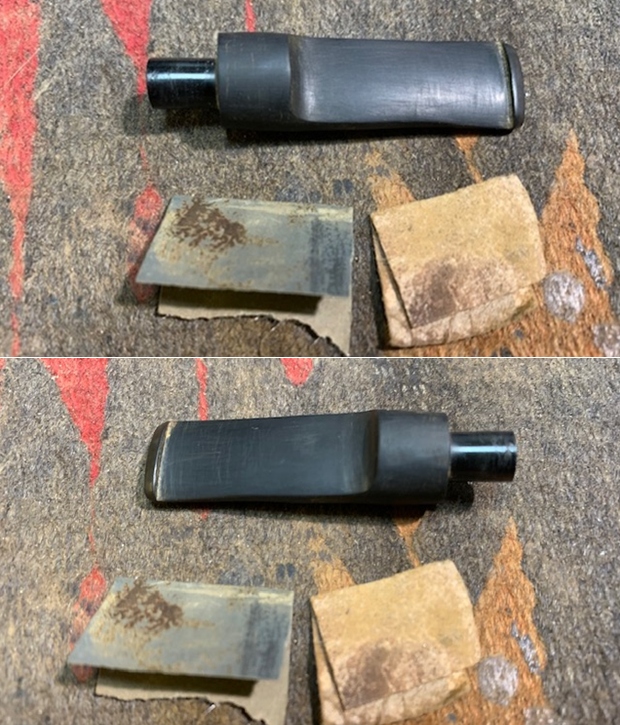
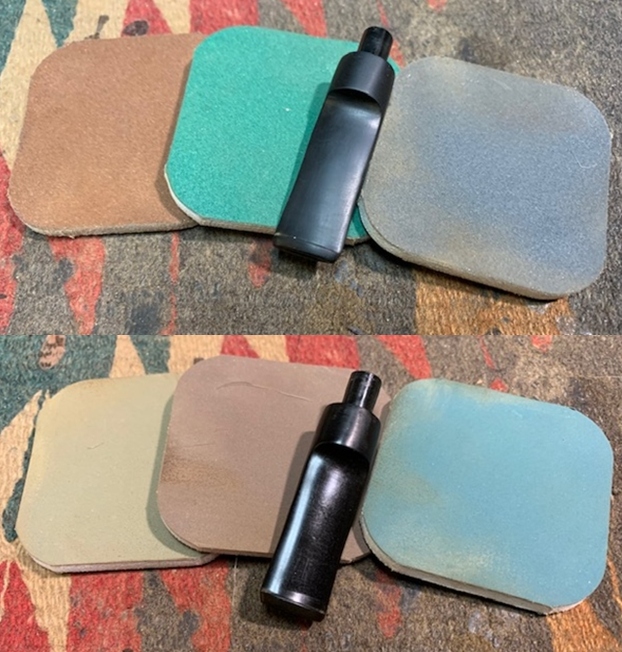
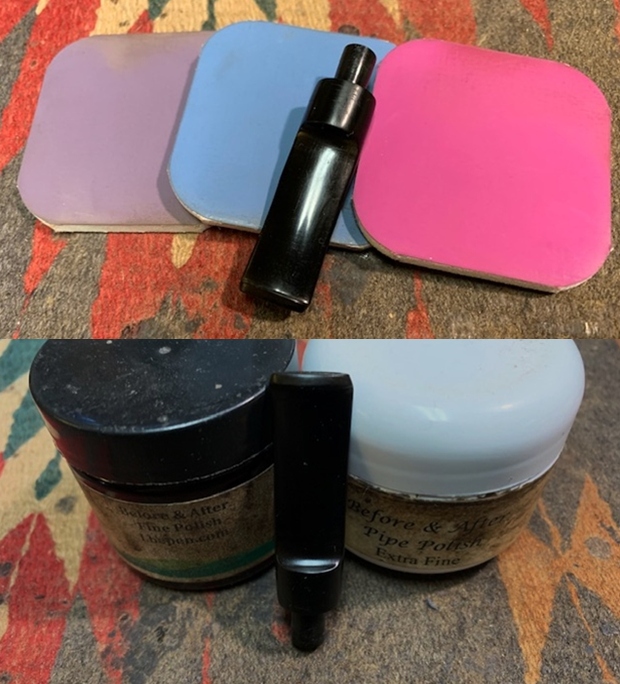
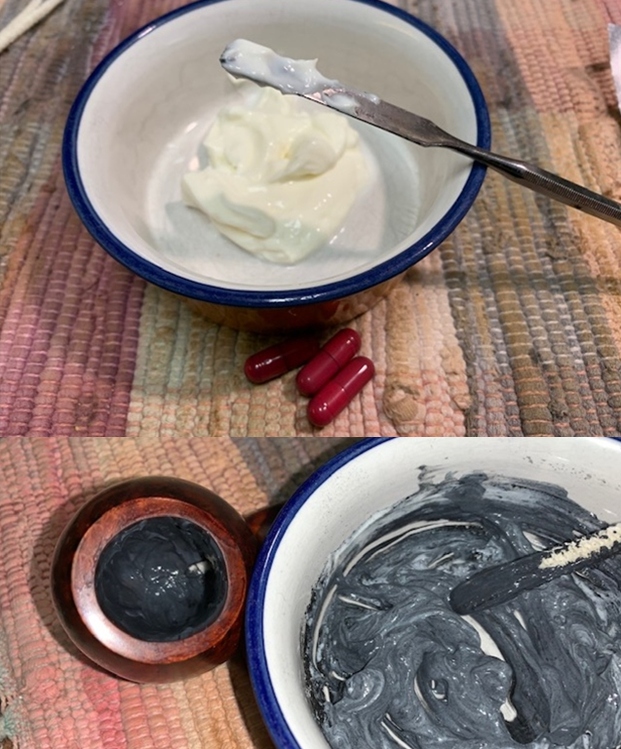
 I set the bowl aside and turned my attention to the stem. I scrubbed the stem with Soft Scrub All Purpose cleaner to remove the residual oxidation. It works very well to remove deep oxidation.
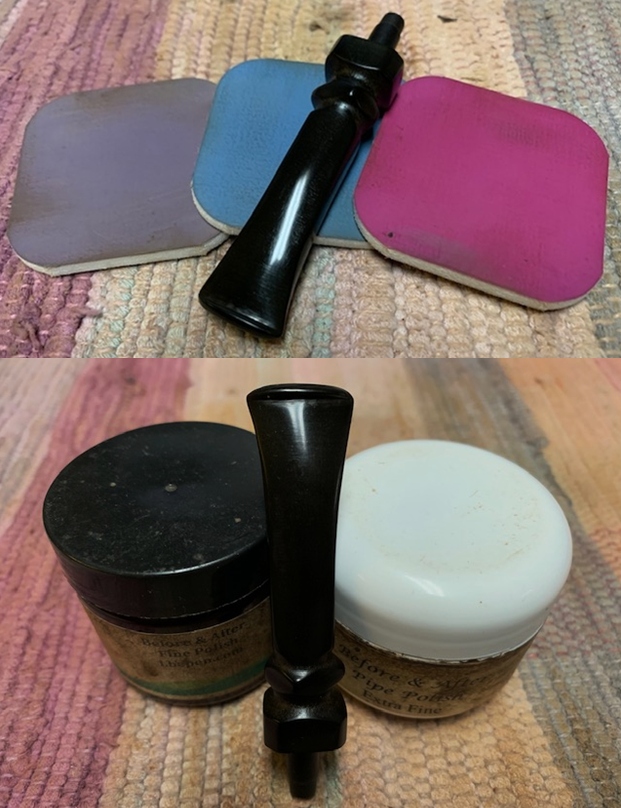
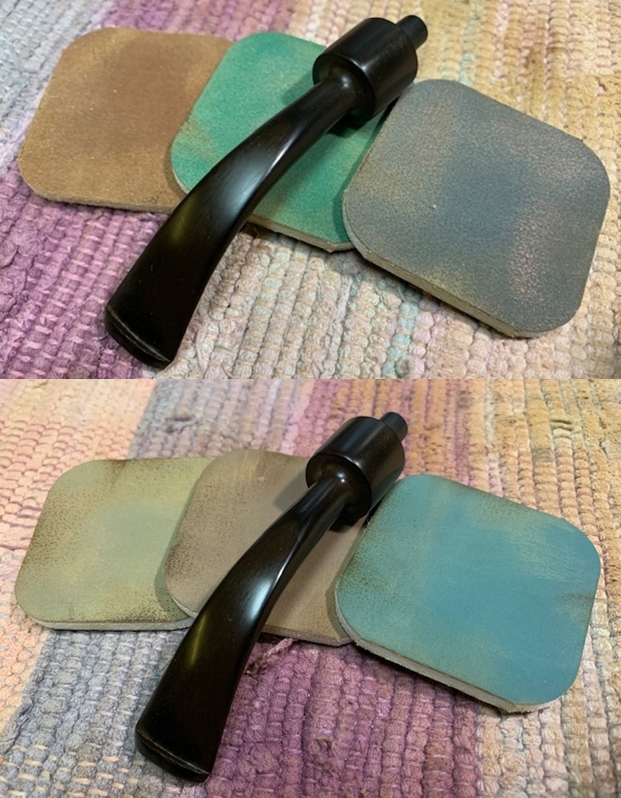
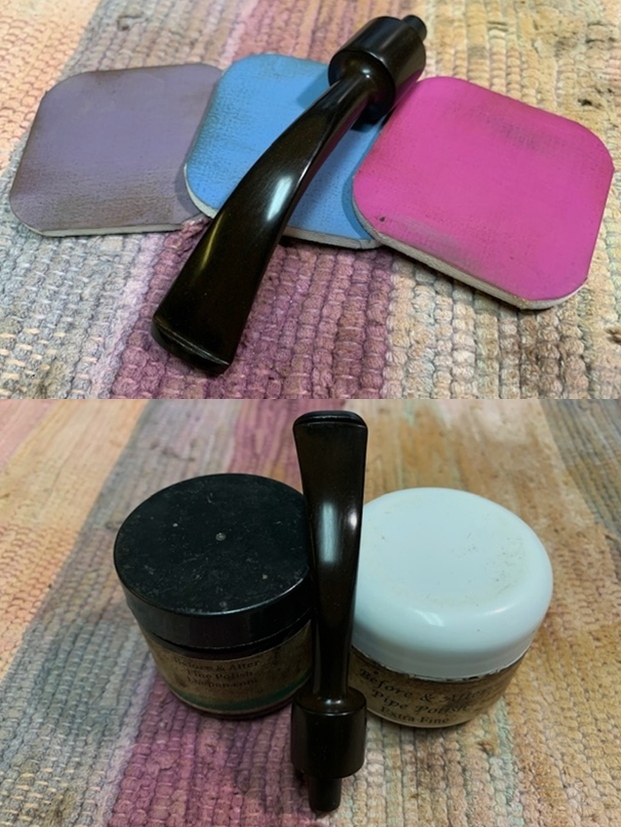
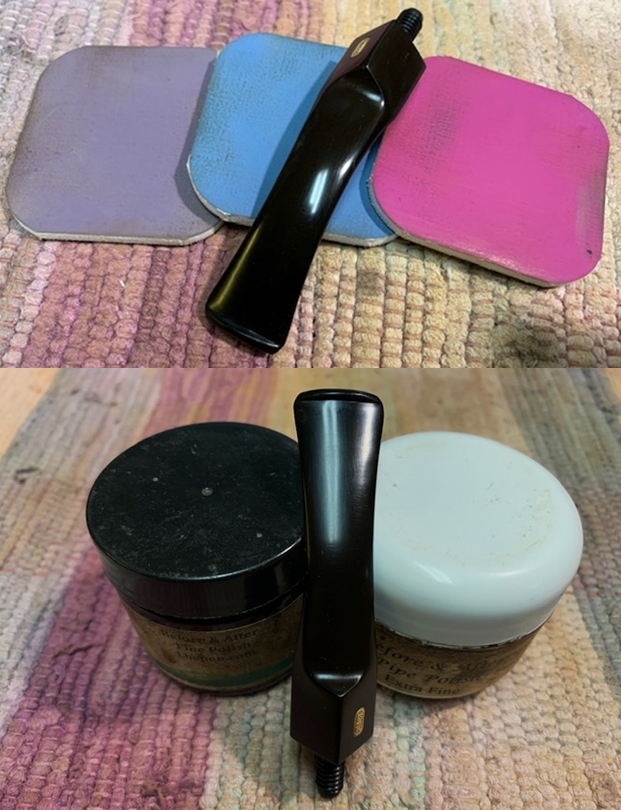
  I polished the vulcanite stem with micromesh sanding pads – 1500-12000 grit pads. I wiped it down with Obsidian Oil after each sanding pad. I used Before & After Pipe Polish – both Fine and Extra Fine to further polish the stem.
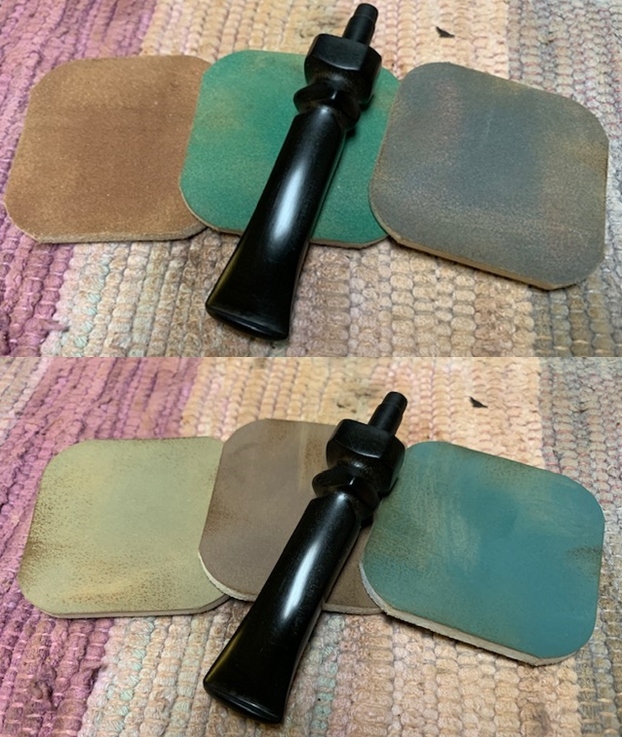
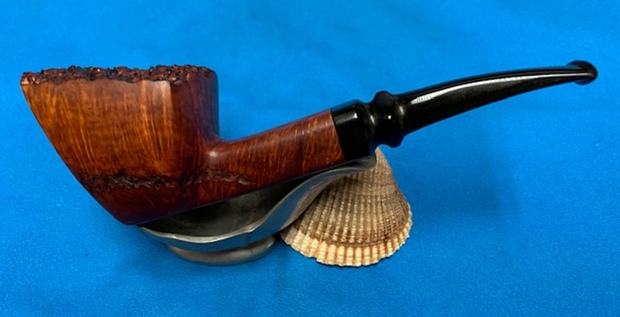
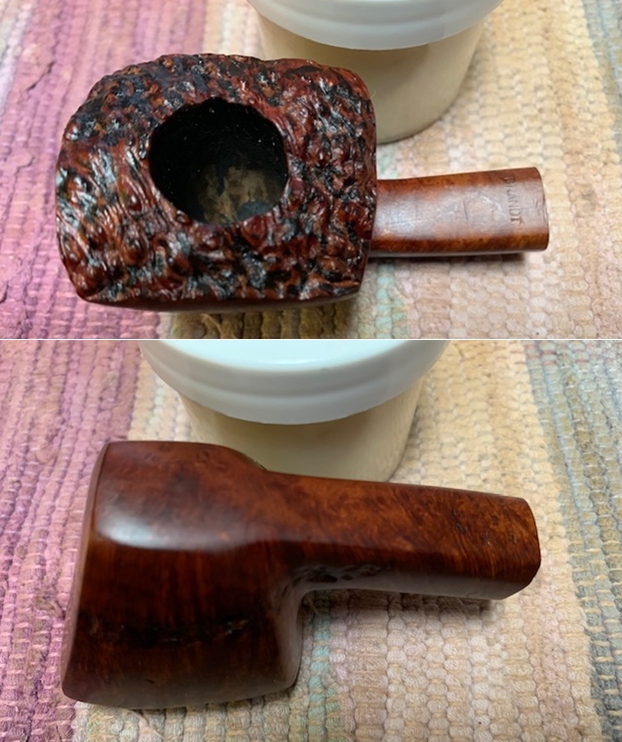
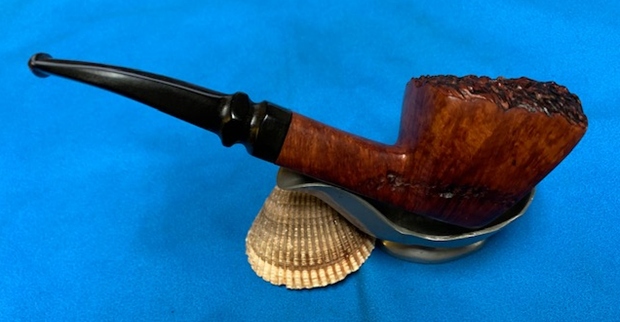
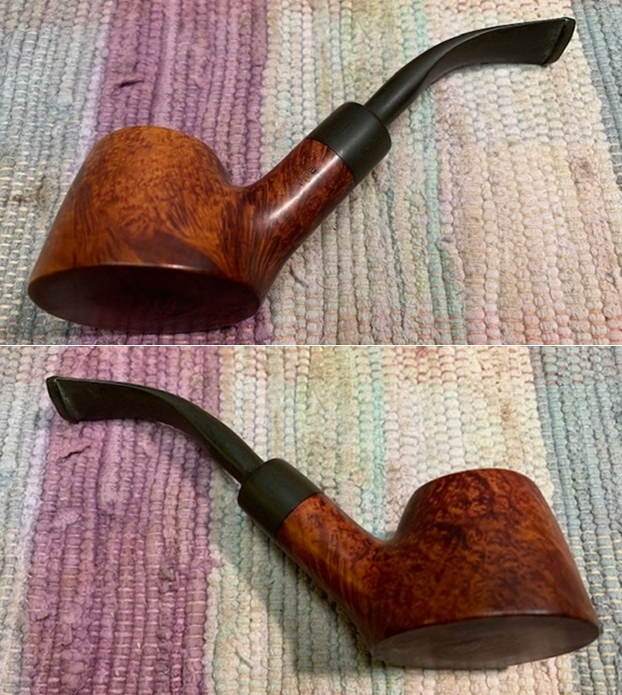
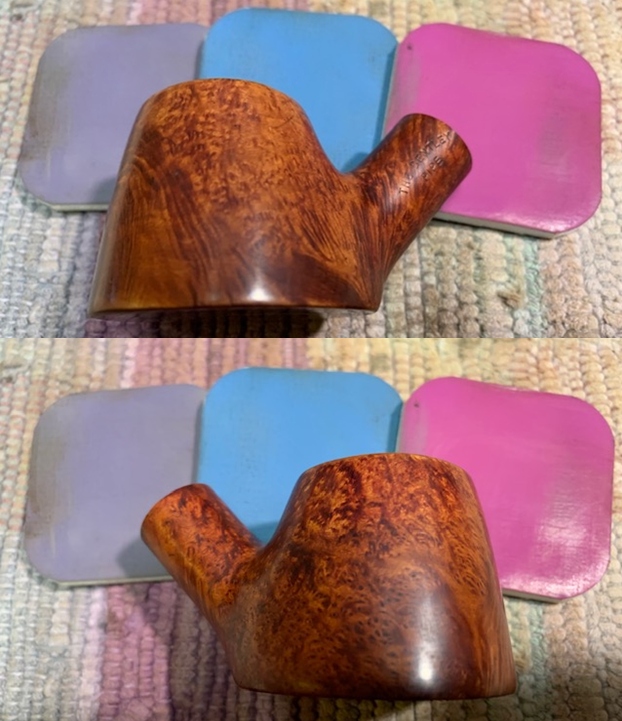
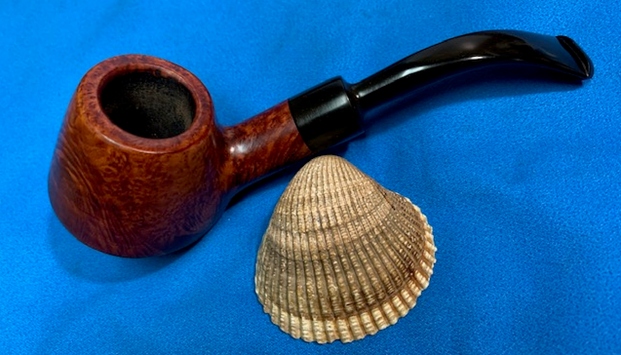
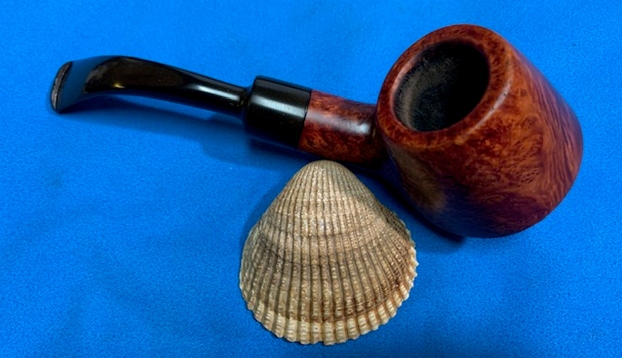
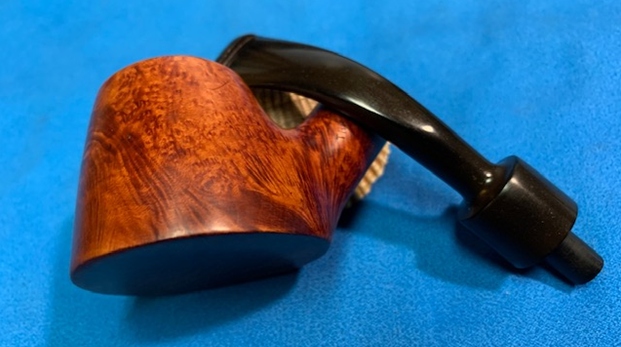
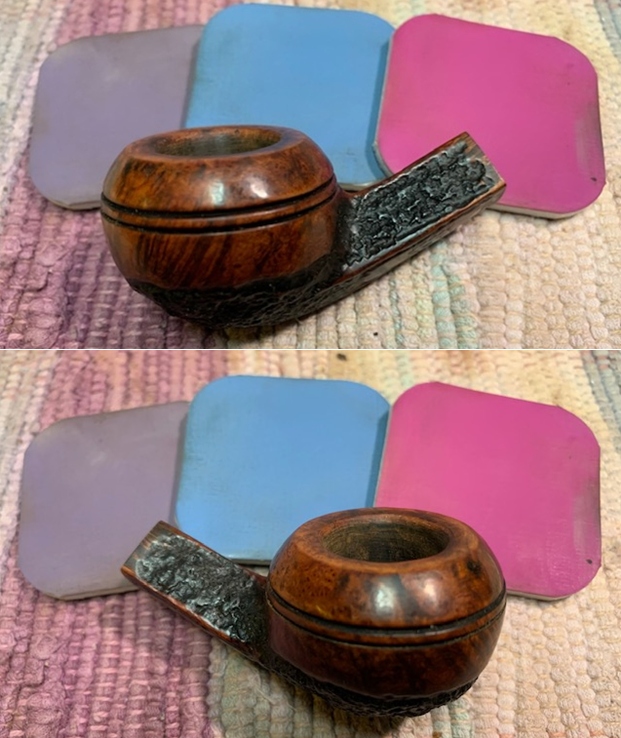
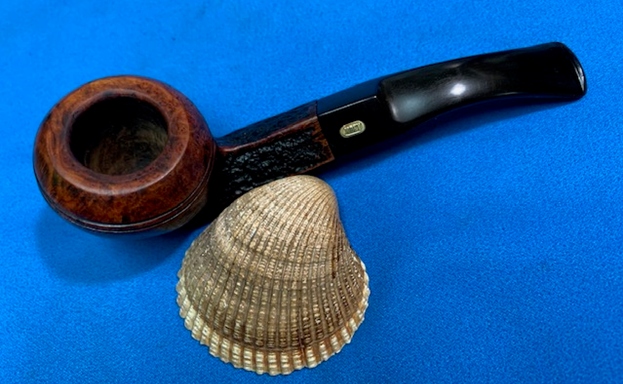
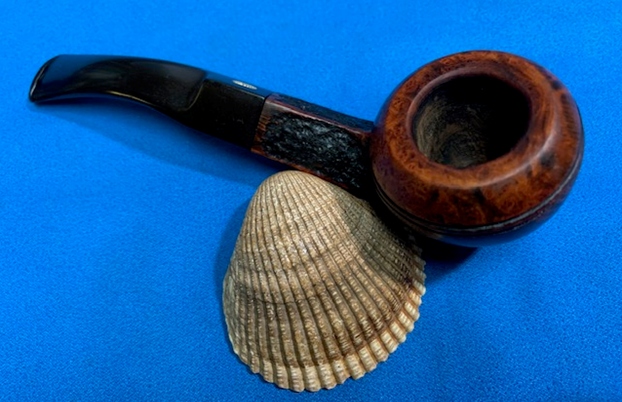
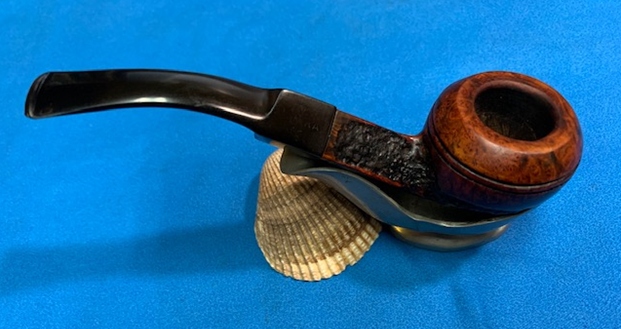
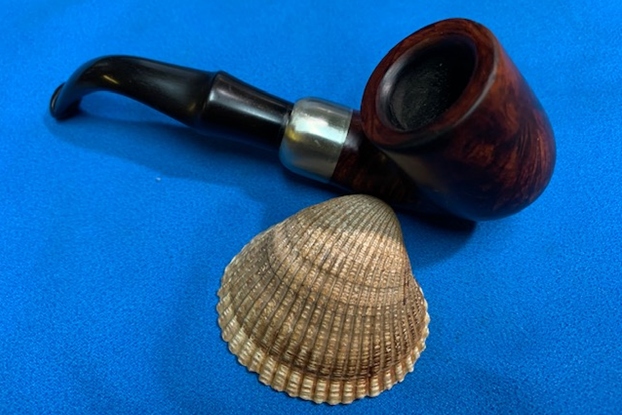
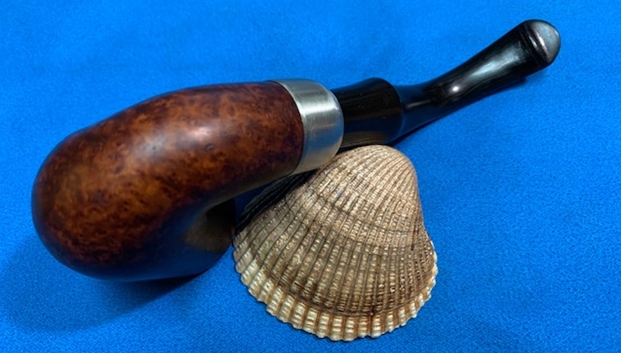
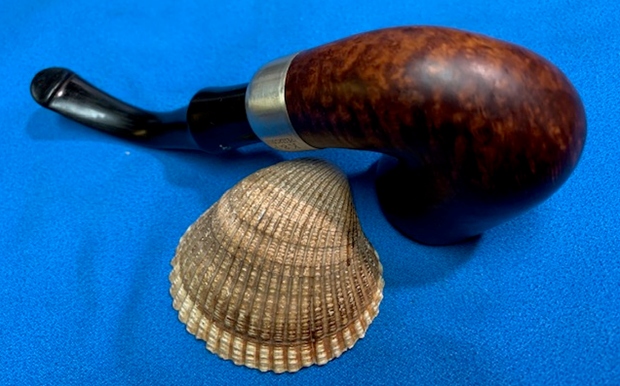
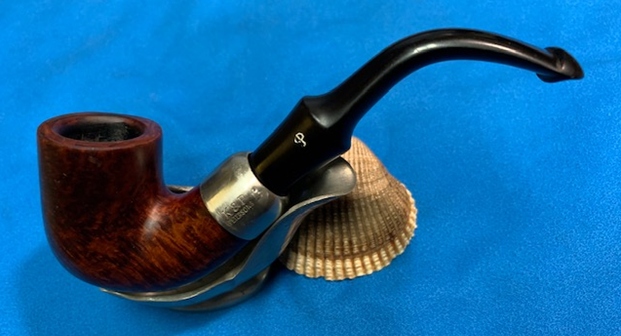
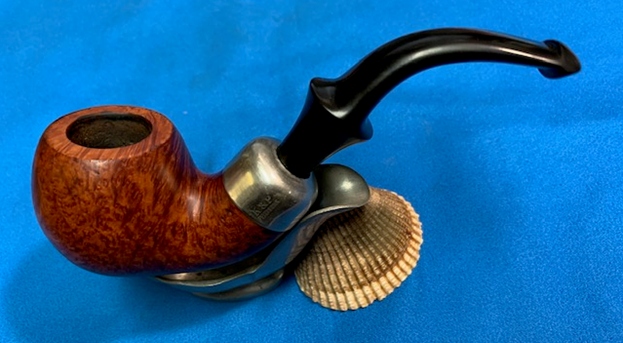
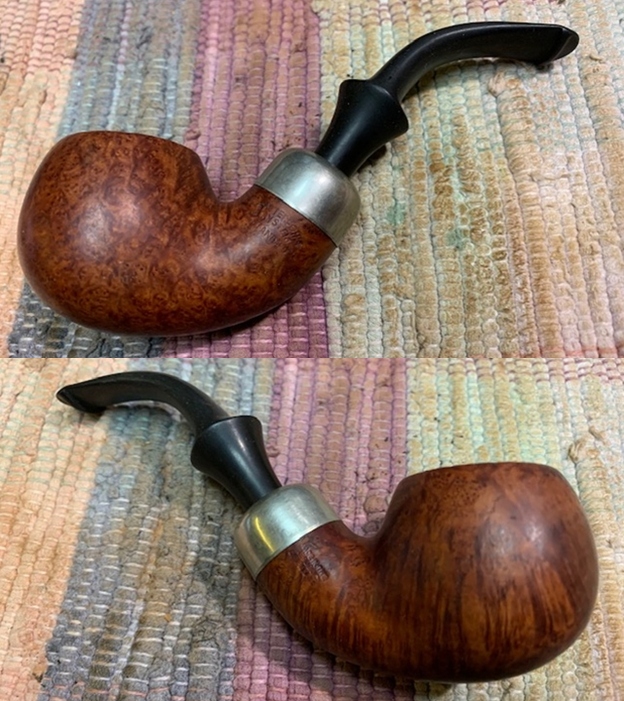
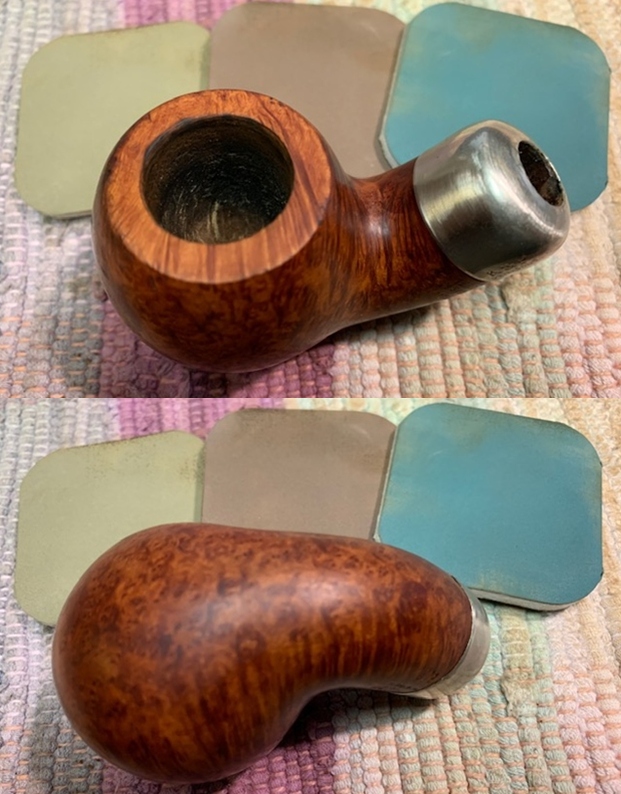
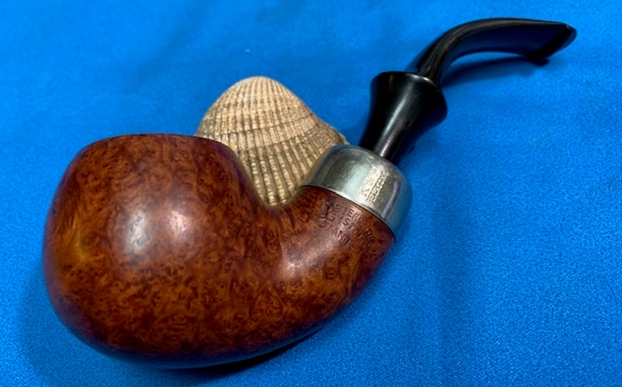
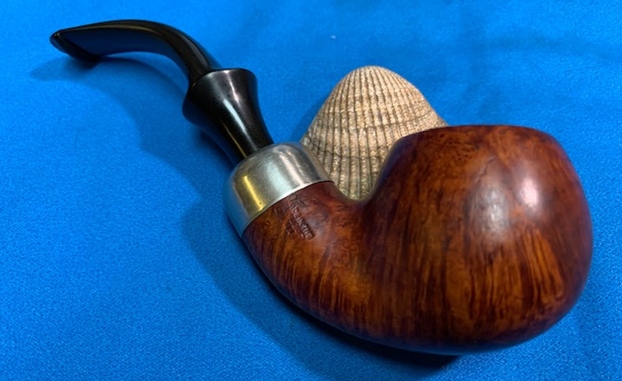
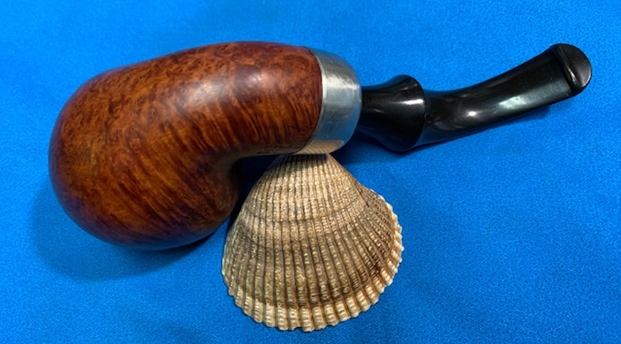
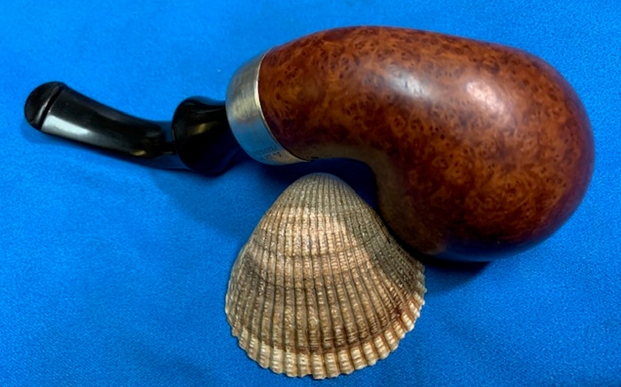
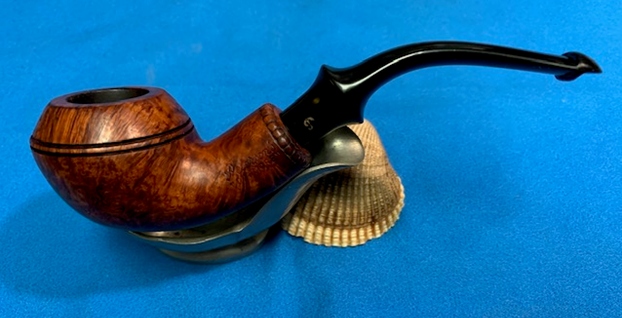
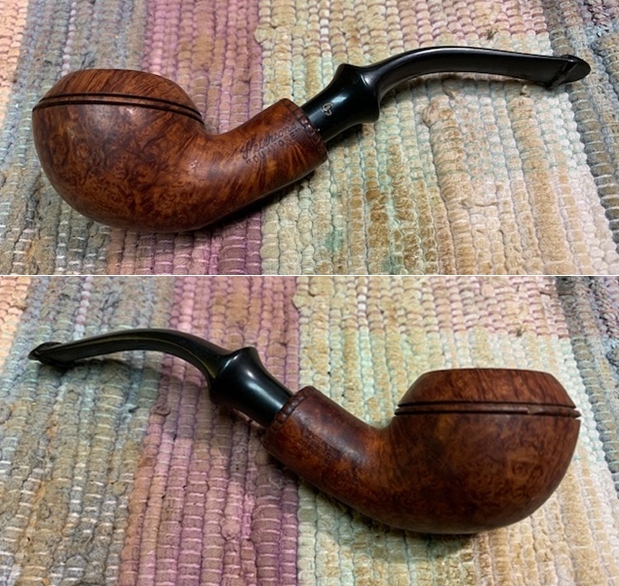
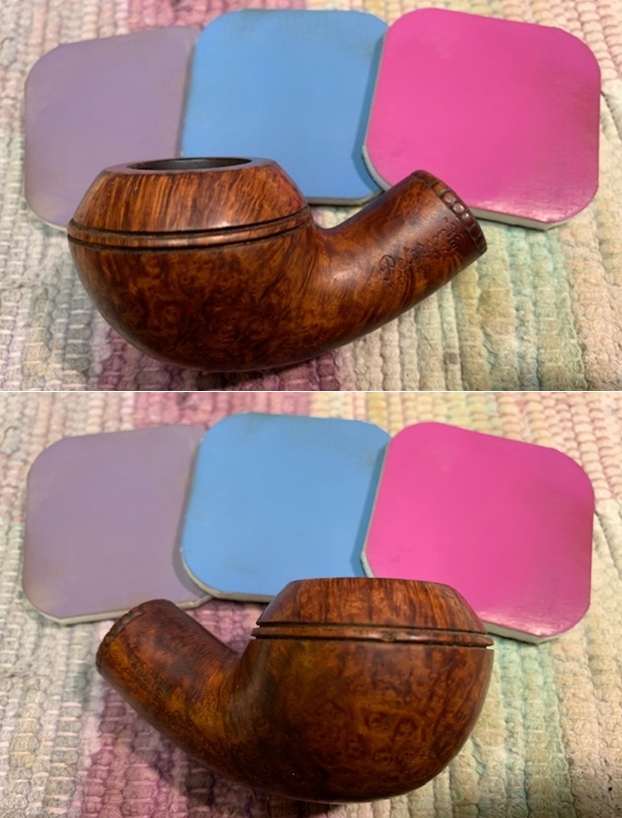
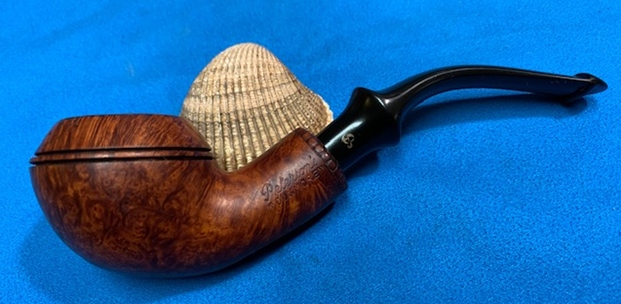
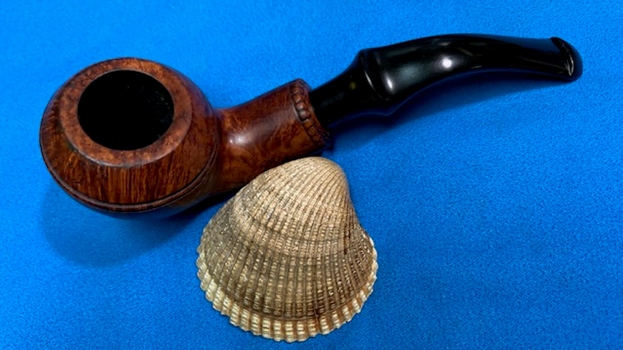
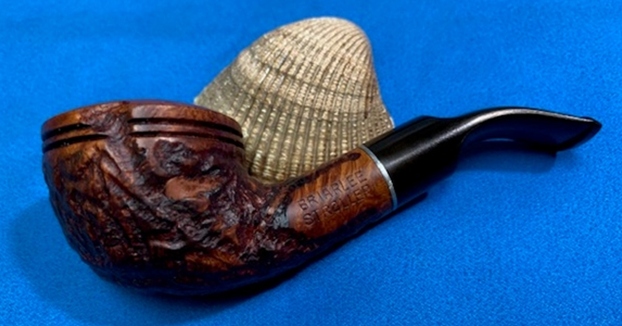
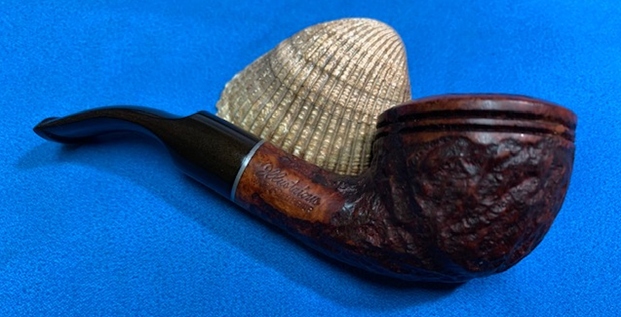
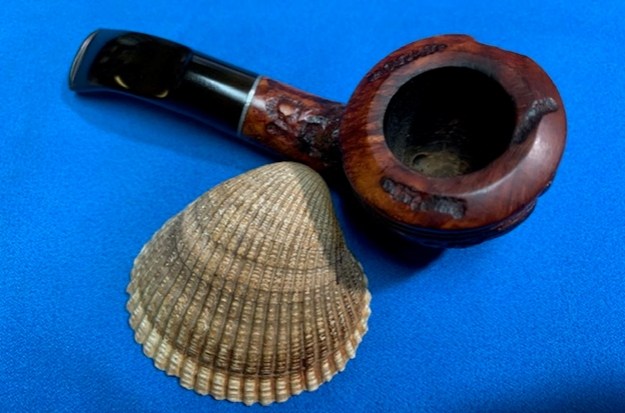
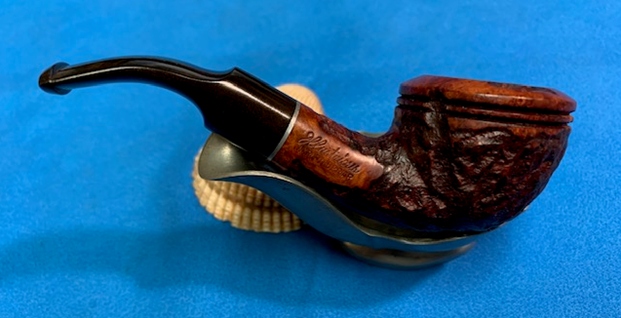
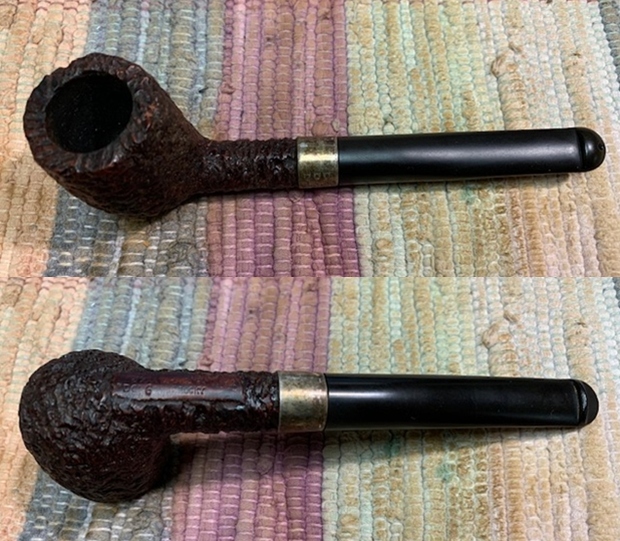
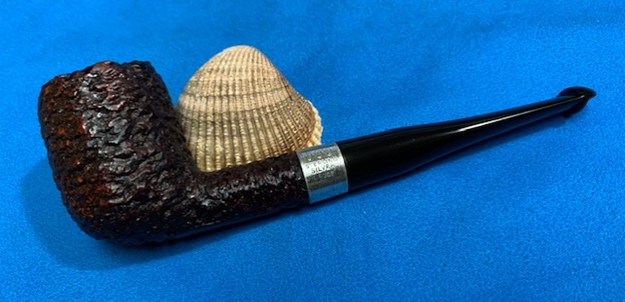
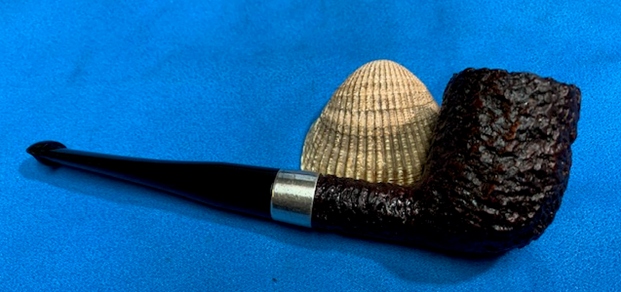
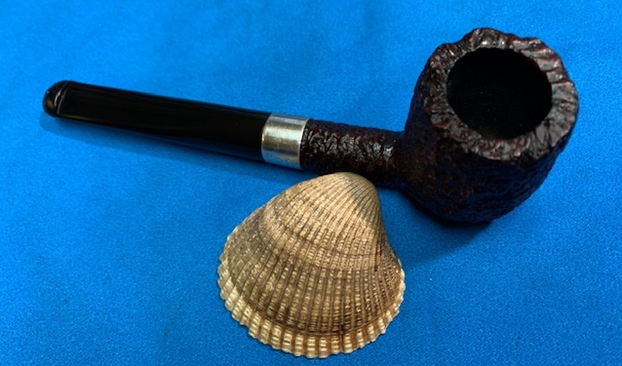
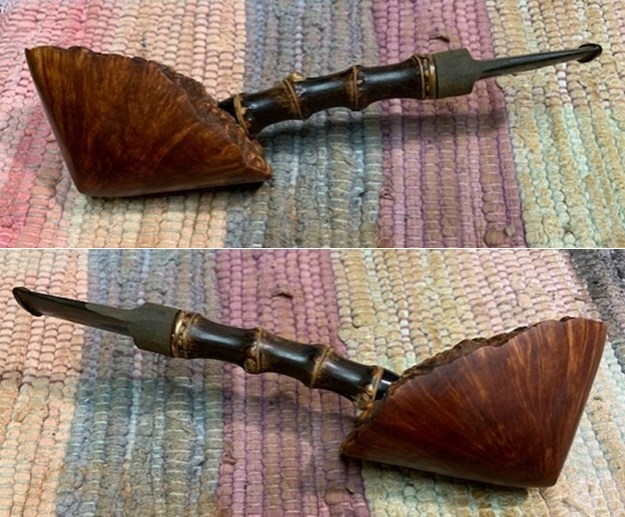
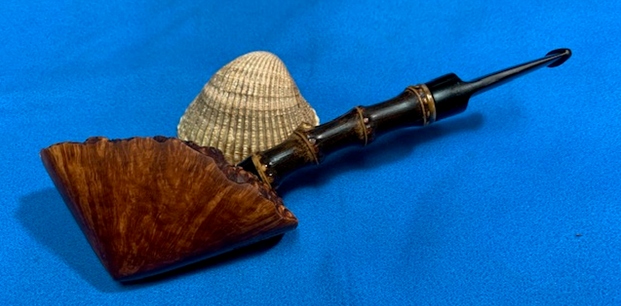
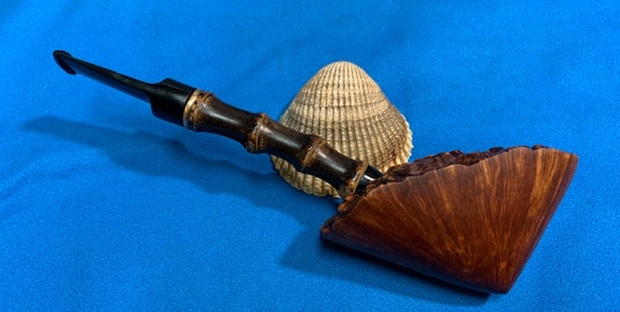
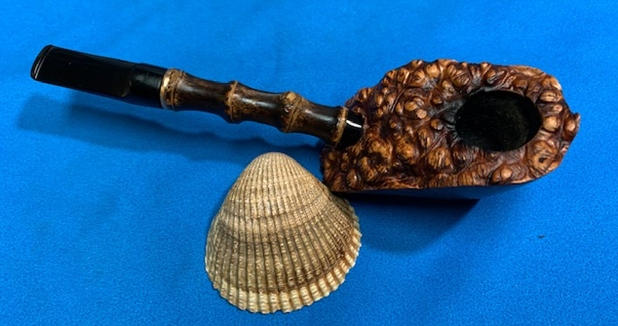
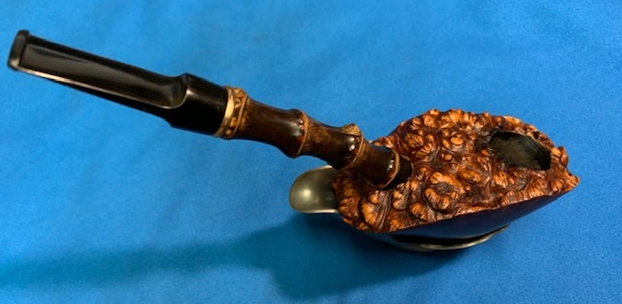
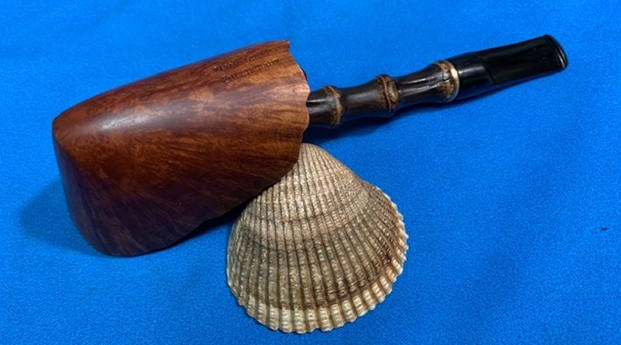
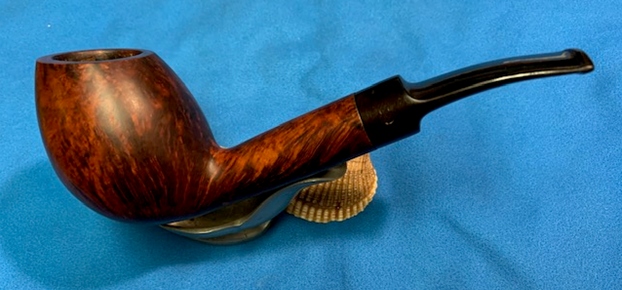
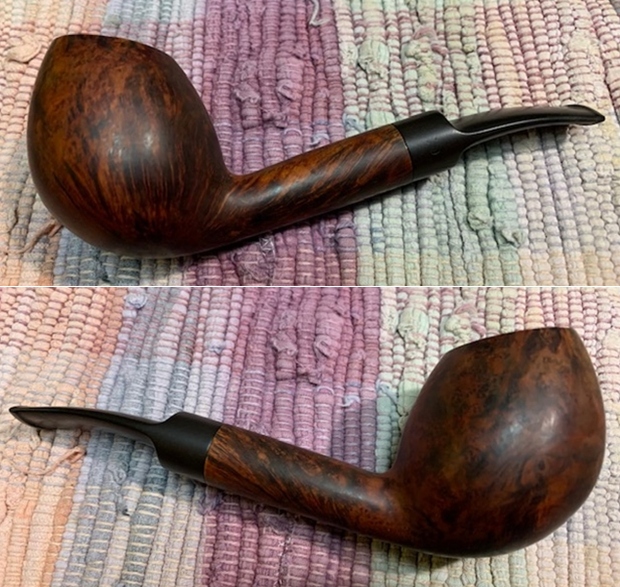
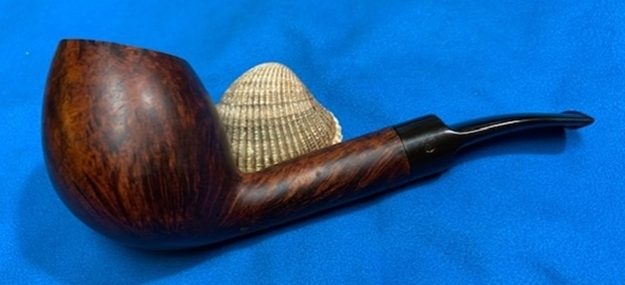
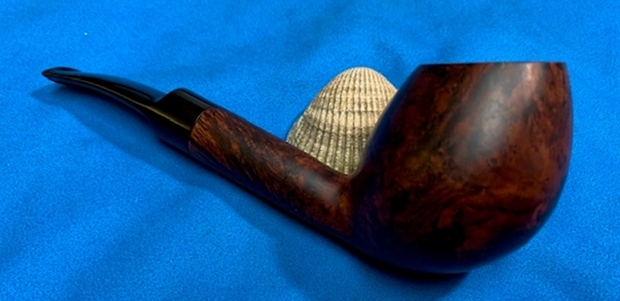
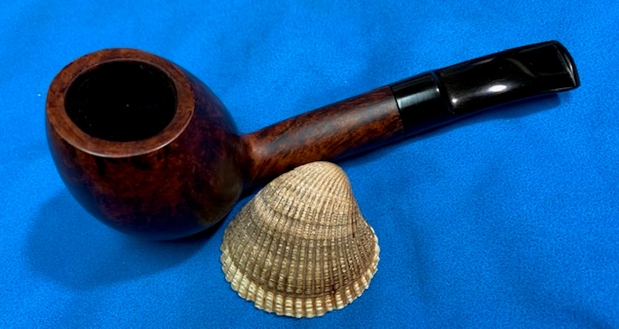
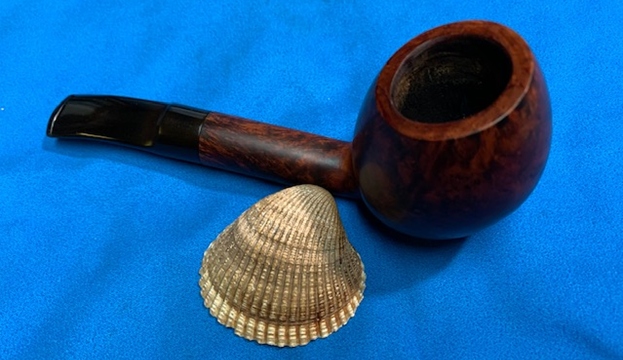
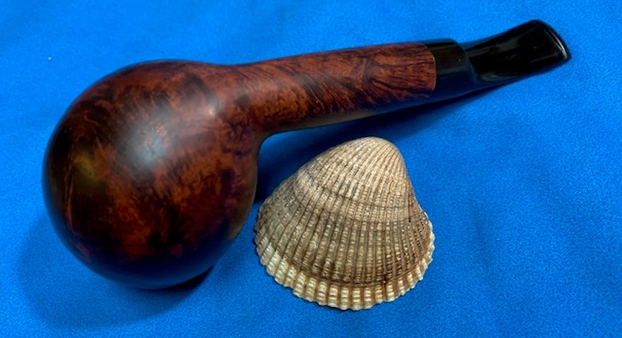
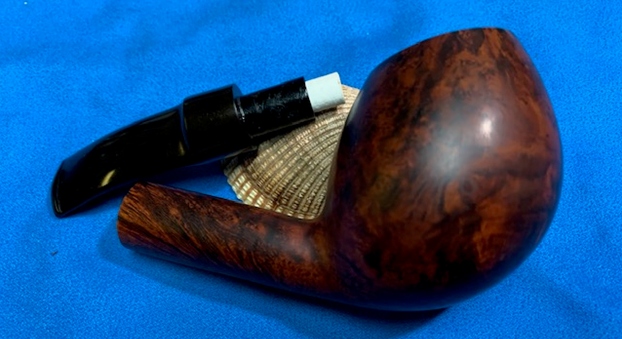
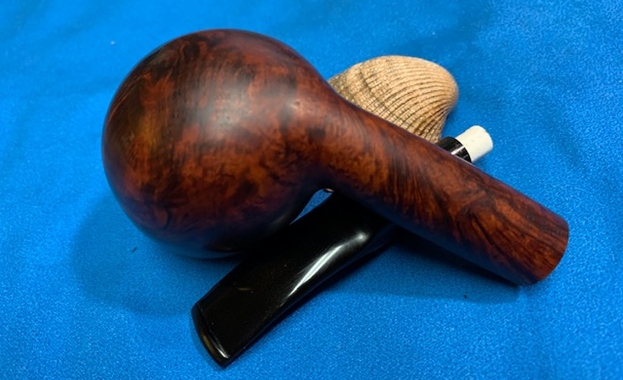
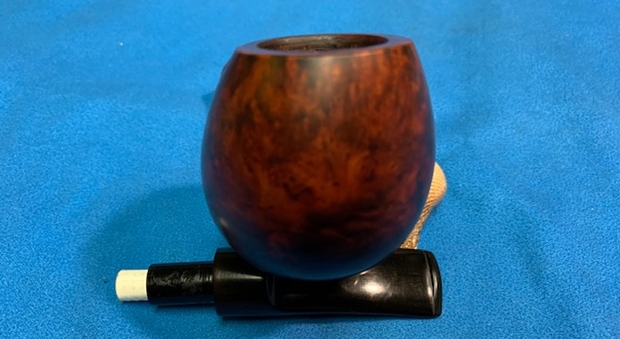
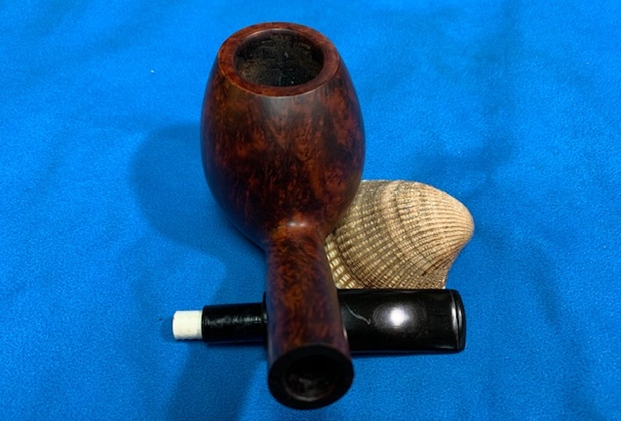
 This Hans Brandt 32 Panel Freehand Sitter with a fancy vulcanite saddle stem is a great looking pipe now that it has been restored. The beautiful grain that shines through the polished smooth finish is stunning. The lines of rustication on the lower portion of the bowl on each side is quite distinctive. I put the stem back on the bowl and carefully buffed the pipe with Blue Diamond on the buffing wheel. I gave the bowl and the stem multiple coats of carnauba wax on the buffing wheel and followed that by buffing the entire pipe with a clean buffing pad. I hand buffed the pipe with a microfiber cloth to deepen the shine. The grain just popped with the wax and the buffing. It is a beauty! The finished Brandt Panel Freehand Sitter fits nicely in the hand and feels great. It is also a sitter that can stand on its own. Give the finished pipe a look in the photos below. The dimensions of the pipe are Length: 5 ½ inches, Height: 1 ¾ inches, Outside diameter of the bowl: 1 ¾ inches, Chamber diameter: ¾ of an inch. The weight of the pipe is 48gr/1.69oz. I will be putting it on the rebornpipes store in the DANISH PIPE MAKERS section soon. If you are interested in adding this pipe to your collection send me a message or an email. Thanks for reading this blog and my reflections on the pipe while I worked on it. There are many more to come!
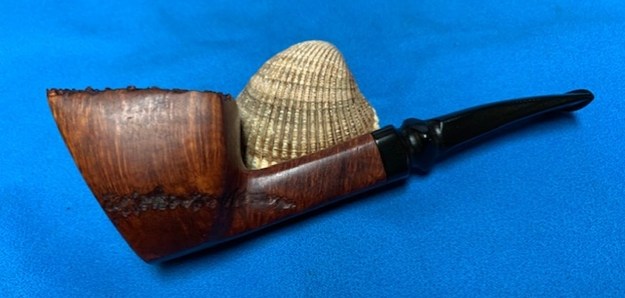


