Blog by Steve Laug
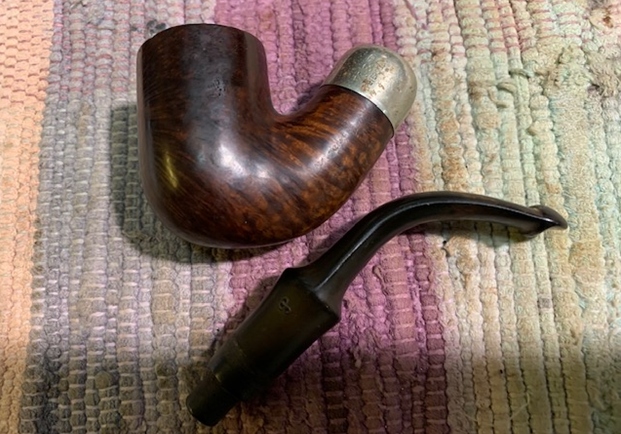
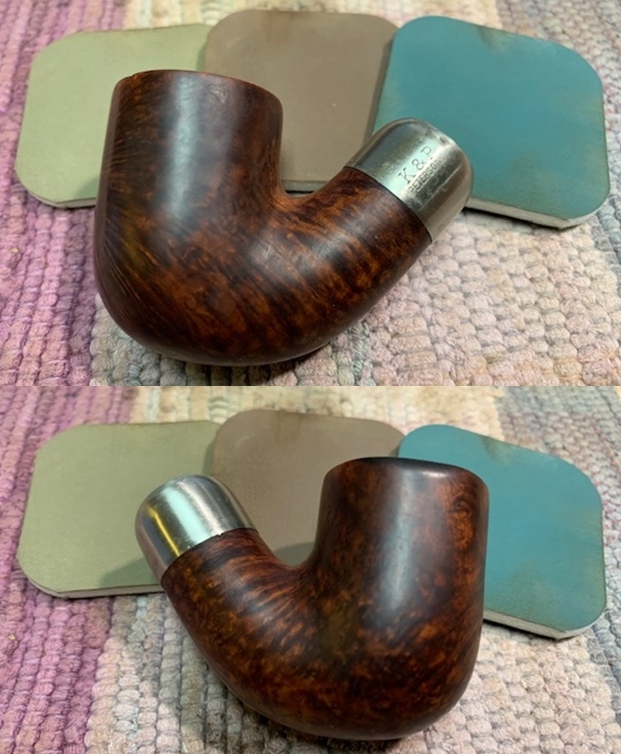
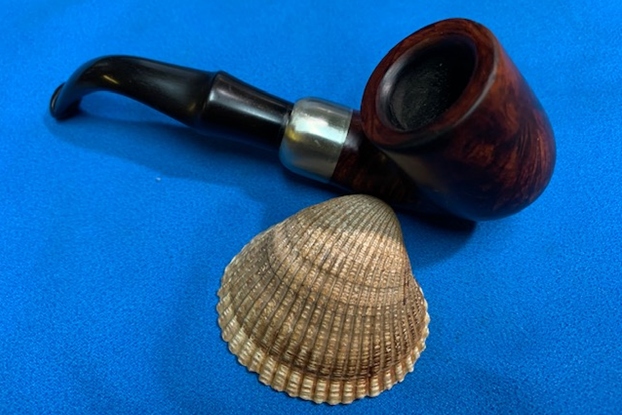
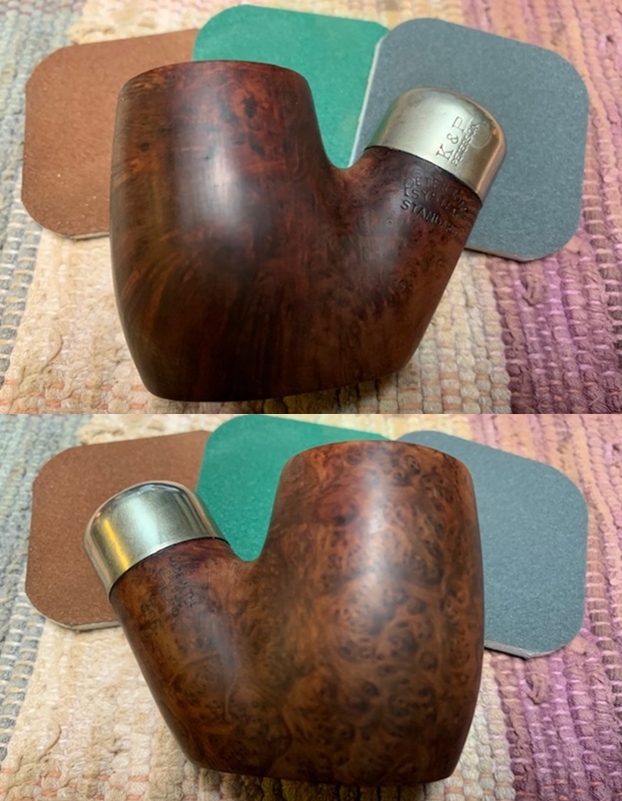
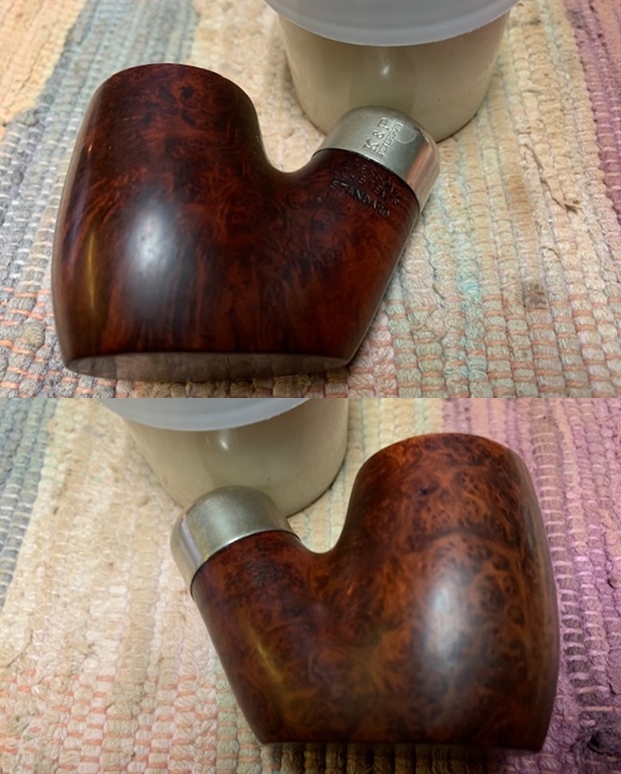
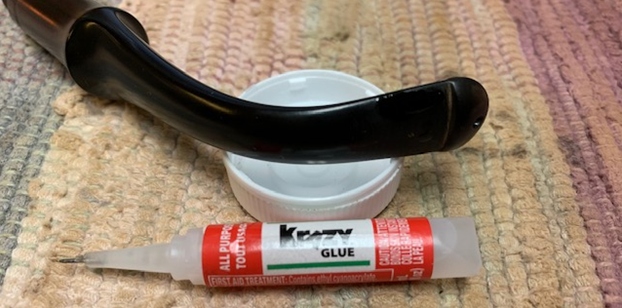
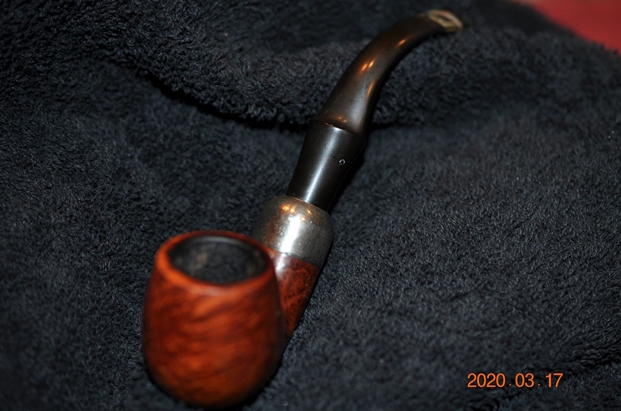
I am finally getting close to the bottom of the drawer full of Peterson’s pipes that I have had languishing here for a long time. It is seriously crazy how many pipes I have to work on and the serious lack of time I have to do so! However, I have time for another one this evening. This Peterson rusticated System pipe was purchased from an antique mall on 08/21/2019 in Ogden, Utah, USA. It is stamped on the underside of the shank and reads Made in the Republic of Ireland (3 lines) [over] the shape number 317. That is followed by Peterson [arched over] System [over] Standard. That is followed by. The Peterson System Standard 317 bent billiard pipe is a small and light weight bent billiard offered in the “300 editions” of Peterson pipes. The pipe was very dirty with dust and debris in the crevices of the rustication. The bowl had a thick cake that overflowed in thick lava, filling in the rustication of the rim top. There was some wear on the outer edge of the bowl at the front from where the pipe had been knocked out repeated. The stamping was faint but readable as noted above. The stem was badly oxidized and calcified with tooth marks on both sides and on the button. There was a short split in the underside of the stem that was a problem and would most probably require a new stem. Jeff took the following photos of the pipe before he started his clean up so you can see the difference before and after.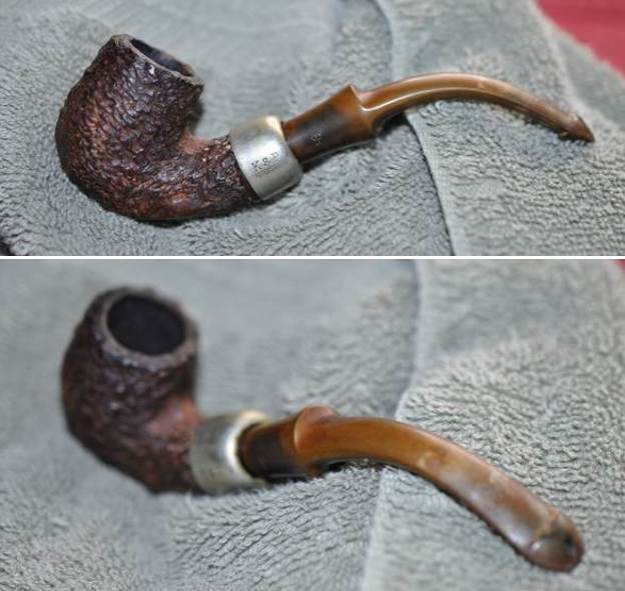 Jeff took photos of the rim top and bowl to give a sense of the condition. You can see the cake, the lava and the outer edge damage on the front of the bowl in the rim top photos. He also captured the condition and the look of the stem. In the photo of the underside you can see the line that appears to be a short crack.
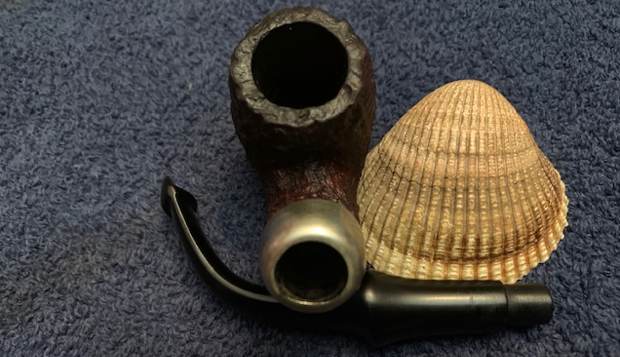
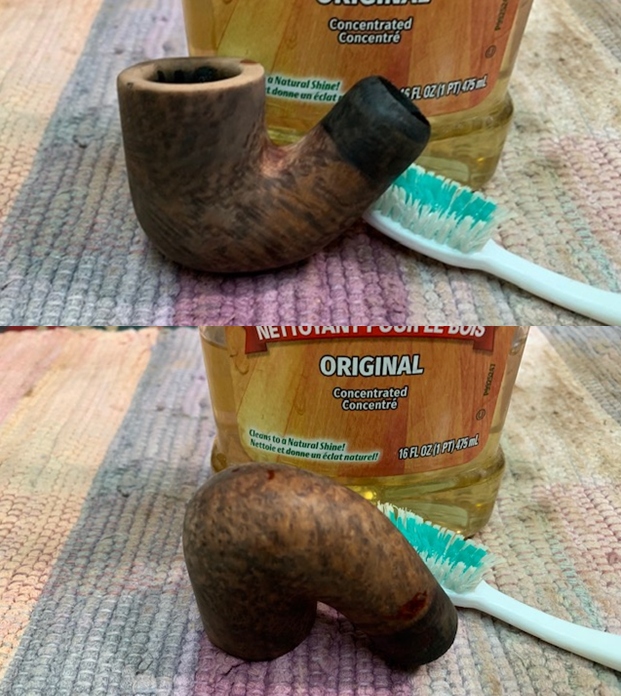
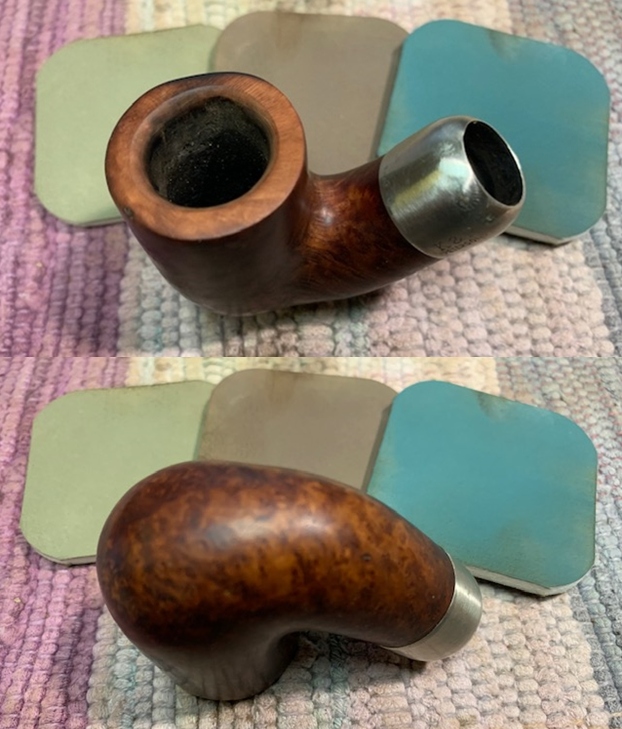
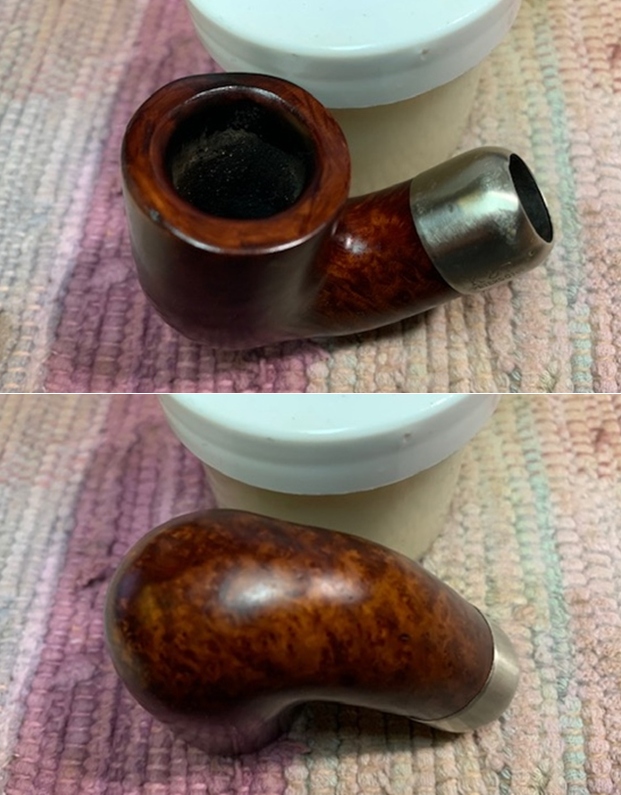
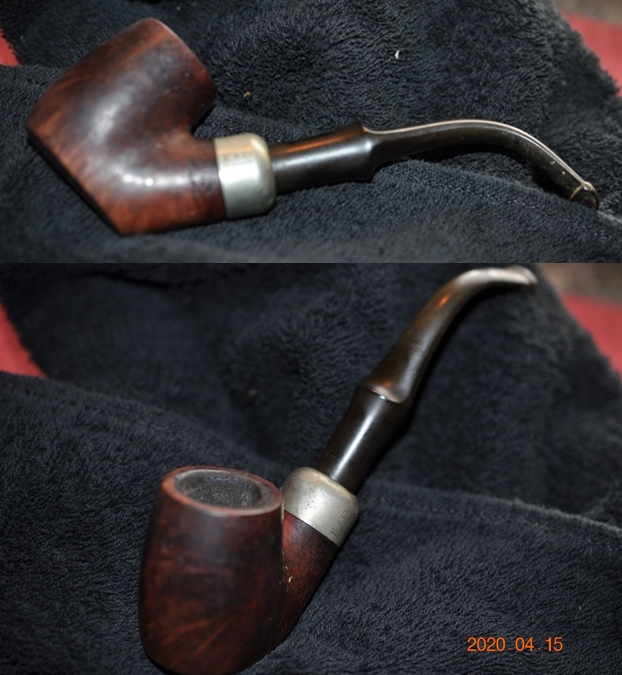
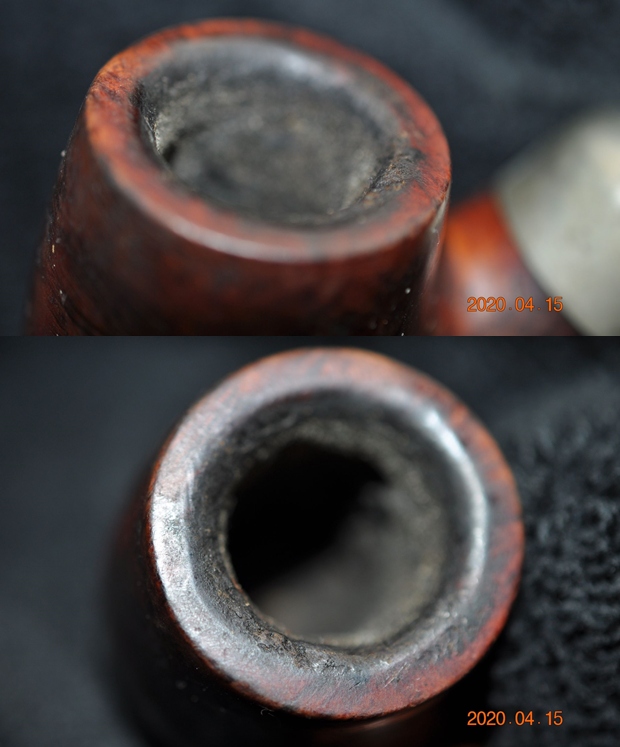
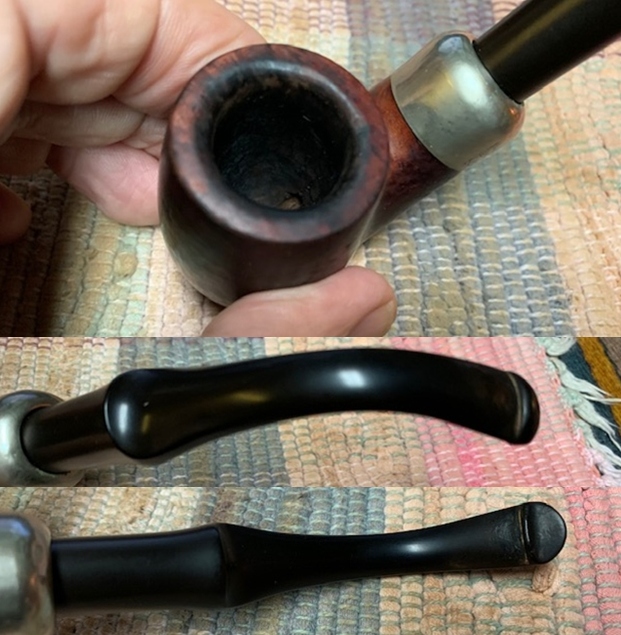
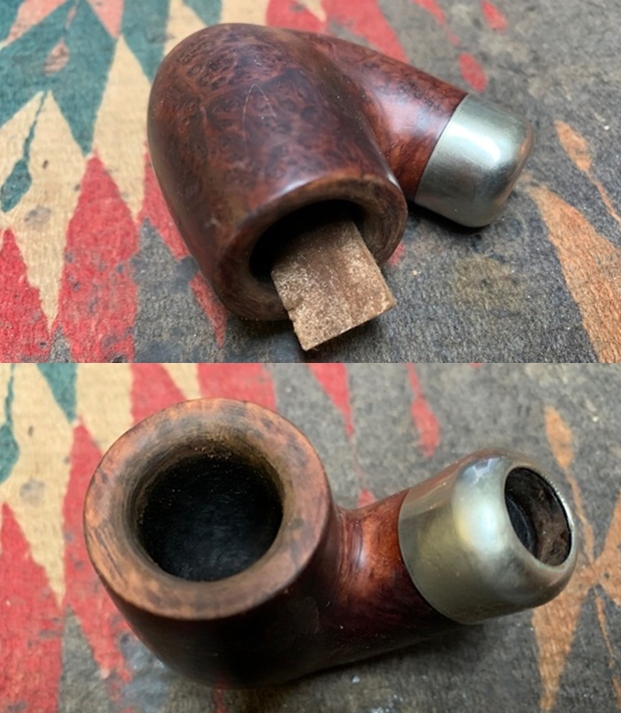
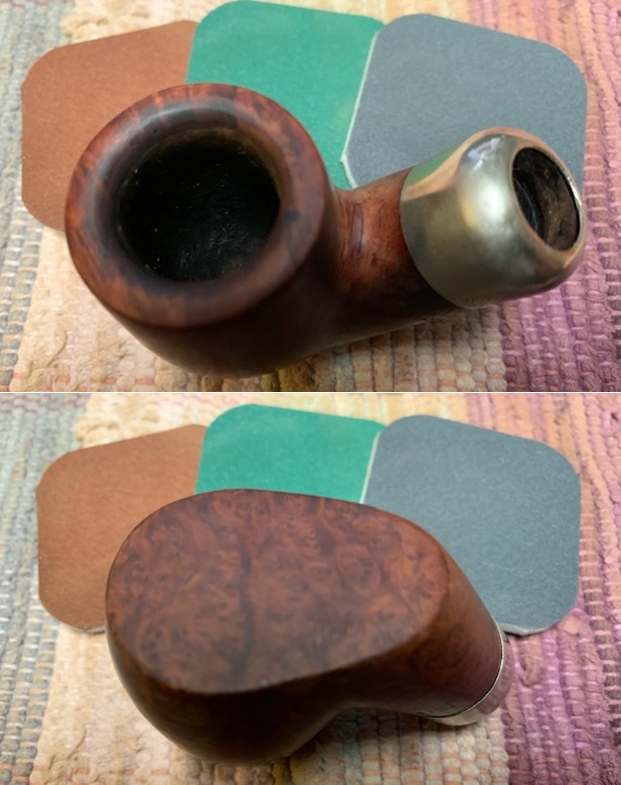
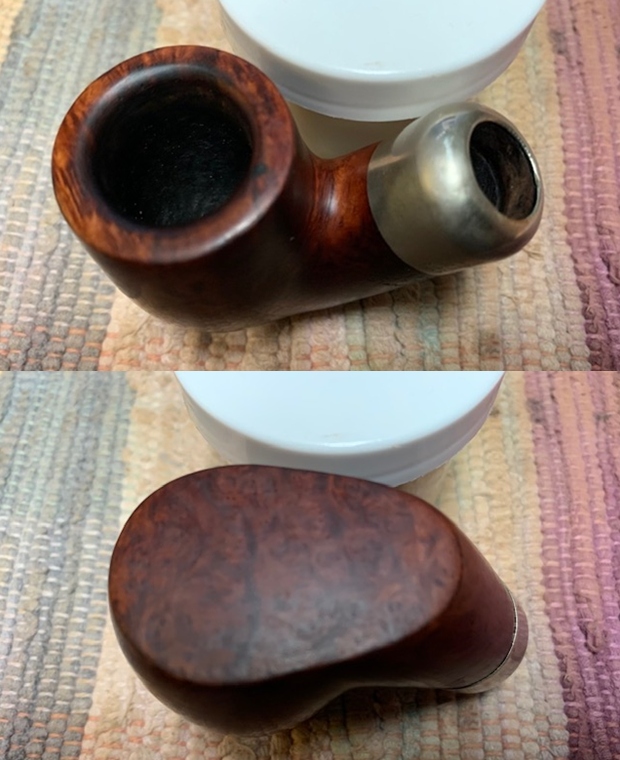
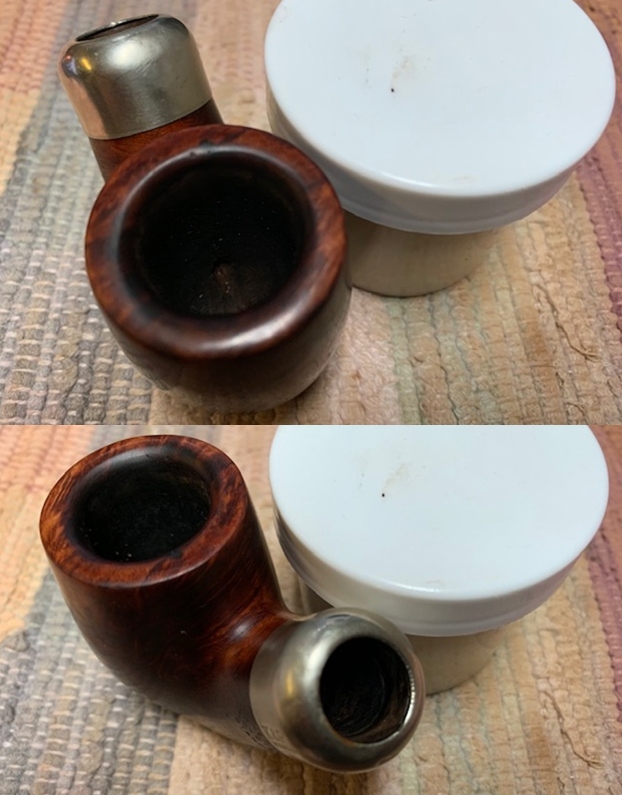
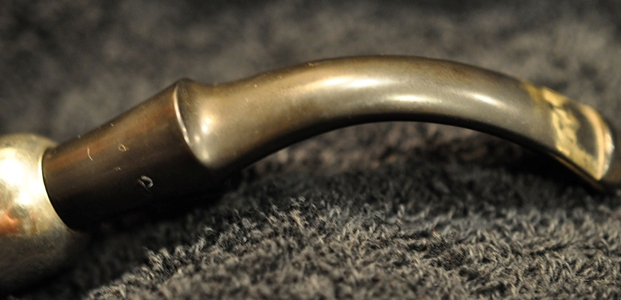
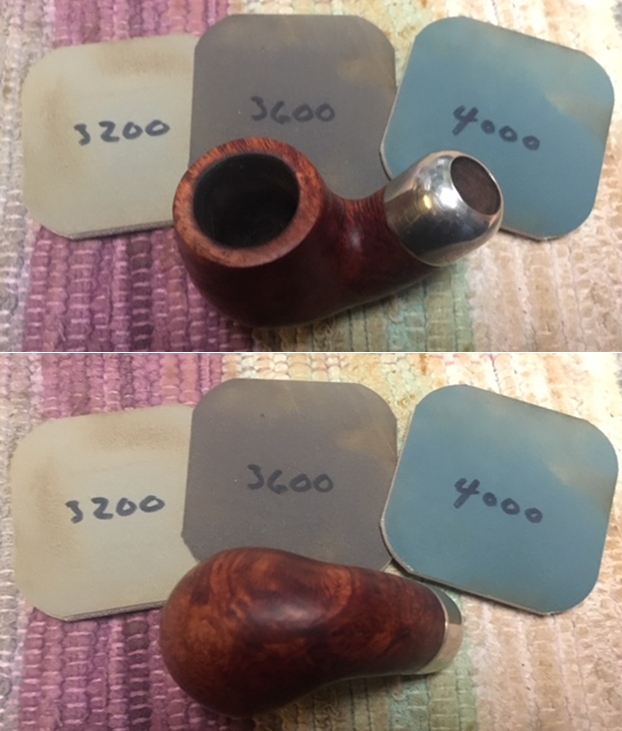
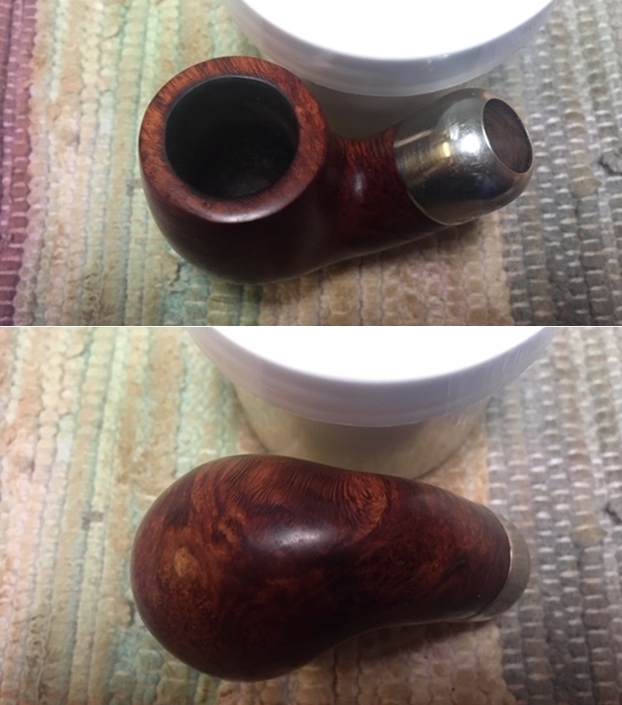
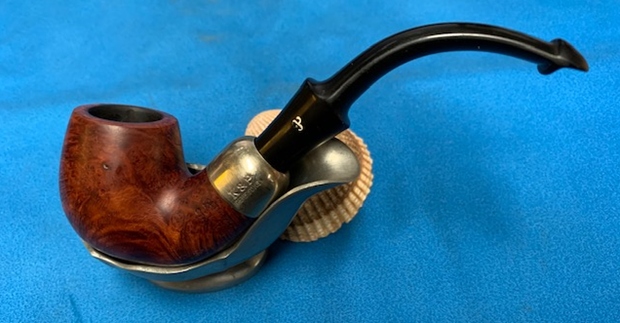
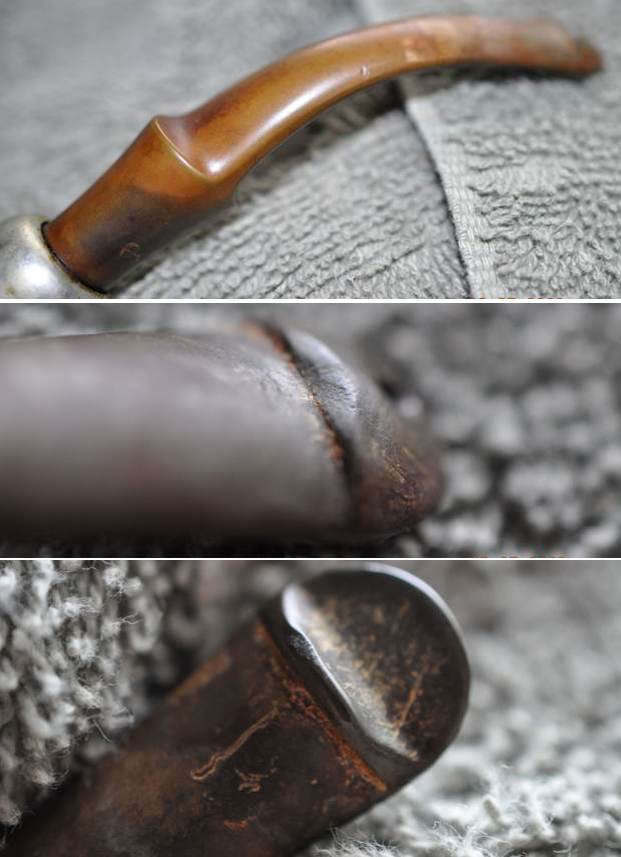
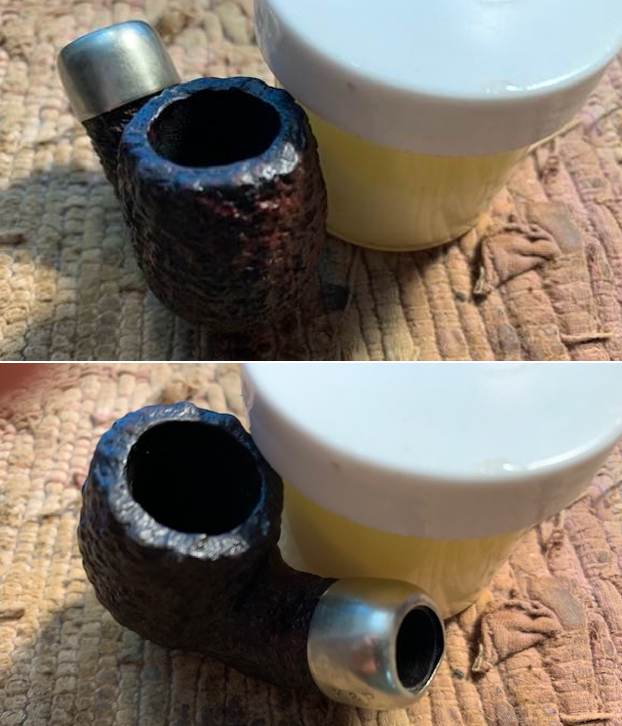
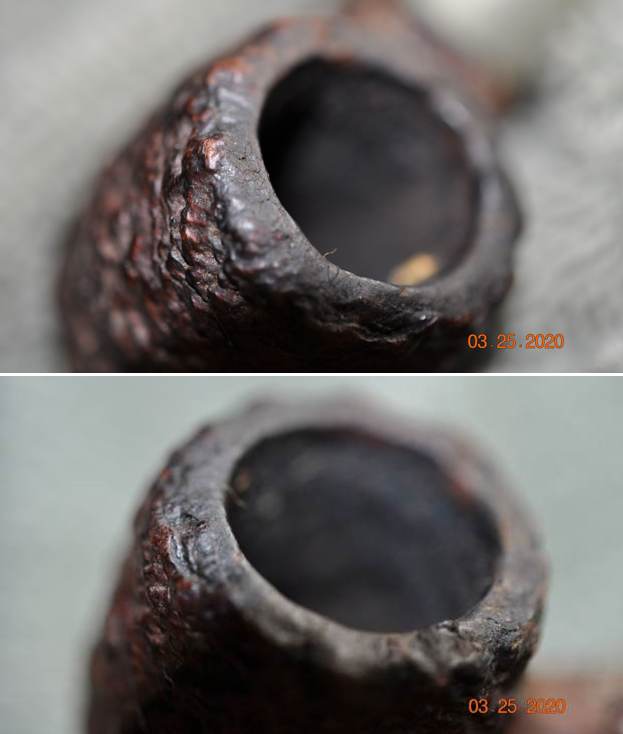
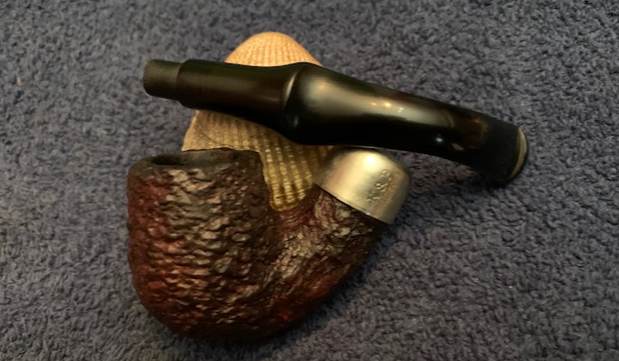
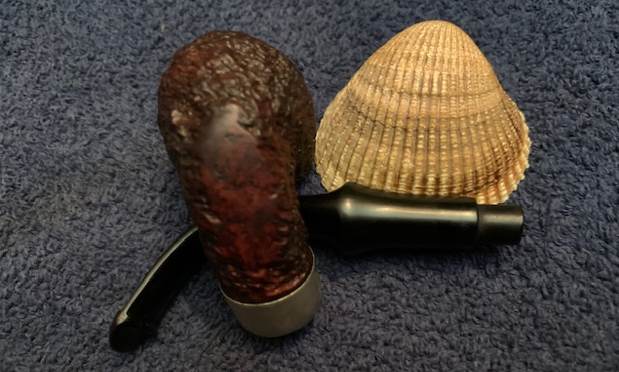
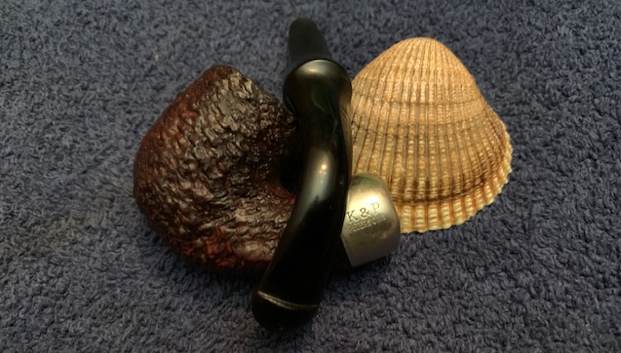
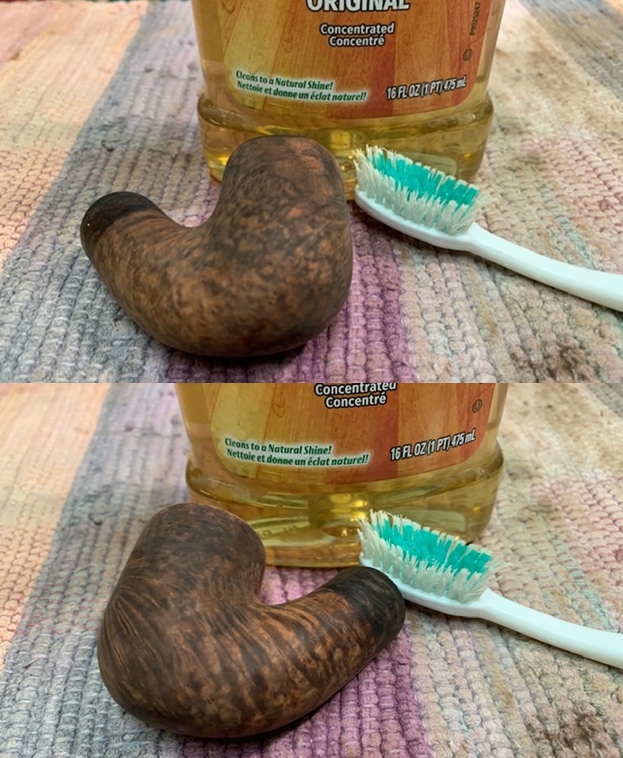
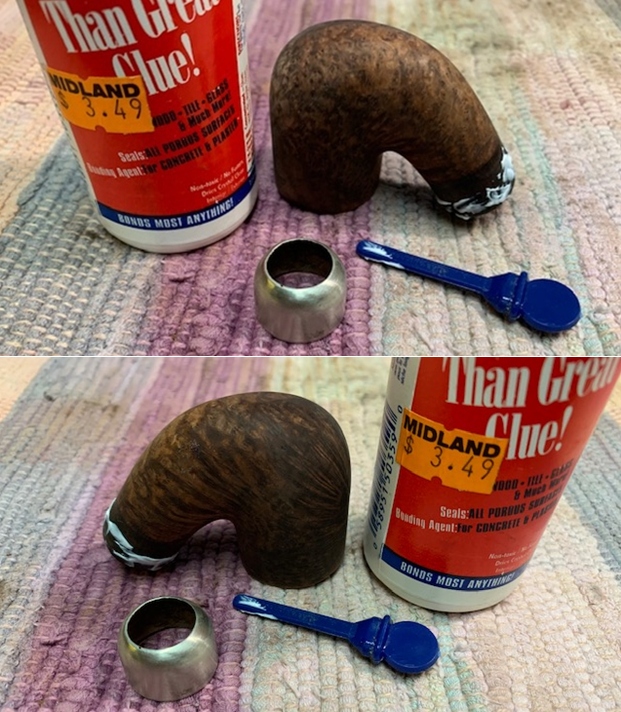
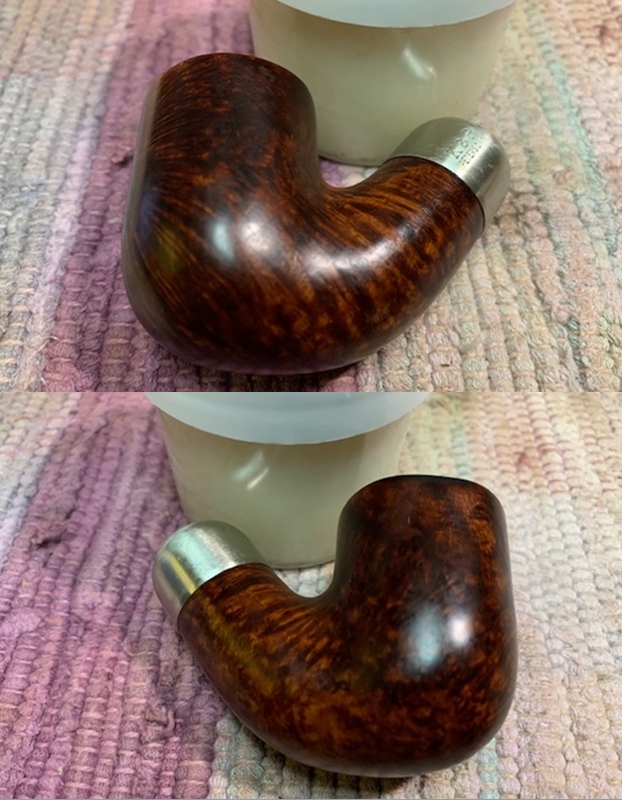
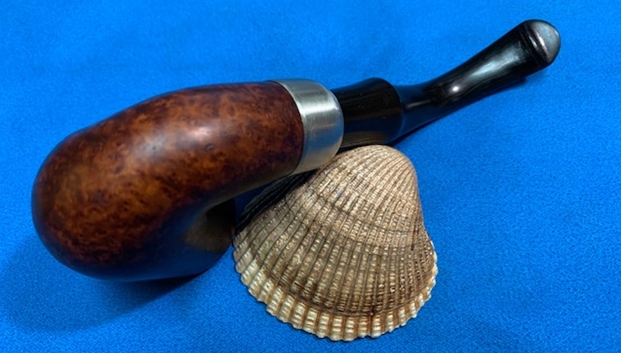
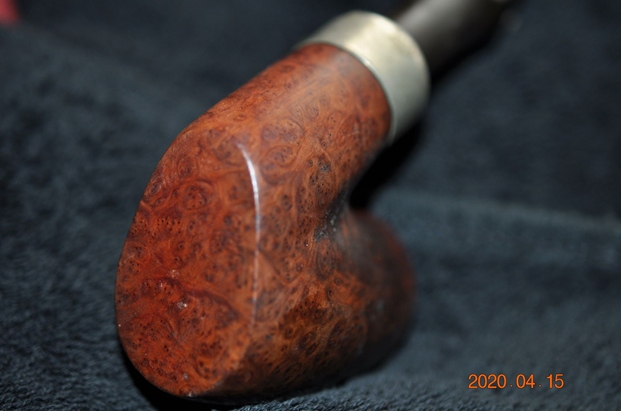
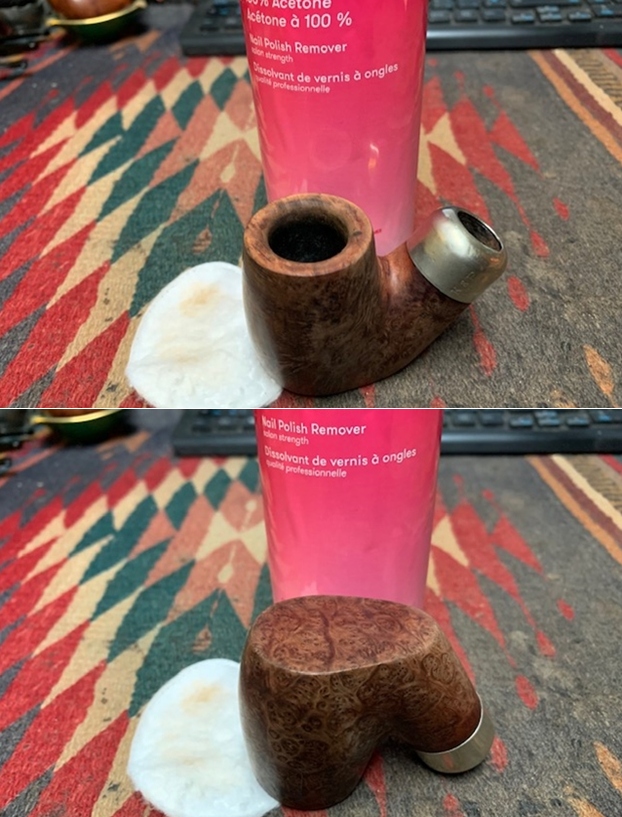
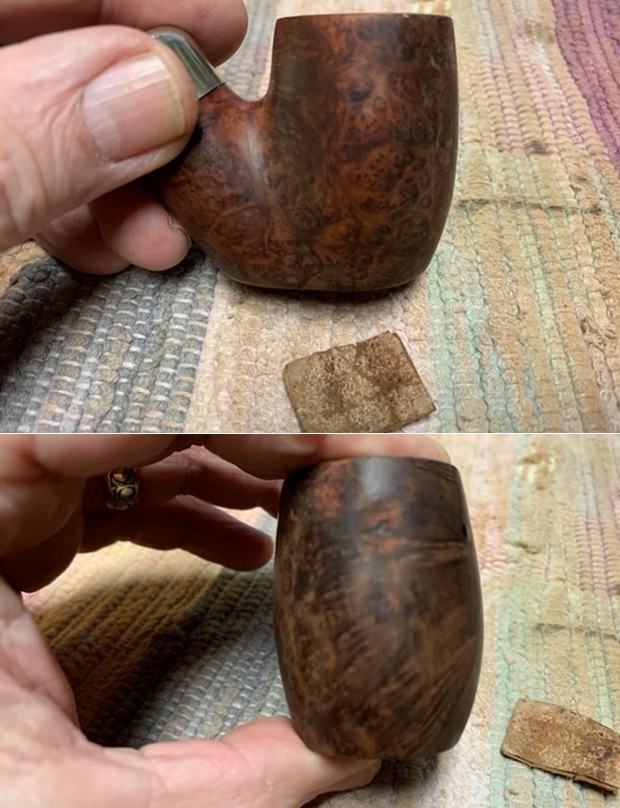
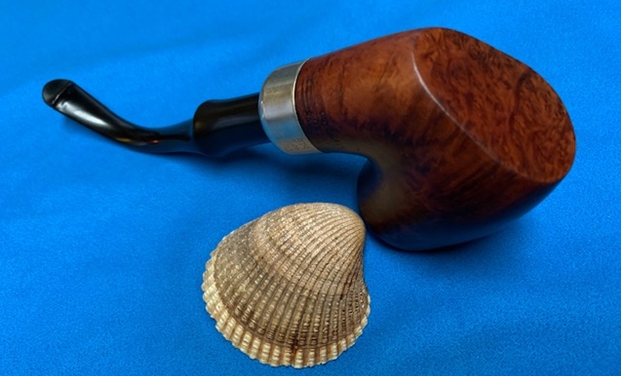
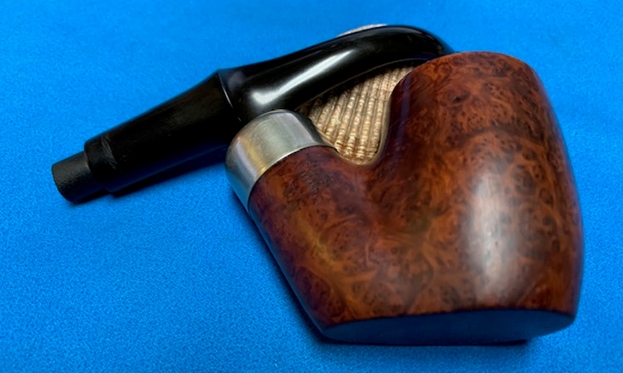
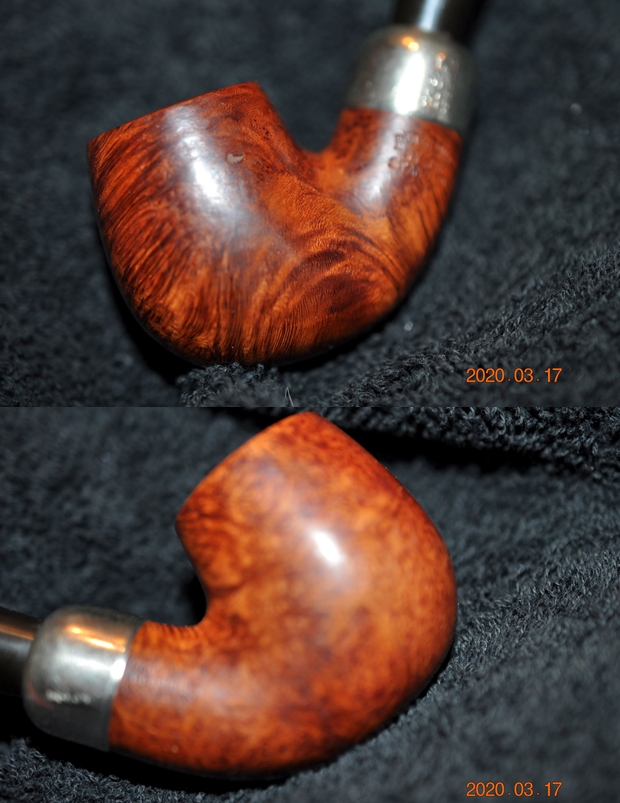
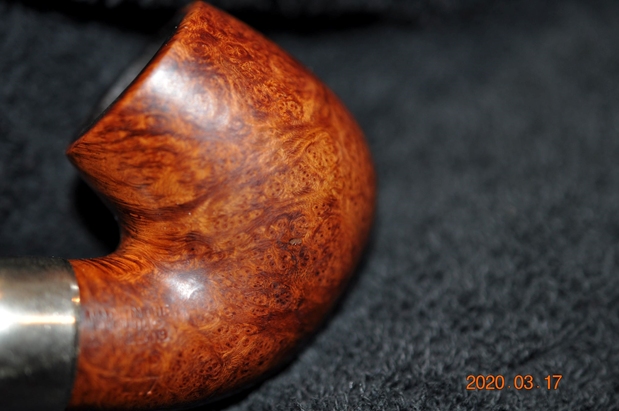
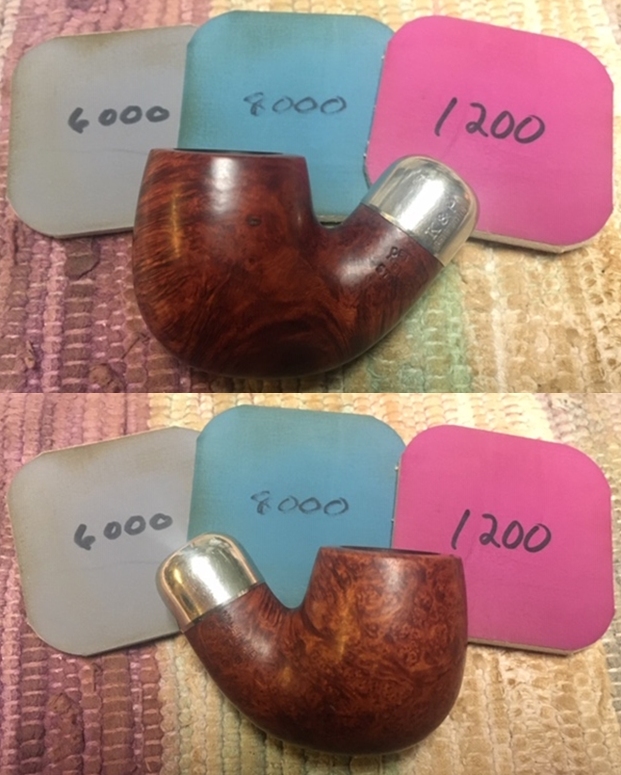
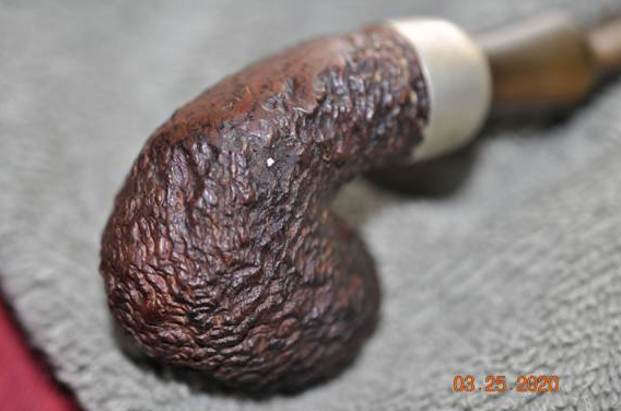
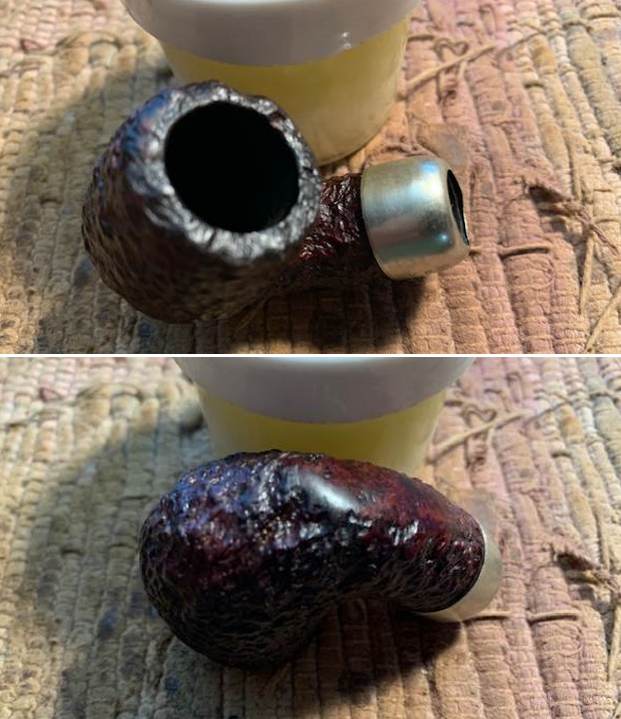
 He took photos of the bowl sides and heel to show the rugged rustication around the bowl and also the amount of debris that was ground into the crevices of the finish. There is something ruggedly charming about this old timer that grabbed our attention.
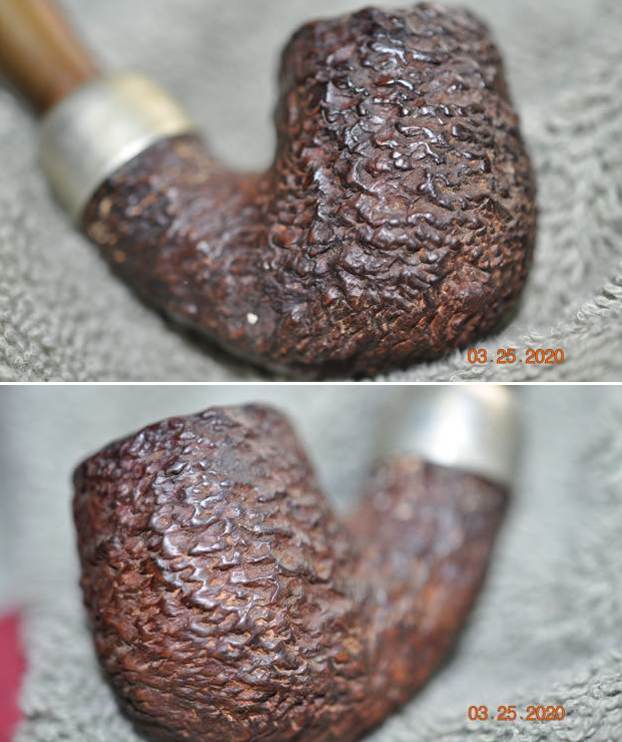
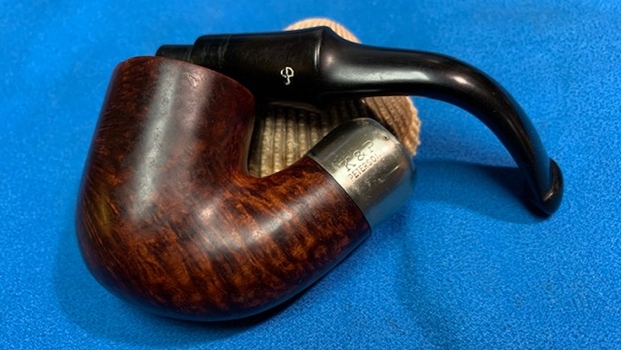
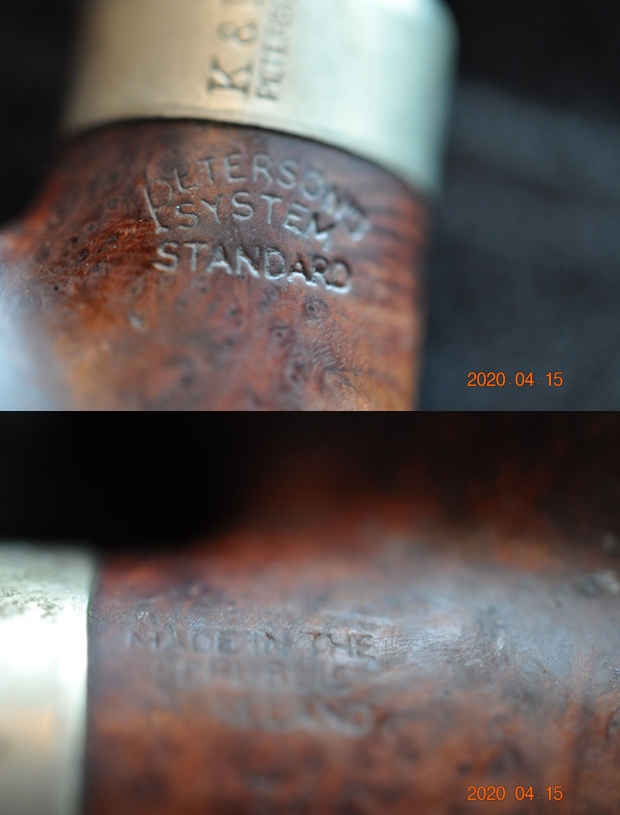
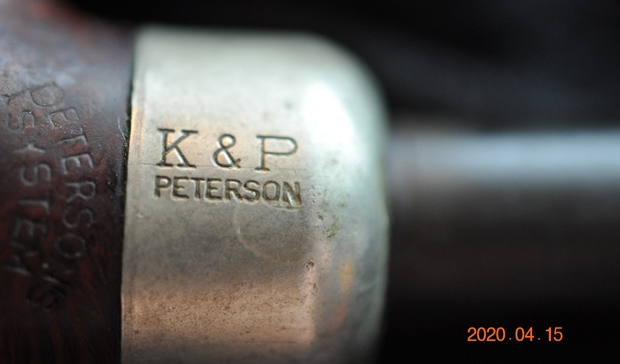
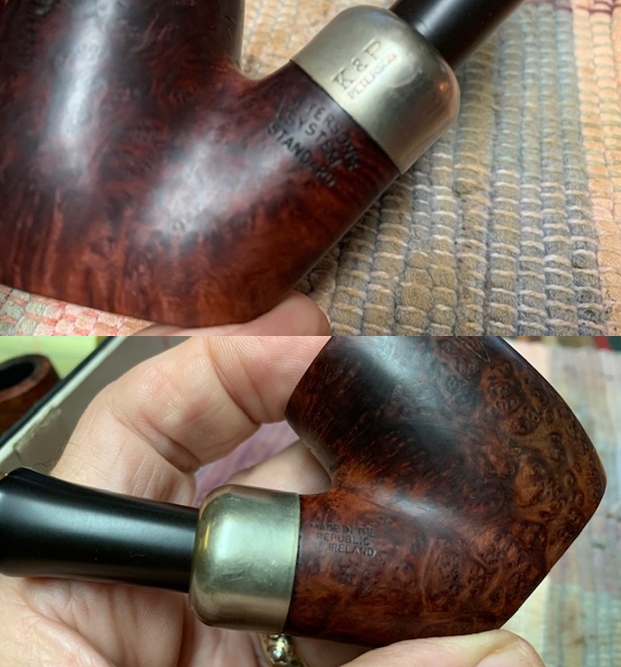
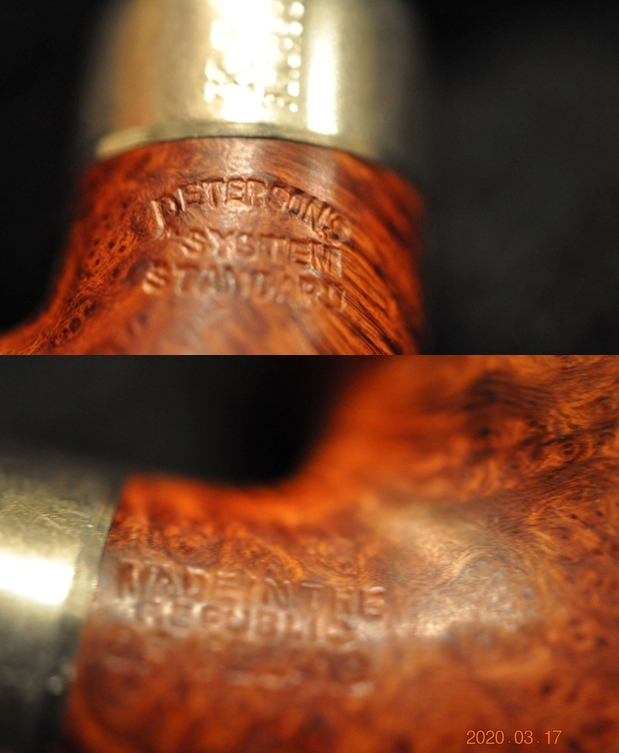
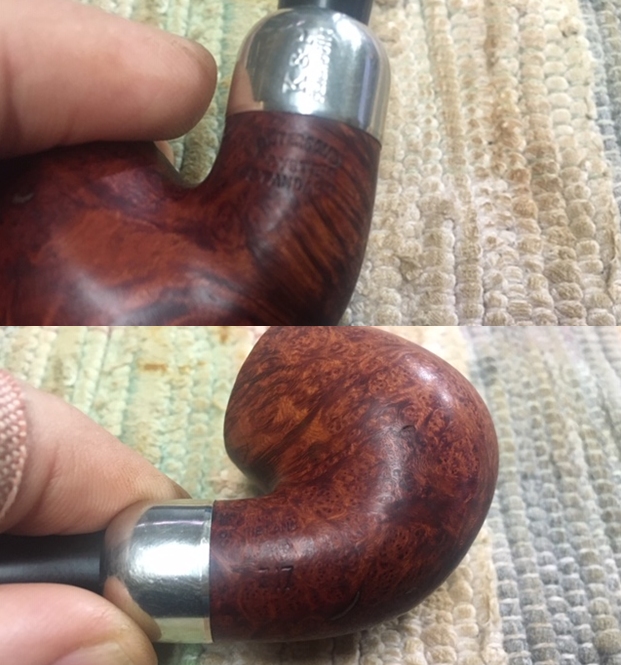
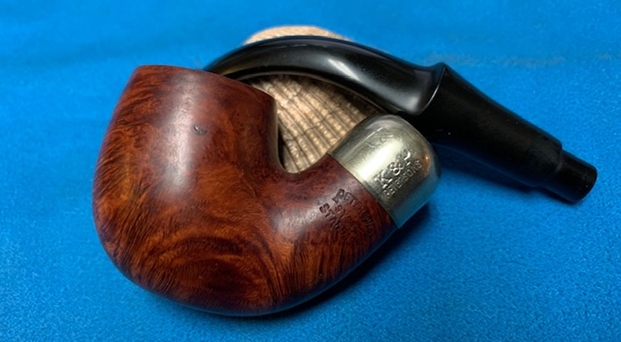
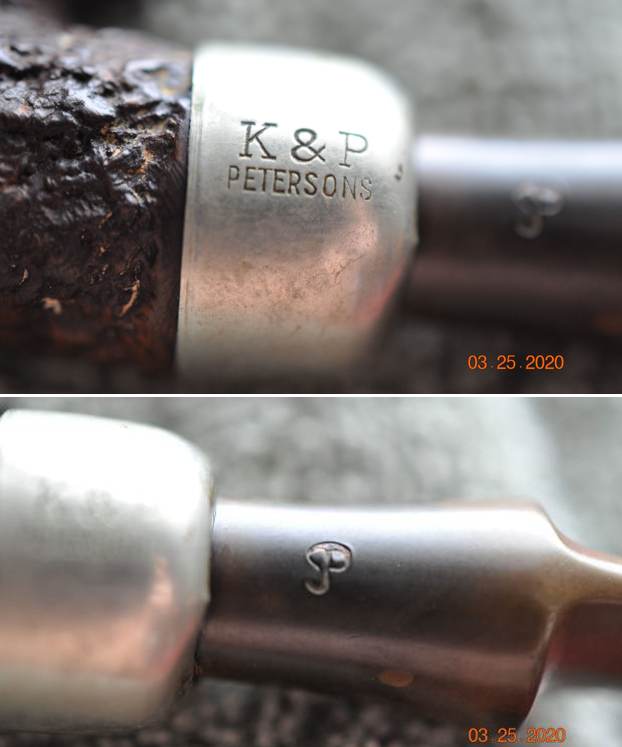
 He took photos of the stamping on the underside of the shank. It was faint but was still readable and read as noted above. He also captured the stamping on the nickel ferrule as the P logo on the damaged stem.
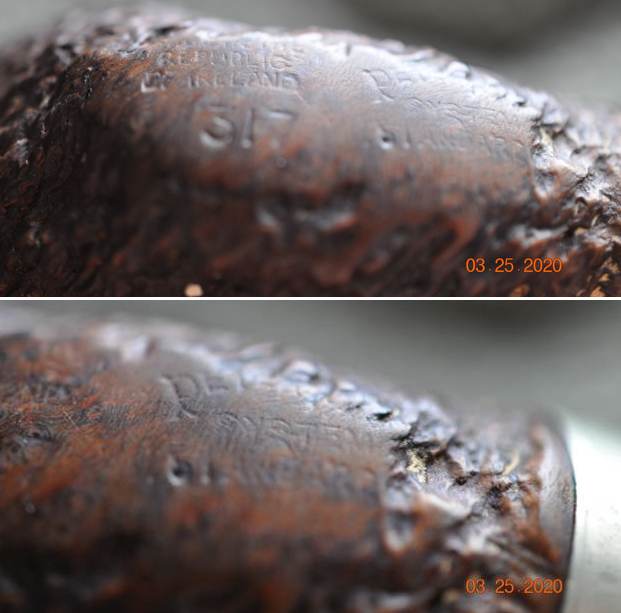
 I am including the information from Pipedia’s article on Peterson pipes. It is a great read in terms of the history of the brand (https://pipedia.org/wiki/Peterson). I have included a bit of the pertinent history here.
1950 – 1989 The Republic Era – From 1950 to the present time, the stamp for this era is “Made in the Republic of Ireland” in a block format generally in three lines but two lines have been used with or without Republic being abbreviated.
During the 1950’s and 60’s the Kapp & Peterson company was still in the ownership of the Kapp family. However 1964 saw the retiral of the company Managing Director Frederick Henry(Harry) Kapp.
I turned to Mark Irwin’s site to an article that he wrote on the System shapes from 1896-2019 (part 1) and found the shape I am working on there. I did a screen capture of the pipe shape and the details as shown in the photo below (https://petersonpipenotes.org/2019/09/03/146-a-guide-to-system-shapes-1896-2019-part-1-the-300-shape-group/). With that information in hand I knew what I was dealing with in terms of the stamping and the age of this pipe. I knew from the information that the pipe was made during the Late Republic Era between 1950 and 1989. Pipedia qualifies the dating as follows: From 1950 to the present time, the stamp for this era is “Made in the Republic of Ireland”. Now it was time to work on the pipe.
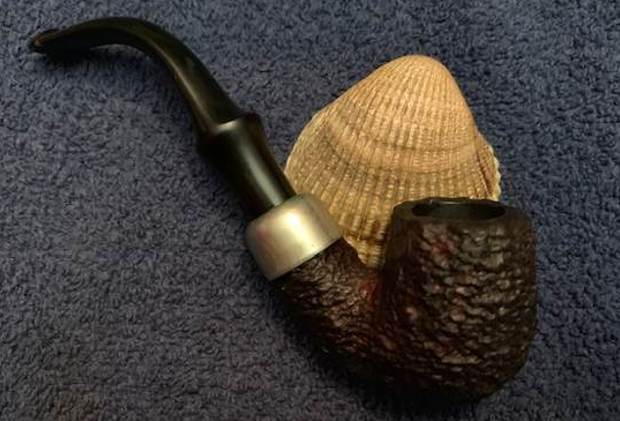
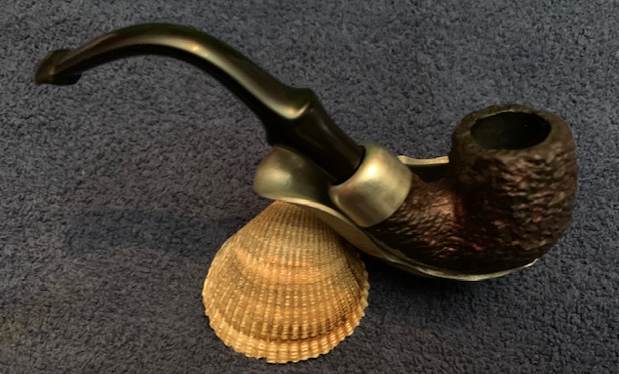
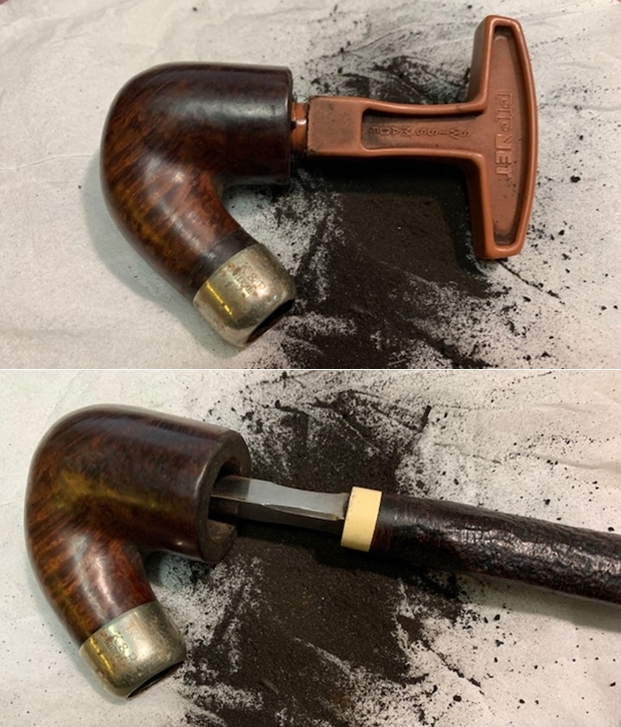
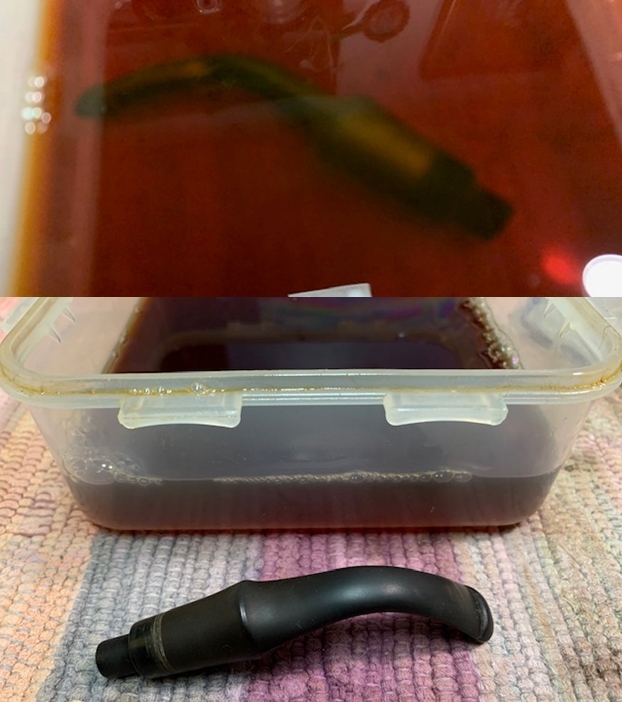
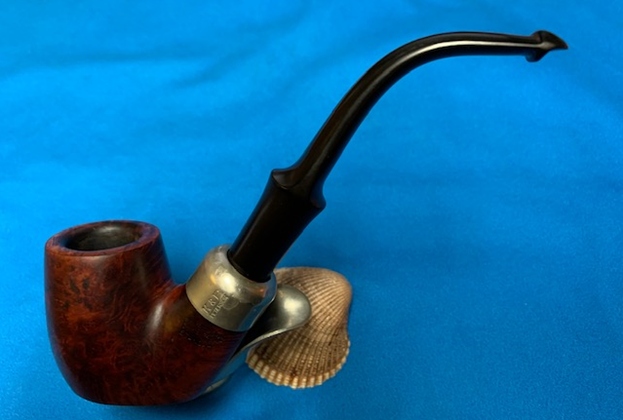
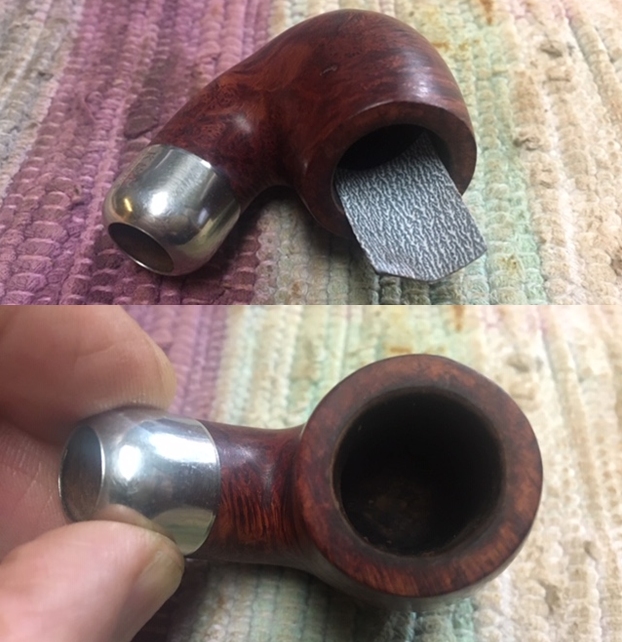
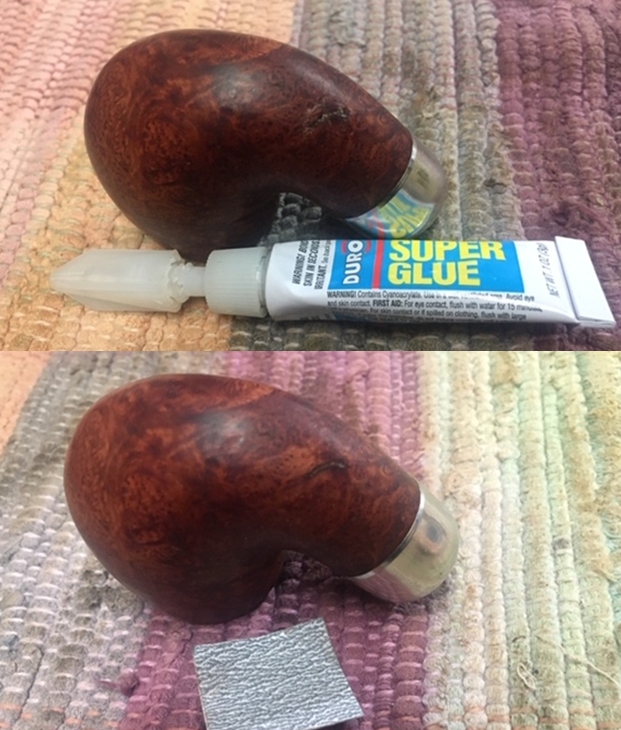
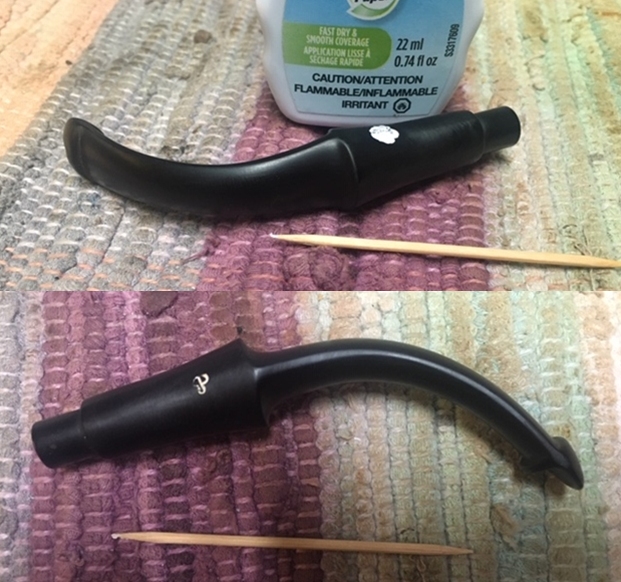
Armed with that information I turned to work on the pipe itself. Jeff had done a great job cleaning up the pipe as usual. He reamed the pipe with a PipNet reamer and cut back the cake back to the bare briar. He cleaned up the walls with a Savinelli Fitsall Pipe Knife. He scrubbed the interior of the bowl and shank with pipe cleaners, cotton swabs and alcohol to remove the tars and oils. He scrubbed the exterior of the pipe with Murphy’s Oil Soap and a tooth brush to remove the grime from the finish. He scrubbed the inside of the stem with alcohol and pipe cleaners. He cleaned the nickel ferrule with Soft Scrub and buffed it off with a soft pad. Somewhere along the journey from Idaho to Vancouver I had replaced the damaged stem with the one in the photos. It is an identically shaped and sized stem and with it in place the pipe looks good. I took photos of the pipe before I started working on it. 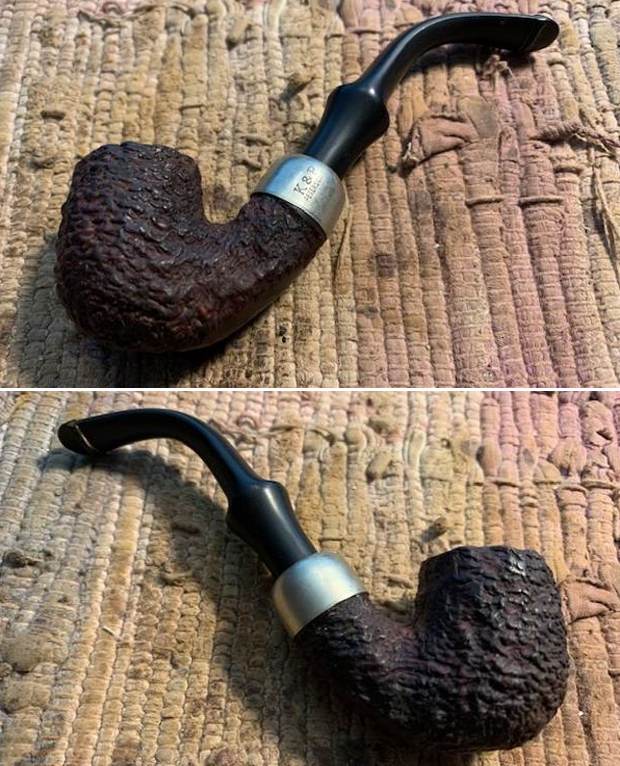
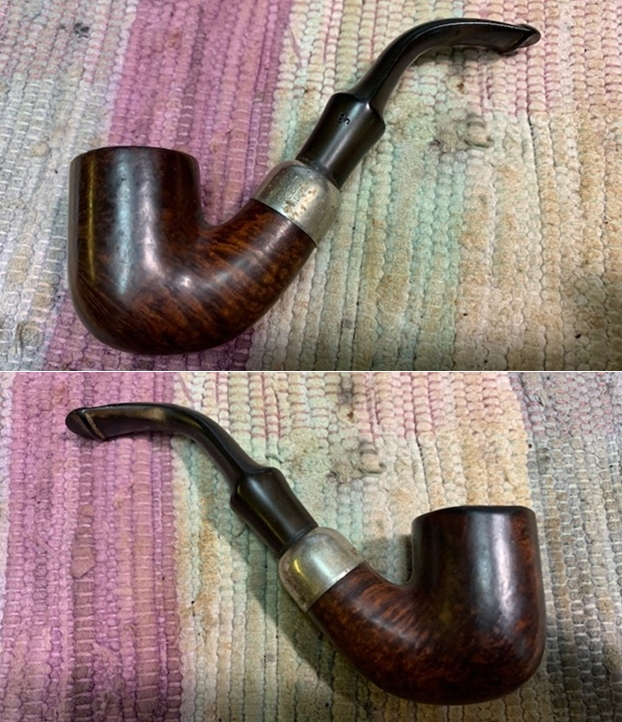
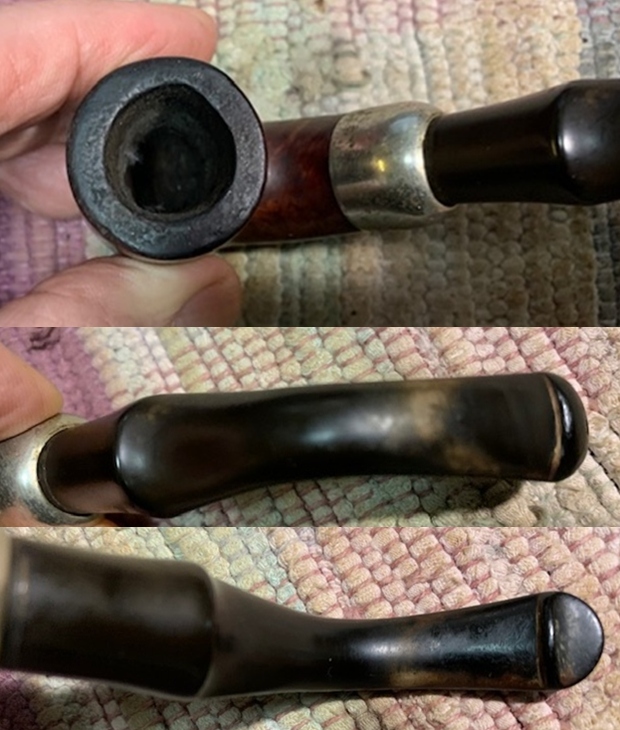
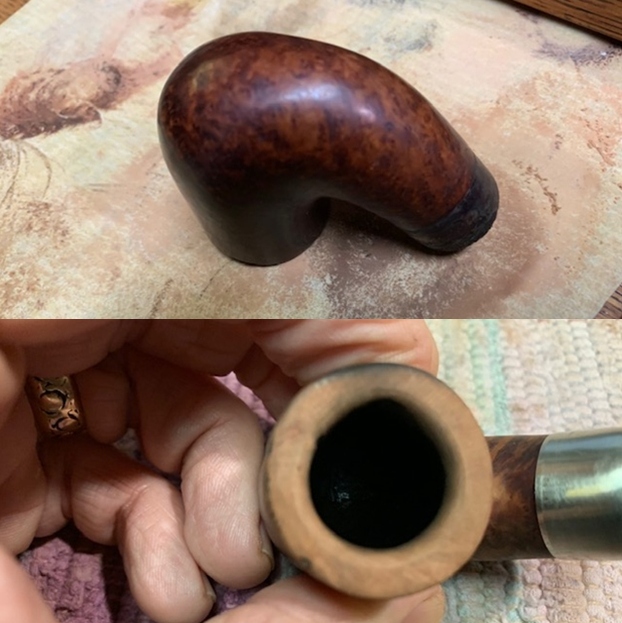
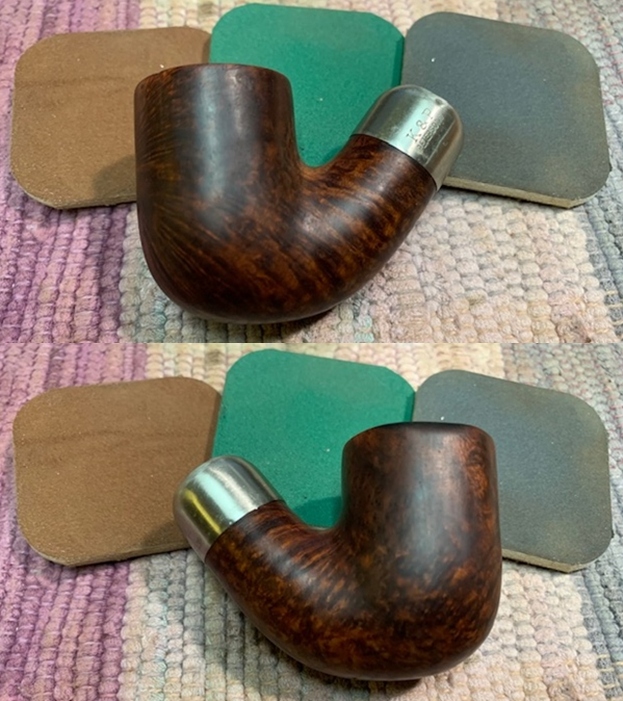
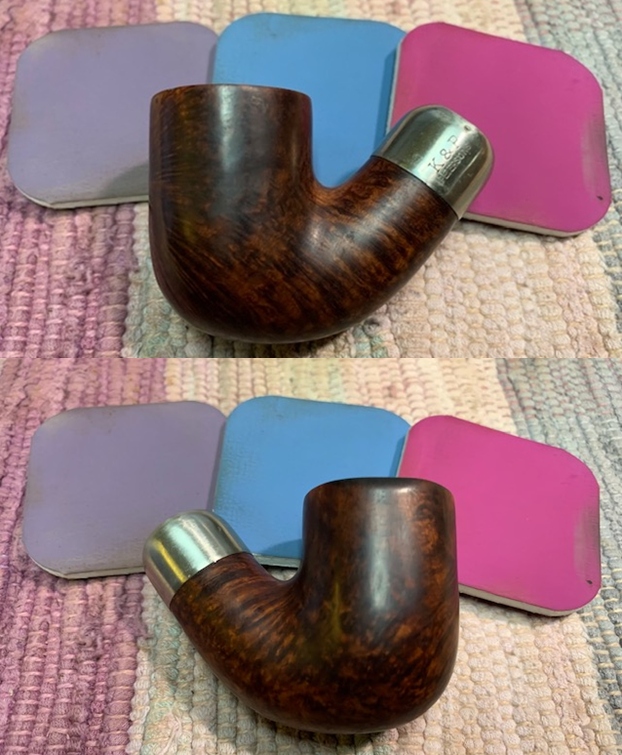
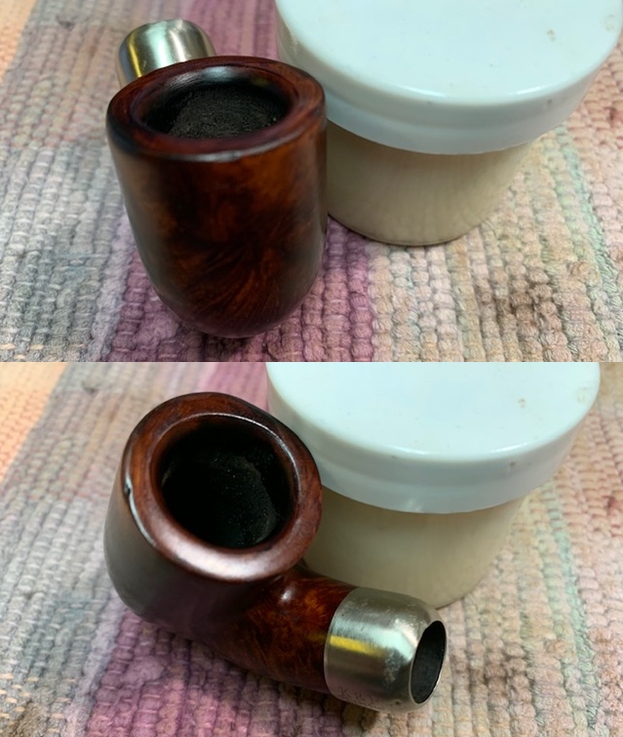
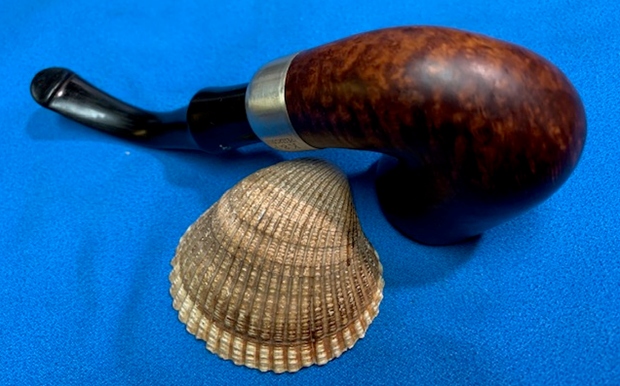
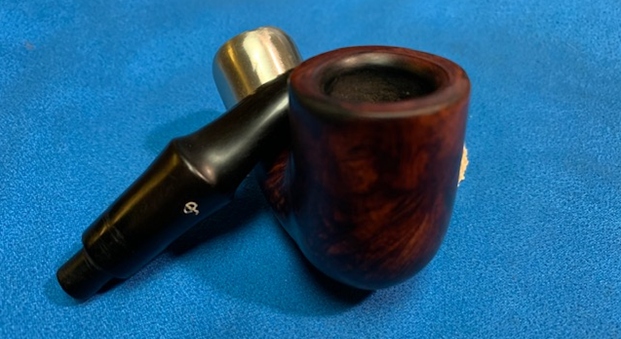
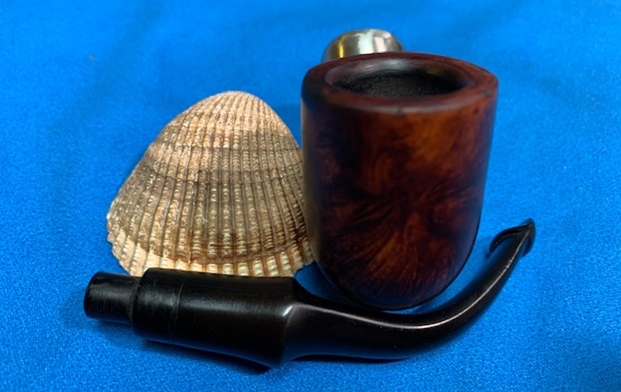
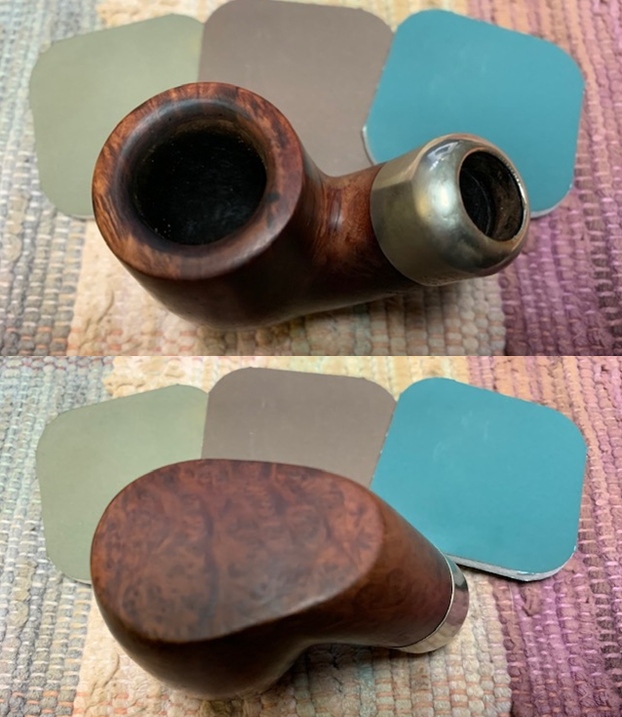
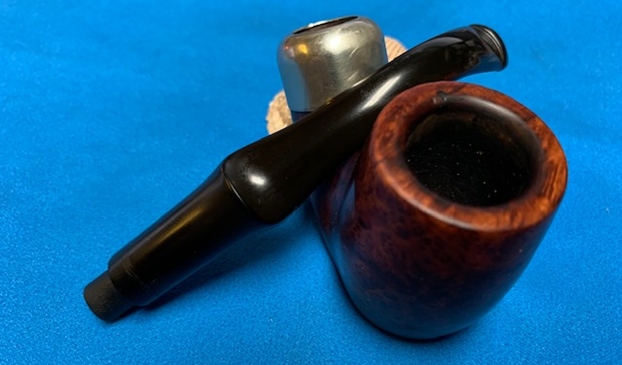
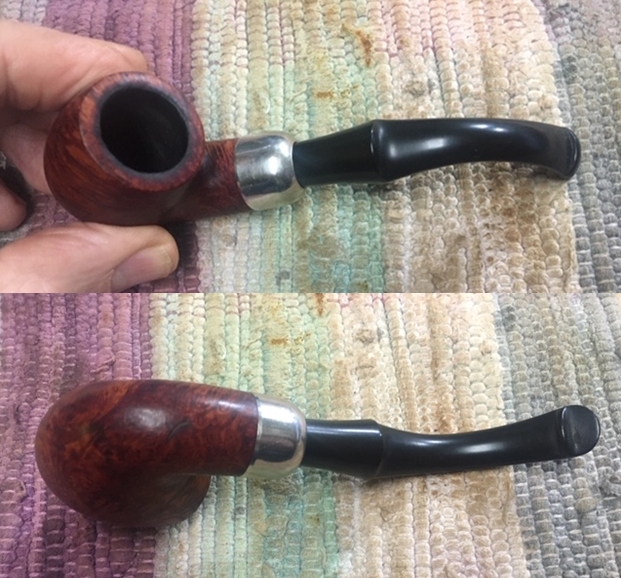
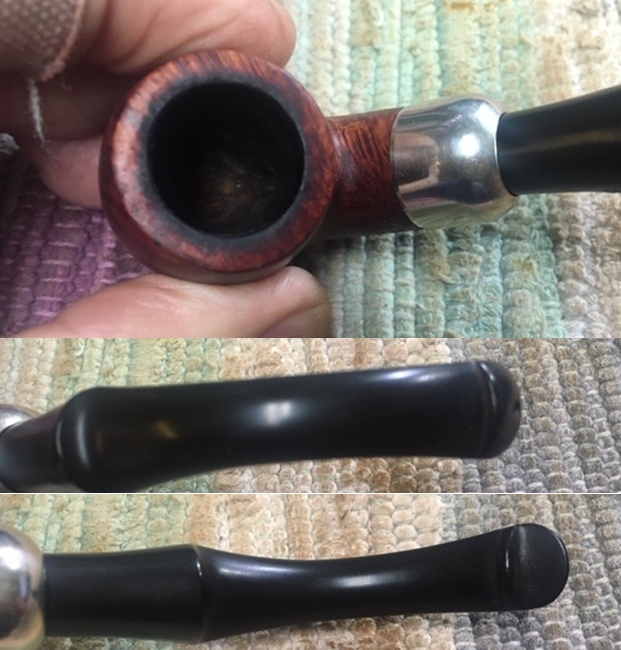
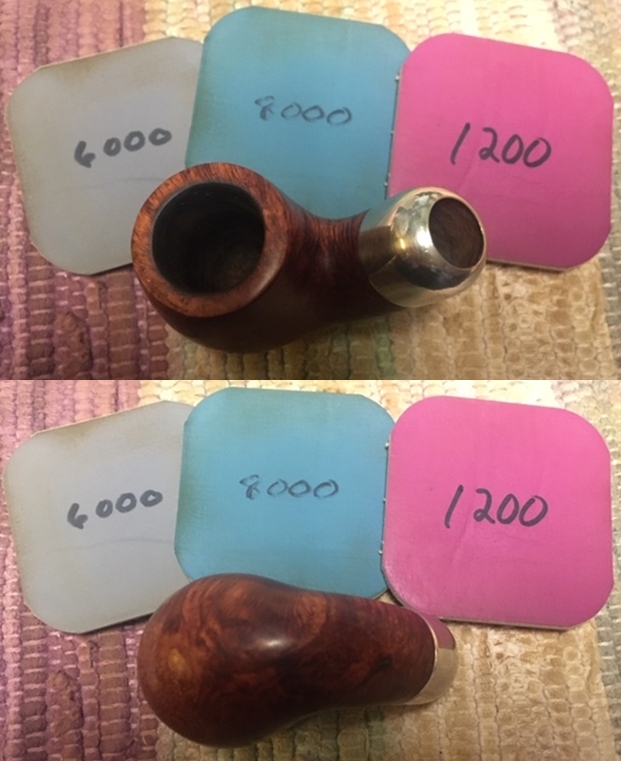
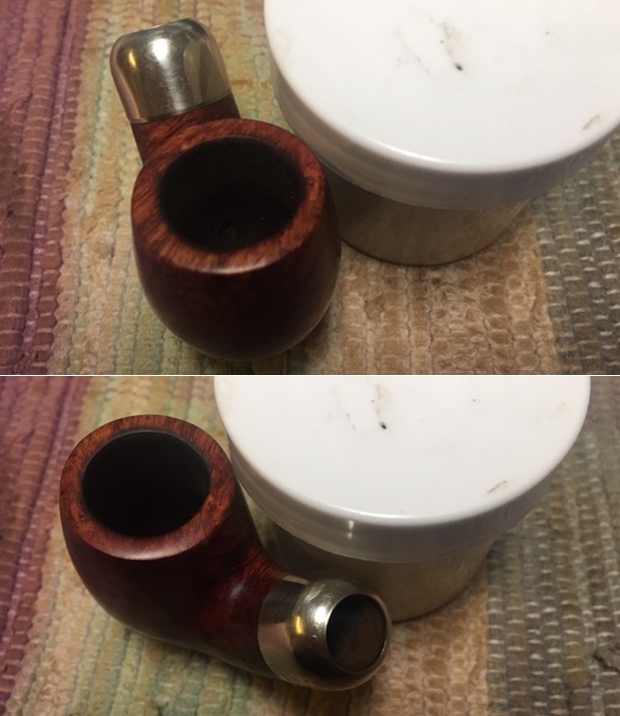
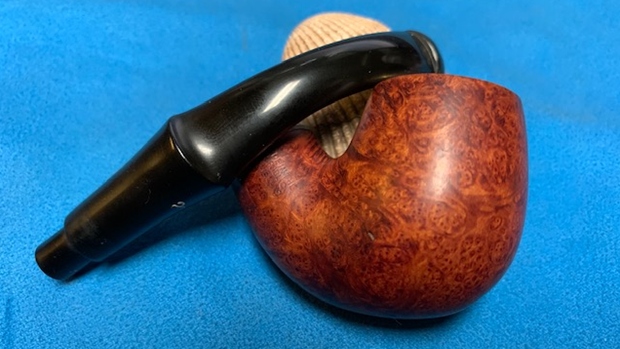
 I took photos of the bowl and rim top to show how clean it was. There is some wear on the finish around the outer edge and the rim top is roughened. The replacement stem looks clean of oxidation and there is light tooth chatter on both sides of the stem.
 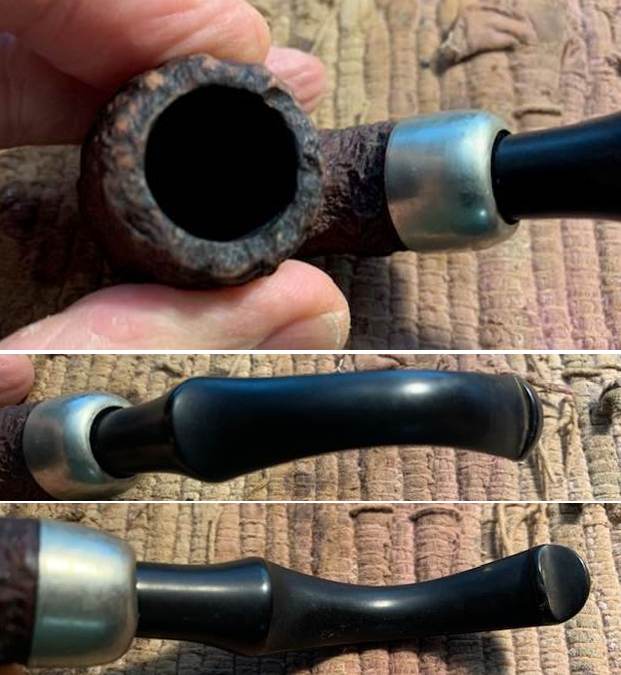 The stamping on the underside of the shank was faint but still readable as noted above.
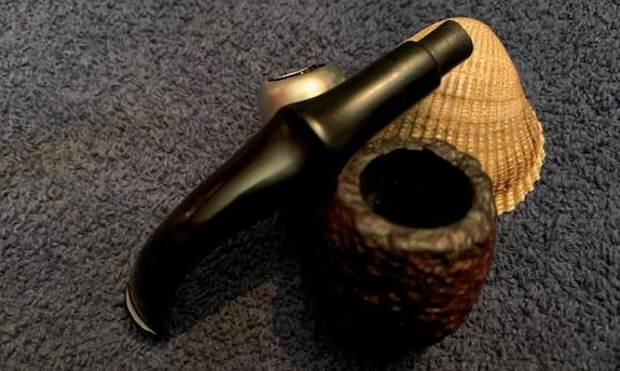
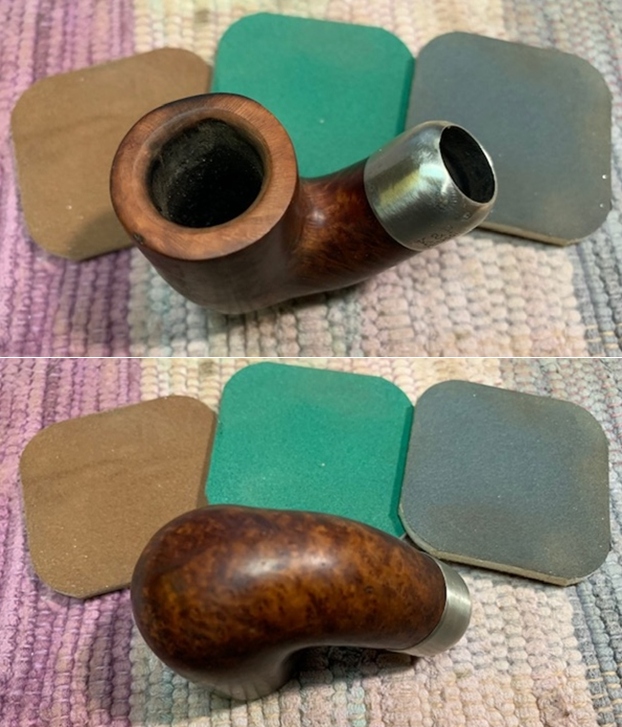
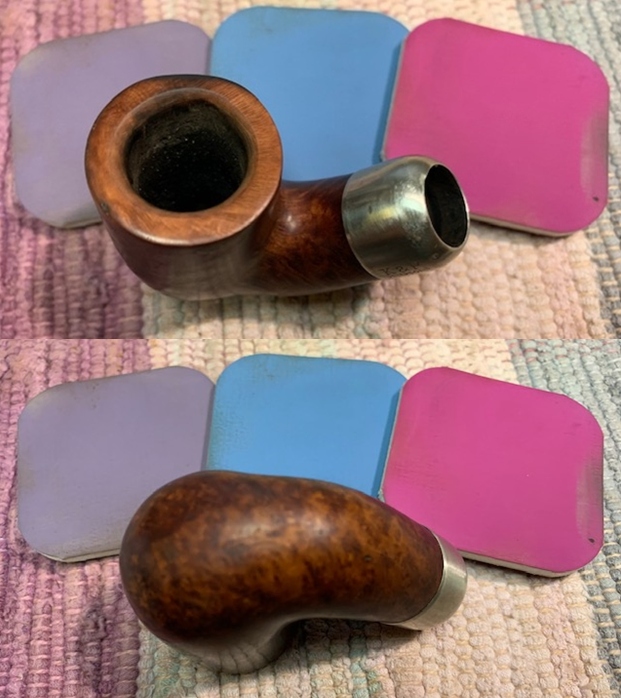
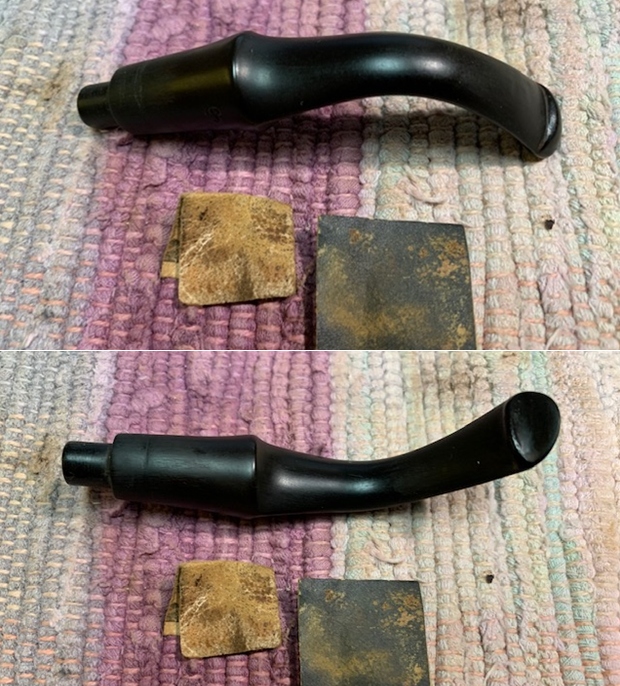
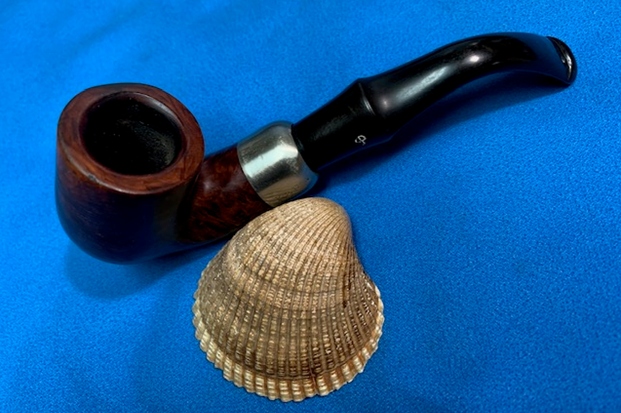
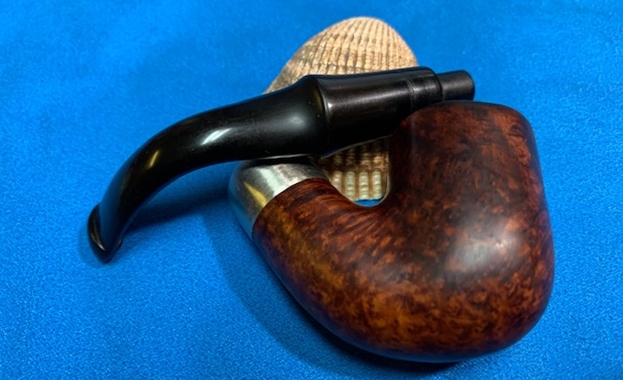
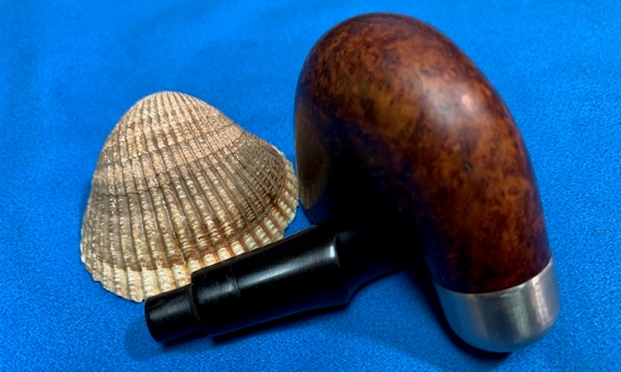
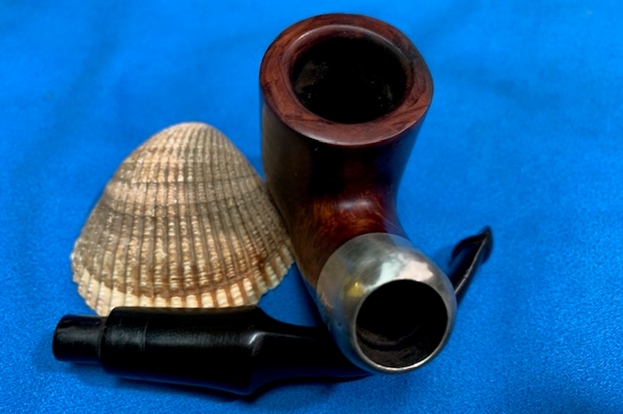
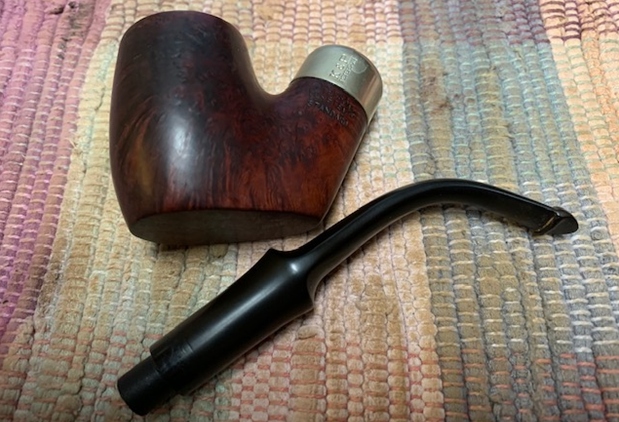
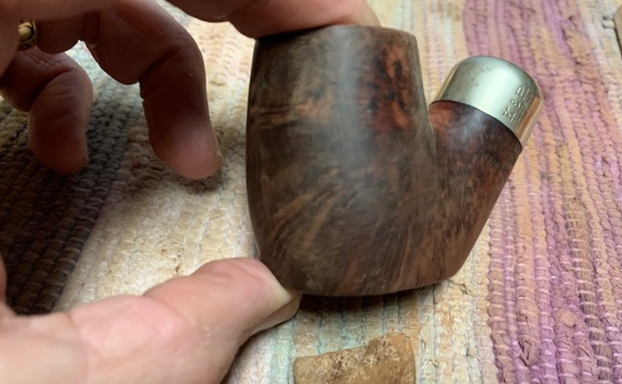
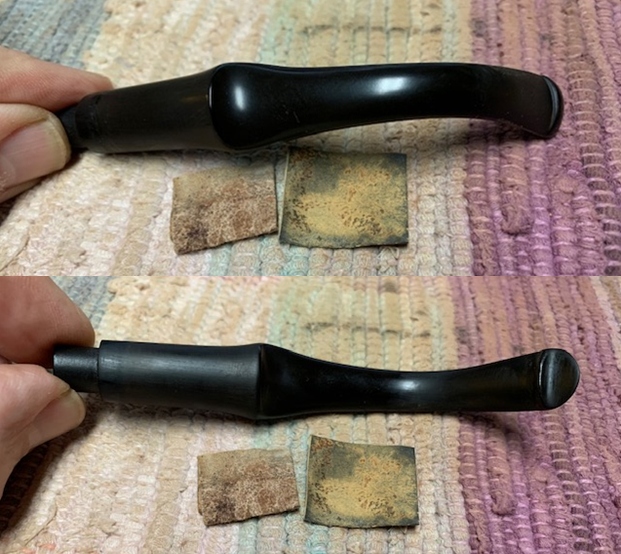
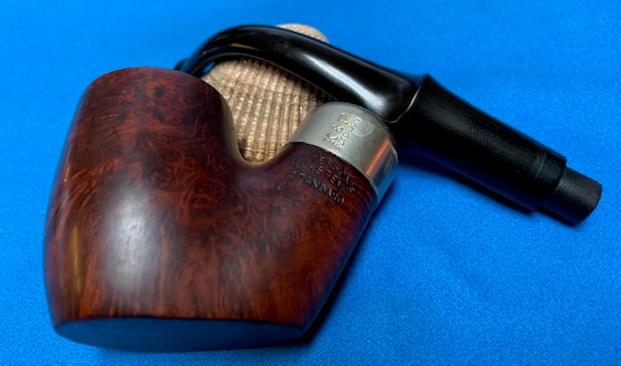
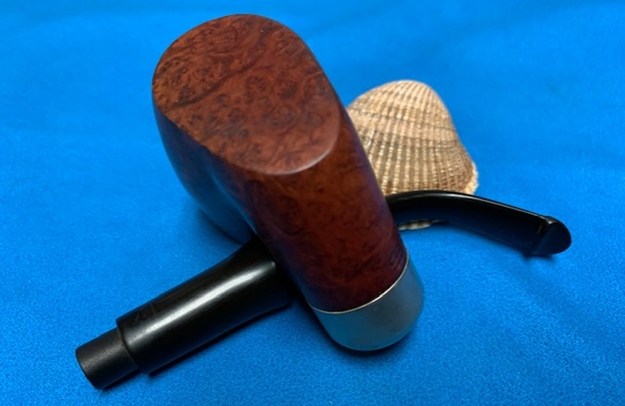
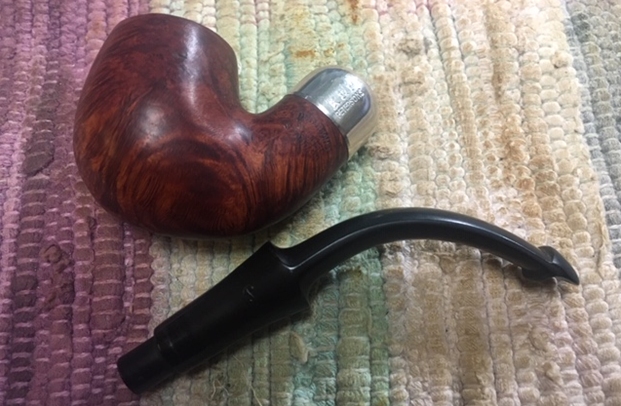
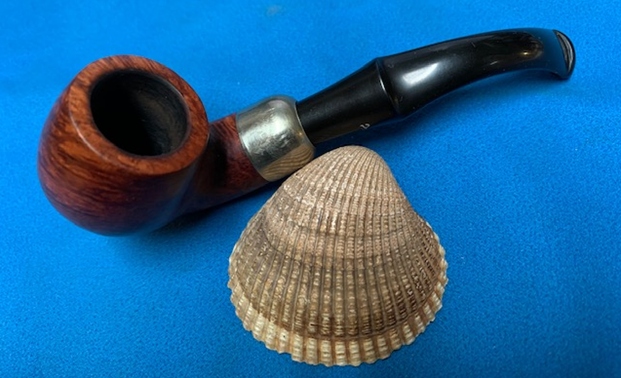
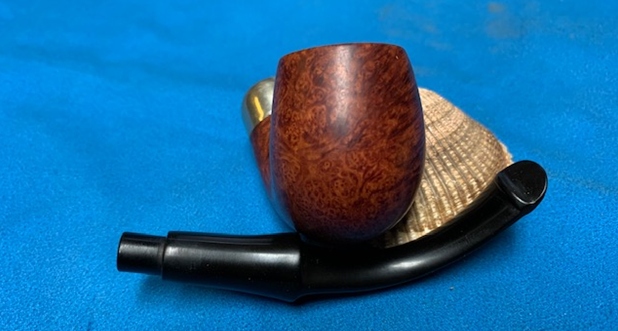
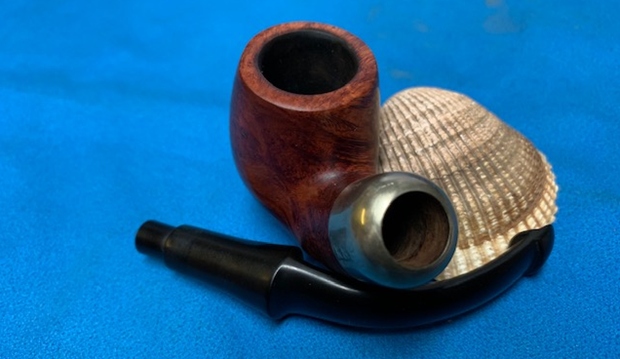
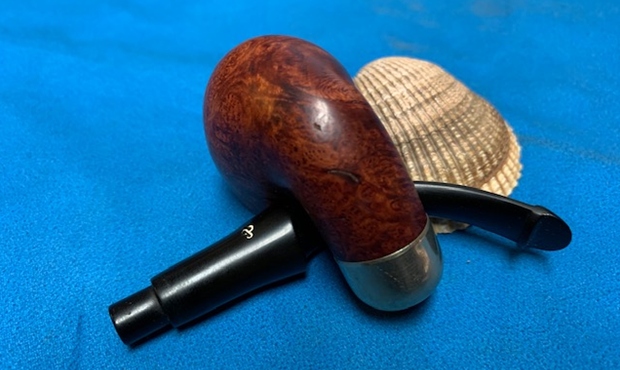
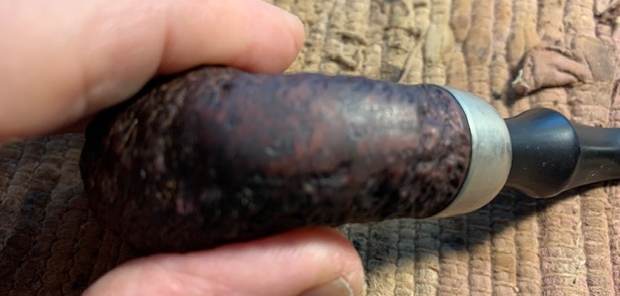 I took a photo of the pipe with the stem removed to show the overall look of stem, tenon and profile of the pipe. It is a great looking pipe.
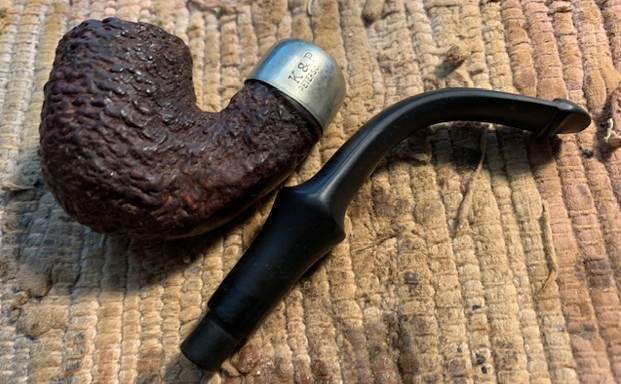 Since the bowl looked so good I decided to rub the briar down with Before & After Restoration Balm. I worked it into the briar with my fingertips to get it into the deep briar. The product works to clean, enliven and preserve the briar. I let it sit for 10 minutes while I worked on the stem. After the time passed I buffed it with a cotton cloth to deepen the shine. The rustication came alive with the balm. Even the areas on the rim top and outer edges looked good.
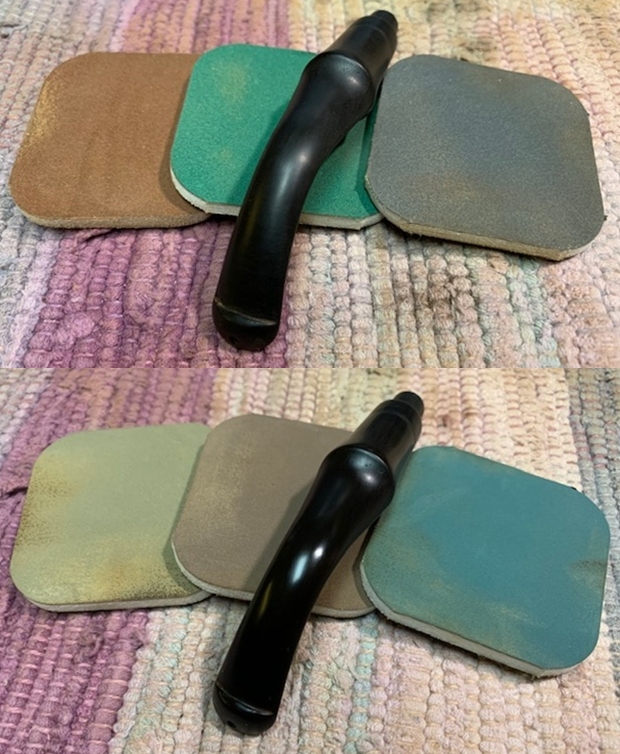
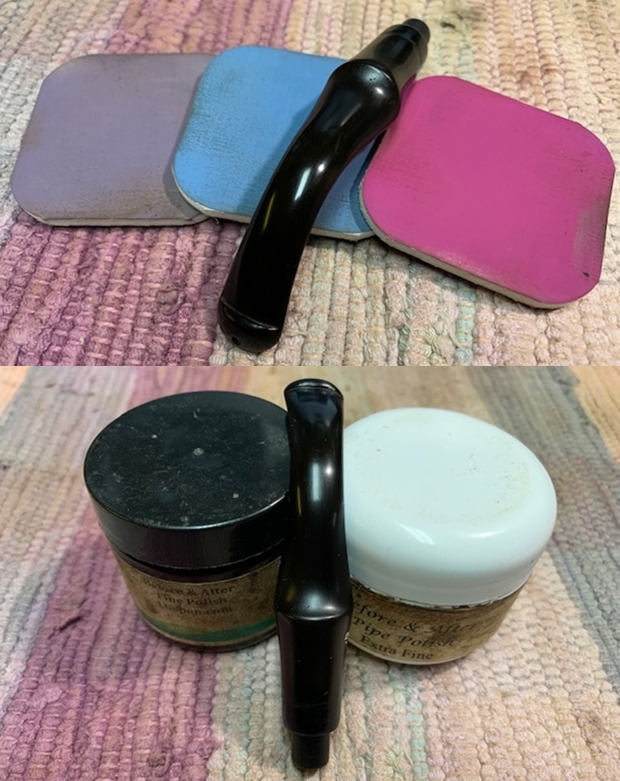
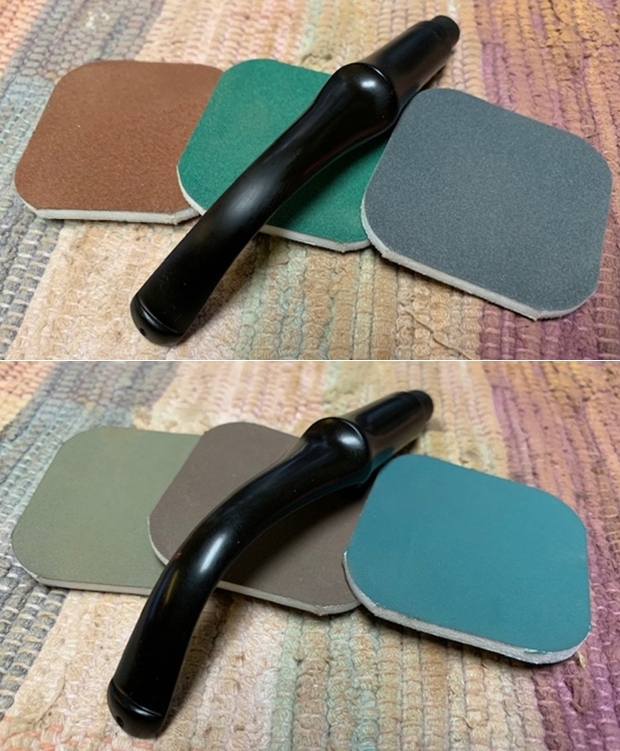
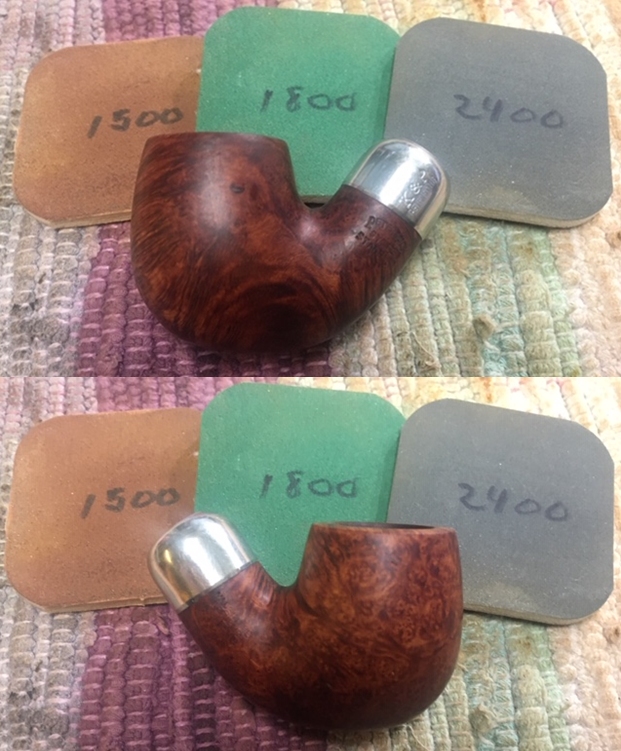
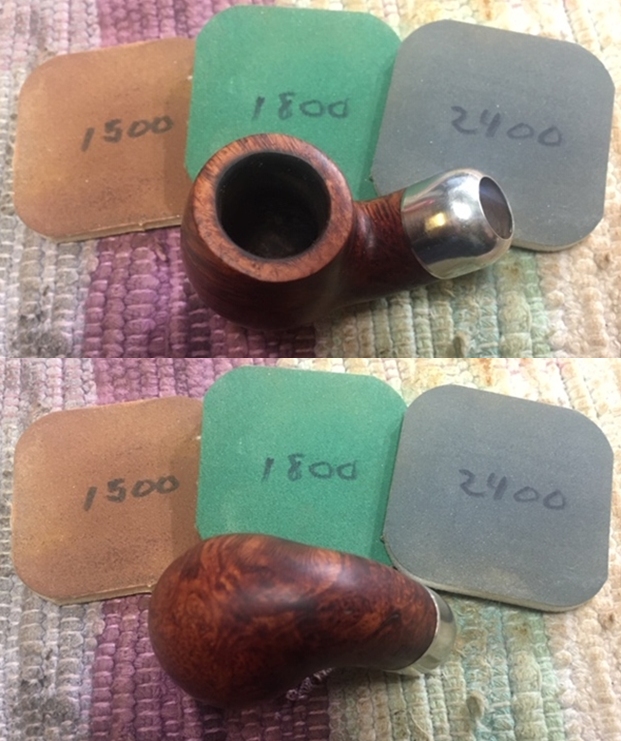
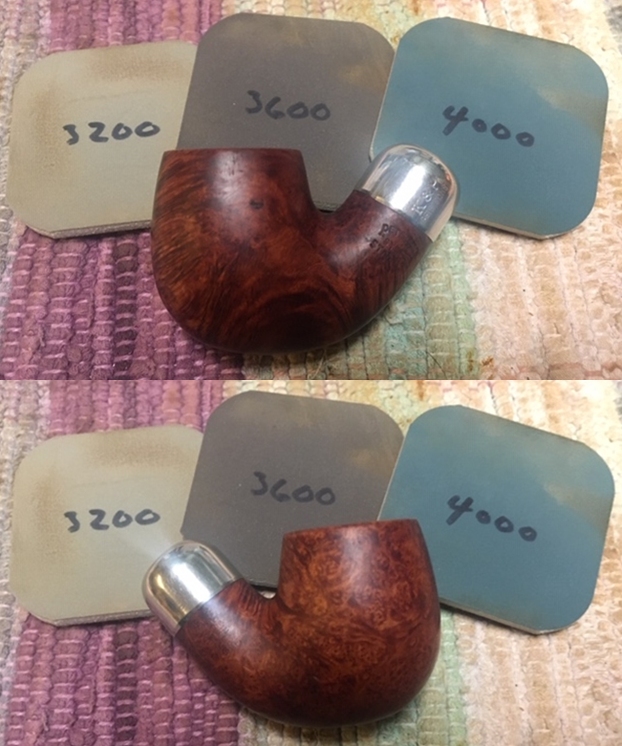
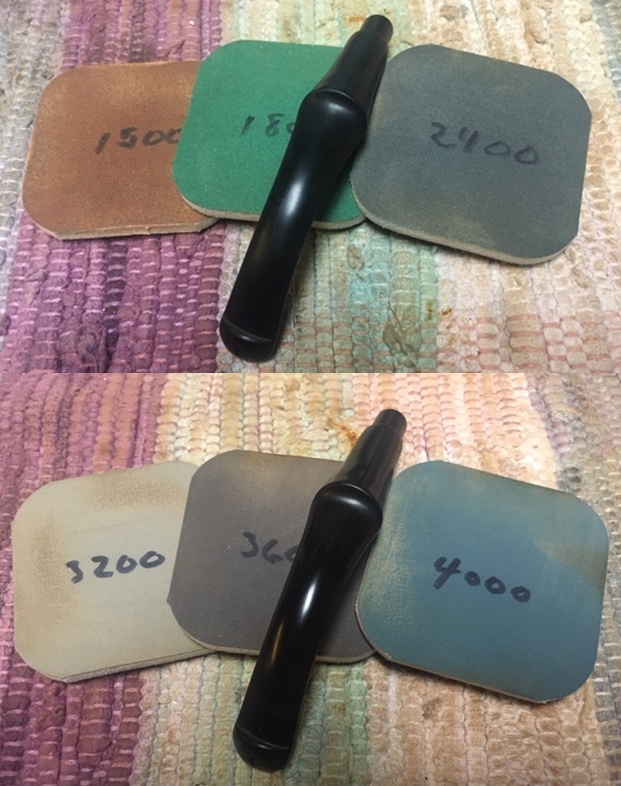
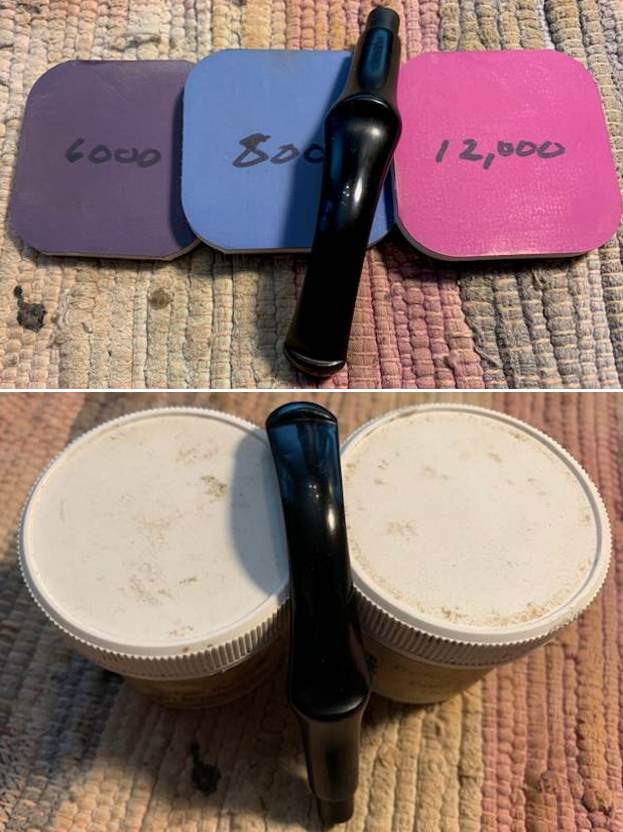
 The new stem was in great condition so I polished it with micromesh sanding pads – 1500-12000 grit pads. I wiped it down with Obsidian Oil after each sanding pad. I used Before & After Pipe Polish – both Fine and Extra Fine to further polish the stem.
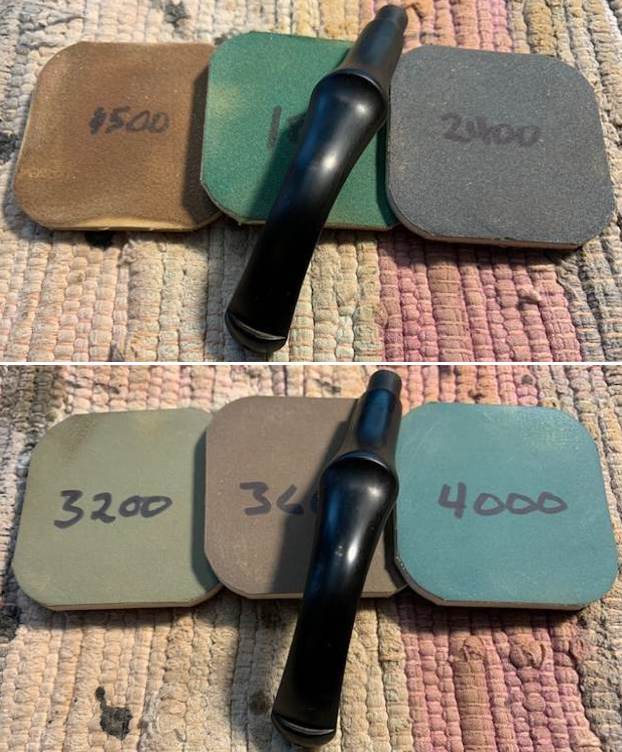
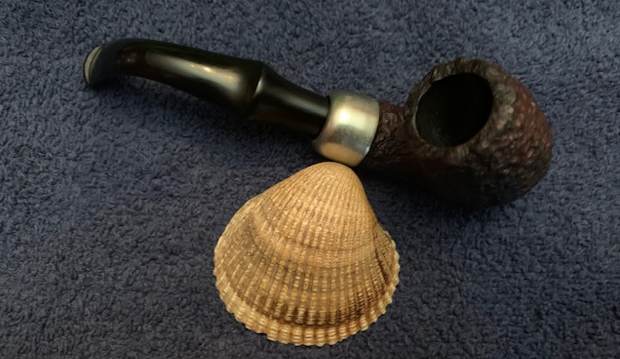
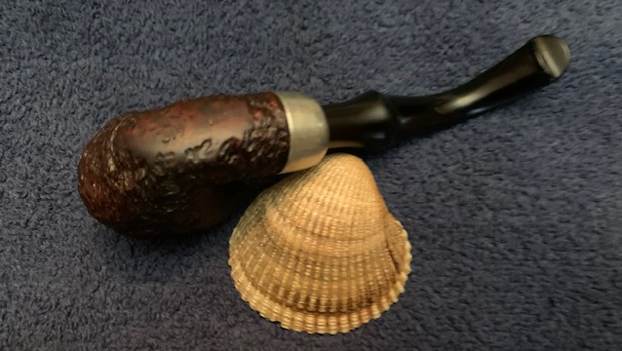
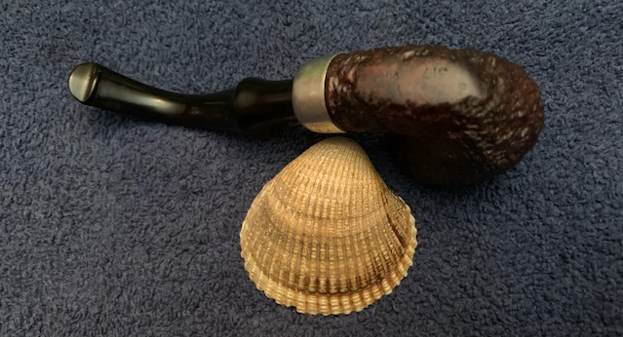
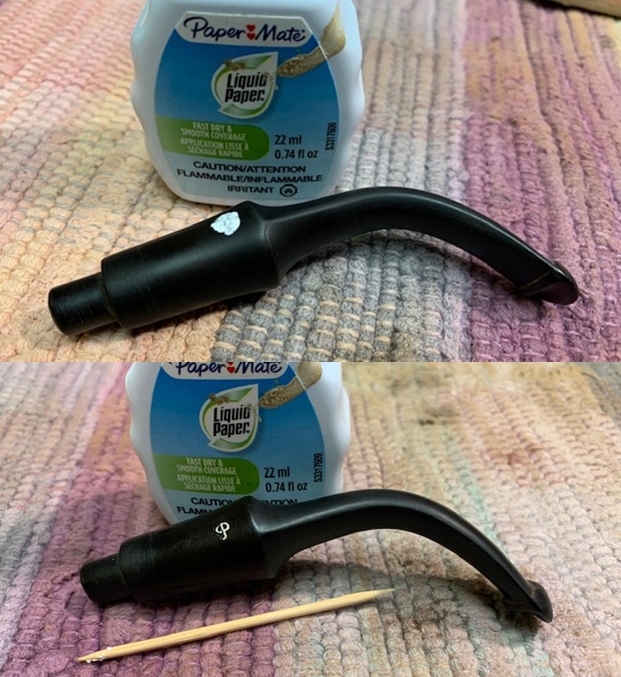
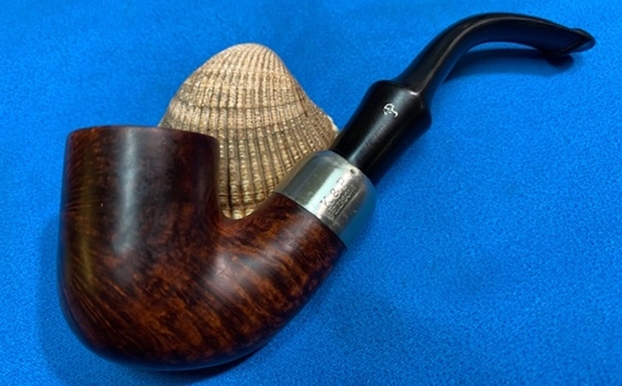
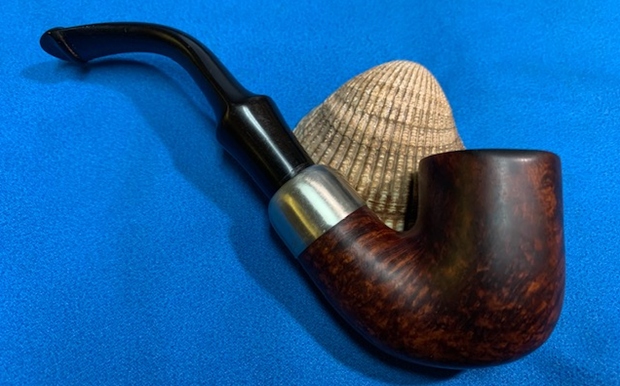
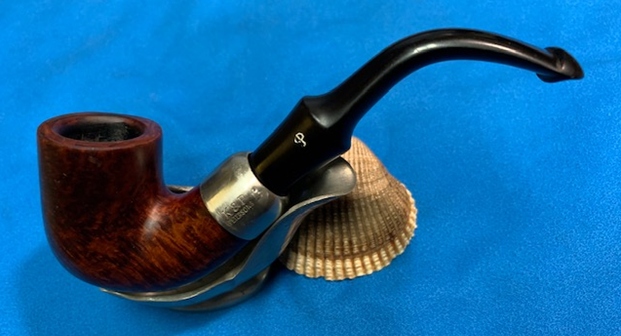
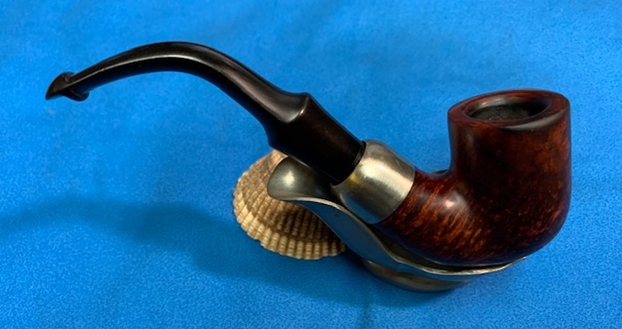
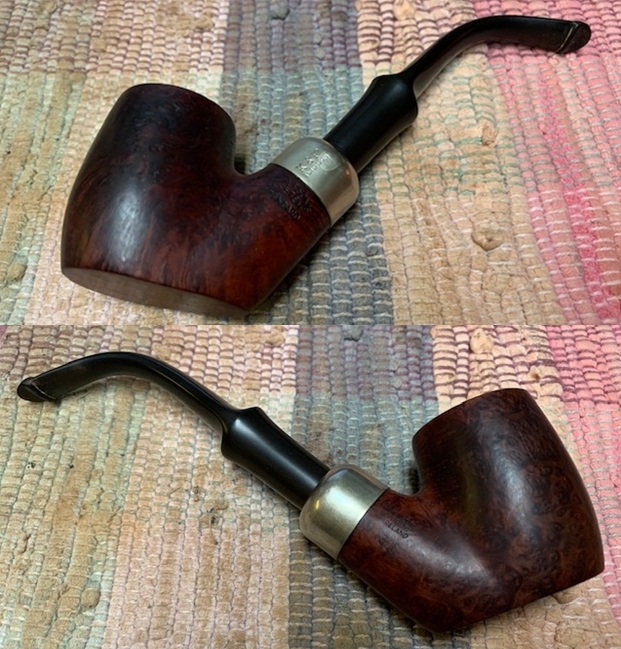
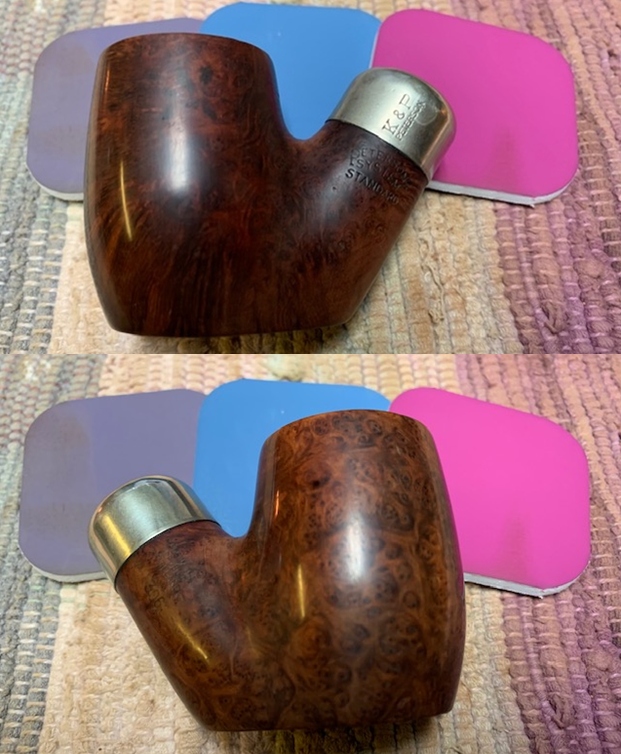
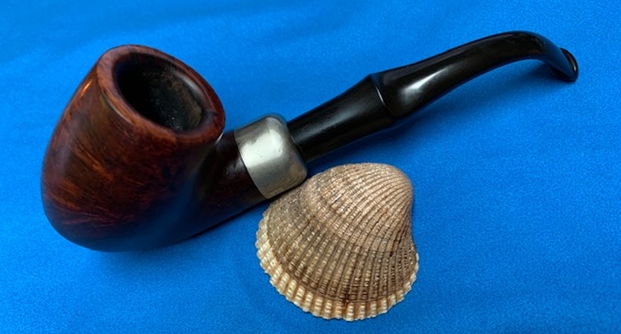
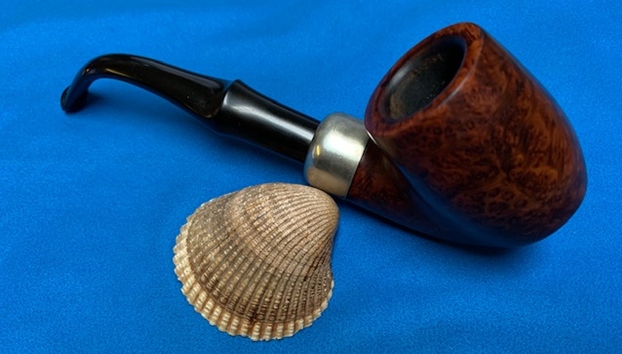
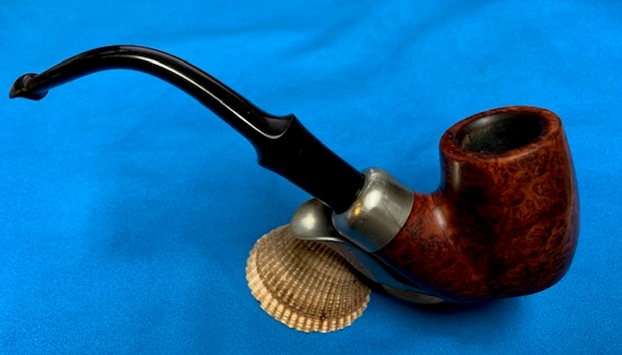
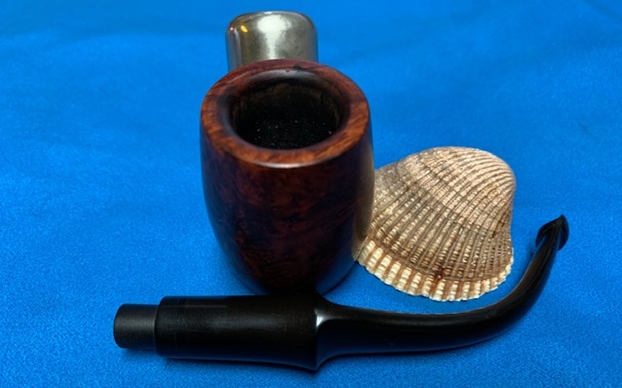
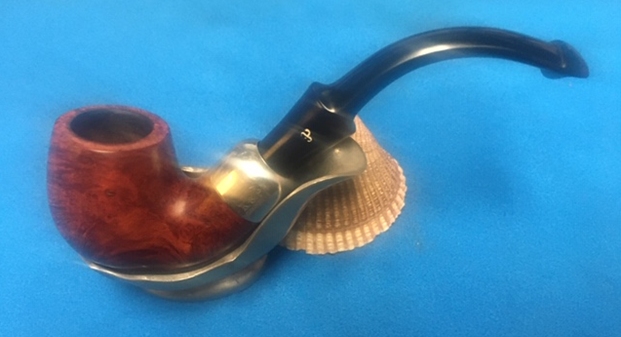
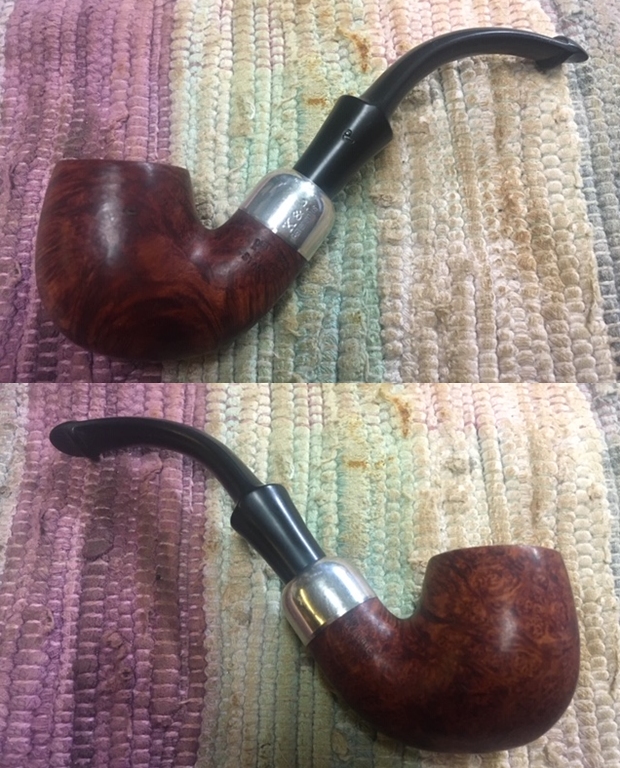
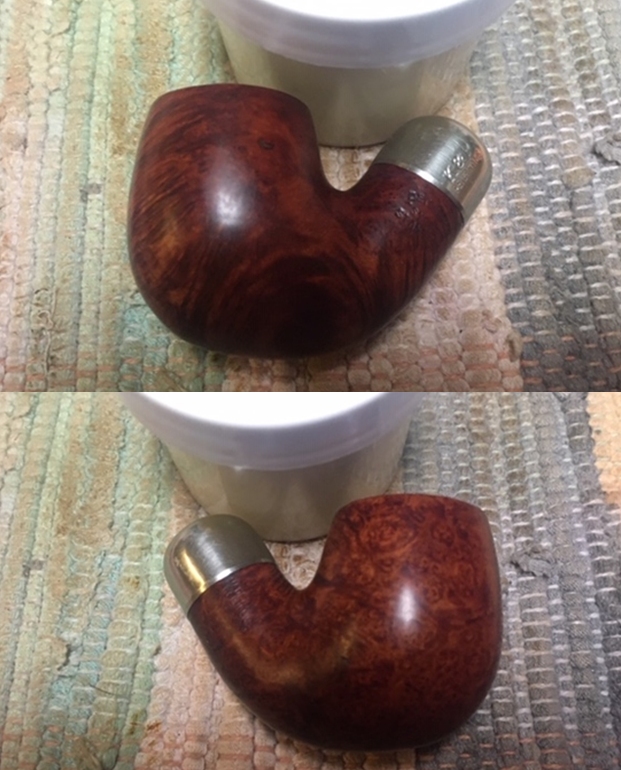
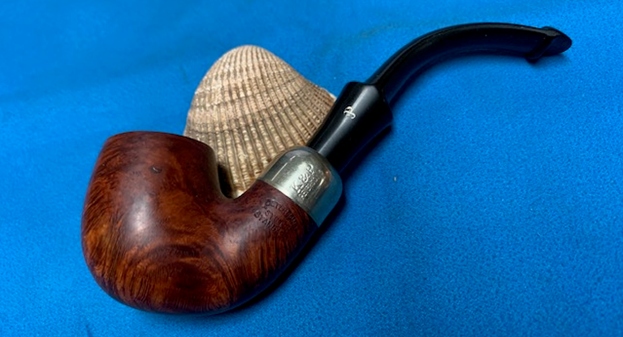
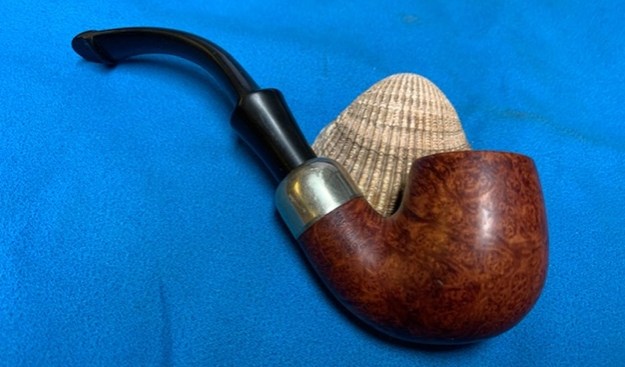
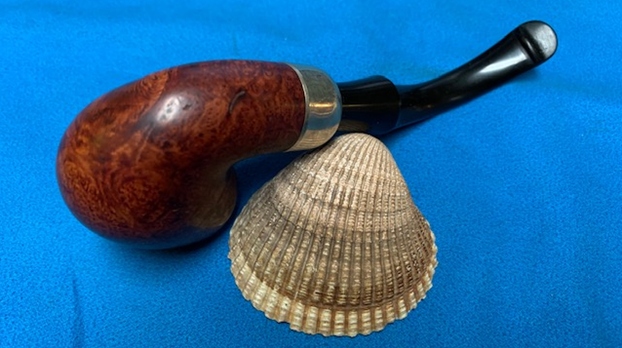
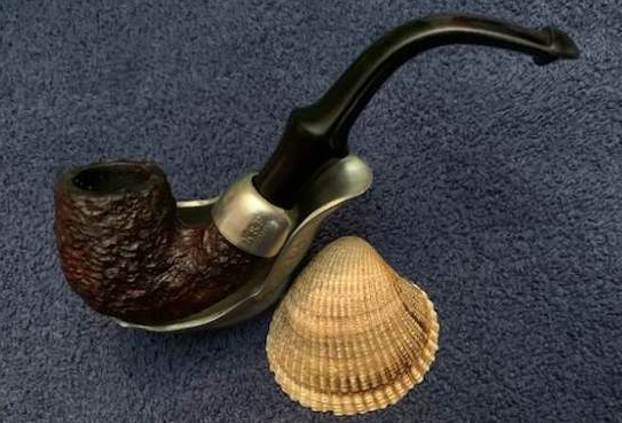
 This Republic Era Peterson’s System Standard 317 Rusticated Bent Billiard is a nice looking pipe. The combination of reds and brown stains really gives depth to the rustication around the bowl sides and shank. The finish on the pipe is in excellent condition and the contrasting stains work well to give some contrast to the pipe. The polished black vulcanite P-lip taper stem and polished nickel ferrule add to the mix. I put the stem back on the bowl and buffed the pipe lightly with Blue Diamond on the buffing wheel, carefully avoiding the stamping on the shank. I gave the bowl multiple coats of Conservator’s Wax and stem multiple coats of carnauba wax on the buffing wheel and followed that by buffing it with a clean buffing pad. I hand buffed the pipe with a microfiber cloth to deepen the shine. The finished Peterson’s 317 System Bent Billiard is quite nice and feels great in the hand. Give the finished pipe a look in the photos below. The dimensions of the pipe are Length: 5 inches, Height: 1 ½ inches, Outside diameter of the bowl: 1 inch, Chamber diameter: 5/8 of an inch. The weight of the pipe is 1.09 ounces/ 31 grams. Thanks for walking through the restoration with me as I worked over another interesting pipe. I will soon add the pipe to the Irish Pipe Makers Section of the rebornpipes store. If you want to add it to your collection send me an email or a message! Thanks for your time.