I don’t think I have ever had a pipe I gave a way or sold come back to me years later. Usually they are gone from my radar. I have a record of the pipes I have sold but rarely record the ones I give away. They are gifts and as such the moment they leave my hand they are no longer on my radar. There has been times when I wished they would come home but never truly expected it to happen. That is until yesterday!
The pipe that came home has been there and back again! Its residence with me began when I visited Mike Glukler in Aldergrove many years ago. Periodically I would visit and look through the pipes he had for sale through Briar Blues. This time I looked through and was drawn to a Peterson Special in a rusticated Dublin shape. I checked it out and the purchased it. I brought it home with me and smoked it a couple of times but never quite enjoyed it enough to make it a regular in my rotation. So it sat neglected for a while. On day I was going through my rack and deciding which pipes to sell and which to keep and I came across this one. I almost put it in the “to be sold pile” but instead I cut a new fishtail stem for it. I smoked it more often then.
I have always had a curiosity about the estate pipes that I purchase. I want to find out as much as possible about them. In the case of this Peterson that meant I would contact Mike Leverette. I wanted to get an idea of what I had in my hands. I wanted to know a bit about the age and details of the pipe. Mike was excited when he heard about this pipe. He said he had never seen a Special in this shape. I sent him photos of it and he sent back replies about it that were very helpful to me. I had it in the rack and smoked it occasionally with the new fishtail stem but never truly seemed to reach for it that often.
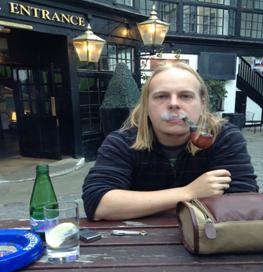
Through my work I would travel to Atlanta several times a year and stay for a week or more at a time. I always took along pipes and tobacco that I would gift to other pipemen that I would call and meet for a bowl and a chat. I met John Offerdahl and Mike Hagley on some of those trips. But I would always get together with Mike Leverette. He would drive up from his home to Atlanta where I was staying in a hotel by the airport and we would have lunch or dinner together. We would talk about all kind of things – history, Vikings, architecture, pipes, history, pipes. WE kept in touch by email and phone over the years and when he was diagnosed with cancer and underwent surgery we talked and afterwards we met together. When I was diagnosed with cancer and was scheduled for surgery we talked and met together. Mike was my friend and a kindred spirit in terms of pipes, history, writing and many other things. If you have a picture in your mind of two old gents sitting together over dinner chatting and later adjourning to the open space near my hotel to smoke our pipes and talk some more you have the right image in your mind. I always enjoyed those visits. Several times John Offerdahl would join us for dinner and a pipe. I have missed those visits and conversations since Mike died.
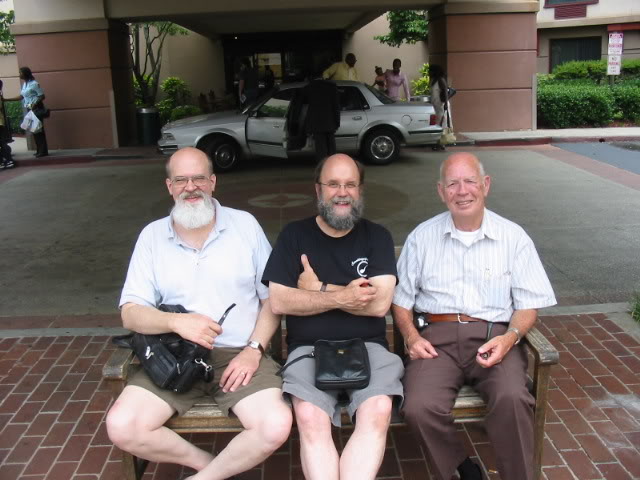
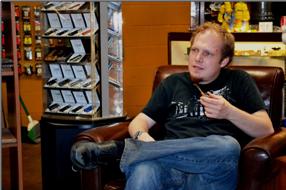
LTR: John Offerdahl, your’s truly, Mike Leverette
It was on one of those trips, quite a few years ago now, that I gave that Peterson’s Special Dublin to Mike when I visited him in Atlanta, Georgia. I remember sitting in an Italian restaurant near the hotel and each of us pulled out our gift pipe and tobacco to exchange. It had become a bit of a ritual with us. We would exchange our gifts before even opening the menu! I remember on this particular occasion Mike gave me two old sandblasted Barling Canadians that needed to be restemmed and a tin of Virginia Flake tobacco. My gift to him was wrapped like most of my presents (at least that is what my daughters tell me) in a grocery bag. When he opened it and took out the Pete Dublin the look on his face was a mixture of surprise and excitement. He turned it over in his hands and read the stamping and commented on the history of the pipe. He took it apart and looked down the long shank and examined the stem. He loved that pipe a lot. I had included a tin of Latakia Flake for him as it was a favourite of his.
We finished our dinner that evening and went back to the hotel and adjourned to the bench out front. He loaded up the pipe with some of his own tobacco and I loaded mine. He smoked it and thoroughly enjoyed the smoke. I am sure there was much more that went on that evening but this is what my memory brings up. That evening was in the pre-cancer days for both of us so we did not have a care in the world or a worry on our minds. I remember a bit of the conversation that evening – we spoke of the route of the Exodus of Israel from Egypt. Mike had done a lot of work on that in a paper he sent me and he wanted some feedback. It was a great evening and we talked and smoked until the sun went down. We parted company that evening both richer for the conversation and friendship. That was the last I saw of the Dublin.
Now jump ahead about 12 or more years. I was on the phone with a buddy who is selling Mike’s pipes for Mike’s widow, Jeanette. We were talking about the pipes in the lot that he was selling. There were several of them that he wanted to send me to recondition and document the process I used on them. As we talked I asked him in passing about the Peterson Special Dublin. I was curious as to what happened to that pipe after Mike died. I told him a bit of the story I have written above. He laughed and said that he happened to have that pipe in his hand at just that moment. I asked him about its condition and what he thought of it. It was at that point he offered to send it back to me. He would call Jeanette and tell her about our conversation and then ask her about the pipe coming back to me. She told him she was more than happy to have it come home! He let me know that it would be shipped out to me soon!
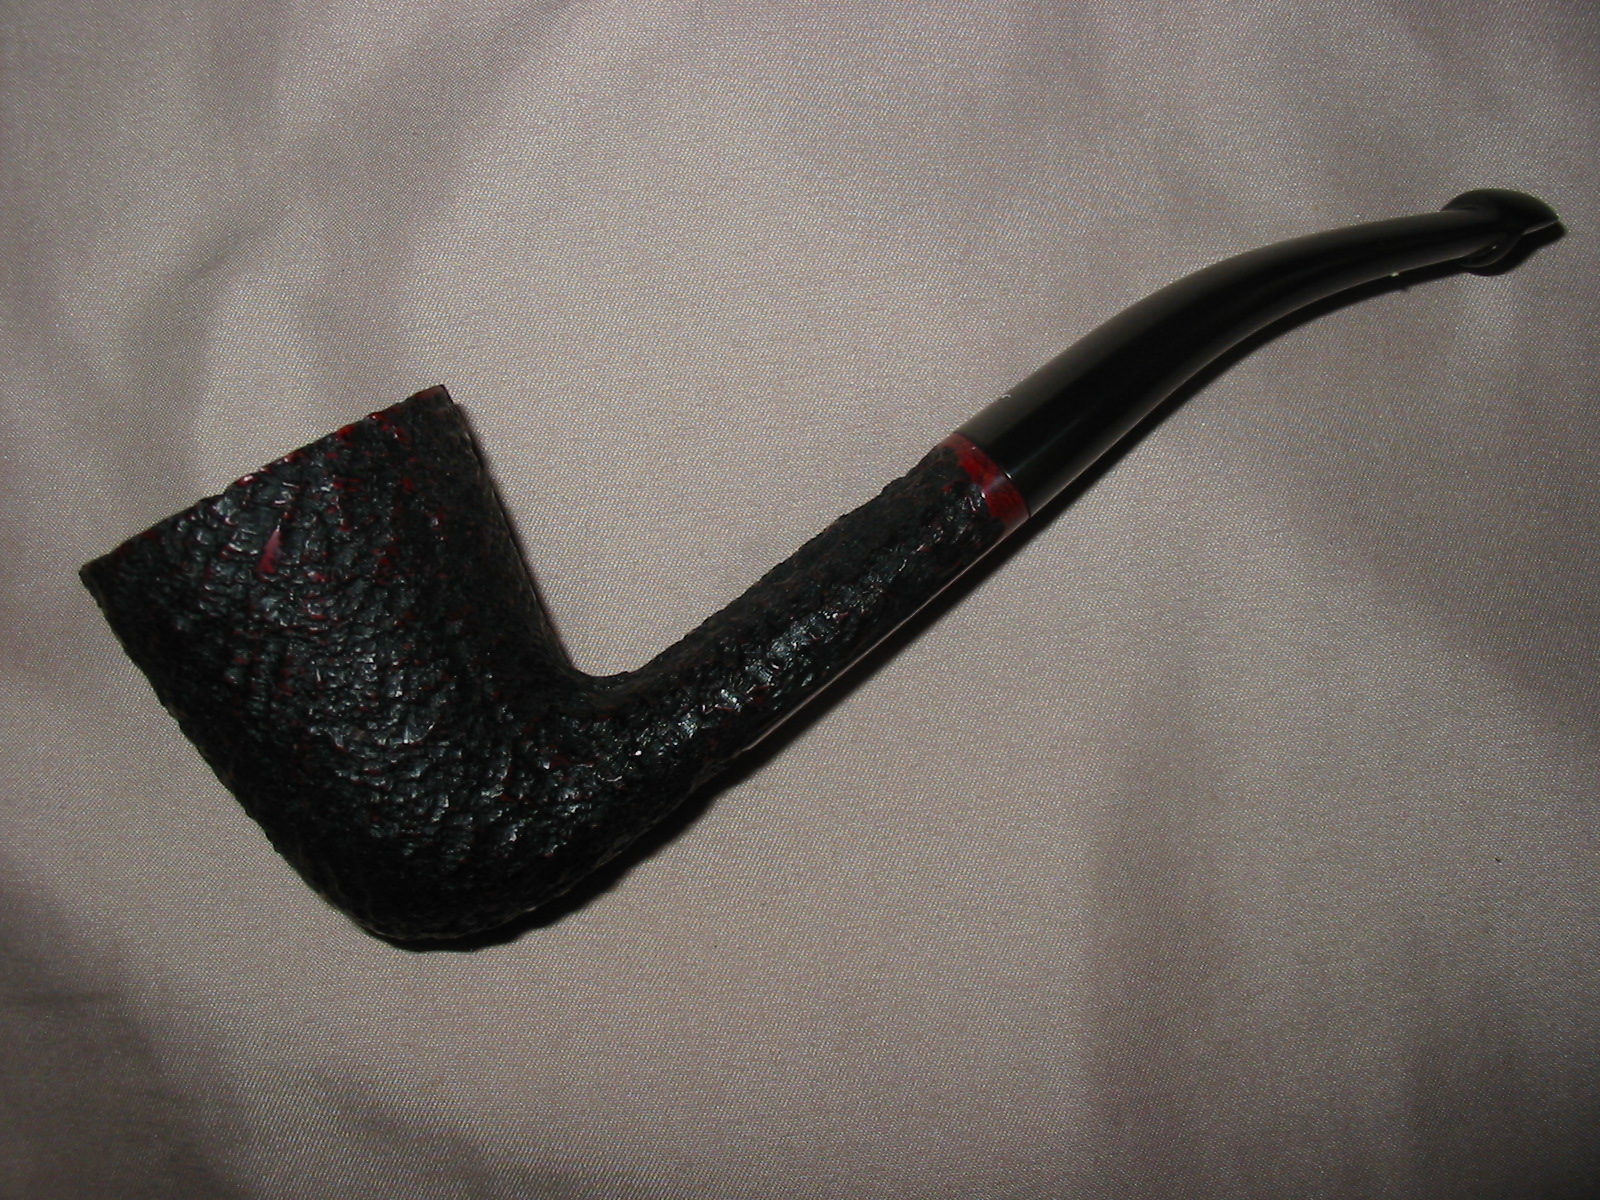
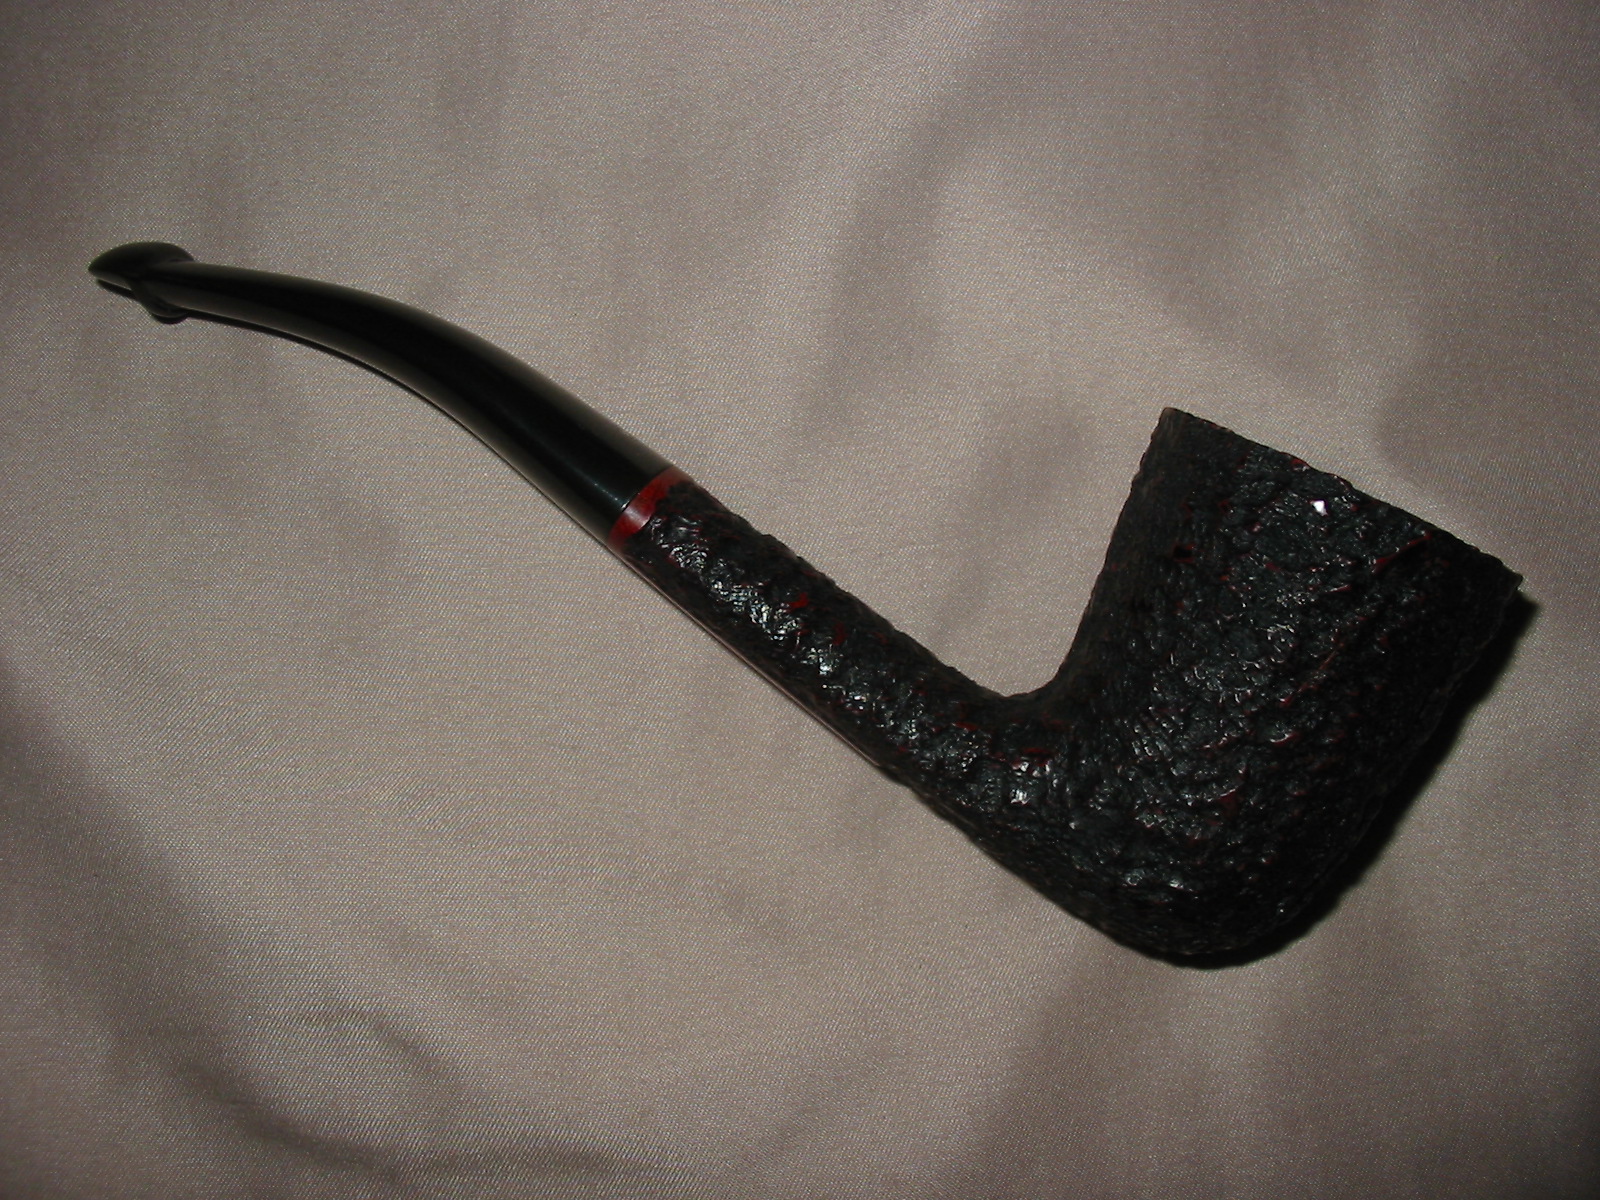
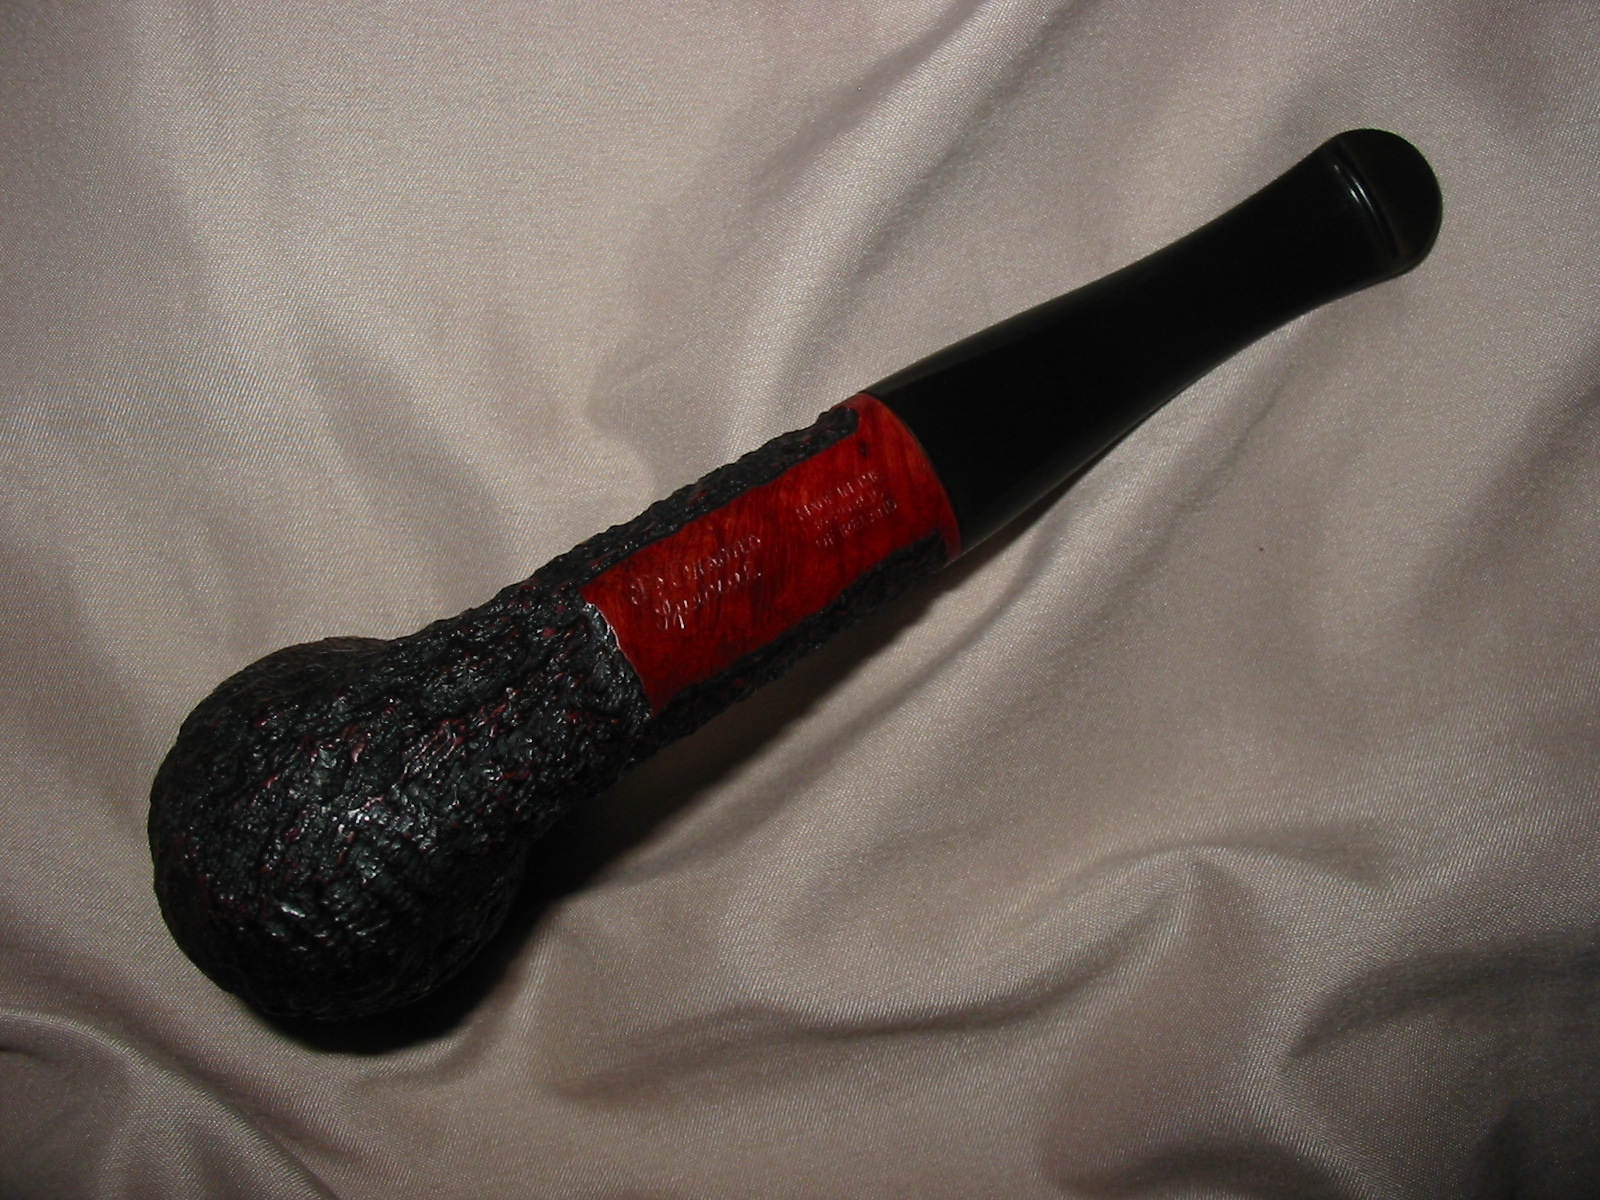
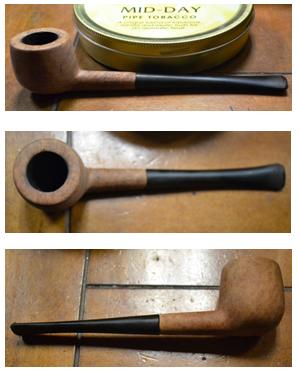
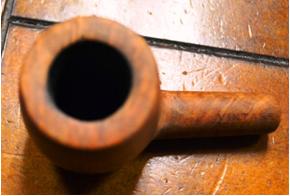
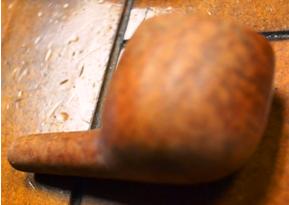
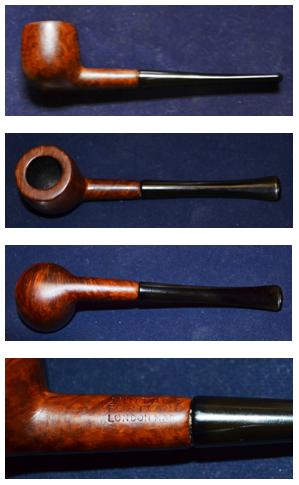
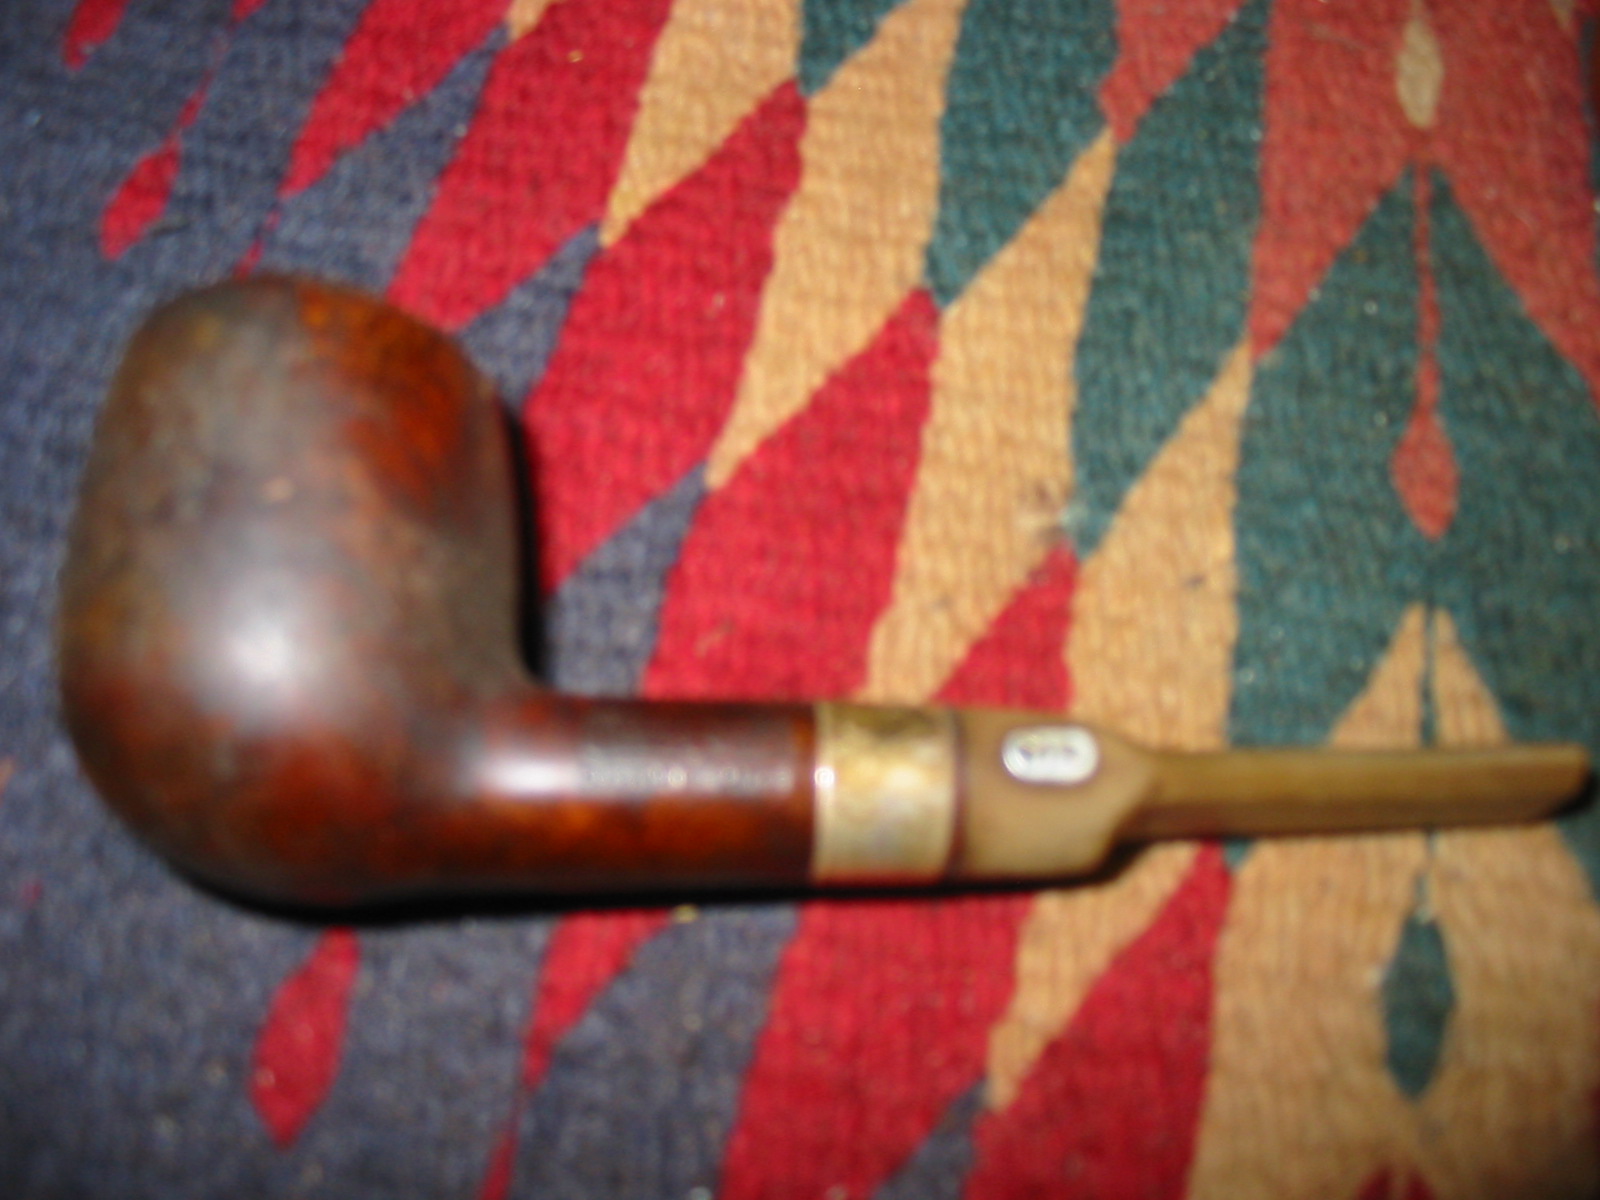
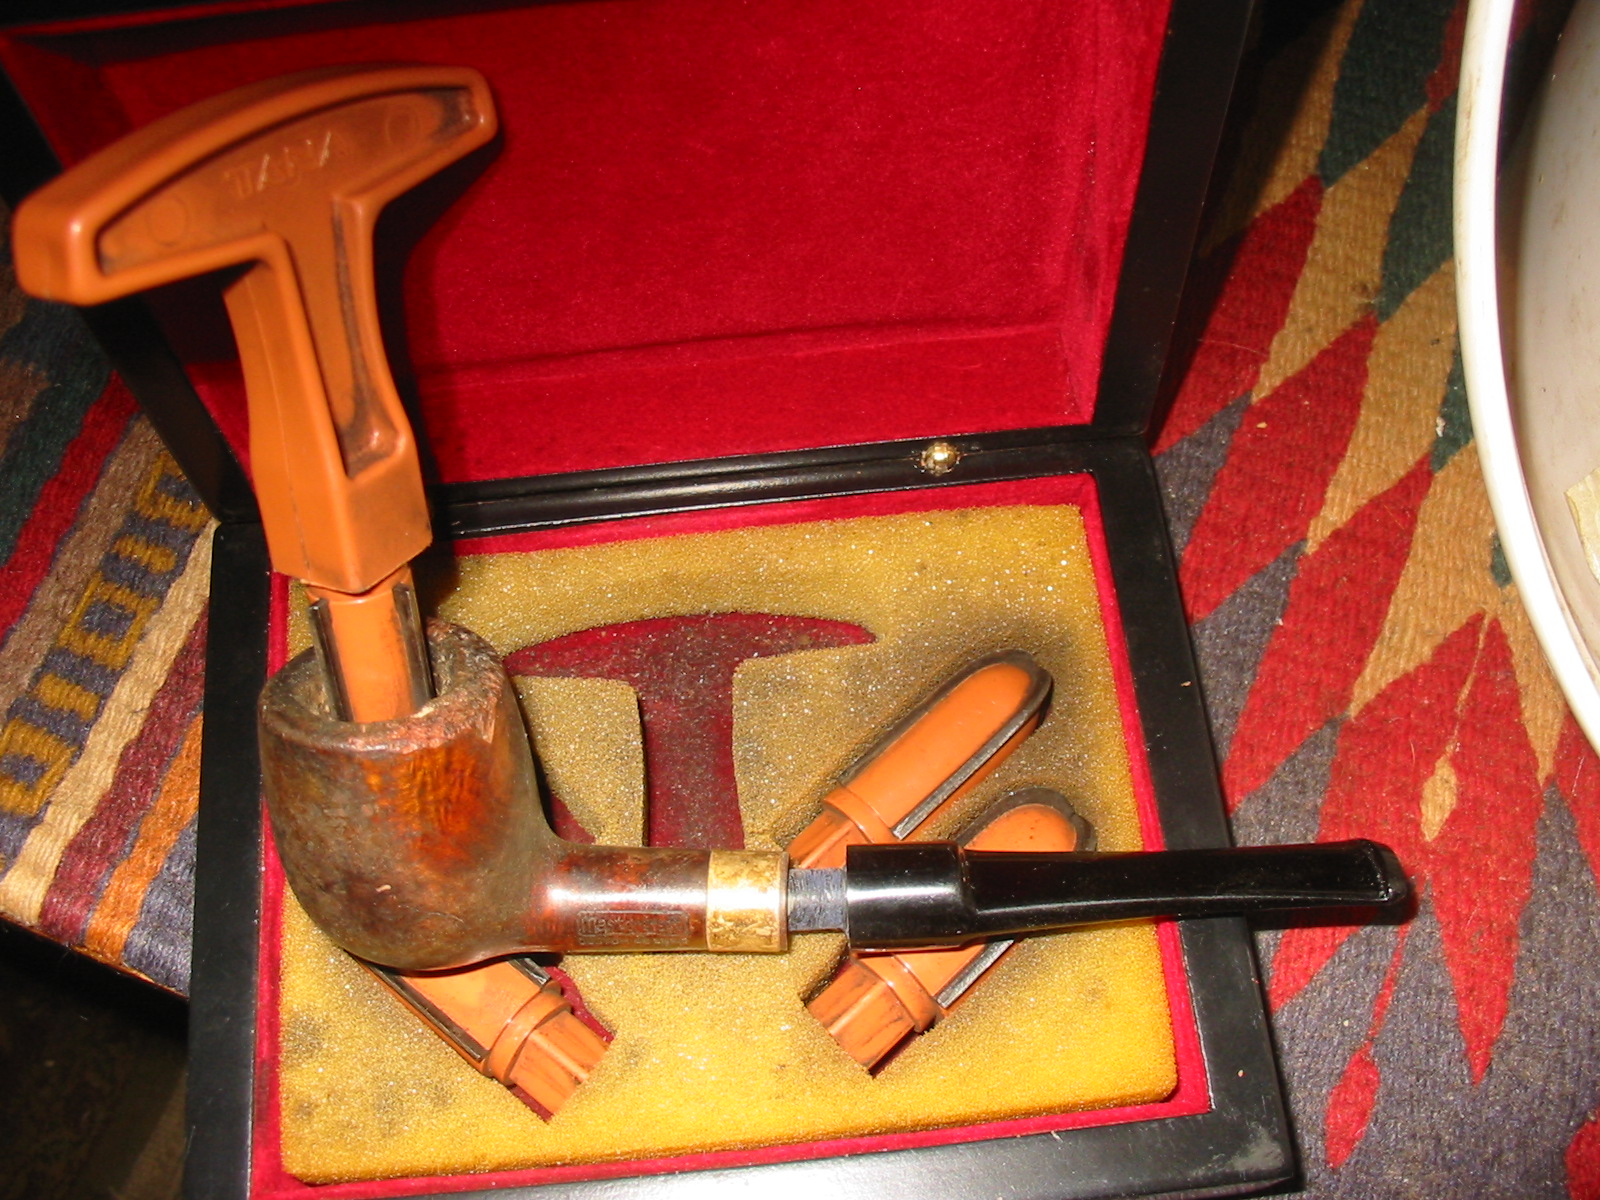
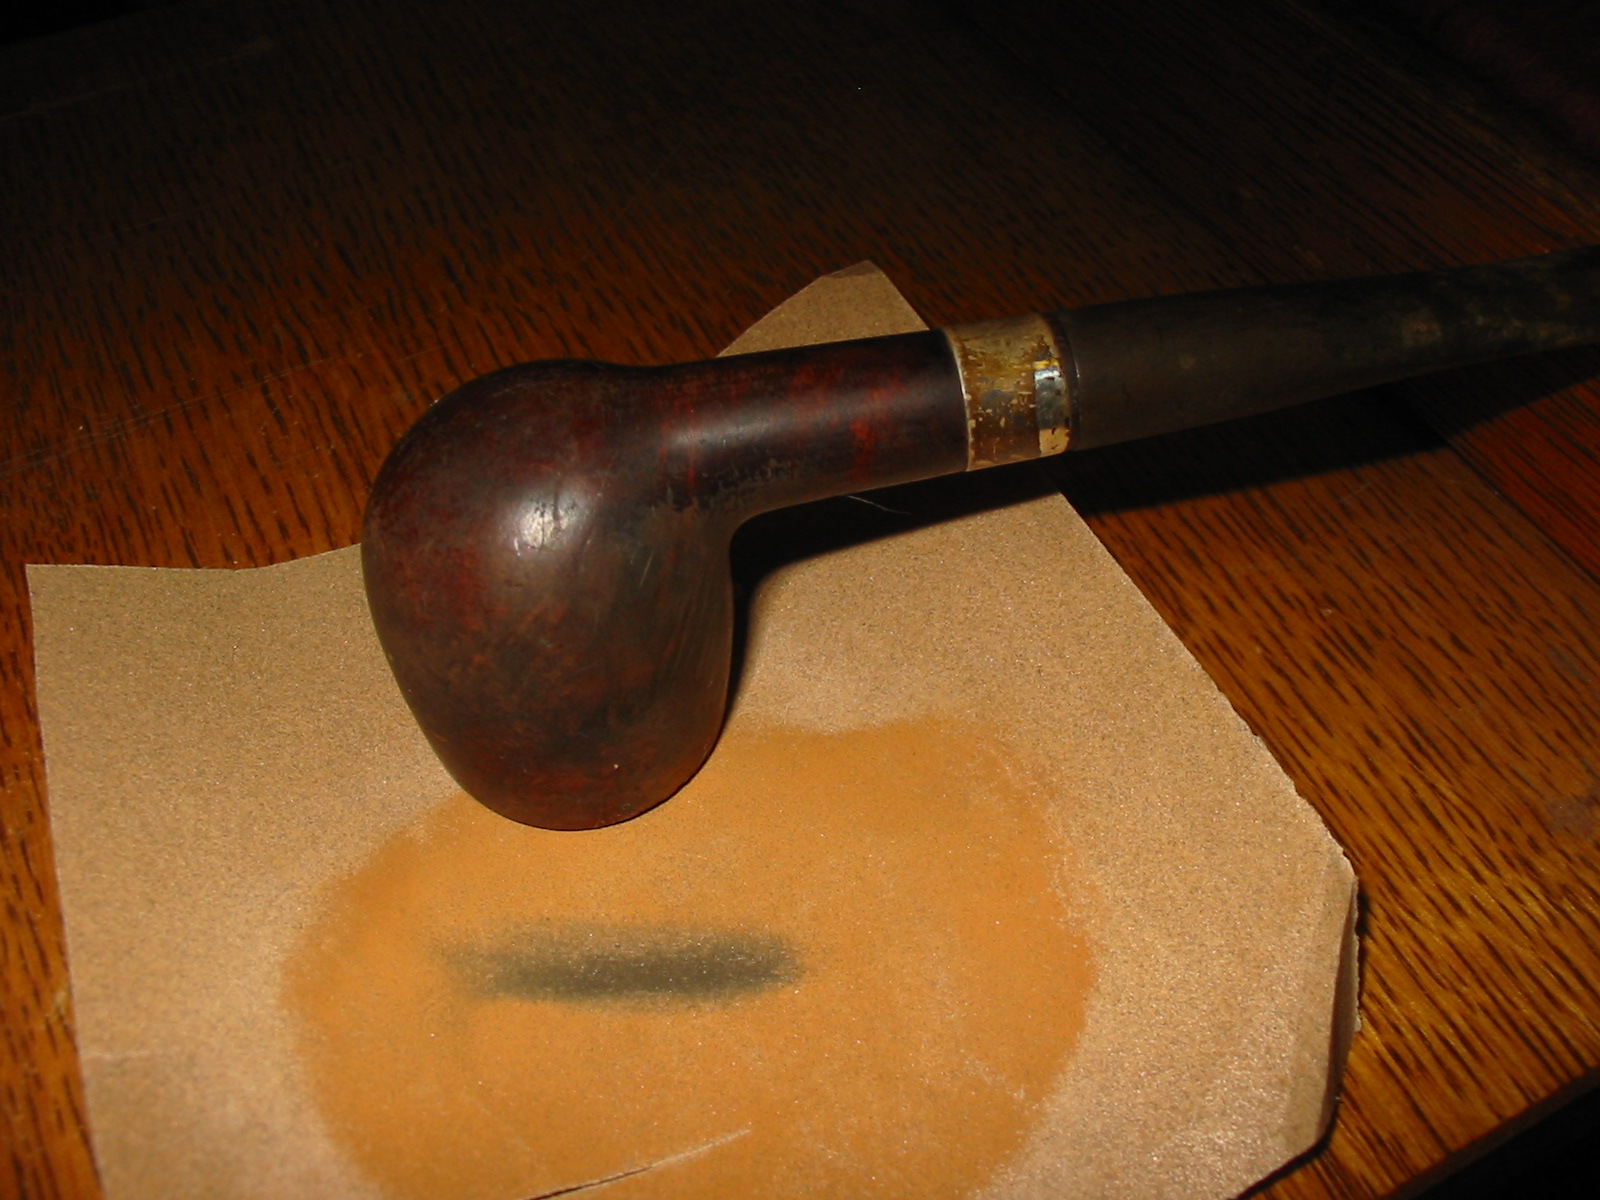
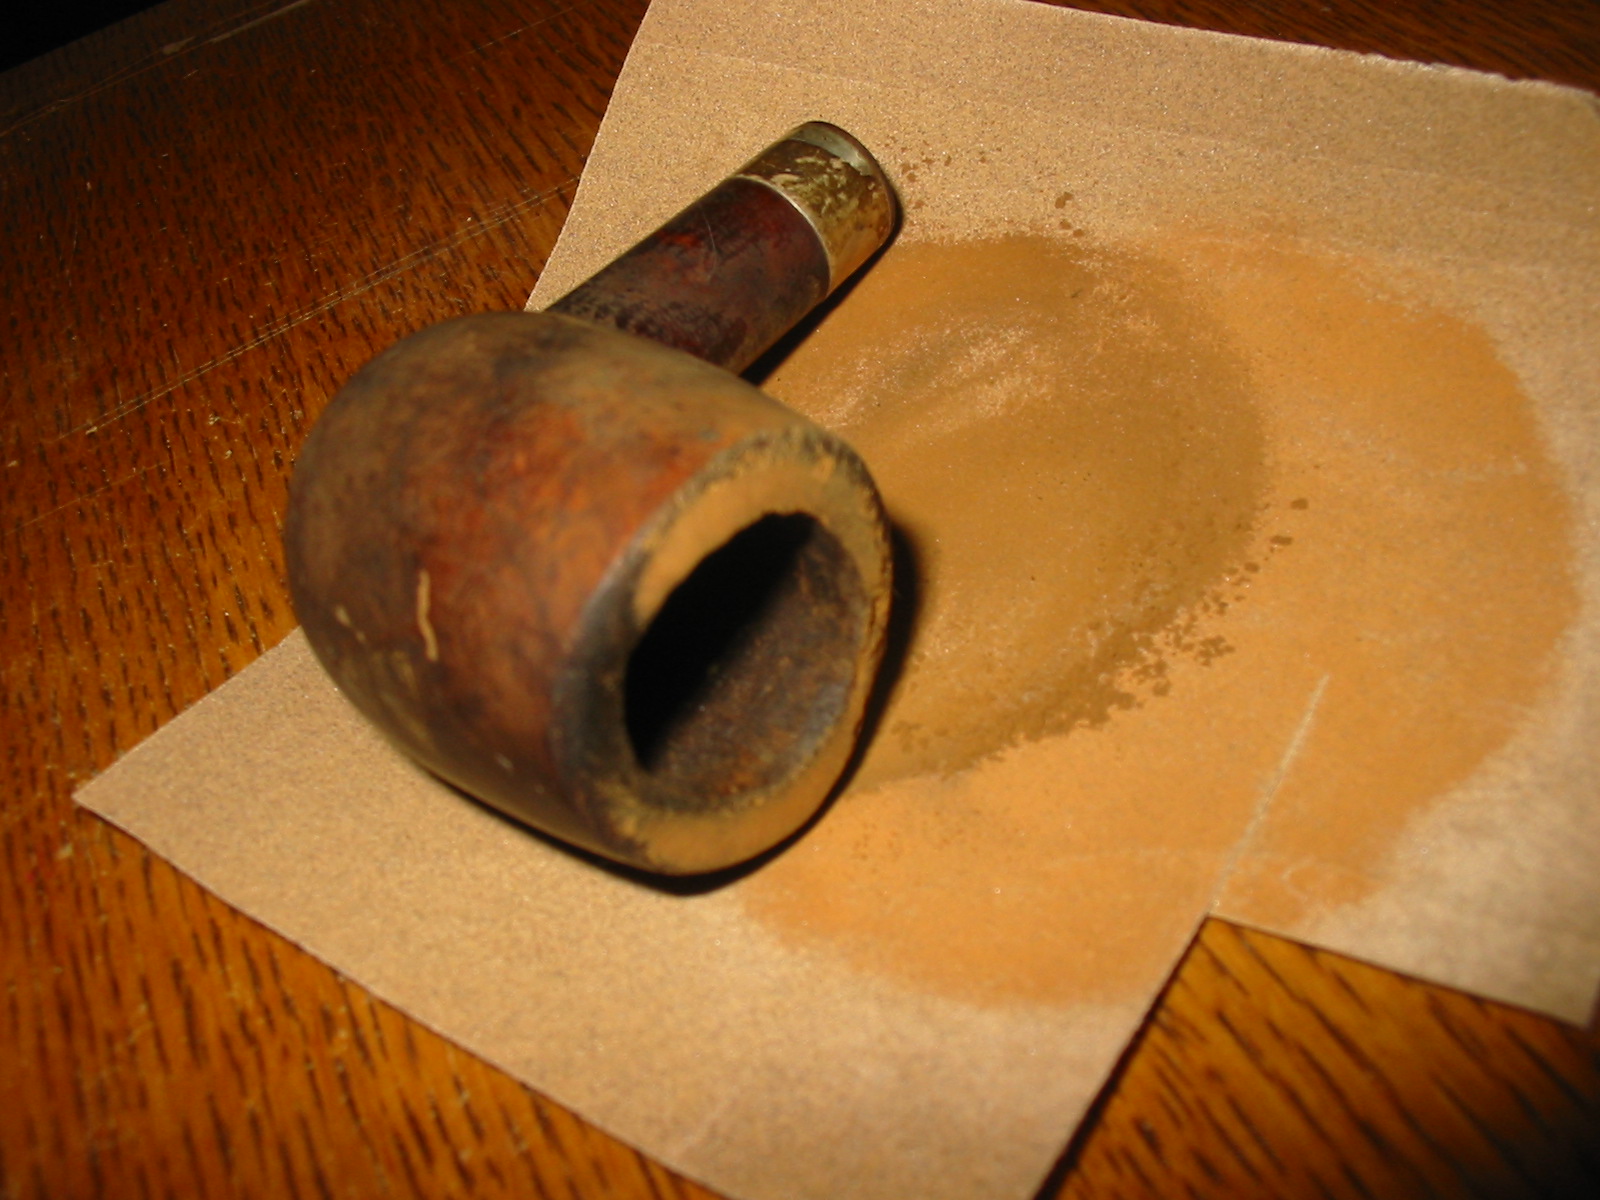
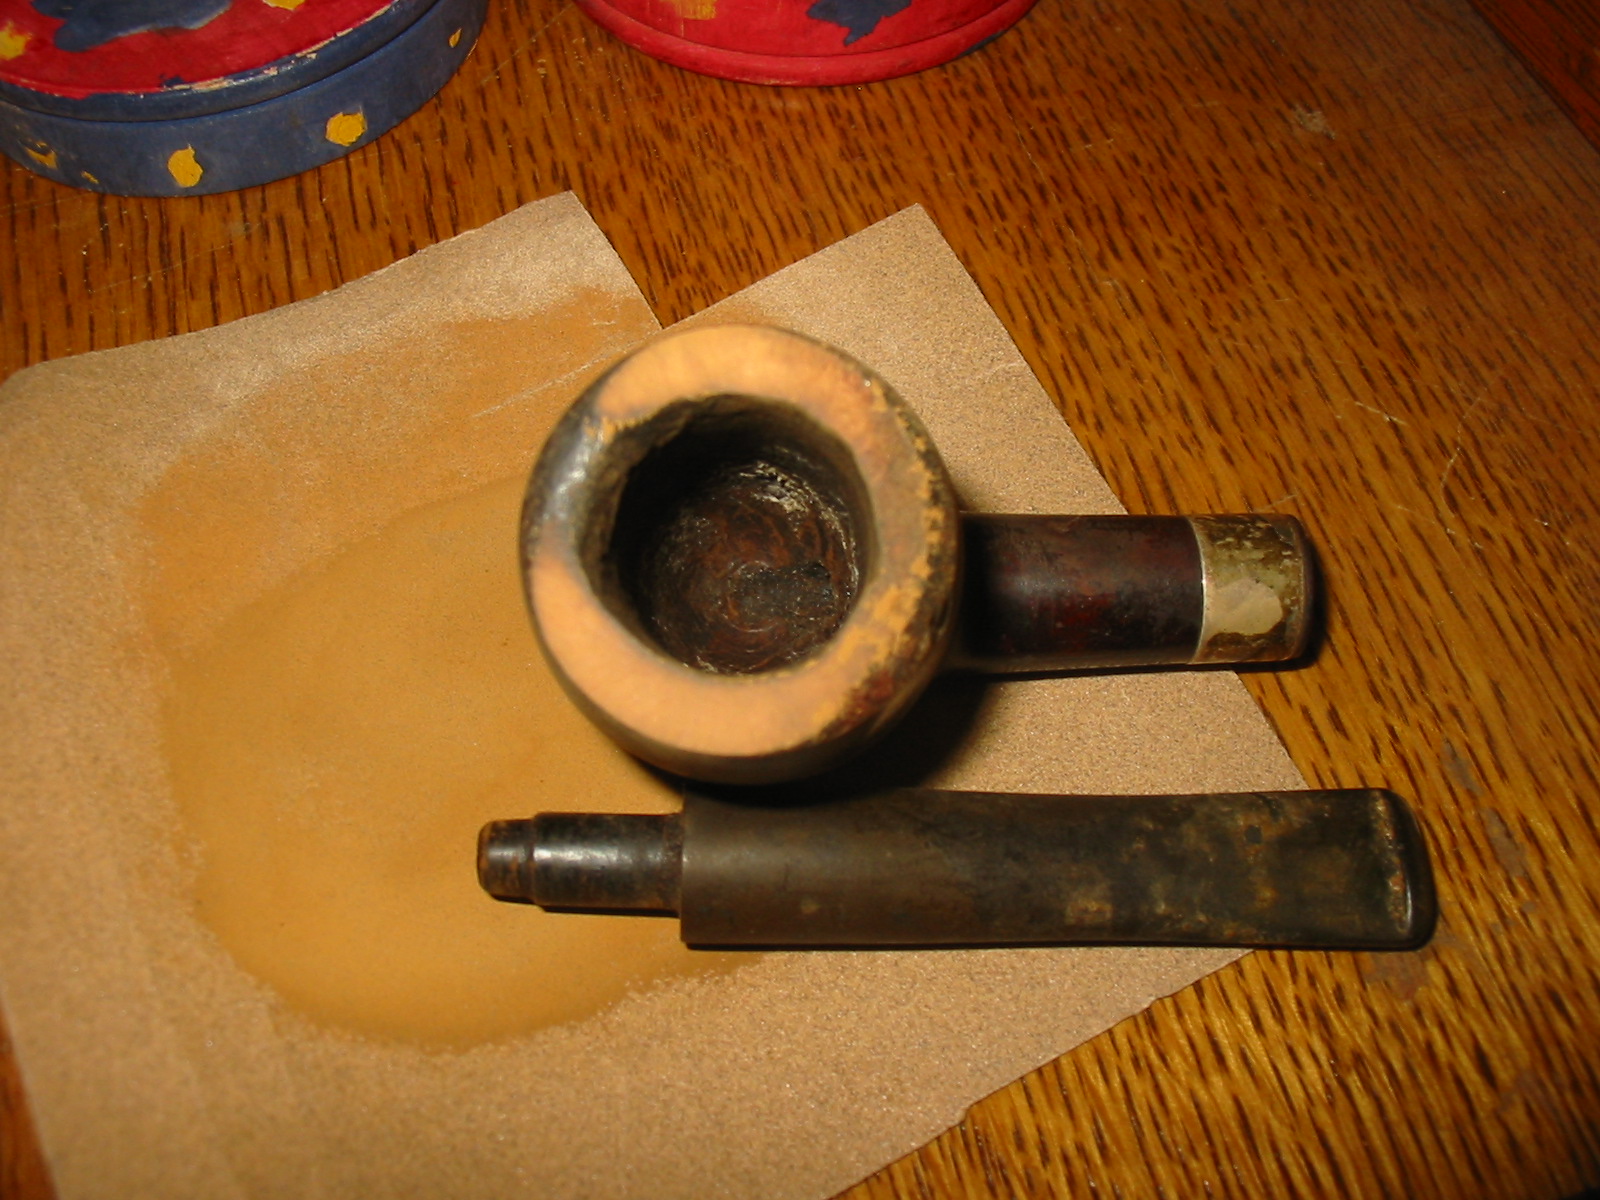
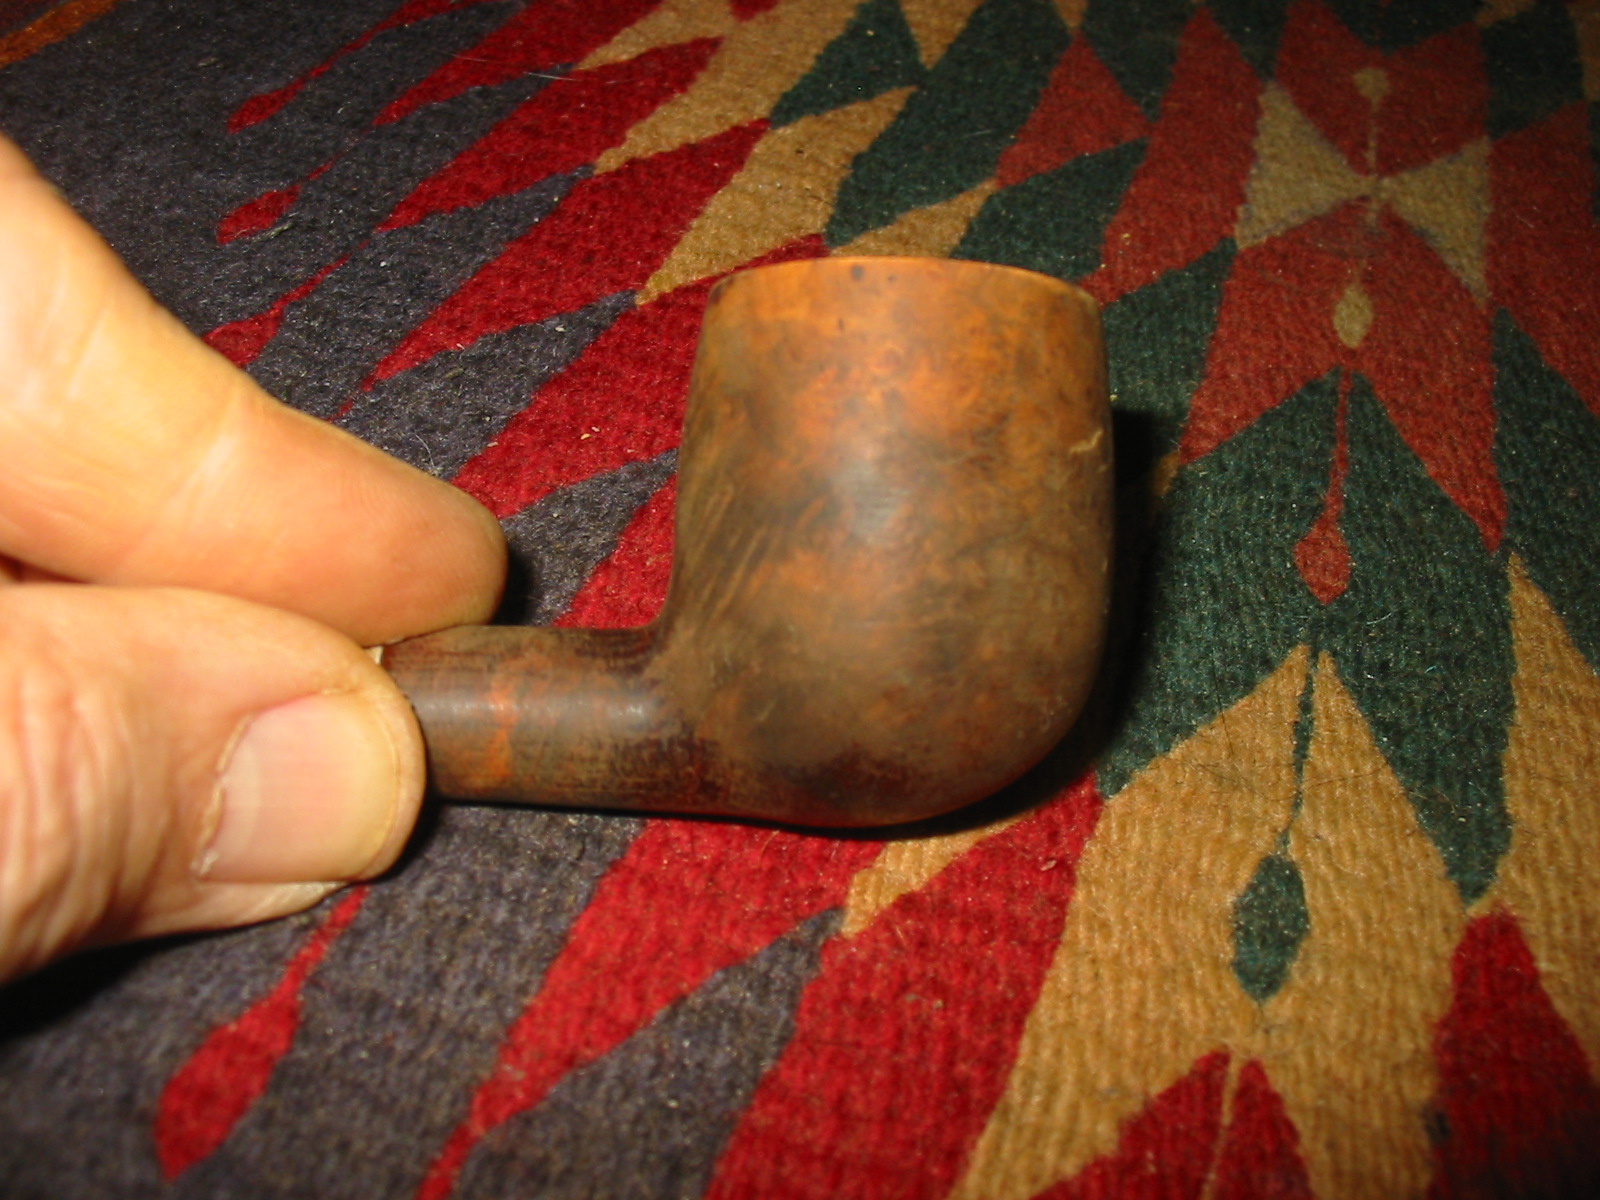
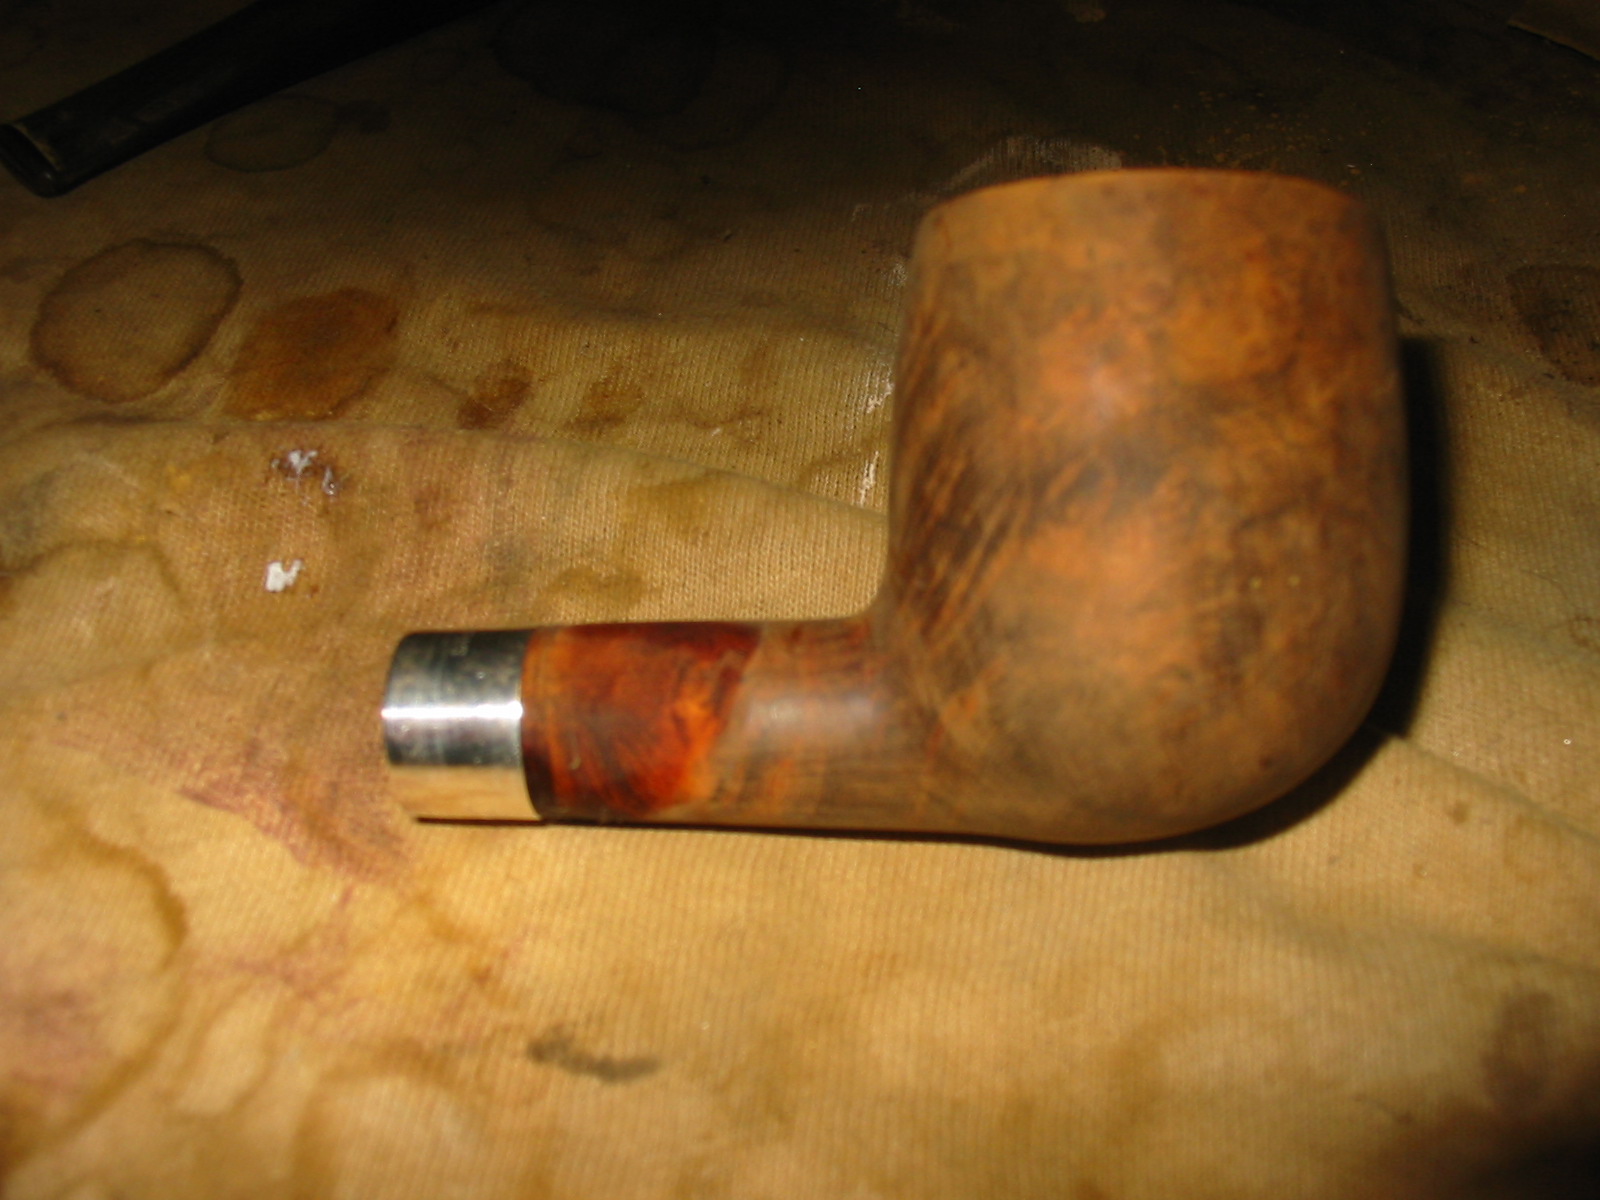
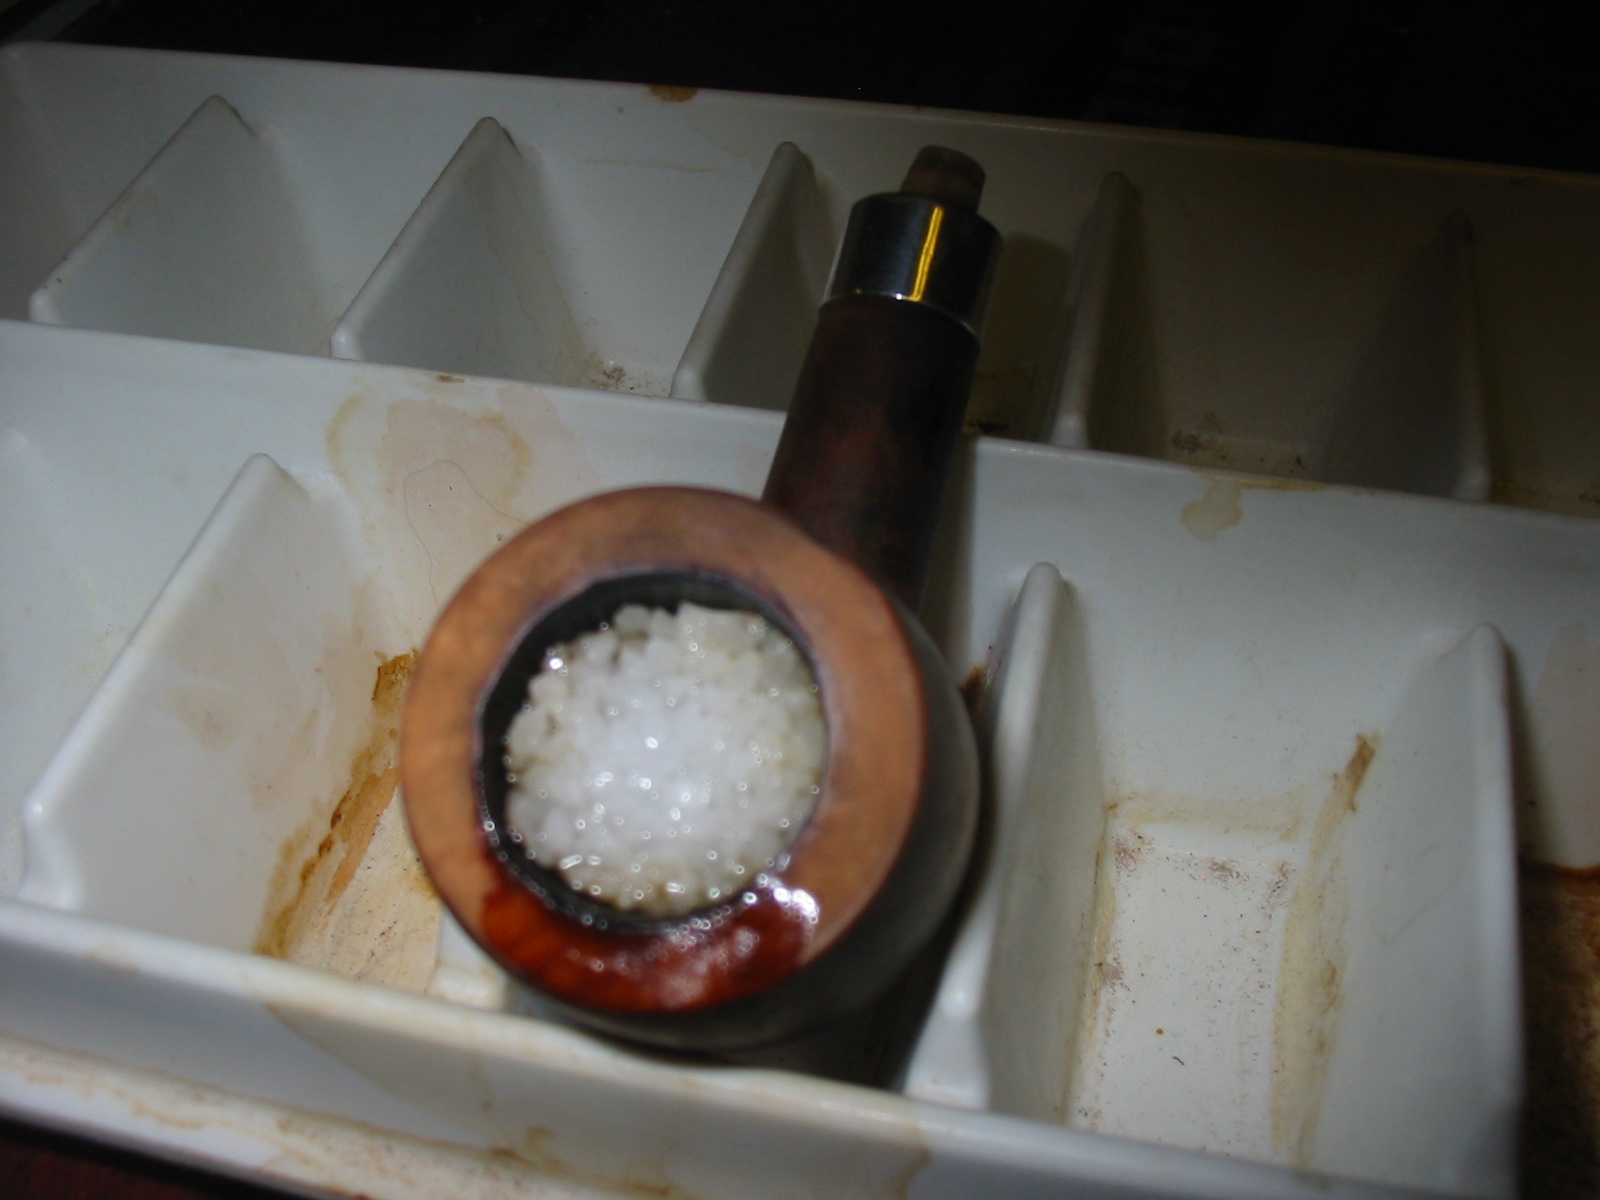
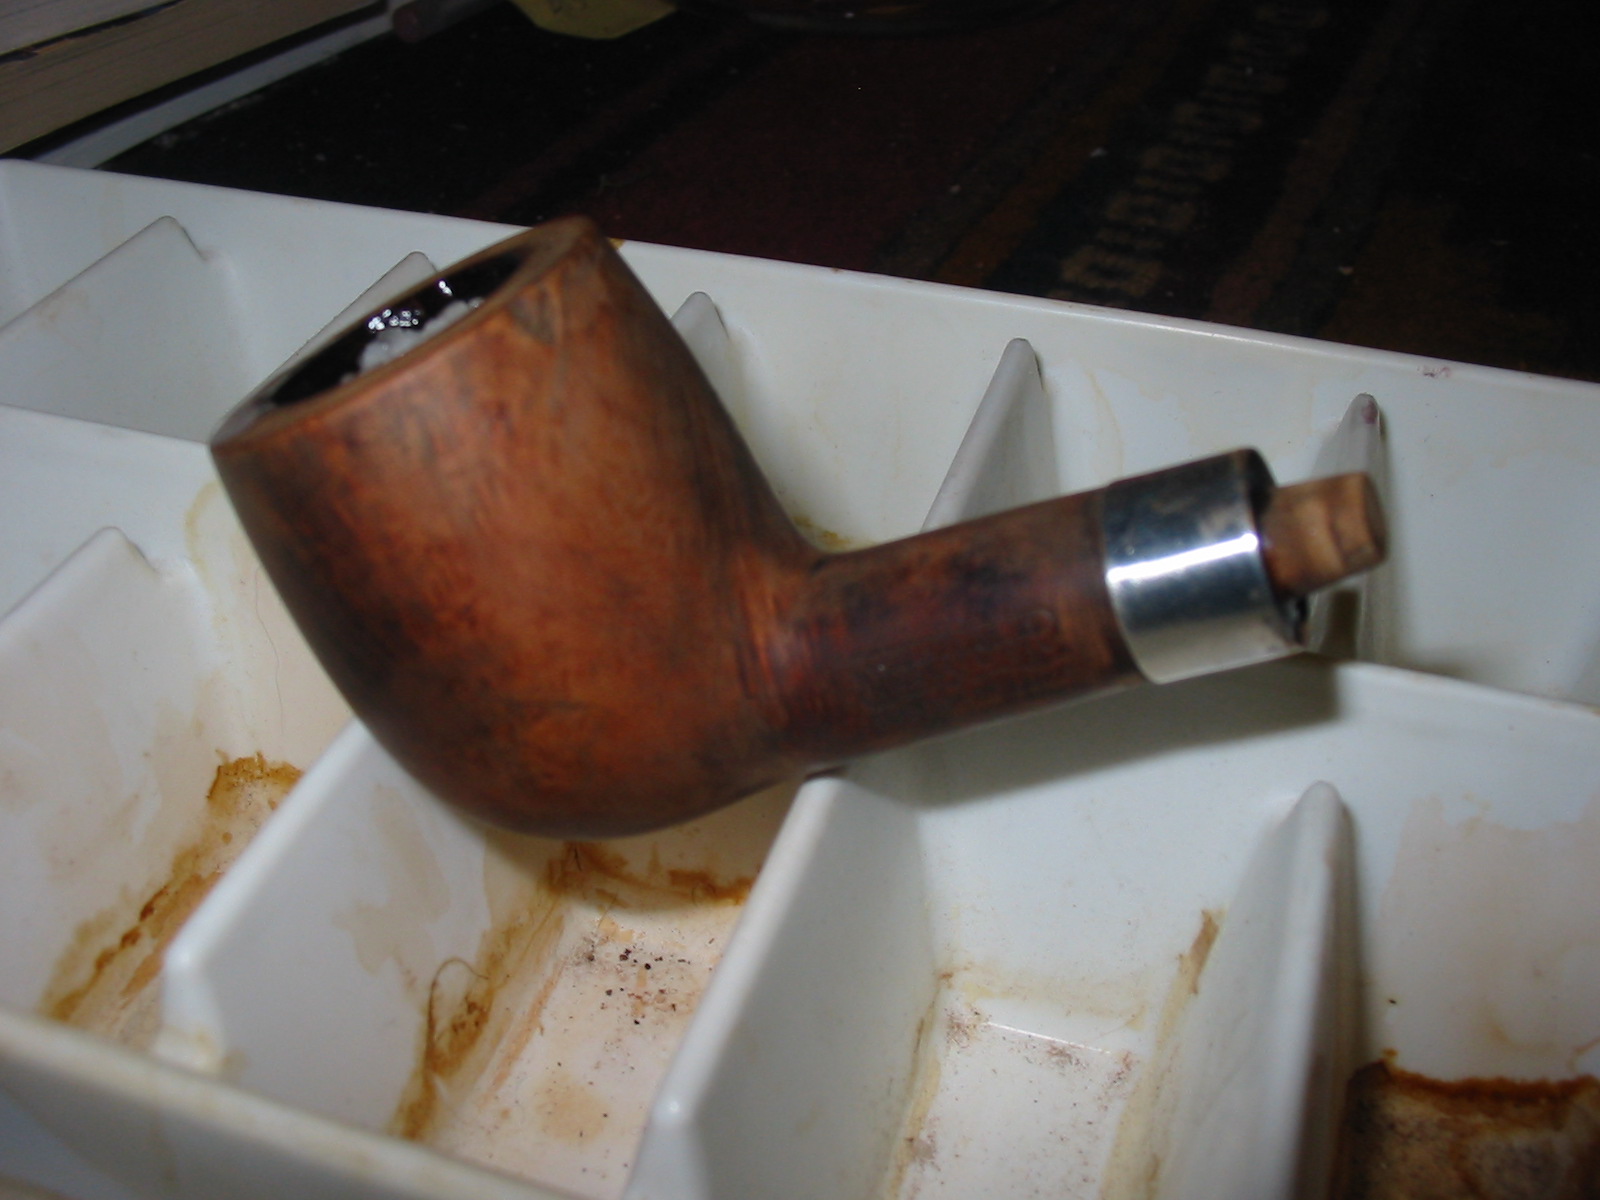
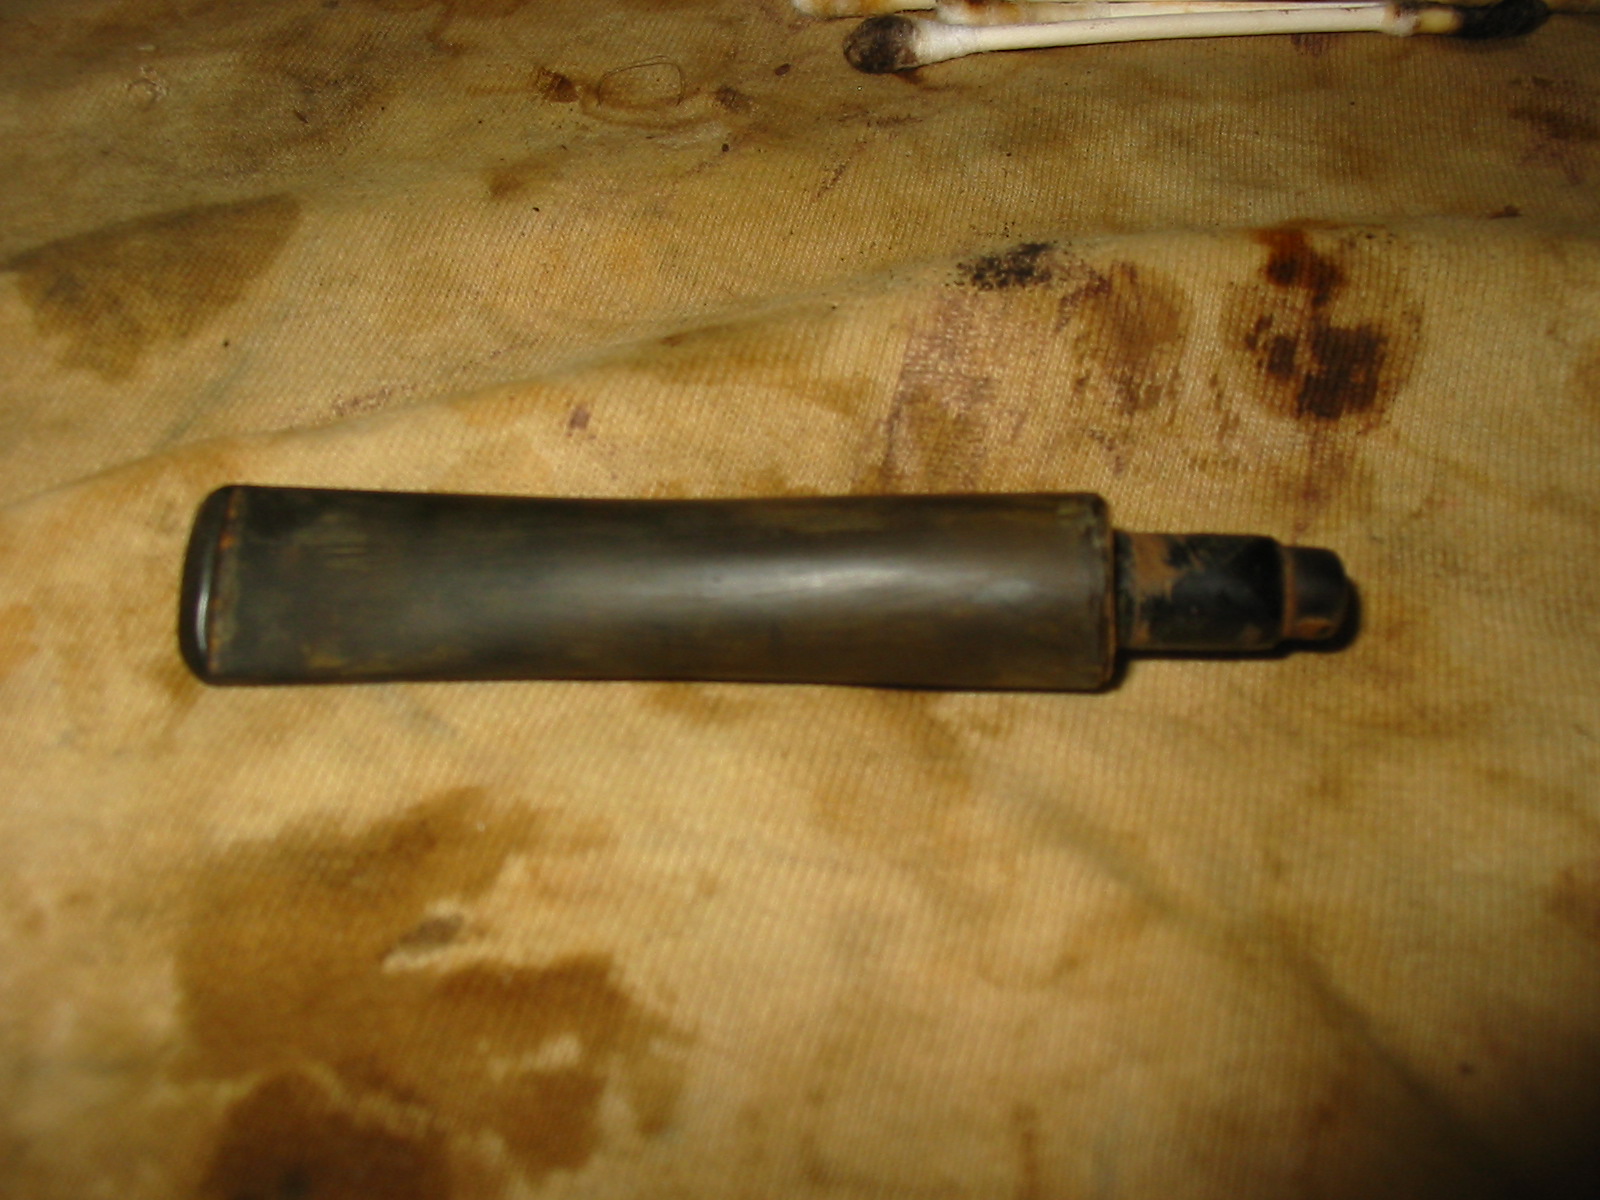
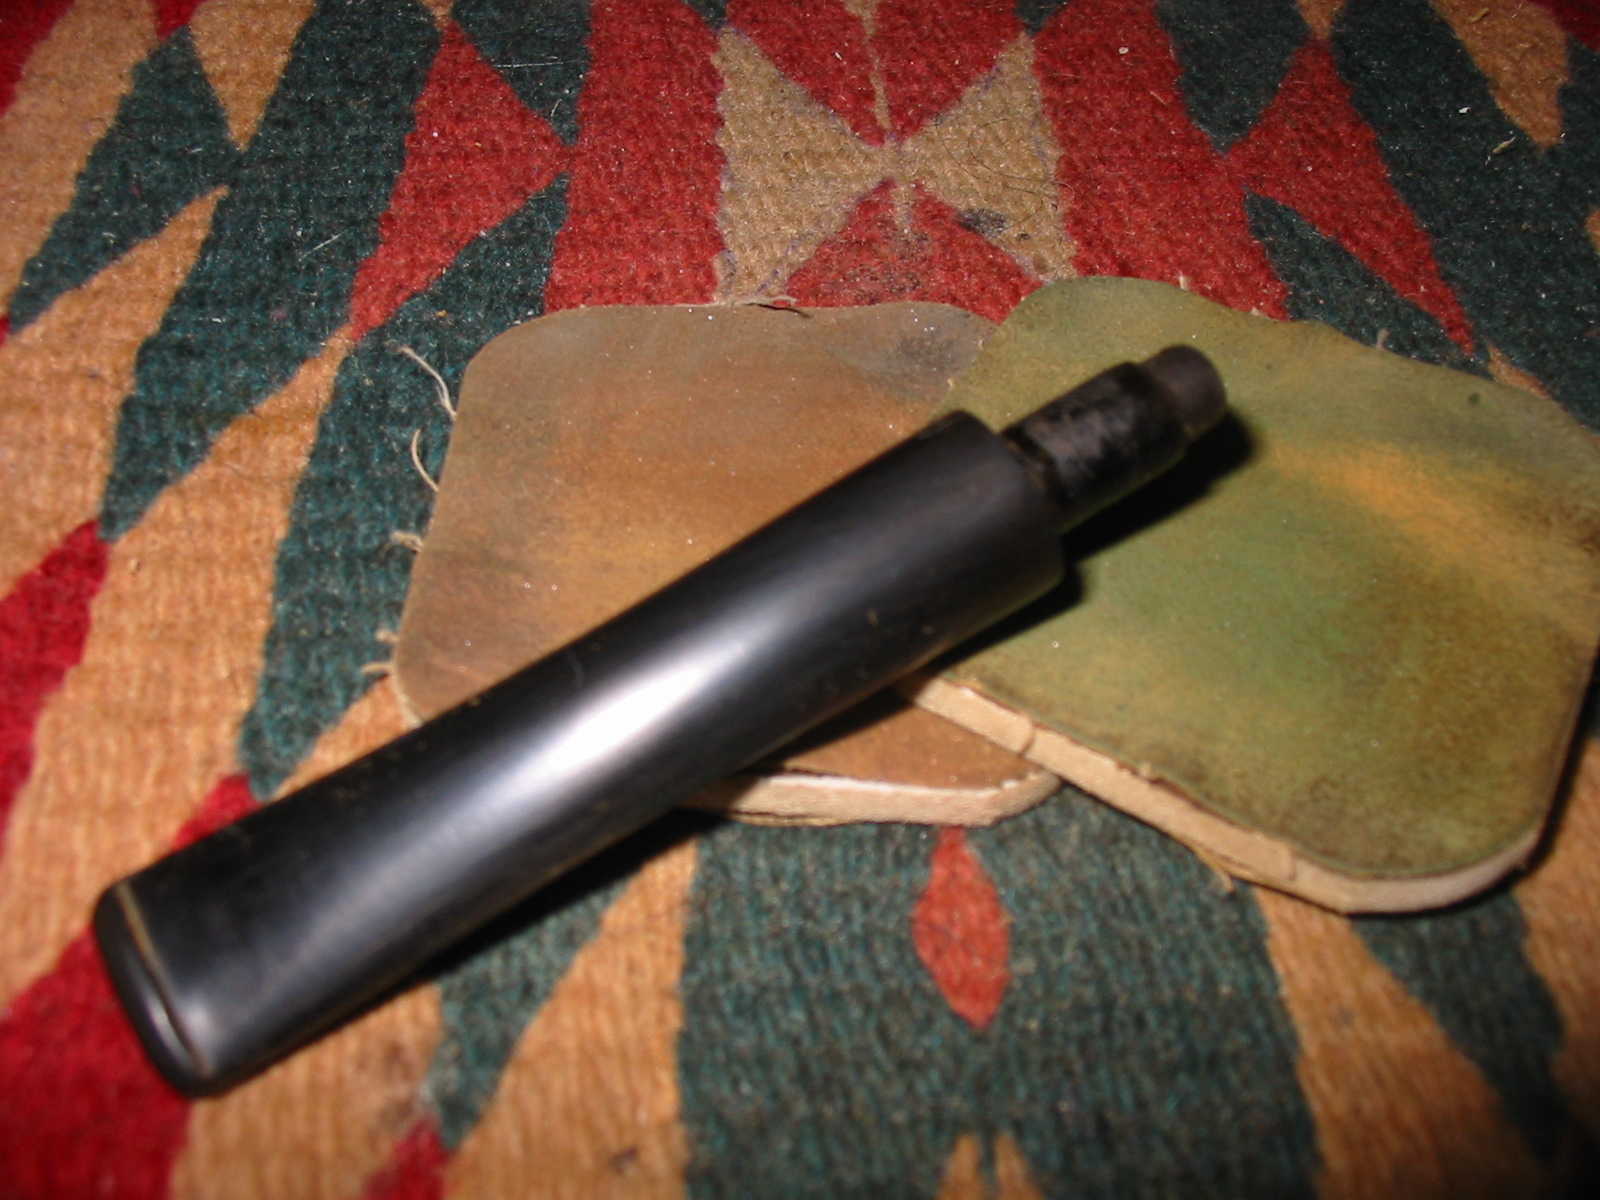
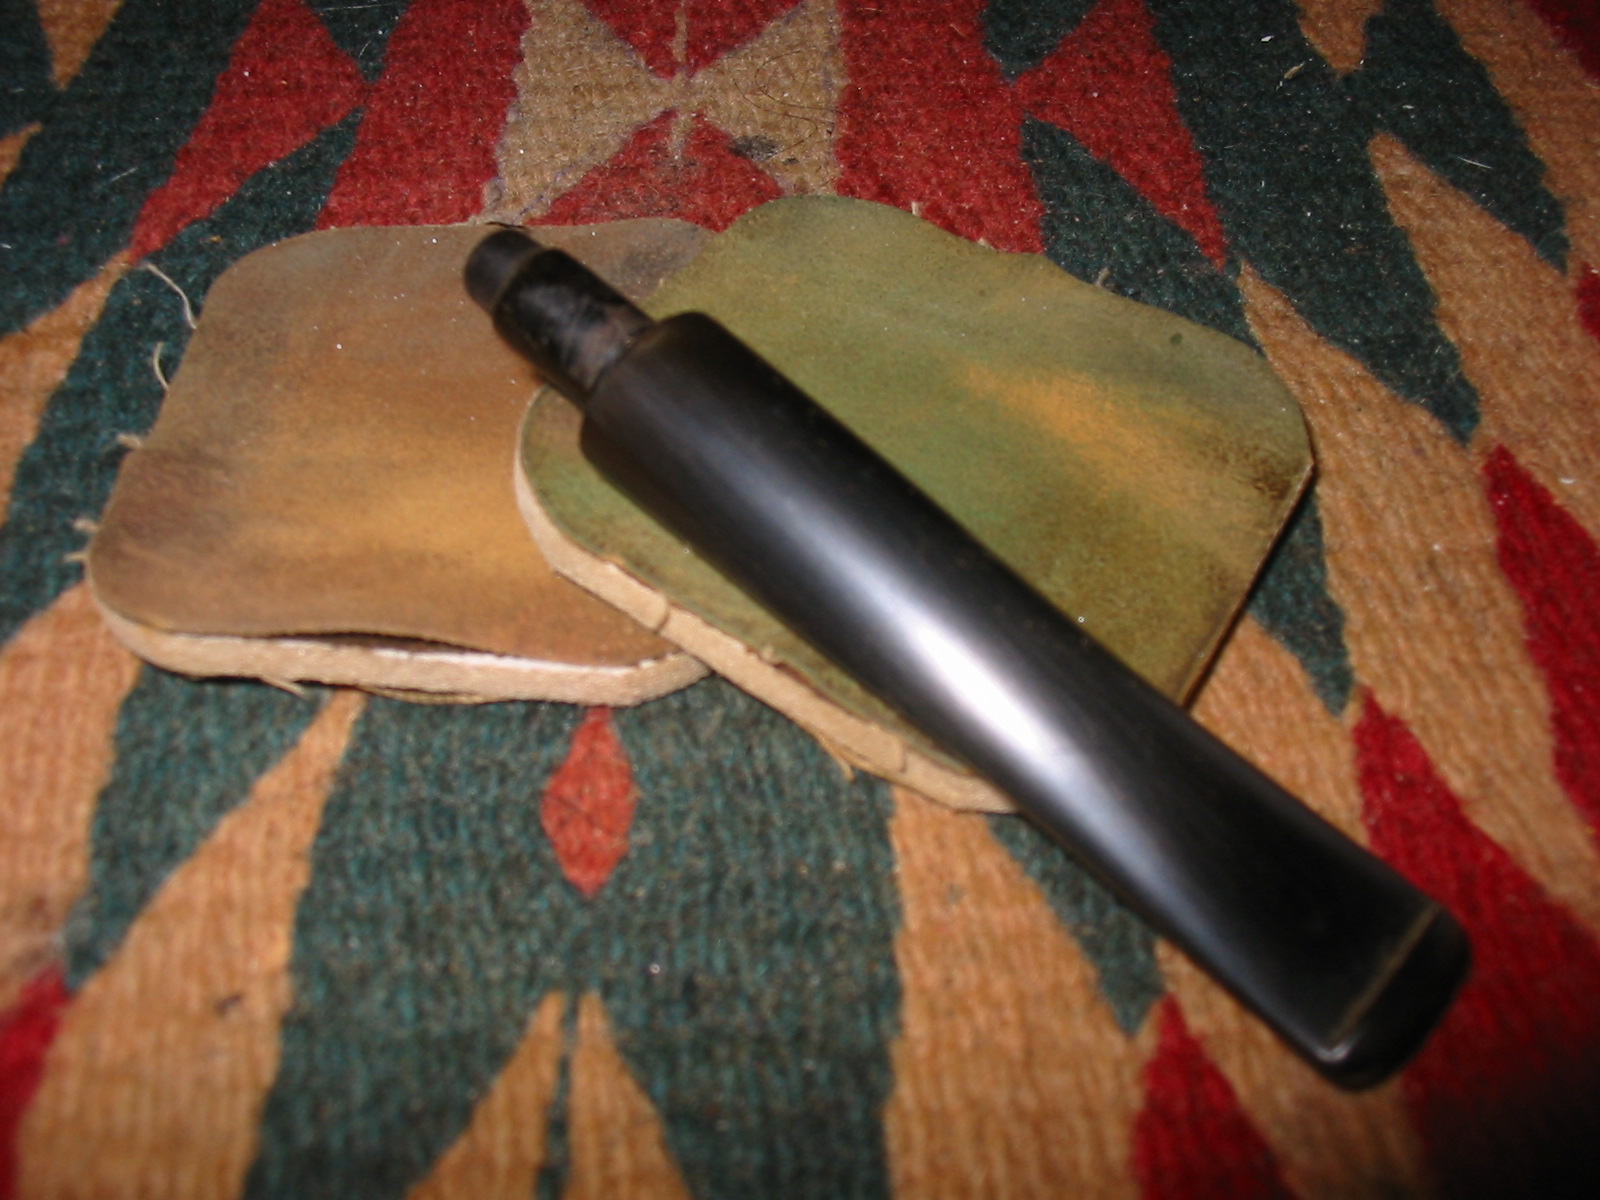
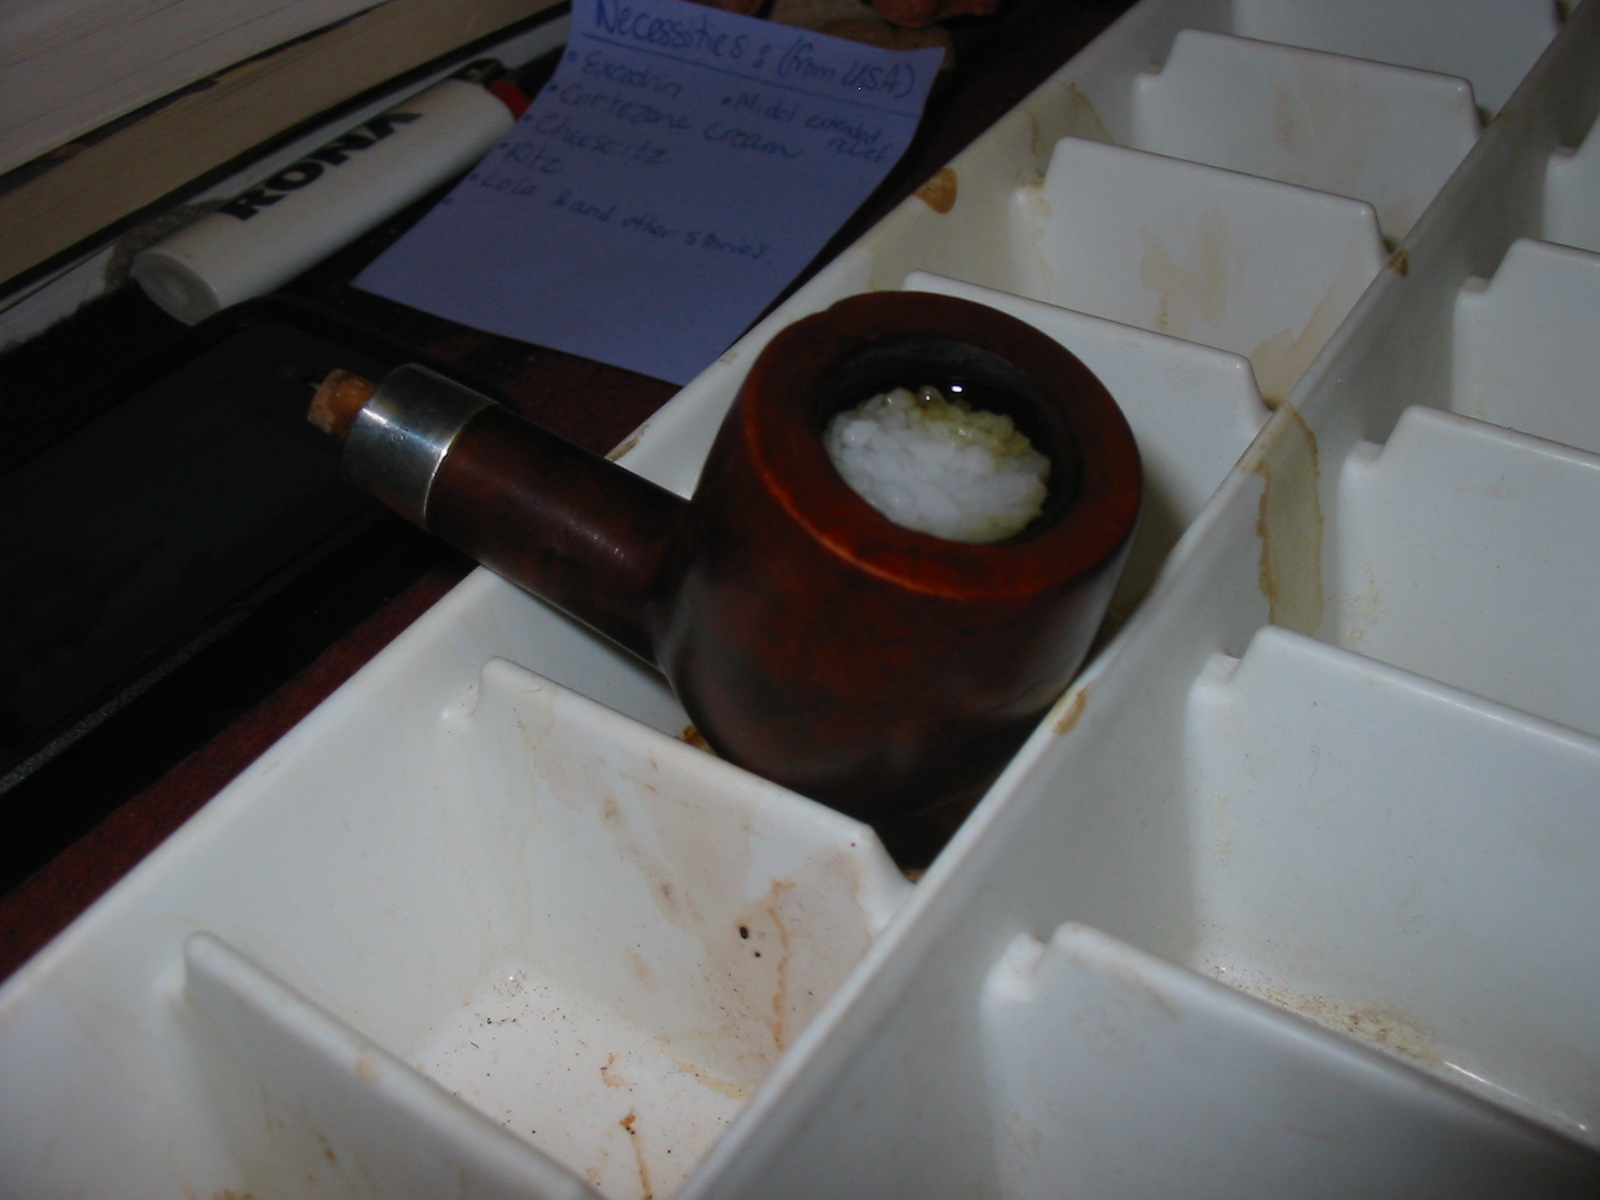
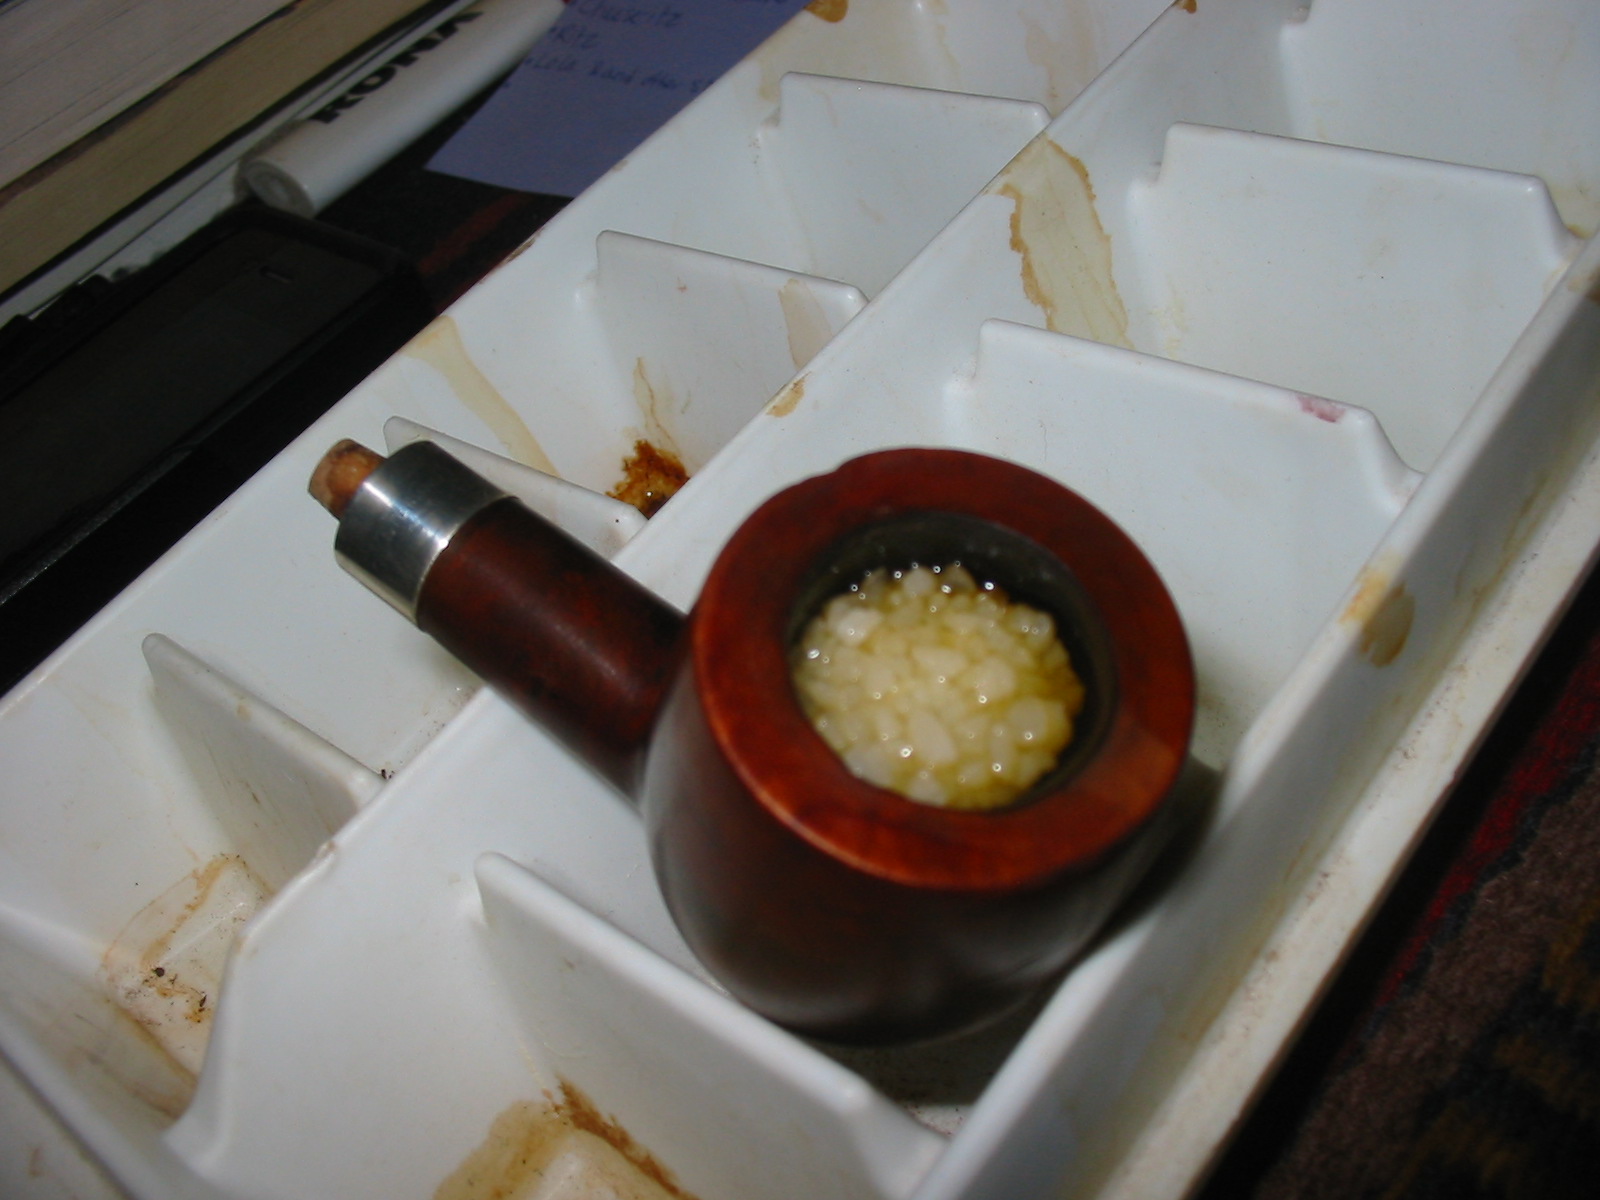
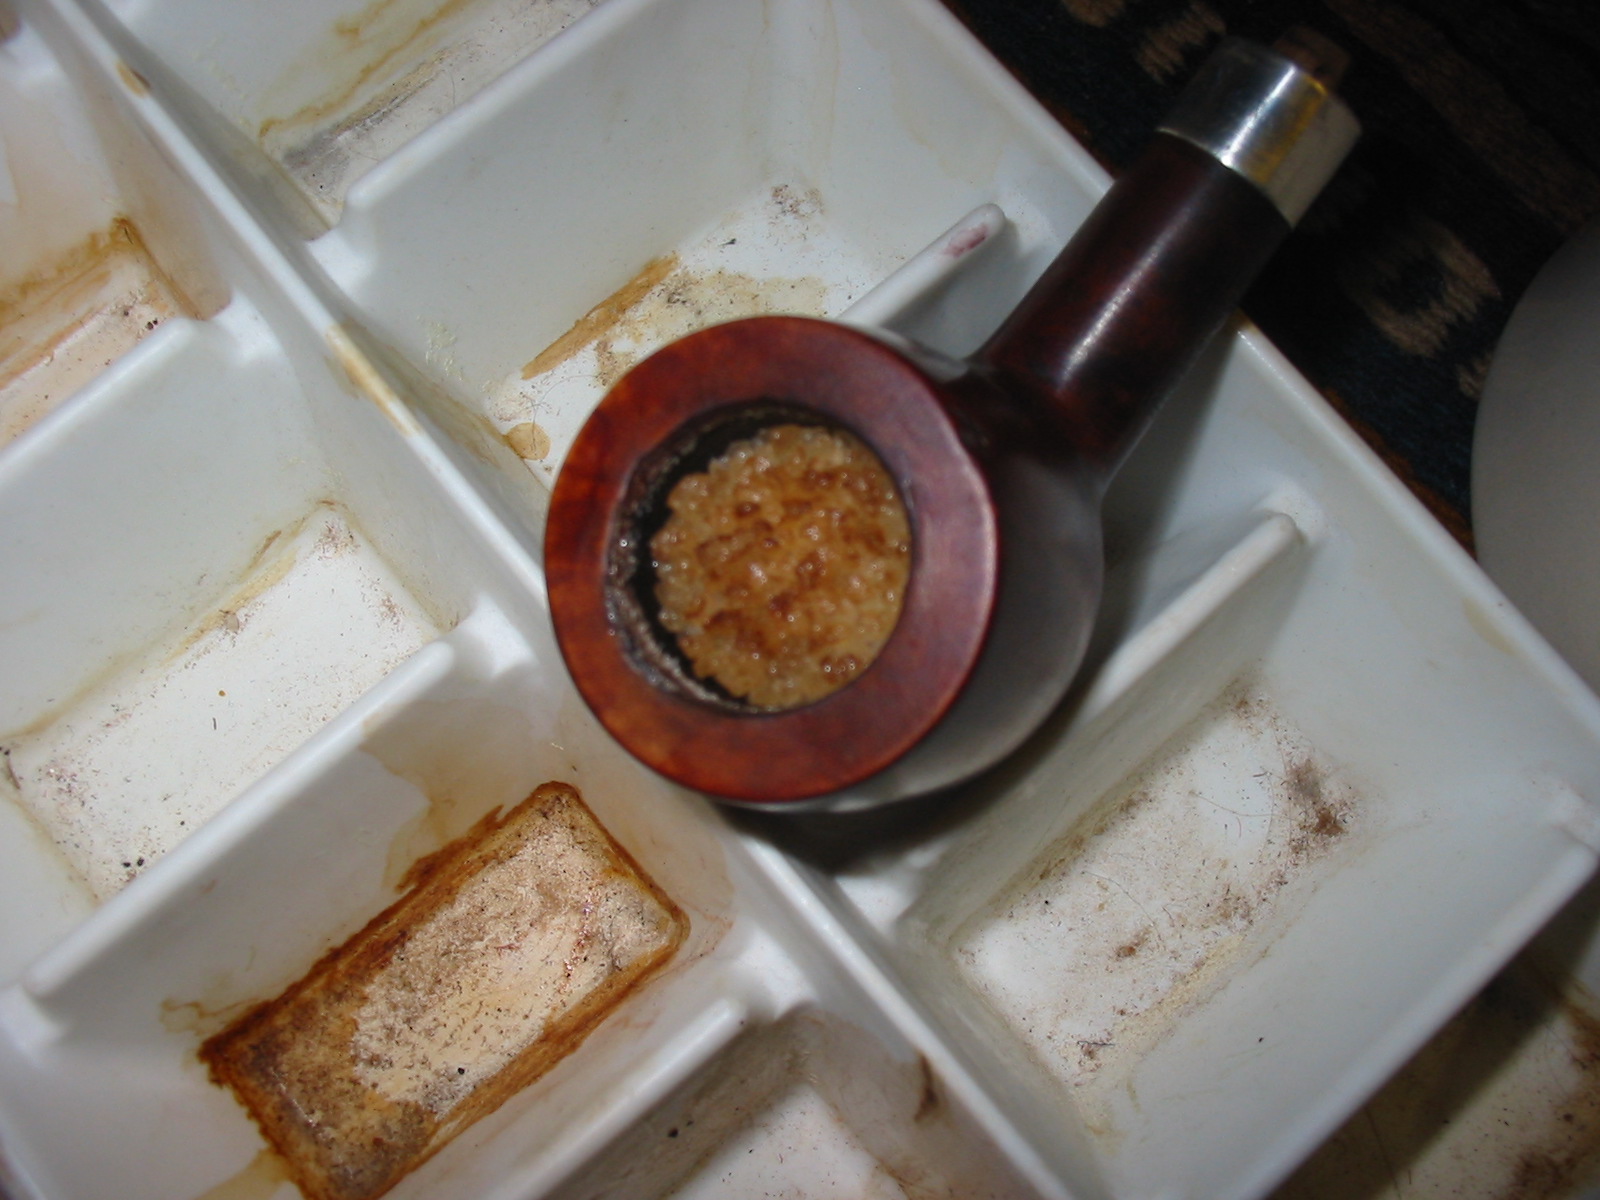
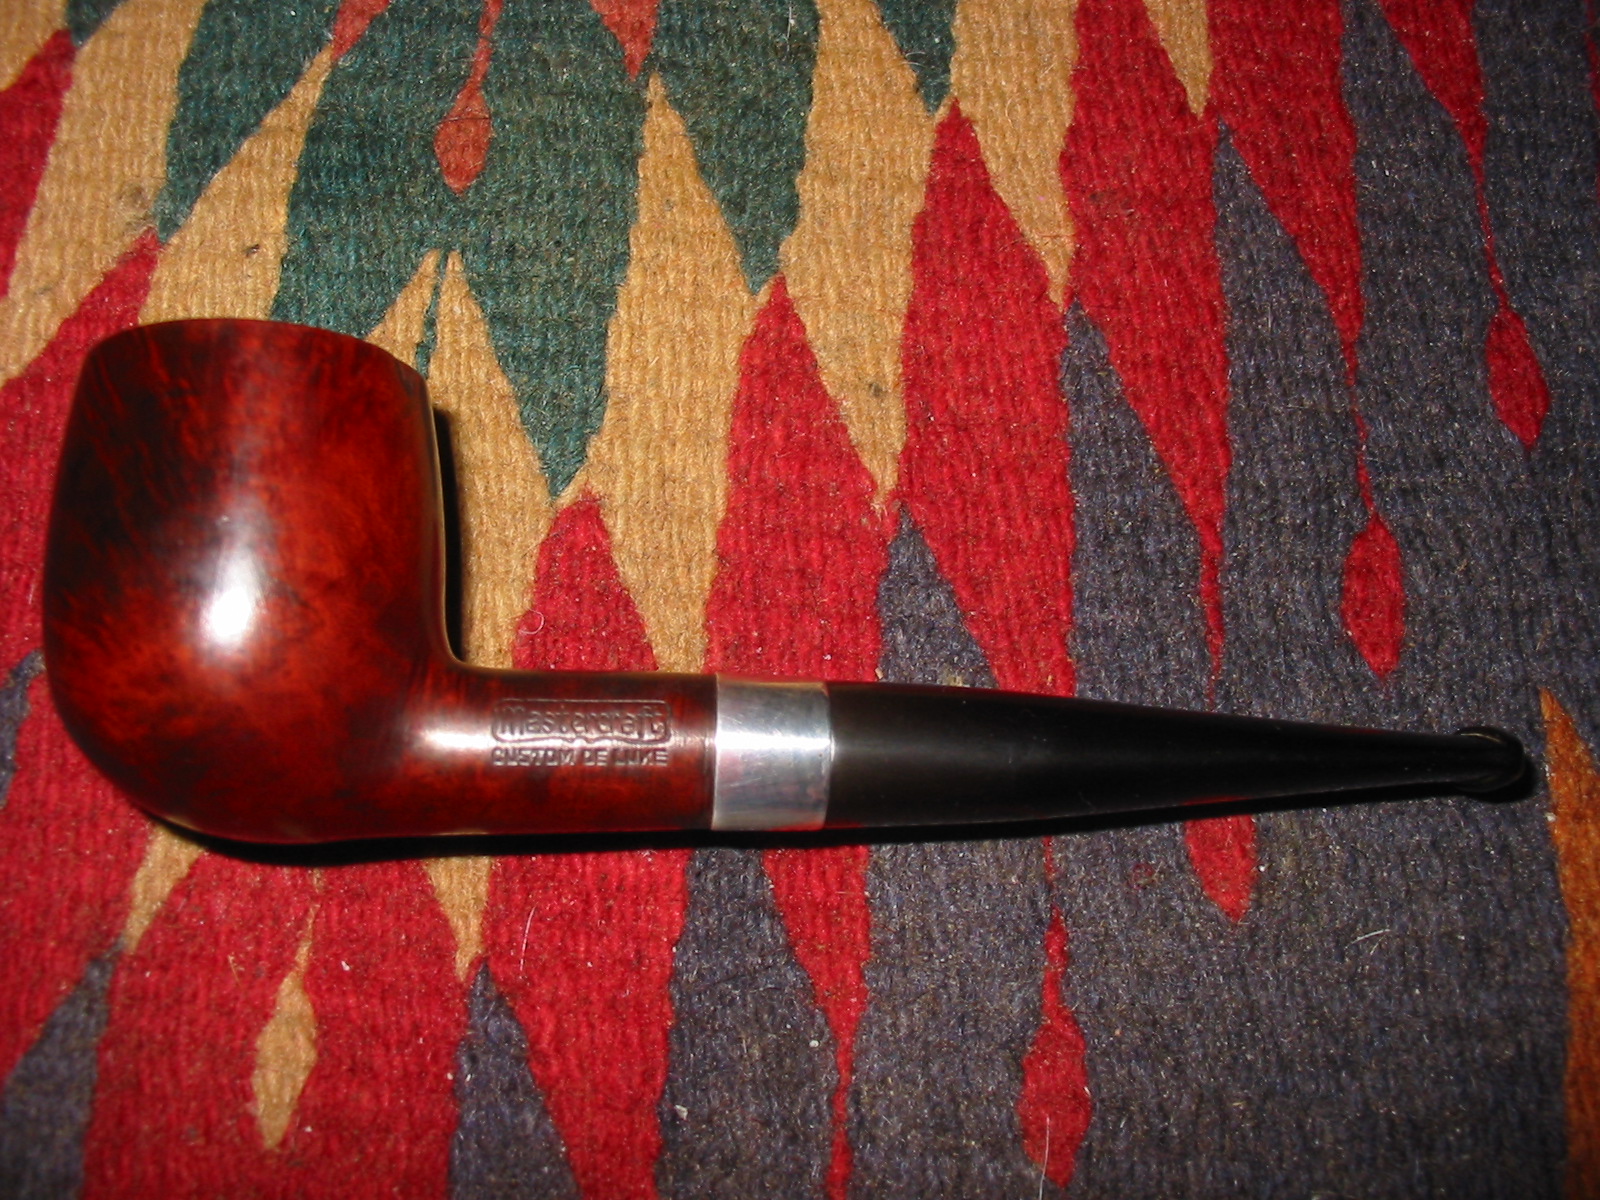
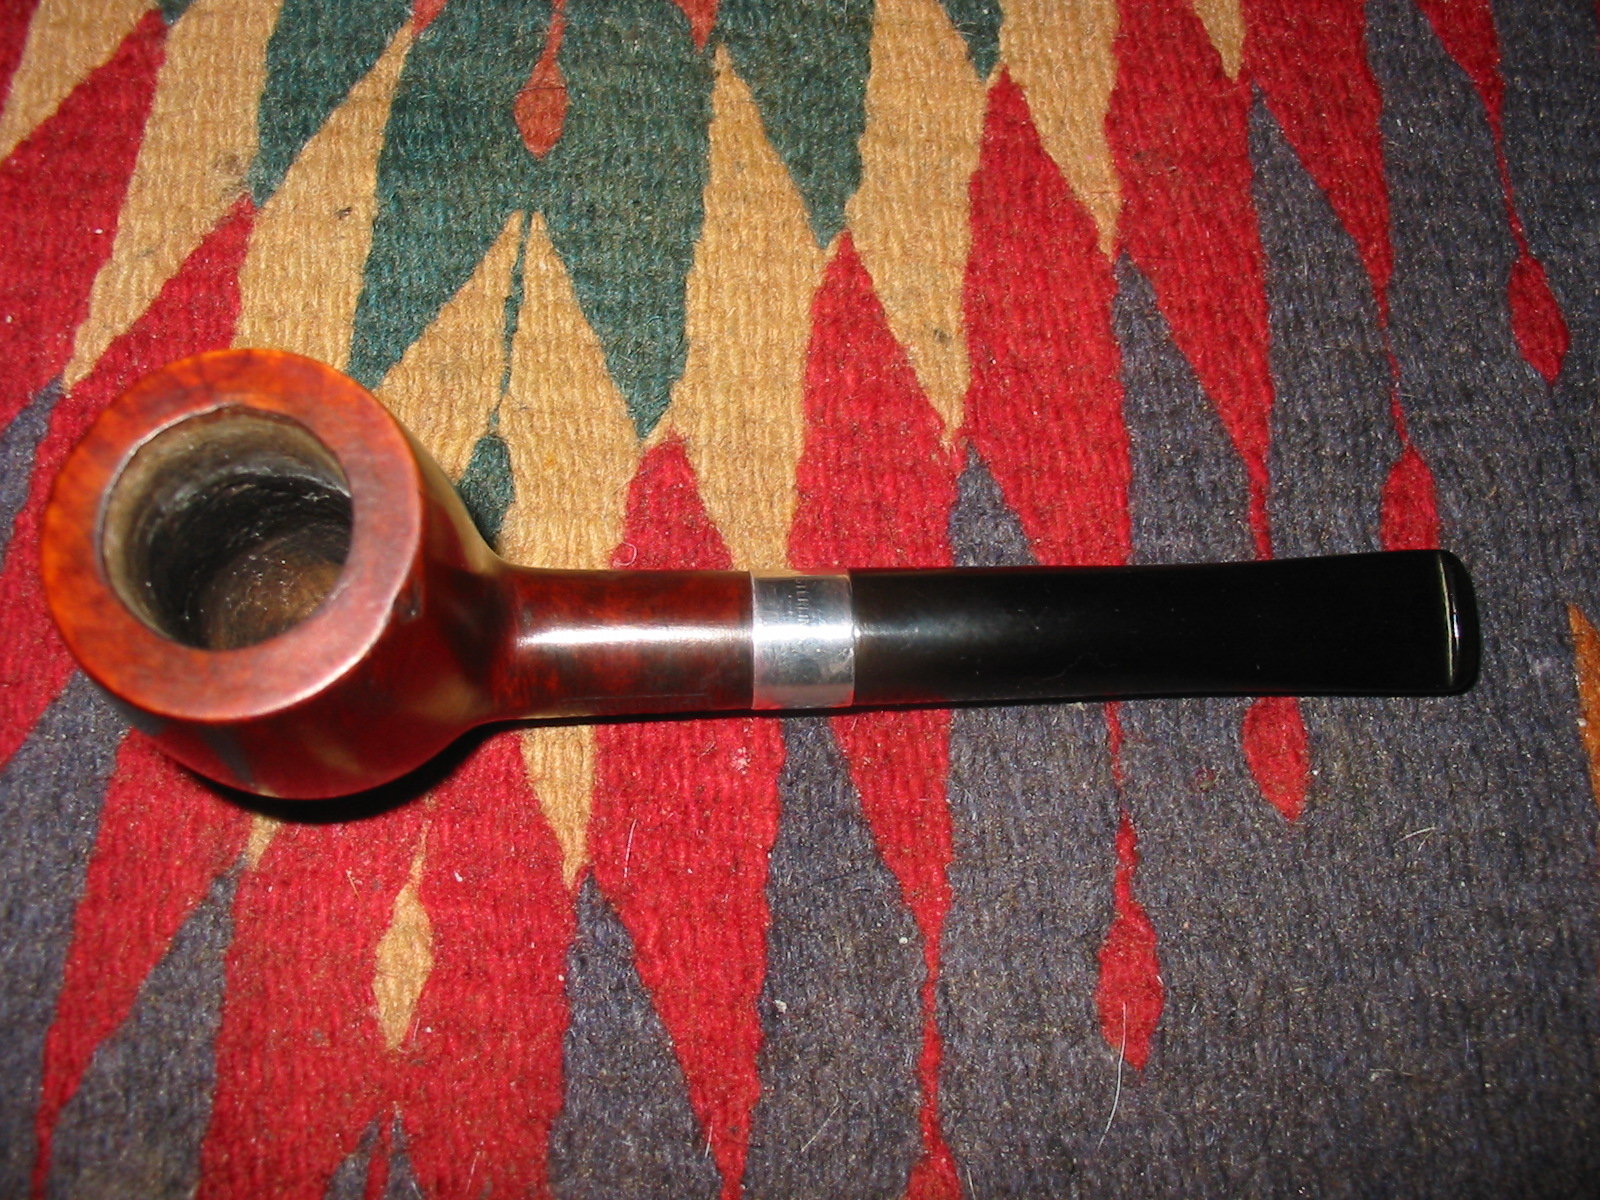
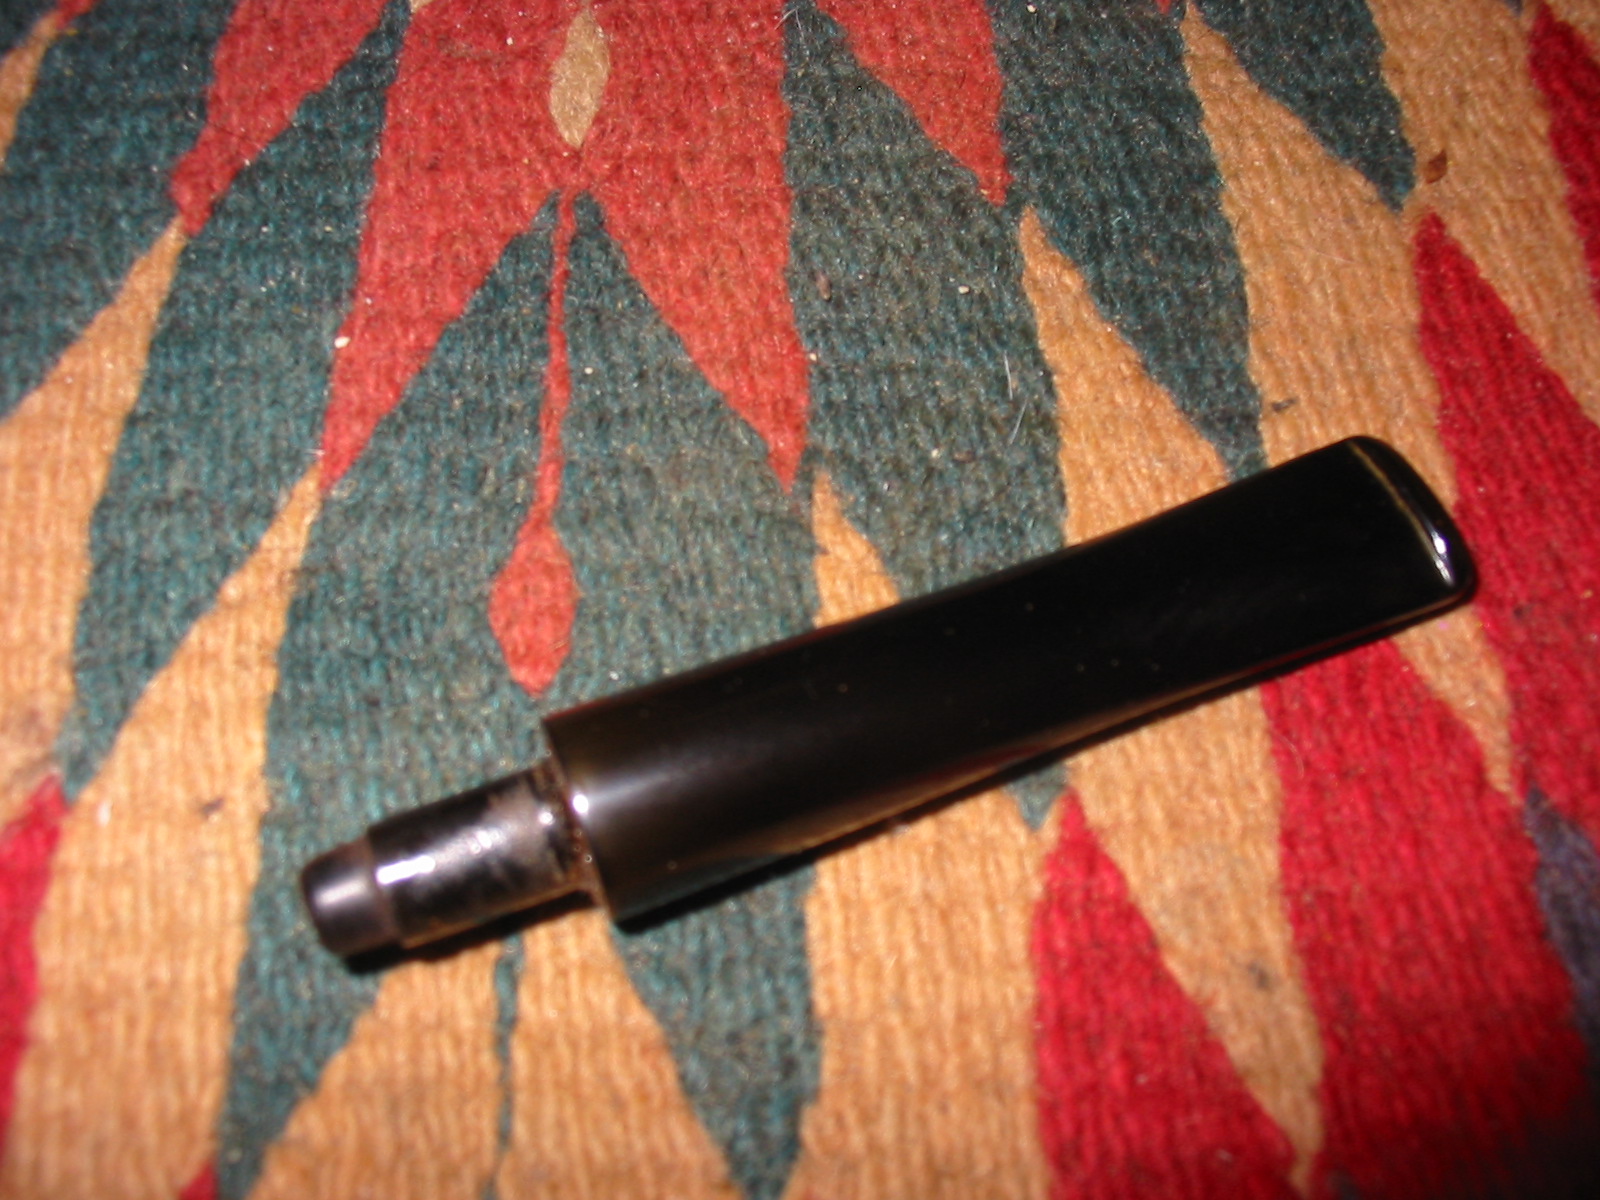
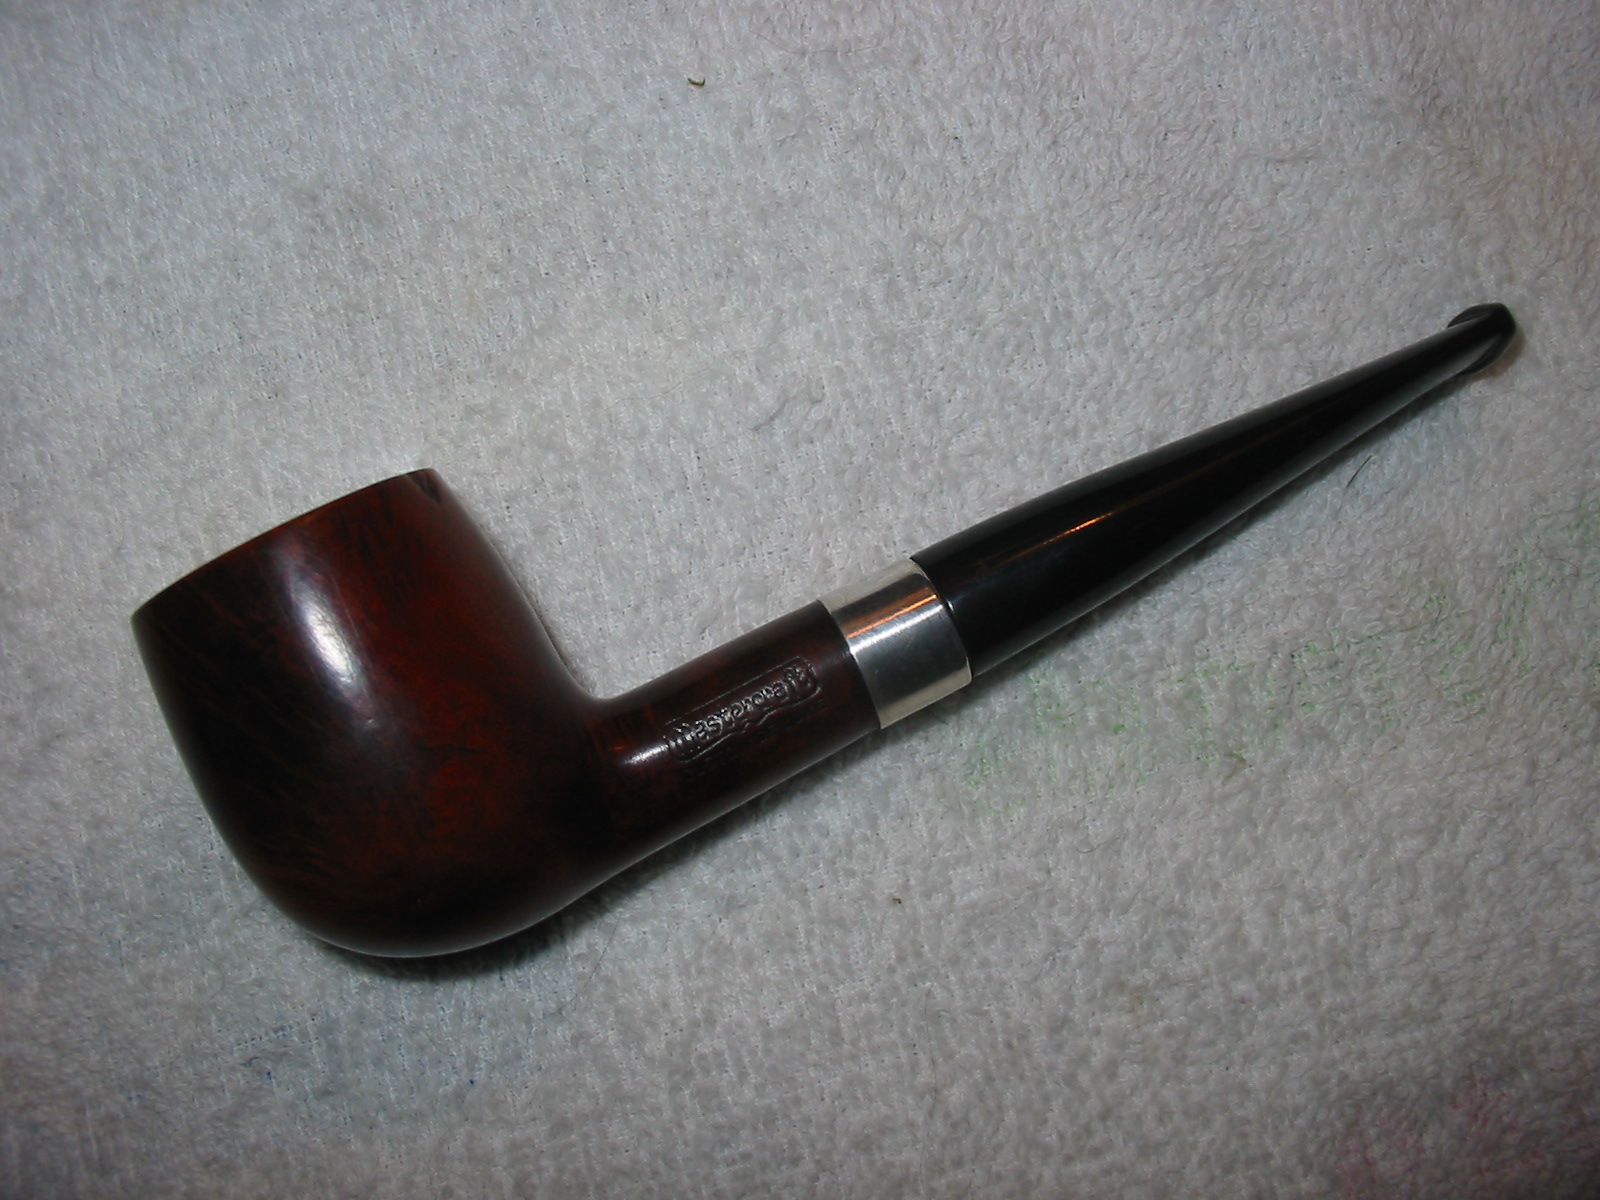
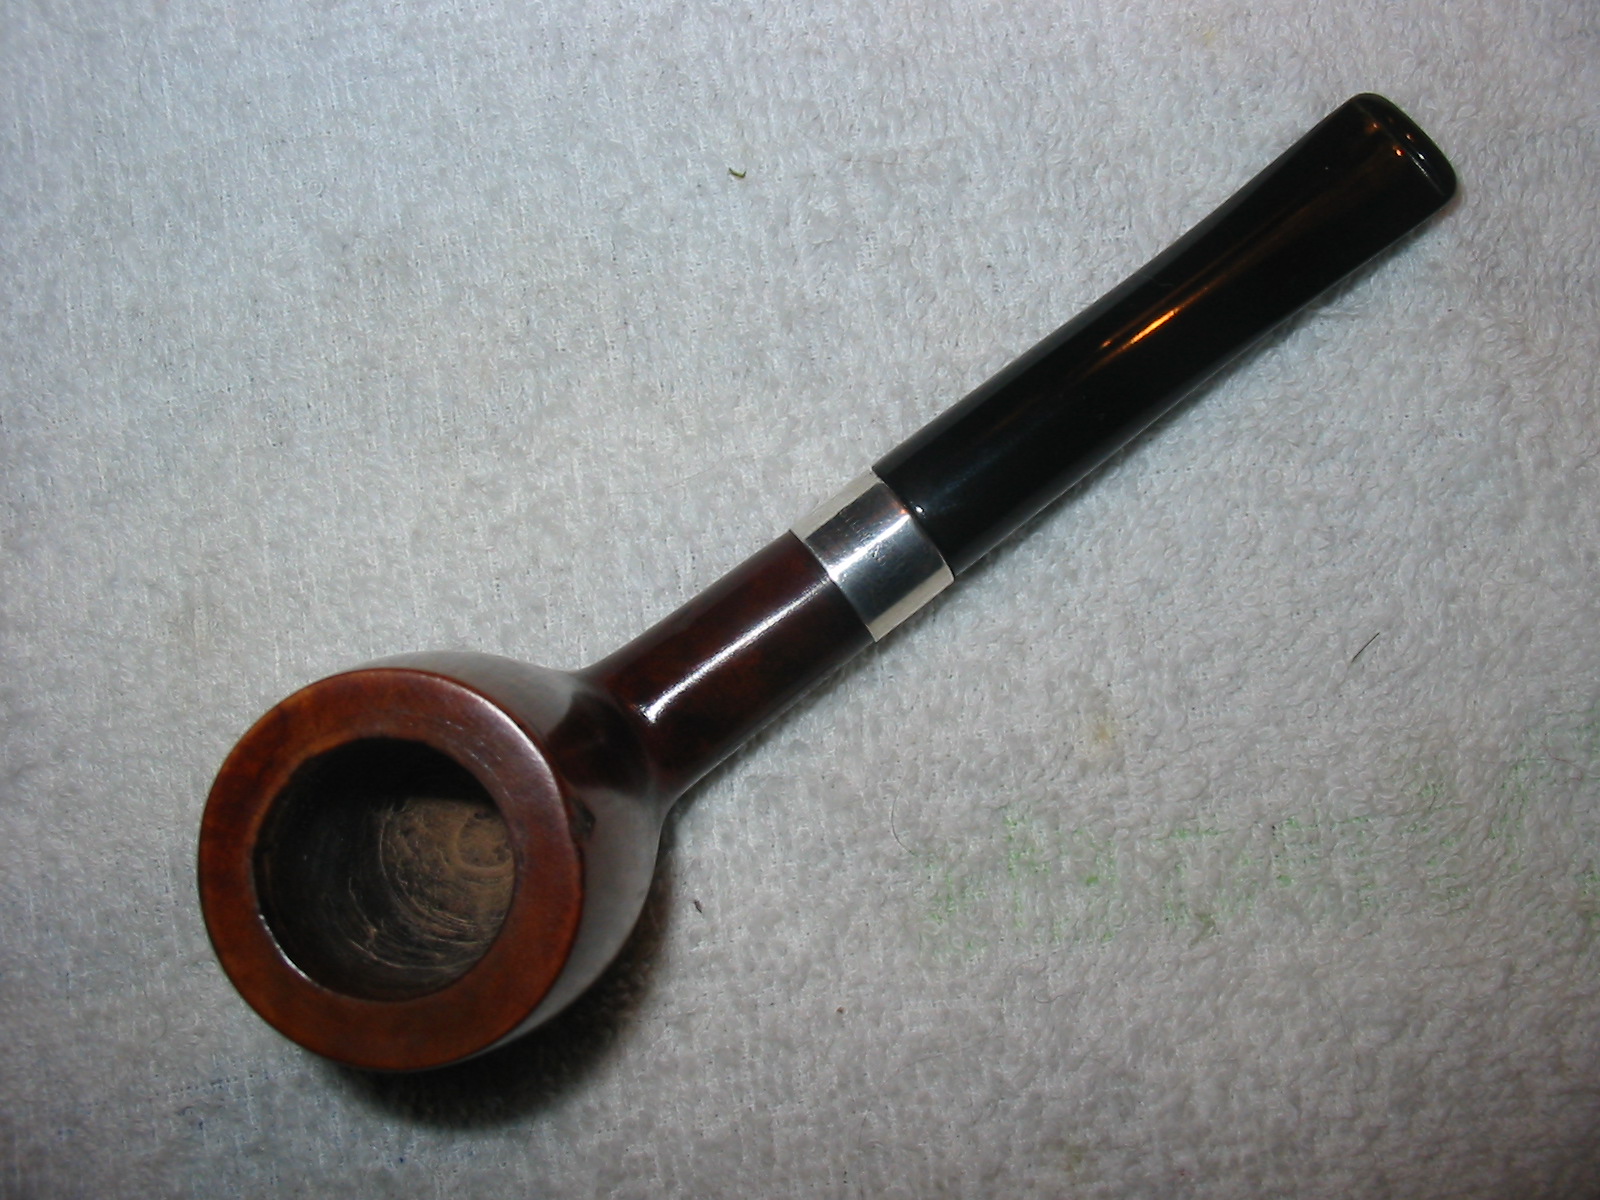
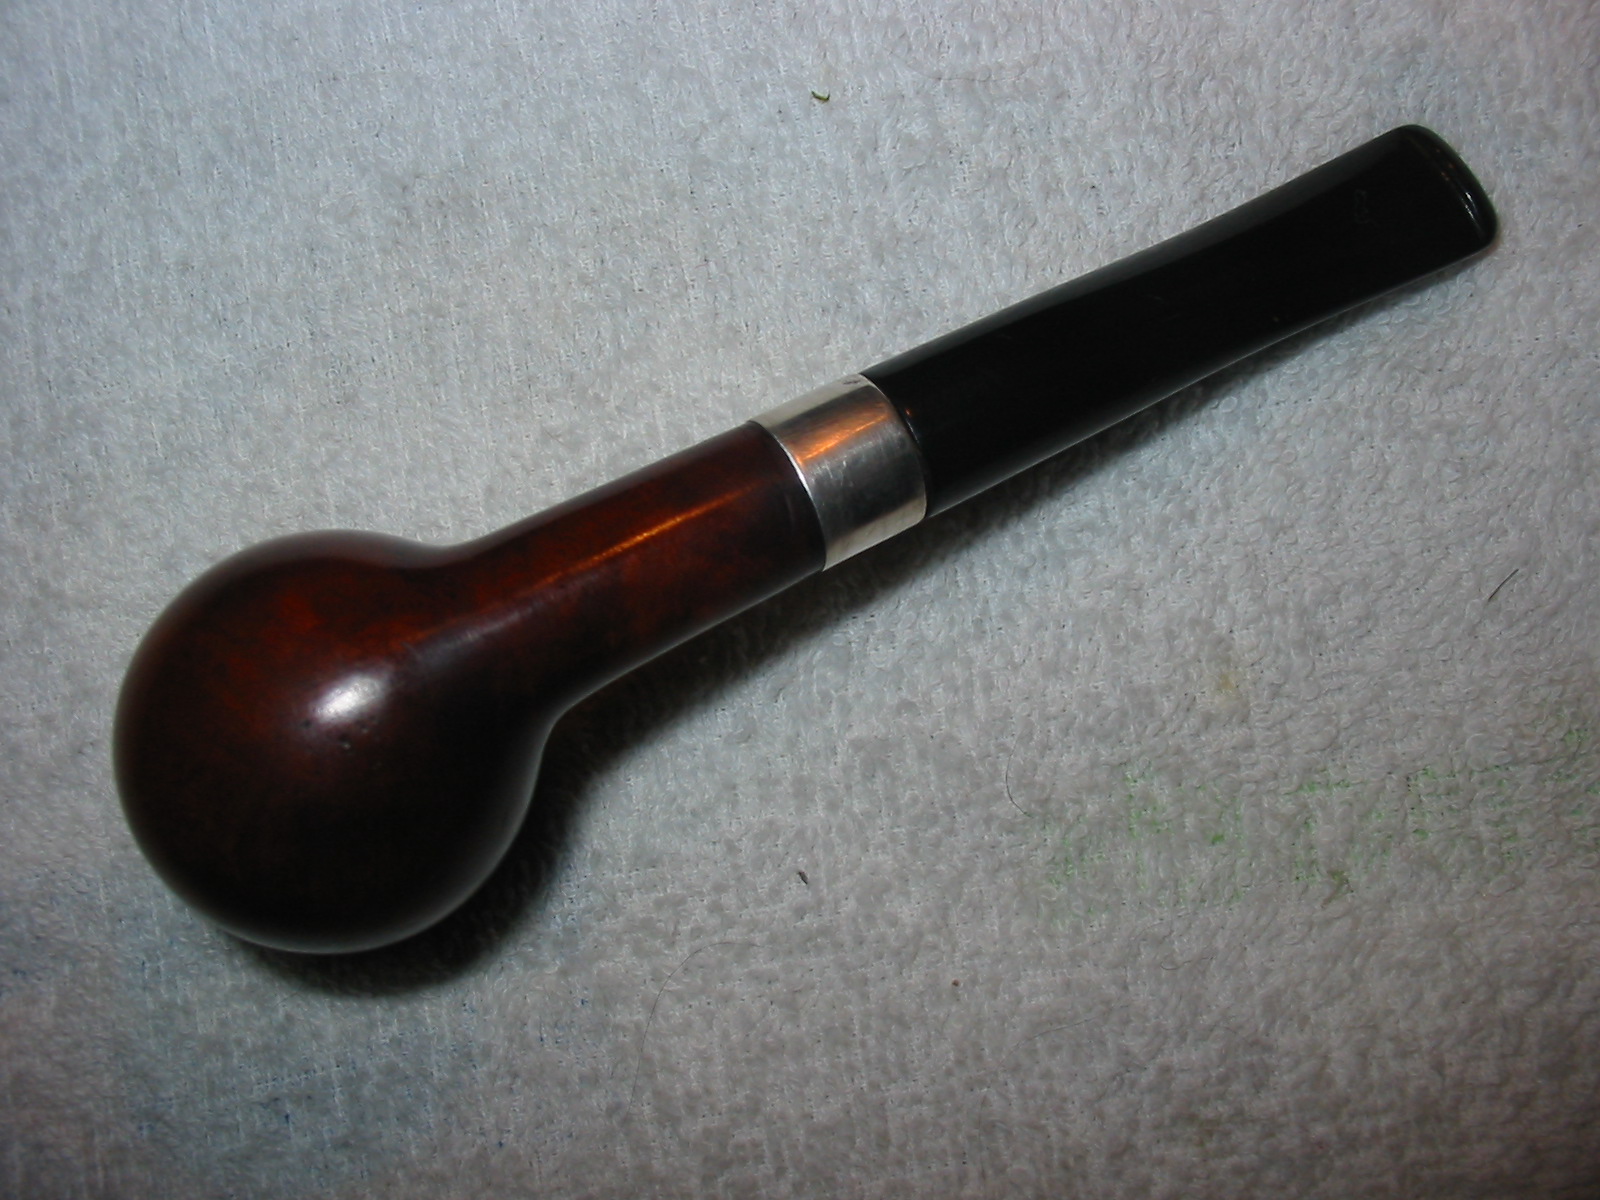
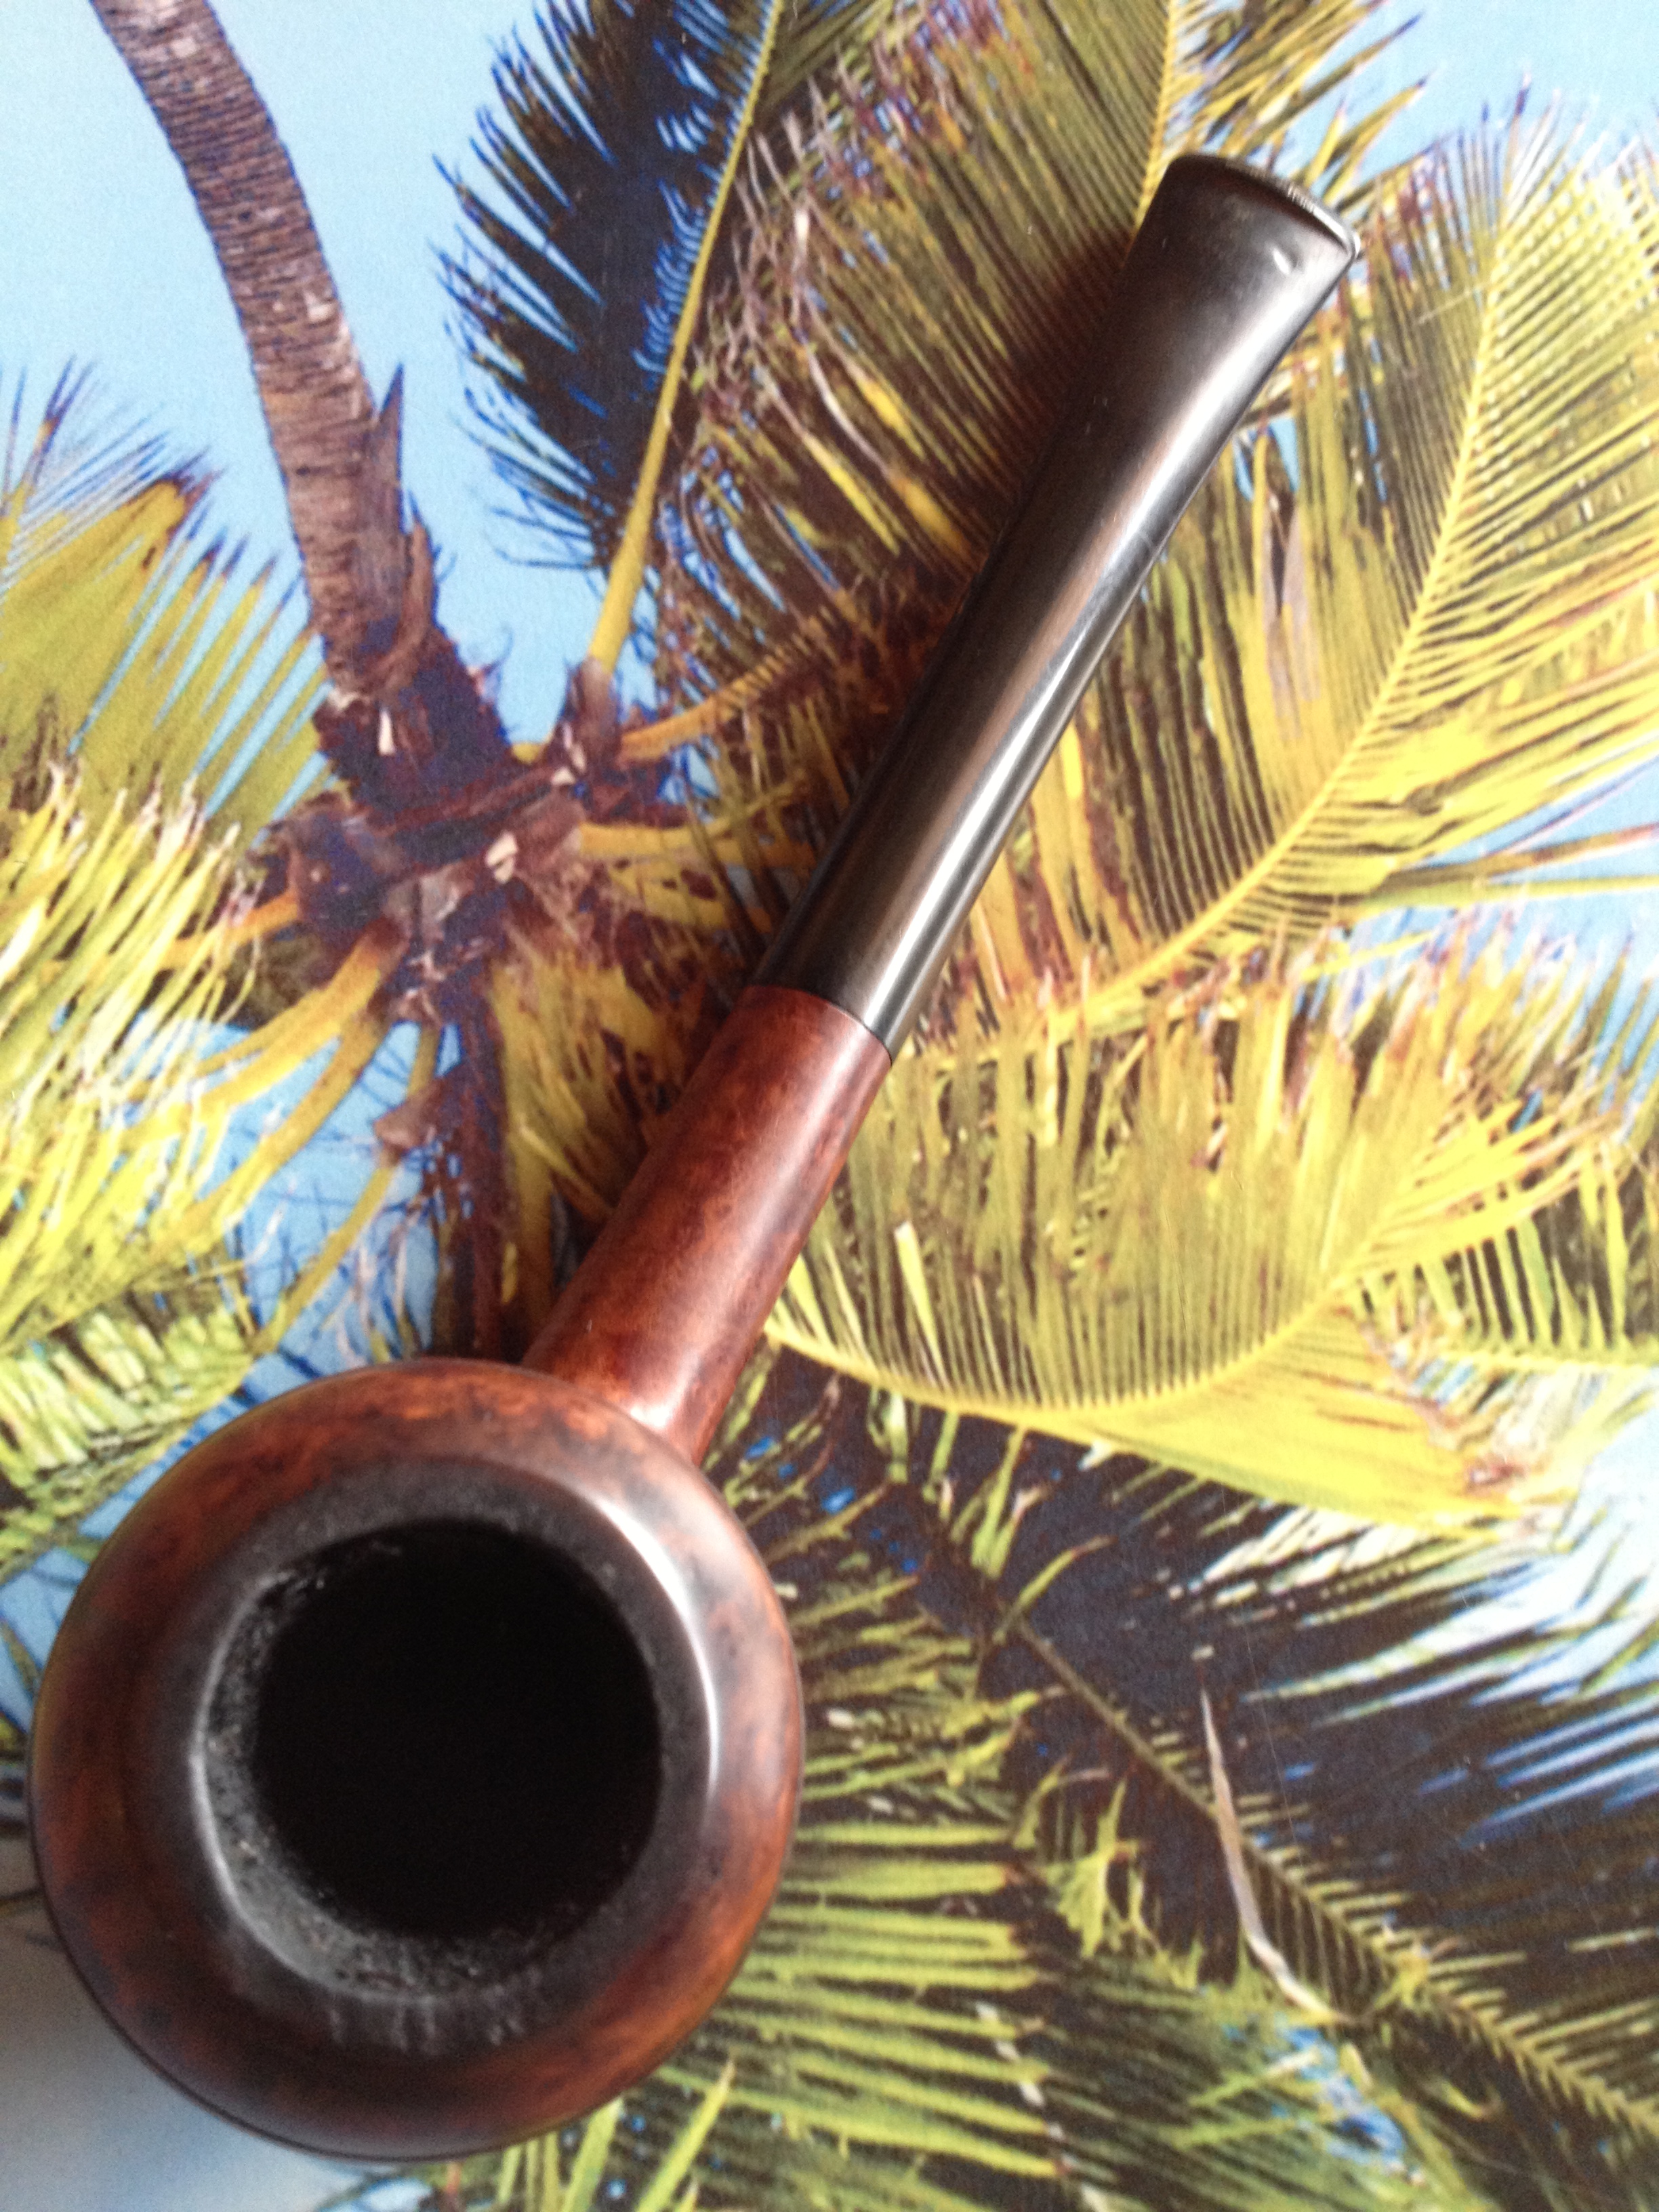
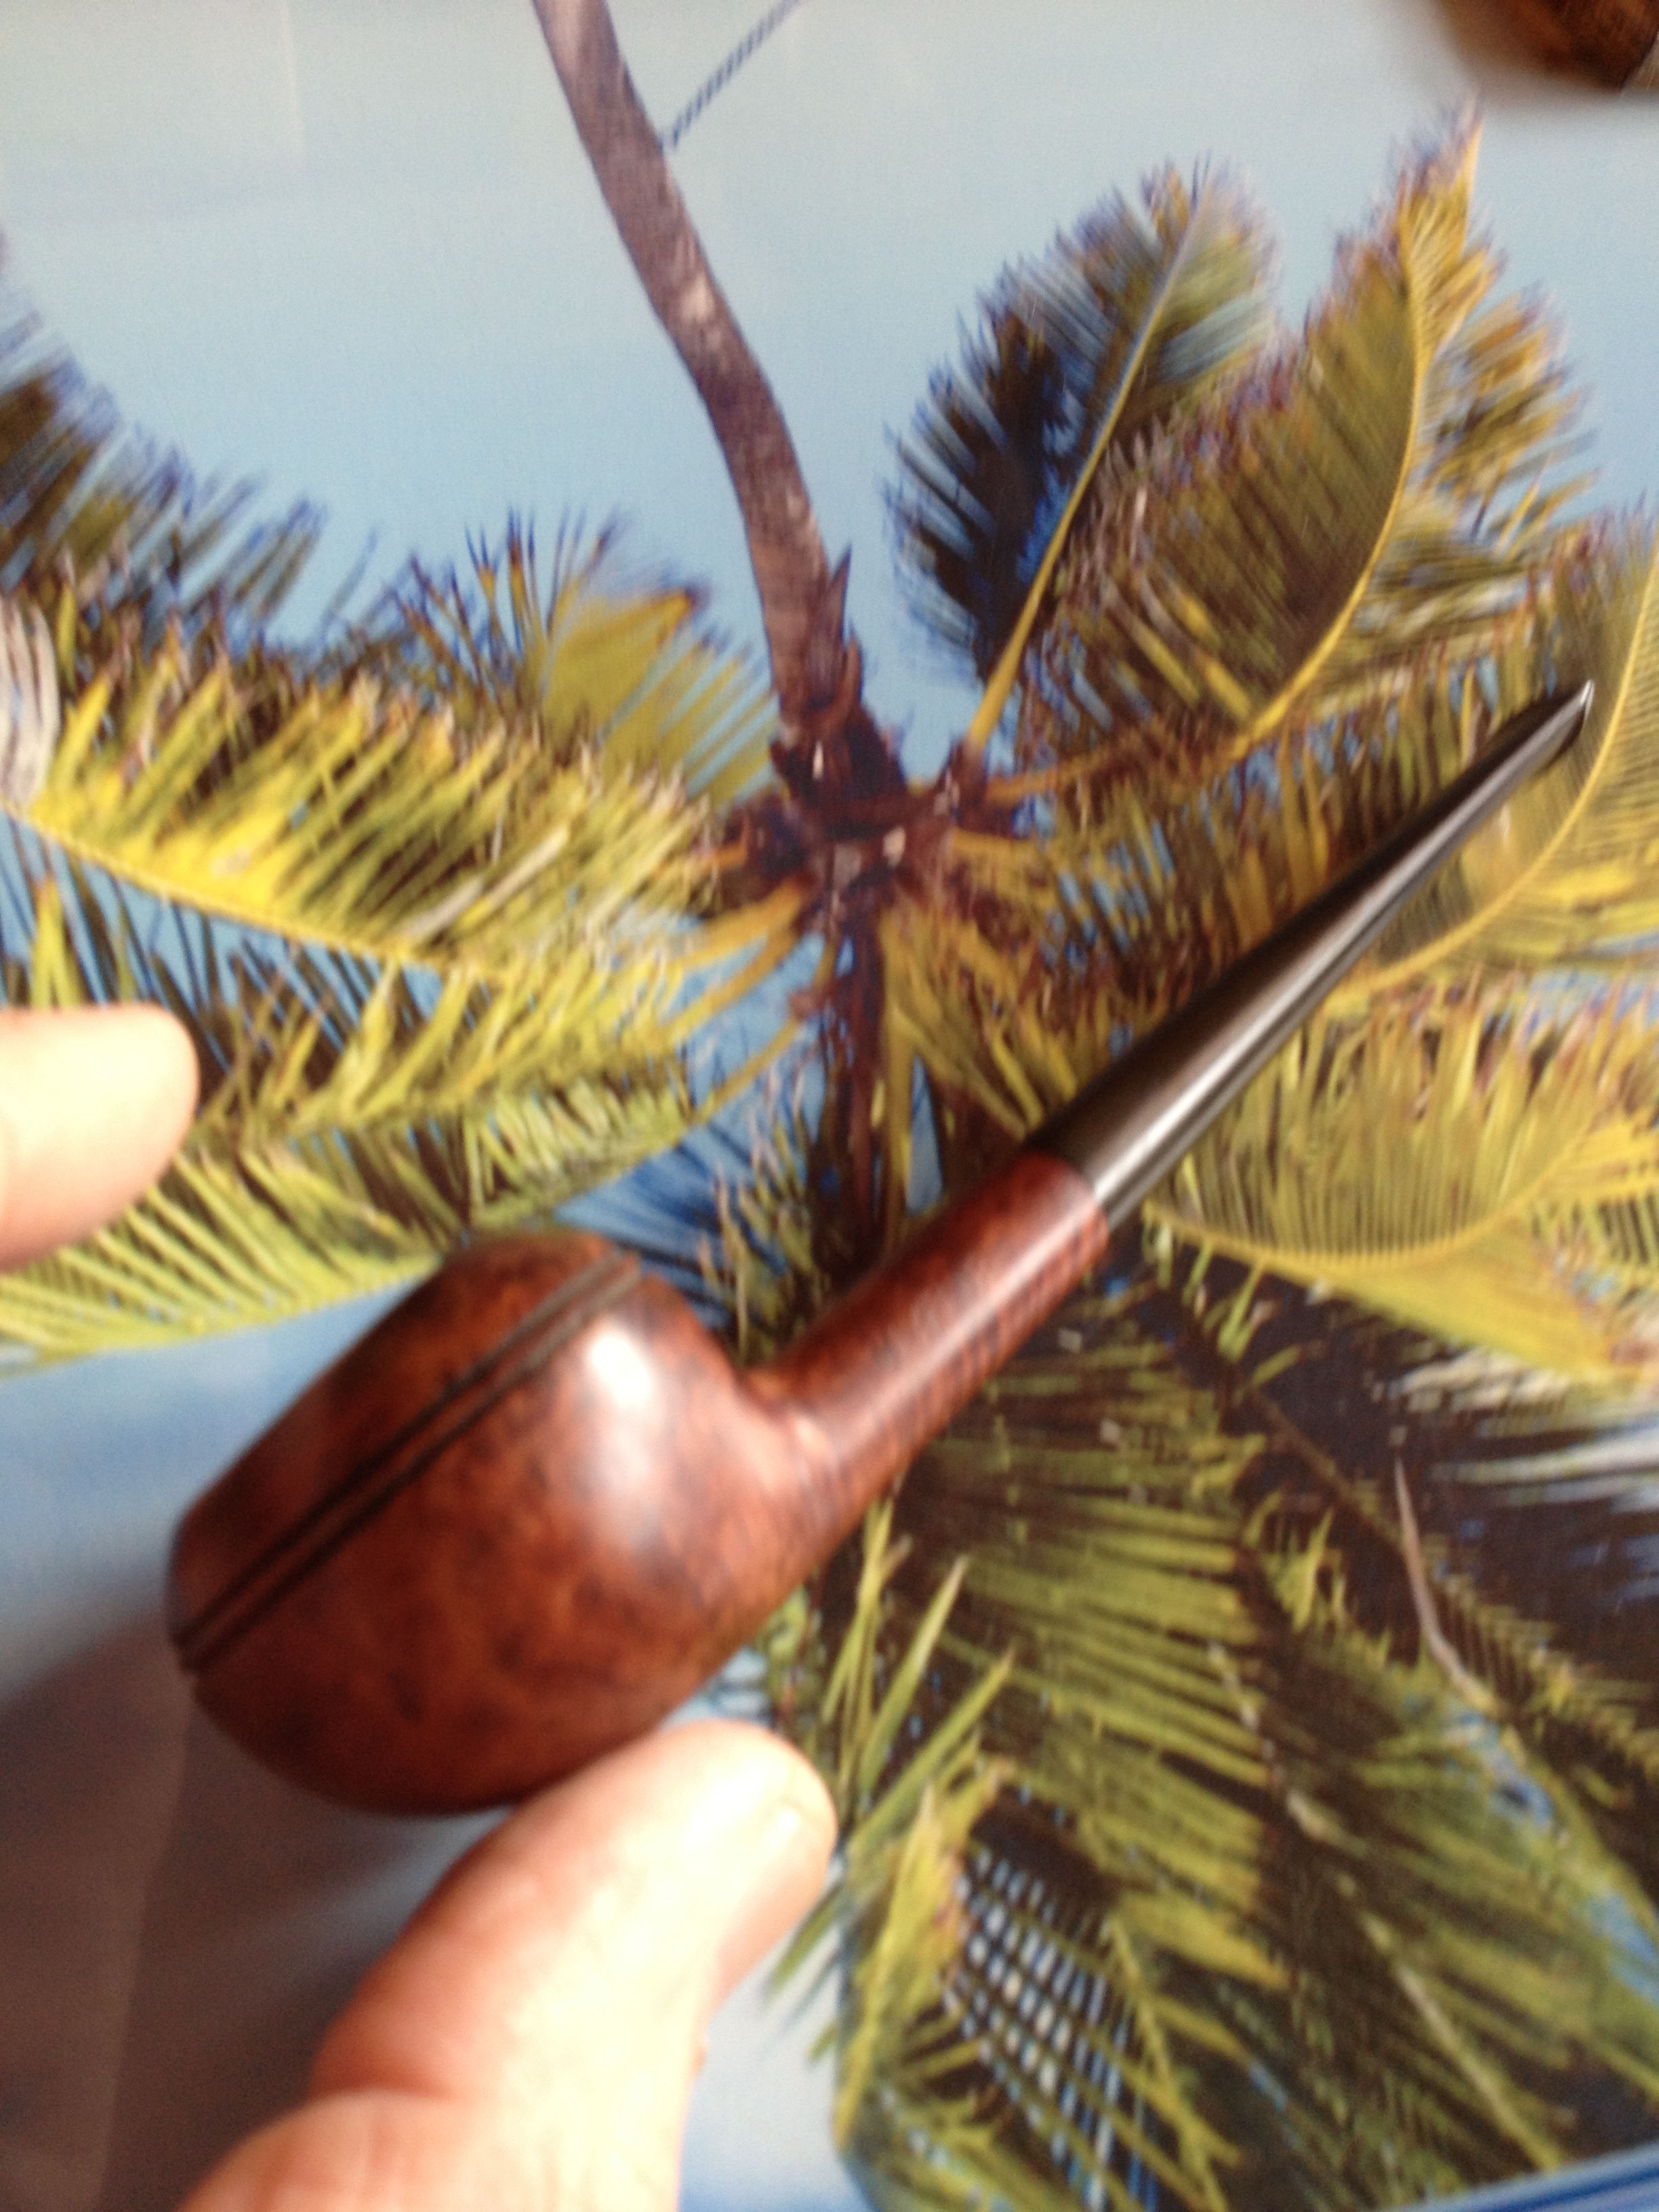
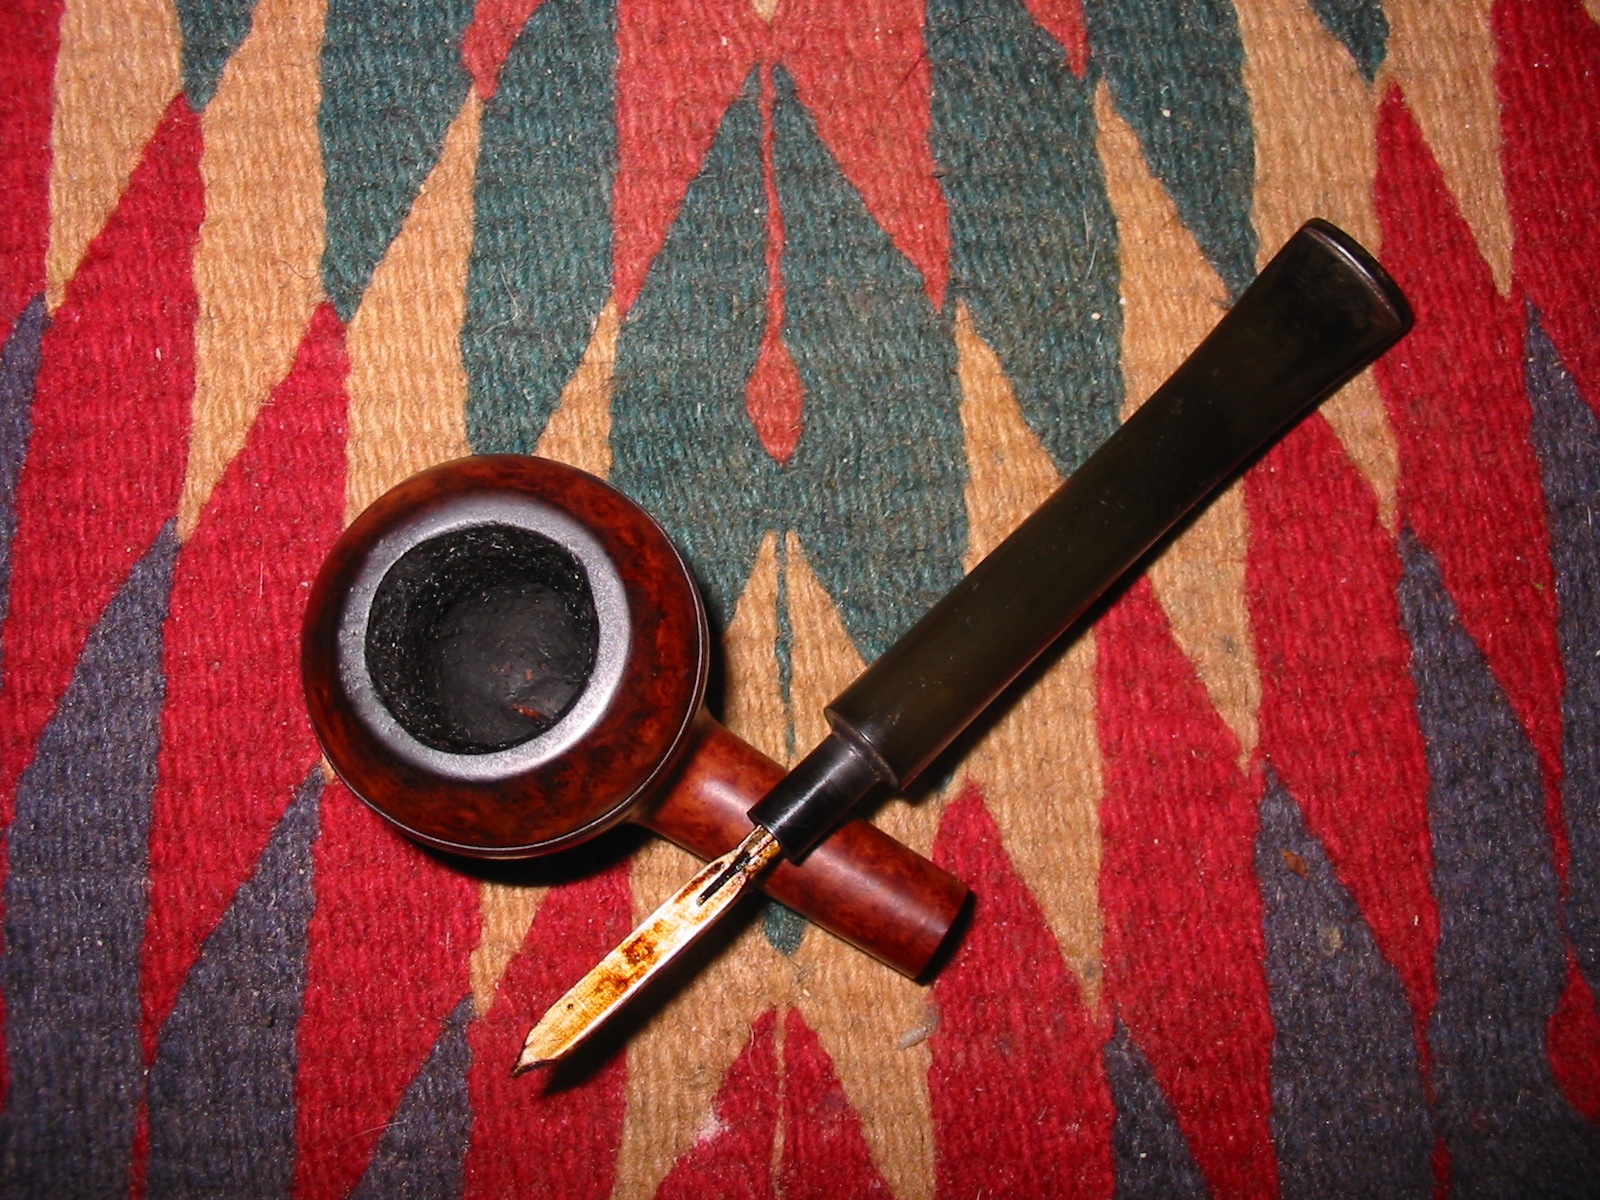
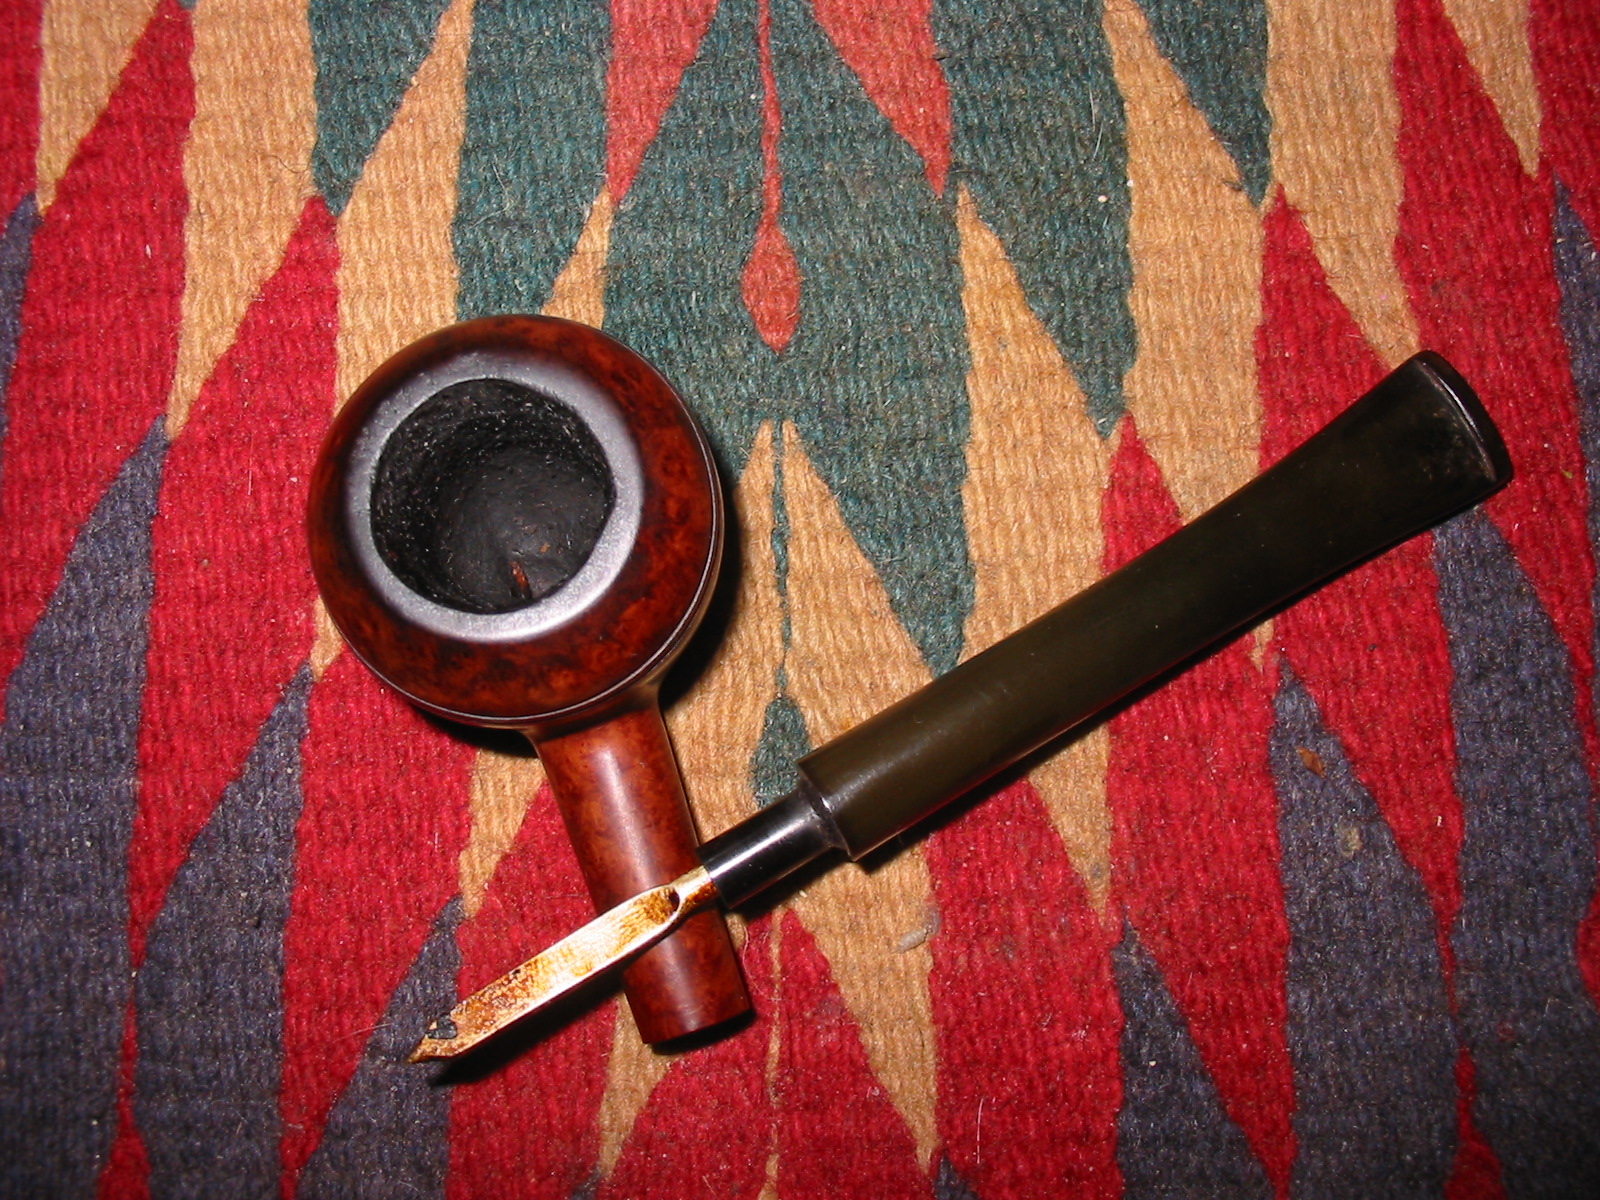
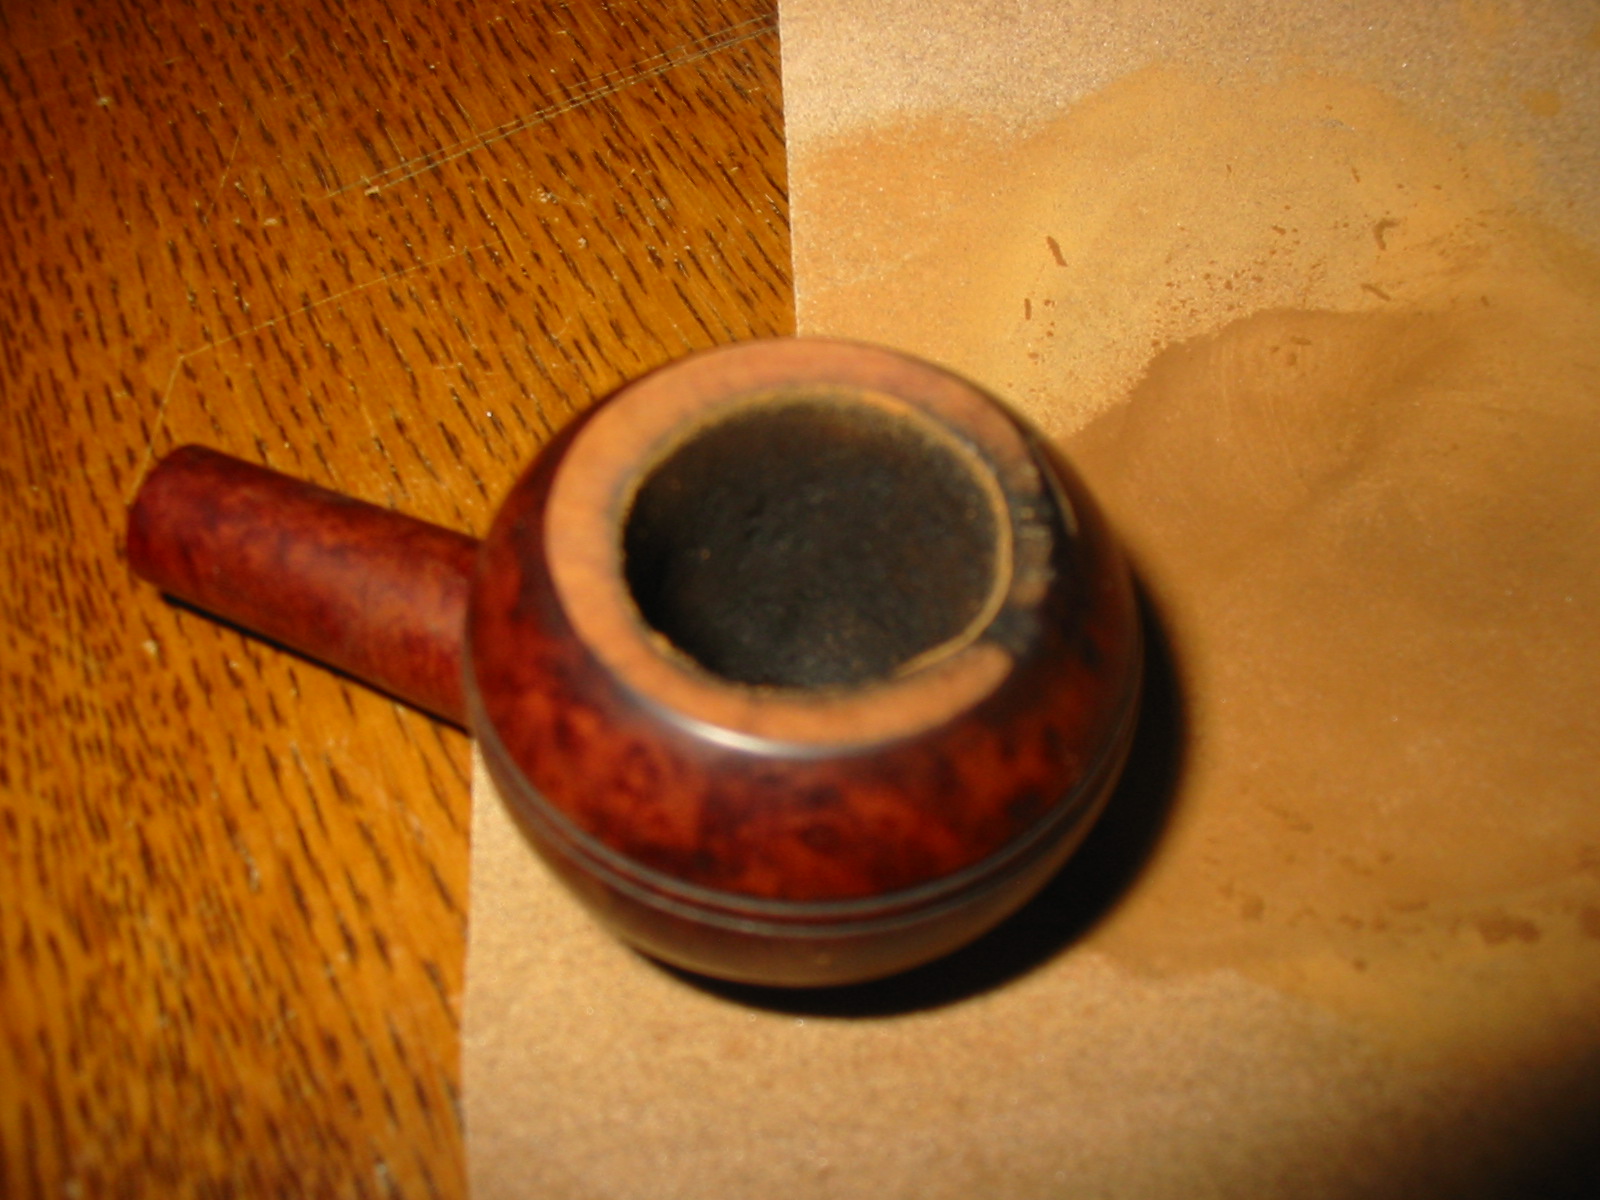
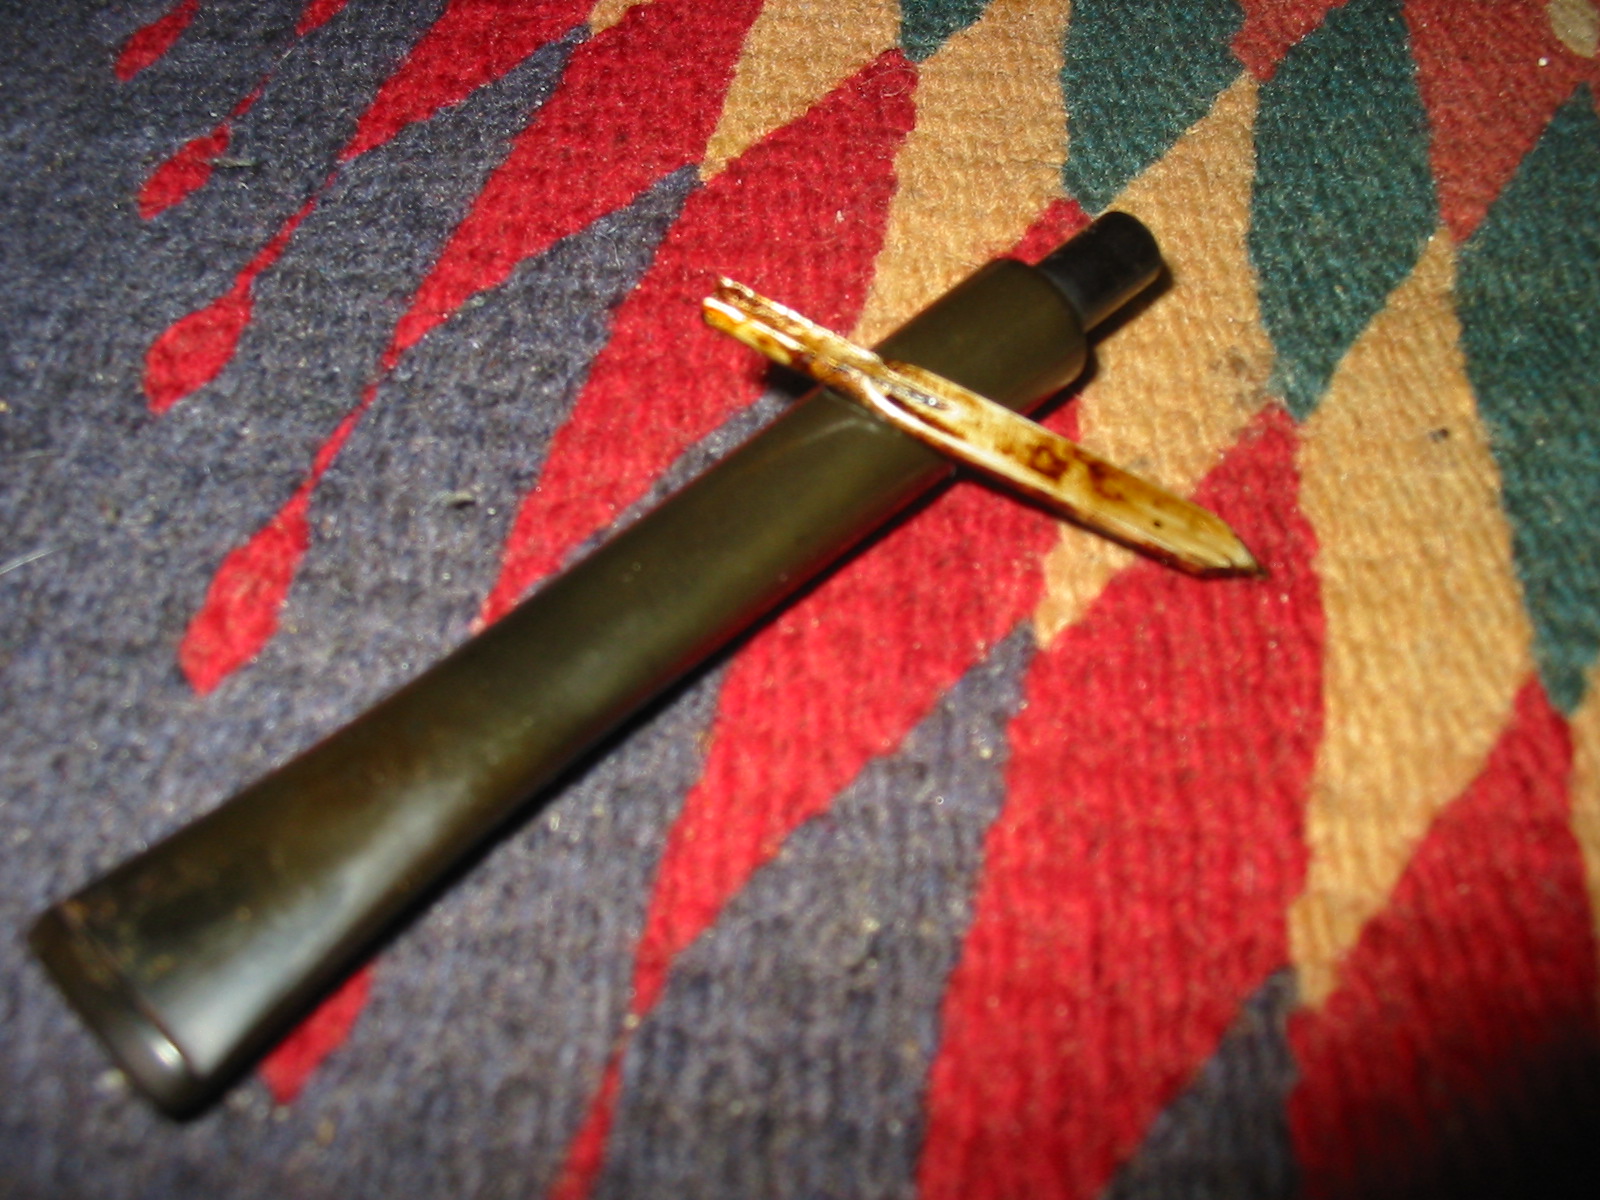
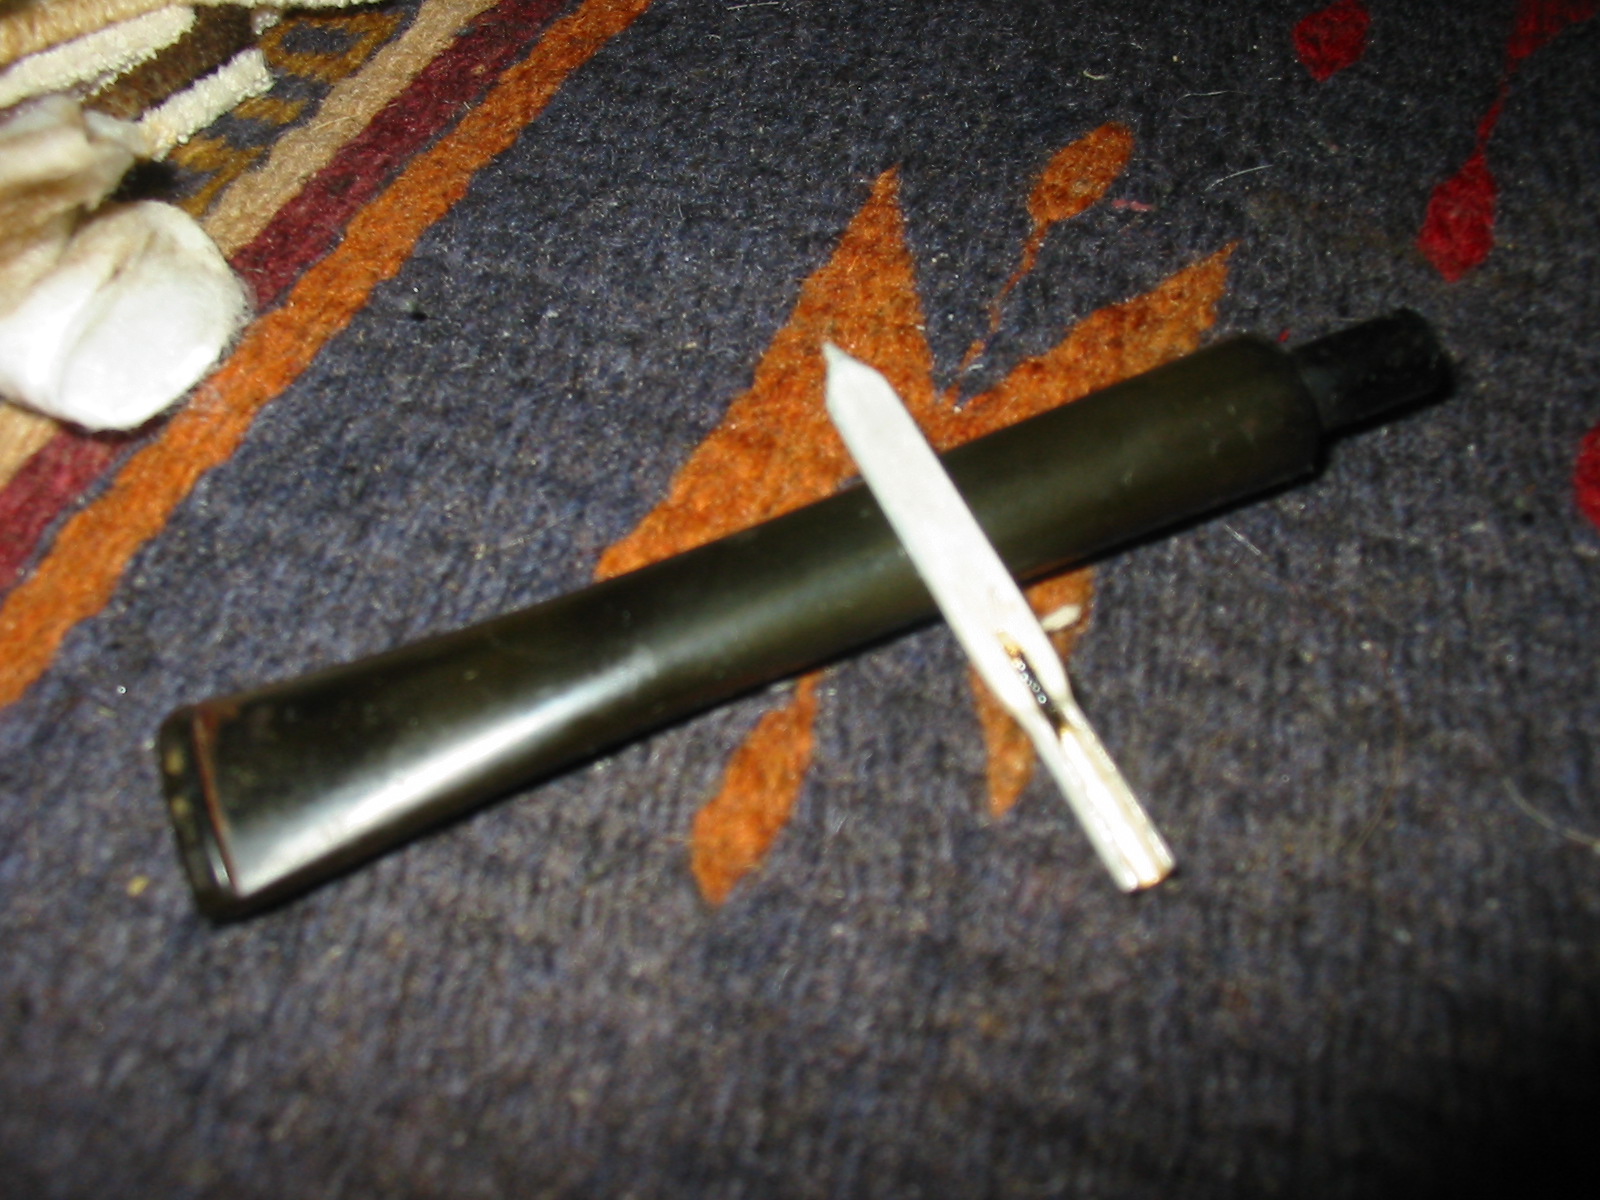
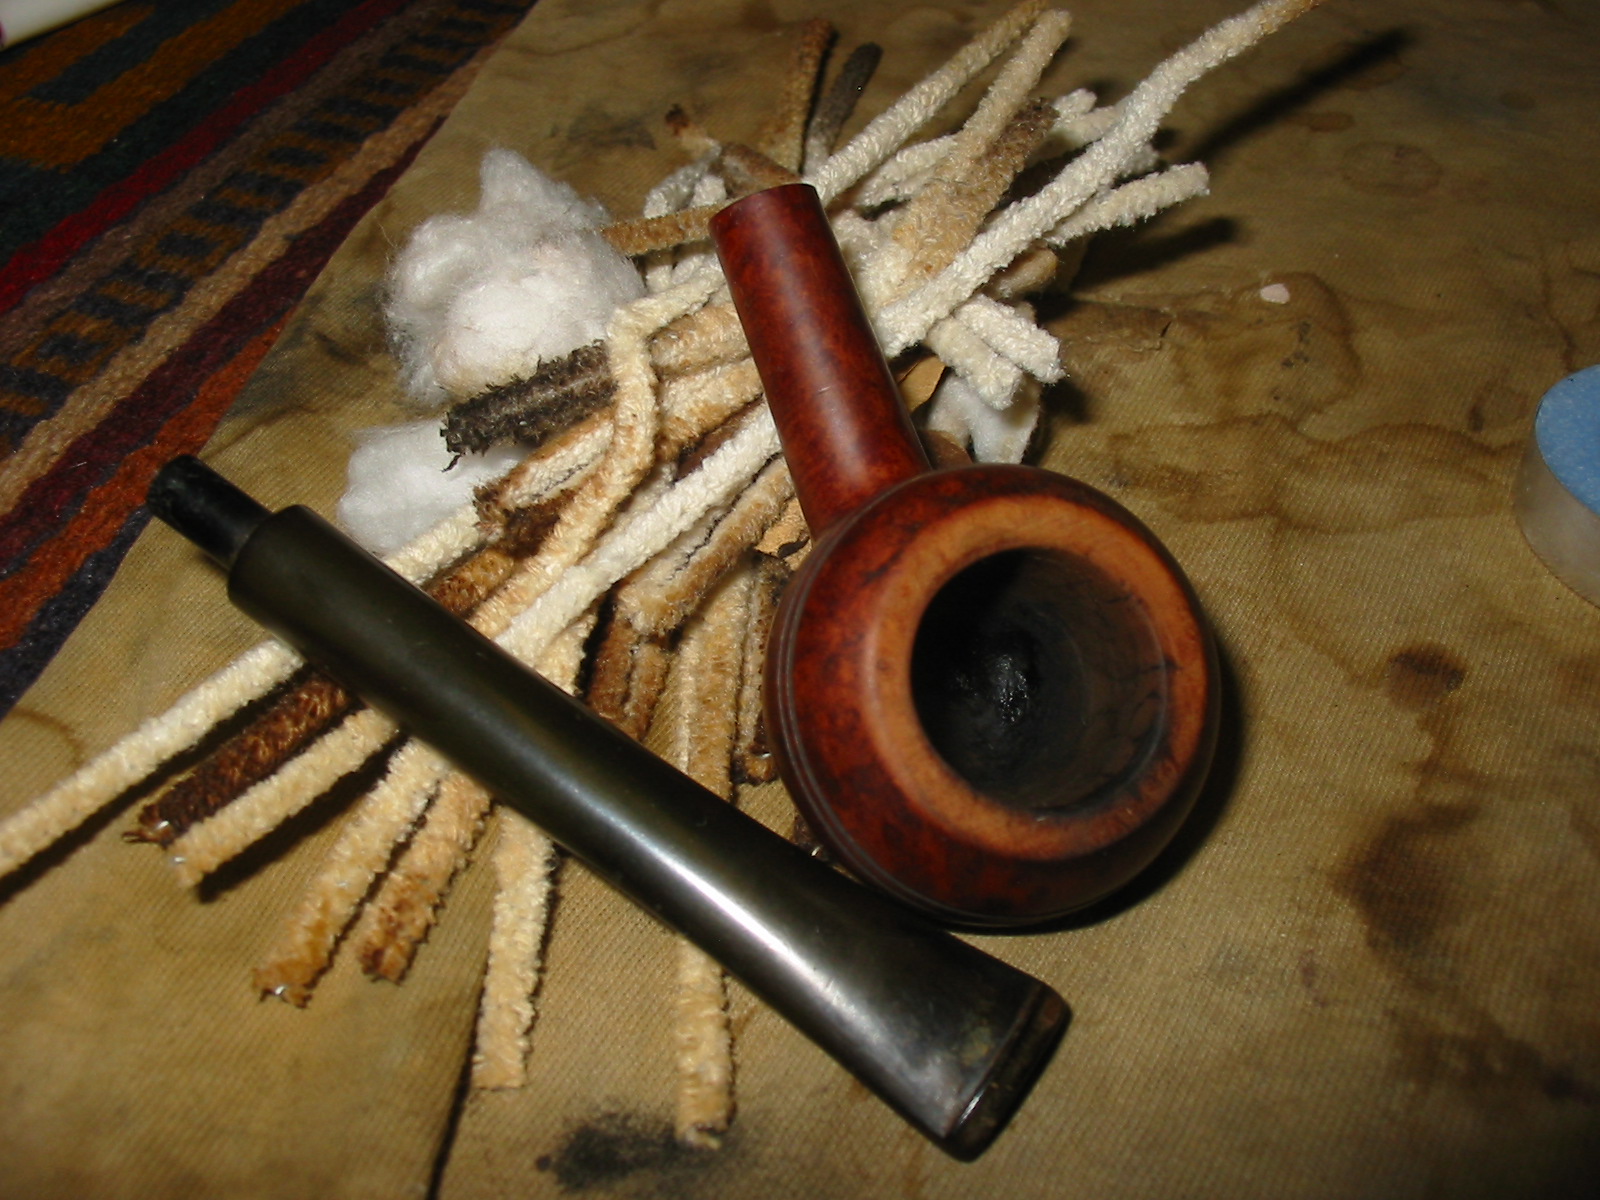
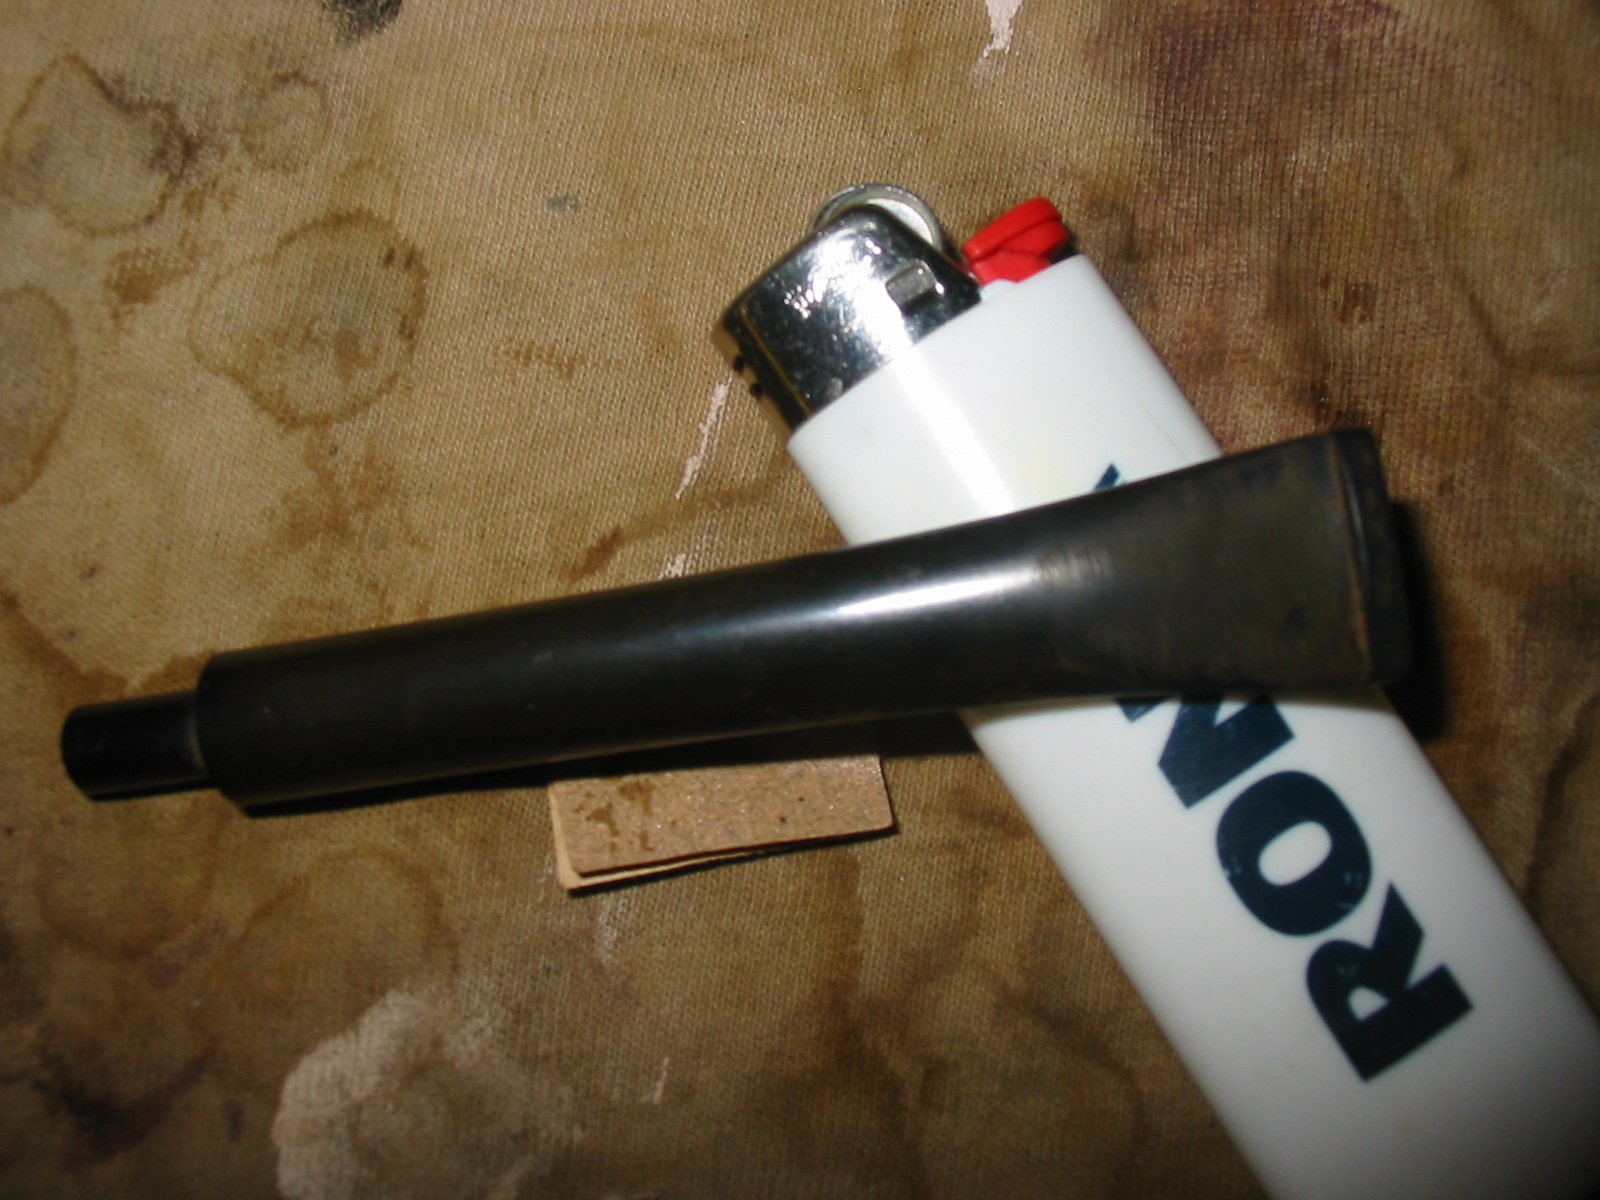
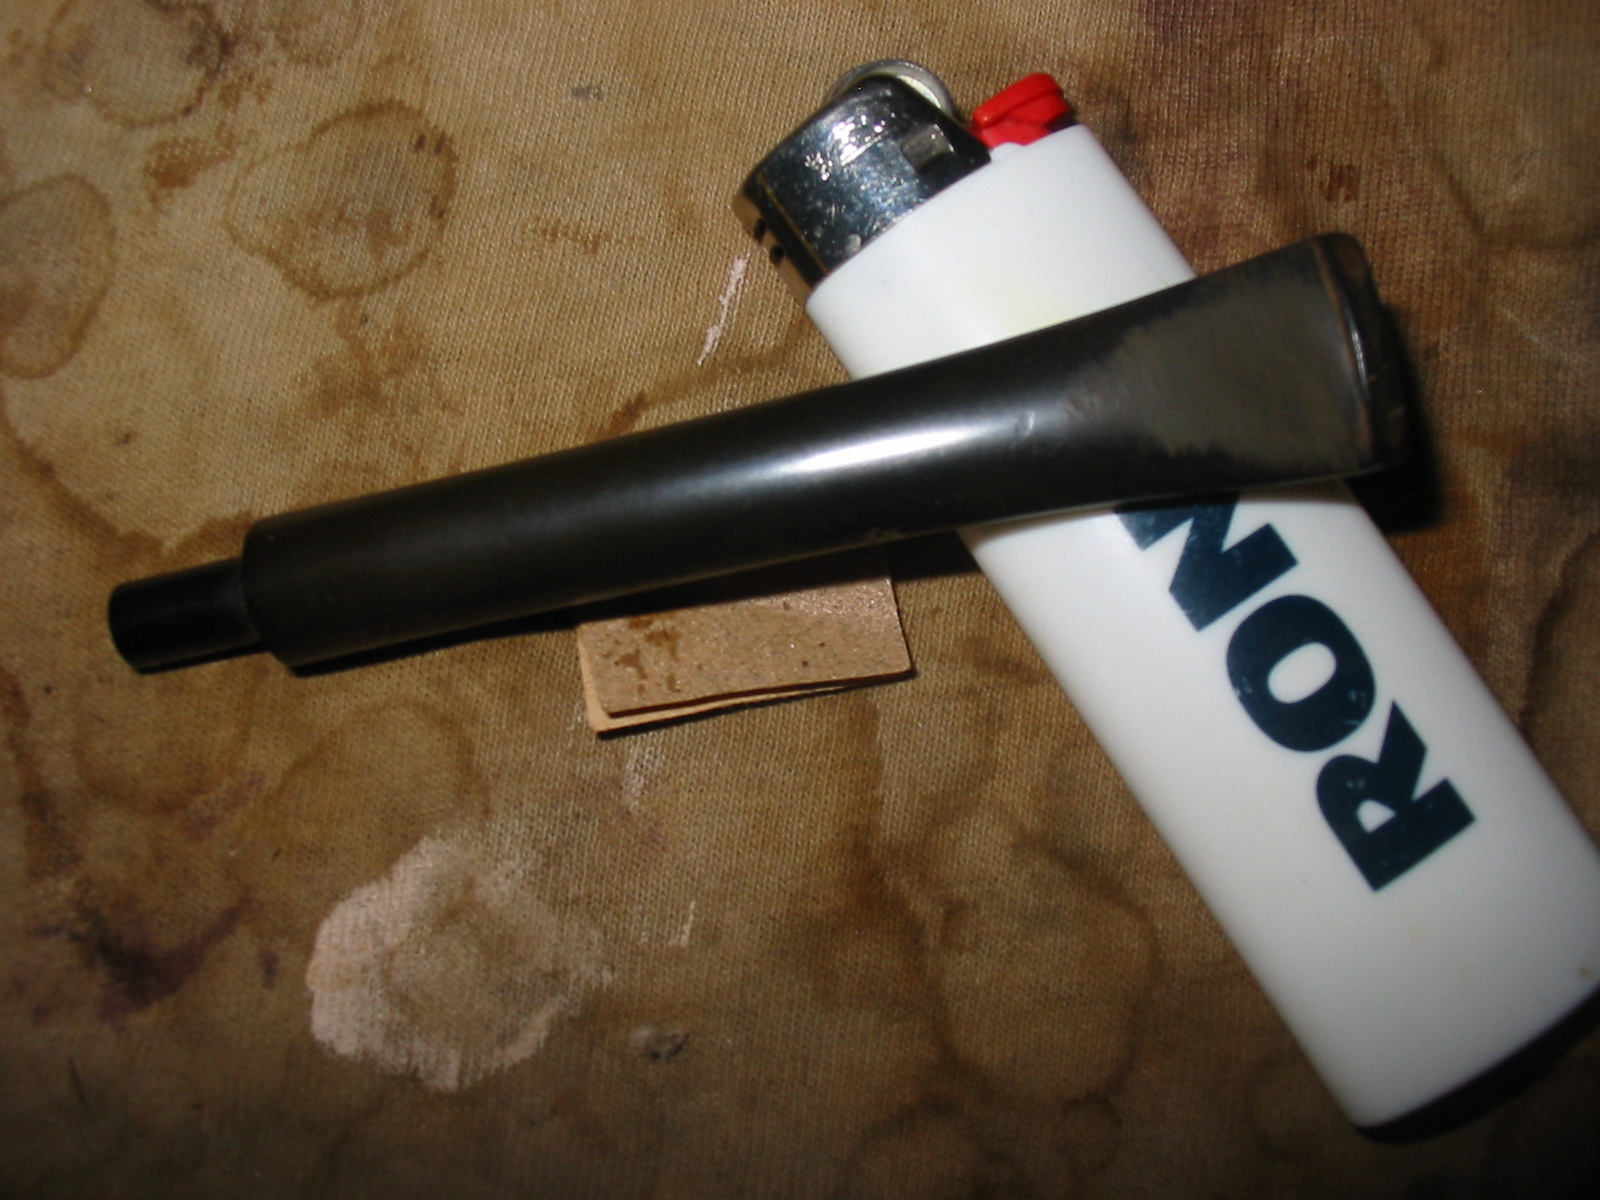
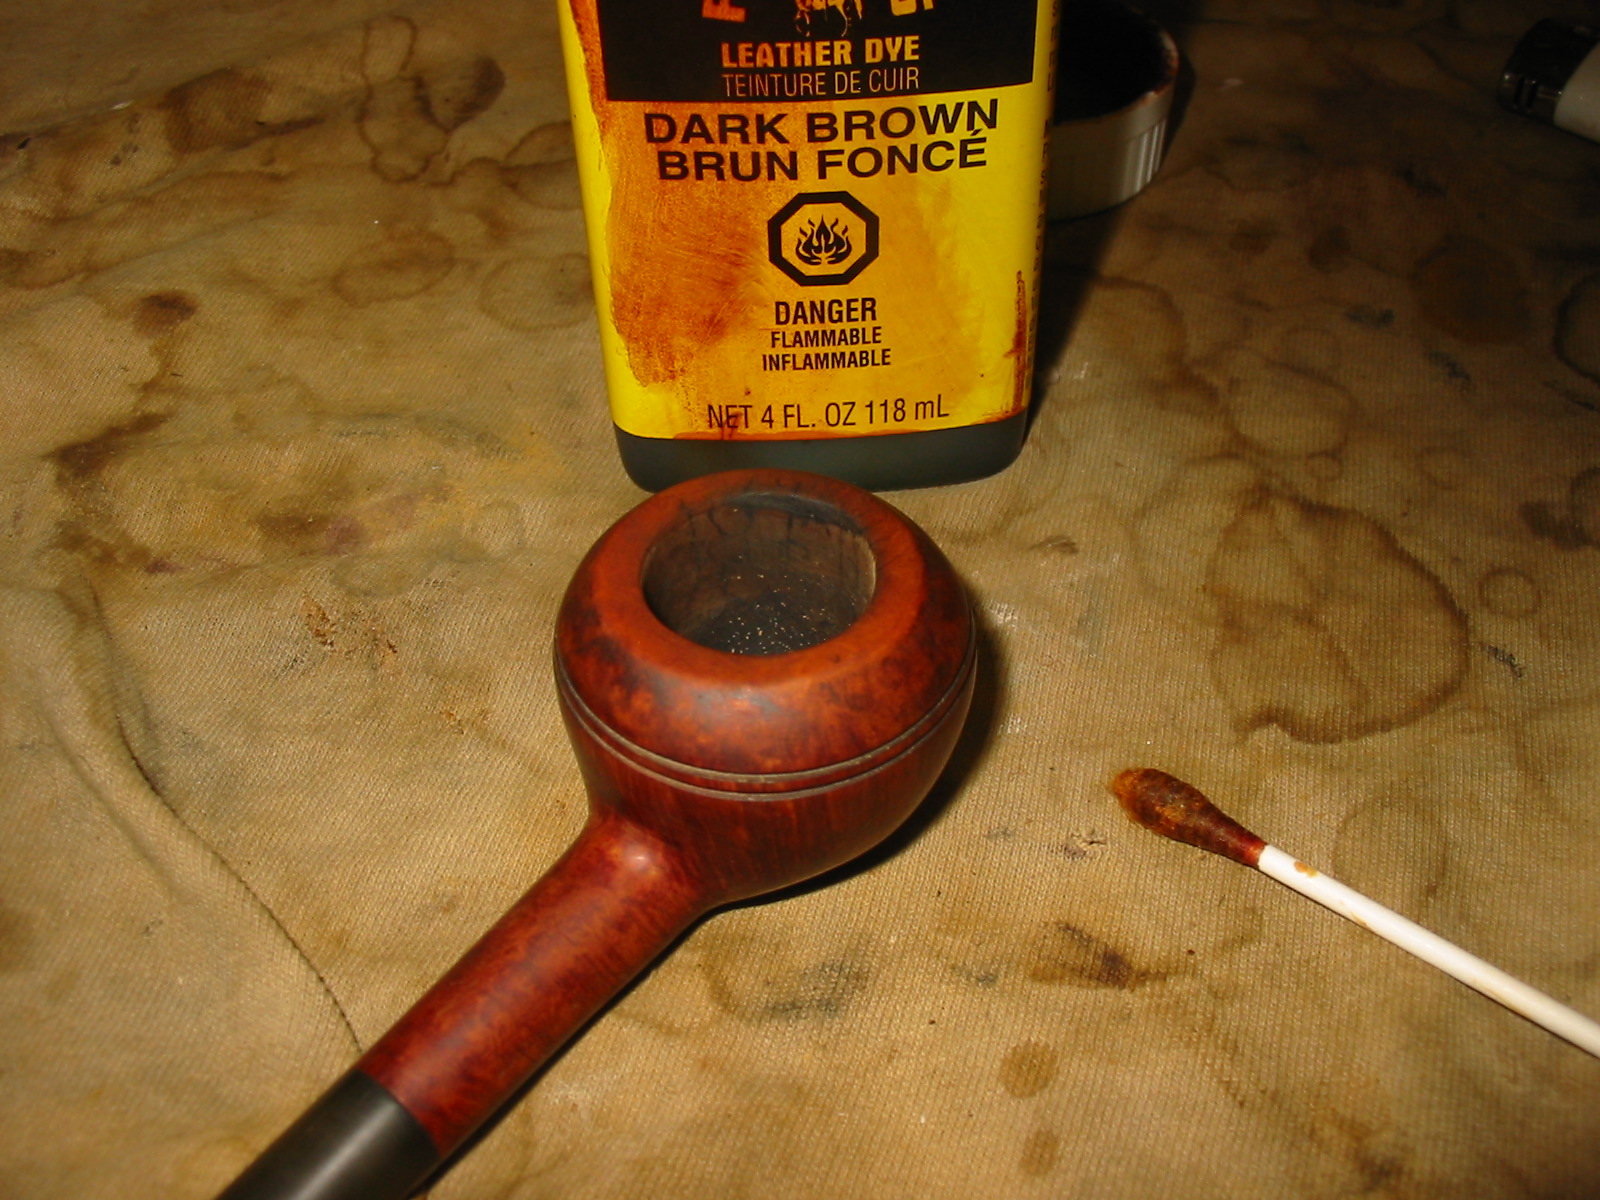
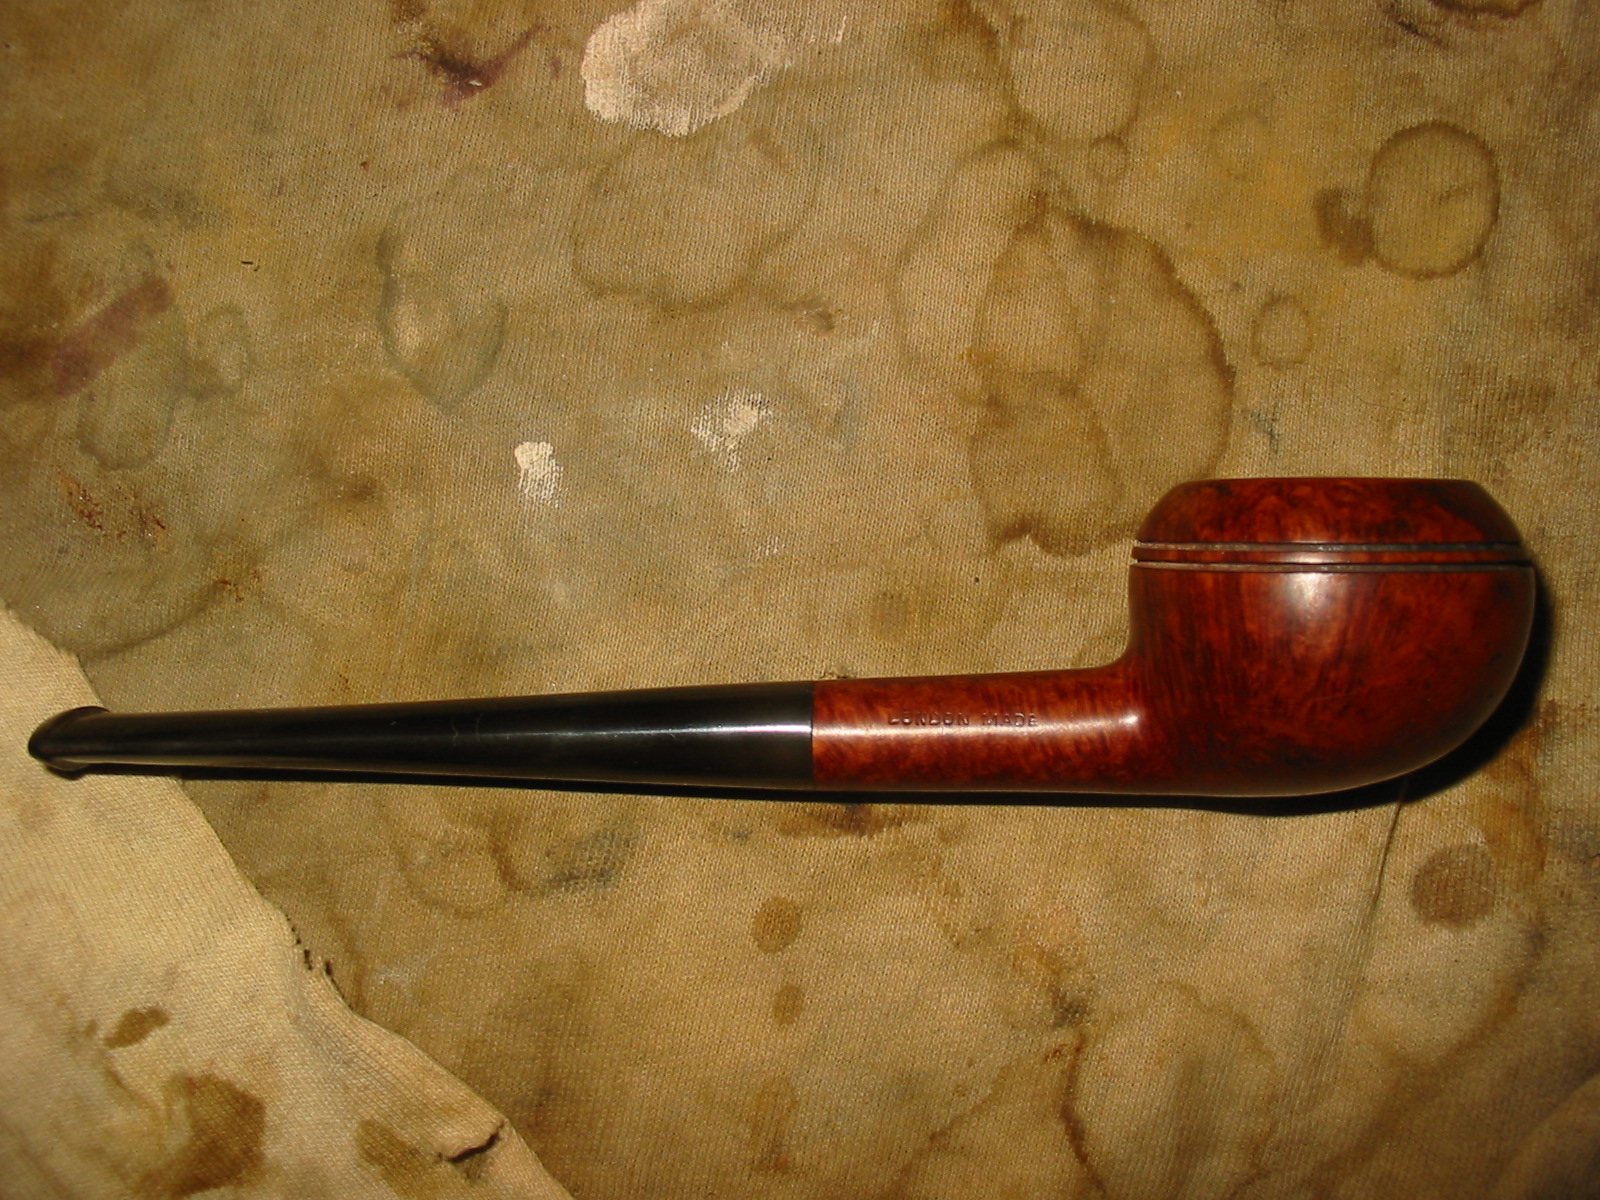
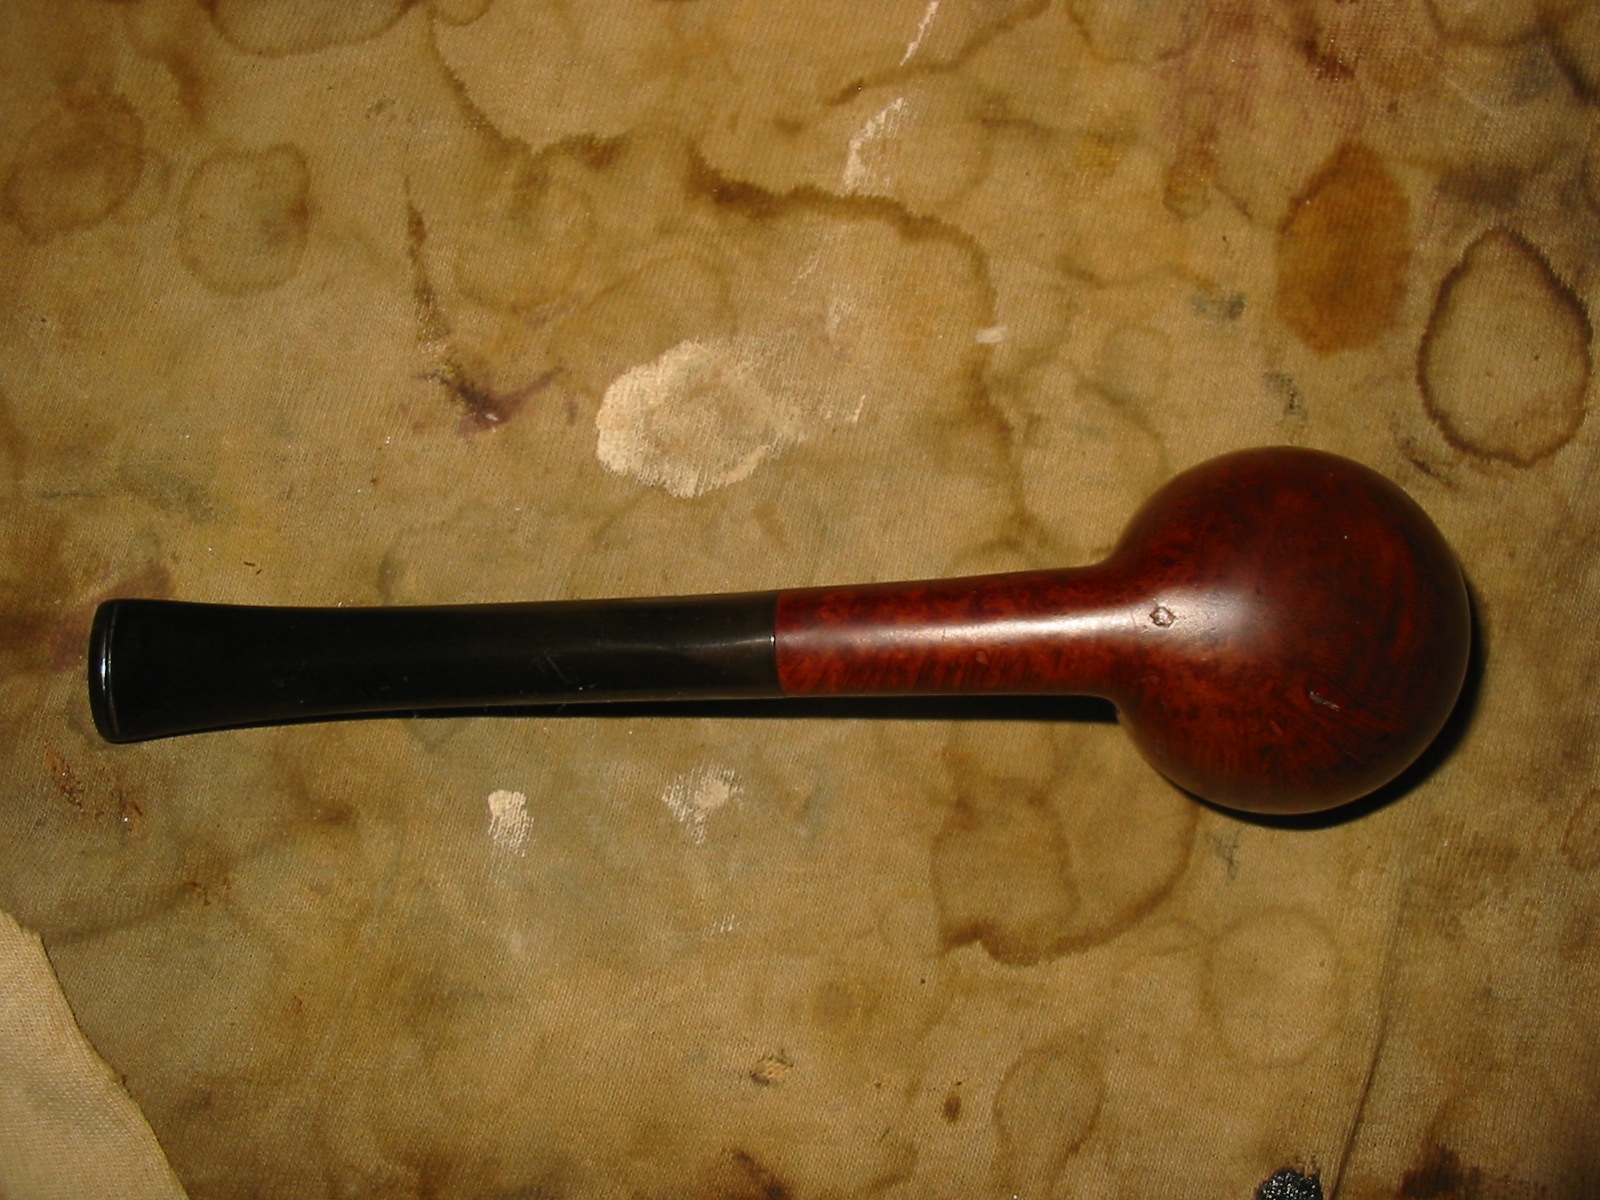
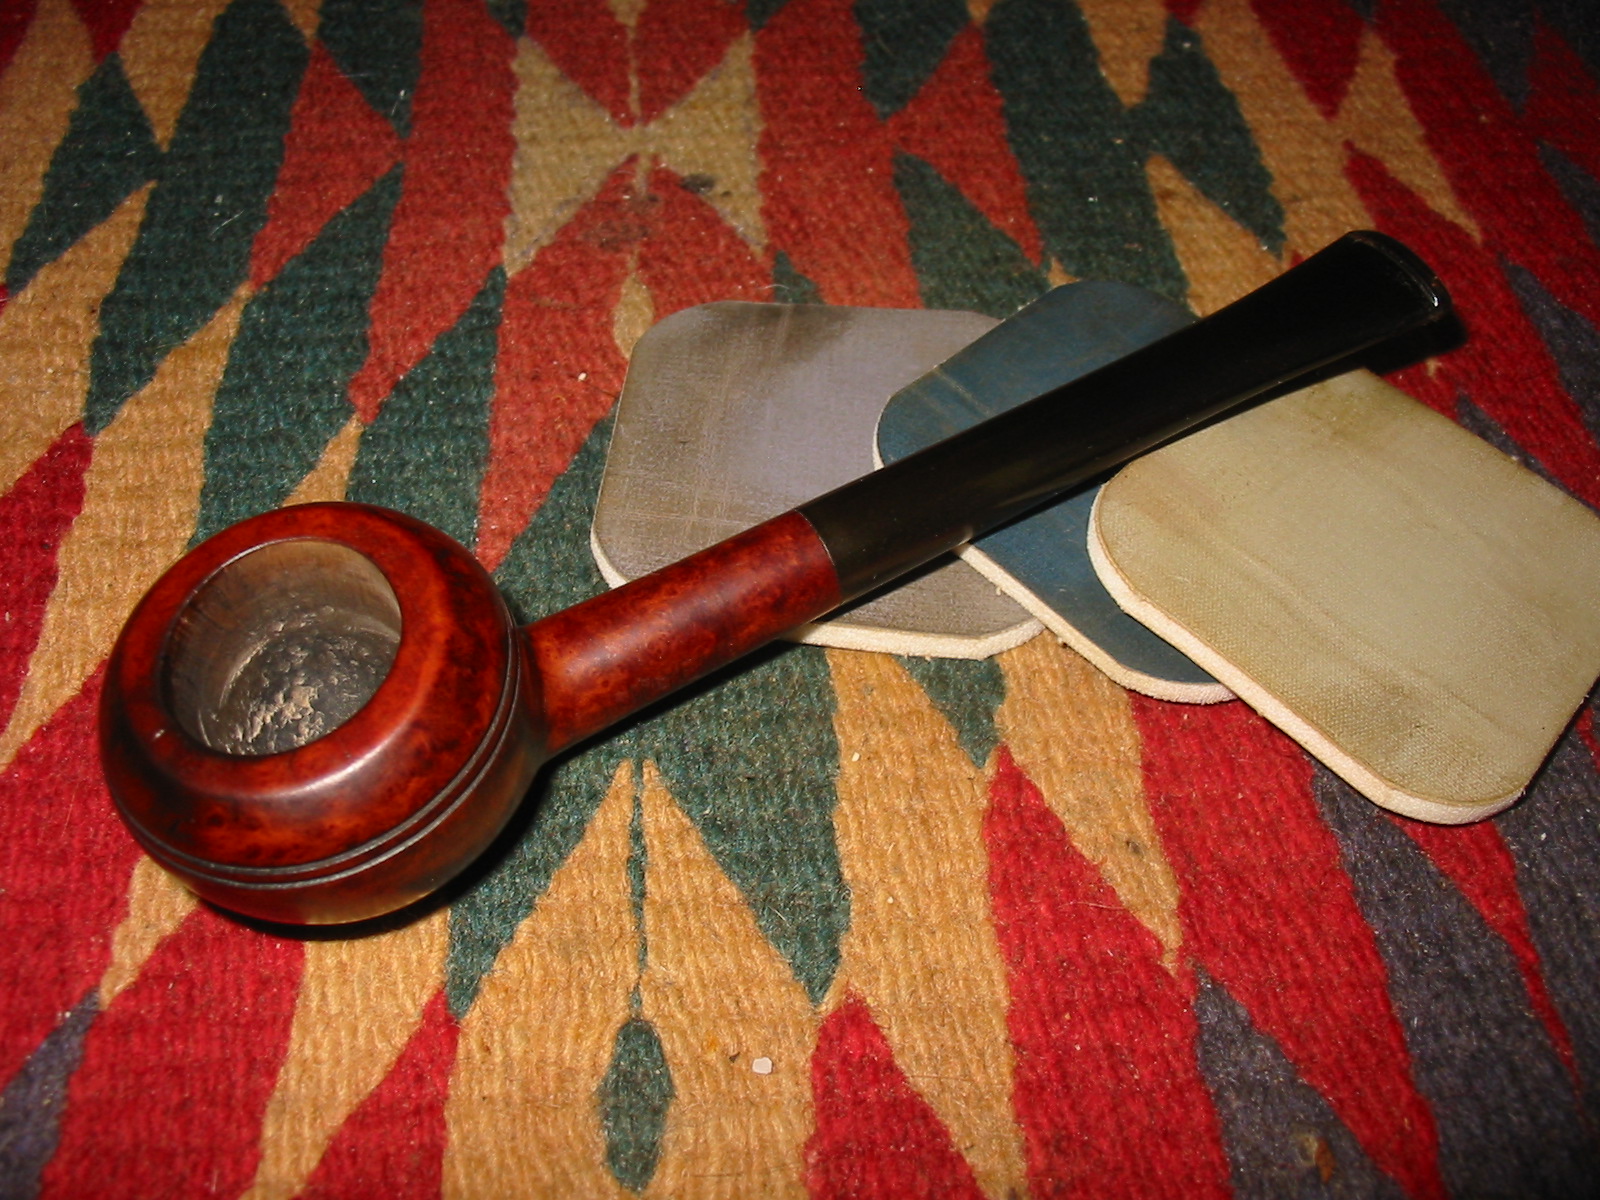
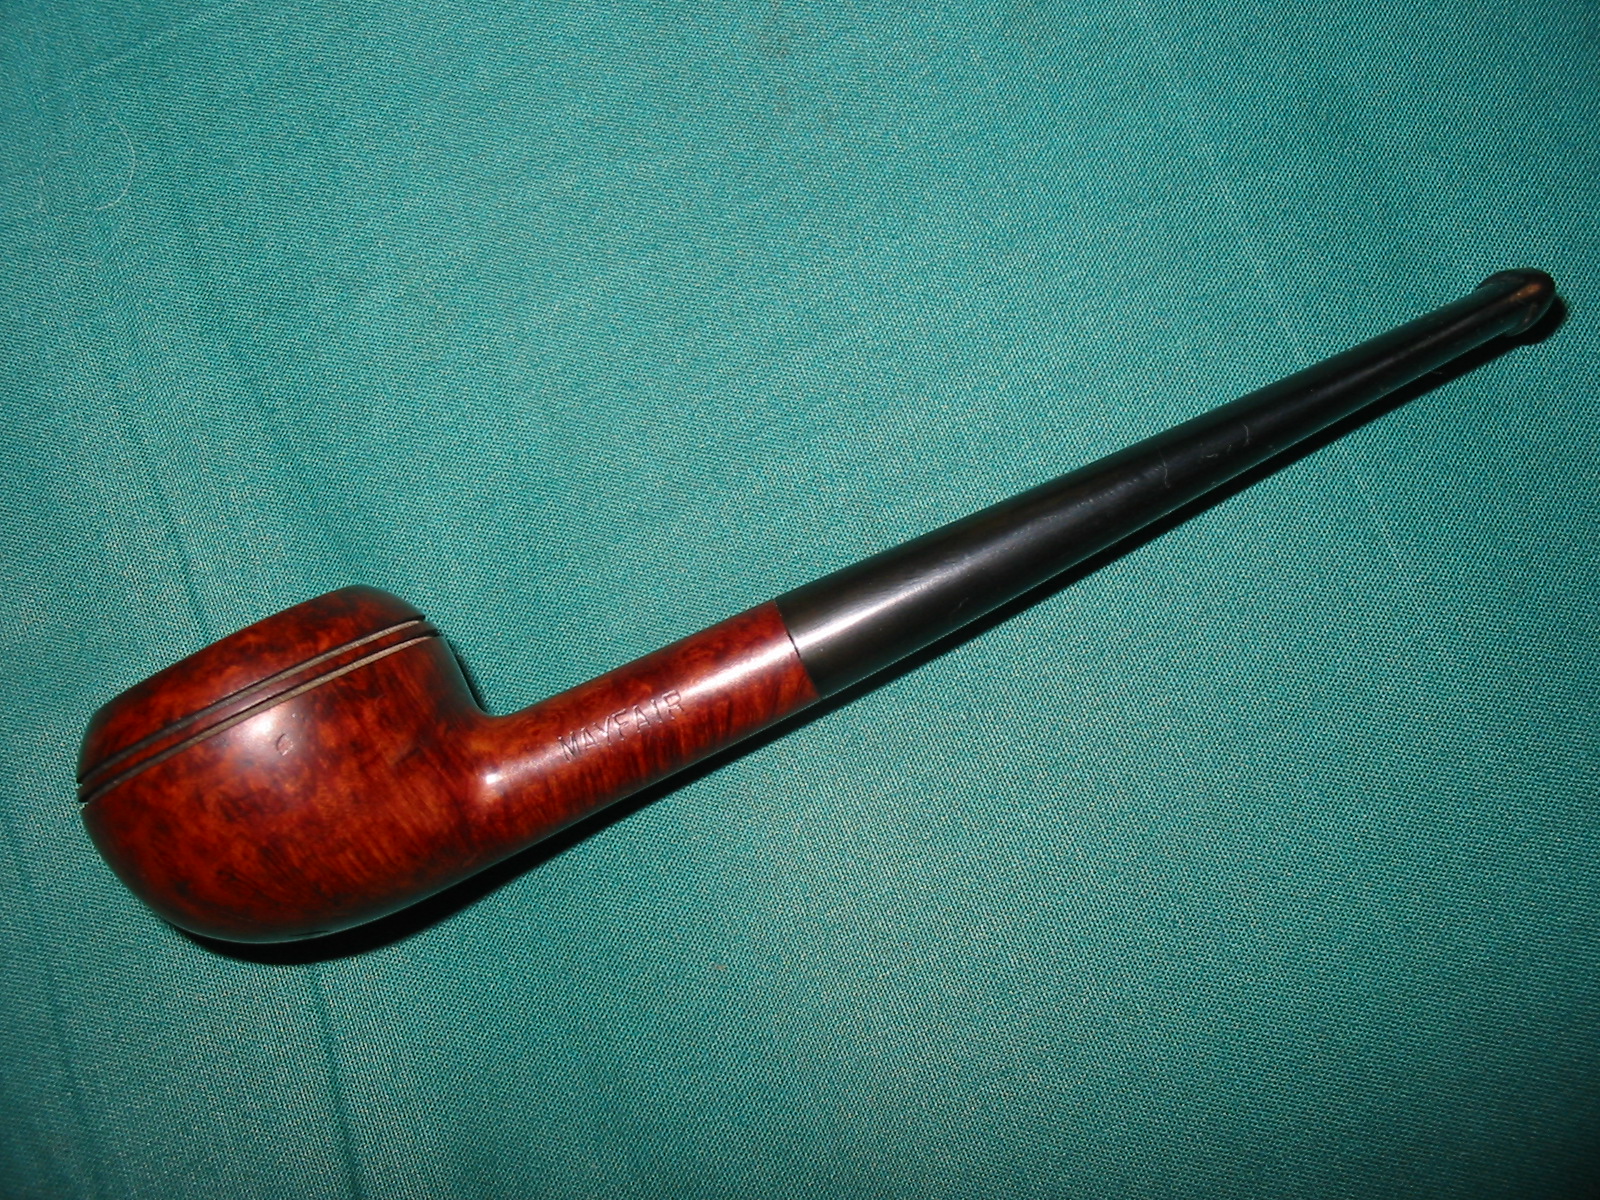
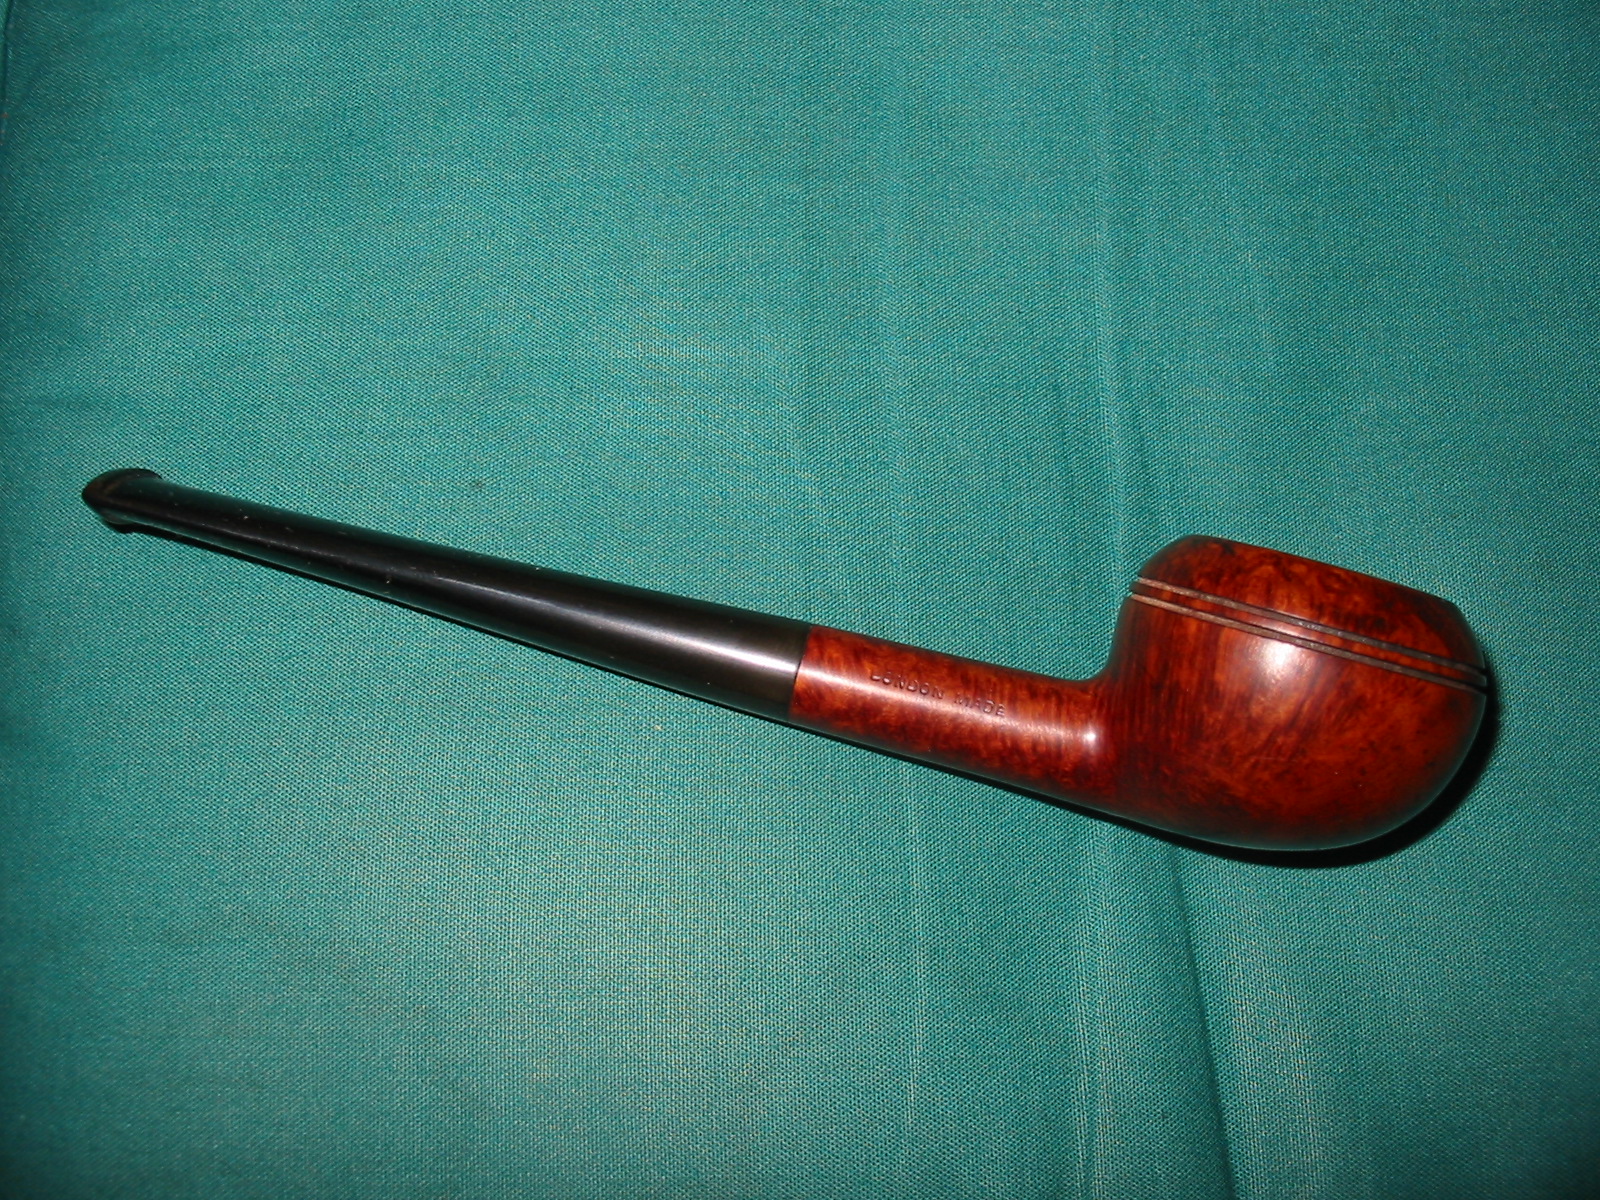
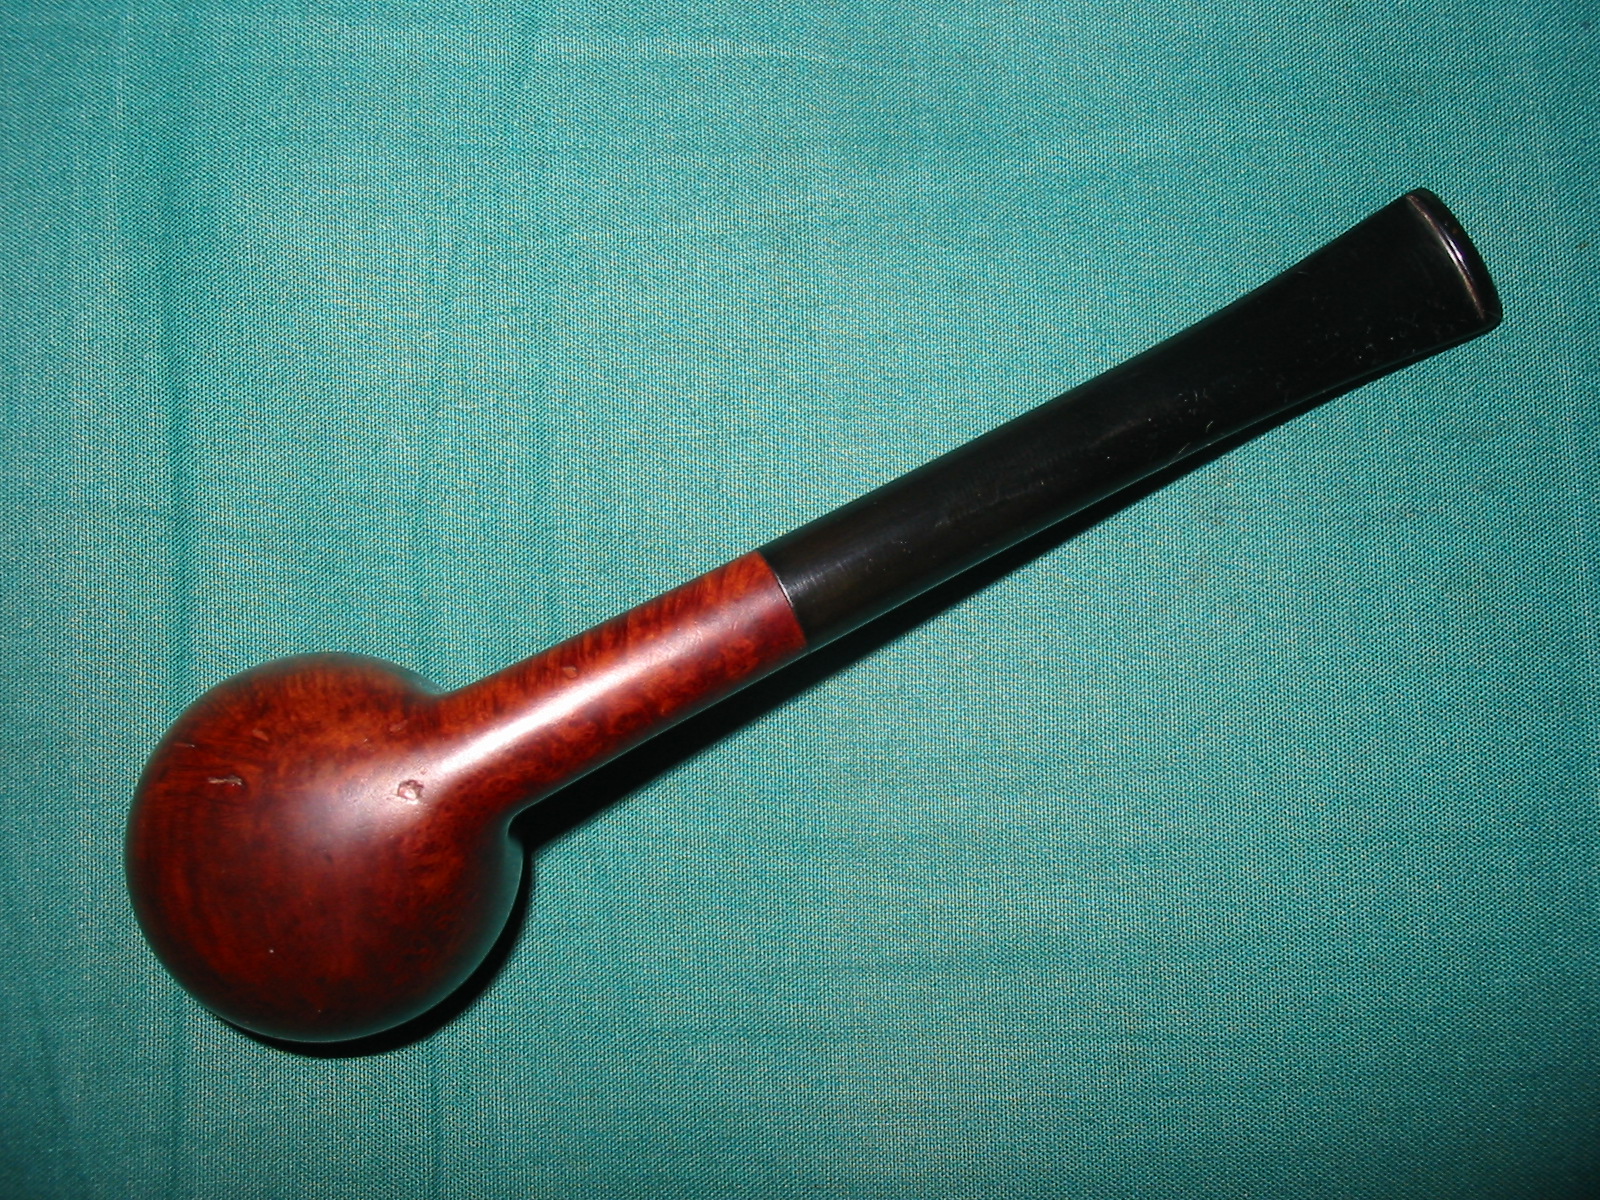
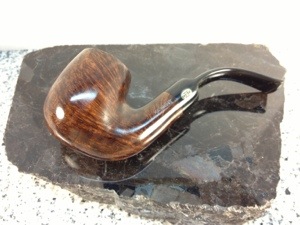
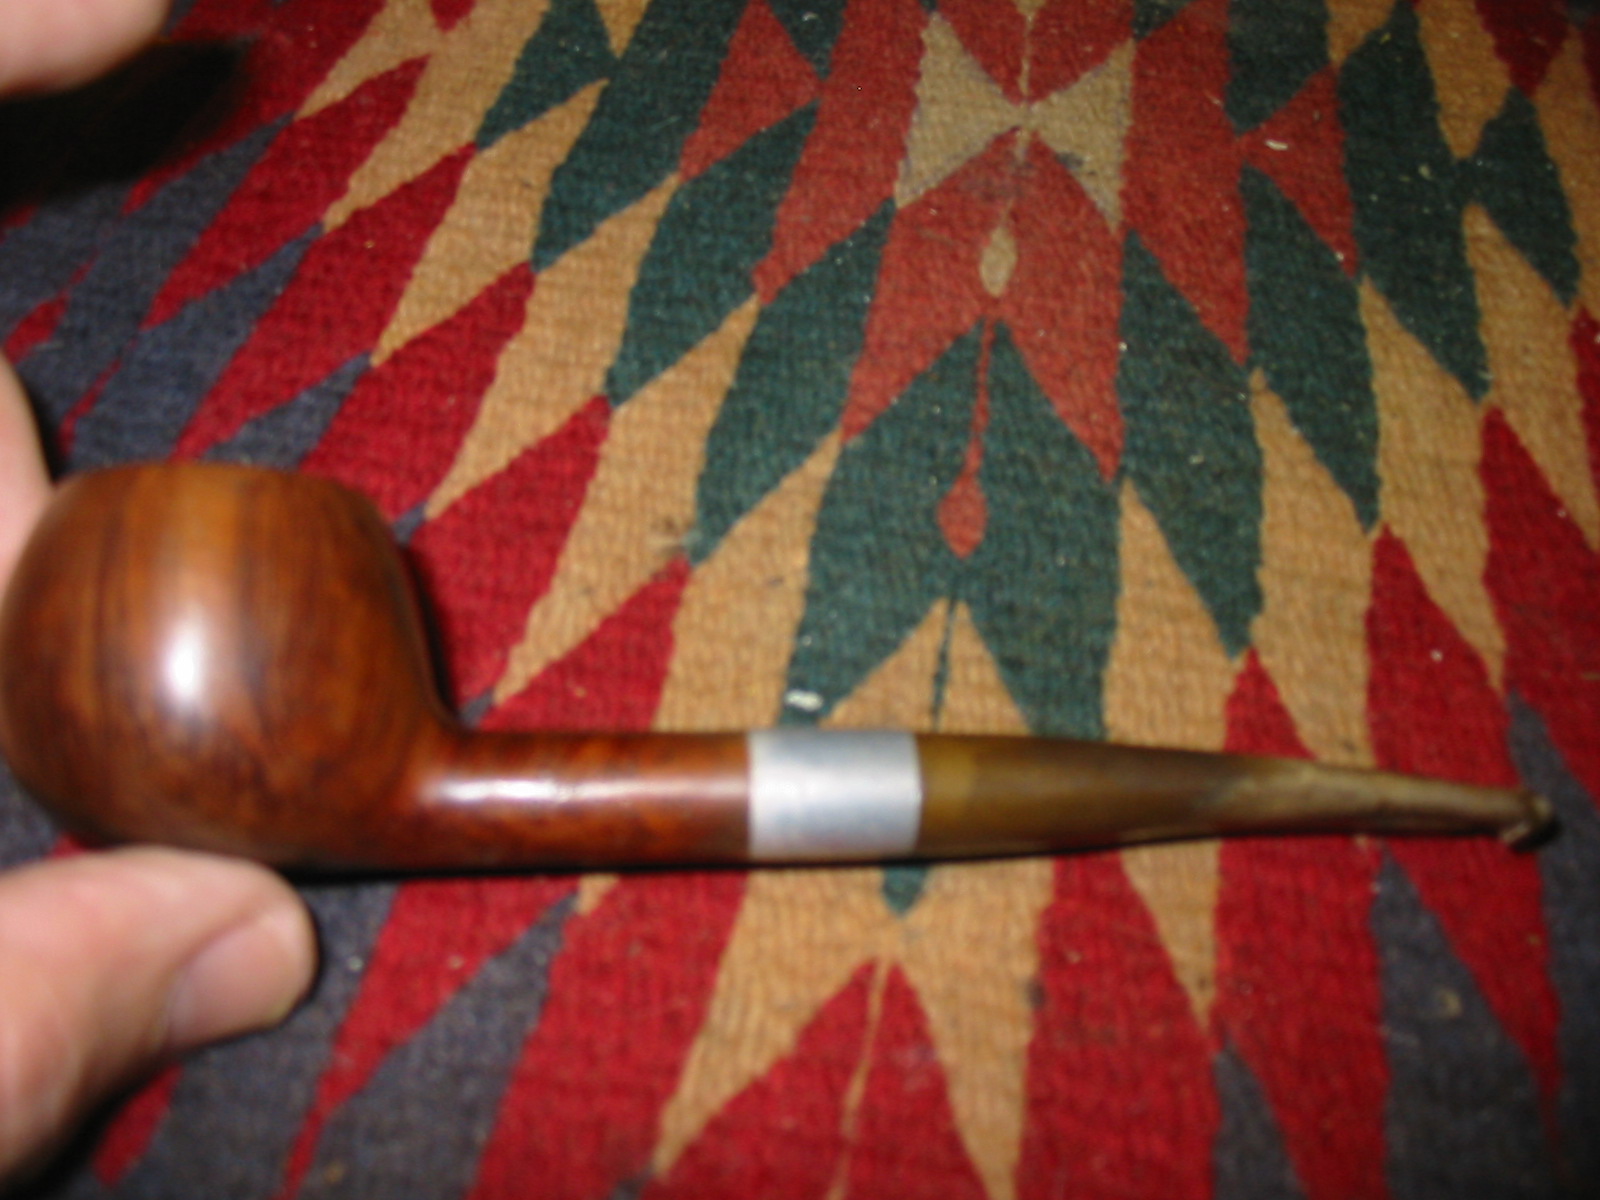
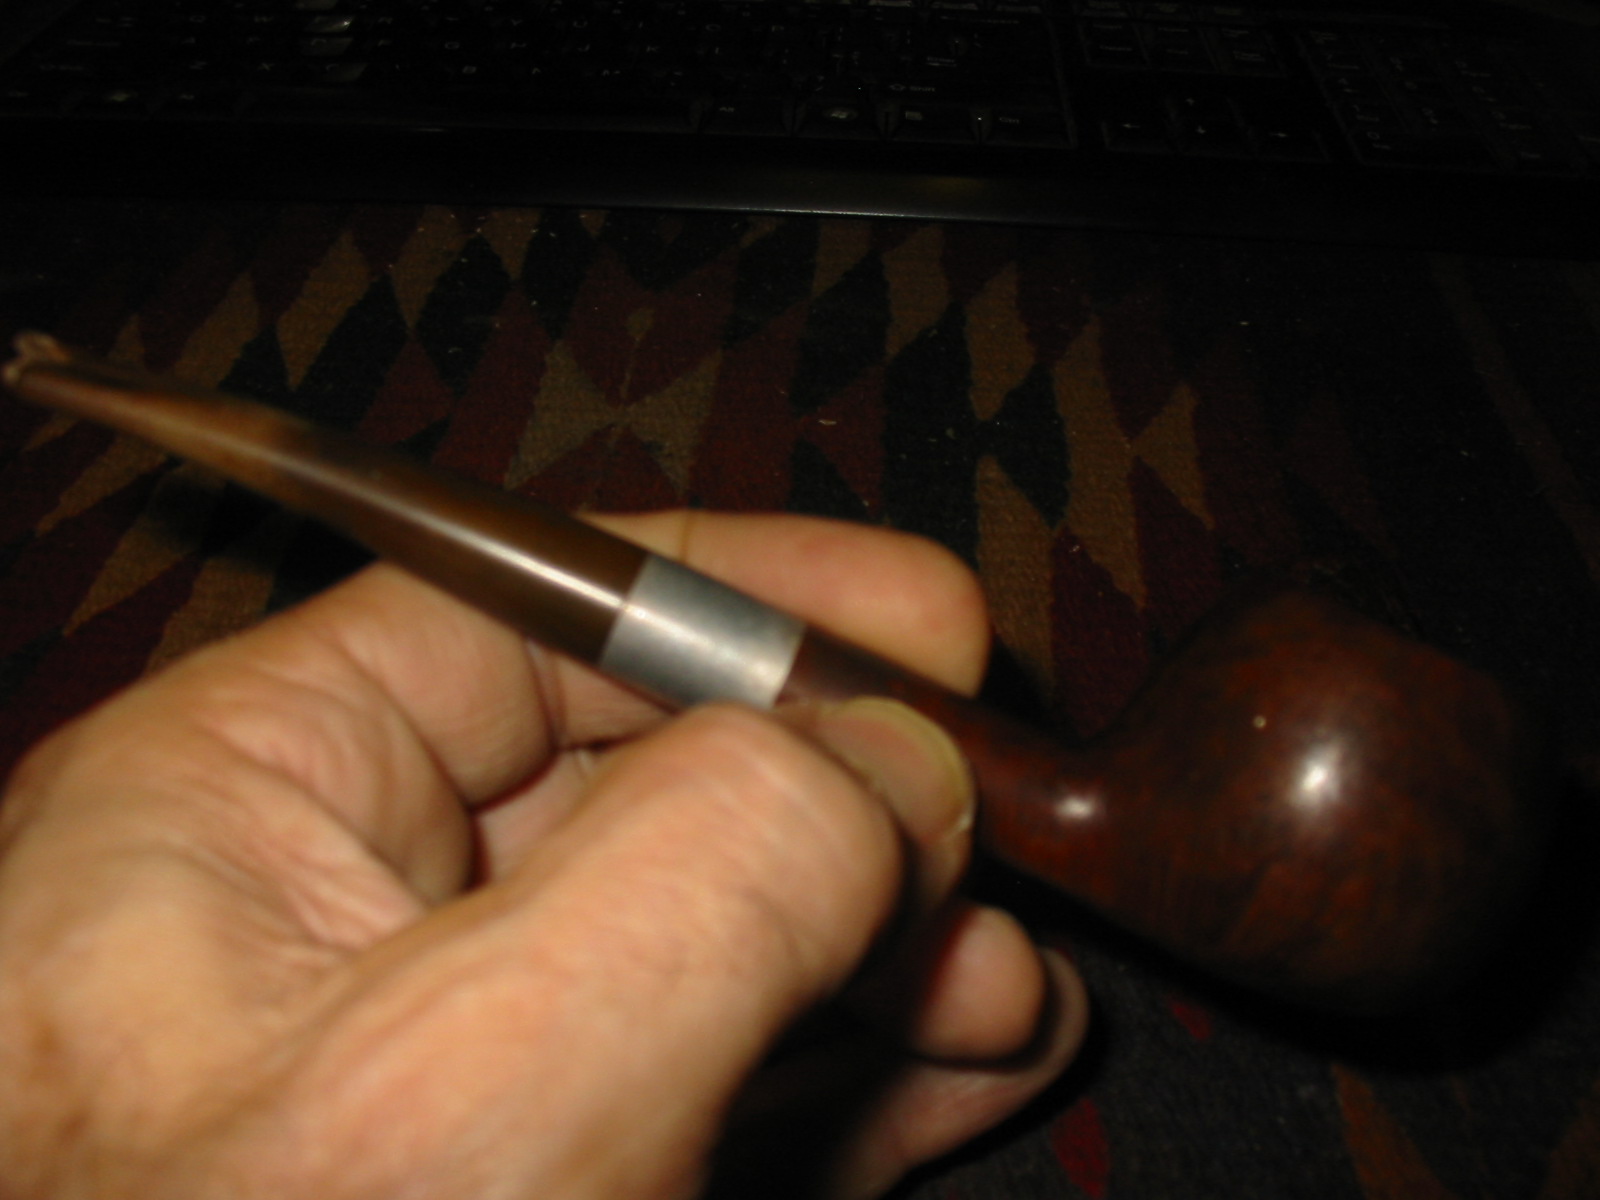
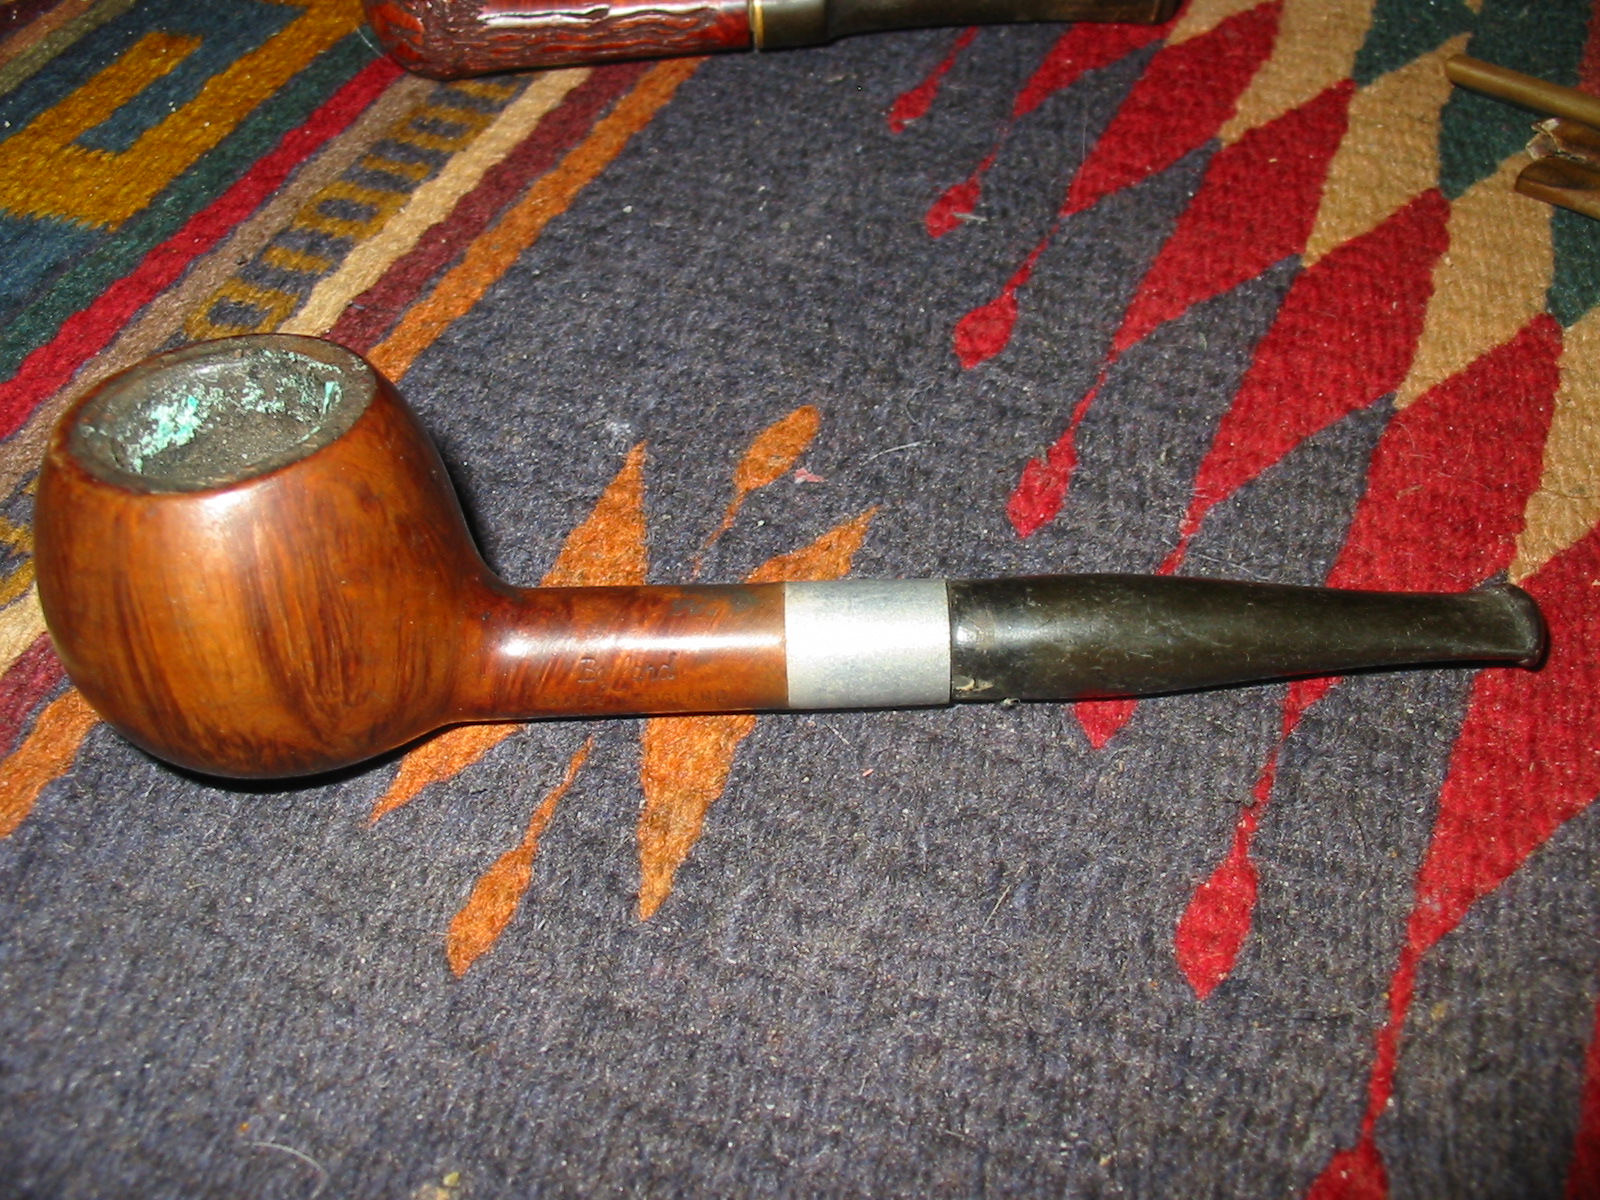
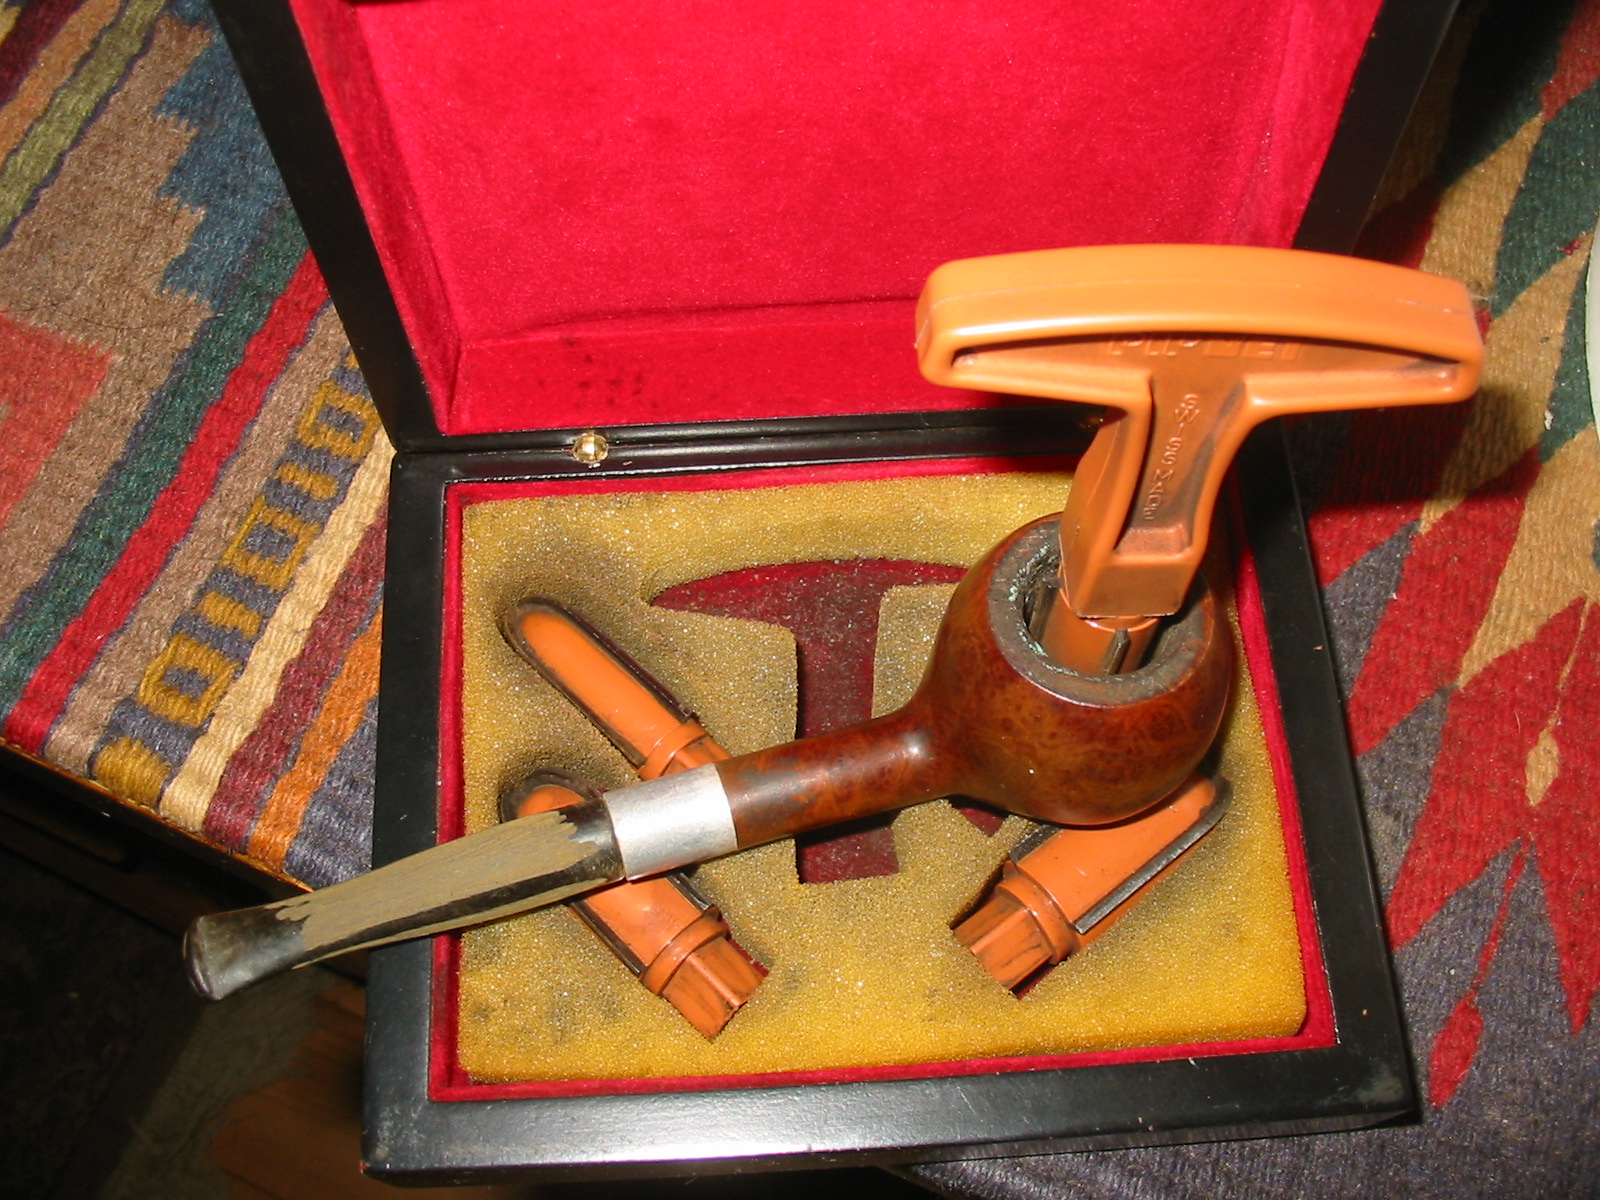
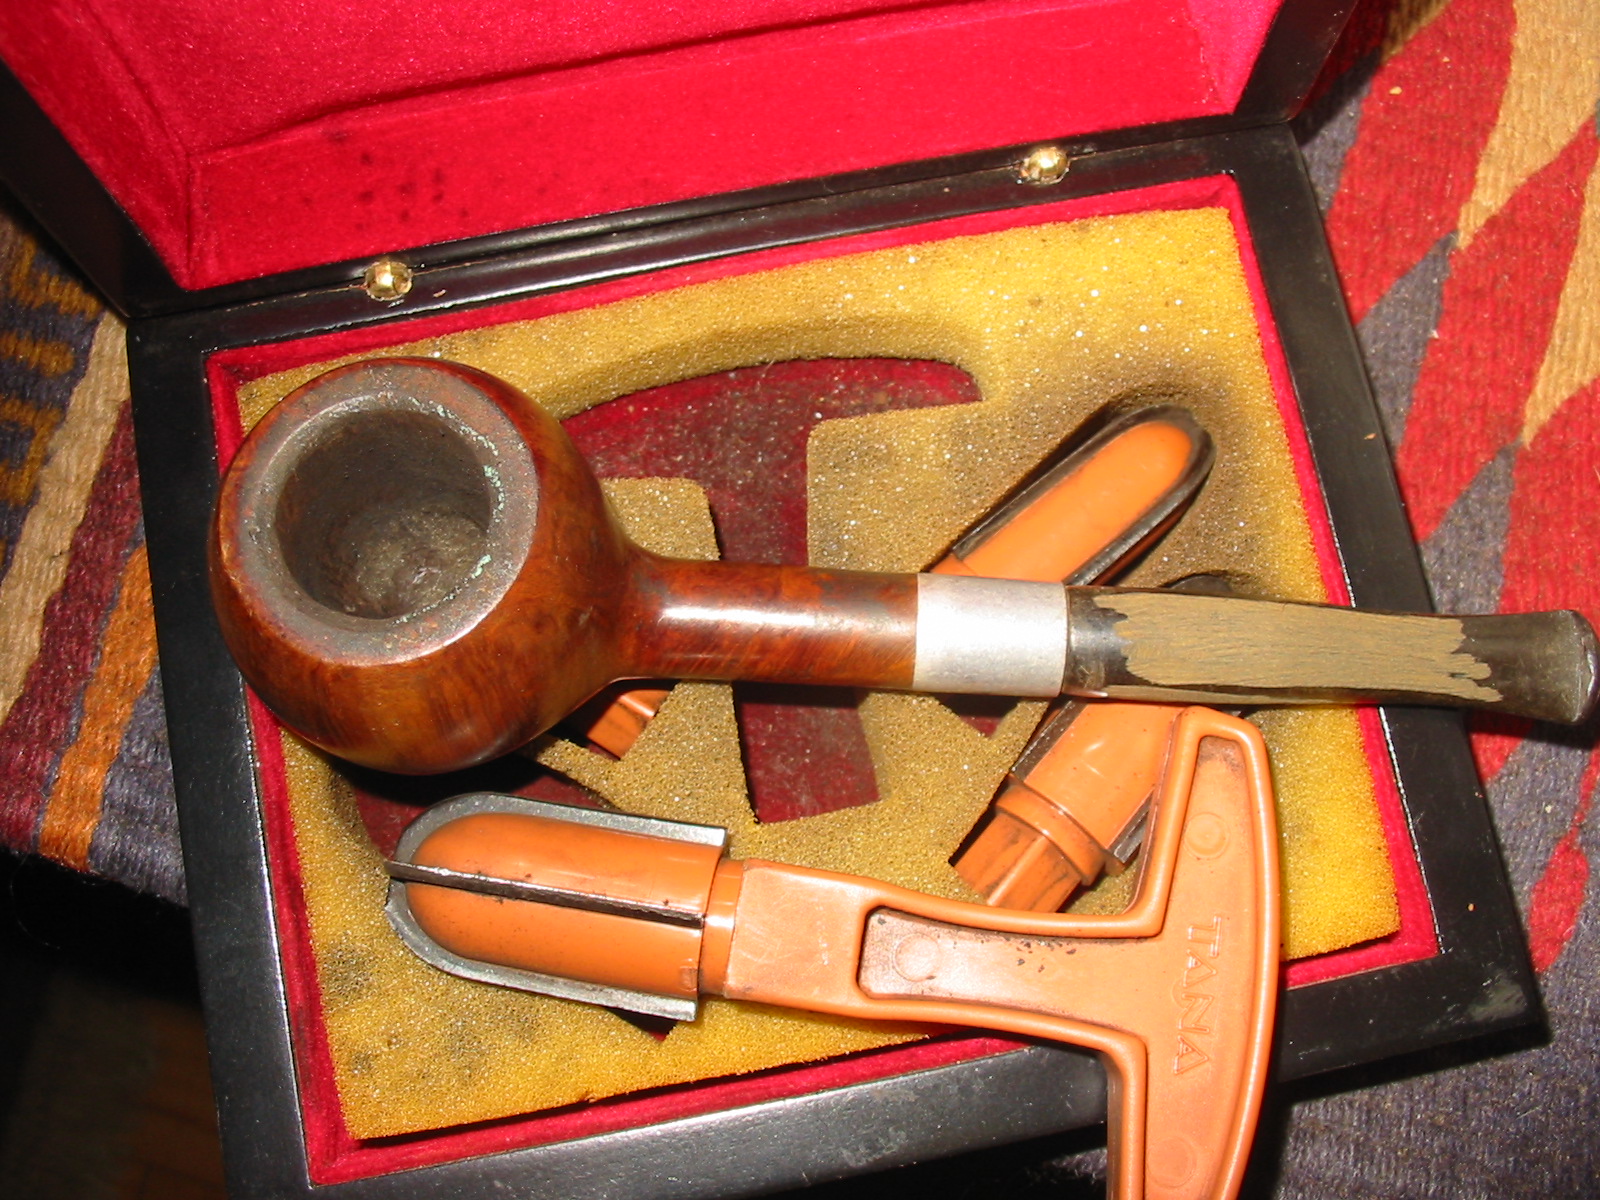
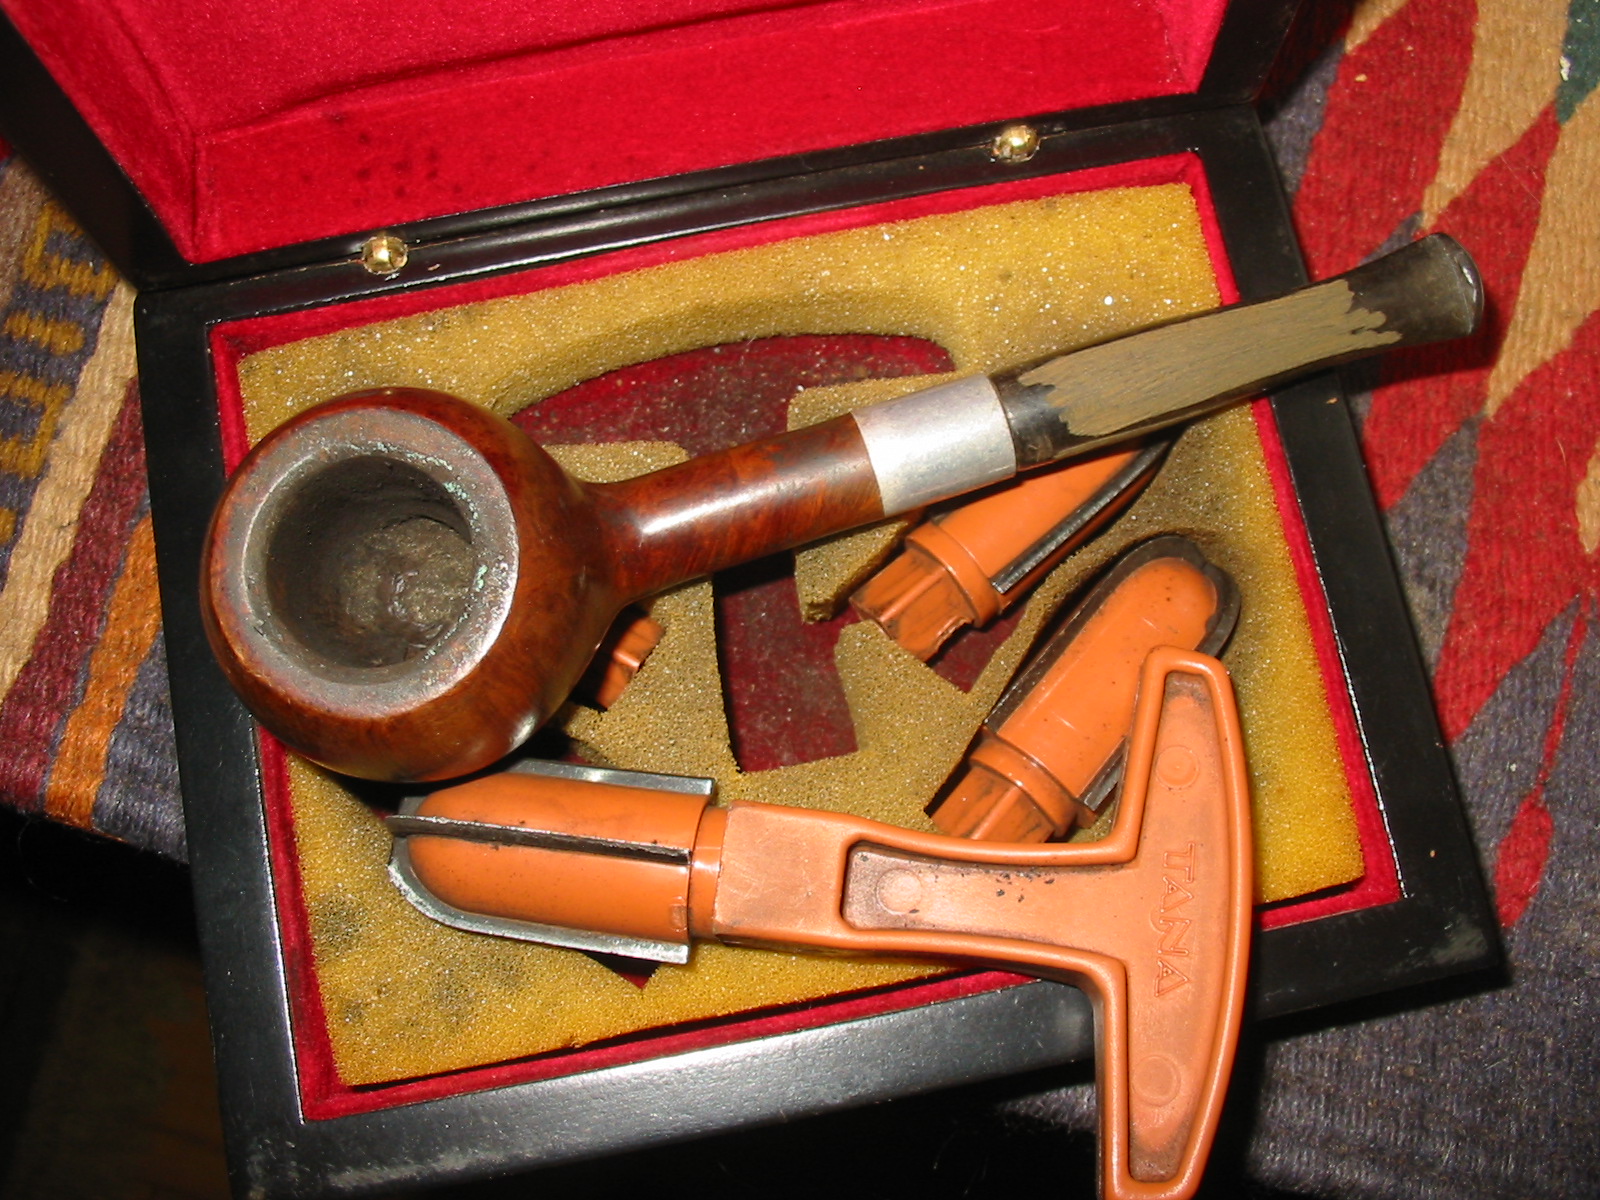
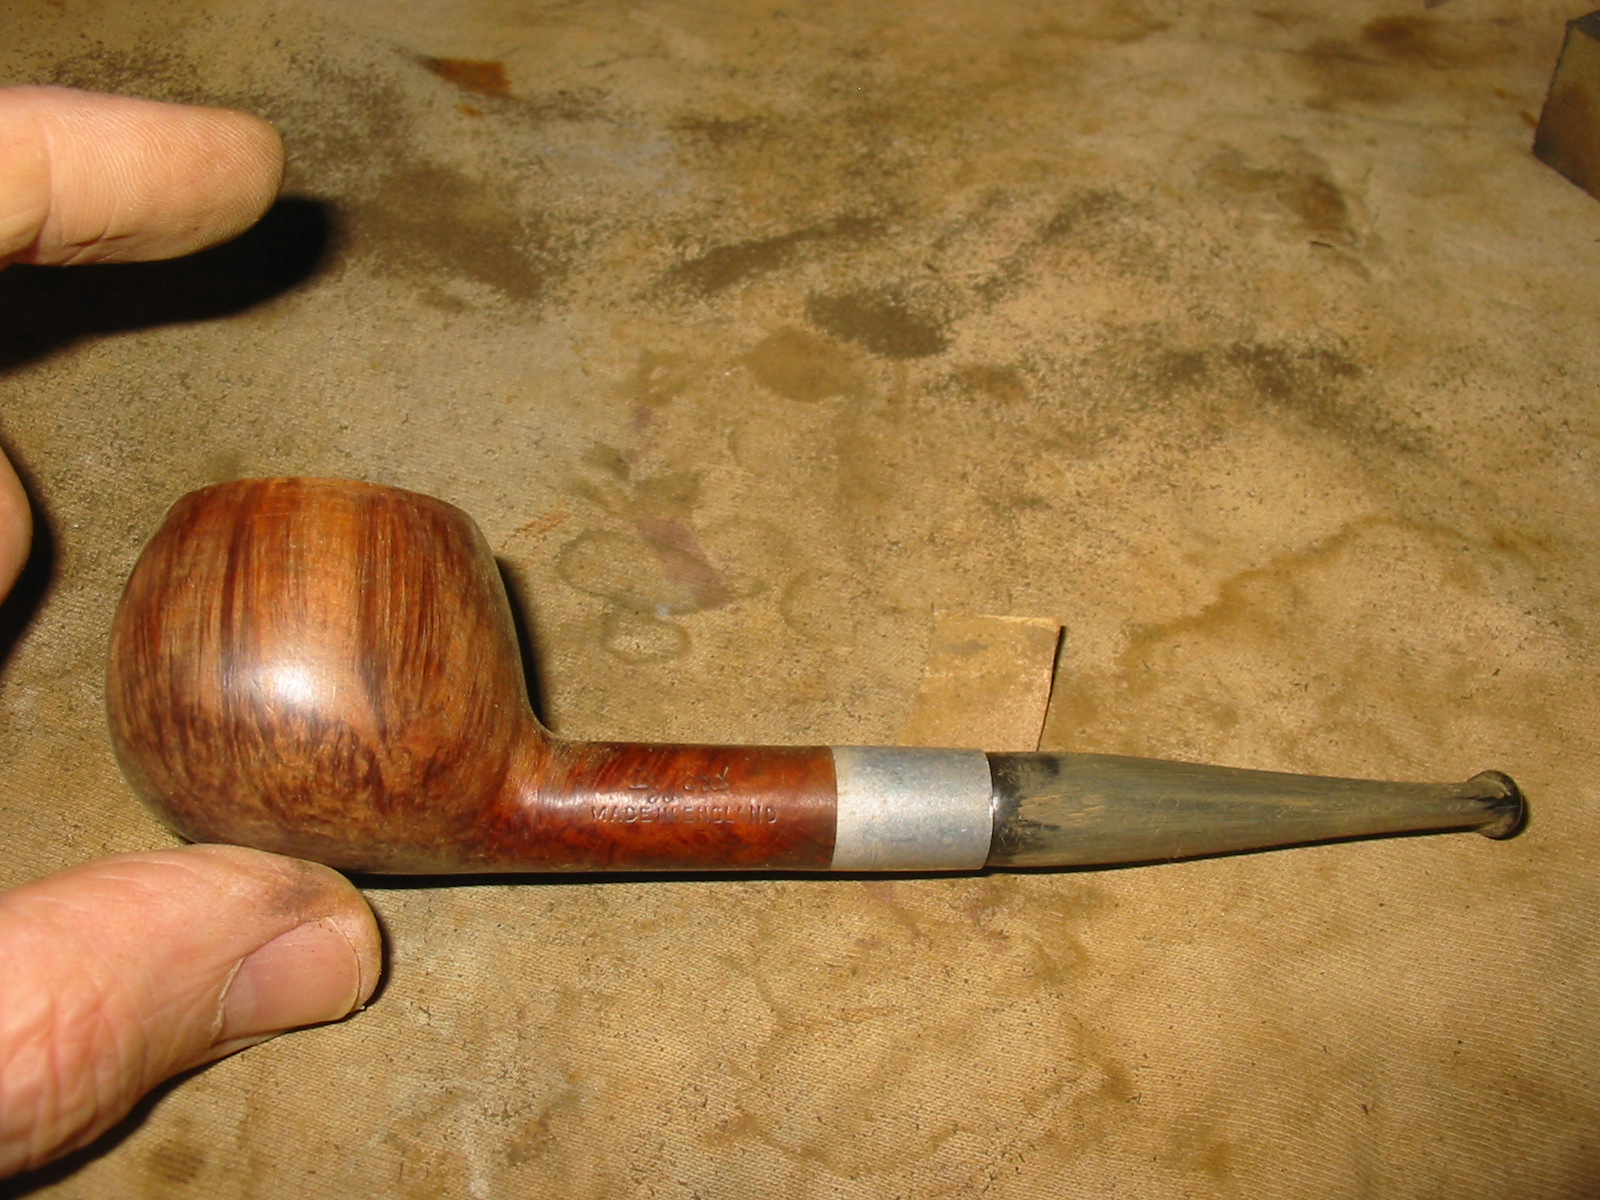
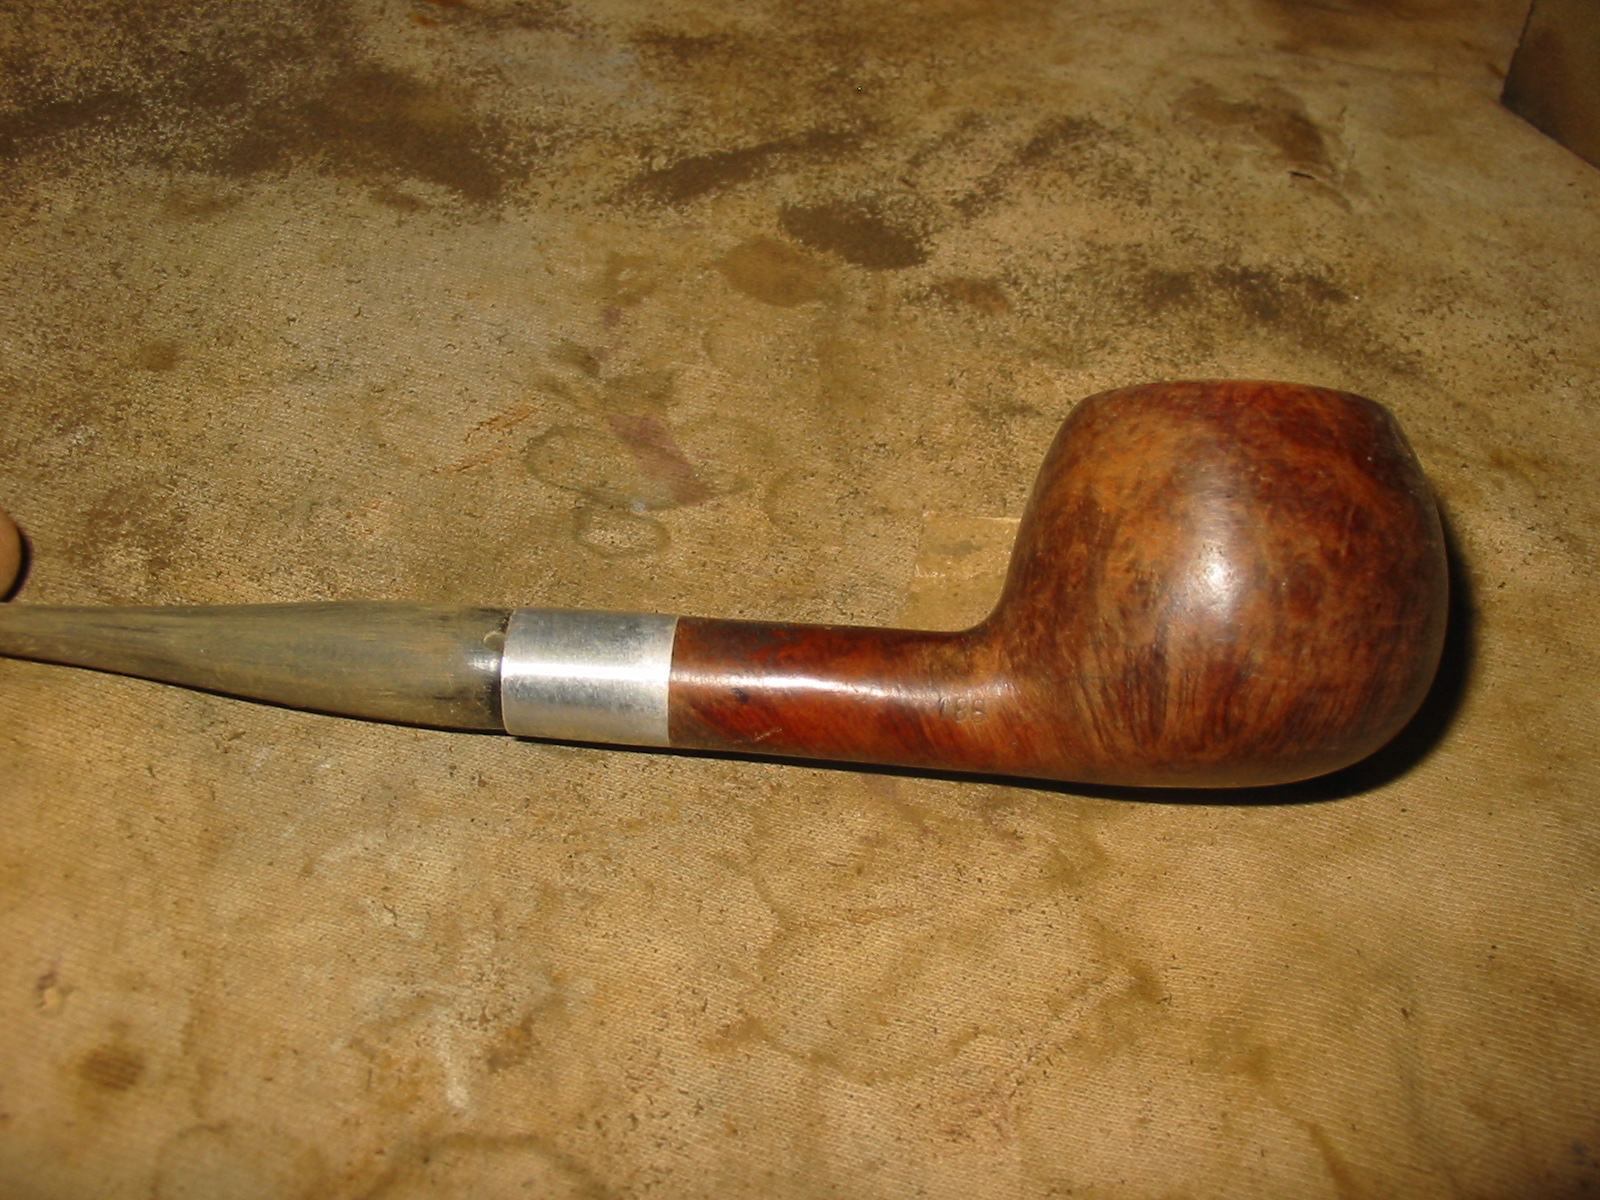
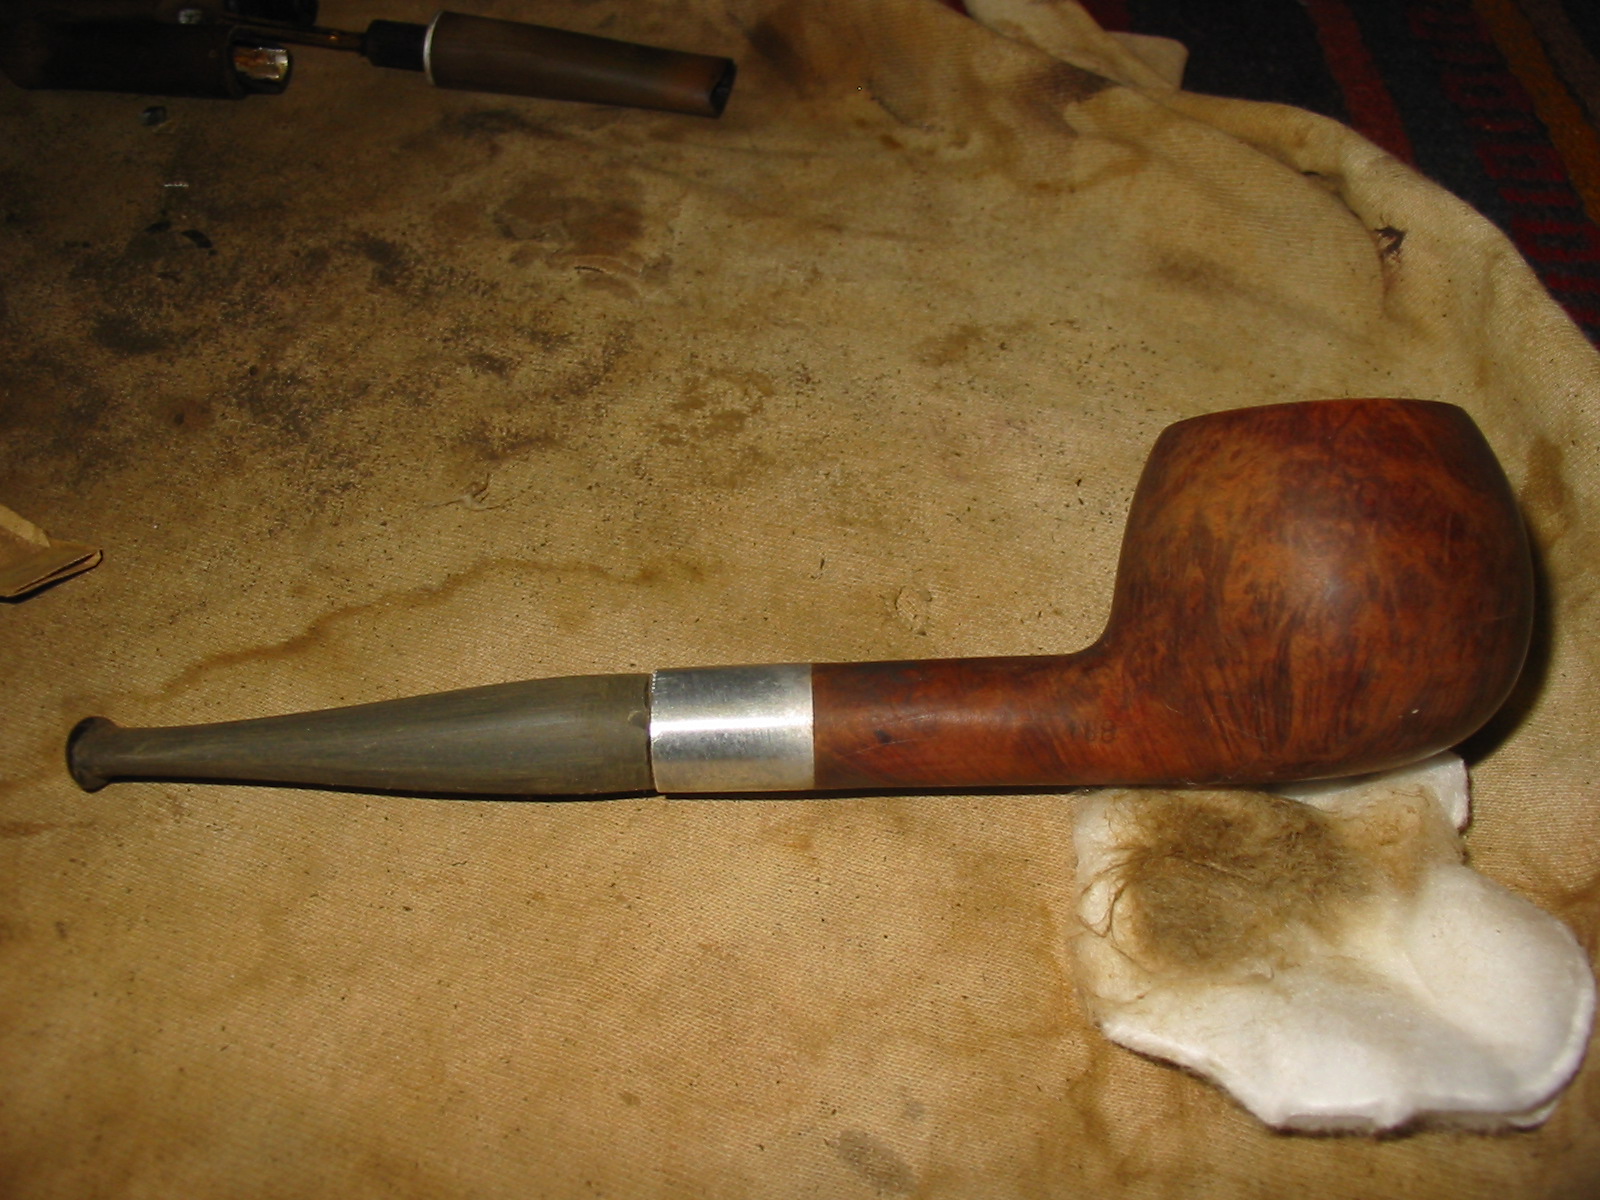
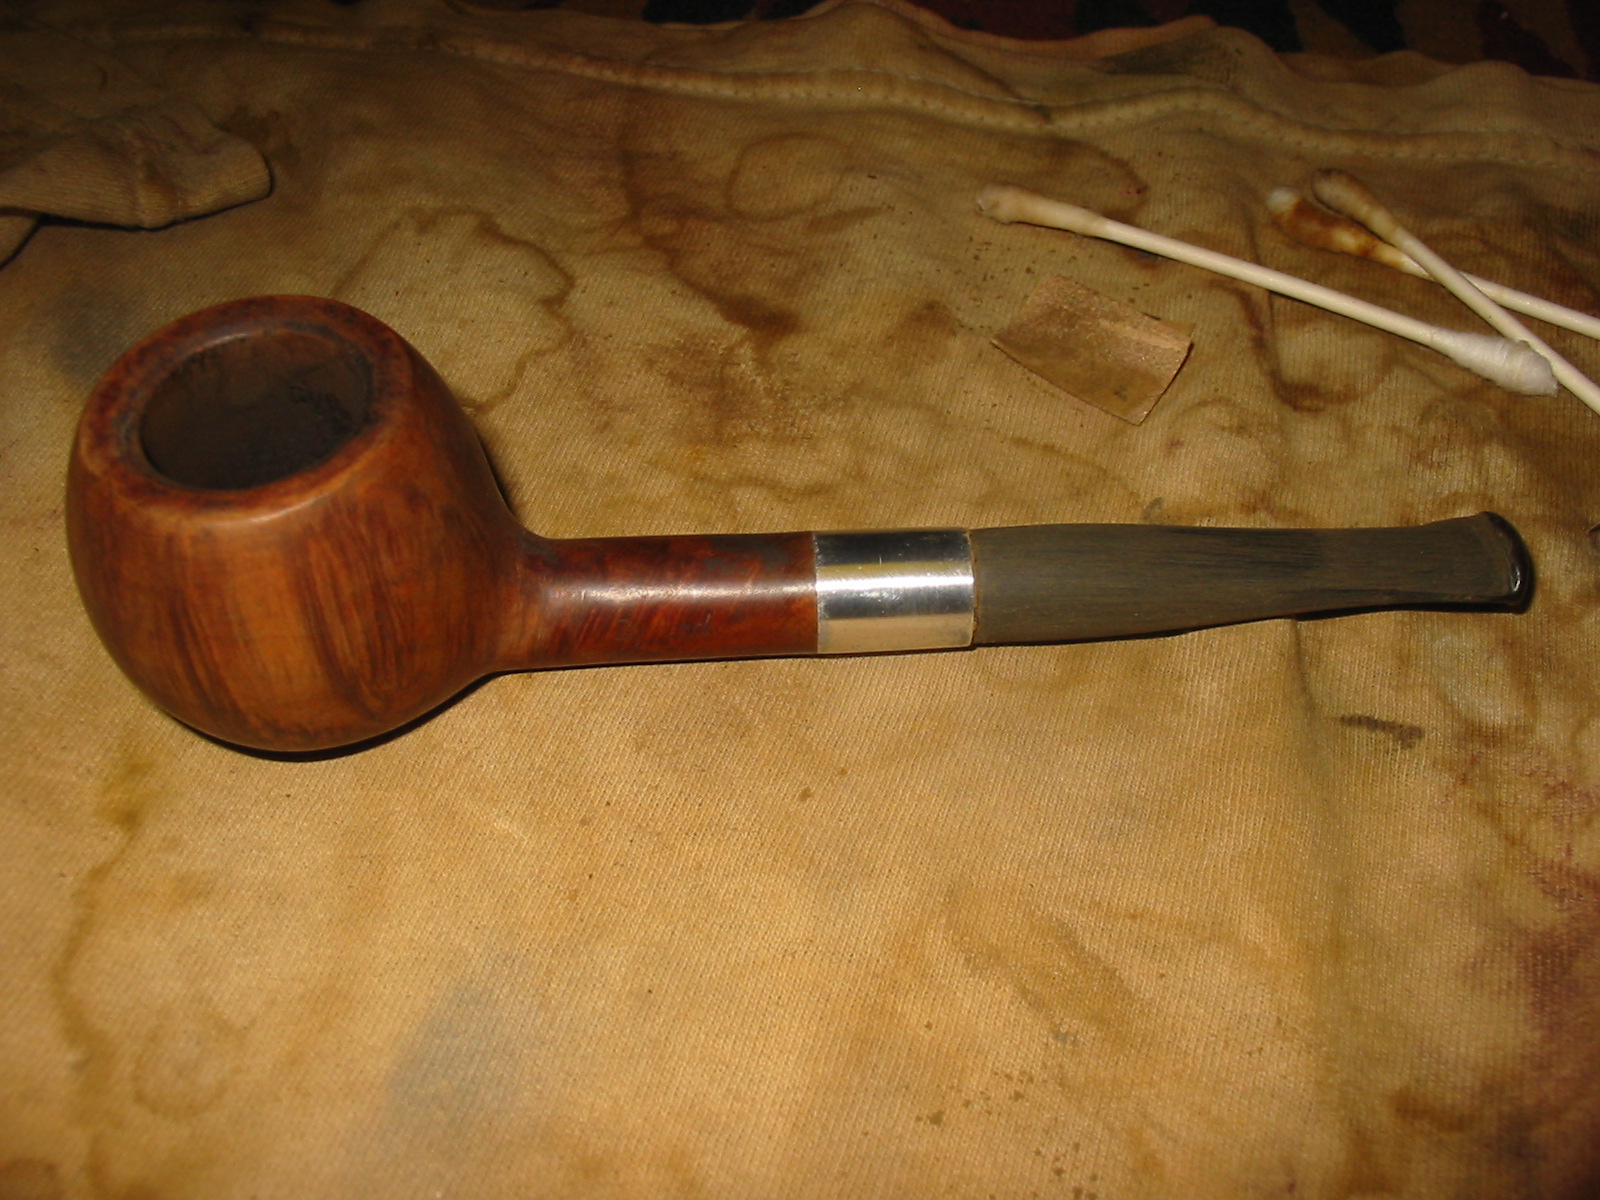
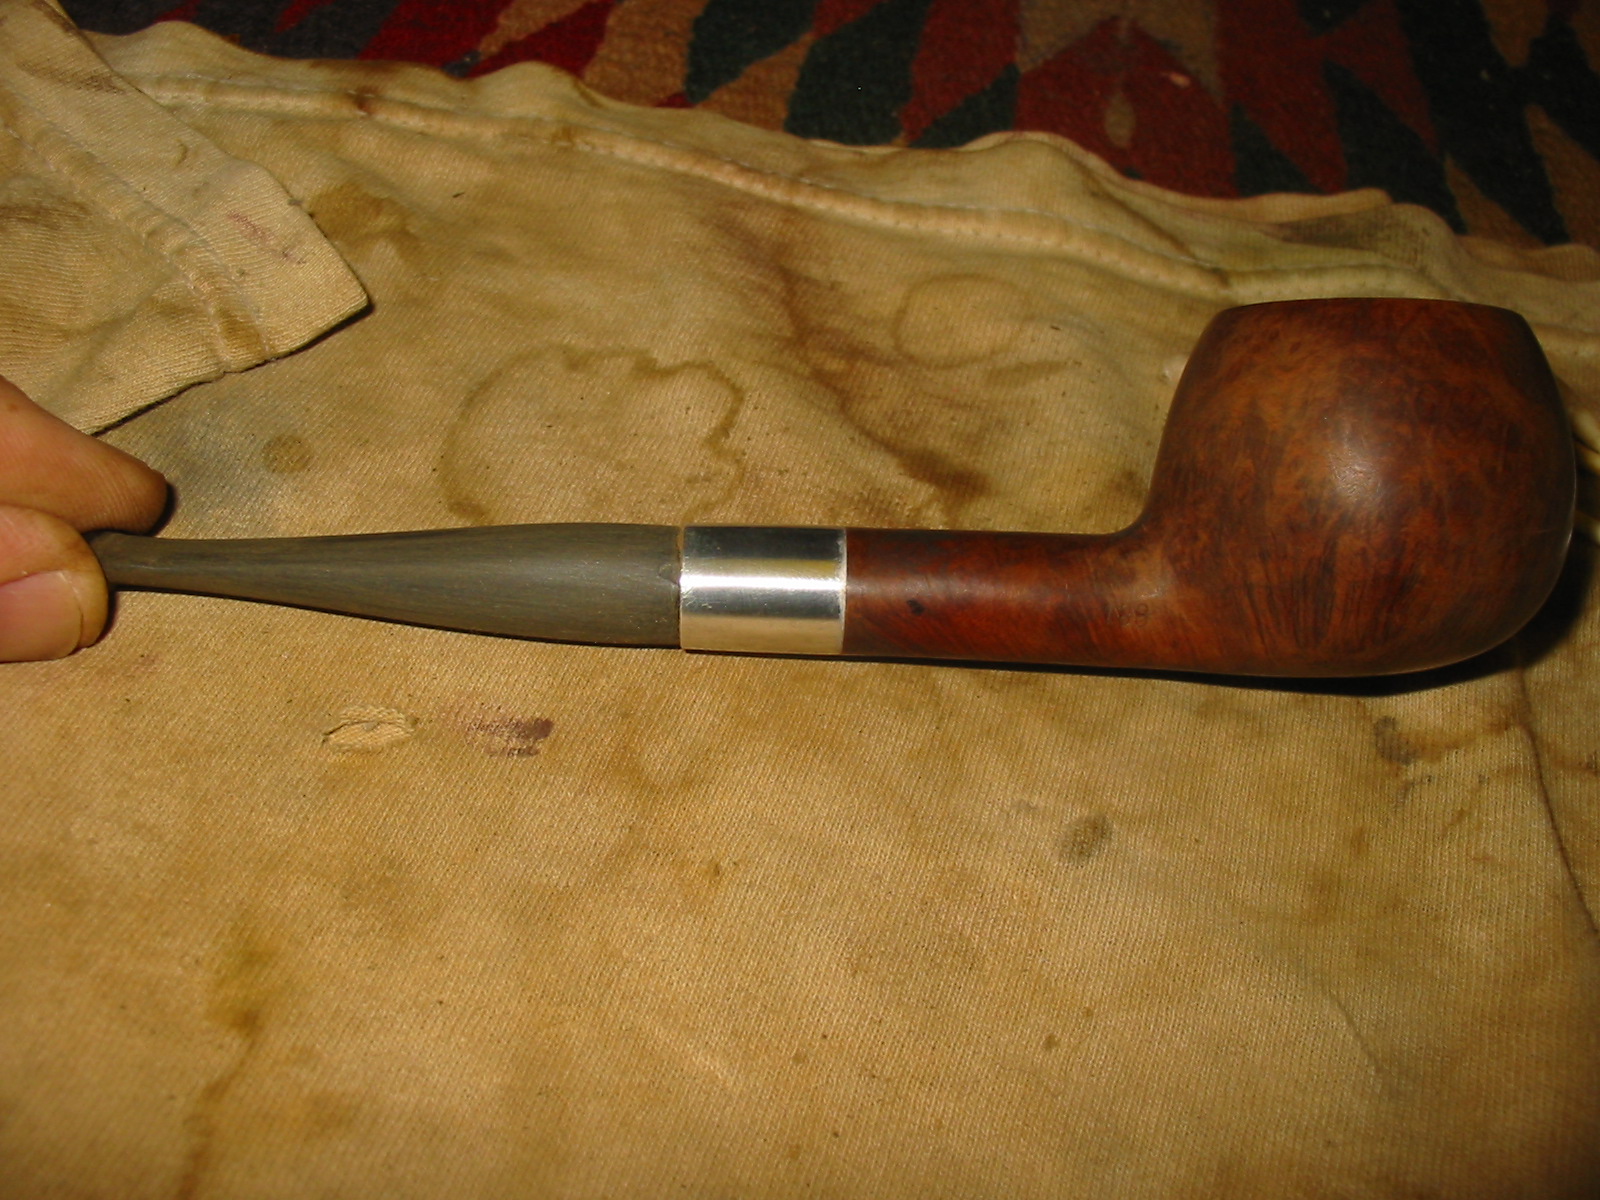
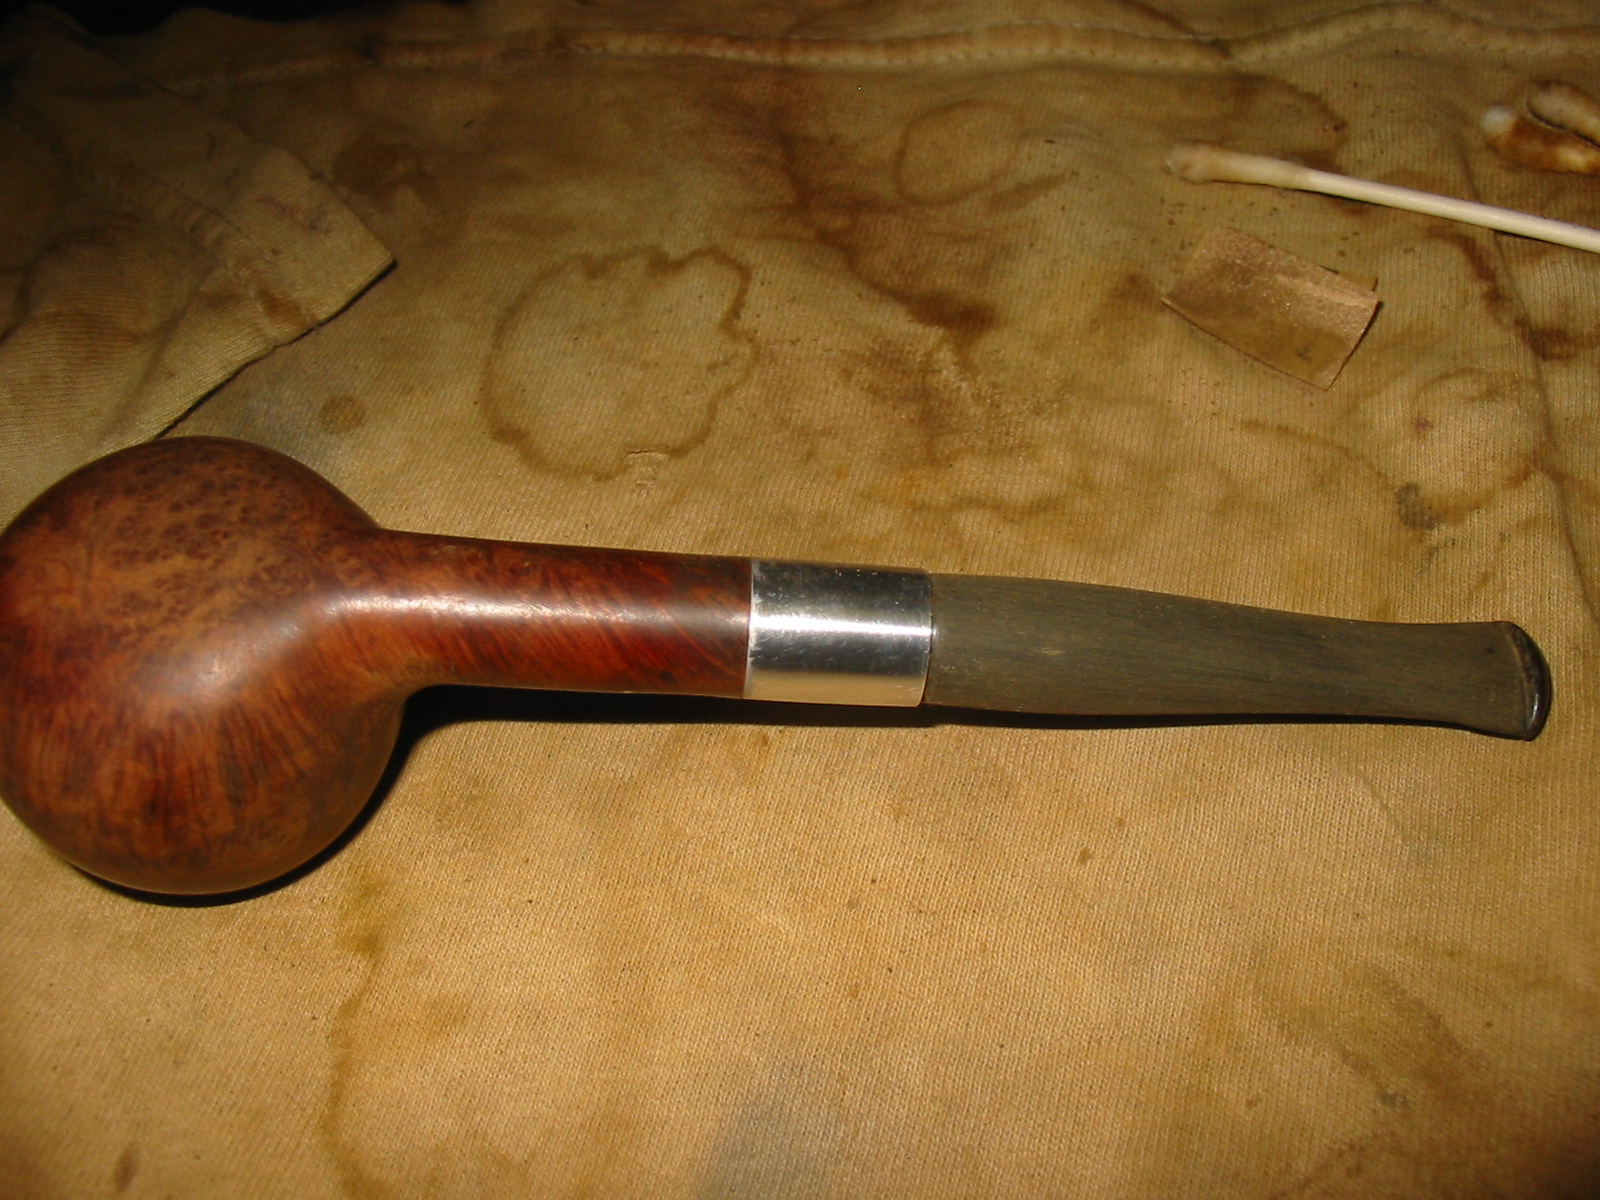
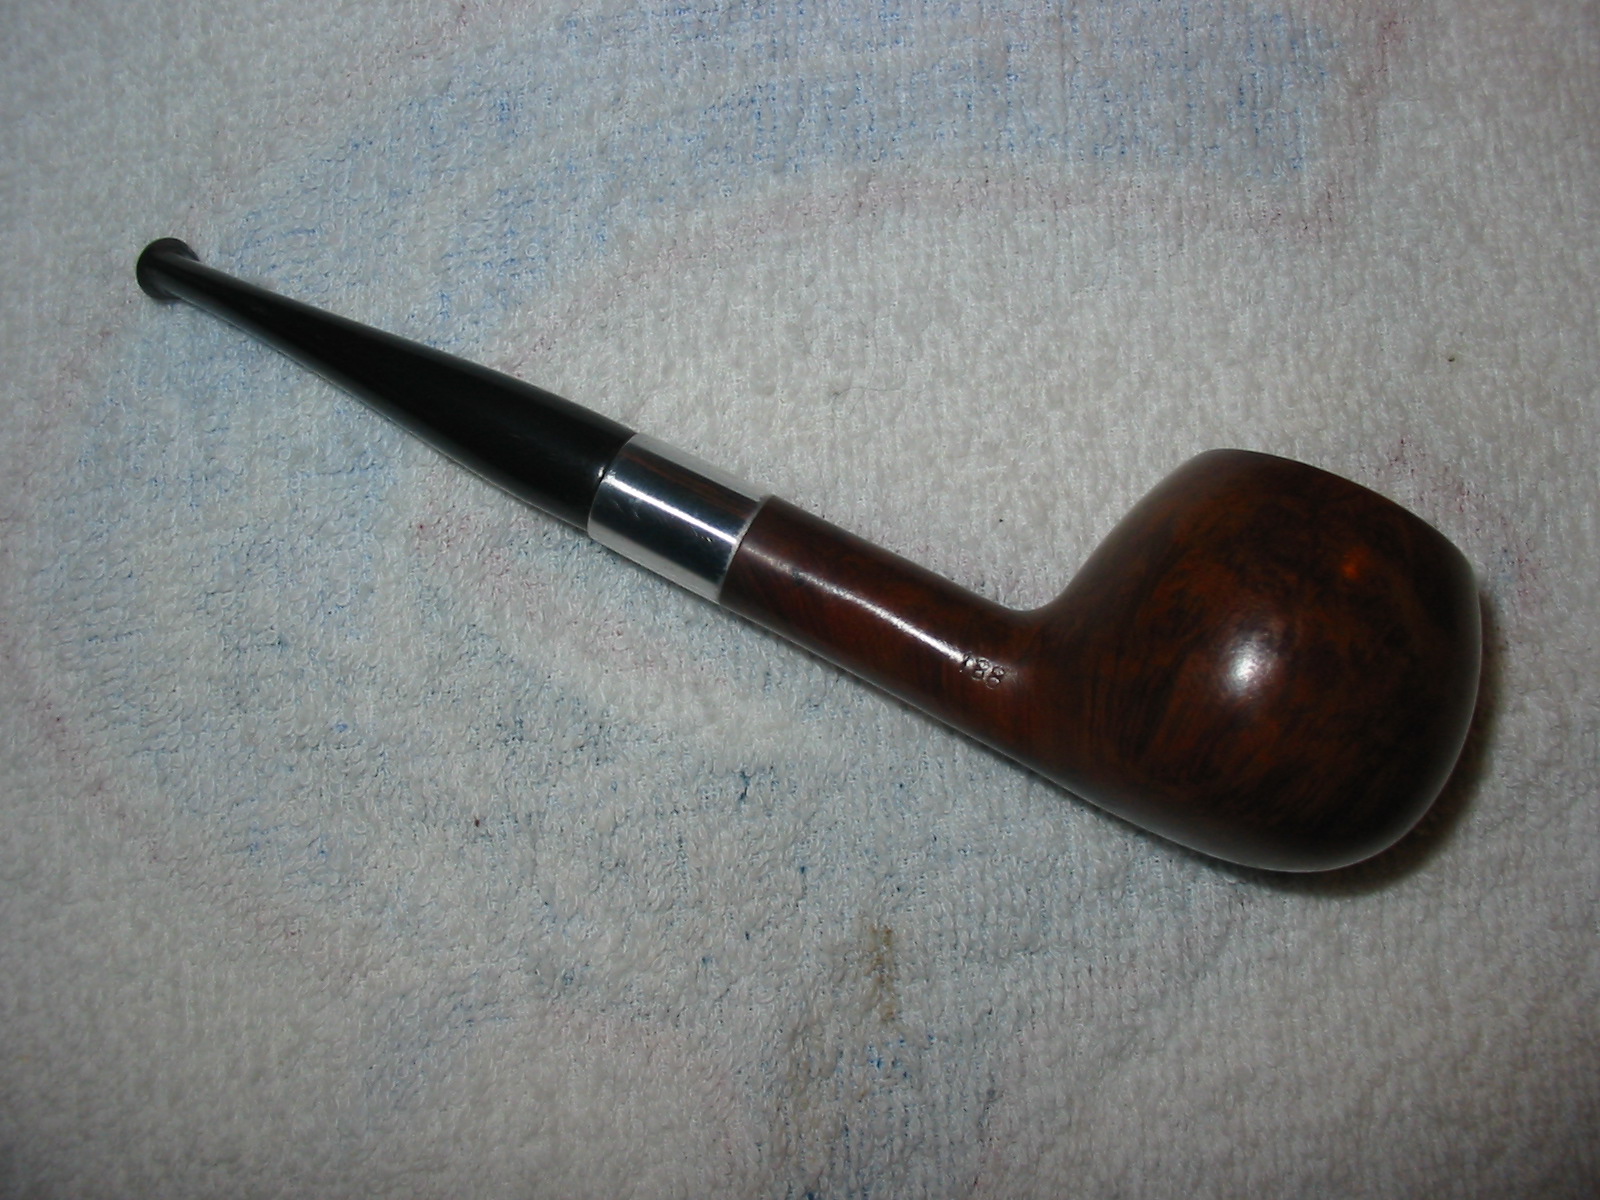
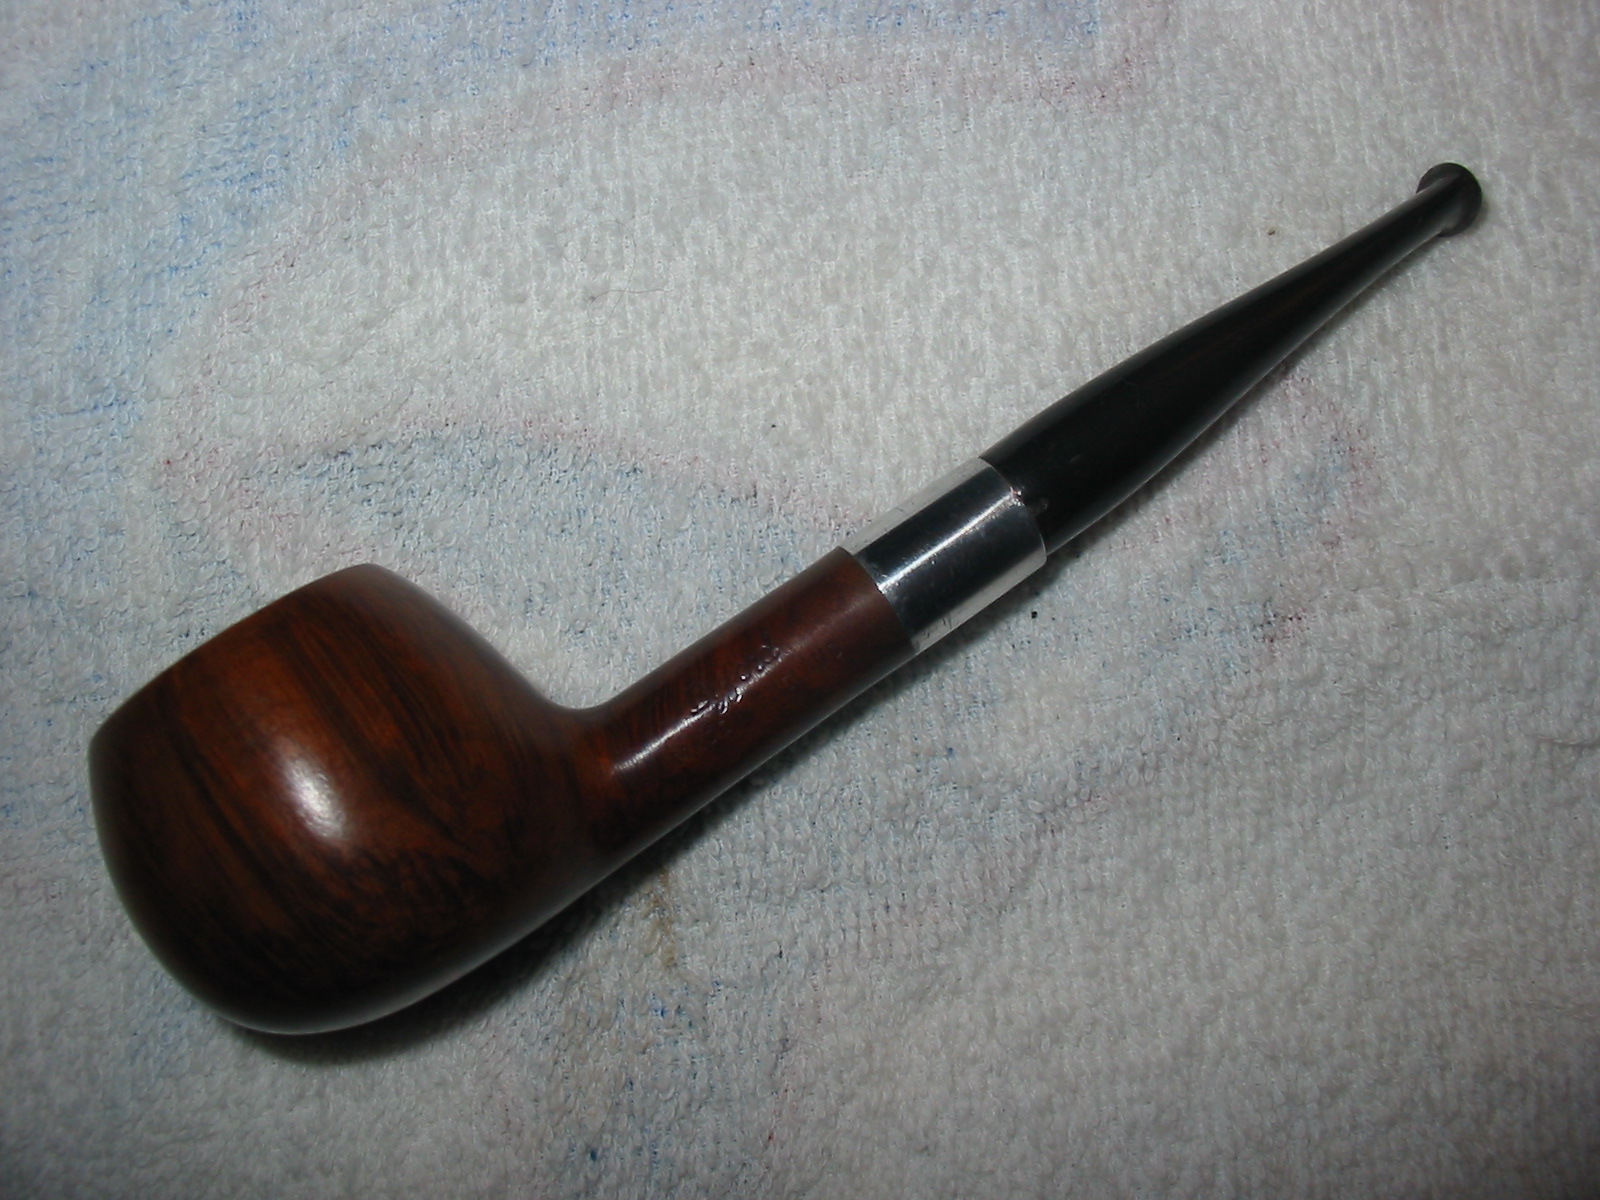
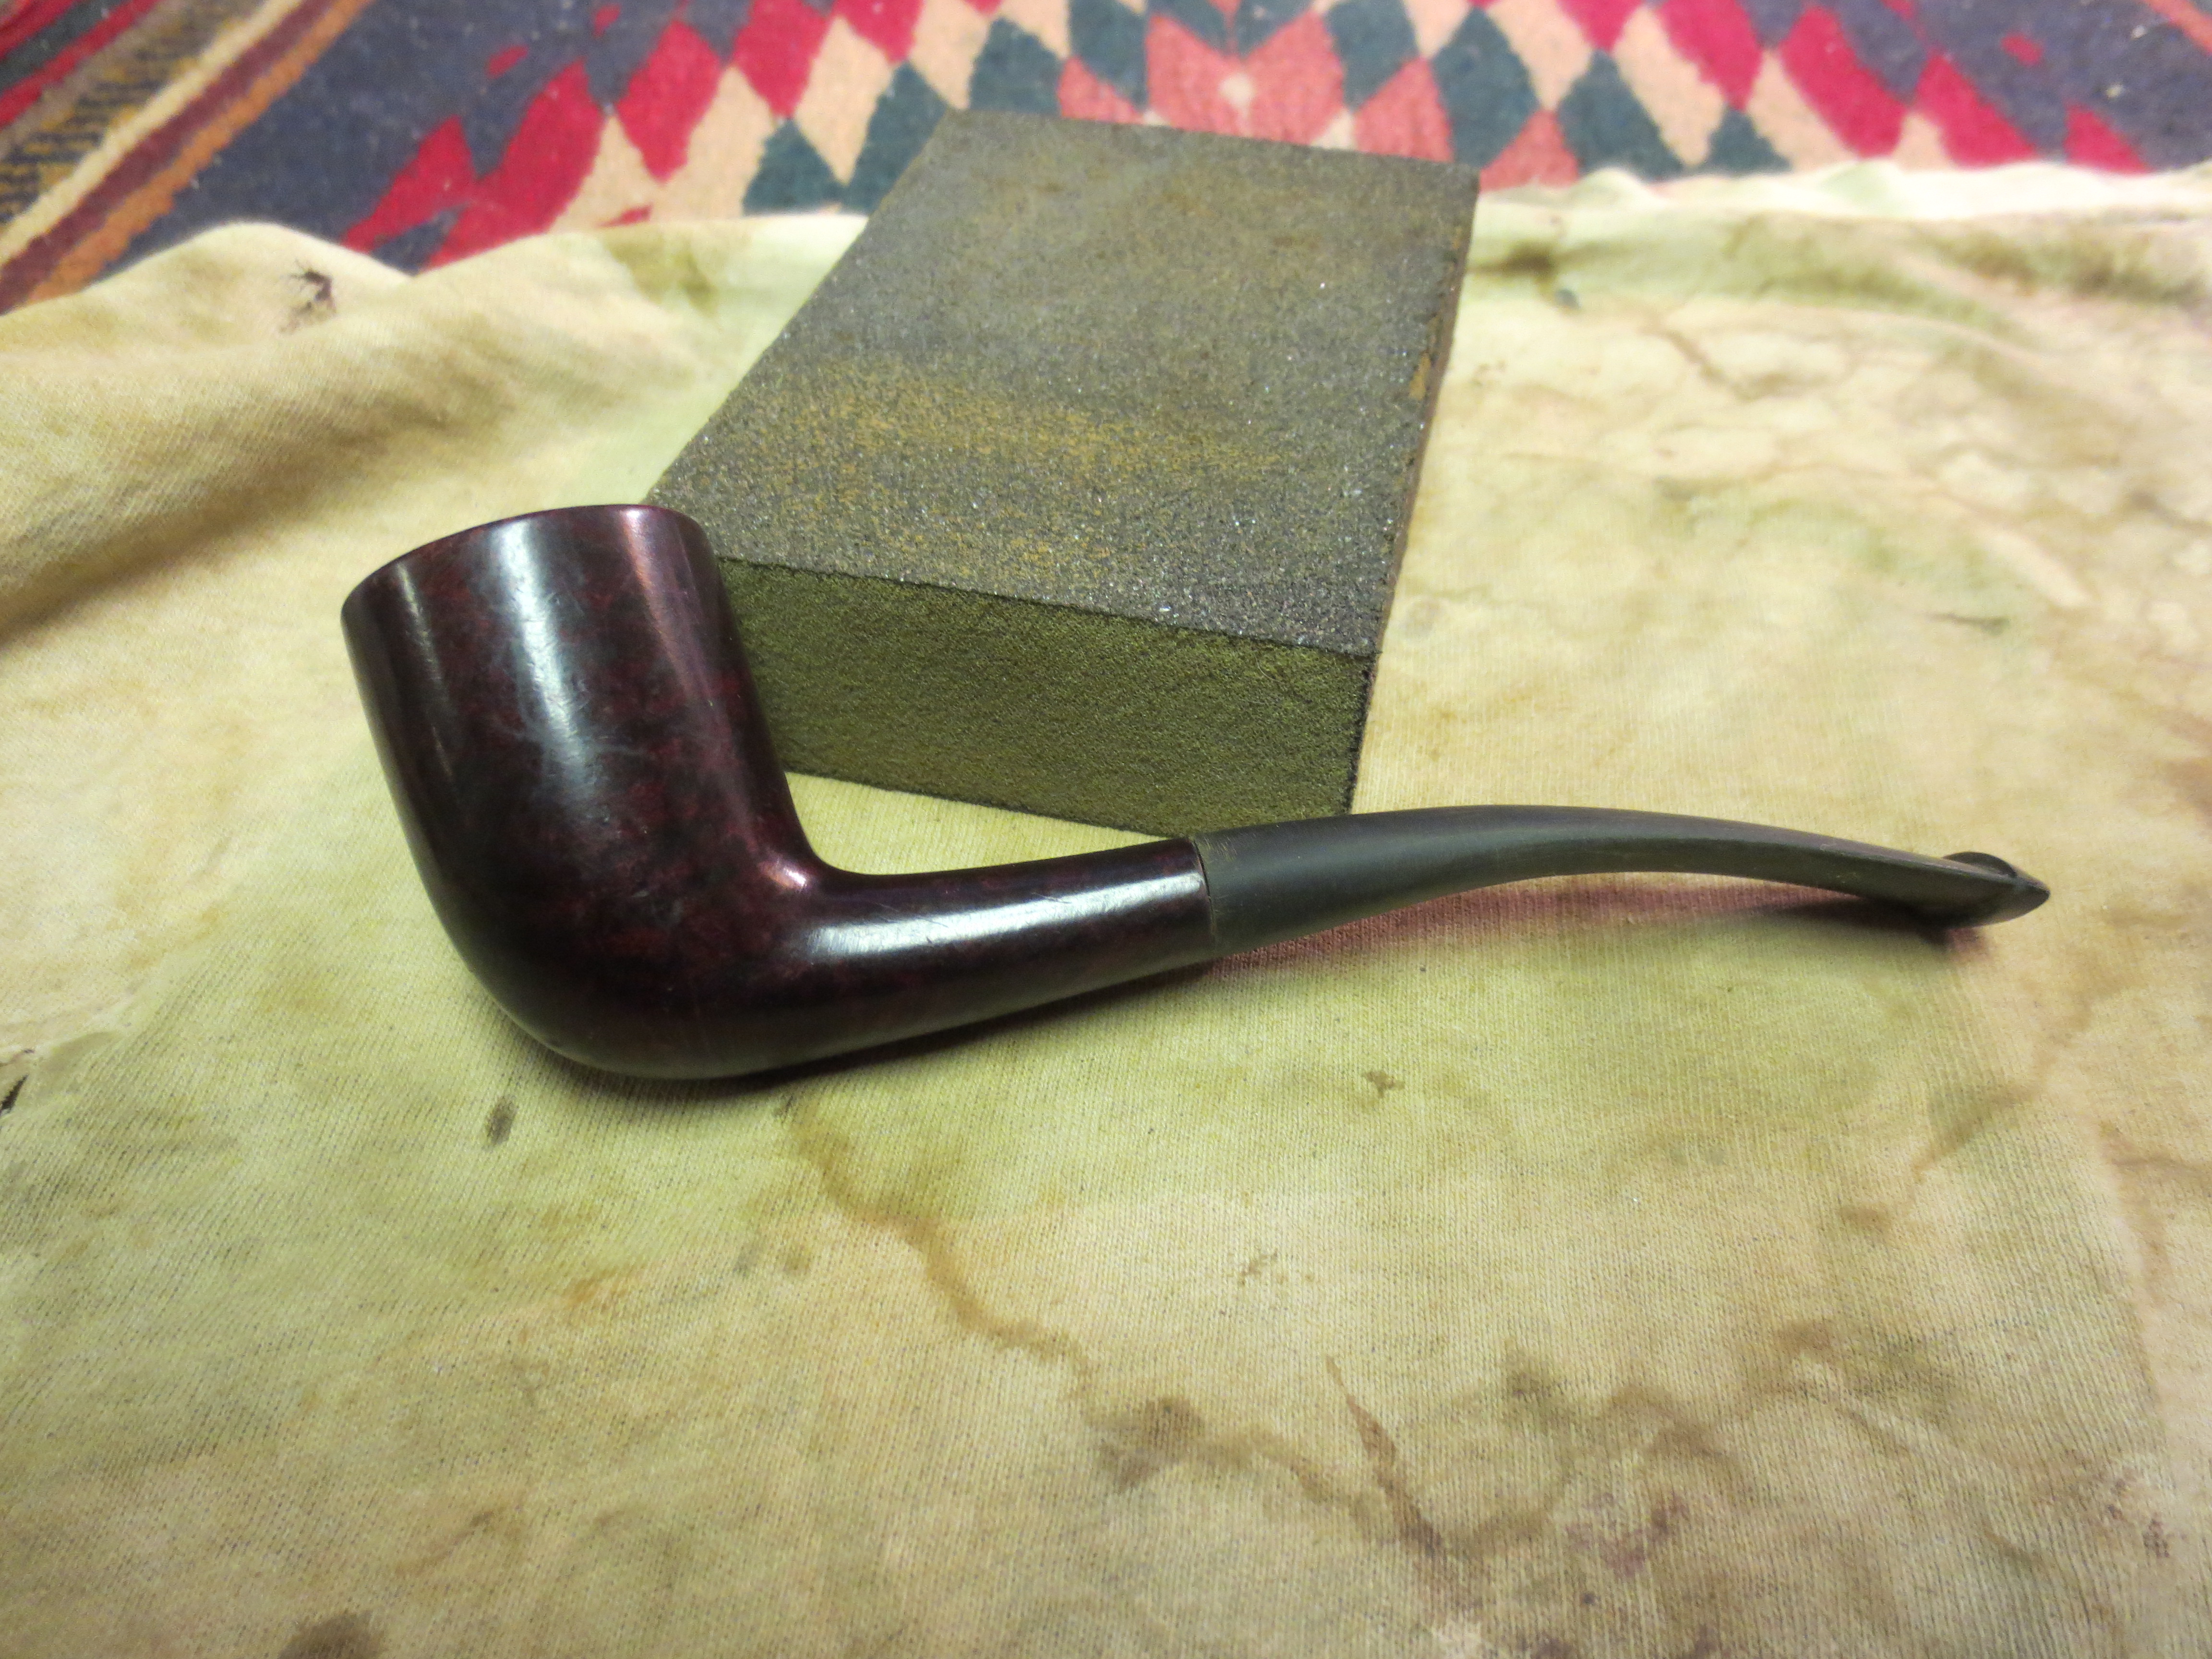
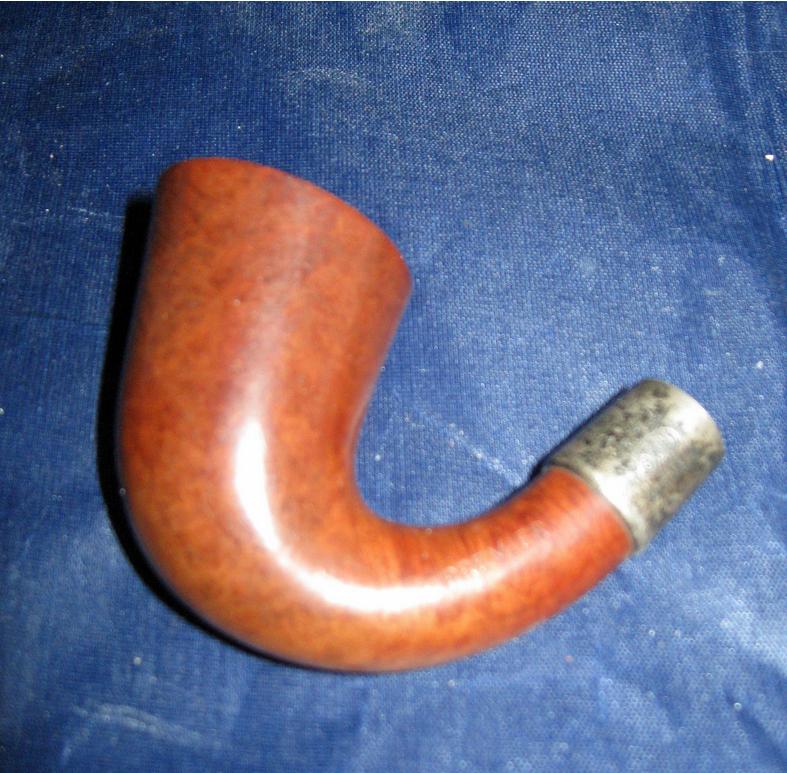
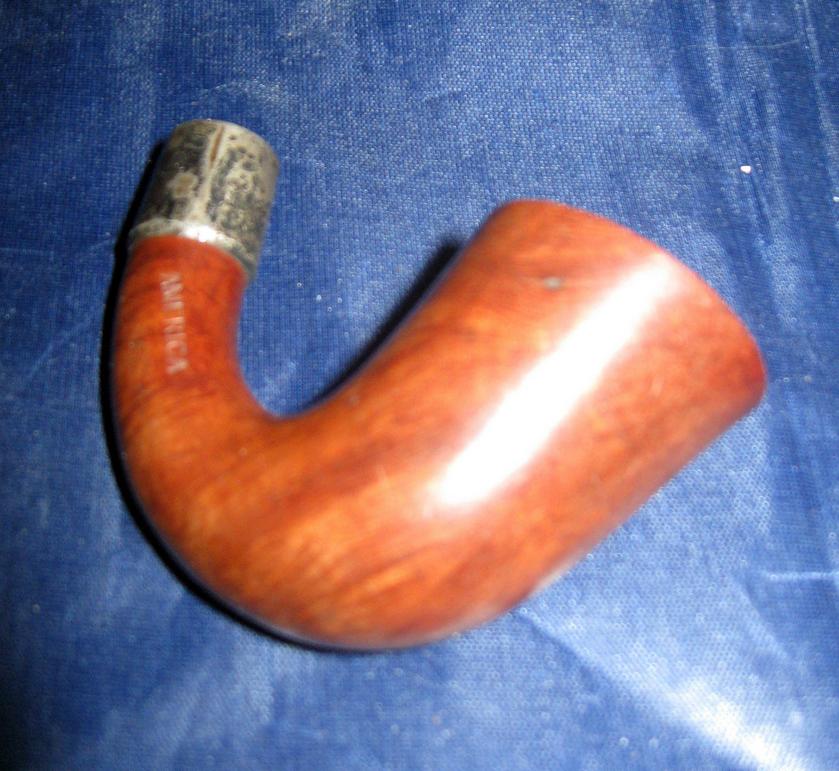
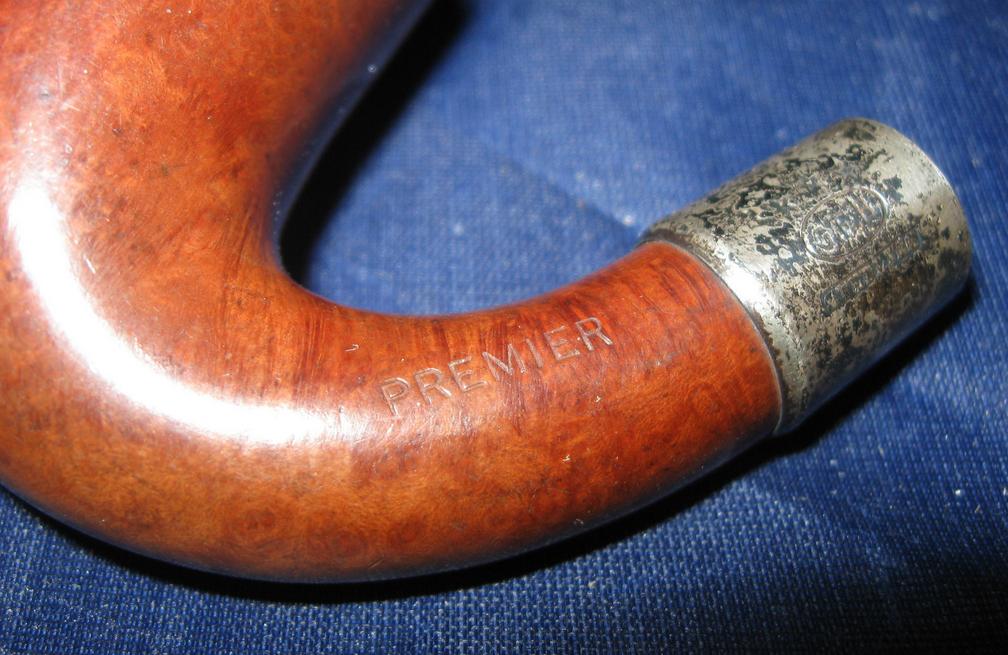
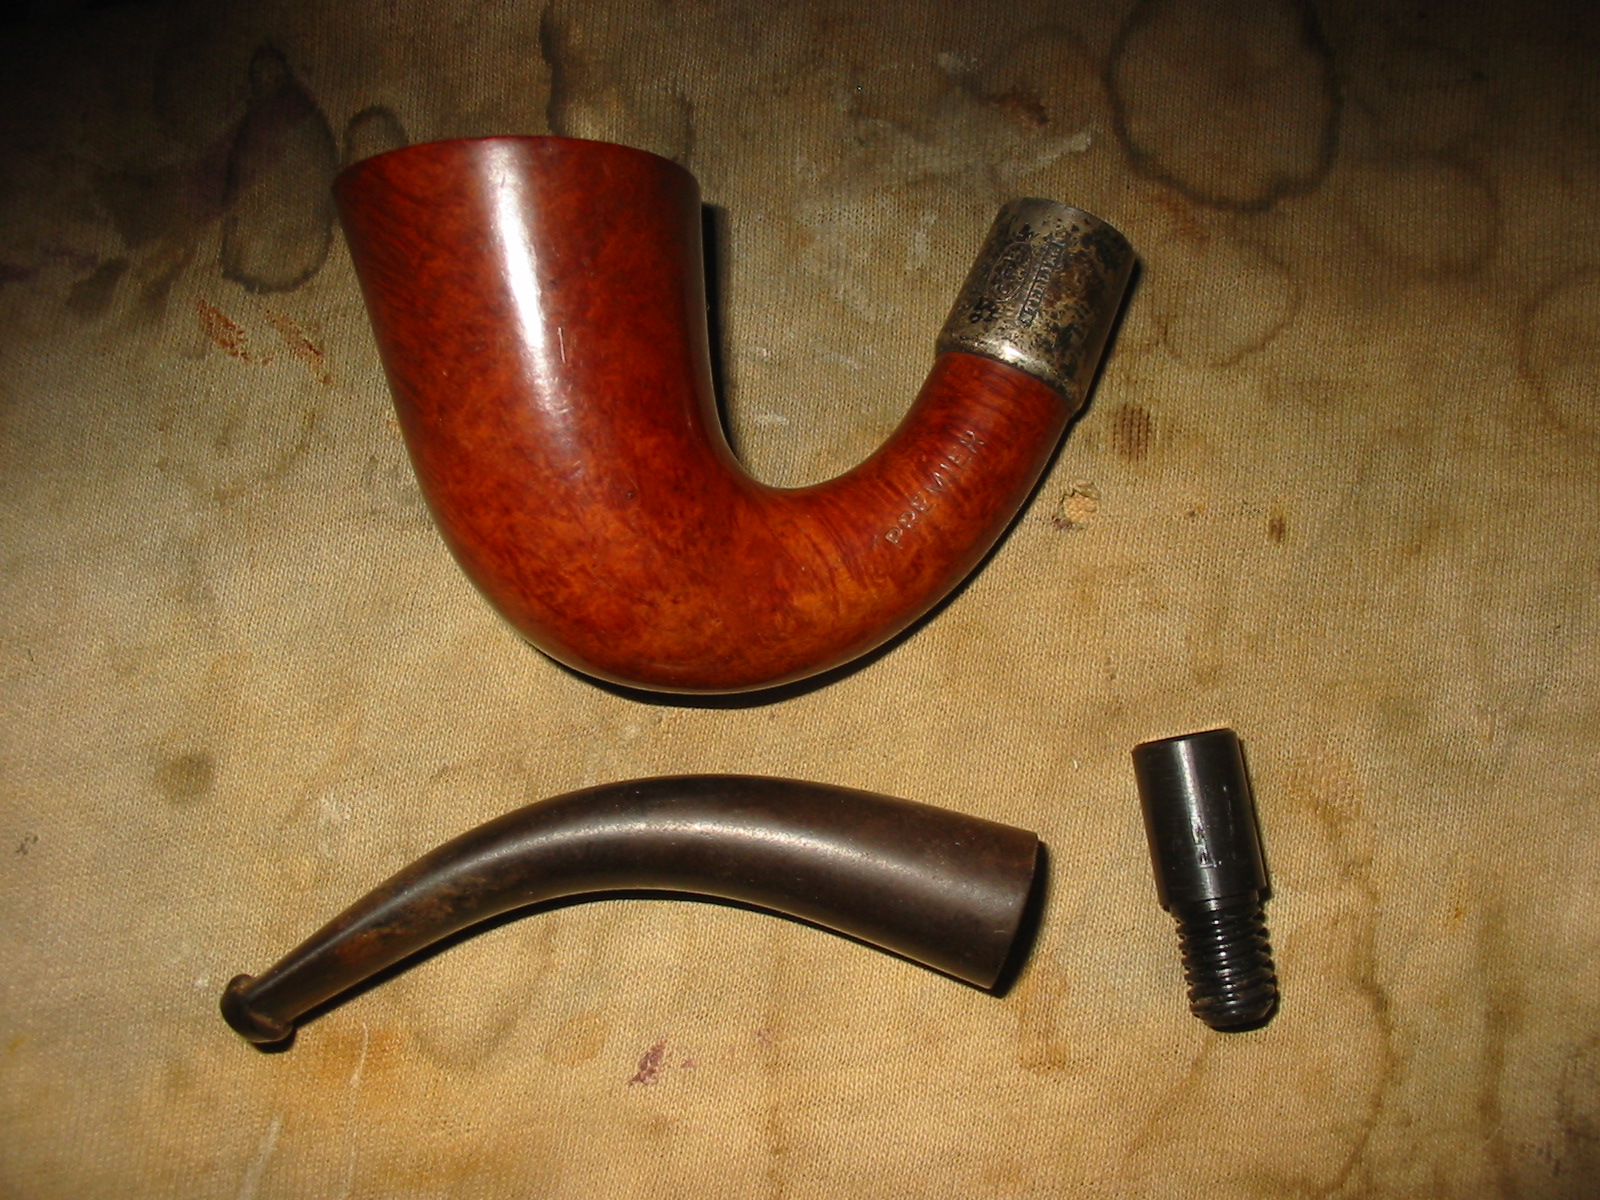
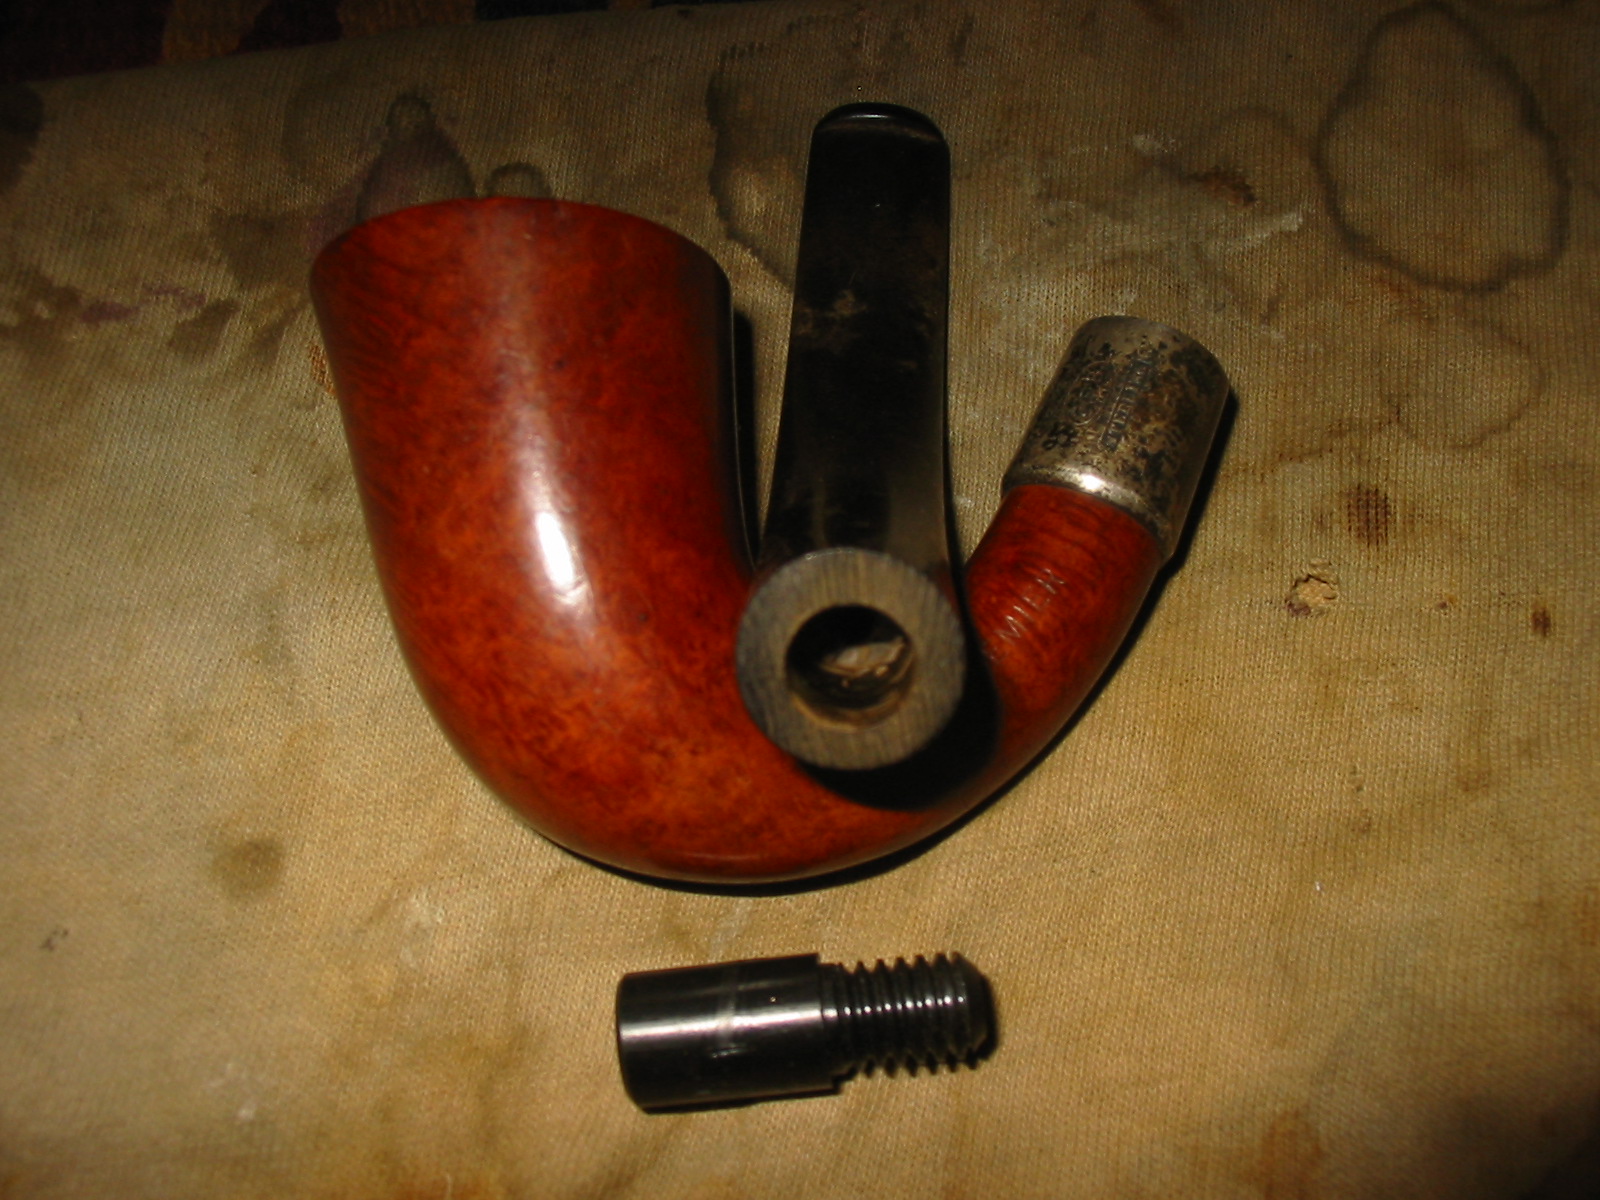
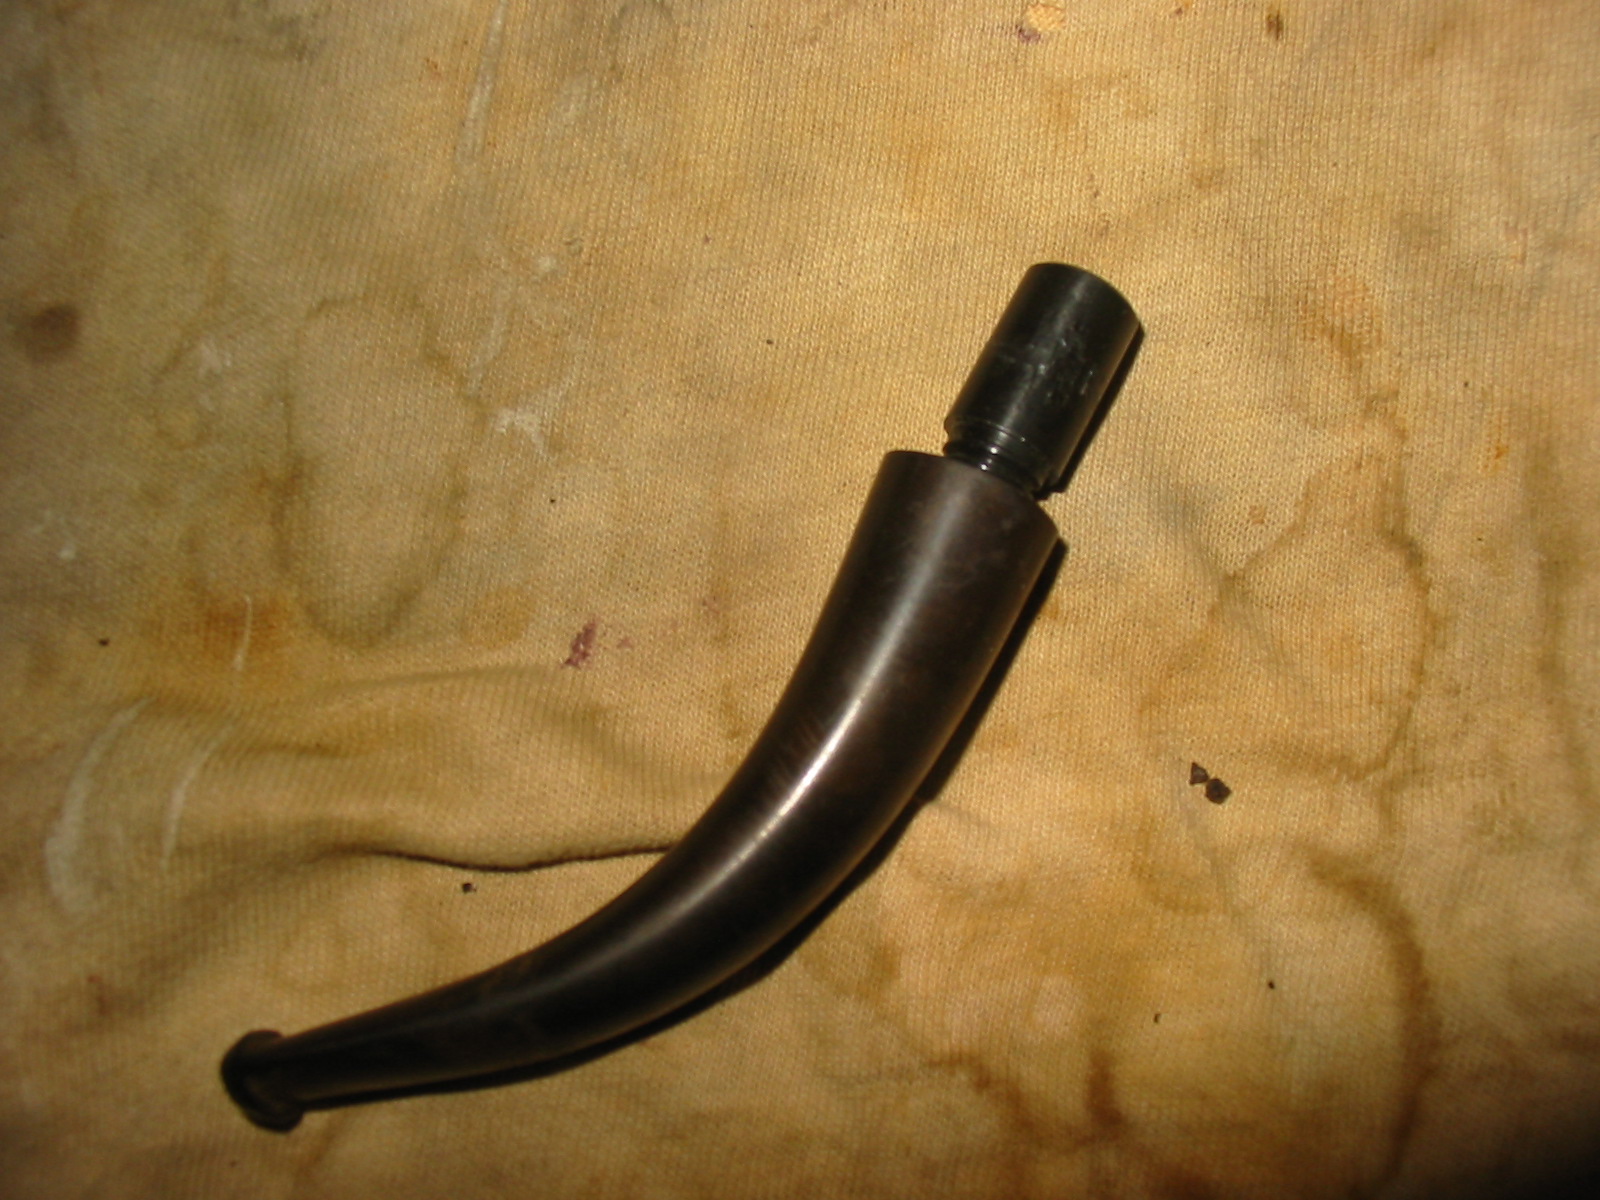
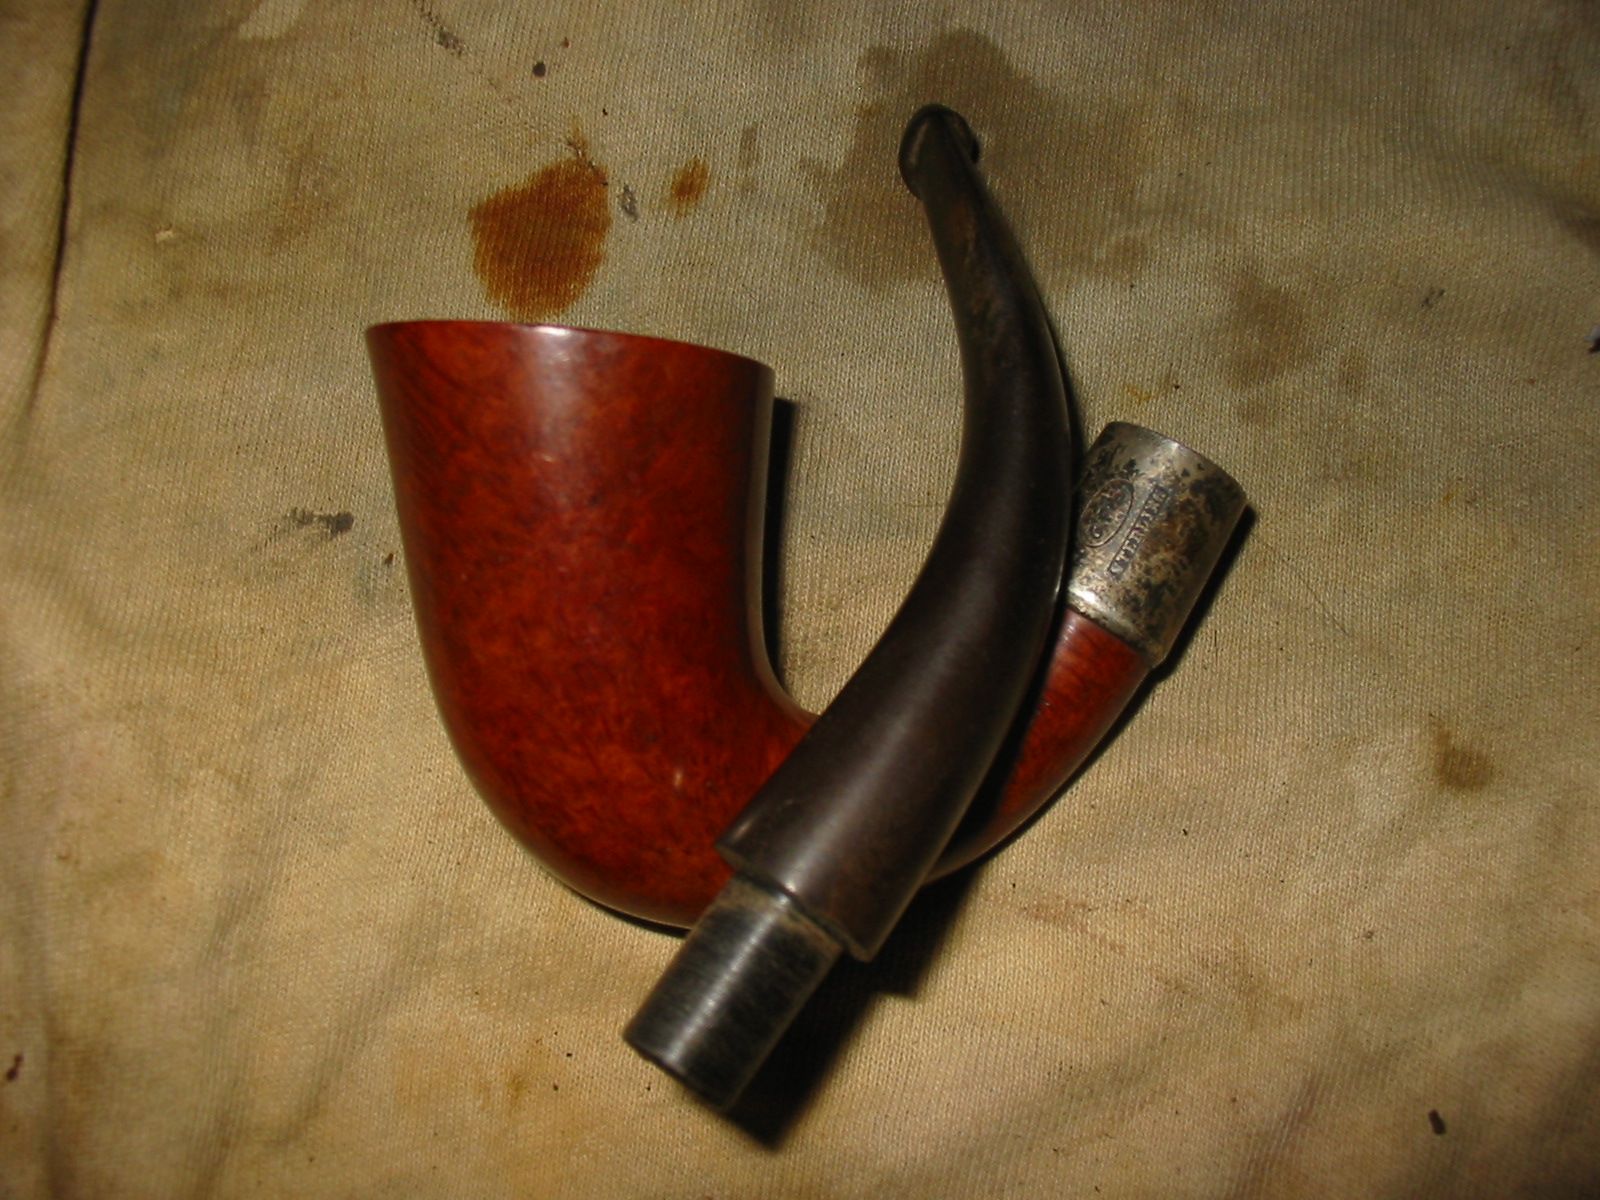
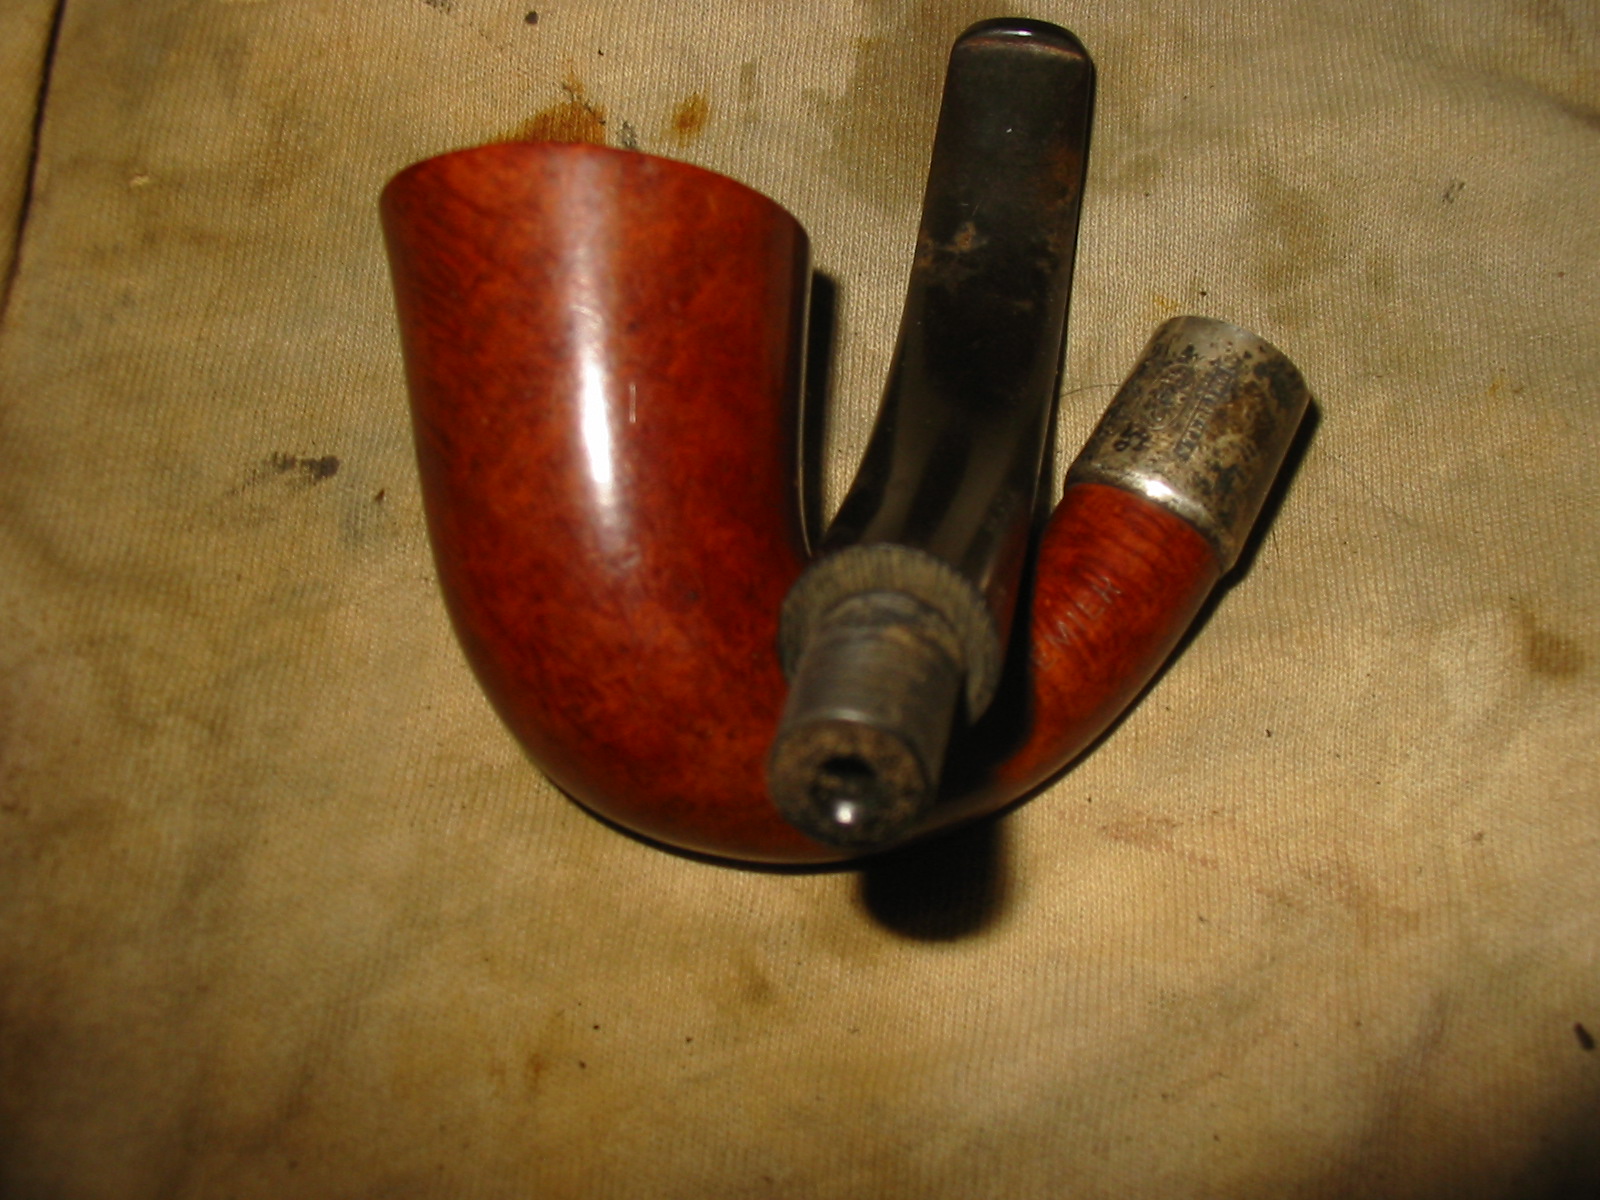
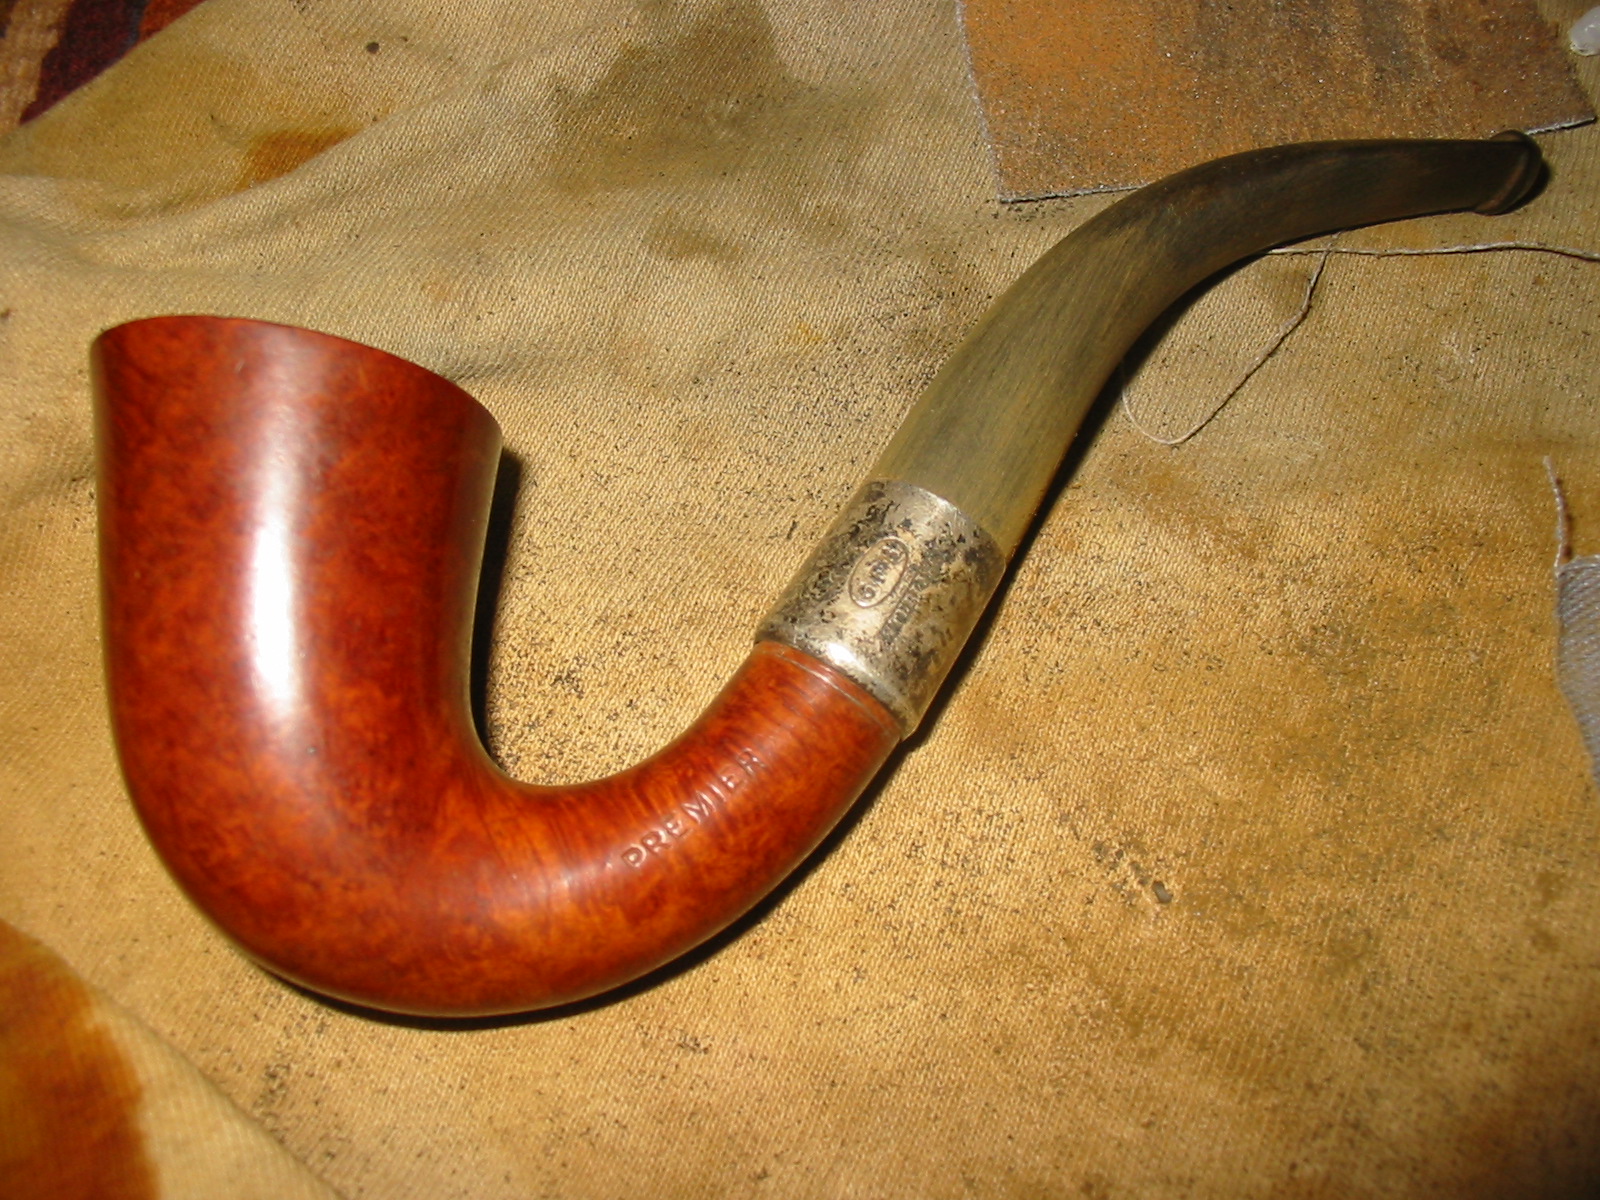
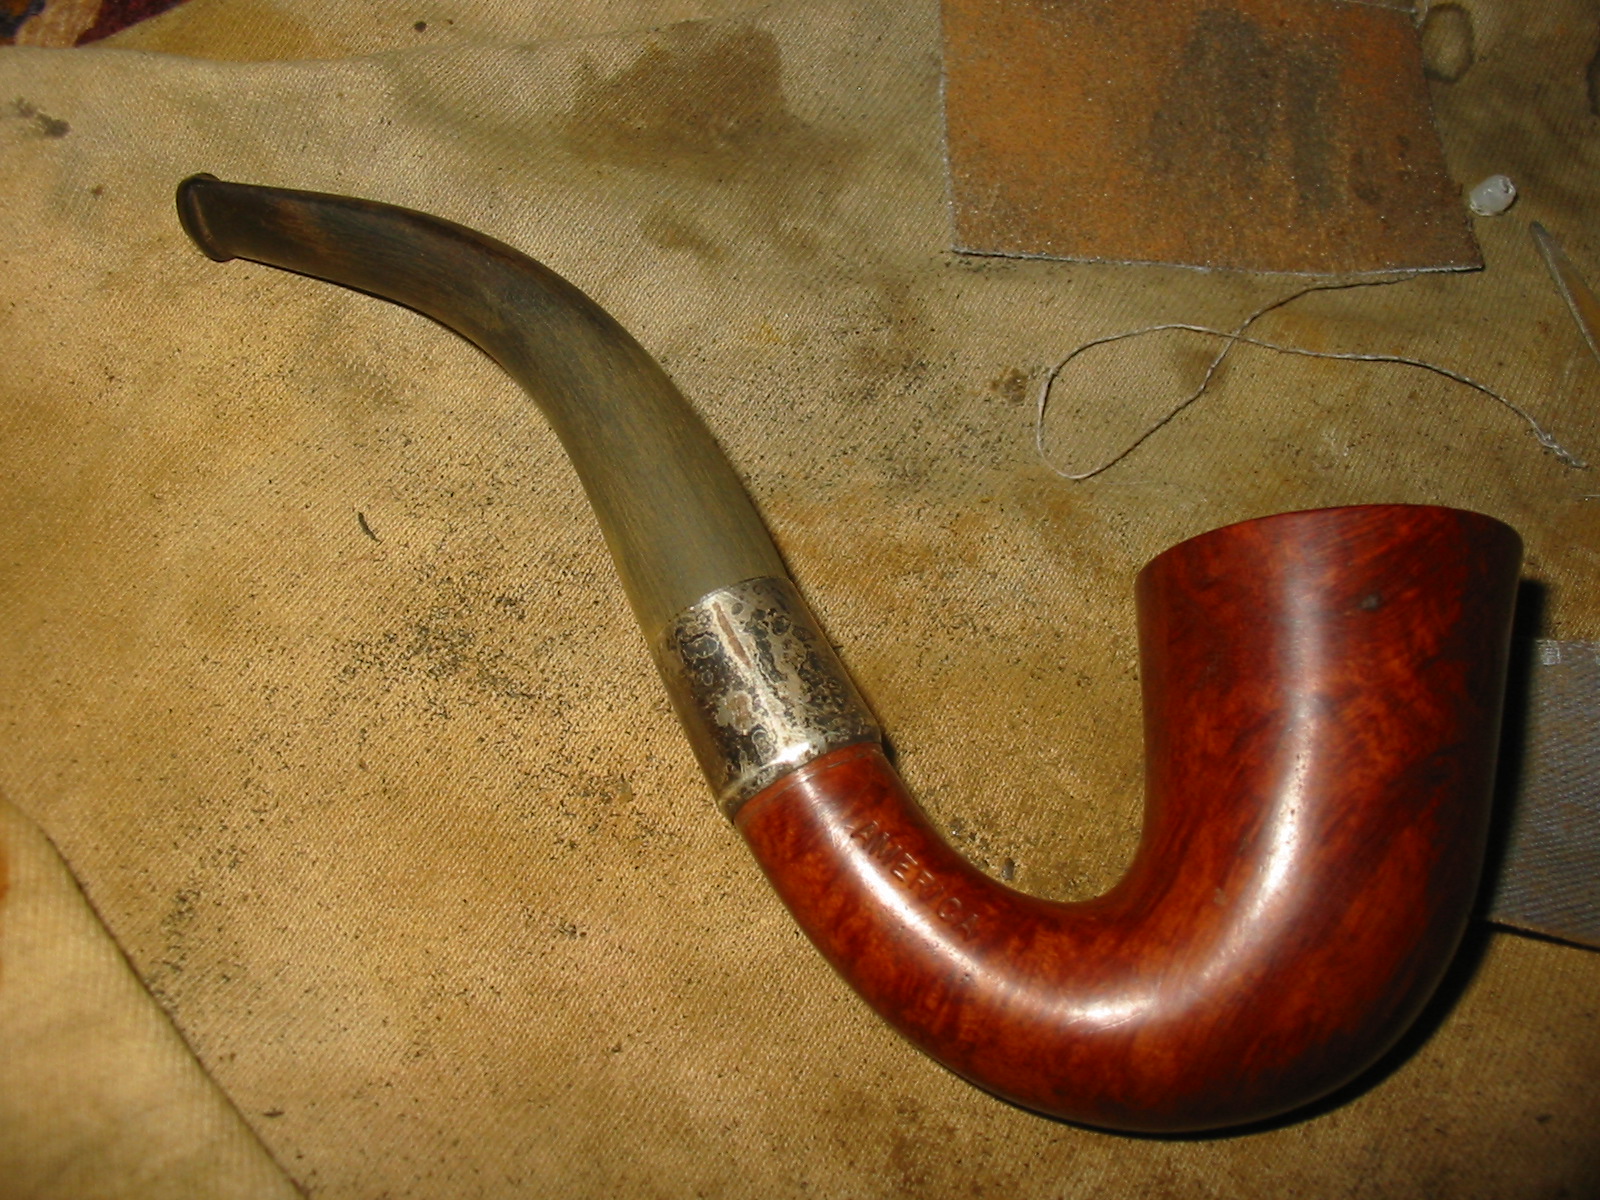
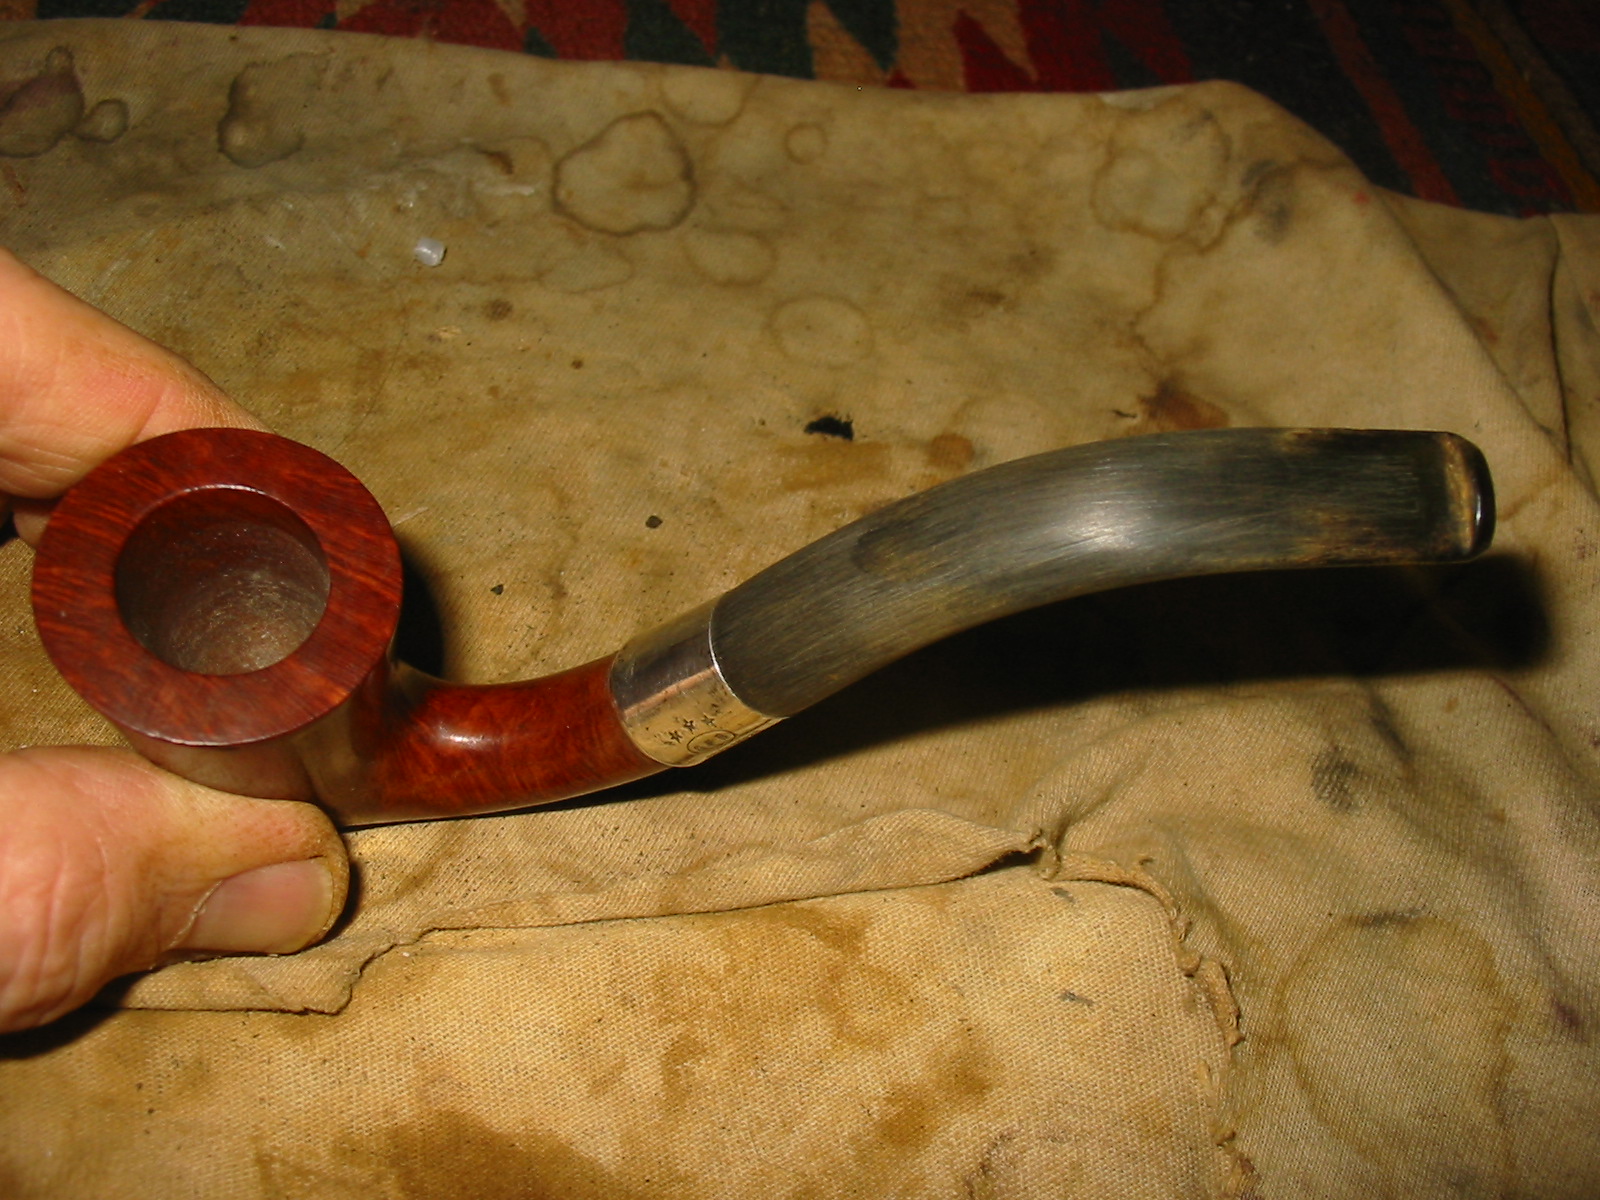
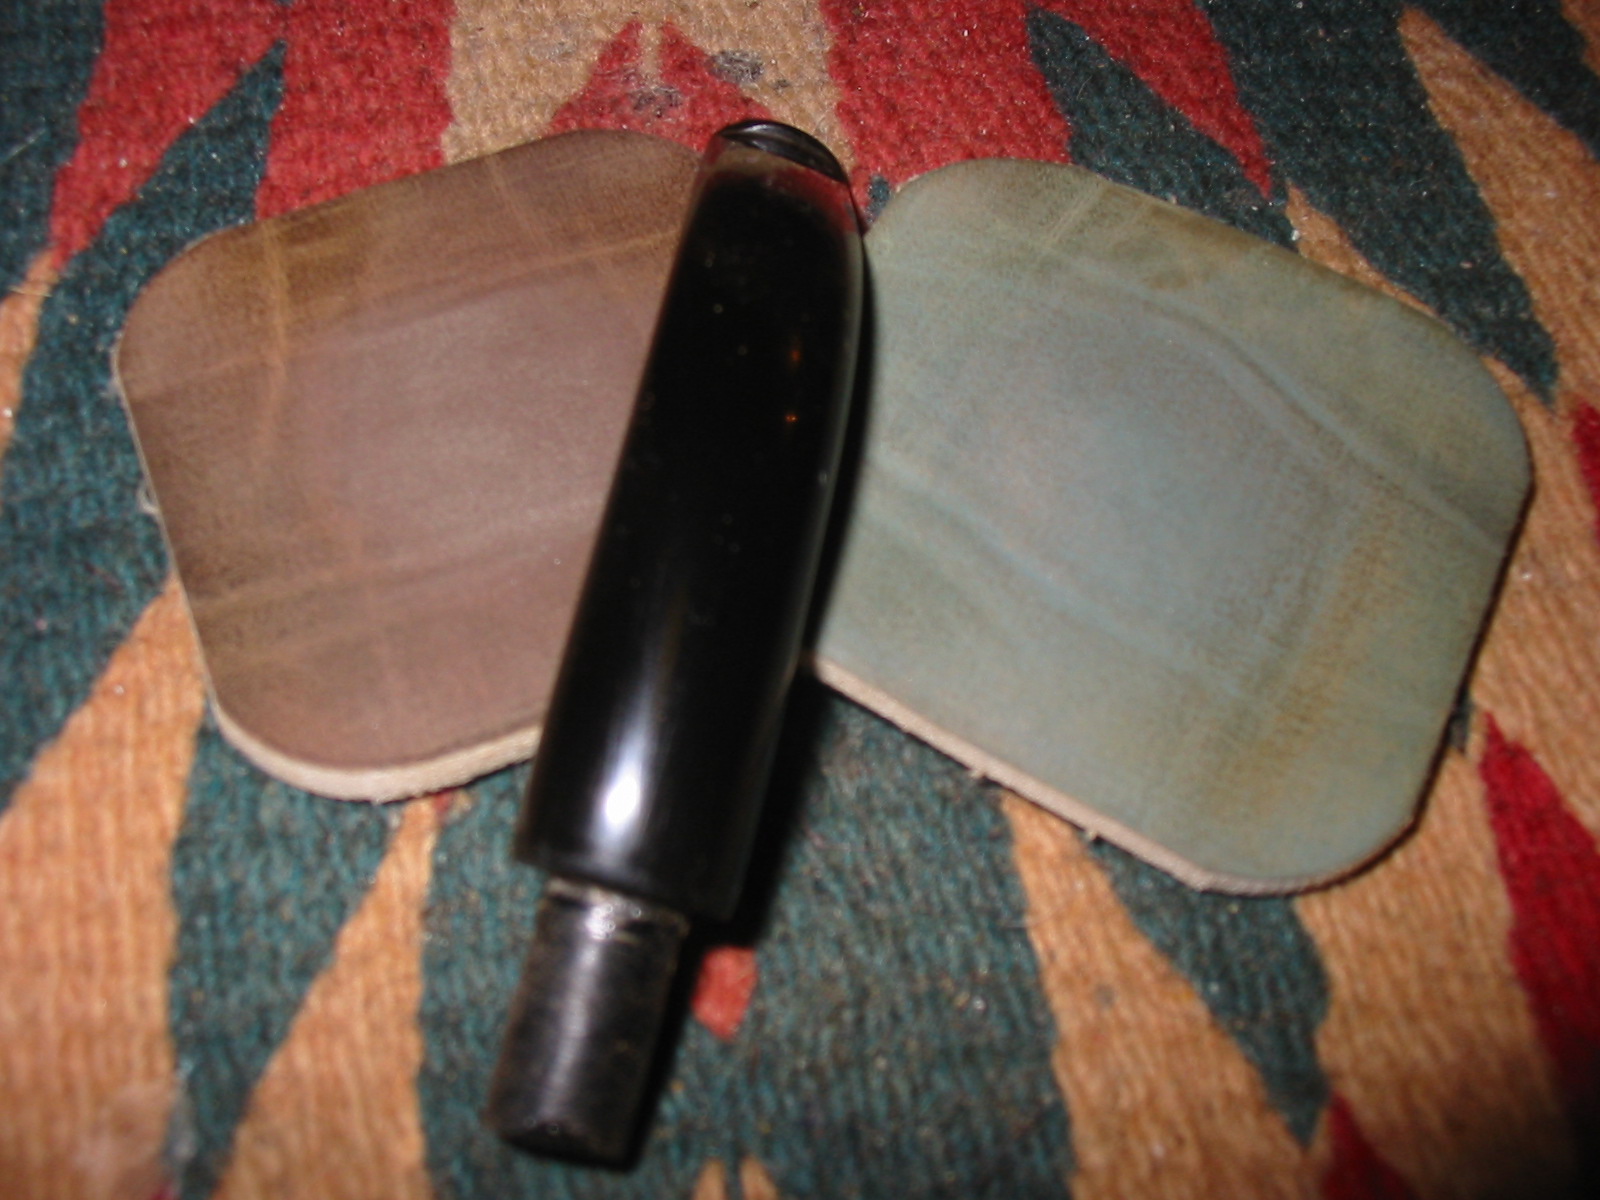
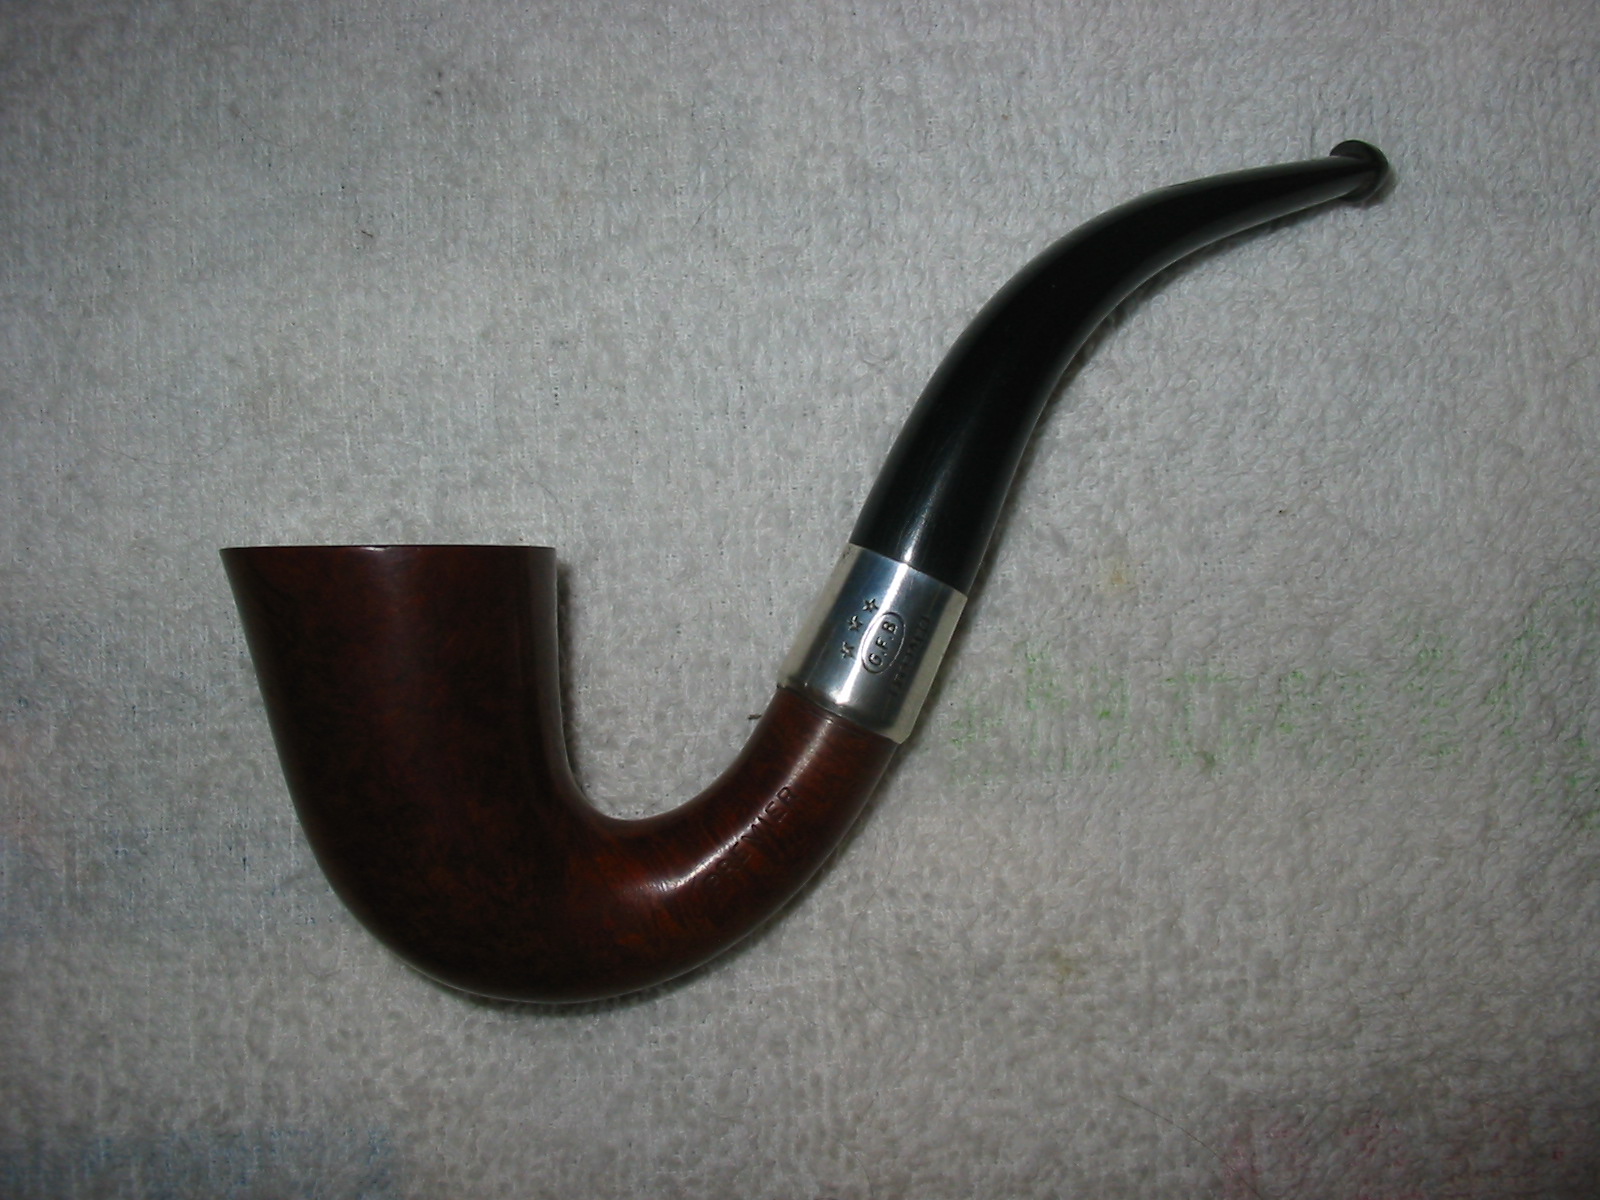
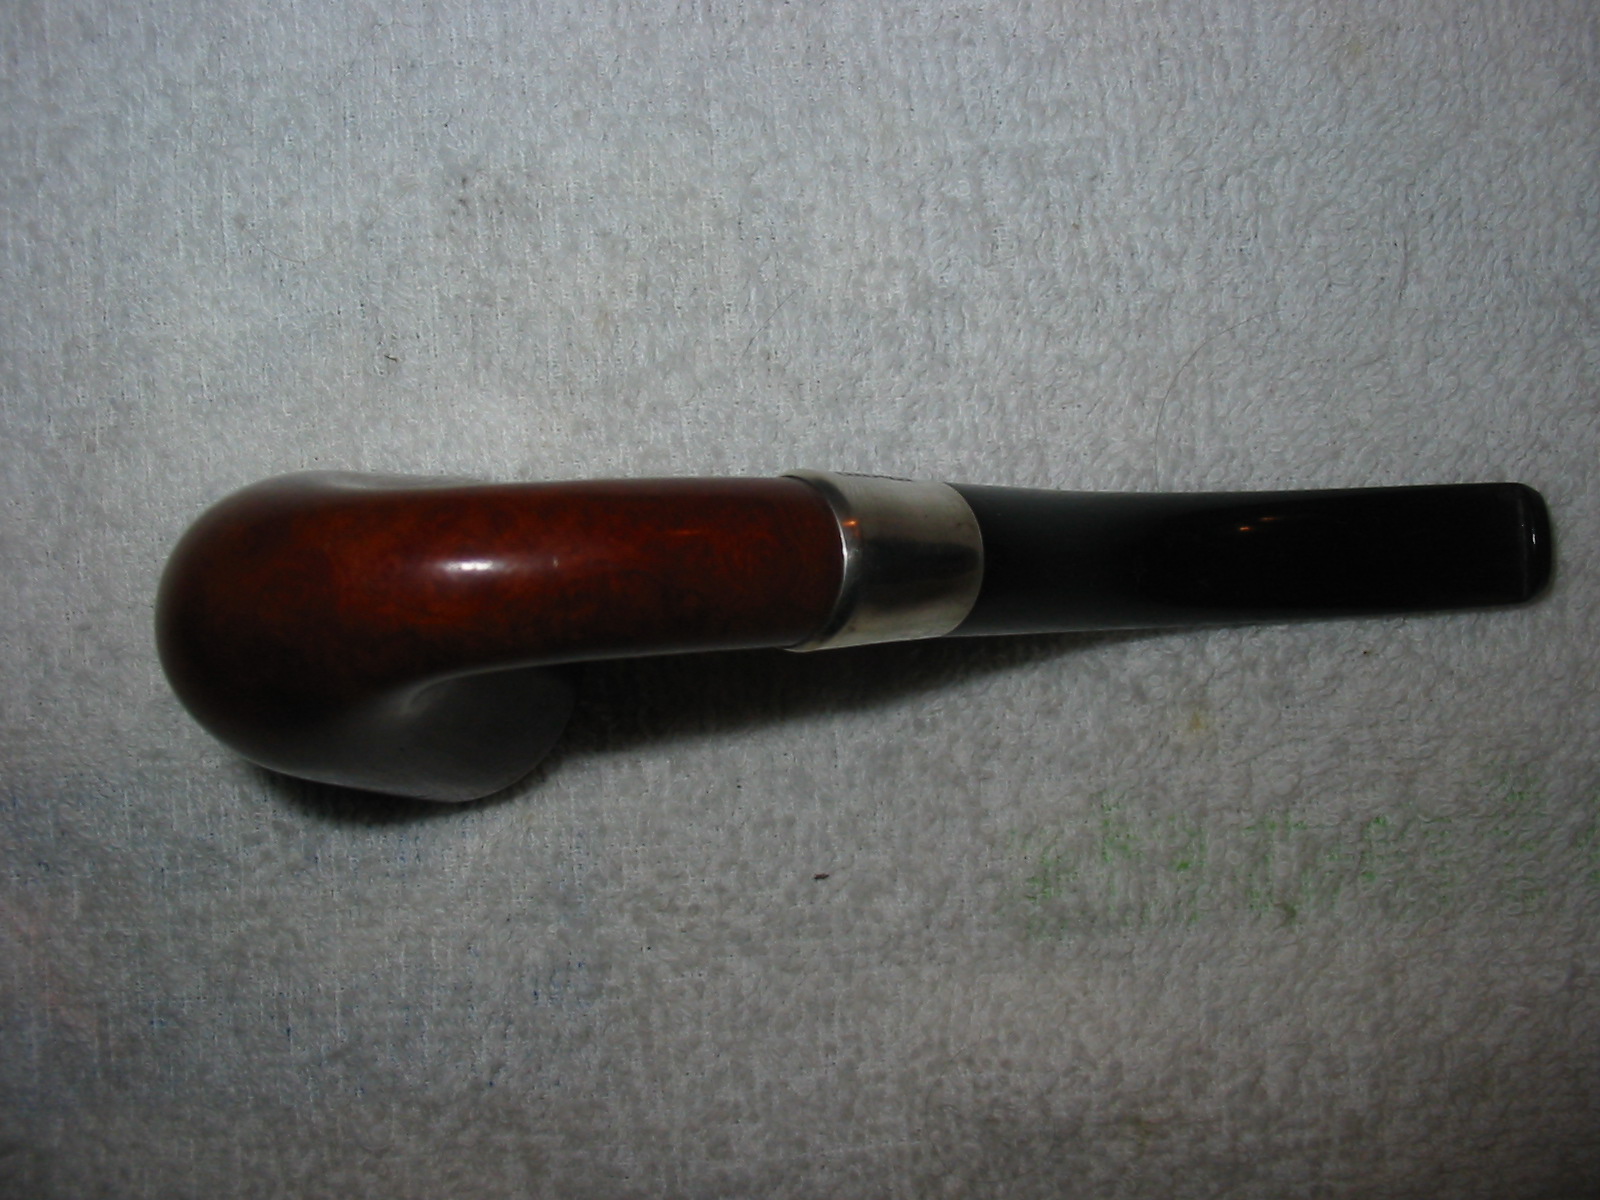
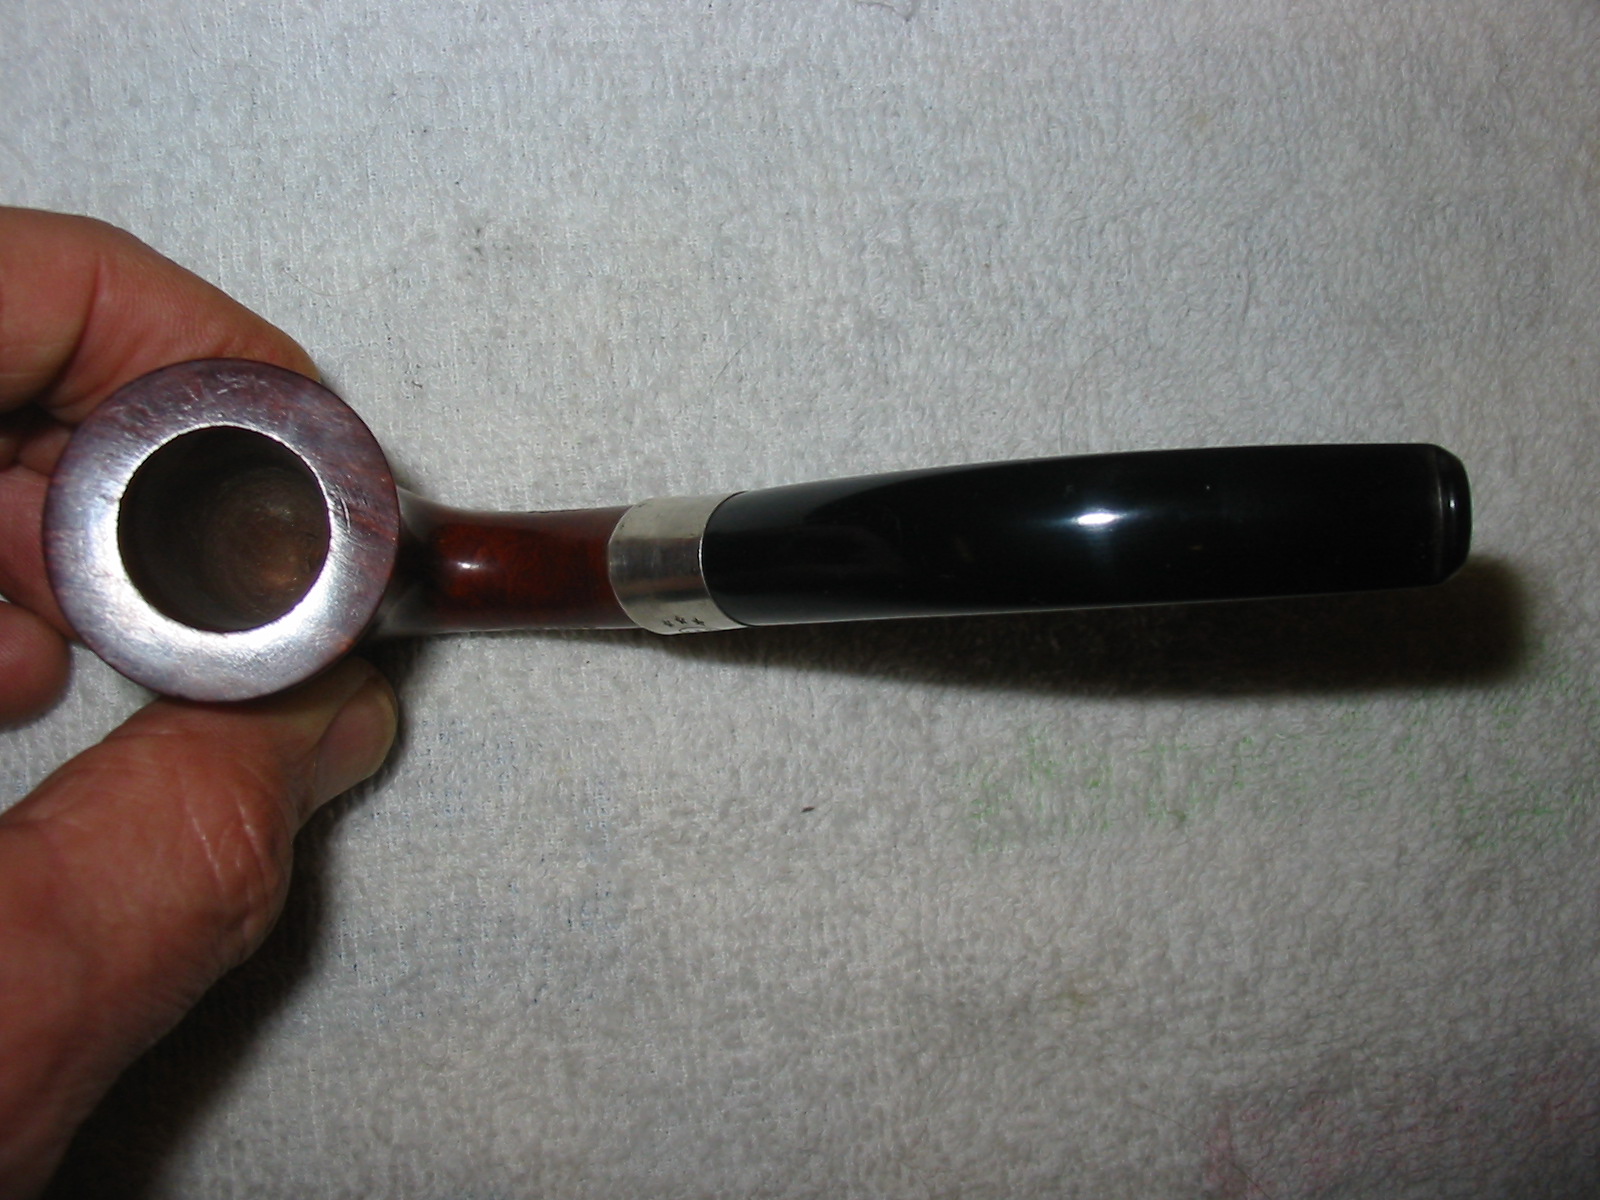
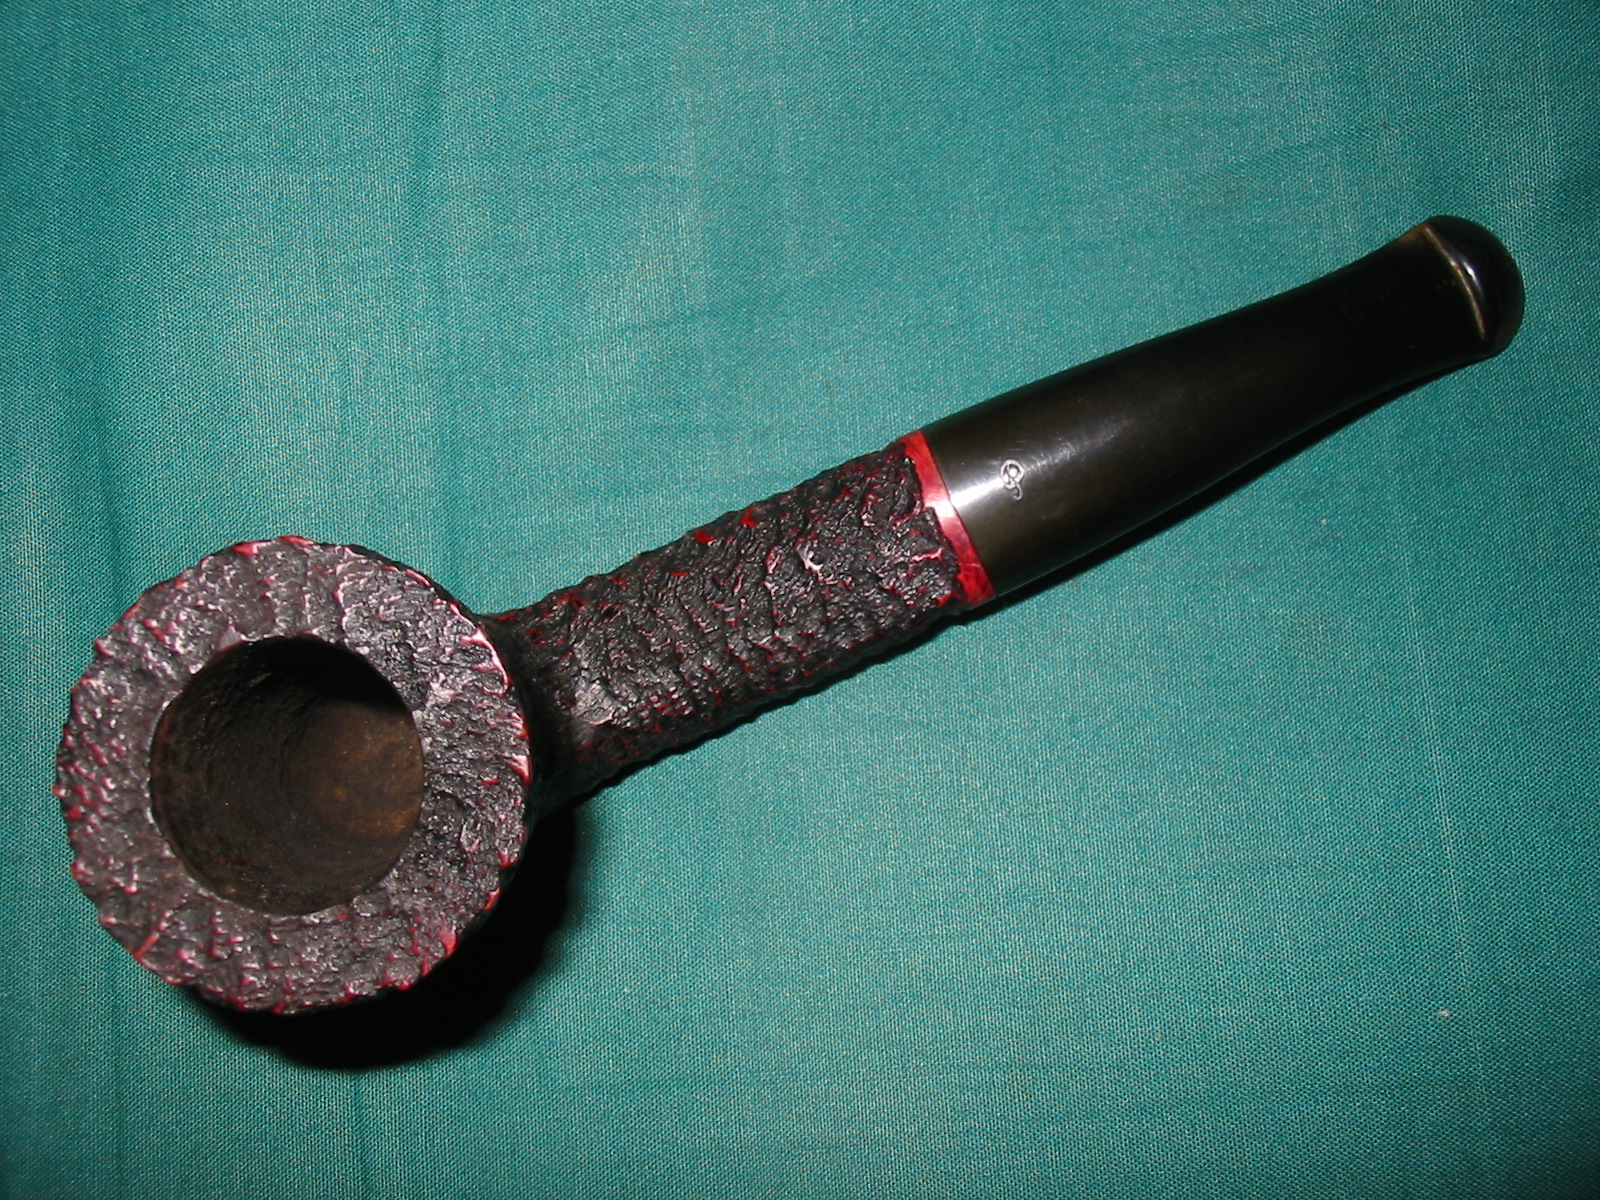
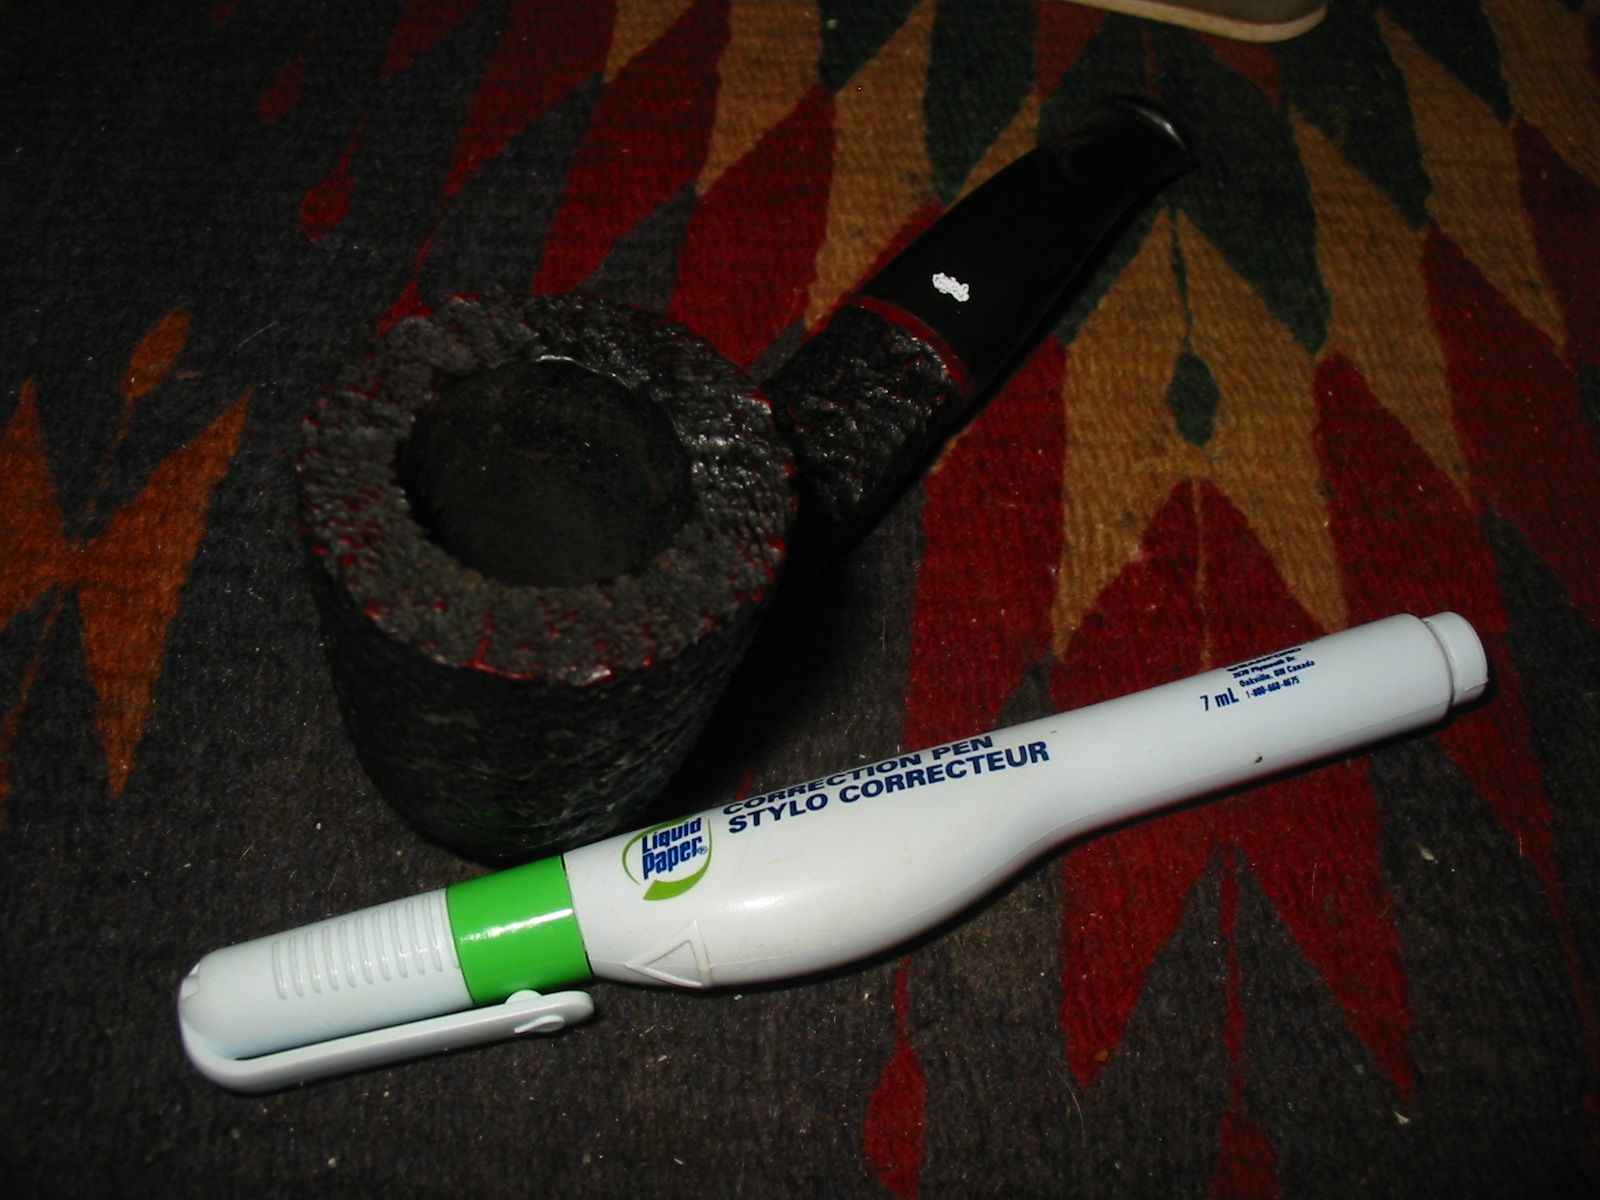
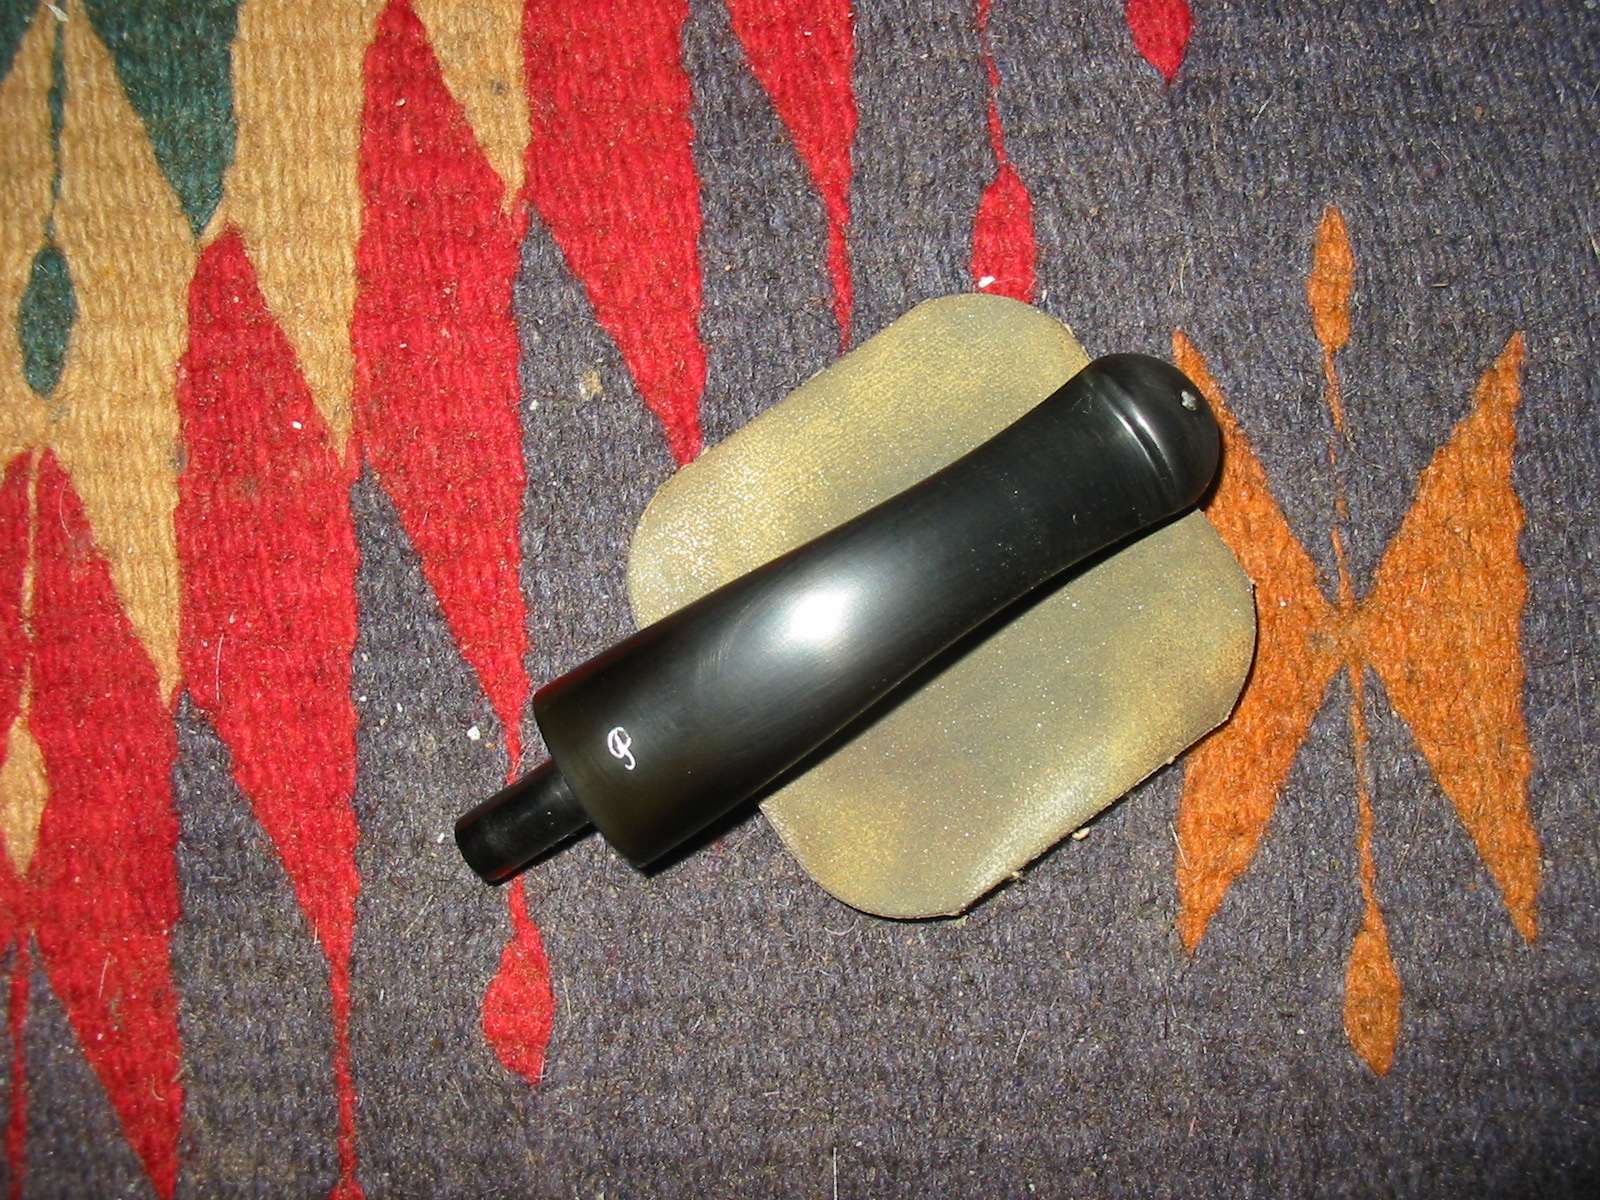
I knew it was coming but not when. Today I came home from work and found a package waiting for me. It was addressed from my buddy in Texas. I excitedly opened it and carefully unwrapped “Mike’s Pipe”. It had come home to Canada. As a kindness my friend had include a small bag of HH Dark Flake tobacco for me to try. I know he had said it was too strong for his liking but the funny thing is I think it is just the tobacco that Mike would have loved. I took the pipe down to my work table and gave it a thorough examination. It was actually in great shape. The cake was minimal, just the way I like it. The finish was in excellent shape with no dings or scratches. There was a little darkening and dust on the rim but that would clean up easily. The stem had some oxidation around the P stamp and on the underside as well (to be honest I think this was there when I gave it to Mike, or at least it looked like I remembered it). There was some small tooth chatter on the top of the stem and on the underside just ahead of the button and the shelf, but none of it was too deep. I decided to clean up the pipe right then. The next three photos show the pipe as it looked when I took it from the box.


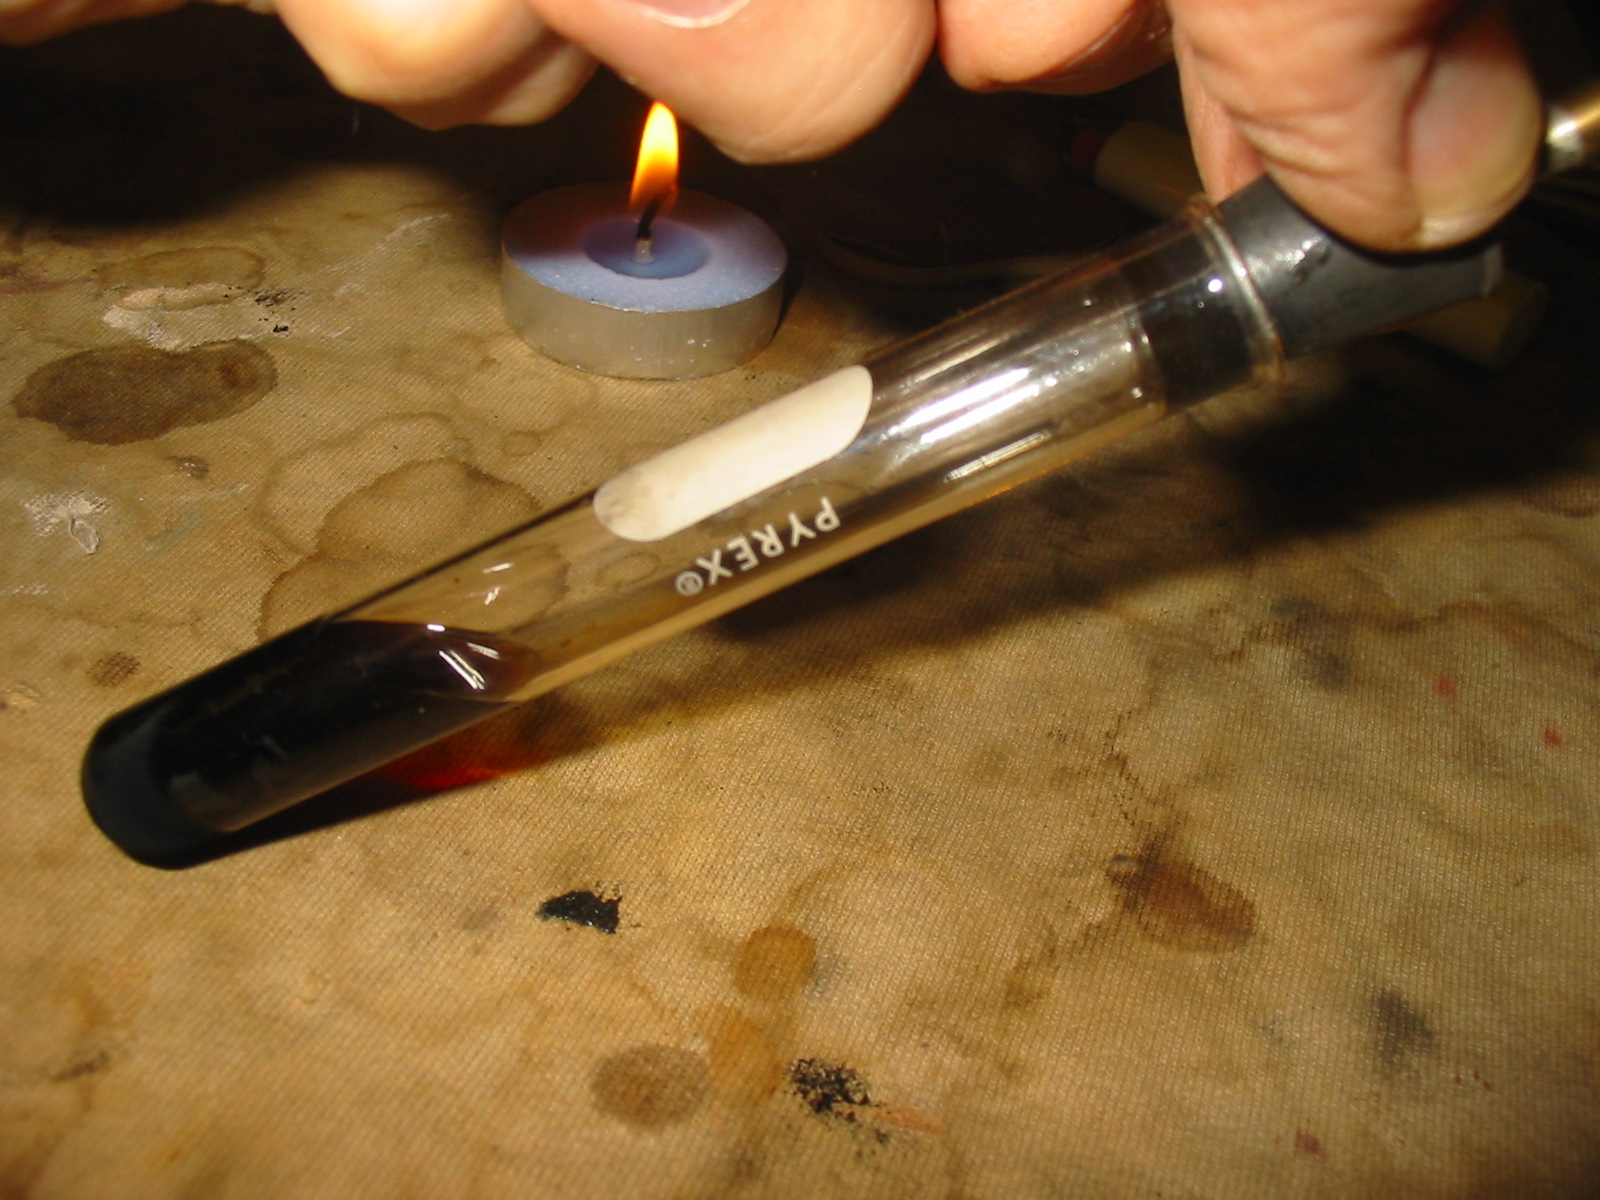
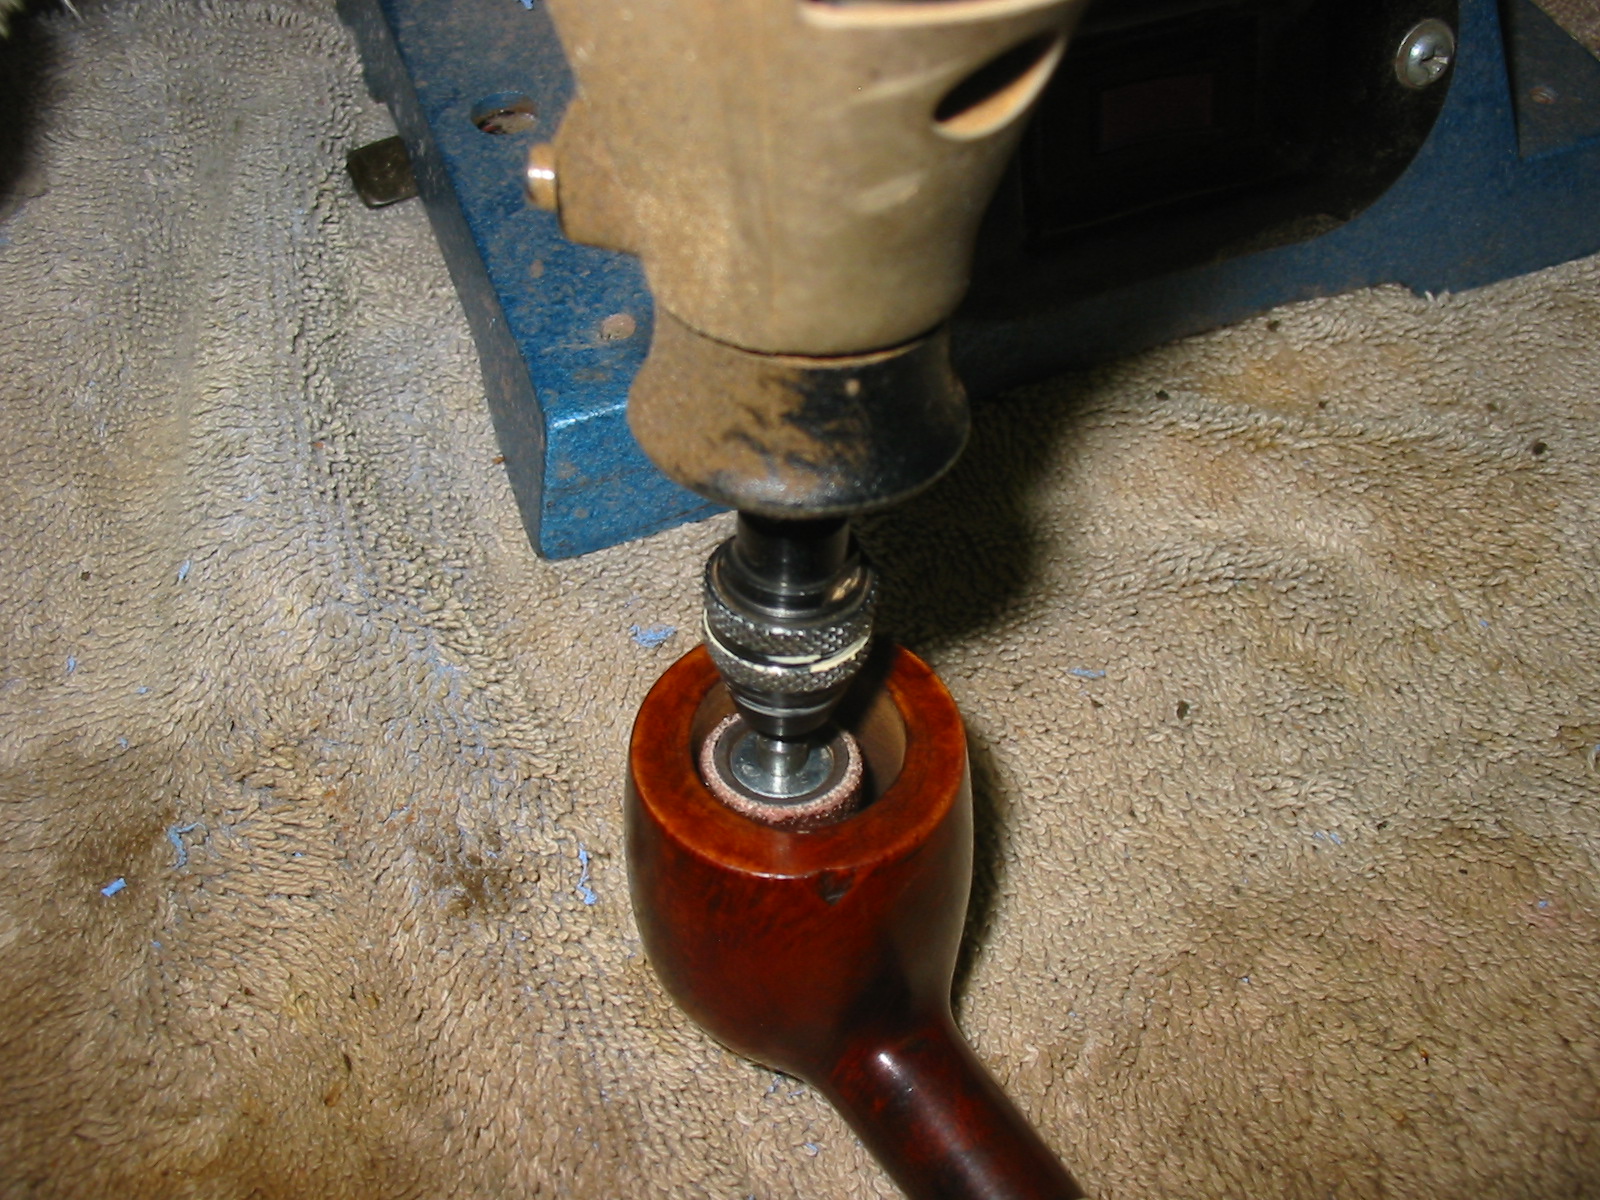
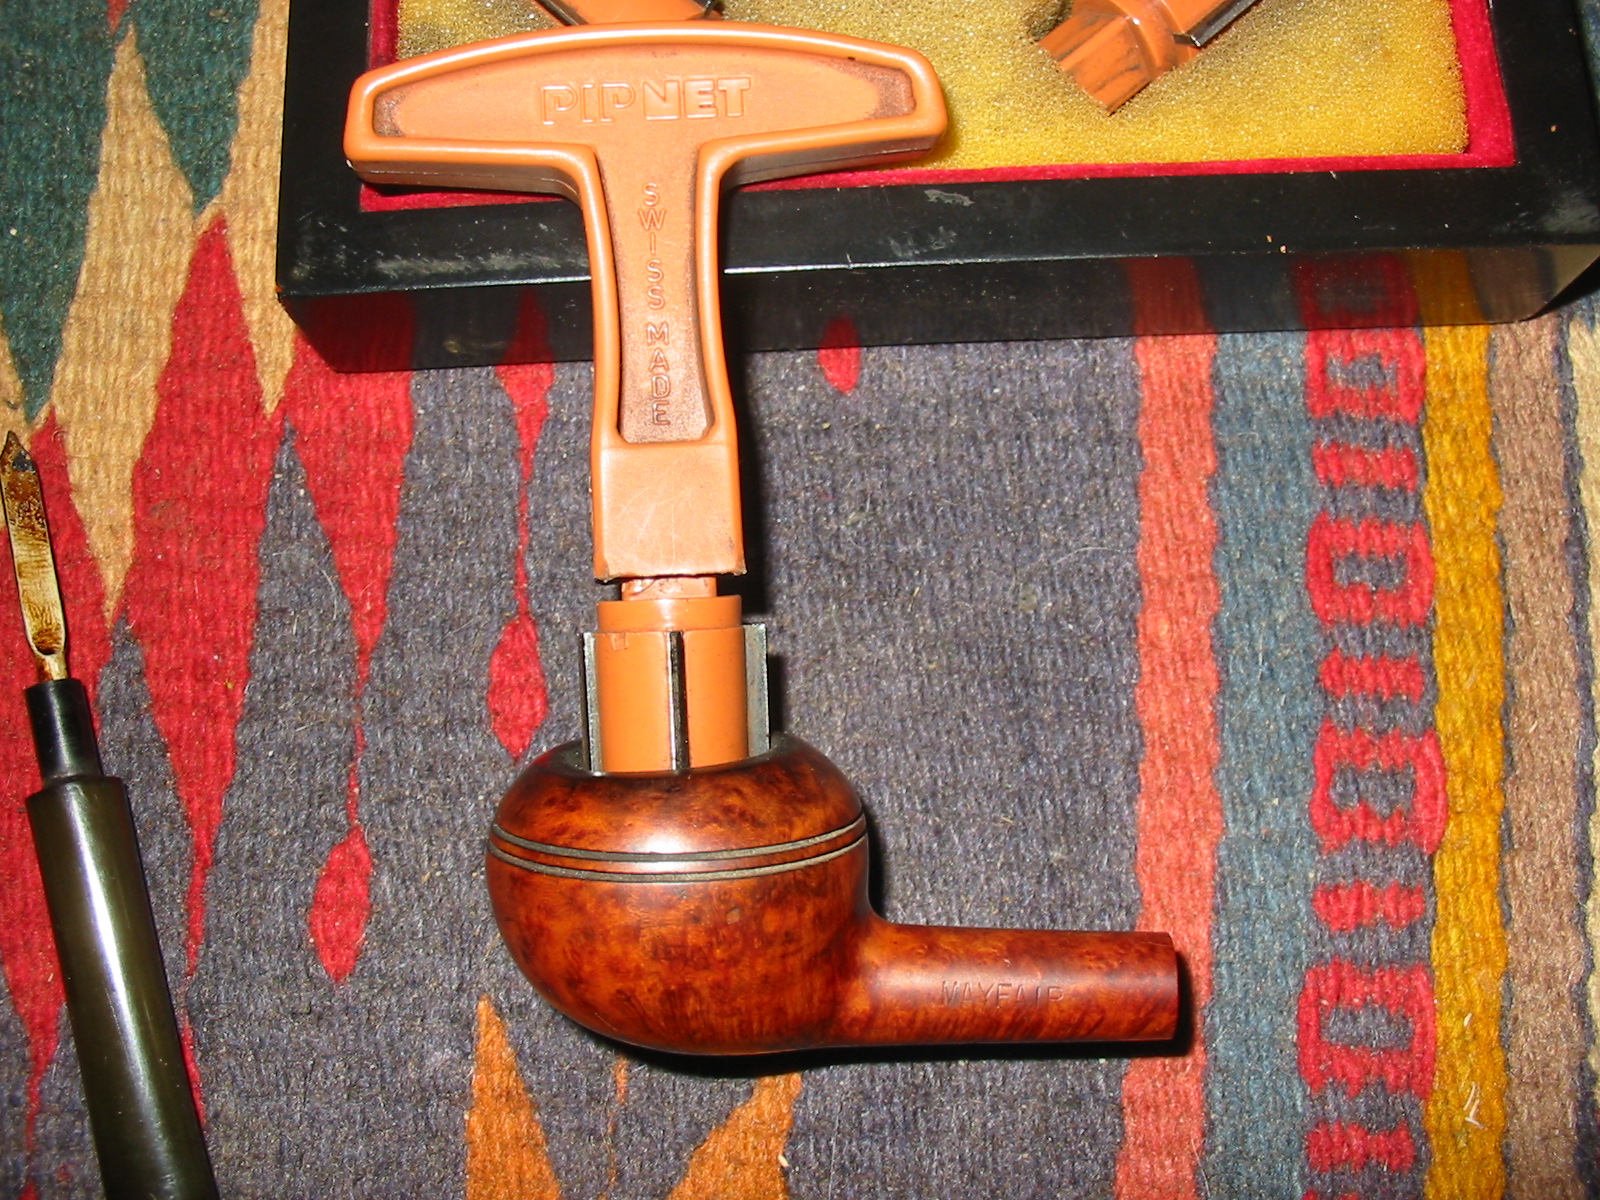
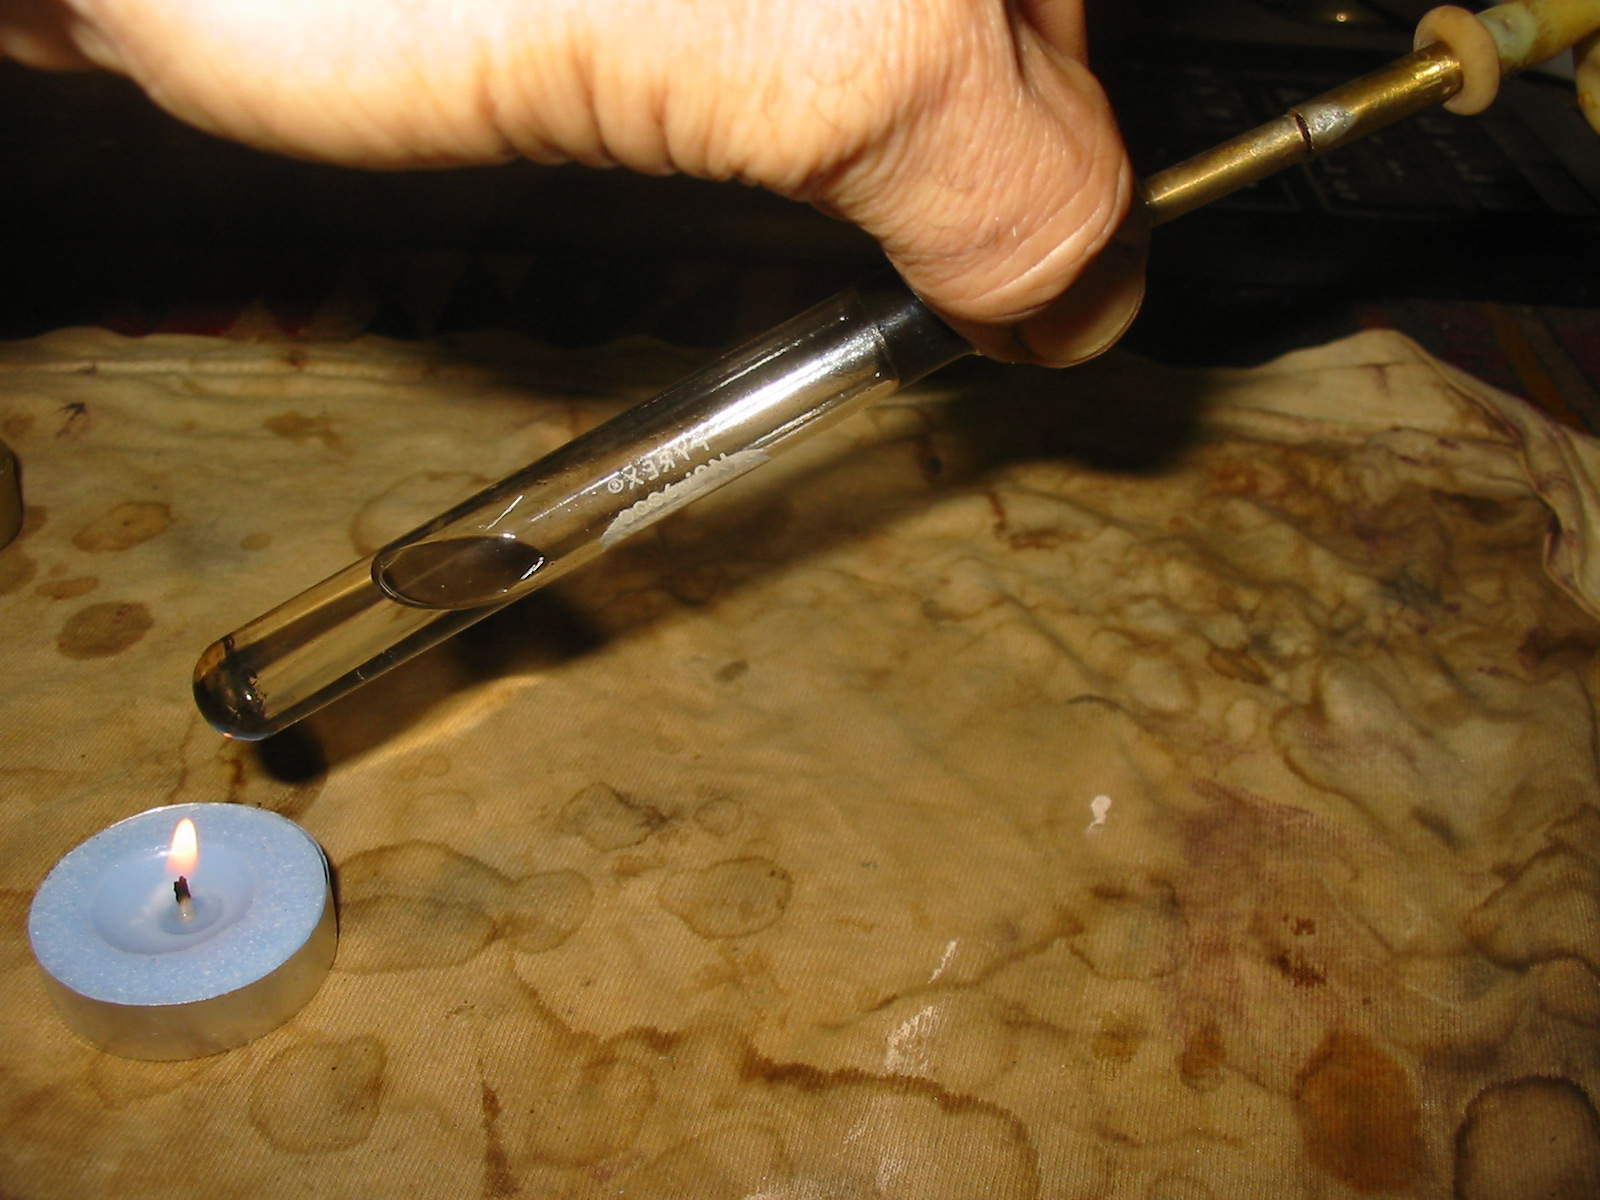
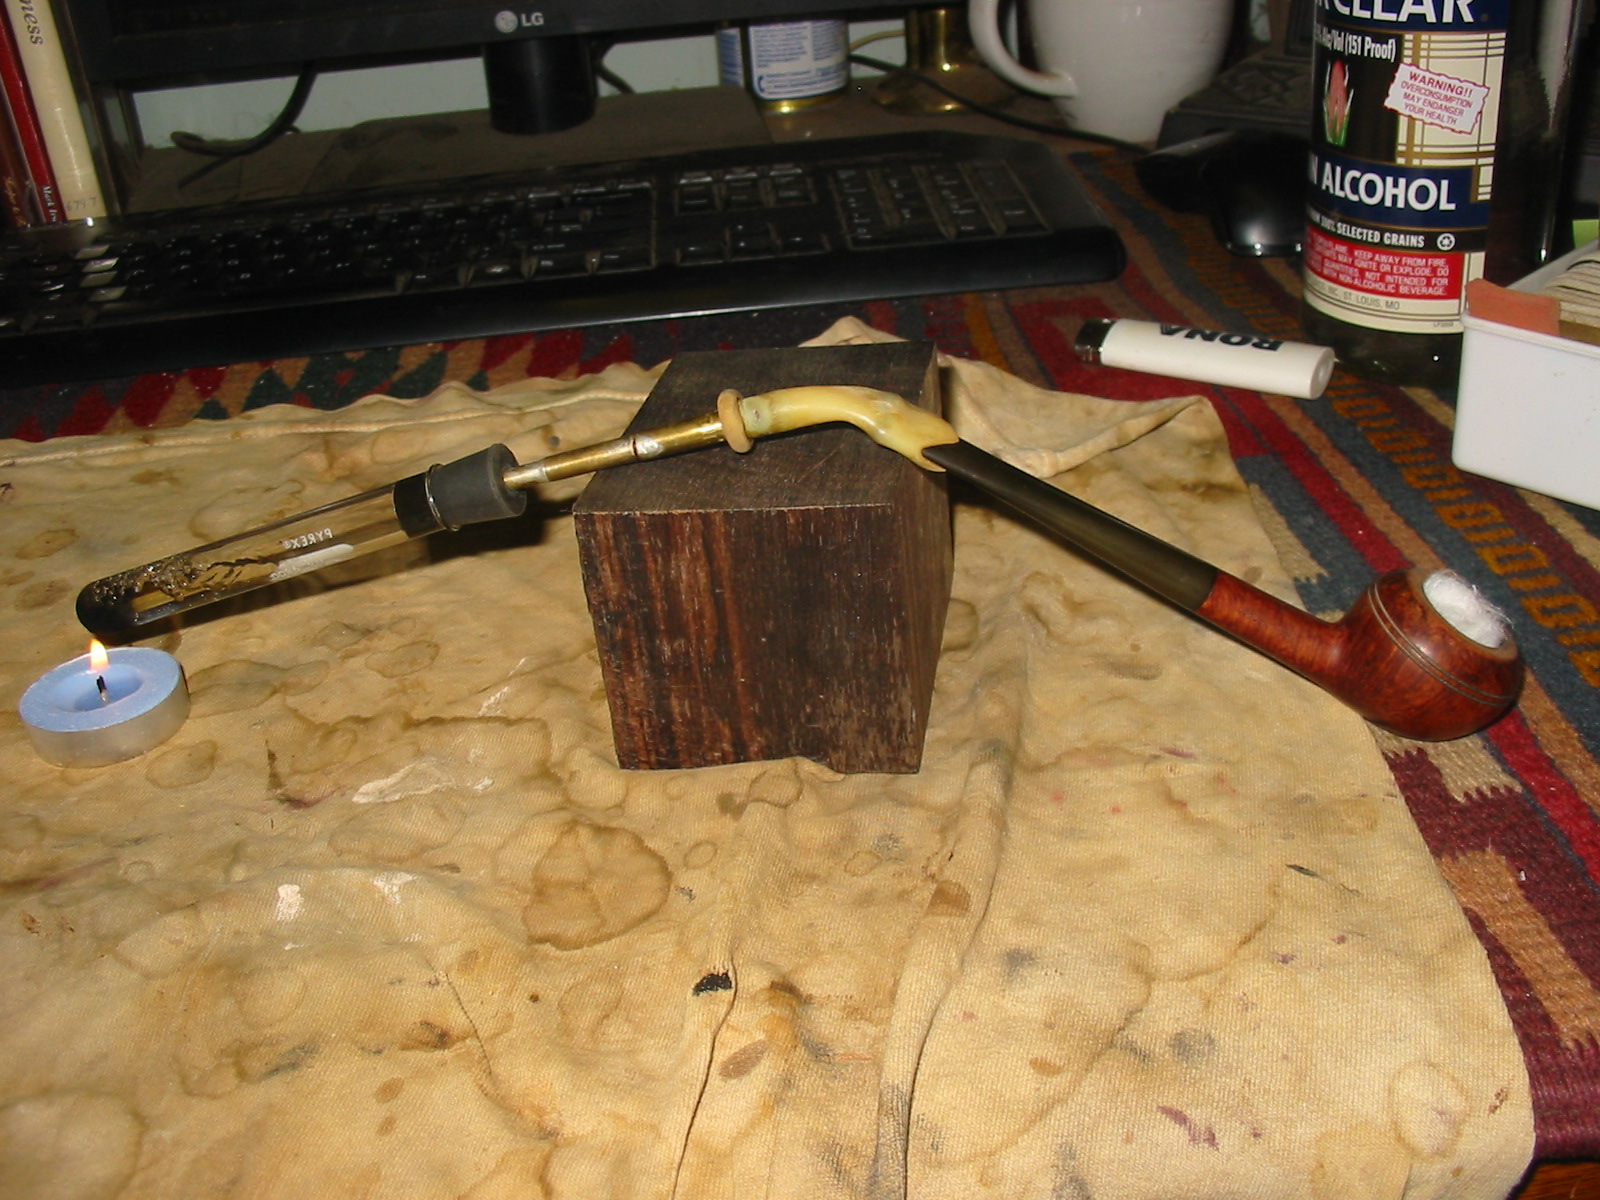
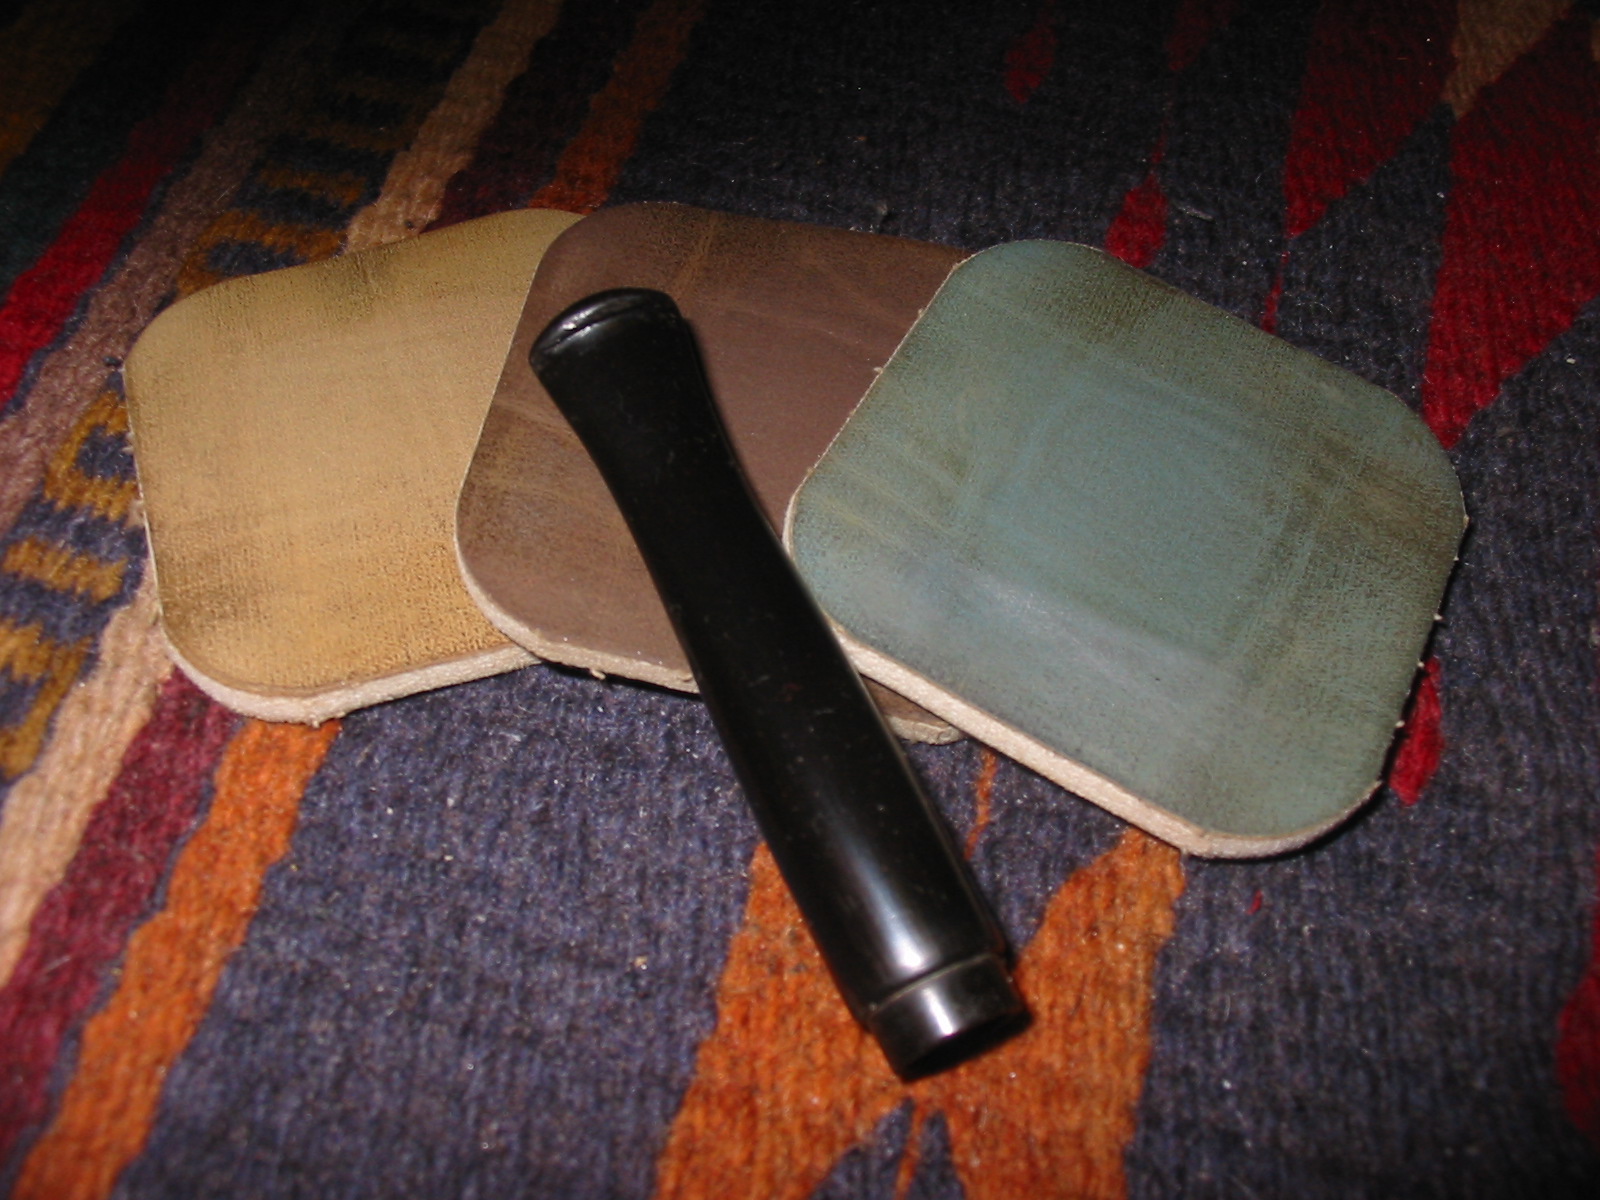
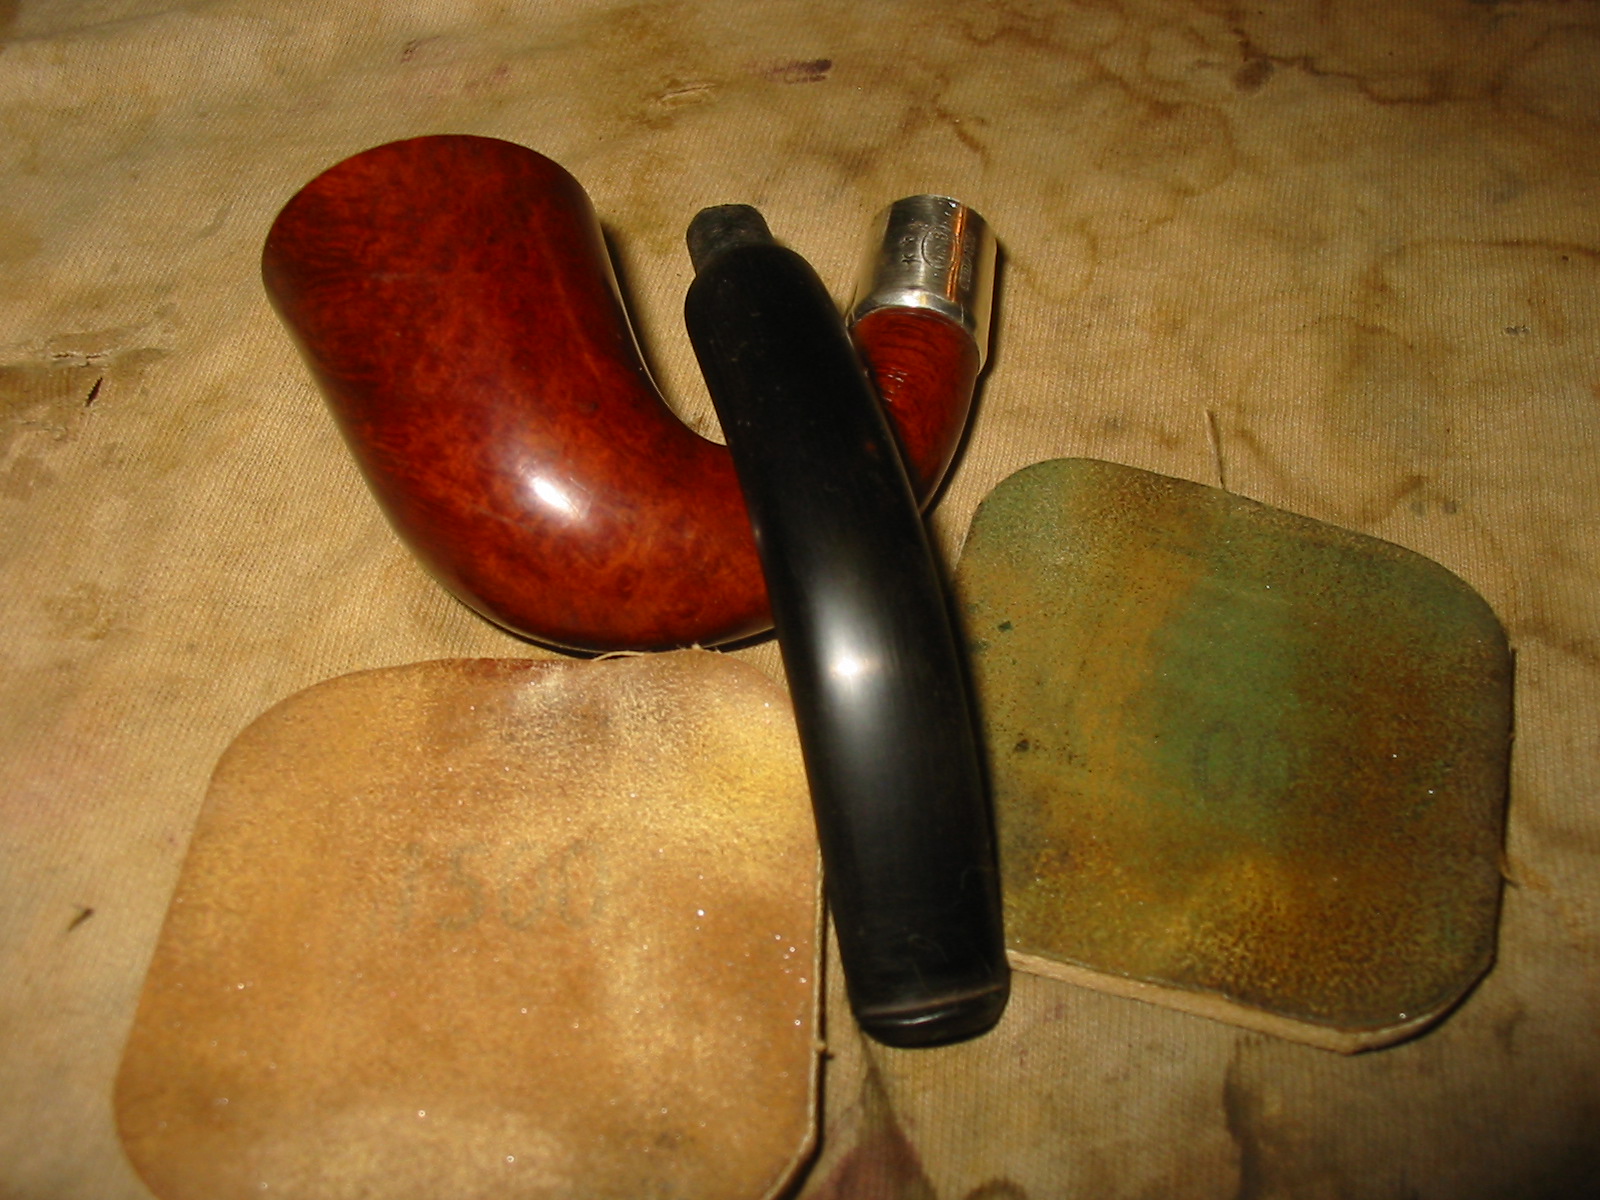
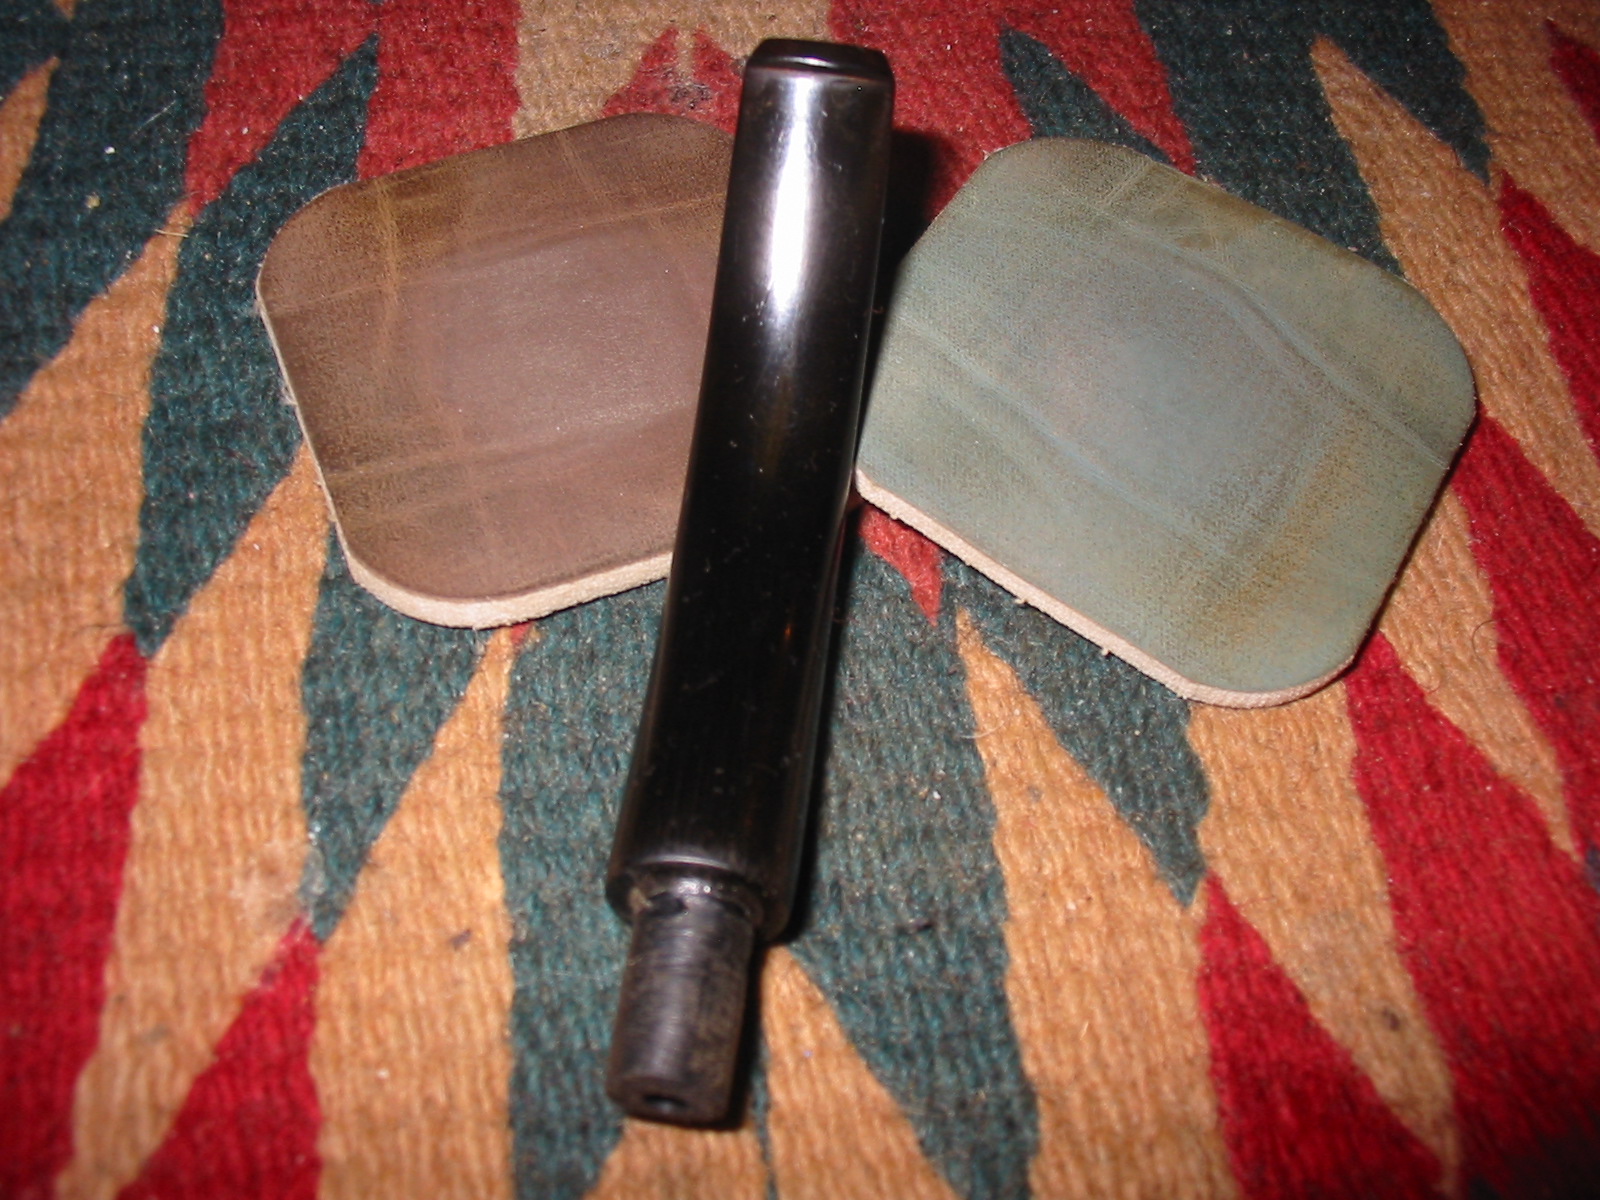
I used a Bic lighter and passed the flame over the tooth chatter on the top and underside of the stem. I then sanded it lightly with 1500 grit micromesh to make the tooth marks very visible. I used 220 grit sandpaper to remove the tooth ridges and remnants left after the heat of the lighter raised the dents. I wet sanded it with the 1500 grit micromesh to smooth out the scratches left by the 220 grit. I also decided to add some white to the stamping on the stem. I use a whiteout pen to do that. I apply the whiteout heavily to the stamping and once it is dried I sand it off with the 1500 grit micromesh sanding pad.

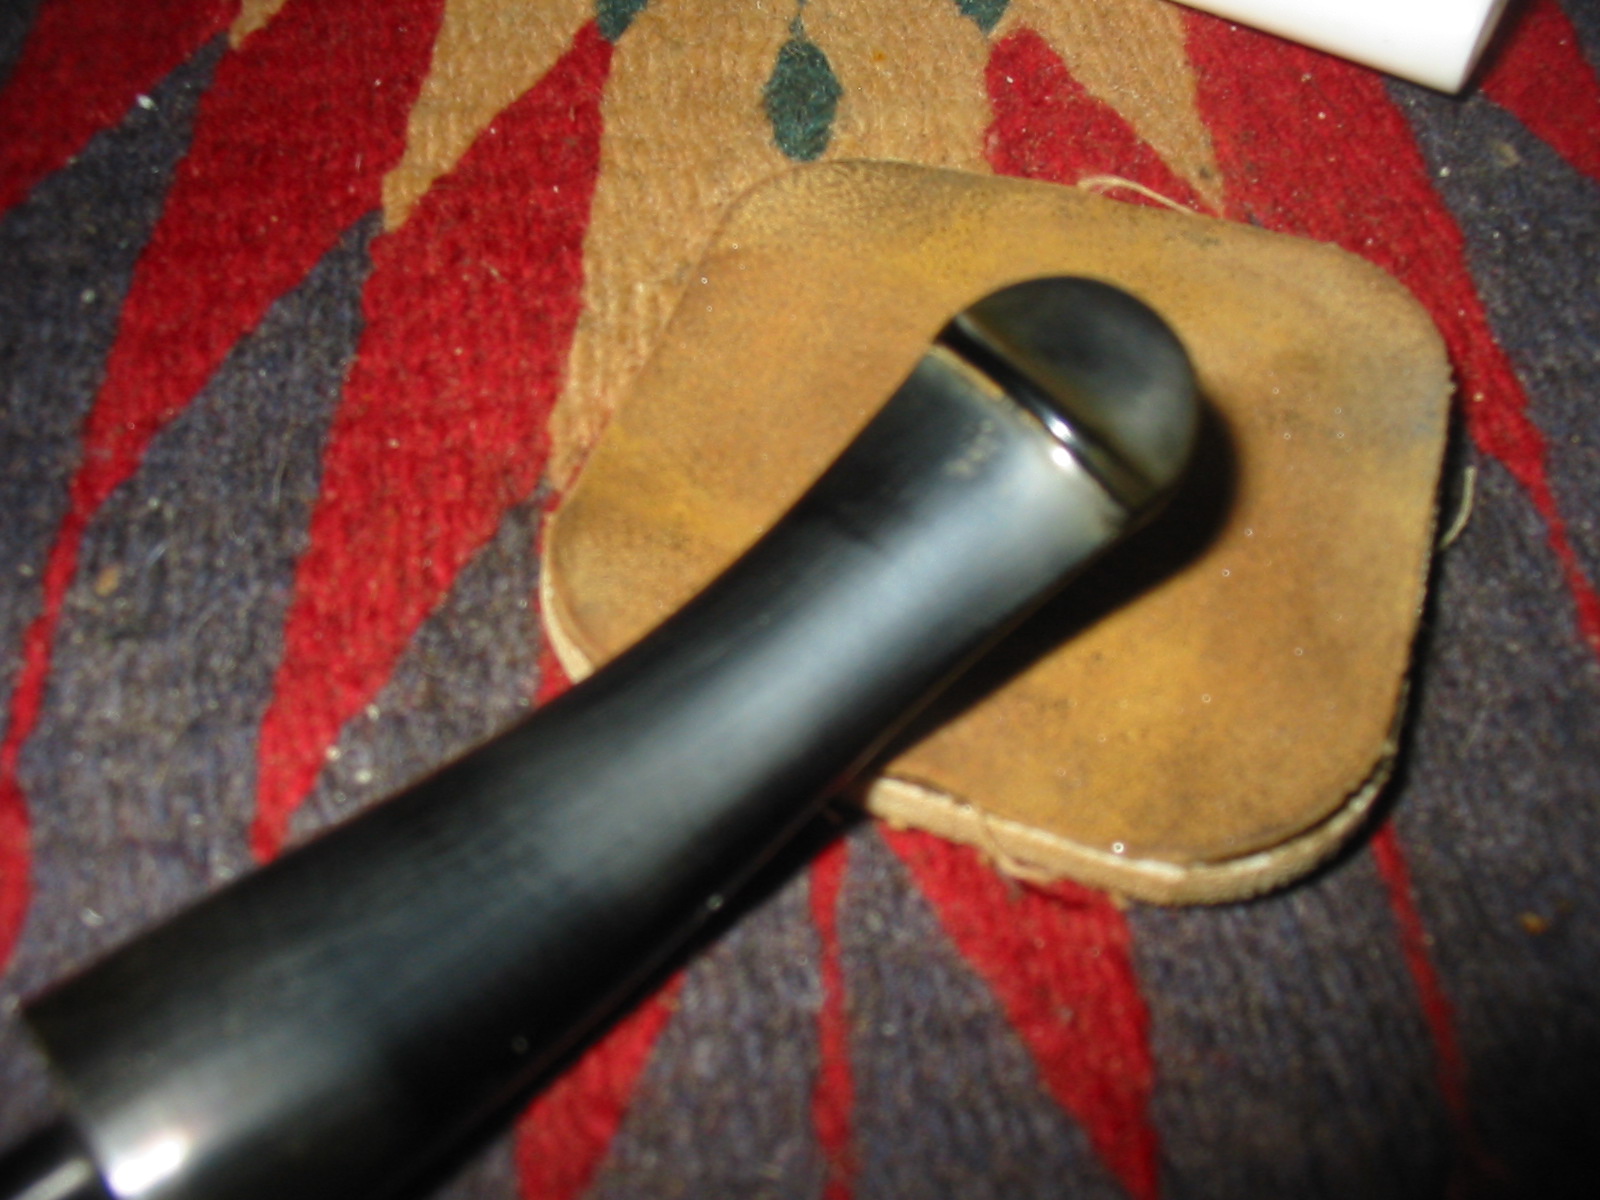
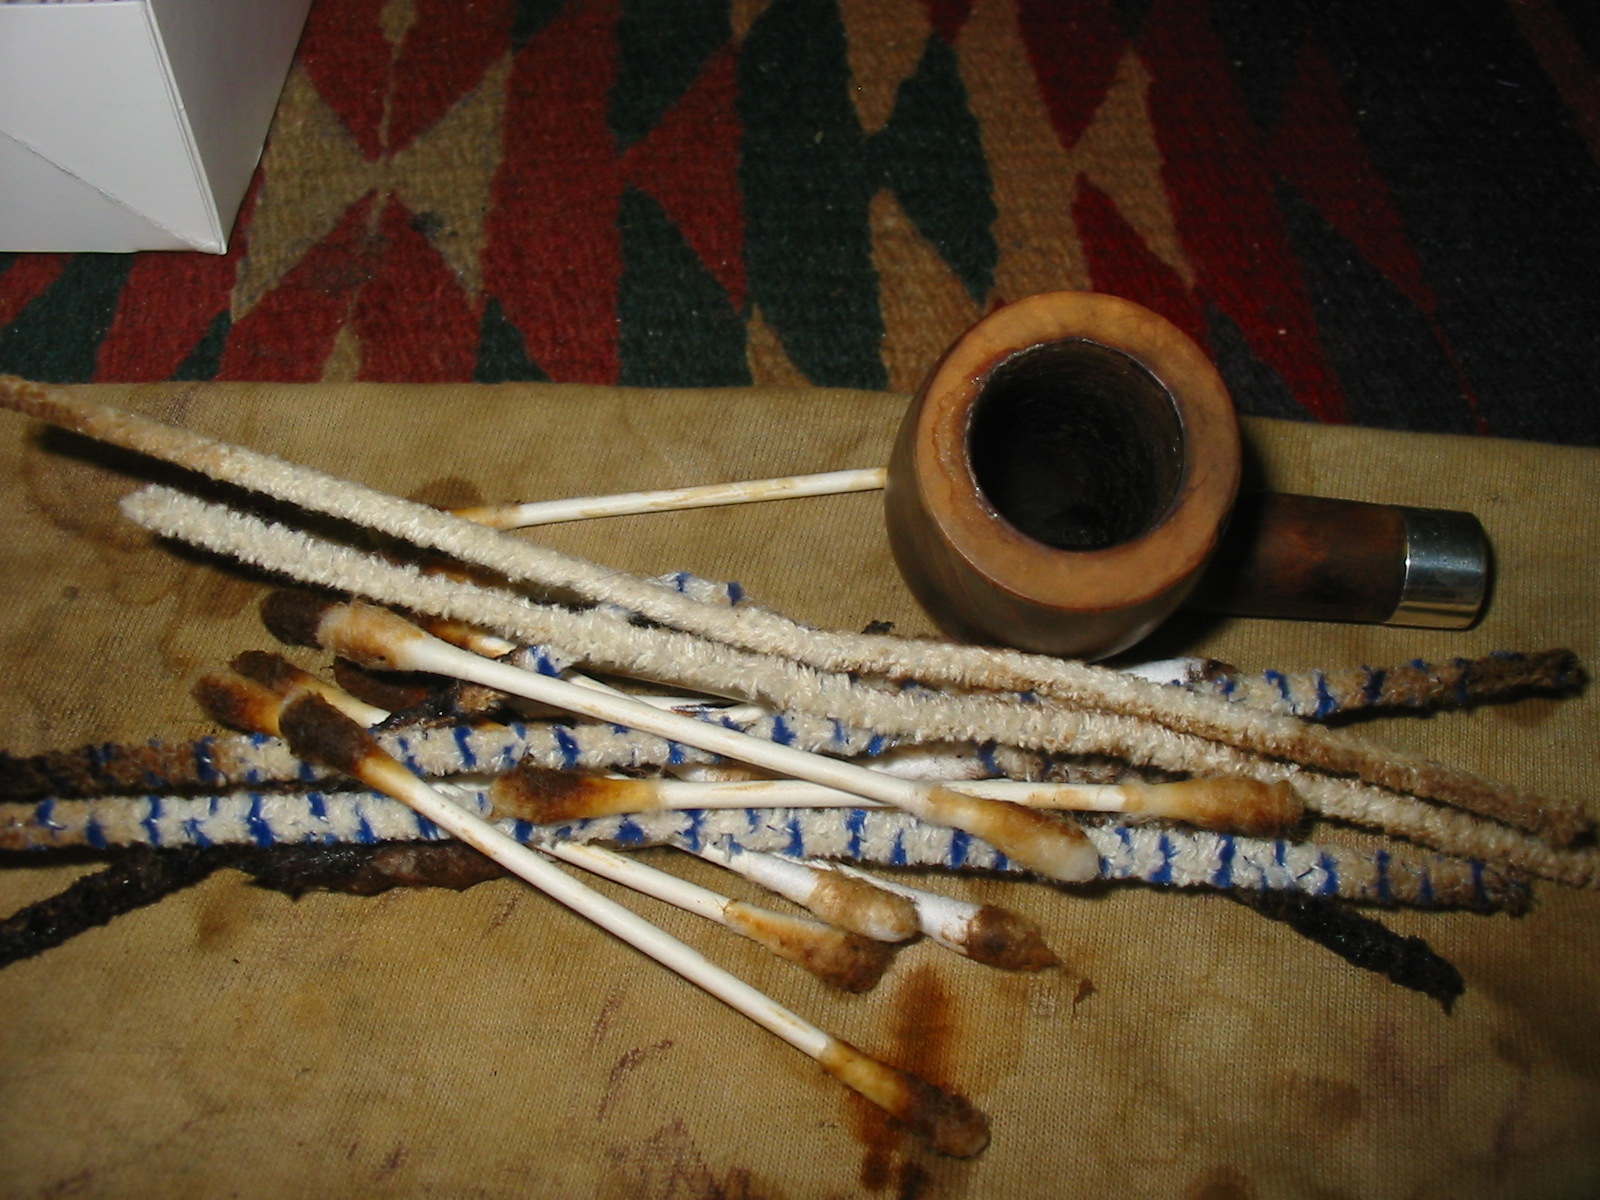
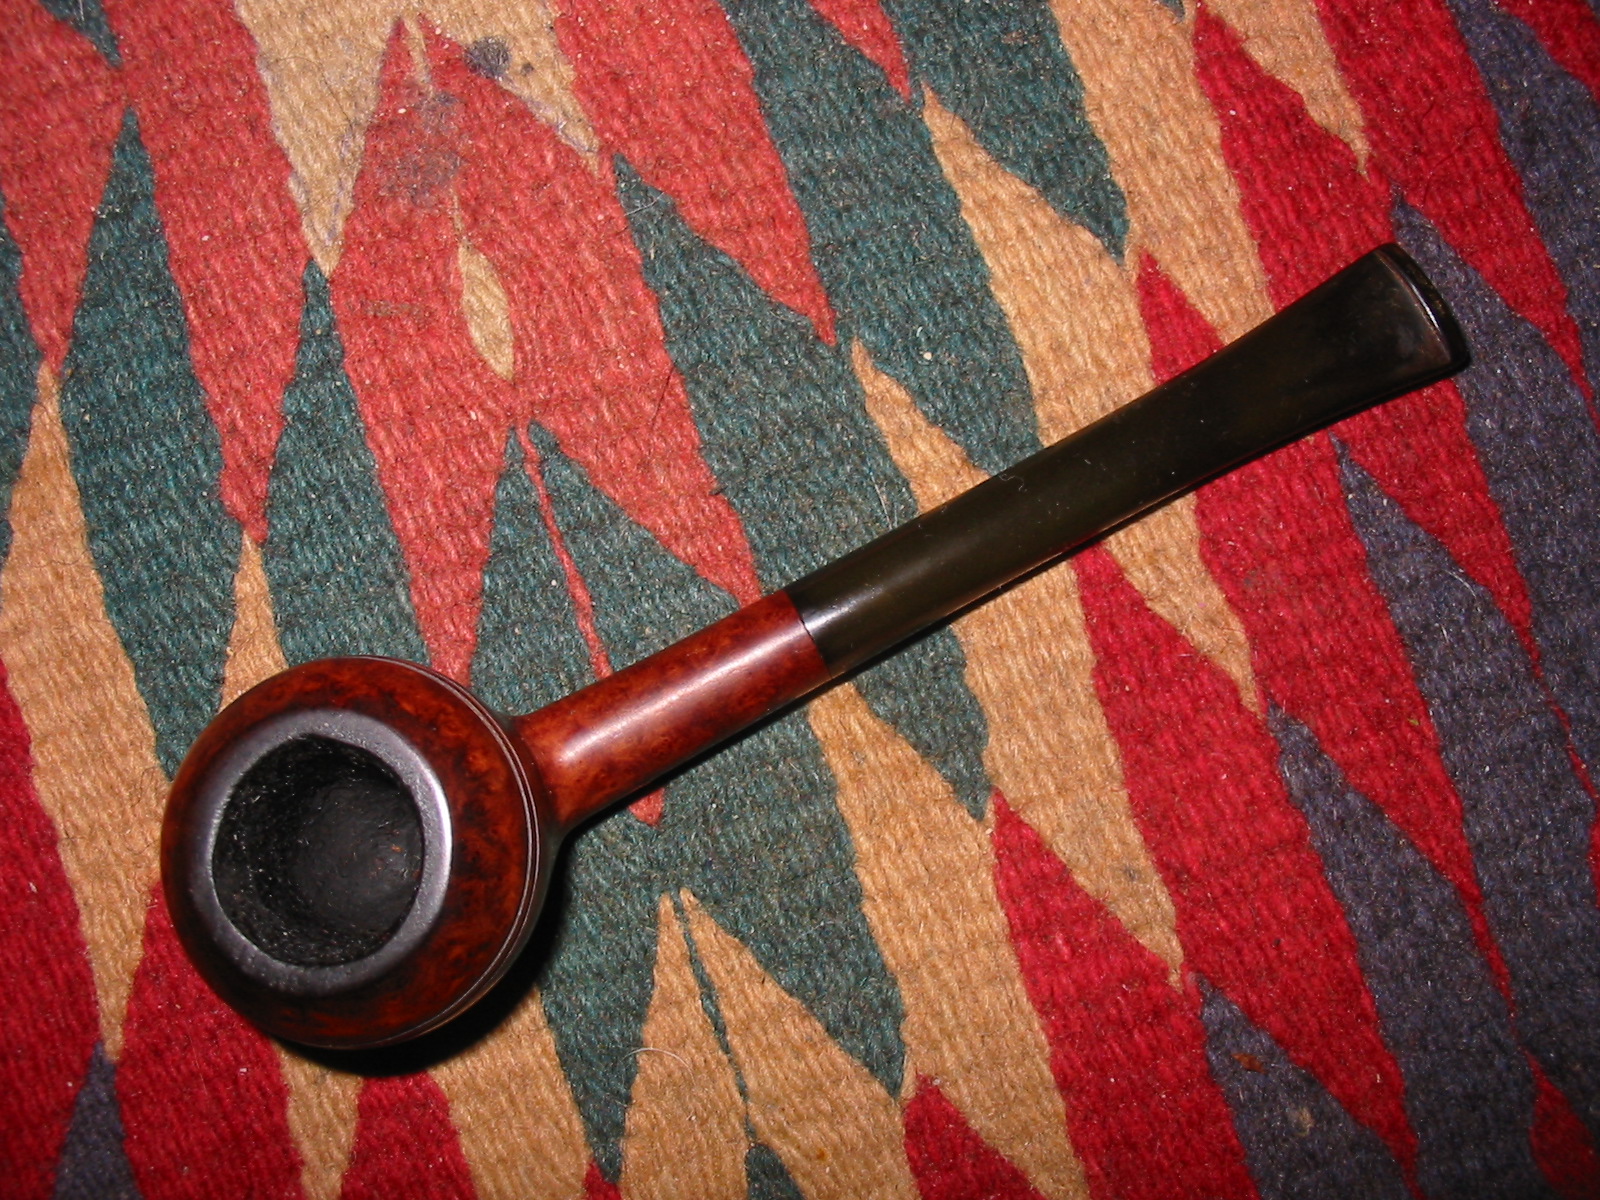
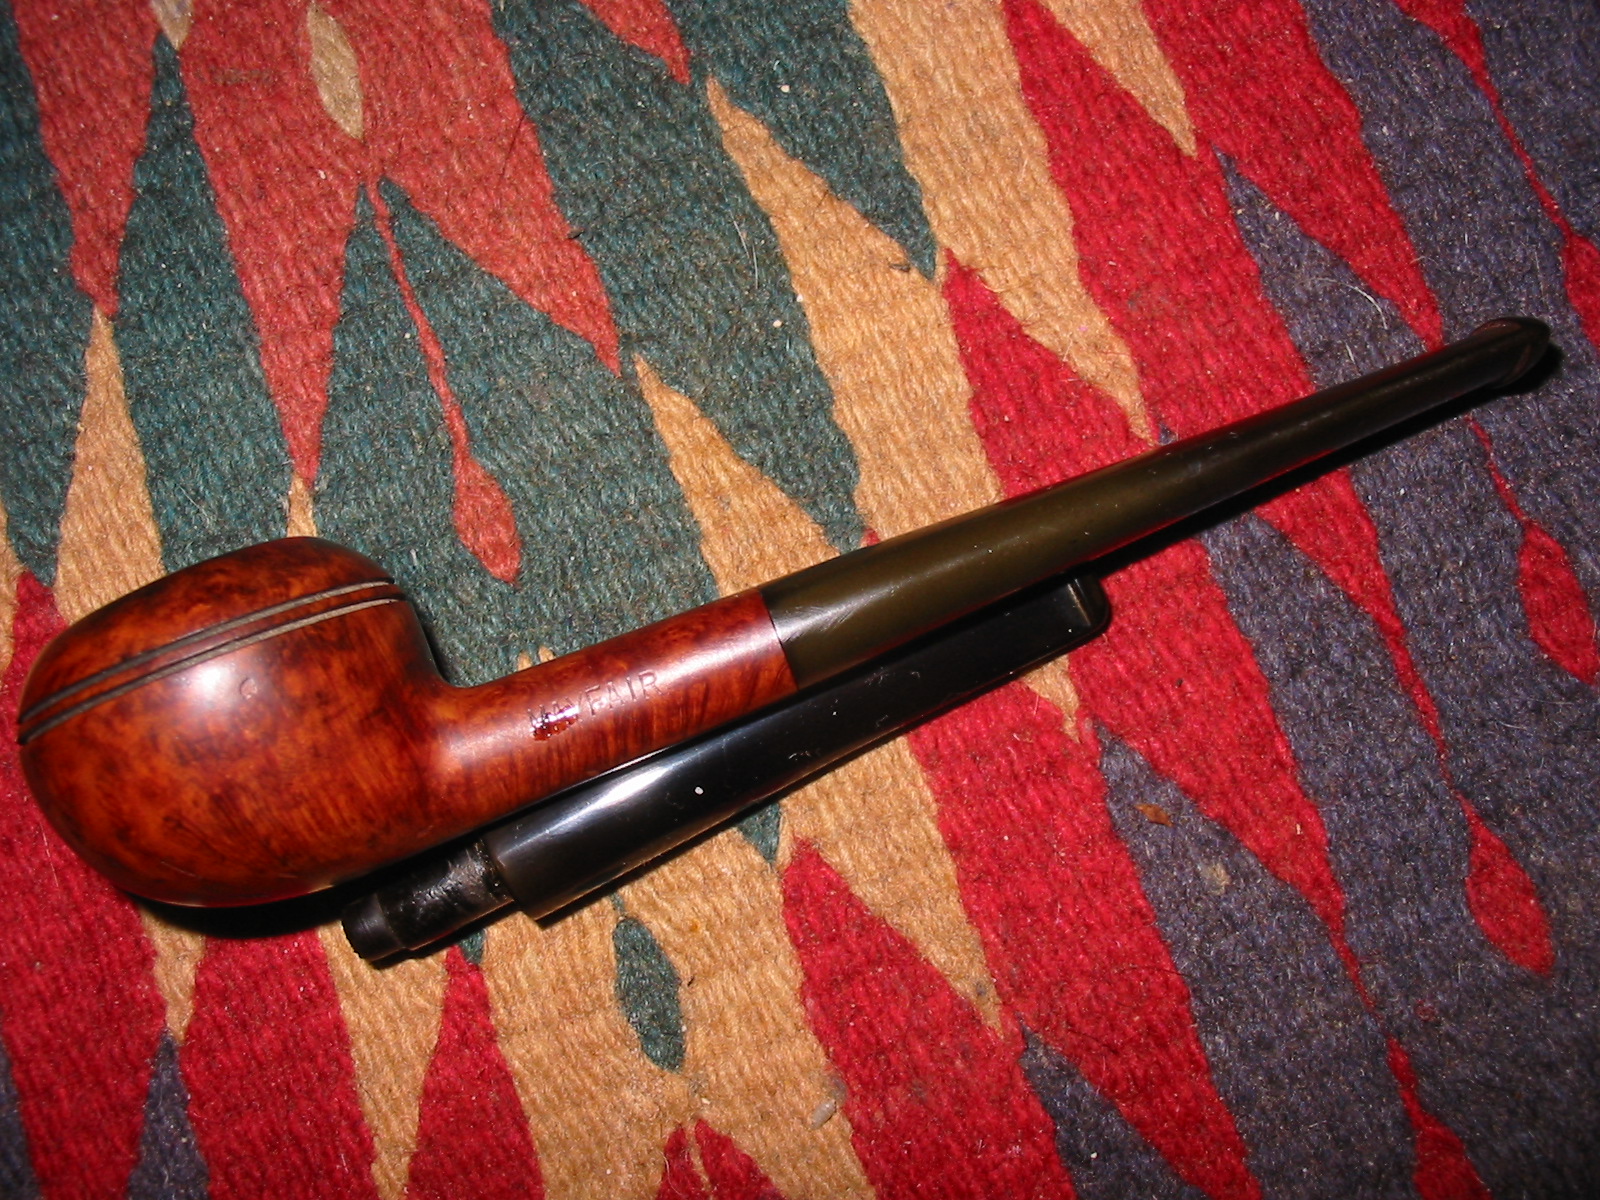
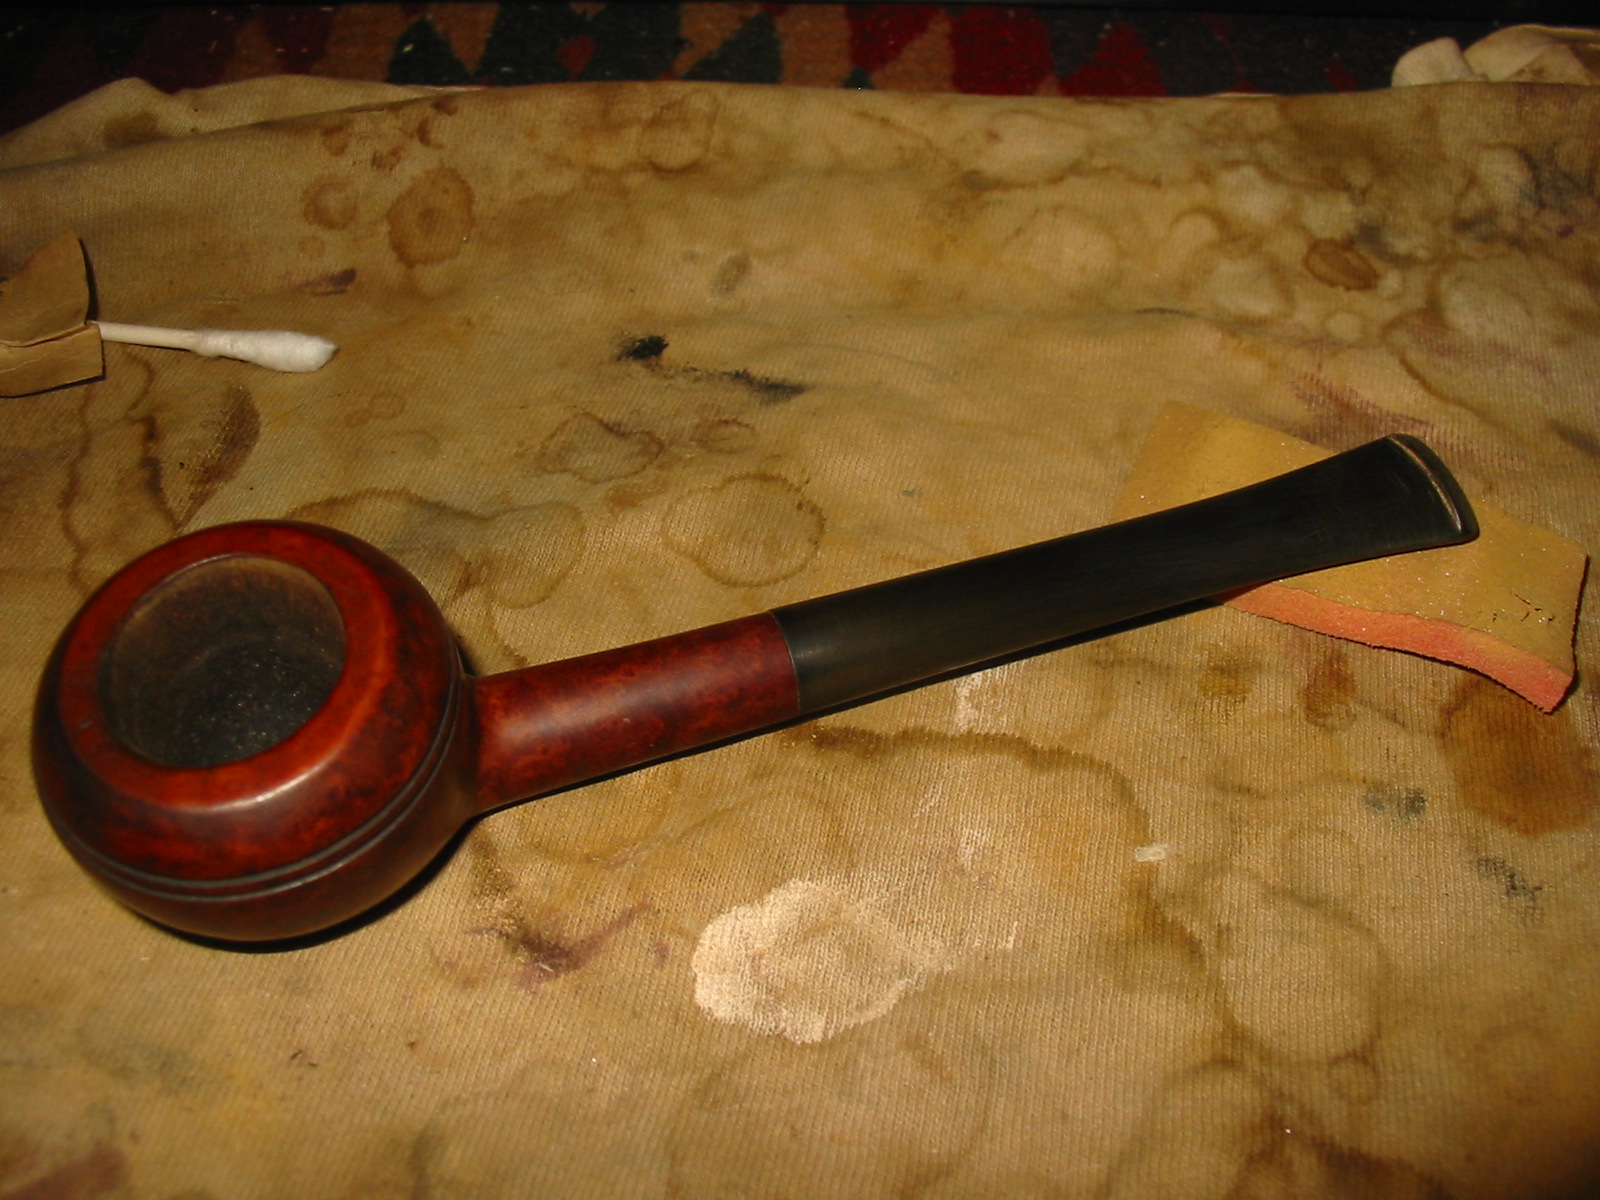
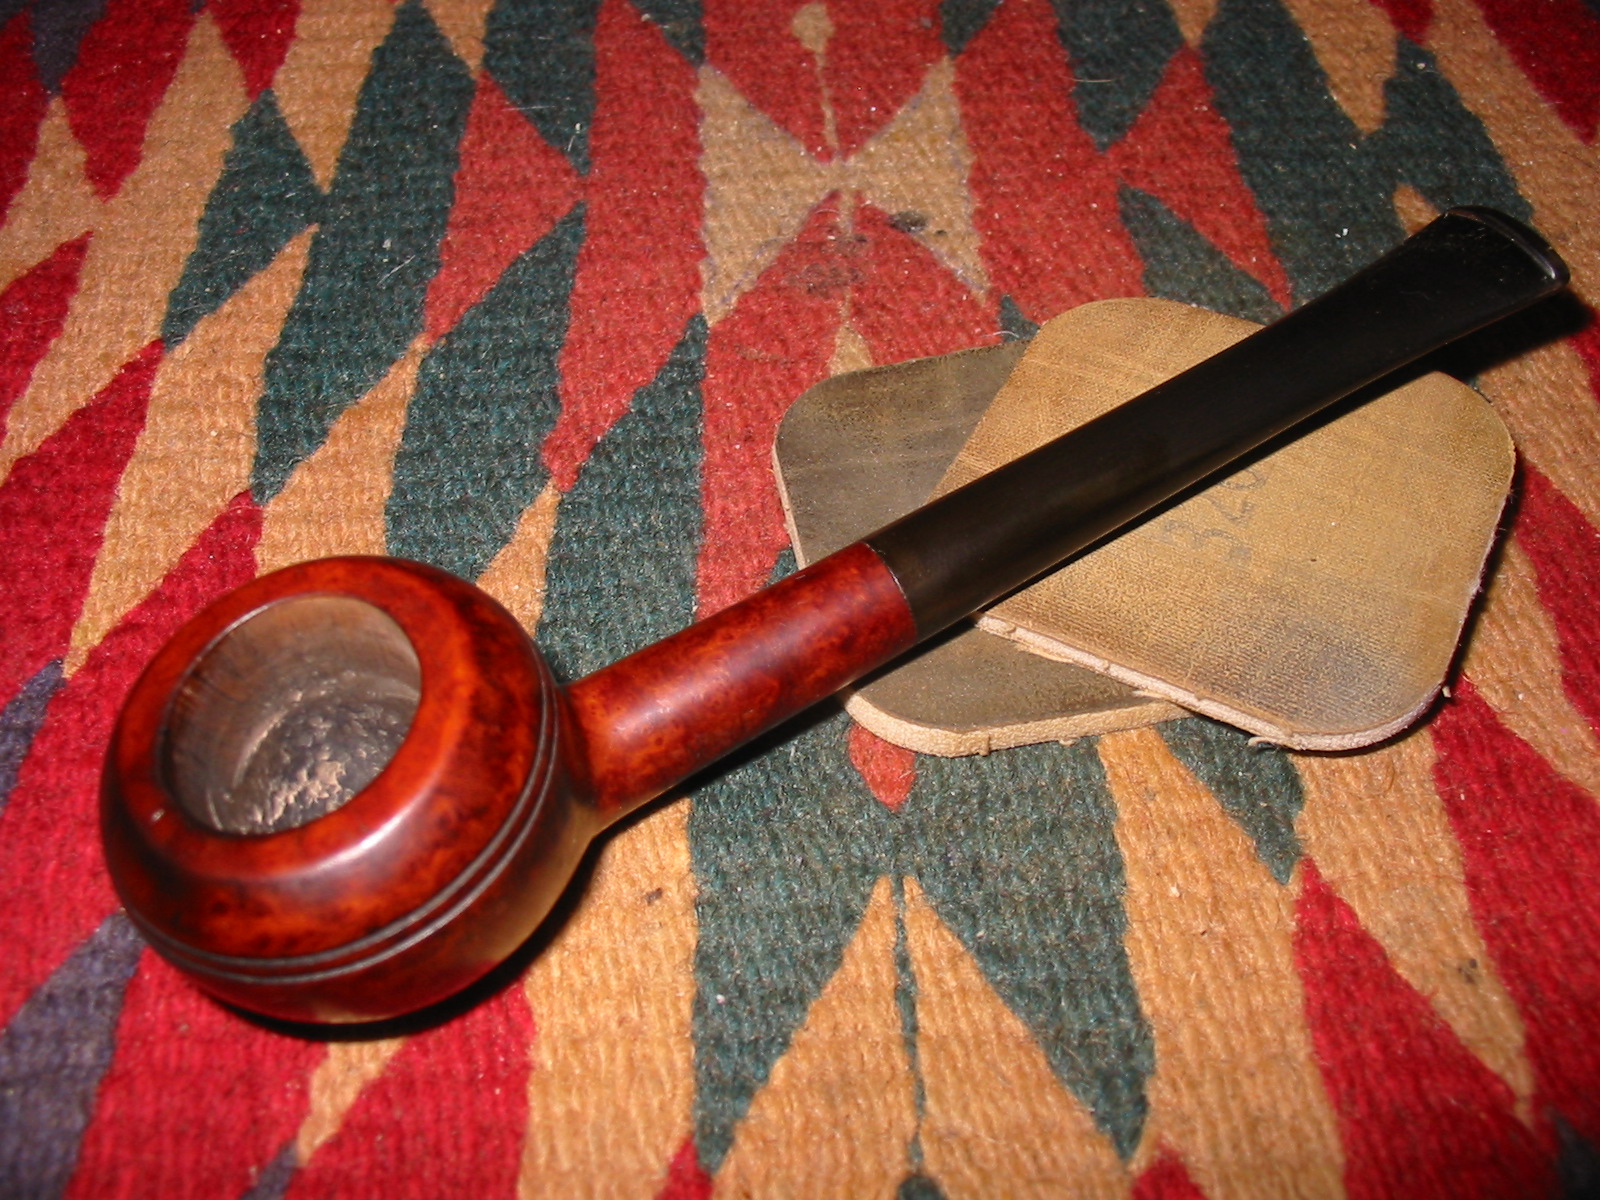
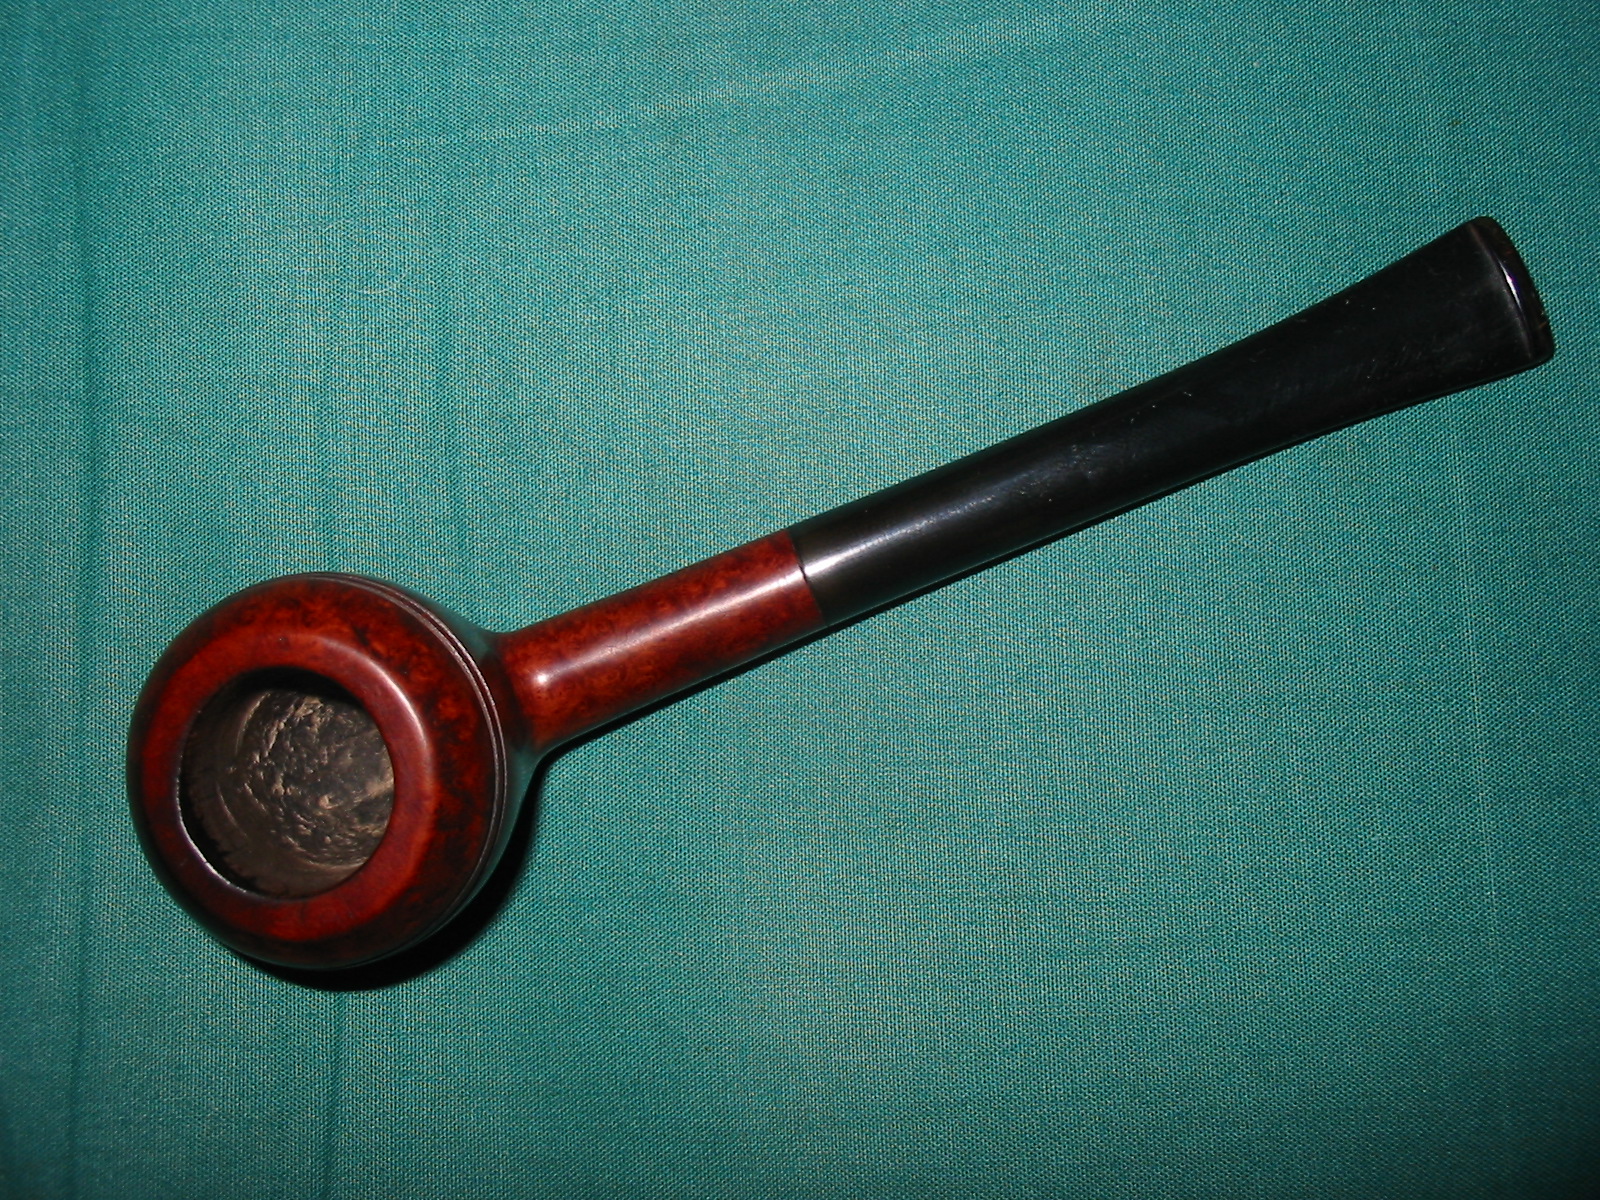
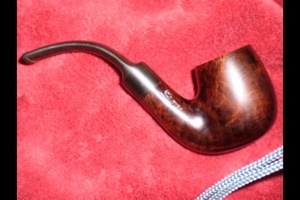
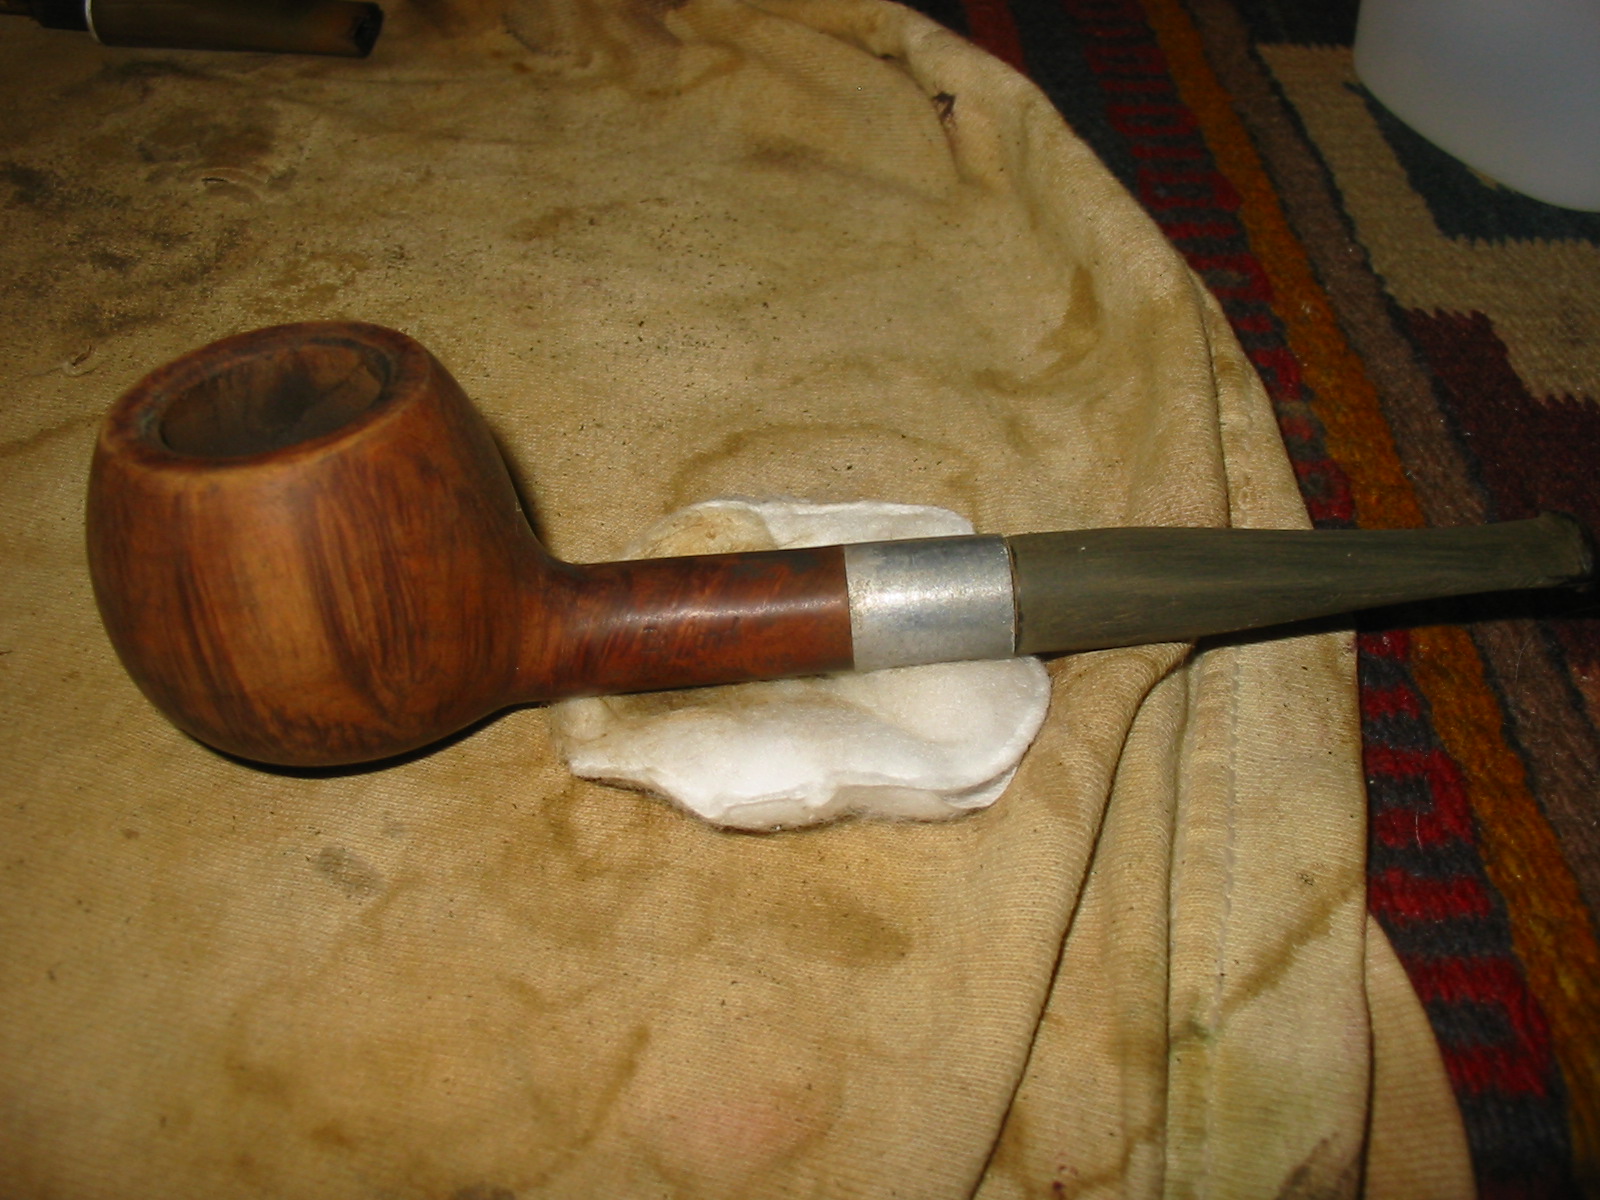
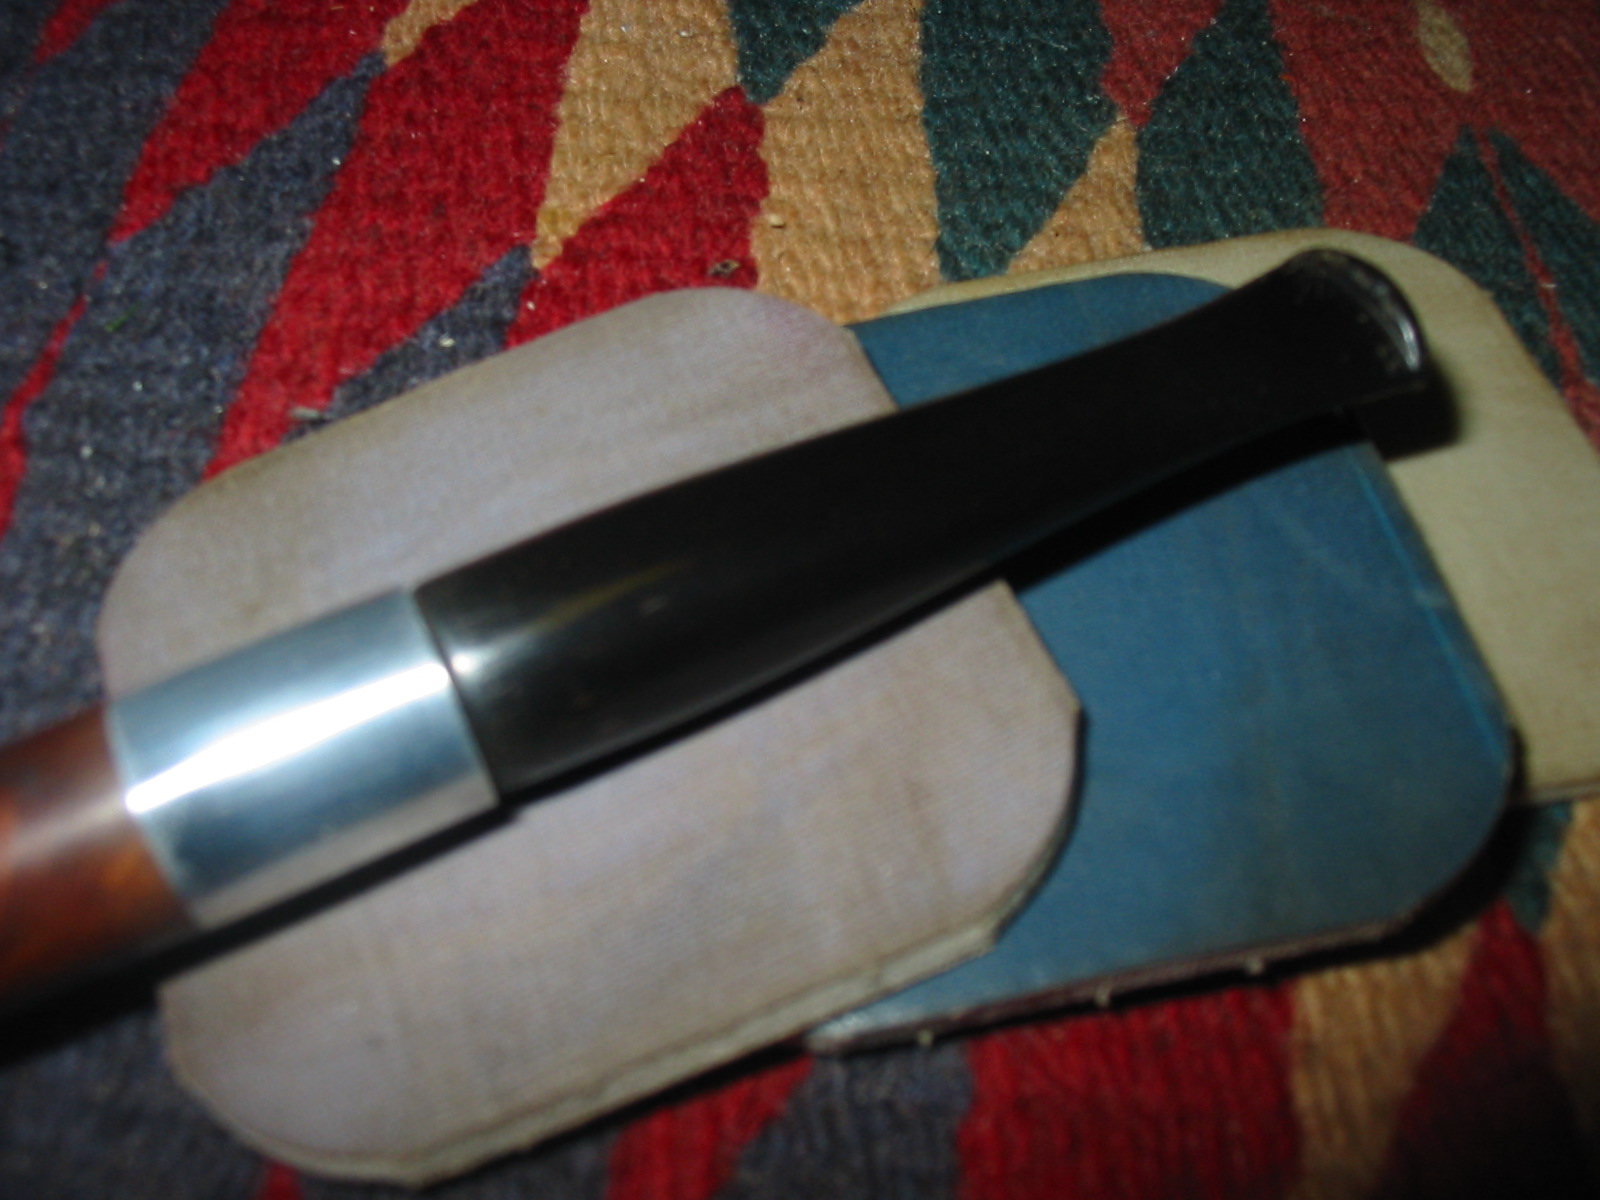
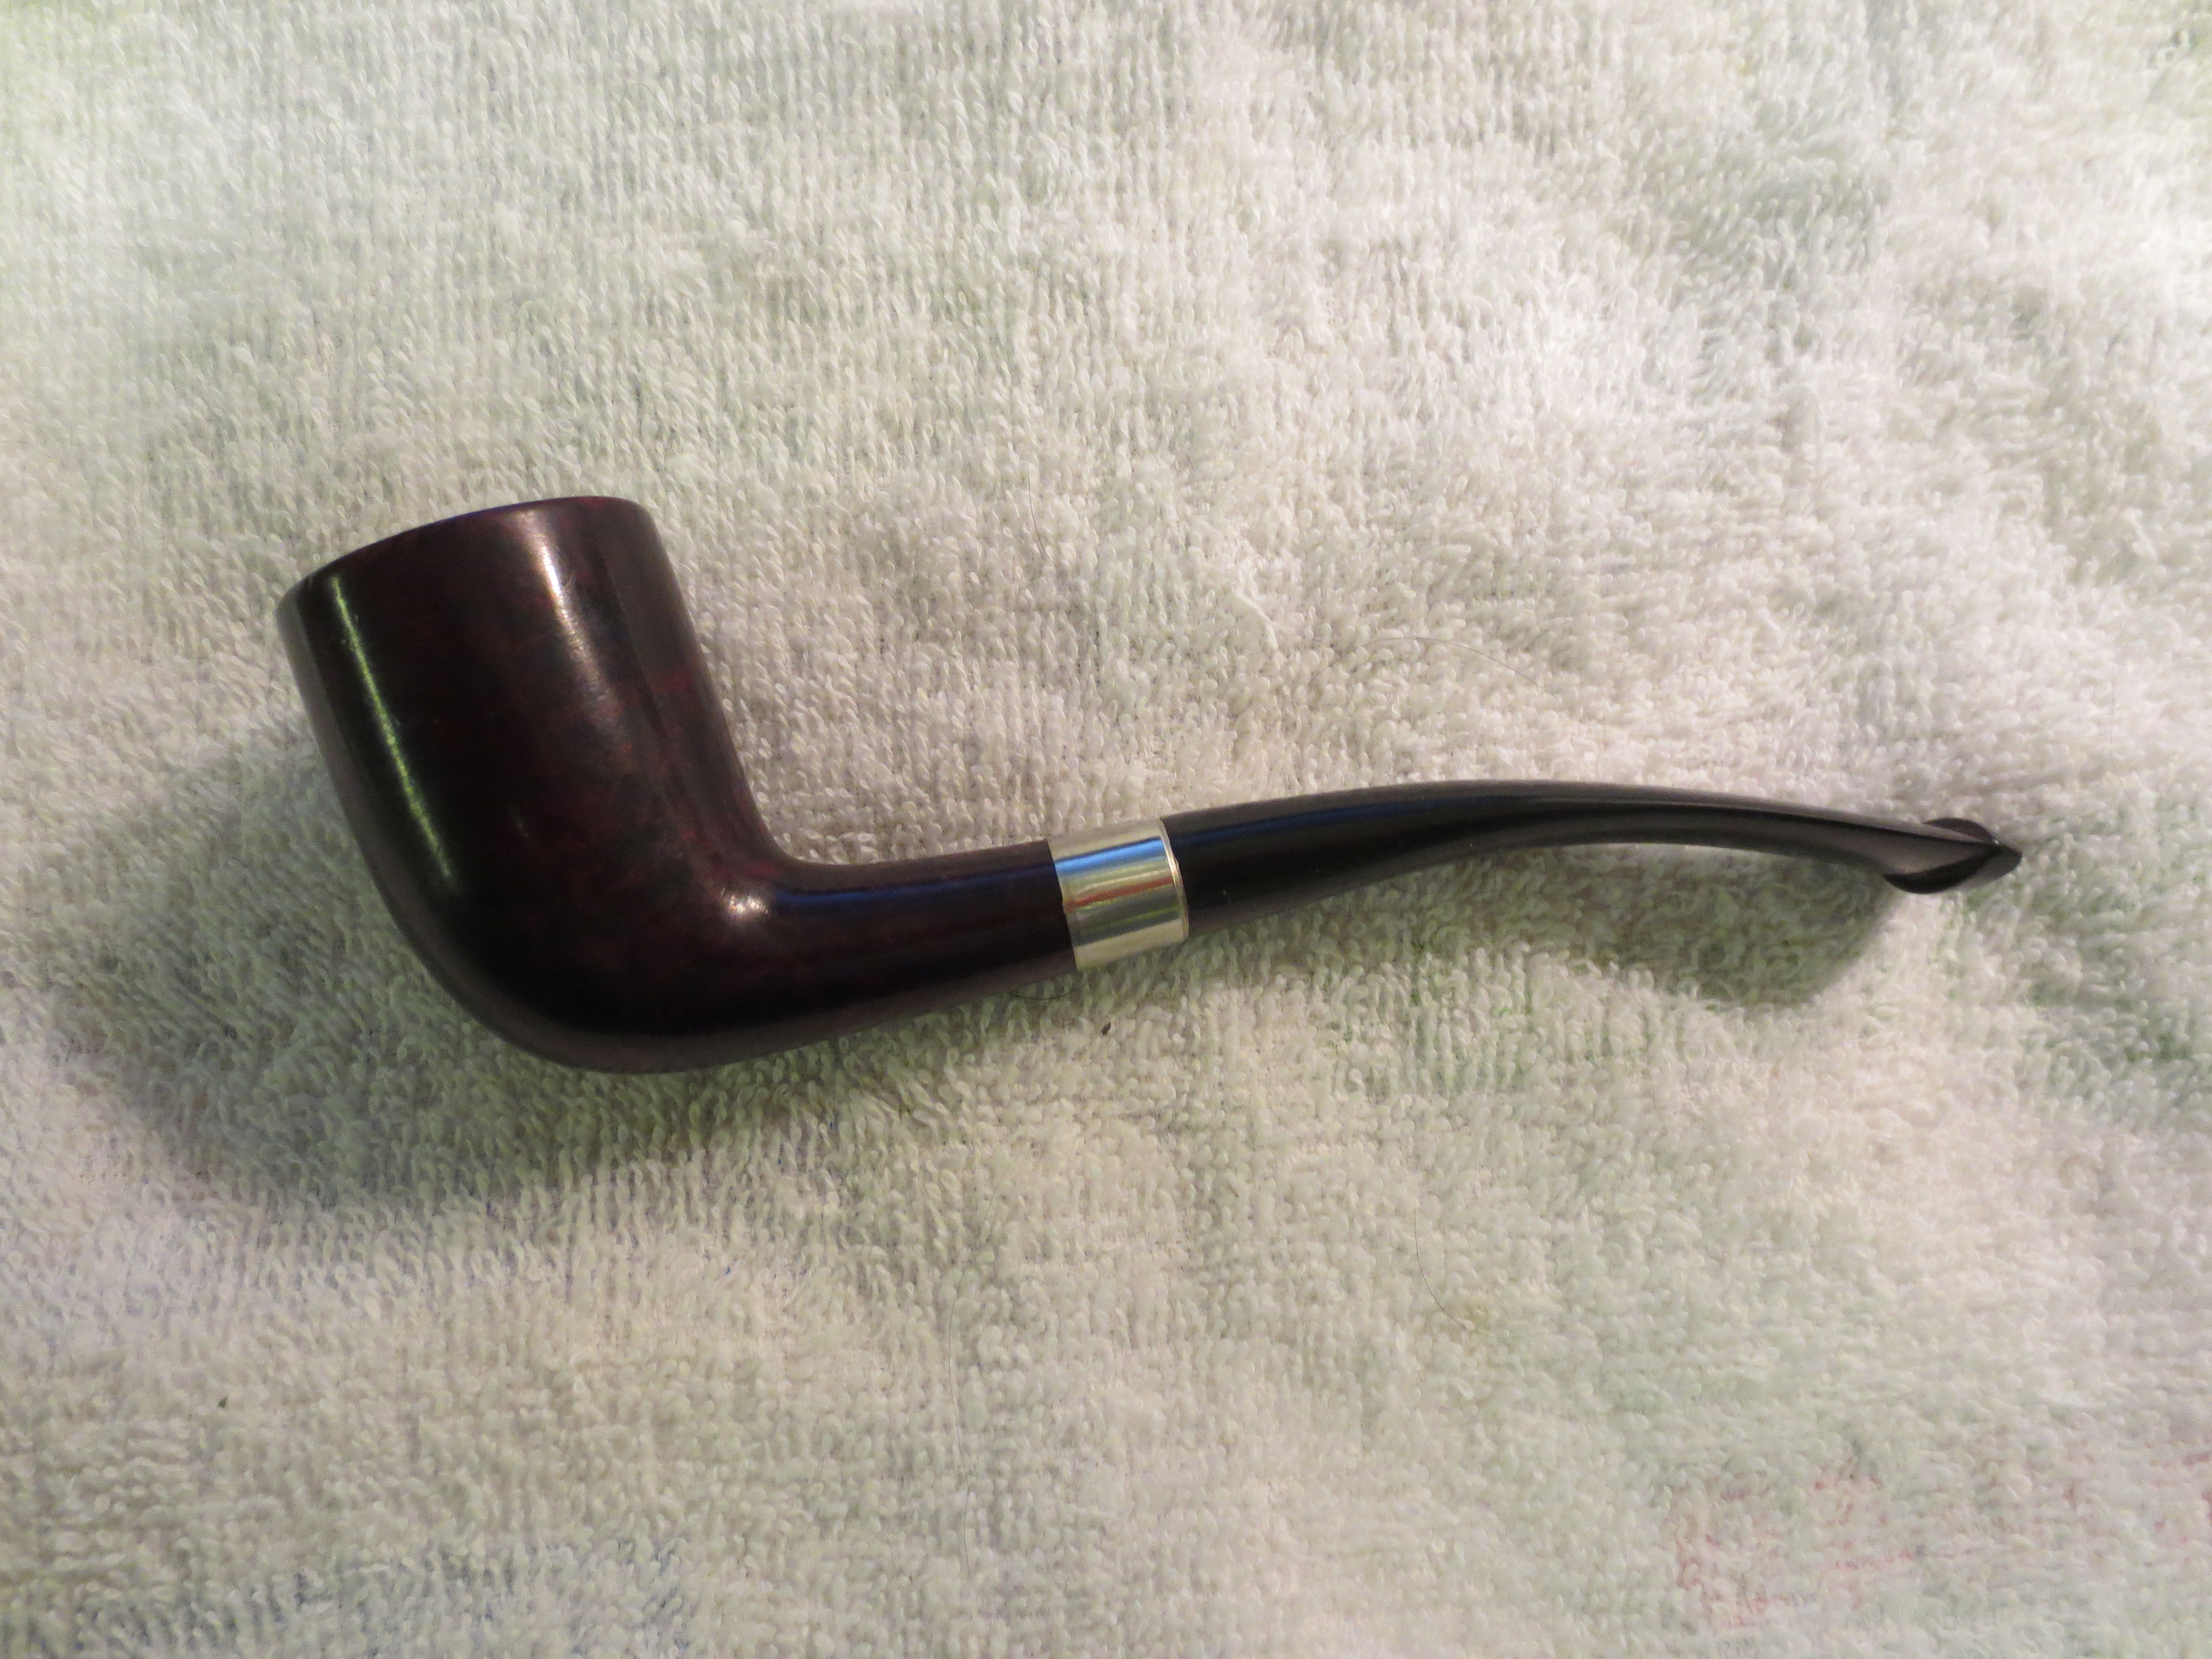
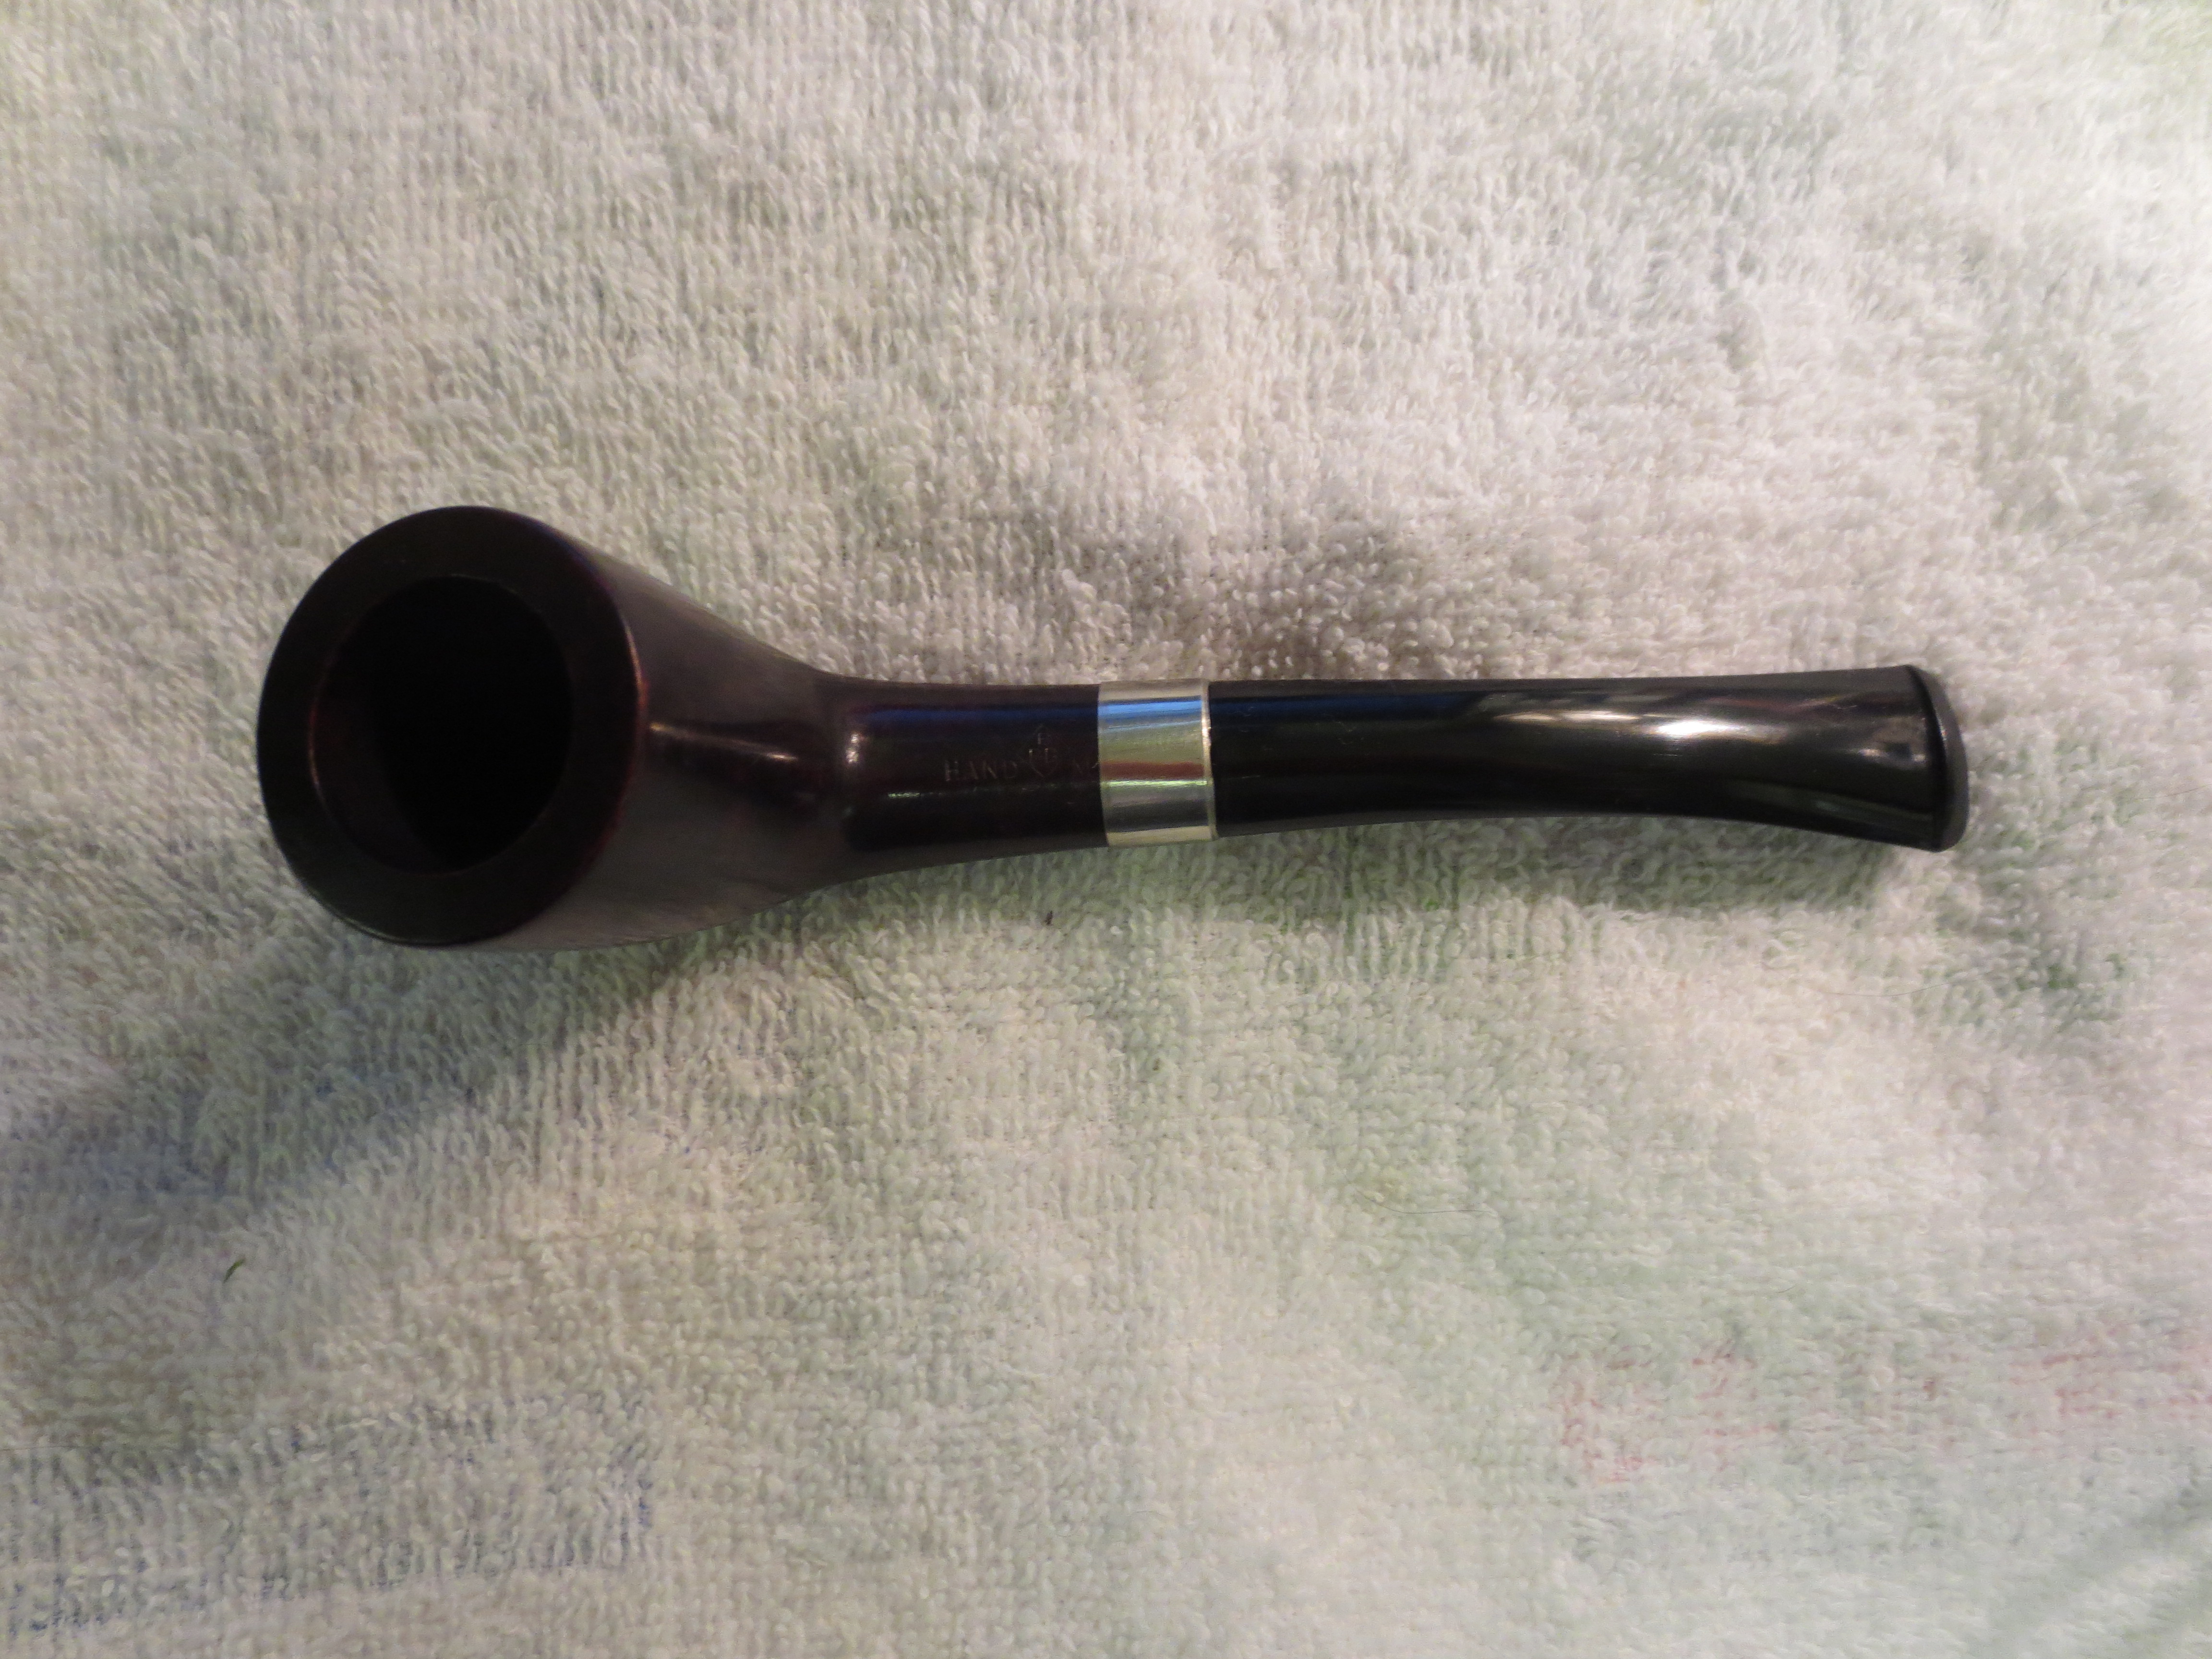
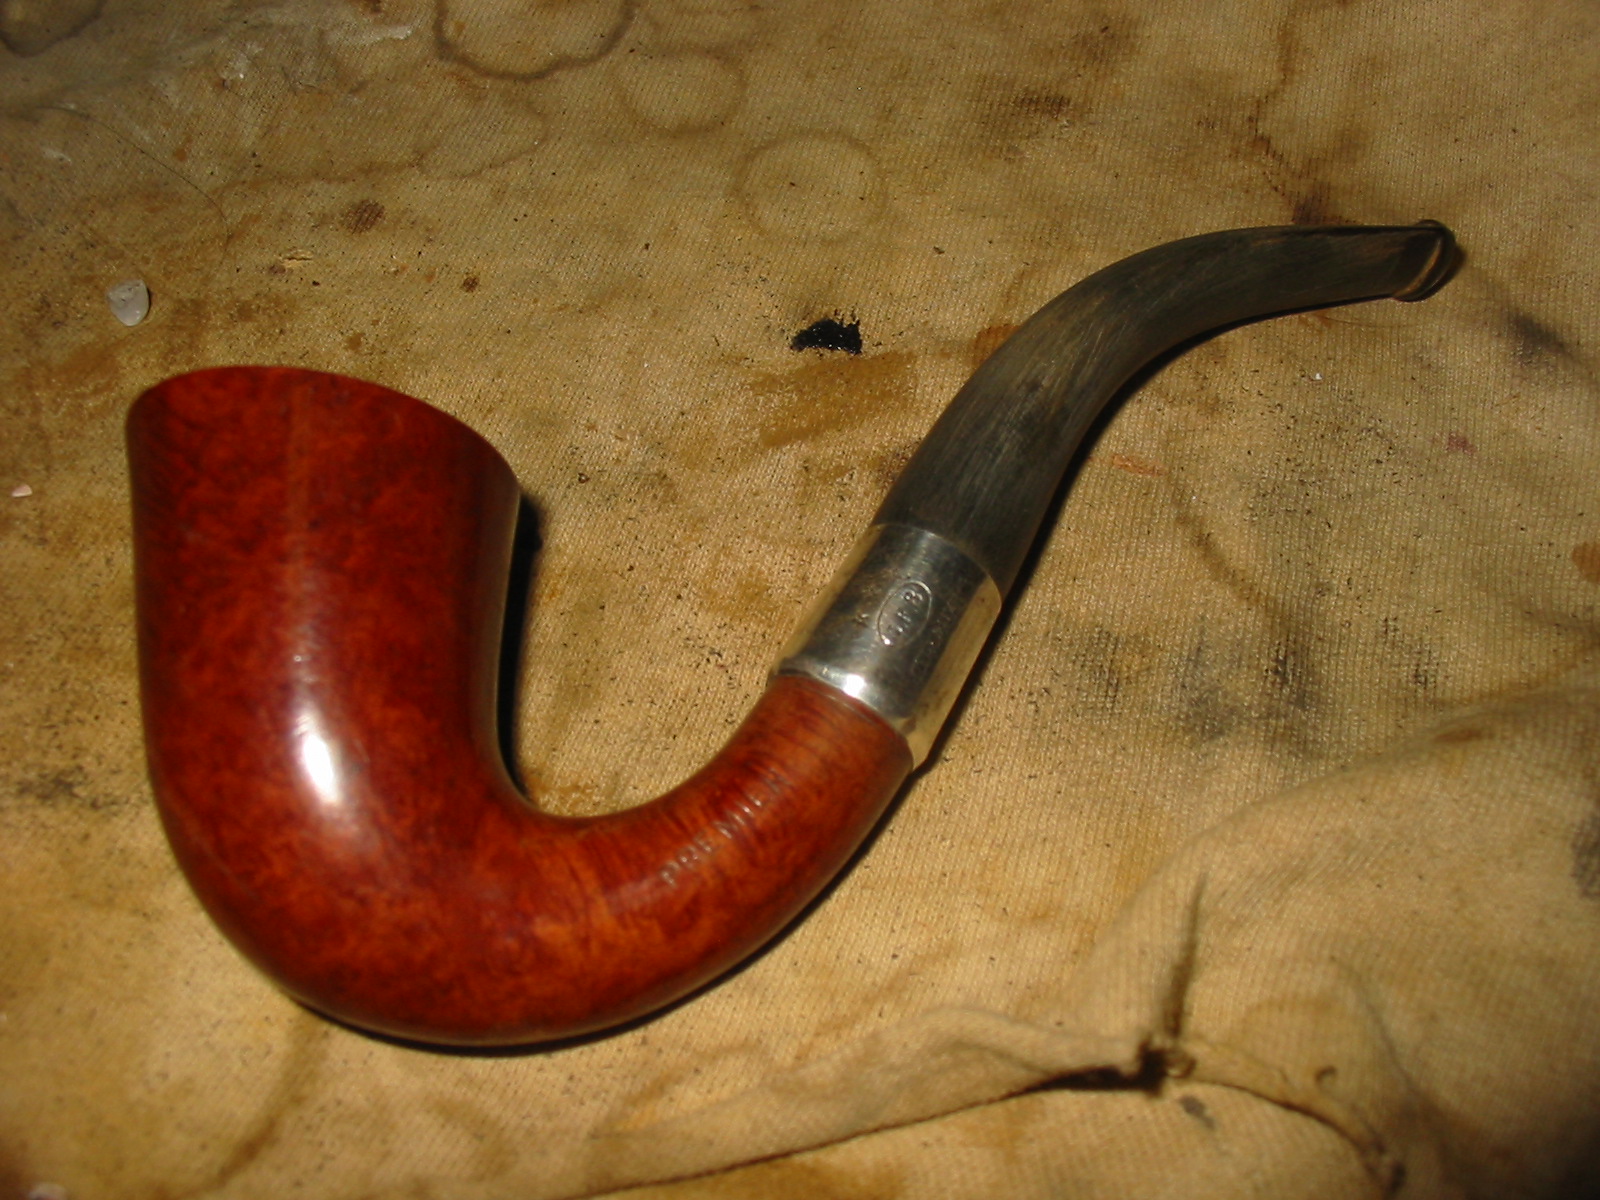
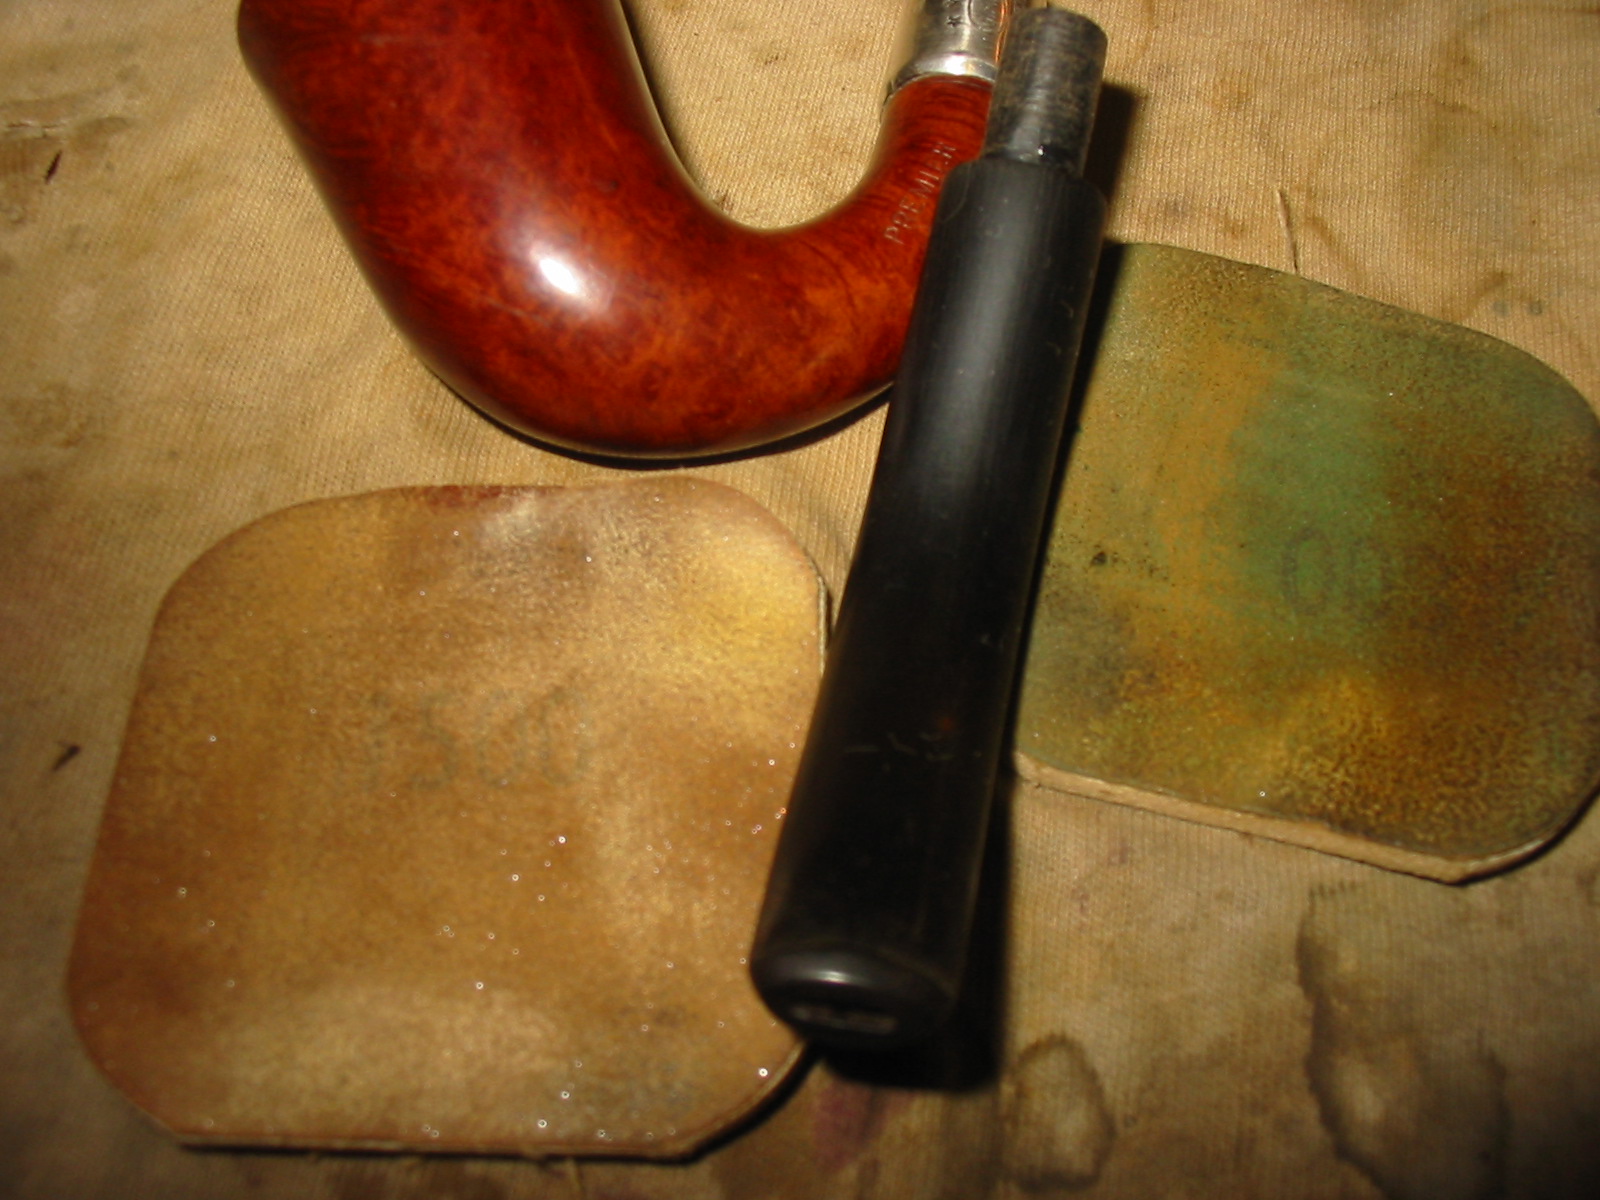
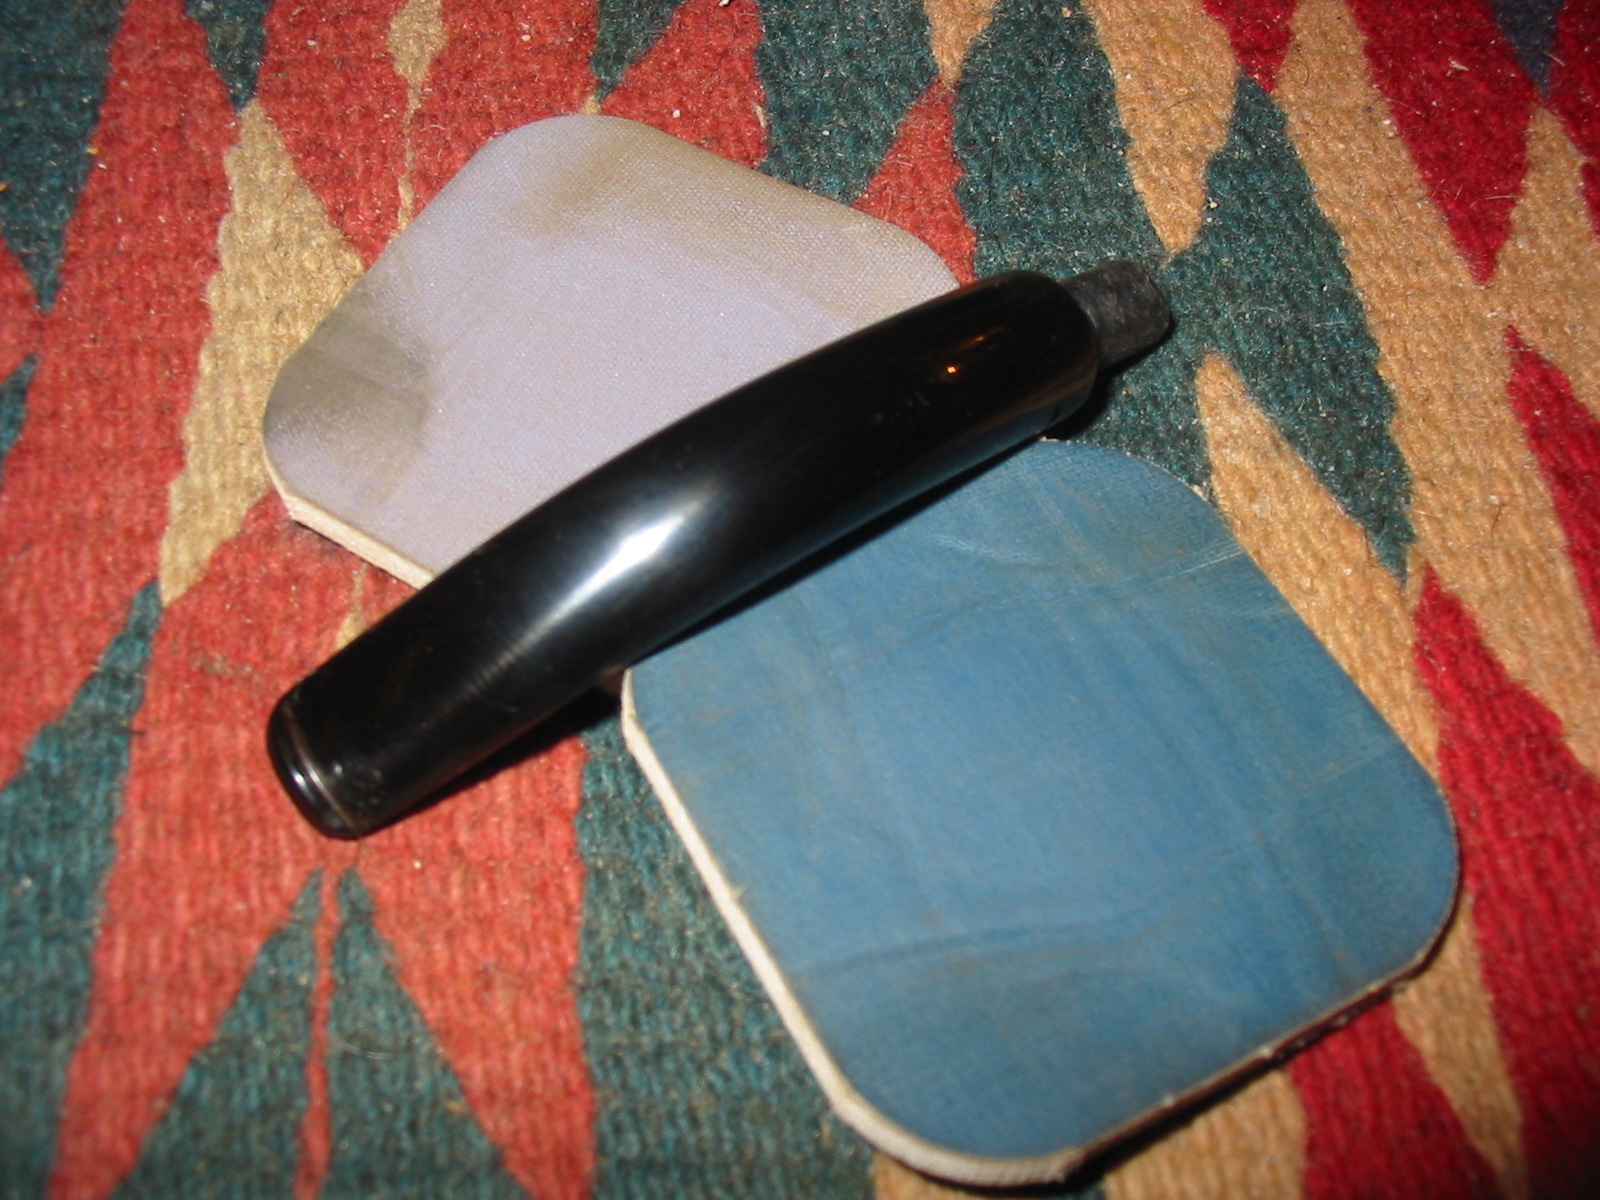
The next series of three photos show the progress of polishing the stem with the micromesh sanding pads from 1500-12,000 grit. The recoloured stamping is also visible. At this point in the process I scrubbed the top of the bowl with warm water and a tooth brush. The darkening and light build up was easily removed by this method. I then buffed the stem with White Diamond to give it a final polish and lightly buffed the bowl. I buffed the stem with carnauba to protect it from oxidizing and then took the pipe back to my table. I gave the bowl a coat of Halcyon II wax and hand buffed it with a shoe brush. I have found that this keeps the rustication crisp and fresh where a buff on the buffer can flatten the rustication and change the feel in the hand.


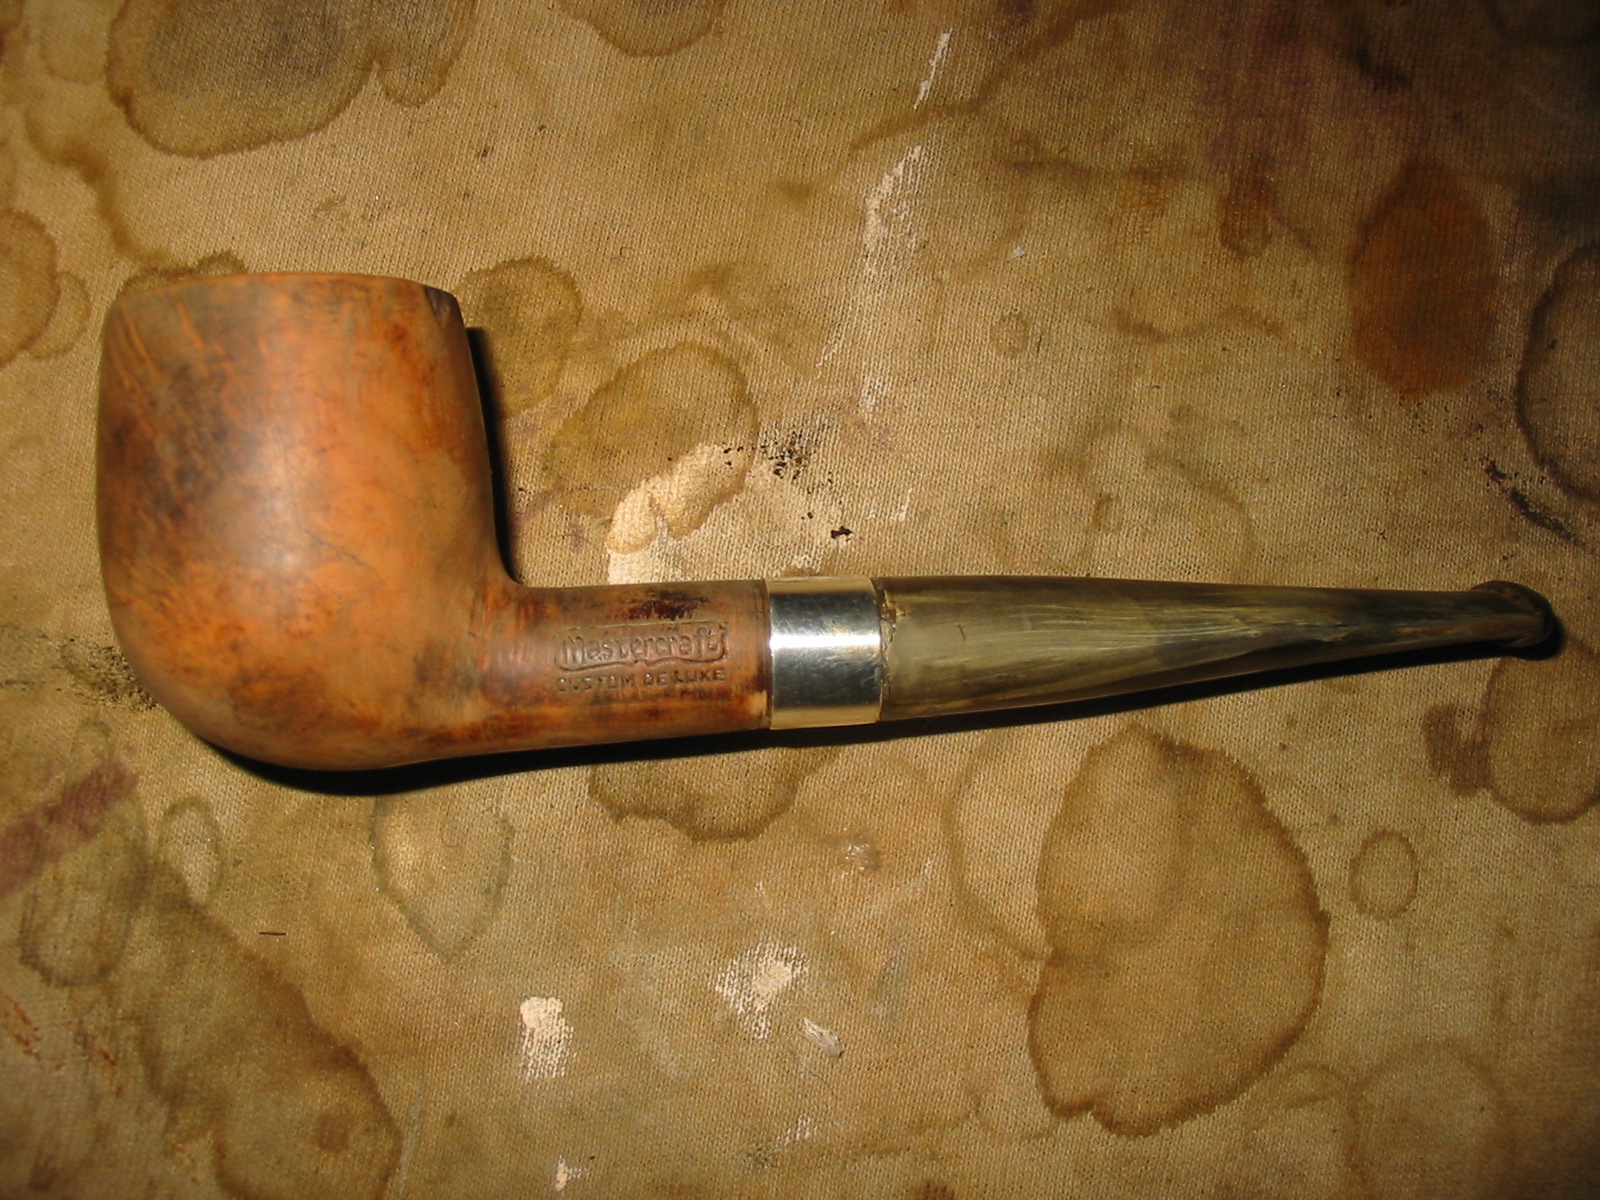
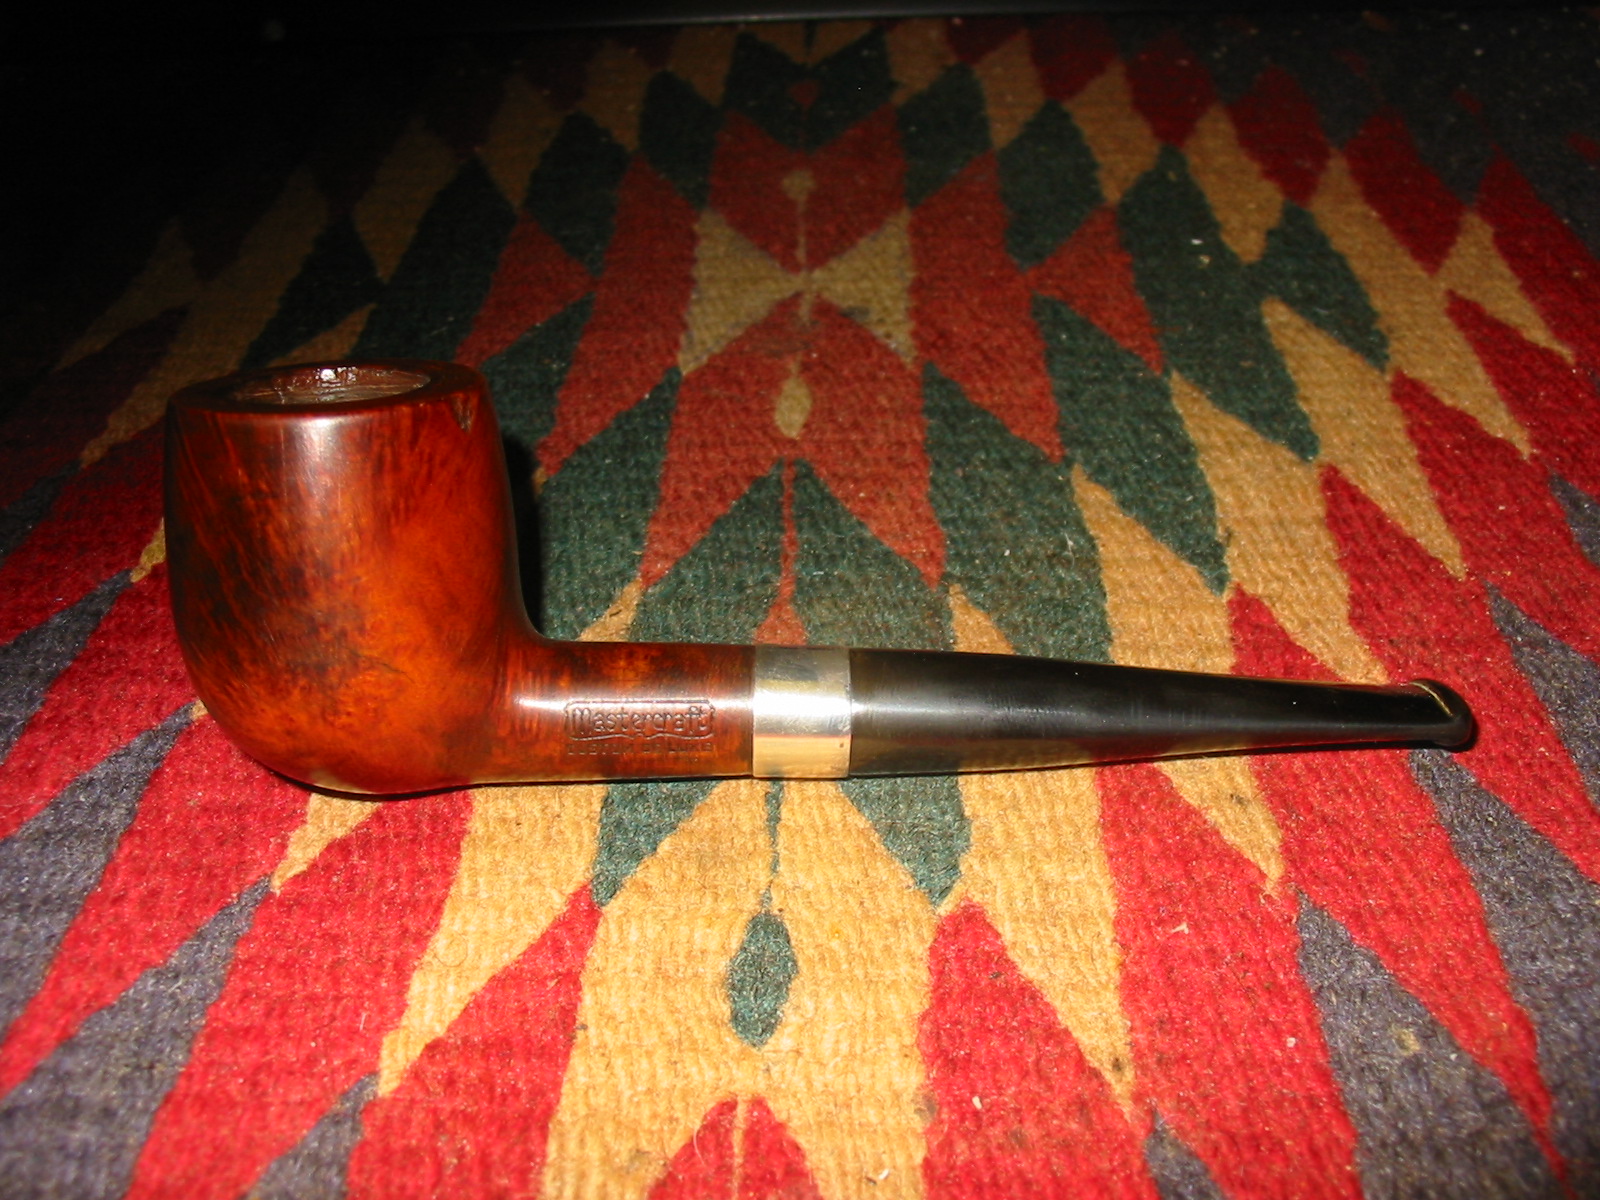
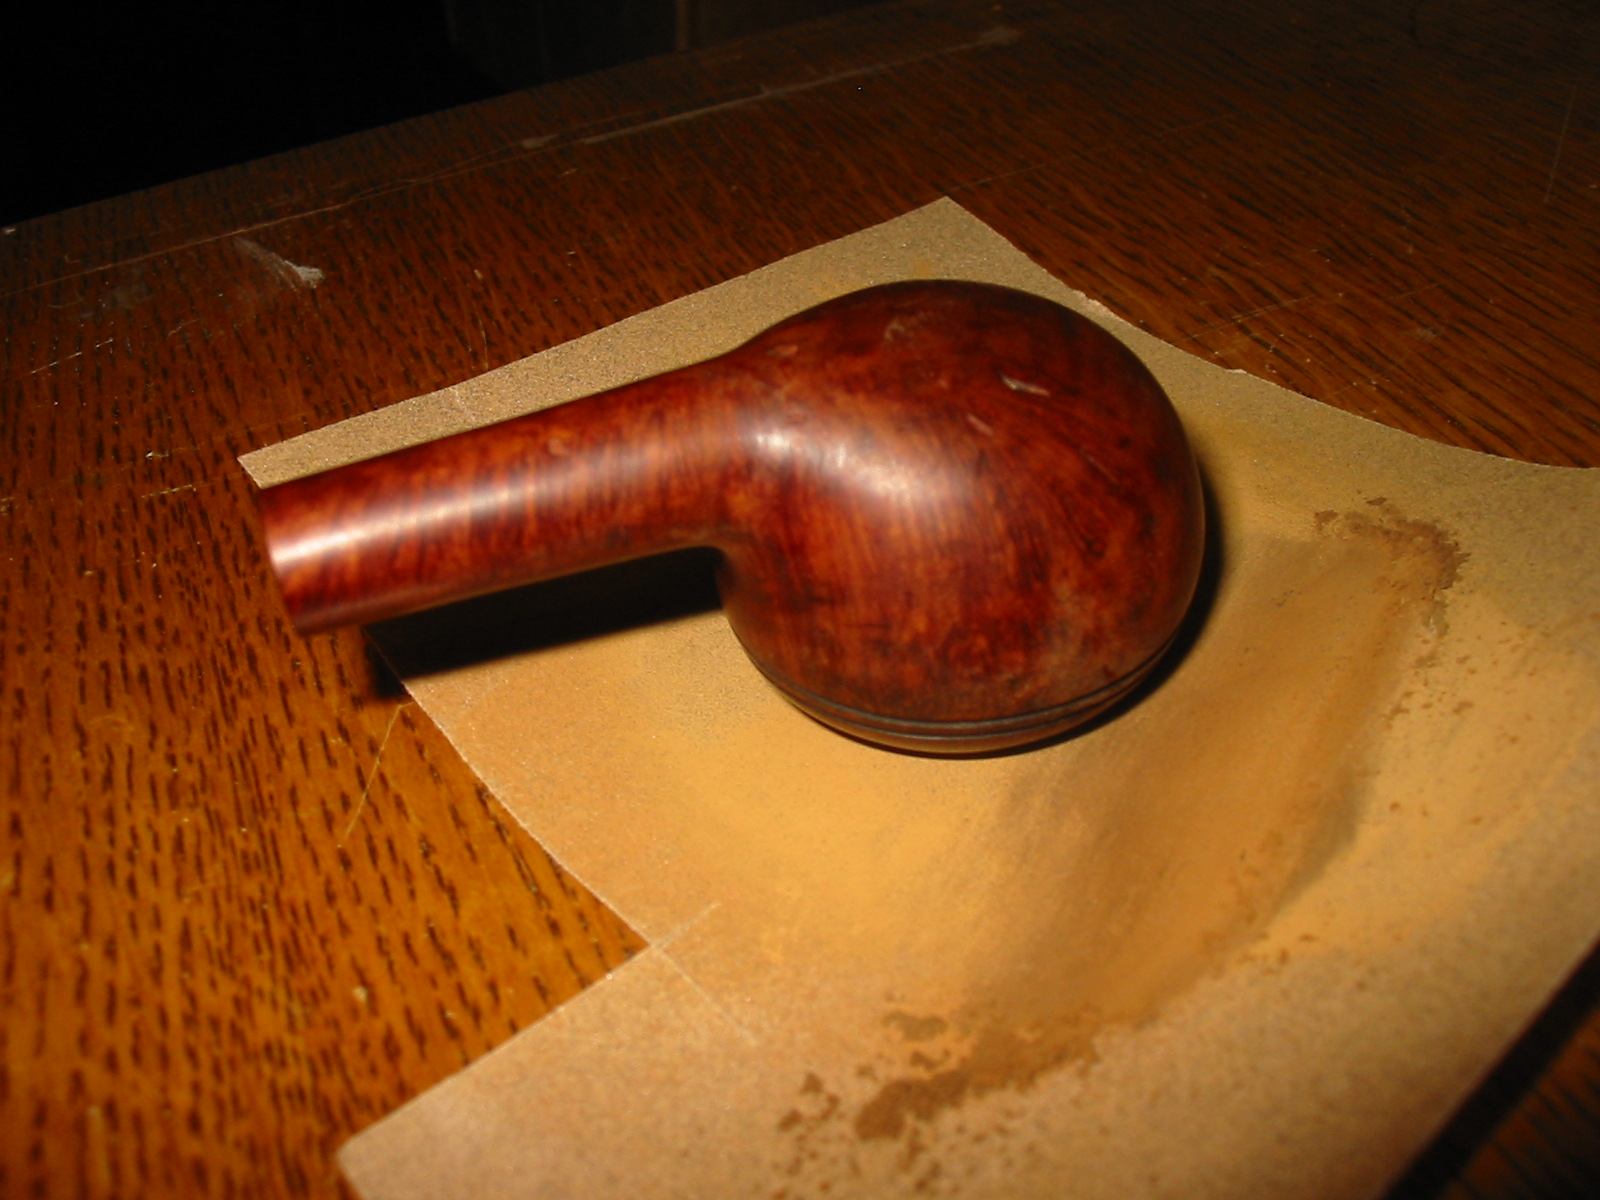
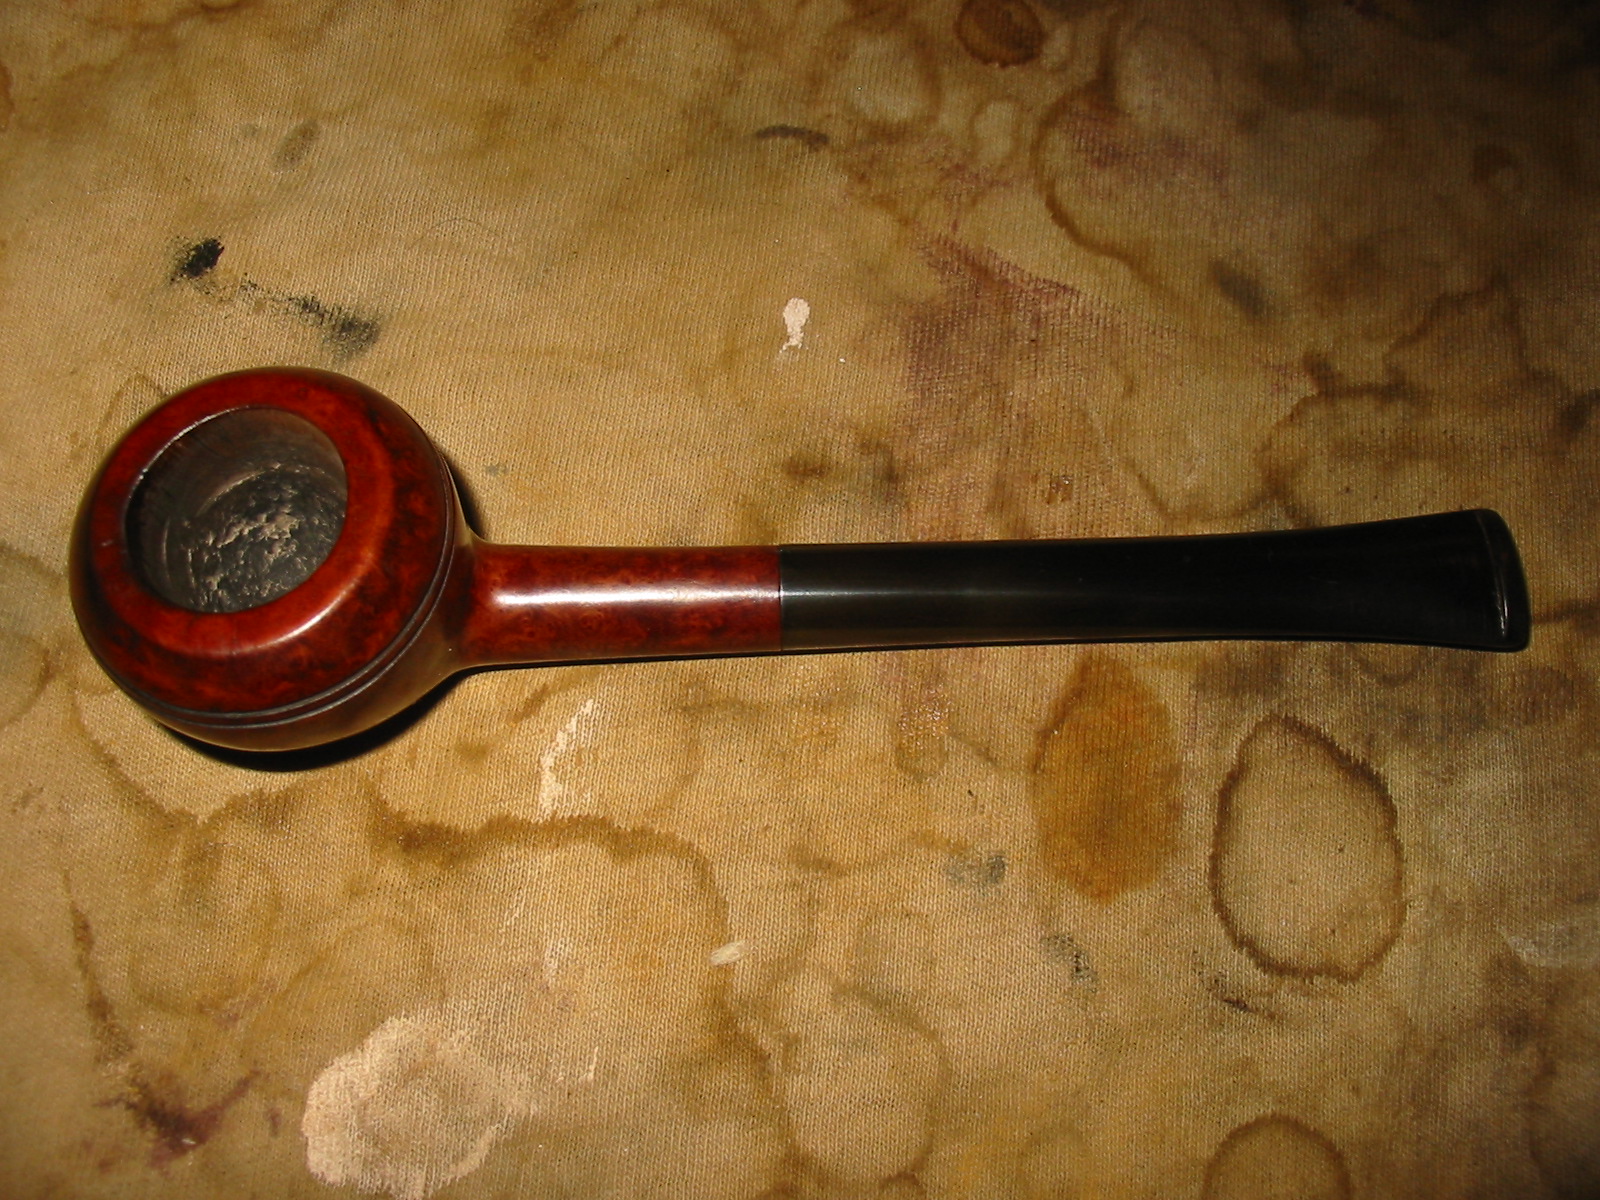
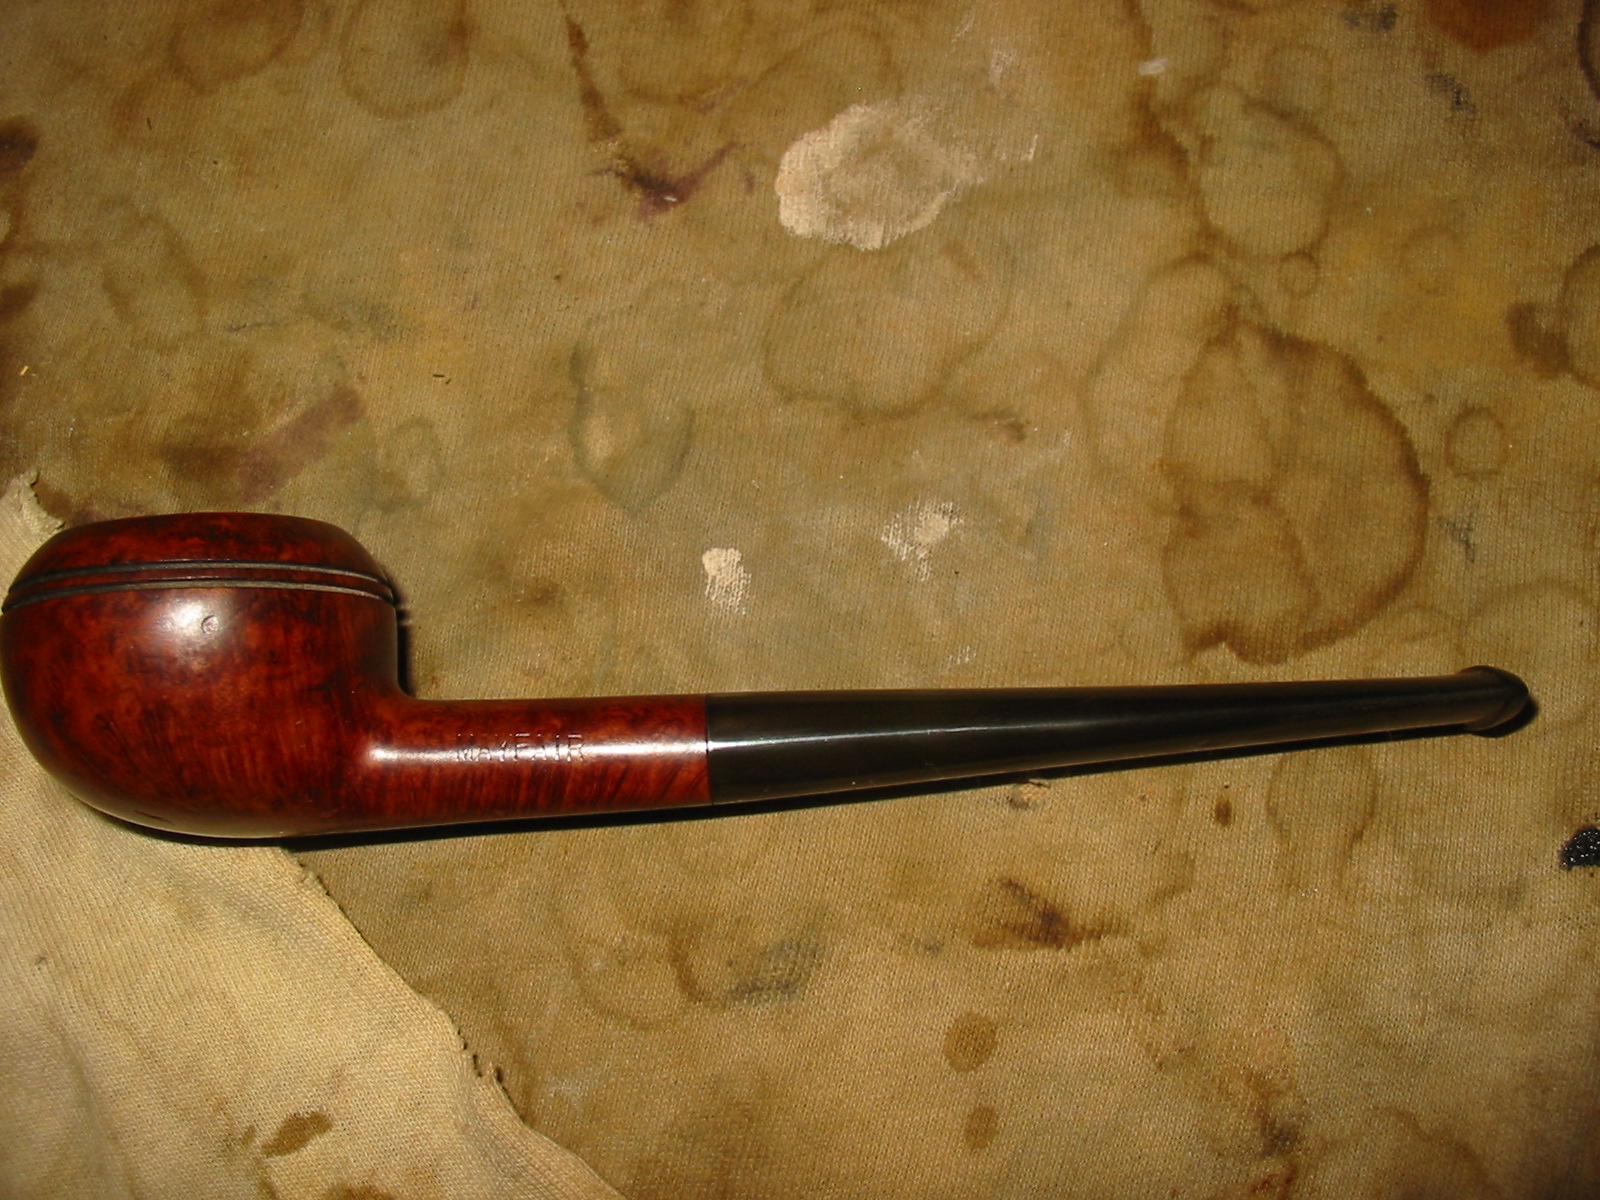
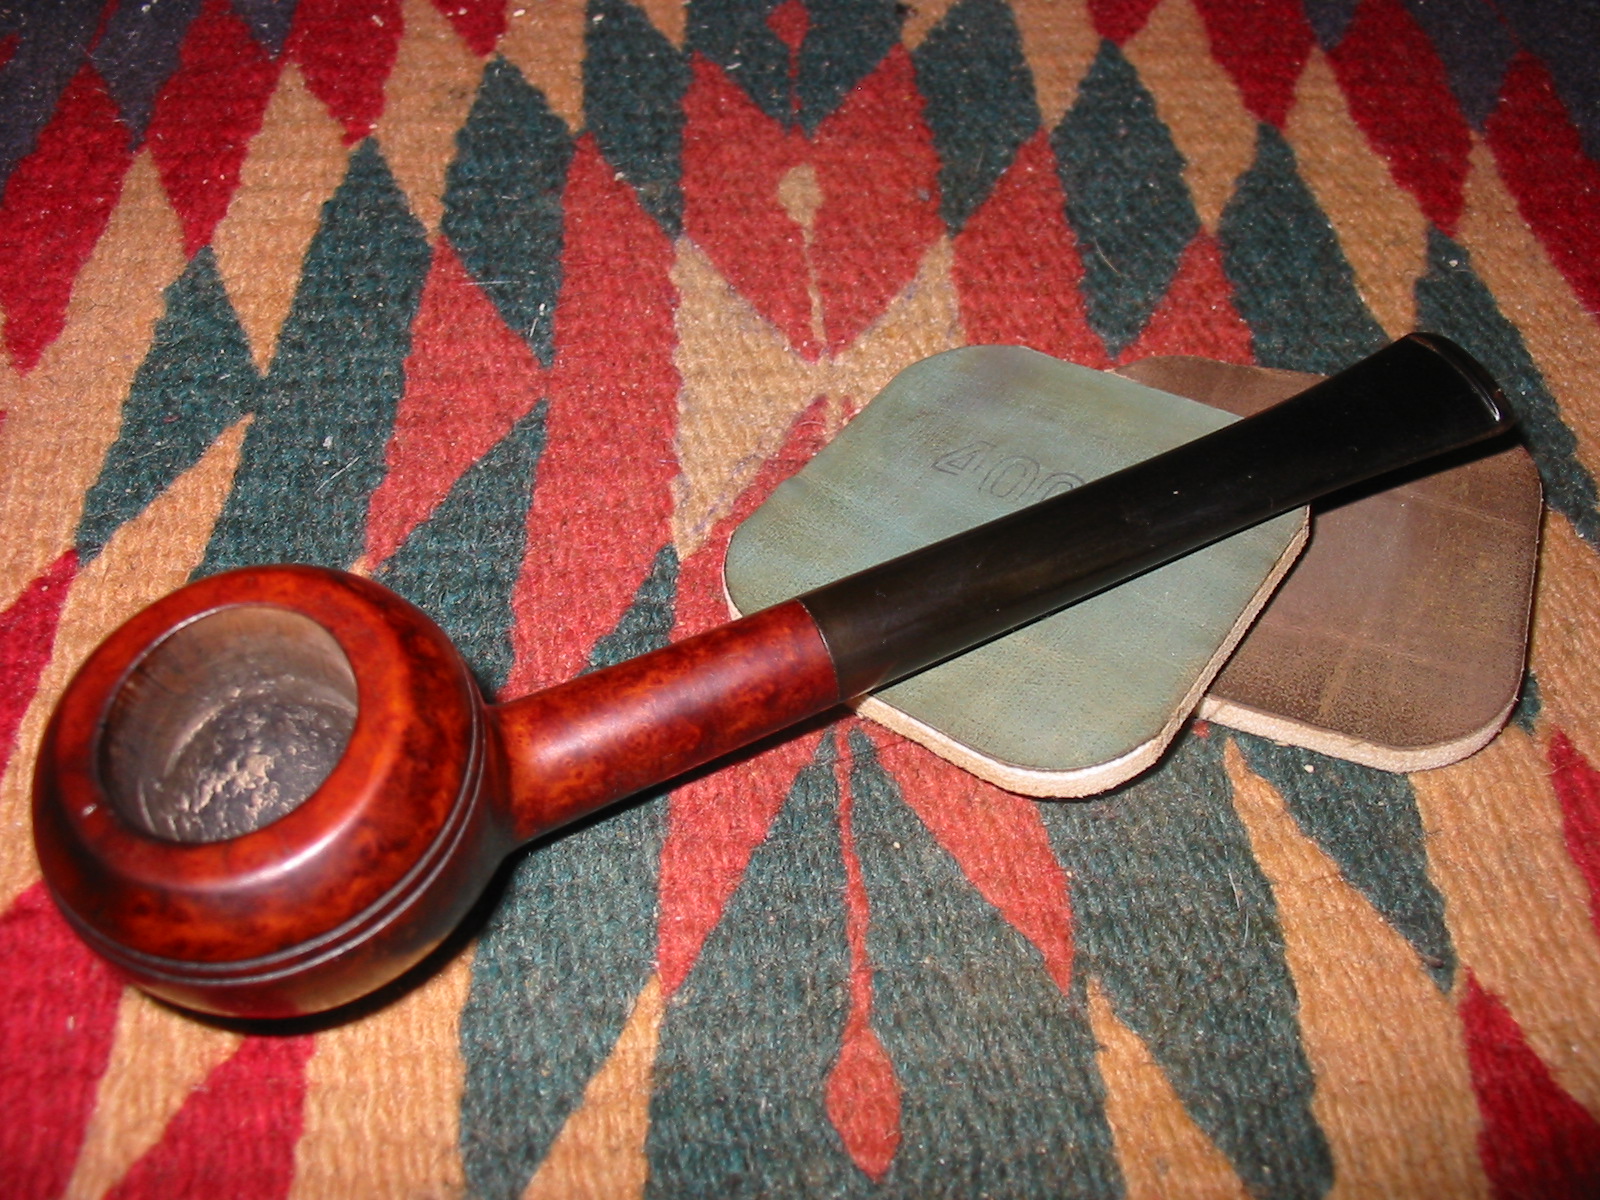
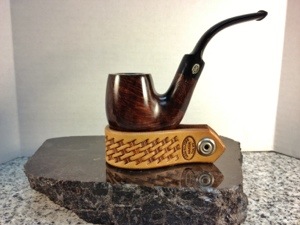
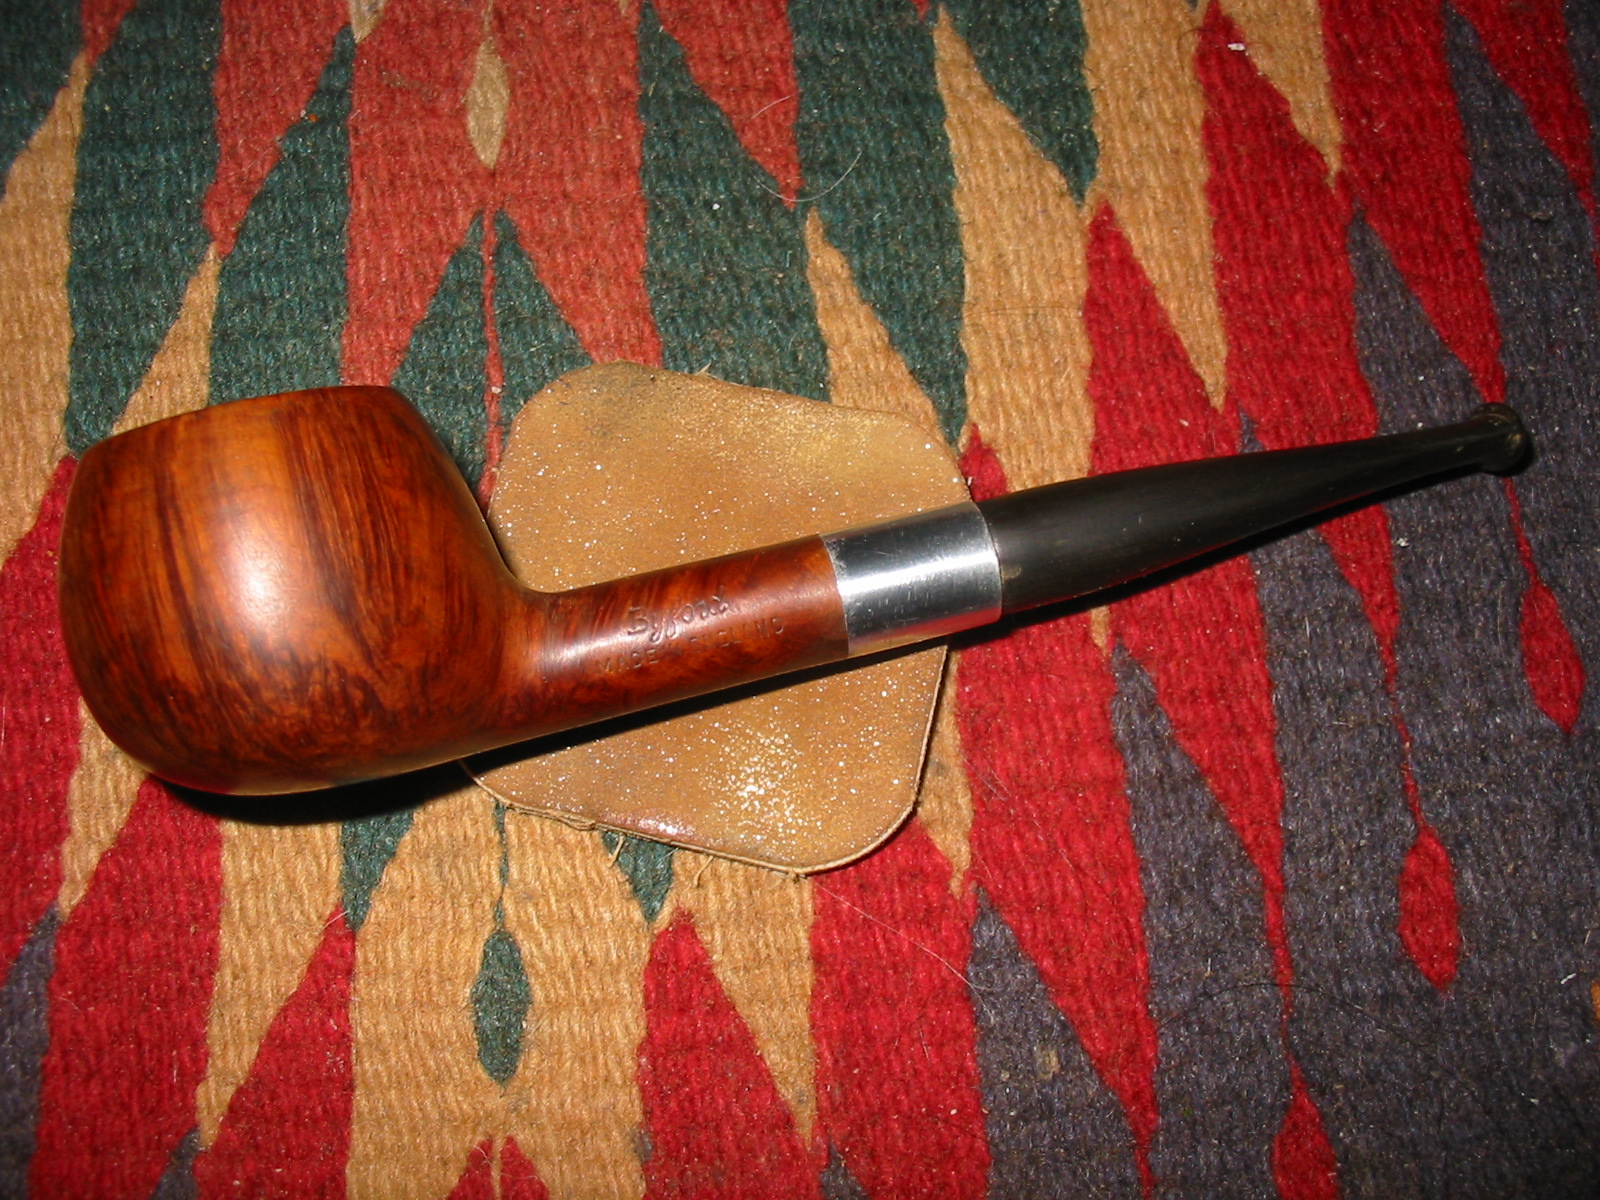
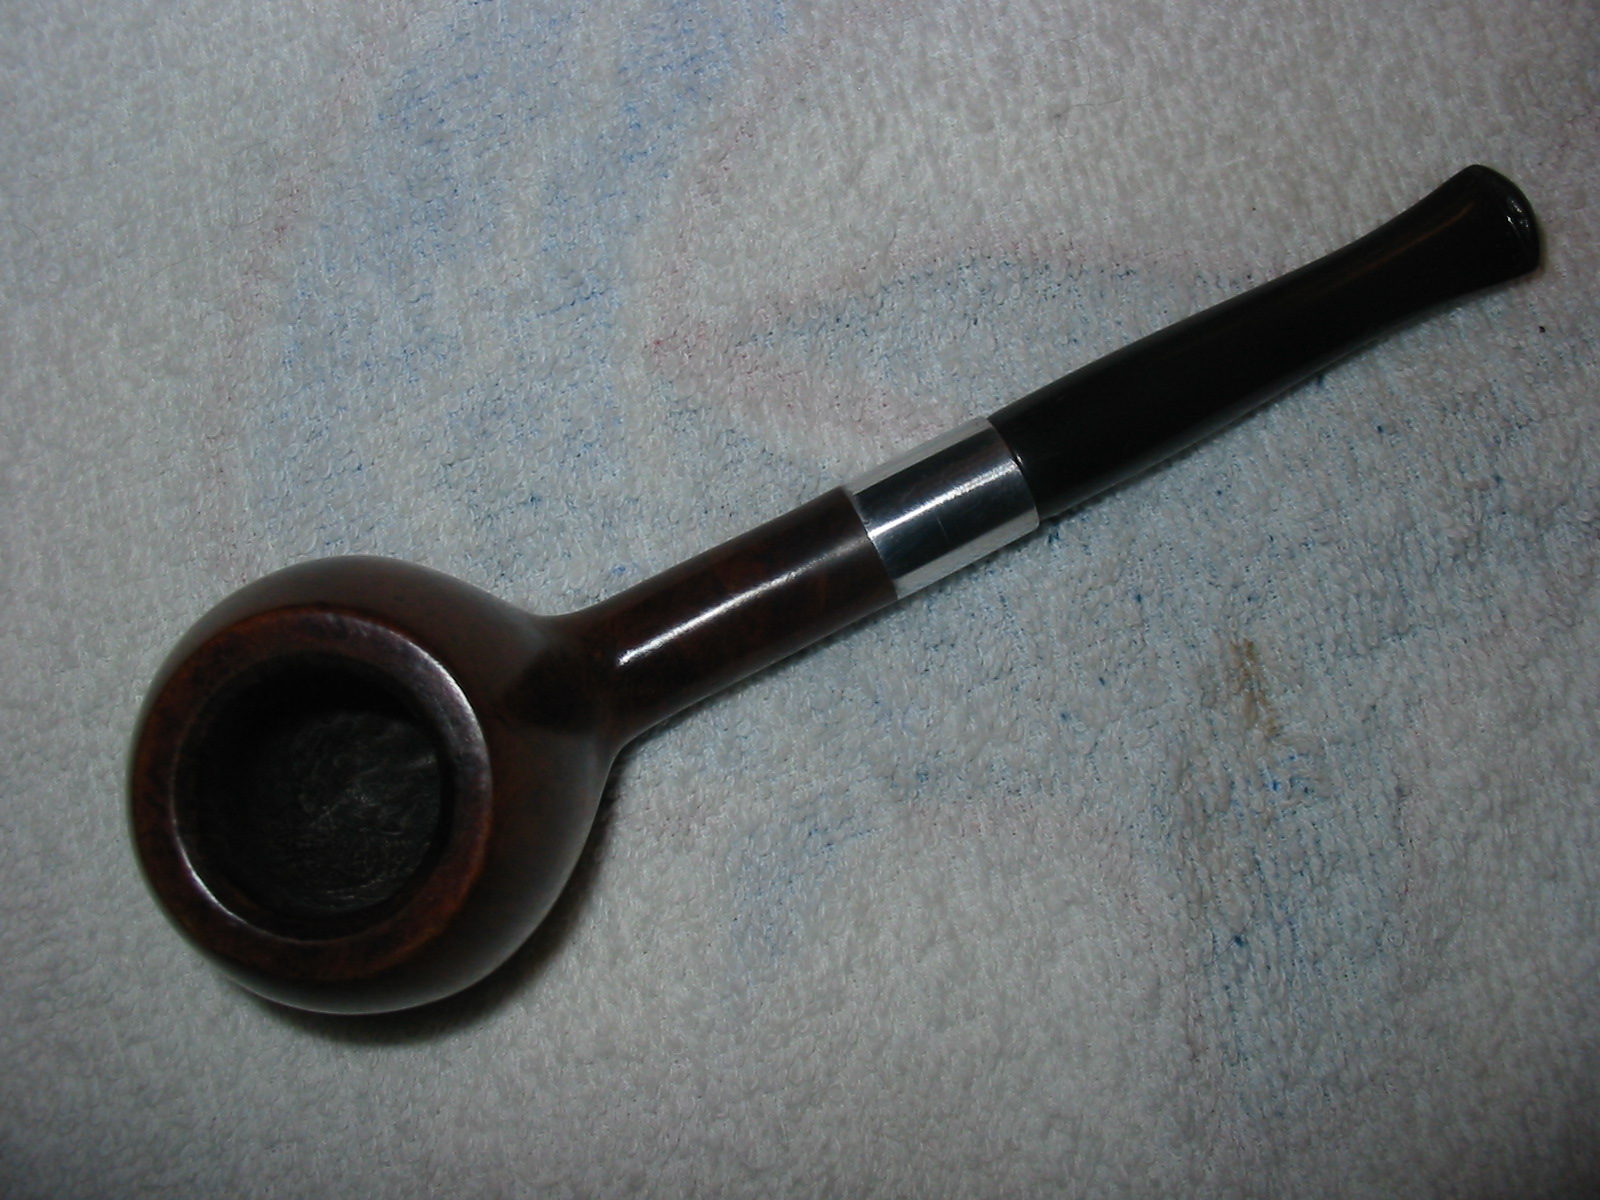
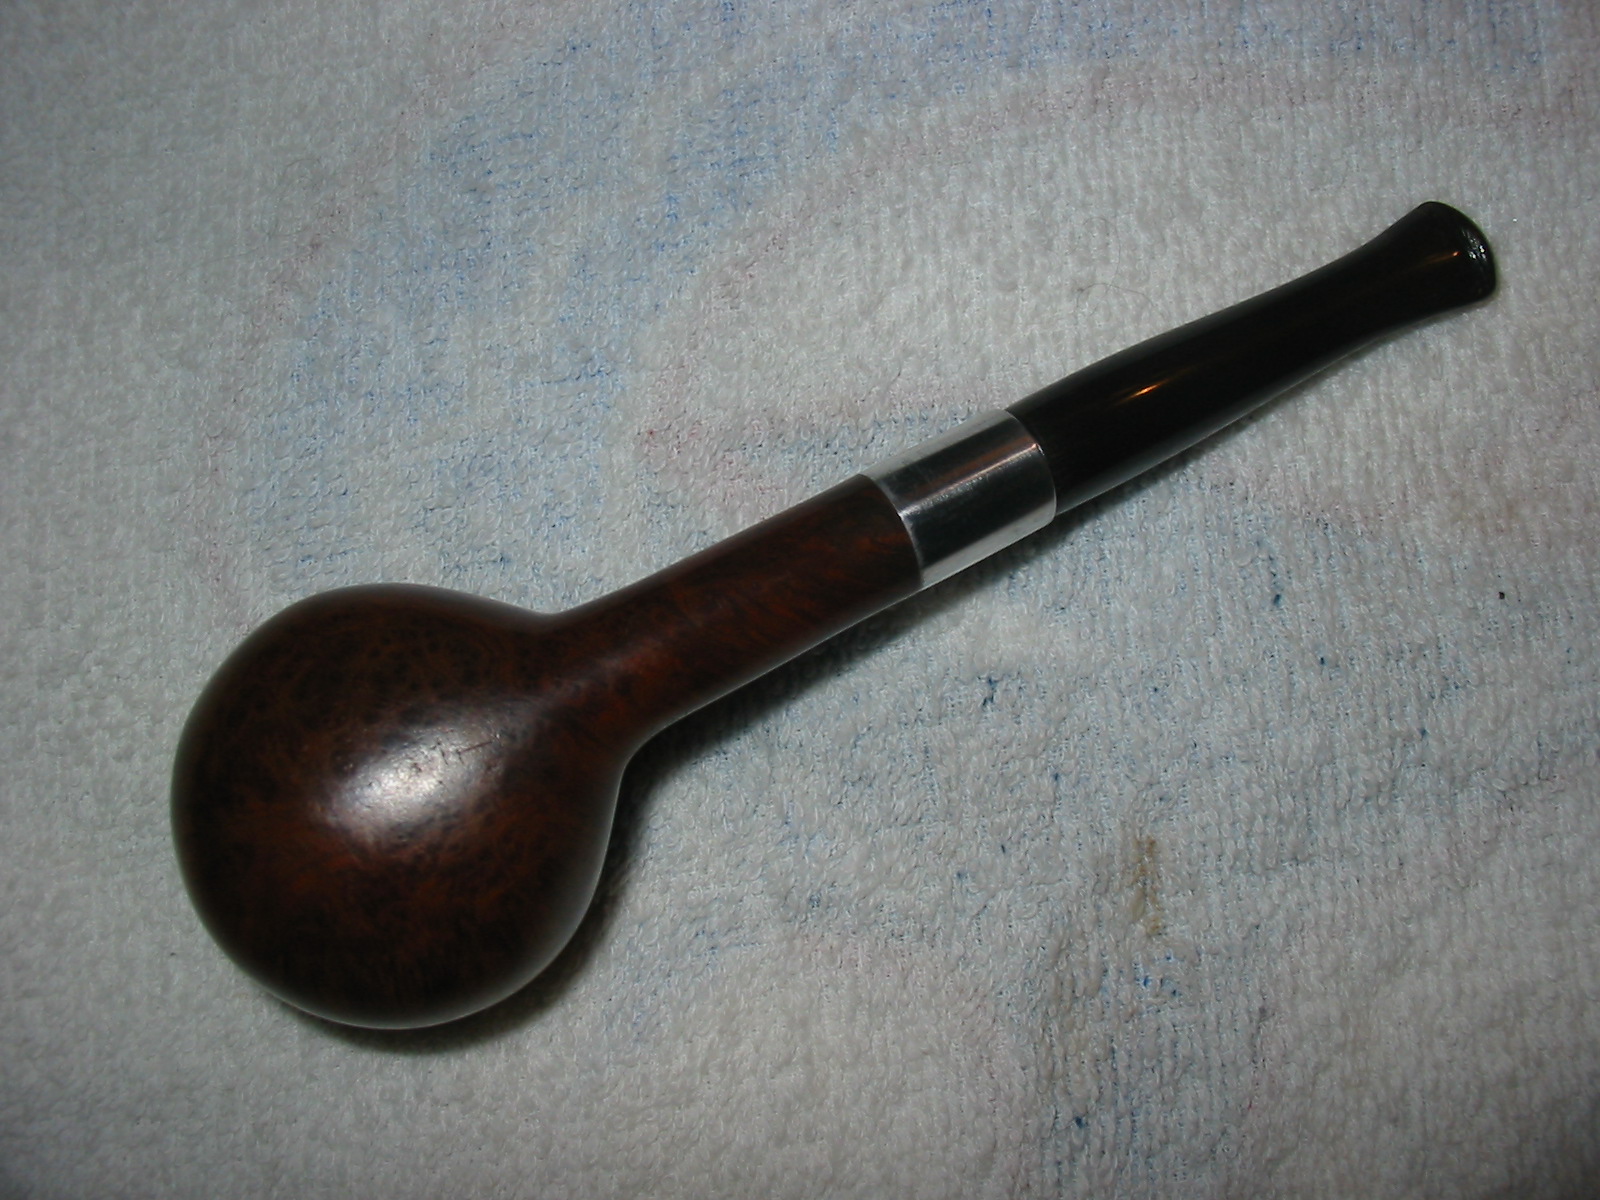
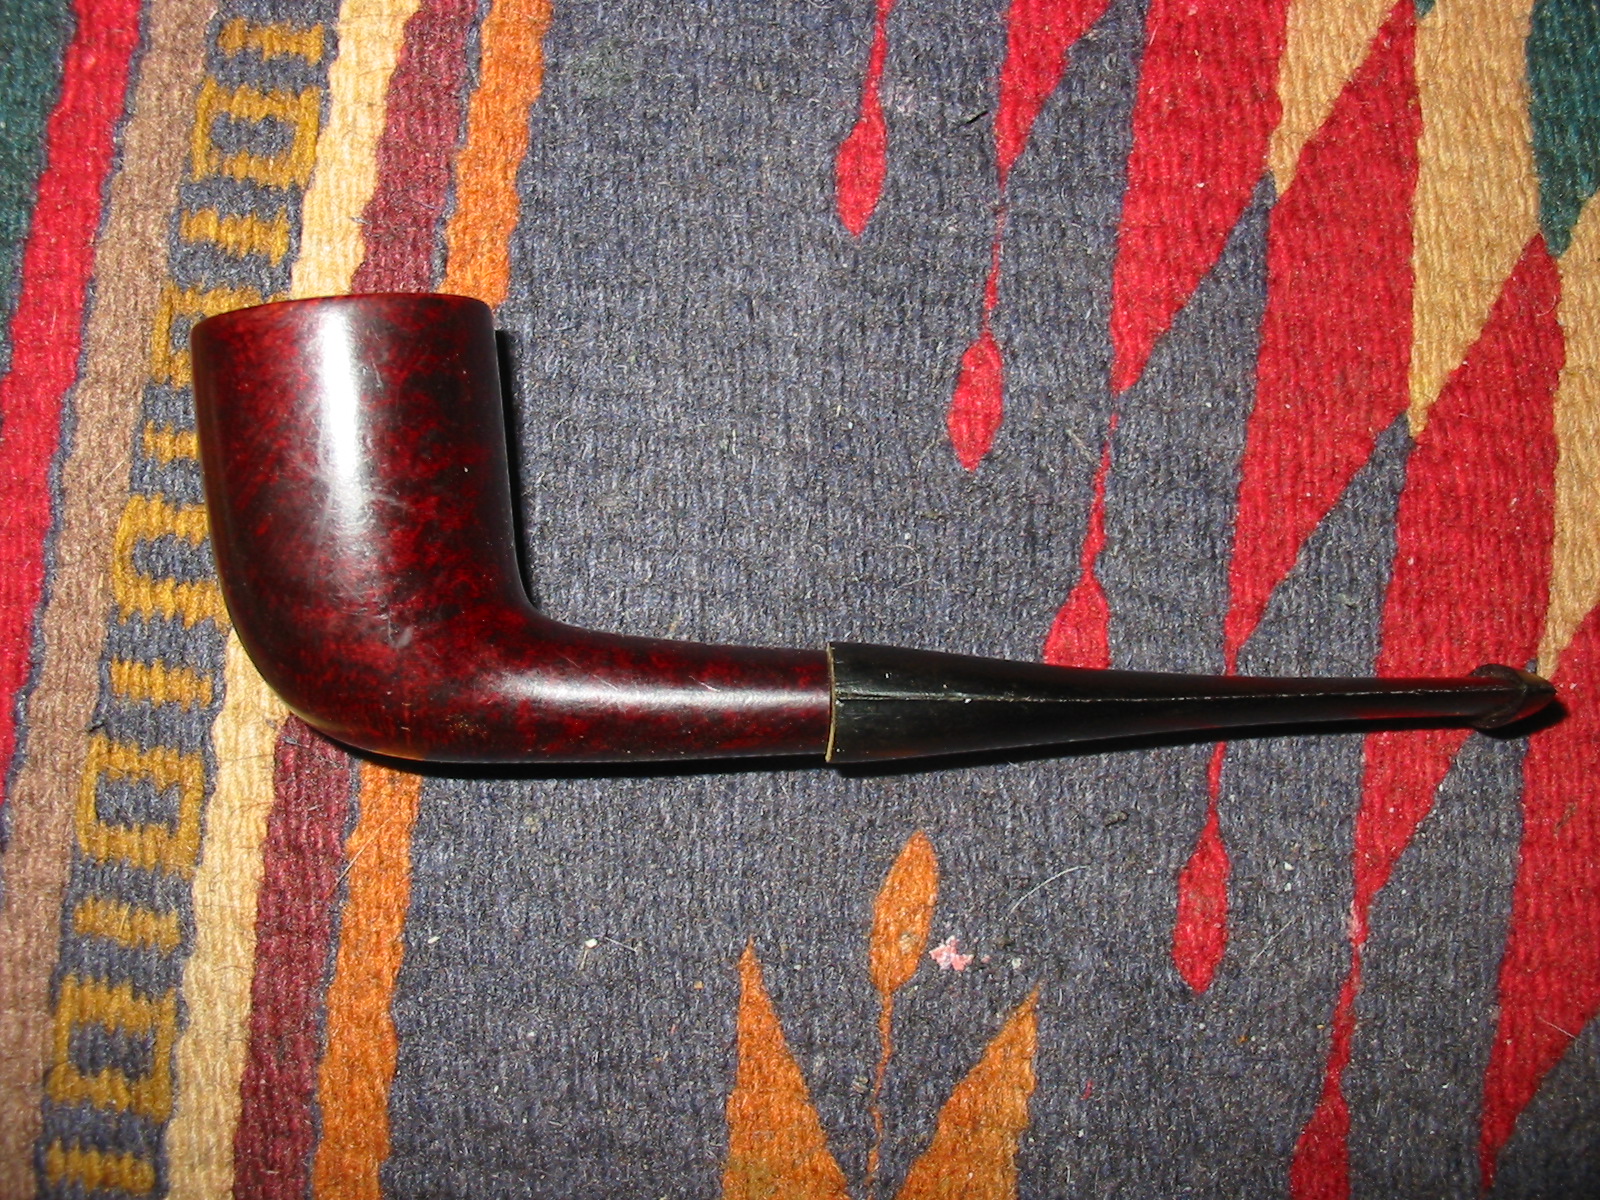
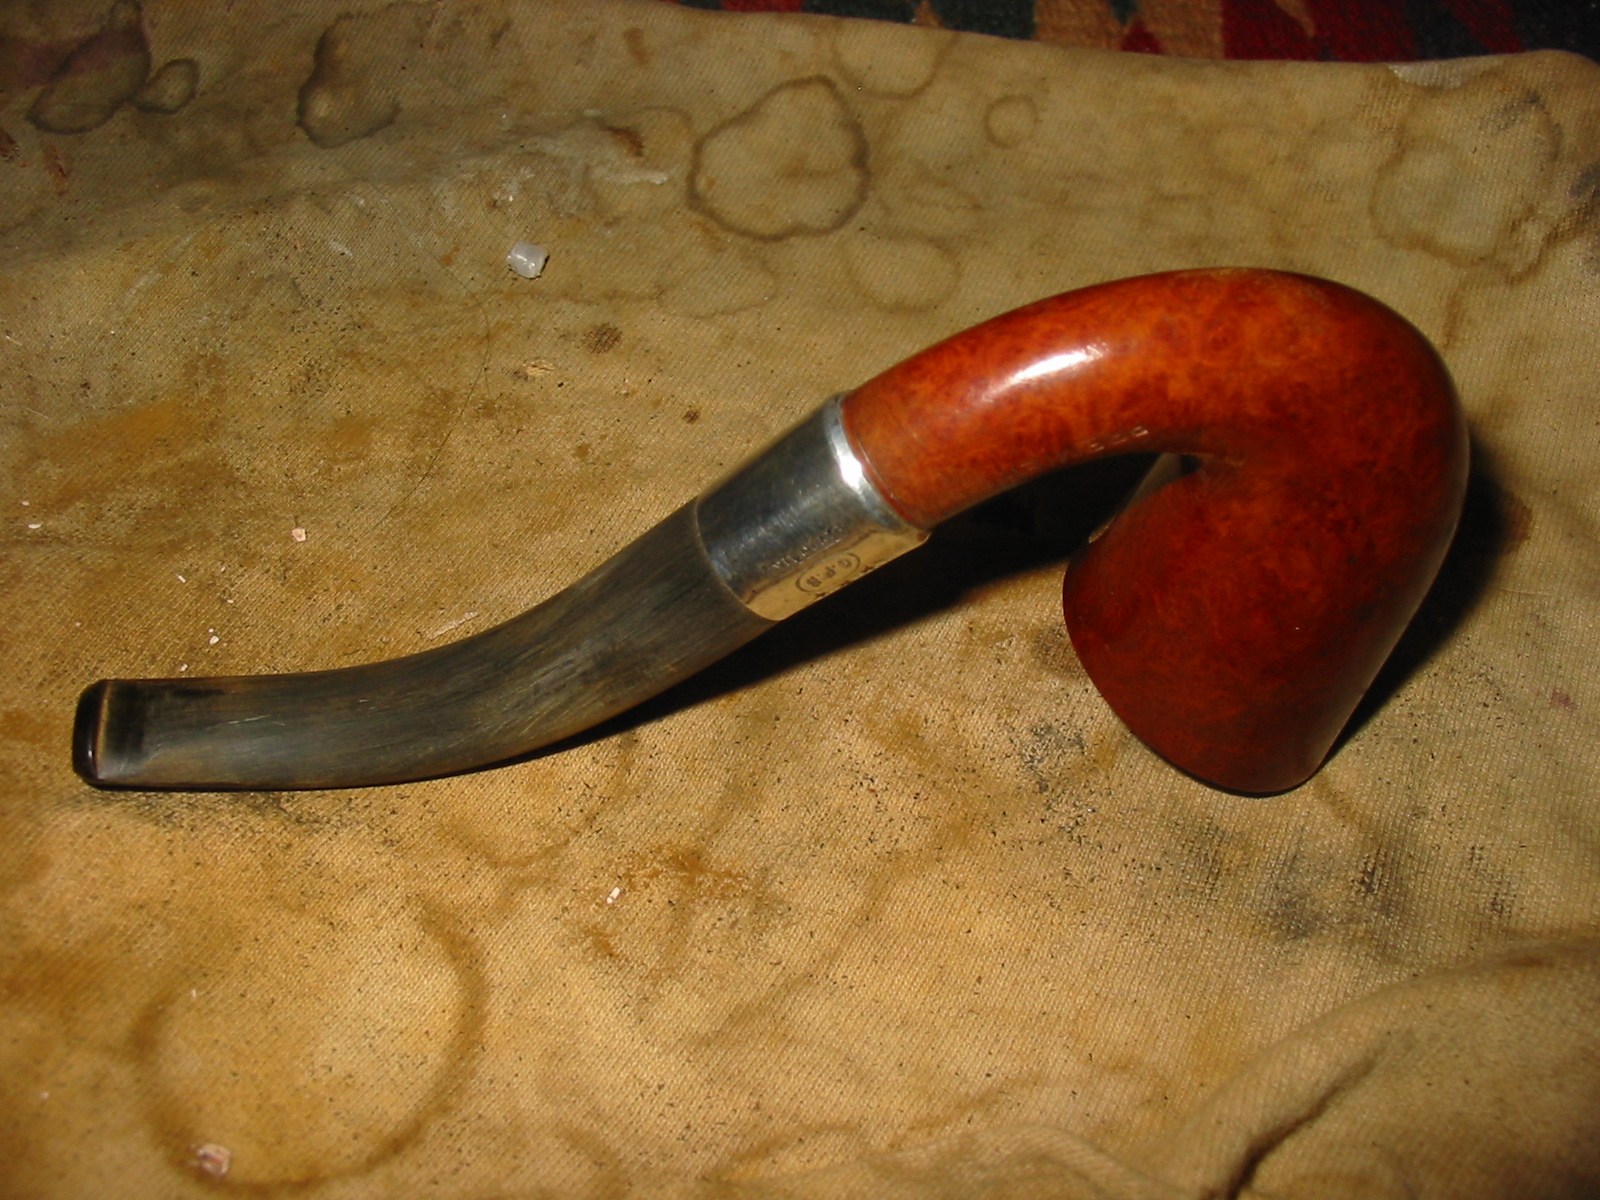
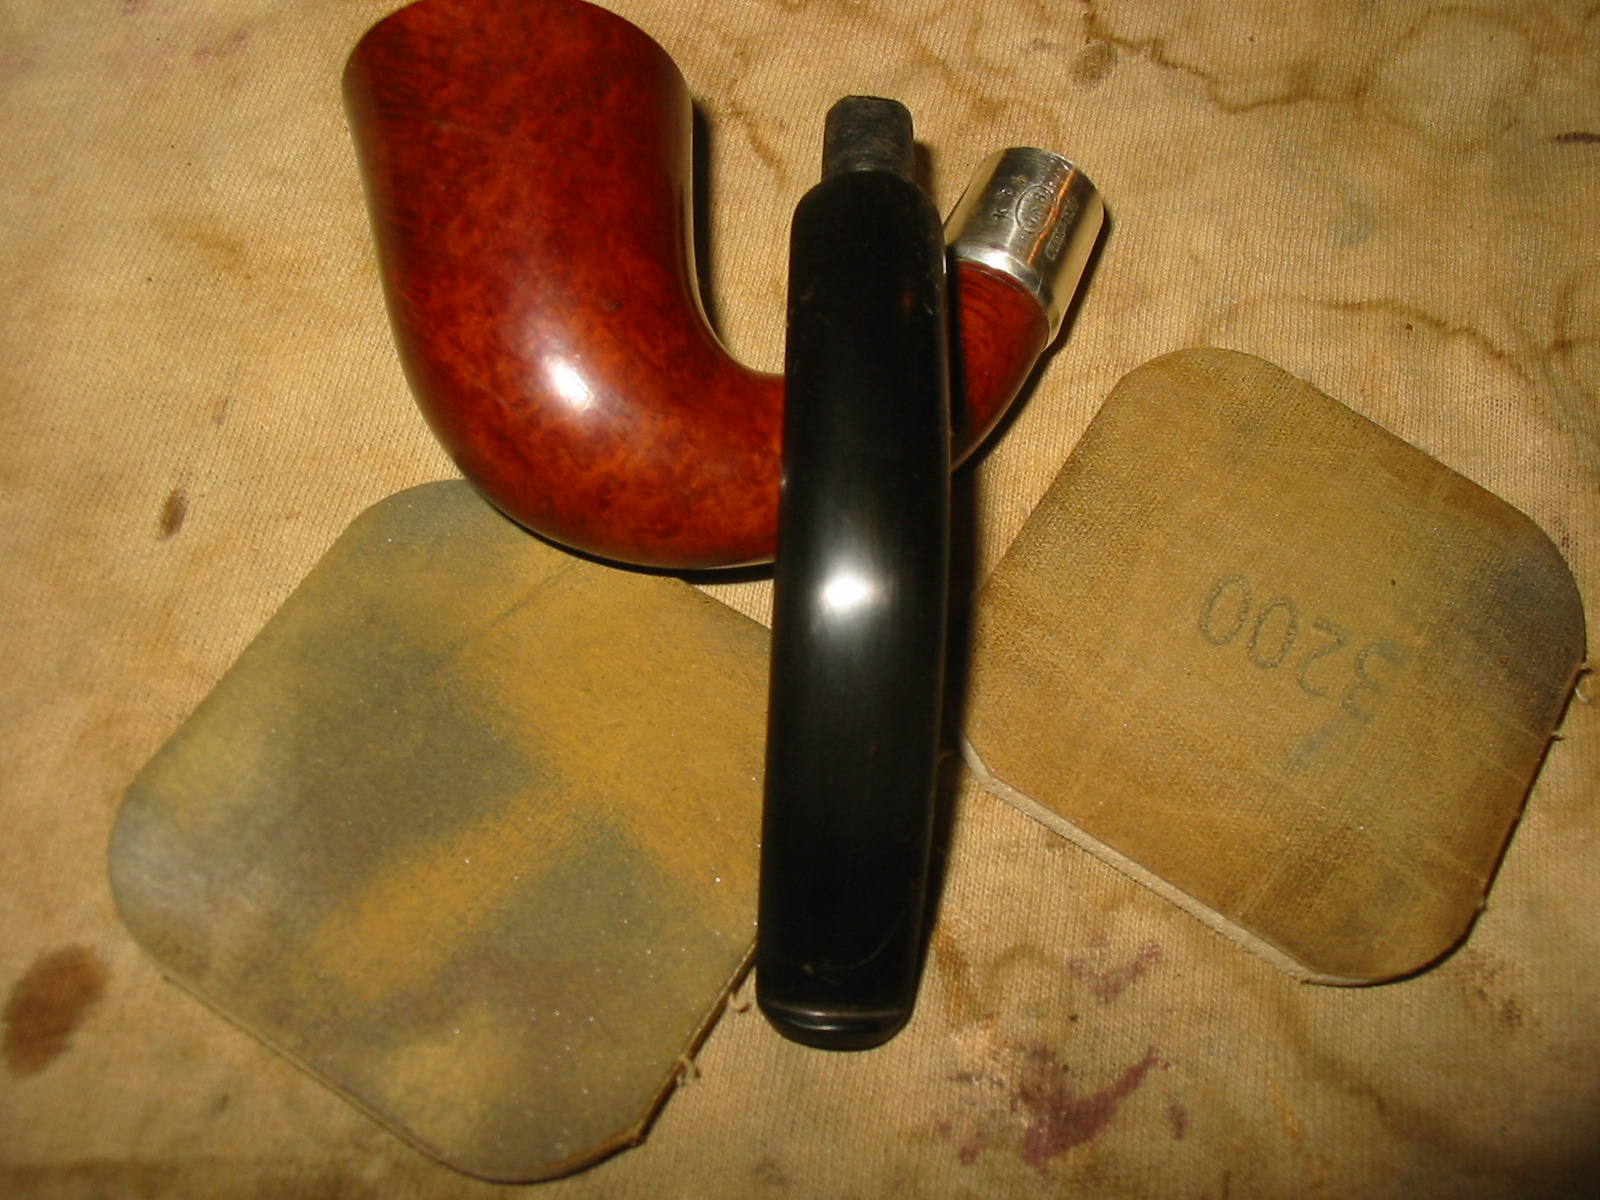
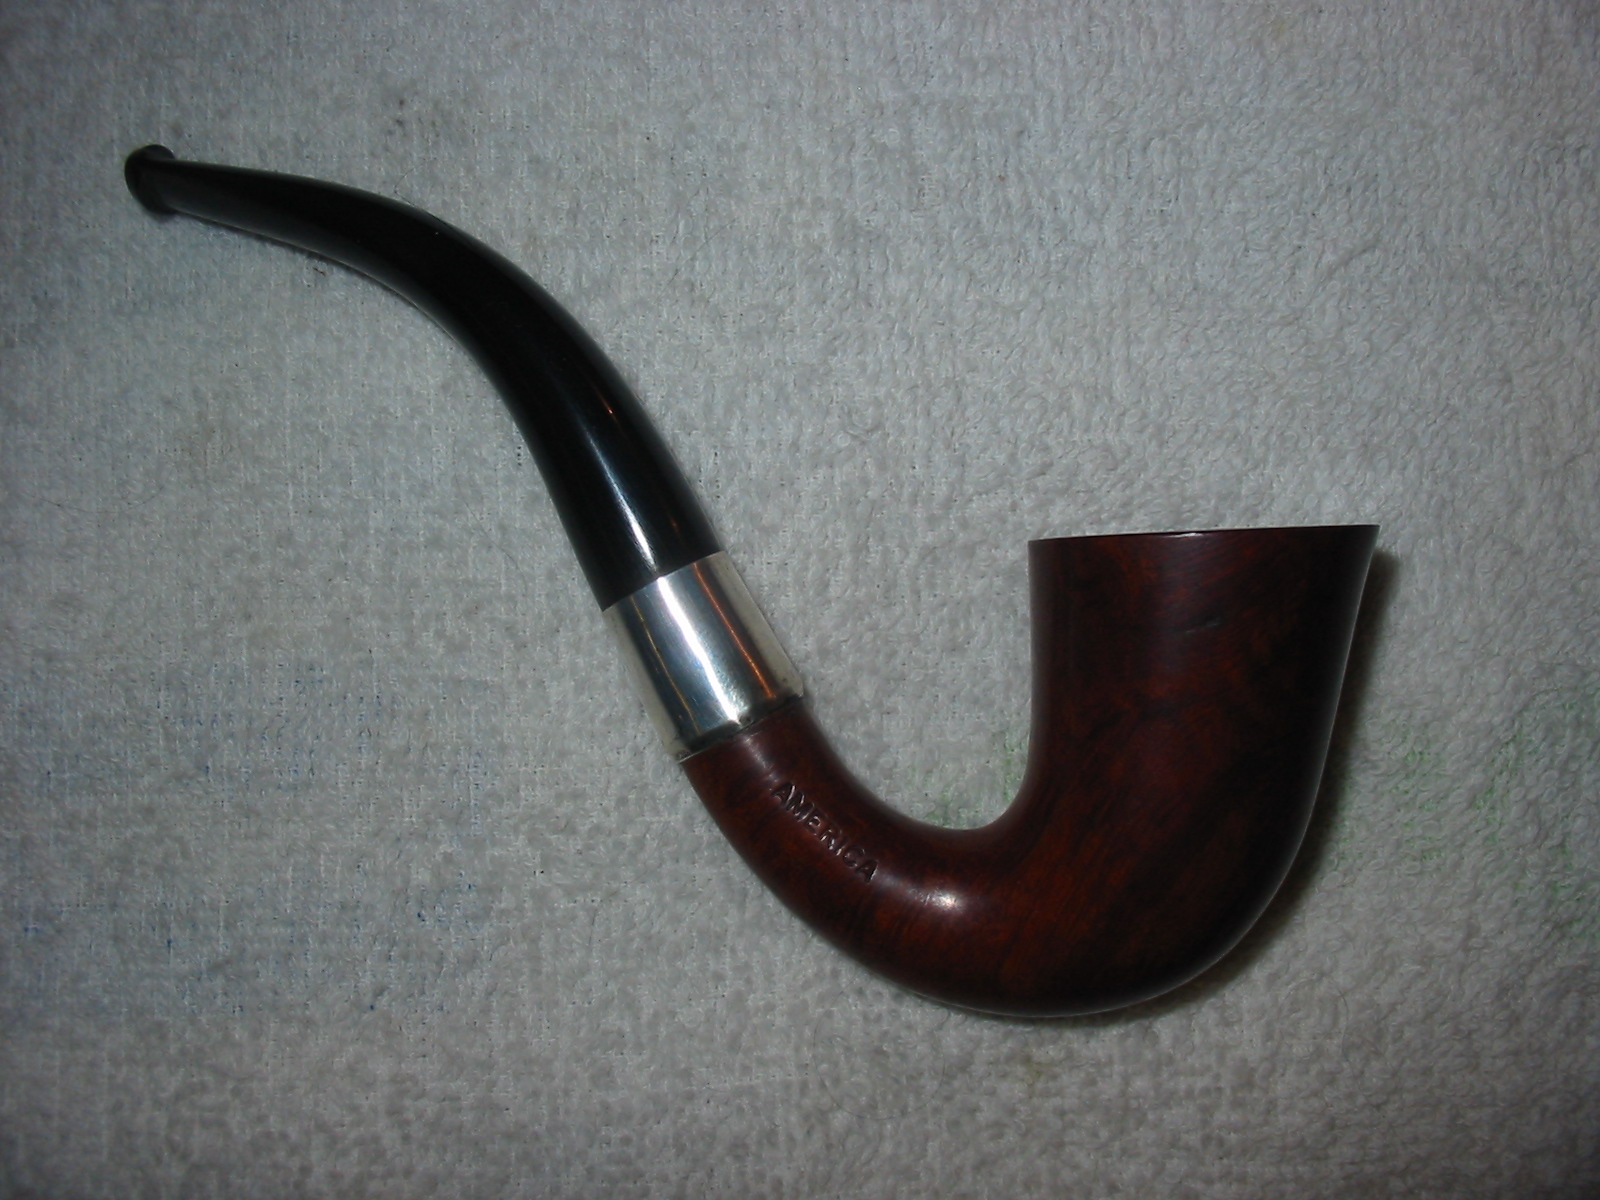
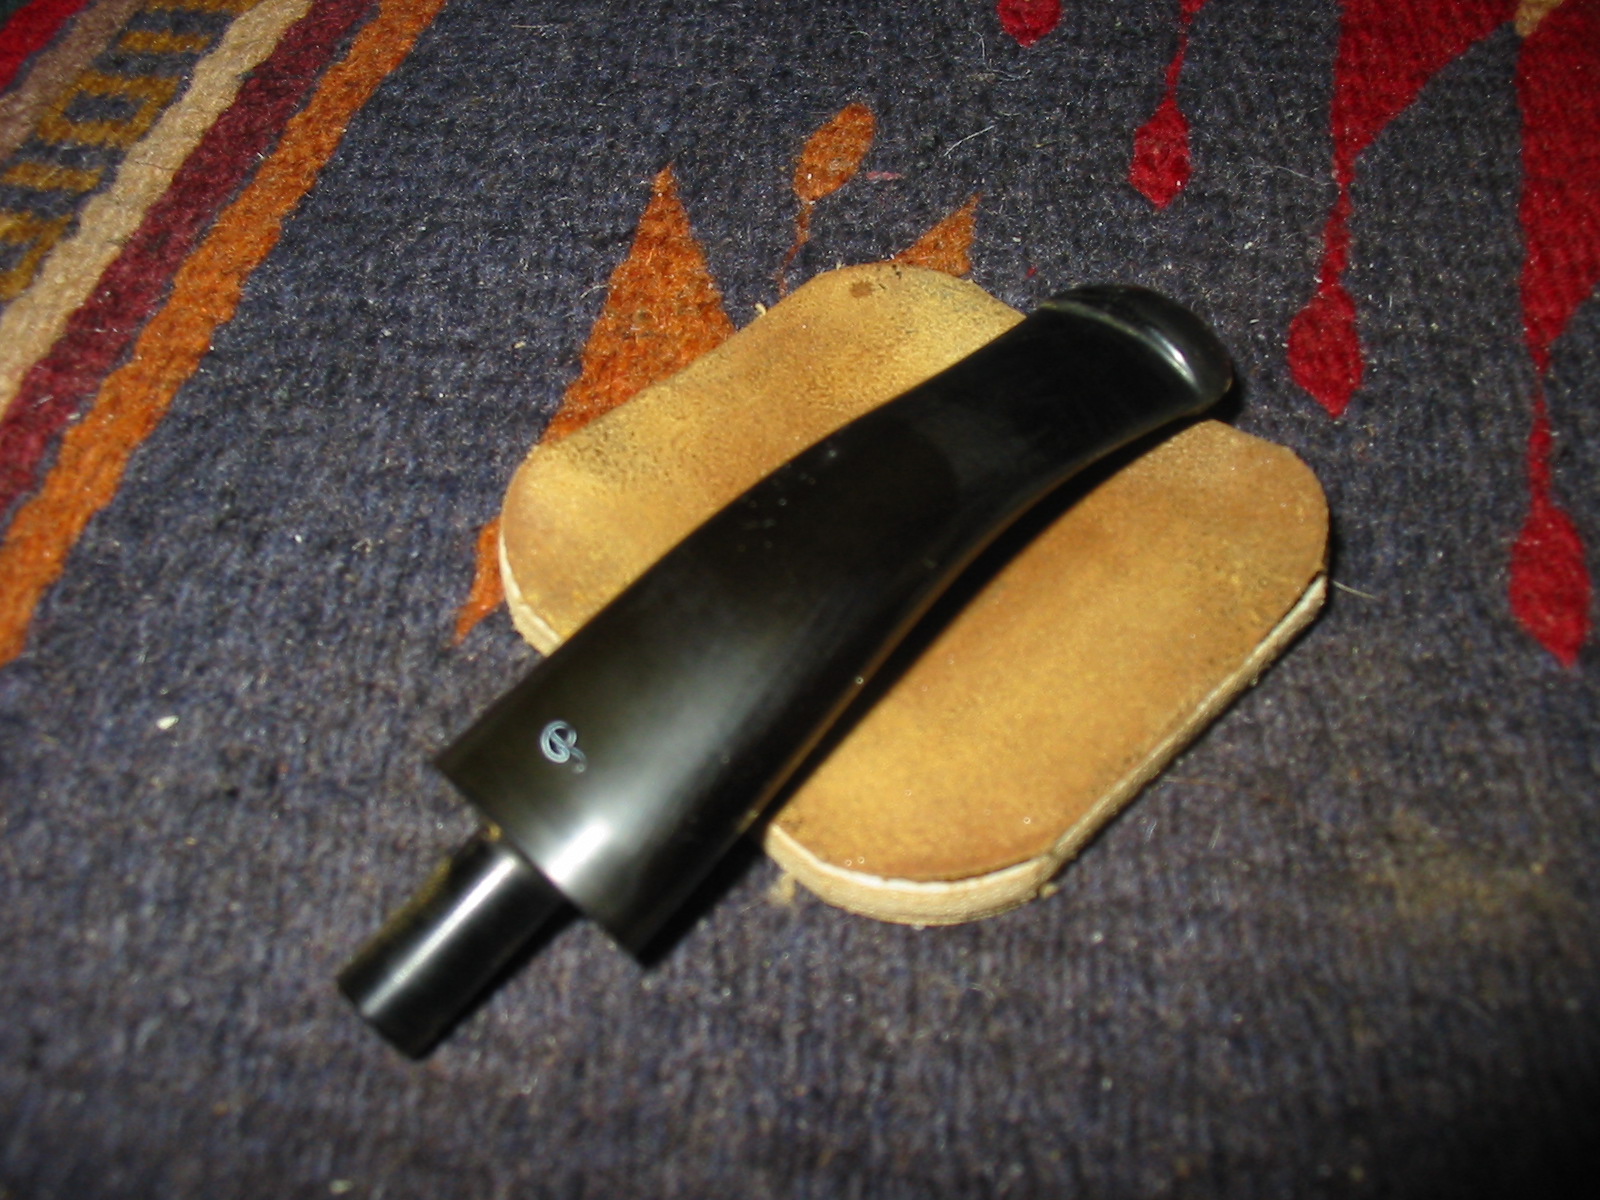
The next series of four photos show the rejuvenated pipe. The stem is a bright black and the tooth marks are gone. The bowl and internals are also cleaned and the pipe is ready to load up with the HH Dark Flake and smoke. This pipe will always be “Mike’s Pipe” to me. I raise the bowl in his honour!