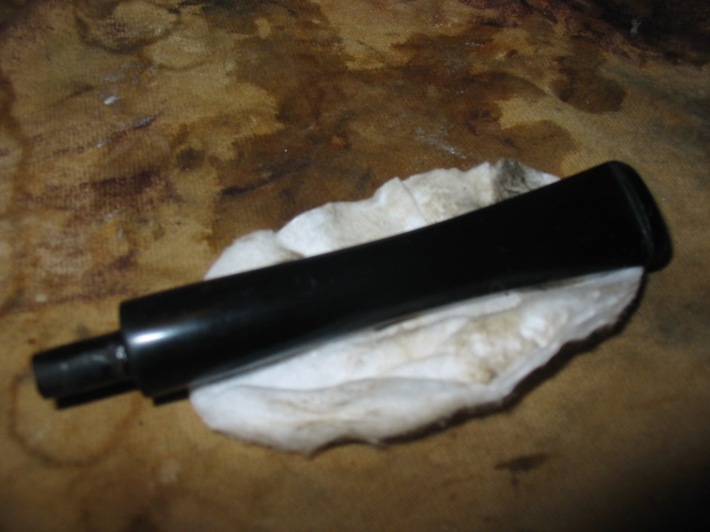
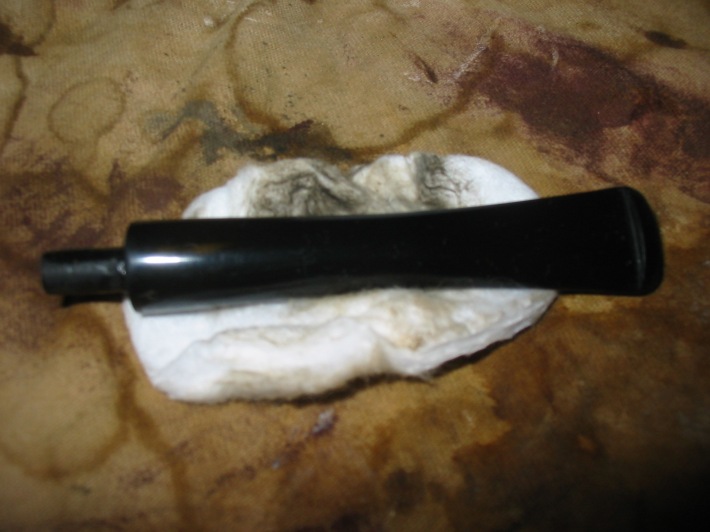
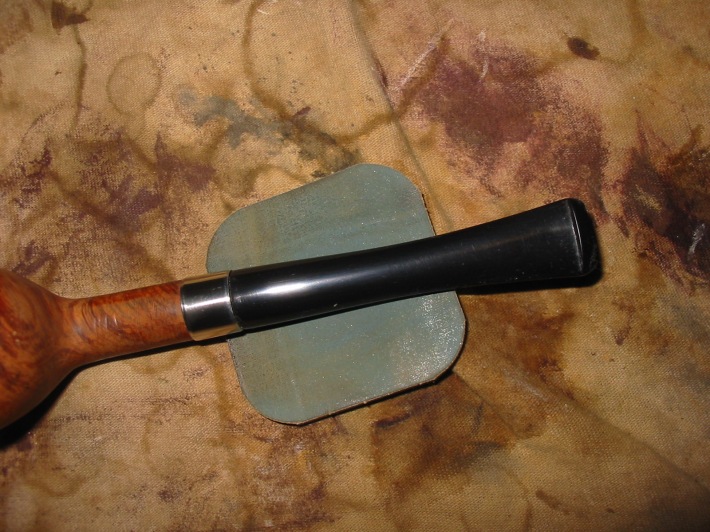
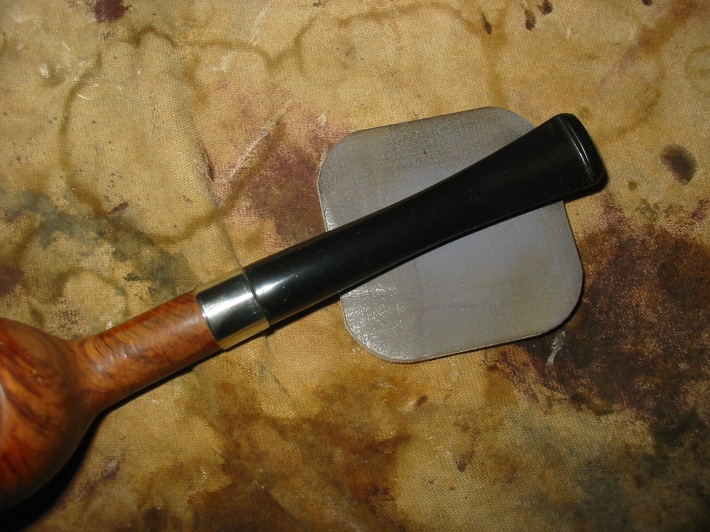
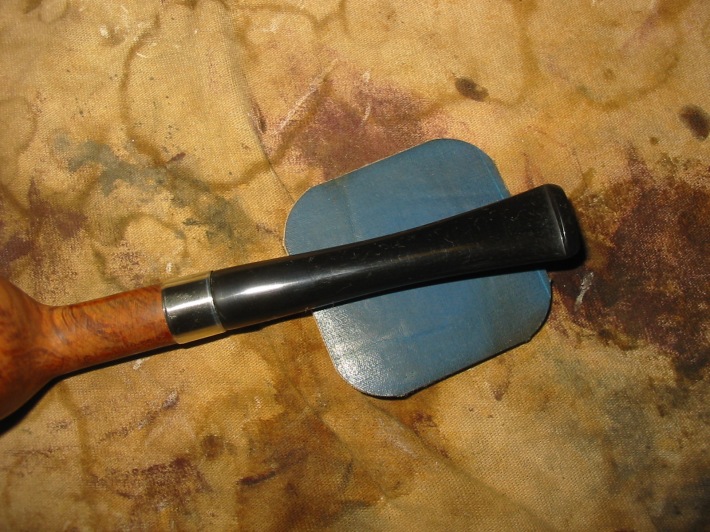
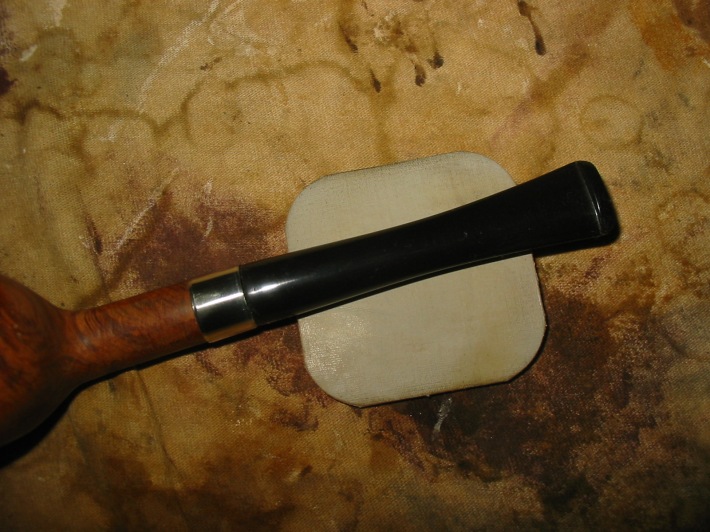
Tag Archives: PIMO tenon turning tool

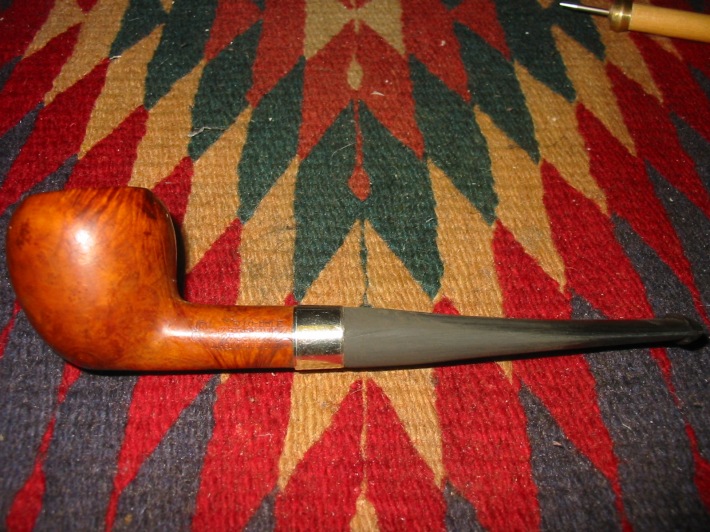
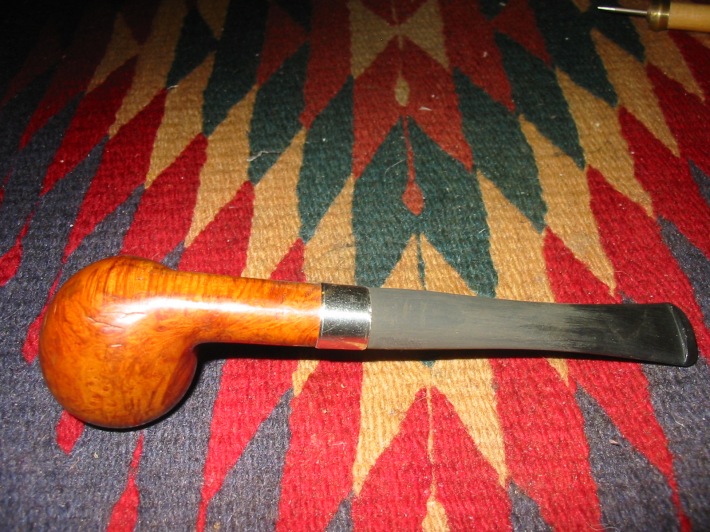
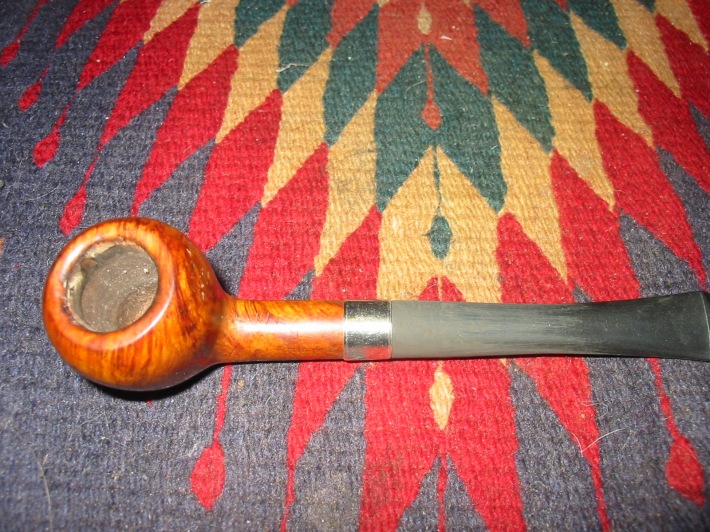
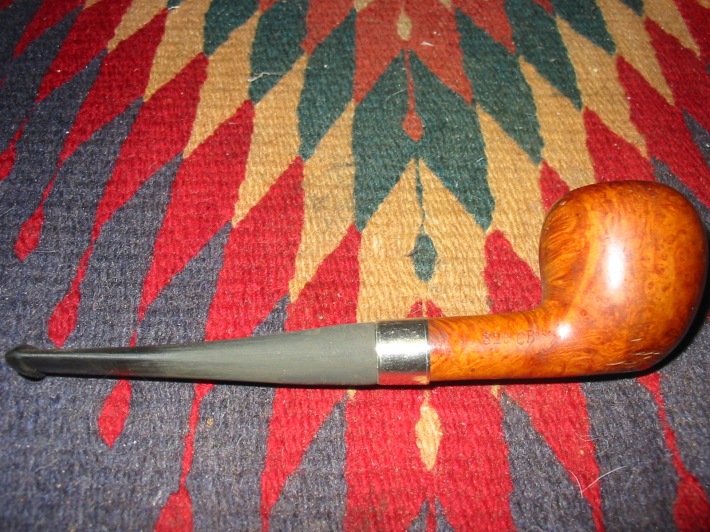
Replacing a Broken Tenon and Repairing a Cracked Shank on an Old KBB Yello Bole Billiard


Blog by Steve Laug

Troy Wilburn and I have been corresponding for a few months now about pipe restoring and the fun of the hobby. He has posted some of his work here so he is no stranger to pipe restoration. I had not heard from him for a while so I sent him and email to check on him. I know he loves the older Yello Bole pipes and I wondered if he had worked on any recently. I am including a portion of the email he sent me in response to mine. He wrote:

“Funny thing you have contacted me as I do have a couple of Yello Boles I need tenon repairs on. One is an old favorite of mine that snapped off. I have tried to repair it and it failed. The other is an odd shaped NOS (I can’t find the shape on any KW chart. It’s a large bowl billiard with a short oval shank and short straight stem) pipe that I purchased with a broken tenon already but I can’t get the broken piece out (it’s really stuck!) So it might need to be drilled out and a new tenon made, I don’t know.”

“Tenon repair is something I’m not that experienced on and they are both very nice old KBB YBs and would like nice repairs done on them, so I was thinking about sending them to someone more experienced in those types of repairs. I was gonna ask Ed but I know he is always swamped with projects, so I was thinking about asking you if you would be interested in repairing them for me…”

I replied that I would gladly have a look and them and give them a go if they were something that I could fix. When they arrived last week I unpacked the box that Troy sent. I have to tell you he did a masterful job of packing these old pipes. They were individually wrapped in bubble wrap and then placed in small plastic containers. Then the plastic containers were put in bubble wrap and put in a box. There was no movement or rattle in that package.

When I took the pipes out I could see what Troy was talking about. The little odd shaped NOS Canadian was strange. It had a metal tenon. Upon observation I could see that someone had left the broken tenon in the shank and then made a metal tenon that slipped inside the broken tenon. Deep in the shank was the stinger rattling around free in the airway between the broken tenon and the bowl. The billiard that I chose to work on first was another matter. I think Troy tried to epoxy the stem on the tenon but it did not hold. The face of the stem was spotty with glue. The shank on the pipe was clean but I did not spend too much time checking it out to see if there were cracks or problems. Even though the tenon snapped I just by passed my normal observation and went to work. That was a decision I would regret shortly… but let’s not get ahead of ourselves yet.

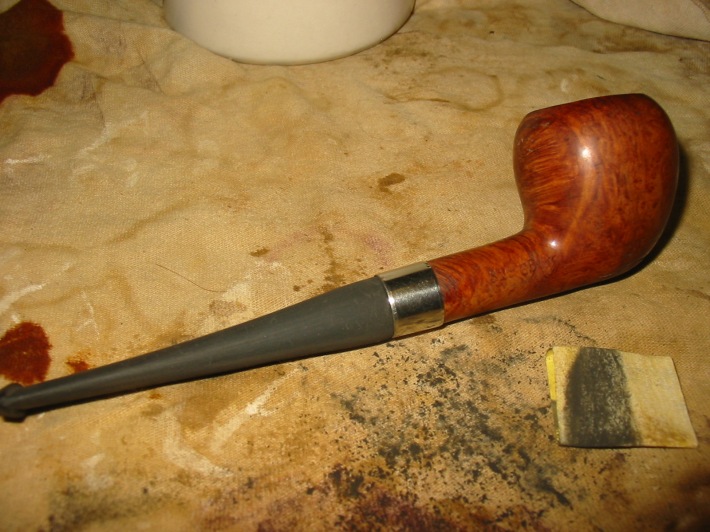
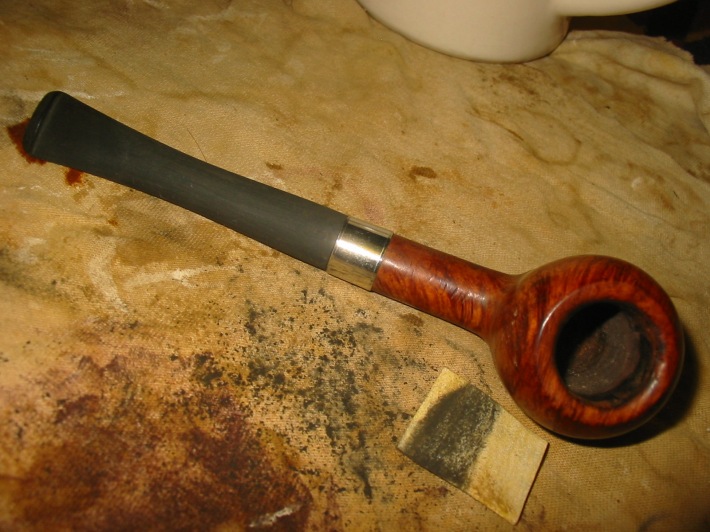
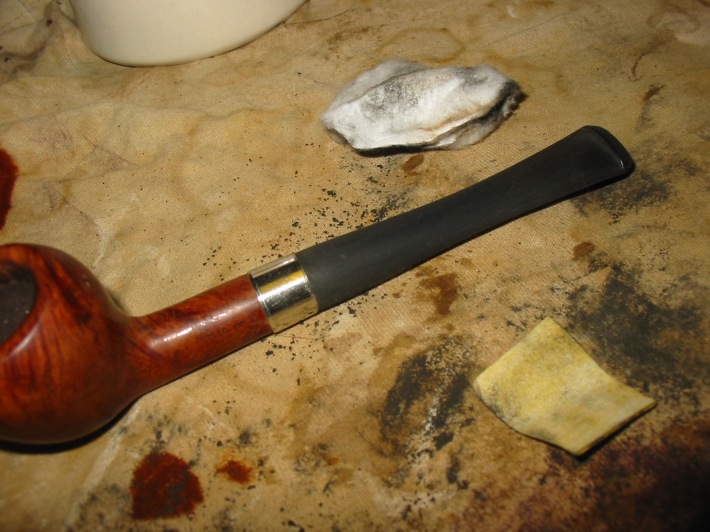
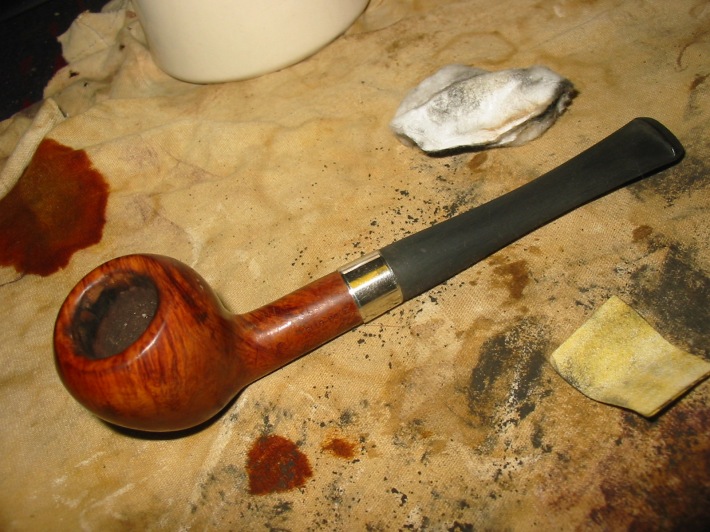
I faced the surface of the stem and smoothed out the broken area on a topping board. I started with a drill bit slightly larger than the airway and worked my way up to a large enough drill bit that I could turn a tap into it to thread it for the new threaded tenon. This has to be done very slowly and carefully to not drill to deeply into the stem or to angle things so that the tenon does not sit straight in the shank once it is in place. The stem had some spots of glue on the surface and some marks around the end where the tenon had snapped off that would need to be addressed once I got to that point.tenon1 I generally have a few threaded tenons to work with around here. Wouldn’t you know it all of my ¼ inch tenons were gone and all I had left were these large ½ inch ones. It would have to work for this repair. I used a tap to thread the newly drilled stem. I fit the tenon in place and twisted it down until it sat flat against the stem. I then twisted it free and put some glue on the threads and twisted the new tenon into the stem. I cleaned up the excess glue around the junction so that the fit of the tenon was smooth and tight.Tenon2 Once the glue set in place I set up my PIMO Tenon Turning tool on my cordless drill and took down the tenon slowly until I had removed enough of the excess Delrin to get it close to a fit. Because there are no micro adjustments on the tenon turning tool I always get as close as possible with the tool and then use the Dremel and sanding drum and to strip it more and then finish it by hand with sandpaper.Tenon3 I love the way the Delrin spins off the cutter on the tool. Here is the new tenon sitting among the Delrin scraps ready to take to the Dremel and then hand sand.Tenon4 I used the Dremel to take the tenon down some more. I then sanded it by hand until the size was the same as the shank. When I slid it in place the fit was perfect. I was happy to have finished what seemed to be an easy repair. I slipped the stem out of the shank to clean and polish the tenon. When I slid it back in place the sound that makes me cringe was heard. It was just a slight low pop. I removed the stem and could see a small crack had either appeared on the shank with the new tenon in place or the new tenon had made the crack appear. I will never know for sure as I did not check it before. I cleaned off that area of the shank and examined the crack. It was just under ½ long and curved up through the stamping on the shank. I was sick.

I wrote Troy a quick email and told him the situation as it stood – great fitting stem, repaired tenon and now a cracked shank. I asked if it was cracked before or if I had cracked it. He was not sure either. Ah well no matter. I was hoping he would confirm that it was previously cracked but he didn’t know. I asked about banding the shank and he said he would rather not as he did not like bands. But if I had to a thin one would do. The problem was twofold – I did not have a thin band and a thin one would not fix the crack. I suggested that maybe I could do an internal repair and thin down the new tenon to fit inside of the tube that would be used to repair the shank. He said to go for it and see what I could do.

So I did a bit of looking through my parts bin to see if I could find either a piece of Delrin tube that I could drill and fit or a piece of metal that would work for the repair. I found I had a metal tube that would work. I cut off a piece the length of the mortise. I used the Dremel and sanding drum to roughen the surface of the tube and to reduce the diameter slightly. I wanted a good snug fit in the shank but did not want to open the crack or crack it further. I spread the crack slightly and put super glue in it and clamped it until it set.

While it was drying I used the Dremel to reduce the diameter of the tenon until it would fit inside of the metal tube. I figured it would be easier to do that fitting with the tube out of the shank than when it was inserted in the cracked shank. Again I sanded with the Dremel and then finished by hand sanding until the fit was a nice snug fit with the tenon all the way into the tube.tenon5

Tenon6 I sanded and smoothed the ends of the tube and made sure that the surface was rough enough to bond to the inside of the mortise. I roughened the walls of the mortise with a dental pick so that it was scored. I wanted to make both surfaces rough enough for the glue to bond to and make the tube secure in the shank. It would have to be a tight fit as I did not want the tube to come out with the stem when Troy took it off the pipe to clean it. I coated the outside of the metal tube with glue and let it get tacky. When it was tacky I pressed into the shank with the sharp end of a pair of needle nose pliers. I pushed it in until it sat against the end of the mortise in the shank.Tenon7 With the tube in place in the shank I still needed to flare the end so that it would fit against the bevel of the mortise end. I probably could have shortened the tube slightly but beveling the end would take care of that.Tenon8 I pressed the end of rounded tip of the needle nose pliers into the end of the tube and worked on the flare. It took some work to mould it to shape. I then use a small round needle nose file to smooth out the flare and match the angle of the bevel.Tenon9 I stained the end of the shank with a stain pencil and also touched up the cracked area on the shank. I will need to polish that to get it to match the shine on the bowl but you can see the fit of the stem against the shank and look of the shank.Tenon10 With the shank repair completed I needed to work on the stem. I sanded it with 220 grit sandpaper to remove the scratches and glue build up that was on the surface of the stem. I sanded it with medium and fine grit sanding sponges. Then it was time to sand it with micromesh sanding pads. Instead of wet sanding I used a little olive oil on the stem and sanded with the micromesh with oil. I did that with 1500-2400 grit pads. I continued with 3600-12,000 grit pads without adding any further oil to the surface of the stem. With these older Yello Bole stem I find that wet sanding does not work well but to sand with oil is perfect and will raise a nice shine. I also am careful about buffing them as they have a pretty low melting point and are easily damaged. This particular stem does not appear to be vulcanite so I was careful.Tenon11

Tenon12

Tenon13 The next two photos show the shank end. The stain got on the flare of the metal tube and I will need to wipe it out with a bit of alcohol. However you can see the flare of the metal and the briar to take the new tenon and hold the stem tight against the shank. The airway has what appears to be a loose piece of metal on the second photo at the bottom of the shank. I blew out the shank with air and the dust and fibres that were present disappeared.tenon14

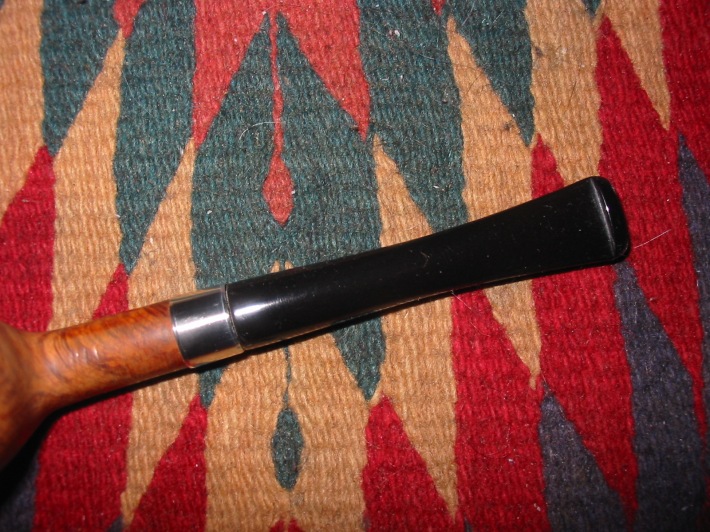
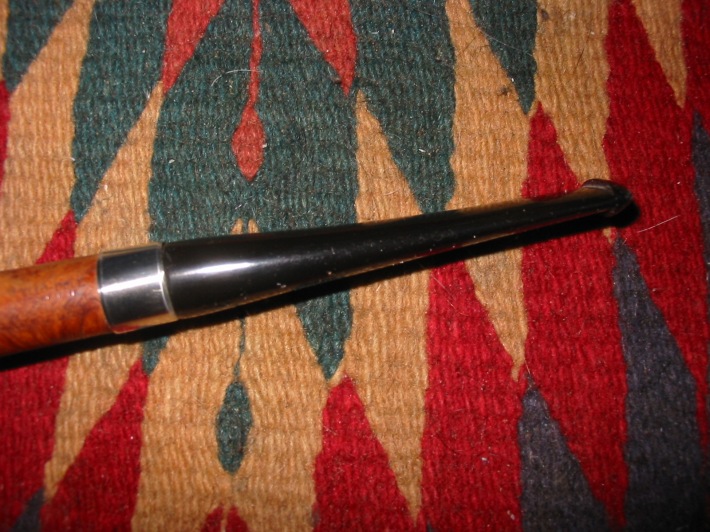
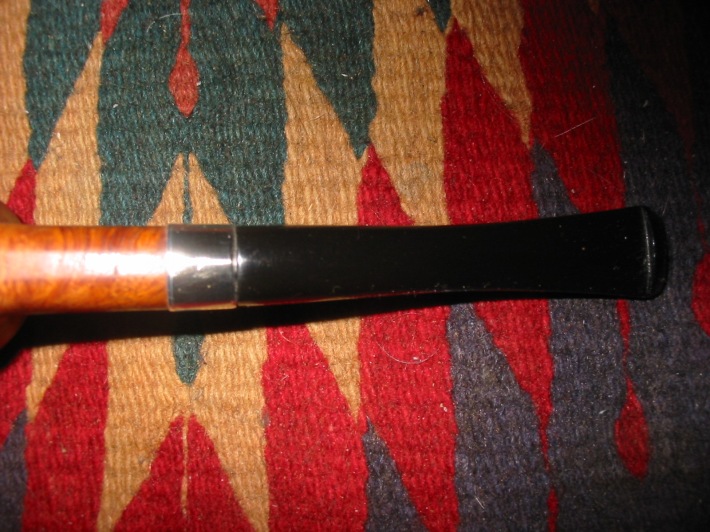
tenon15 The next four photos show the finished pipe and stem. The newly fit stem sits nicely against the shank. The repair to the shank is solid and the crack is closed. With the metal insert it should be free from further cracking and the tenon slides in snugly to the mortise.tenon16

tenon17

tenon18

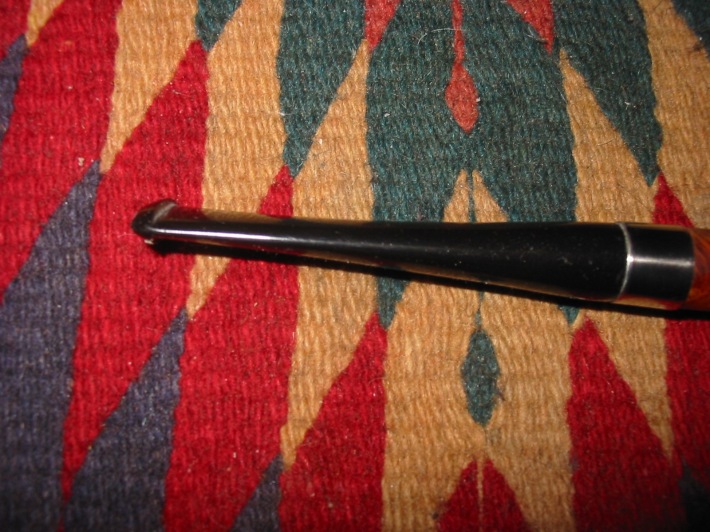
tenon19 The next two photos give a close look at the shank/stem junction. It is good and tight. The final photo shows that the new tenon sits tight against the stem and looks like it was when it left the factory – just narrower in diameter to fit in the metal tube.tenon20

tenon21

tenon22 The first pipe is finished Troy. Hopefully the second one will be much simpler. This one is ready for you to load up and enjoy once again.

Restemming and Reclaiming a BBB Hand Made Unsmoked Bowl


Blog by Steve Laug

This is the third unsmoked New Old Stock pipe bowl I picked up on EBay. It is stamped BBB in a diamond with Hand Made split by the Diamond on the top of the shank. The finish was very good and the bowl absolutely clean. Again it had no stem. I talked with a friend on the forums and he is sending some stems that may work. But, I decided to give it a go with fitting a stem blank while I was waiting. Sometimes the old impatience can be productive! The first series of four photos are from the EBay seller and show the condition of the bowl.

BBB1

BBB4

BBB3

BBB2

I sorted through my box of stems and chose an oval stem that looked to be the right length and close to the diameter that I needed. I used the PIMO tenon turning tool on my cordless drill to cut the tenon close to the diameter I was looking for. One issue with the turning tool is the inability to get accurate cuts so over time I have learned to take it very close and then finish the fit by hand. The first photo below shows the stem on the turning tool. Prior to putting it on the turner I had to drill out the airway to the same size as the stabilizing pin on the tool.

IMG_0958

The next photo shows the tenon after turning it on the tool. I needed to sand it by hand to get a proper fit in the mortise. I use medium grit emery paper to sand the tenon down and then 220 grit sandpaper to smooth it out.

IMG_0959

After sanding the tenon the fit is perfect. The next two photos show the stem in place. There are still casting marks on the sides of the stem and the diameter of the stem needs to be trimmed to match the diameter of the shank. I use a Dremel with a sanding drum to bring the stem diameter down close to the shank size. I am careful to not trim to close to the shank as I do not want to inadvertently scratch the shank and cause more work. I also run the Dremel the length of the stem to take down the casting marks and excess vulcanite. I use it the same way on the end of the button to remove excess and also clean up the marks from the cast.

IMG_0960

IMG_0961

After removing the excess material from the stem as close as I can to the shank using the Dremel the rest is handwork. I begin with medium grit emery paper to quickly remove more material. This is by far the most labour intensive part of the work. There is no way to rush it as it just takes patience to keep sanding until the fit is correct. I work it on the shank and off the shank. Photos one and two below show the results after the stem has been sanded with the emery paper. The diameter is getting close. Photos three, four and five below show the next progress of the shaping. For that I used 220 grit sandpaper. I cut it into squares and fold it so that I can get in close to the button and also close to the shank without scratching the shank. I also used a heat gun to bend the stem. This was done in several installments before I actually got it the way I wanted. The bend in the early photos below is a bit abrupt and too close to the button. I reheated and rebent the stem over a wooden rolling pin that I appropriated for this purpose.

IMG_1301

IMG_1302

IMG_1303

IMG_1304

IMG_1305

I continued sanding the stem to get the fit right with 340 grit sandpaper and then a fine grit sanding sponge. You can see from the photos that the shank stem junction is well fitted. There is no gap at the joint. The next two photos show the progress of the shaping after I used the sanding sponge. They also show the stem after it was rebent to the angle I wanted for this pipe.

IMG_1306

IMG_1307

Though the fit was good and the pipe looked and the stem was getting smoother, it just seemed bland to me. There was something missing to the look that would dress up this pipe and take it beyond just a well fit stem and a darkly stained bowl. I decided to shape and press on a nickel band to dress up the shank. The band was not necessary as the shank and stem union was perfect and the shank was uncracked. It was solely done for decorative purposes – to add a bit of bling to the shank of the pipe and dress it up (in my opinion!). The next three photos show the newly banded shank and the fit and look of the stem in place. The delicate bend of the stem, the flow of the bowl and the band all work together to give this pipe a touch of elegance.

IMG_1308

IMG_1309

IMG_1310

The next series of six photos show the progressive polishing of the new stem with micromesh sanding pads from 1500-12,000 grit. Each successive grit of micromesh sanding pad gives a deeper and more polished shine to the stem. It always amazes me to see the difference between the stem before the last three grits of micromesh (6000, 8000, 12000) and the previous grits.

IMG_1311

IMG_1312

IMG_1313

IMG_1314

IMG_1315

IMG_1316

Once I finished with the micromesh pads I took it to the buffer and buffed the bowl and stem with White Diamond polish on the wheel. The next two photos show the pipe after the buff. The shine is almost glass like by this point in the process. All that remains is to buff on several coats of carnauba wax and polish the metal band with metal polish.

IMG_1317

IMG_1318

The next four photos show the finished pipe. To me it has a gentle elegance to the shape and the bend. The slender stem and the bend make the pipe sit well in the mouth. The light weight makes this a likely clencher. The deep shine in the bowl and stem give it the look of a new pipe – which for all intents and purposes it is. This Hand Made BBB has come back to life to fulfill the purposes for which it was originally made.

IMG_1319

IMG_1320

IMG_1321

IMG_1322

Restemmed and Reworked an Old Yello Bole Acorn


I have cleaned out my box of pipes for refurbishing and all I have left are bowls that need to have stems made and fit. This little Yello Bole Acorn pipe attracted my attention and I decided it would be the first one I worked on. The pipe is stamped on the left side of the shank: KBB in a cloverleaf and next to that it is stamped Yello Bole over REGDUSPATOFF over Imperial in script. Underneath that it is stamped “Cured with Real Honey”. On the right side is stamped 3296B. I reamed the bowl and cleaned the airway and mortise area so that I could get a good clean fit with the new stem. I picked a stem blank from my can of stems and used my Pimo Tenon turning tool to turn the tenon to fit the shank. The stem was too large so I removed the excess material with a sanding drum on my Dremel. In the photo below you can see the stem after I had sanded the excess away with the Dremel. The shank on the pipe also had a small crack in it so I glued it with superglue and pressure fit a nickel band on the shank.

Image

I sanded the stem with medium grit emery cloth to remove the scratches and marks left by the sanding drum. I find that the emery cloth does a great job removing the deep scratches and marks around the diameter of the stem as well as fine tune the fit to the shank. The band had some small dents that needed to be taken out so I used a small round headed pick to bring the shape back into round. The next three photos show the stem after sanding with the emery cloth.

ImageImageImage

At this point in the process I used the tool to round out the band a bit more and then fit the stem on the pipe. The next series of four photos shows the stem on the pipe. I also noted at this point that the band needed to be flattened on the bottom to accommodate the flattened bottom of the shank on the pipe. I would also have to flatten the edge of the stem to also accommodate that flattening.

ImageImageImageImage

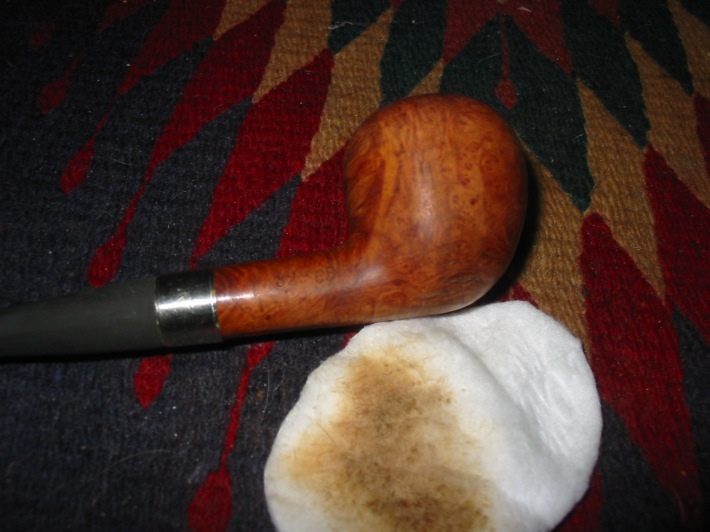
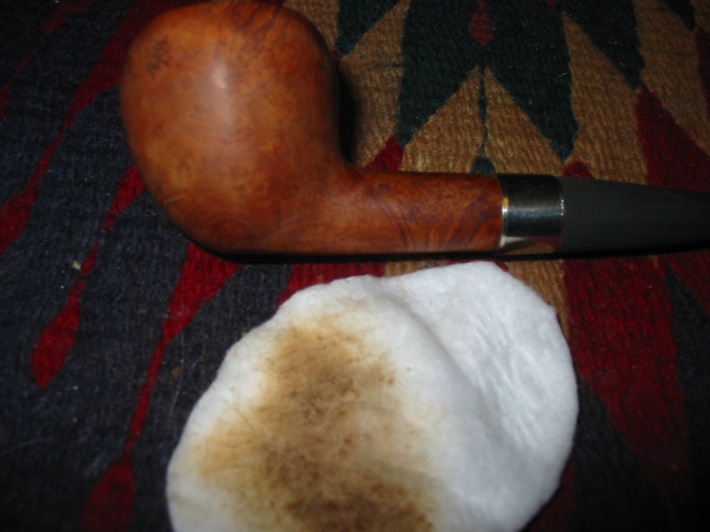
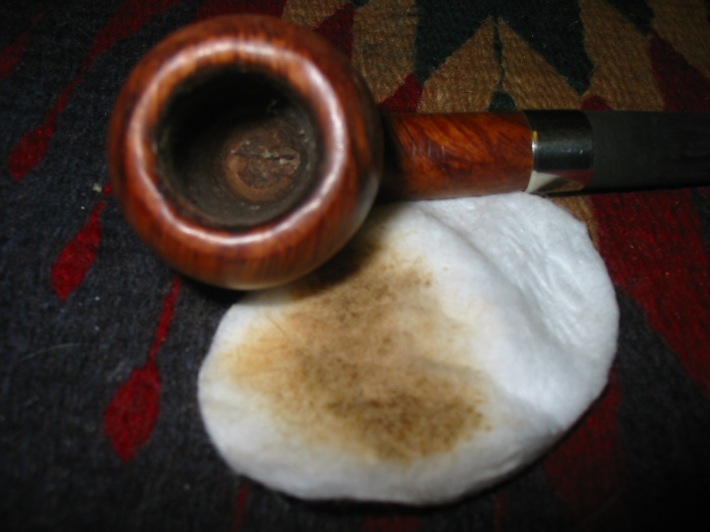
I took a break from the stem and worked a bit on the bowl of the pipe. I wiped it down with acetone on a cotton pad to remove the finish. I then sanded the bowl to remove some of the dents and marks in the finish. The deep gouges needed to be steamed and I was able to raise them slightly. They are still visible on the finished pipe but lend it some character. The next series of three photos show the bowl cleaned and ready for staining.

ImageImageImage

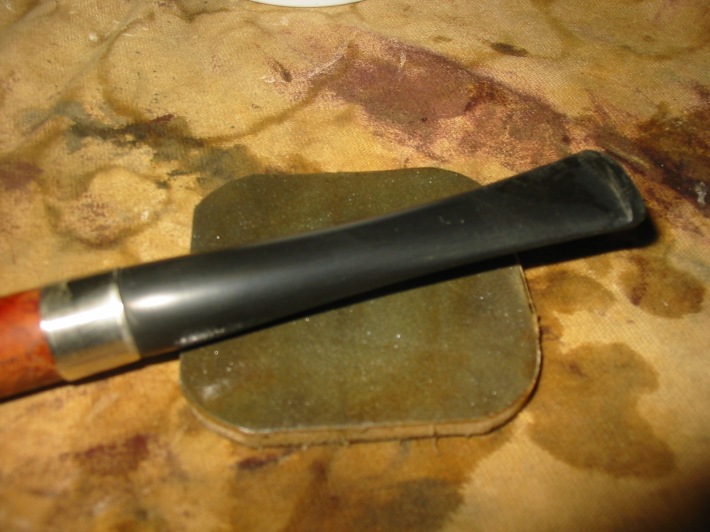
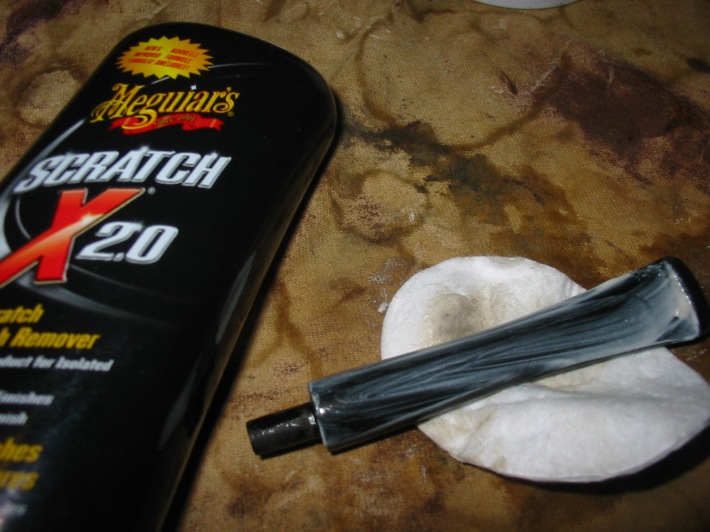
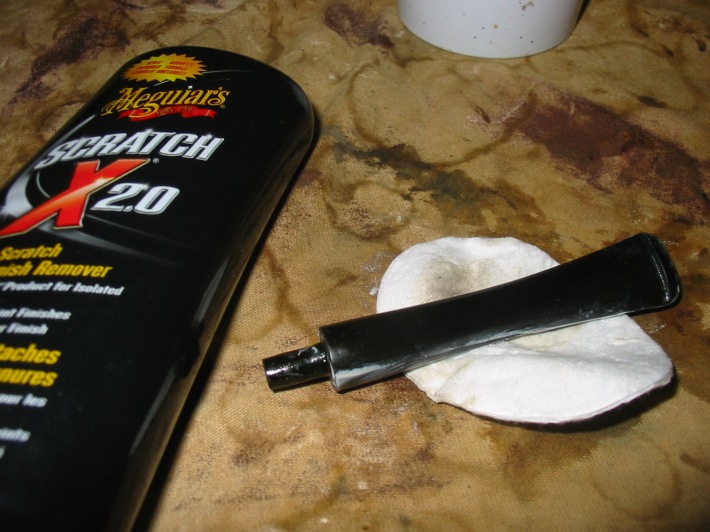
I then changed to sanding the stem with 240 and 320 grit sandpaper. The next series of six photos shows show the progression of the stem as I sanded it.  The shape was pretty close to finished by the time I was done. The fit was excellent and the look of the new stem gave the pipe a great look in my opinion. All that remained was to do a lot more sanding! The fourth through the sixth photos below show the stem after I had wiped it down with some Maguiar’s Scratch X2.0 applied by hand and rubbed down with cotton pads. The finish of the stem is getting smoother.

ImageImageImageImageImageImage

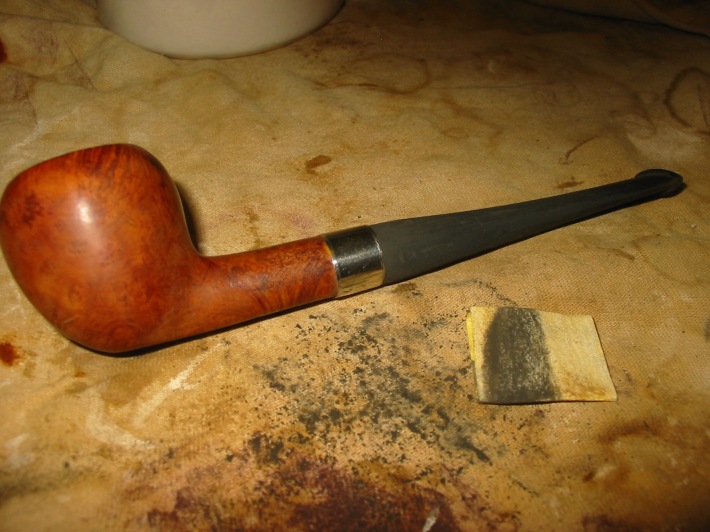
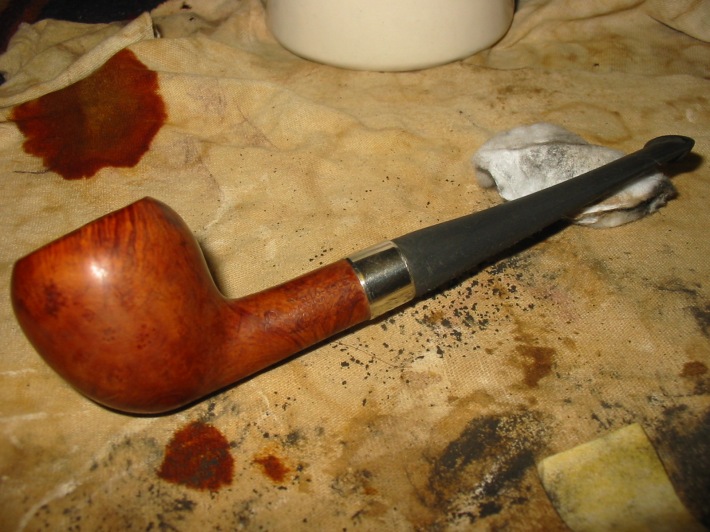
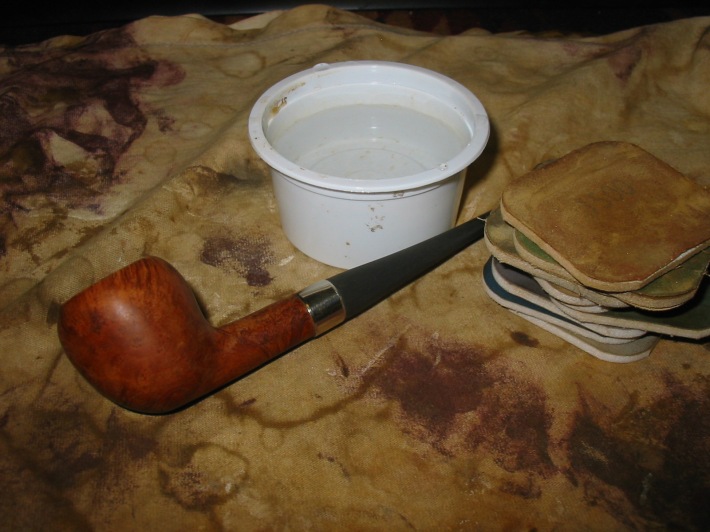
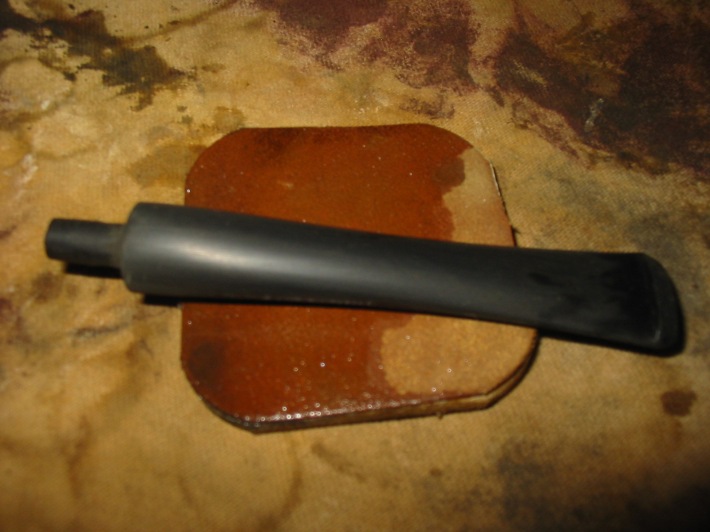
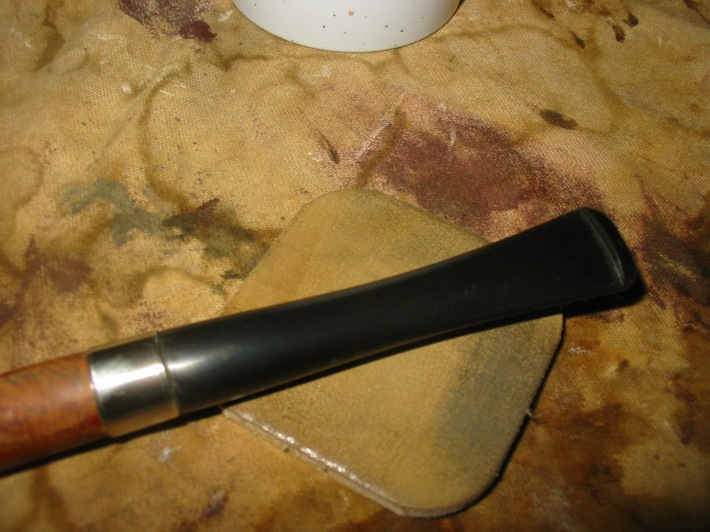
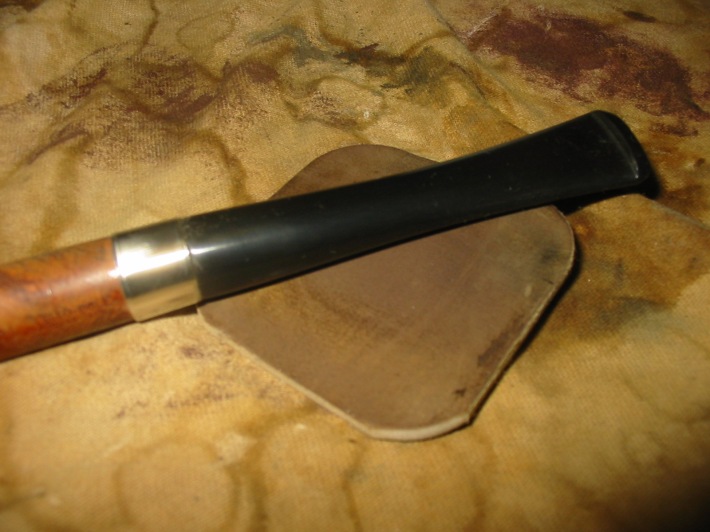
I then filled a small cup with water and moved on to wet sand the stem with the micromesh sanding pads. I used 1500, 1800 and 2400 to wet sand the stem. I wet the pad and sanded the stem. Then rinsed the pad and kept sanding until that particular grit had down its work and the stem was ready for the next one. Between pads I wiped the stem down with a wet cotton pad to clean off the grit. The first photo below shows the setup of my sanding area. I use an old rag for the work space so that it can pick up the dust and water from the sanded stem. The next series of three photos shows each of the three micromesh sanding pads from 1500-2400 and the stem after sanding with that particular pad.

ImageImageImageImage

Once I finished wet sanding the stems up through the 2400 grit micromesh pads I then used the Maguiar’s again to polish the stem to see what remained of the deep scratches. I rubbed it into the stem with my finger and then polished it off with the cotton pads. The next series of five photos shows the application and the progressive polishing of the stem. The final pictures in the series show the stem polish to this point. I decided after this was done to move on to dry sanding with the remaining micromesh sanding pads.

ImageImageImageImageImage

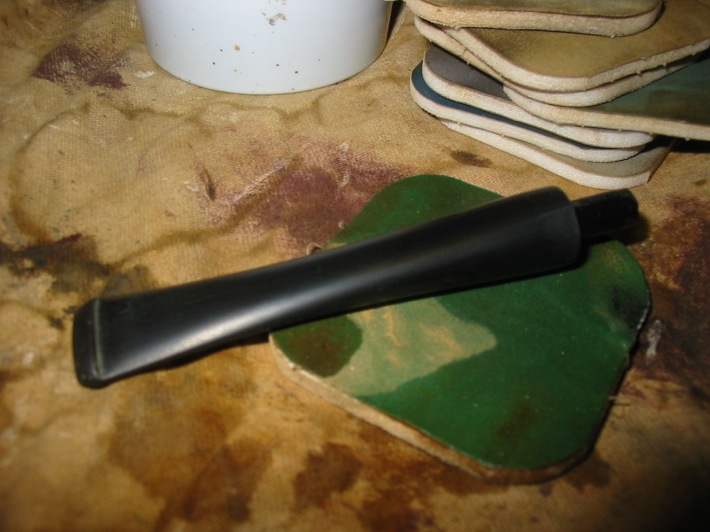
The next series of six photos show the sanding progress through the remaining grits of micromesh sanding pads – 3200, 3600, 4000, 6000, 8000 and 12,000 grits. Each picture shows the stem on top of the sanding pad that I used to sand it. I dry sand with these higher grit micromesh pads.ImageImageImageImageImageImage

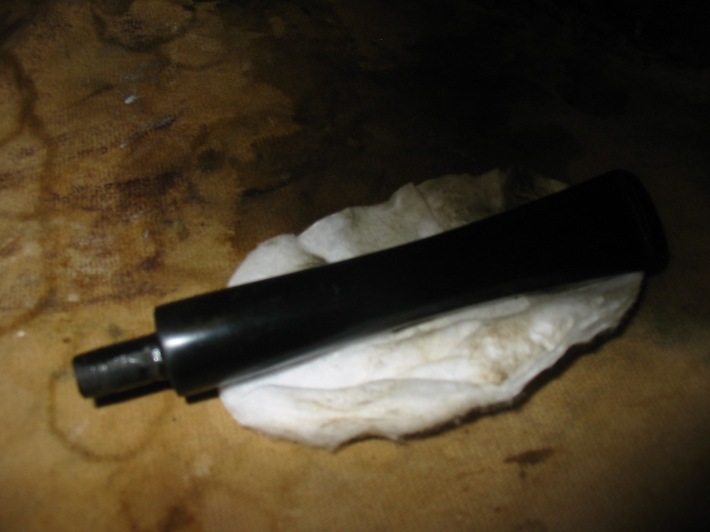
The next series of four photos show the stem after finishing the sanding and polishing it with Maguiar’s polish. There is a nice deep black shine to the stem at this point.

ImageImageImageImage

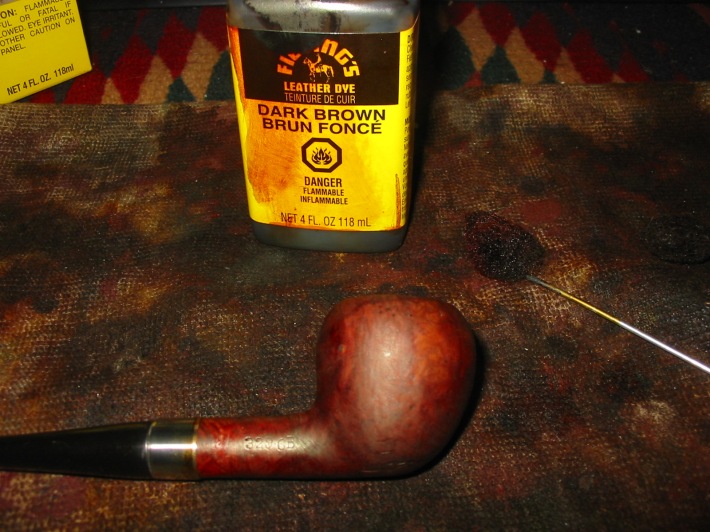
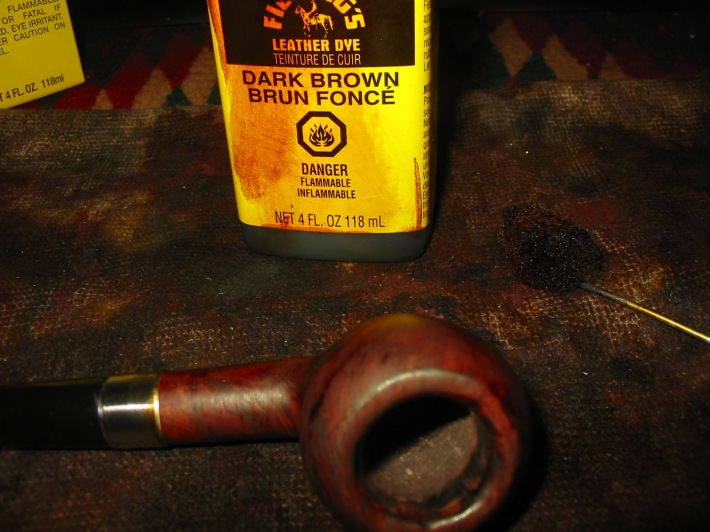
Now it was time to stain the bowl of the pipe. I used a Dark Brown aniline stain that I had thinned with isopropyl 2:1 to stain the bowl. I wanted a consistency in the colour and also have the grain on the bowl show through the stain. I applied the stain with the wool dauber that came with the stain and then flamed it with a match to set the stain. I restained it and reflamed it a second and third time. The next two photos show the stained bowl.
ImageImage

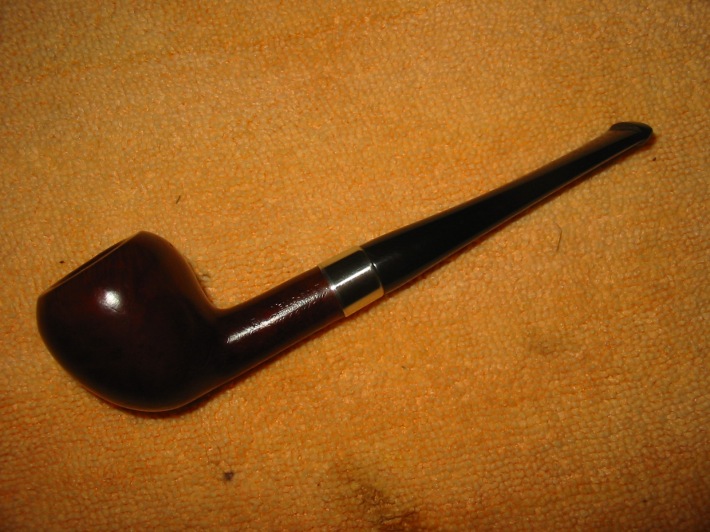
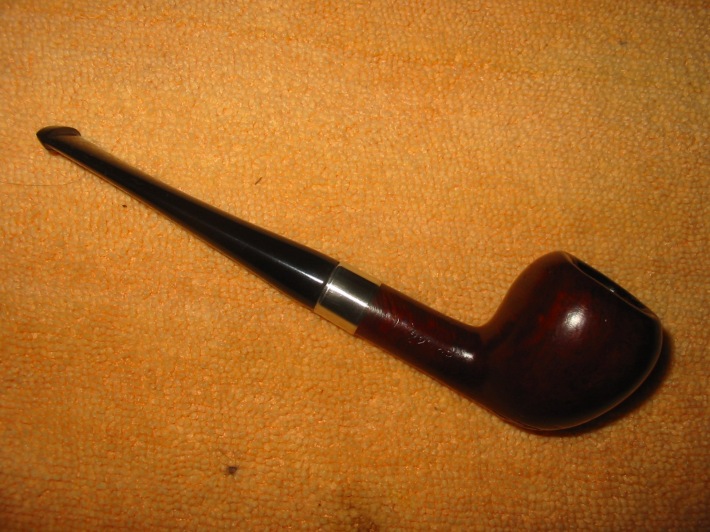
Once the stain was dry I used some silver polish on the nickel band to shine it up and remove the stain that had spilled on it. I also used some sandpaper in the bowl to remove stain that ran into the bowl edges from the beveled rim. I then took it to the buffer and buffed it with Tripoli and White Diamond before giving the whole pipe multiple coats of carnauba wax and a final buff with a clean flannel buffing wheel. The final four photos show the finished pipe.

ImageImageImageImage


Restemming and Refurbishing an Italian No Name Dublin


This is the fourth pipe of the six I picked up recently on a visit to some antique malls in the US. The stamping was not present on the top or bottom of the shank. The bowl had an interesting shape to me when I saw it on the shelf of pipes in the shop. It did not have a stem. The grain on it was very nice looking. The stain was spotty and the finish damaged – it had a coat of varnish or something over the finish that was broken and spotty. Where the varnish remained the colour was rich and where the varnish was gone the finish was lighter and soiled. The rim had been damaged on the outer edge of the bowl to the point that it was round on the front. There was a lighter burn on the inside edge of the bowl toward the front of the bowl. Once I got it home and cleaned it up a bit I found that the shank had a long ½ inch crack that followed the grain on the bottom of the shank. The first two photos below show the bowl before I worked on it. I used my PIMO tenon turner to fit a stem to the pipe before I did any work on the bowl. The new stem is visible in the first two pictures as well. The stem needed to be worked on for a good fit but I did not want to push it into the mortise as I had to deal with the crack before working on the tenon for a snug fit.

ImageImage

The next photo shows the crack in the shank. I used a dental pick to open it up so that I could drip super glue into the crack. I dripped the glue in and then clamped it until it was set and dry. There was some minimal excess of the glue that I removed by sanding the shank with 320 grit sandpaper to remove the drops. Once that was done I fit the stem to the shank by hand sanding the tenon until it was a snug fit. I knew from previous experience that once I banded the shank I would need to remove a bit more material from the tenon in order to make it fit snugly. The second photo below shows the fit of the stem. I used my Dremel with a sanding drum to remove the excess vulcanite from the stem so that the flow would be smooth between the shank and the stem. I also sanded the seams on the stem and the button and faced the surface of the button to remove the excess vulcanite.

ImageImage

I heated a nickel band with my heat gun and then pressure fitted it on the shank at this point. I wanted the fit to be tight and to draw in the crack further. Once the pipe was banded I needed to remove more vulcanite from the stem to make it fit against the band. The photos below show the band after it has been pressure fitted and the stem after I used the Dremel to remove more of the excess vulcanite to make it fit. The main feature of the photos though is the process I used in topping the bowl. The first photo shows the bowl with the rim flat against some 220 grit sandpaper on a flat board that I use as a sanding surface for topping bowls. The second photo shows the bowl after I have been topping it in a circular motion on the sandpaper for quite a while. You can clearly see the burn mark and the damage to the back and the front of the bowl. The third photo shows the bowl when I am finished topping it. I finished the sanding with a fine grit sanding block (the yellow sanding sponge in the final photo). The damage to the back and front edges of the rim is gone. The burn has been minimized and the briar under the darkened spot is solid and smooth. The staining will minimize the damage even more once it is done.

ImageImageImage

The next two photos show the bowl after I wiped it down with acetone to break up the remaining varnish on the outside of the bowl. It took quite a bit of scrubbing with acetone on cotton pads to remove the remnants of that coating. I also sanded the bowl with 340 grit sandpaper to further remove the coating and wiped it down a final time with acetone. I also sanded the stem with medium grit Emery paper to remove the deep scratches from the sanding drum and followed that up with 240 and 320 grit sandpaper. The fit of the stem can be seen in the two photos as well.

ImageImage

At this point in the process I stained the bowl with a dark brown aniline stain that I had diluted with isopropyl alcohol in a 3:1 ratio. I wanted the stain to be slightly opaque to hide the remaining darkening of the burn but I still wanted to highlight the grain in the briar. The four photos below show the stain after it has been applied, flamed, reapplied and stained a second time. I applied it with the dauber that comes with the stains and as soon as the bowl was covered I lit it on fire to set the stain and burn off the alcohol.

ImageImageImageImage

The next three photos, though out of focus, give an idea of what the pipe looked like after I buffed it with Tripoli and White Diamond. The colour is strong throughout, the rim has an opacity that is what I was aiming for and the bowl still shows the grain patterns very clearly. I am pleased with the overall look of the pipe at this point. I also buffed the stem with Tripoli and White Diamond as well as I wanted to get a clear idea of the status of the scratching. After buffing the stem I set up my heat gun and heated the stem in order to give it a quarter bend. Once it was heated I used a round dowel to bend it evenly and then held it in place until it was cool. I ran cool water over the stem to set the bend and then took it back to my desk work on it further.

ImageImageImage

I took the pipe back to the work table and worked on the stem. I used micromesh sanding disks and wet sanded the stem with 1500, 1800 and 2400 grits. When that was finished I polished the stem with Maguiar’s Scratch X 2.0 rubbed on by hand and polished off with a cotton pad.  I then dry sanded with micromesh sanding pads using 3200, 3600, 4000 grit. I gave the stem a coat of Obsidian Oil and rubbed it into the stem. Once dry I finished sanding with 6000, 8000 and 12,000 grit micromesh pads. I took the pipe to the buffer for a final buff with White Diamond and then gave the entirety several coats of carnauba wax and buffed it with a soft, clean flannel buffing pad. The next series of photos show the finished pipe.

ImageImageImageImage

Restemmed Red Point Capped Bent


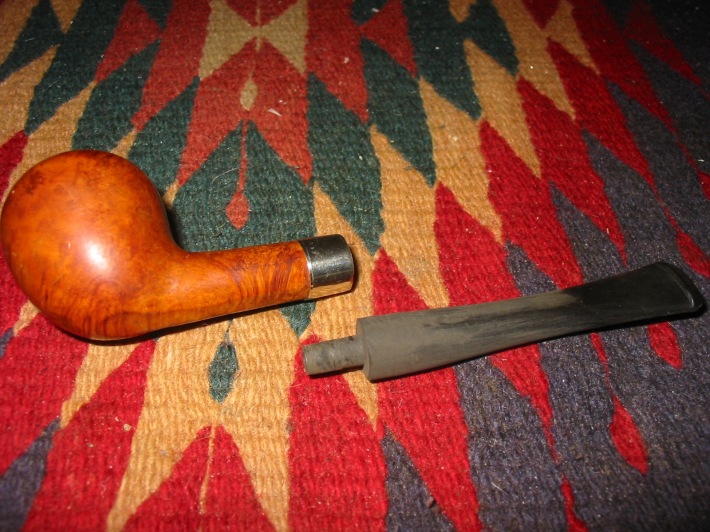
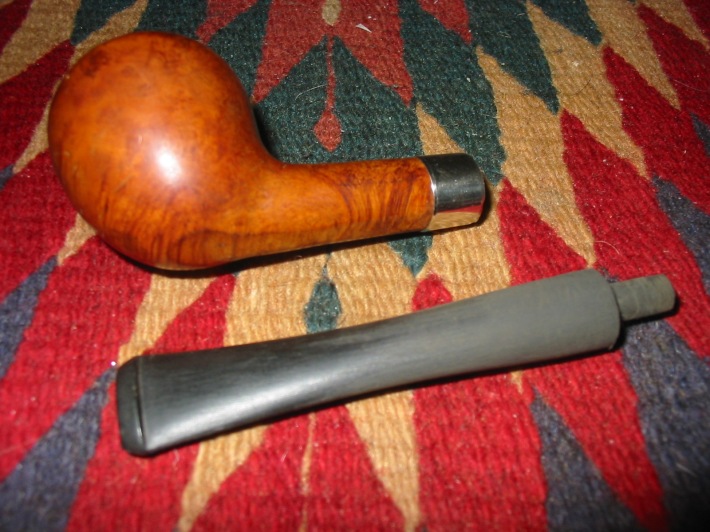
I picked up this Red Point Old Briar Capped Pipe bowl on Ebay awhile ago. It did not have a stem but seemed to have promising grain. When it came in the mail I cleaned it up a bit and then worked on a stem for it. I decided to use a faux p-lip stem that has the airhole on the end of the stem rather than on the top. I fit the tenon to the shank – that was a bit of a trick as the shank is like a Pete shank in that it narrows/tapers as it descends toward the bowl. I finished fitting and polishing the stem.
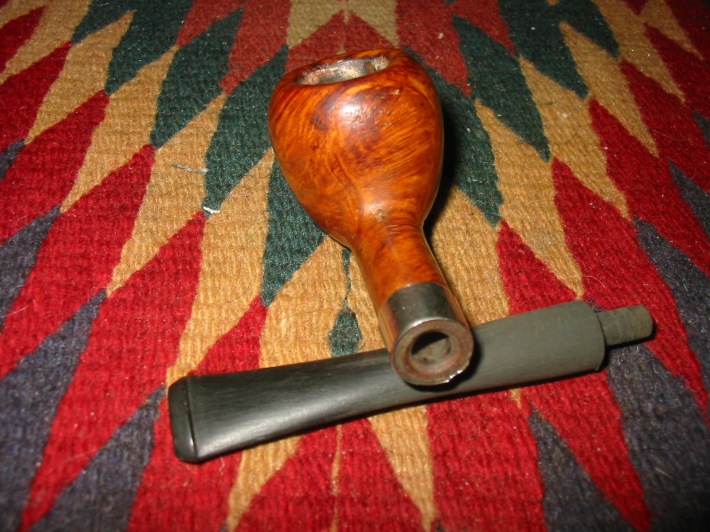
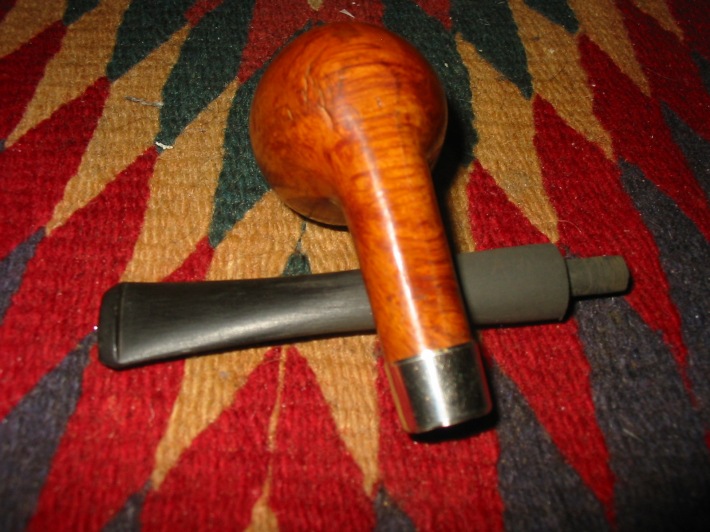
Here are some pictures of the bowl when it came. From the second photo you can see that it was barely smoked. It was very clean and needed a few pipe cleaners run through it. The exterior needed to be wiped down with a little oil soap to clean away the grime – I always rub it on undiluted (no water) and quickly wipe it off. I do not leave it to sit. I also polished the silver work on the shank and the cap.

ImageImage

I heated the stem with my heat gun and bent it slightly and took the next three pictures. I have learned that pictures give the true story in terms of bend and overall look of the pipe in a way that is clearer than the naked eye. From the photos I decided that the bend need to be a bit more dramatic and match the curve of the bottom of the bowl and shank. I reheated it and used the rounded edge of my work table to get a proper bend in it.

ImageImageImage

Here is the final product – a proper bend with a curve that matches the bottom of the bowl and shank. The look is like an elongated S. Once it was finished I cooled the stem for a bit and then loaded it with Blue Mountain and smoked the inaugural bowl. Since then I have smoked it several times. It delivers a great smoke.

Image

Barling Garnet Grain Small Bent Billiard 2034 Given New Life


Blog by Steve Laug

I picked up this little Barling (transition era pipe so the Barling stamping is missing the “s” and is a script) in a lot I bought on EBay. It had a broken stem that was also chewed through on the end and not repairable. The tenon was still in the shank and was exceptionally tight. I put the bowl in the freezer for about 30 minutes and then used a screw to remove the broken piece from the shank. The key here is to not screw in the screw too much or you can crack the shank. I was able to easily pull it out as can be seen in picture 3. The finish on the bowl was rough on the top with tars and some denting. The sides of the bowl also had some denting. I cleaned the top of the bowl and removed the tars. I steamed the dents out of the top and bowl sides.

ImageImageImage

I wiped down the bowl with acetone to remove the grime and the waxes that were on the finish. When I had finished I inspected the shank area because the drilling was off a bit in the shank and the walls were thin near the top left. There were small hairline cracks that went through several places and spidered up to about a 1/8 inch into the length of the shank. I glued those and pressure fit a nickel band on the shank.

I turned the tenon on a recycled stem I had here and fit it on the pipe. I used my Dremel to remove the excess material where the diameter of the stem was greater than that of the pipe. I kept the broken stem near at hand to match the diameter, the flow of the stem and the shape. I used it as a bit of a template to shape the new stem. The three pictures below show the process of shaping the stem from Dremel to hand sanding with 240 grit sandpaper.

ImageImageImage

In the picture below I have finished the initial shaping with the sandpaper and have a good fit. You will notice the lightening of the shank below the band – that is part of the process of sanding to fit the band to the shank. I place the original stem below the pipe in the picture for comparison sake. It is a bit thinner in profile than the new one in this photo. I continued to sand the stem with 400 and 600 grit wet dry sandpaper and water to remove the remaining scratches and grooves that the 240 grit sandpaper left. Once I had them removed I proceeded to use the micromesh pads – 1500, 1800 and 2400 grit to sand the stem smooth. When I finished with those I buffed the stem with Tripoli and White Diamond and finished by returning to the micromesh pads -3200, 4000 and 6000 to polish it. One more trip to the buffer with White Diamond finished the polishing. I gave the stem a coat of Obsidian Oil and removed it and set it aside. It was time to work on the finish of the bowl.

Image

I used an oxblood aniline stain to match the stain to the original Garnet Grain colour. I have done this in the past and compared it to a very nice original Garnet Grain and the colour is a perfect match. Before staining I polished the bowl with the 3200 and 4000 micromesh pads avoiding the stamping on the pipe. I applied the stain with a cotton swab and then wiped it off, applied and wiped it off until I got the colour I wanted. I then flamed it and set it aside to dry. Once it was dry I put the stem on it and took it to the buffer and gave it a buff with White Diamond and carnauba wax.

In the first picture below I put the original stem in to show the damage to the underside near the button. I also put a 1 cent piece, a penny in to give perspective on the size of this diminutive billiard. I am very pleased with the overall look of the pipe. The finish came out as a perfect match to the original Garnet Grain colour.

ImageImageImageImage