Blog by Steve Laug
This pipe was purchased from an antique mall
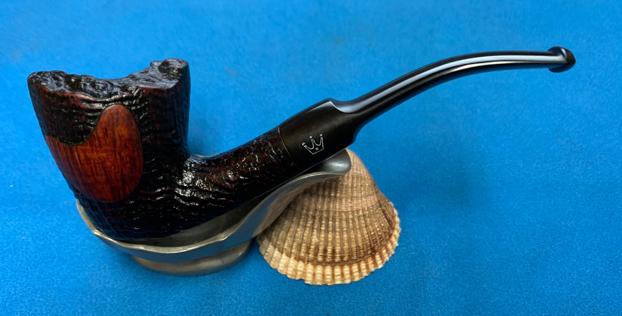
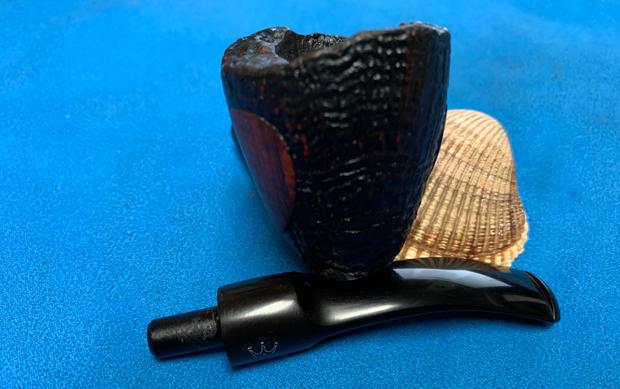
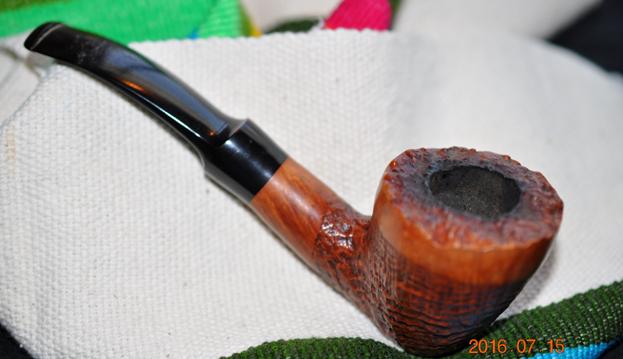
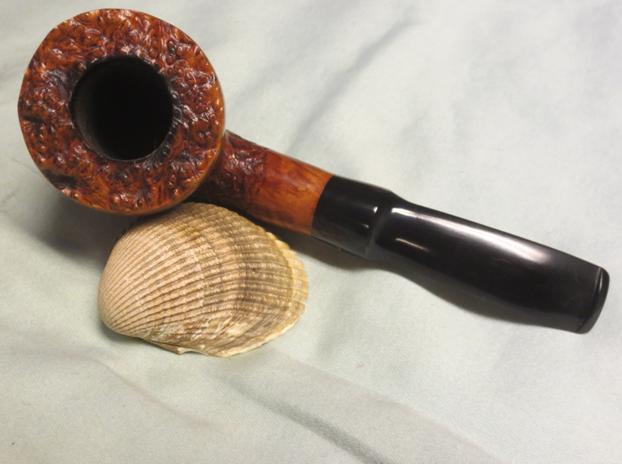
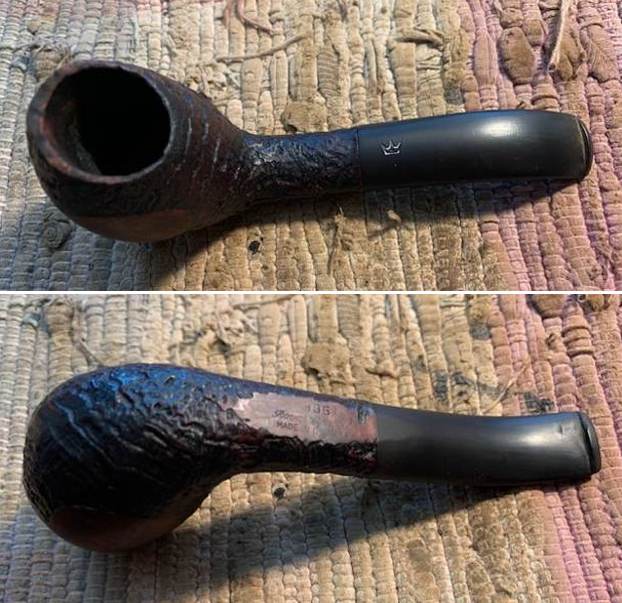
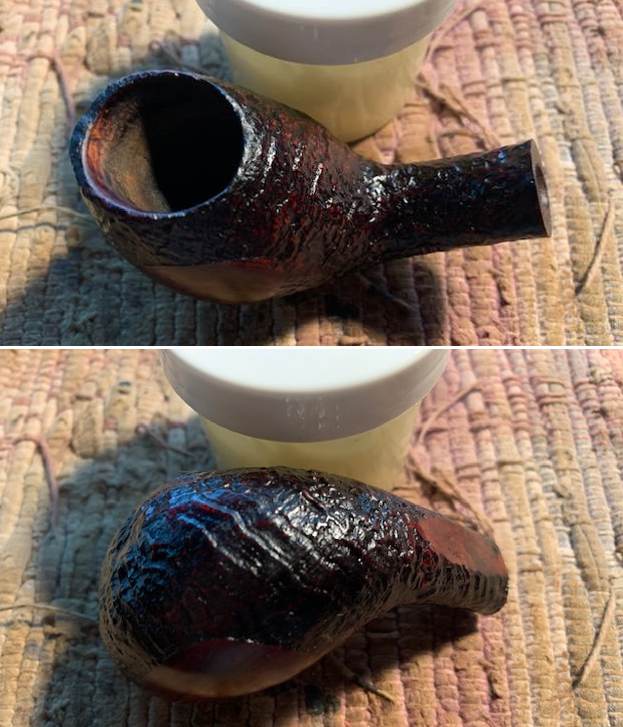
The next pipe on the work table was purchased from an antique mall on 05/10/22 in Astoria, Oregon, USA on one of Jeff’s pipe hunts. This one is obviously a Stanwell made pipe from just looking at it. It has a mix of sandblast finish around the bowl with smooth panels on the sides. The rim top is lightly sandblast and quite delicate. There is a large Crown stamped in the top of the taper stem. It was stamped on the underside of the shank on a smooth panel. The shape number 935 is stamped mid shank. Under that it reads Royal Danish [over] Made in Denmark. The finish was dirty with dust and grime ground into the nooks and crannies of the sandblast finish. There was a thick cake in the bowl and lava overflow on the rim top. There were spots on the rim top where the stain was missing and looked like it was chipped. The inner edge of the rim was covered so thickly in lava it was hard to know what was underneath. The vulcanite stem was oxidized and had tooth marks and chatter ahead of the button on both sides. There was a large crown stamp on the left side of the saddle stem. Jeff took some photos of the pipe before he started to work on cleaning it up for us.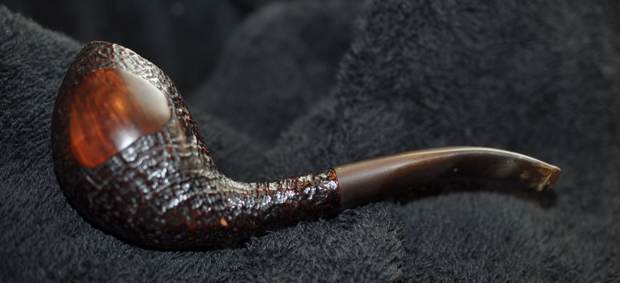
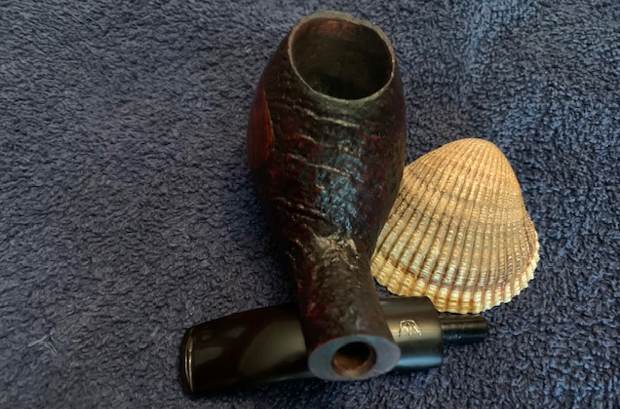
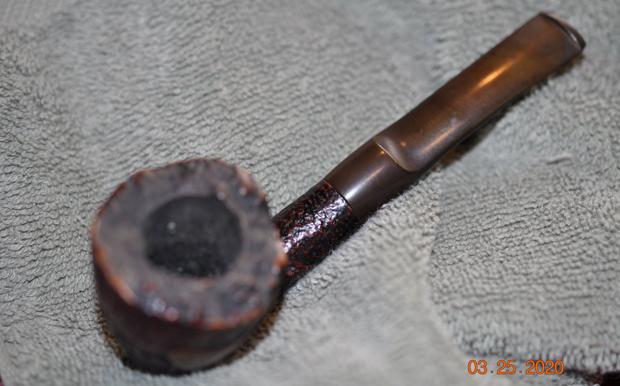
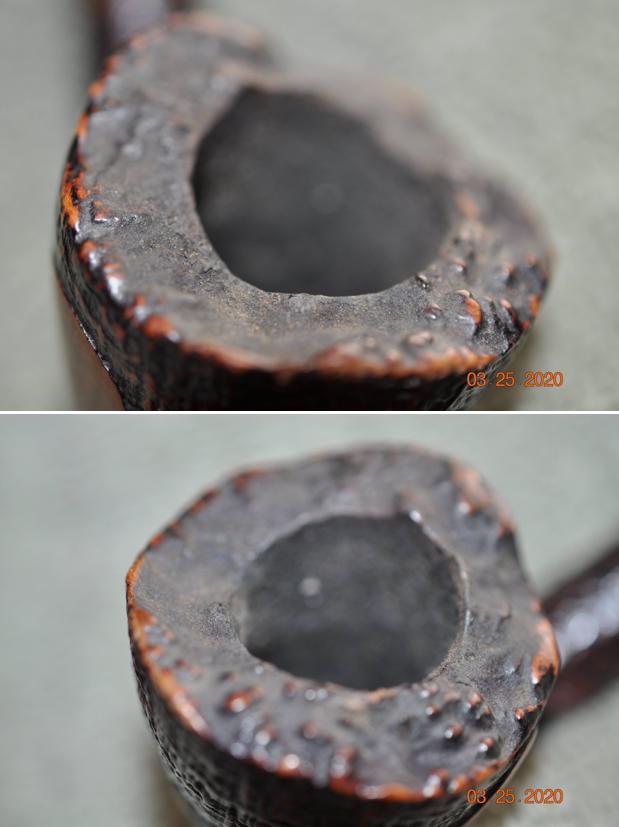
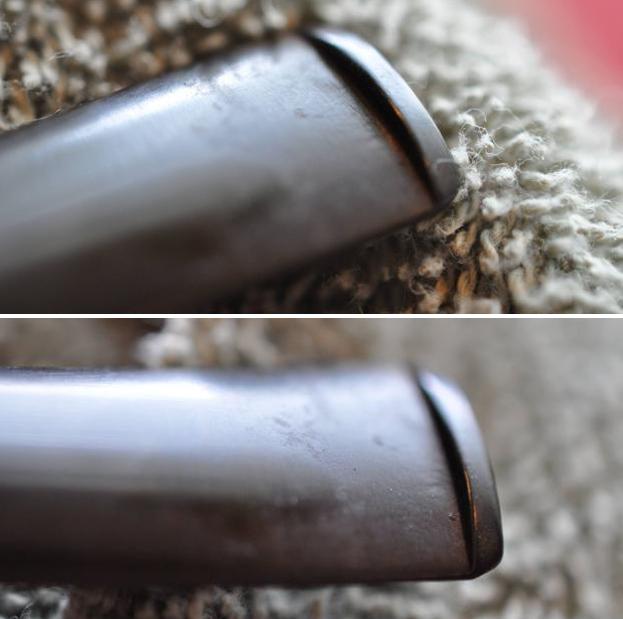
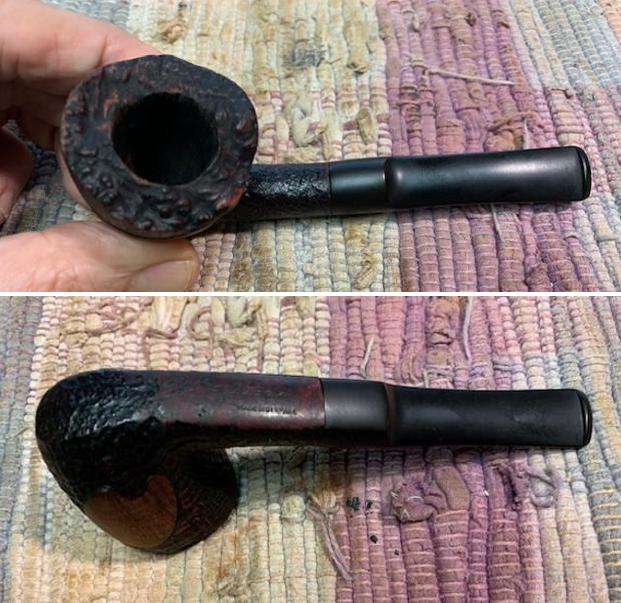
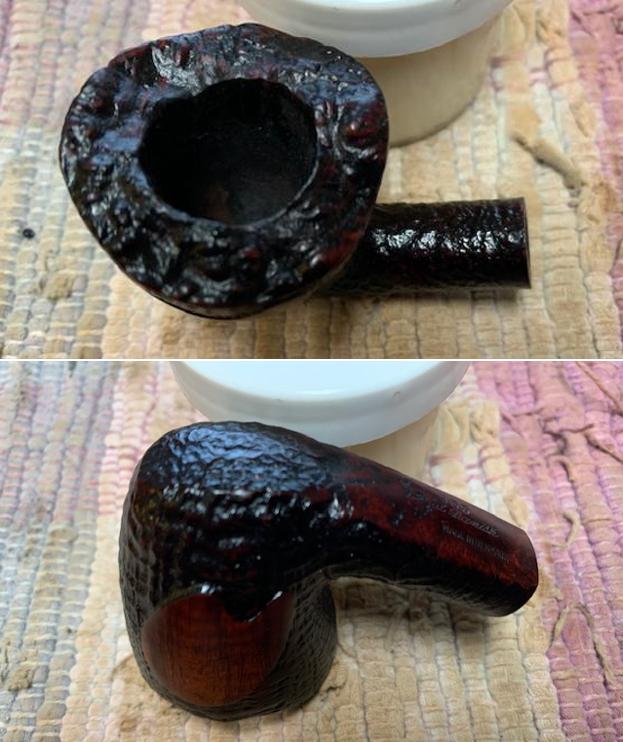
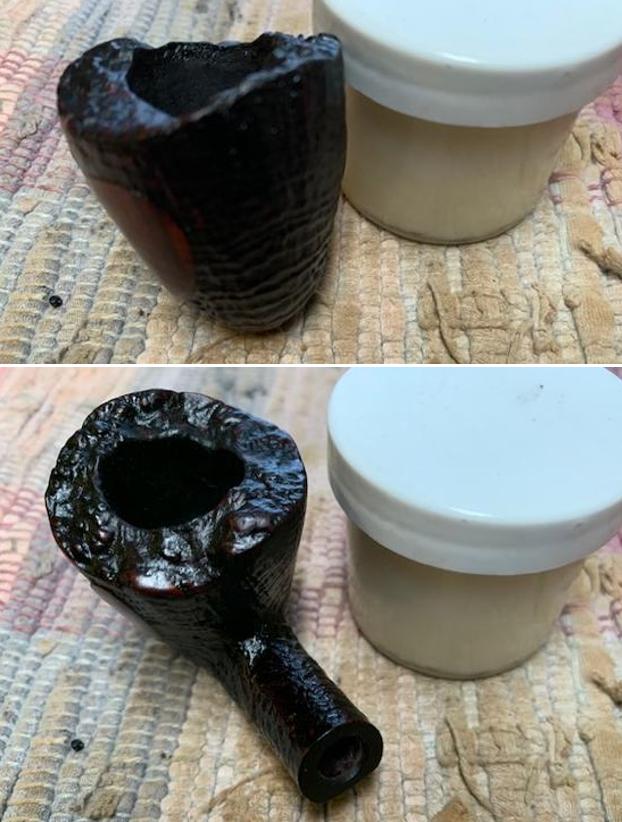
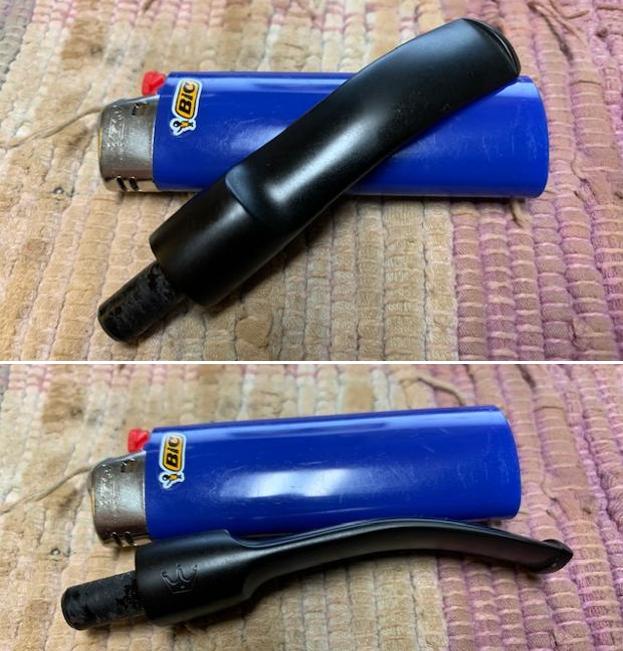
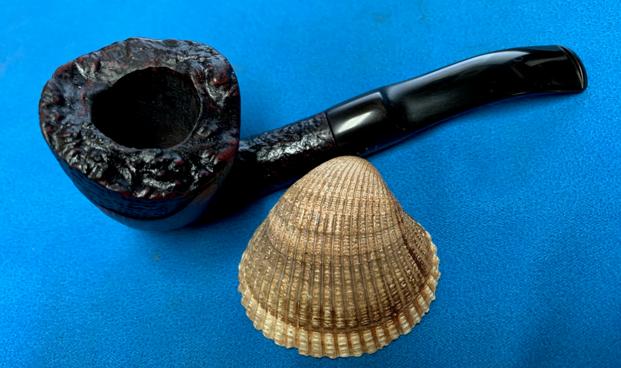
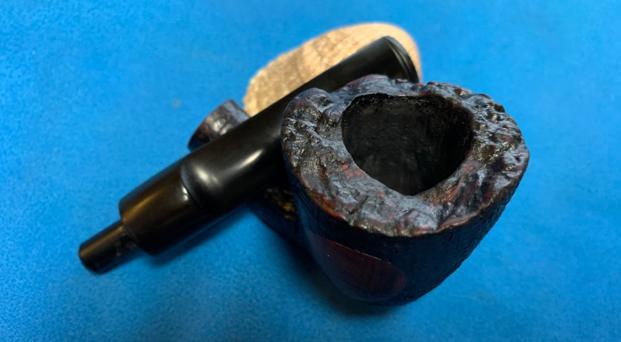
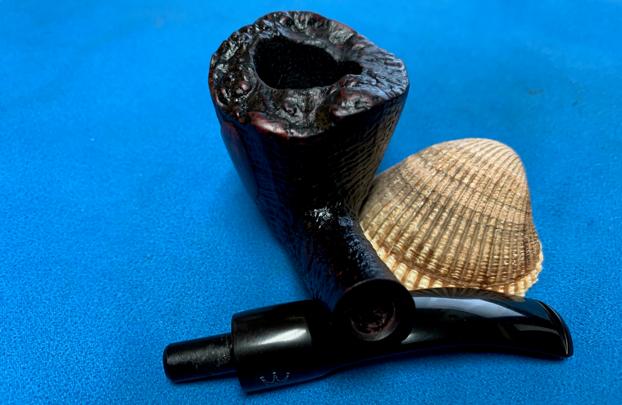
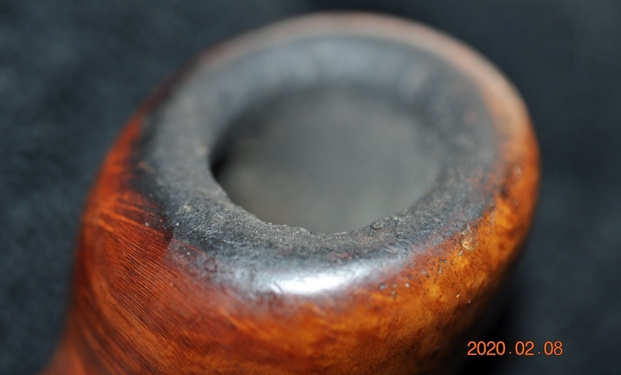
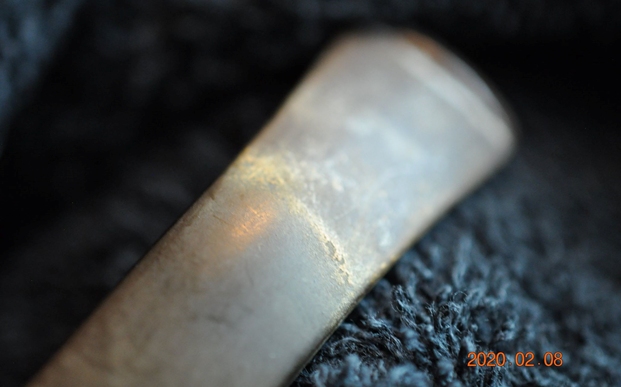
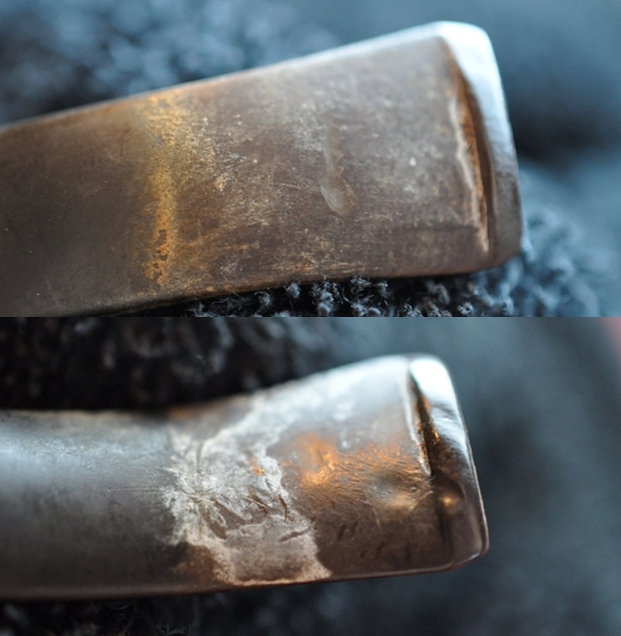
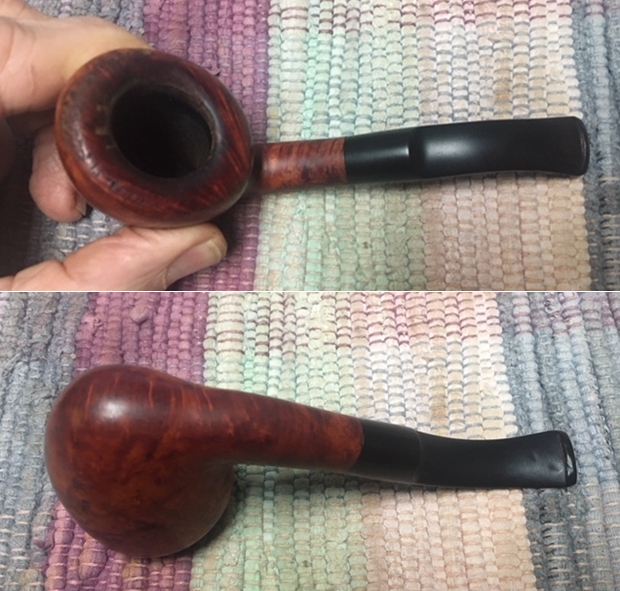
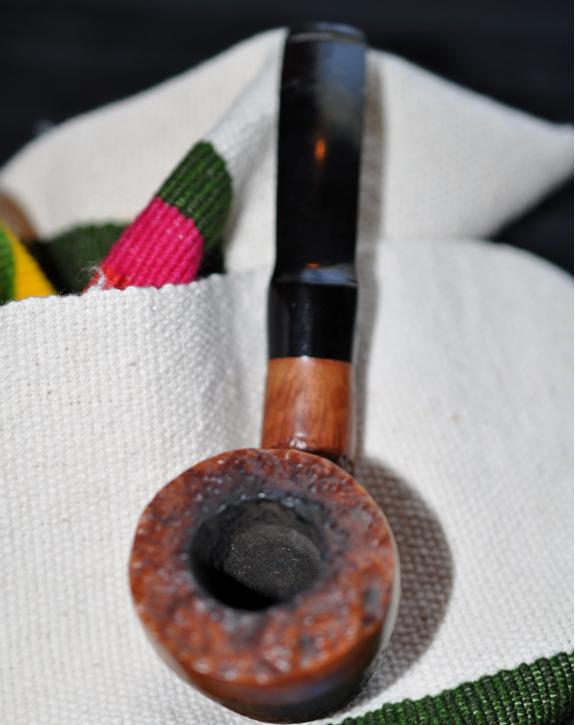
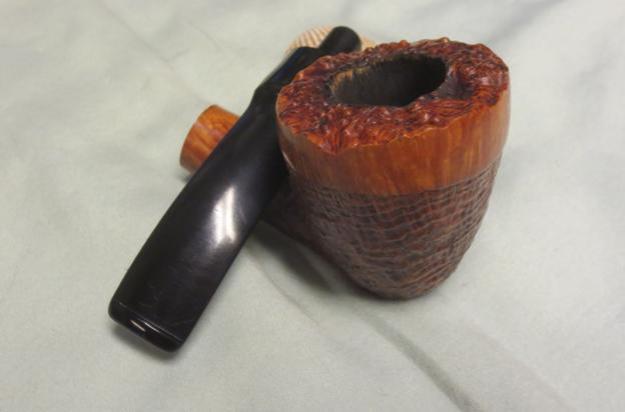
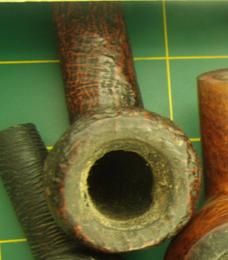
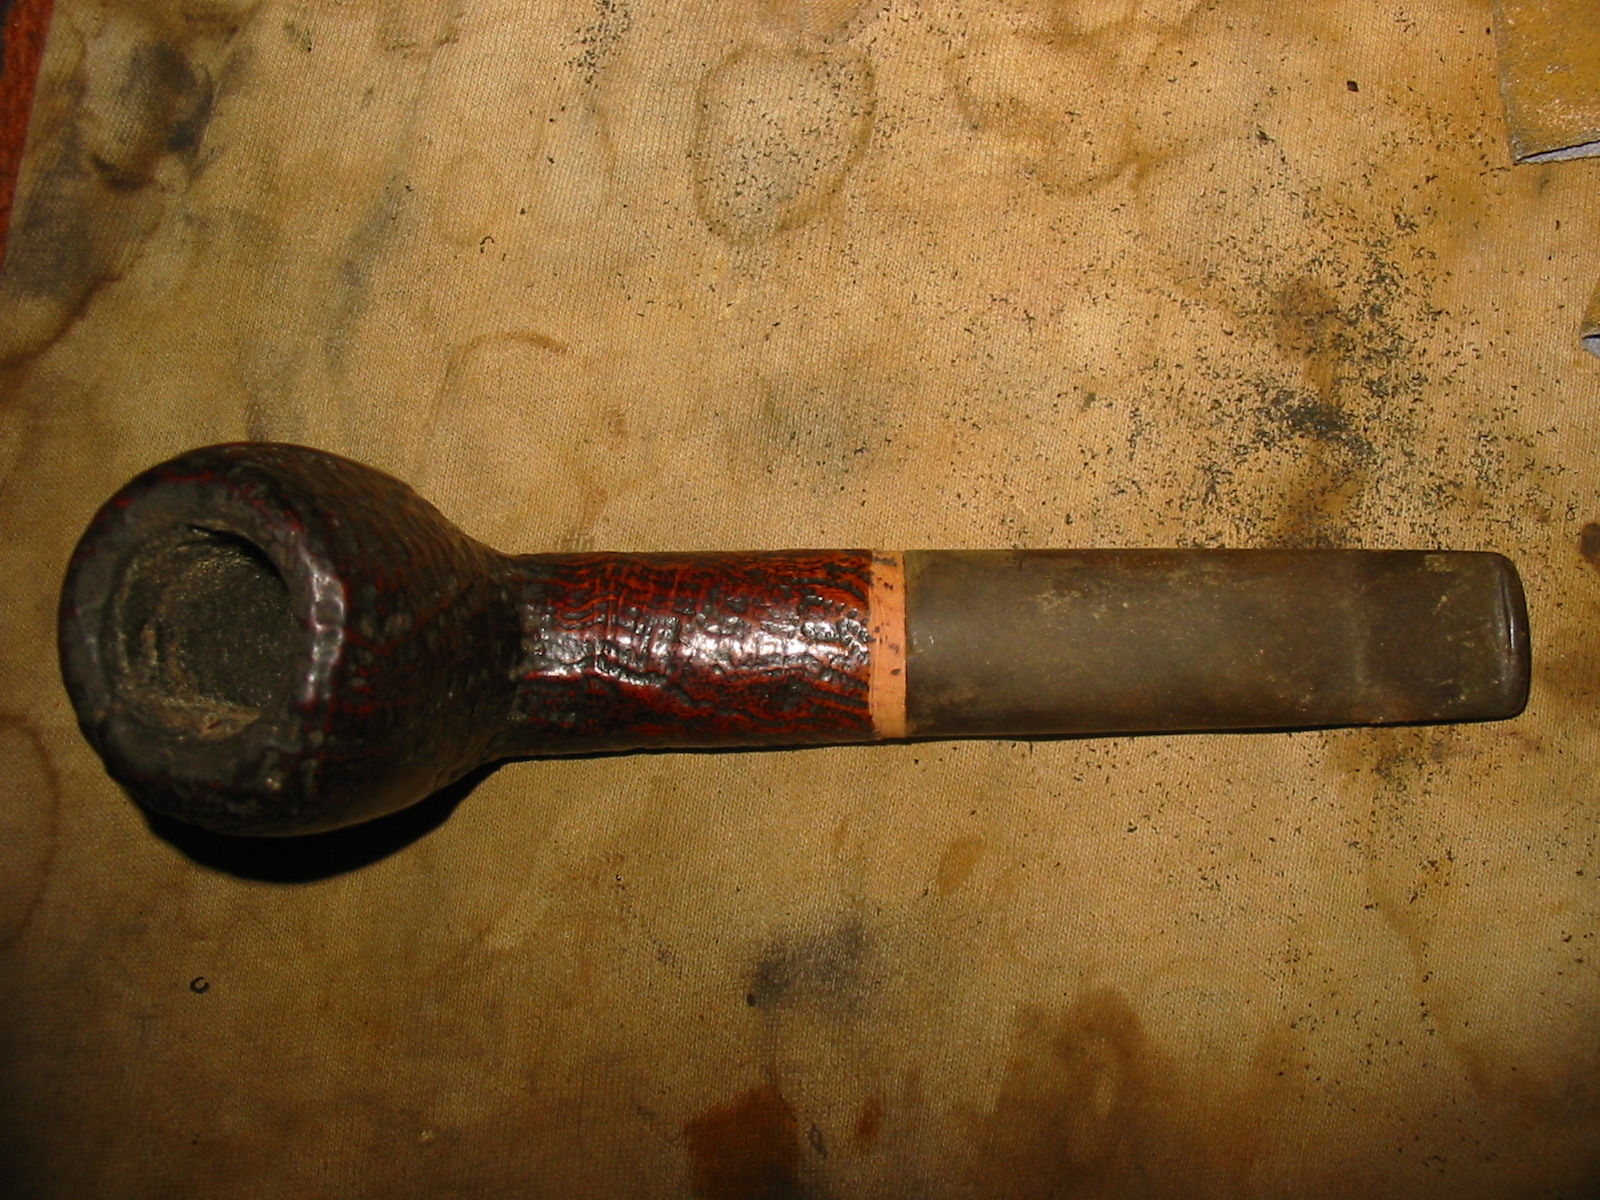
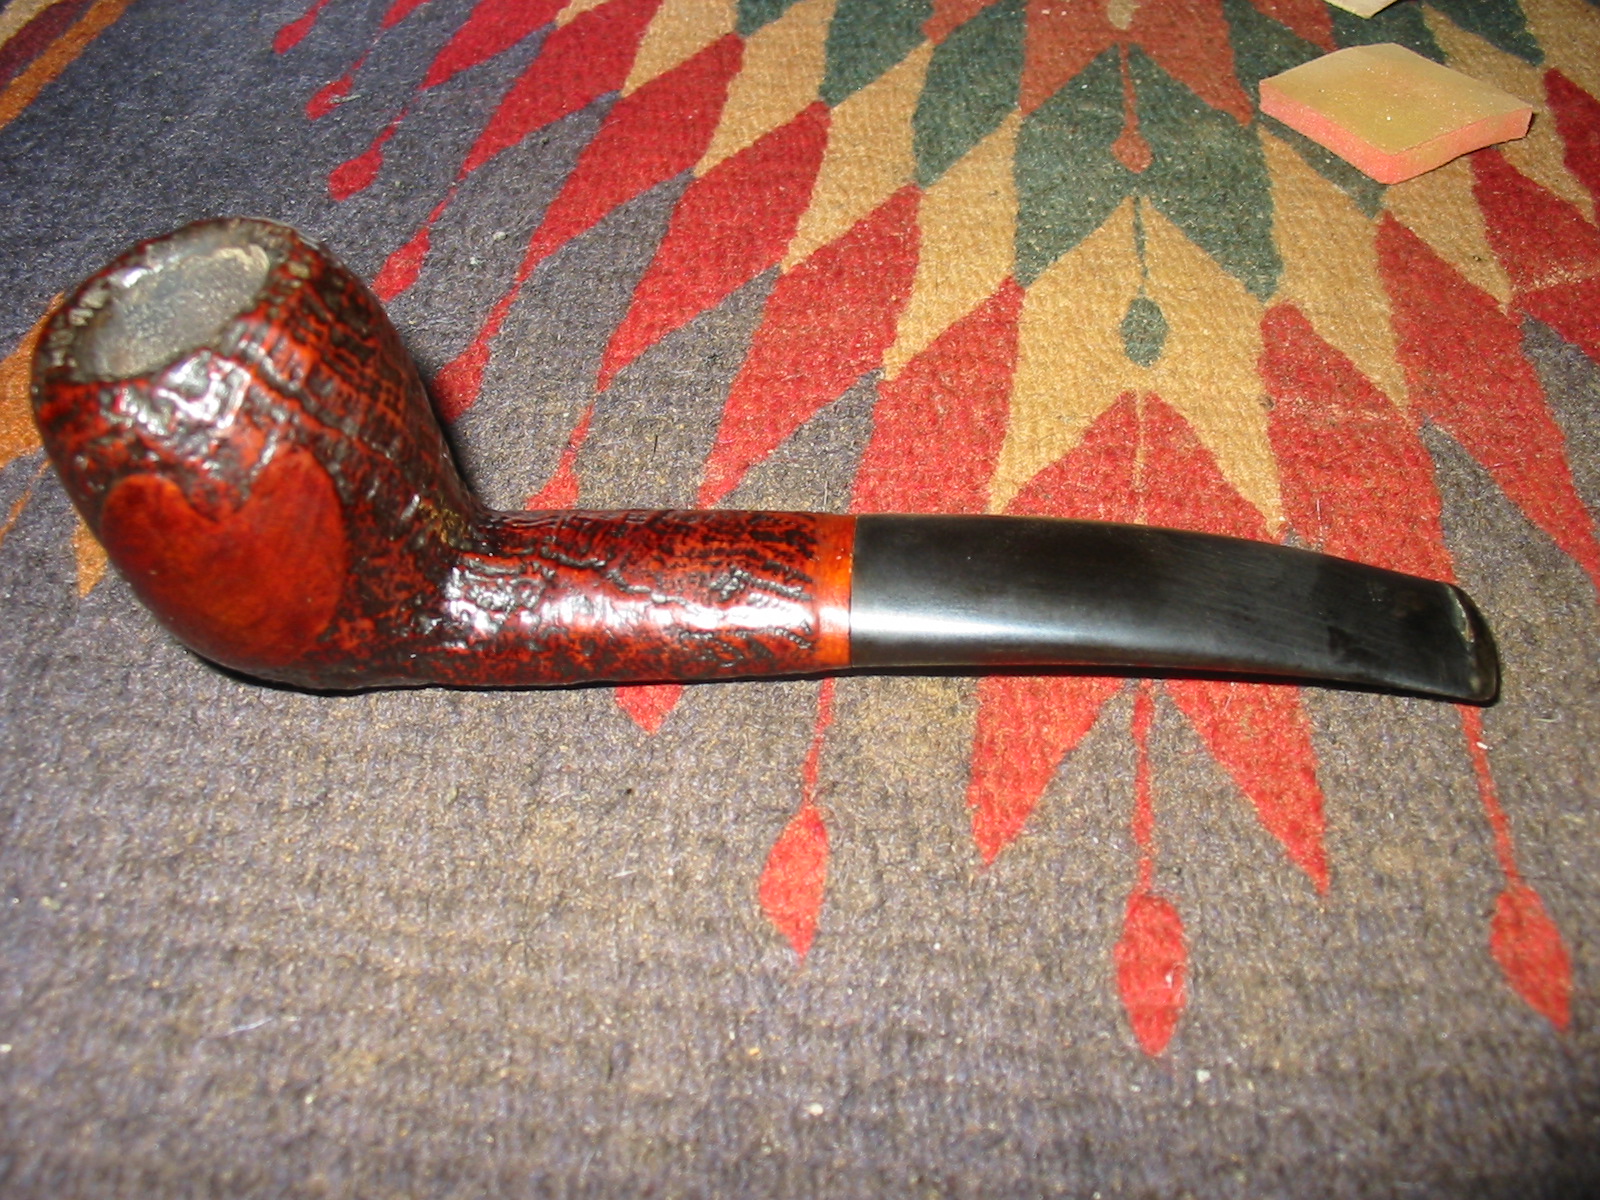
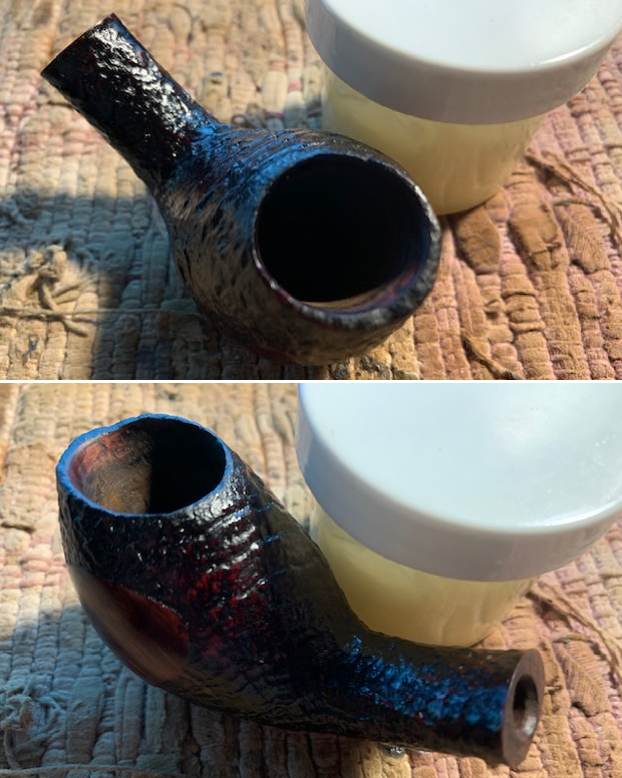
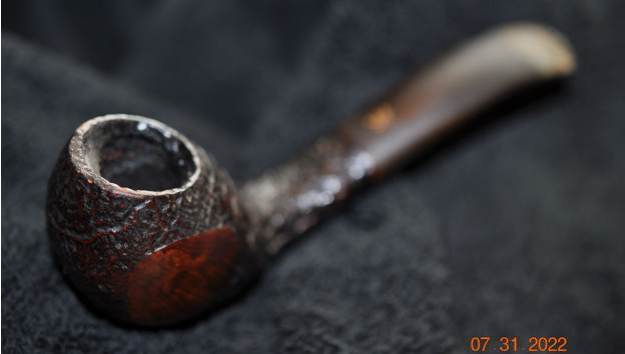 Jeff took photos of the rim top and the stem to show the condition of the pipe when we received it. You can see the cake in the bowl and the heavy coat of lava filling in the sandblast on the rim top and inner edge of the bowl. The stem is oxidized, calcified and has tooth chatter and marks on both sides ahead of the button.
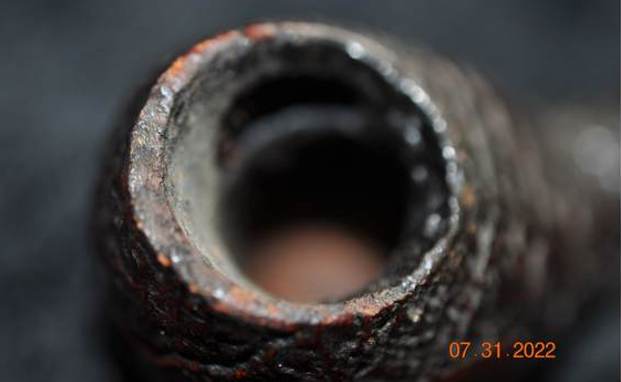
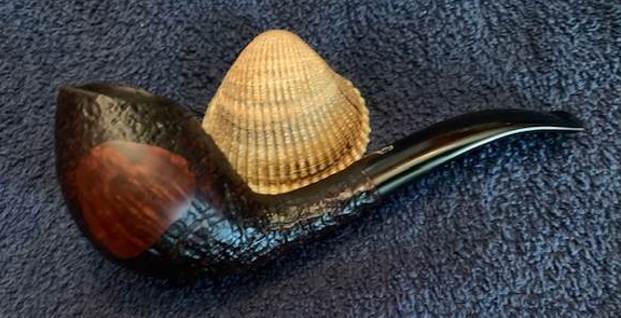
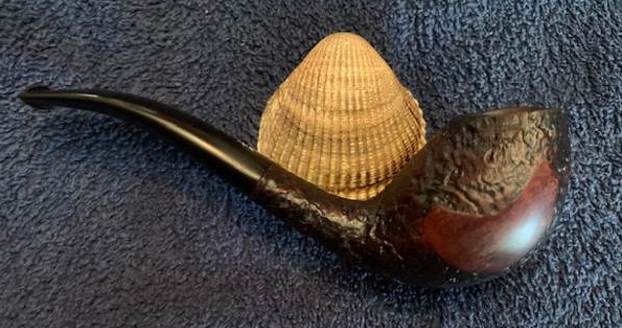
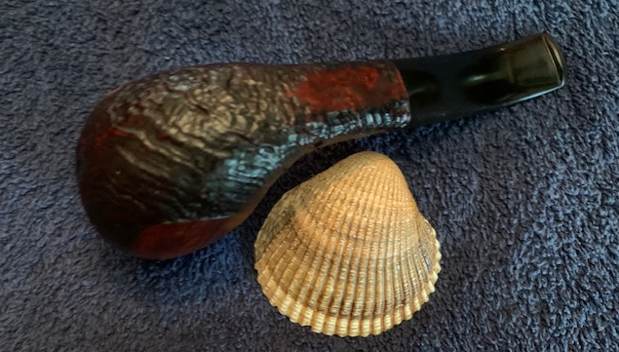
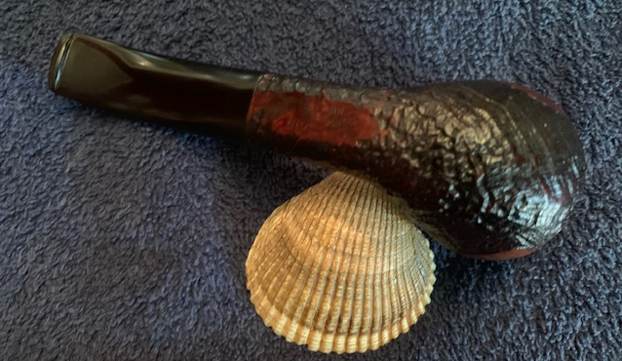
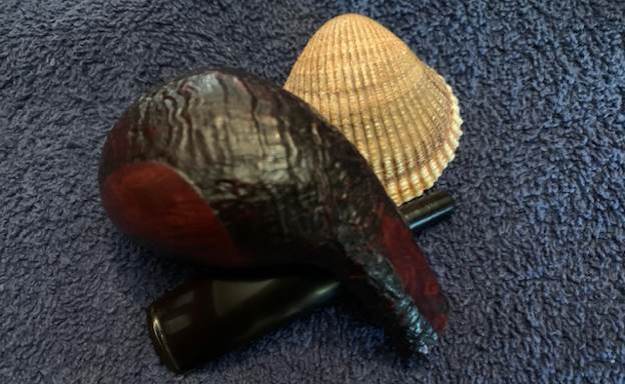
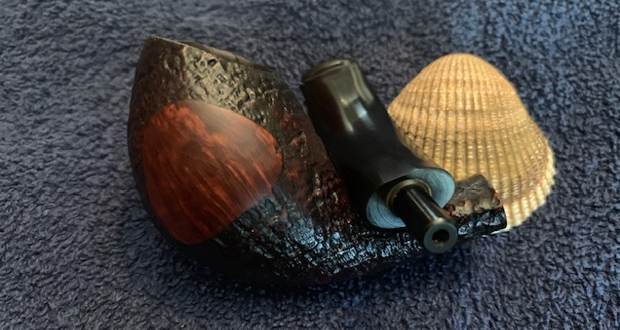
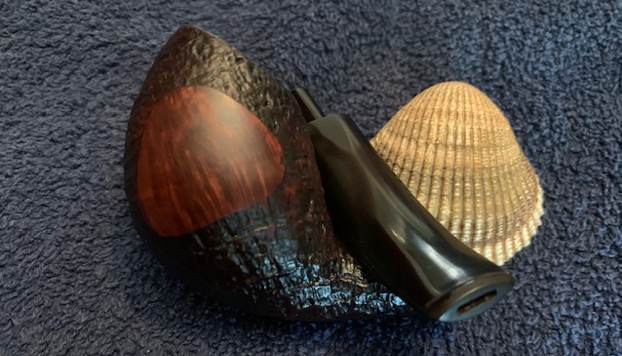
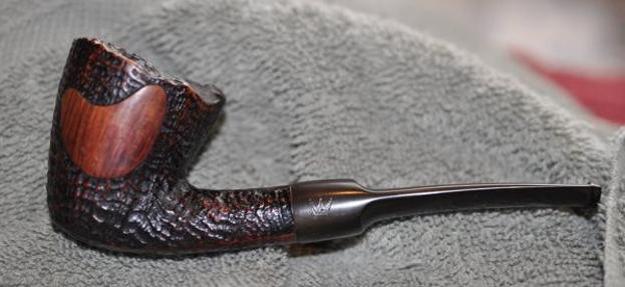
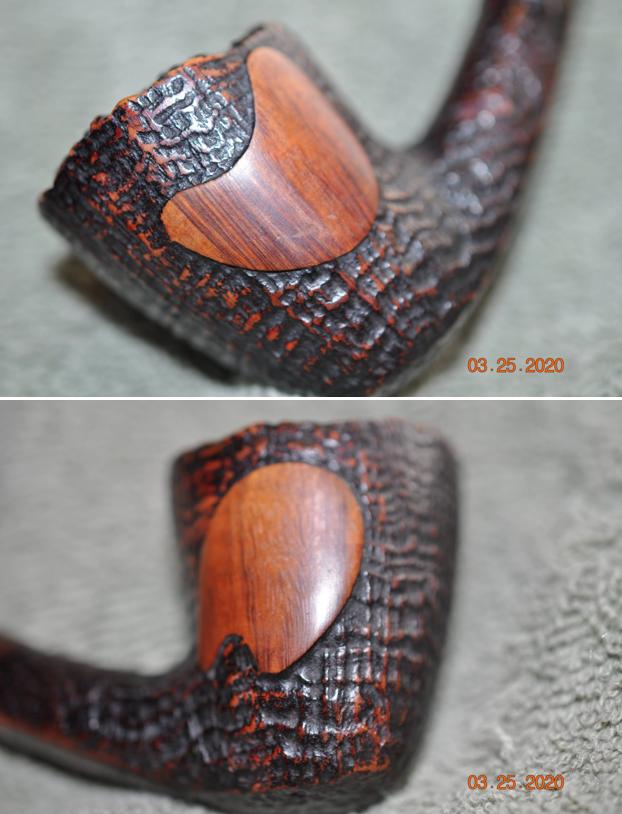
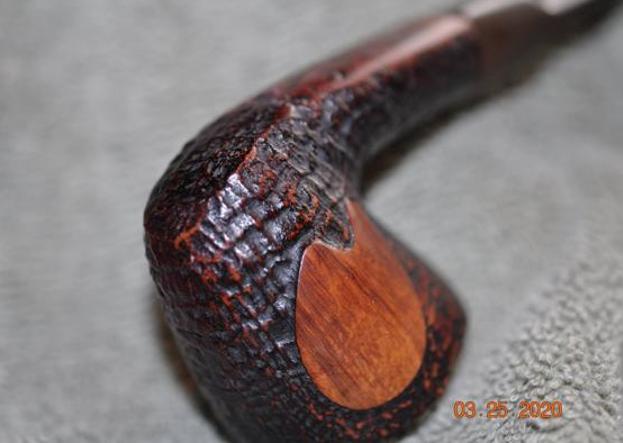
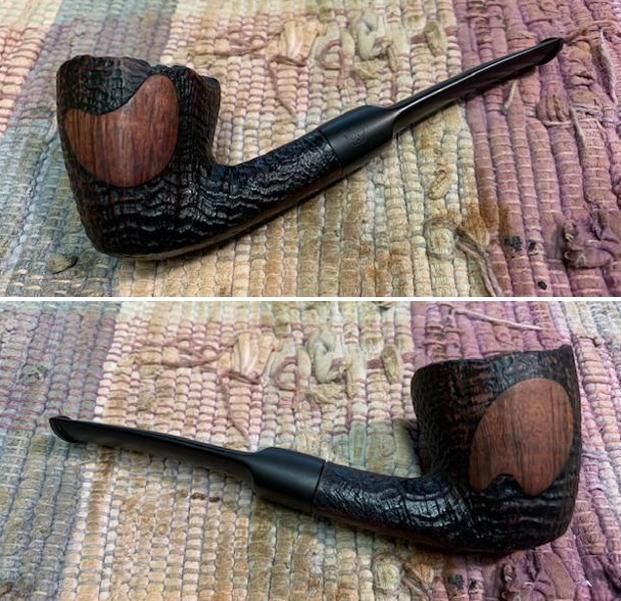
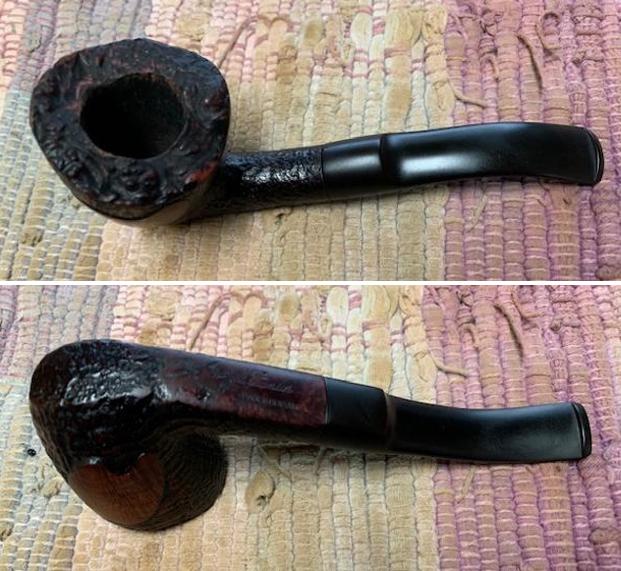
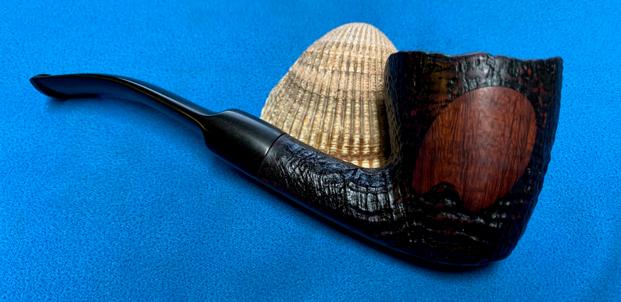
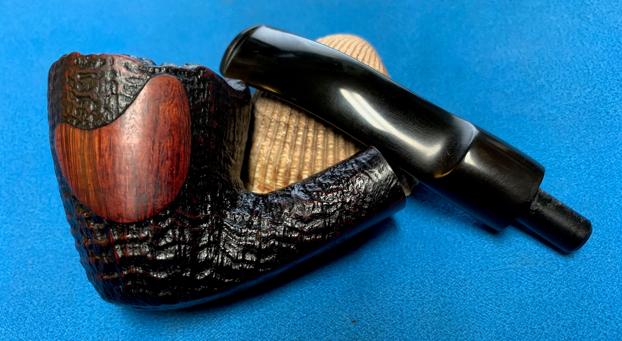
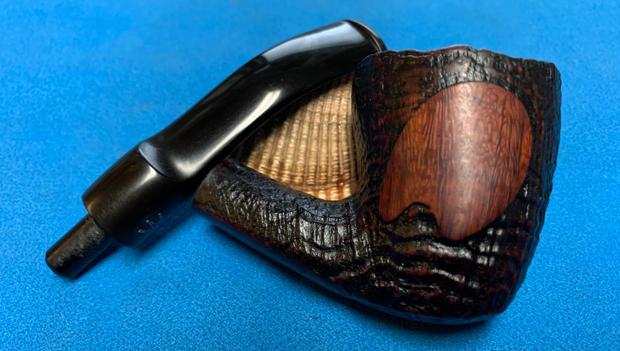
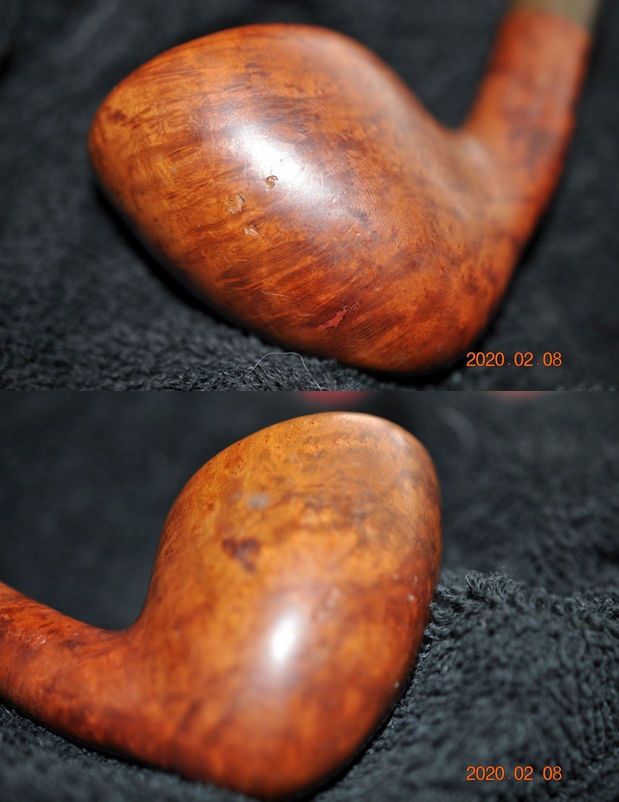
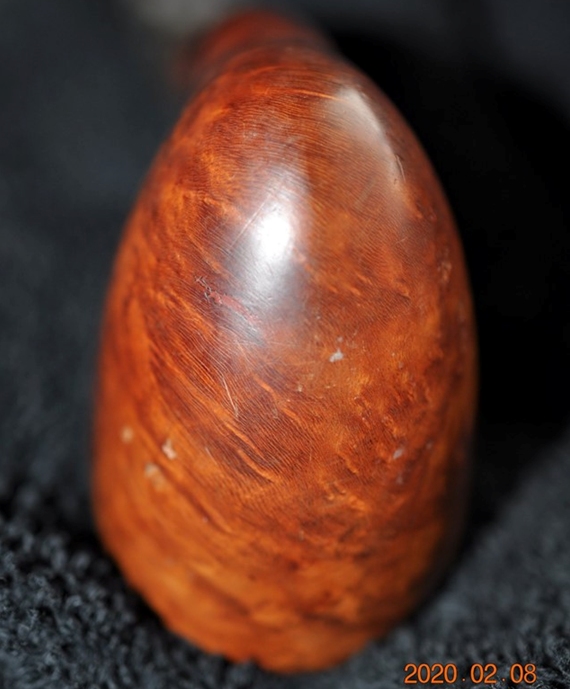
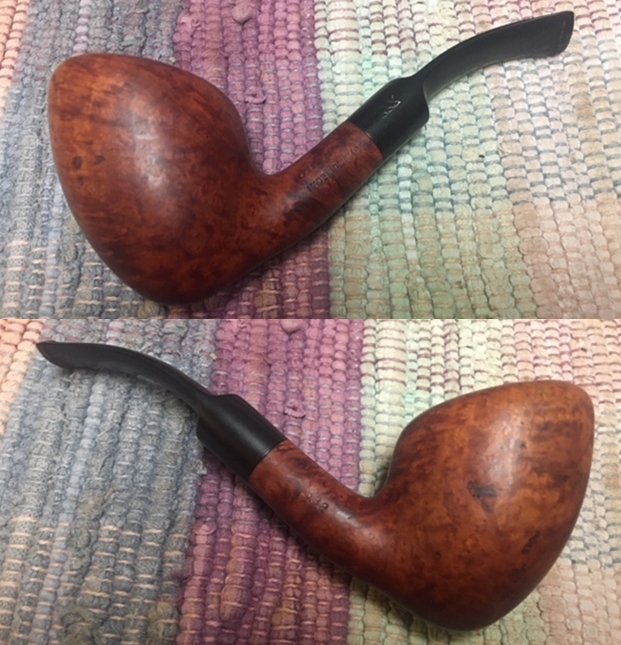
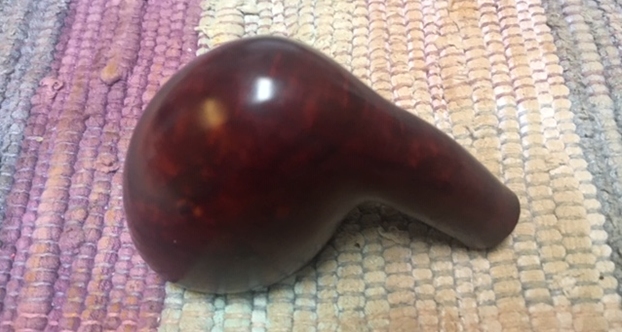
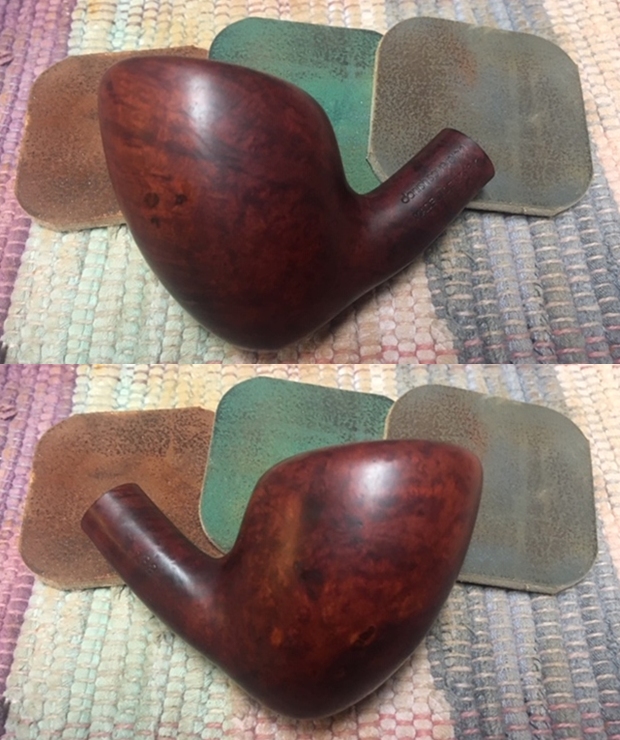
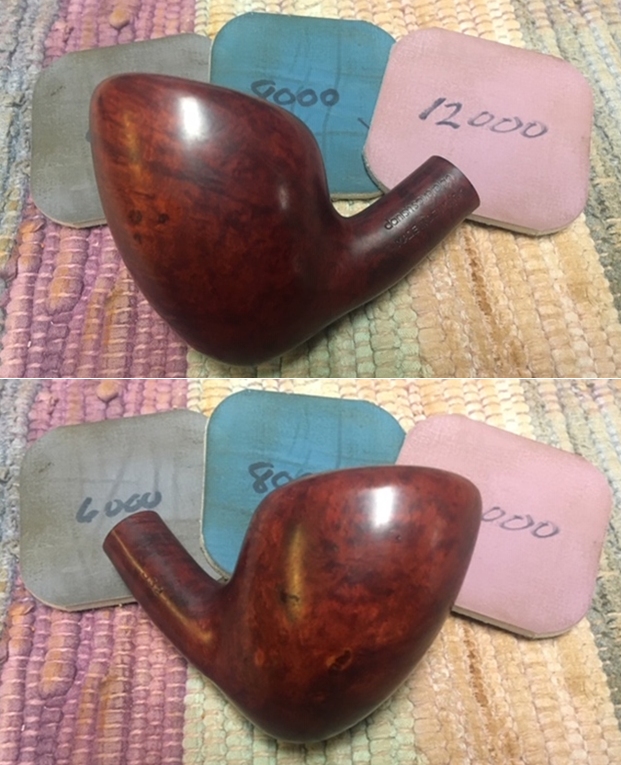
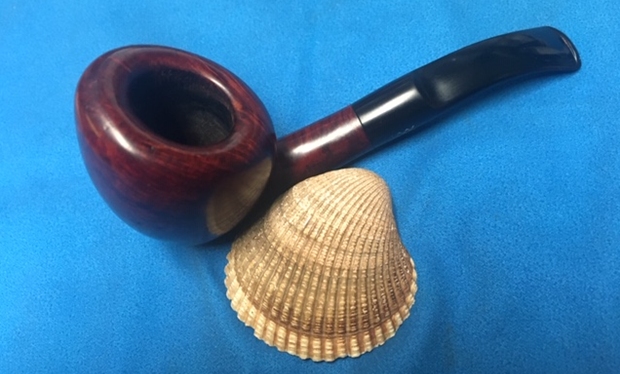
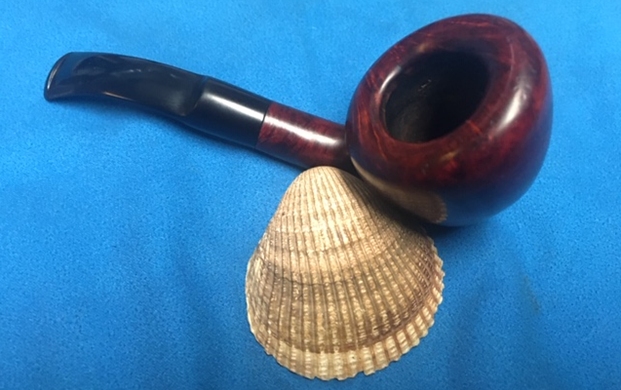
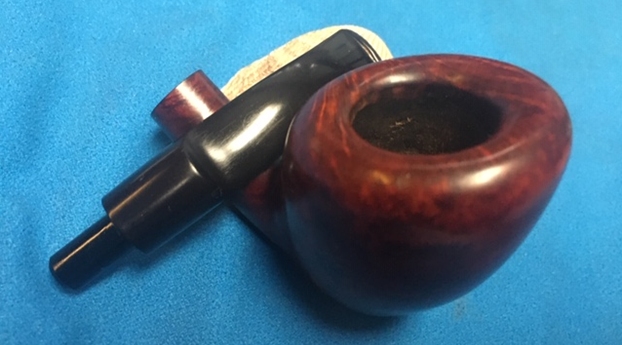
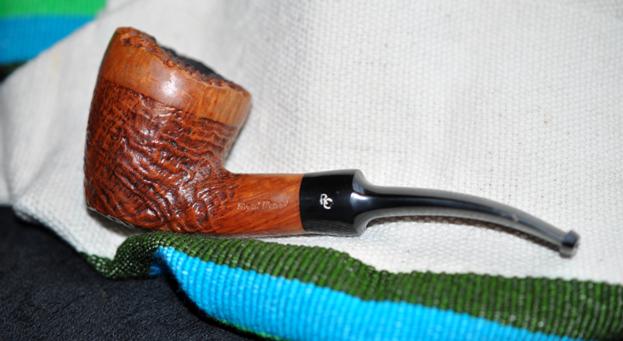
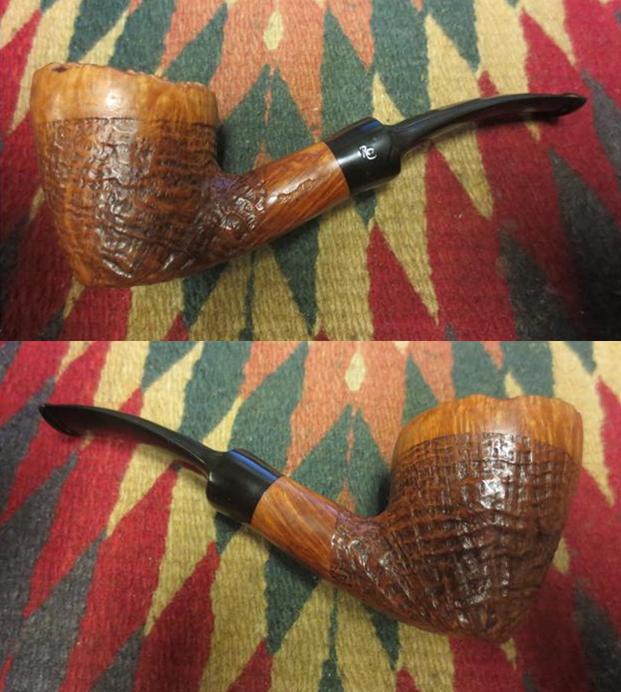
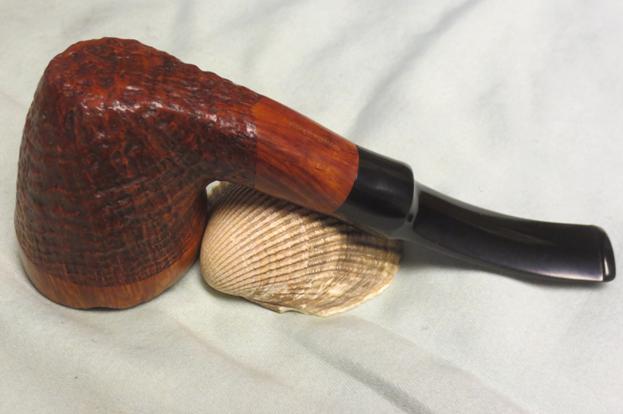
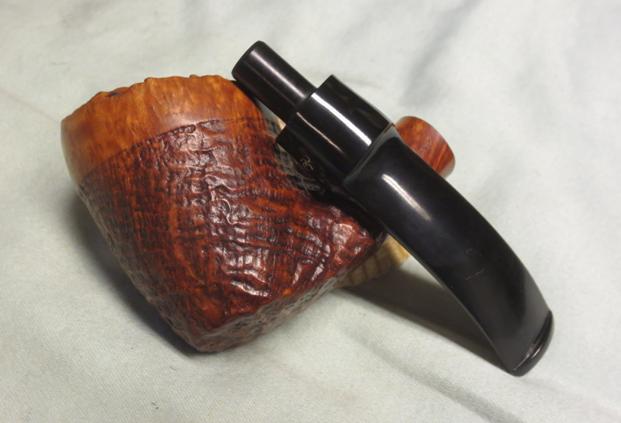
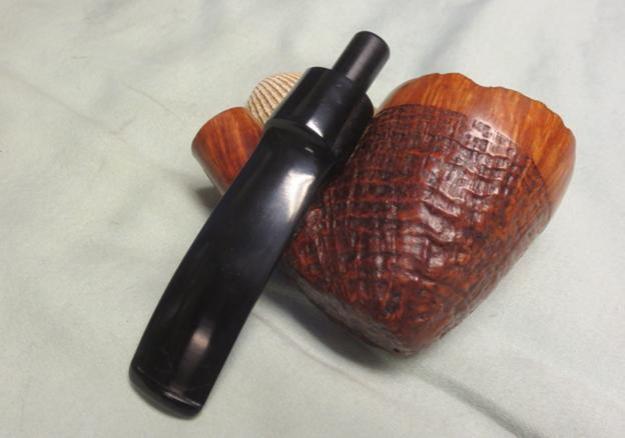
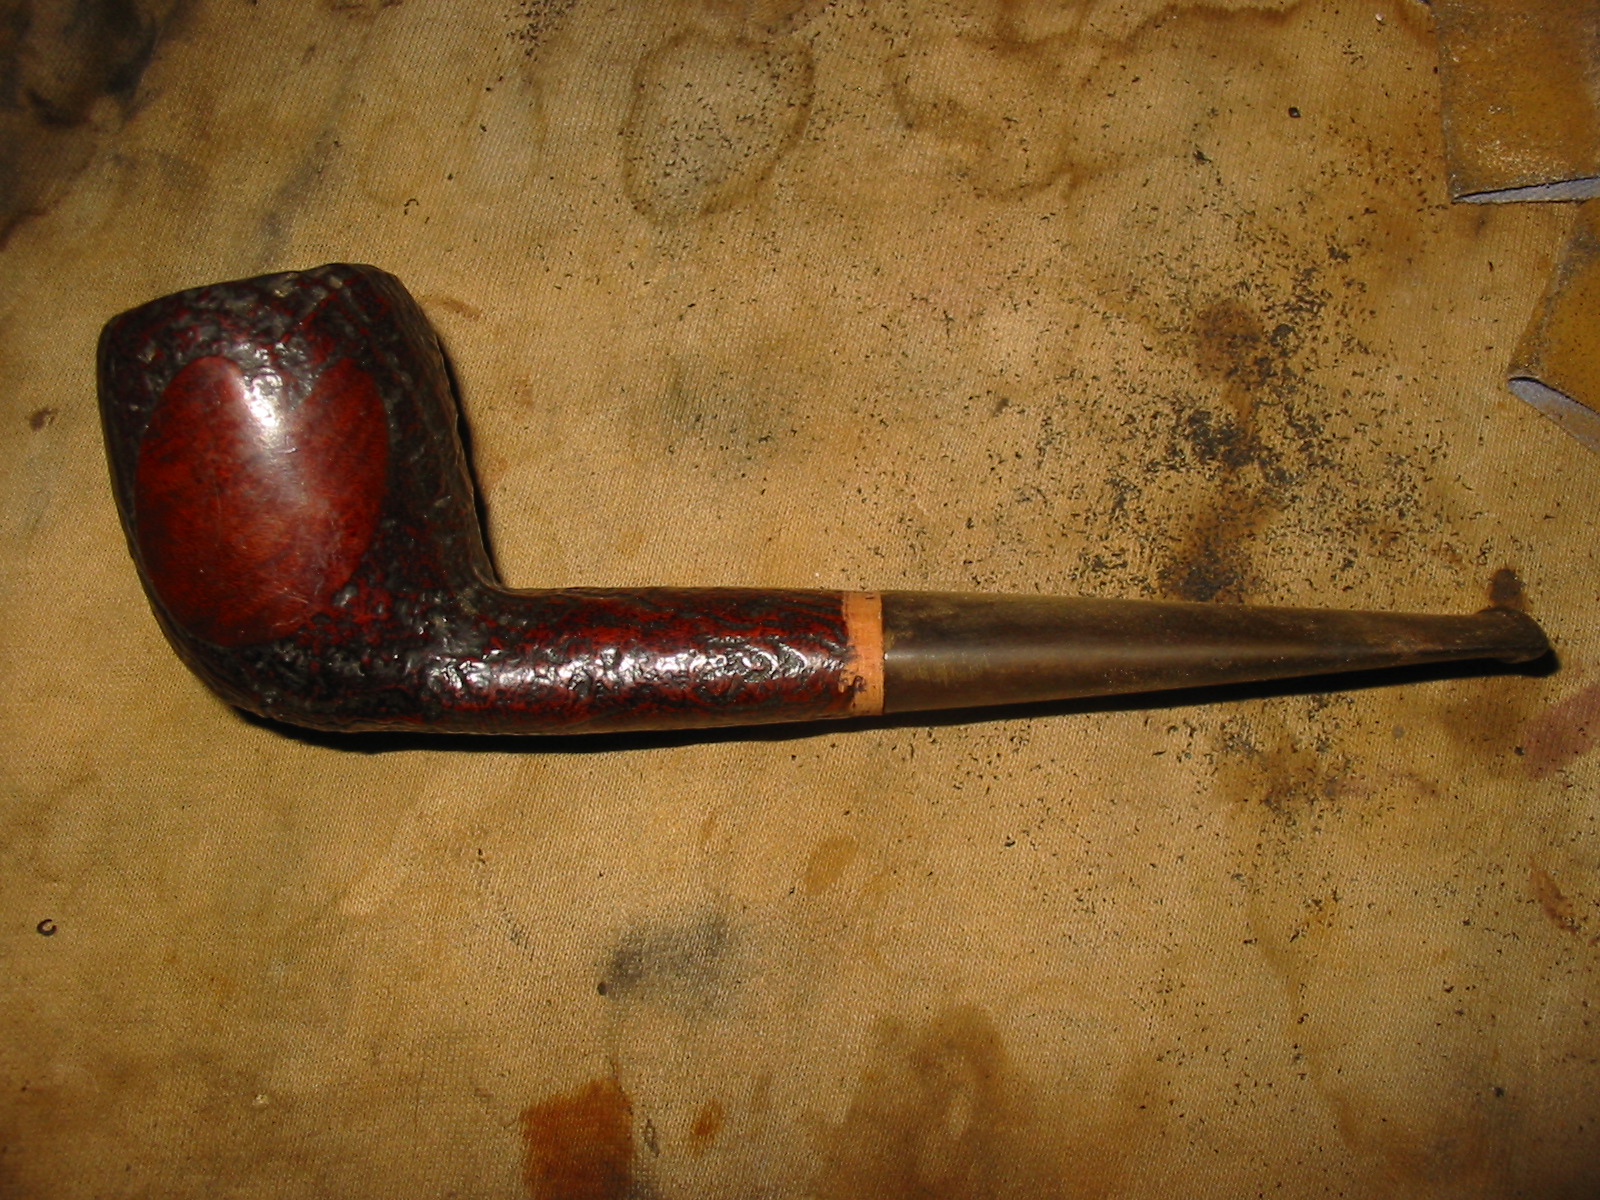
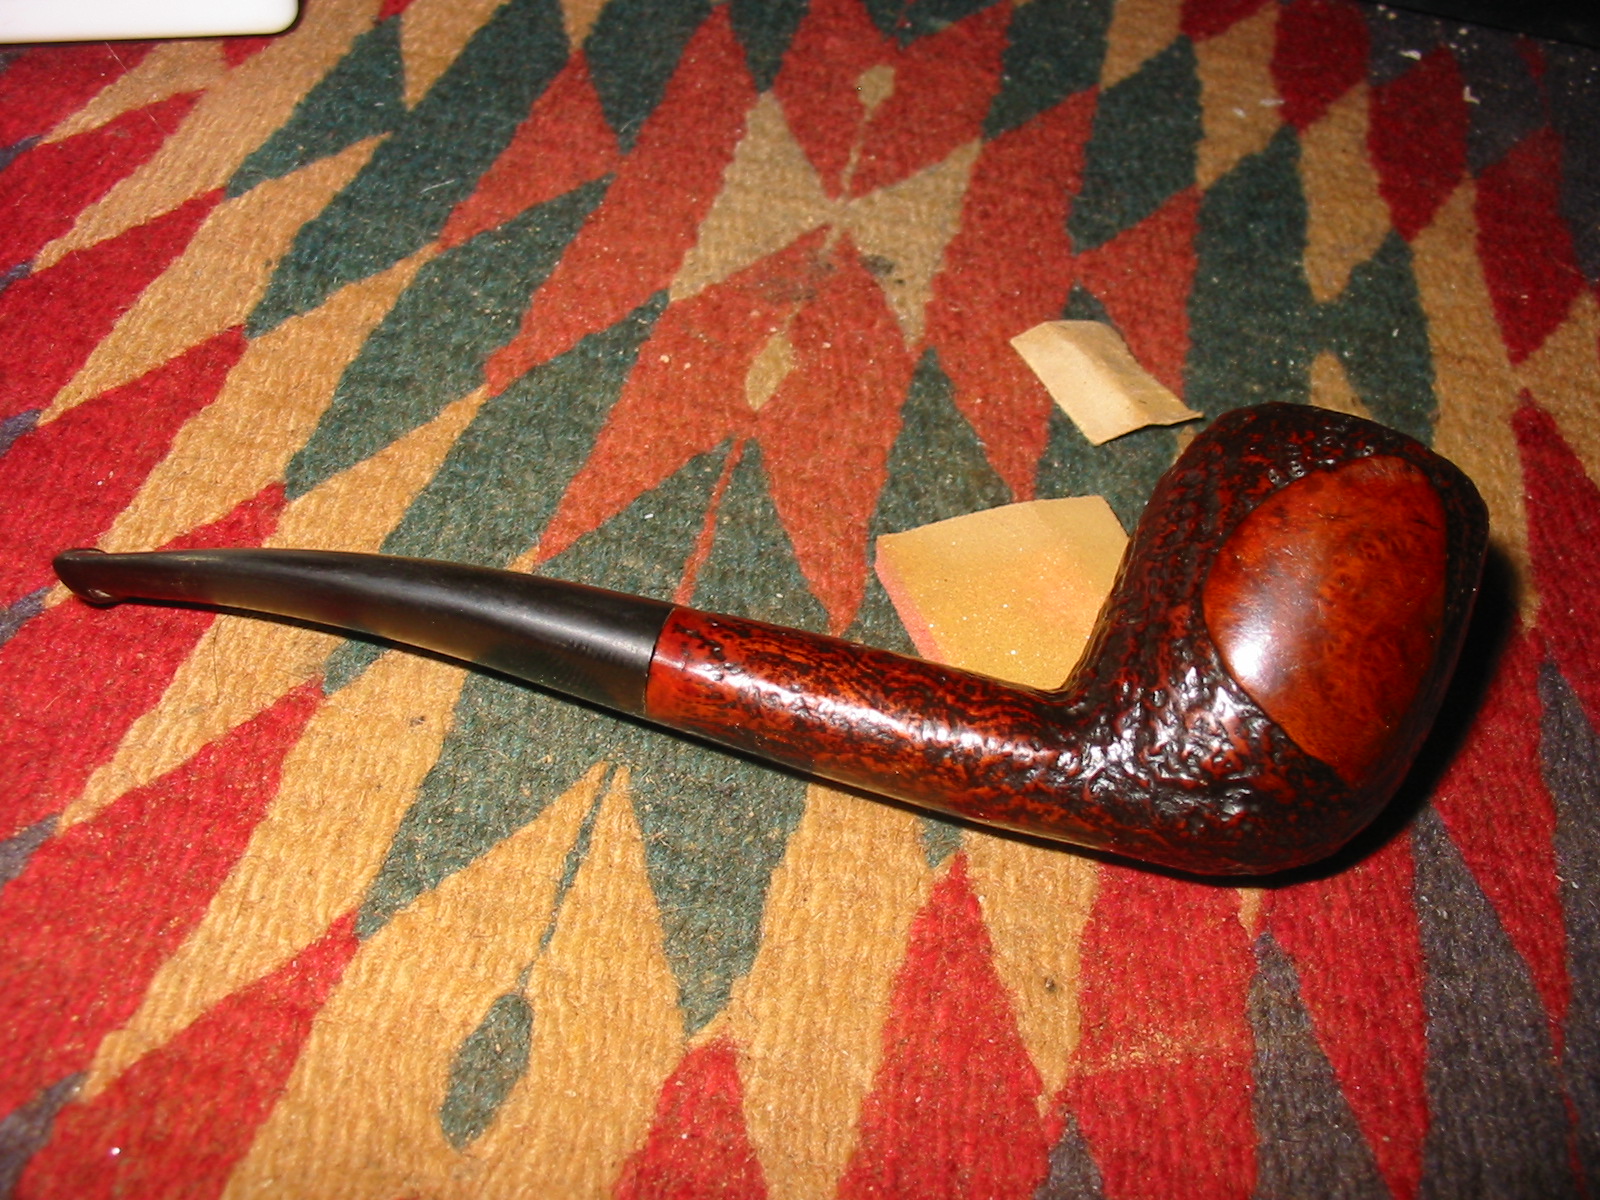
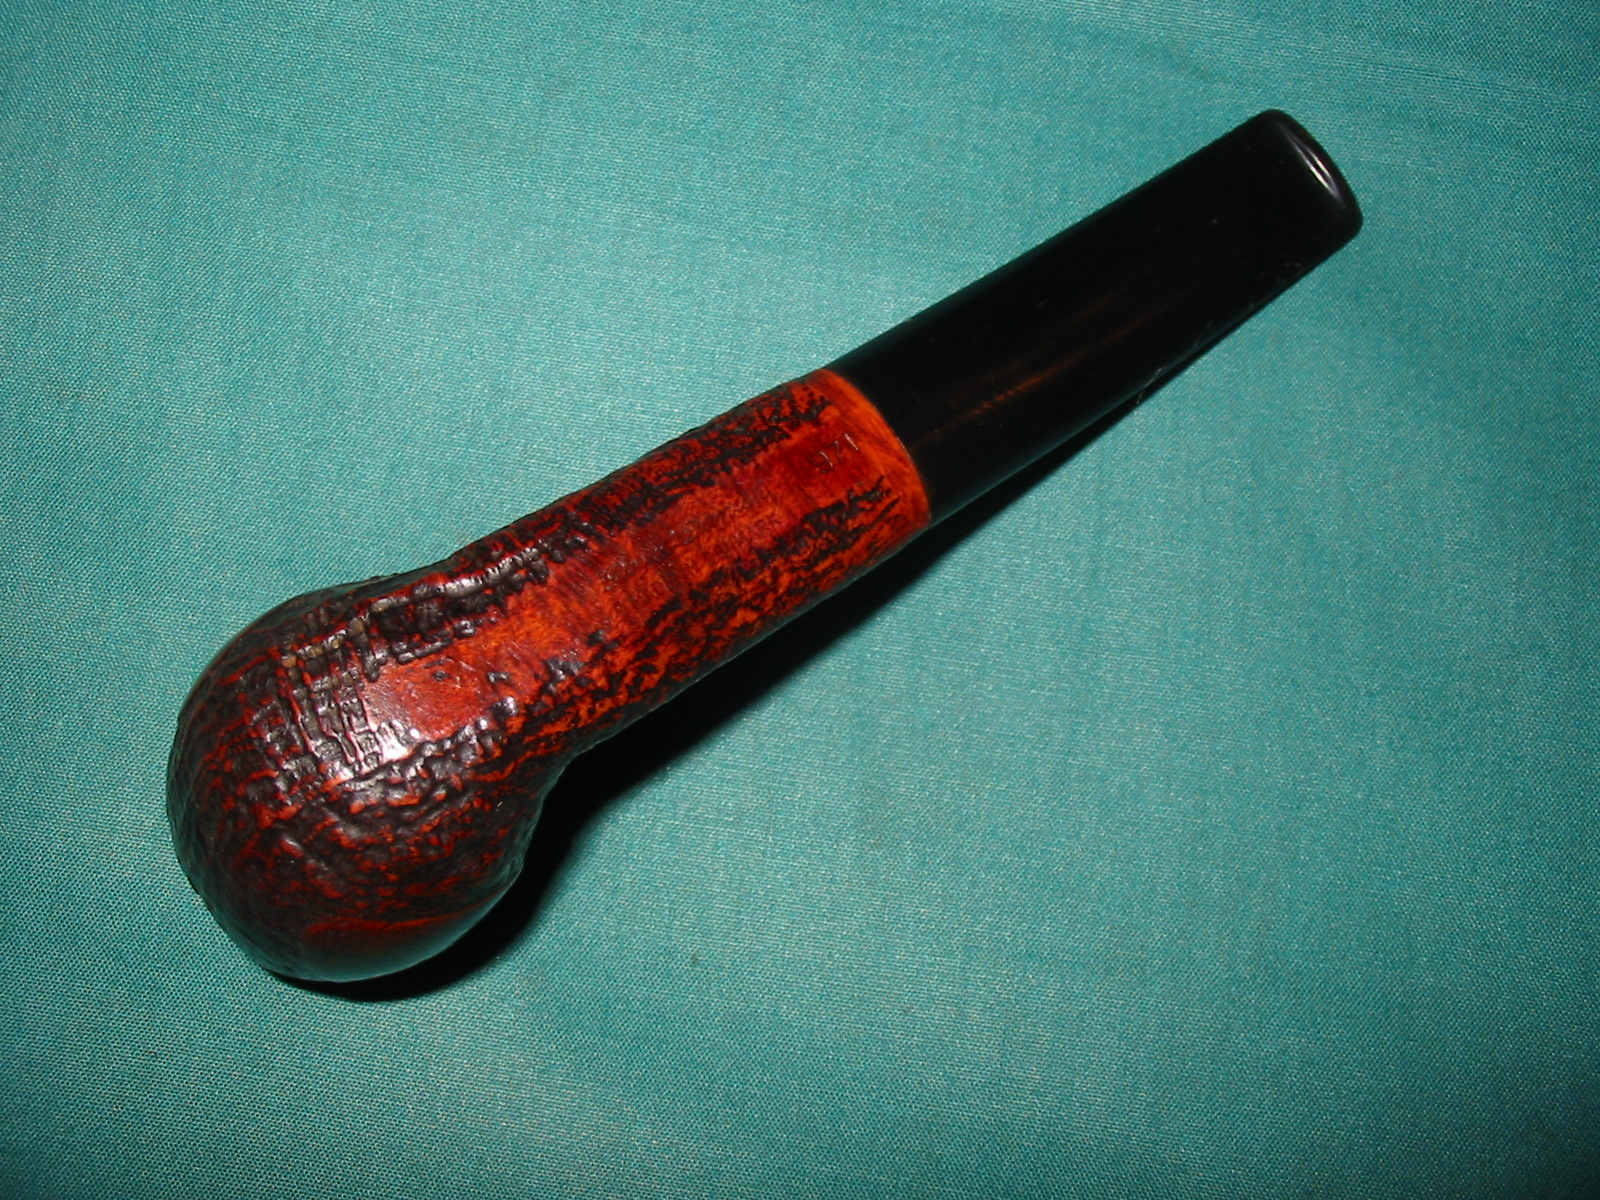
 He took photos of the sides of the bowl and the heel to give an idea of the shape and the condition of the briar around the bowl. It really is a nicely shaped pipe with a nice sandblast and smooth panels on the sides. The thin rim top shows promise.
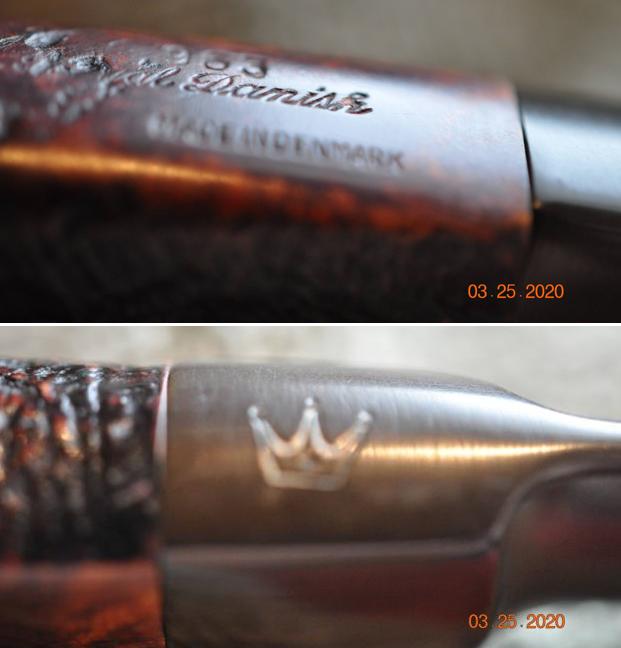
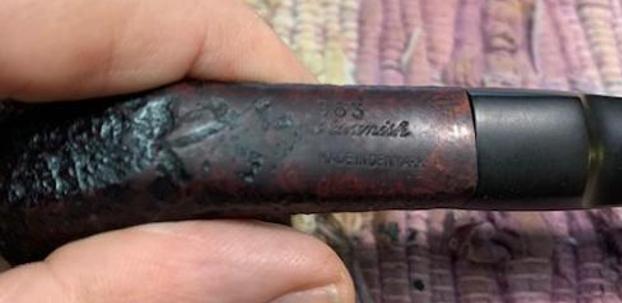
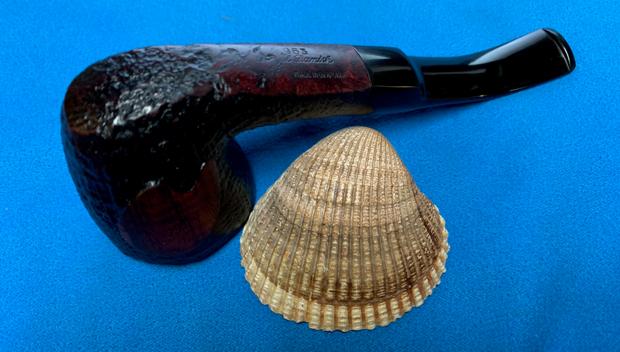
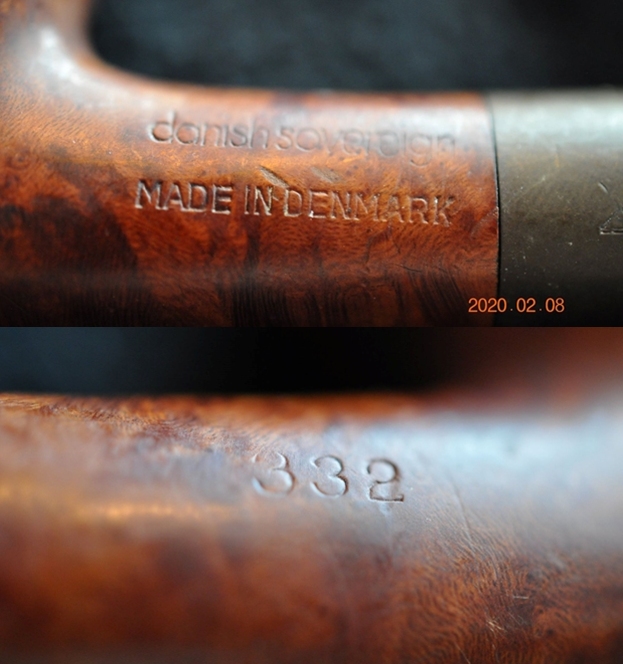
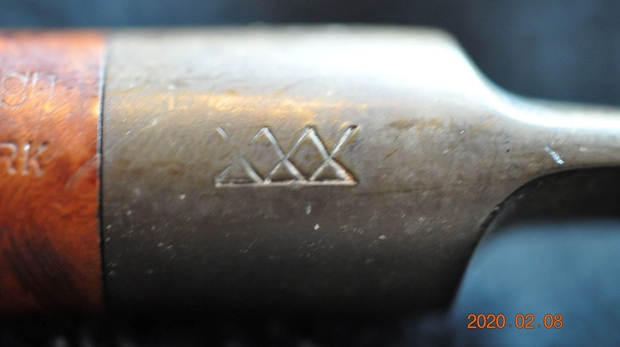
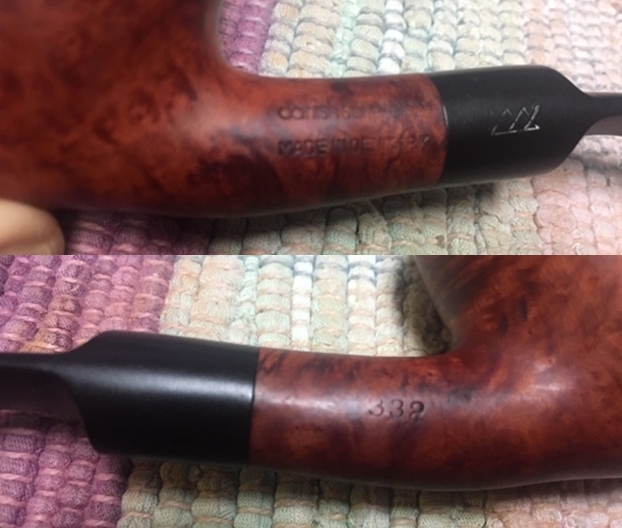
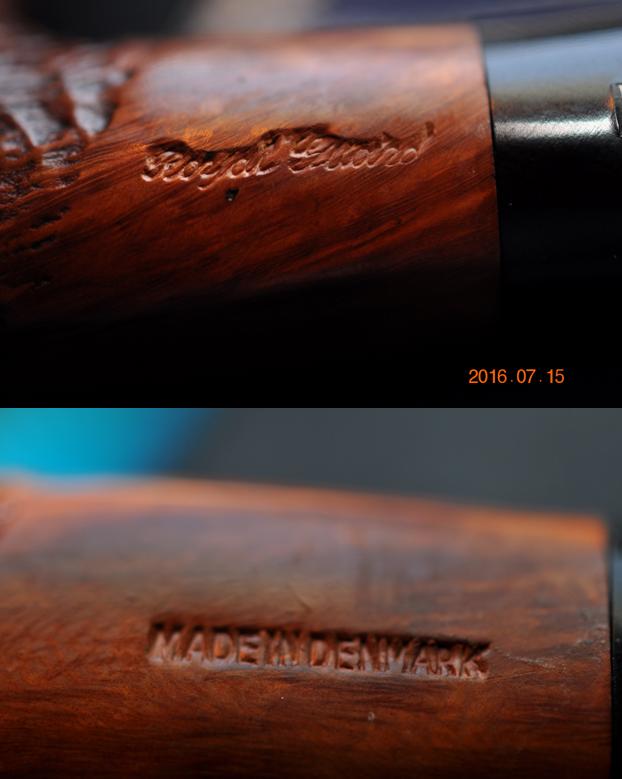
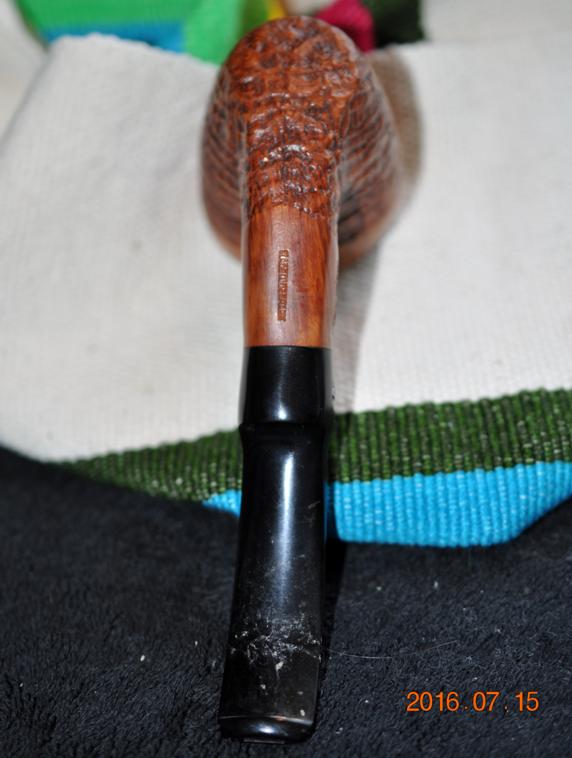
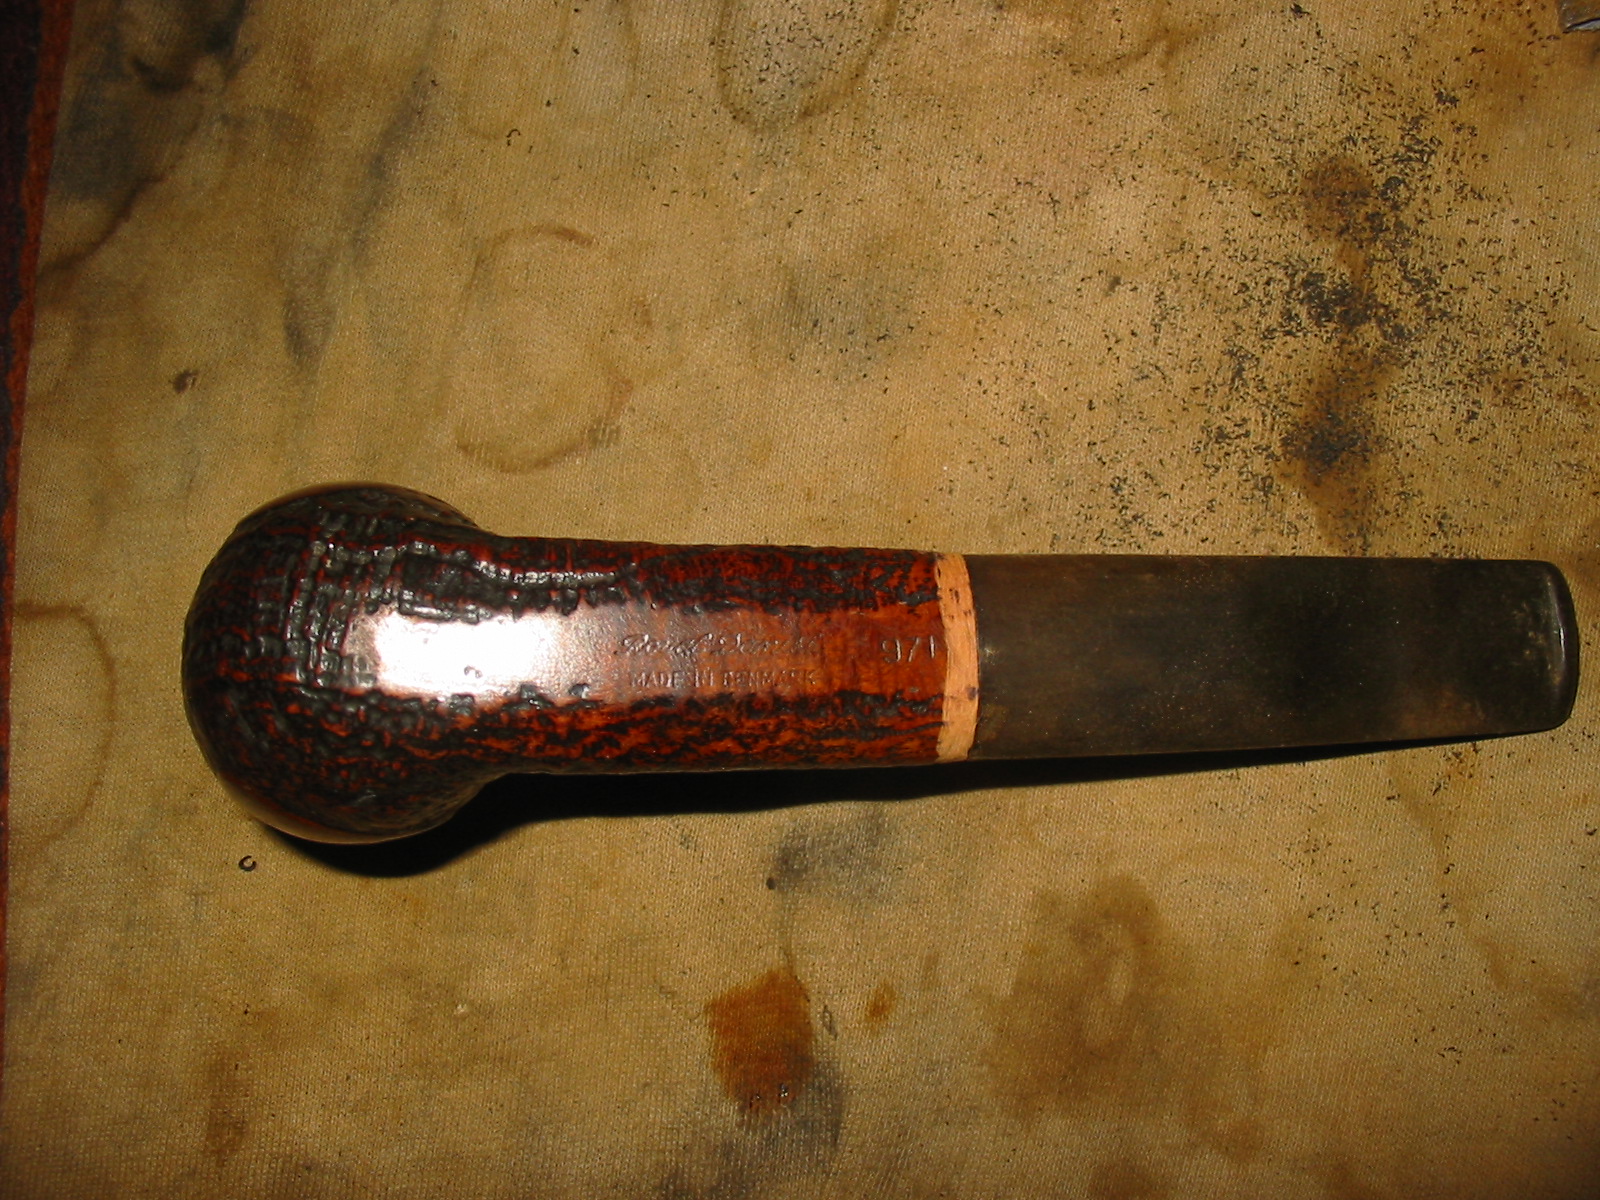
 The next photo Jeff took shows the stamping on the underside of the shank. It is clear and readable as noted above. There appears to be a small hairline crack on underside of the shank where it joins the stem. The large crown is also visible on the topside of the stem.
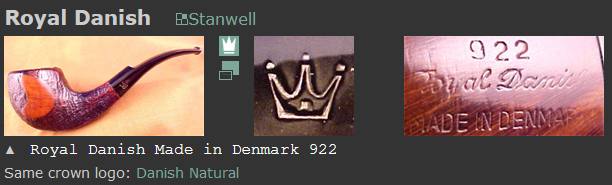
 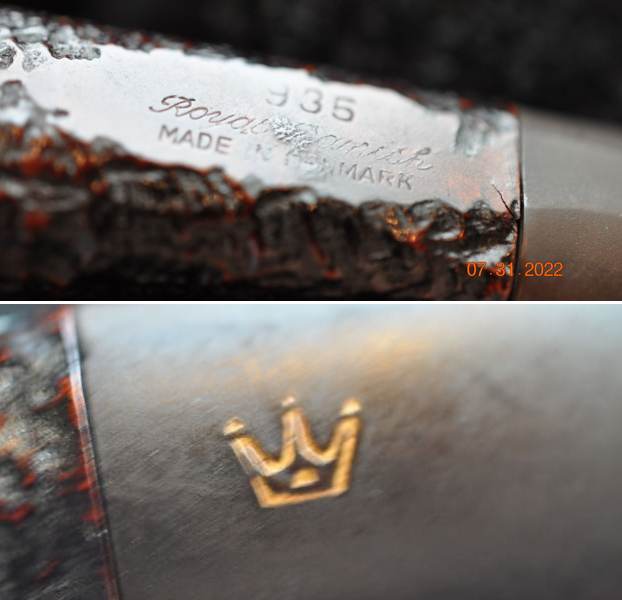 Before I started working on it I did a bit of research on the brand to get a feel for where it fit in the Stanwell line. I knew from previous Royal Danish pipes that I had worked on that the pipe was second or sub brand. I turned to Pipephil’s site (http://www.pipephil.eu/logos/en/logo-r6.html) for information. I did a screen capture of the information on the site. I found that the brand was indeed made by Stanwell and was one of many second lines that they made. I did a screen capture of the pertinent information and have included it below.
 I then turned to Pipedia and found that it was also listed as a second or a sub-brand made by Stanwell (https://pipedia.org/wiki/Stanwell#Sub-brands_.2F_Seconds). I have included the list of seconds from the site below. I have highlighted the Royal Danish in blue in the text.
Sub-brands / Seconds – Bijou (discontinued), Danish Quaint, Danish Sovereign, Danske Club, Henley (discontinued), Kong Christian (discontinued), Majestic, Reddish (discontinued), Royal Danish, Royal Guard, Royal Sovereign, Sailor (discontinued), Scandia, Sorn (discontinued), Svendson.
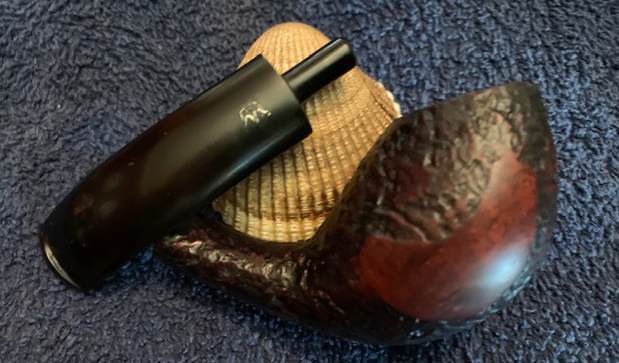
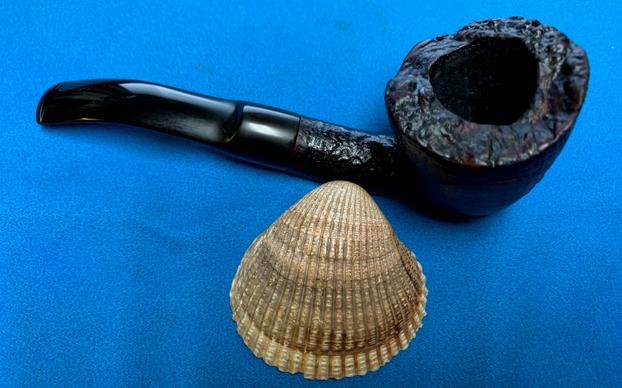
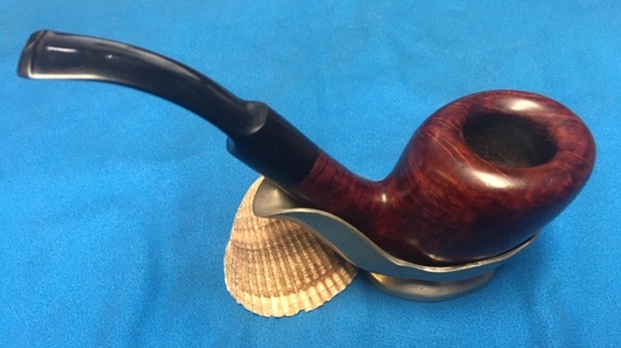
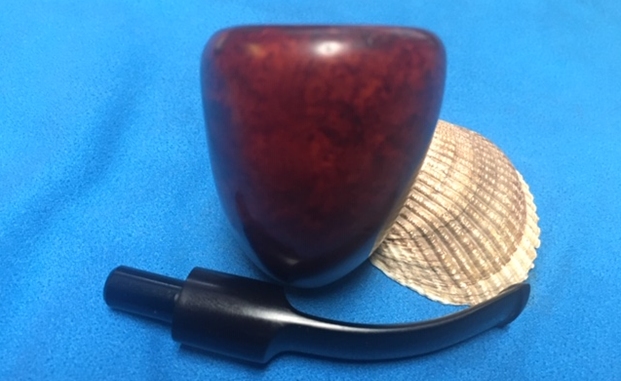
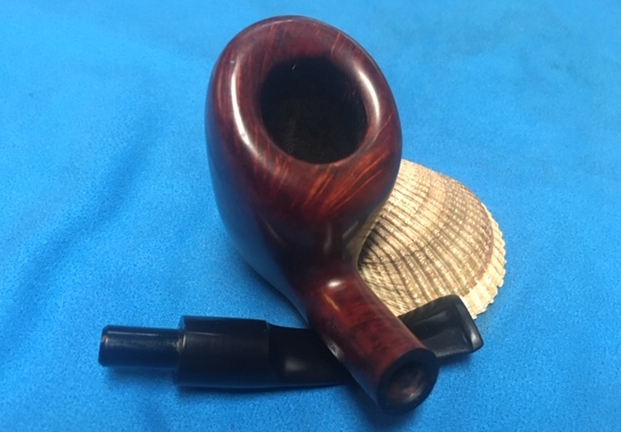
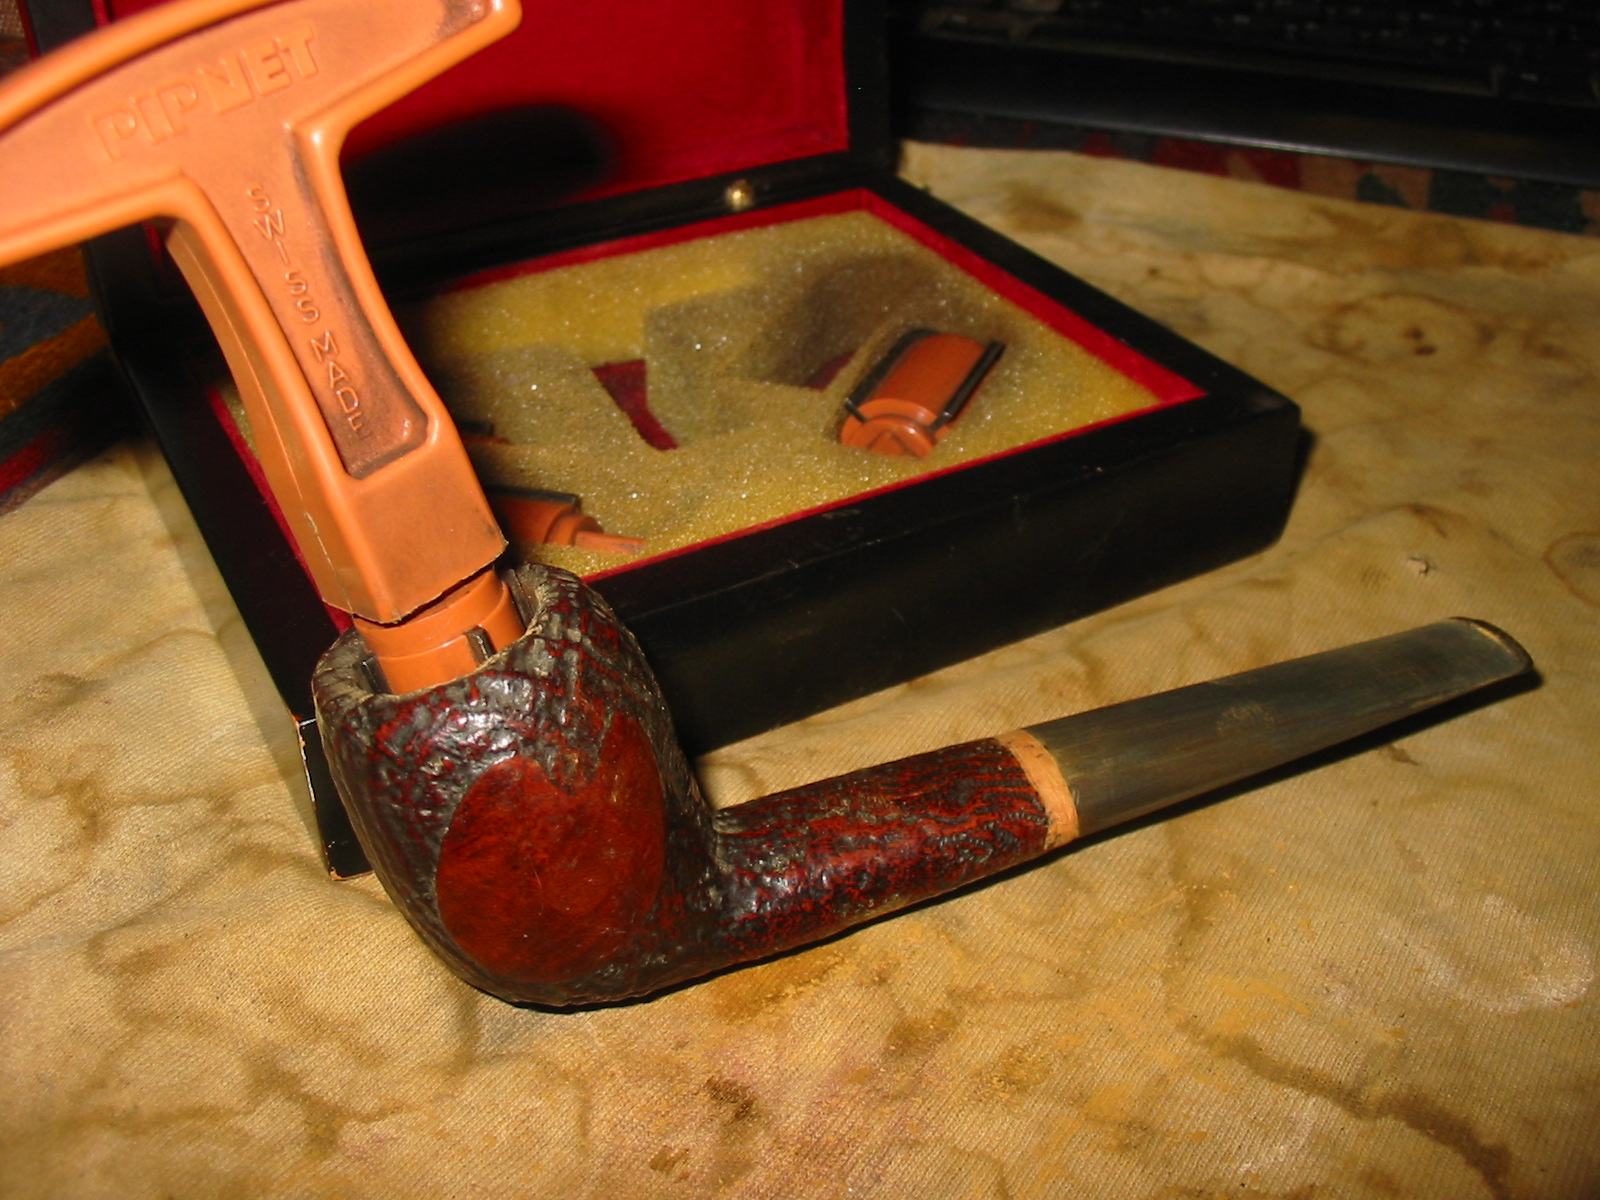
Jeff had cleaned up the pipe following his normal cleaning process. In short, he reamed the bowl with a PipNet pipe reamer and cleaned up the reaming with a Savinelli Fitsall Pipe Knife. He scrubbed the smooth bowl with undiluted Murphy’s Oil Soap with a tooth brush. He worked over the lava and debris on the rim top and was able to remove it. He rinsed it under running warm water to remove the soap and grime. He cleaned out the inside of the shank and the airway in the stem with alcohol, cotton swabs and pipe cleaners. He scrubbed the stem with Soft Scrub and cotton pads to remove the debris and oils on the stem. He soaked it in a bath of Briarville’s Pipe Stem Deoxidizer to remove the oxidation. He rinsed it with warm water and dried it off. I took photos of the pipe once I received it. It really looked good. 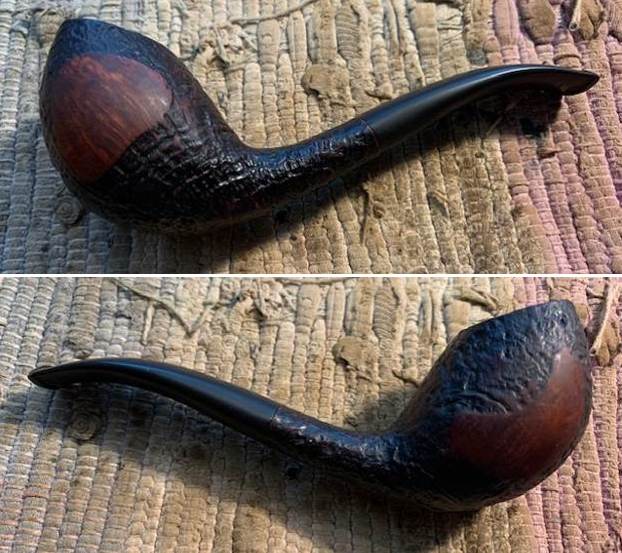
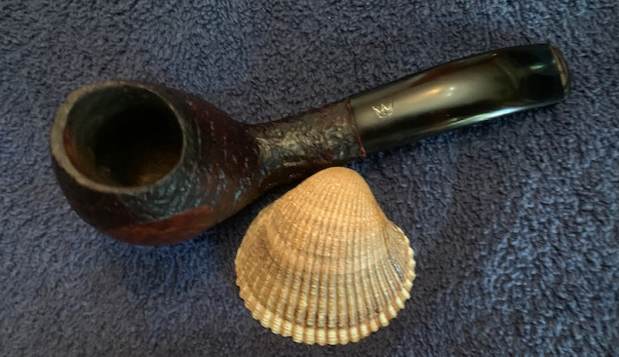
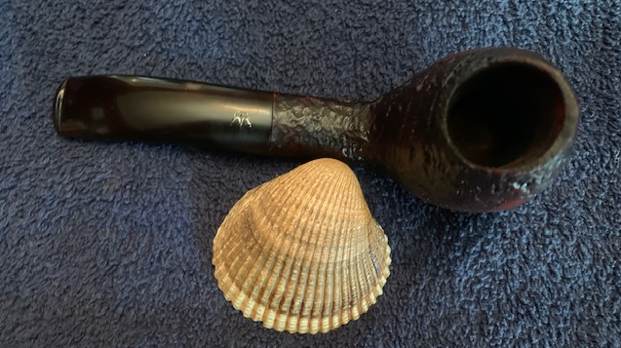
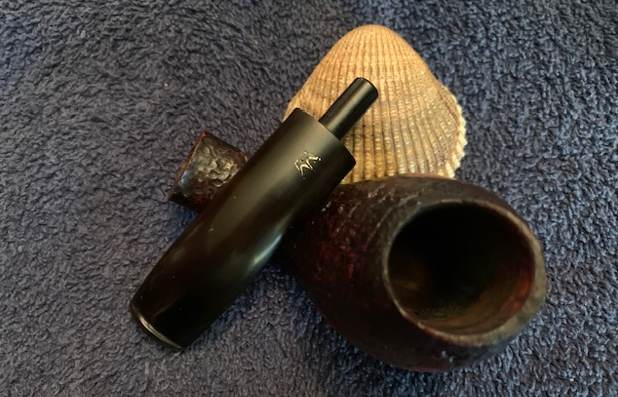
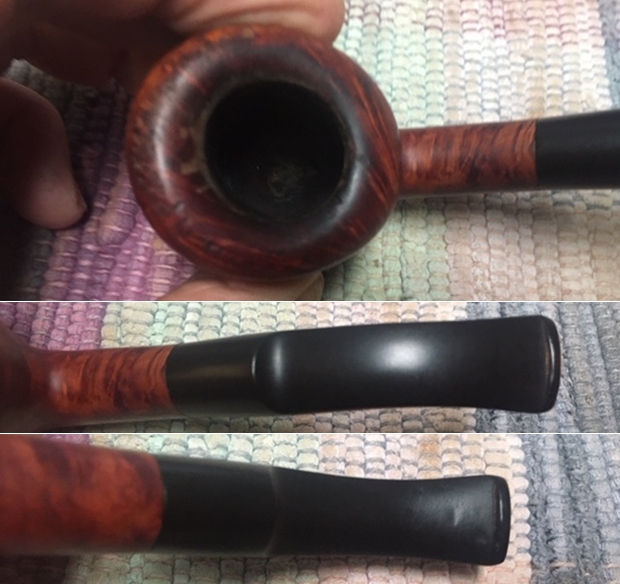
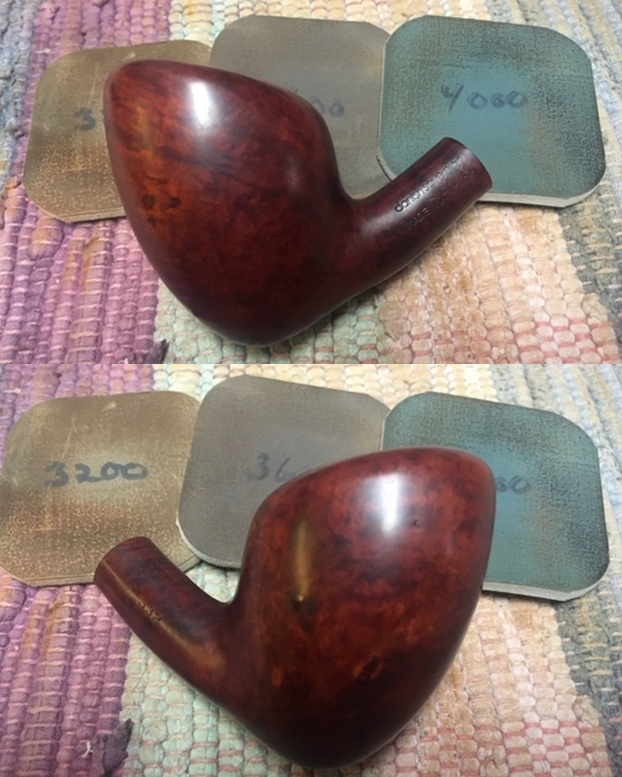
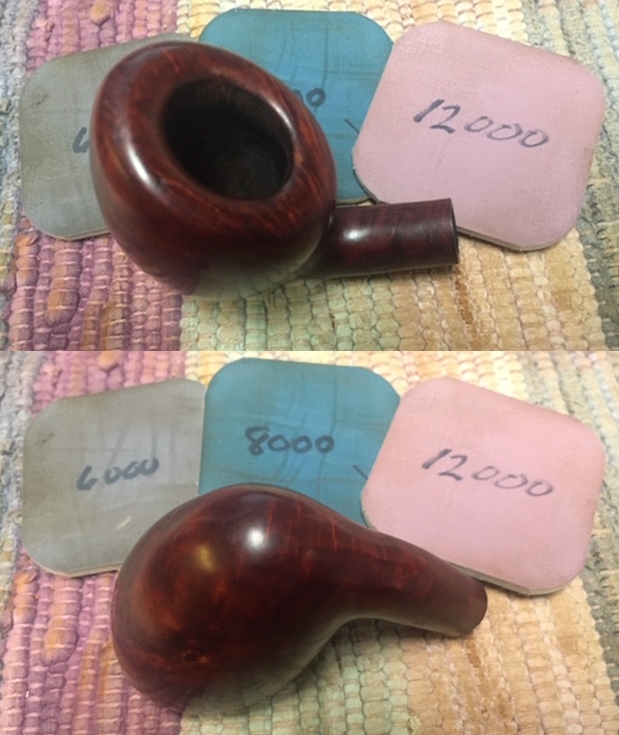
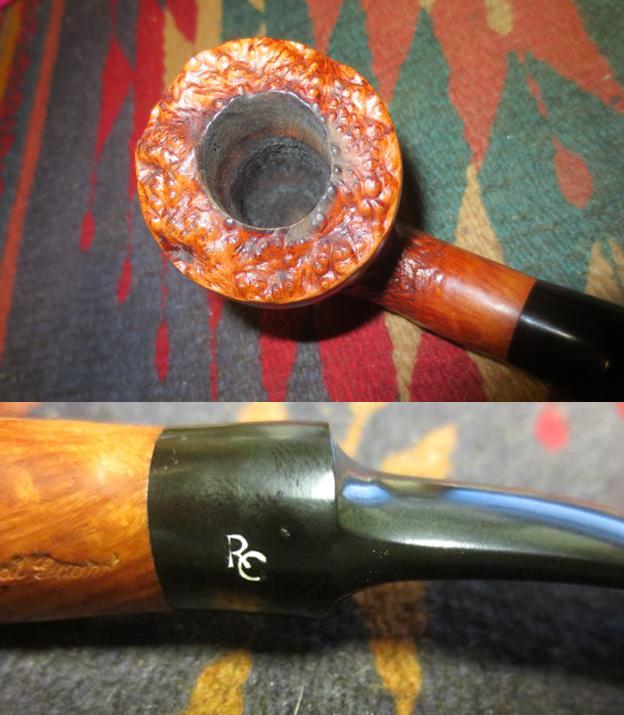
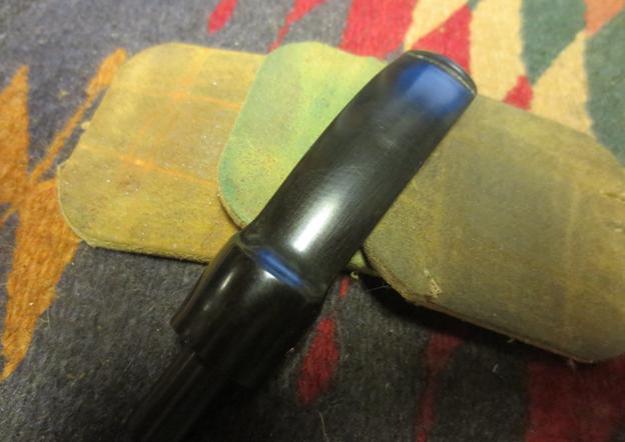
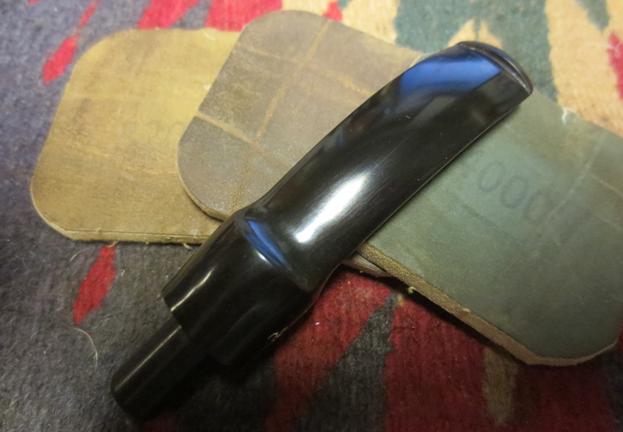
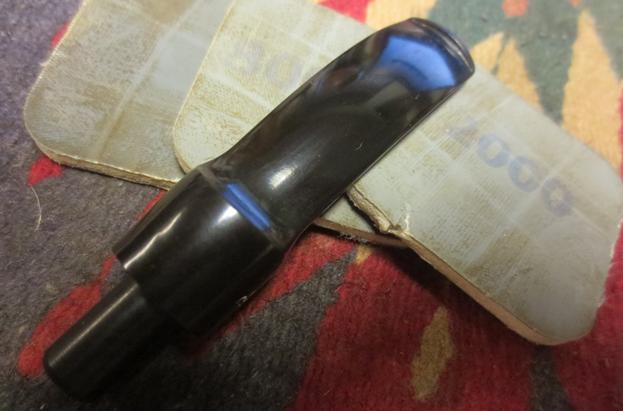
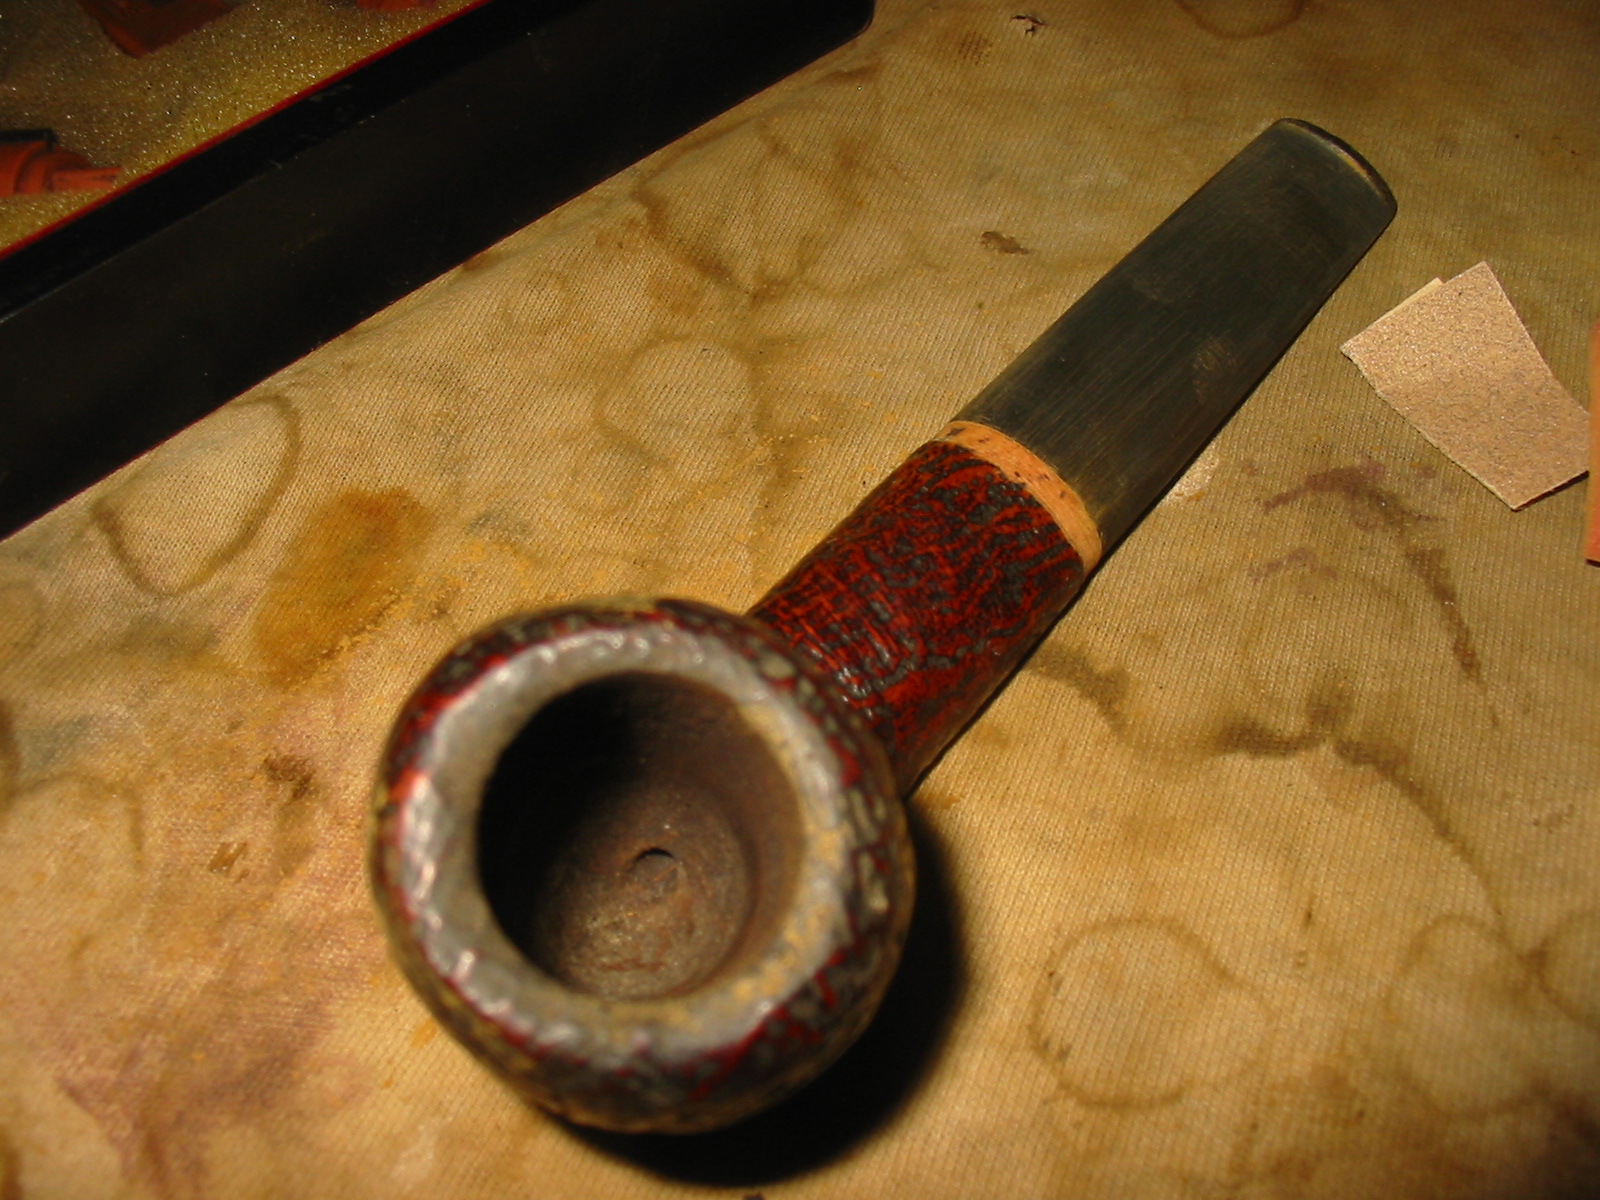
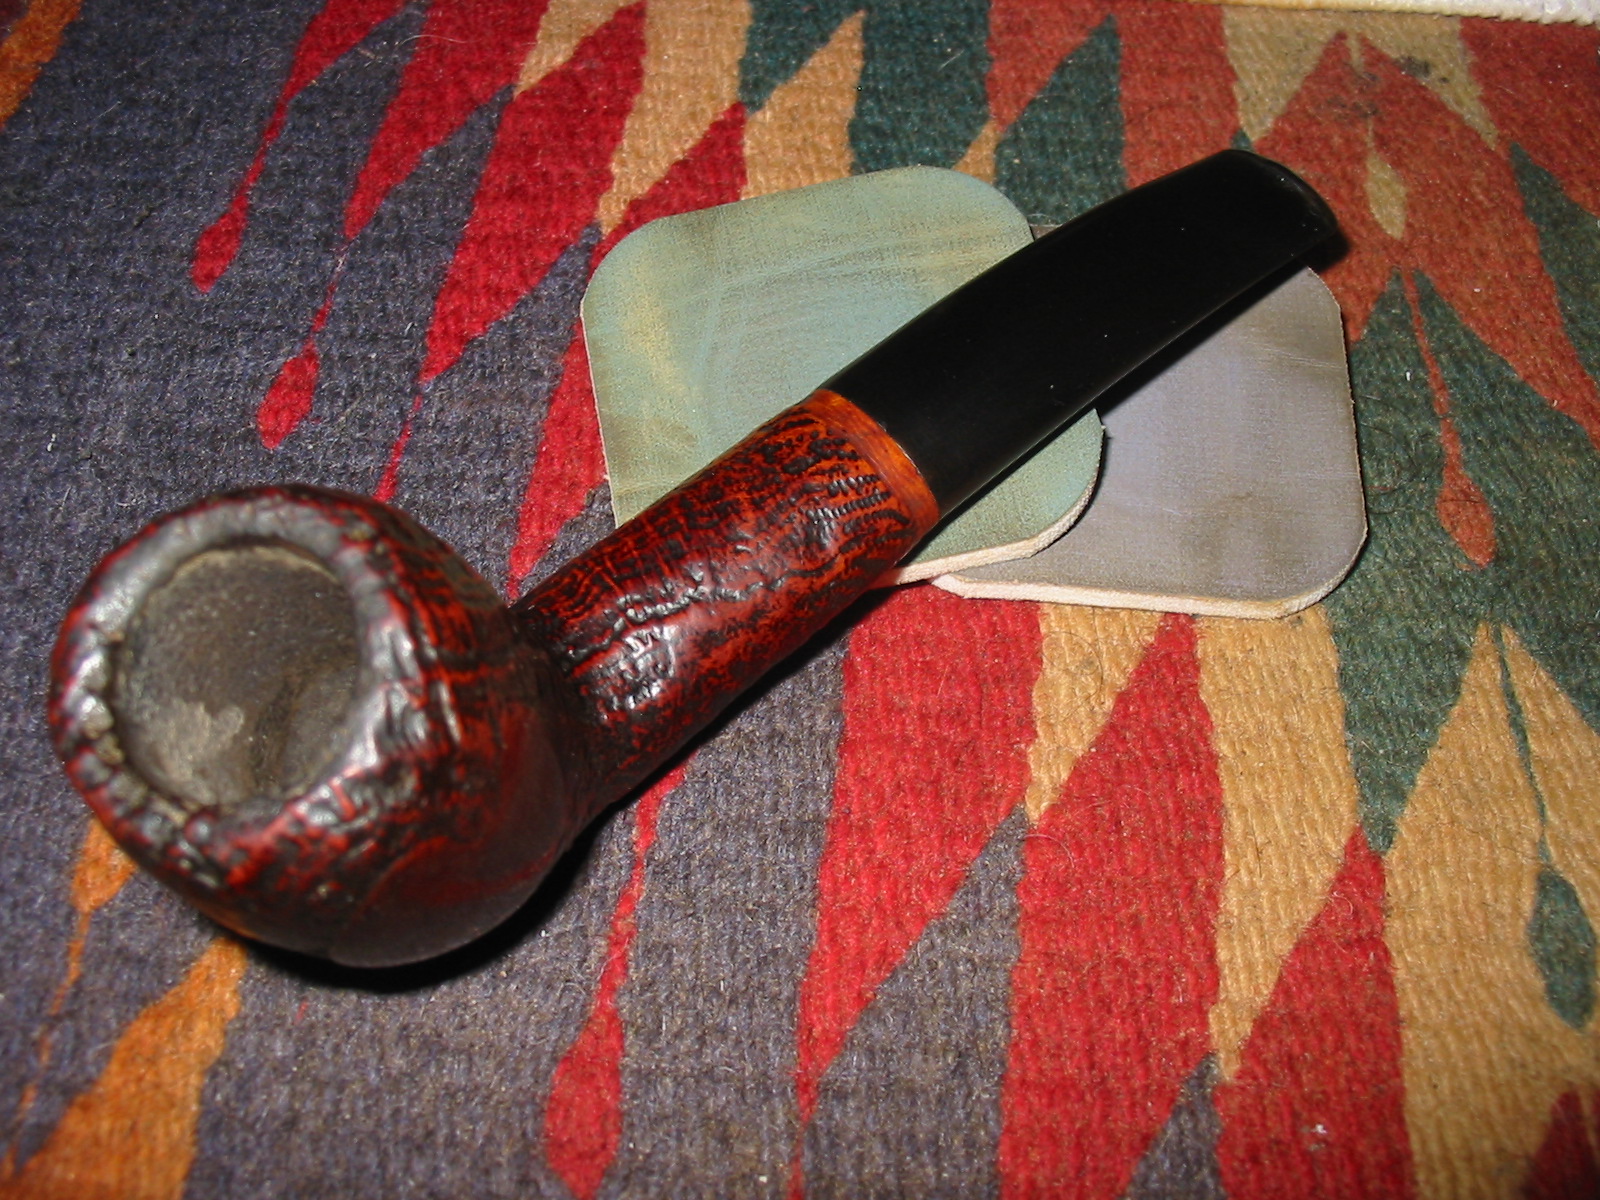
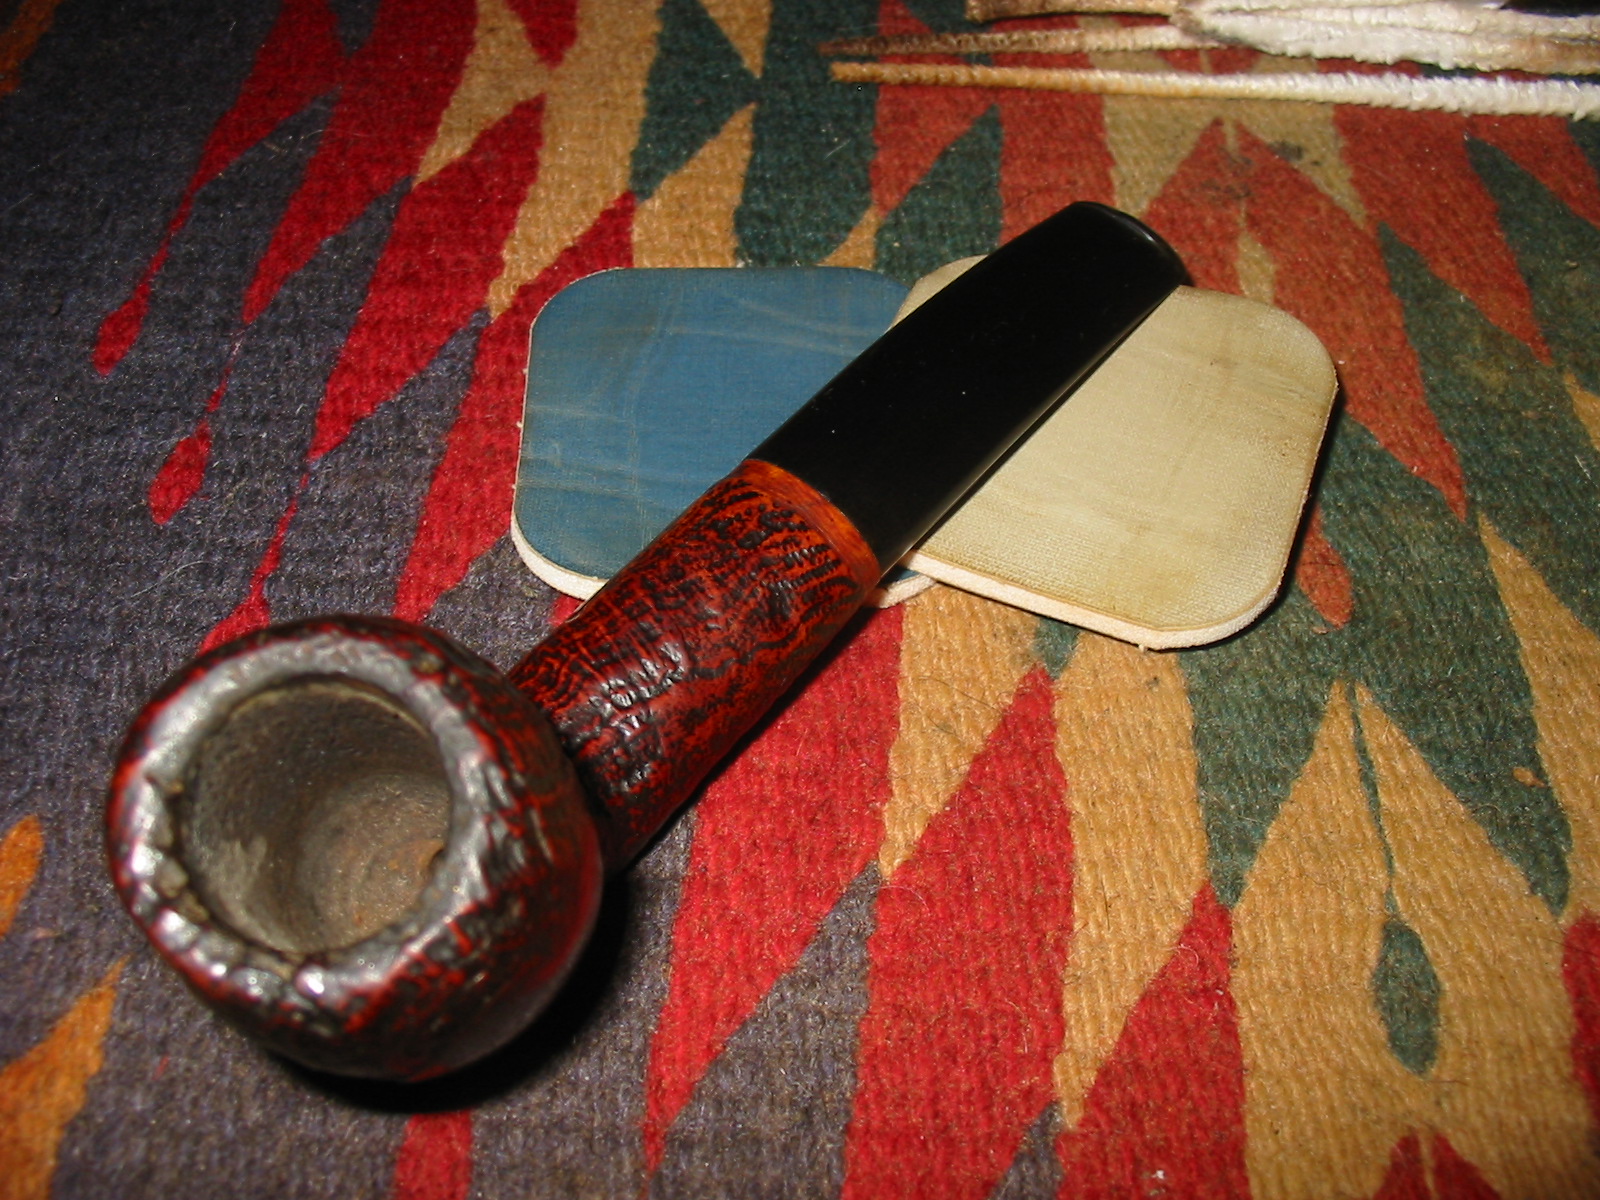
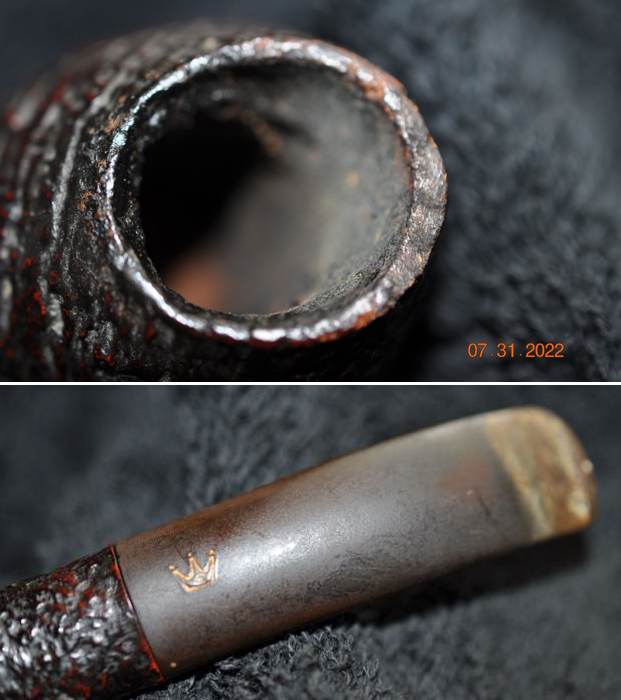
 I took close up photos of the stem and the rim top to show both how clean they were and what needed to be addresses with both. The rim top and bowl edges look very good. The stem looked better and the tooth marks and chatter was very light.
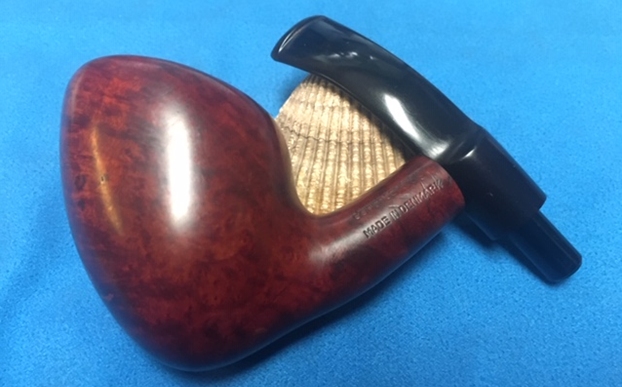
 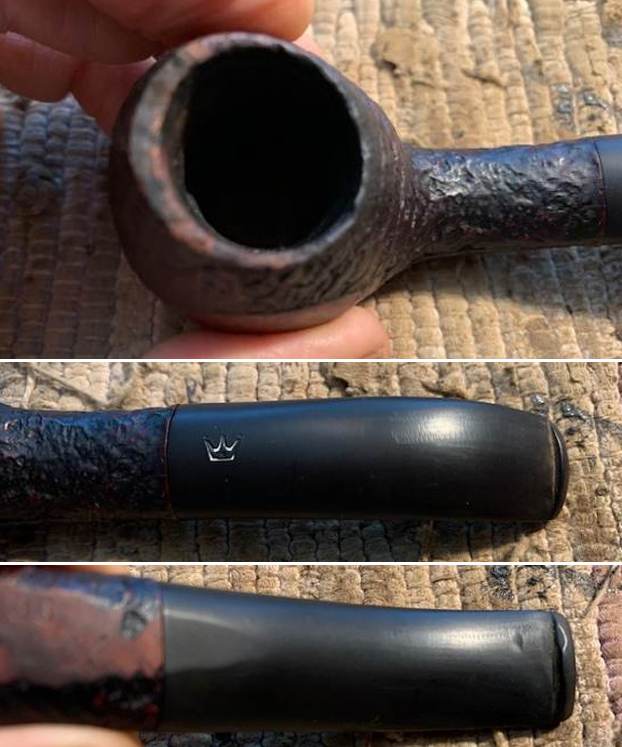 I took a photo of the stamping on the underside of the bowl. You can see from the photo that it is readable. The Royal portion of the stamp is covered a bit by the edges of the sandblast but are still readable.
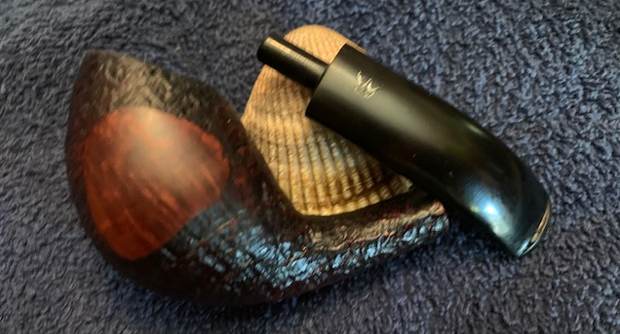
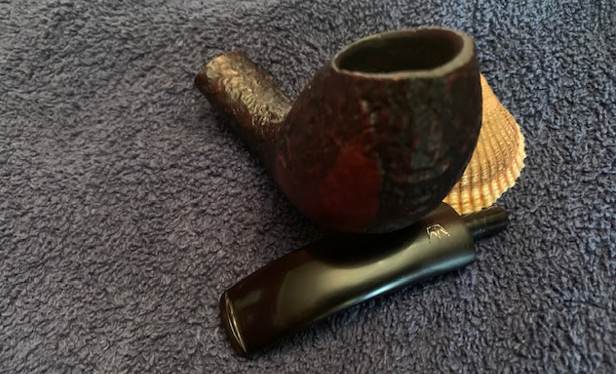
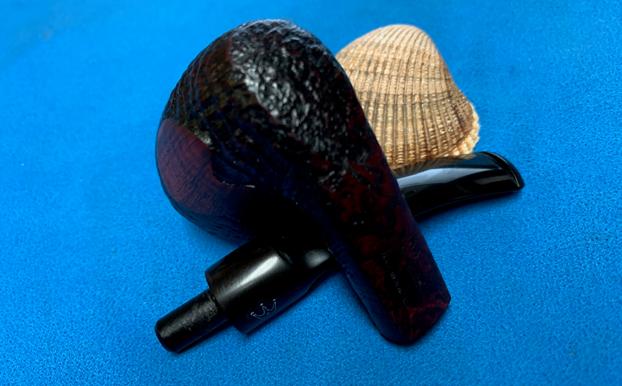
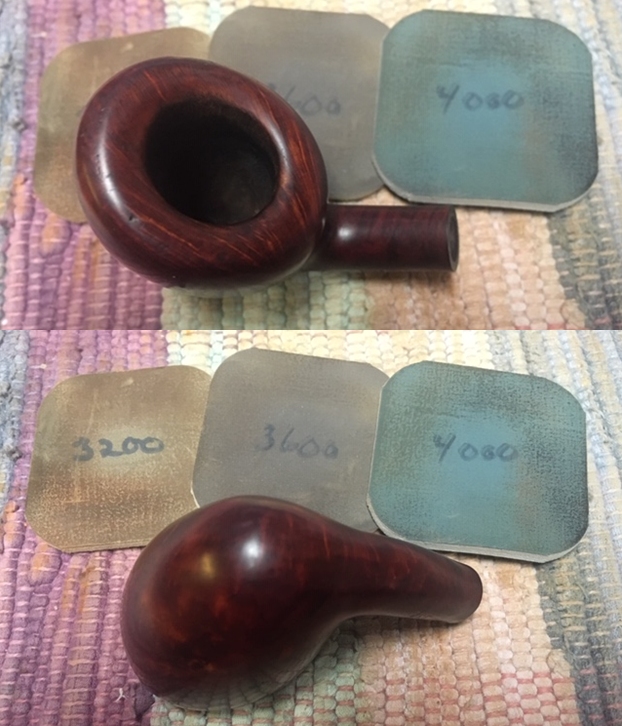
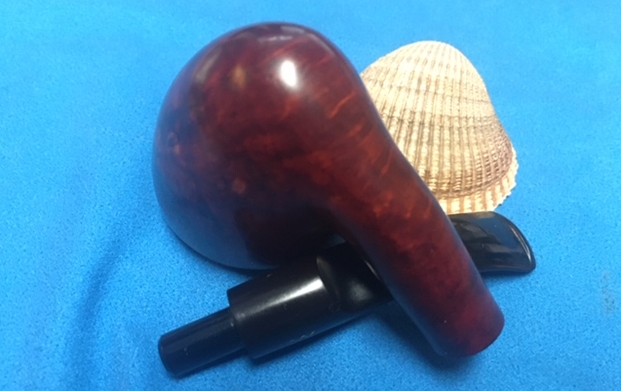
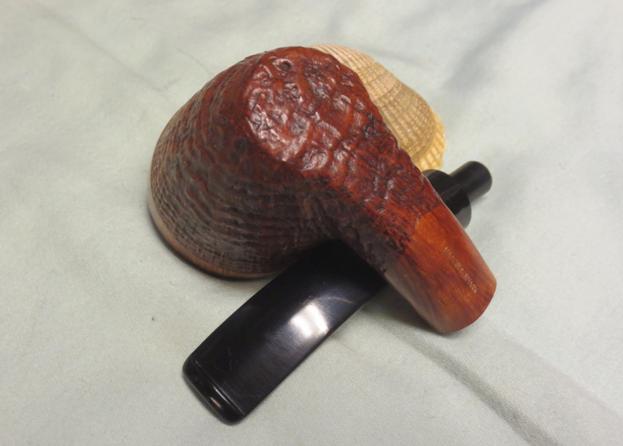
 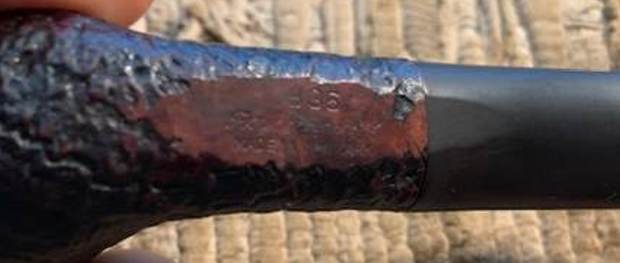 I removed the stem from the bowl and took a photo of the parts to give a sense of the beauty of the pipe.
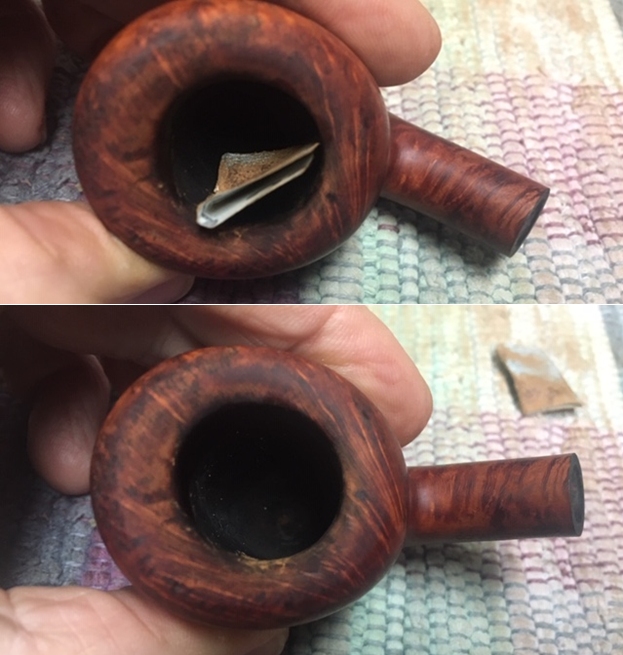
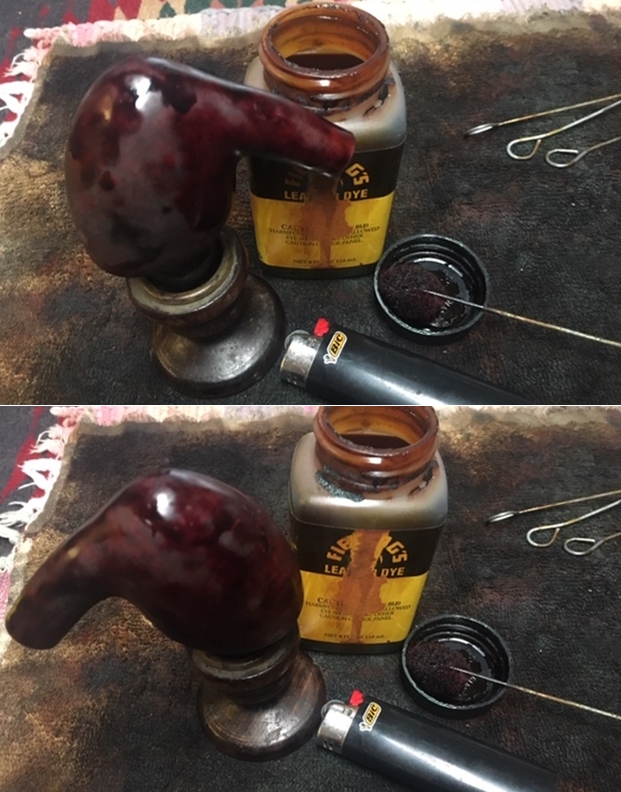
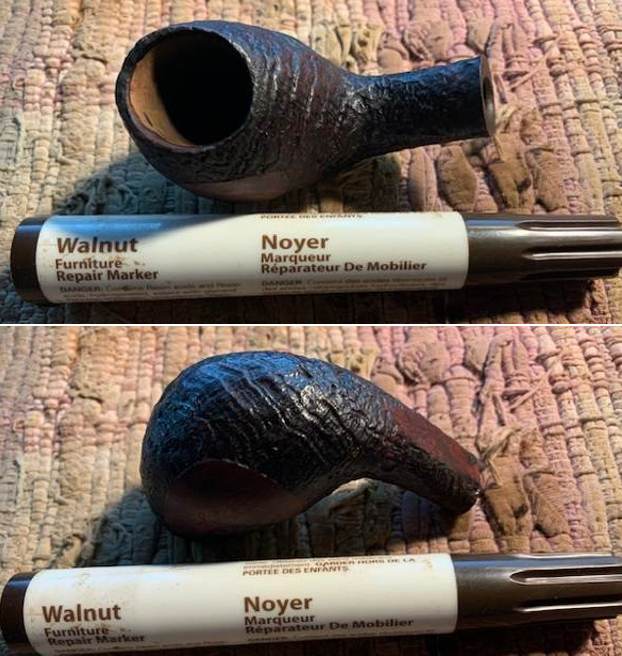
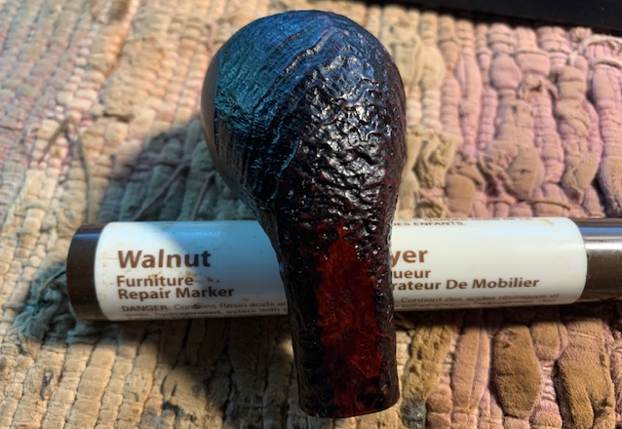
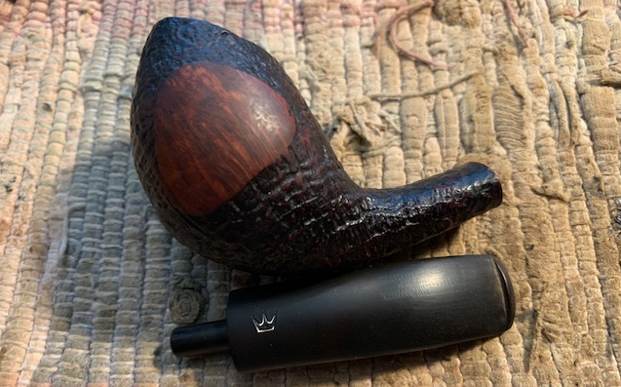 I started my work on the pipe by addressing the damage to the inner edge and top. I used a folded piece of 220 grit sandpaper to smooth it out. I stained the rim top and a scuffed spot on the underside with a Walnut stain pen. It looks much better.
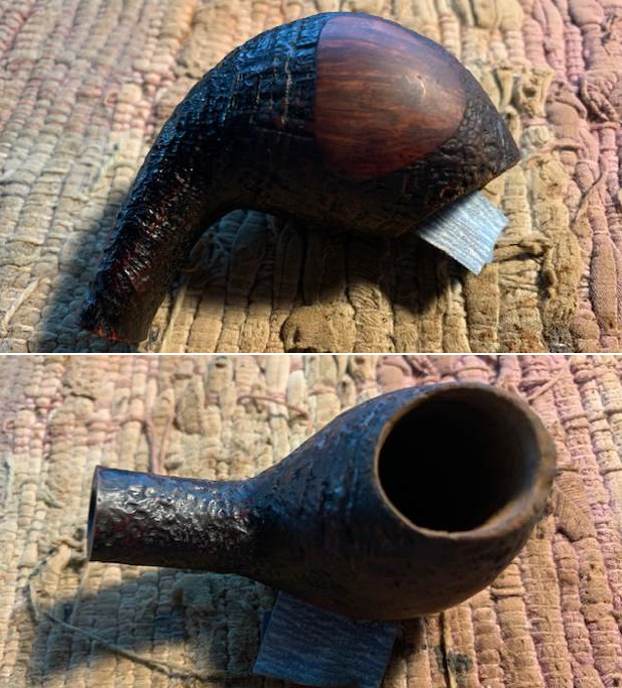
 I filled in the small crack on the underside of the shank with clear CA glue. The crack had not spread and seemed be on the surface. Once the repair cured I sanded it smooth with 220 grit sandpaper to blend it into the surrounding area. I stained the repair with a Walnut Stain Pen.
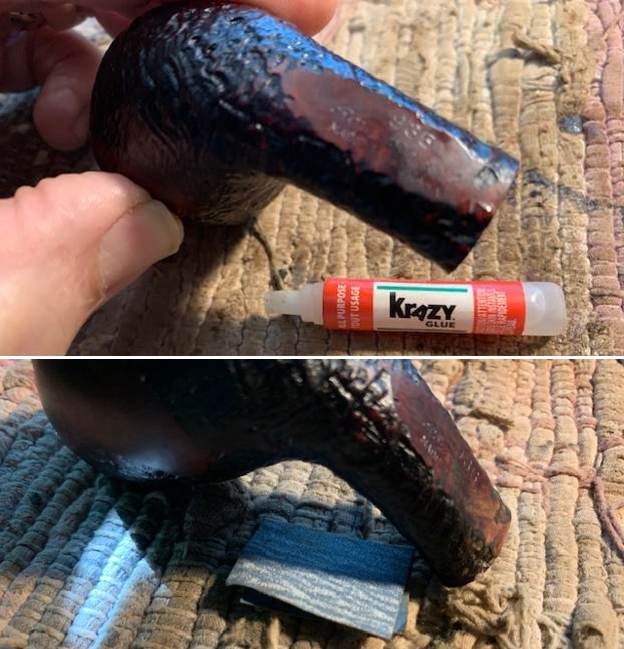
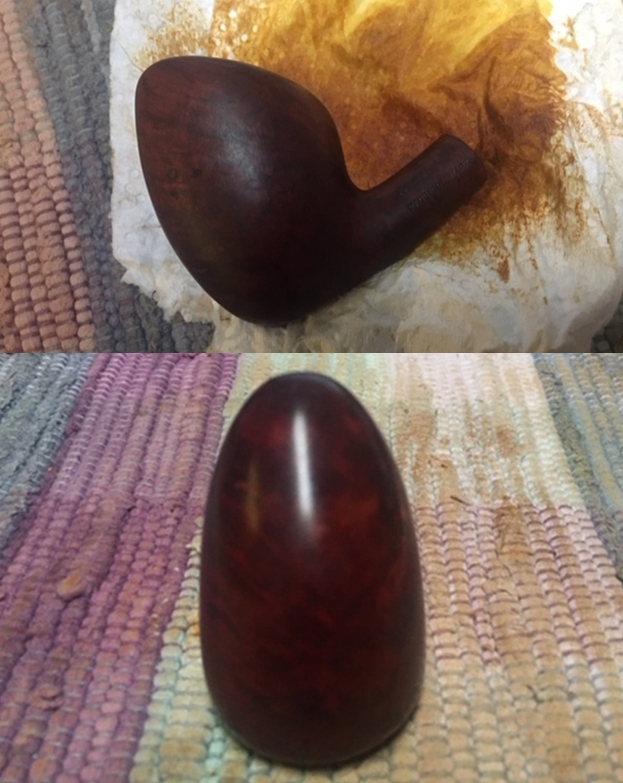
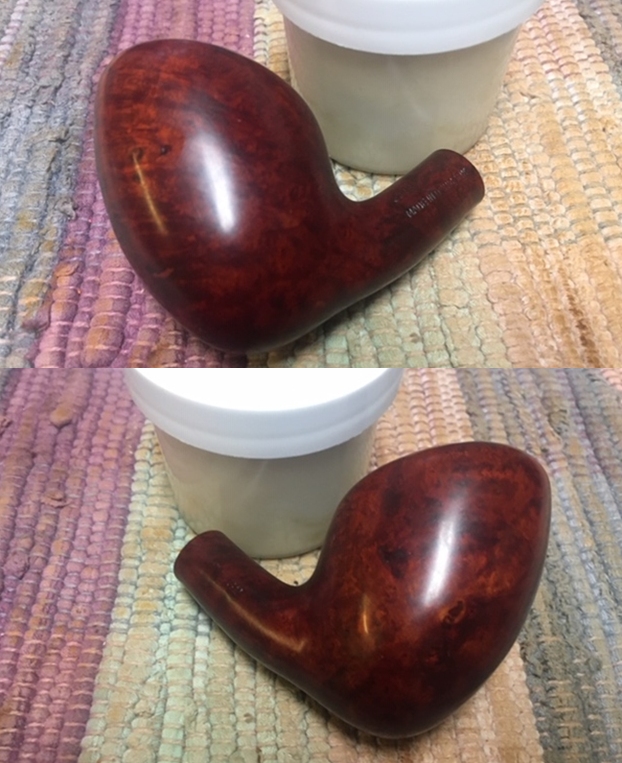
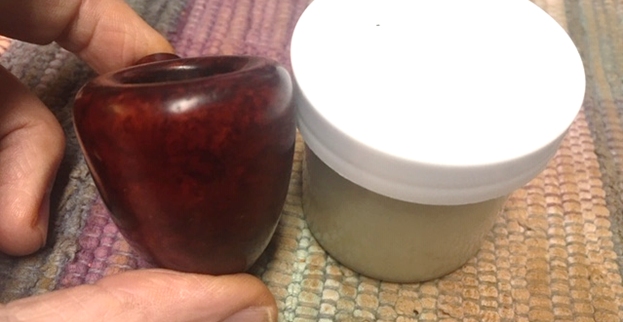
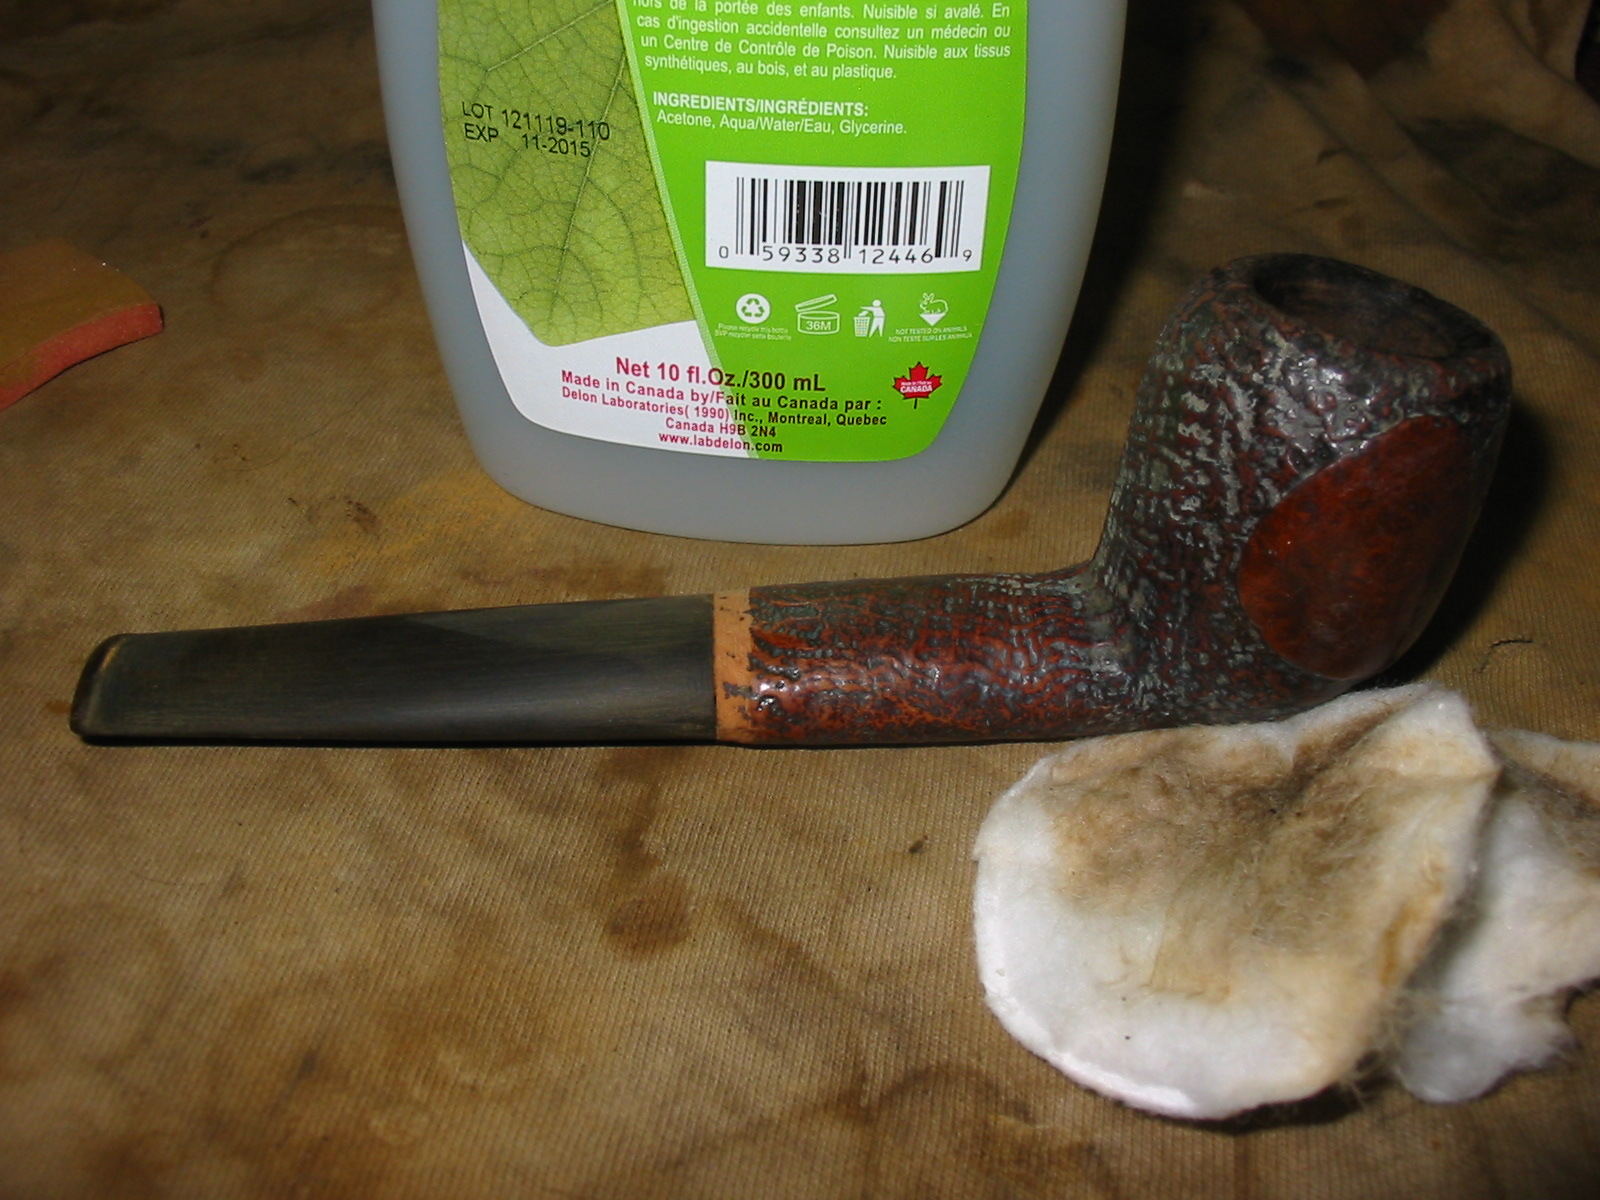
 I rubbed the bowl down with Before & After Restoration Balm working it into the briar with my finger tips and into the blast and plateau with a shoe brush. The product works to clean, revive and protect the briar. I let it sit on the pipe for 10 minutes then buffed it off with a soft cloth.
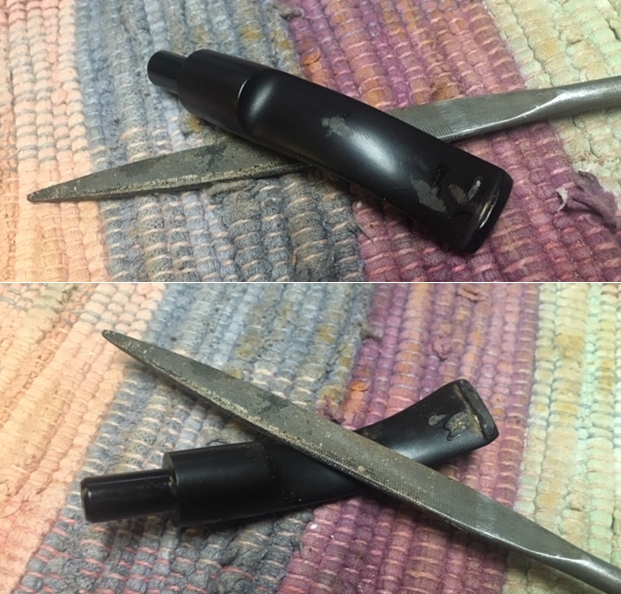
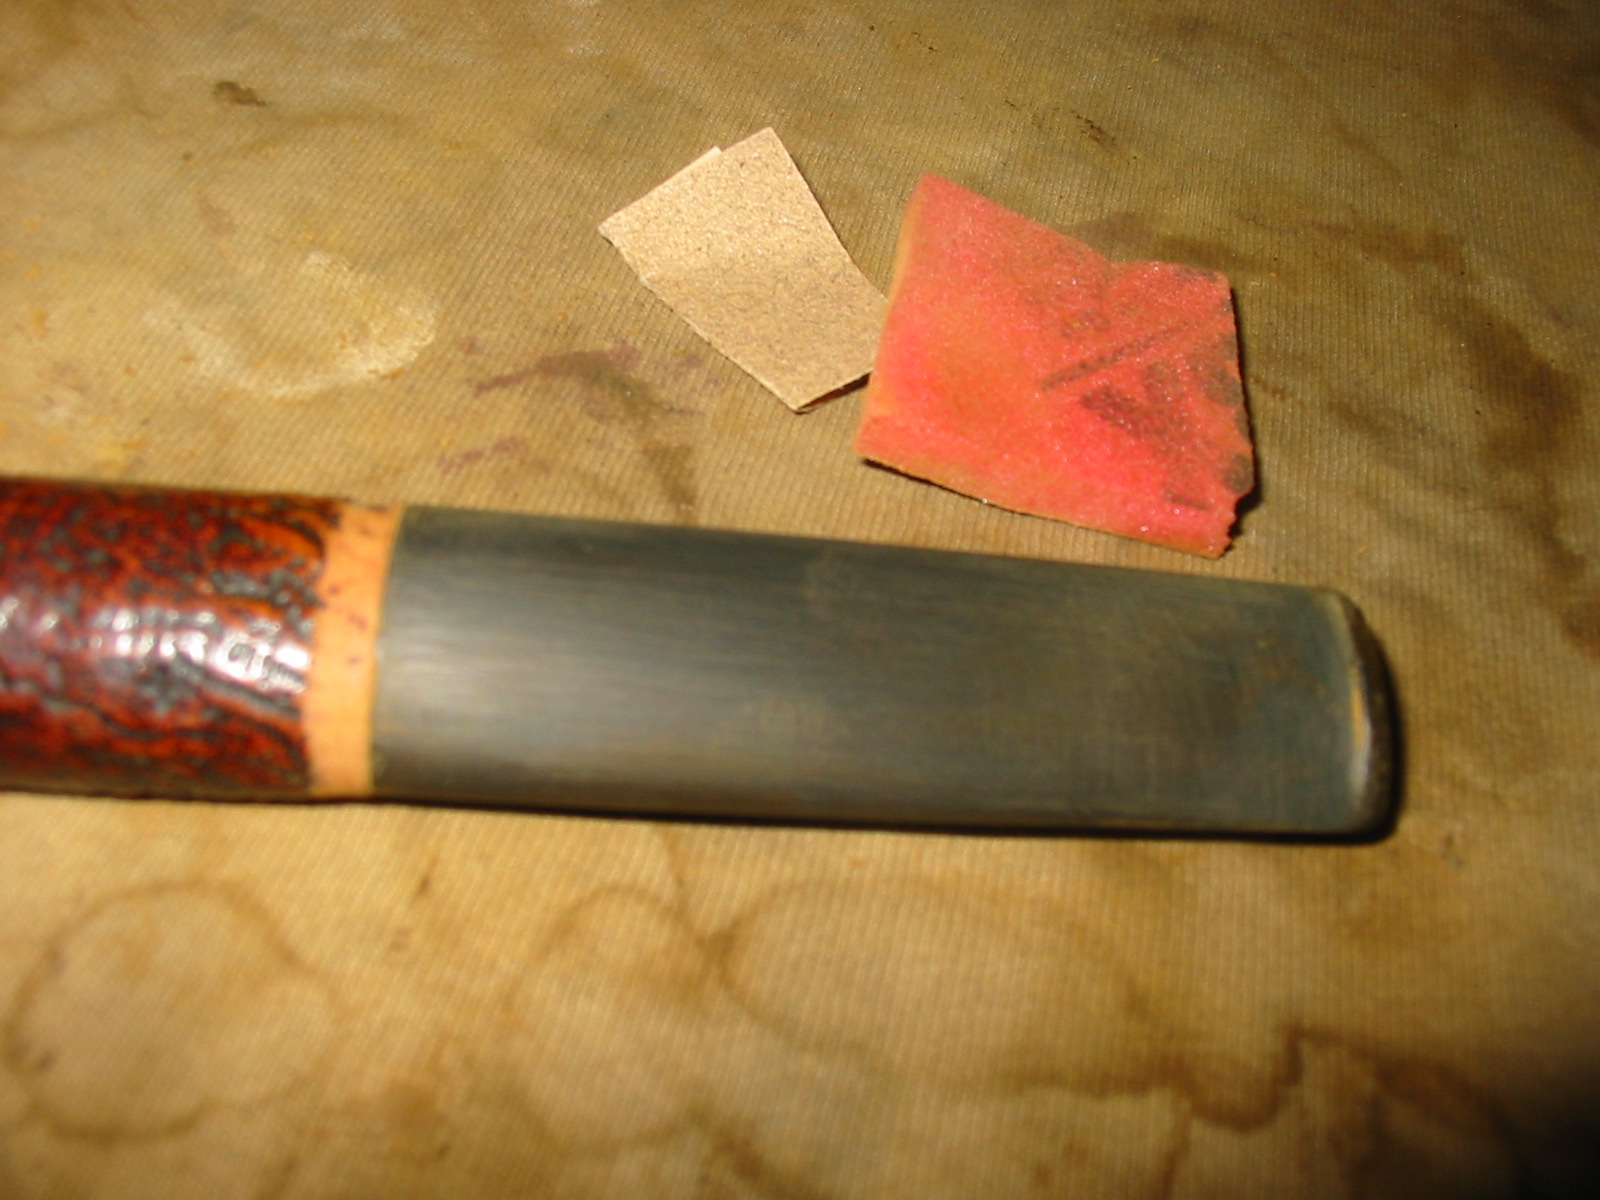
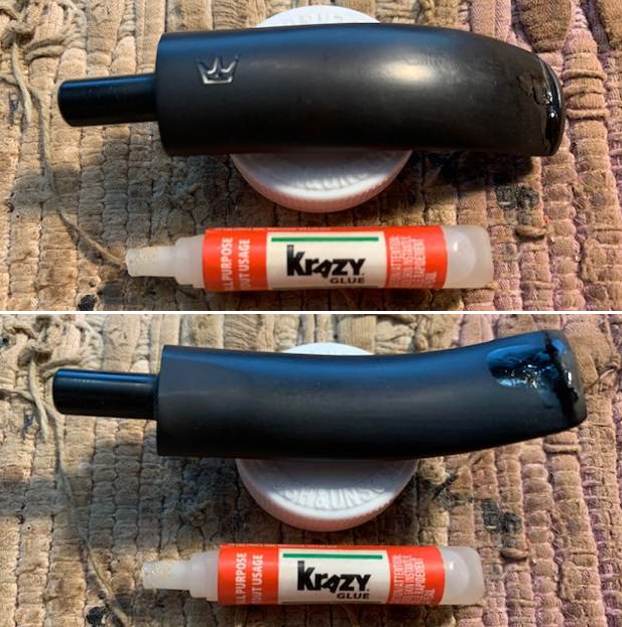
 I set the bowl aside and turned my attention to the stem. I “painted” the surface of the stem with the flame of a lighter to raise the tooth marks. It looked better when I finished. I filled the tooth marks with clear CA glue. Once the glue cured I sanded the stem surface smooth with 220 grit sandpaper and started polishing it with 400 grit wet dry sandpaper.
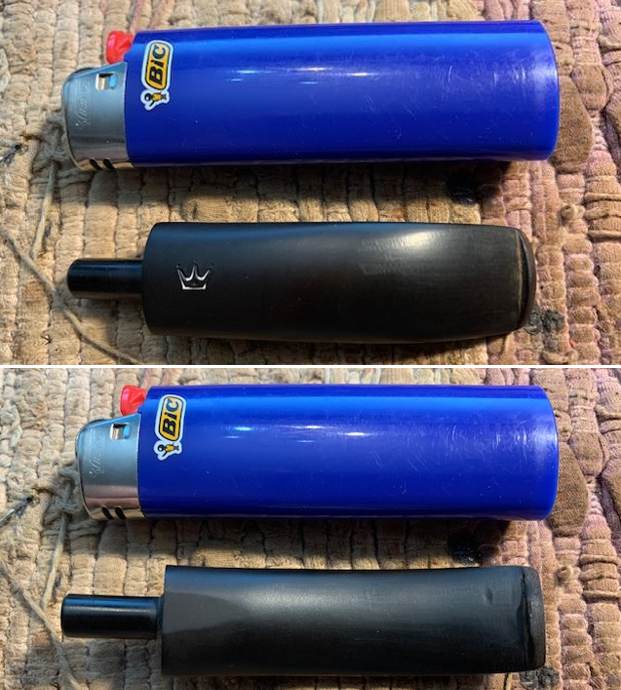
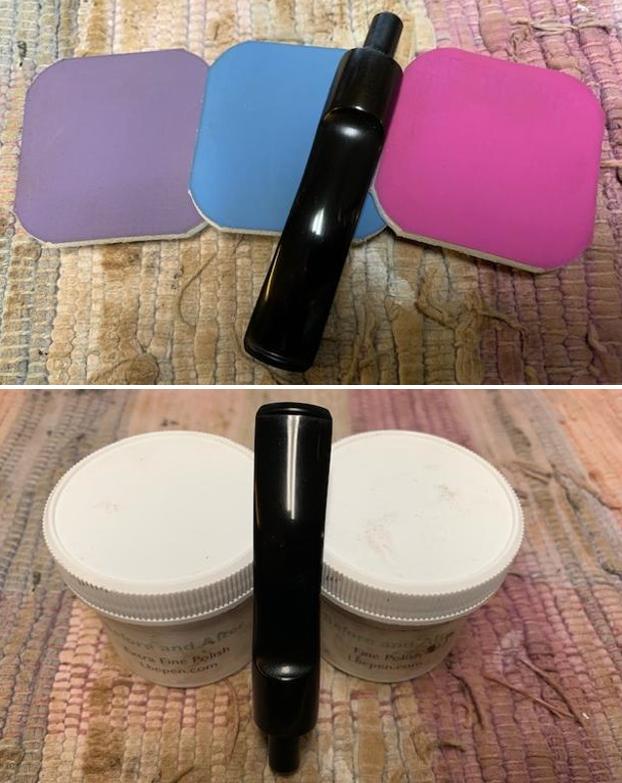
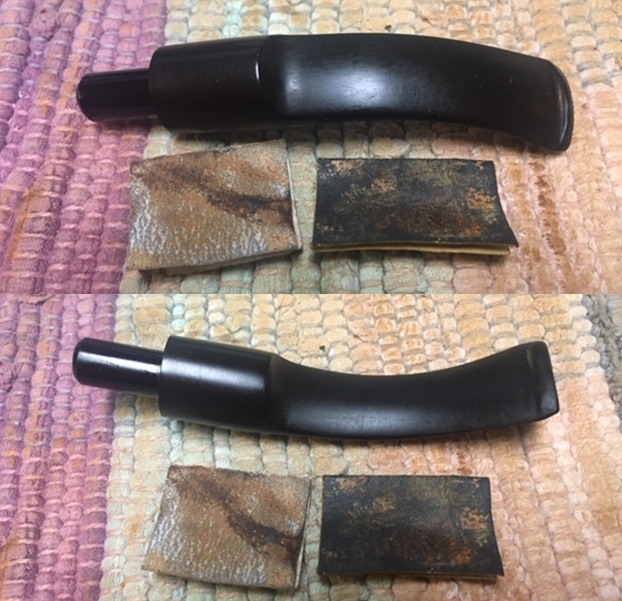
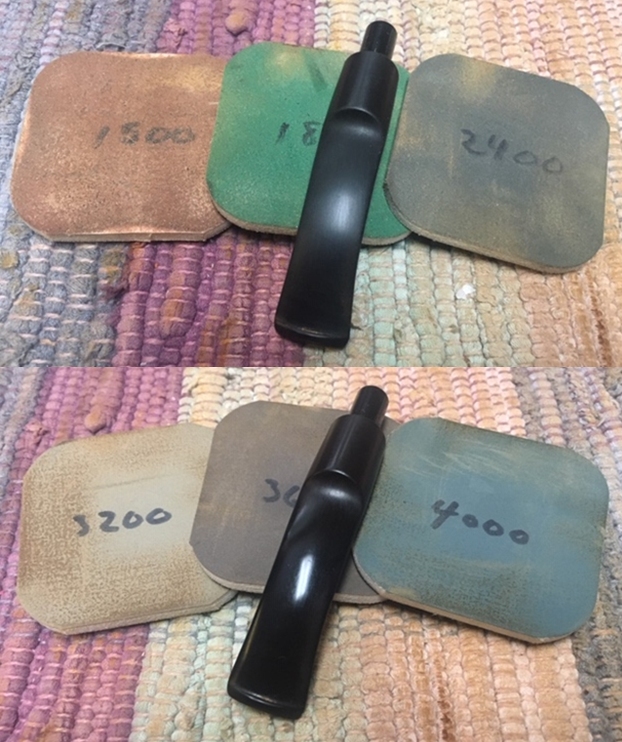
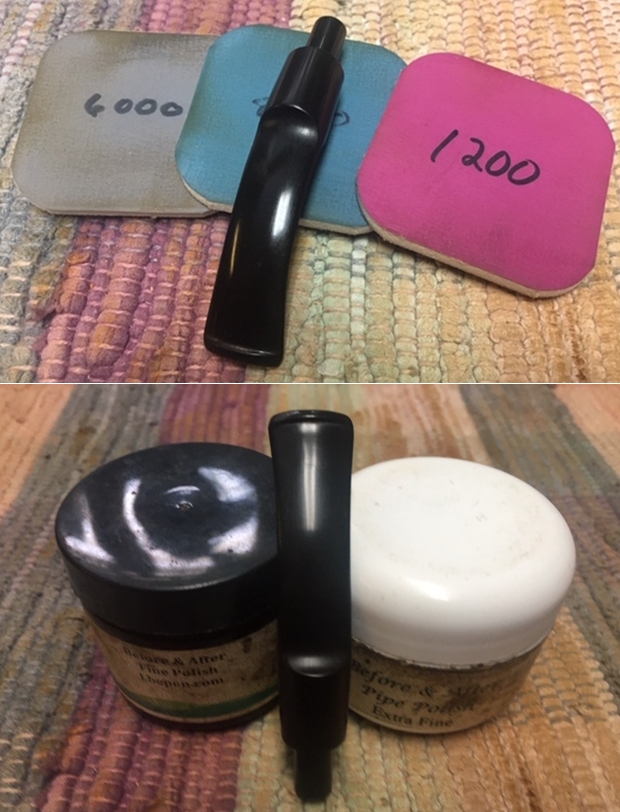
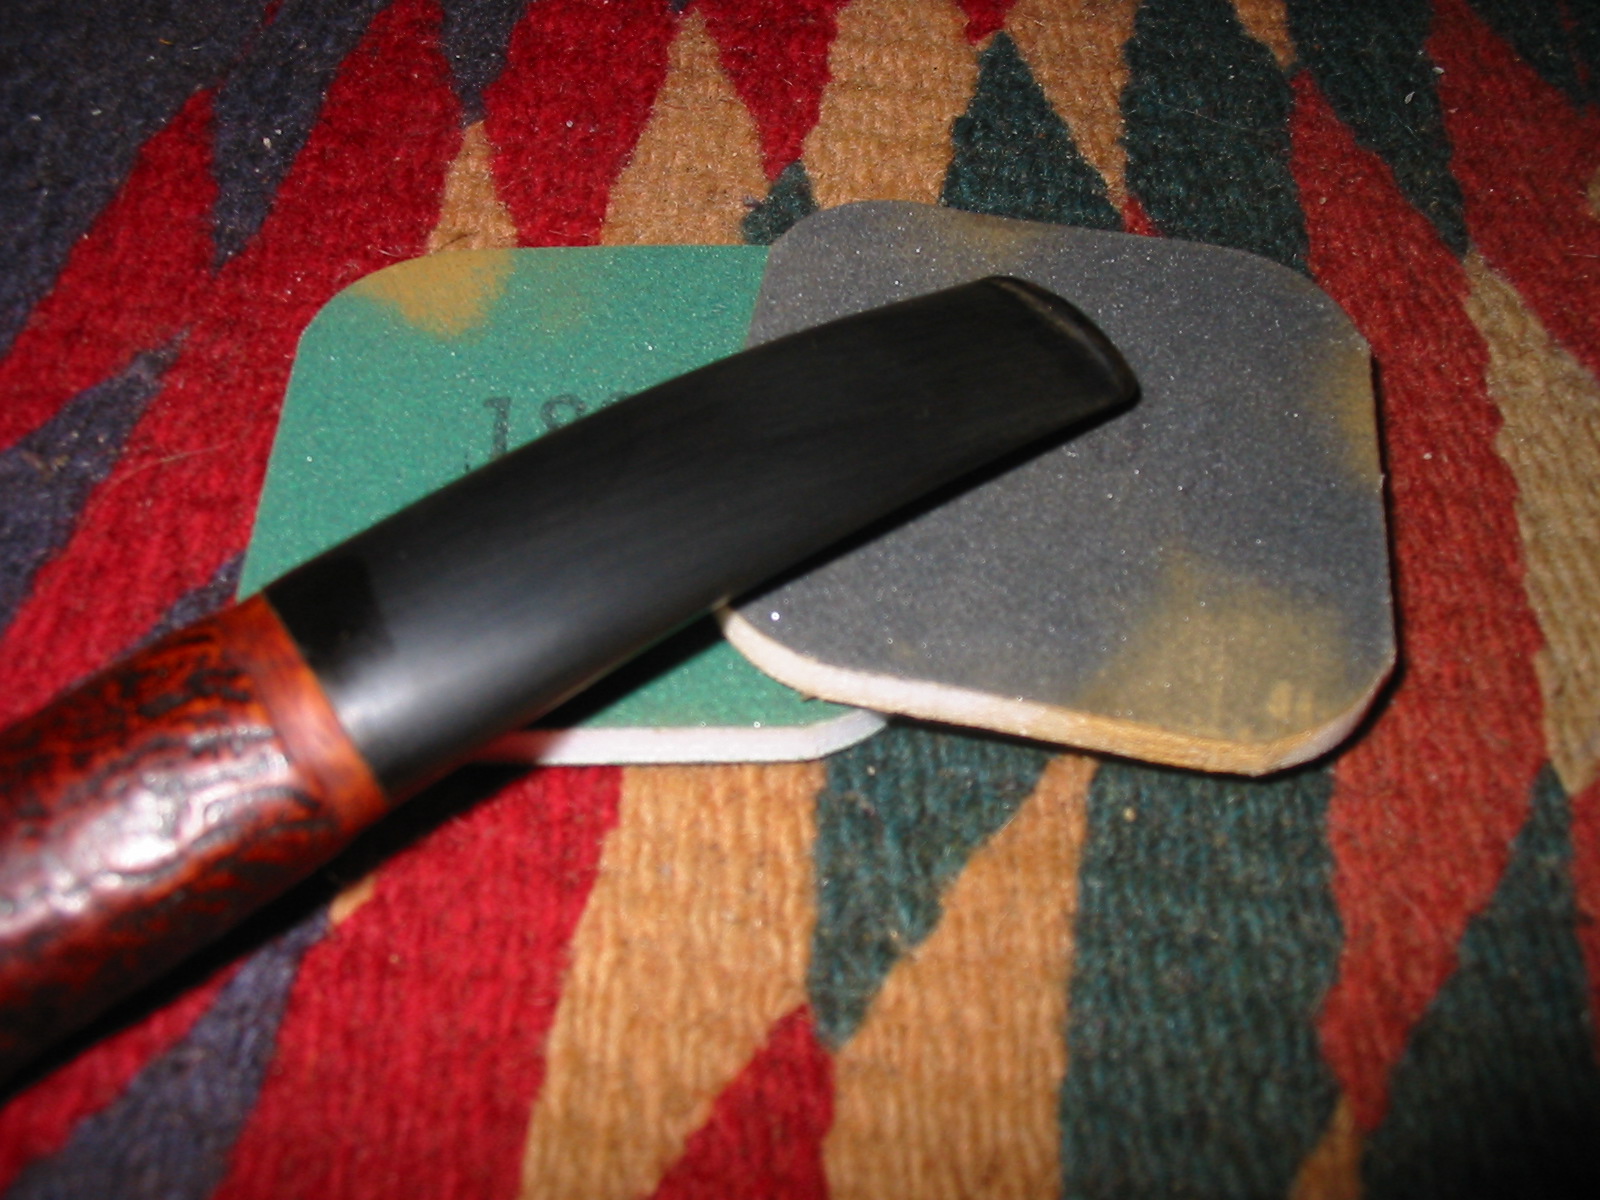
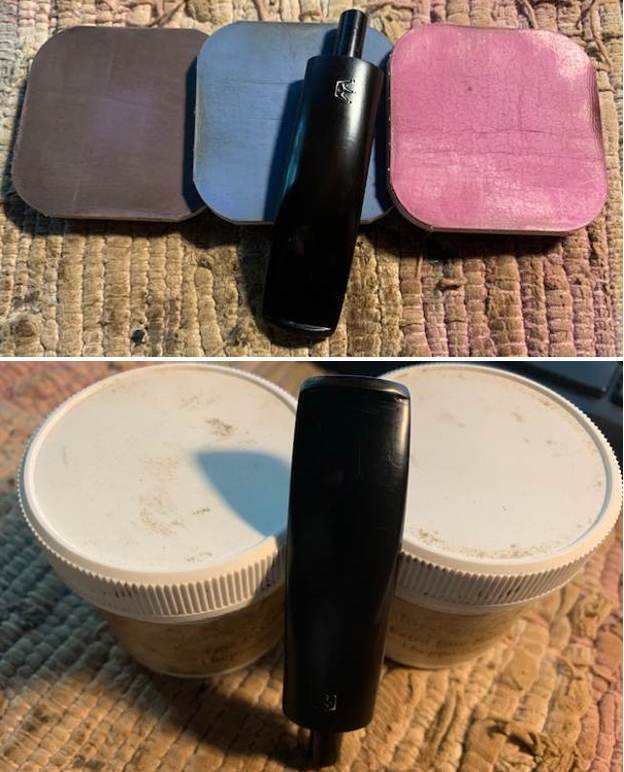
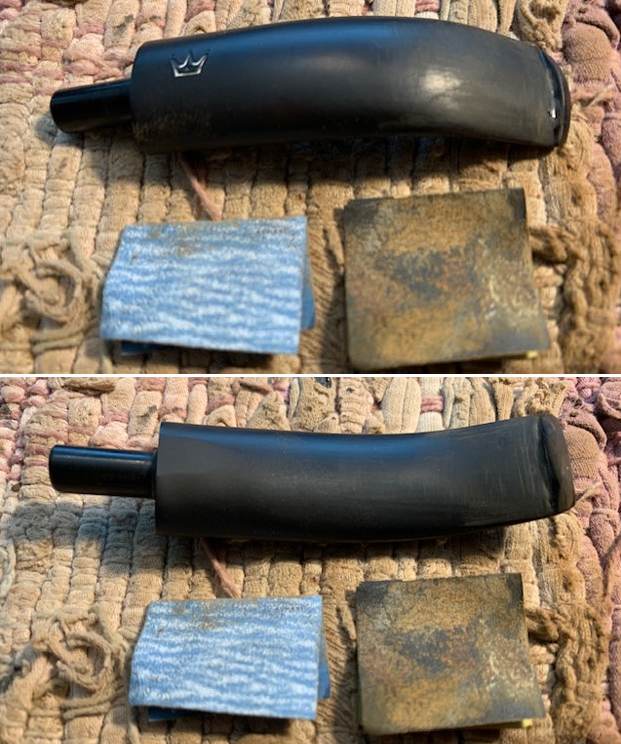 I polished out the tooth chatter and marks on the stem with micromesh sanding pads – wet sanding it 1500-12000 pads. I wiped it down with some Obsidian Oil each pad to remove the dust and polishing debris. I polished it with Before After Pipe Polish – both Fine and Extra Fine. I gave it a final coat of Obsidian Oil and set it aside to dry.
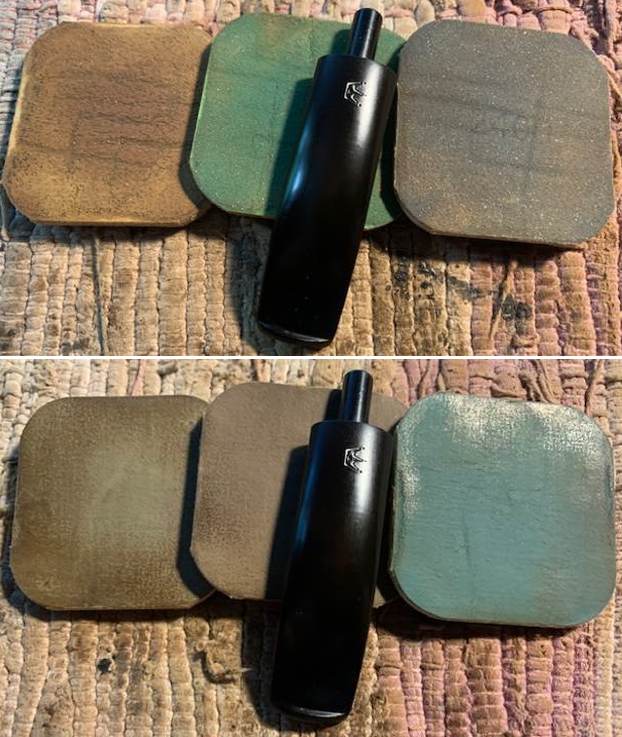
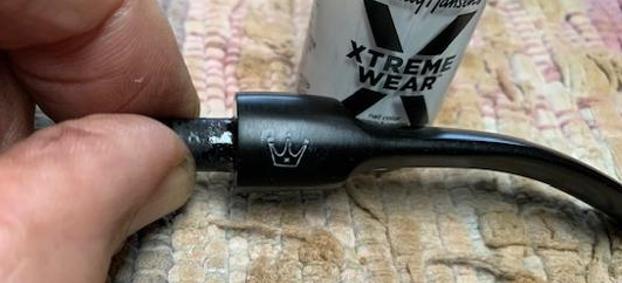
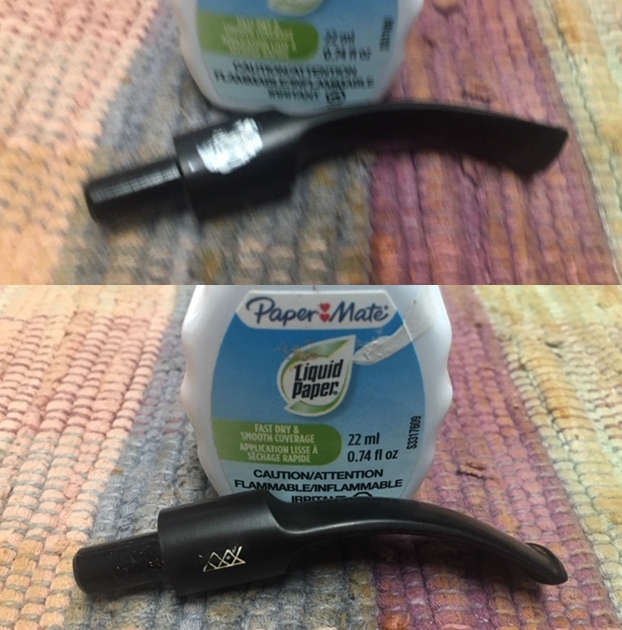
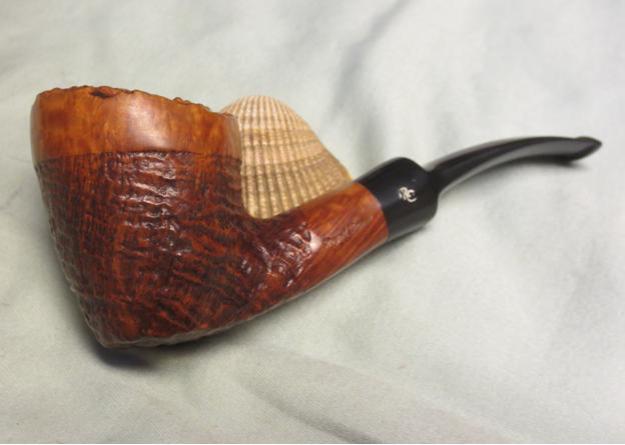
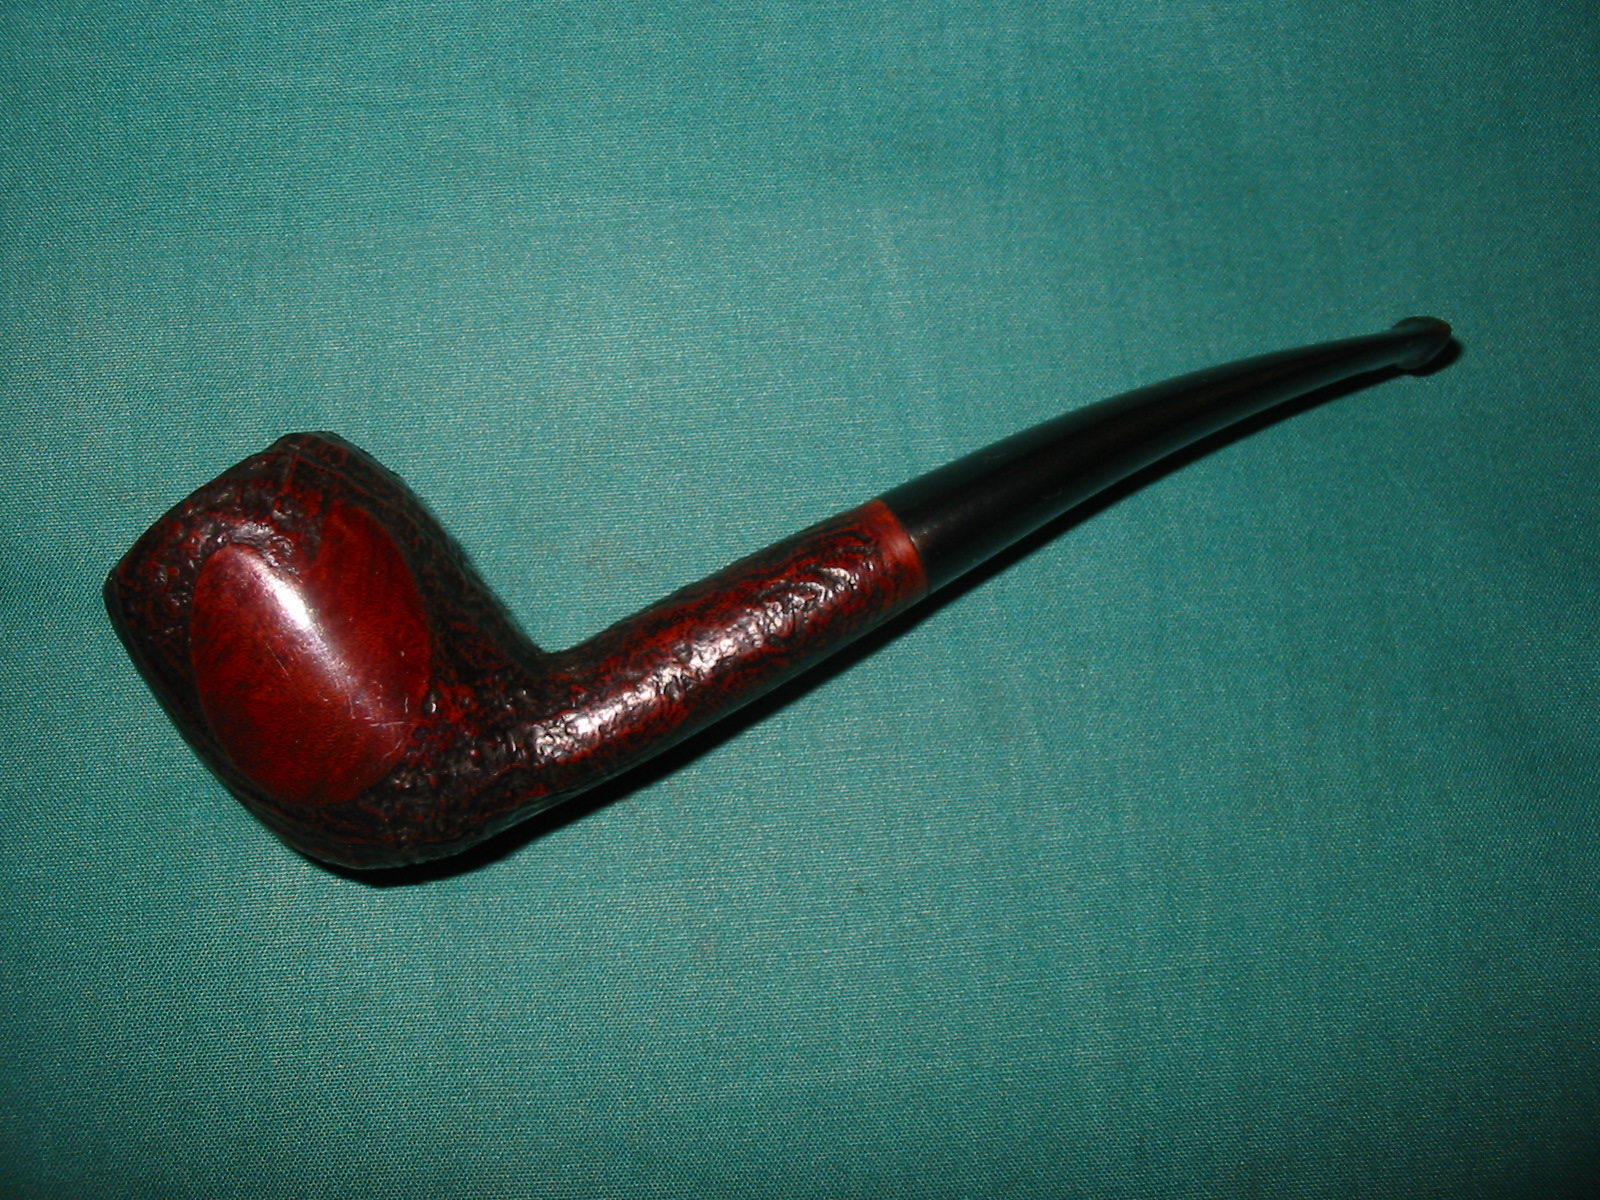
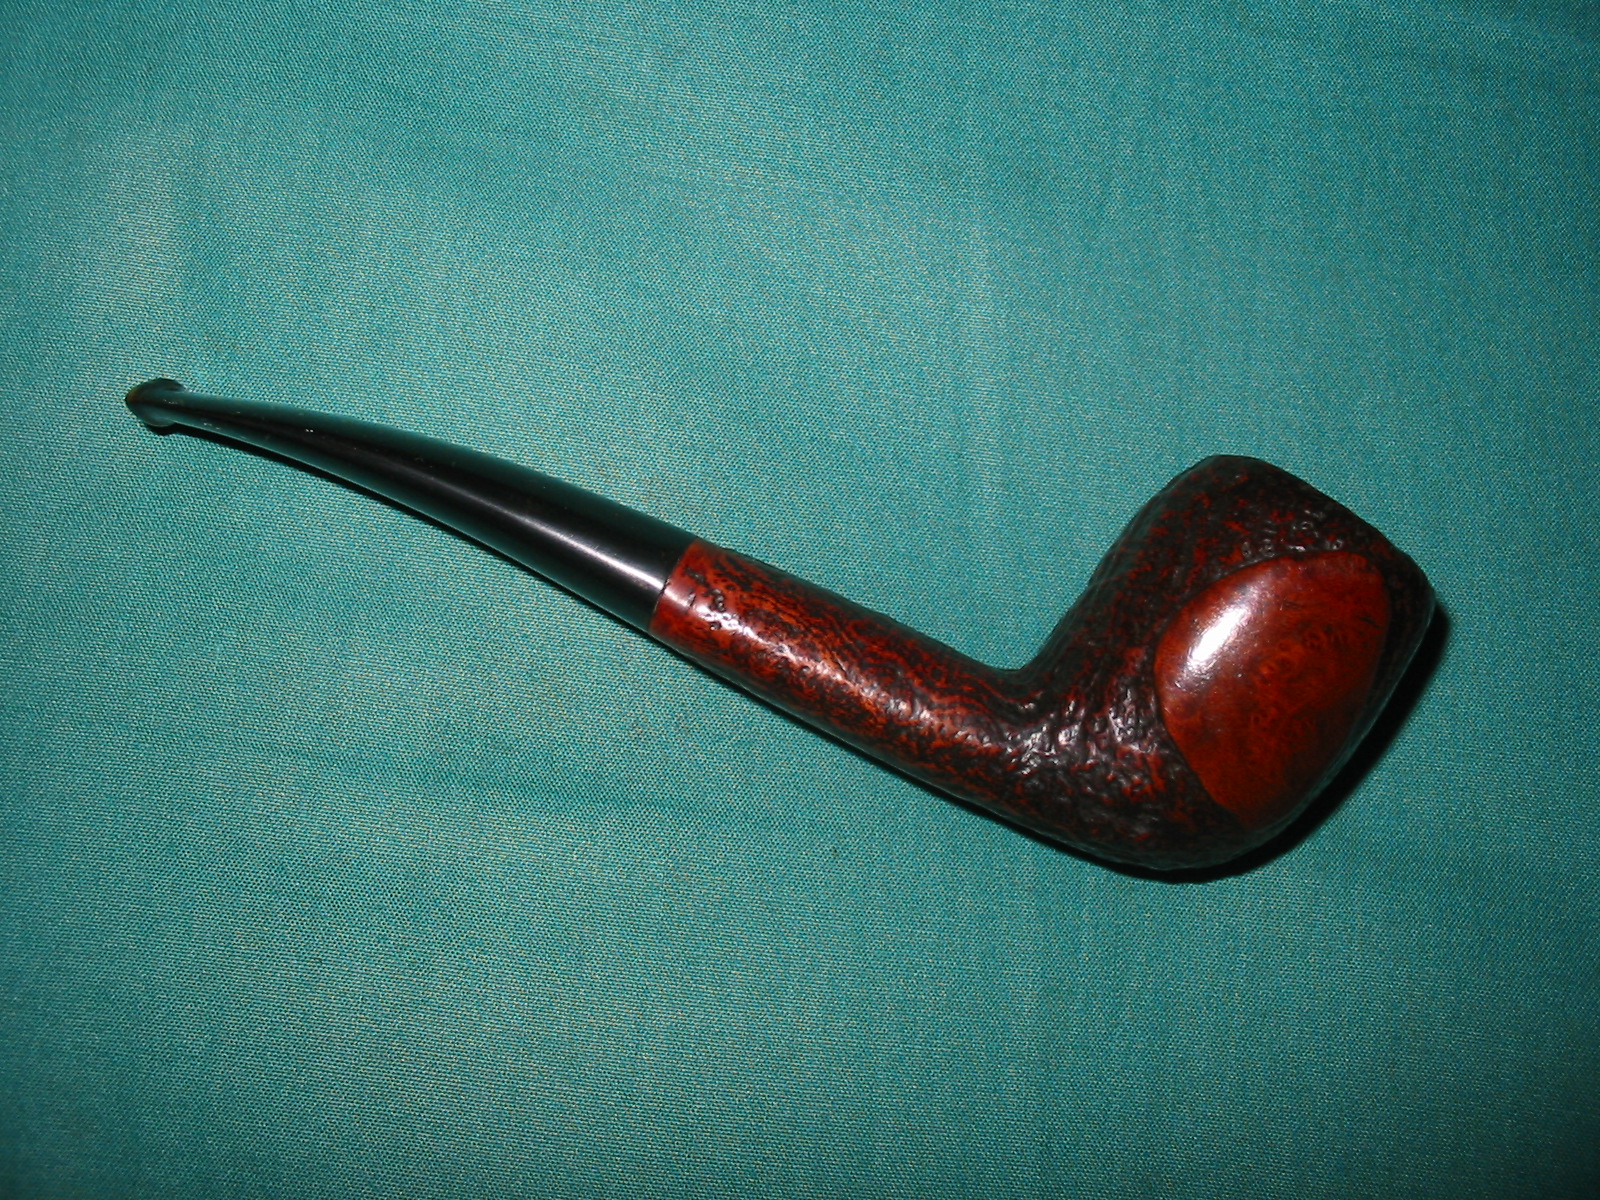
 I touched up the Crown stamp on the top of the stem using white acrylic nail polish. It looked incredibly better.
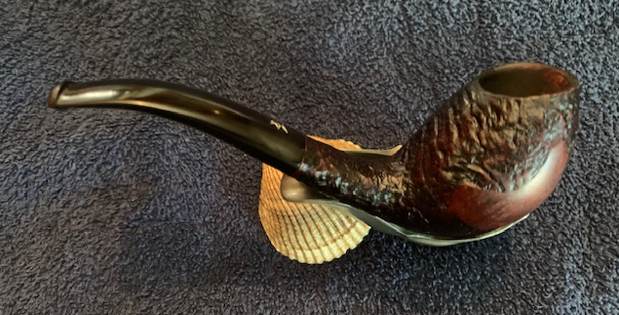
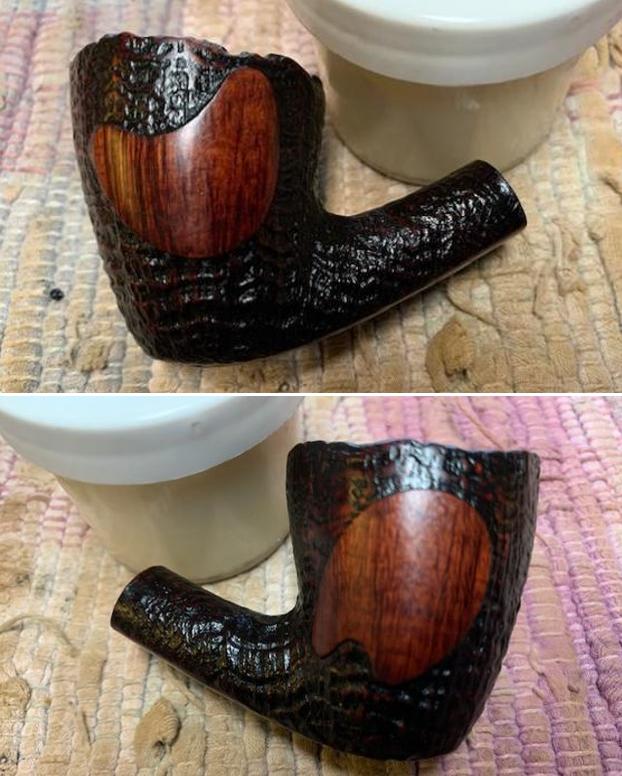
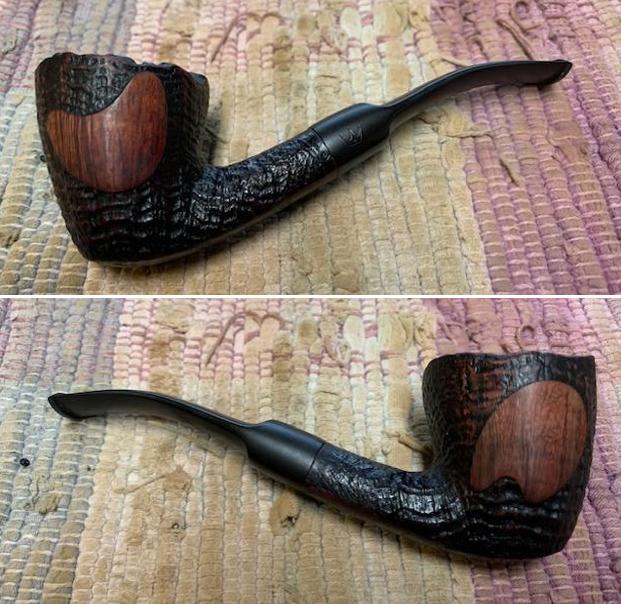
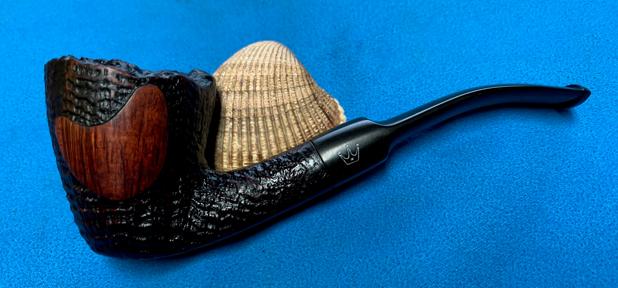
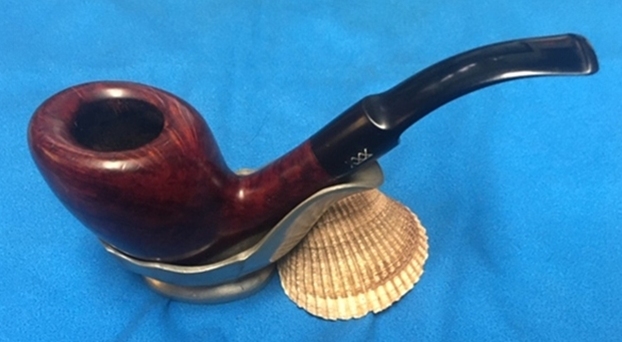
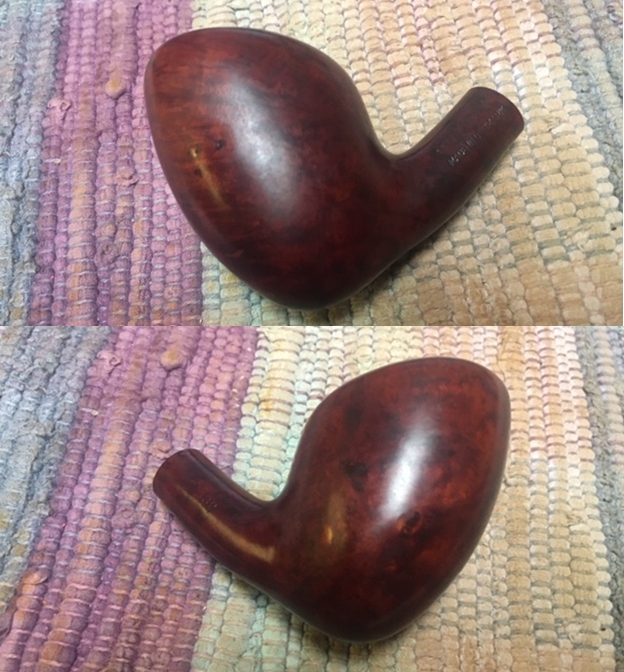
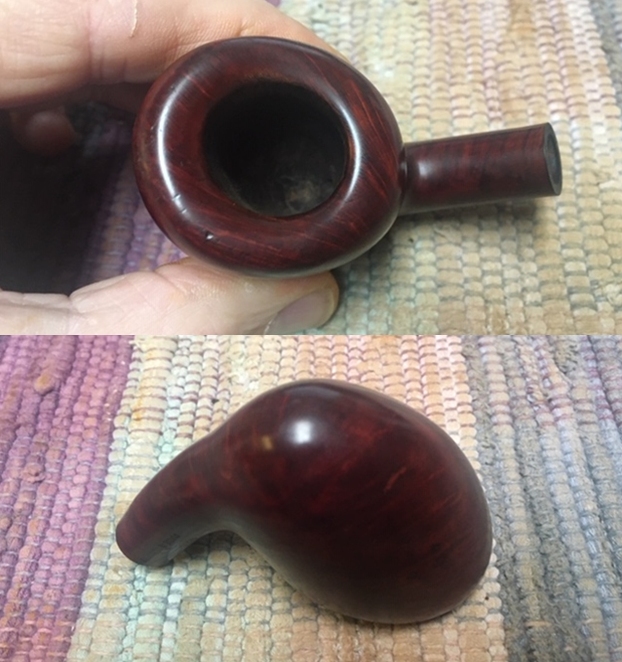
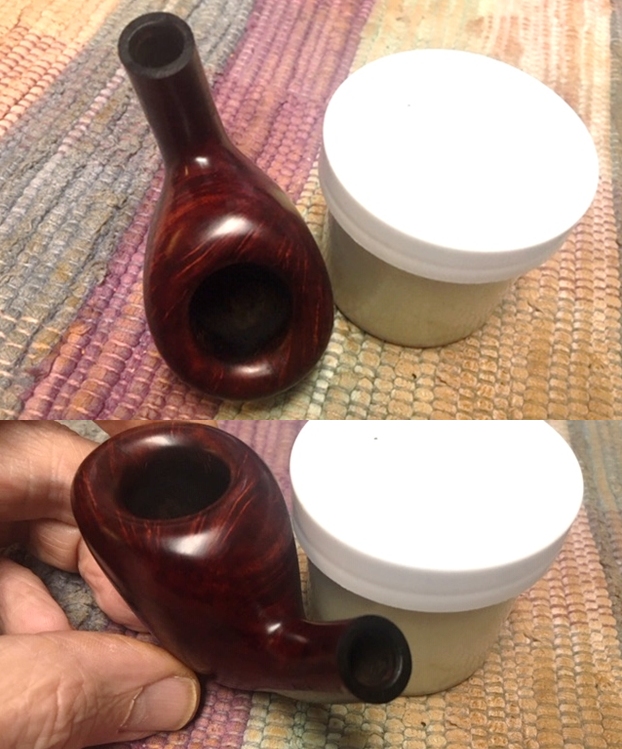
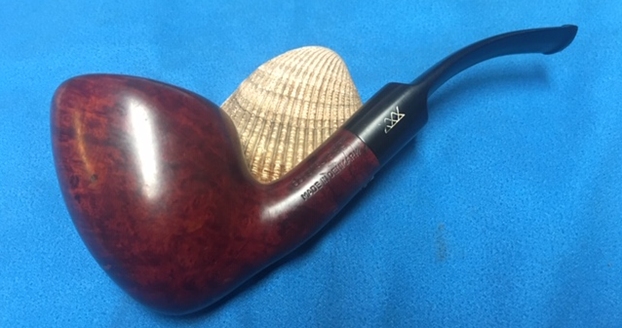
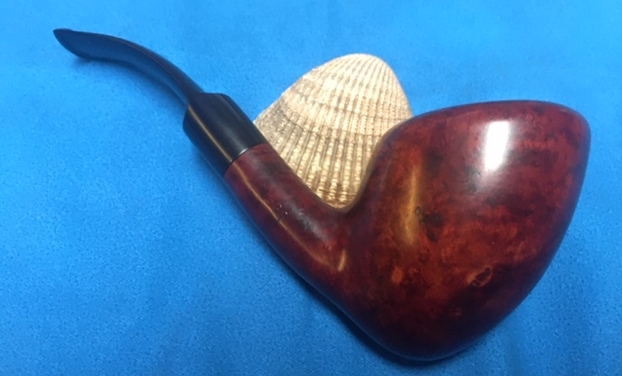
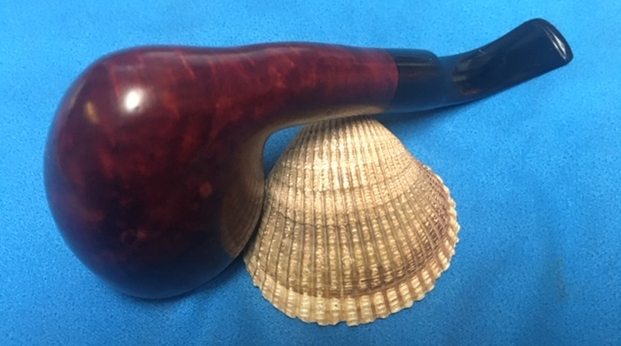
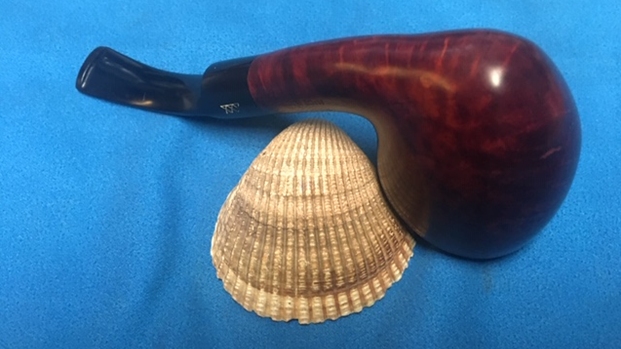
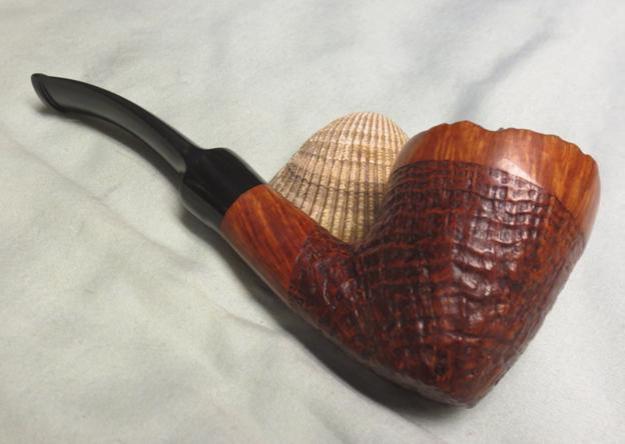
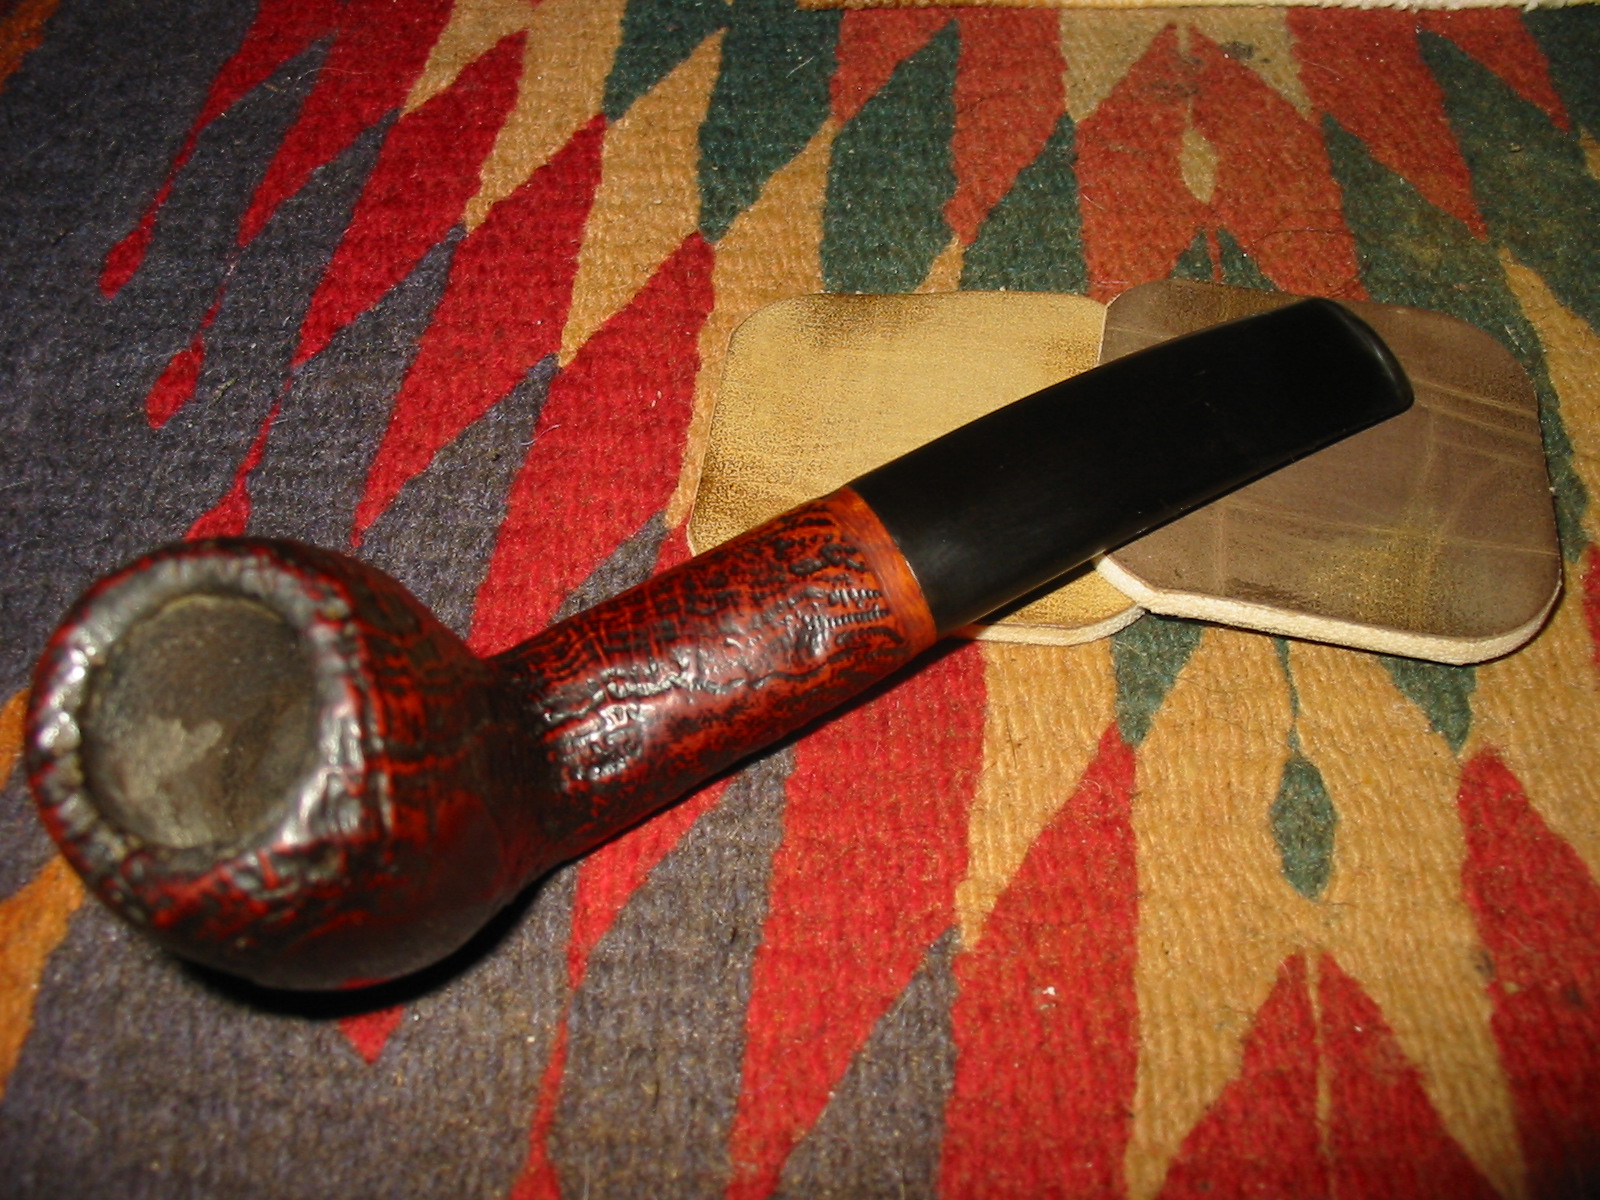
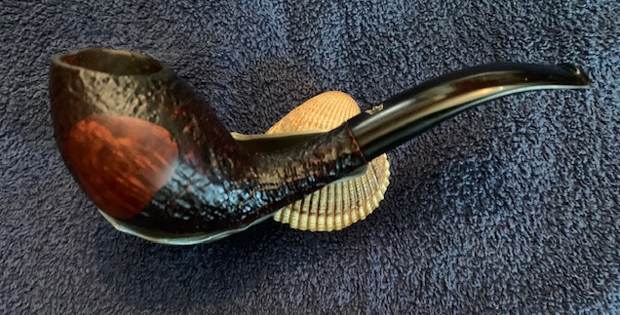
 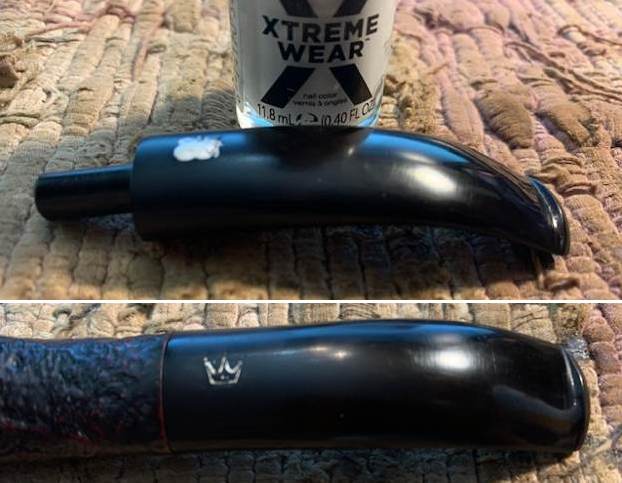 This is another pipe that I am really happy about the look of the finished restoration. This reborn Stanwell Made Royal Danish 935 Scoop turned out really well. I think that it really is a great looking pipe with a great shape and grain. The freehand/plateau top bowl and the vulcanite saddle stem goes well together. The polished black of the stem works well with the briar. The briar really came alive with the buffing. The rich brown stains of the finish make the grain really pop with the polishing and waxing. I put the stem back on the bowl and buffed the pipe with Blue Diamond on the buffing wheel. I gave the bowl and the stem multiple coats of carnauba wax on the buffing wheel. I buffed the pipe with a clean buffing pad to raise the shine. I hand buffed the pipe with a microfiber cloth to deepen the shine. The finished Stanwell Made Royal Danish Bent Scoop really feels great in the hand and it looks very good. Give the finished pipe a look in the photos below. The dimensions of the pipe are Length: 5 ½ inches, Height: 2 inches, Outside diameter of the bowl: 1 ¼ inches, Chamber diameter: ¾ of an inch. The weight of the pipe is 46 grams/1.62 oz. The pipe will be going on the rebornpipes store soon. It will be in the section on Danish Pipe Makers Section if you would like to add it to your collection. Thanks for reading this blog and my reflections on the pipe while I worked on it. It was a fun one to work on!