Blog by Steve Laug
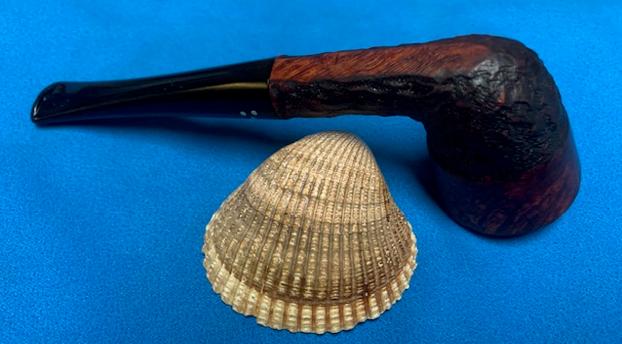
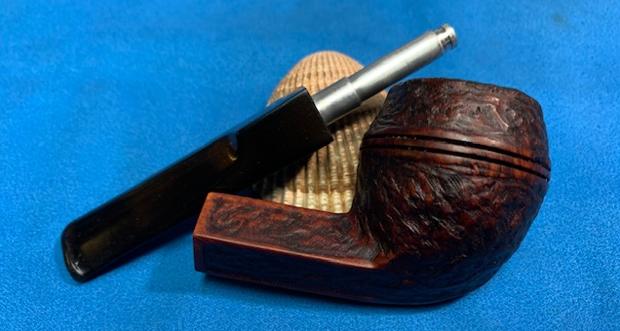
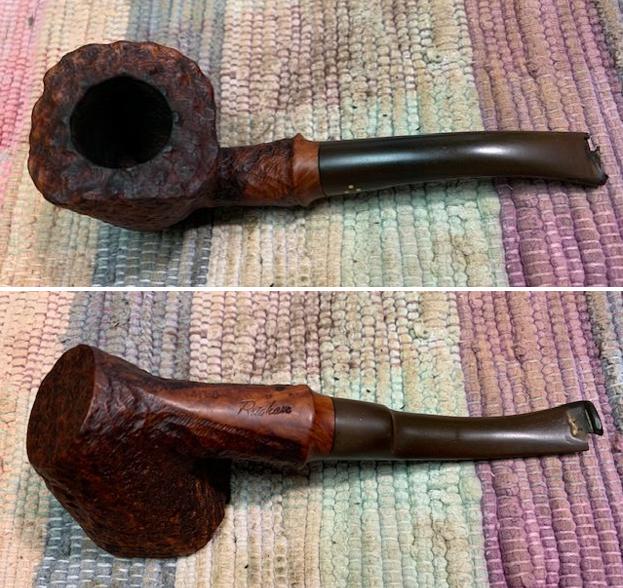
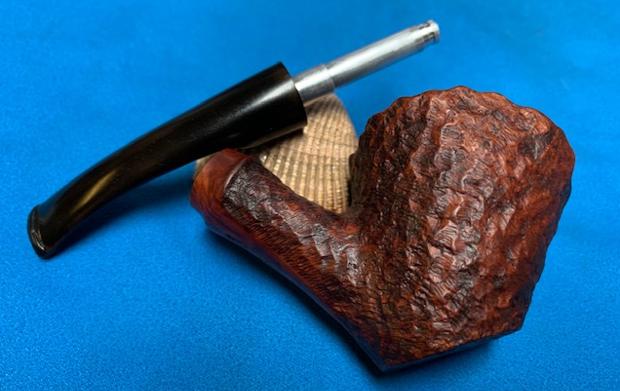
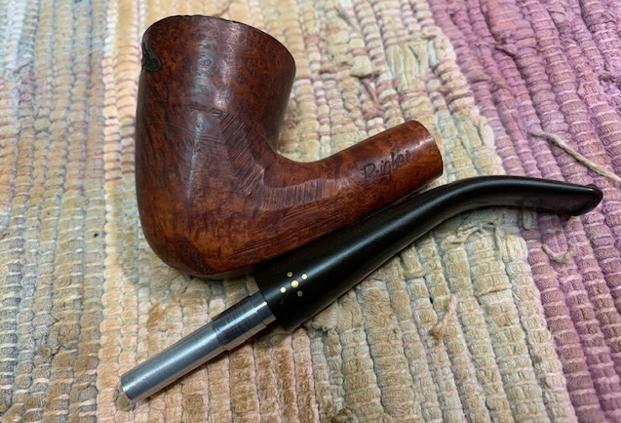
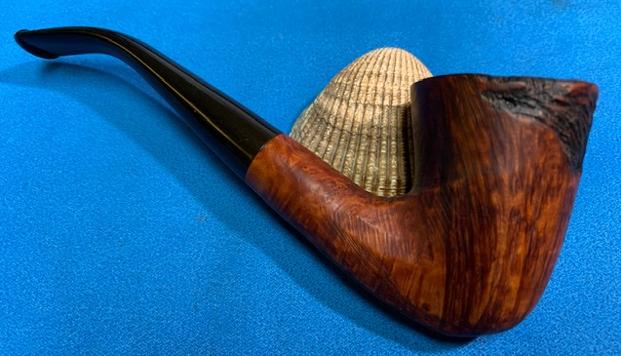
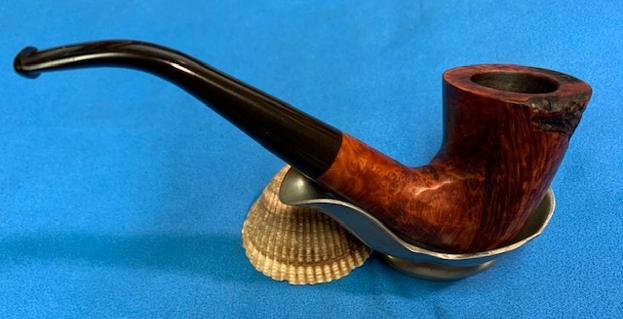
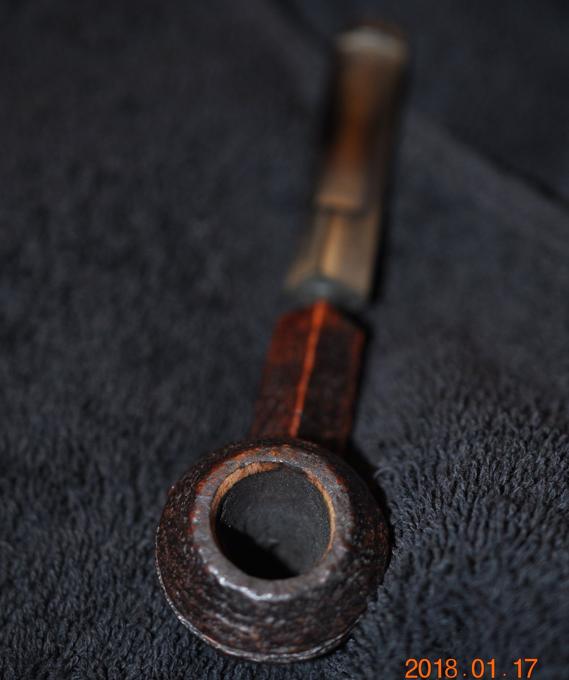
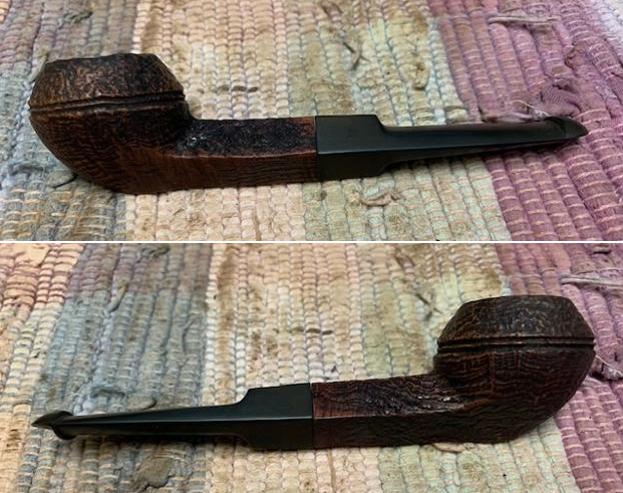
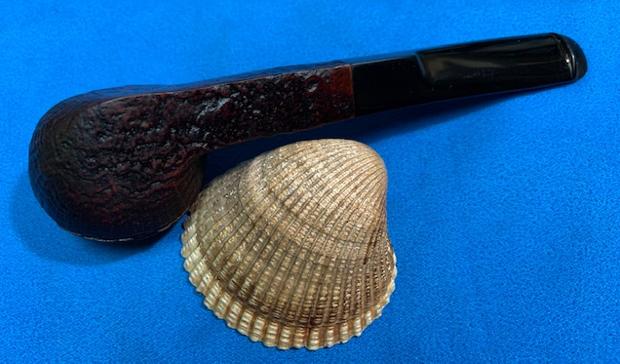
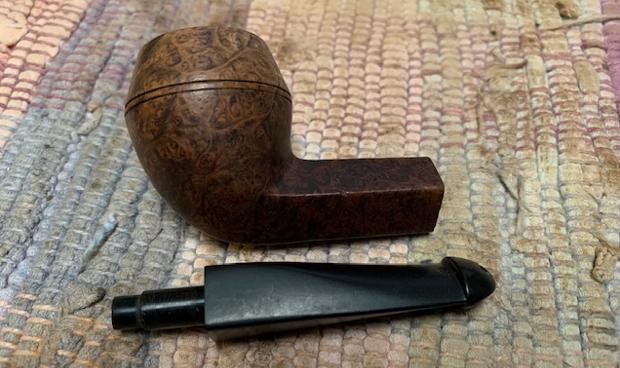
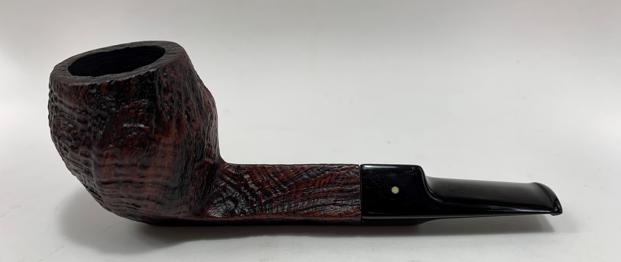
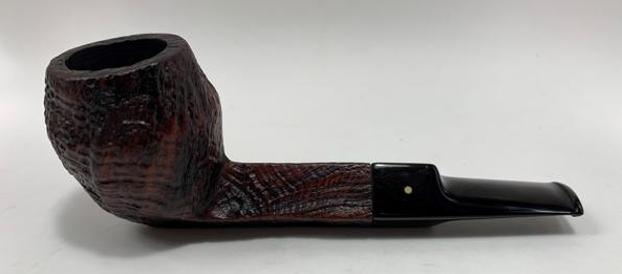
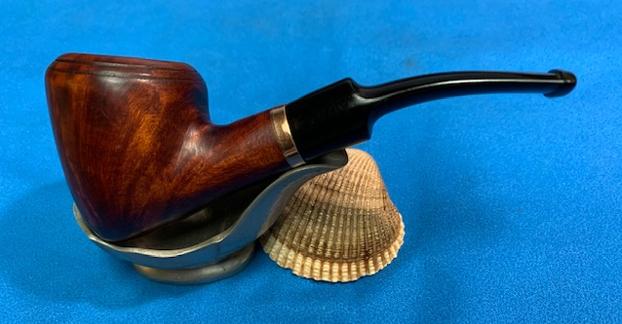
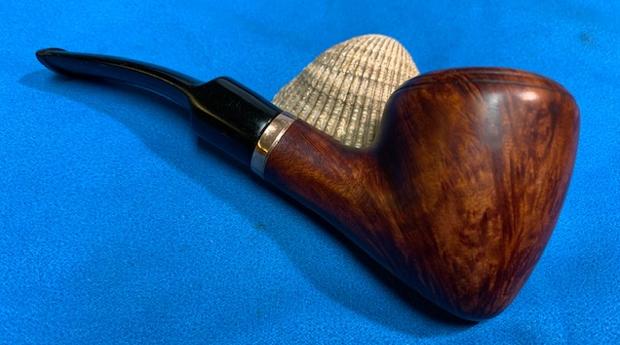
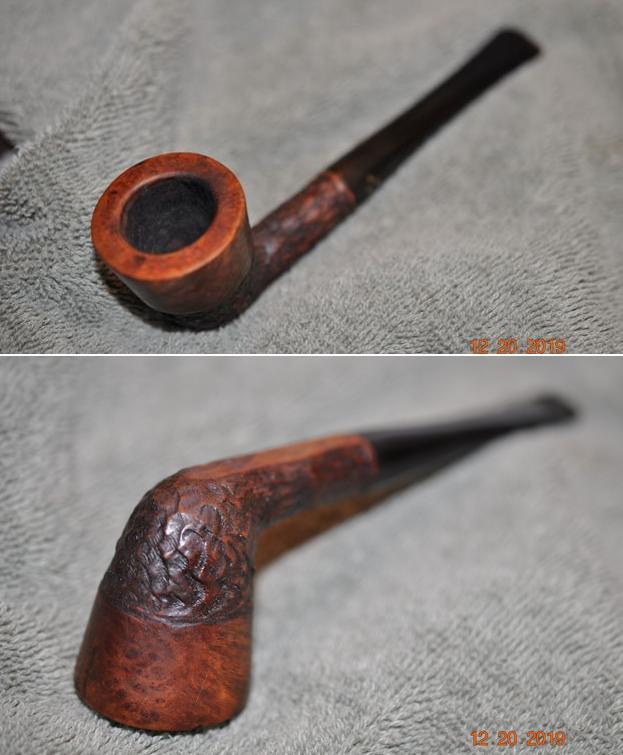
I have two more Brighams left to restore so I chose to work on the Dublin shaped 306 next. The pipe is a medium sized straight Dublin with a taper stem. It is a neat looking pipe with real character. The upper half of the bowl is smooth and highlights some nice grain. The rest of the bowl and shank bear the classic Brigham rustication pattern. It is stamped Brigham over and to the right of MADE IN CANADA on the underside of the shank and has the shape number 306 stamped to the left of that. The stem has three brass pins on the left side of the taper. There was a moderate cake in the bowl and a spattering of lave on the rim top and edges. The rim top is scratched but otherwise clear. The inner and outer edges of the bowl look very good. There is a small burn mark on the outer edge on the right side near the top. There was a beautiful pipe underneath all of the buildup of years of use. The stem was oxidized and had light tooth marks and chatter both sides ahead of the button and on the button surface itself. Jeff took photos of the pipe before he started his cleanup work on it. 
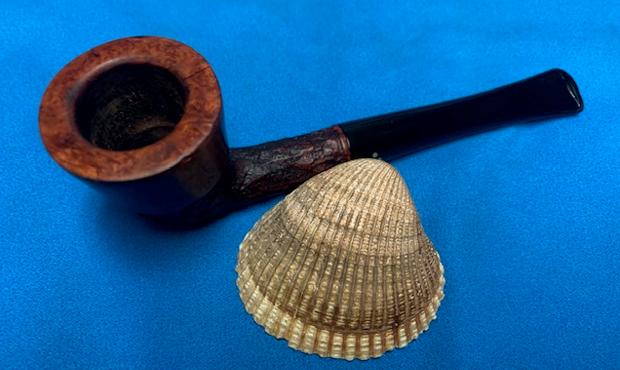
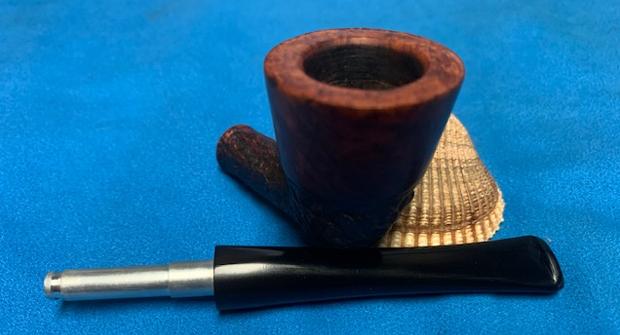
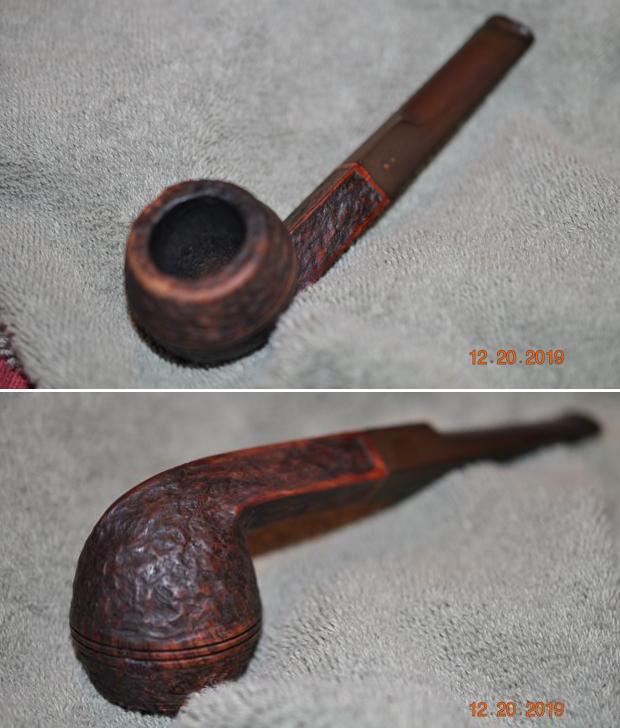
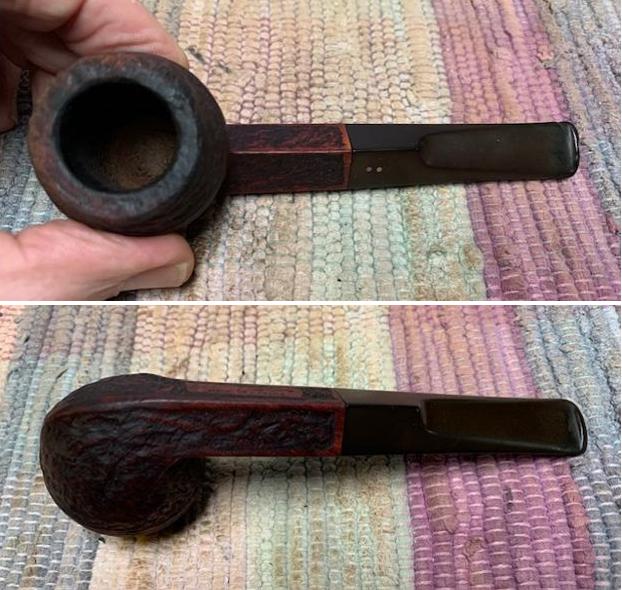
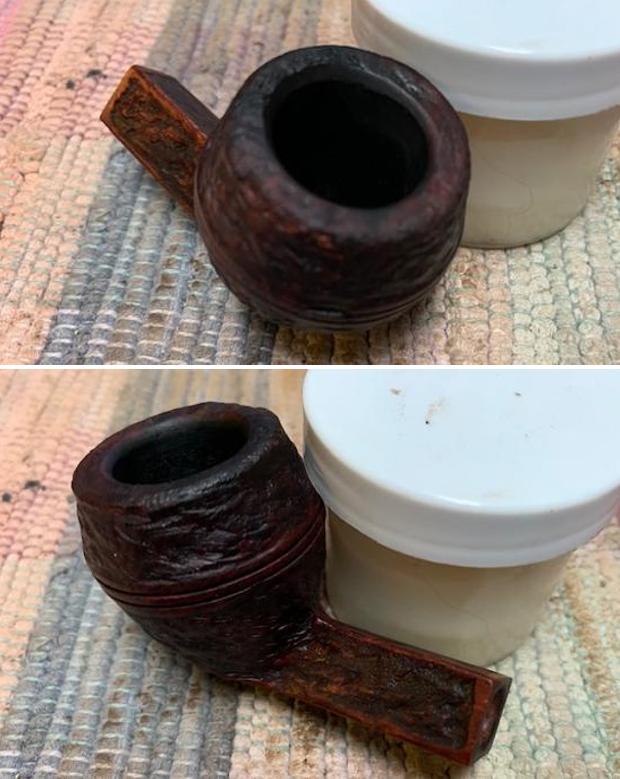
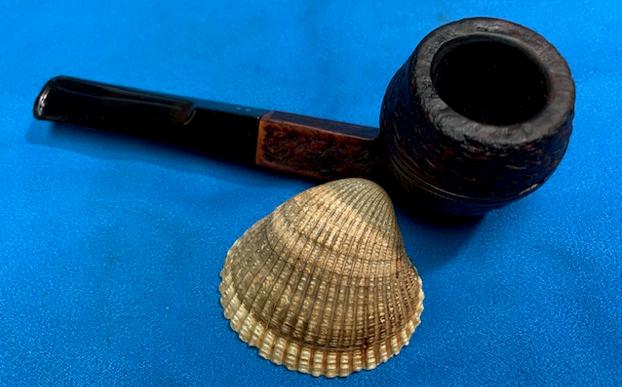
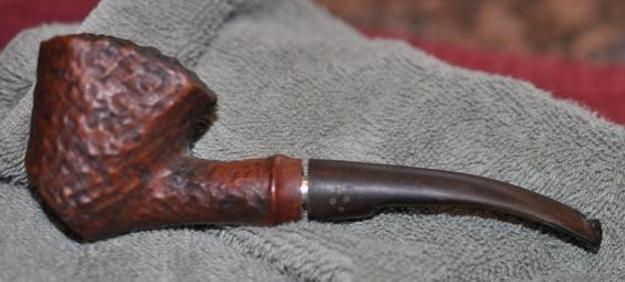
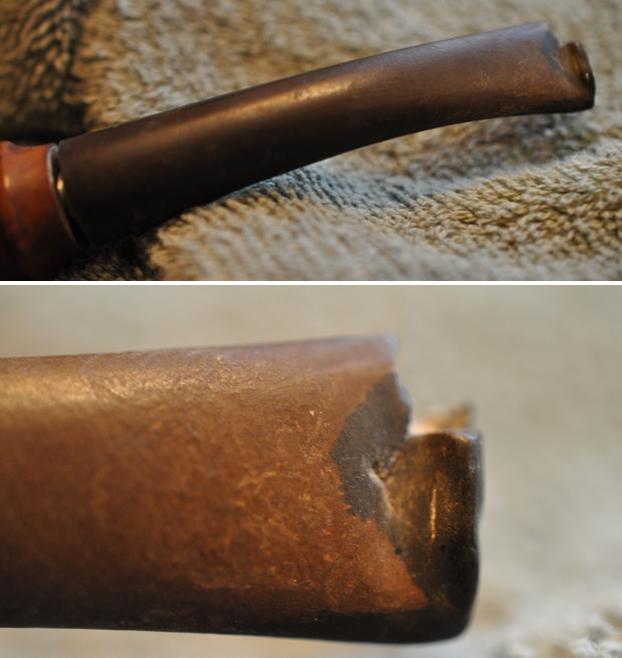
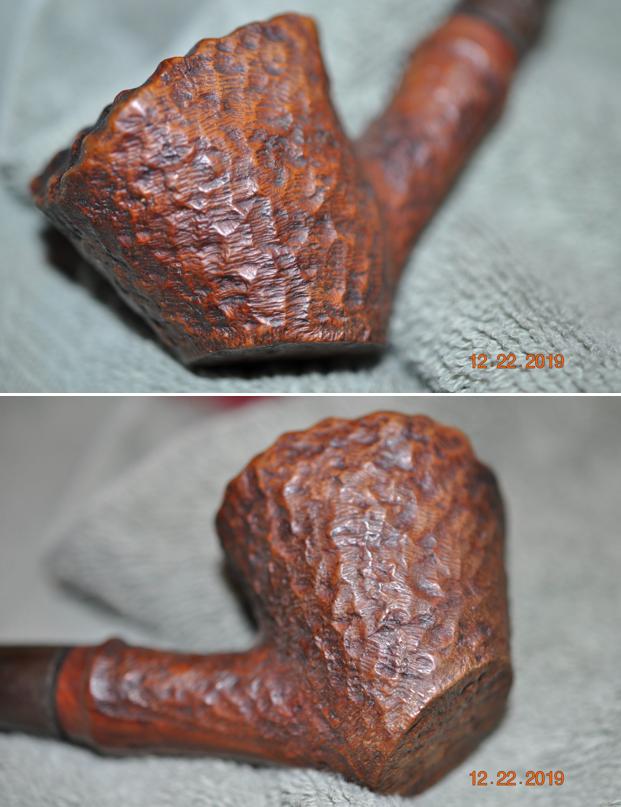
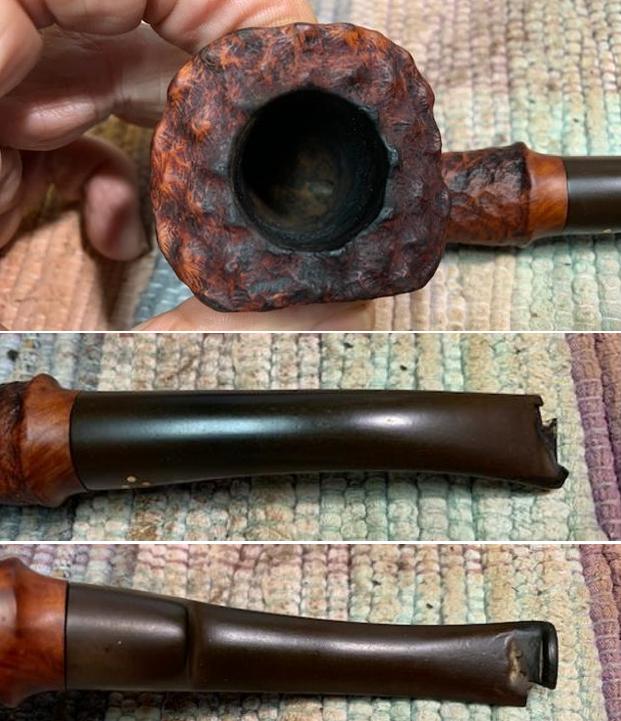
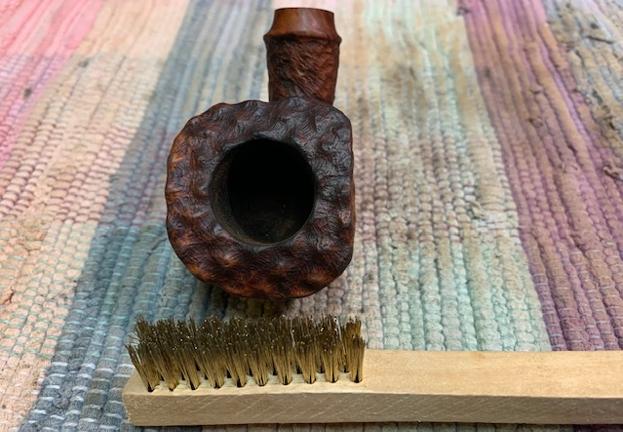
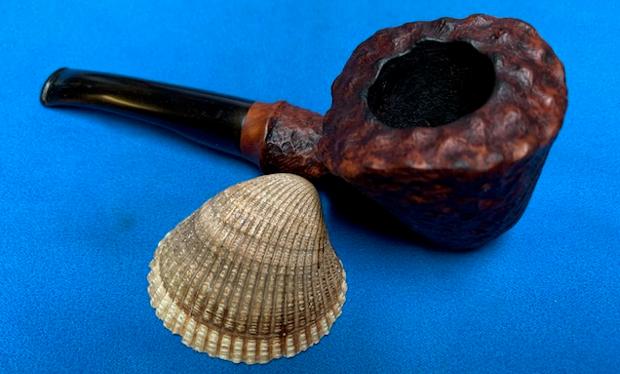
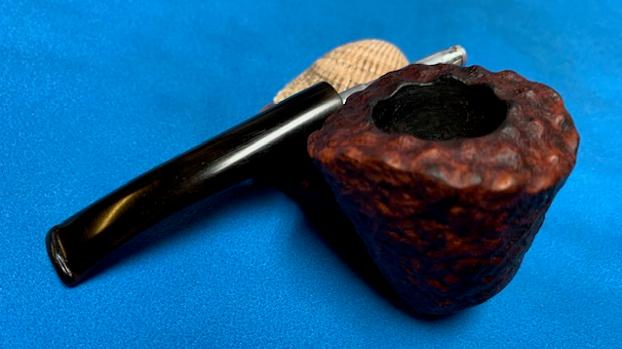
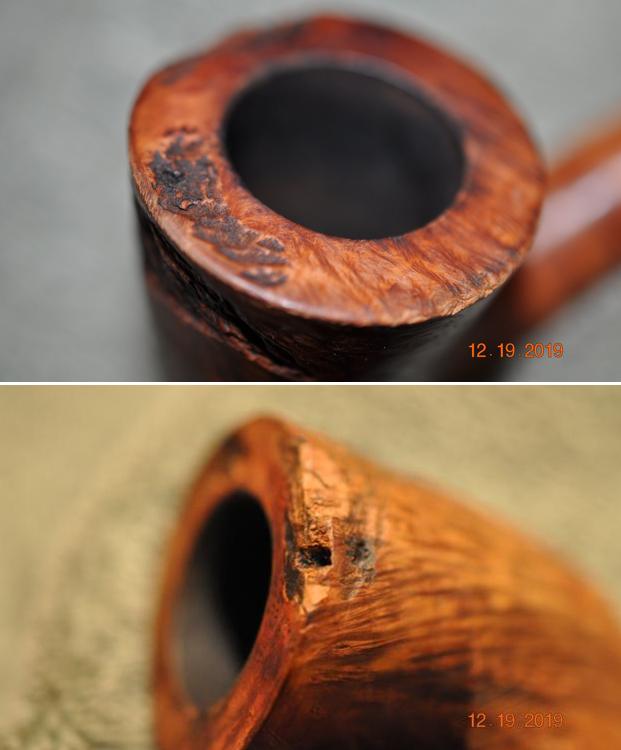
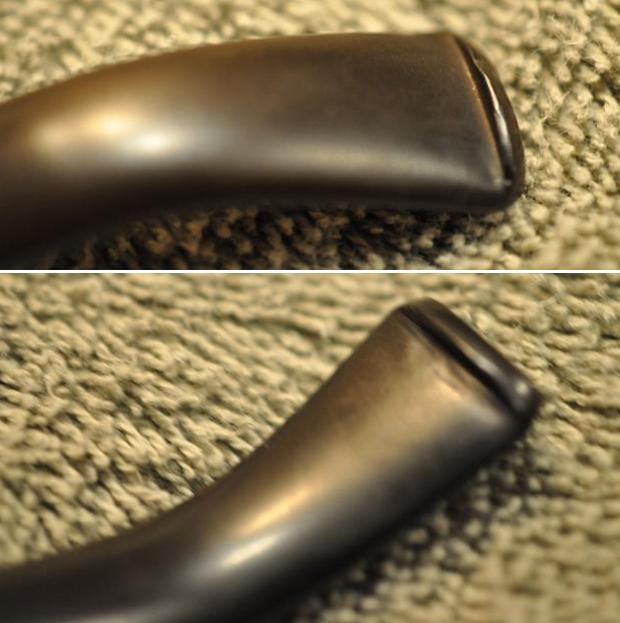
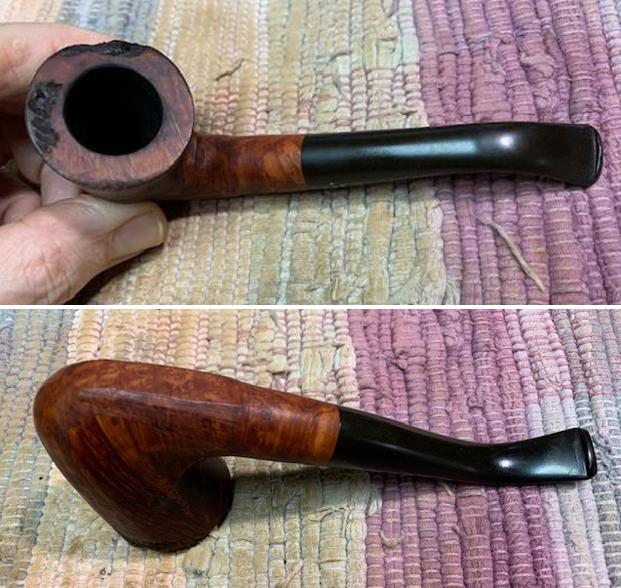
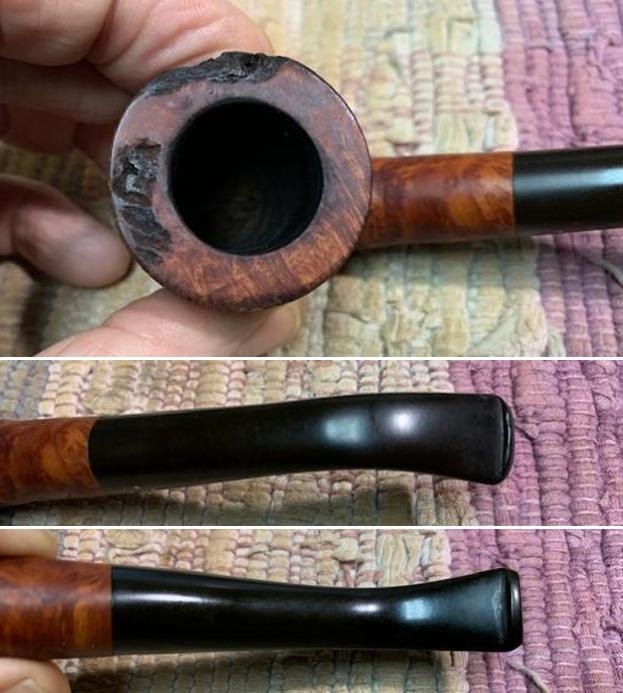
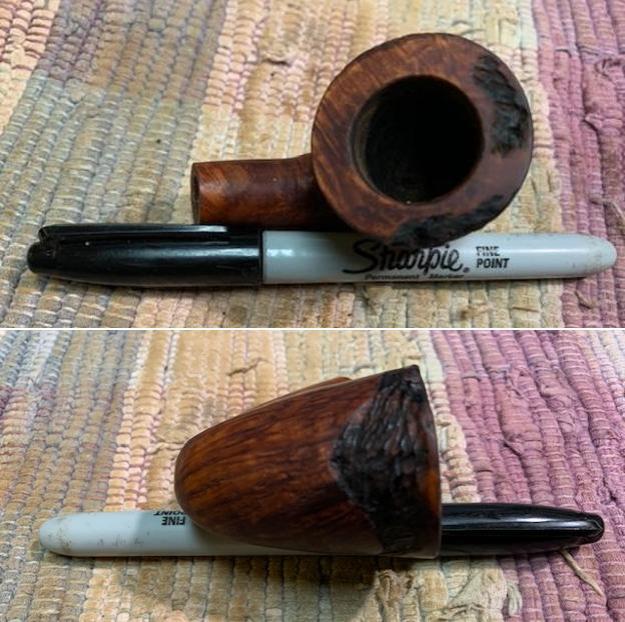
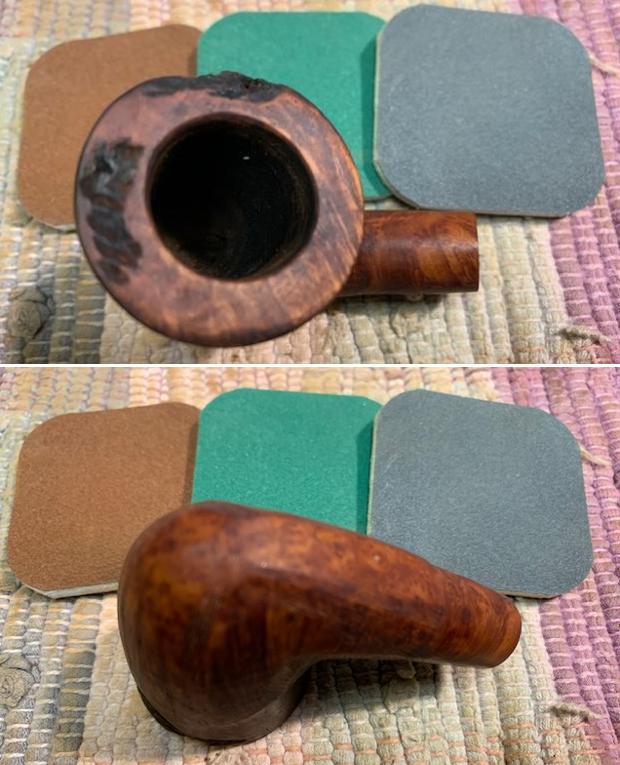
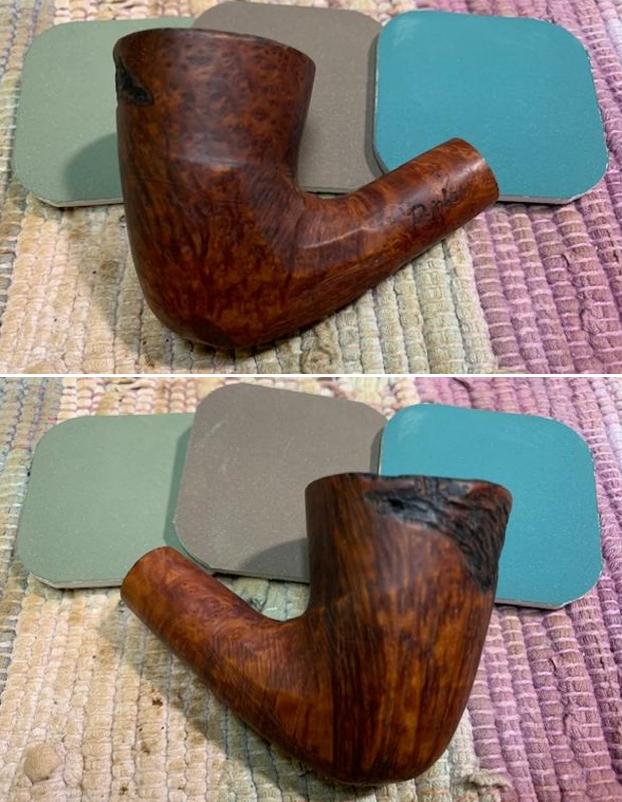
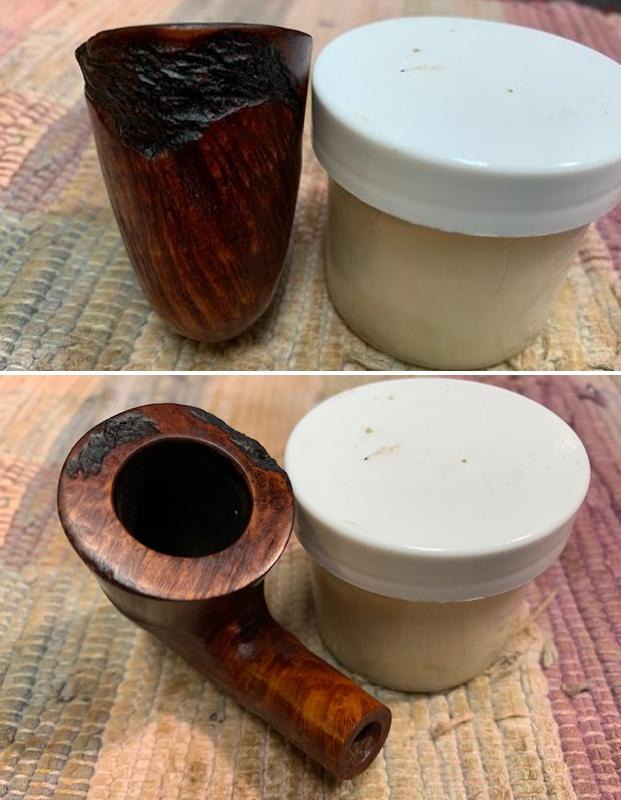
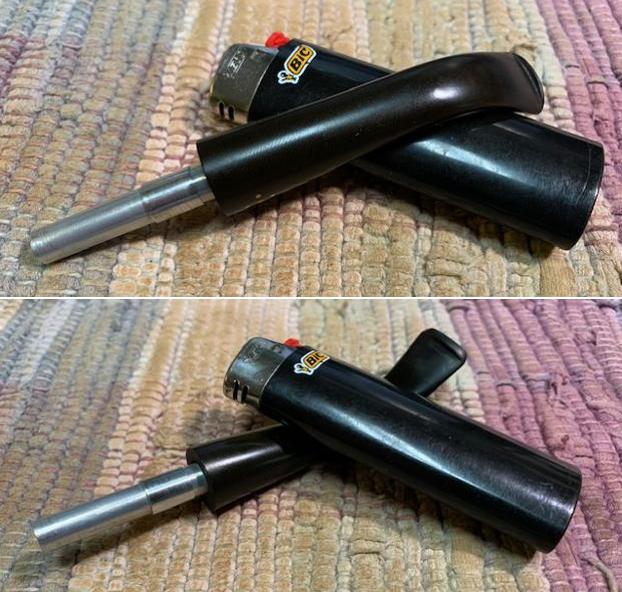
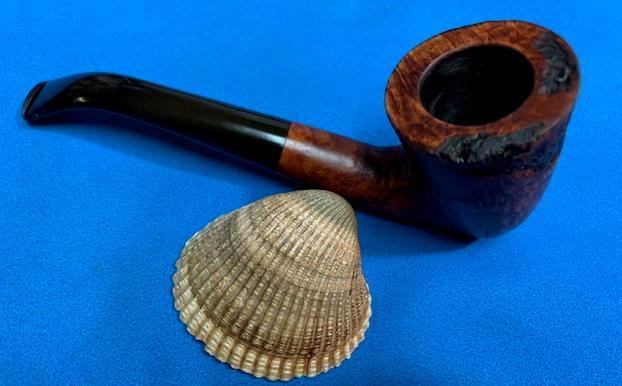
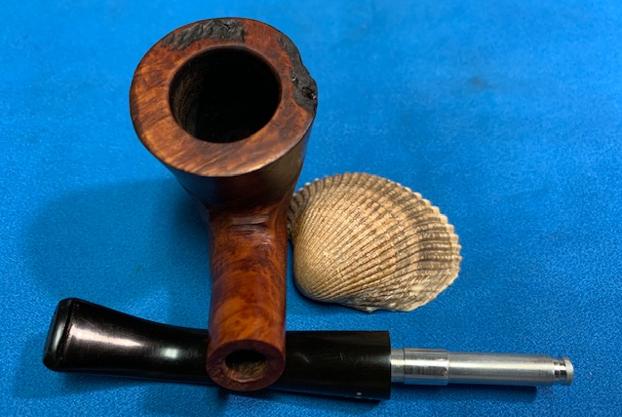
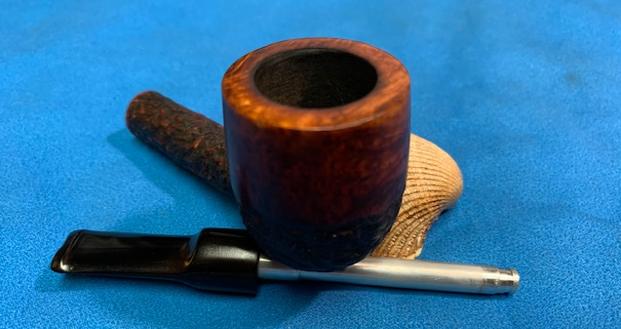
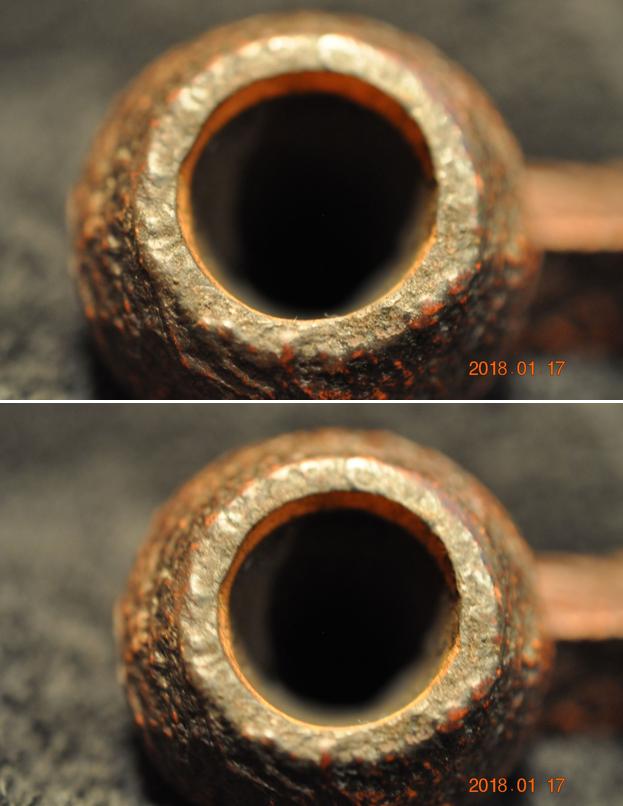
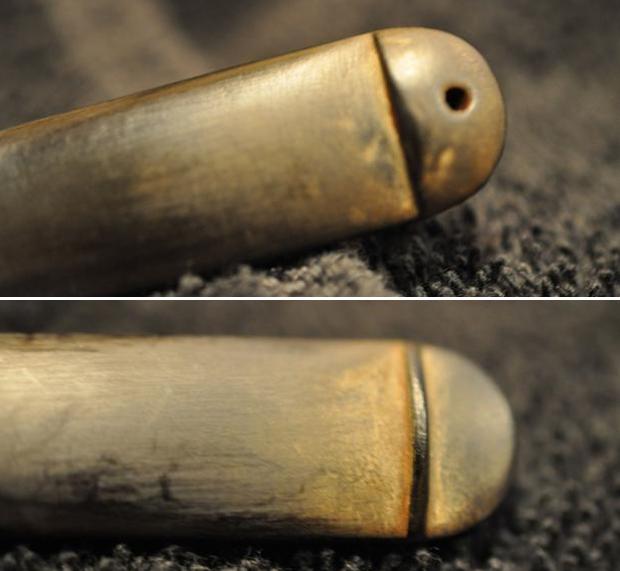
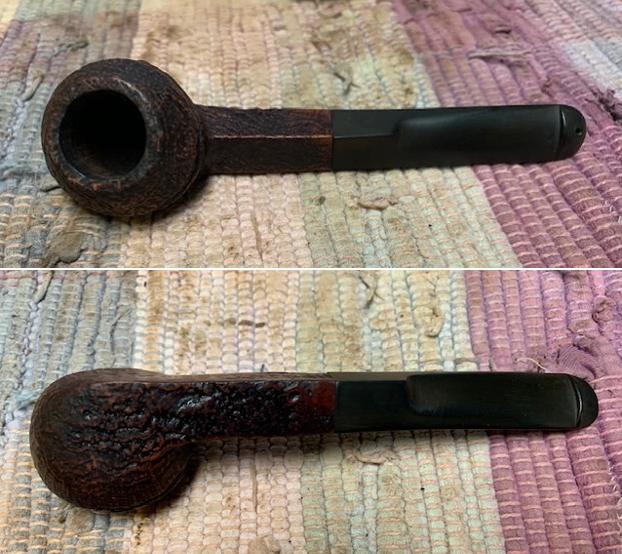
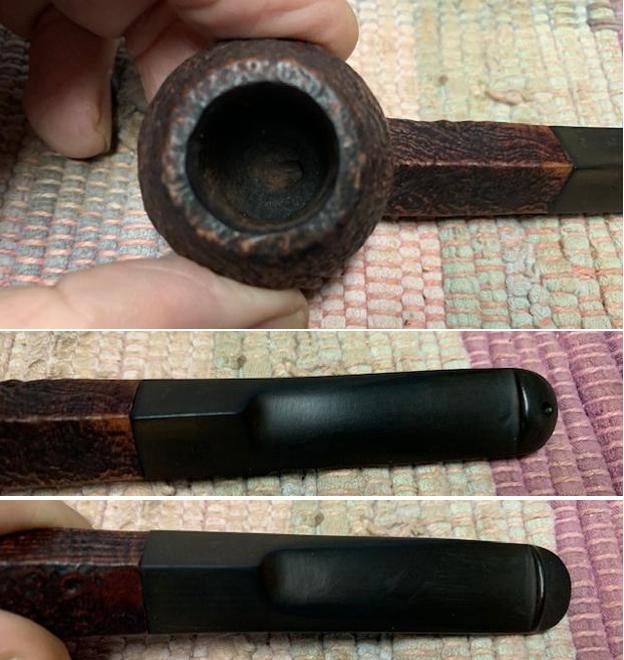
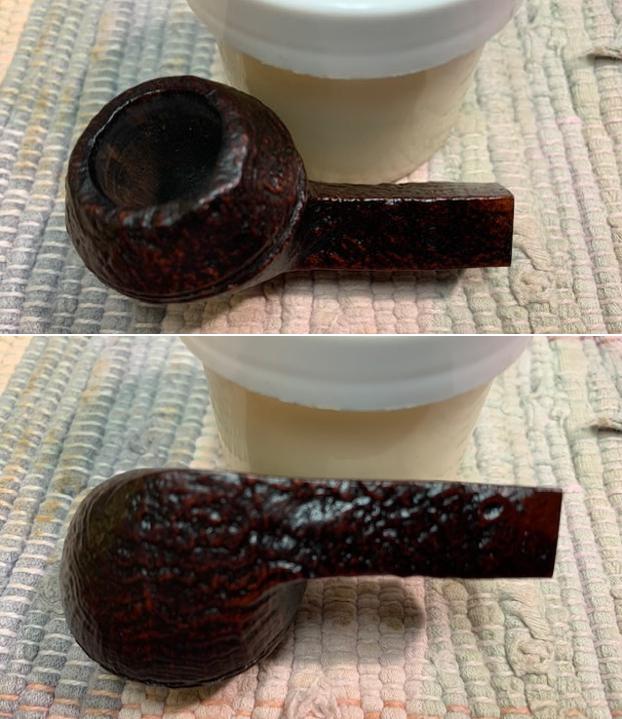
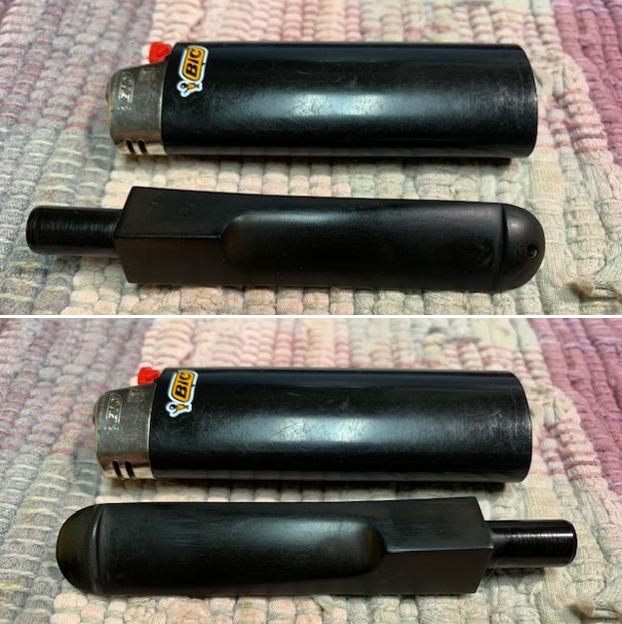
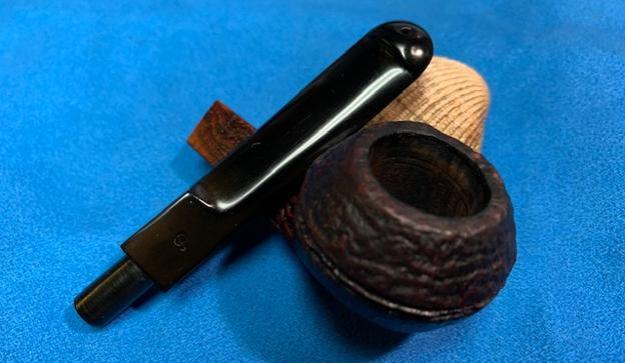
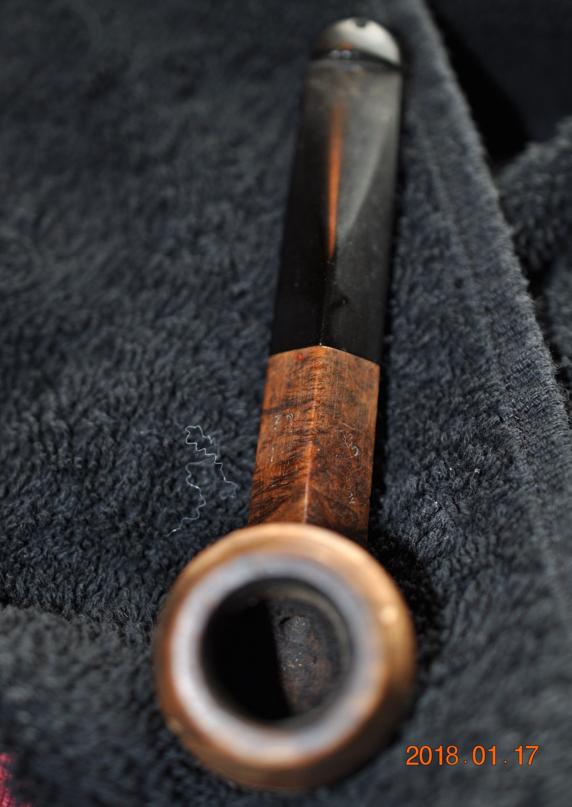
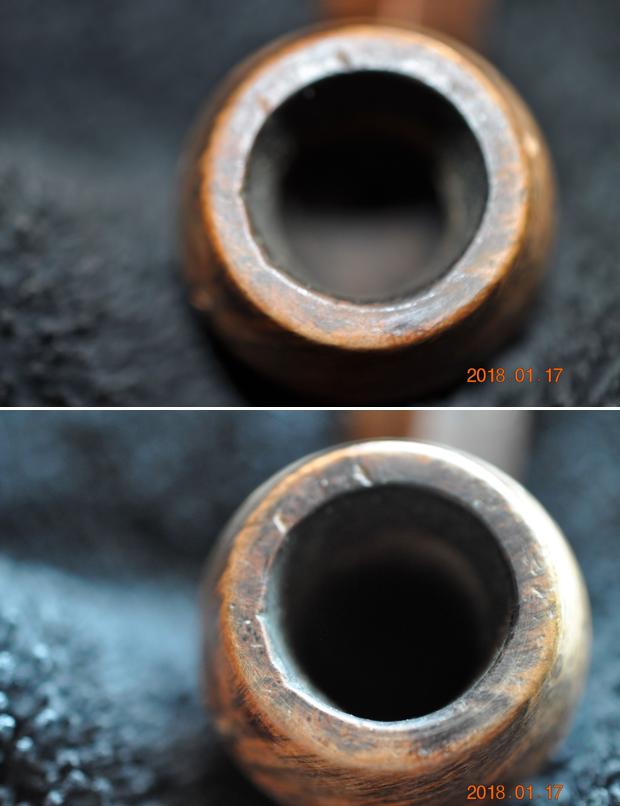
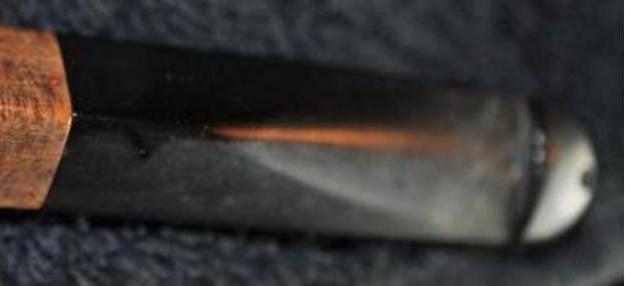
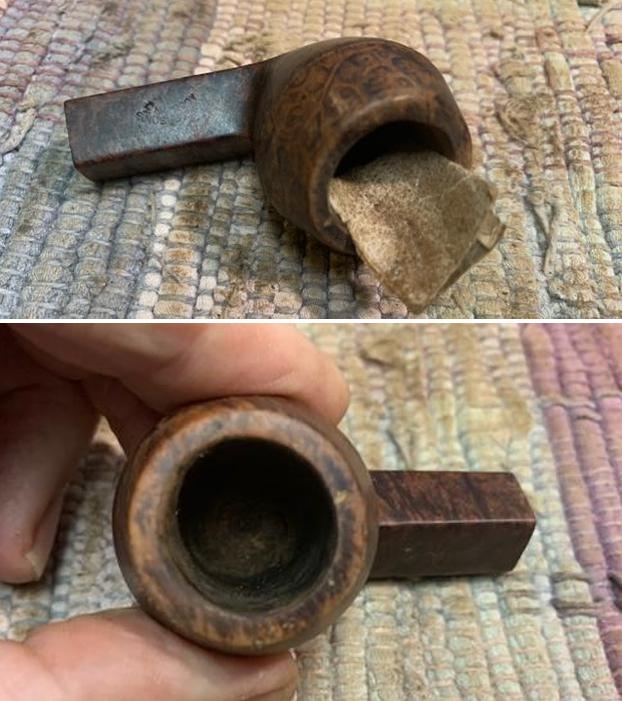
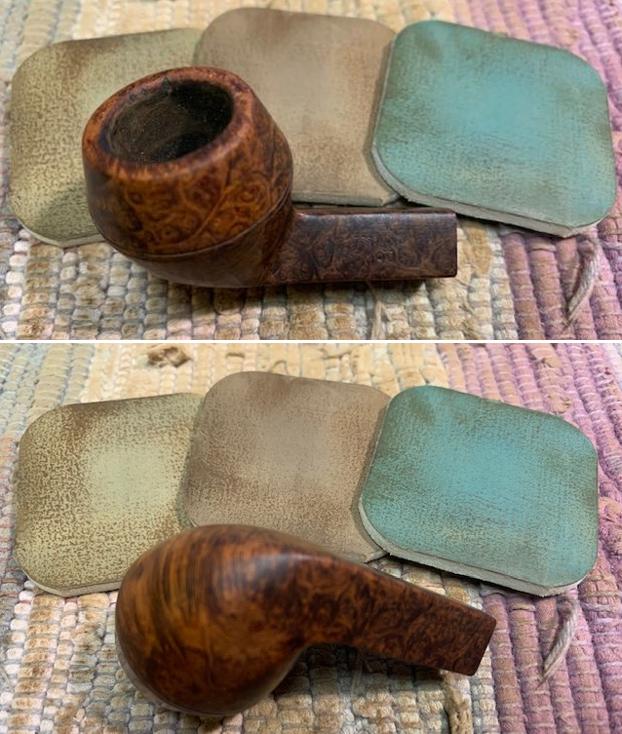
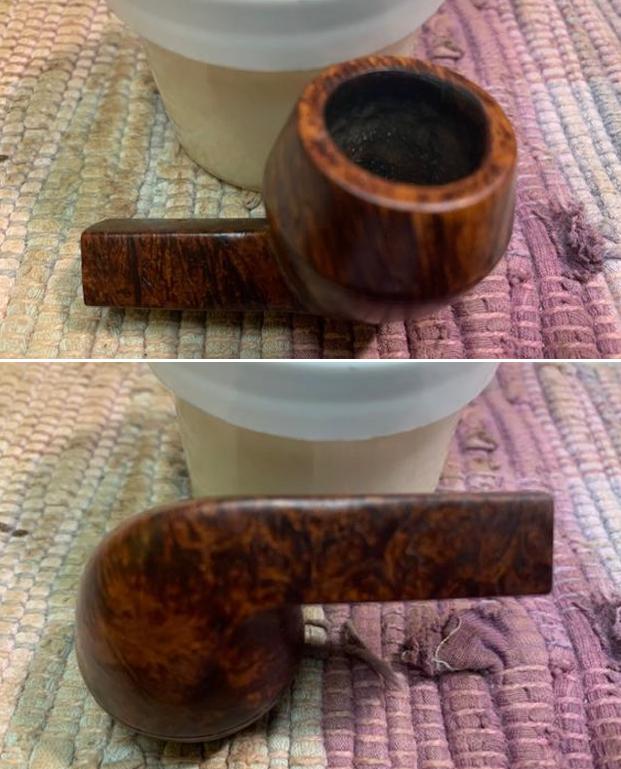
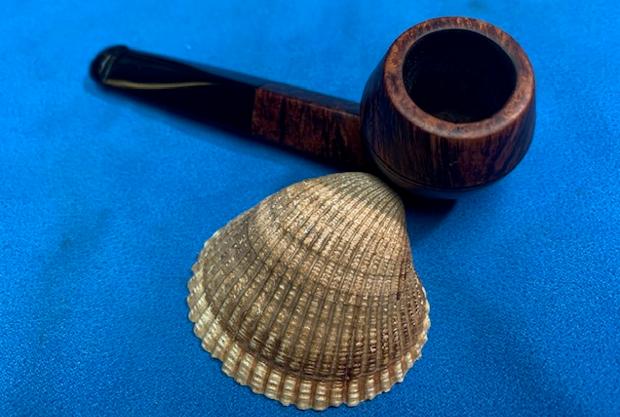
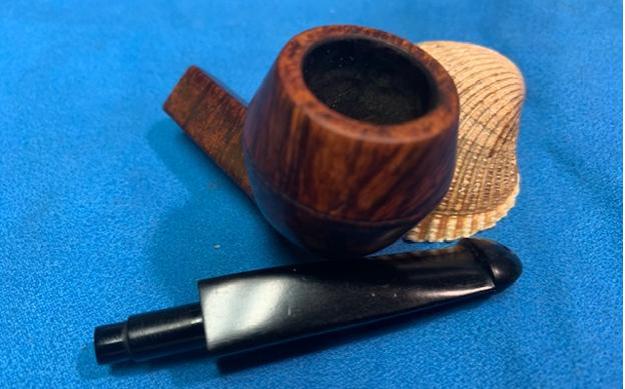
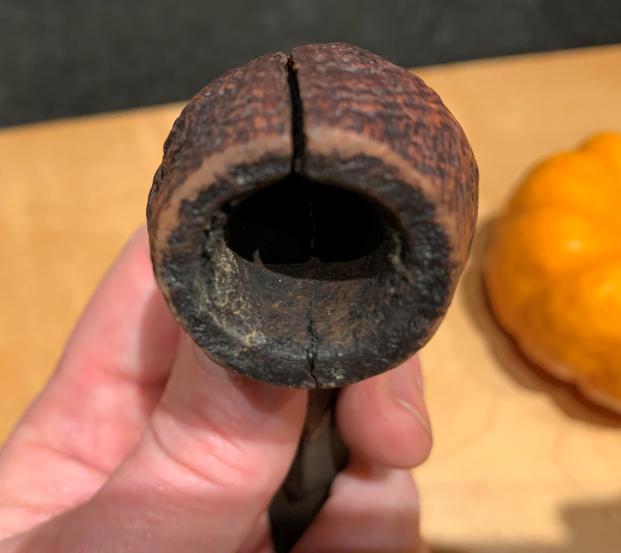
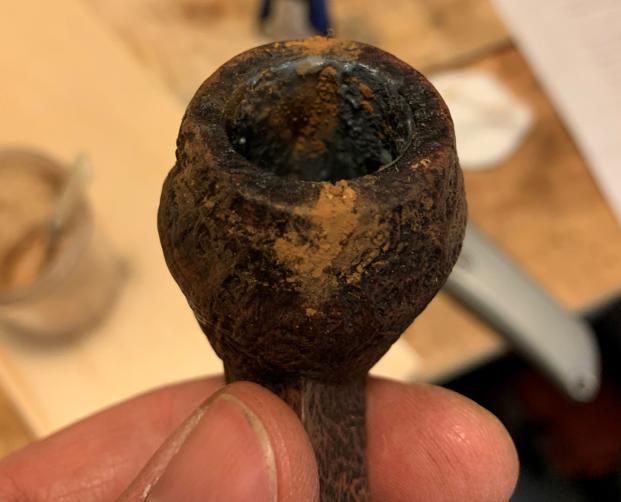
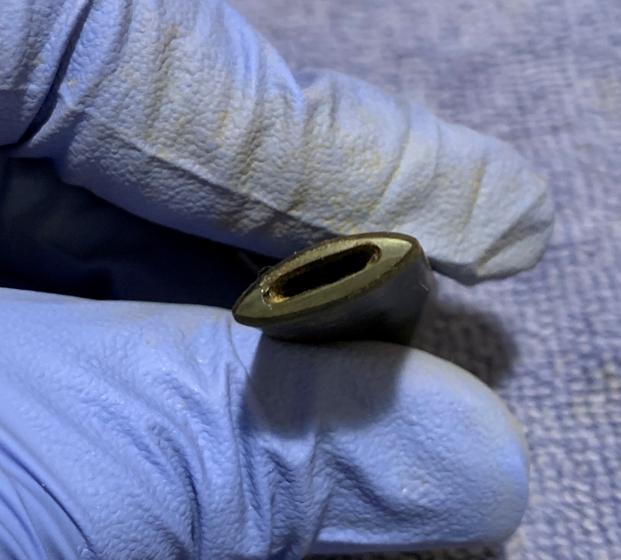
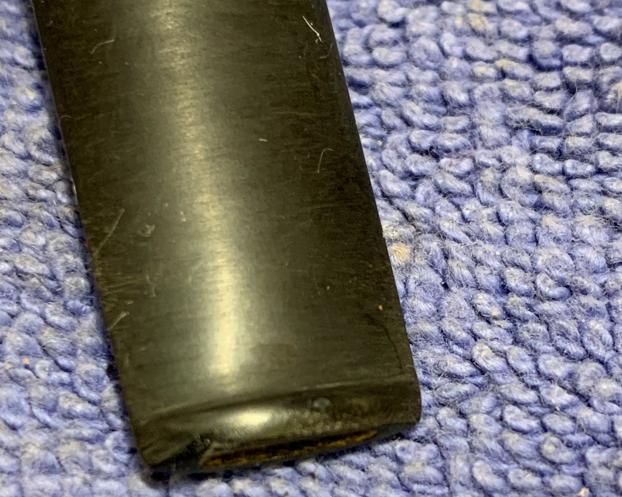
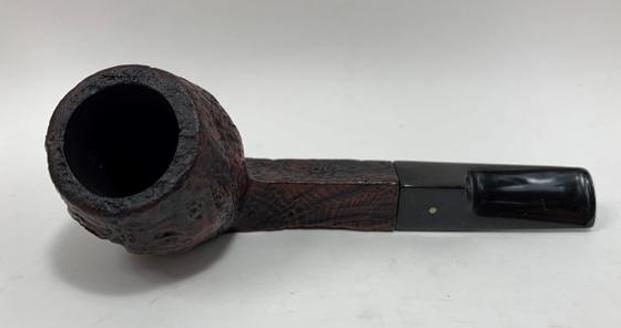
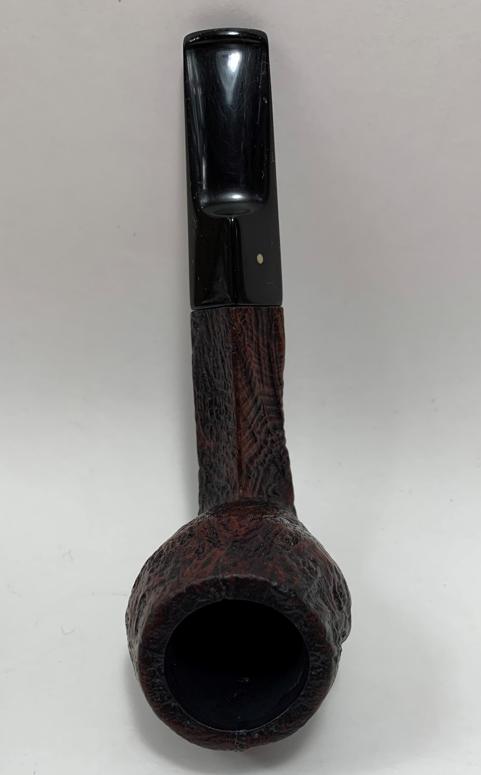
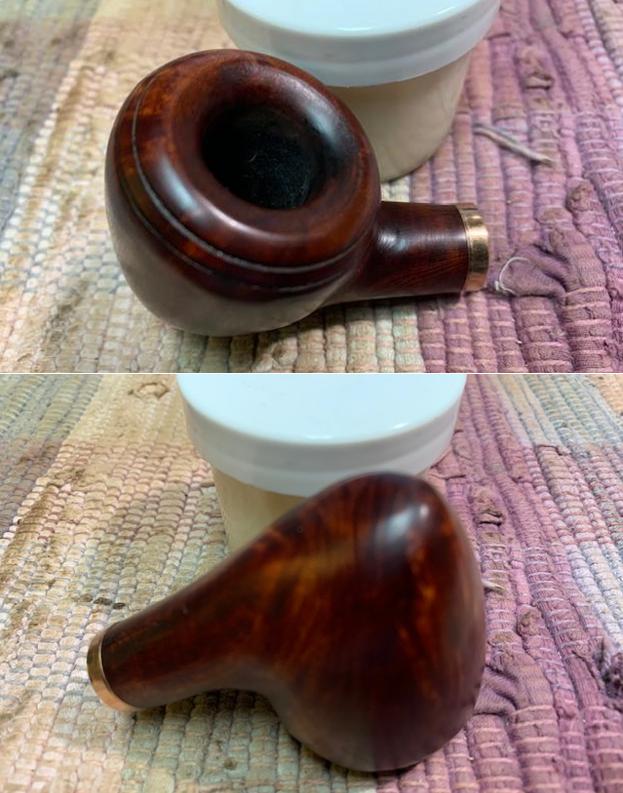
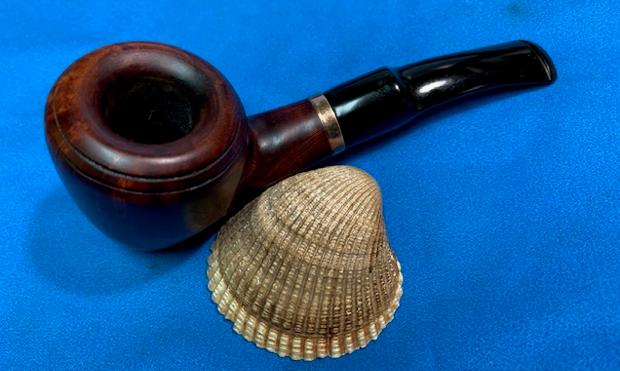
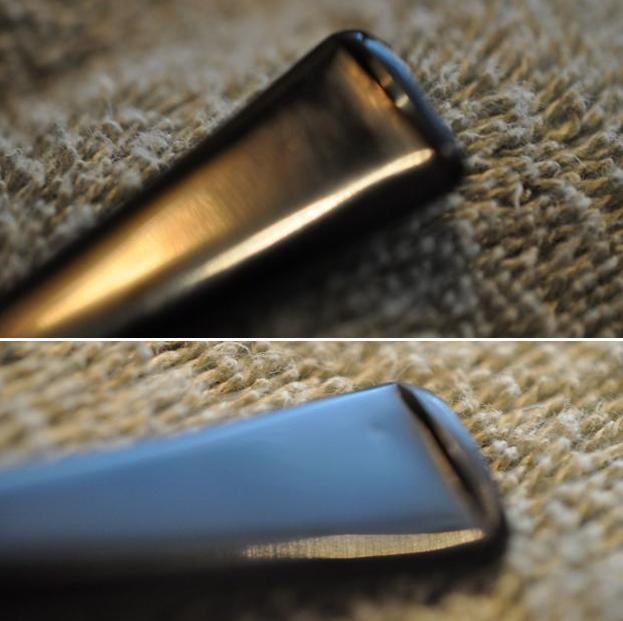
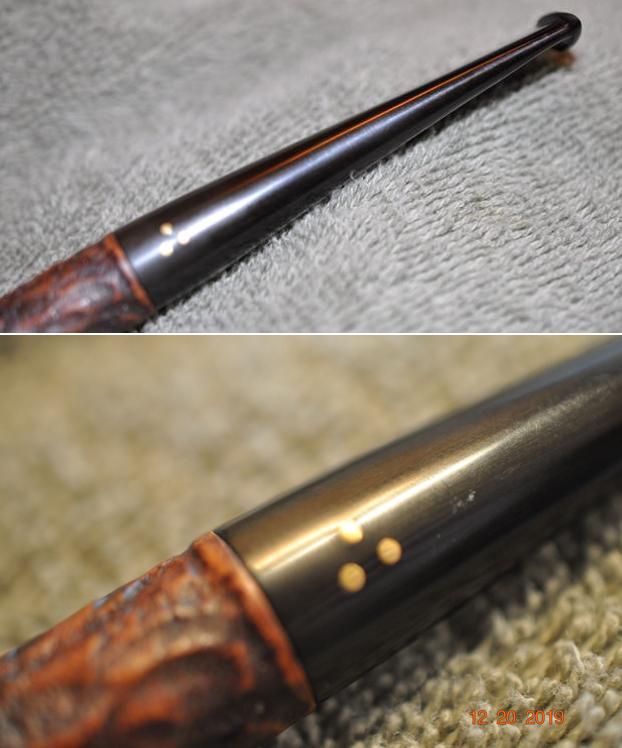
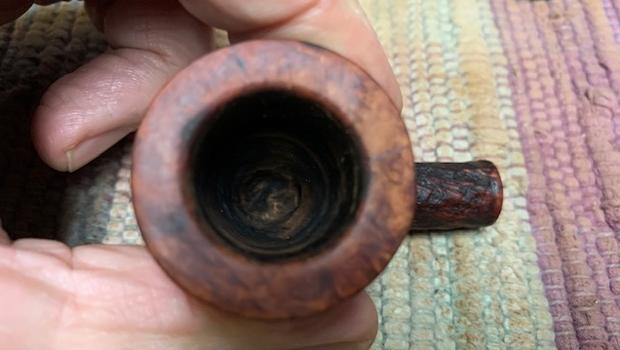
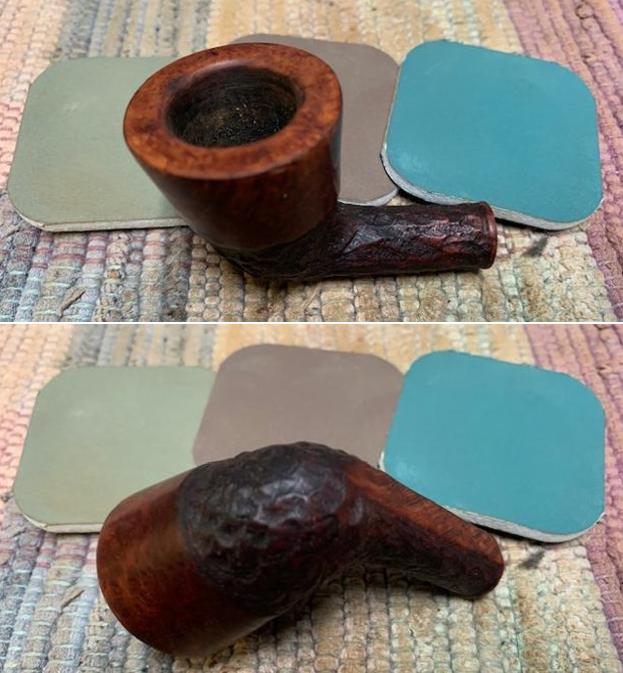
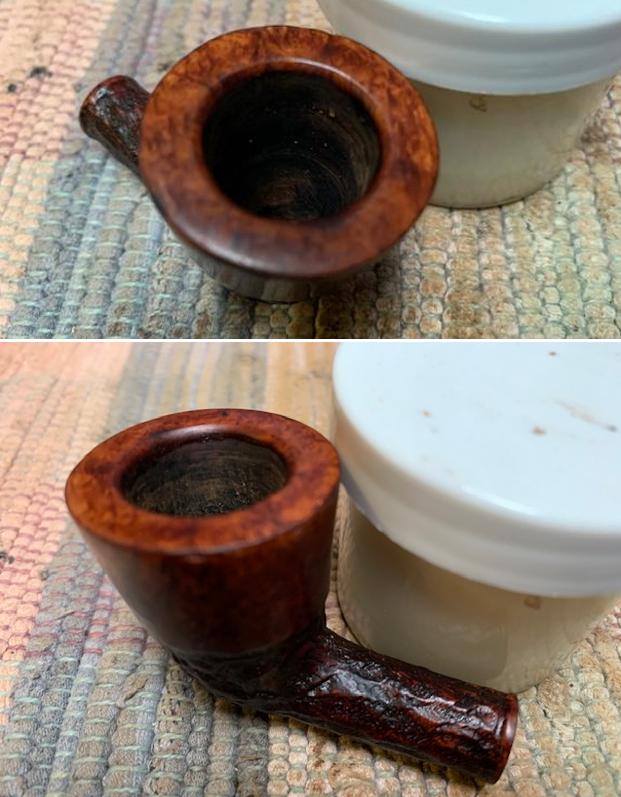
 Jeff took photos of the bowl and rim top to show the condition of the bowl with the thick cake in the bowl and the damage and darkening on the rim top. He took photos of the top and underside of the stem showing the condition of the stem.
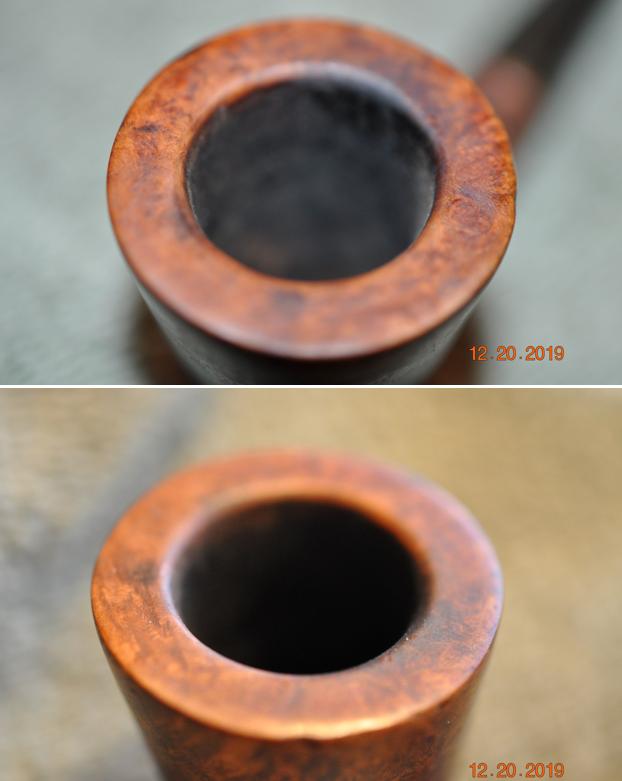
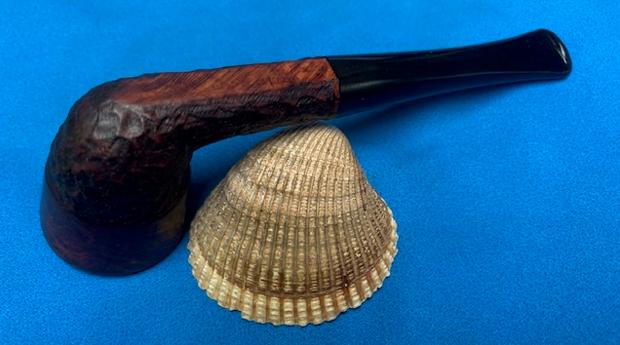
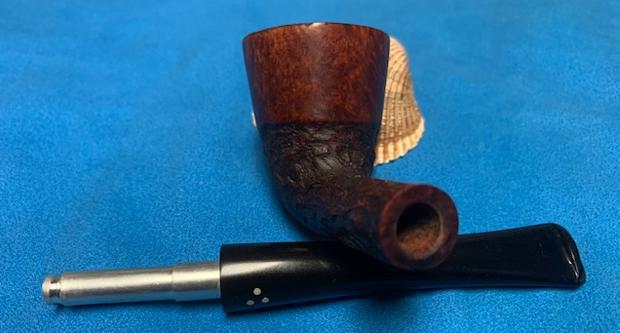
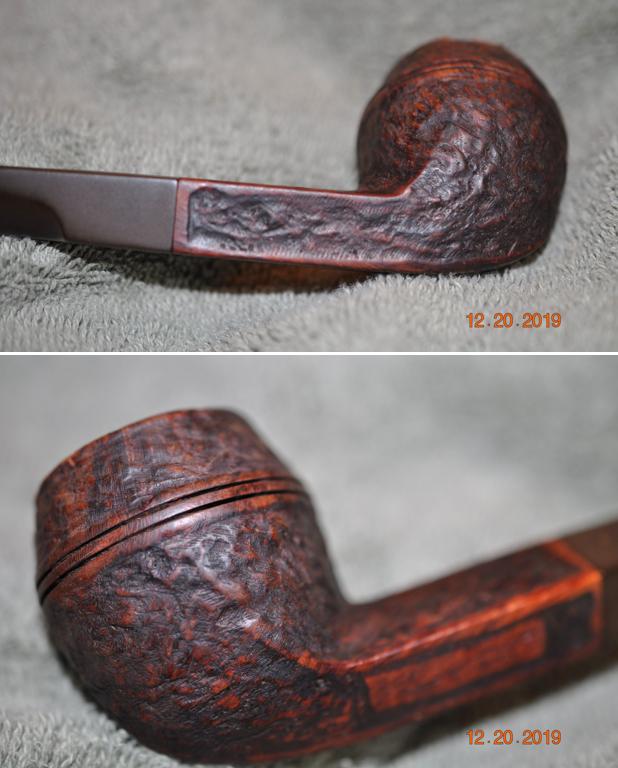
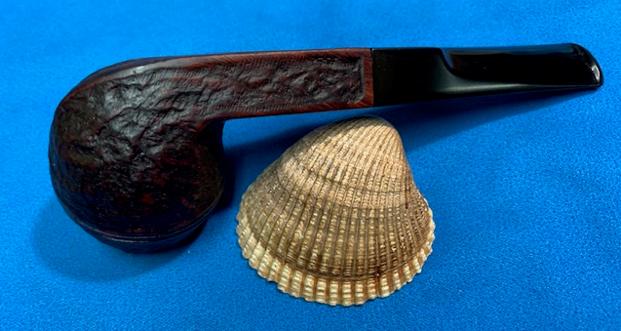
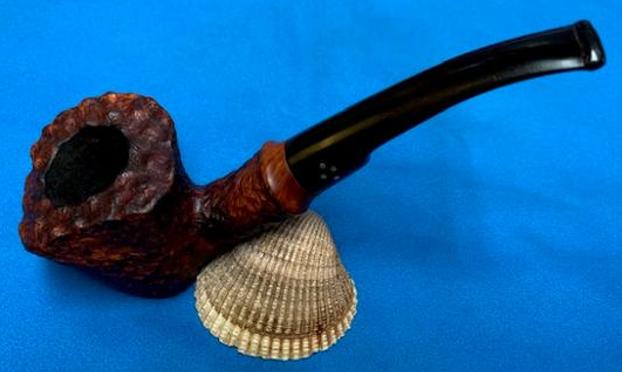
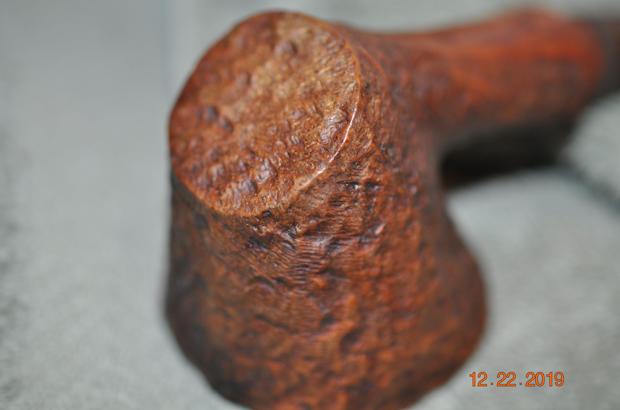
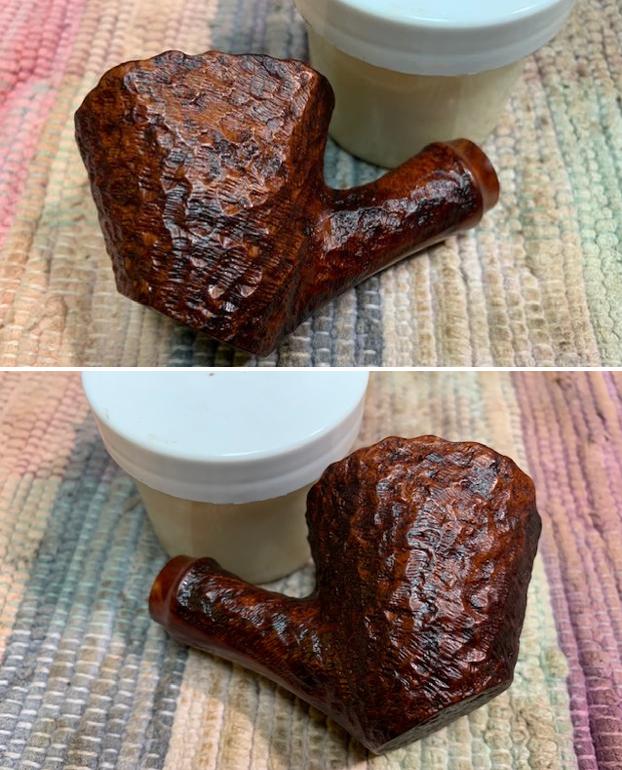
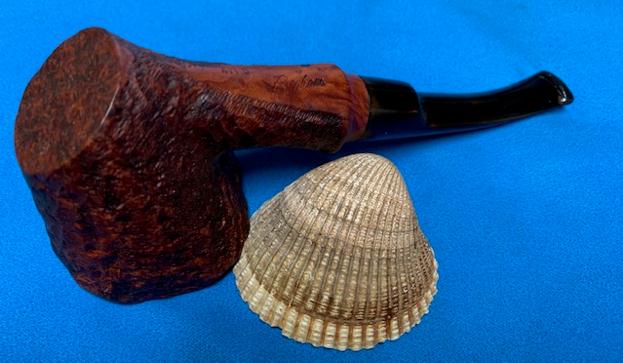
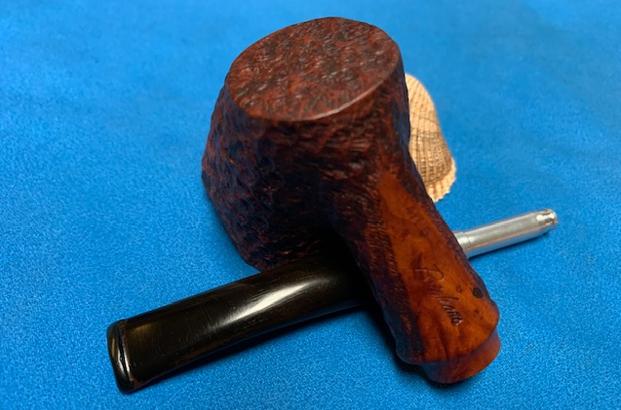
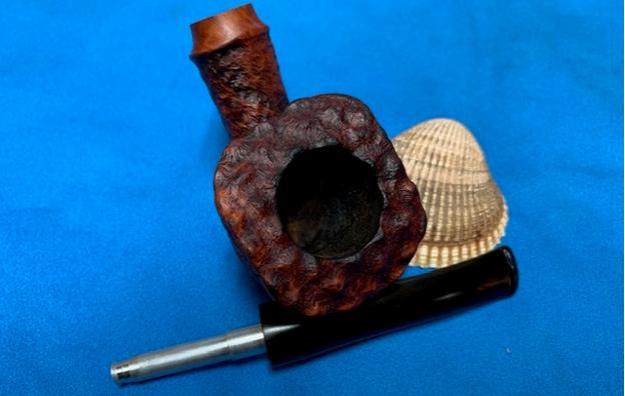
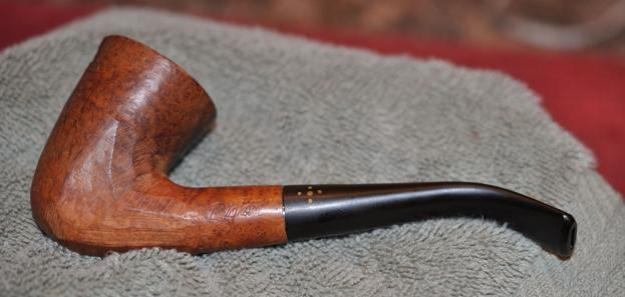
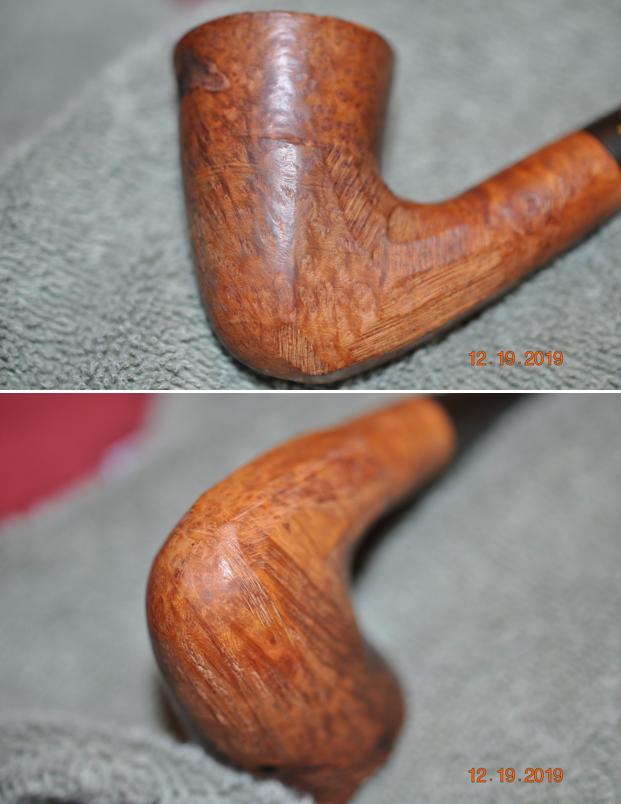
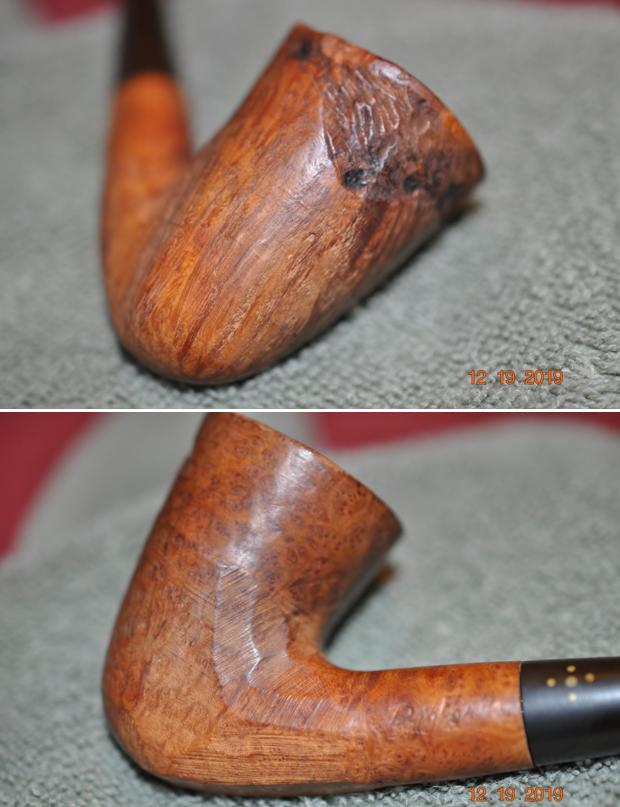
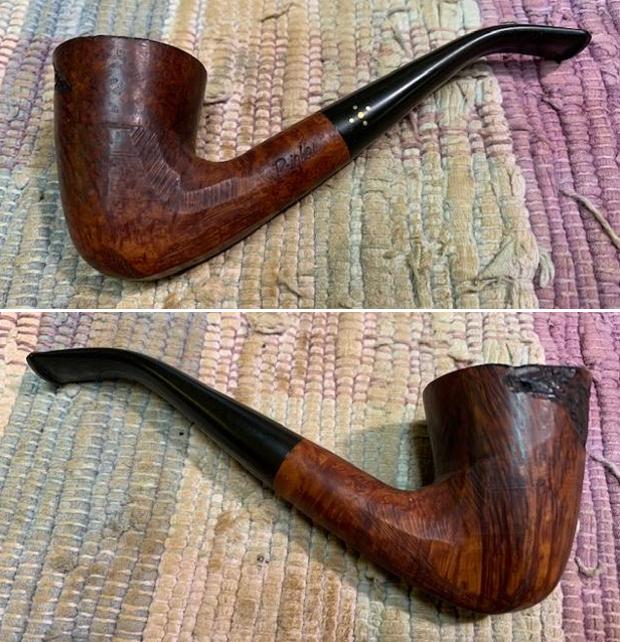
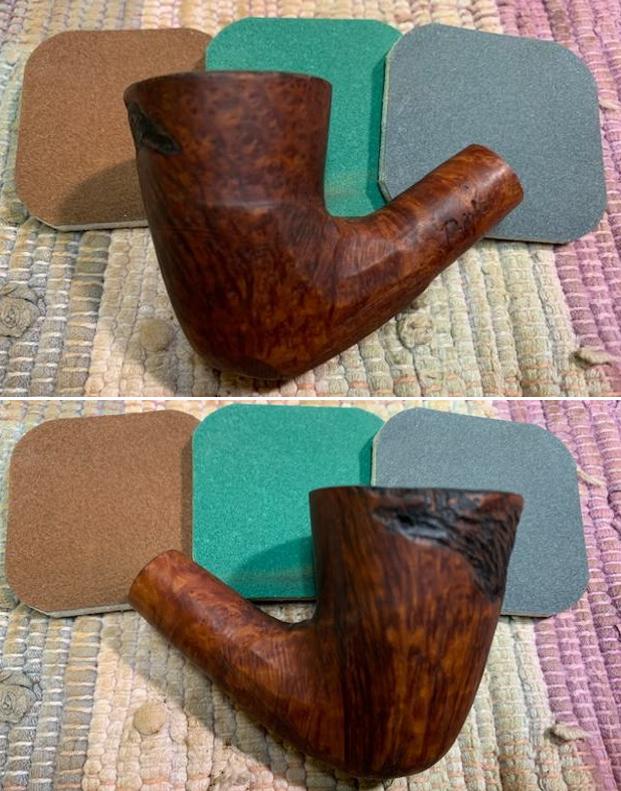
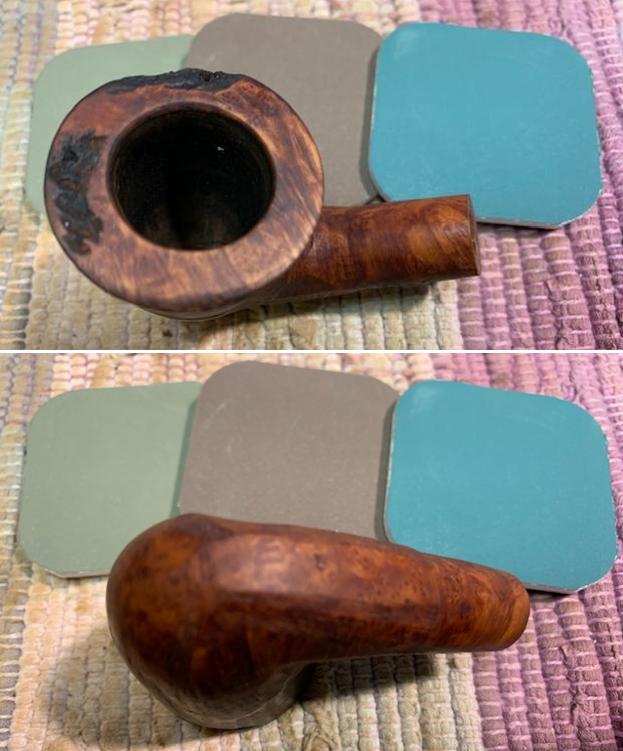
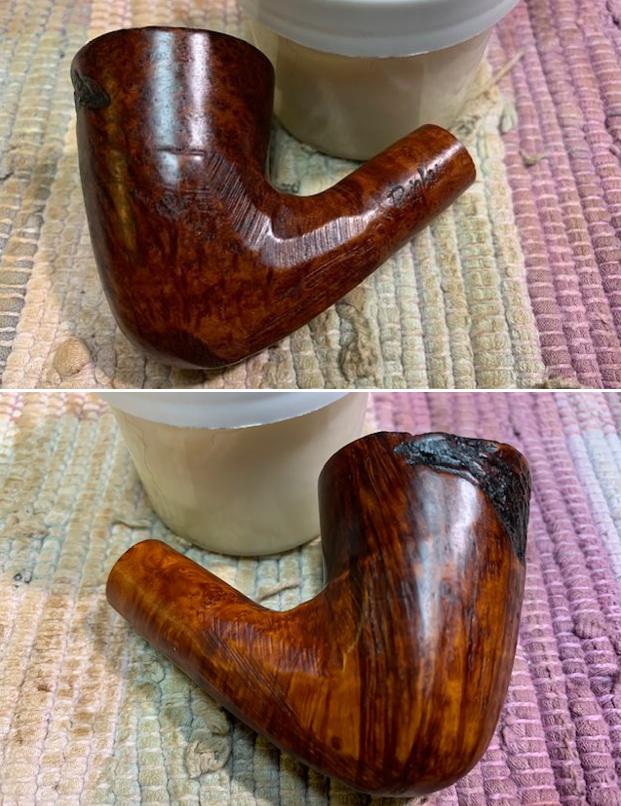
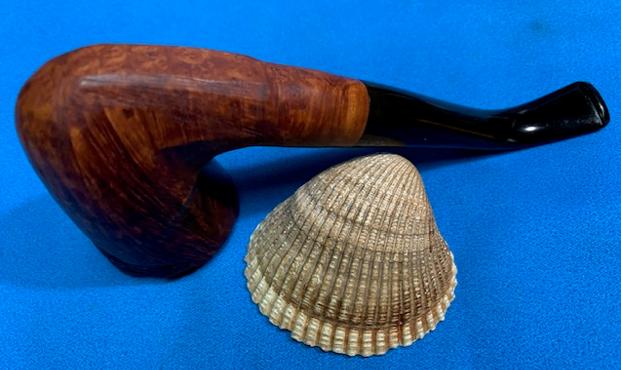
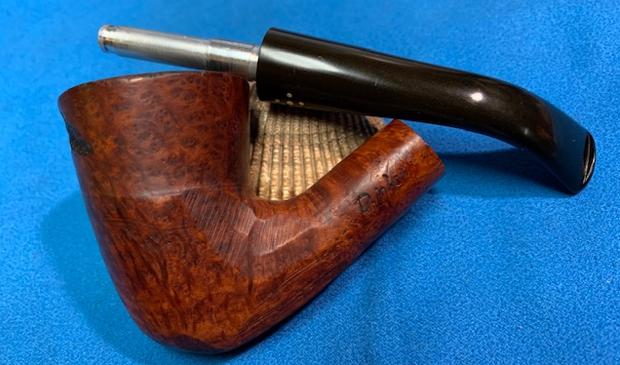
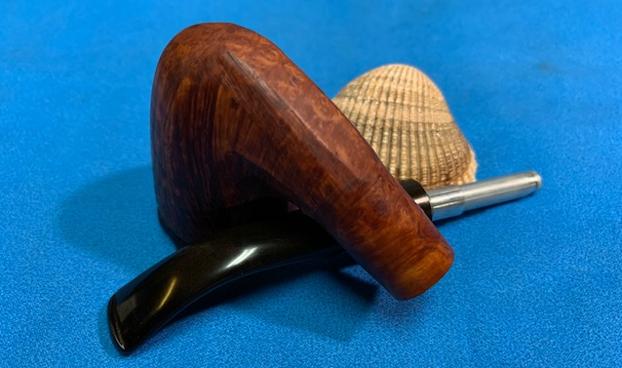
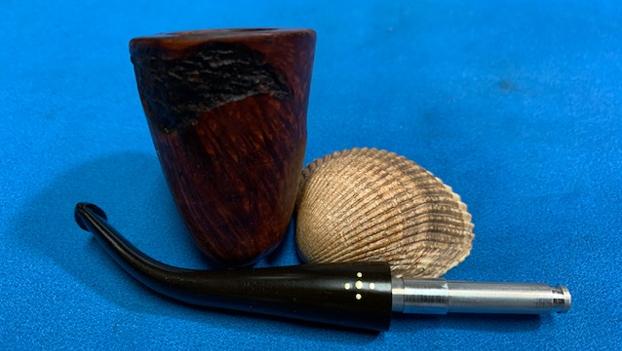
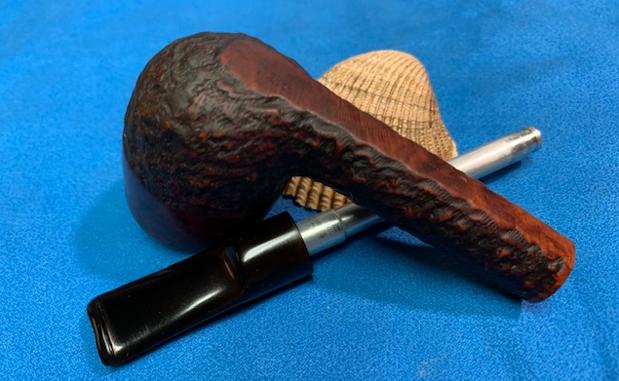
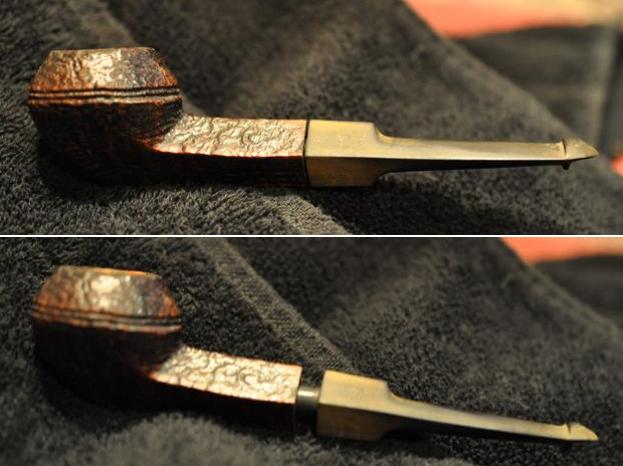
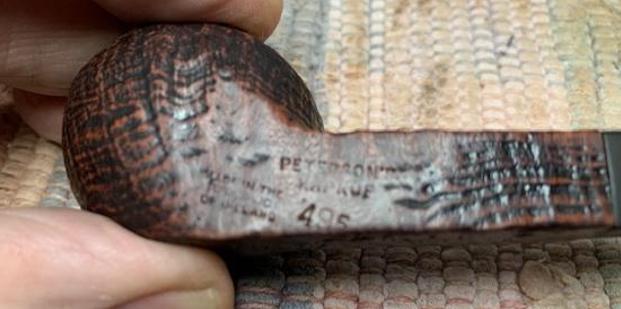
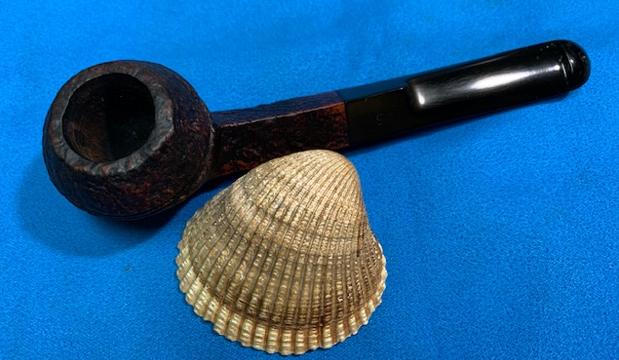
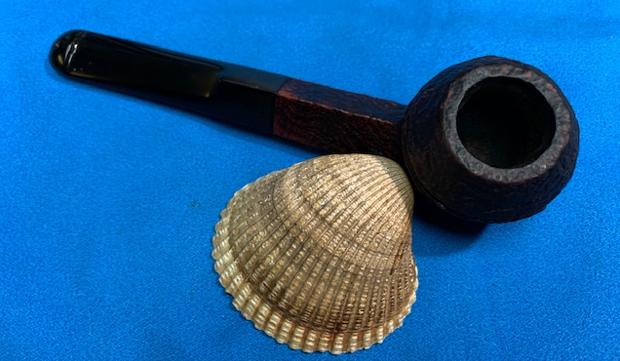
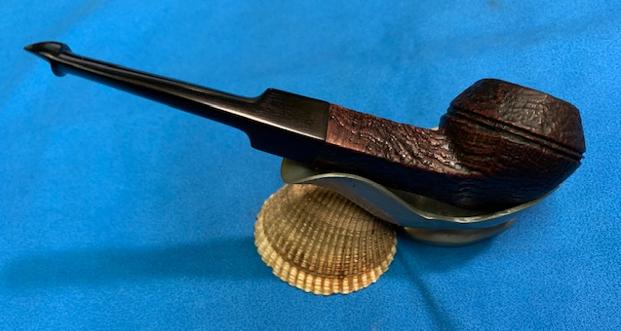
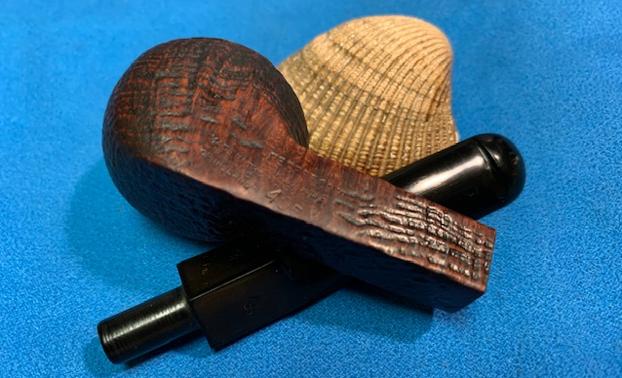
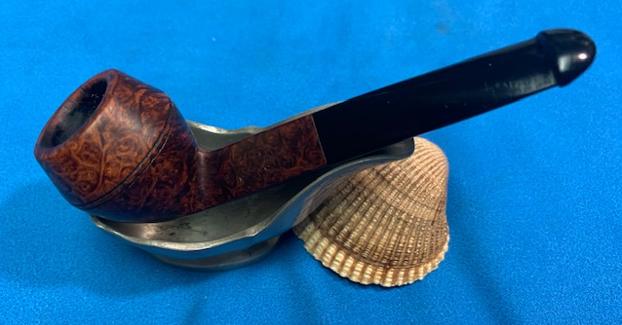
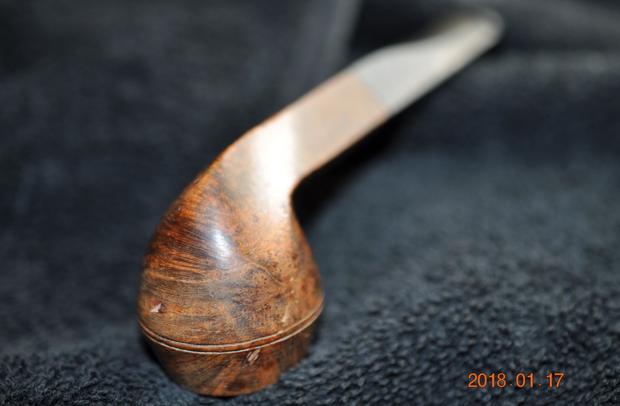
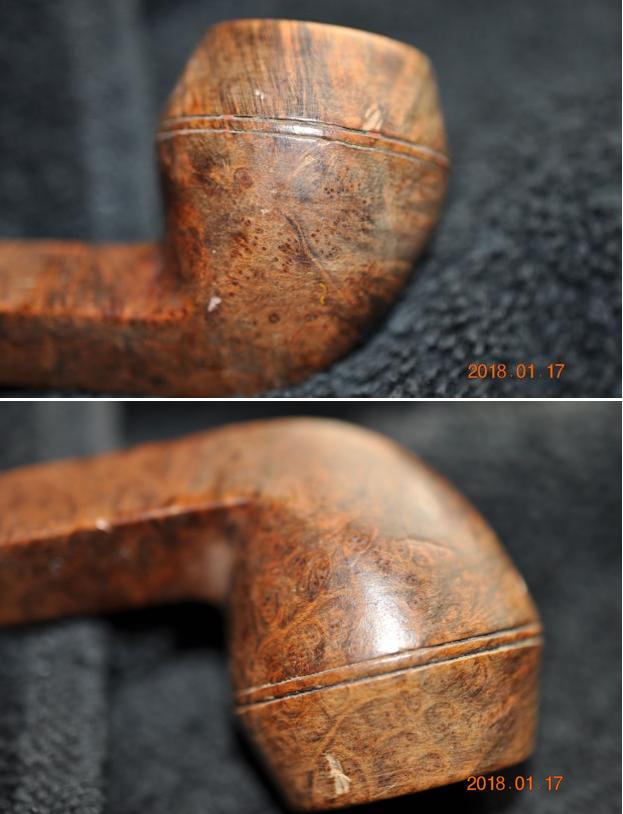
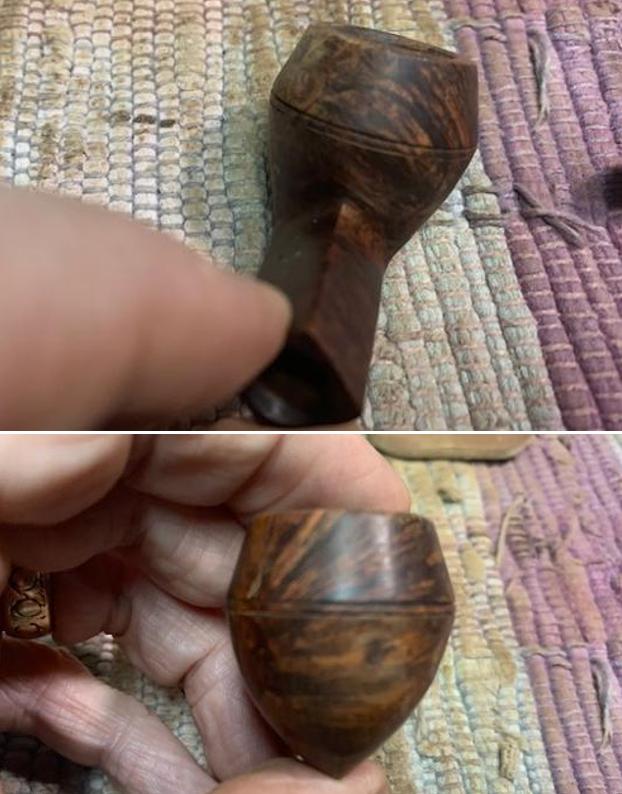
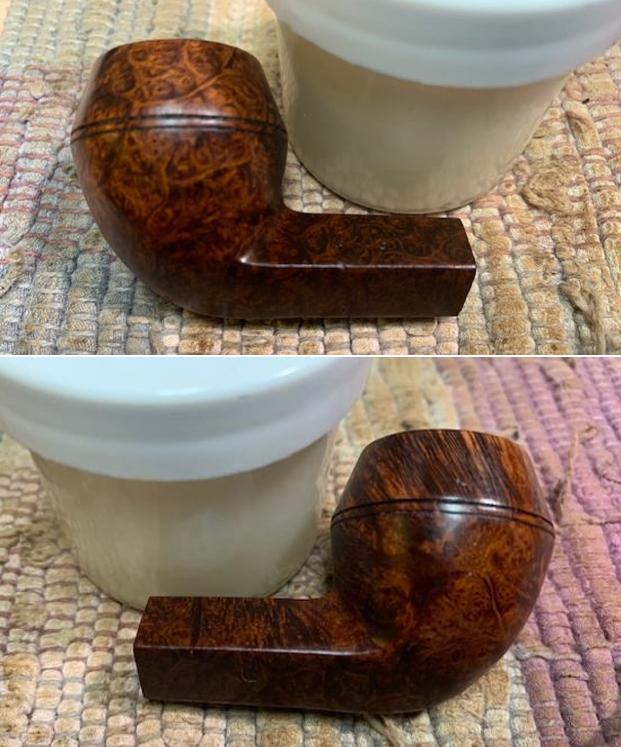
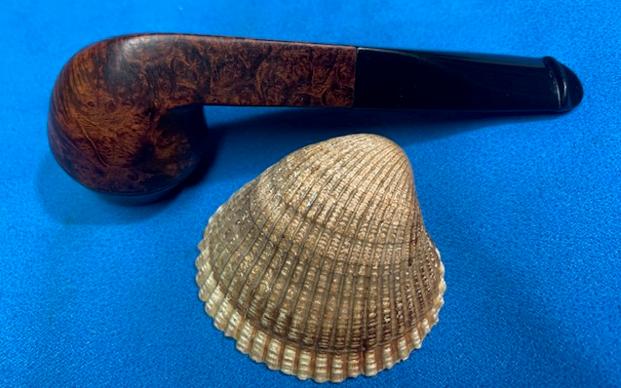
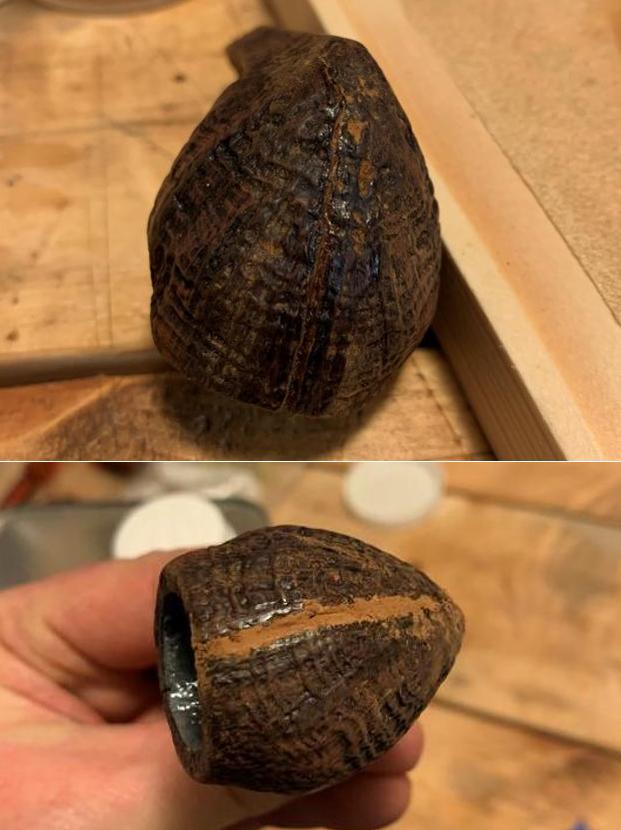
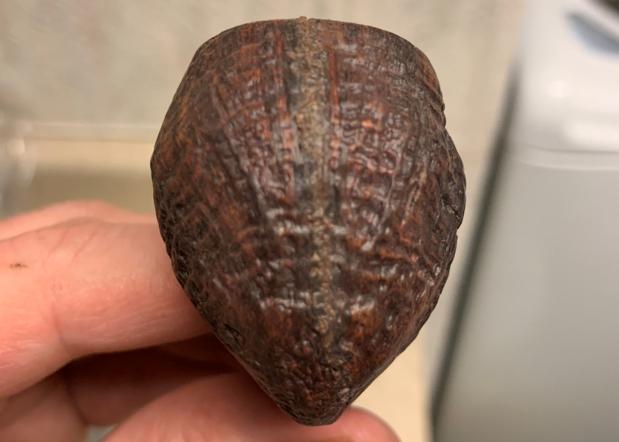
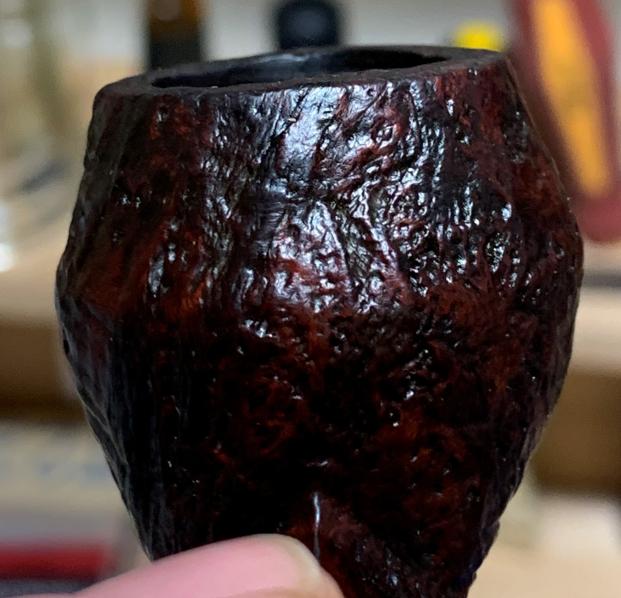
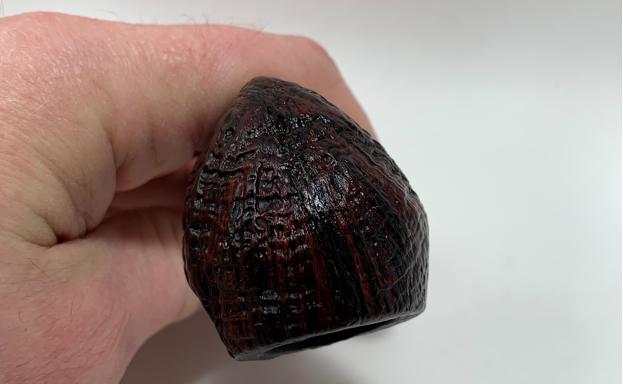
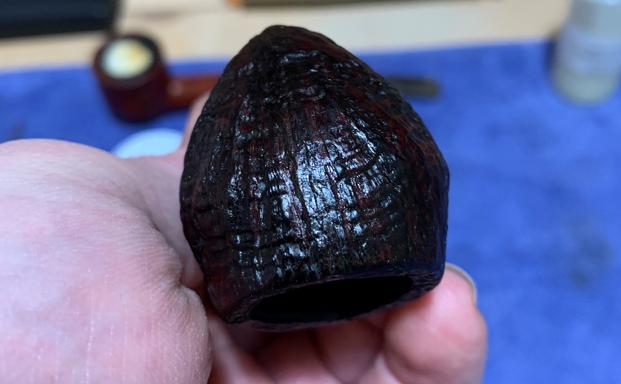
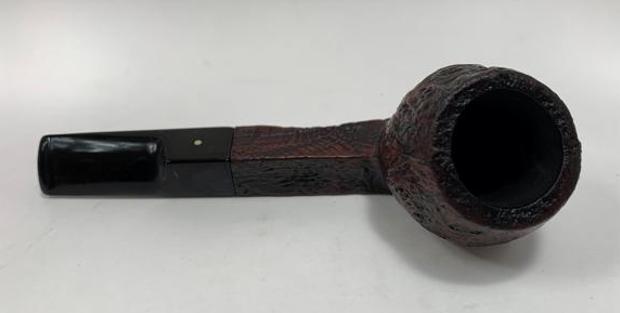
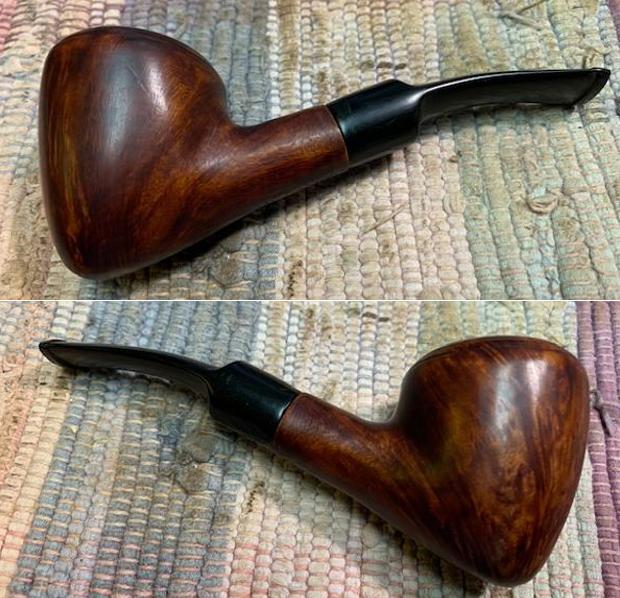
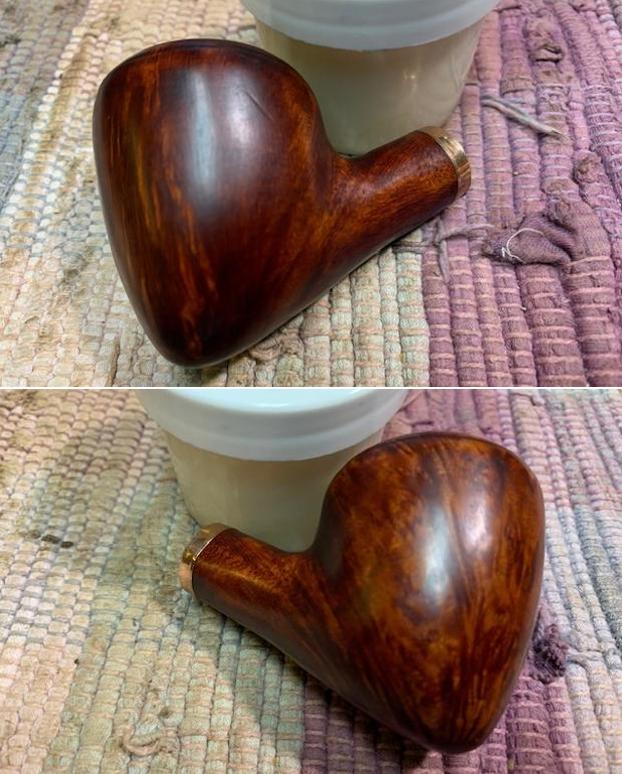
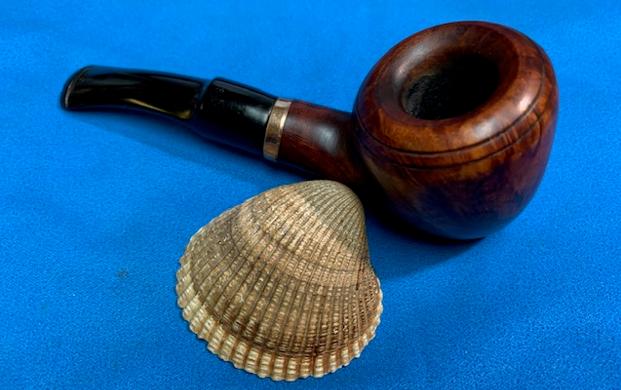
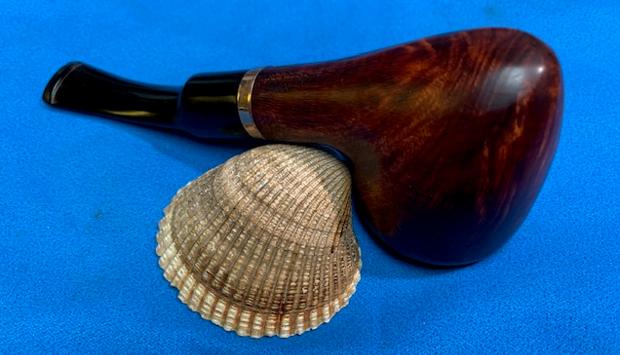
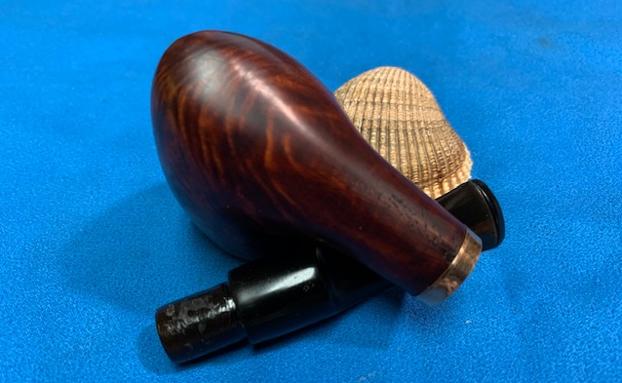
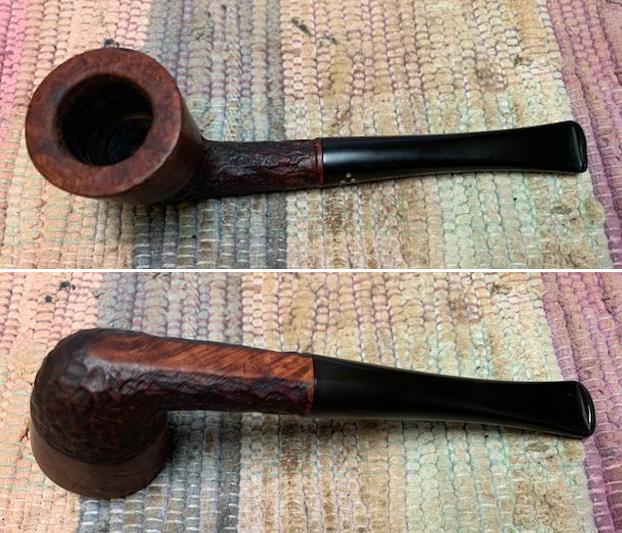
 Jeff took a photo of the side and heel of the bowl to show the smooth/rustic style of the rustication. Even under the dirt and debris of the years it looked very good.
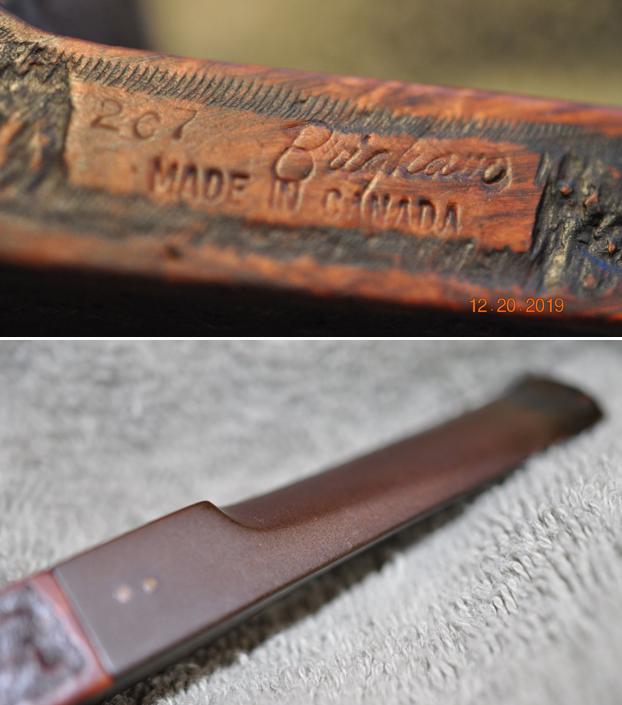
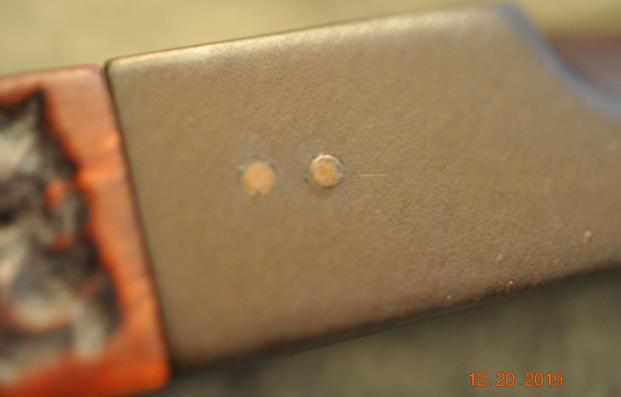
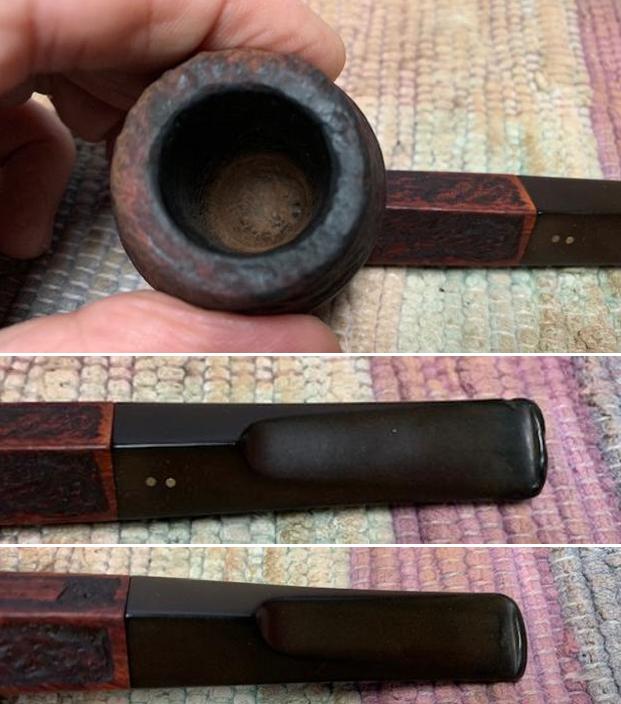
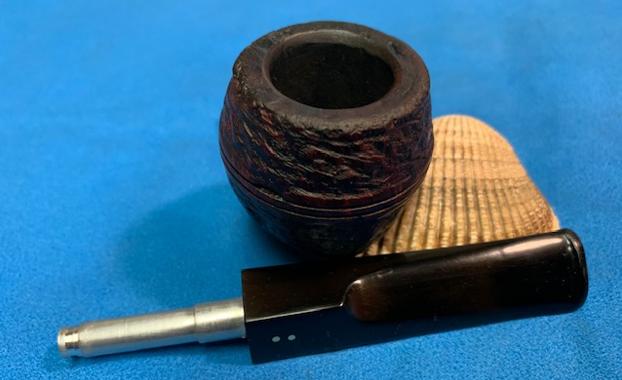
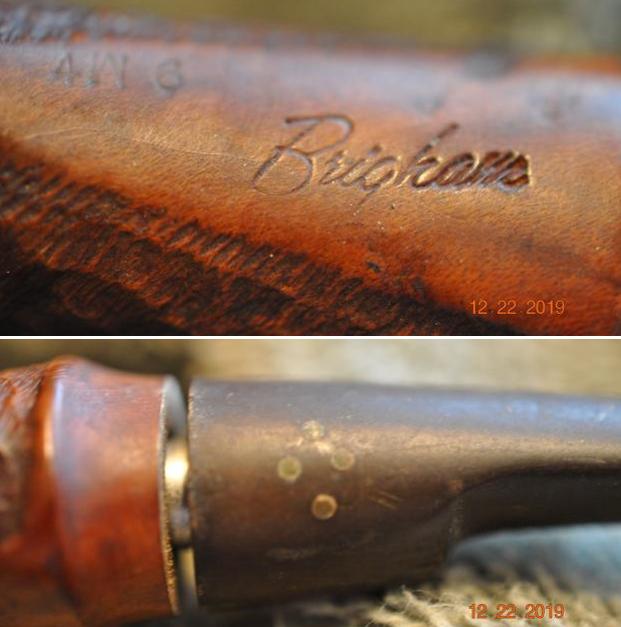
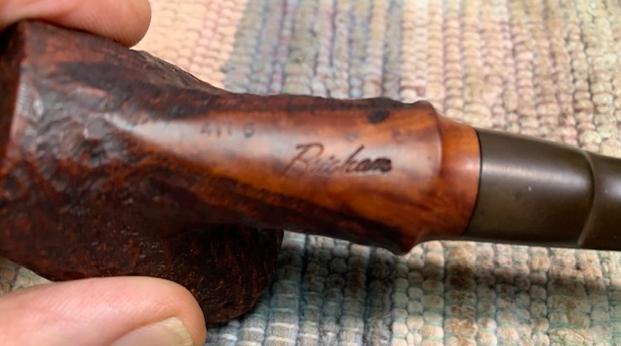
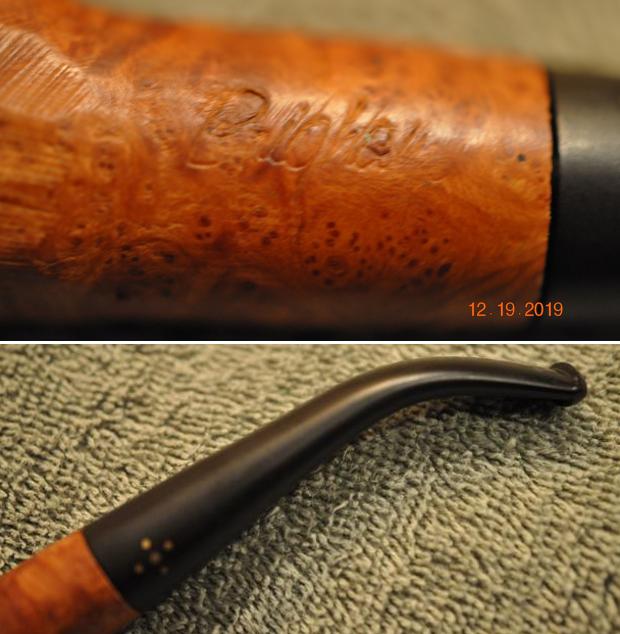
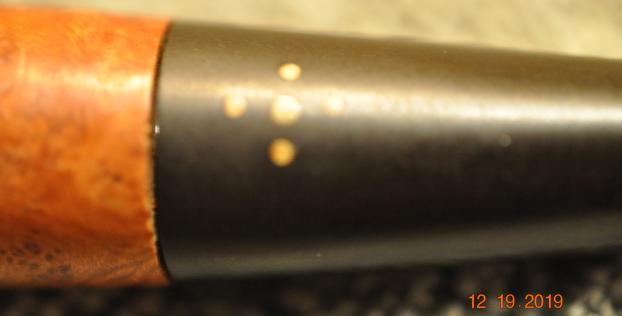
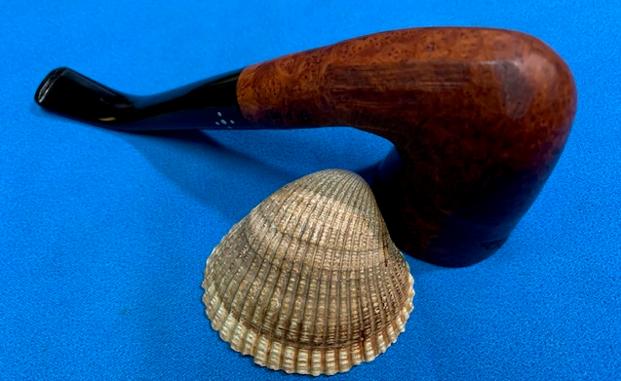
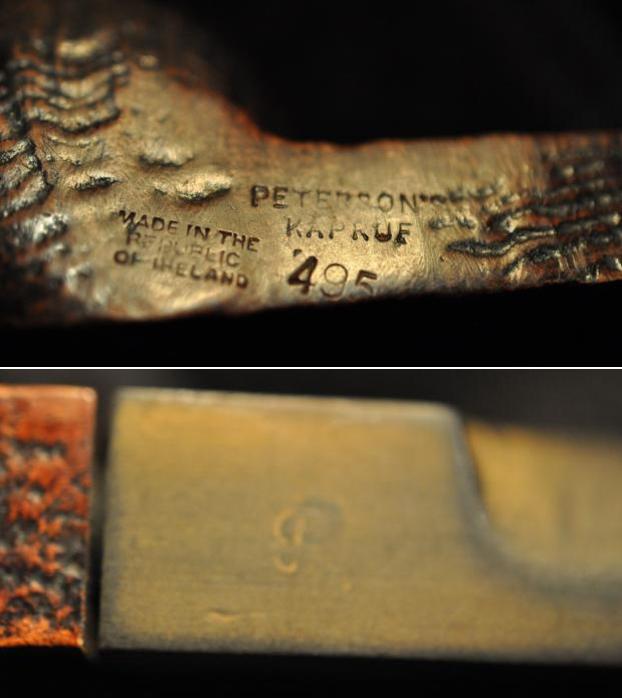
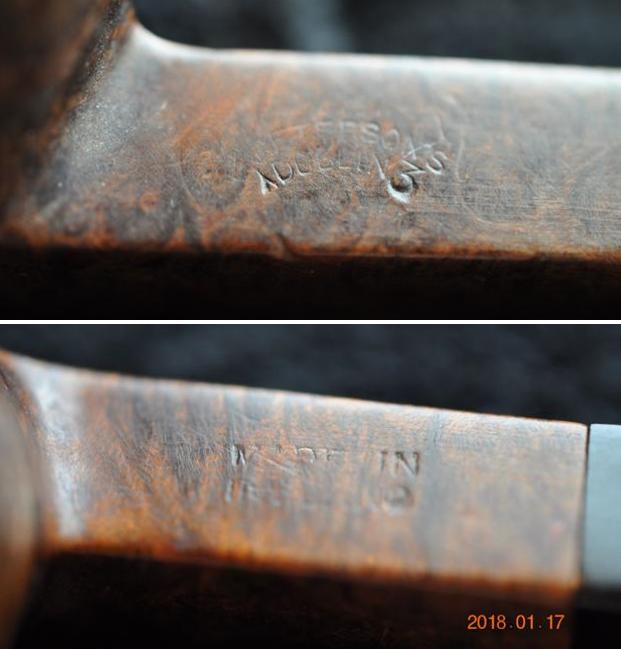
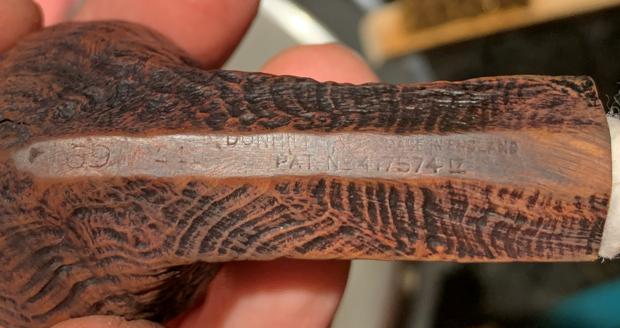
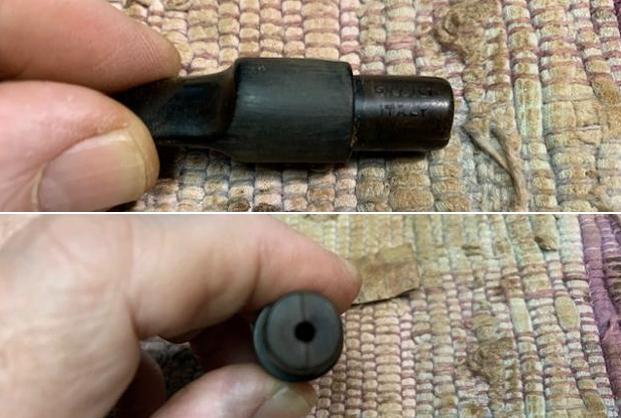
 The stamping is faint but reads as noted above. He included pics of the 2 brass dots on the stem.
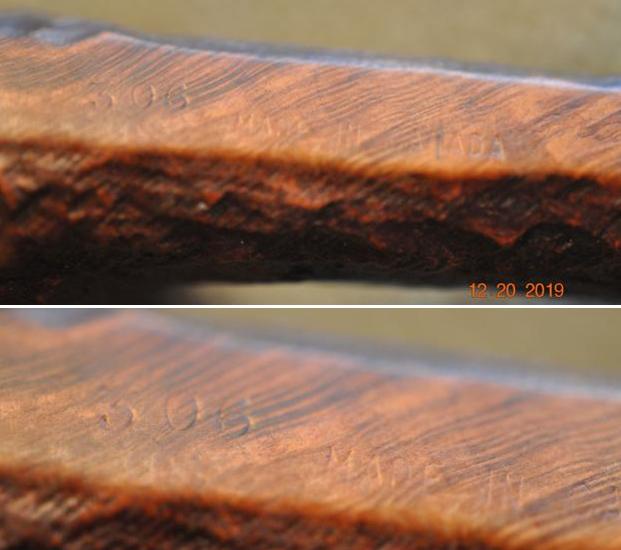
 For the needed background I am including the information from Pipedia on Brigham pipes. It is a great read in terms of the history of the brand (https://pipedia.org/wiki/Brigham_Pipes). Charles Lemon (Dadspipes) is currently working on a book on the history of the brand. Until that is complete this article is a good summary. I have included it below.
Roy Brigham, after serving an apprenticeship under an Austrian pipesmith, started his own pipe repair shop in Toronto, in 1906. By 1918 the business had grown to include five other craftsmen and had developed a reputation across Canada for the high quality of workmanship. After repairing many different brands of pipes over the years, Roy noted certain recurring complaints by pipe smokers, the most common referred to as “tongue bite”. Tongue bite is a burning sensation on the smoker’s tongue, previously thought to be due to the heat of the smoke (i.e. a “hot smoking pipe”).
He soon began manufacturing his own pipes, which were lightweight, yet featured a more rugged construction, strengthening the weak points observed in other pipes. The problem of tongue bite intrigued him, and he decided to make overcoming it a future goal.
About 1938, Roy’s son Herb joined him to assist in the business. The business barely survived the great depression because pipes were considered to be a luxury, not a necessity, and selling pipes was difficult indeed. In approximately 1937 [1], after some experimentation, Roy and Herb discovered that tongue bite was in fact a form of mild chemical burn to the tongue, caused by tars and acids in the smoke. They found that by filtering the smoke, it was possible to retain the flavour of the tobacco and yet remove these impurities and thereby stop the tongue bite.
Just as Thomas Edison had searched far and wide for the perfect material from which to make the first electric light bulb filaments, Roy & Herb began experimenting with many materials, both common and exotic, in the quest for the perfect pipe filter. Results varied wildly. Most of the materials didn’t work at all and some actually imparted their own flavour into the smoke. They eventually found just two materials that were satisfactory in pipes: bamboo and rock maple. As bamboo was obviously not as readily available, rock maple then became the logical choice.
They were able to manufacture a replaceable hollow wooden tube made from rock maple dowelling, which when inserted into a specially made pipe, caused absolutely no restriction to the draw of the pipe, yet extracted many of the impurities which had caused tongue bite. The result was indeed a truly better smoking pipe…
I sent Charles a quick email asking him about this pipe and sent along a photo of the Dublin pipe. I have included his response below.
306 Dublin – there were three sizes of Straight Dublin pipes in the original Brigham lineup -Shapes 5, 6 and 7, with 5 being the smallest and 7 the largest. Your 306, then, is a Medium Straight Dublin in what was then called the “Exclusive” grade. If the “Made in Canada” stamp is block letters in a single line separate from the Brigham logo, the pipe dates from between 1955 to about 1970. If the COM stamp is smaller and positioned under the Brigham logo, it will be a later production, made sometime in the 1970s. The Brigham lineup expanded to 6 grades from the mid-1950s to the early 1960s, and again to 8 grades by the mid-1960s.
With the information from Charles I knew what I was dealing with in terms of the stamping and the age of this pipe. I learned that the pipe was originally made between 1955 and 1970 (approximately) because of the stamping on the shank. Now it was time to work on the pipe.
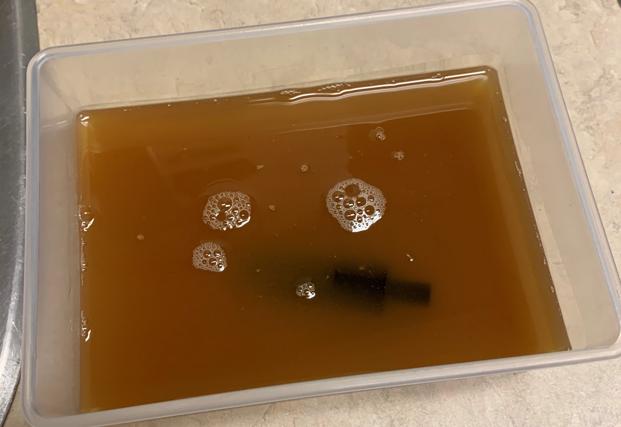
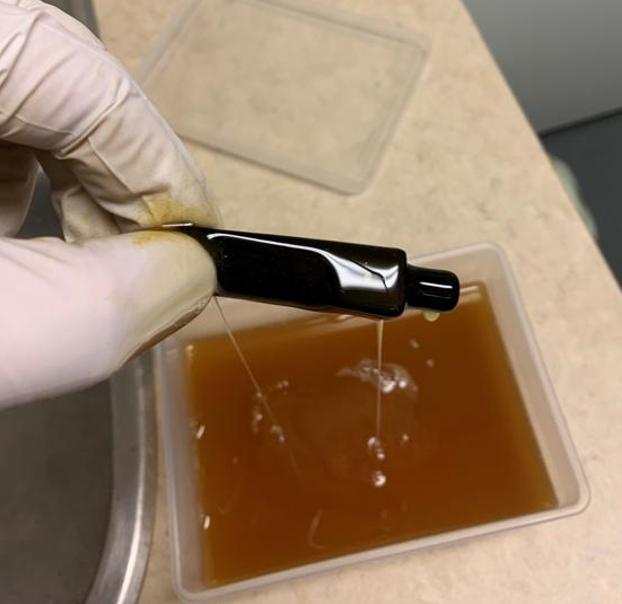
I am really happy to have Jeff’s help on cleaning up the pipes that we pick up along the way. He cleaned this filthy pipe with his usual penchant for thoroughness that I really appreciate. This one was a real mess and I did not know what to expect when I unwrapped it from his box. He reamed it with a PipNet pipe reamer and cleaned up the reaming with a Savinelli Fitsall Pipe Knife. He scrubbed out the internals with alcohol, pipe cleaners and cotton swabs until the pipe was clean. He scrubbed the exterior of the bowl with Murphy’s Oil Soap and a tooth brush to remove the grime and grit on the briar and the lava on the rim top. The finish looks very good with the combined smooth bowl top half and the great looking rustication on the rest of the bowl and shank. Jeff soaked the stem in Before & After Deoxidizer to remove the oxidation on the rubber. He scrubbed it with Soft Scrub All Purpose Cleaner to remove the majority of the oxidation. When the pipe arrived here in Vancouver it looked very good. I took some close up photos of the pipe before I started my part of the restoration. 
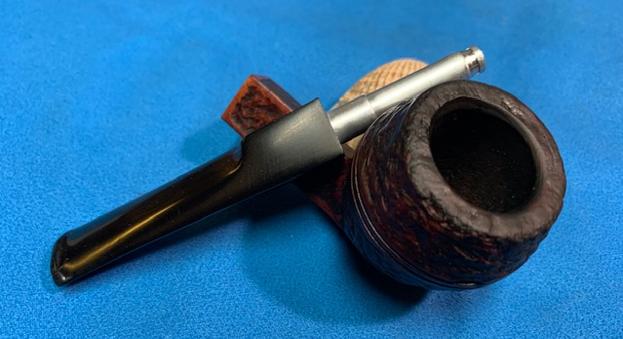
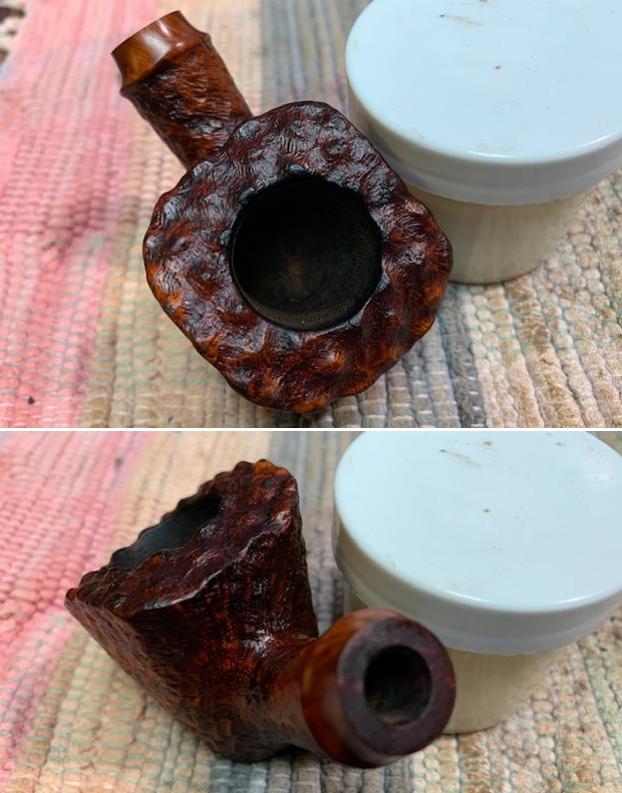
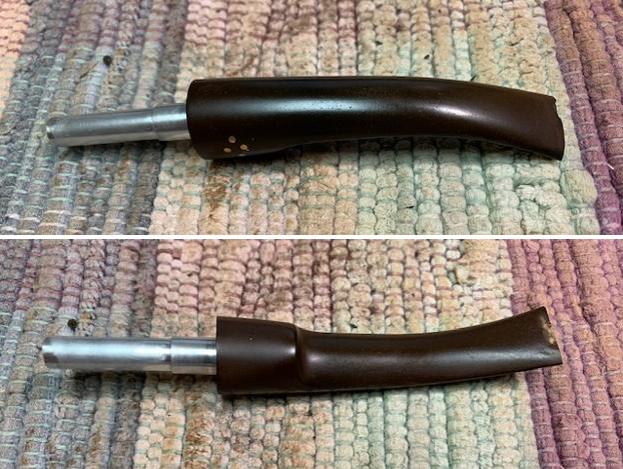
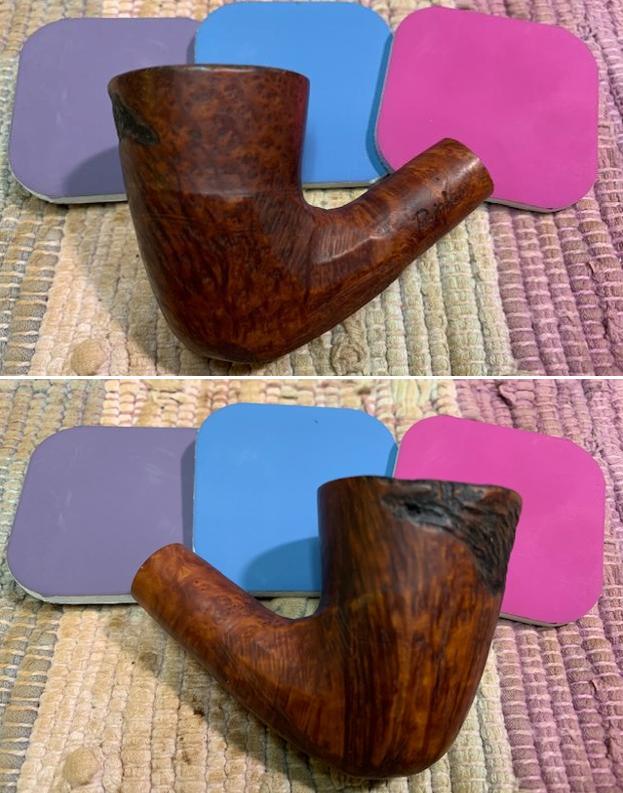
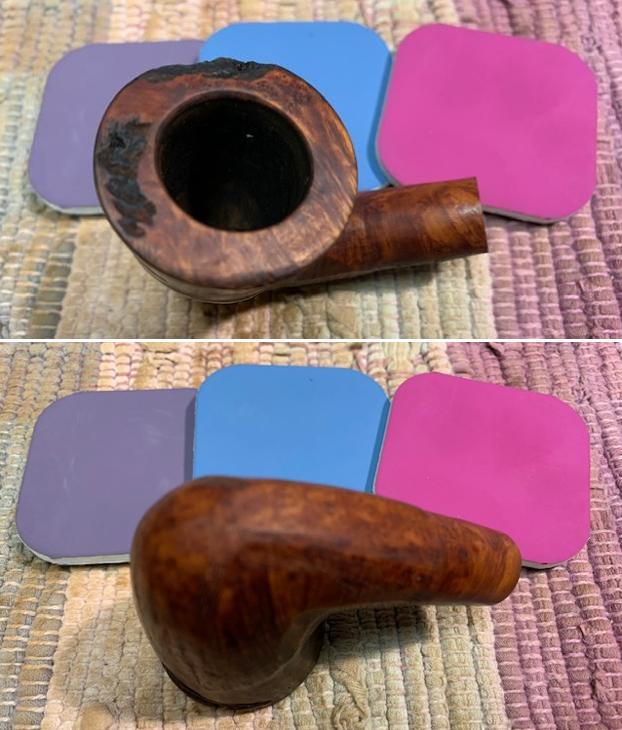
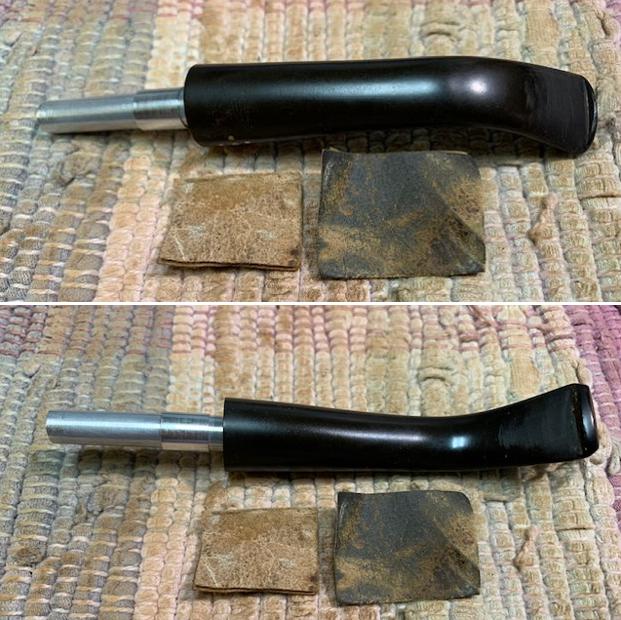
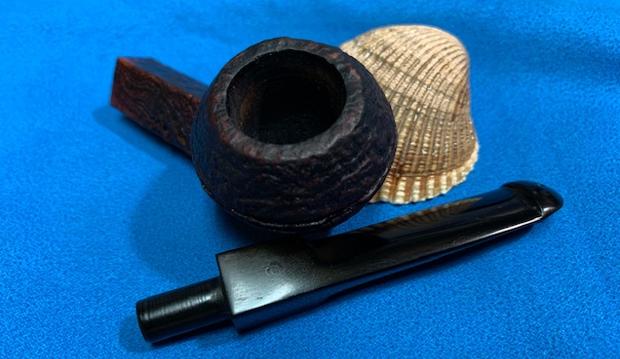
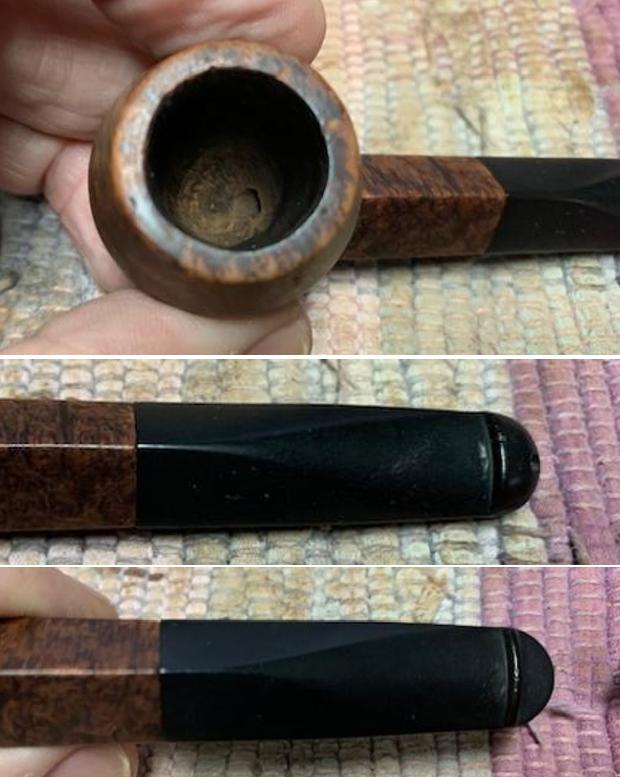
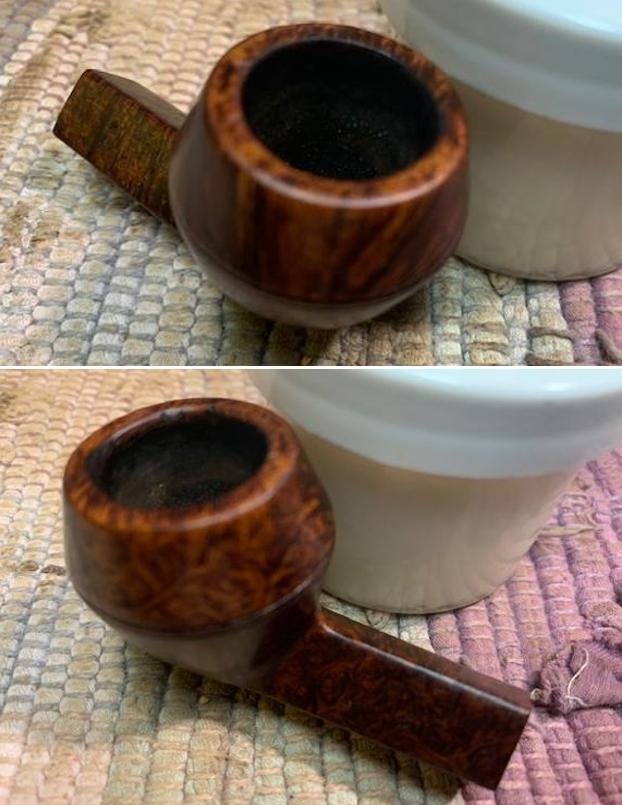
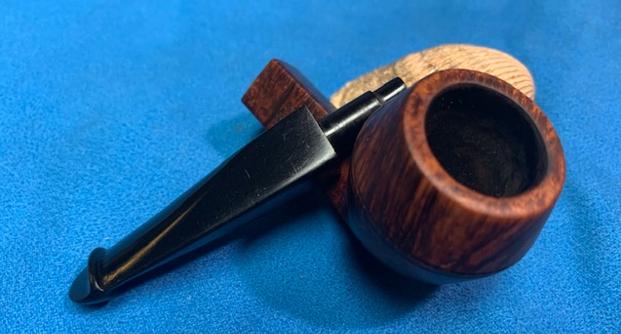
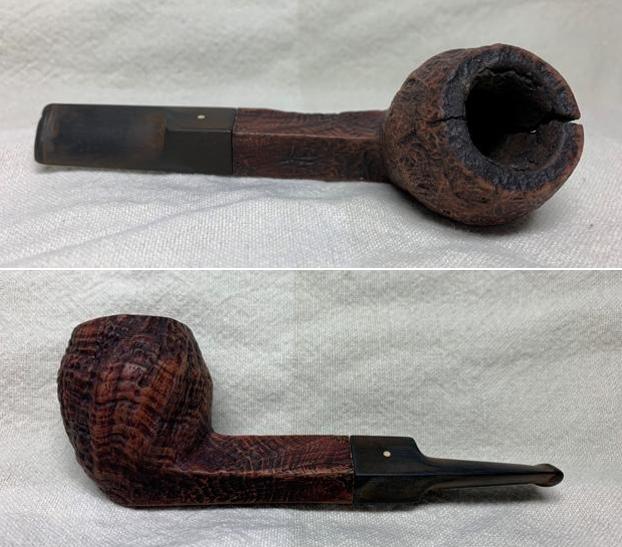
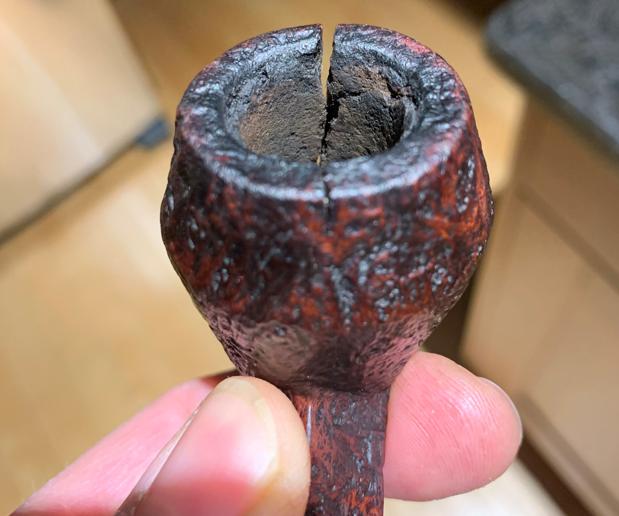
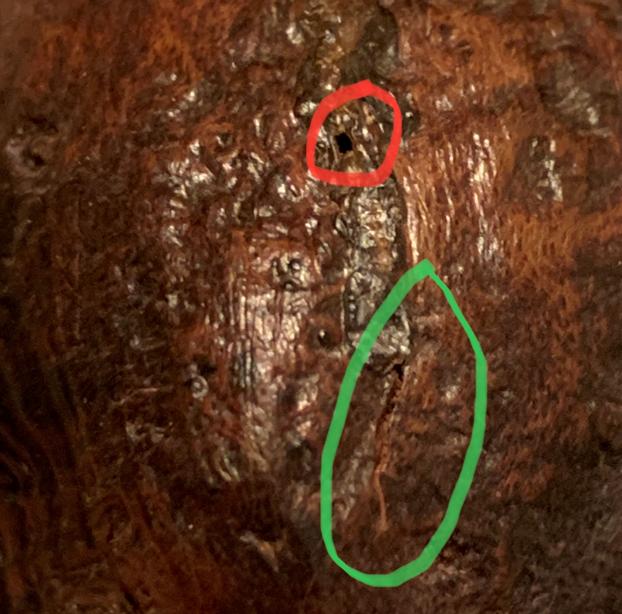
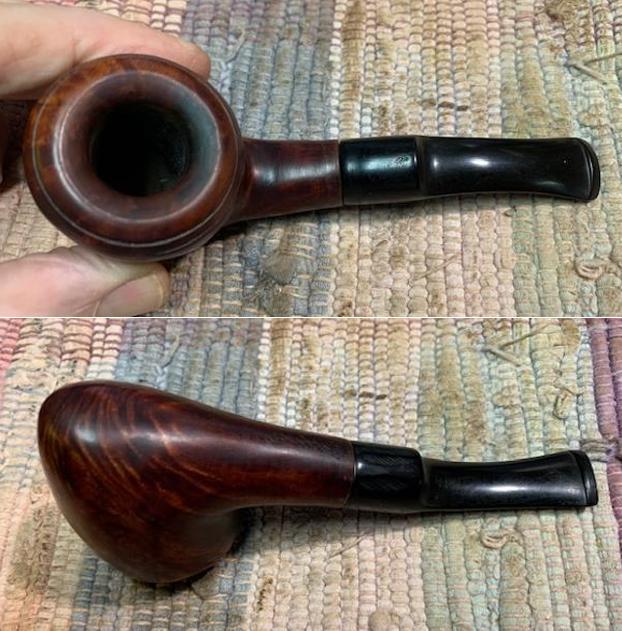
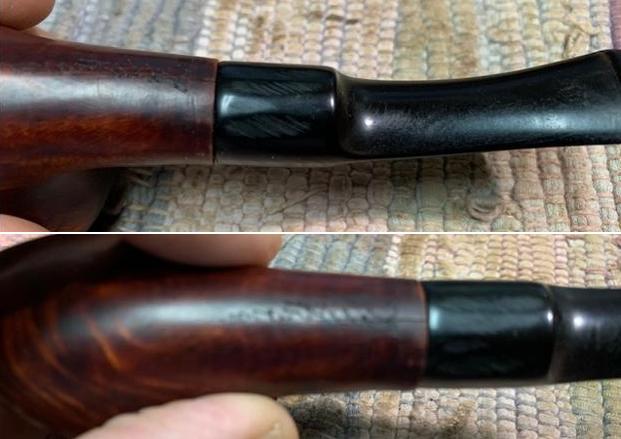
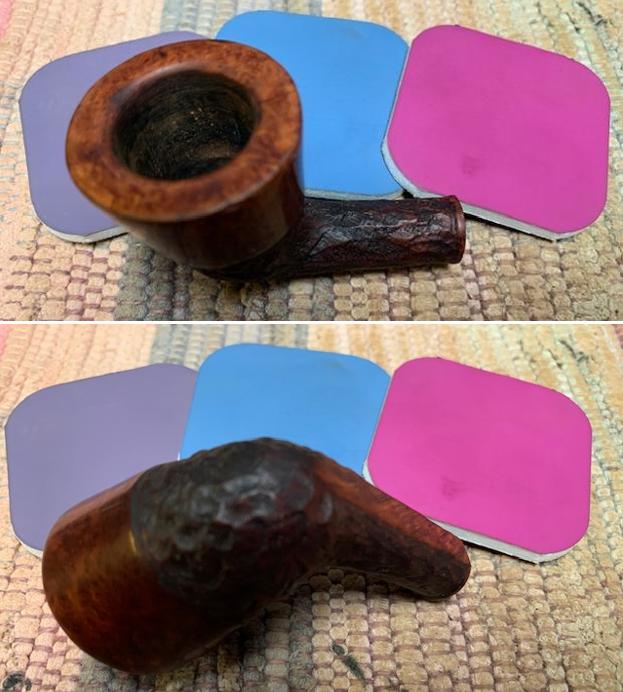
 I took photos of the bowl and rim top as well as both sides of the stem to show its condition. The rim top and edges looked good. There was a large scratch on the rim top just to the right of the rear of the bowl. It looks like a crack but it is actually a scratch I the surface. I took close up photos of the stem to show the tooth marks on the top and underside ahead of the button and on the top edge of the button as well.
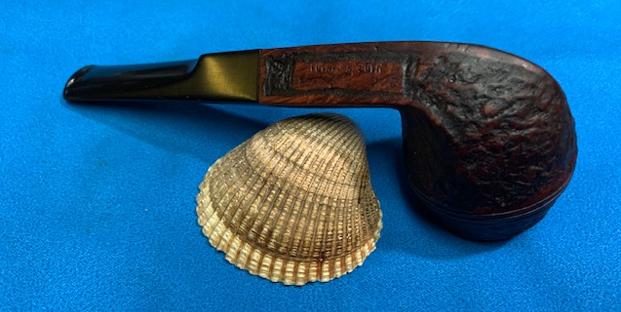
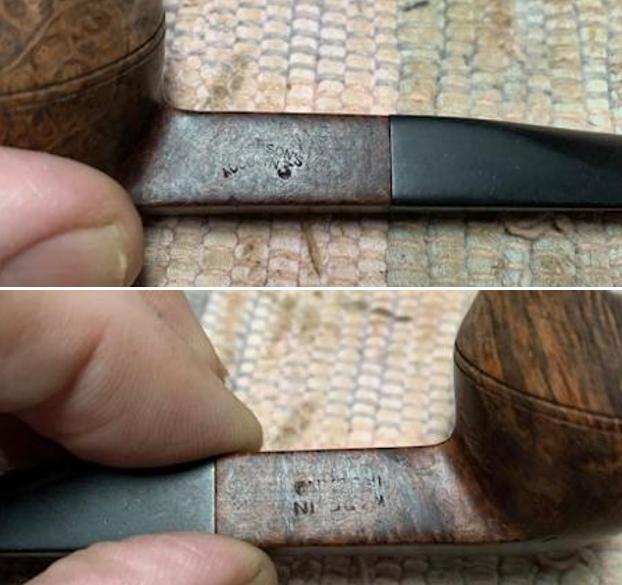
 I took a photo of the stamping on the smooth underside of the shank. You can see that it is stamped as noted above. It is faint but readable.
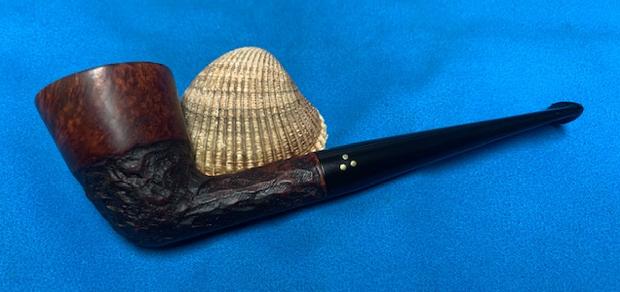
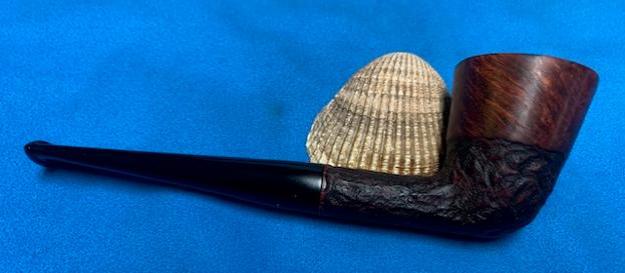
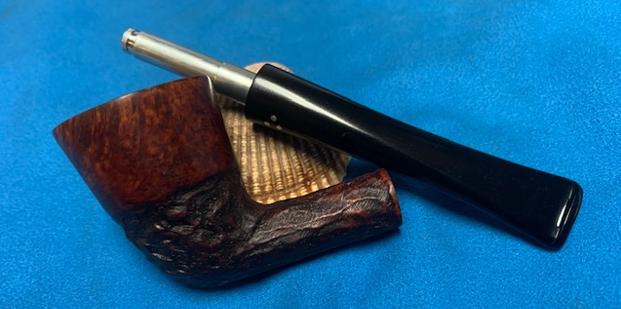
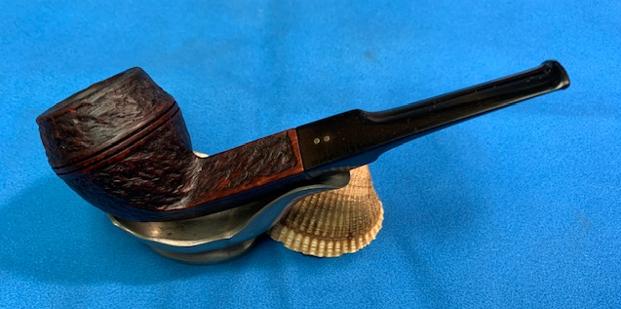
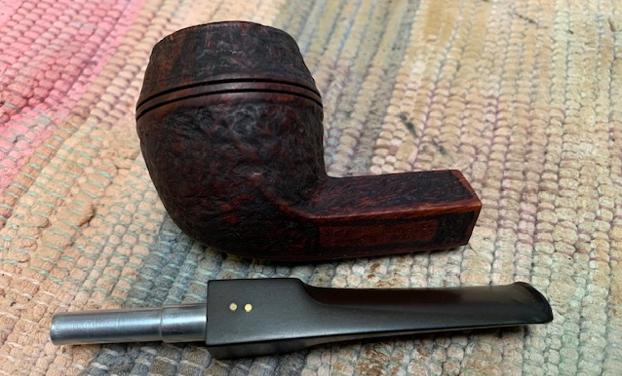
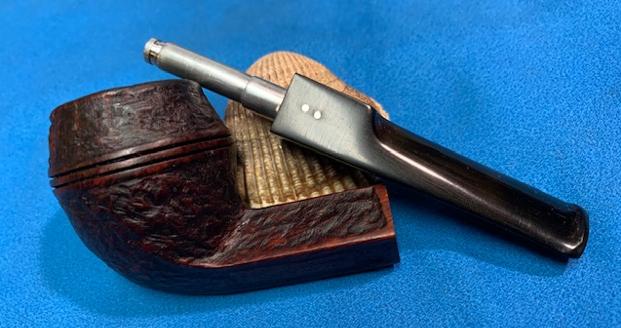
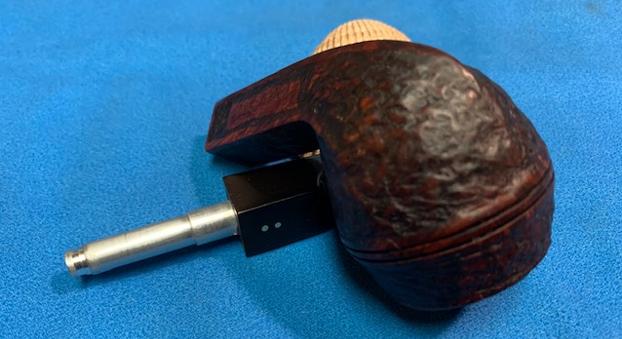
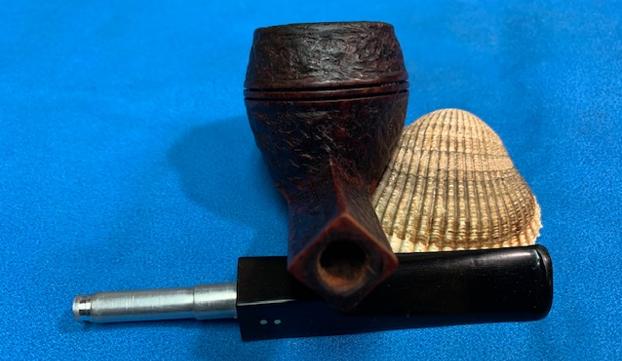
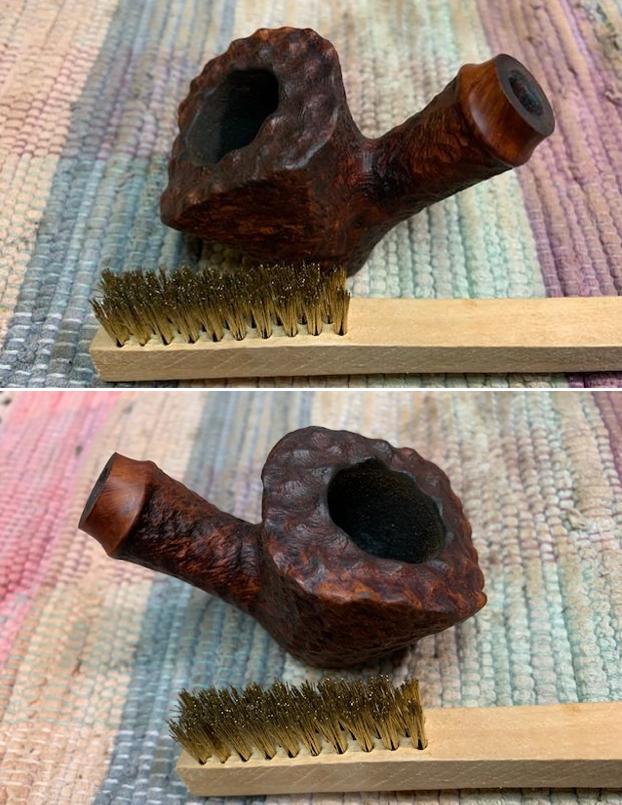
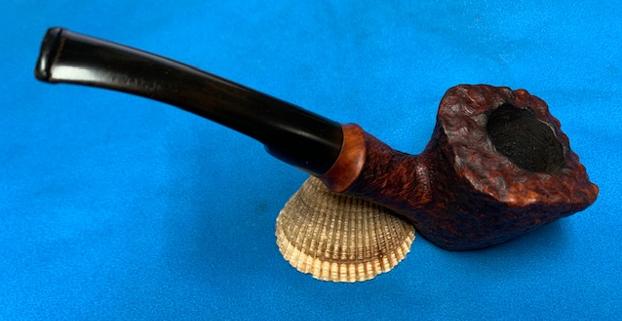
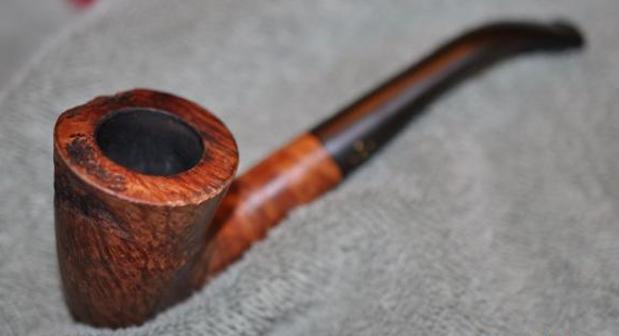
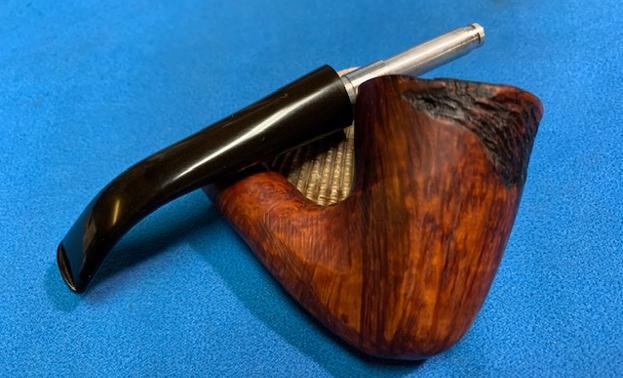
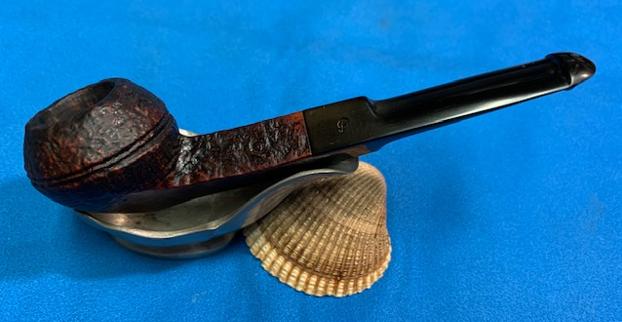
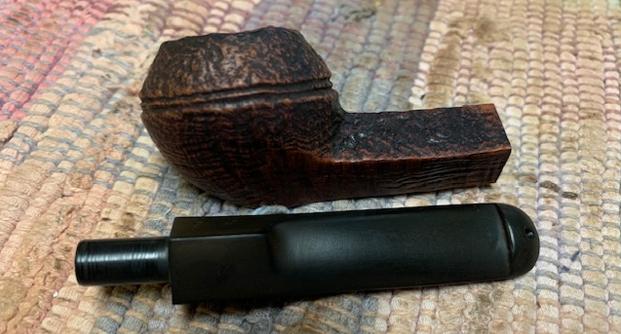
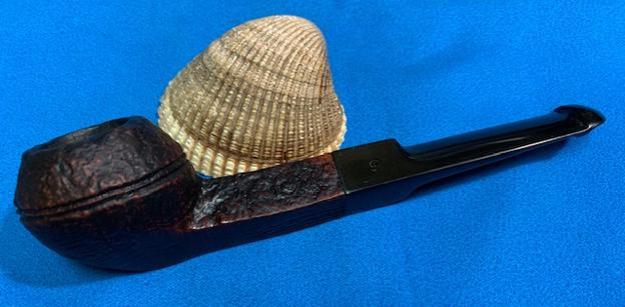
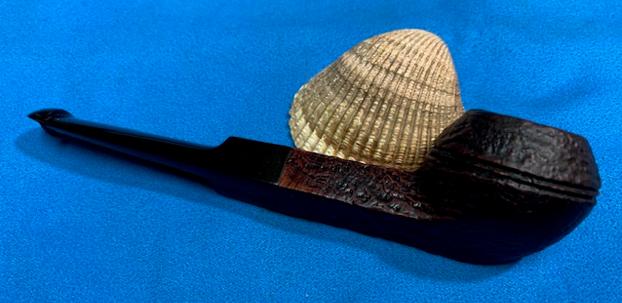
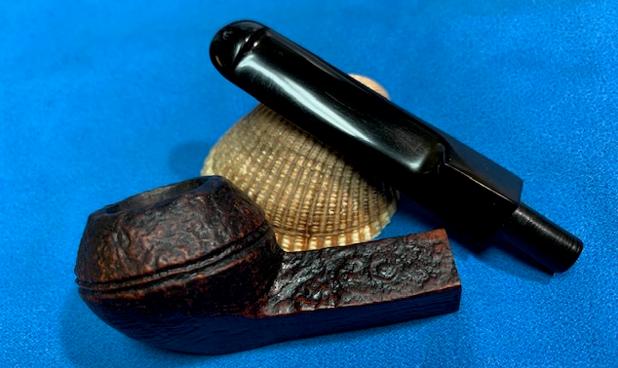
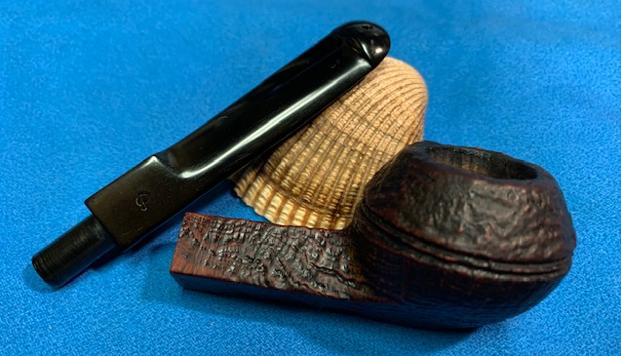
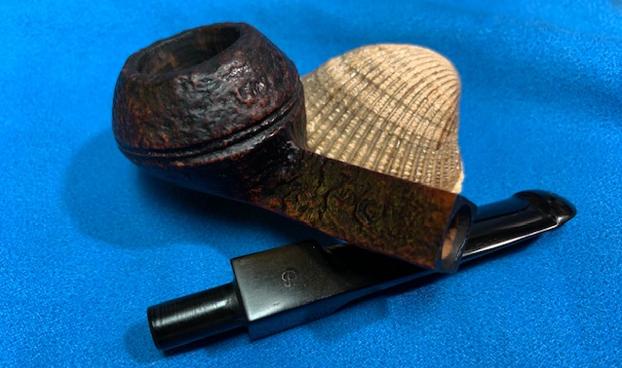
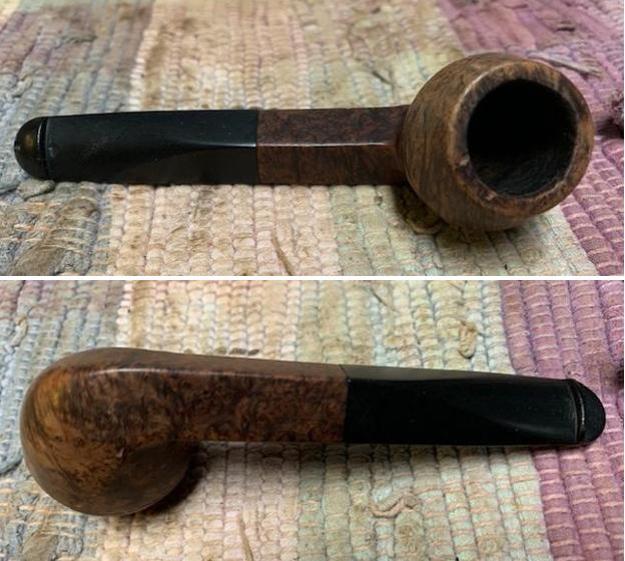
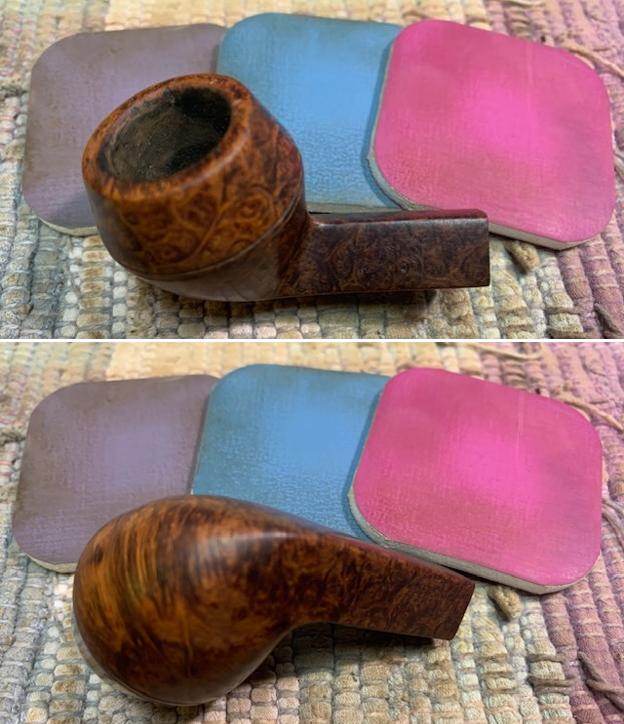
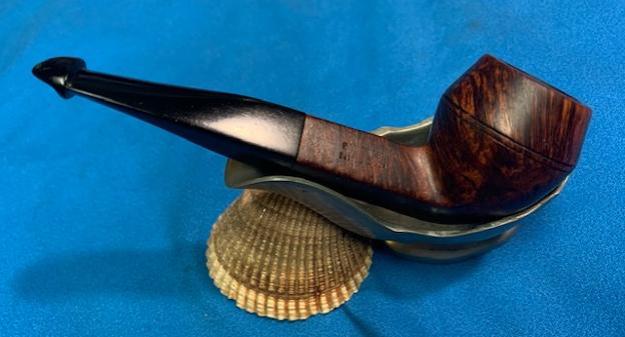
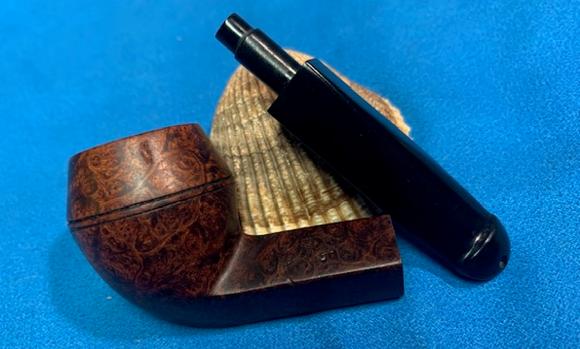
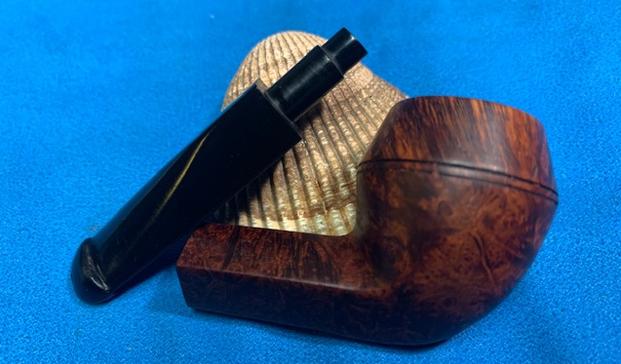
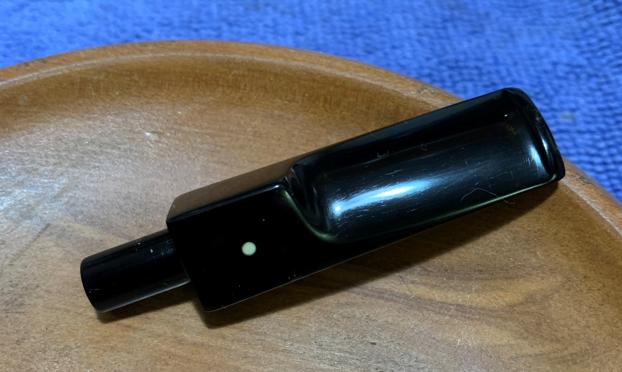
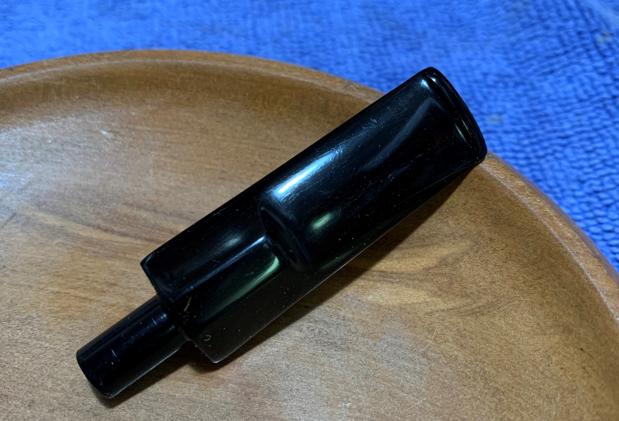
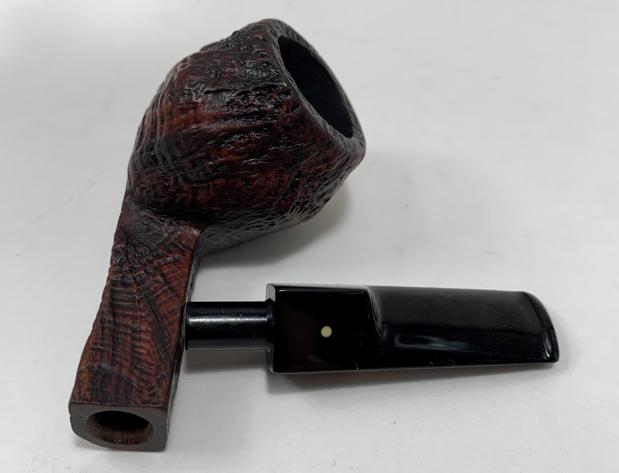
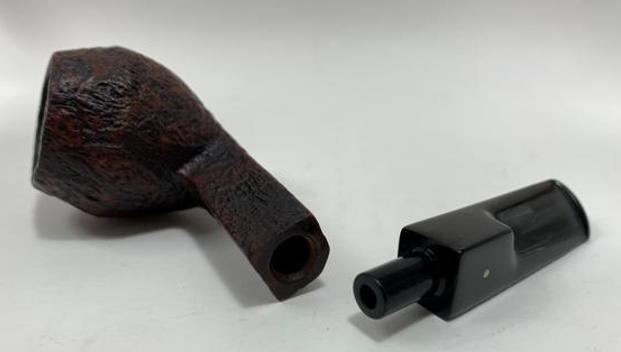
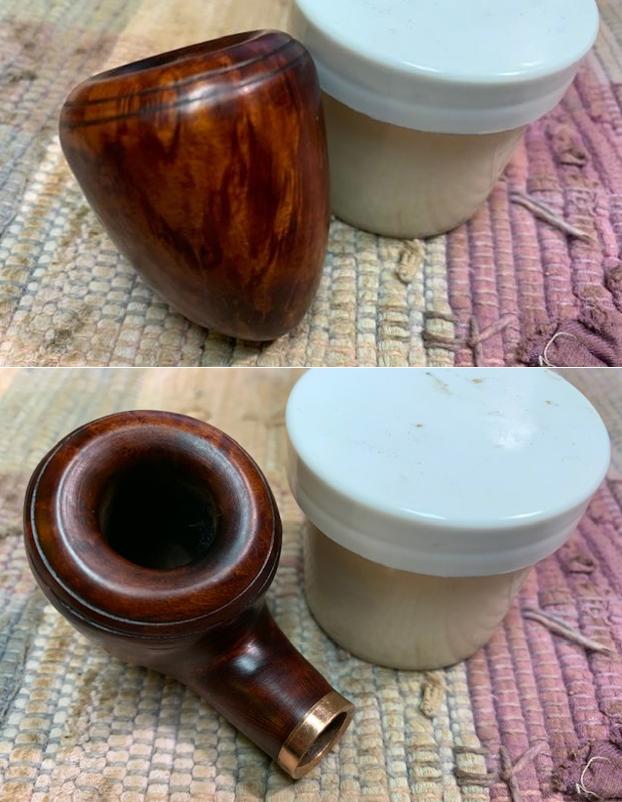
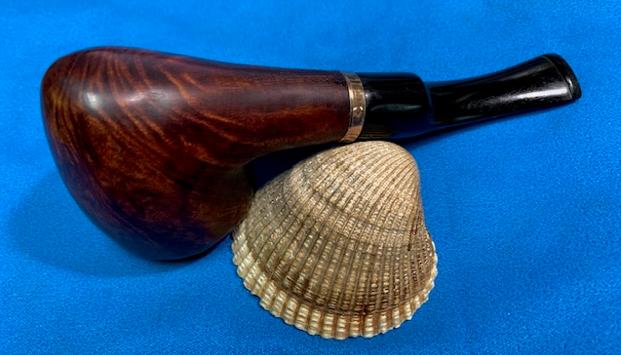
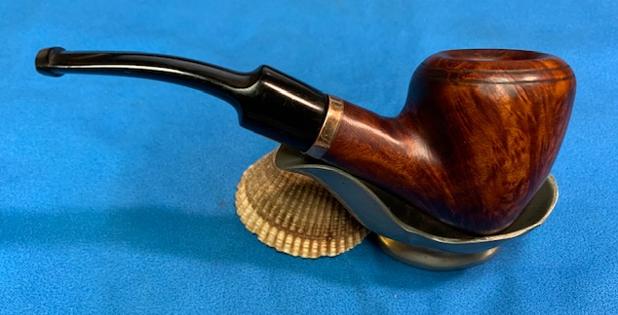
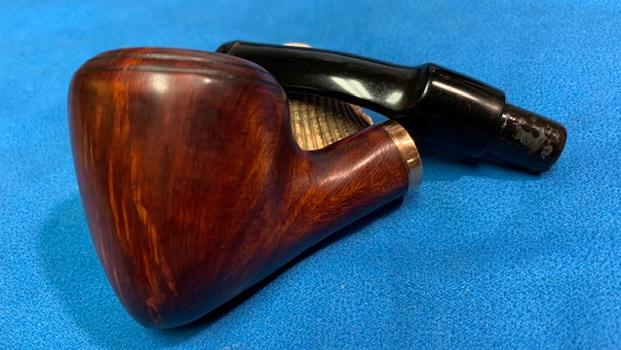
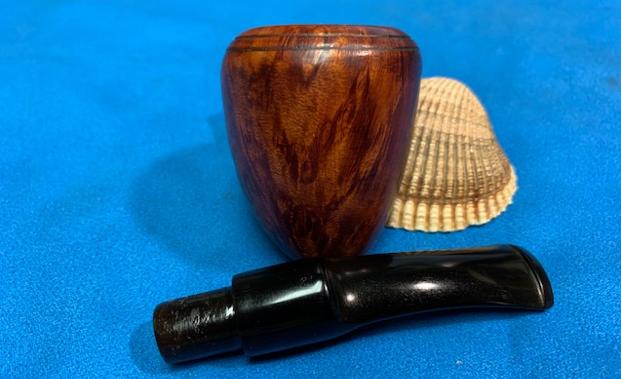
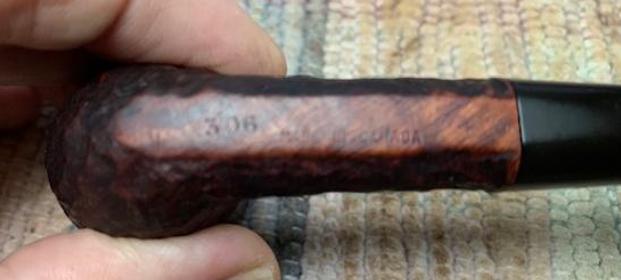 I took the pipe apart and took a photo of the pipe. It is an interesting pipe that you can see the smooth portion of the bowl and the rustic finish on in the photo below. The combination of finishes makes this a beautiful pipe.
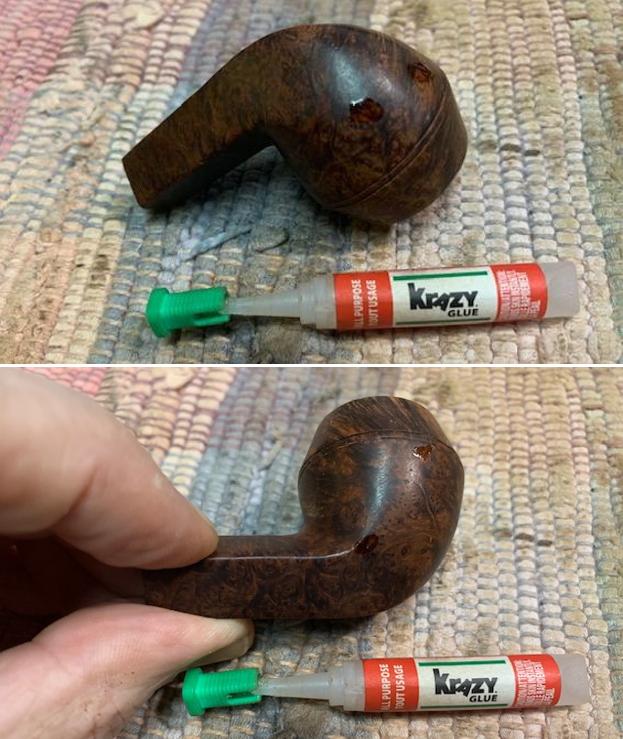
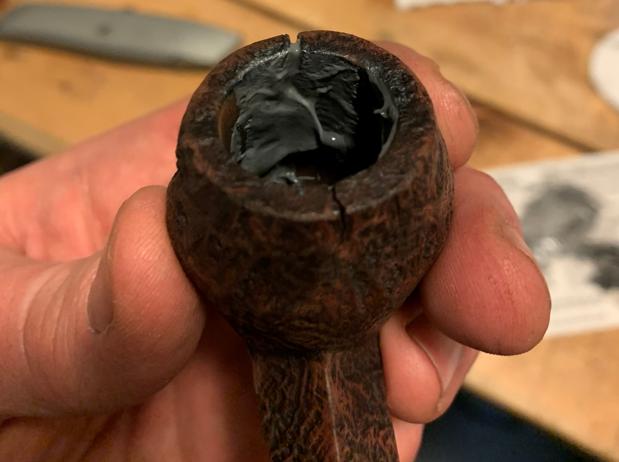
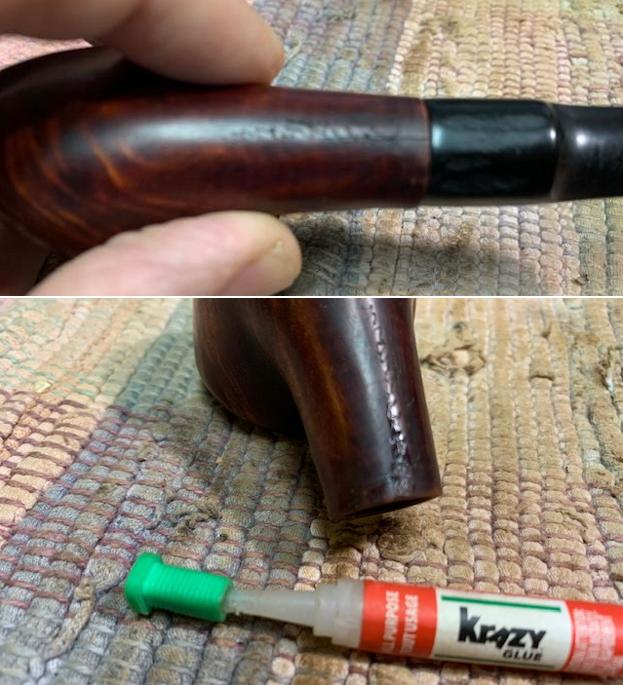
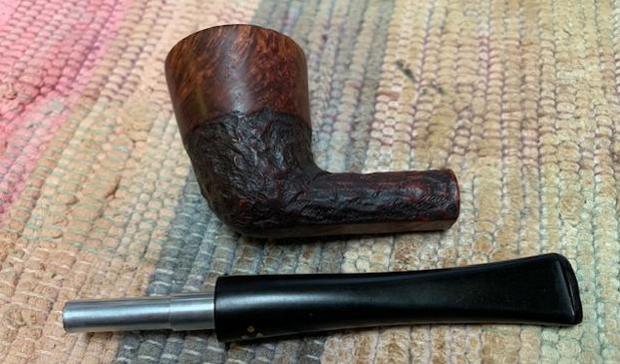 I decided to start my restoration work on this one by cleaning up the rim top and edges of the bowl. I filled in the deep scratch on the rim top with clear CA. Once the repair cured I sanded it smooth to blend it into the rest of the rim top.
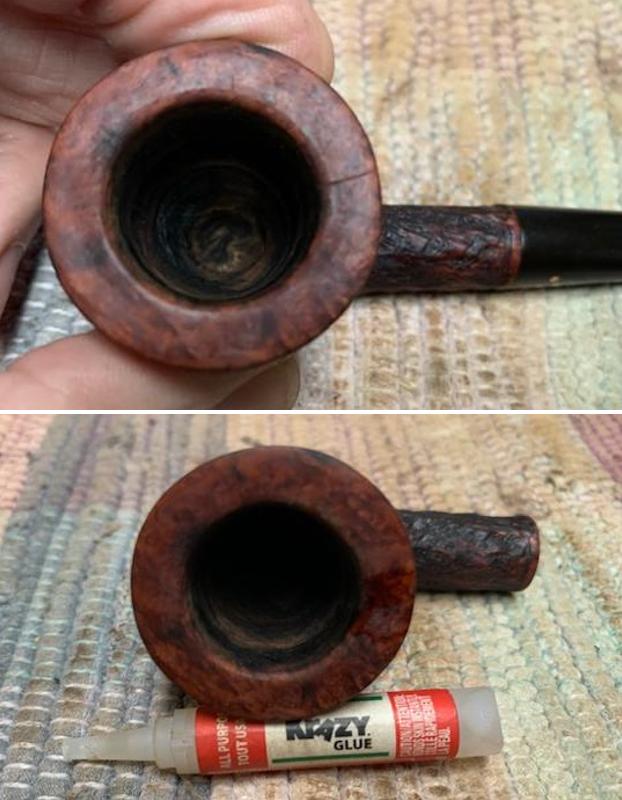
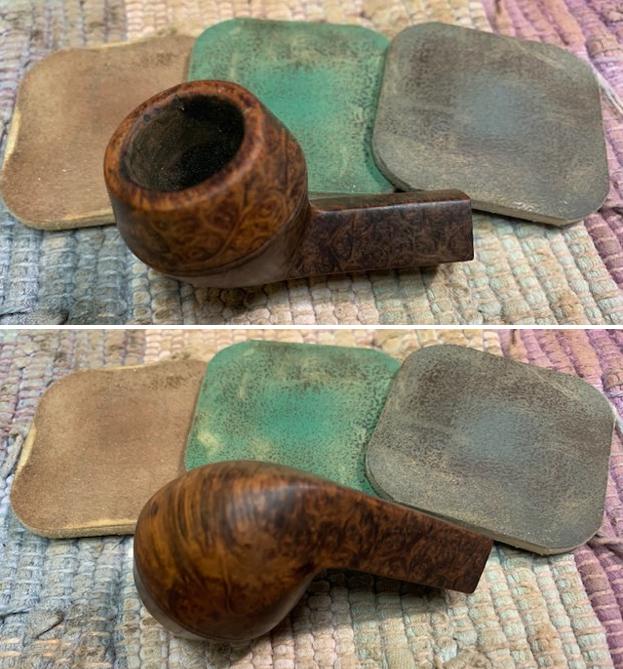
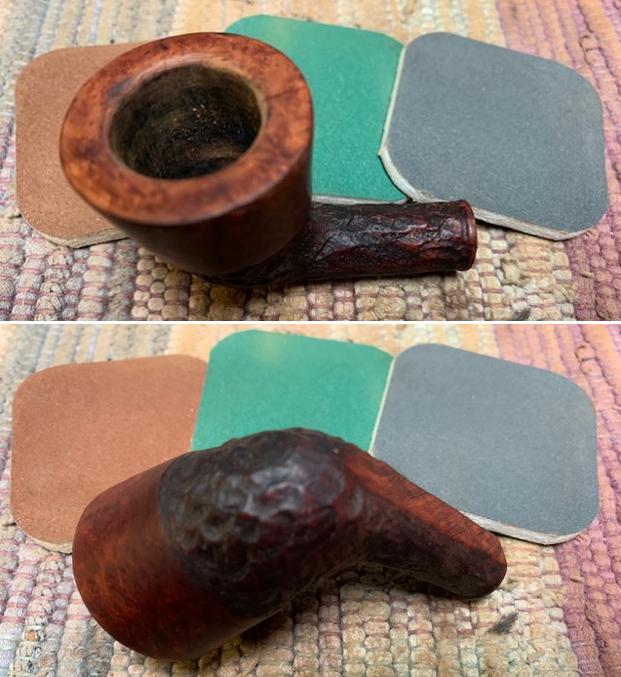
 I sanded the inner edge with a folded piece of 220 grit sandpaper and gave it a slight bevel to take care of the burn marks on the edge. The bowl looks much better once I had finished.
 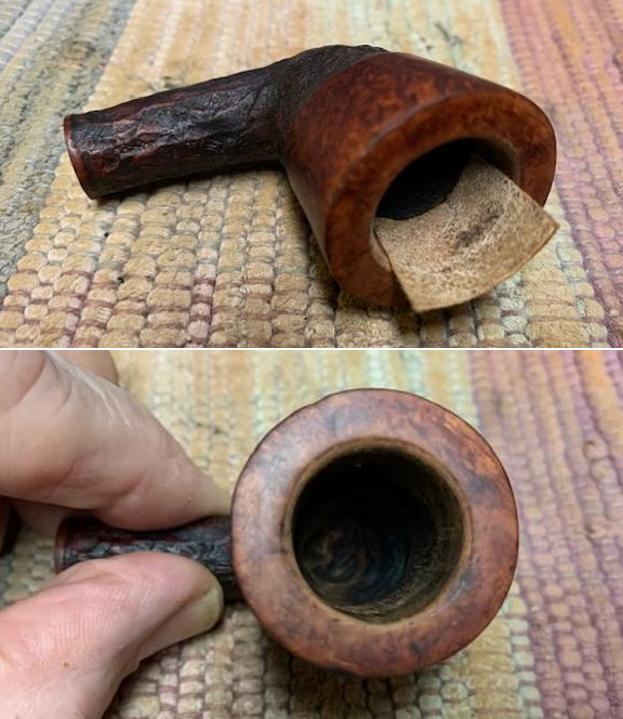 I polished the rim top and smooth portions on the bowl with micromesh sanding pads. I dry sanded it with 1500-12000 grit sanding pads. I wiped the finish down after each sanding pad with a damp cloth to remove the debris from sanding. The bowl started to really take on a shine as I worked it over.


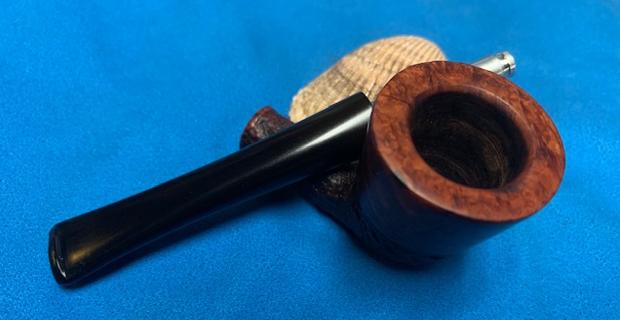
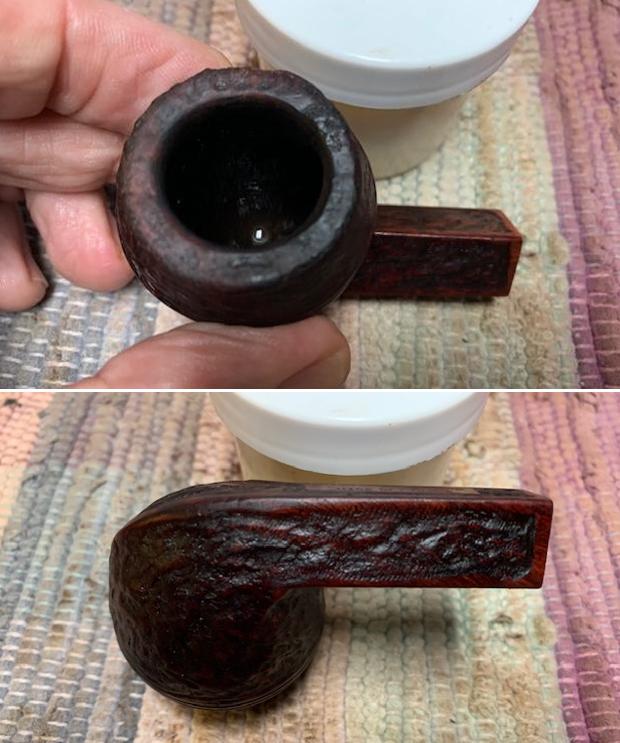
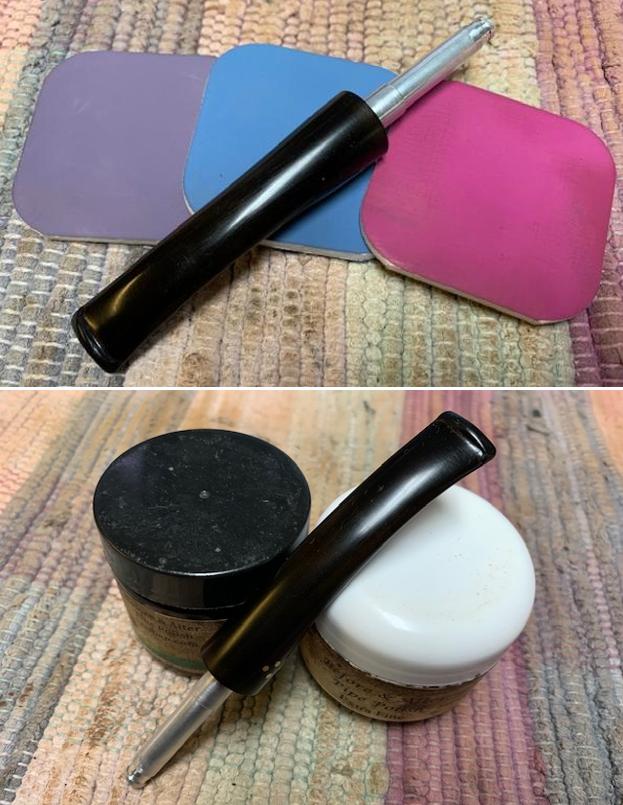
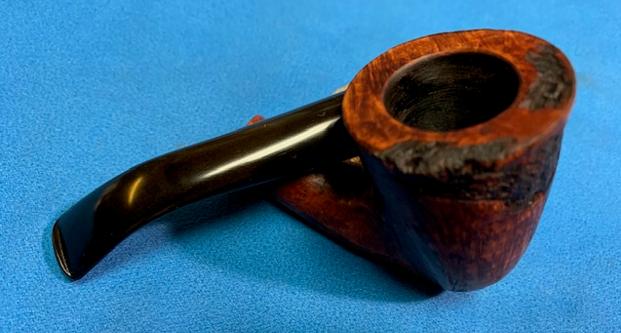
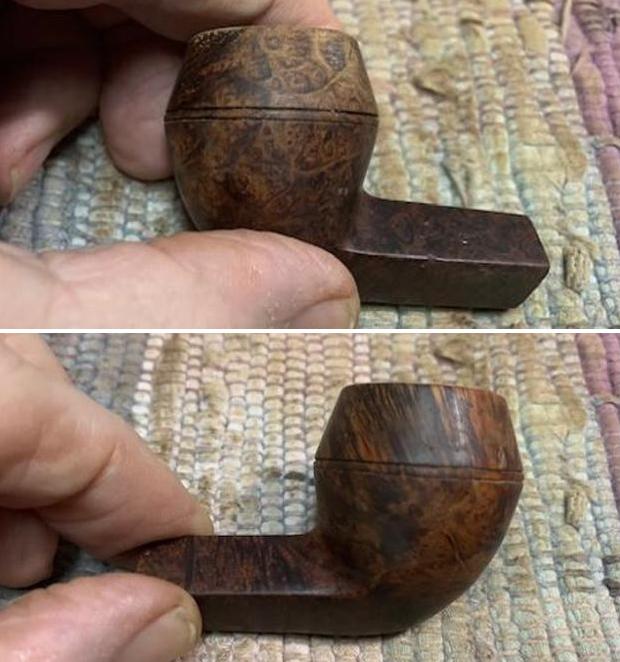
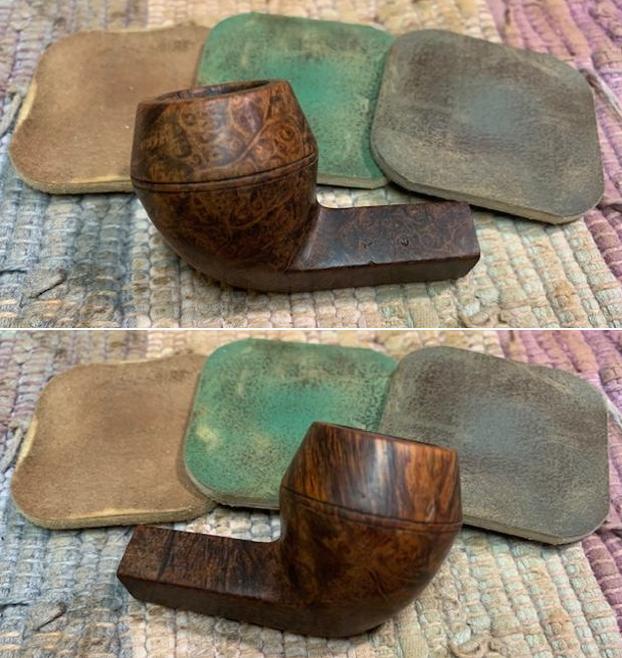
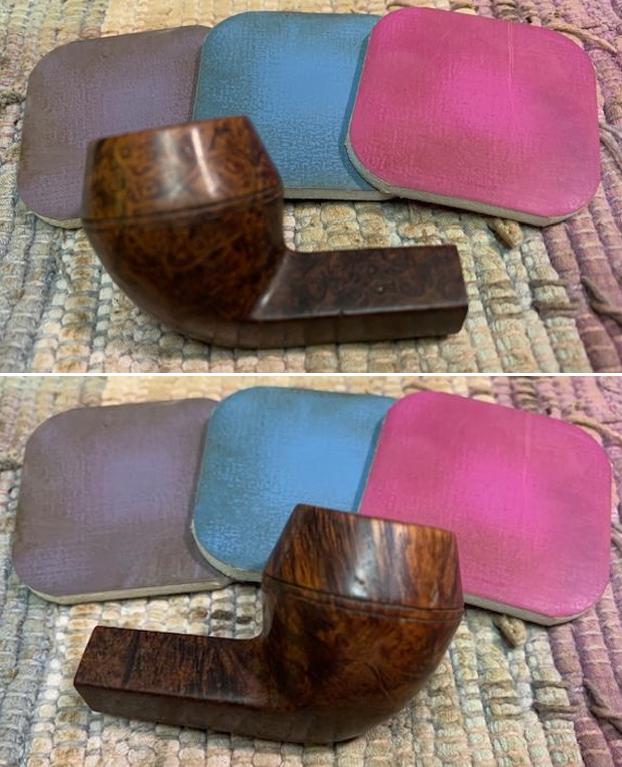
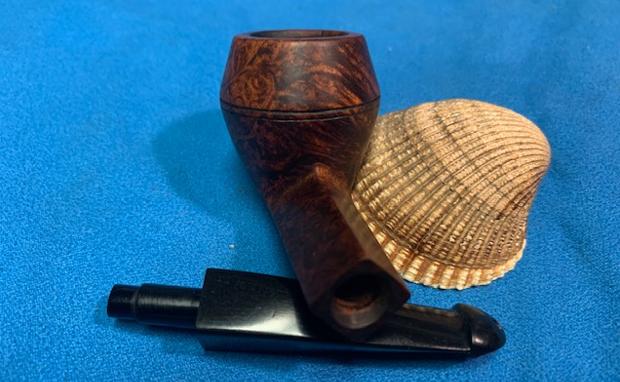
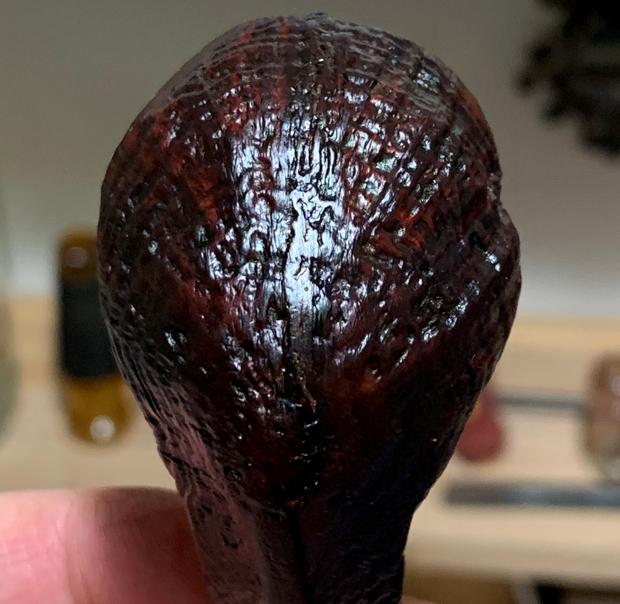
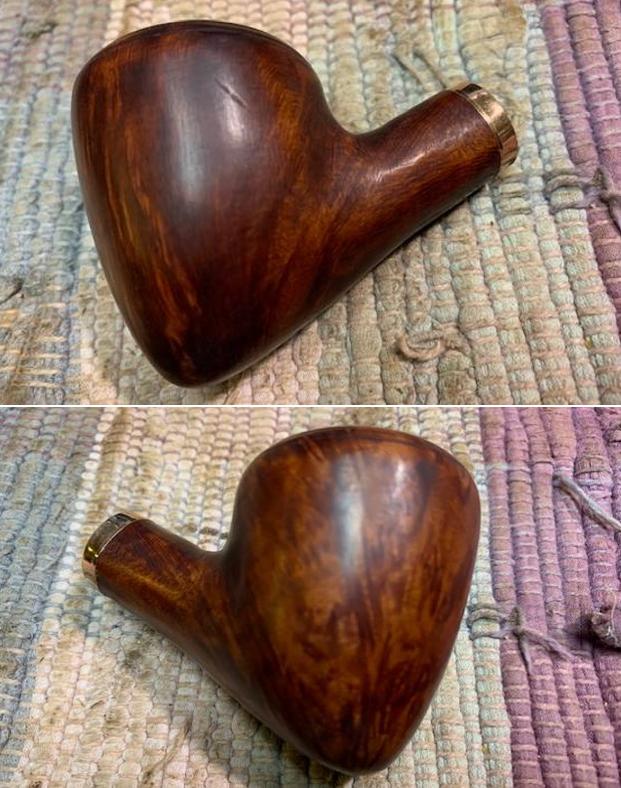
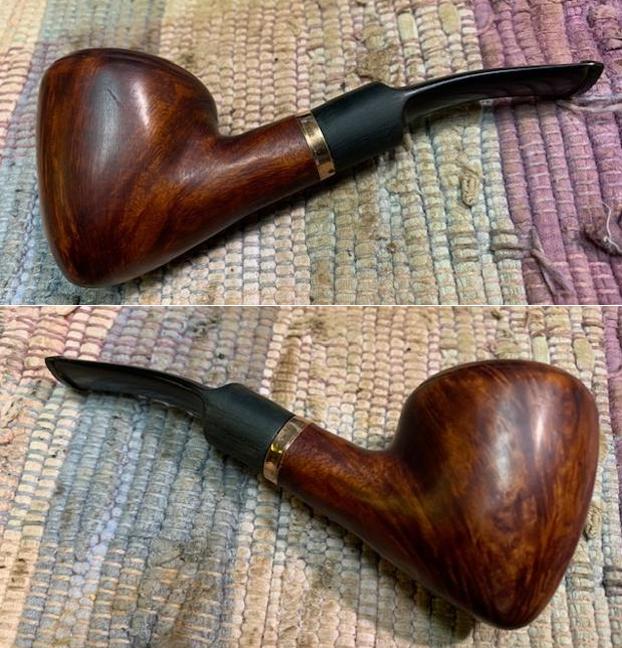
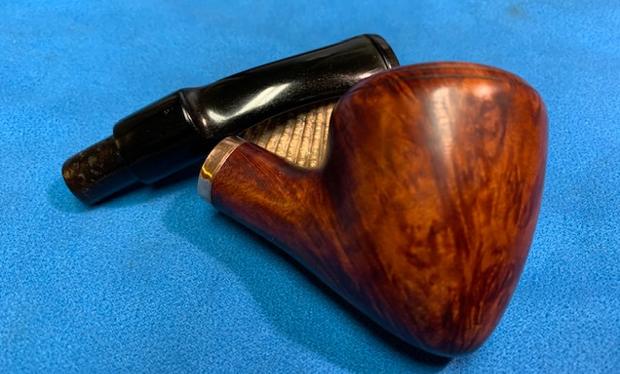
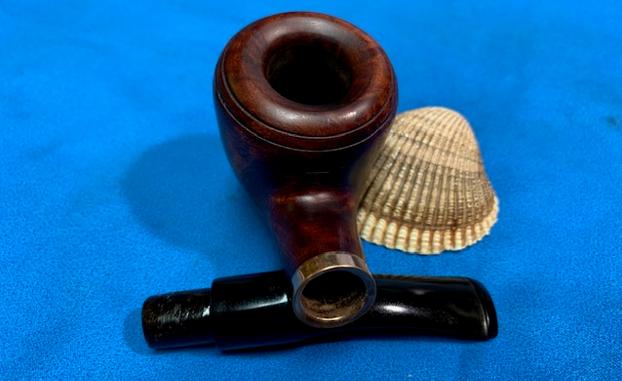
 I worked some Before & After Restoration Balm into the surface of the briar with my fingertips and a horse hair shoe brush to clean, enliven and protect the briar. I let the balm sit for 15 minutes and then buffed with a cotton cloth to raise the shine. The photos show the bowl at this point in the restoration process.
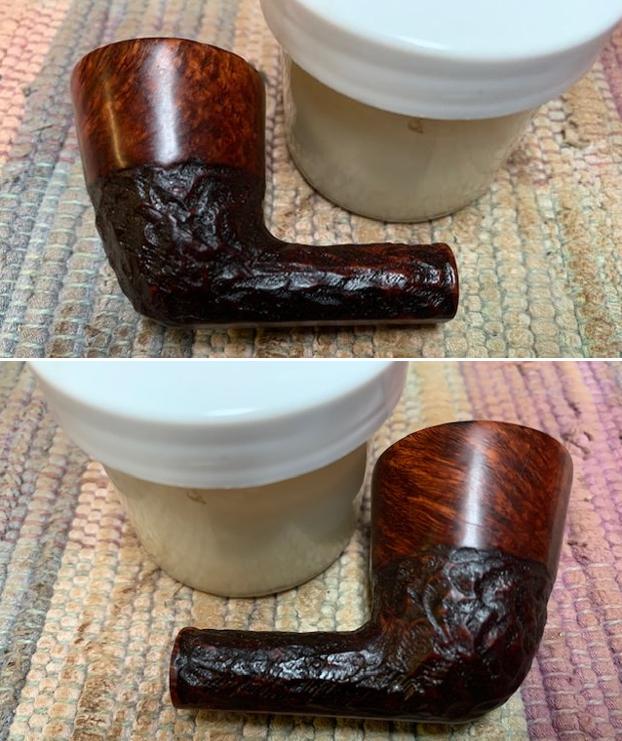
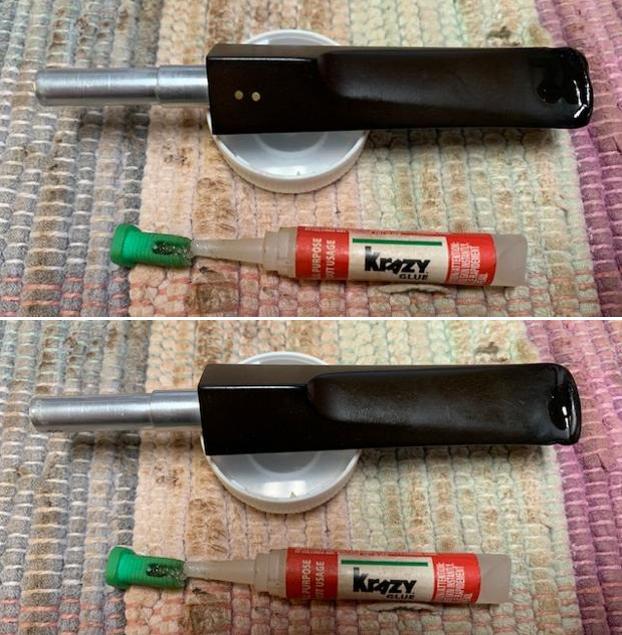
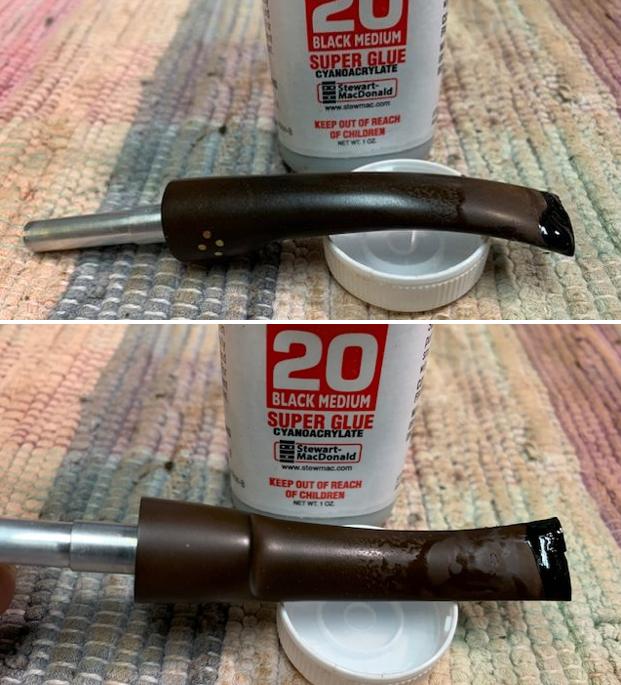
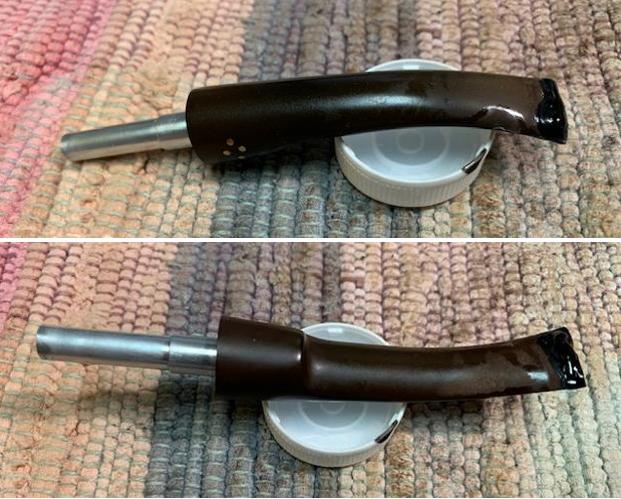
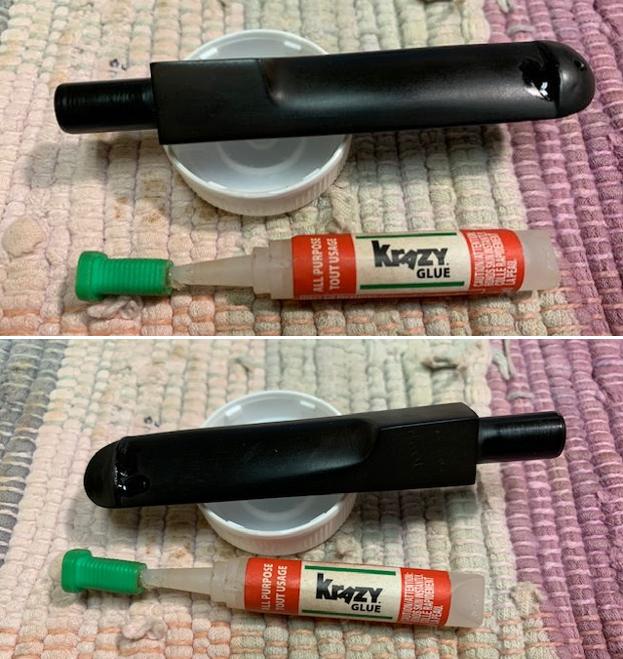
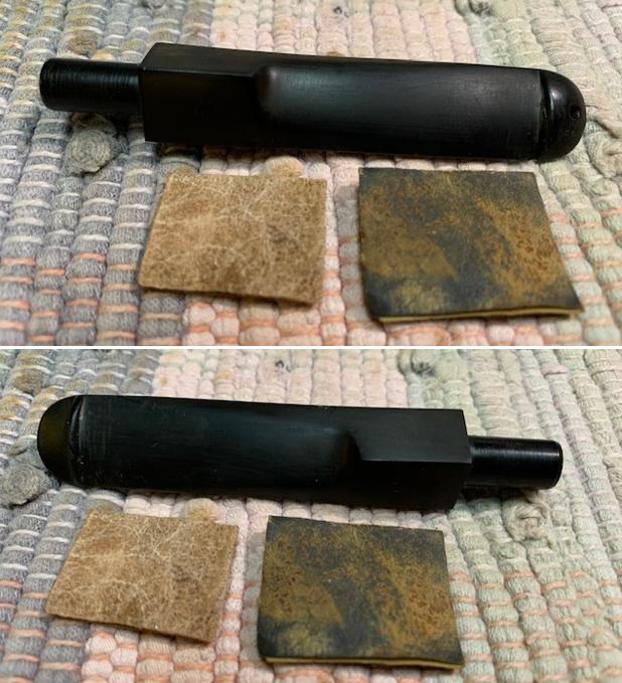
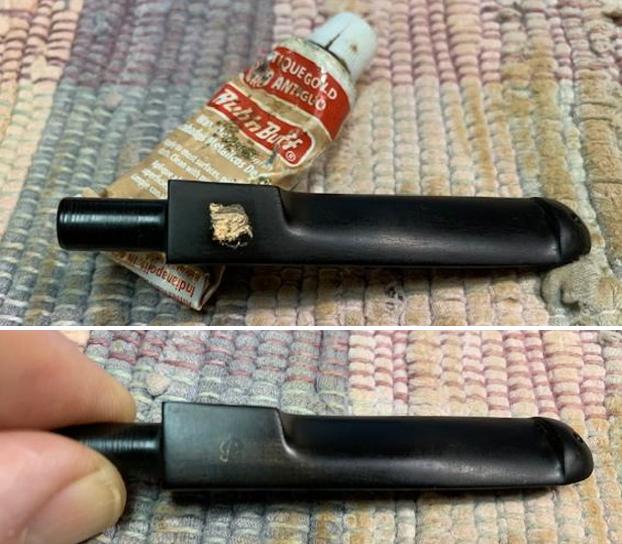
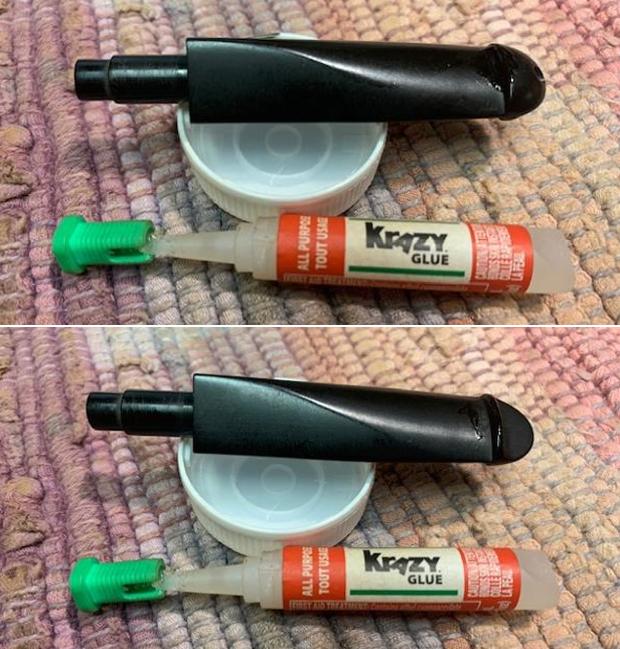
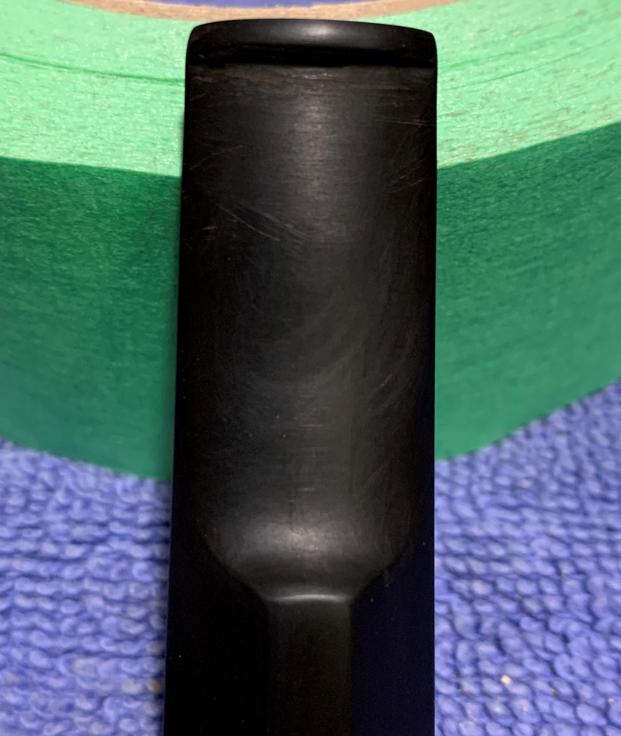
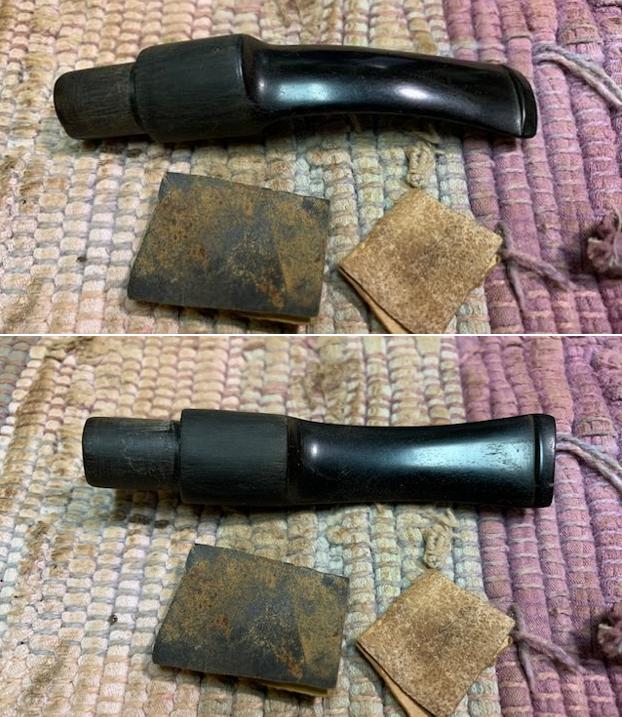
 With that done the bowl was finished other than the final buffing. I filled the small marks in with CA and set the stem aside to cure. Once the repairs cured I sanded them with 220 grit sand paper to blend them into the rest of the stem surface. I started to polish it with a folded piece of 400 wet dry sandpaper.
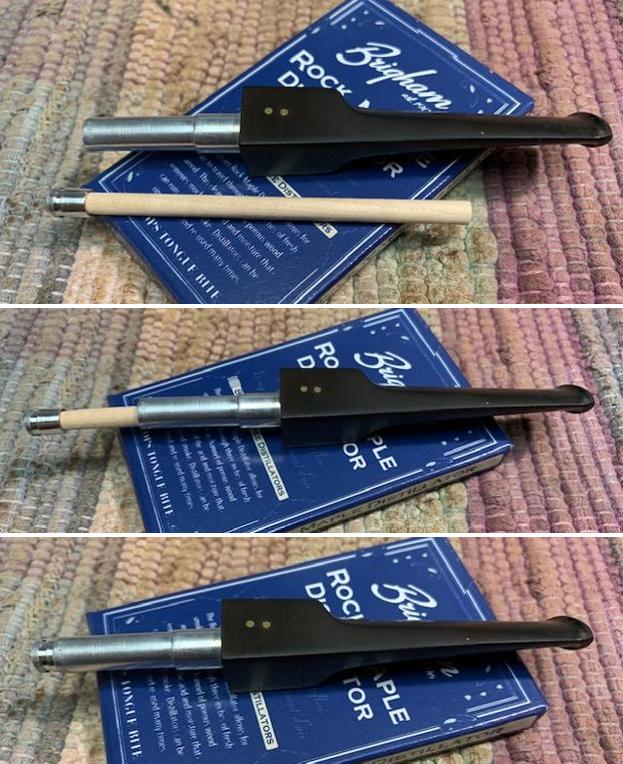
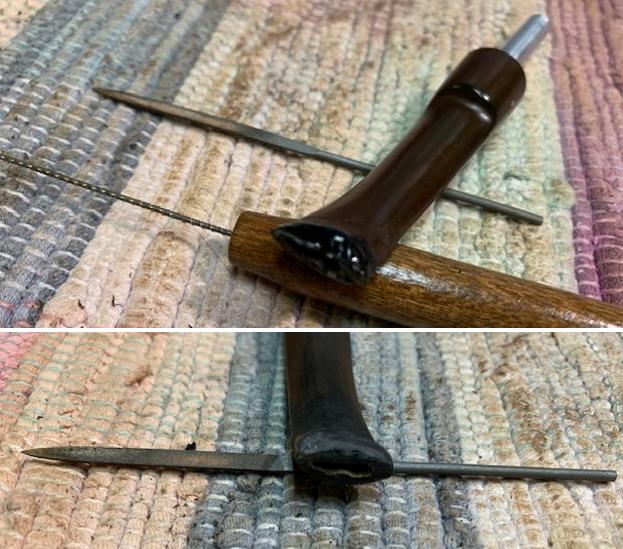
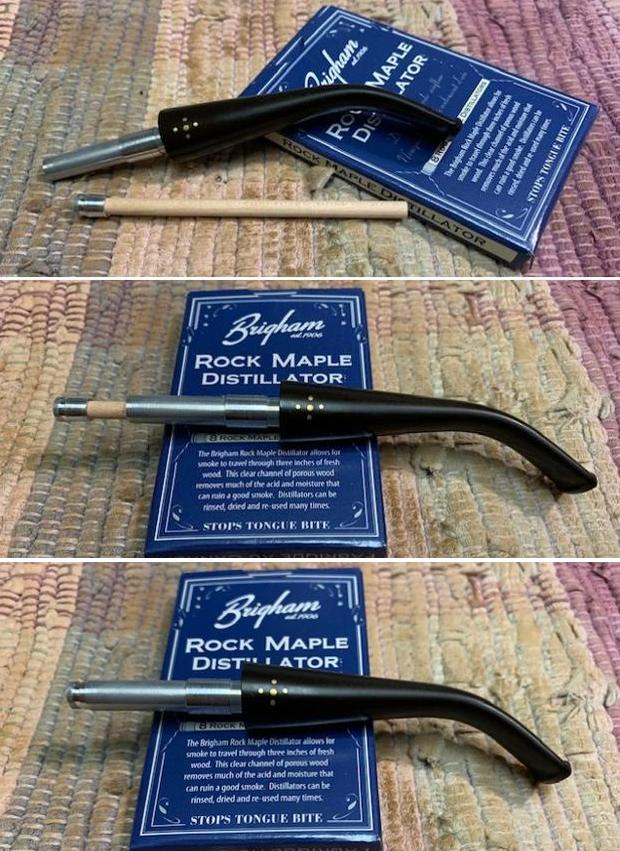
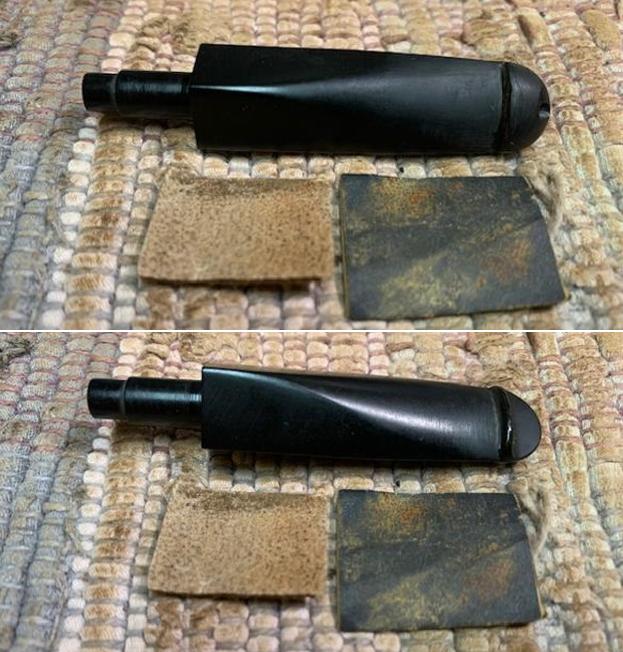
 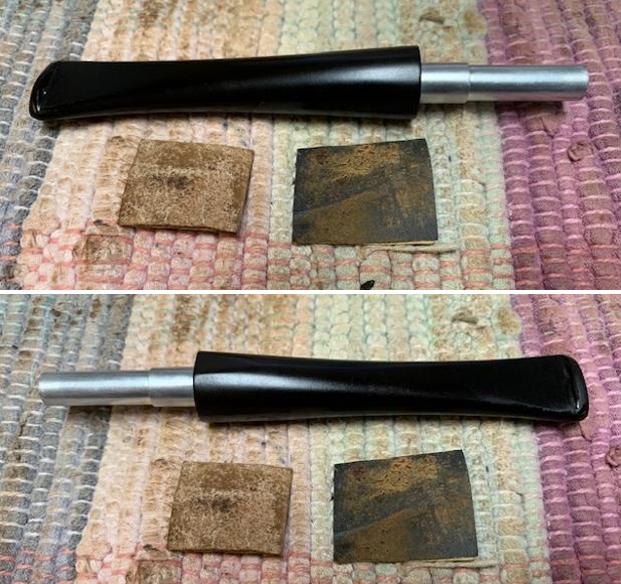 Before I finished the polishing stem I fit the clean stem with a new Rock Maple Distillator.
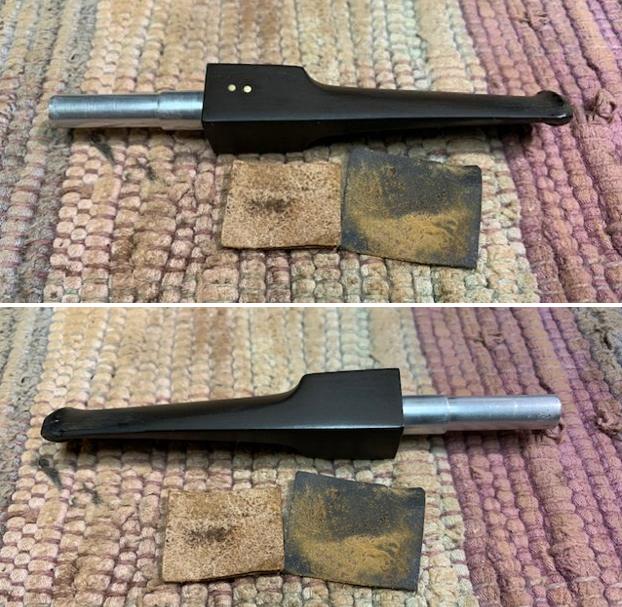
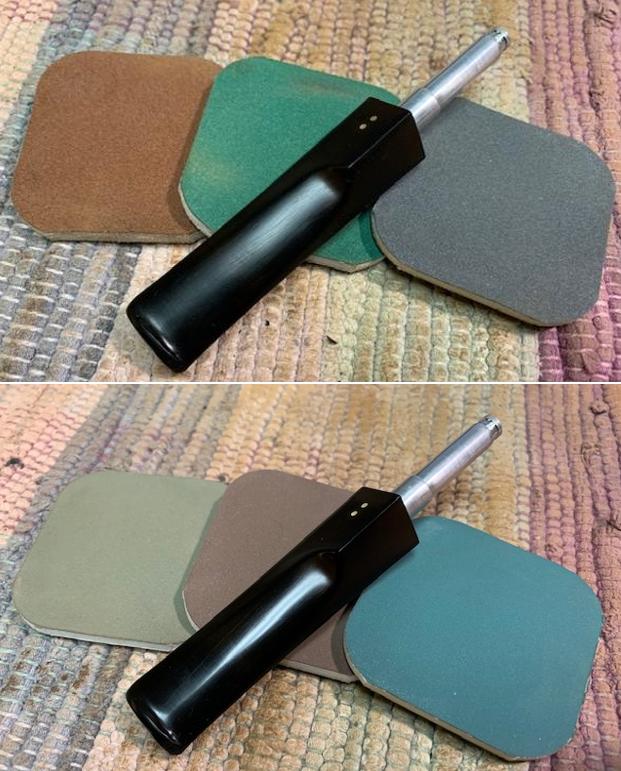
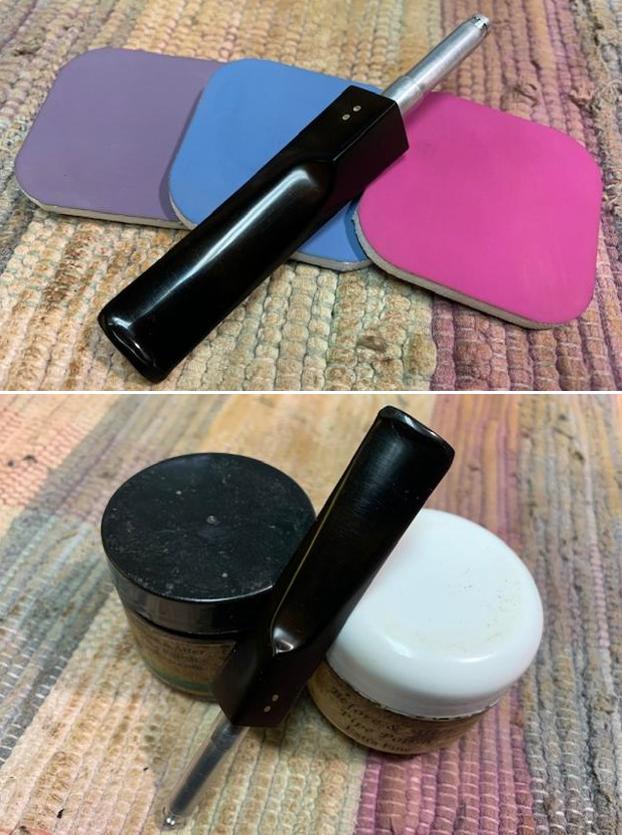
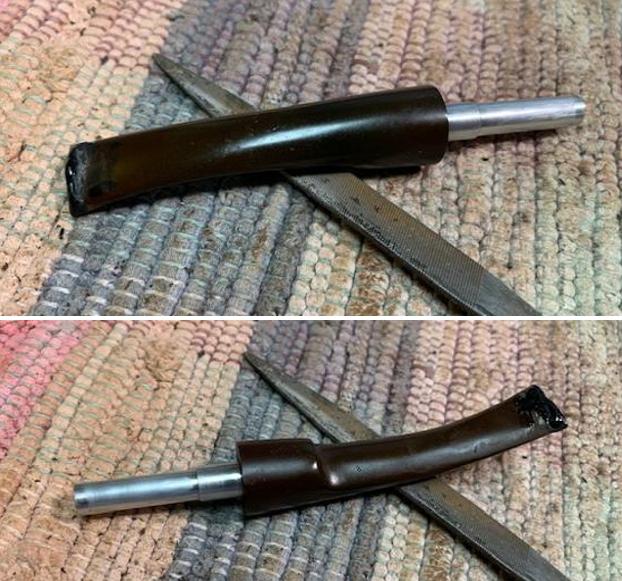
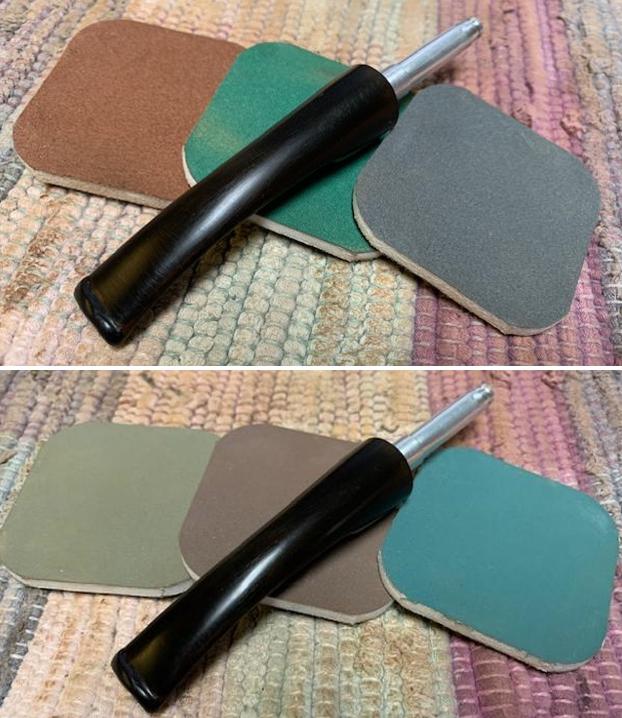
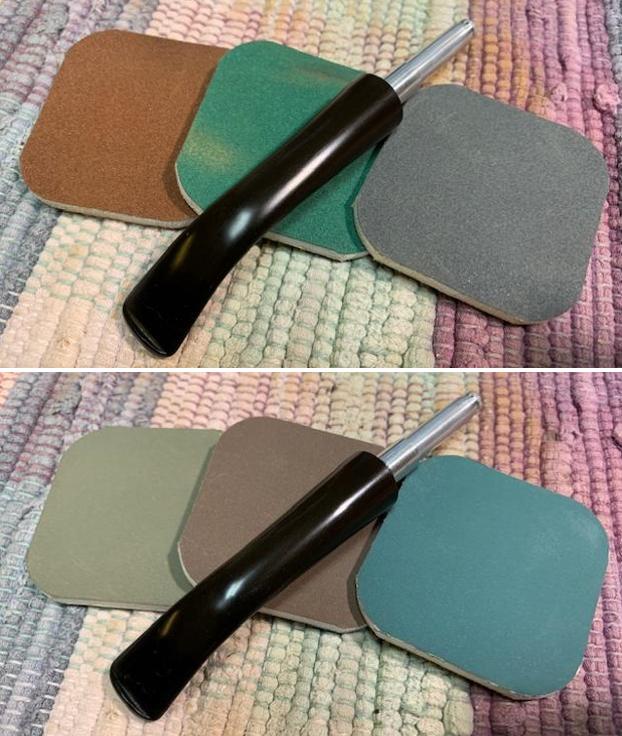
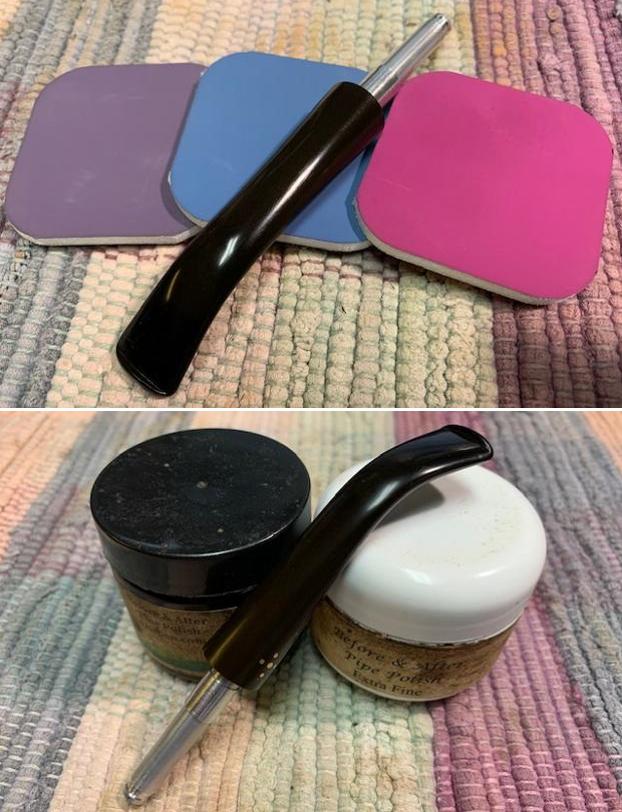
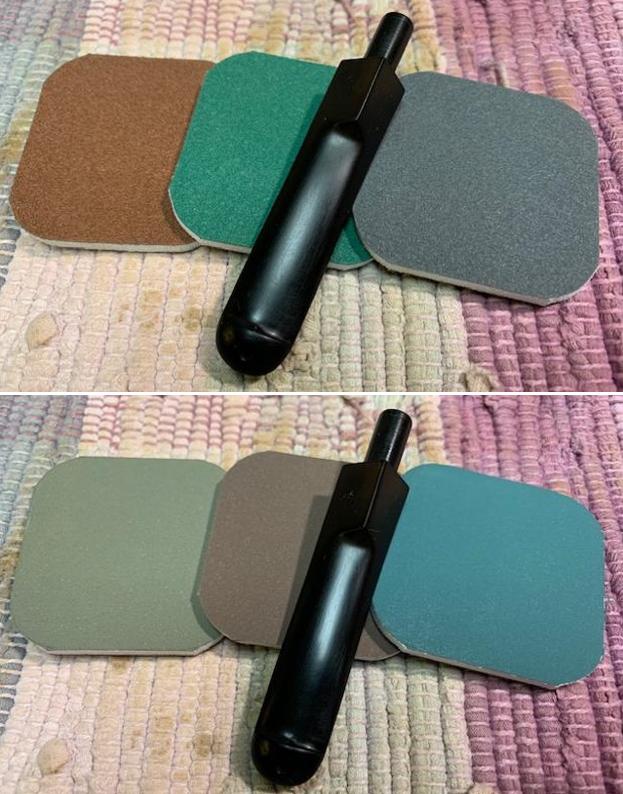
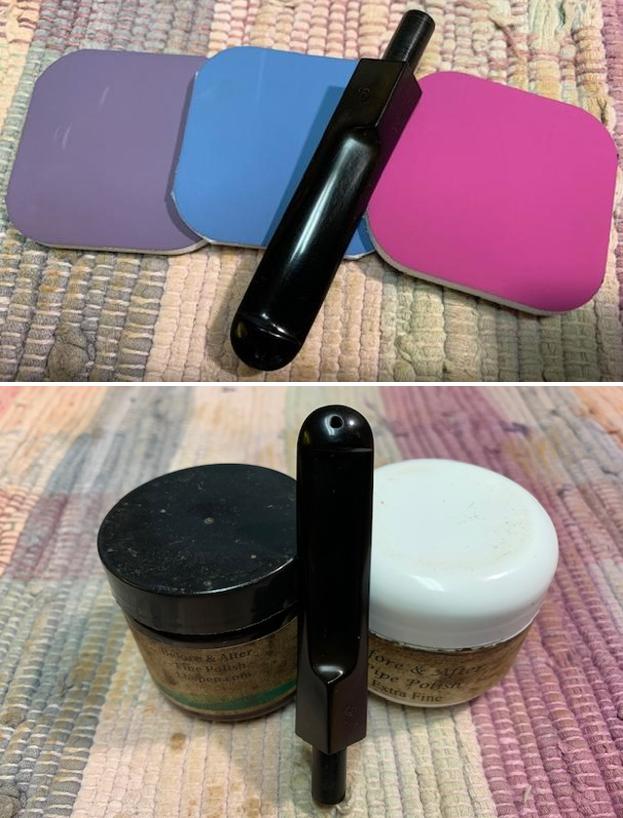
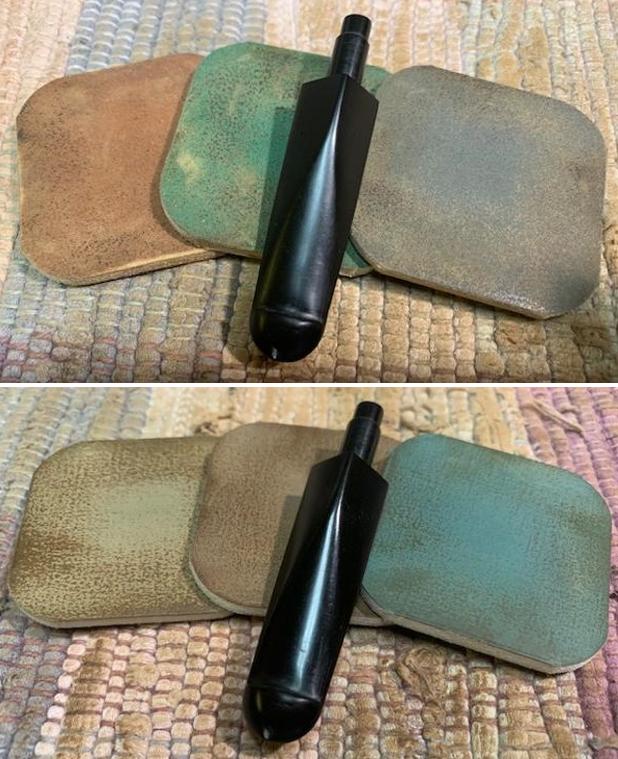
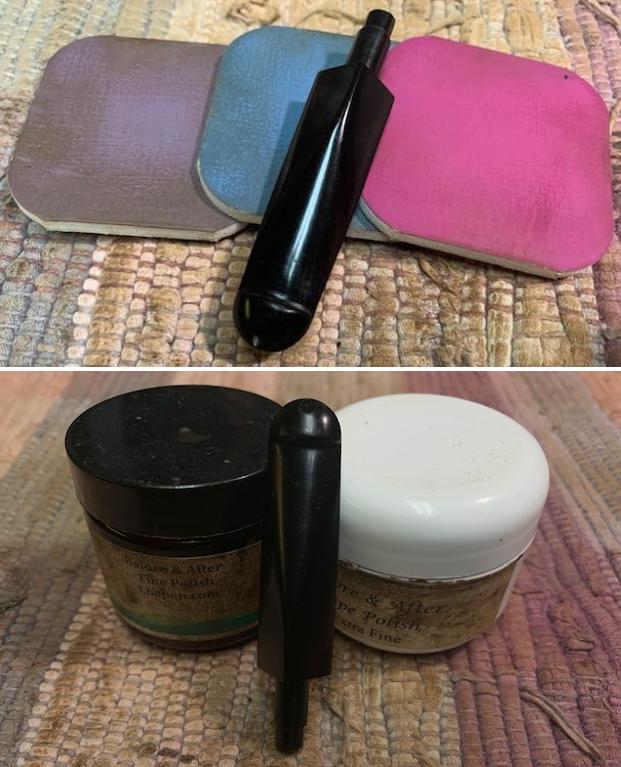
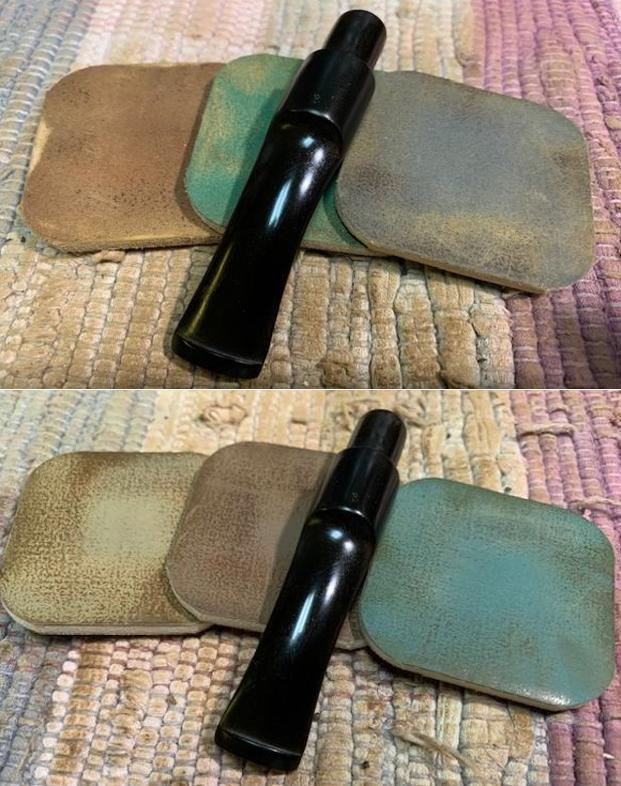
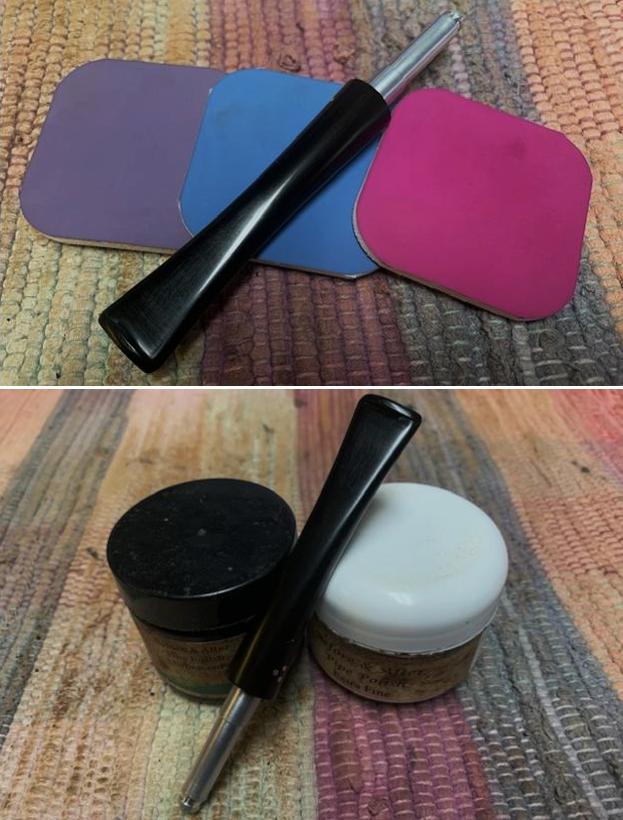
 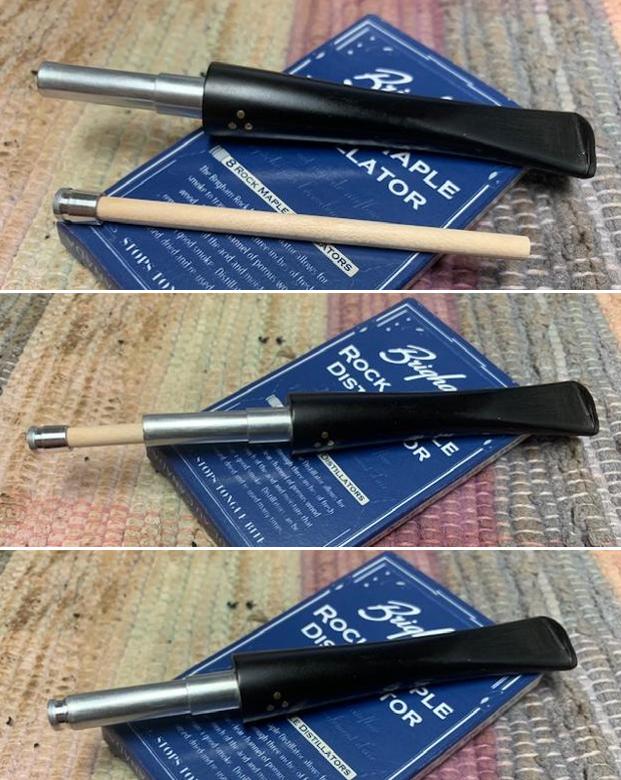 I polished the stem with micromesh sanding pads – wet sanding with 1500-12000 grit sanding pads. I wiped it down after each sanding pad with Obsidian Oil. I polished it with Before & After Pipe Stem Polish – both Fine and Extra Fine.
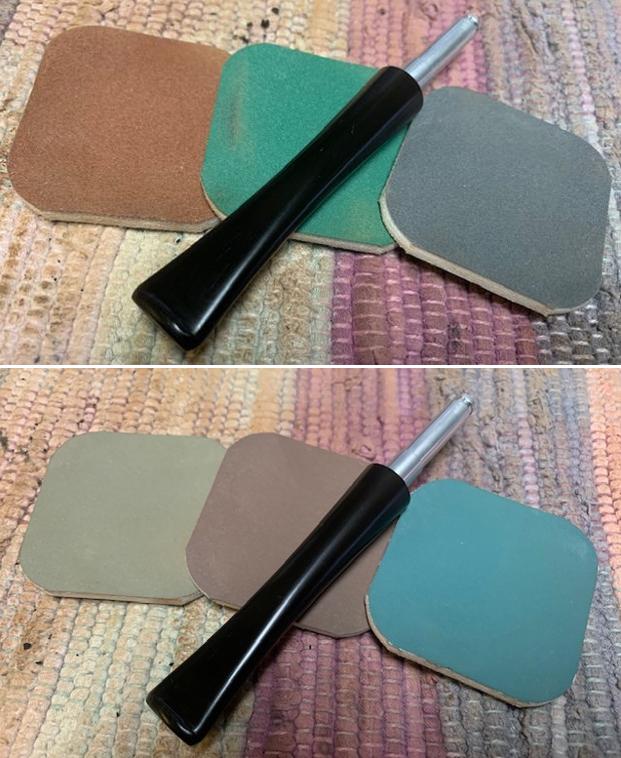
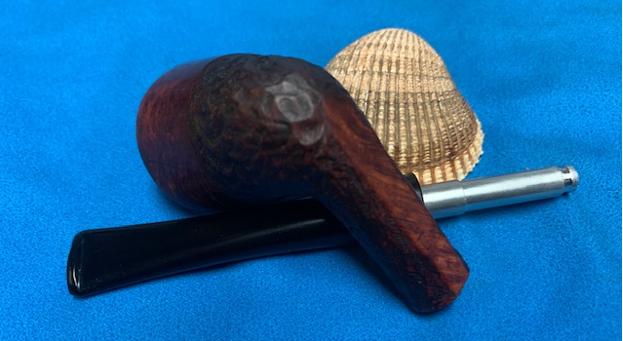
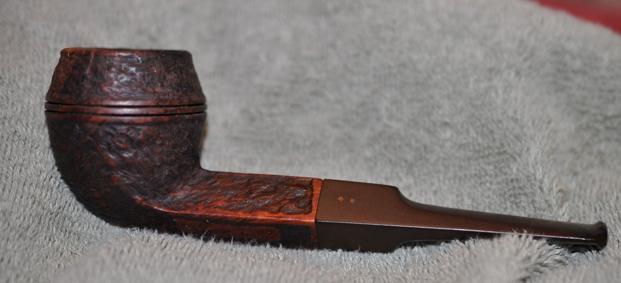
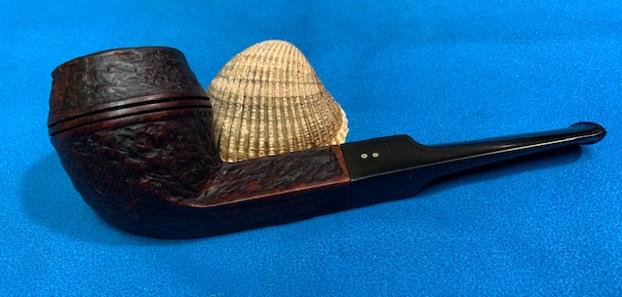
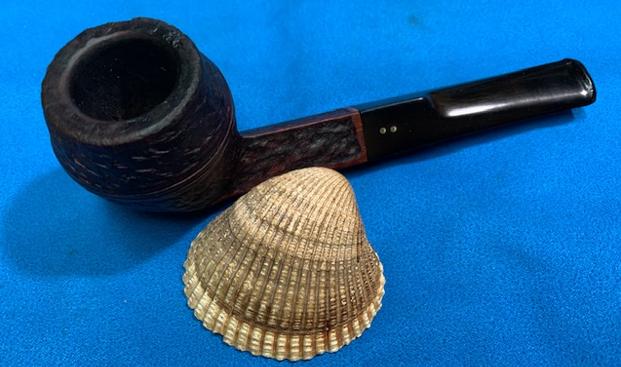
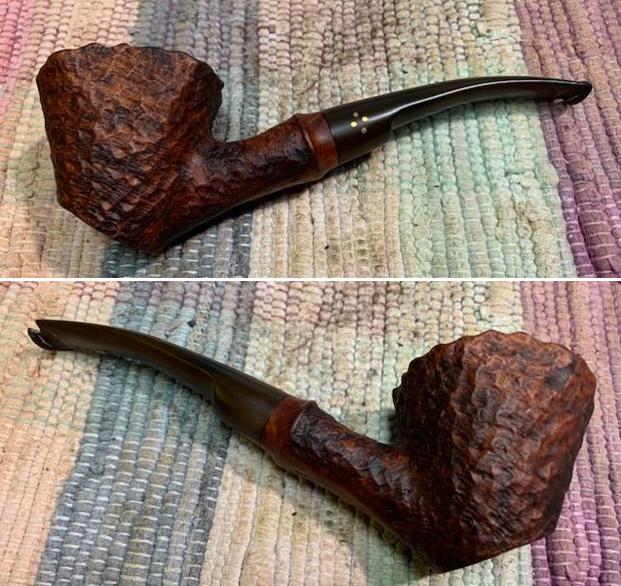
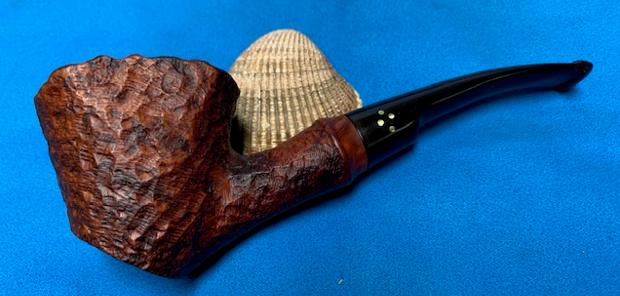
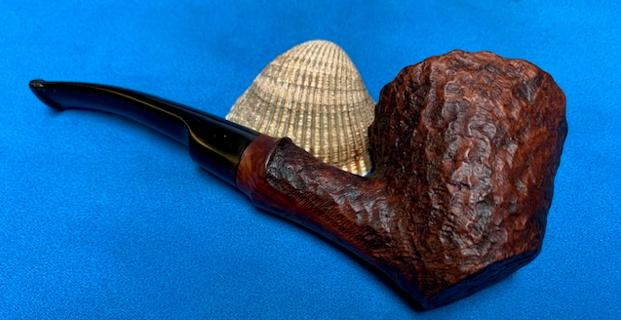
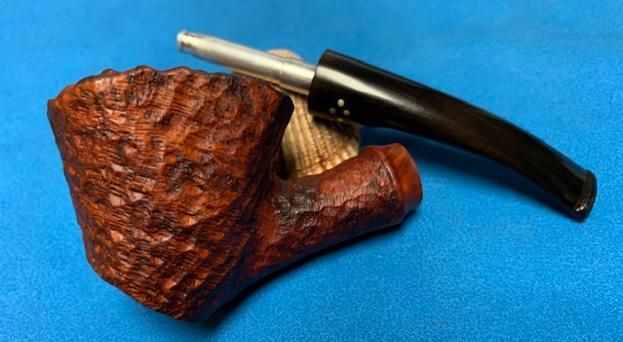
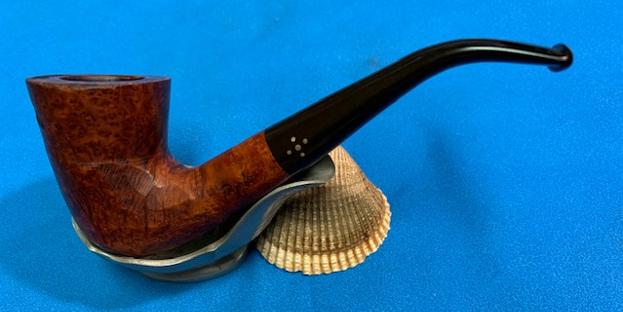
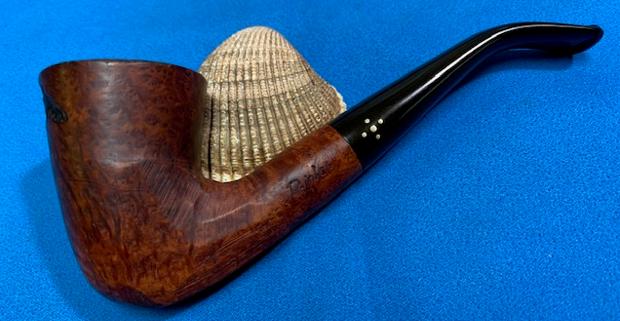
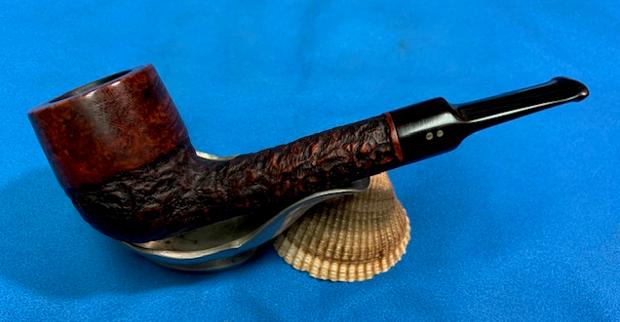
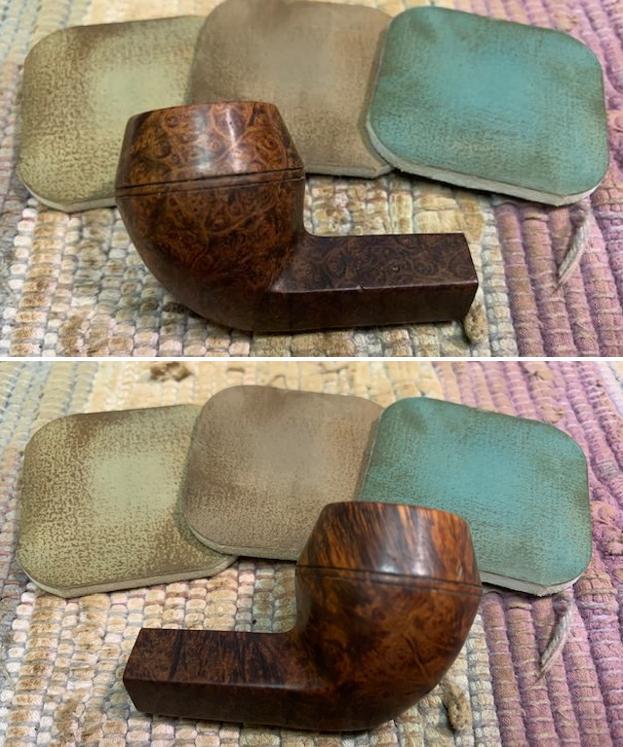
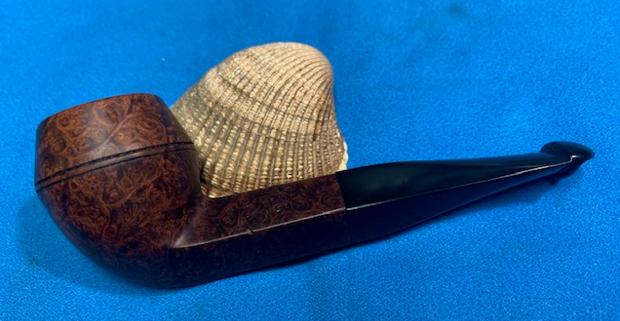
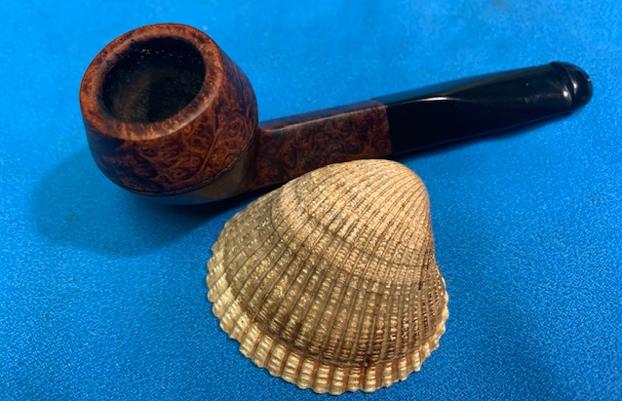
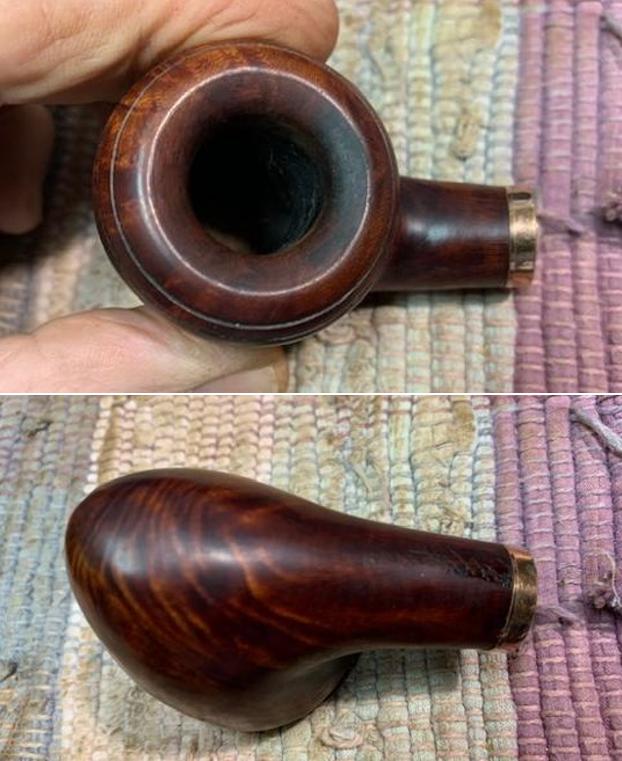
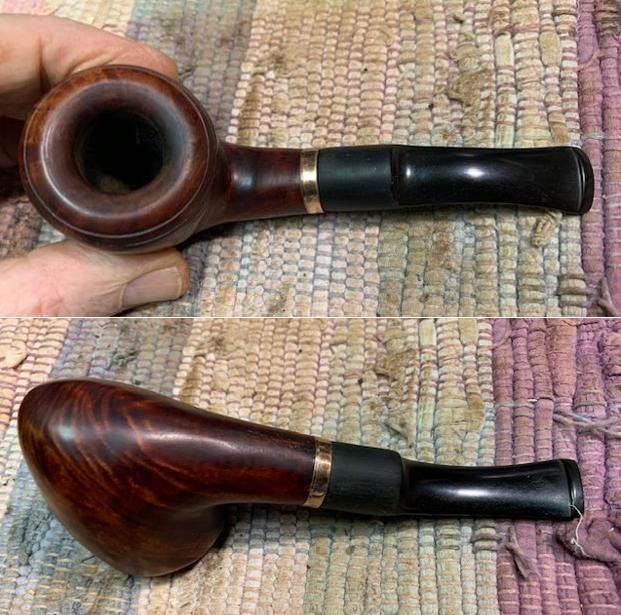
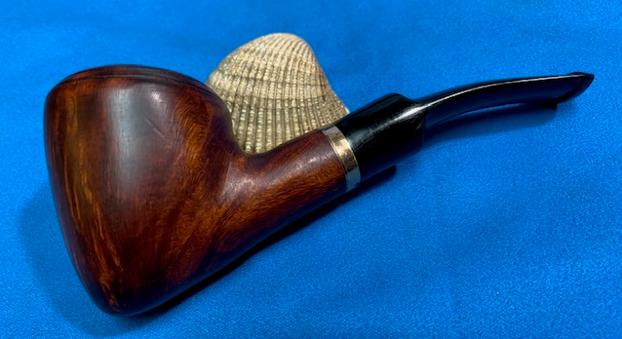
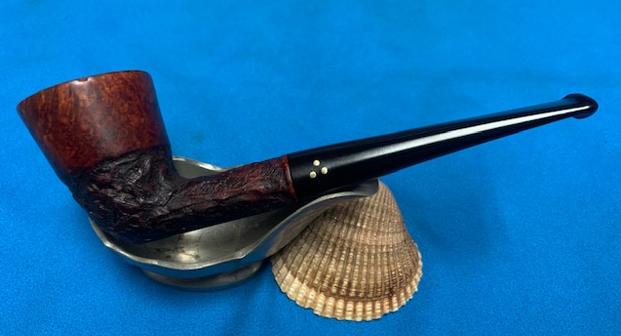
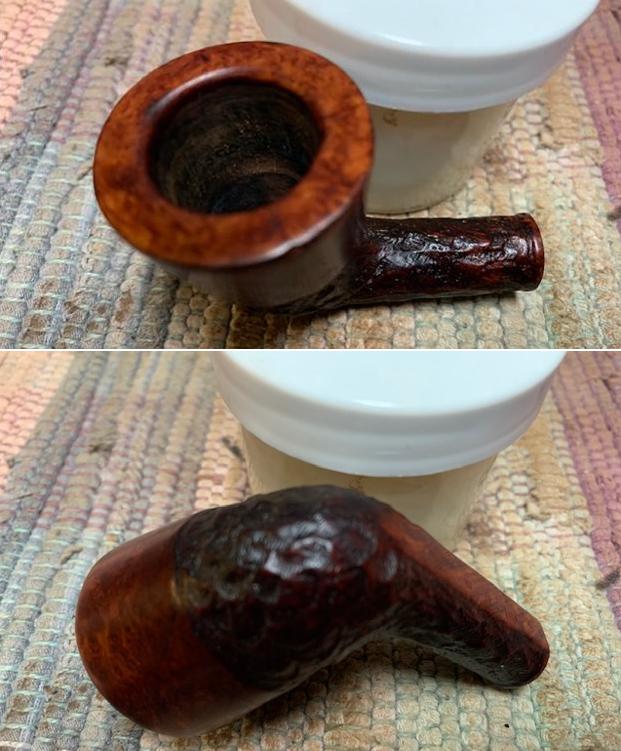
 I am glad to finish this Brigham Exclusive Dublin 306 – a substantial feeling pipe that Brigham made in a large line of various shapes and sizes of Dublin’s. It has a unique Brigham look that is different from any other pipe making company. In this case it adds the touch of smooth top half of the bowl and the rustication on the rest of the bowl and shank. I put the pipe back together and buffed it with Blue Diamond on the buffing wheel. I gave the bowl and the stem multiple coats of carnauba wax. I buffed it with a clean buffing pad to raise the shine. I hand buffed the pipe with a microfiber cloth to deepen it. It is fun to see what the polished bowl looks like with the mix of smooth lines and hard rustication around the bowl and shank. Added to that the polished, rebuilt black, vulcanite saddle stem with two shining brass pins was beautiful. This Brigham Exclusive Dublin 306 is nice looking and the pipe feels great in my hand. It is light and well balanced. Have a look at it with the photos below. The dimensions are Length: 5 ½ inches, Height: 1 ¾ inches, Outside diameter of the bowl: 1 ¼ inches, Chamber diameter: ¾ of an inch. The weight of the pipe is 27grams/.95ounces. It is a beautiful pipe and one that will be on the rebornpipes store soon. If you are interested in adding it to your collection let me know. Thanks for walking through the restoration with me as I worked over this pipe. Thanks to each of you who are reading this blog.