
by Kenneth Lieblich
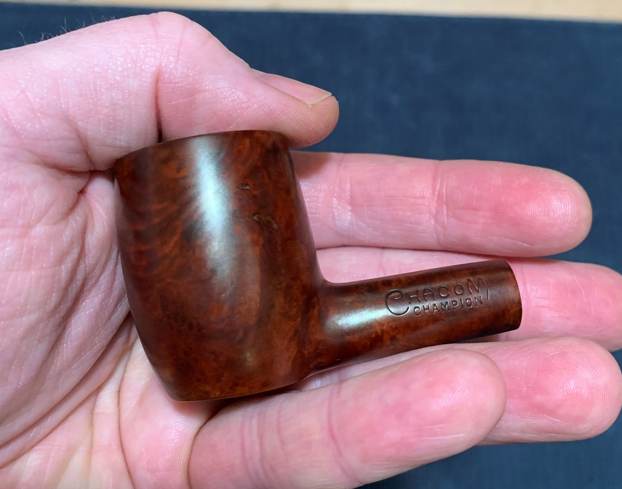
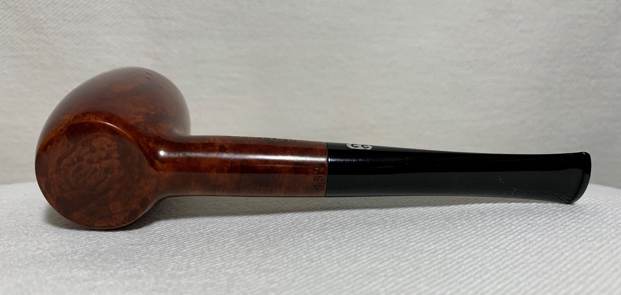
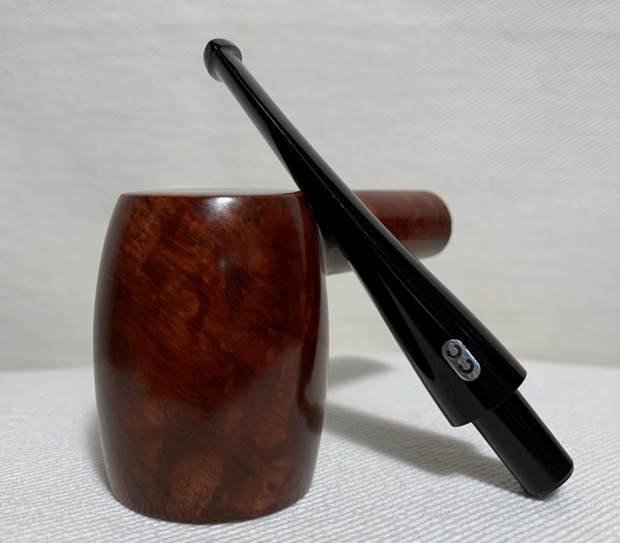
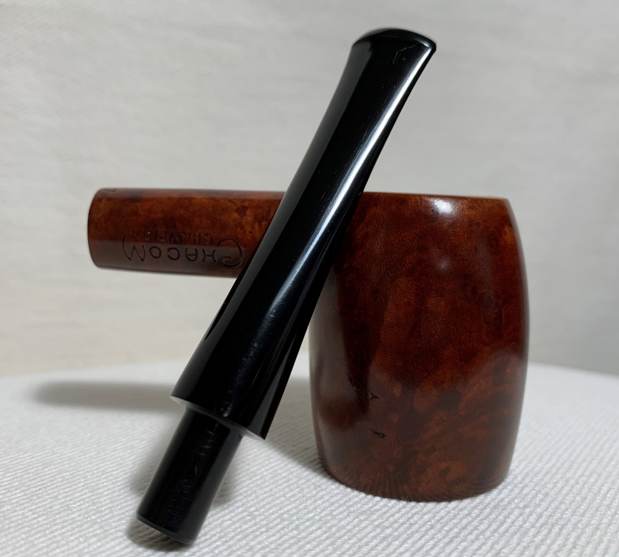
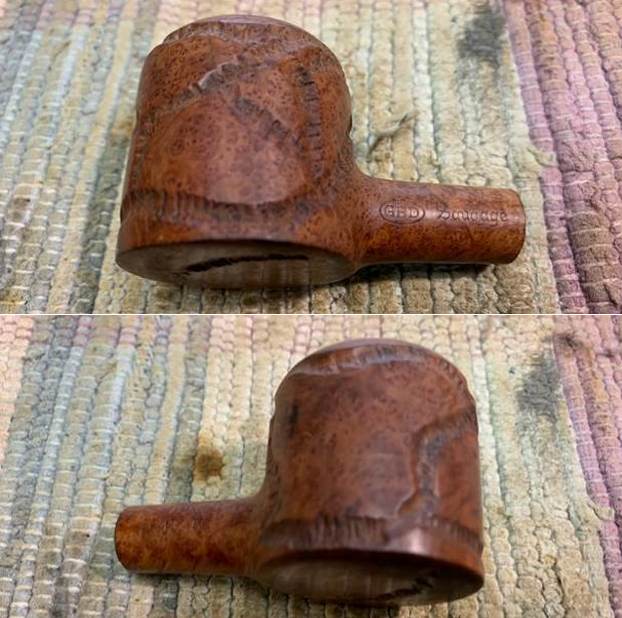
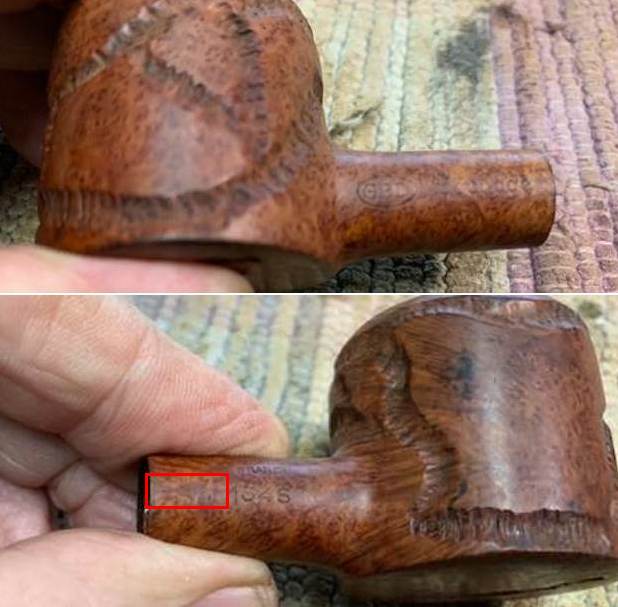
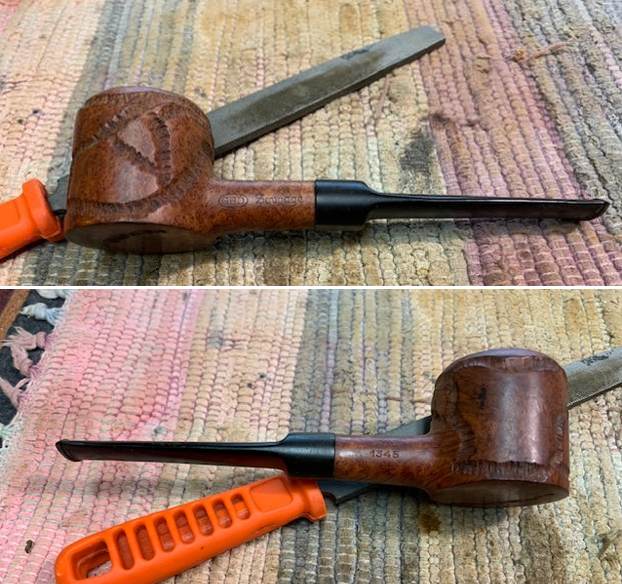
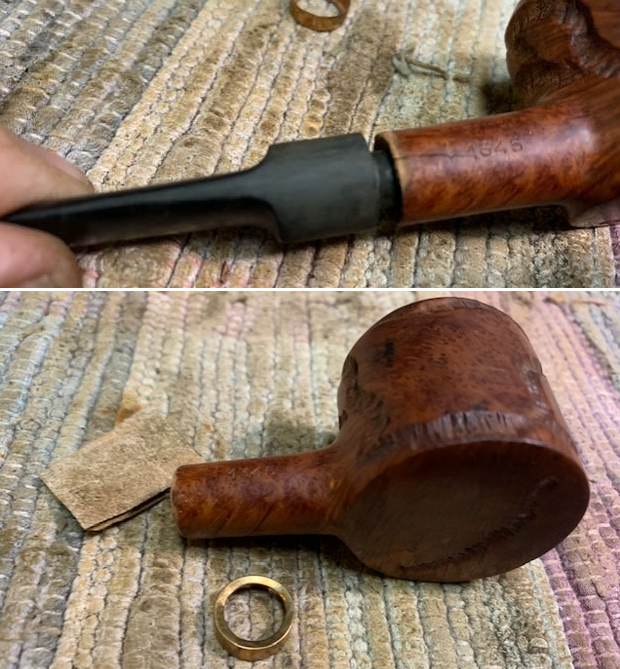
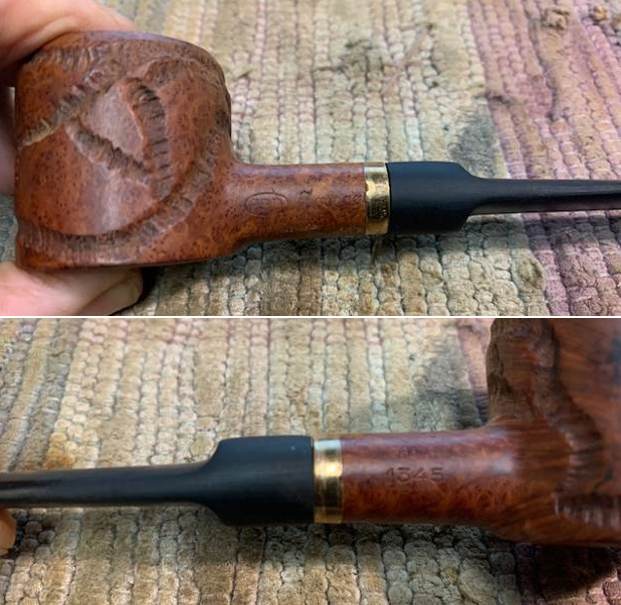
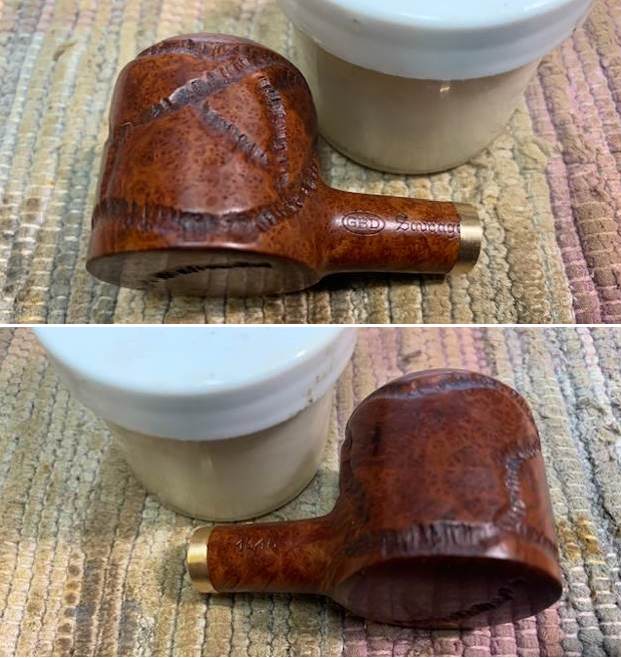
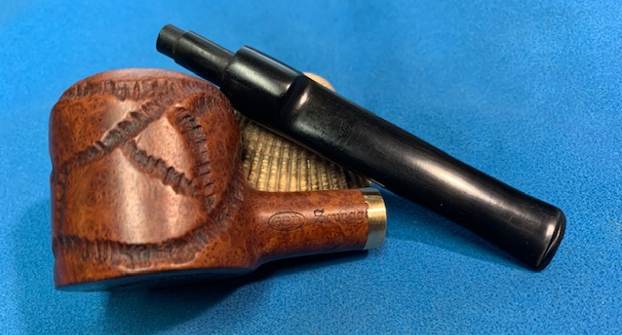
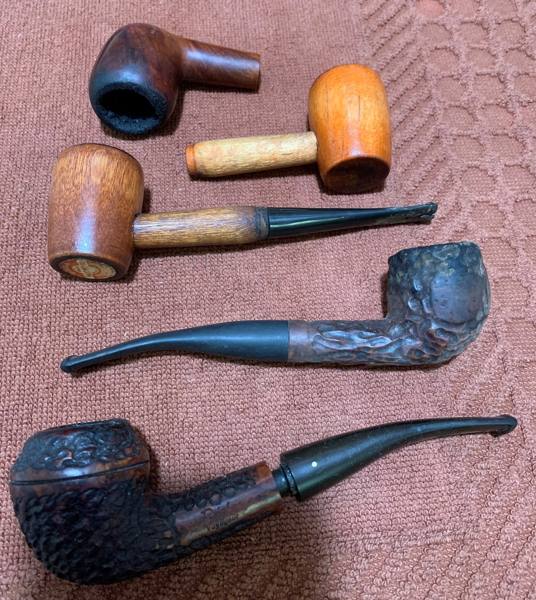
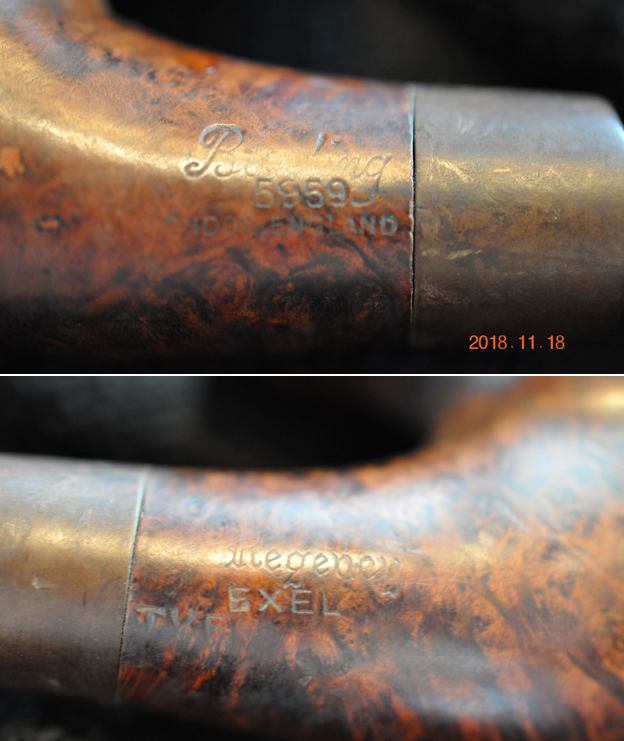
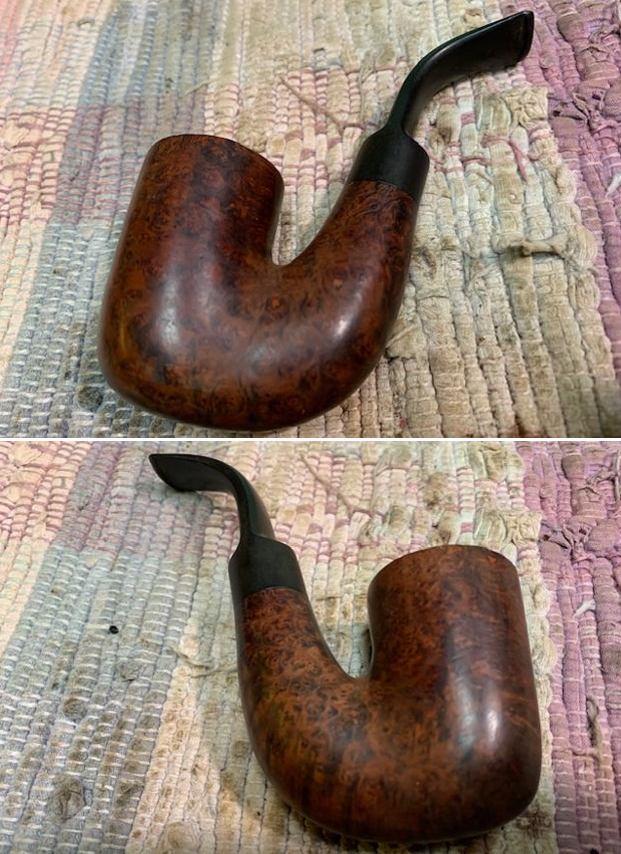
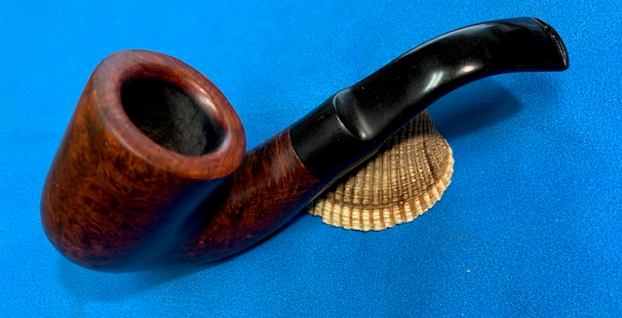
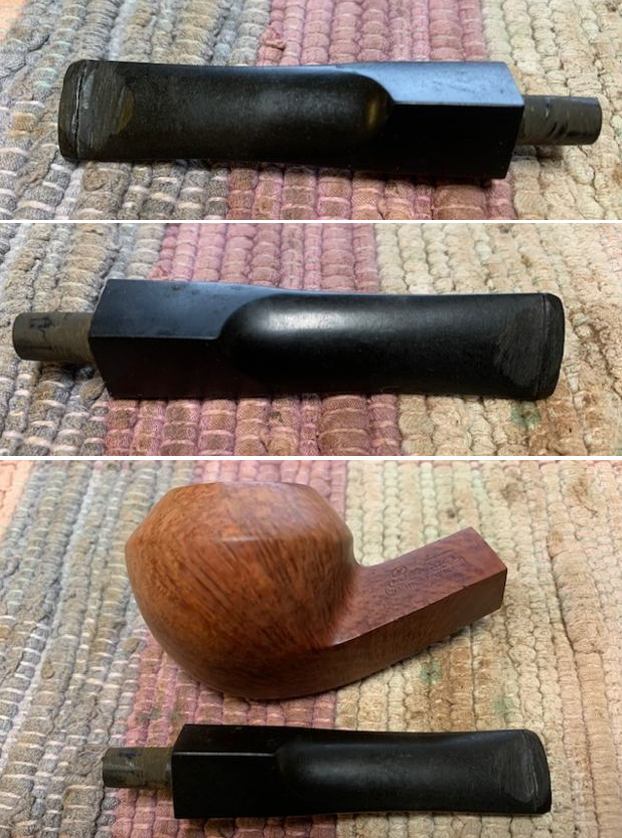
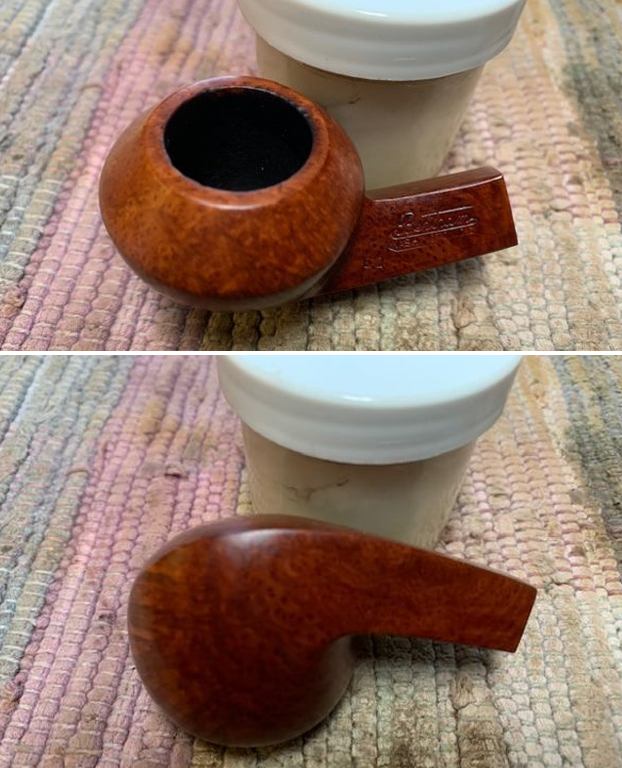
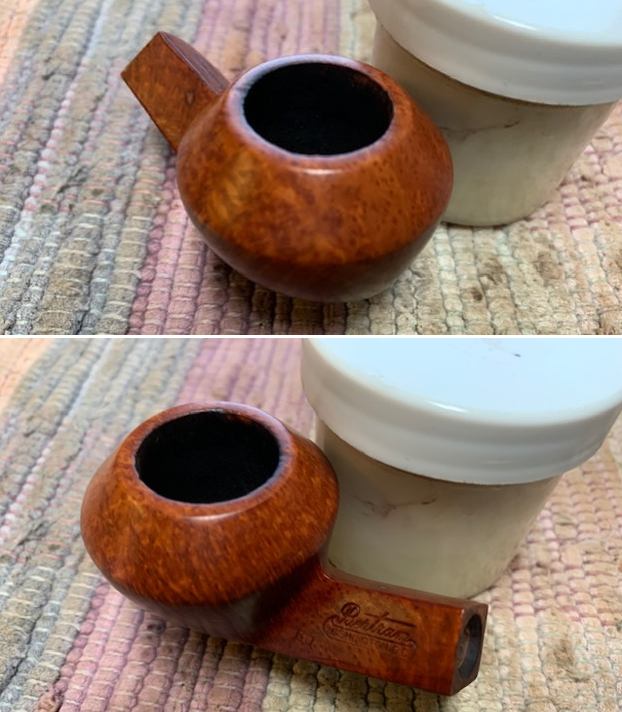
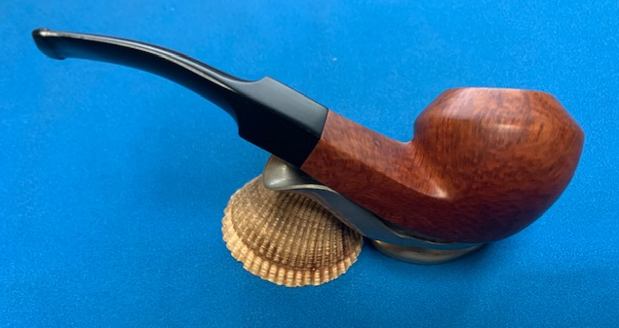
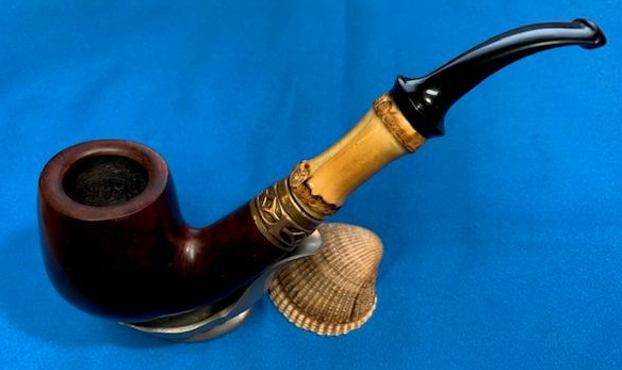
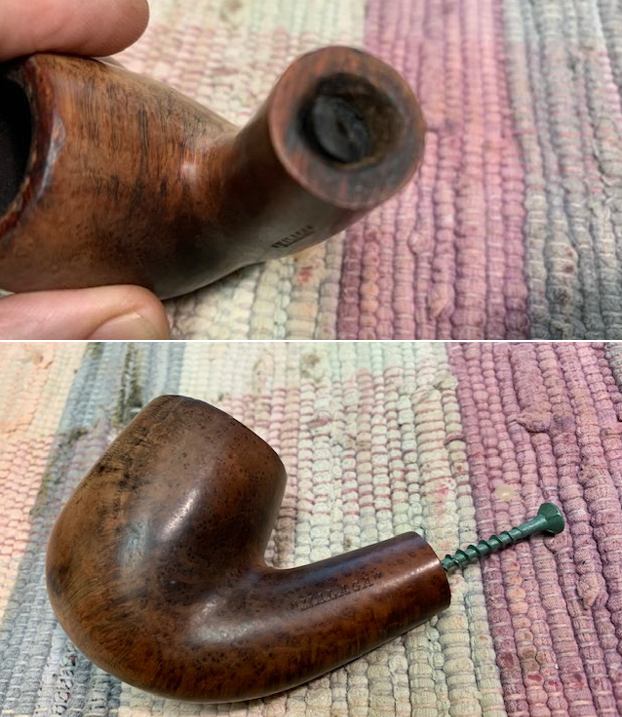
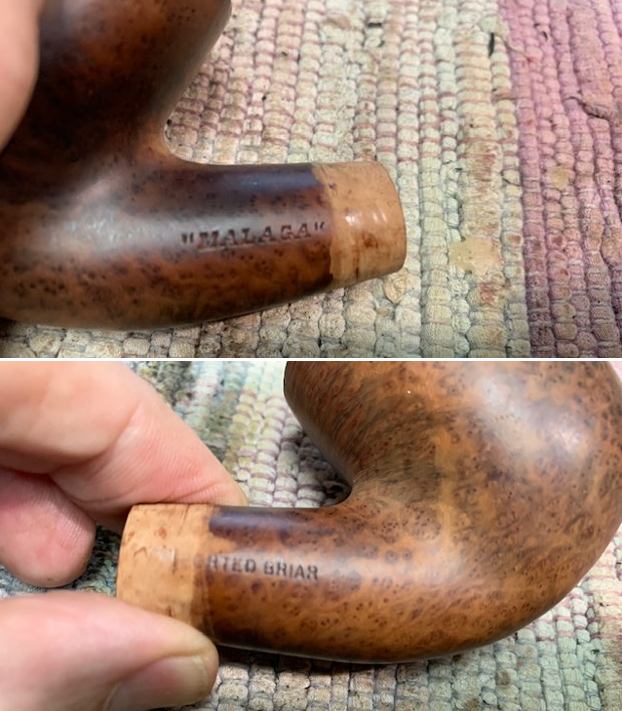
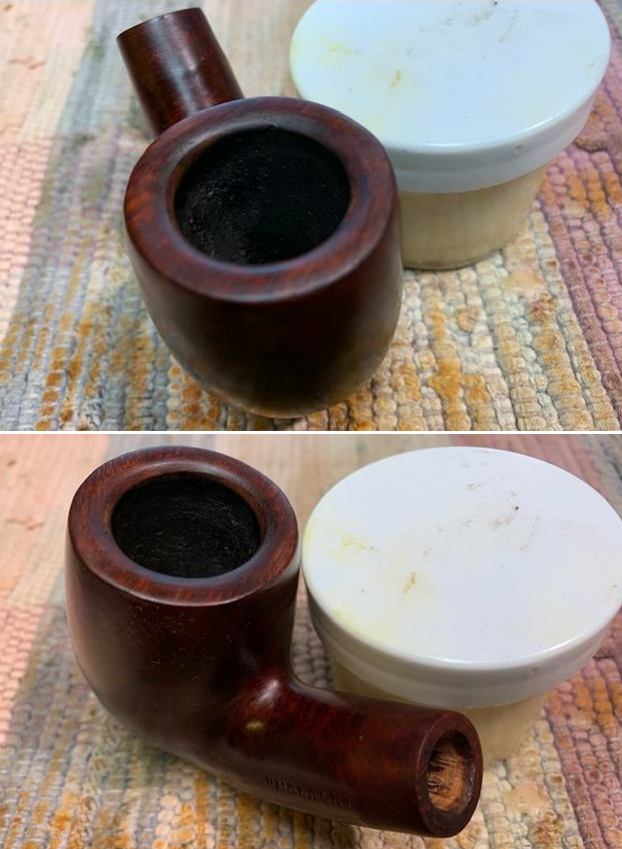
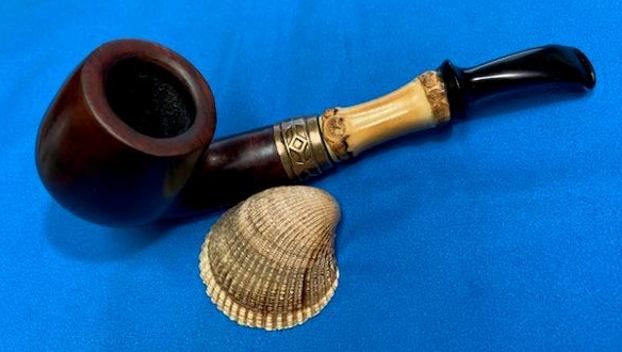
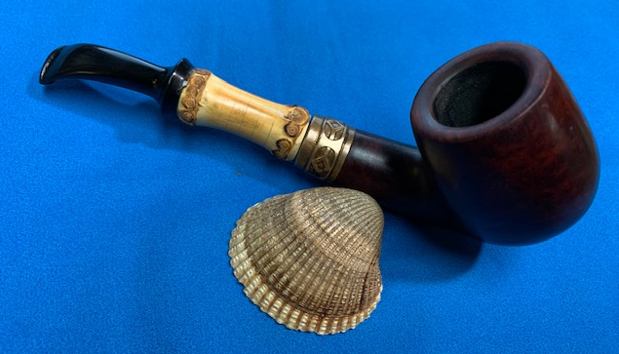
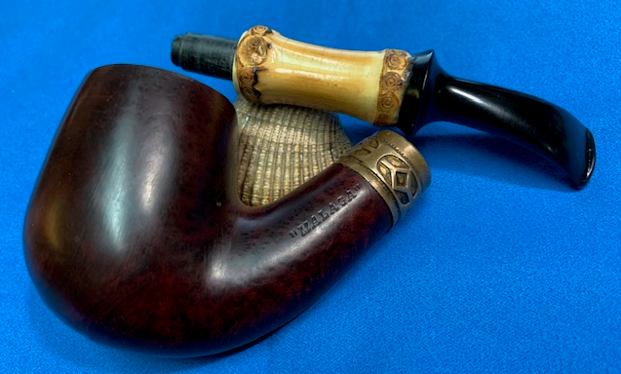
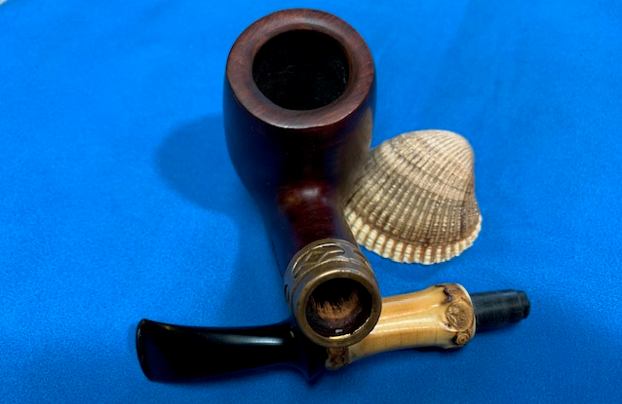
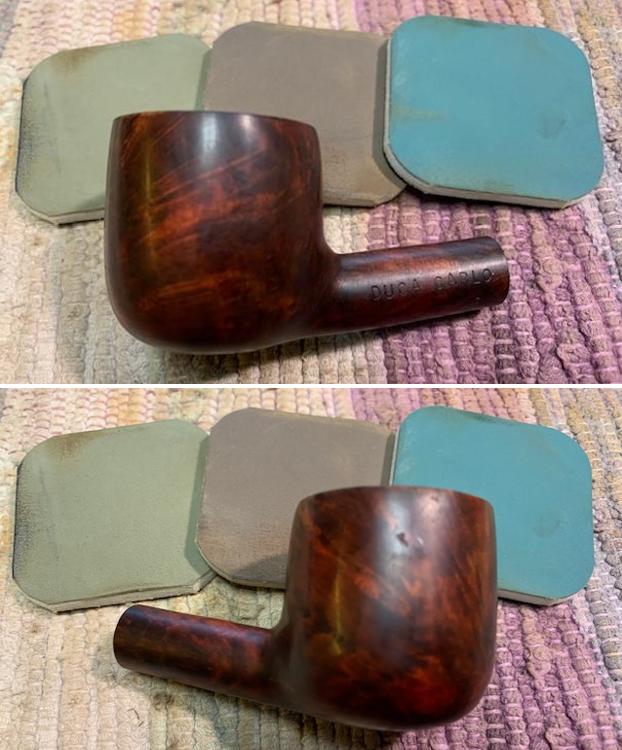
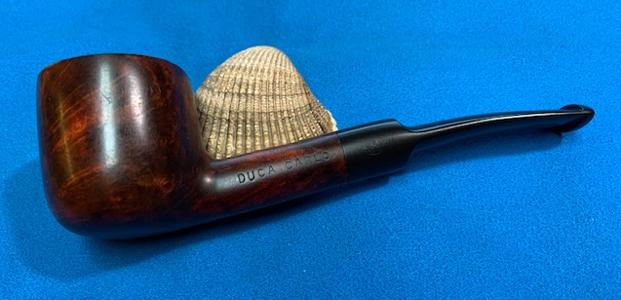
Next on the chopping block is this charming Chacom Champion. It comes from the estate of a man from Winnipeg, whose relatives live here in Vancouver. I purchased several of the late gentleman’s pipes, along with this one. I have a particular interest in French pipes and pipeworks, so this was the first pipe I grabbed from the lot for restoration. It is an attractive pipe and needed just a little help to come back to life.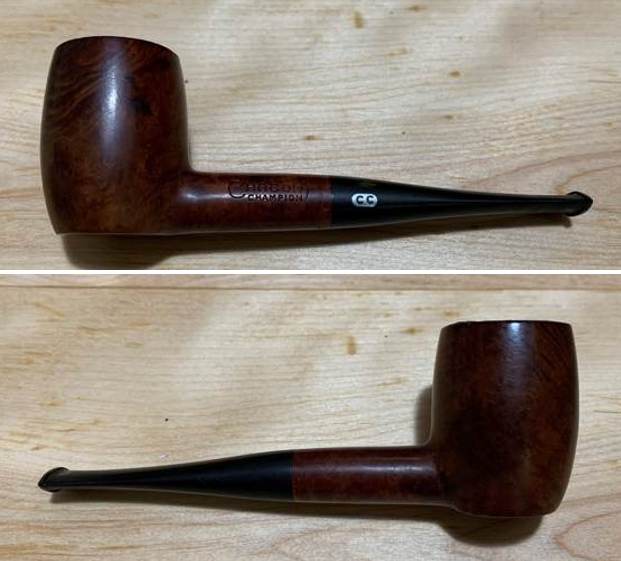 This pipe was made by the French giant, Chacom. They are known for making very nice pipes, many of which were designed by such names as Pierre Morel, Claude Robin, and Erwin van Handenhoven. The markings on the left-hand side of the shank read Chacom [over] Champion. On the underside of the shank, the marking reads 157, which is the shape number. Also, on the stem, there is the Chacom logo: CC, encircled in a silver-coloured oval.
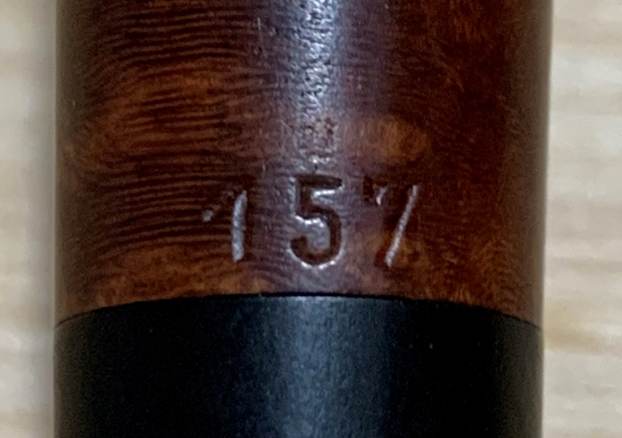
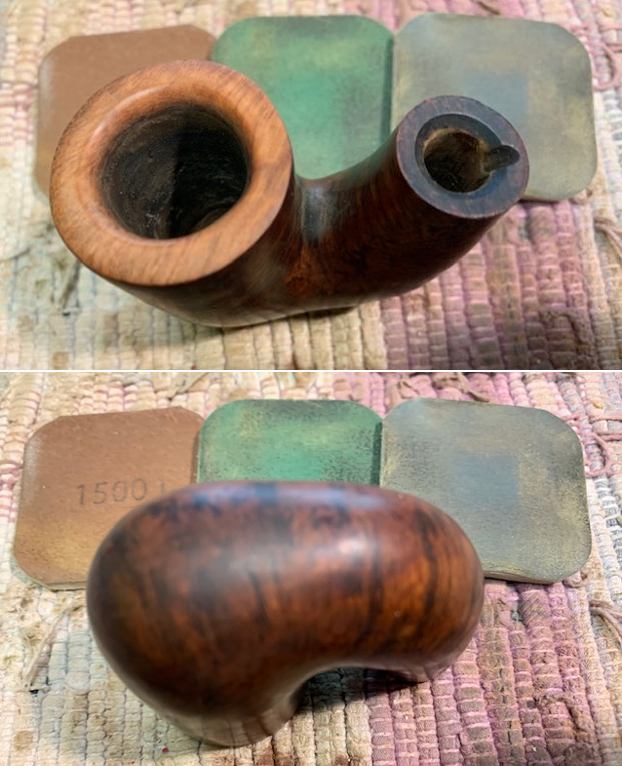
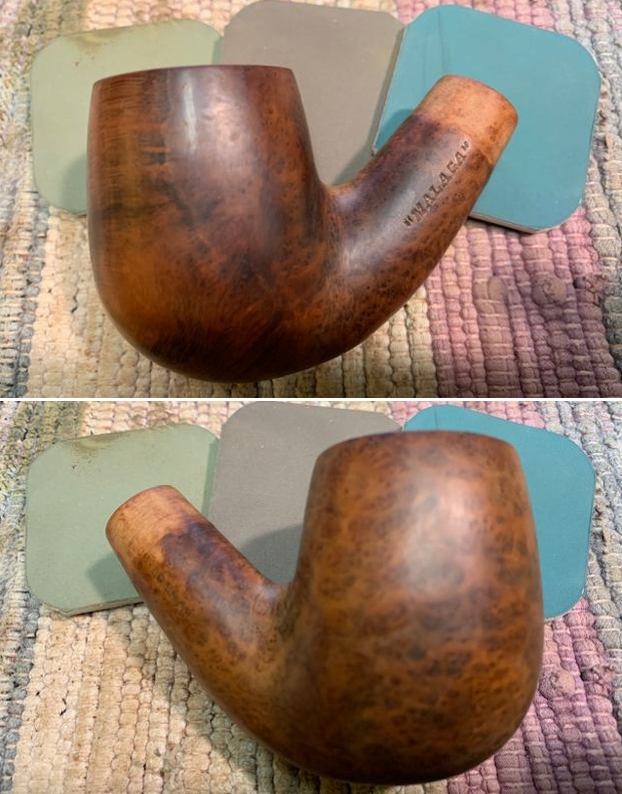
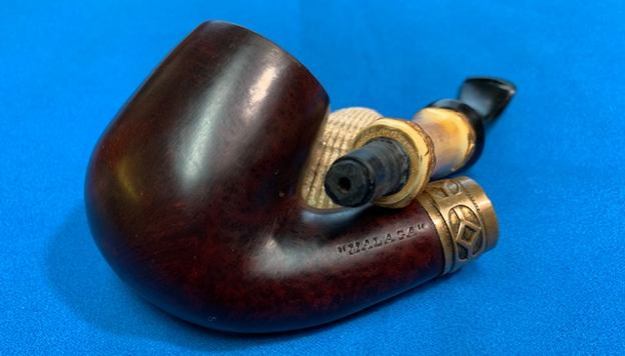
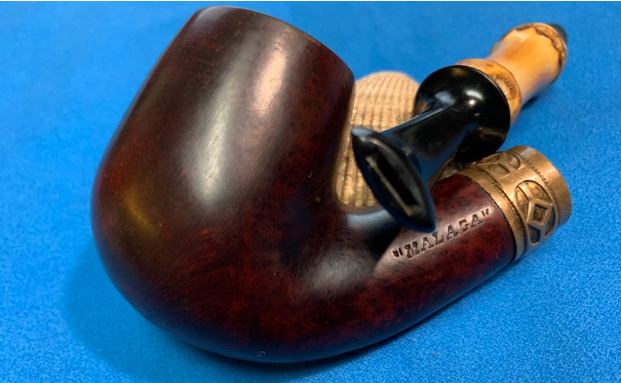
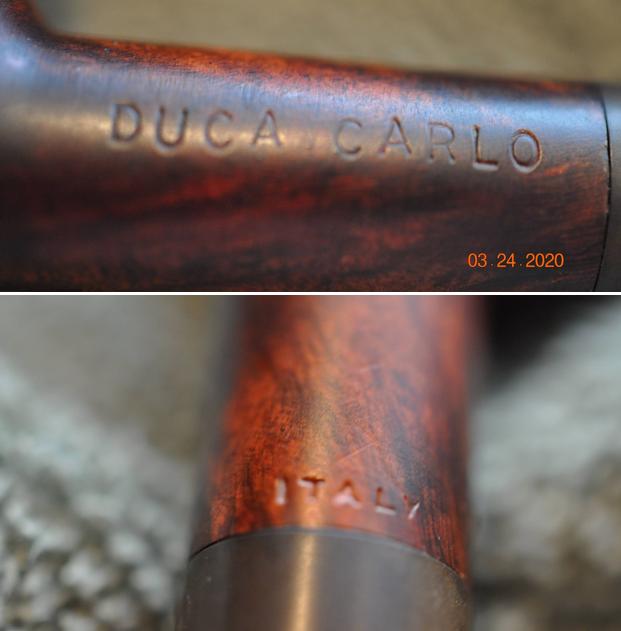
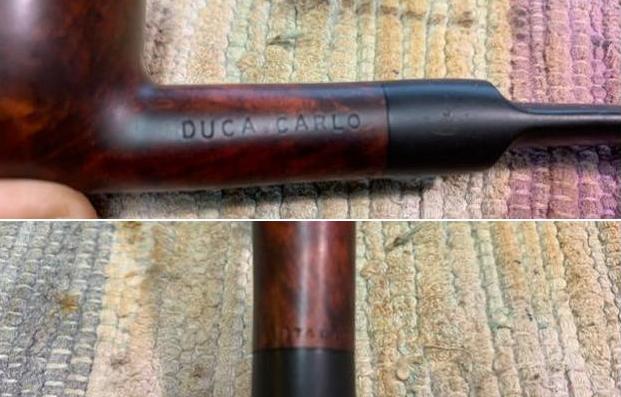
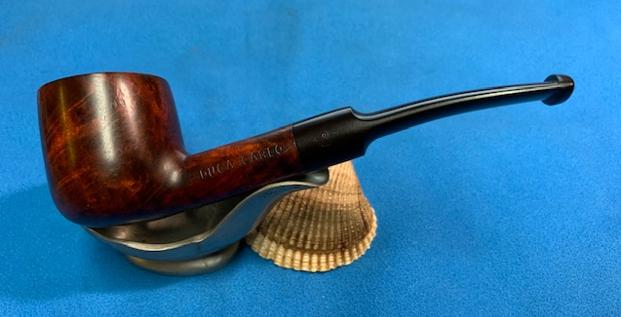
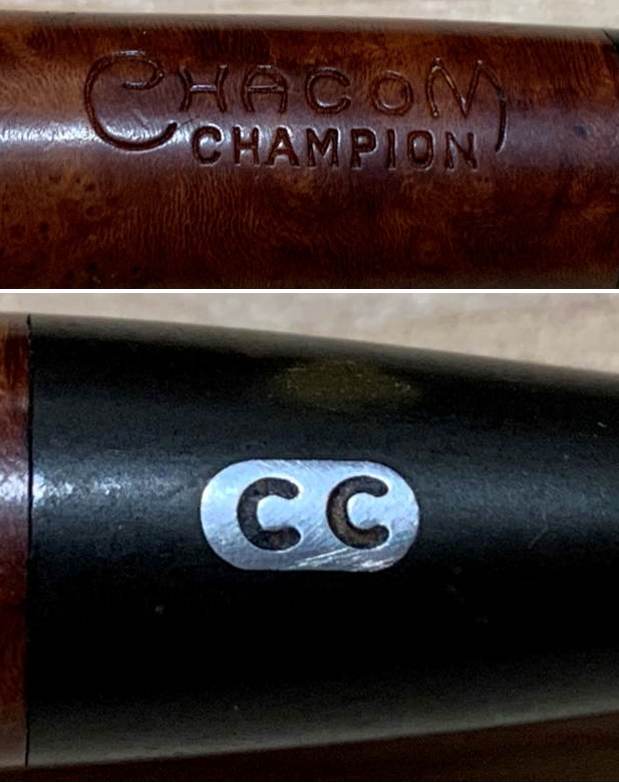
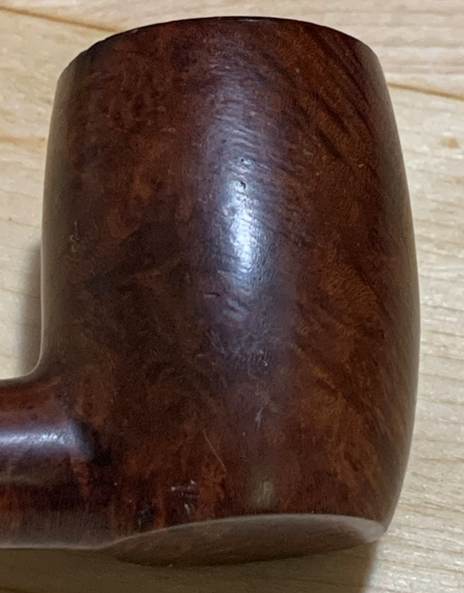
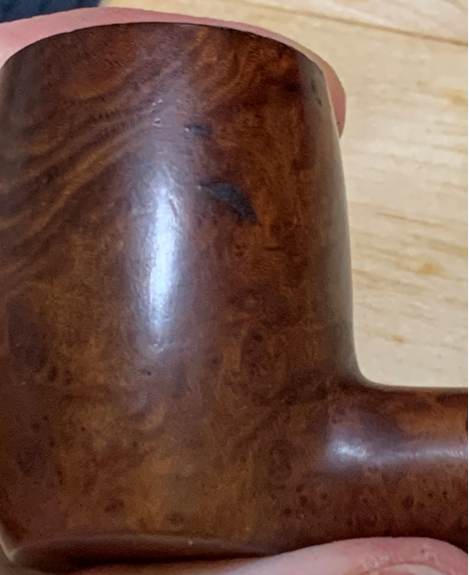
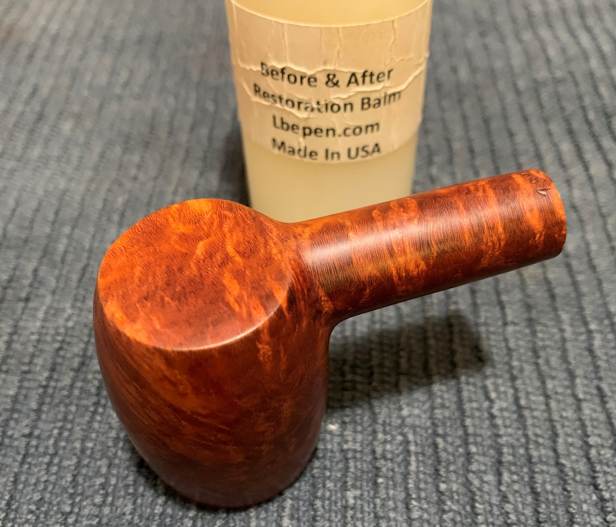
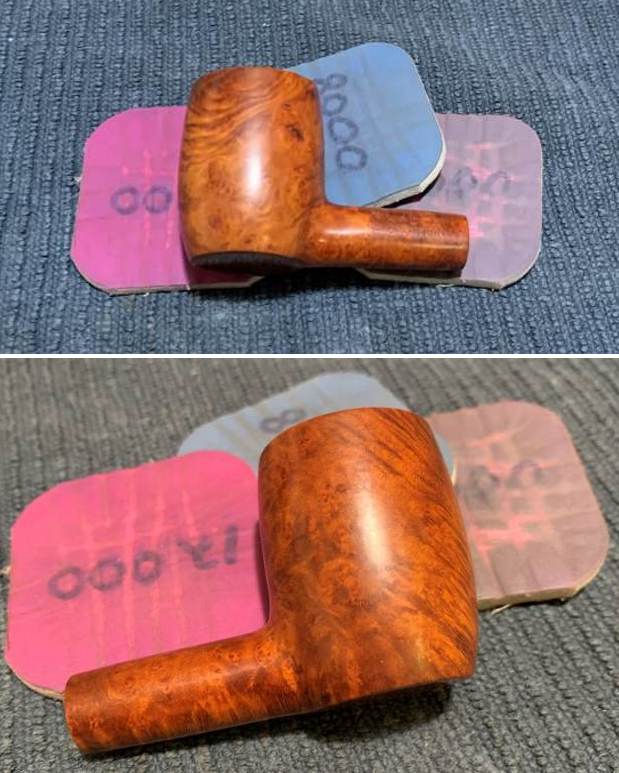
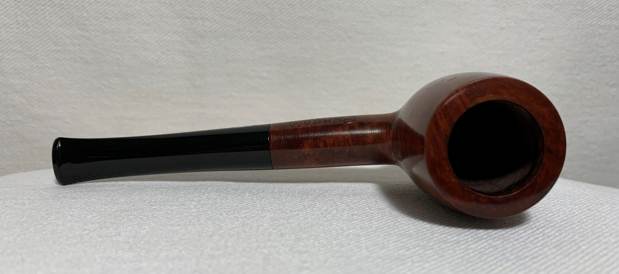
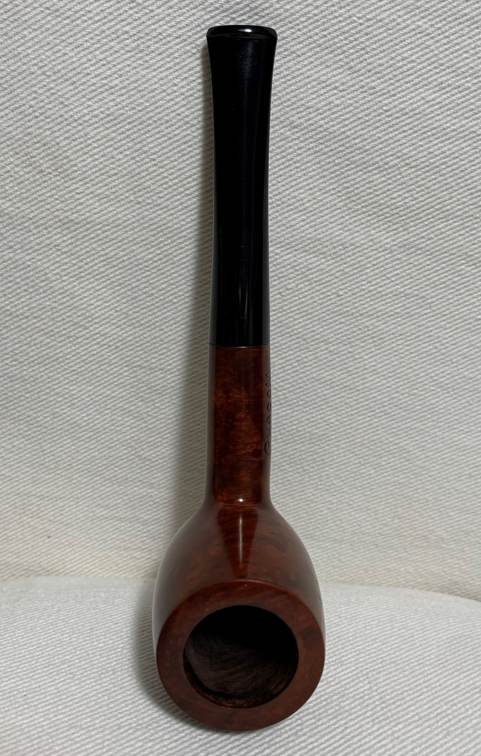
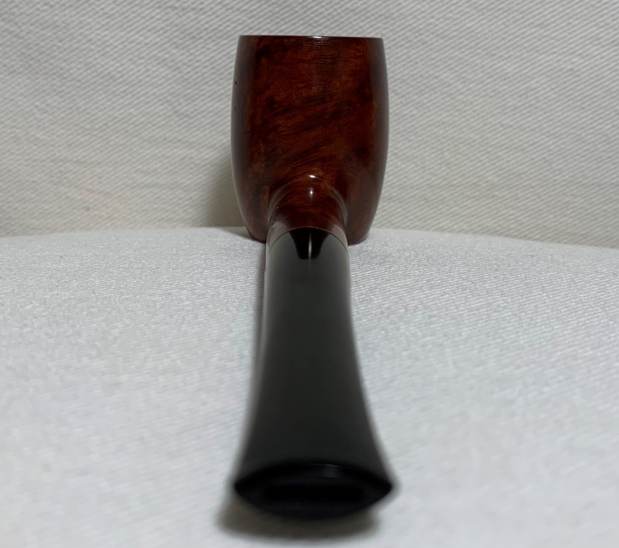
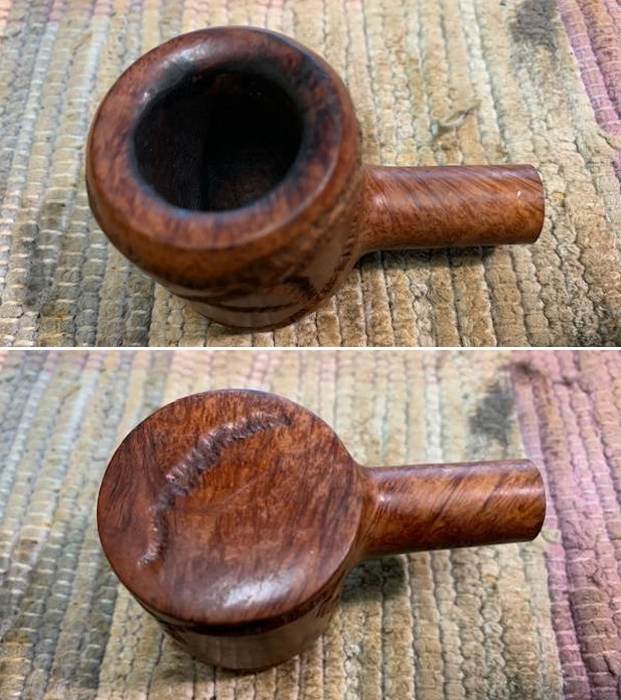
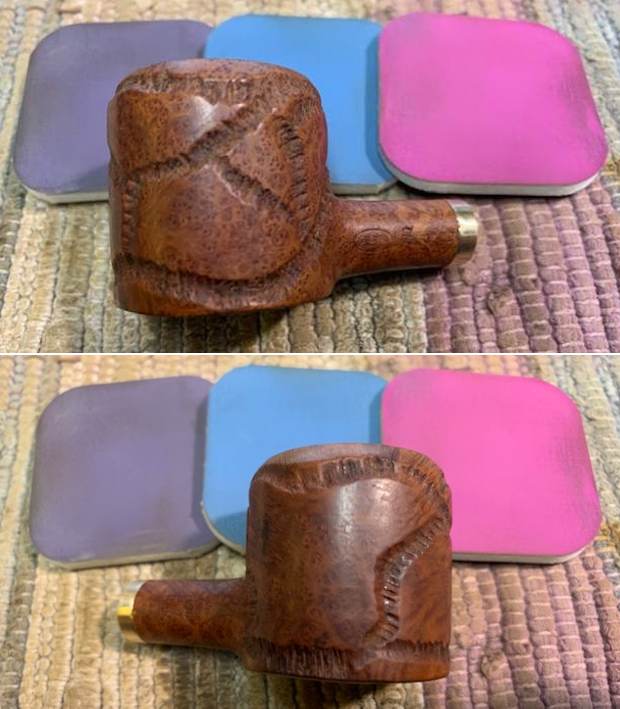
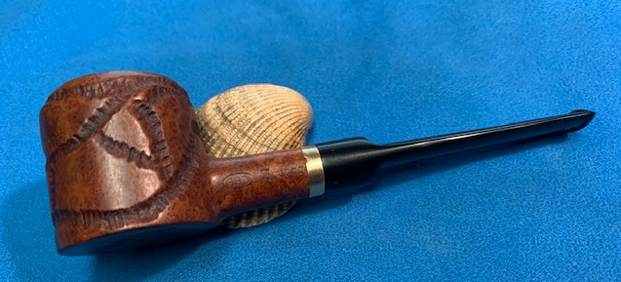
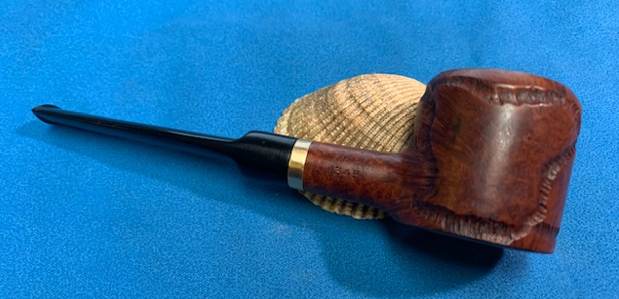
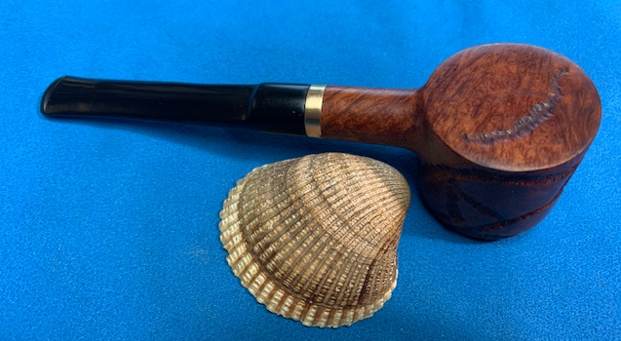
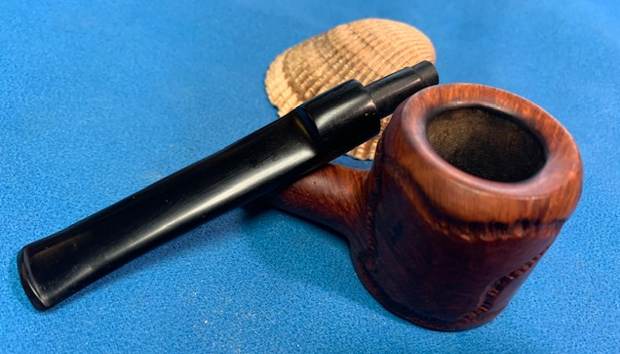
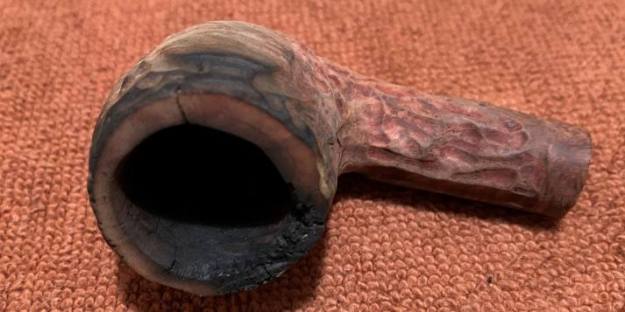
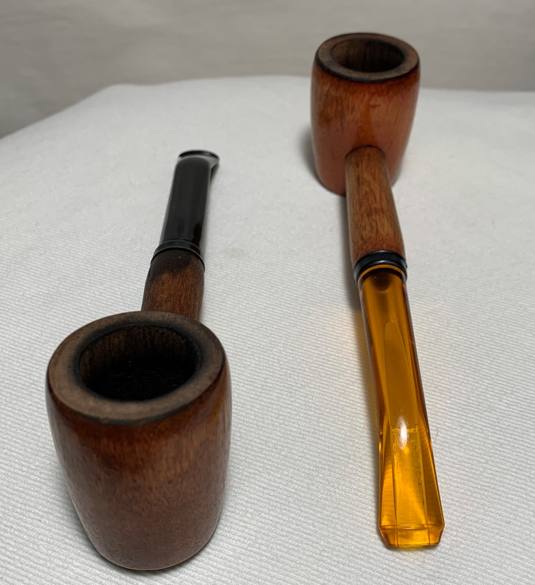
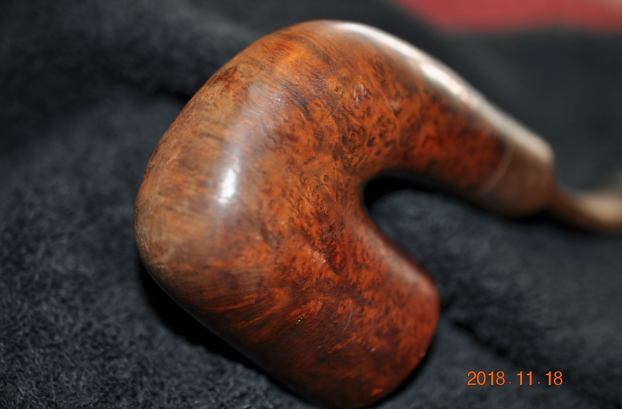
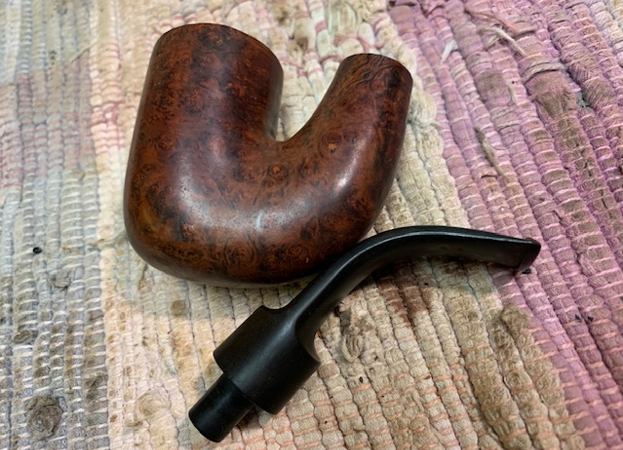
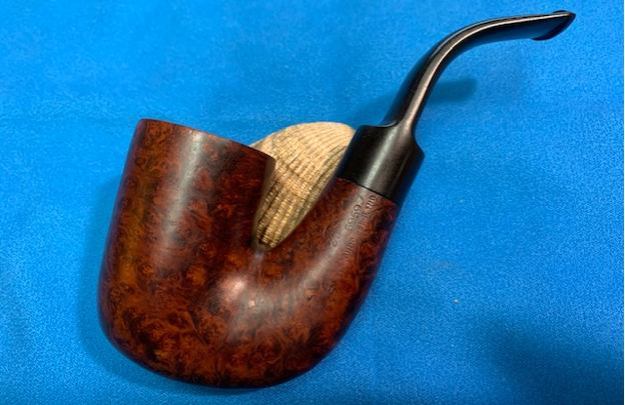
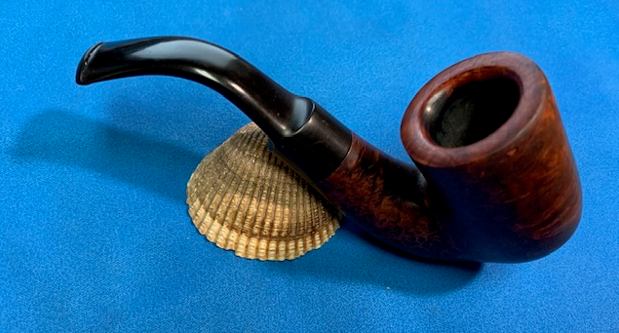
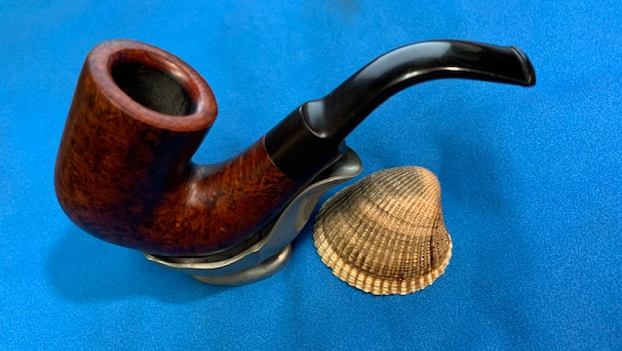
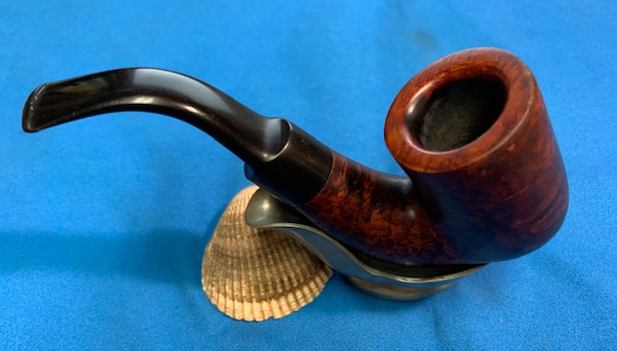
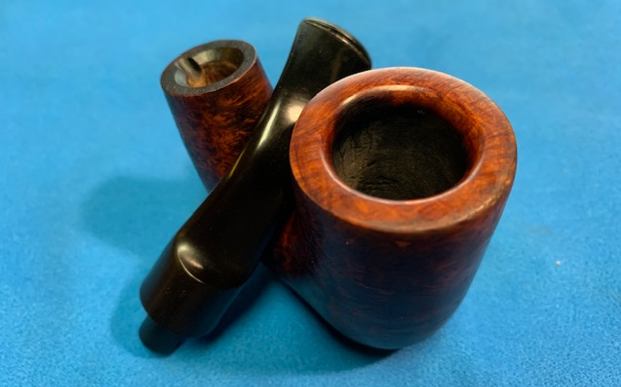
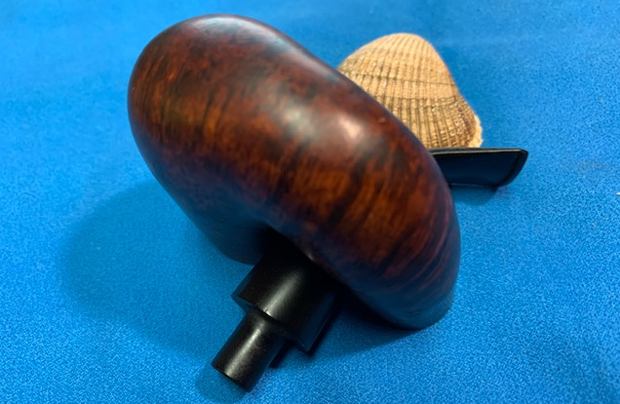
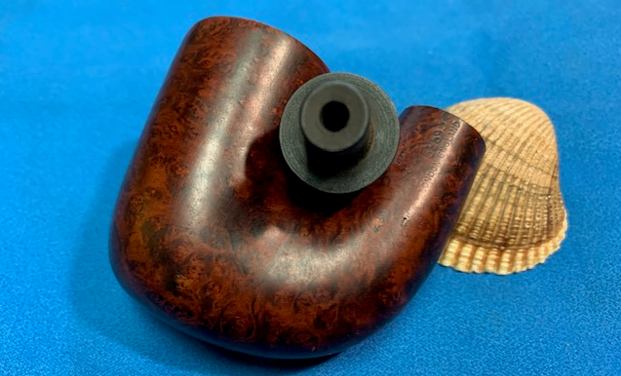
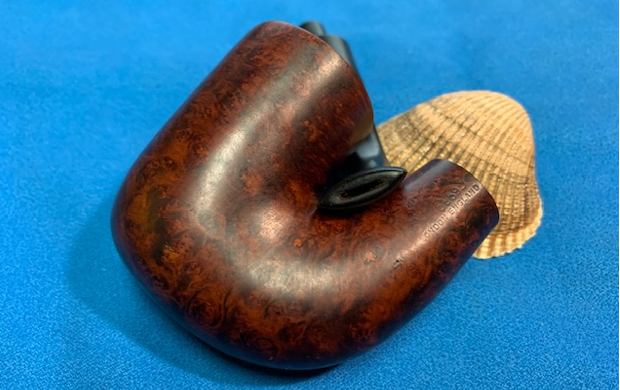
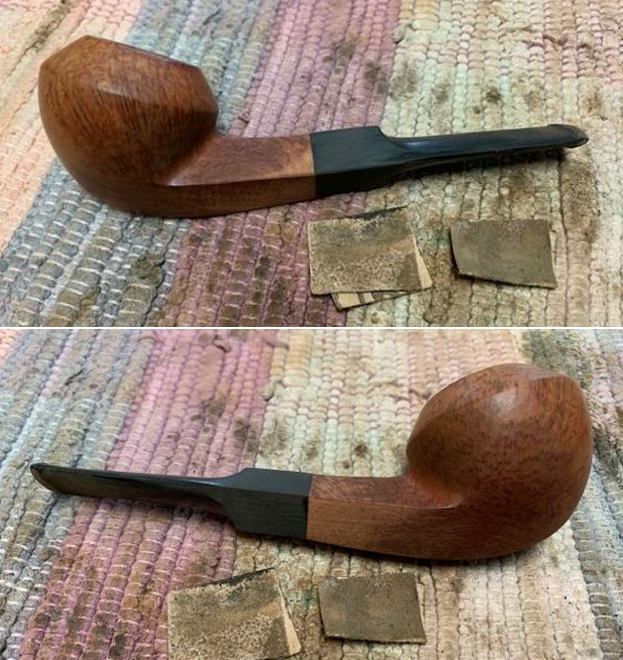
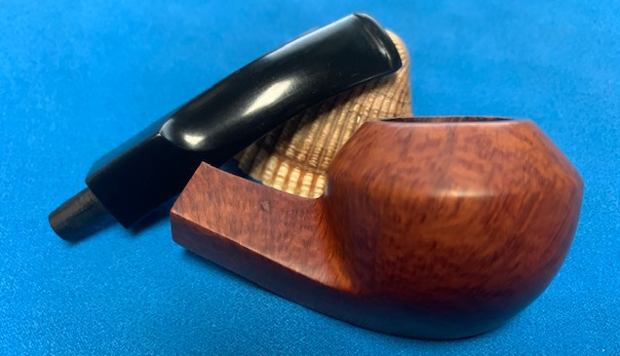
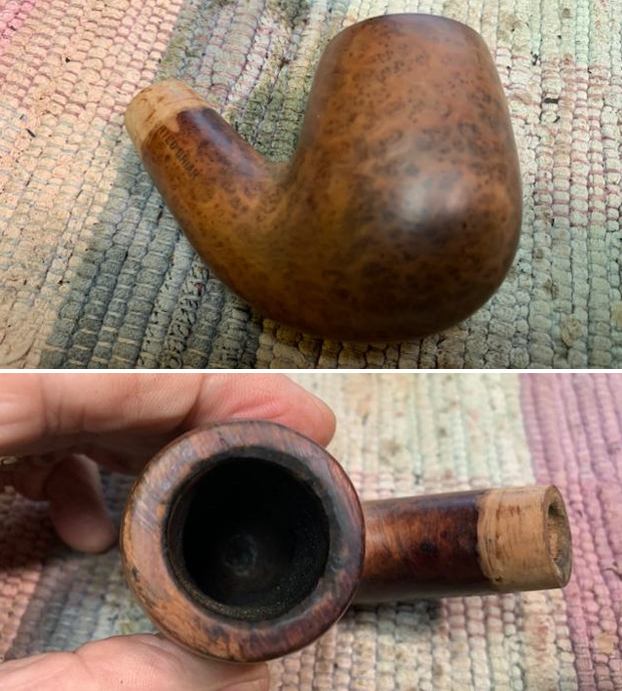
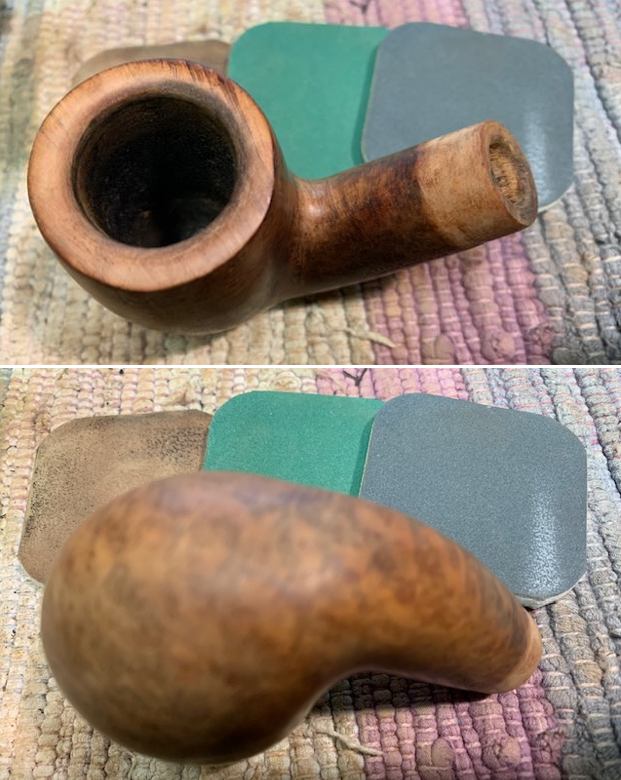
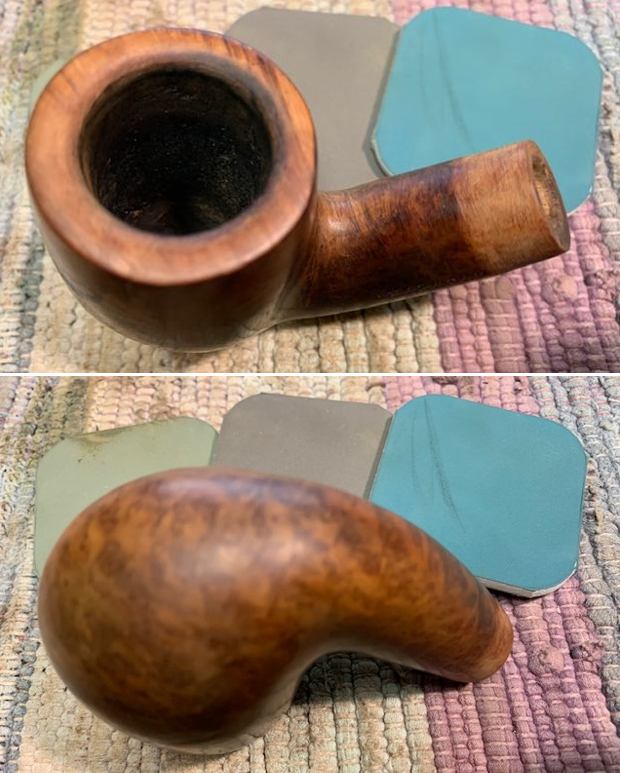
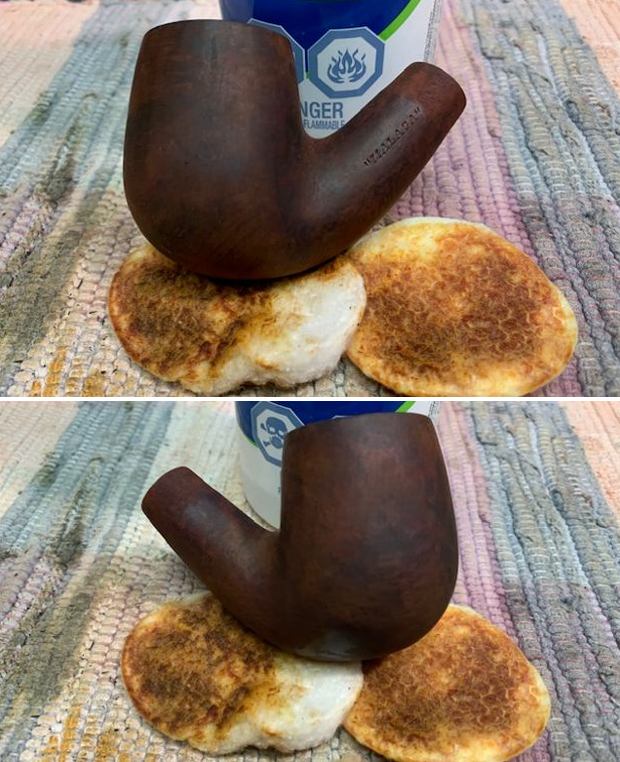
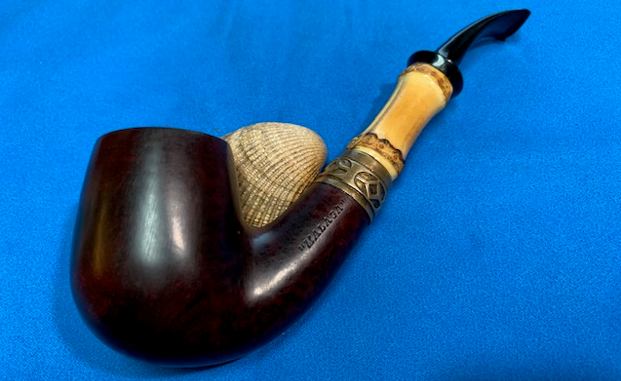
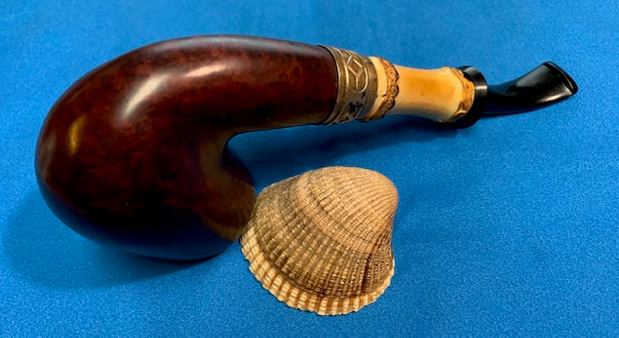
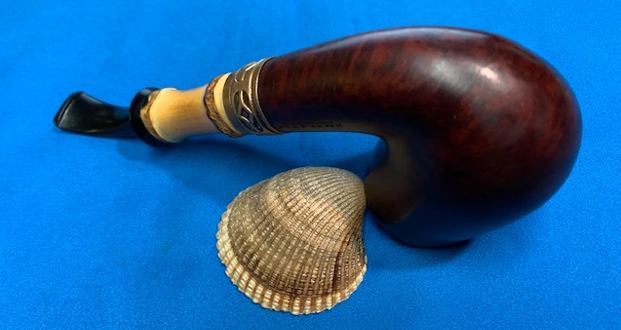
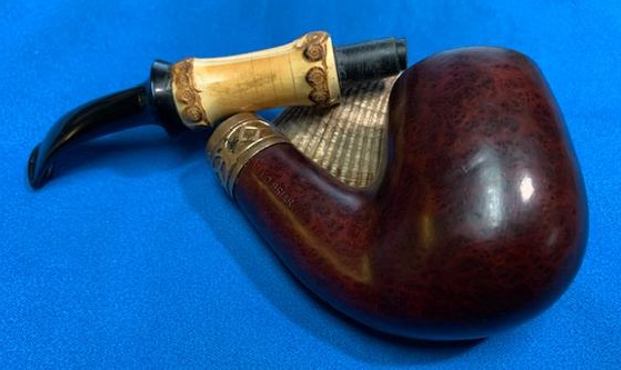
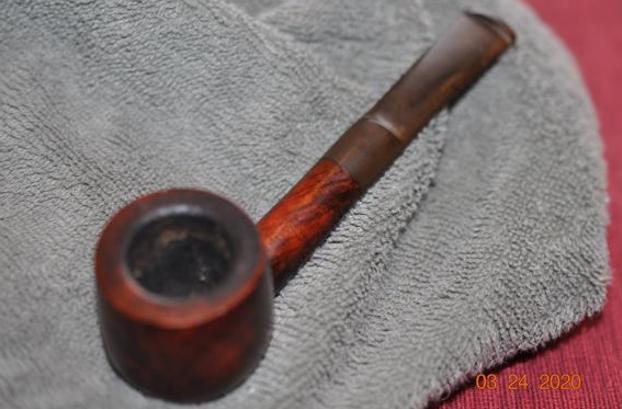
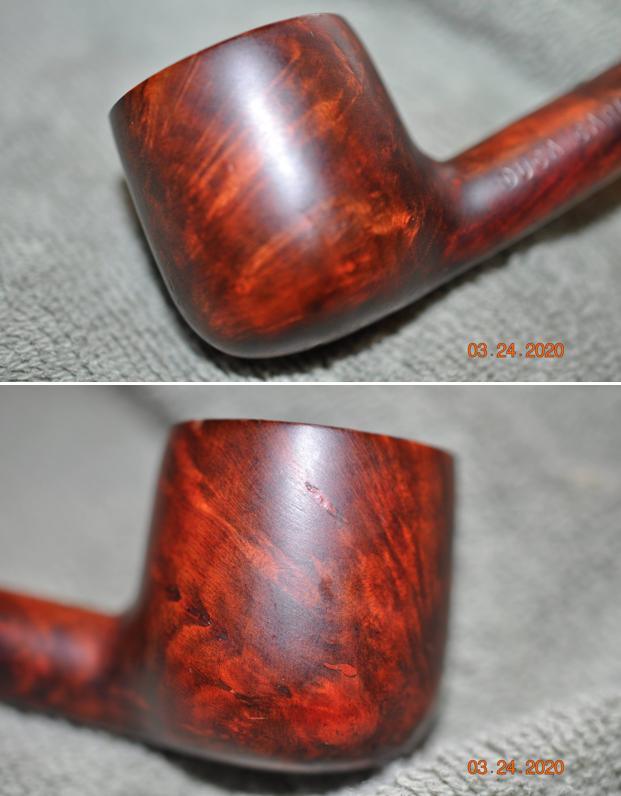
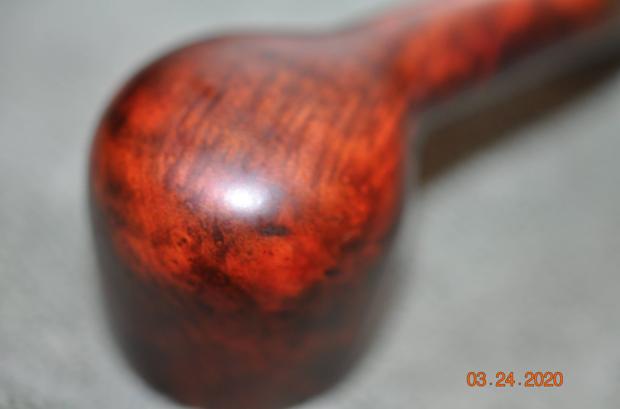
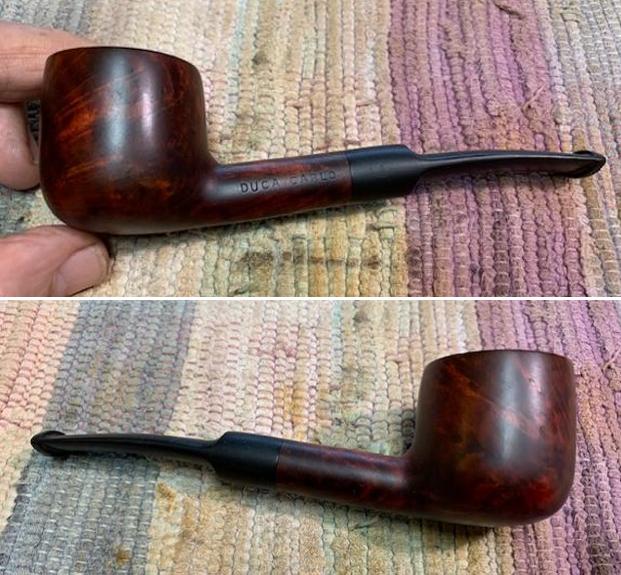
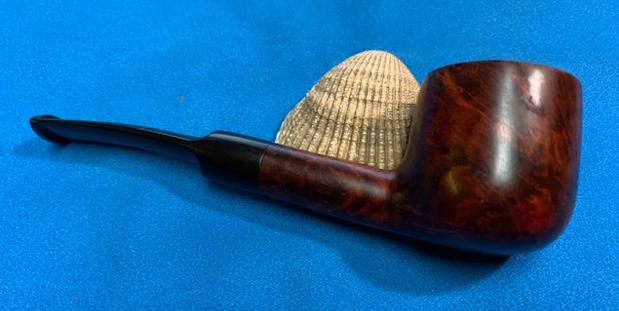
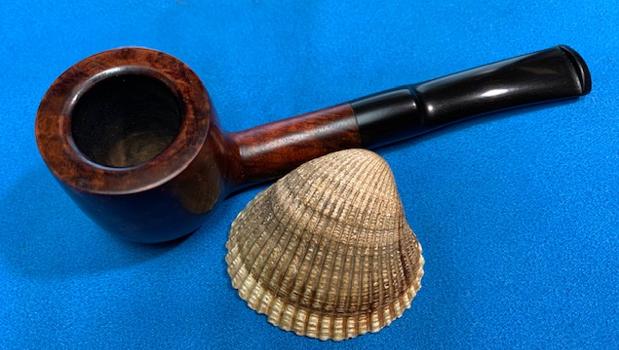
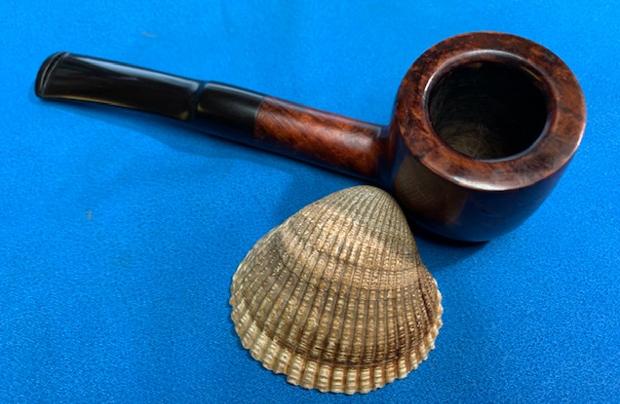
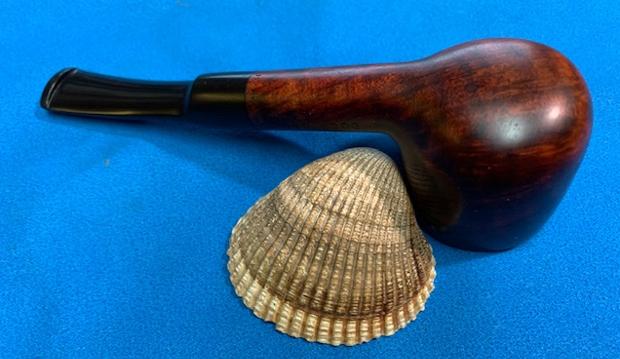
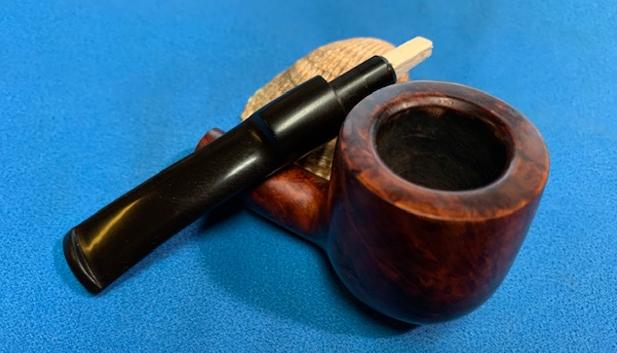
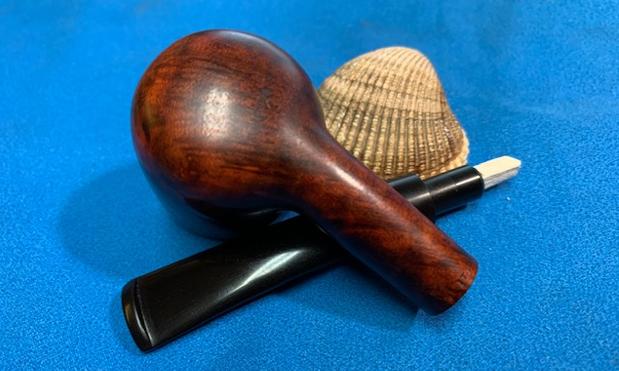
 This is a poker-shaped pipe (a flat bottom) – and a really pretty one too. I always felt that it looked a bit like an old oak barrel, hence the title of this article: The Poker Barrel. It feels very comfortable in the hand. It was obvious from the start that this was a great pipe that just needed some attention and TLC.
Chacom is a company that dates back, in its earliest form, to 1825. The name is a portmanteau of Chapuis Comoy. For a large part of the twentieth century, Chapuis Comoy was the largest pipe company in the world. For more on their history, please have a look at their website: https://www.pipechacom.com/en/history.htm. In fact, the shape number I mentioned above, 157, is a Comoy shape number and is designated as a straight-stemmed, flat-bottomed, billiard. But I am still going to call it a Poker Barrel anyway.
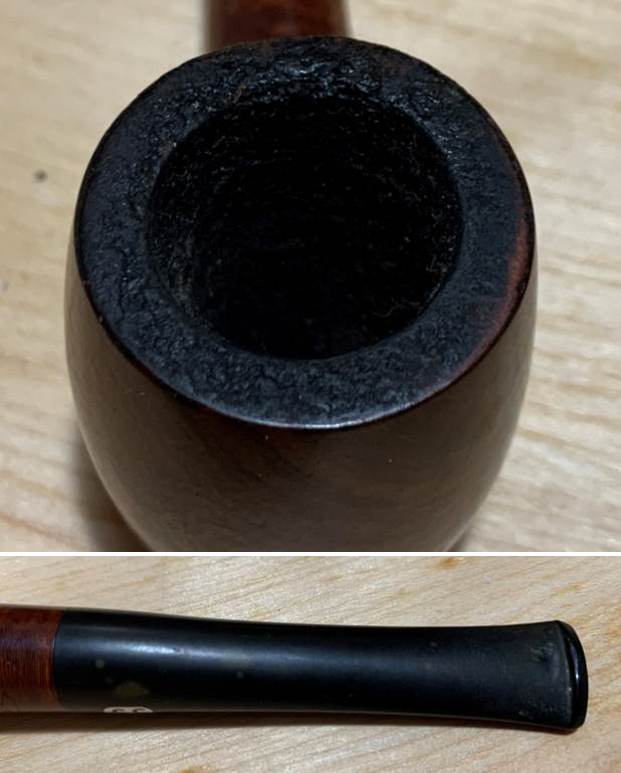
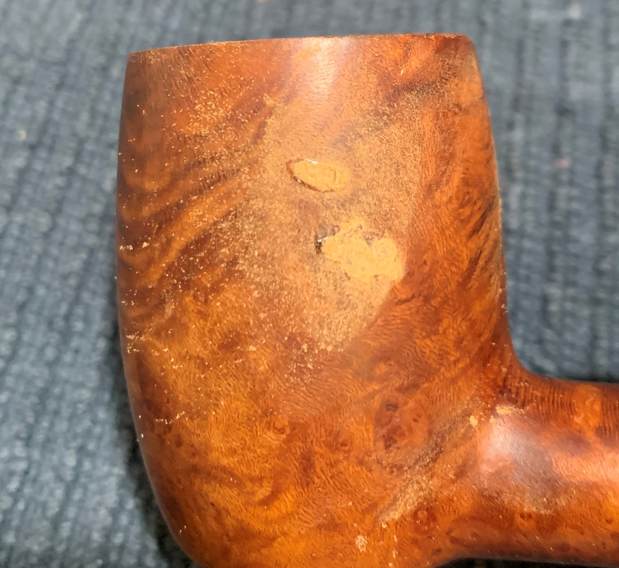
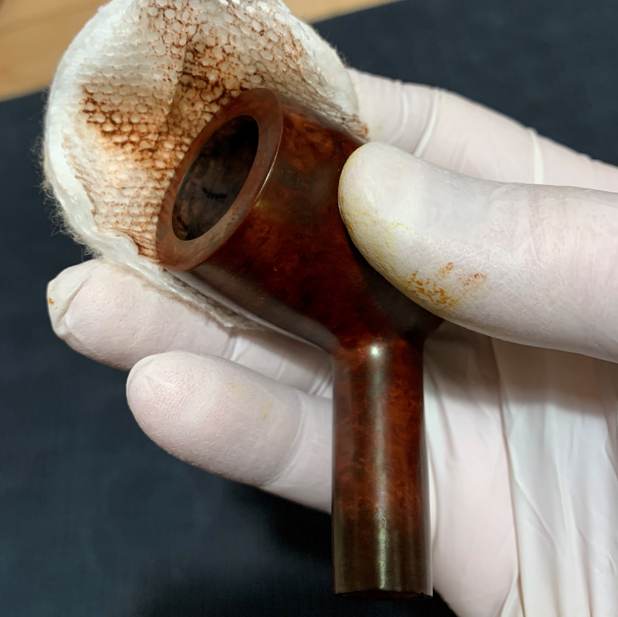
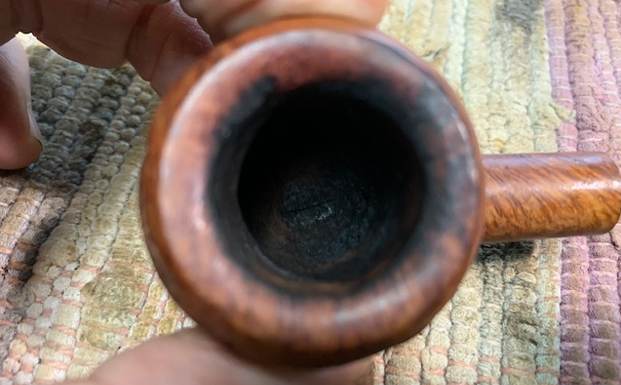
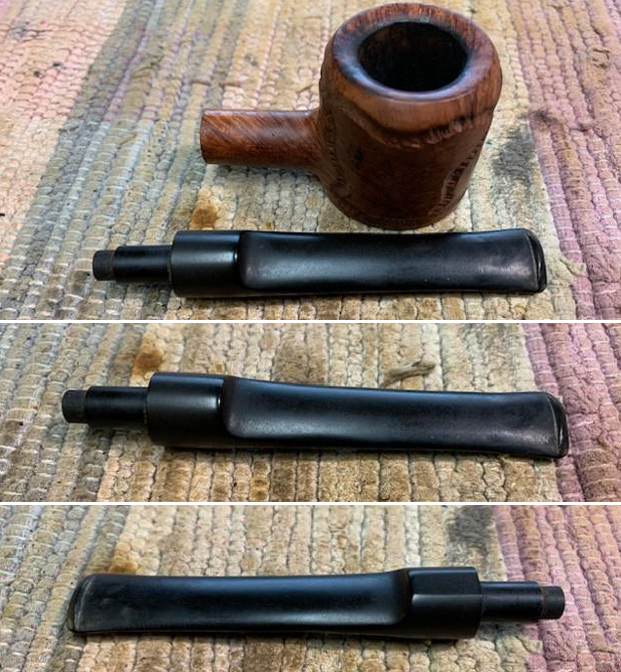
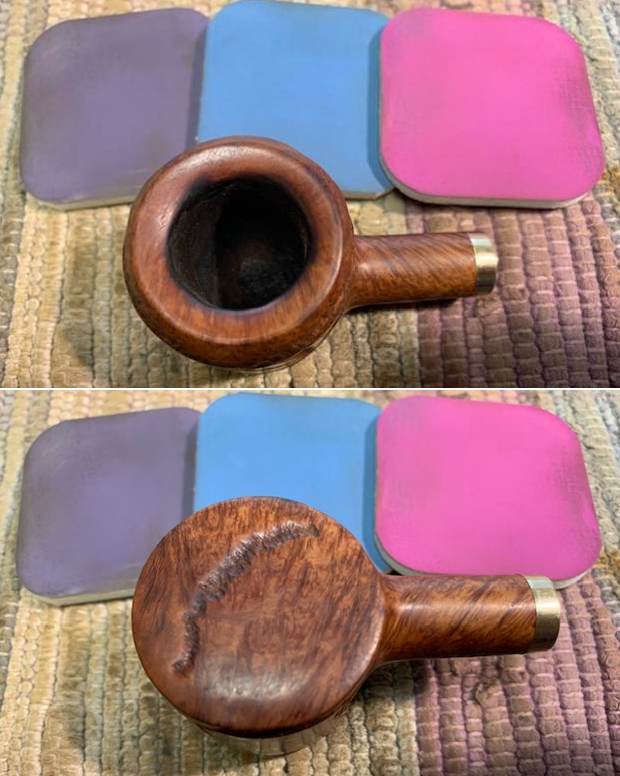
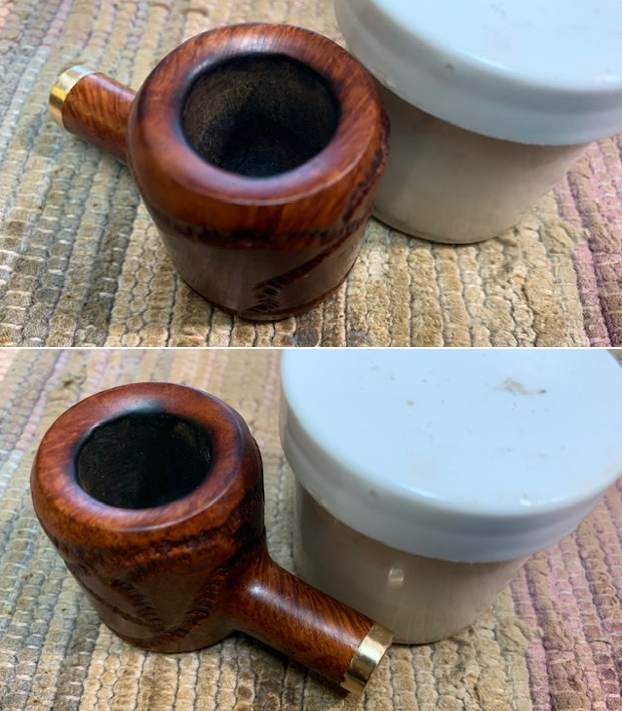
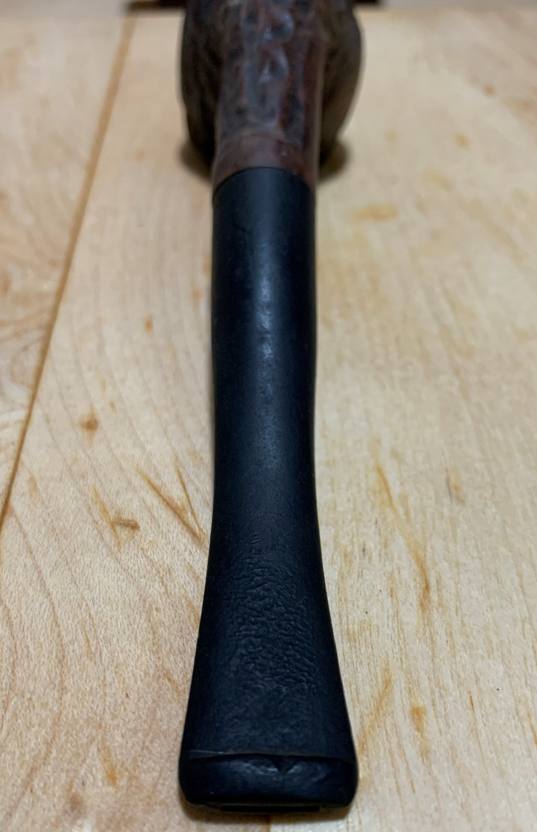
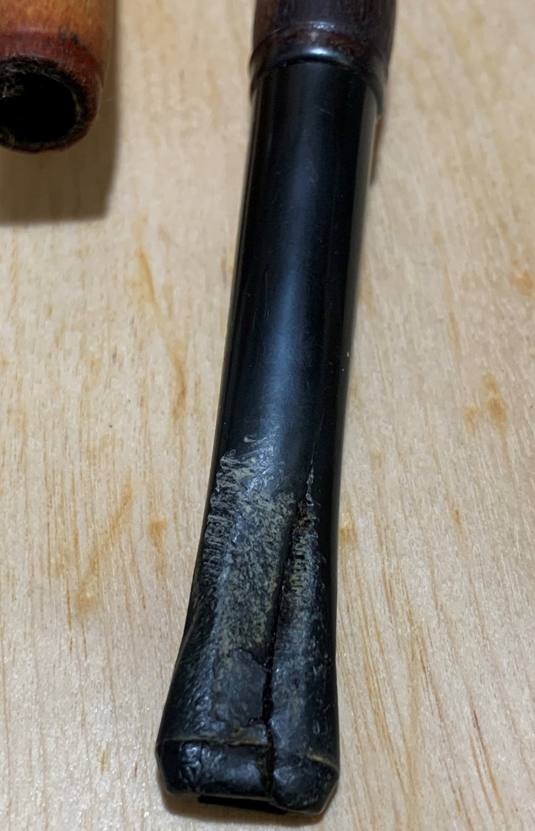
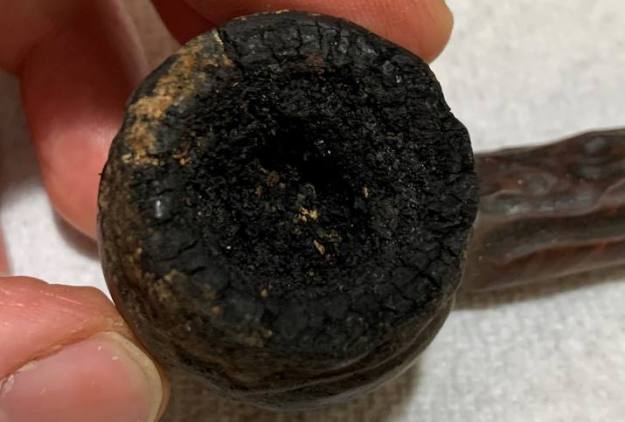
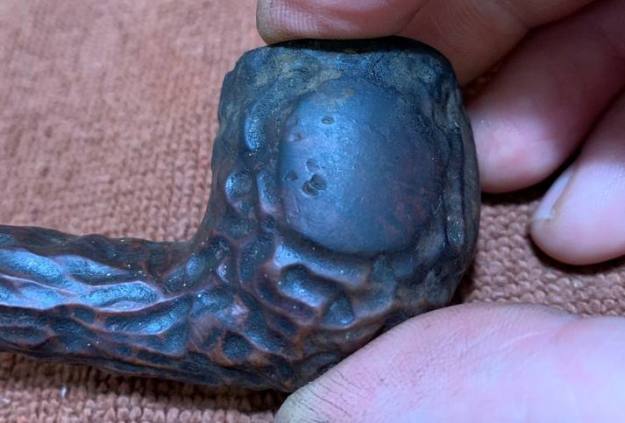
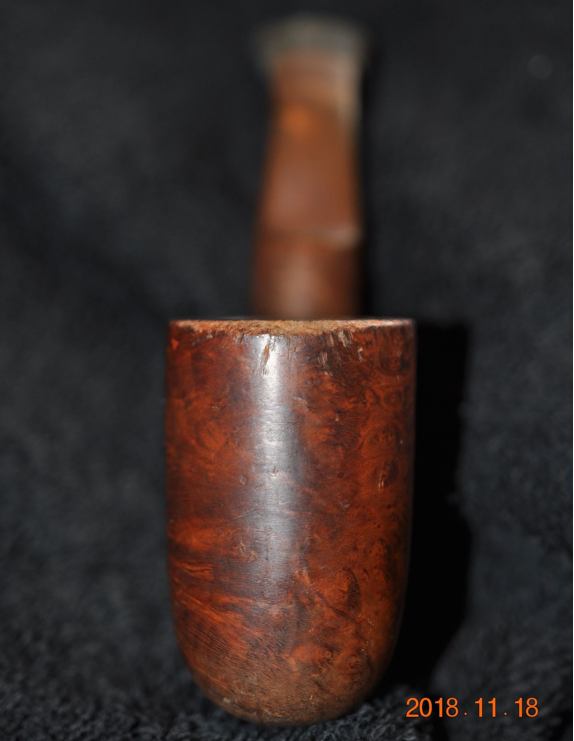
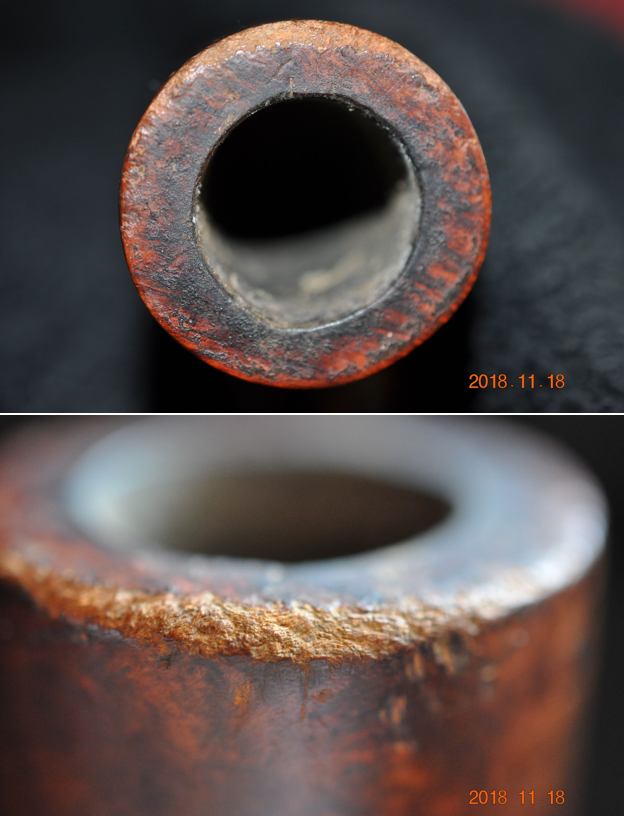
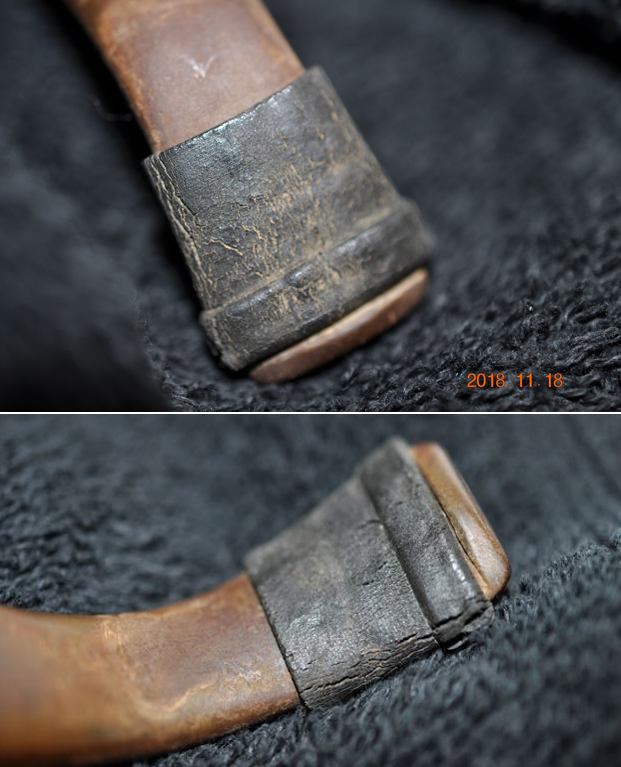
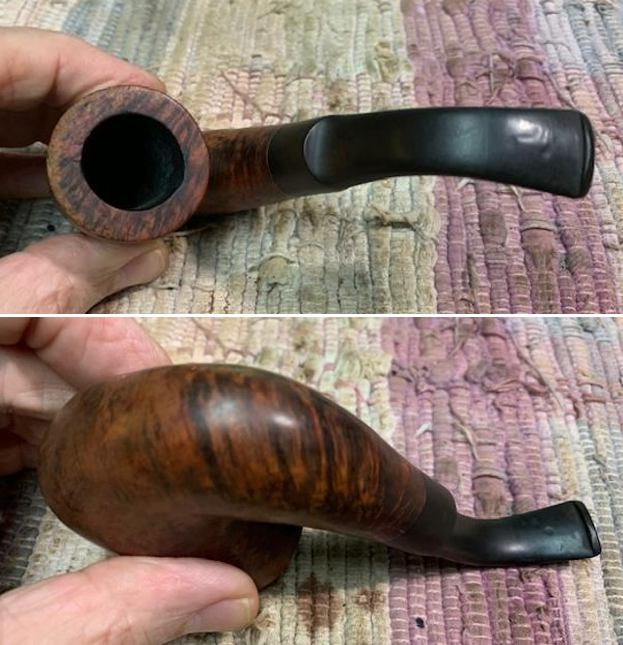
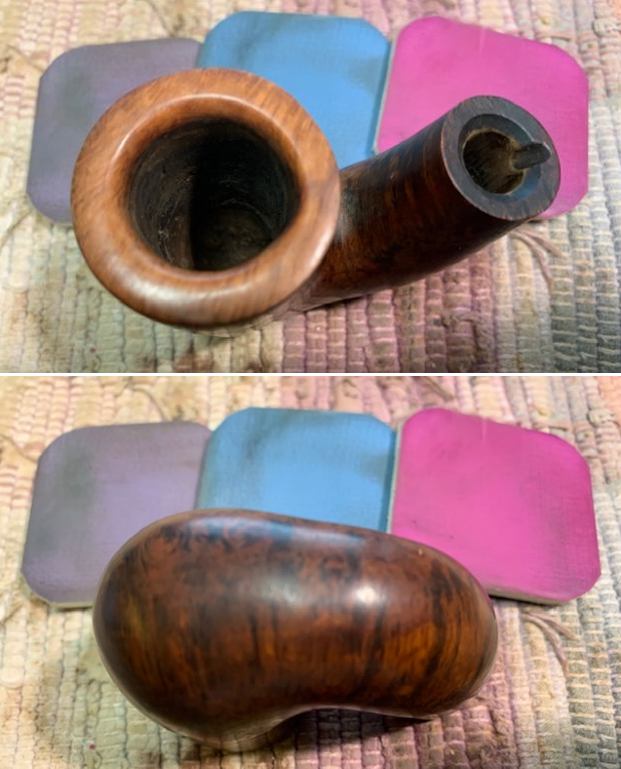
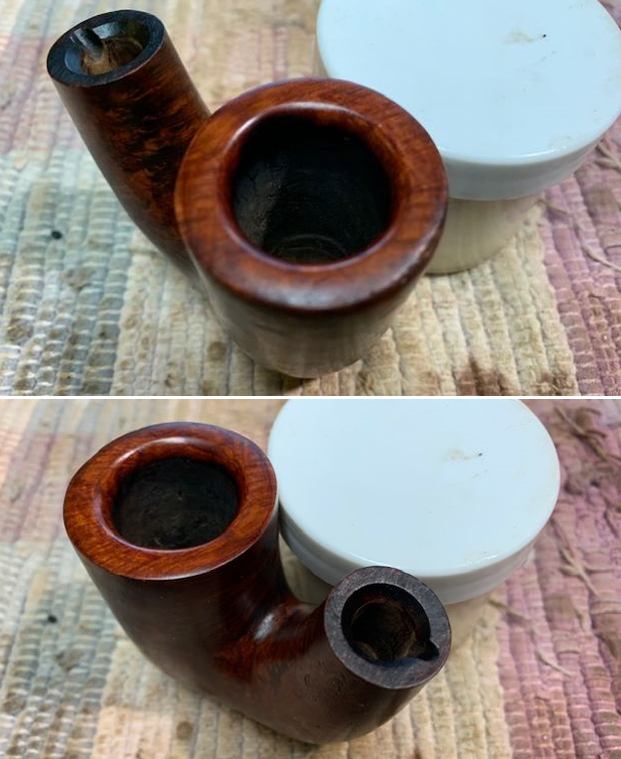
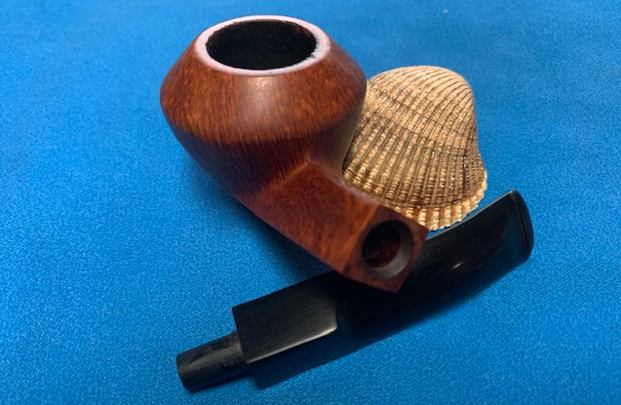
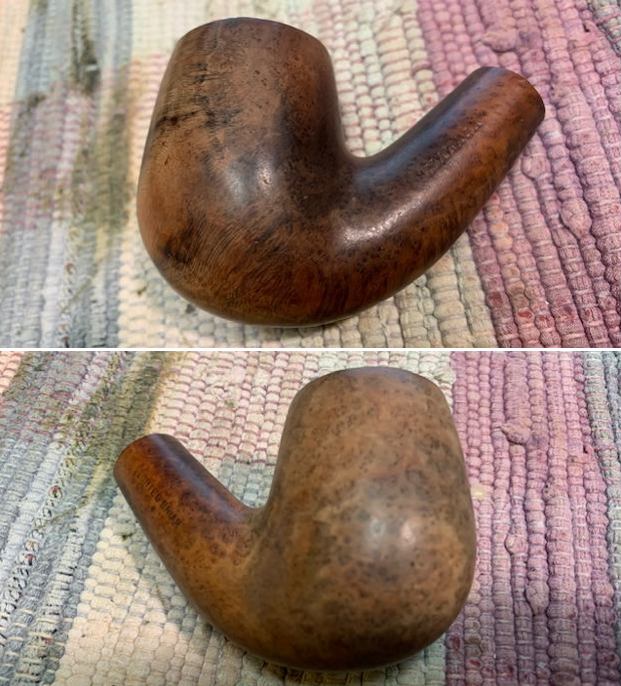
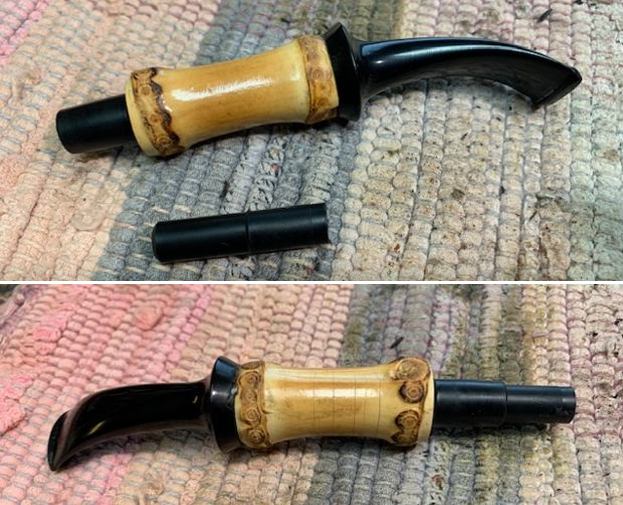
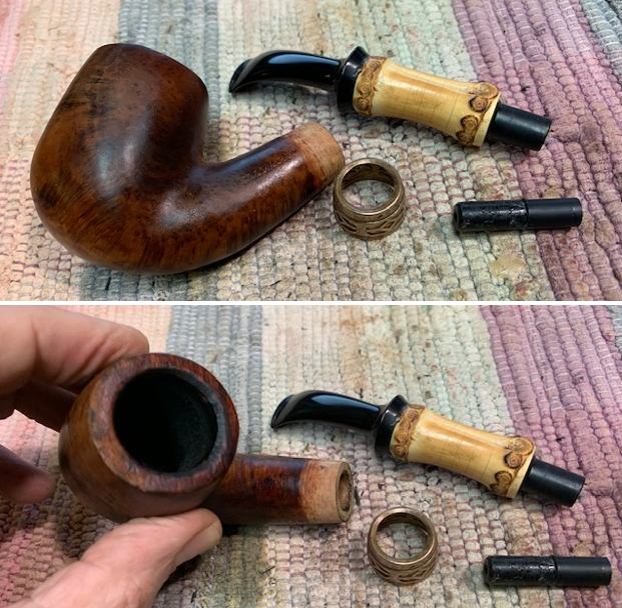
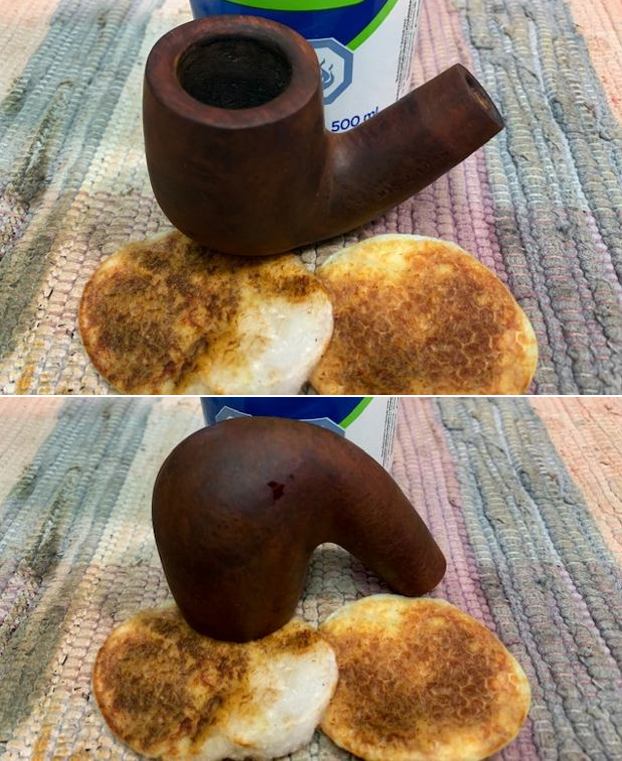
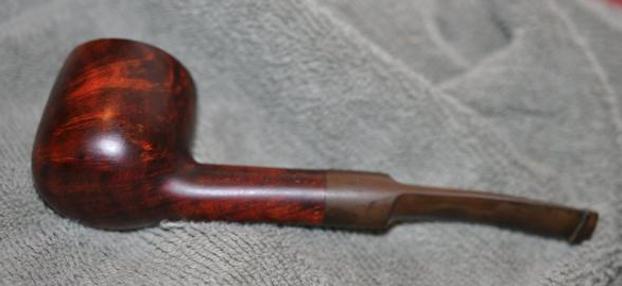
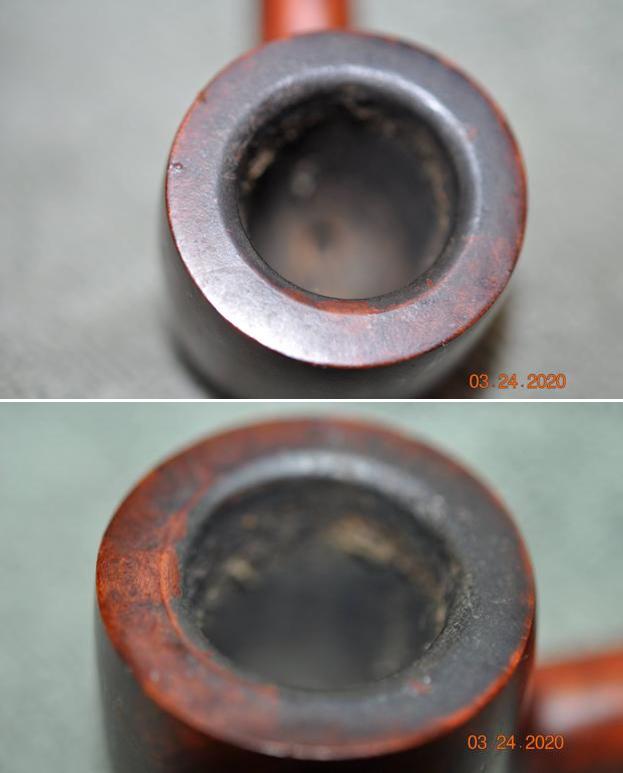
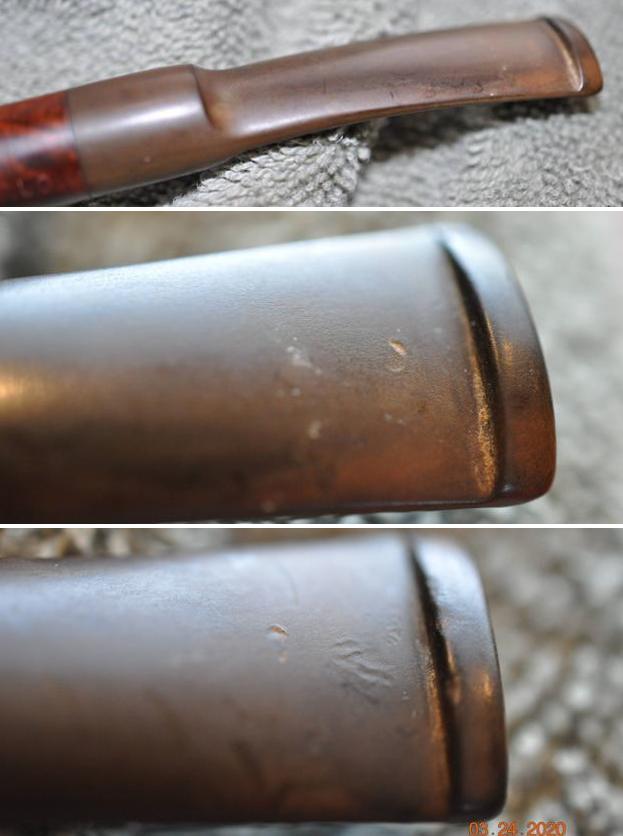
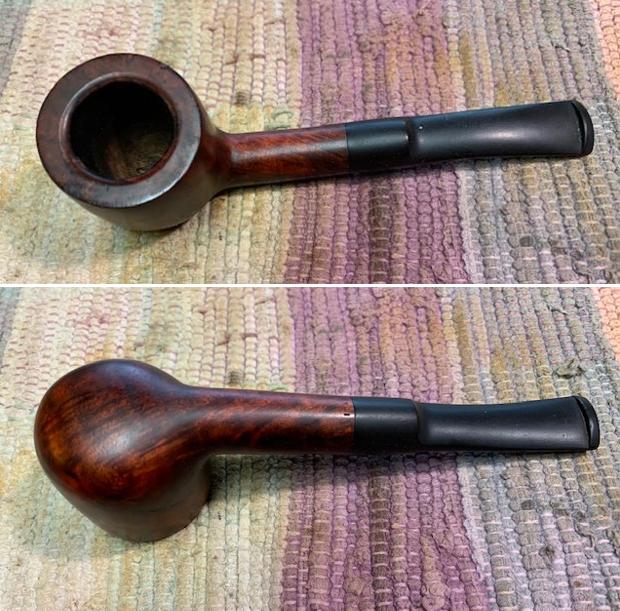
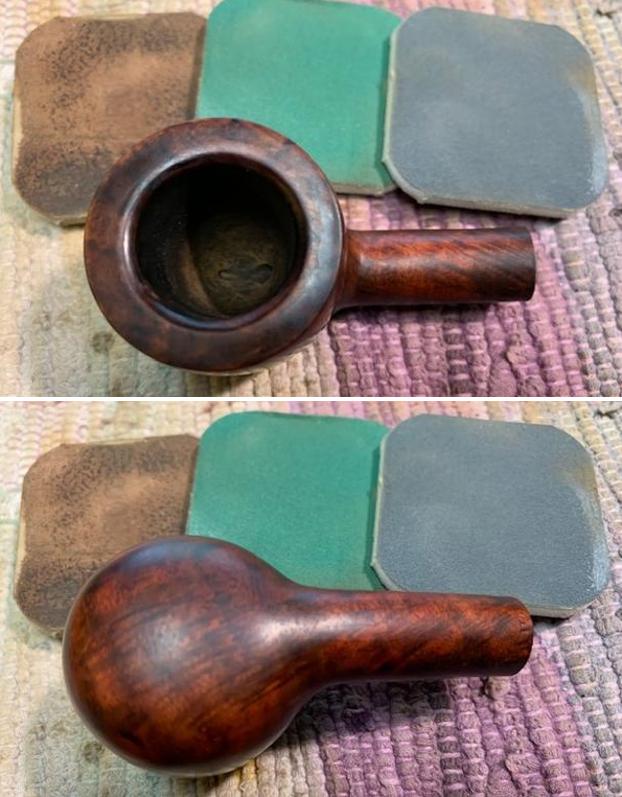
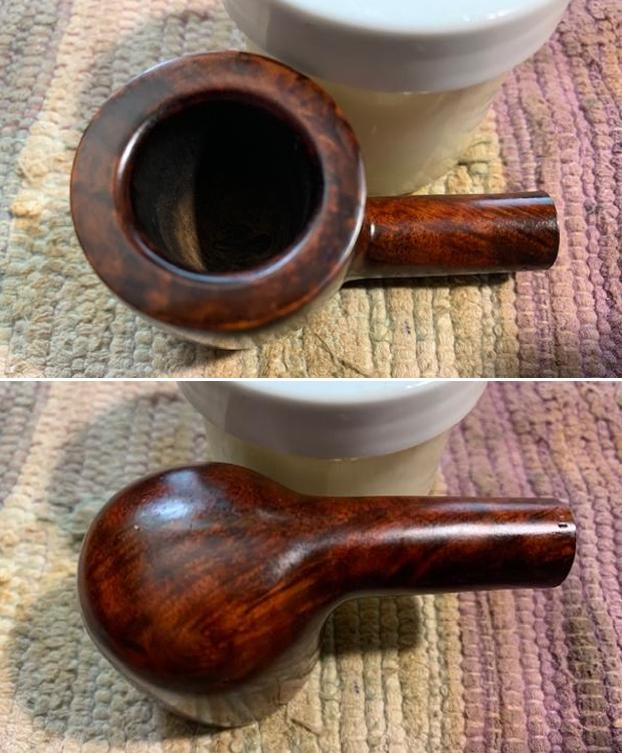
On to the pipe: it was in decent shape, but it had a few issues. The stem was mostly fine. There was a bit of oxidation, some tooth chatter and scratches, and that was about it. Meanwhile, the stummel had a few more issues. The outside of the bowl had some scratches and a couple of fills that needed to be redone. There was plenty of lava and debris on the rim and I suspected there would also be some burn marks. The inside was pretty dirty too – just how dirty it was became an event in itself.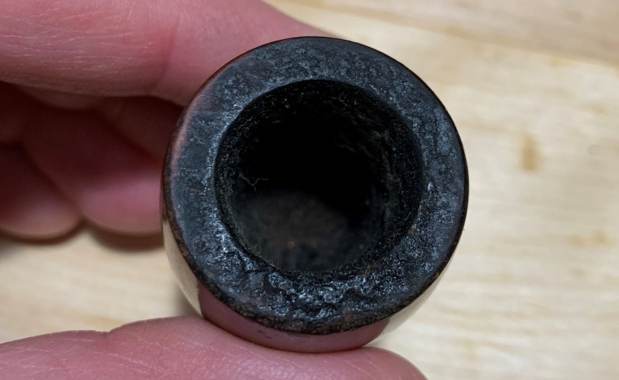
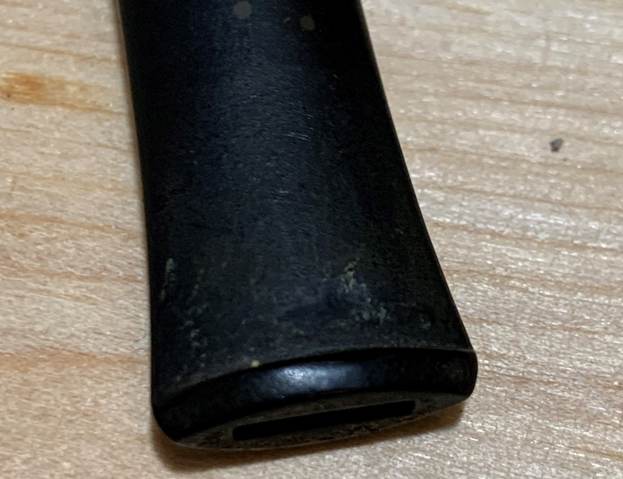
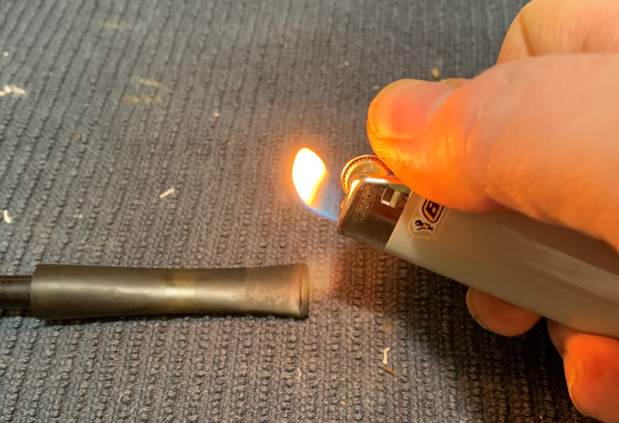
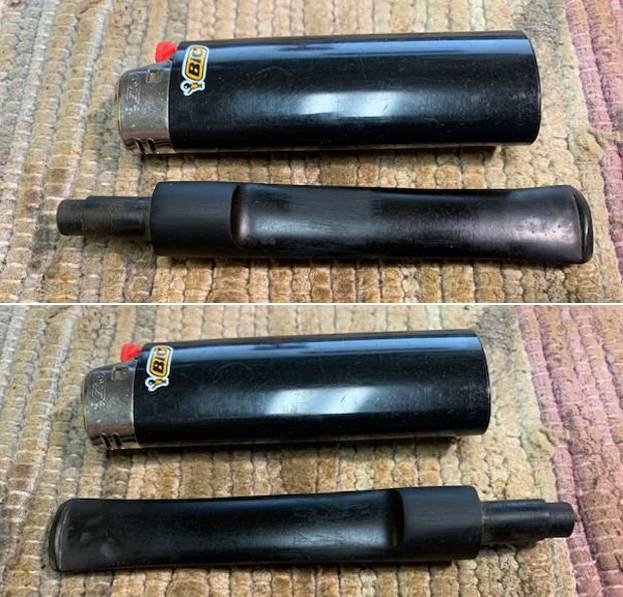
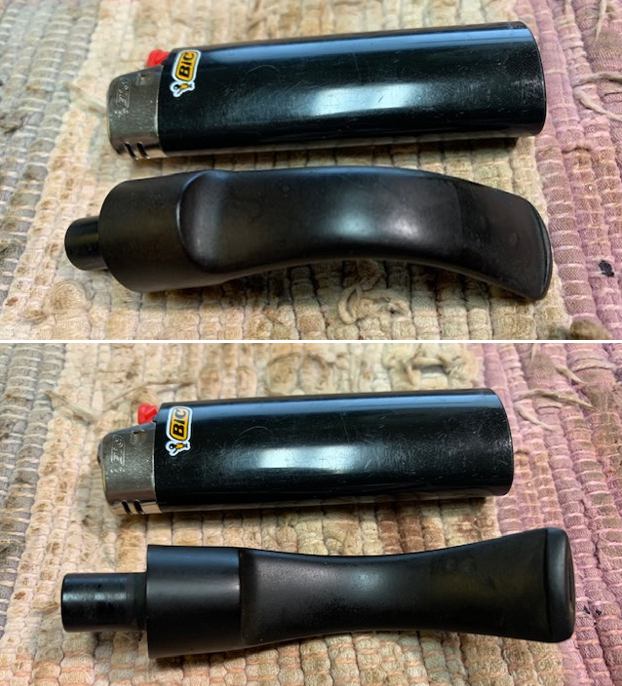
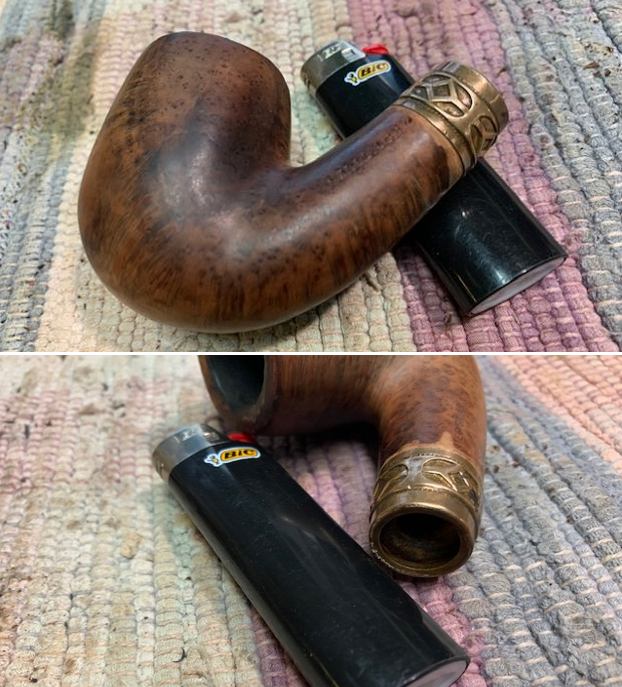
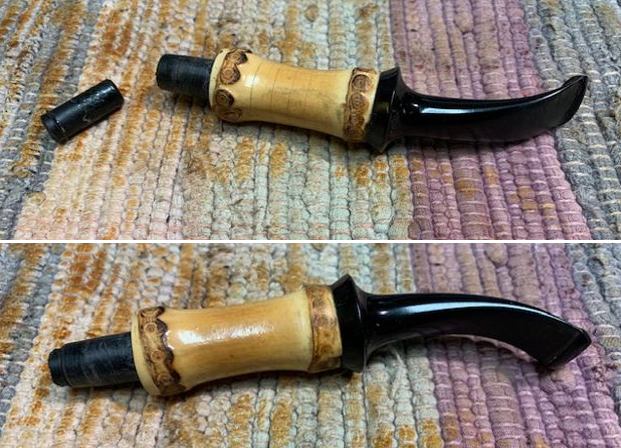
 The stem was first on my list. I wiped down the outside of the stem with Murphy’s Oil Soap on some cotton pads. I also took a BIC lighter and ‘painted’ the stem with its flame in order to lift the bite marks and dents. This was not particularly successful in raising the damage.
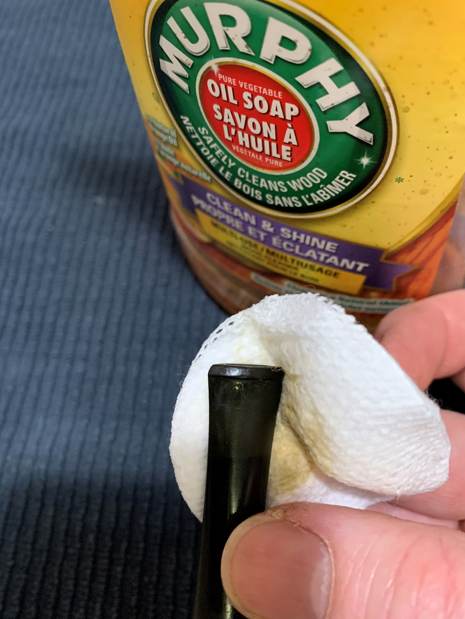
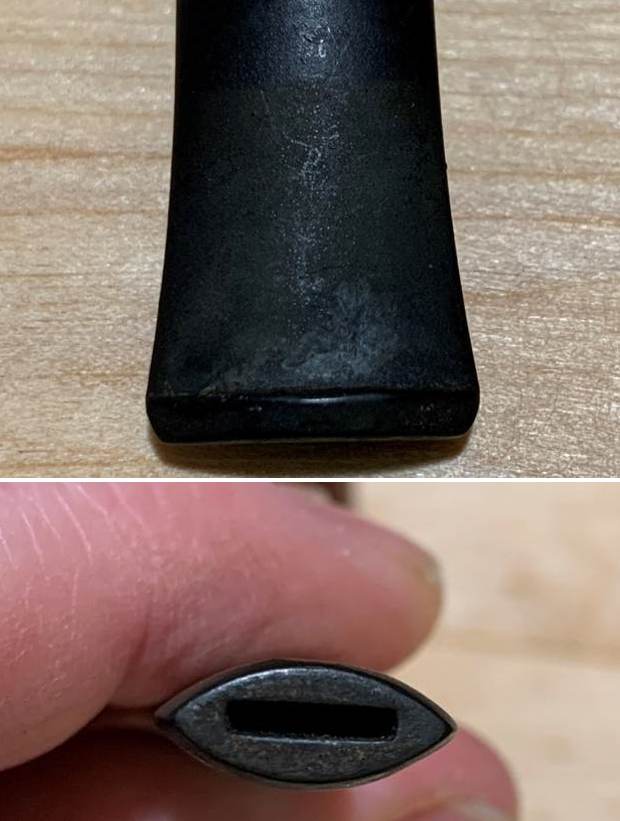
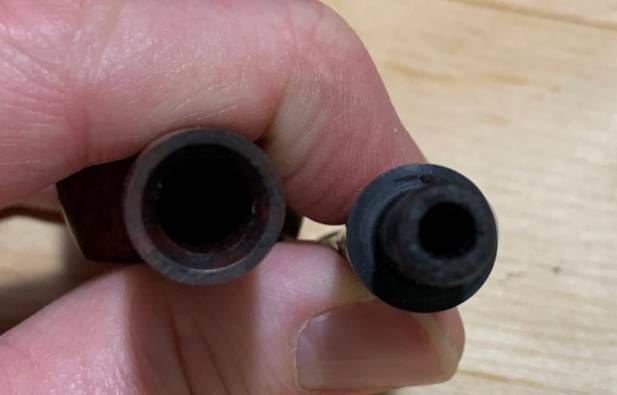
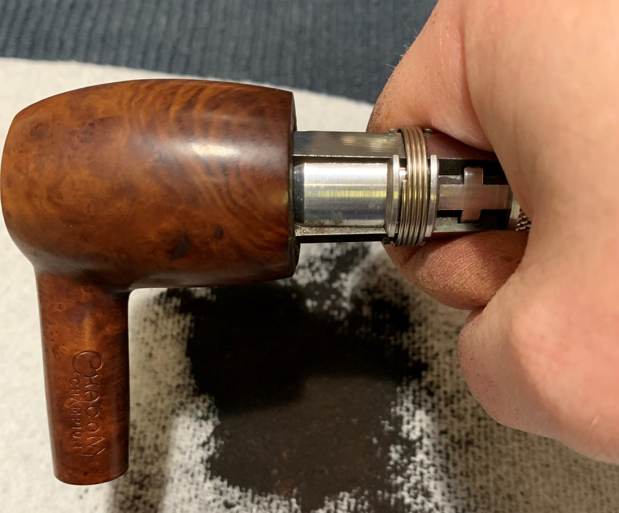
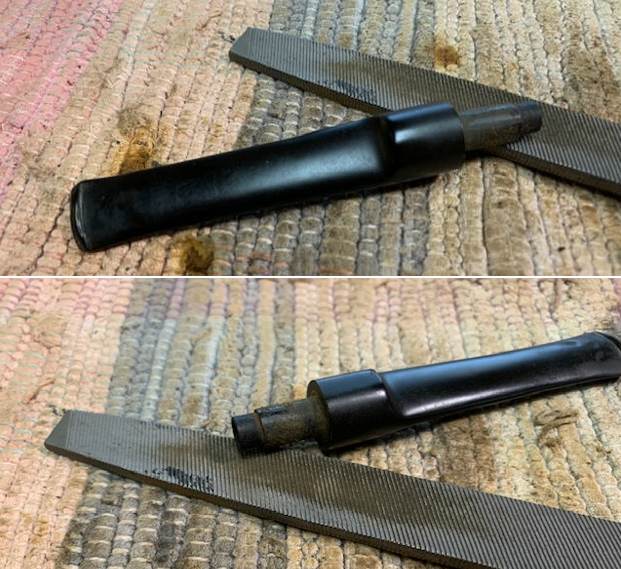
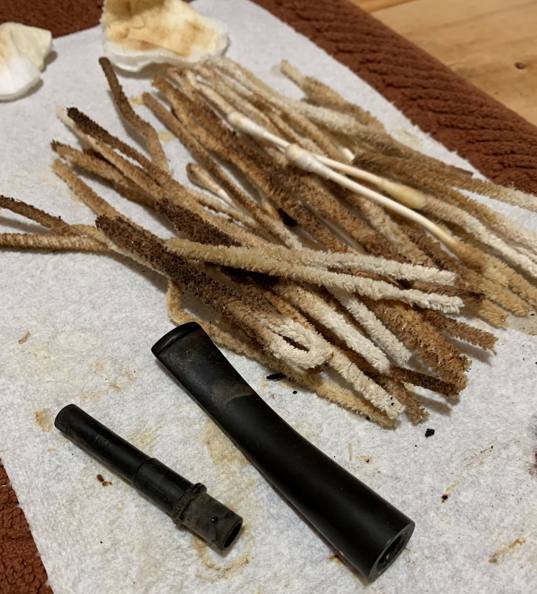
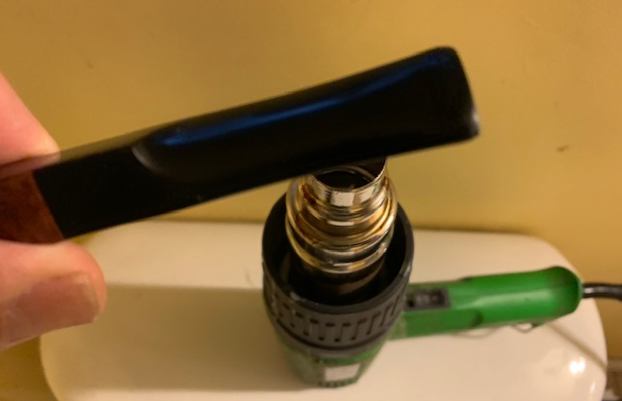
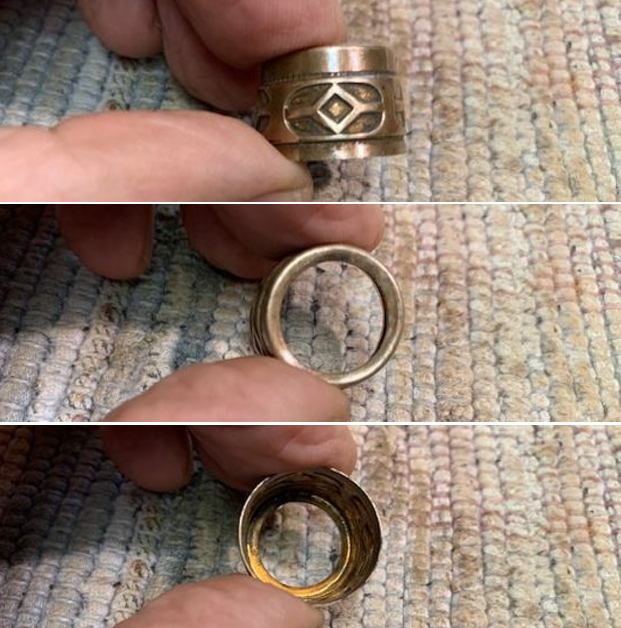
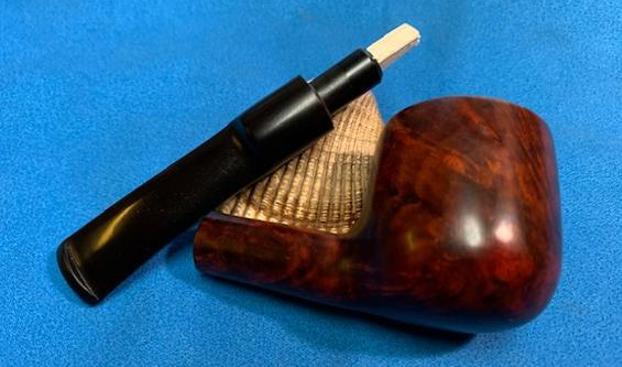
 During this process, I noticed that the inside of the tenon on the stem was threaded. There was clearly a stinger here once upon a time. Thankfully, it is long gone.
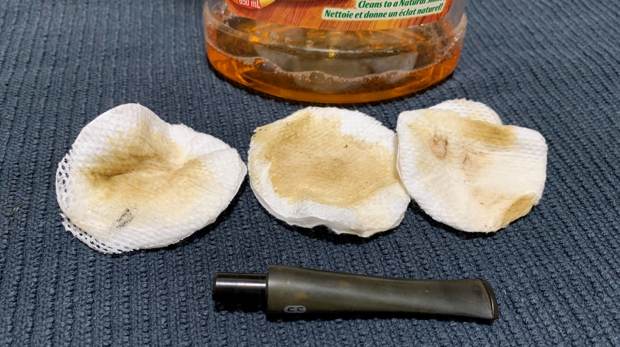
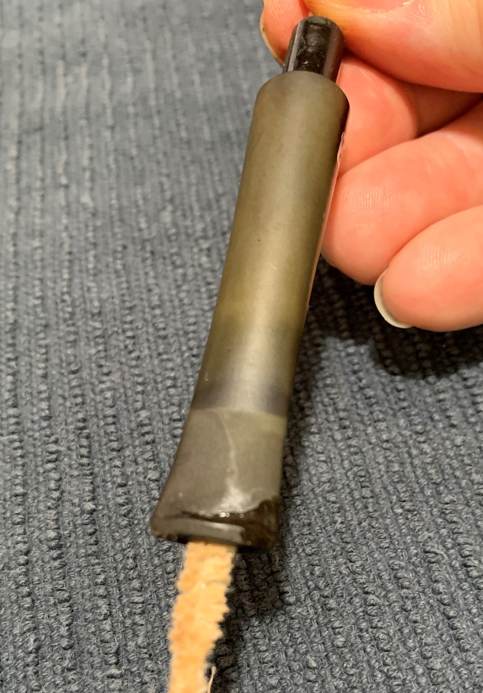
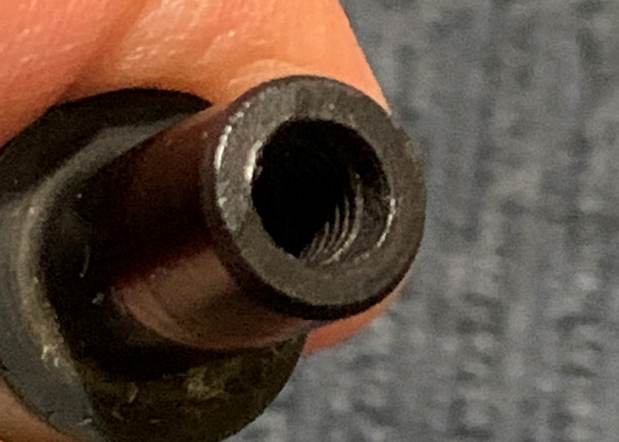 Then, I cleaned out the insides with pipe cleaners and isopropyl alcohol. Look at that! Lots of work to get this clean!
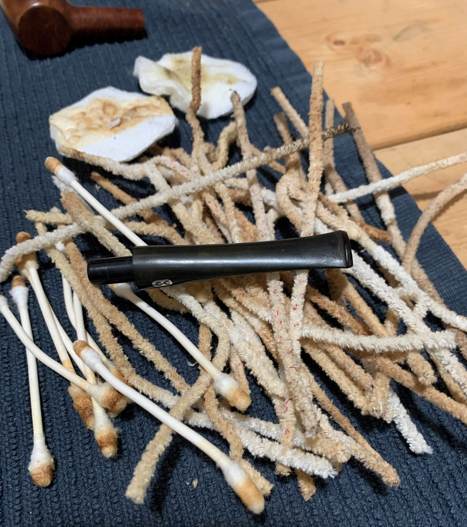
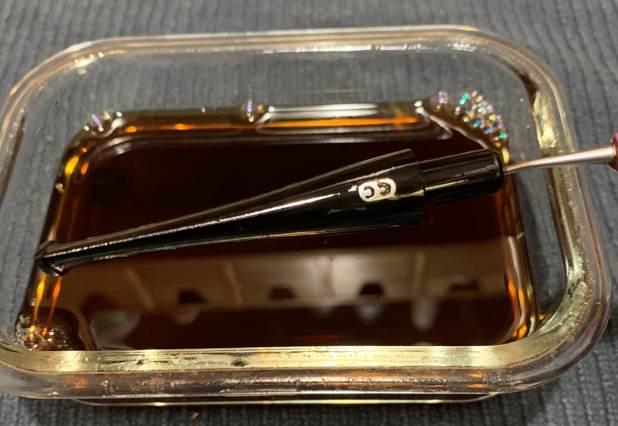
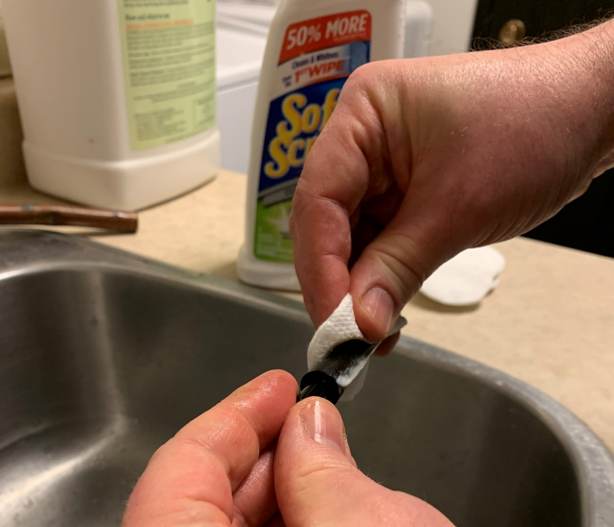
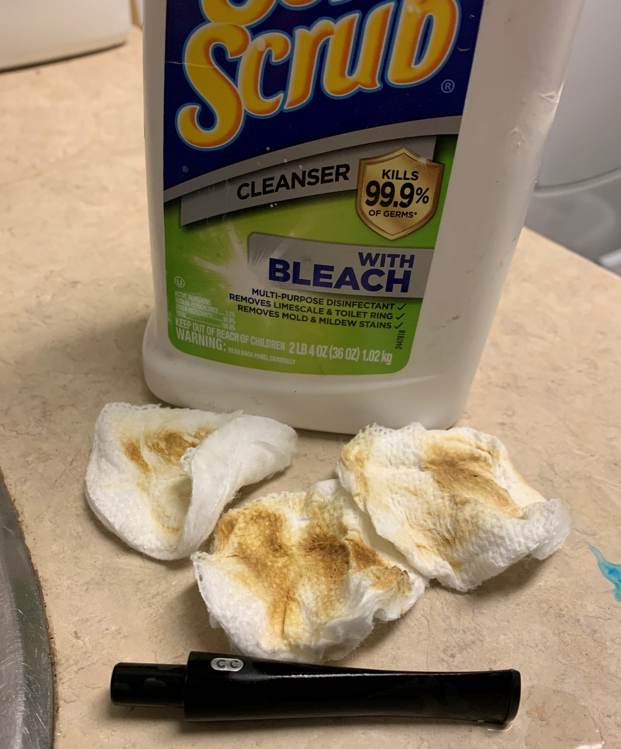
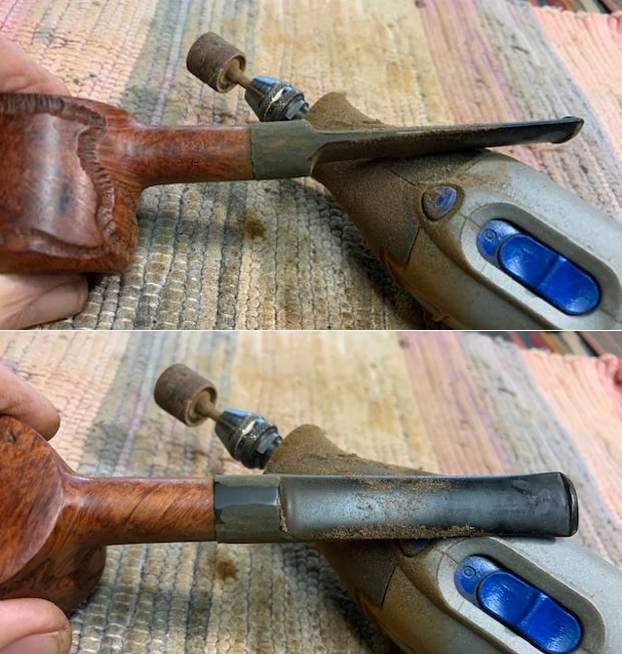
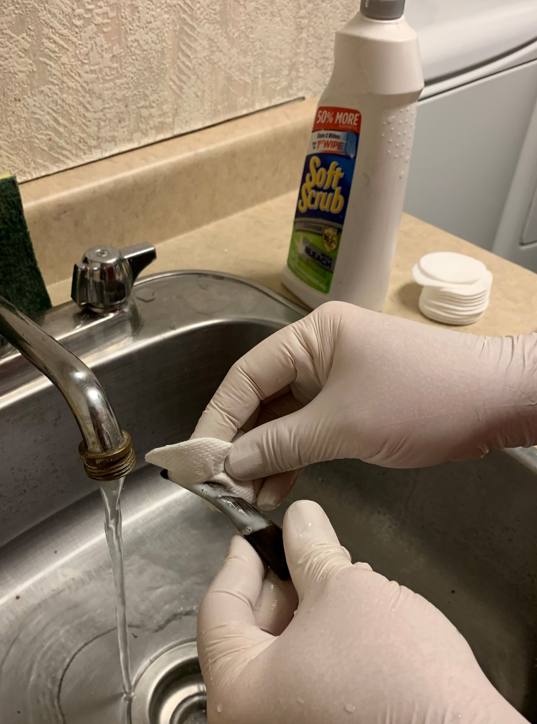
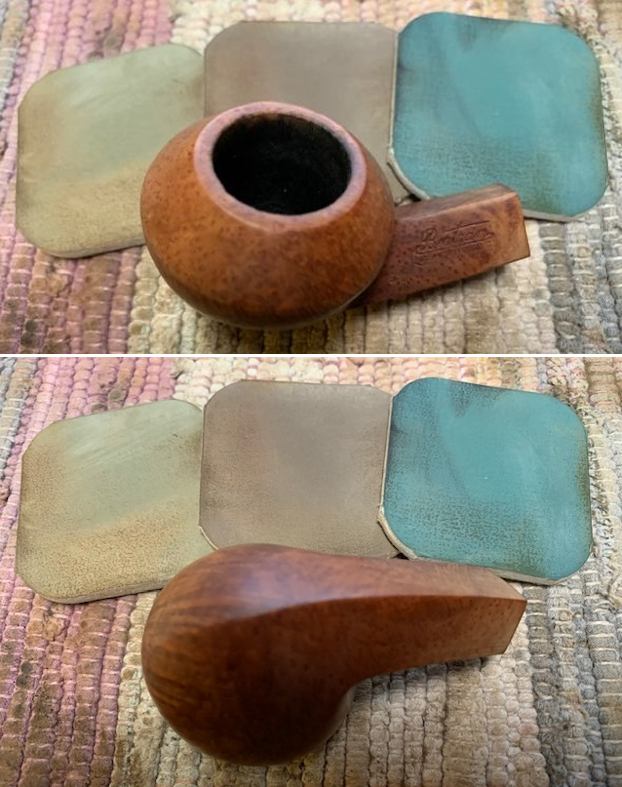
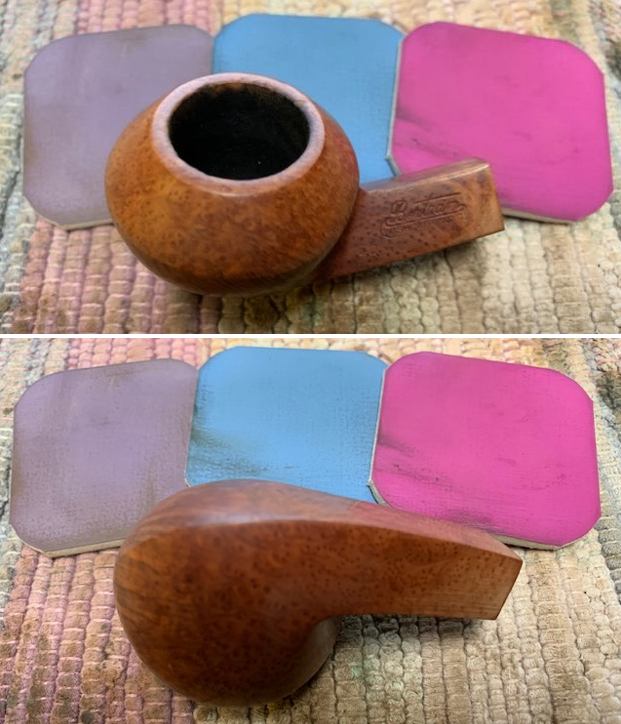
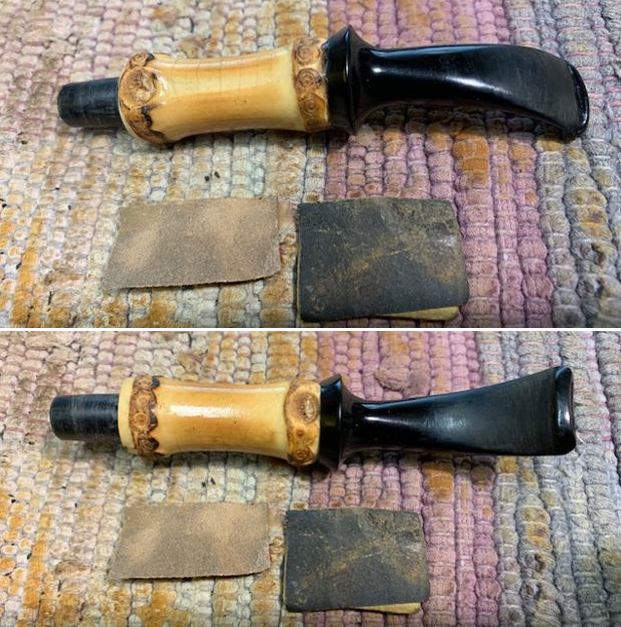
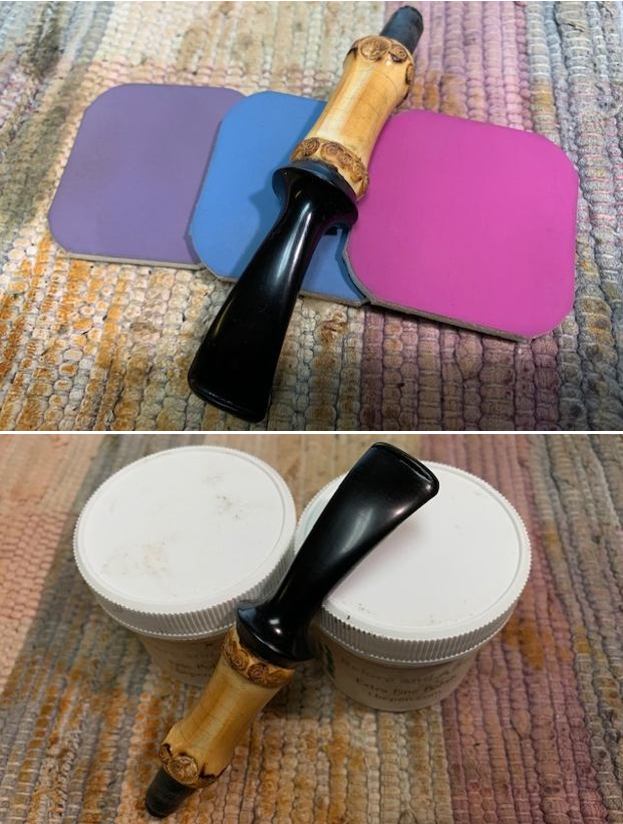
 Once this process was done, the stem went for an overnight soak in the Pipe Stem Oxidation Remover. The following day, I cleaned all of the de-oxidizing mess off with alcohol, pipe cleaners, et cetera. The oxidation had migrated to the surface and would be fairly straightforward to remove. I scrubbed with SoftScrub on some cotton pads to remove the leftover oxidation.
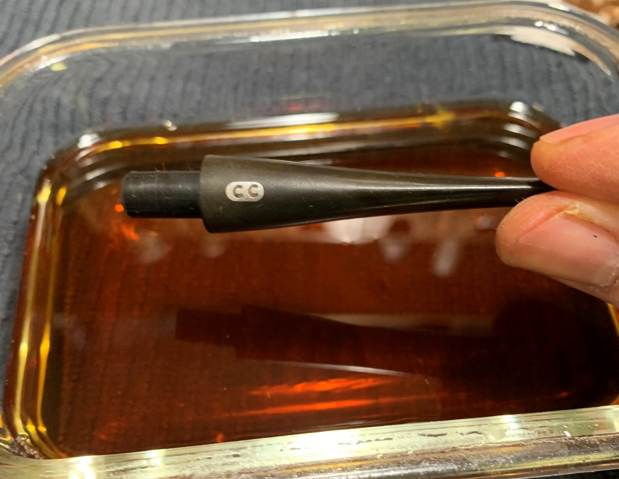
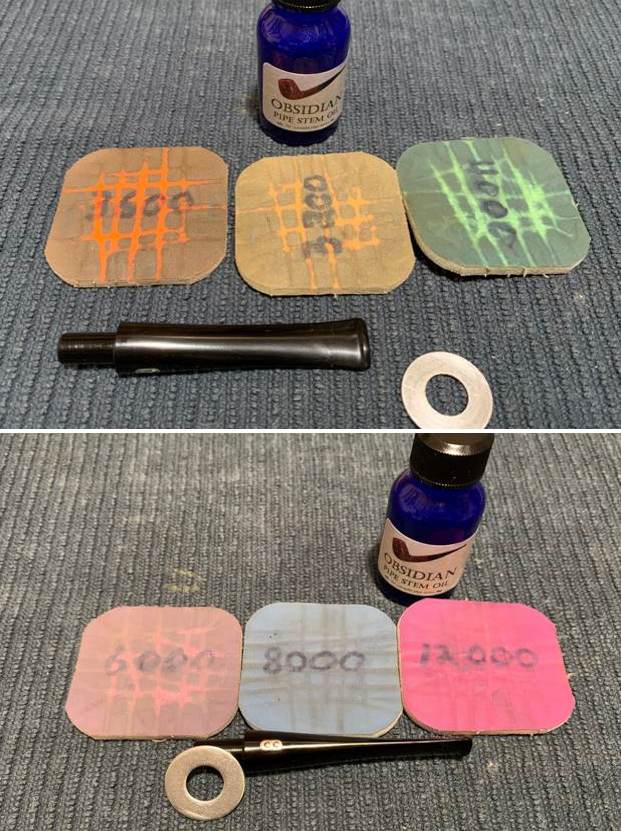
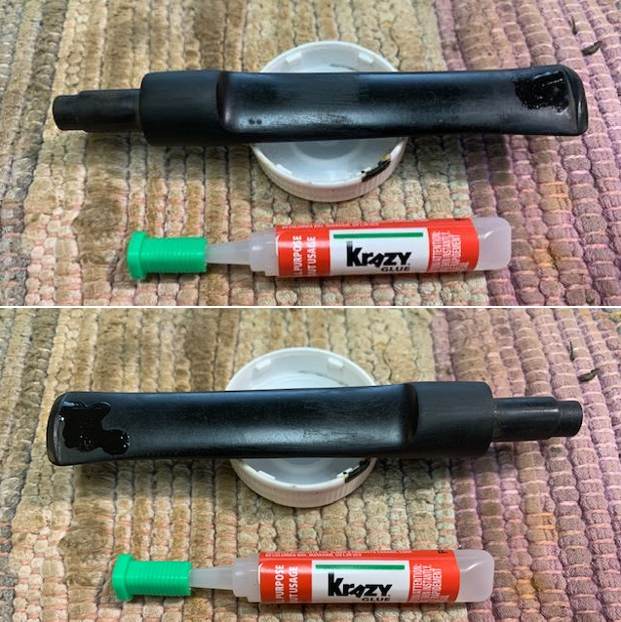
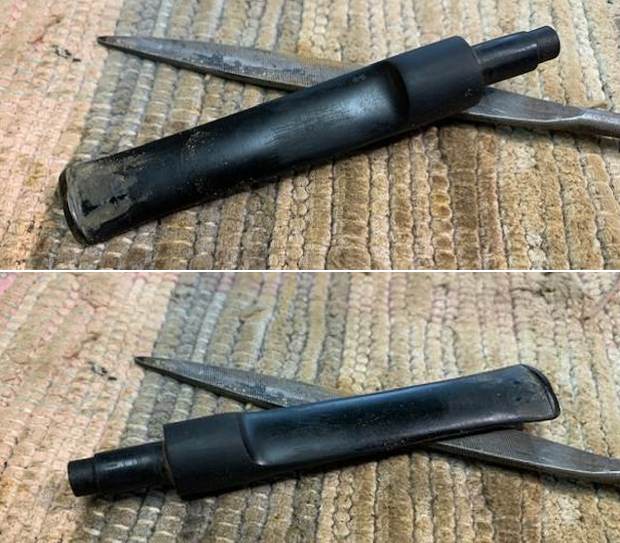
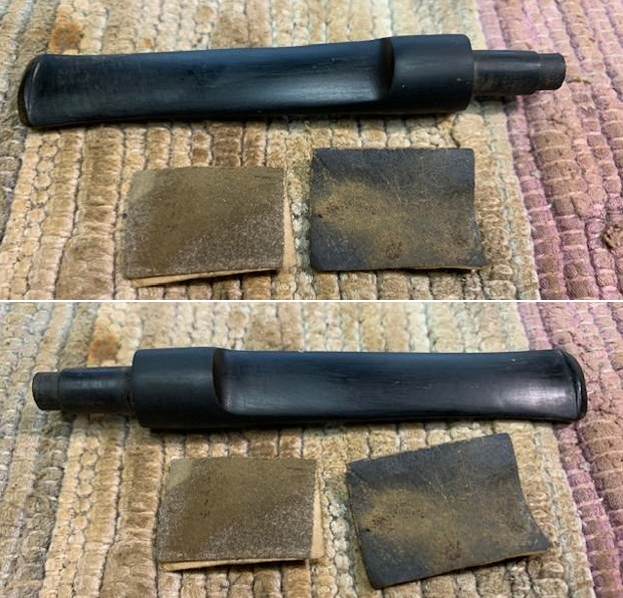
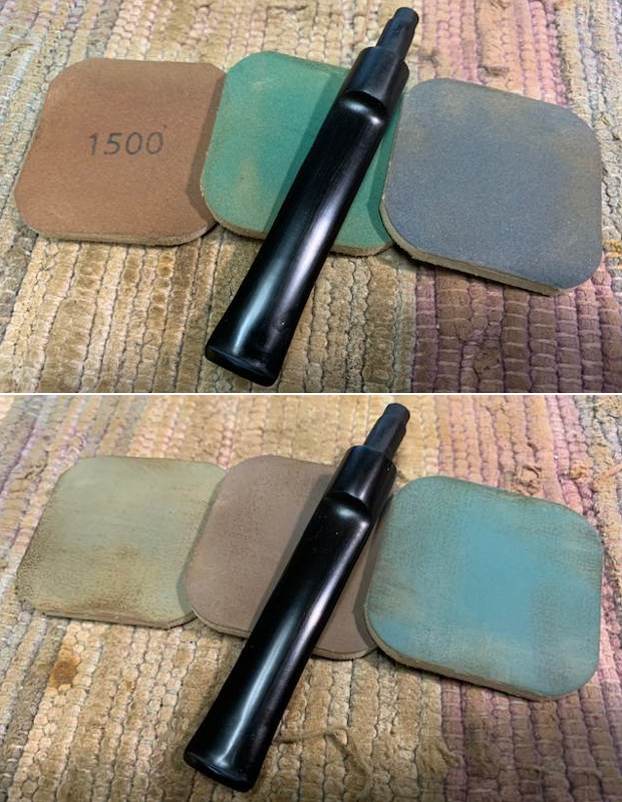
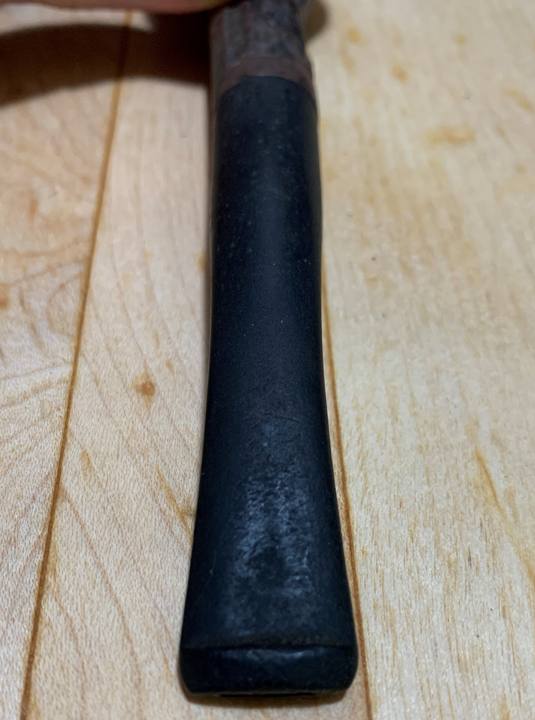
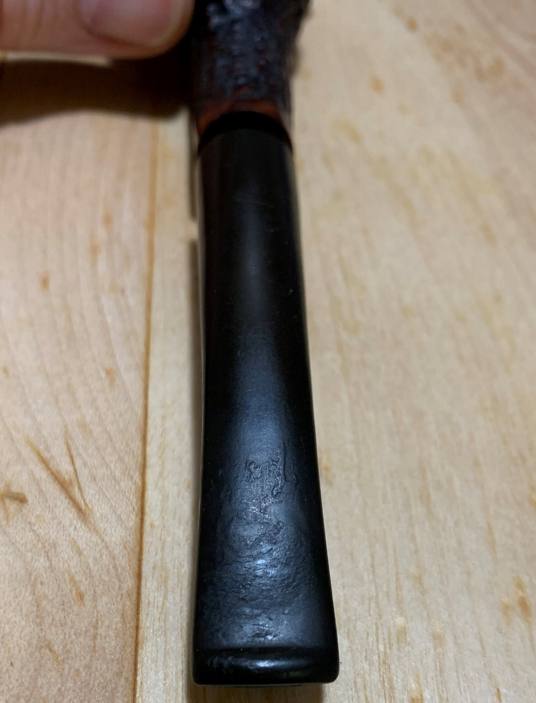
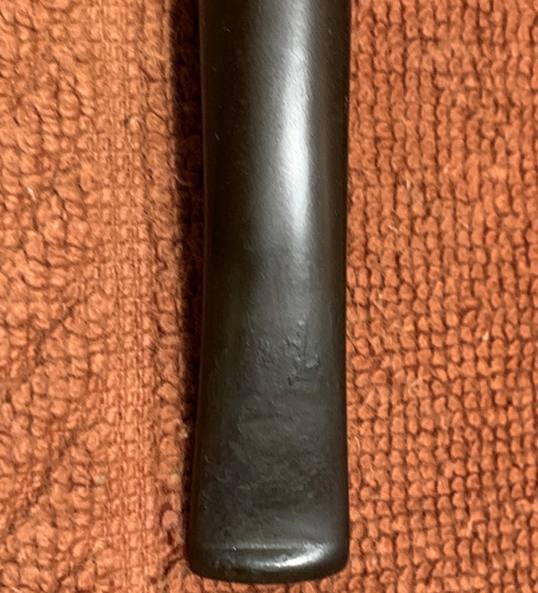
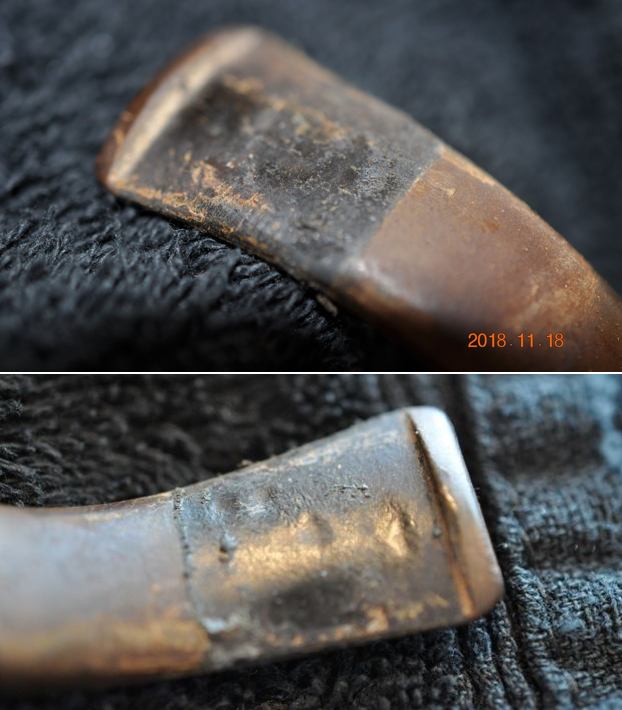
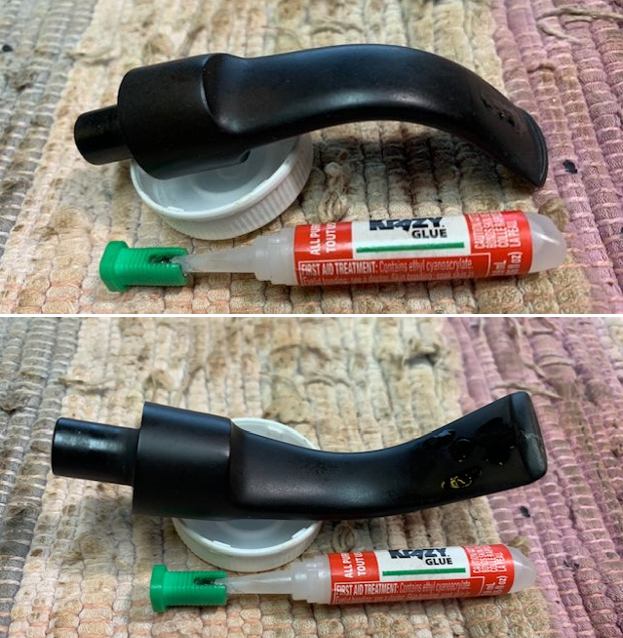
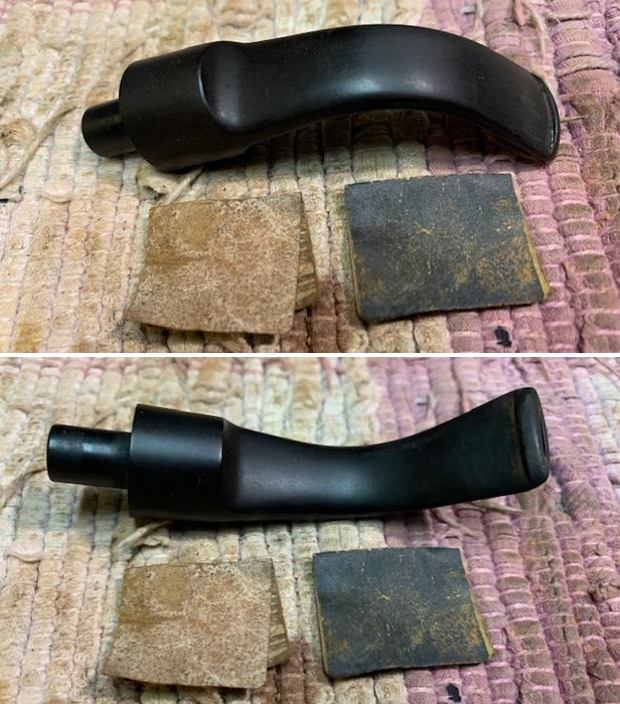
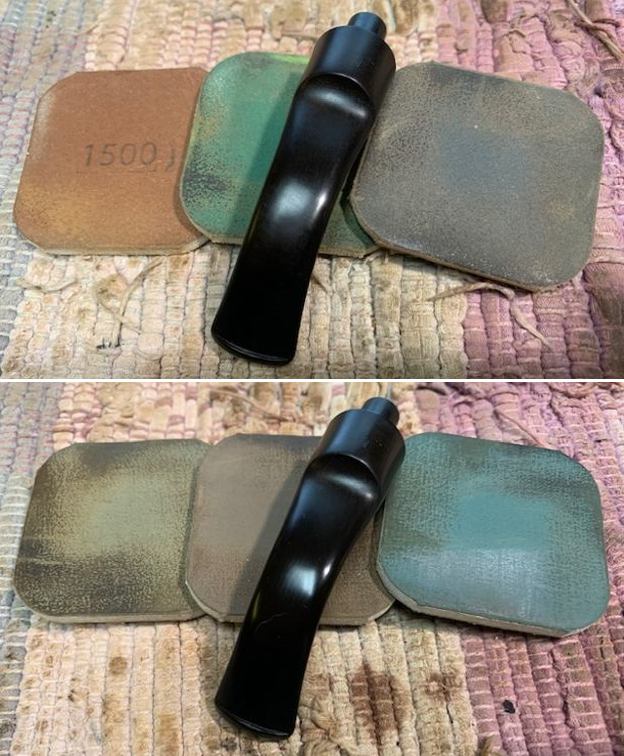
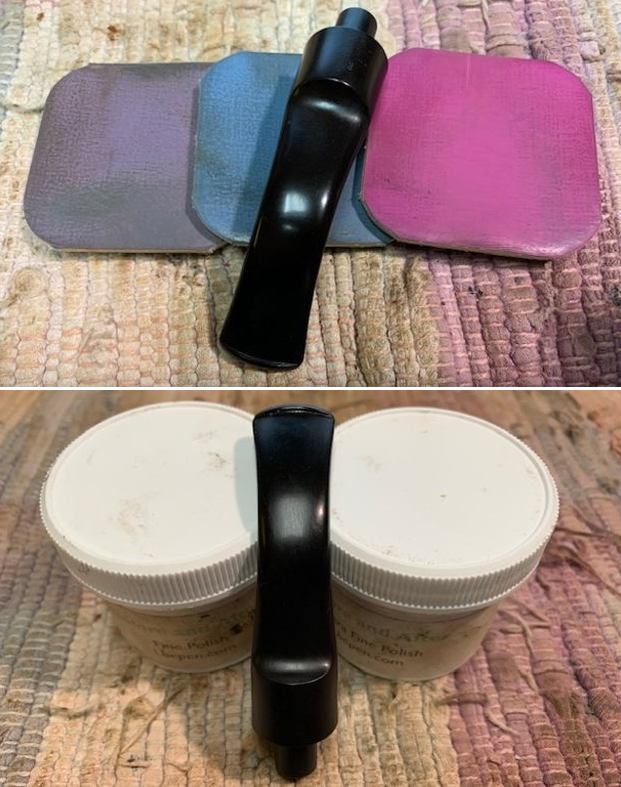
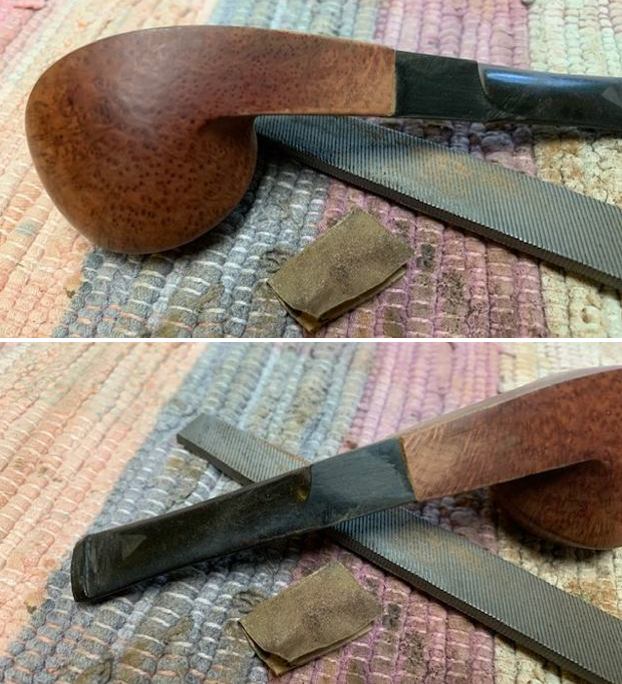
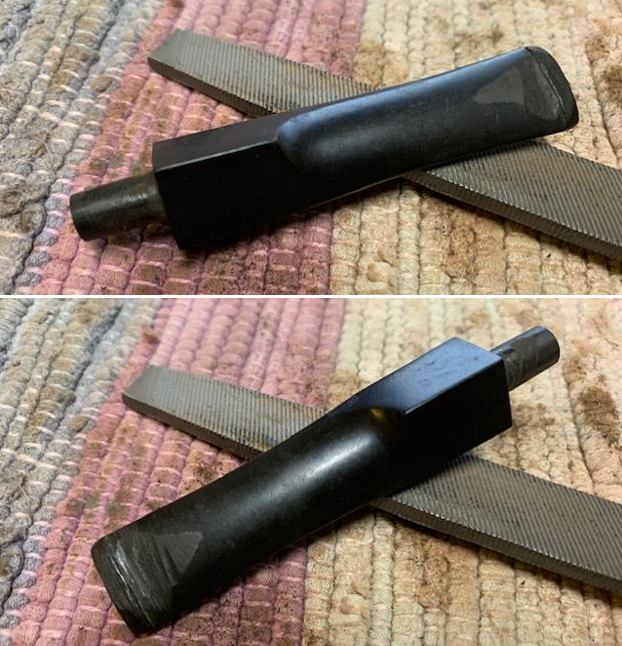
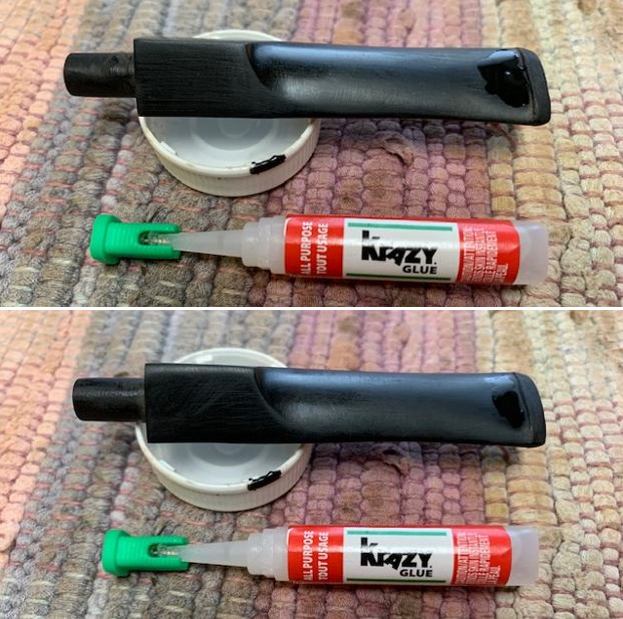
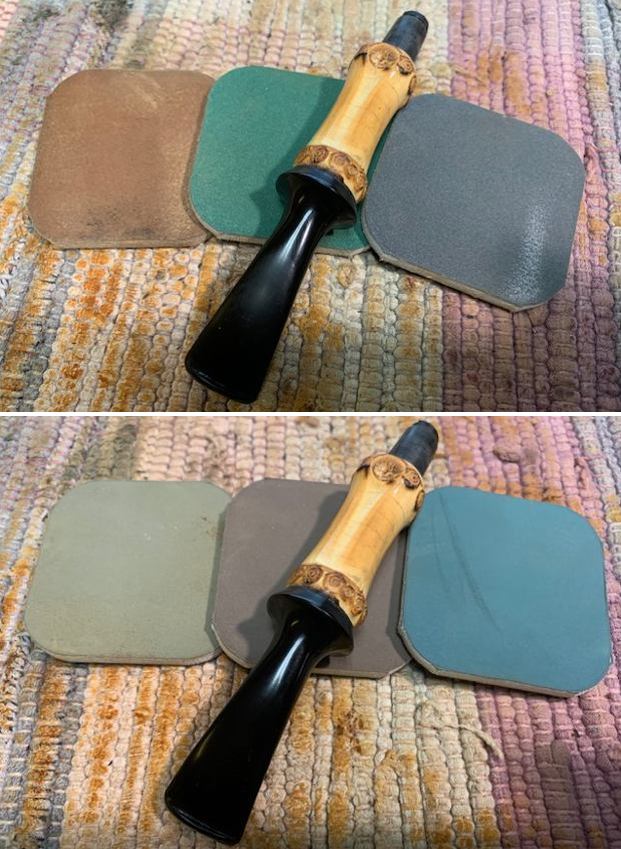
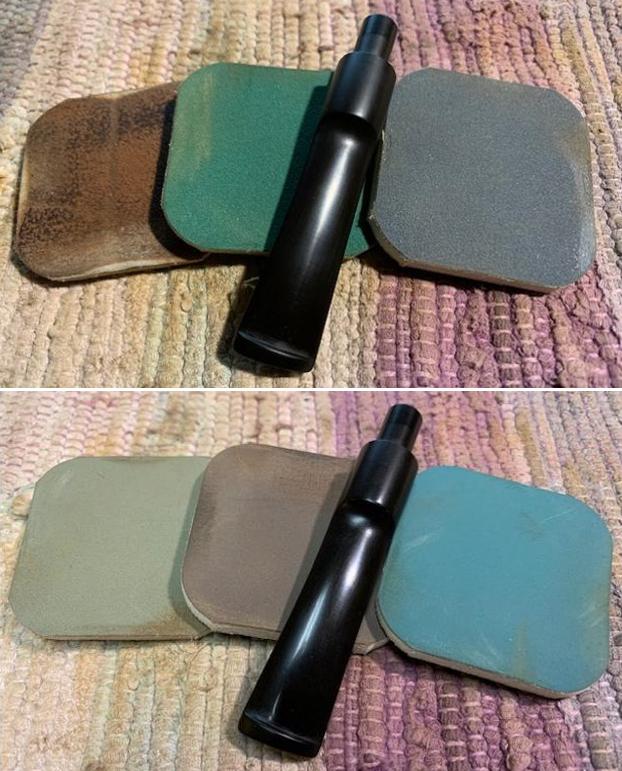
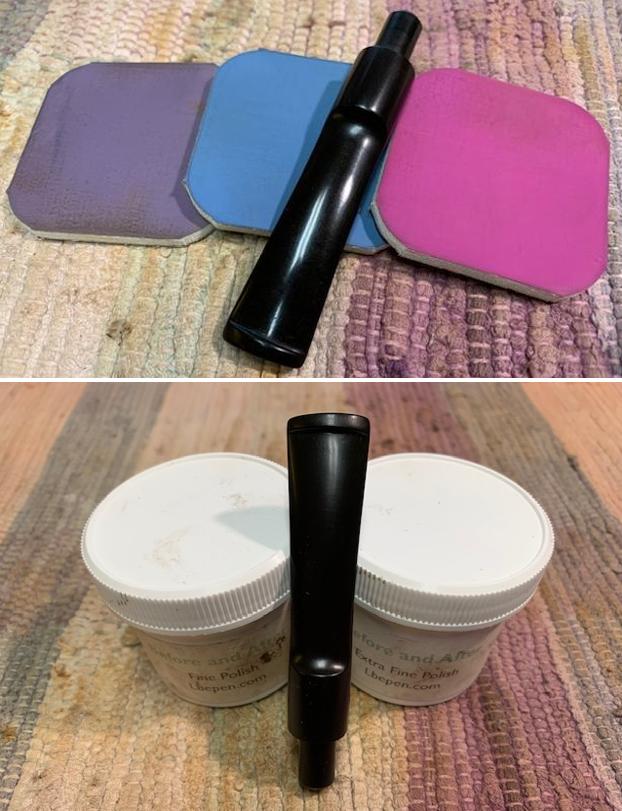
 I built up the dents on the stem with cyanoacrylate adhesive and let them fully cure. I then sanded the adhesive down with 220-, 400-, and 600-grit sandpapers to meld seamlessly into the stem. I did the same to the remaining tooth marks. I then used all nine Micromesh pads (1,500 through 12,000 grit) to bring out the lovely black lustre on the stem. I also used Obsidian Pipe Stem Oil in between each pad scrubbing.
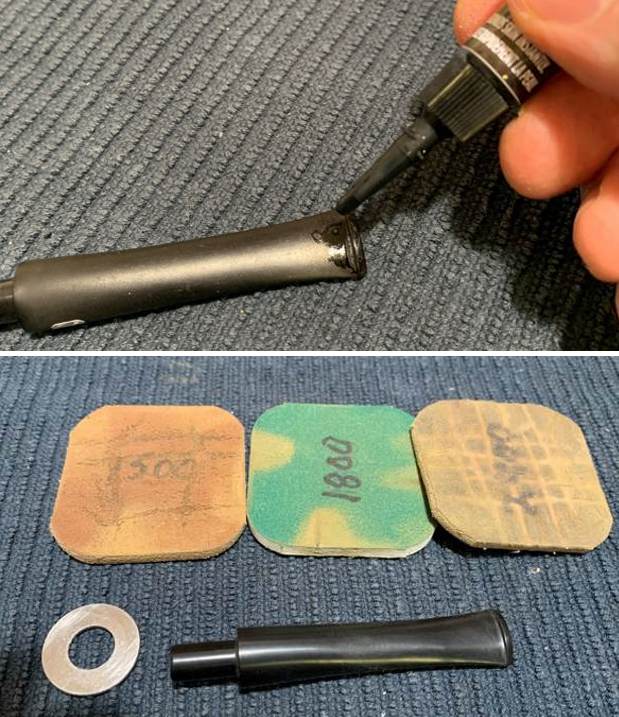
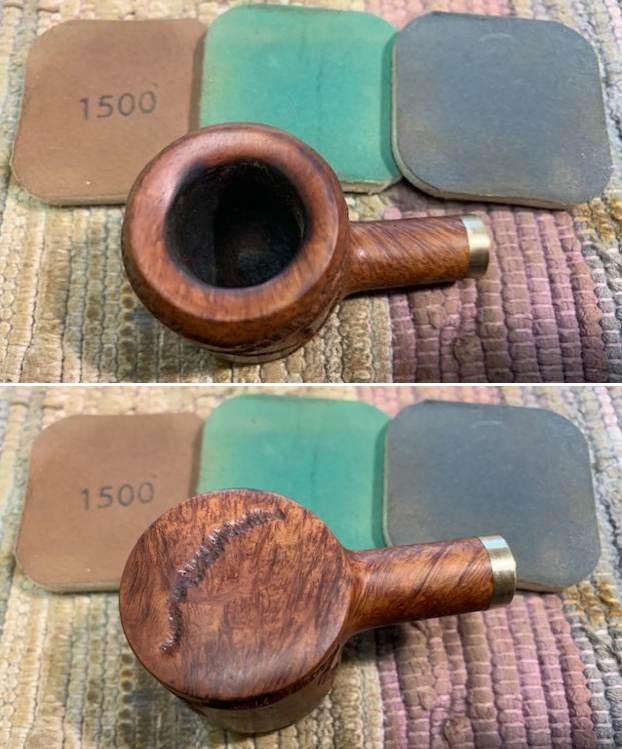
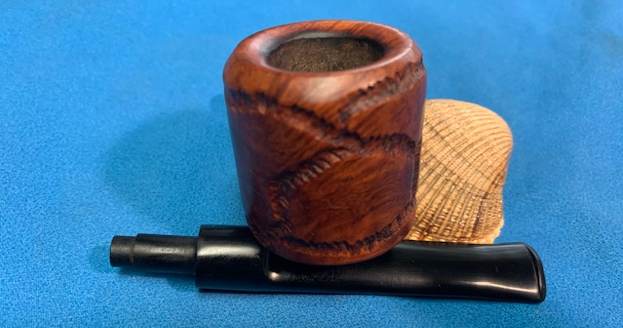
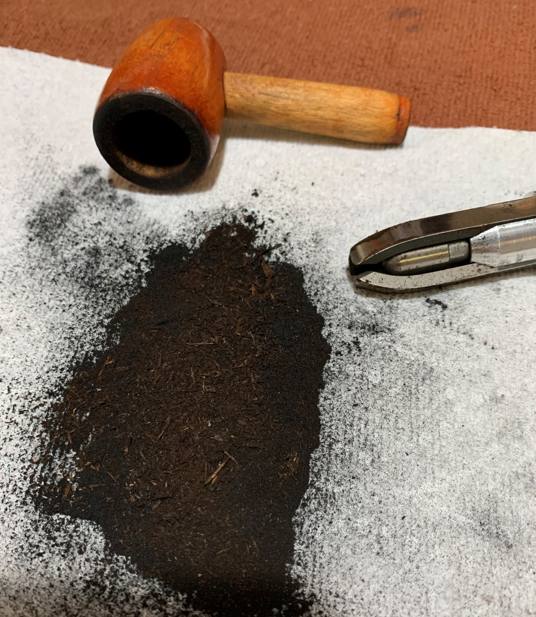
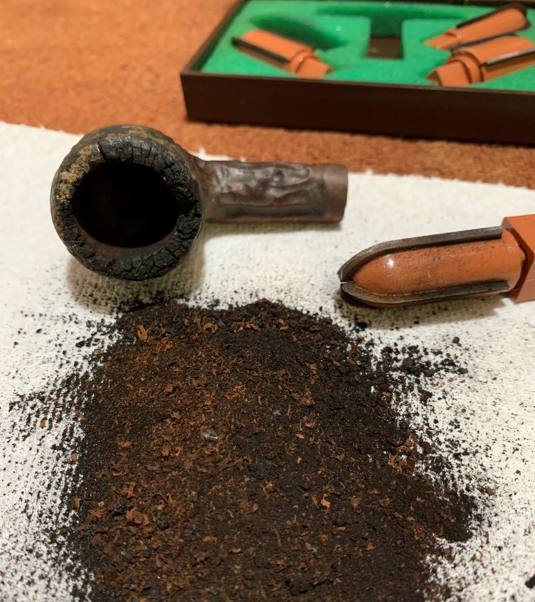
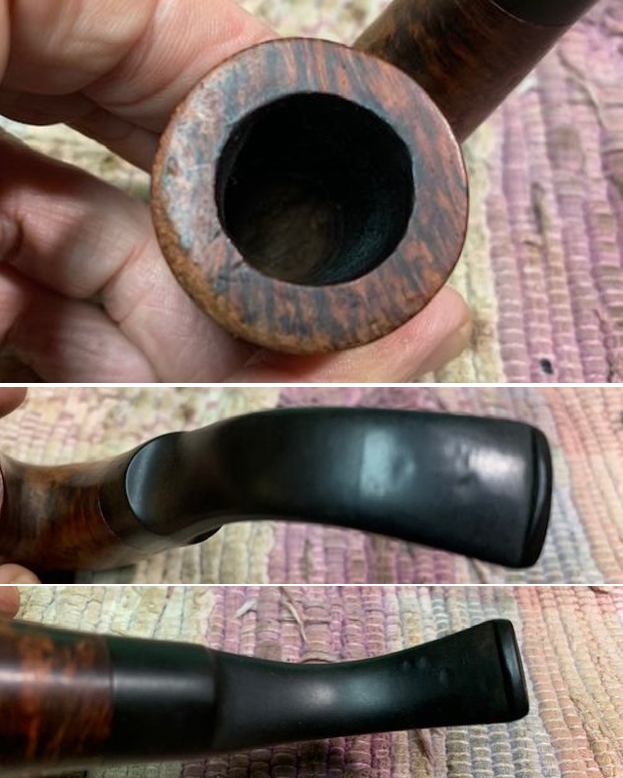
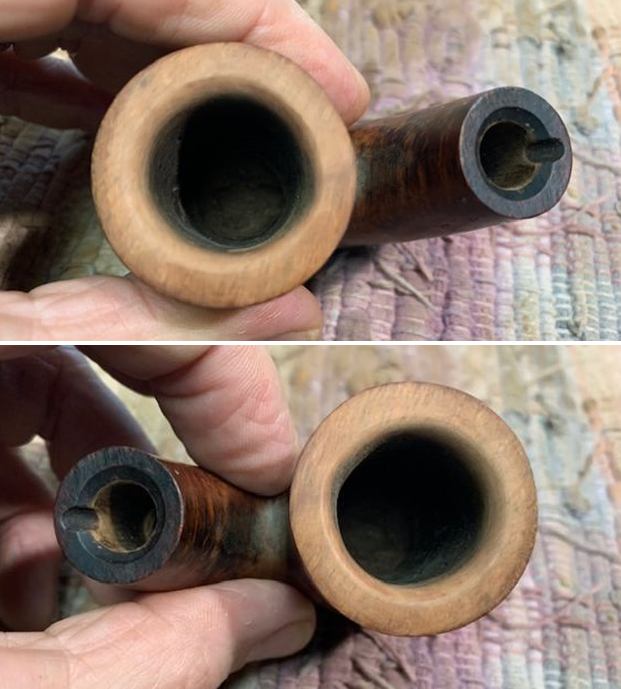
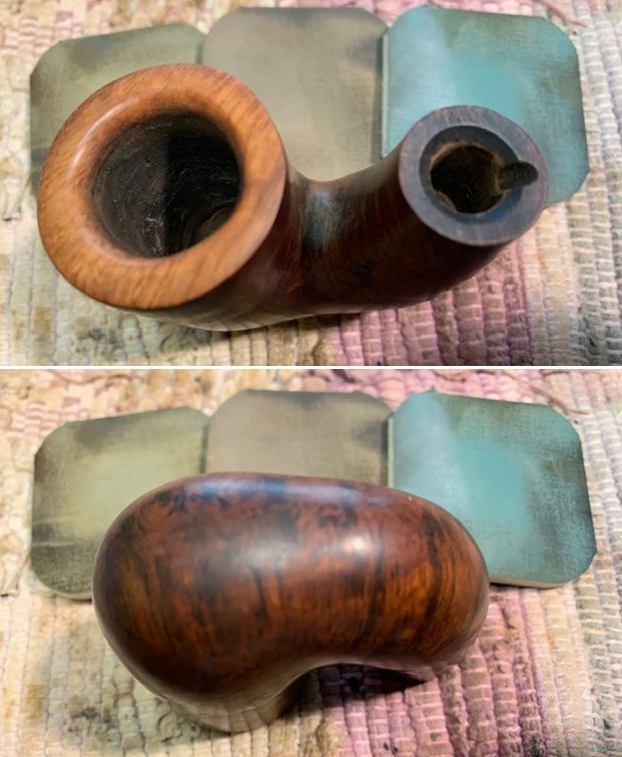
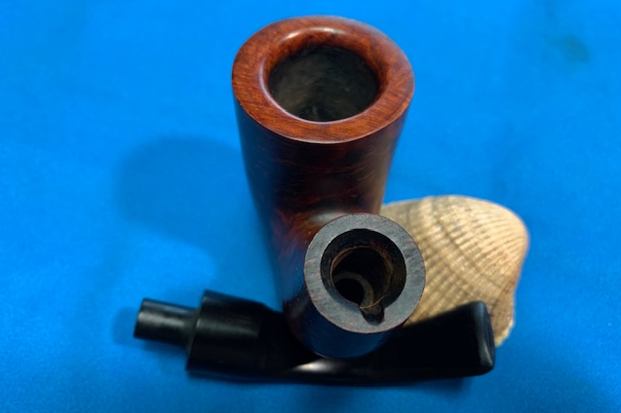
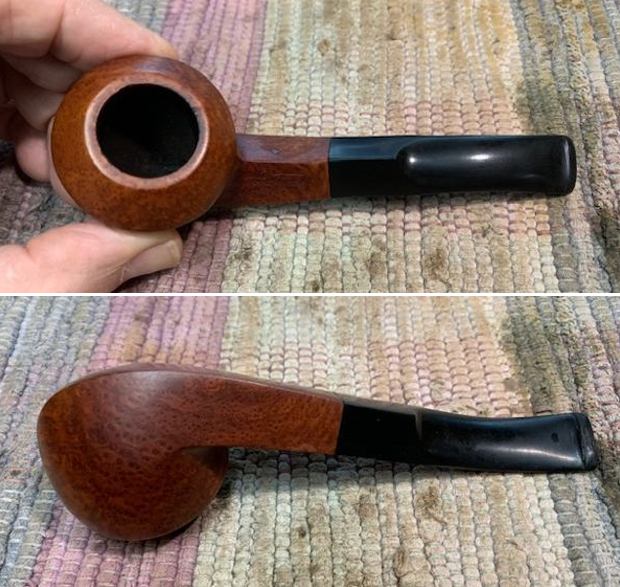
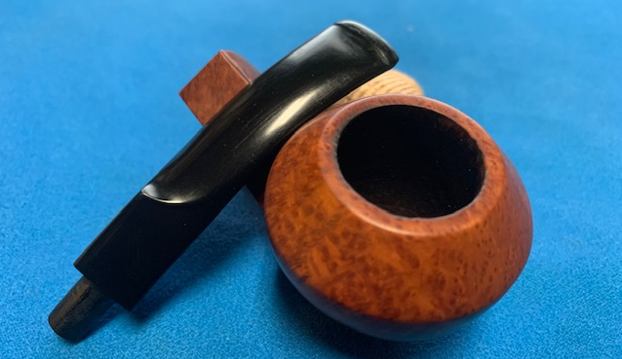
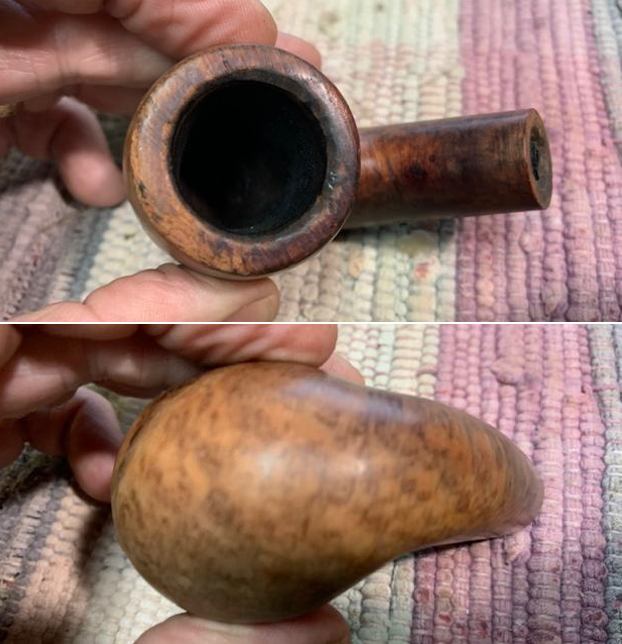
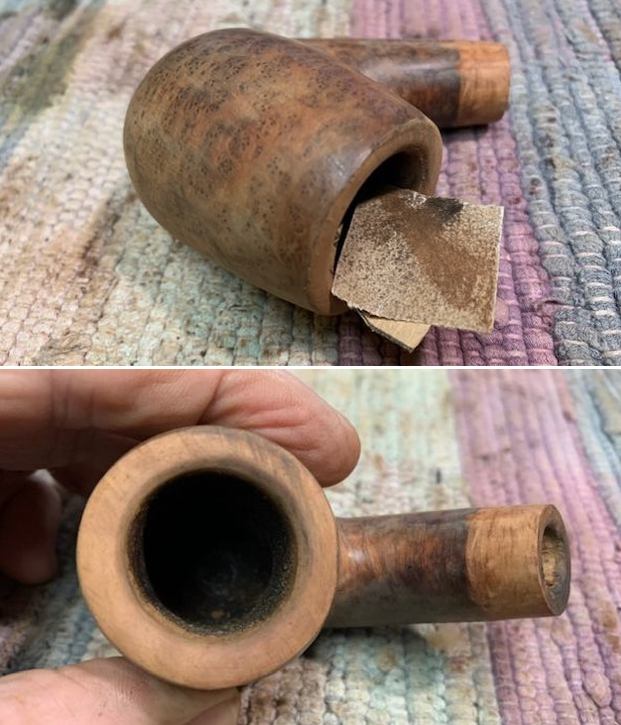
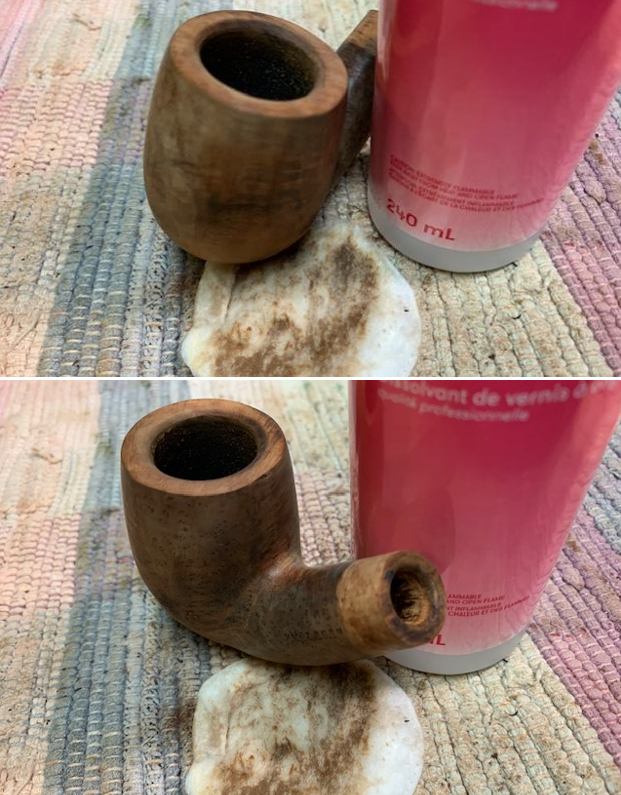
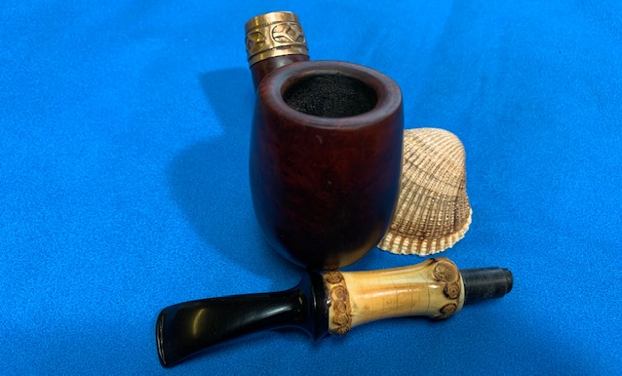
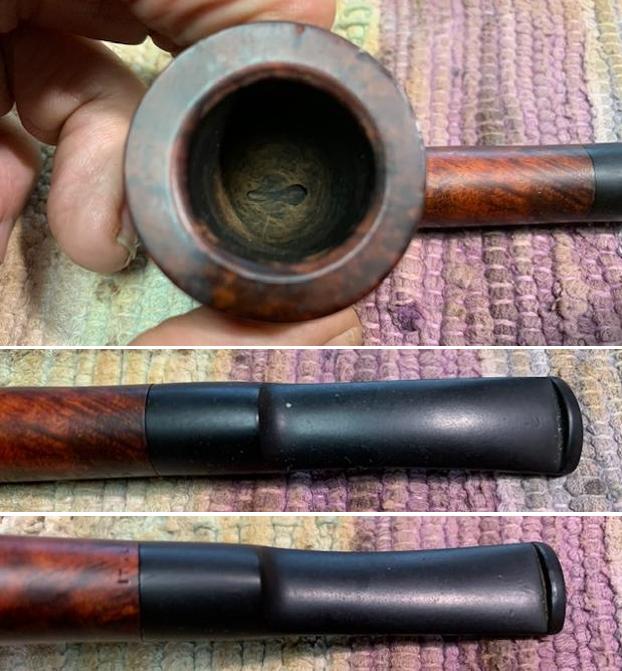
 On to the stummel, and the usual cleaning procedures were in order for this pipe. This stummel was a bit of a mess inside, so I first decided to ream out the bowl. I used both the PipNet Reamer and the KleenReem to remove the built-up cake and followed that with 220-grit sandpaper to eliminate as much as I could. I took the bowl down to bare briar, as I wanted to ensure there were no hidden flaws in the walls of the bowl. Fortunately, there were none.
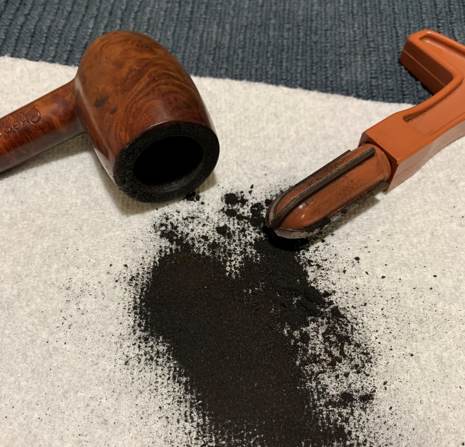
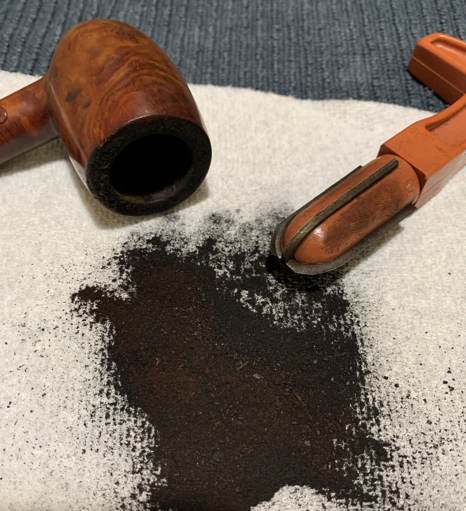
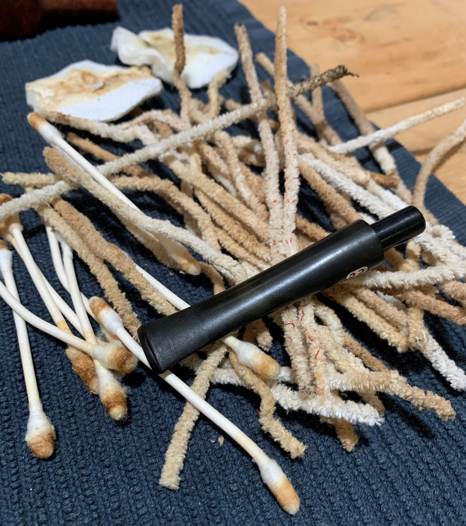
 I then proceeded to clean out the insides of the shank with Q-tips, pipe cleaners, and isopropyl alcohol. There was considerable filth inside this stummel and it took a lot of cotton to get it “clean”. I put the word clean in quotation marks for reasons that will be evident shortly.
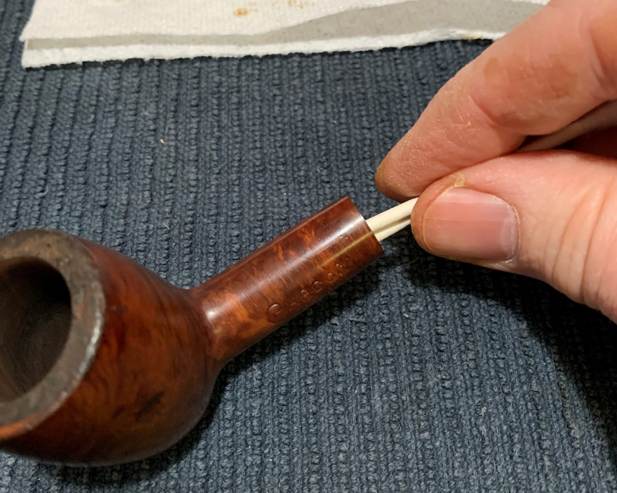
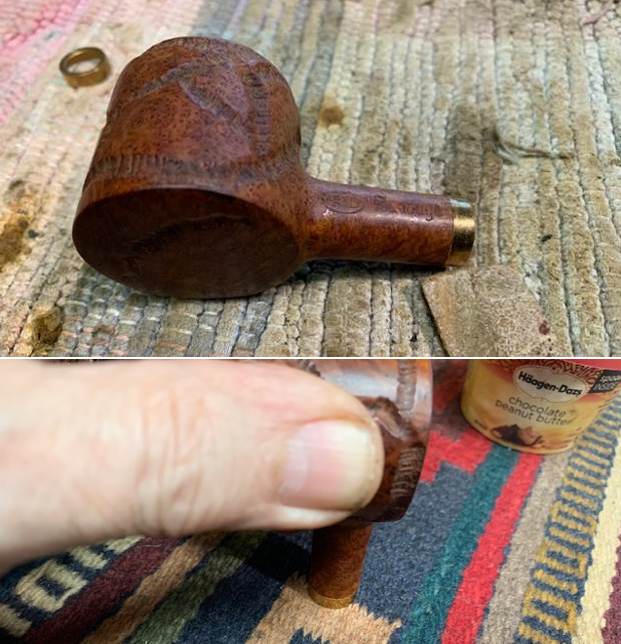
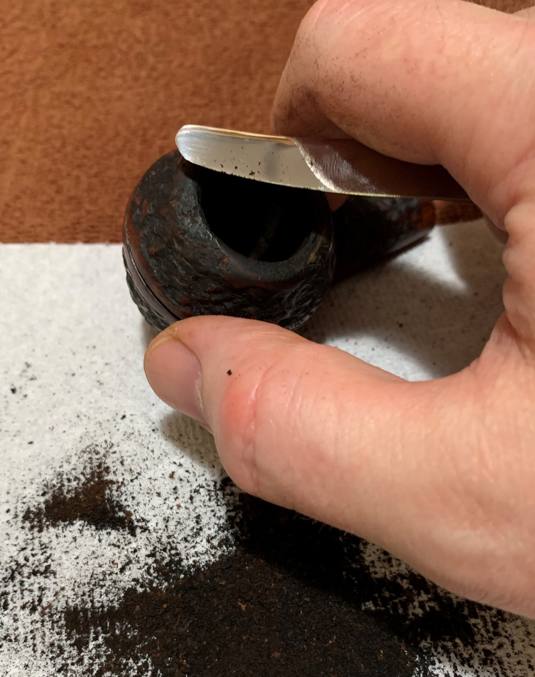
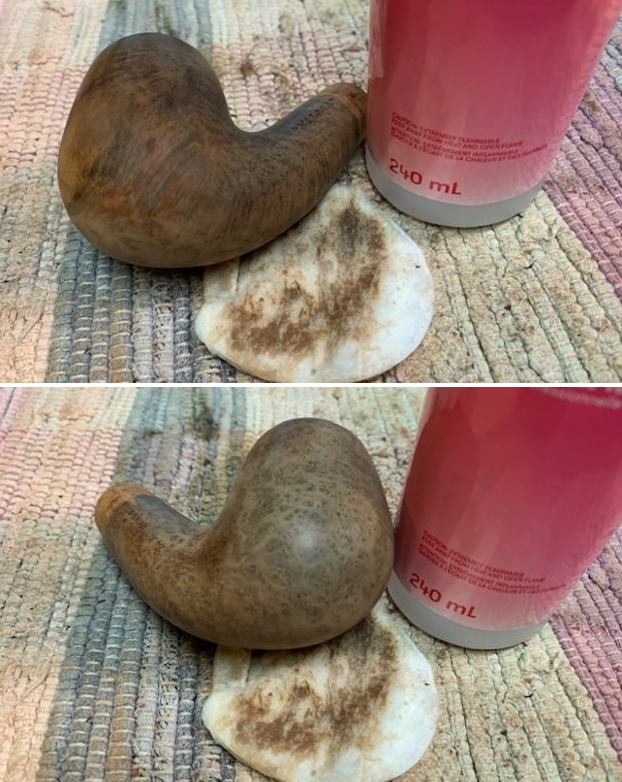
 I used a small butter knife to gently chip away at the lava on the rim. I then used more Murphy’s with a scrub brush to remove any remainder. This actually worked quite well. I then moved on to cleaning the outside of the stummel with Murphy’s Oil Soap and some cotton pads. That removed any latent dirt that blighted the wood.
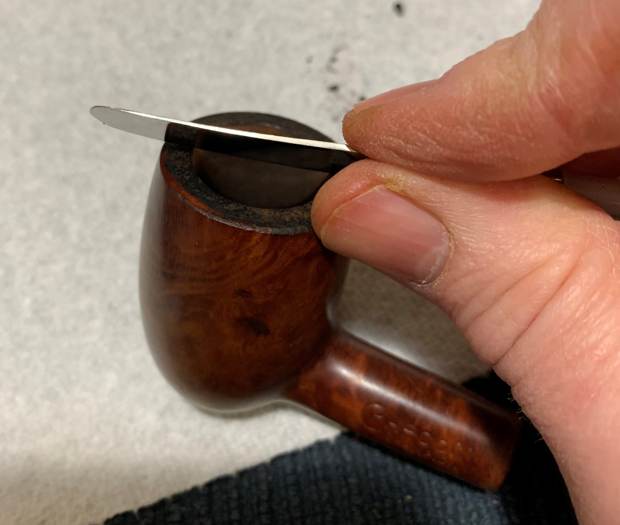

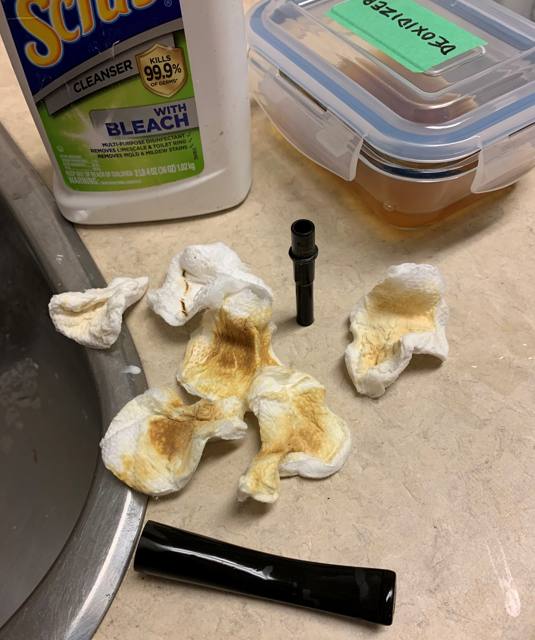
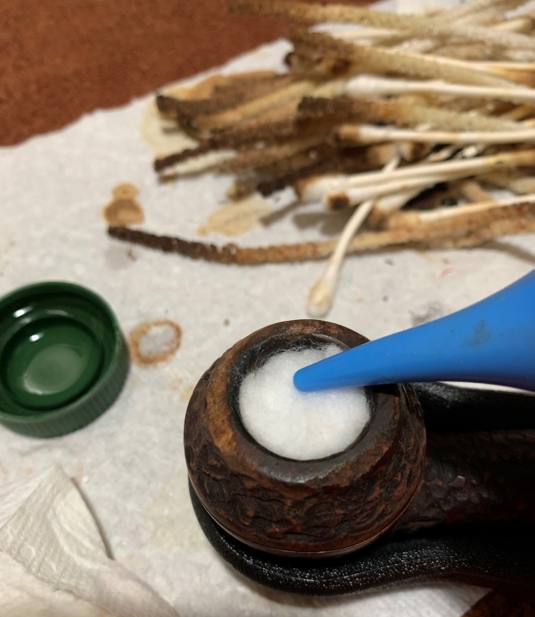
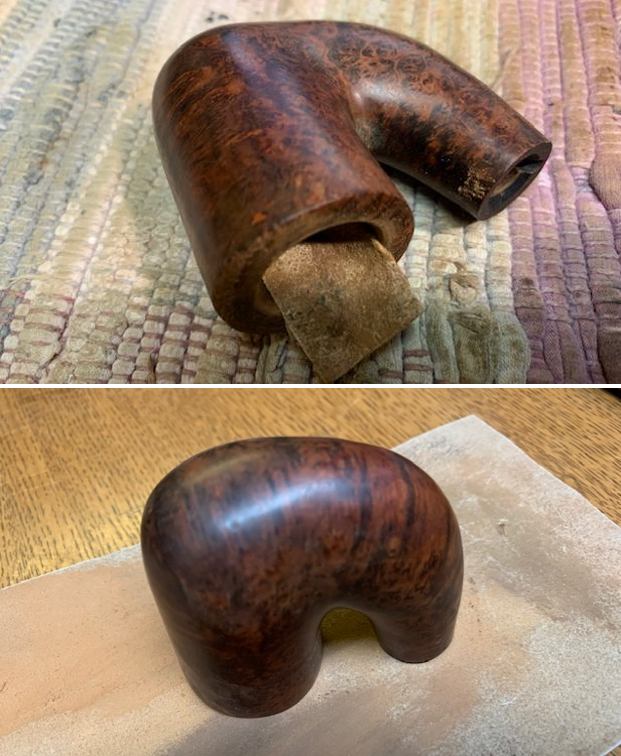
 A de-ghosting session also seemed in order, so I thrust cotton balls in the bowl and the shank, and saturated them with 99% isopropyl alcohol. I let the stummel sit overnight. This caused the oils, tars and smells to leech out into the cotton.
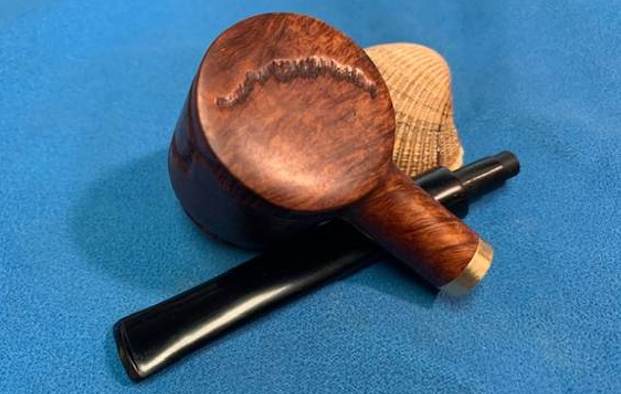
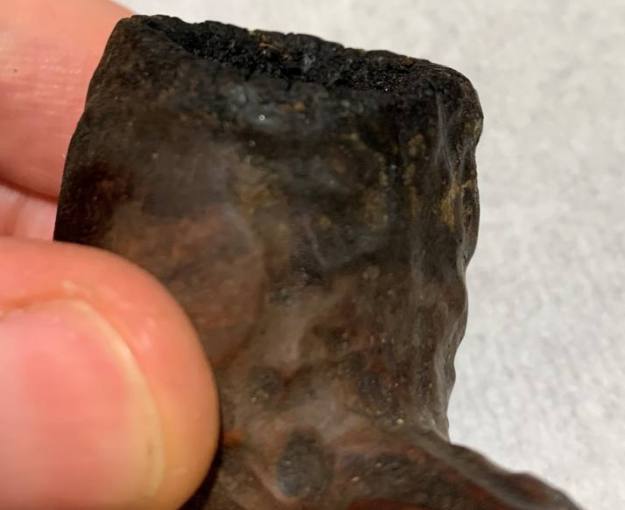
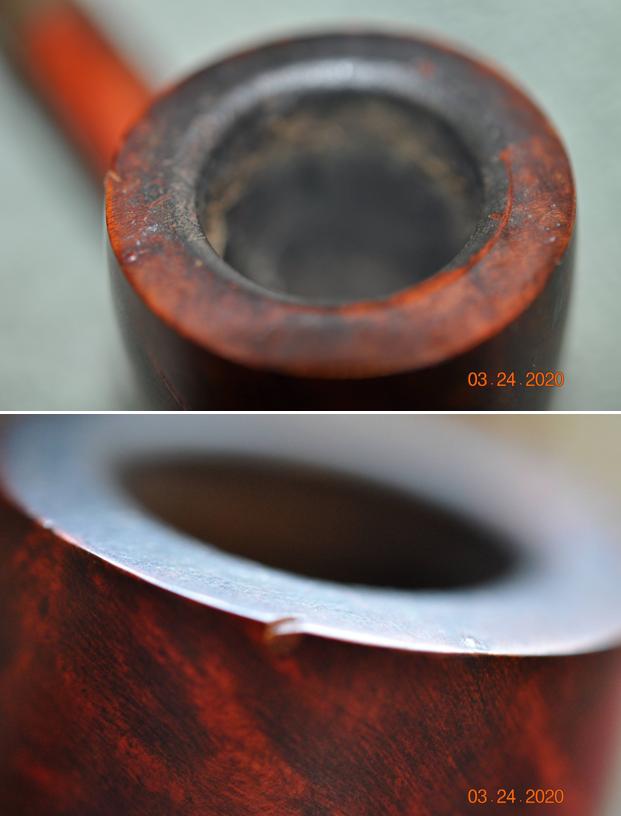
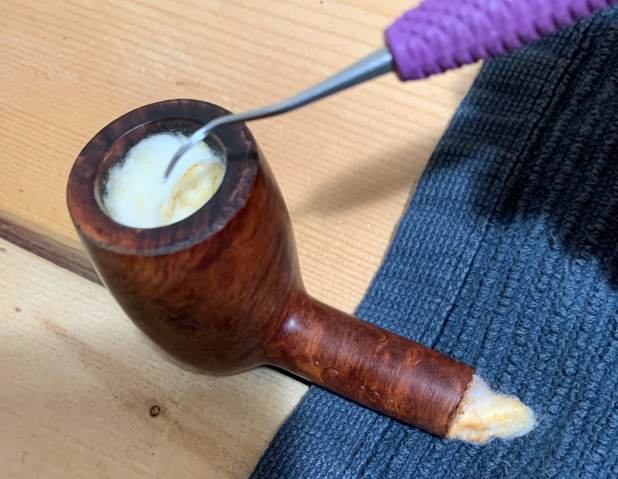 In order to remove the remaining burns and nicks on the rim, I “topped” the pipe – that is to say, I gently and evenly sanded down the rim on a piece of 220-grit sandpaper. This effectively removed the damage, without altering the look of the pipe.
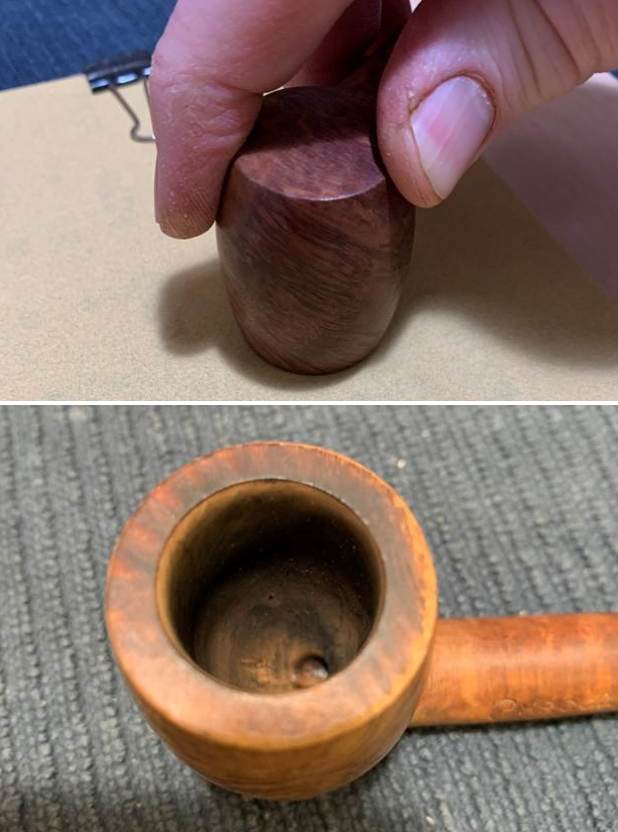
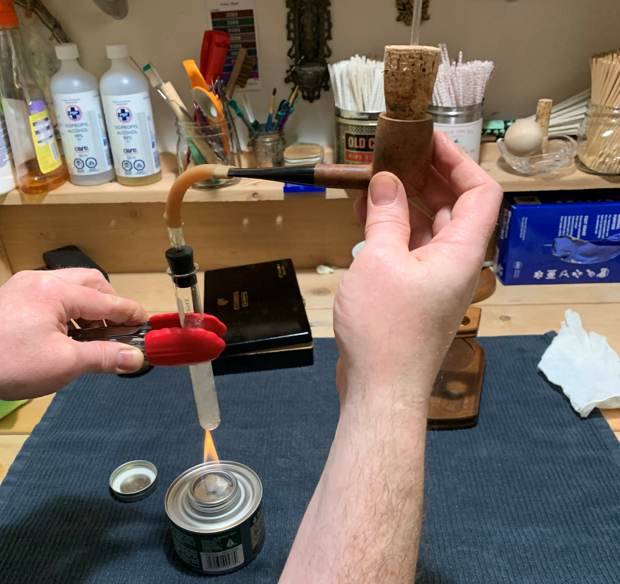
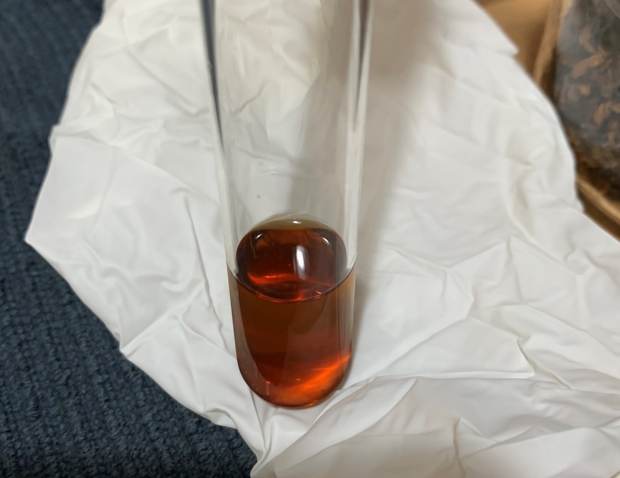
 Then, to further clean the inside of the pipe, I put the stem and stummel back together and used my pipe retort system. This system uses boiling isopropyl alcohol and a vacuum (a void, not the household appliance) to clean the interior of a pipe. As you can see by the brownish colour of the alcohol, the retort worked well. I managed to extract lots of otherwise inaccessible filth from inside the pipe.
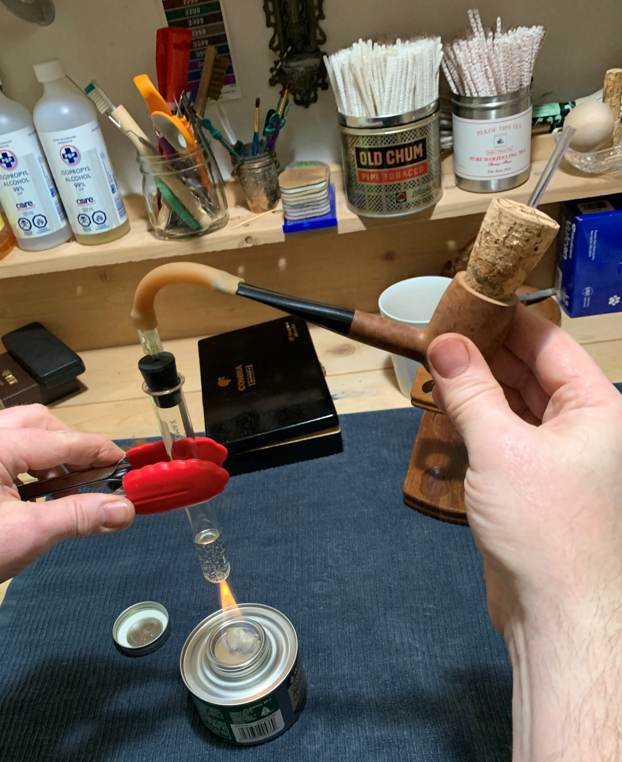
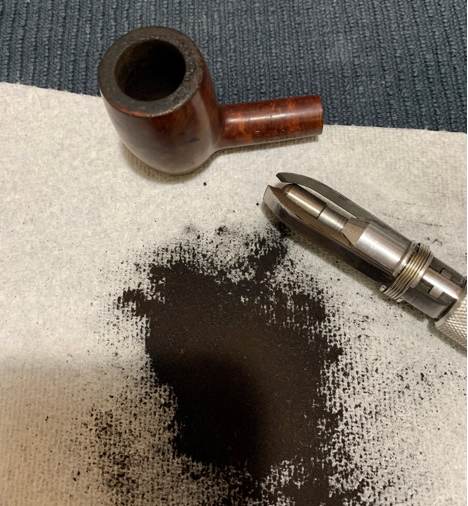
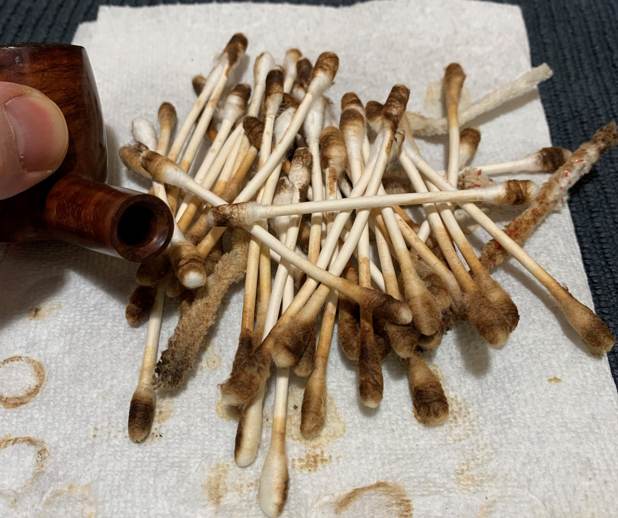
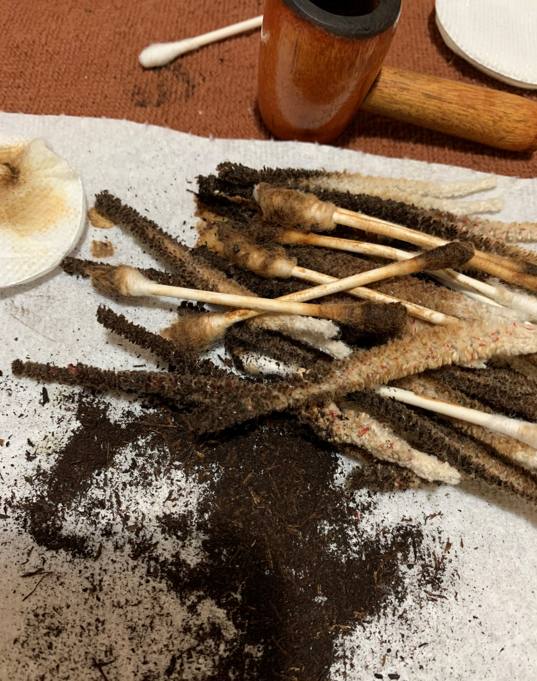
 At this point, I had a hunch that I should run another Q-tip or two through the shank. What I discovered was shocking: it took a truck load of Q-tips and pipe cleaners to actually clean this frustrating pipe! Look at the pile I used! I then finished cleaning up the insides of the stummel with some dish soap and tube brushes. Extraordinary, but I did it and it is now clean.
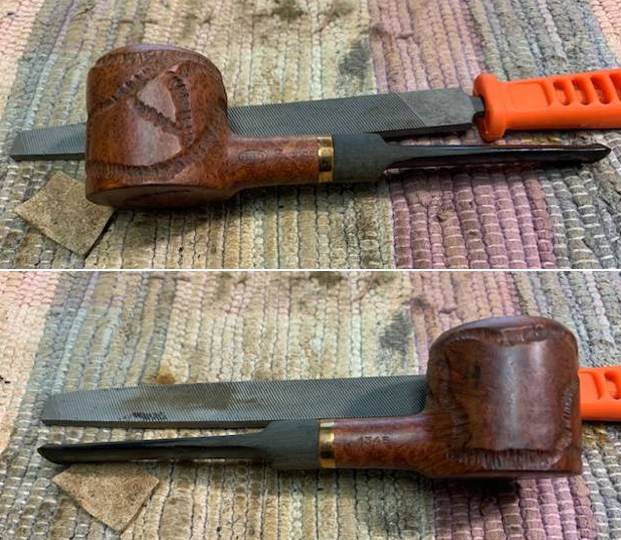
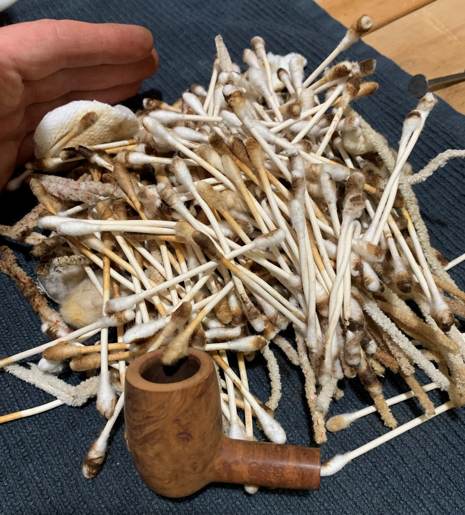 Having completed that, I was able to address the scratches and fills. I took out my steam iron and a damp cloth to try and raise the nicks. The hot and moist steam created can often cause the wood to swell slightly and return to shape. Fortunately, there was considerable movement – I was really pleased with the results. The repair was not perfect, but the remaining scratches would be improved by sanding.
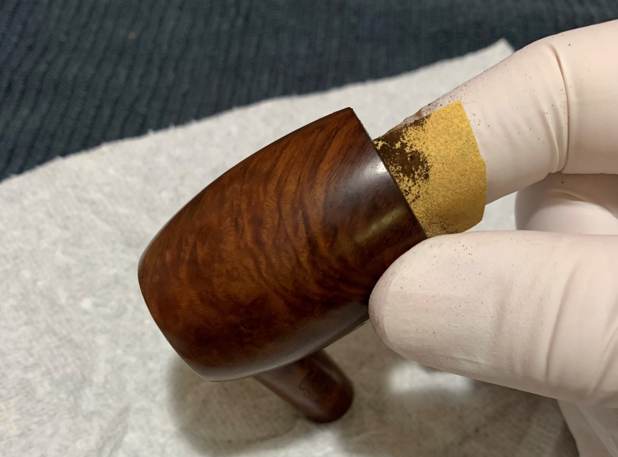
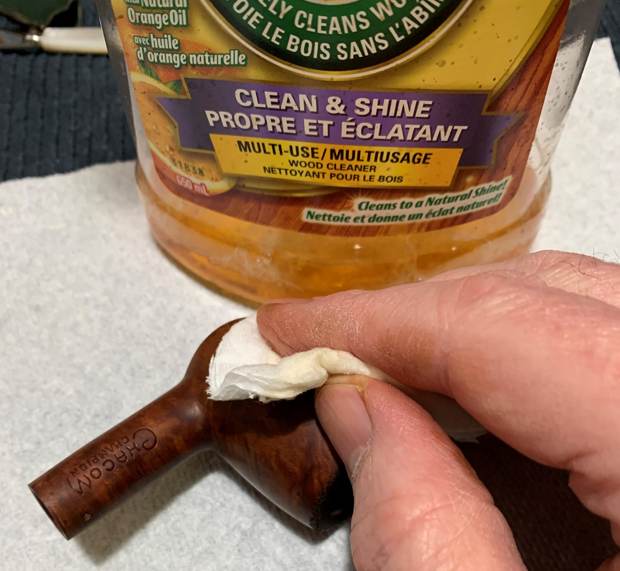
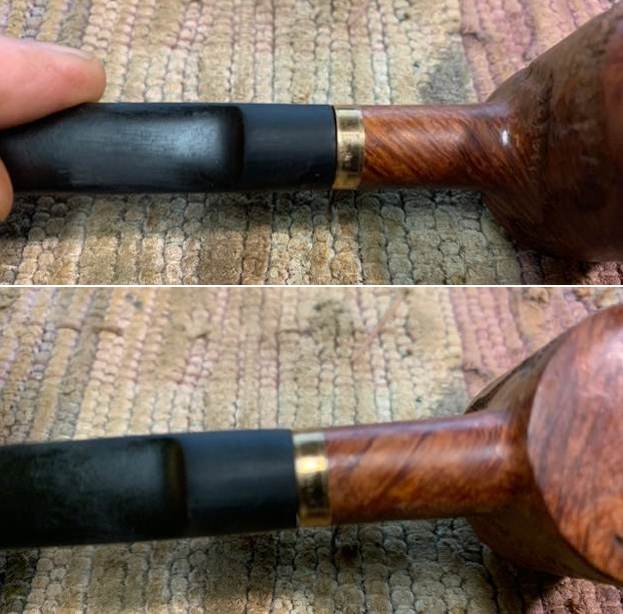
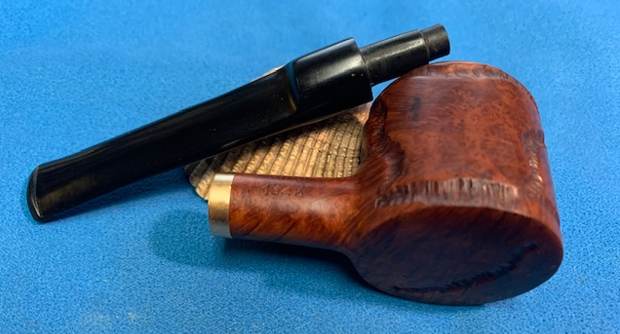
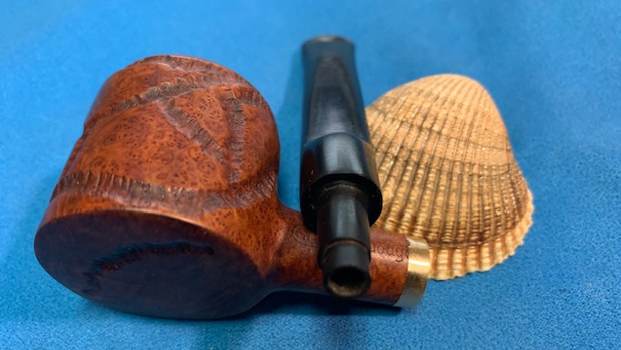
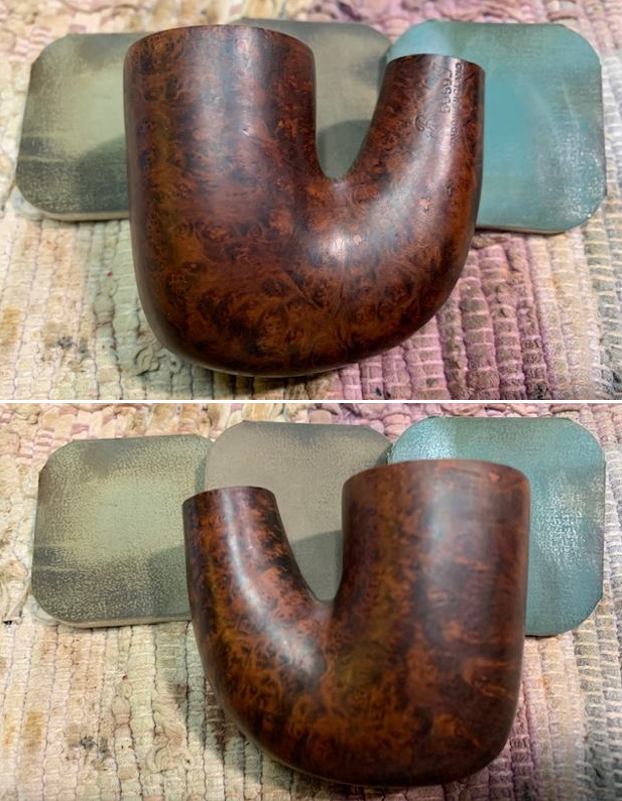
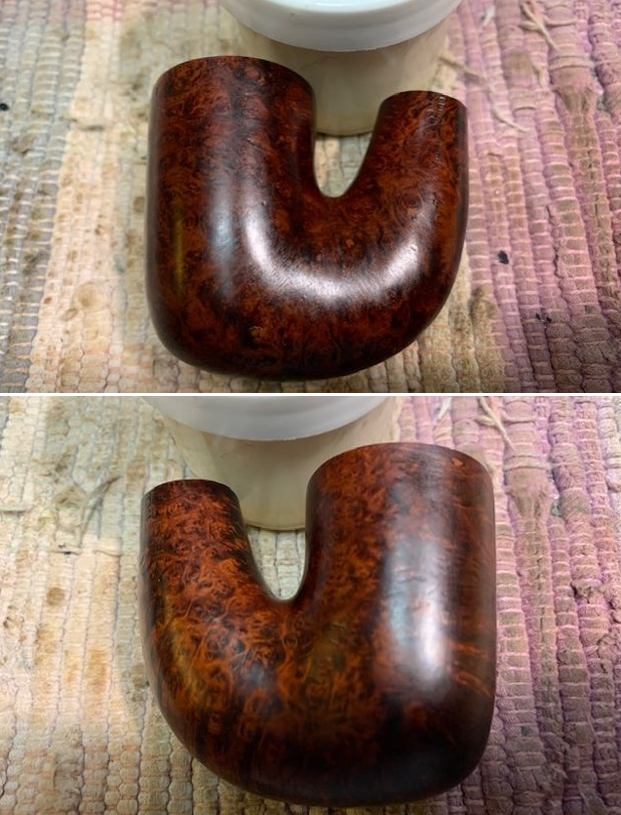
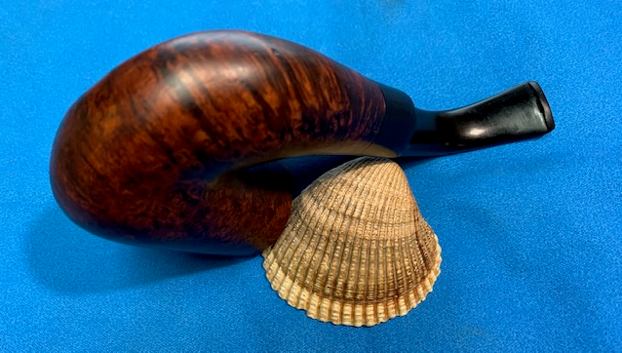
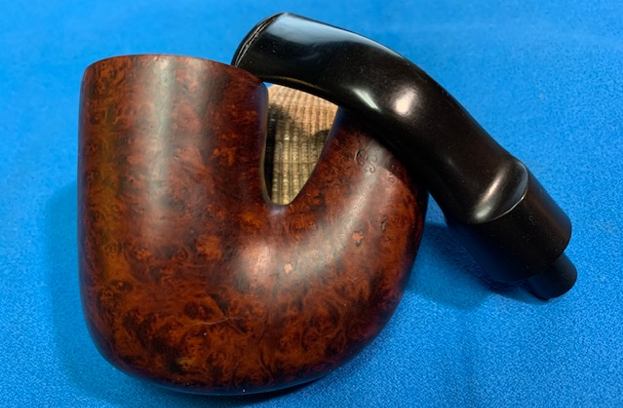
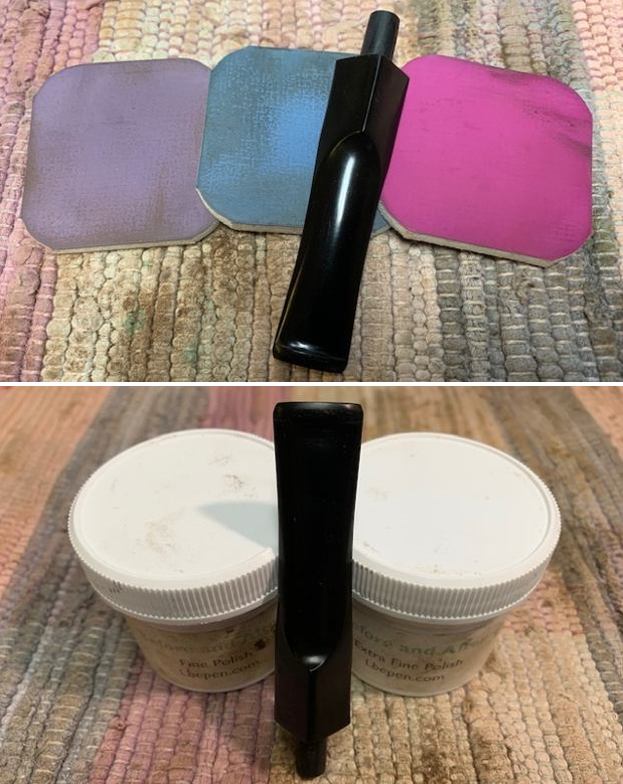
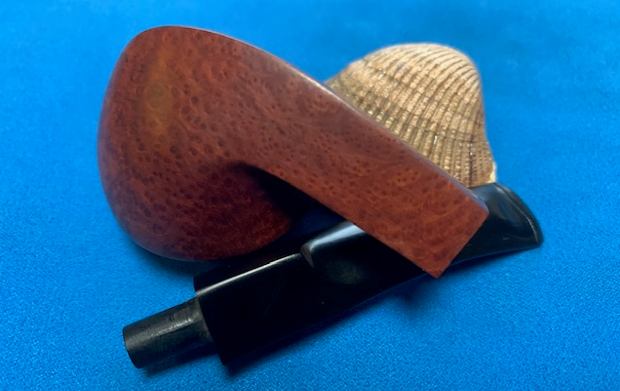
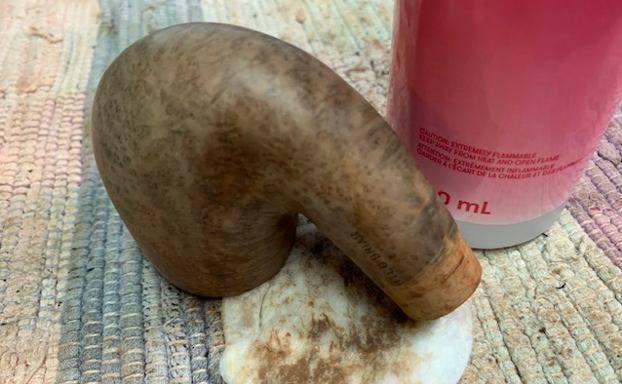
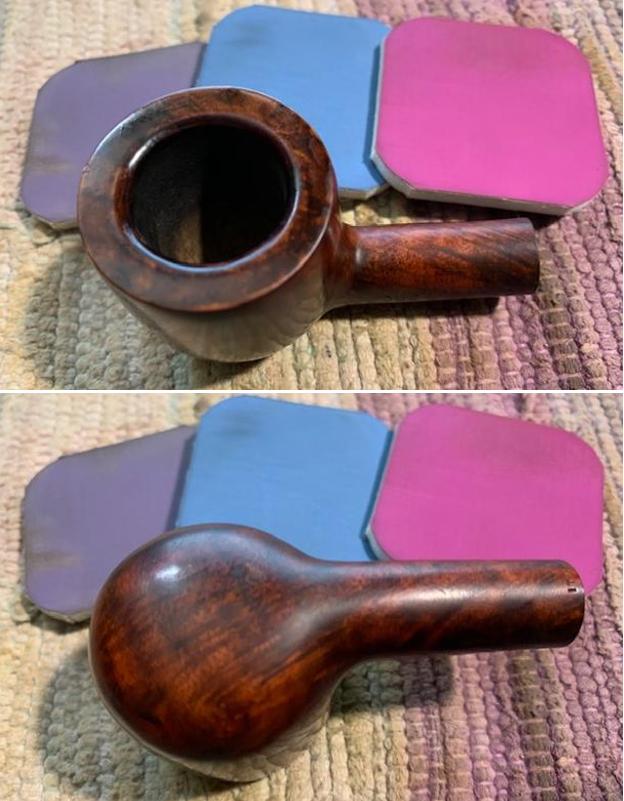
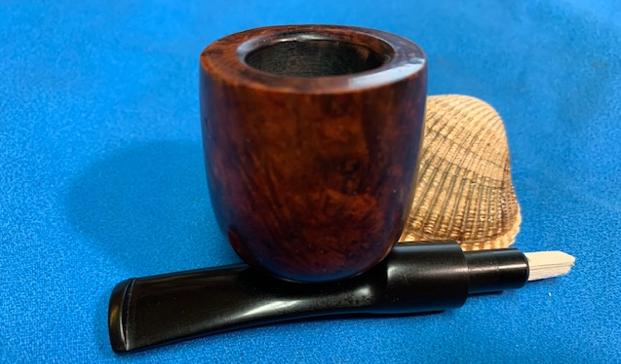
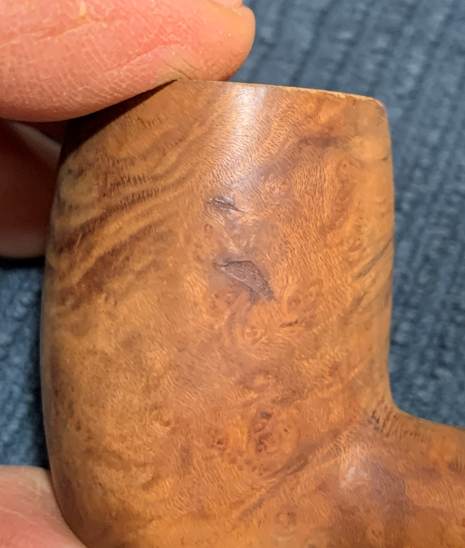 After that, a light application of Before & After Restoration Balm brought out the best in the stummel’s grain. There is some beautiful wood after all. It is a very handsome pipe.
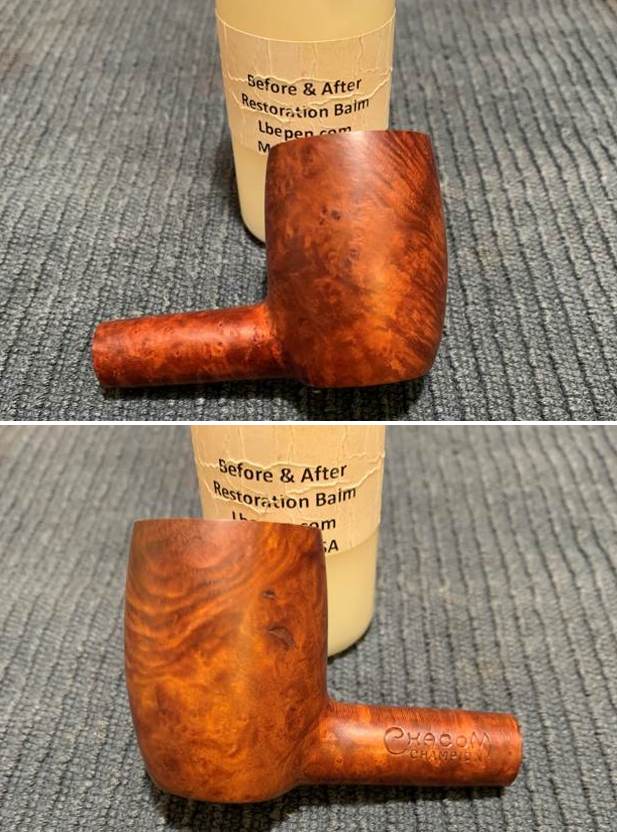
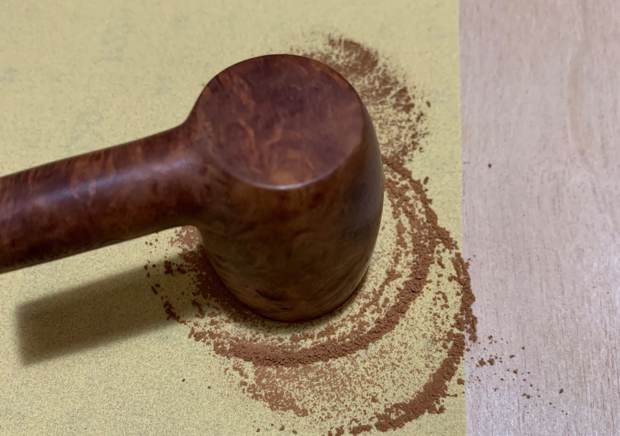
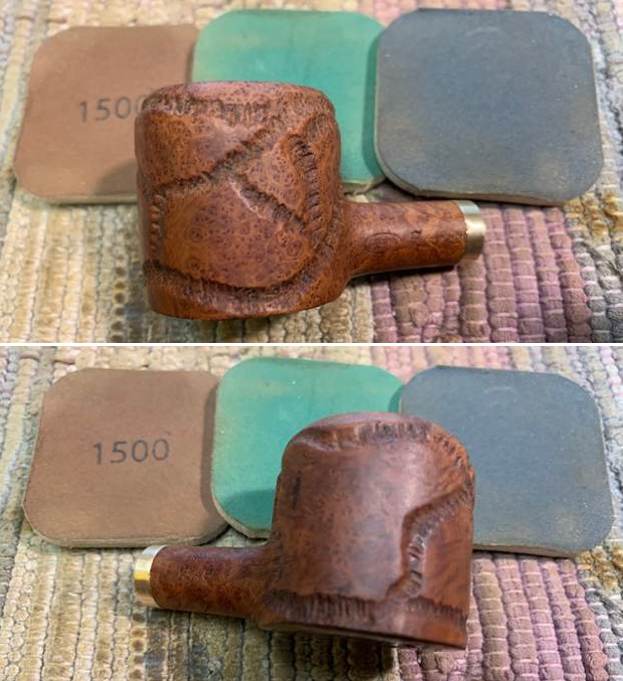
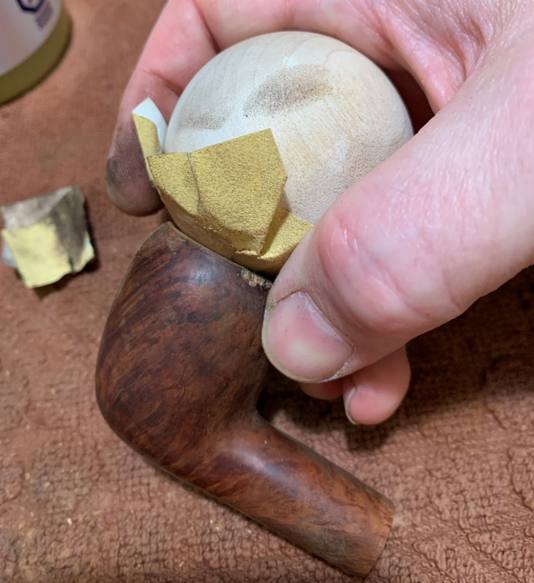
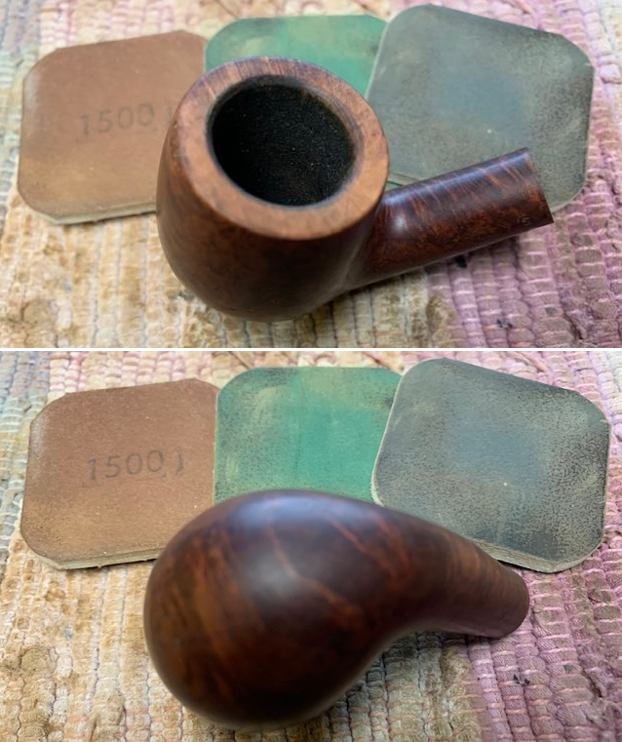
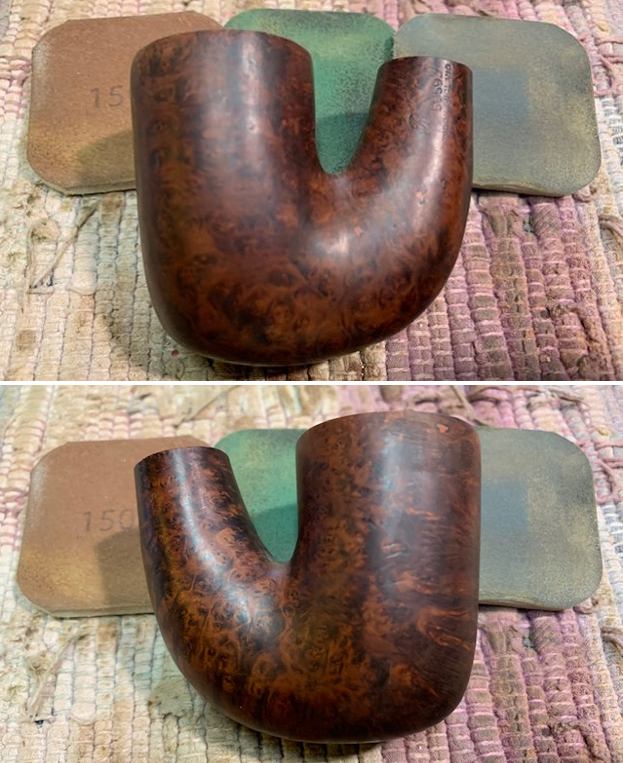
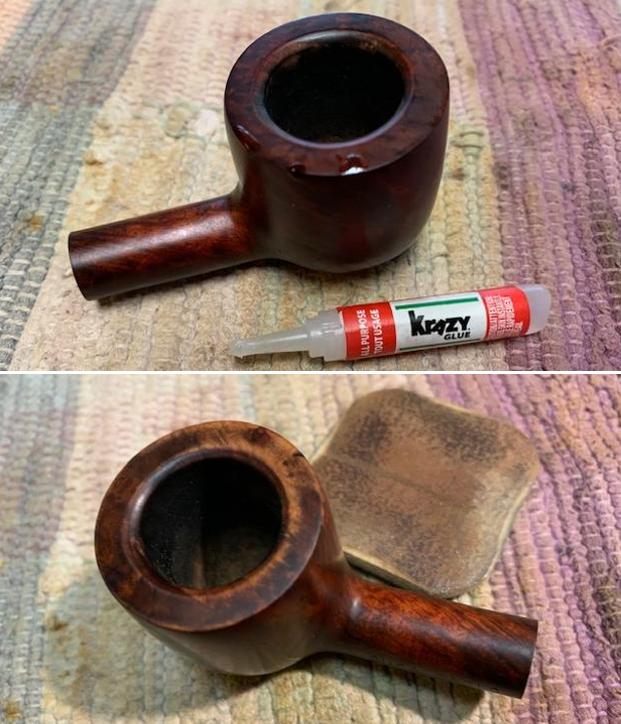
 The same was true with the fills. I lined the two fills with cyanoacrylate adhesive and briar dust. After letting them cure, I sanded the fill repairs down with 200-, 400-, and 600-grit sandpaper. I then used all nine Micromesh pads (1,500 through 12,000 grit) on the stummel to finish it off.
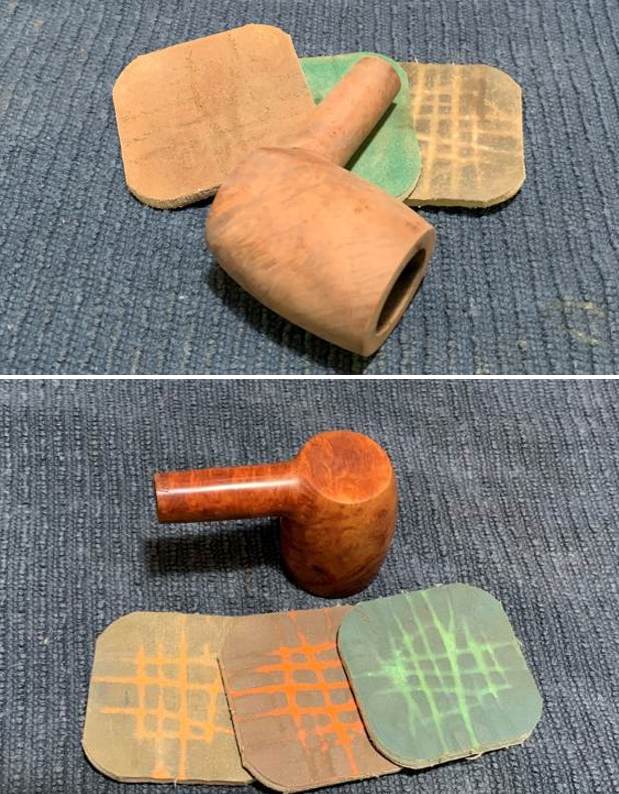
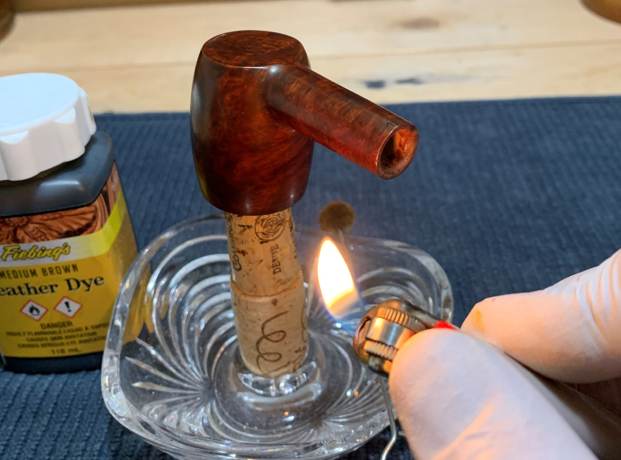
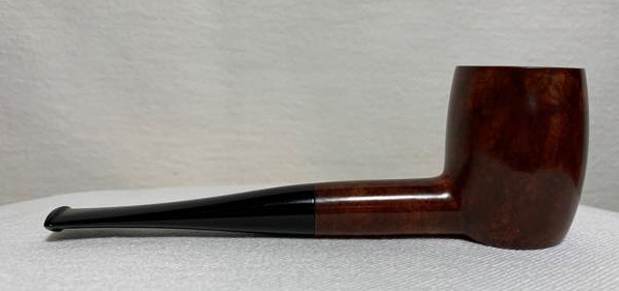
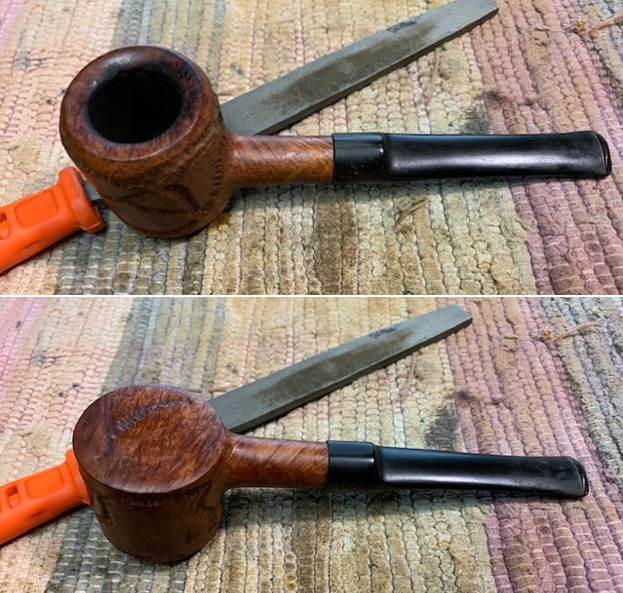
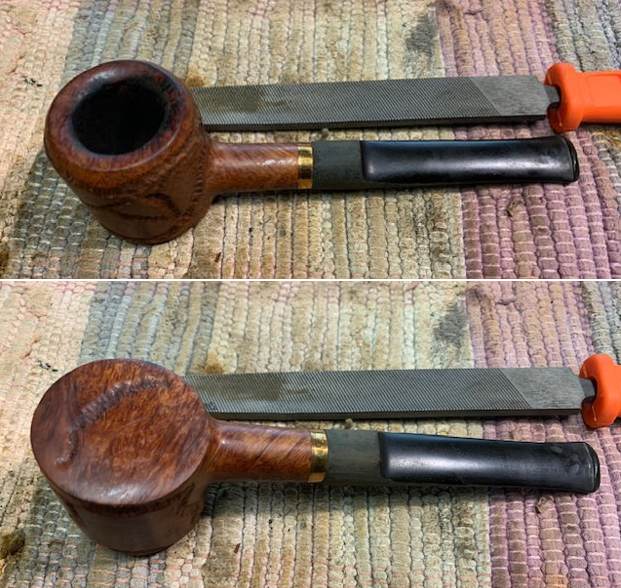
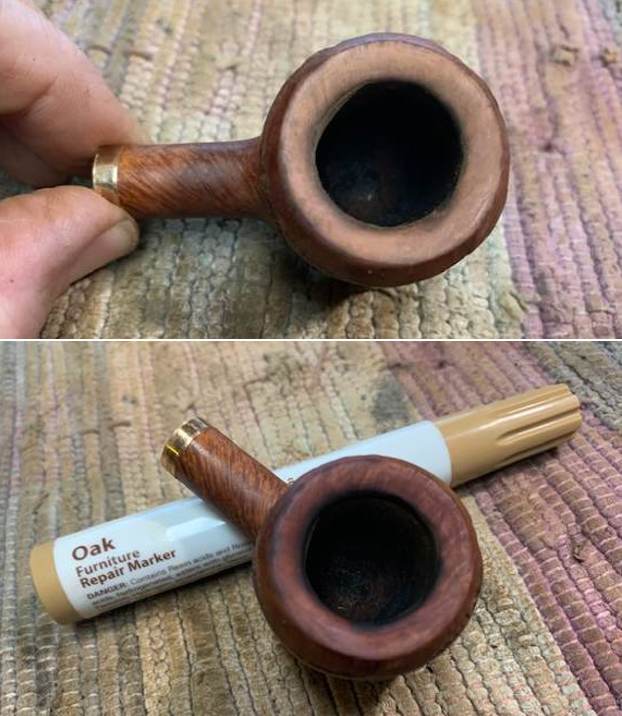
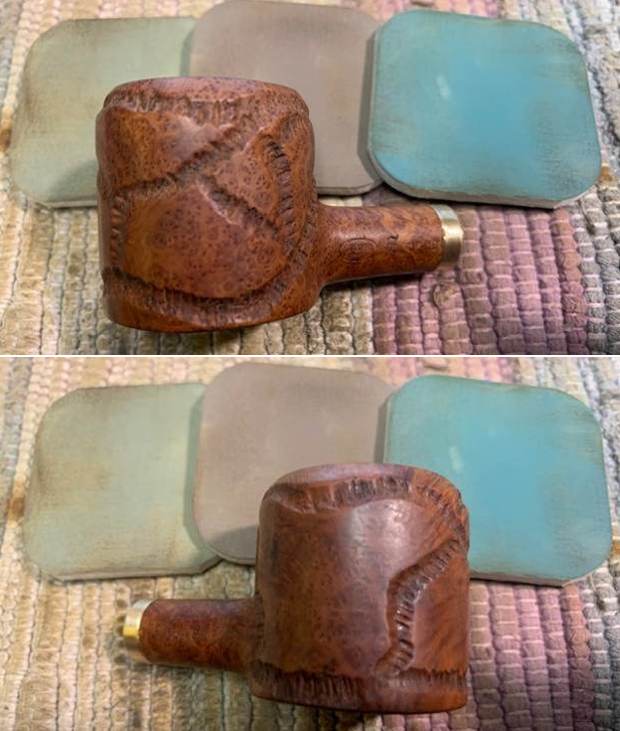
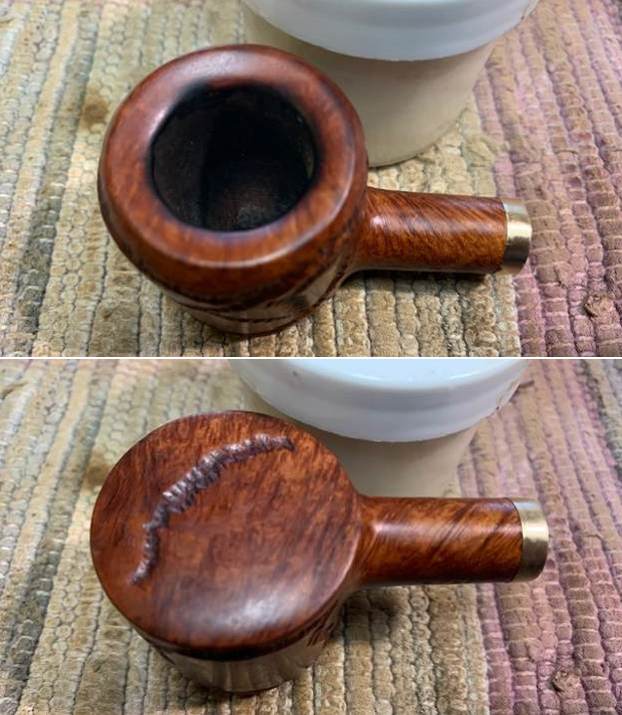
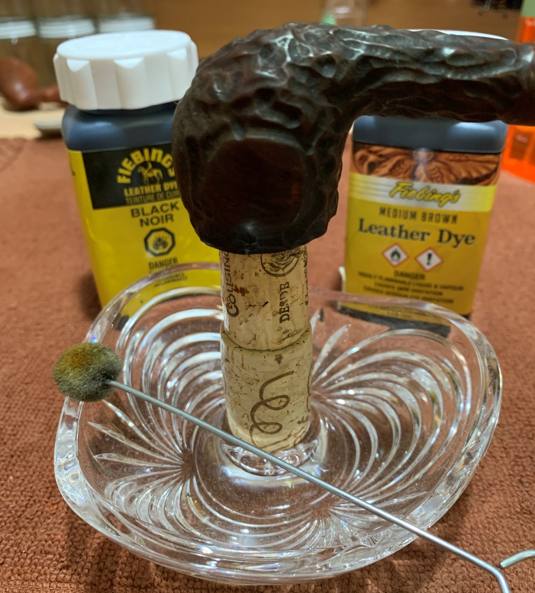
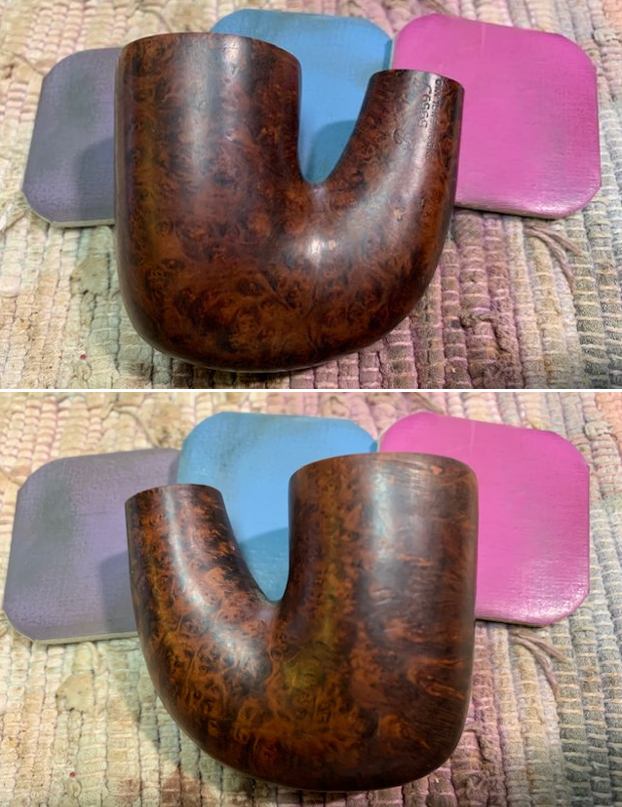
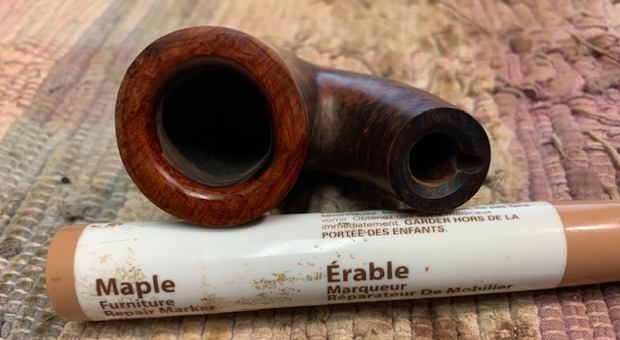
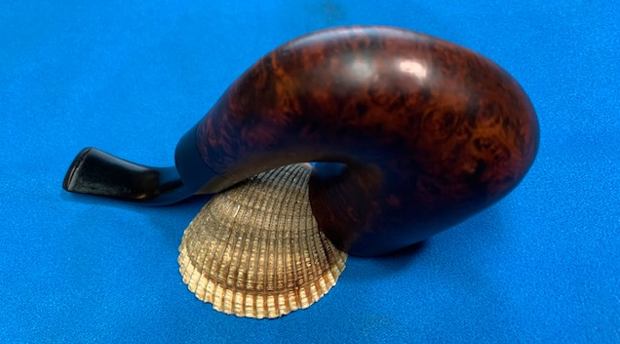
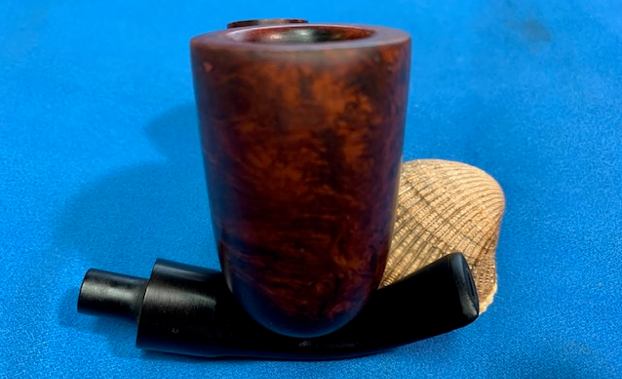
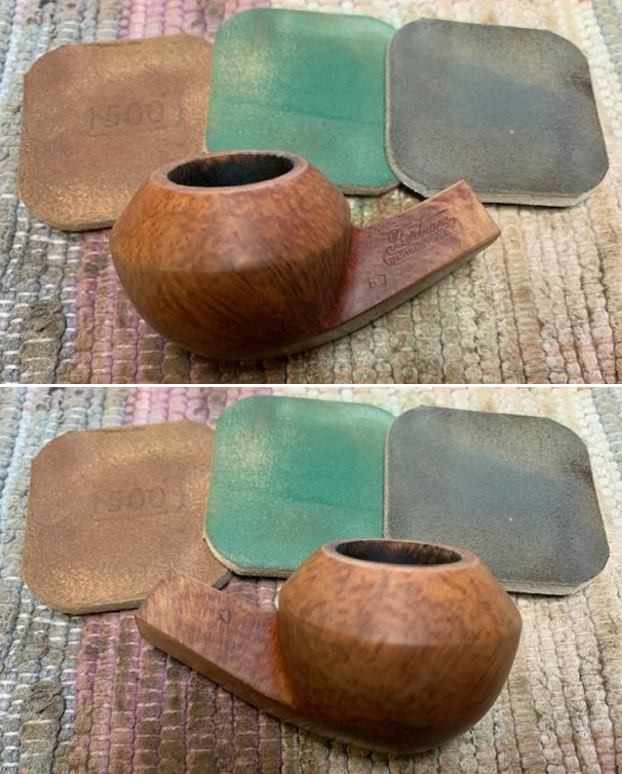
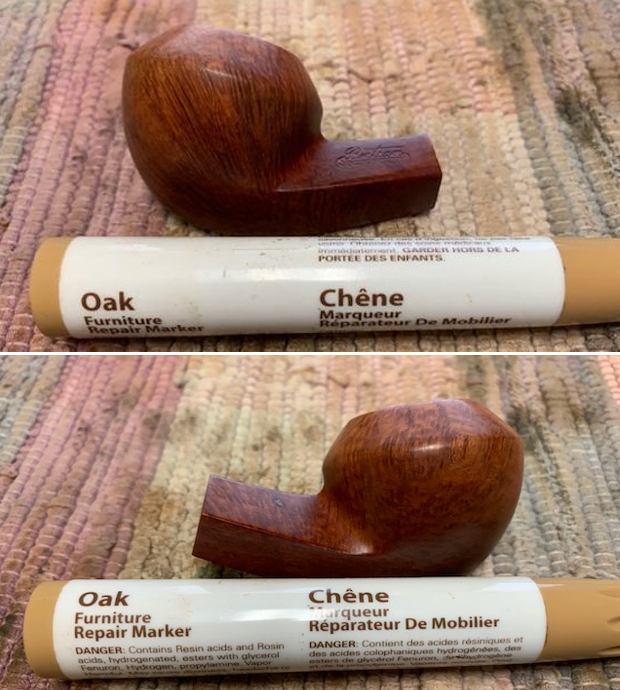
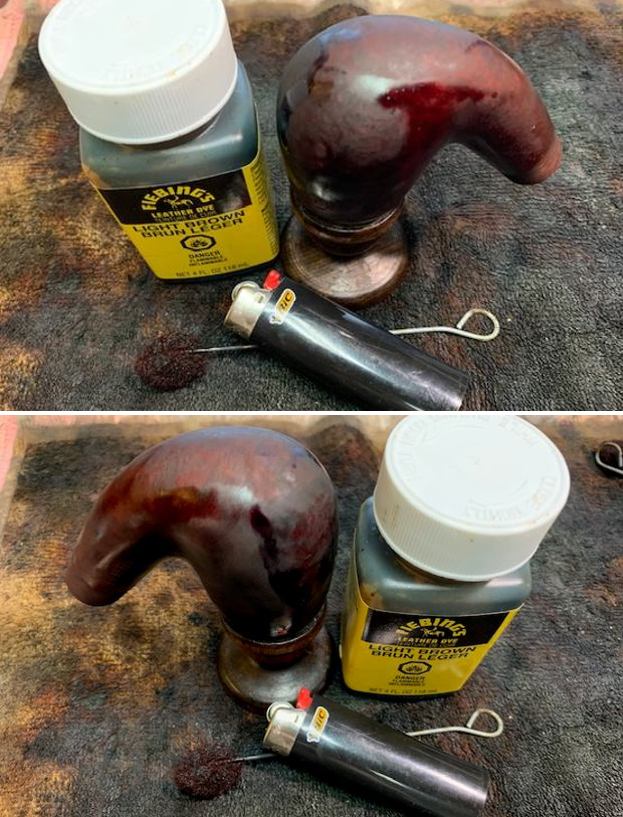
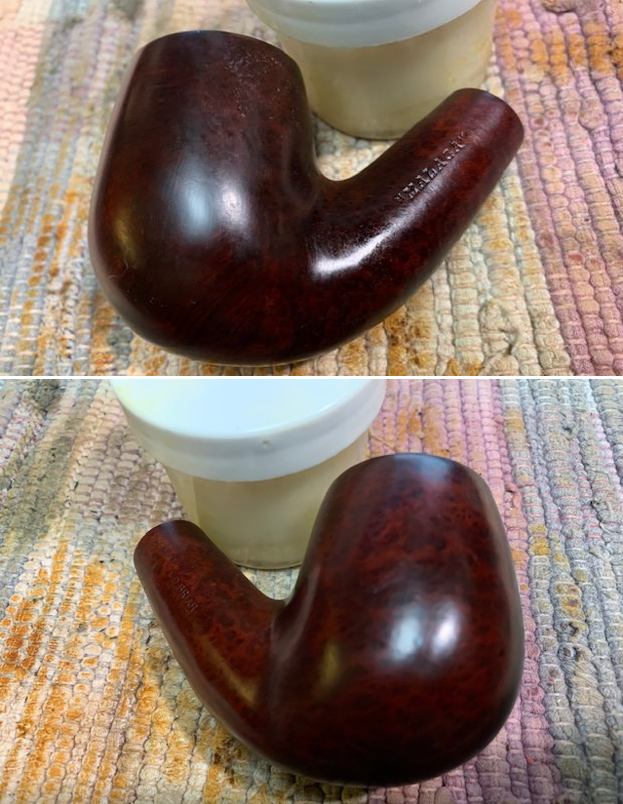
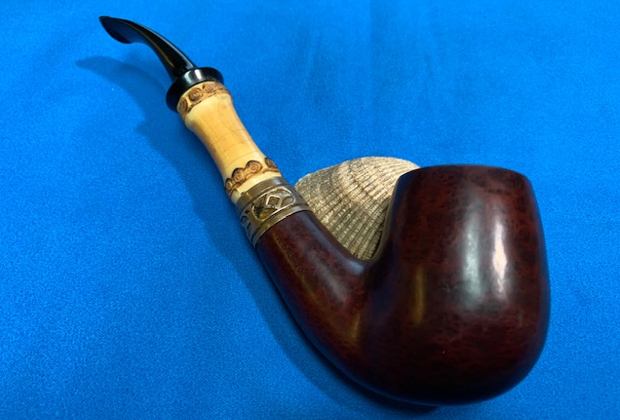
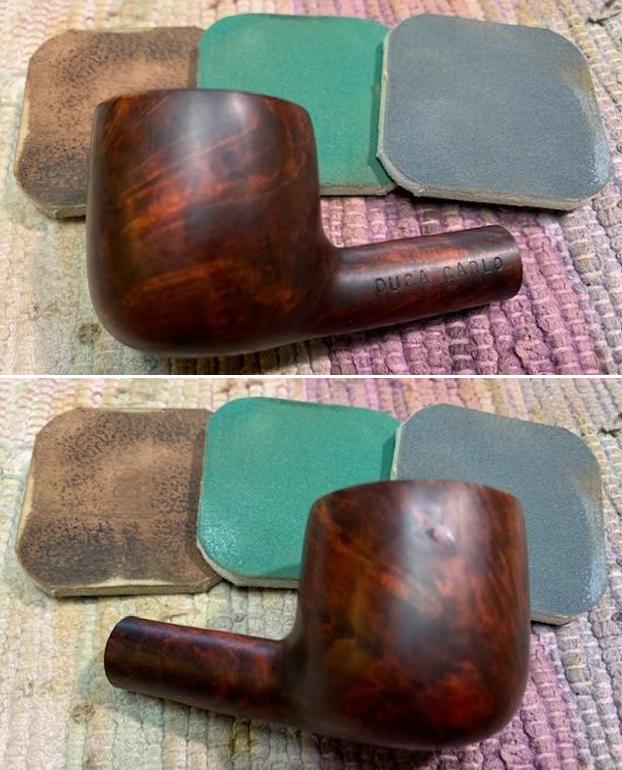
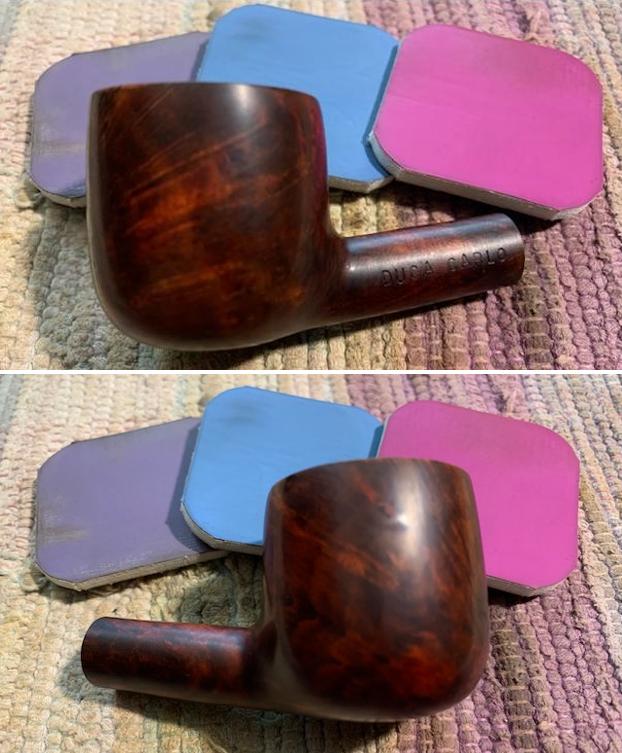
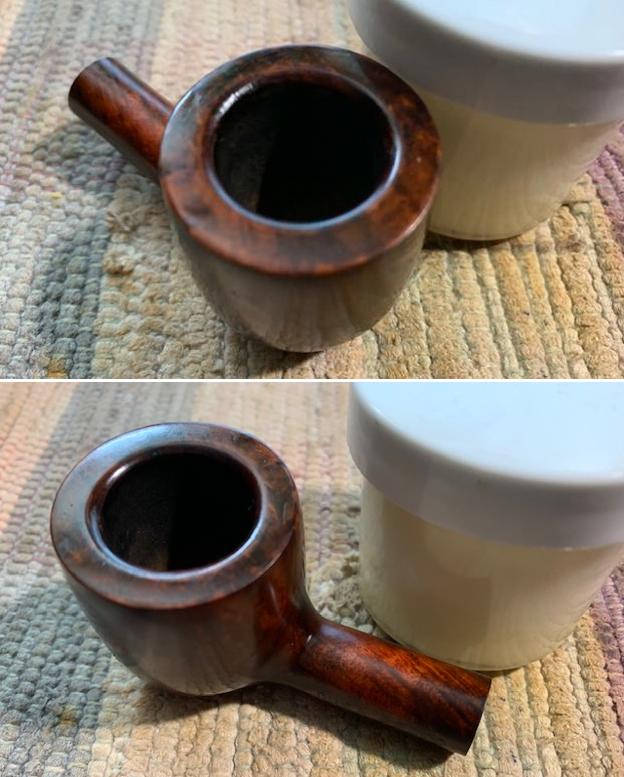
 On to another problem: the colour. During the course of my vigorous cleaning, this pipe had lost some vibrancy of colour. So, in order to accentuate the external beauty of this pipe, I opted for aniline dye. I applied some of Fiebing’s Medium Brown Leather Dye. As usual, I applied flame from a BIC lighter in order to set the colour. What a difference that made! It looked so much better with a fresh coat of stain.
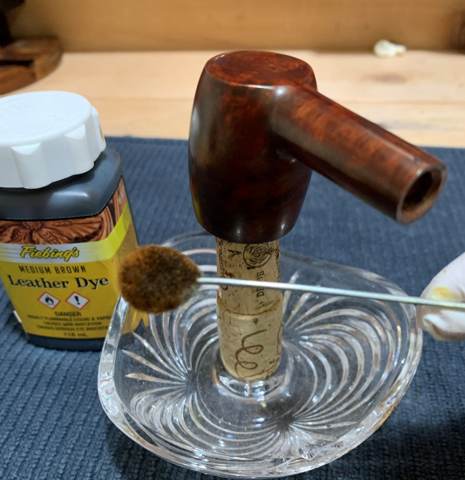
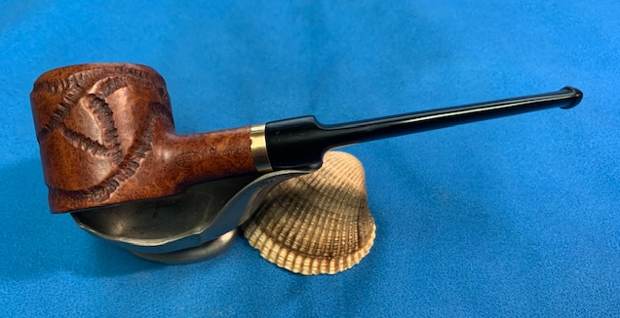
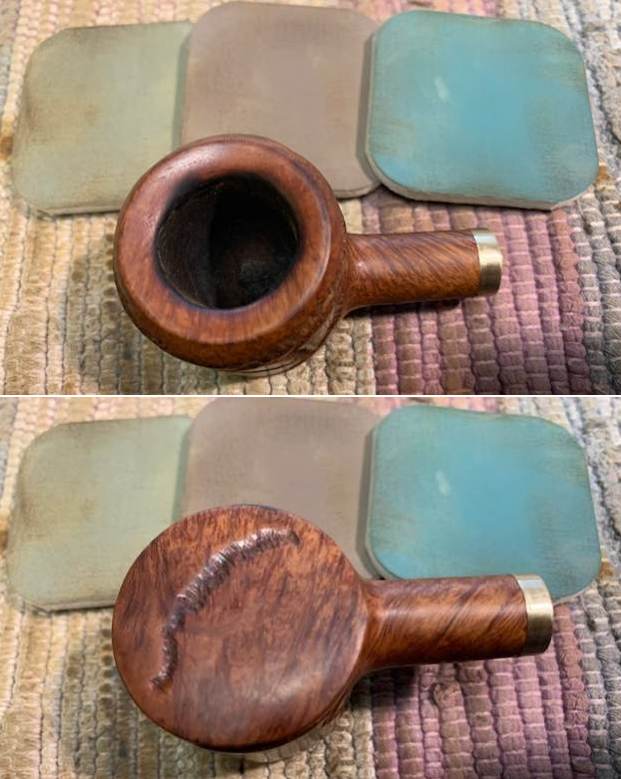
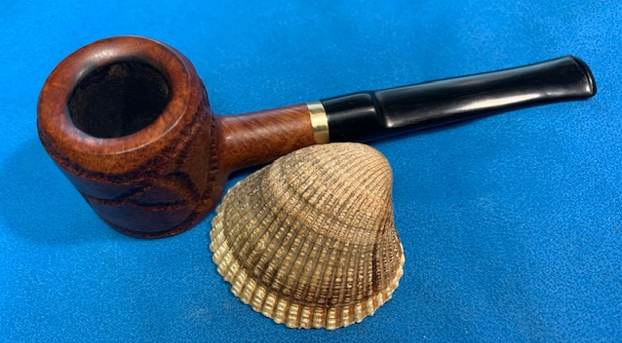
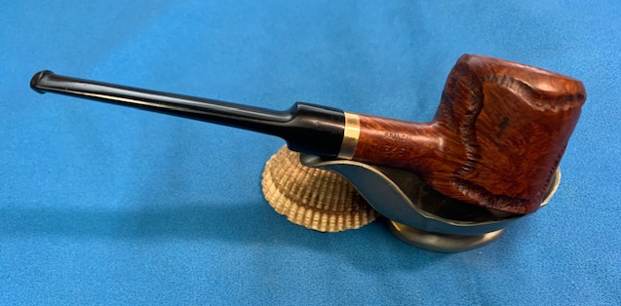
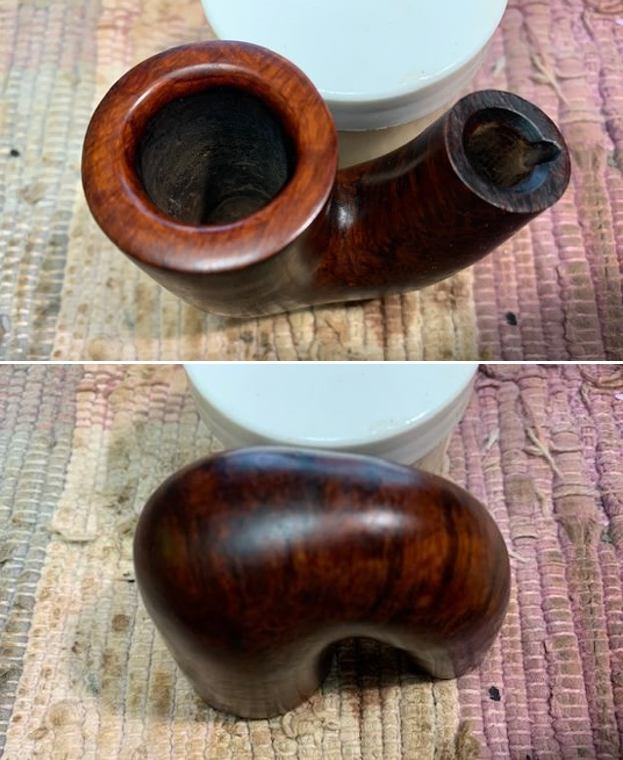
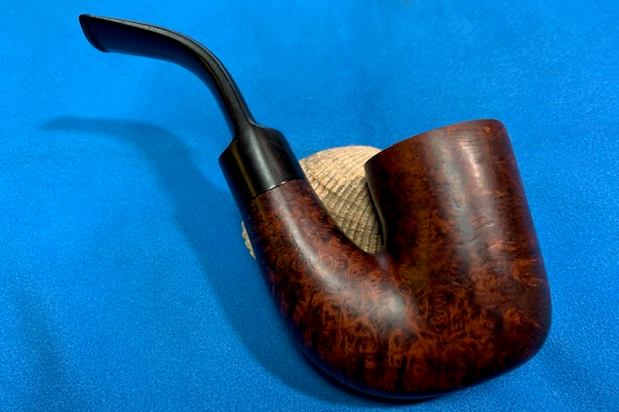
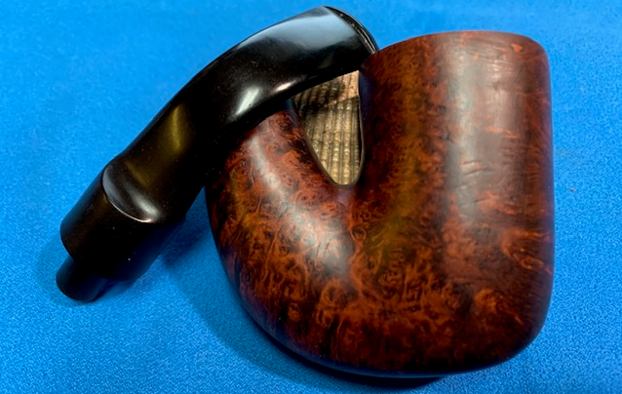
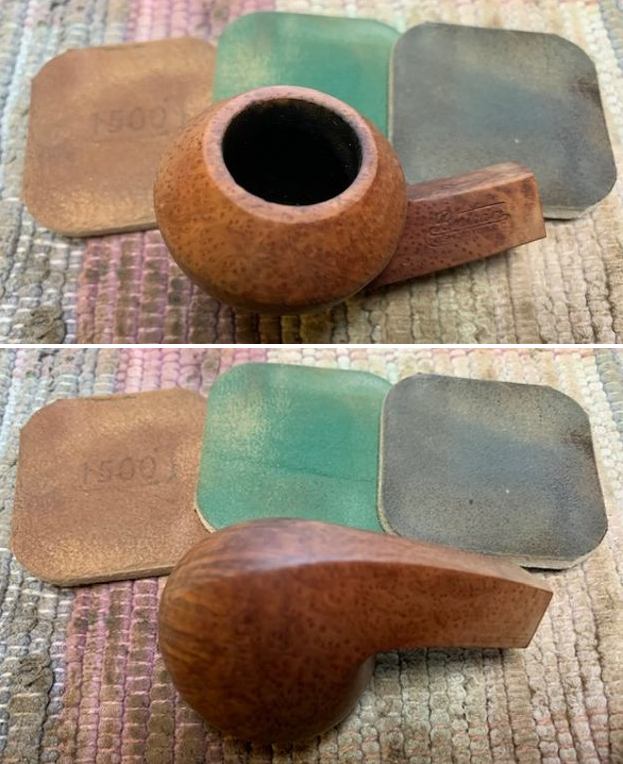
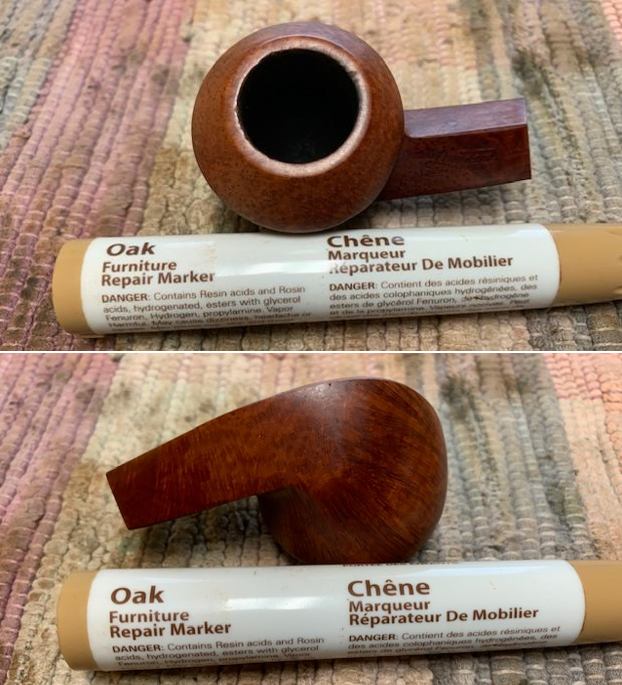
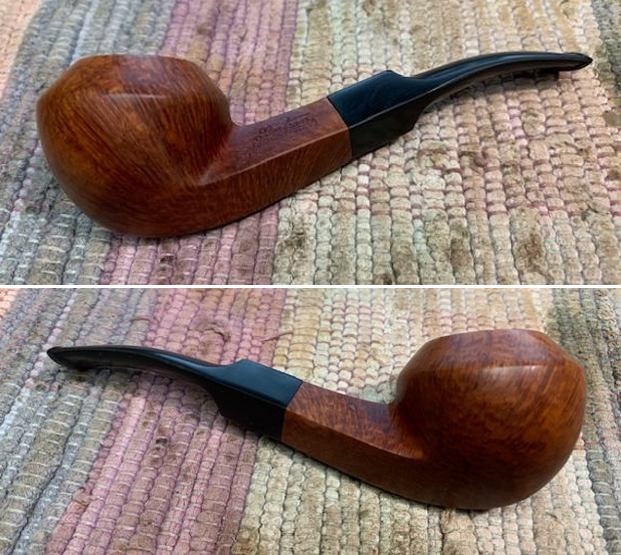
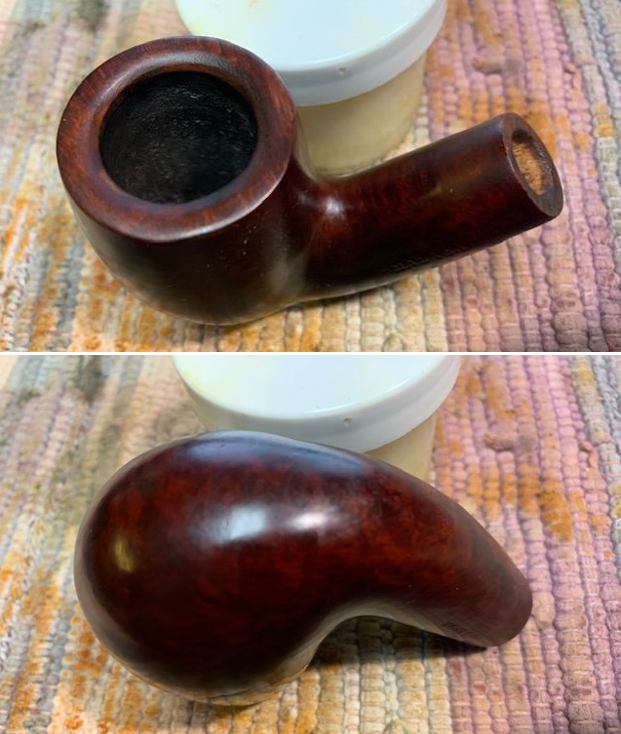
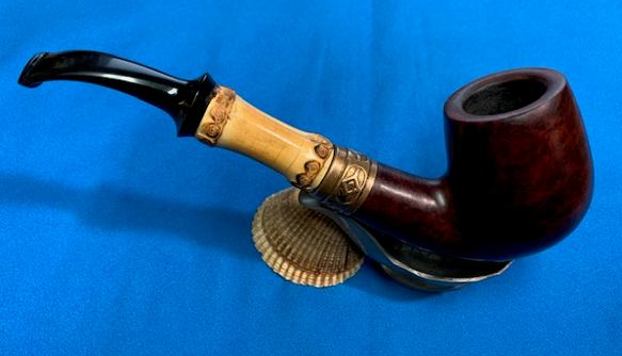
 I applied some more Before & After Restoration Balm and then it was off for a trip to the buffer. A dose of White Diamond and a few coats of carnauba wax were just what this pipe needed. The lovely shine made the wood very attractive. This is a very handsome pipe and will provide many years of smoking pleasure.
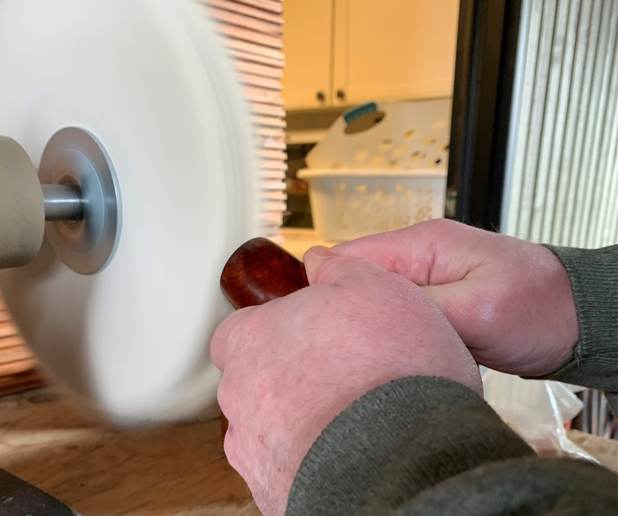 This Chacom Champion is back to its old glory and ready to be enjoyed again by the next owner. I am pleased to announce that this pipe is for sale! If you are interested in acquiring it for your collection, please have a look in the ‘French’ pipe section of the store here on Steve’s website. You can also email me directly at kenneth@knightsofthepipe.com. The approximate dimensions of the pipe are as follows: length 5 in. (130 mm); height 1⅝ in. (40 mm); bowl diameter 1¼ in. (30 mm); chamber diameter ¾ in. (20 mm). The weight of the pipe is 1 oz. (29 g). I hope you enjoyed reading the story of this pipe’s restoration as much I as I did restoring it. If you are interested in more of my work, please follow me here on Steve’s website or send me an email. Thank you very much for reading and, as always, I welcome and encourage your comments.
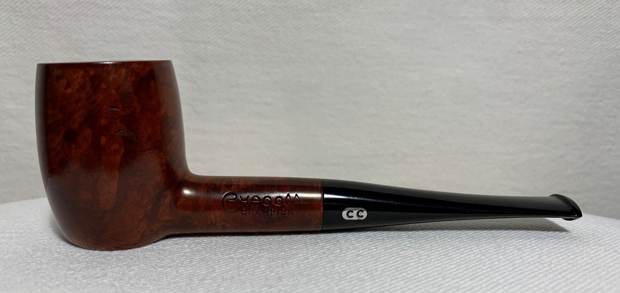


