Blog by Steve Laug
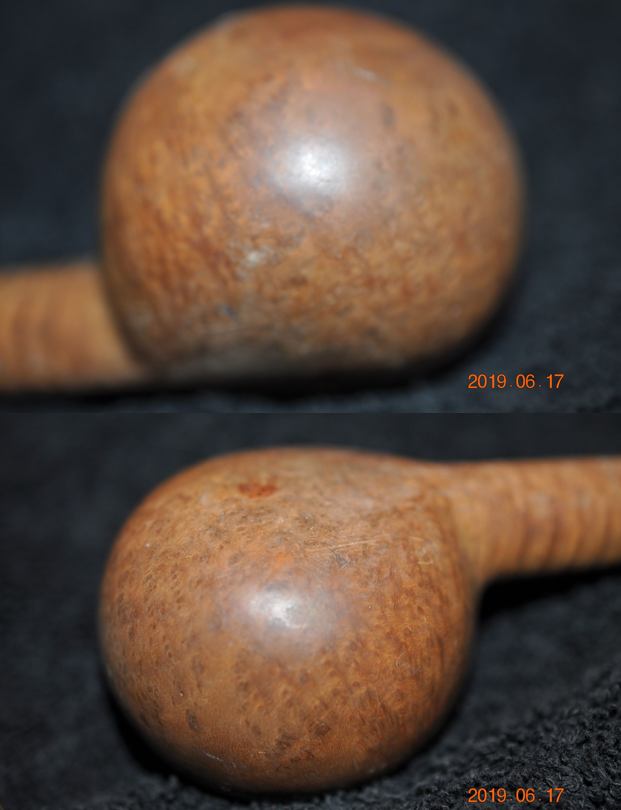
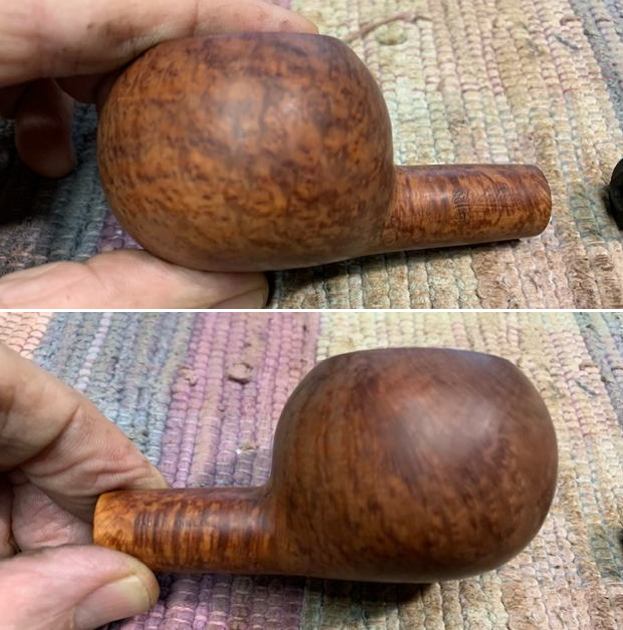
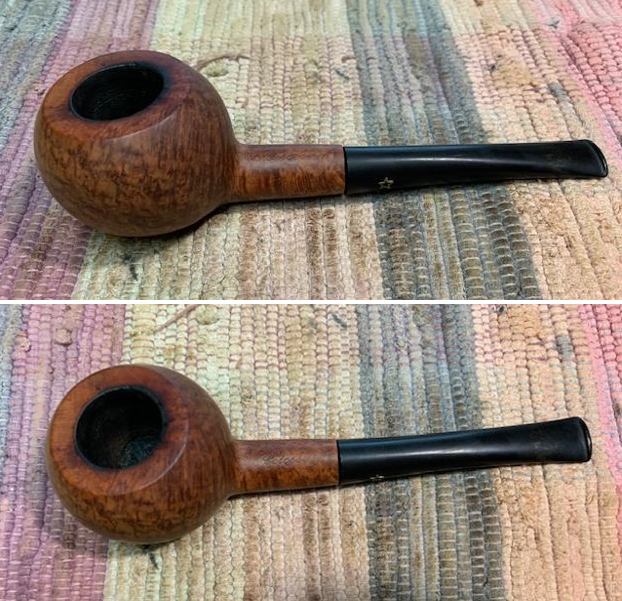
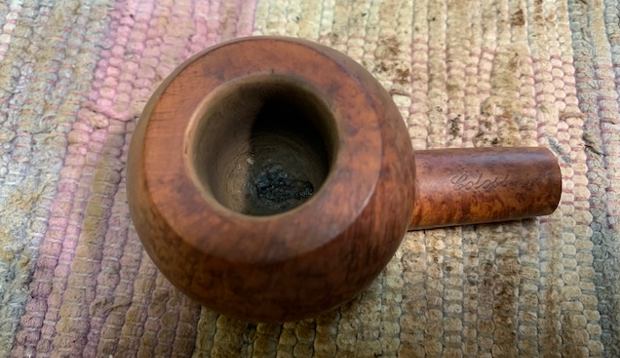
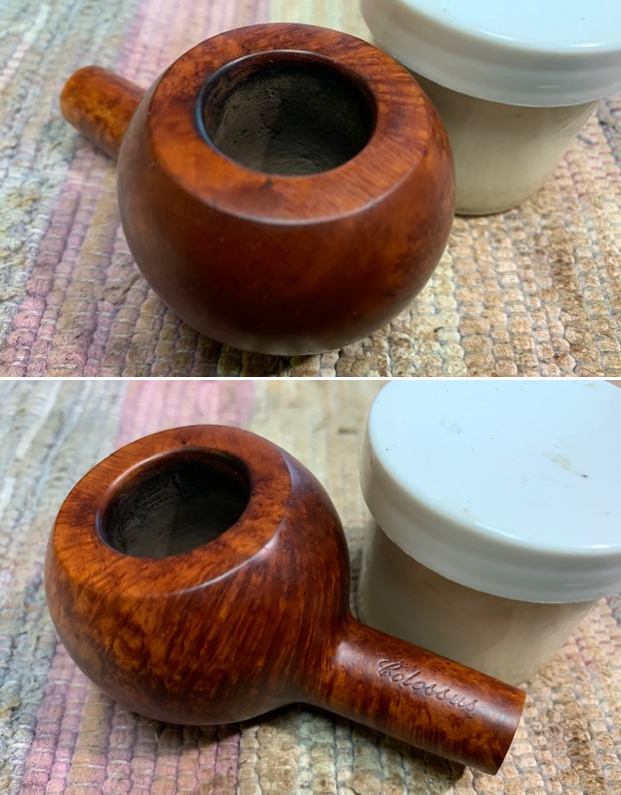
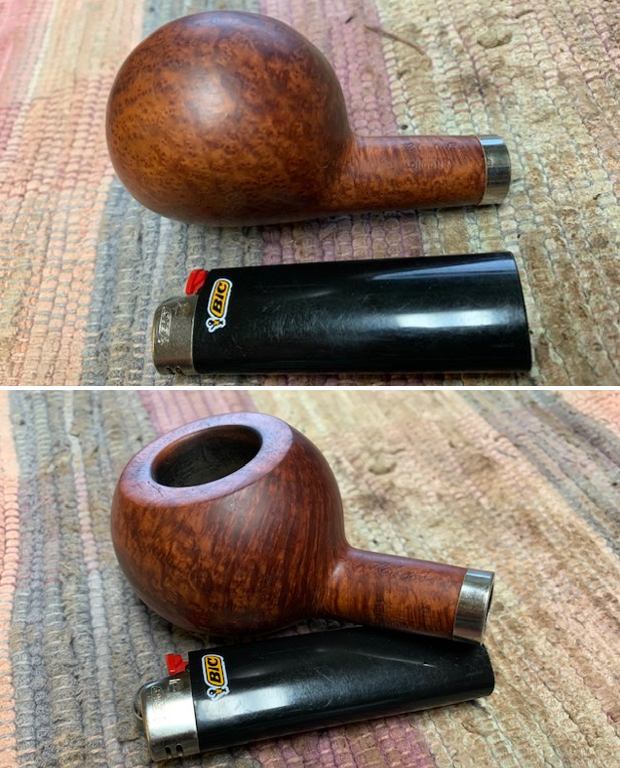
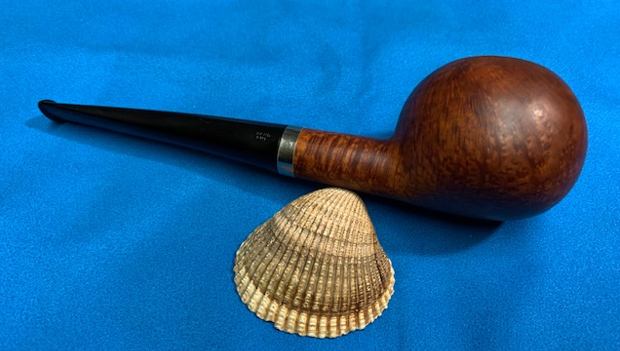
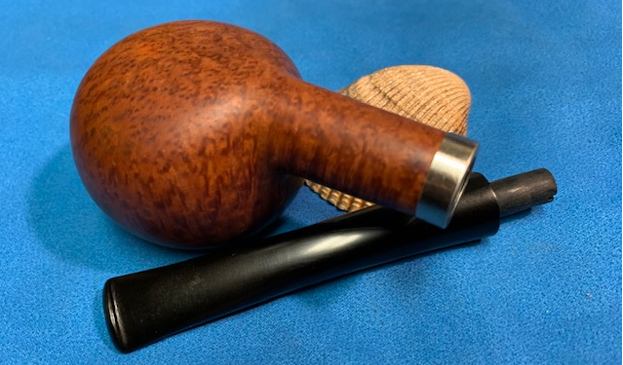
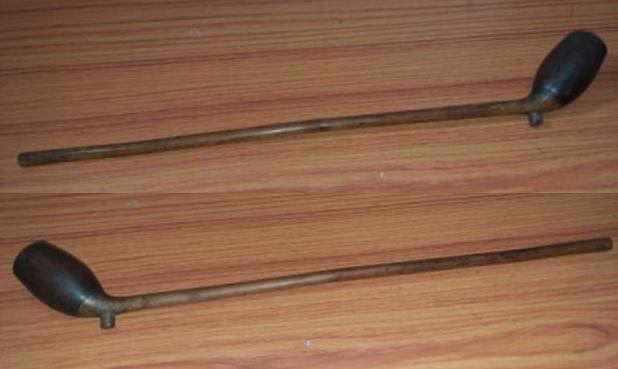
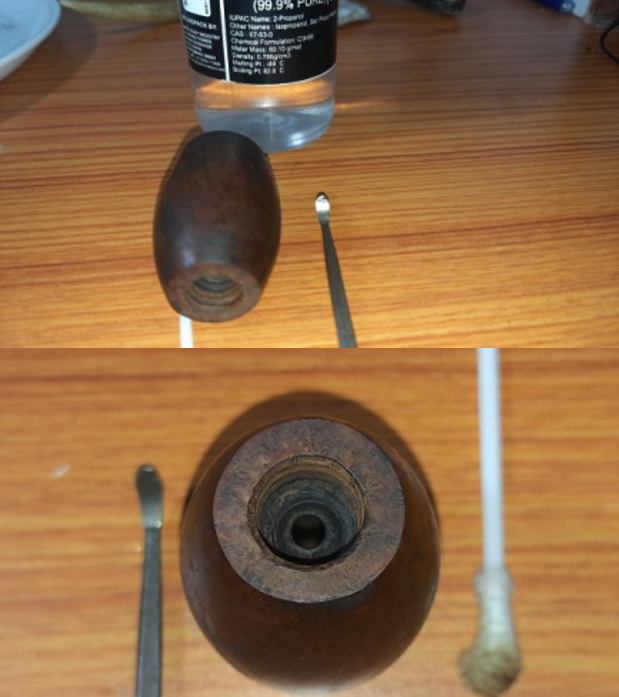
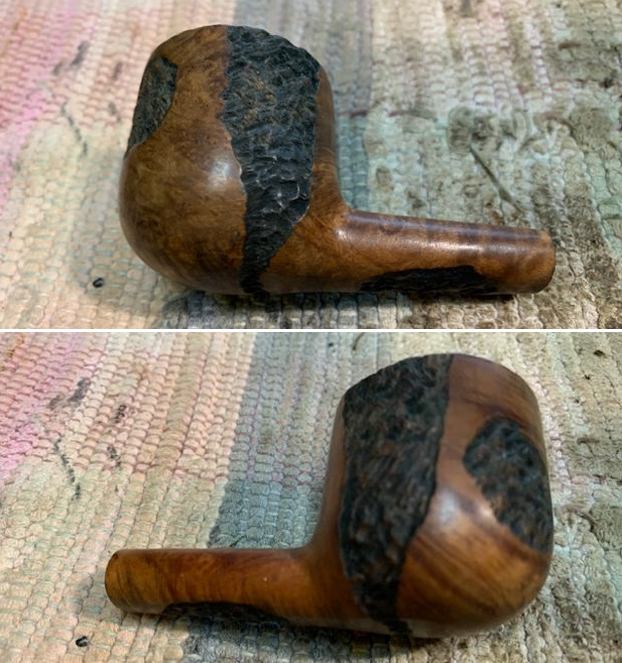
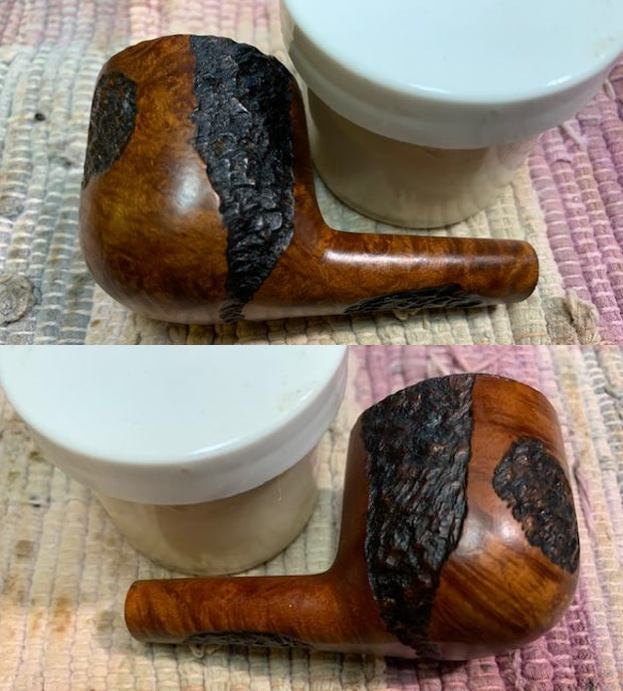
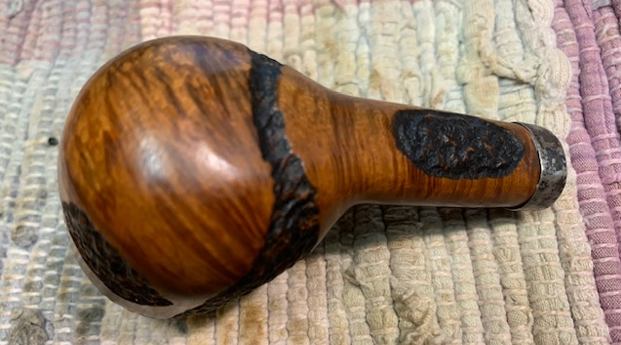
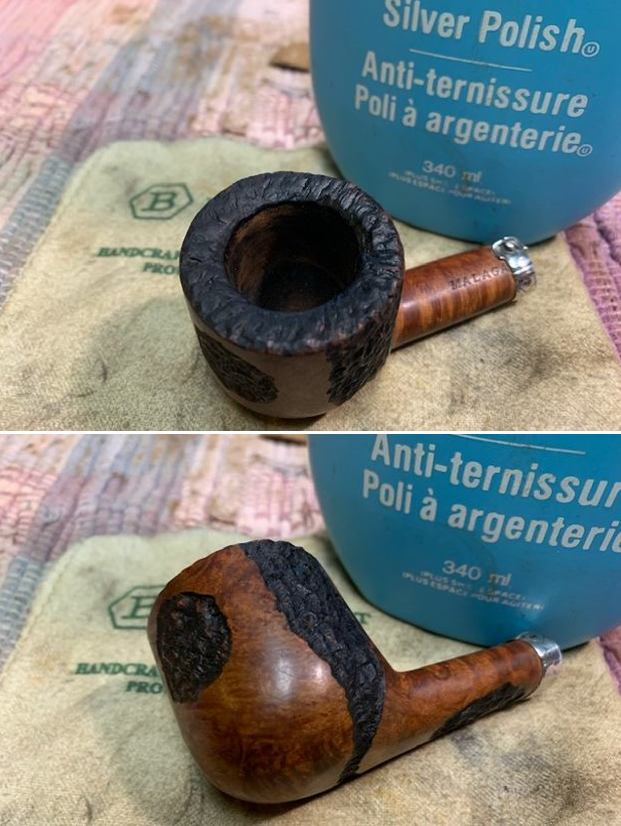
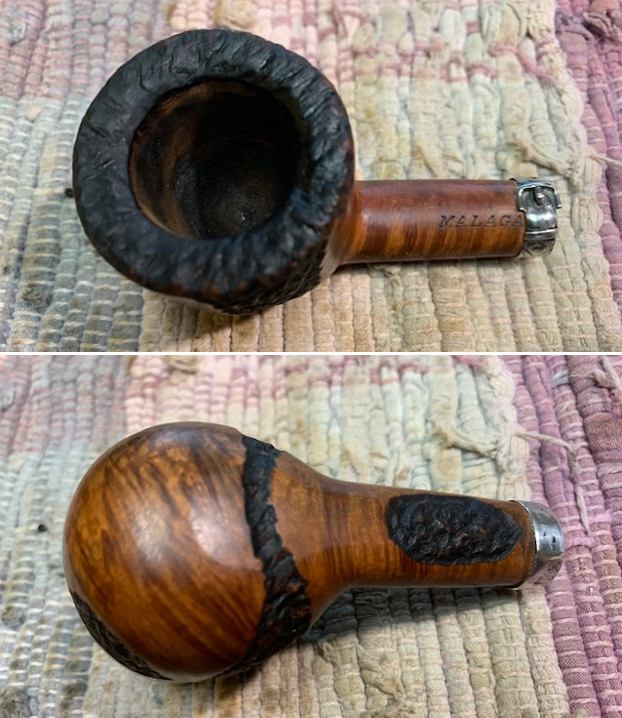
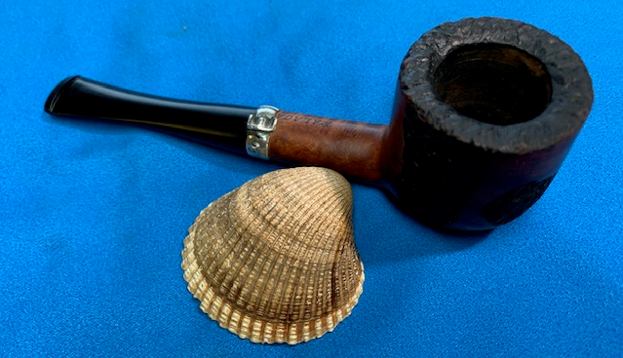
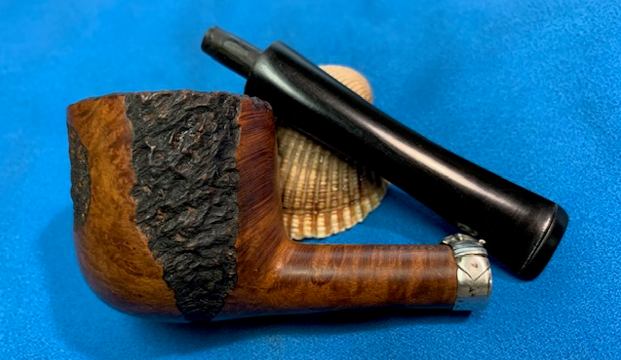
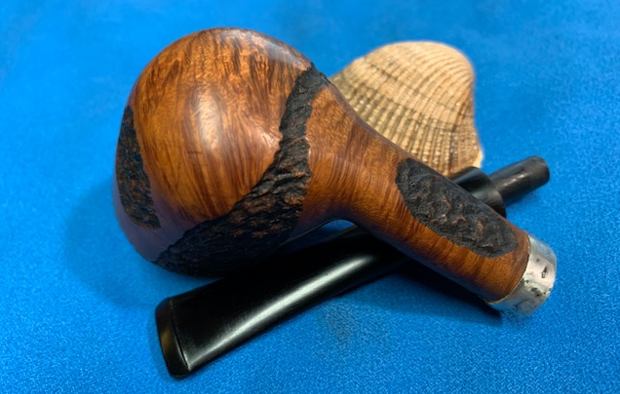
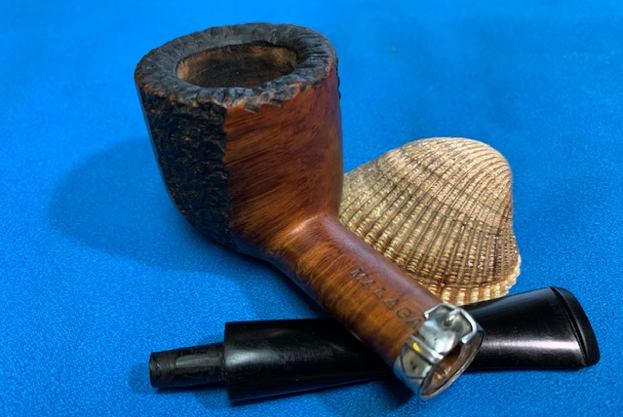
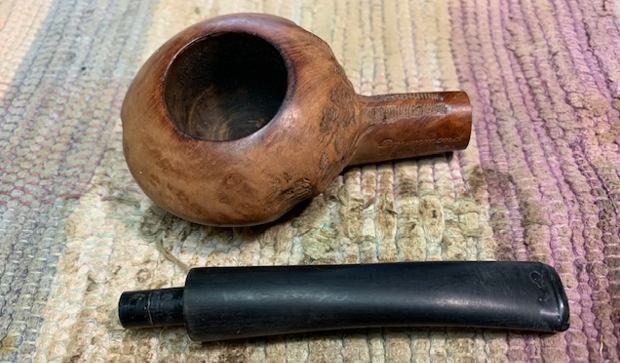
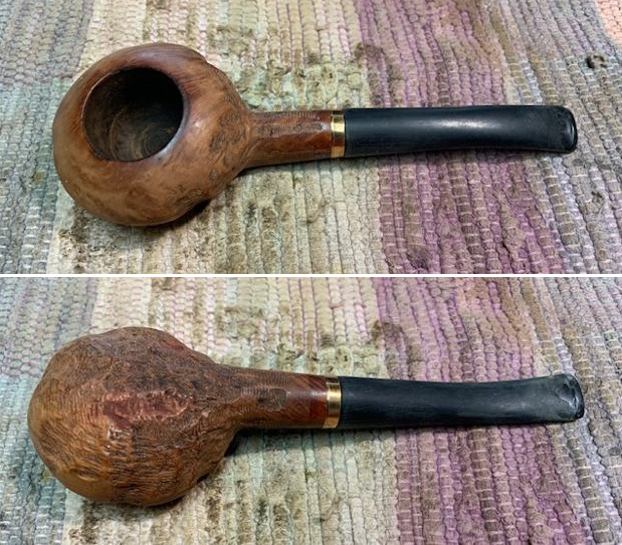
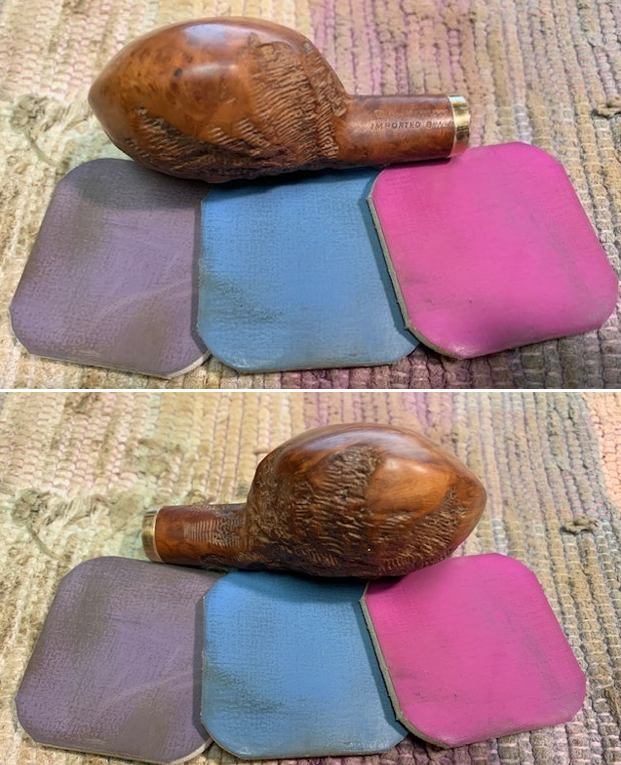
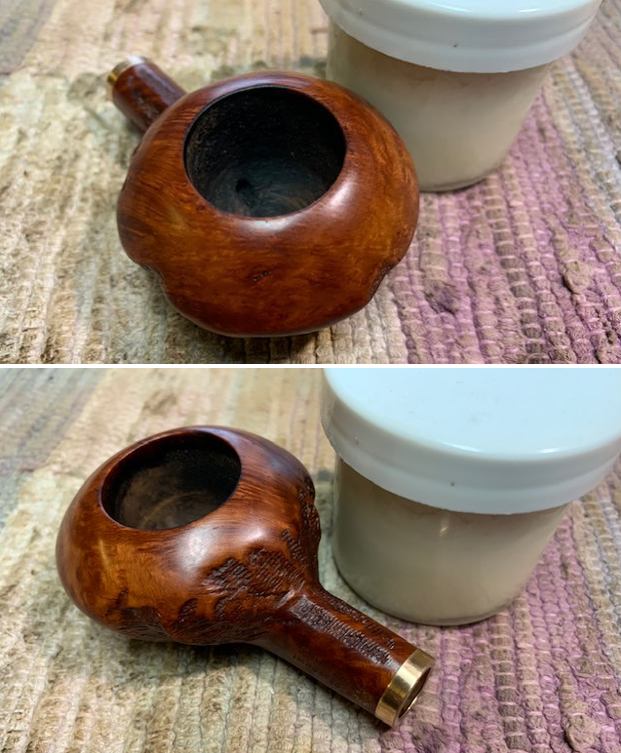
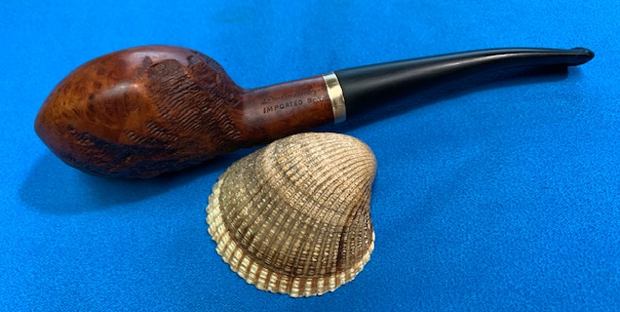
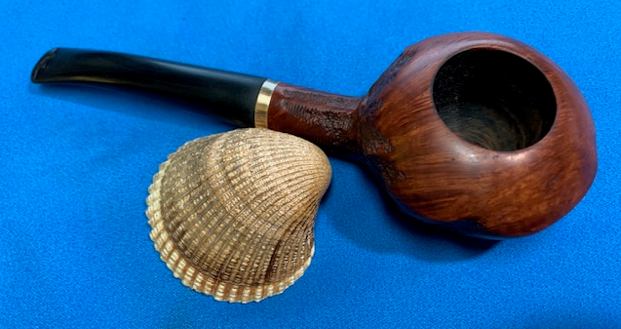
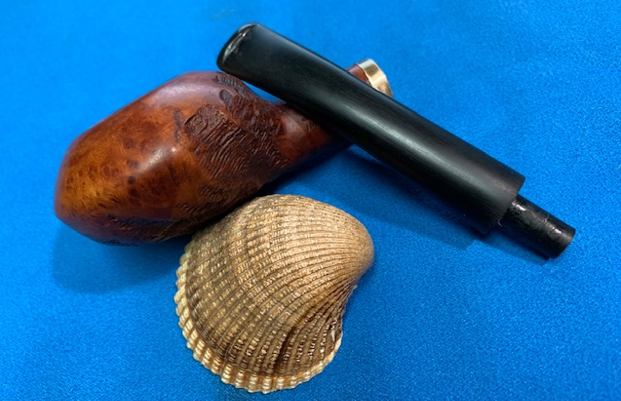
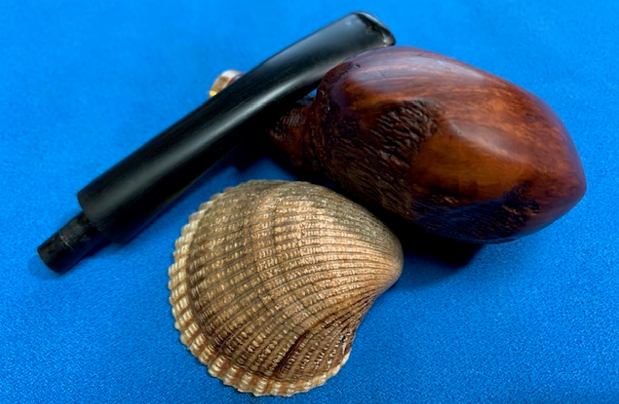
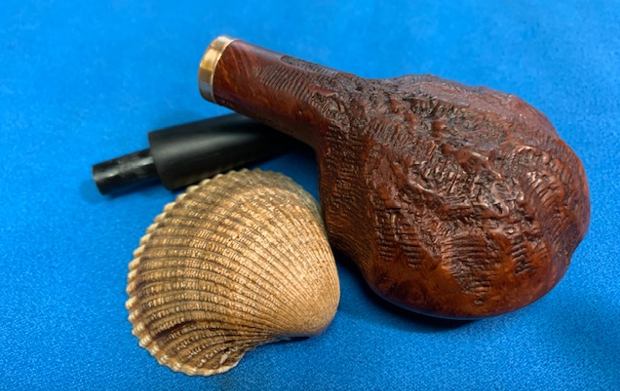
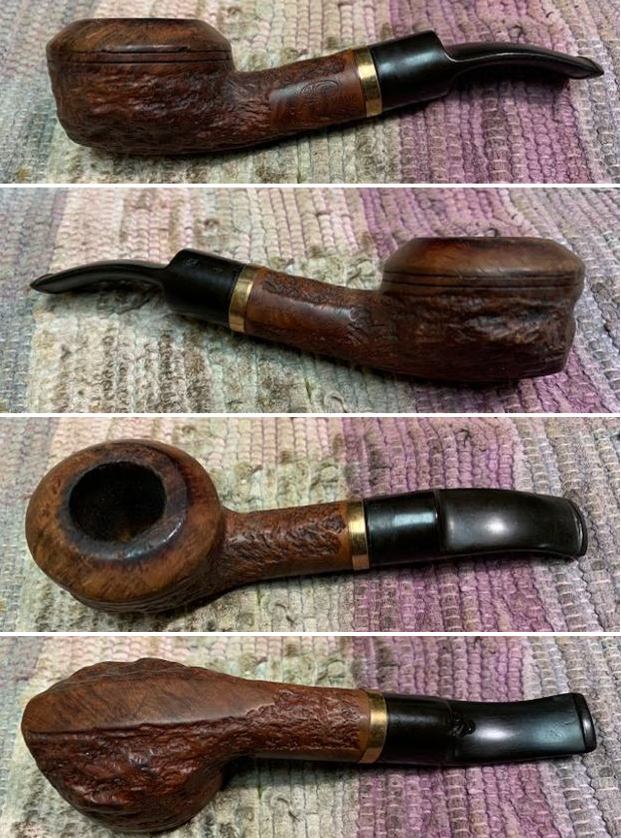
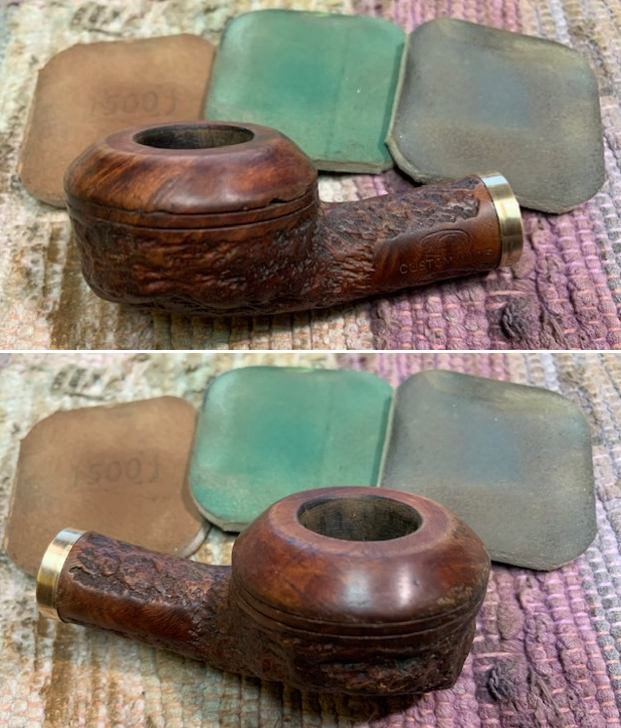
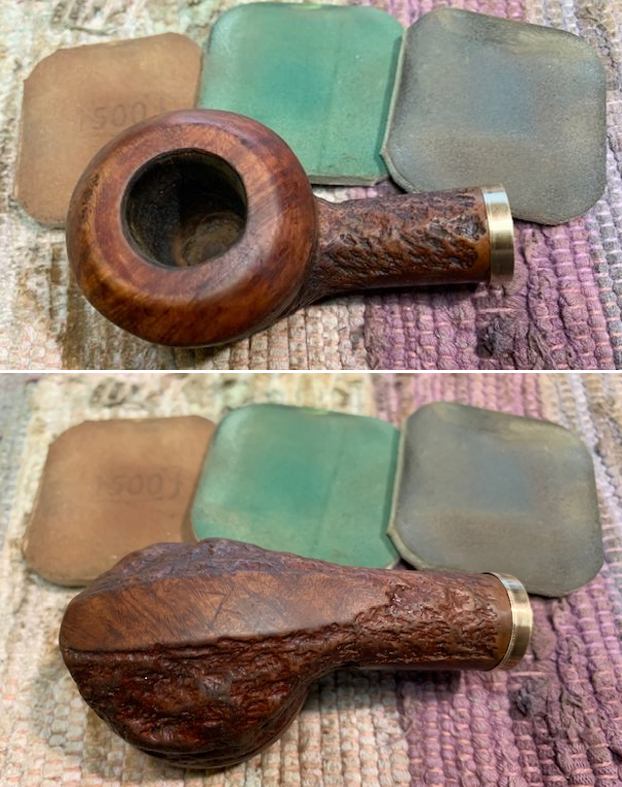
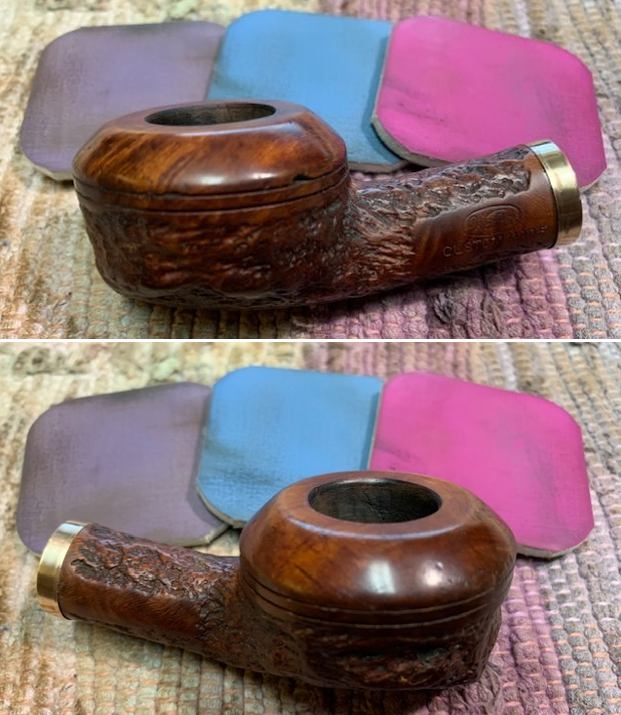
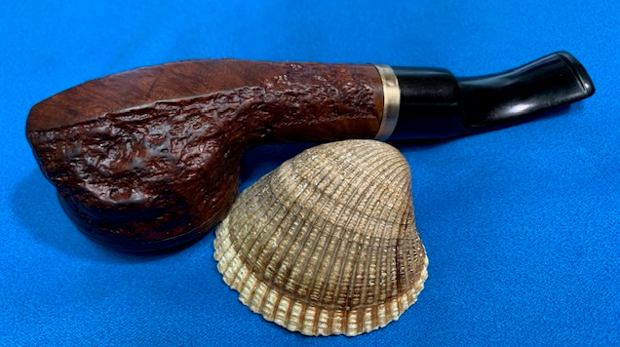
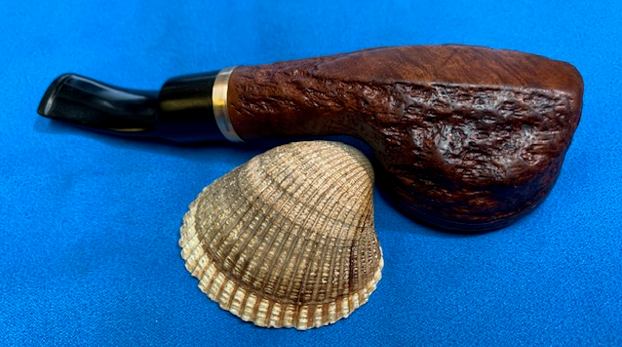
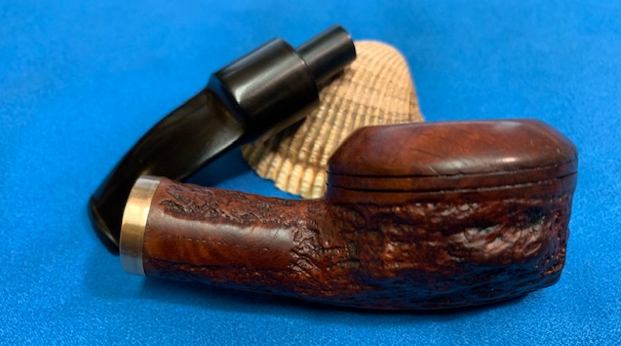
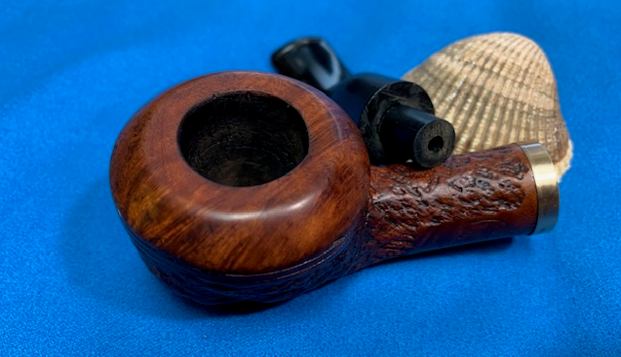
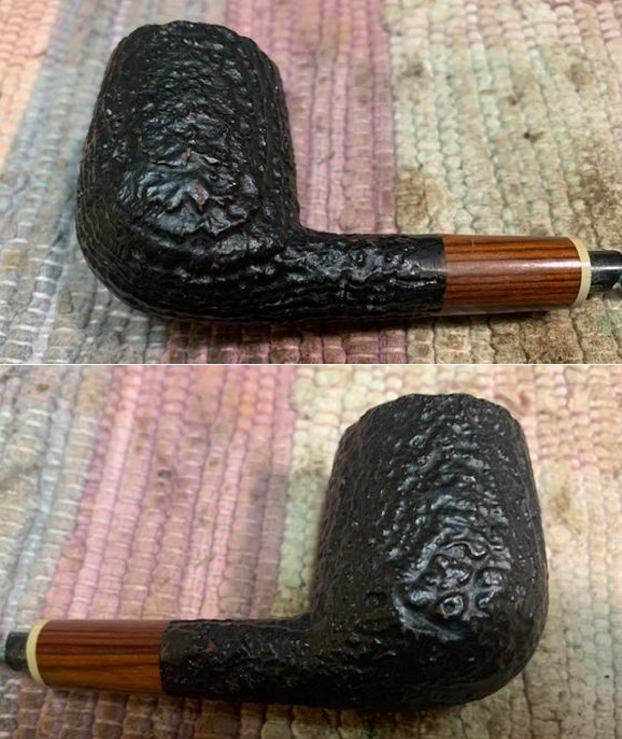
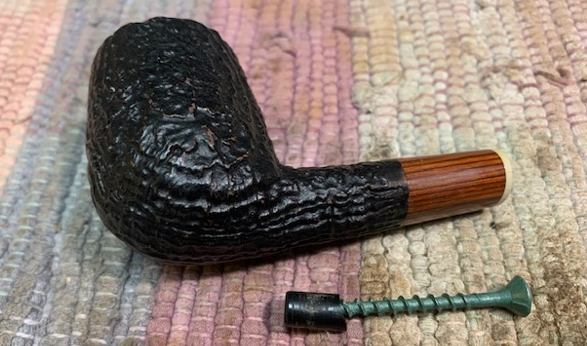
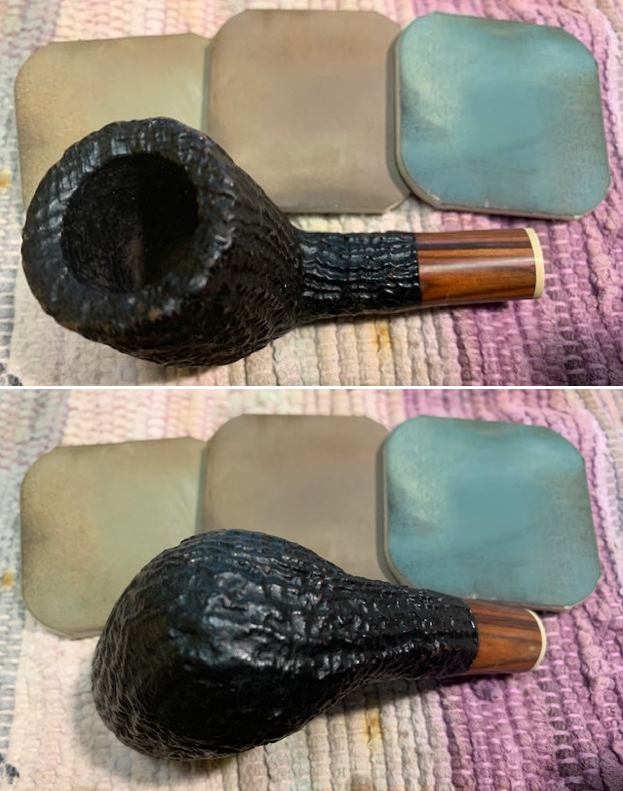
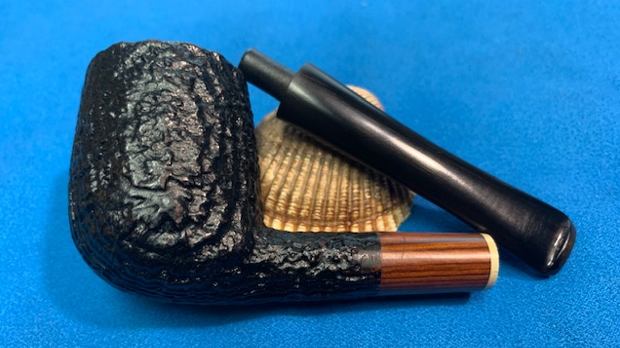
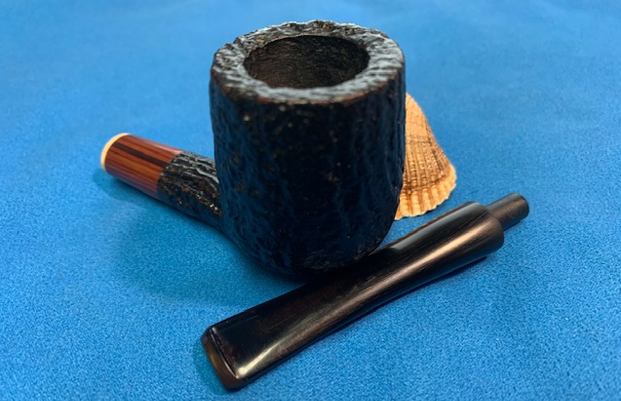
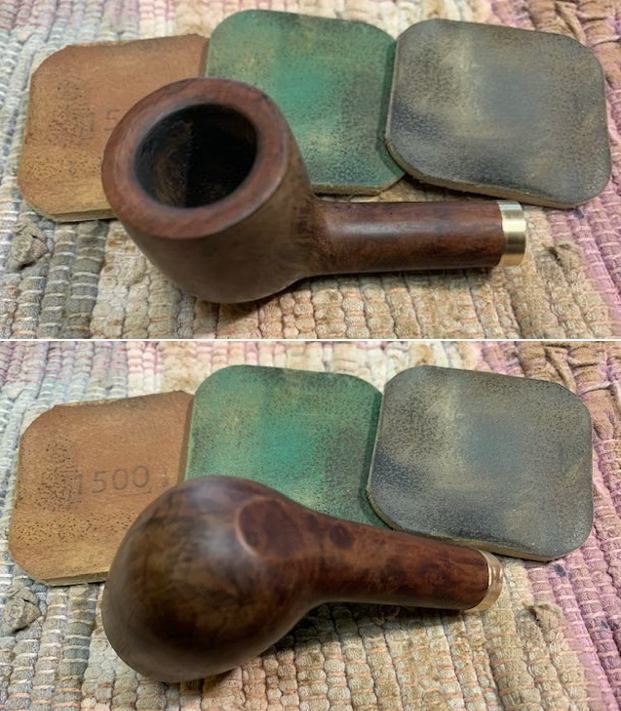
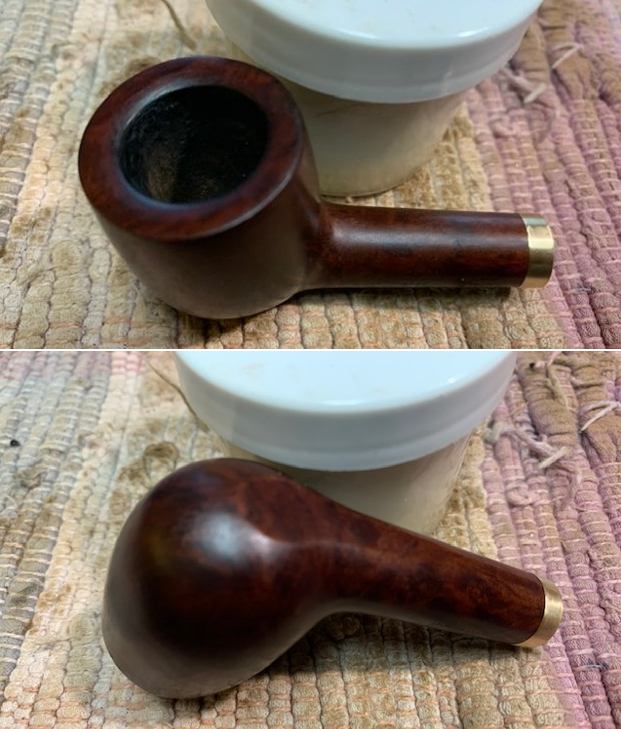
The next pipe I chose to work on was another bowl from my box to restem. This one has some great grain around the sides and shank. It is stamped Monterey [over] Specimen Grain on the on the left side of the shank. On the right side it is stamped Mission Briar. It had been cleaned and reamed somewhere along the way by either Jeff or me. I honestly don’t remember when or where we got this bowl. It had a hairline crack on the right side of the shank that ran mid shank for about ½ an inch. The stem was long gone so this would be a restemming job. I would need to band the shank as well. The rim top was darkened and the inner edge of the bowl was out of round. I knew from working on Monterey/Mission Briar pipes in the past that I was dealing with a WW2 years pipe that was made in California using Manzanita in place of hard to find briar. I also remembered a connection to Kaywoodie but the details were not clear to me. I took some photos of the bowl to give a since of the condition of this nice little billiard.
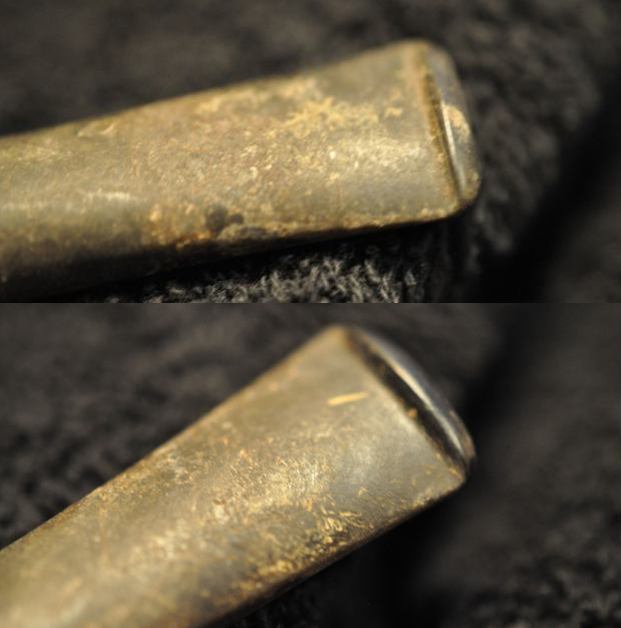
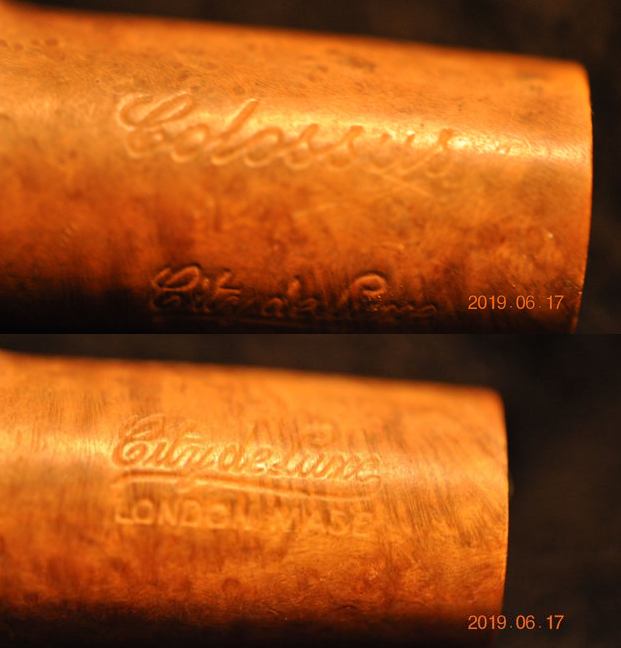
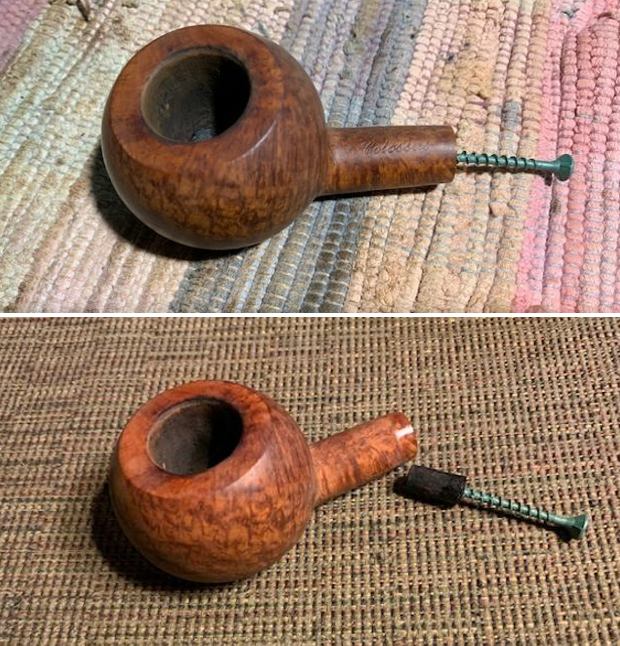
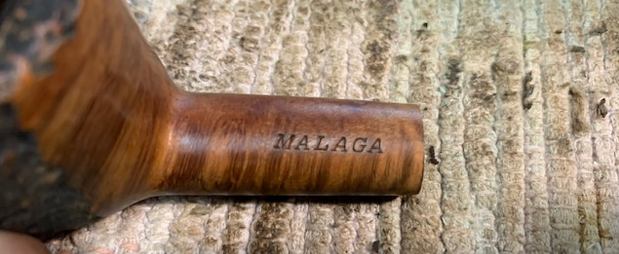
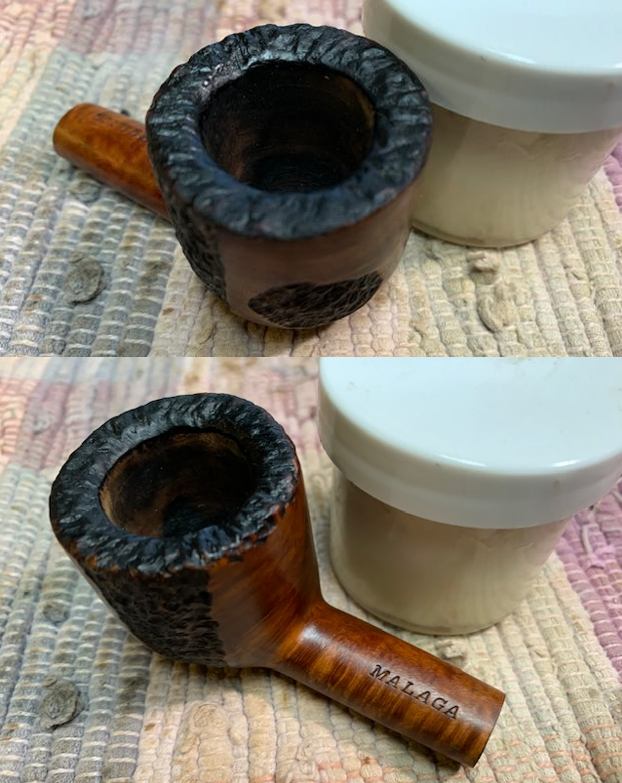
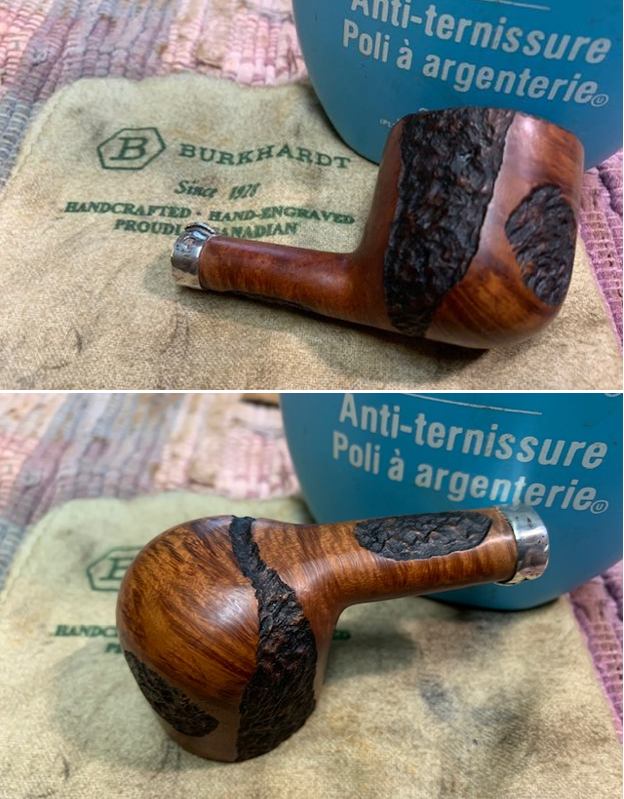
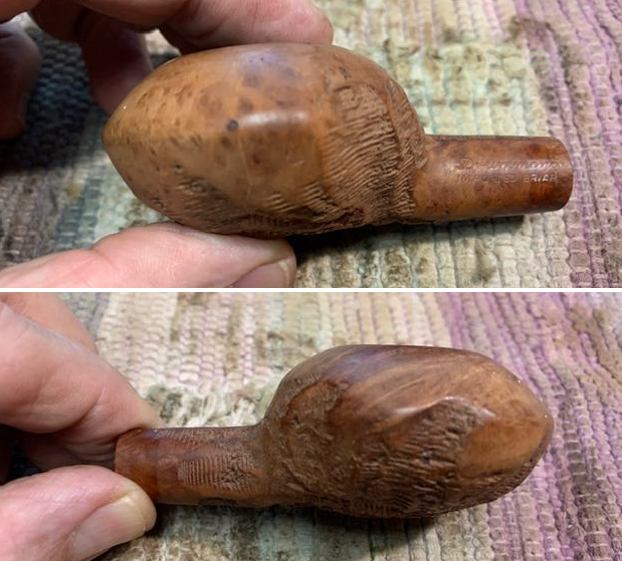
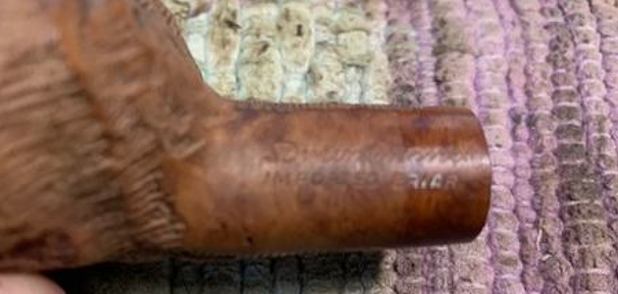
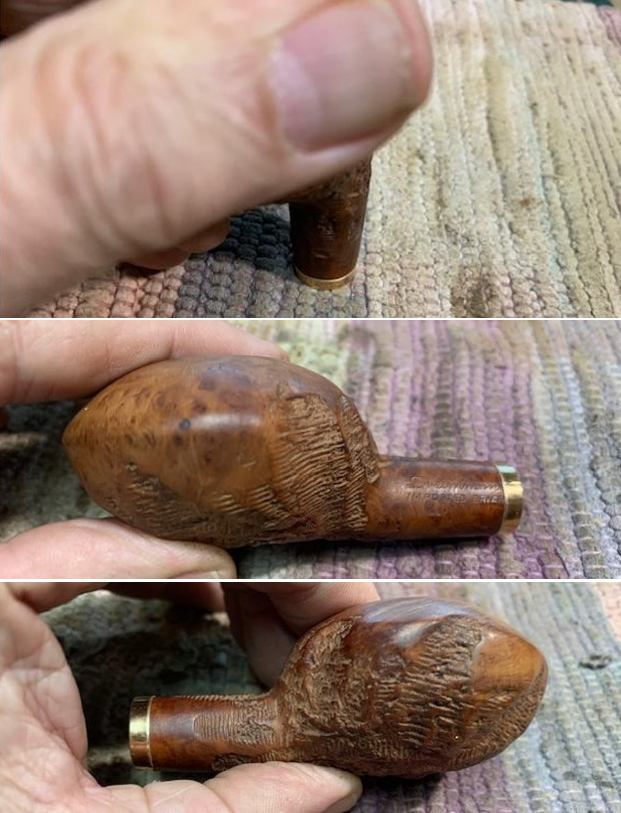
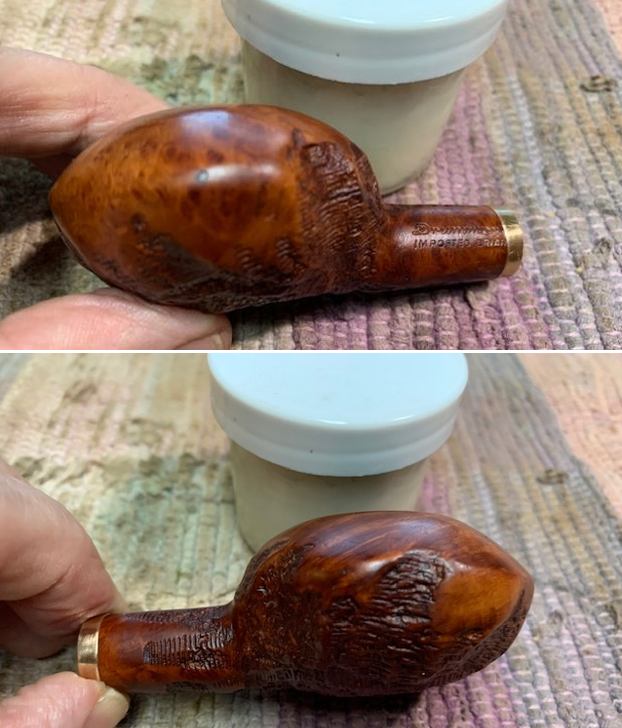
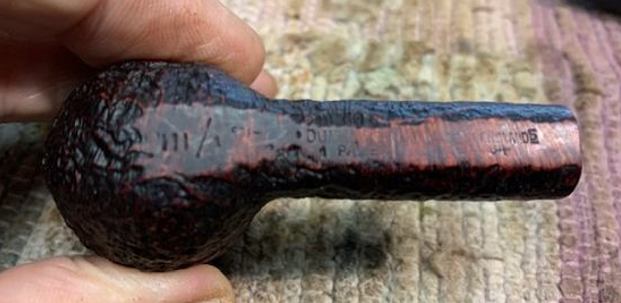
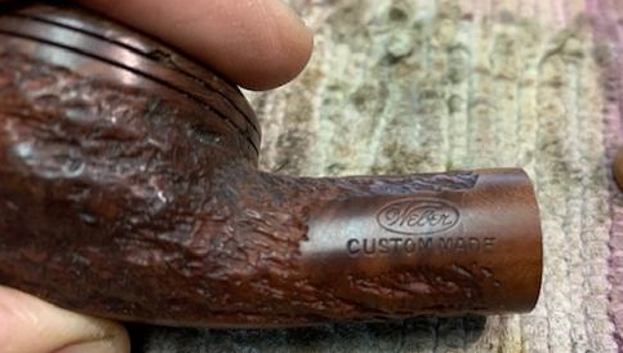
 I took some photos of the stamping on the sides of the shank. The stamping is clear and readable as noted above.
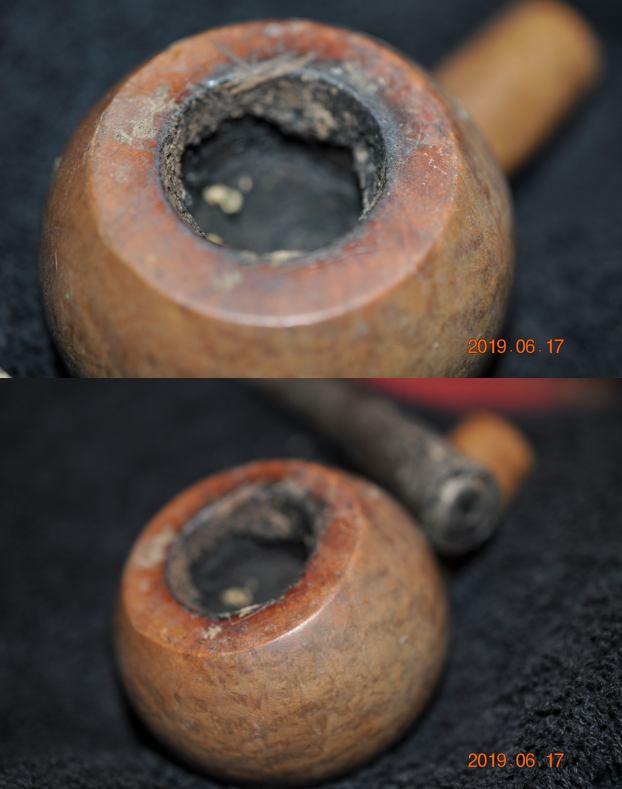
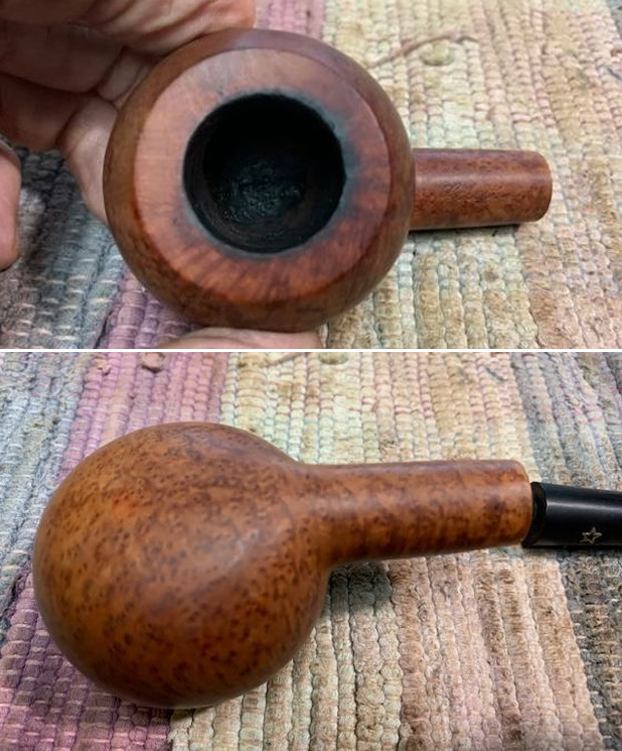
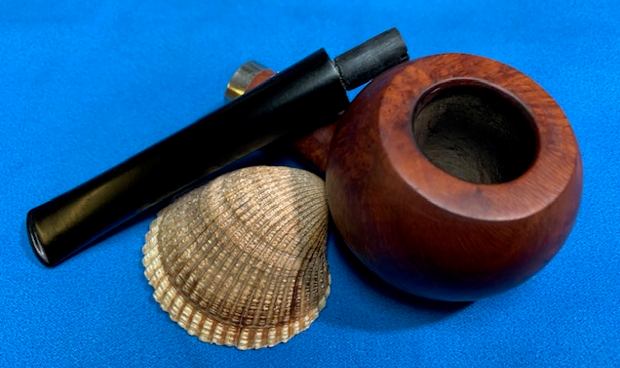
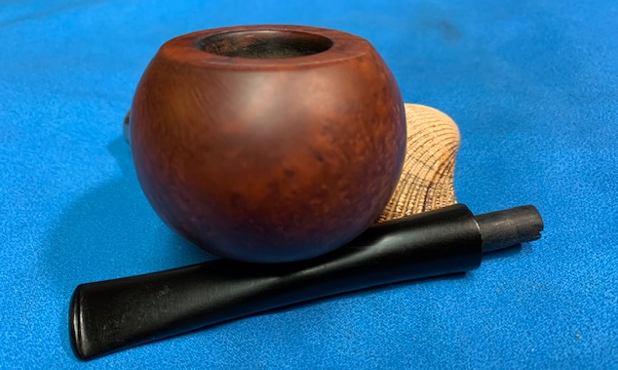
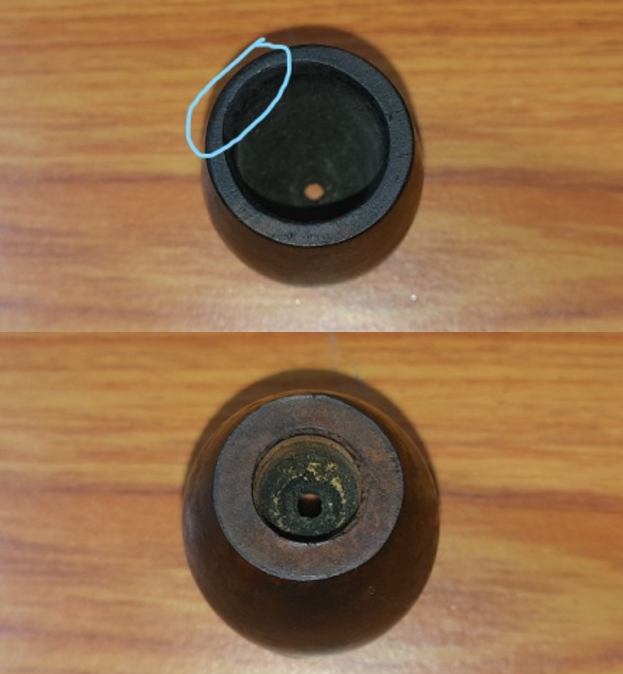
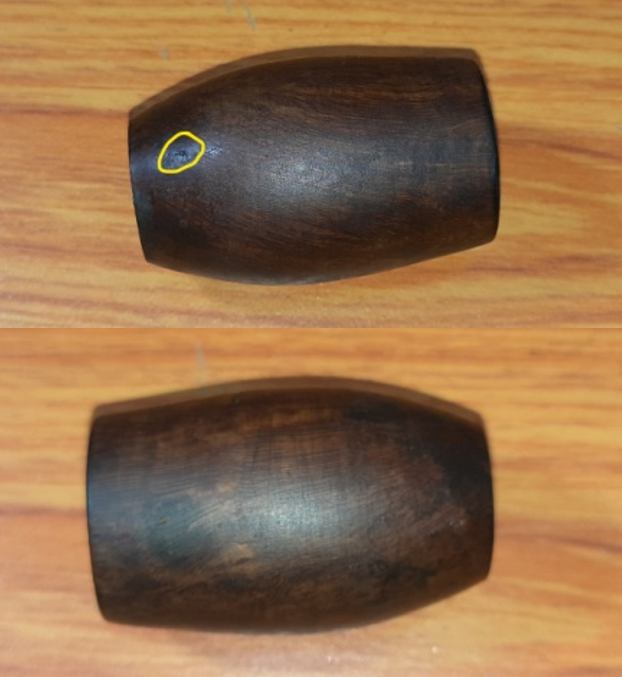
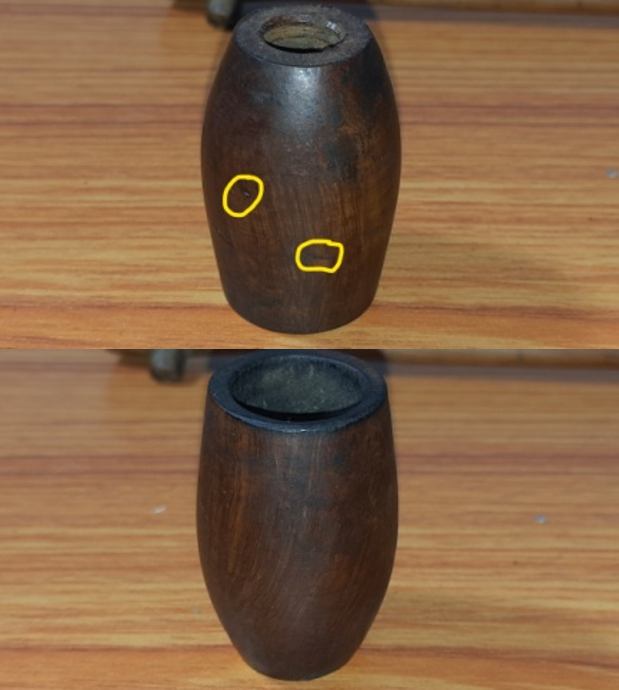
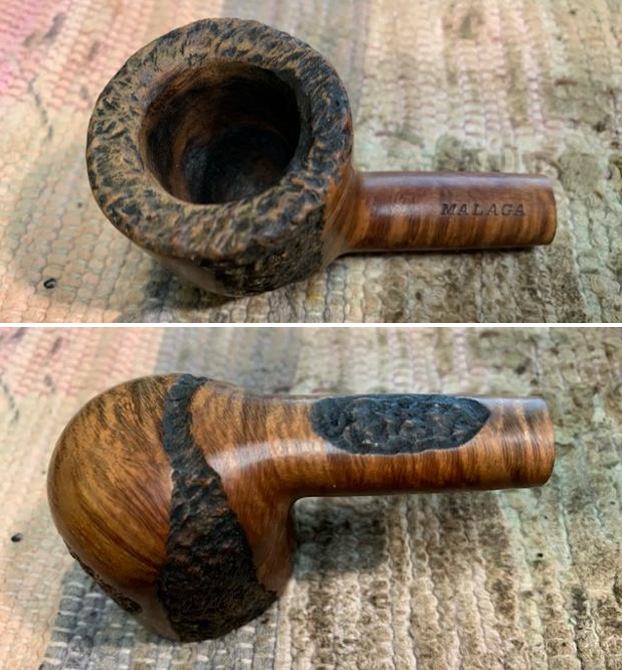
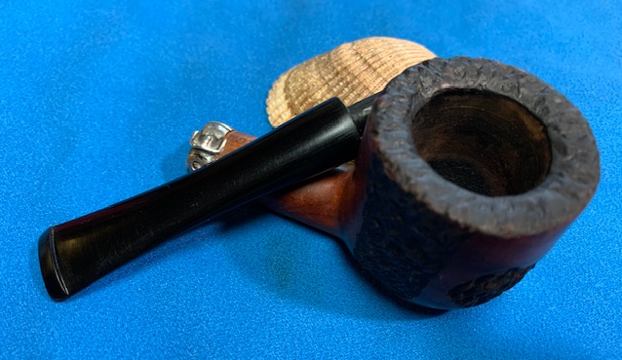
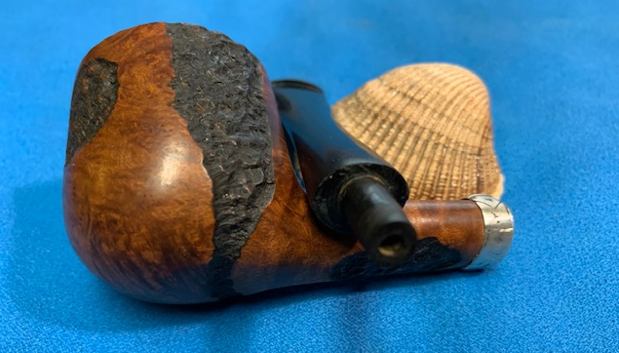
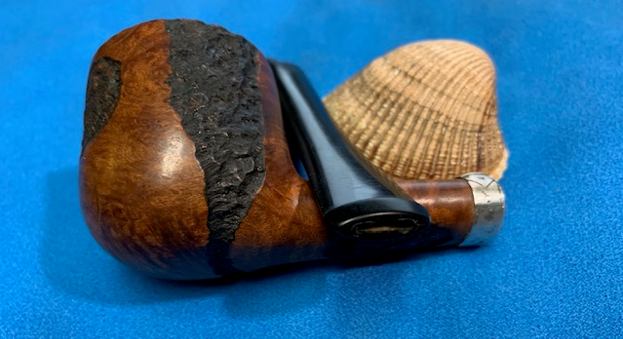
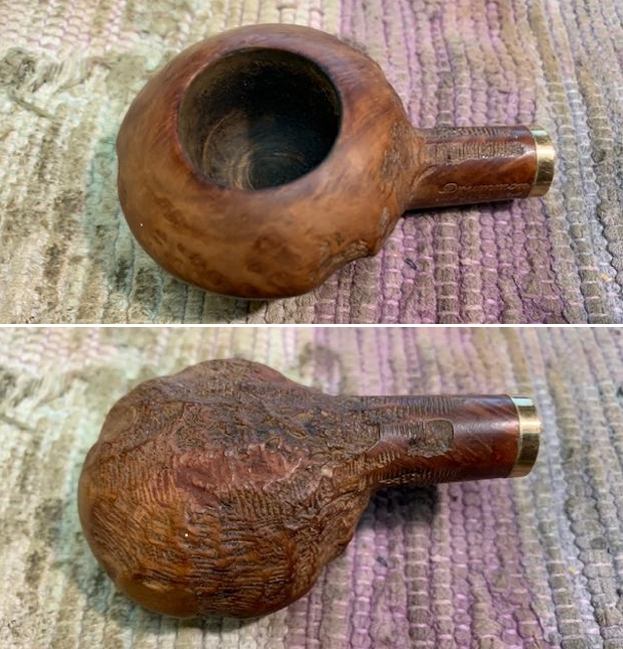
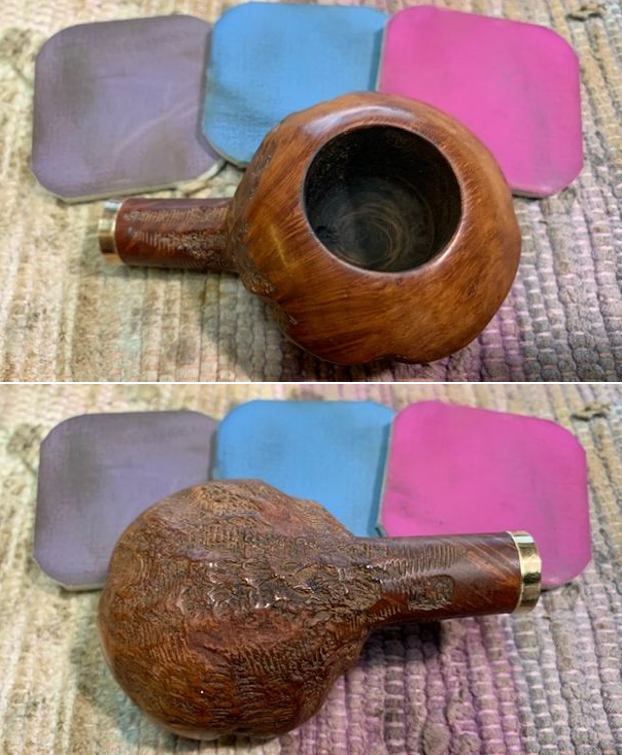
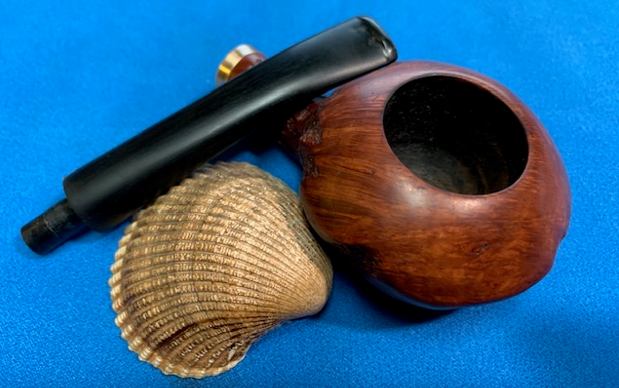
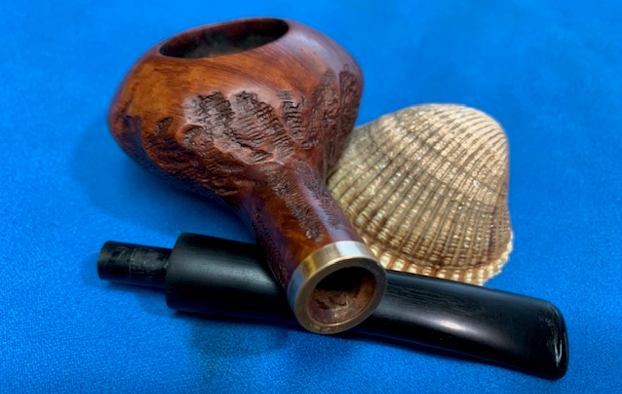
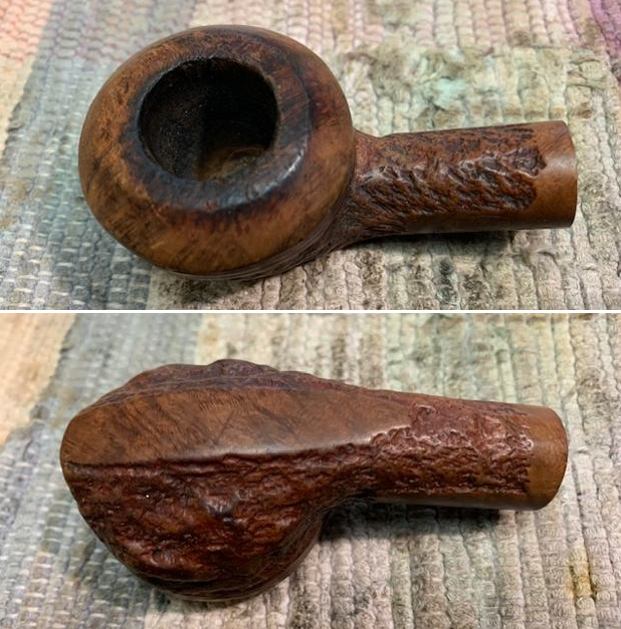
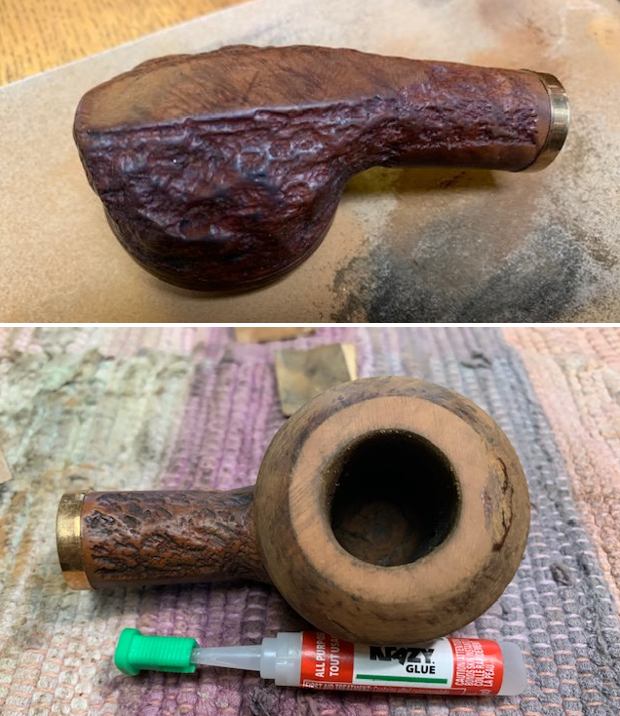
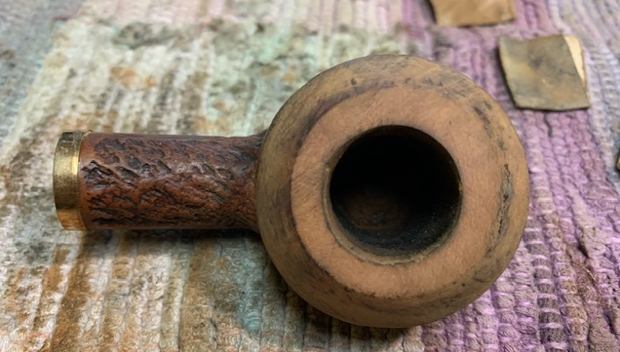
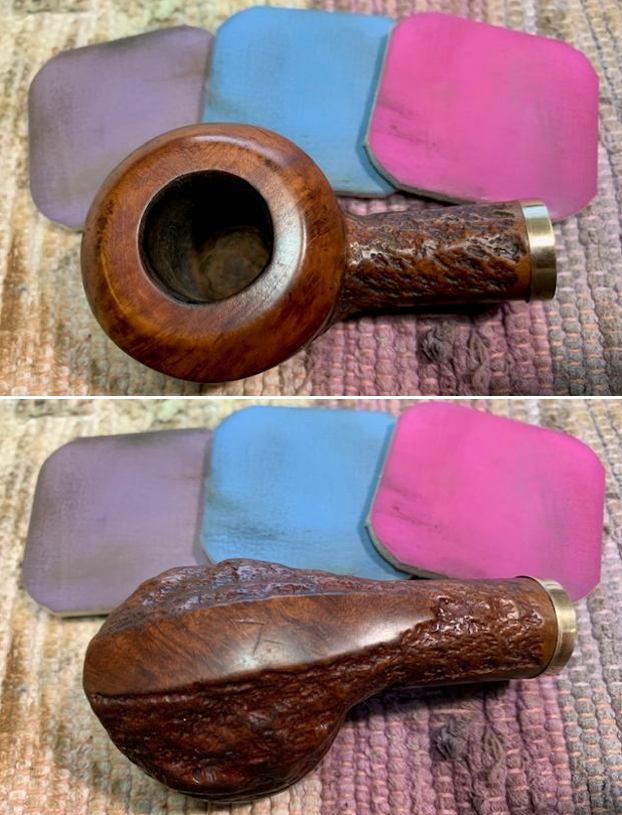
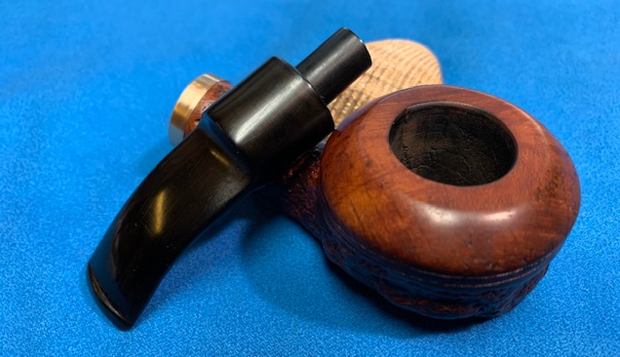
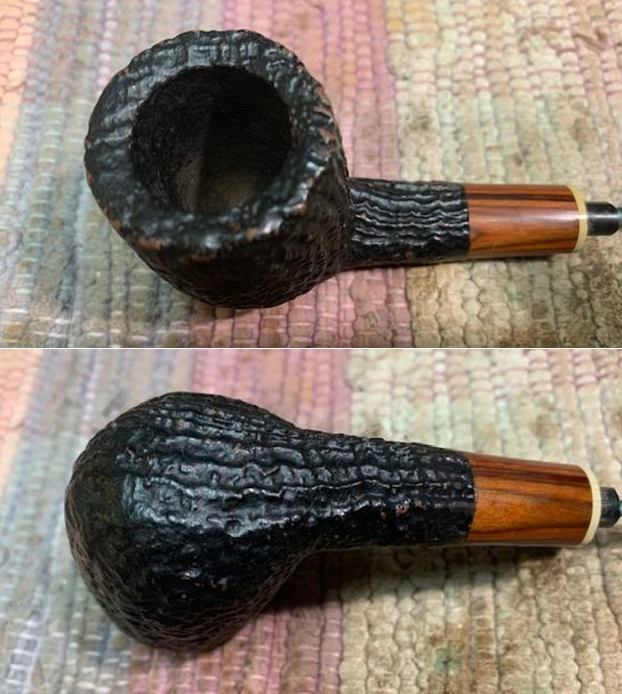
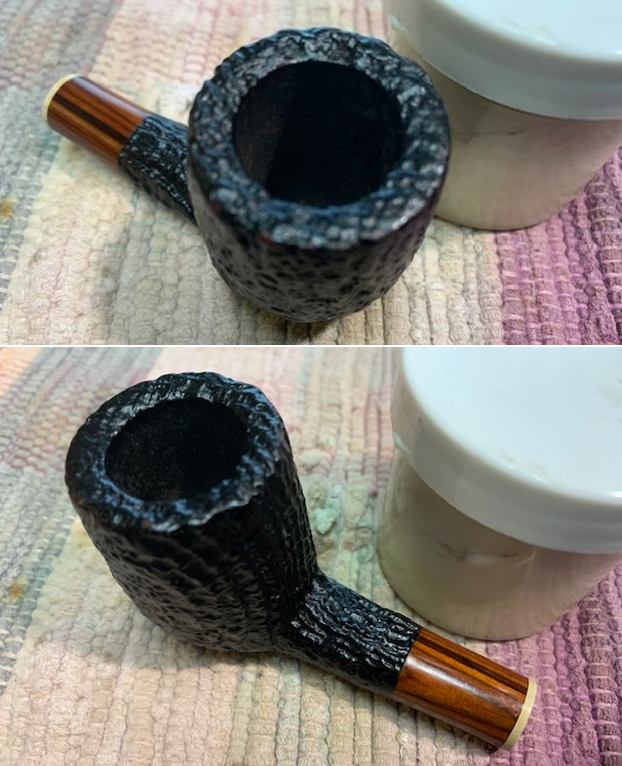
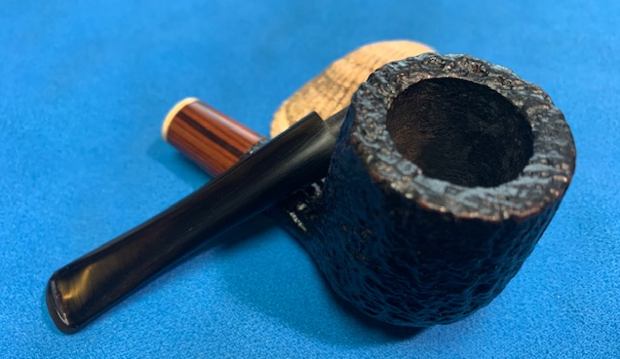
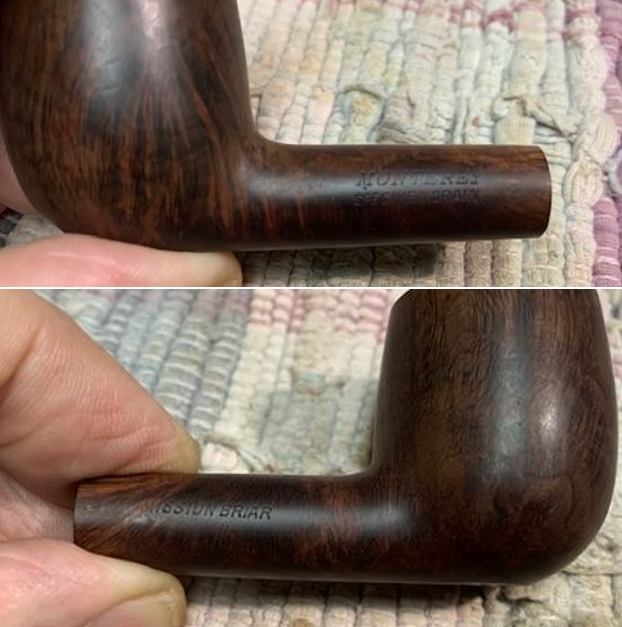 The next two photos show some of the issues that I have to deal with on this pipe. The first one shows the hairline crack in the shank. I have circled it in red. The second one shows the out of round bowl.
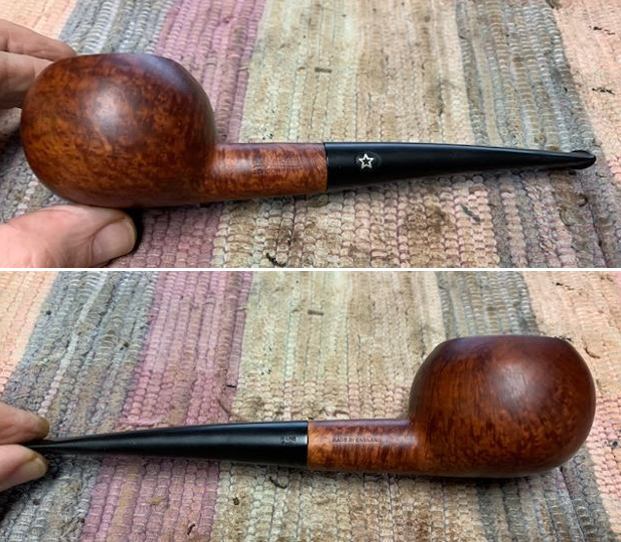
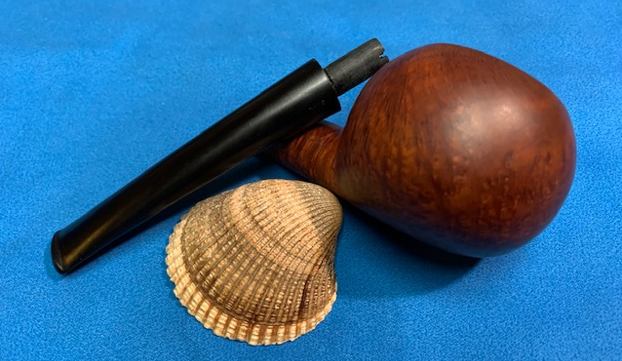
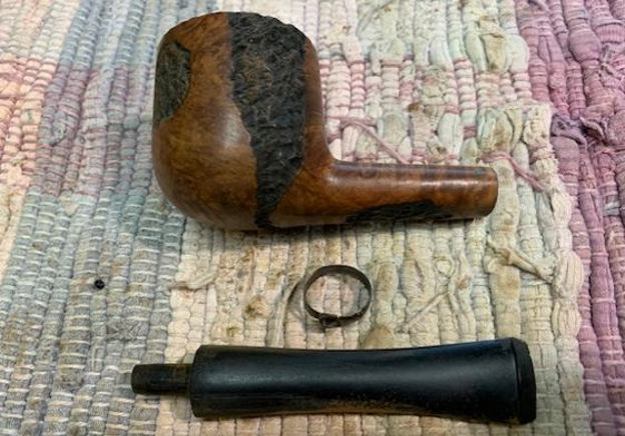
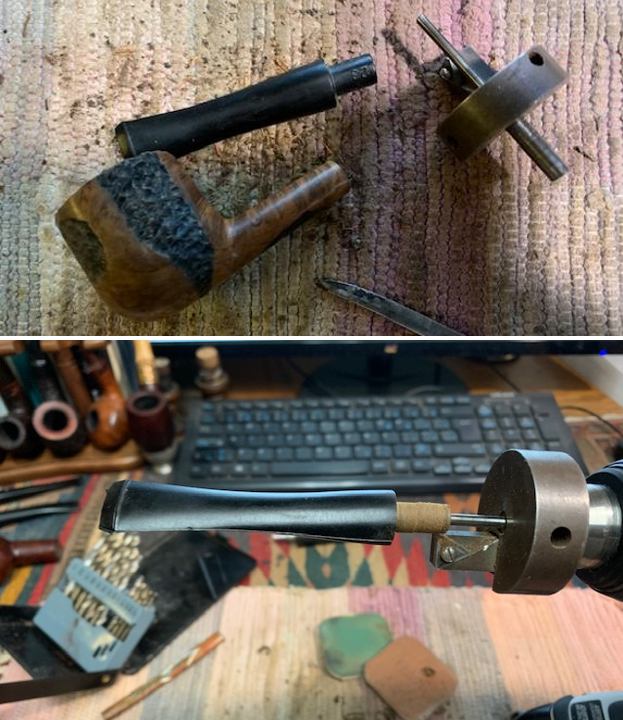
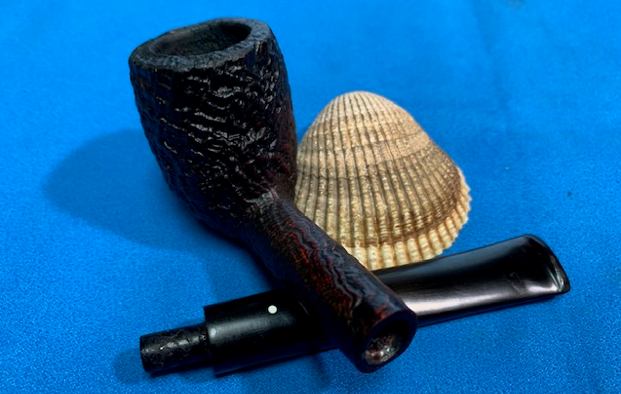
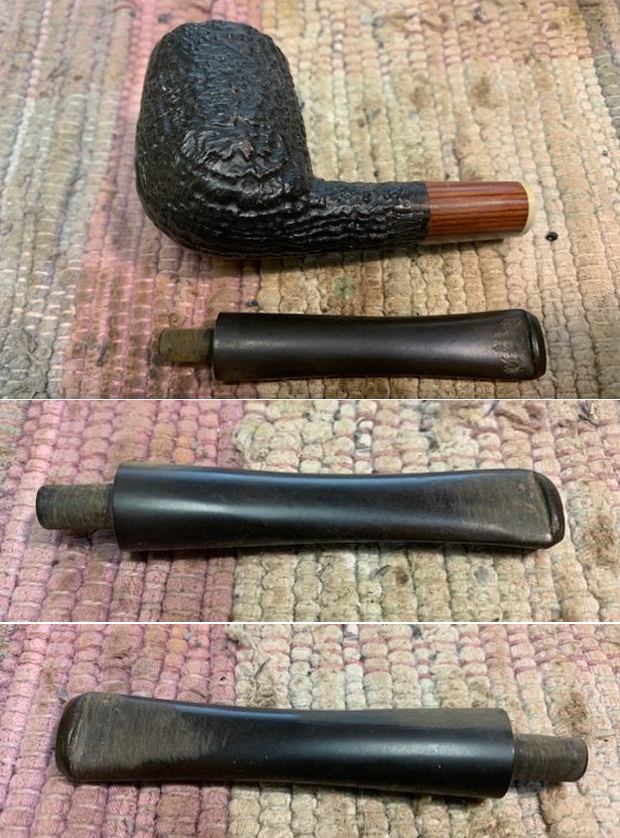
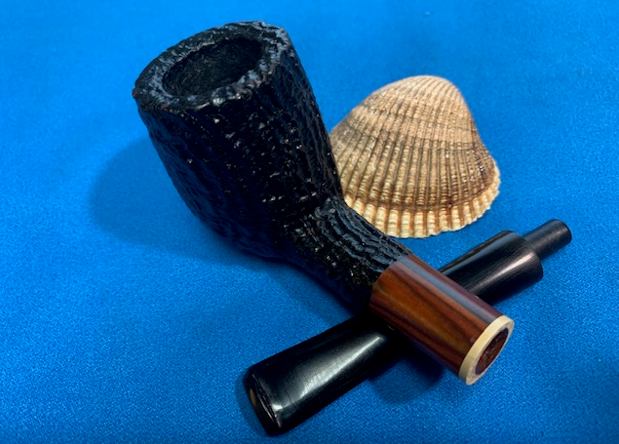
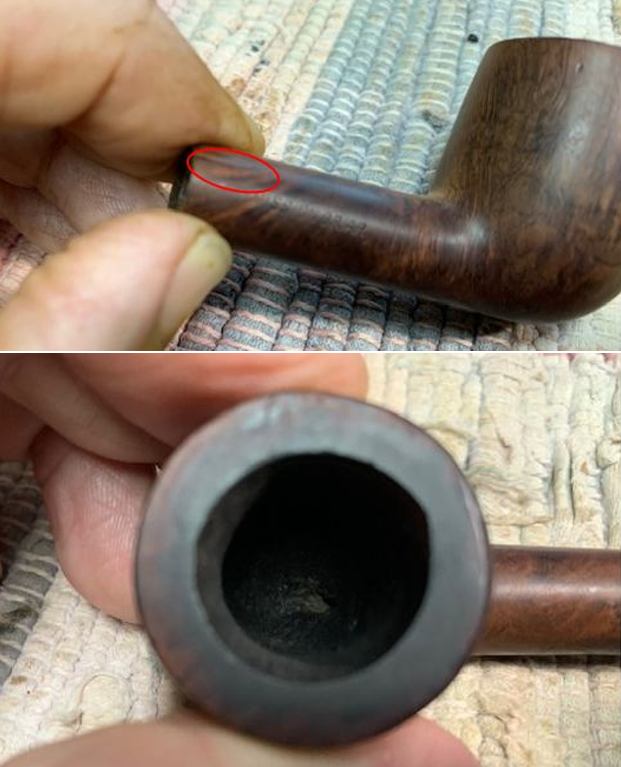 I took a stem out of my can of stems that had the right tenon size and length. The diameter of the stem was slightly larger than the shank but it would fit with some adjustments.
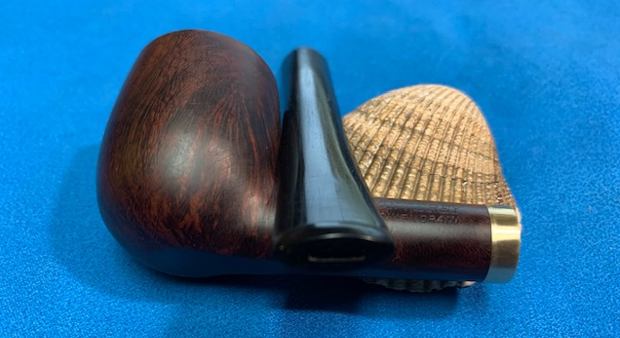
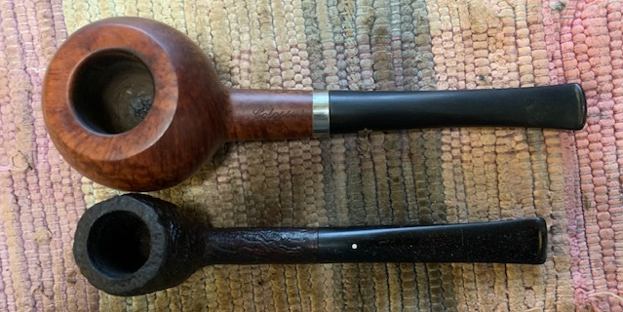
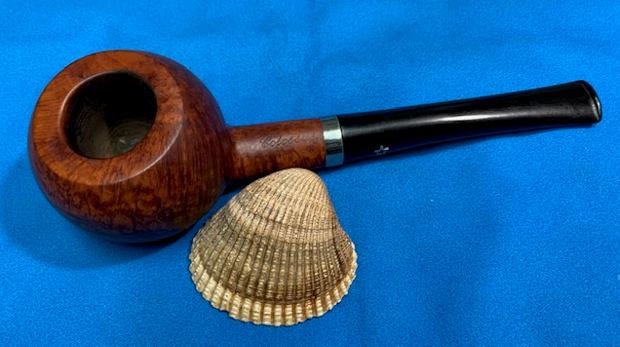
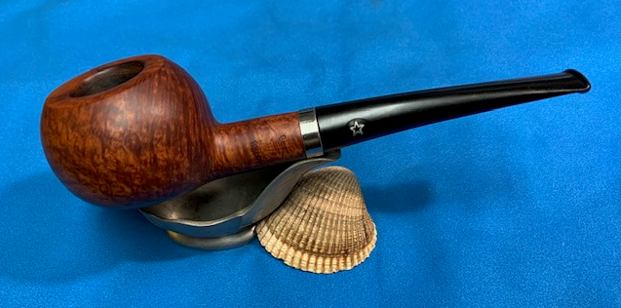
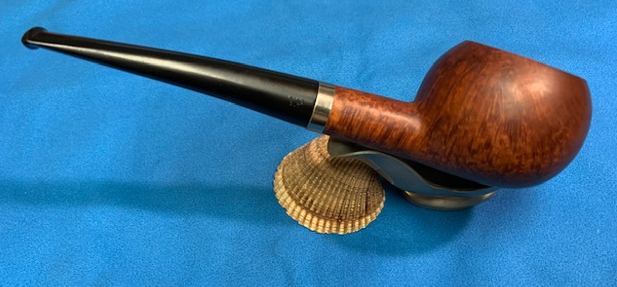
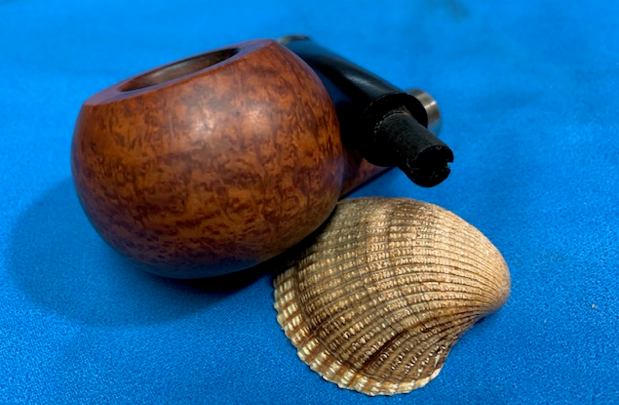
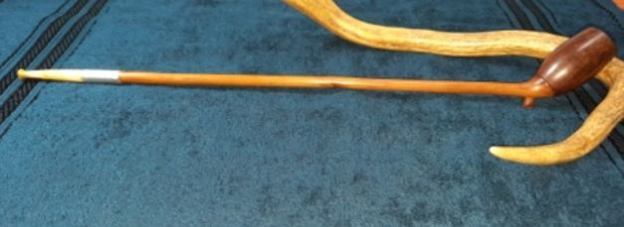
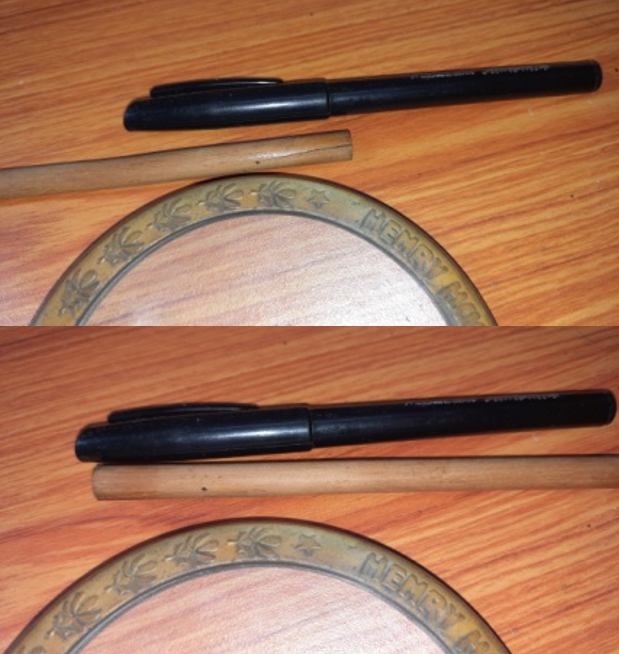
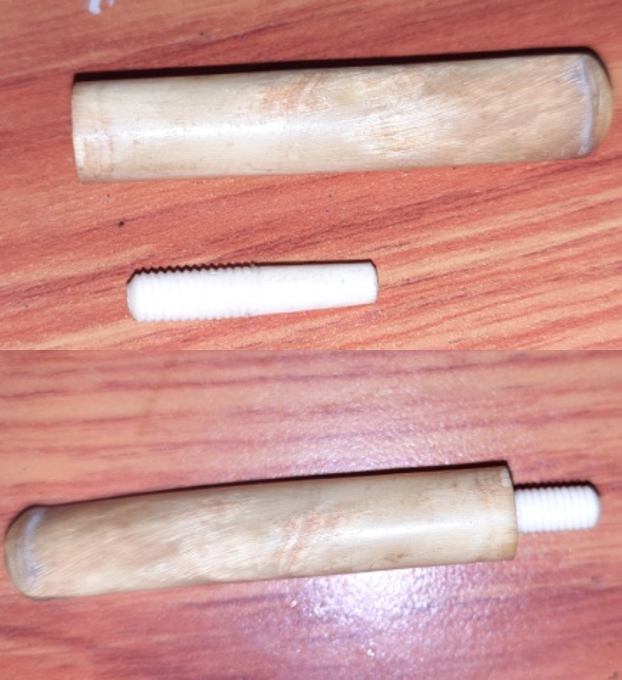
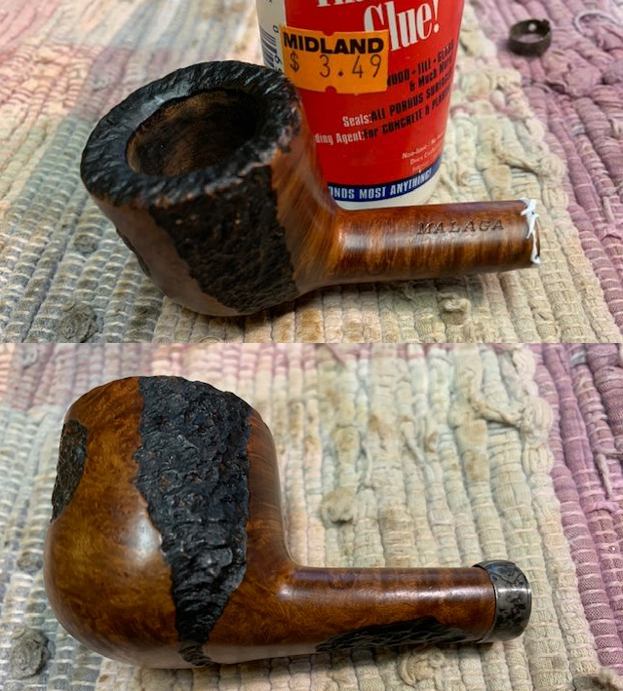
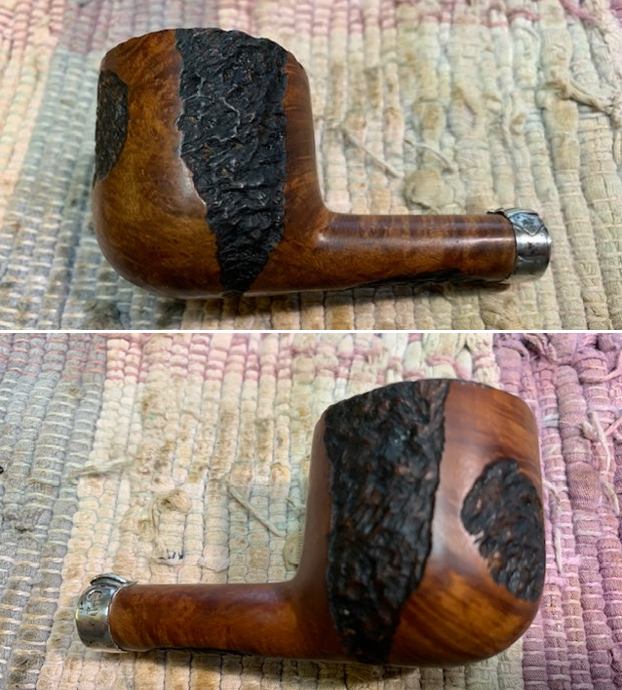
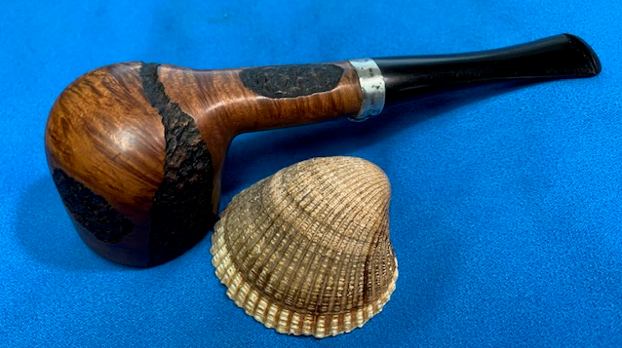
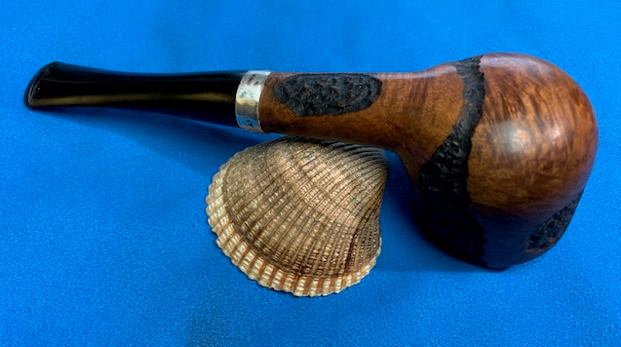
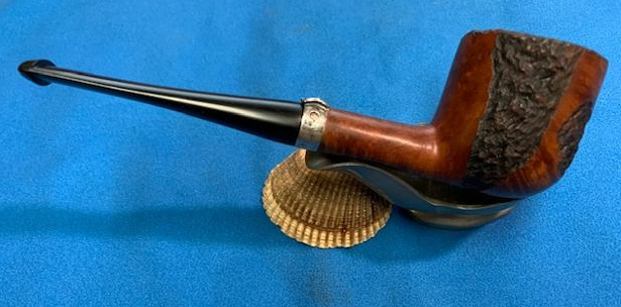
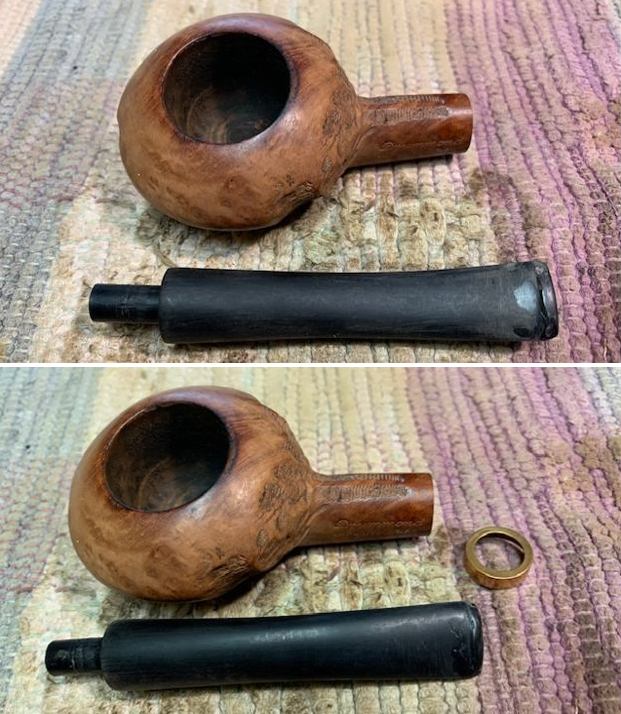
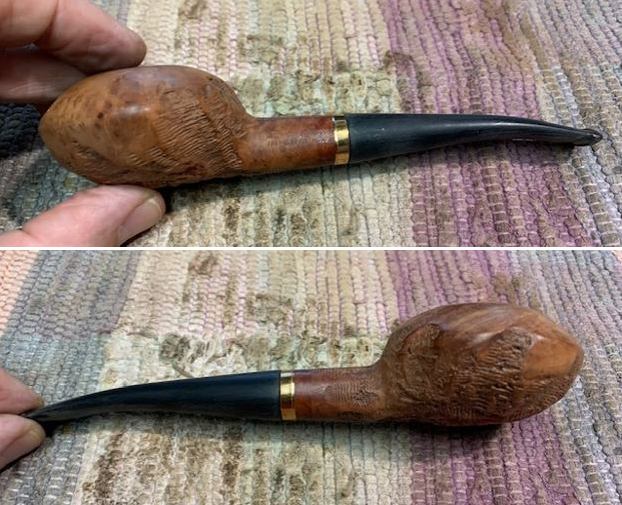
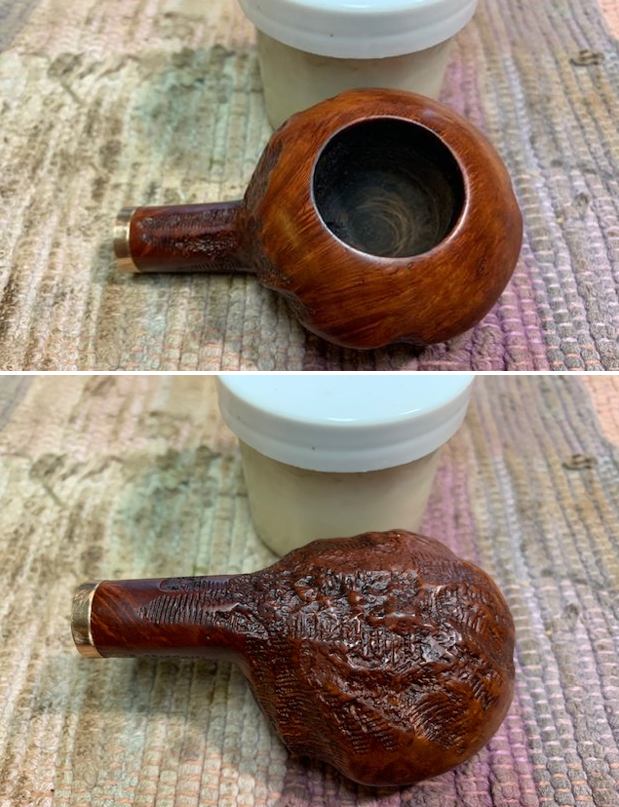
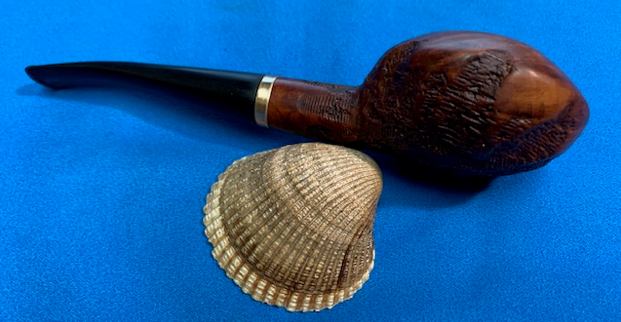
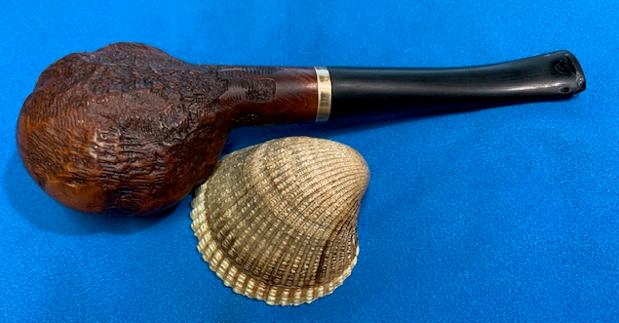
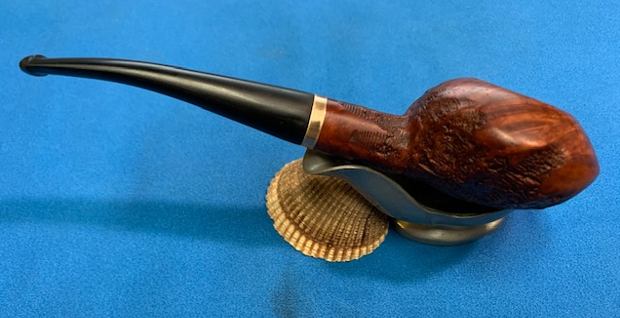
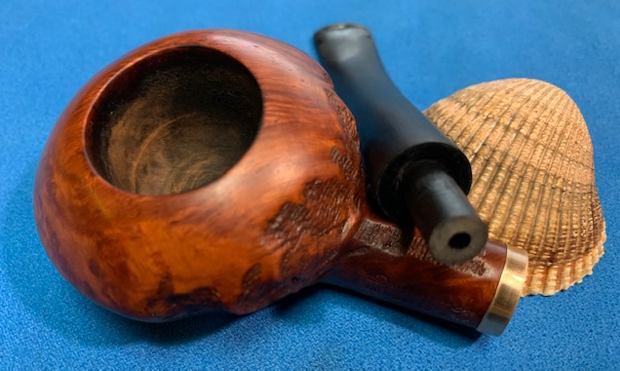
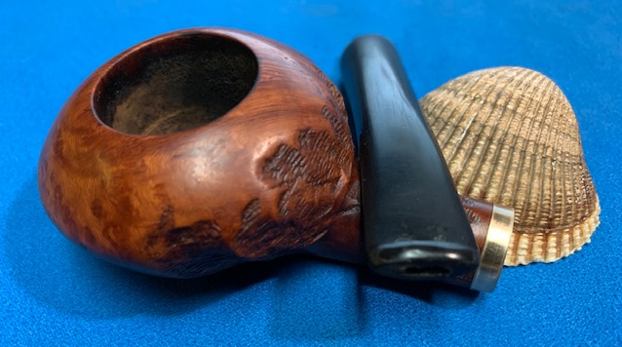
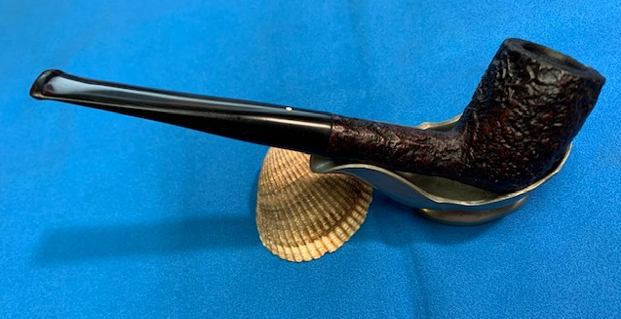
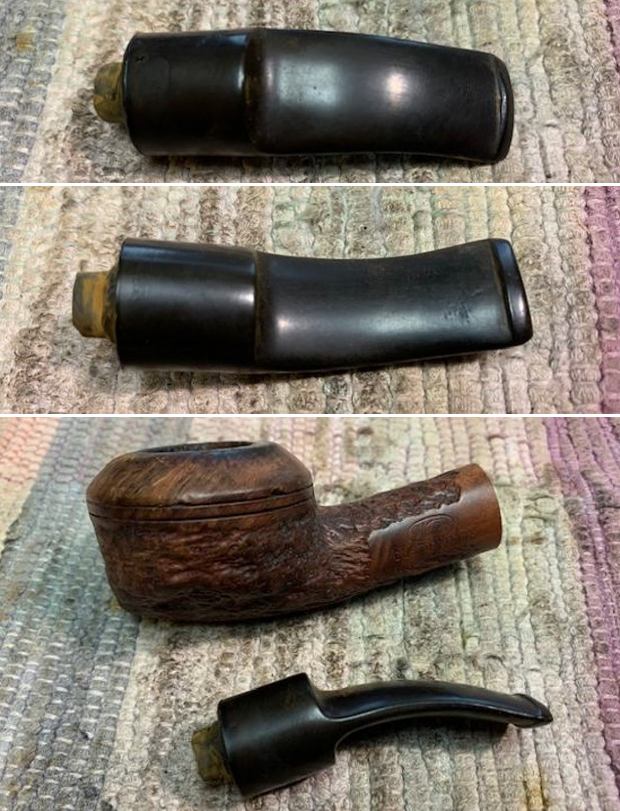
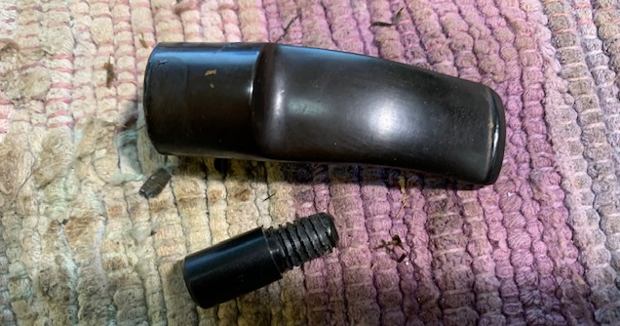
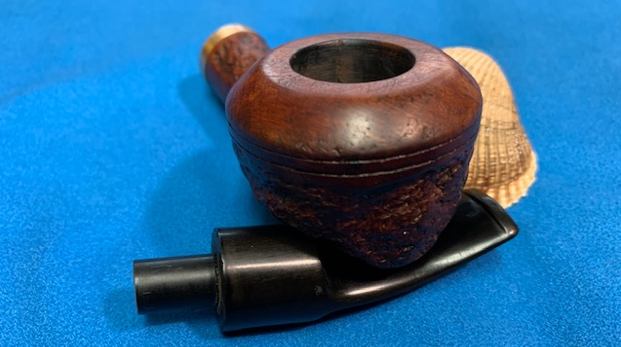
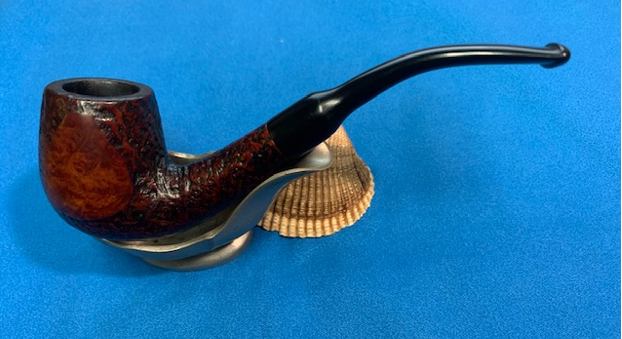
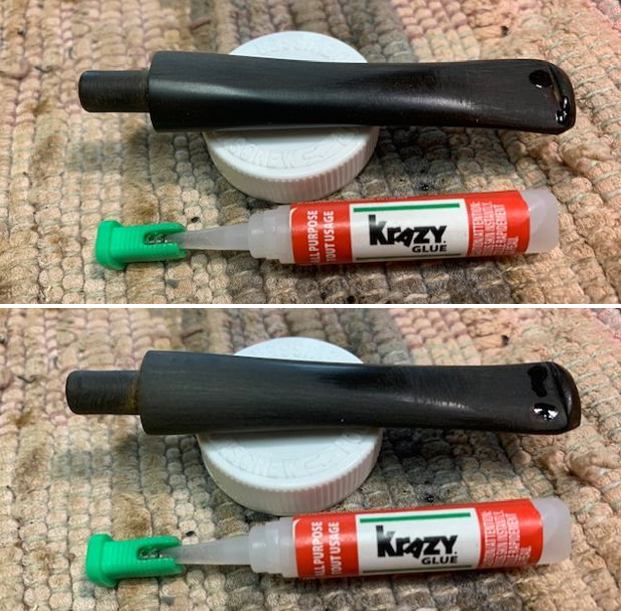
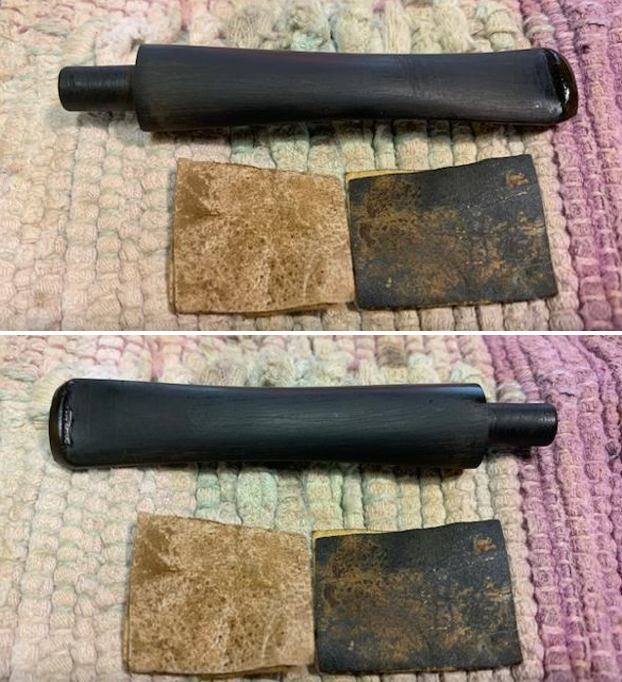
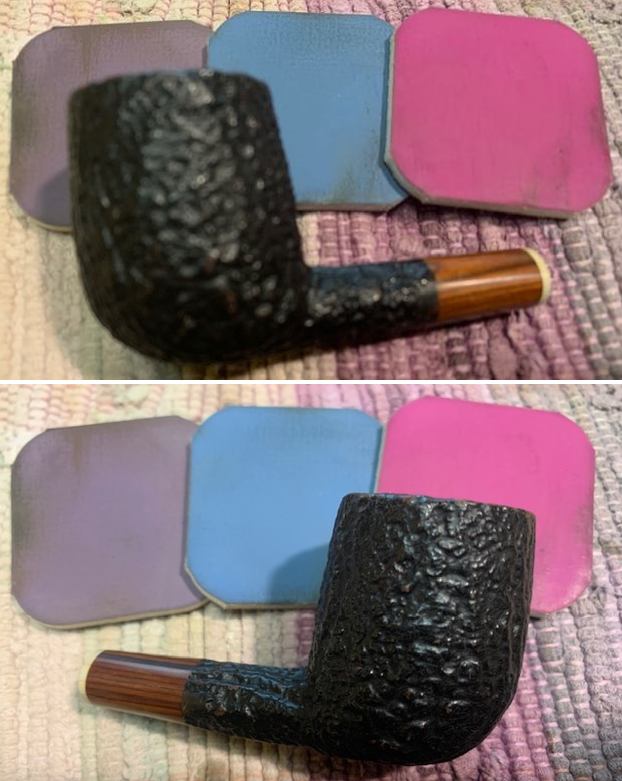
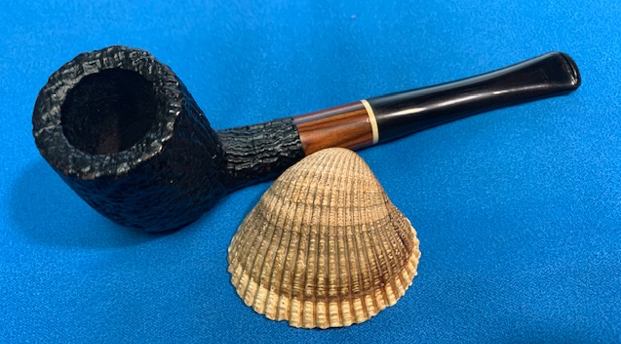
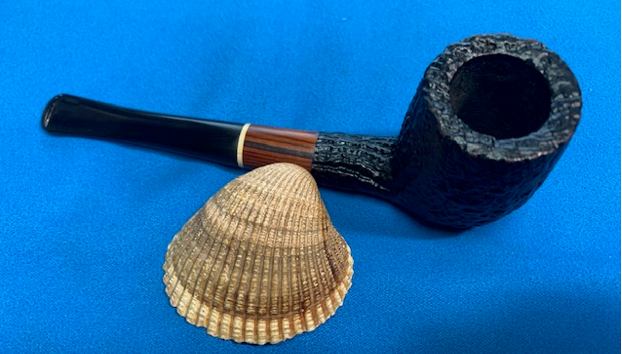
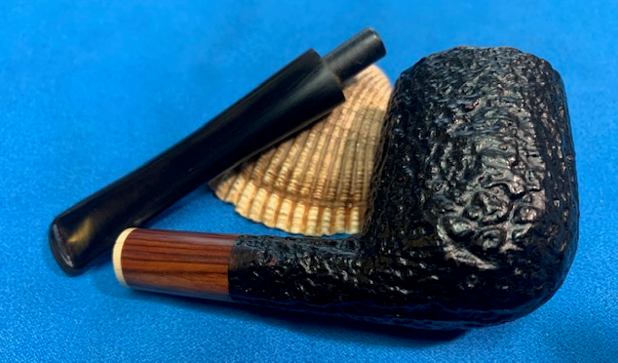
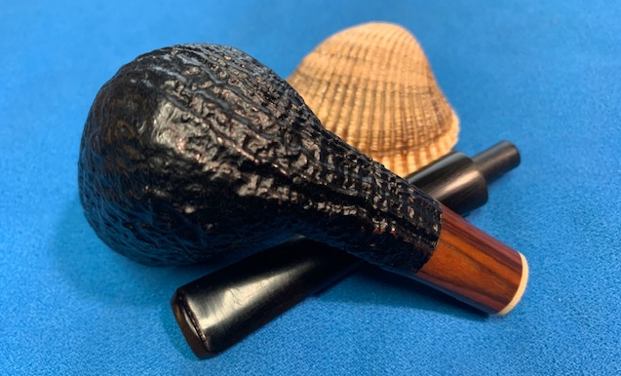
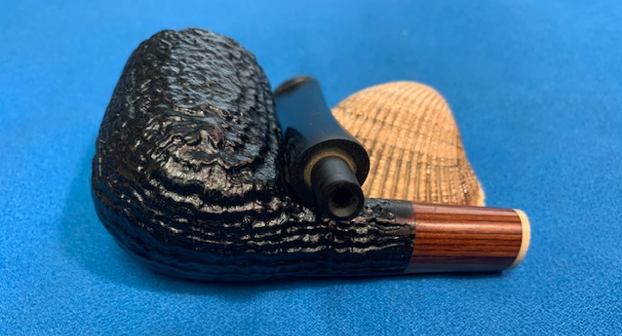
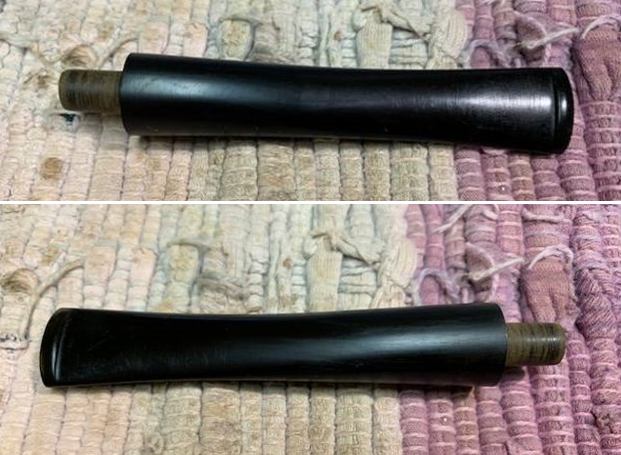 I put the stem on the shank and took a photo of the look of the pipe. You can see that I need to adjust the diameter of the stem to match the shank.
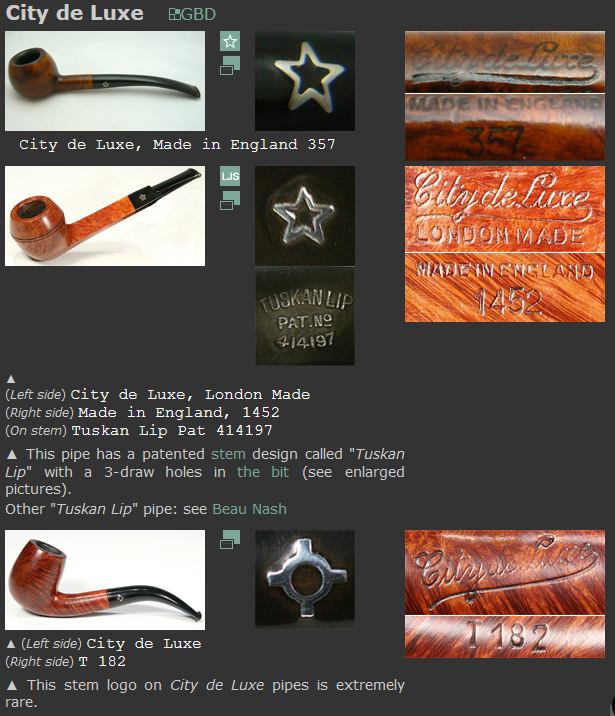
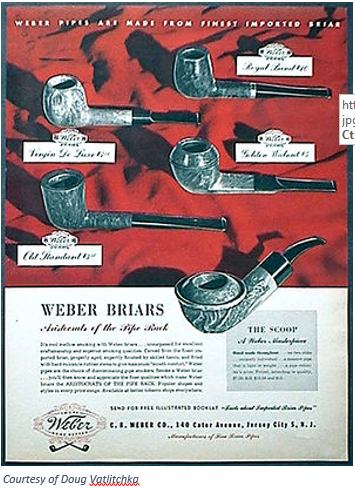
 To gather some more information on the Monterey brand I turned first to Pipephil to get some more information on the brand (http://pipephil.eu/logos/en/logo-m6.html). I did a screen capture of the information on the site and included it below. I also included information in the side bar below the screen capture.
 “Mission Briar” is the common denomination for wood from Manzanita burl (Fam: Ericaceae), a shrub growing in California (USA). During WWII, when Briar was rare, it was used by Reiss-Premier Pipe Co and KB&B (Monterey line).
From that information I knew that the pipe was made between 1941-1946 during the time period of World War II. It was made out of Manzanita burl from California. It was also made by KB&B as it was a Monterey Line Mission Briar pipe.
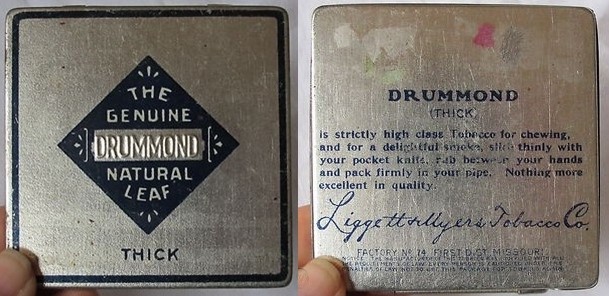
There was also a picture of two different boxed pipes. The first box is for a Specimen Grain the same as the one that I am working on. The second box is for a Forty Niner. On the inside of the box is a description of the Mission Briar. It reads as follows:
Mission Briar is manufactured from Manzanita Burl grown on the sunny slopes of California’s Pacific Coast, and is proudly offered on its own merits.
“Manzanita Burl and tree heath (Imported Briar) are related to each other botanically belonging to the Ericaceae, or heath family.” – U.S. Department of Agriculture.
The intricately woven texture and grain of this hardy burl supplies a quality pipe of beauty, strength and sweetness, a pipe you can you can cherish and enjoy smoking.
Kaufman Bros. & Bondy, Inc., 630 Fifth Avenue, New York City.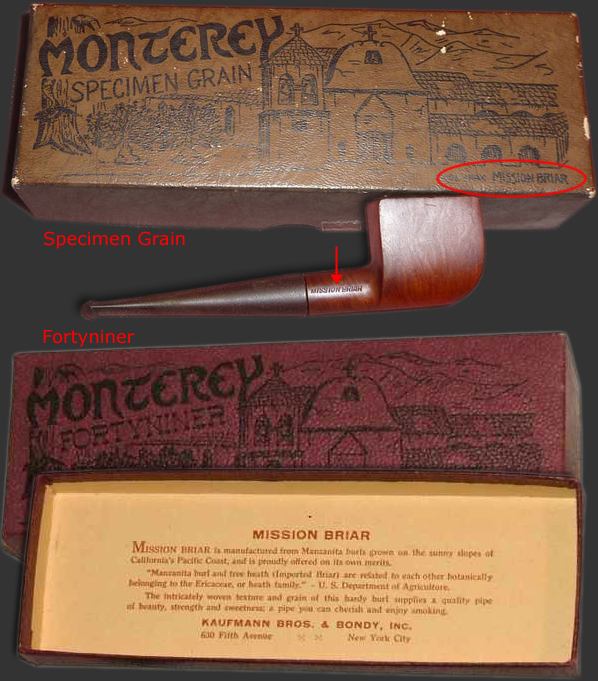 From there I turned to Pipedia (https://pipedia.org/wiki/Mission_Briar) to see what else I could learn from there. The article there was taken from Jose Mauel Lopes. I quote it in full below.
From Pipes, Artisans and Trademarks, by José Manuel Lopes
Mission Briar was a brand created during WW II, which disappeared soon afterwards. In 1941, due to the difficulty of importing brair, Kaufmann Bros. & Bondy, through Kaywoodie, and the Reiss-Premier Co., started making pipes out of Manzanita burls, known as “mission briar”.
The Pacific Briarwood Company, a Kaufmann Bros. & Bondy subsidiary, owned plantations of the bush in the Santa Cruz mountains in California. As the quality of the wood was not as good as briar, the project was abandoned soon after the war.
Monterey pipes were made using Mission briar by Kaywoodie.
I learned from that it was a short-lived creation by KB&B through Kaywoodie. They created the Pacific Briarwood Company as a subsidiary to make pipes from the bush in the Santa Cruz mountains in California. It last until shortly after the war ended. Monterey pipes were made by Kaywoodie!
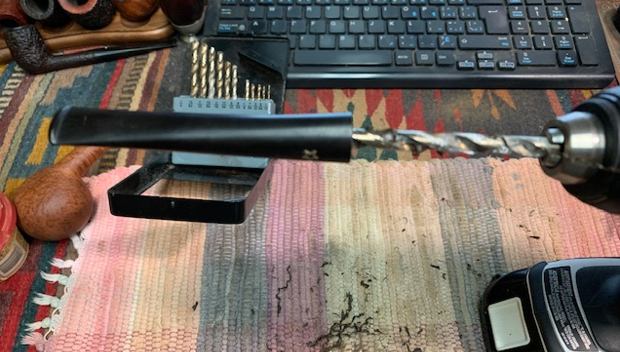
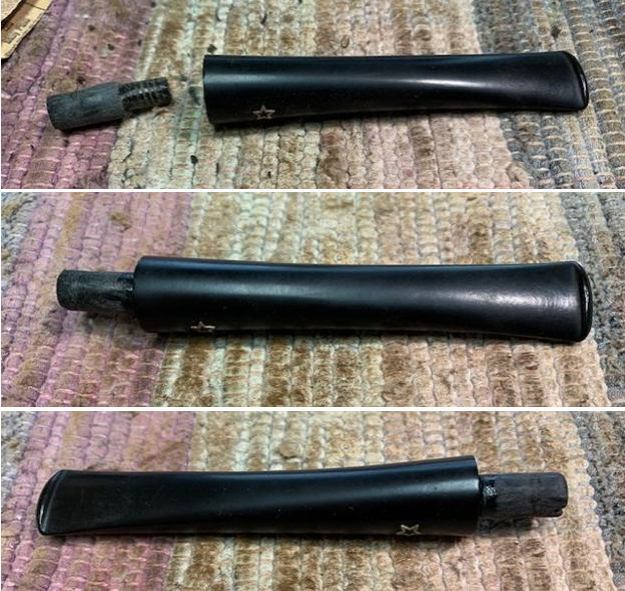
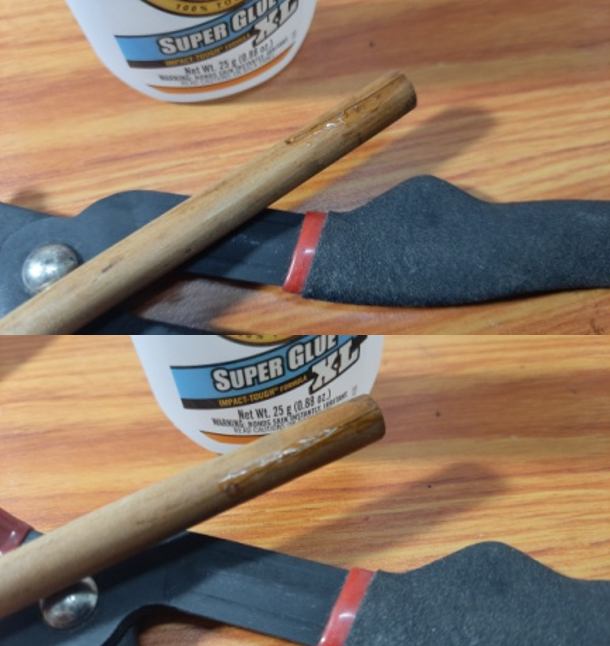
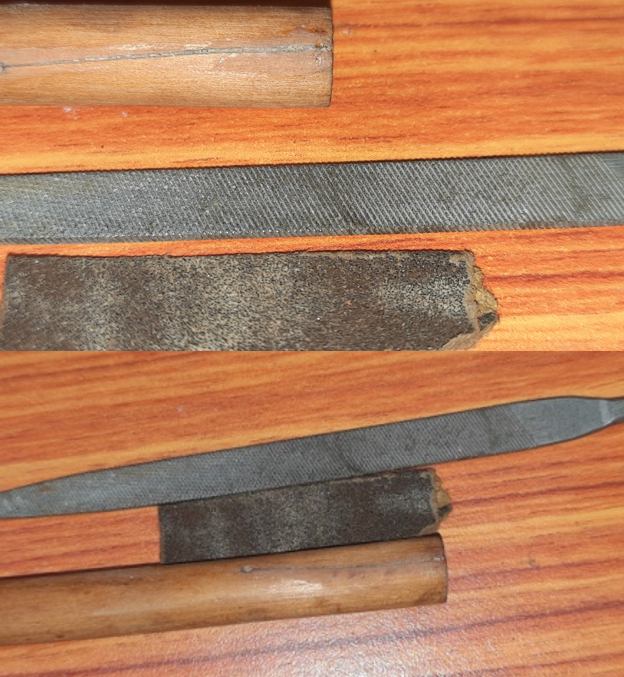
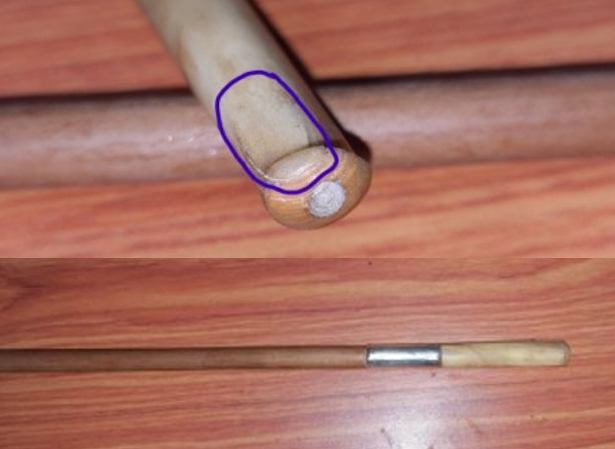
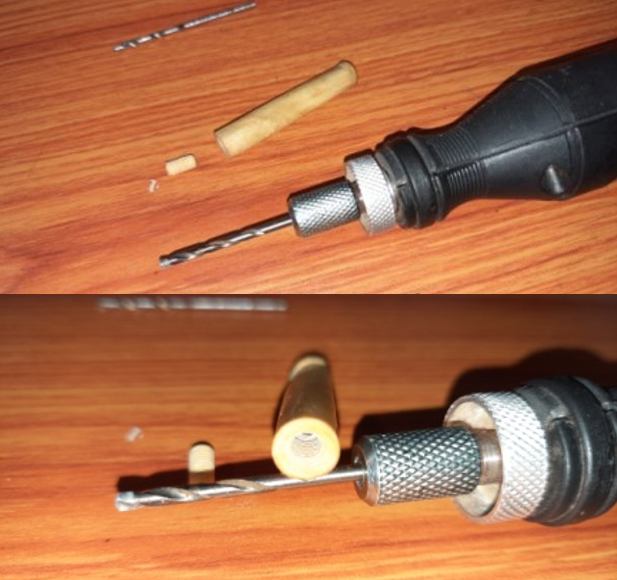
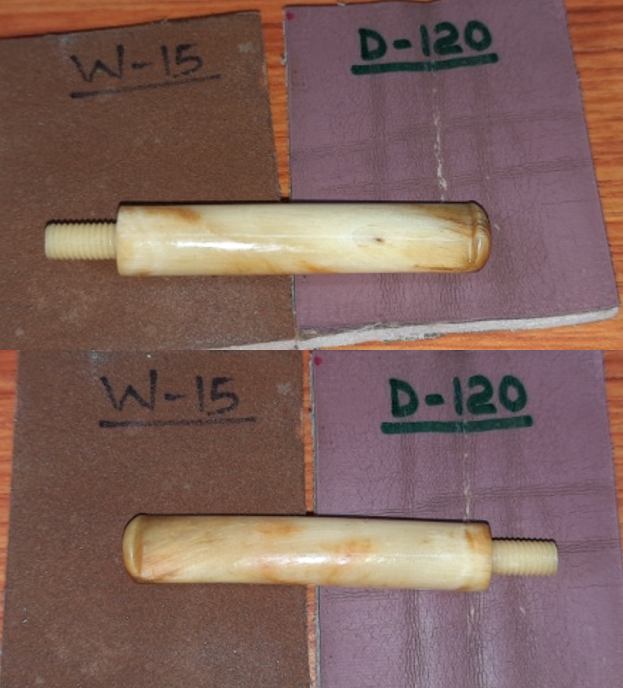
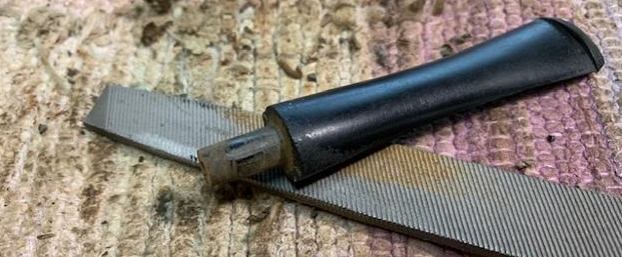
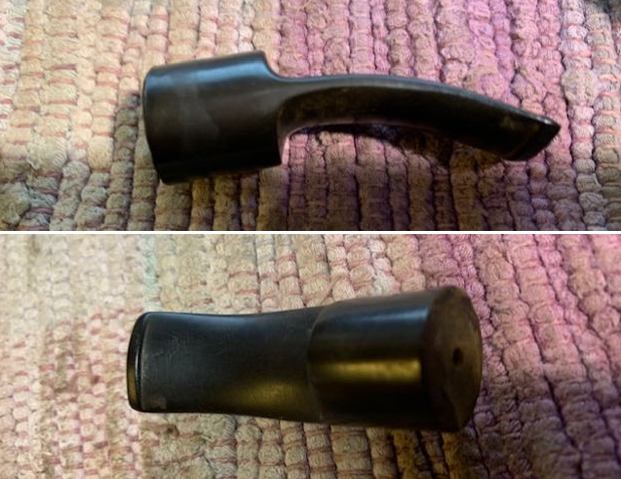
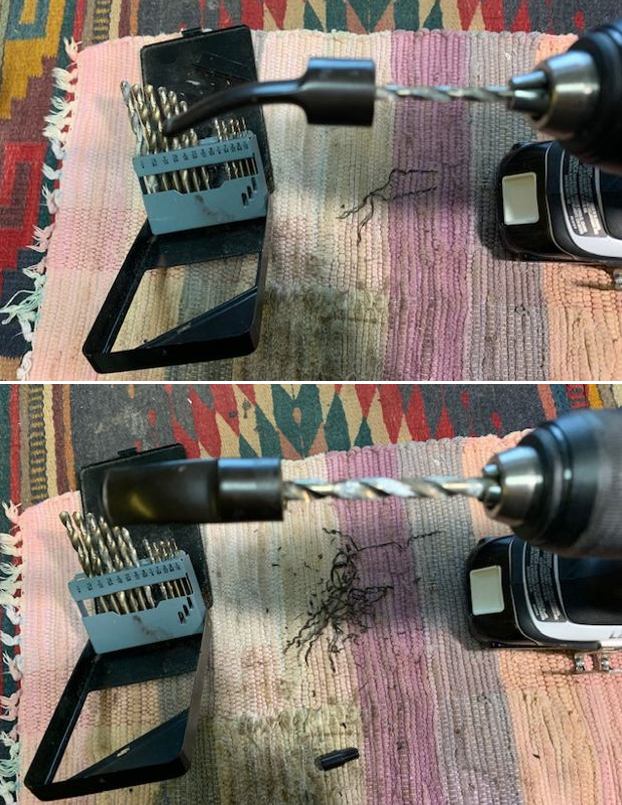
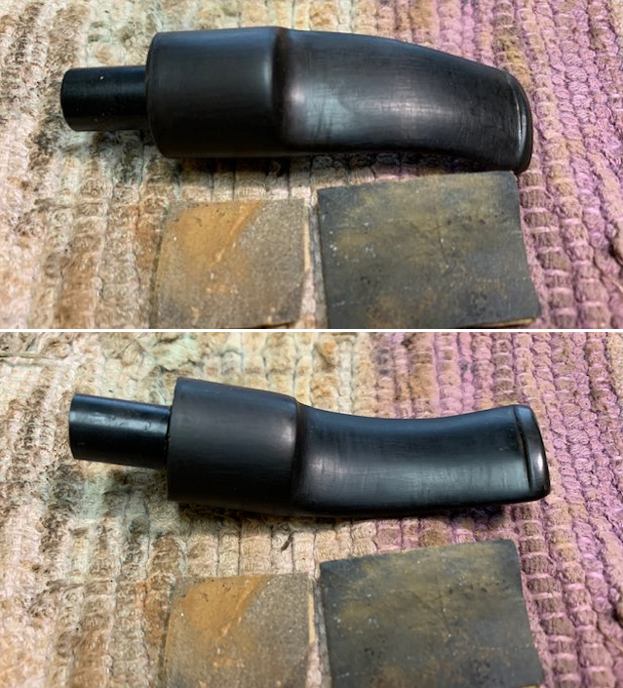
Now it was time to work on the pipe itself. I started with fitting the stem to the shank. I removed a lot of the diameter on the stem with my Dremel and a sanding drum. Once I had the fit close I set the stem aside and turned to deal with the issues on the bowl and shank. 
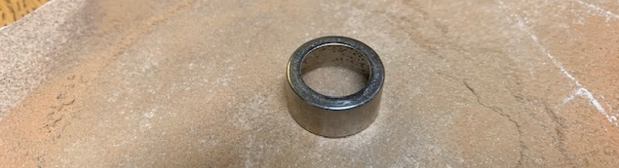
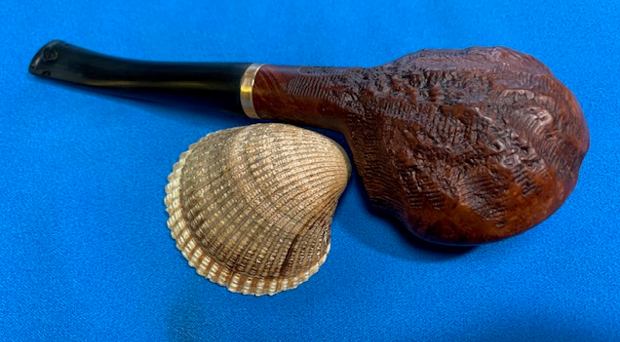
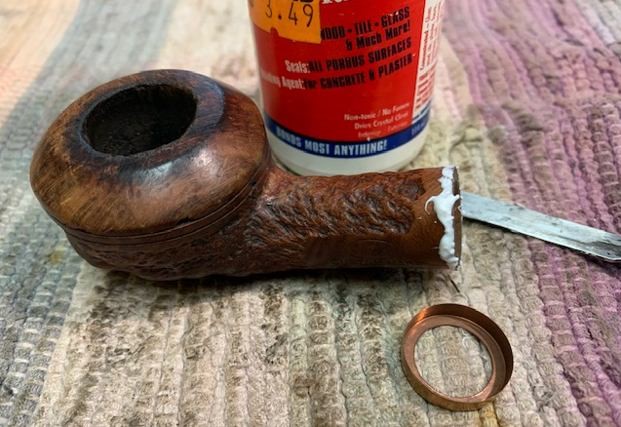
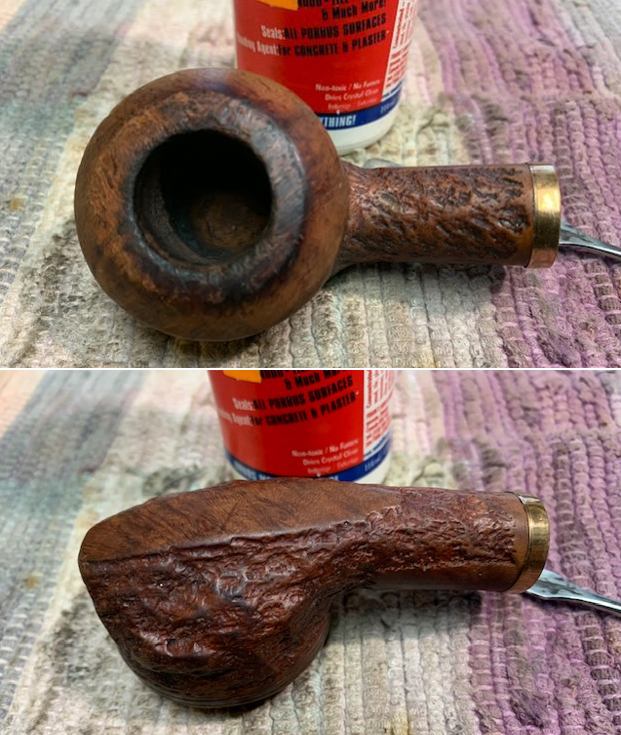
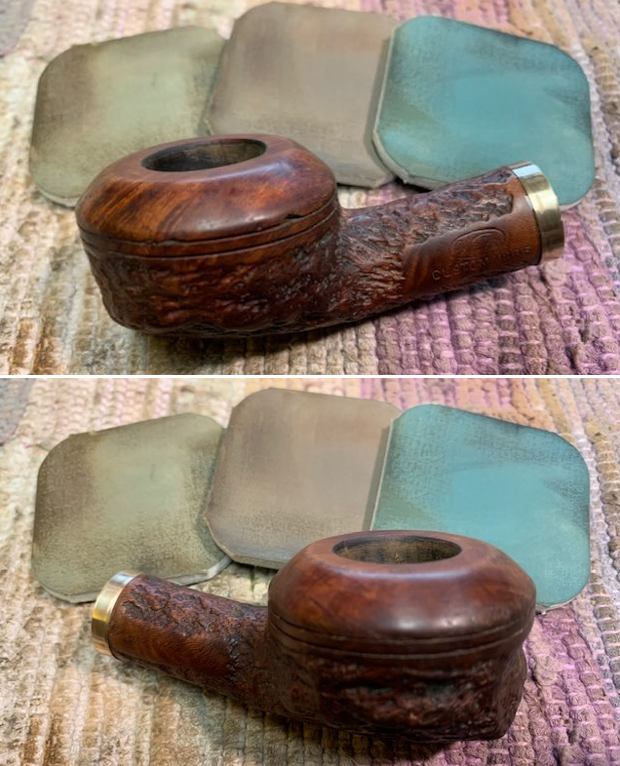
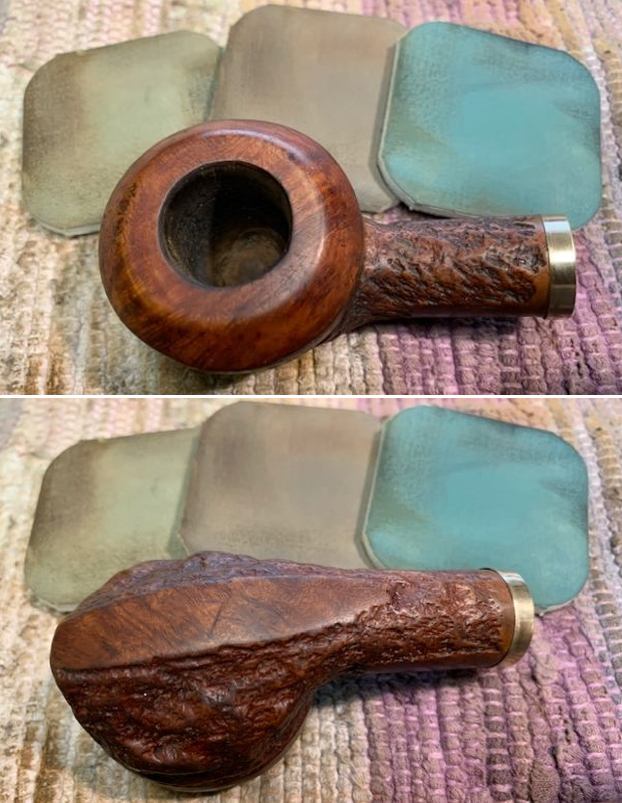
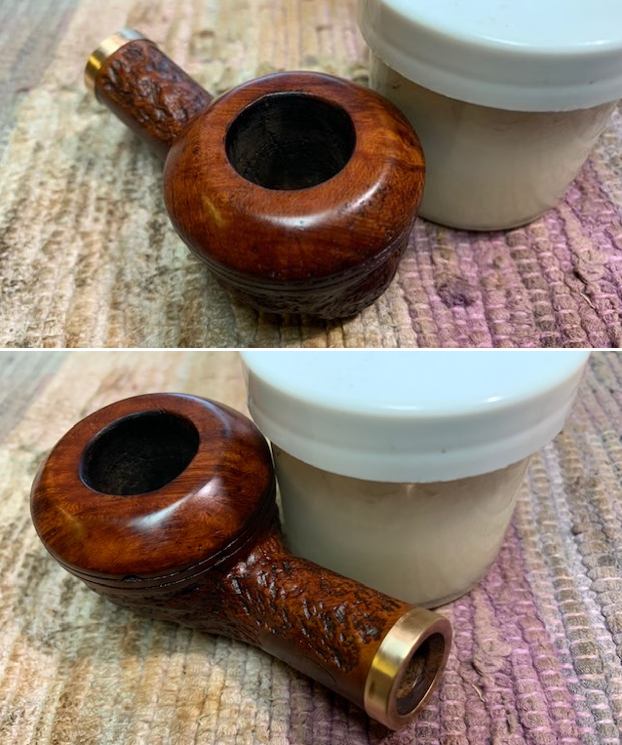
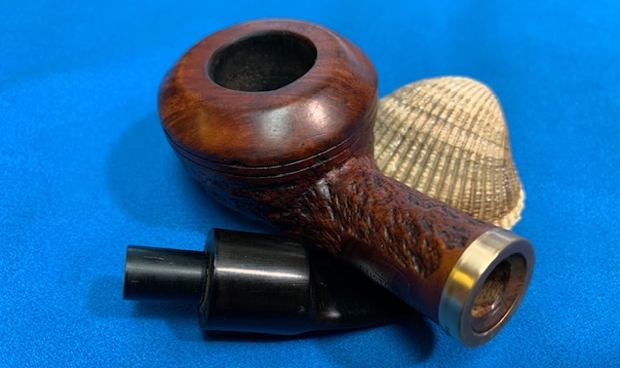
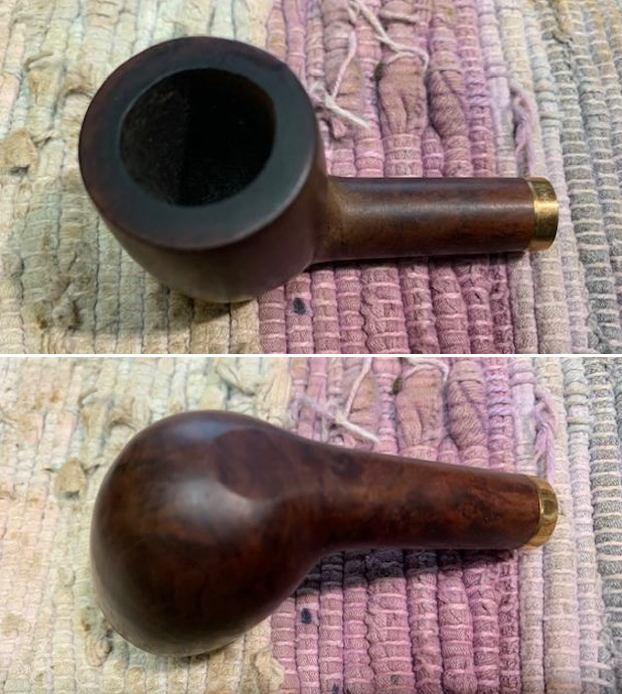
 I went through my bands and found a thin brass band that fit the shank perfectly. I heated it and pressed in place on the shank. It fit perfectly and I like the look of it. I took photos of the pipe with the newly fit band on the shank. It looked really good.

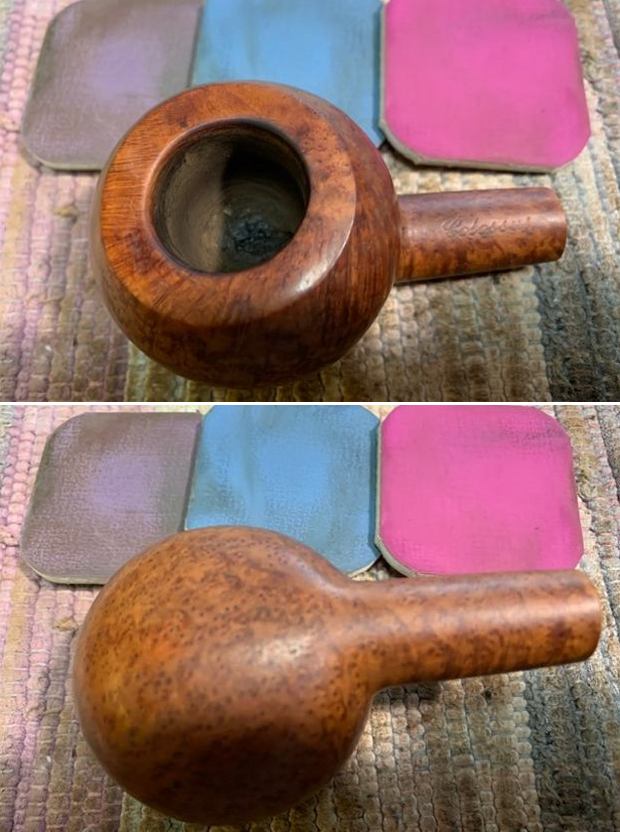
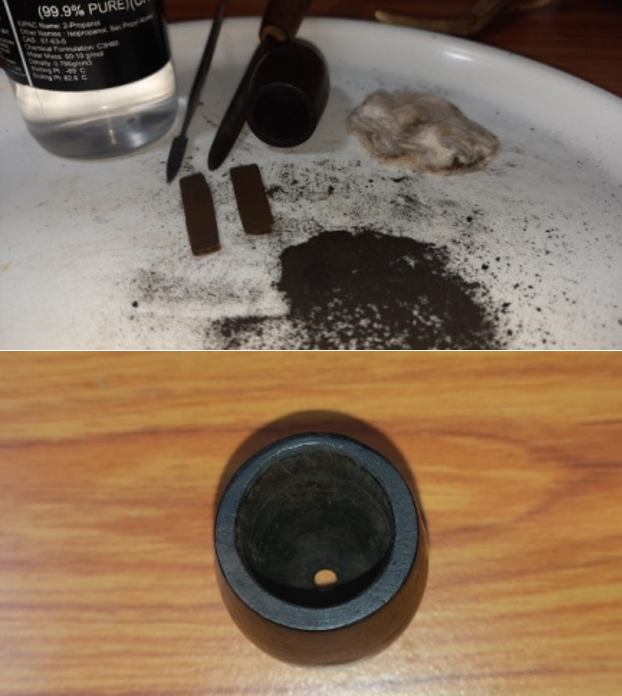
 I sanded the inner edge of the bowl with a folded piece of sandpaper. I then used a wooden ball that Kenneth had given me and a piece of 220 grit sandpaper to give a slight bevel to the inner edge of the bowl.
 I wiped the bowl down with isopropyl alcohol on a cotton pad to remove the shiny spots on the briar and make the stain a bit more transparent to reveal the grain on the wood. It looked really good.
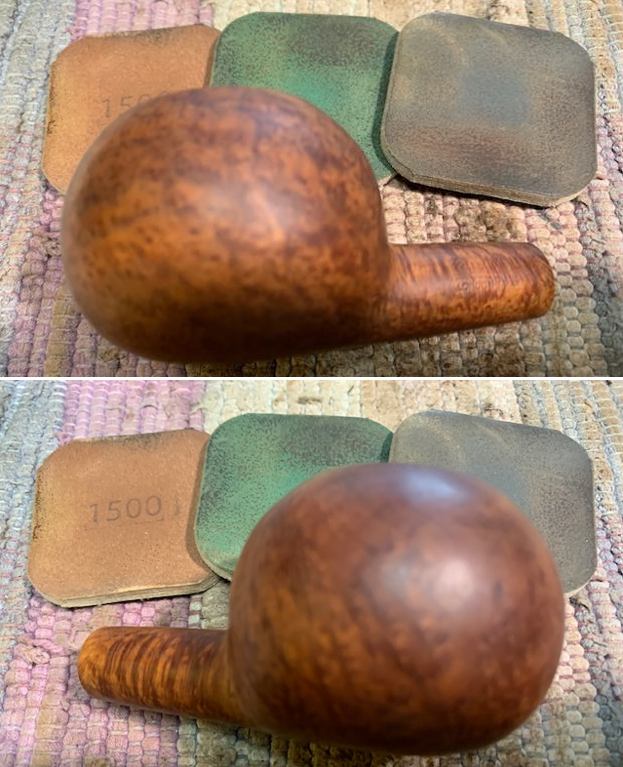
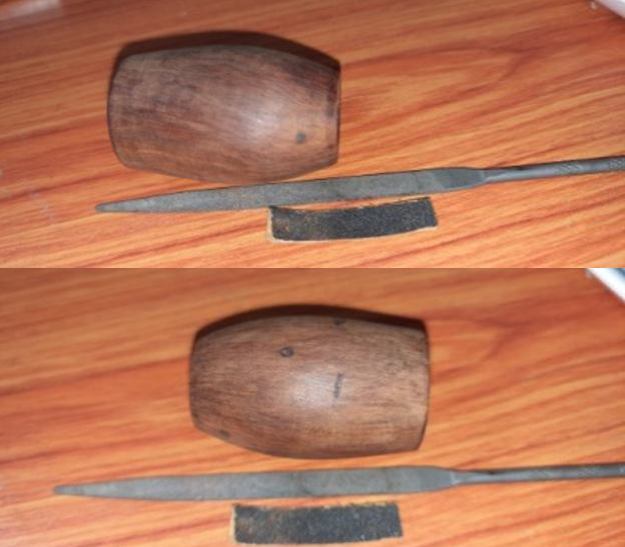
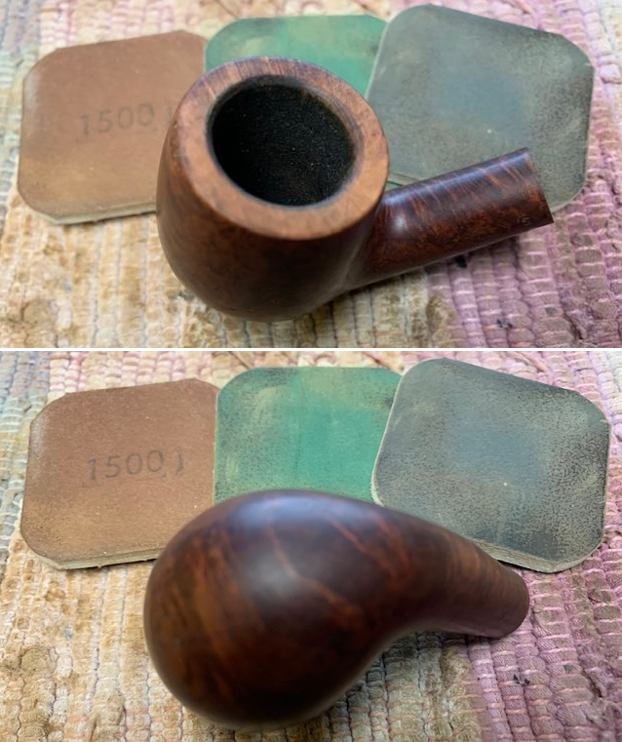
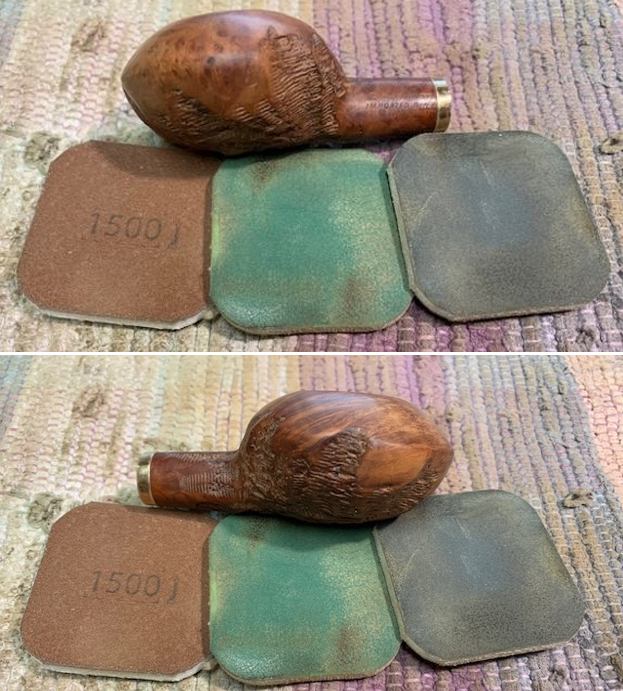
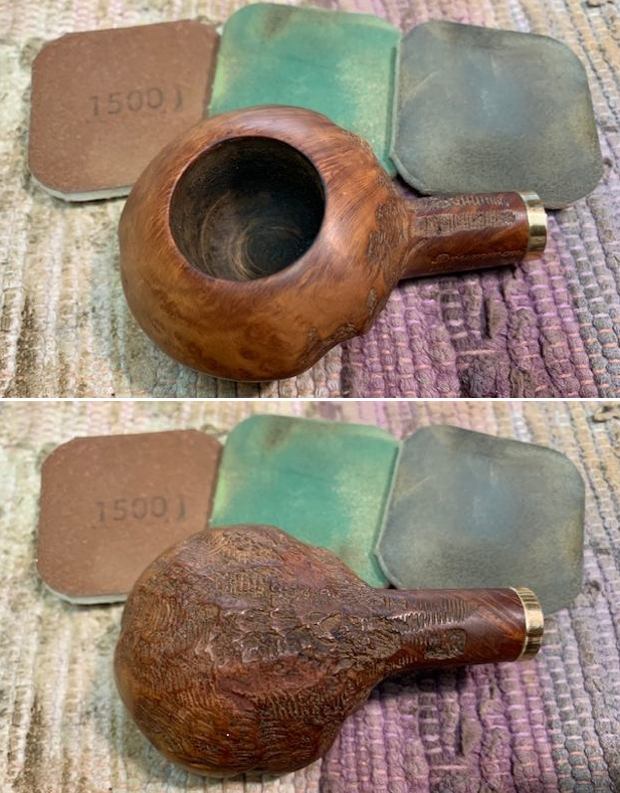
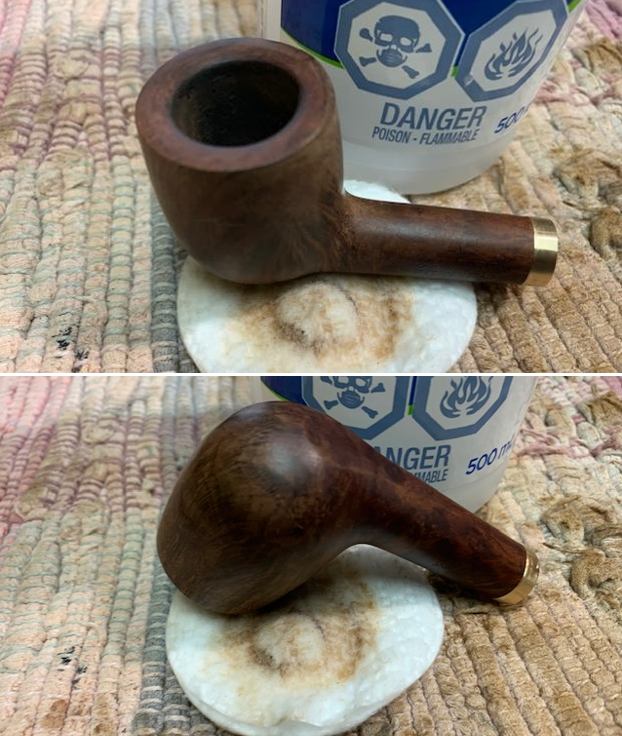 I dry sanded the briar with micromesh sanding pads – 1500-12000 grit sanding pads. I wiped the bowl surface down with a damp cloth after each sanding pad to remove the sanding dust. Once I finished the exterior of the briar was clean and the grain really stood out.
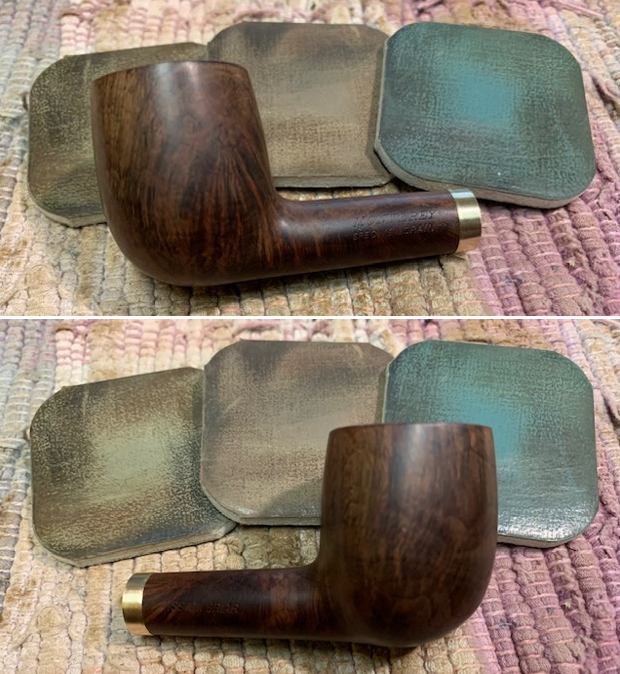


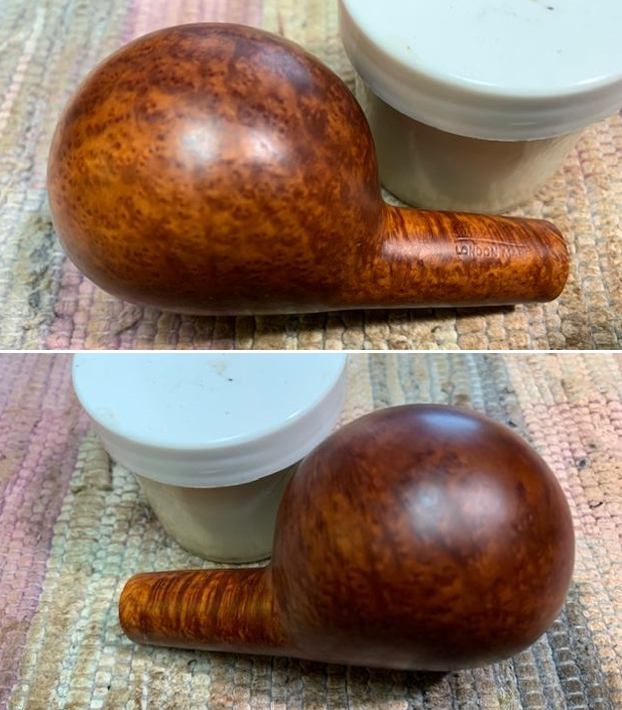
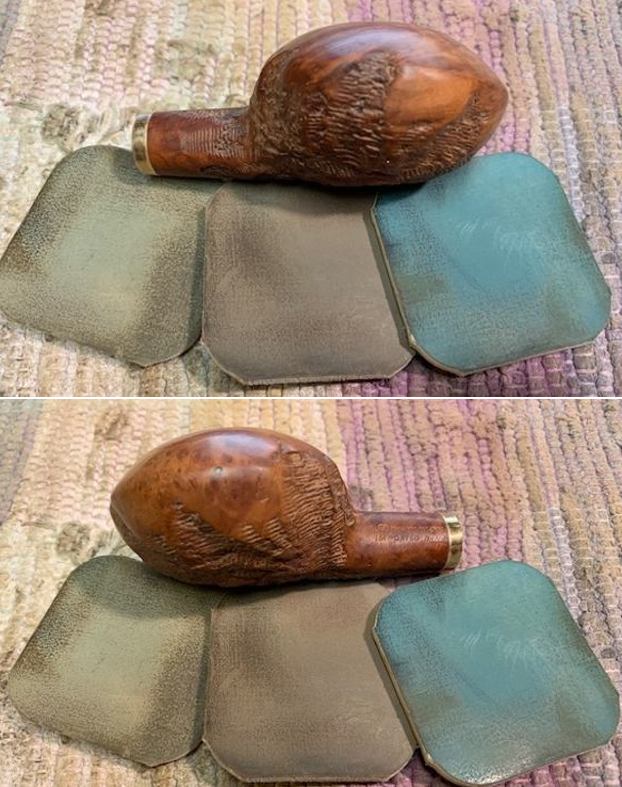
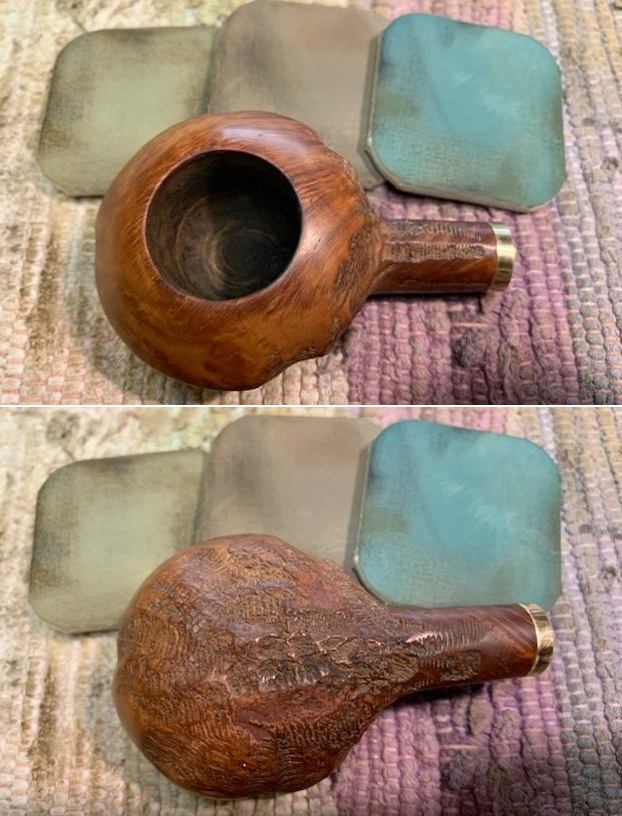
 I rubbed the bowl down with Before & After Restoration Balm. I worked it into the surface of the briar with my fingertips to clean, enliven and protect it. I let the balm sit for 10 minutes then buffed the pipe with a cotton cloth to raise the shine. Mark Hoover’s Balm is a product that I have come to appreciate and one I use on every pipe I have been working on.
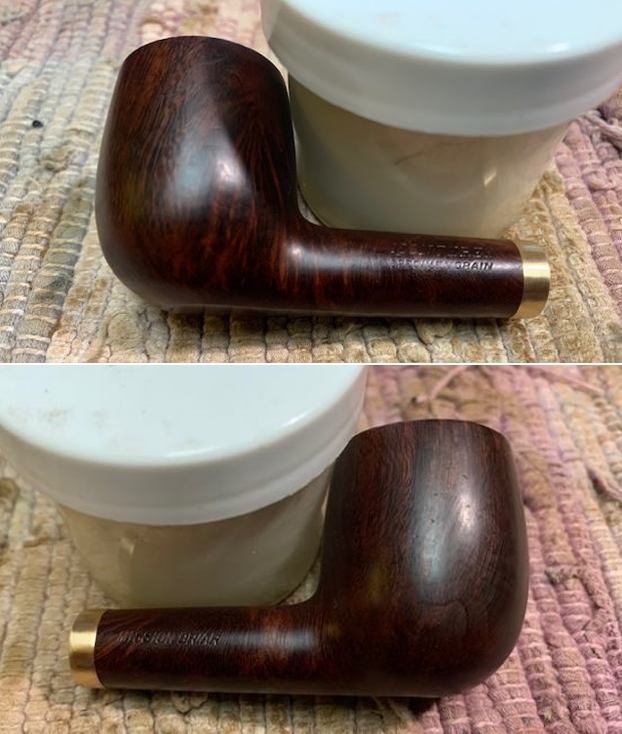
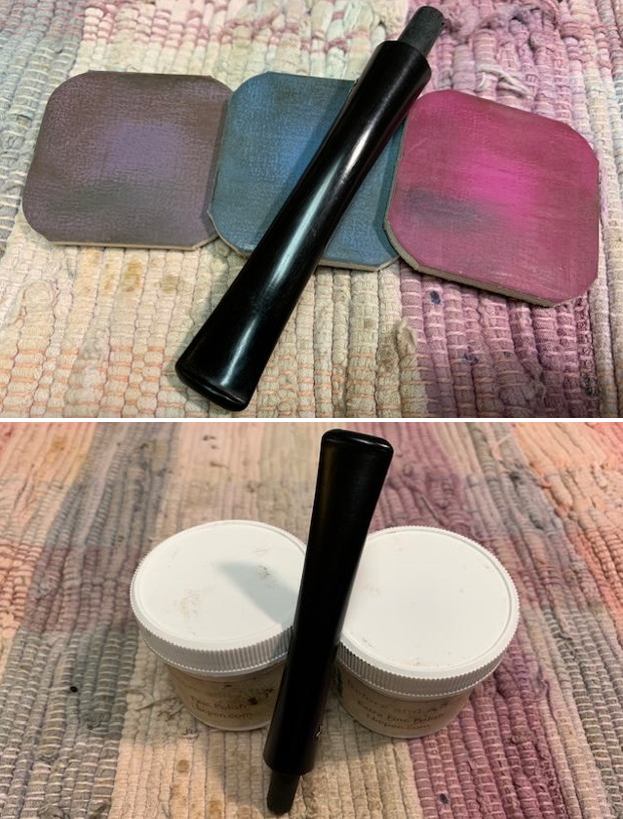
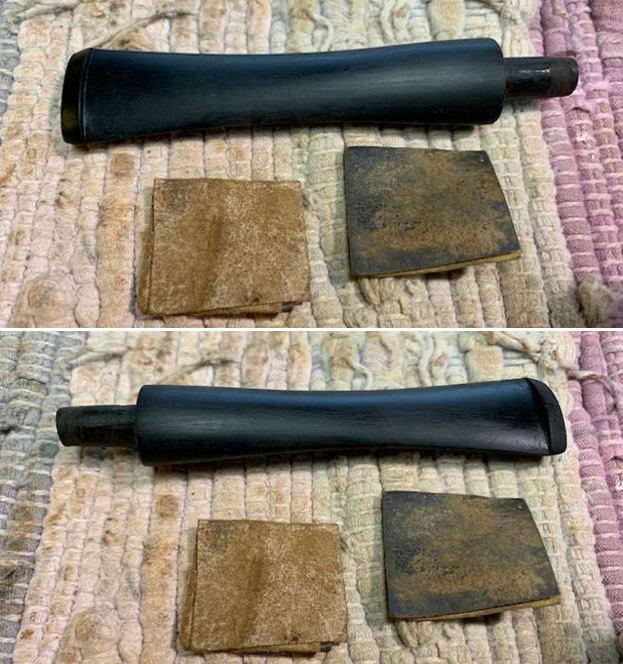
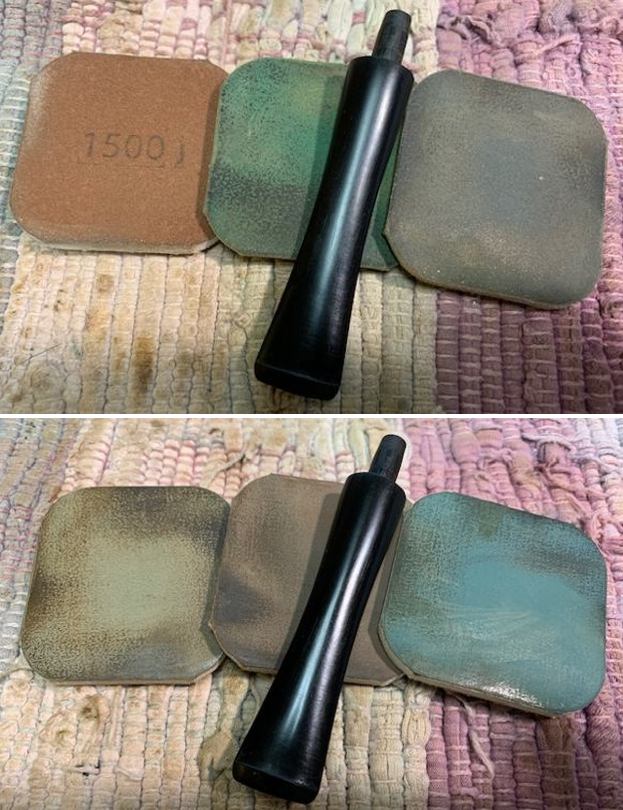
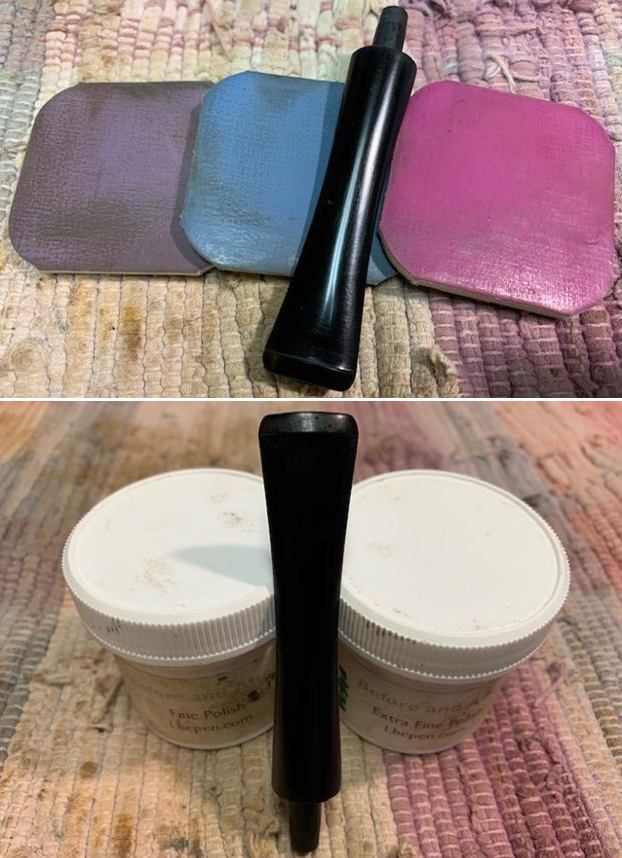
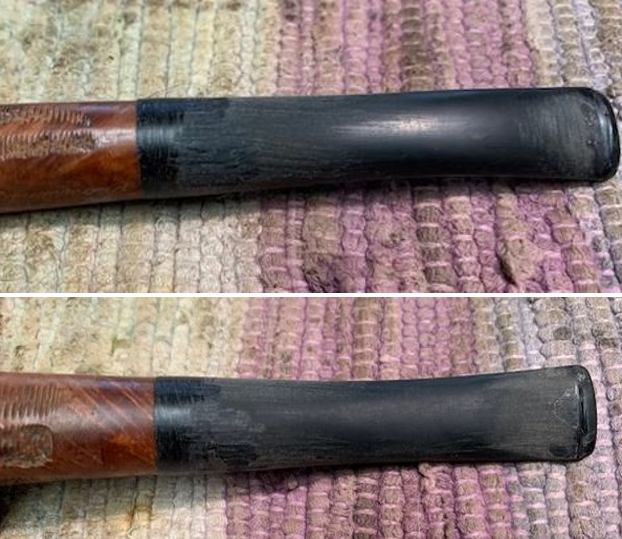
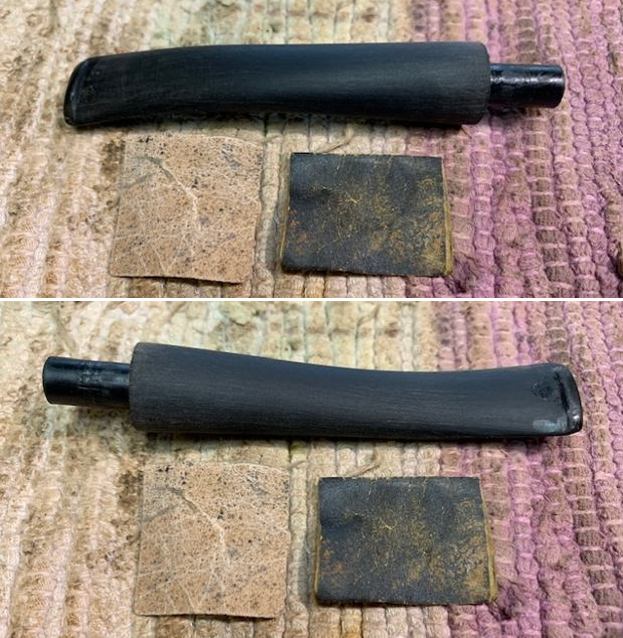
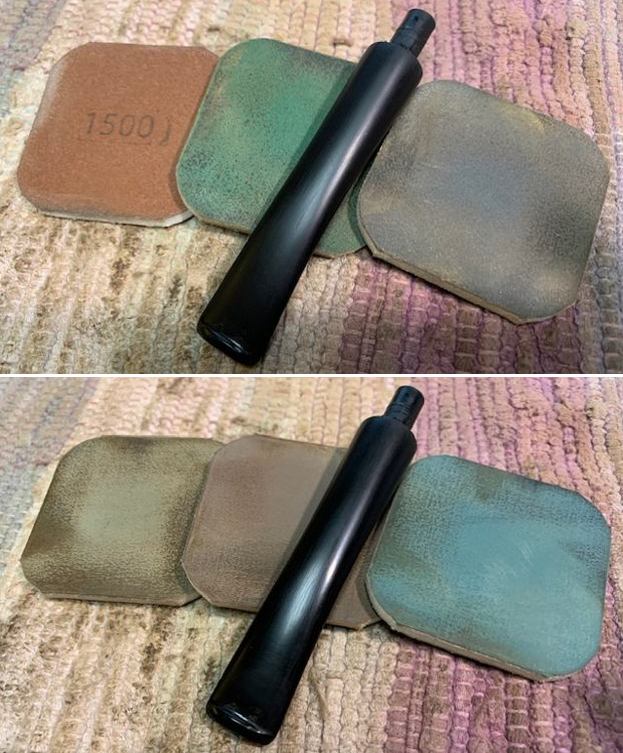
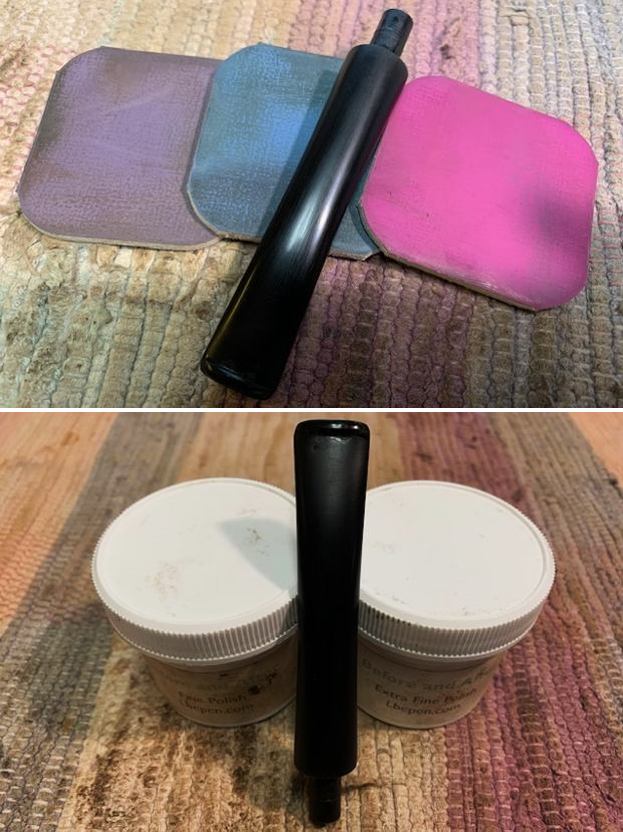
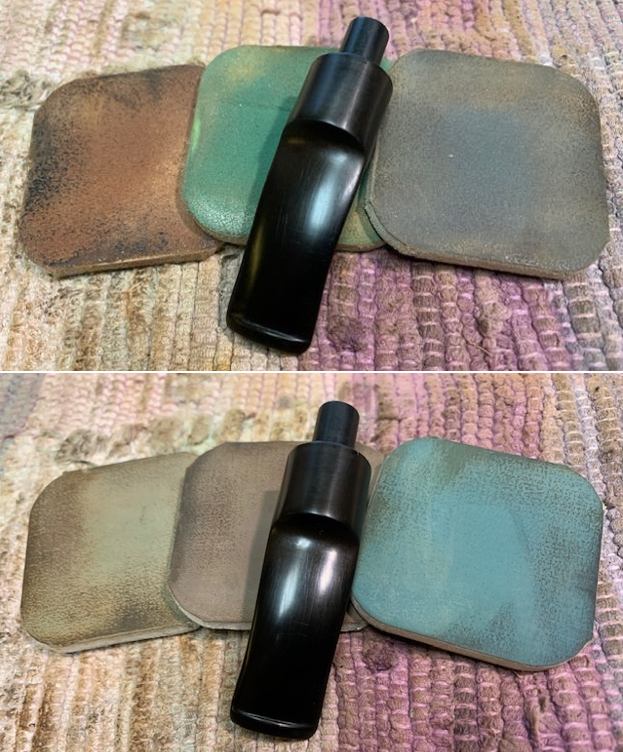
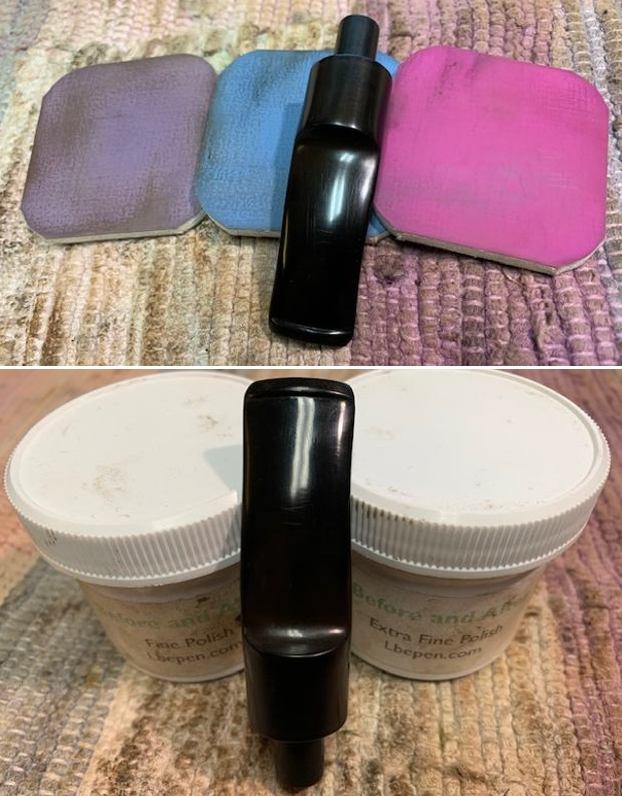
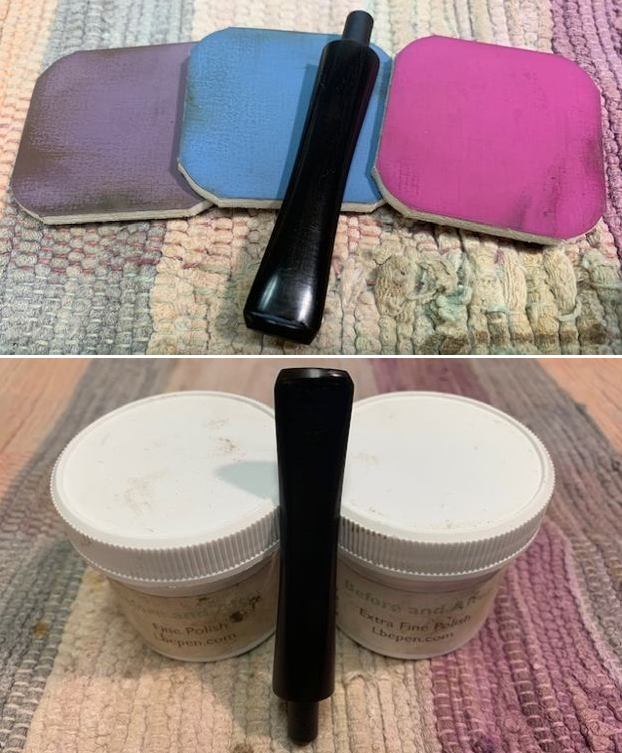
 I set the bowl aside and worked on the stem. I polished the stem with micromesh sanding pads – wet sanding with 1500-12000 grit pads. I wiped the stem down after each sanding pad with Obsidian Oil. I polished it with Before & After Pipe Stem Polish – both Fine and Extra Fine. Once I had finished the polishing I gave it final coat of oil and set it aside to dry.
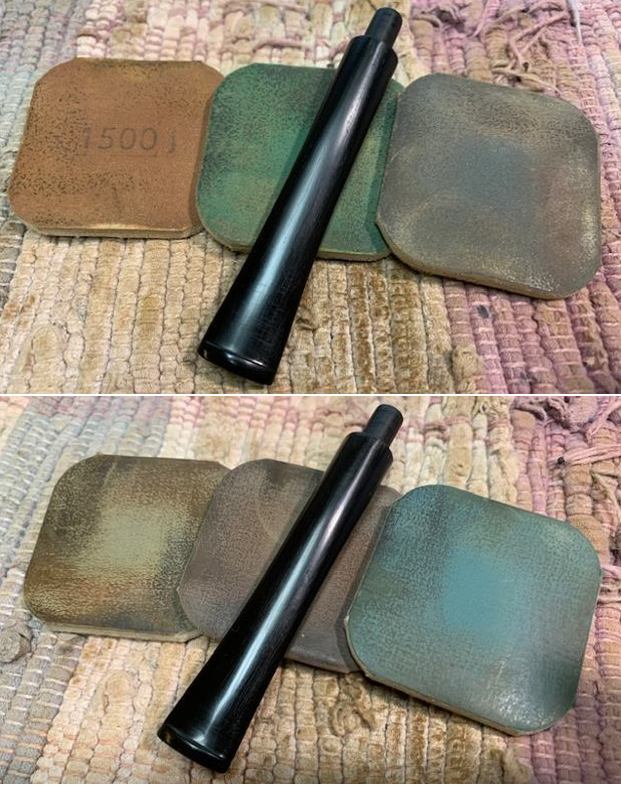
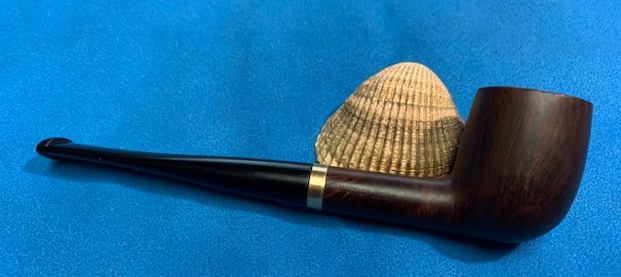
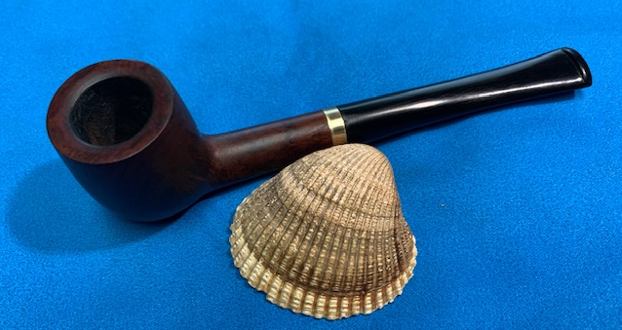
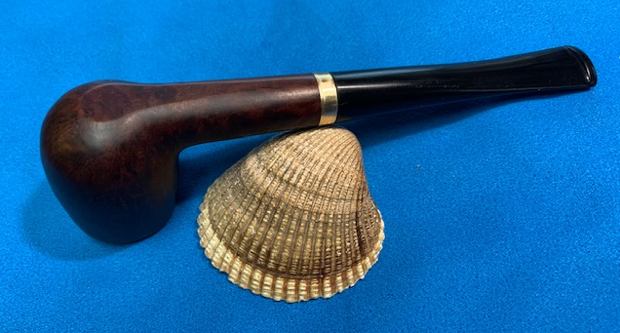
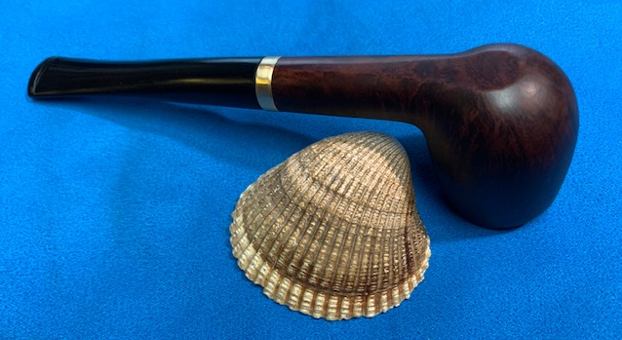
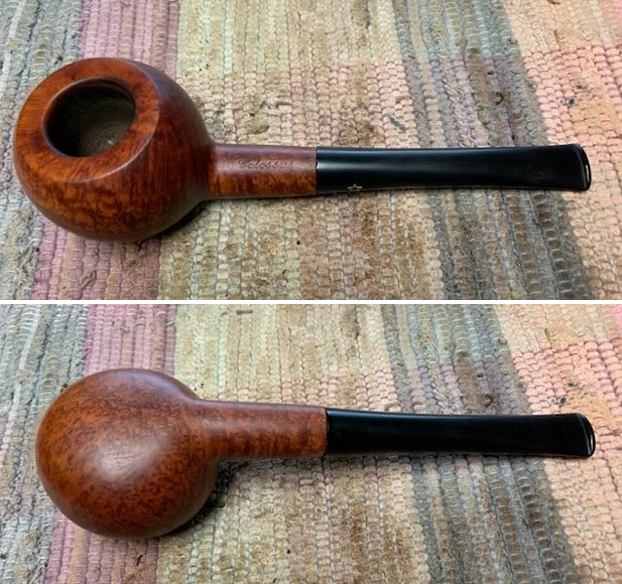
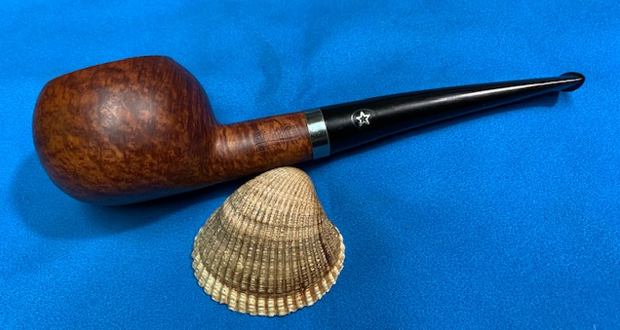
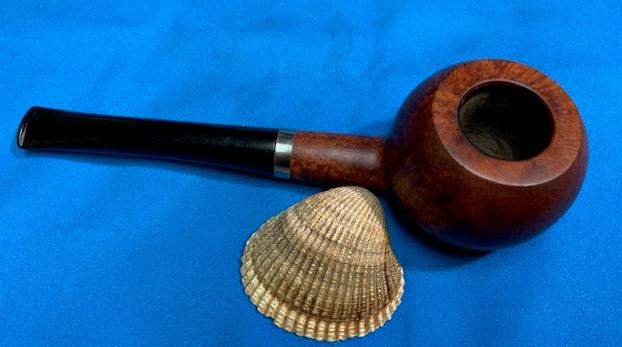
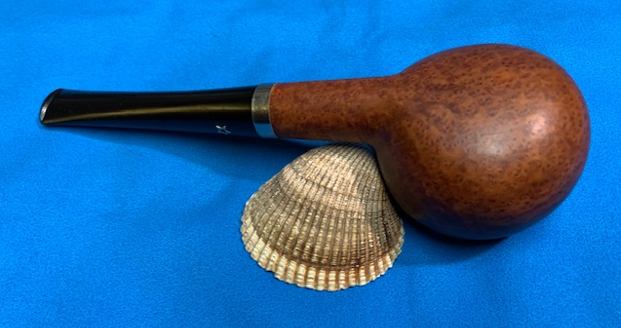
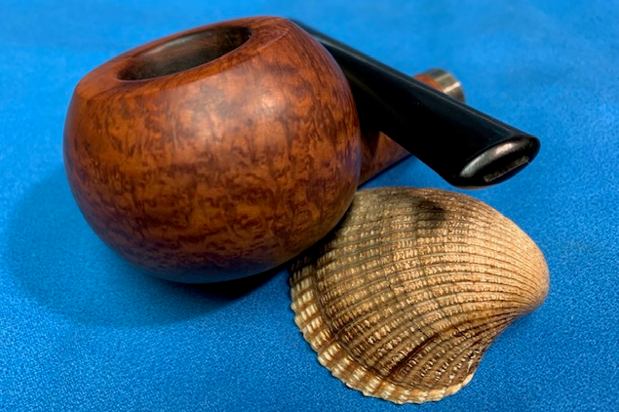
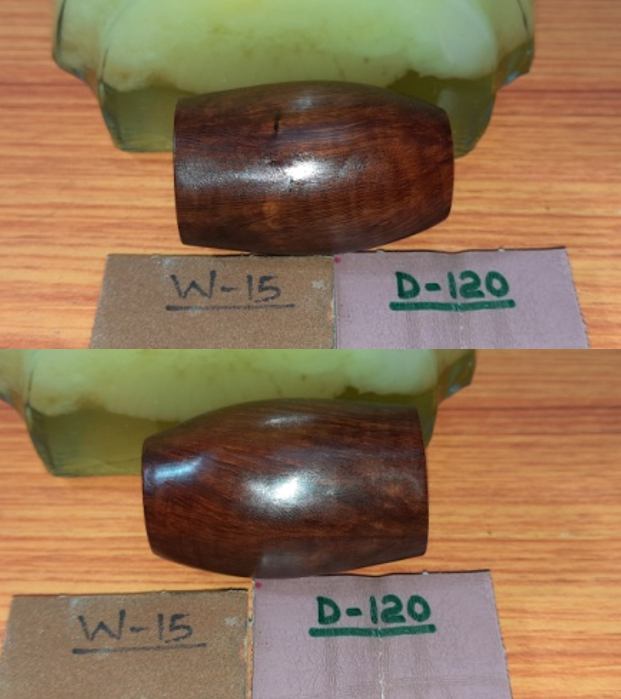
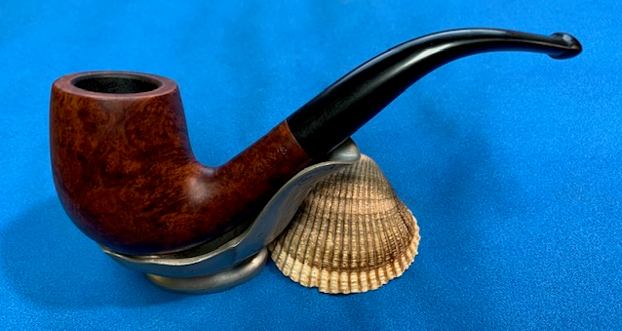
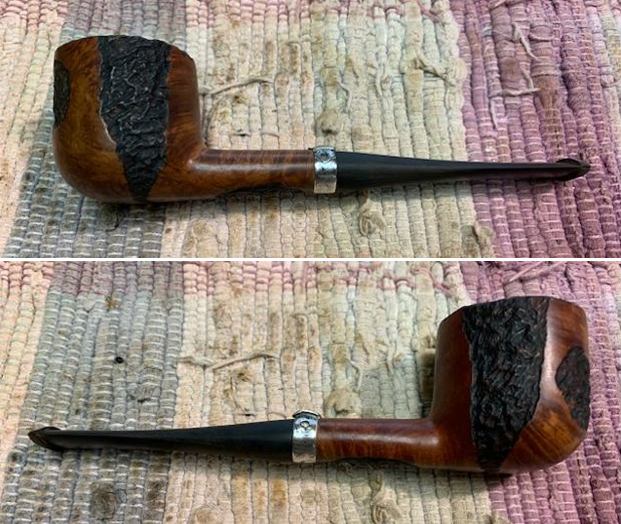
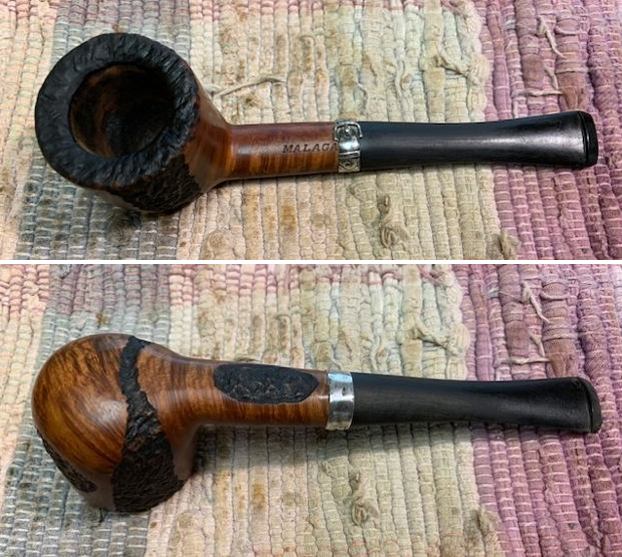
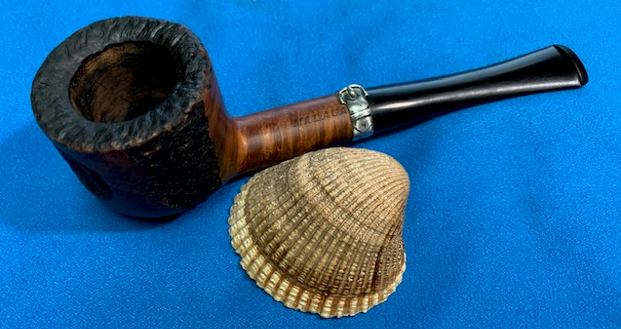
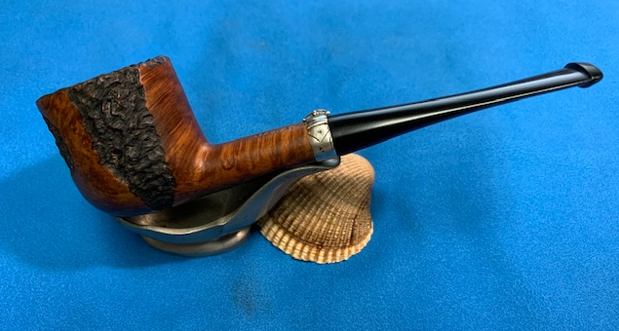
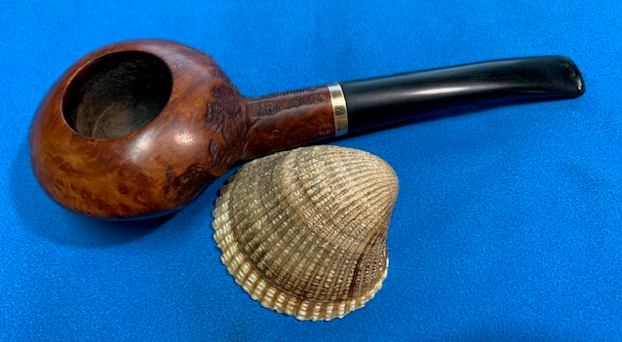
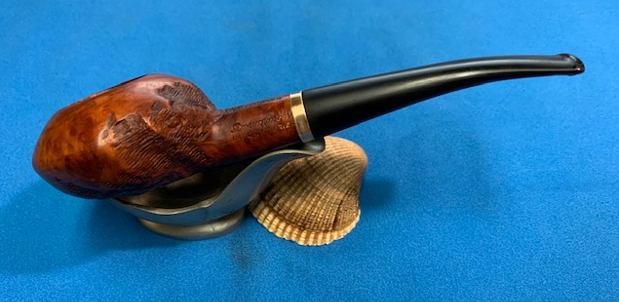
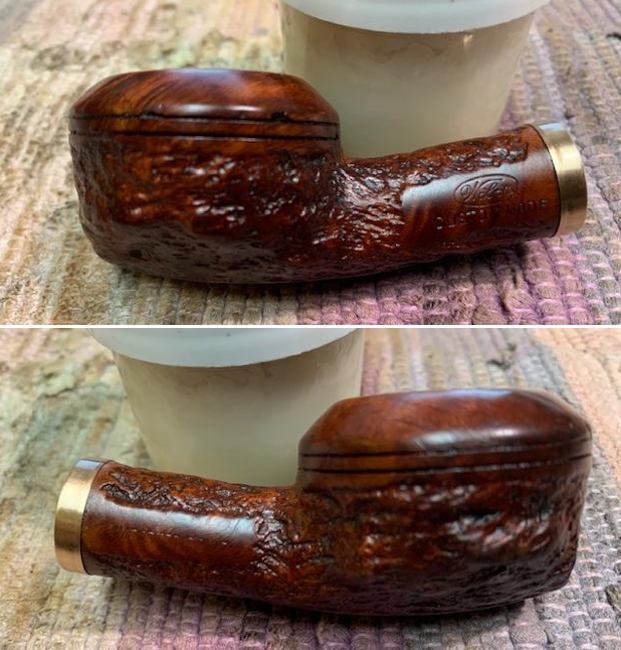
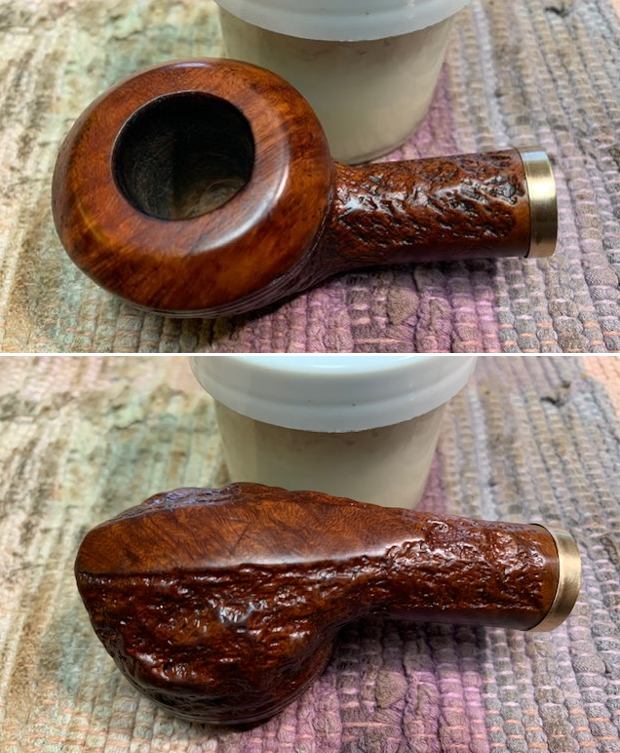
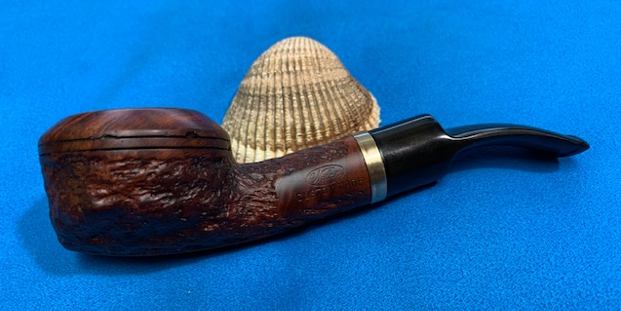
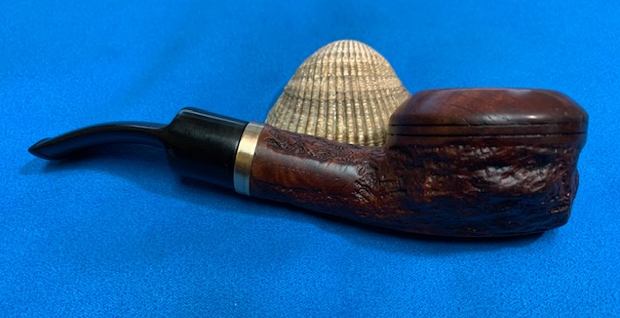
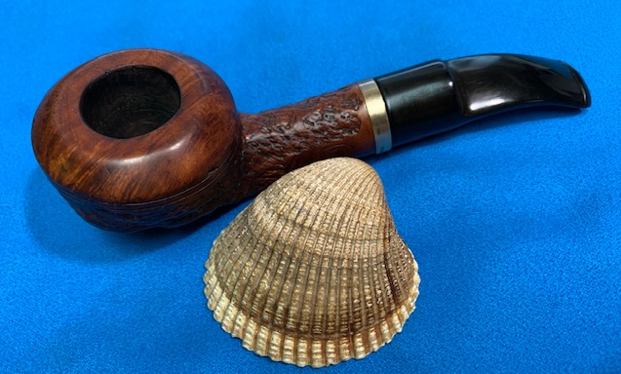
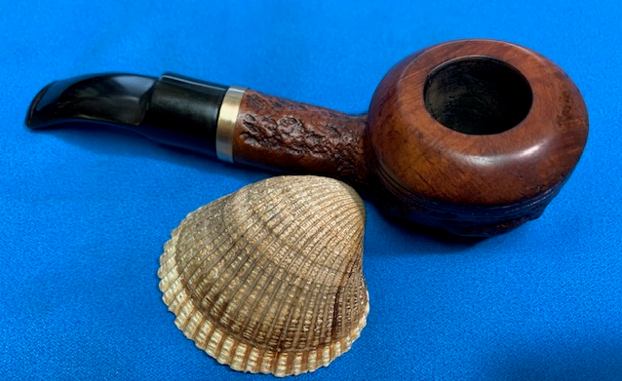
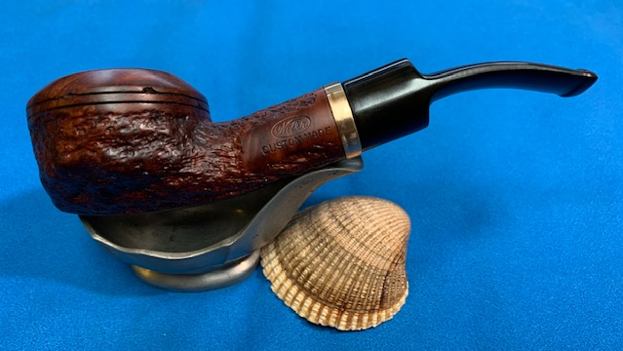
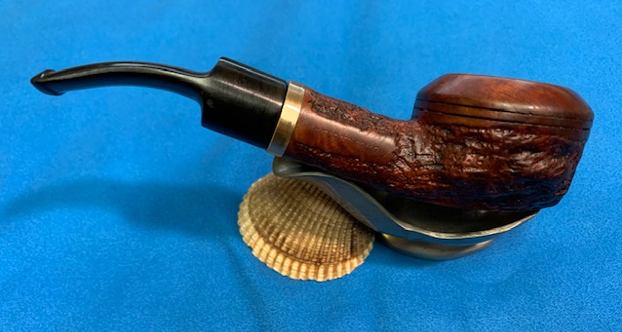
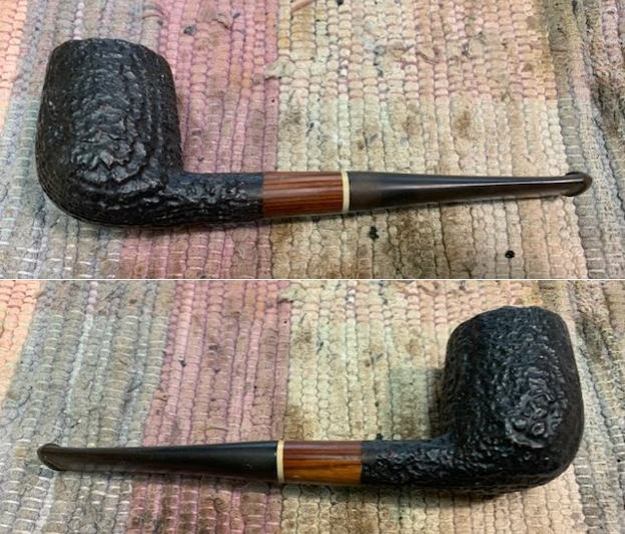
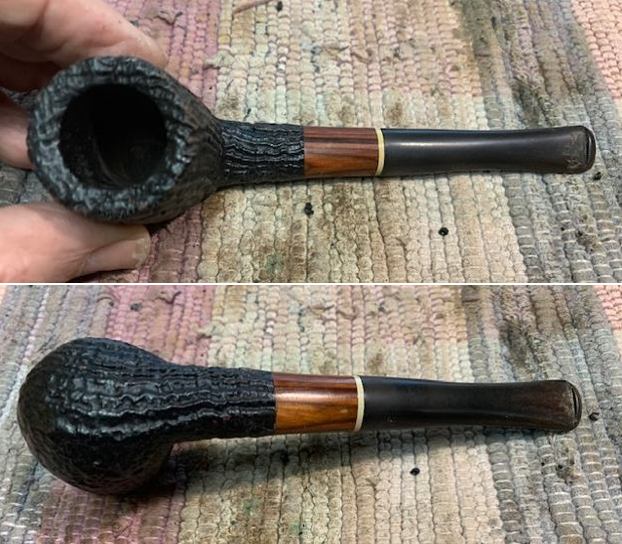
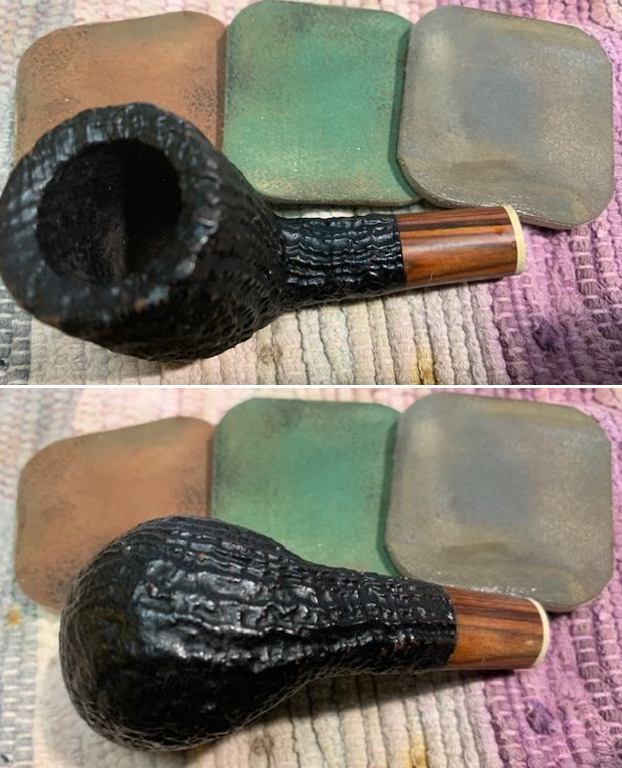
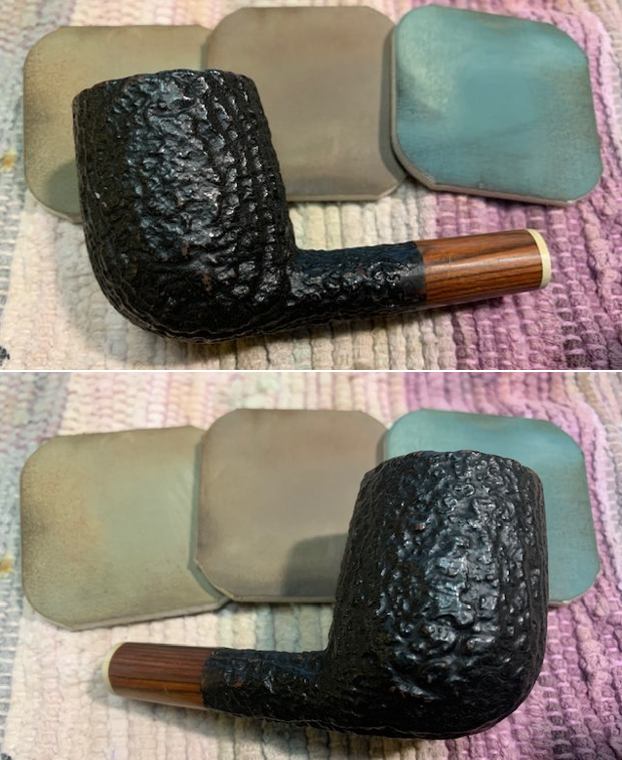
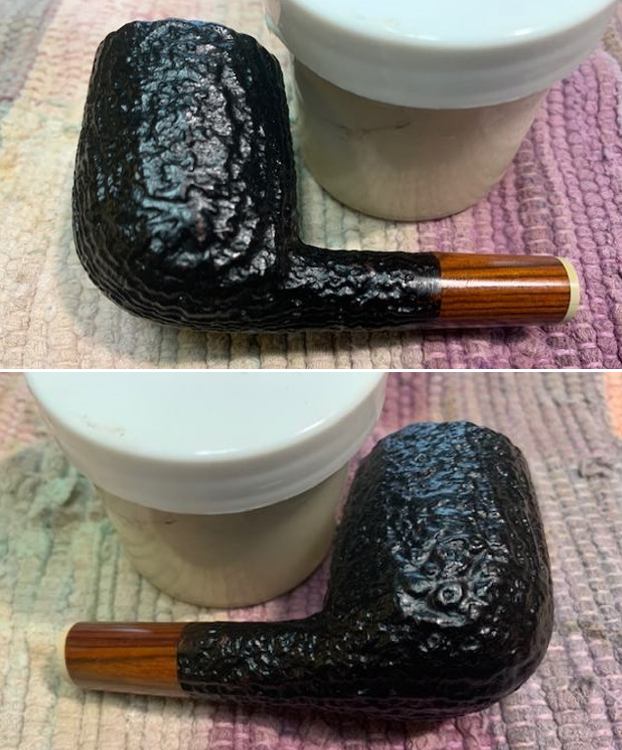
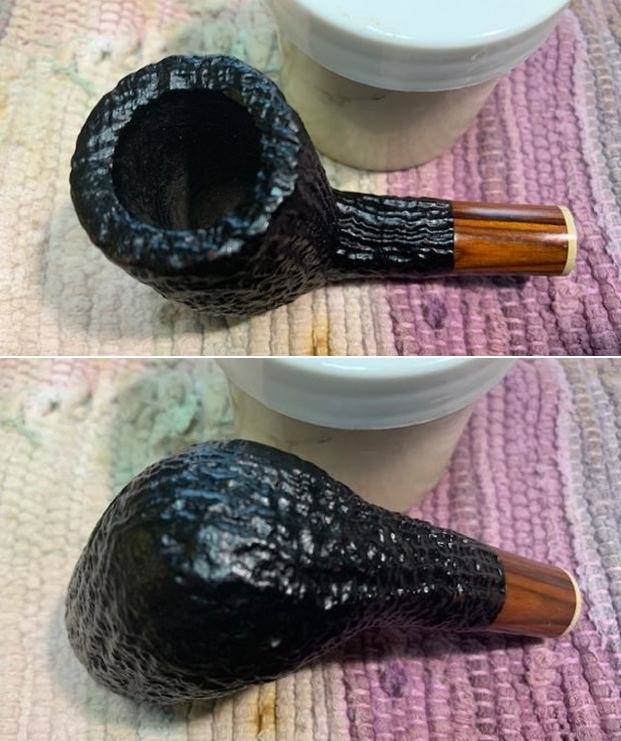
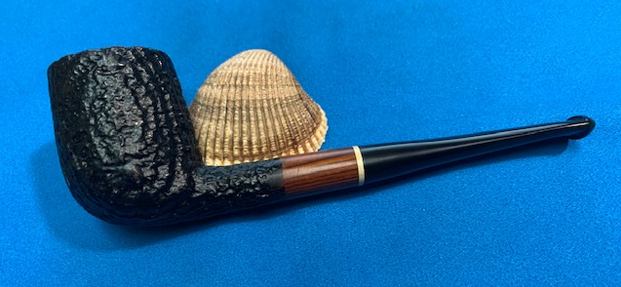
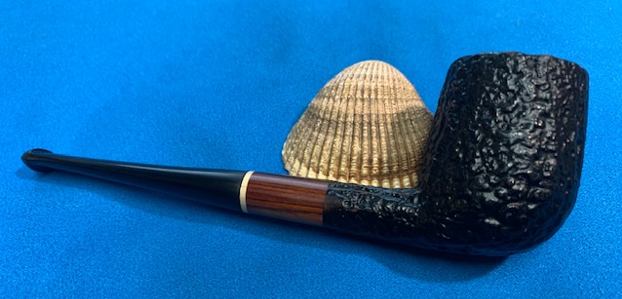
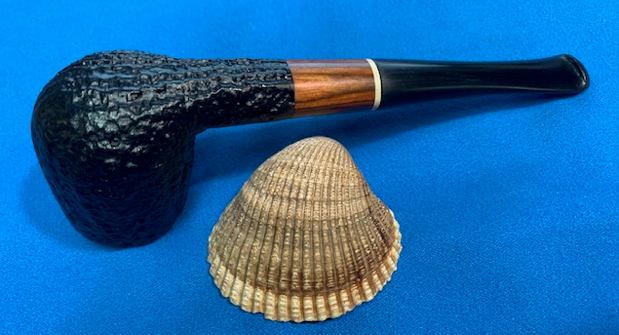
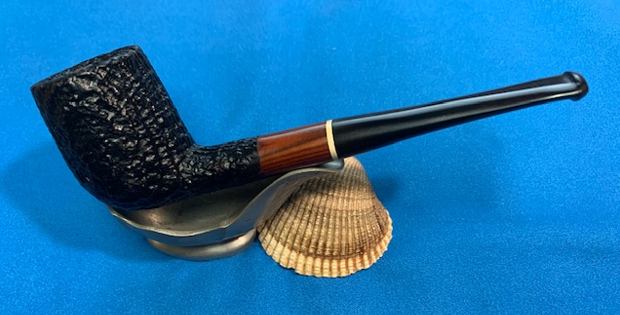
 I am excited to be on the homestretch with beautiful Mission Briar Monterey Specimen Grain Billiard. This is the part I look forward to when it all comes back together, polished and waxed. I put the bowl and stem back together. I polished the bowl and stem with Blue Diamond to polish out the scratches in the briar and the vulcanite. I gave the bowl and the stem multiple coats of carnauba wax. I buffed the pipe with a clean buffing pad to raise the shine. I hand buffed it with a microfiber cloth to deepen the shine. The pipe polished up pretty nicely. The beautifully grained finish looks really good with the interesting grain patterns standing out on the shape. The grain, the thin brass band and the polished black vulcanite went really well together. This Monterey Specimen Grain Billiard was another fun pipe to work on and came out looking amazingly graceful. It is a small billiard but it is a comfortable pipe to hold in the hand. The finished pipe is shown in the photos below. The dimensions of the pipe are Length: 5 ¾ inches, Height: 1 ½ inches, Outside diameter of the bowl: 1 ¼ inches, Chamber diameter: ¾ of an inch. The weight of the pipe is 27 grams/.95 ounces. If you are interested in adding this pipe to your rack it will be on the rebornpipes store in the American Pipe Makers Section soon. Thanks for reading this blog and my reflections on the pipe while I worked on it.