Blog by Dal Stanton
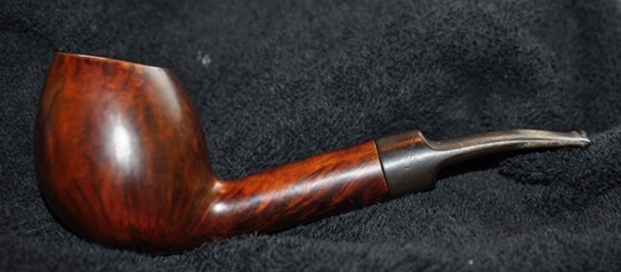
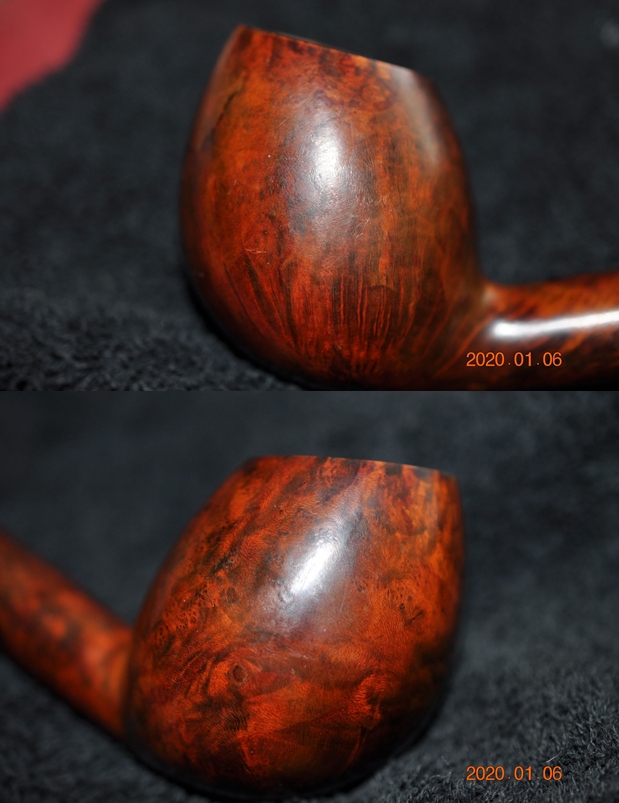
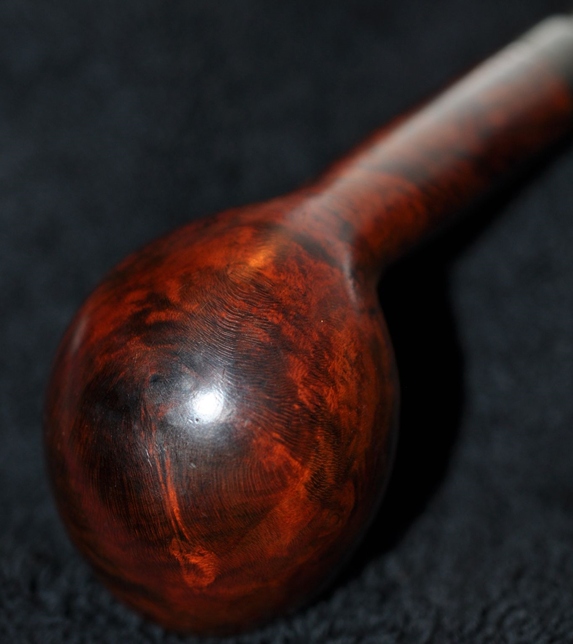
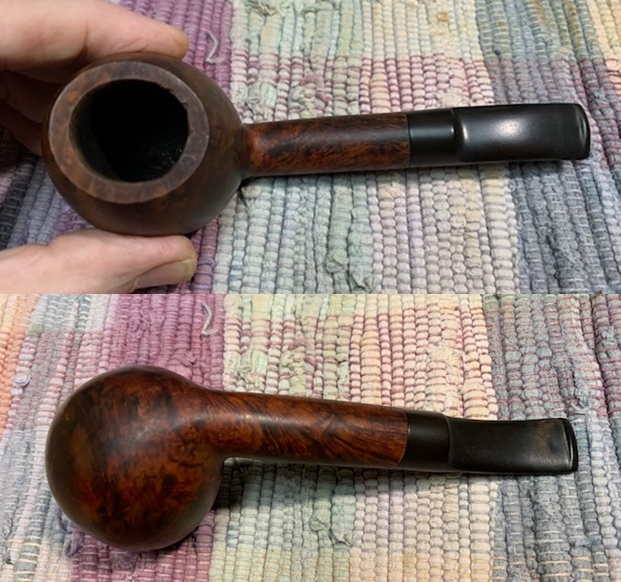
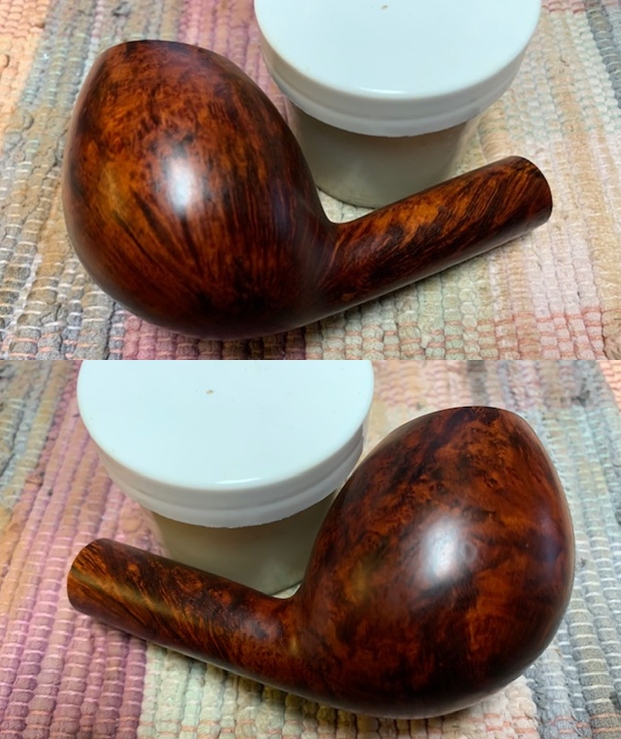
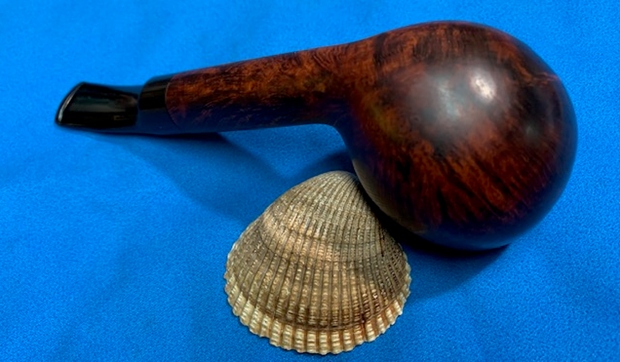
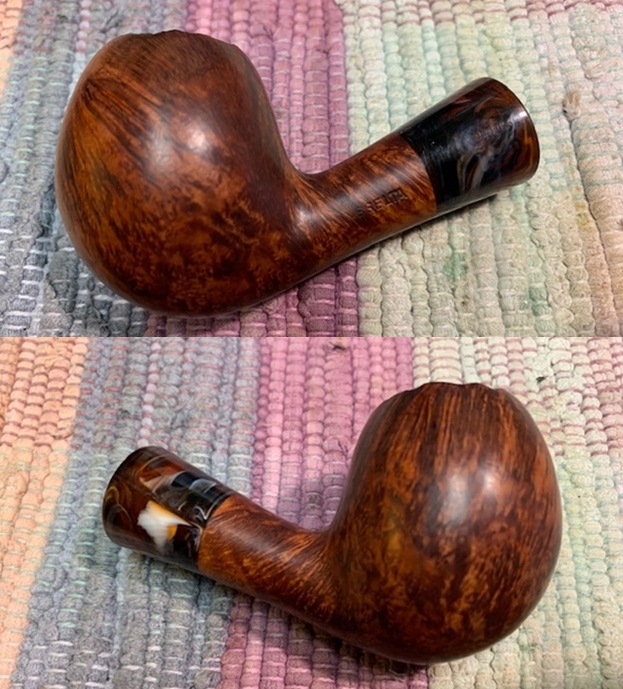
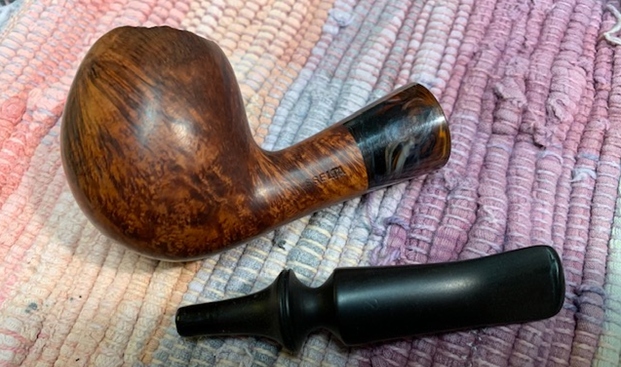
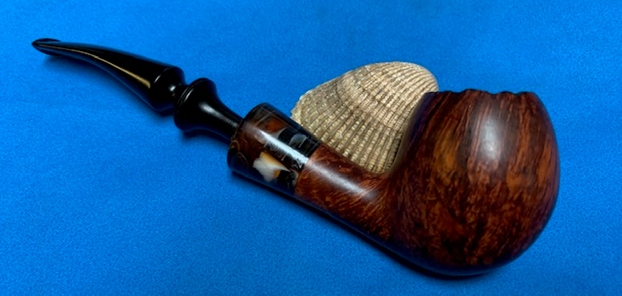
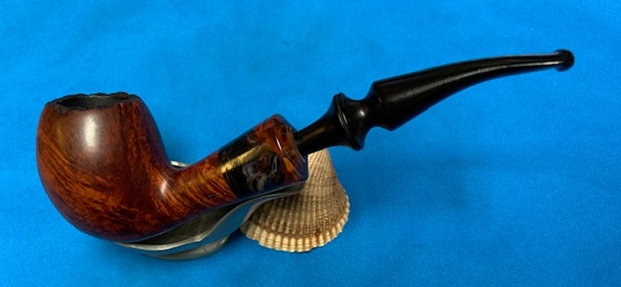
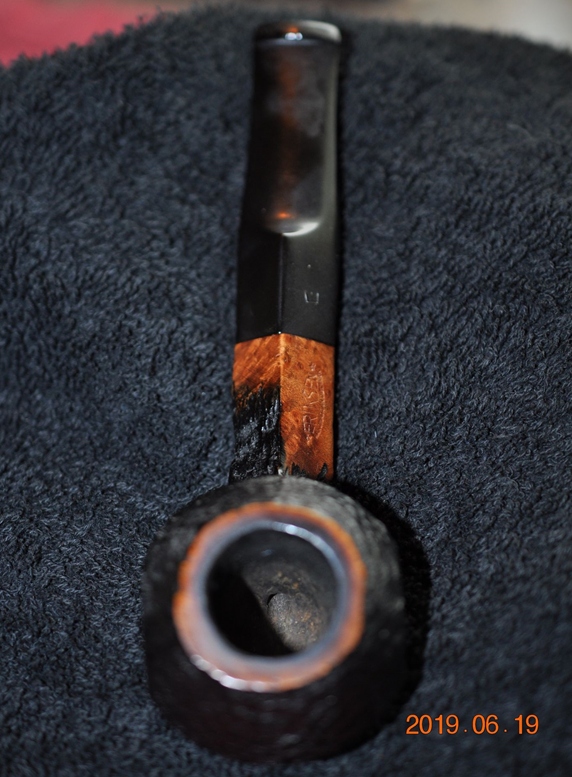
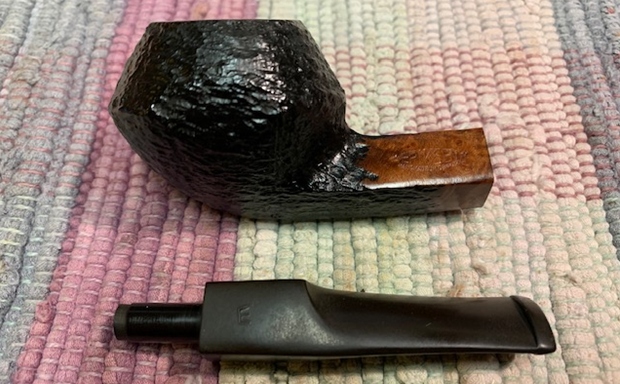
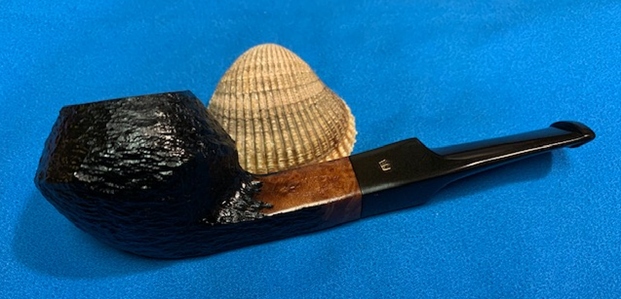
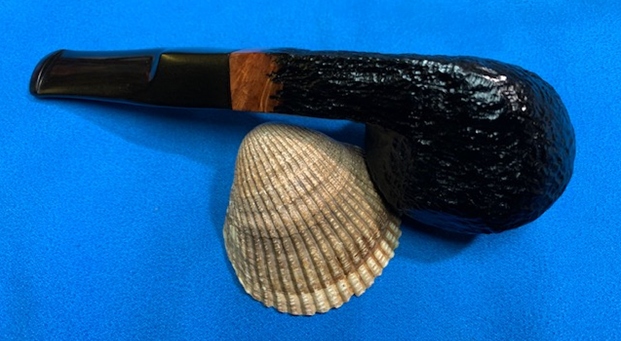
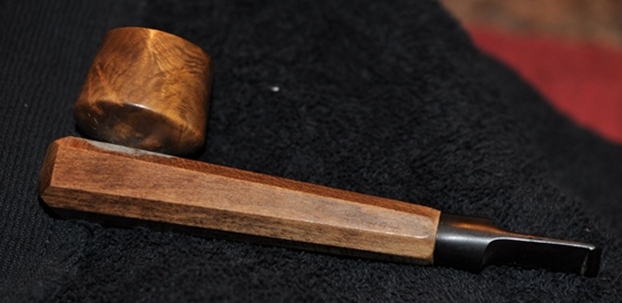
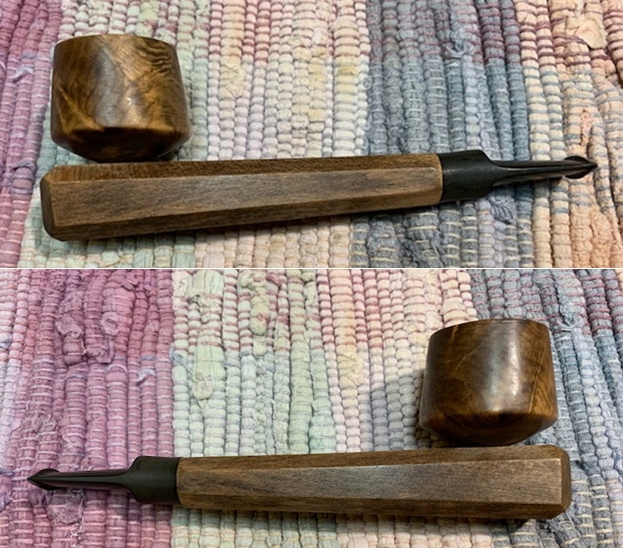
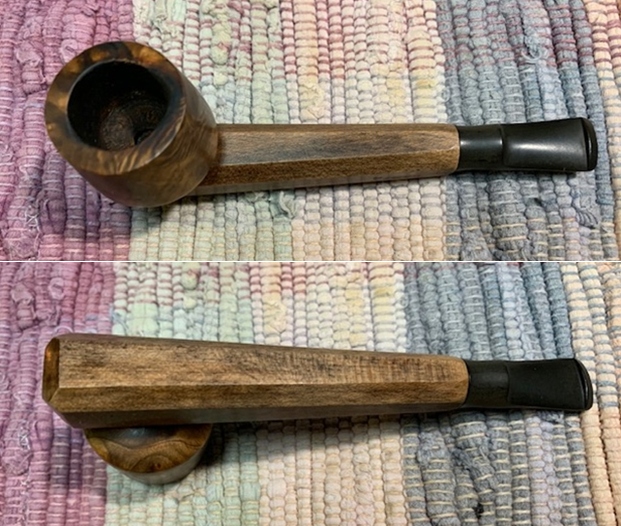
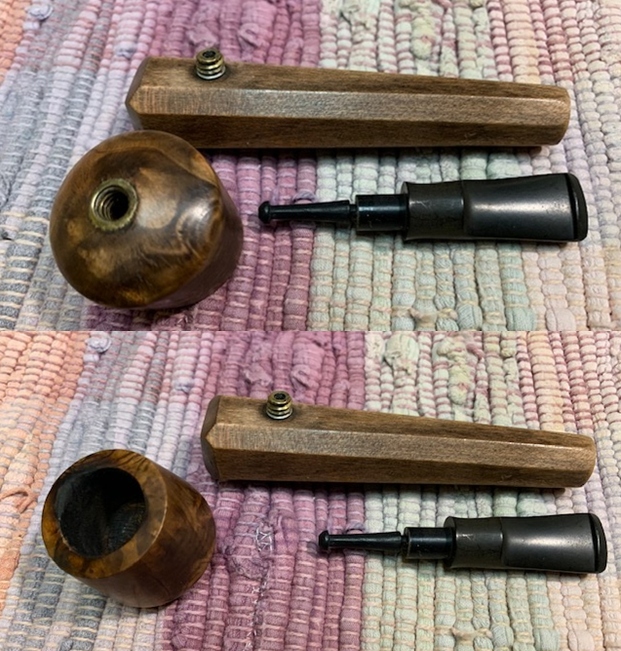
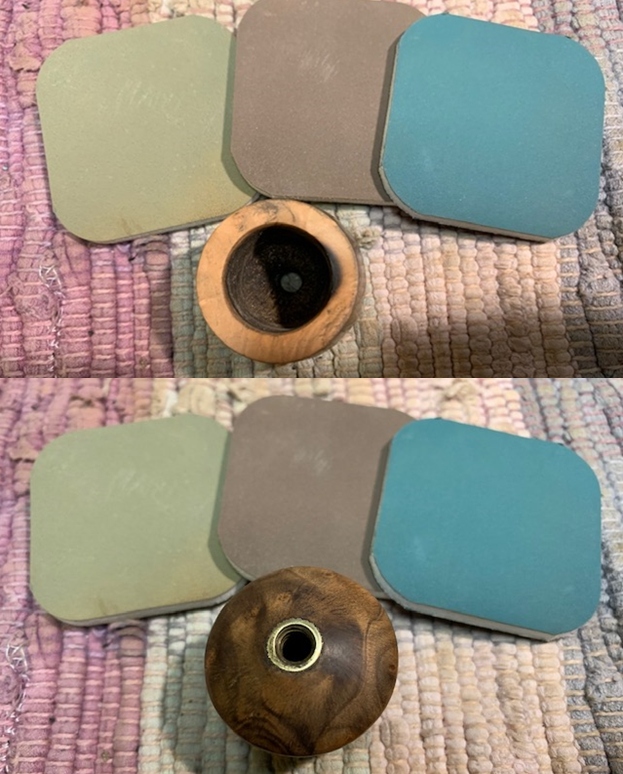
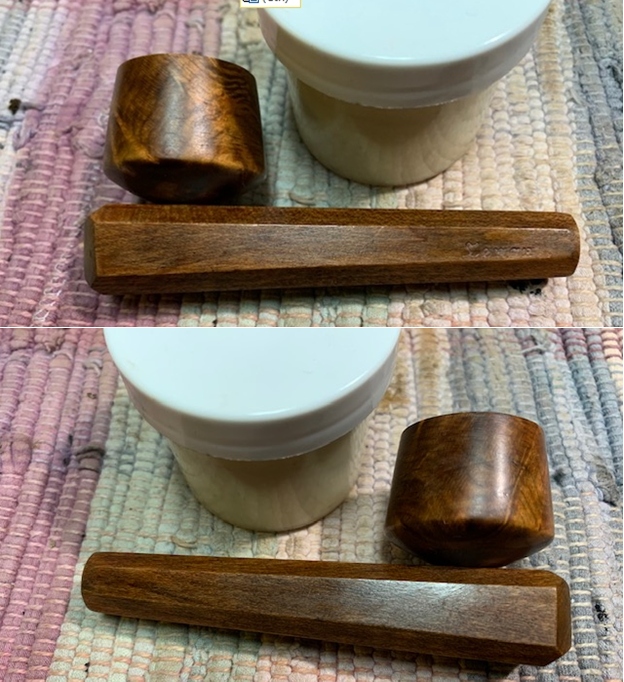
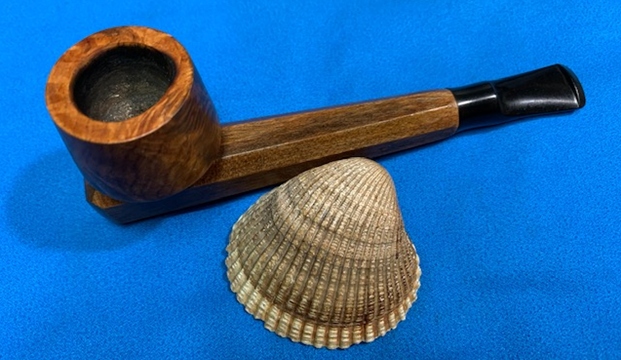
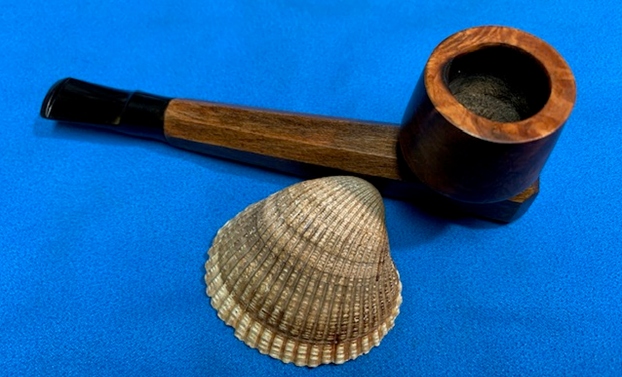
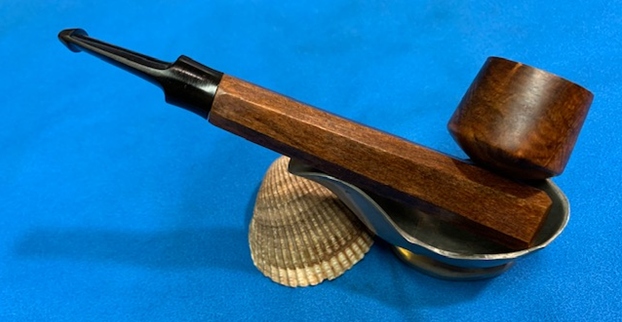
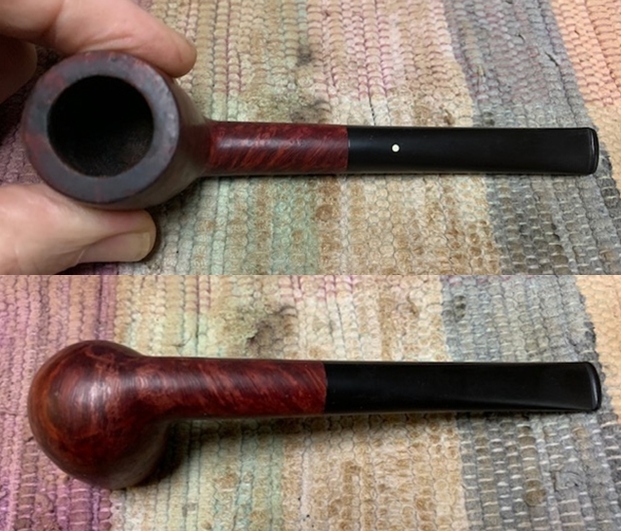
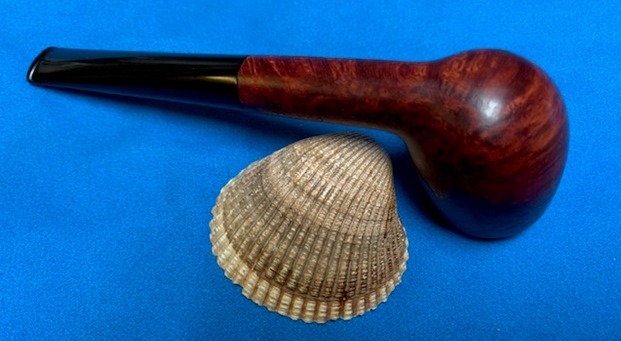
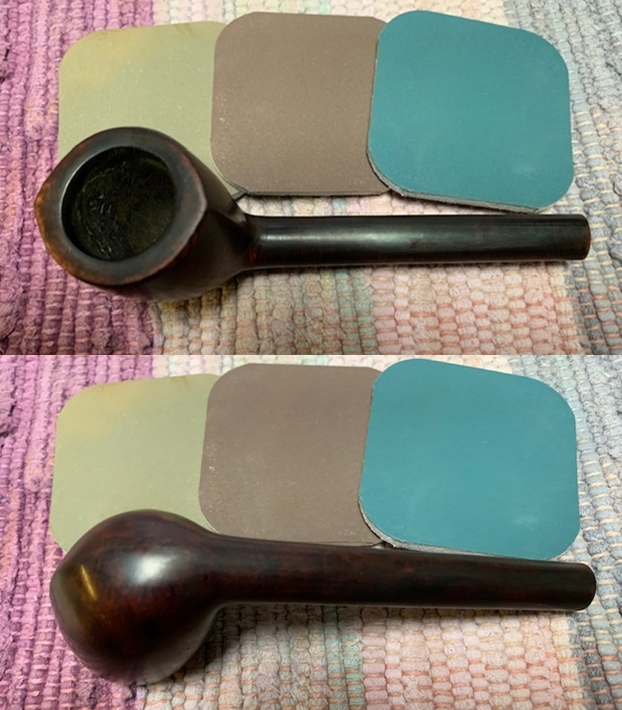
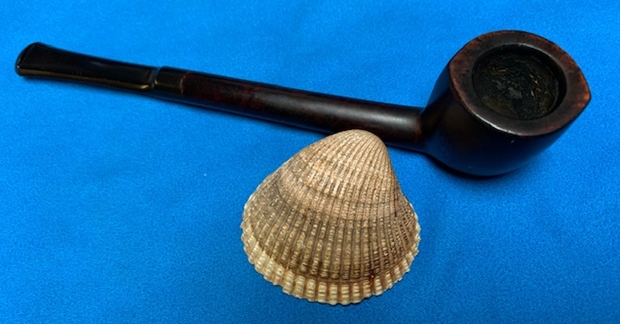
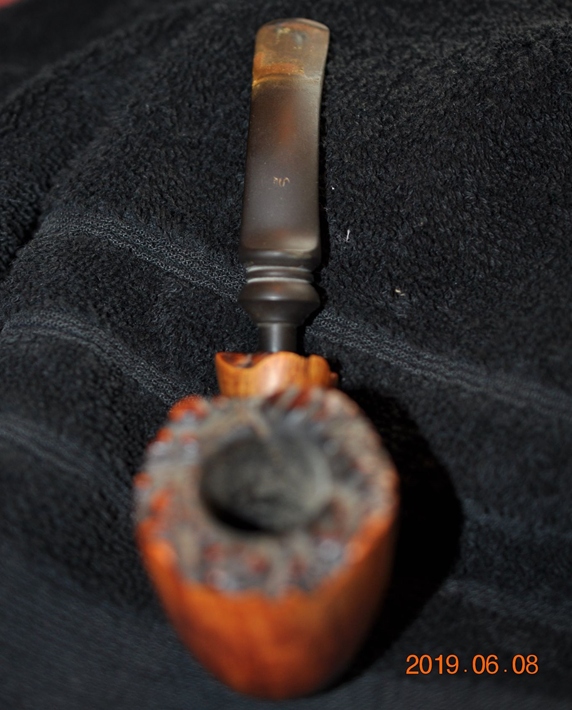
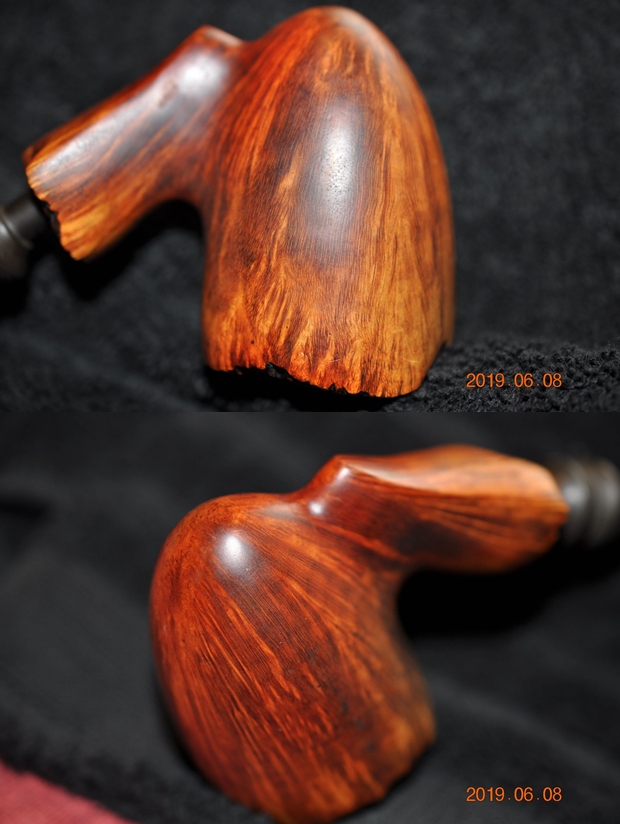
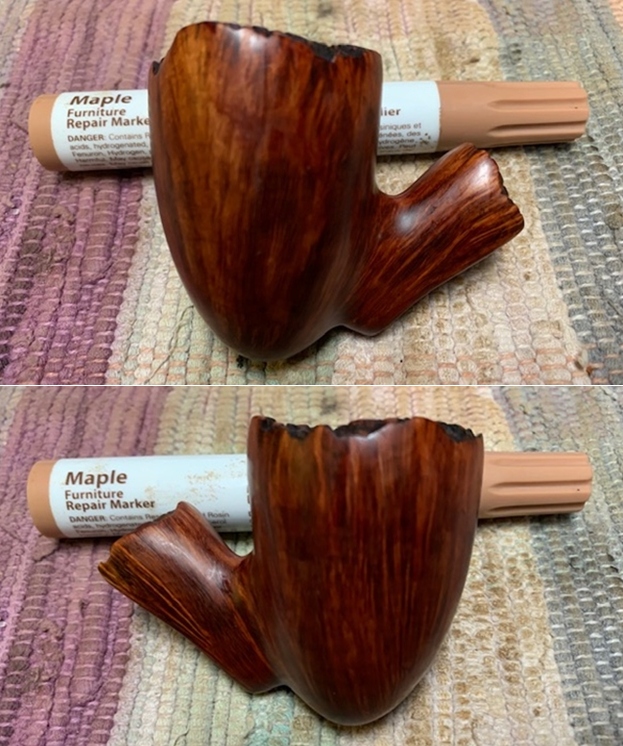
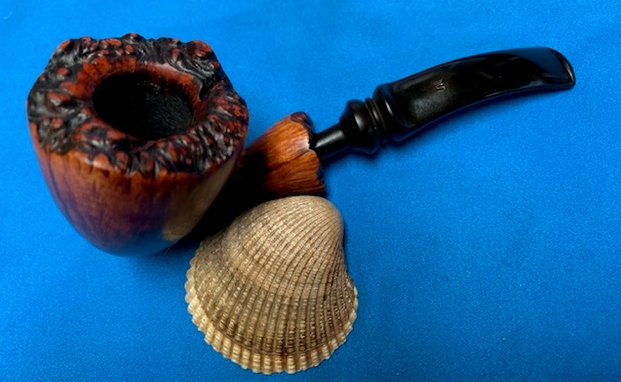
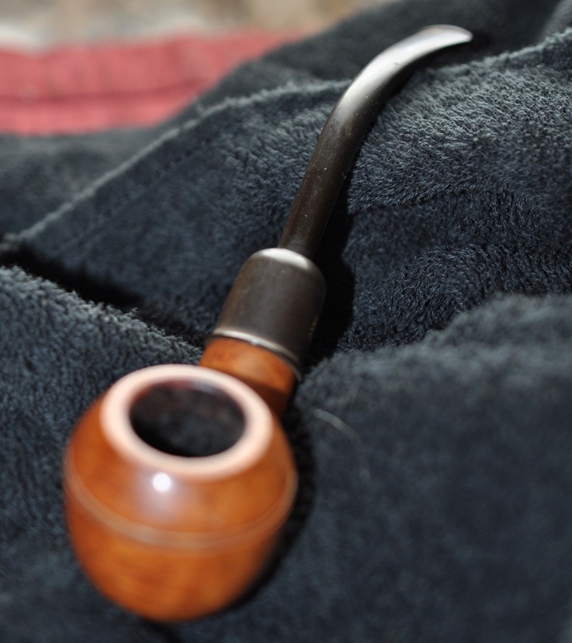
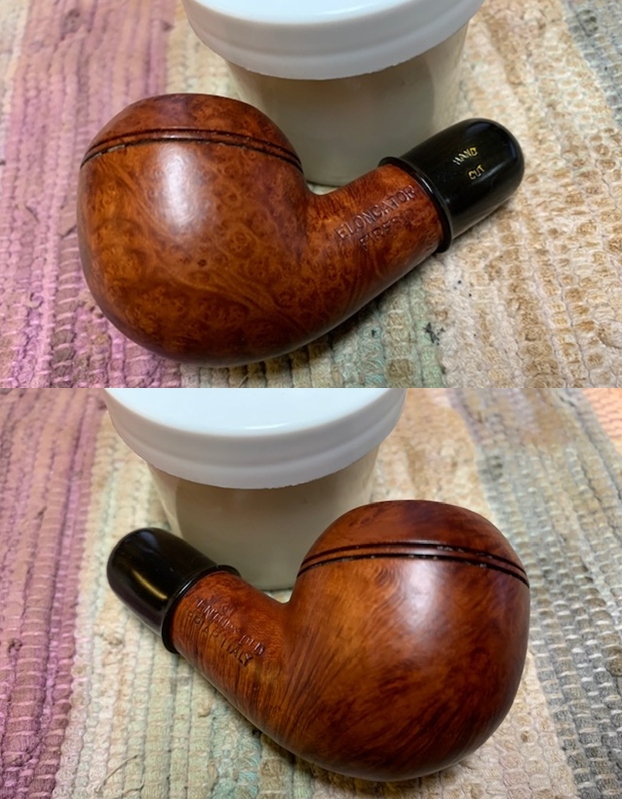
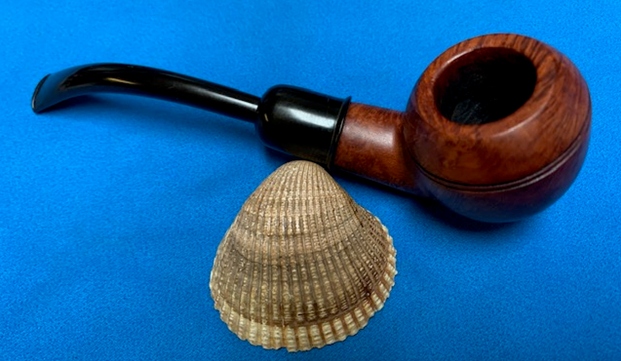
Thanksgiving travels are now completed with us visiting kids and grandchildren in St. Louis and Nashville and I’m now back at the worktable in Golden, looking at an interesting pipe. Daniel was bold to commission 7 pipes from the For “Pipe Dreamers” Only! collection and with 3 completed, the fourth is now on the table, a Meer lined Hilson Fantasia. I acquired it along with another commission of Daniel, the Paul Viou Plume (See: Discovering the Vintage of a Paul Viou ‘Feather’ with the Help of Sebastien Beaud of Genod Pipes of St. Claude) from a Lot I acquired from an eBay seller in Paris. The pictures show the French Lot of 50 and the Hilson marked by the arrow in the picture below. The Hilson is next on the worktable and I take some pictures to get a closer look.
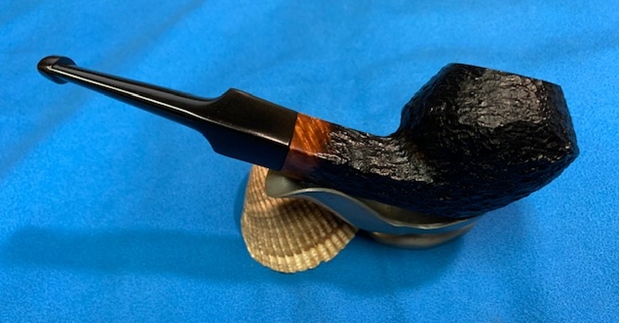
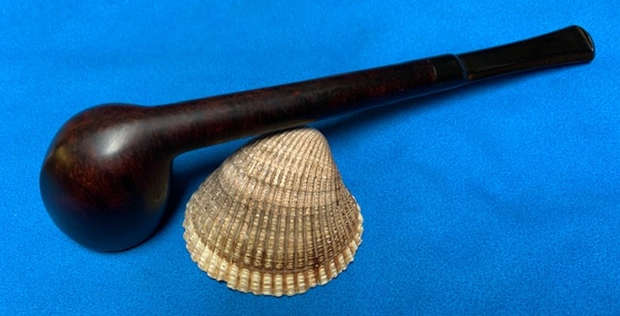
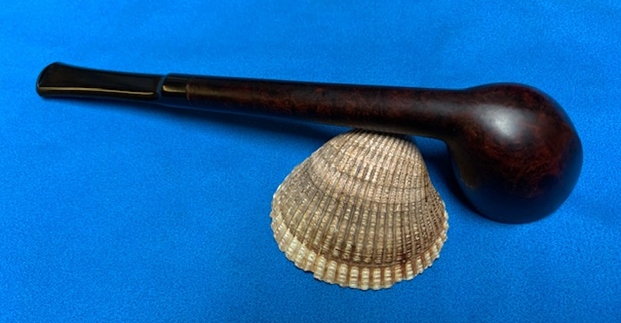
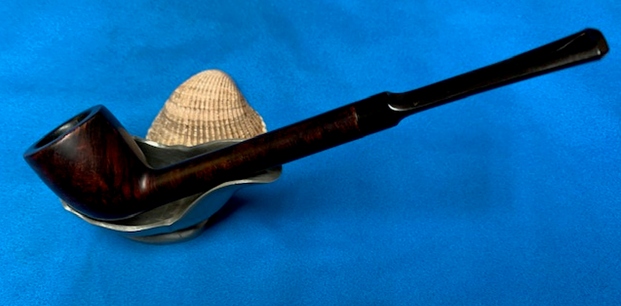

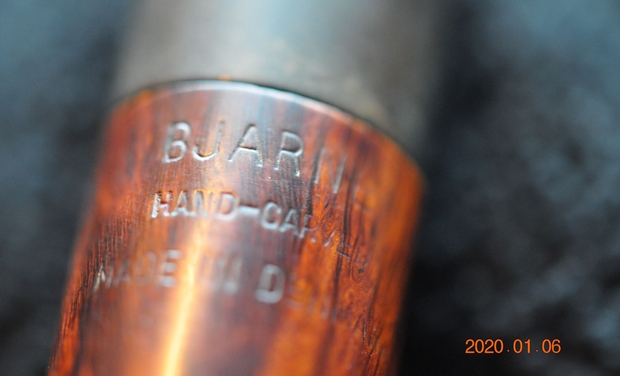
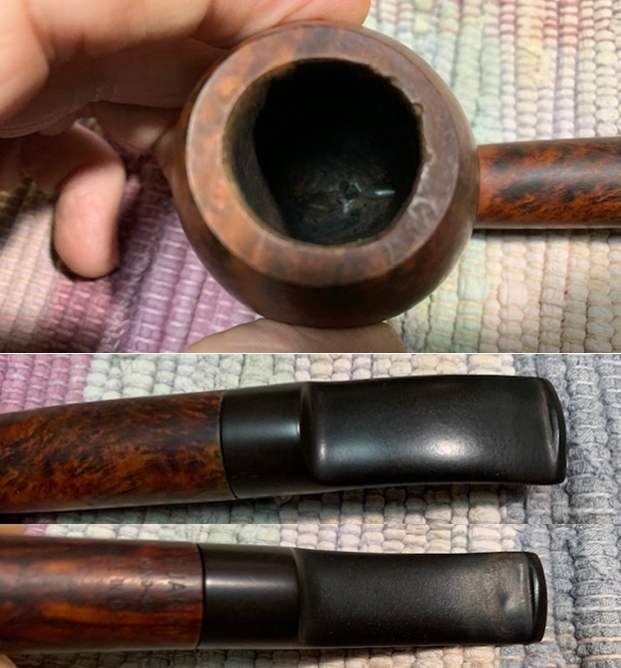
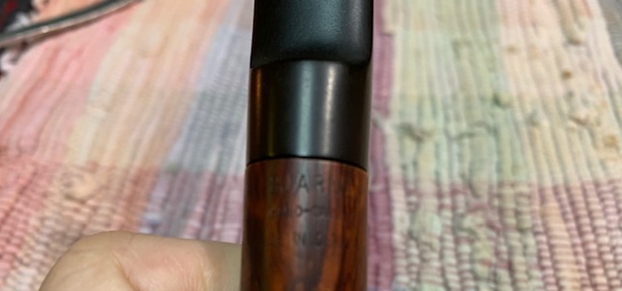
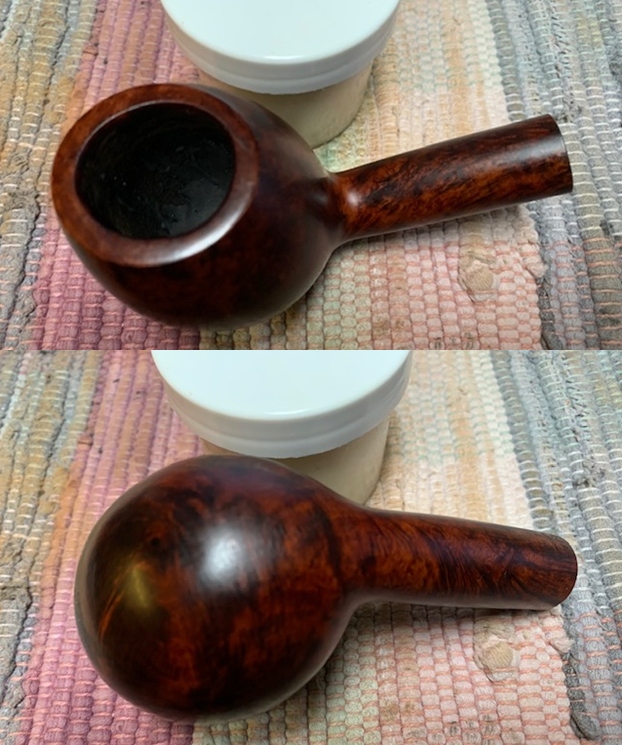
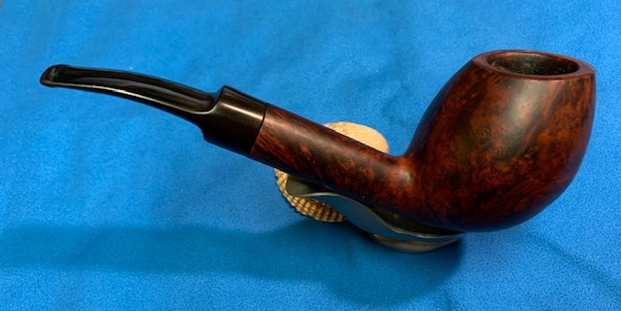
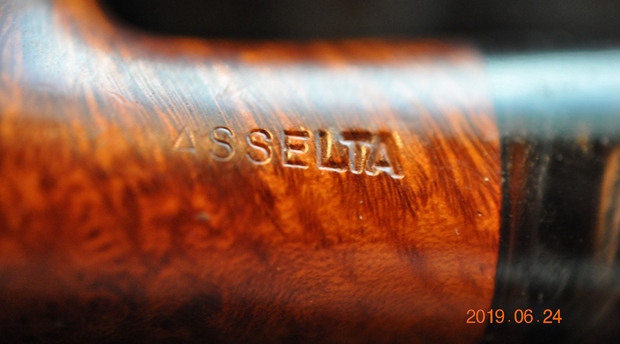
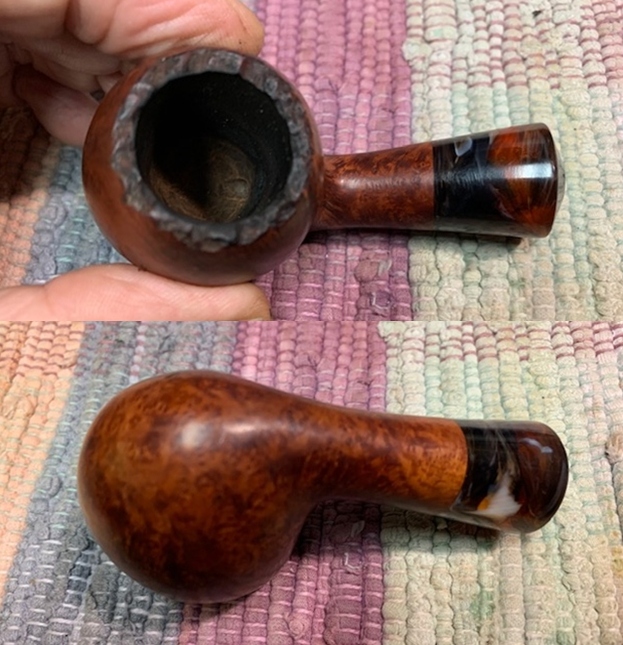
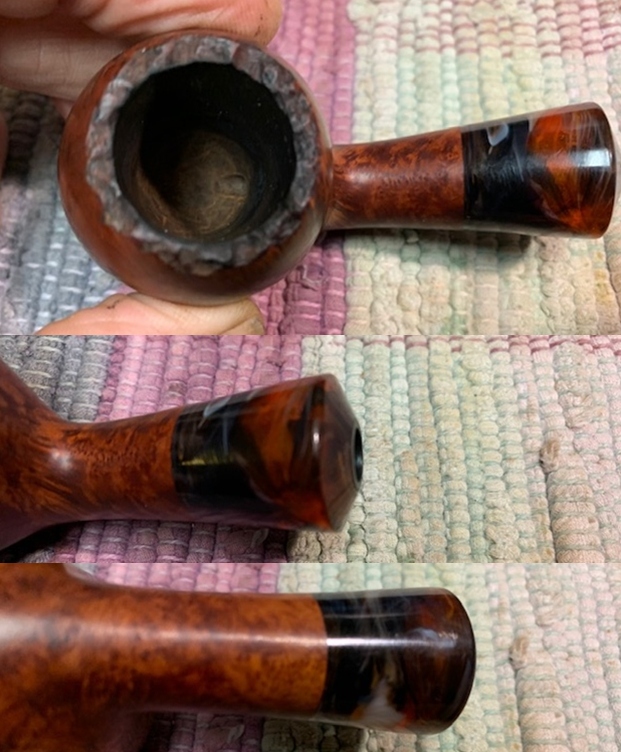
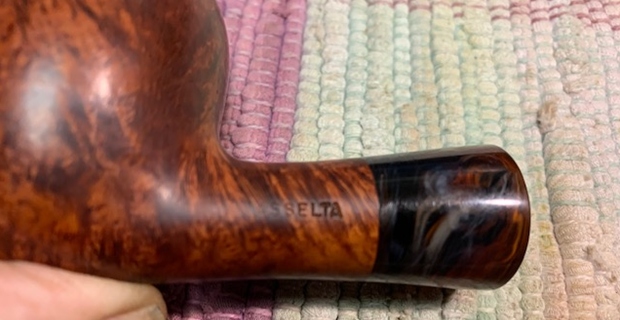
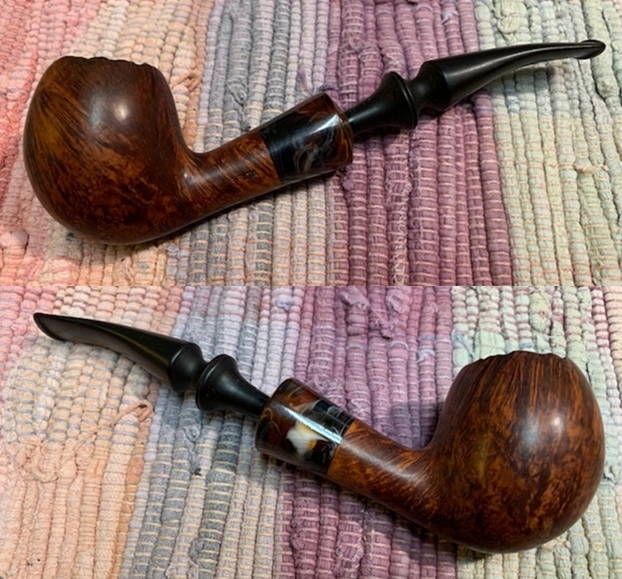
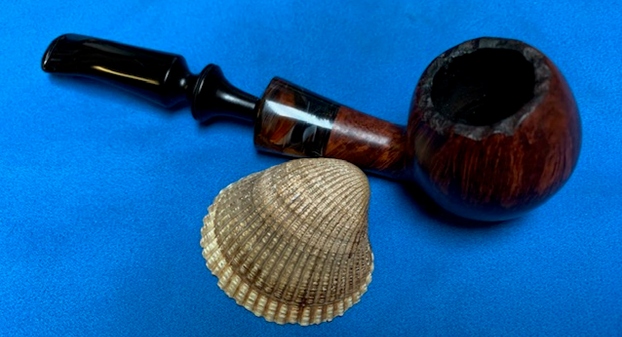
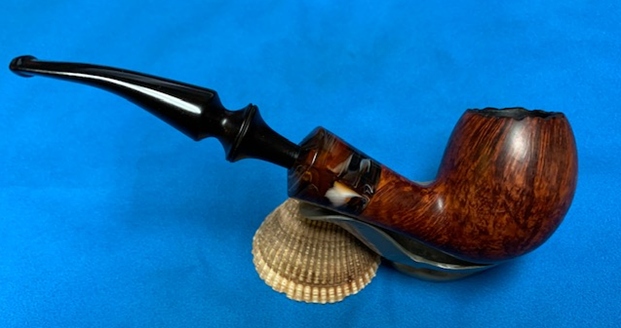
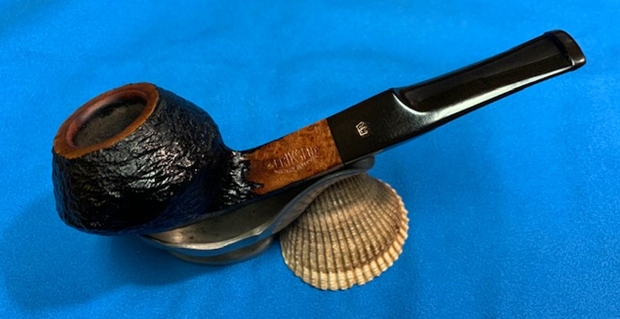
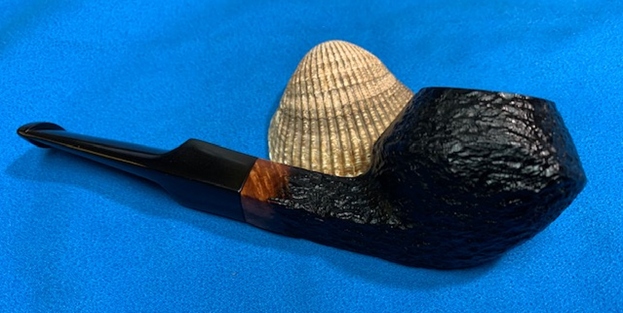
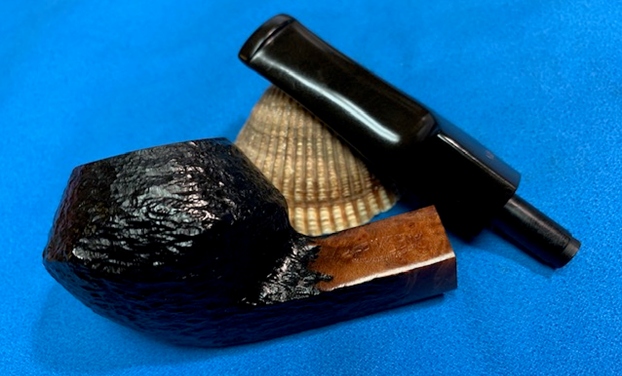
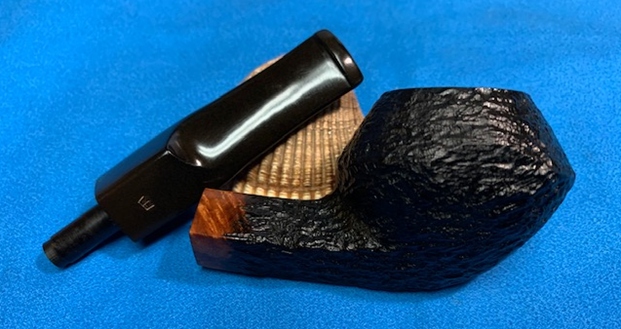
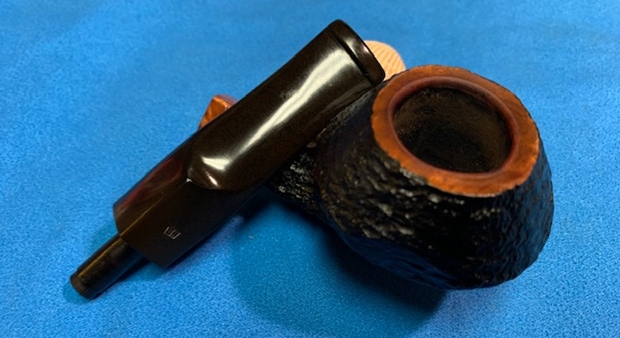
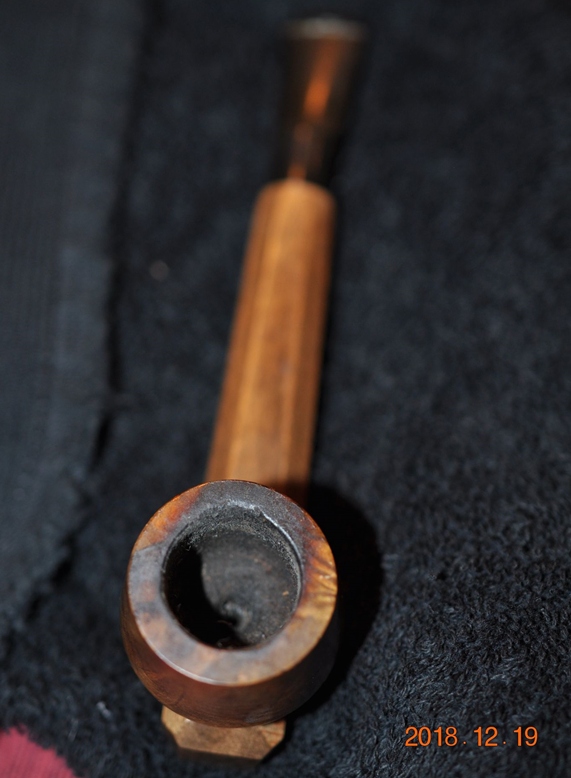
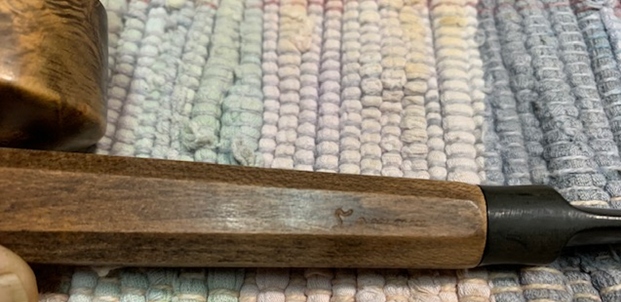
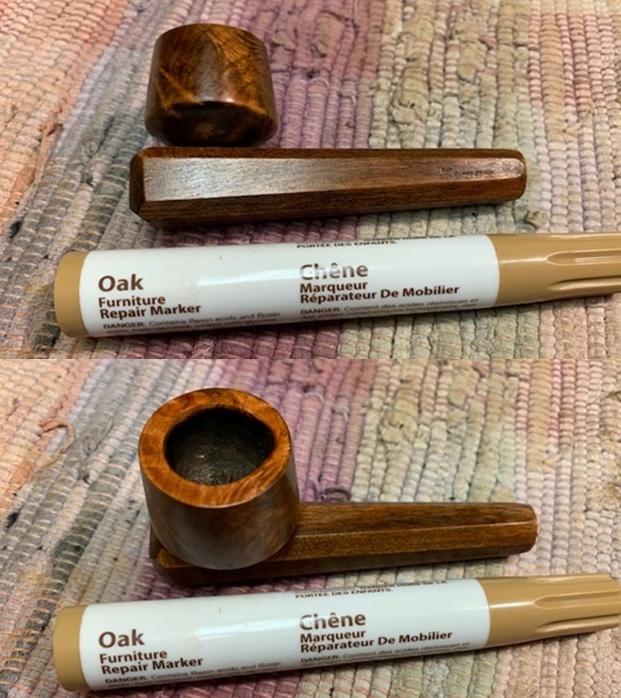
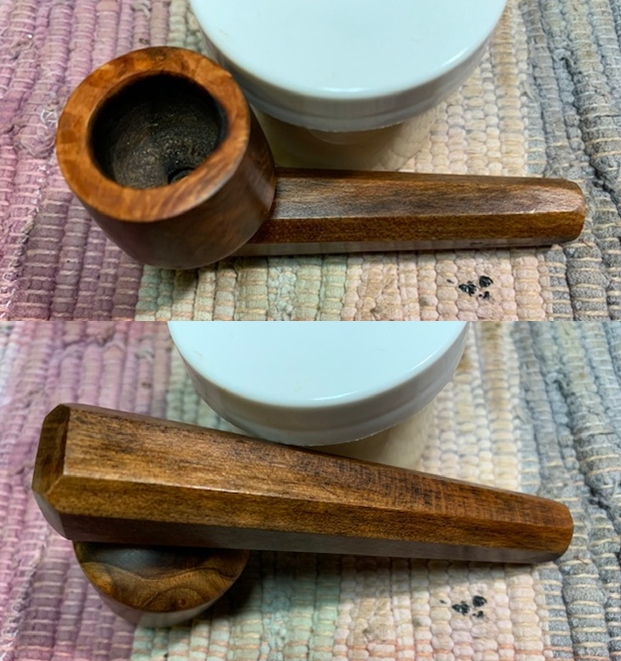
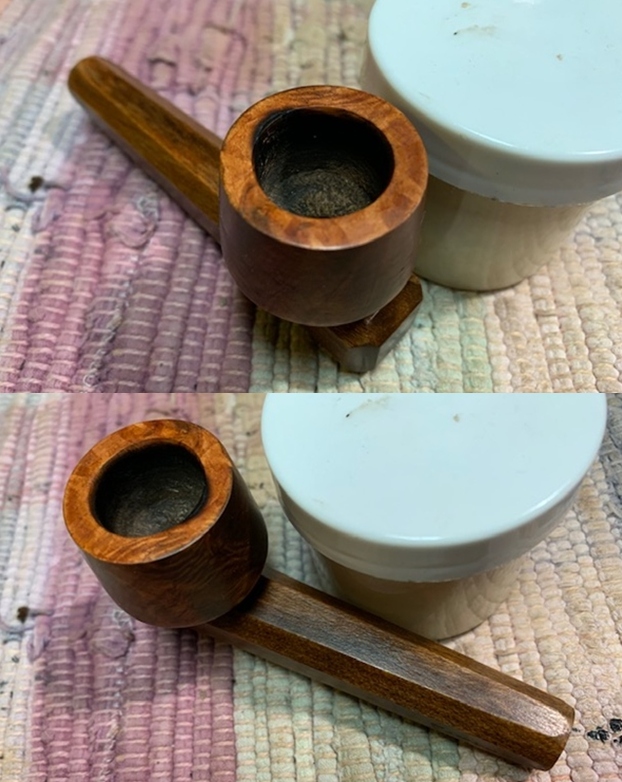
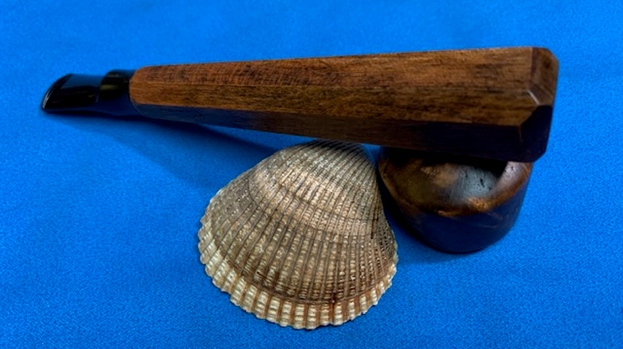
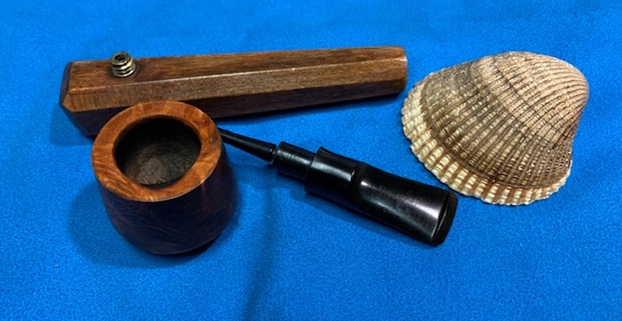
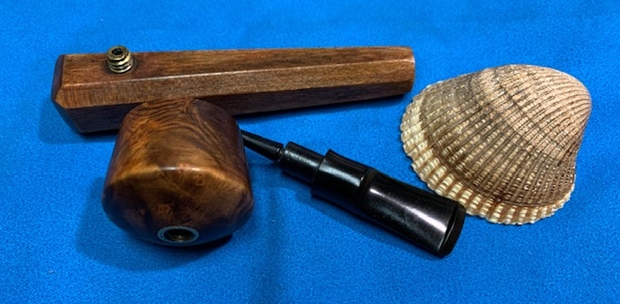
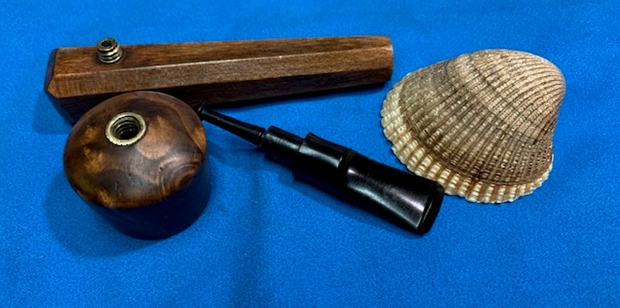
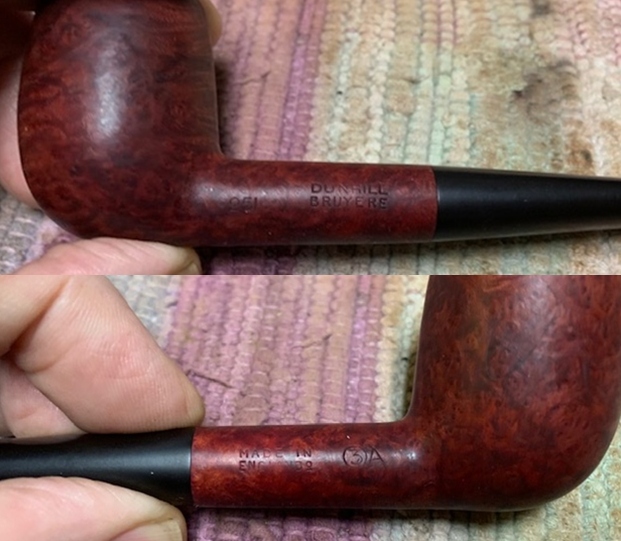
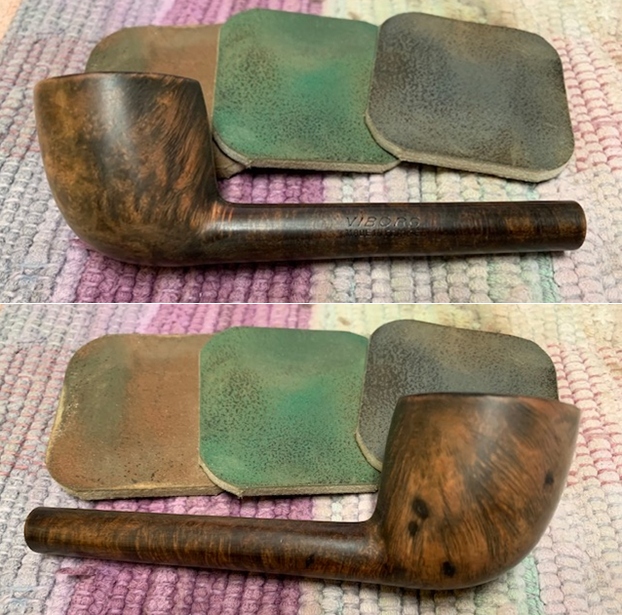
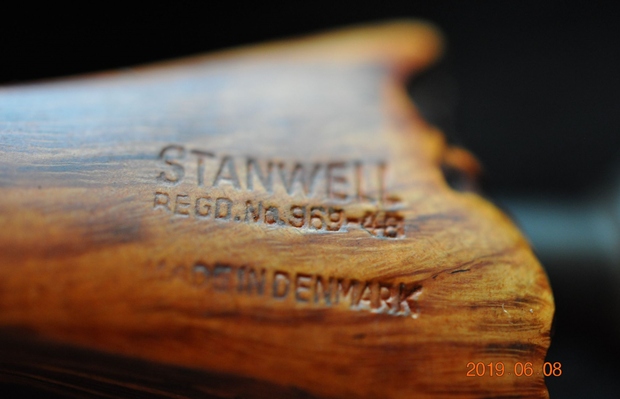
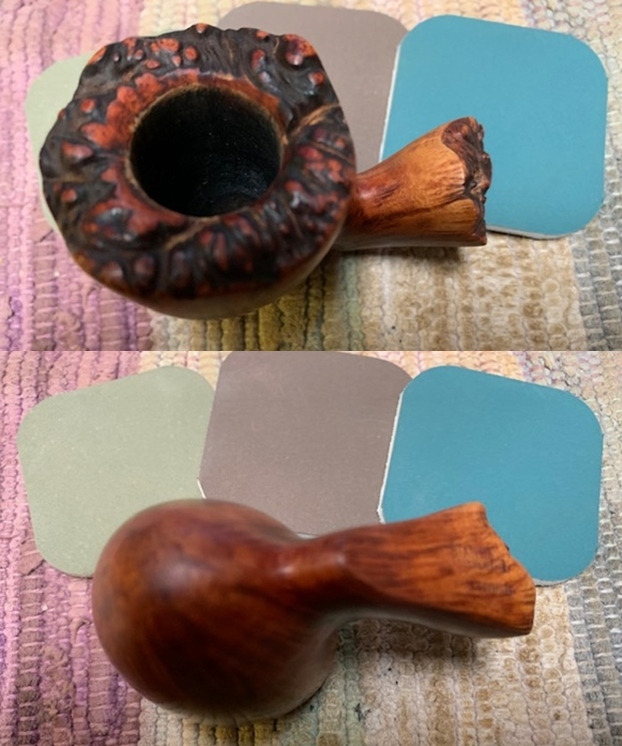
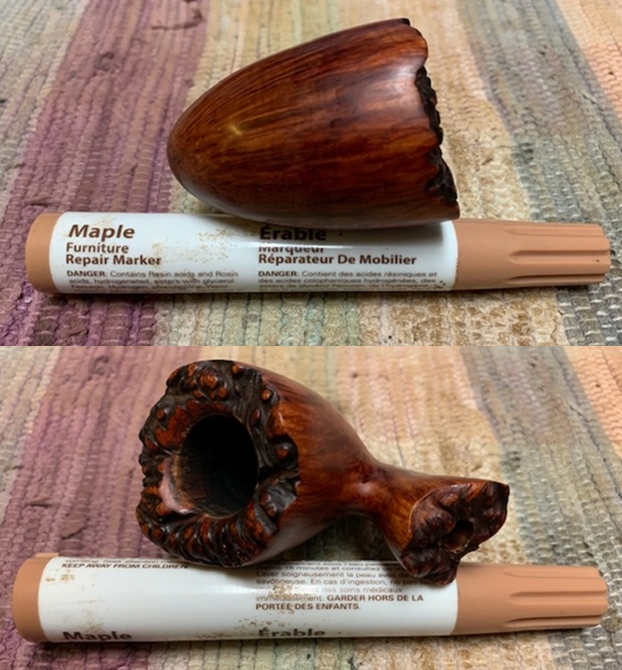
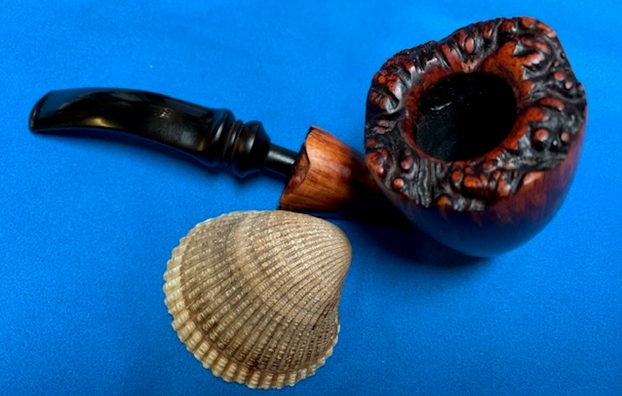
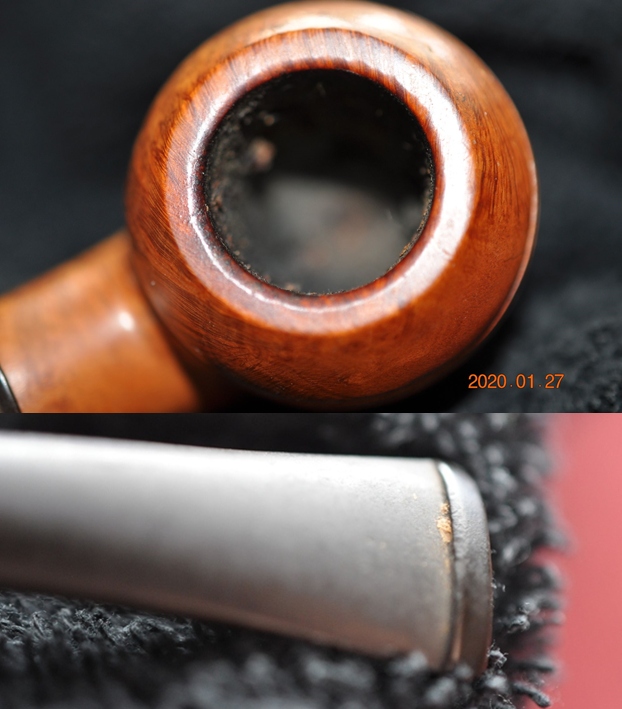
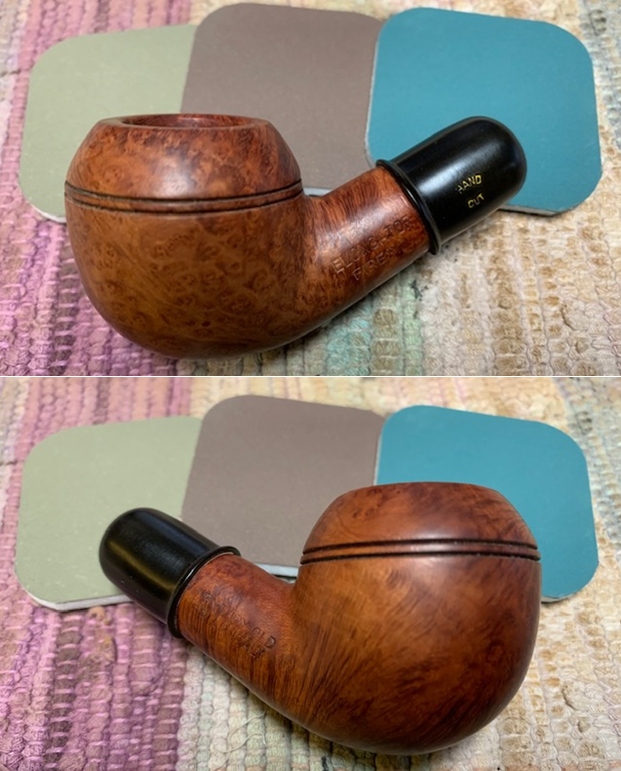
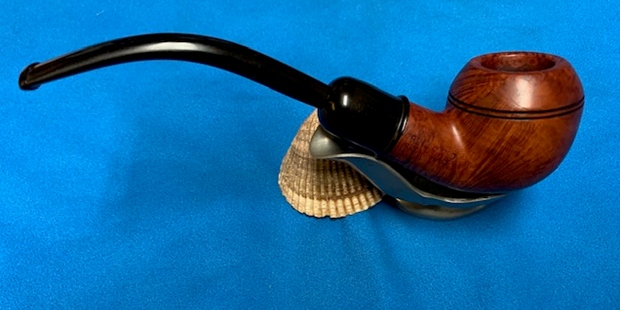
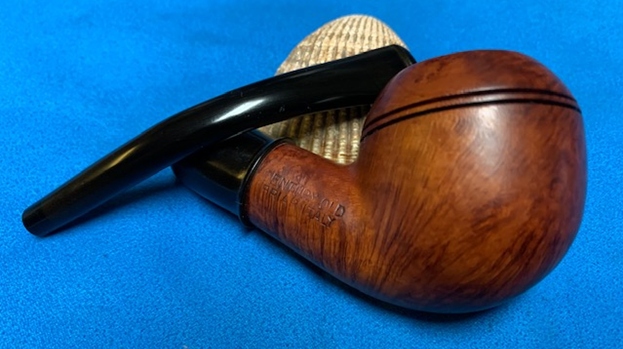
 The Hilson name is not found on the shank, but the stem. On the right shank flank is imbedded, BLOCK [over] MEERSCHAUMLINED. To the right is the shape number, ‘7’.
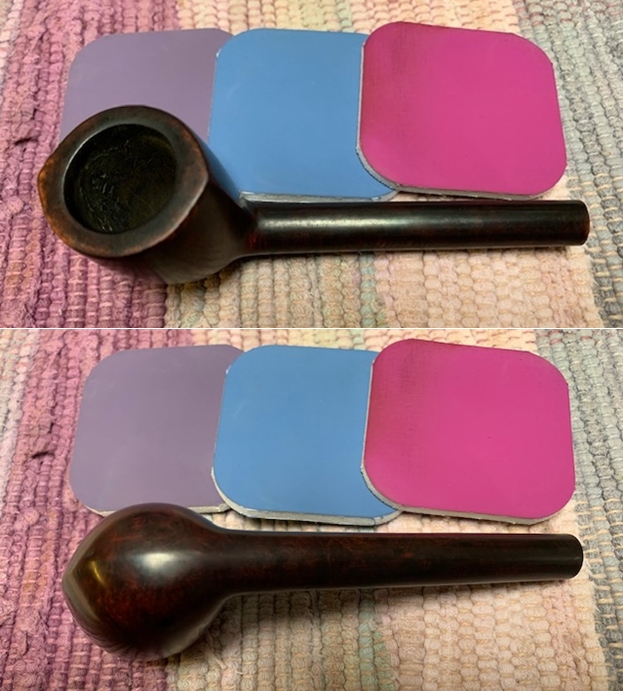
  The stem’s left side is stamped a half ghosted, HILSON [over] FANTASIA.
  This is my first opportunity to work on a pipe with the Hilson mark and my first impression of it drew mixed reviews – what is the material this is made of? I discover in a quick look to Pipedia’s article that this name finds its origins in Belgium but after financial difficulties was acquired in the early 1980s by the Dutch consortium, Elbert Gubbels & Zonen B.V., which later acquired the Big Ben name from England and started the Royal Dutch Pipe brand. I think the best short description of the Hilson name I initially found in Pipephil.eu but later discovered it originally came from Estervals Pipe House website:
 In 1846 a German named Jean Knödgen started the production of clay pipes in Belgium. At the end of the 19th century Jean Hillen (married into the Knödgen family) took over the company and developed the idea of also producing briar wooden tobacco pipes in his factory. He had some suppliers from the French Jura district turn some bowls which he then finished himself. Some time later he took up the complete production process of briar wooden tobacco pipes so he did not have to depend on others.
Jean Hillen had 2 sons: Jos Hillen who was responsible for sales and Albert Hillen who was responsible for the production of pipes. Albert was also an interpreter in the English army during WWII and he succeeded in establishing many international contacts. Thus they were soon able to export the first pipes manufactured in Belgium to countries all over the world with the brand name HILSON (Hillen and sons).
In 1980 the Hillen Pipe factory from the Belgium-Limburg town of Bree was purchased by the Royal Dutch Pipe Factory where the production of Hilson pipes was continued, carefully observing the traditional craftsmanship.
The link to the Estervals Pipe House website I found in a rebornpipes posting in which Steve’s research and summary of the Hilson name provides a great overview of the Fantasia. The title of this rebornpipes.com writeup resonates with my first impressions and sets the table for a great summary: Is it really a plastic smoking pipe? What is a Hilson Fantasia?
From my research on the web I found that the Hilson Fantasia, made in Belgium originally came out as a meerschaum lined pipe with an outer bowl made of a new material that they called pipenite. In 1962 it came out in what they called ivory white and in a colour they called tortoise. In 1963 they seemed to have added the option of a black pipenite bowl. From what I can find out about the material they call pipenite, it was a specially designed polyester resin. It was light weight and fairly indestructible. The block meerschaum insert was something that Hilson turned into a specialty. (I have restored some beautiful briar pipe with the Double Ecume or meerschaum liners as well.) These colourful resin pipes look like a product of the 60’s and in my research on Chris’ Pipe pages, http://pipepages.com/hilson.htm I found them in catalogues from that era. The swirled materials of the bowl gave the pipe a 60’s psychedelic look. I have included a catalogue page from a 1962 Wally Frank Catalogue that was on the pipepages site. The write up on the Hilson Fantasia is entertaining to read in terms of the sales pitch that is delivered.
Unfortunately, Chris’ Pipe Pages that Steve references above is now defunct, but the Pipedia Hilson article has the early 60’s Fantasia add Steve references which follows containing the great pipe pitch as the ‘Most Beautiful Pipe in the World’! Who could resist having a Fantasia in one’s collection! When I first took a close look at the Hilson Fantasia chosen by Daniel, I wondered what the butterscotch colored material was – plastic? Steve’s research revealed that the ‘pipenite’ described in the Wally Frank add is a specially designed polyester resin which is practically indestructible. The other noteworthy characteristic Steve referenced from the add is the quality Meerschaum block used in the Fantasia line. The add also makes a point regarding the long, smoking condenser which was Hilson’s contribution to the pipe world’s ‘holy grail’ – the dryer, cooler smoking experience. The lower inset box in the add above shows the #7 as among a large offering of shapes by Hilson equipped with the condenser.
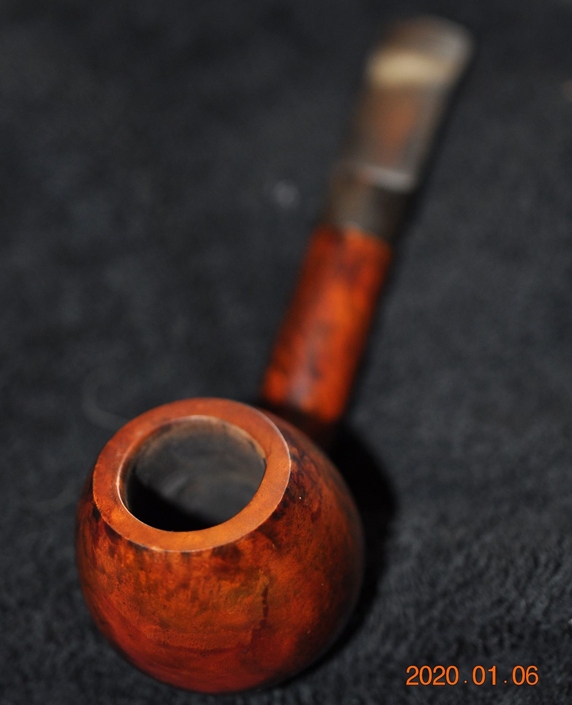
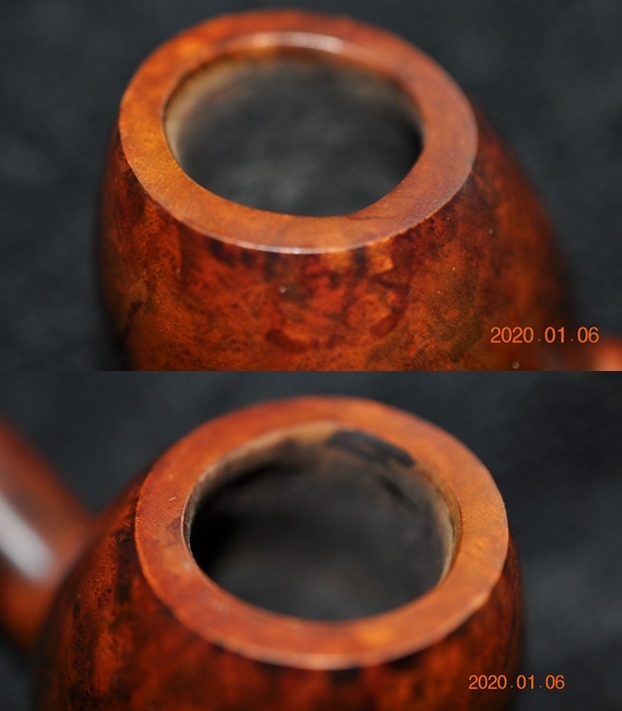
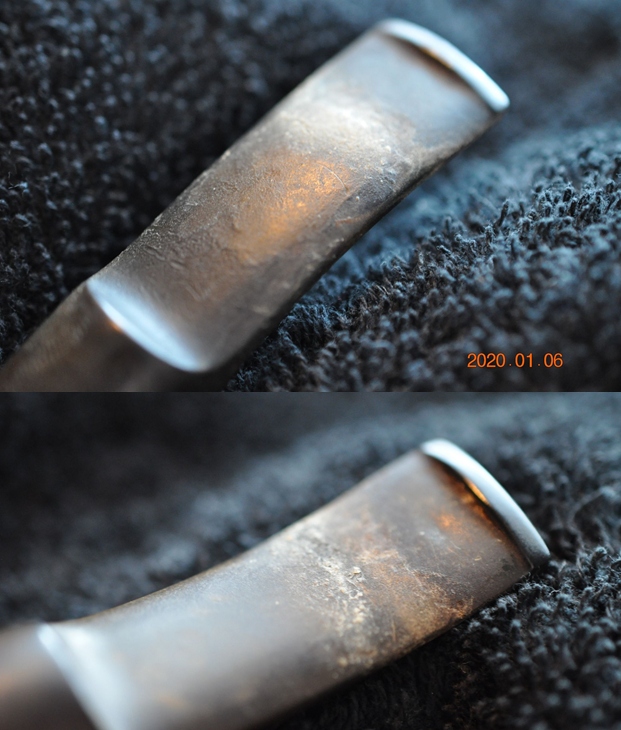
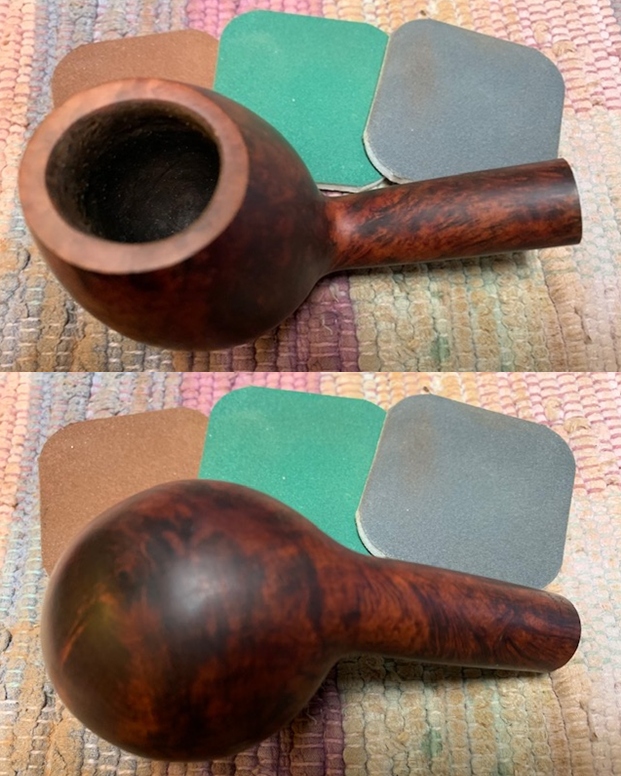
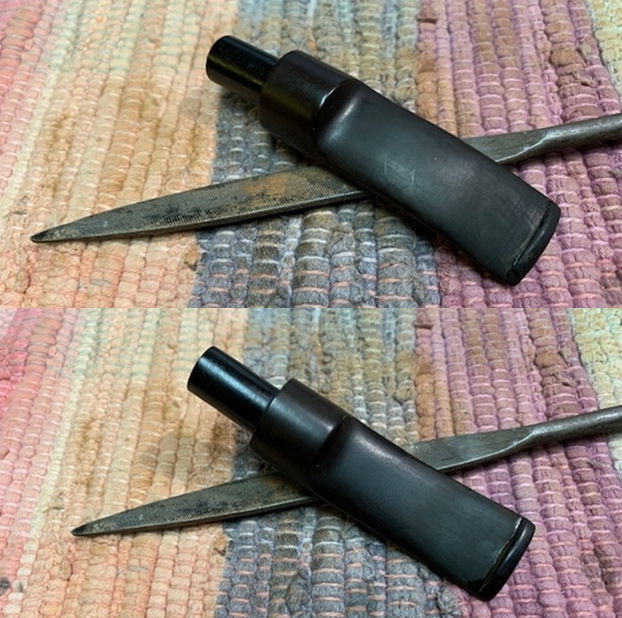
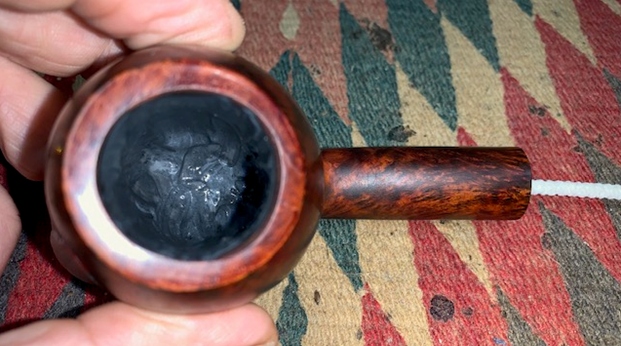
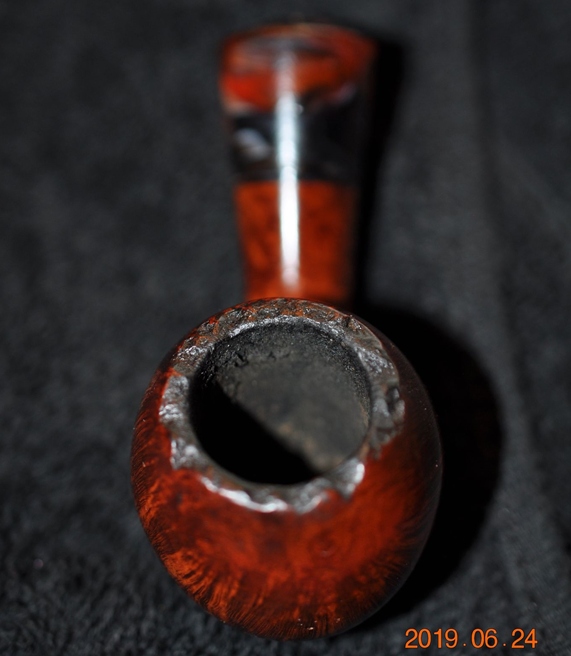
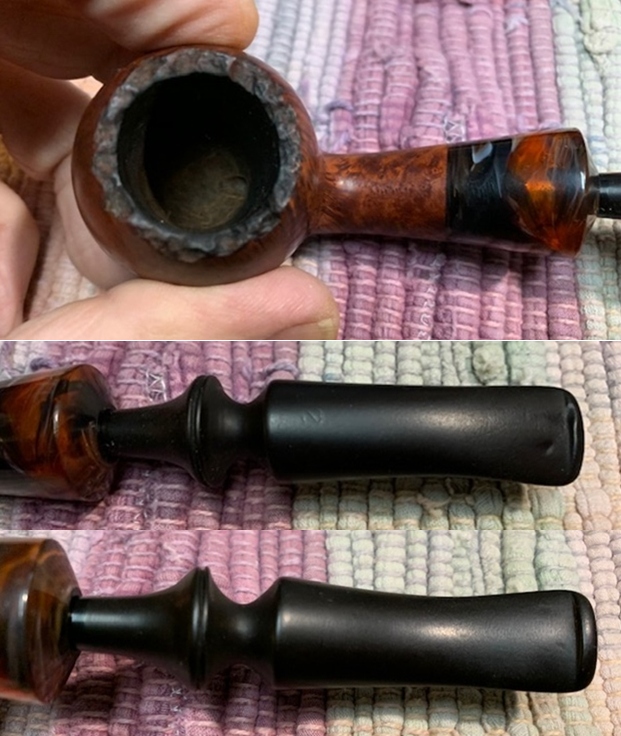
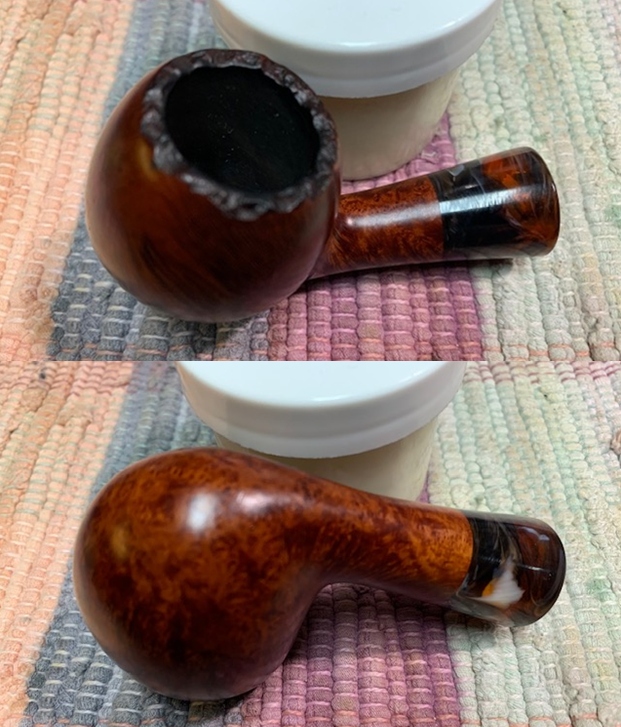
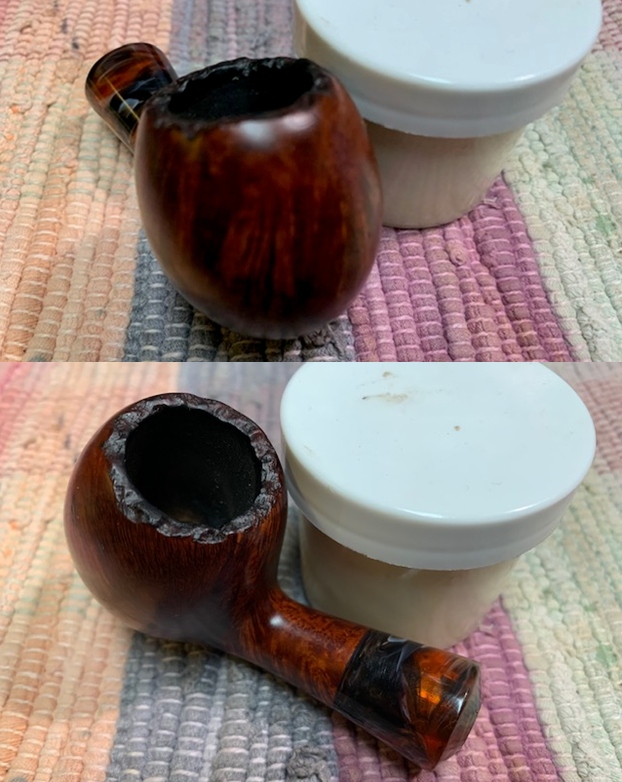
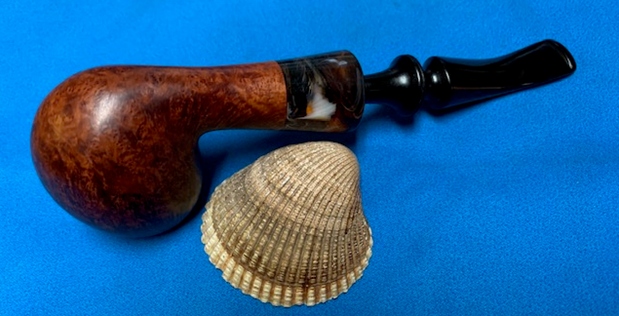
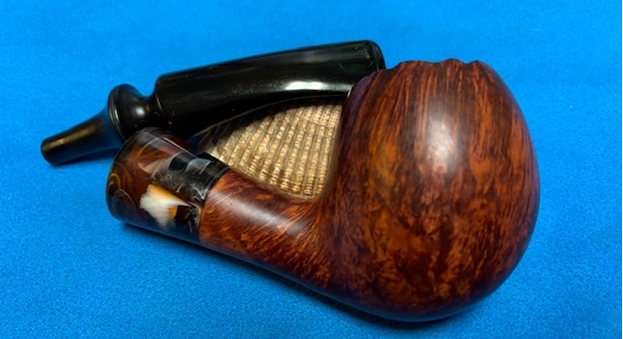
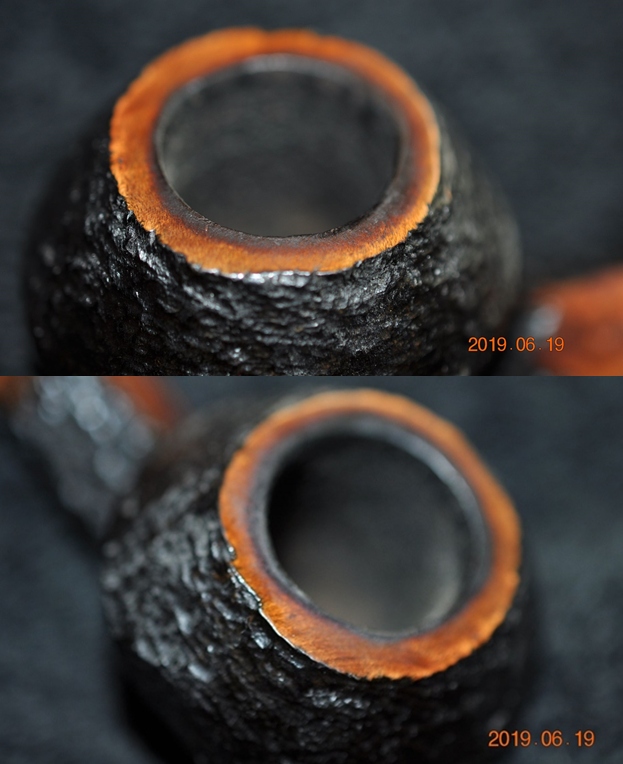
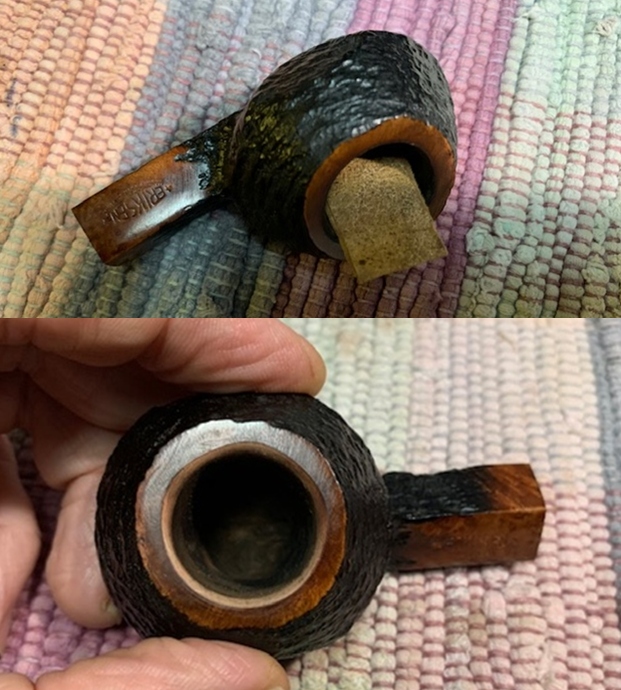
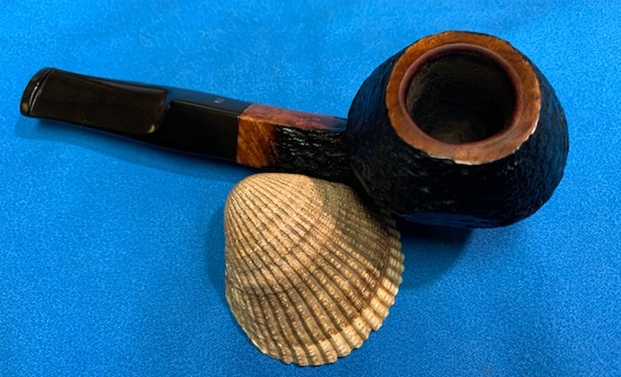
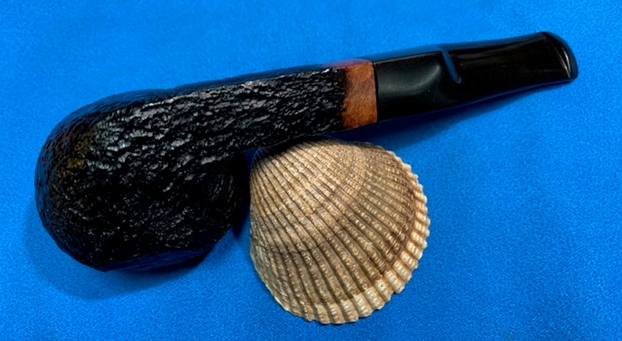
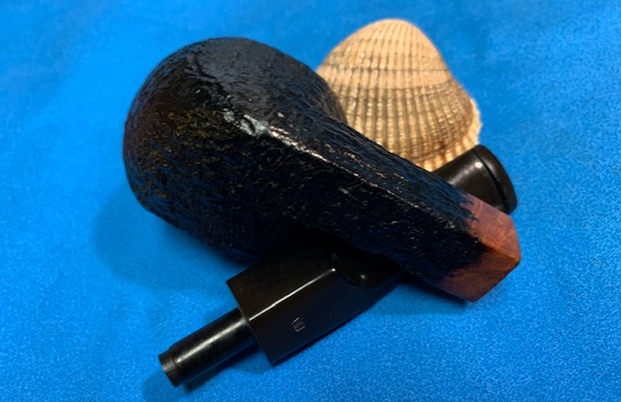
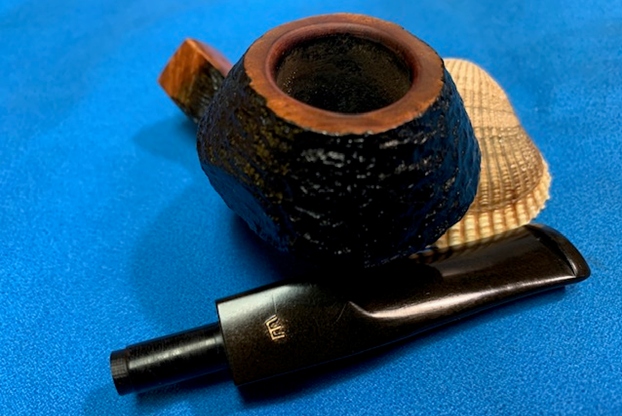
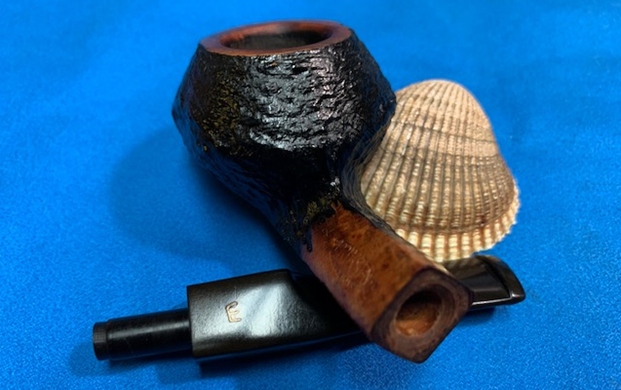
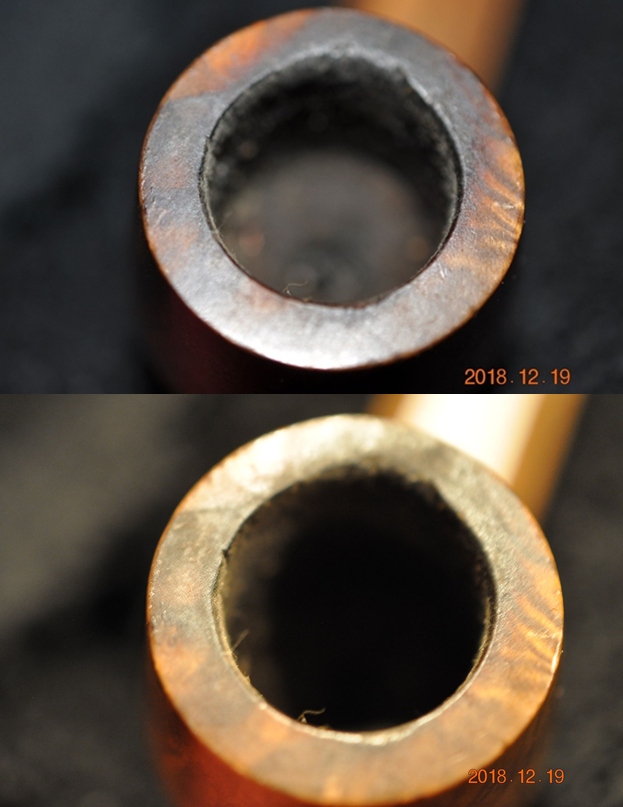
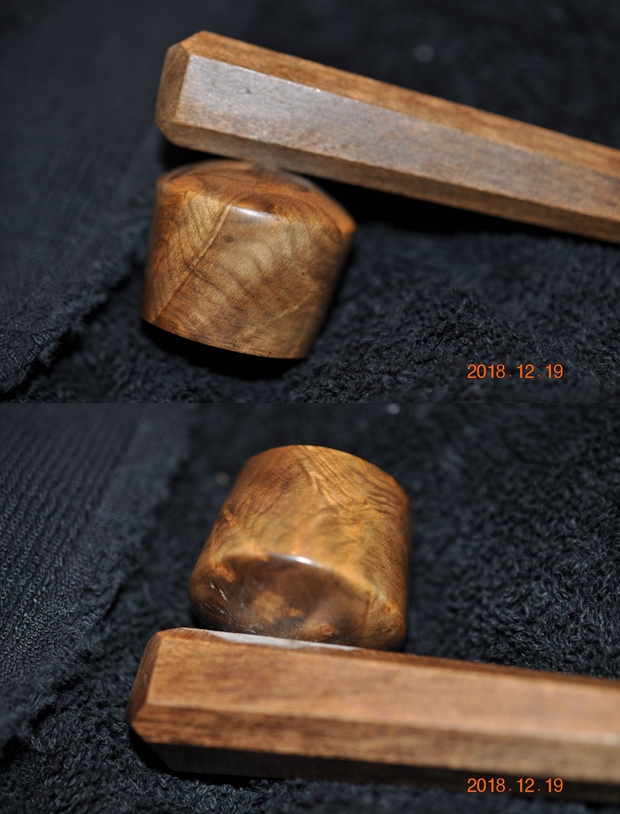
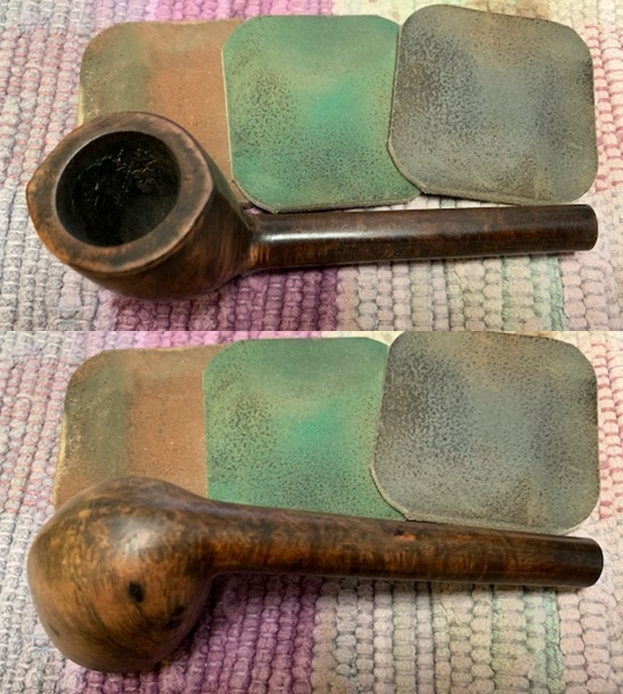
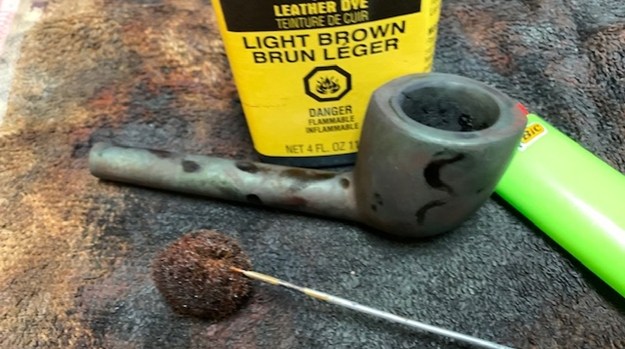
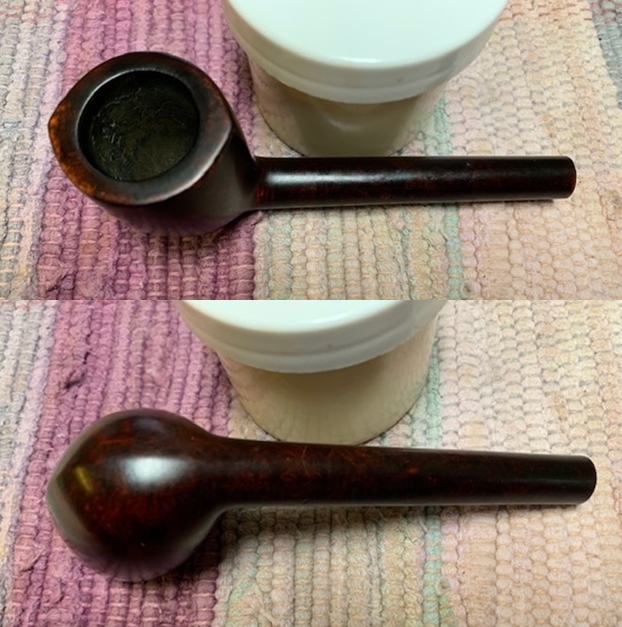
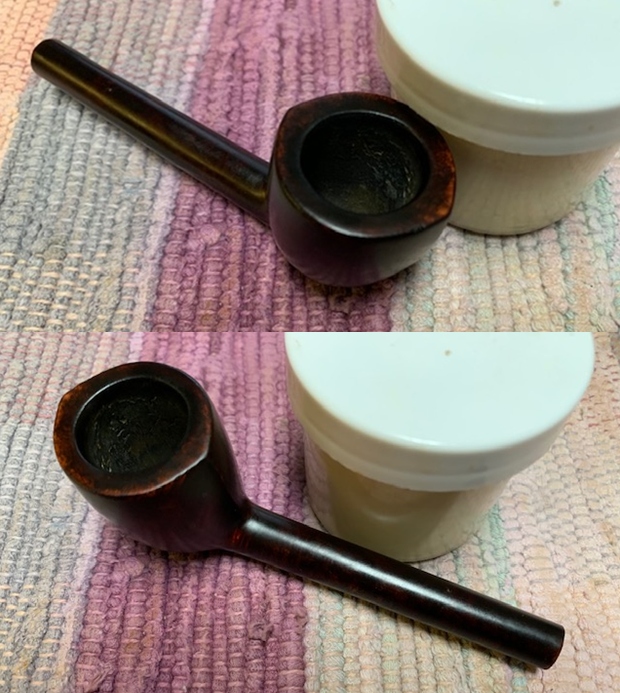
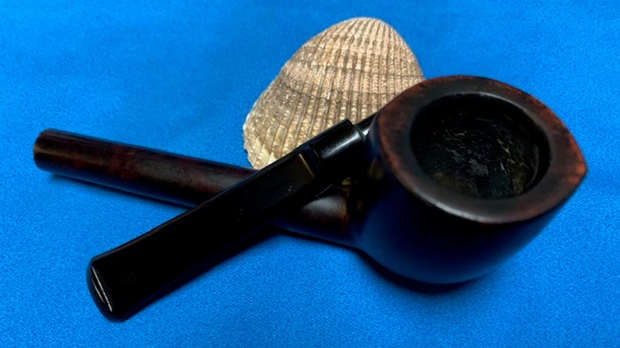
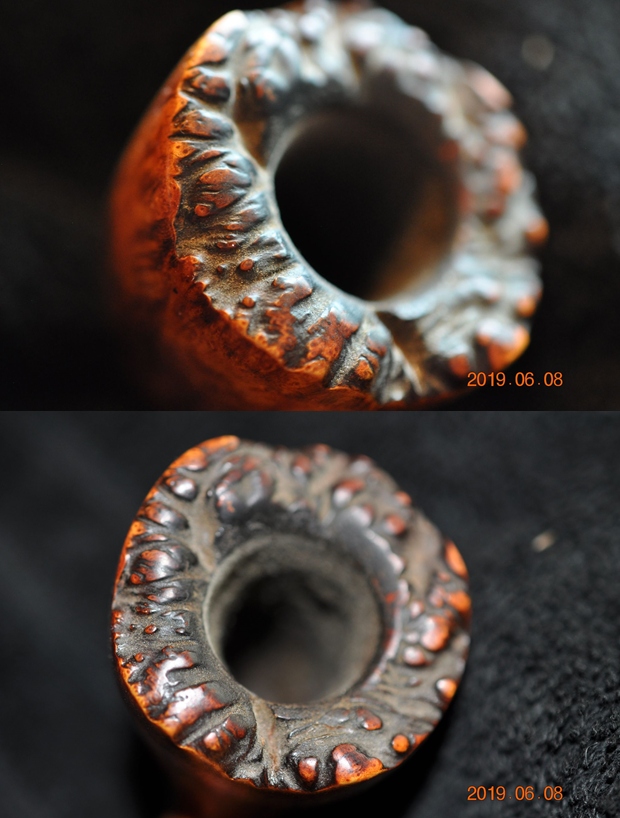
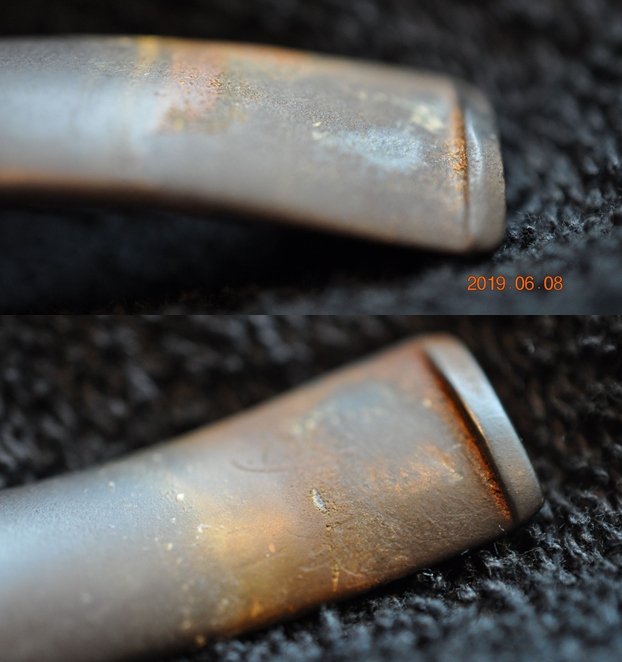
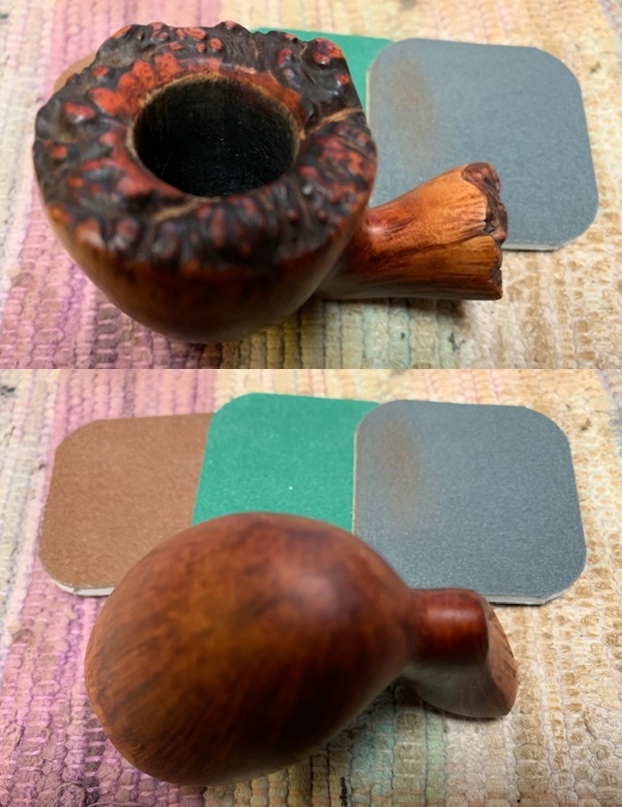
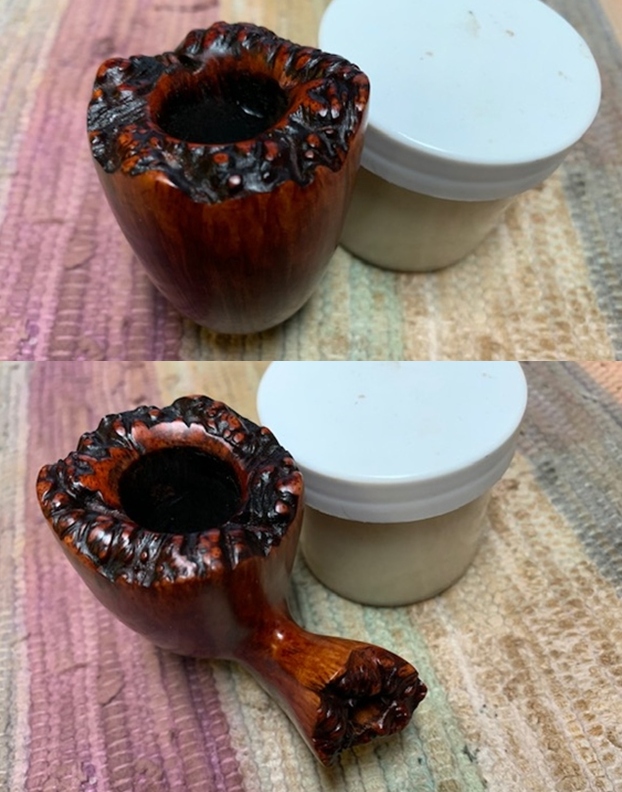
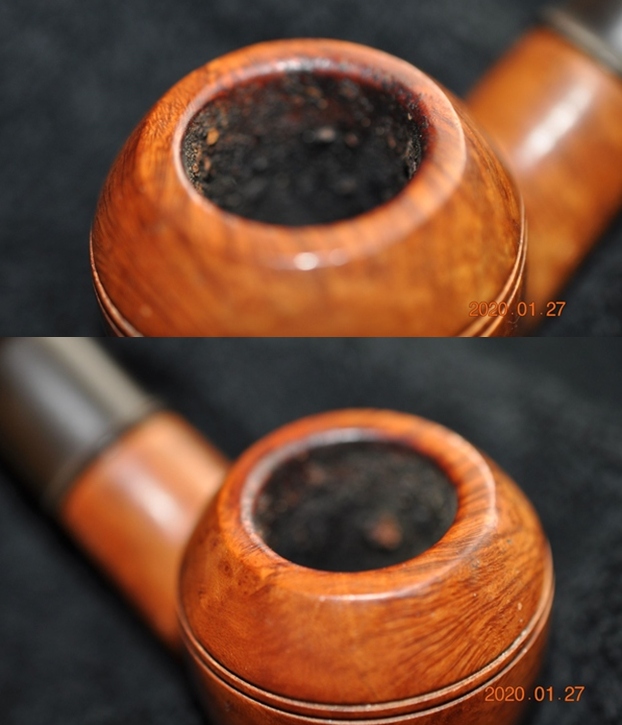
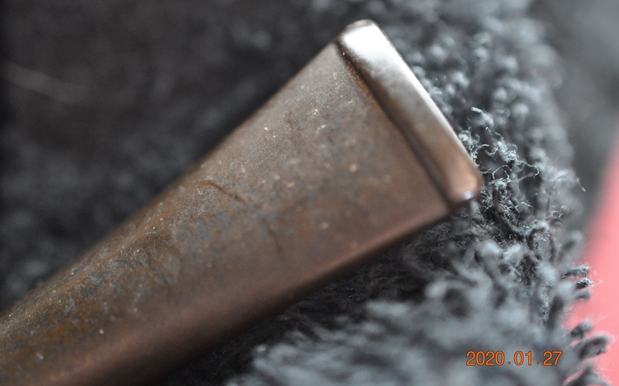
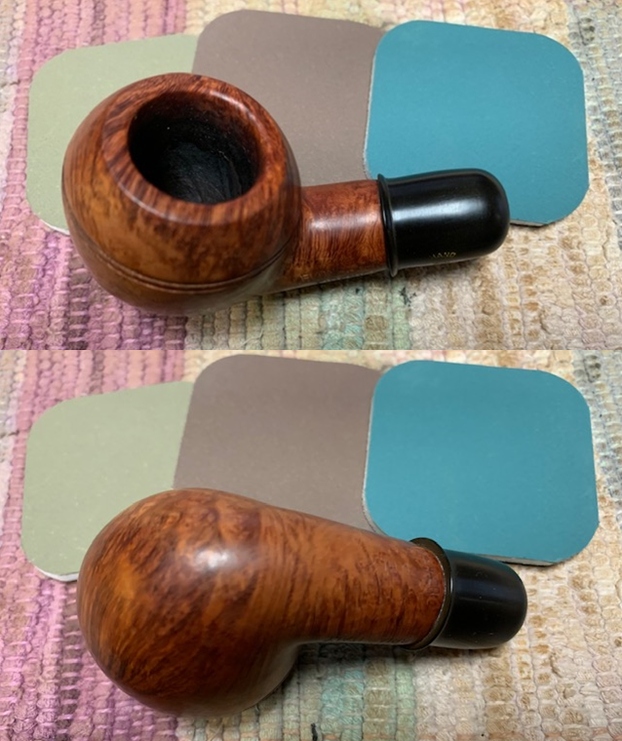
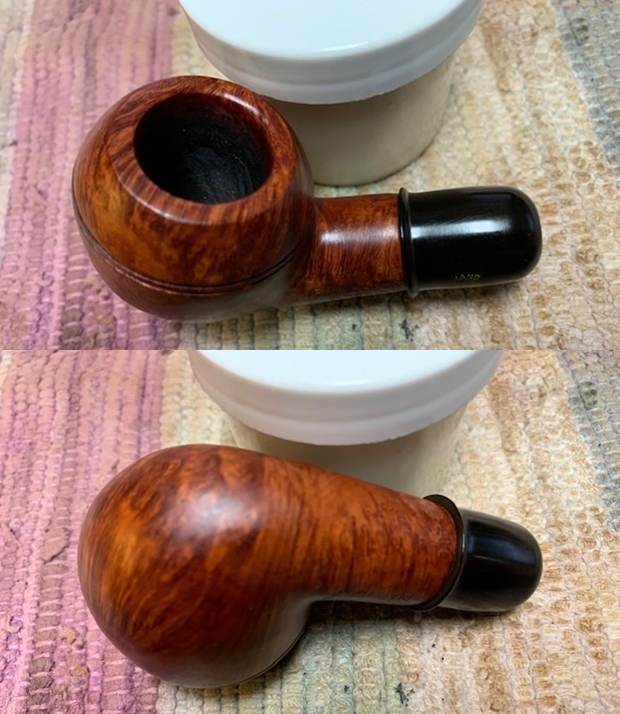
With a better understanding of the history of the Hilson Fantasia on my worktable, I look closer at its condition. The Block Meerschaum chamber and rim are covered with a thick cake buildup with the lava over the rim. This needs cleaning to give the Meerschaum a fresh start. I’ve lightened the picture to enable the black surface to be visible. The stem has deep oxidation, and the bit has heavy tooth chatter on both upper and lower bit. The ‘Pipnite’ surface is dirty and should clean up well without problem.
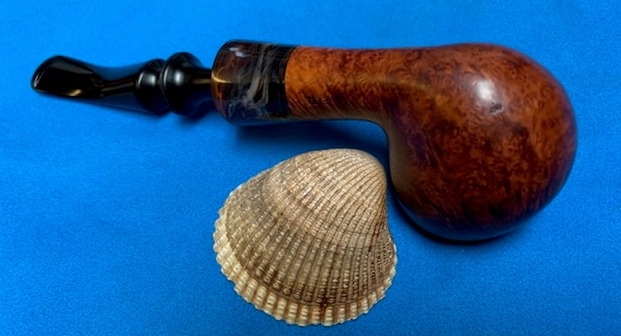
  The only question I have is what first appeared as a crack in the polyster acrylic resin bowl but is most likely a scratch. The question is, how best to address this, if at all? The glassy surface probably does not respond well to sanding or if I did sand the surface or buff with a compound to erase the scratch, will the scratching of the abrasives (papers, pads or compound) be able to be removed? Or will sanding inevitably leave the highly glossed surface dulled?
  If this is the case, then any attempt to sand out the scratch will leave the repair area standing out from the rest of the Pipenite surface. My guess now is that it is an ‘all or nothing’ proposition – either sand/buff the whole stummel or not at all. With the question of the approach to the stummel a question, I decide to send a note to Steve to get his feedback on the behavior of Pipenite if sanded? While waiting for Steve’s response, I press on.
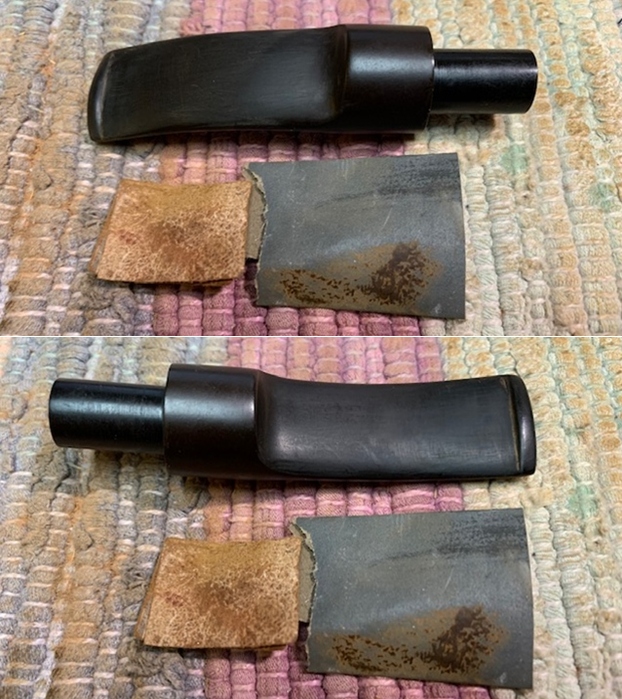
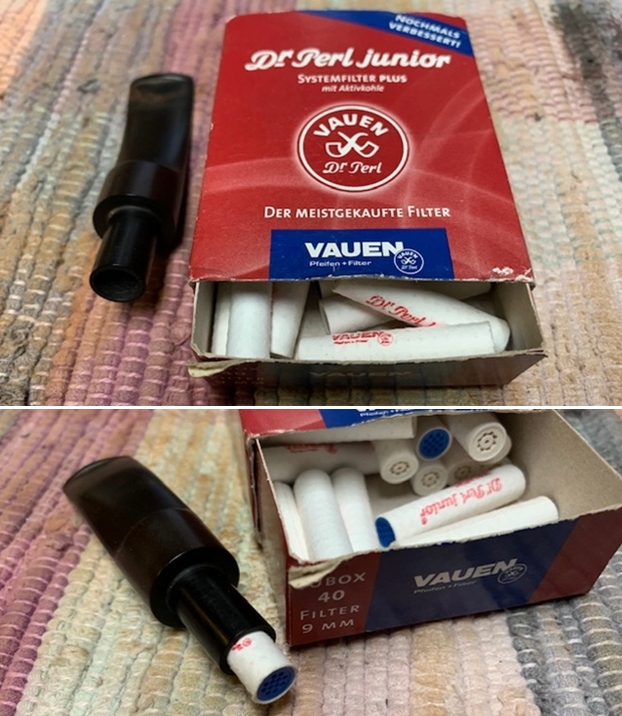
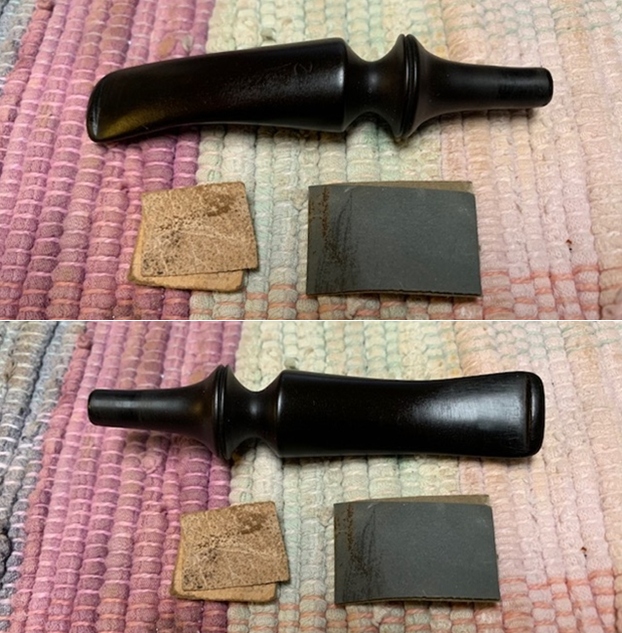
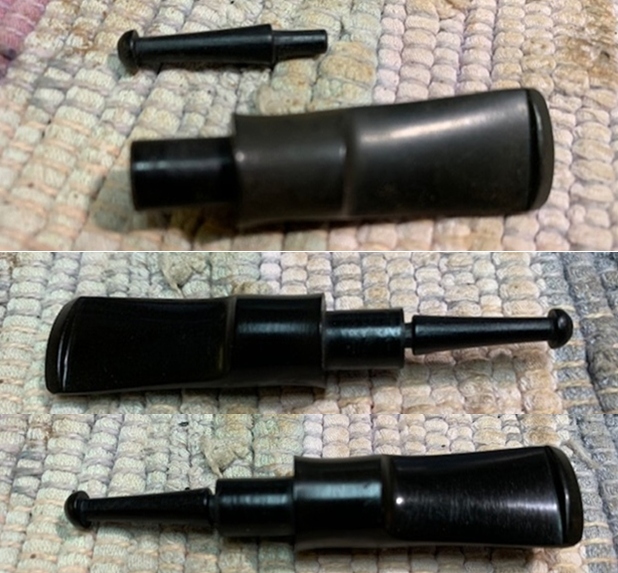
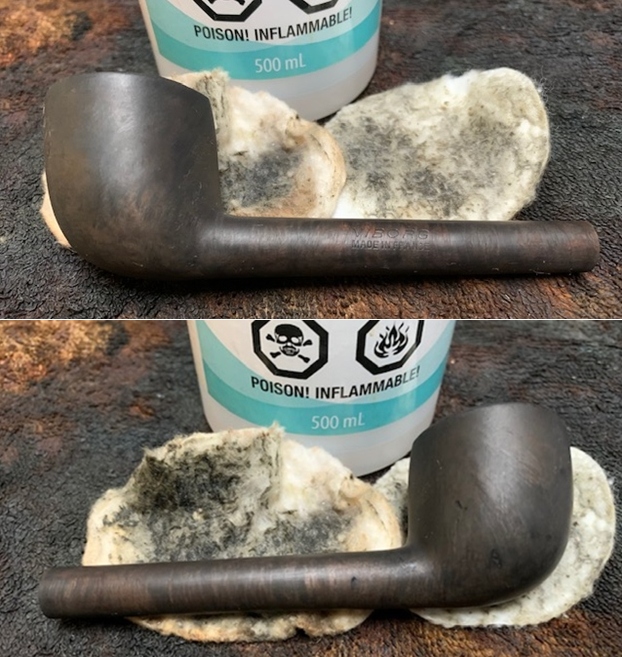
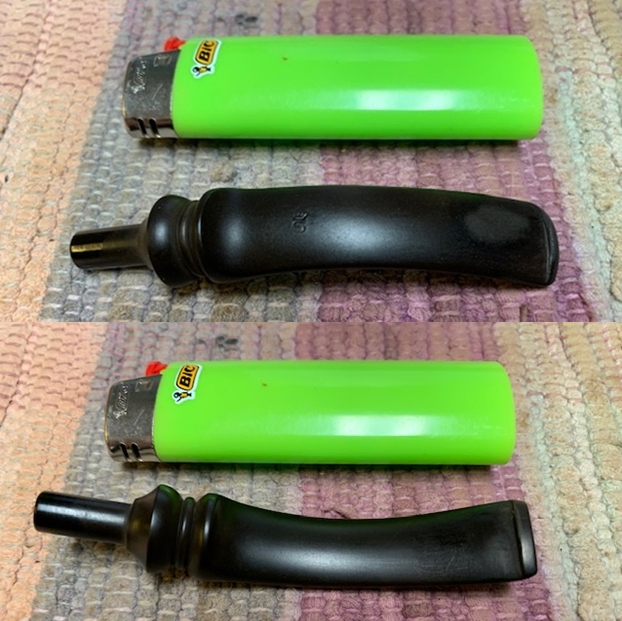
The cleaning of this Hilson stem began while I was still in Bulgaria and these pictures record the cleaning of the stem. Starting with 0000 grade steel wool, I rub and buff the long, heralded Hilson condenser. It spruces up the nickel condenser nicely. Following this, only a few pipe cleaners dipped in isopropyl 95% clean the internal stem airway.
 Next, a ‘Soft Scrub’ product gets a head start breaking up the oxidation imbedded in the stem surface before continuing the cleaning by giving the stem a Before & After Deoxidizer soak. While protecting the Hilson stem stamp, using 0000 grade steel wool wetted with the CIF, the oxidation is mitigated.
 To further the cleaning of the stem, it joins other stems in the queue in a Before & After Deoxidizer soak. The stem soaks for several hours.
 After the soak is completed, the stem is fished out of the Deoxidizer allowing the fluid to drain off. A cotton pad wetted with isopropyl 95% is then used to wipe away the excess Deoxidizer from the stem surface. This is followed by using a few pipe cleaners, also wetted with isopropyl 95% to clear the Deoxidizer from the internal airway.
 The stem’s rejuvenation is commenced using paraffin oil and a cotton pad. The stem looks good.
 Earlier I sent a note to Steve to get his input on how best to approach the Pipenite surface scratch and the kind of material Pipenite is? His response was helpful in describing the universal lack of consensus on what ‘Pipenite’ is! Here’s Steve’s first response:
Hey Dal
The material on the Fantasia is described as everything from Bakelite to epoxy resin in a multitude of places. Others have called it plastic resin. some even fiber glass. To me nothing fits better than the resin concept… not sure about epoxy but everything about it is resin. It is not bakelite for sure…
 Sanding the pipenite or resin leaves scratches that are nearly impossible to remove. I polished out a lot of scratches with my buffer and blue diamond polish and succeeded in not losing the lustre. Personally, I would buff it out best you can and leave it alone… war wounds from its travels.
S
To refresh my understanding of the unique composition of resin, I turn to a helpful Wikipedia article:
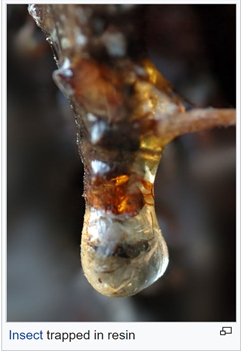
In polymer chemistry and materials science, resin is a solid or highly viscous substance of plant or synthetic origin that is typically convertible into polymers.[1] Resins are usually mixtures of organic compounds. This article focuses on naturally occurring resins.
Plants secrete resins for their protective benefits in response to injury. The resin protects the plant from insects and pathogens.[2] Resins confound a wide range of herbivores, insects, and pathogens, the volatile phenolic compounds may attract benefactors such as parasitoids or predators of the herbivores that attack the plant.[3]
Steve followed with another email with links from sites like Pinterest, Etsy, and Worthpoint, which are sales platforms with examples of different Hilson Fantasia offerings and the varied descriptions of the pipes running the gambit as Steve described above. I enjoyed looking at the Hilson Fantasias for sale on these sites which were of the ‘tortoise shell’ variety – nice. The collage below shows these examples. These examples reminded me of another Hilson Fantasia in my Pipe Steward inventory that also is a tortoise shell but has a significant crack in the stummel, so it never made it to the For “Pipe Dreamers” Only! online offerings – I just didn’t know what it was – or whether it was worth the effort being a ‘plastic’ pipe? I might give this Hilson another look!
 The tortoise shell is attractive, but the description by Steve that Pipenite is ‘practically indestructible’ found an example expanding ‘practically’! I still believe that Daniel’s Hilson Fantasia is marred by a scratch in the polyester resin shell, even if it is a trauma crack, perhaps from being dropped (?), it doesn’t appear to be such to question the pipe’s integrity with the Pipenet resin material.
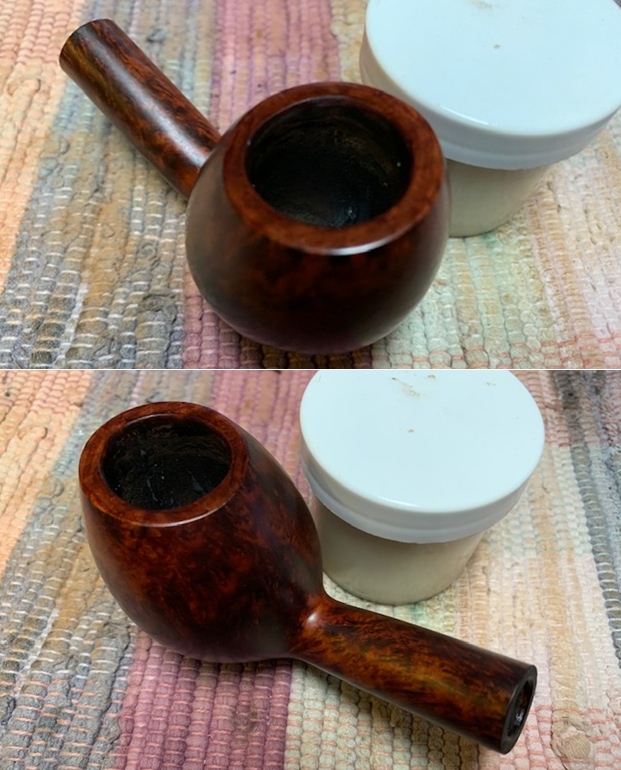
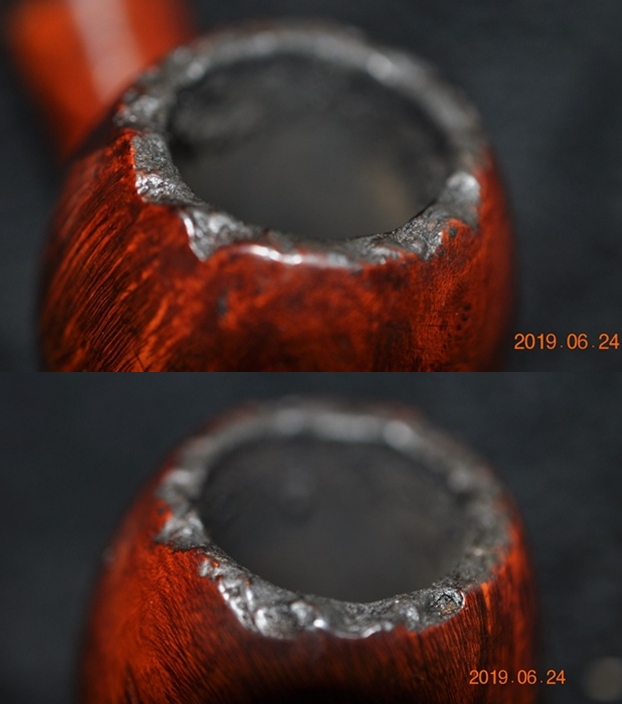
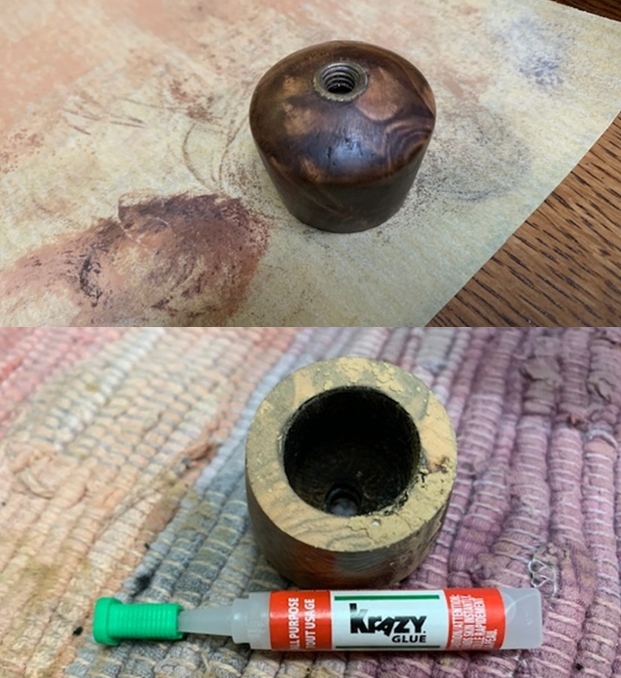
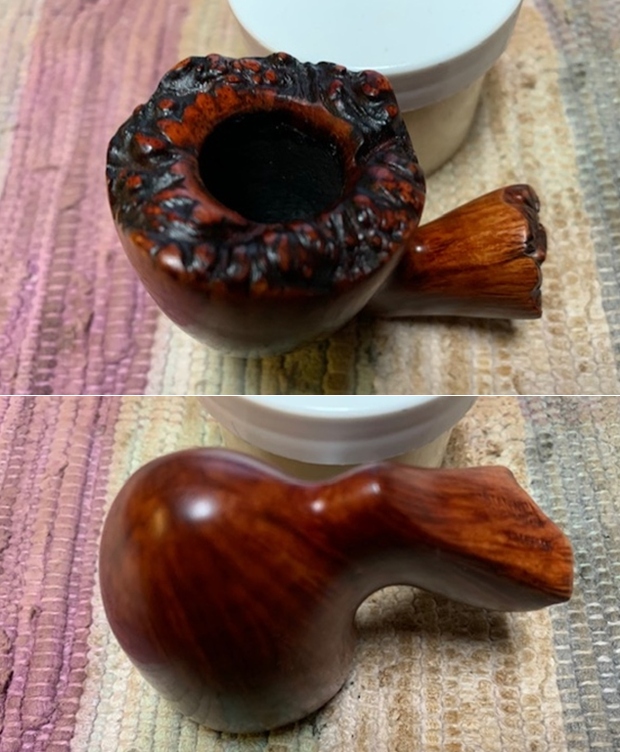
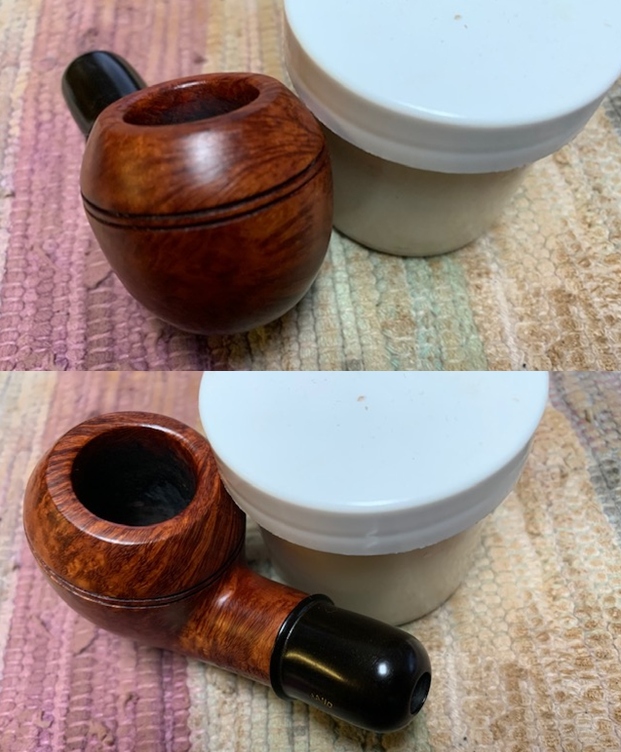
  Turning now to the Hilson Block Meerschaum stummel, I start with clearing the Block Meerschaum chamber of the accumulation of carbon cake. As a reminder, Meerschaum does not need a protective layer as with briar pipes. It is best to keep the Meerschaum totally clean of buildup. In my own Meerschaums, after each use my practice is to gently scrape the chamber with a folded bristled pipe cleaner. This cleans the surface nicely keeping the Meerschaum in good shape. To allow a cake buildup can cause the Meerschaum to crack in time. Carbon cake expands differently from Meerschaum when heated and this can cause stressing on the Meerschaum. I take a couple pictures to mark the start of the cleaning process.
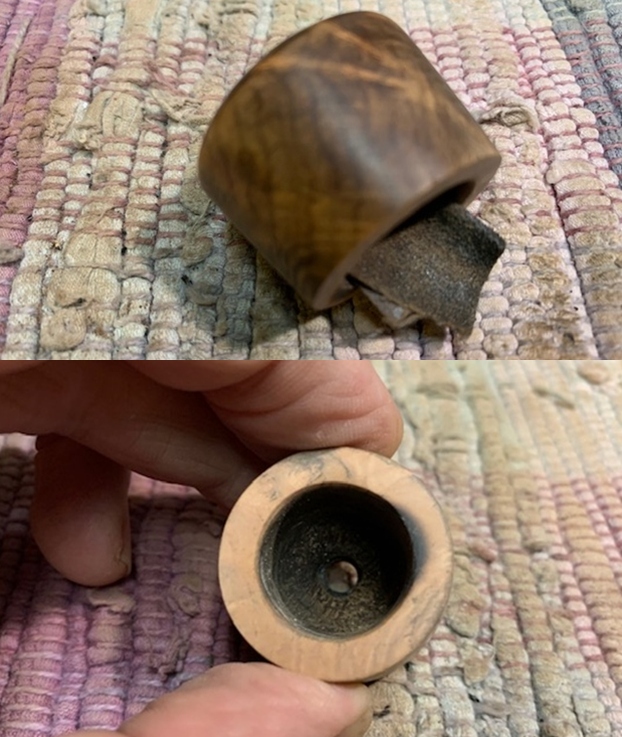
 The aft section of the rim reveals the lighting practices of the former steward – drawing the flame over the back. The crusted lava cake has totally covered the Meer rim lining and the Pipenet portion, too. Cleaning is needed to show what’s beneath.
 With Meerschaum, using my usual Pipnet Reaming Kit with the blade heads is not good. The torque created by this reaming approach can crack the Meer. Instead, using the slow, patient, less intrusive approach, the chamber wall is gently scraped using the Savinelli Fitsall Tool.
 The Fitsall Tool also does well to begin clearing the rim of lava flow. The approach is gentle! I then transfer to the sharper edge of the Winchester pocketknife. With the knife, the approach is more to ‘pull’ the blade carefully over the surface rather than to push the blade. I’m careful not to gouge the softer Meerschaum.
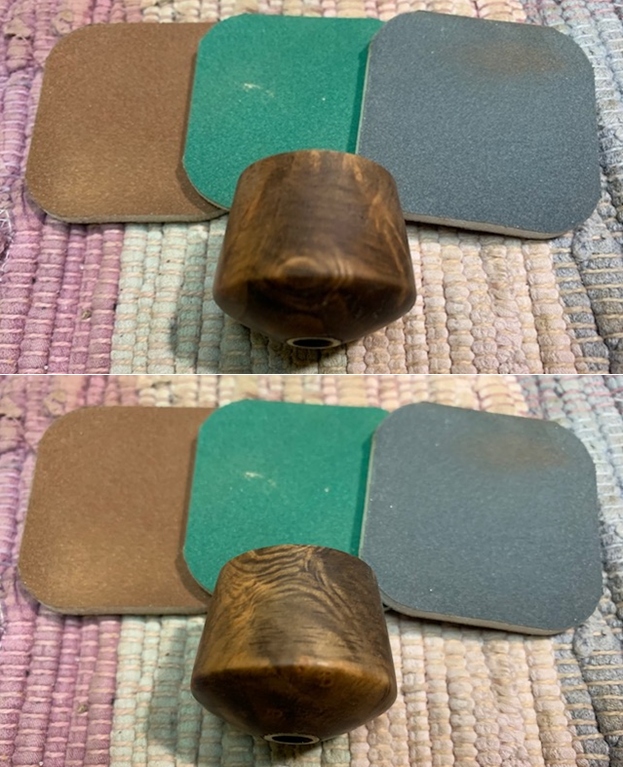
  With the rim scraping looking good, I transition to sanding the chamber by wrapping 240 grade sanding paper around a Sharpie Pen. I then continue the sanding on the rim using a small piece of 240 paper. I sand the rim gently and remove the lava and clean the rim nicely.
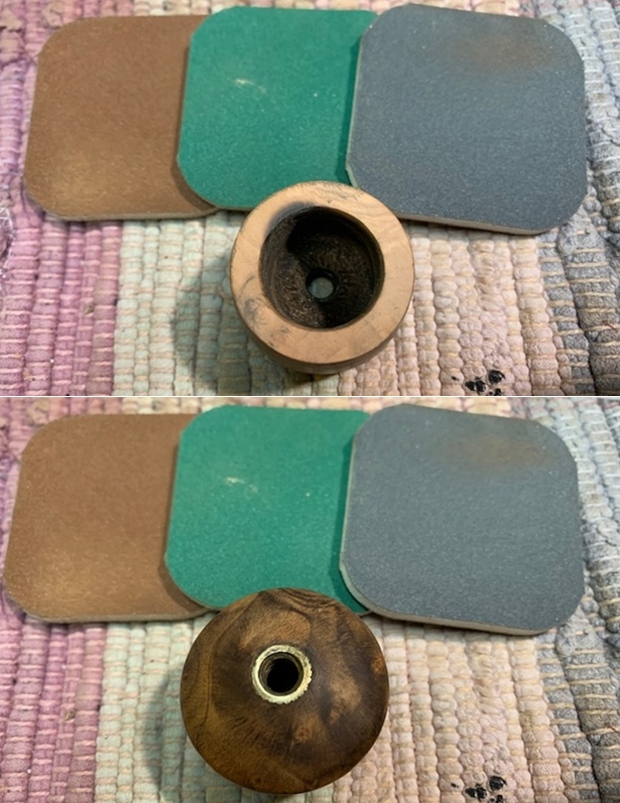
  To complete the main cleaning of the Meerschaum lining and finish, I wipe the bowl with a cotton pad wetted with isopropyl 99%. In Bulgaria, I was able to find isopropyl at 95% purity. Now in the US, I was able to find 99% which is about a pure as one can get.
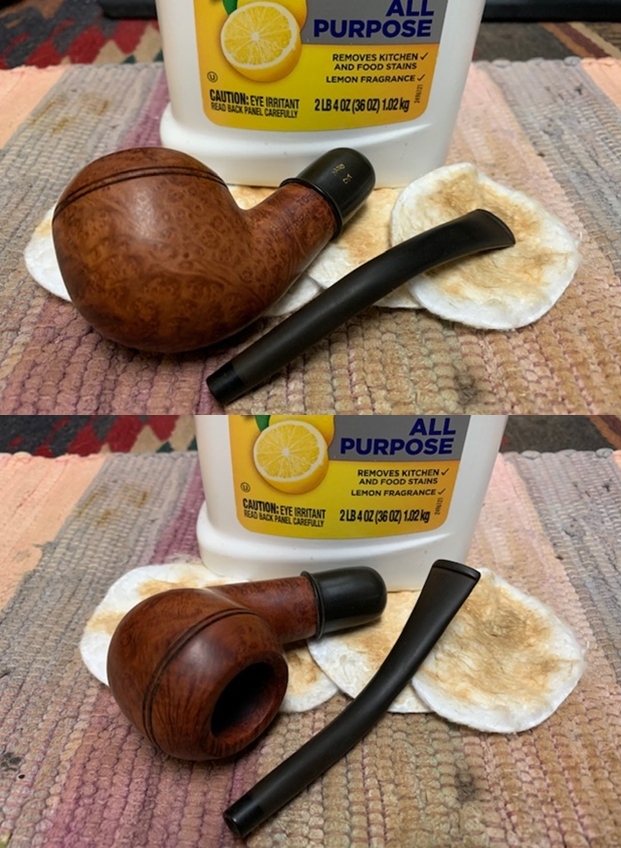
  Switching now to the external ‘Pipenite’ surface, undiluted Murphy’s Oil Soap is used to scrub with a cotton pad. The surface, as expected, cleans up very nicely. To guard the Meerschaum lining, instead of rinsing under a tap, I wet a cotton cloth and wipe the bowl to rinse off the soap.
 Next, the internal mortise is cleaned using several cotton buds dipped in isopropyl 99% and one pipe cleaner. After a time, the buds emerge lighter and it’s’ time to move on. Cleaning completed.
 The stem now awaits attention. The stem cleaned up nicely from the thick oxidation. Even though the HILSON FANTASIA stem stamping was protected during the process, it appears even more ghosted now. I’ll continue to protect this remnant by covering the stamping with painters’ tape during the next stages of sanding.
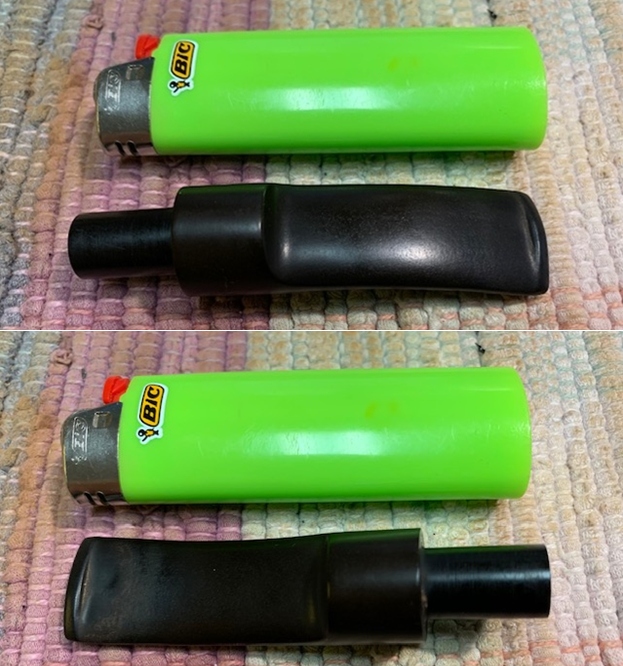
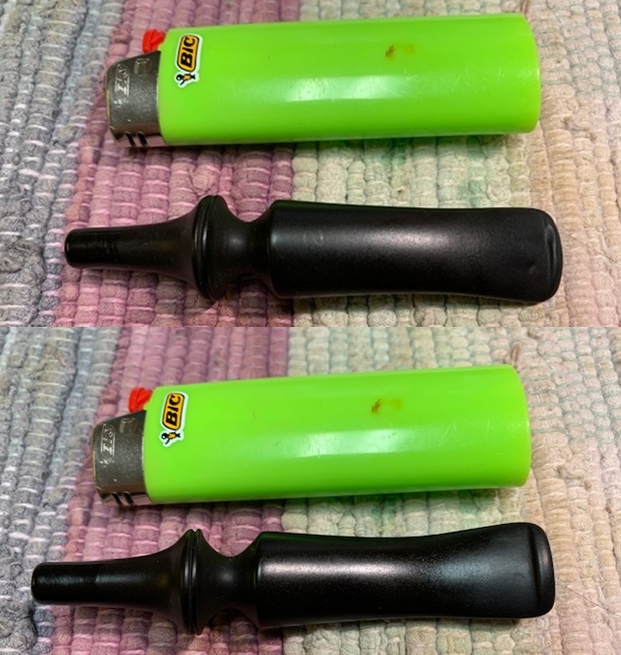
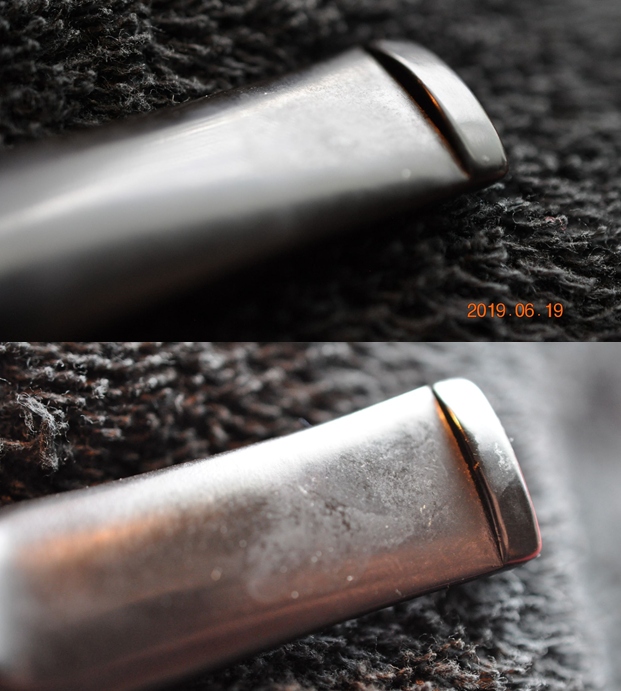
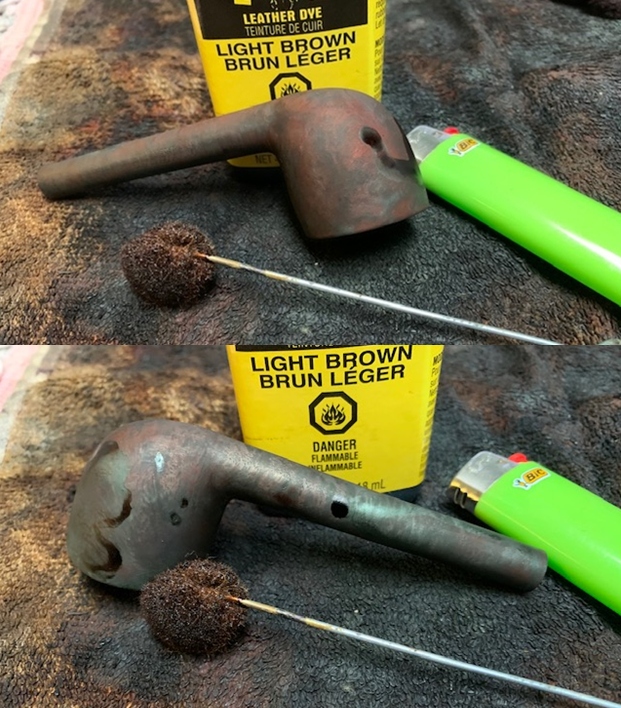
 Both the upper and lower bit have minor tooth chatter remaining along with a bite compression. I’ll begin to minimize the damage by the heating method. Vulcanite, a rubber compound, is an amazing material. Using a Bic lighter to paint flames on the bit, the heating causes the expanding of the vulcanite allowing it to regain much of its original composition. After several ‘flaming’ cycles, a few more on the lower bit, the comparison of before and after shows a distinct improvement with upper and lower.
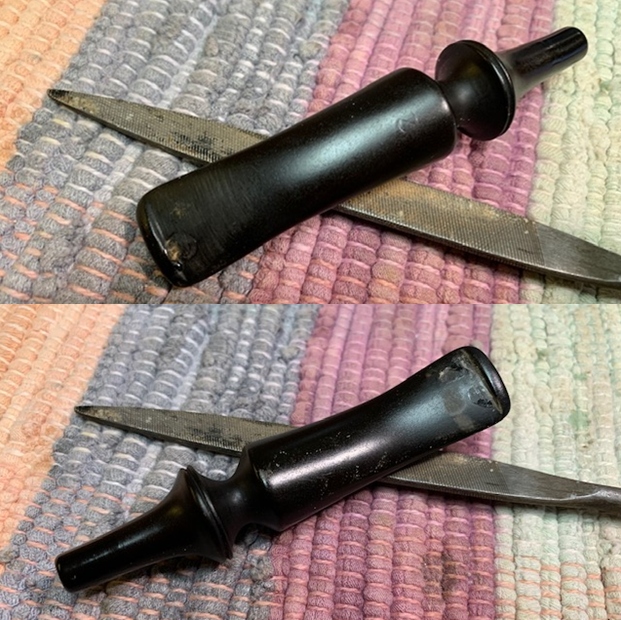
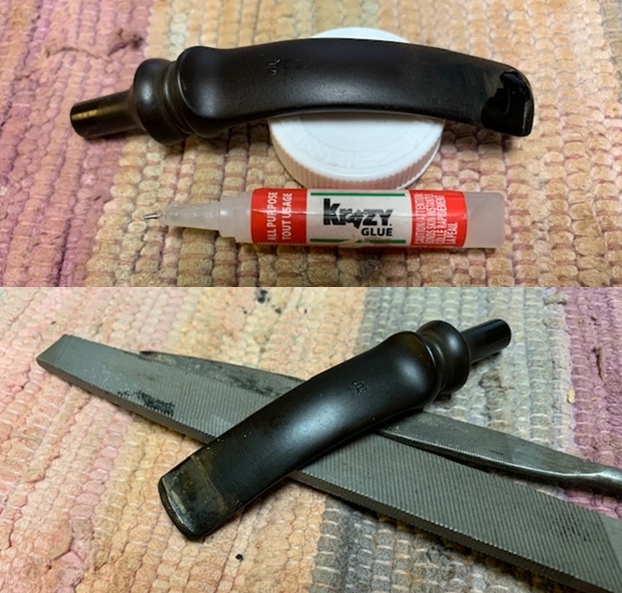
 Using a piece of 240 sanding paper, I sand the residual tooth chatter which is dispatched without difficulty. I also refresh the button with a flat needle file and sand it with 240.
  From the 240 paper and file working on the bit and after placing tape over the stem stamping, the sanding is furthered first by wet sanding the entire stem with 600 grade paper. The 600 paper is followed by applying 0000 grade steel wool.
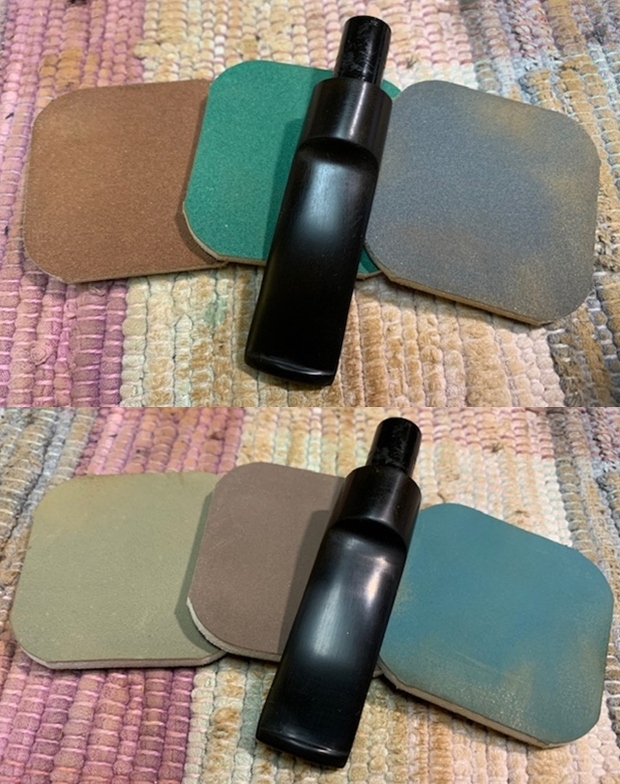
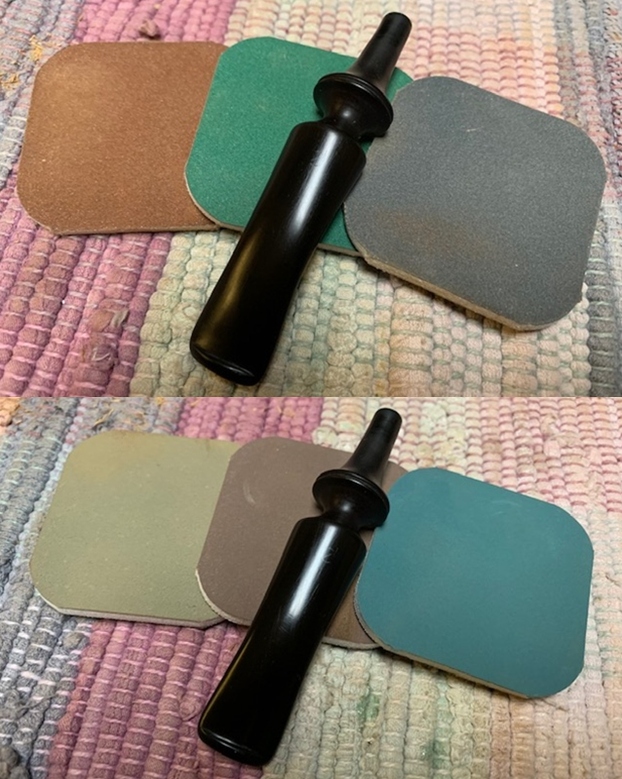
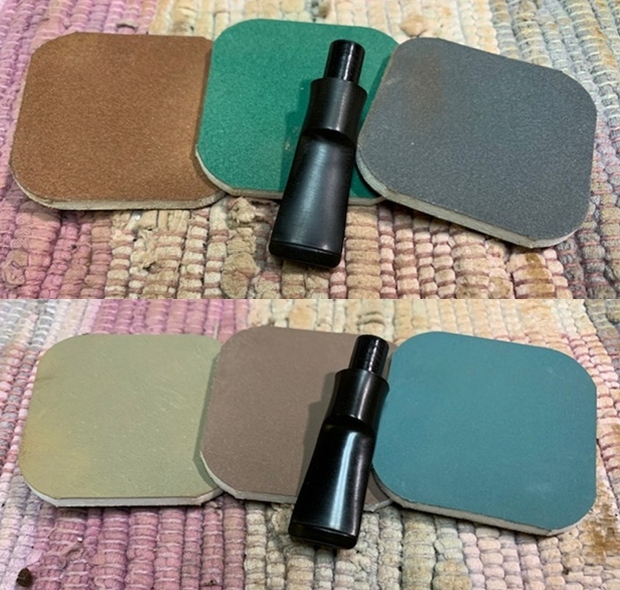
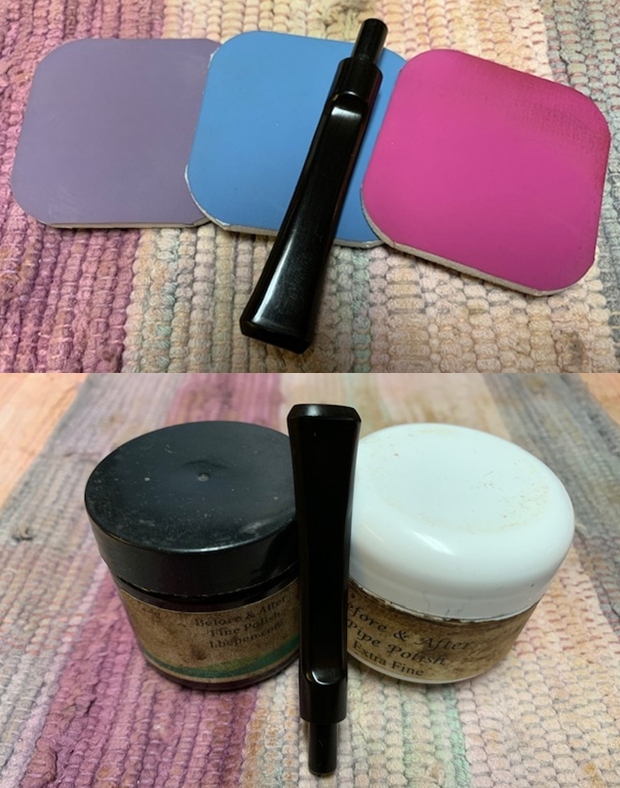
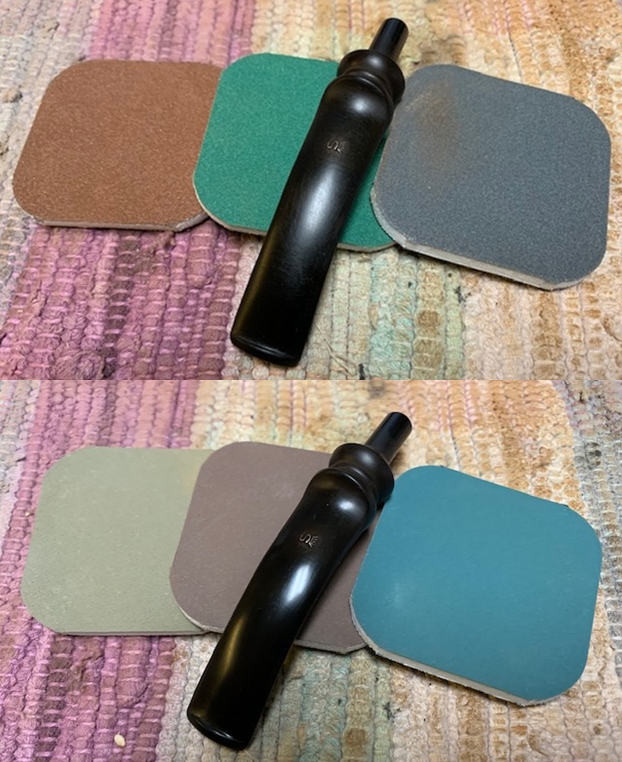
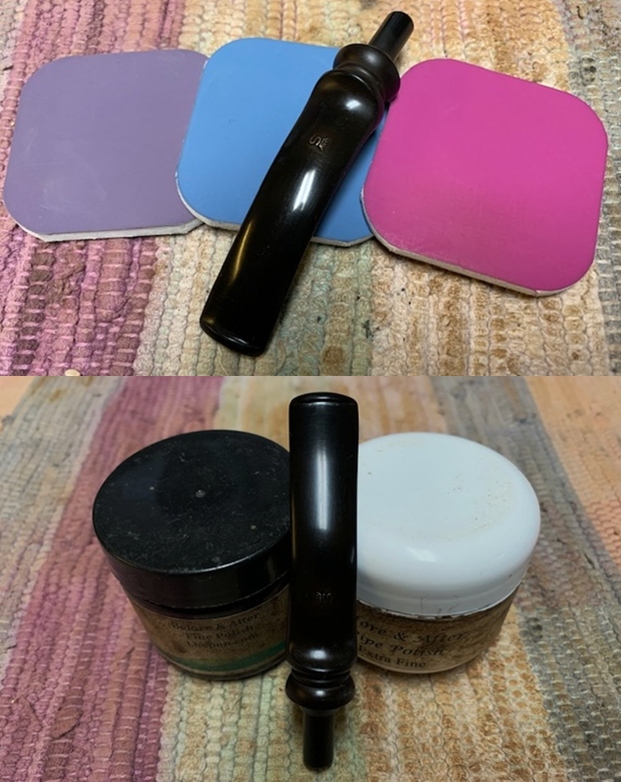
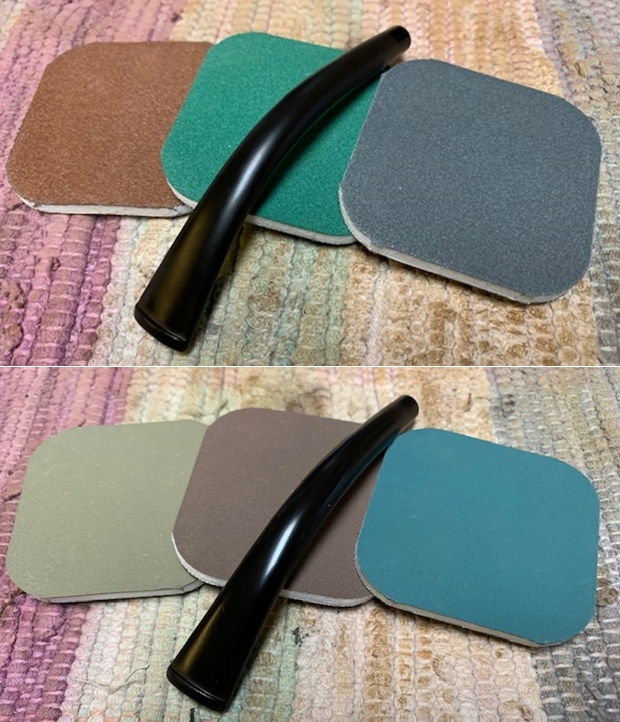
  Next, the full regimen of micromesh pads is applied to the stem. Starting with pads 1500 to 2400 the stem is wet sanded. This is followed by dry sanding with pads 3200 to 4000 and 6000 to 12000. Between each set of 3 pads, Obsidian Oil is applied which rejuvenates the stem and helps to prevent future oxidation. The pop in a freshly micromeshed stem is nice!
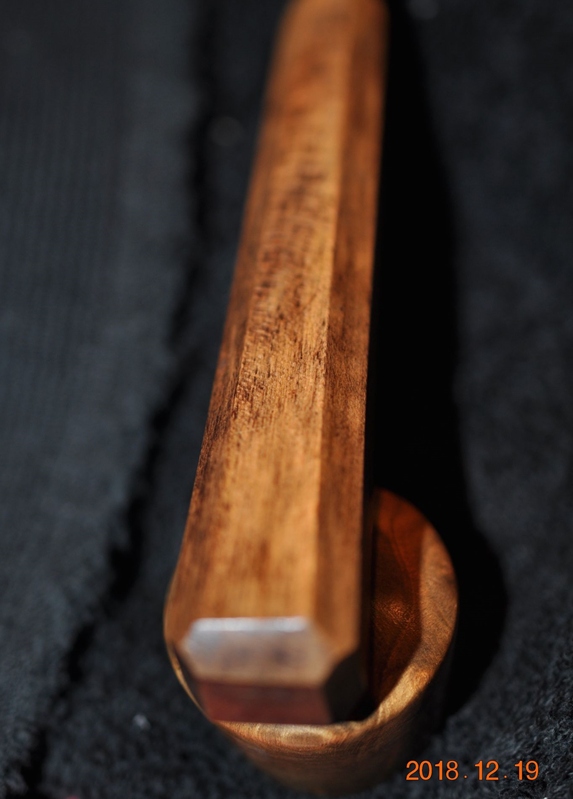
 After the micromesh cycles are completed, the Hilson Fantasia stem and stummel are reunited to get a look at the progress. I discover that the union of tenon and mortise reveal a bit too much tightness. I know that the Pipenite is tough, but I don’t want to test it and inadvertently crack the shake trying to force the tenon in the mortise. To reduce the mortise pressure, 0000 steel wool is first used to see if this will clean the tenon allowing a seating. While pinching the tenon with the steel wool, I then rotate the stem to create the abrasion. After using the steel wool, the fit is tried again, and it remains too tight.
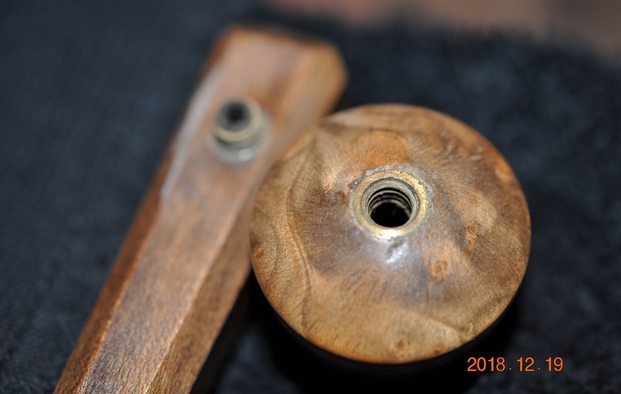
 Next, 240 is employed in the same way to reduce the pressure by sanding the tenon. This does the trick. The mortise now receives the tenon snugly.
  I finish the tenon smoothing with 600 paper and 0000 steel wool and reunite the Hilson stem and stummel.
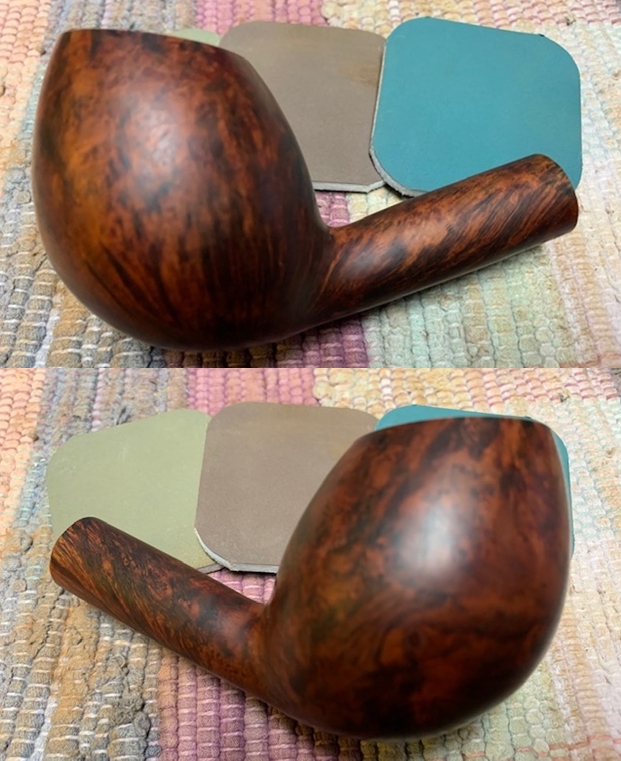
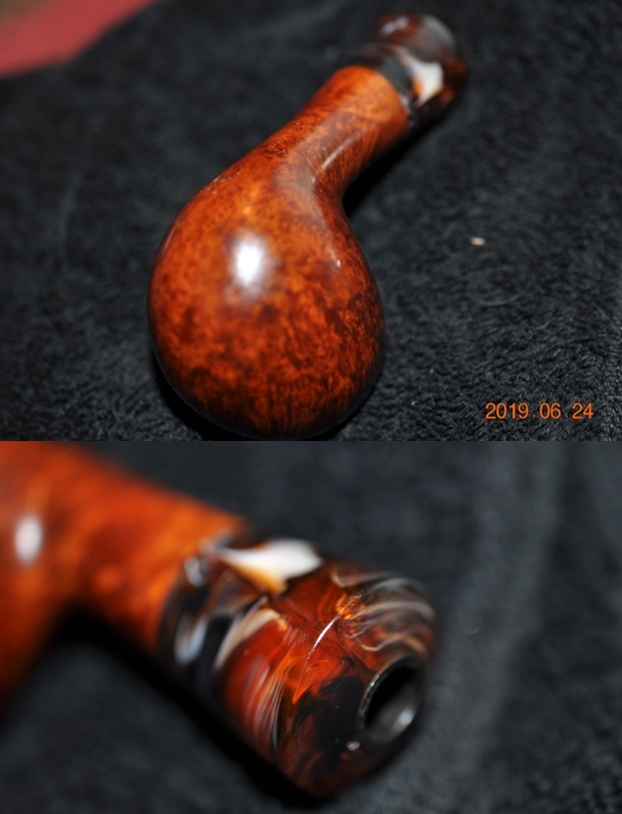
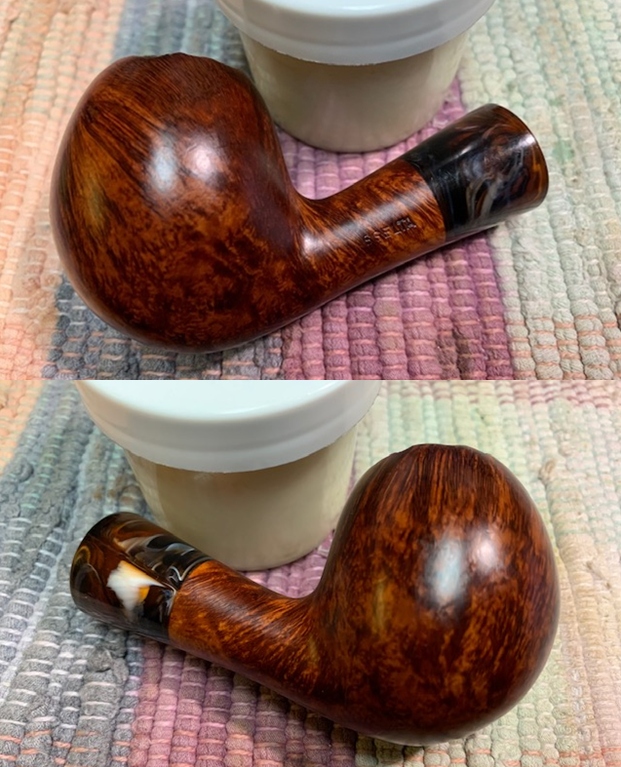
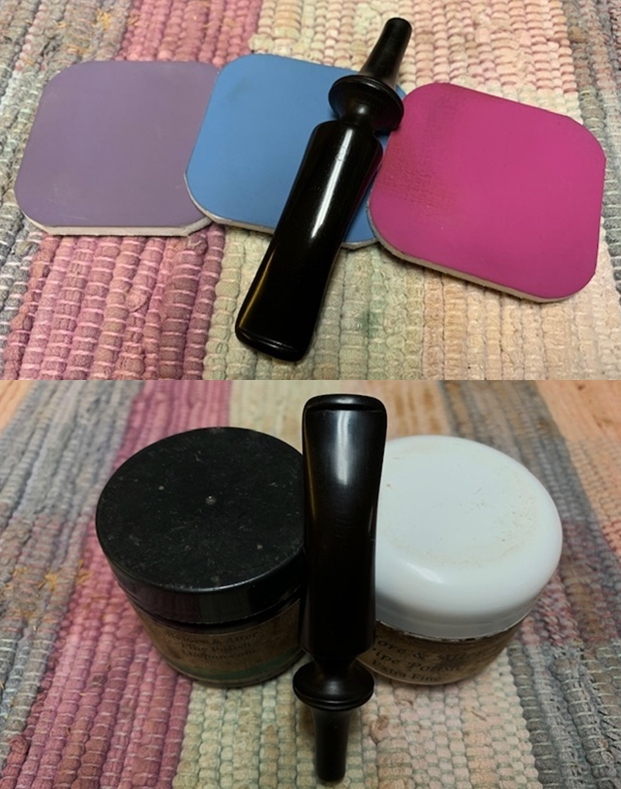
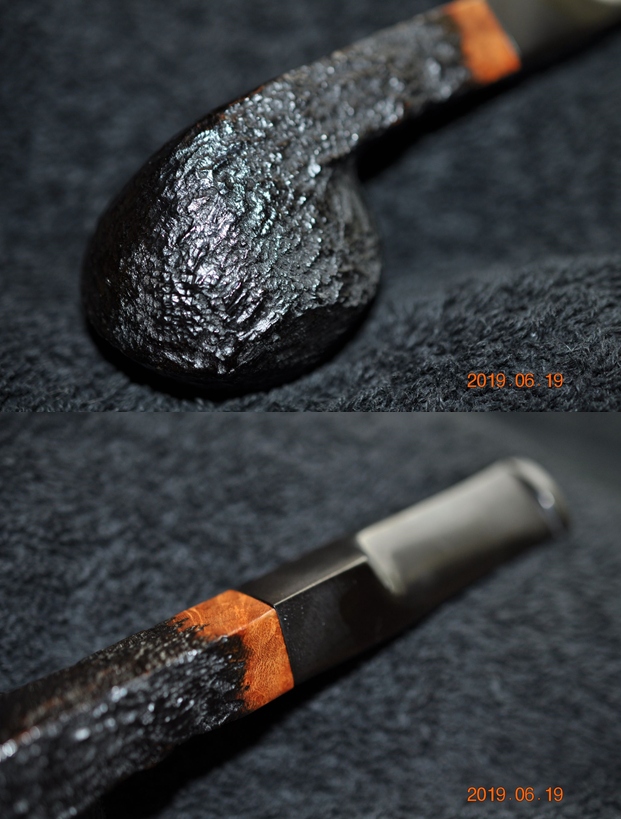
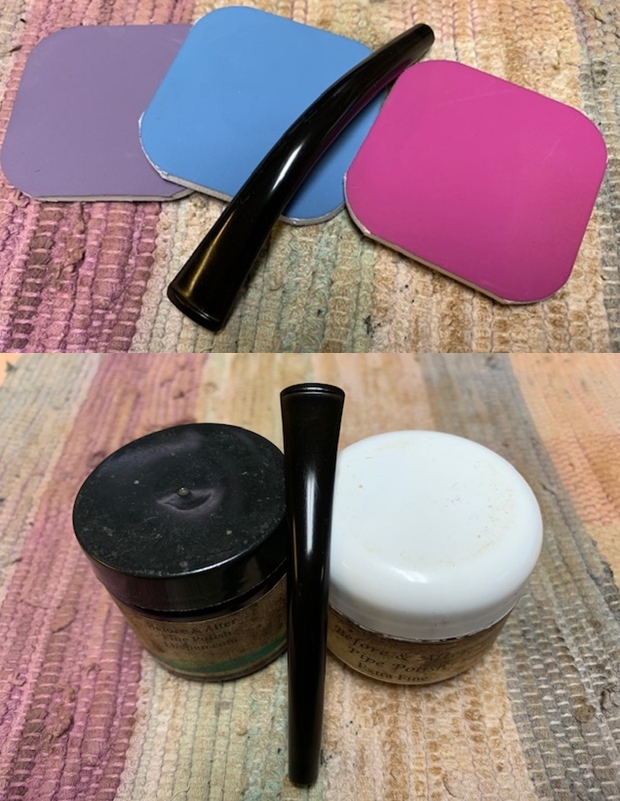
 Next, after mounting a cotton cloth buffing wheel on the rotary tool, the speed is set to about 40% full power and Blue Diamond compound is applied to stem and stummel. I start with the Pipenite stummel with a bit of fear and trembling. Steve had used the compound on his Fantasia projects but the anxiety stewing in my mind was, will the Blue Diamond buff up the glossy surface or will it apply fine scratchings that become impossible to remove? I gingerly start applying the compound with the Dremel’s cotton cloth buffing wheel and to my joy, the surface is responding very nicely to the fine tune buffing of the Blue Diamond. I continue with the stummel then the stem. I like the results. The gloss of the Pipenite is enhanced with additional glow and the removal of fine marks and scratches on the resin surface.
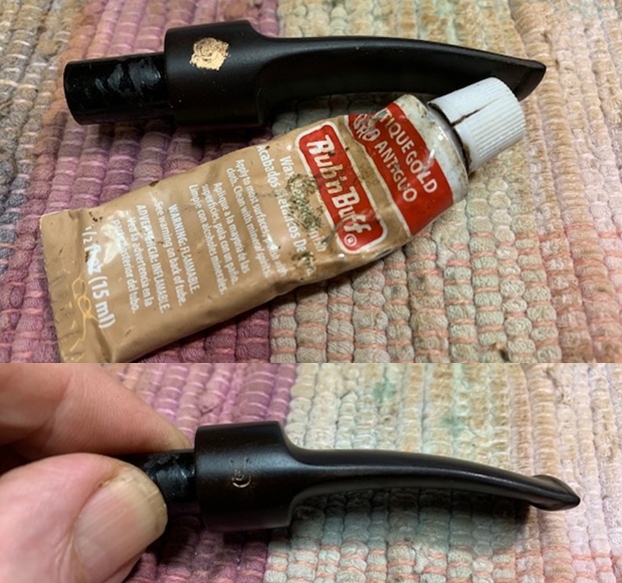
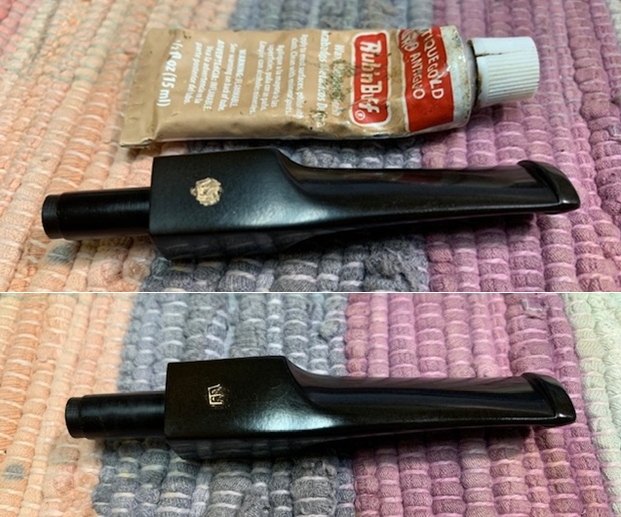
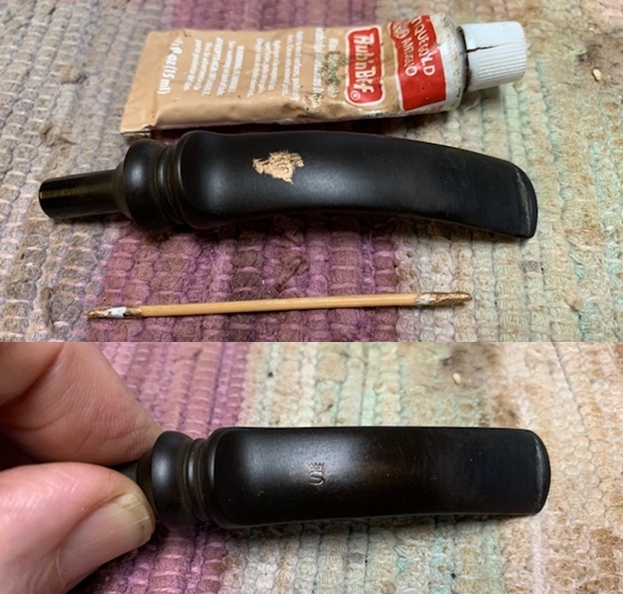
 Before applying wax to the pipe, I spruce up the BLOCK MEERSCHAUMLINED stamping on the right shank side with Rub ‘n Buff European Gold metallic paint. The gold and the butterscotch hue of the stummel will go well.
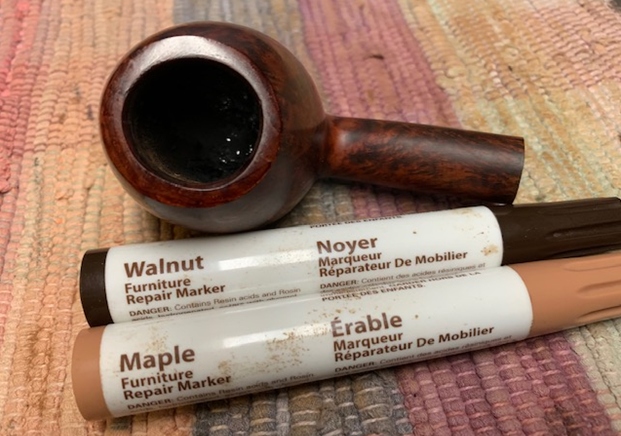
 As the name implies, after rubbing some of the metallic paint with a toothpick over the lettering and number, I simply rub it off with the flat edge of a toothpick then a cotton pad. The result is good. The ghosting of the stem stamping leaves me with no hope of freshening it with white acrylic paint, so it remains as it is – bearing the wear of its service.
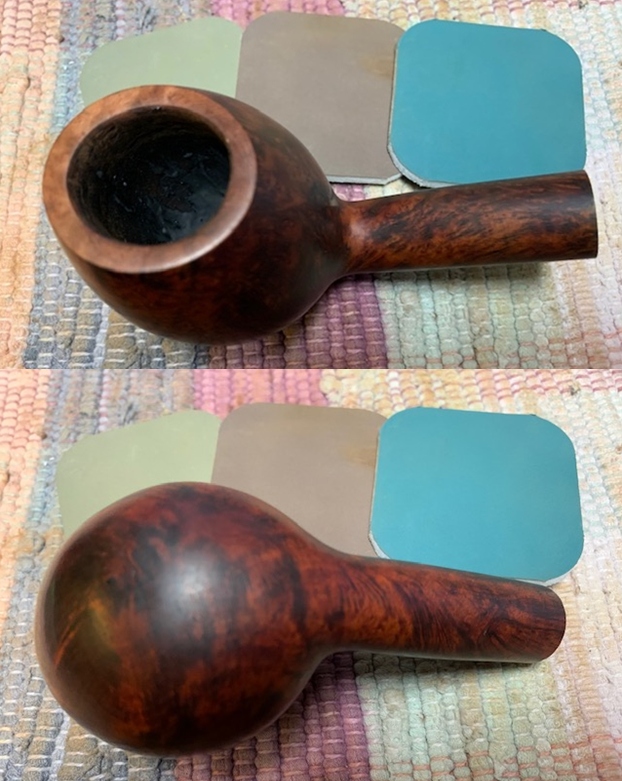
 After wiping the entire pipe with a felt cloth to remove residue compound dust, another cotton cloth wheel is mounted with the speed remaining the same. Carnauba wax is applied to the entire pipe followed by a rigorous hand buffing with a microfiber cloth to raise the shine further.
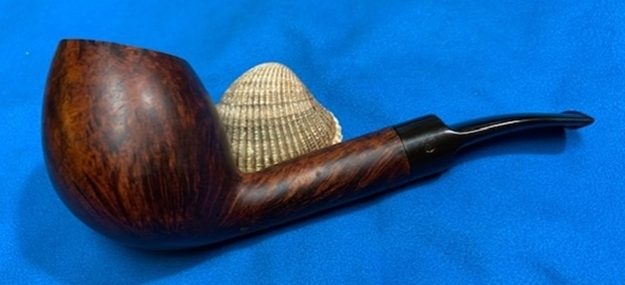
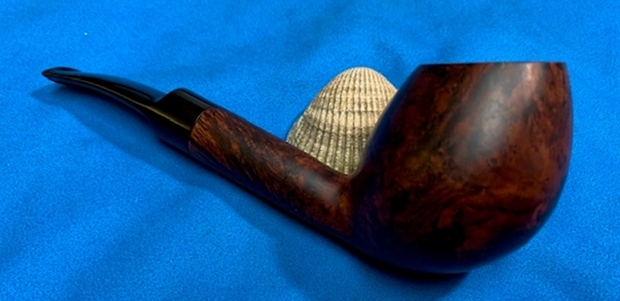
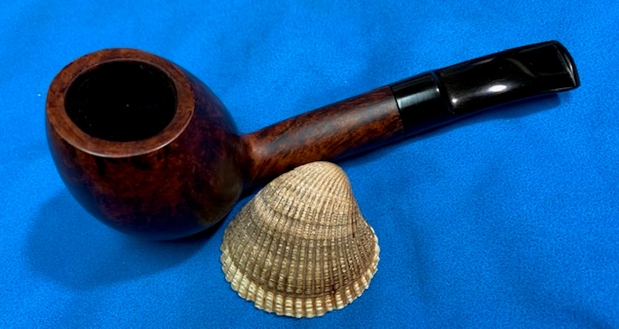
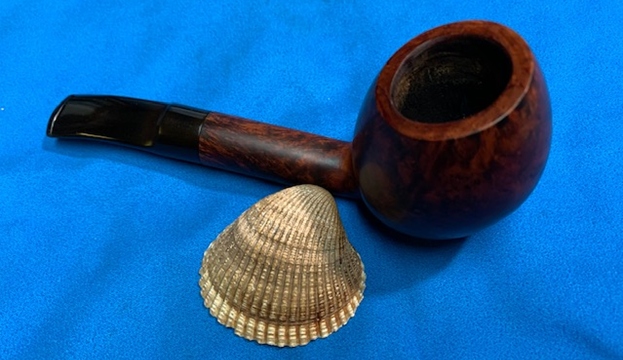
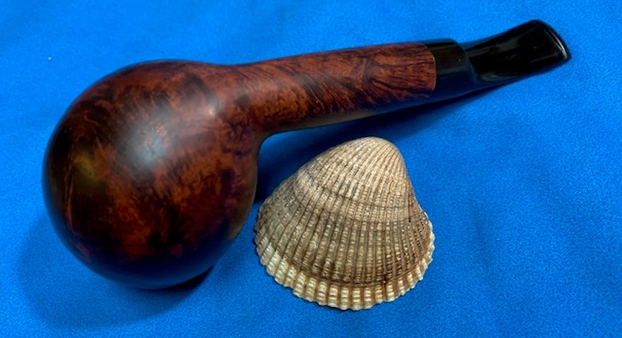
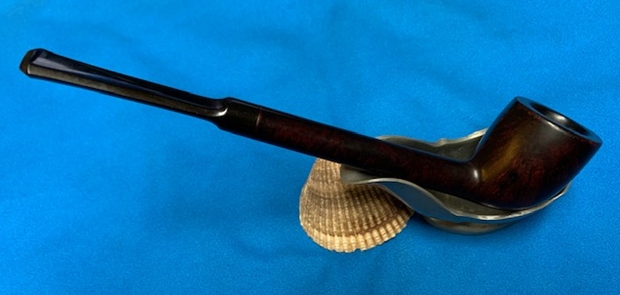
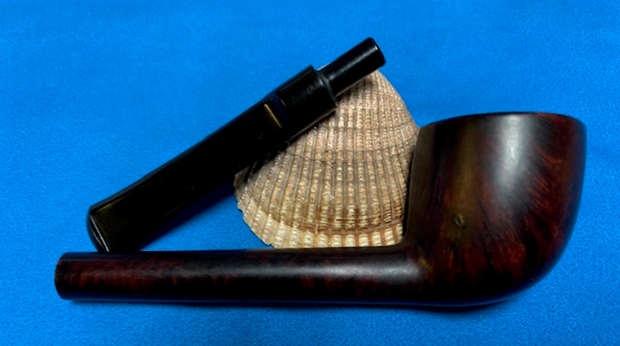
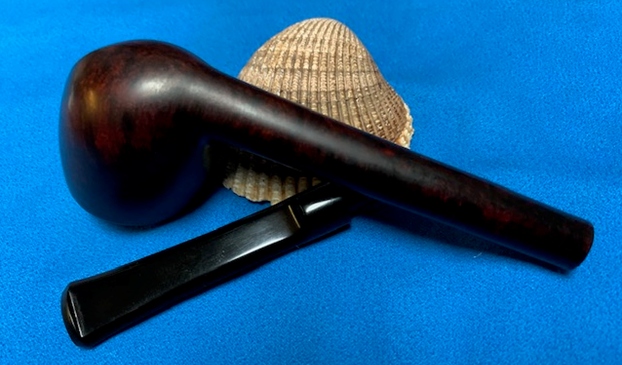
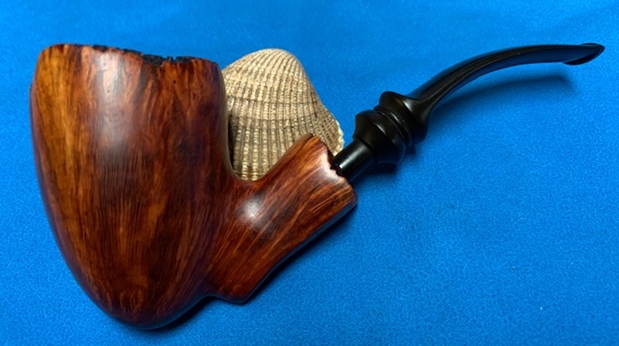
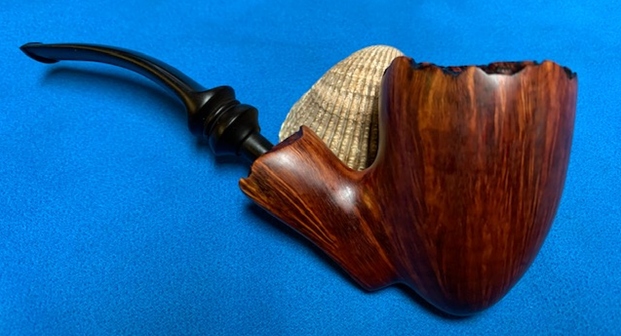
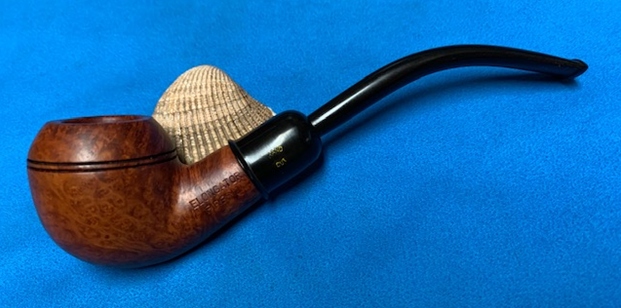
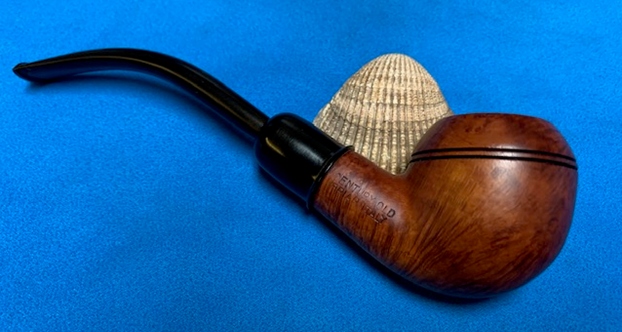
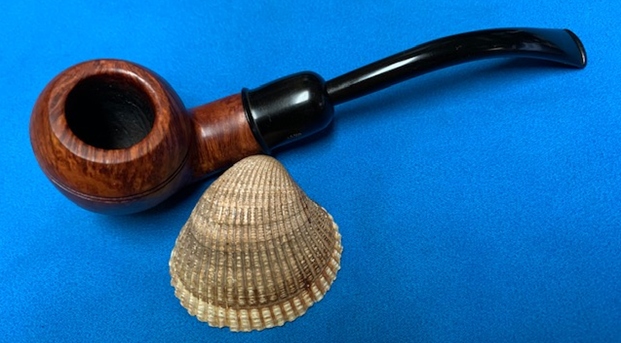
This Hilson Fantasia Block Meerschaum Lined has transformed amazingly from being an interesting gimmick pipe to becoming an extremely attractive alternative pipe to briar. The butterscotch hue of the bowl pops in relationship to quality Block Meerschaum lining. The added benefit is the ability of the Meerschaum to be used repeatedly without rest, unlike briars. This makes for much fellowship! The timeless classic lines of a Billiard make this Hilson Fantasia a great addition to a collection and possibly to add to one’s regular rotation. Daniel commissioned this pipe and will have the first opportunity to claim it from The Pipe Steward Store benefitting the Daughters of Bulgaria. Thanks for joining me! 


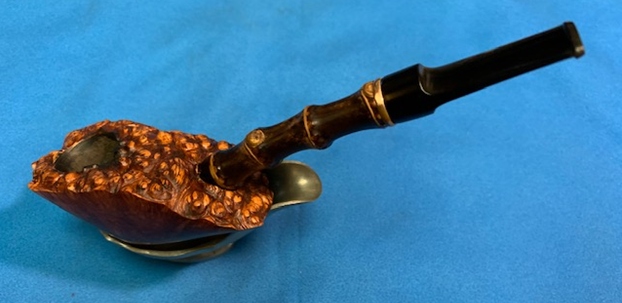
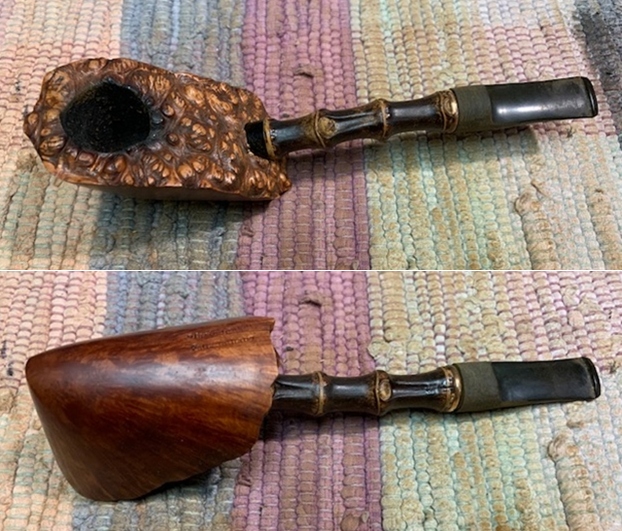
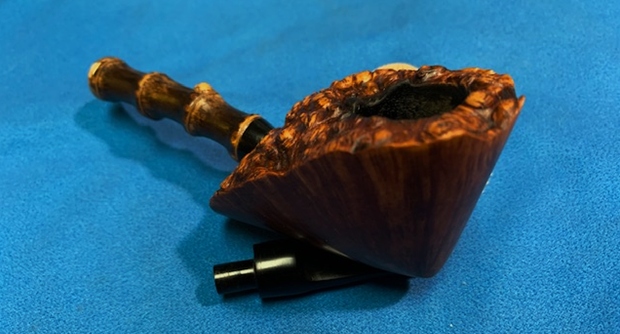
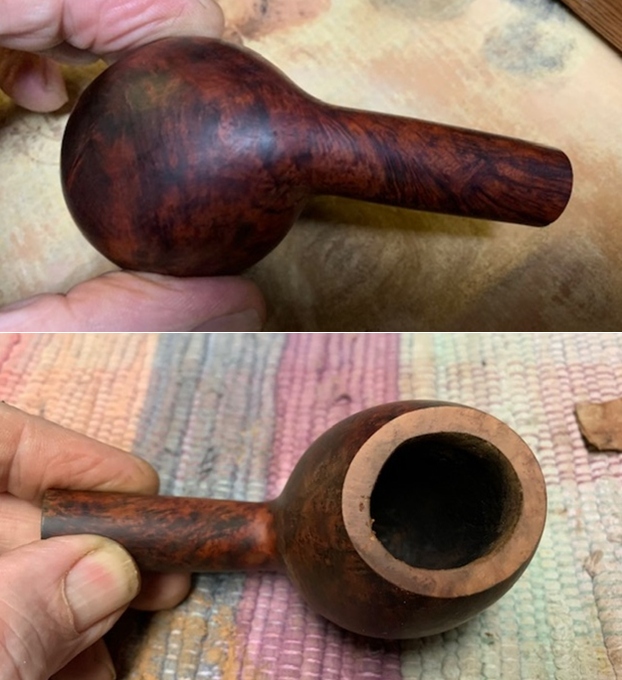
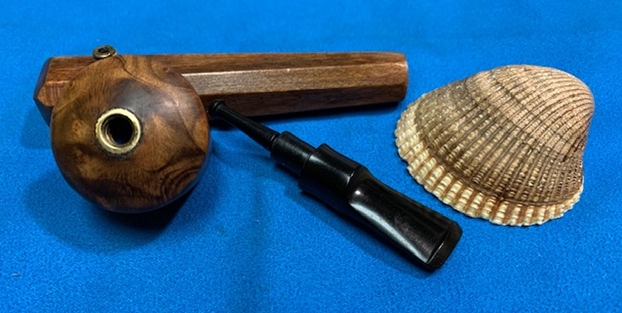
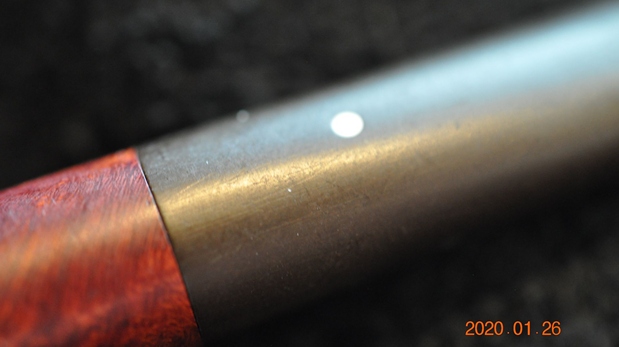
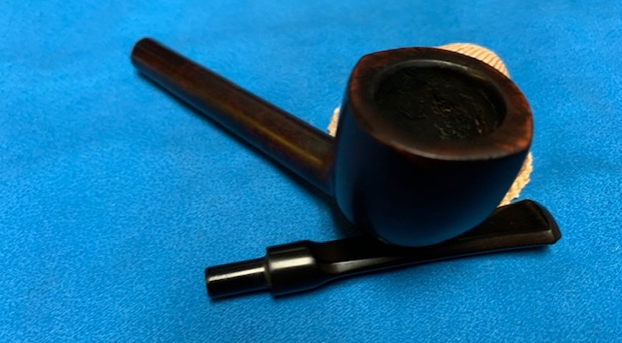
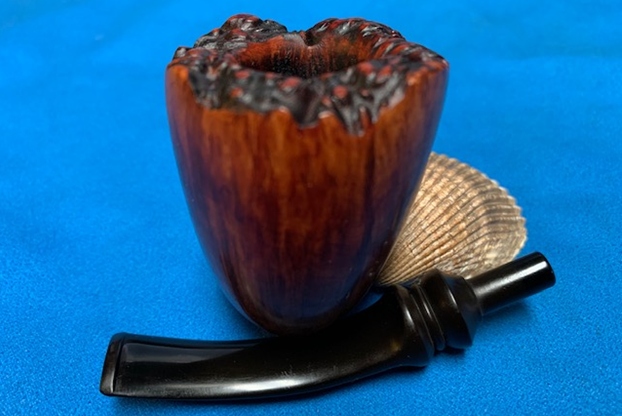
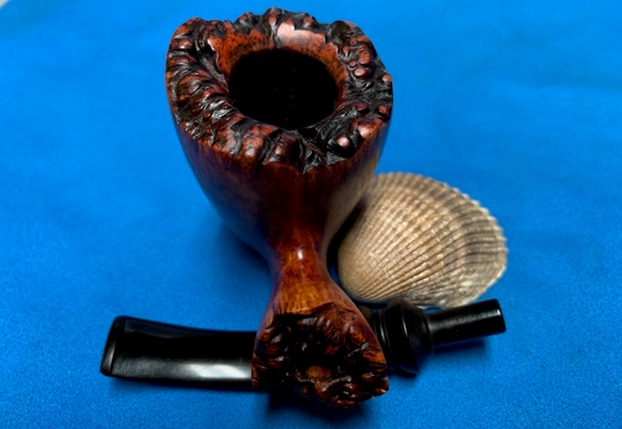
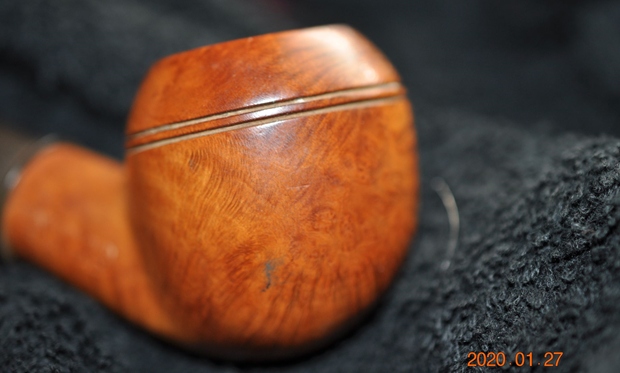
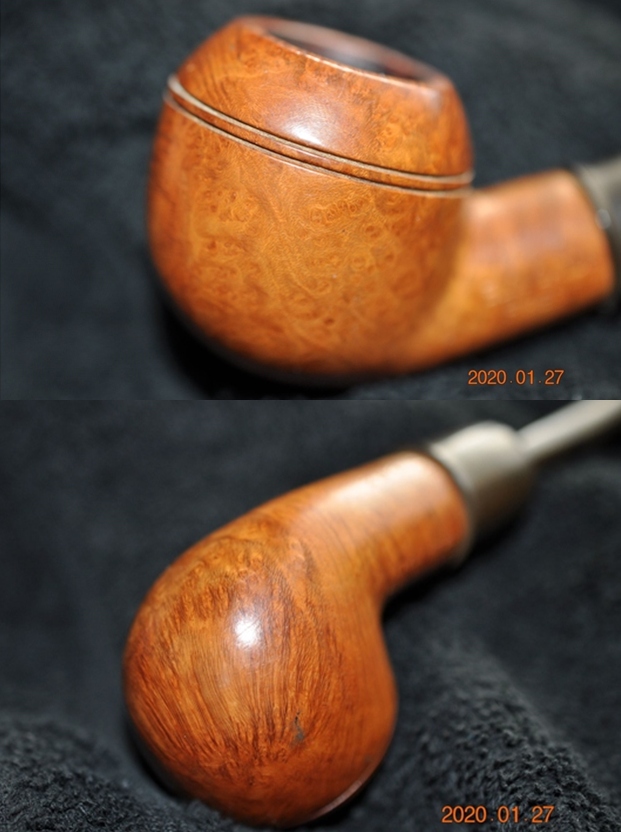
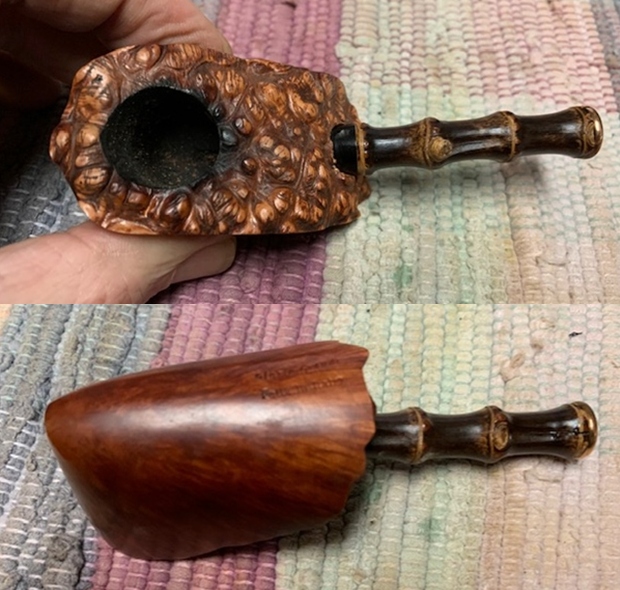 I took a closer photo of the rim top to show the condition of the bowl and plateau. You can see the darkening around back inner edge of the bowl. Otherwise the rim was very clean. I also took photos of the brass band that I had pressed onto the shank end. It is hard to see from my photos but the drilling in the mortise is off.
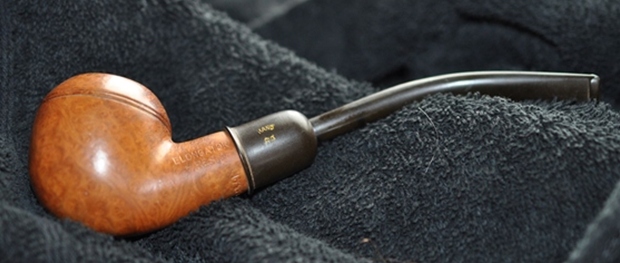
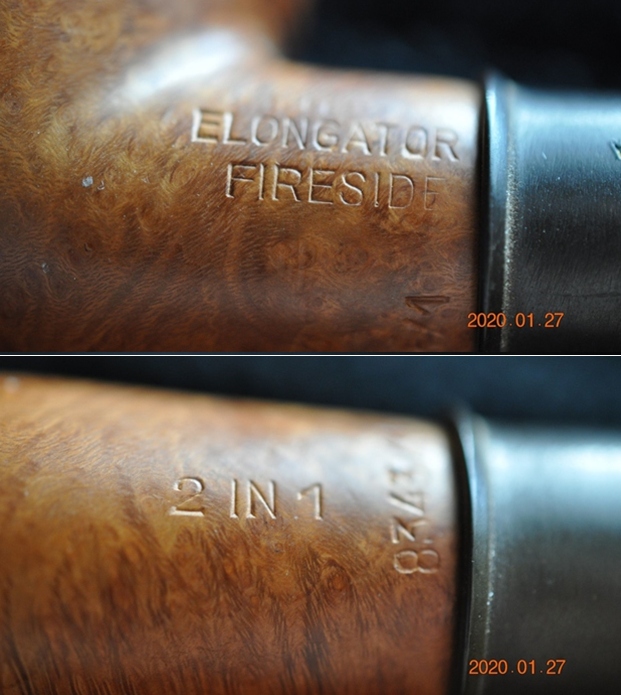
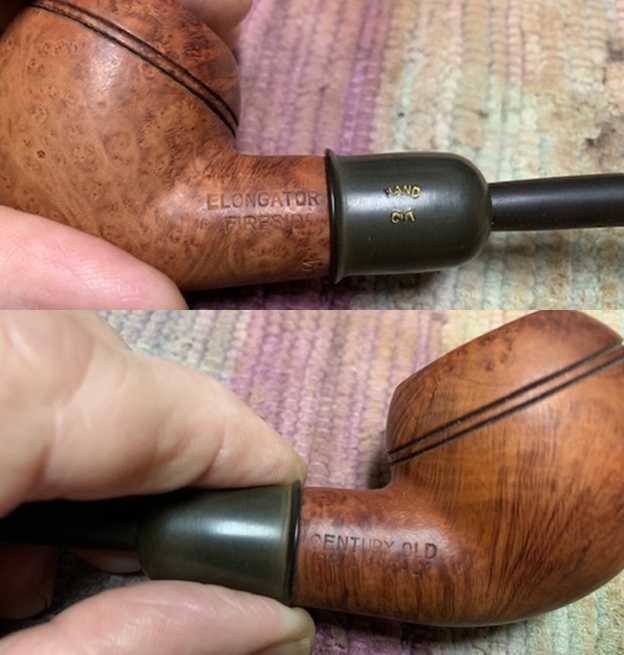
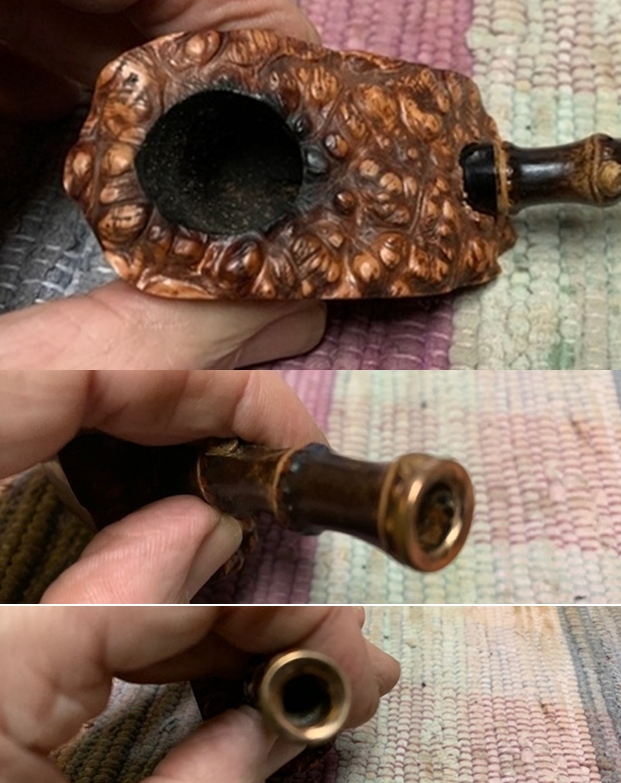 I took a photo of the stamping on the underside of the shank. It clearly reads as noted above.
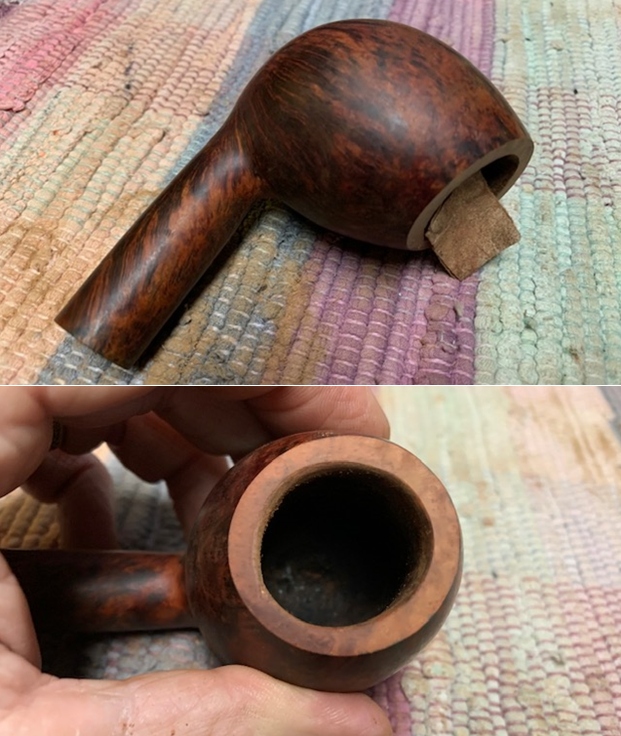
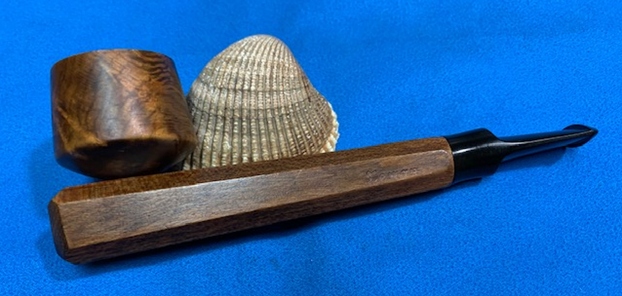
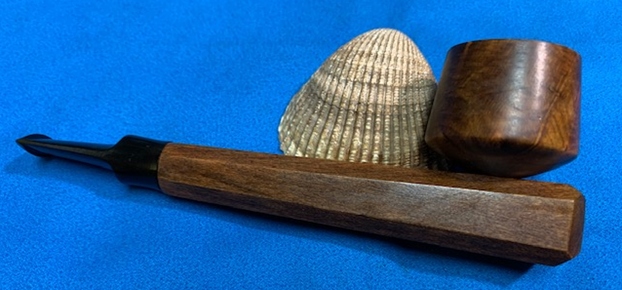
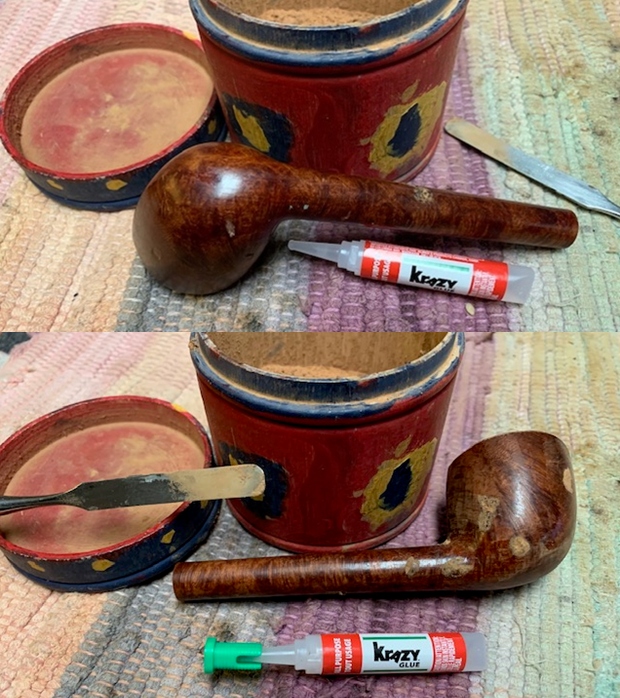
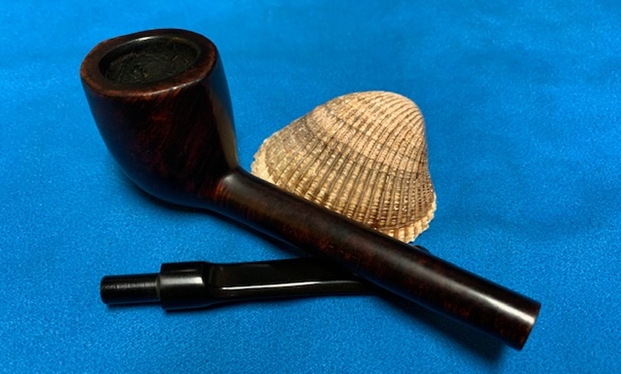
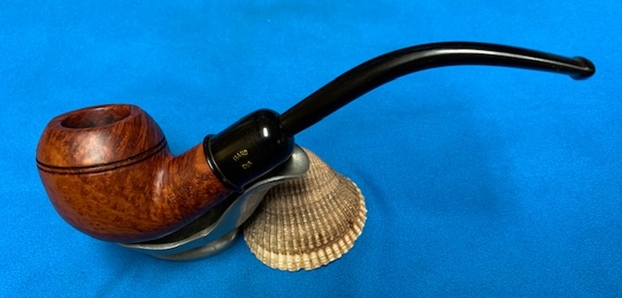
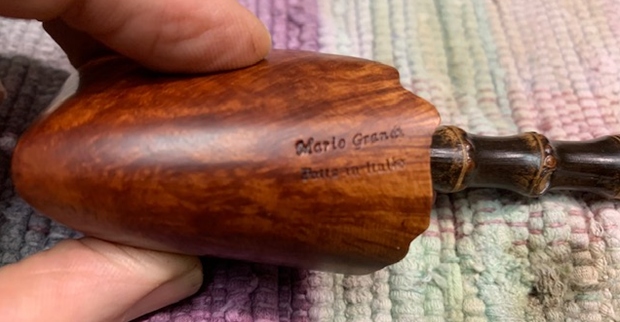 I glued the crack in the shank and glued the brass band in place on the shank end. Then I used my cordless drill with increasingly larger drill bits to carefully straighten out the mortise and prepare it for a saddle stem that I had set aside for the pipe. Unfortunately I did not take photos of the process so my words will have to suffice. Once the mortise was straight and the same size as the opening in the brass band I put the stem on the shank and took photos of the pipe at this point. I would need to reduce the diameter of the saddle portion of the stem as it was larger than the shank end but I liked the look.
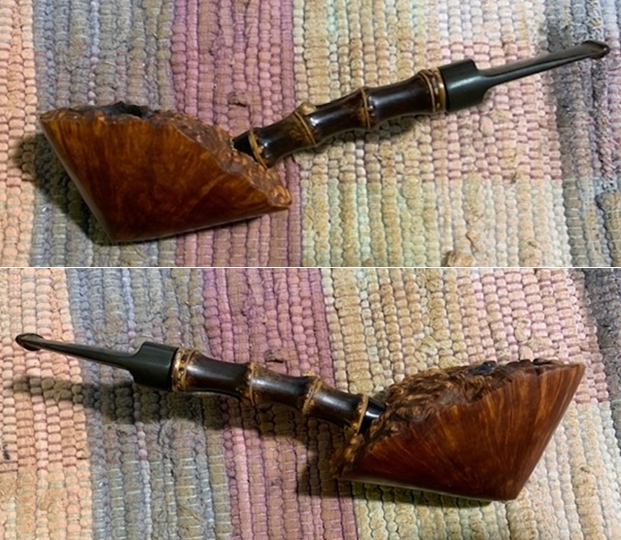
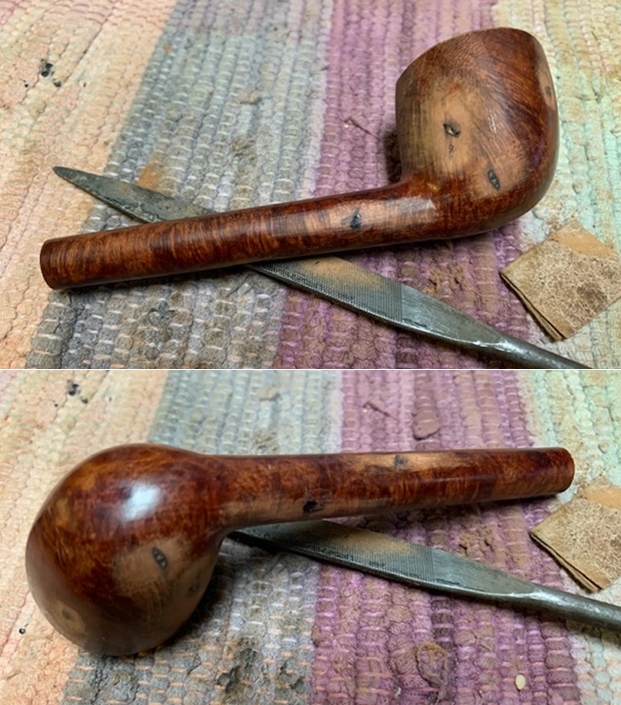
 I used the Dremel and sanding drum to reduce the diameter of the stem. I worked to match it to the shank end diameter. It took some fiddling but once it was finished I liked the look.
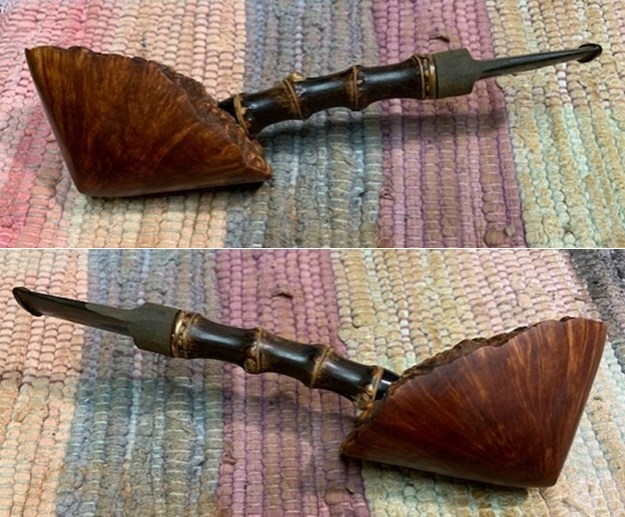
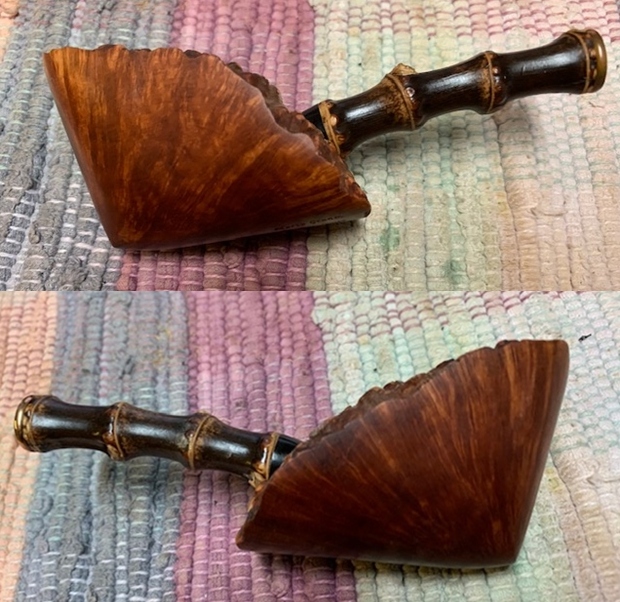
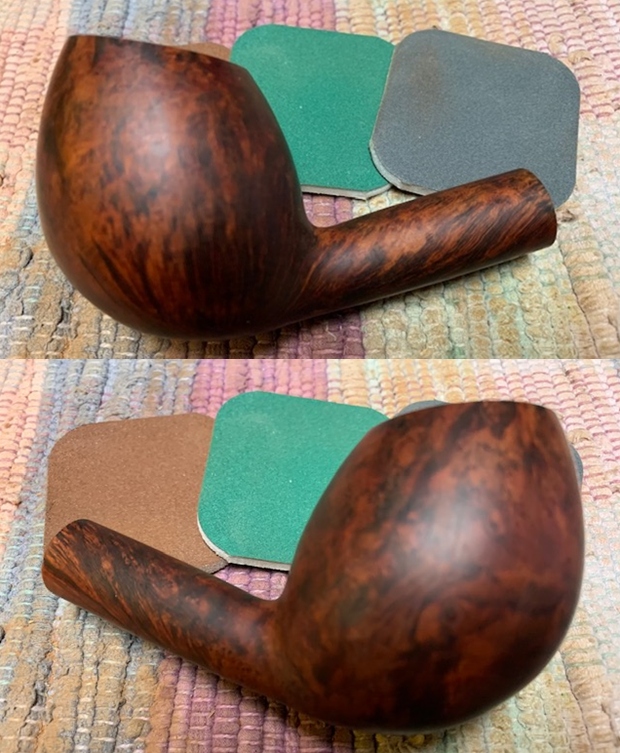
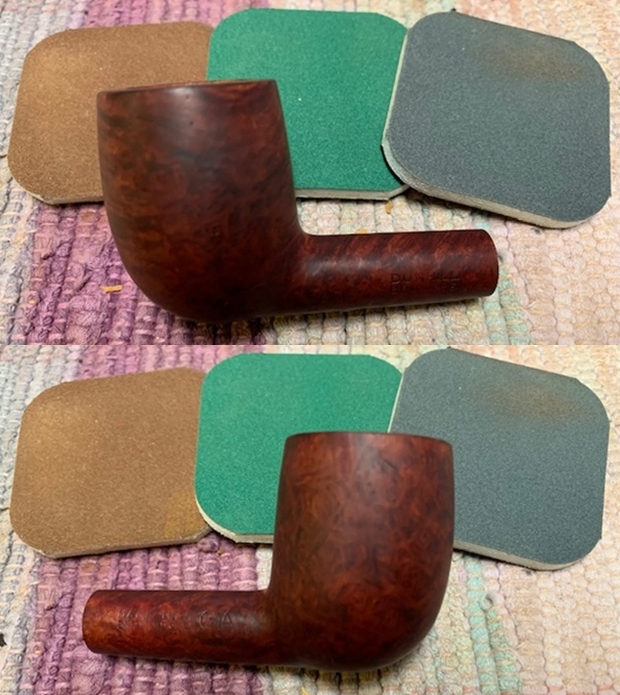
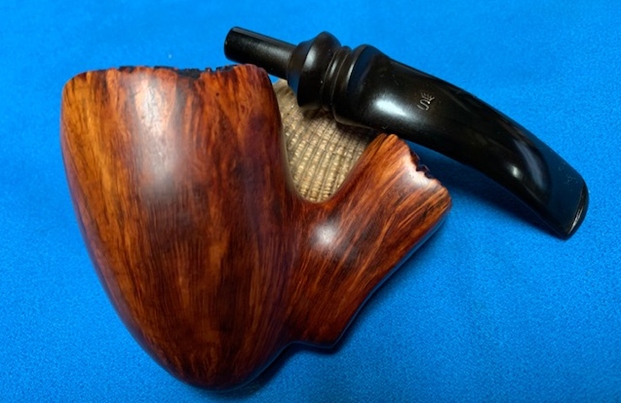
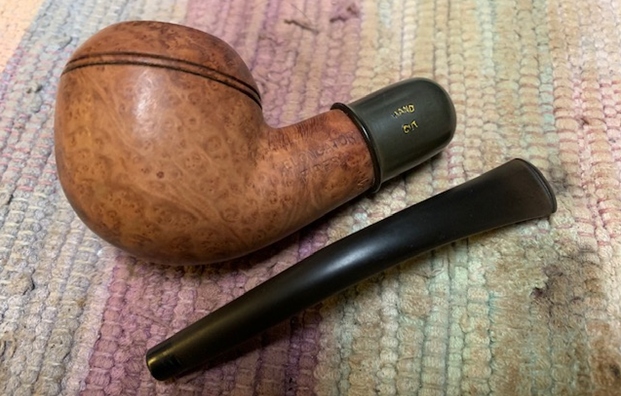
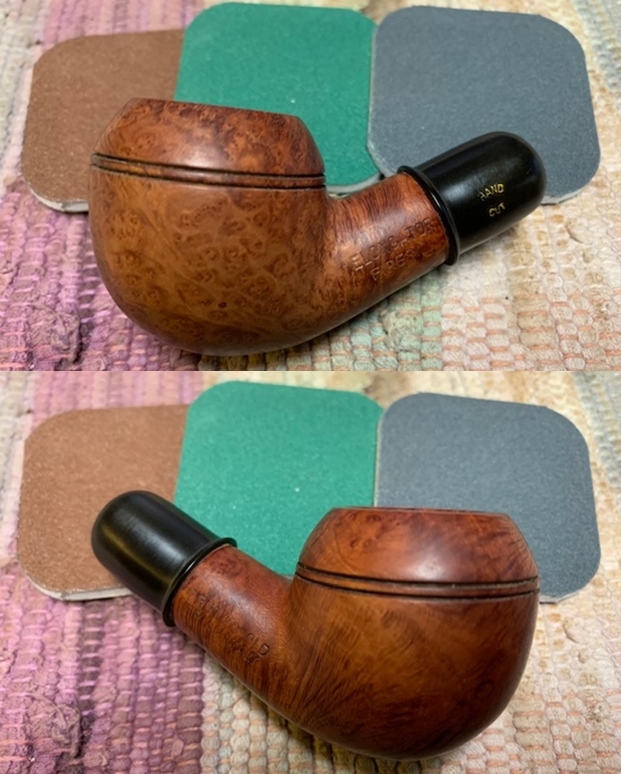
 I polished the smooth briar and the bamboo with micromesh sanding pads. I dry sanded with 1500-12000 grit sanding pads. I wiped the briar and bamboo down with a damp cloth after each sanding pad.
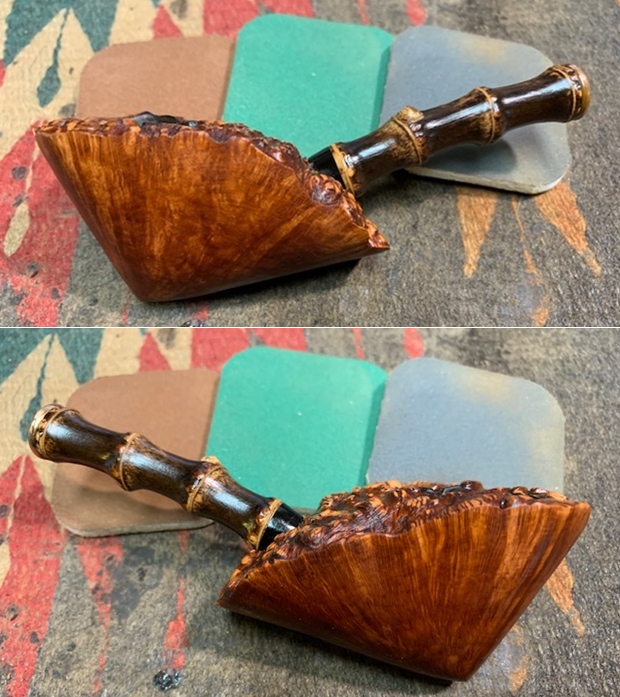

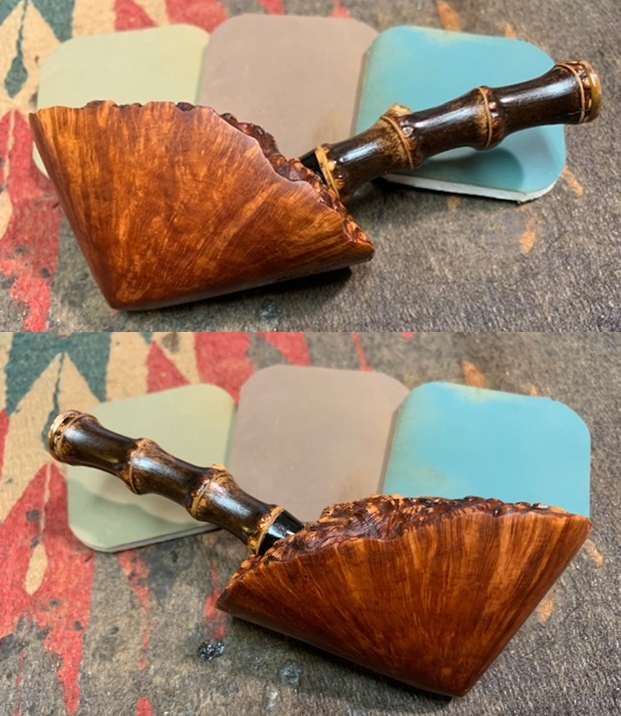
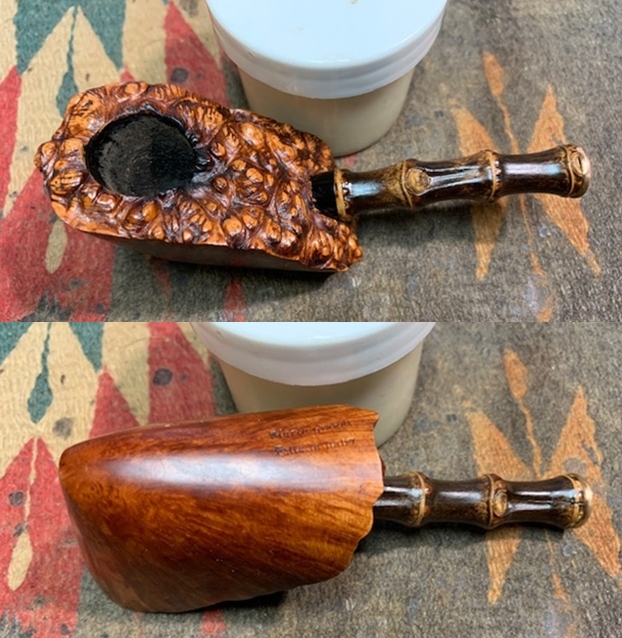
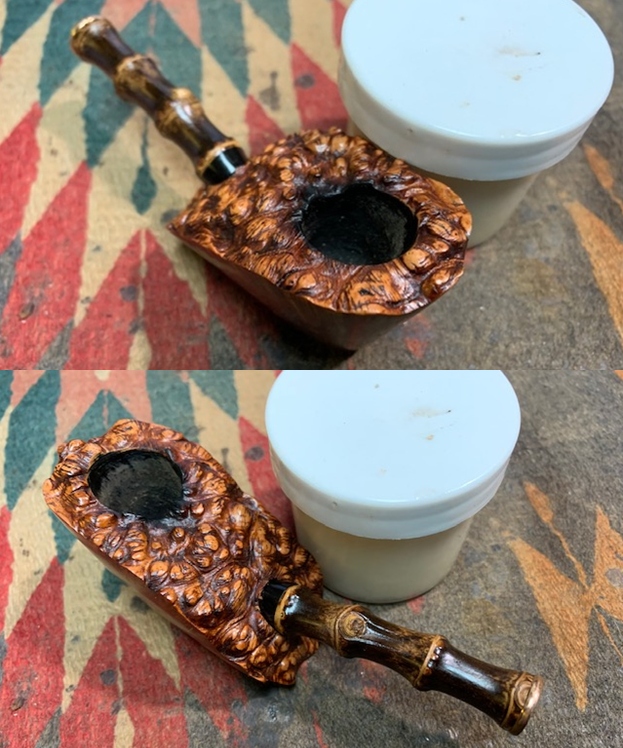
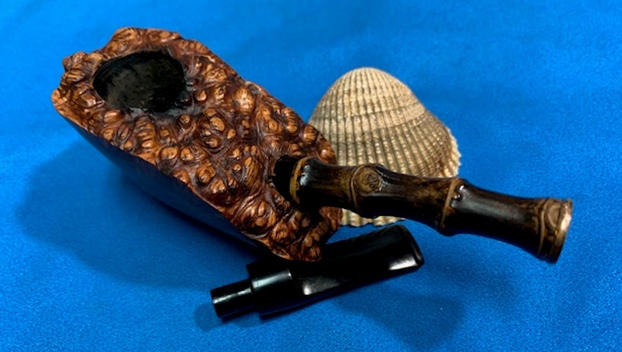
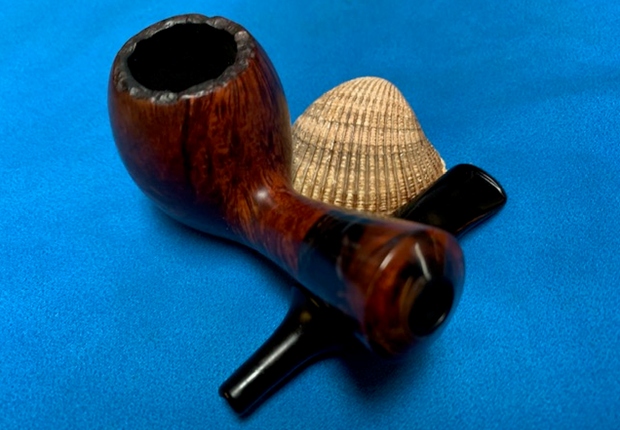
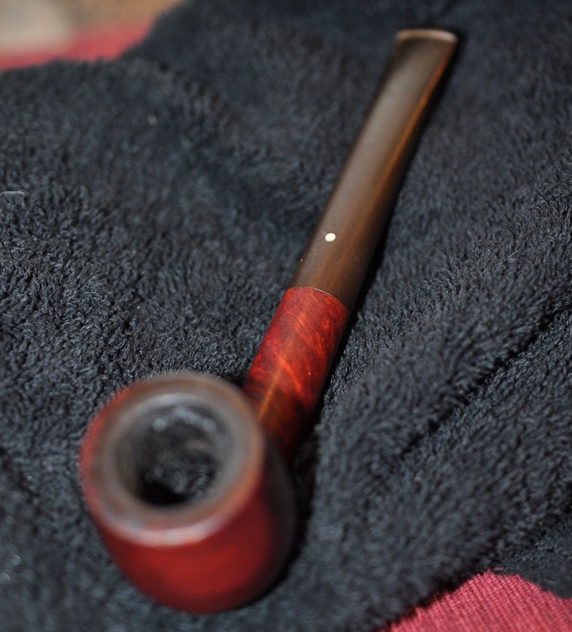
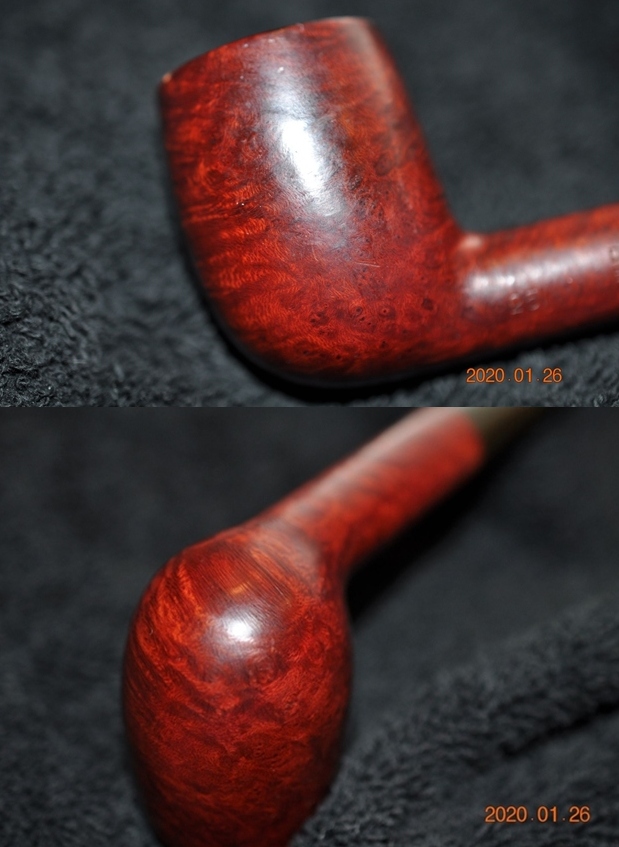
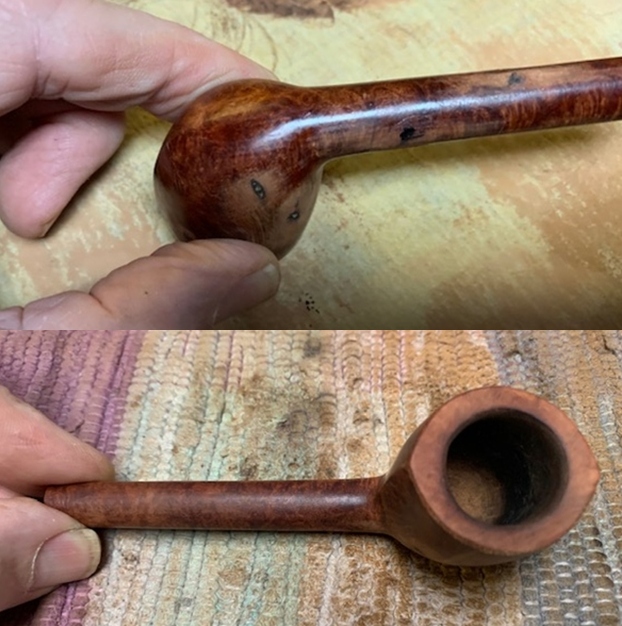
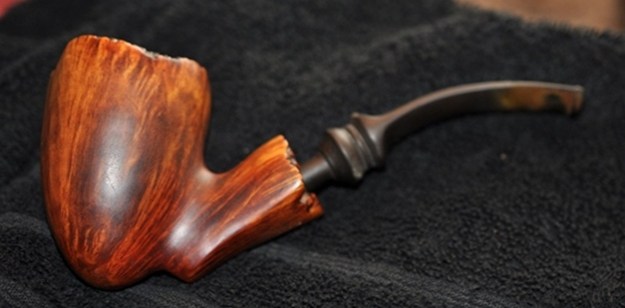
 I worked some Before & After Restoration Balm into the surface of the briar with my fingertips to clean, enliven and protect the briar. I worked the Balm into the plateau top with a horsehair shoe brush. I let the balm sit for a little while and then buffed with a cotton cloth to raise the shine. The photos show the bowl at this point in the restoration process.
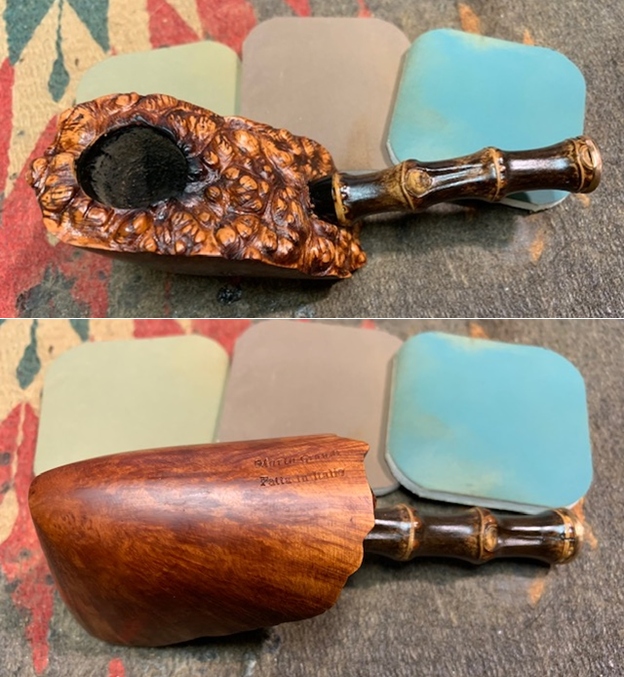
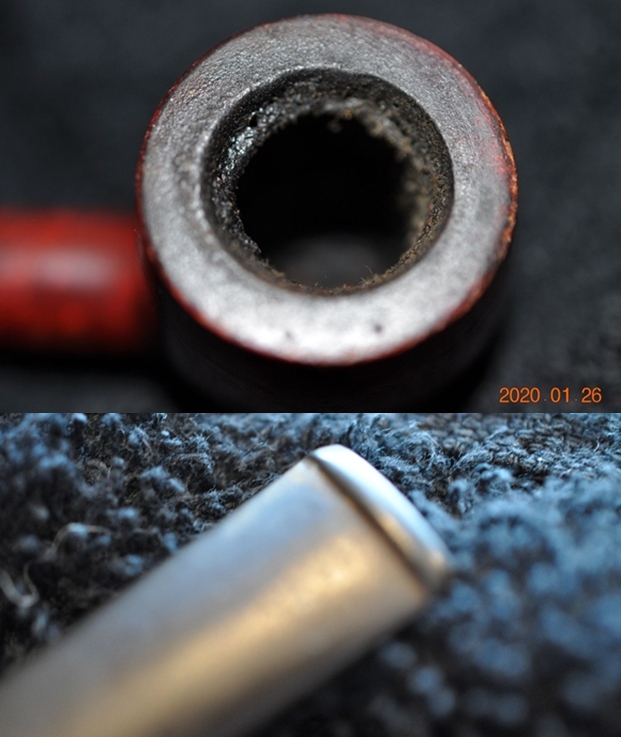
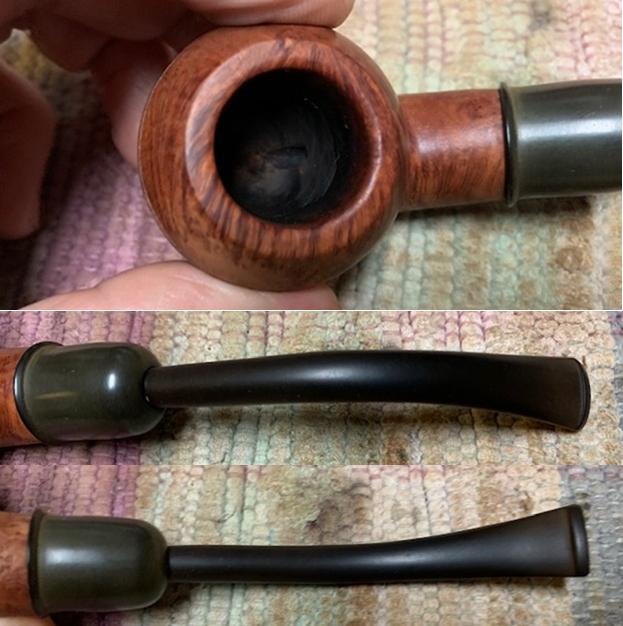
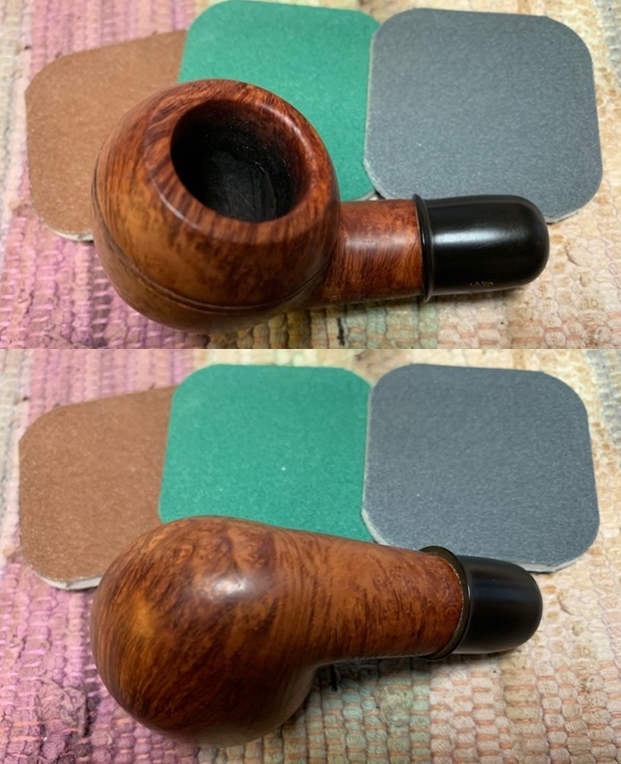
 I set the bowl aside and turned my attention to the stem. I sanded out scratching and light oxidation on the stem with 220 grit sand paper. I started to polish it with a folded piece of 400 wet dry sandpaper.
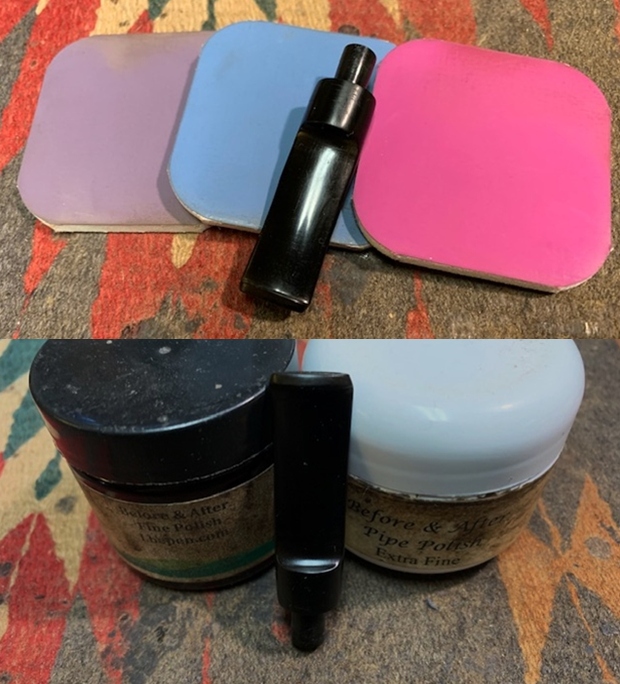
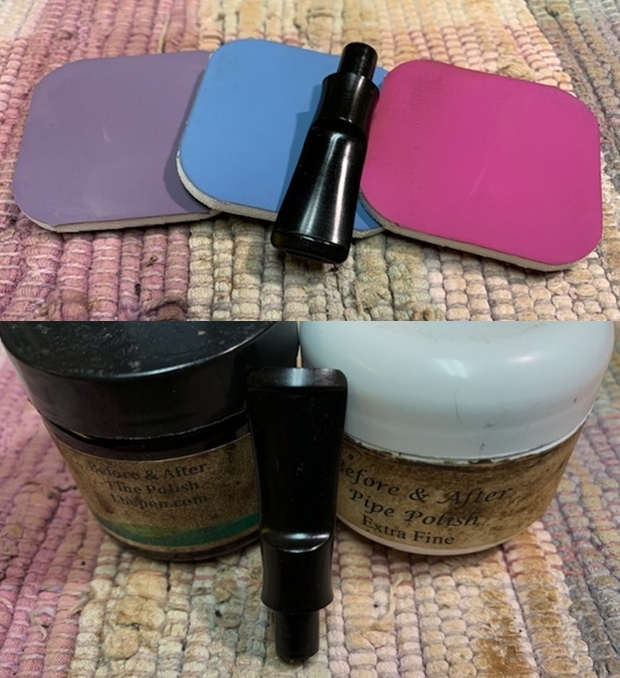
 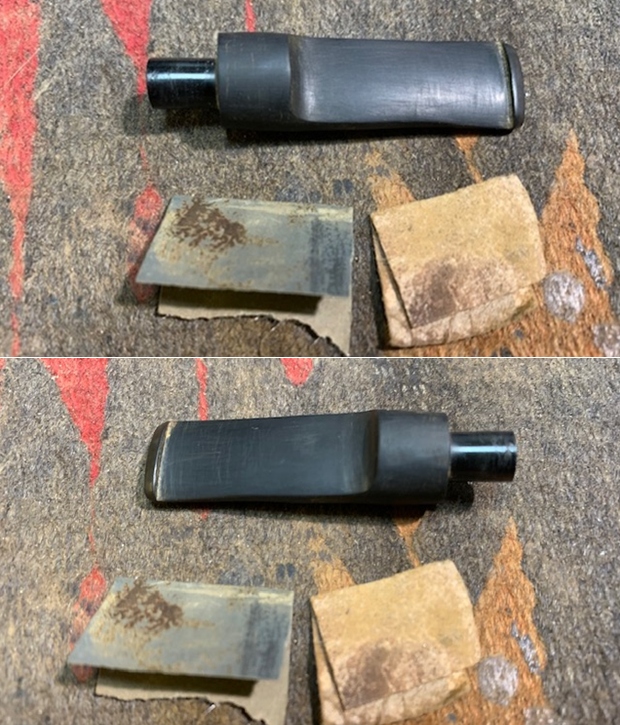 I polished the stem with micromesh sanding pads – wet sanding with 1500-12000 grit sanding pads. I wiped it down after each sanding pad with Obsidian Oil. I polished it with Before & After Pipe Stem Polish – both Fine and Extra Fine.
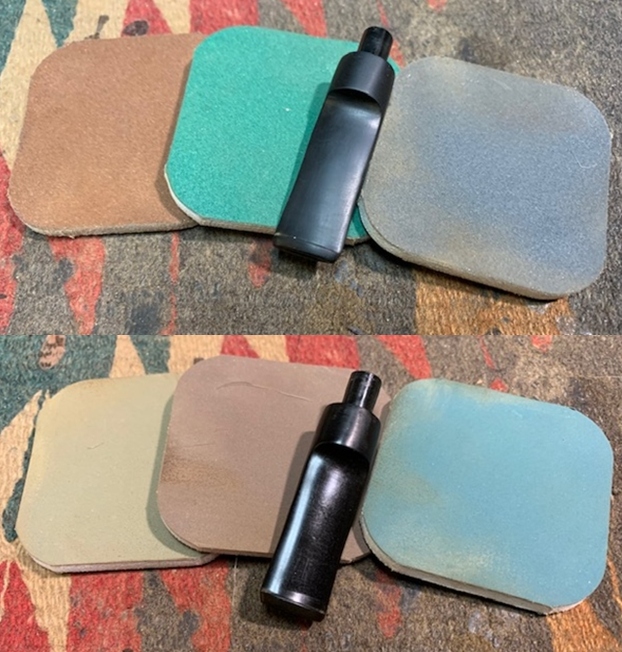
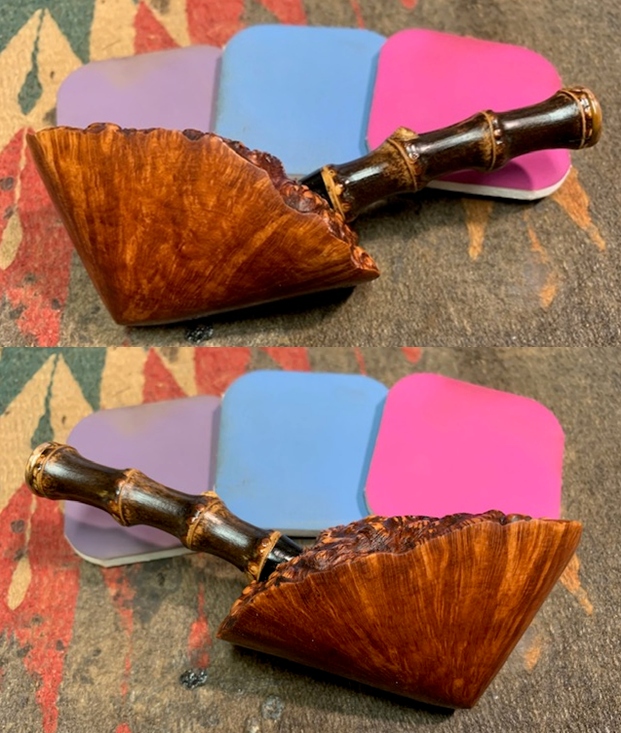
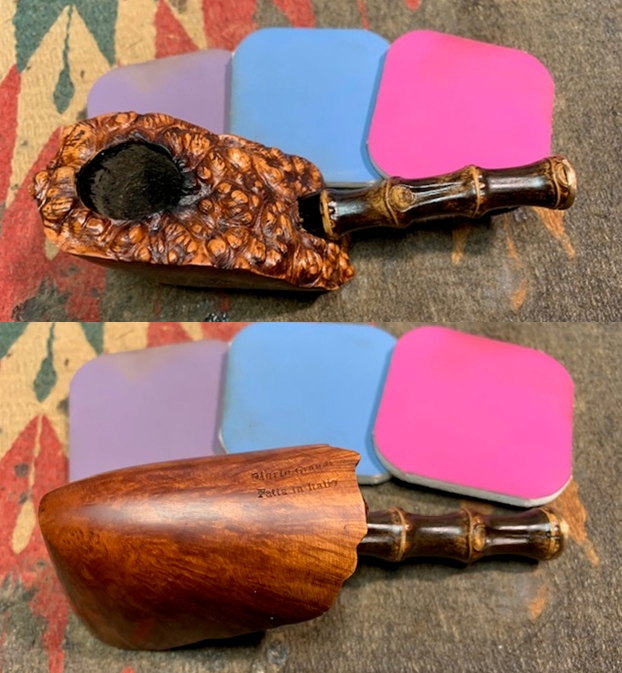
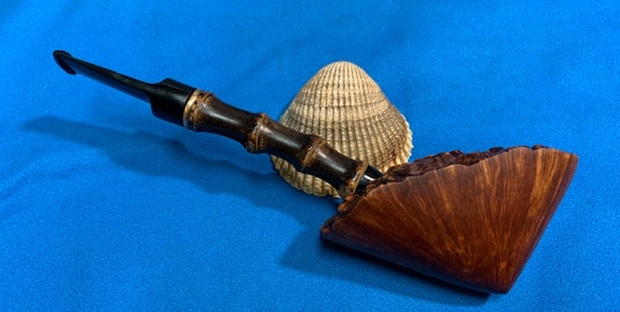
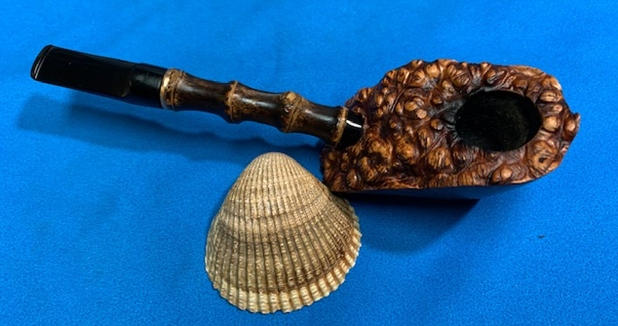
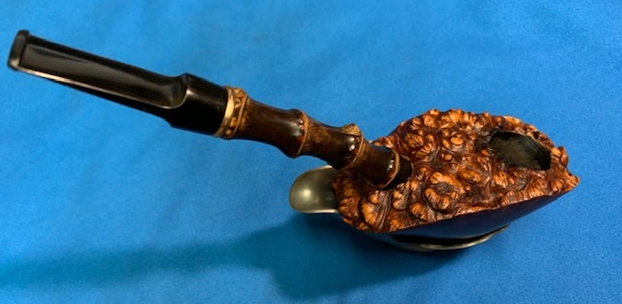
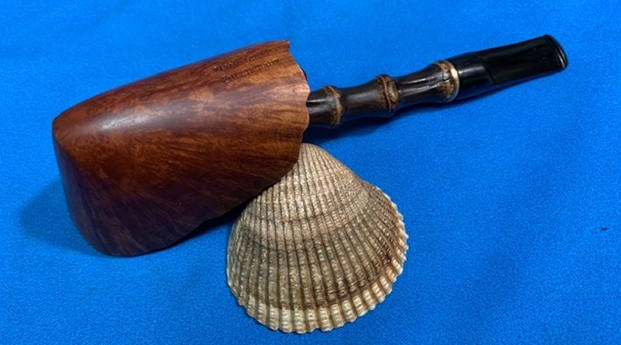
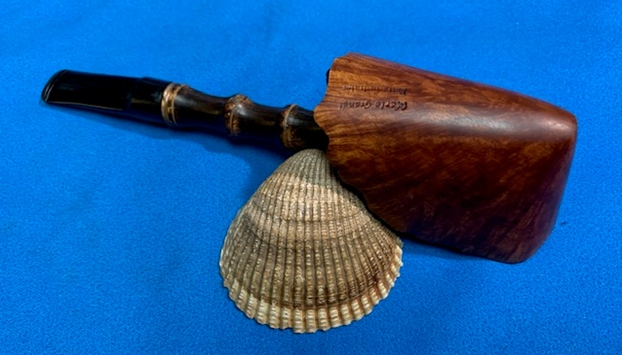
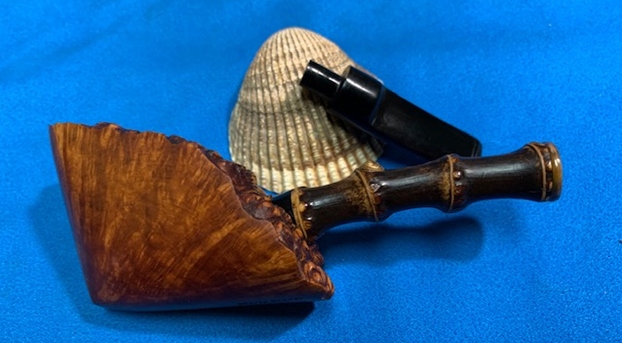
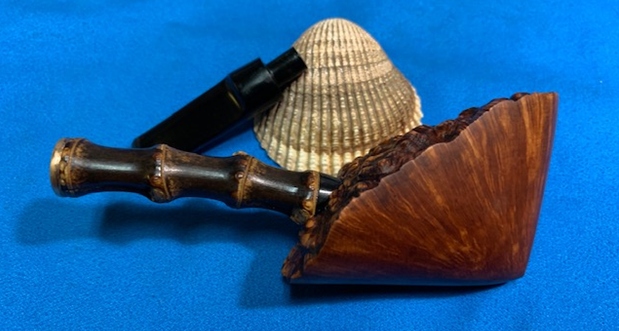
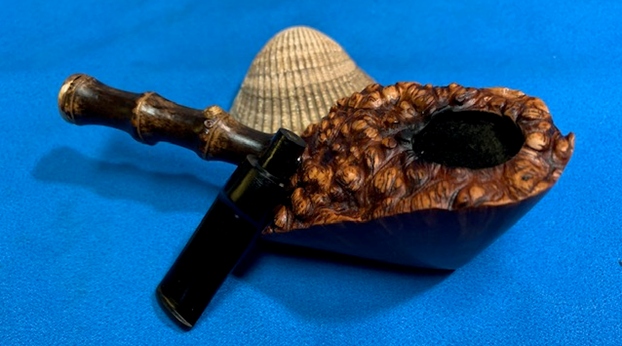
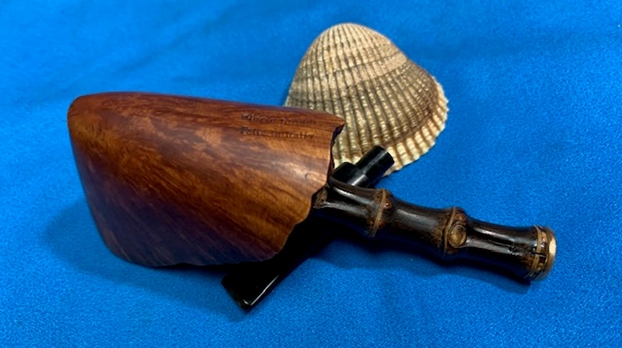
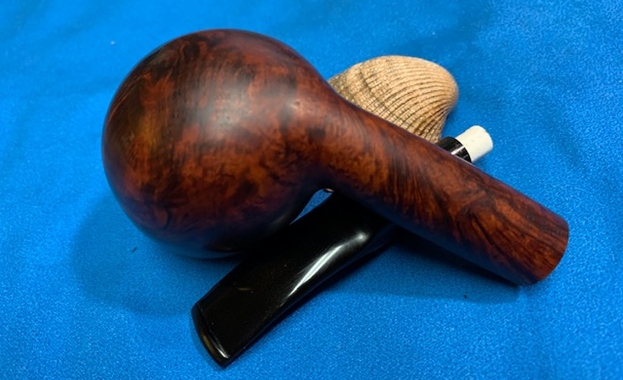
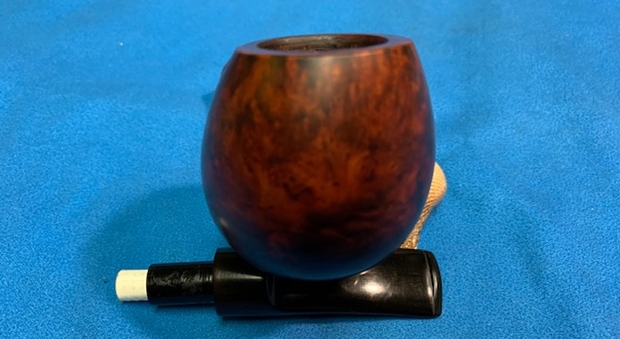
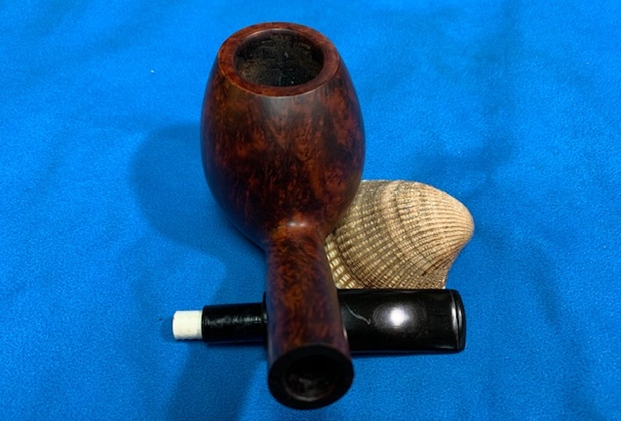
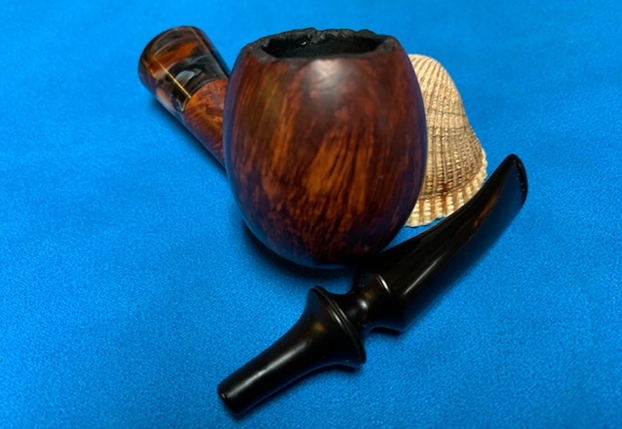
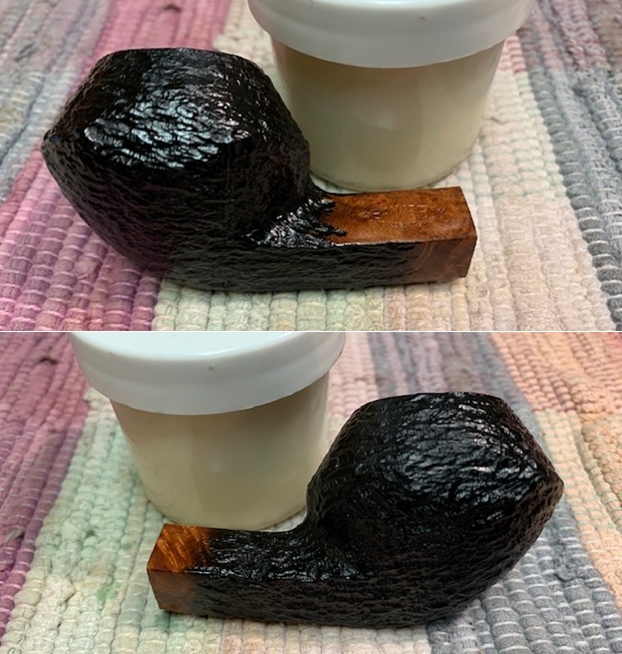
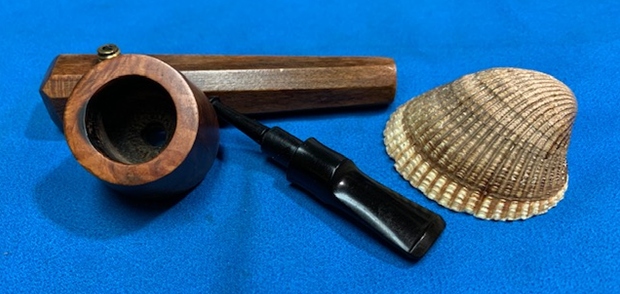
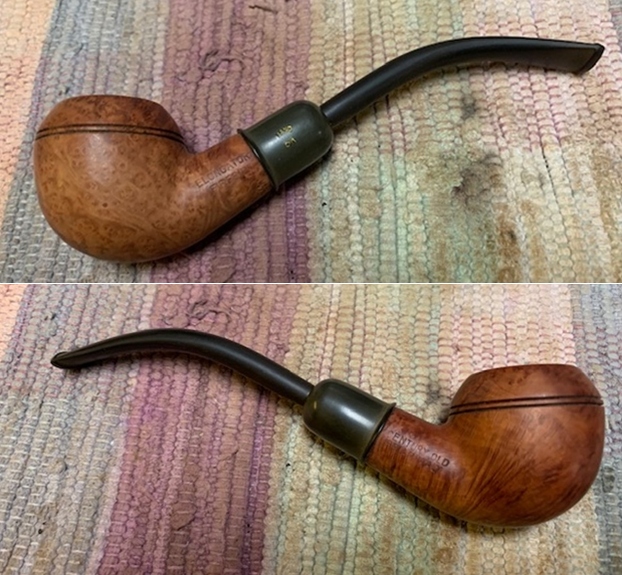
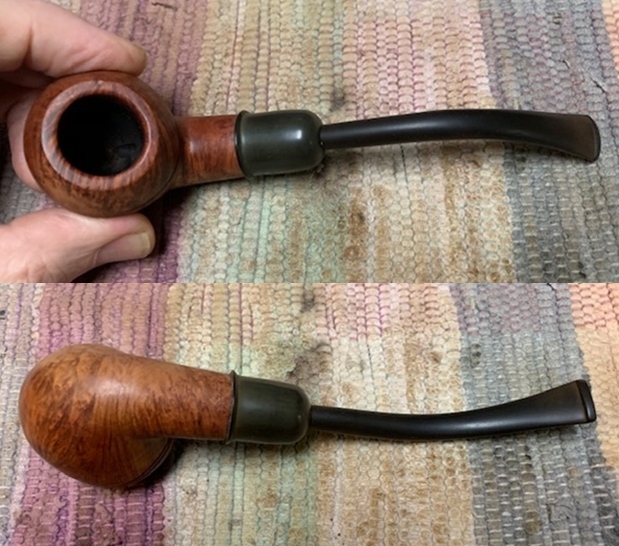
 I am glad to finish this Mario Grande Fatta in Italy Freehand. It was a bit more work than I expected when I took it out of the bin. I put the pipe back together and buffed it with Blue Diamond on the buffing wheel. I gave the bowl and the stem multiple coats of carnauba wax. I hand buffed the pipe with a clean buffing pad to raise the shine. It is fun to see what the polished bowl looks like with the grain popping through on the bowls sides and the plateau rim top. Added to the briar, the combination of the brass band on the black bamboo and the polished black vulcanite stem was beautiful. This petite Mario Grande (for his pipes it is petite!) is nice looking and feels great in my hand. It is light and well balanced. Have a look at it with the photos below. The dimensions are Length: 6 ½ inches, Height: 1 ¾ inches, Outside diameter of the bowl: 1 ½ inches, Chamber diameter: 5/8 of an inch. The weight of the pipe is 50grams/1.76oz. It is a beautiful pipe and one that will be on the rebornpipes store soon. If you are interested in adding it to your collection let me know. Thanks for walking through the restoration with me as I worked over this pipe. Thanks to each of you who are reading this blog. Remember we are not pipe owners; we are pipemen and women who hold our pipes in trust until they pass on into the trust of the next pipeman or woman.


