Blog by Steve Laug
The next pipe on the table came to us in a group of pipes that we picked up from an auction in 2018 in Wilkes Barre, Pennsylvania, USA. It has a mixed sandblast and smooth finish that was a bit dull and lifeless. It showed promise under the grit and grime of the years. On the underside of the shank it was clearly stamped Soren [over] Hand Carved [over] Made in Denmark. When I received it from Jeff somehow the bowl and stem had separated and I had the bowl in hand but no idea what stem fit the shank. I tried a variety of stems that I had but not one of them fit well.
Jeff had cleaned up the pipe with his usual penchant for thoroughness. He reamed the pipe with a PipNet Pipe Reamer and cleaned up the remnants with a Savinelli Fitsall Pipe Knife. He scrubbed the bowl with undiluted Murphy’s Oil Soap with a tooth brush. He worked over the debris in the plateau on the rim top and shank end and was able to remove it. He rinsed it under running warm water to remove the soap and grime. He cleaned out the inside of the shank and the airway in the stem with alcohol, cotton swabs and pipe cleaners. When I took it out of the box it did not have a stem in the shank. I wrote Jeff and sent him photos of the bowl and asked him if he had photos that showed what the stem looked like.

 Jeff did a bit of hunting on his hard drive and found the pictures of the pipe with the stem that it had when he started his work. He sent me the following photos of the pipe. The pipe was very dirty with grime and grit ground into the sides of the sandblast and the rim top. The bowl had a thick cake and an overflow of lava on the rim top that obscured the edges of the rim and the plateau finish. To me the stem just did not look like the right one for this kind of freehand pipe. It looked like a replacement stem that was just stuck in the shank. Now I had to see if I could find it in the boxes that he sent. That would be a bit of a treasure hunt.
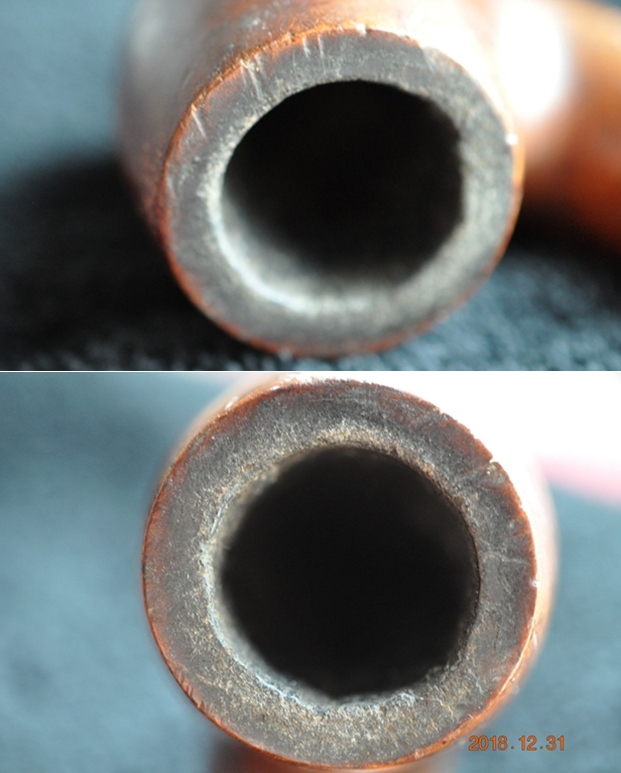
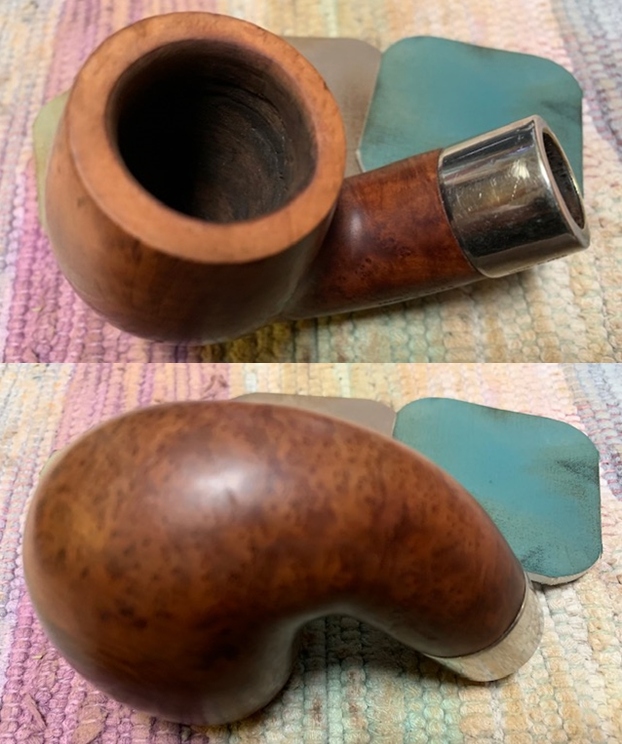
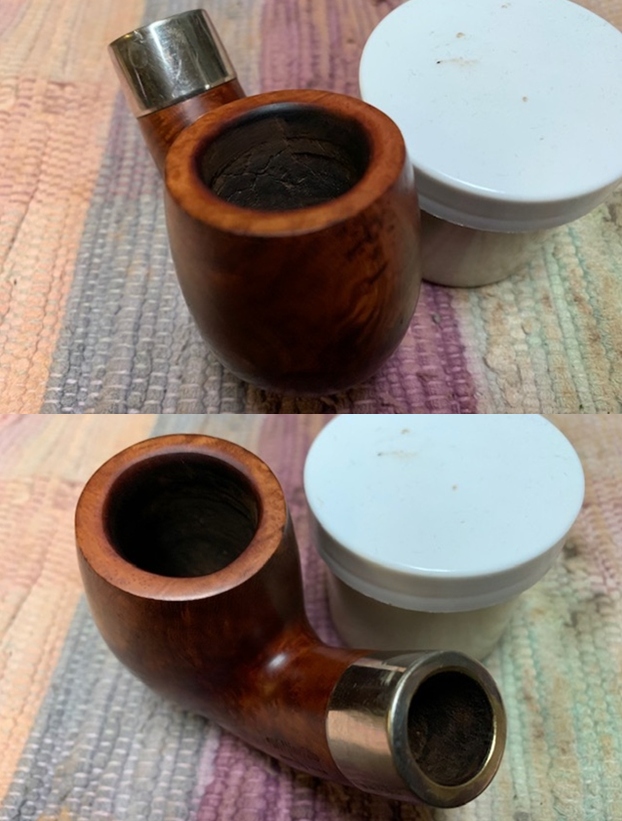
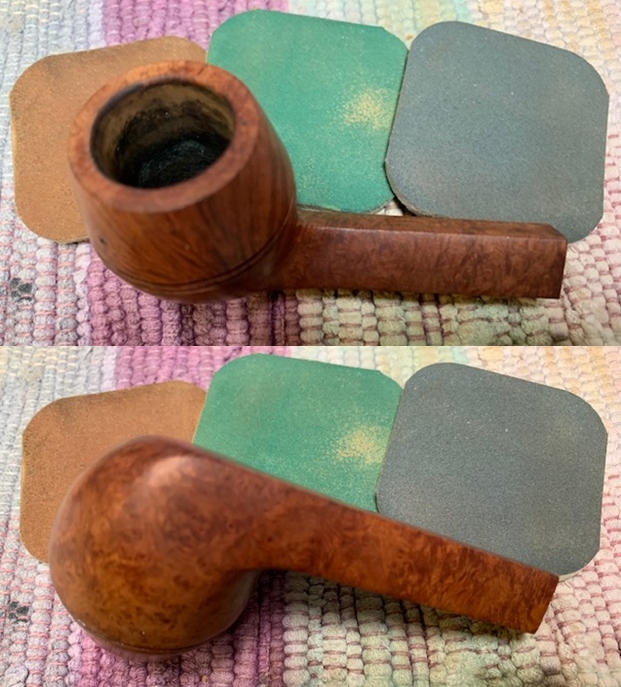
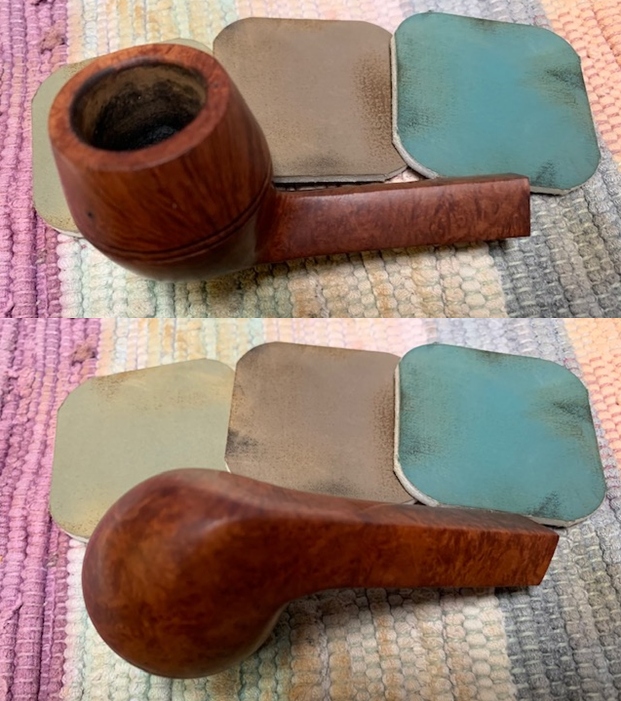
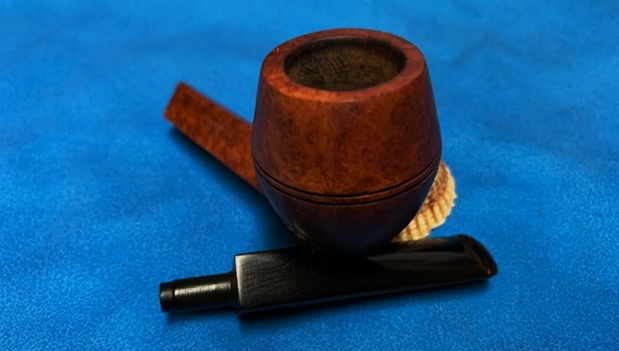
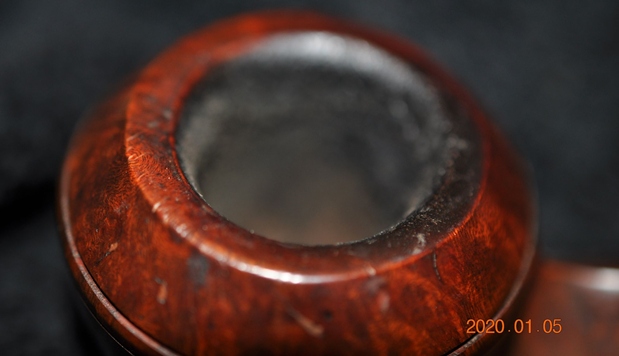
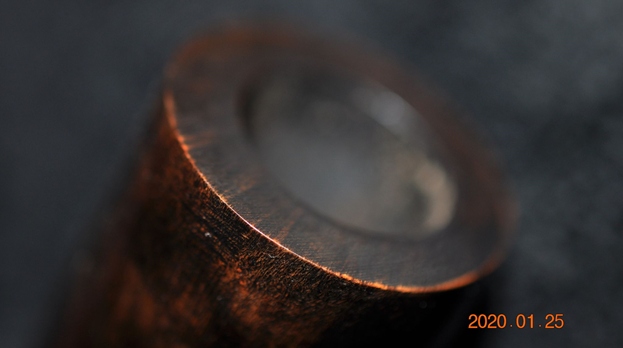
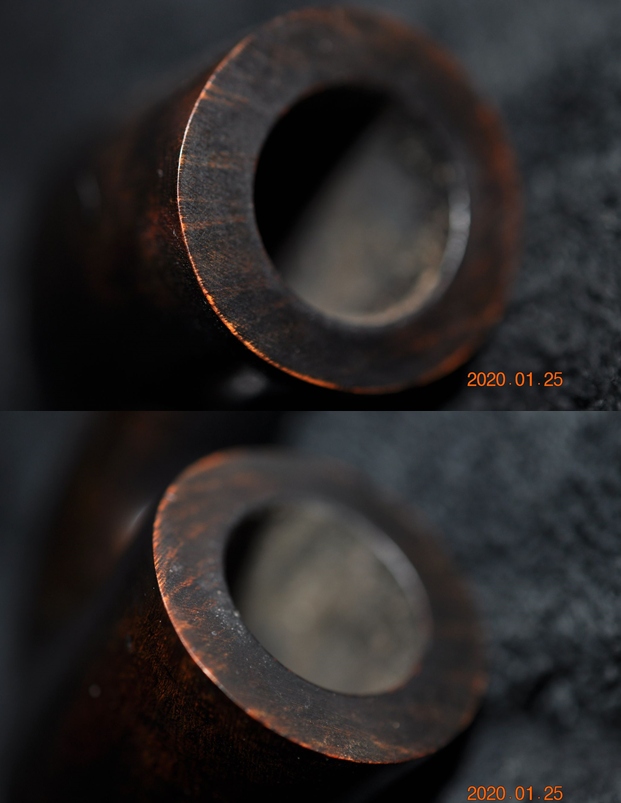
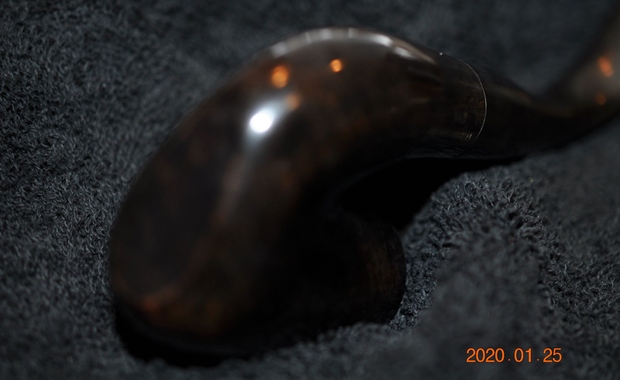
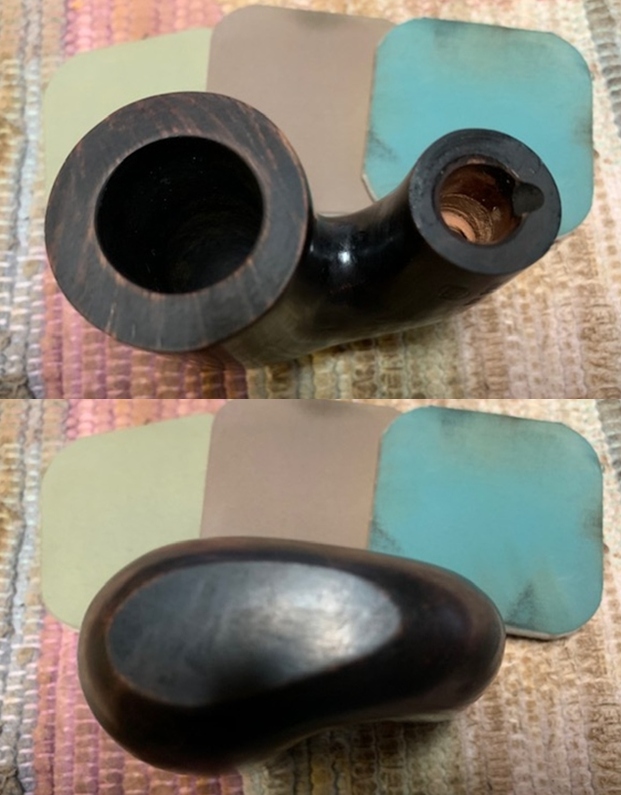
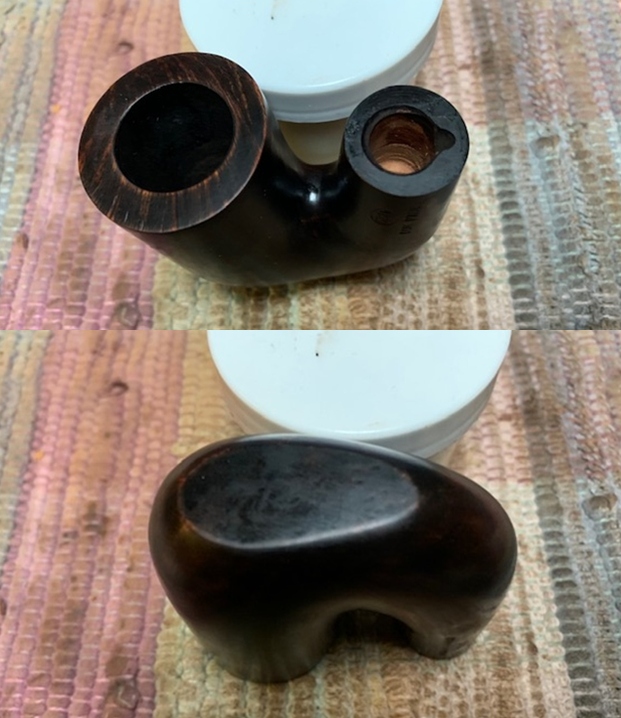
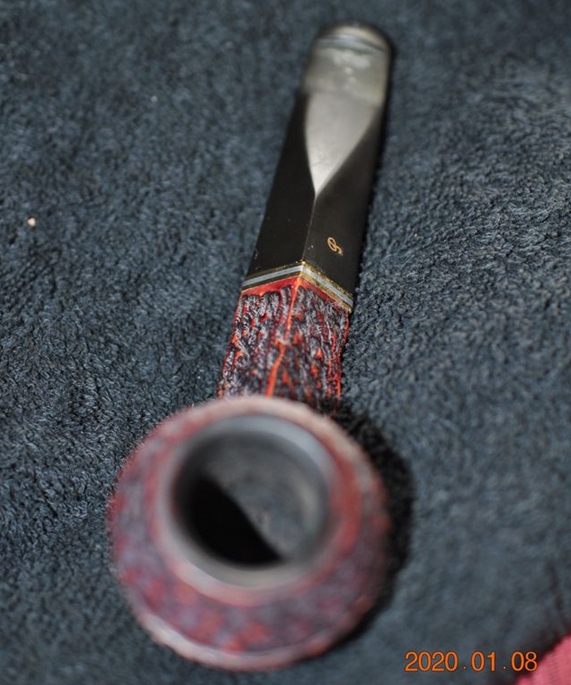
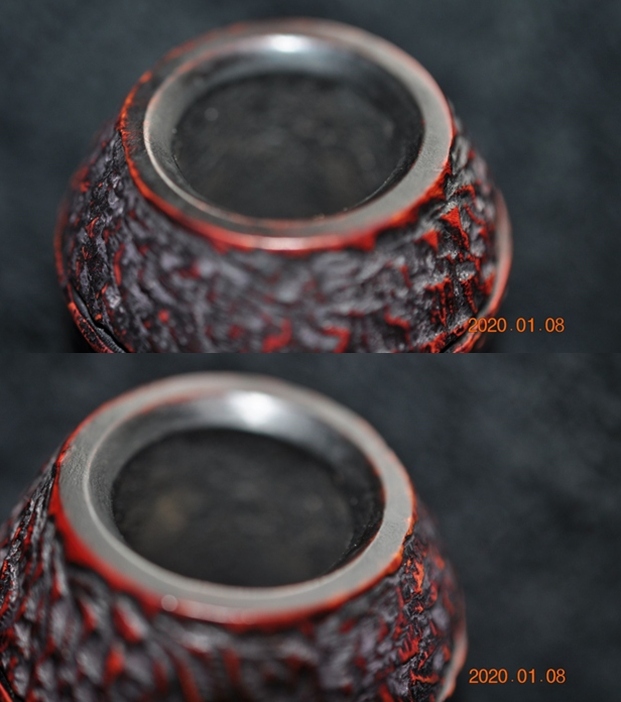
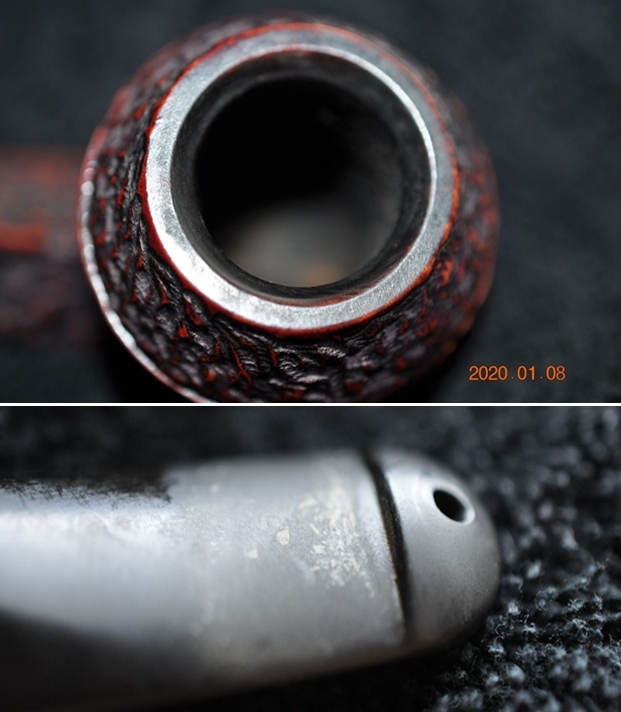
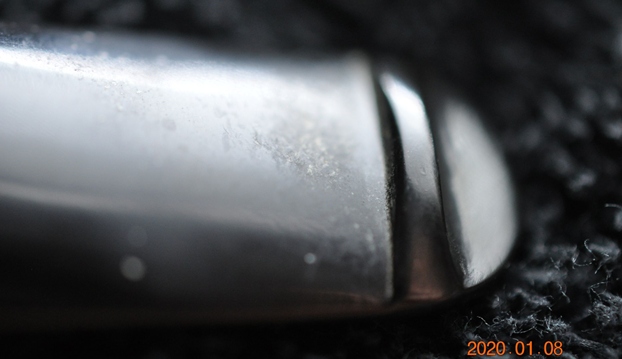
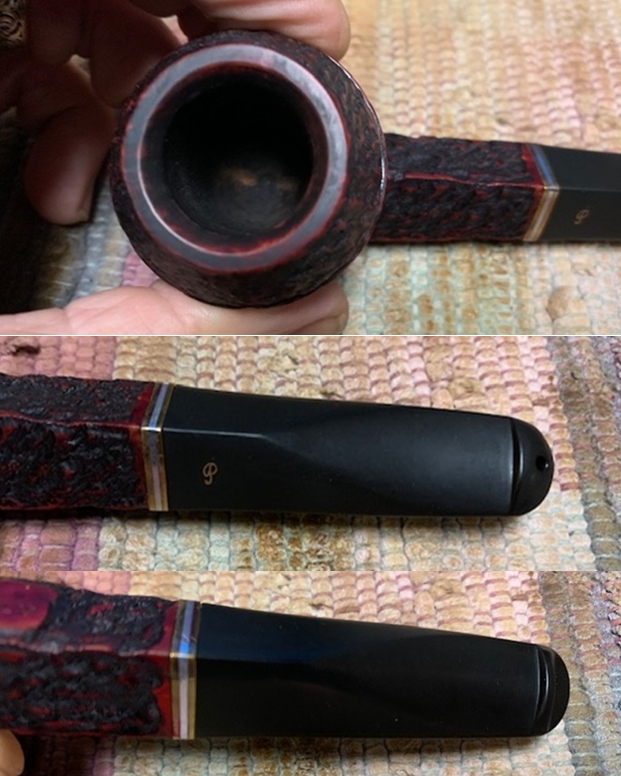
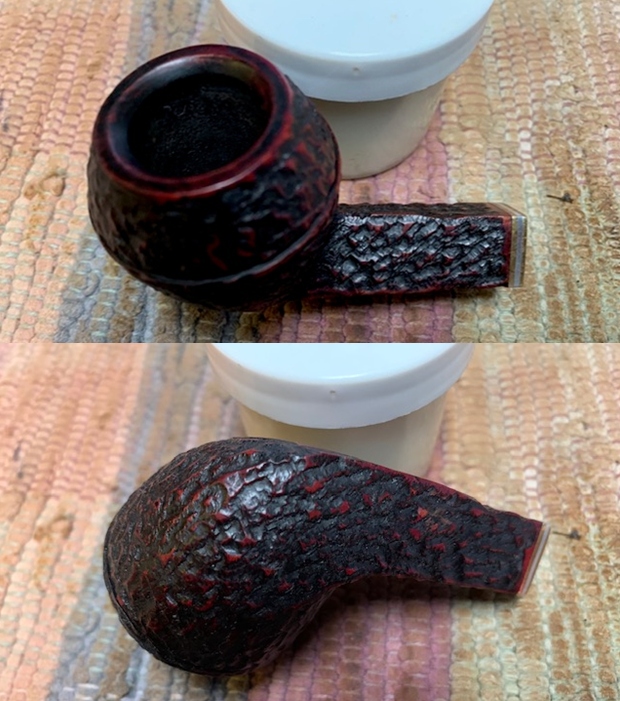
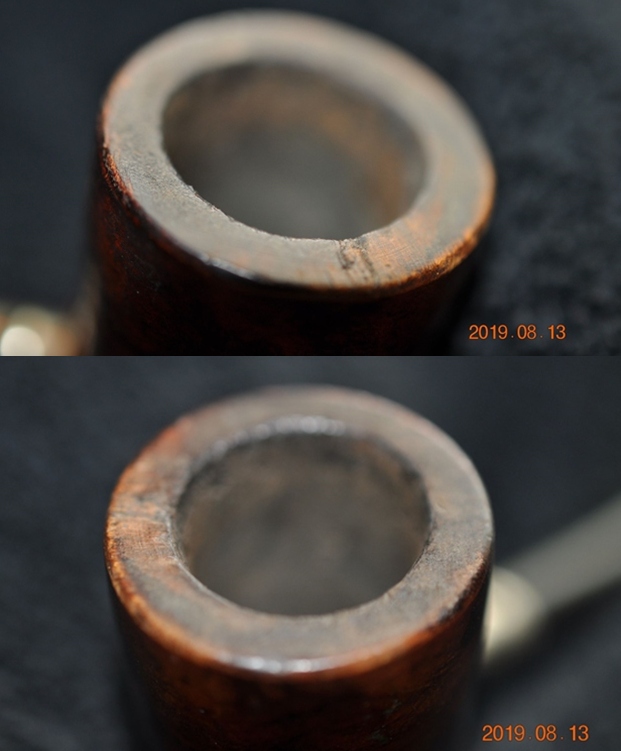
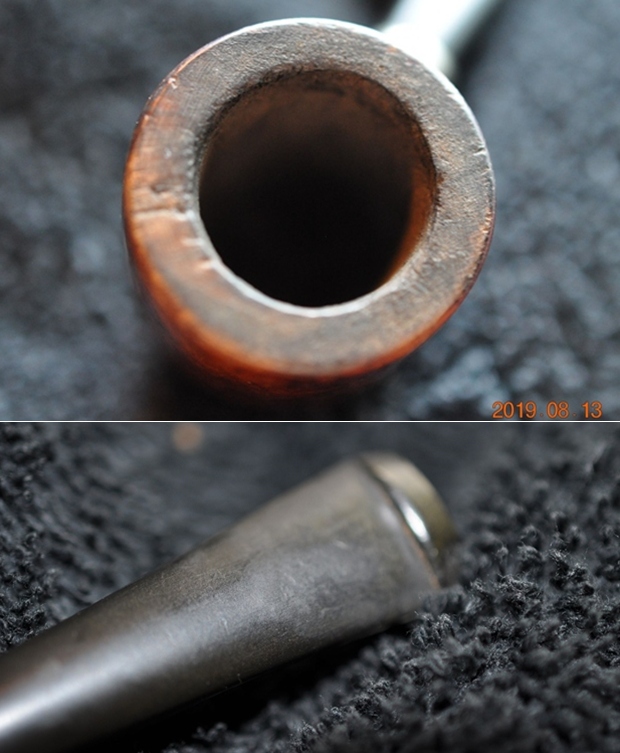
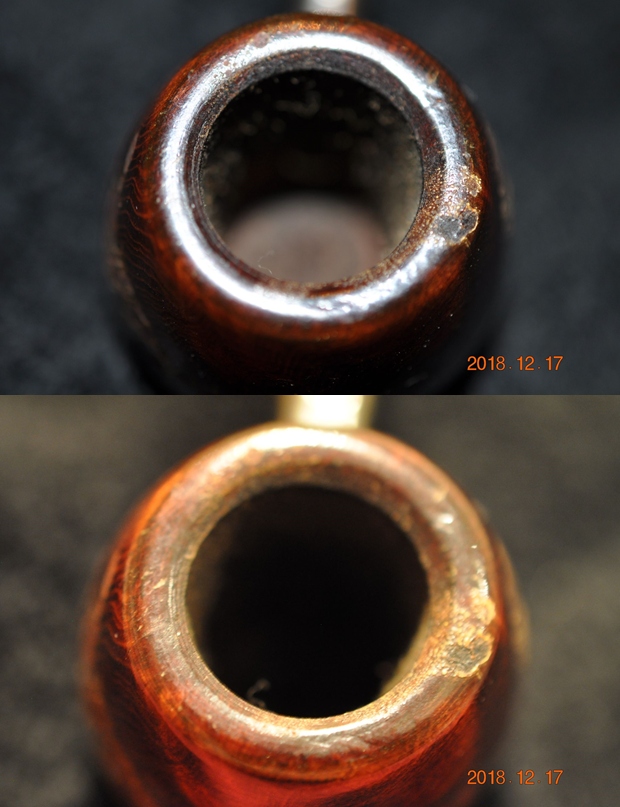
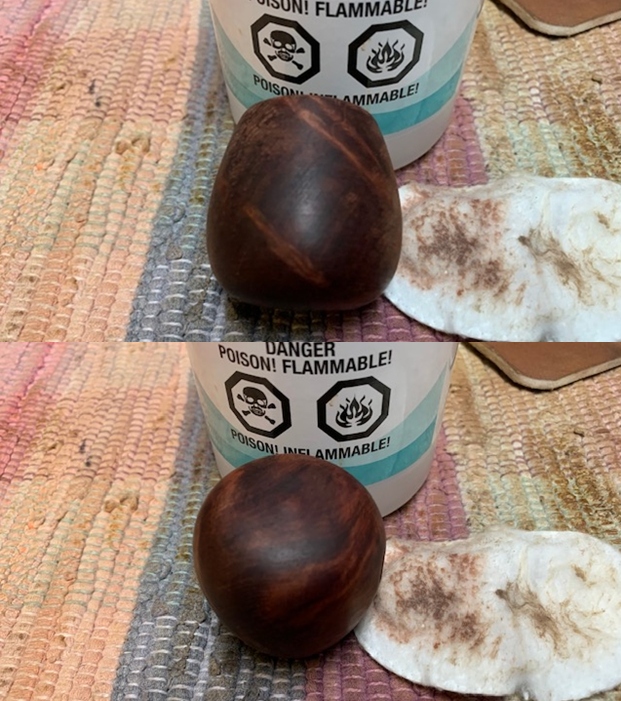
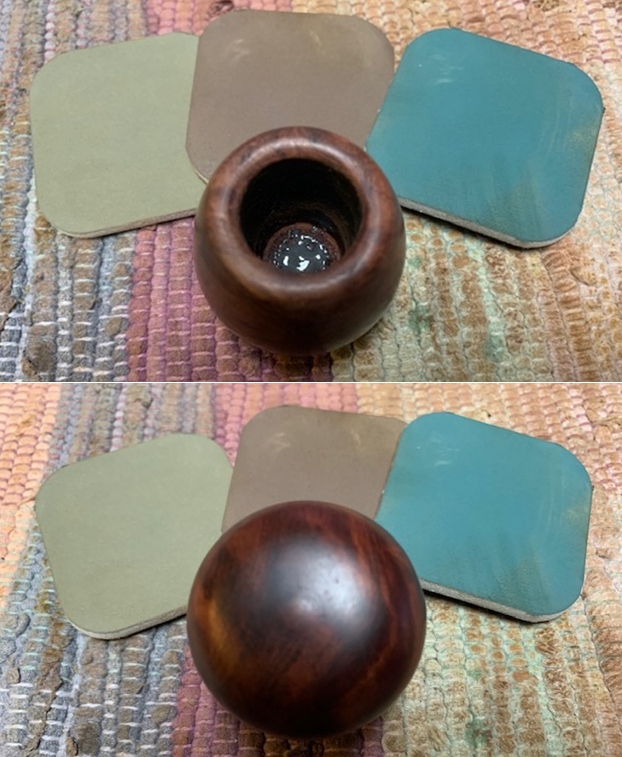
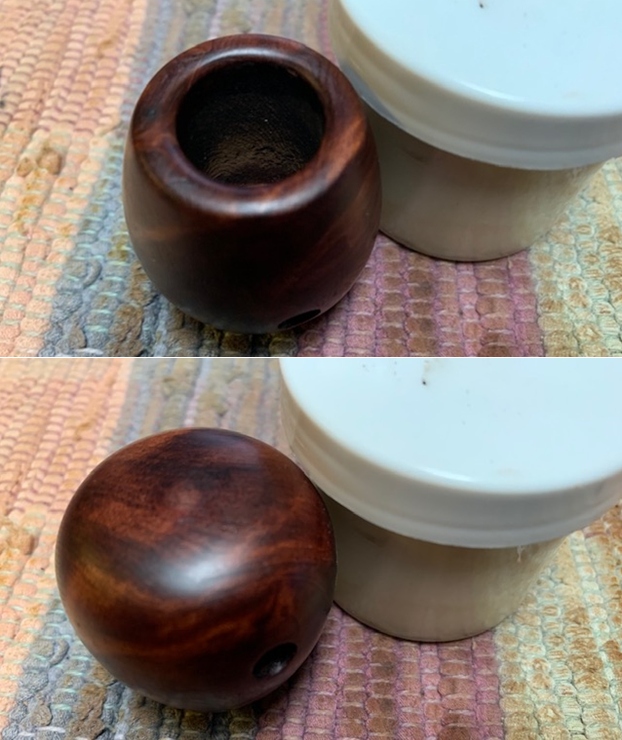
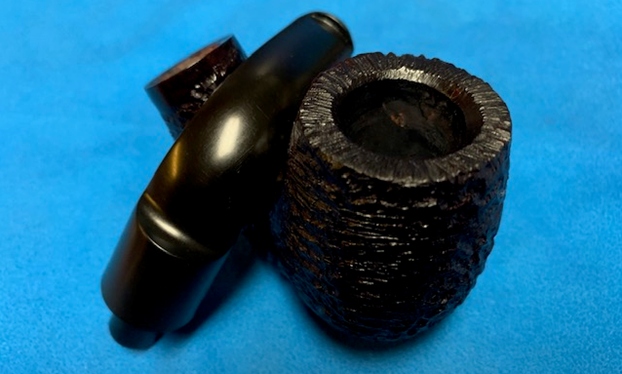
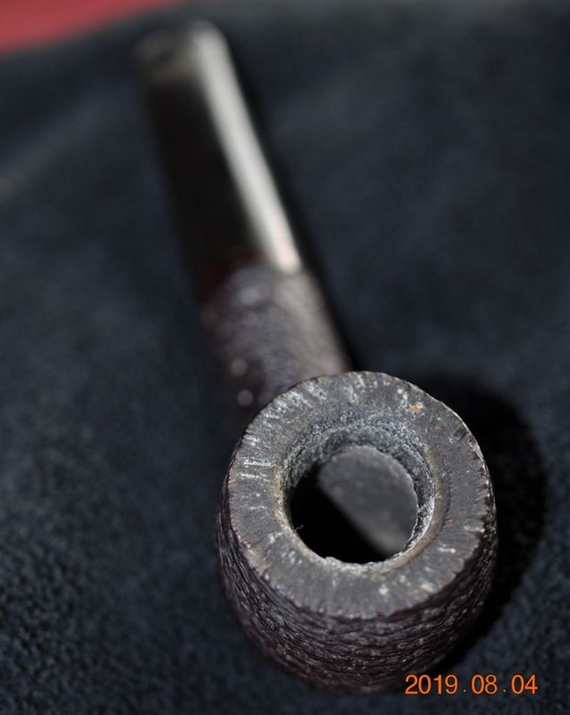
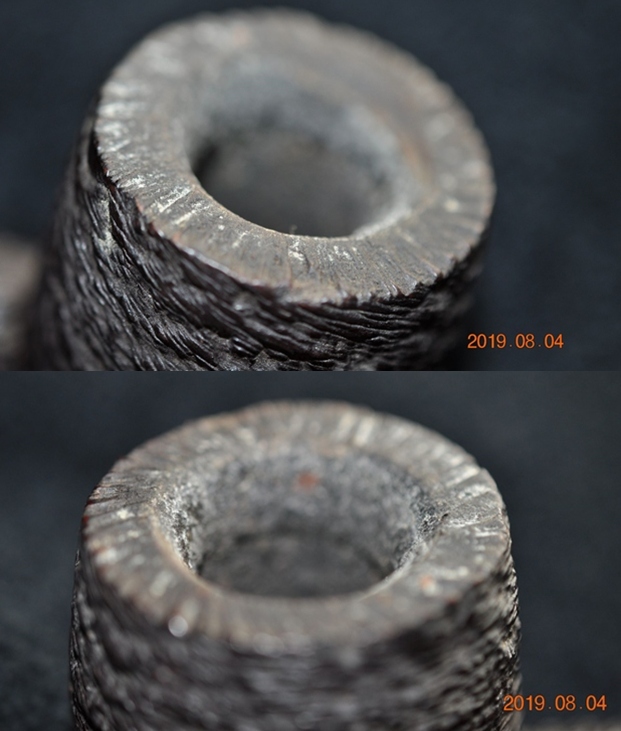
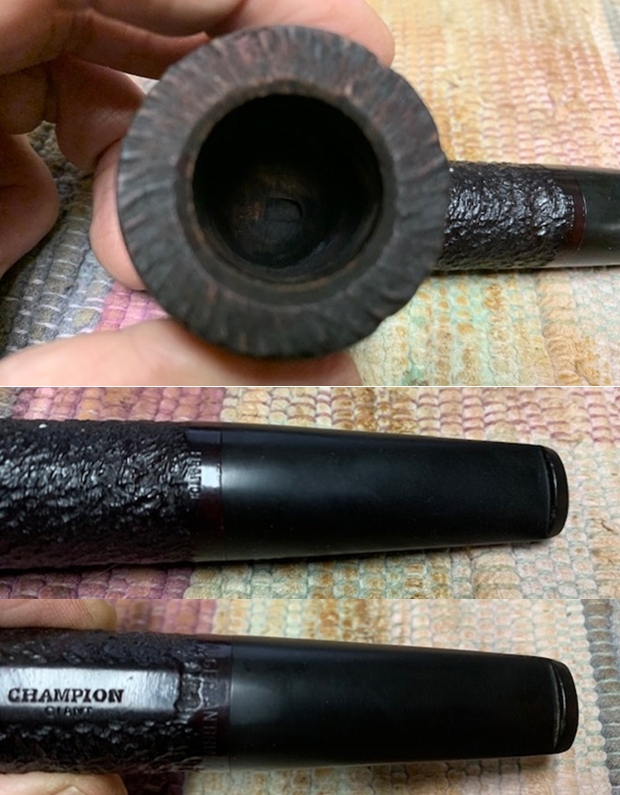
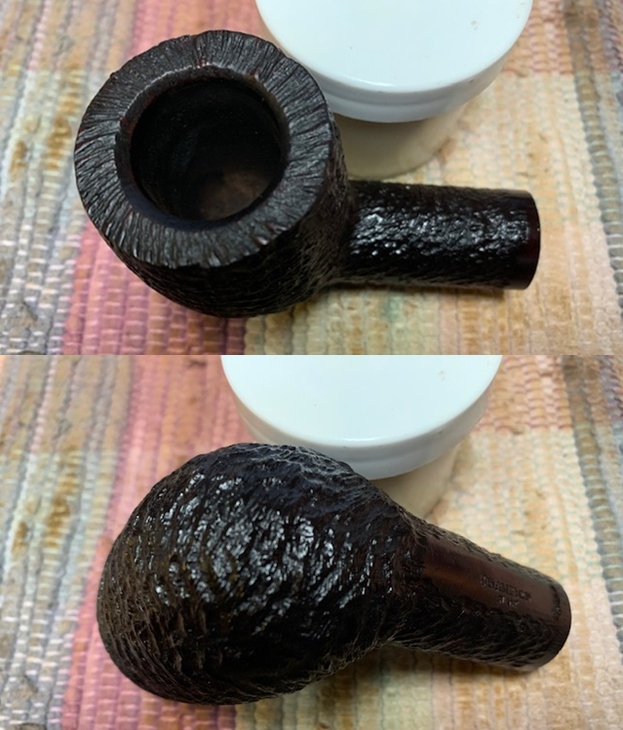
 He took photos of the rim top and bowl to give a clear picture of the thickness of the cake and the lava on the plateau finish of the rim top. There is dust and debris stuck to the walls of the bowl clearly visible in the photos. He also took photos of the top and underside of the stem that came with it to show the chatter and tooth marks.
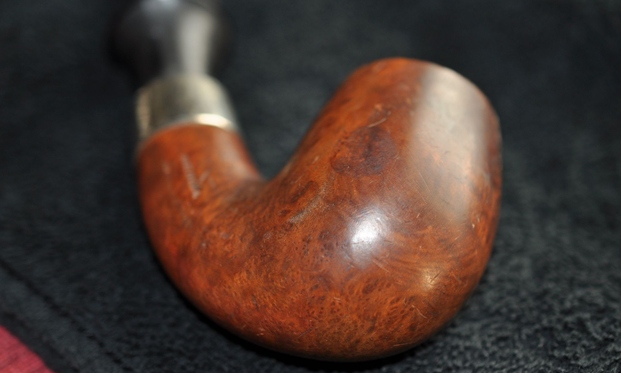
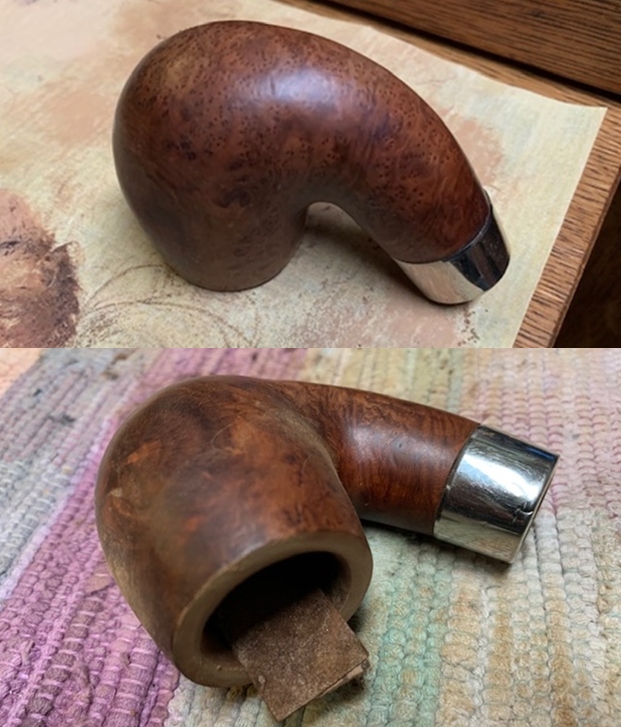
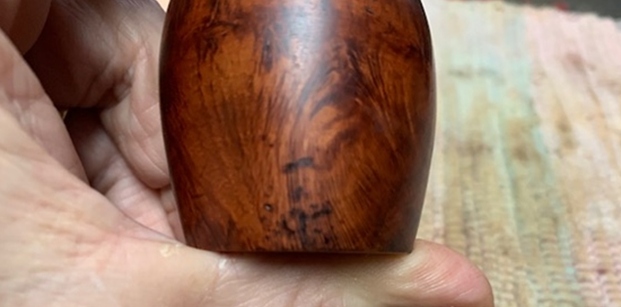
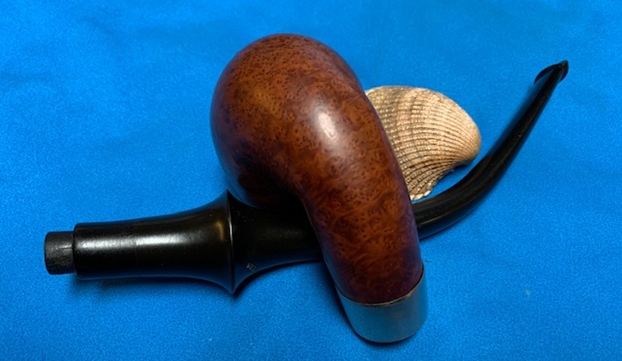
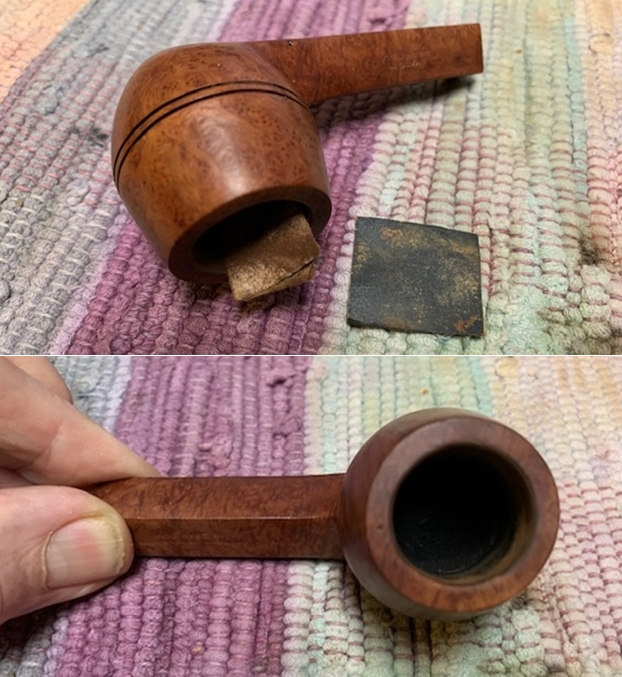
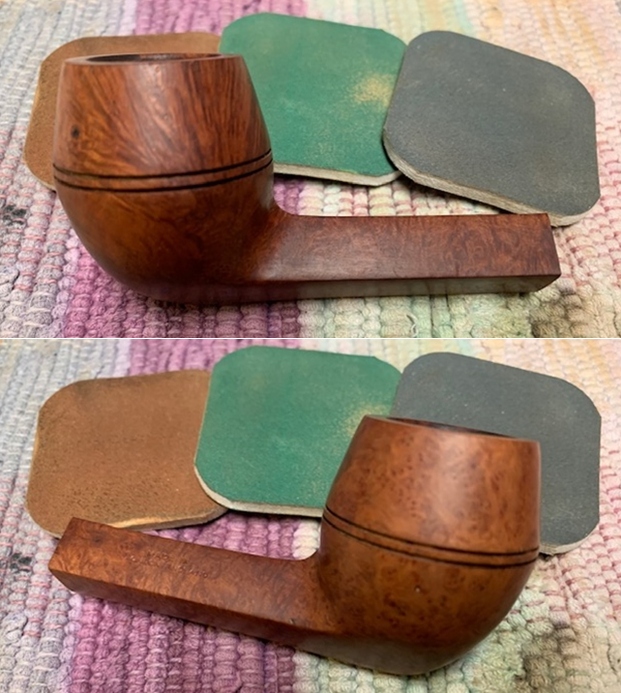
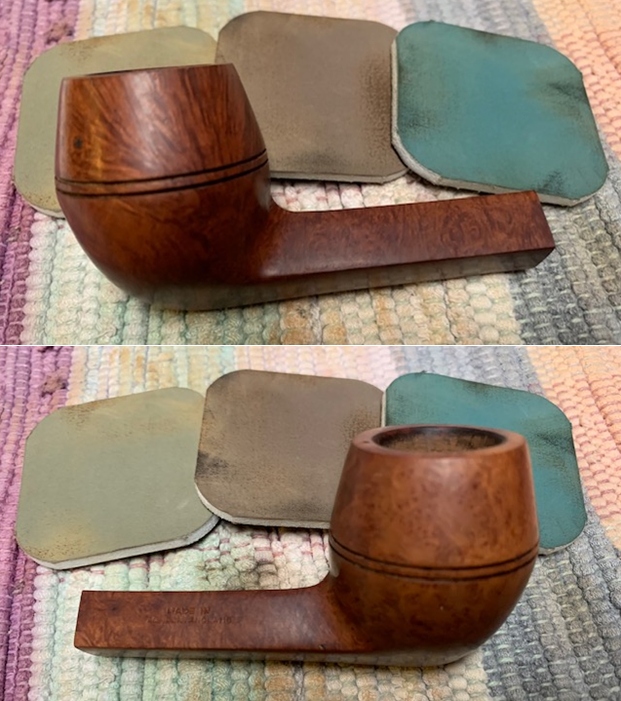
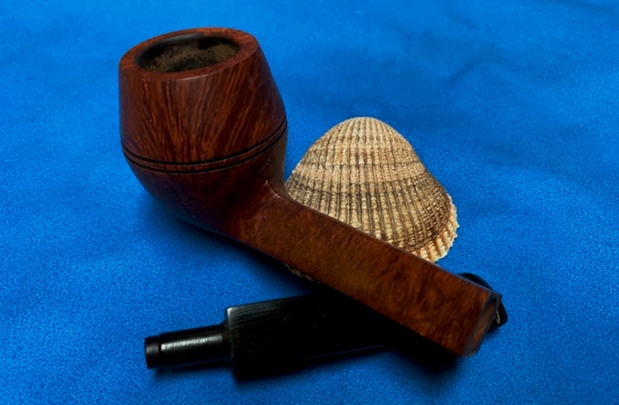
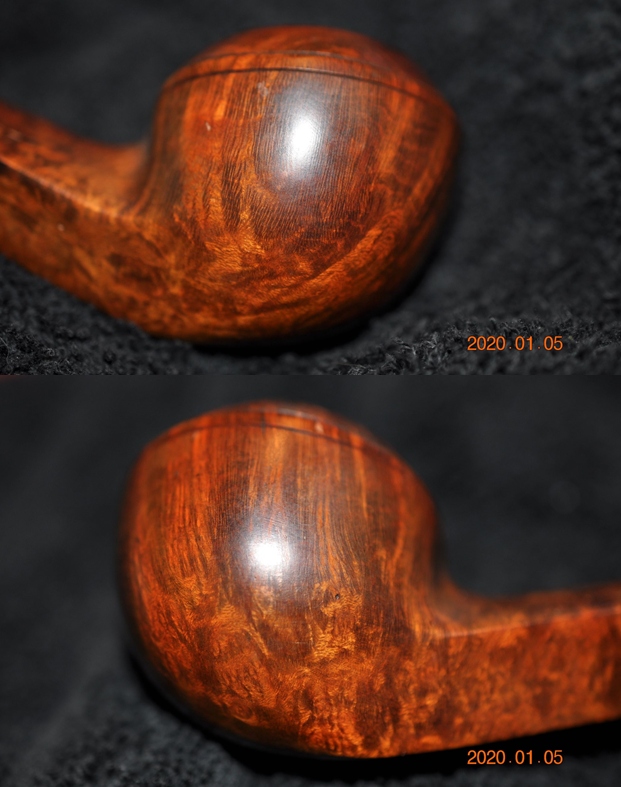
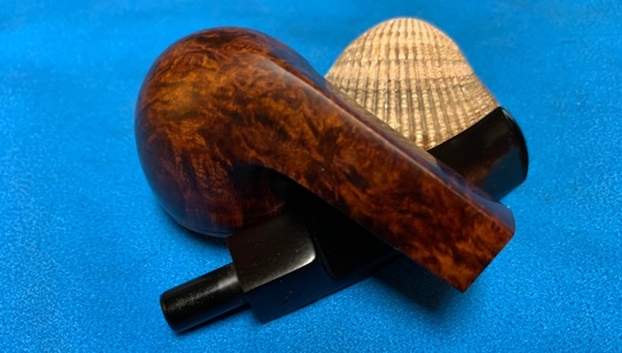
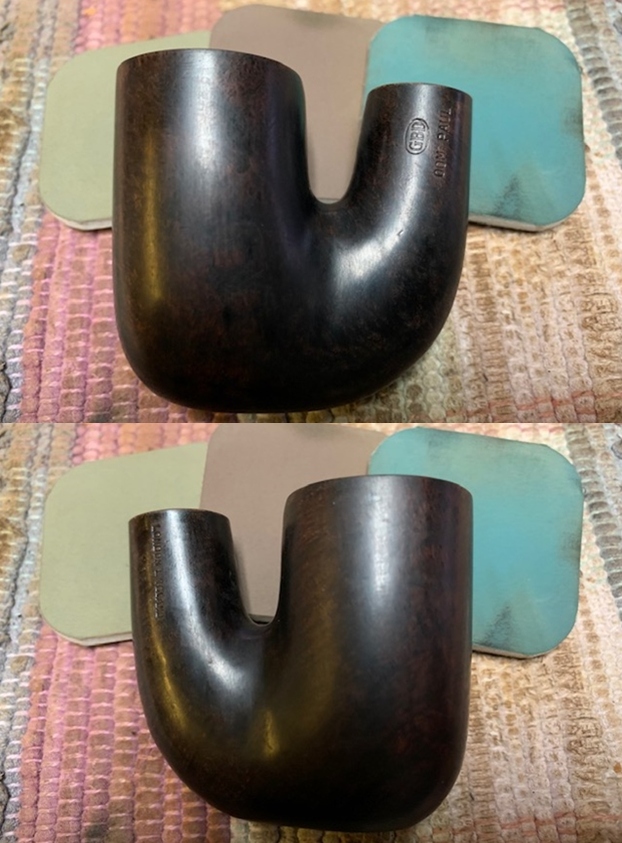
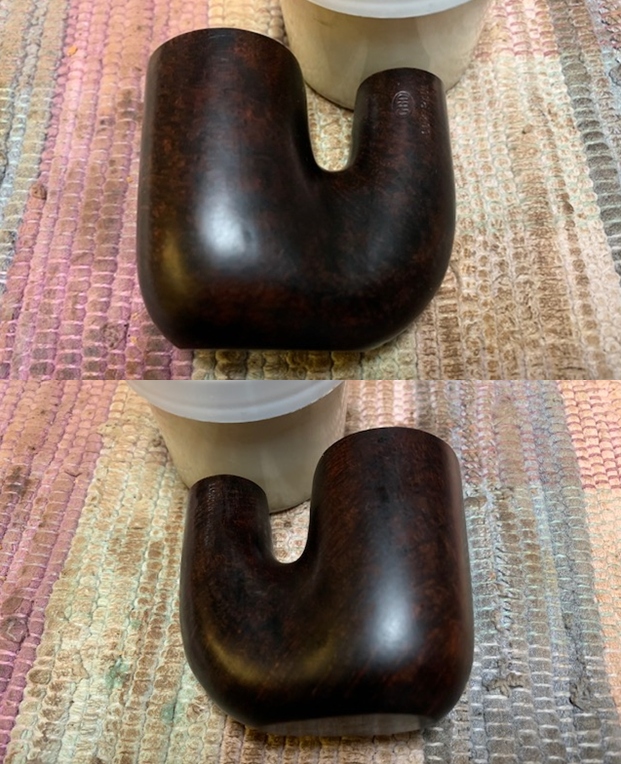
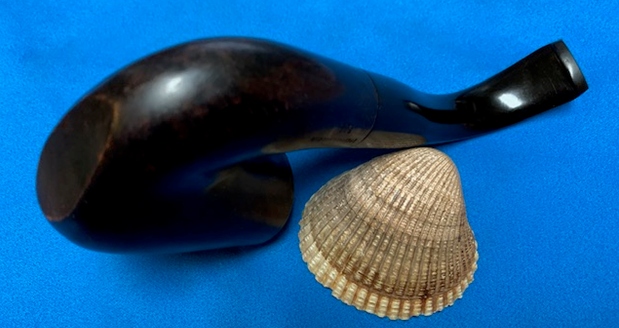
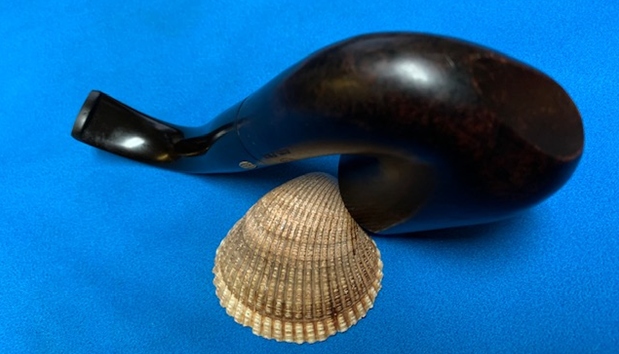
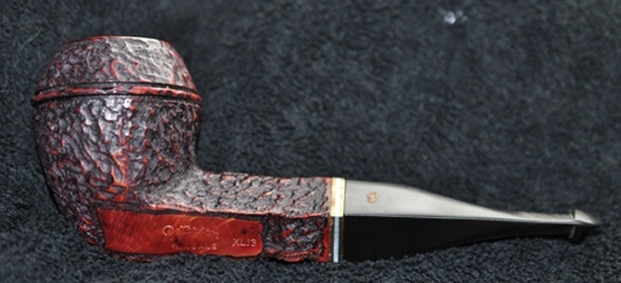
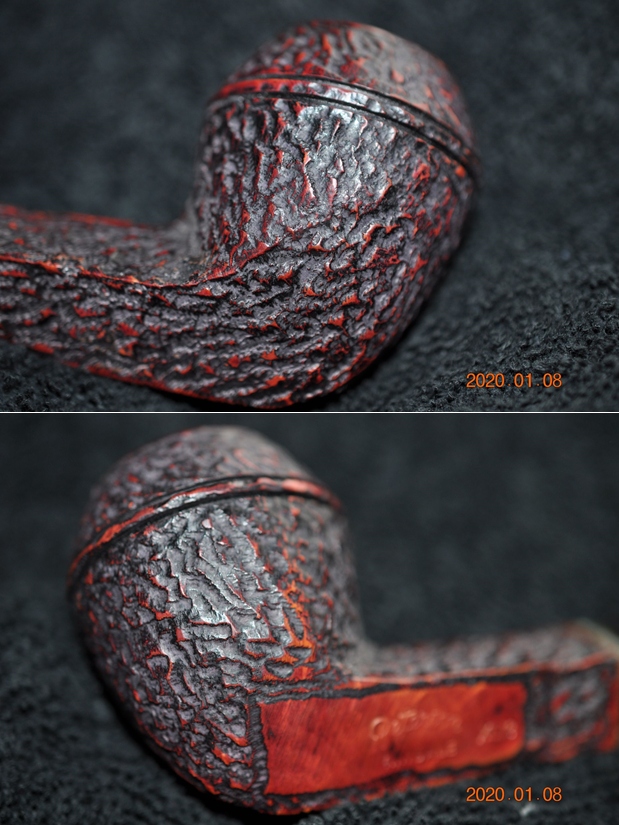
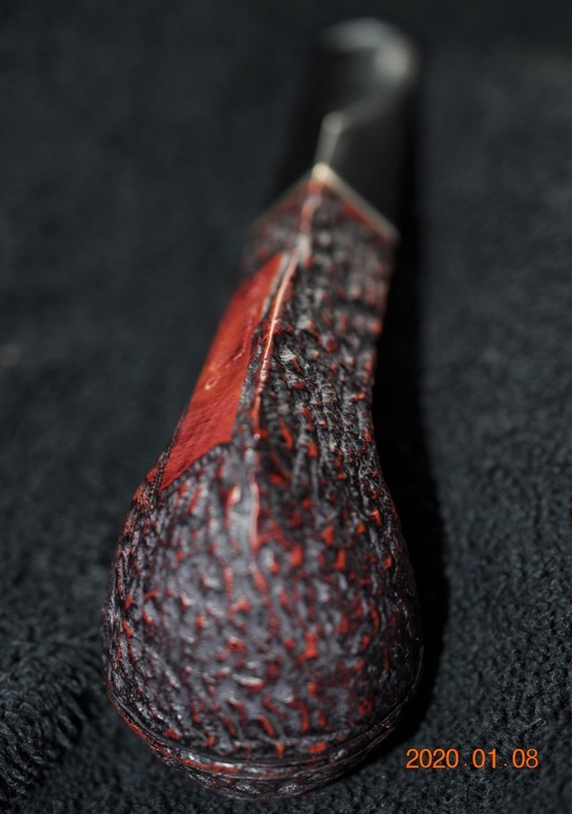
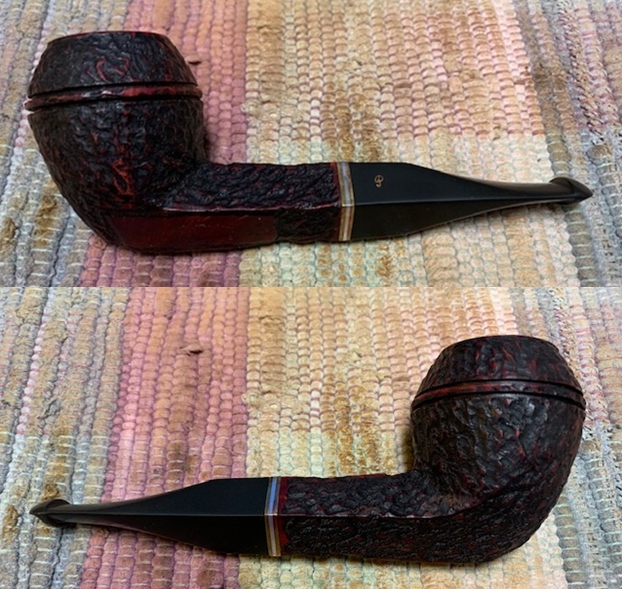
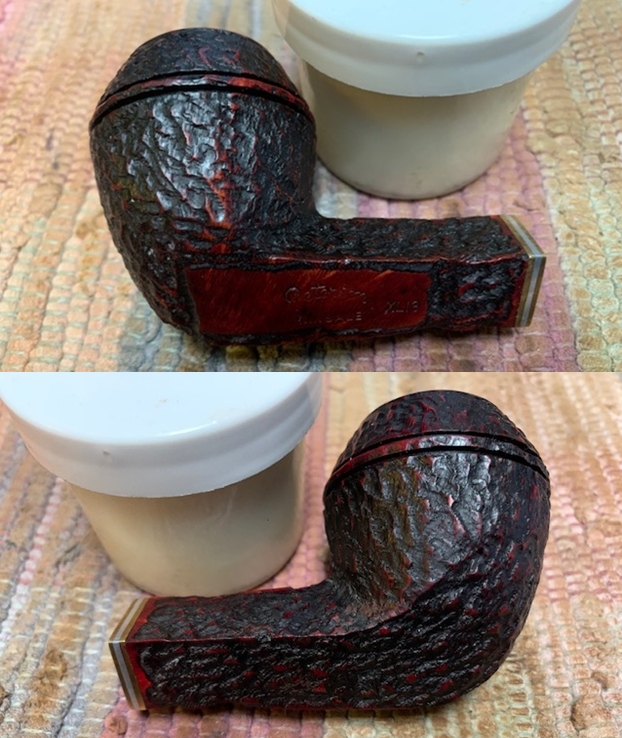
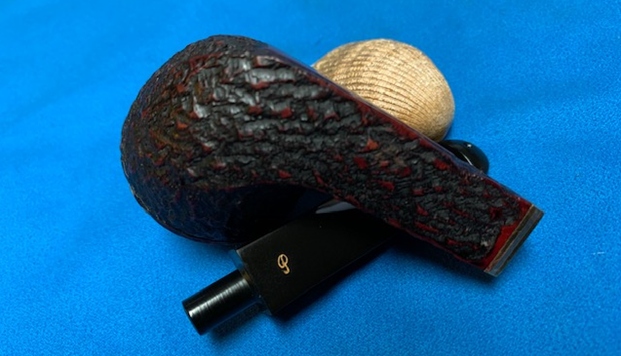
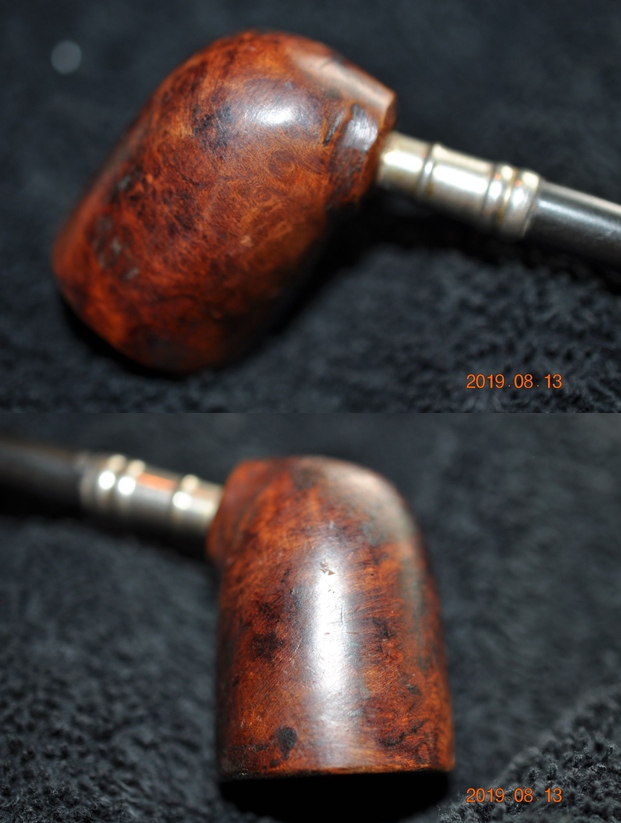
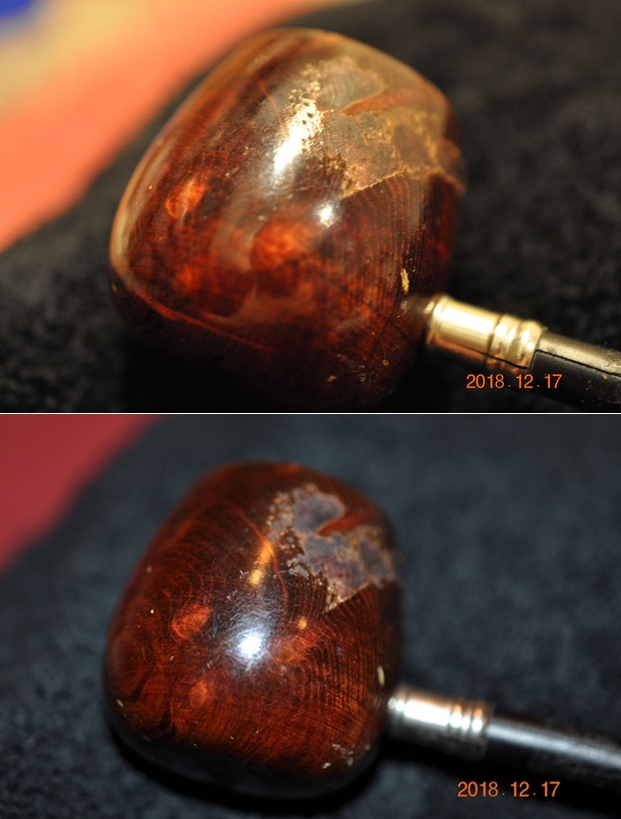
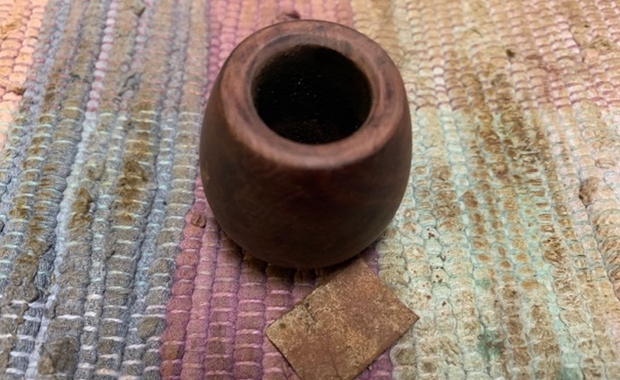
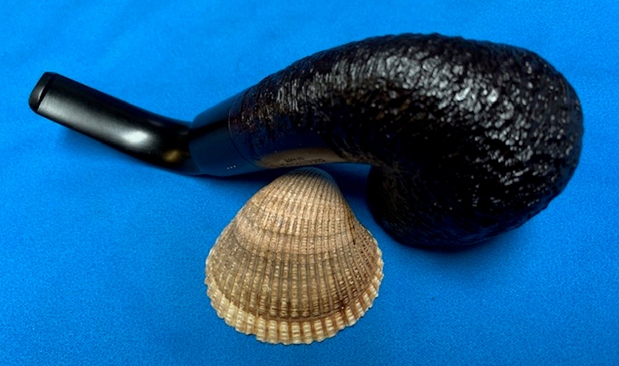
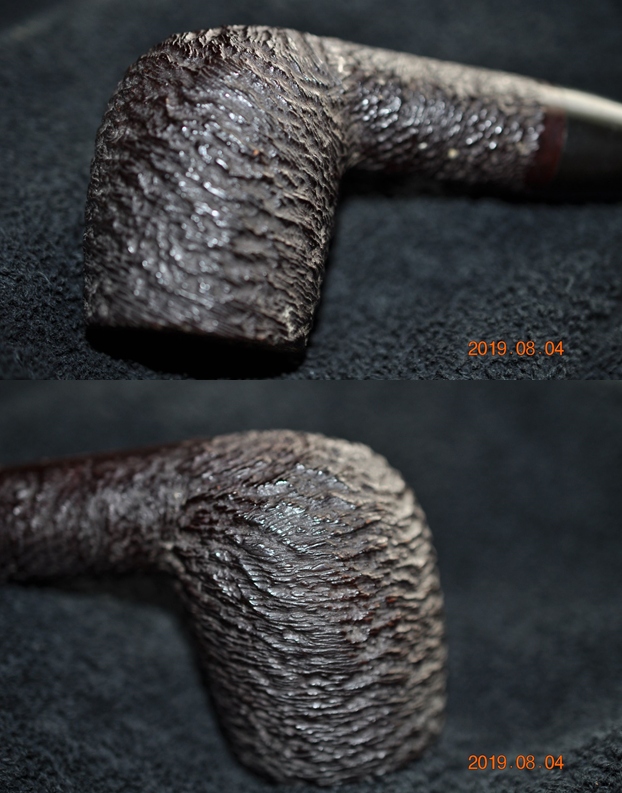
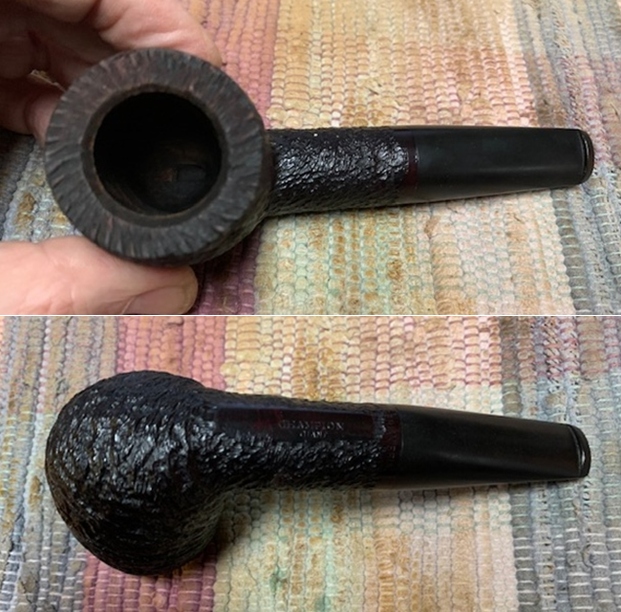
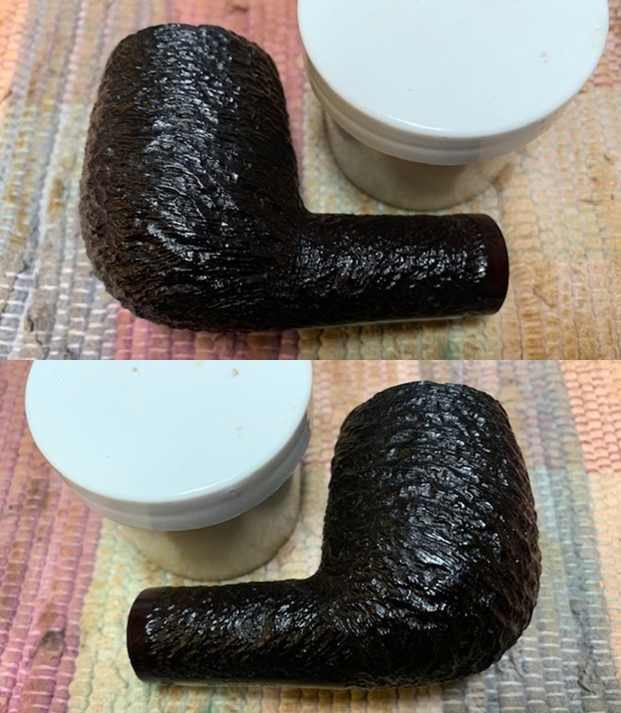
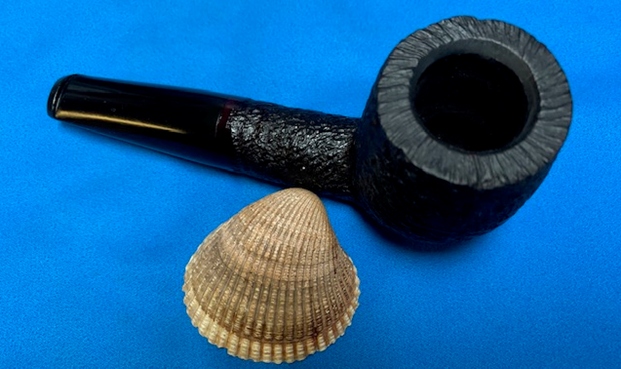
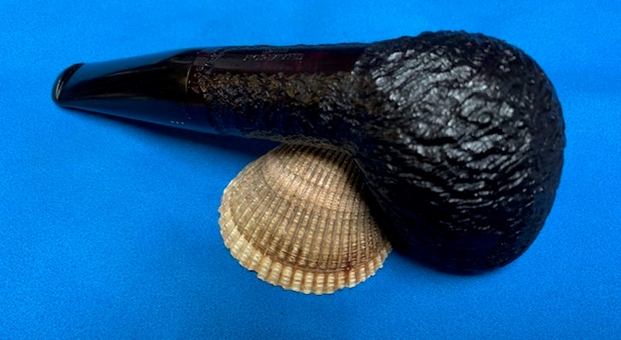
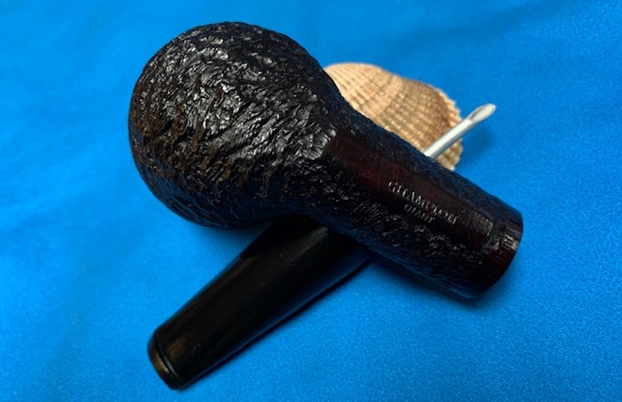
 Jeff took a photo of the sides and heel of the bowl to give a picture of what the sandblast on the briar looked like. The pedestal on the heel of the bowl is a unique feature of this pipe.
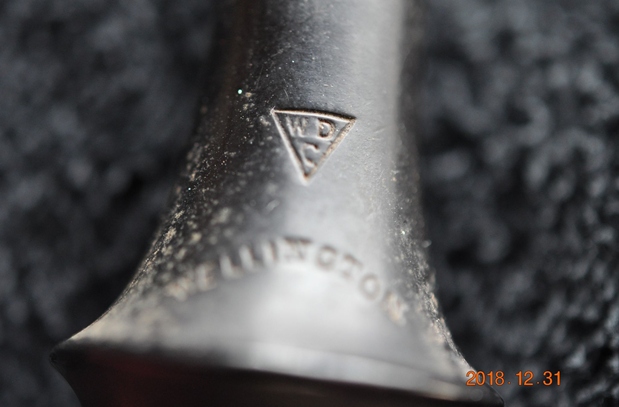
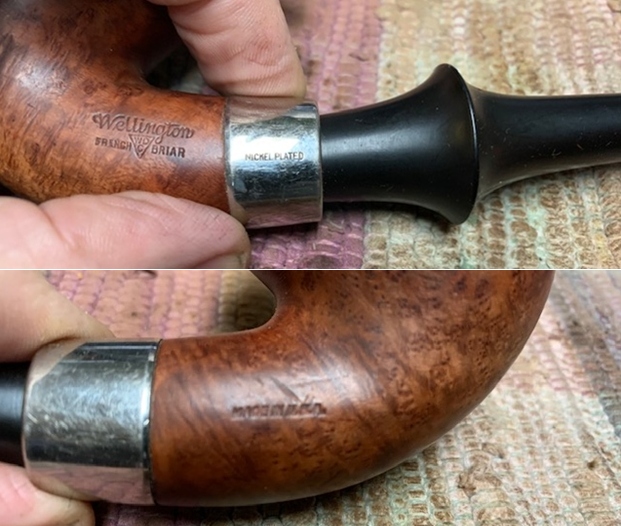
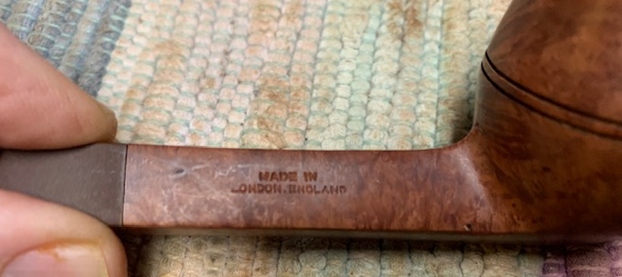
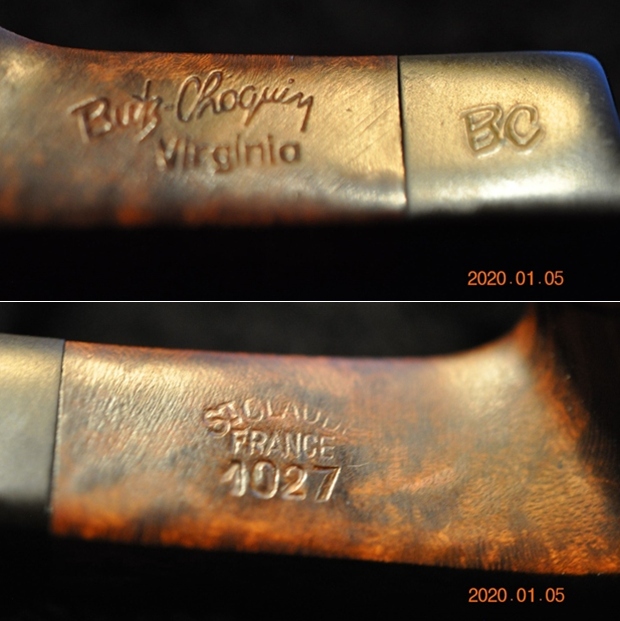
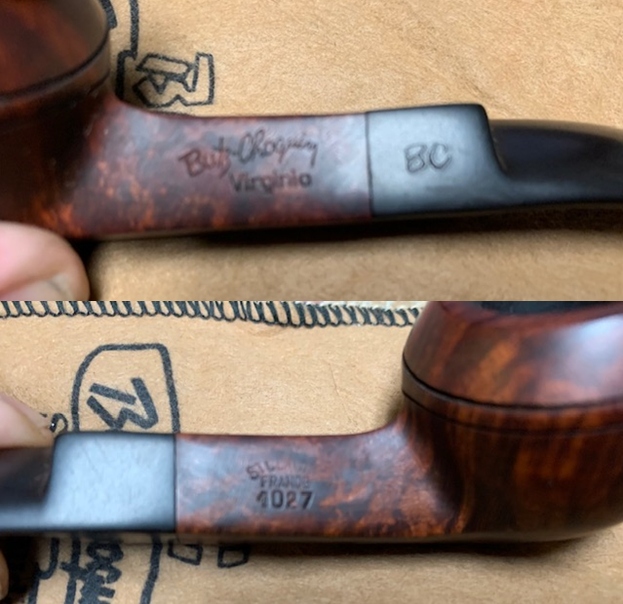
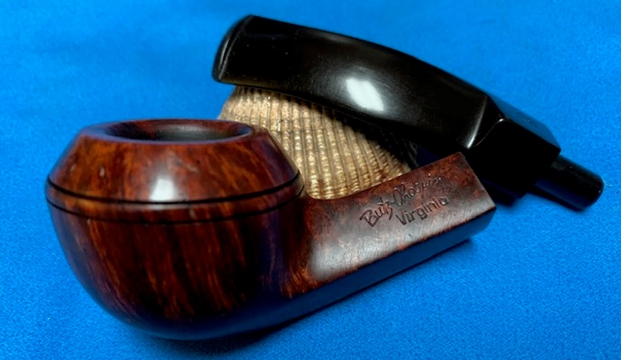
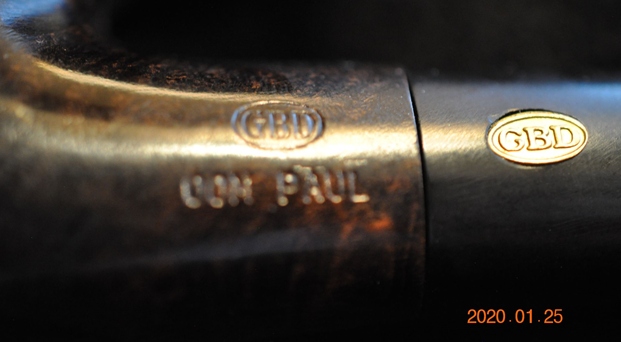
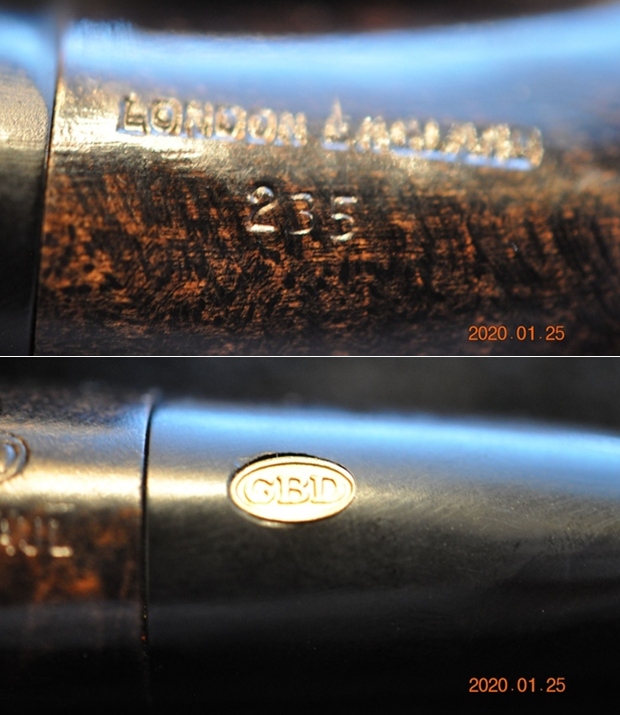
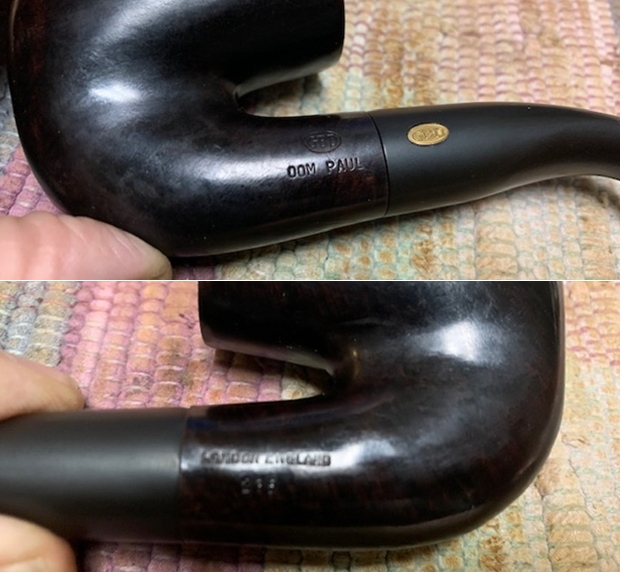
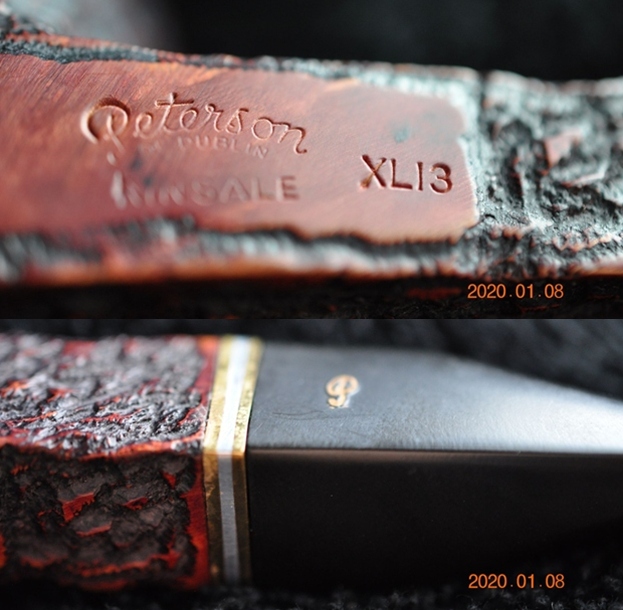
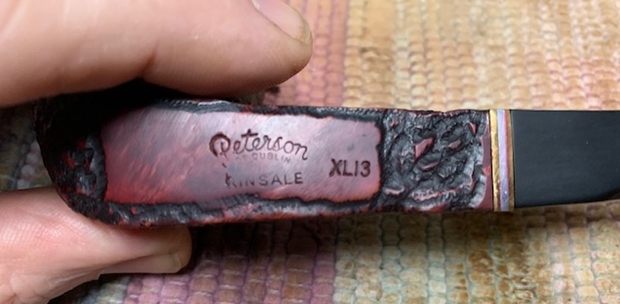
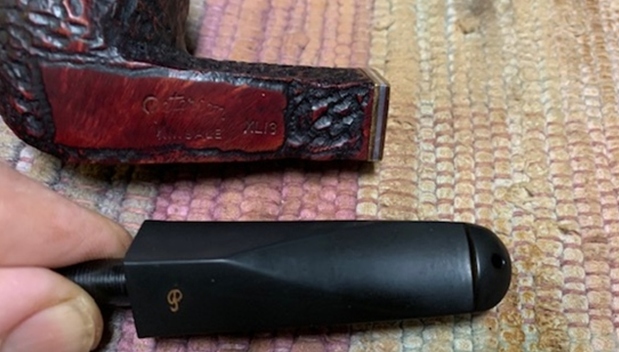
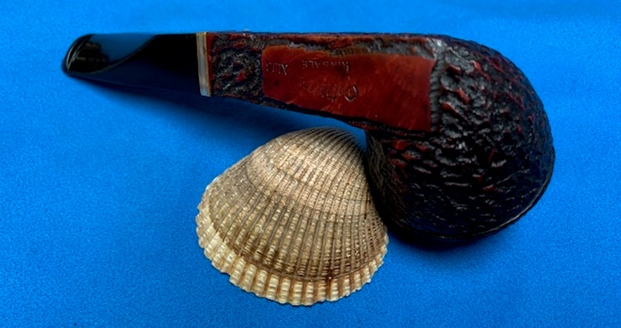
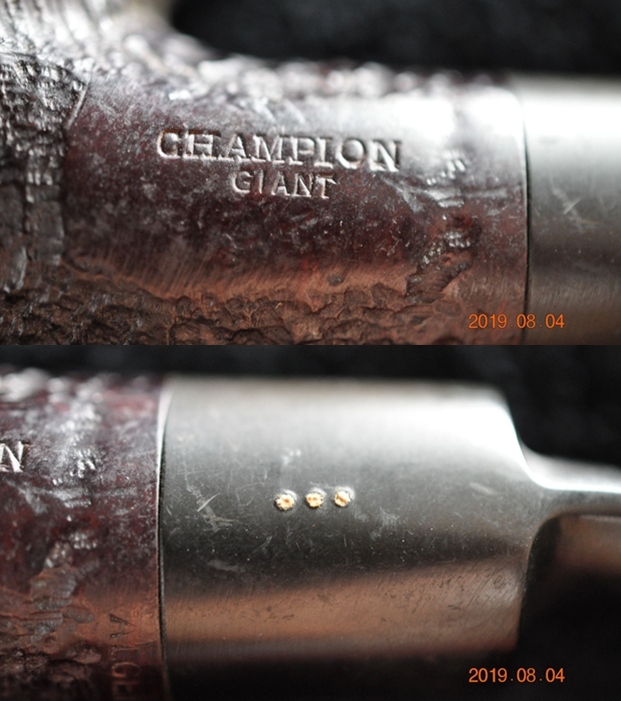
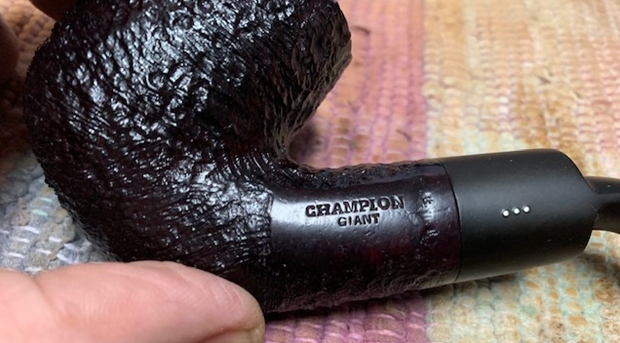
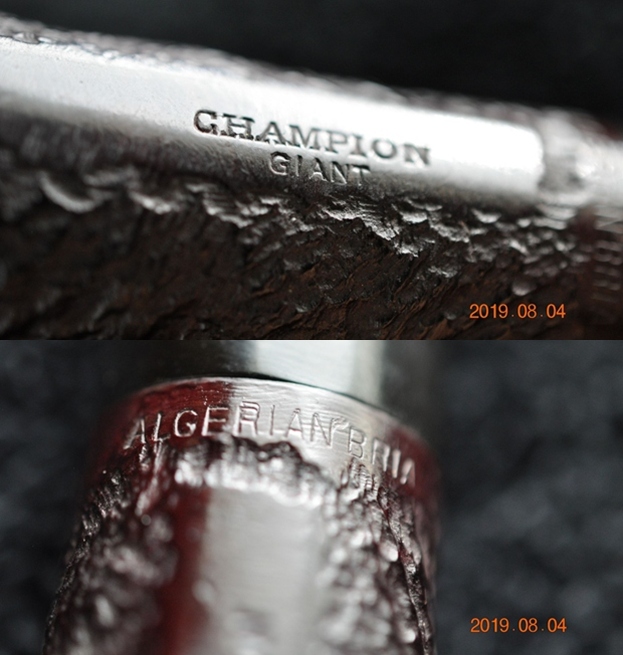
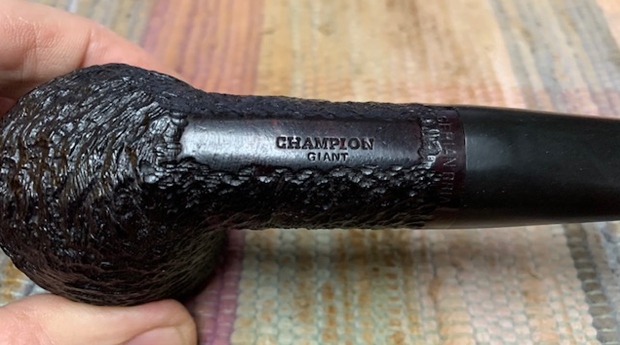
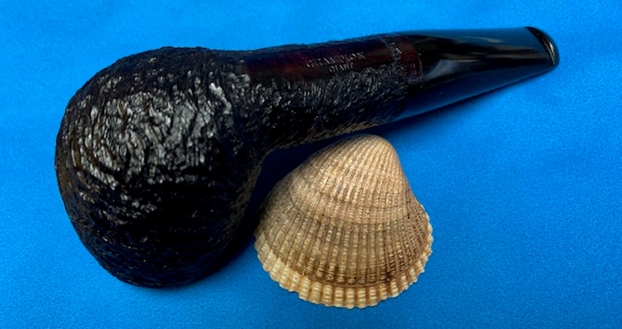
 He took photos of the stamping on the shank. It reads as noted above and is clear and readable.
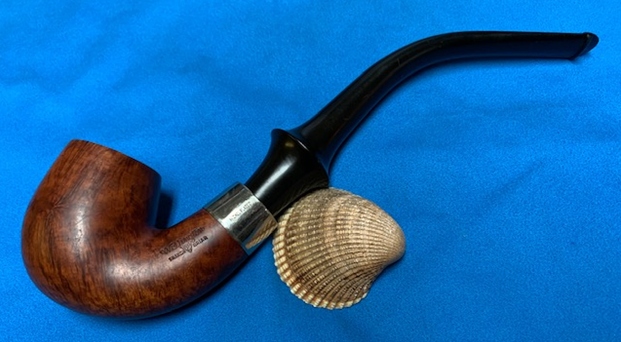
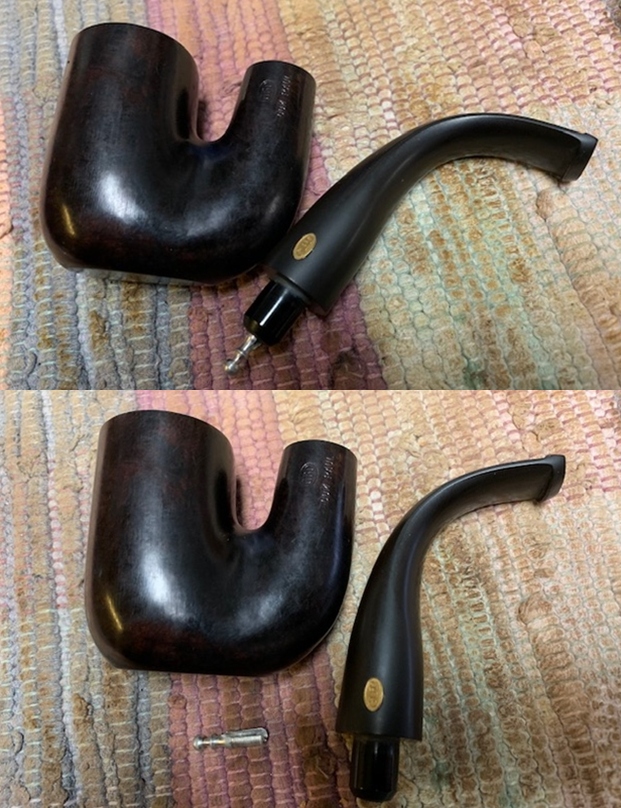
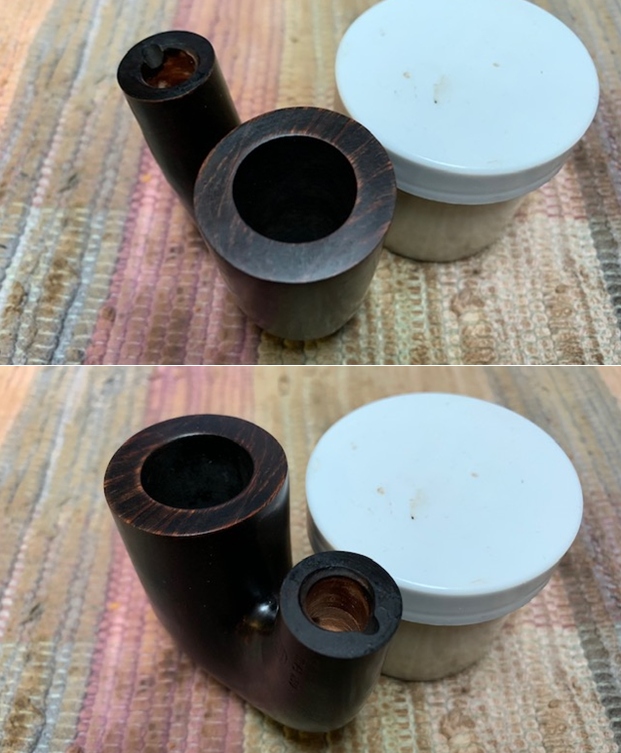
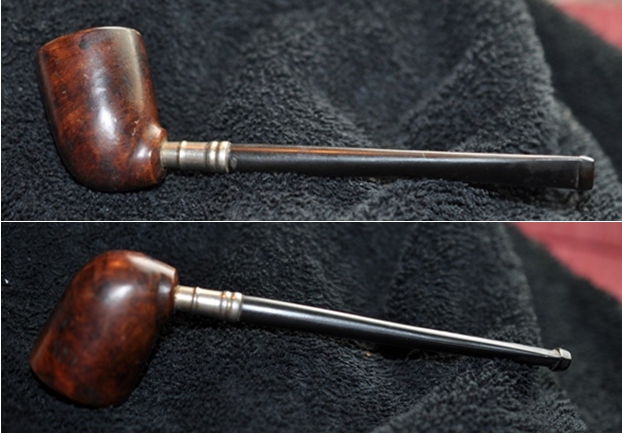
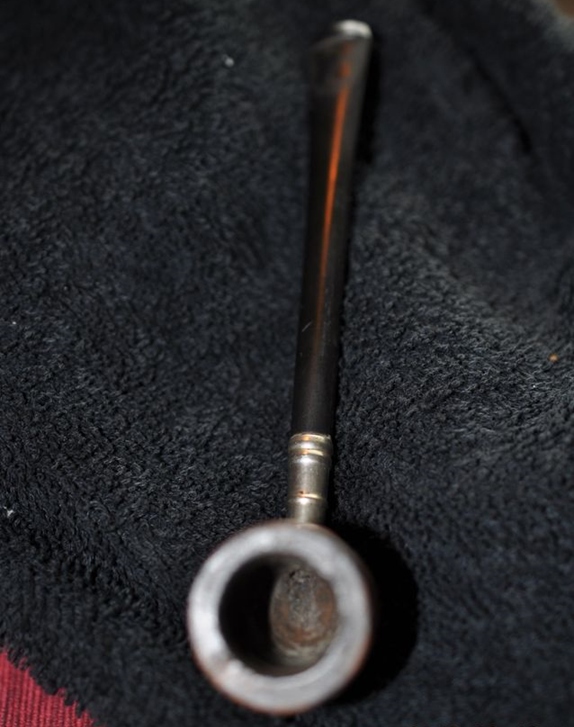
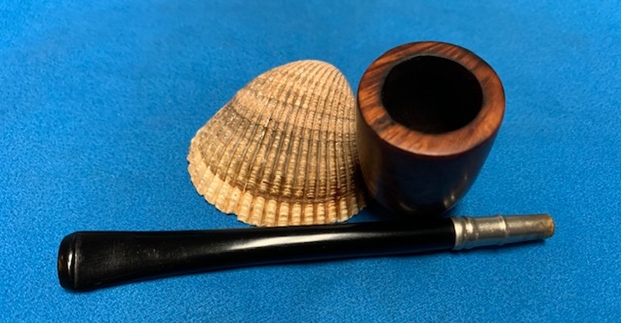
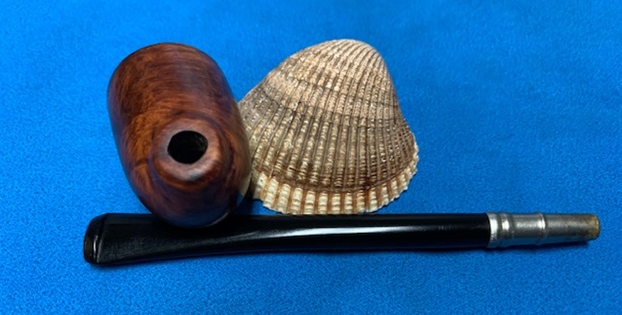
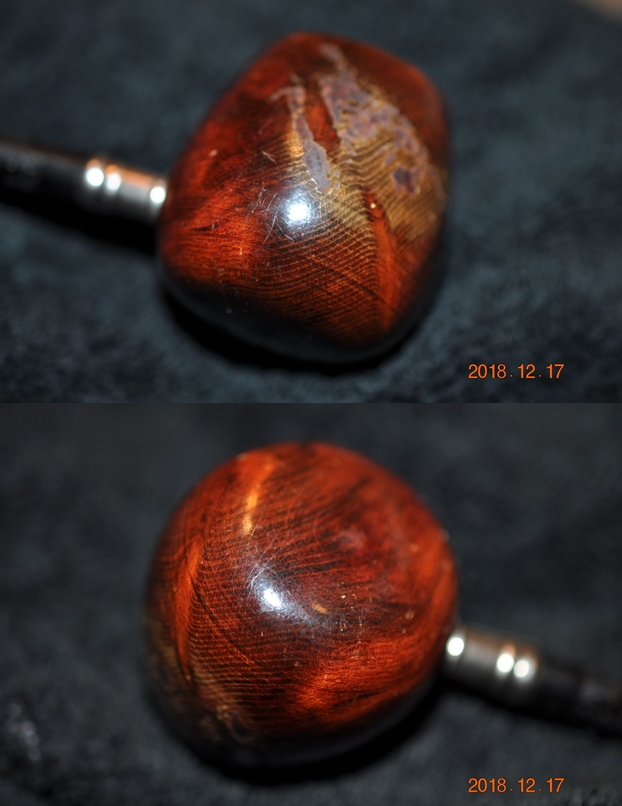
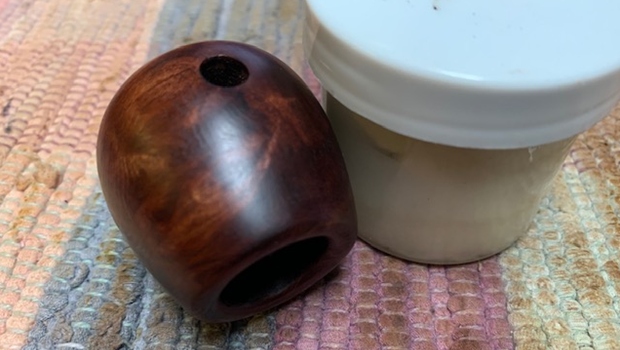
  I found the stem that was pictured above in the photos in one of the bags of stems that I had put together in the bottom of one of the boxes. I took photos of the stem to give an idea of the appearance. Jeff had done a great job cleaning it. The tenon was very short and stubby and there were casting marks on the side of the stem blade. I put the stem on the bowl and took a photo of the stem that Jeff had sent with the pipe.
 I have worked on quite a few Soren pipes over the years and turned to one of the blogs that I wrote on another interesting Soren Freehand Sitter (https://rebornpipes.com/2020/02/26/this-interesting-soren-hand-carved-freehand-turned-out-to-be-more-work-than-expected/). I quote from that blog below.
I looked up the brand on Pipephil (http://www.pipephil.eu/logos/en/logo-s10.html) and found that the brand was carved by Søren Refbjerg Rasmussen. Pipes that he made for the European market were mostly stamped “Refbjerg” while those made for the US market were stamped “Soren”. Thus I knew that one I was working on was imported into the US market.
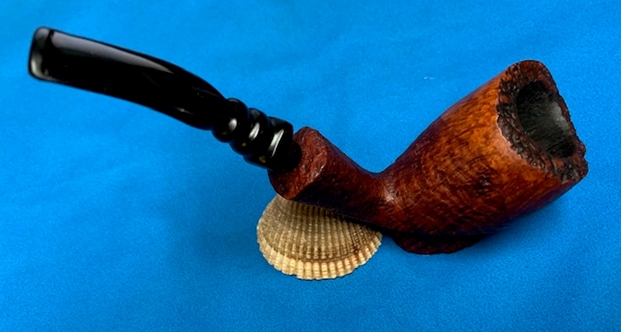
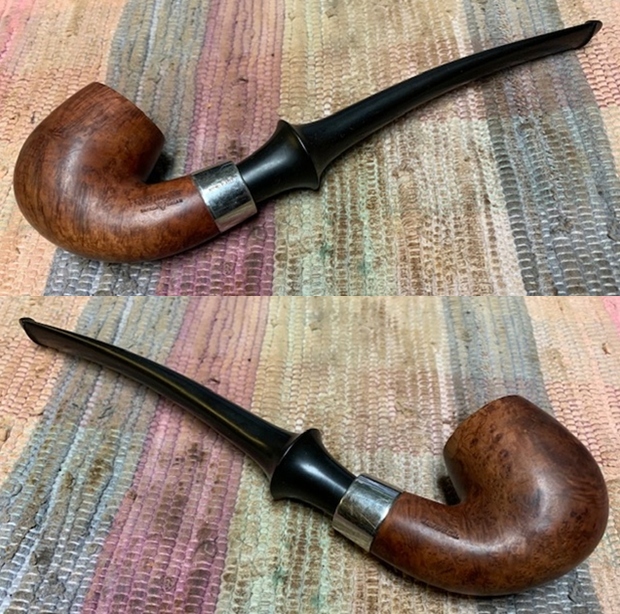
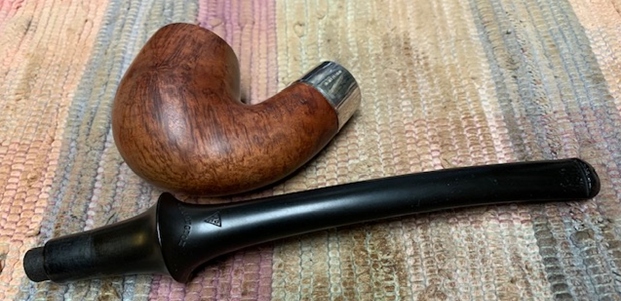
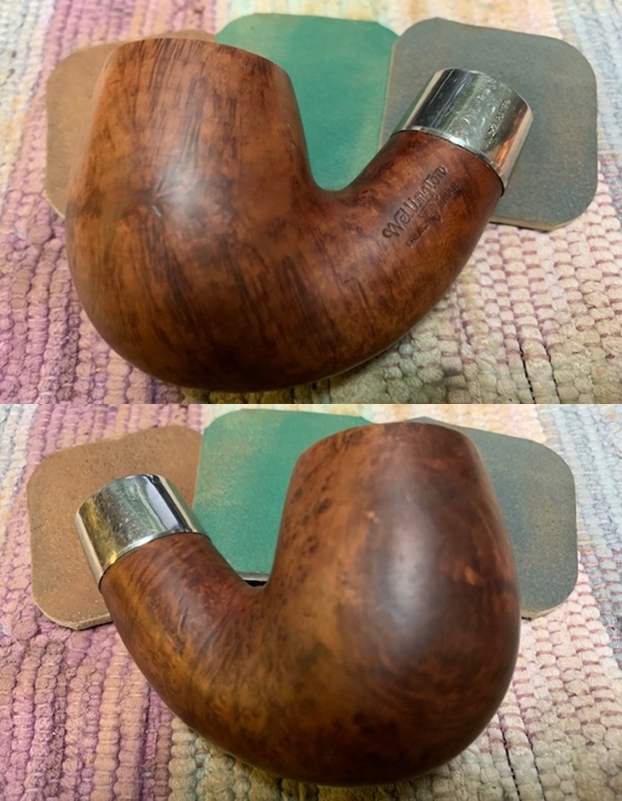
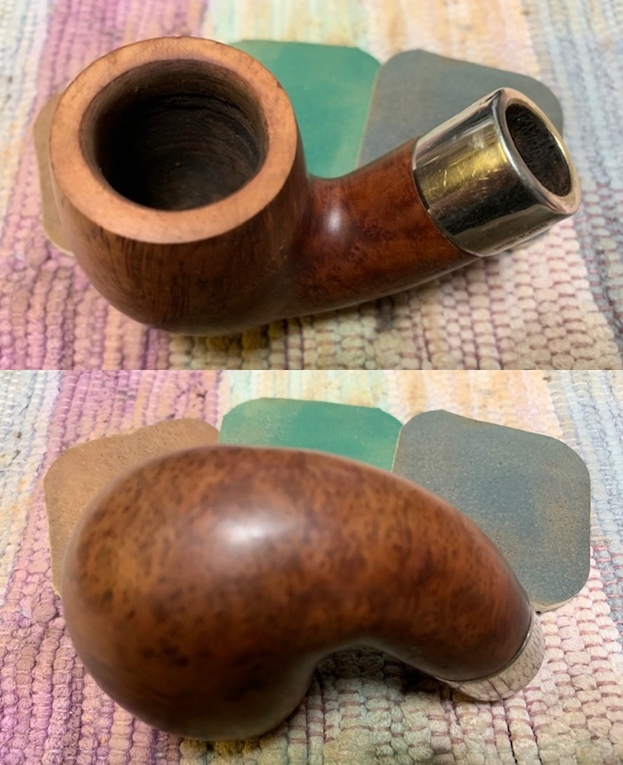
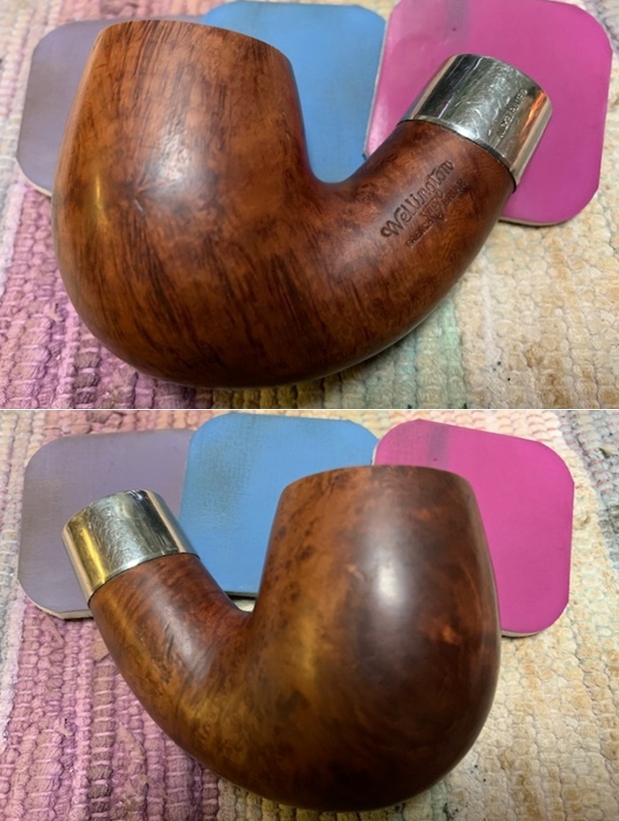
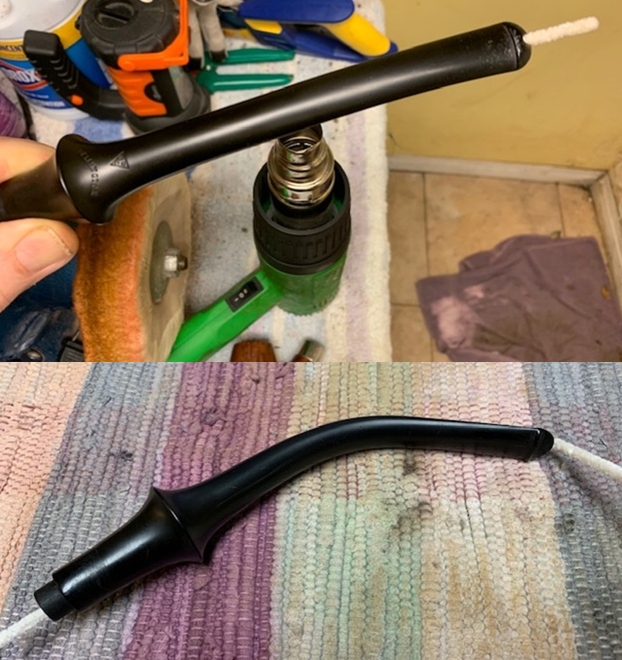
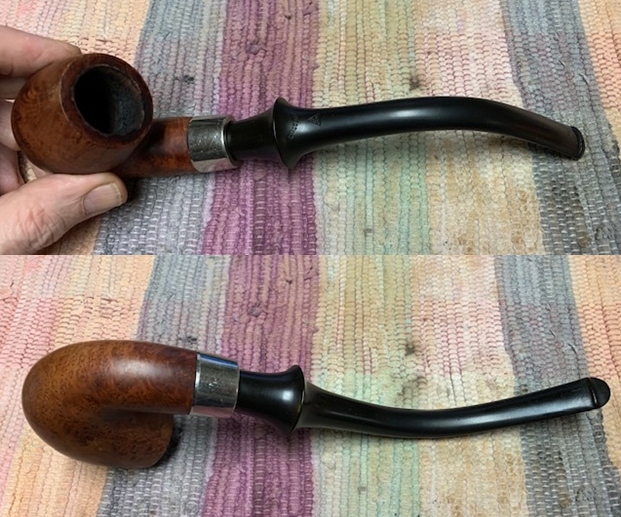
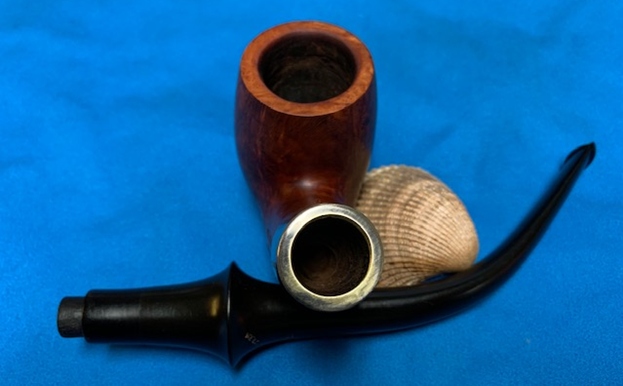
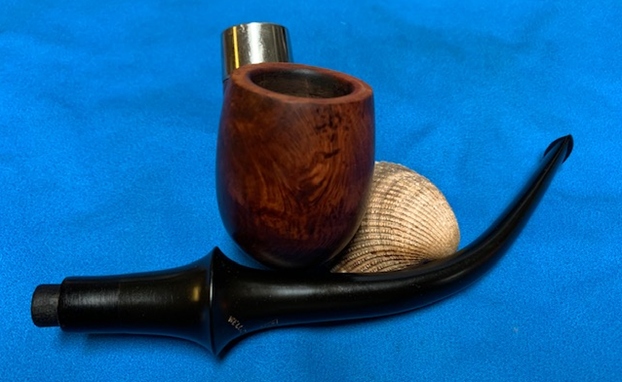
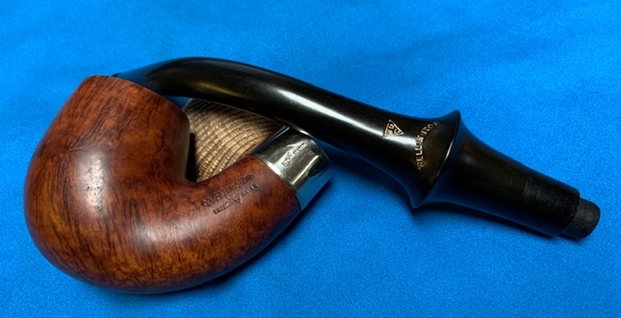
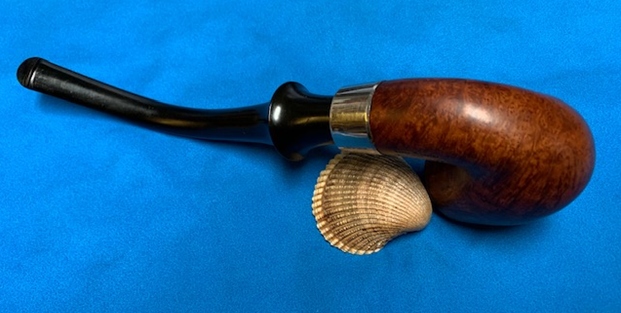
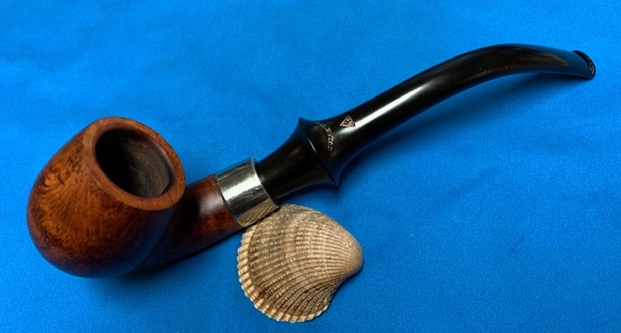
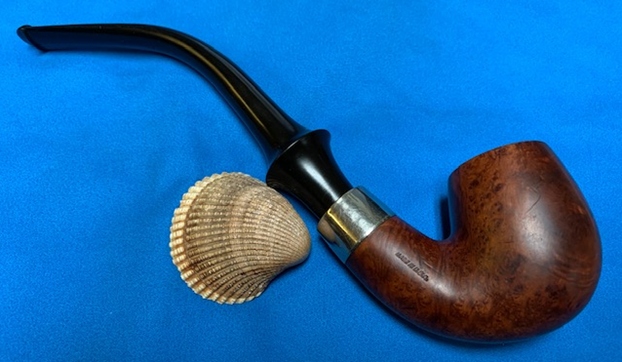
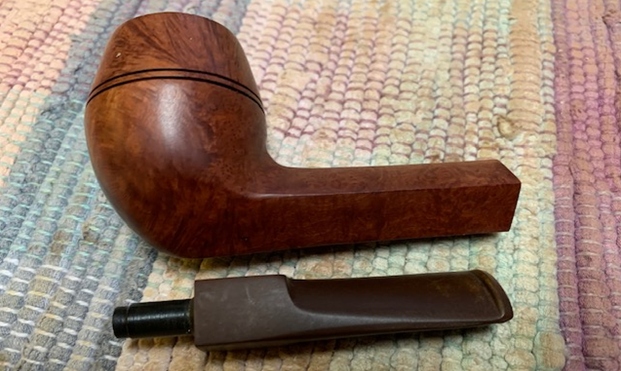
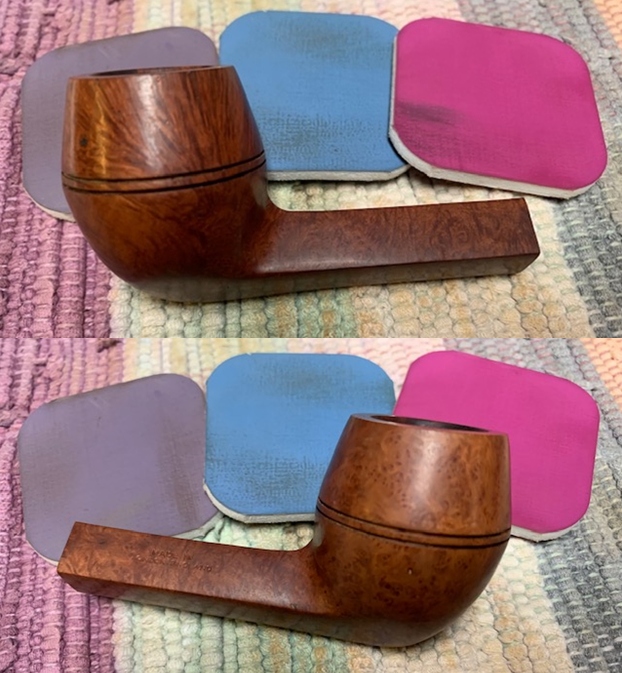
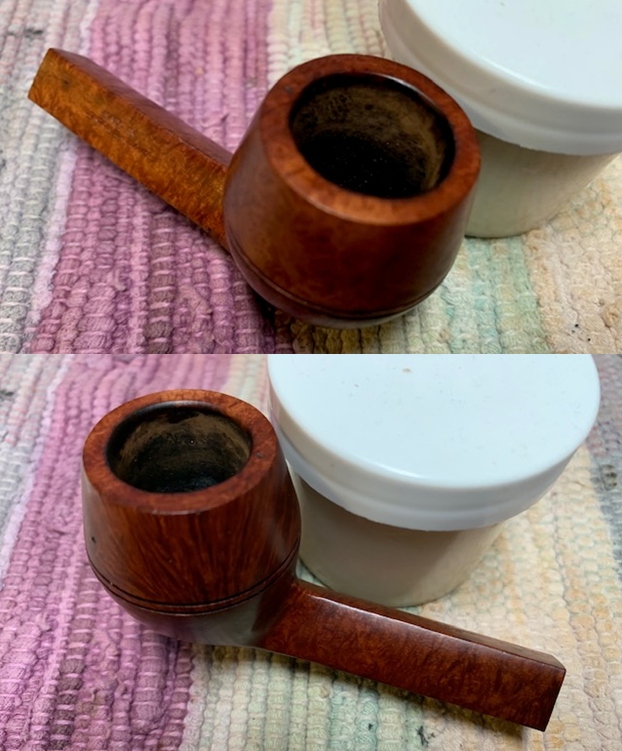
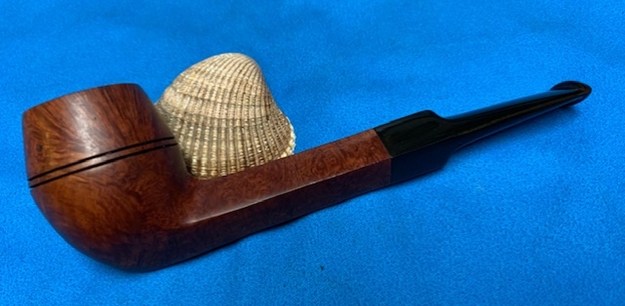
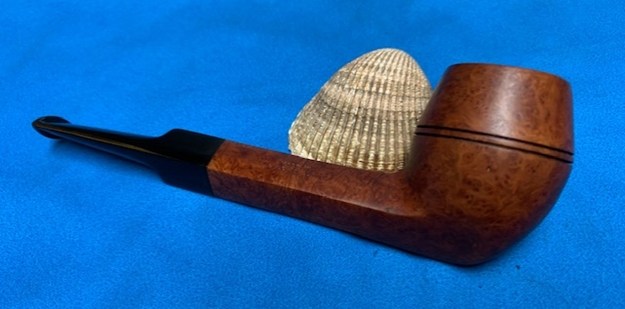
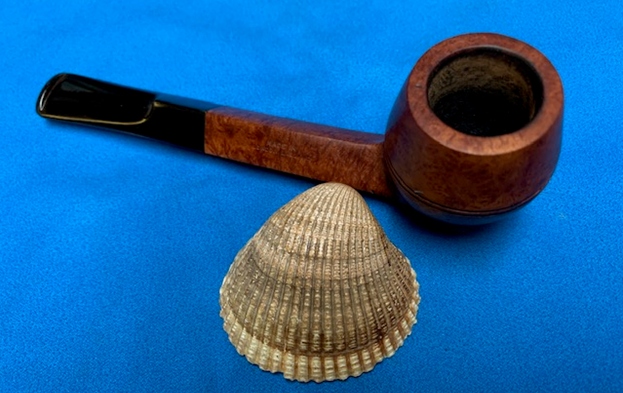
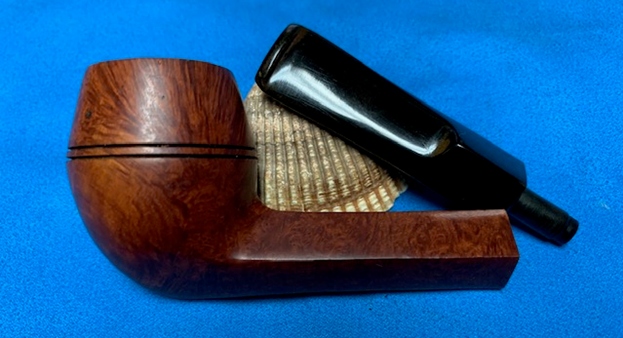
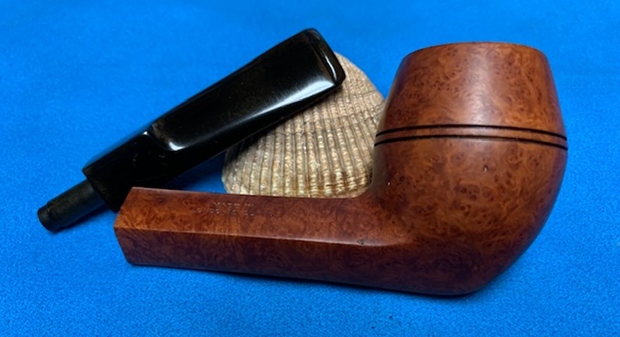
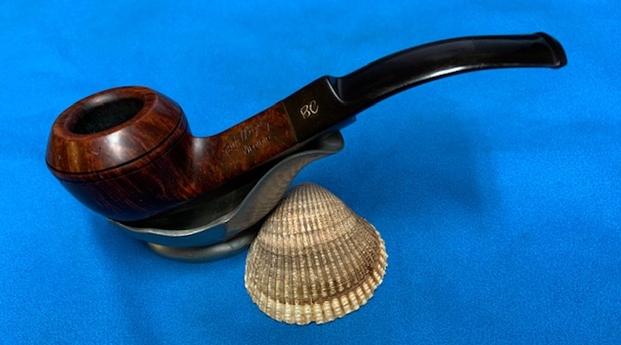
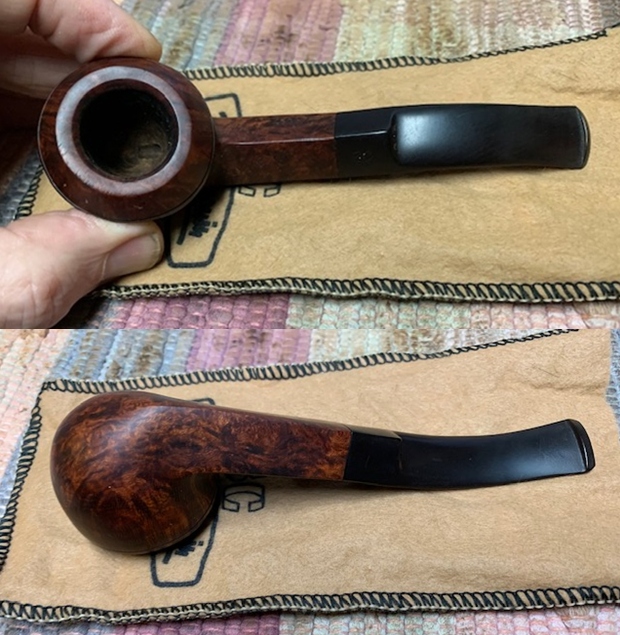
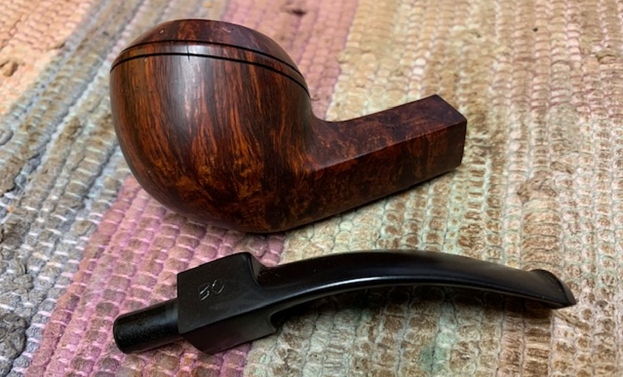
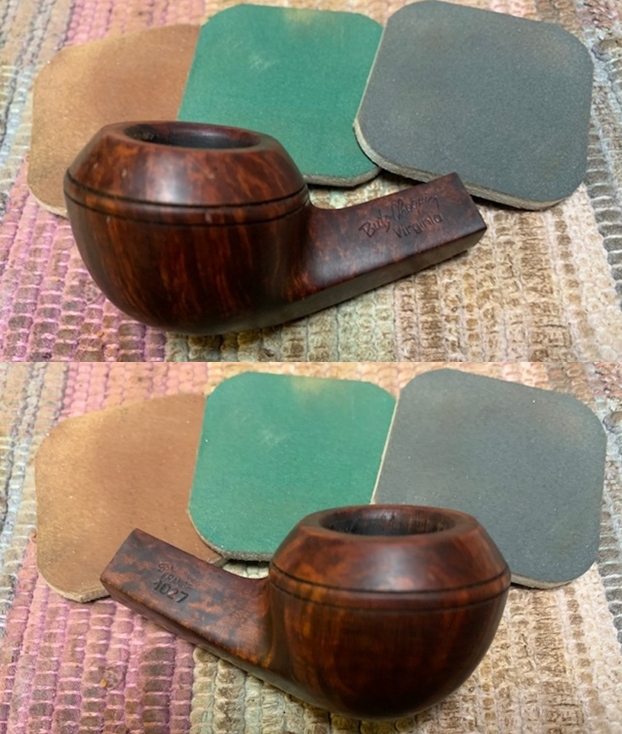
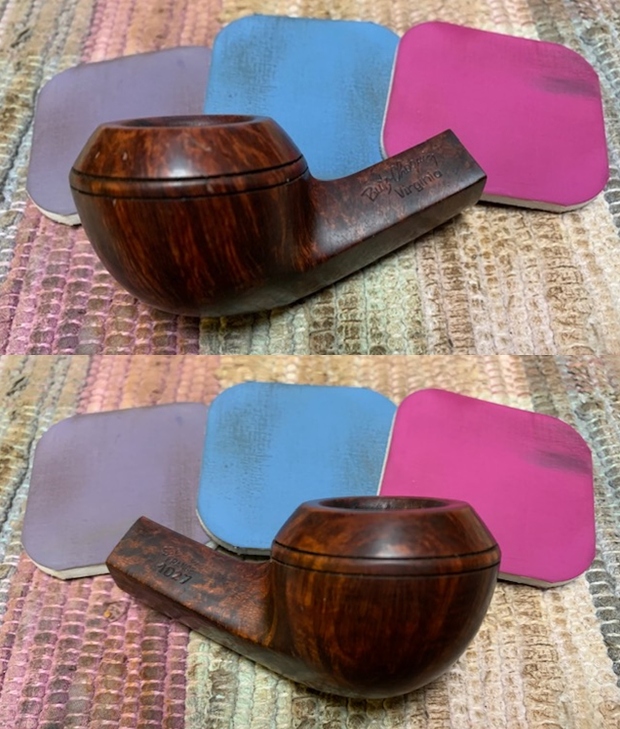
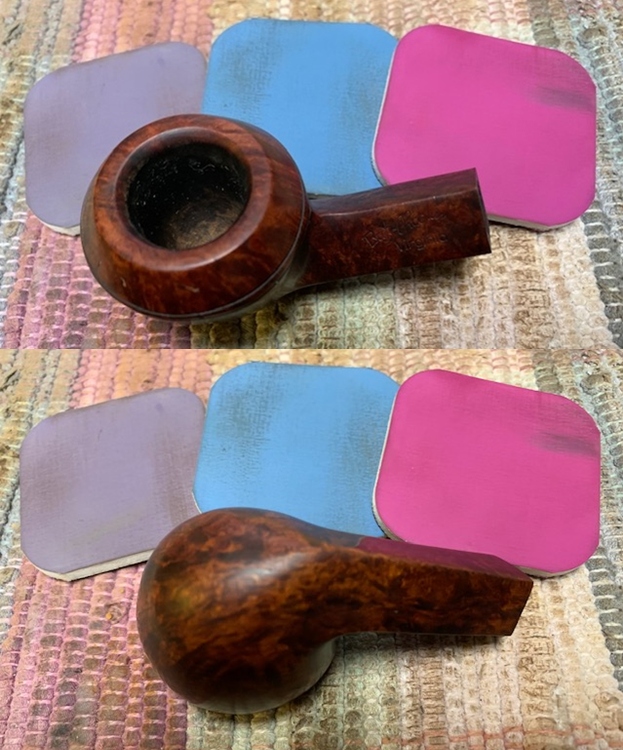
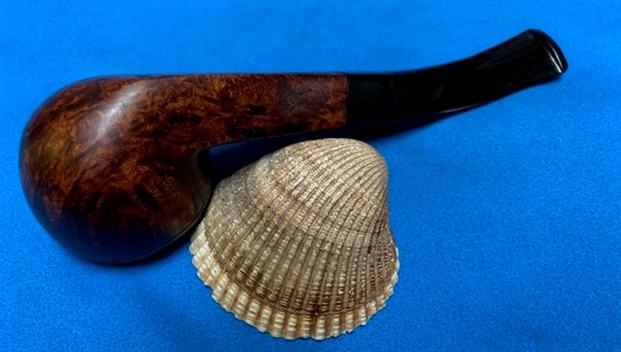
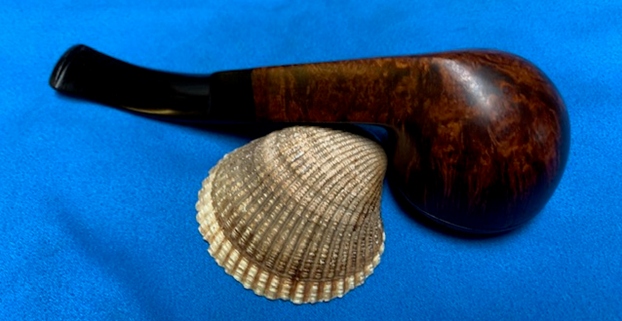
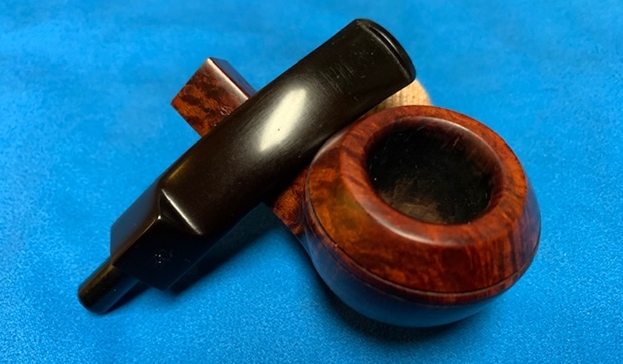
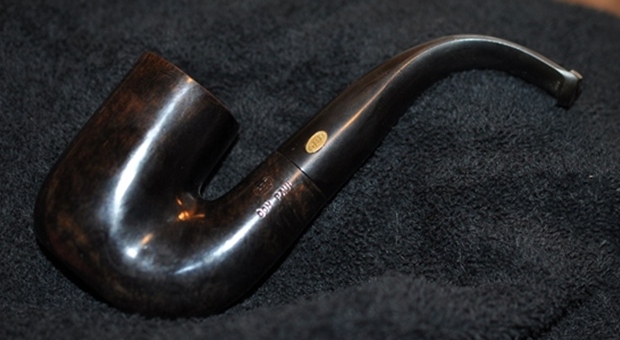
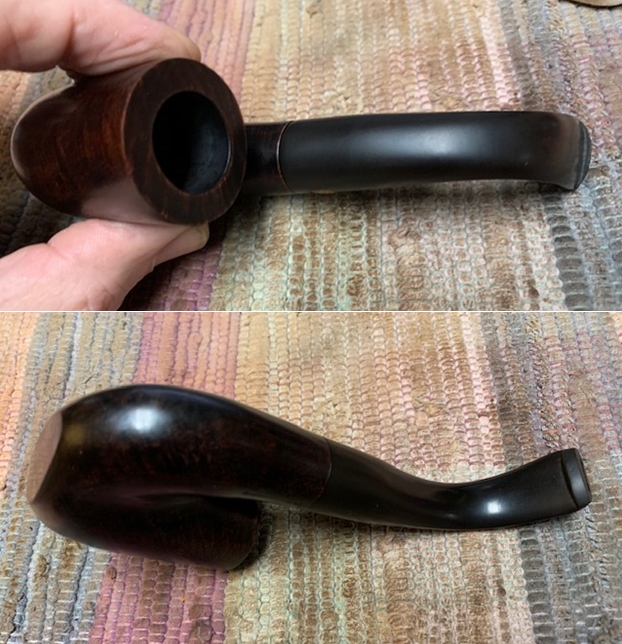
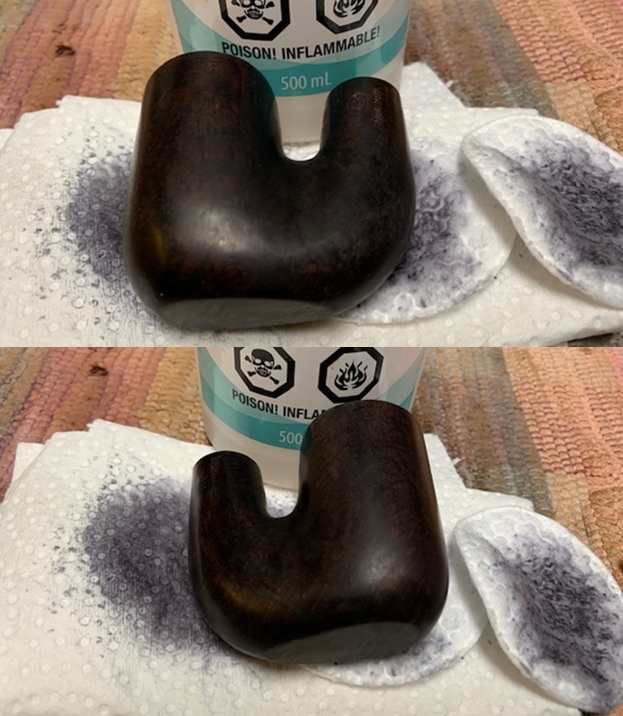
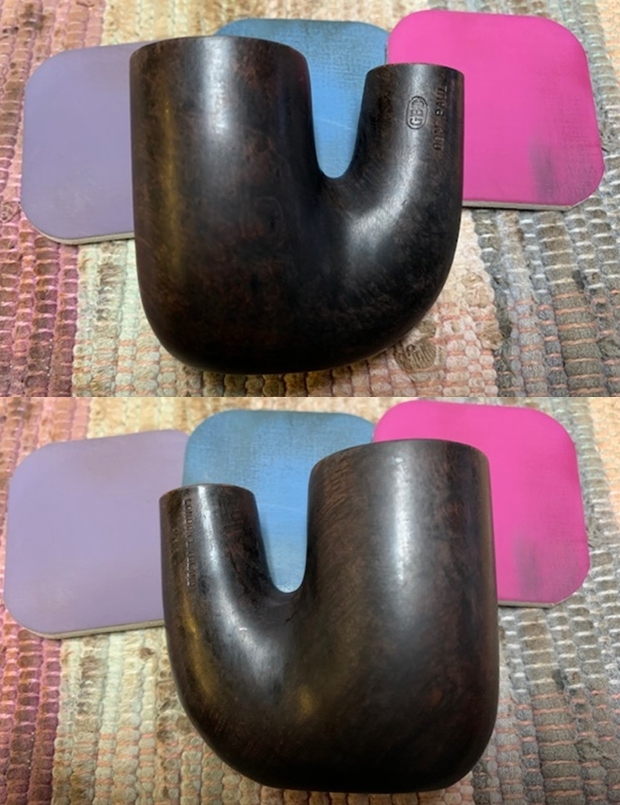
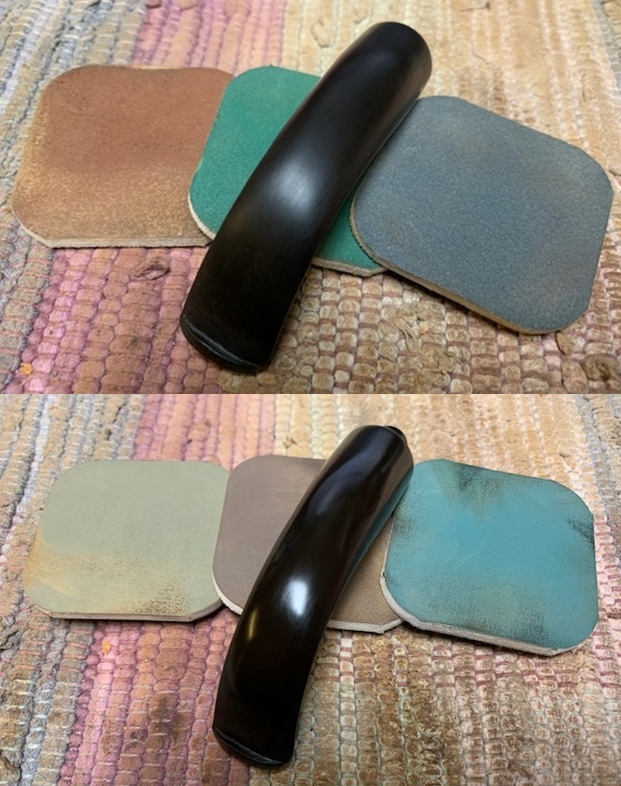
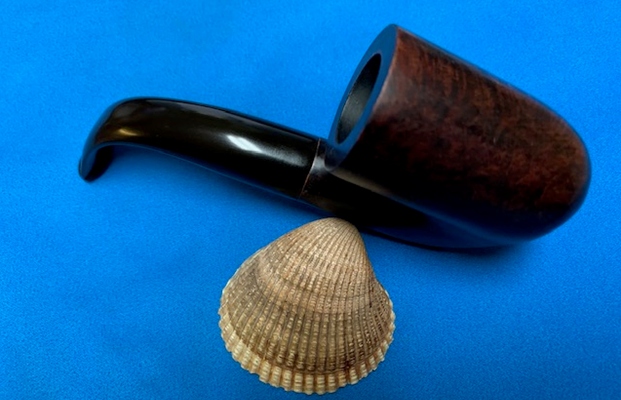
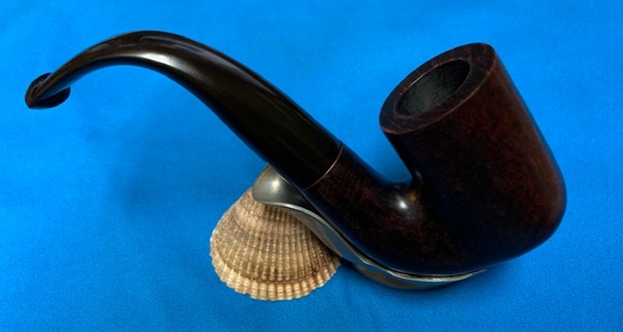
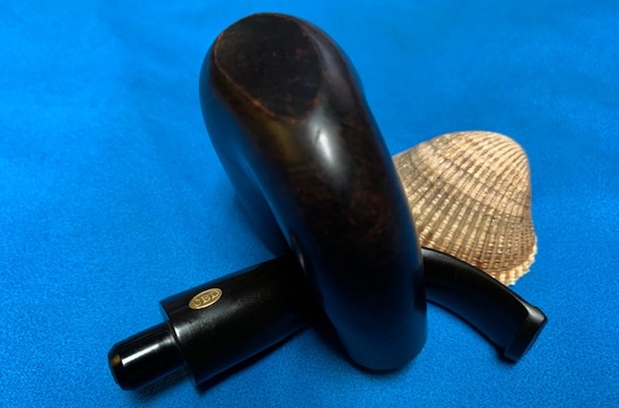
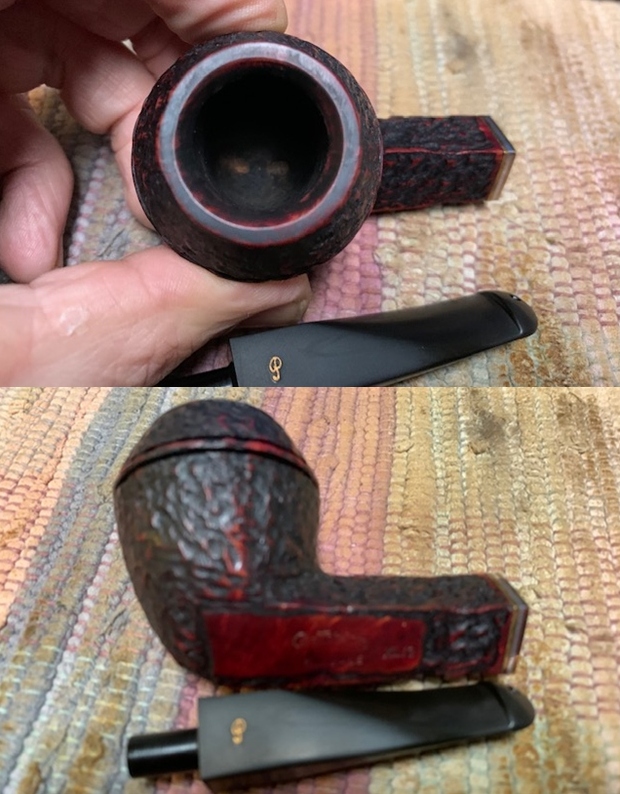
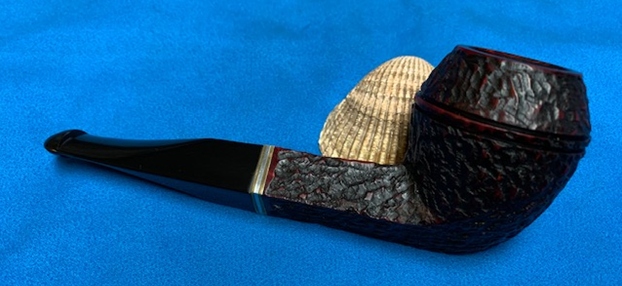
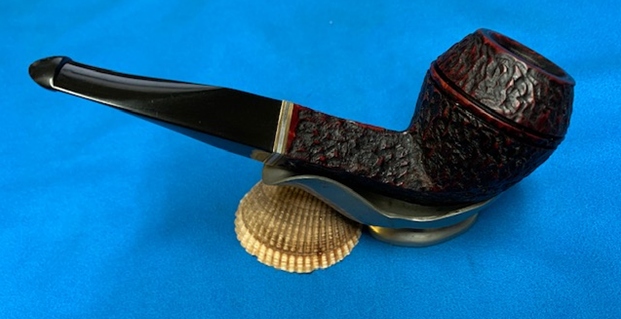
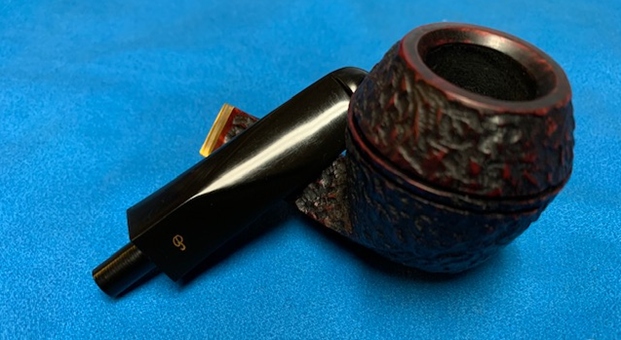
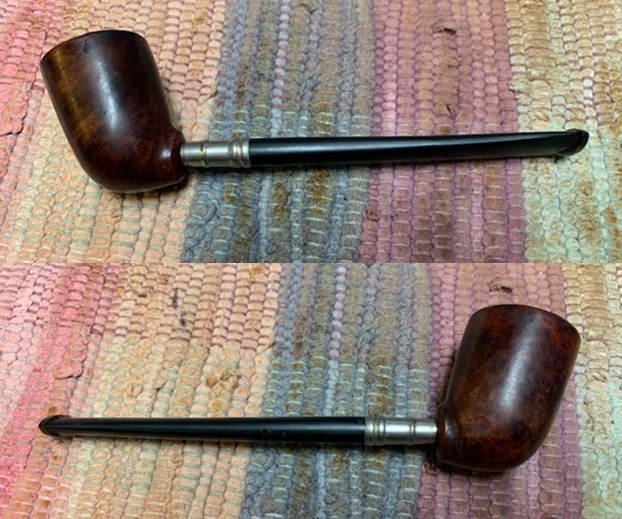
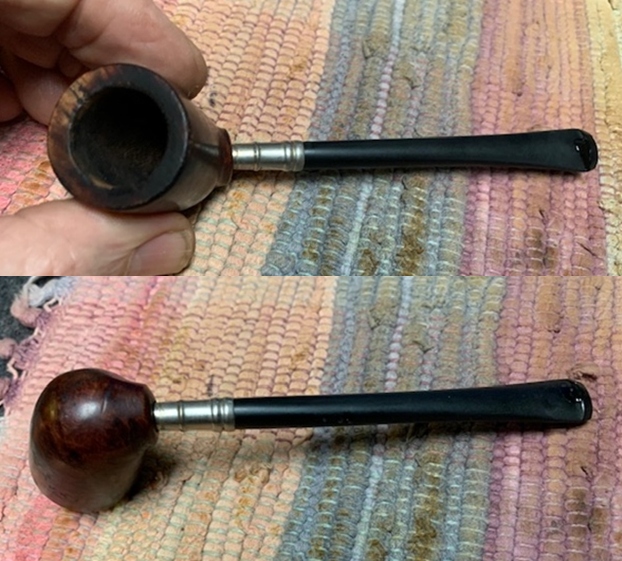
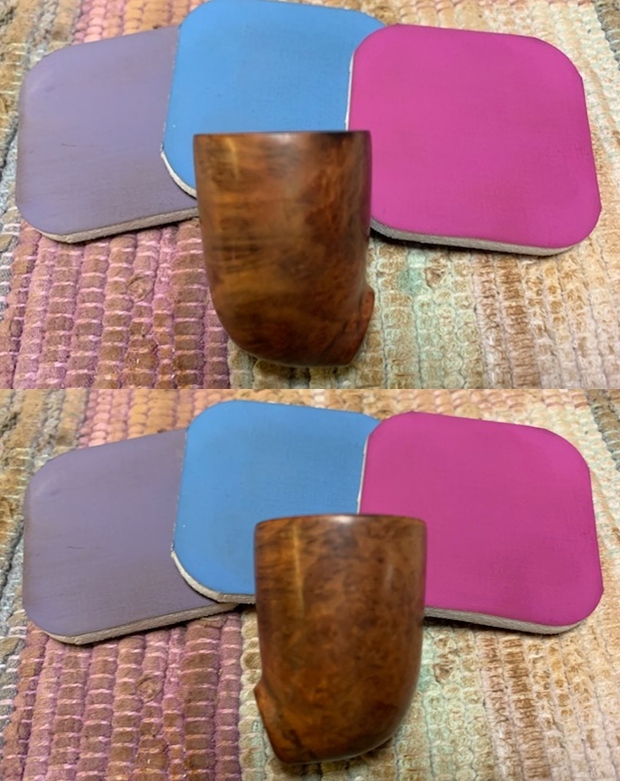
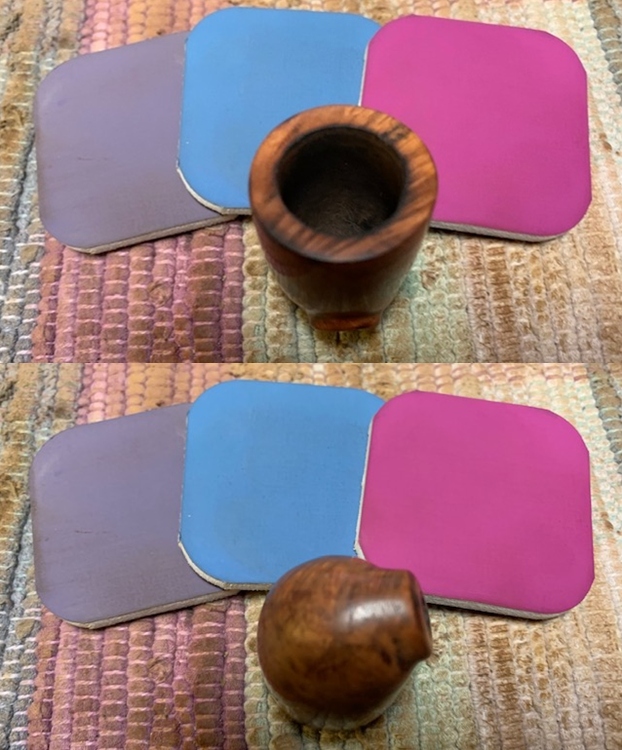
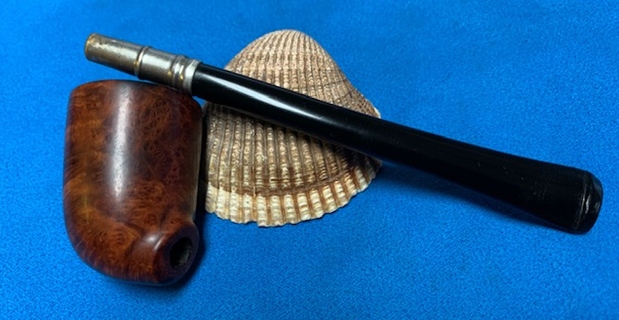
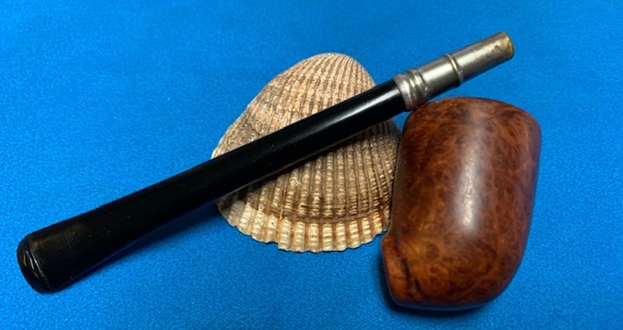
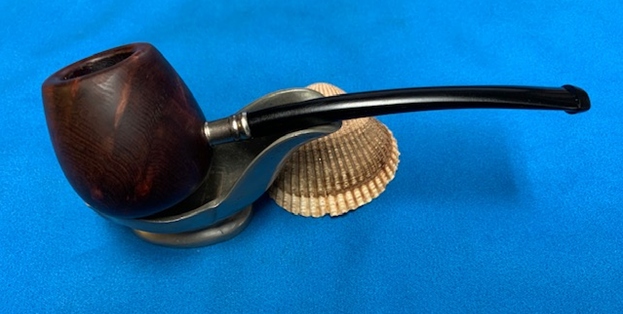
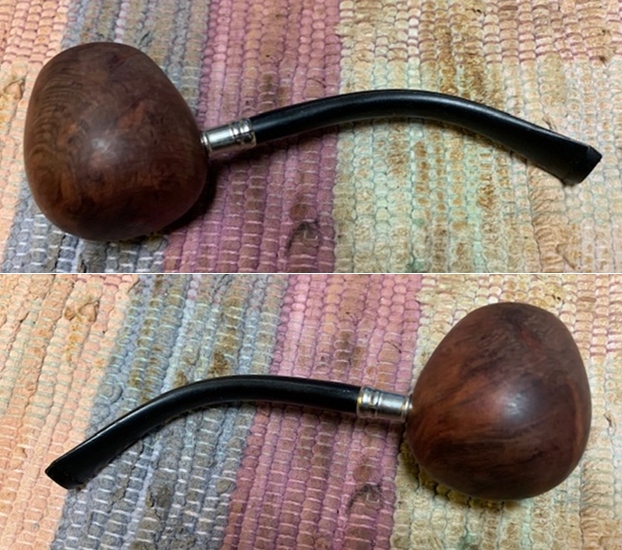
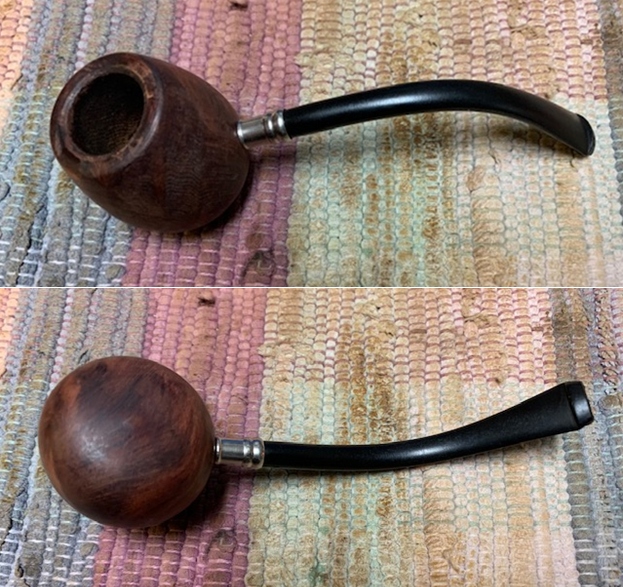
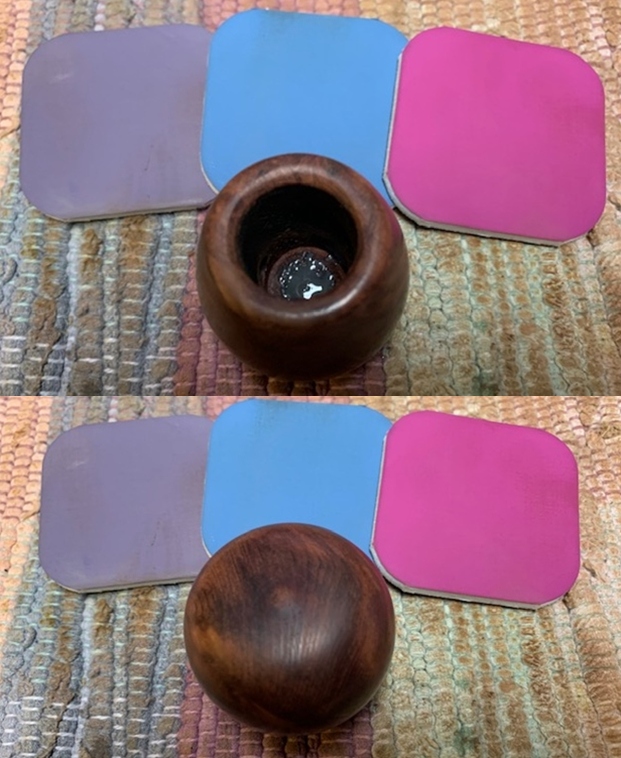
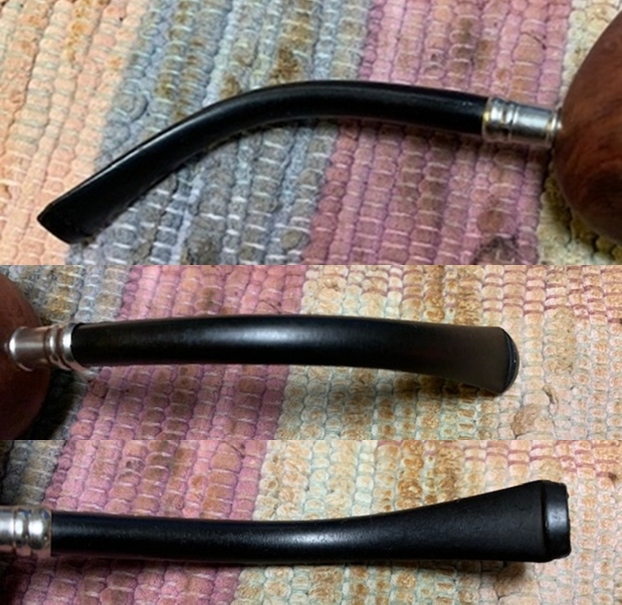
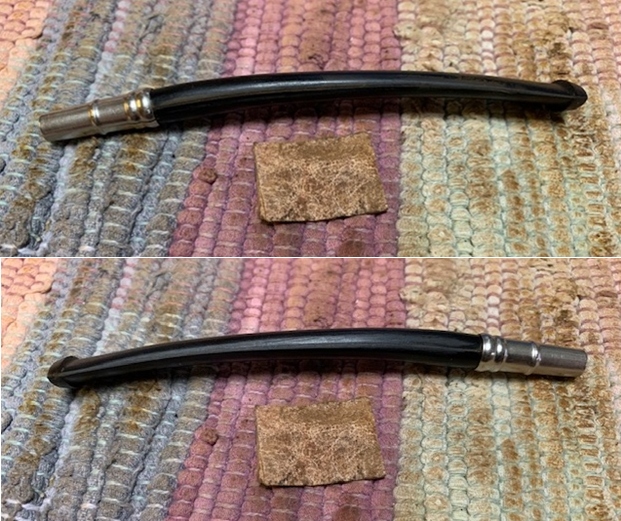
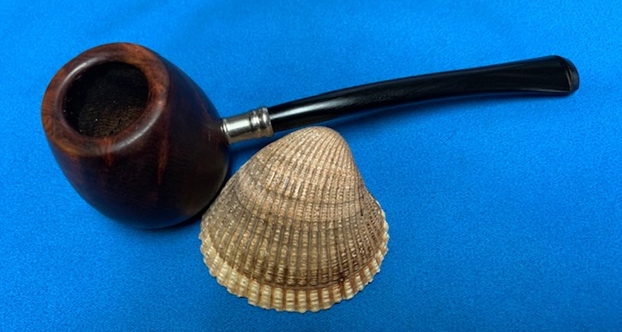
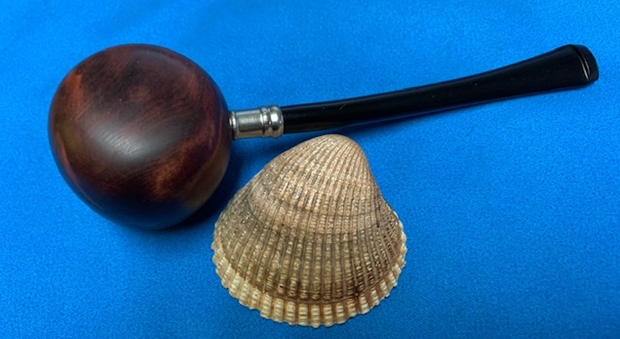
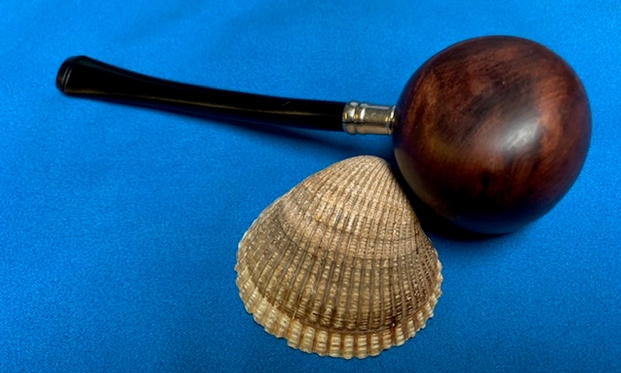
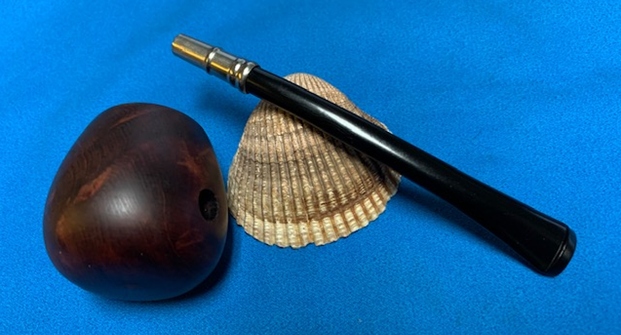
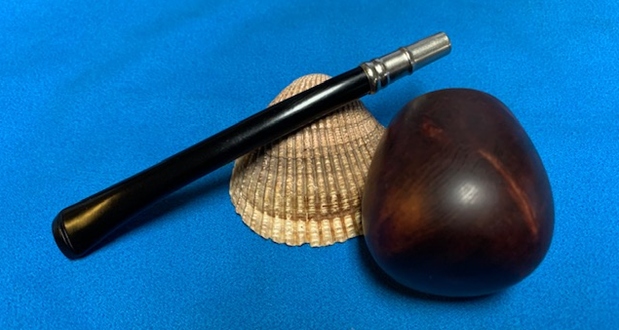
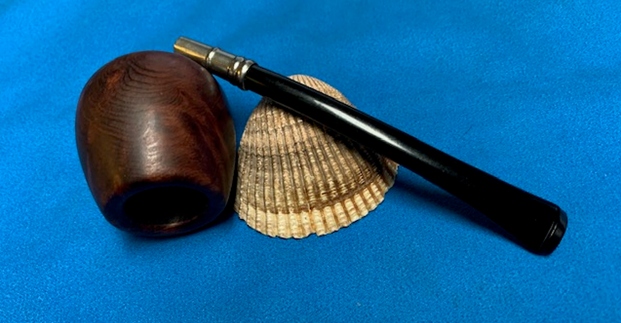
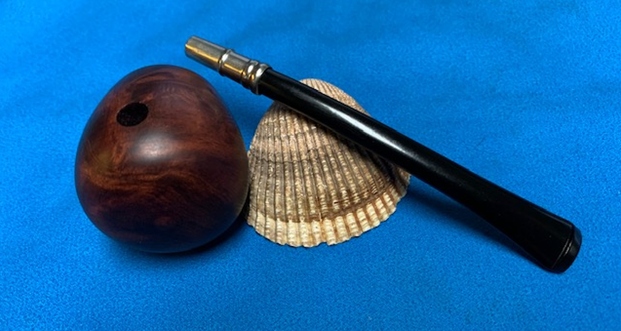
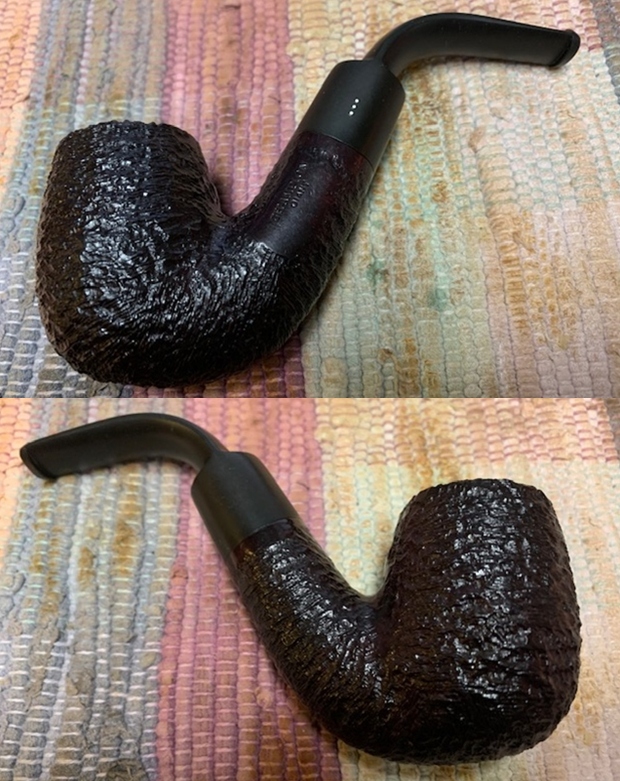
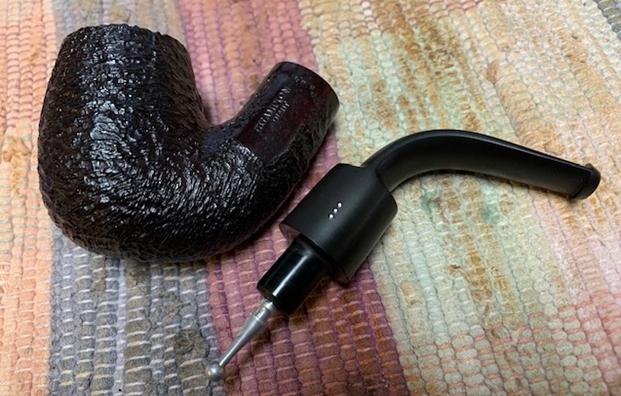
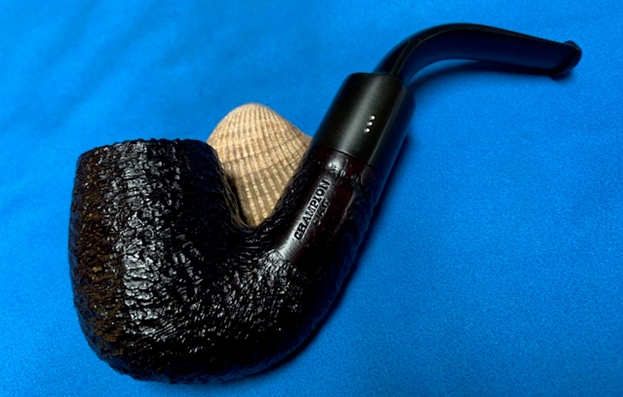
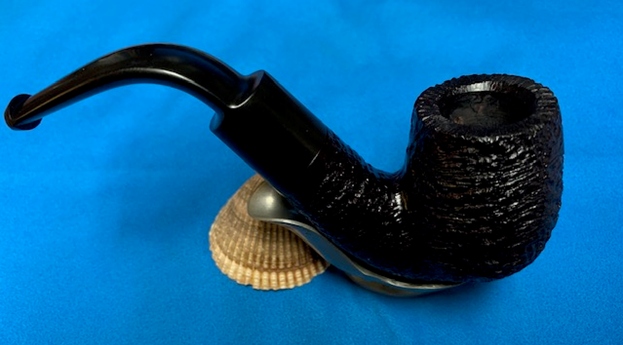
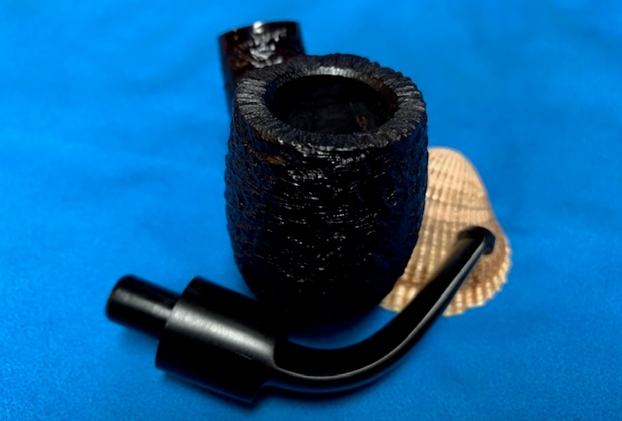
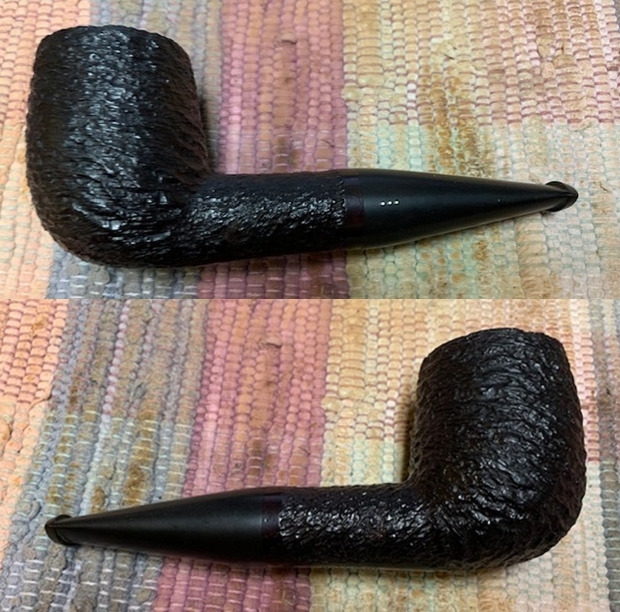
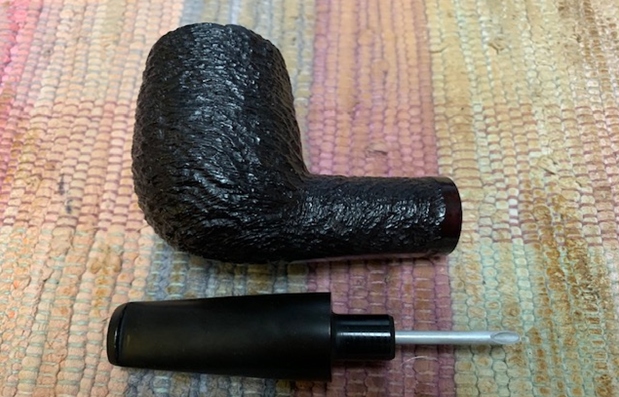
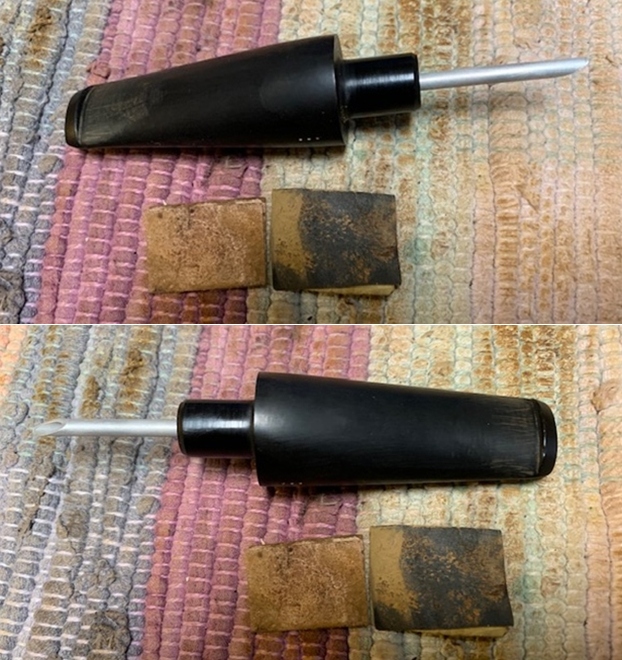
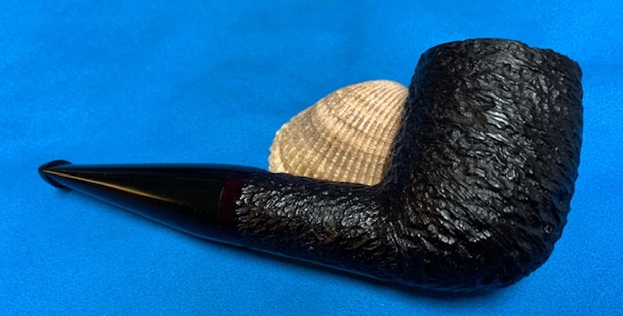
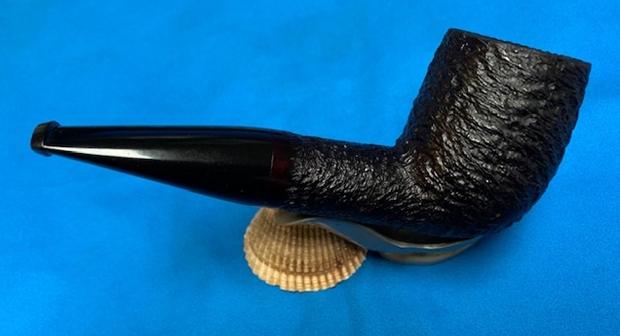
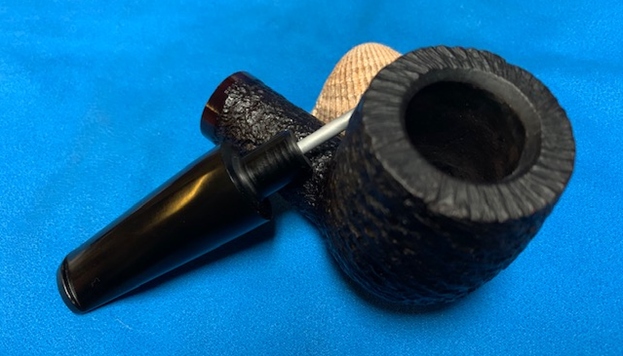
I decided to set the stem aside and see what I could find in my cans of stems here. I found an interesting turned stem that had a lot of potential. It had some oxidation, calcification and deep tooth marks on the surface. The tenon was a perfect fit in the shank so I would just need to clean it up and repair the tooth marks. Here are some photos of the stem as it looked before I worked on it.  I put the stem on the pipe and took some photos of the look of the “new” stem on the bowl. I think that with some work this was the right stem for the pipe.
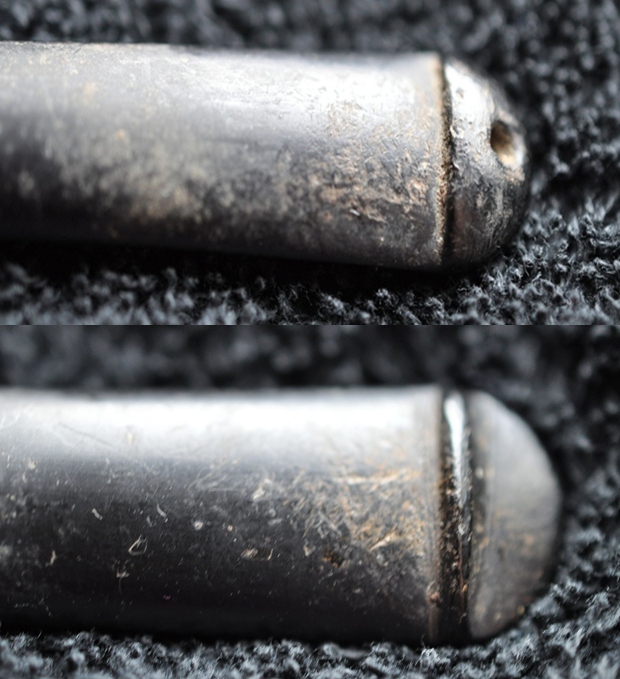
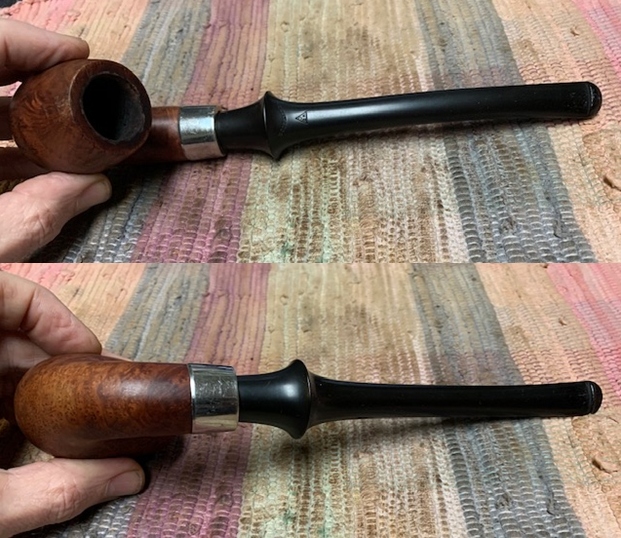
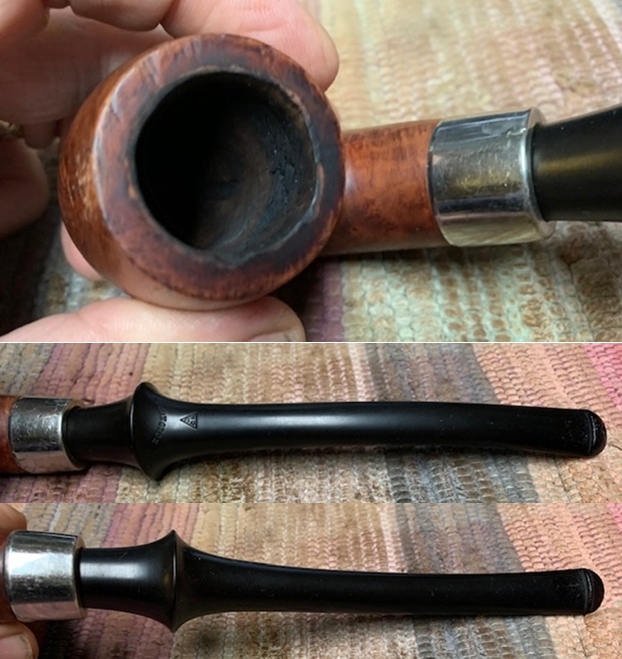
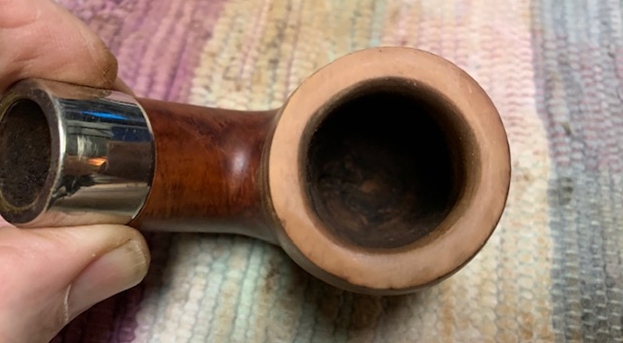
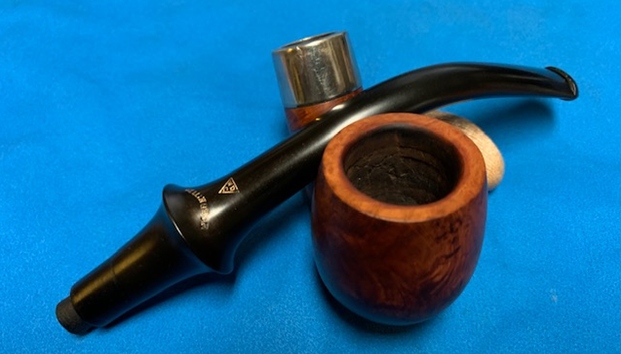
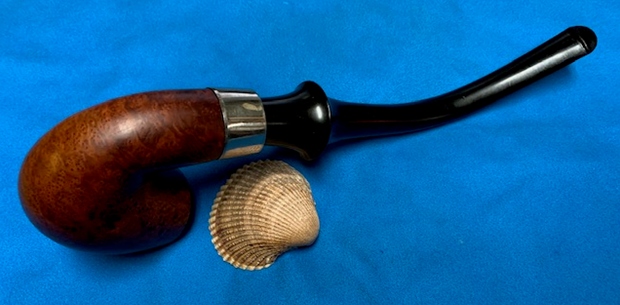
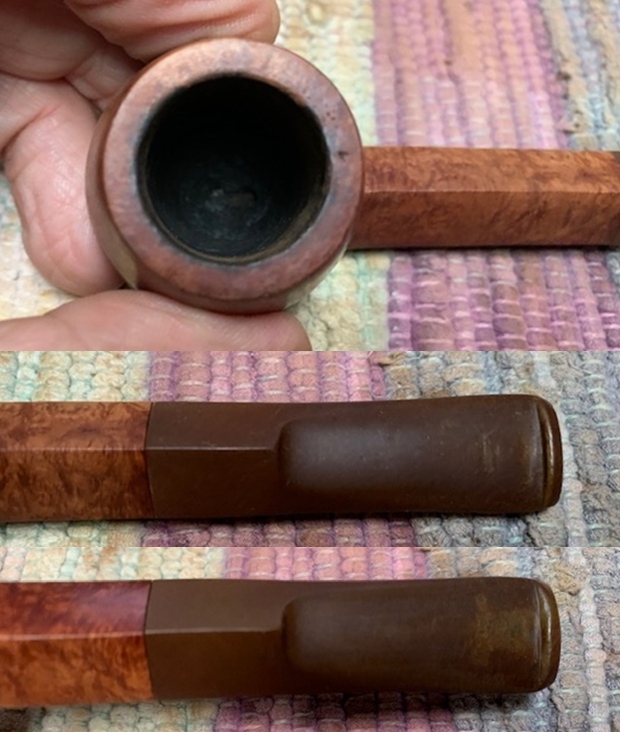
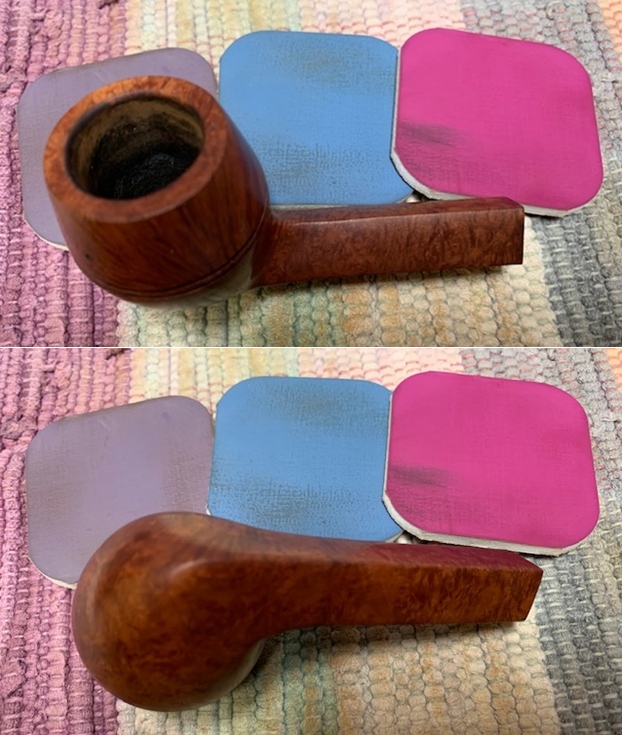
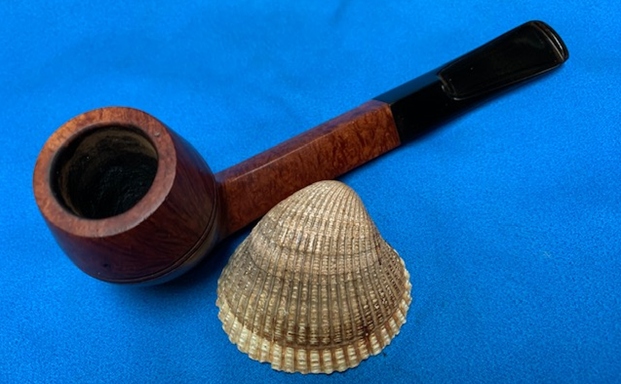
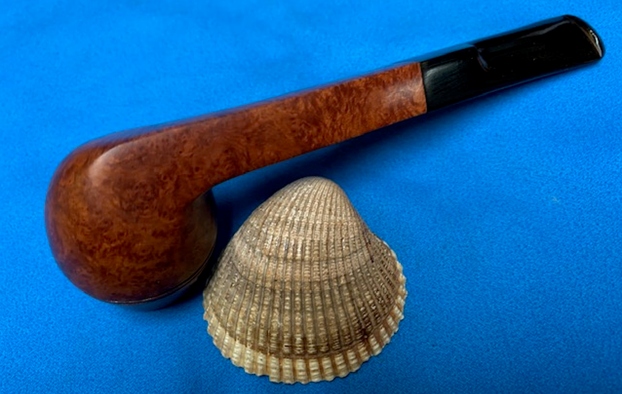
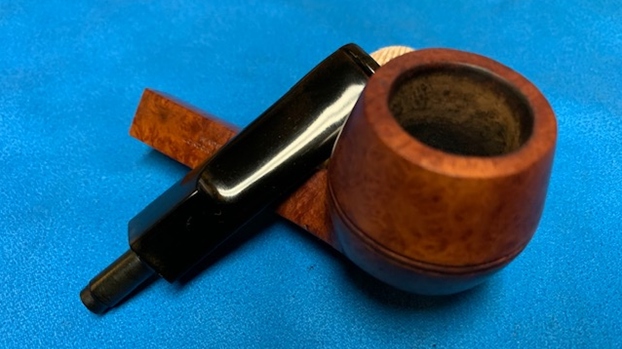
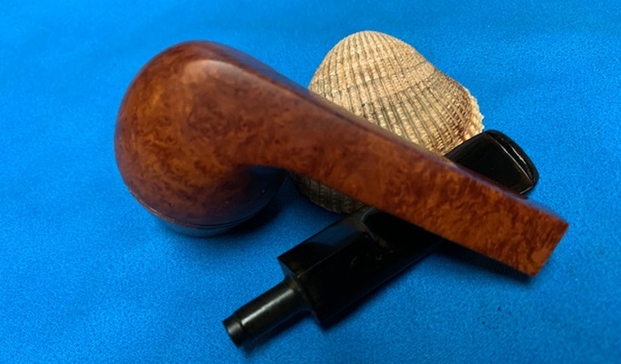
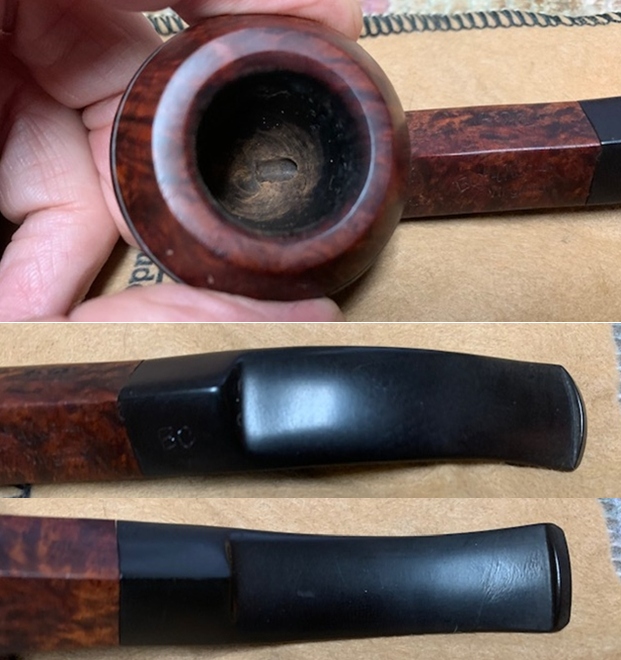
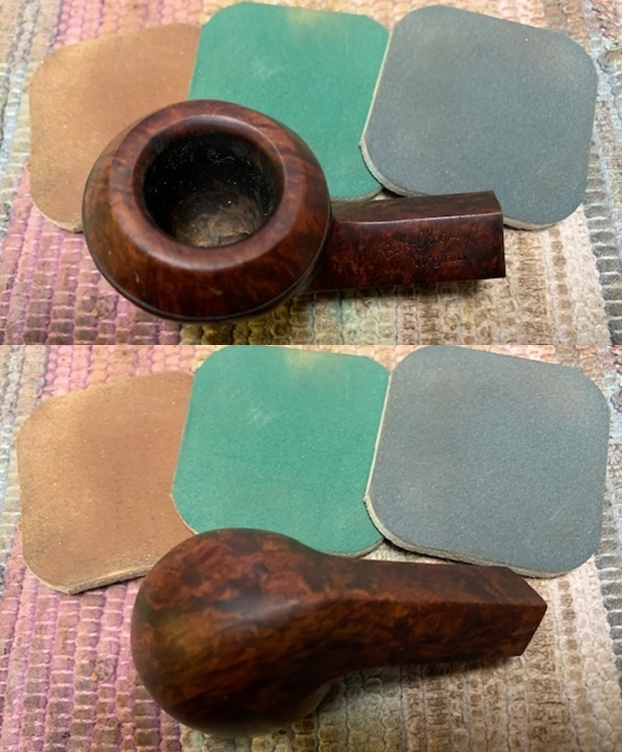
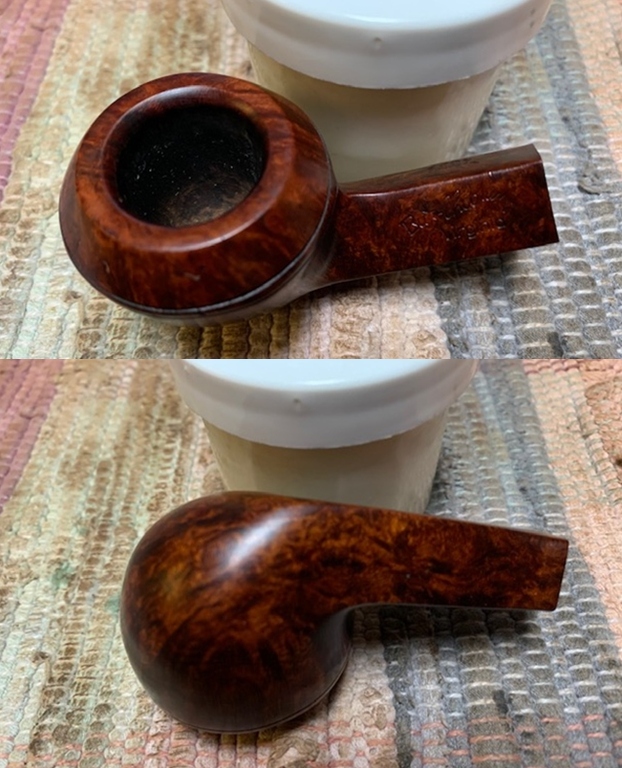
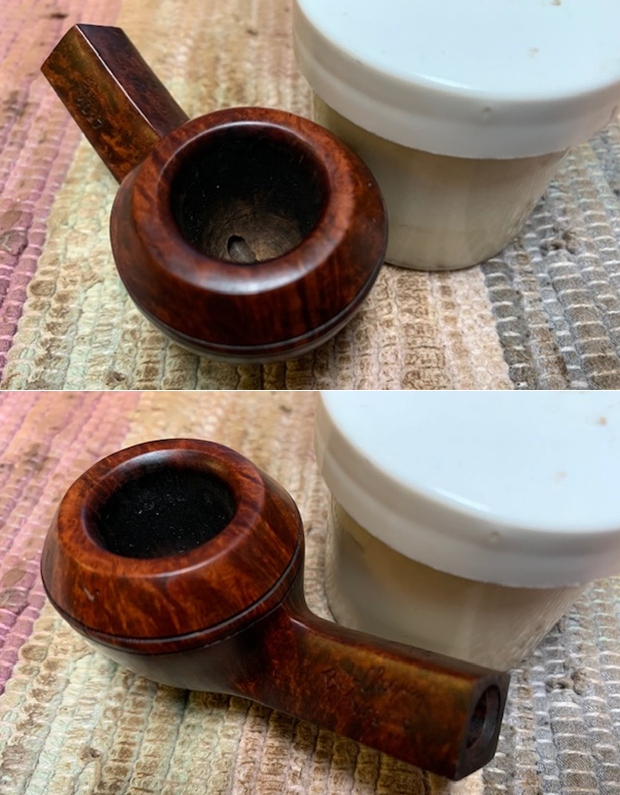
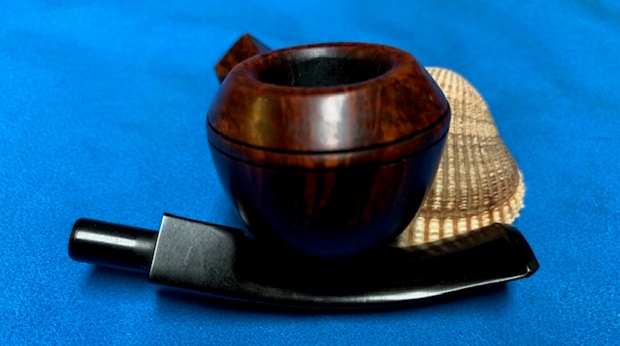
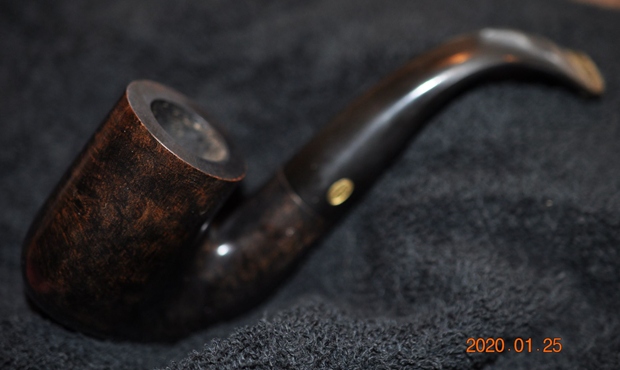
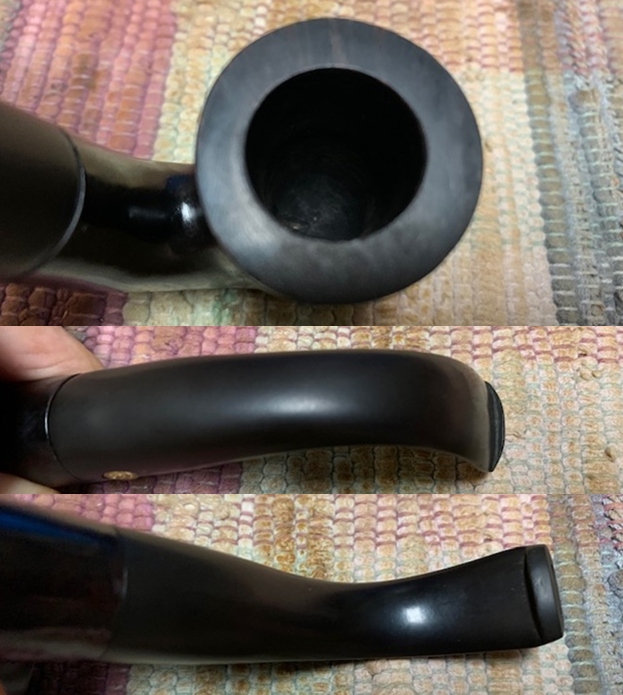
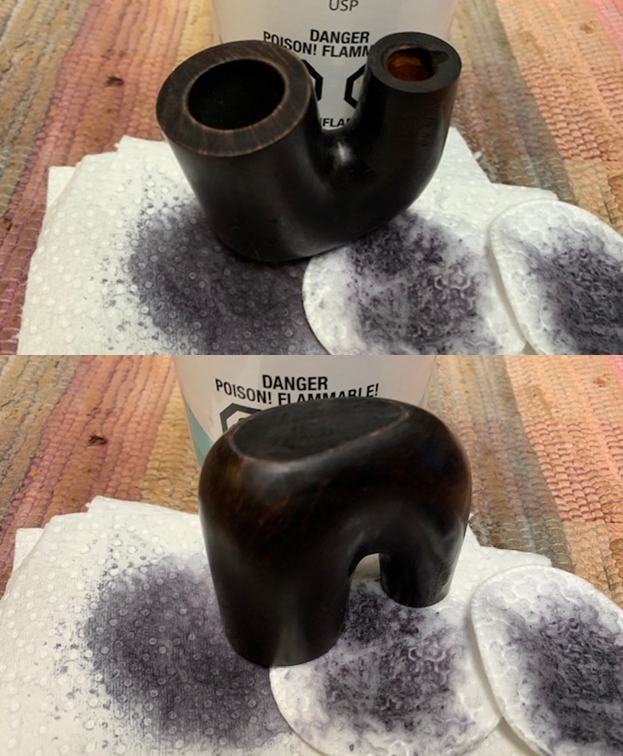
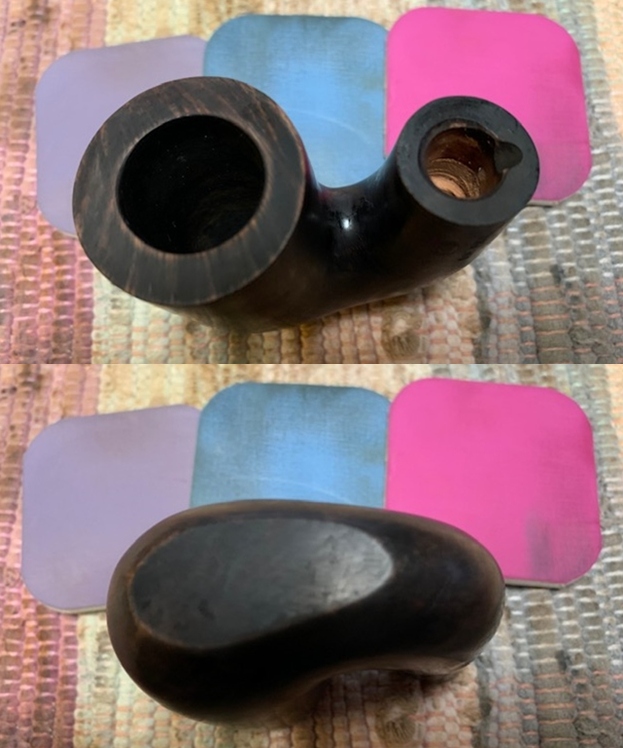
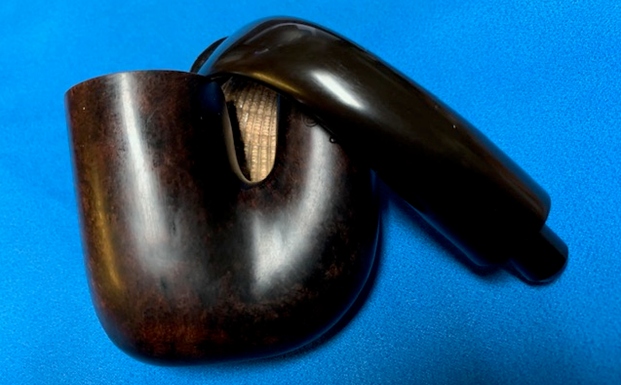
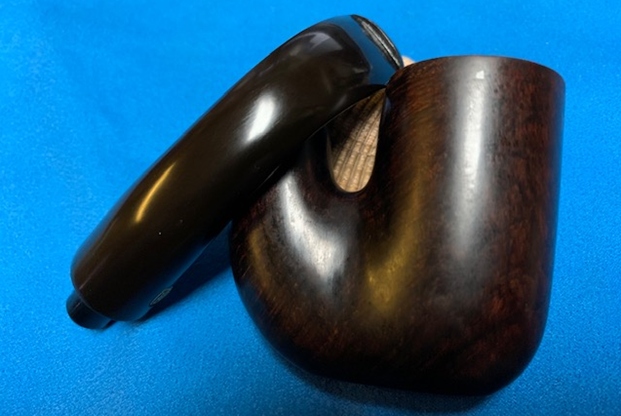
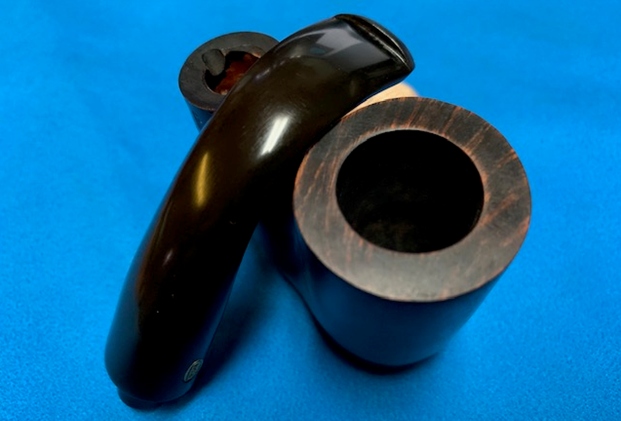
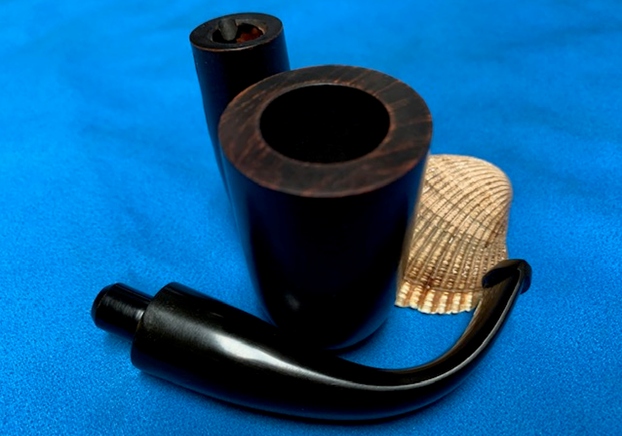
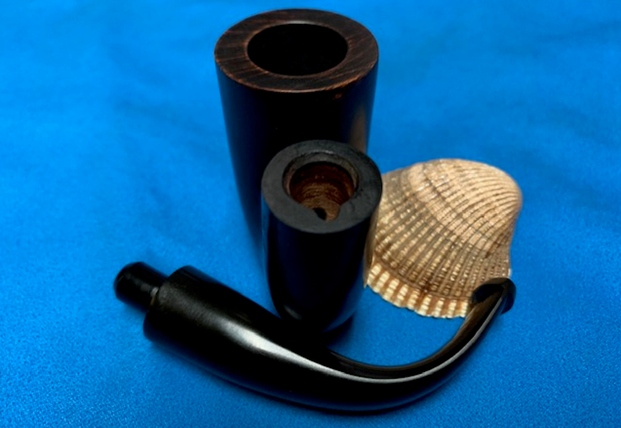
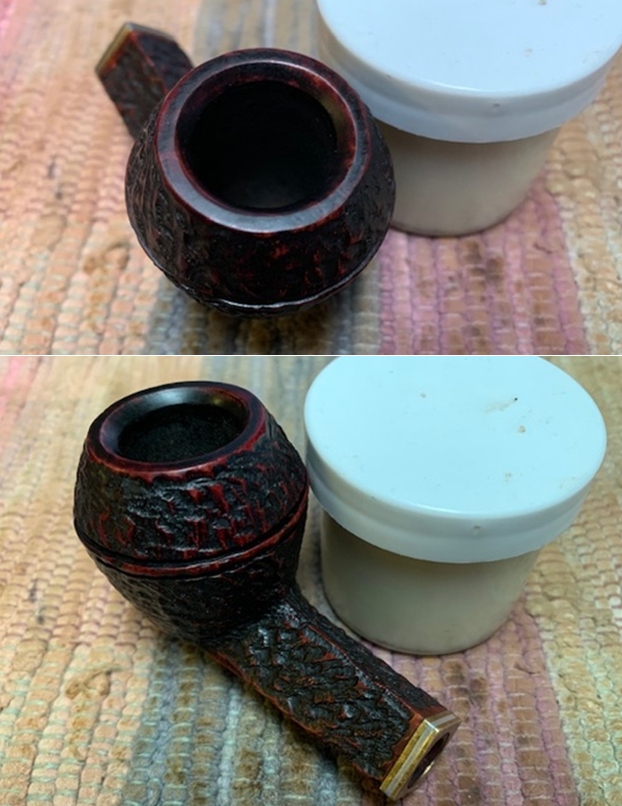
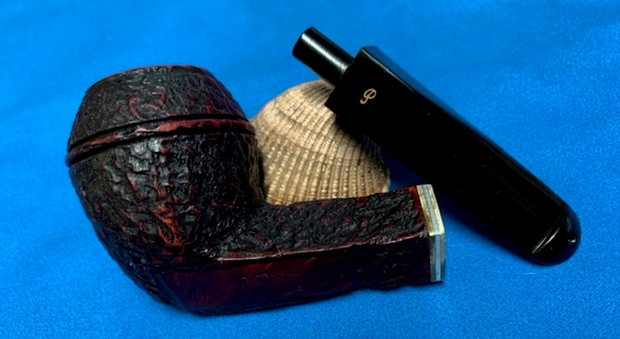
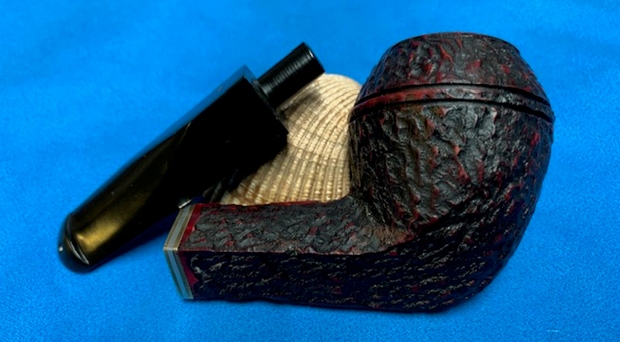
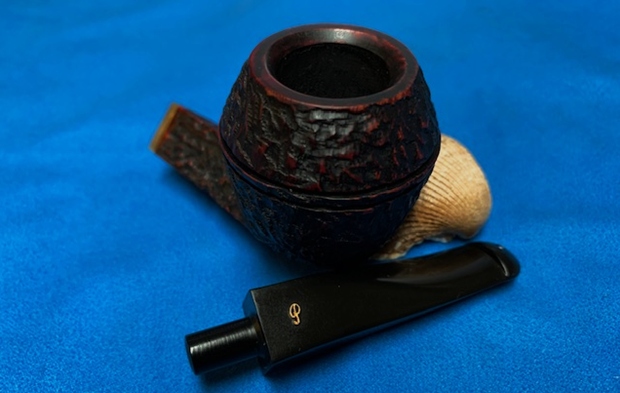
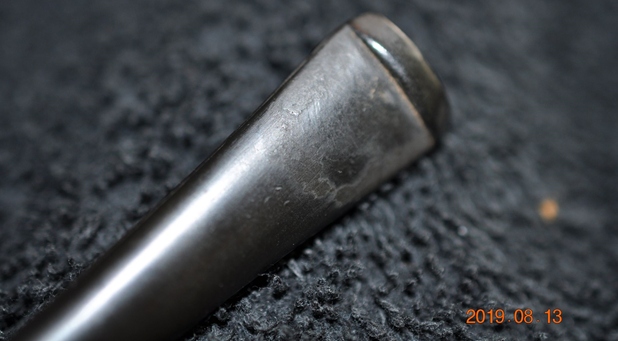
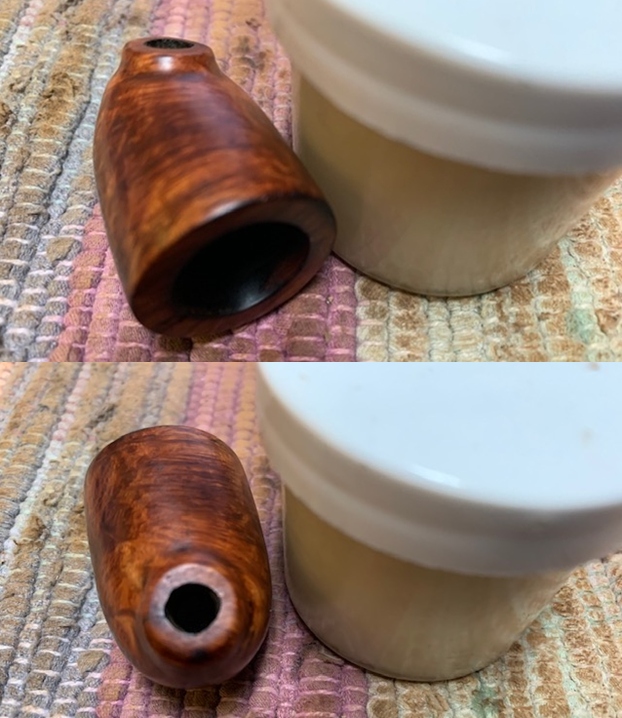
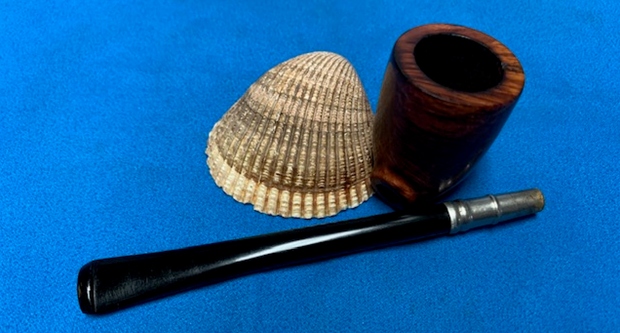
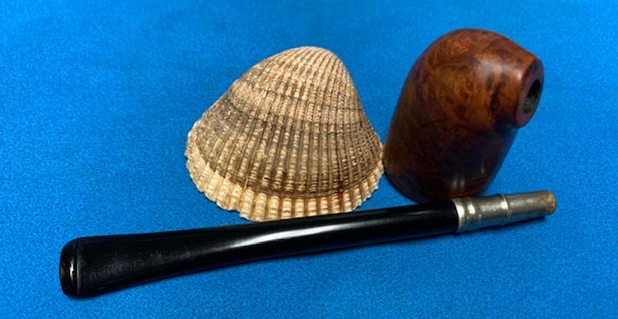
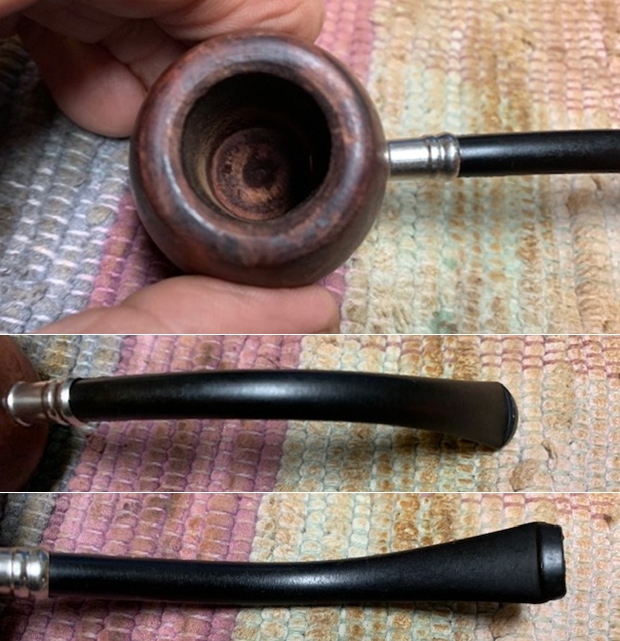
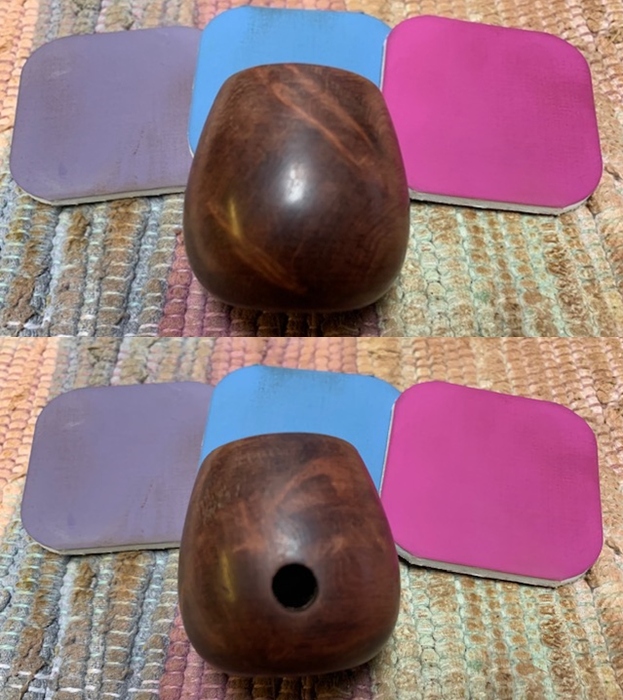
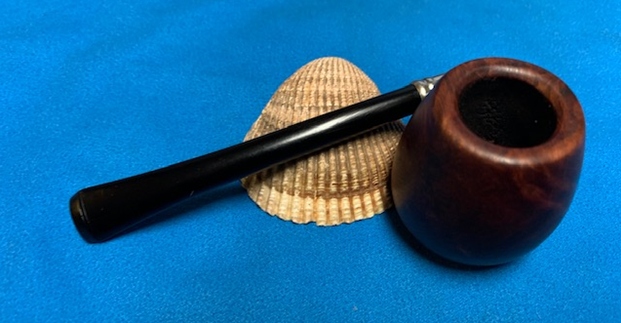
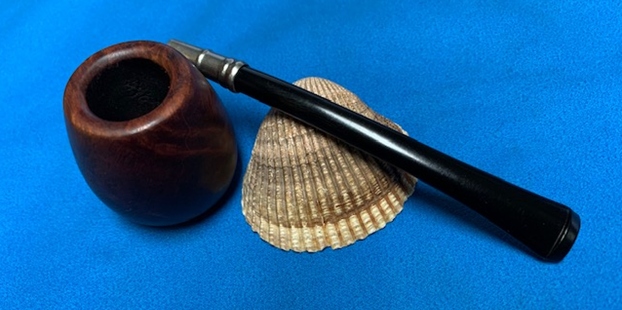
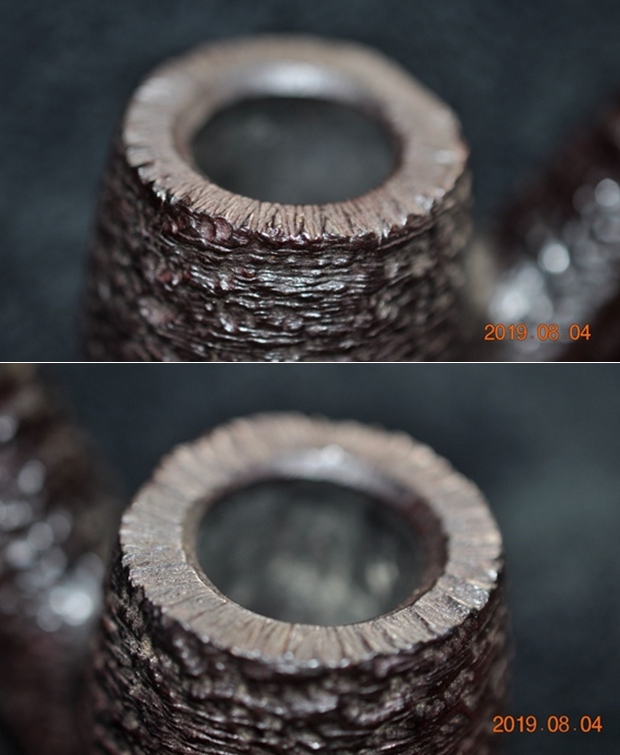
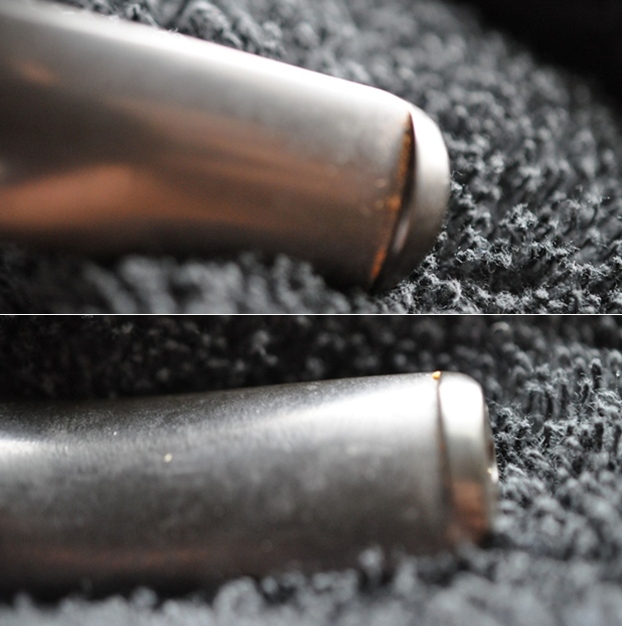
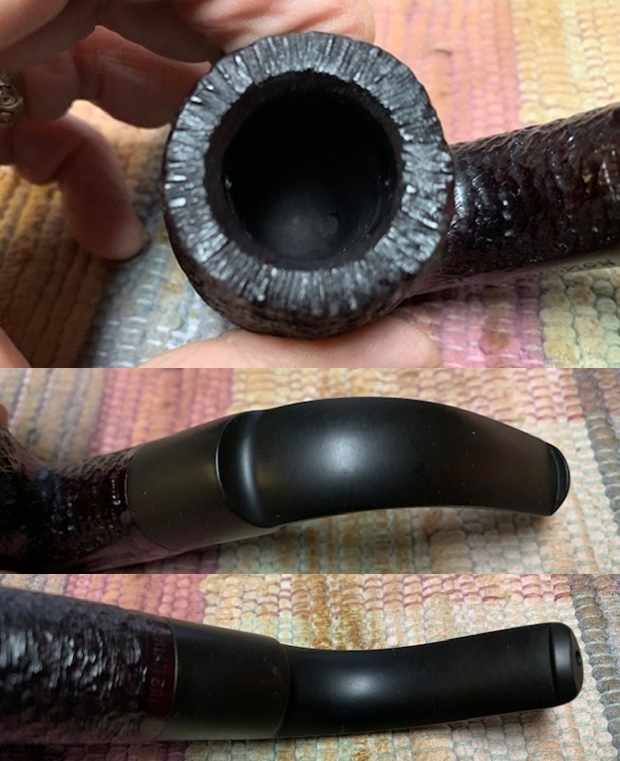
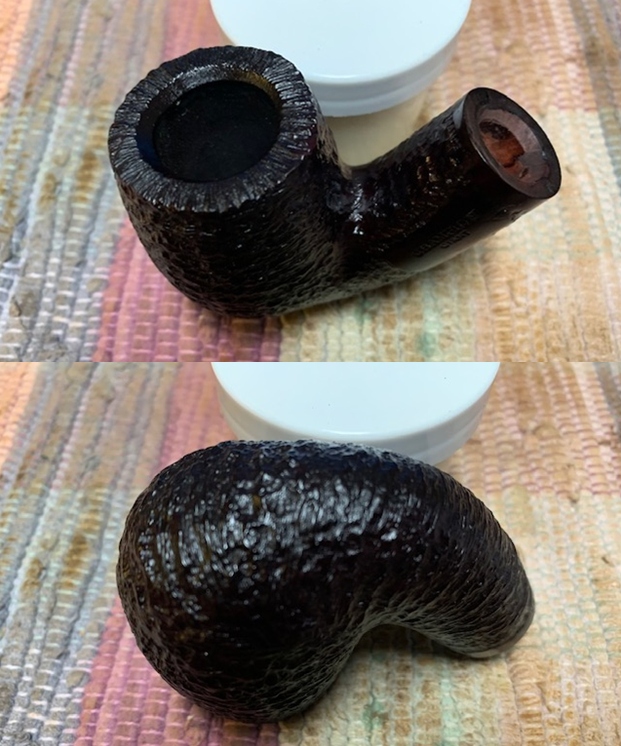
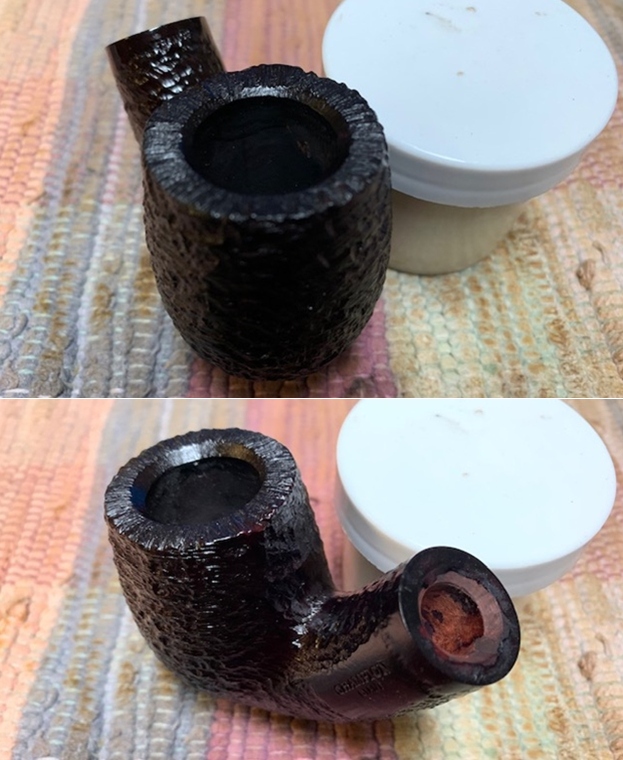
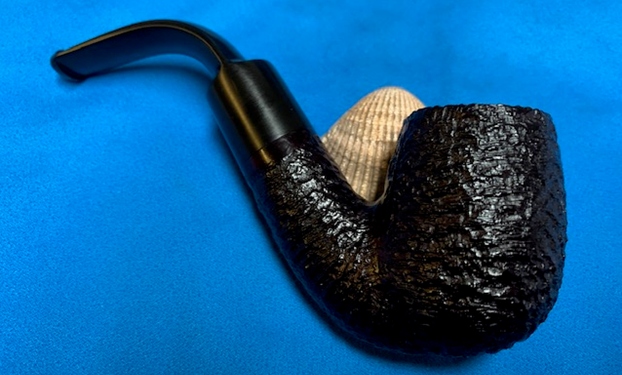
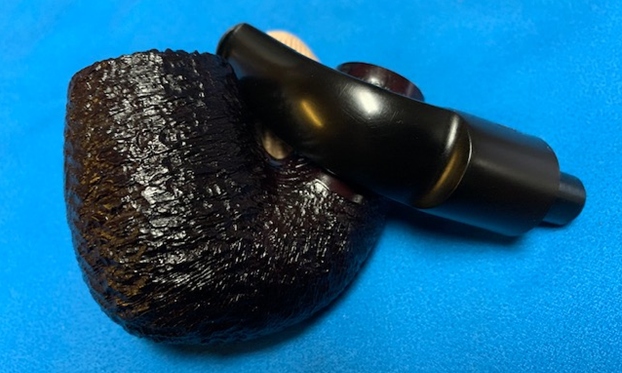
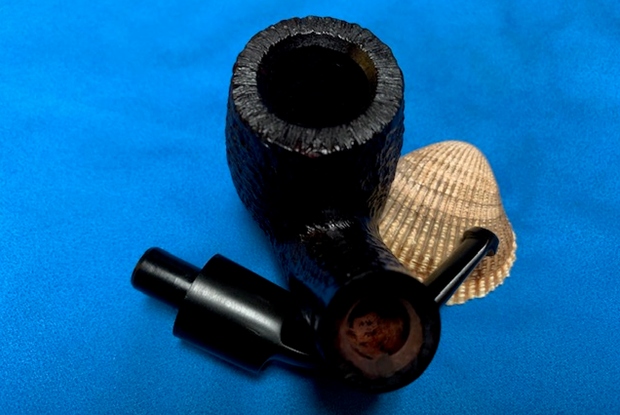
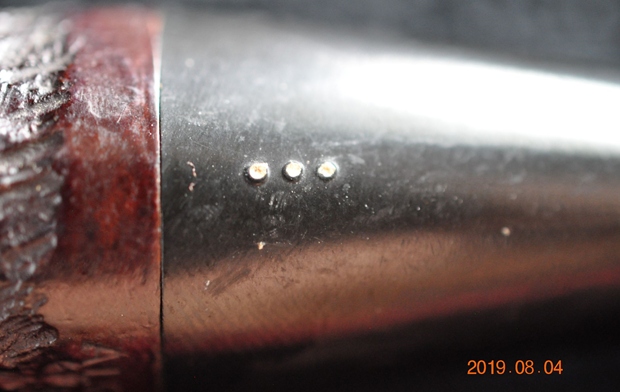
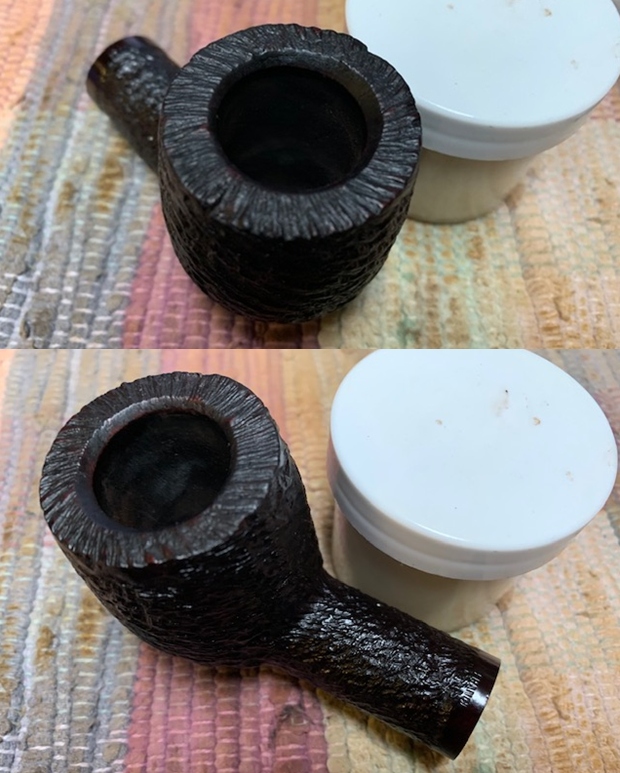
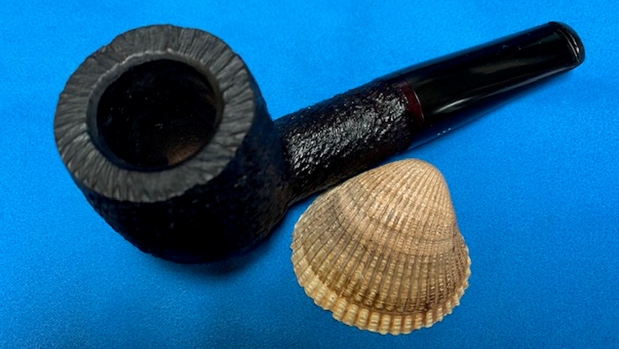
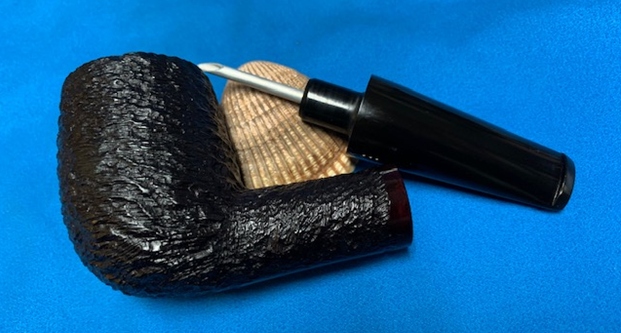
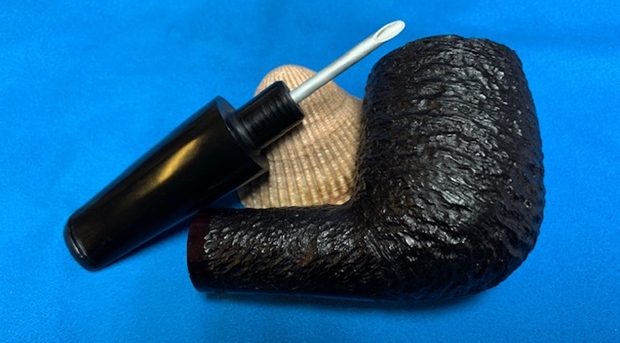
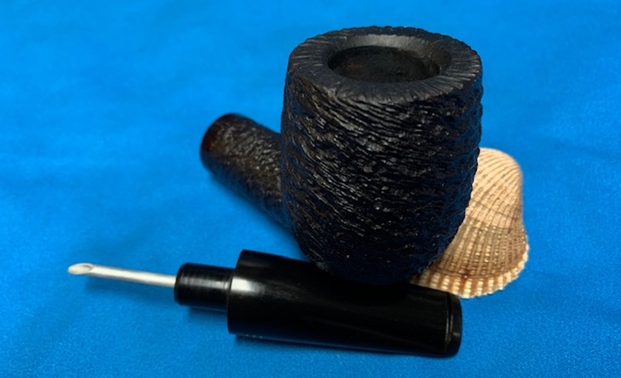
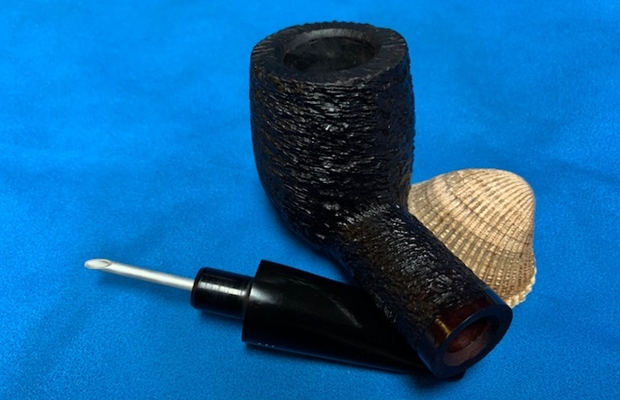
 I took a close up photo of the bowl and the stem to give an idea of what I had to work with. The bowl was very clean and it would polish up nicely. There was still some darkening in the plateau on the back side of the bowl that would need to be dealt with. The stem photos show the oxidation, calcification and deep tooth marks on both sides near the damaged button surface. It was badly damaged but showed a lot of promise.
  I removed the stem from the shank and dropped in a bath of Briarville’s Pipe Stem Deoxidizer to soak while I worked on the bowl. I figured the soak would bring the oxidation to the surface and clean the surface so that I could do the repairs to the stem surface once it was clean.
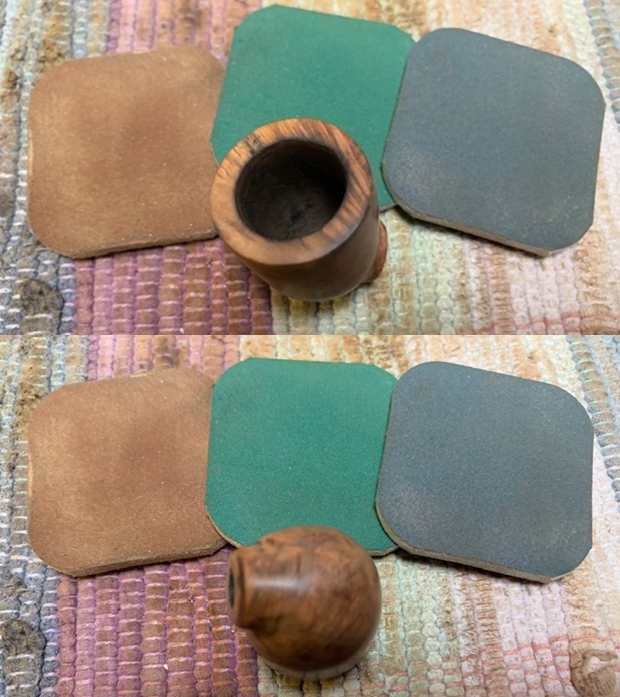
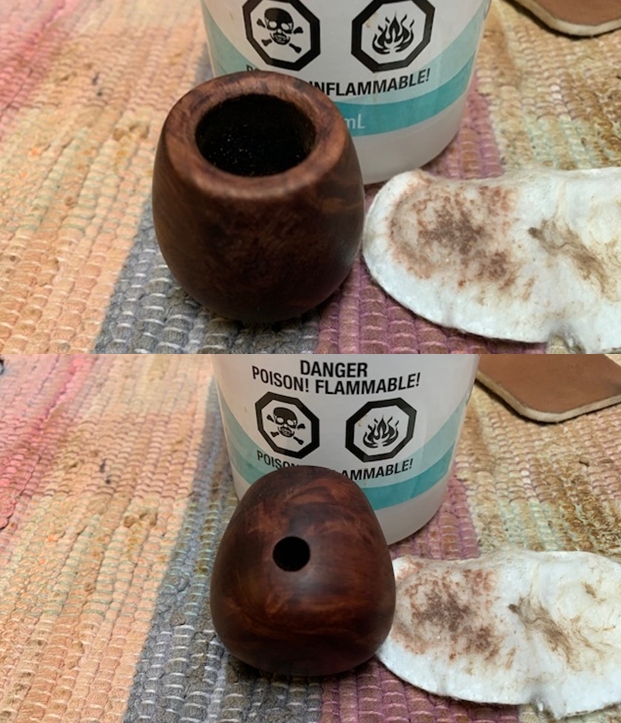
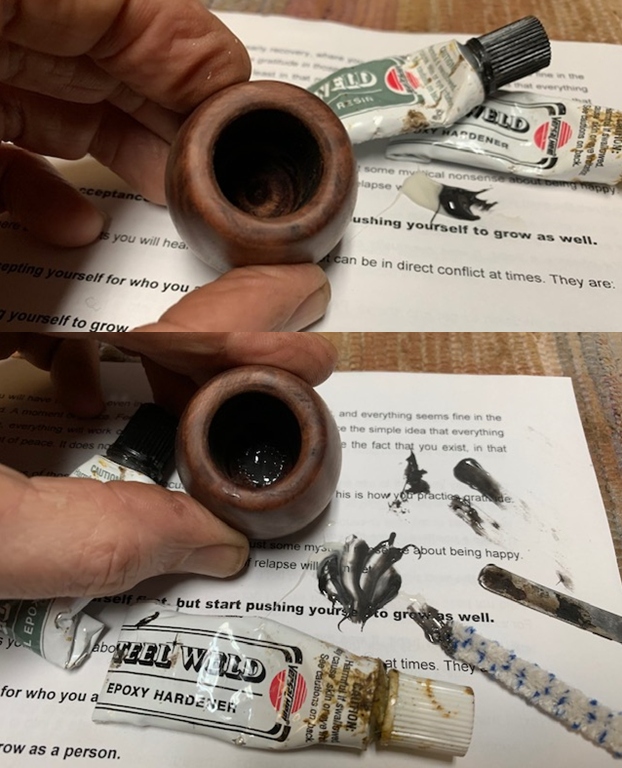
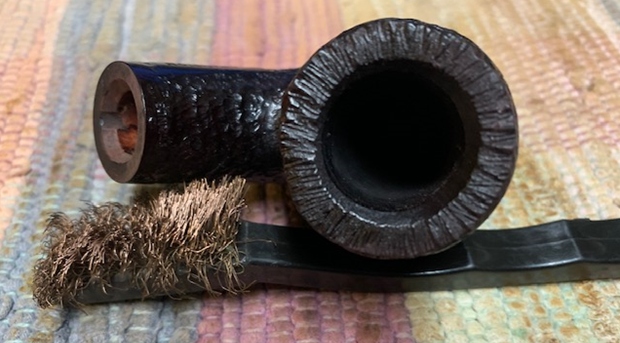
 While the stem soaked in the deoxidizer I worked on the bowl. I scrubbed the rim top with a brass bristle brush to remove the darkening and deep grime. Once it was finished it looked much better. I stained it black with a black stain pen. I used the wire brush again to clean up some of the high spots leaving the stain in the grooves. I also lightly sanded the rim top with a 1500 grit micromesh sanding pad to further highlight the high spots. I like the look of the rim at this point though with more polishing and Balm it would come alive.
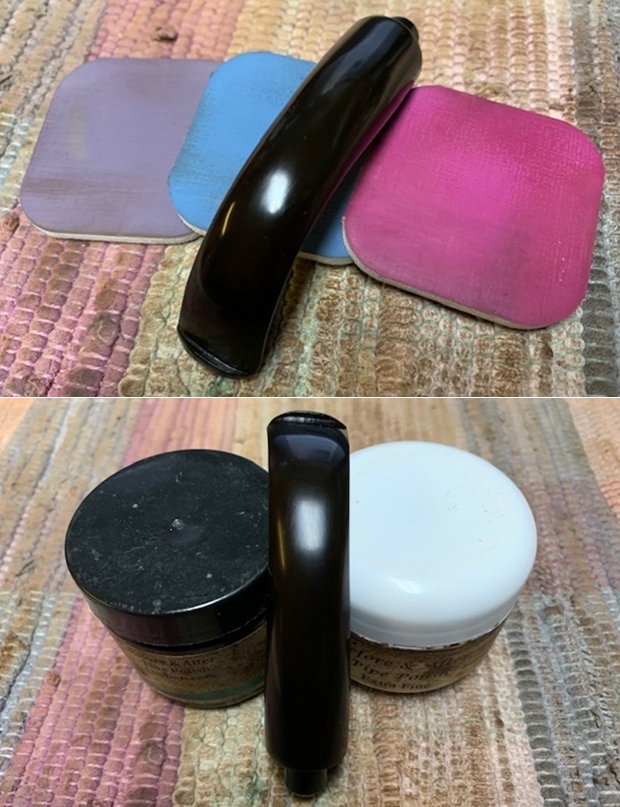
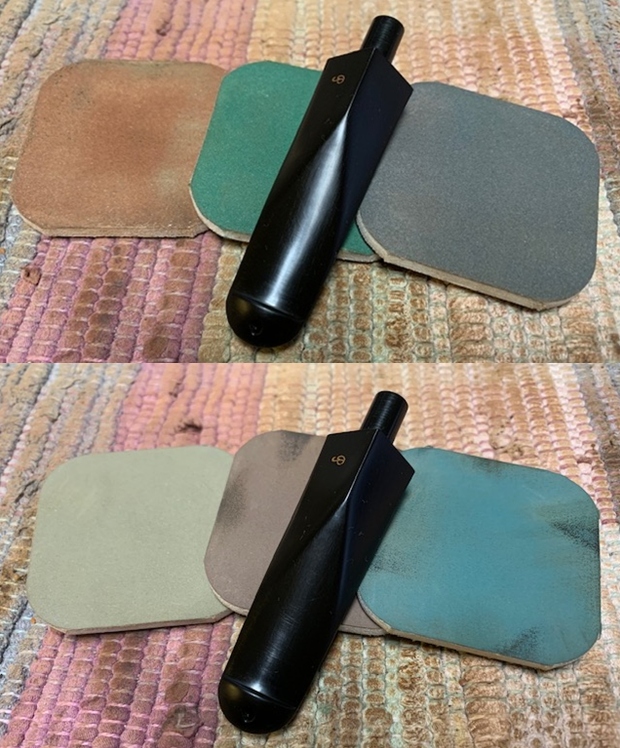
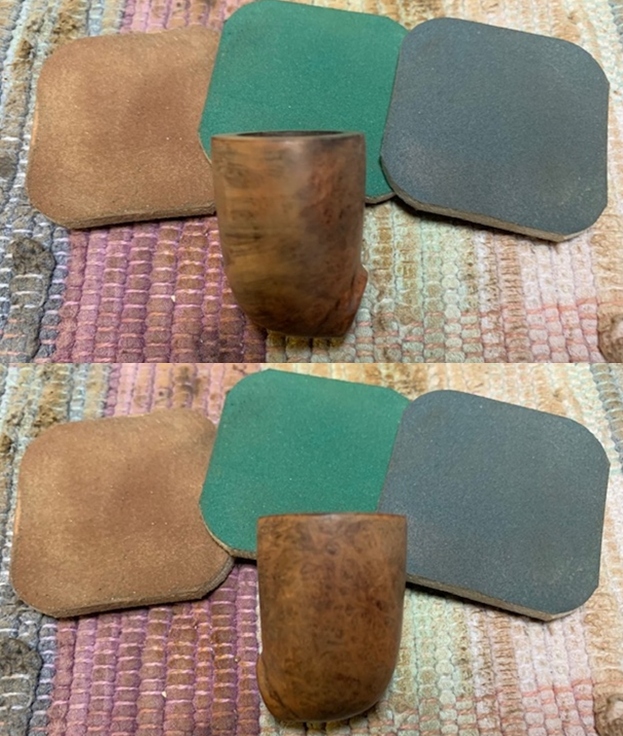
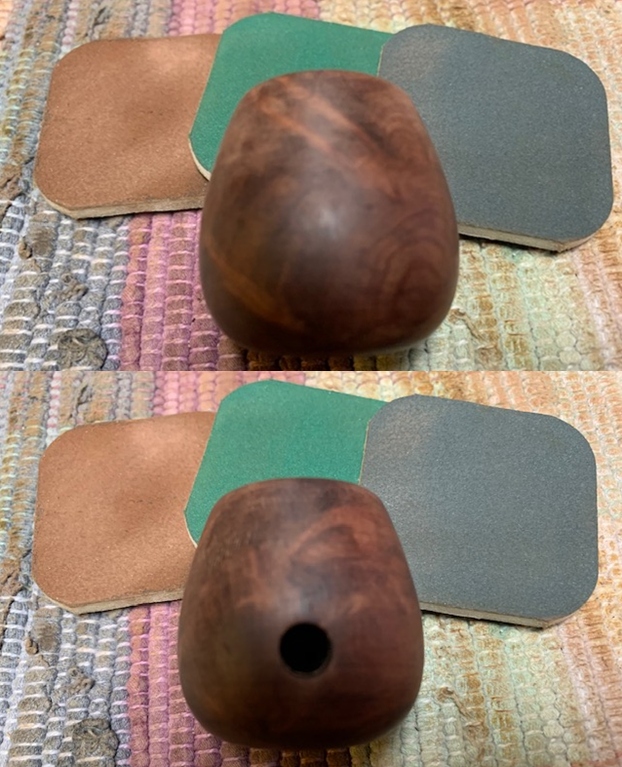
 I polished the smooth portions of the bowl sides with micromesh sanding pads – dry sanding with 1500-12000 grit sanding pads. I wiped the bowl down with a damp cloth after each pad.


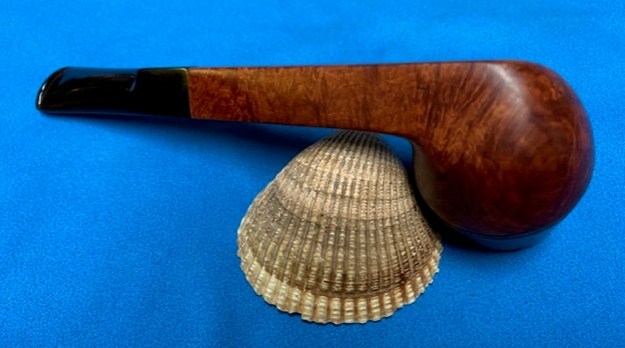
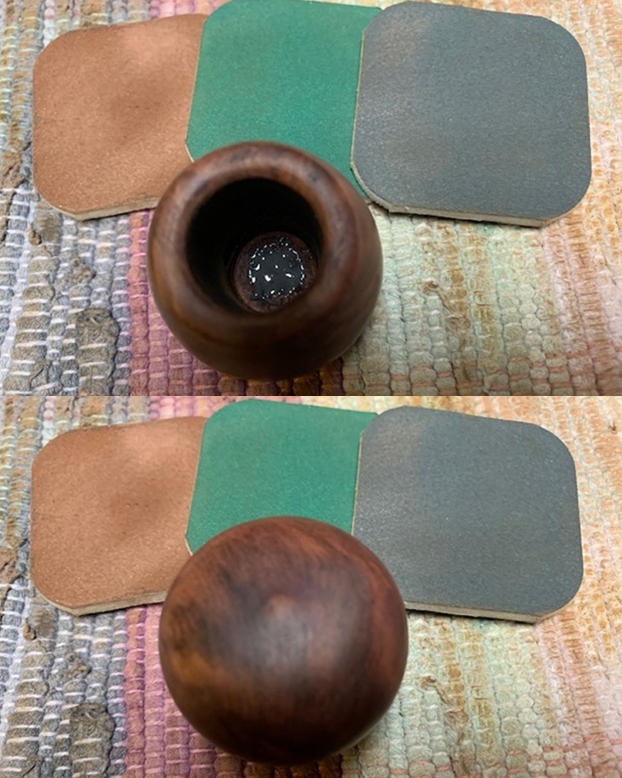
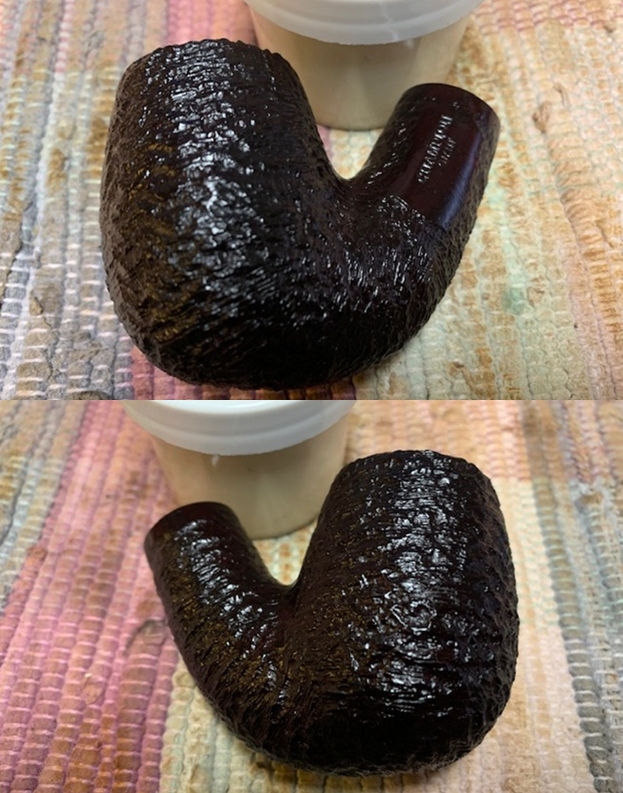
 With the smooth portion of the briar polished I rubbed the bowl and shank down with Before & After Restoration Balm. I worked it into the surface of the bowl sides and shank with my fingertips and into the plateau rim top and sandblast with a horsehair shoe brush. The product works to clean, enliven and protect the briar. I let the Balm sit for 15 minutes and then buffed with a cotton cloth to raise the shine. While the Balm did its work I worked on the “new stem”.

 I set the bowl aside and turned my attention to the stem. I removed it from the Deoxidizer bath and rubbed it down with a coarse cloth to dry it out. It had brought oxidation to the surface and made it easier to deal with but it had not removed it. The good news for me was that it had done a great job removing it from the tooth marks.
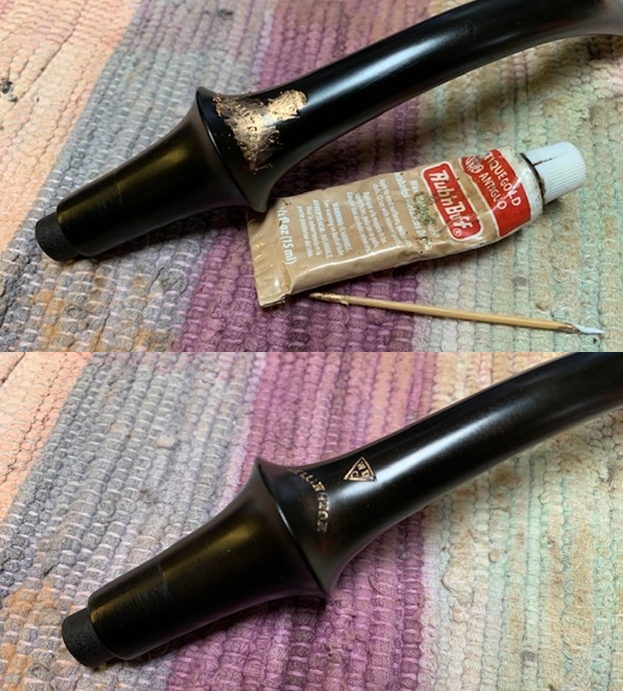
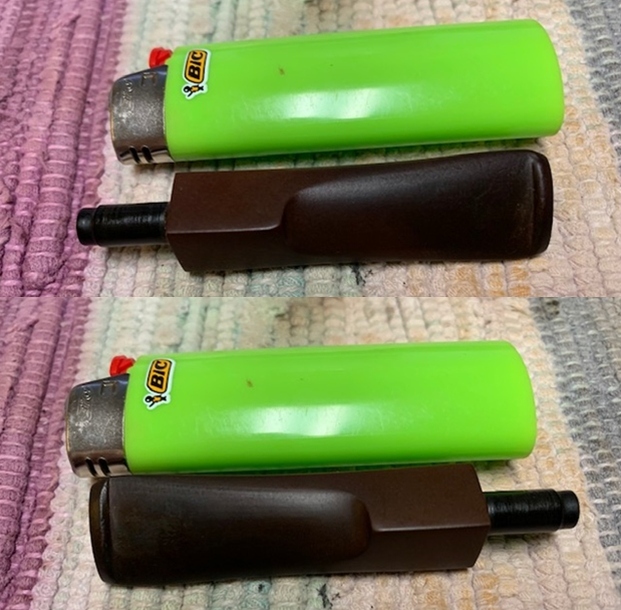
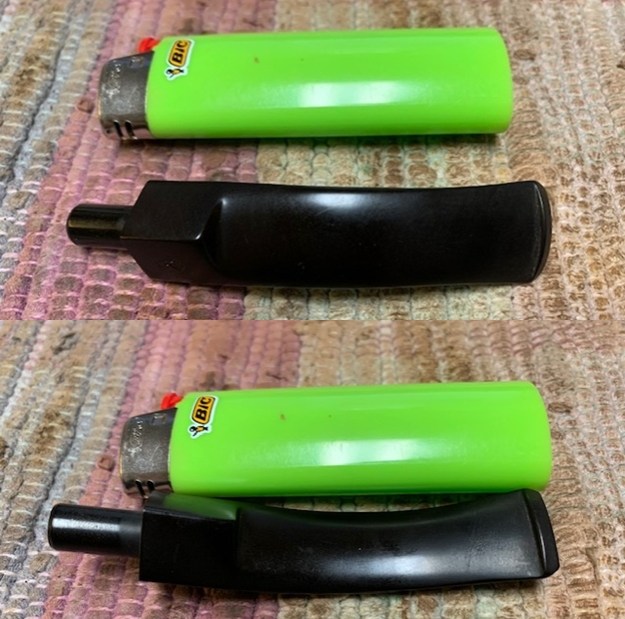
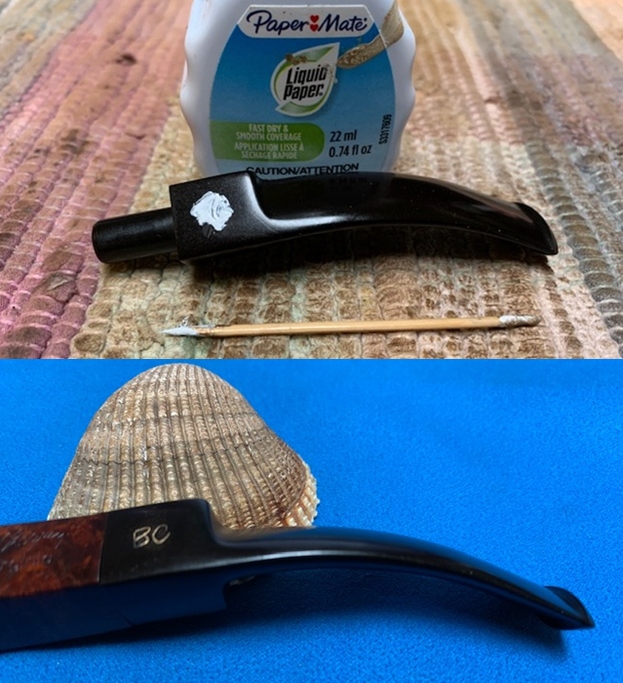
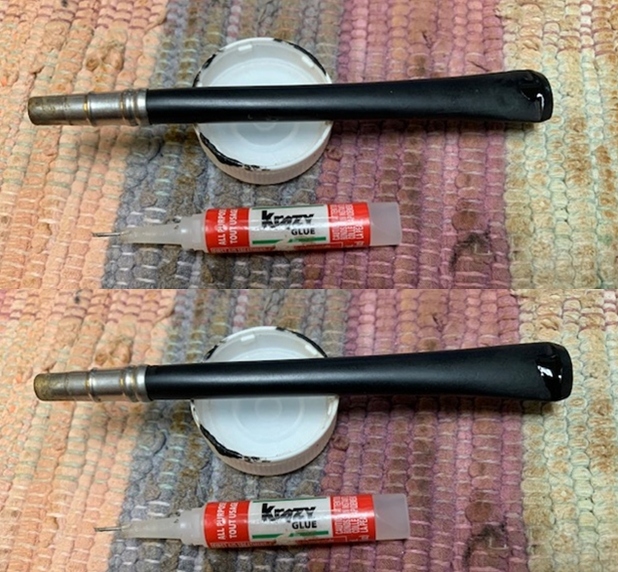
  I “painted” the surface of the vulcanite with the flame of a lighter to lift the dents as much as possible. I was able to lift them significantly. I filled in the remaining divots with black super glue. I chose to use black glue this time just in case there were some remaining spots of oxidation in the tooth marks. The black would take care of that.
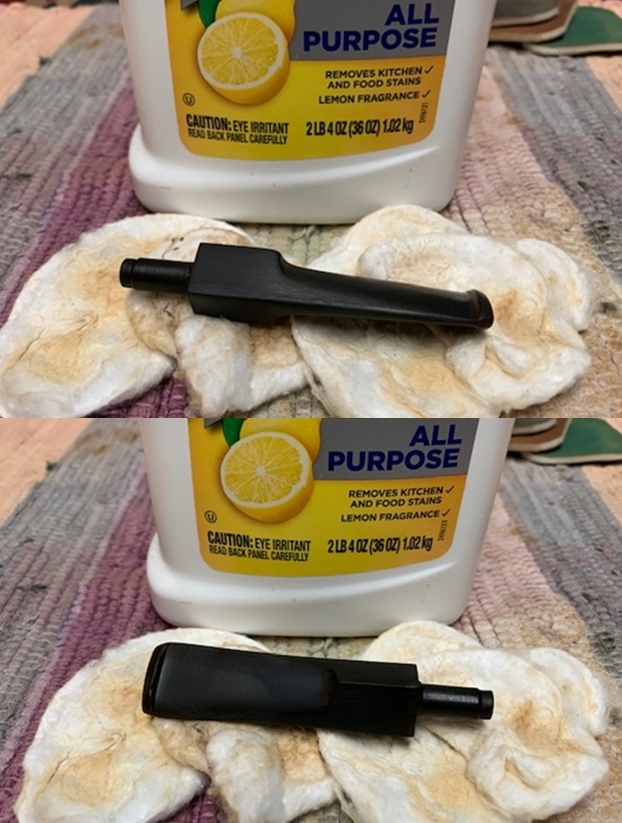
  Once the repairs had hardened I scrubbed the remaining oxidation in all of the grooves of the fancy stem with Soft Scrub all purpose cleaner. I was able to get into the grooves with the product and the cotton pads that I used to scrub it. It was beginning to look better.
  I cleaned out the stem with alcohol and pipe cleaners to remove the tars and the debris that was loosened by the deoxidizer bath.
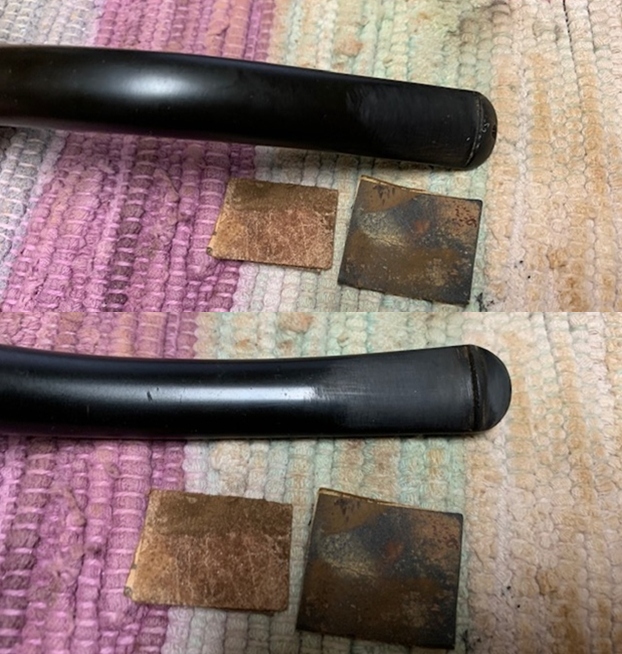
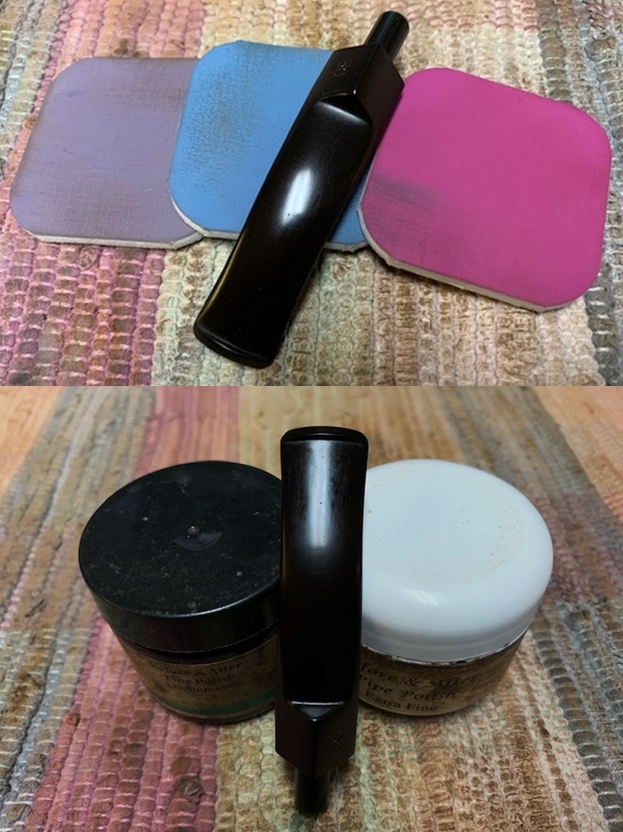
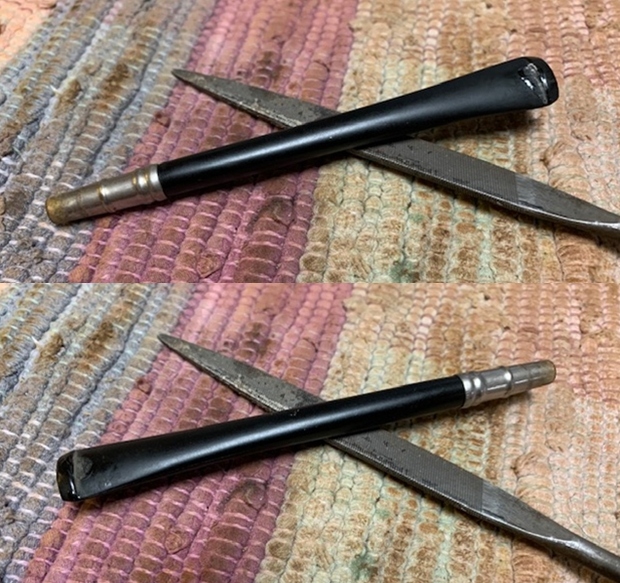
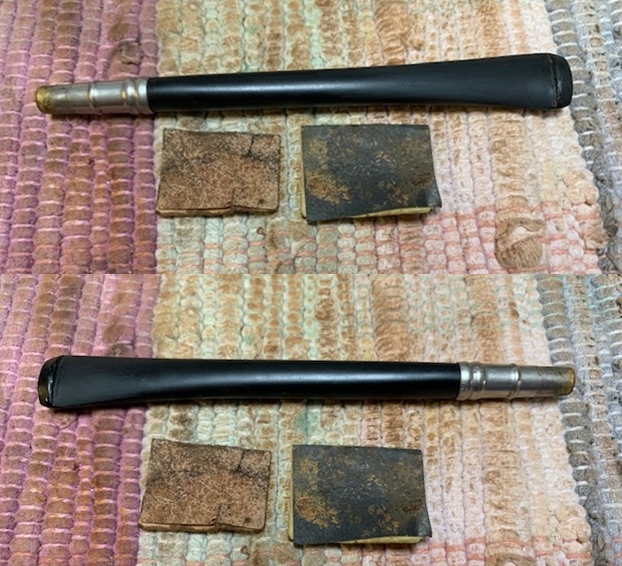
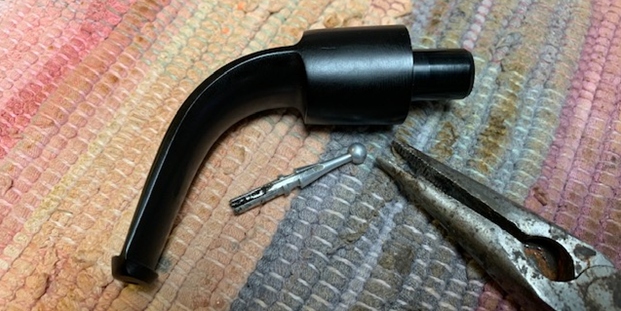
 I smoothed out the repairs and recut the button edges with a rasp and a file. The stem was taking shape. I smoothed out the remaining repair marks and the file marks with 220 grit sandpaper. I started the polishing with 400 grit wet dry sandpaper.
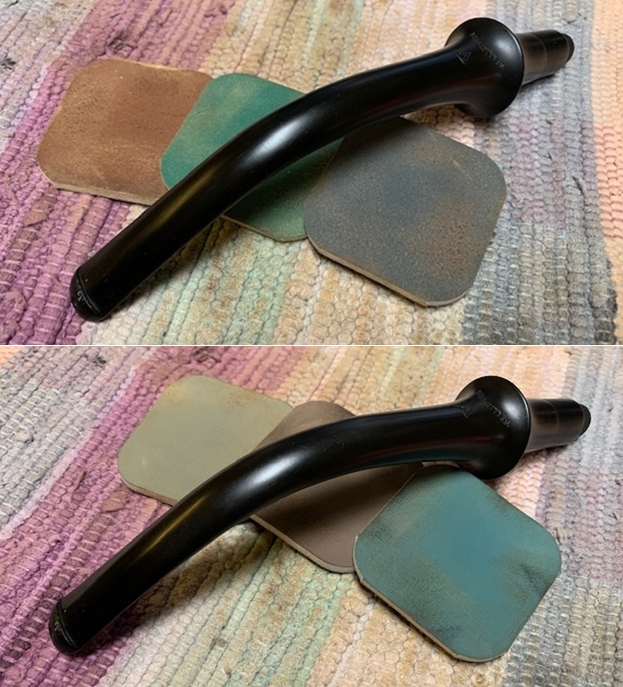
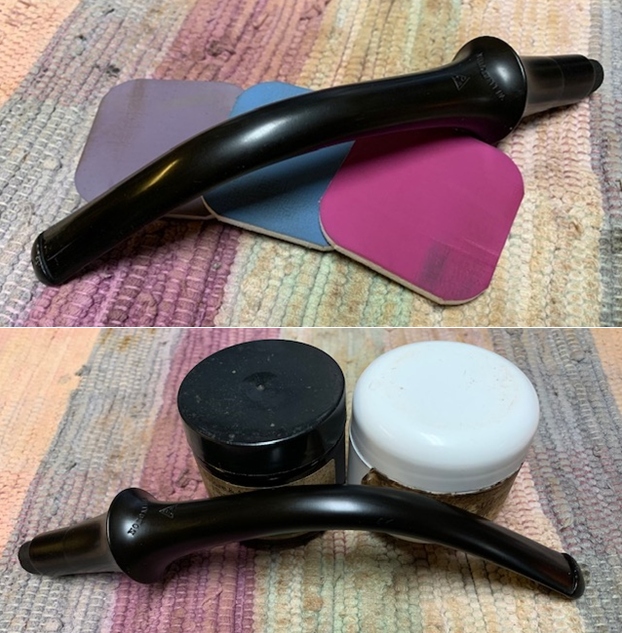
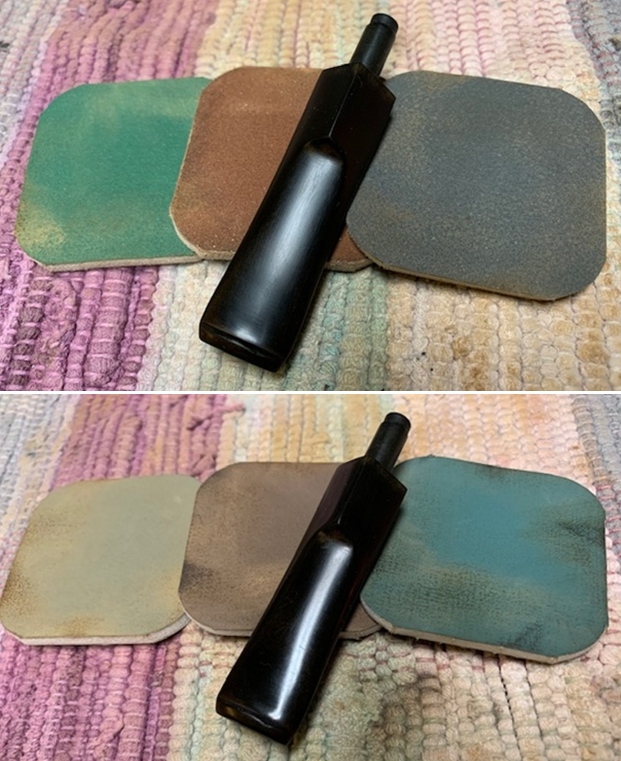
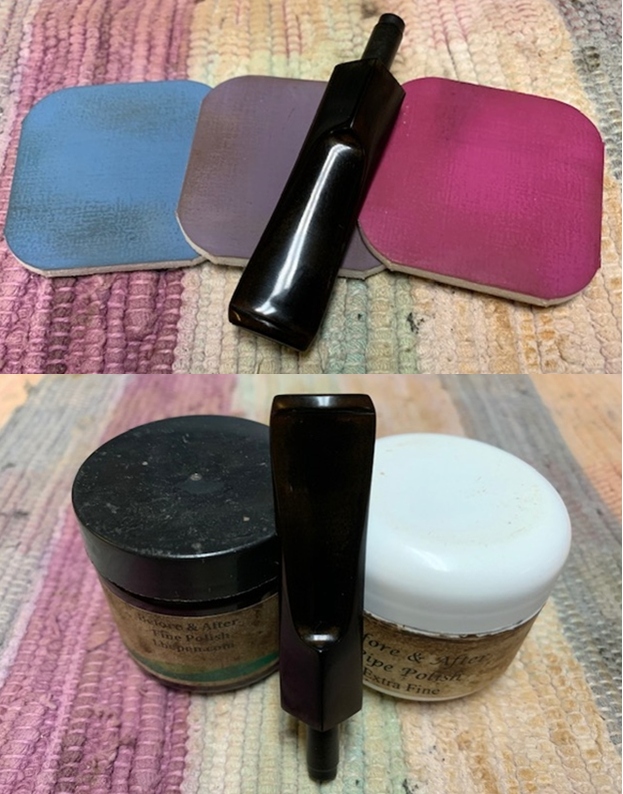
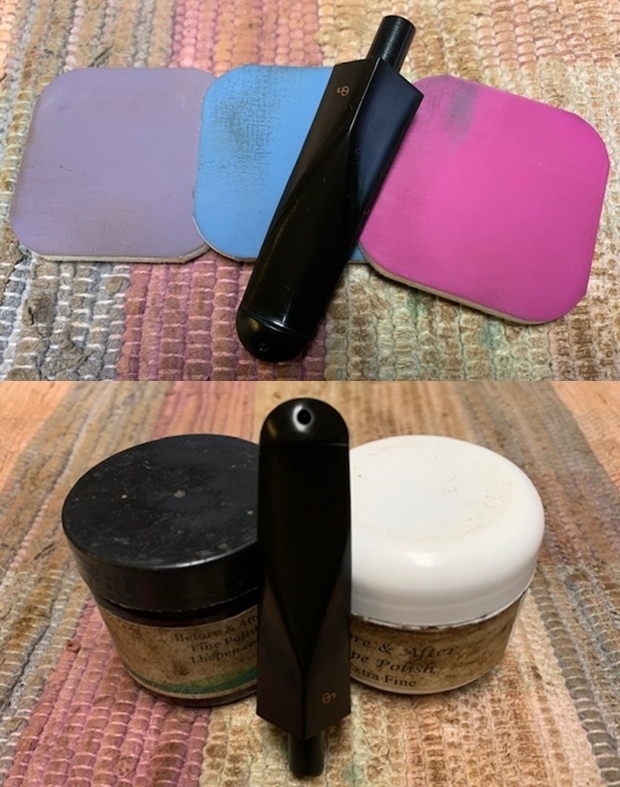
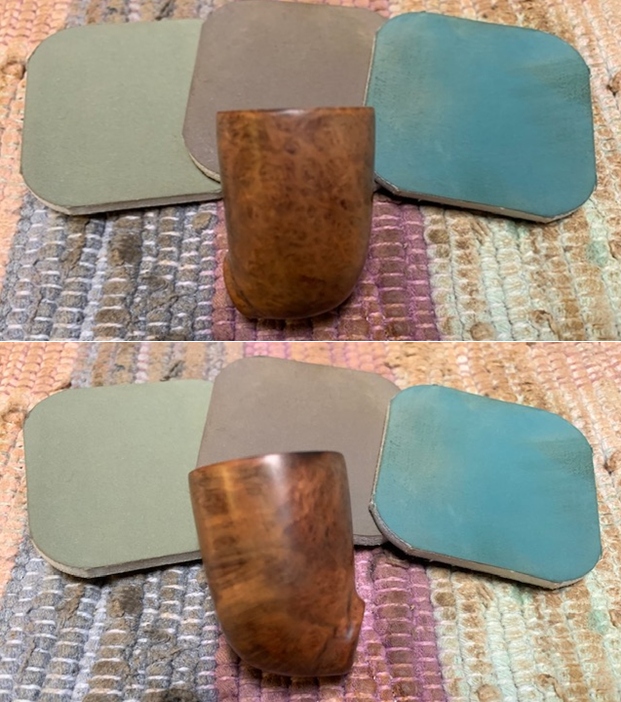
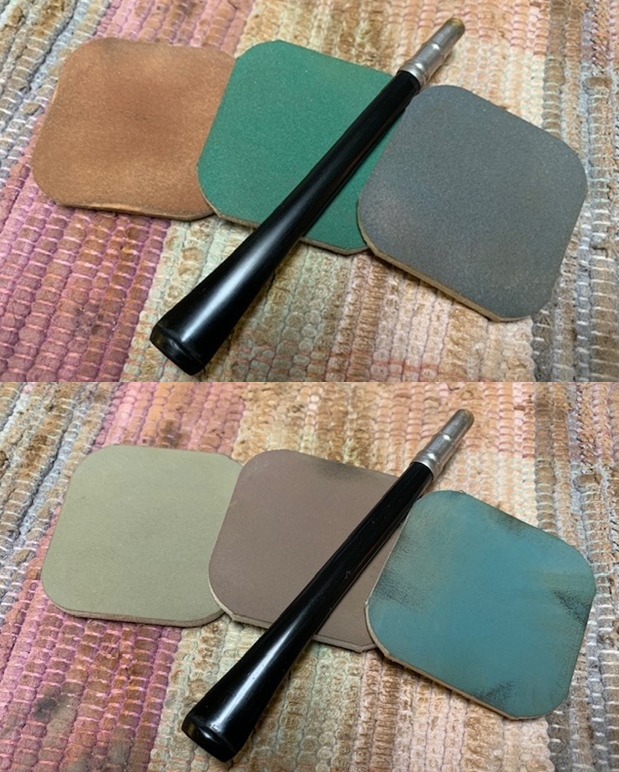
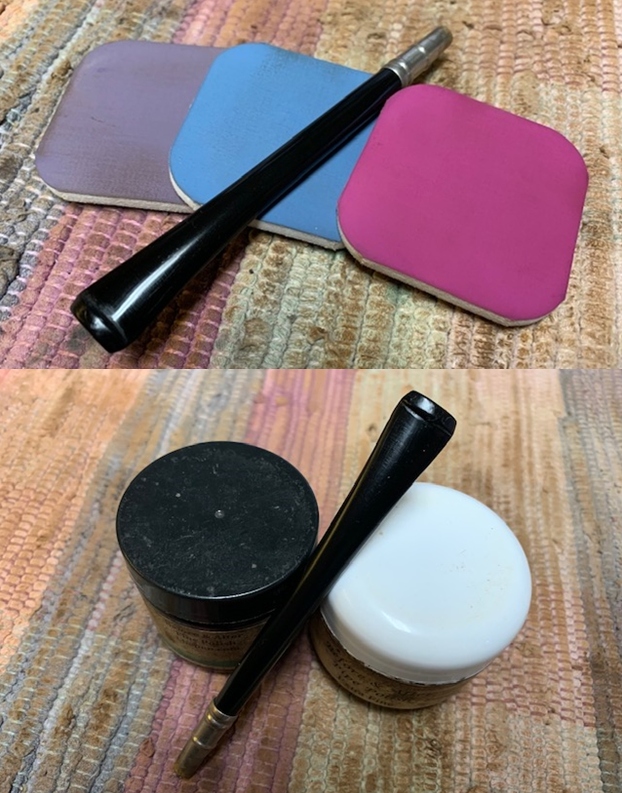
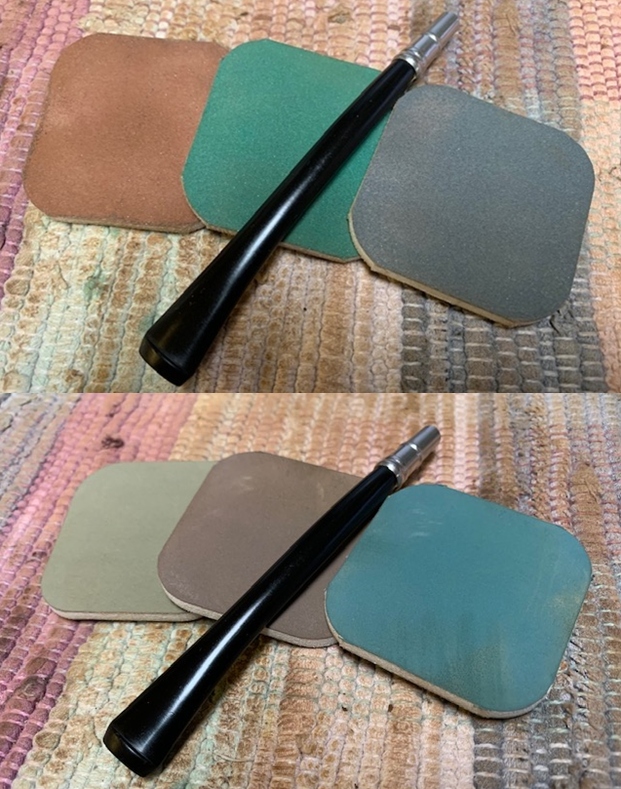
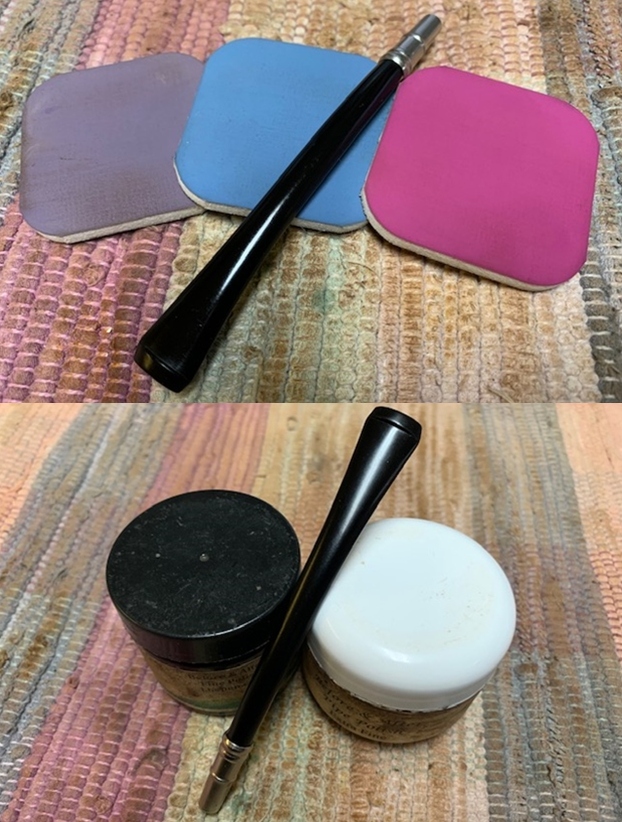
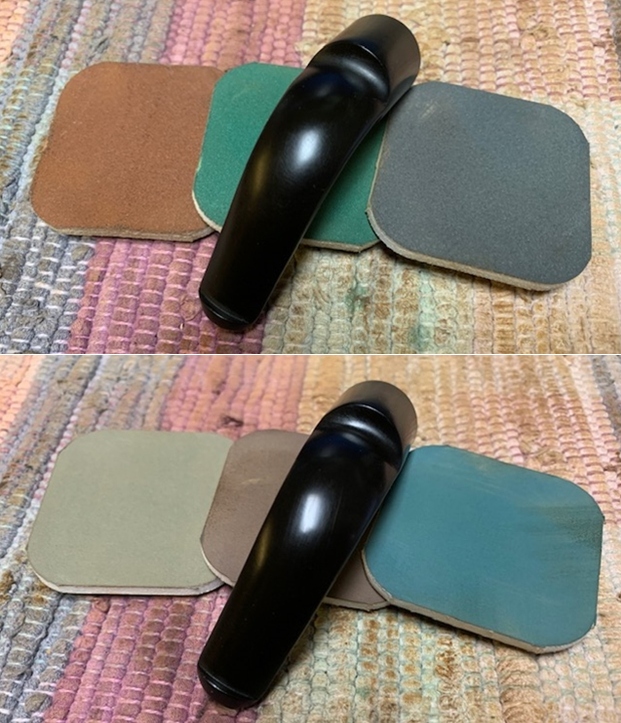
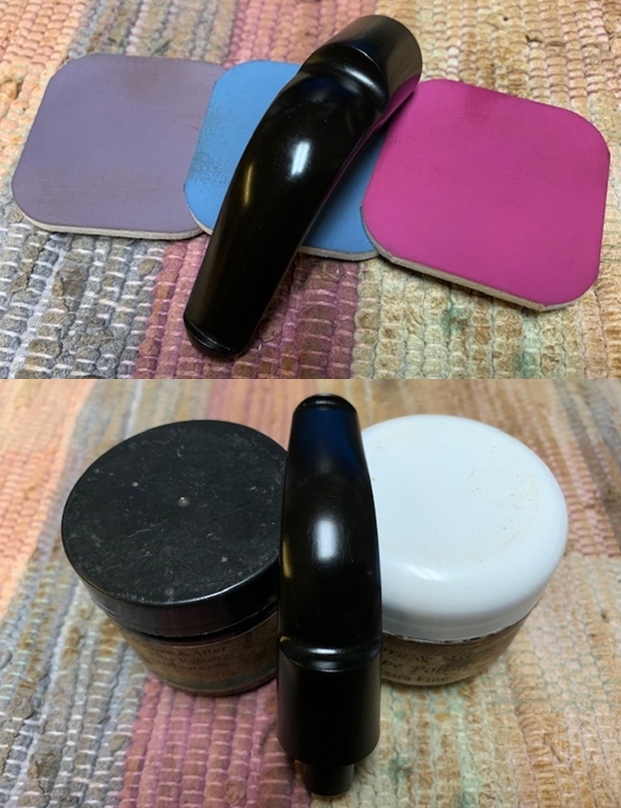
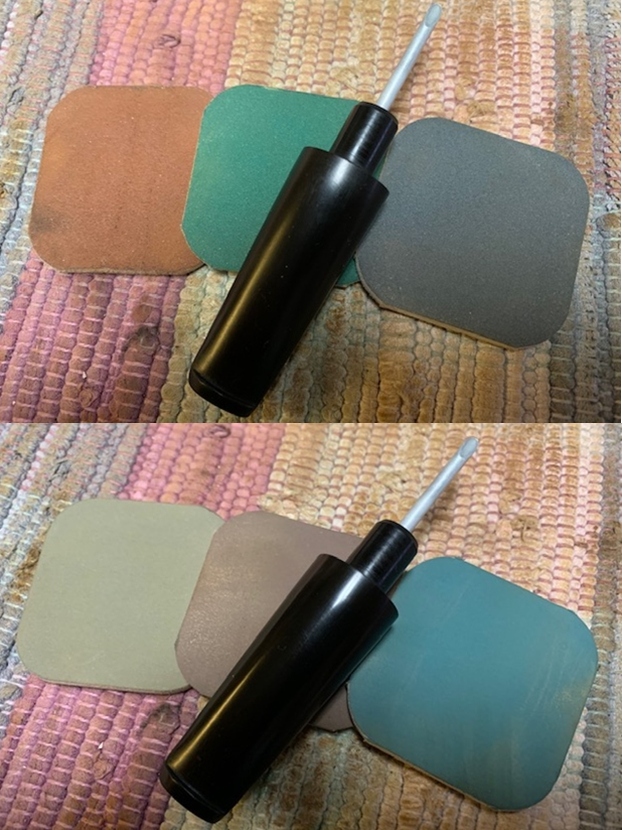
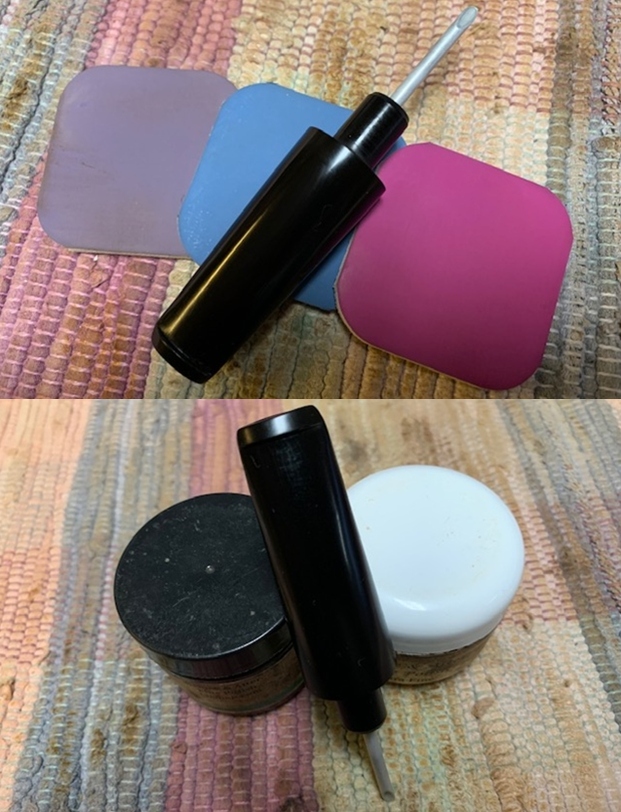
 I polished the vulcanite stem with micromesh sanding pads – 1500-12000 grit pads. I wiped it down with a damp cloth after each sanding pad. I used Before & After Pipe Polish – both Fine and Extra Fine to further polish the stem.
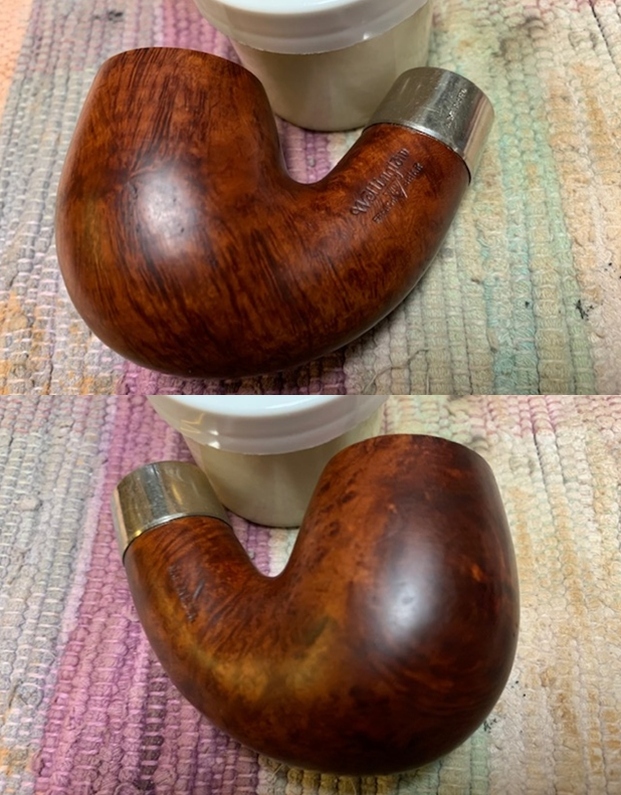
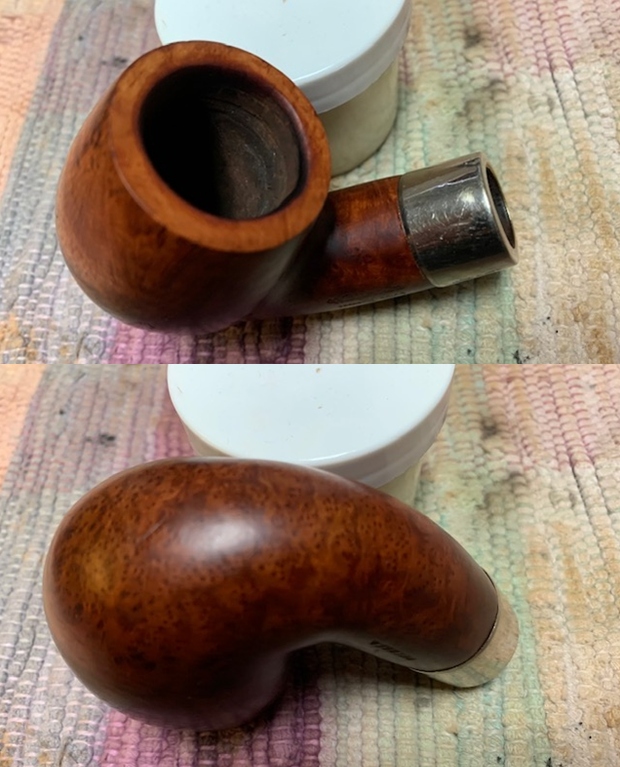
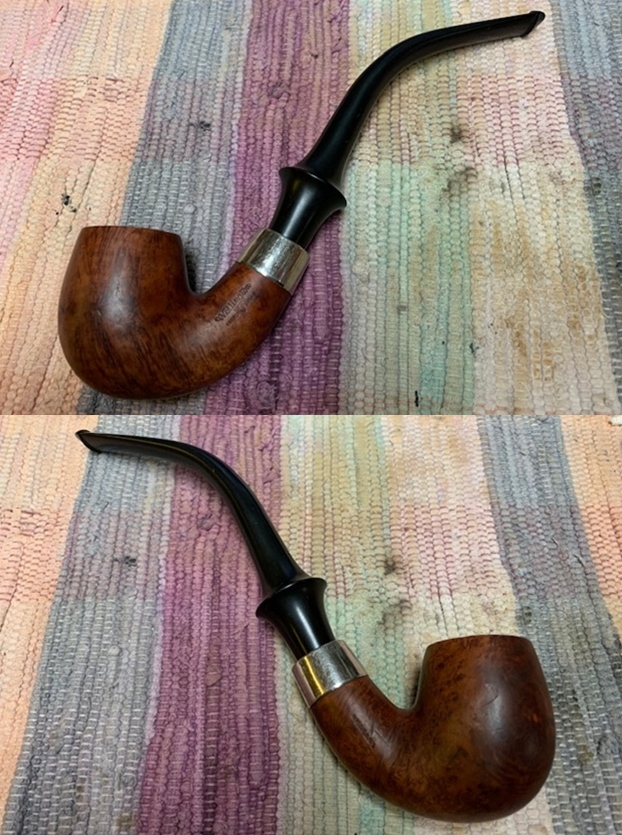
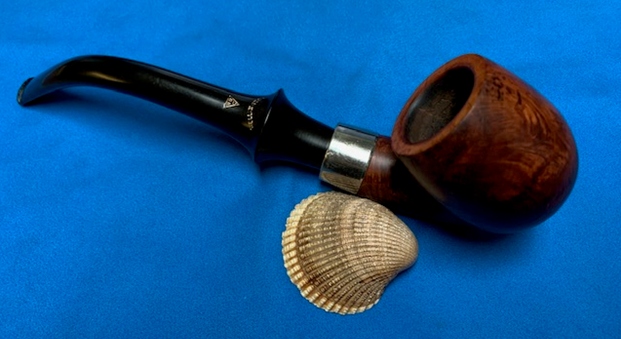
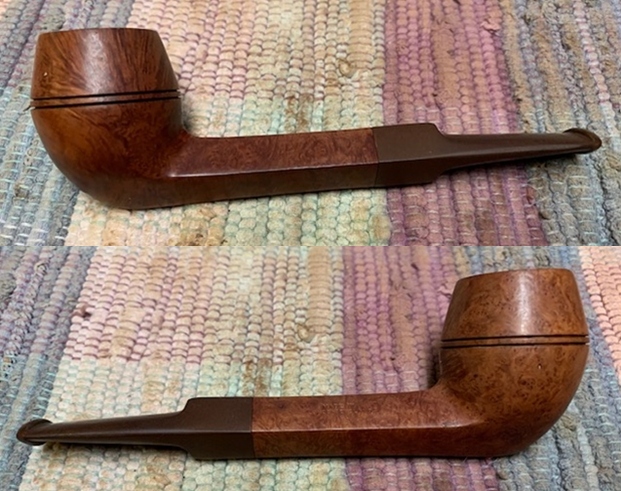
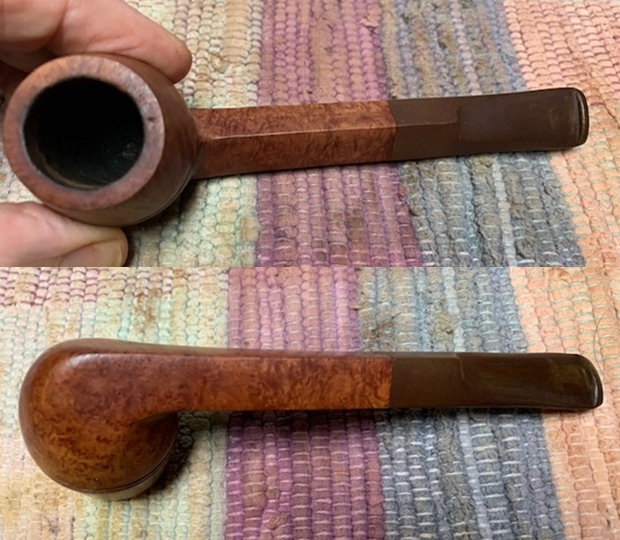
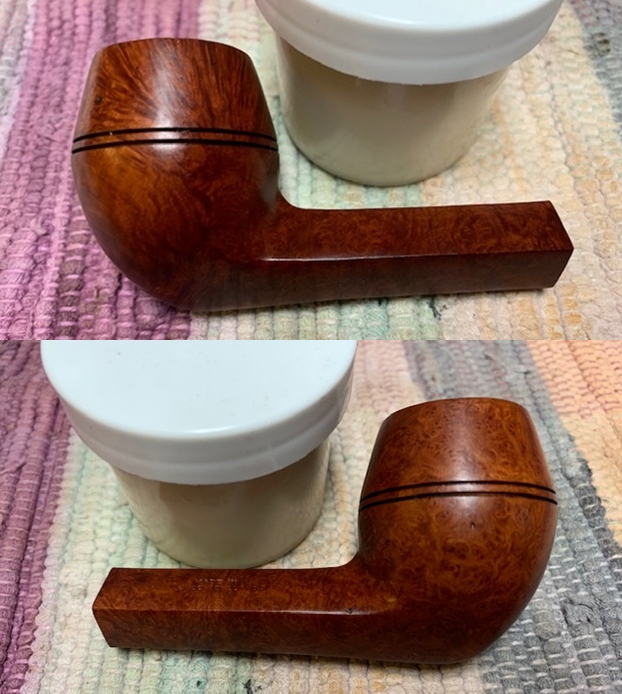
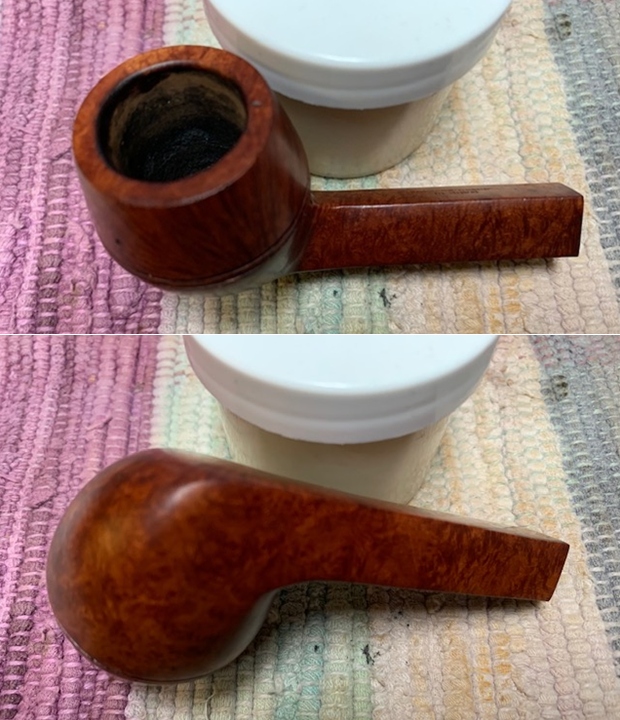
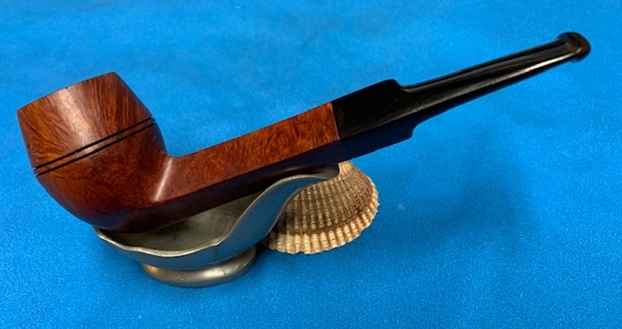
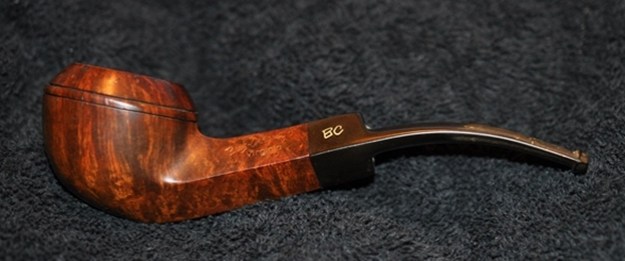
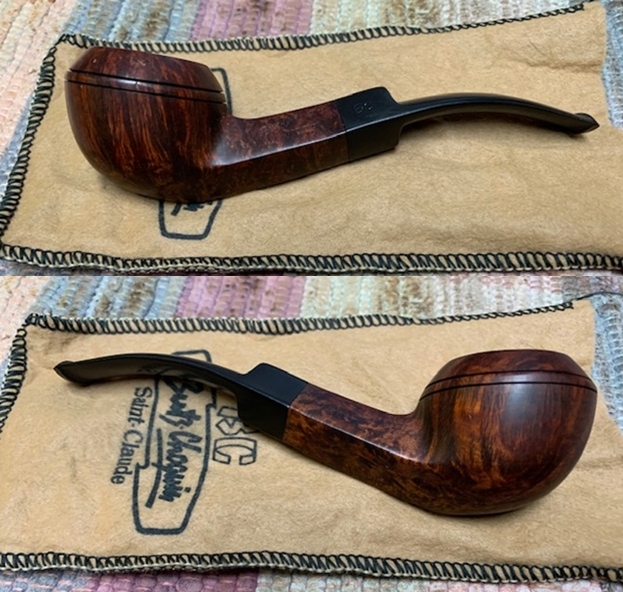
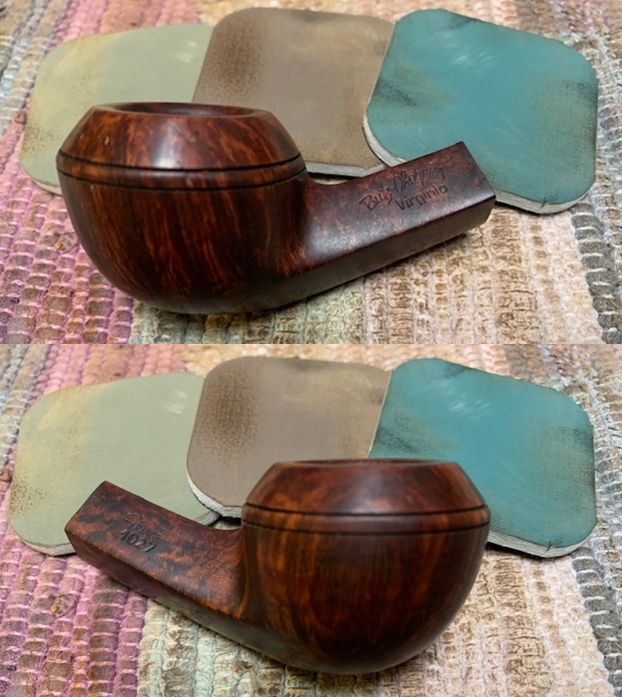
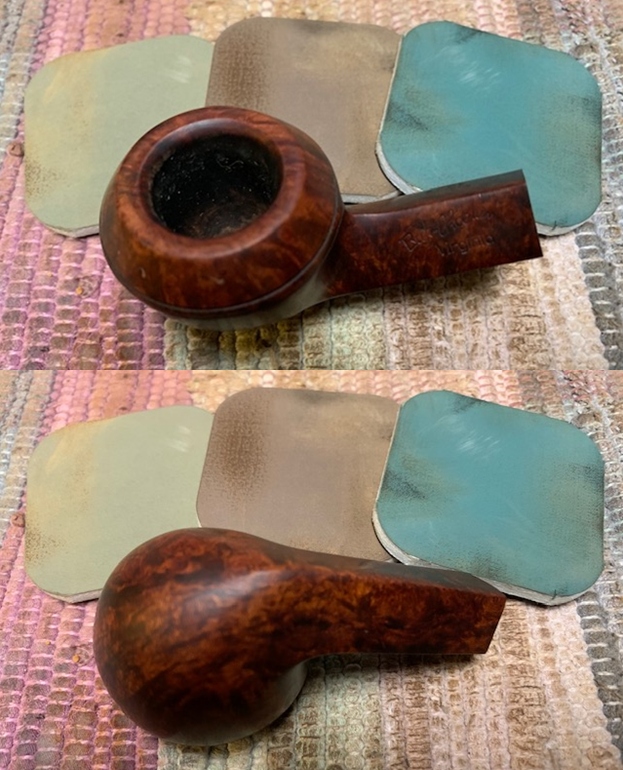
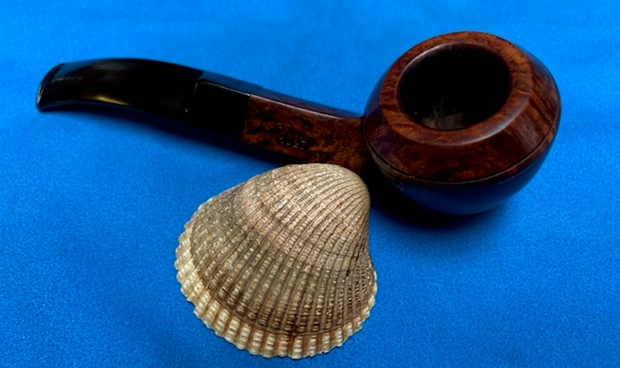
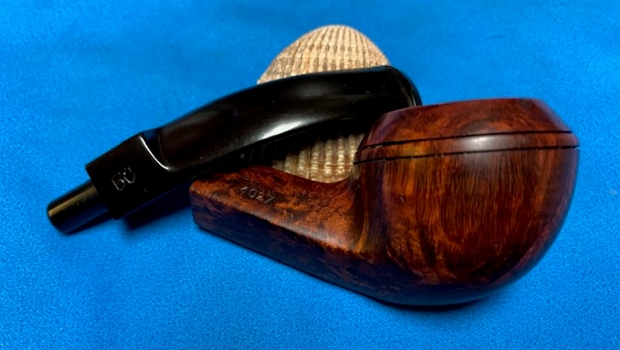
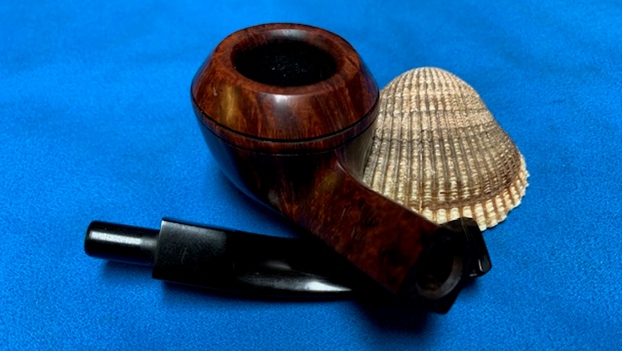
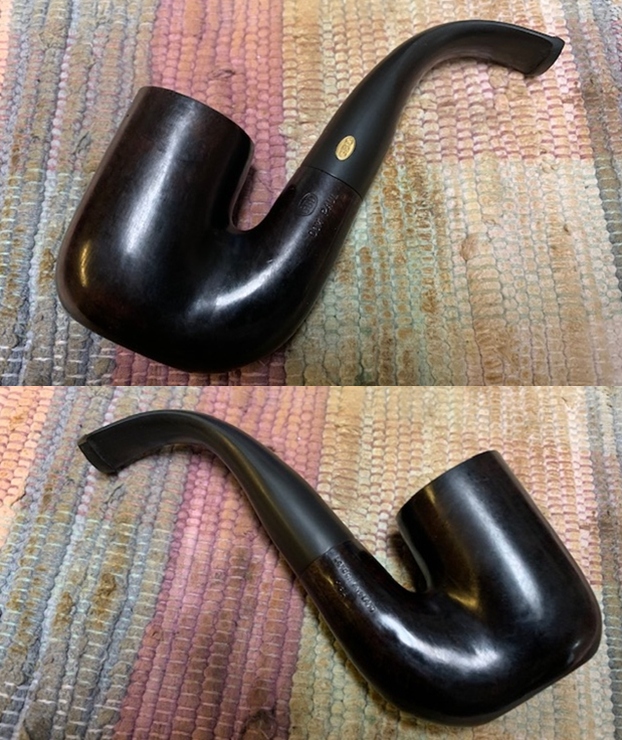
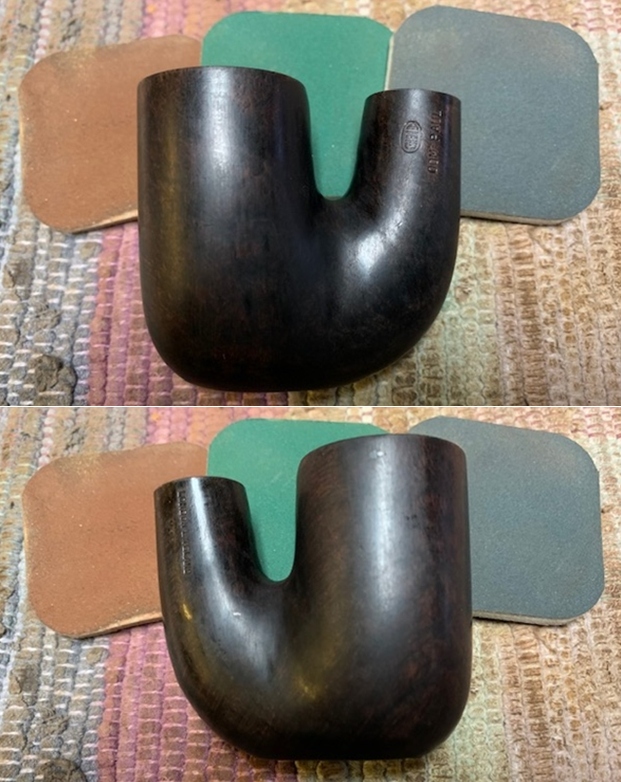
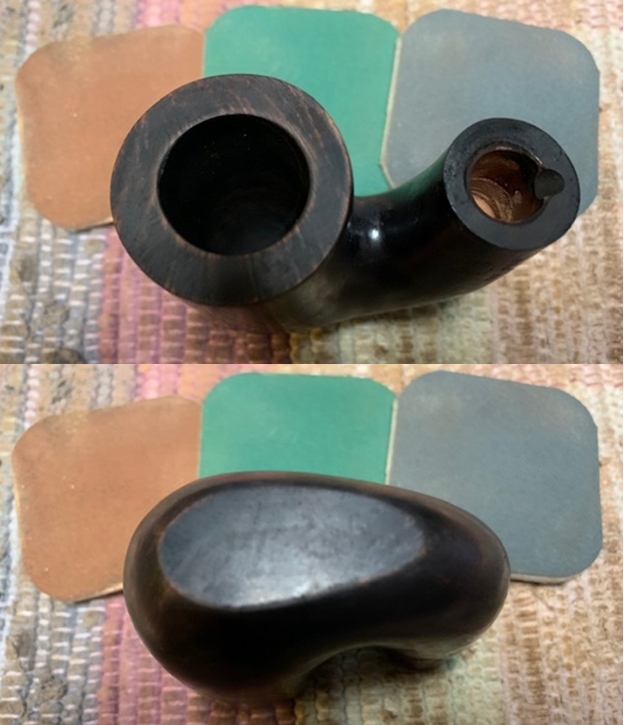
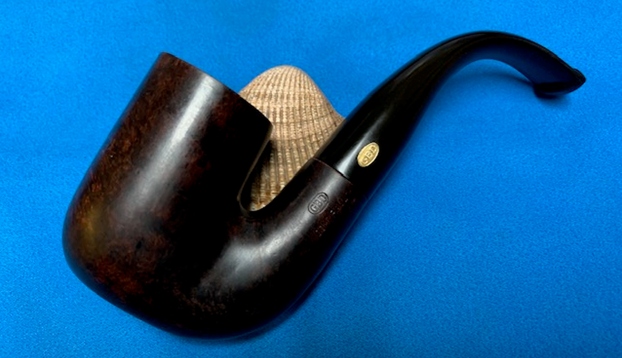
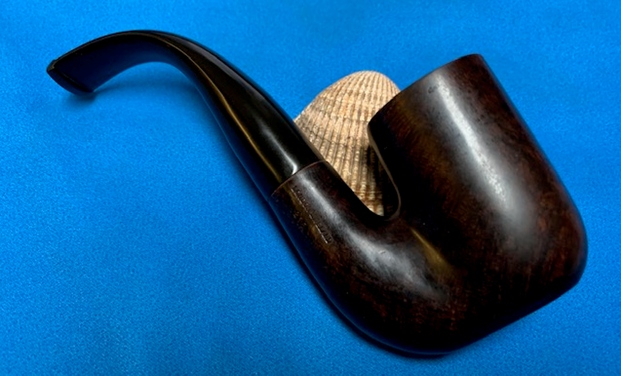
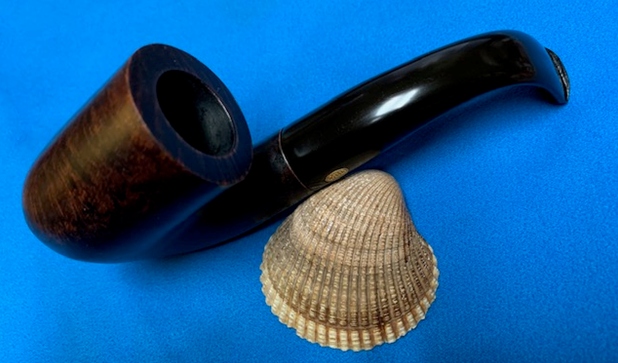
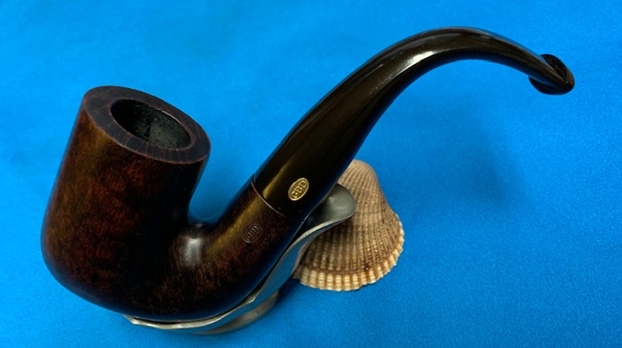
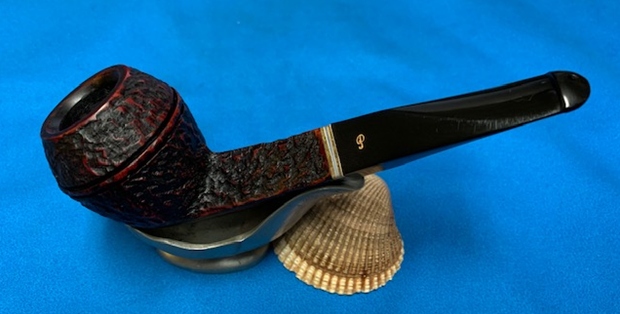
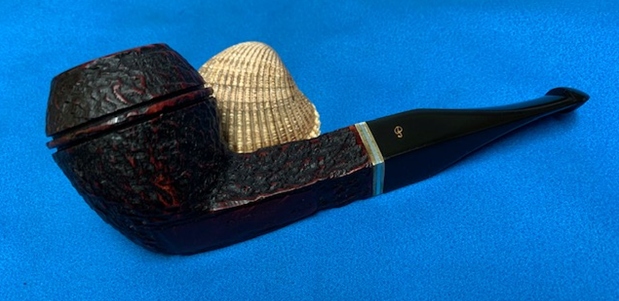
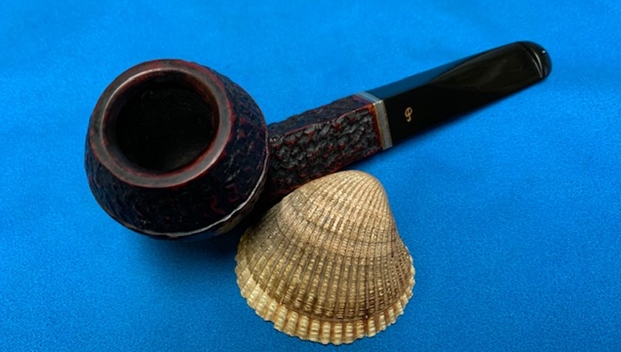
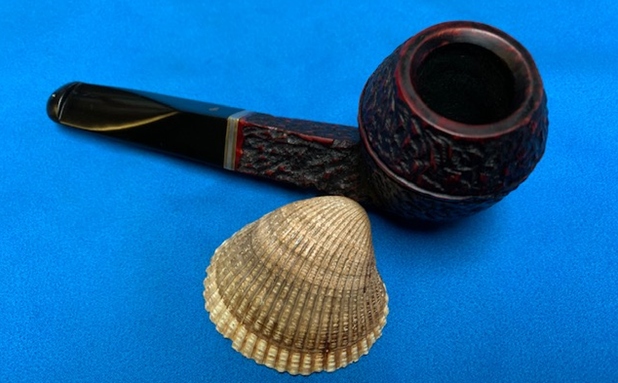
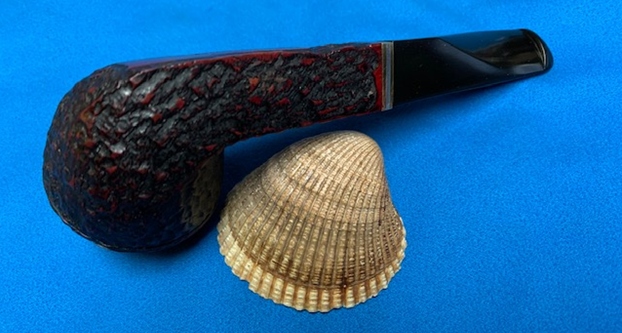
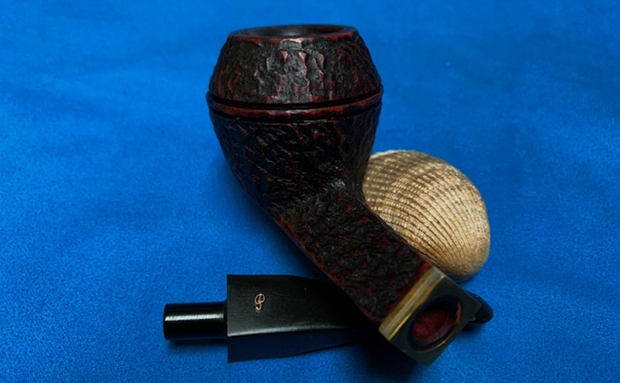
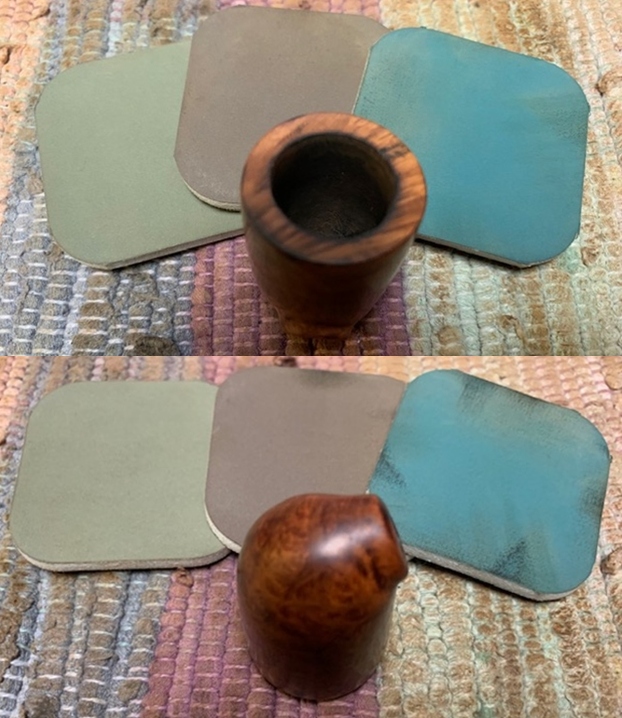
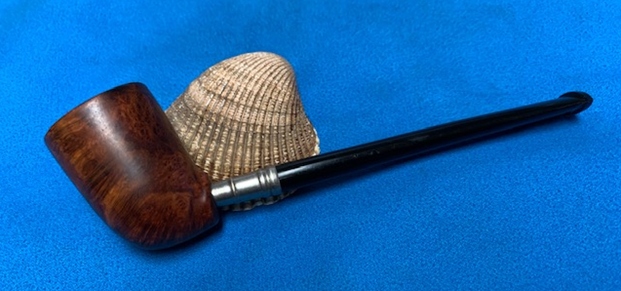
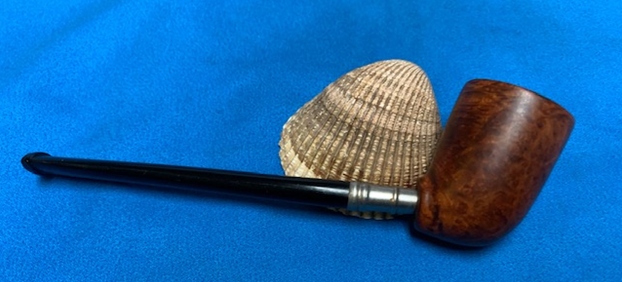
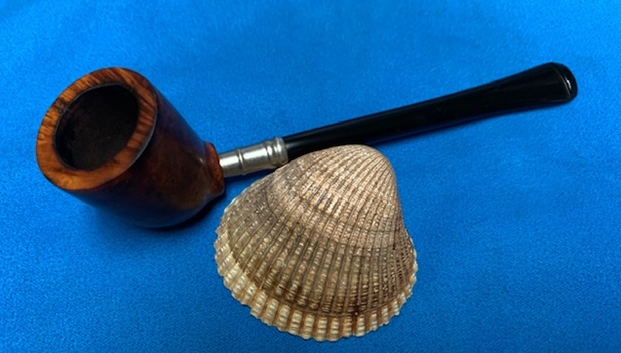
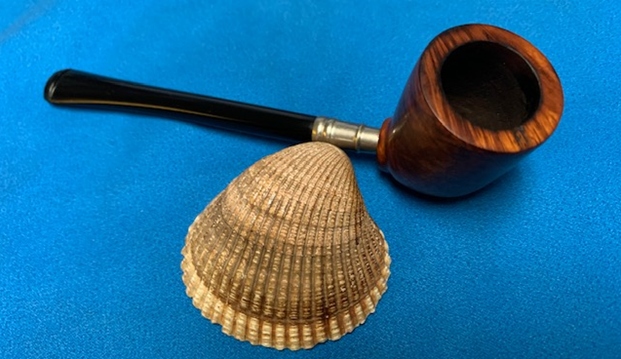
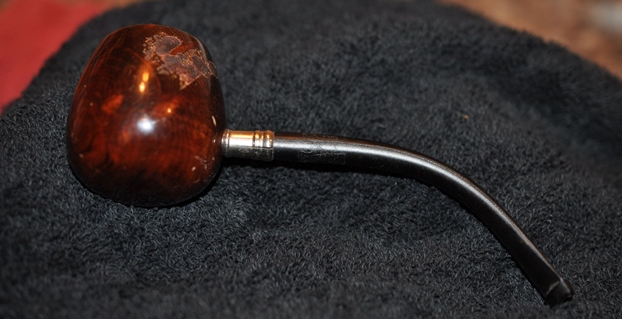
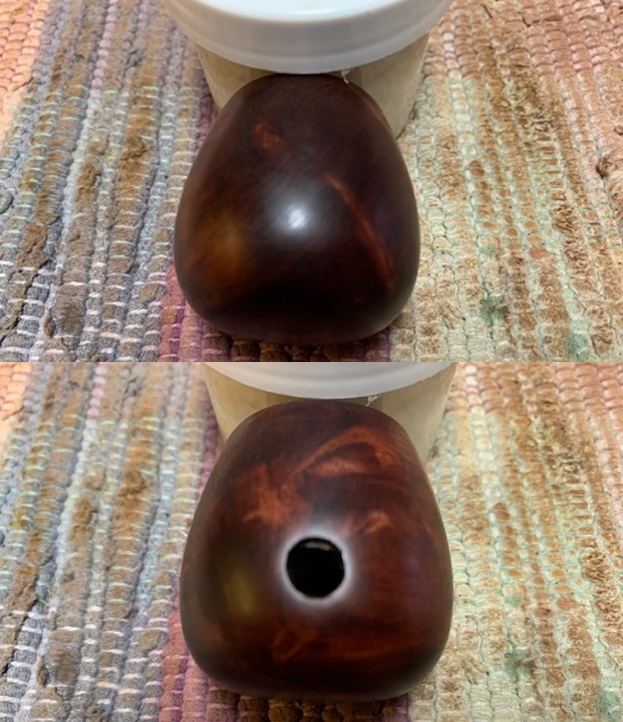
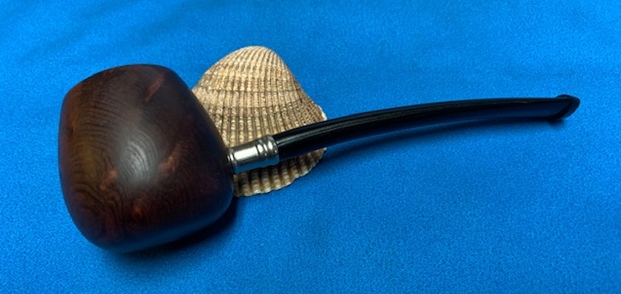
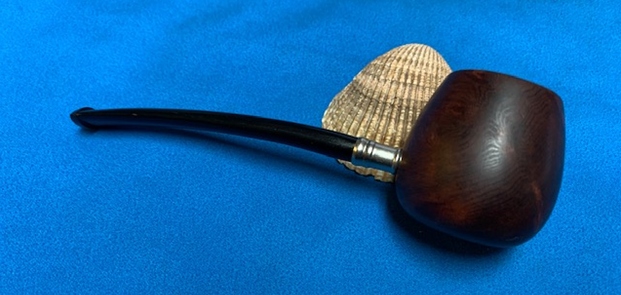
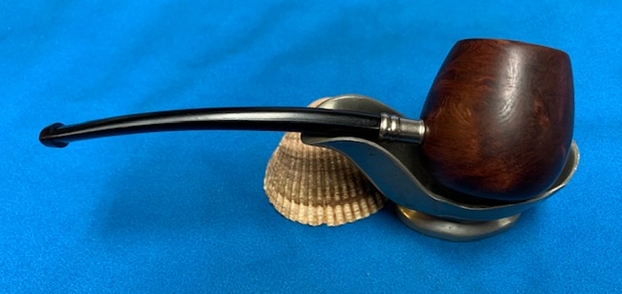
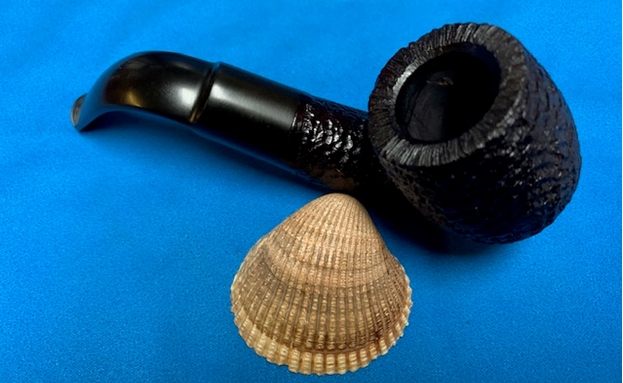
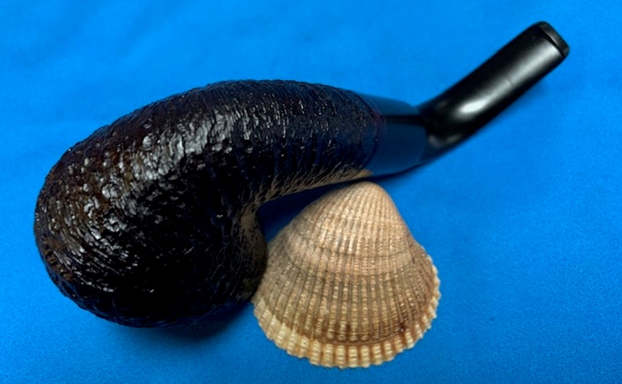
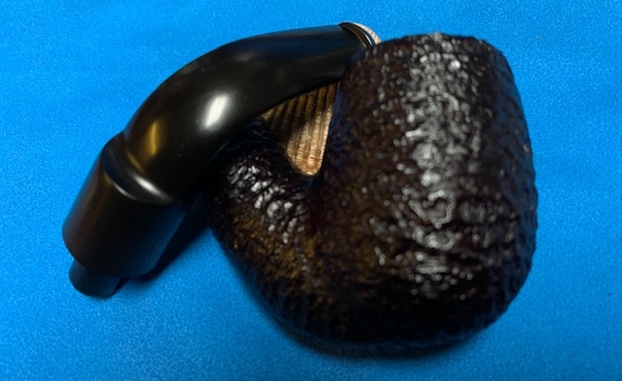
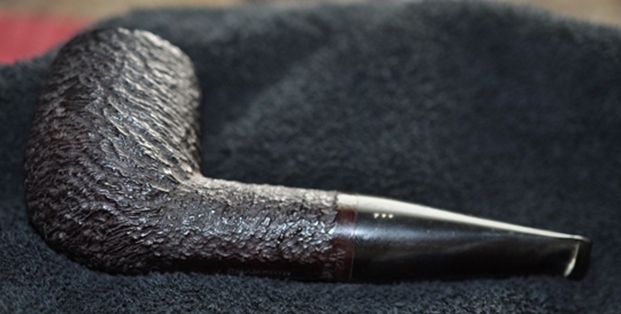
 This beautiful Soren Hand Carved Pedestal Freehand with a fancy, turned vulcanite replacement stem is a great looking pipe now that it has been restored. I put the stem back on the bowl and carefully buffed the pipe with Blue Diamond on the buffing wheel using a light touch on the briar. I gave the bowl and the stem multiple coats of carnauba wax on the buffing wheel and followed that by buffing the entire pipe with a clean buffing pad. I hand buffed the pipe with a microfiber cloth to deepen the shine. The finished Soren Hand Carved fits nicely in the hand and feels great. Give the finished pipe a look in the photos below. The dimensions of the pipe are Length: 6 ½ inches, Height: 2 ½ inches, Outside diameter of the bowl: 1 ¾ inches, Chamber diameter: 7/8 of an inch. The weight of the pipe is 72grams/2.54oz. I will be adding it to the rebornpipes online store in the Danish Pipemakers section. If you are interested in adding this pipe to your collection send me a message or an email. Thanks for reading this blog and my reflections on the pipe while I worked on it. There are many more to come!


