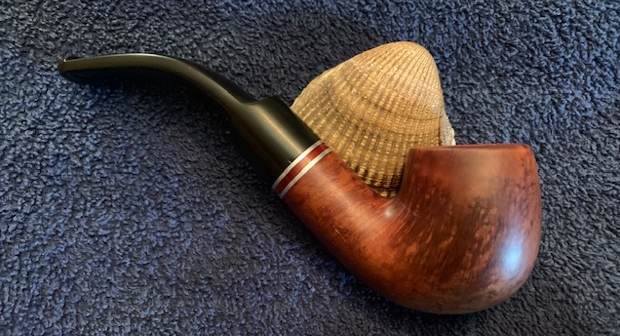
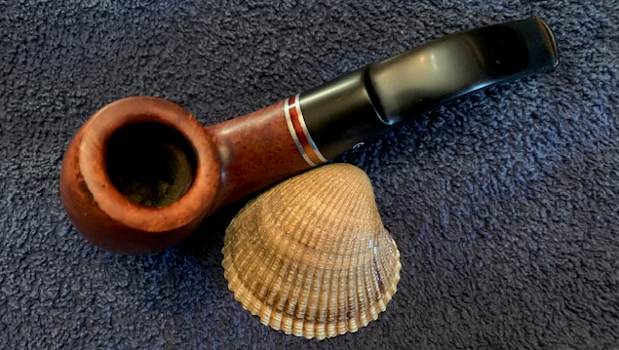
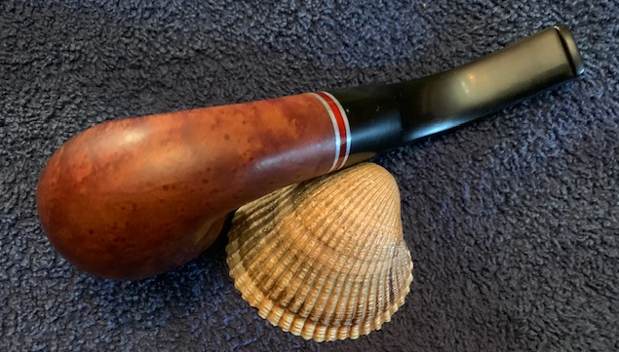
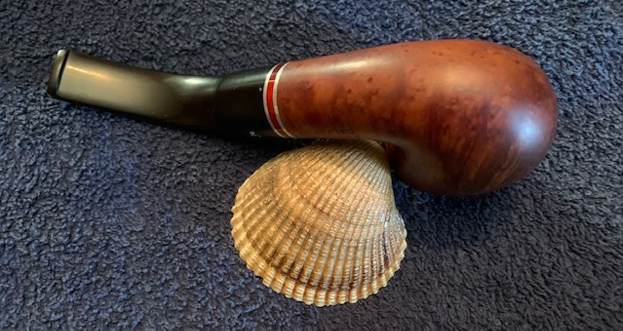
Tag Archives: Peterson of Dublin Pipes

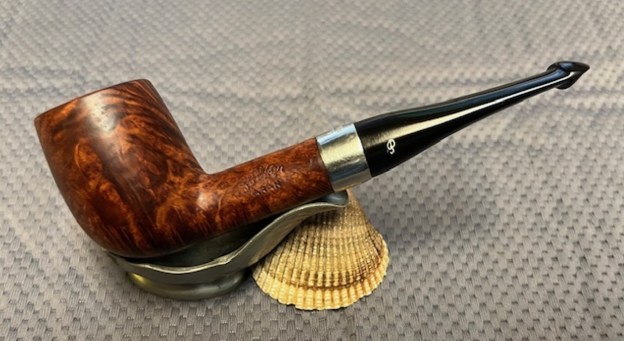
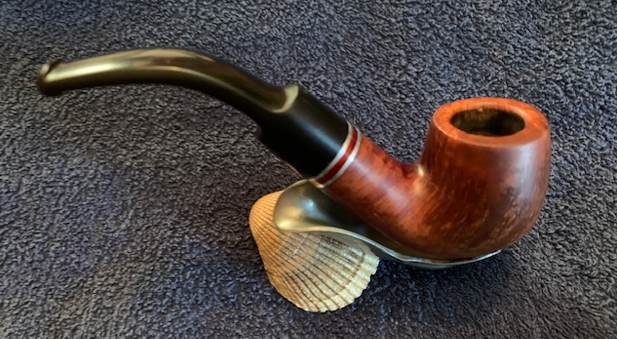
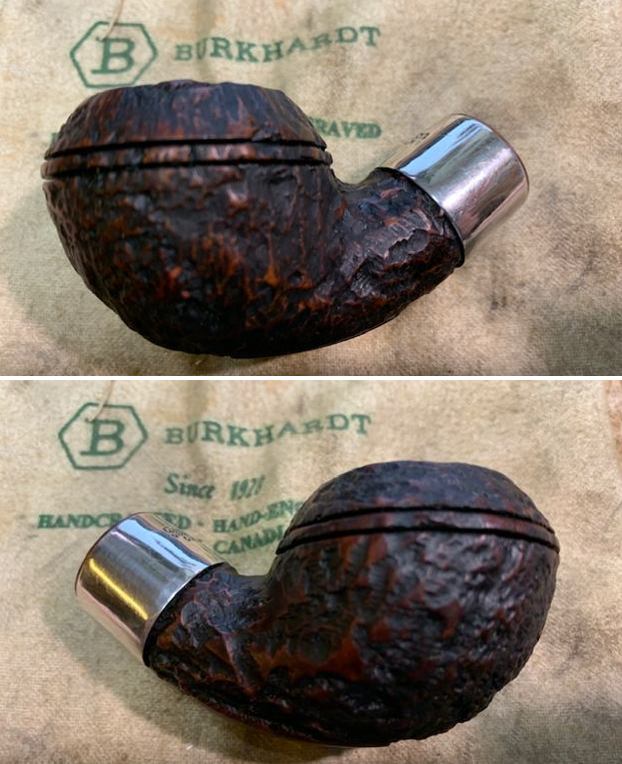
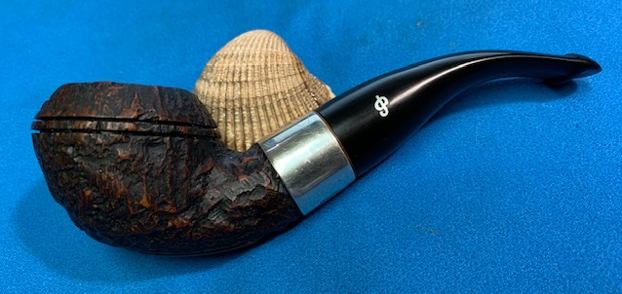
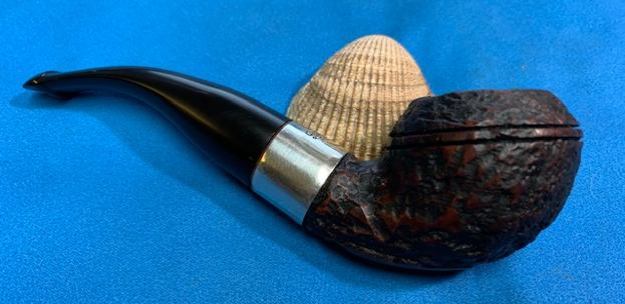
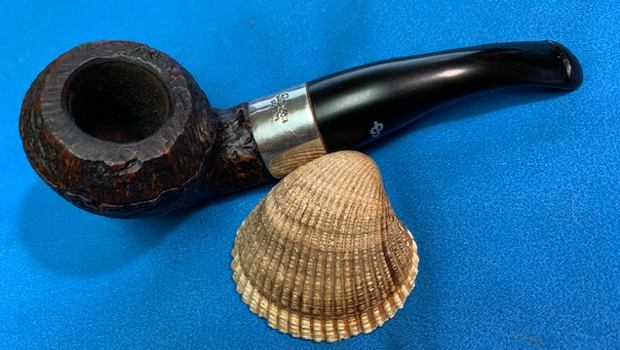
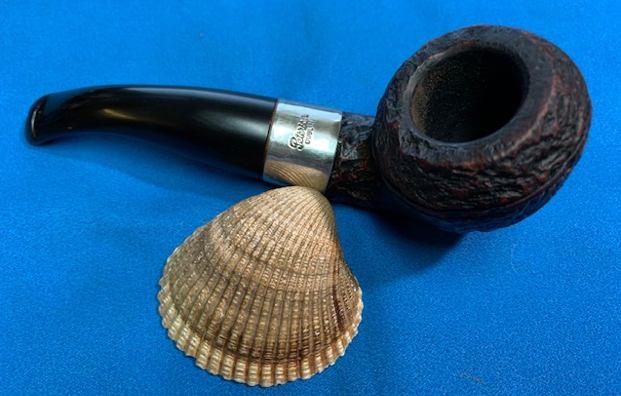
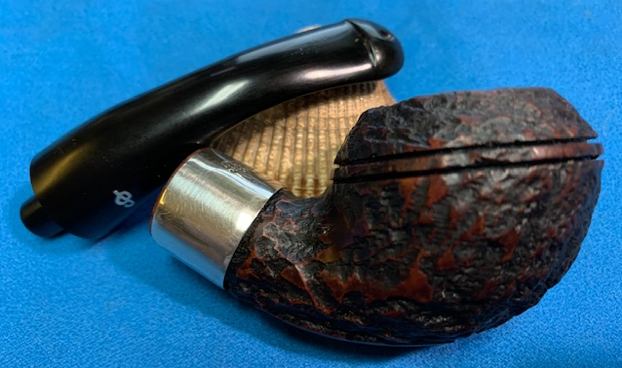
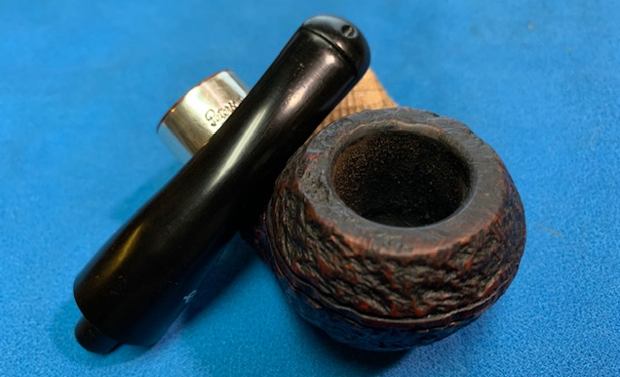
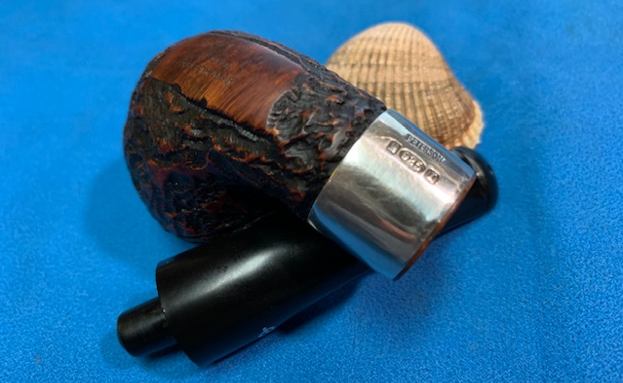
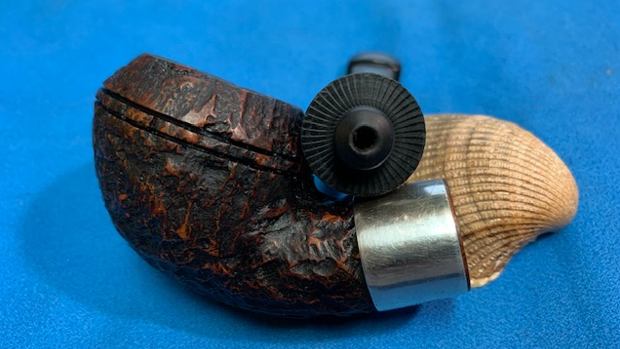
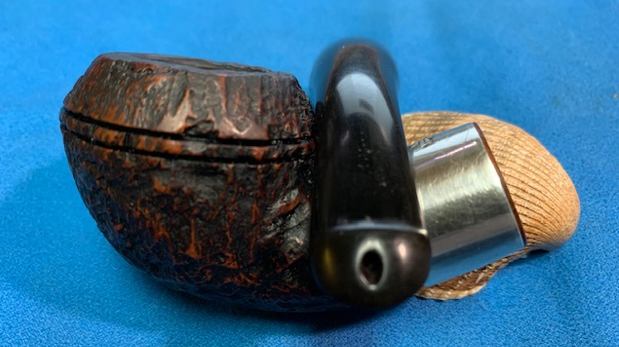
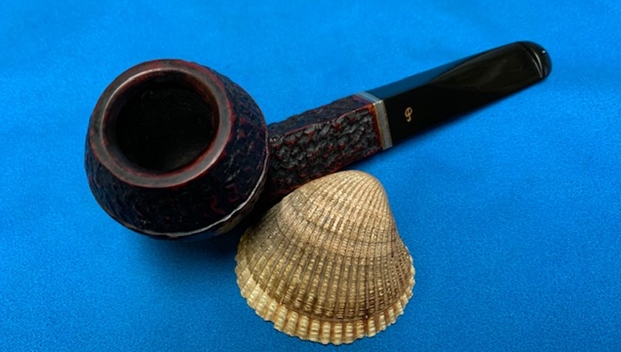
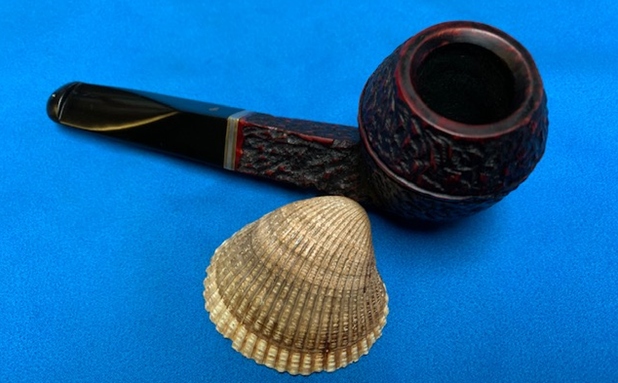
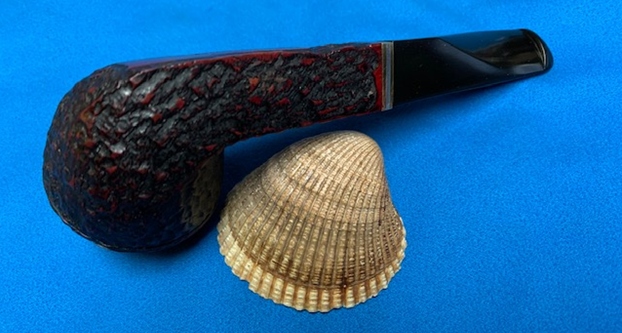
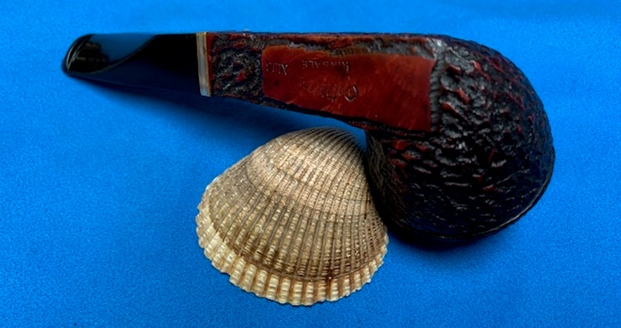
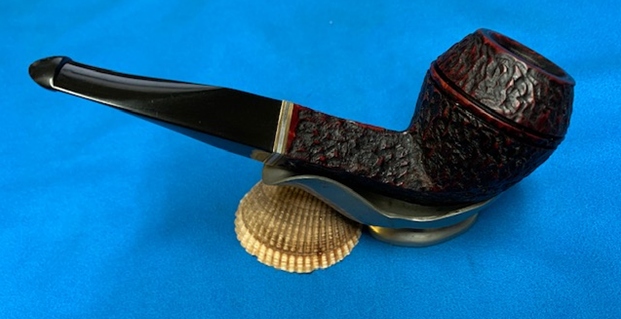
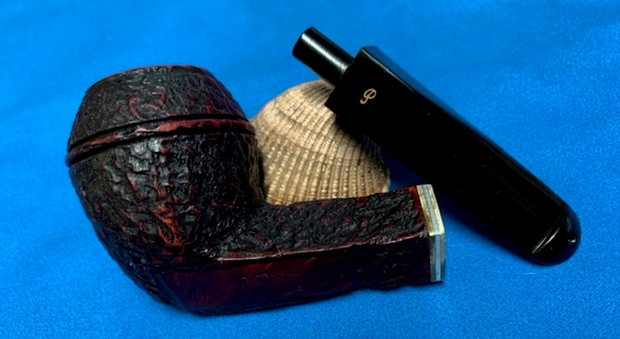
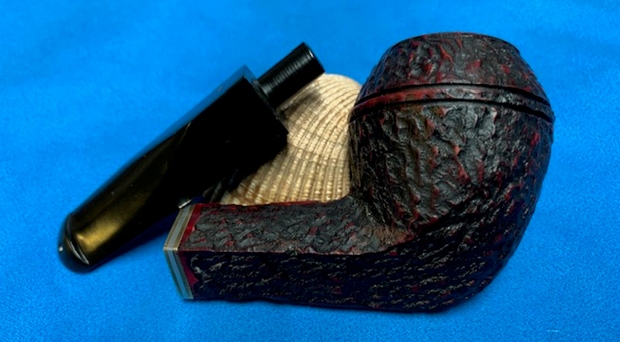
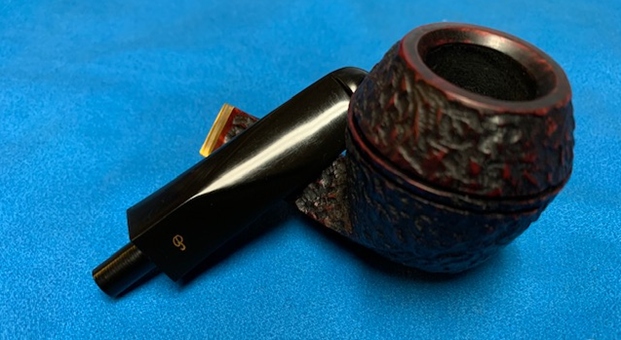
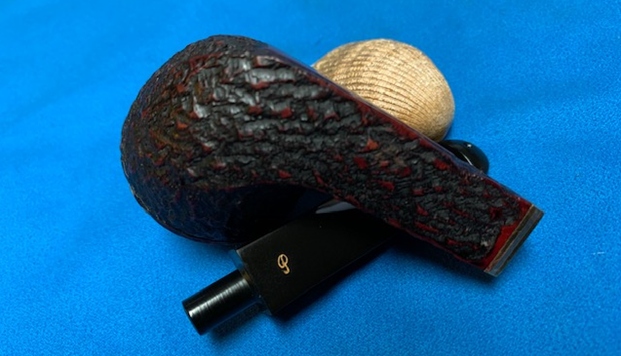
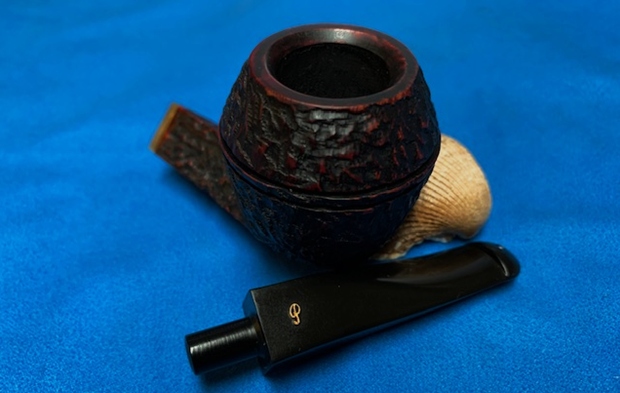
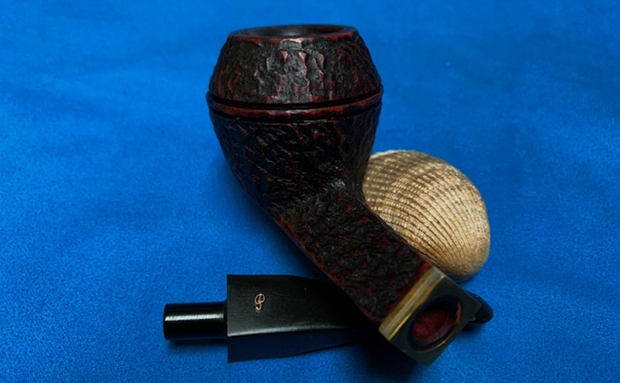
What a Beauty under the Mess of this Peterson of Dublin Aran 106 Billiard


Blog by Steve Laug

In January Jeff found out about an estate sale in Pocatello, Idaho, USA. It turned out that the sale was for a fellow Jeff and I had purchased pipes from in the past, Gene. He had been the owner of Outwest Tobacco in Pocatello (long closed now) and I bought tobacco and other smoking items from him in the past. As I think about it now, it seems that I had known Gene for over 30 years Jeff and I had been to his home and enjoyed coffee and a few pipes together. I have no idea how many pipes we bought on those visits as well as to the antique shop of his daughter. I know that there were many pipes. When we heard that it was Gene’s personal collection that was for sale and that he had passed away we decided for Jeff to go to the house and have a look. He went on January 25, 2024 to scope it out as we had seen his personal collection of pipes and there were definitely some among those well smoked old warriors that would be great to pick up. Perhaps there would even be one that could join my own collection in memory of Gene.

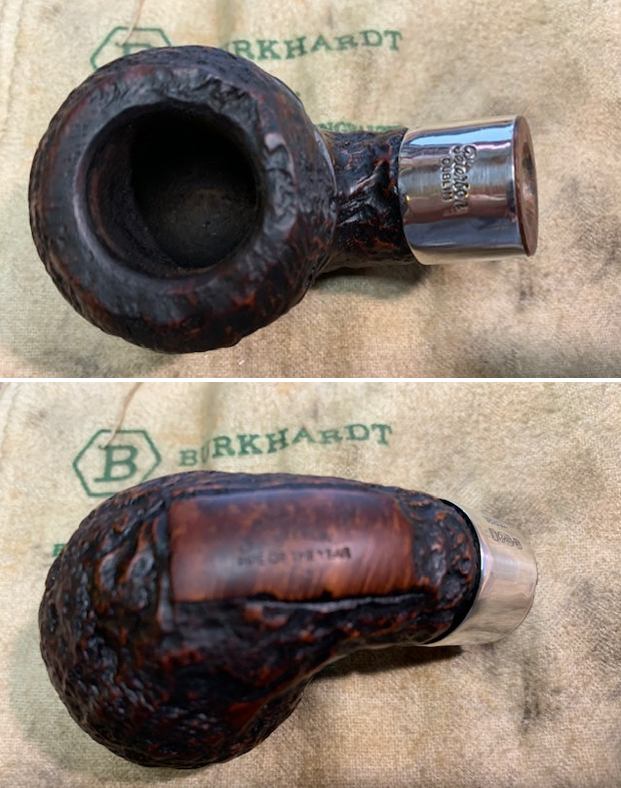
Jeff went to the house and looked through the racks, pipe bags, tobacco both bulk and tinned as well as a variety of pipes. All the pipes were well smoked and needed serious cleaning. One the pipes he picked up was this Peterson of Dublin Aran with a black vulcanite taper stem. It was very dirty and was a natural coloured pipe when it started. The smooth finish around the bowl was dirty and had hand oils ground into the sides and shank. The bowl had a thick cake that overflowed in lava onto the rim edge and top of the bowl. The stem was vulcanite and taper style. It was very dirty and had the marks of a rubber Softee Bit on the end. It had become discoloured and there was a line where the debris from smoking had accumulated along the edge and under the bit protector. There were light tooth marks or chatter. The pipe was stamped on the left side of the shank and read Peterson [arched over] of Dublin [over] Aran and was clear and readable. On the right side of the shank it had the shape number that read 106. The polished nickel band on the shank was turned to the left too far and was stamped K&P [over] Peterson. Jeff took photos of the pipe so I could have a sense of what it looked like before he started his work on it.Jeff took photos of the stem surfaces and the bowl and rim to give a sense of condition of the pipe. You can see the thick cake in bowl and the lava overflow on the edges and rim top of the bowl. It is had to know if there is any damage as the cake and lava is quite thick. The inner edge of the rim showed nicks and damage. The stem surface is very dirty and you can see the area on the end of the stem where the Softee Bit had protected it from chewing but had left it dirty and discoloured. He also took photos of the sides of the bowl and the heel to show the interesting grain that went around the bowl. The grain is beautiful and the polished nickel band on the shank end is quite nice. You can see the oils and debris on the bowl sides. He took photos of the stamping on the sides of the shank. It is clear and readable as noted above. The stamping on the nickel band is also very readable. I turned to “The Peterson Pipe” by Mark Irwin and Gary Malmberg to get some background on the Aran line. On page 294 it had the following information.

Aran (1965-) First issue of line described as “handhewn” (rusticated) with black semi-matte finish, in P-lip and fishtail mouthpiece. Second issue 1975, red sandblast, XL shapes. Third issue circa ’97, gold hot-foil P stamped on the mouthpiece, brown semi-matte smooth finish, no band. Fourth issue after 2010, with nickel band, no P stamped on the mouthpiece. Mounted and unmounted versions are available concurrently.

I knew that I was dealing with an Aran from the Fourth Issue of the Aran line that came out after 2010 because of the nickel band and unstamped stem. As such it was a newer pipe. Now it was time to work on the pipe. (Applicable information noted in red above.)

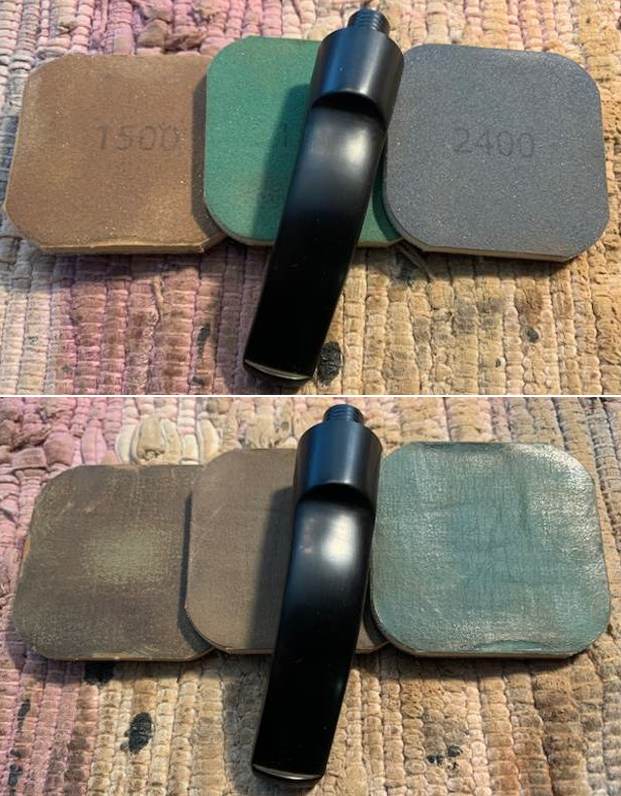
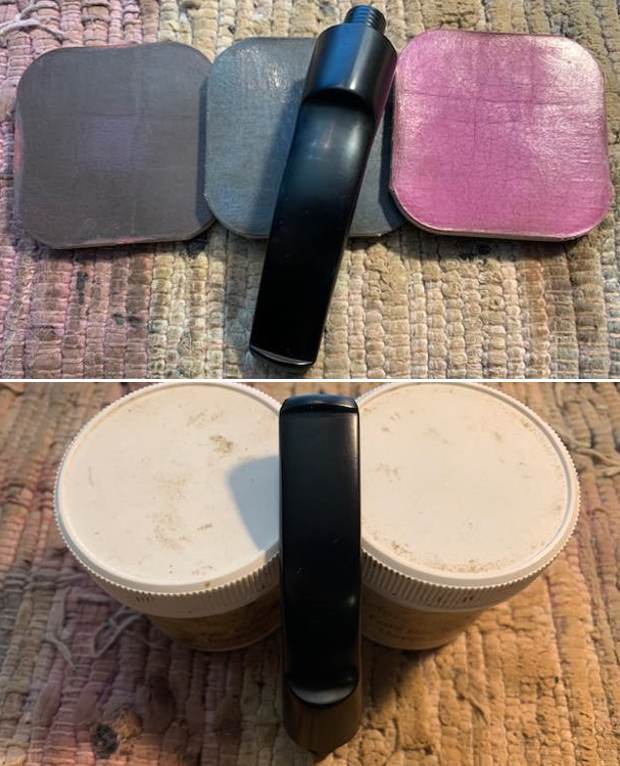
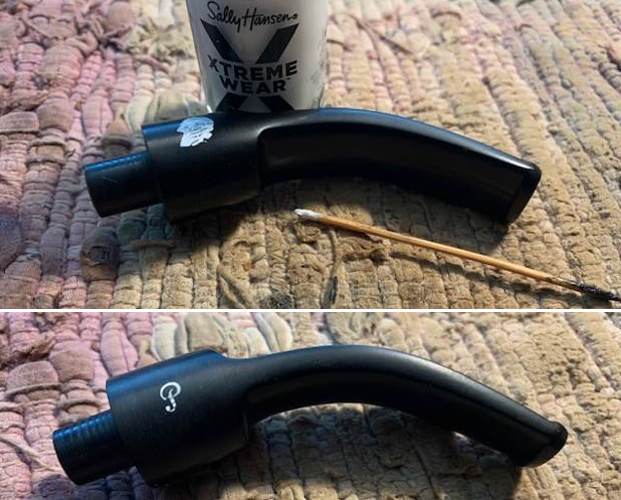
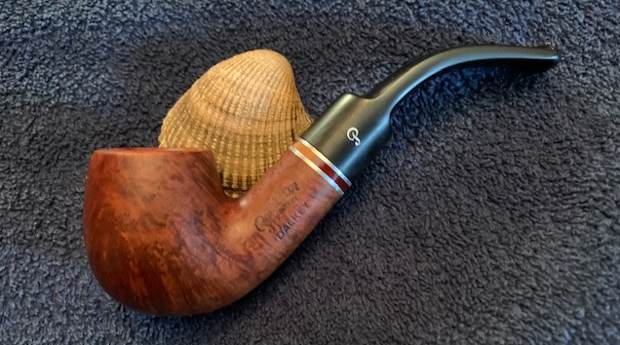
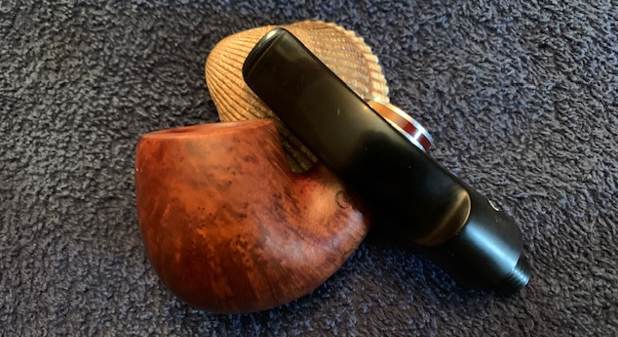
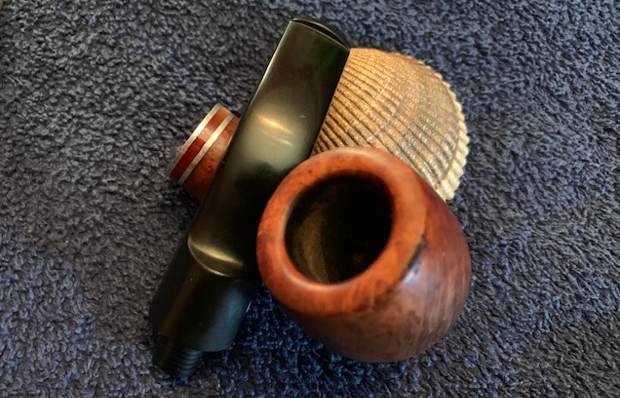
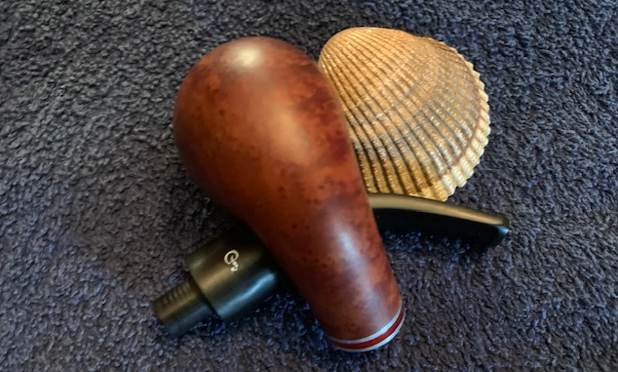
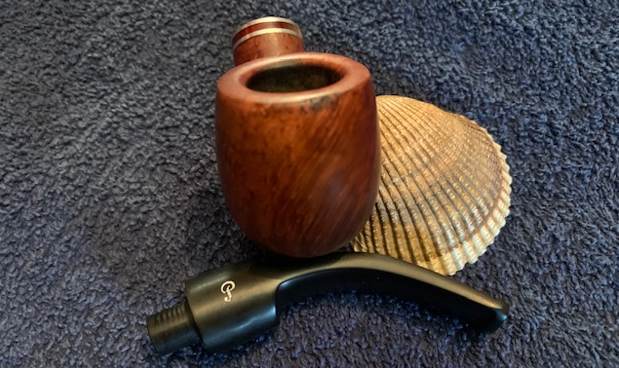
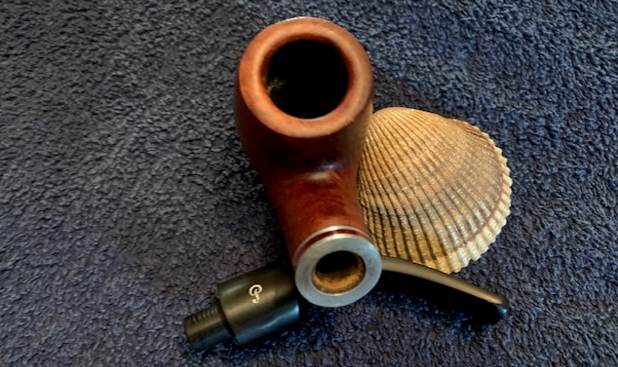
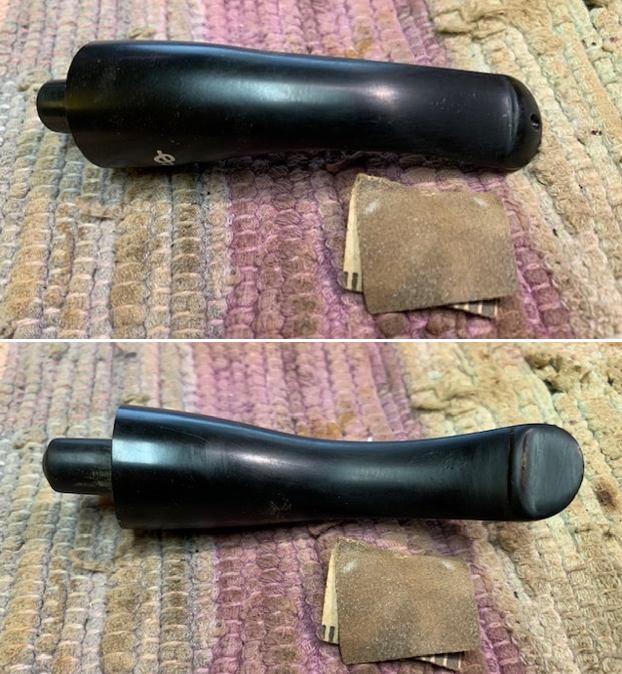
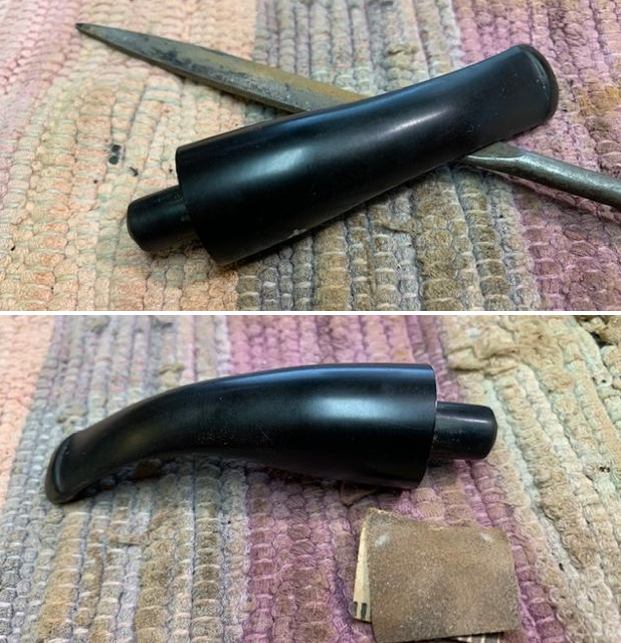
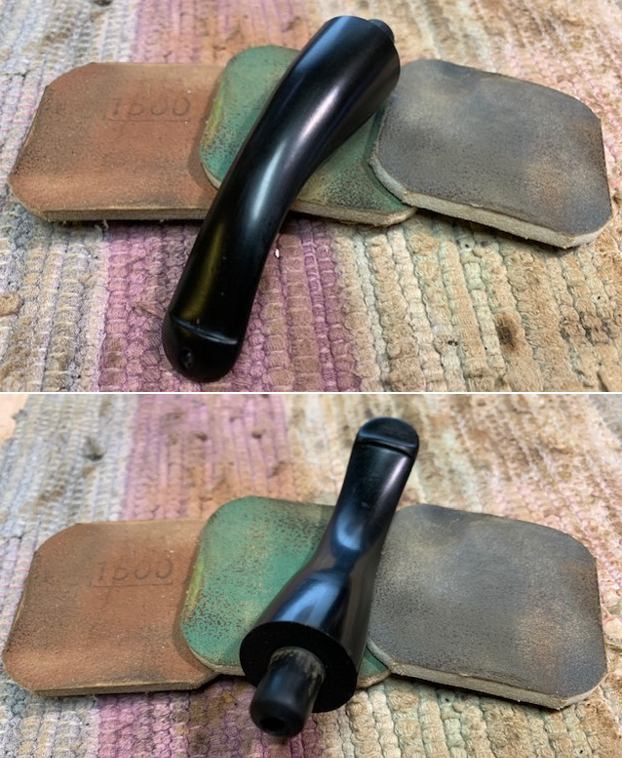
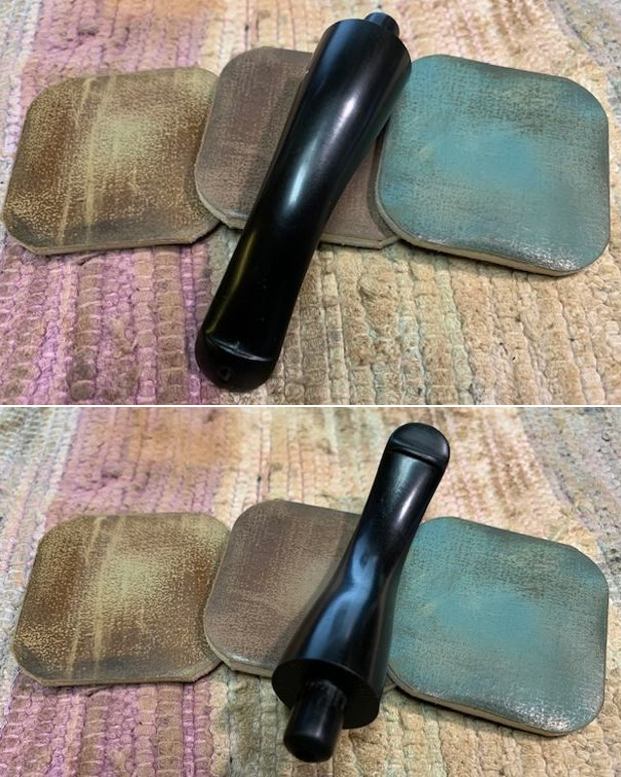
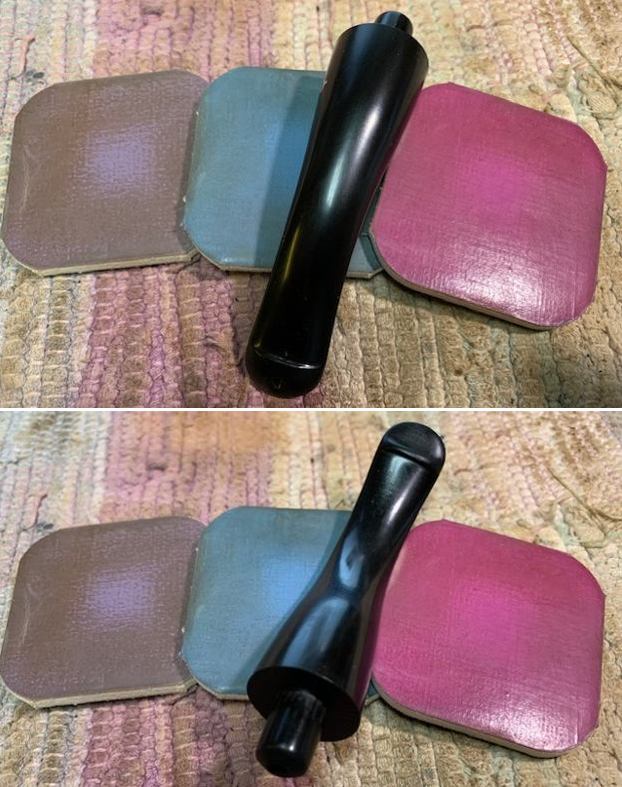
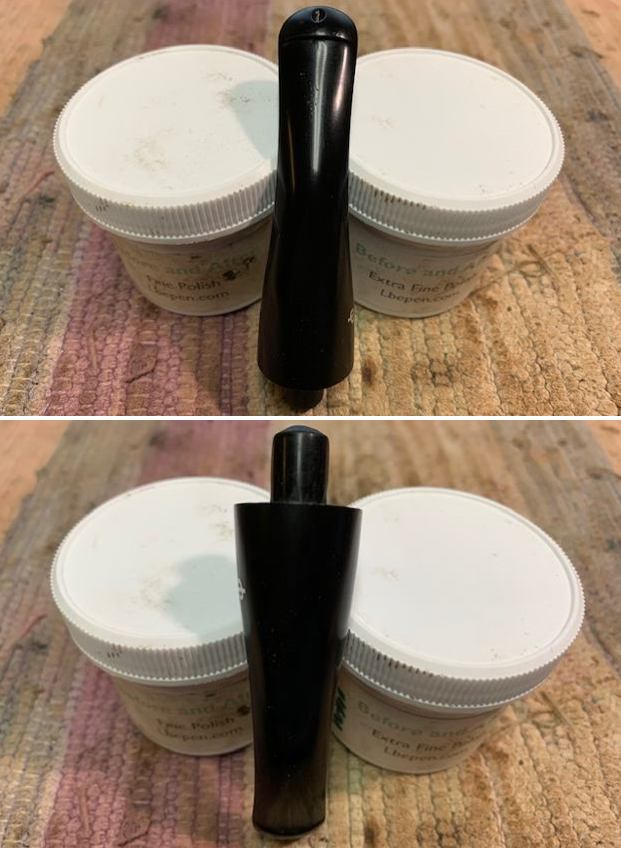
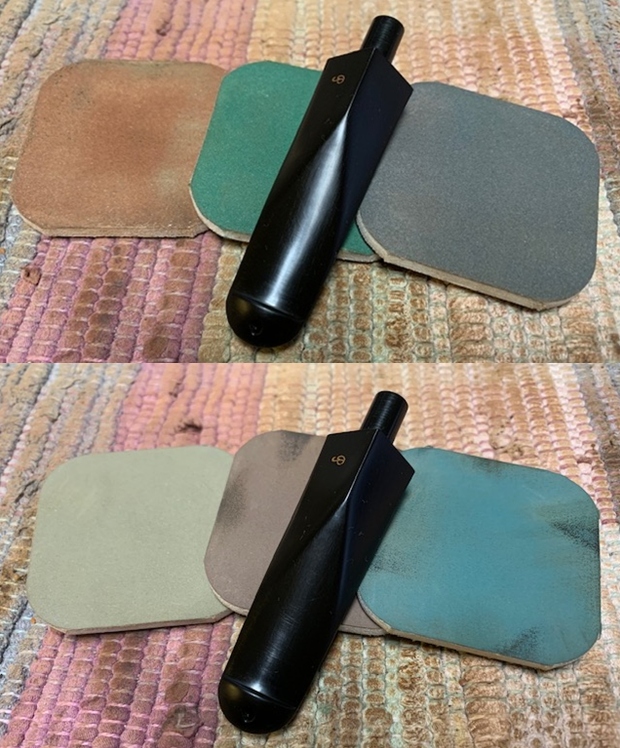
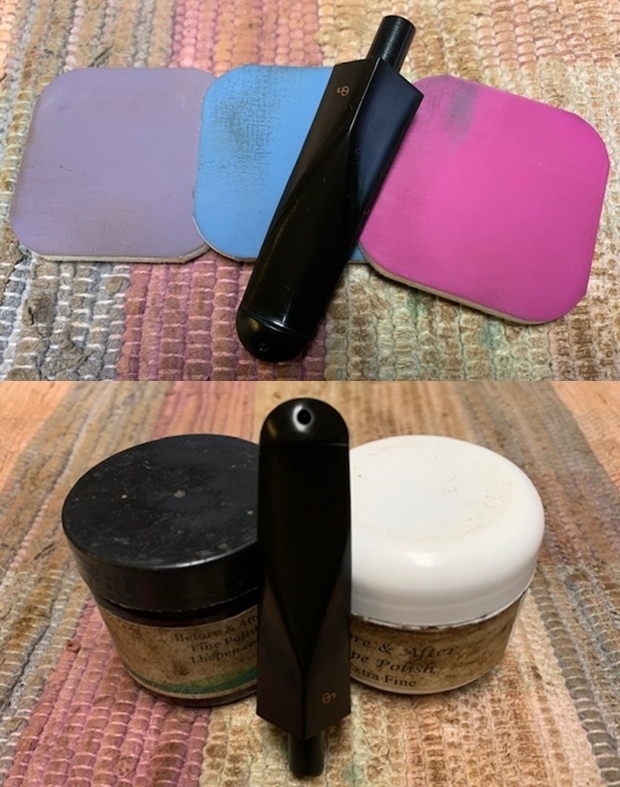
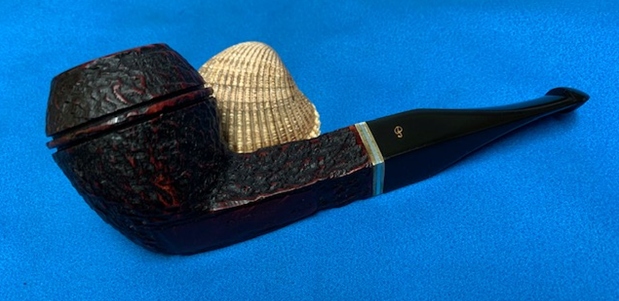
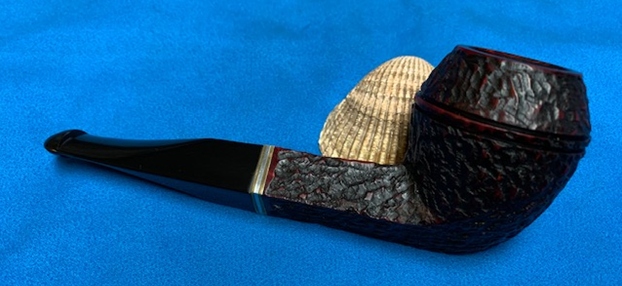
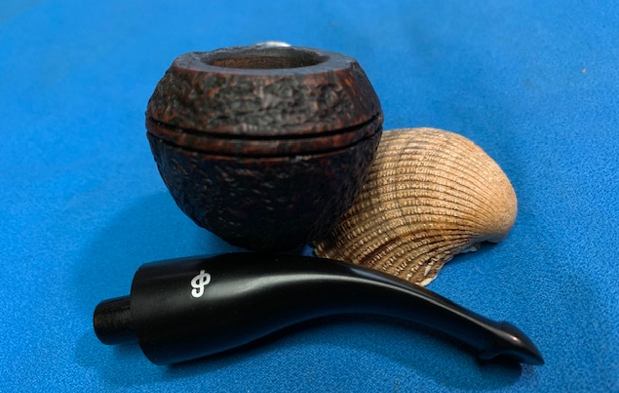
Now it was my turn to work on the pipe. Jeff had done an amazing cleanup of the pipe. He reamed the light cake with a PipNet reamer and cleaned up that with a Savinelli Fitsall Pipe Knife. He scrubbed the internals of the bowl and stem with alcohol, cotton swabs and pipe cleaners. He scrubbed the externals with undiluted Murphy’s Oil Soap and rinsed the bowl off with running water. He soaked the stem in Briarville’s Pipe stem Deoxidizer and once it had soaked rinsed it off with warm water to remove the residual solution. He dried it off and rubbed it down to remove any oxidation that was still on the stem. The pipe looked very good when I received it.  I took a photo of the rim top to show the condition. You can see the damage to the rim top and inner edge of the bowl. The rim top is rough to the touch and the edge was nicked and cut in many places from a life of poor reaming. The stem came out looking quite good. There were light tooth marks in the surface that I think will polish out with sanding. I took photos of the sides of the shank to show the stamping. The photos clearly shows the stamping on the shank and the band. It is actually more readable in person. I removed the stem from the shank and took a photo of the pipe parts to show what I was working with. I also took photos of the pipe with the longer Churchwarden stem in place. It is a nice looking pipe. I started my work on the pipe by addressing the damage to the rim top and inner edge of the bowl. I used a folded piece of 220 sandpaper to smooth out the roughness of the rim edge. I then used a wooden sphere and 220 grit sandpaper to smooth out the top and give the edge an even bevel. I sanded the rim top and edges with 320-3500 grit sanding pads. I wiped it down after each sanding pad. The rim top began to really look good and take on a shine. The sanding marks were well blended in by the final pad.I polished the briar with micromesh sanding pads. I dry sanded it with 1500-12000 grit sanding pads and wiped the bowl down after each pad with a damp cloth. By the final pads the briar really had a shine. The band was twisted to the bottom left side with the stamping not visible on top or bottom or even on the sides. I tried to turn it and it would not move. I tried heating the band with no success so I put it in the freezer for about 10 minutes and when I took it out it turned easily. I moved it to the top of the shank and let it set. I like the looks much better.I rubbed the briar down with Before & After Restoration Balm. I worked it into the surface of the briar with my fingertips. The product works to clean, enliven and preserve the briar. I let it sit for 10 minutes then I buffed it with a cotton cloth to deepen the shine. The briar really comes alive with the balm. I set aside the bowl and turned my attention to the stem. I sanded out the tooth damage with 320-3500 grit sanding pads. I wiped the stem down after each pad with a damp cloth. I was able to remove the damage and the stem looked better.I touched up the P logo on the left side of the stem with white acrylic nail polish. Once it dried I used a 1500 grit micromesh sanding pad to remove the excess acrylic paint. The white acrylic that remained filled in the letter on the stem.I polished the vulcanite stem with micromesh sanding pads – 1500-12000 grit pads. I wiped it down with Obsidian Oil after each sanding pad. I used Before & After Pipe Polish – both Fine and Extra Fine to further polish the stem. This Peterson of Dublin Aran 106 Billiard has a beautiful, reddish brown finish that highlights some beautiful grain. The shorter and longer polished stems add to the mix. I believe the stems are acrylic and have a rich shine to them. I put the stem back on the bowl and buffed the pipe with Blue Diamond on the buffing wheel being careful to not buff the stamping. I gave the bowl and the stems multiple coats of carnauba wax on the buffing wheel and followed that by buffing it with a clean buffing pad. I hand buffed the pipe with a microfiber cloth to deepen the shine. The finished Peterson of Dublin Aran 106 is quite stunning and feels great in my hand. Give the finished pipe a look in the photos below. The dimensions of the pipe with the two stems are Length: 6 inches, Height: 2 inches, Outside diameter of the bowl: 1 ¼ inches, Chamber diameter: 7/8 of an inch. The weight of the pipe is 1.76 ounces/50 grams. Thanks for walking through the restoration with me as I worked over another beautiful pipe. I am going to putting the pipe on the rebornpipes store in the Irish Pipe Makers Section. If you are interested in adding it to your collection let me know. Thanks for your time.

Breathing New Life into a Peterson of Dublin Dalkey 221 Chunky Bent Billiard


Blog by Steve Laug

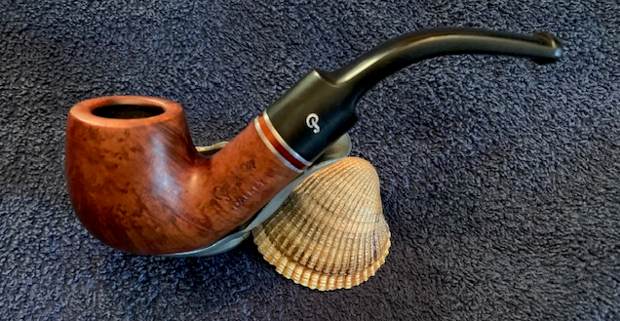
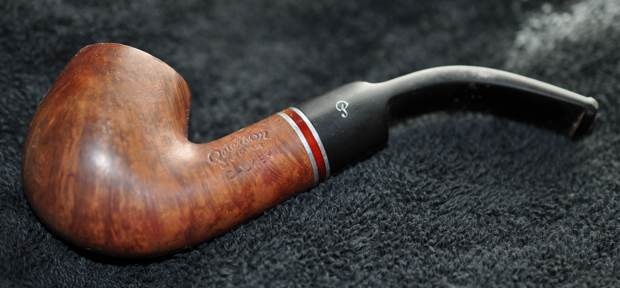
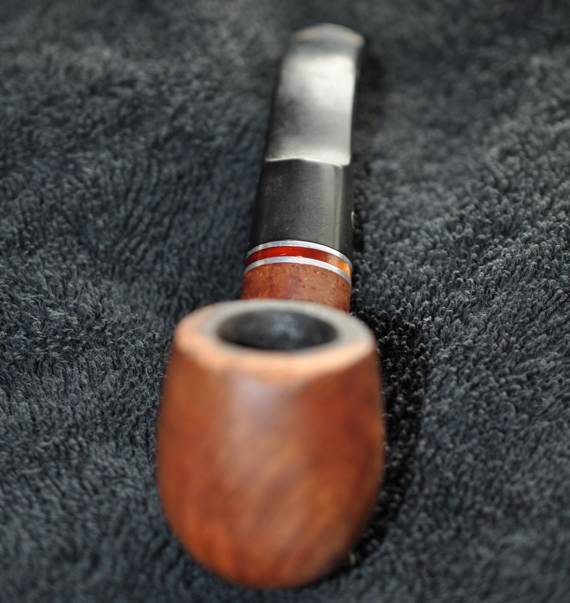
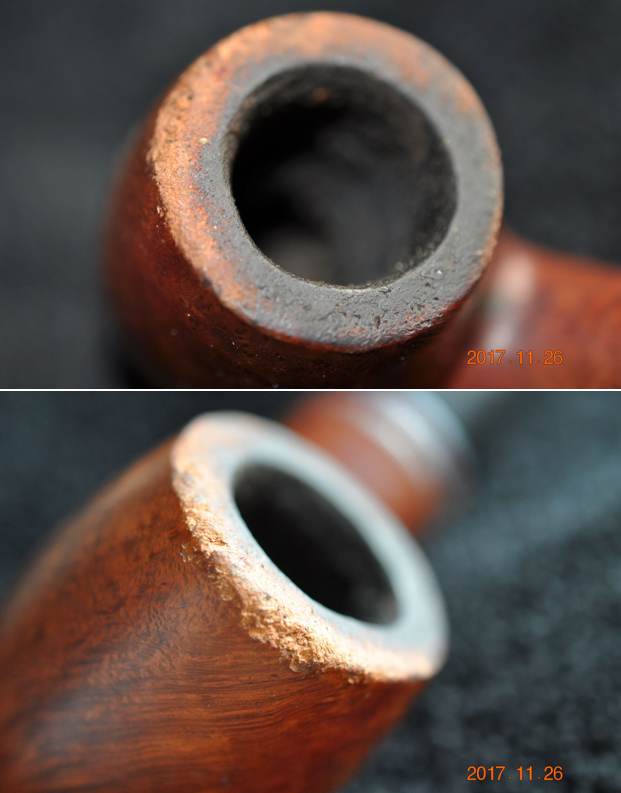
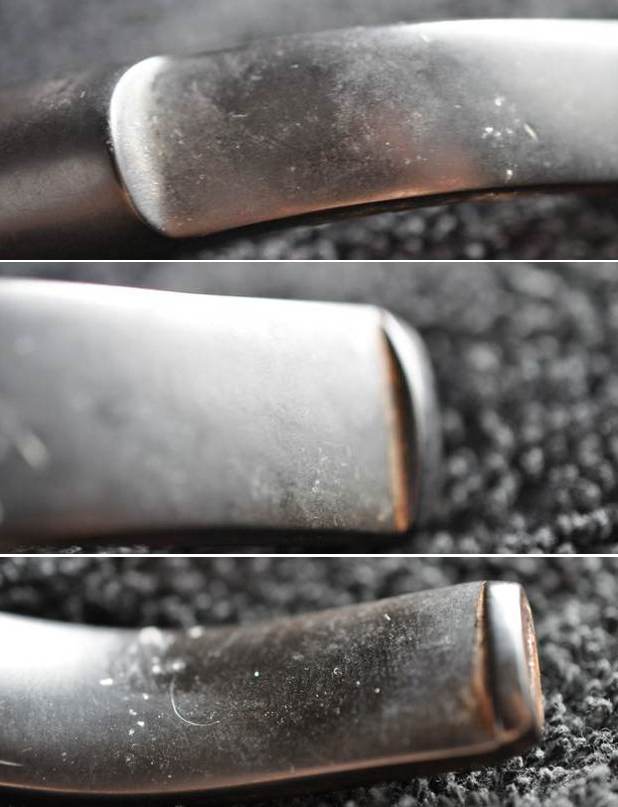
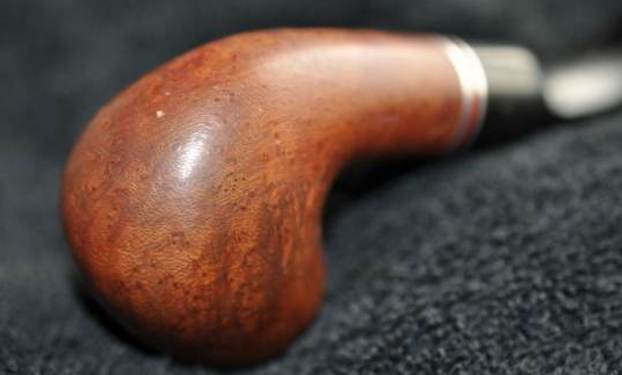
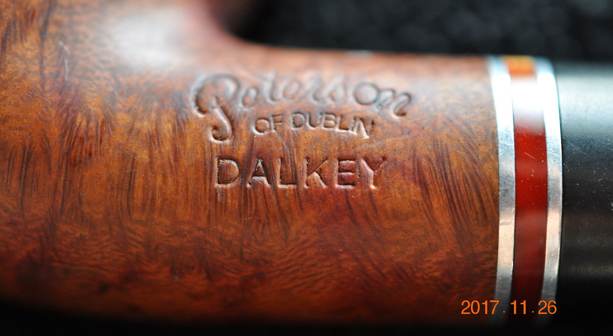
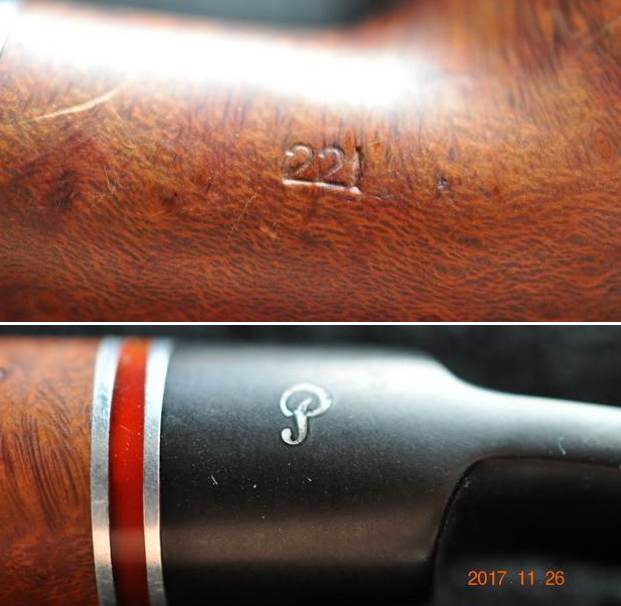
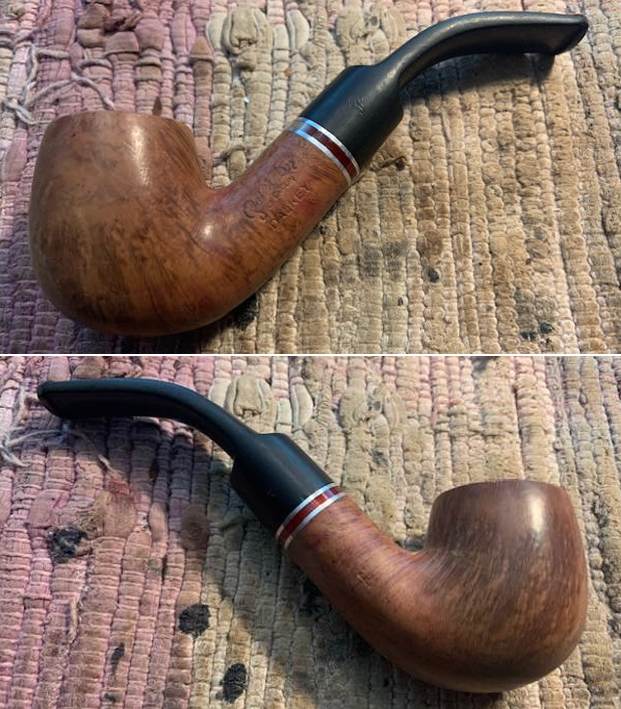
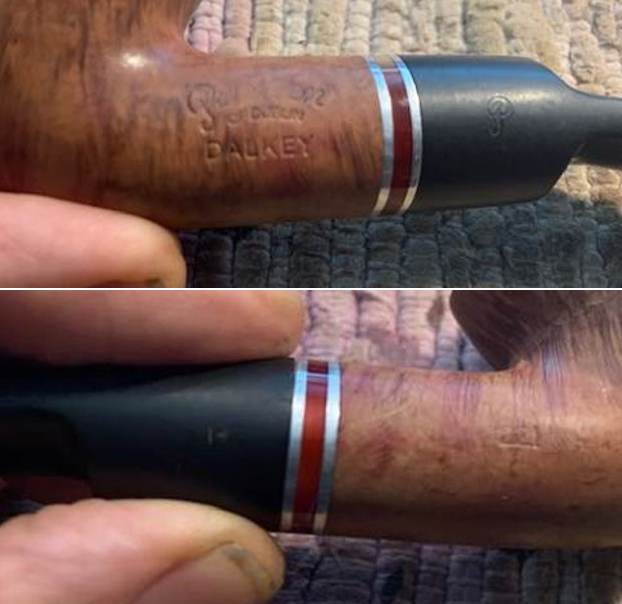
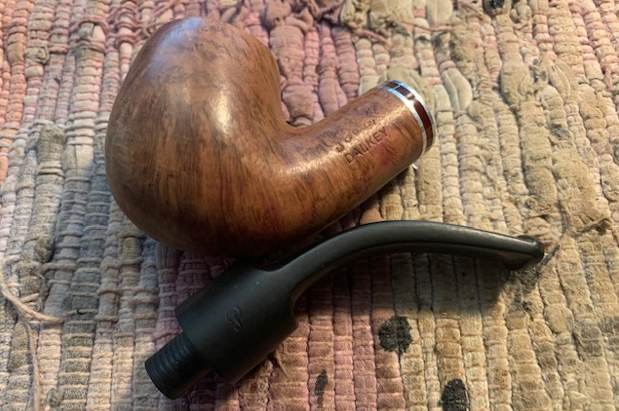
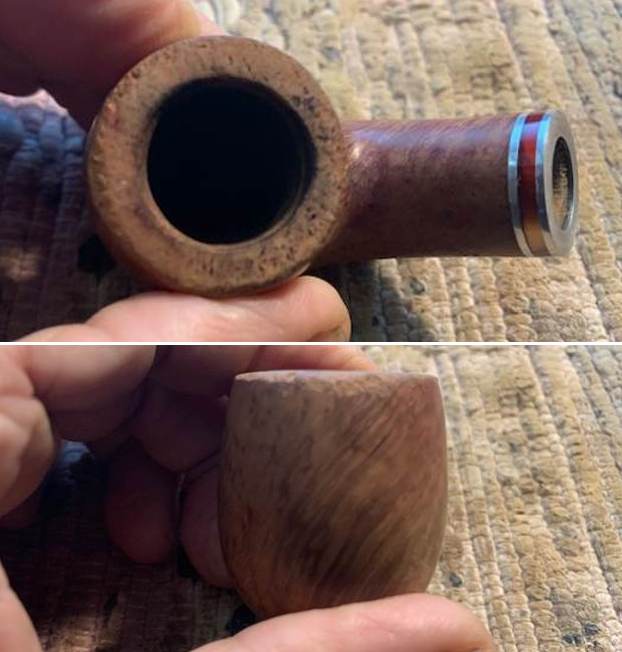
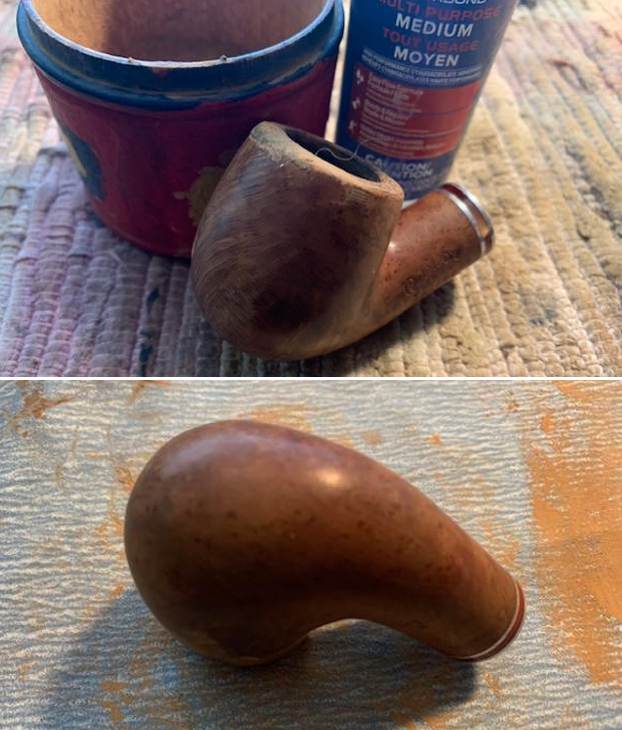
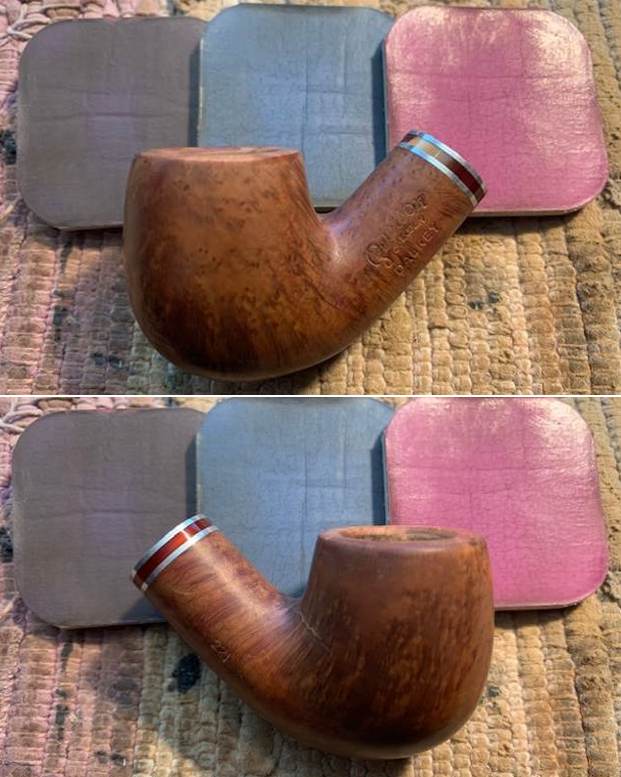
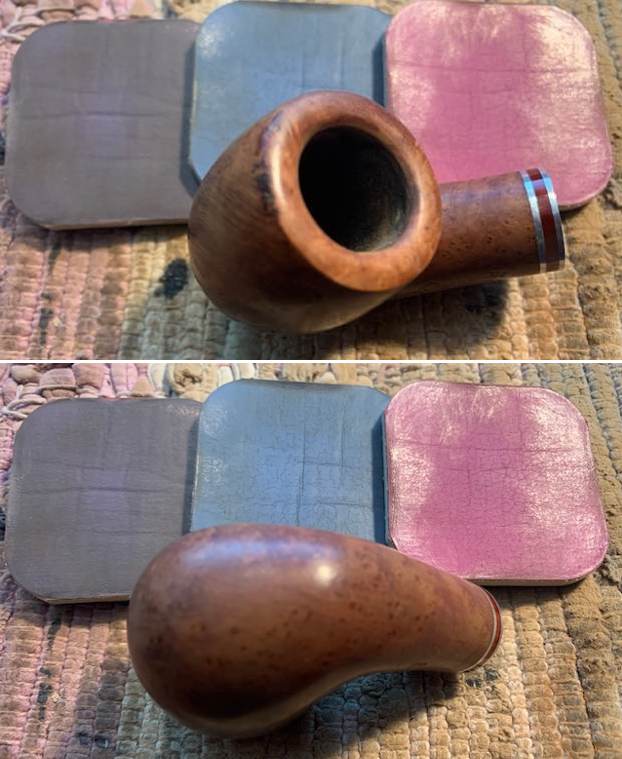
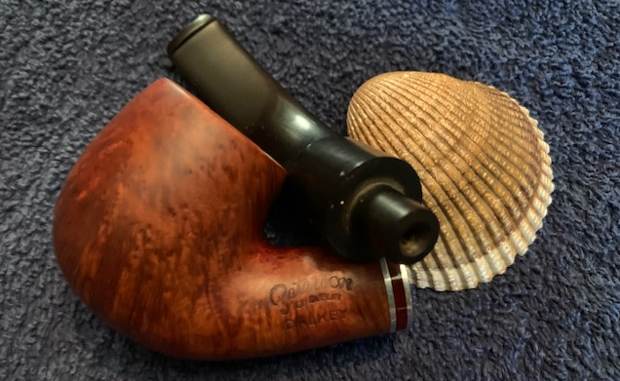
The next pipe I brought to the table was another Peterson that Jeff purchased off eBay on 11/19/17 from Fort Meyers, Florida, USA. It has been sitting here in Vancouver awaiting my contribution to the restoration. It is a nicely shaped pipe with a chunky shank and feel in the hand. The finish is a walnut stain that gives a sense of rich brown. It is stamped on the left side of the shank and reads Peterson [arched over] of Dublin [over] Dalkey (in block print). On the right side there is the shape number 221 in the center of the and no other stamping. The bowl had a thick cake and a heavy overflow of lava on the rim top. The front outer edge of the rim had been beat against a hard surface and had a lot of damage and roughness across the bowl front. The rim top was also damaged with scratches and nicks in the surface that looked like it had been used as a hammer. The rest of the finish on the bowl was quite clean. The twin silver bands separated by an orange acrylic band on the stem is dirty but in good condition. The fishtail stem was oxidized, calcified and had light tooth chatter on both sides ahead of the button. The “P” stamp on the side of the saddle stem and readable and painted white. Jeff took photos of the pipe before he started his clean up work. He captured the cake in the bowl and the debris and lava on the rim top and edges in the next photos. It was very clear that it was an exceptional smoker! The damage on the front of the rim edge and the rim top is visible even under the heavy lava on the top and edges. The stem is oxidized, calcified and shows the tooth marks and chatter on both sides ahead of the button. Jeff captured some of the beauty of the shape and the grain in the next photo. The mix of grains on the front of the bowl and heel are quite lovely as can be seen in the photo below.He took photos of the stamping on the sides of the shank. It is clear and readable as noted above. He also took a photo of the  P logo stamp on the left side of the stem. I decided to check out both the Pipephil and the Pipedia sites for information on the Dalkey line. Both sites did not have any specific information. I then did a quick Google search for the Peterson Dalkey. The first link took me to smokingpipes.com (https://www.smokingpipes.com/pipes/estate/ireland/moreinfo.cfm?product_id=332074) to a pipe that had been sold there. I have included the information I found below:

While the bent Billiard is a classic shape, rendered by countless companies, Peterson’s “221” iteration is readily recognized as the work of the Irish marque because of the added visual weight attributed to the shank and transition. Such extra heft stretches the heel and provides more palm-filling substance. It makes for an eye-catching, muscular form in profile yet remains well balanced thanks to the curled transition and bent stem out back. Here it’s presented in the Dalkey finish, with a warm hazelnut stain and nickel-and-acrylic band.

The second link took me to pipesandcigars.com (https://www.pipesandcigars.com/p/peterson-dalkey-pipes/2000657/).I quote the following from the introduction to the line:

Peterson Dalkey Pipes come in an assortment of classic Peterson shapes. The finish is a warm brown tone, mated to black stems, and finished with a gold and orange triple trim ring. These pipes are not only handsome, but they’re among the most affordable smooth finished pipes that Peterson makes.

I then turned to The Peterson Pipe by Mark Irwin and Gary Malmberg and looked up the listing in the book for Dalkey. I quote what I found there.

Dalkey (2010-) Dark stained smooth finish line with a band of orange acrylic sandwiched between nickel bands, white P stamped on a fishtail mouthpiece.

Now I knew I was dealing with a pipe made after 2010 and the dark stained finish (to me it is a dark walnut). The shank band looks amazing with the stain on the finish. Now it was time to work on the pipe.

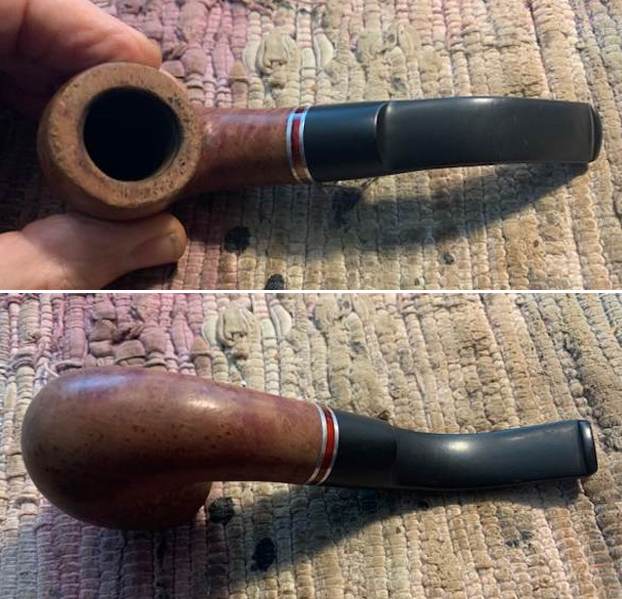
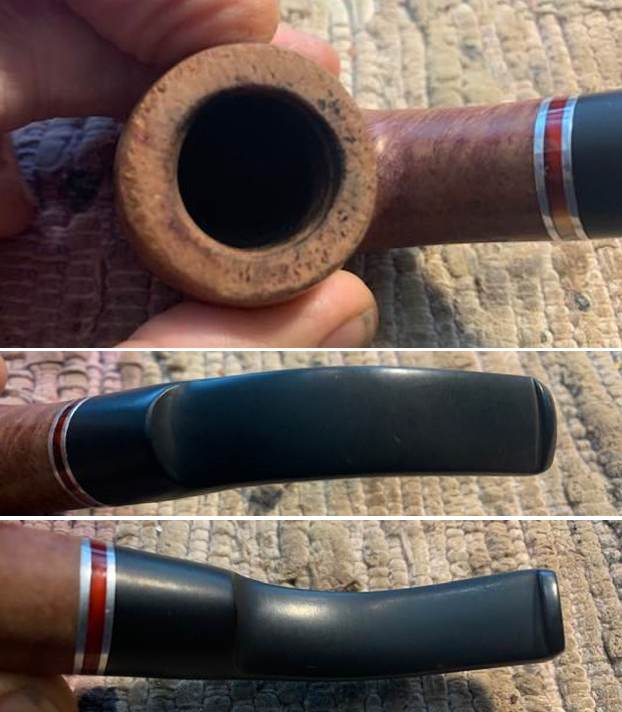
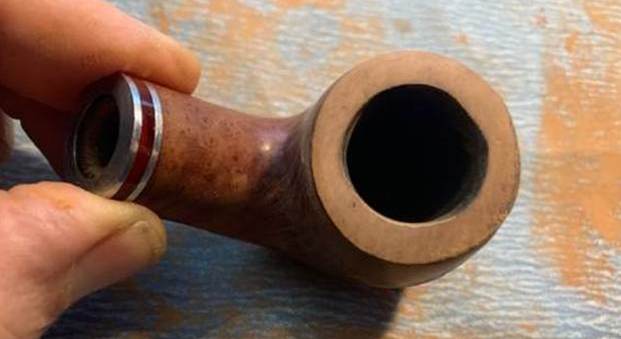
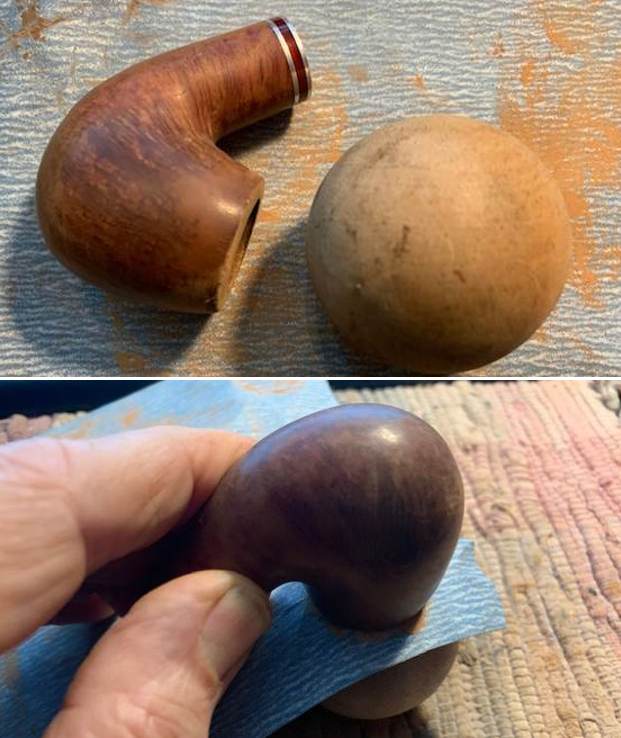
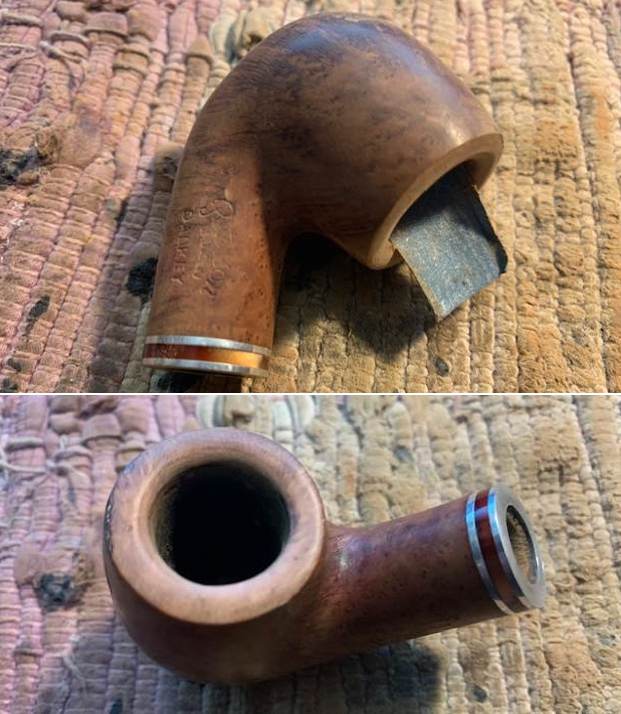
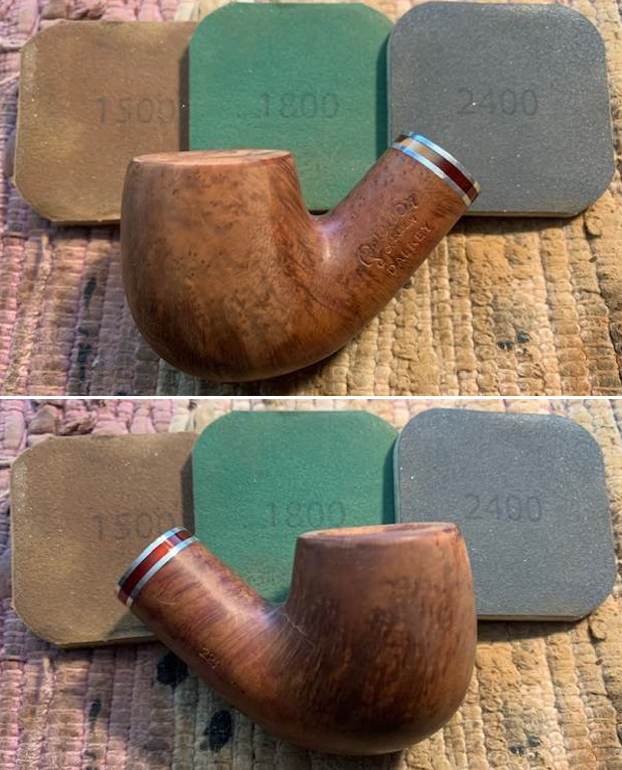
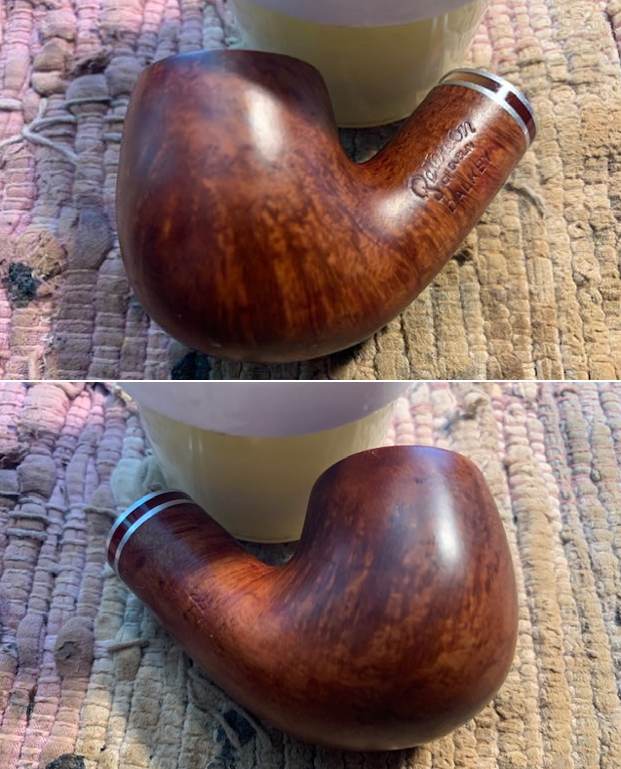
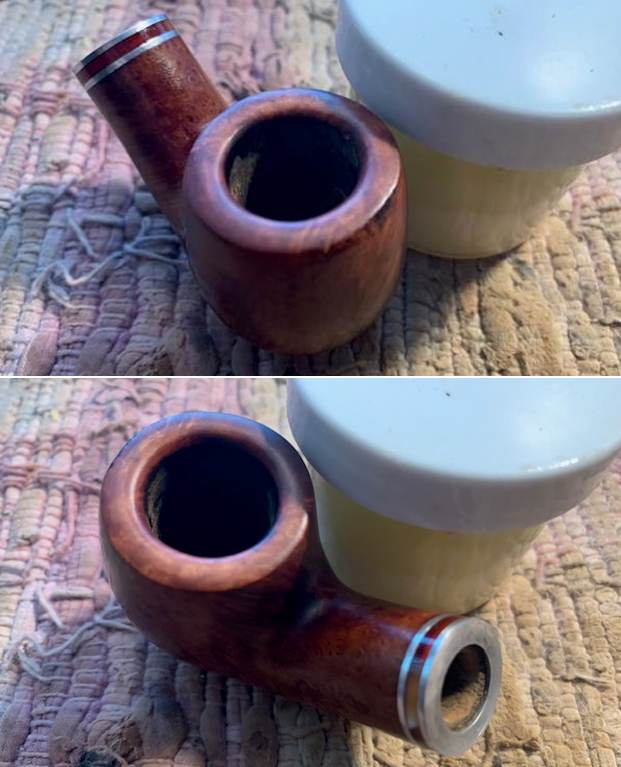
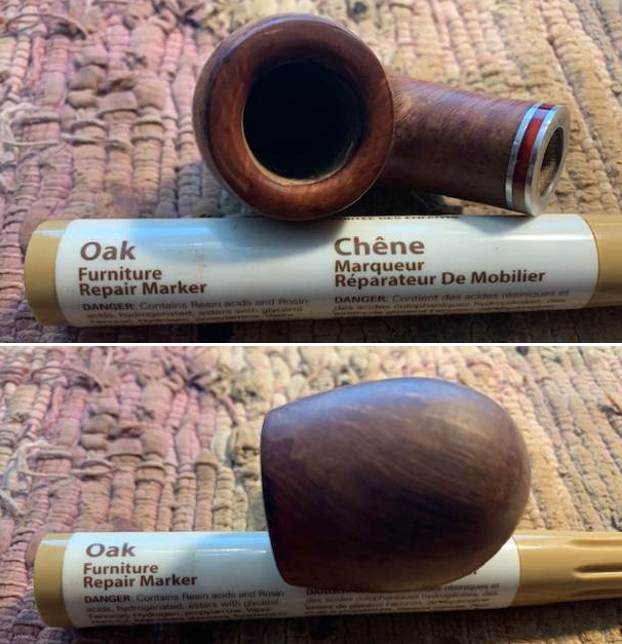
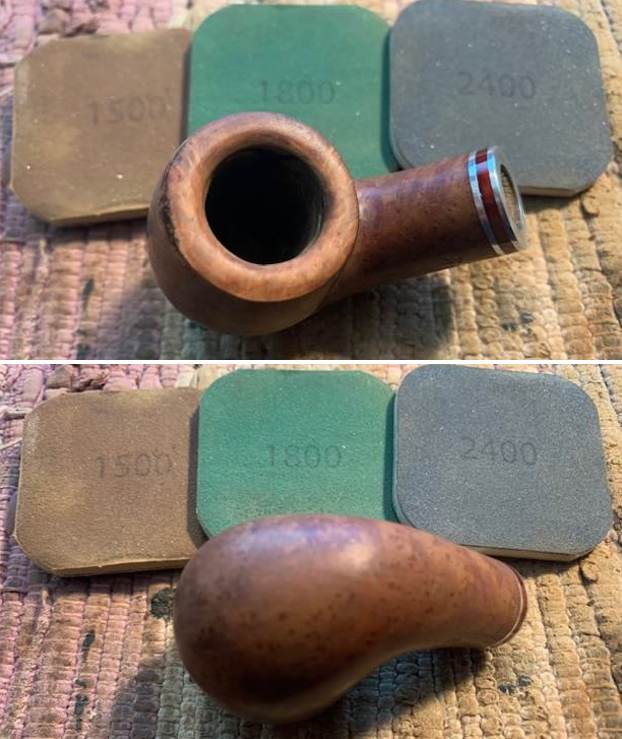
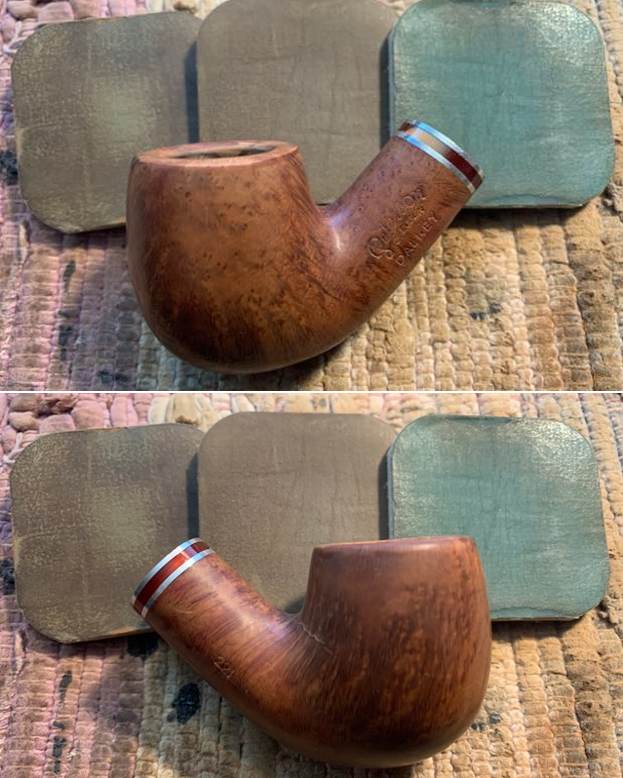
Jeff had done a great cleanup on the pipe. He reamed the bowl with a PipNet pipe reamer and followed up with a Savinelli Fitsall pipe knife to remove the cake. He scrubbed out the mortise and the airway in the shank and the stem with alcohol, cotton swabs and pipe cleaners. He scrubbed the bowl exterior with a tooth brush and Murphy’s Oil Soap to remove the grime on the finish of the bowl and the lava from the rim top. He rinsed it under running water. One of the benefits of this scrub is that it also tends to lift some of the scratches and nicks in the surface of the briar. He dried it off with a soft cloth. He cleaned the internals of the shank/mortise and stem with alcohol, pipe cleaners and cotton swabs. He soaked the stem in Briarville’s Pipe Stem Deoxidizer and rinsed it off with warm water and cleaned out the airway in the stem with alcohol, pipe cleaners and cotton swabs. I took photos of the pipe as I saw it when I finally brought it to my work table.   I took photos of the rim top and stem to show the condition. The rim top and edges were in very rough condition. You can see the damage to the top all the way around and to the outer edge on the bowl front. It really very rough to the touch. The stem was vulcanite and there were light tooth marks and chatter on both sides ahead of the button. I took photos of the stamping on the sides of the shank. They are clear and readable as noted above. The “P” logo on the stem is faint but is still quite readable.   I removed the stem from the shank and took a photo of the pipe to give a sense of the proportions of the bowl and stem.I took photos of the damage on the rim top and the front edge to show how beat up it was. The roughness is very tangible when I touched it. I dripped some clear CA glue on the front edge of the bowl so I could rebuild it. I then dipped it into some briar dust to build it up. I cleaned up and reshaped the edge with 220 grit sandpaper. I topped the bowl with a topping board and 220 grit sandpaper to smooth out the damage to the rim top. When I was finished it looked much better. With the rim top smooth it was now time to give the inner edge a bevel. I used a wooden ball and 220 grit sandpaper to shape the edge. I wrapped the ball with the sandpaper and worked on the edge. It took a bit of work to smooth it out and give it a bevel. I smoothed out the bevel with a folded piece of 220 grit sandpaper. The rim top came out looking very good at this point. I stained the rim top and the inner and front outer edges with an oak stain pen to match the colour of the stain around the bowl and shank.I decided to start with polishing the briar with micromesh sanding pads. I dry sanded it with 1500-12000 grit pads. I wiped the bowl down after each pad with a damp cloth. The bowl began to take on a rich shine and grain was beginning to stand out.   At this point the bowl was polished and clean. I rubbed down with Before & After Restoration Balm. I worked it into the surface of the bowl sides and shank with my fingertips to clean, enliven and protect the briar. I let the balm sit for 10 minutes, then buffed with a cotton cloth to raise the shine. The Balm did its magic and the grain stood out on the briar.   I set the bowl aside and turned my attention to the stem. I polished the stem with micromesh sanding pads – 1500-12000 grit pads. I wiped it down with Obsidian Oil after each sanding pad. I finished the polishing with Before & After Polishes – both Fine and Extra Fine. I gave it a final rub down with Obsidian Oil and set it aside to dry. I repainted the “P” logo stamp on the left side of the saddle stem with some white acrylic nail polish. I worked it into the stamp with a tooth pick. Once it dried I scraped of the excess and lightly polished it with a 1500-2400 grit micromesh sanding pad. This Peterson of Dublin Dalkey 221 Bent Billiard with a vulcanite taper stem has a smooth reddish finish. The rich browns of the stain make the grain come alive with the polishing and waxing. I put the vulcanite stem back on the bowl and carefully buffed the pipe with Blue Diamond on the buffing wheel using a light touch on the briar. I gave the bowl and the stem multiple coats of carnauba wax on the buffing wheel and followed that by buffing the entire pipe with a clean buffing pad. I hand buffed the pipe with a microfiber cloth to deepen the shine. The finished Peterson’s Dalkey 221 Bent Billiard really is a great looking and fits nicely in the hand and looks very good. Give the finished pipe a look in the photos below. The dimensions of the pipe are Length: 5 ½ inches, Height: 1 ¾ inches, Outside diameter of the bowl: 1 ¼ inches, Chamber diameter: ¾ of an inch. The weight of the pipe is 1.62 oz./46 grams. This pipe will soon be on the Irish Pipe Makers Section of the rebornpipes store if you would like to add it to your collection. Thanks for reading this blog and my reflections on the pipe while I worked on it.

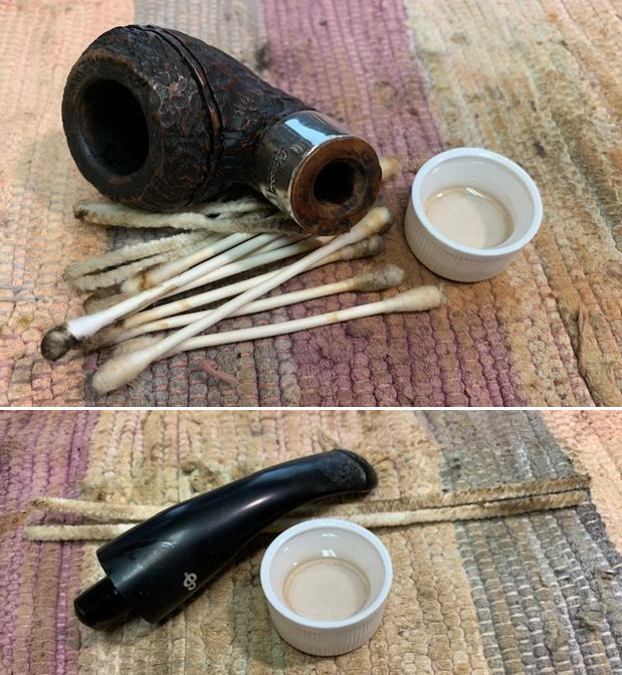
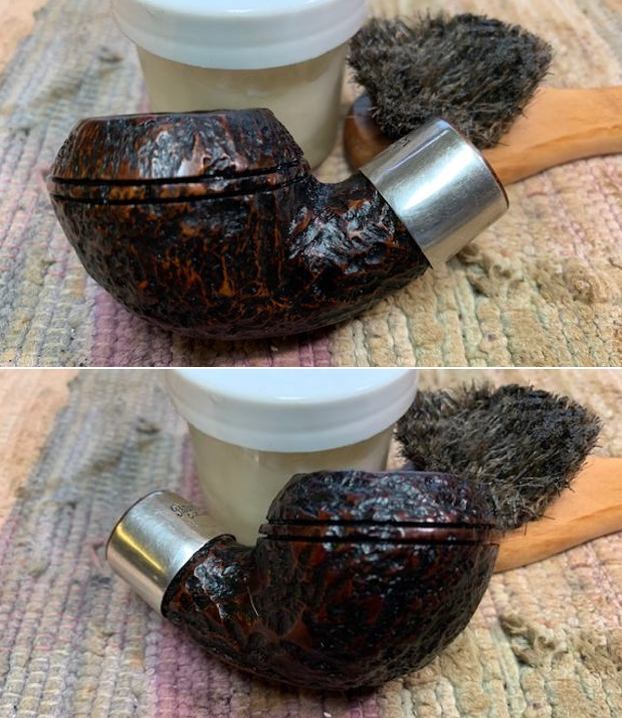
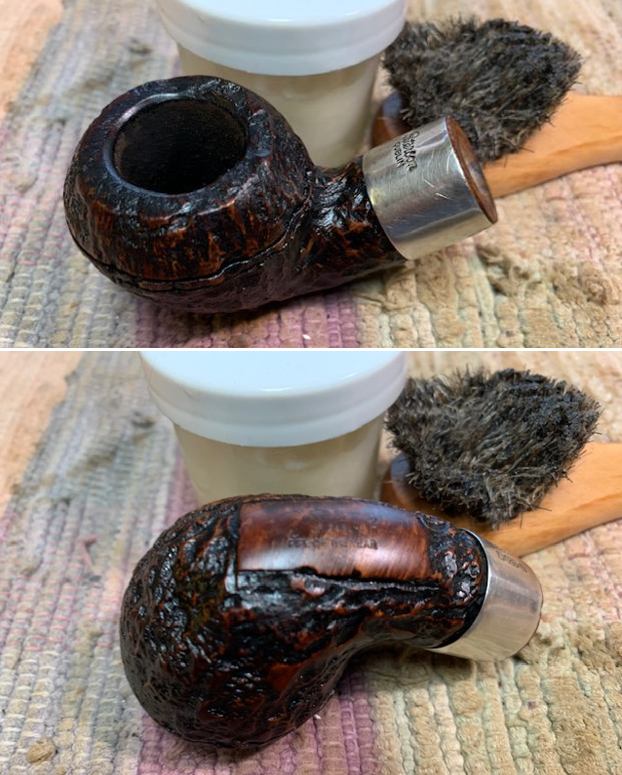
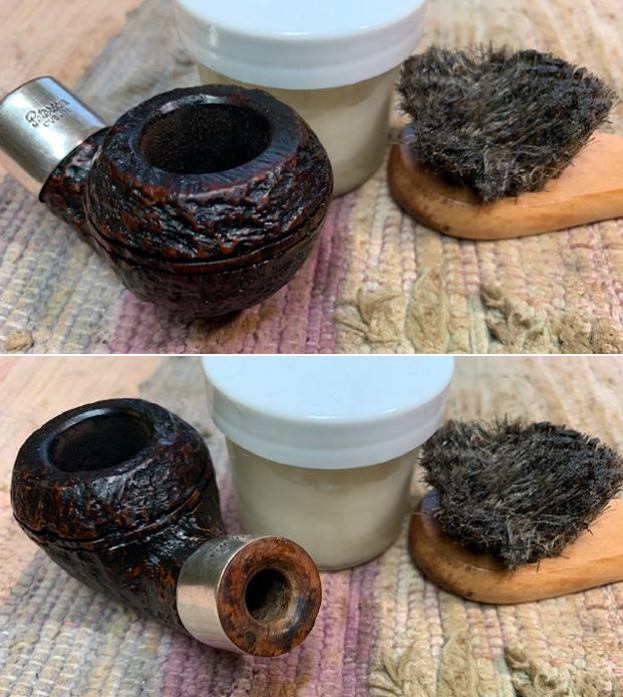
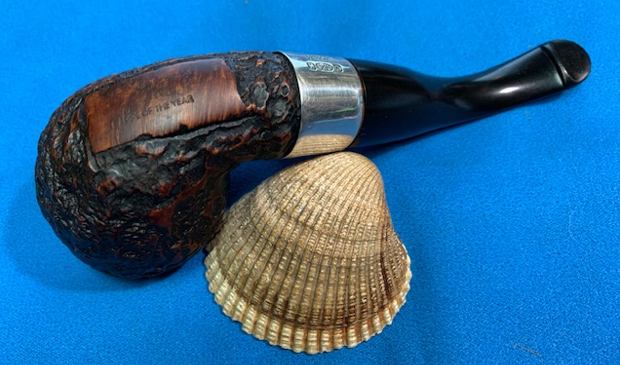
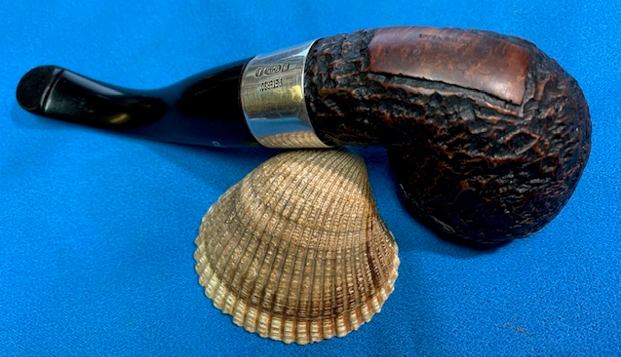
Restoring a Peterson’s of Dublin 1994 Pipe of the Year in a 999 Shape


Blog by Steve Laug

Yesterday a friend stopped by with a pipe he wanted me to have a look at and “spruce up” for him. He arrived in the heat of the day just before 5pm which is when it seems to be the hottest time here in Vancouver. He took the pipe out of his back pack and it was in the classic green Peterson of Dublin bag. He told me that he had picked it up at the Peterson’s shop in Dublin when he was there. It was hot out and he was with a friend so we did not go into details. The pipe appeared to be rusticated and looked to me like a Donegal Rocky in one of my favourite shapes – a Rhodesian 999. The bowl had a moderate cake and some lava on the rim top that needed attention. The rustication was dirty with dust of time ground in to the finish. The stem did not fit correctly in the shank. It should have been snug against the silver band but it was not. The silver “P” logo-ed stem was not too bad – no oxidation or build up. It had tooth chatter on both sides around the button. I took the pipe in and told him I would work on it and get back to him.

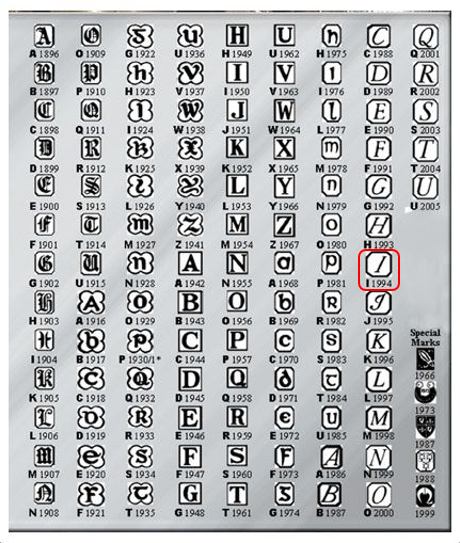
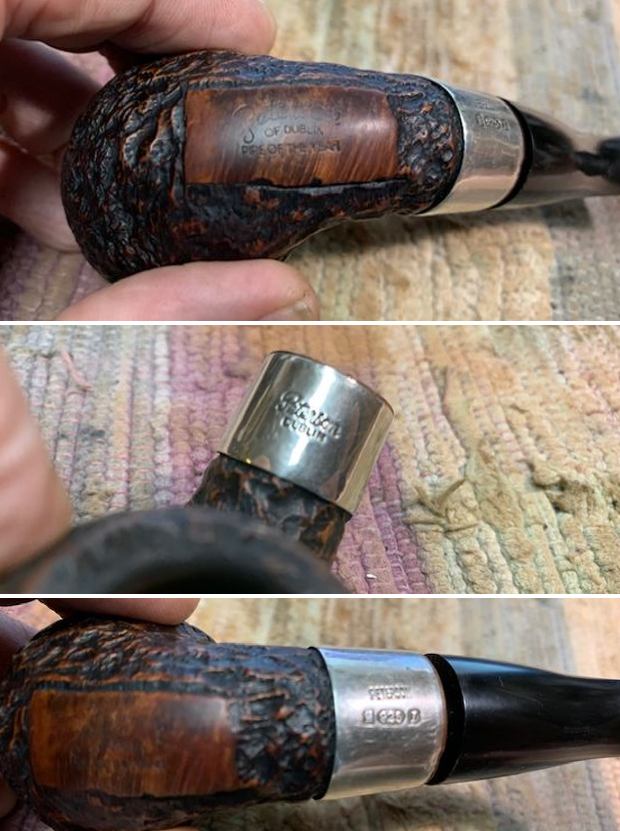
It was only later the next morning that I started working on it. I wanted to know what I was dealing with so I examined the faint stamping on the smooth panel on the underside of the shank. It read Peterson [arched over] OF DUBLIN [arched over] PIPE OF THE YEAR. There was no other stamping on the shank – no shape number and no year! I turned my attention to the silver band on the shank. It was a band and not a ferrule. It was stamped on the top and read Peterson [over] Dublin. On the underside it was stamped Peterson over three hallmarks – Hibernia seated (on the left) followed by 925 in an oval followed by an italic upper case “I”. That gave me the needed information. The Hibernia stamp identified it as made in Ireland, the 925 stamp was the quality of the silver and the italic I was the year. From the chart above that identified it as having been made in 1994 – at least the band was! I have drawn a red box around it in the above photo.

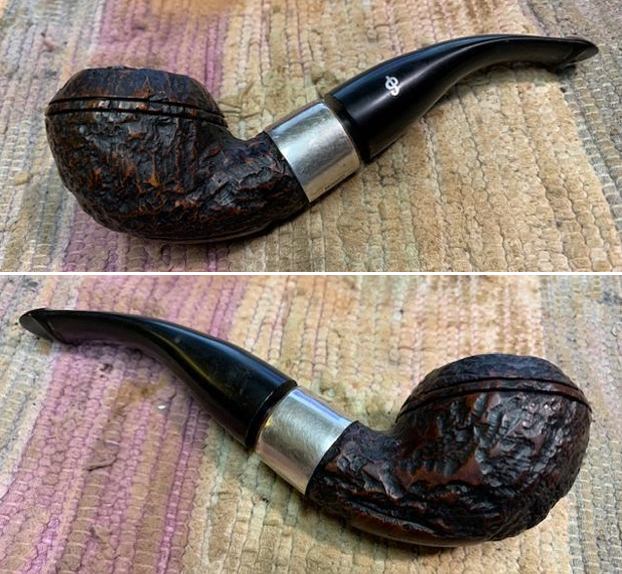
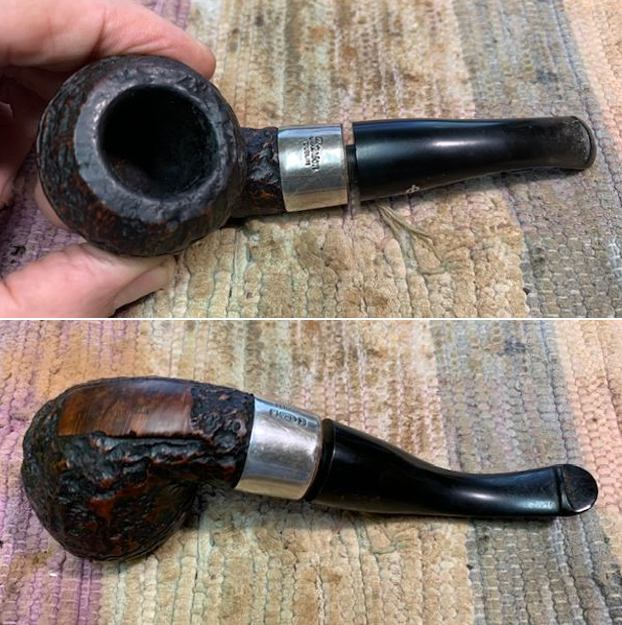
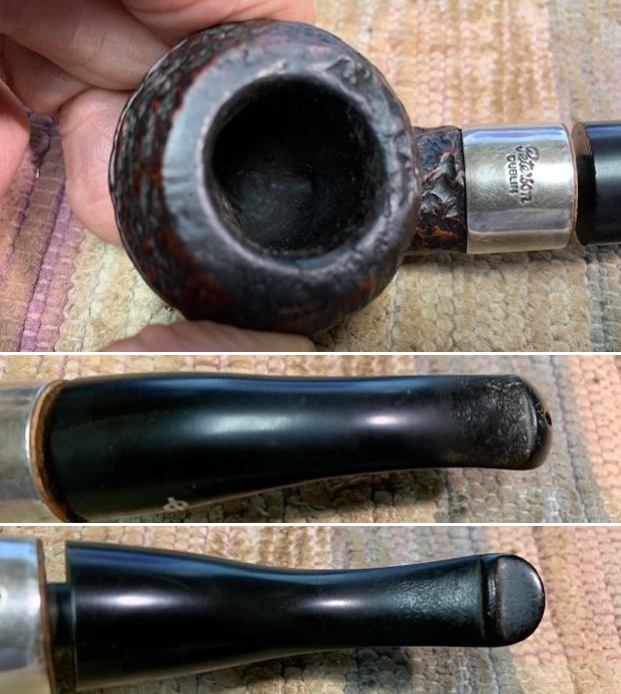
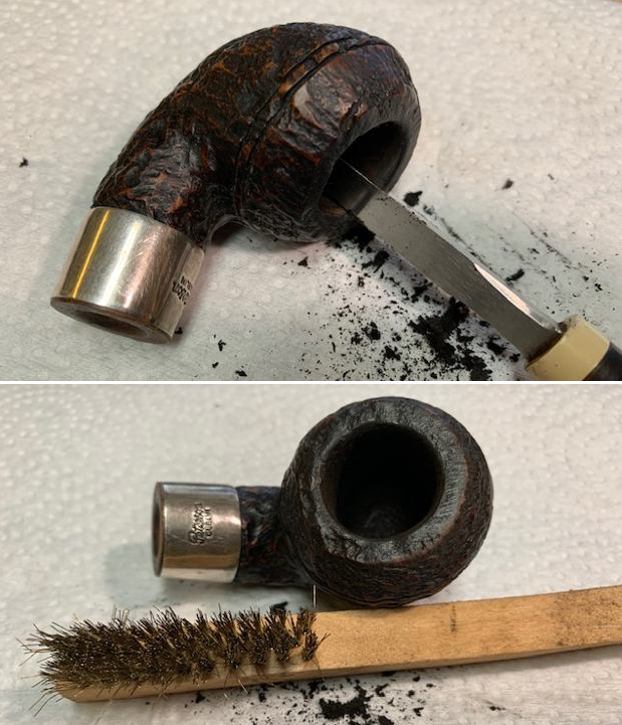
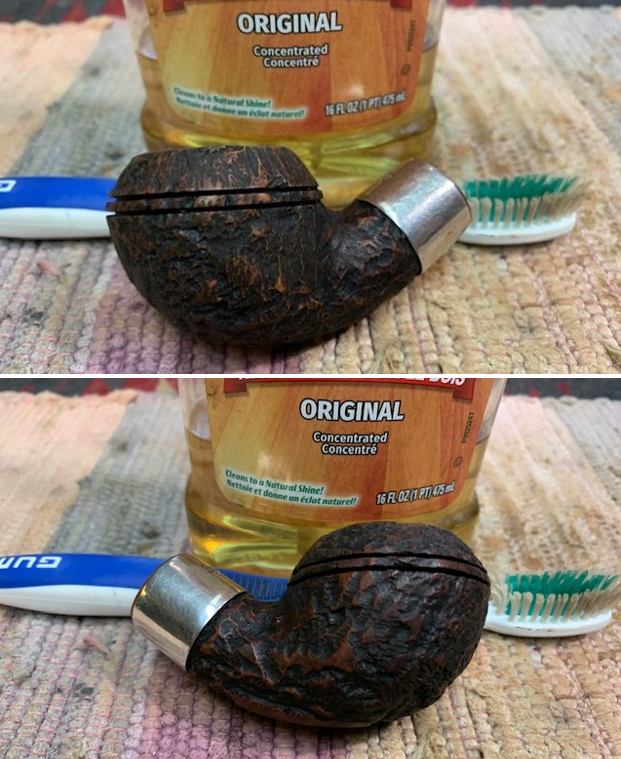
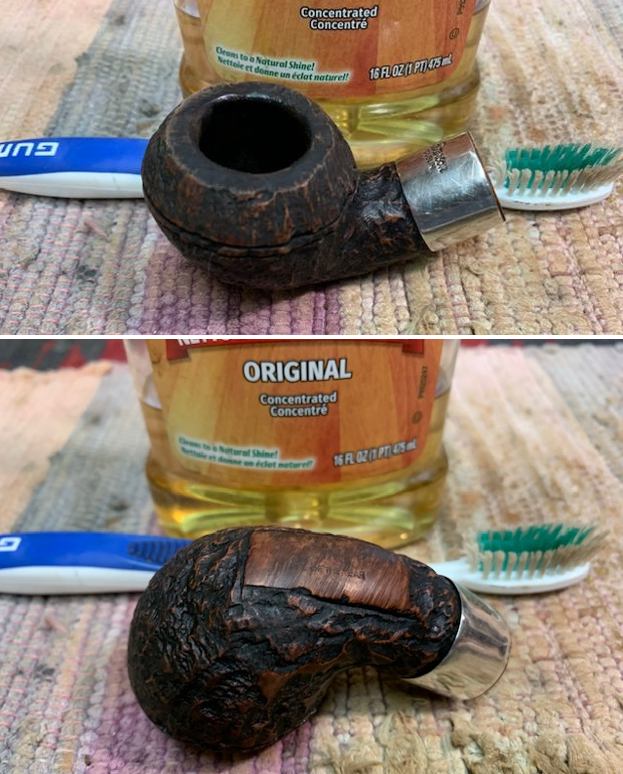
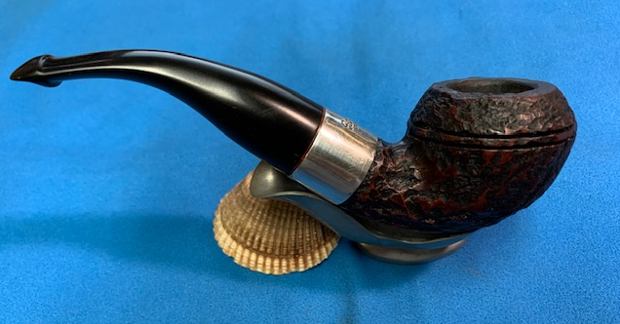
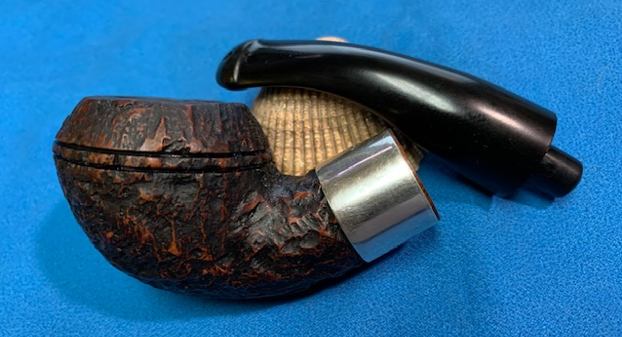
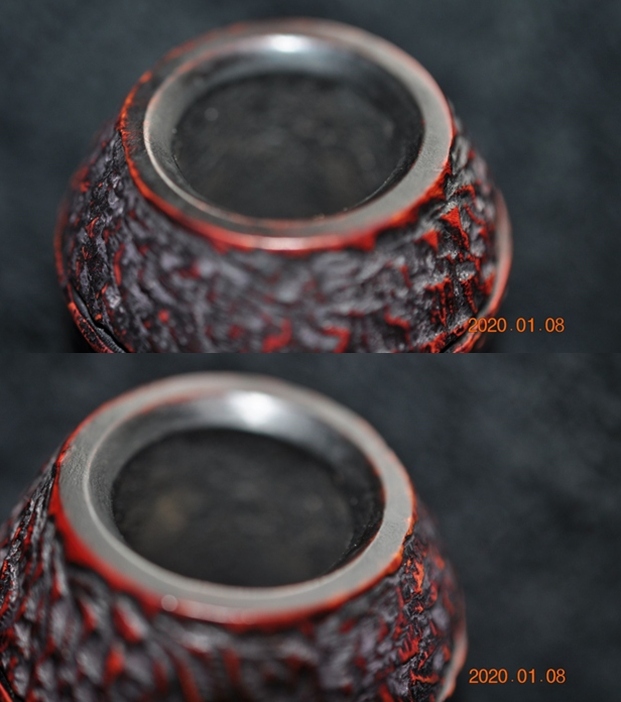
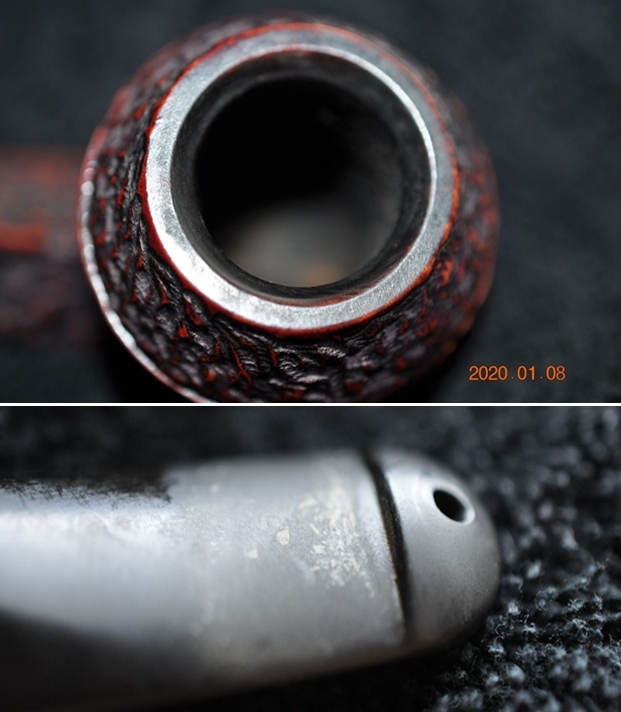
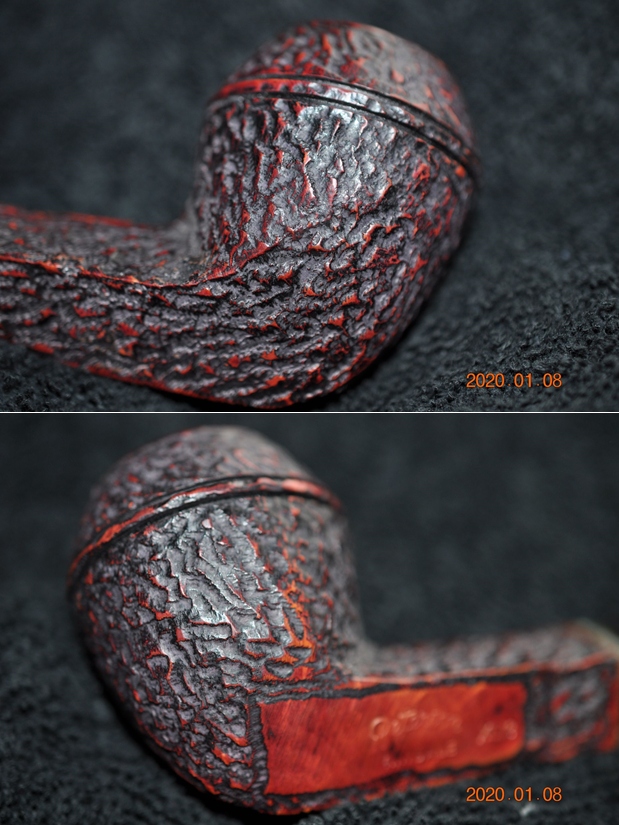
I took photos of the pipe before I started my work on it. These photos confirm the conditions noted above. The stem did not fit properly and my friend said it had been that way since he purchased it. The bowl was caked and the rim top had some lava overflow. The stem was clean other than the tooth chatter on both sides ahead of the P-lip button. It really was a nice looking pipe with a rugged rustication like the Donegal Rocky.I took a photo of the rim top and bowl to show the cake and the lava on the top. The first photo shows the gap where the stem does not fit the shank correctly. The stem photos show the tooth chatter on both sides.I took photos of the stamping on the underside of the shank and the band. They read as noted above. You can see the shape of the cartouche on each of the hallmarks.I started my work on the pipe by reaming the bowl with a Savinelli Fitsall Pipe Knife. I scraped the uneven cake back to bare briar so I could examine the walls on the bowl. It was in good condition. I used a brass bristle wire brush to scour off the lava on the rim top. It had filled in some of the rustication so the brush removed much of that. I scrubbed the rim top and the outside of the bowl and shank with a tooth brush and undiluted Murphy’s Oil Soap. I rinsed the bowl under running water to rinse off the soap and the debris. The bowl is beginning to take on a great look and the contrasting stains show well. I cleaned out the airway in the shank and the stem with 99% isopropyl alcohol, cotton swabs and pipe cleaners. I cleaned out the mortise carefully and was able to remove some stain and rubbish there that kept the stem from seating properly.I worked some Before & After Restoration Balm into the surface of the briar with my finger tips. I worked it into the crevices of the rustication with a horsehair shoe brush. The product continues to amaze me with it capacity to clean, enliven and protect the briar. I let it sit on the bowl for 10 minutes and then buffed it off with a soft cotton cloth. It is looking very good at this point.I polished the silver band with a jewelers cloth to remove the light tarnish and give it a deep shine. I set the bowl aside and turned my attention to the stem. I sanded out the tooth marks on the top and underside with a folded piece of 220 grit paper.I noticed that the tenon was a little larger in diameter at the stem end than the shank end. I would need to reduce it to the same diameter the entire length of the tenon for the fit to be right in the shank. I used a small file to work over the tenon. Once it was the right diameter I started the polishing of the tenon with 220 grit sandpaper.I polished the stem surface and the surface of the tenon with micromesh sanding pads – dry sanding it with 1500-12000 grit micromesh sanding pads. I wiped the stem down after each pad with some Obsidian Oil and finished the polishing it with Before & After Pipe Polish – both Fine and Extra Fine.I put the stem on the shank and lightly buffed the bowl and shank with Blue Diamond polish. I used a light touch so as not to get build up in the rustication. I used a heavier touch on the stem. The finished pipe with the properly fitted stem is a beauty. The Peterson Pipe of the Year from 1994 is a 999 shaped Rhodesian. The rusticated finish looks a lot like a Donegal Rocky. The fit of the stem to the shank is now flush and the feel in the hand is perfect. The pipe looks really good and has a rich shine. The dimensions of the pipe are – Length: 6 inches, Height: 1 ½ inches, Outside diameter of the bowl: 1 ¼ inches, Chamber diameter: 7/8 of an inch. The weight of the pipe is 60 grams/2.12 ounces. Give the finished pipe a look. I will be cleaning up my friend’s second pipe then giving him a call so he can pick them up. Thanks for walking with me through the blog. Cheers.

Breathing New Life into a Peterson of Dublin Kinsale XL13 Straight Bulldog


Blog by Steve Laug

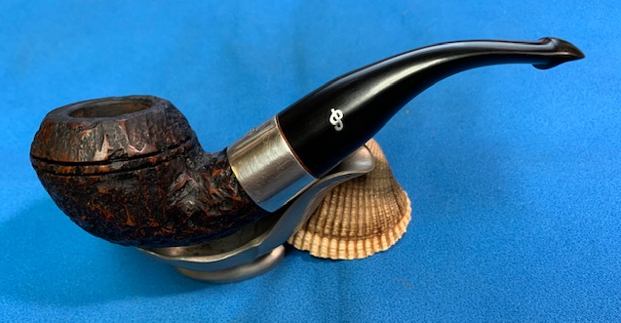
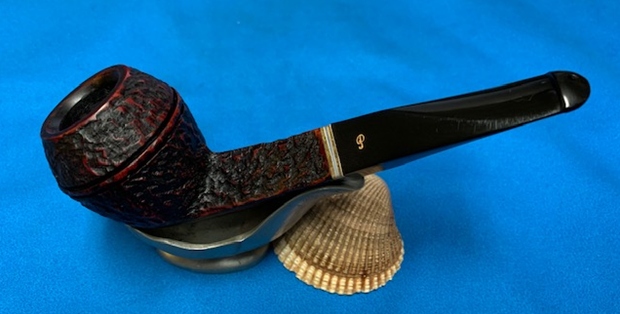
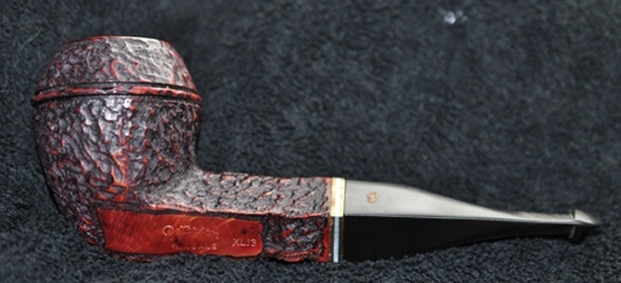
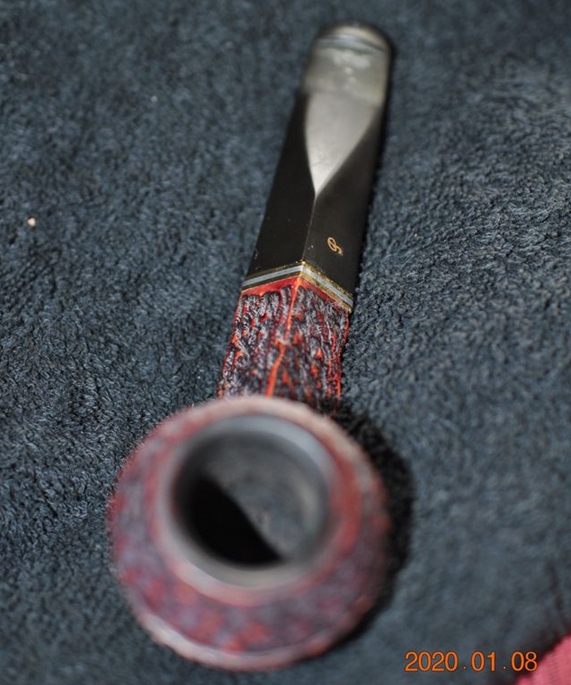
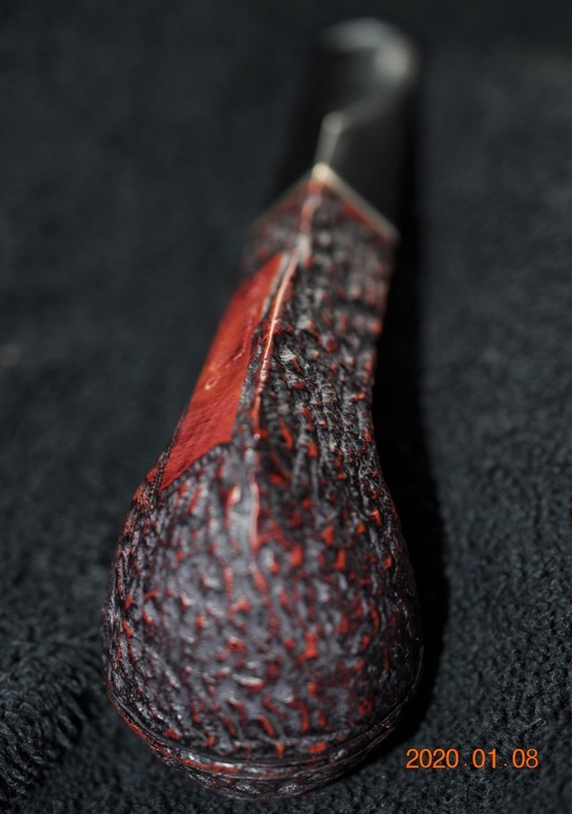
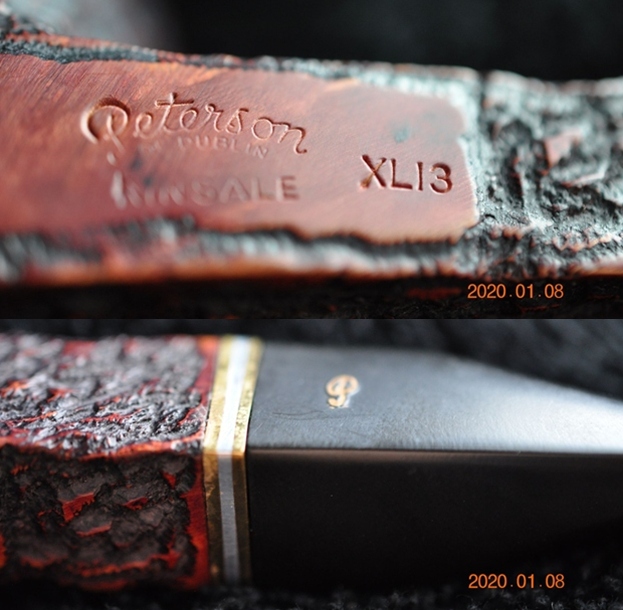
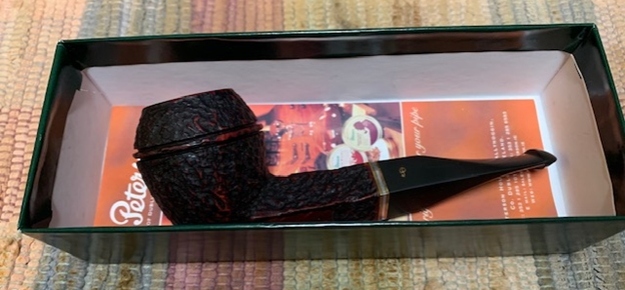
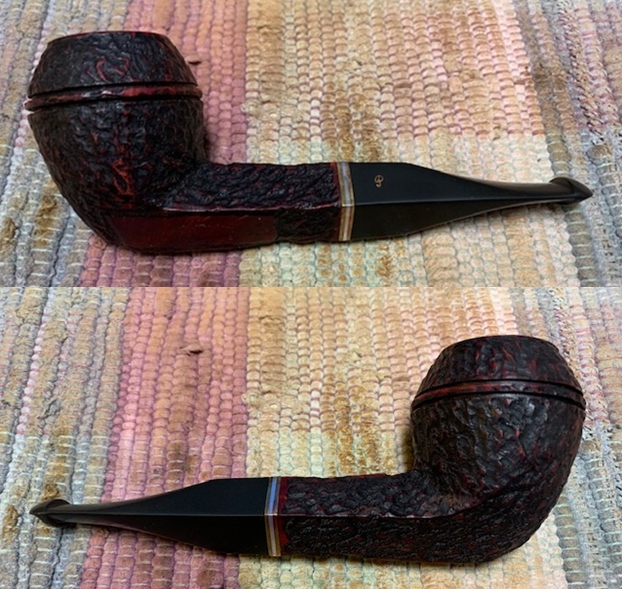
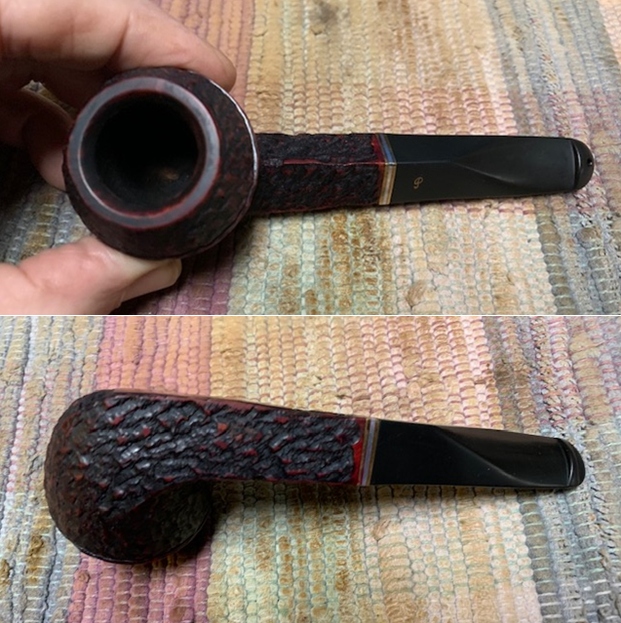
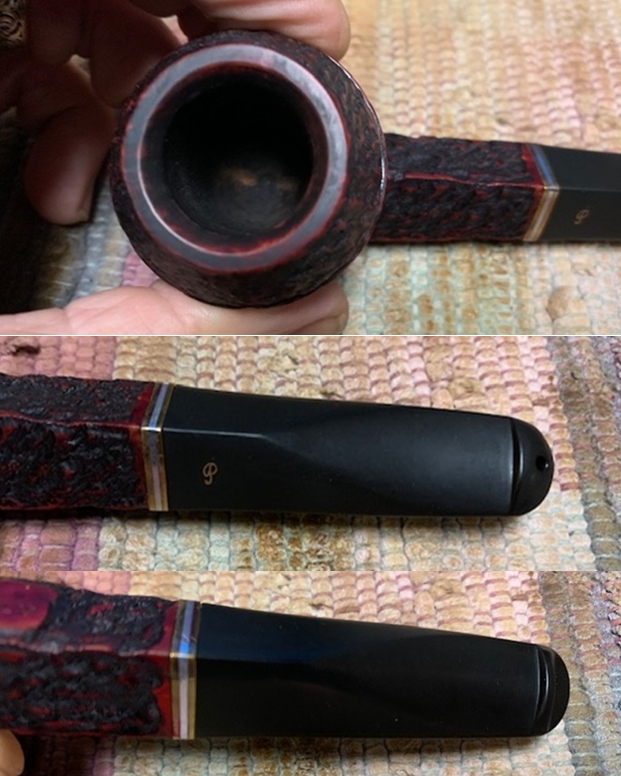
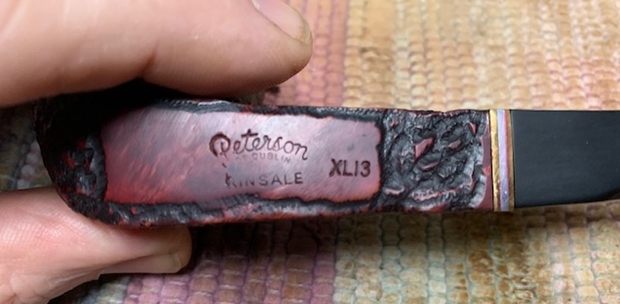
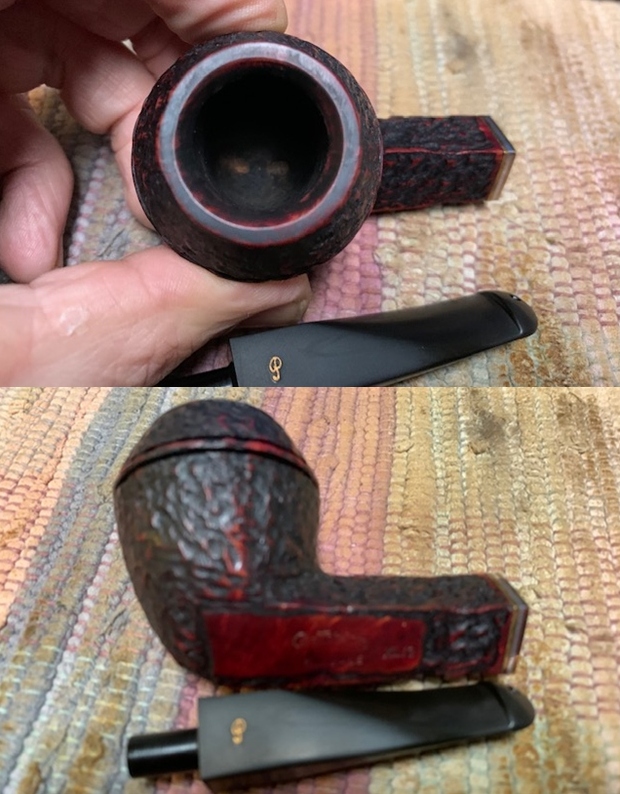
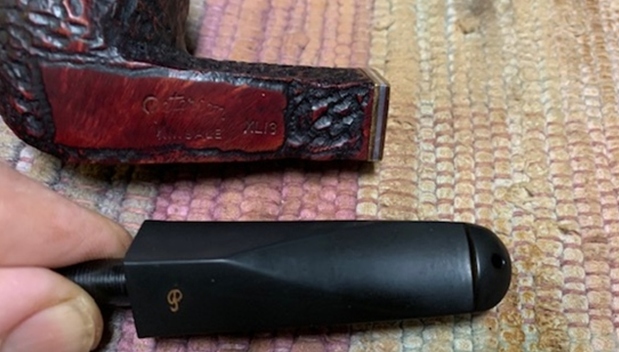
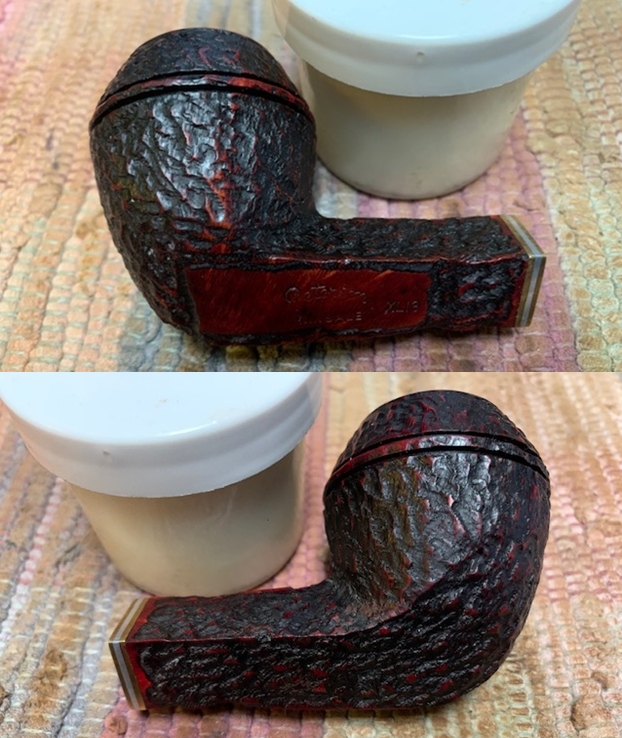
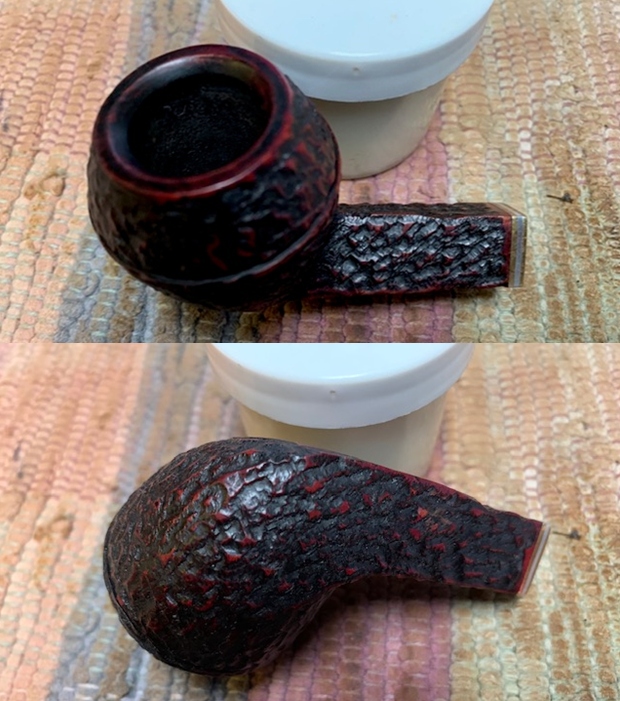
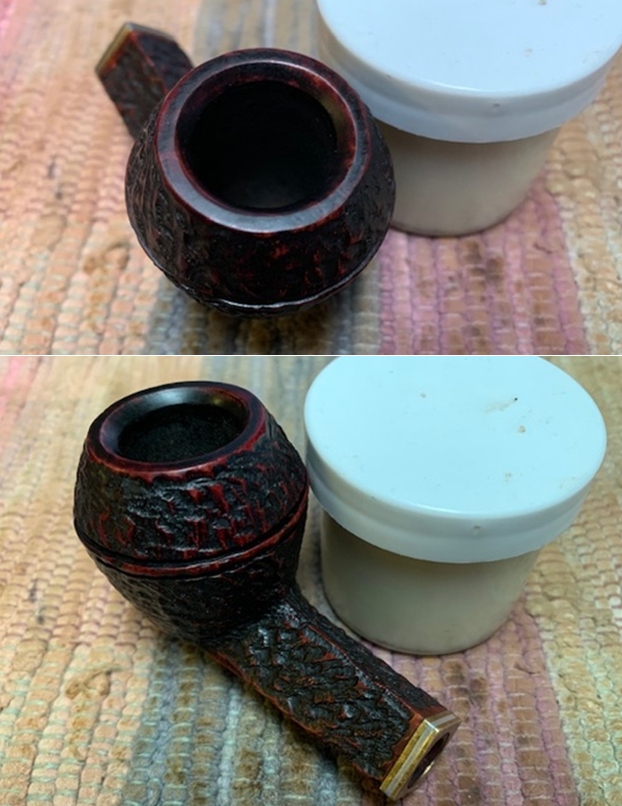
The next pipe on the work table came to us from a group of pipes that we purchased from a fellow in Los Angeles, California, USA. It is a beautiful rusticated Peterson’s Bulldog pipe with a tapered vulcanite stem. The pipe is stamped on the left underside of the shank and reads Peterson [arched over] of Dublin [over] Kinsale. That is followed by the shape number XL13. This is a nice piece of briar with interesting grain showing through the rustication all the way around the bowl. The finish had a lot of grime ground into it. The bowl was moderately caked and there was a lava coat on the top and the inner edge of the rim. The edges looked okay but we would know more after the cleanup. The stem was oxidized, calcified and had tooth chatter and marks on the top and underside near the button. There was a gold stylized Peterson “P” on the top left side of the diamond shaped taper stem. The pipe showed promise but it was very dirty. Jeff took photos of the pipe before he started his cleanup work.   He took photos of the rim top and bowl to give a clear picture of the thickness of the cake and the condition of the rim top and beveled inner edges. He also took photos of the top and underside of the stem to show the oxidation, calcification and chatter and tooth marks.    Jeff took photos of the sides and heel of the bowl to give a picture of what the rusticated briar around the pipe looked like. He took photos of the stamping on the shank and the stem. It reads as noted above and is clear and readable. I am including the information from Pipedia’s article on Peterson pipes. It is a great read in terms of the history of the brand (https://pipedia.org/wiki/Peterson). I have included some information on Kinsale pipes. Kinsale pipes are based on the Sherlock Holmes Collection, a quality larger briar. All shapes are available in either a smooth burnt orange or rustic finish. They have either a Peterson Lip or a Fishtail mouthpiece. I found the following Kinsale Shape Chart on the site (https://pipedia.org/images/e/e3/Kinsale.jpg). I have boxed the XL13 with red.I turned to the Peterson Pipe book by Mark Irwin and Gary Malmberg and could find nothing in the index. I wrote Mark for help locating the brand in the book and he wrote back that what I needed was on Page 306, toward the bottom of the middle column. Sure enough it was there. Essentially it confirmed what I have already included above with the addition of the details about the brass band and nickel inlay. It also stated that the pipe originally came out in 1997. Mark mentioned that as far as he knew it was more or less discontinued and he had not seen a new one since 2015. Thanks Mark. That gave me some parameters for the age of the pipe – made between 1997-2015. I was closer to a date and probably as close as I was going to get with this one.

Now it was time to work on the pipe. Jeff had cleaned up the pipe with his usual penchant for thoroughness. He reamed the pipe with a PipNet Pipe Reamer and cleaned up the remnants with a Savinelli Fitsall Pipe Knife.  He scrubbed the exterior of the pipe and bowl with undiluted Murphy’s Oil Soap and a tooth brush. He rinsed it under running warm water to remove the soap and grime. He cleaned out the inside of the shank and the airway in the stem with alcohol, cotton swabs and pipe cleaners. He soaked the stem in Before & After Deoxidizer and rinsed it off with warm water. I took photos of the pipe once I received it. The rim top and inner edge of the rim looked very good with a bit of damage on the inner bevel of the rim surface. The stem surface looked very good with some tooth marks and chatter on both sides near the button.I took a photo of the stamping on the shank. It is clear and readable as noted above.     I removed the stem and took a photo of the pipe to give a sense of the whole. The stem is a fancy saddle version. The pipe was in such good condition that started by rubbing it down with Before & After Restoration Balm. I worked it into the surface of the bowl sides and shank with my fingertips and a horse hair shoe brush. The product works to clean, enliven and protect the briar. I let the balm sit for a little while and then buffed with a cotton cloth to raise the shine.     I polished the vulcanite stem with micromesh sanding pads – 1500-12000 grit pads. I wiped it down with a damp cloth after each sanding pad. I used Before & After Pipe Polish – both Fine and Extra Fine to further polish the stem.    This Peterson of Dublin Kinsale Straight XL13 Bulldog with a diamond shaped vulcanite taper stem is a great looking pipe now that it has been restored. The brass shank adornment with the inlaid silver piece in the center looks very good. The beautiful grain that shines through the polished finish is stunning. As the pipe is smoked the patina should develop and look even better. I put the stem back on the bowl and carefully buffed the pipe with Blue Diamond on the buffing wheel. I gave the bowl multiple coats of Conservator’s Wax and the stem multiple coats of carnauba wax on the buffing wheel. I buffed the entire pipe with a clean buffing pad which real brings the shine out with the wax. I hand buffed the pipe with a microfiber cloth to deepen the shine. The finished Peterson of Dublin XL13 Bulldog fits nicely in the hand and feels great. Give the finished pipe a look in the photos below. The dimensions of the pipe are Length: 5 ½ inches, Height: 2 ¼ inches, Outside diameter of the bowl: 1 ¾ inches, Chamber diameter: ¾ of an inch. The weight of the pipe is 54gr/1.90oz. If you are interested in adding this pipe to your collection send me a message or an email. Thanks for reading this blog and my reflections on the pipe while I worked on it. There are many more to come!
Cleaning up a Peterson of Dublin Killarney Ebony 999 Rhodesian


Blog by Steve Laug

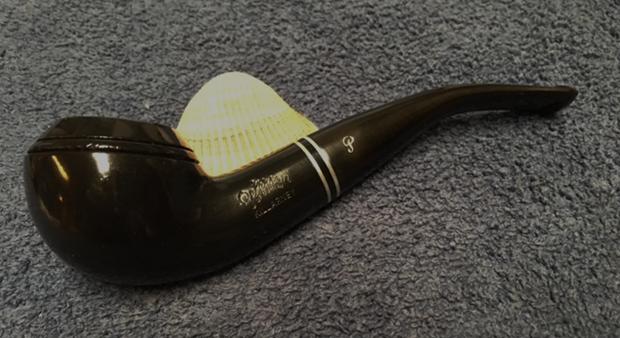
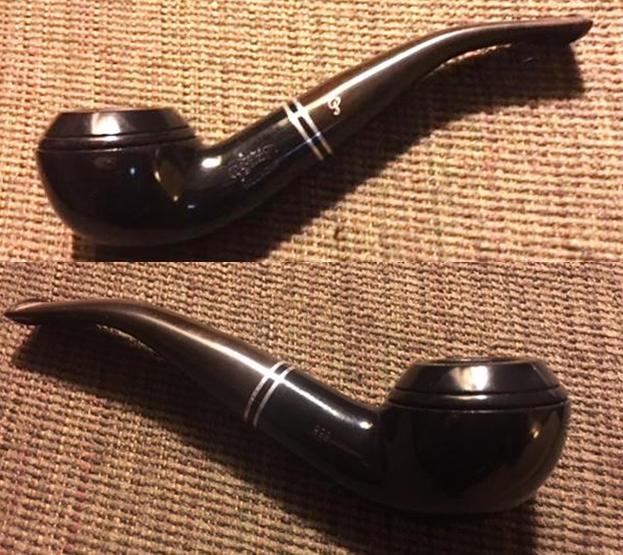
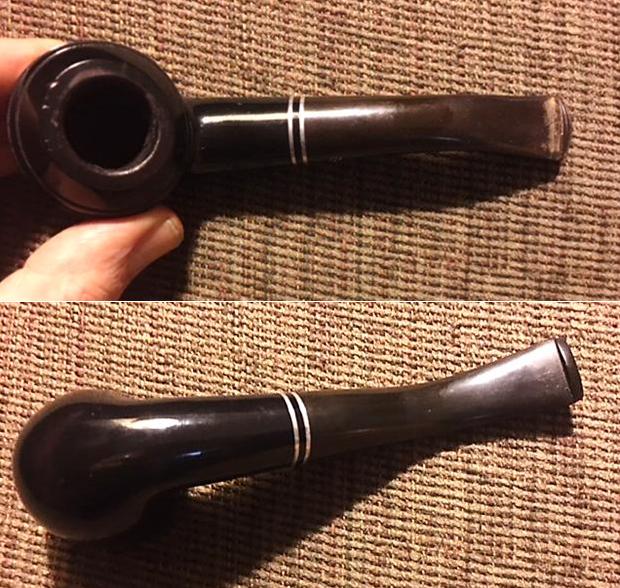
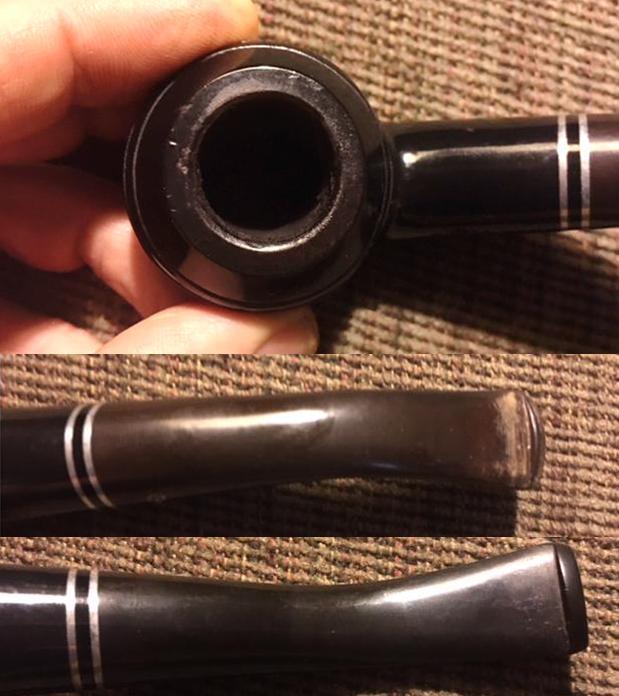
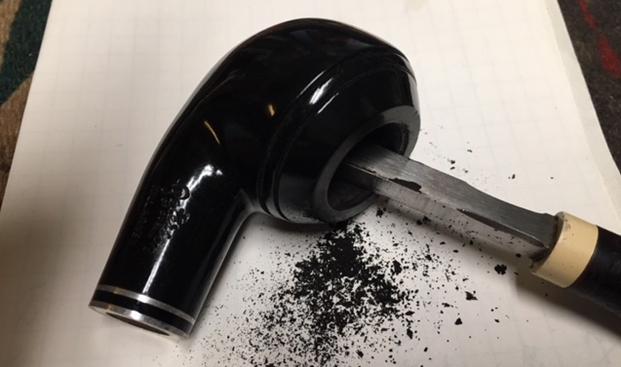
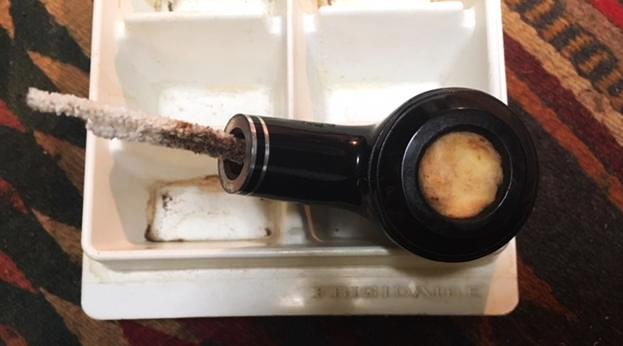
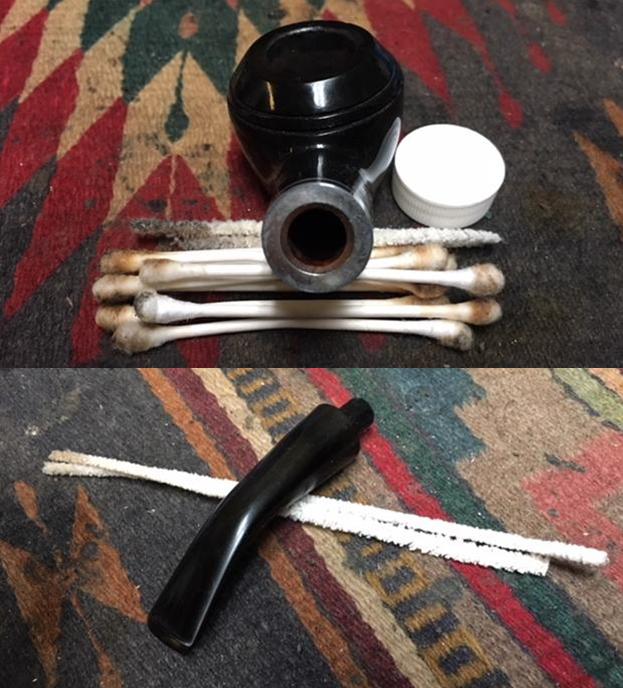
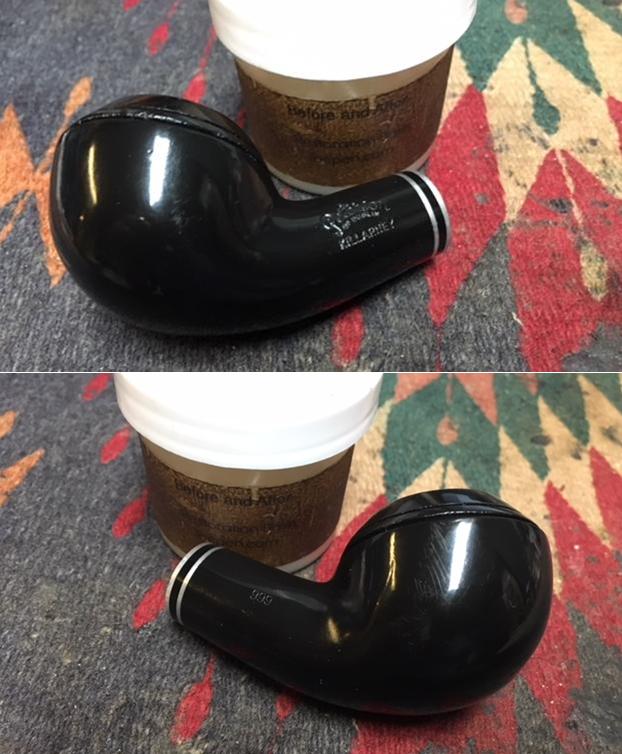
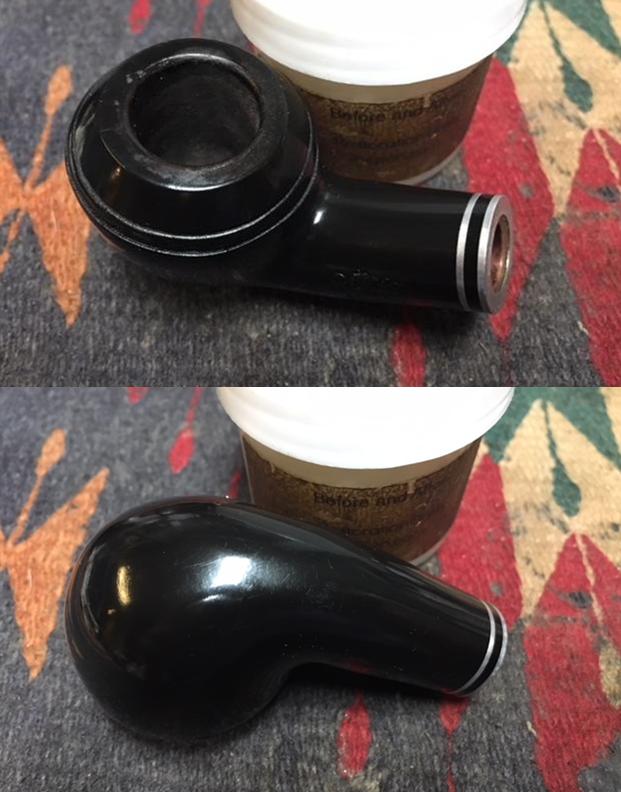
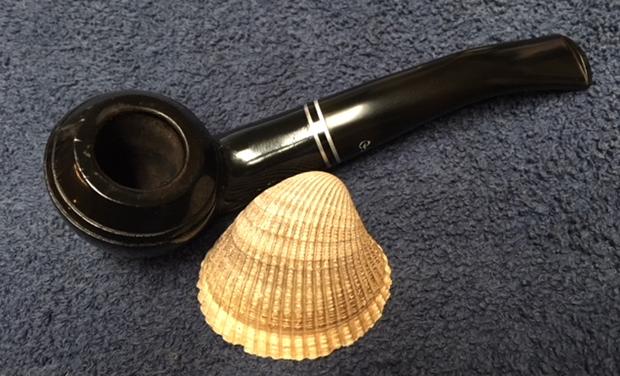
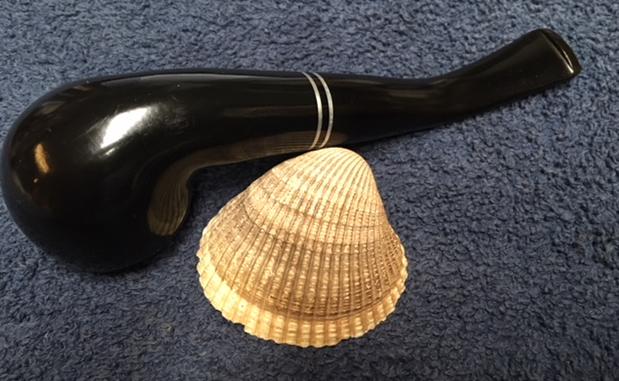
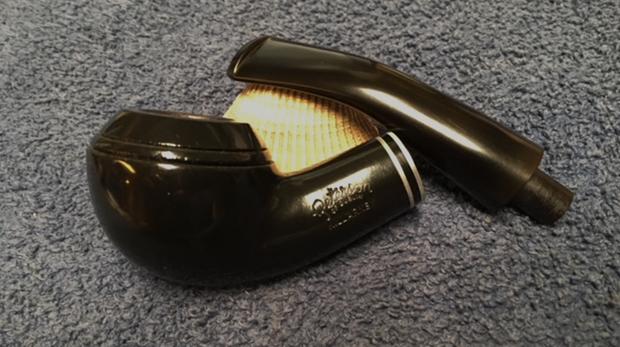
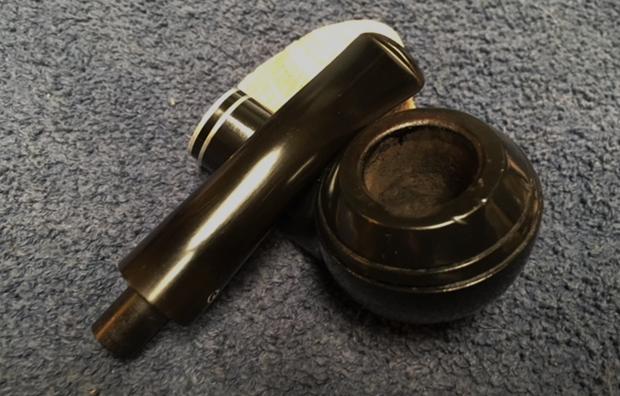
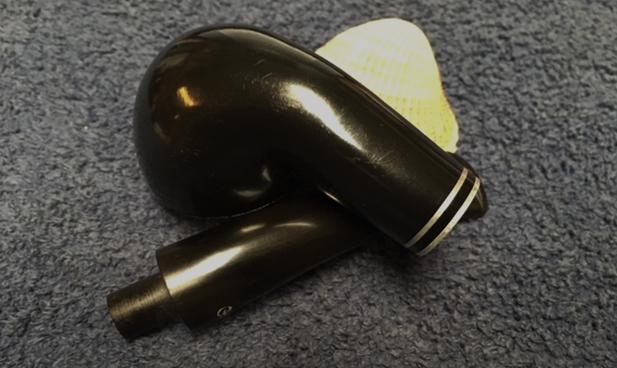
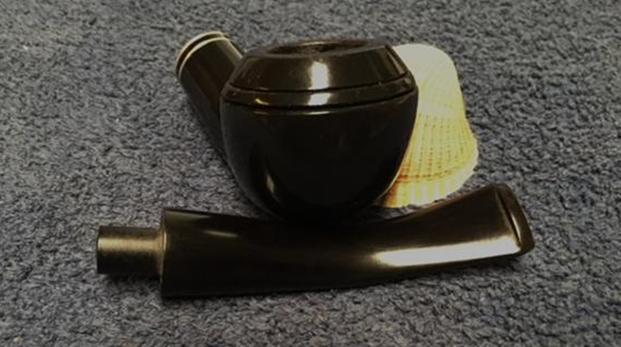
The next pipe on the work table was a Peterson of Dublin 999 – one of my favourite shapes. This one is a dress edition (coated with a shiny black paint). In researching the pipe a bit I found that it was part of what was called the Killarney Ebony Series. Where the typical Killarney sported a rich red stain, this one had a shiny black finish. There were a few very small dings but none breaking through the finish. The top of the bowl was a little dirty but nothing significant. The end of the shank had a silver band with a black acrylic insert. The pipe was a classic 999 Peterson’s Rhodesian with a thicker shank. The left side of the shank was stamped Peterson over of Dublin in an arc over Killarney. The right side was stamped with the shape number 999. The outside of the pipe was clean. There was a thin cake in the bowl, a slight buildup of grime on the top of the rim. The tapered fishtail stem was oxidized but the Peterson P logo on the left side was perfect. There were not any tooth marks and only light tooth chatter on the stem. I took photos of the pipe before I cleaned it up. I took a close up photo of the bowl and rim to show the condition of the pipe before I started to work on it. The top was dirty with some tarry residue but no damage to the surface of the rim. The bowl had a thin cake but looked to be solid. There was a very sweet smelling aromatic tobacco scent to the entire pipe. The finish of the bowl was in good condition. The second and third photos show the condition of the stem.I cleaned off the buildup on the top of the rim with a cotton pad and saliva until the rim top was clean. It would need to be polished but it was clean and undamaged. I reamed the bowl with a Savinelli Fitsall Pipe Knife and scraped the cake back to bare briar.Because of the overwhelming sweet aromatic smell I stuffed cotton balls into the bowl and filled it with 99% isopropyl alcohol to leach out the oils in the briar. I put a folded pipe cleaner in the shank to wick out the oils in the shank. I use an ear syringe (bulb) to put the alcohol in the bowl and keep it off of the finish. I did not want to damage the painted shiny black finish with the alcohol. The P logo on the stem was in perfect condition so I worked around that so as not to damage it. I lightly sanded the stem down with 220 grit sandpaper to remove the oxidation and tooth chatter on both sides of the stem at the button. I polished the stem with micromesh sanding pads – wet sanding with 1500-2400 grit pads and dry sanding with 3200-12000 grit pads. I wiped the stem down after each pad with Obsidian Oil to preserve and protect the rubber. I finished polishing the stem with Before & After Pipe Stem Polish – both Fine and Extra Fine polish. I polished it and afterward I gave it a final coat and set it aside to dry. After the bowl had been sitting with the alcohol and cotton balls overnight I took the following photo to show how much of the tars and oils leached out into the cotton. I removed them and threw them away. I scrubbed out the bowl with a cotton pad to remove the remaining debris from the cotton. I scrubbed out the shank – working on the mortise with pipe cleaners, cotton swabs and alcohol until it was clean. I cleaned the airway in the shank and stem with alcohol and pipe cleaners as well. I always use 99% isopropyl alcohol because of the low percentage of water in it and the quick evaporation rate.With the interior and exterior of the pipe clean I rubbed down the briar with Before & After Restoration Balm. I worked it into the plateau on the rim top and shank end as well as into the smooth briar on the rest of the bowl and shank. The Balm works to clean, enliven and protect the briar. I worked it into the briar with my fingertips and the help of a horsehair shoe brush. I let the balm sit for a little wall and then buffed with a cotton cloth to raise the shine. The briar came alive with the balm. I took the following photos to give a picture of the pipe at this point in the process. I the polished the bowl and stem on the buffing wheel with Blue Diamond to remove the remaining small scratches and raise the shine. I gave the bowl and stem multiple coats of carnauba wax and buffed the pipe with a clean buffing pad to raise the shine. I hand buffed it with a microfiber cloth to deepen the shine. The pipe polished up pretty nicely. This turned out to be a beautiful pipe in terms of shape and finish. The finished pipe is shown in the photos below. The dimensions are Length: 6 inches, Height: 1 1/2 inches, Outside diameter of the bowl: 1 3/4 inches, Chamber diameter: 3/4 of an inch. Thanks for walking through the restoration with me as I worked over the Peterson’s Killarney Ebony. I will be adding it to the rebornpipes store shortly so if you are interested in adding it to your collection send me an email or a message on Facebook. Thanks for looking.