Blog by Steve Laug
This morning I went through my box of stummels (bowls) here and picked out a Pot shaped bowl that had some promise to me. I went through my can of stems and found an oval shaped stem with the casting marks on the sides and button end. The pipe I chose to work on is an interesting Malaga Pot with a mixture of rusticated portions and smooth portions on the bowl and shank sides. I have worked on a lot of Malaga pipes in the past so I am not a stranger to the brand. I have included the link below to a bit of history on the brand that I compiled.
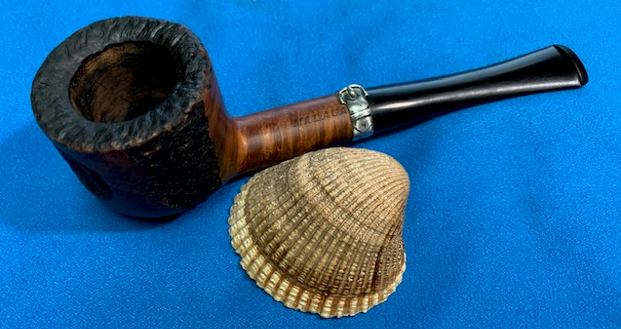
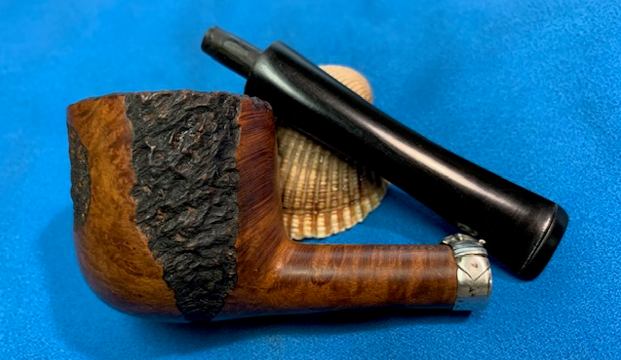
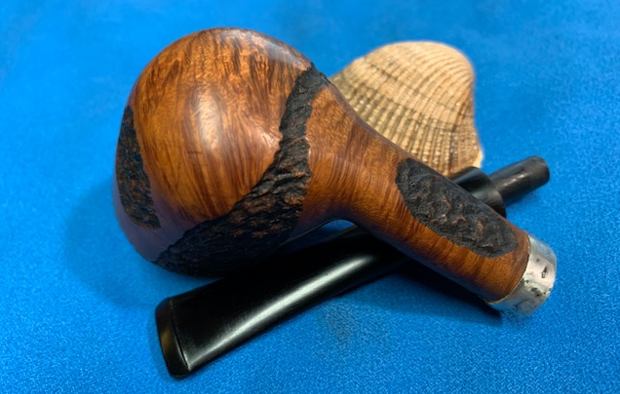
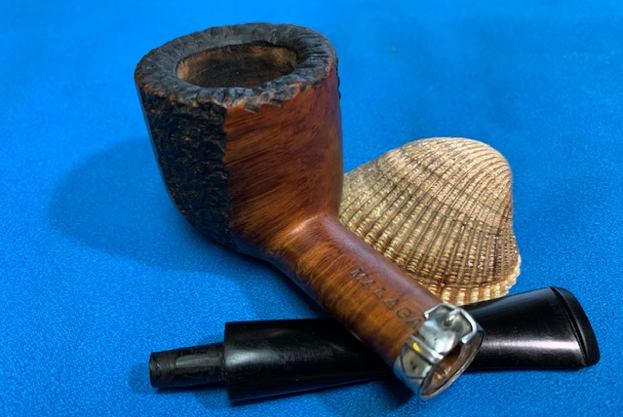
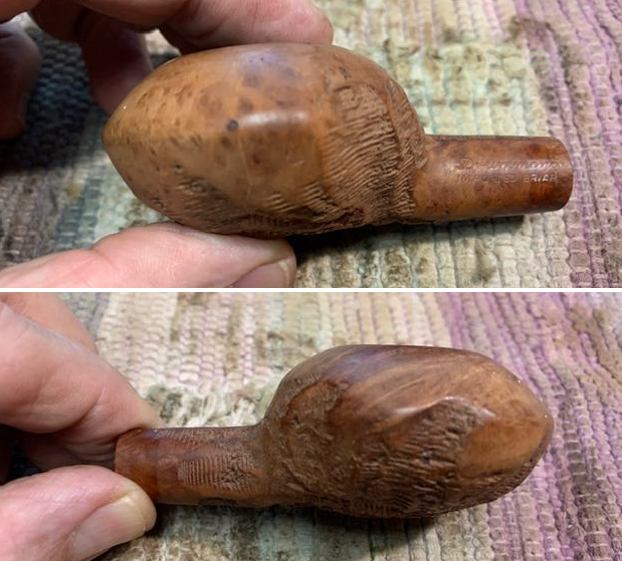
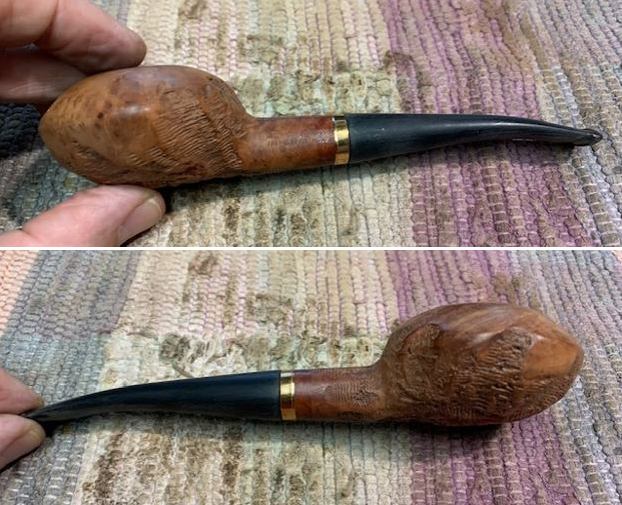
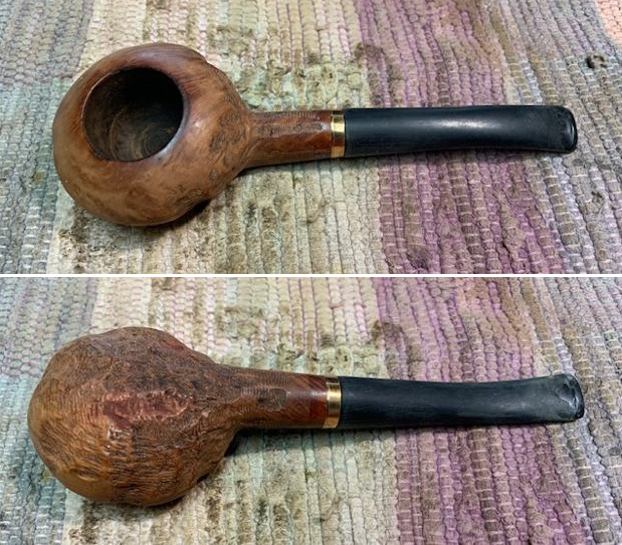
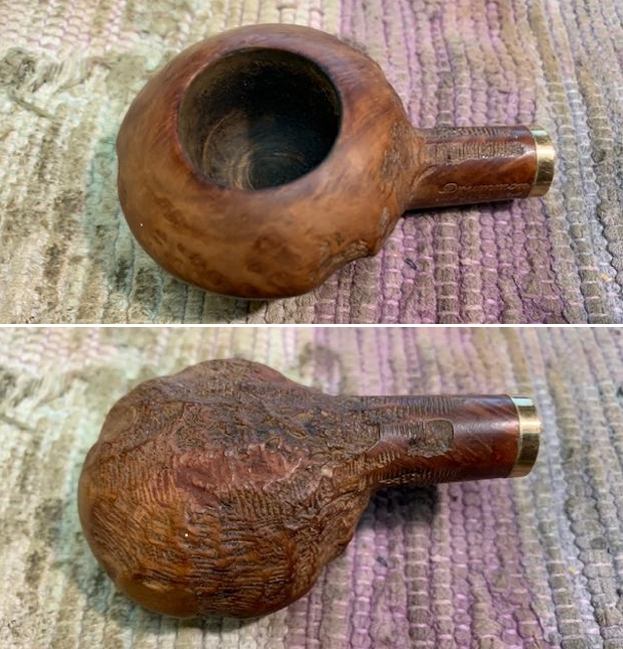
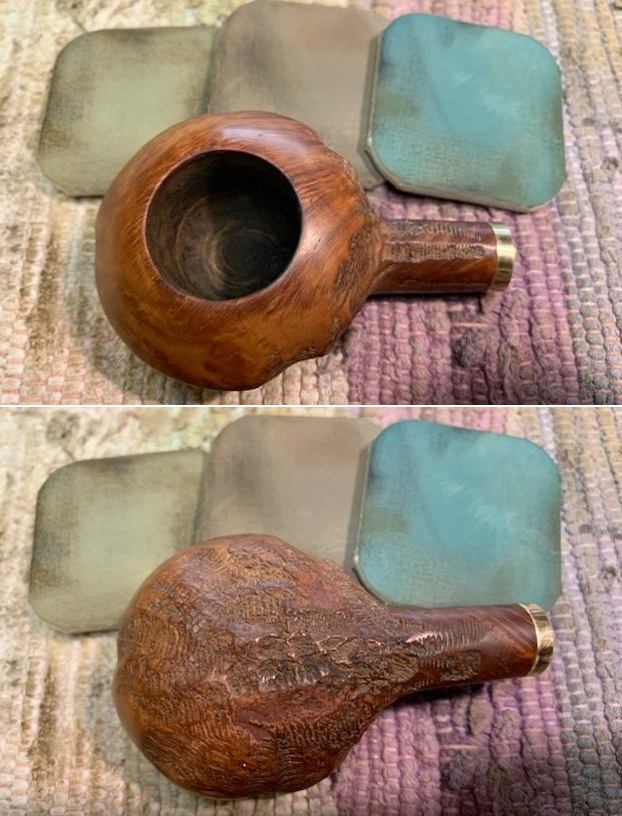
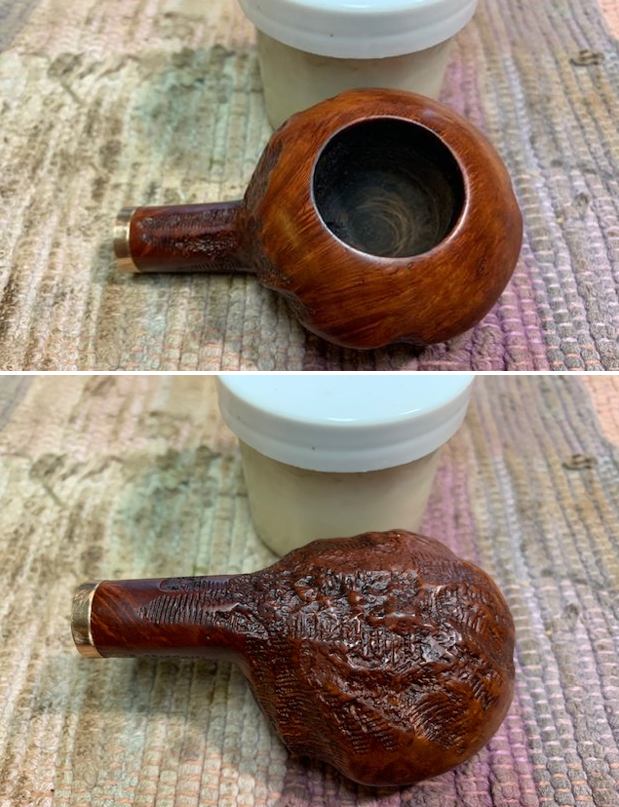
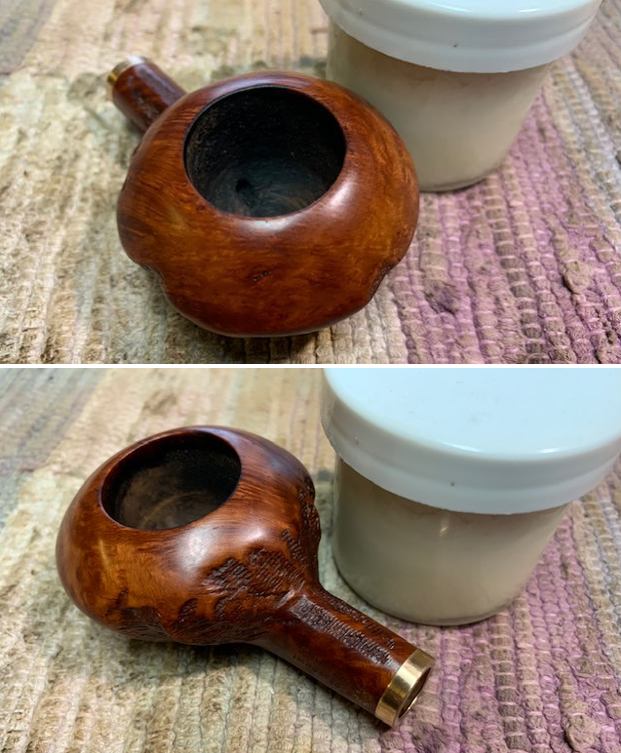
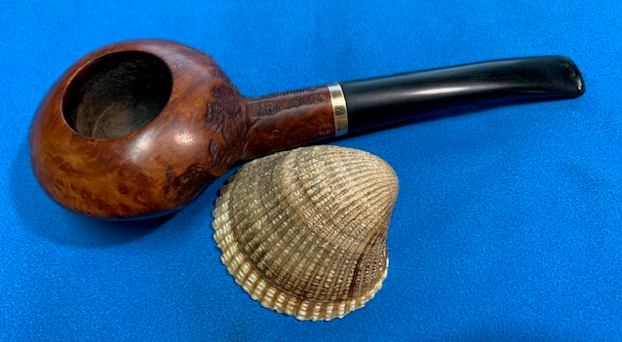
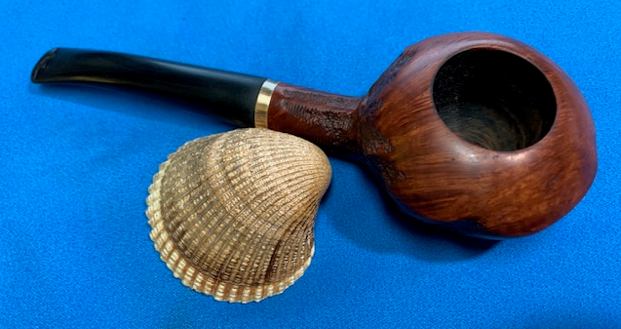
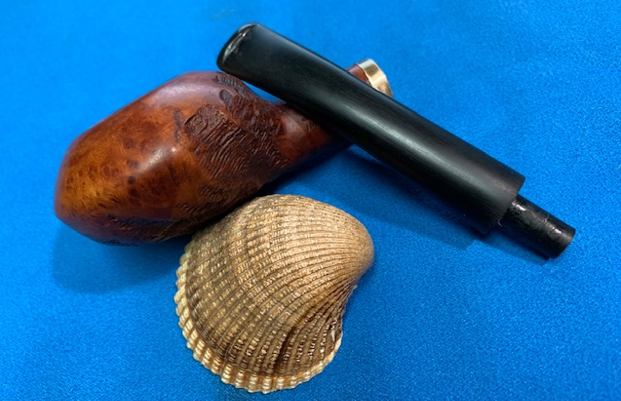
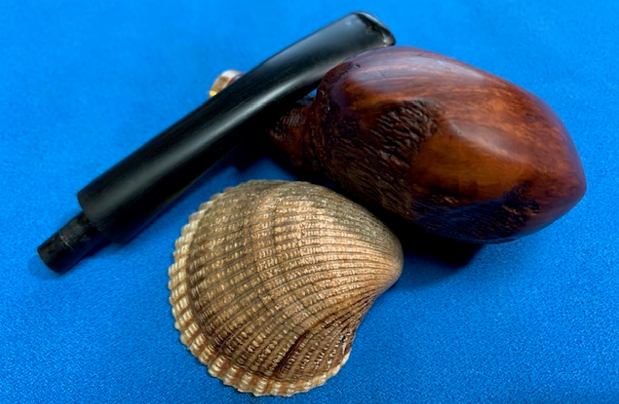
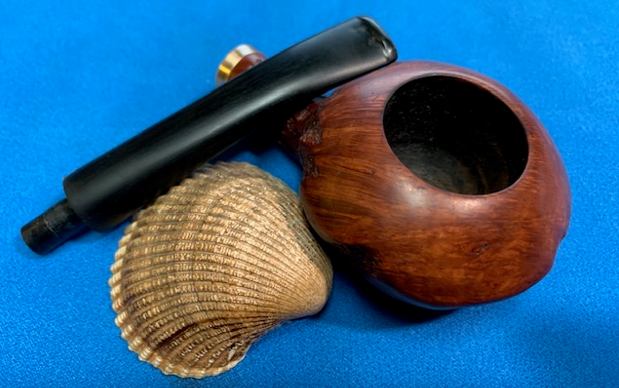
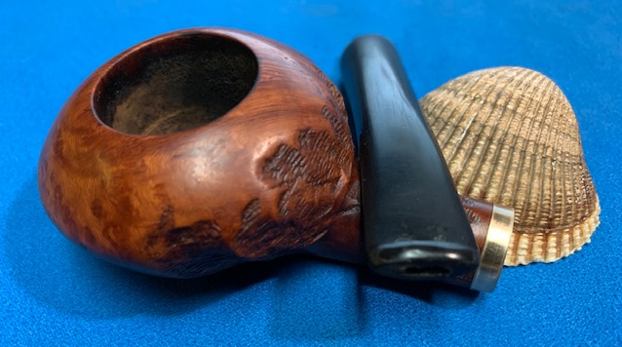
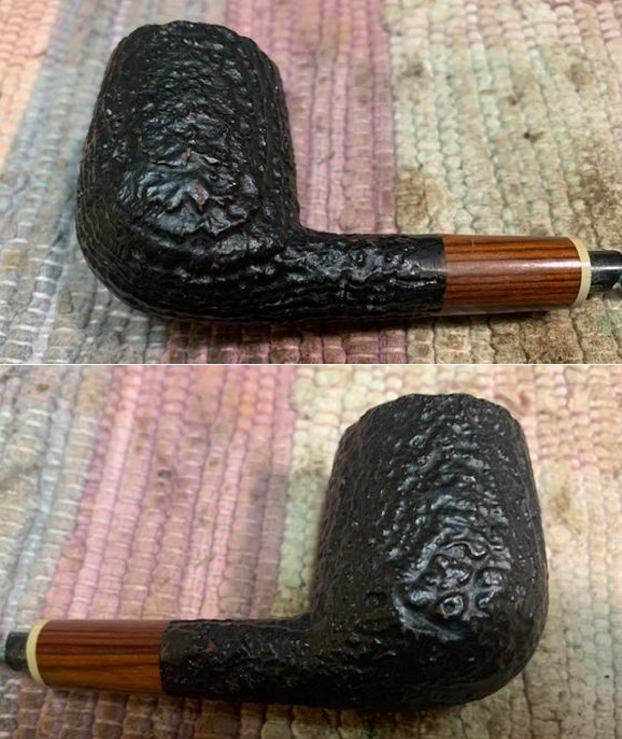
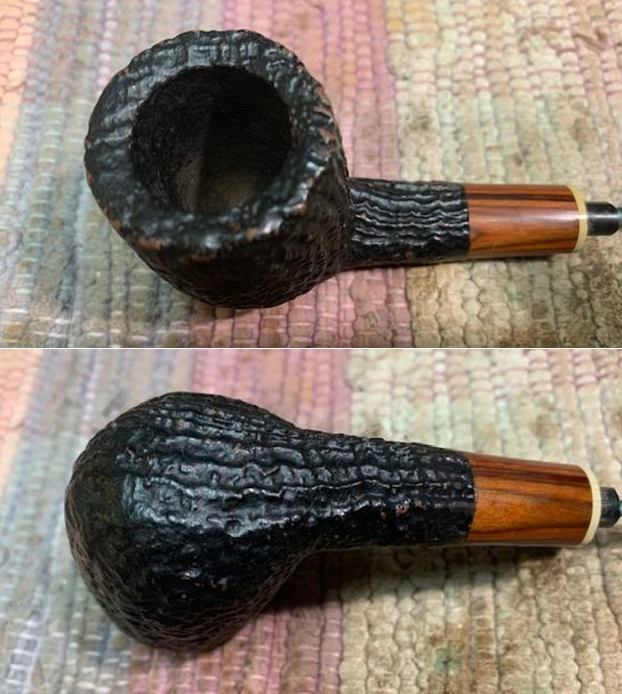
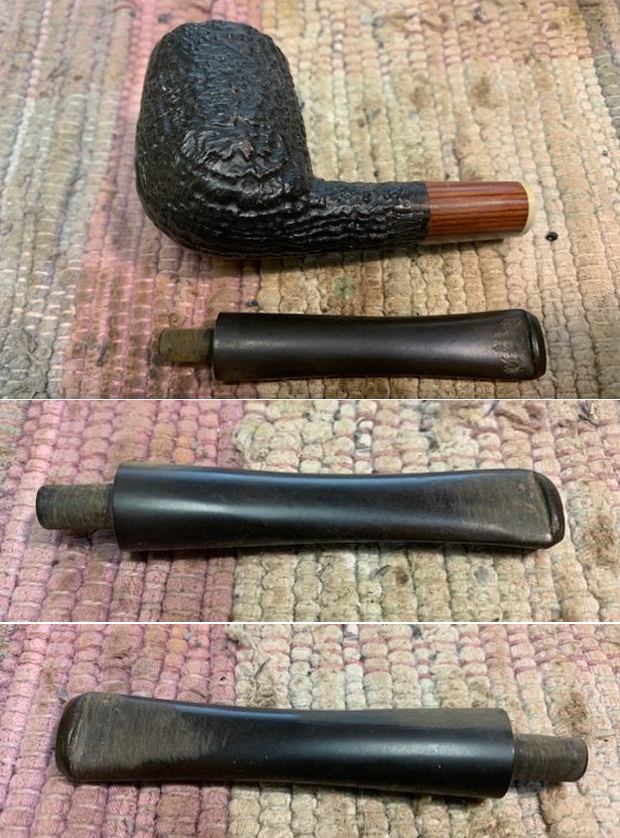
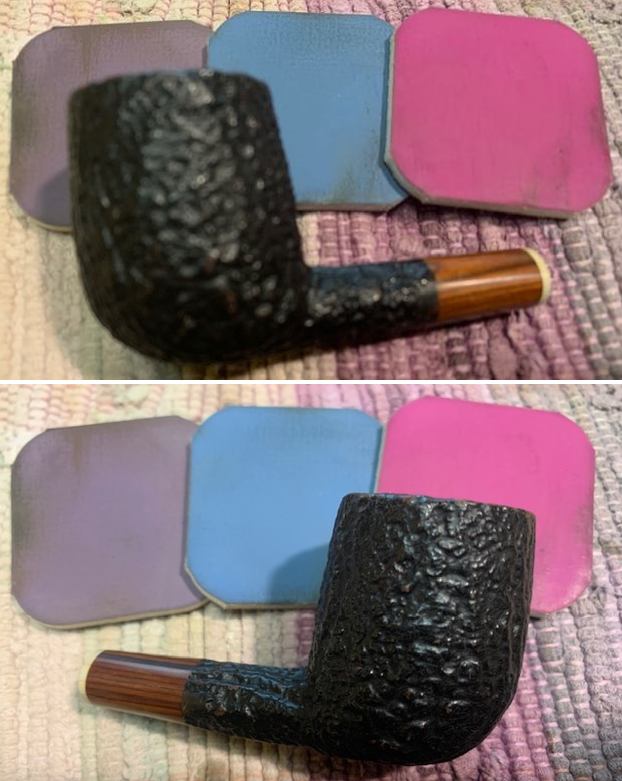
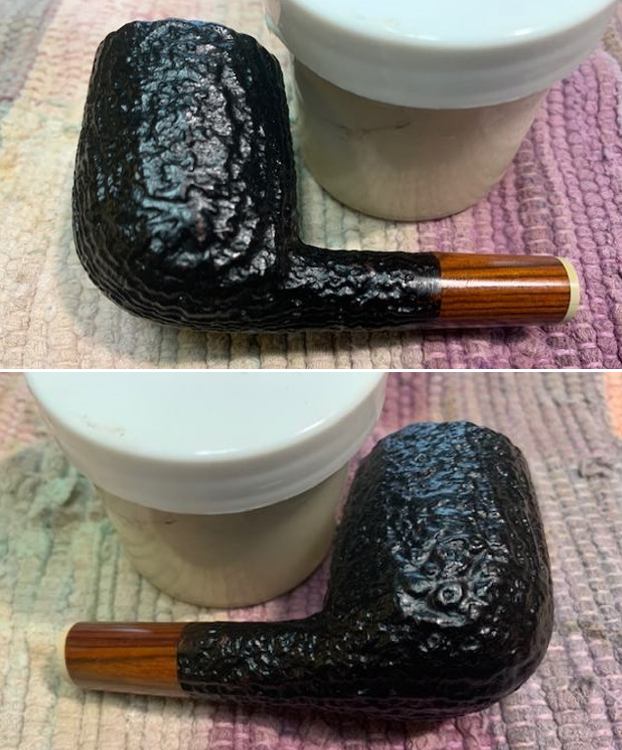
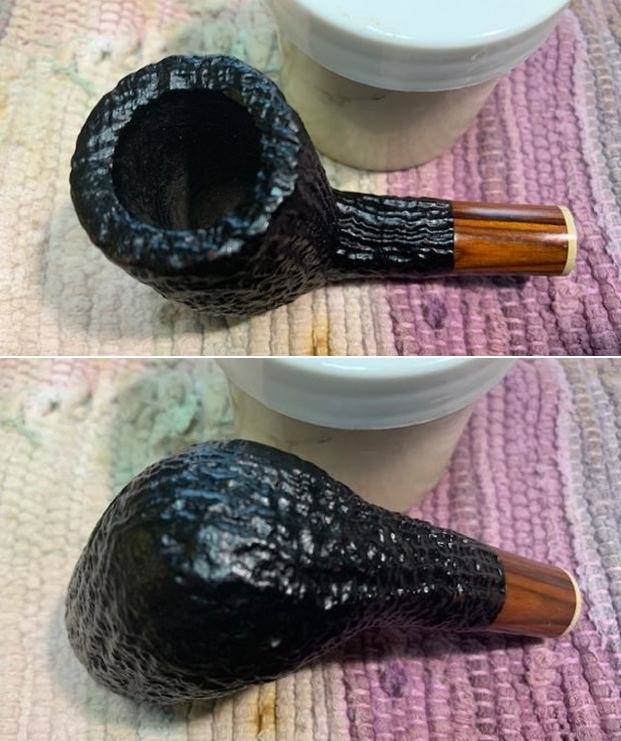
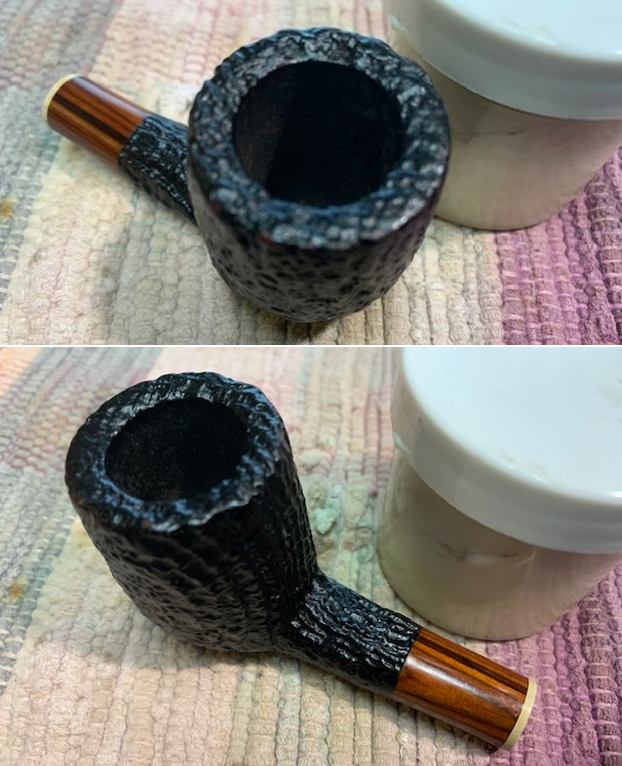
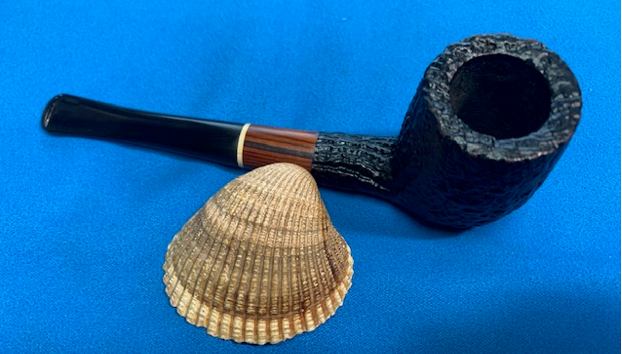
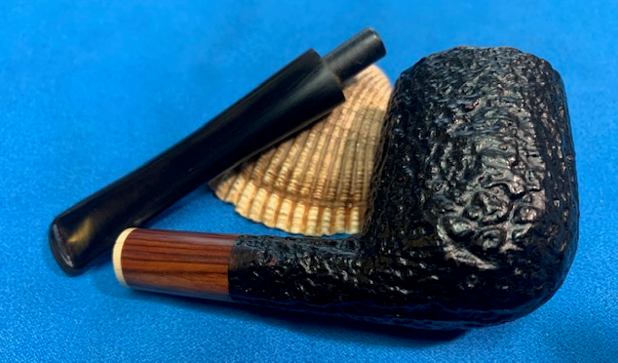
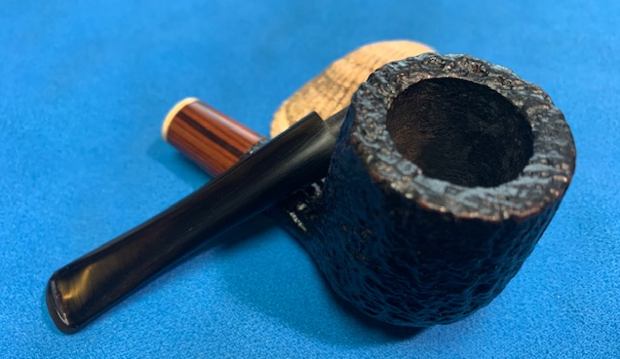
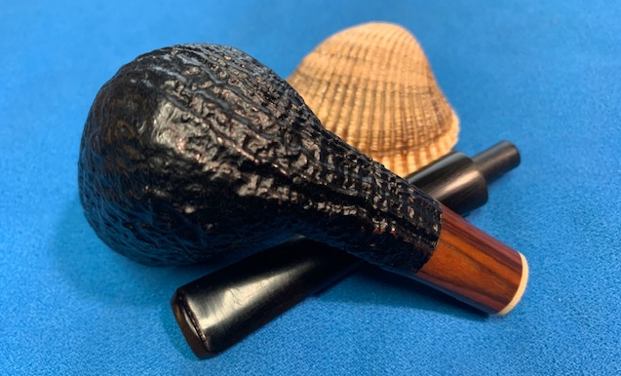
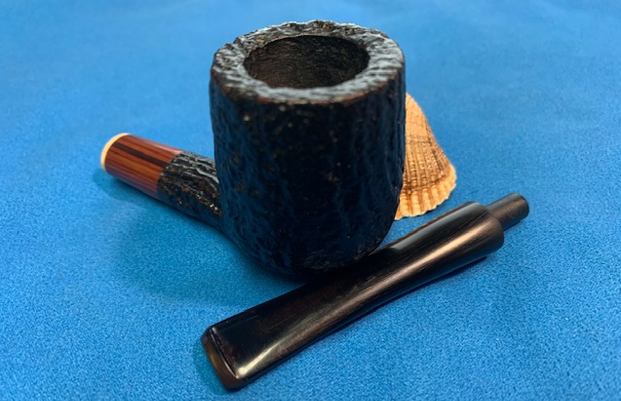
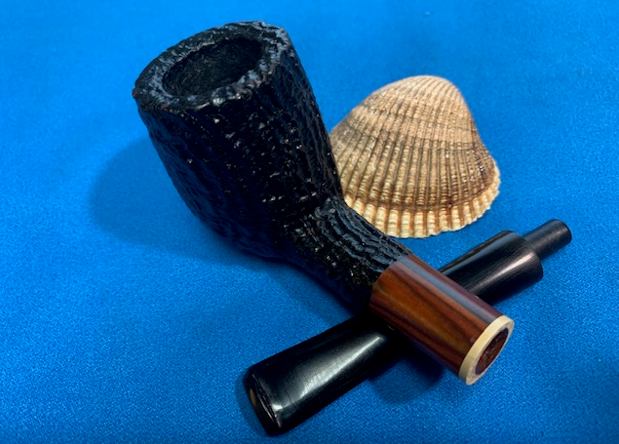
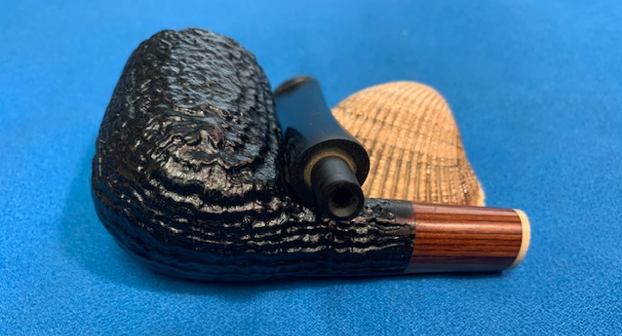
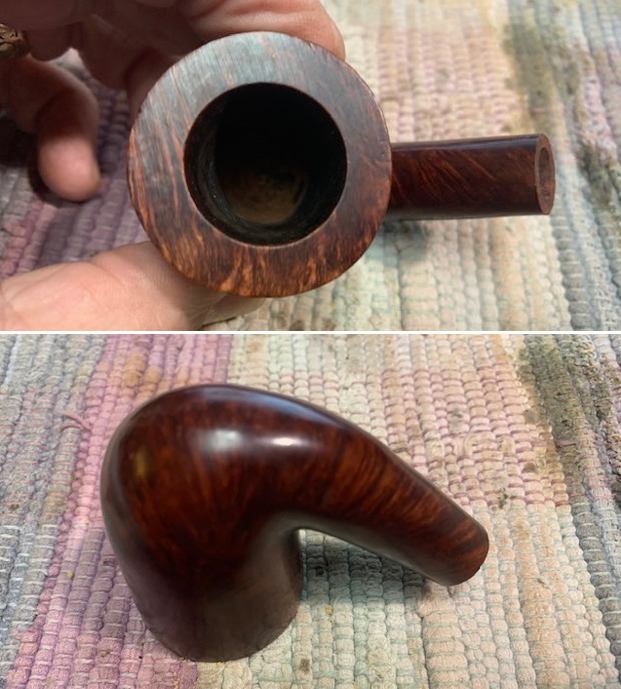
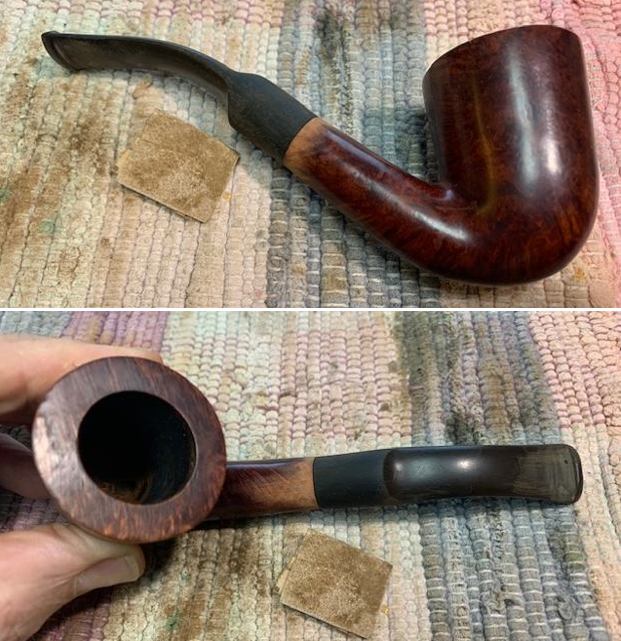
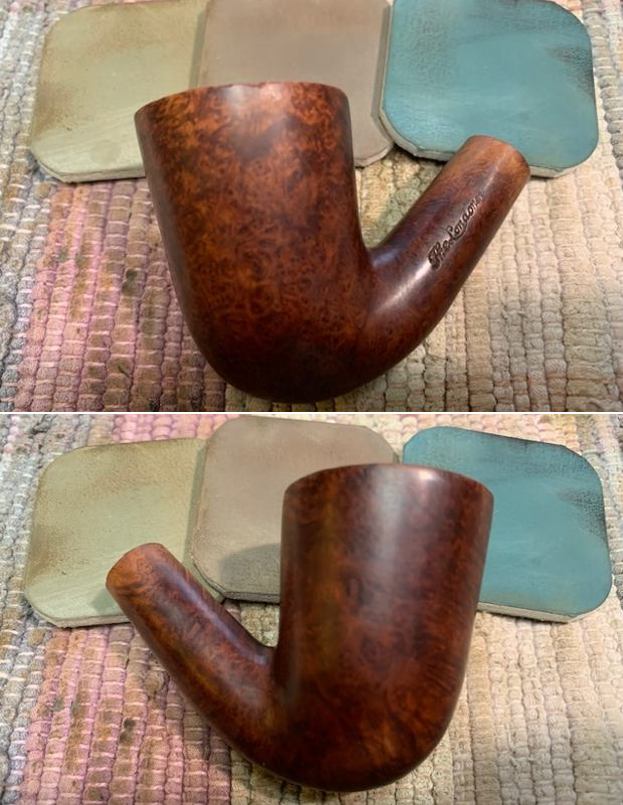
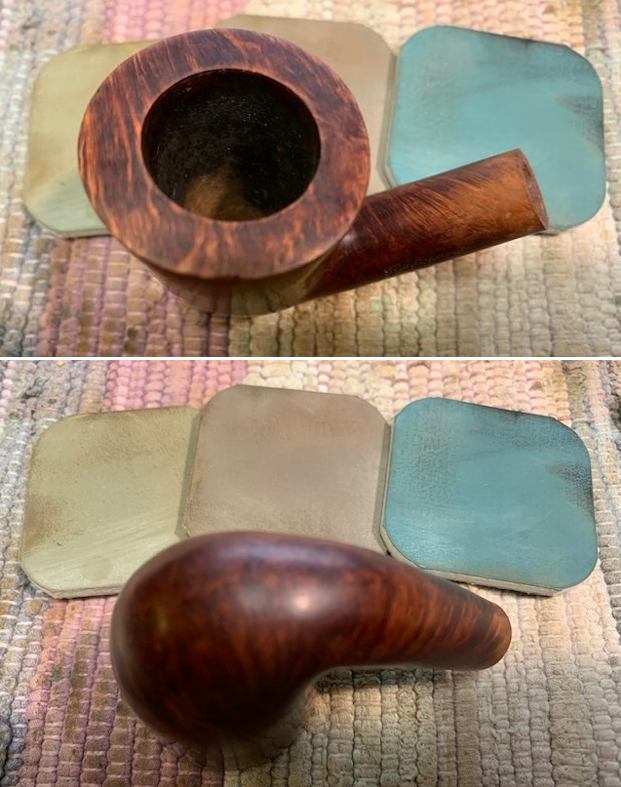
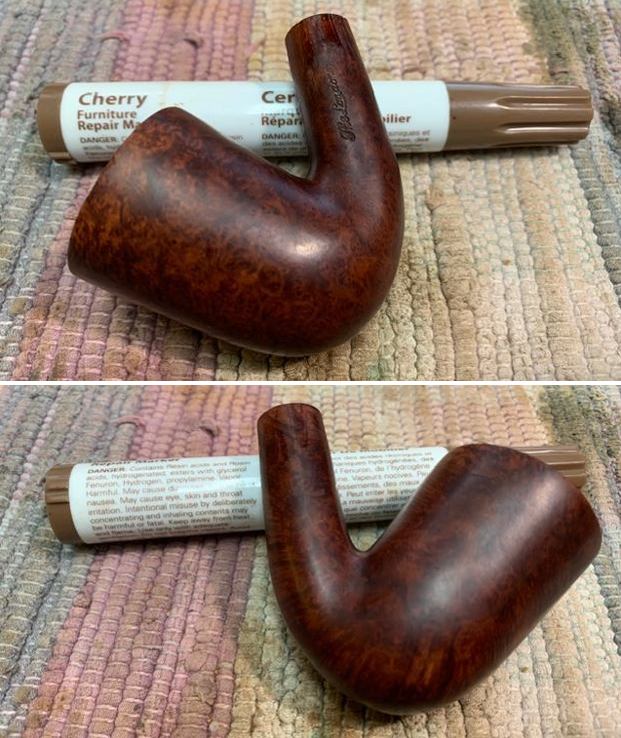
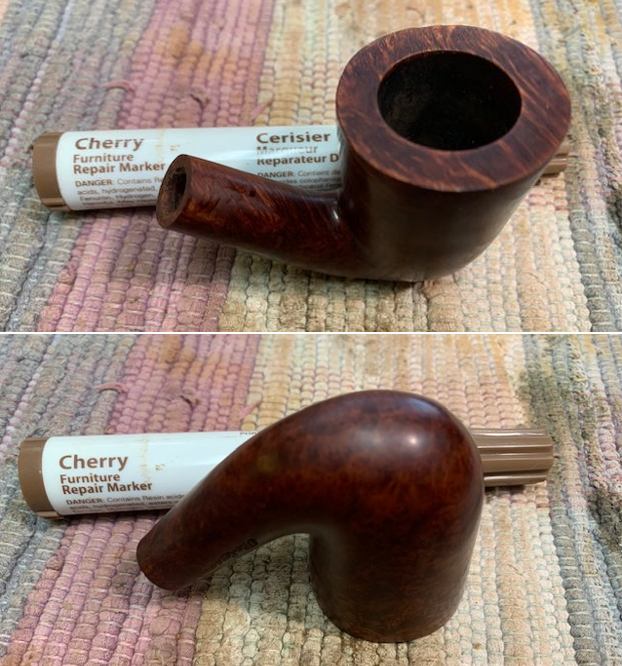
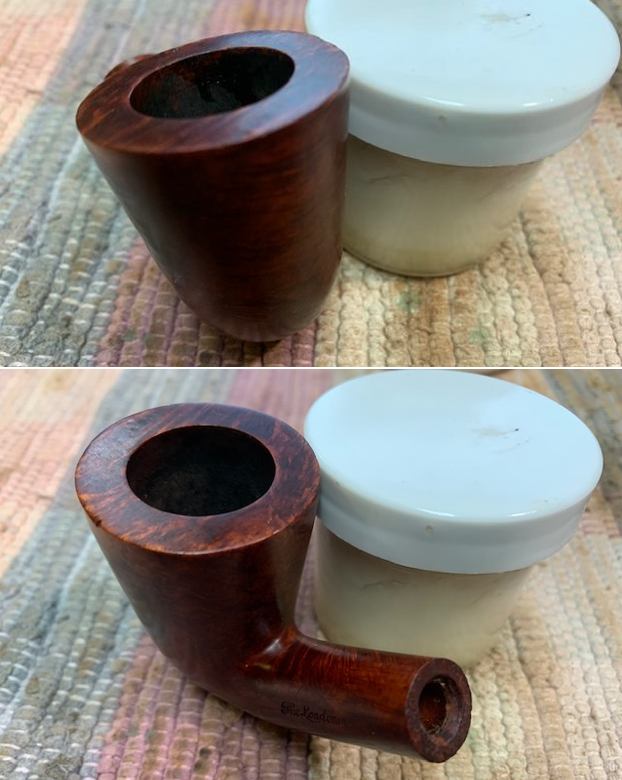
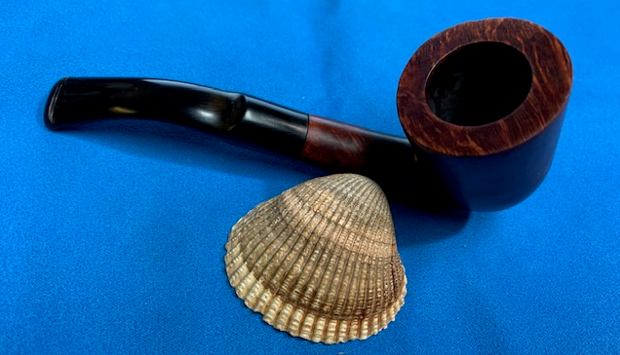
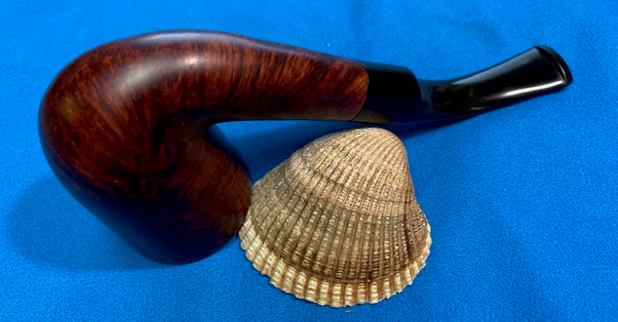
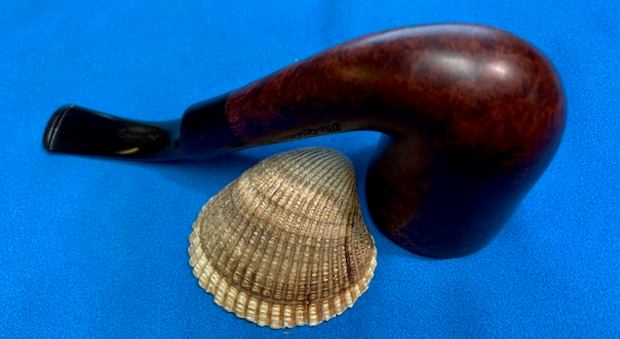
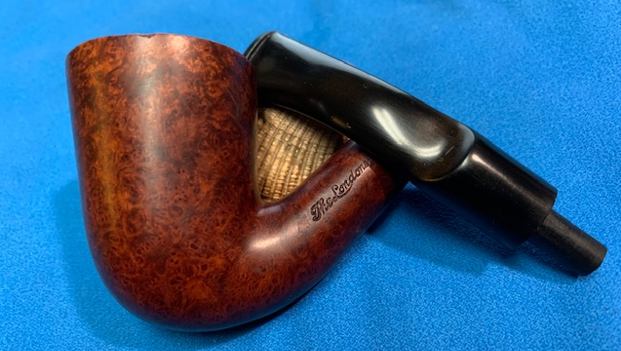
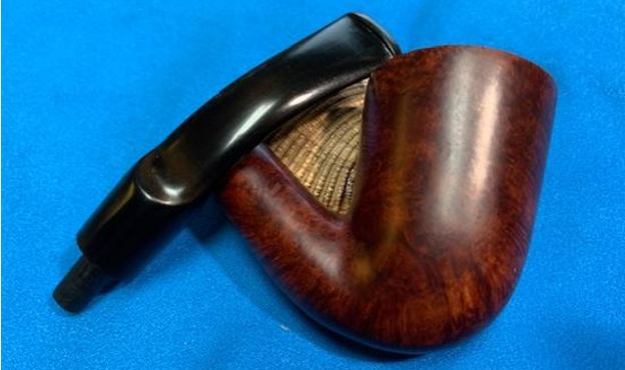
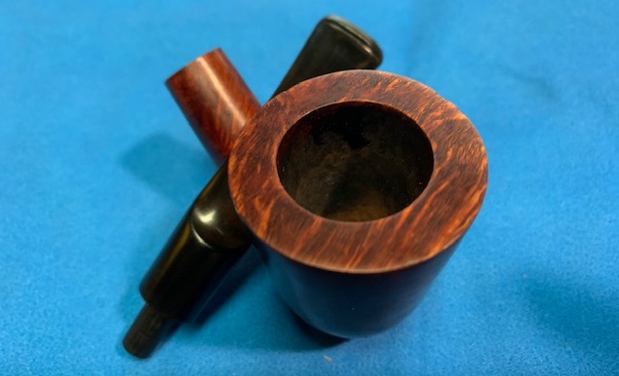
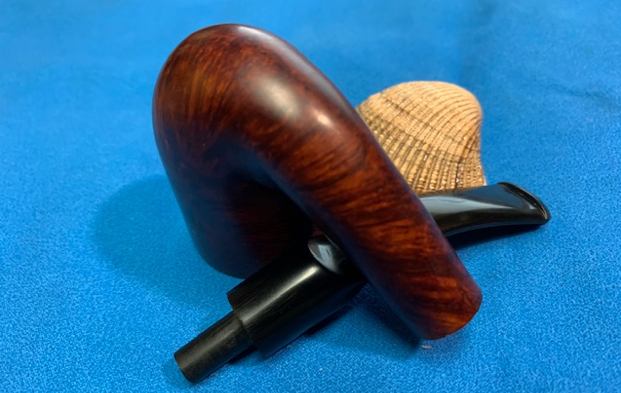
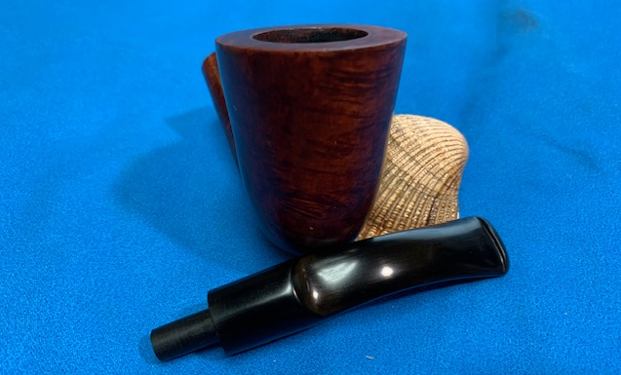
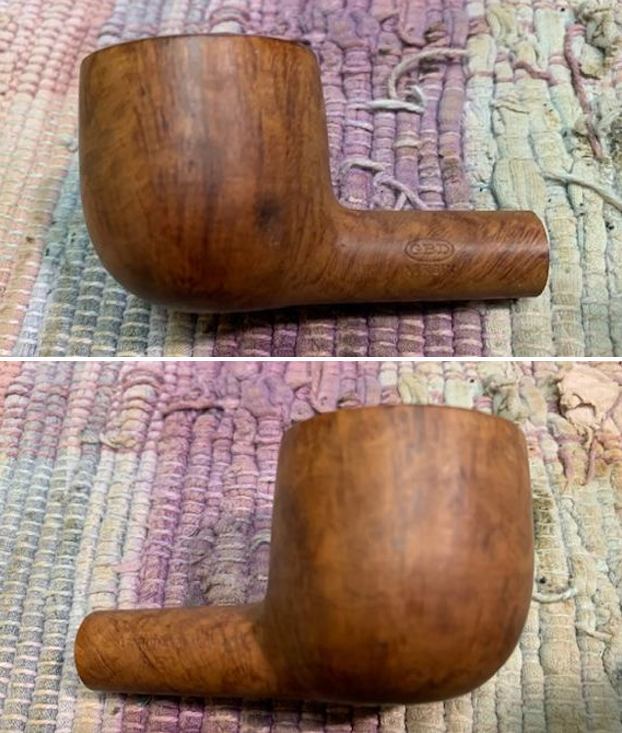
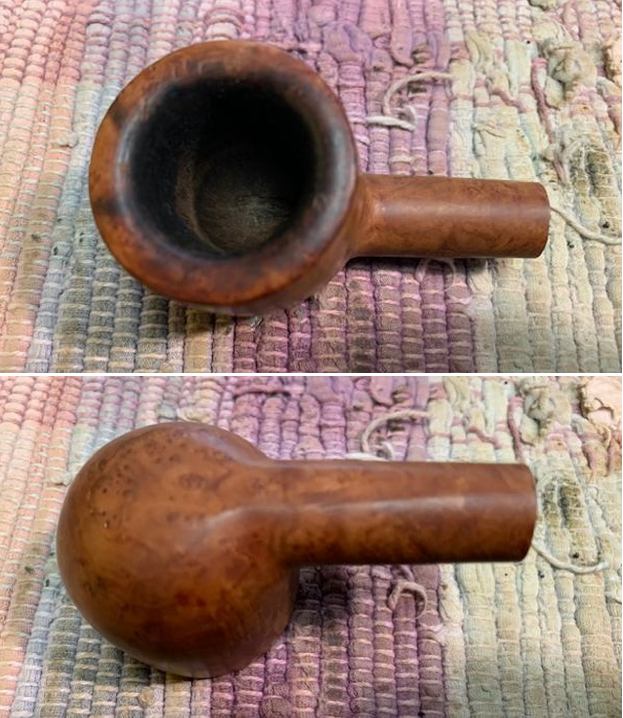
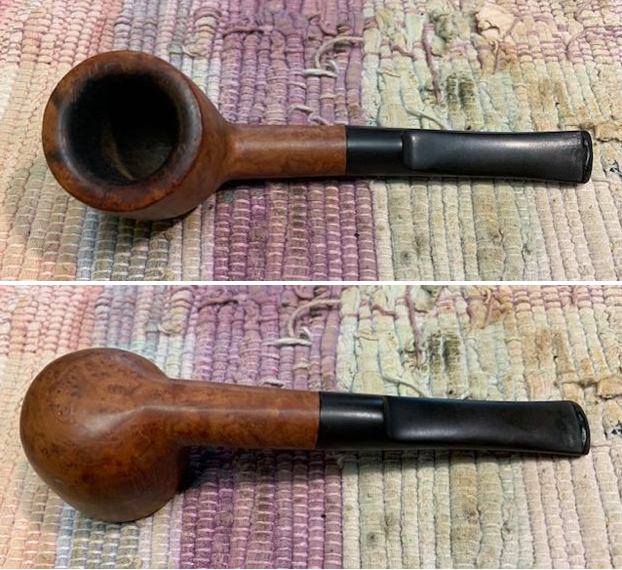
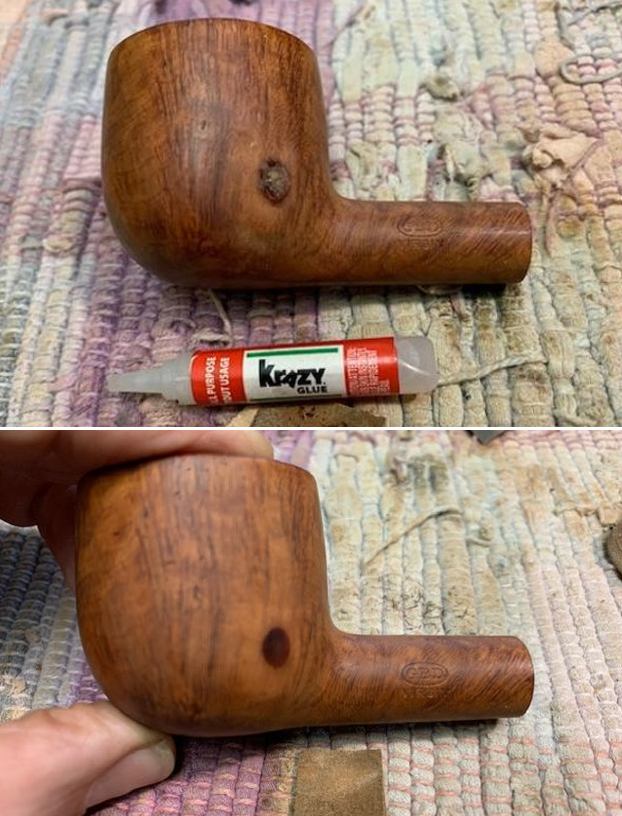
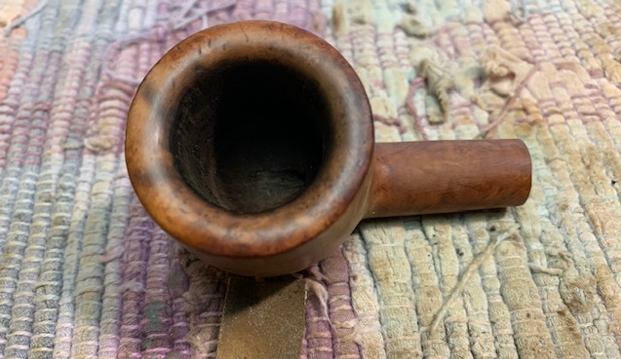
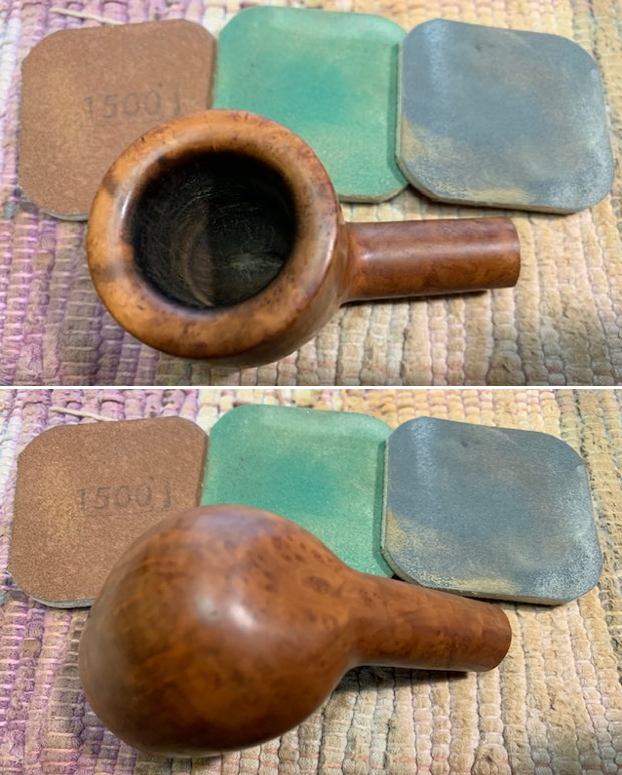
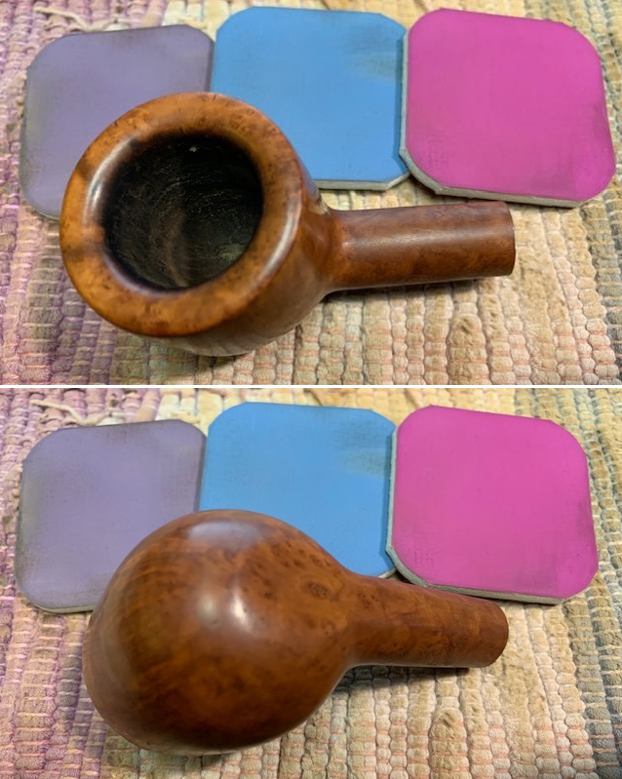
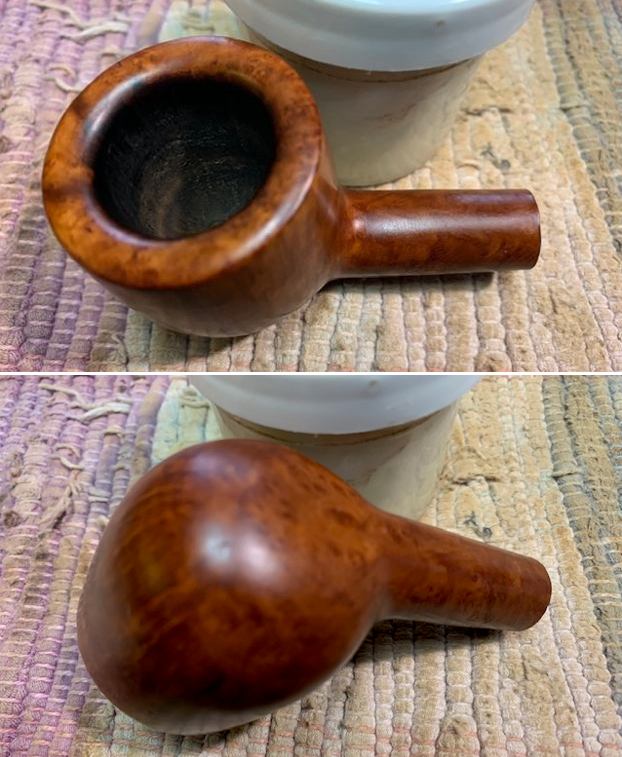
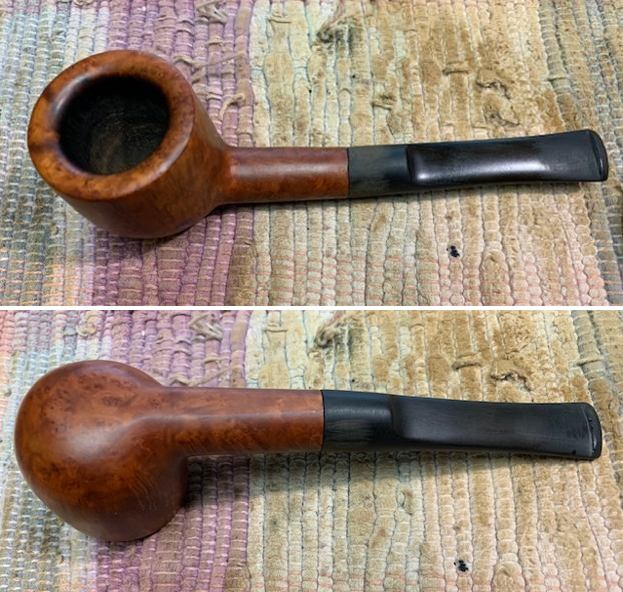
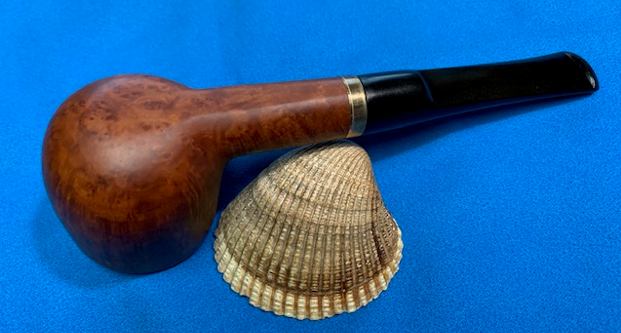
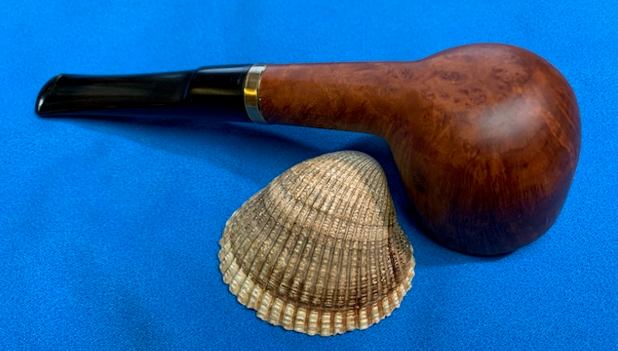
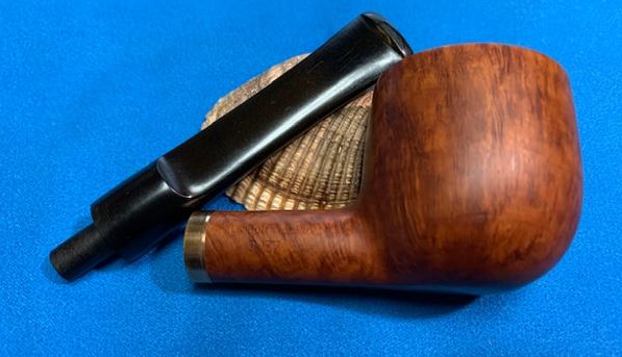
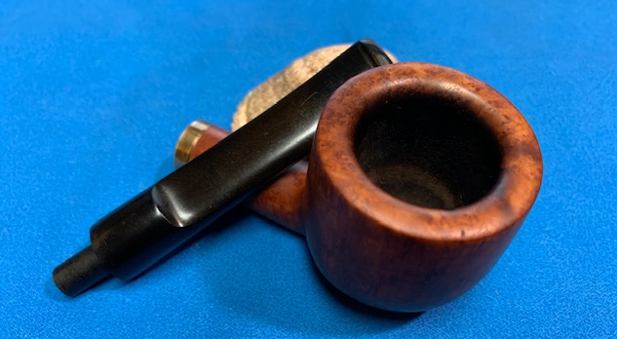
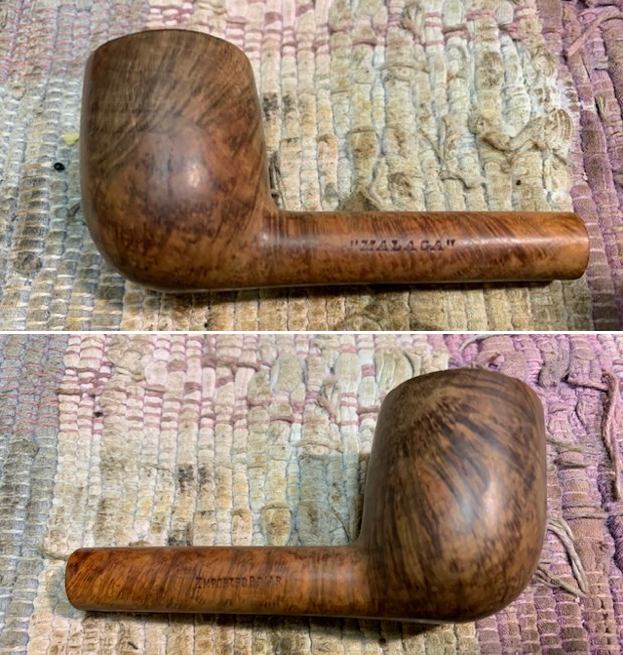
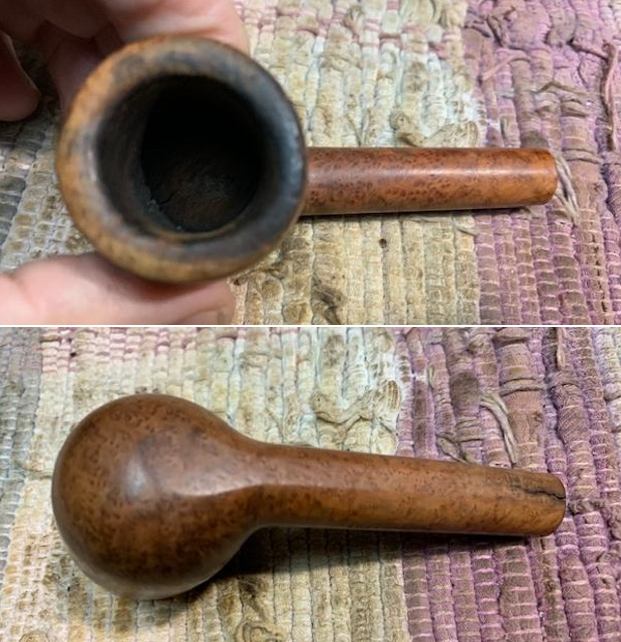
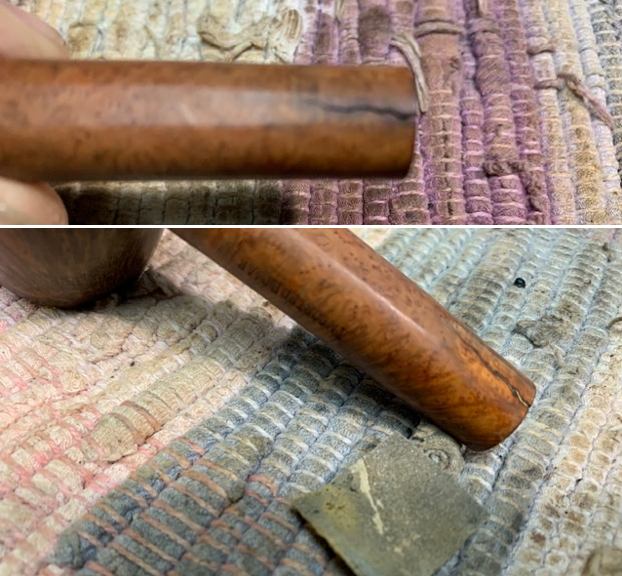
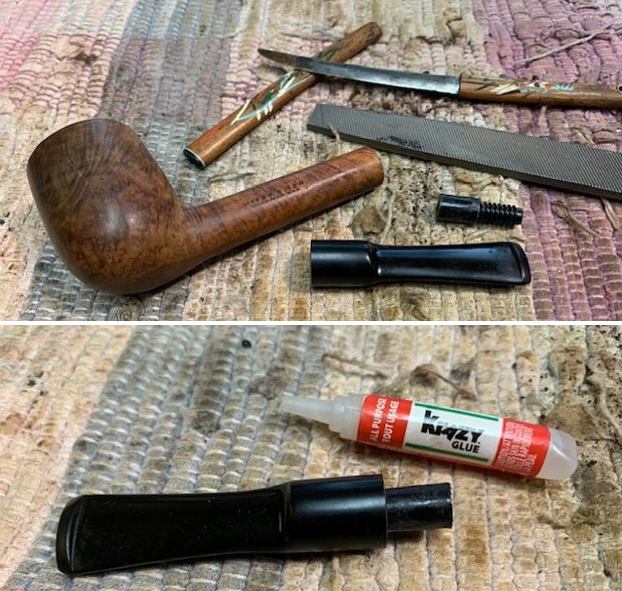
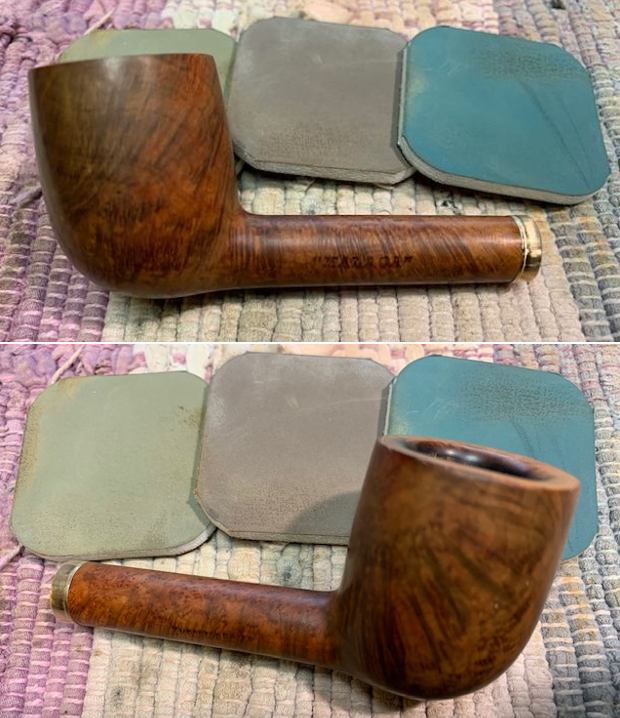
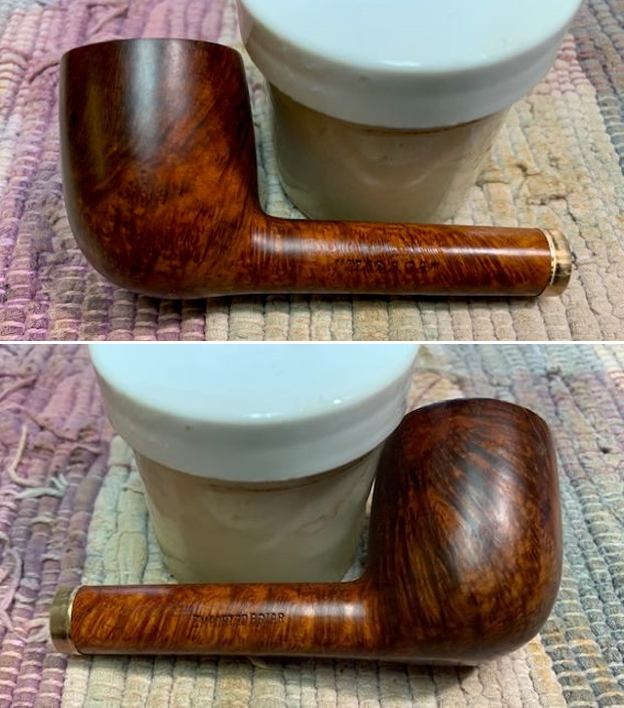
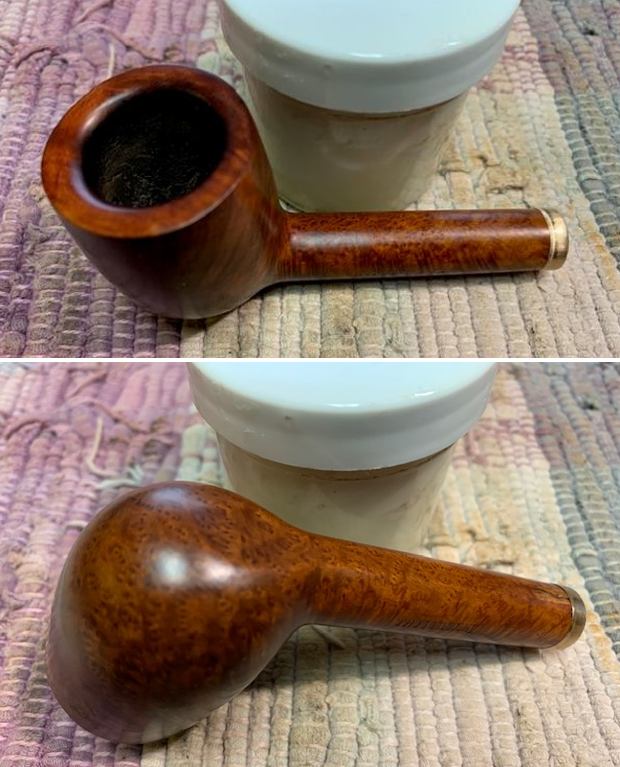
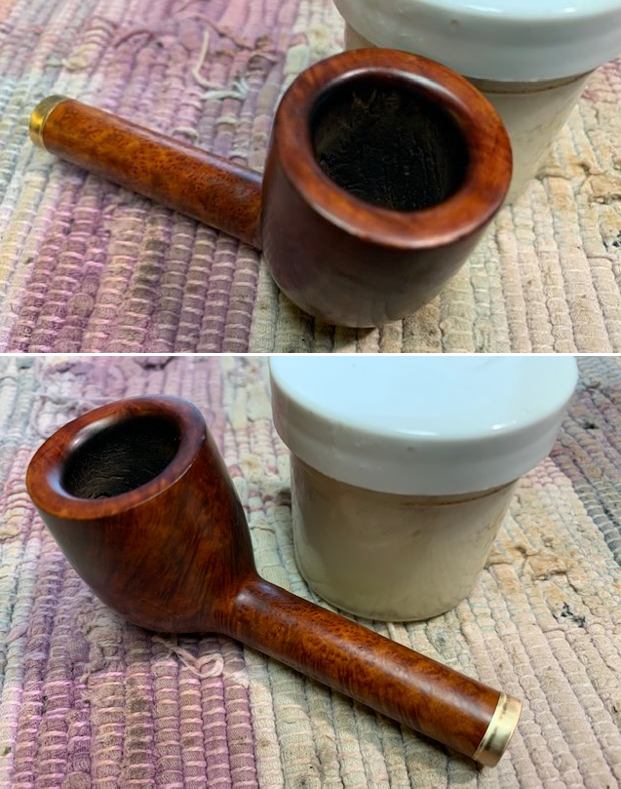
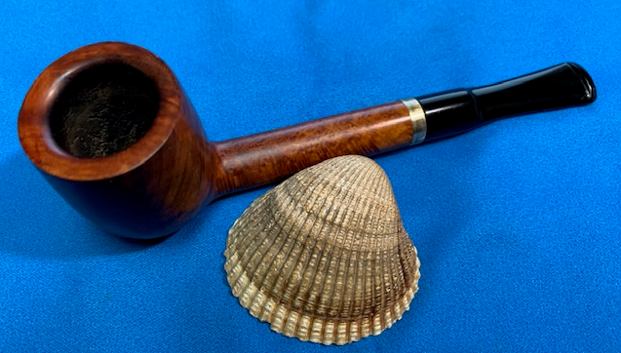
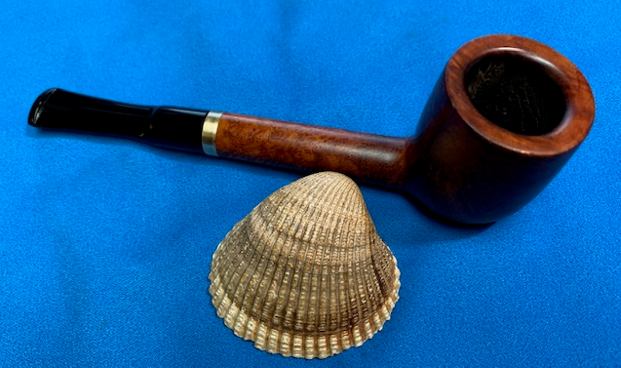
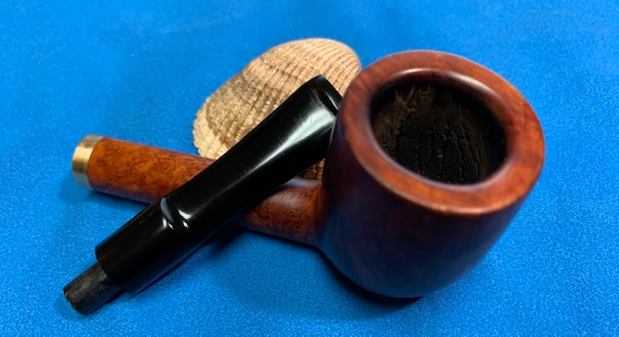
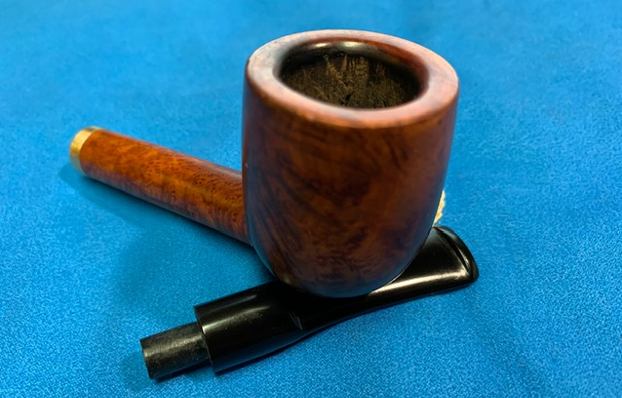
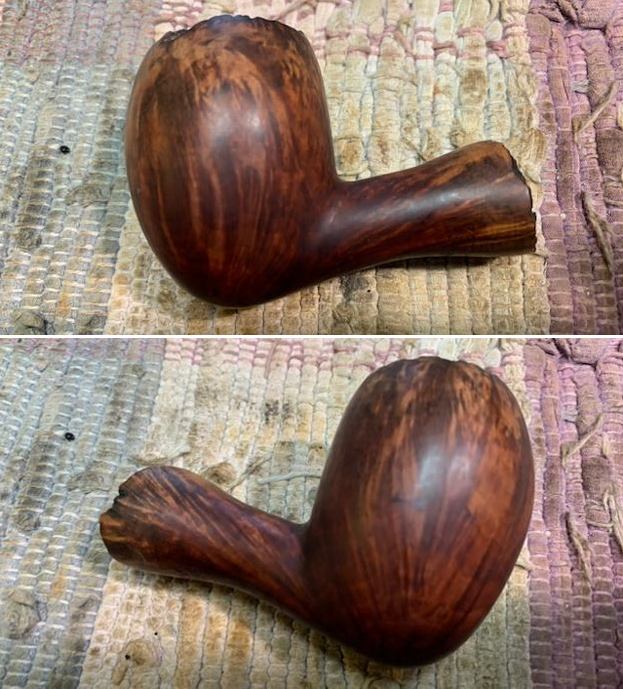
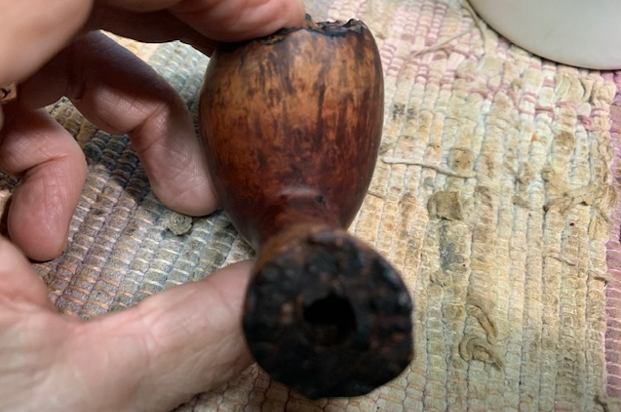
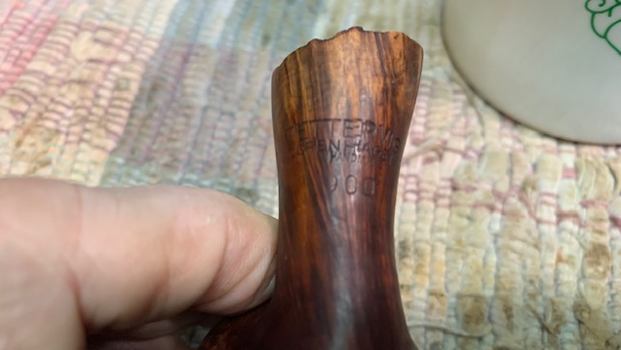
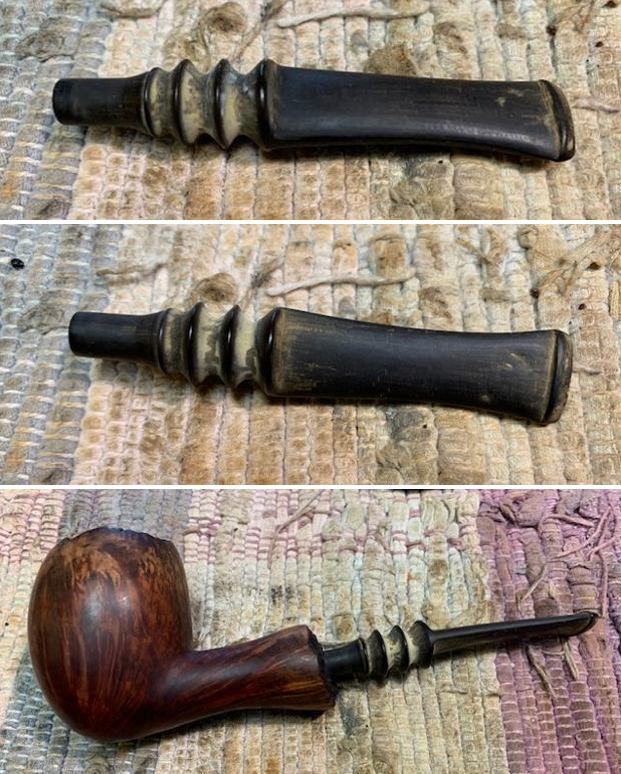
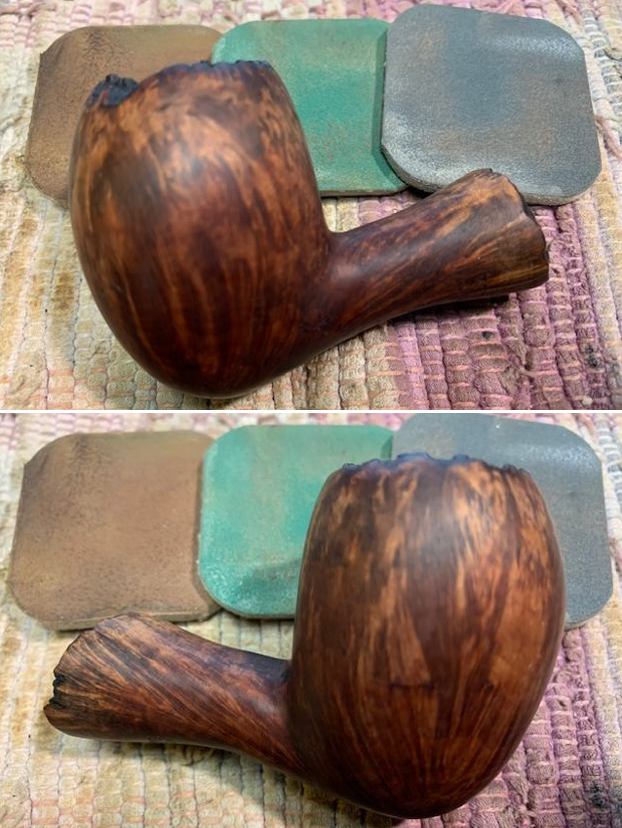
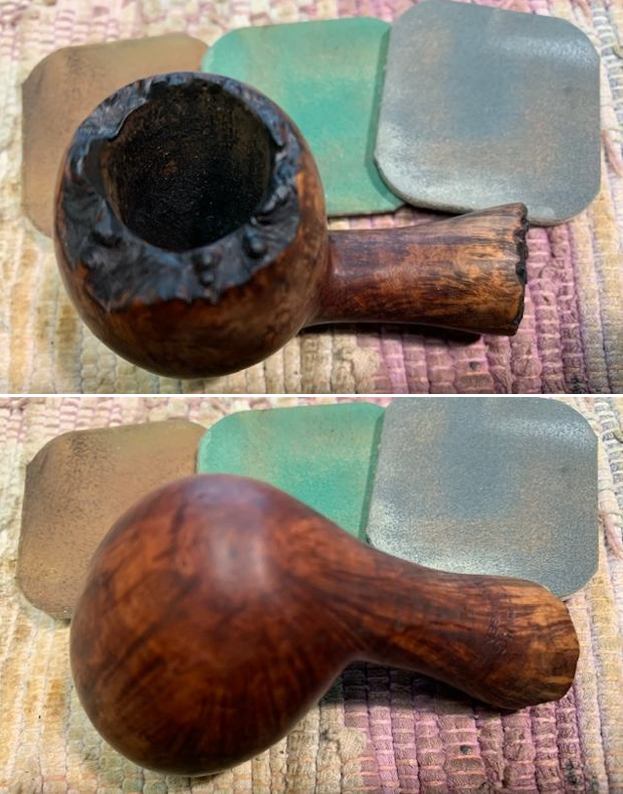
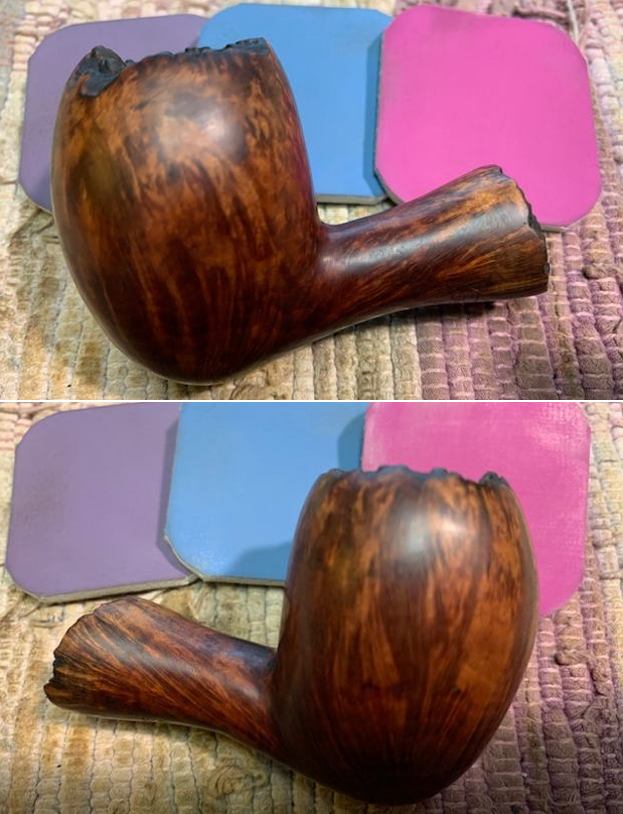
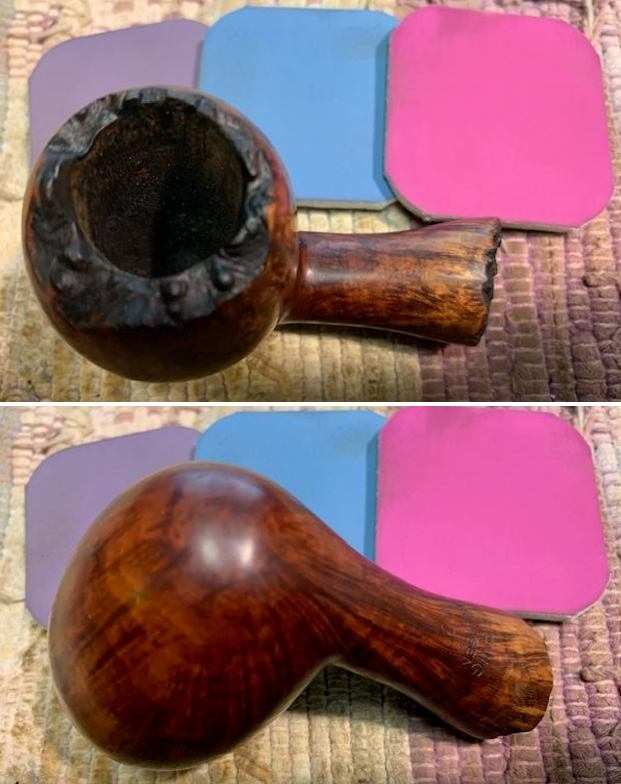
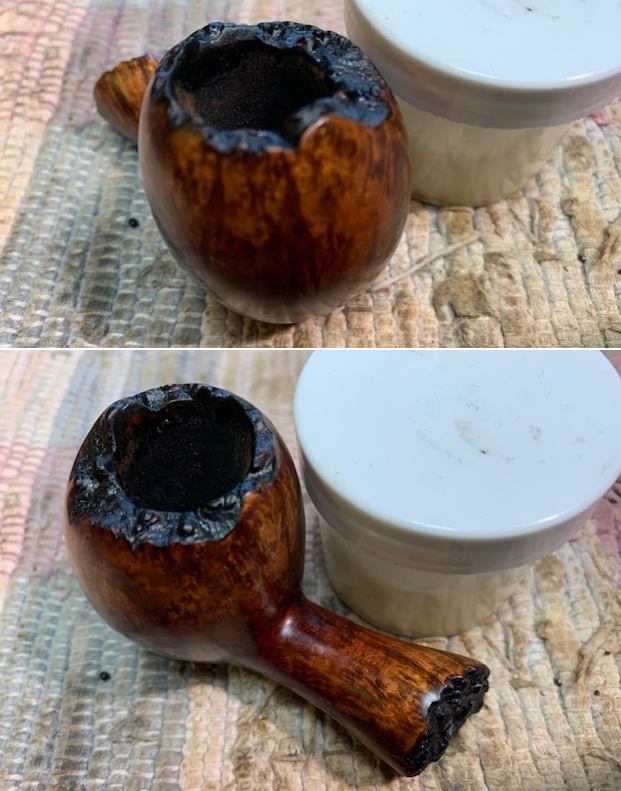
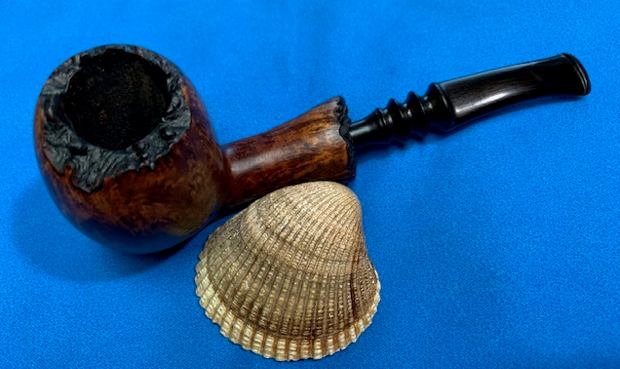
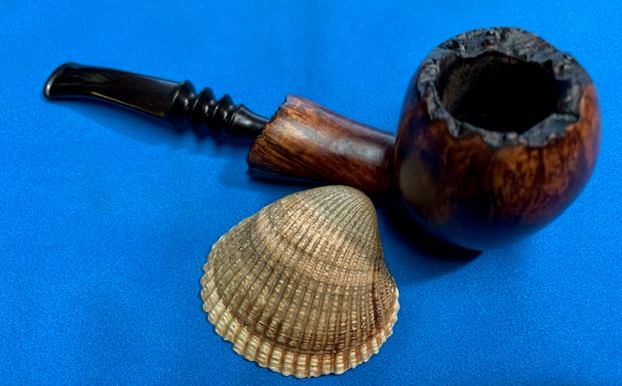
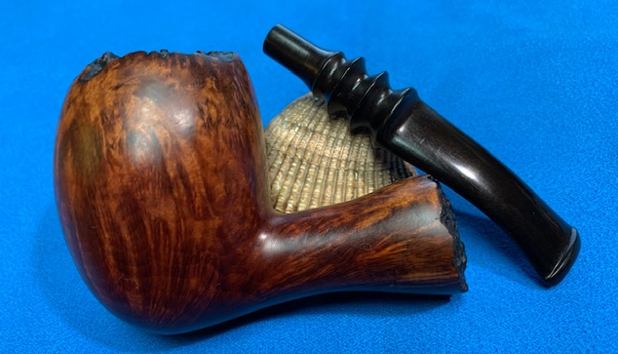
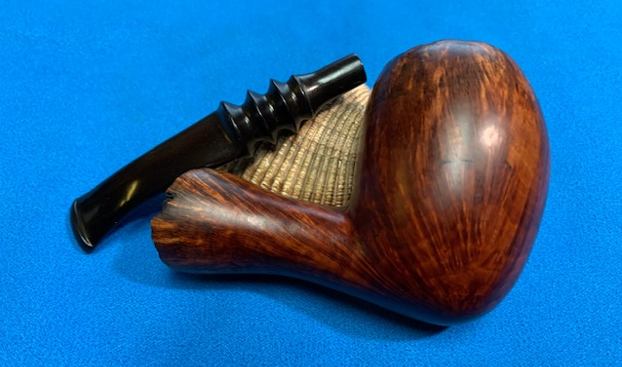
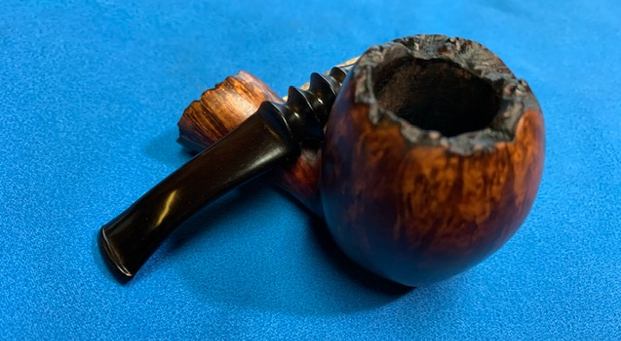
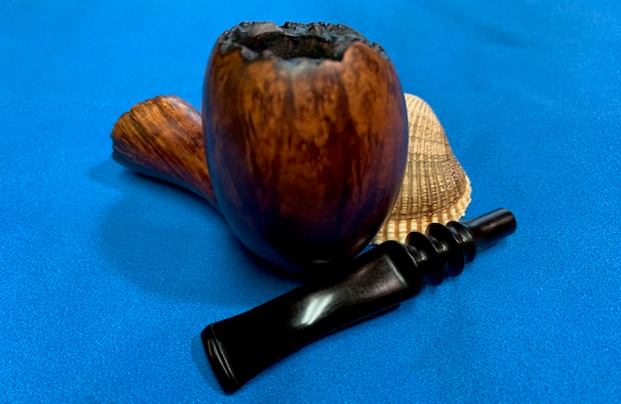
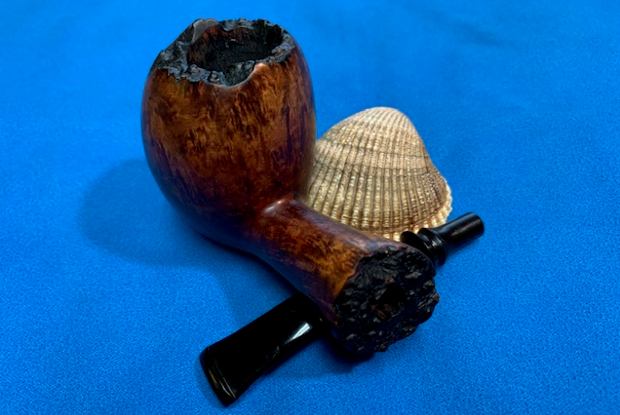
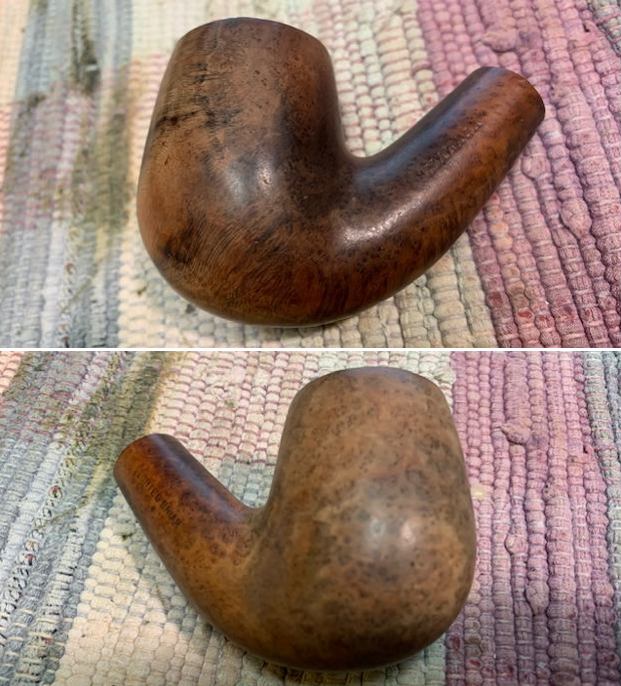
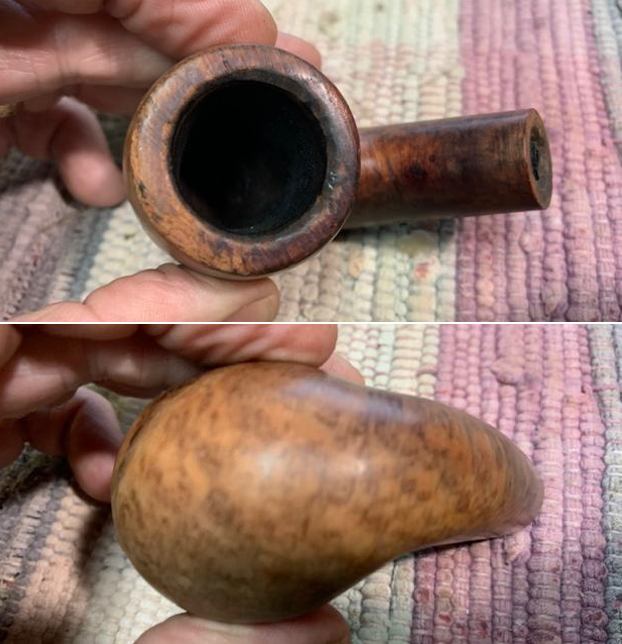
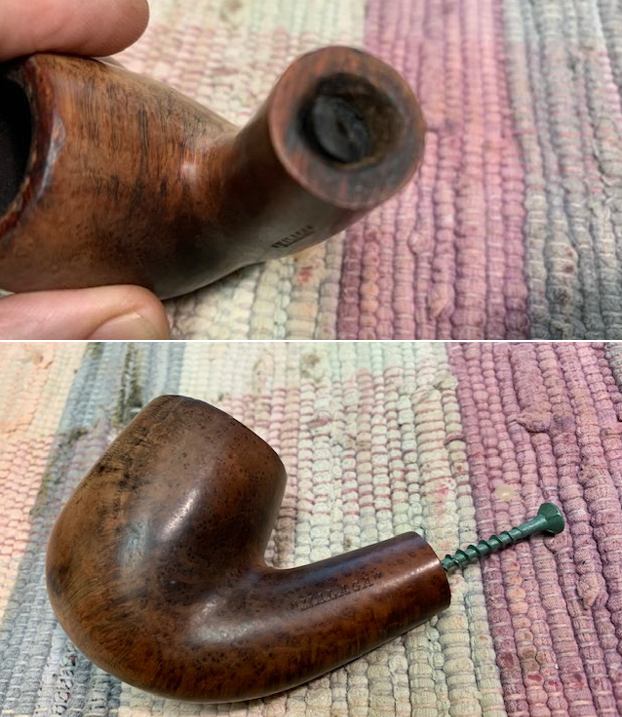
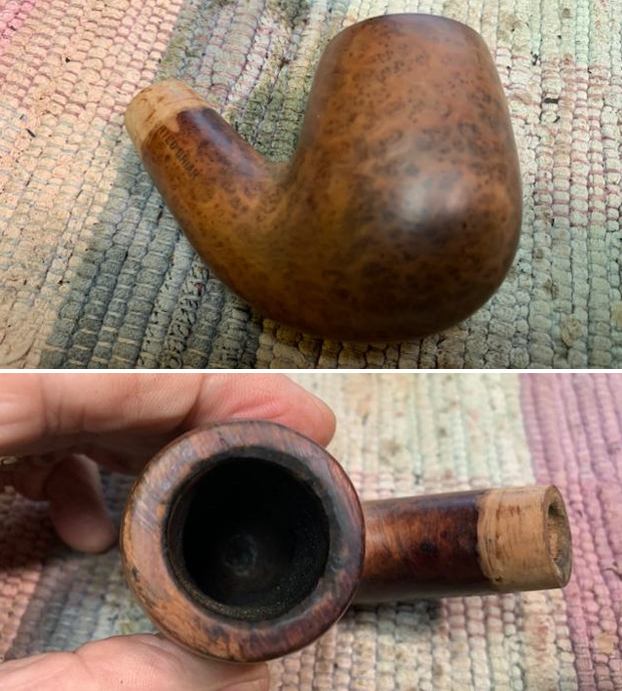
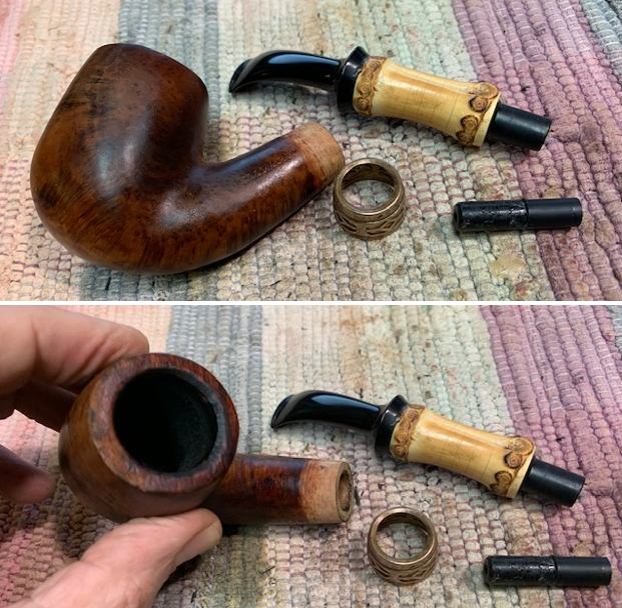
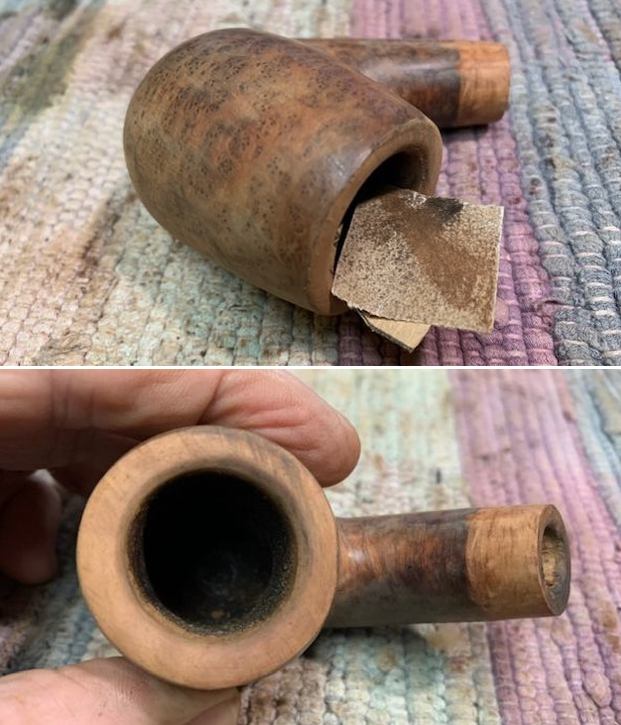
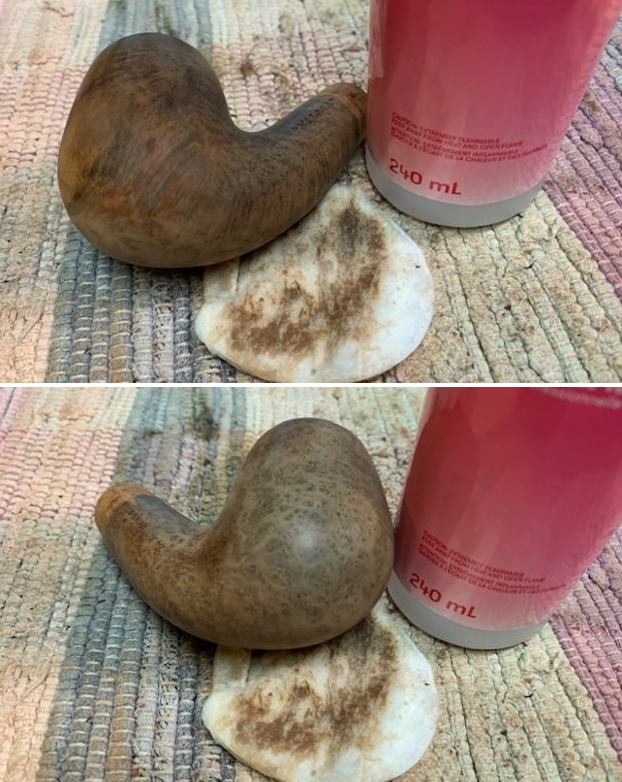
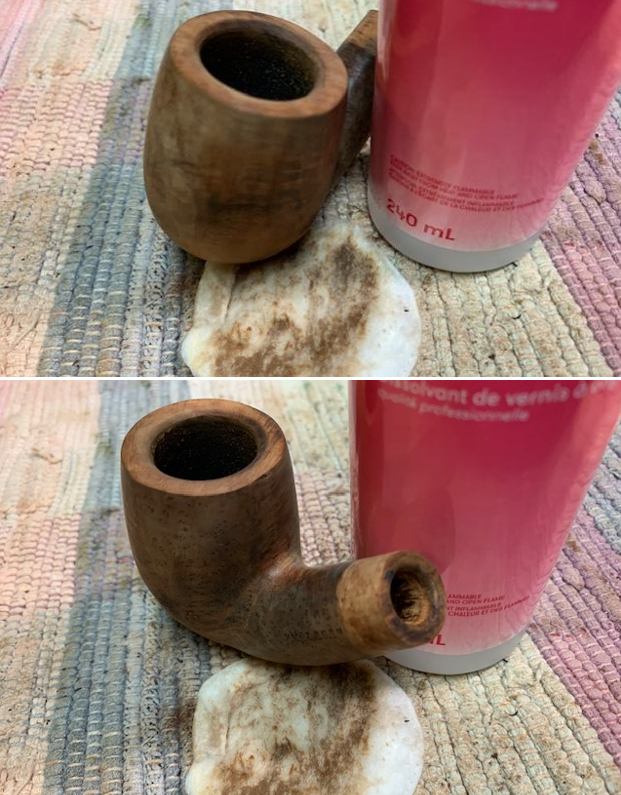
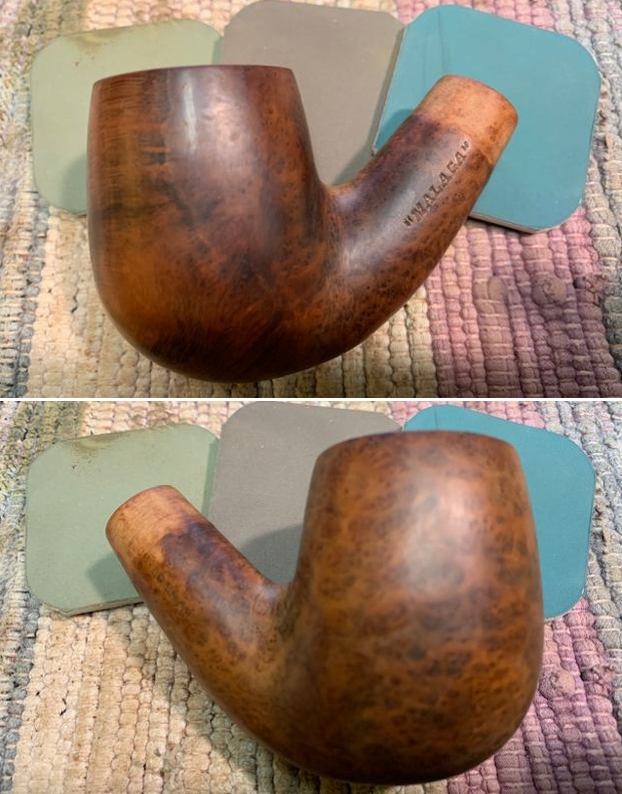
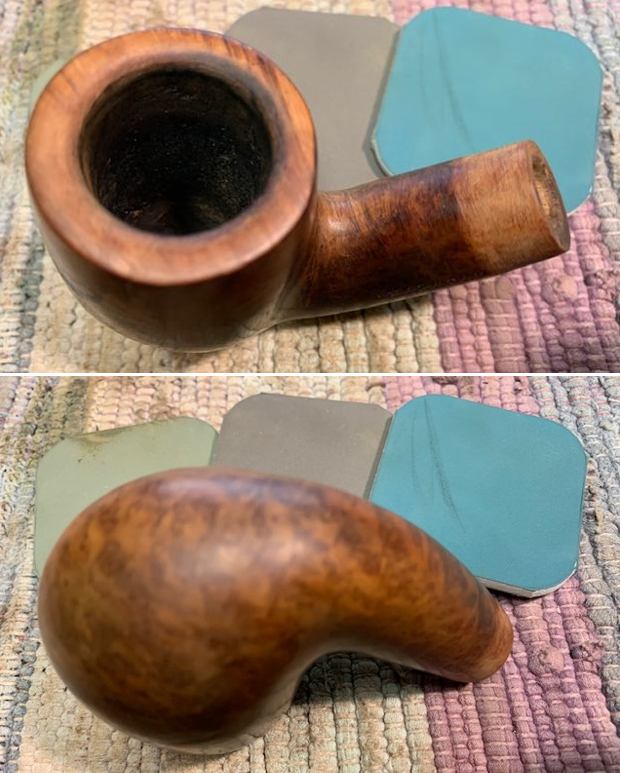
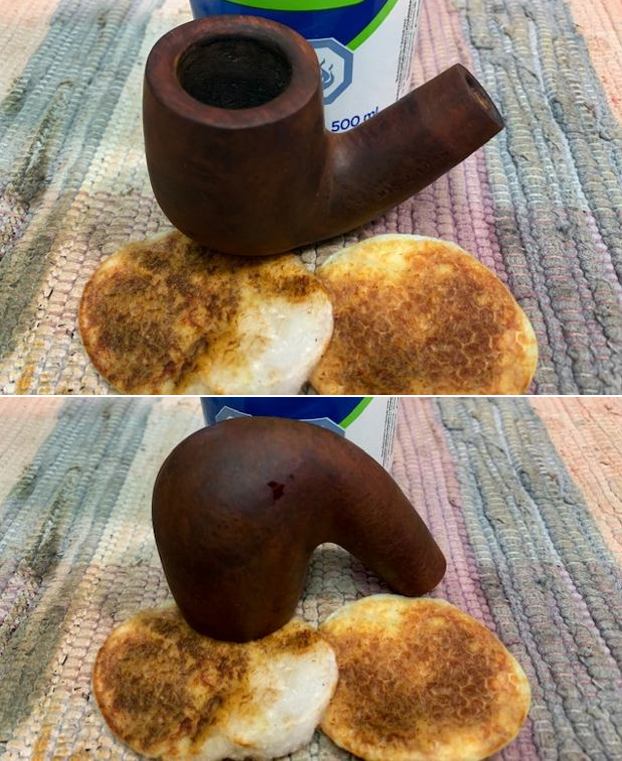
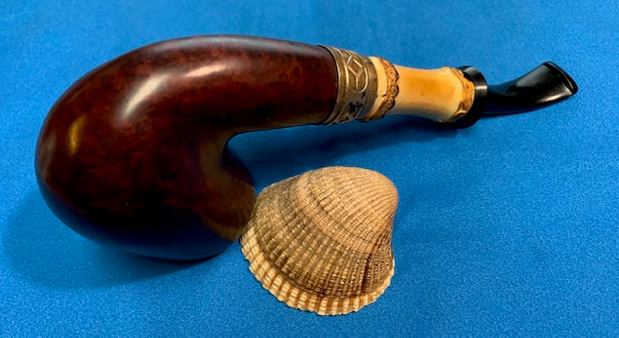
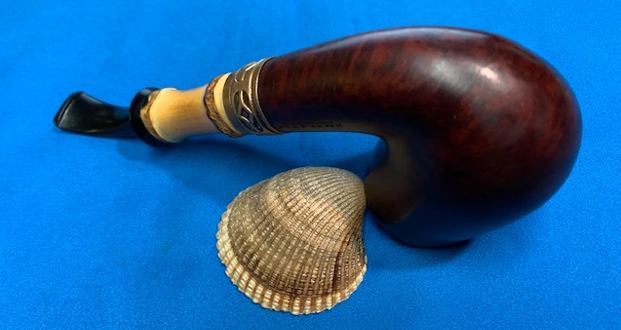
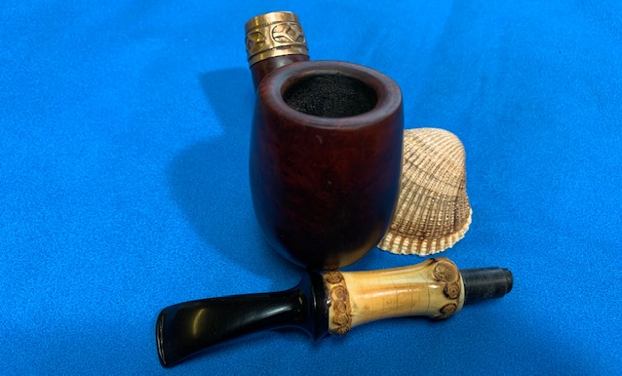
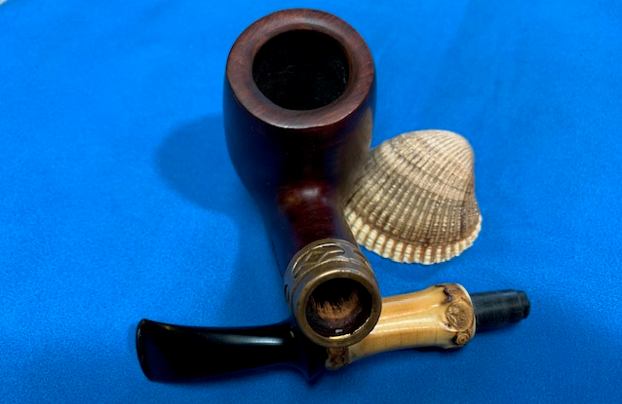
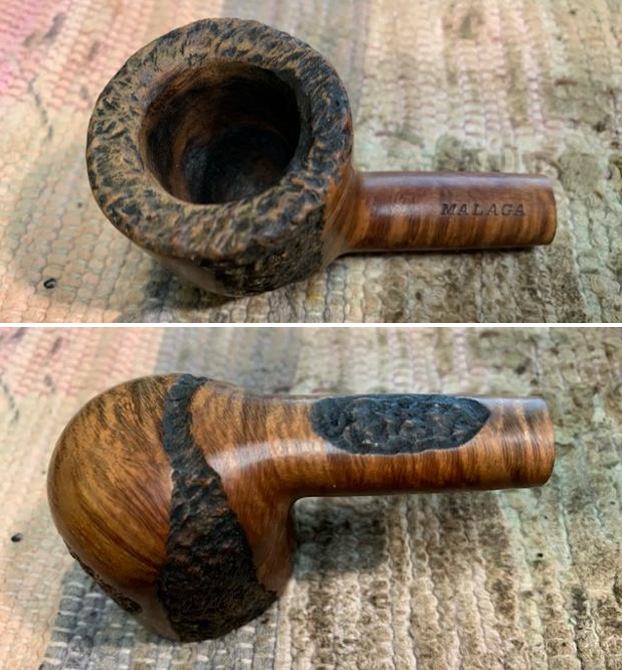
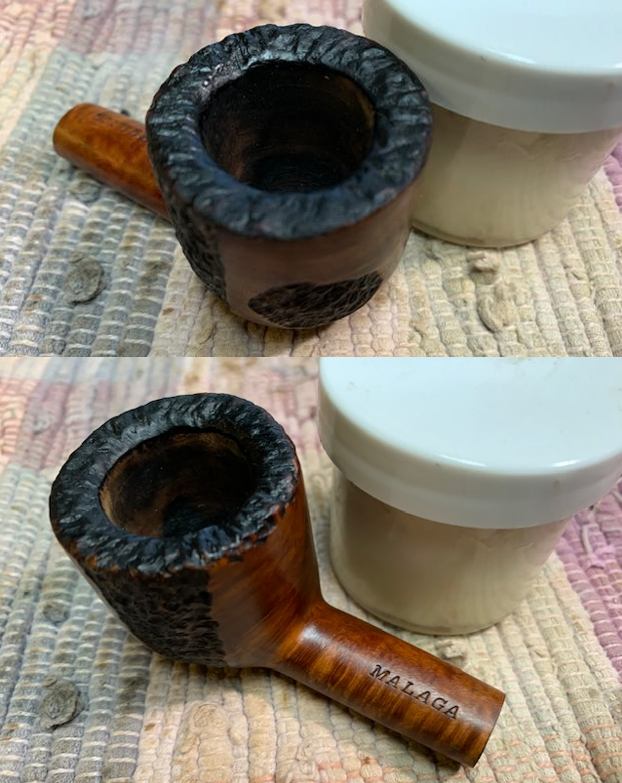
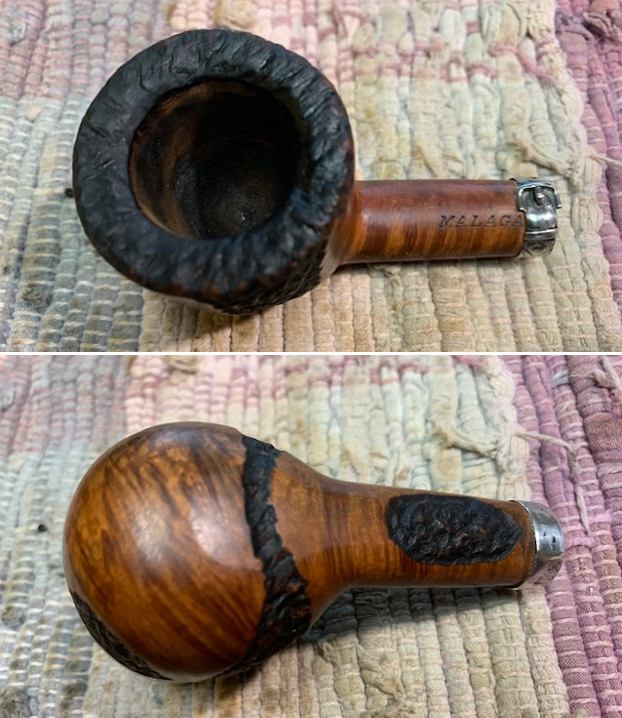
 The bowl looked very good. The grain around the sides was quite nice and a mix of flame and birdseye grain. The rim top was rusticated as were some patches on the front, the sides and the bottom of the shank. The inner edge of the bowl showed some wear. There was a hairline crack on the underside of the shank that extended about ¼ inch up the shank. The interior of the bowl was clean and there were not any chips, cracks or checking on the walls. Examining the mortise there was a snapped off tenon in the shank. It was crumbling and would need to be pulled. The finish was washed out and bit and tired but still quite redeemable. The stamping on the pipe was clear and readable. On the topside it read MALAGA and no other stamping was on the shank. I took some photos of the bowl before I started to work on it.
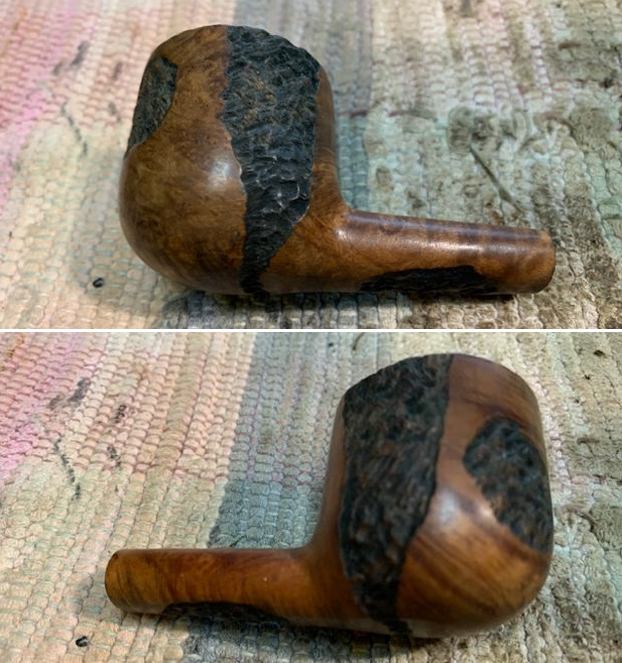
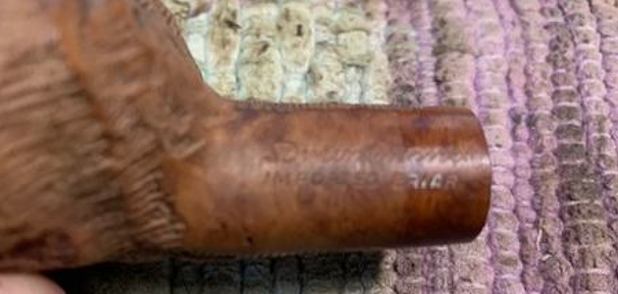
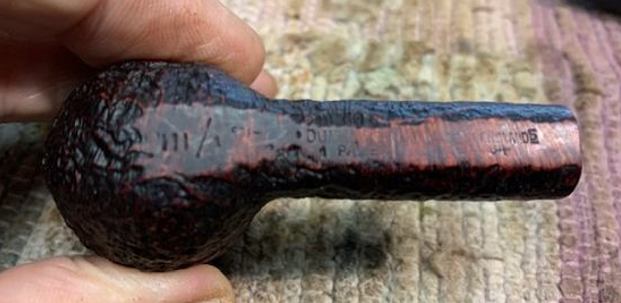
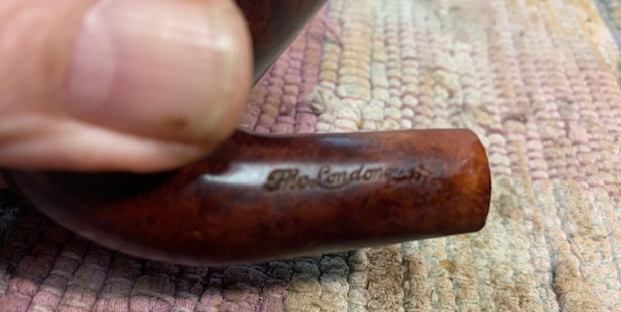
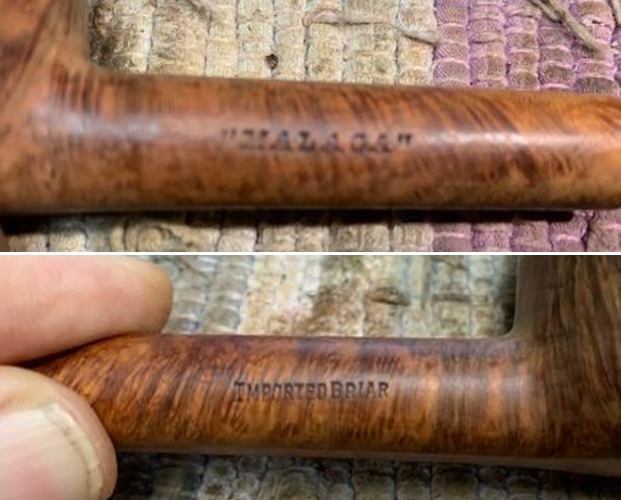
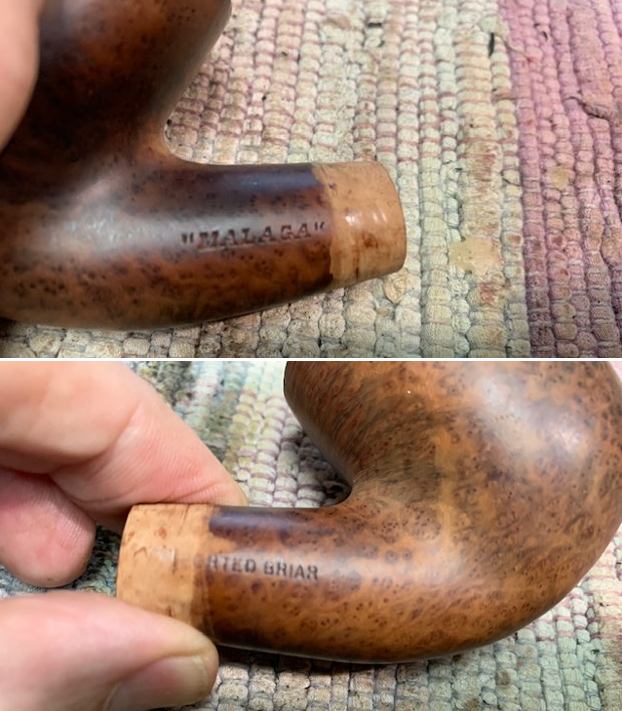
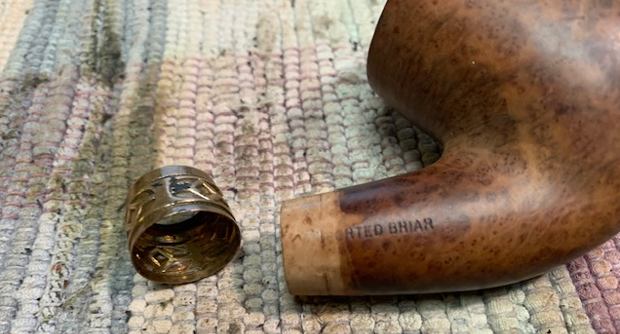
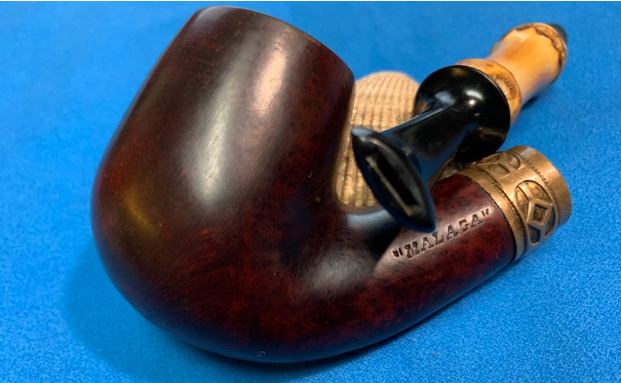
 I took a photo of the stamping on the topside of the shank. It reads as noted above and is clear and readable.
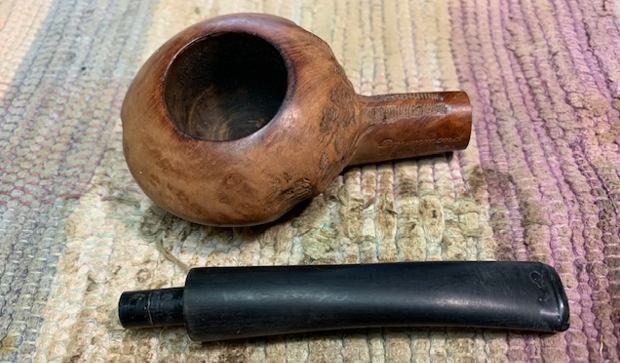
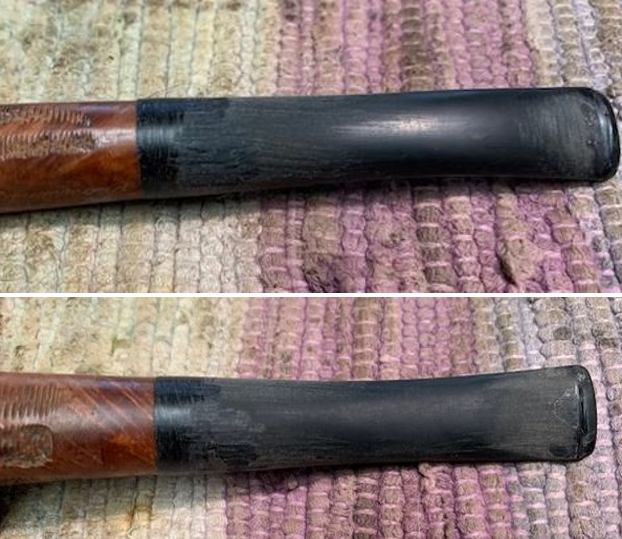
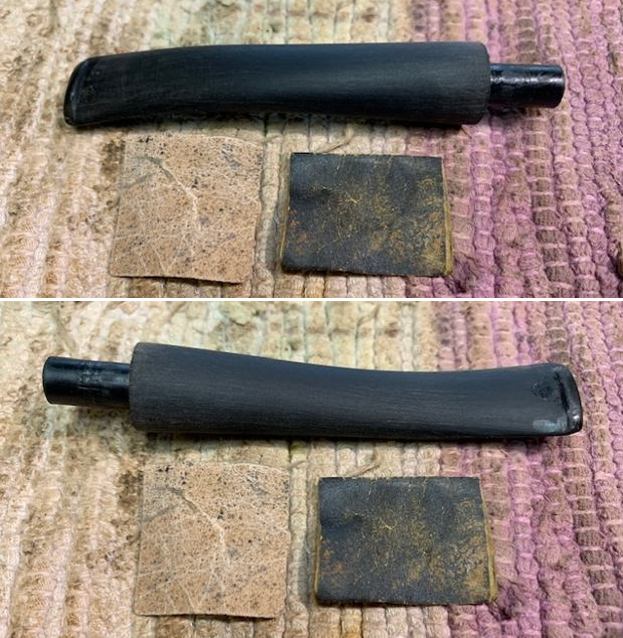
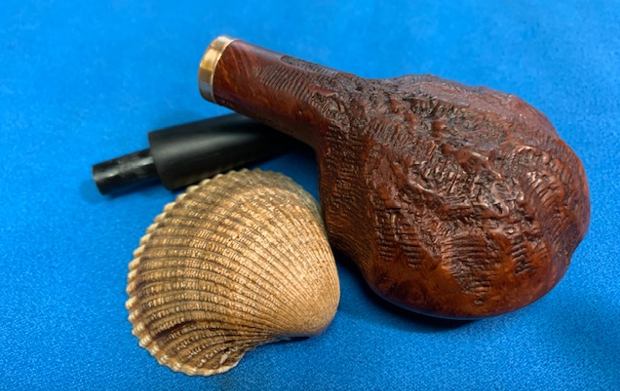
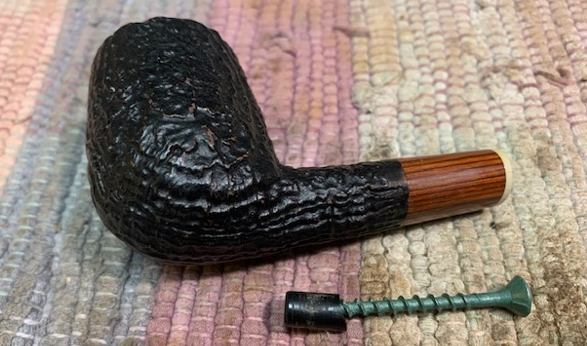
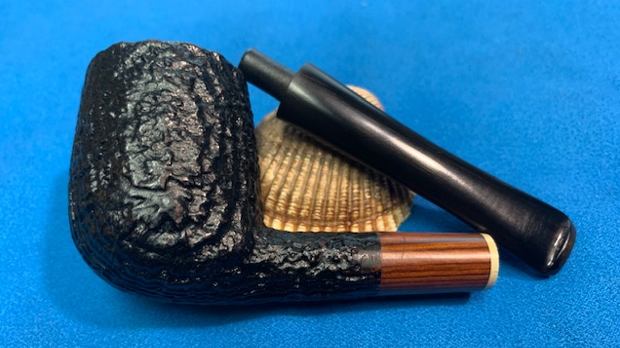
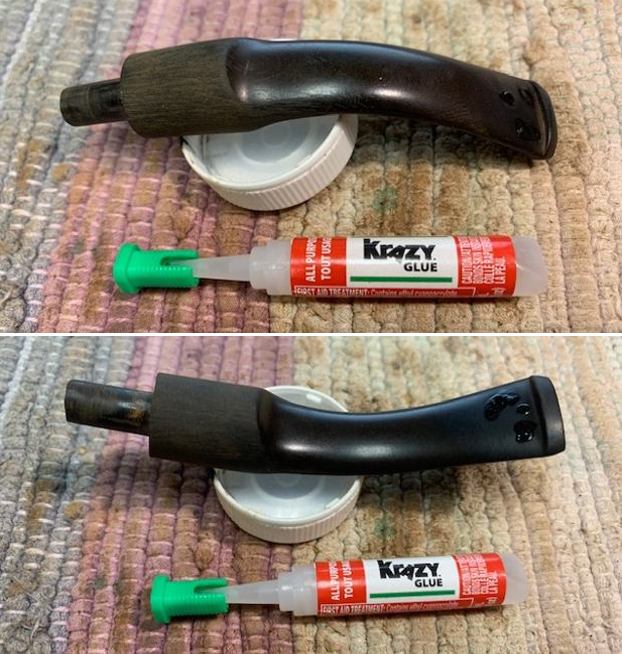
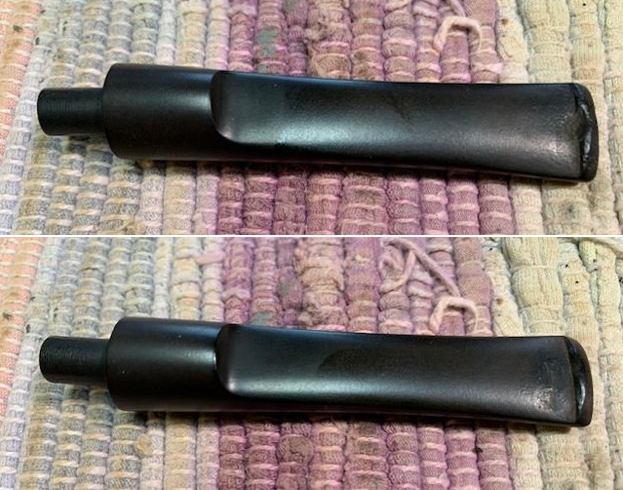
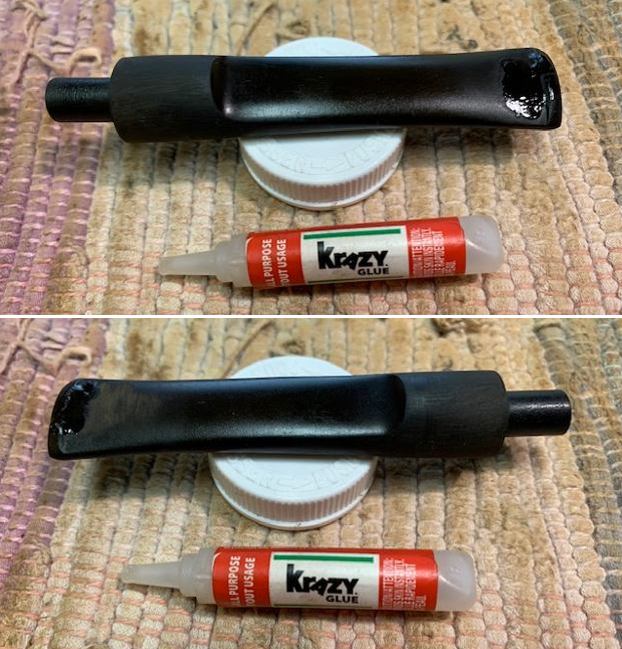
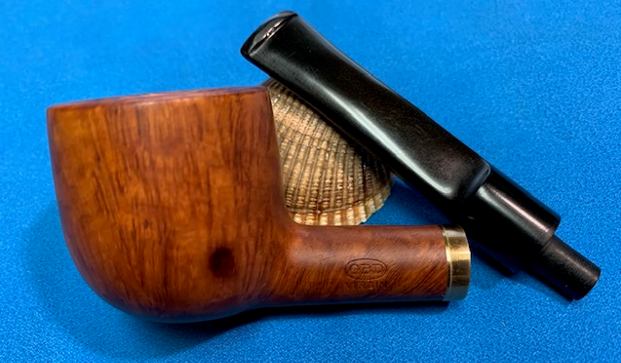
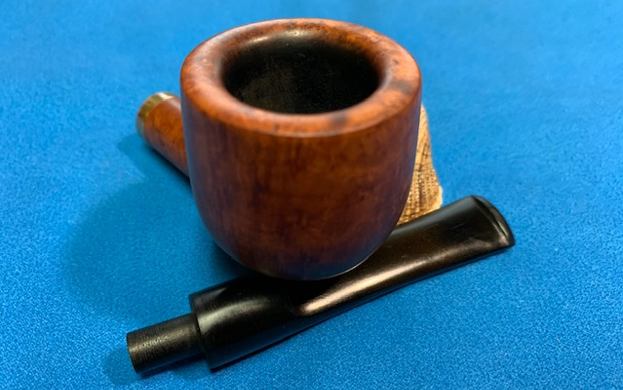
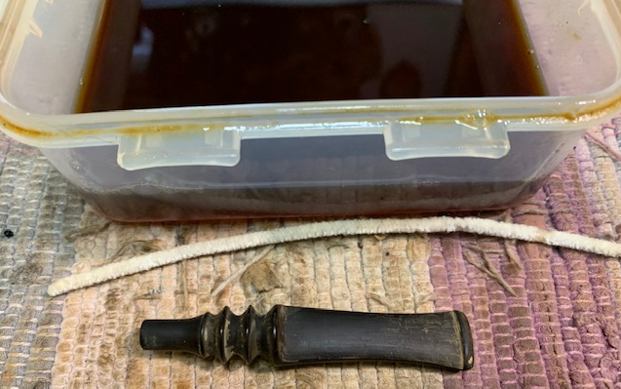
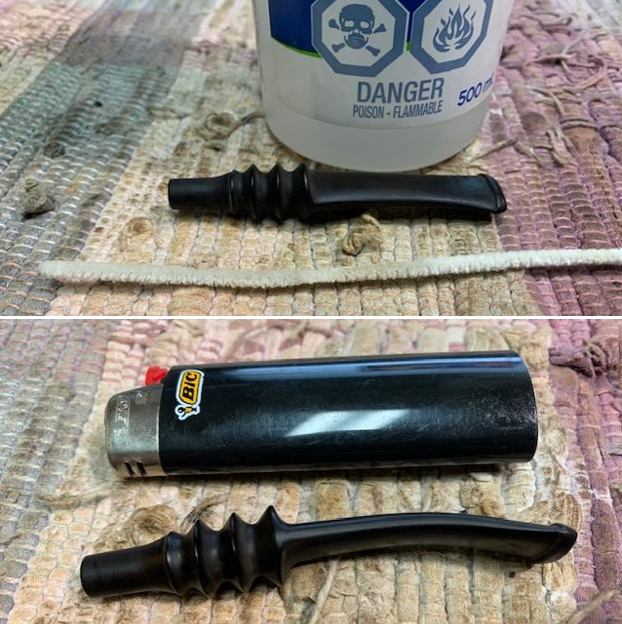
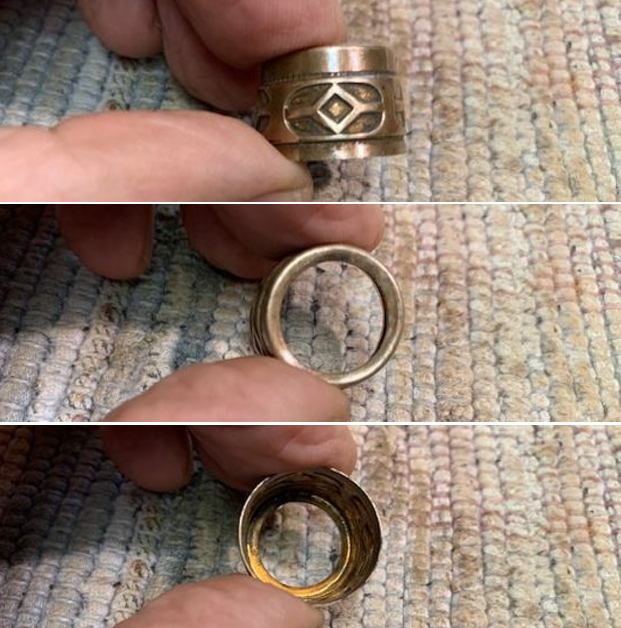
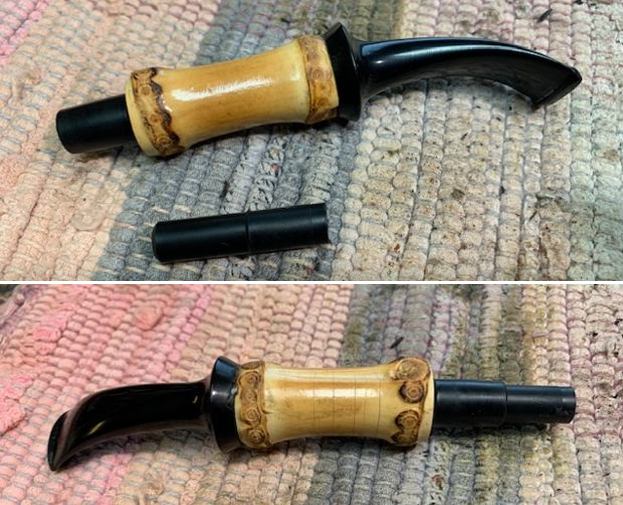
 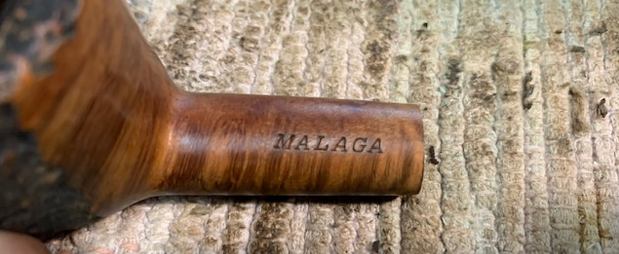 I went through some of stems and found an oval vulcanite stem blank. It was the right diameter and once I turned the tenon it would fit the shank. It has casting marks on the sides and on the button end. I also found a unique sterling silver band that fit the shank. It was shaped like a belt and buckle and would look very good.
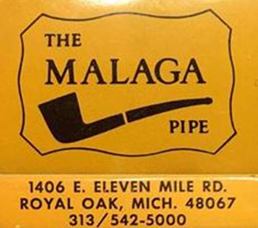
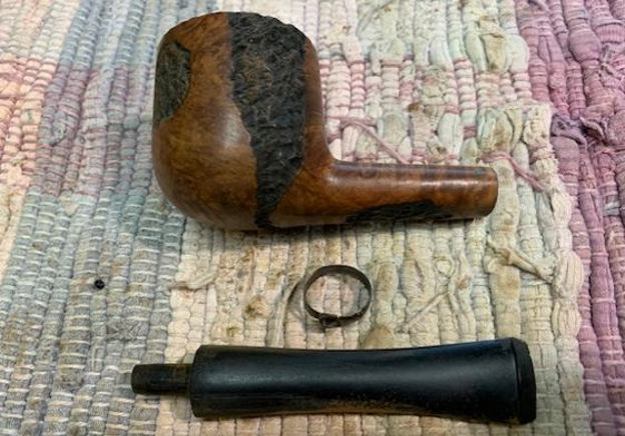 I have worked on quite a few Malaga pipes and blogged their restorations, so rather than repeat previous blogs, I am including the link to one that gives some of the history of the Malaga brand and the Malaga Pipe Shop in Royal Oak, Michigan in the USA from a catalogue. It gives a sense of the brand and the history in their own words. Follow the link to get a feel for the brand and the pipemaker – https://rebornpipes.com/2013/02/09/george-khoubesser-and-malaga-pipes/.
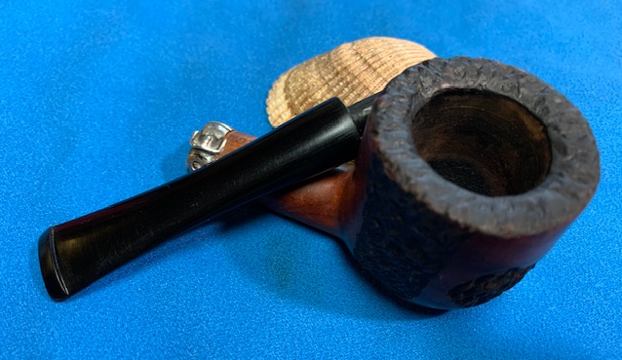
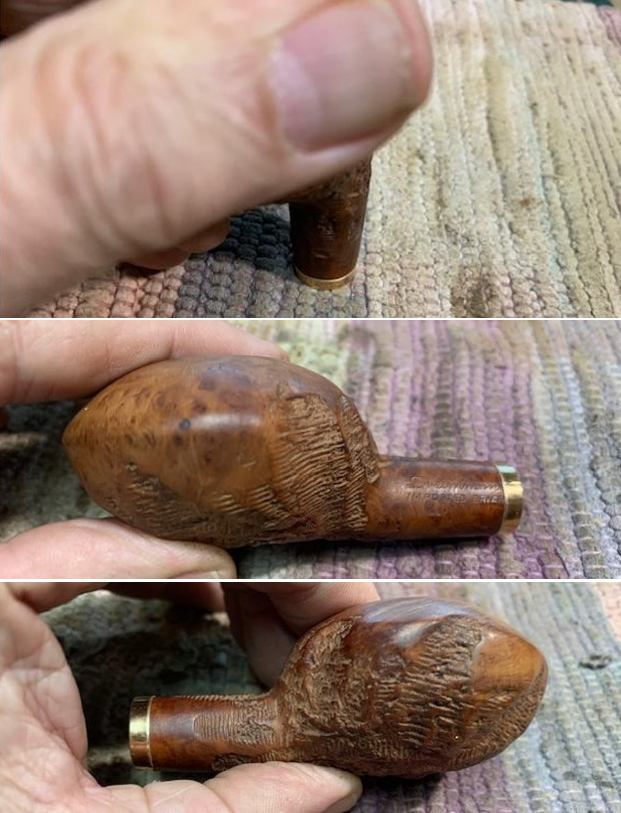
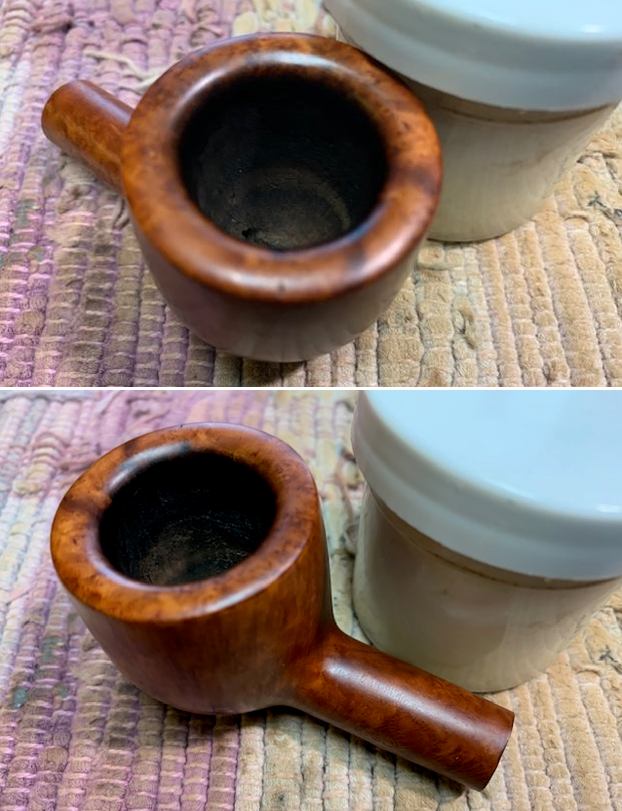
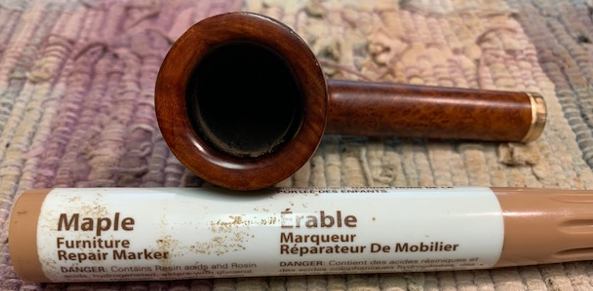
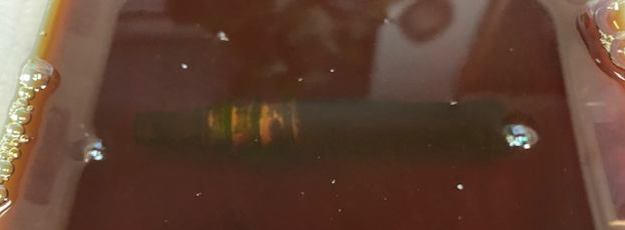
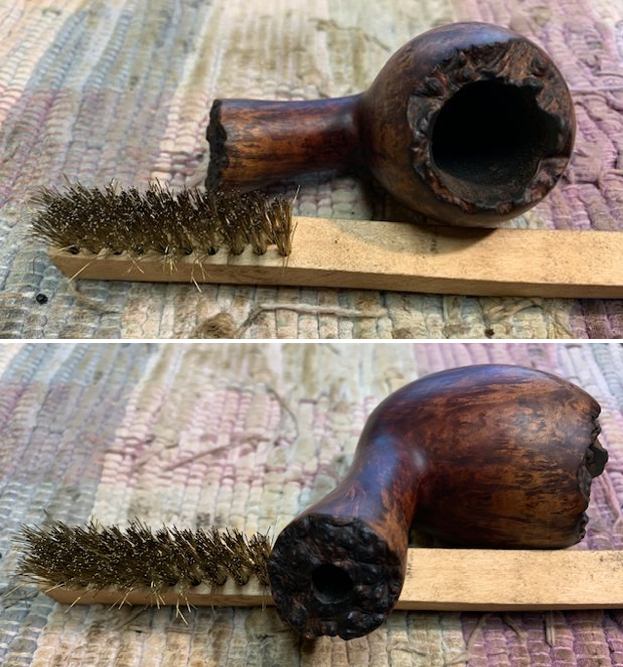
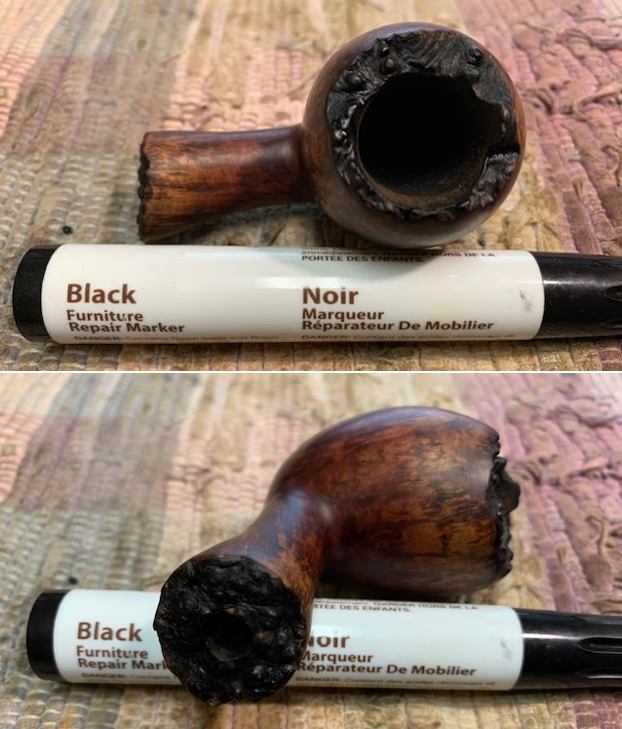
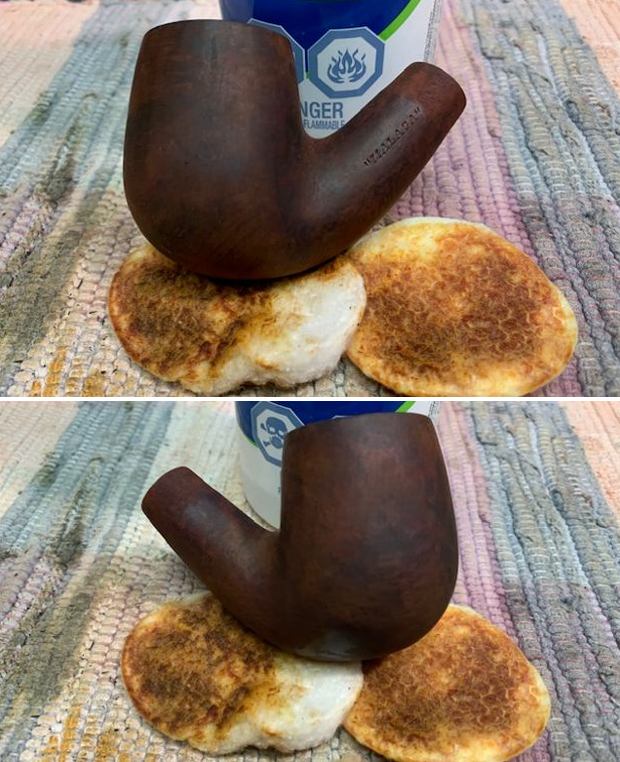
With that information in hand I turned to work on the bowl. There was a broken off tenon in the shank. I tried to pull it with a screw and then moved on to drill it out. I started with a bit a little larger than the tenon in the airway and worked my way up to the size of the shank. When I removed the bit the pieces of tenon fell out on the table top. With the mortise clean I was ready to move on to the next part of the clean up. I cleaned up the rustication on the rim top with a brass bristle wire brush to remove the debris in the rustication. It cleaned up well. I used a Black Sharpie Pen to restain the rustication on the rim top and the sides of the bowl.
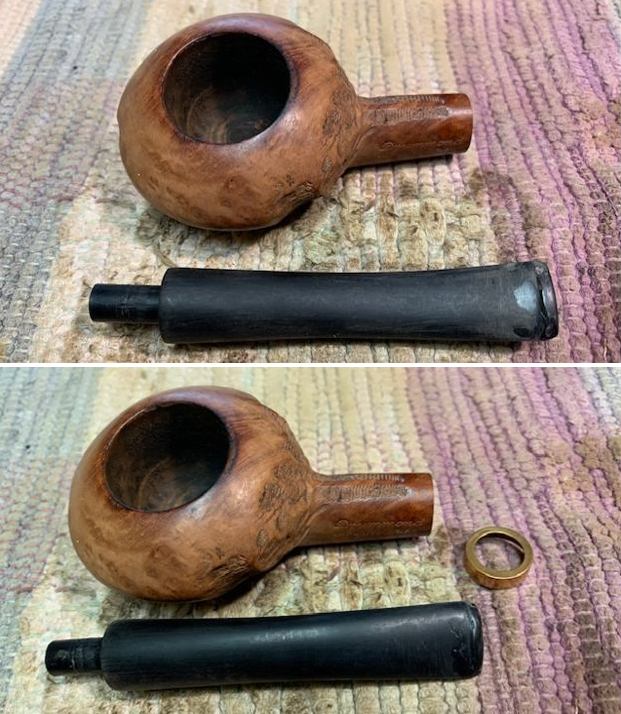
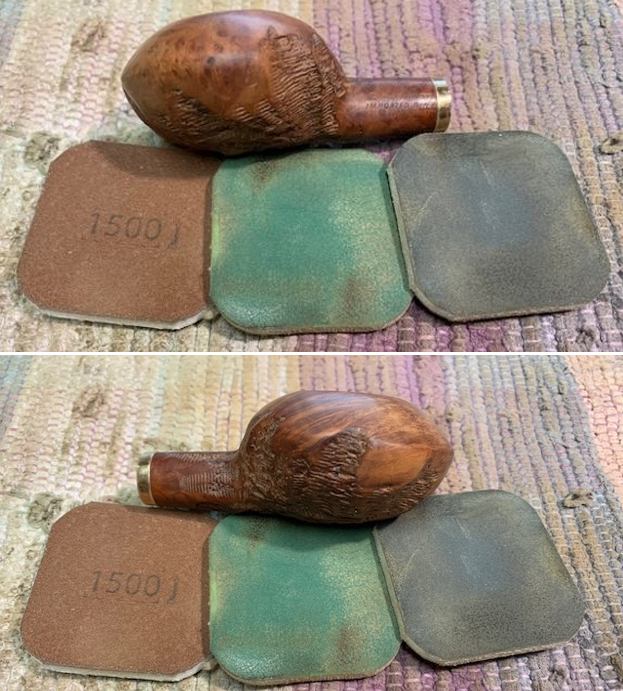
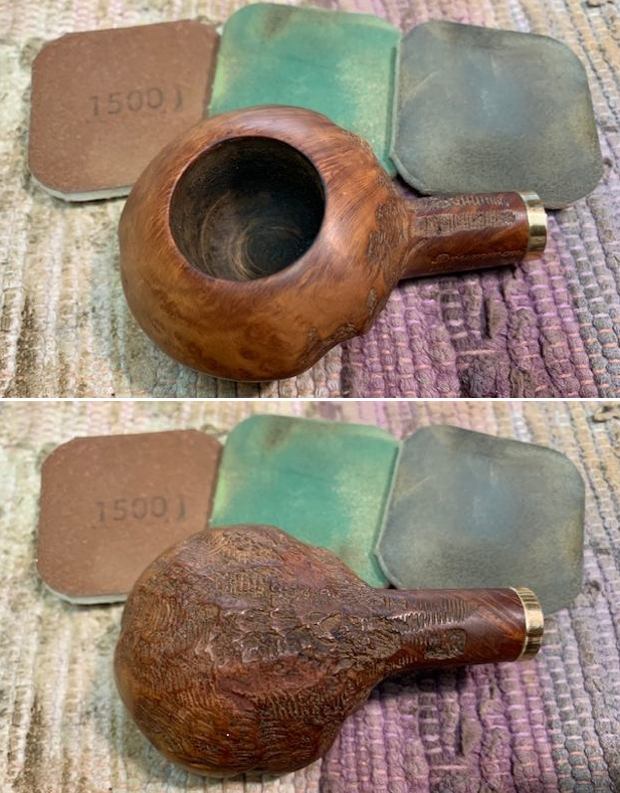
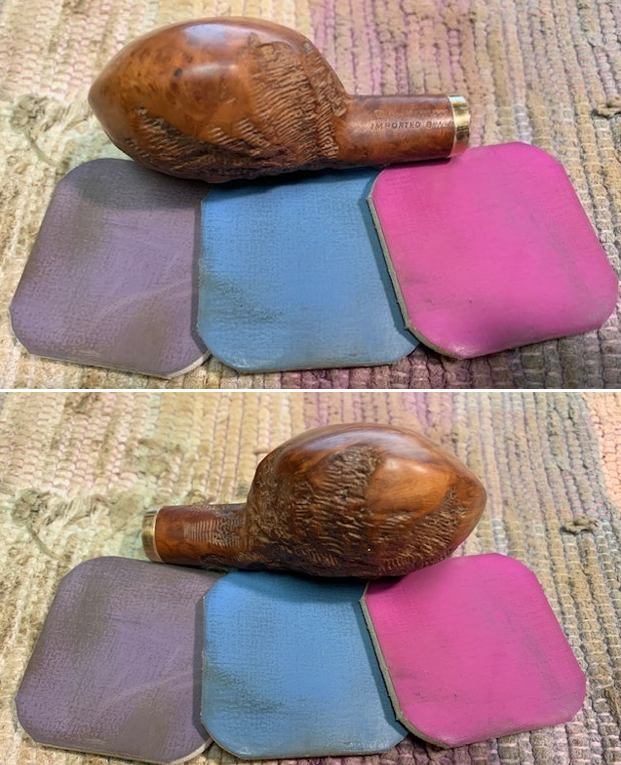
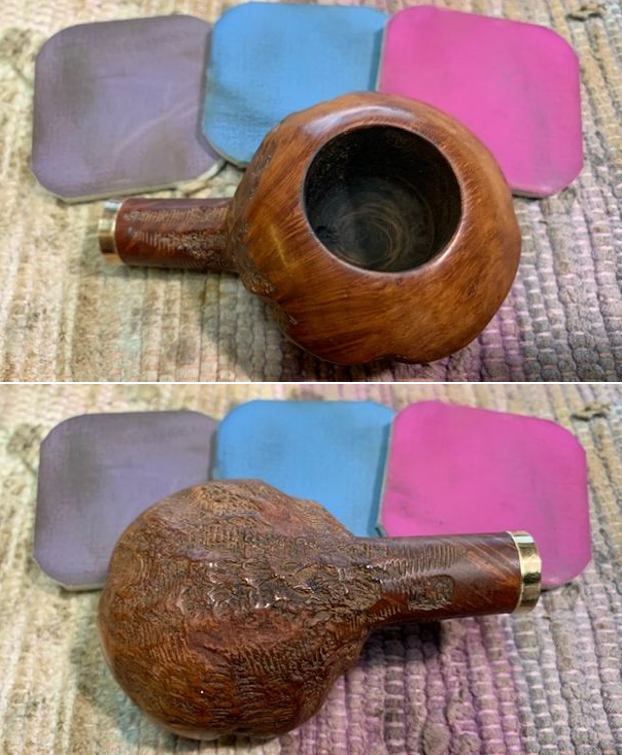
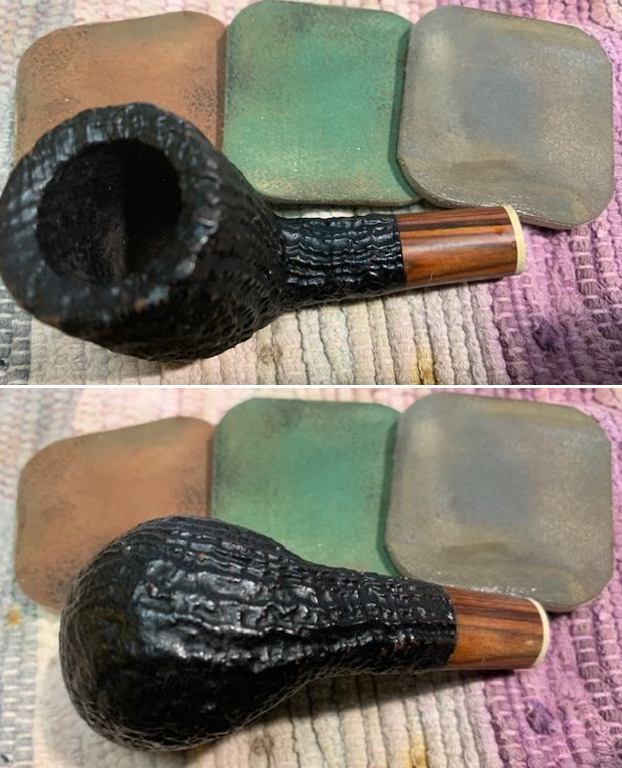
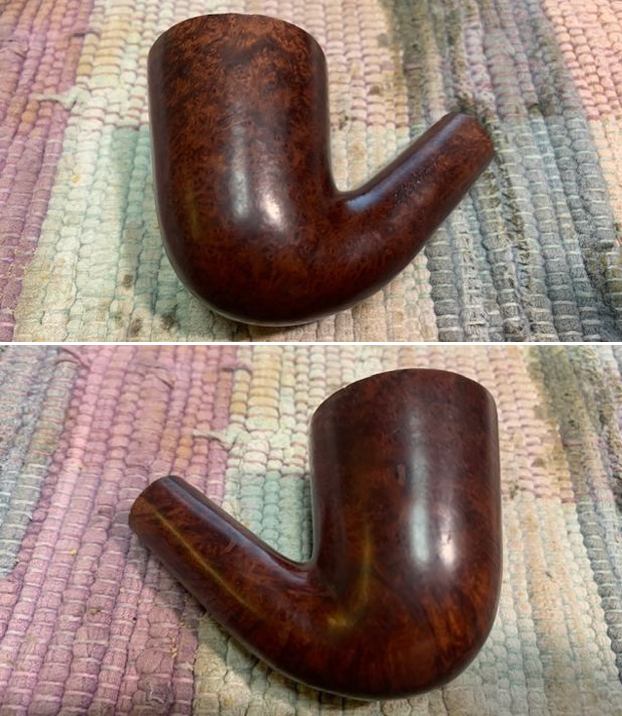
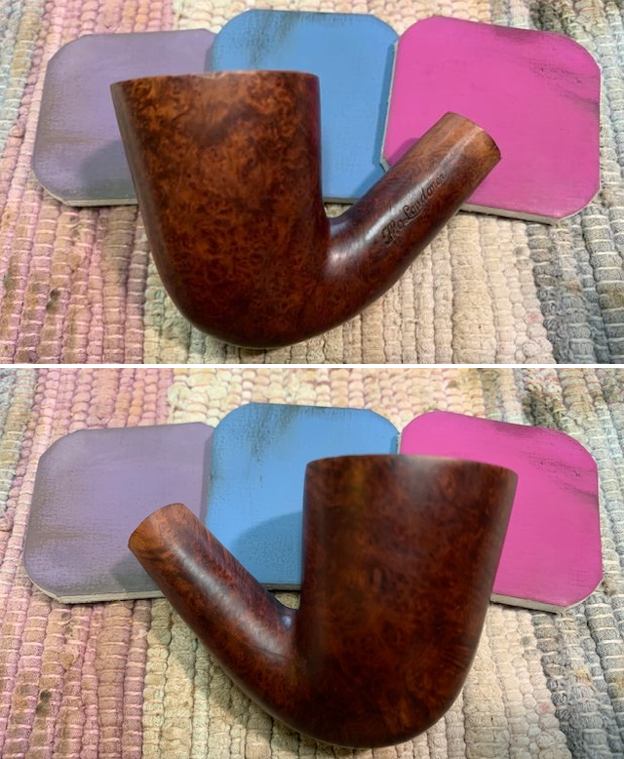
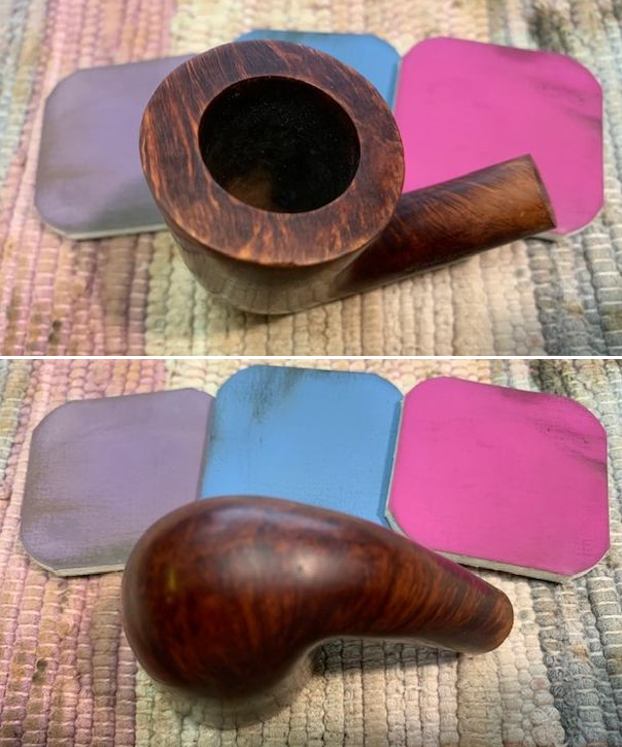
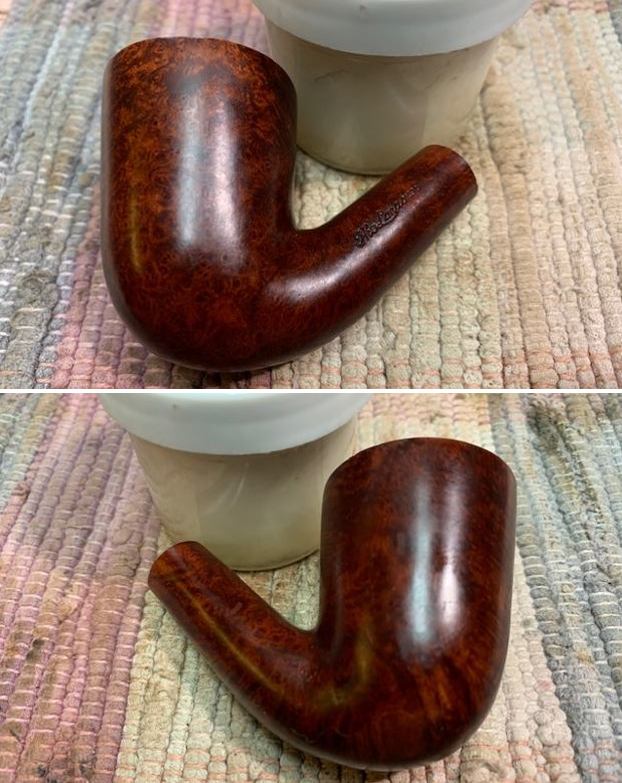
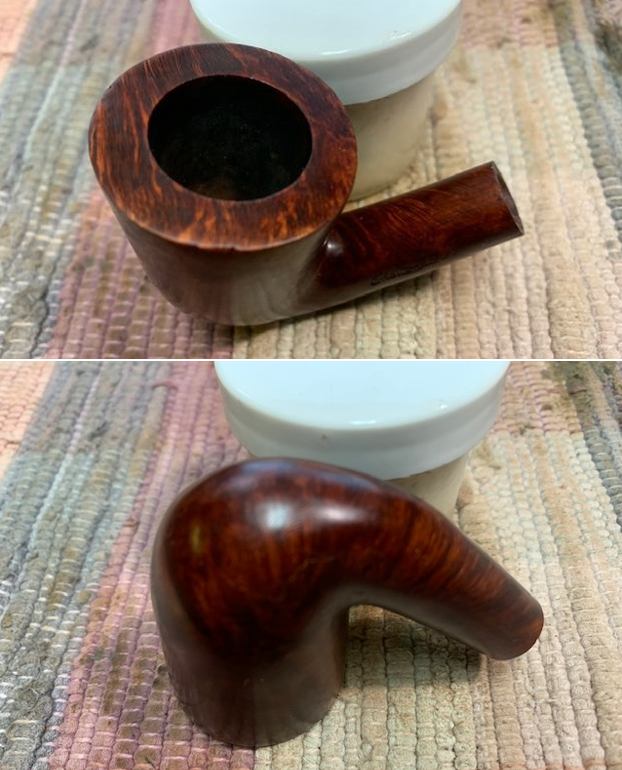
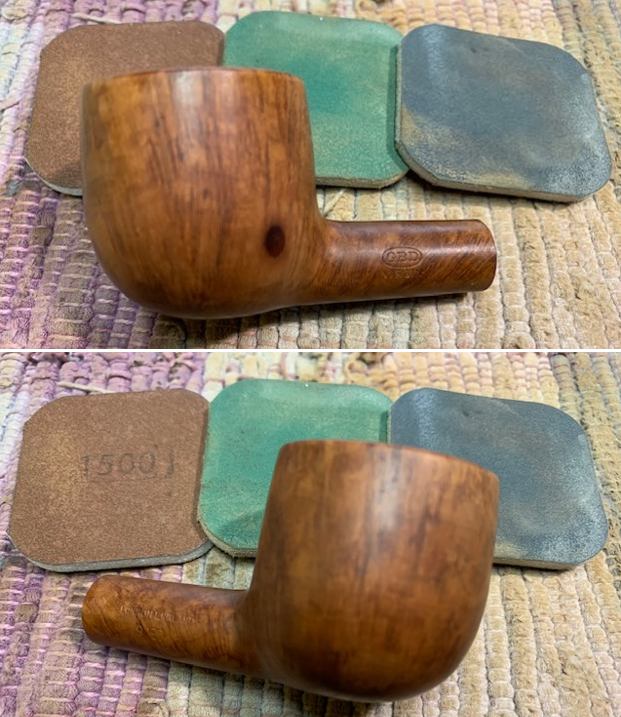
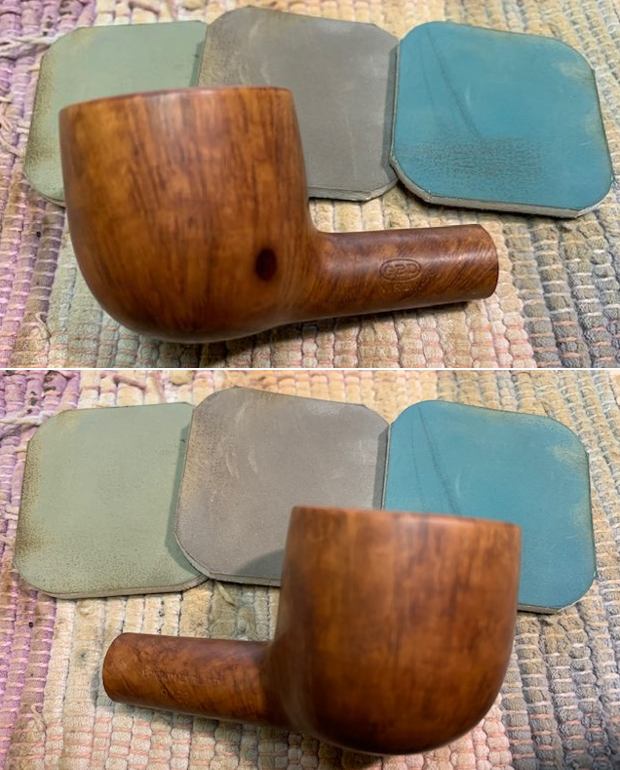
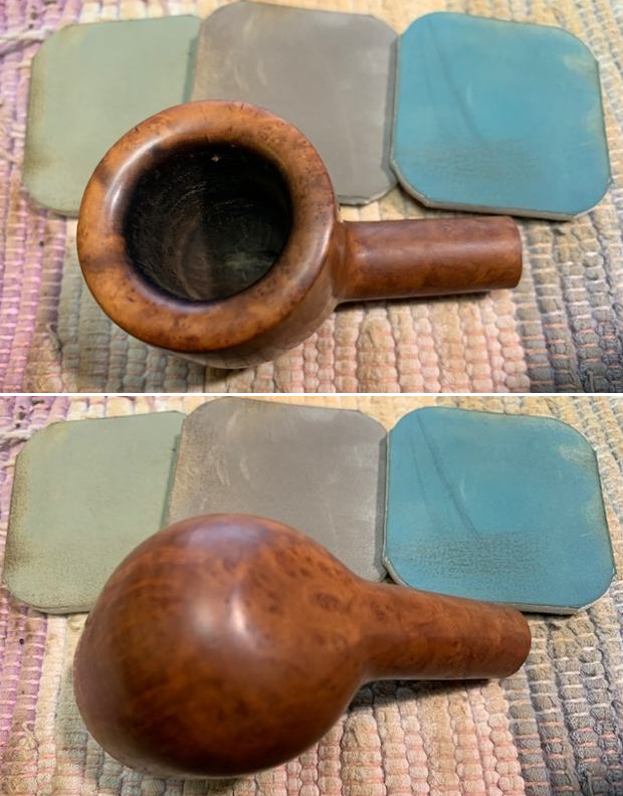
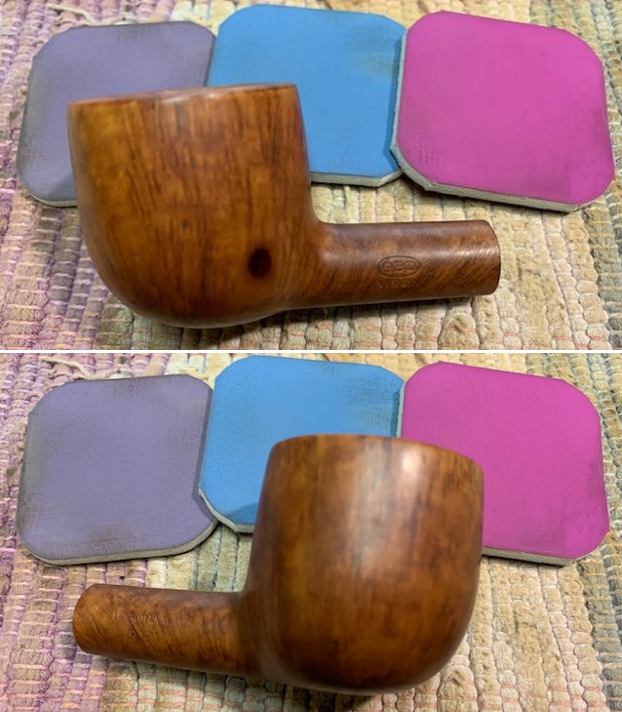
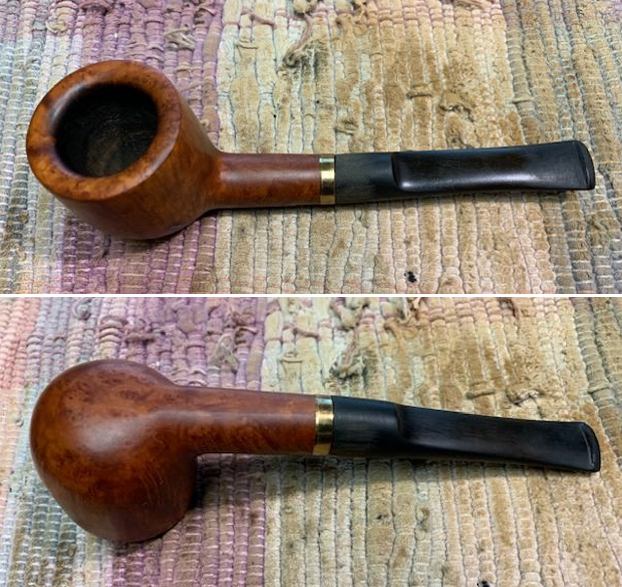
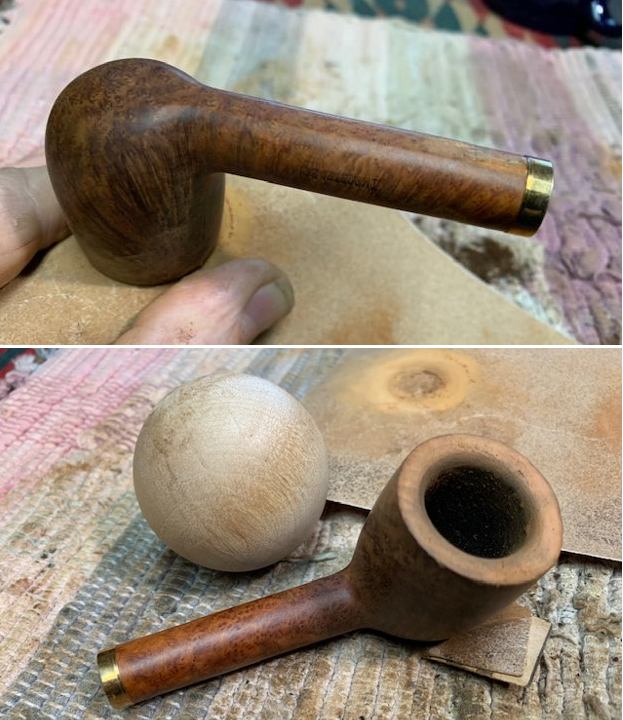
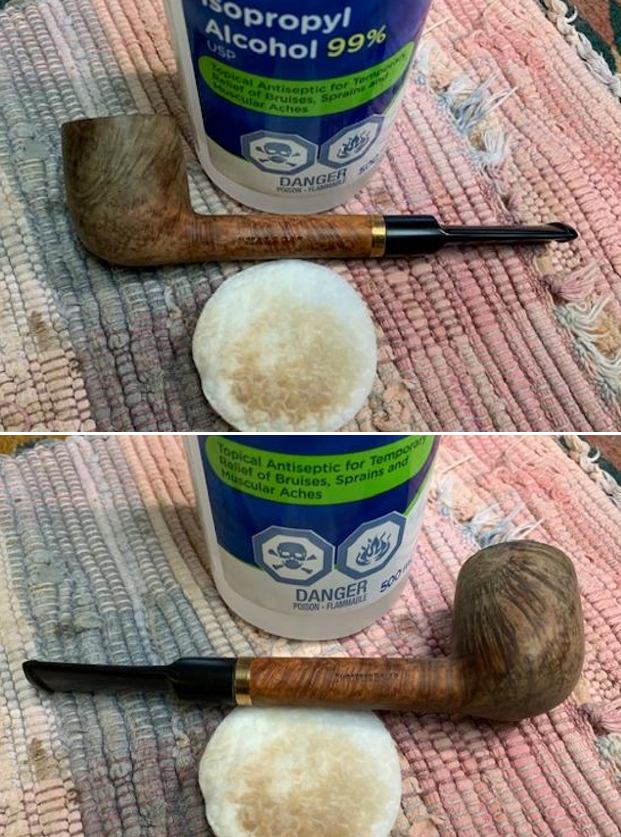
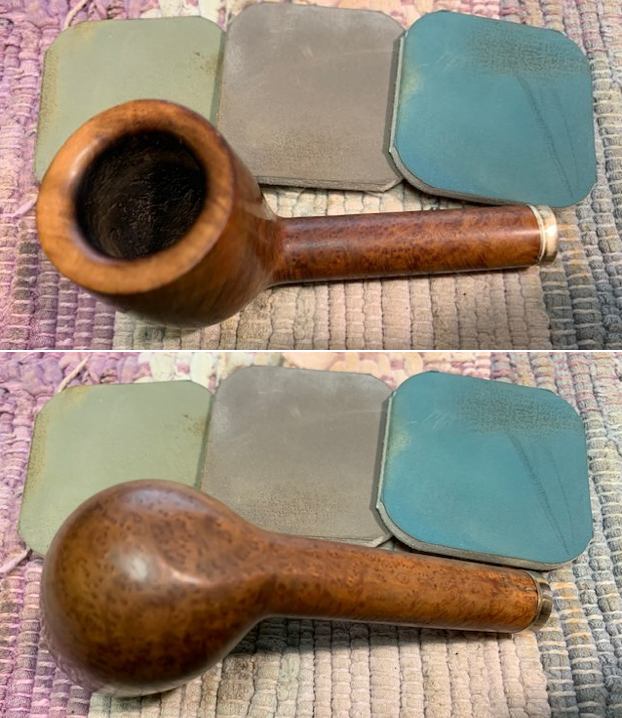
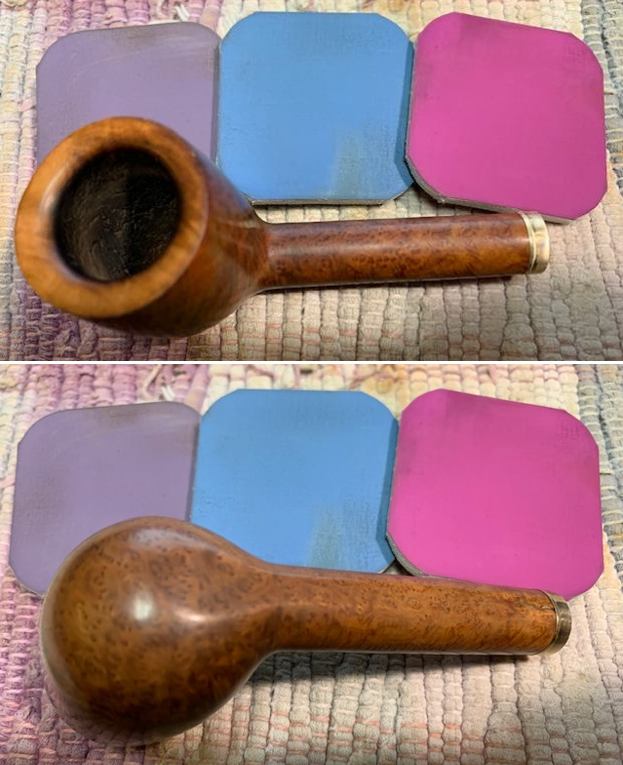
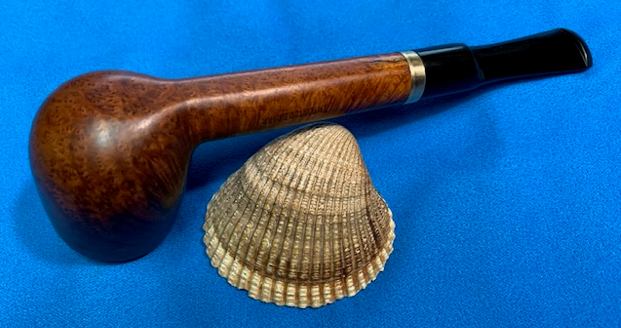
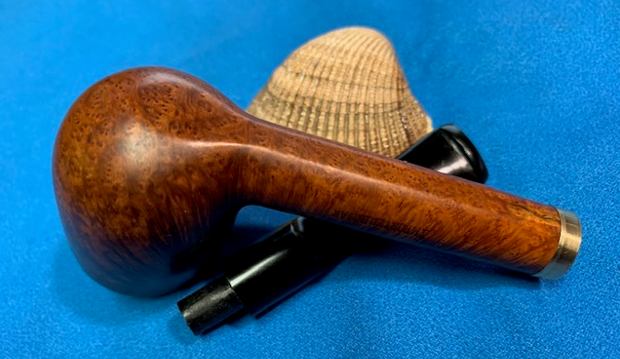
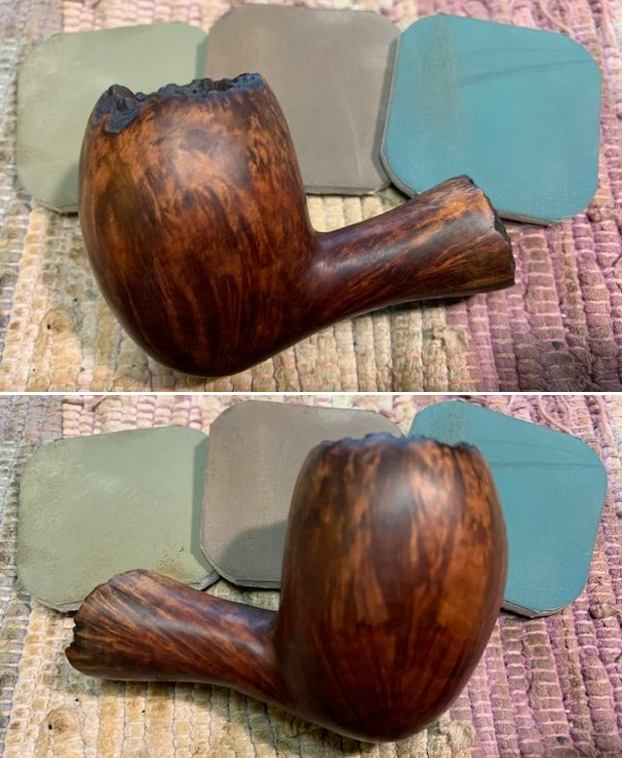
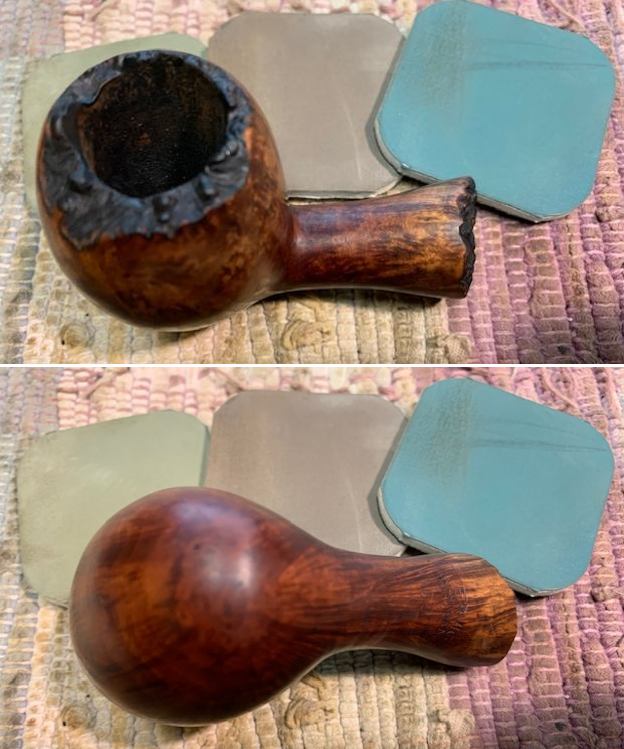
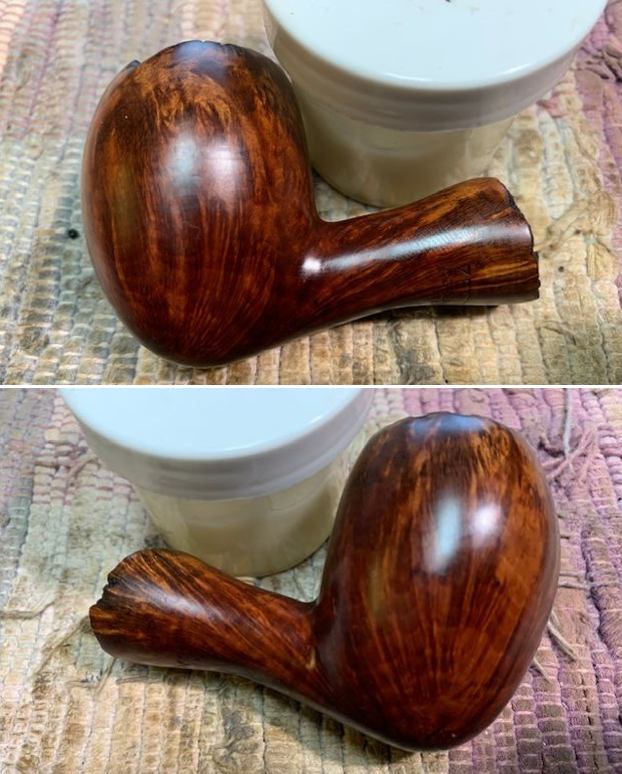
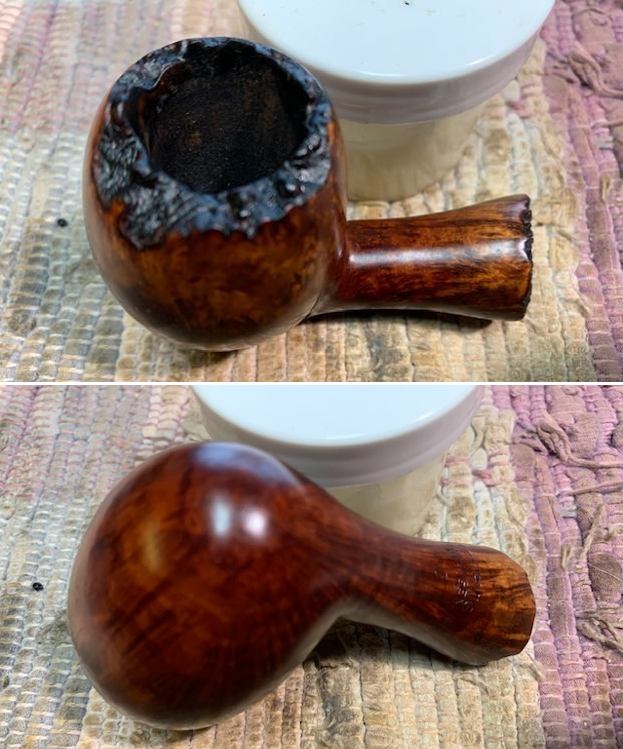
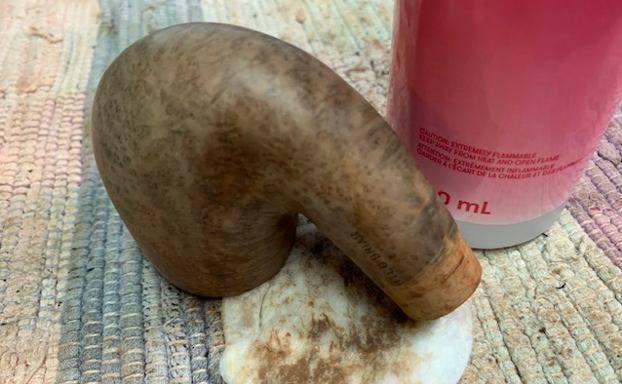
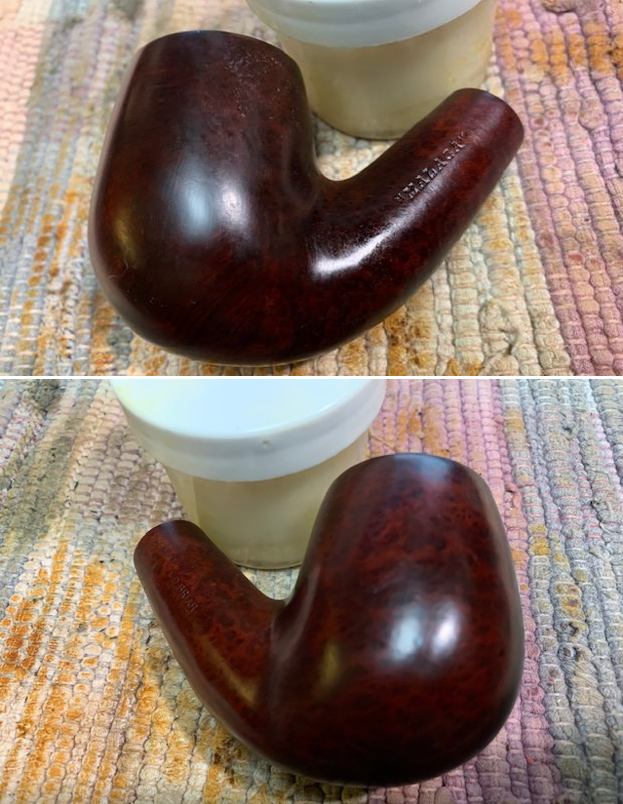
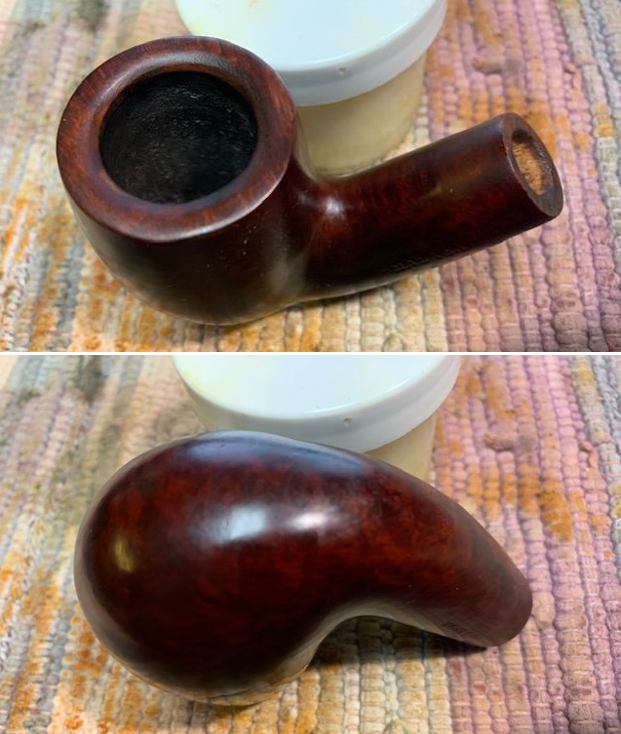
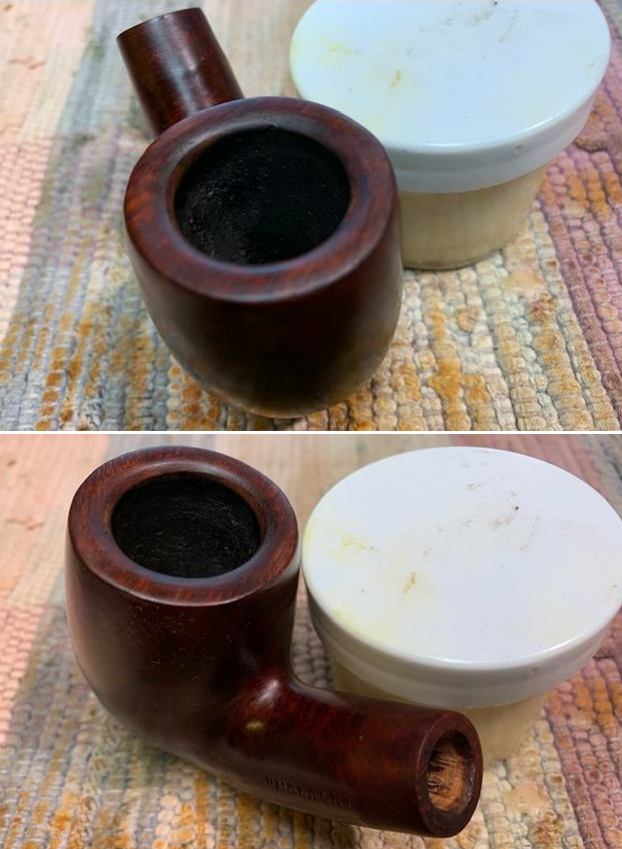
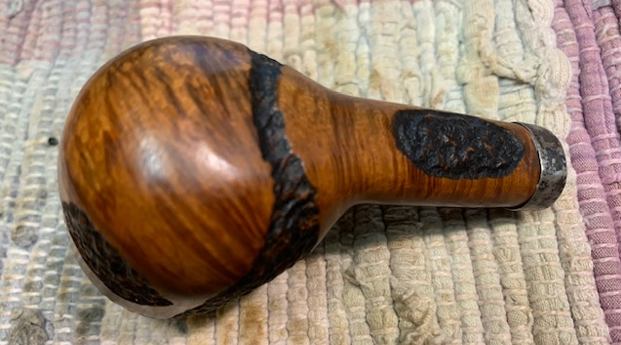
  I rubbed the bowl and shank down with Before & After Restoration Balm. I worked it into the surface of the bowl sides and shank with my fingertips and a horsehair shoe brush to clean, enliven and protect the briar. I let the balm sit for 10 minutes then buffed with a cotton cloth to raise the shine. The grain really came alive. It looks better than when I began.
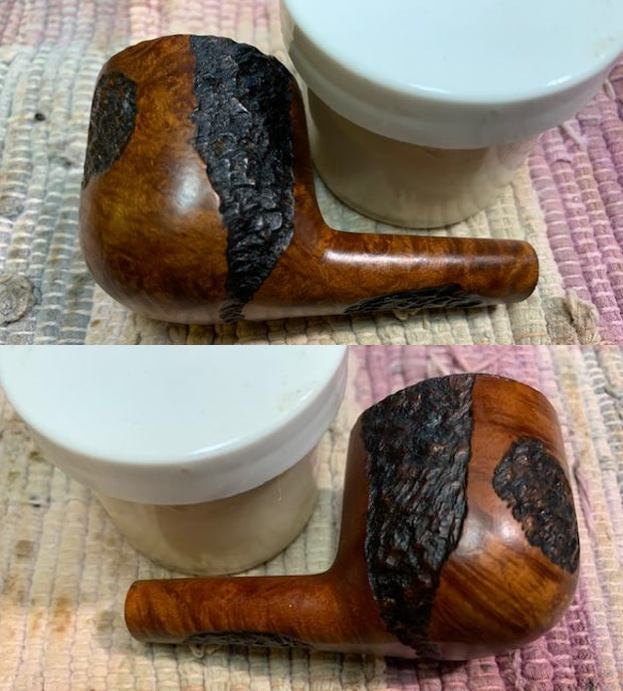

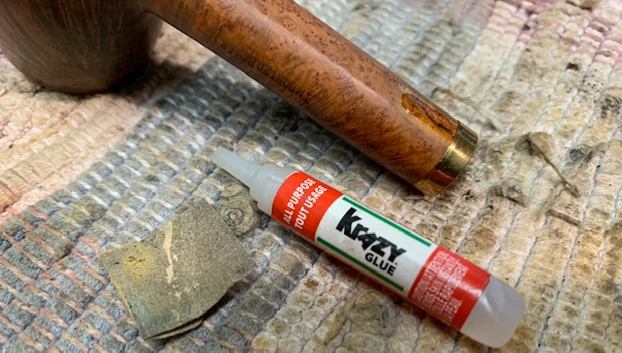
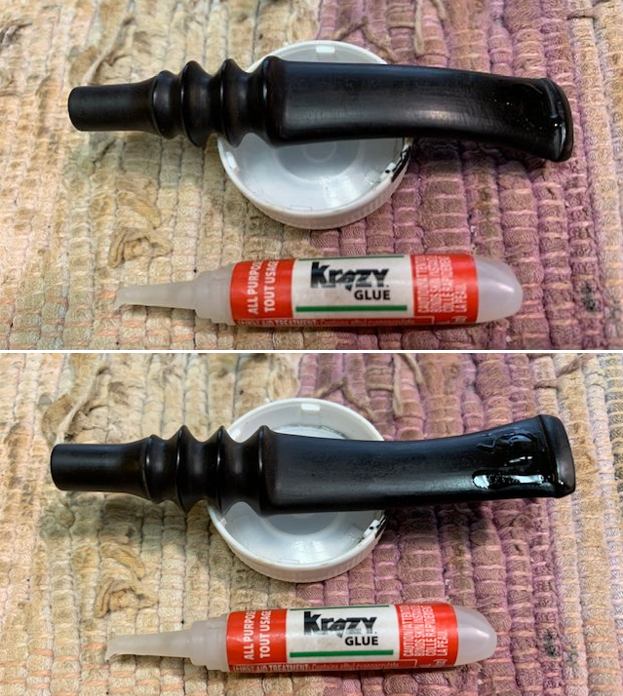
 The crack on the underside of the shank was a mere hairline what was not long or wide so it would be an easy repair with a bit of glue and a band. I painted the shank end with some all-purpose white glue. I spread it with a dental spatula and pressed the band in place on the shank.
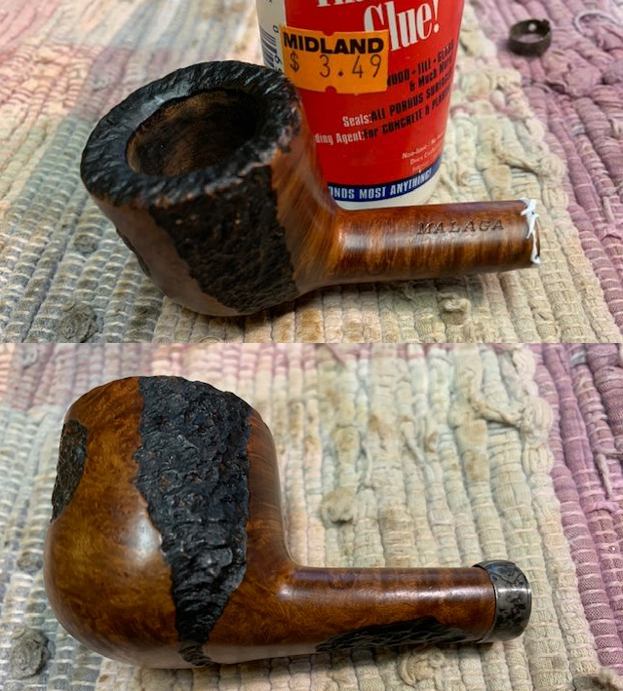

 I polished the Sterling Silver belt band with some silver polish and a jeweler’s cloth. I was able to remove the tarnish and the band looked very good.
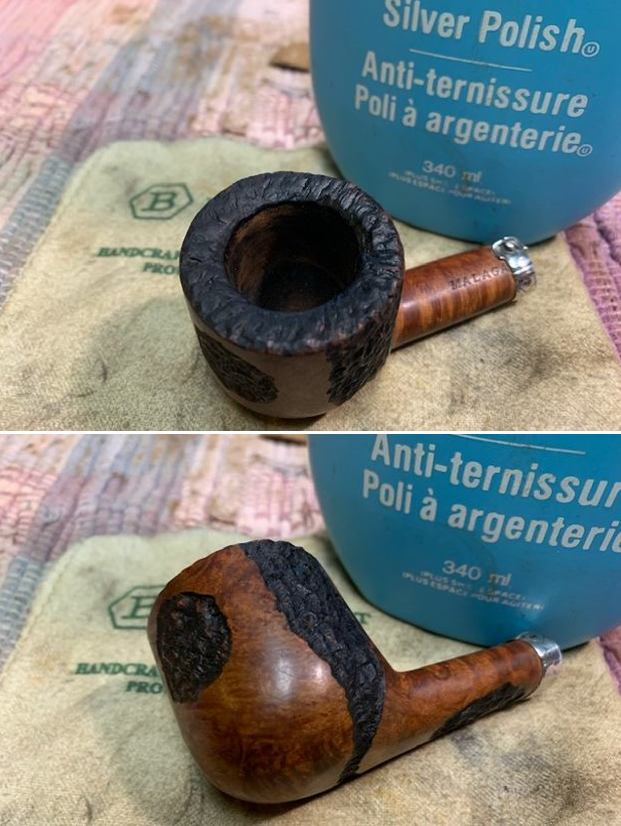
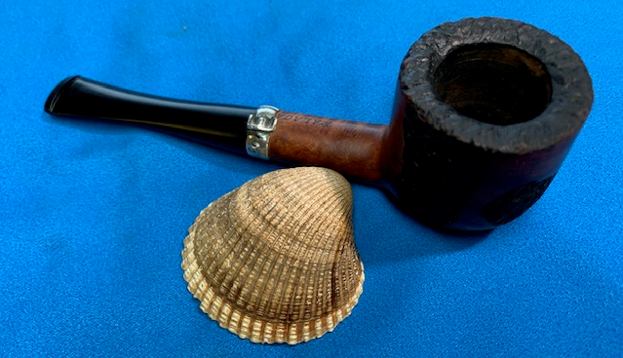
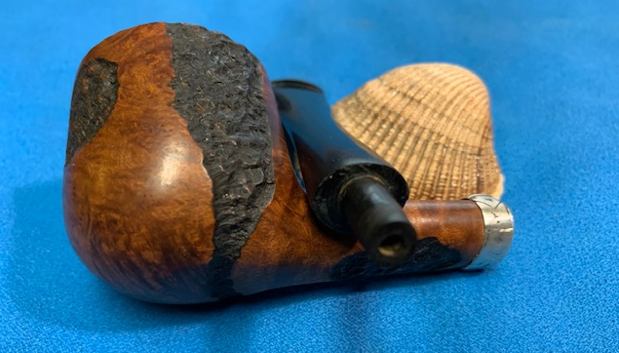
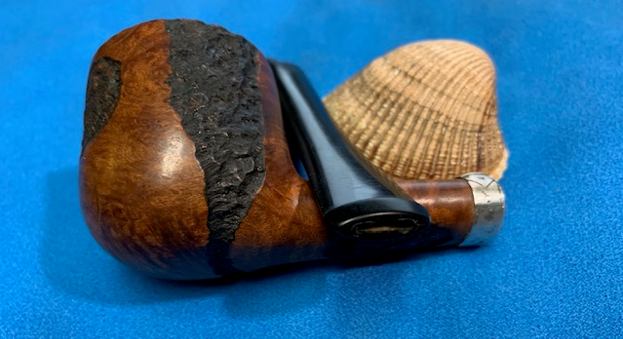
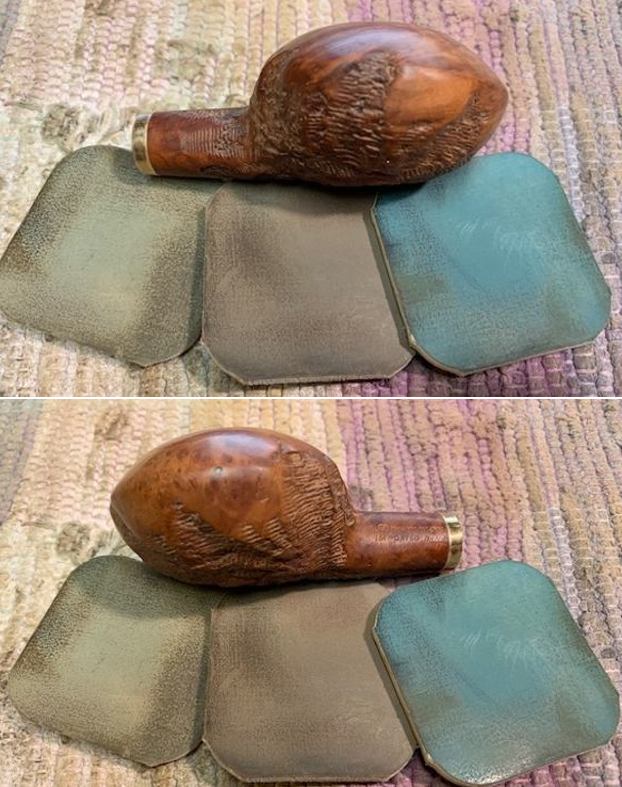
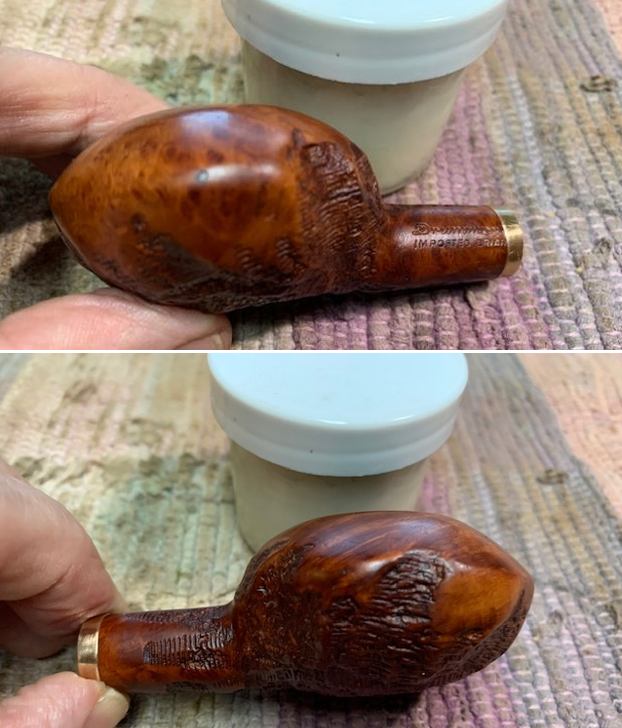
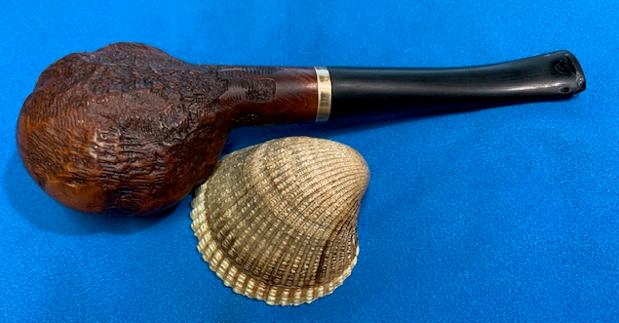
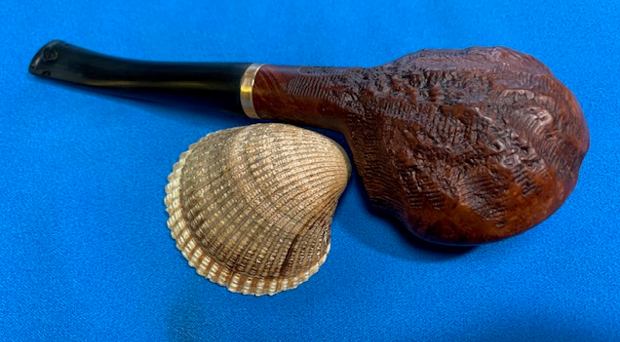
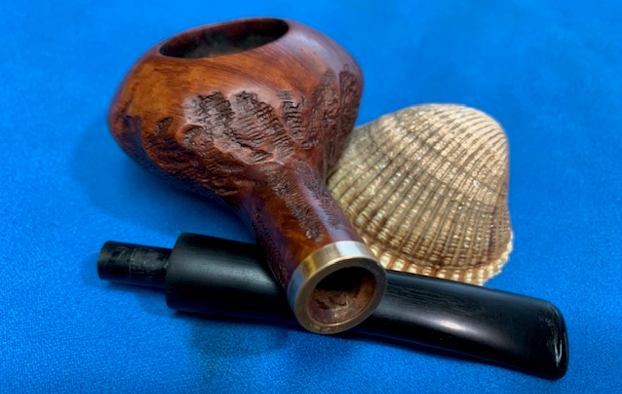
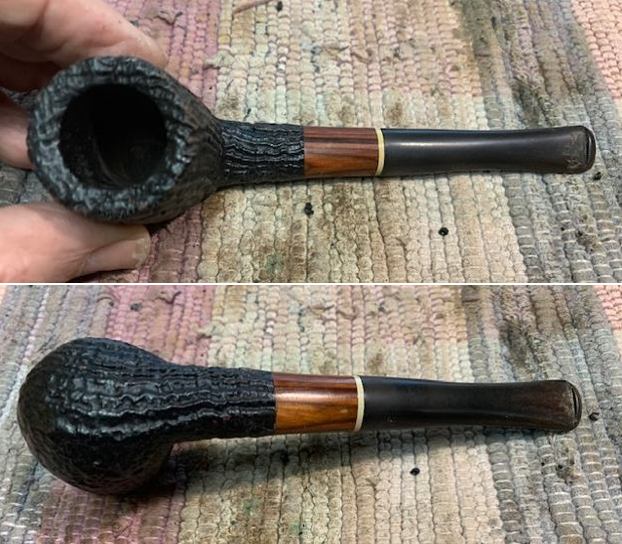
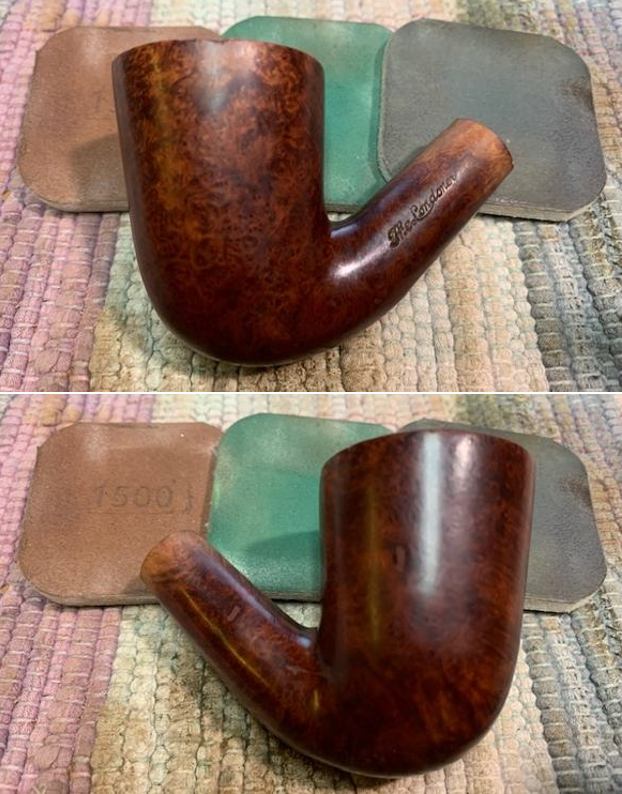
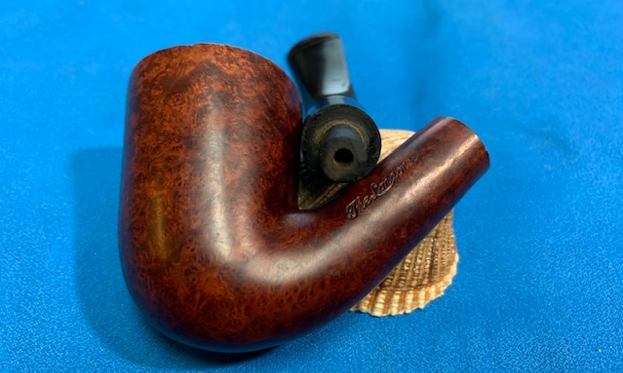
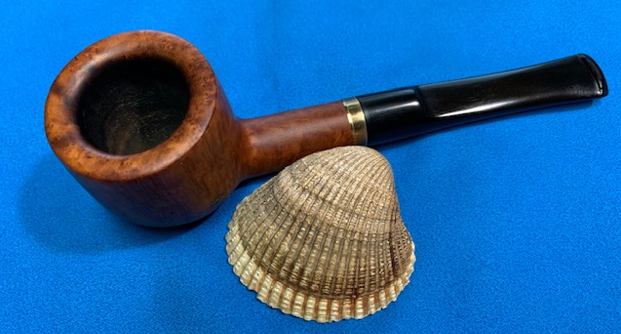
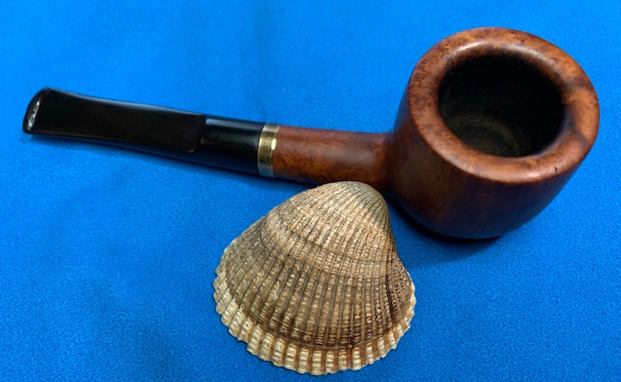
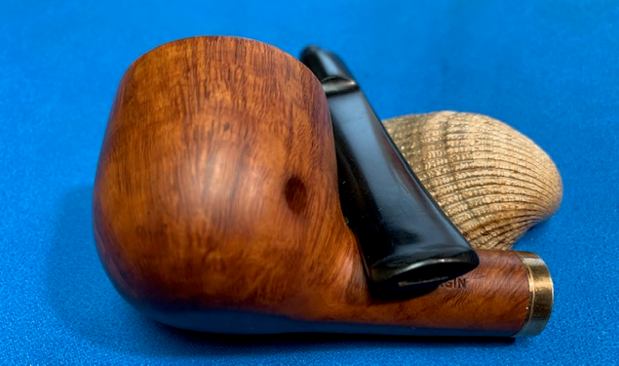
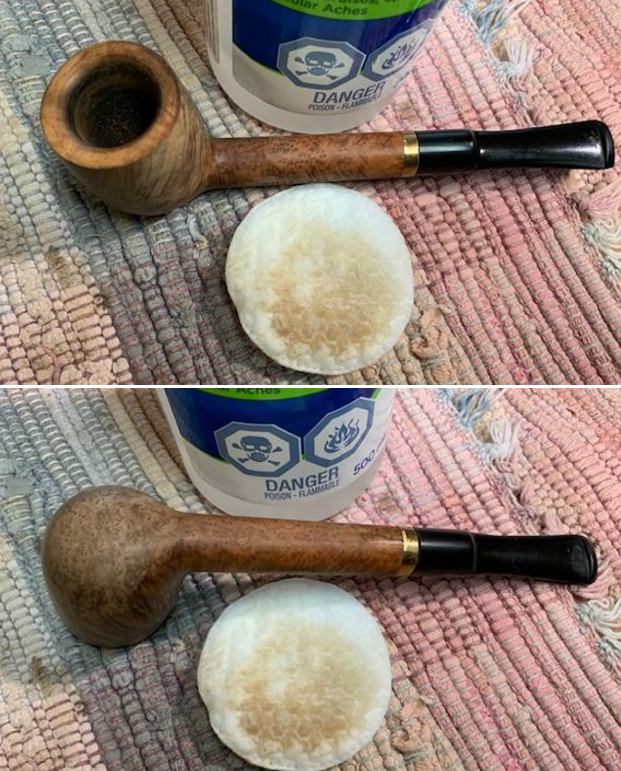
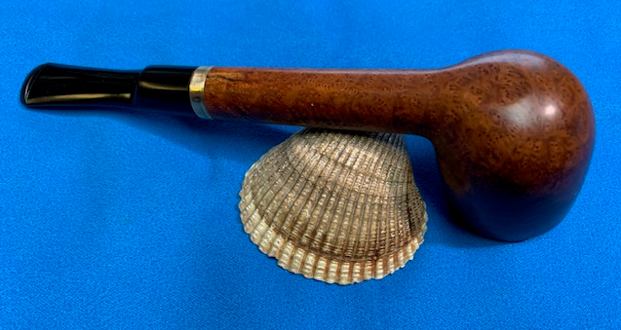
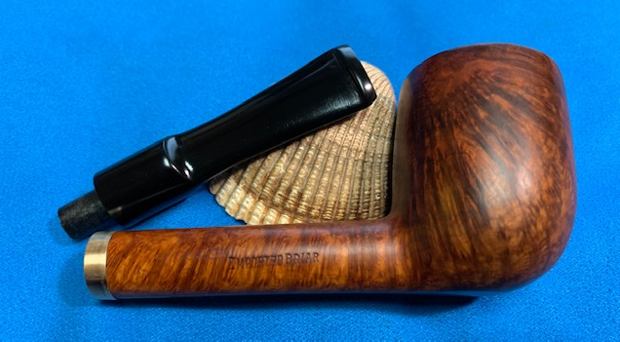
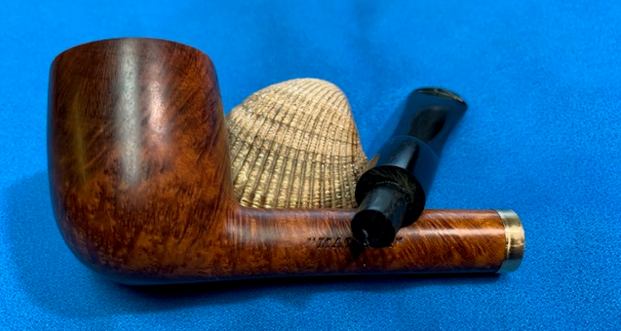
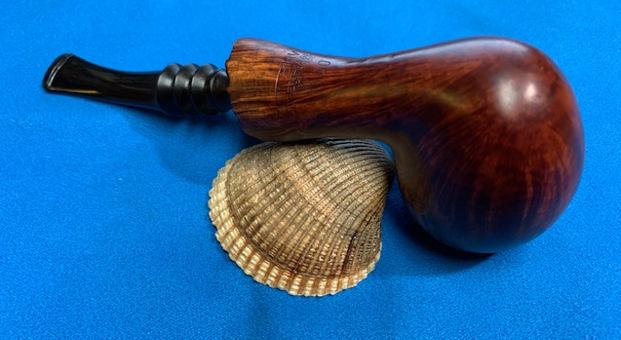
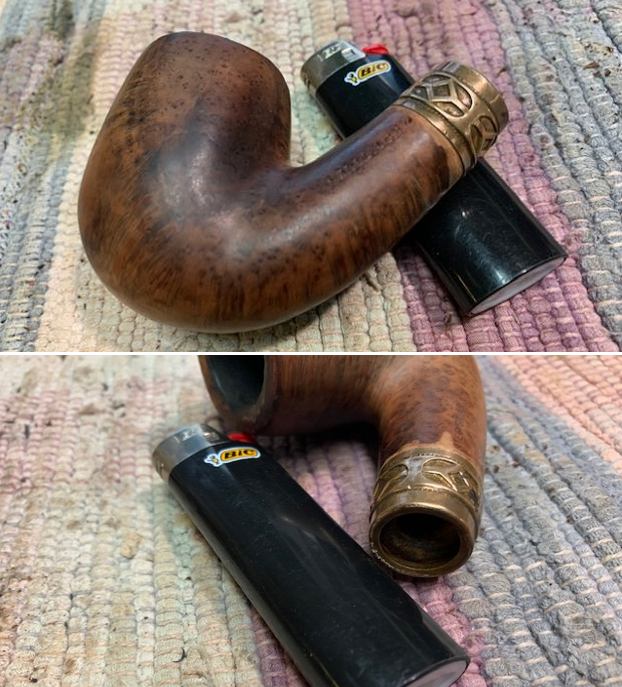
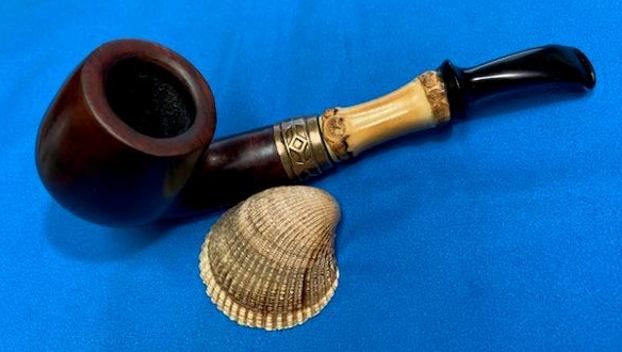
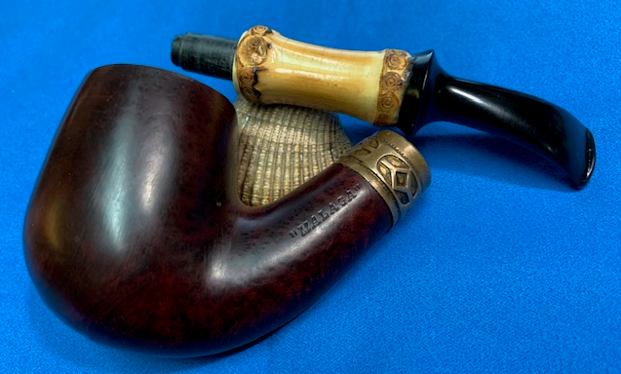
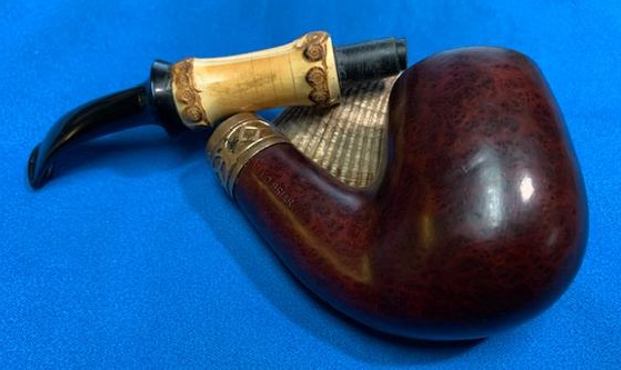
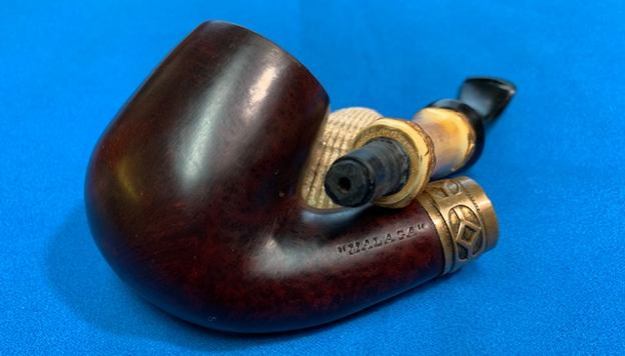
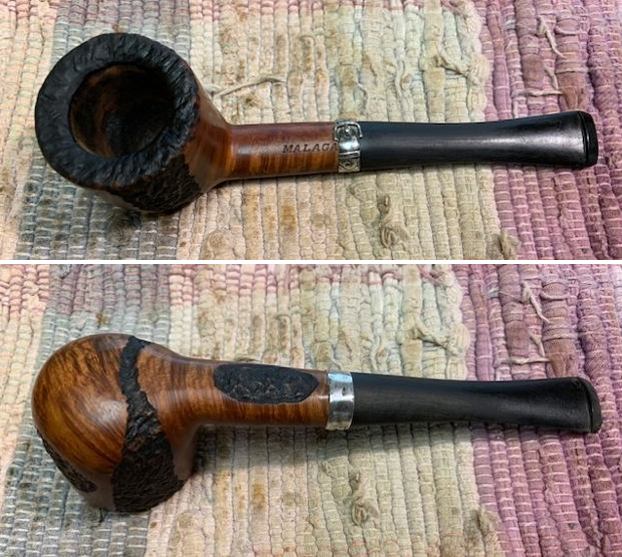
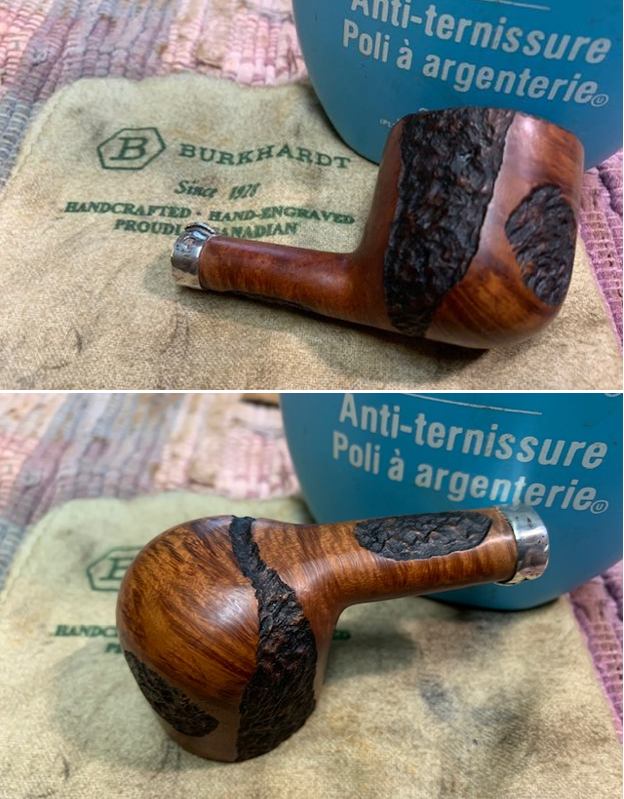 I took pictures of the banded shank to show the look of it. Notice that the belt buckle is on the top and the A of the Malaga is perfectly framed on the right side by the buckle.
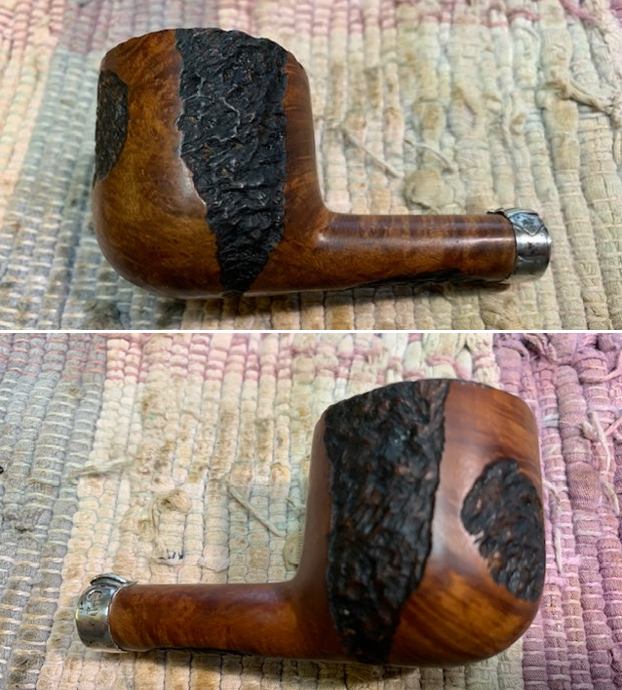
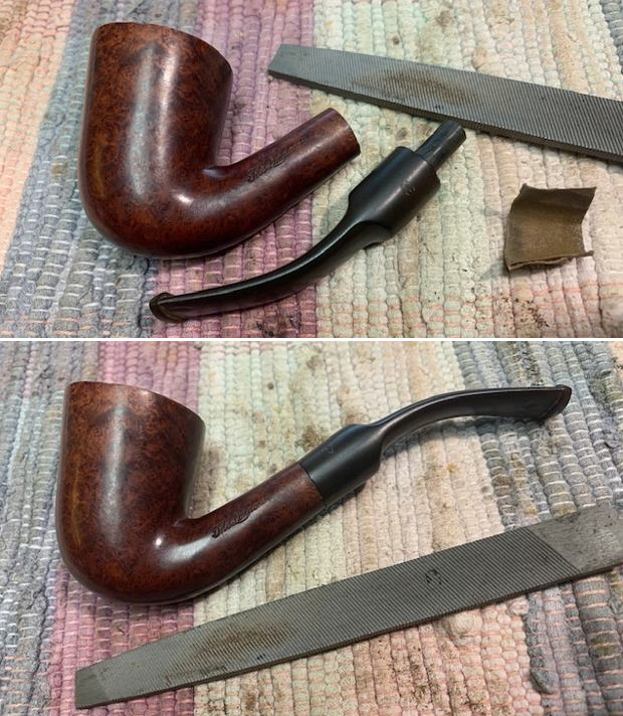
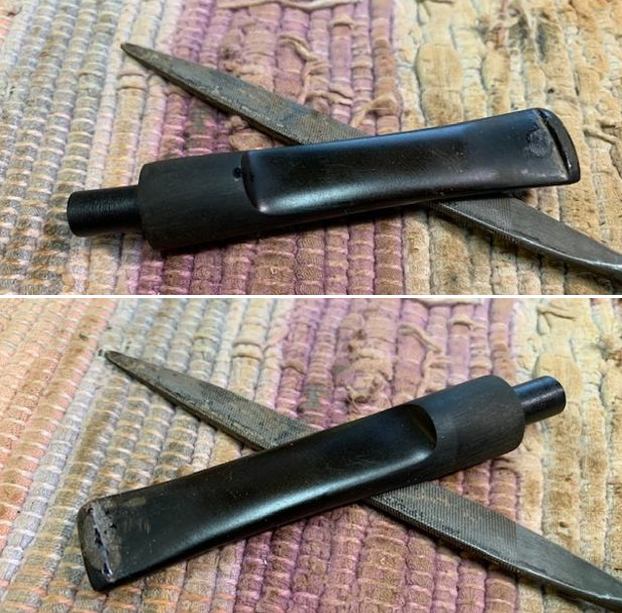
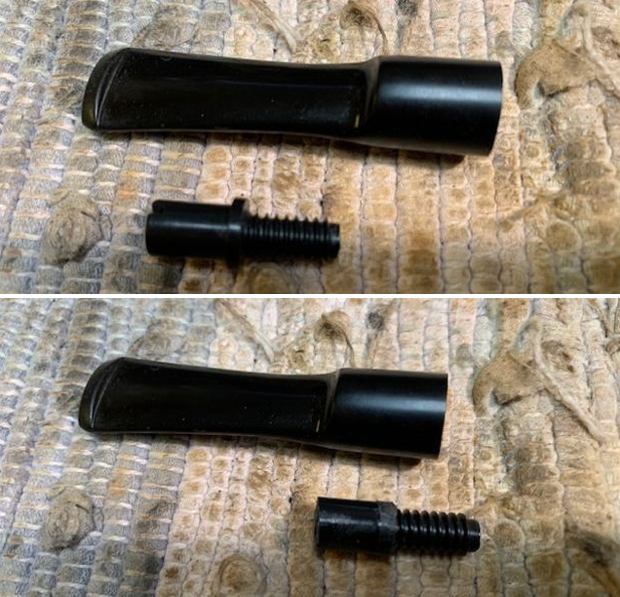
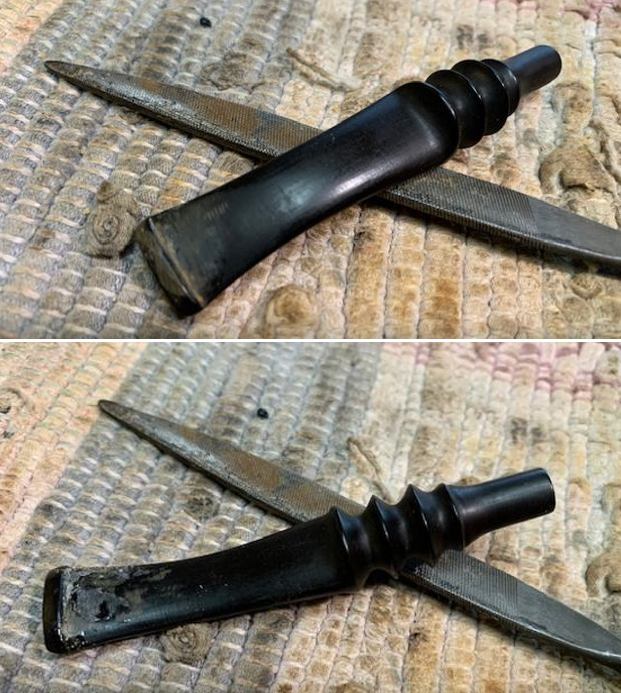
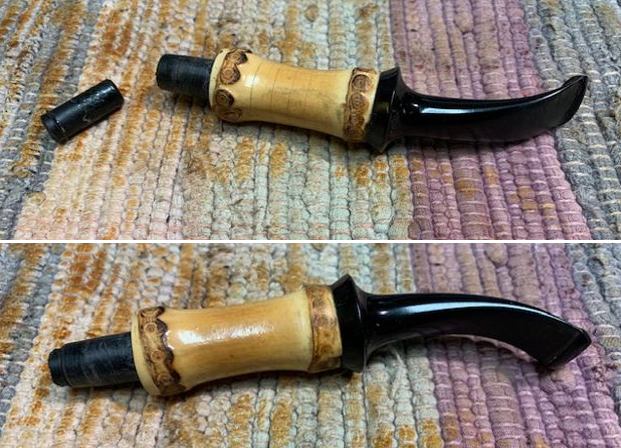
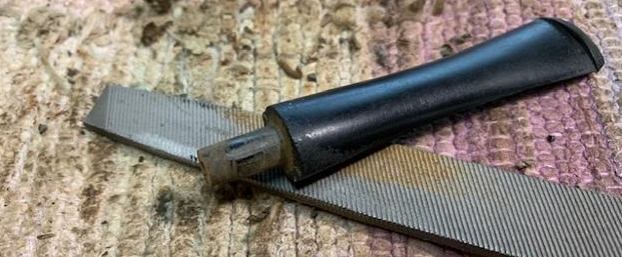
 With the bowl finished it was time to focus on the stem. I took out the stem and the Pimo tenon turning tool and set up the tool in my cordless drill. I put the guiding pin in the airway on the stem and adjusted the cutting head. I held the stem in place and carefully turned the tool on the tenon. I used a flat file to smooth out the tenon to fit in the shank.
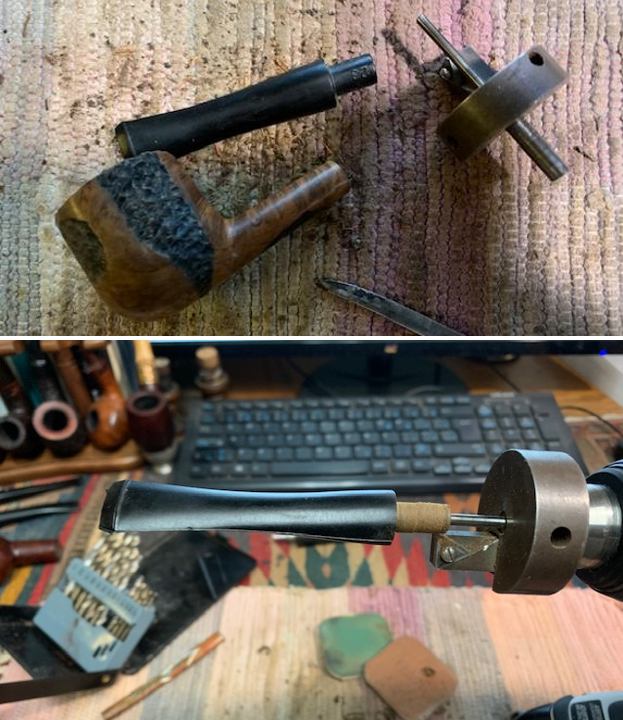
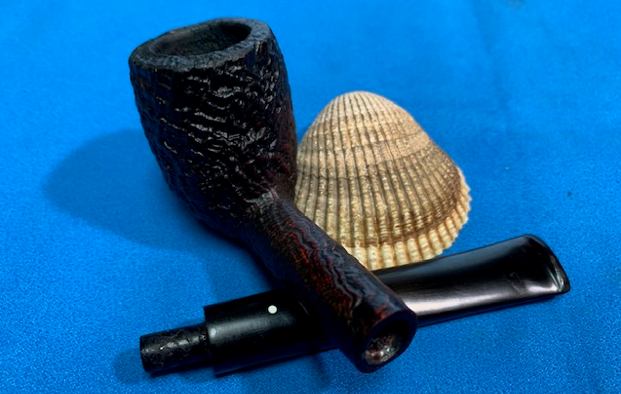
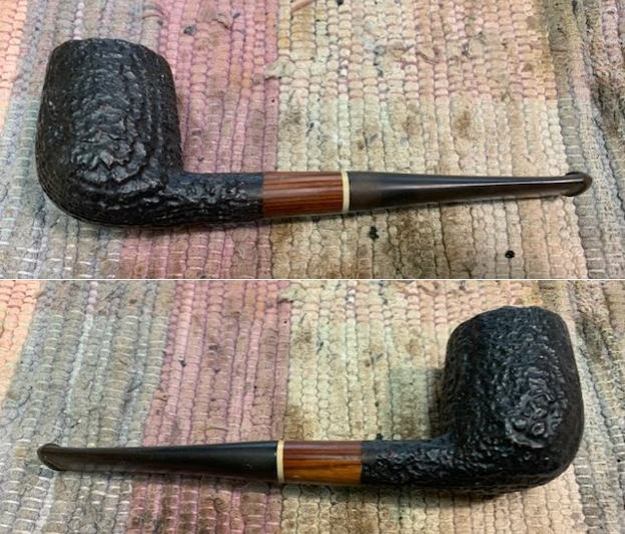
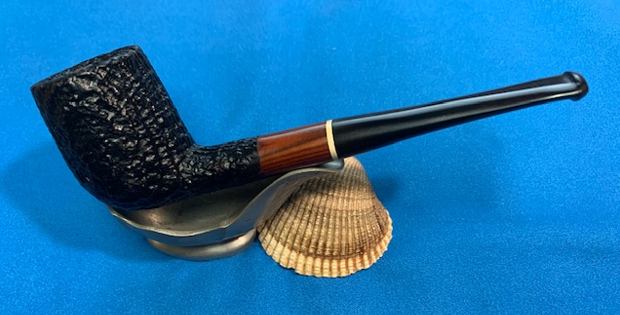
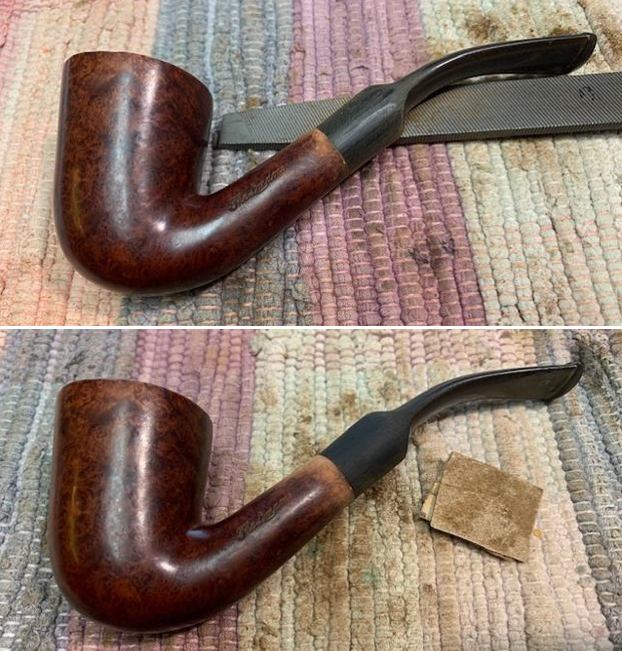
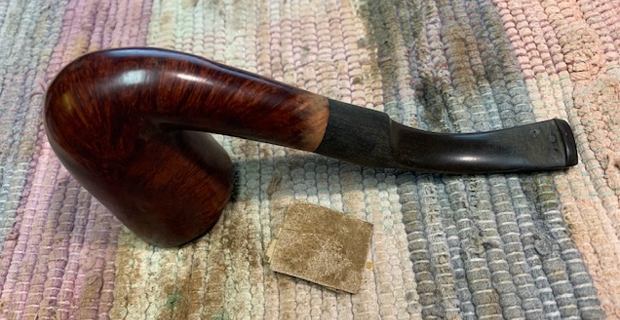
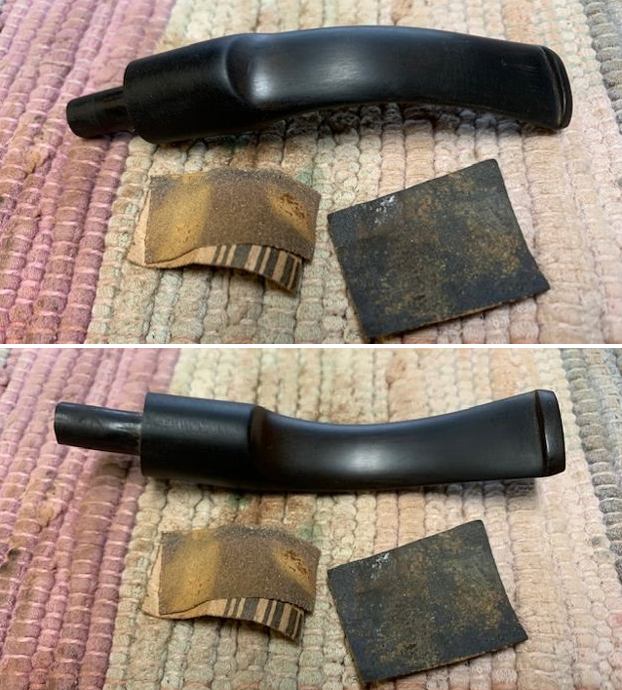
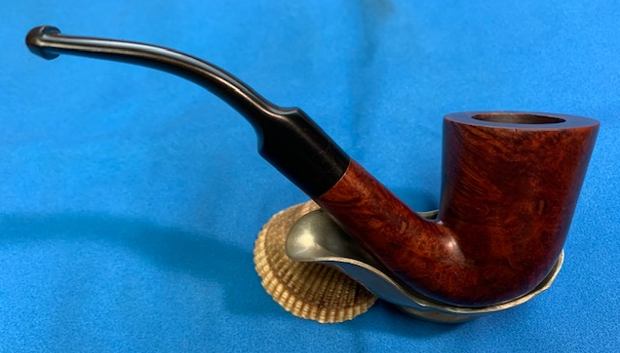
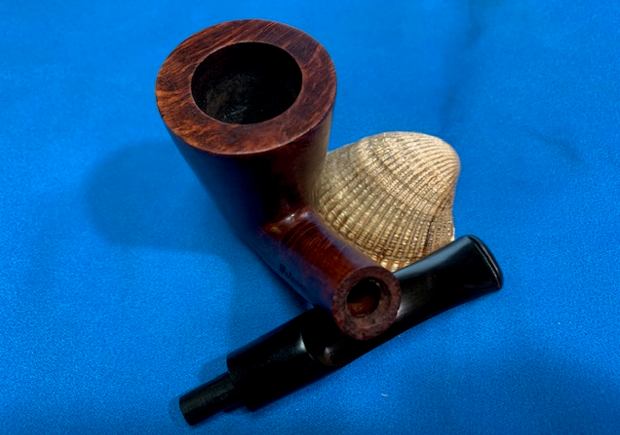
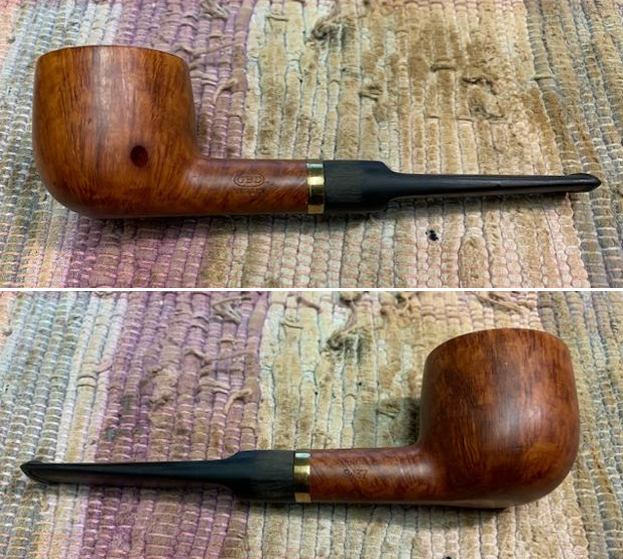
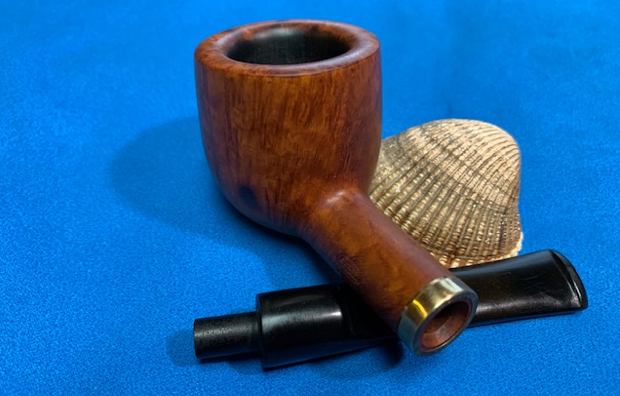
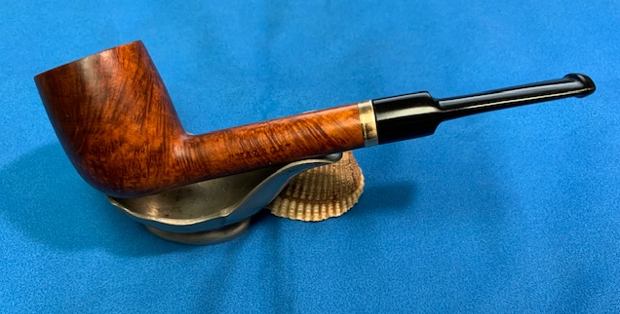
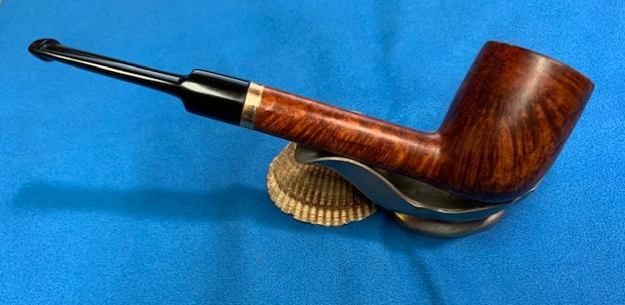
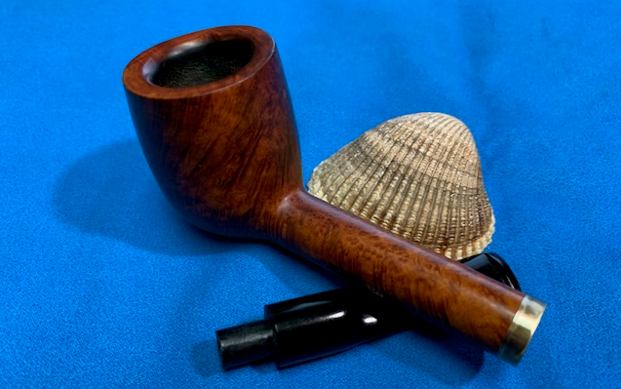
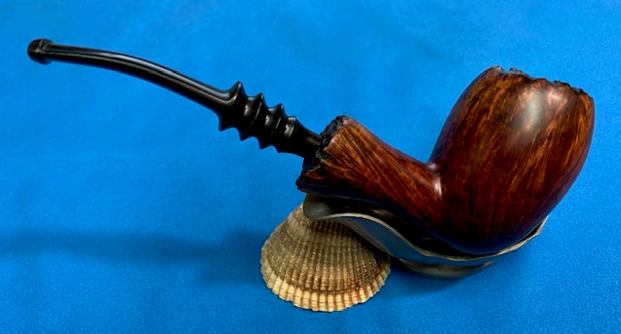
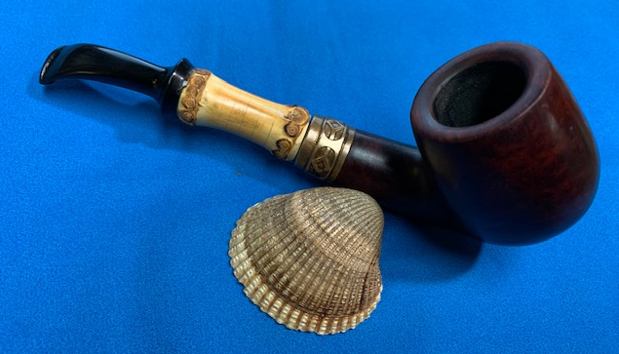
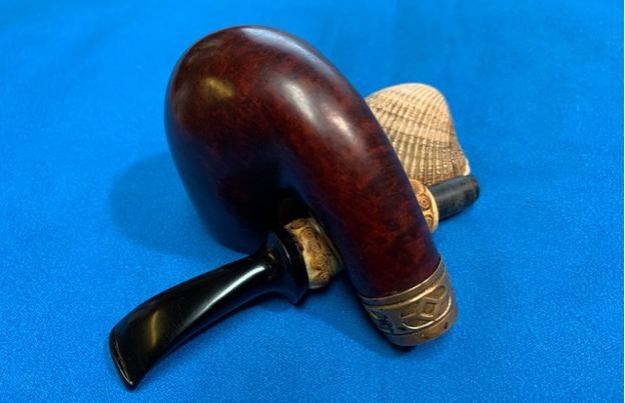
 I put the stem in shank for a sense of the look of the pipe. The stem fit well and it looked like it belonged. I sanded the castings off the edges of the stem and the button with 220 grit sandpaper before I took the photo.
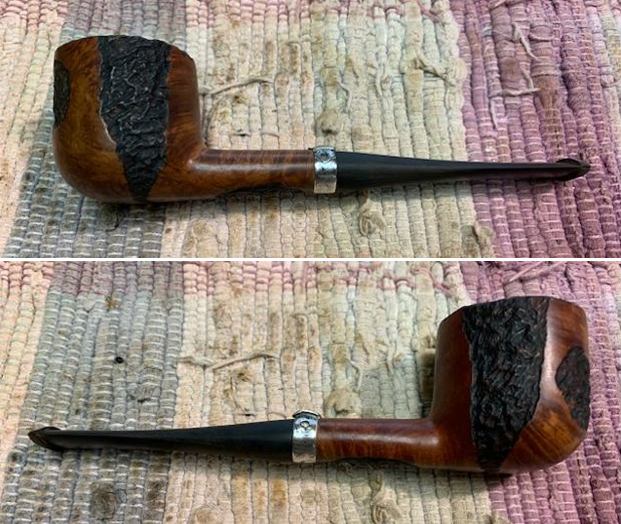
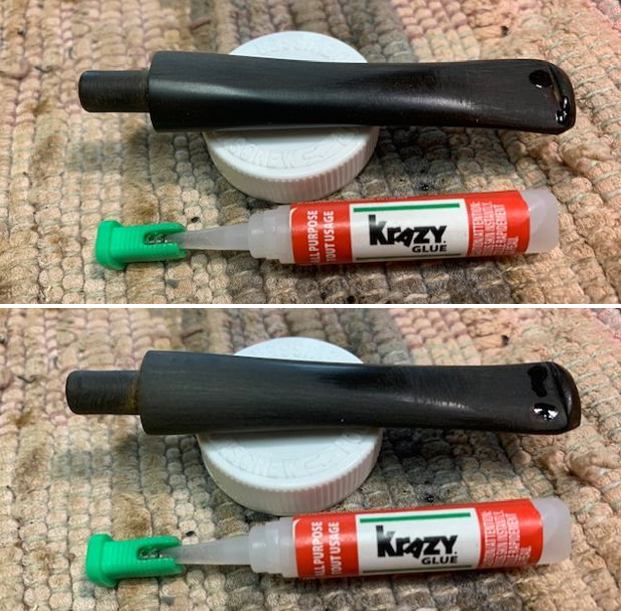
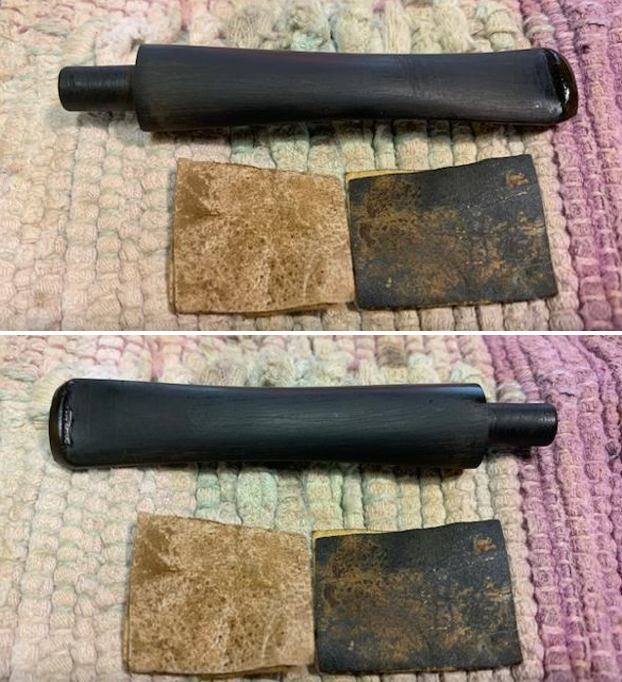
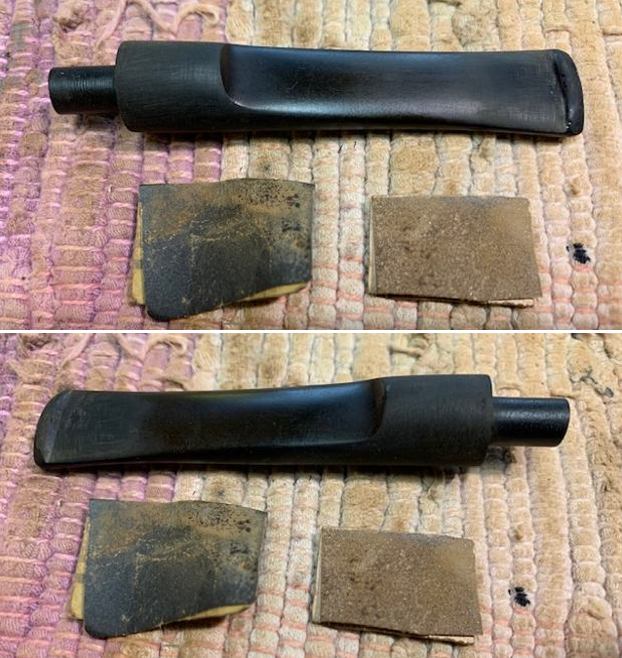
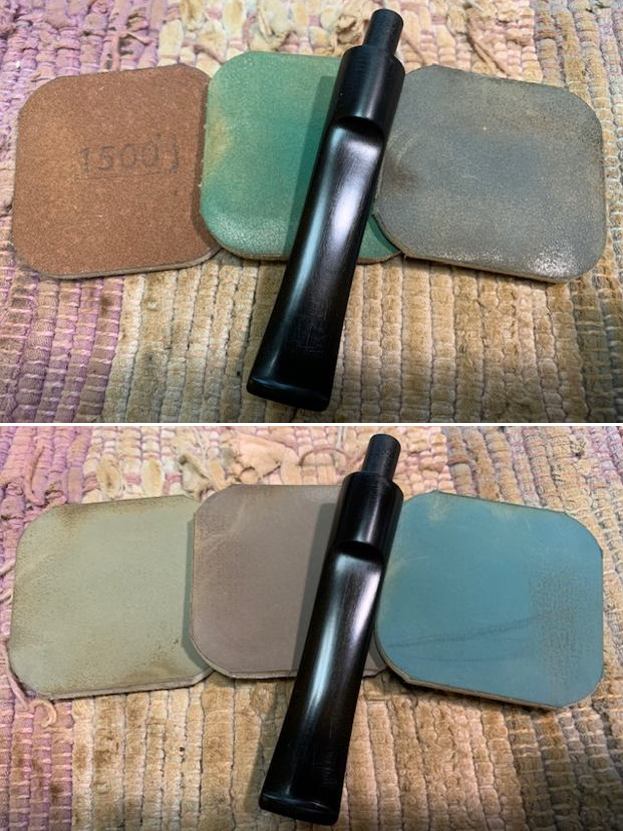
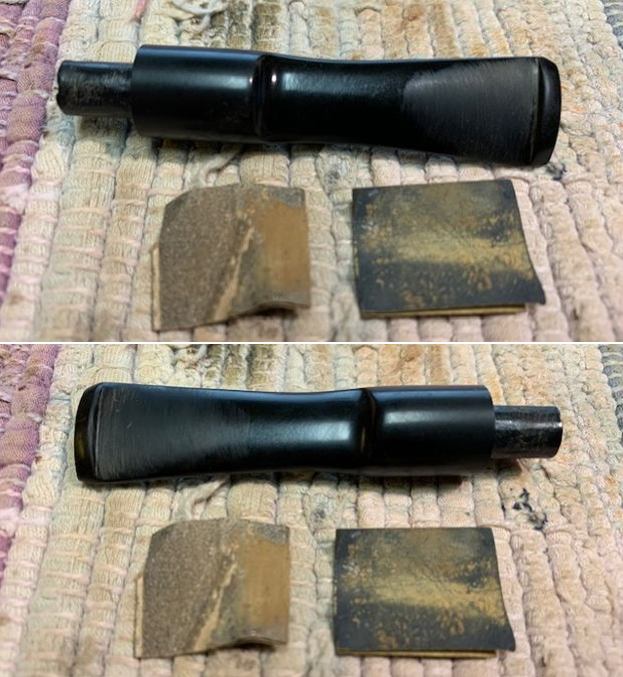
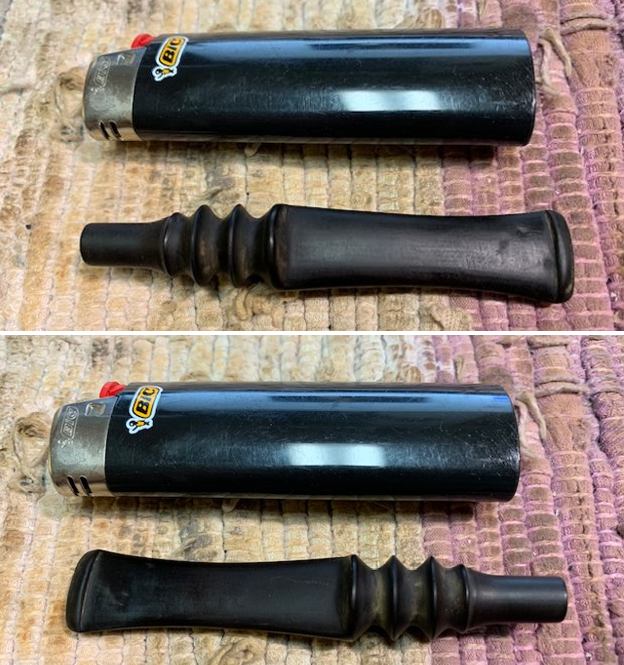
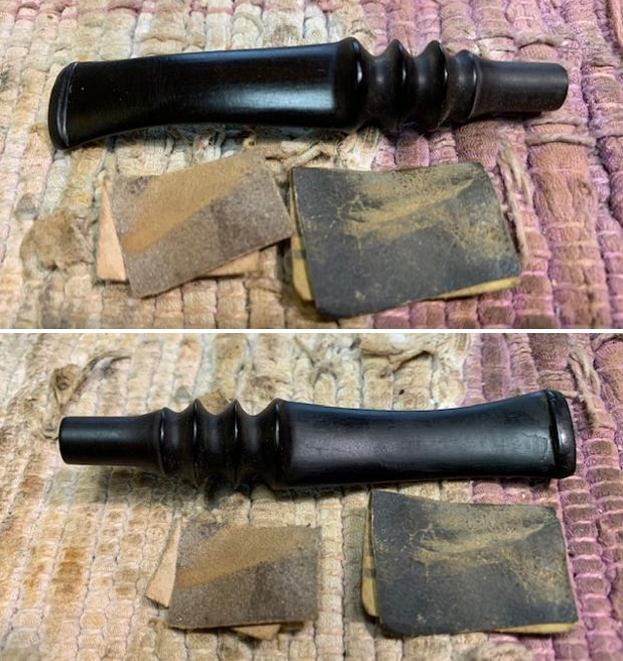
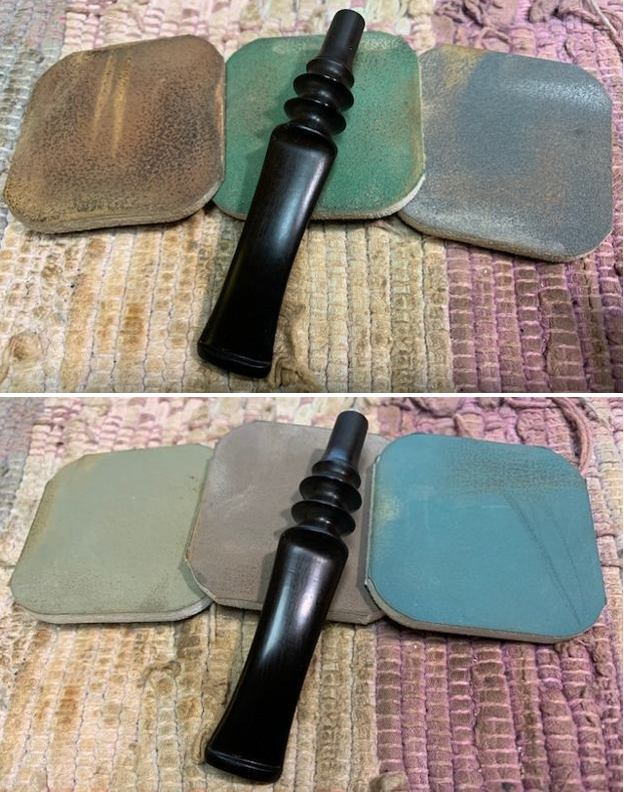
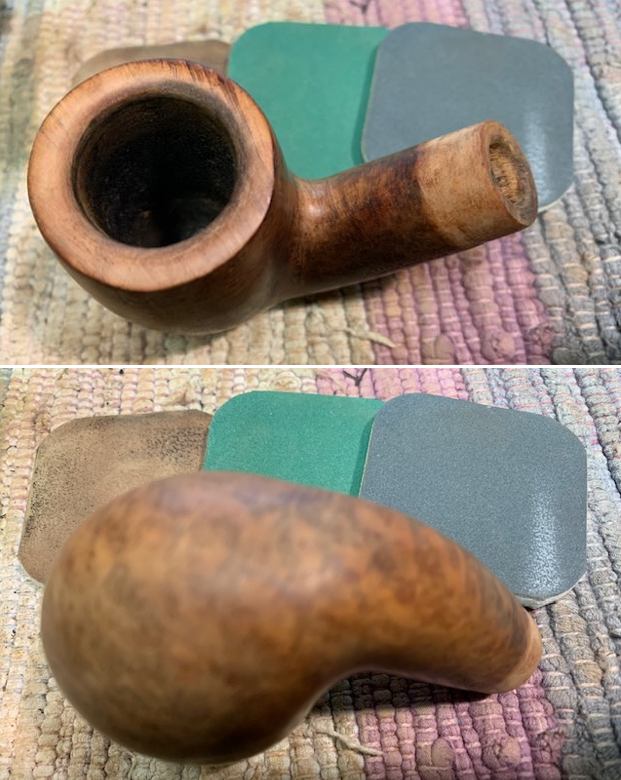
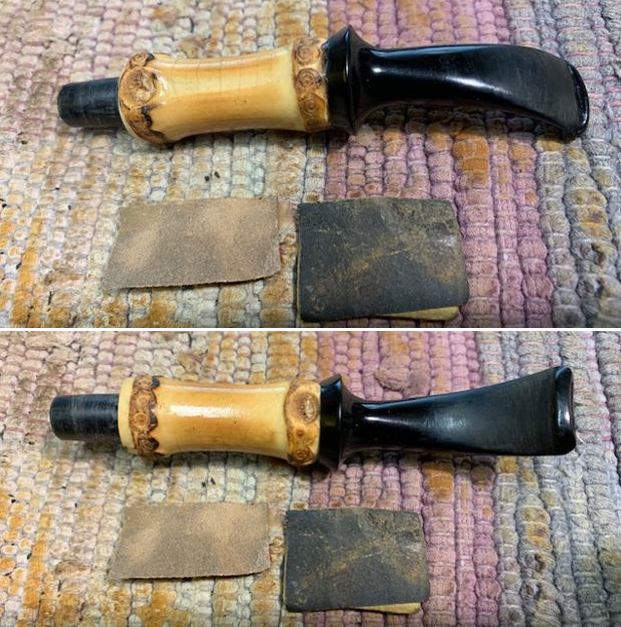
 I removed the stem and worked on it next. I smoothed out remnants of the castings and the scratches in the surface of the vulcanite with 220 grit sandpaper. I started polishing the stem with 400 grit wet dry sandpaper.
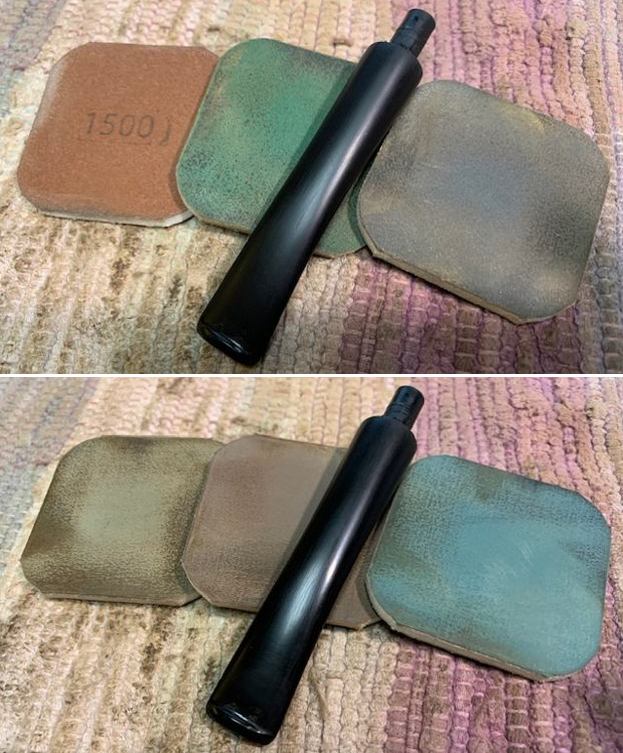
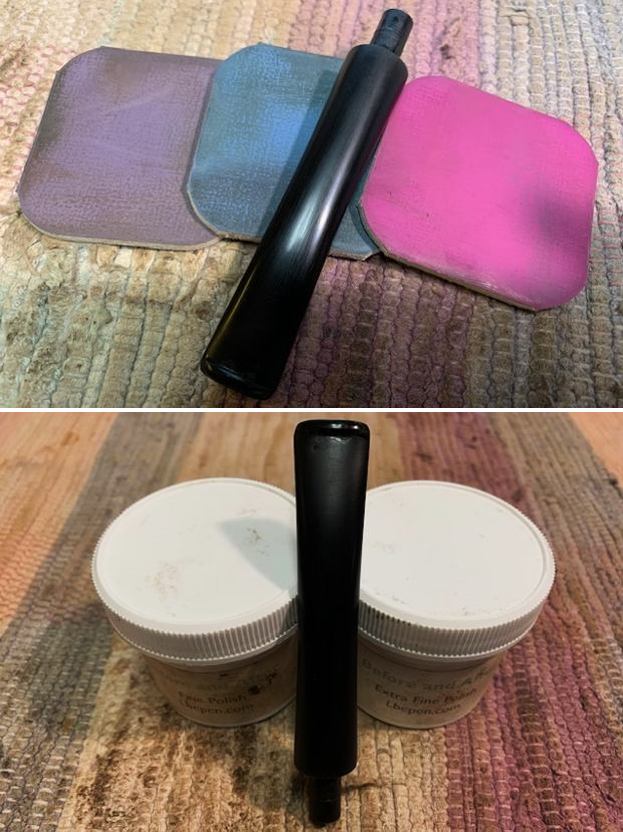
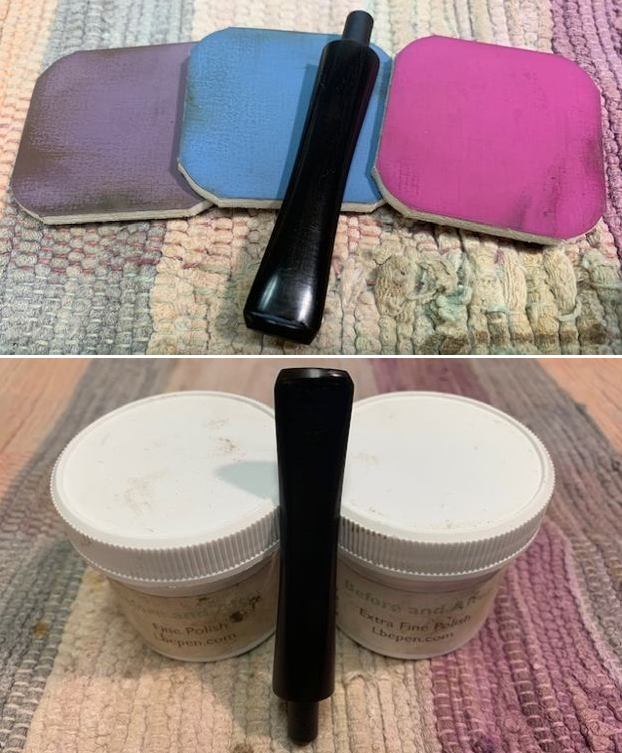
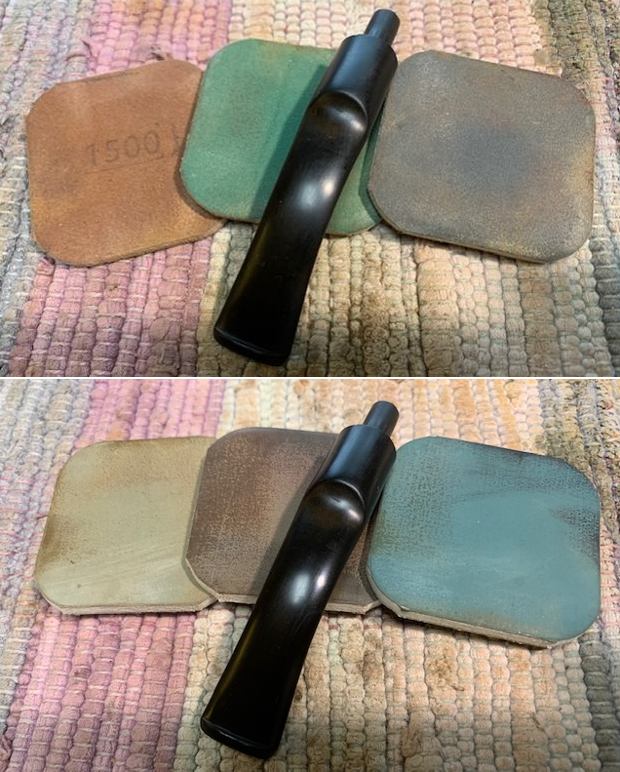
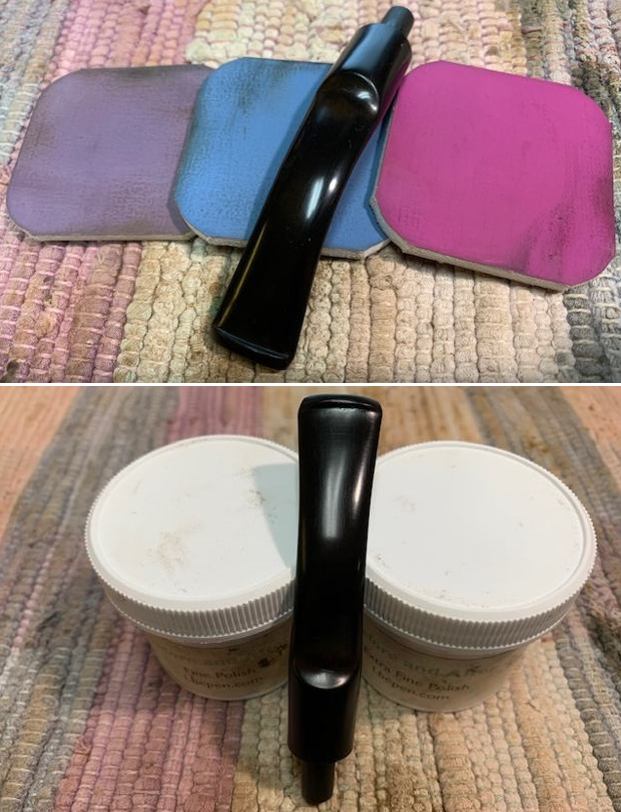
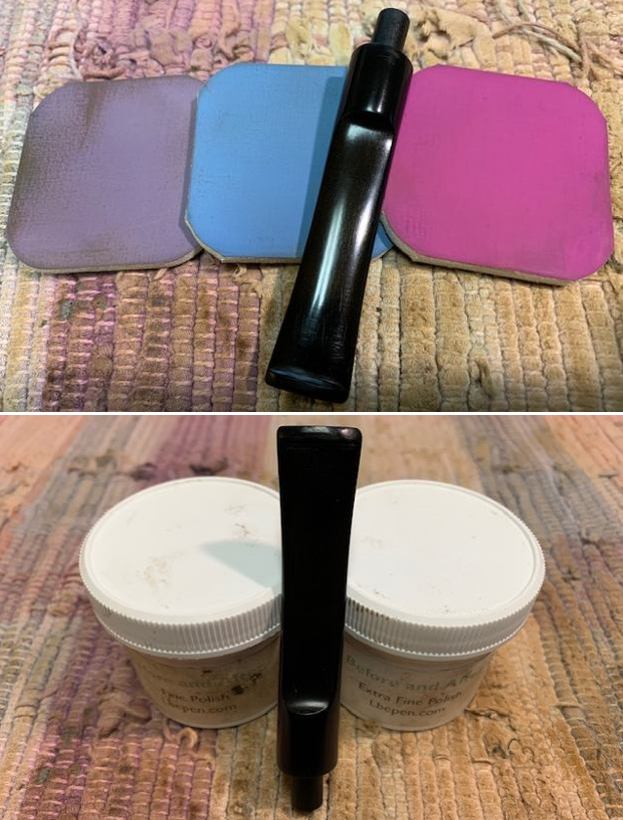
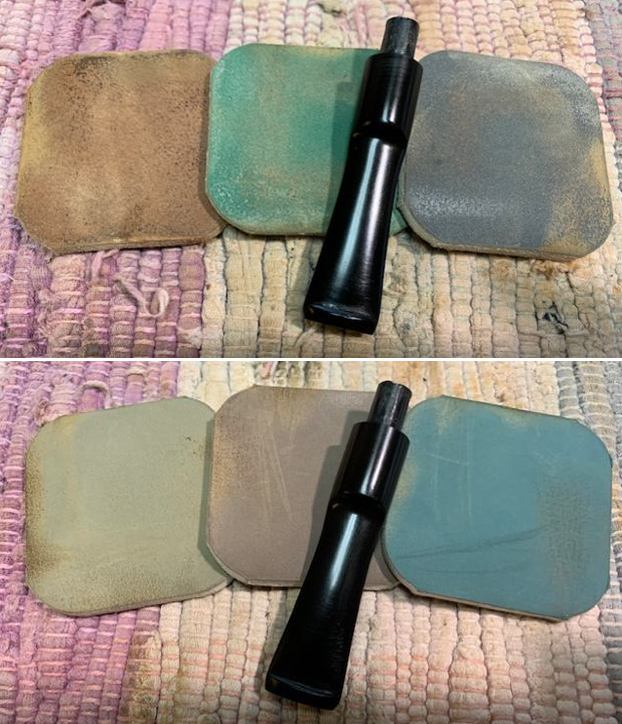
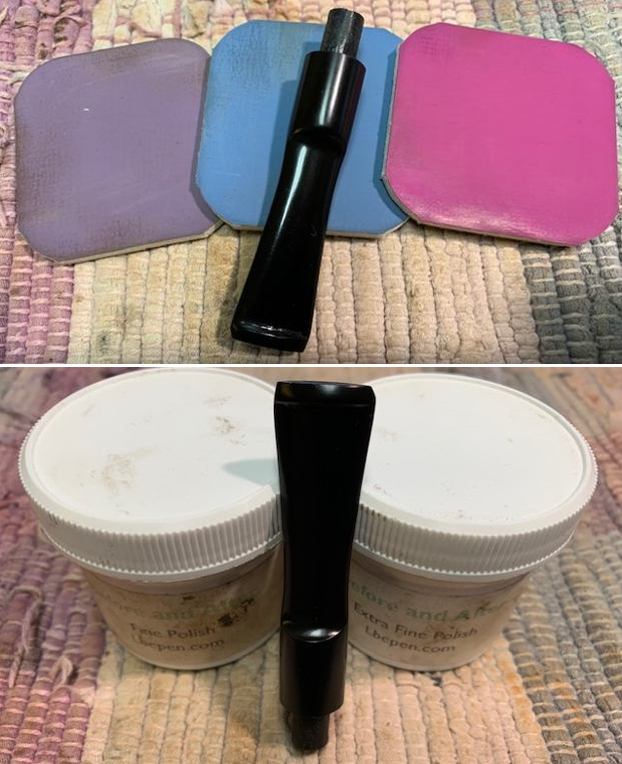
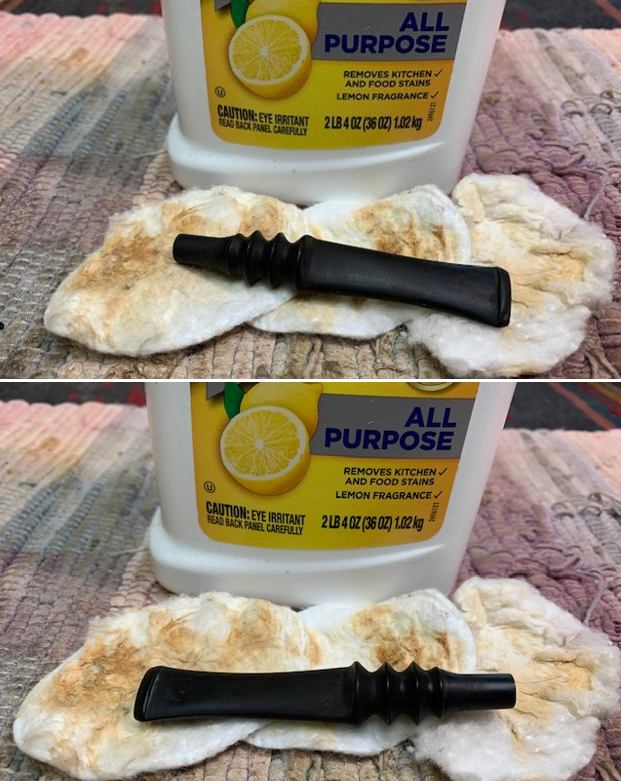
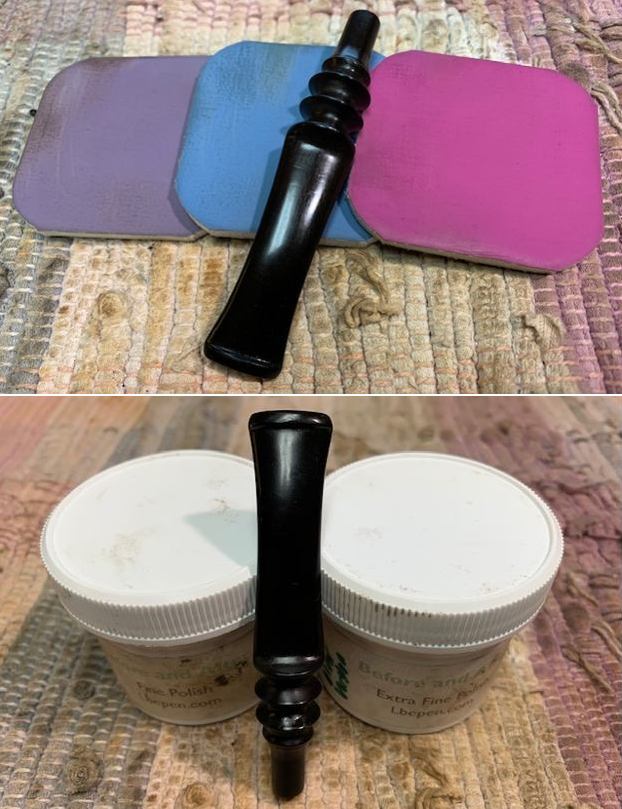
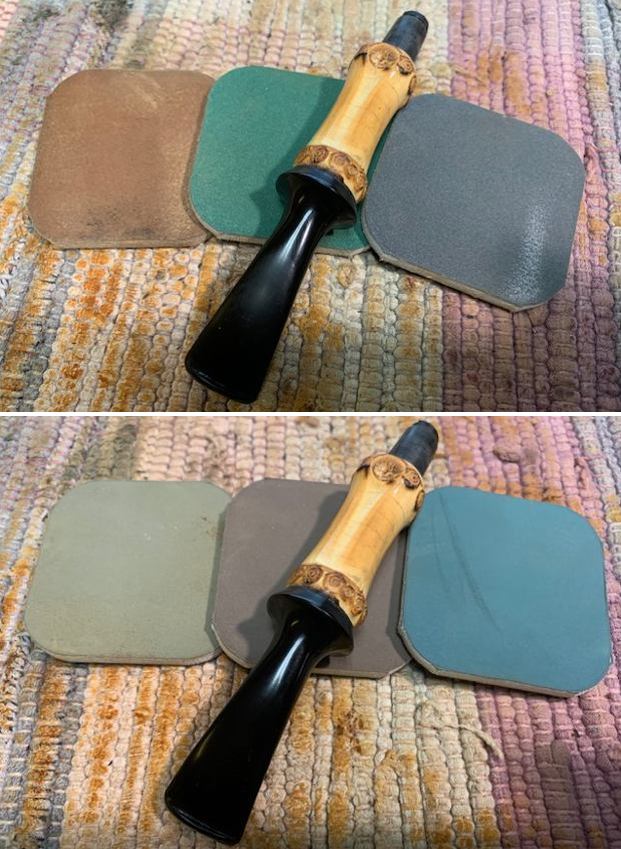
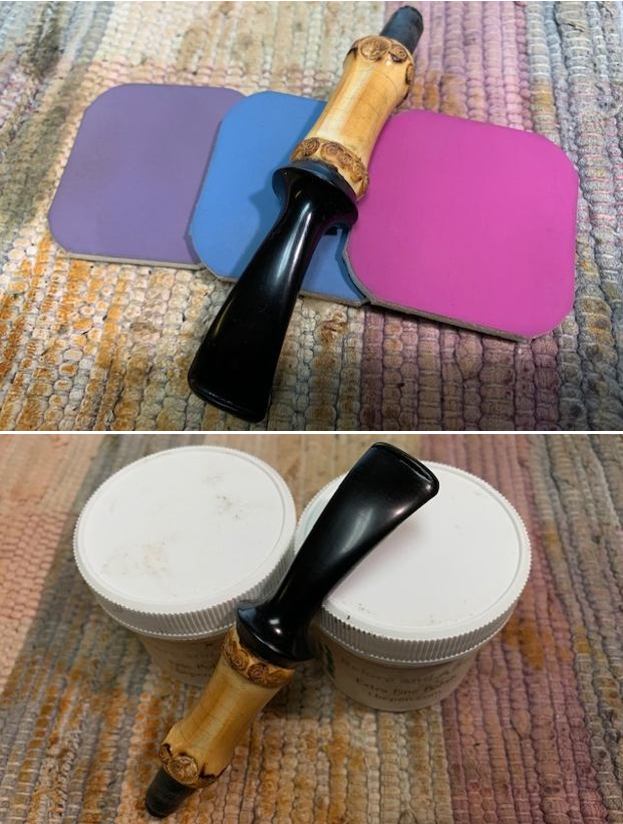
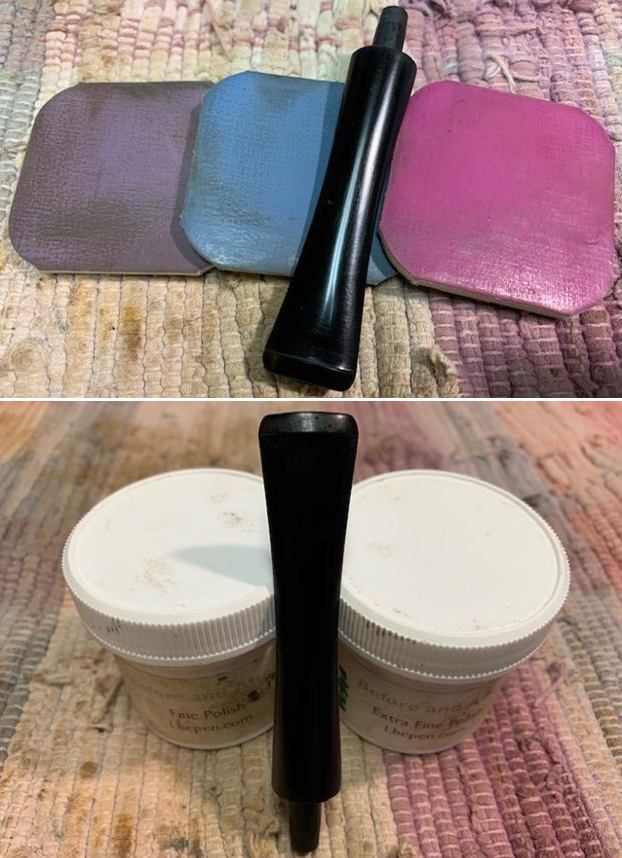
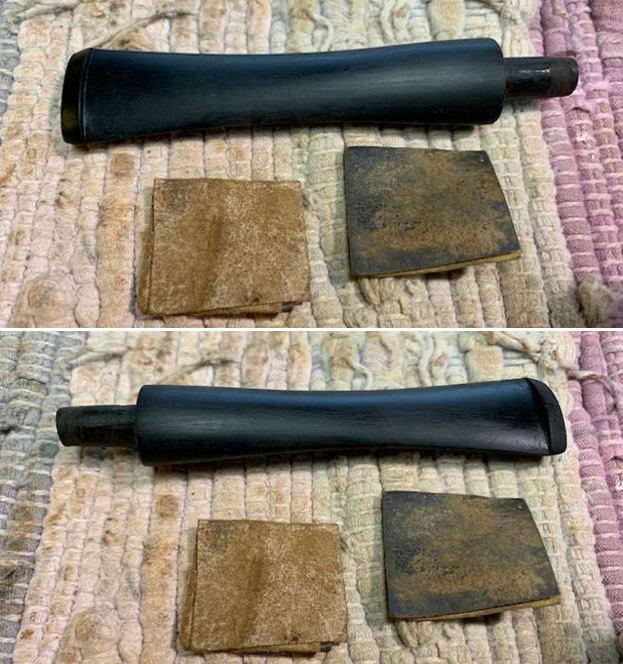 I polished the stem with micromesh sanding pads – dry sanding with 1500-12000 grit pads. I wiped the stem down after each pad with a cloth and Obsidian Oil. I finished the polishing with Before & After Pipe Stem Polish – both Fine and Extra Fine. I gave it a final coat of Obsidian Oil.
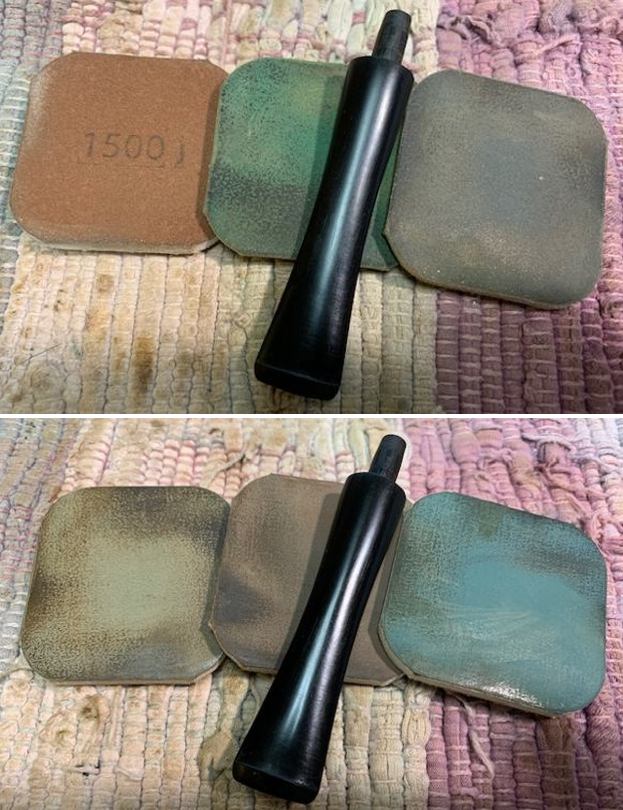
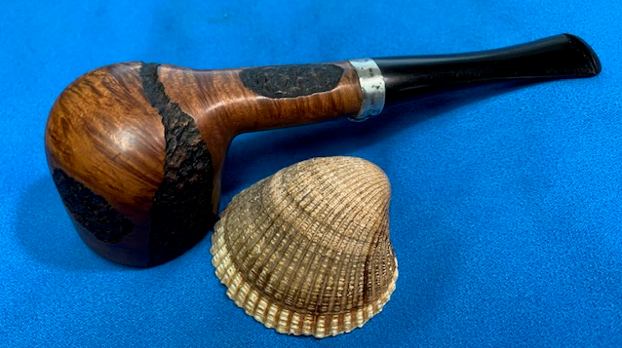
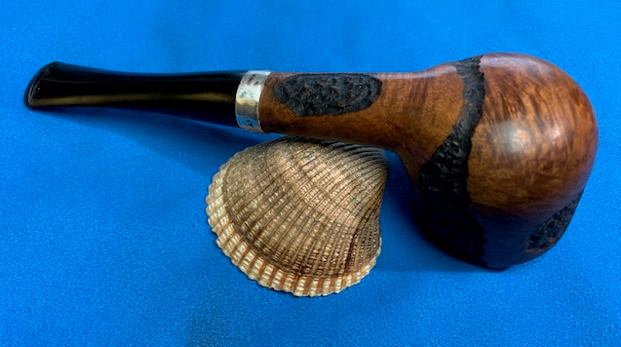
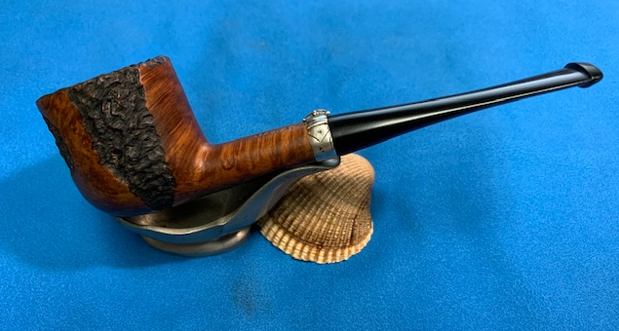
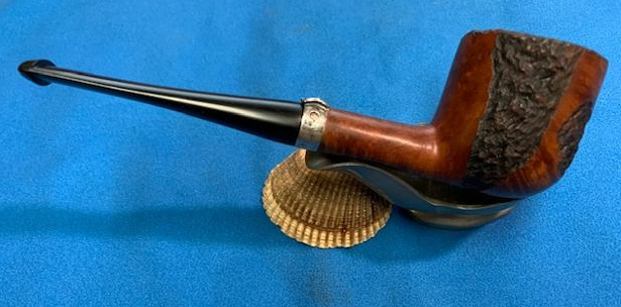
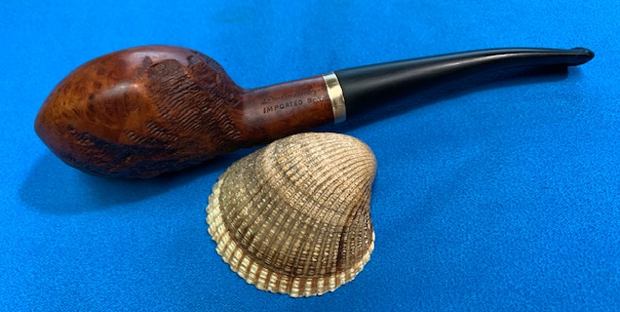
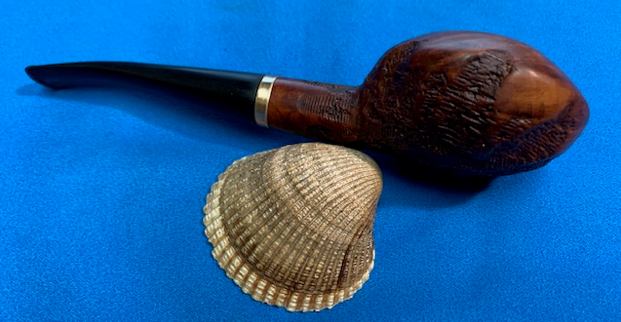
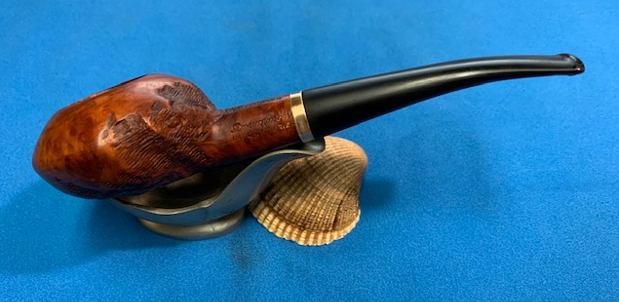
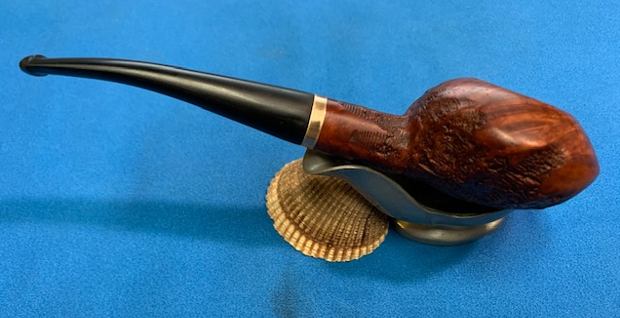
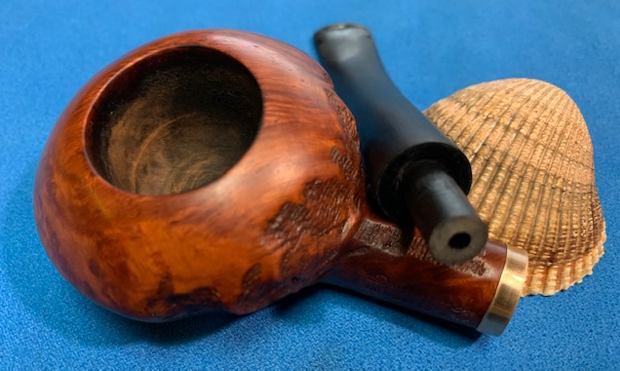
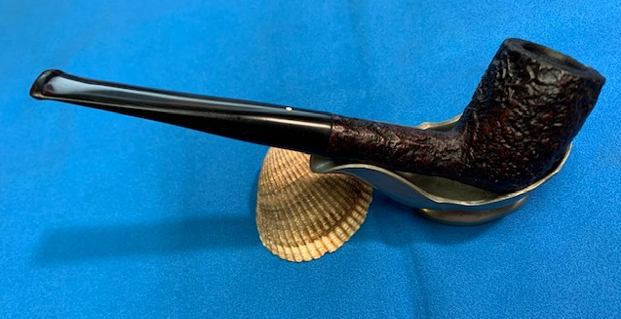
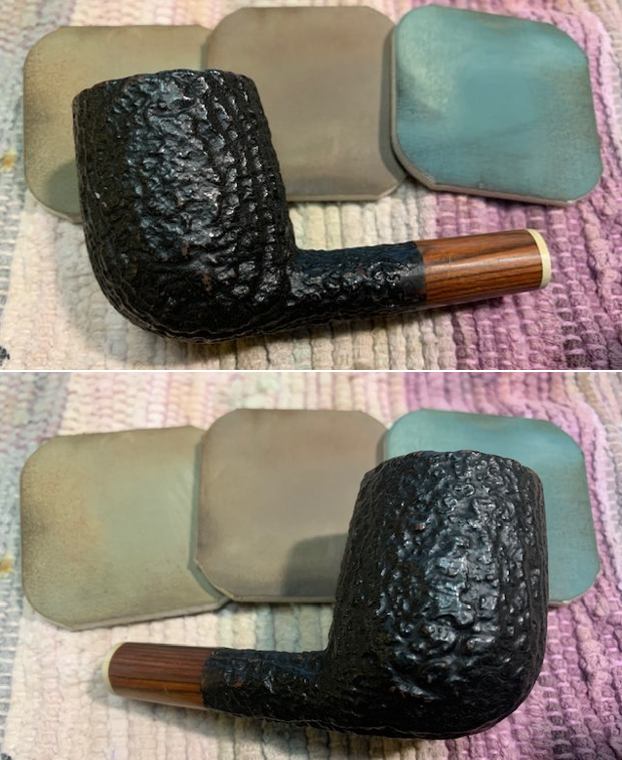
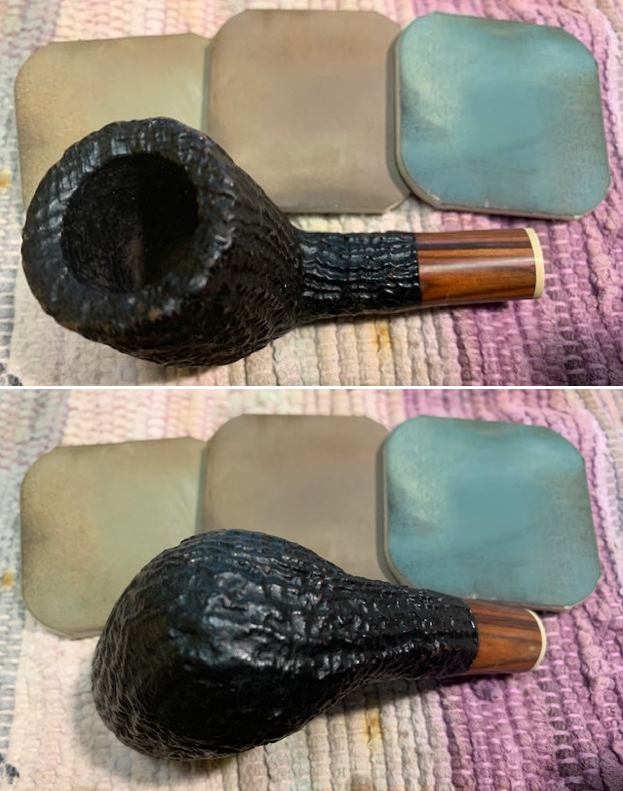
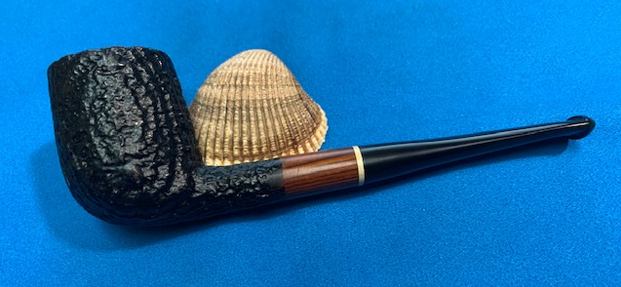
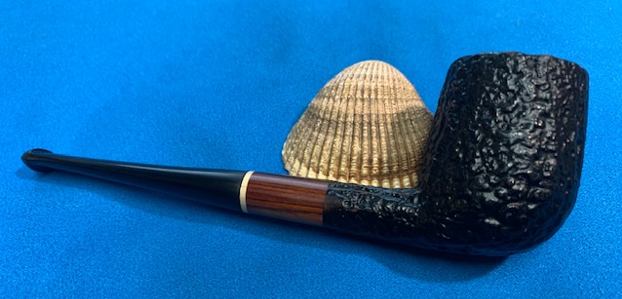
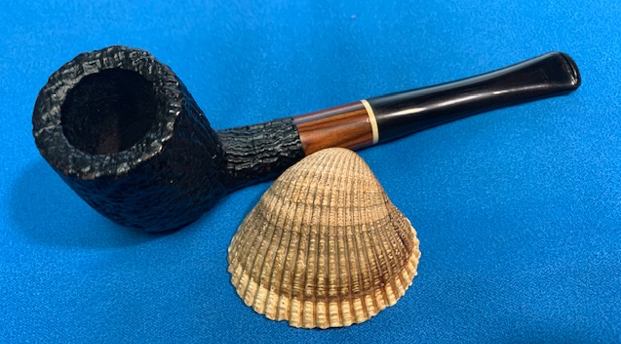
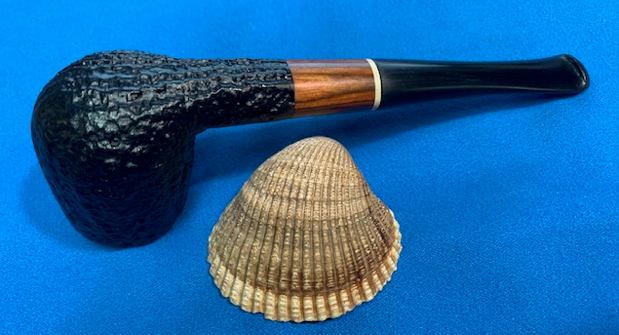
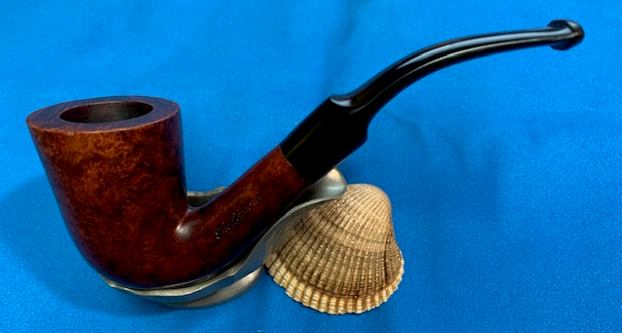
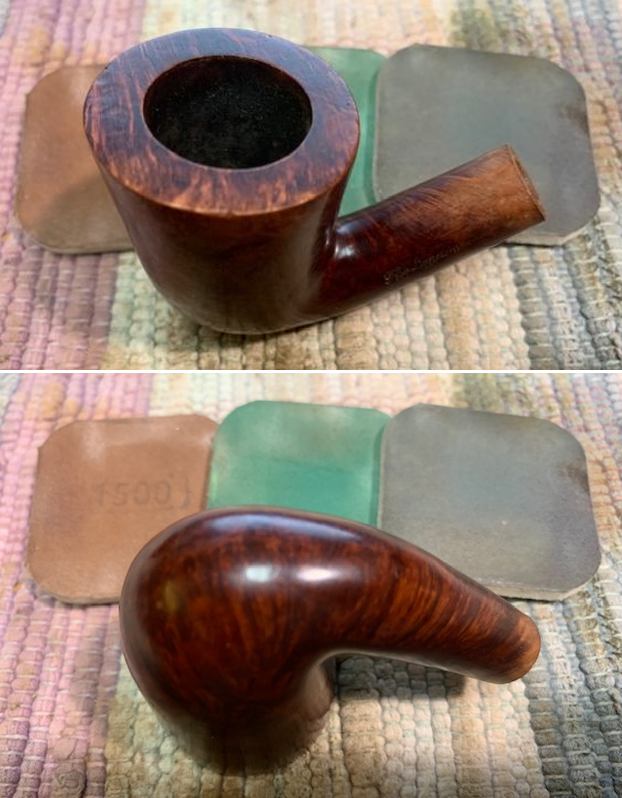
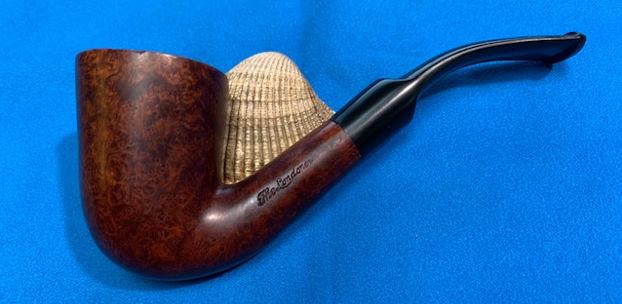
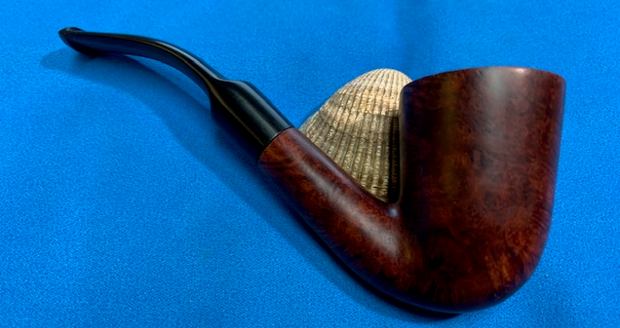
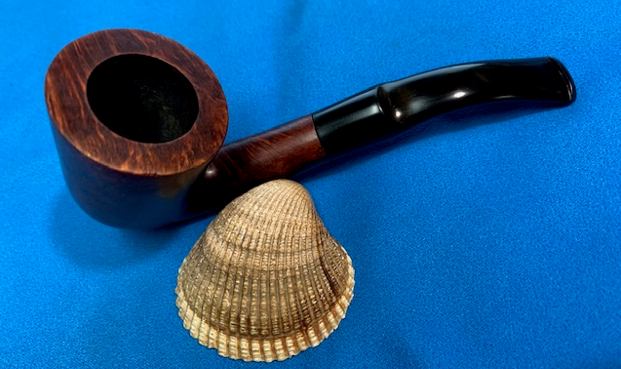
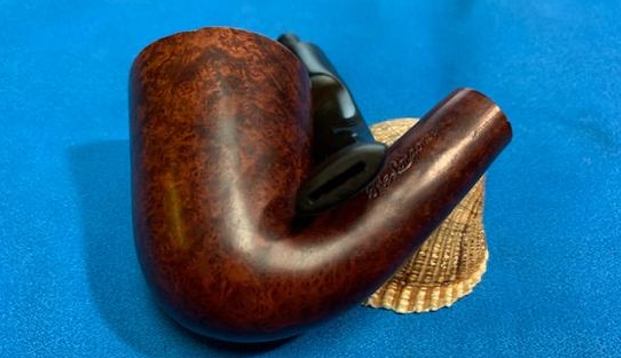
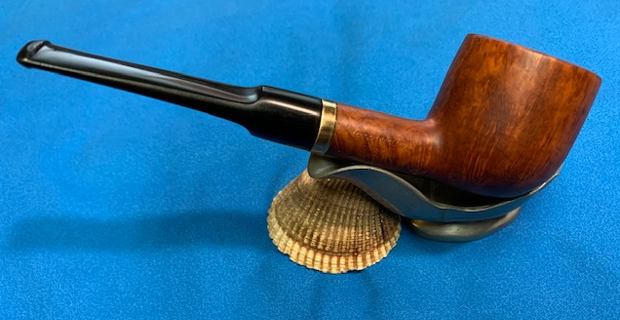
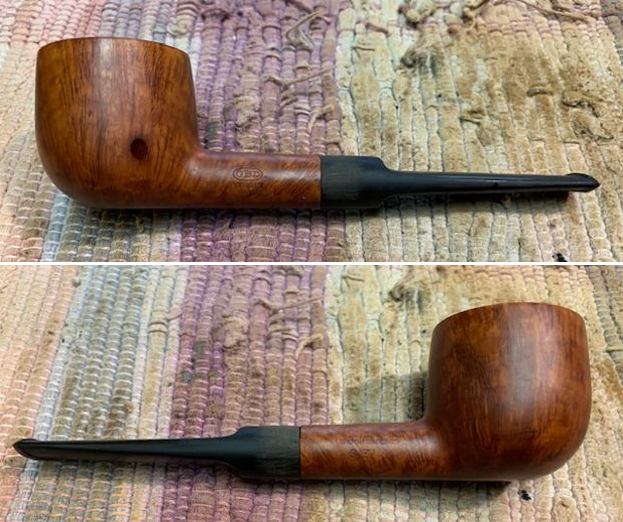
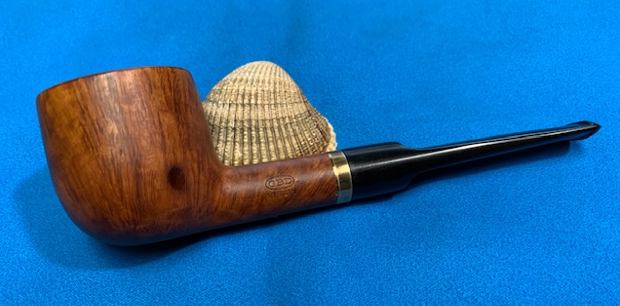
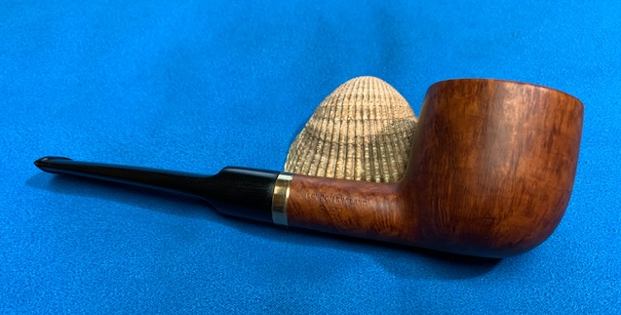
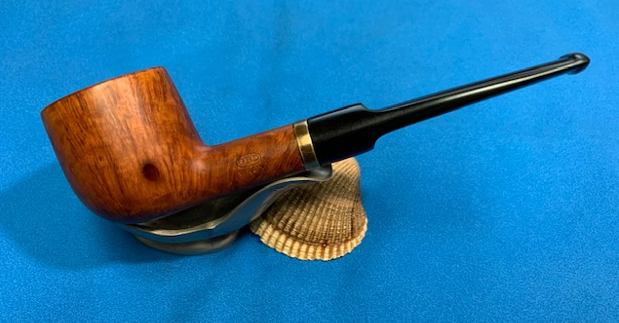
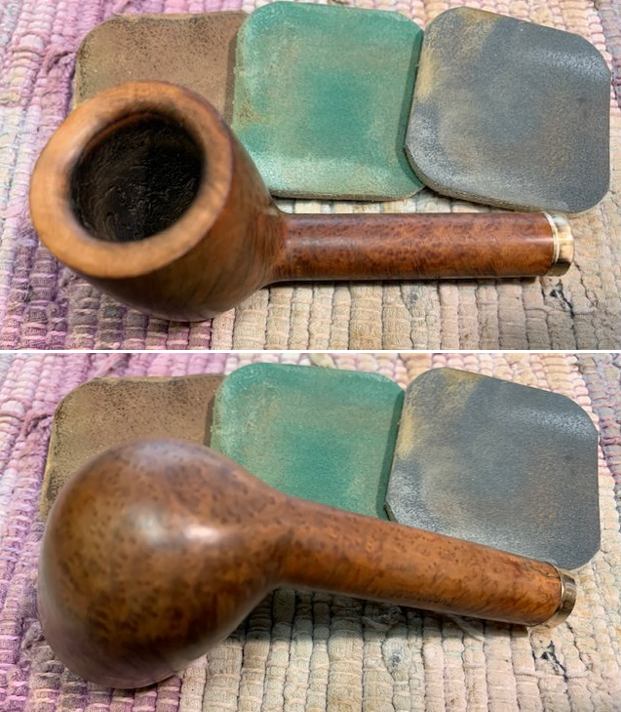
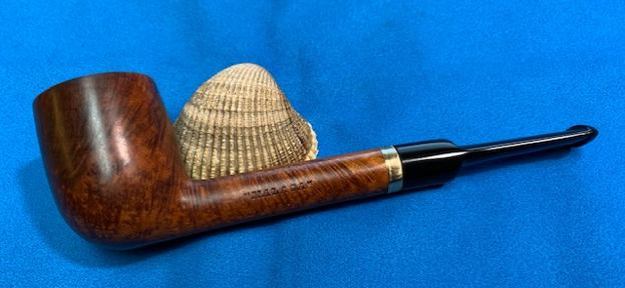
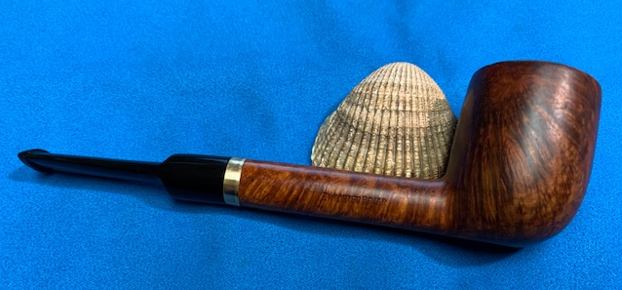
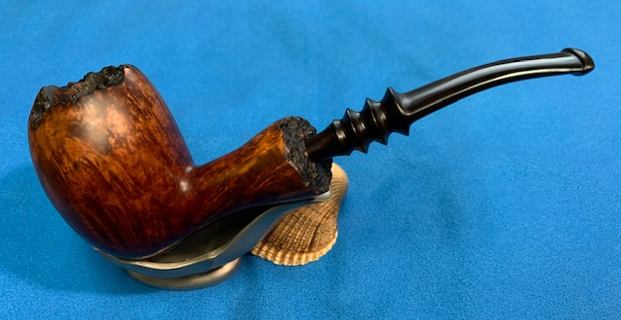
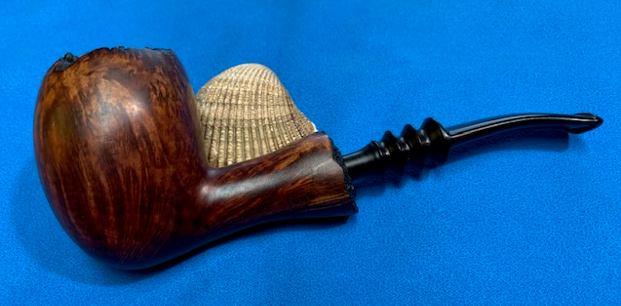
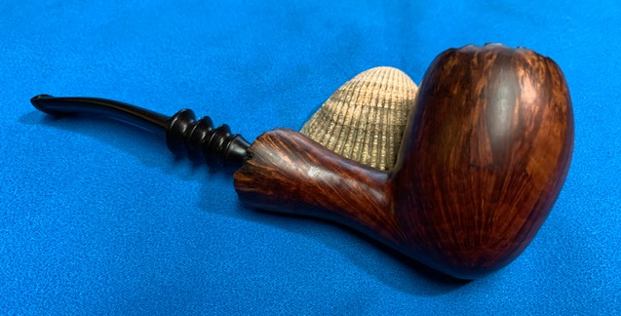
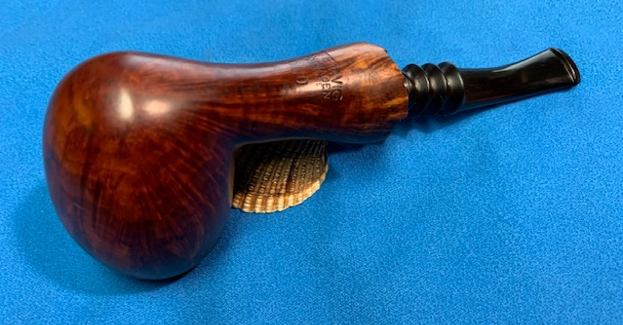
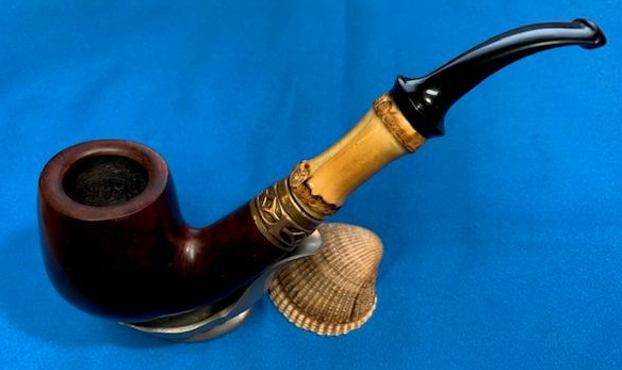
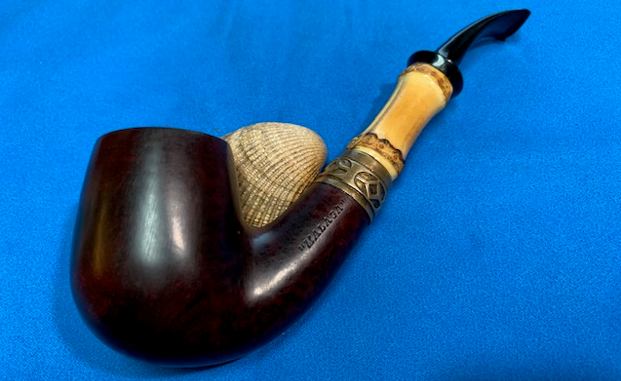
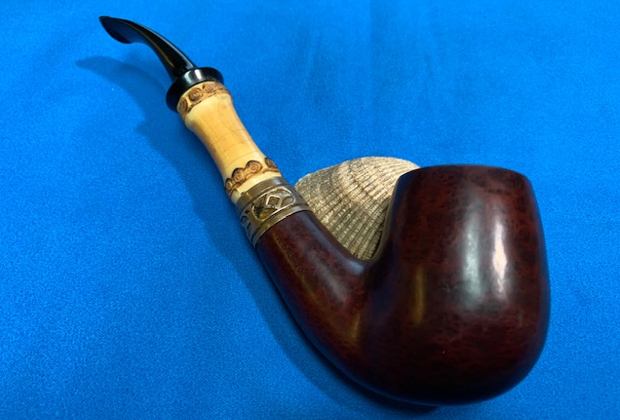
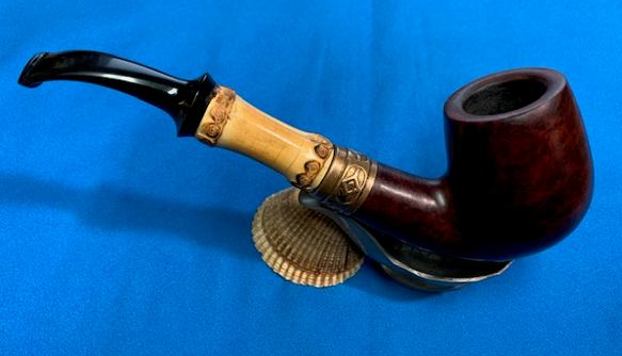
 I put the pipe back together – the bowl with its new stem. This restored Malaga Oil Cured Pot with rusticated panels is a real beauty and I think the Sterling Silver Belt band and the chosen stem works well with it. The grain on the bowl came alive with the buffing. I used Blue Diamond on the buffing wheel on both the bowl and stem. I gave both multiple coats of carnauba wax on the wheel then buffed it with a clean buffing pad to raise the shine. I hand buffed it with a microfibre cloth to deepen the shine. The Malaga Pot feels great in the hand. It is lightweight and the contrast in the browns of the briar, the Silver band and the polished vulcanite stem with the popping grain on the mixed brown stained bowl is quite amazing. The dimensions of the pipe are Length: 6 inches, Height: 1 ¾ inches, Outer diameter of the bowl: 1 ½ inches, Chamber diameter: 1 inch. The weight of the pipe is 1.59 ounces/45 grams. It really is a beauty. I will be putting it on the rebornpipes store in the American (US) Pipe Makers section shortly if you are interested in adding it to your collection. Thanks for walking through the restemming and the restoration with me. Cheers.