Tag Archives: Bowl – refinishing

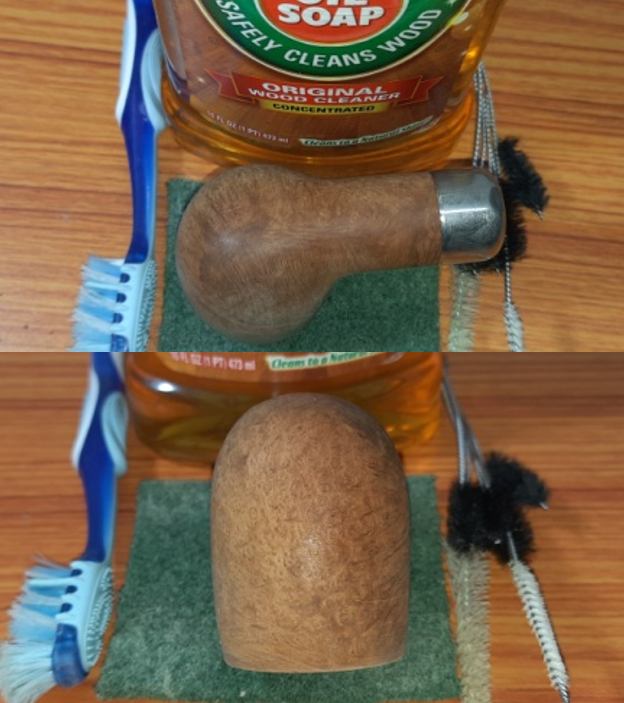
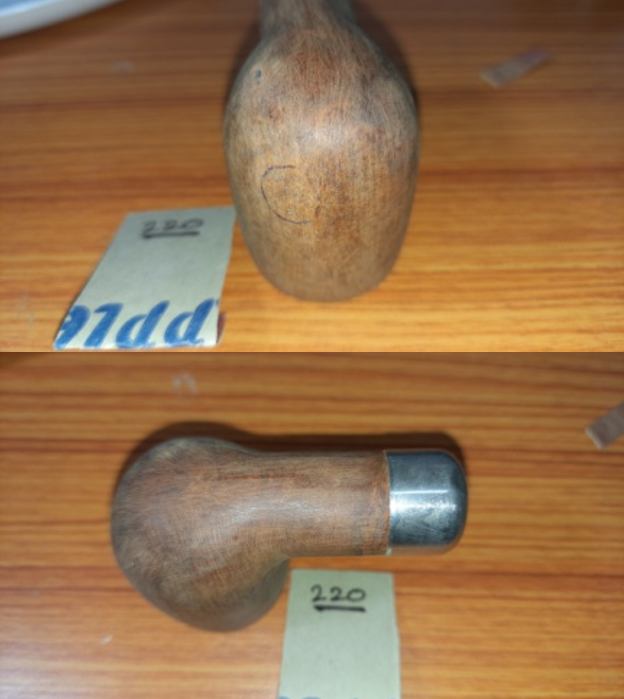
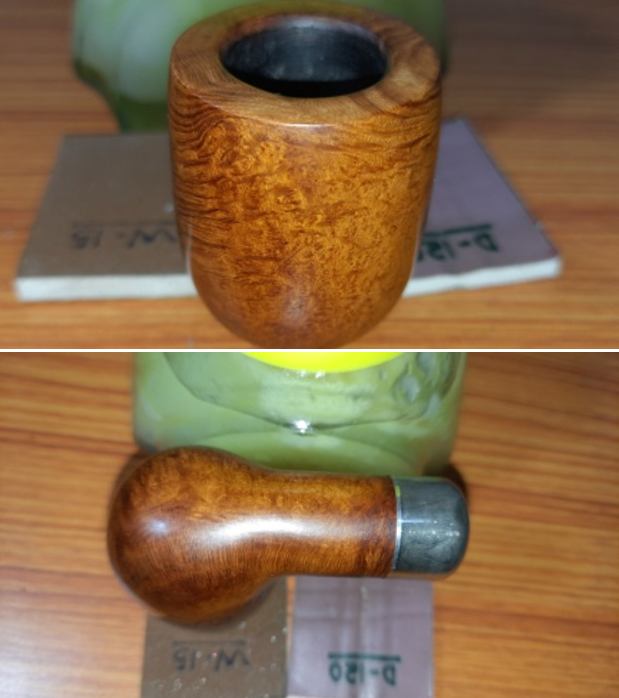
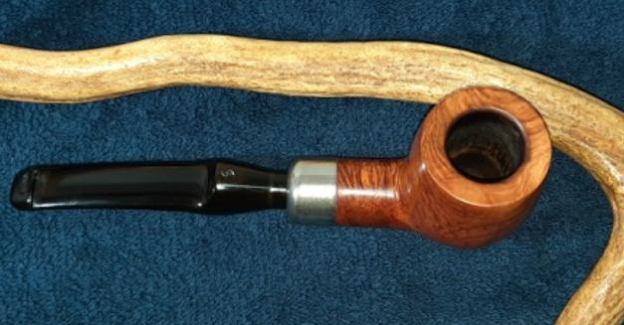
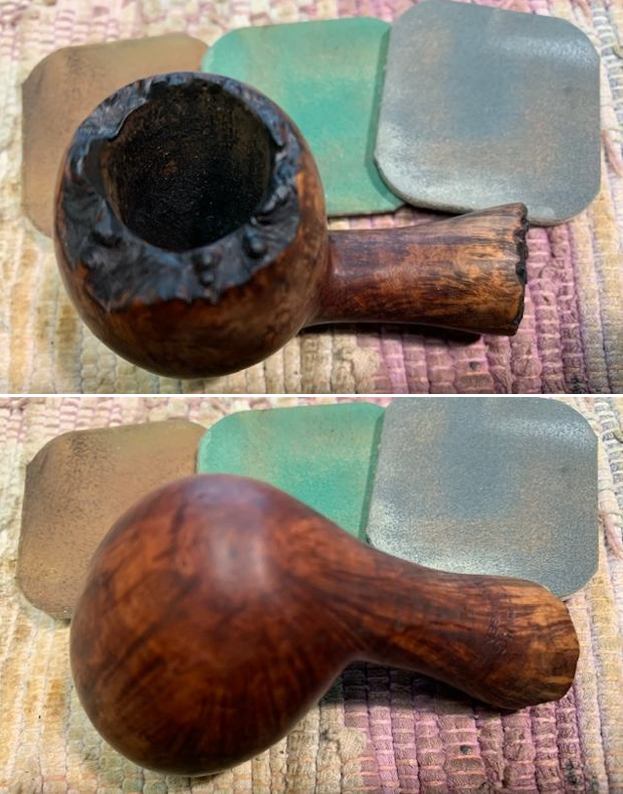
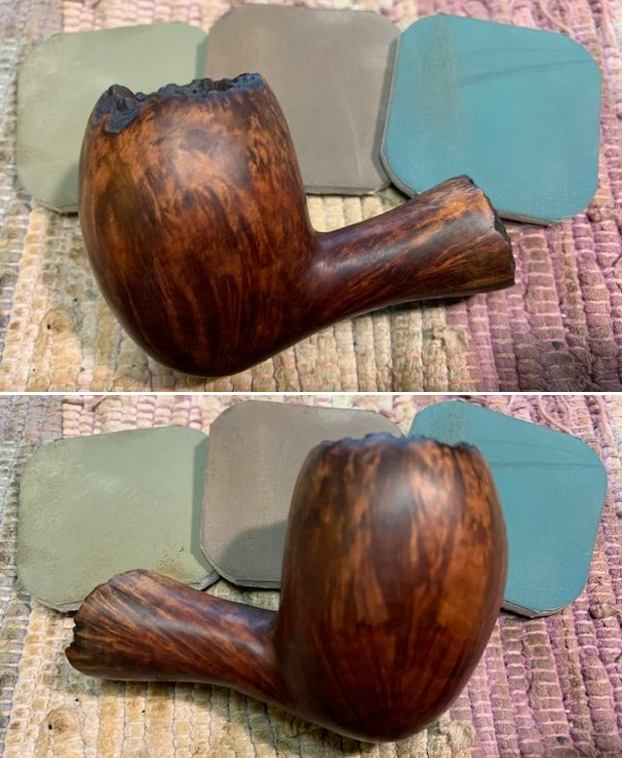
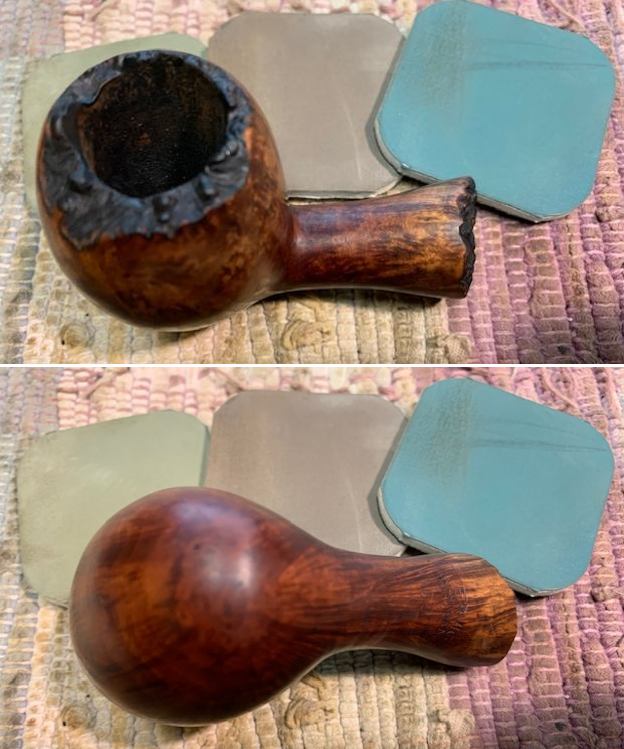
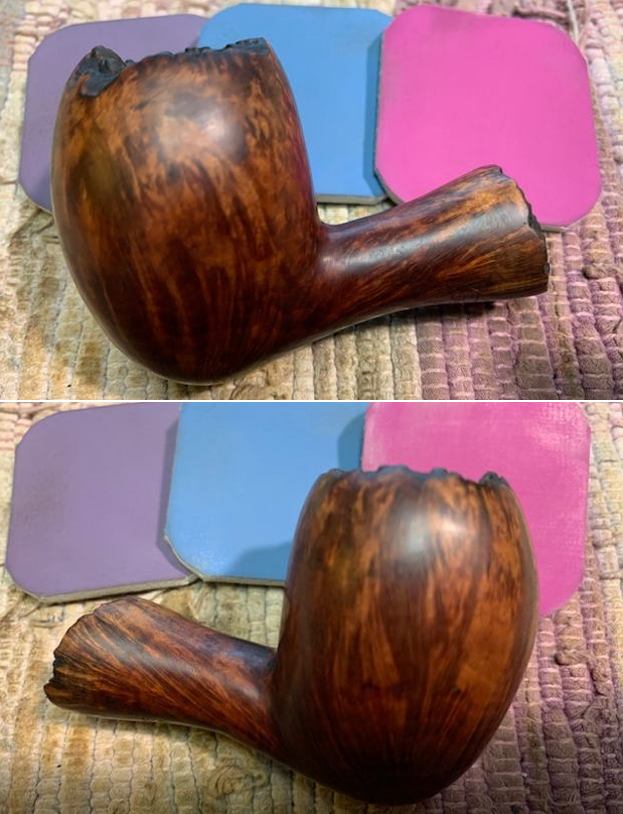
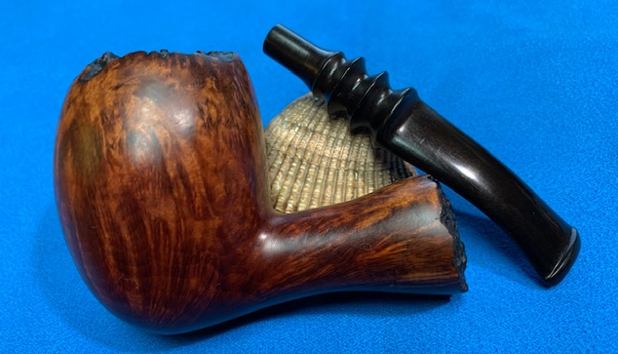
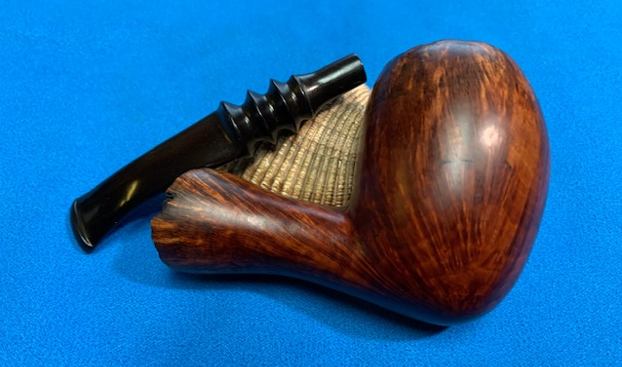
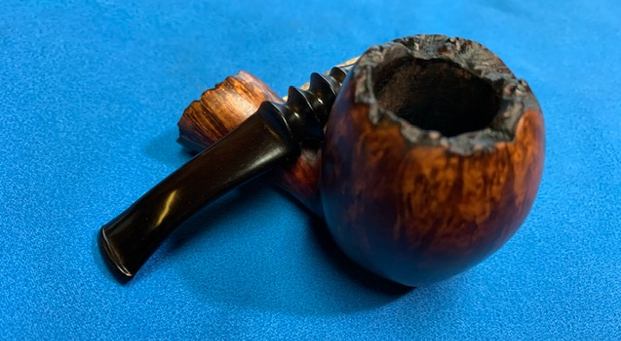
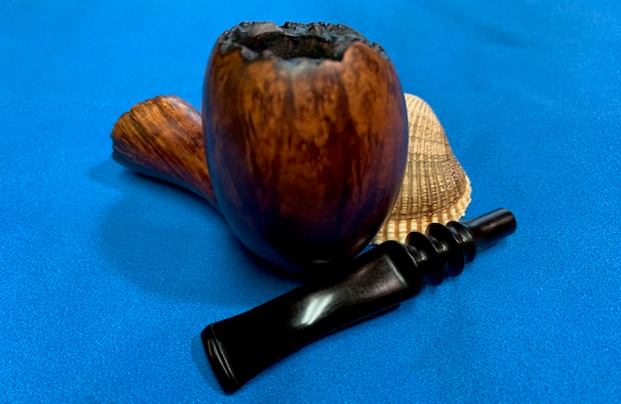
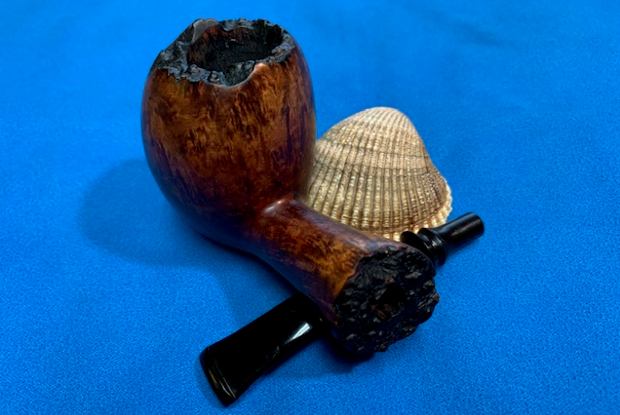
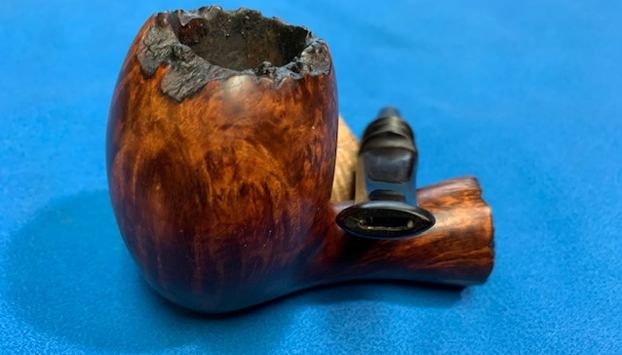
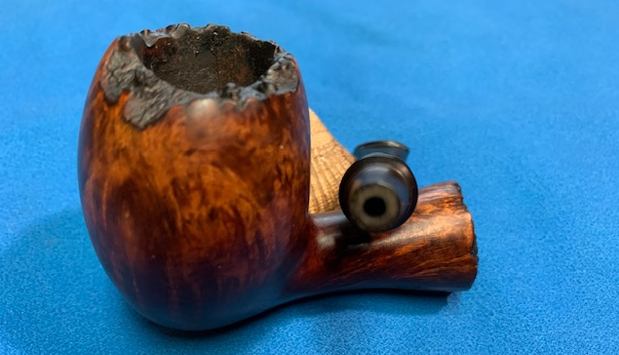
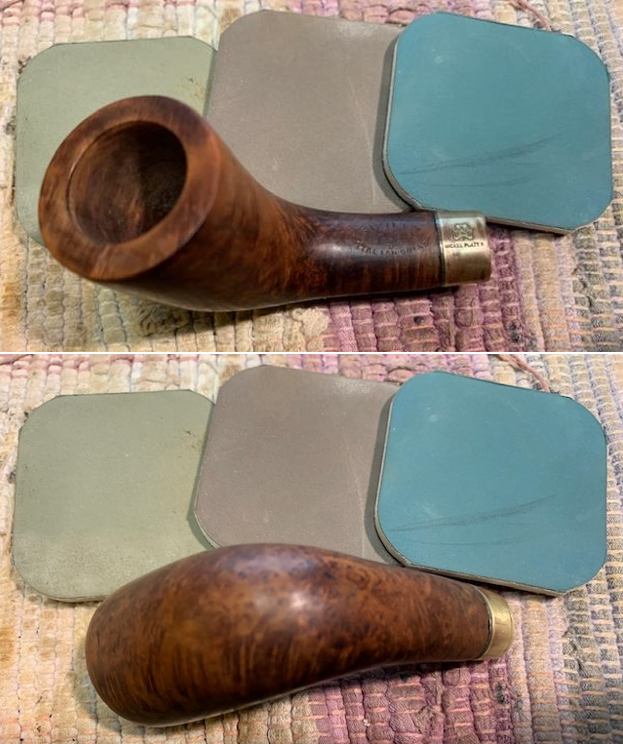
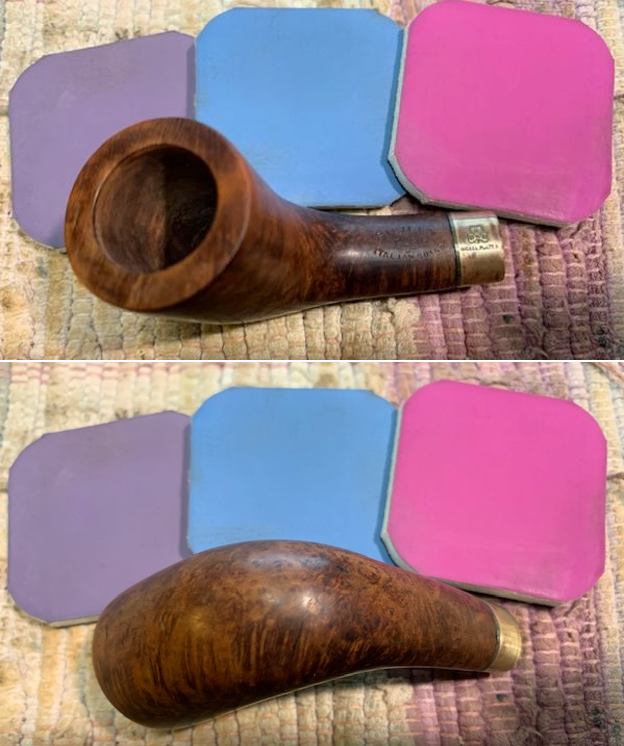
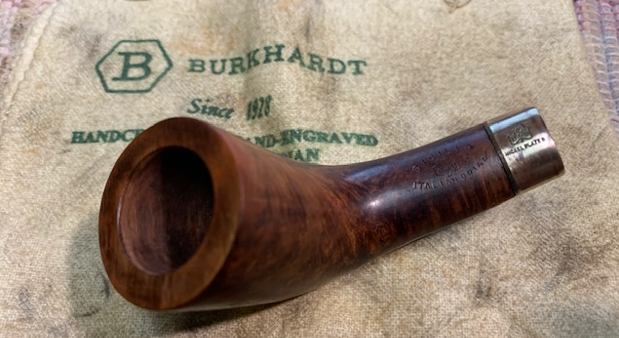
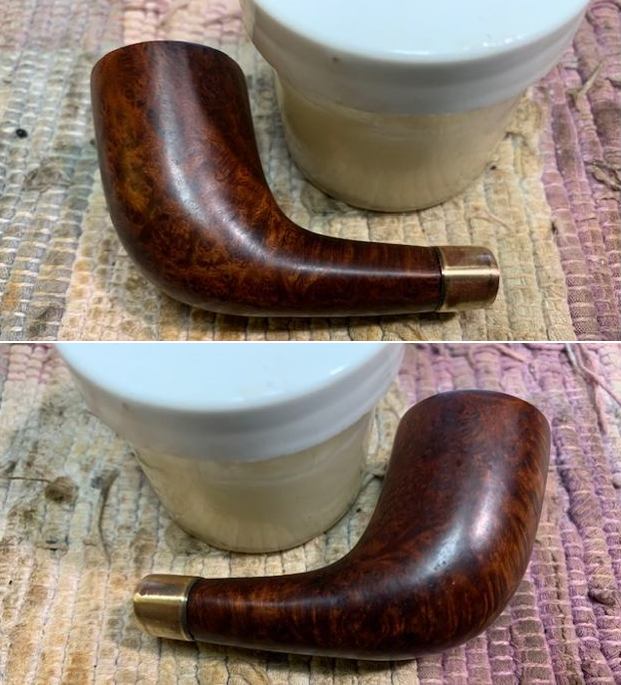
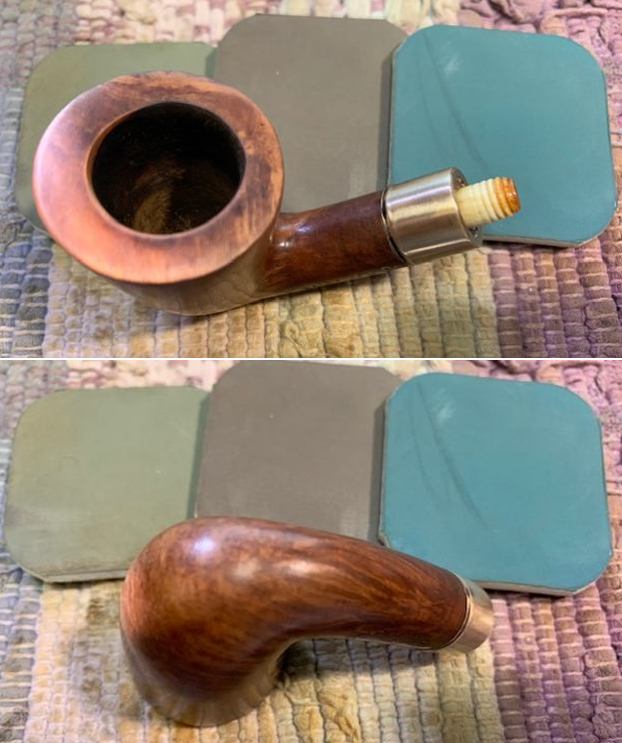
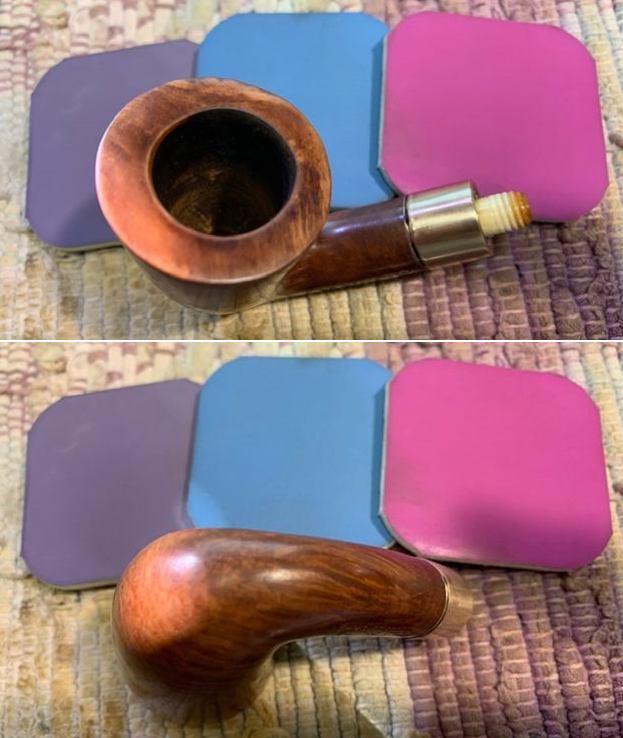
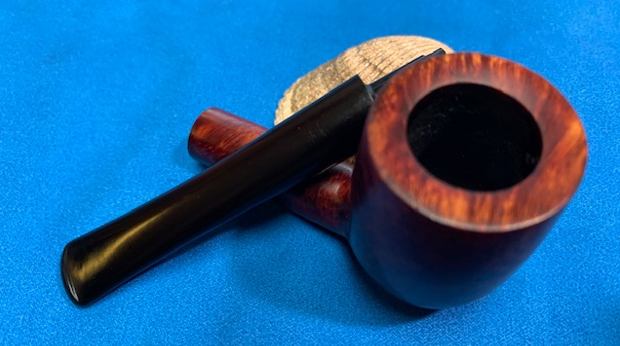
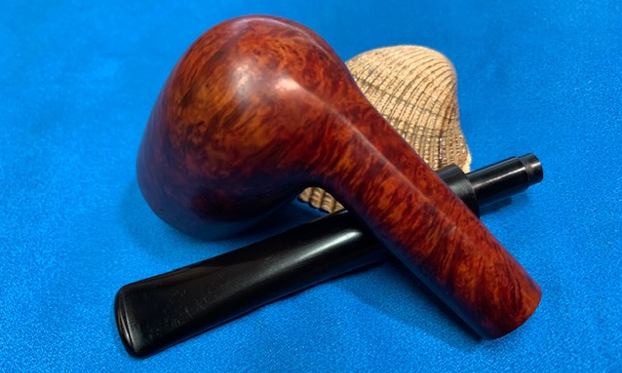
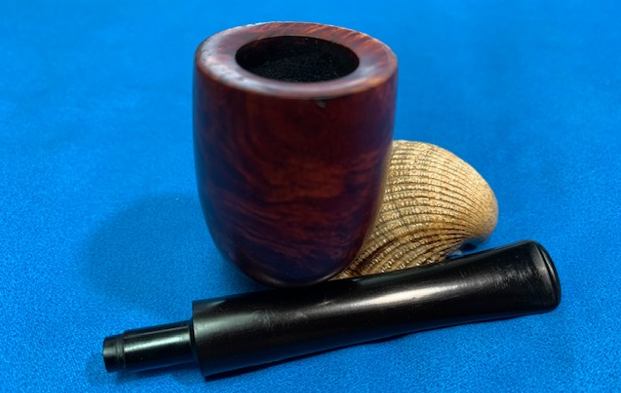
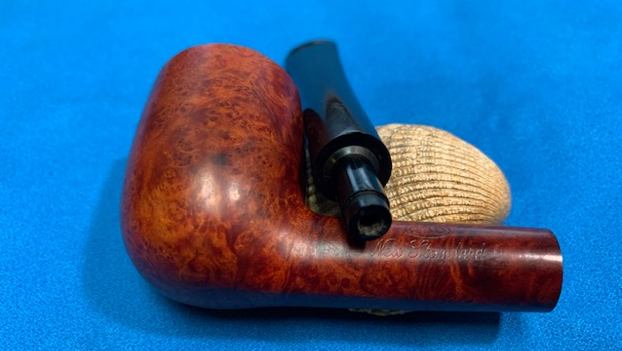
Restemming & Restoring a Zettervig Copenhagen Hand Made 900 Egg


Blog by Steve Laug

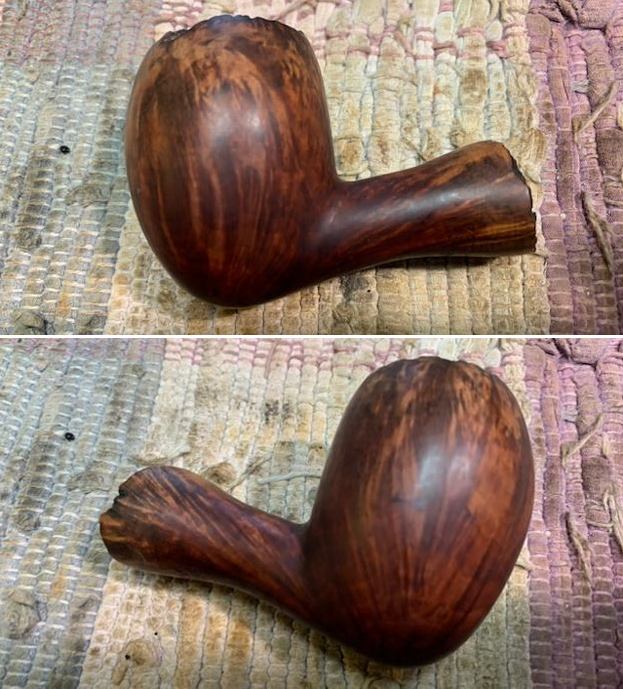
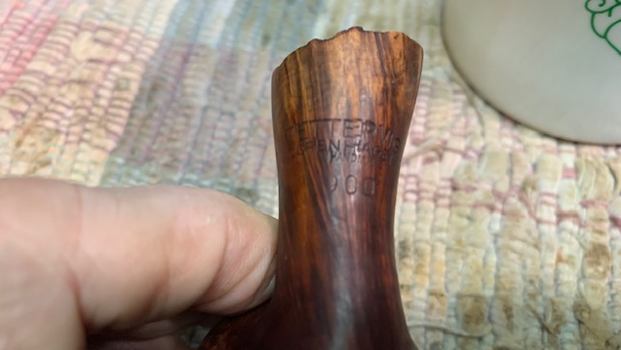
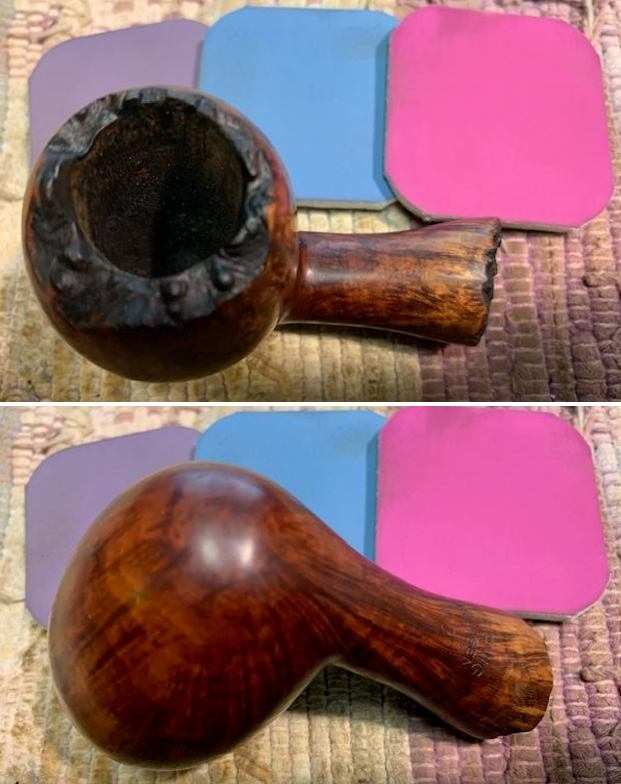
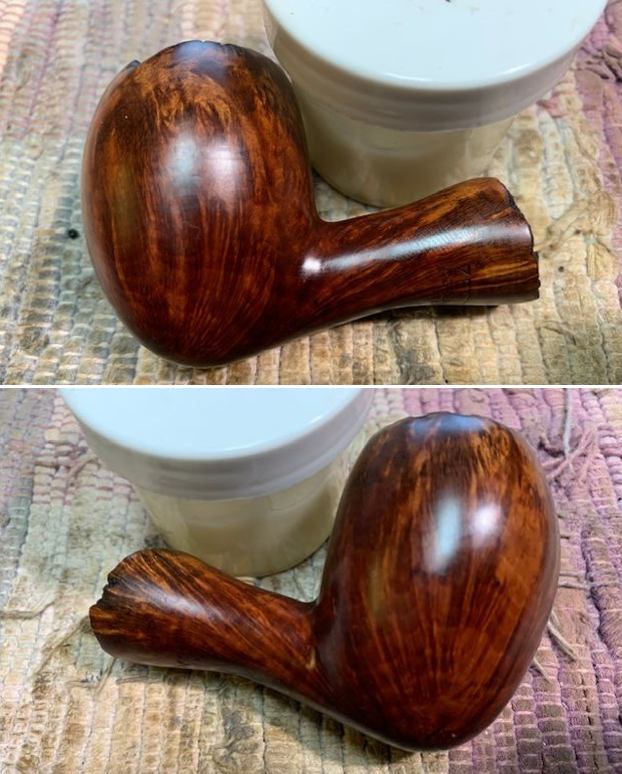
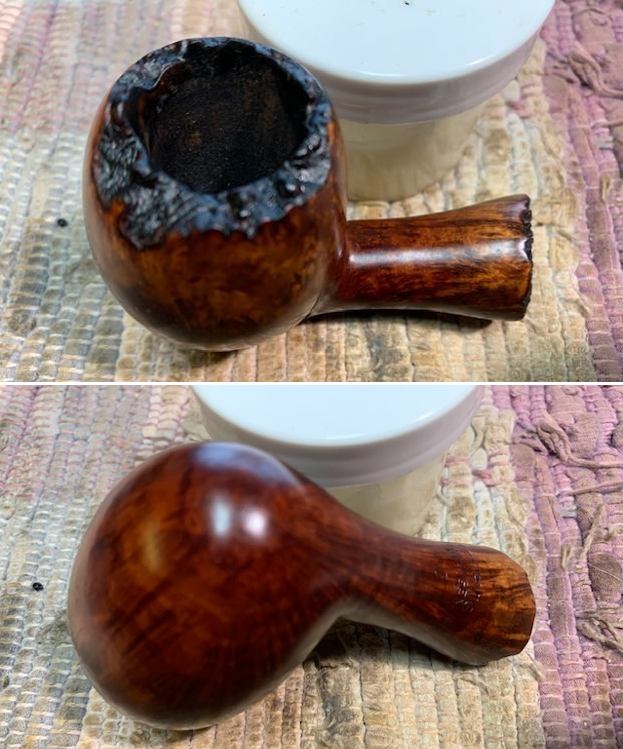
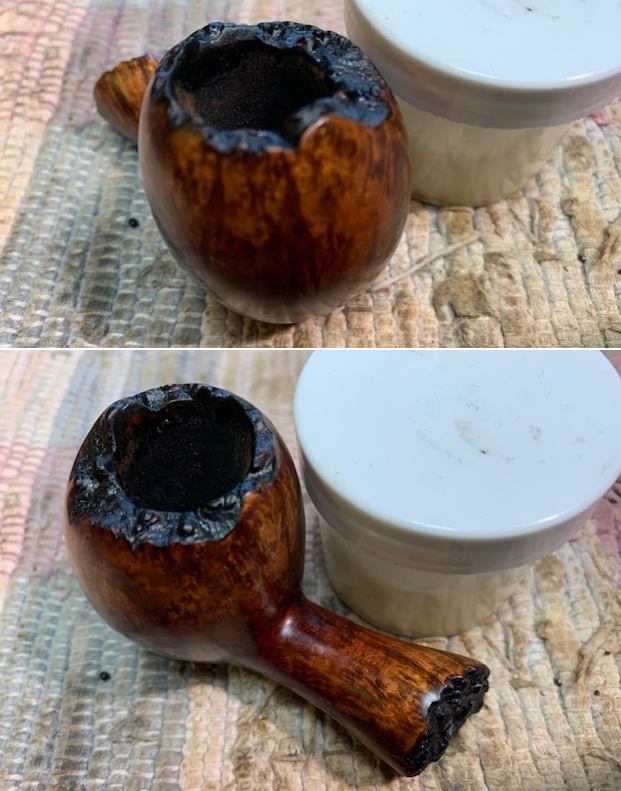
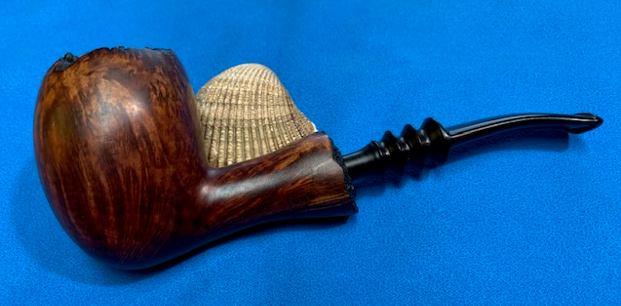
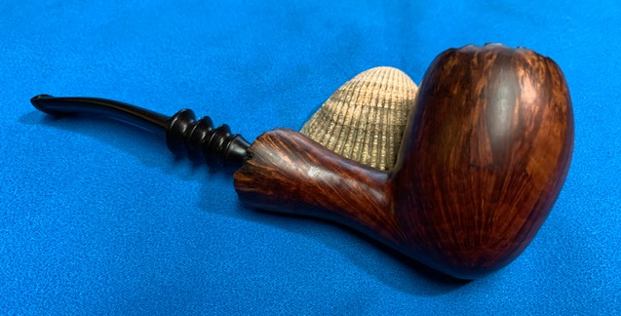
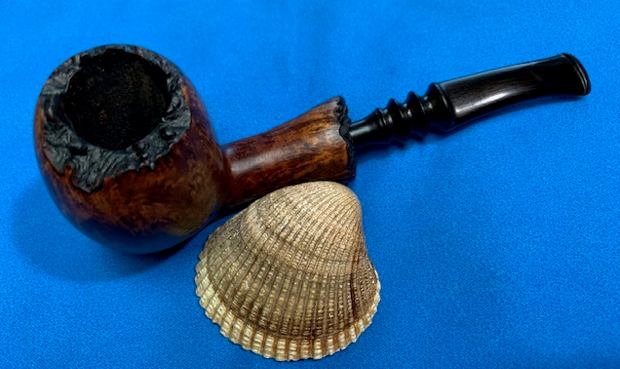
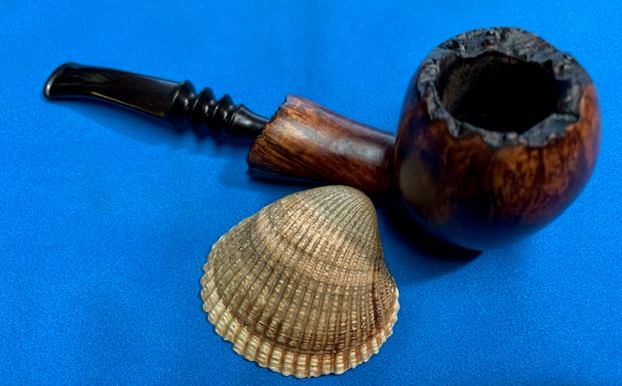
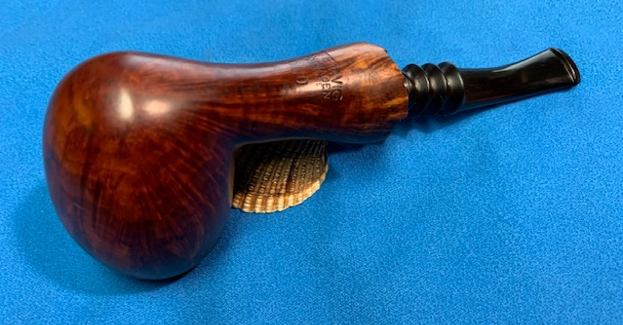
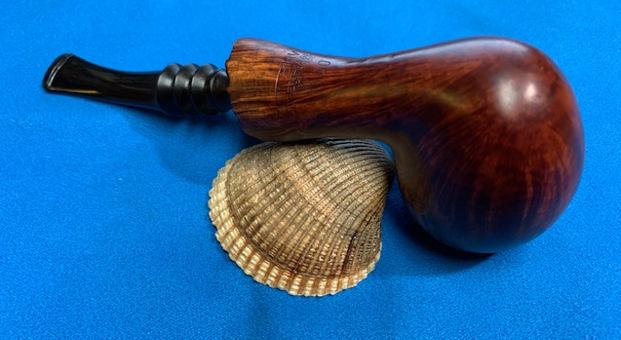
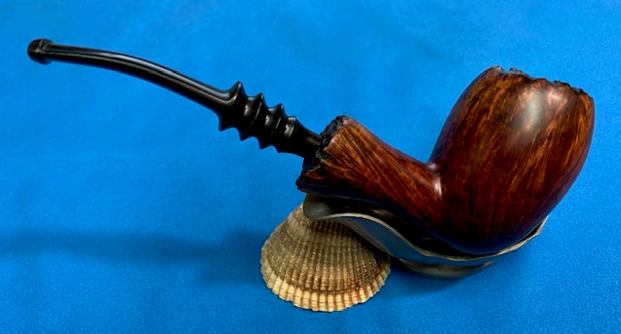
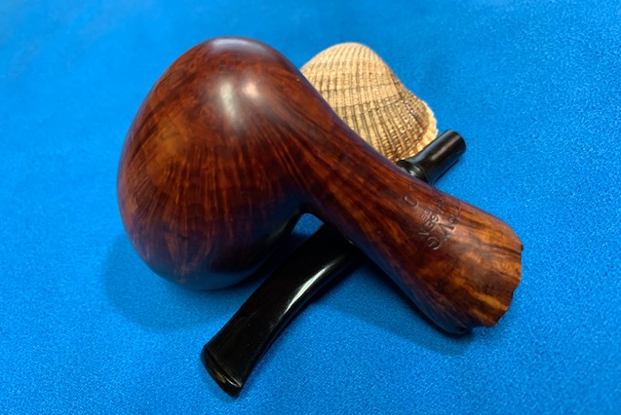
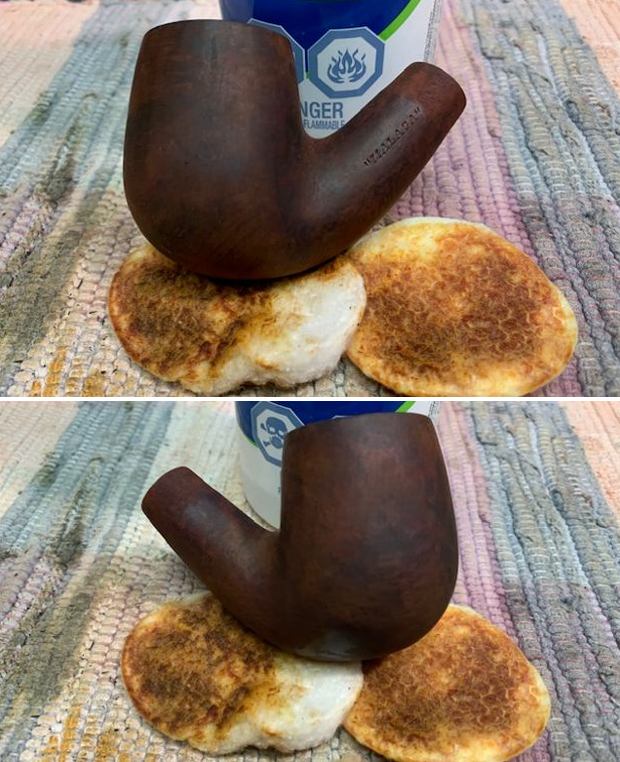
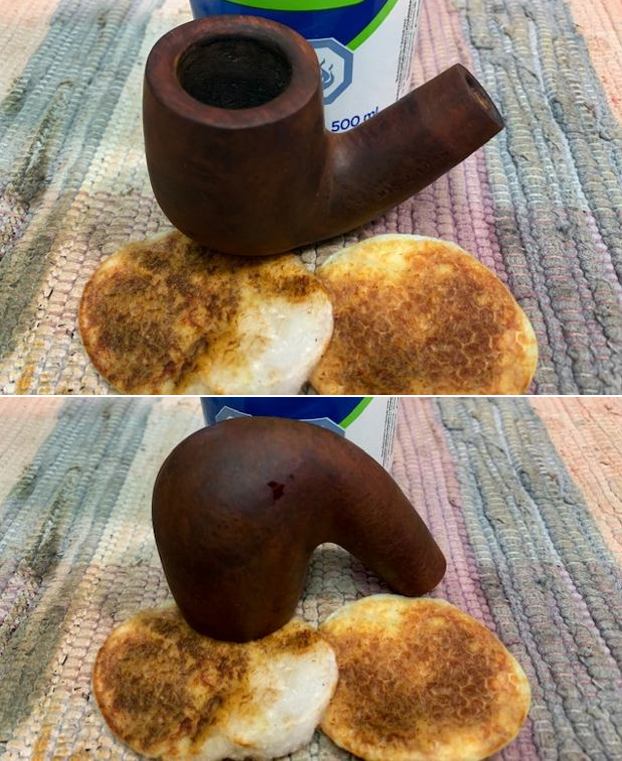
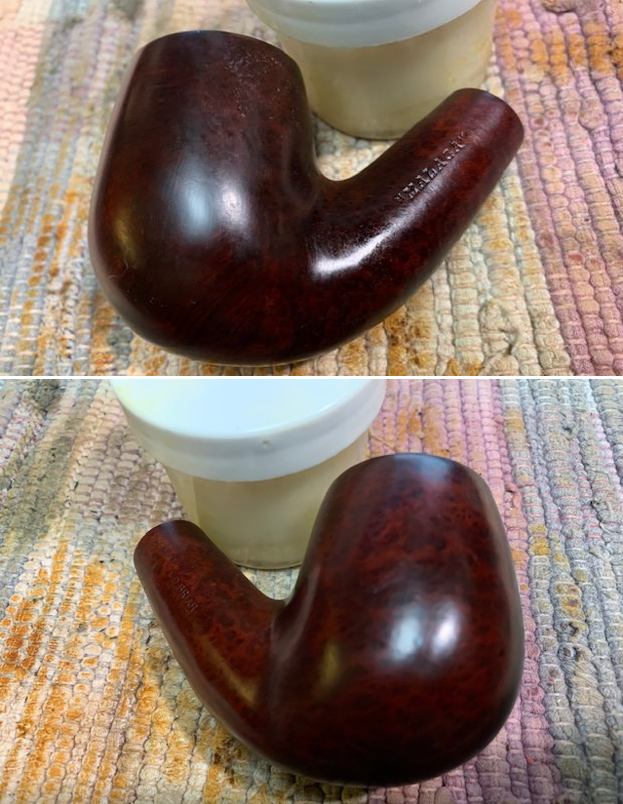
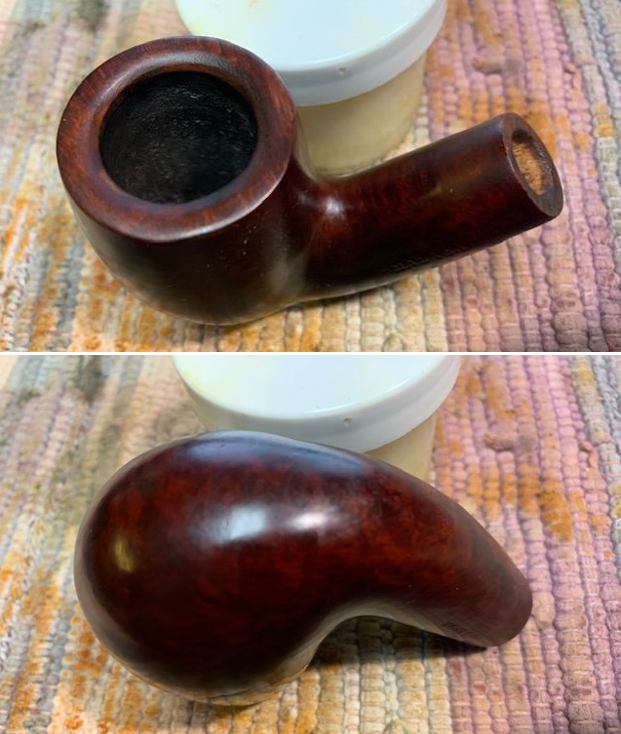
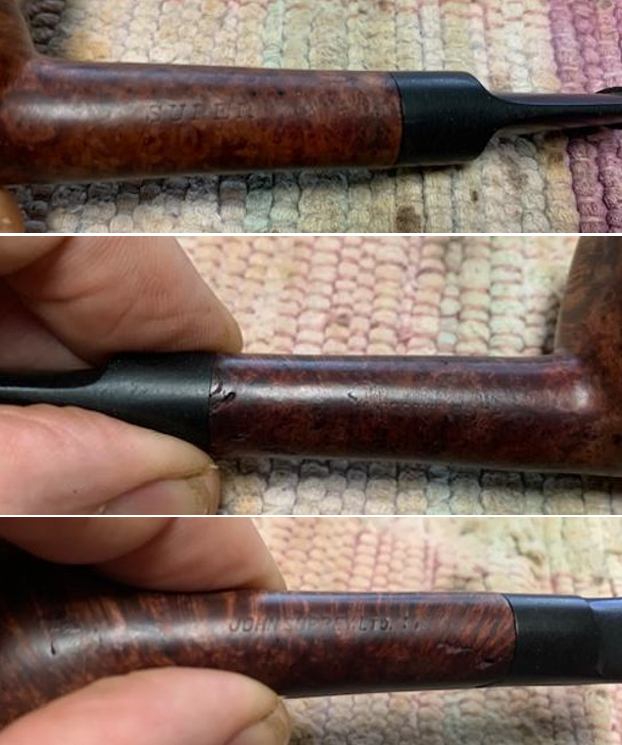
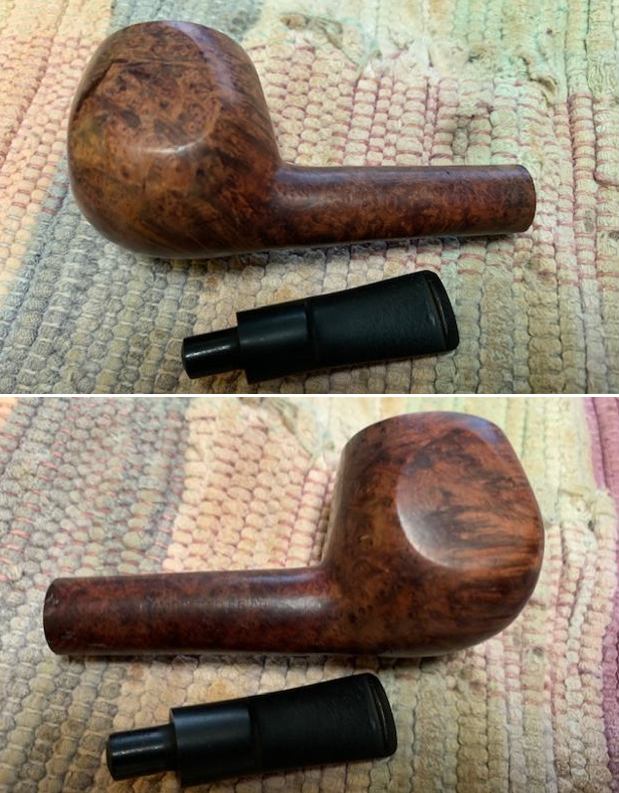
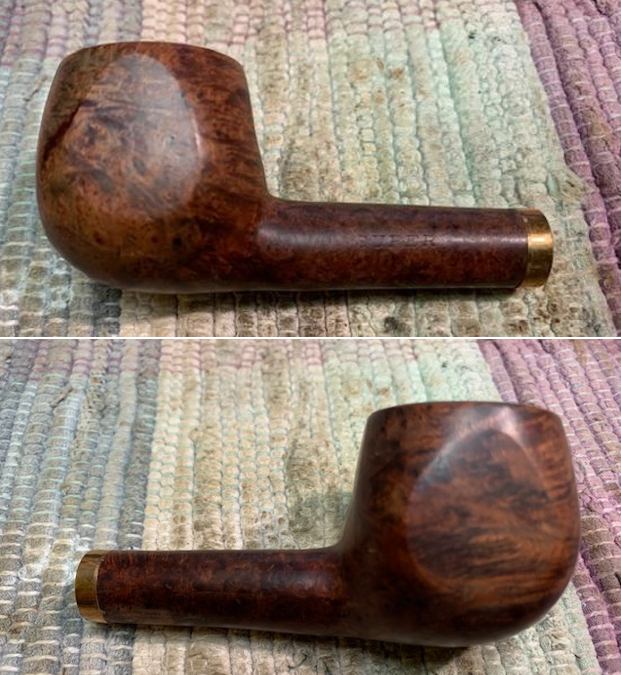
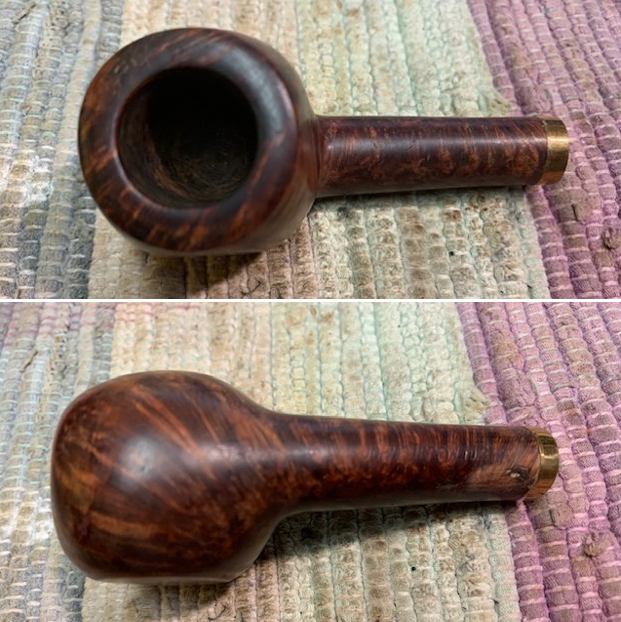
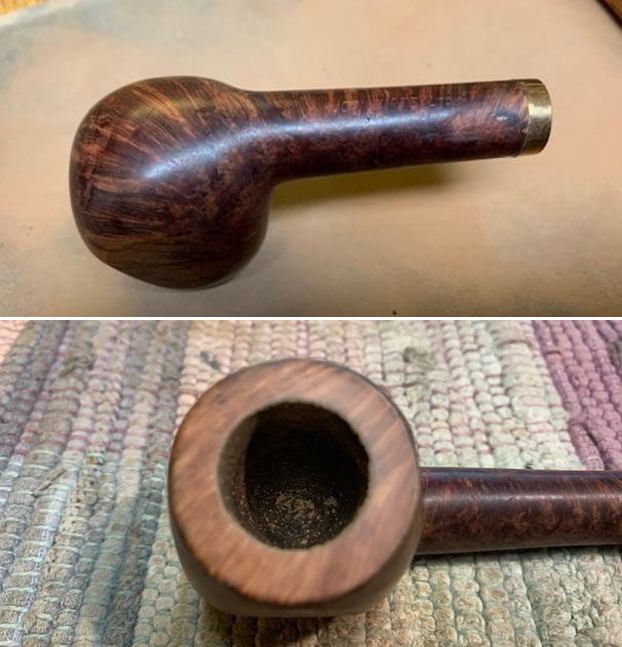
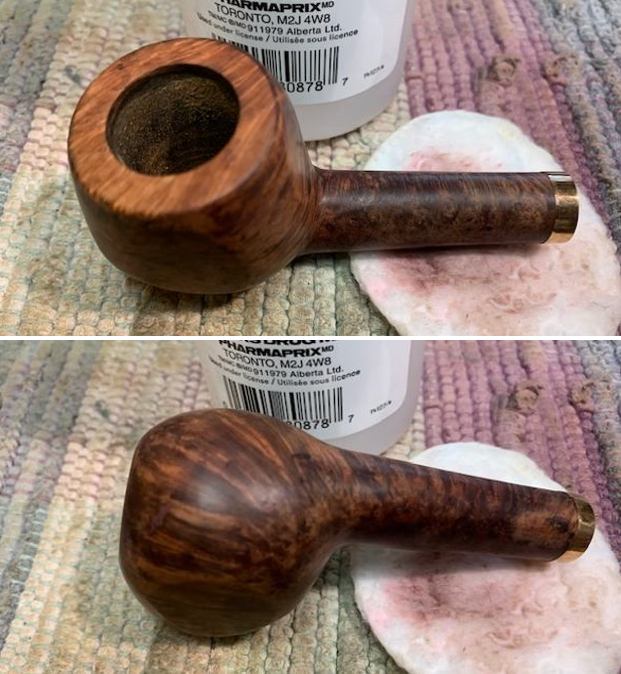
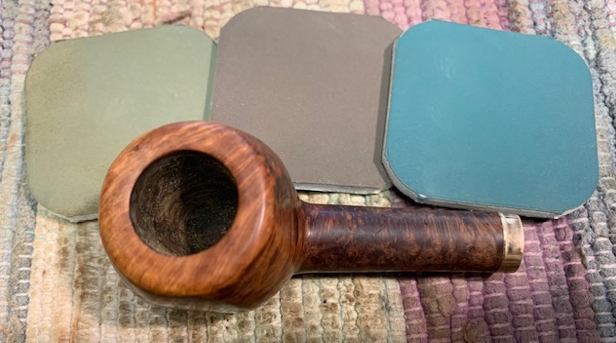
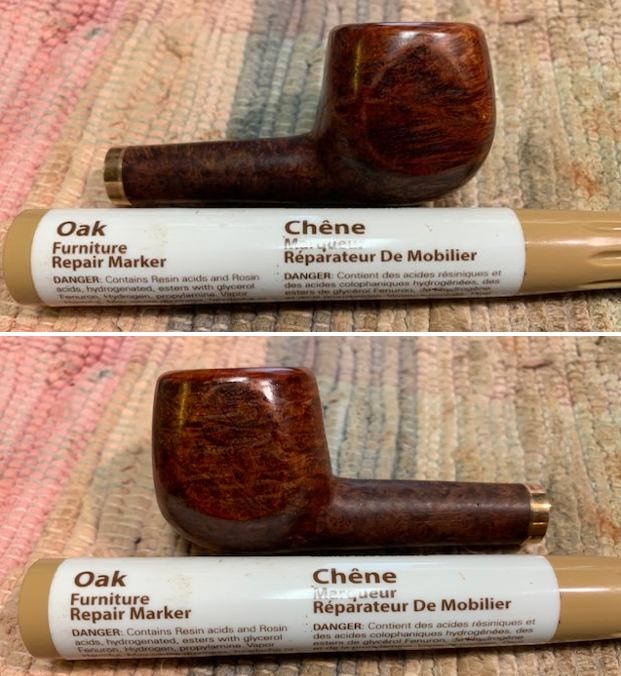
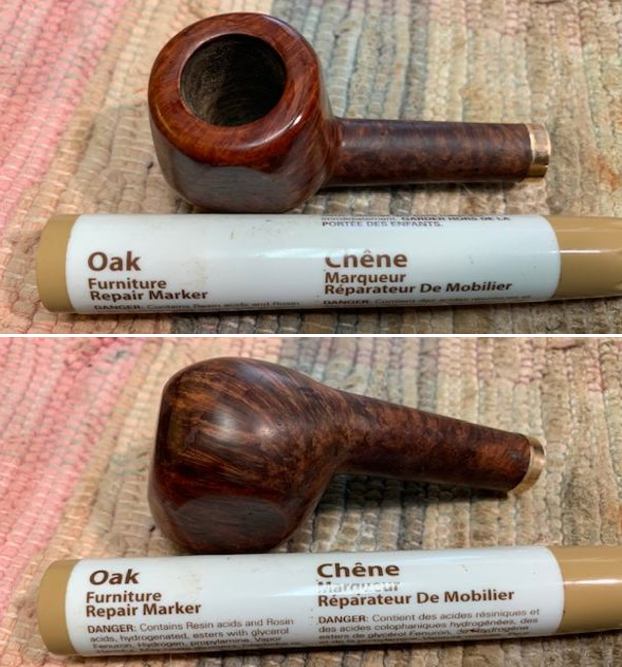
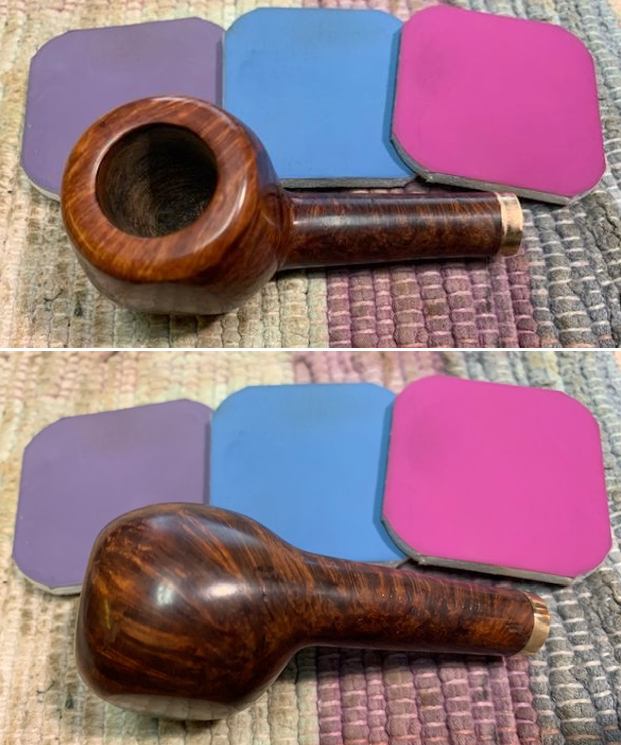
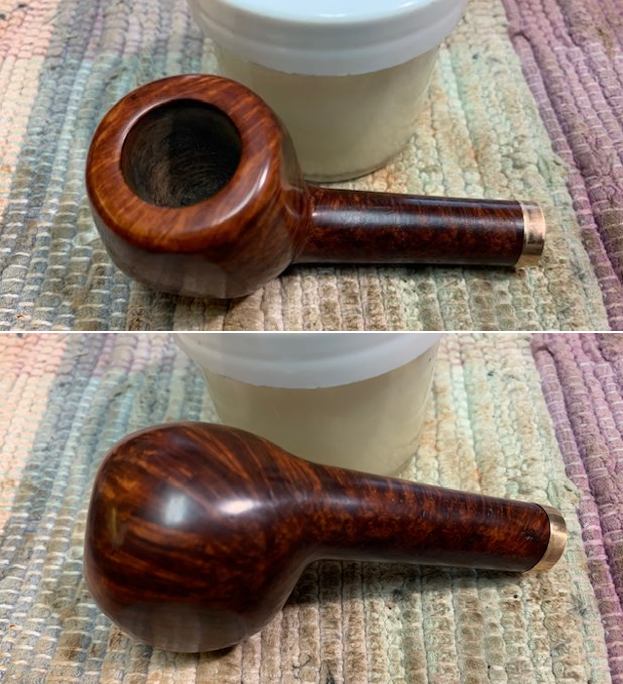
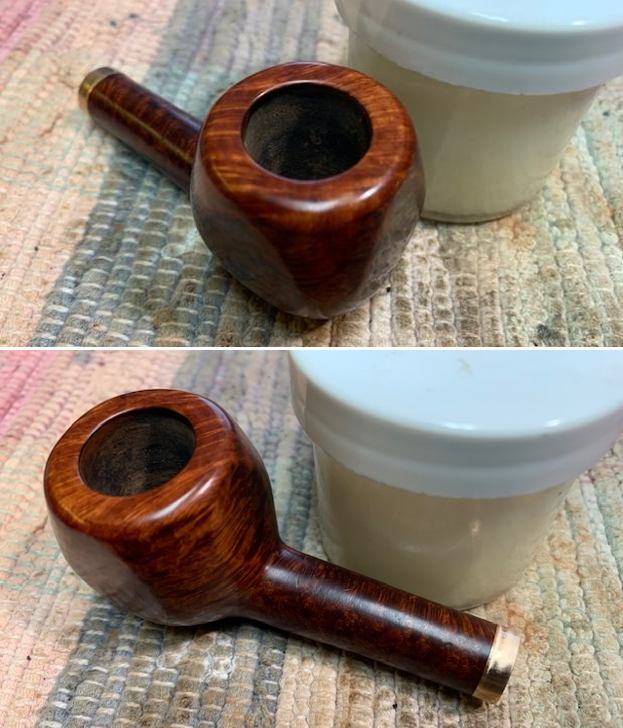
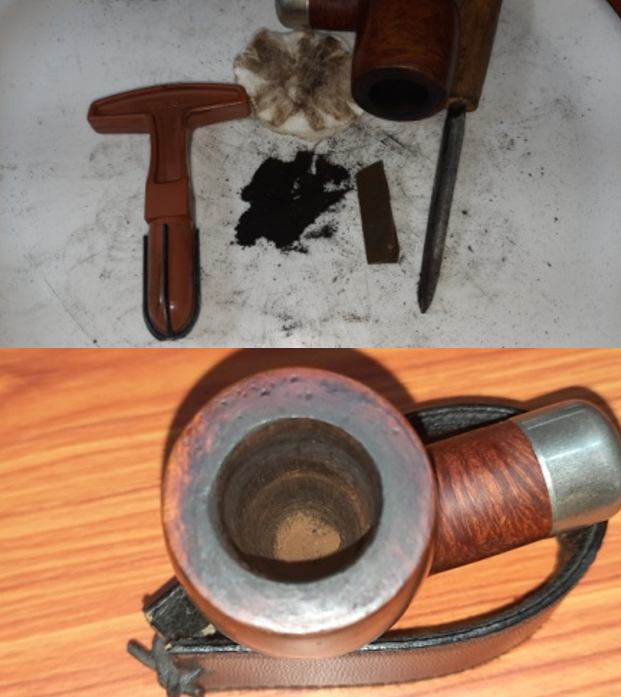
Sometimes the repetitive work on similar pipes and stems gets tiring to me and to alleviate the inevitable boredom I change things up a bit to refresh me. I have a box of stummels (bowls) here that I periodically go through and see if I have a potential stem that would fit them. This morning when I finished the last old timer I went through the box and picked out three bowls and found workable stems for them. All were in different states of need but all had been thoroughly cleaned before I boxed them up. The first of these was an interesting egg shaped freehand. It is stamped on the underside of the shank and reads ZETTERVIG (double stamped) [over] Copenhagen (also double stamped) [over] Handmade [over] 900. It had some great grain around the bowl and plateau on the rim top and shank end that was interesting.  I have worked on other Zettervig pipes in the past so I am not a stranger to the brand. I have included links to two different pipes that I worked on (https://rebornpipes.com/2013/12/05/a-complete-reworking-of-a-zettervig-freehand/)(https://rebornpipes.com/2018/07/28/restoring-and-restemming-a-zettervig-handmade-351-freehand/).

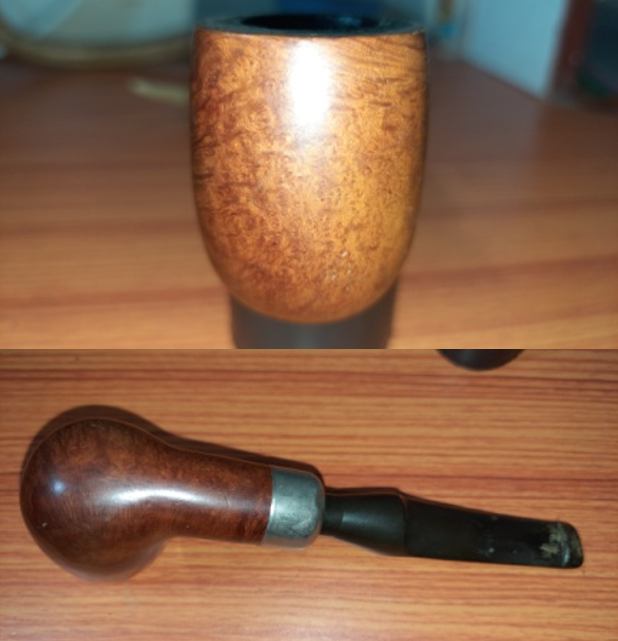
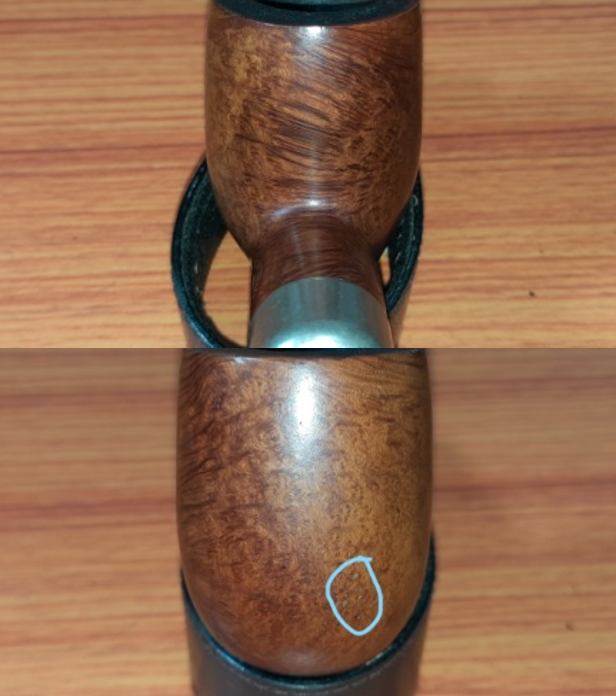
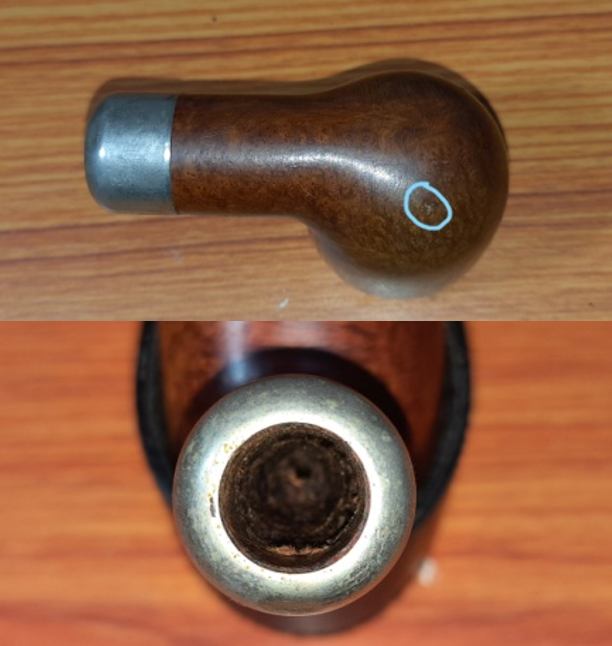
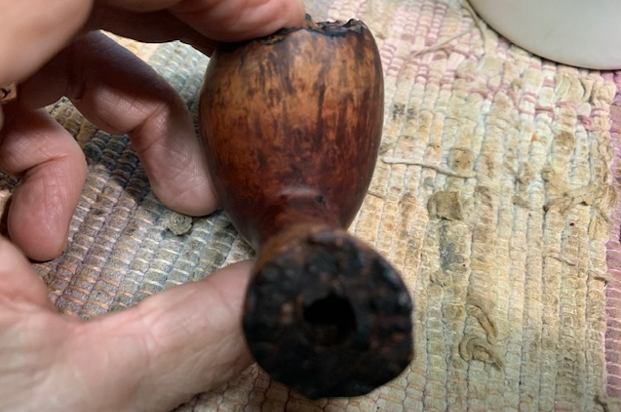
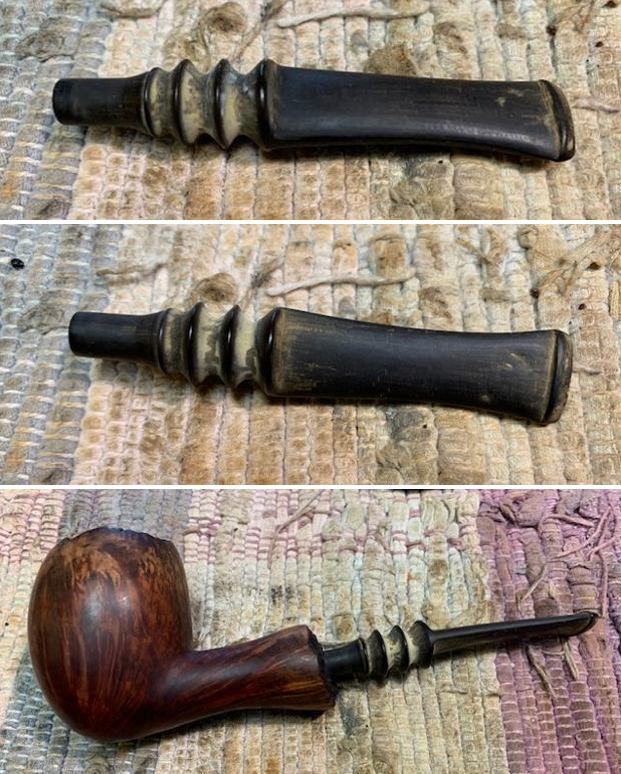
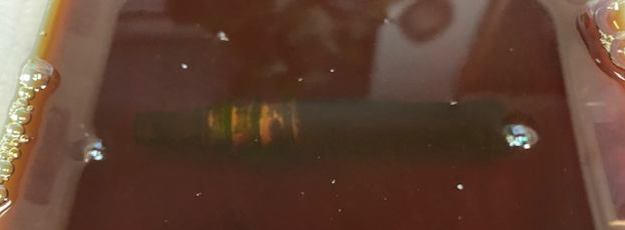
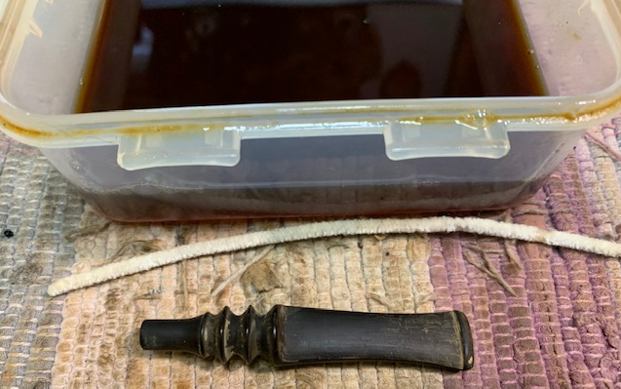
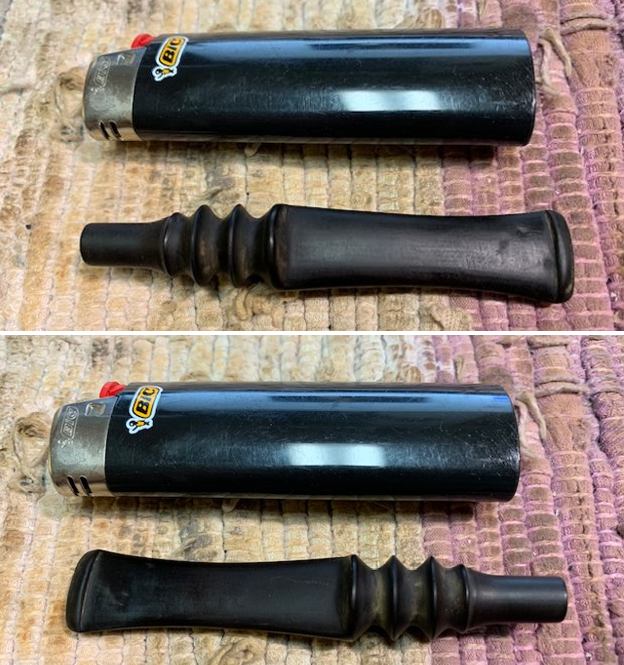
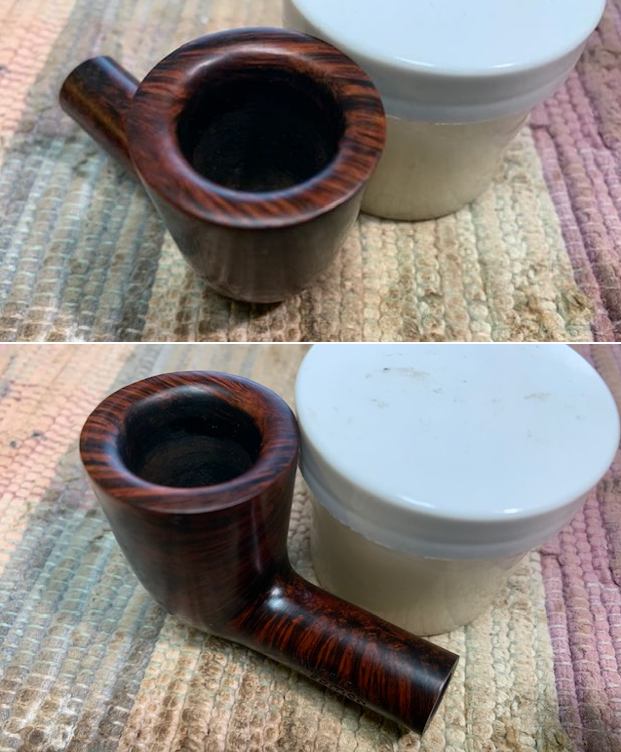
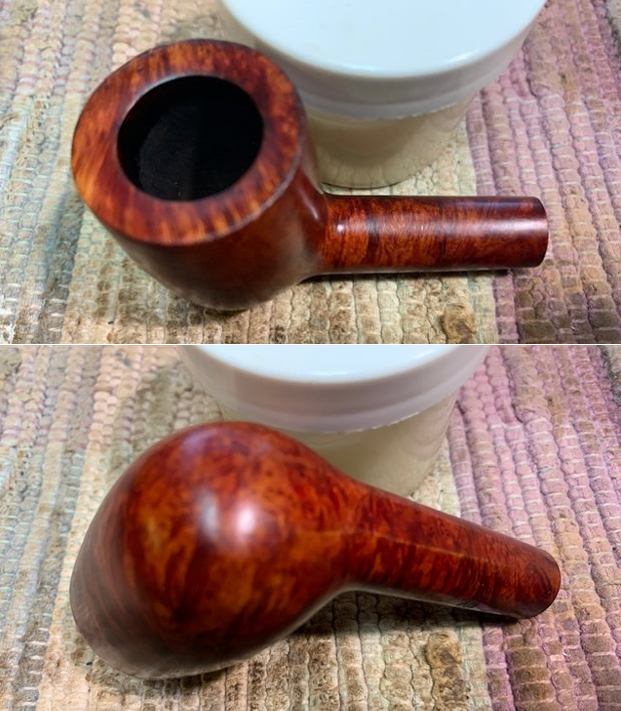
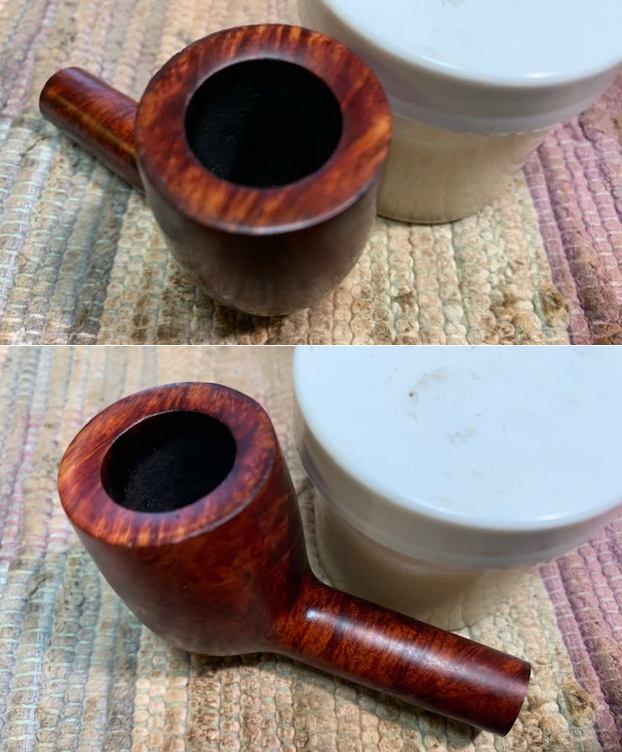
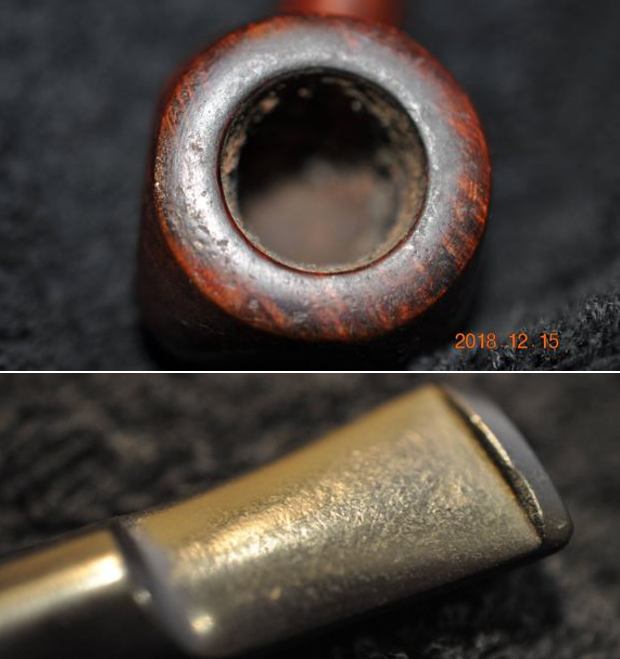
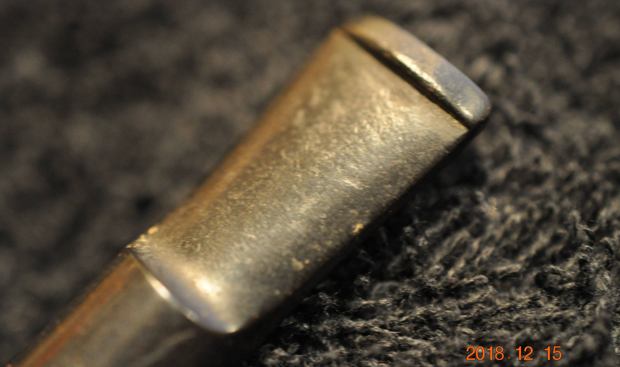
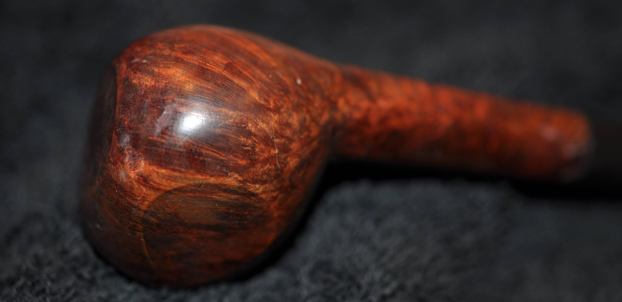
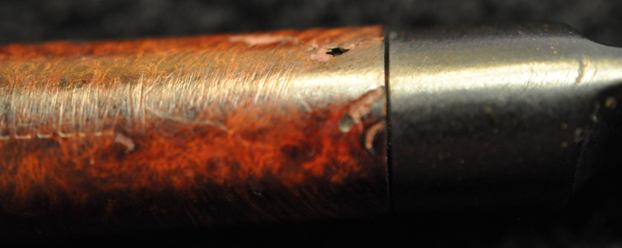
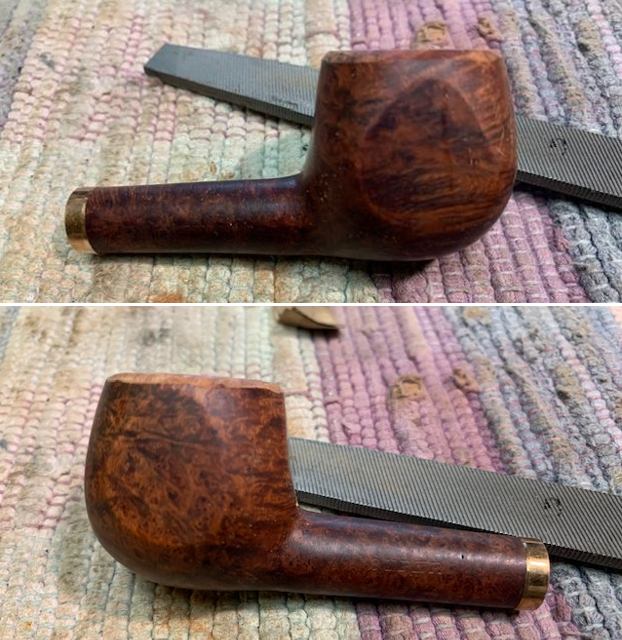
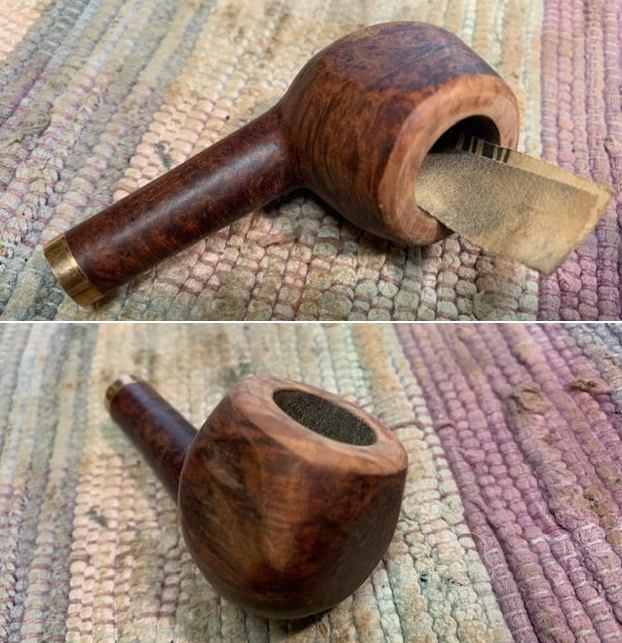
The bowl looked very good. The grain around the sides was quite nice and a mix of flame and straight grain. The plateau on the rim top and shank end looked good but the rim top was faded and worn. The shank end was black and looked very good. The bowl was clean and there were not any chips, cracks or checking on the walls. Examining the mortise it was clean and well drilled with no issues. The finish was washed out a bit and tired but still quite redeemable. I took some photos of the bowl before I started to work on it. I took a photo of the double stamping on the underside of the shank. It reads as noted above and is surprisingly clear and readable.I went through some of the fancy, turned freehand style stems and found this old timer. It is quite heavily oxidized and has some deep tooth marks but I think it will work with the Zettervig. I put the stem in place and took a photo to have a look at it in situation. What do you think? With the stem chosen I dropped it in a bath of Briarville’s Pipe Stem Deoxidizer that I have here. It is getting a bit tired but it still works. I let it sit while I worked on the bowl.While the stem soaked in the bath and before I started to work on the bowl I decided that I would look up some information on the Zettervig brand before I started the clean up on the pipe. I looked up information on two of my favourite sites. The first was Pipedia. Here is the link: https://pipedia.org/wiki/Zettervig. I quote in full:

In the 1960’s and into the early 1970’s Ole Zettervig had a shop in Copenhagen, Denmark where he was carving high quality pipes equal to Stanwell, Larsen, Anne Julie, Thurmann, Bang and others. These early pipes were marked “Copenhagen” and are very collectible. He sold his shop at some point in the 70’s and moved to Kolding and continued to produce pipes as a hobby, but the quality of briar and workmanship is said to not equal the early production. The later pipes he now marked as Kobenhaven rather than Copenhagen, and these were sold by Ole at flea markets throughout Europe.

That information told me I was working on an early one of his pipes from the 1960s to early 1970s as it is stamped Copenhagen.

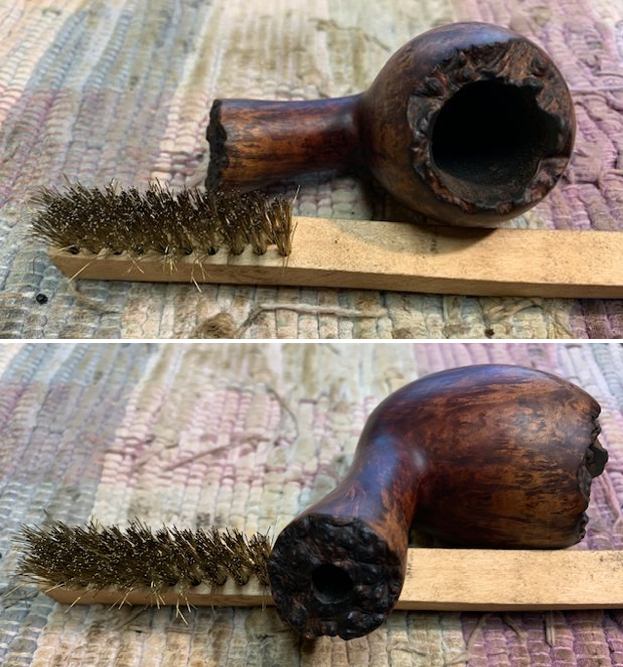
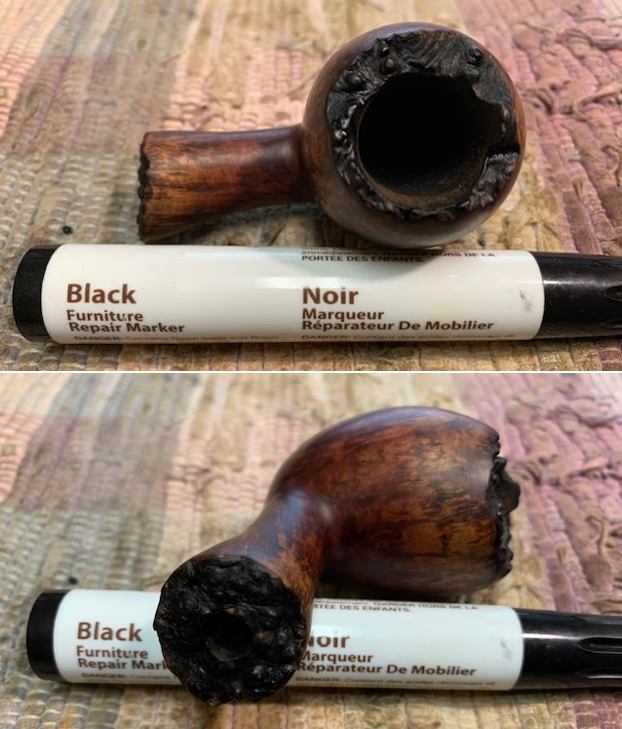
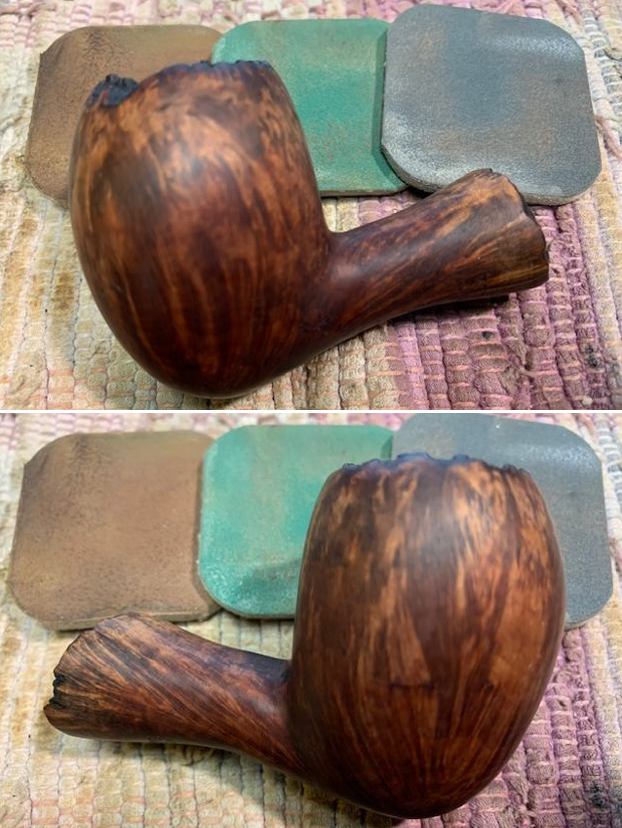
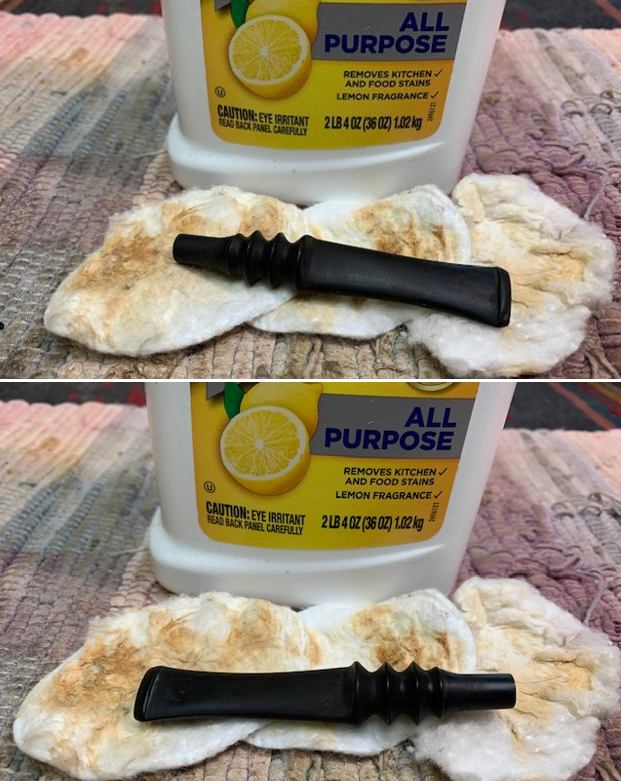
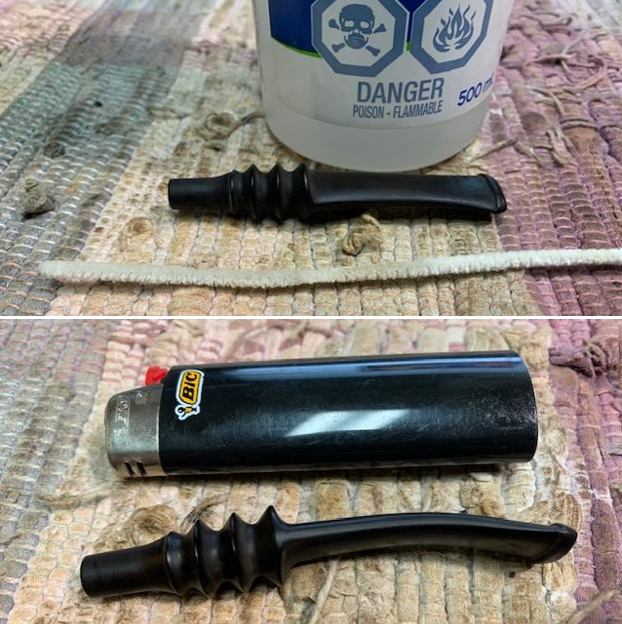
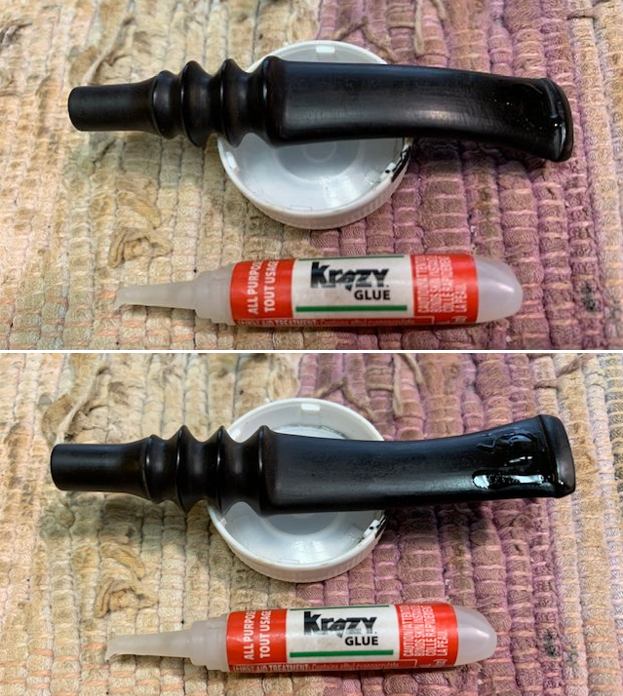
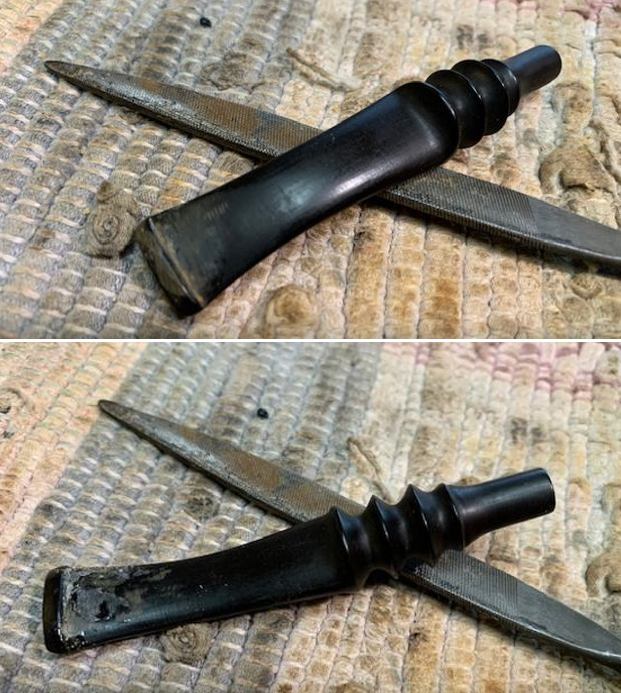
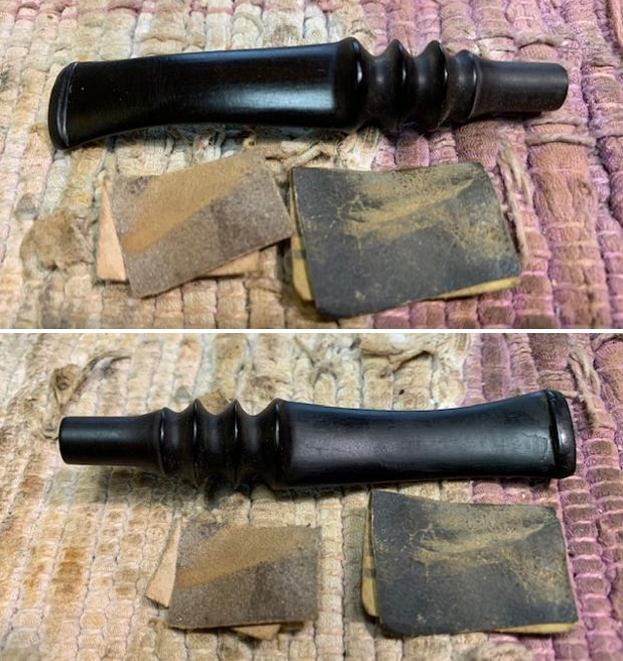
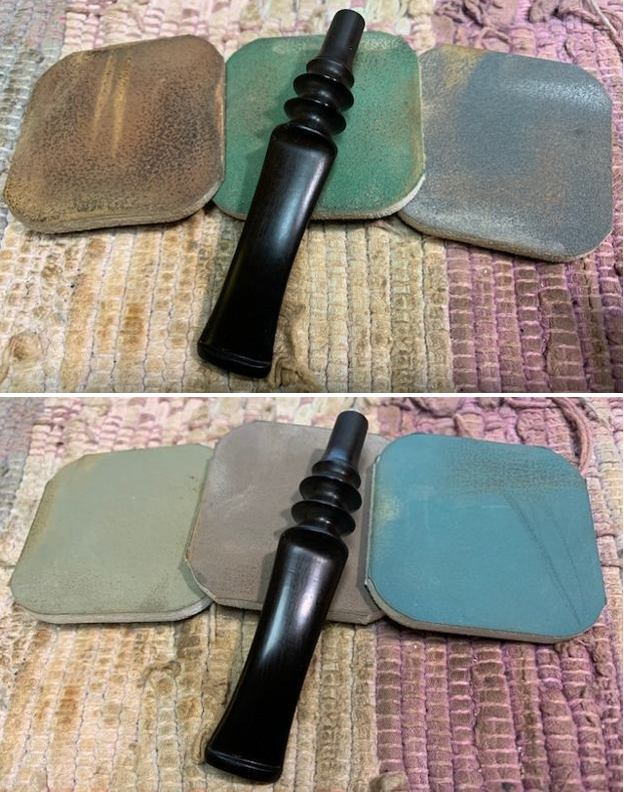
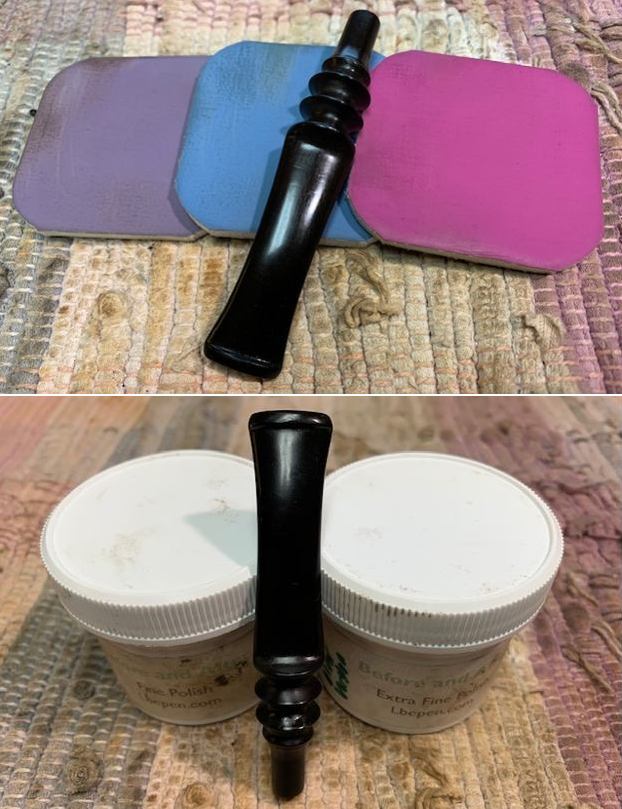
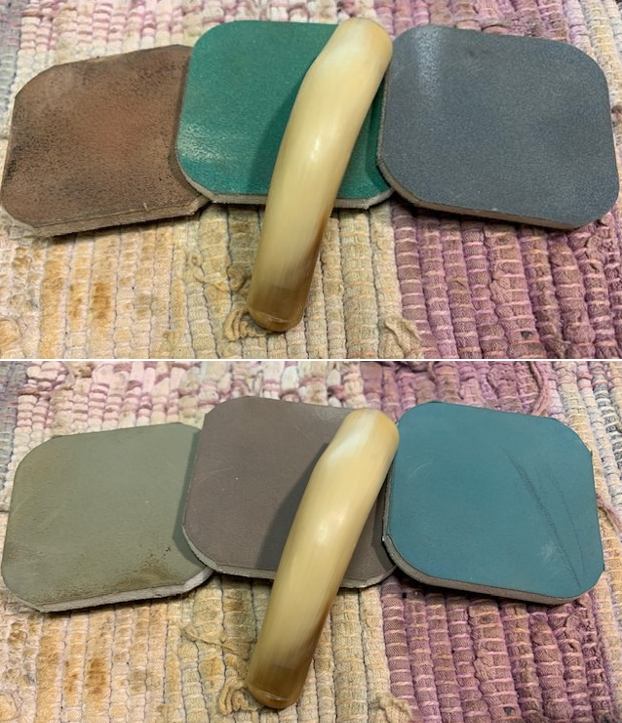
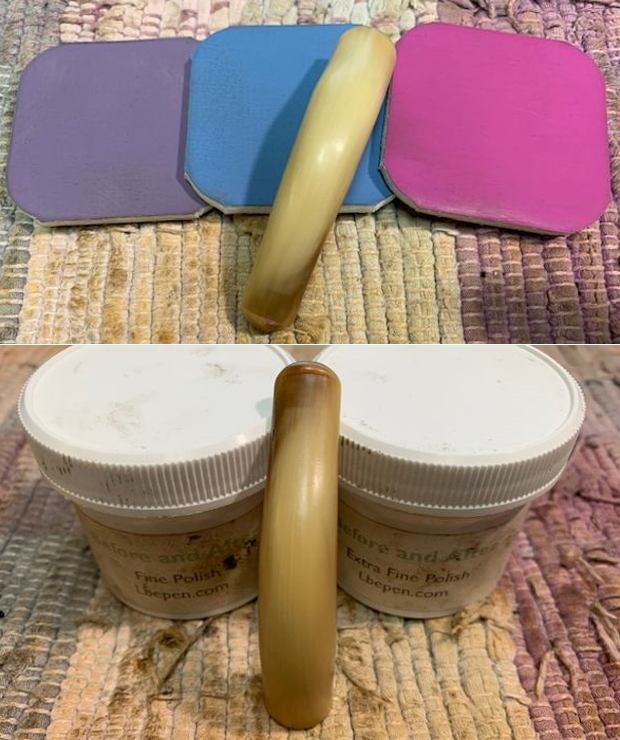
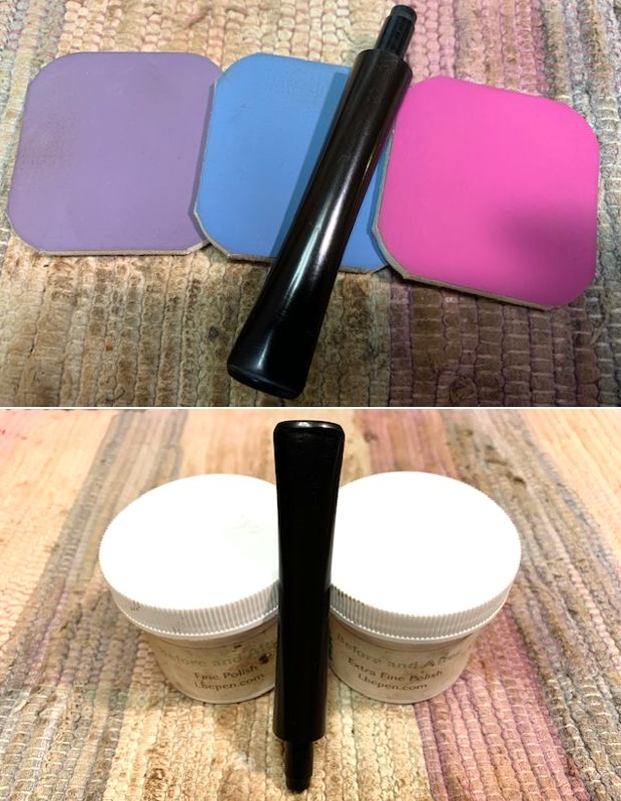
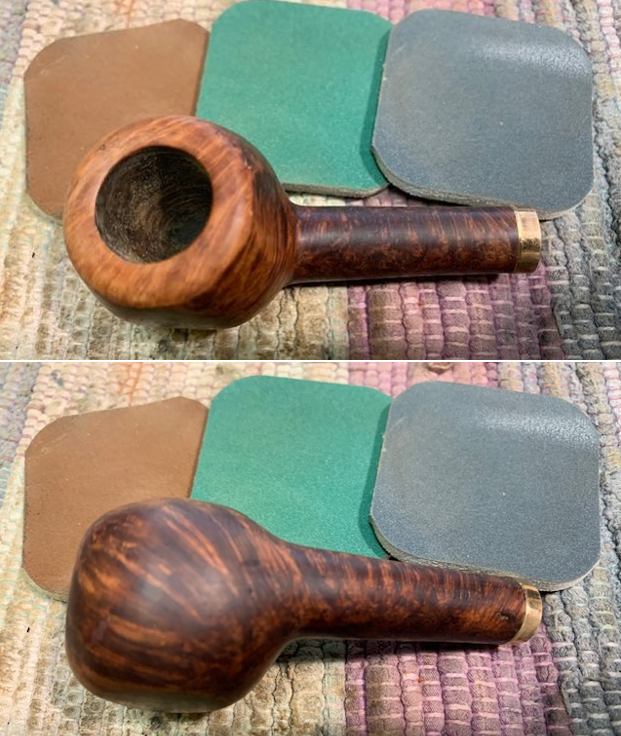
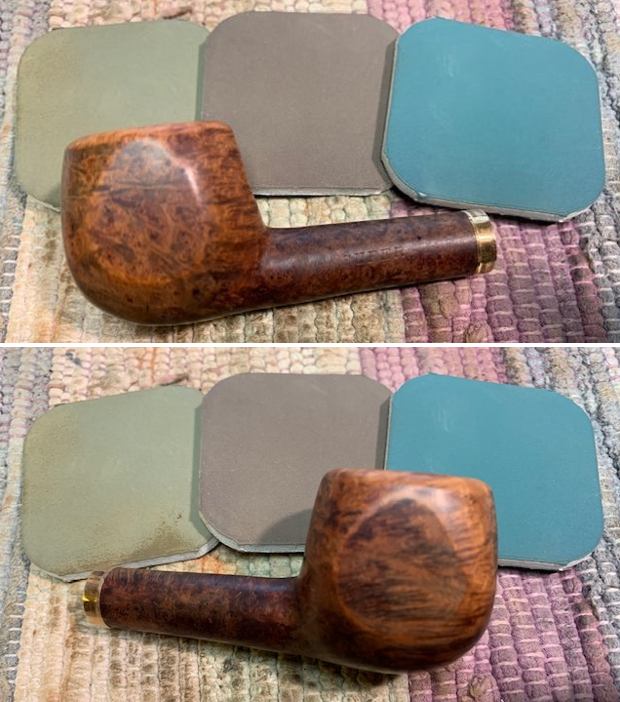
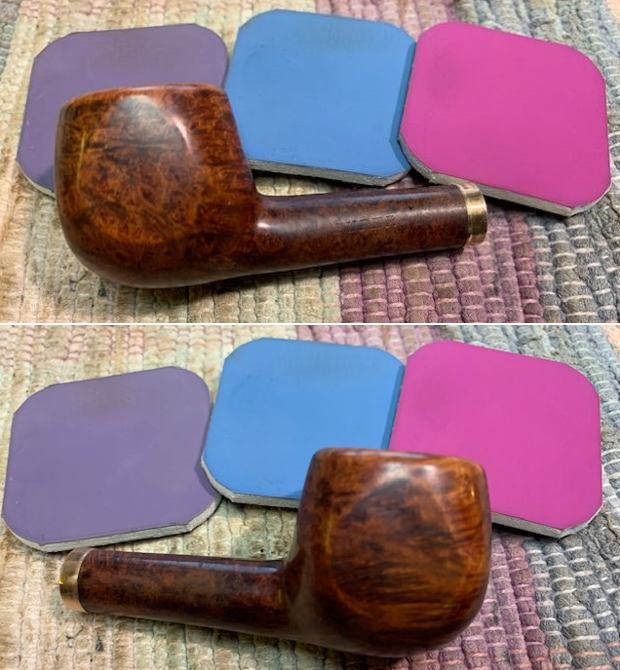
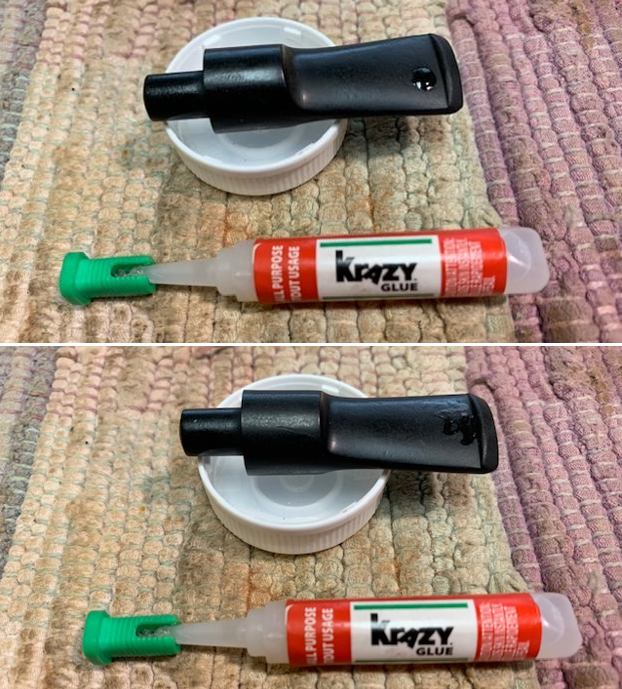
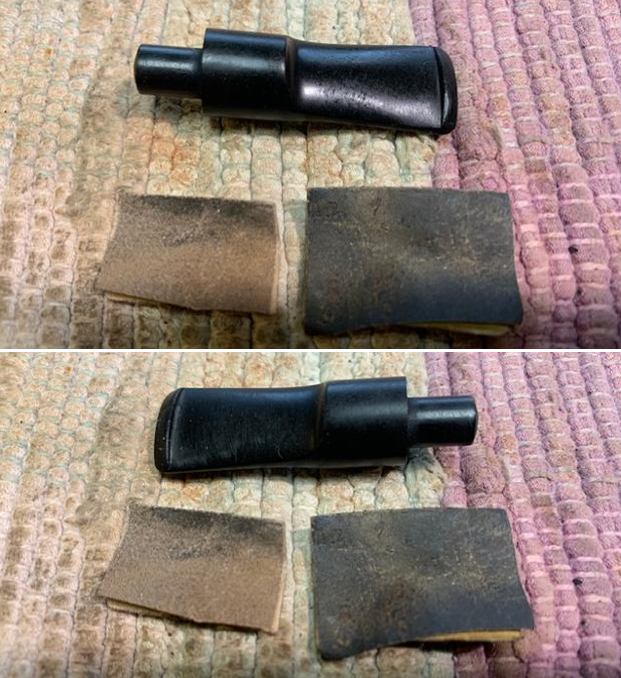
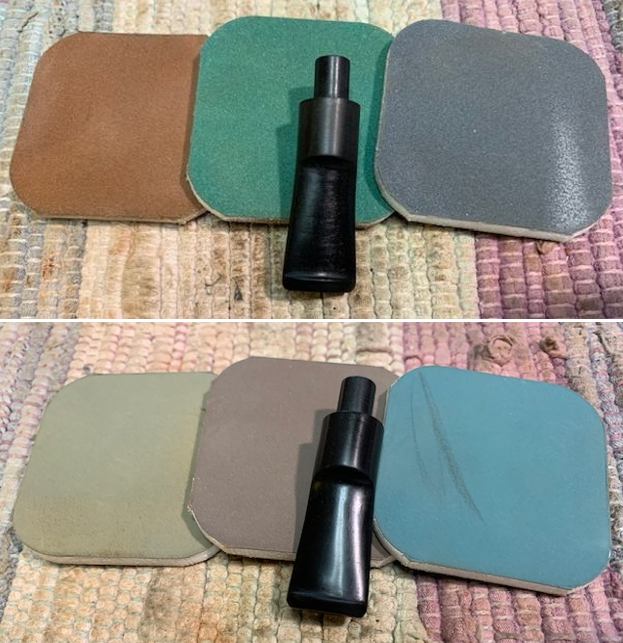
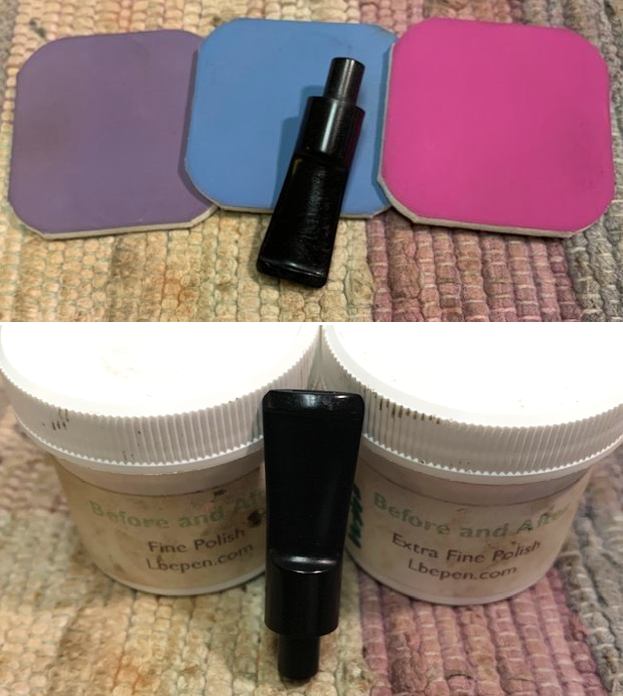
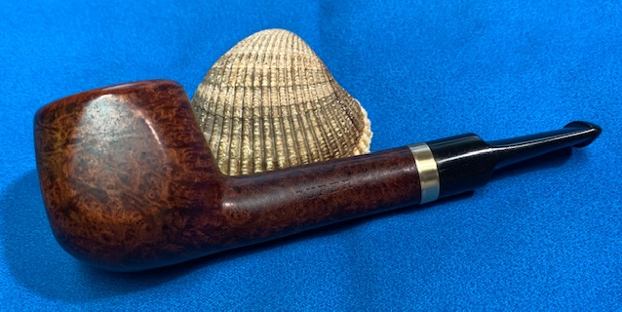
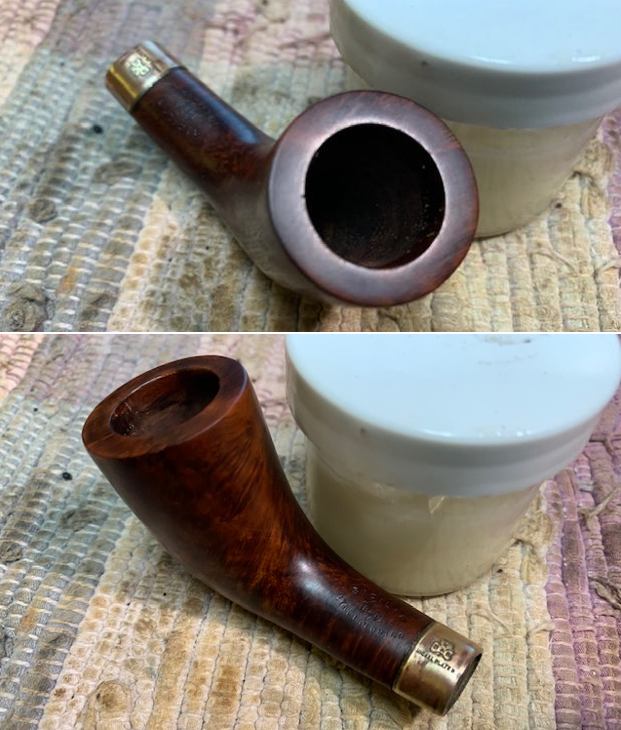
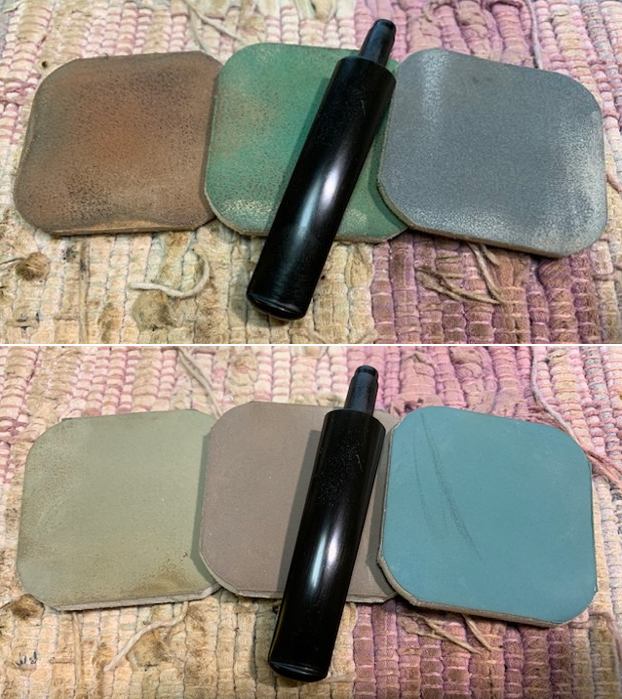
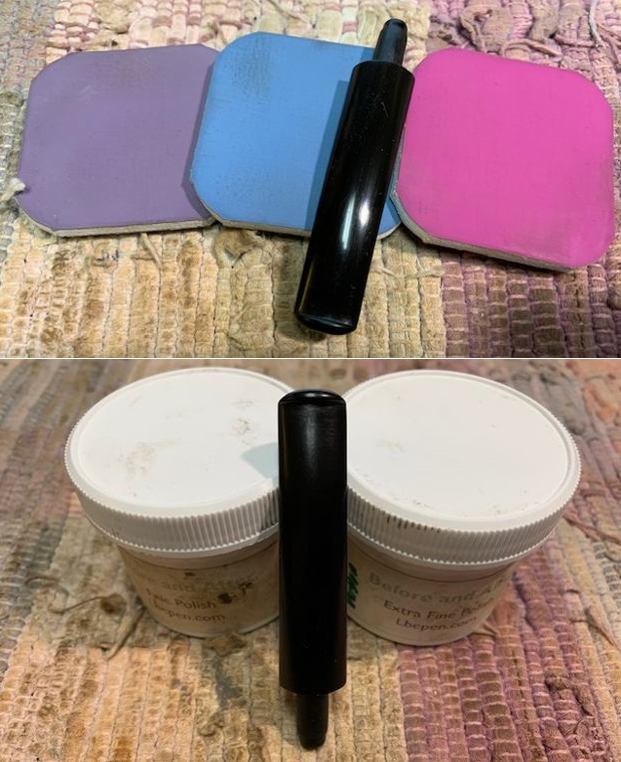
I turned to Pipephil’s site and did a screen capture of the information that was there. There was no addition info but it did show one of the pipes (http://www.pipephil.eu/logos/en/logo-z.html). You can also see the style of the stem and the Z on the top of the stem. The one I have chosen is very different but I think it will still work.With that information in hand I turned to work on the bowl. I used a brass bristle wire brush to clean out the remaining debris and lava in the grooves of the plateau rim top and to remove the dust from the plateau shank end. Once it was clean I used a Black Stain Pen to stain it black as it was originally. I polished the briar with micromesh sanding pads – dry sanding with 1500-12000 grit pads and wiping it down with a damp cloth after each pad. It really began to shine. I worked some Before & After Restoration Balm into the surface of the smooth briar with my finger tips and into the plateau rim top and shank end with a horsehair shoe brush. The product is amazing and works to clean, enliven and protect the briar. I let it sit on the briar for 10 or more minutes and then buff it off with a soft cloth. It really makes the grain sing. With the bowl finished I turned my attention to the stem. It had been sitting in the bath for several hours. I removed it and ran a pipe cleaner and alcohol through the airway to remove any remaining soak. I wiped the stem down with a paper towel to remove the oxidation that had been loosened. It looked much better than when I put it in the bath.I “painted” the stem surface with a Bic lighter flame to raise the tooth marks. I was able to lift many of them to the surface. What remained I would fill in later. I scrubbed the stem surface with cotton pads and Soft Scrub to remove the remaining oxidation. The stem was really starting to look very good. I cleaned out the ends of the stem and button with a pipe cleaner and alcohol to remove the bits of Soft Scrub that had gotten into the airway. I heated the stem and gave it a slight bend to fit the flow of the pipe better.I filled in the remaining divots and marks in the stem with clear CA glue. Once it had cured used a small file to flatten the repair and sharpen the edge of the button. I sanded it smooth with 220 grit sandpaper to blend it into the stem. I started the polishing with 400 grit wet dry sandpaper. I polished the stem with micromesh sanding pads – dry sanding with 1500-12000 grit pads. I wiped the stem down after each pad with a cloth and Obsidian Oil. I finished the polishing with Before & After Pipe Stem Polish – both Fine and Extra Fine. I gave it a final coat of Obsidian Oil. I put the pipe back together – the bowl with its new stem. This restored Zettervig Copenhagen Handmade 900 Egg is a real beauty and I think the chosen stem works well with it. The grain on the bowl came alive with the buffing. I used Blue Diamond on the buffing wheel on both the bowl and stem. I gave both multiple coats of carnauba wax on the wheel then buffed it with a clean buffing pad to raise the shine. I hand buffed it with a microfibre cloth to deepen the shine. The Zettervig Freehand Egg feels great in the hand. It is lightweight and the contrast in the blacks of the plateau and the polished vulcanite stem with the popping grain on the mixed brown stained bowl is quite amazing. The dimensions of the pipe are Length: 5 ¾ inches, Height: 2 inches, Outer diameter of the bowl: 1 ½ inches, Chamber diameter: ¾ of an inch. The weight of the pipe is 2.05 ounces/59 grams. It really is a beauty. I will be putting it on the rebornpipes store in the Danish Pipe Makers section shortly if you are interested in adding it to your collection. Thanks for walking through the restemming and the restoration with me. Cheers.

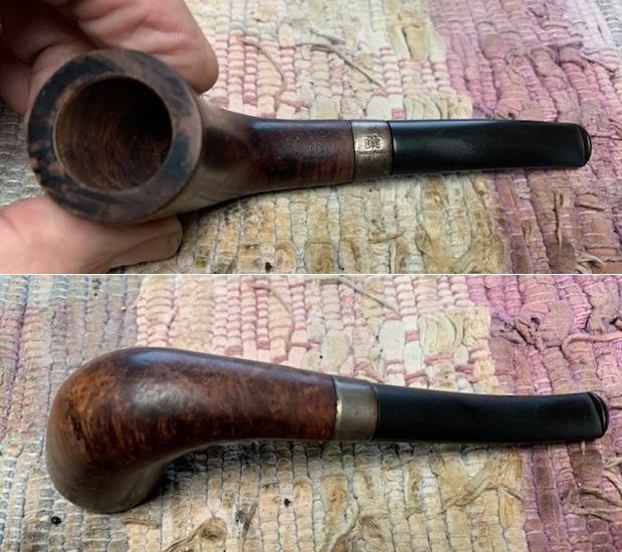
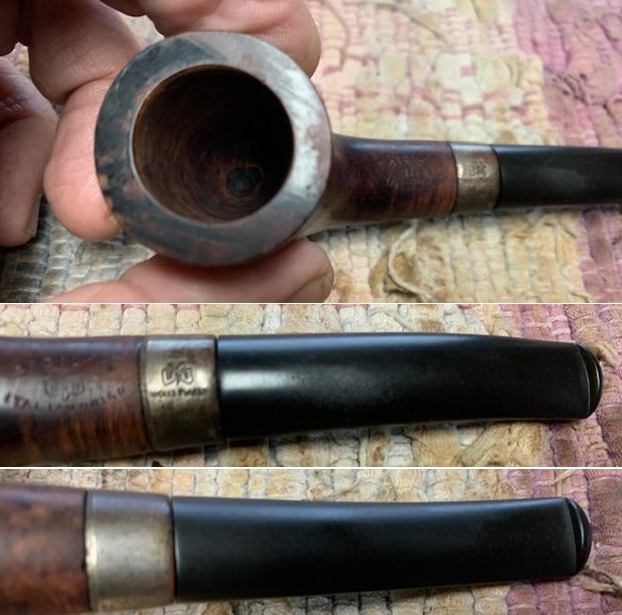
Reviving another Old Timer – a KB&B Sicilia Italian Briar Zulu


Blog by Steve Laug

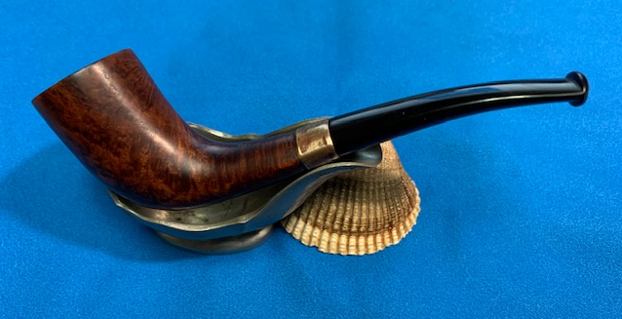
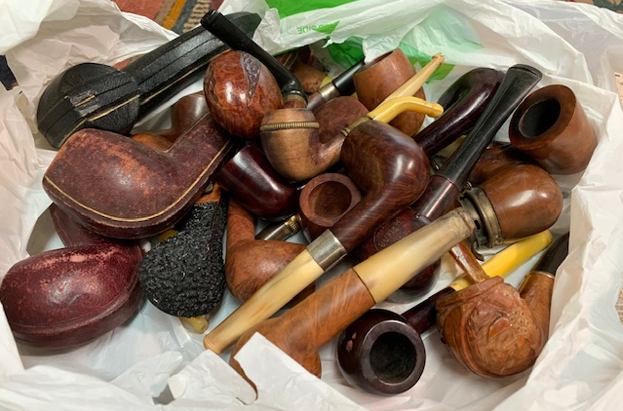
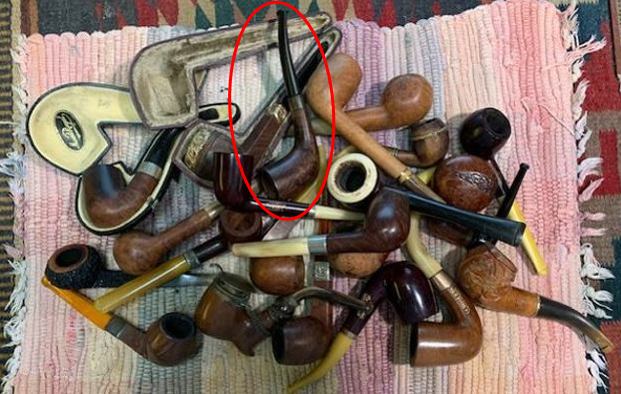
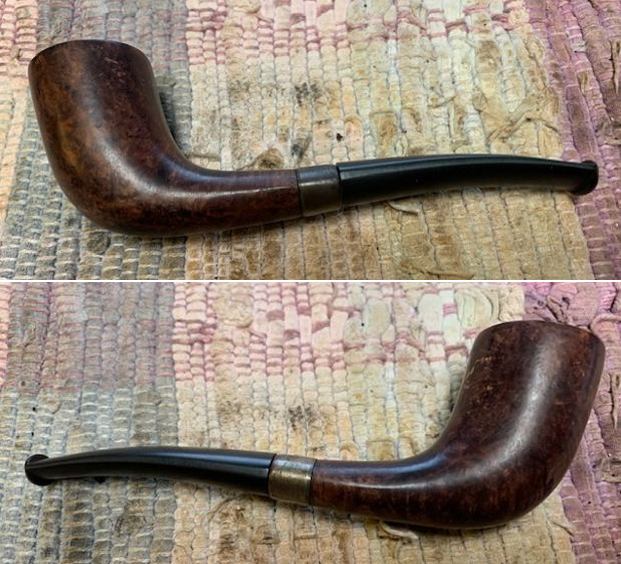
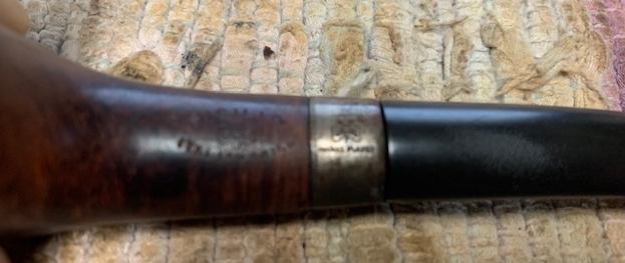
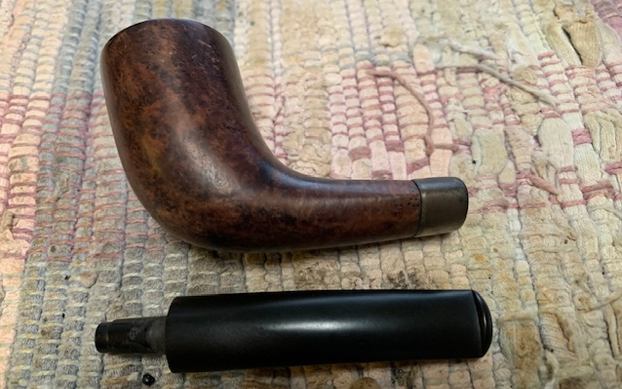
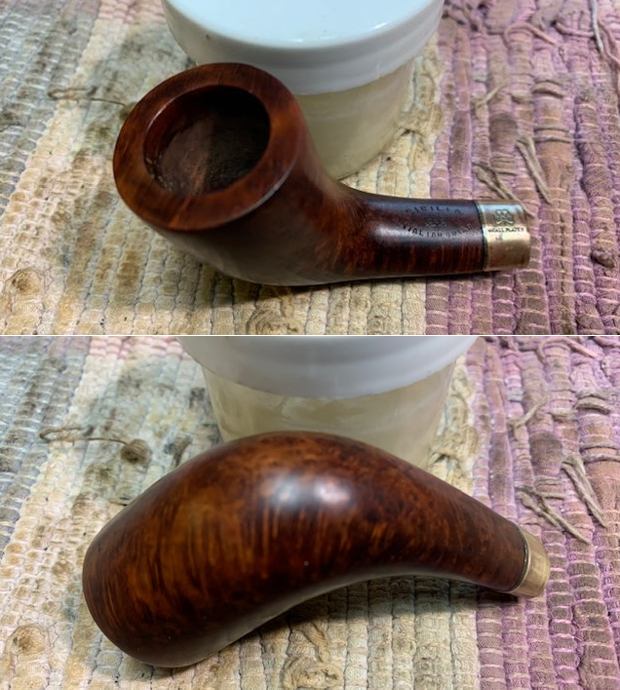
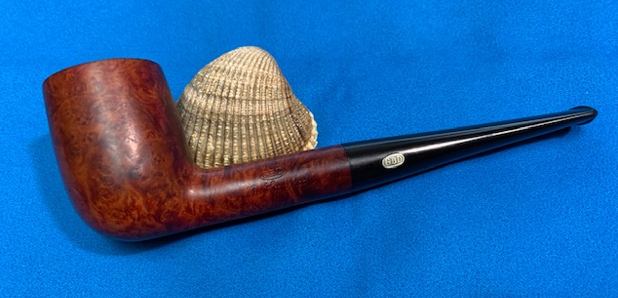
I finished the restoration of four of the older horn stem pipes that I have posted the blogs about on rebornpipes, the first was a beautiful early 1900s KB&B Horn Stemmed Italian Billiard (https://rebornpipes.com/2021/08/29/reviving-another-older-horn-stemmed-pipe-my-next-choice/) then an early French made JSN Racine Bruyere Dublin with a horn stem (https://rebornpipes.com/2021/08/29/reviving-another-older-horn-stemmed-pipe-from-the-bag-of-old-timers/), then a lightly smoked GVG Liverpool made by the founder of Genod (https://rebornpipes.com/2021/08/31/reviving-a-lightly-smoked-horn-stem-gvg-extra-9745-liverpool/), fourth a Belle D’ Or Vielle Bruyere “Double Or” French Made Bent Dublin (https://rebornpipes.com/2021/09/01/restoring-a-la-belle-dor-vielle-bruyere-double-or-horn-stem-bent-dublin/), and fifth a Diamond Black Squat Bulldog with an unusual cut glass style rustication (https://rebornpipes.com/2021/09/03/restoring-a-diamond-black-extra-squat-bulldog/). I decided to keep working on the bag of older NOS/unsmoked and lightly smoked pipes. I chose another old timer from the lot and this time picked a bit of a mystery pipe. It is buried in the pile in the photo below but it is clear in the second photo.In the photo of the poured out bag on my desk top I have circled the pipe that is next on the table. This was an unsmoked Zulu shaped pipe with a smooth finish that was very worn and dirty. The rim top was unmarked and looked good. This little Zulu really intrigued me so it was next. The Zulu pipe was stamped on the top of the shank and read Sicilia [arched over] KB&B in a cloverleaf [over] Italian Briar. The shank band was oxidized to a point it was almost not readable. Underneath the oxidation it was clearly stamped KB&B in a cloverleaf [over] Nickel Plated. The bowl was unsmoked but the finish was shot and very worn. There was a large chip of briar missing on the top inside of the mortise even though the shank itself was clean. The band had been glued in place and held it together. The missing chunk explained why the fit of the stem to the shank was not correct. The pipe had vulcanite/hard rubber stem that was in good condition with no tooth marks or chatter on the stem. The button was orific – a round hole in the button end. The button was in excellent condition. Here are a few photos of the pipe before I did anything to it. I took photos of the bowl and stem. You can see the unused condition of the bowl and the clean, though peeling rim top and edges. The drilling is just a little off centered to the right in the bottom of the bowl. It is a good sized bowl. The interior walls of the pipe are smooth and do not have drilling marks or checks or chips. The vulcanite stem is in excellent condition and has a push tenon and an orific button. I took a photo of the stamping on the topside of the shank. It reads as noted above. You can see the stamping on the top of the band – the KB&B cloverleaf is clear and readable with the Nickel Plated stamp below.I removed the stem from the shank. You can see the brand new threaded bone tenon in the photo below. The proportions of this pipe are well done. The grain around the bowl is very nice.I quote from the blog on a recent KB&B Billiard that I just restored (https://rebornpipes.com/2021/08/29/reviving-another-older-horn-stemmed-pipe-my-next-choice/).

I turned to Pipedia for a review of the history of the brand and to try and pin down a date for this pipe (https://pipedia.org/wiki/Kaufmann_Bros._%26_Bondy). There is a great historical article there that is worth the read. I quote portions of that below.

Early History
Kaufmann Bros. & Bondy (KB&B), Kaywoodie has been making pipes since well before the Civil War – around 1851. They peaked in the late 1950’s along with most American Briar works. In the early 20th century, their pipes were the standard others were measured by, along with Sasieni, Charatan and Comoy’s. There were few other world-class American pipe-crafters (William Demuth Company, early L & H Stern). Their pipes were as good as any of the renowned British firms. Kaywoodie just did not merely produce quantity, they provided quality: in the 1920’s they bought the exclusive rights to some of the choicest briar fields in history, hauling out 250 year-old roots the size of 27″ TVs and fashioning masterpieces out of this spectacular-grained ancient briar…

Early KB&B (non Kaywoodie)
Kaywoodie was the name a pipe offered by Kaufmann Bros. & Bondy Company (KB&B), first appearing in February of 1919. The Dinwoodie pipe, also by KB&B, appeared in November of 1919. Other KB&B brandings included Ambassador, Heatherby, Kingston, Langley, Melrose, Hollywood, Paragon, Borlum, Sicilia, Cadillac, Capitol Extra, Times Square and Kamello. Sometime before 1924, the Dinwoodie had been discontinued and the Kaywoodie name was beginning to be used on an extensive line of pipes that ultimately would be the name of the company. The origin of the name Kaywoodie is a combination of the K from Kaufmann and wood, as in briar. Not much is known of the original KB&B company other than it was started in 1851 by the German born Kaufmann brothers when they opened a small pipe shop in the Bowery section of New York City. In the back room of this shop, they made their first pipes. From this meager beginning, the Kaywoodie name and organization was to emerge…

…Hacker concludes his history of Kaywoodie Pipes by noting that: “The KB&B briar pipe brand existed from 1900 until just after World War I (with some overlapping with the Kaywoodie from 1915 — 1917), and collectors refer to the KB&B as a Kaywoodie transition pipe. During the early years of the 20th century a number of filter systems were designed by the KB&B firm and incorporated into their Kaywoodie Pipes under the names of Synchro-Stem and Kaywoodie Drinkless filters. During the late 1920’s and throughout the 30’s the Kaywoodie became a highly respected pipe in spite of its filter system (which was popular among many smokers of the era) primarily due to the fine quality of the straight grain and the flame grain models. Unfortunately, the hard-to-get-briar years of World War II marked the decline of the Kaywoodie Pipe, a plummet from which it has never recovered as far as collectors are concerned….”

…The pre-Kaywoodie KB&B pipes were marked on the shank with a cloverleaf around KB&B. Some early Kaywoodies had this same marking on the shank, but the practice was dropped sometime prior to 1936. Yello-Boles also had KB&B in the leaf on the shanks, but did not have the ampersand found on Kaywoodies.

From that I knew that the pipe I was working on was a Sicilia Italian Briar that had been made between 1900 and 1917 because of the KBB Clowerleaf. Now it was time to work on the pipe.

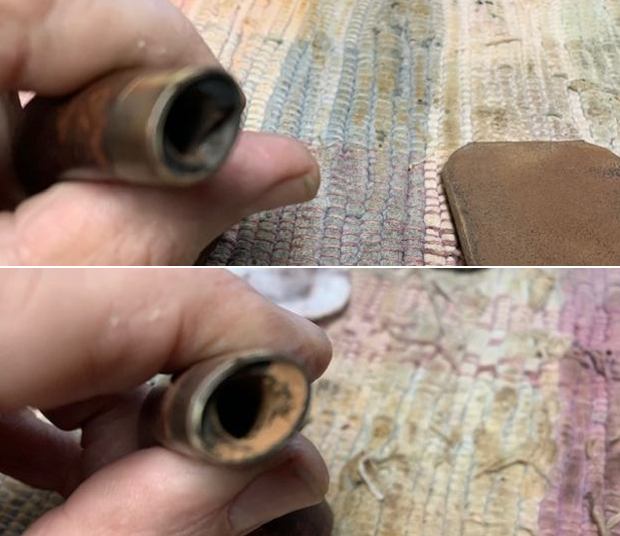
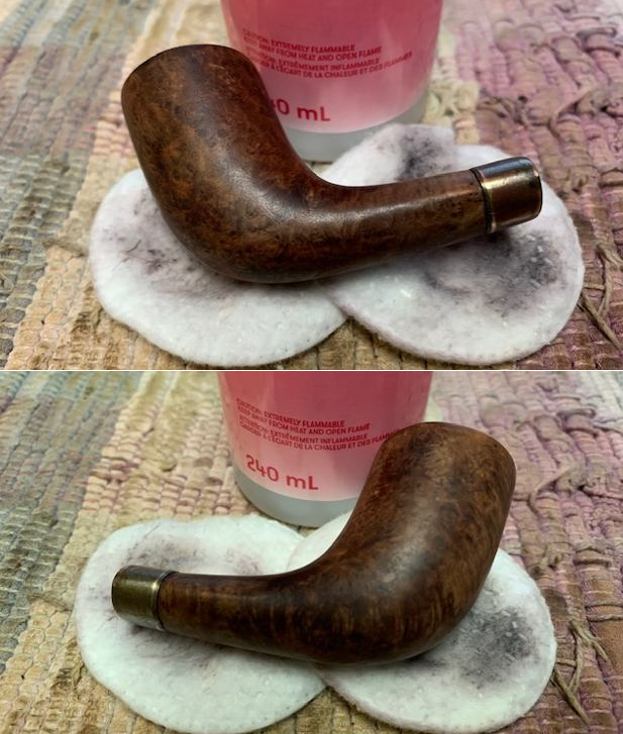
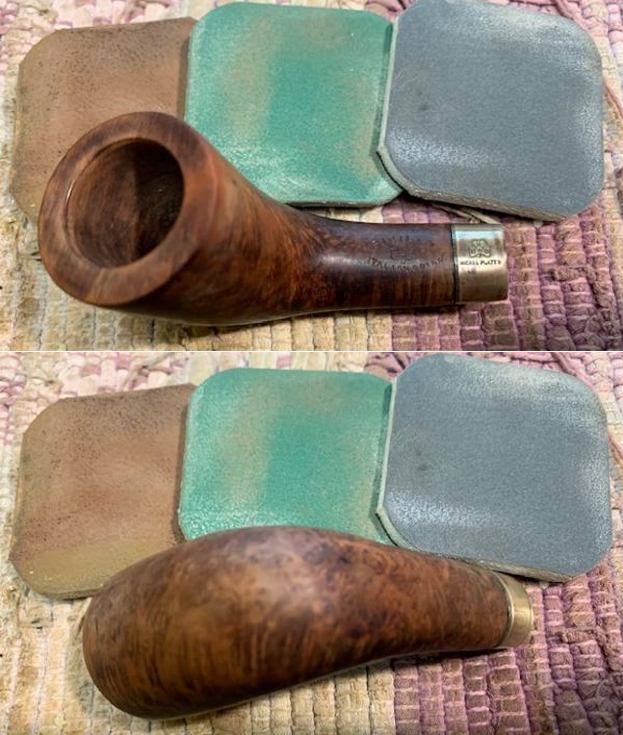
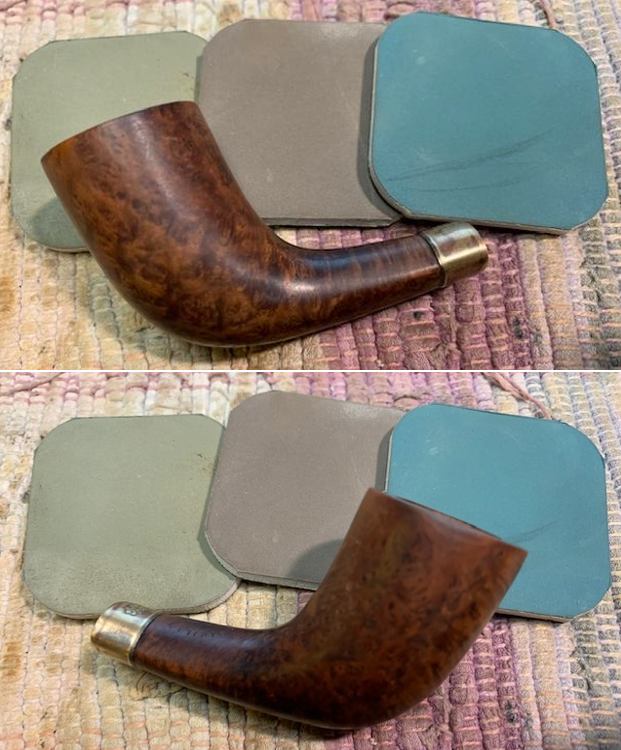
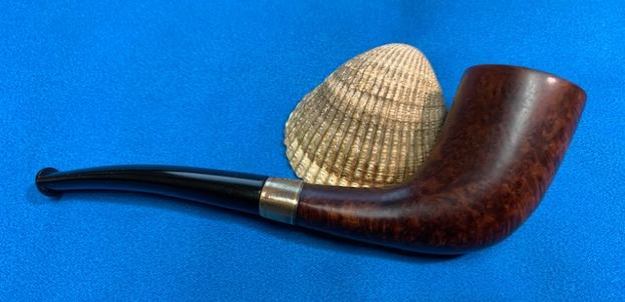
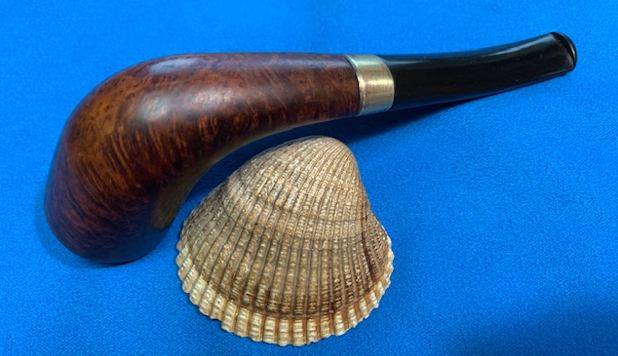
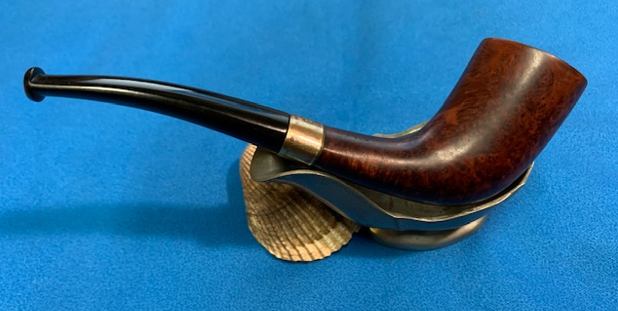
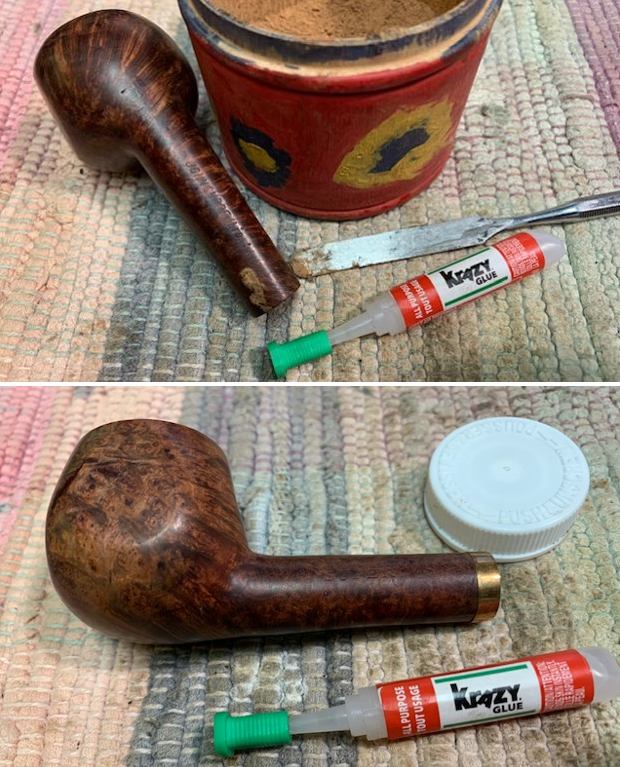
I started my work on the pipe by addressing the large chip in the top of the shank. I filled it in with a mixture of super glue and briar dust. I layered it in place in the shank with a dental spatula. I was able to rebuild it and strengthen it.I wiped down the bowl with acetone on a cotton pad to remove the peeling varnish coat and grime on the finish of the bowl sides. Wiping it down revealed some great grain around the bowl and shank sides. I polished the briar and the nickel plated band with micromesh sanding pads. I dry sanded with 1500-12000 grit pads and wiped the bowl down with a damp cloth after each sanding pad. The briar began to really come alive. I polished the nickel band with a jewelers cloth to remove the oxidation and protect the finish on it. It looks much better.I rubbed the briar down with Before & After Restoration Balm. I worked it into the finish with my fingertips. The product works to clean, enliven and protect briar finished. I let it sit for 10 minutes then buffed it off with a cotton cloth. The grain on the bowl really came alive with the buffing. It is really a beautiful pipe. I set the bowl aside and polished the vulcanite stem with micromesh sanding pads – 1500-12000 grit pads. I wiped the stem down after each pad with Obsidian Oil to protect and enliven the vulcanite. It came out looking very good. This interesting 1900-1917 KB&B Sicilia Italian Briar with a Vulcanite Stem Zulu turned out really well and it is a great looking pipe with a great shape to it. The fact that it is New Old Stock (NOS)/ unsmoked is an additional bonus. The grain on the briar and the sheen on the stem really popped when the pipe was buffed with blue diamond on the buffing wheel. The nickel band also took on a sheen. I gave the bowl and stem multiple coats of carnauba wax and buffed it with a clean buffing pad. I hand buffed the pipe with a microfiber cloth to deepen the shine. The finished KB&B Sicilia Italian Briar Zulu is comfortable to hold and is quite distinguished looking. Give the finished pipe a look in the photos below. The dimensions of the pipe are Length: 5 ¼  inches, Height: 1 ¾ inches, Outside diameter of the bowl: 1 1/8 inches, Chamber diameter: ¾ of an inch. The weight of the pipe is 29 grams/1.02 ounces. With the internal shank repair this is probably one I should hold on it. It is also a really beautiful pipe that will fit nicely into my older American pipe collection. Thanks for reading this blog and my reflections on the pipe while I worked on it. Keep an eye out on the blog as I have several other older pipes that I will be working on.

Restoring a La Belle D’Or Vielle Bruyere “Double Or” Horn Stem Bent Dublin


Blog by Steve Laug

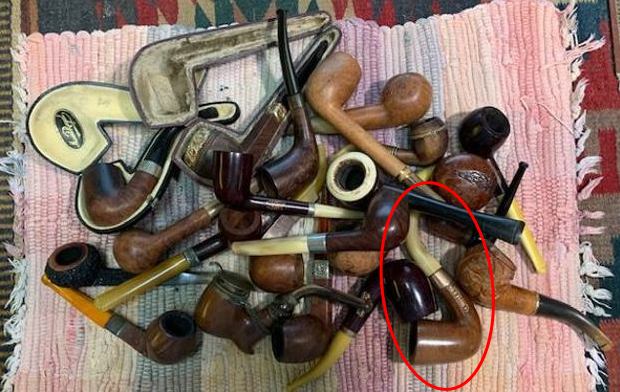
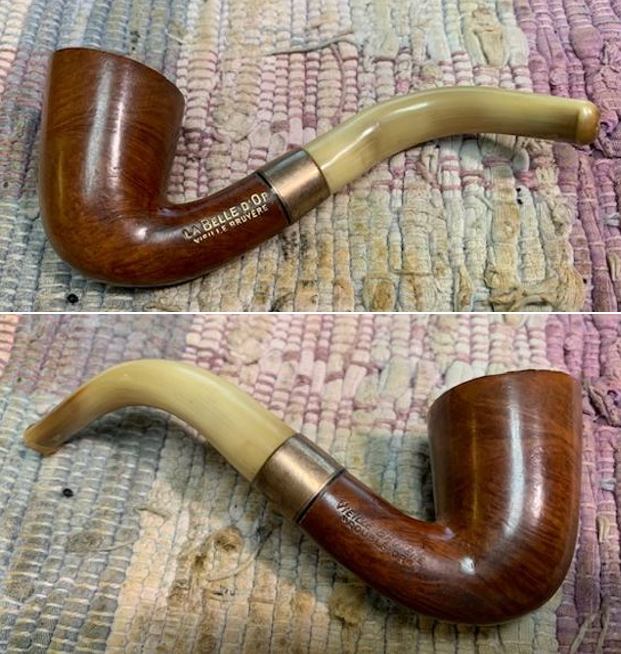
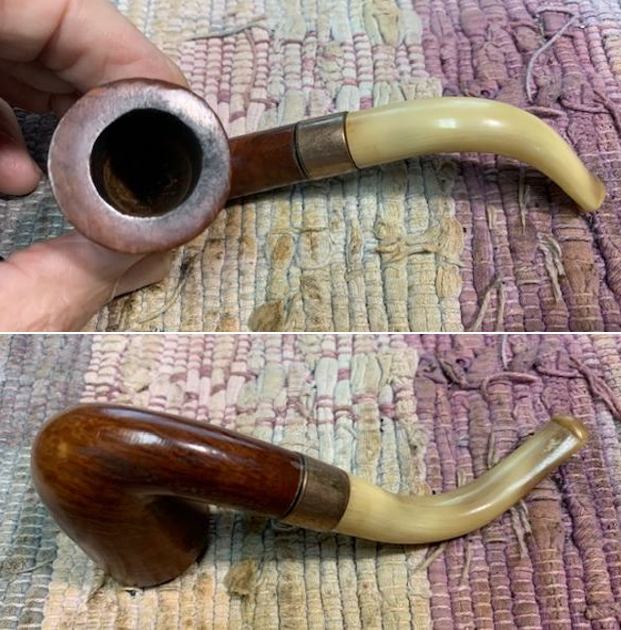
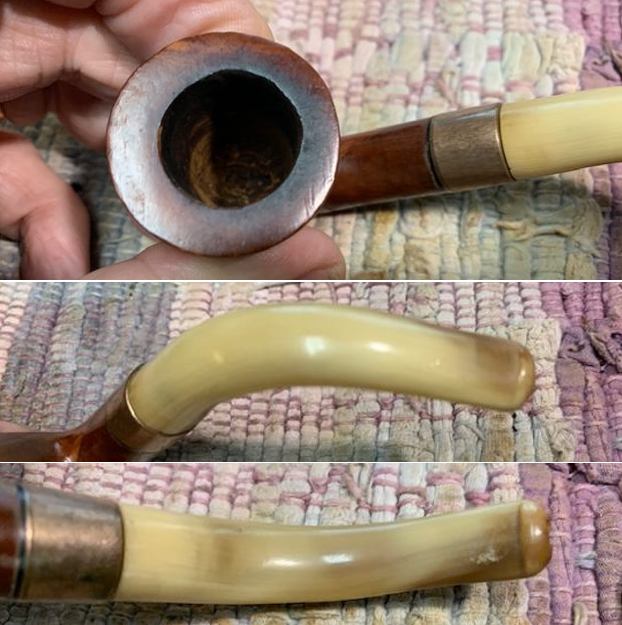
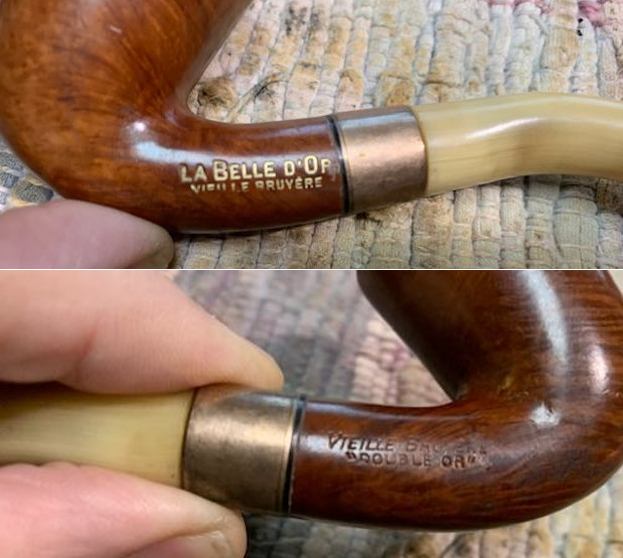
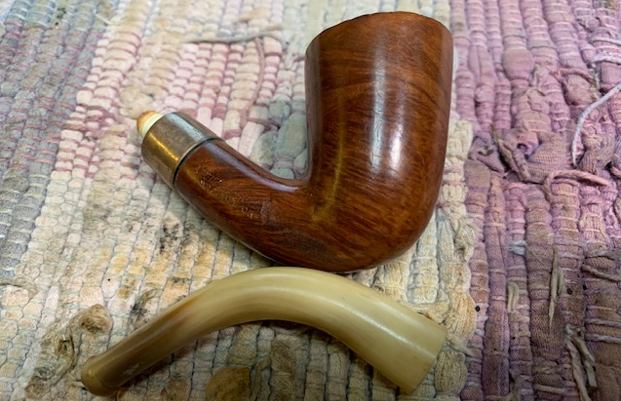
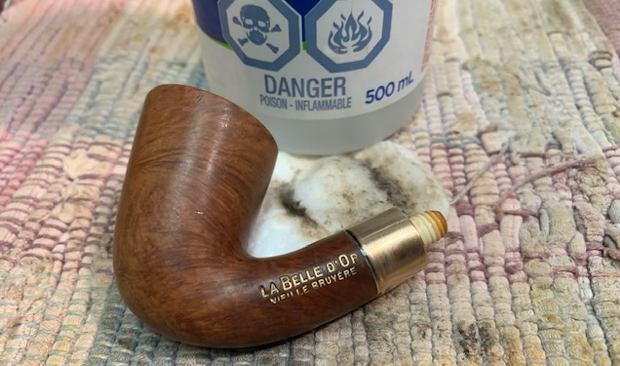
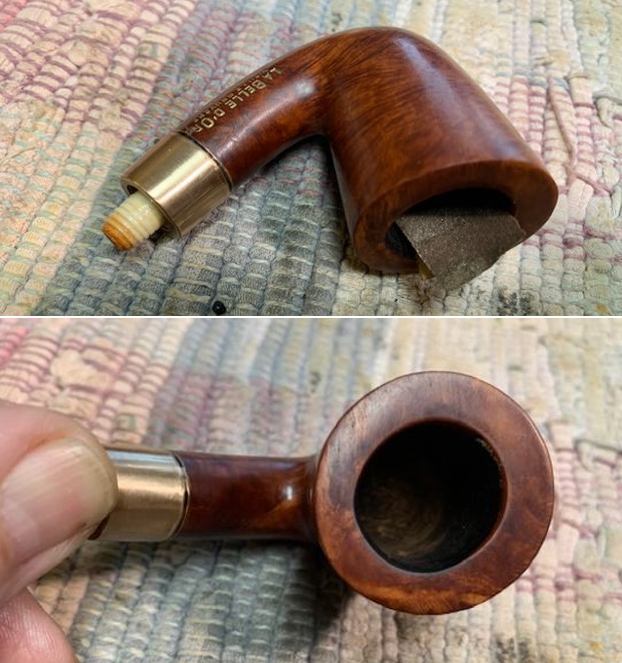
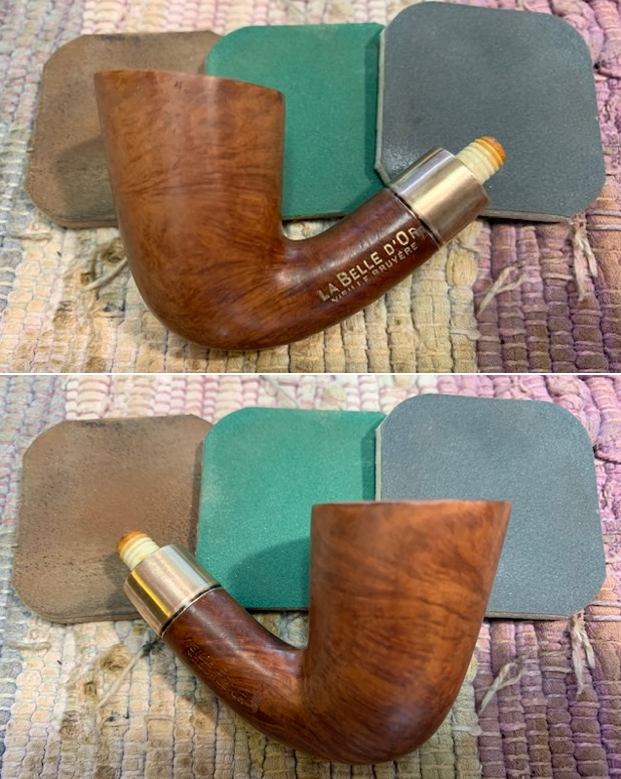
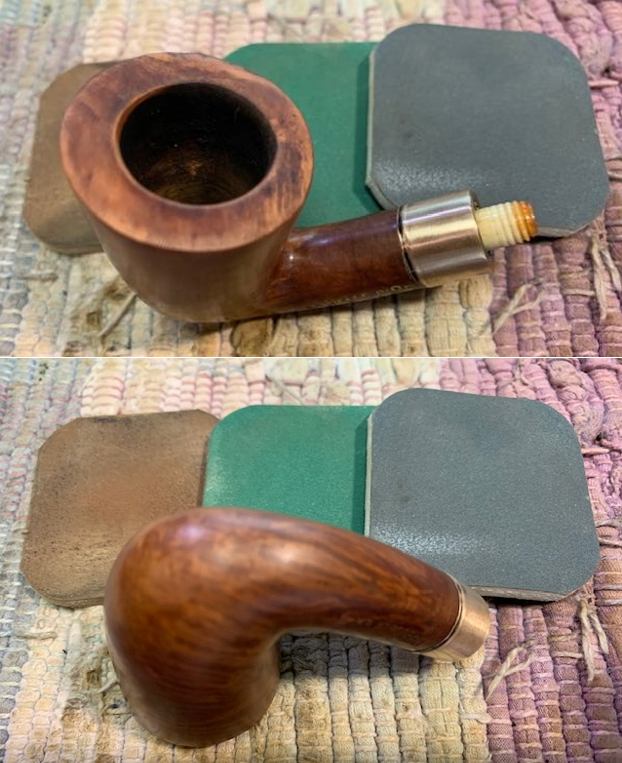
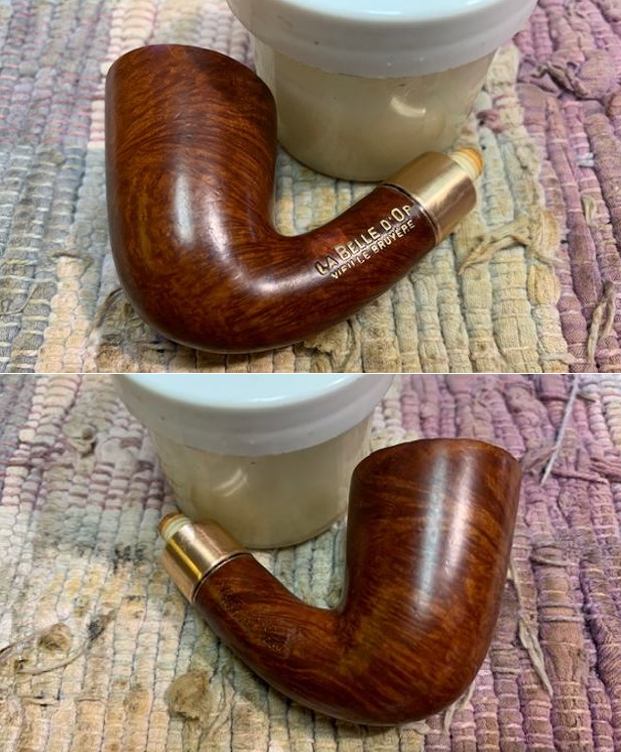
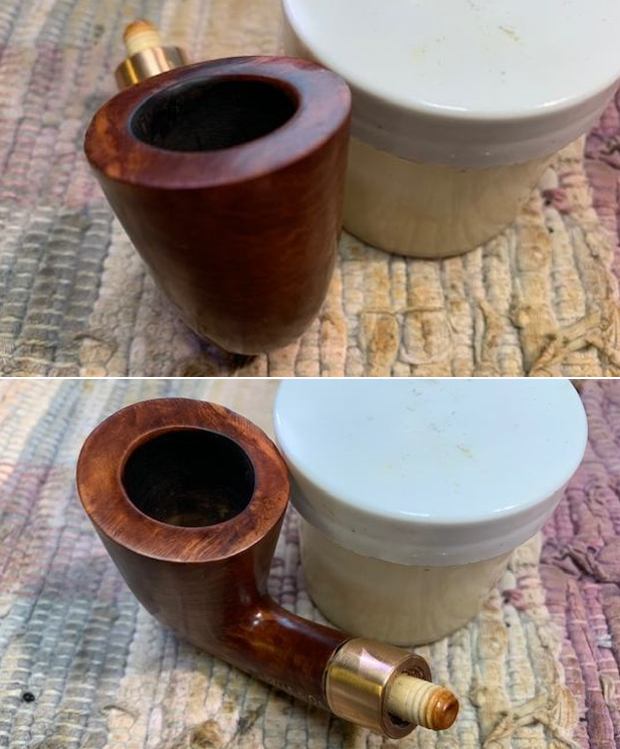
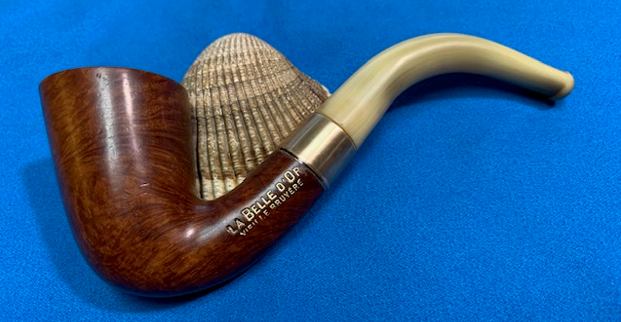
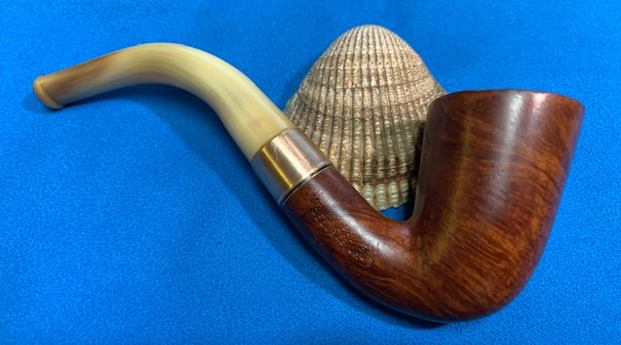
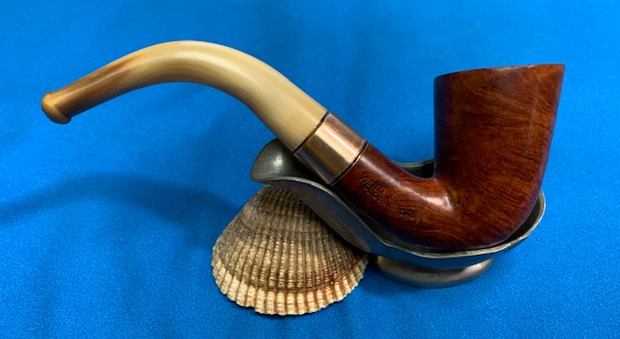
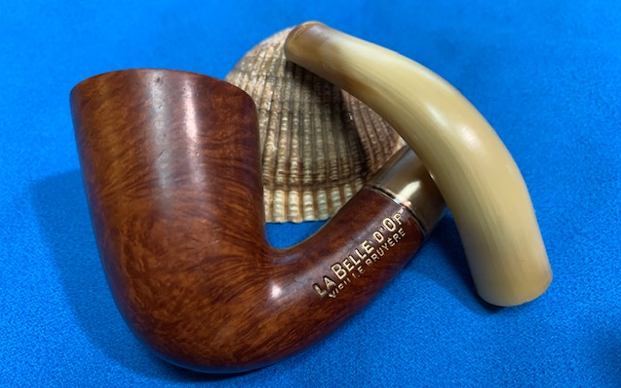
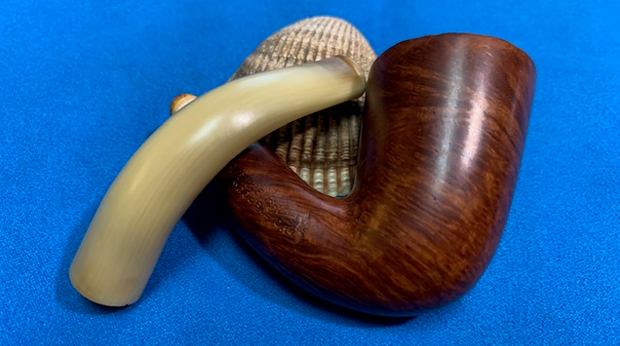
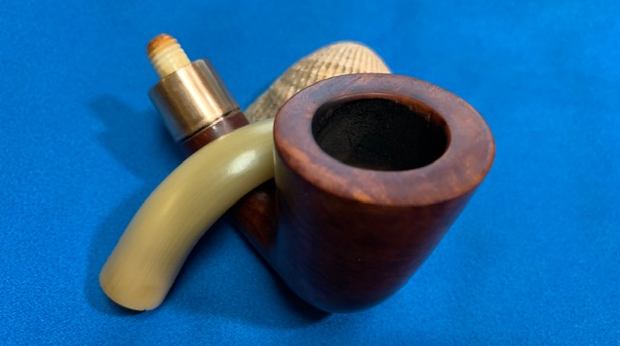
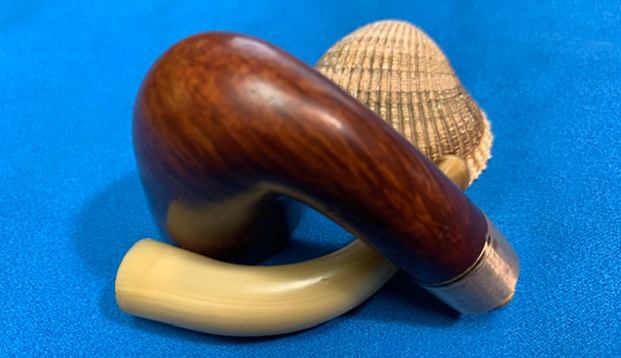
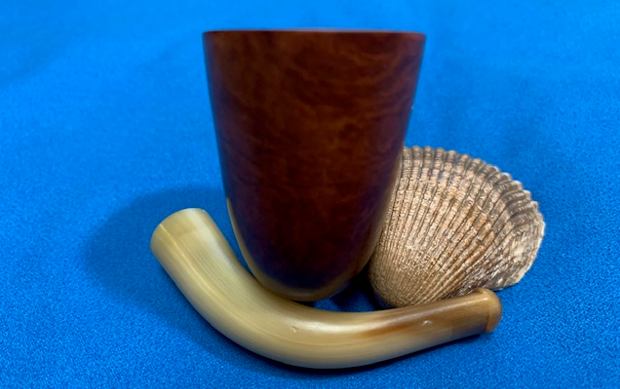
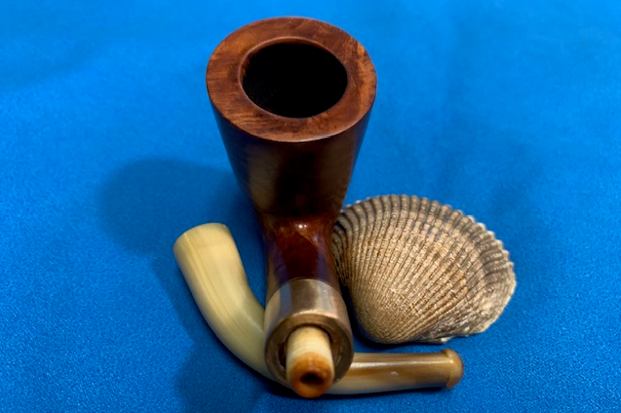
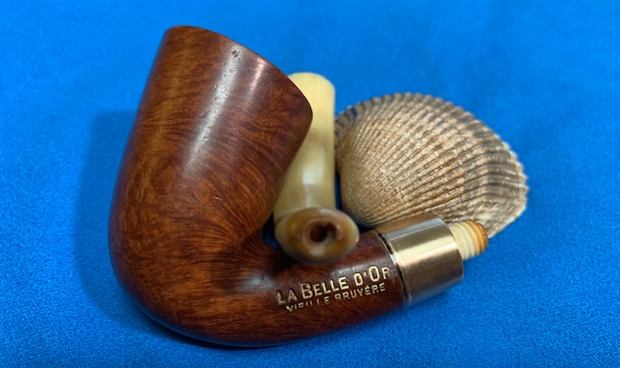
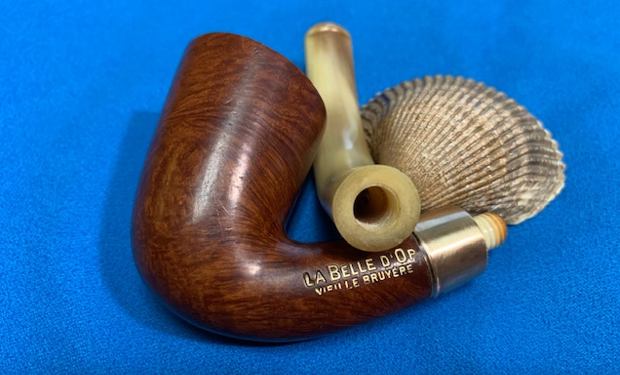
I finished the restoration of the first three of the older horn stem pipes that I have spoken about and posted the blogs on them on rebornpipes, the first was an early 1900s KB&B Horn Stemmed Italian Billiard (https://rebornpipes.com/2021/08/29/reviving-another-older-horn-stemmed-pipe-my-next-choice/) an early French made JSN Racine Bruyere Dublin with a horn stem (https://rebornpipes.com/2021/08/29/reviving-another-older-horn-stemmed-pipe-from-the-bag-of-old-timers/) and a lightly smoked GVG Liverpool made by the founder of Genod (https://rebornpipes.com/2021/08/31/reviving-a-lightly-smoked-horn-stem-gvg-extra-9745-liverpool/). I decided to keep working on the bag of older NOS/unsmoked and lightly smoked pipes. I chose another horn stemmed pipe from the lot and this time picked another one from a French Maker. It is buried in the pile in the photo below but it is clear in the second photo.In the photo of the poured out bag on my desk top I have circled the pipe that is next on the table. This was a lightly smoked pipe with a natural finish that really intrigued me so it was next.I sat at my desk went over the pipe I had chosen. It is lightly smoked bent Dublin with a round shank, brass shank band and a taper stem. It is stamped on the left side of the shank and reads La Belle D’Or [over] Vielle Bruyere stamped in gold. On the right side of the shank it is stamped Vielle Bruyere [over] “Double Or”. The pipe is French made and the stamping on the left translates The Belle D’ Or Old Briar. The stamping on the right translate Old Briar Double Gold. This one looks purposefully and well stamped. There was wide brass coloured band on the shank end that was for decoration as the shank did not have cracks. The finish is natural with a thin coat of varnish. The grain showed through the dust of time and it was quite stunning. There was some thin lava on the back top and edge of the rim. The stem is horn and the tenon is anchored in the shank and the stem is threaded and twists onto it. The stem was overturned on the shank and was very crooked. The button end is orific and has been widened to an oval. It really is a beautiful pipe. Here are a few photos of the pipe before I started my cleanup and restoration. I took photos of the bowl and stem. You can see the condition of the bowl and the rim top and edges. The drilling is centered in the bottom of the bowl. It is a good sized bowl. The interior walls of the pipe are smooth and do not have drilling marks or checks or chips. The bowl was out of round slightly on the back right inner edge. there was some lava on the rim top at the back of the inner edge of the bowl along with darkening and burn damage. There is also a brass band on the shank. The horn stem is in excellent condition and has an orific button that has been widened into an oval slot. I took a photo of the stamping on the left and right side of the shank. It reads as noted above.I removed the stem from the shank. You can see the bone tenon in the shank the photo below. The proportions of this pipe are well done. The grain around the bowl is very nice.I wiped the bowl down carefully with alcohol, avoiding the gold stamping on the left side. Removing the shiny finish made the grain stand out even better.I cleaned up the inner edge of the bowl with a folded piece of 220 grit sandpaper to remove the burn damage and bring the bowl back to round.I polished the bowl and shank with micromesh sanding pads. I dry sanded with 1500 -12000 grit pads and wiped the bowl down with a damp cloth after each sanding pad. It began to really come alive.  I rubbed the briar down with Before & After Restoration Balm. I worked it into the finish with my fingertips. The product works to clean, enliven and protect briar finished. I let it sit for 10 minutes then buffed it off with a cotton cloth. The grain on the bowl really came alive with the buffing. It is really a beautiful pipe. I polished the horn stem with micromesh sanding pads – 1500-12000 grit pads. I wiped the stem down after each pad with Obsidian Oil to protect and enliven the horn. It came out looking very good.This another interesting pipe – a beautiful La Belle D’ Or Vielle Bruyere “Double Or” Horn Stem Bent Dublin It turned out really well and it is a great looking pipe with a great shape to it. The grain on the briar, the polished brass band and the sheen on the horn stem really popped when the pipe was buffed with blue diamond on the buffing wheel. I gave the bowl and stem multiple coats of carnauba wax and buffed it with a clean buffing pad. I hand buffed the pipe with a microfiber cloth to deepen the shine. The La Belle D’ Or Vielle Bruyere “Double Or” Bent Dublin is comfortable to hold and is quite distinguished looking. Give the finished pipe a look in the photos below. The dimensions of the pipe are Length: 5 ¼ inches, Height: 2 inches, Outside diameter of the bowl: 1 ¼ inch, Chamber diameter: ¾ of an inch. The weight of the pipe is 32 grams/1.13 ounces. This is a beautiful pipe and I am still thinking through what I am going to do with it. Should I sell it or add it to the collection? Not sure yet. Thanks for reading this blog and my reflections on the pipe while I worked on it. Keep an eye out on the blog as I have several other older horn stemmed pipes that will be coming up soon.

Resurrecting A Dreary No Name Briar Calabash Shaped Pipe


Blog by Paresh Deshpande

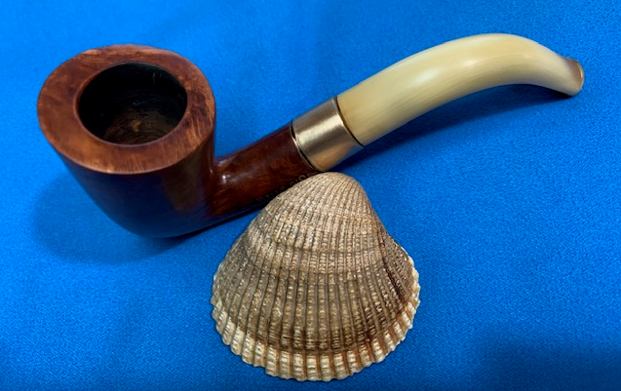
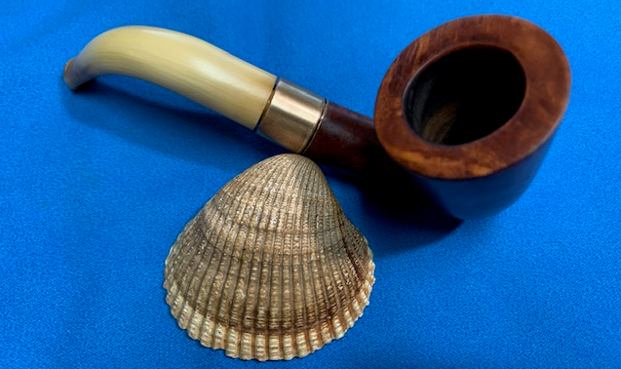
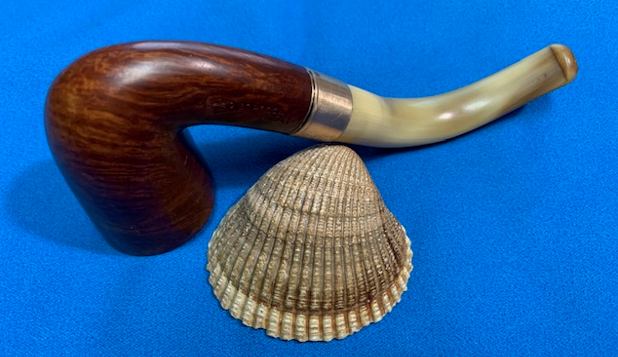
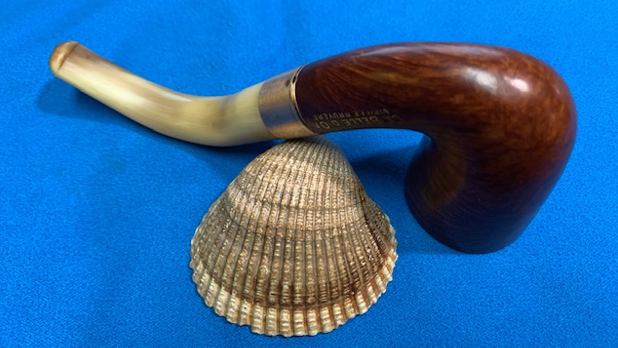
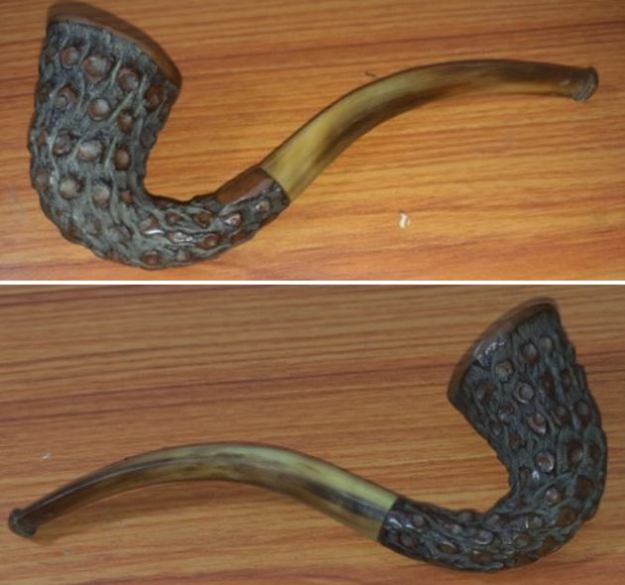
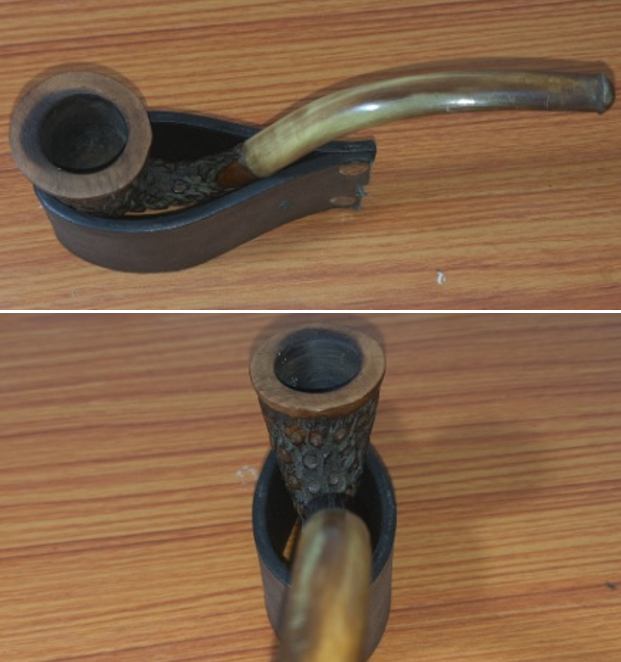
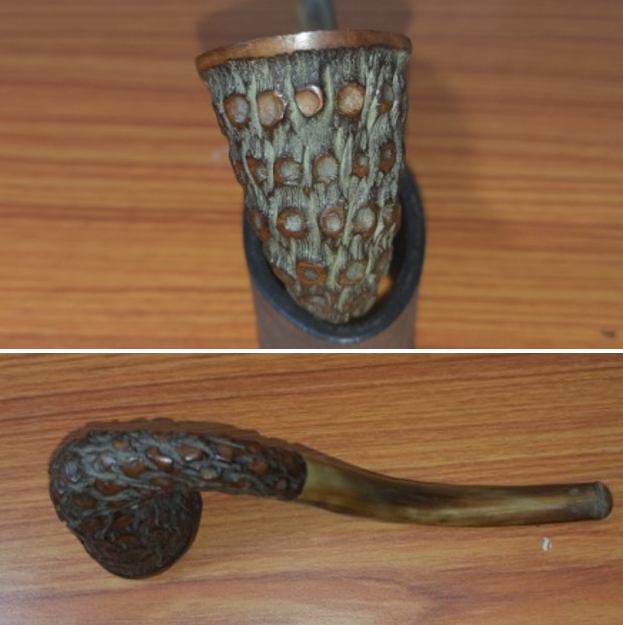
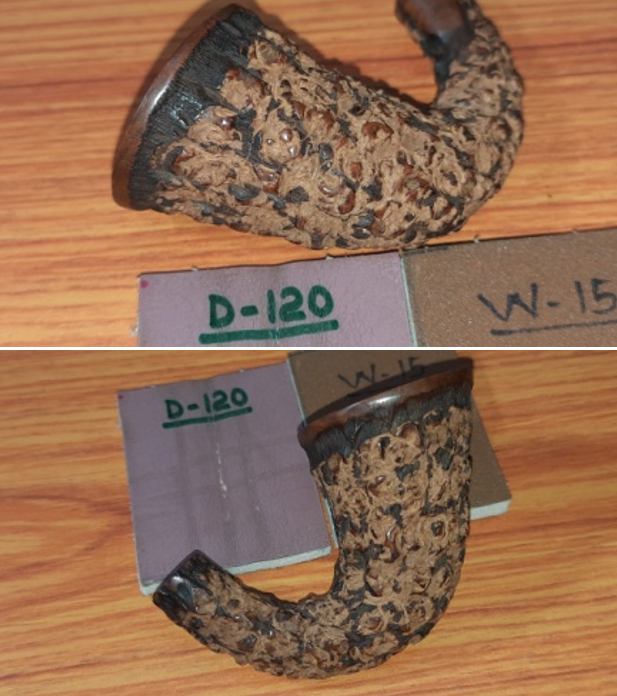
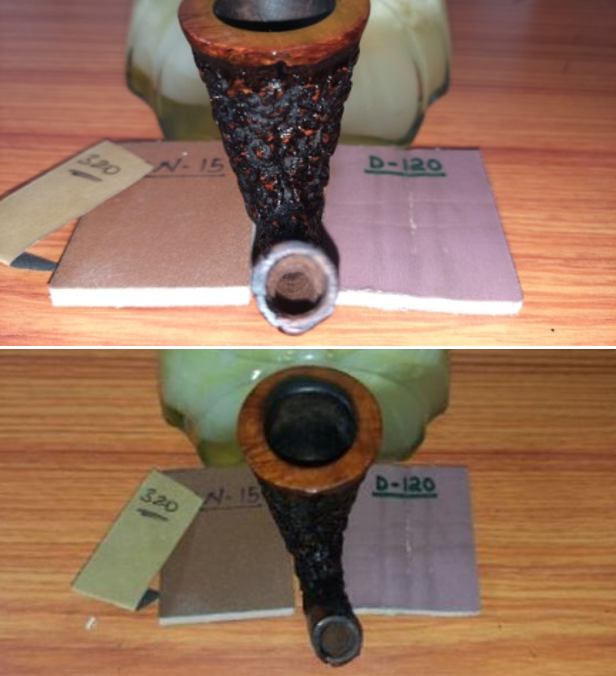
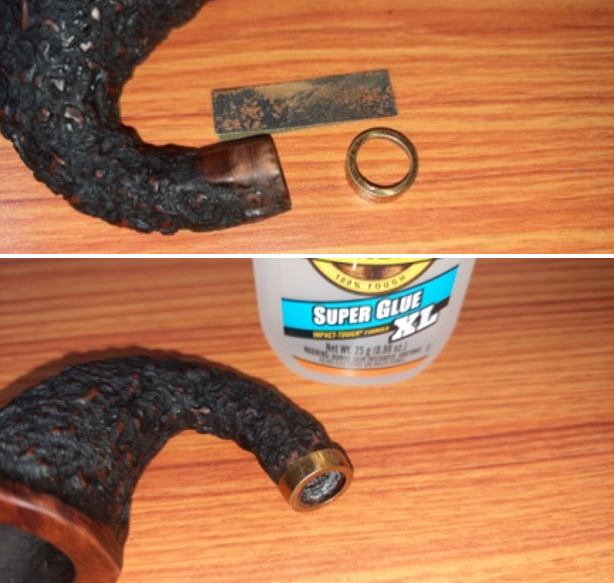
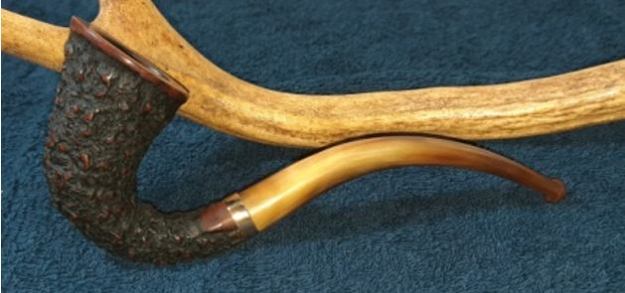
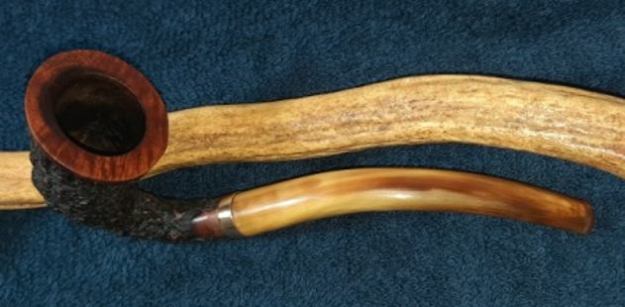
While surfing eBay for estate pipes, I came across this one ‘no name’ pipe with a horn stem and beautiful flowing calabash shape. The beautiful curvy shape apart, the pipe had some really hideous (IMHO) rustication on the stummel surface, a semblance of widely spaced scales with thin vertical lines. The perfect shape and spacing of the scales over the stummel surface points to machined and not hand crafted rustications. Notwithstanding the rustications on the stummel, I fell in love with the pipe and had already chalked out a plan for its transformation even before I had won the auction. As I had expected, there was only a couple of other bids and the pipe soon made its way to me. A month and a half later, the pipe had reached me and now it is on my work table.

As mentioned by the seller, the stummel and the stem are devoid of any stampings and there is absolutely no clue for me to establish the provenance of this beautiful pipe. However, the threaded bone tenon, horn stem and round orifice are indicative of this pipe being from the period 1900s to 1950s. It would be interesting if further light could be shed on this pipe as regards its origin, vintage etc by the esteemed readers of rebornpipes.

Initial Visual Inspection
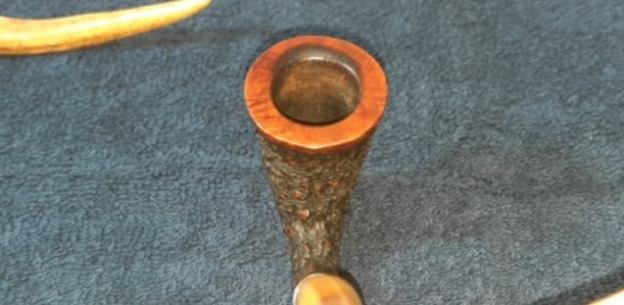
The first thing one can notice is the lovely shape of the pipe and the second is its ultra light weight. The chamber has been neatly reamed and the rim top surface is devoid of any lava overflow. There is severe charring to the inner edge in 12 o’clock direction. There are a couple of minor tooth indentations in the bite zone of the otherwise pristine stem. The stem is overturned to the right and not in alignment with the shank/ stummel. The stummel is dirty, dull and lifeless to look at. Overall, it is in decent condition as can be seen from the pictures below. Dimensions Of The Pipe
(a) Overall length of the pipe: –          5 3/4 inches.

(b) Bowl height: –                               1.5 inches.

(c) Inner diameter of chamber: –         0.7 inches

(d) Outer diameter of chamber: –        1.3 inches

Once The Pipe Is On My Work Table……
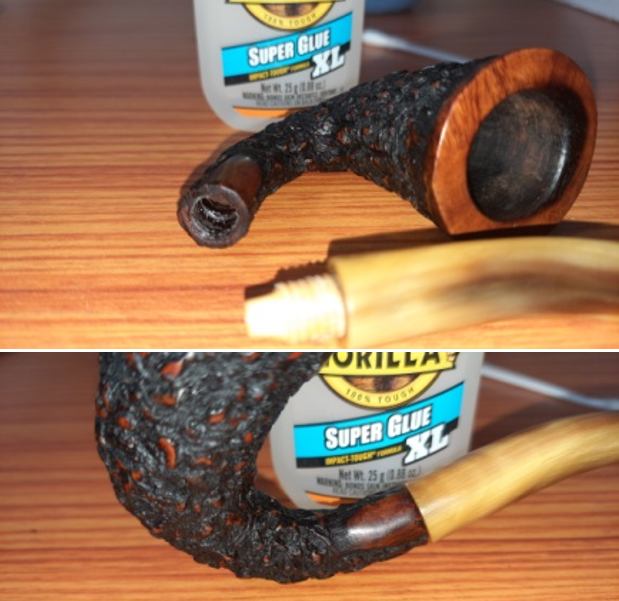
It appears that an attempt has been made to refurbish this pipe, but for reasons best known to the previous restorer, it was abandoned. Save for a little dust and soot, the chamber is nicely reamed back to the bare briar. The chamber walls, though not very thick, are without any heat fissures or pits and that’s a big relief. The rim top surface is peppered with numerous minor hairline scratches. The inner rim edge shows severe charring at 12 o’clock direction (encircled in yellow) and it extends over more than half way towards the outer edge. There is a smooth band of briar wood below and adjoining the outer rim edge. There are no ghost smells in the chamber. Addressing the charred inner rim edge is going to be tricky as the topping required would be extensive to the extent that the profile of the stummel and pipe as a whole, would be considerably altered. I would top the rim surface well within the limits of the smooth briar band below the outer rim edge and up to the point where I reach solid, albeit darkened briar. I would, thereafter polish it and attempt to blend the darkened areas by a applying a dark stain to the rest of the rim top surface. The stummel surface is without any damage. There is dust and dirt embedded in to the rusticated nooks and crannies giving the briar an old and lifeless look. The patterned scaled rustications also do not help in the overall appearance of the stummel. The mortise is threaded into which seat the threaded bone tenon of the stem and appears to be clean. I plan on complete rustication of the stummel and thereafter contrast staining with black and brown stains. The only issue I need to keep in mind is that the walls of the stummel are not very thick and thus I need to be cautious least I end up gouging too deep into the chamber wall. The tapered horn stem is clean with no major issues. The upper stem surface has a couple of minor bite marks at the base of the button and also over the button edge. The lower surface has some minor tooth indentations in the bite zone. The button edges on both the surfaces need to be sharpened. The round orifice and the tenon end are clean.The seating of the stem in to the mortise is overturned to the right by a huge margin and is very loose. This would need something more permanent than the clear nail polish coat application. The following pictures will give the readers a correct perspective of the issue.The Process
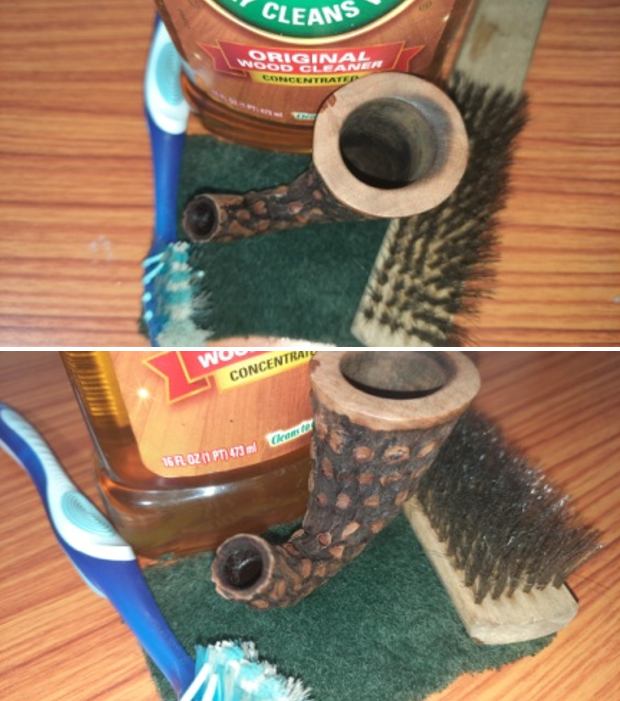
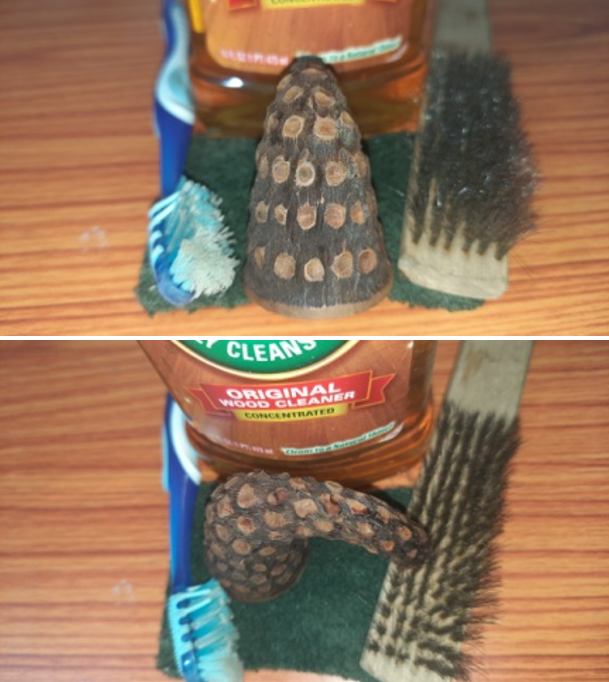
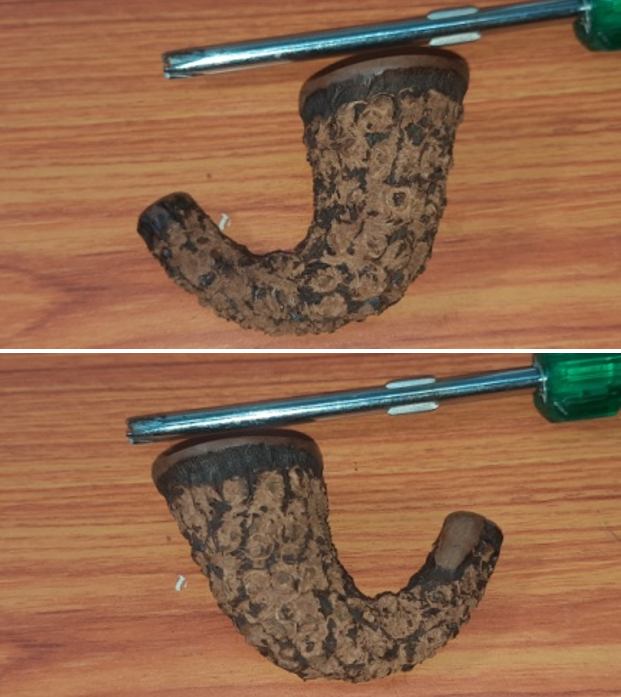
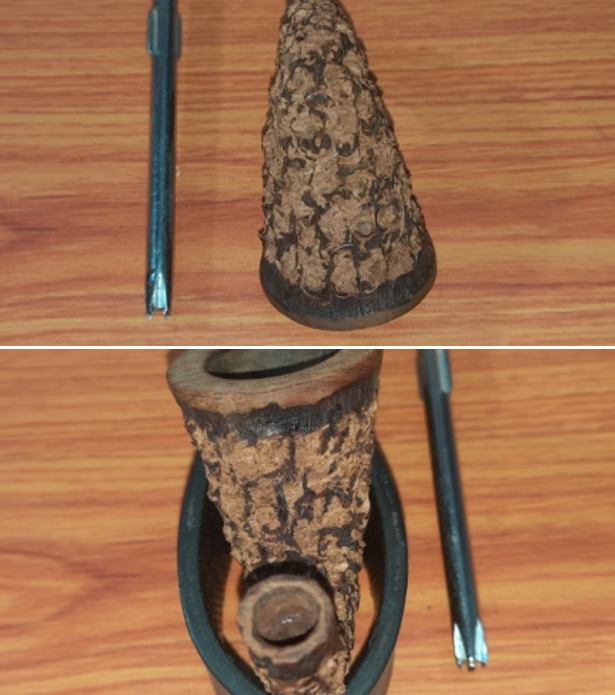
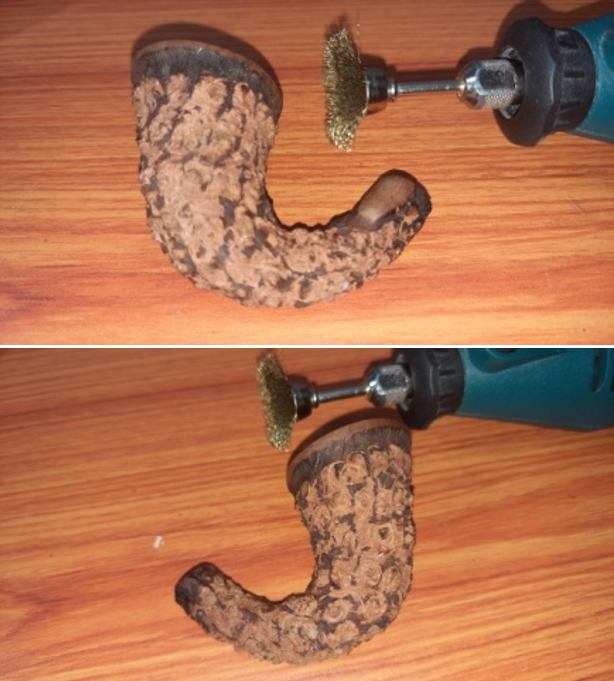
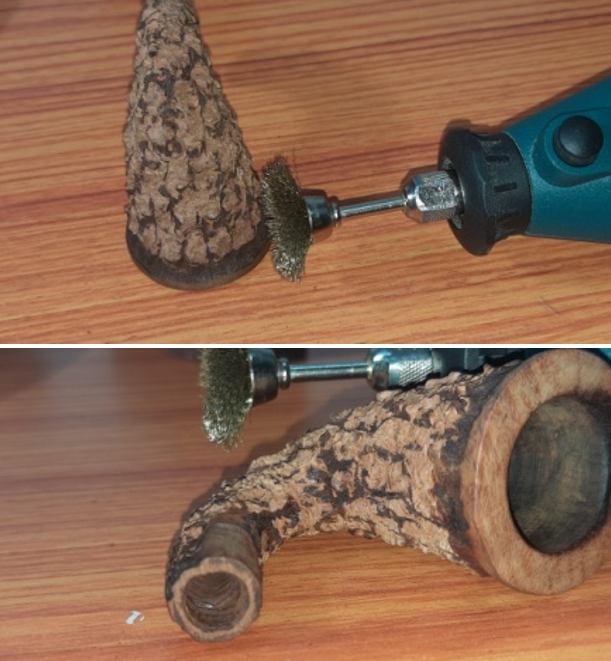
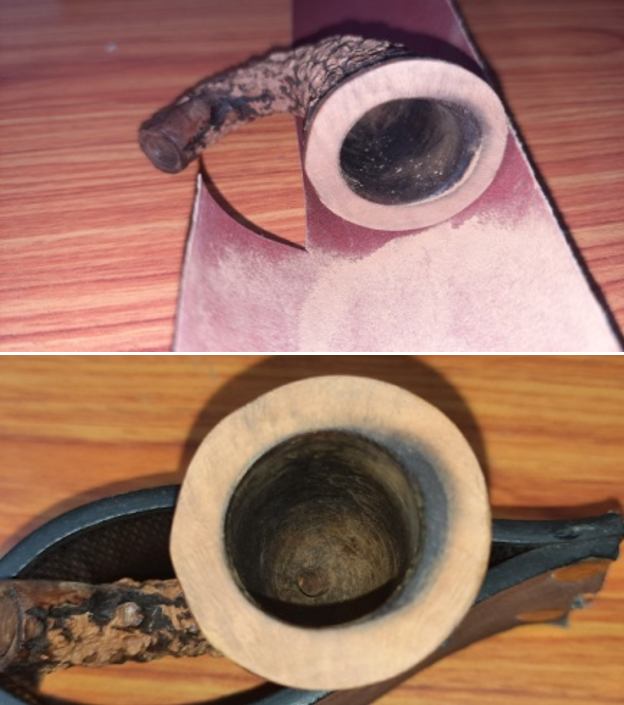
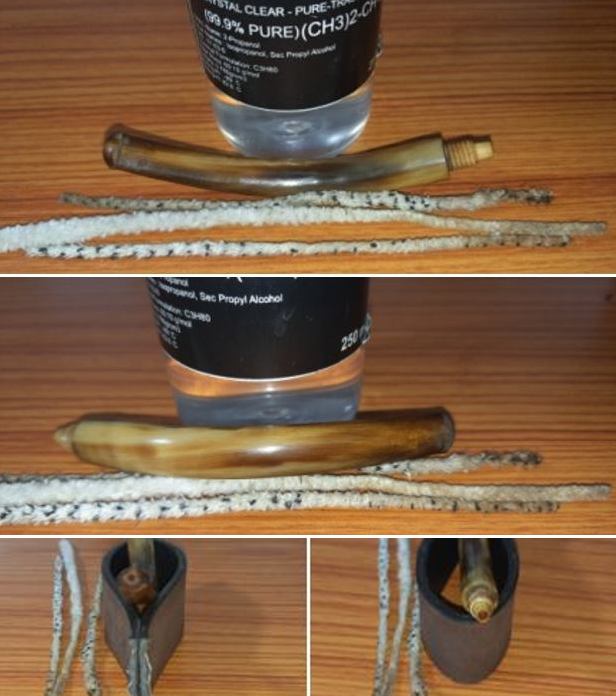
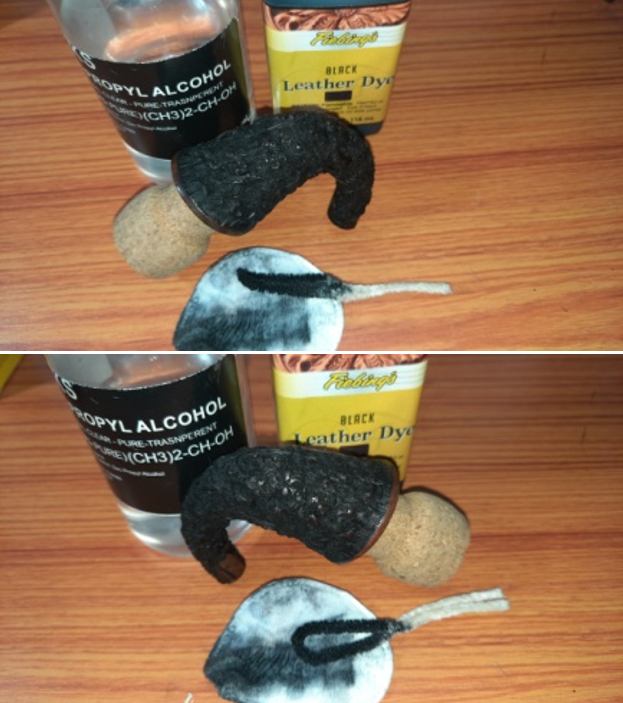
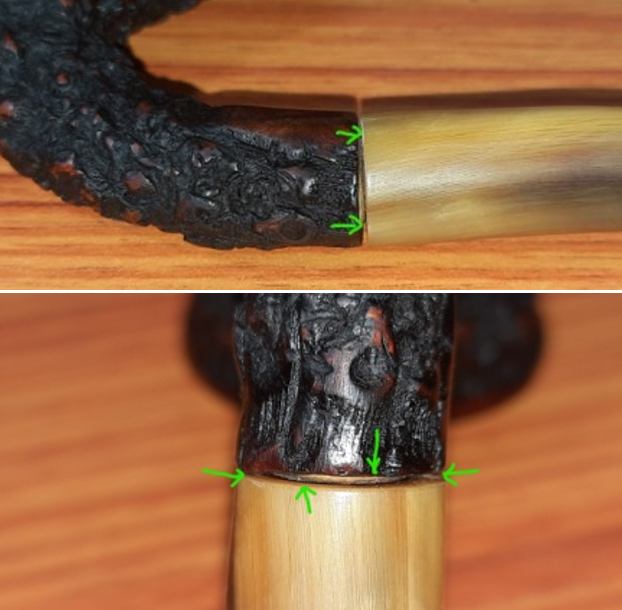
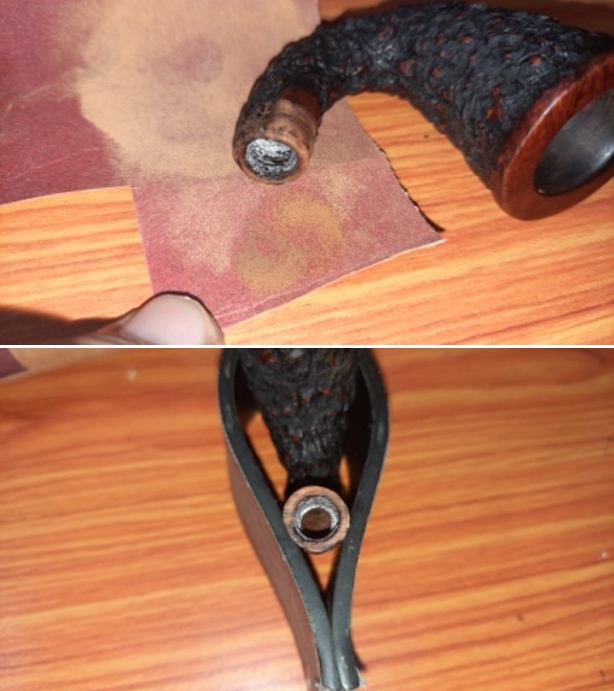
The process of transforming this pipe began with cleaning the chamber that had been reamed and cleaned before it reached me. With my fabricated knife, I completely removed the dust and little residual carbon from the walls of the chamber. I further cleaned the walls with a folded piece of 220 grit sand paper to completely remove the carbon from the walls and wiped the chamber with a cotton pad and alcohol. The charred surface at the inner rim edge was also gently scraped with the knife and sandpaper to remove the burnt briar till I reached solid briar underneath. Next, I cleaned the mortise and shank with regular and bristled pipe cleaners dipped in alcohol. At first I just could not get the pipe cleaner to pass through the mortise and out through the draught hole. I then inserted the pipe cleaner through the draught hole and with some efforts; it came out through the mortise dislodging some dried gunk from the air way as it came out. Other than the stuck dried gunk, the mortise was clean and just a couple of pipe cleaners were put to use. I was particularly deliberate in cleaning the threads in the mortise in preparation of further repairs to improve the seating of the threaded tenon, the process for which will be covered subsequently.After I was done with the internal cleaning of the stummel, I cleaned the external surface. I generously applied Murphy’s oil soap with a hard bristled tooth brush and scrubbed the stummel and rim top with the soap. I washed the stummel under running warm water with anti oil dish washing detergent and brass wired brush till the stummel surface was clean and dried it using paper towels and soft cotton cloth. The rim top surface was deliberately cleaned with a Scotch Brite pad to further remove the charred wood from the rim edge. I simultaneously cleaned the shank internals with the detergent and hard bristled shank brush. The stummel surface has cleaned up nicely with the scaly and thin lined rustication plainly visible. Truth be told, the stummel now appear more dull and unattractive to my eyes! Once the internals and the external surface of the stummel had been cleaned, I progress to rusticating the stummel. To rusticate, I firmly held the stummel in my left hand and using my right hand began gouging out the briar with my fabricated rusticating tool. The technique is to firmly press the pointed four prongs of the modified Philips screwdriver into the surface, rotate and gouge out the removed chunk of briar. I worked diligently till I was satisfied with the rustications and the appearance of the stummel. I was careful to avoid gouging too deep as the walls are not very thick and I feared that deep rustications will lead to further thinning of the walls and subsequent burn out. As I reviewed the rusticated stummel, the rustication is prominent while the thickness of the wall is not compromised at all. I am very pleased with the progress thus far. I cleaned the stummel surface with a brass wired wheel brush mounted on a handheld rotary tool. While cleaning the surface of all the debris, this rotating brass brush wheel also creates subtle patterns of its own and this adds an additional dimension to the appearance of the stummel. I sanded down the jagged high points in the rustication to a smooth and even surface using a worn out piece of 150 grit sand paper without compromising on the tactile feel to the hand.Next I decided to work on the damage to the rim top and inner rim edge. I topped the rim on a piece of 220 grit sand paper, checking frequently till I was satisfied that the darkened surface is addressed to an acceptable extent without compromising on the stummel profile and the rim top surface is nice, smooth and even. The darkened rim is still evident but the briar in this area is nice and solid and so I shall leave it be. All this while that I was working on the stummel, Abha quietly worked on the stem. She cleaned the stem internals with regular and bristled pipe cleaners dipped in alcohol. It didn’t take many pipe cleaners to get the stem air way clean.Next she sanded the stem surface with a 320 grit paper. This addressed the minor tooth indentations and bite marks on either surface in the bite zone. She progressively moved to polishing the stem through 400, 600, 800 and 1000 grit sand paper. She finished the stem refurbishing by wet sanding the stem with 1500 to 12000 grit micromesh pads. She rubbed a little Extra Virgin Olive oil into the stem surface to hydrate it and set it aside to be absorbed into the bone. Next I polished the rim top and the high spots in the rustication using micromesh pads, wet sanding with 1500 to 12000 grit pads. I wiped the bowl with a moist cloth after each pad to clean the surface. I am happy with the appearance of the stummel at this point in the restoration. The stummel is now ready for a fresh coat of stain.I wanted to highlight the difference between the rusticated and the smooth stummel surface. I decided to stain the rusticated surface with a black dye which would contrast beautifully with the browns of the rim top and the raised knobs of the rustications. I heated the rusticated portion of the stummel surface with my heat gun to open up the pores on the stummel so that the stain is well absorbed. I used Fiebing’s Black Leather dye and liberally applied it over the heated surface, flaming it with a lighter as I went ahead to different self designated zones on the surface. This helps in the setting of the stain in the grain of the briar. I ensured that every inch of the rusticated surface is coated with the dye. I immediately followed it by wiping the raised portions of the rustication with cotton pad and alcohol to lighten the knobs. Once polished, these will contrast with the black of the rest of the stummel surface. I set the stummel aside overnight for the dye to set into the briar surface.  The following day, I again wiped the stummel with a cotton swab and alcohol to remove any excess stain and followed it up by sanding the raised rustication with a folded piece of 320 grit sand paper. This was followed up by careful dry sanding of the entire stummel, especially the raised rustications with 1500 to 12000 grit micromesh pads. This lightens and highlights the high spots in the rustications. Next, I rubbed a small quantity of “Before and After Restoration Balm” in to the briar with my finger tips, working it deep into the rustications and let it rest for a few minutes. The balm almost immediately works its magic and the briar now has a nice vibrant appearance over the smooth surface with the beautiful rusticated patterns on full display. I further buffed it with a horse hair shoe brush. The only issue that remains unaddressed at this stage is the issue of loose and overturned seating of the stem into the mortise. I had the option of using the clear nail polish to tighten the seating but that would have been a temporary solution as the threaded bone tenon was way too loose fitting in to the mortise and no amount of smoking would have tightened the mortise to the required extent and hence was dropped. I decided on using CA superglue for the purpose. I applied a coat of superglue over the threads of both the mortise and tenon and let it set for a few seconds.  Thereafter, I threaded the tenon in to the mortise till the stem was perfectly aligned and again held it in place for a few seconds for the superglue to take the shape of the threads. I repeated the process once over and achieved a perfectly aligned and snug seating of the stem in to mortise. It was at this juncture that a new issue came to the fore as I was taking pictures of the stem and shank junction under magnification. The green arrows tell the story!Closer inspection revealed that the cause of this gap was the uneven shank end and the tenon was not flush with the stem face (which by the way is also not perfectly shaped). The gap was more on the lower surface than the upper. To address these issues, I firstly topped the shank face on a piece of 220 grit sandpaper till it was even. I was extremely careful while topping so that there was minimum loss of briar as the tenon was already slightly long and I had no desire to increase this gap any further. Secondly, I bridged the gap between the shank face and stem by using a brass band. This also added a nice touch of bling to the entire pipe. I like the way the pipe has shaped up. To complete the restoration, I first mounted a cotton cloth buffing wheel that is dedicated for use with Blue Diamond, onto my hand held rotary tool.  I set the speed at about half of the full power and polished the stem. The Blue Diamond compound helps to erase the minor scratches that are left behind even after micromesh polishing cycle and followed it by applying several coats of carnauba wax with a cotton cloth buffing wheel dedicated to Carnauba Wax. I finished the restoration by giving the entire pipe a rigorous hand buffing using a microfiber cloth to deepen the shine further. The finished pipe looks amazingly beautiful and has undergone quite a transformation. With its perfectly balanced weight, a nice full bent shape and light weight, this is a perfect pipe for clenching while working. This is one pipe that will I feel will not disappoint either aesthetically or functionally. In case this beauty calls out to you, please let me know and we shall work out a mutually beneficial deal. I wish to thank our esteemed readers for sparing their valuable time to read through and any input or advice is always welcome. And how can I not thank Abha, my wife for her patient efforts in imparting glass like finish to the stem and rim top surface!

Praying for the safety and well being of you and yours…stay home, stay safe and get your vaccines please.

It is about time to Breath Life into a new Frankenpipe


Blog by Steve Laug

I have not created a Frankenpipe for a long time. I call them Frankenpipes with a tip of the hat to Mary Shelley’s grand creation Frankenstein. These remind me of her story what with the gathering of parts, “stitching” them together and breathing life into them. It is a thoroughly creative process I enjoy and I suppose there is always the possibility of crafting of a monster. Over the years I have crafted quite a few of these pipes and they tend to stay in my collection. You can search on the blog and see the variety of Frankenpipes that have come together. I find them incredibly enjoyable because they are very different from a restoration. Truly it is looking at a bunch of parts and imagining combining them into something that reflects the parts but as a whole it very different from any of them.

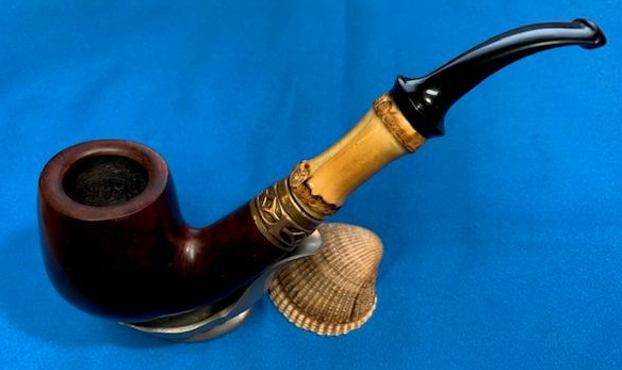
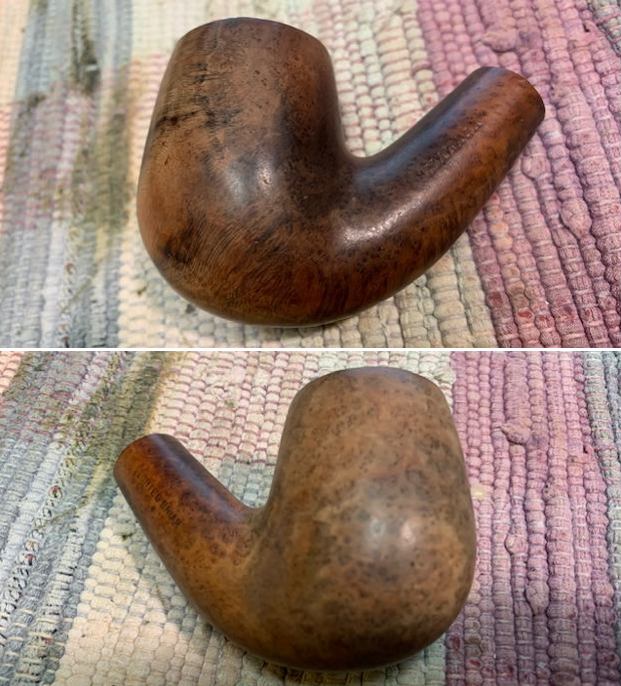
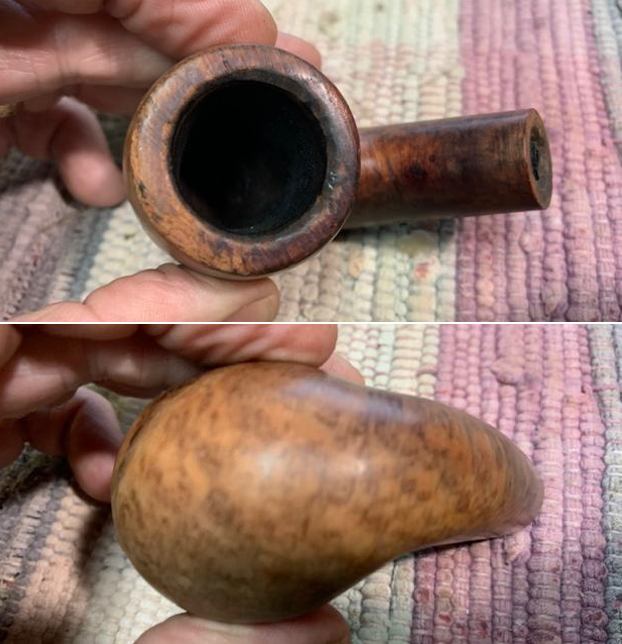
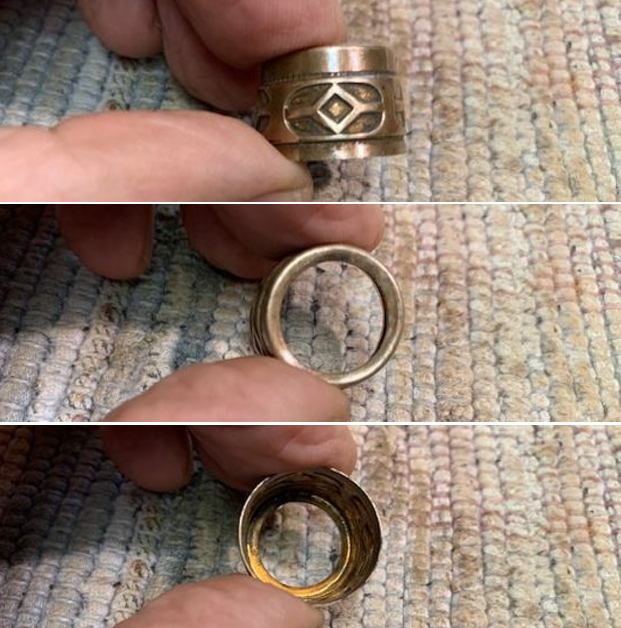
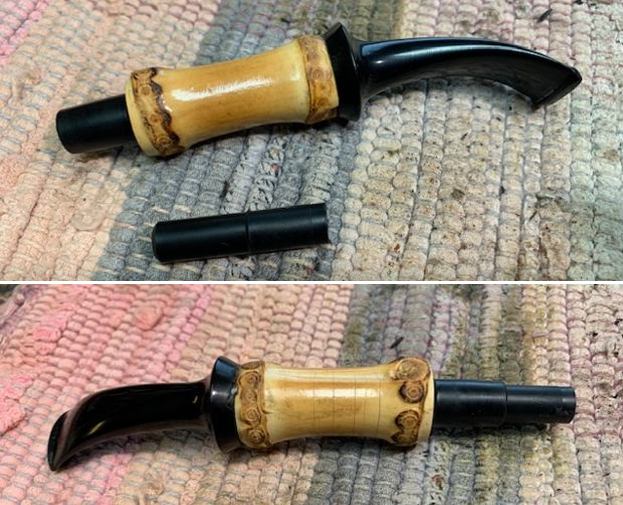
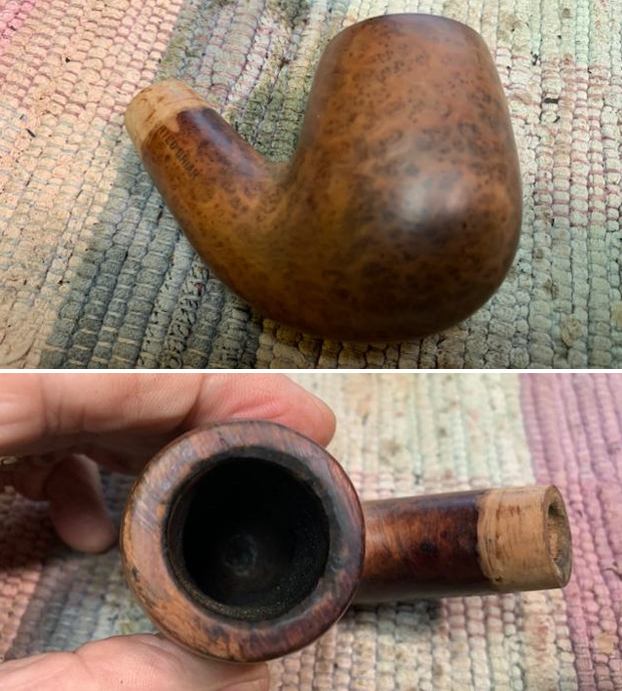
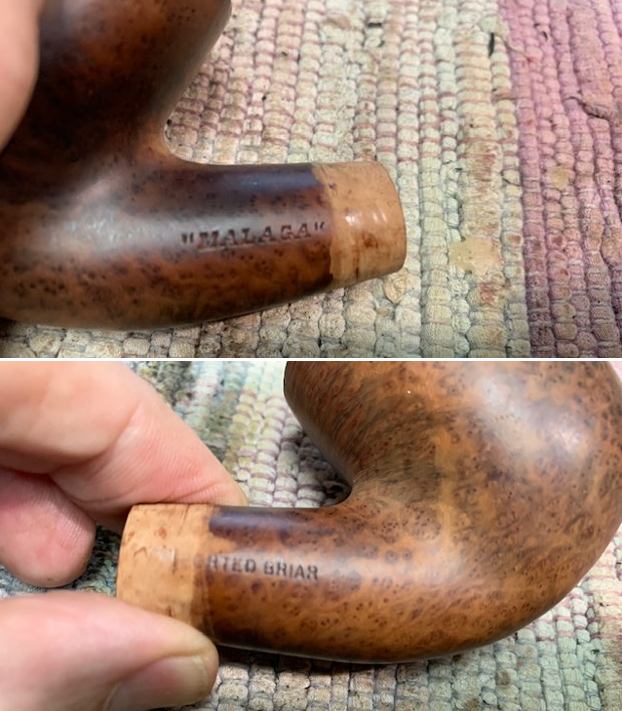
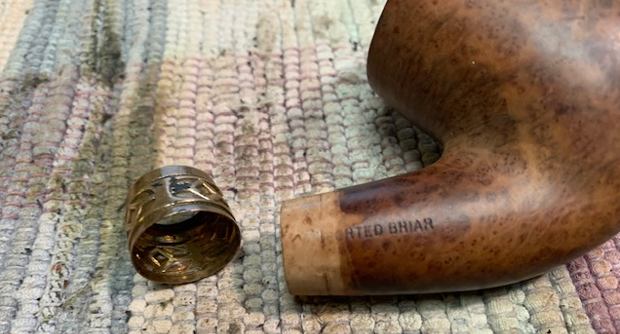
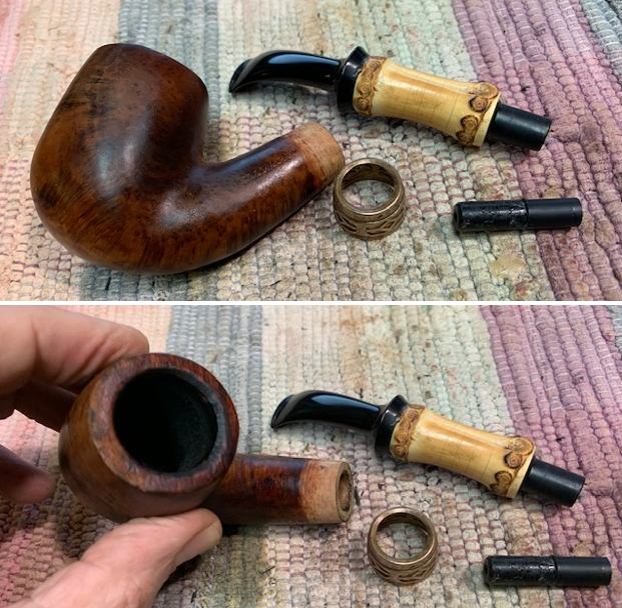
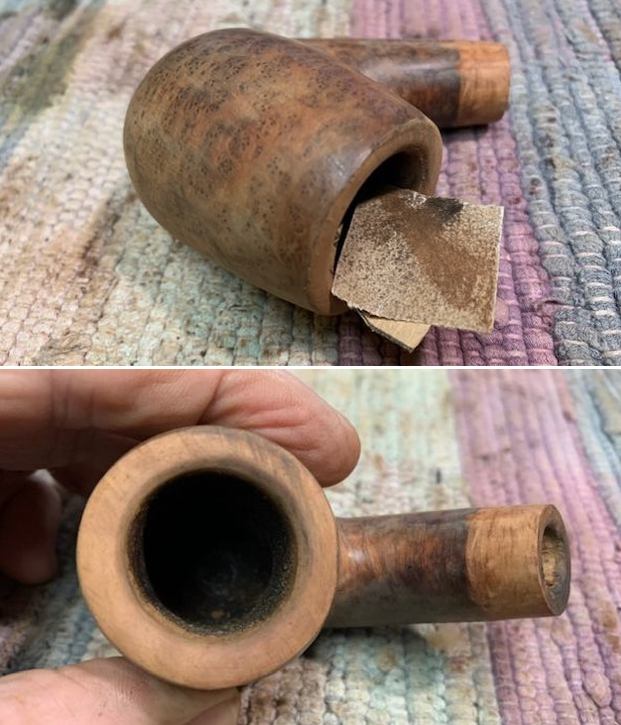
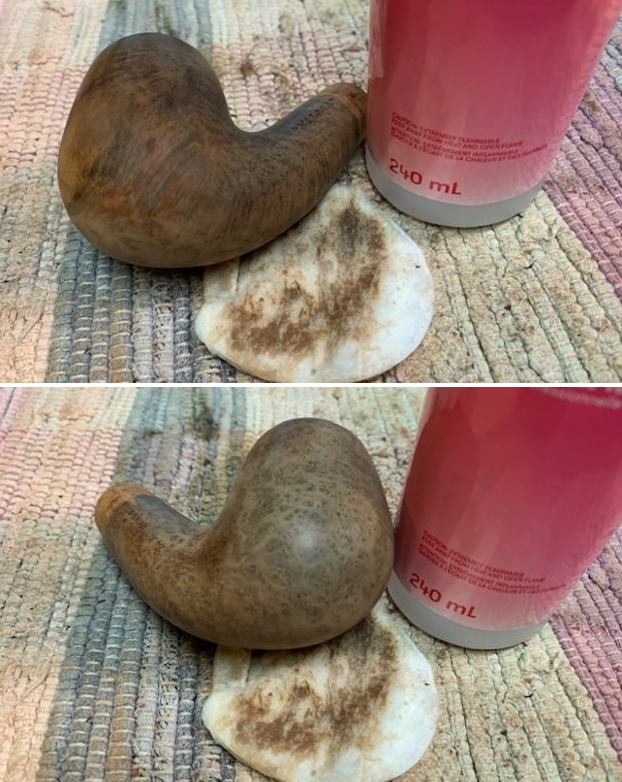
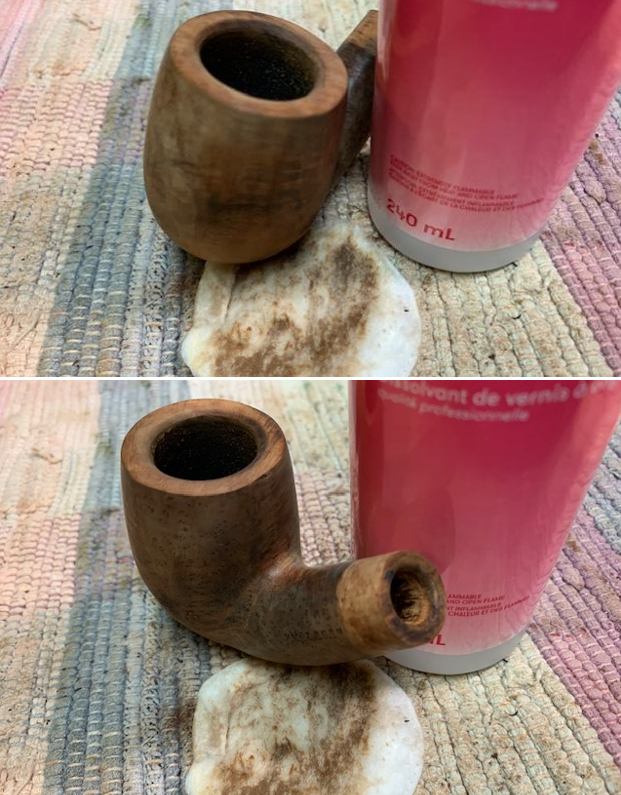
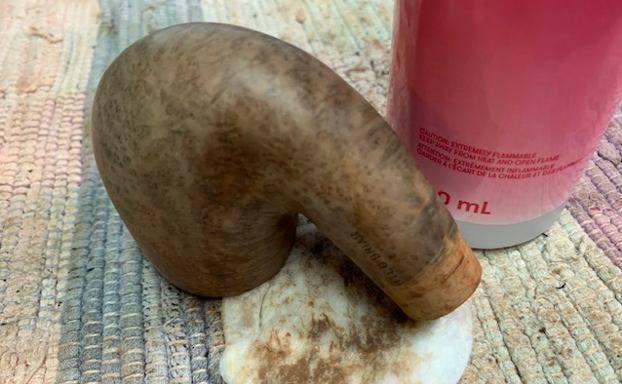
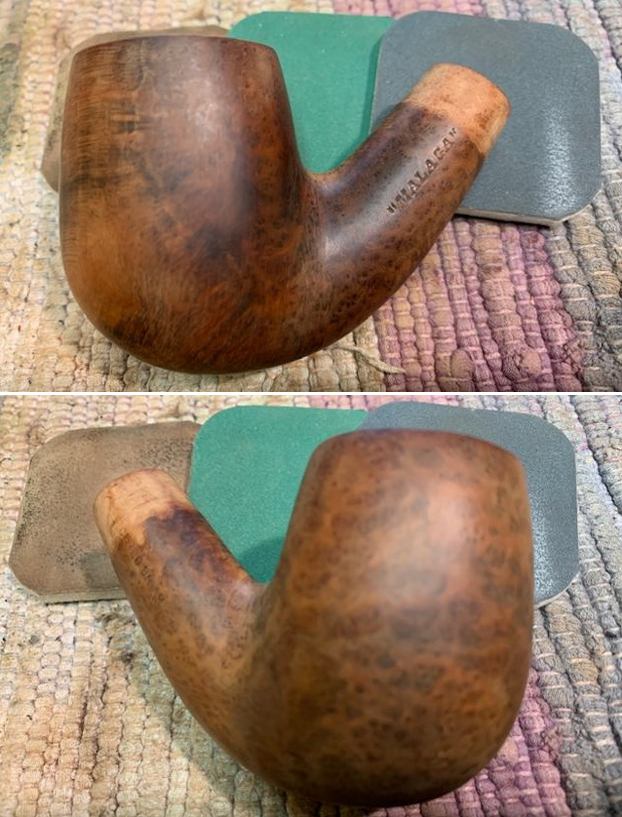
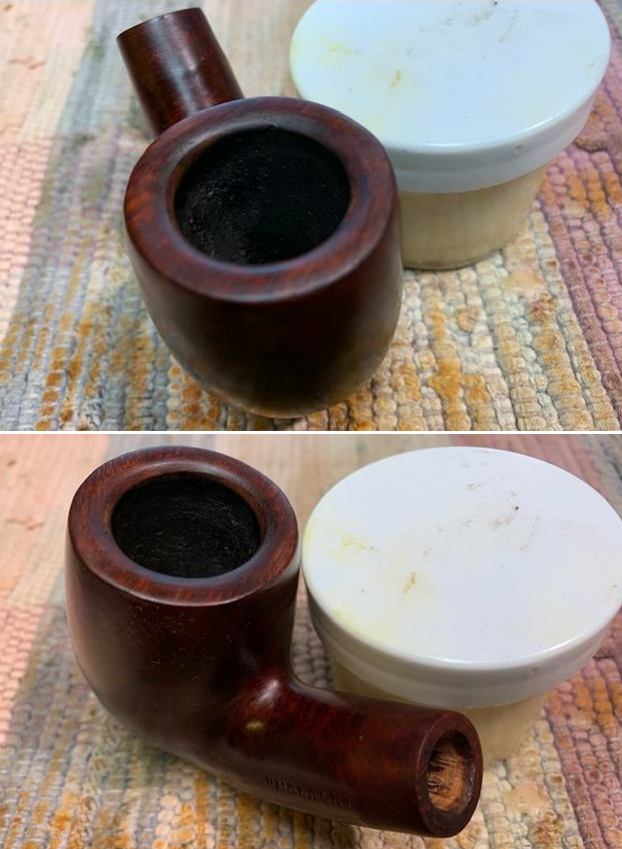
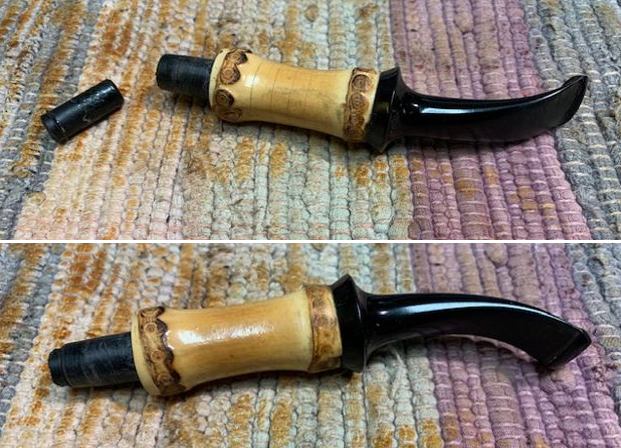
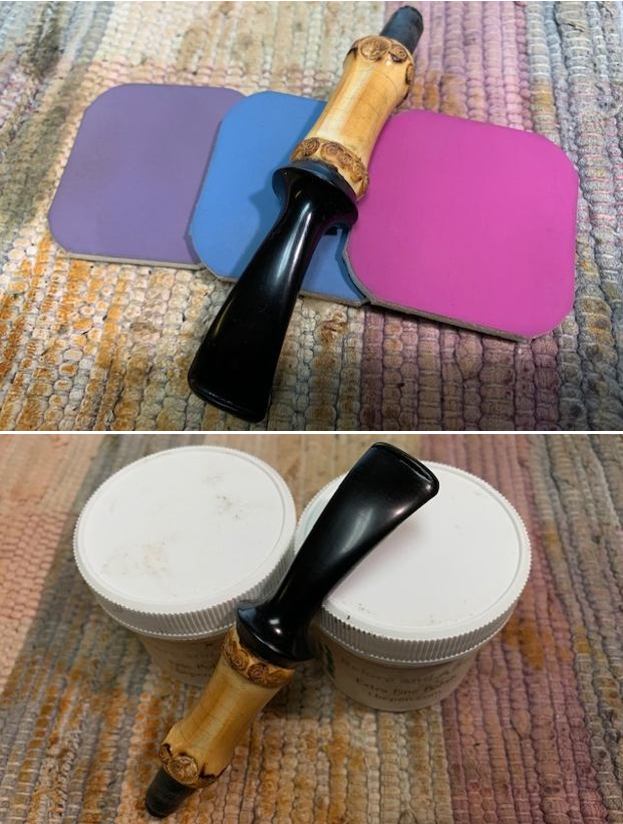
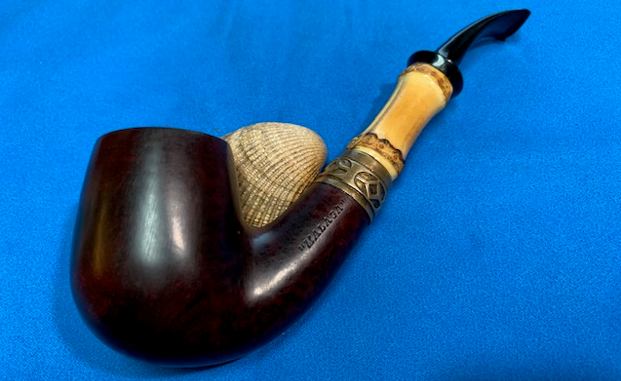
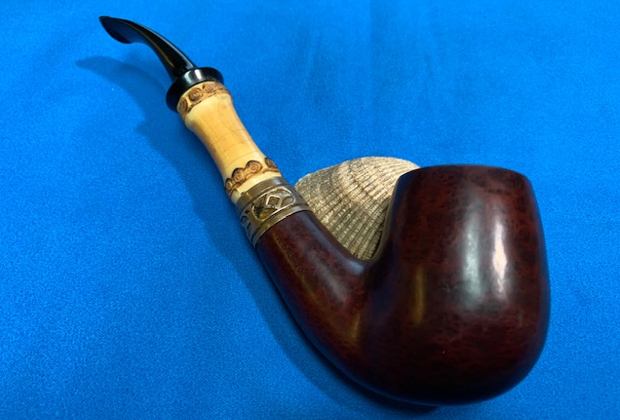
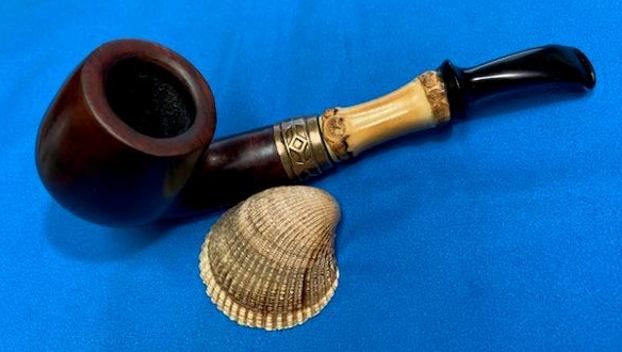
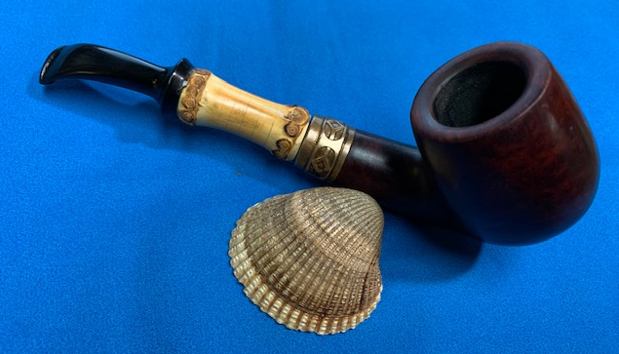
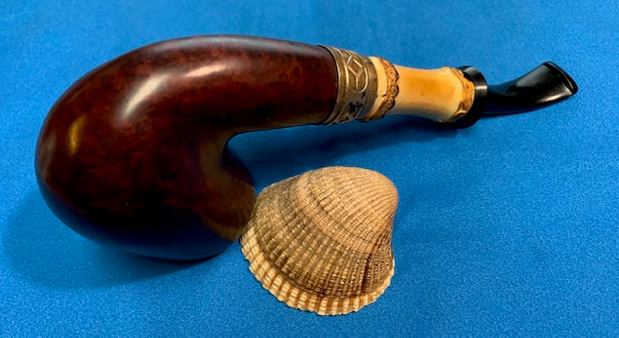
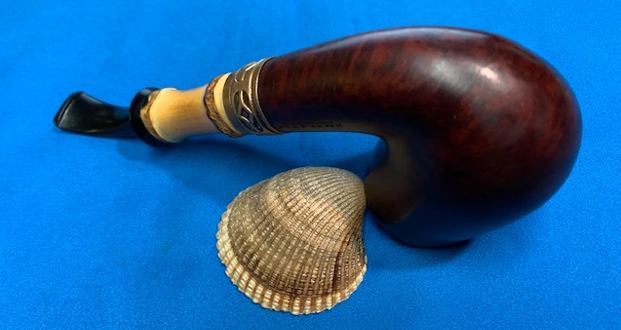
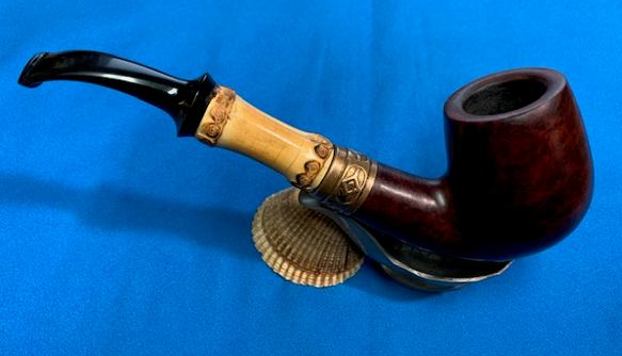
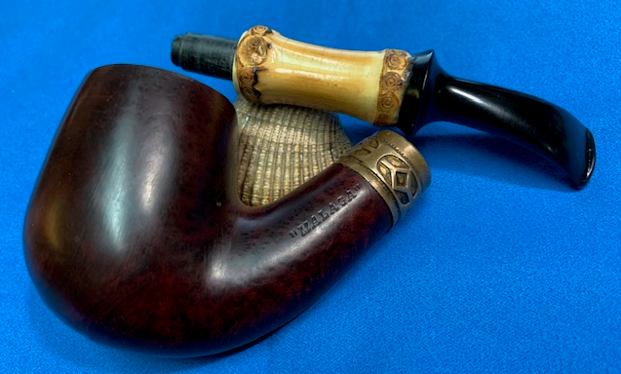
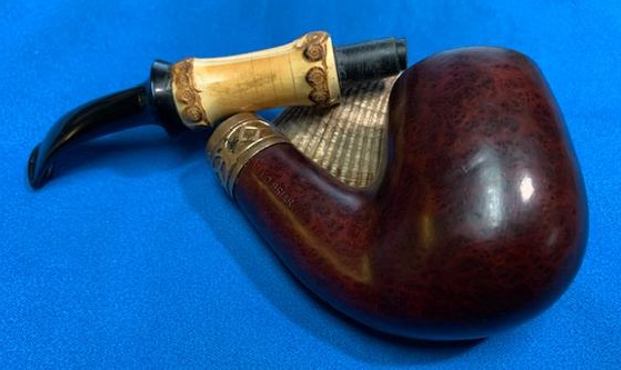
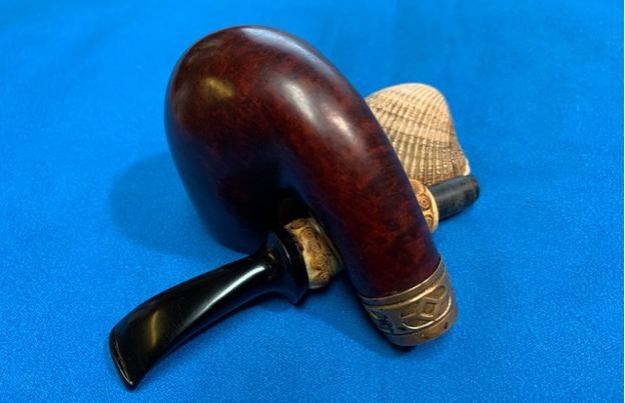
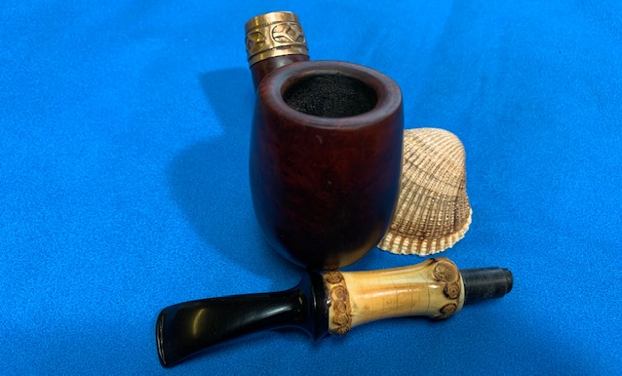
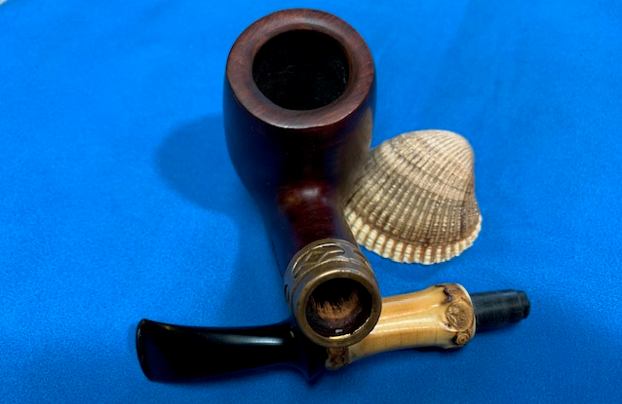
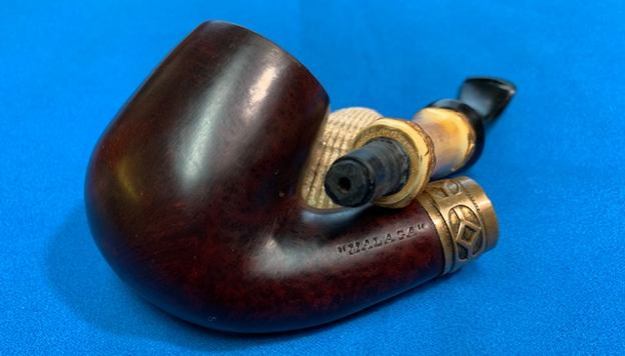
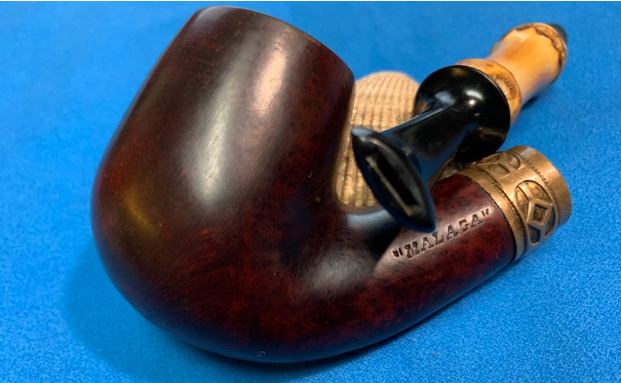
This afternoon I had an urge to make a Frankenpipe so after work I went through my parts. I found some parts that with some imagination could make an interesting looking pipe – at least in my mind’s eye. The parts for this Frankenpipe have all been around for a long time. The bowl is one I have had in a box here that had a snapped tenon in the shank. The stem had disappeared a long time ago and I did not have a stem for it that interested me. It is a large magnum sized “Malaga” bowl. It is far from a perfect piece of briar with a bald spot on the front left of the bowl. The rim top has burn marks and the bowl is out of round – thicker on the front side of the bowl than either side of the back of the bowl. The inner edge had a burned in “bevel” on the back right. The finish was worn and tired with black streaks over the bald spot on the left front of the bowl. It needed some serious TLC to bring life to it. Jeff had done his thorough clean up on the bowl so it was ready to work on. Here is what I saw with the bowl! As I stared at the bowl I thought that a band might look interesting on it. Don’t ask me why because as yet I had not chosen a stem for the bowl. I just thought a band would work. I went through my box of bands and nothing turned my crank or caught my eye. Then I remembered a bag of parts that I have from the mid to late 1800s. In that bag were several unique and original bands. There was one that caught my eye and I really thought it had promise. I took it out of the bag and found that it was in excellent condition and was probably never used. Here are some pictures of the decorative brass band.At that point I had an aha moment. I remembered an odd stem that I had in my collection of stems that just might be the thing that I was looking for on this Frankenpipe. It was unique and one that Jeff had picked up and save for me. I had never found a use for it but now I thought I might have. The two knuckle bamboo shank and acrylic stem is a single that has bend bonded together. The stem is thus a unit with the bamboo and the Delrin tenon on the other end is also integrated. It is drilled for a filter so I found a repair tenon that I could craft into an adapter to convert the tenon to a regular pipe sans filter. It would be removable if needed. Here is what it looked like with and without the tenon adapter. (The adapter would need to be shortened but you get the idea.)All of the parts have been here for quite a while. All of them give silent testimony to my crazy propensity to collect parts!! And all of them would finally come together to form a new Frankenpipe that was more than the sum of its parts. Read along as I walk through my process.

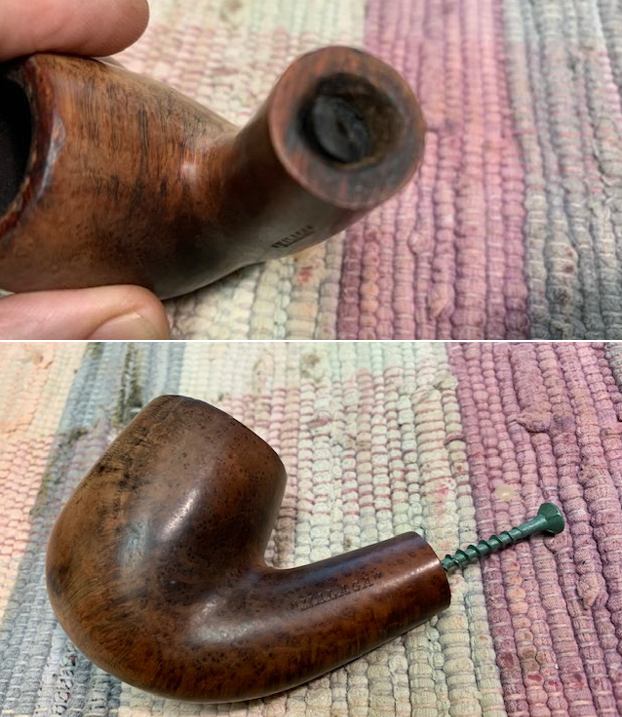
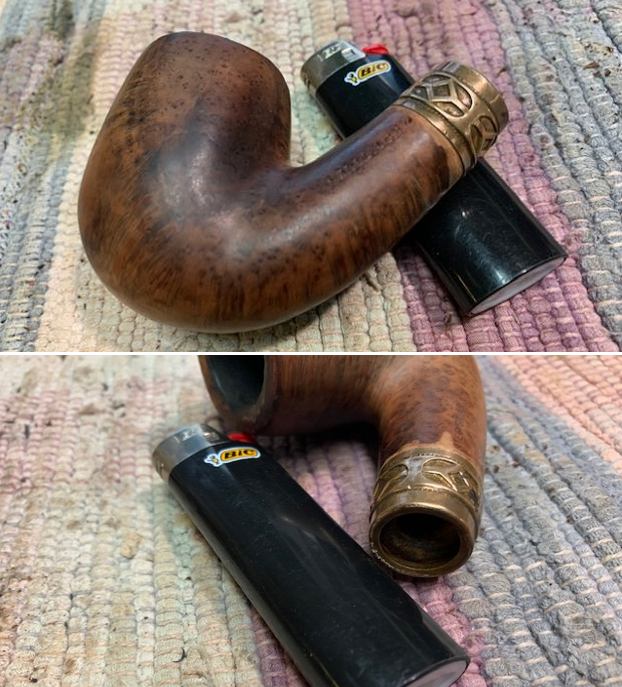
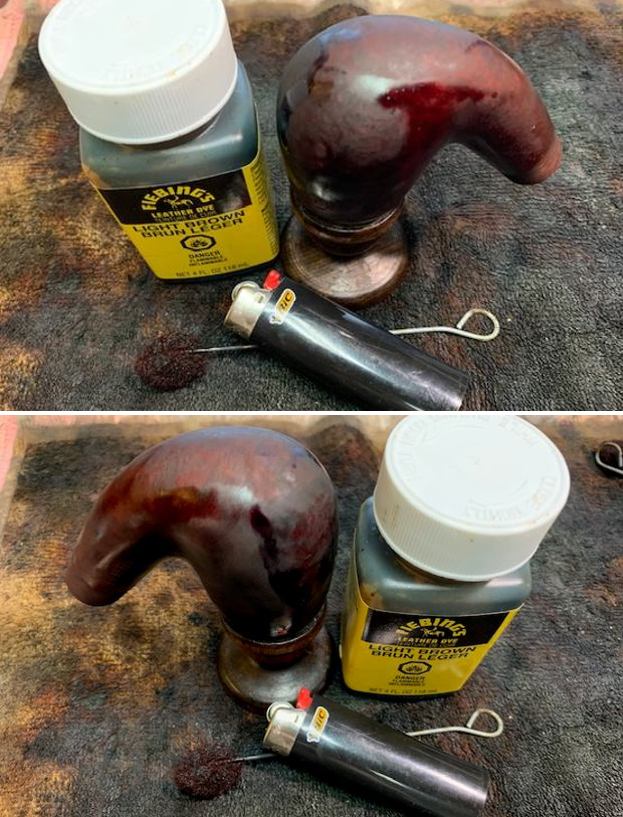
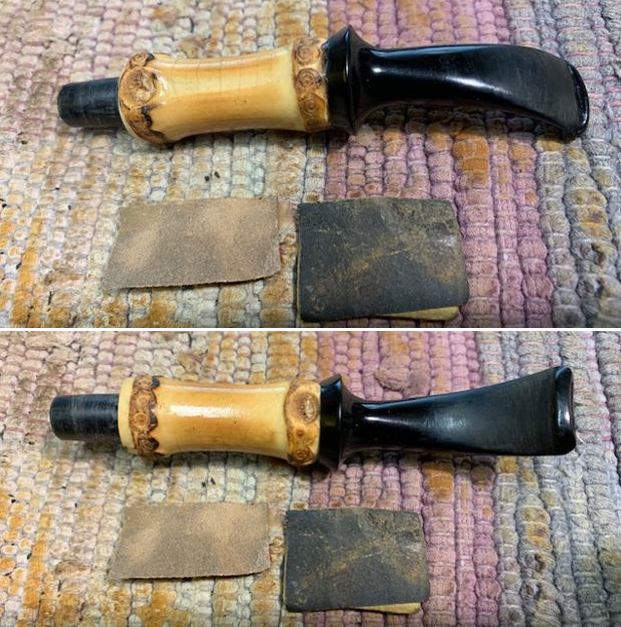
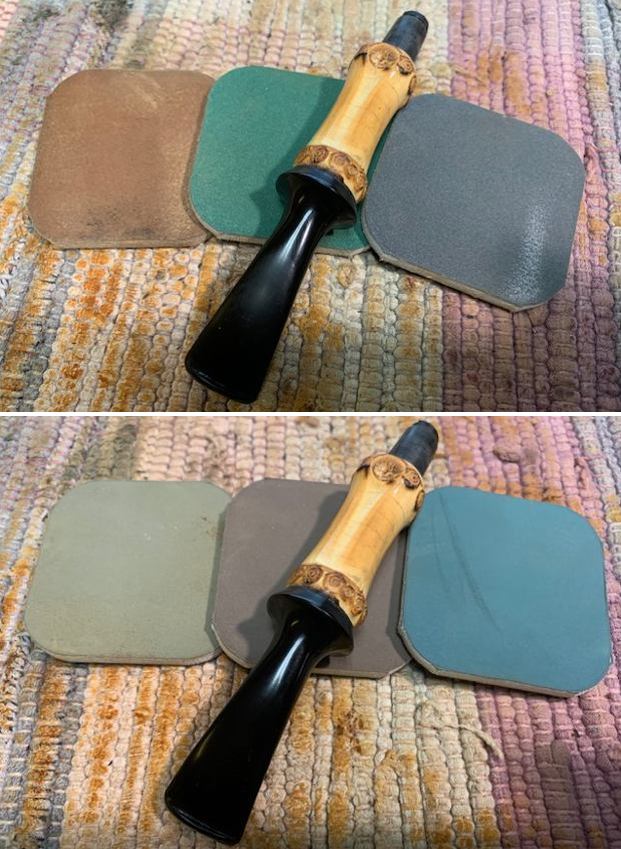
I began the work by addressing the issues with the bowl. I tried to pull the broken tenon with a screw. It was stuck so I put the bowl in the freezer for a little while. After about 10 minutes I tried again and was successful pulling the tenon out of the shank.With that finished I need to address the shank of the pipe to fit the conical ferrule/band that I had chosen. In the next photos you can see that I have chosen to shape the shank end to match the flow of the band. I did this with a Dremel and sanding drum and smooth it out with files and sandpaper. I was careful to leave the original Malaga stamp intact. I was not as concerned with the Imported Briar stamp on the right side of the shank. Progress is being made.I did a bit more shaping on the shank end. The decorative band now fit it quite well. I put the parts side by side and took some photos of the parts of the pipe. I took photos from various angles and sides. Can you begin to see what I am seeing with this pipe? I think it is going to work. Do you? Now back to work on the bowl! I decided to deal with the rim top damage by topping the bowl. It was in rough shape so I used 150 grit sandpaper on a topping board and remove the damaged parts of the rim top. It looked better. I worked over the inner edge of the rim with a folded piece of 150 sandpaper to give it all a bevel to match the burn damage at the back of the bowl. At this point I wanted to try the fit of the band on the shank. I heated it slightly with a lighter and pressed in place. I like what I am seeing. I removed the band once it cooled and went to work some more on the bowl. It needed to be polished and stained before I set the band in place but I wanted to have a look. Didn’t you? I wiped the bowl and shank down with acetone on a cotton pad to try to remove the dark patches and the remnants of the stain. All of this was in preparation for the future staining of the bowl. I polished the bowl with micromesh sanding pads – dry sanding with 1500-12000 grit pads to prepare it for staining. I wiped it down with a damp cloth to remove the debris after each pad. I stained the polished bowl with Fiebings Light Brown aniline stain. I applied the stain, flamed it and repeated the process until I was happy with the coverage. I set it aside to dry.Once the stain dried I wiped the bowl down with alcohol to make the stain more transparent. I buffed the pipe on the buffer with both Red Tripoli and Blue Diamond to further reduce the heaviness of the colour. I worked some Before & After Restoration Balm into the surface of the briar with my finger tips. The product works to clean, enliven and protect the briar. I let it sit on the briar for 10 minutes then buffed it off with a soft cloth. With the bowl finished and the stain cured it was time to press the band in place. I gave it a thin layer of white all purpose glue on the inside of the band and pressed it onto the shank end. It looks quite fetching to me. I set it aside to let the glue cure but I like it! I set the bowl aside and worked on the tenon adapter and the stem surface. I used the Dremel and sanding drum to shorten the adapter until the fit in the tenon allowed the shank to fit snug against the shank end.With the internals finished it was time to work on the tooth marks and chatter on the surface of the acrylic stem. I sanded them smooth with a folded piece of 220 grit sandpaper. I started polishing the stem surface with 400 grit wet dry sandpaper.I polished the stem with micromesh sanding pads – 1500-12000 grit pads. I dry sanded the stem with the pads and wiped it down with a damp cloth after each pad. I finished the polishing with Before & After Pipe Stem Polish – both Fine and Extra Fine. I gave it a final buff with a cloth and Obsidian Oil. I put the parts of the Frankenpipe together and took the pipe to the buffer. I buffed it with Blue Diamond and really like the way the brass and bamboo polished up. They looked great after buffing. The bowl and stem also shone but I expected that really. The combination of the darker stain on the bowl, the antique brass band, the 2 knuckle bamboo with developing patina and the black acrylic stem came together even better than expected. I gave the pipe several coats of carnauba wax on the buffing wheel. I buffed it with a clean buffing pad to raise the shine and hand buffed it with a microfibre cloth to deepen the shine. The finished pipe really shone with rich hues. The dimensions of this Frankenpipe are Length: 5 ½ inches from the front of the bowl to tip of the stem, Height: 2 inches, Outer diameter of the bowl: 1 ¾ inches, Chamber diameter: 7/8 of an inch. The weight of the pipe is 69 grams/ 2.47 ounces. It really surprised me as it looks to be a much bigger pipe than it is. I would say it is Dunhill Group 5 pipe at least in terms of bowl size. It really is a beautiful pipe in person and it will be staying with me along with the other Frankenpipes I have crafted. I am looking forward to enjoying a bowl shortly. It was a fun pipe to work on. I hope you enjoyed the process as you read about it. Thank you for taking time to read about it. As Paresh says – Stay safe/Stay healthy.

Fresh Life of a Saint-Claude France Americana Edition 102 Dublin


Blog by Steve Laug

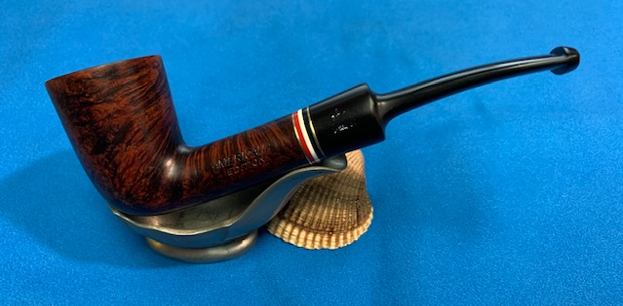
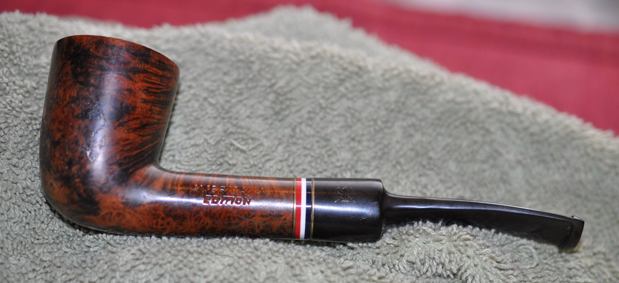
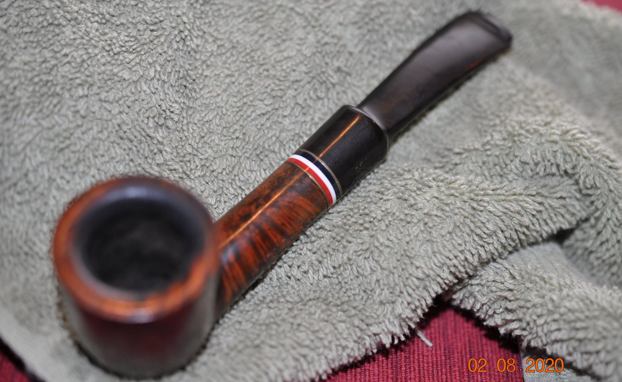
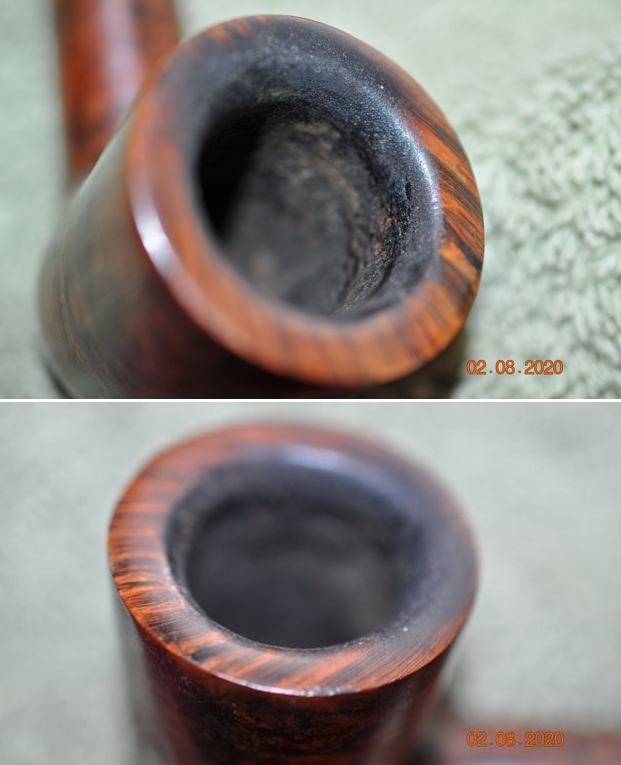
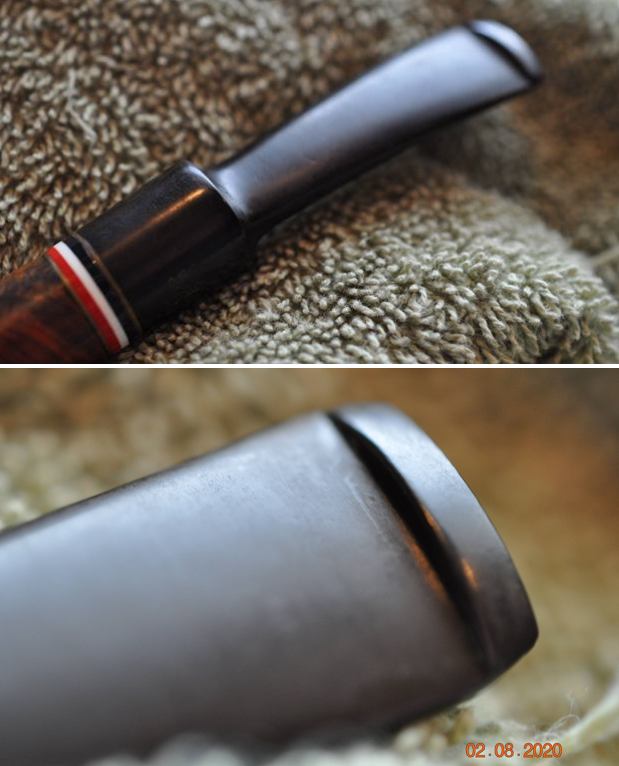
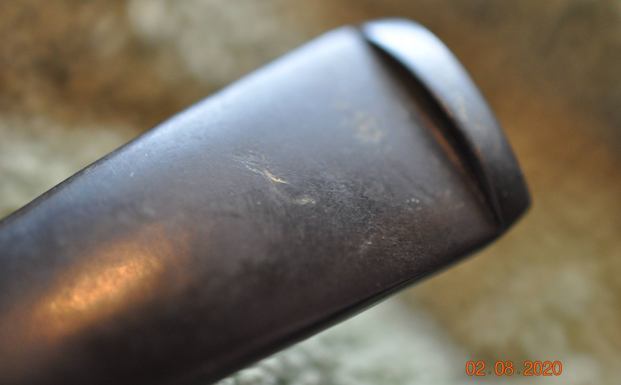
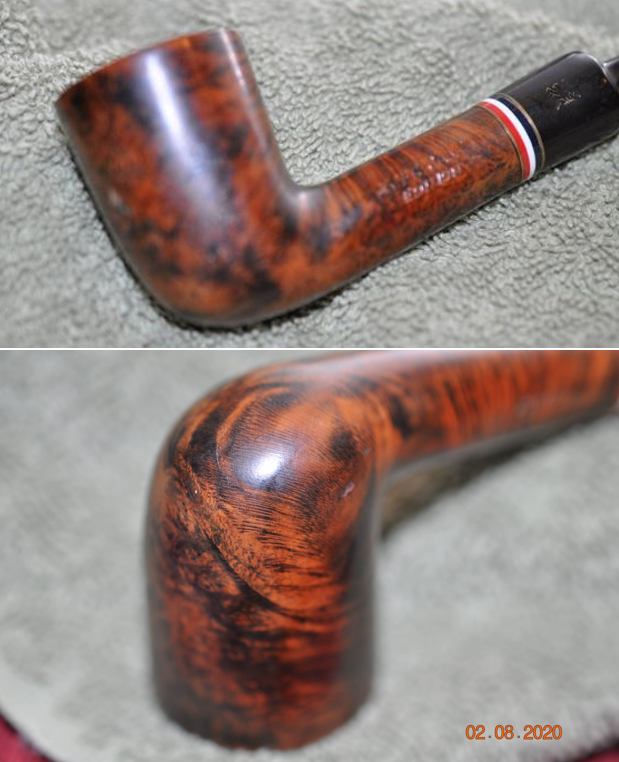
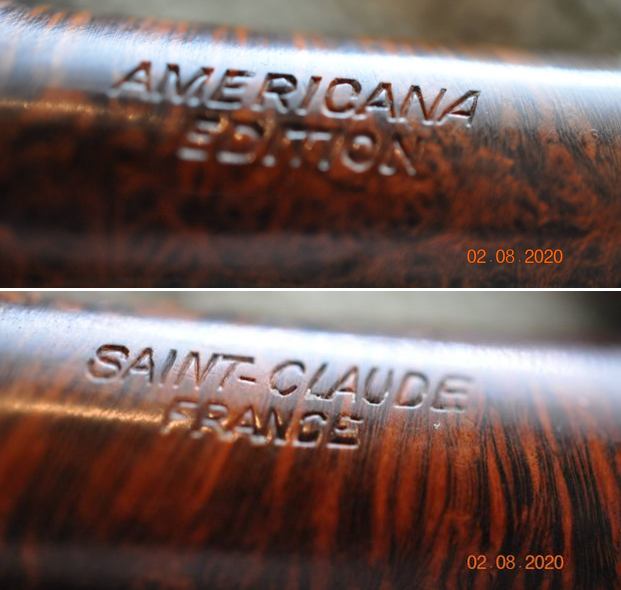
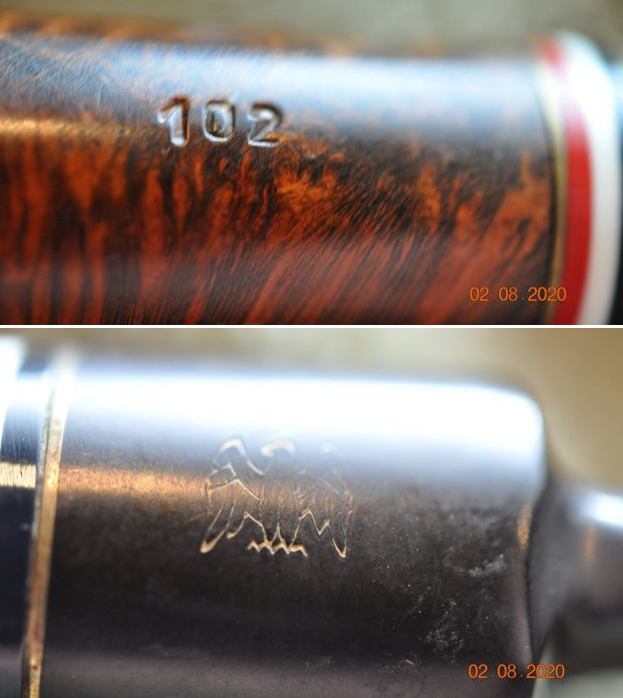
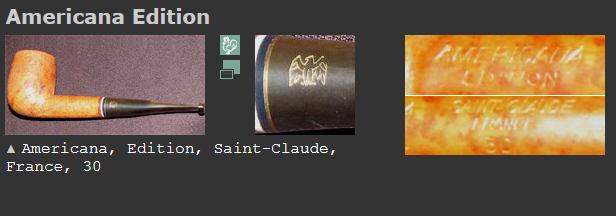
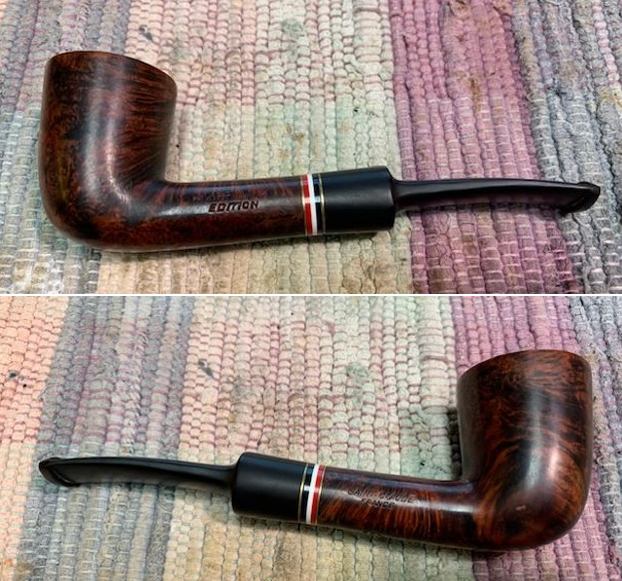
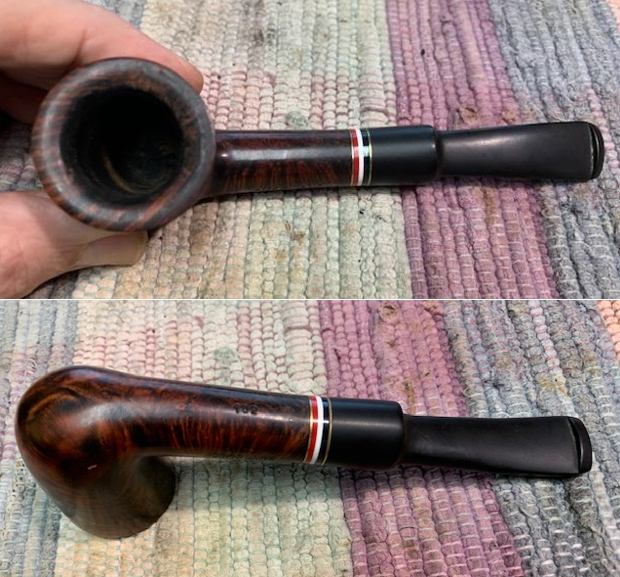
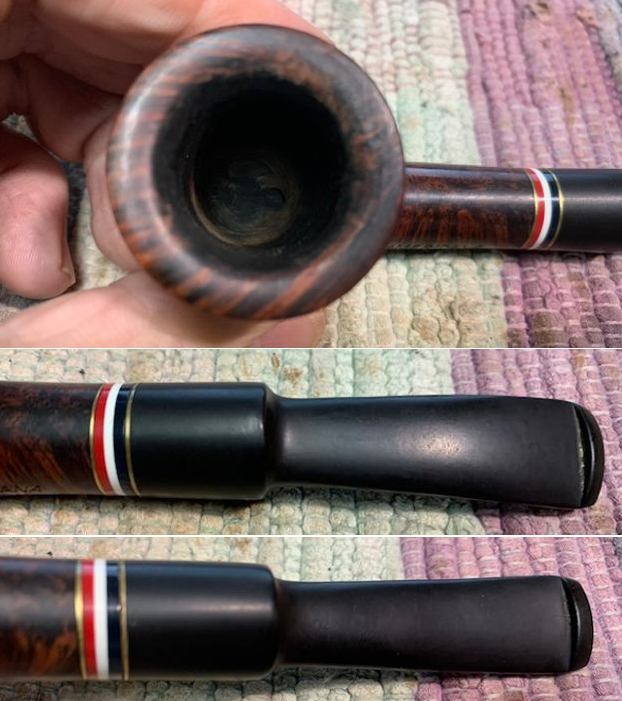
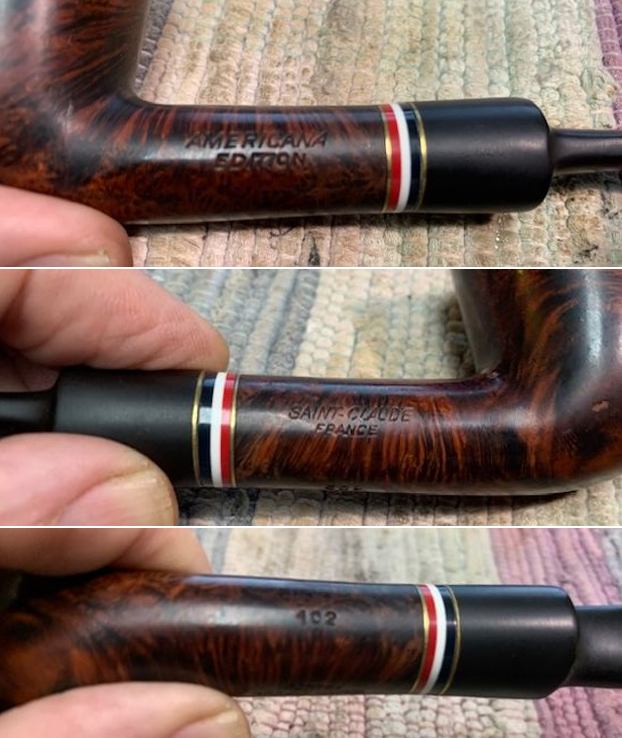
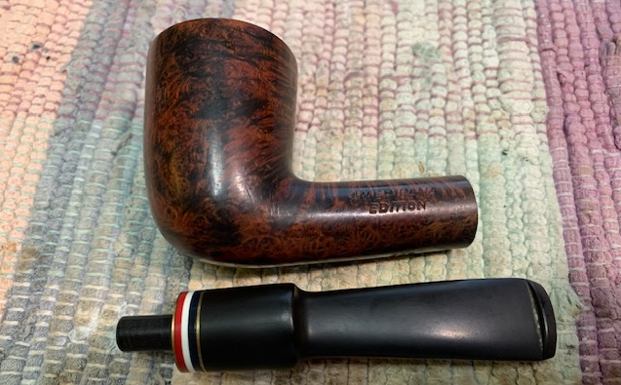
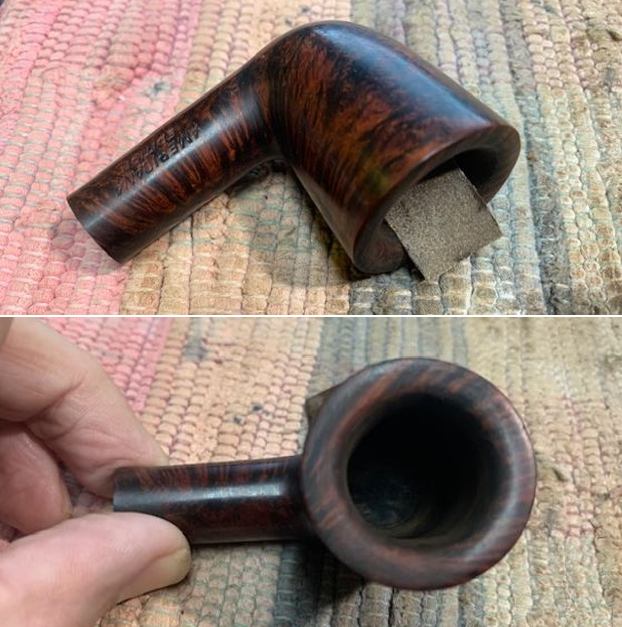
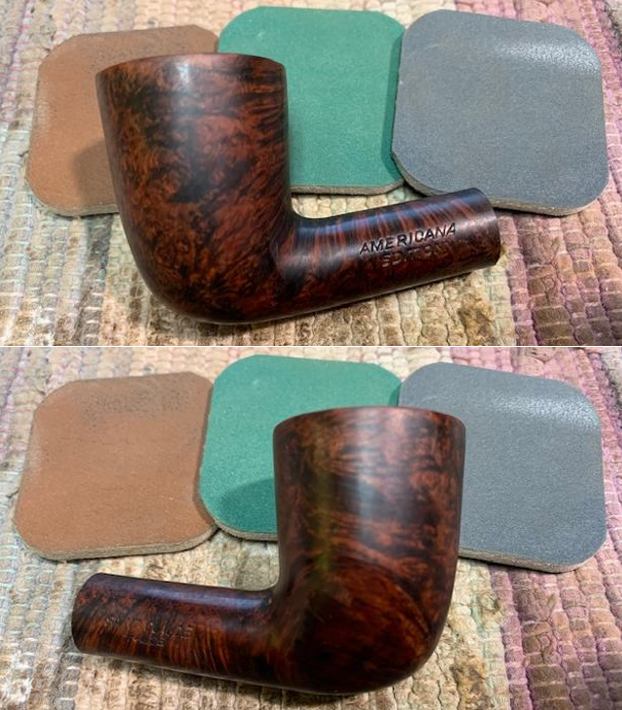
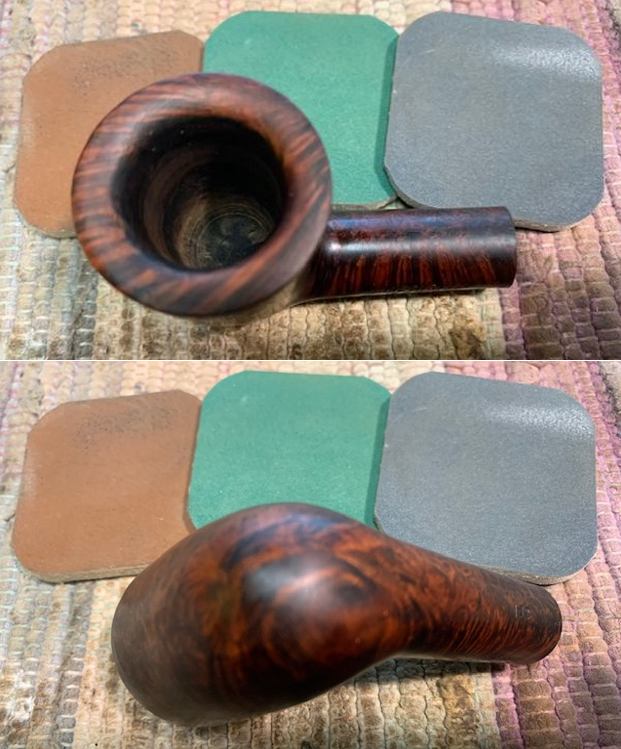
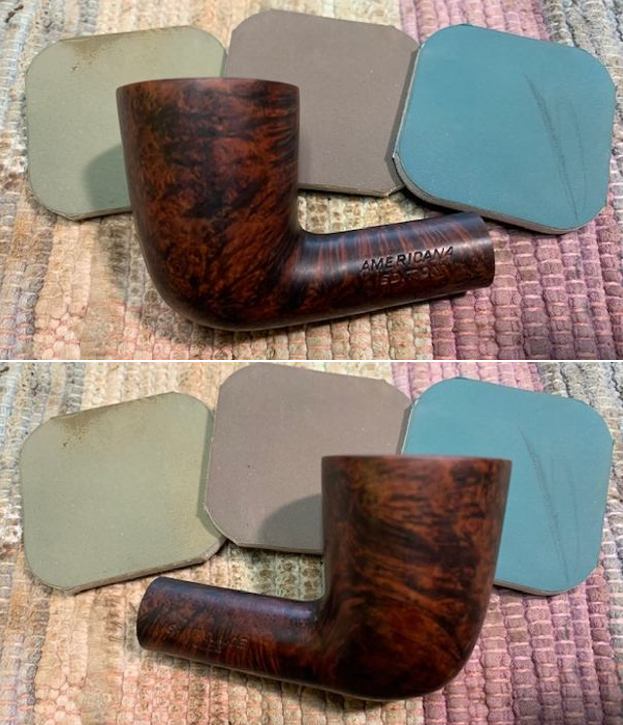
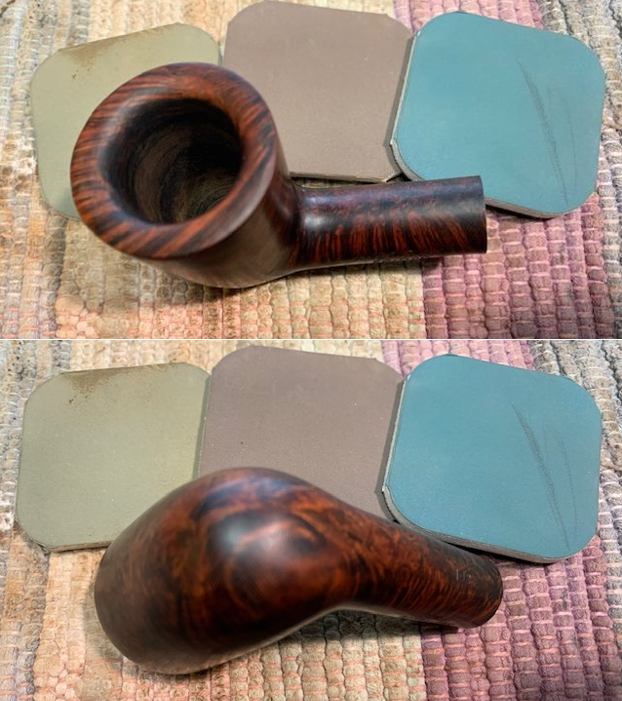
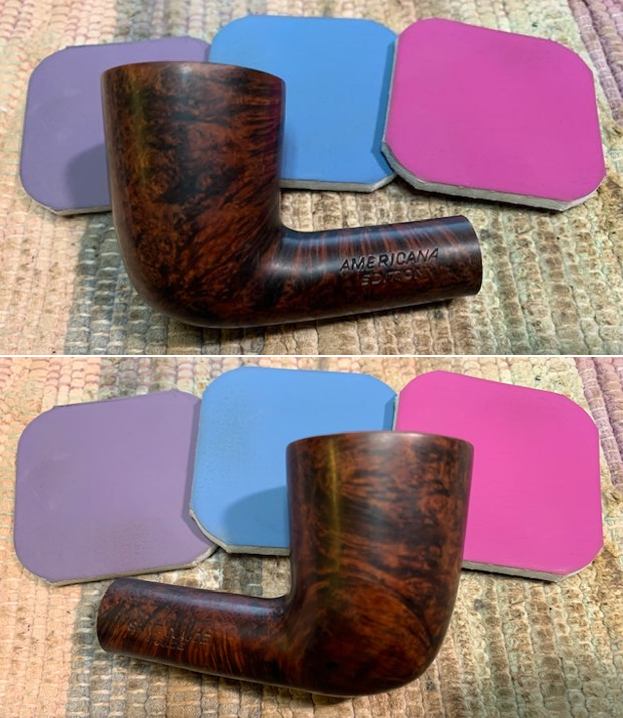
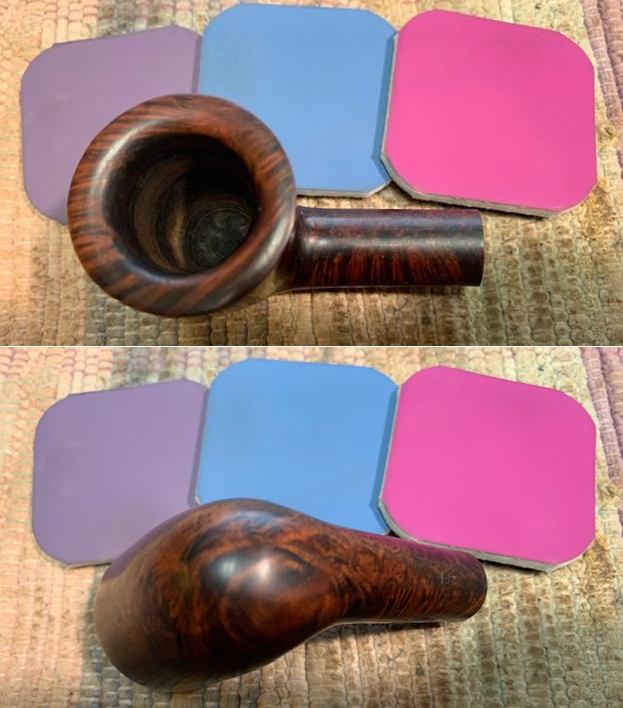
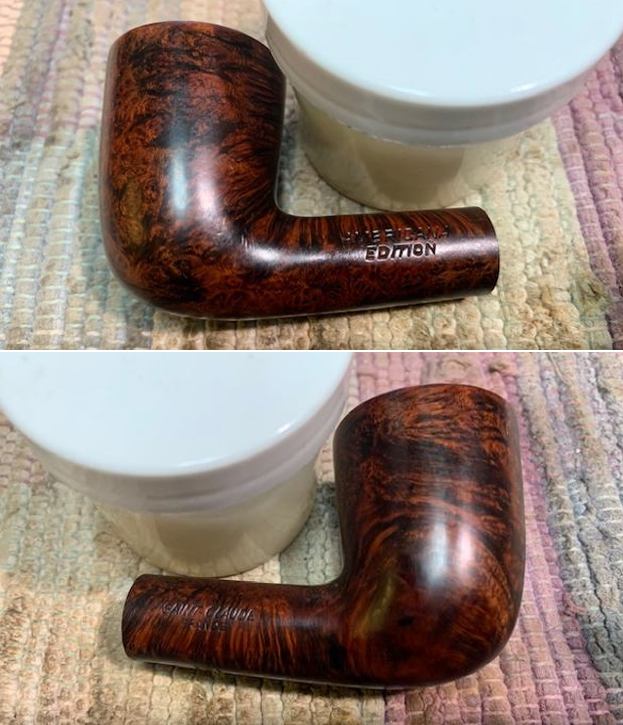
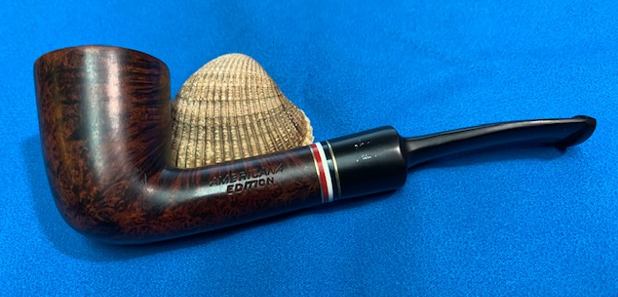
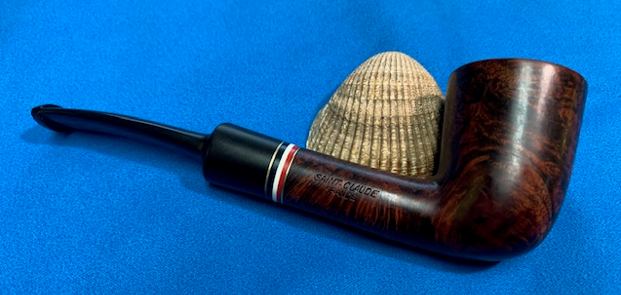
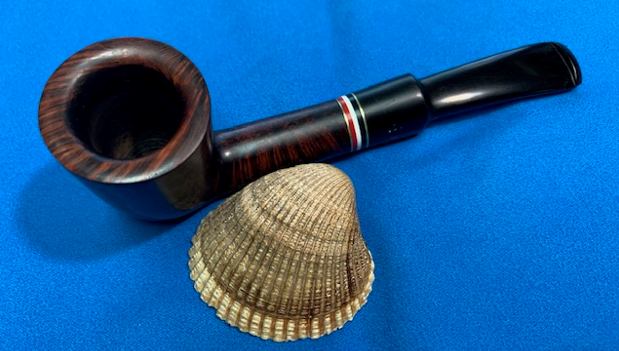
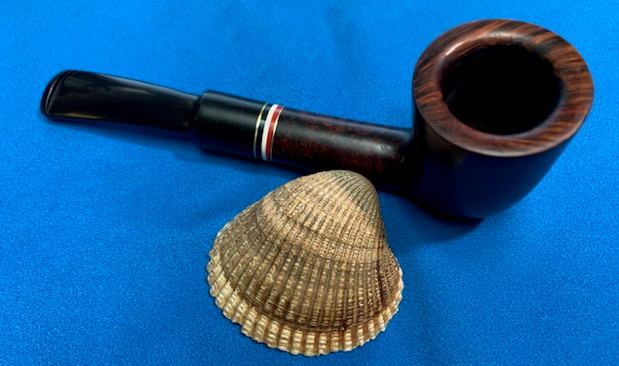
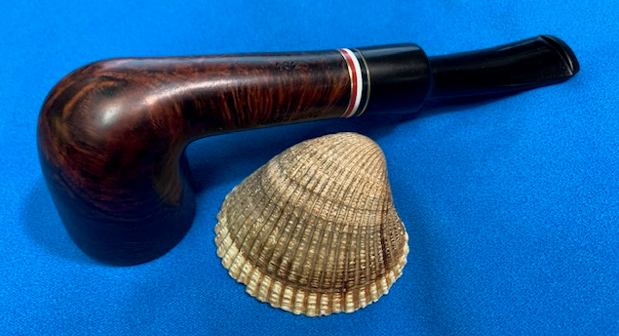
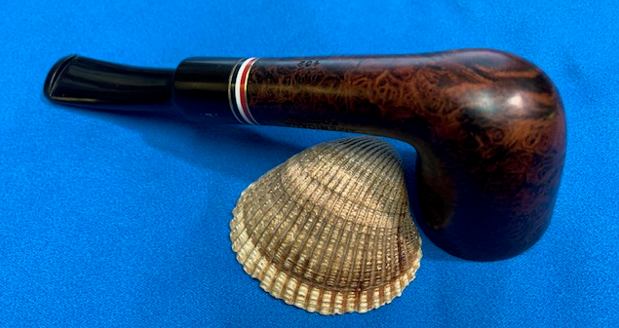
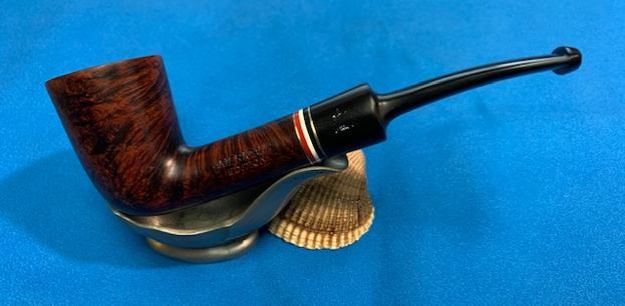
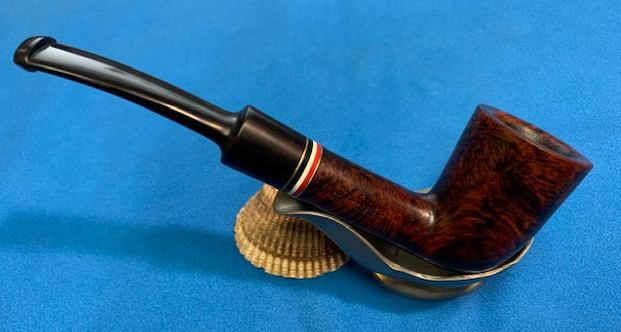
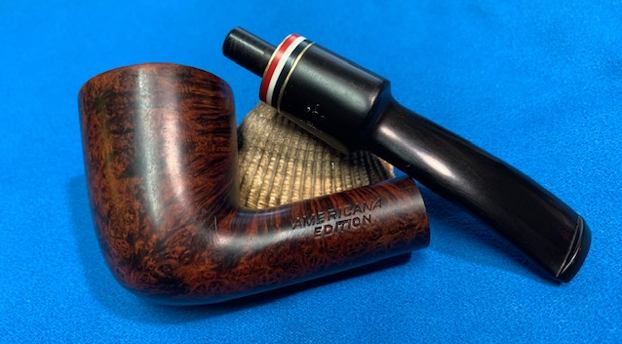
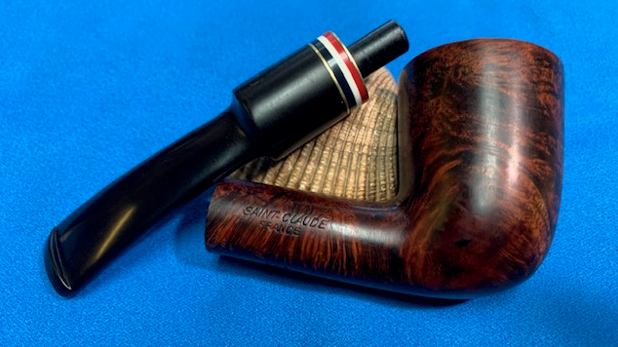
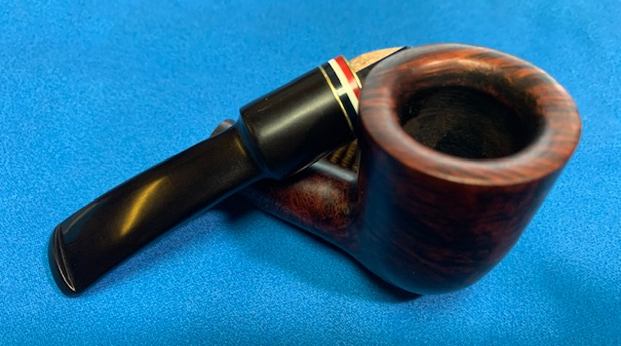
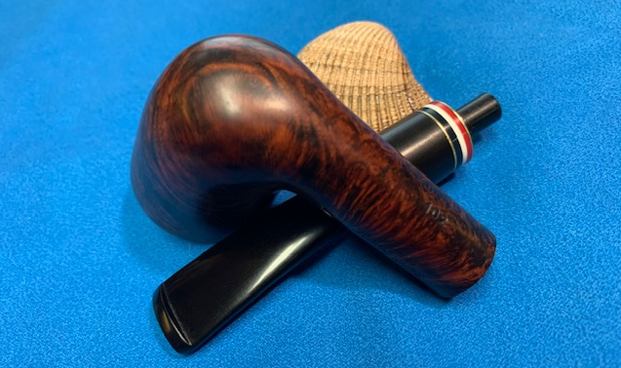
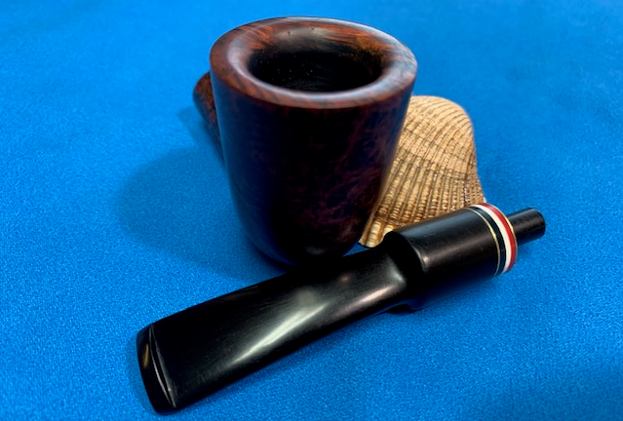
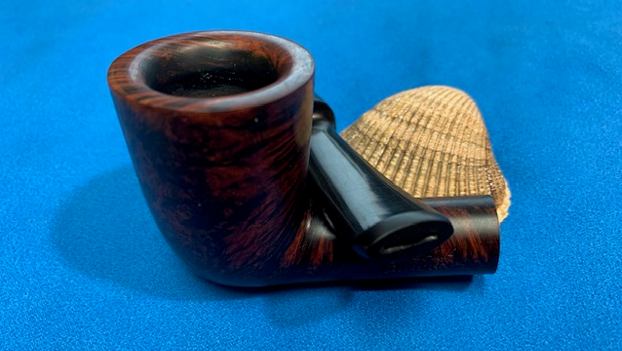
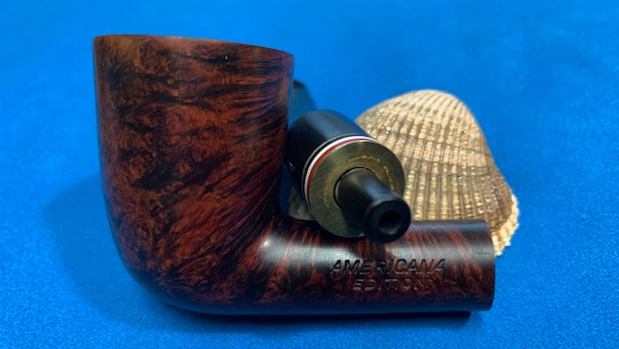
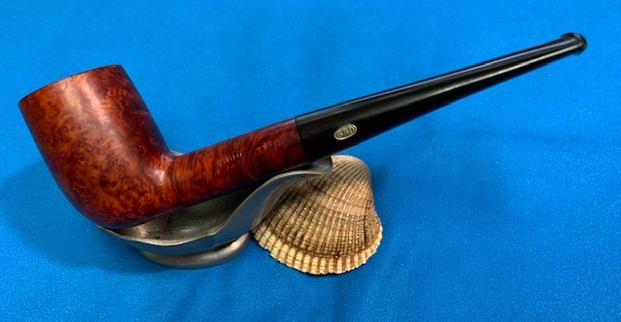
The next pipe on the table is one that came to us from an antique store in 2019 in Salt Lake City, Utah, USA. The shape is very nice, with the dark brown with black highlighted finish that makes the grain really stand out. It is a great shape with a vulcanite saddle stem with a faintly stamped golden eagle on the left side. The finish was dirty with grime ground into the finish around the bowl sides. There was a thick cake in the bowl and lava overflow on the beveled top of the rim – heavy toward the back side of the bowl. The edges – inner and outer both appeared to be okay under the lava coat. The pipe is stamped on the left side of the shank and reads AMERICANA [over] EDITION. On the right side it reads SAINT-CLAUDE [over] FRANCE. On the underside of the shank is the shape number 102. The stem was lightly oxidized and there were tooth marks and chatter on both sides near the button. Jeff took some photos of the pipe before he started the clean up work. He took photos of the rim top and bowl to give a clear picture of the thickness of the cake and well as the nicks, lava and darkening on the rim top and inner edge of the bowl. The outer edge of the bowl appeared to be in great condition. He also took photos of the top and underside of the stem to show the light oxidation and the chatter and tooth marks. Jeff took a photo the sides and heel of the bowl to give a picture of the beautiful grain around the bowl and shank. There were also small putty fills around the bowl and shank sides. The stamping on the sides of the shank is clear and readable and read as noted above. There is also faintly stamped eagle on the left side of the stem. I turned to Pipephil’s site and looked for information on the Americana Edition, Saint-Claude France pipe that I was working on (http://pipephil.eu/logos/en/logo-a5.html). There was an entry but there was very little information – just a series of photos of a billiard with the same stampings, logo, red, white and blue shank band as the one that I have.I turned to Pipedia and had a look but there was nothing there regarding this brand. It thus remains a bit of a mystery. Who made it? Did Chacom or Butz-Choquin? I am not sure and nothing I have checked helps understand who made it.

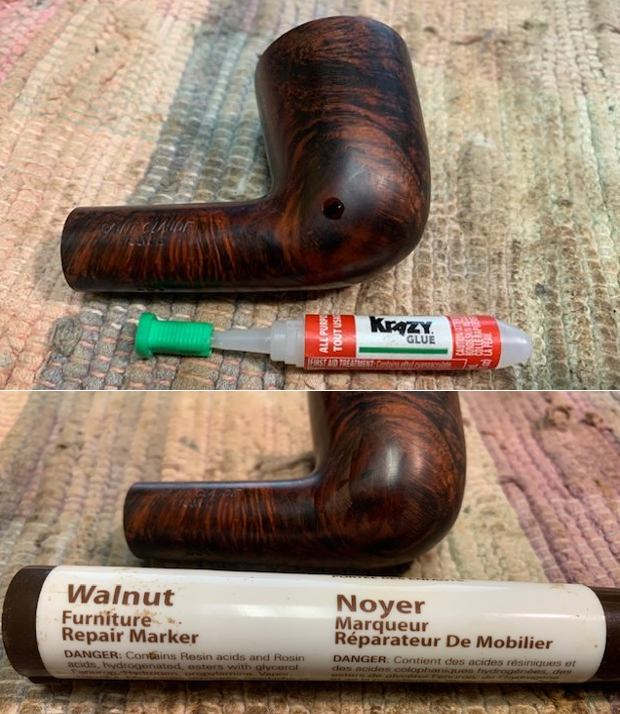
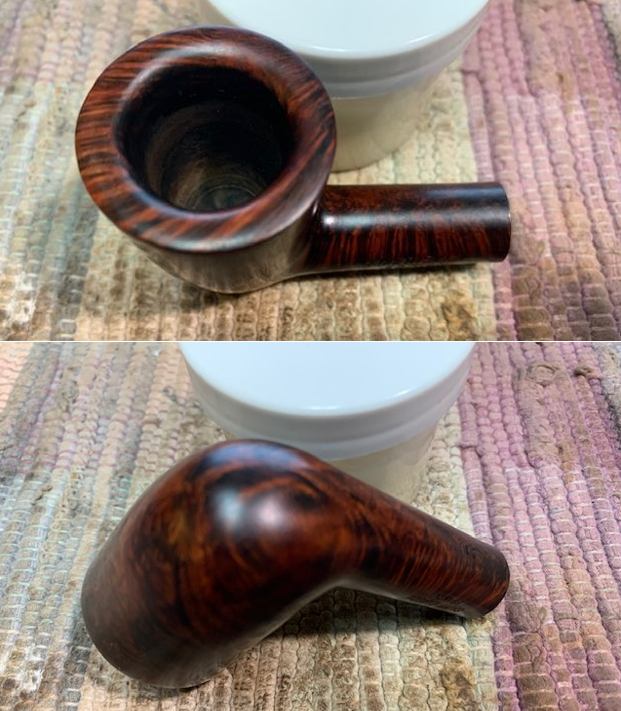
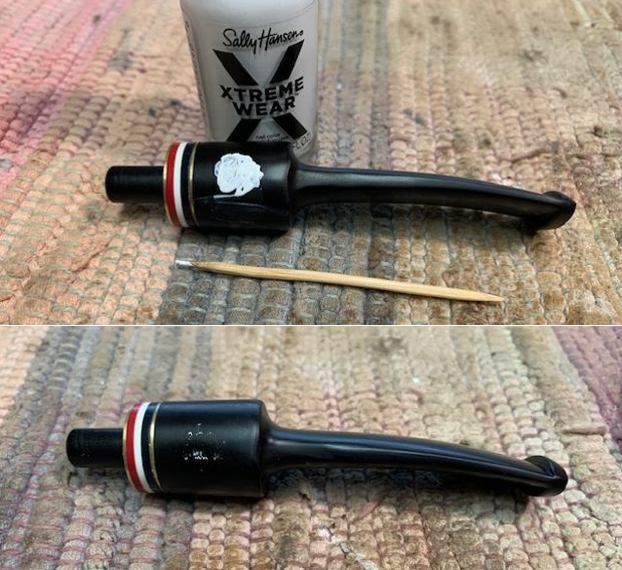
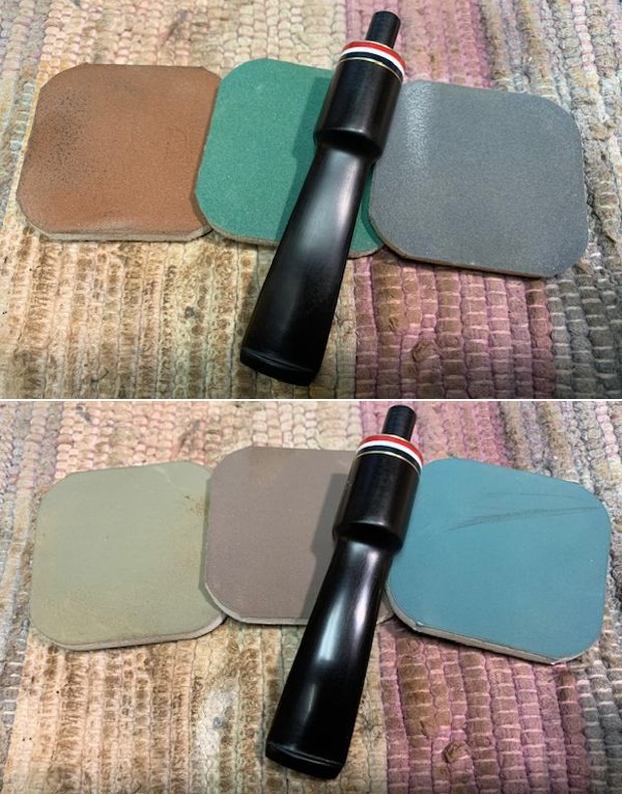
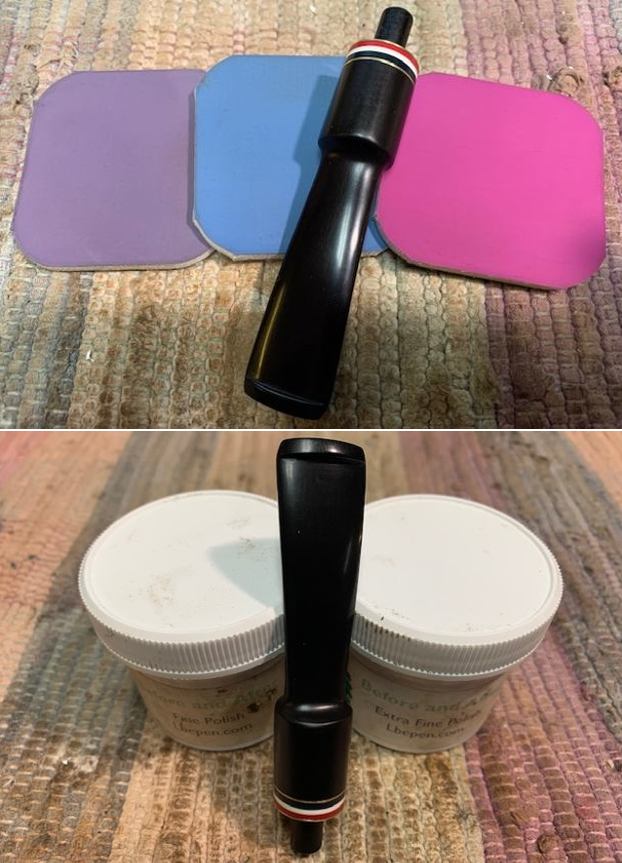
Now it was time to work on the pipe. Jeff had cleaned up the pipe following his usual procedures. He reamed the pipe with a PipNet pipe reamer and cleaned up the remnants with a Savinelli Fitsall Pipe Knife. He cleaned out the inside of the shank and the airway in the stem with 99% isopropyl alcohol, cotton swabs and pipe cleaners. He scrubbed the exterior of the bowl with undiluted Murphy’s Oil Soap and a tooth brush. He rinsed it under running warm water to remove the soap and grime. He soaked the stem in Before & After Deoxidizer and rinsed it off with warm water. I took photos of the pipe once I received it. The rim top cleaned up really well. But the cleaning revealed some darkening, nicks and dings on the inwardly beveled rim top but the edges looked quite good. The stem surface looked good and the light tooth marks and chatter would be easy to address.The stamping on the sides of the shank is readable and reads as noted above. It appears that the faint eagle stamp has flown off!I removed the stem and took a photo of the pipe to give a sense of the shape and the grain on the bowl and shank. It was a great looking shape and would be a beautiful pipe when I was finished. I worked on the rim top and beveled inner edge with a folded piece of 220 grit sandpaper and reshaped and cleaned up the damage on the front inner bevel. Looks much better.There was one pink putty fill on the lower right side of the bowl near the heel. I coloured it in with a black Sharpie pen and then filled in the divot with clear CA glue. The spot of glue was quite thin so I polished it back with 1500 grit micromesh until it was smooth. I touched up the area around the fill that had lightened with sanding using a Walnut stain pen. It blended in very well.I polished the bowl and rim with micromesh sanding pads – 1500-12000 grit pads. I wiped it down with a damp cloth after each sanding pad. It was beginning to look good to my eyes. I rubbed the bowl and shank down with Before & After Restoration Balm. I worked it into the surface of the bowl sides and shank with my fingertips to clean, enliven and protect the briar. I let the balm sit for ten minutes then buffed the bowl with a cotton cloth to raise the shine. I set the bowl aside and turned my attention to the stem. The stamping of the Eagle was so faint on the left side of the saddle I really wanted to see I could capture any of it. I used a tooth pick to put white acrylic fingernail polish in the faint stamps. Once it had hardened I scraped it off with my fingernail and polished it with a soft cloth. The second photo shows what remained. I will leave it so that the next pipeman can choose what to do with it. I polished the stem with micromesh sanding pads – 1500-12000 grit pads. I wiped it down with Obsidian Oil after each sanding pad. I used Before & After Pipe Polish – both Fine and Extra Fine to further polish the stem. This Americana Edition 102 French Made Dublin is a great looking pipe with a great shape to it. The combination of brown and black stain around the bowl is quite beautiful and highlights grain very well. The finish works well with the polished vulcanite saddle stem with red, white and blue band on it. I put the stem back on the bowl and carefully buffed the pipe with Blue Diamond on the buffing wheel using a light touch on the briar. I gave the bowl and the stem multiple coats of carnauba wax on the buffing wheel and followed that by buffing the entire pipe with a clean buffing pad. I hand buffed the pipe with a microfiber cloth to deepen the shine. The finished Americana Edition Dublin sits nicely in the hand and feels great. Give the finished pipe a look in the photos below. The dimensions of the pipe are Length: 5 ¾ inches, Height: 2 inches, Outside diameter of the bowl: 1 3/8 inches, Chamber diameter: 7/8 of an inch inch. The weight of the pipe is 41 grams/1.45 ounces. I will be putting it on the French Pipemakers section of the rebornpipes store shortly. If you are interested in adding this pipe to your collection send me a message or an email. Thanks for reading this blog and my reflections on the pipe while I worked on it. There are many more to come! 

Refurbishing System Pipe From Savinelli…A “Dry System” # 2101


Blog by Paresh Deshpande

Since the time I completed the pipes selected by Karthik, last of the lot was a lattice design meer (Refurbishing Karthik’s Second Selection – A Stacked Lattice Design Meerschaum | rebornpipes), I have completed another 13 odd pipes that had reached me for repairs and restoration. Each had its own set of challenges which were relatively easy to overcome. What was difficult, however, was dealing with the owner’s instructions as to how I should carry out the repairs, which were very frustrating. Just imagine, a beautiful Brakner that required a tenon replacement to maintain its originality and value and the owner wanted me to replace the stem as it would be cheaper and faster!! Of course, the heart of a restorer won over the mind of repairman and I did a tenon replacement.

Moving on, the next pipe that I chose to work on came to me from Steve!! SURPRISED? Well, the truth is that I was on a lookout for a Savinelli Dry System pipe as I was keen to try one and experience the difference between the Pete System pipe and the Savinelli System pipe. Steve and Jeff had been on a road cum pipe hunting trip and had come up with a rich haul of some cool pipes. We worked out a mutually beneficial deal and just when Steve was to send the parcel, COVID happened….. A wait of more than a year and the parcel with selected pipes reached me when I was under shifting to present location. Another wait of settling down period and the pipe finally made its way to my work table.

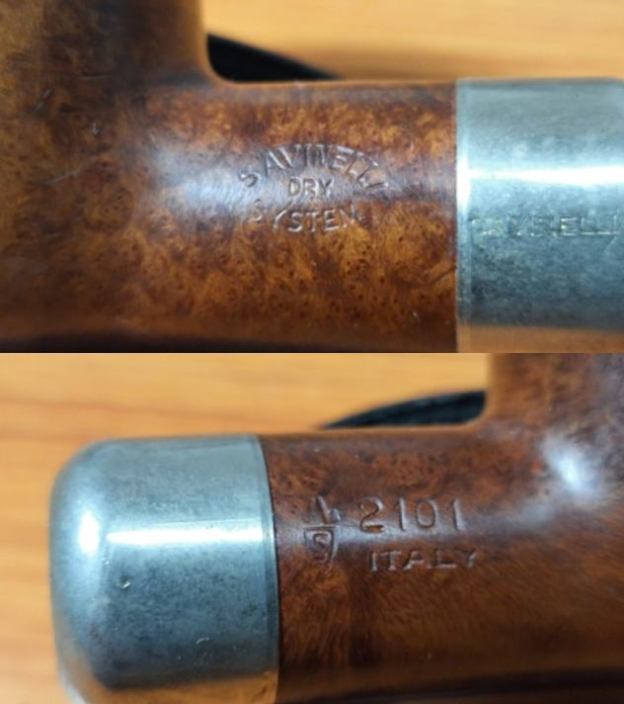
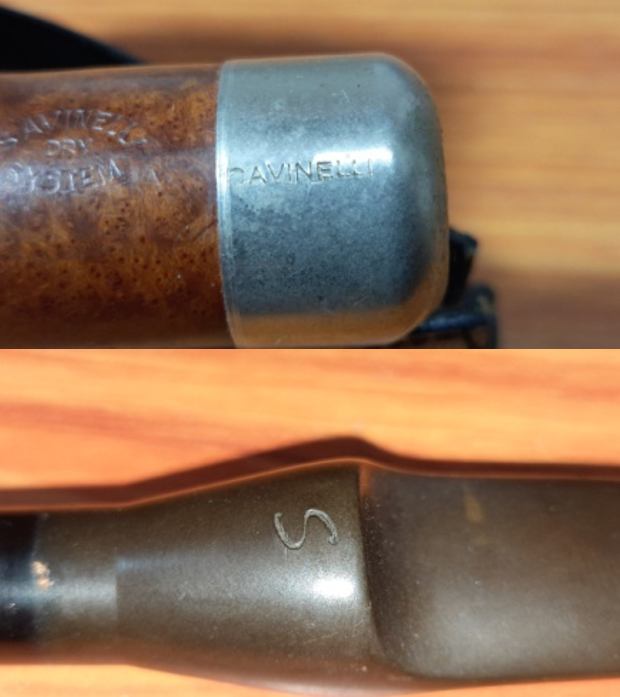
I love classic shaped pipes and this one has a classic Billiard shape with a substantial sized chamber and thick walls. Save for a bald patch that is seen at the lower half over the right side of the stummel, the stummel boasts of plenty of Bird’s eye and cross grain across the surface. It is stamped on the left side over the shank as arched “SAVINELLI” over “DRY” over reverse arched “SYSTEM” forming the shape of a rugby ball. The right side of the shank bears the shape code # 2101 over the COM stamp “ITALY” towards the bowl while the Savinelli trademark “S” in shield is to the left of the shape code towards the ferrule end. The nickel ferrule is stamped on the left as “SAVINELLI” in capital letters. Letter “S” adorns the top face of the saddle of the vulcanite stem. The stampings are all crisp and easily discernible. I searched rebornpipes to see if I could find any information on this pipe, as I invariably always do, to save time in digging out information about the brand. And true enough, my friend Dal Stanton, aka The Pipe Steward, had worked on a Dry System pipe from Savinelli, albeit a sandblasted one. The research done by Dal is always very detailed and comprehensive to an extent that there is hardly any information that he has missed out. To avoid the proverbial reinvention of the wheel, I have included the link here for those interested in knowing more about this offering from Savinelli (and a big thank you to Dal goes without saying!)
Recommissioning a Smart Savinelli Dry System 3621 Bent Dublin | rebornpipes

With a better understanding of this line from Savinelli, I move ahead with my visual inspection of the pipe.

Initial Visual Inspection
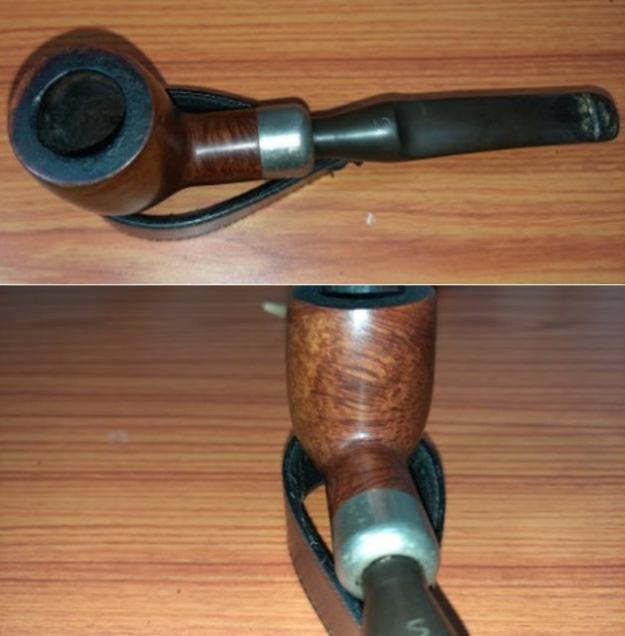
The first thing that you notice is the size and heft of the pipe in hand; it’s a lot of pipe for sure! The chamber walls are nice and thick with a thin layer of cake in the chamber. The rim top surface has thick layer of lava overflow, which given the layer of cake in the chamber is mystifying. The flow of air through the pipe is not very smooth and full. The interestingly grained stummel surface is covered in dirt, dust and grime with a number of dents and dings signifying extensive and uncared for usage. The vulcanite saddle stem is heavily oxidized with damage to the button and in the bite zone. The following pictures will give the readers a rough idea to the general condition of the pipe. Dimensions Of The Pipe
(a) Overall length of the pipe: –          6 inches.

(b) Bowl height: –                               1.9 inches.

(c) Inner diameter of chamber: –         0.7 inches

(d) Outer diameter of chamber: –        1.3 inches

Detailed Inspection Of The Pipe And Observations
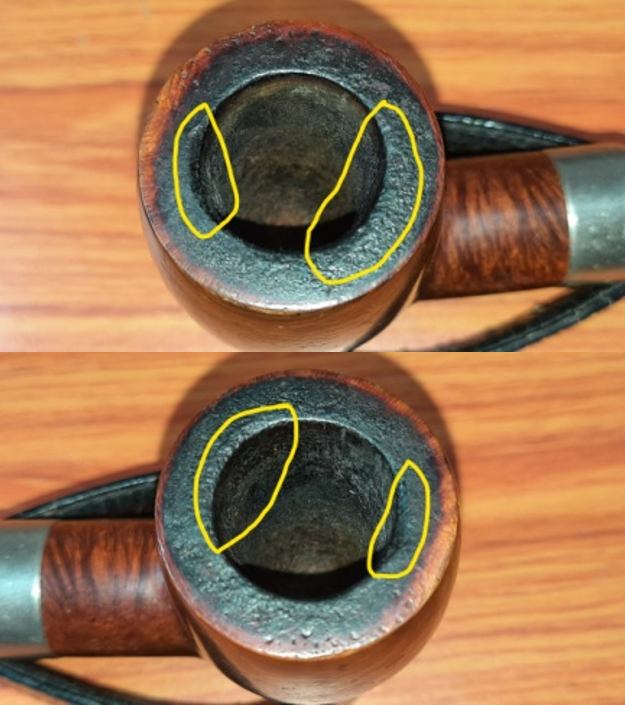
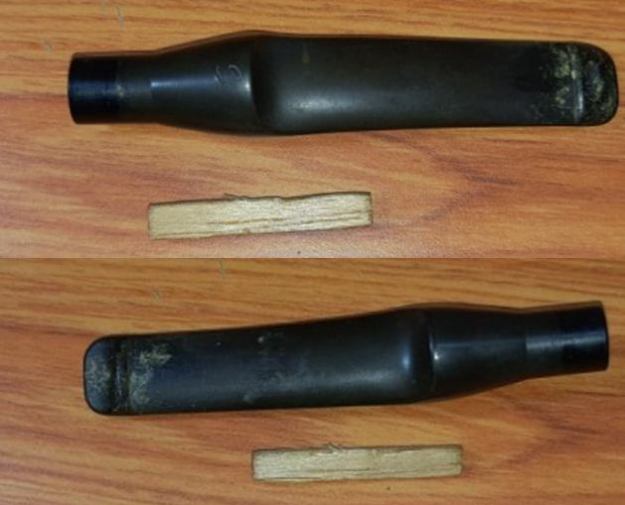
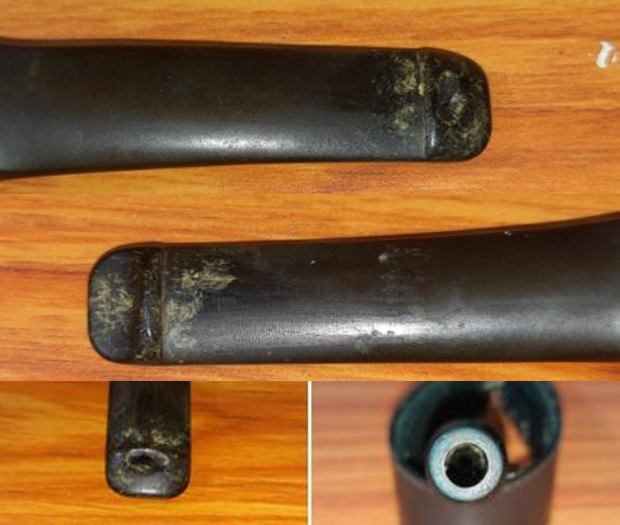
The chamber has a thin crust of carbon over the chamber walls suggesting that the chamber had been reamed in the recent past. The chamber walls are sans any damage and has years of smoke left in it. However, the thick layer of lava crust over the rim top surface has me surprised as it is an indicator of heavy usage while the chamber is neatly reamed! Through the lava crust, suspected charring to the inner rim edge is observed in the 12 and 6 o’clock direction (encircled in yellow). A number of dents are visible over the rim top surface (encircled in green), probably a result of knocking against a hard surface edge. The exact extent of damage and the condition of the rim surface will be apparent once the lava crust is completely eliminated from the top surface. The geometry of the pipe is spot on with the draught aperture in dead center and at the bottom of the chamber and that makes me believe that it should smoke smoothly. The ghost smells of the previous tobacco is not very strong and should be completely eliminated once the cake has been removed and the shank internals are thoroughly cleaned. The substantial briar estate is sans any fills and boasts of beautiful Bird’s eye grain to the sides and cross grain to the front and aft of the stummel. The only sore spot over the entire stummel surface is the bald patch that is seen to the right bottom portion. There are numerous dents/ dings over the surface (encircled in pastel blue); a testimony of all the falls this pipe has endured during its existence. The surface is mired in grime and dirt and appears dull and lackluster. The well and mortise is not very dirty and should clean up easily. The nickel ferrule has absolutely no damage but is oxidized with age. This should clean up nicely. The high quality vulcanite stem is so heavily oxidized that it appears dirty green in color! Some minor tooth chatter and deep bite marks are seen on either surfaces of the stem in the bite zone. This issue should not be a major headache to address. The upper surface edge of the large horizontal slot appears damaged, extent of which can be ascertained after the clogged slot has been cleaned up. The lip edge on both sides has bite marks and would need to be reconstructed and reshaped. The wide tenon that houses a 6mm Balsa filter has accumulated oils and tars that have dried out on the inside. The bite zone has calcium deposits which will have to be cleaned. The Process
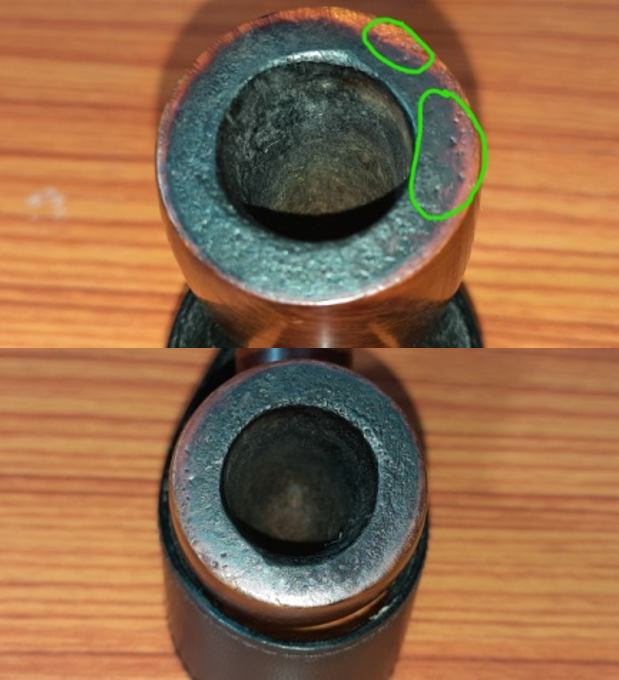
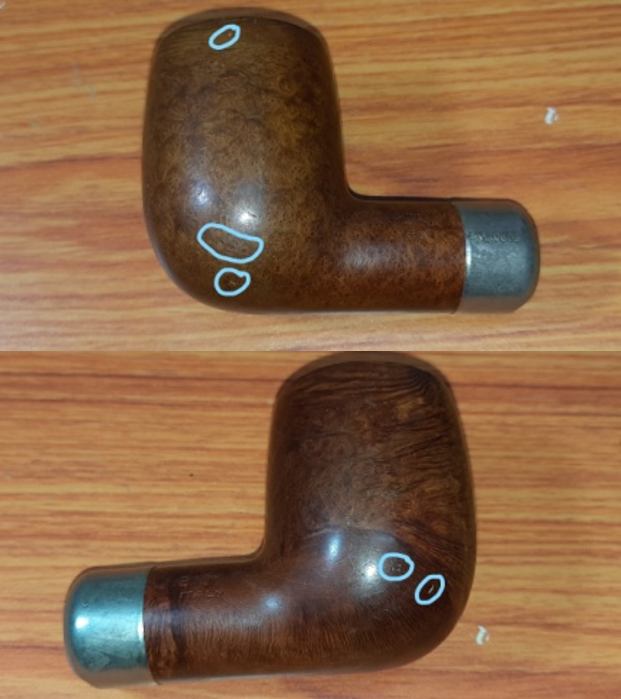
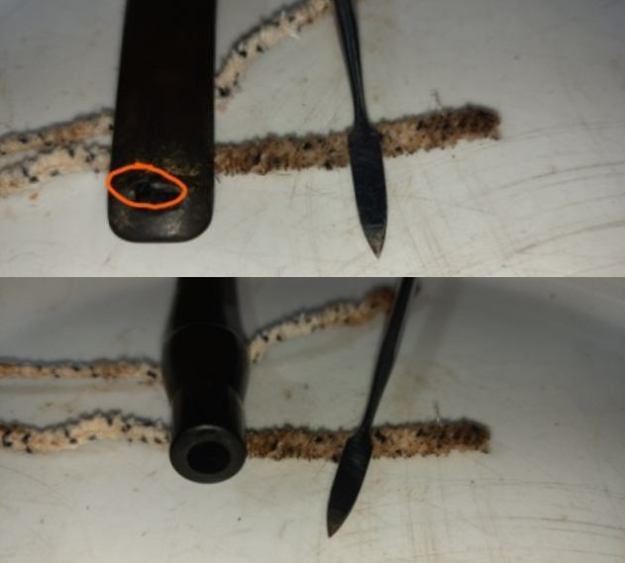
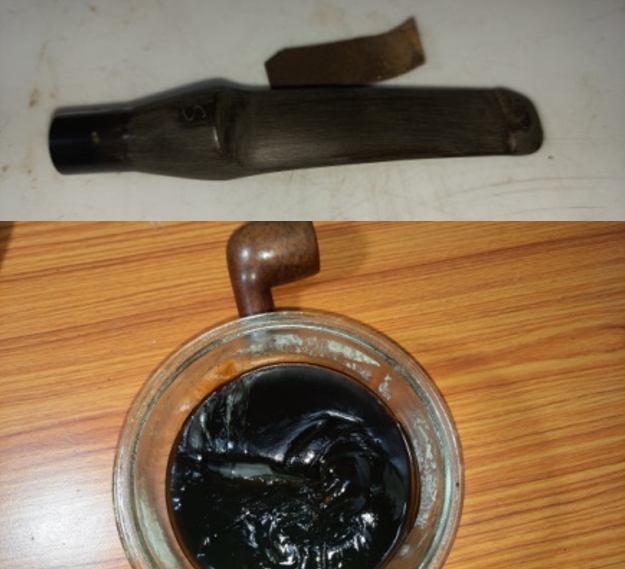
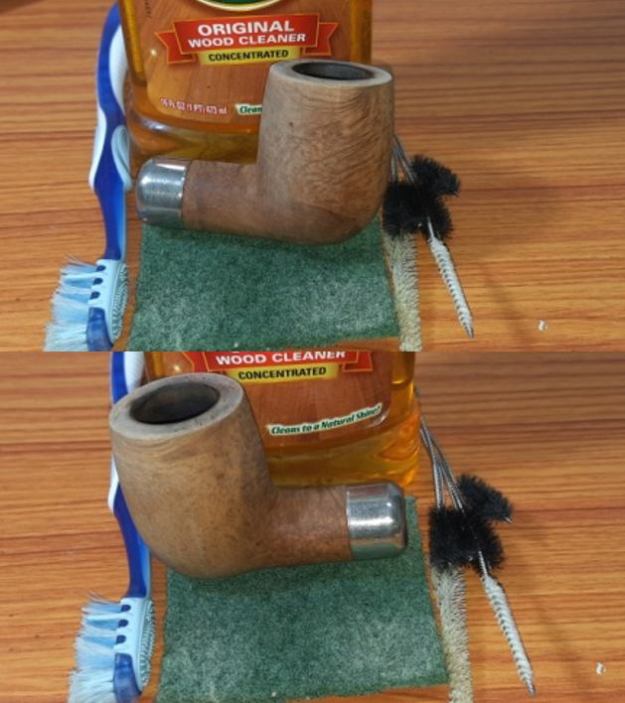
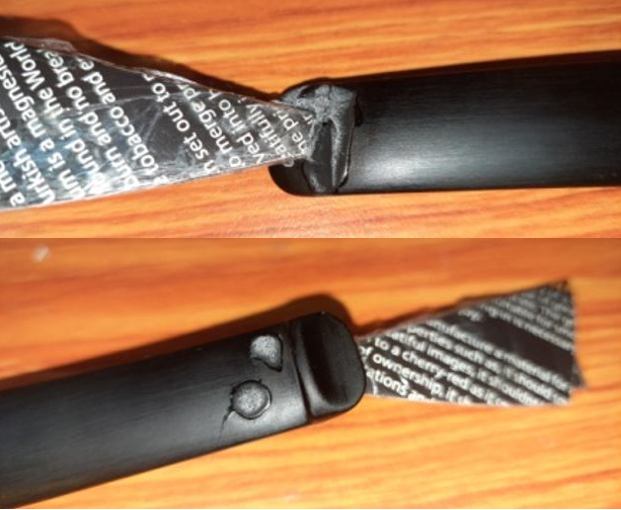
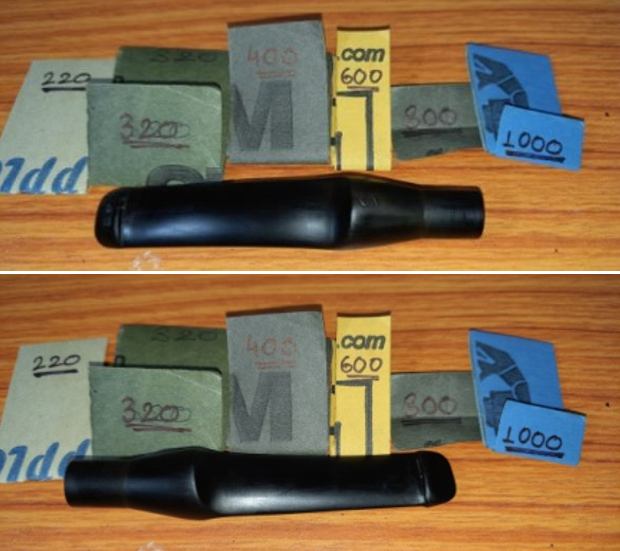
I started the restoration of this pipe by first reaming the chamber with size 2 head of a PipNet reamer followed by scraping with my fabricated knife to remove the carbon deposits. I scraped off the crusted lava from the rim surface with the fabricated knife. Once the cake was scraped back to the bare briar, I used a 220 grit sand paper to remove all the traces of remaining cake and also to smooth out the inner walls of the chamber surface. Finally, to remove the residual carbon dust, I wiped the chamber with a cotton pad wetted with 99.9% pure isopropyl alcohol. The chamber walls are in pristine condition. The char to the inner rim edge in the 12 o’clock direction is severe and would need to be addressed. The smells from the chamber have greatly reduced. The walls are nice and stout and should provide a cool smoke. The dents/ dings to the rim surface are now amply evident and the best way to address this would be to top the surface.This was followed by cleaning the mortise with pipe cleaners and q-tips dipped in isopropyl alcohol. I scraped the walls of the mortise with my dental tool to remove the dried oils and tars. The mortise needs further cleaning with anti-oil dish washing detergent and shank brush and will be done once the external surface of the stummel is cleaned. This helps me in saving a heap of pipe cleaners, which is a very precious commodity here in India.Next, I cleaned out the stem internals. I ran a couple of pipe cleaners dipped in isopropyl alcohol through the stem air way. Unfortunately the pipe cleaner couldn’t pass through completely. I realized that the large slot on the upper surface was clogged and the airway compressed due to tooth indentation. Using a dental tool, I tried prying out the blockage from the slot and realized that there was broken edge of the slot that was glued back and the reason for the blockage. With a bit of effort and lots of care, the broken piece was removed. I would now have to rebuild the top surface of the large horizontal slot. I would later try to open the airway by heating and thus expanding the compressed area with the flame of a lighter.I sanded the entire stem surface with a 220 grit sand paper in preparation for subjecting it to the deoxidizer solution treatment. It has been our experience that the deoxidizer solution works most efficiently in removing oxidation when a stem has been sanded prior to immersion in the solution. I immersed the stem in the deoxidizer solution developed by Mark and set it aside overnight for the solution to do its intended job.The next step was to clean the exterior surface of the stummel. I generously applied Murphy’s oil soap with a hard bristled tooth brush and scrubbed the stummel and rim top with the soap. I washed the stummel under running warm water with anti oil dish washing detergent till the stummel surface was clean and dried it using paper towels and a soft cotton cloth. I deliberately cleaned the rim top with a piece of Scotch Brite pad and set the stummel aside to dry out naturally. The stummel surface has cleaned up nicely with the intricate grain patterns on full display. The brown hues of the rest of the stummel contrast beautifully with the black of the briar grains. These contrasting hues will be further accentuated once the briar is rehydrated and rejuvenated using the balm and subsequent wax polishing. I simultaneously cleaned the shank internals with the detergent and hard bristled shank brush. The ghosting is completely eliminated and the pipe now smells fresh and clean.Staying with the stummel, I decided to address the issues with the rim top surface. The first issue to be addressed was the numerous dents and dings over the rim top. I rotated the rim top on a piece of 220 grit sand paper, checking ever so frequently for the progress being made. Once, I was satisfied that the rim top was an even and smooth surface, I stopped. This topping also helped in reducing the charred surface over the inner rim edge. Here is how the rim top appeared at this stage in restoration.The charring to the inner rim in 12 o’clock direction was still evident, albeit greatly reduced and lent the chamber an out of round appearance. To correct this, I created a bevel to the inner edge with a 220 grit sand paper.The third issue with the stummel was that of the numerous dents and dings over the surface which I have marked over the stummel. I steamed out all these dents and dings by heating my fabricated knife on a candle and placing it on a wet towel covering the dents. The generated steam expands the wood fibers and fills the dents up to, or as close as possible to the surface. The steam leaves behind a discolored surface as compared to the rest of the stummel surface. To address this issue and also to even out and match the raised dings with the rest of the surface, I sanded the entire stummel with a folded piece of 220 grit sandpaper. This also evened out the other minor scratches and dings from the surface. I set the stummel aside and turned to address the stem repairs. I removed the stem from the deoxidizer solution and scrubbed it with a Scotch Brite pad followed by a 0000 grade steel wool scrub. This helps to remove the oxidation that is raised to the surface by the solution. Patches of deep seated oxidation over the stem surface could still be seen as dirty brownish green color and would be addressed by subjecting the stem to further sanding by progressively higher grit sand papers.Next, I used a 220 grit sand paper to sand the stem and removed all the oxidation from the surface. Using a lighter, I flamed the surface of the stem. This helped in raising some of the tooth chatter and bite compression from the slot to the surface as vulcanite has a property to regain its original shape on heating. I wiped the stem with Murphy’s Oil soap on a cotton swab. This cleaned up the stem surface while removing the loosened oxidation.I reconstructed the broken slot end with a filling of CA superglue and activated charcoal after I had inserted a folded plastic coated visiting card. This prevented the fill from seeping in to the air way and clogging it once it had cured. I set the stem aside for the fill to harden before I could proceed with the sanding, shaping and polishing of the stem. While I worked the stem, Abha polished the stummel with micromesh pads, wet sanding with 1500 to 12000 pads. She polished the freshly topped rim surface to a nice luster, wiping the surface with a soft cloth at the end of the micromesh cycle. The stummel looks amazing with a deep shine and beautiful grains popping over the stummel surface. She massaged a small quantity of “Before and After Restoration Balm” with her fingers into the briar. The immediate and incredible transformation that takes place is a worthy reward for all the efforts!!! She let the balm sit on the surface to be absorbed in to the briar for about 20 minutes. The bowl now looks fresh and attractive with the grains popping out any which way you look at the briar. She polished off the balm with a soft cloth to a lovely shine. I am surprised that the rim top surface has the same deep brown coloration as the rest of the stummel surface and that the use of a stain pen was not required. With the stummel rejuvenation almost complete, save for the final wax polish, I worked the stem. The fills had cured and with a flat head needle file, I worked on the fill till I had achieved a rough match with the surrounding surface and had sufficiently sharpened the button edges. For a better blending, I further sand the entire stem with 220 followed by 400, 600, 800 and 1000 grit sand paper. This helps to reduce the scratch marks left behind by the more abrasive 220 grit paper. Even the best of my efforts at the repairs, these did not blend in to the rest of the stem surface and can be noticed with a keen eye. There are stems which do not take to repairs easily and seamlessly and this definitely is one of those.To bring a deep shine to the vulcanite stem, I went through the complete set of micromesh pads, wet sanding with 1500 to 2000 grit sandpapers and dry sanding with 3200 to 12000 grit pads. At the end of micromesh cycle, I polished the stem with “Before and After Fine & Extra Fine” paste. The finished stem is shown below.This now gets me to that part of the process where I get to savor the fruits of our labor until this point. The final polishing with Blue Diamond and Carnauba wax!
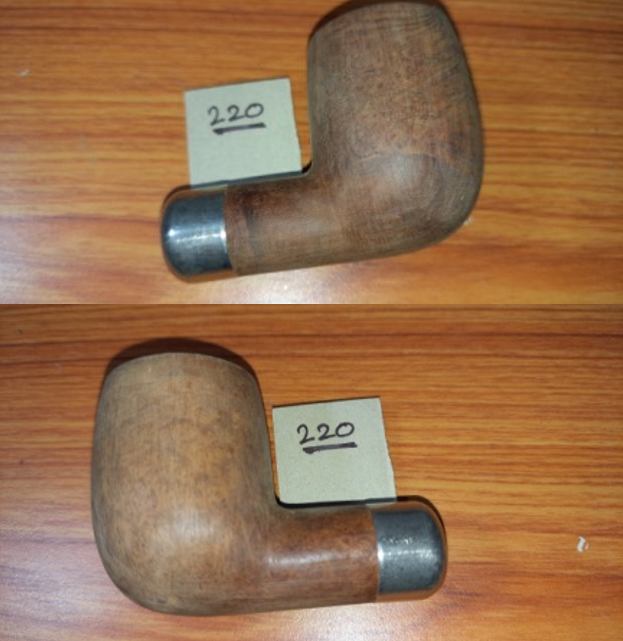
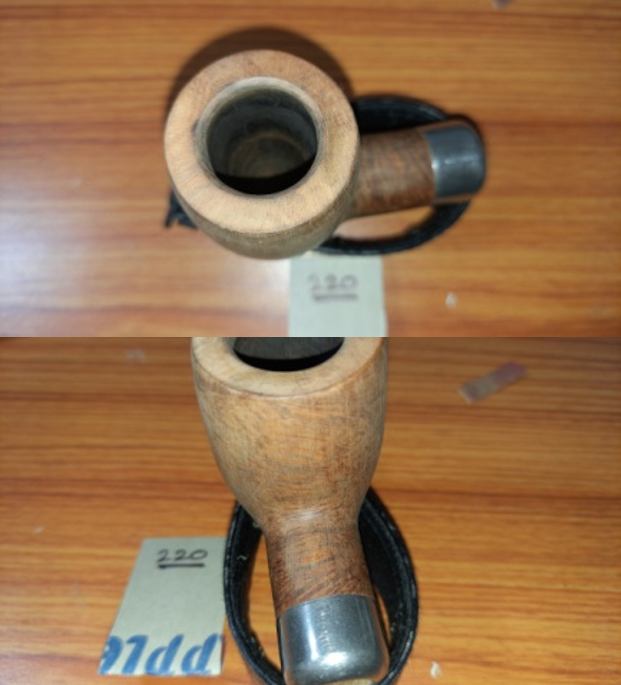
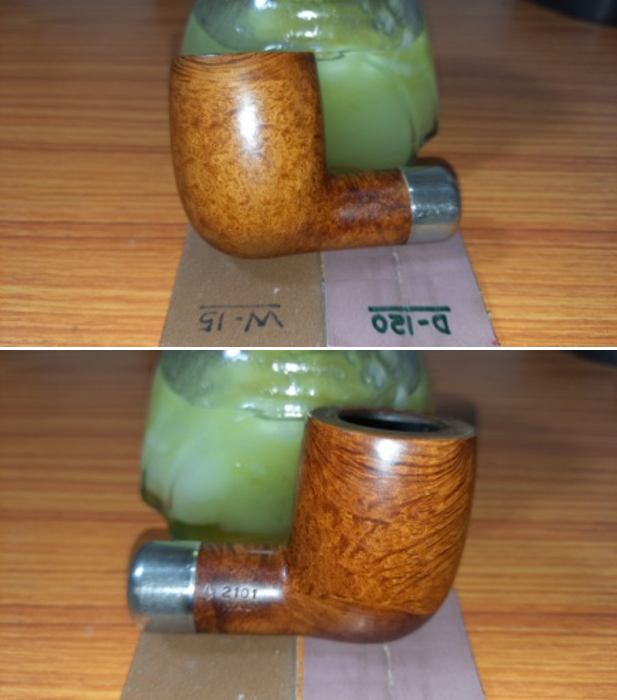
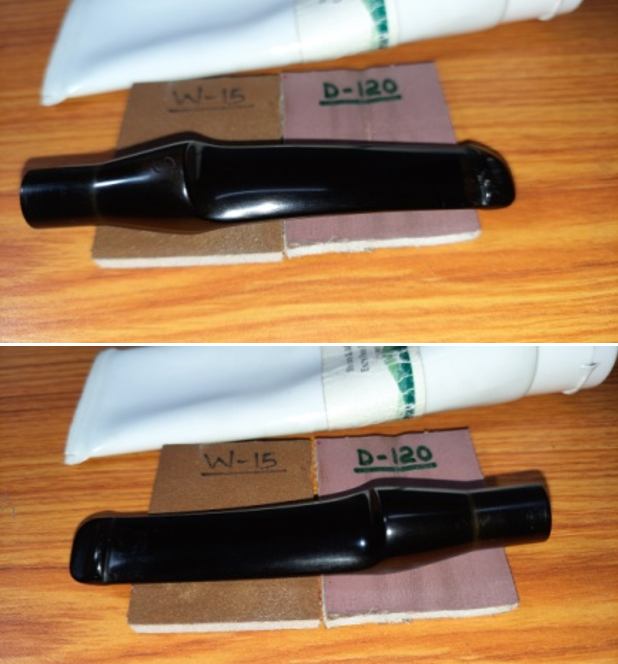
I began the final polishing cycle by mounting a cotton cloth buffing wheel on to my hand held rotary tool and applied a coat of Blue Diamond to the stummel and the stem to polish out the minor scratches.With a cotton buffing wheel that I use for carnauba wax, I applied a coat of carnauba wax and continued to work on it till the complete coat of wax had been polished out. I mounted a clean cotton cloth buffing wheel and gave the pipe a once over buff. I finished the restoration by giving the entire pipe a rigorous hand buff using a microfiber cloth to raise the shine further. The finished pipe is as shown below 🙂 P.S. I enjoyed working on this pipe alongside my wife, Abha. Her expertise and dedication in polishing the stummel and stem lends a finish that I always seek in all my restorations. And not to forget her editing of the write up to eliminate all the spelling and grammatical errors!
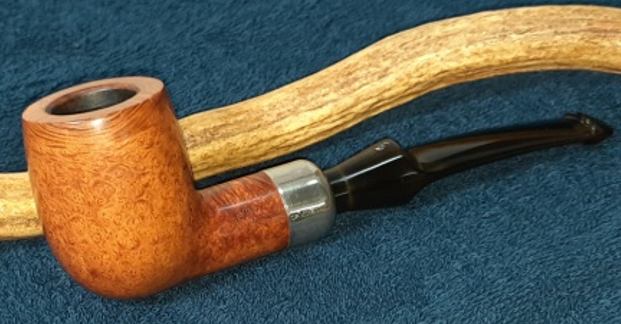
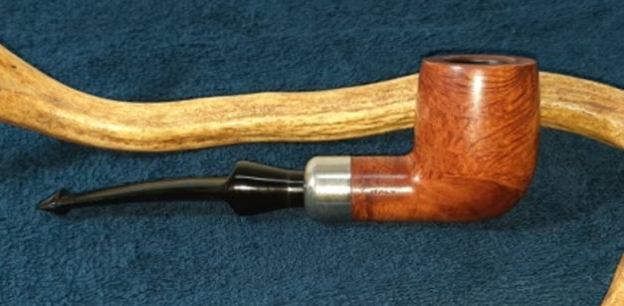
Well, as for this handsome pipe, I am not very sure if I want to hold on to it as since receiving this Savinelli System pipe from Steve, I have acquired another similar pipe with a Cumberland stem. Do let me know if this pipe interests you and we can take it further from thereon.

I wish to thank each one for sparing their valuable time to read through this write up while also praying for the health and safety of entire mankind. Stay home…stay safe!!

New Life for a GBD New Standard 124 Billiard


Blog by Steve Laug

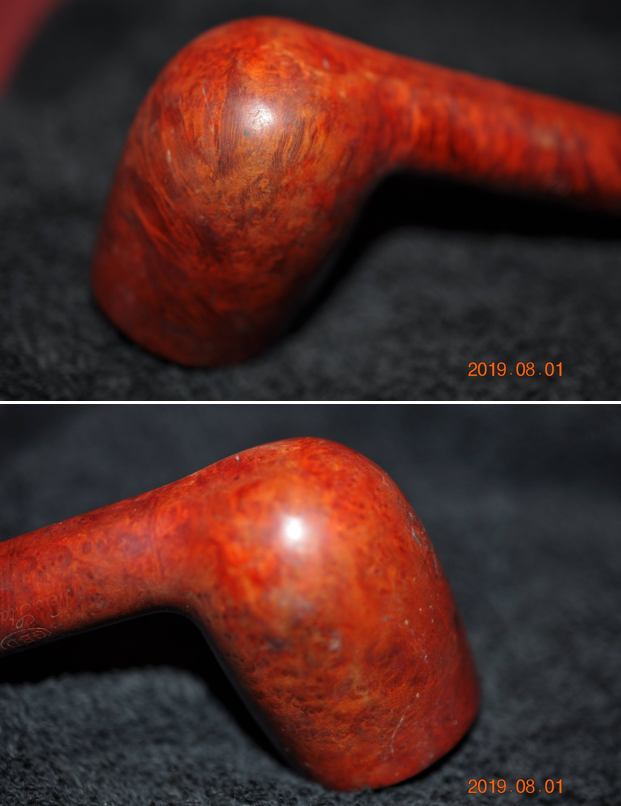
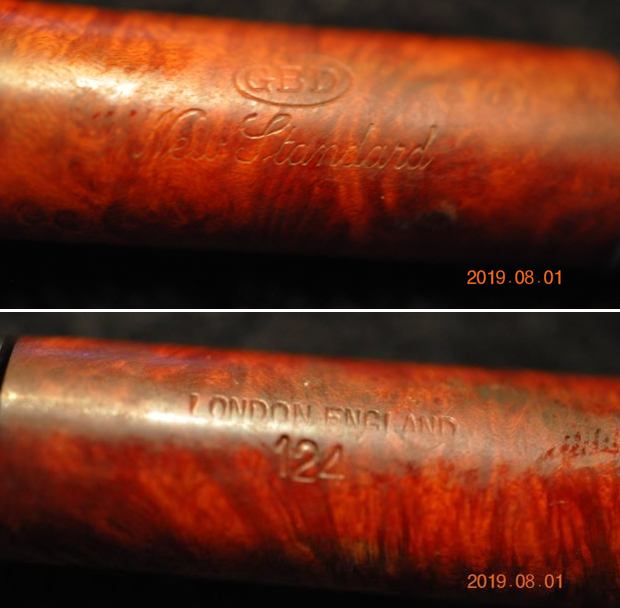
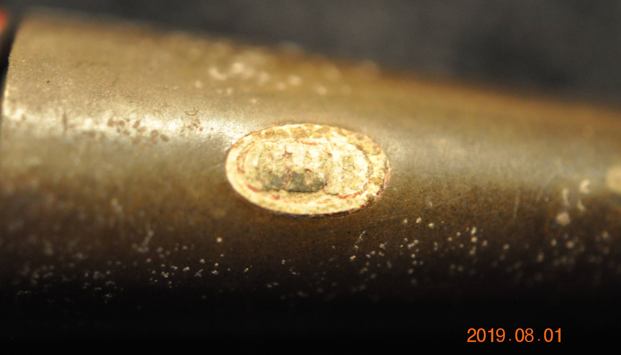
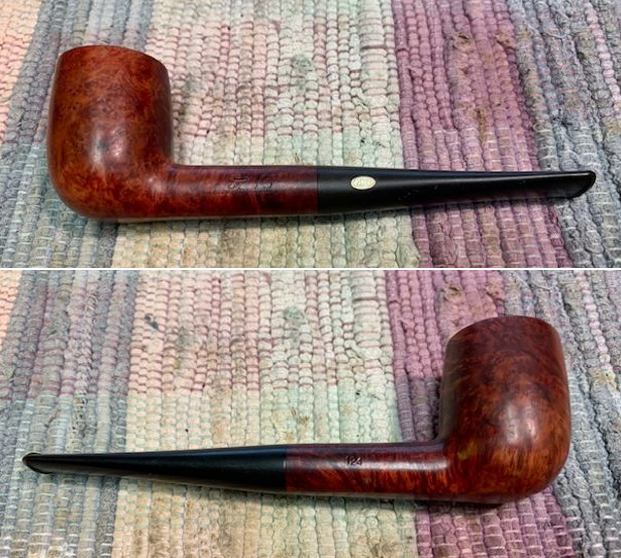
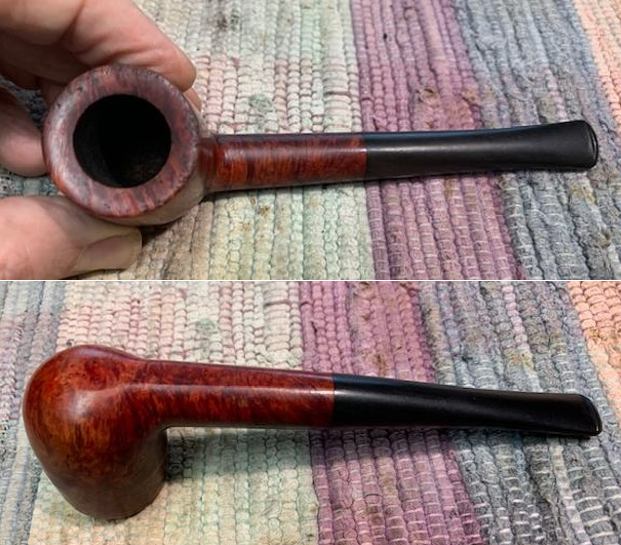
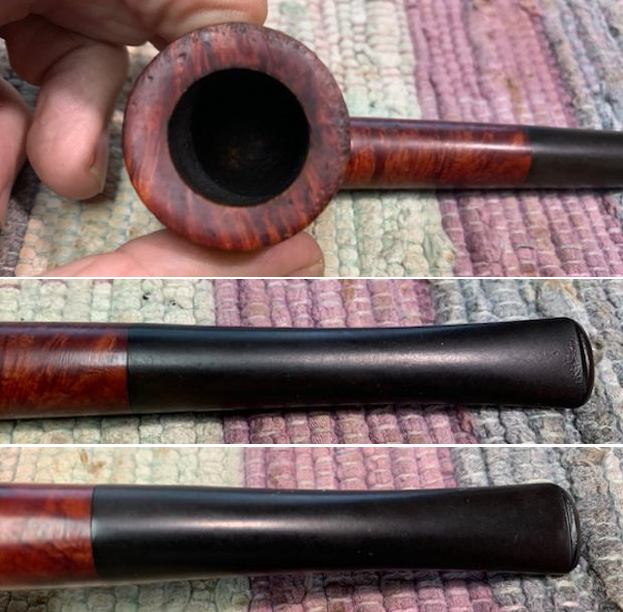
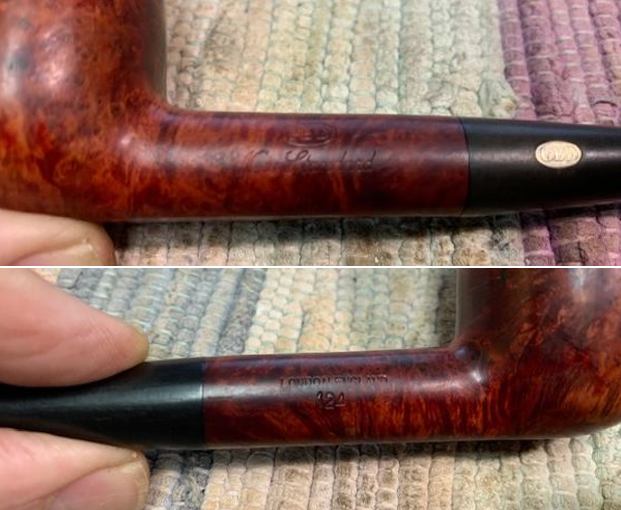
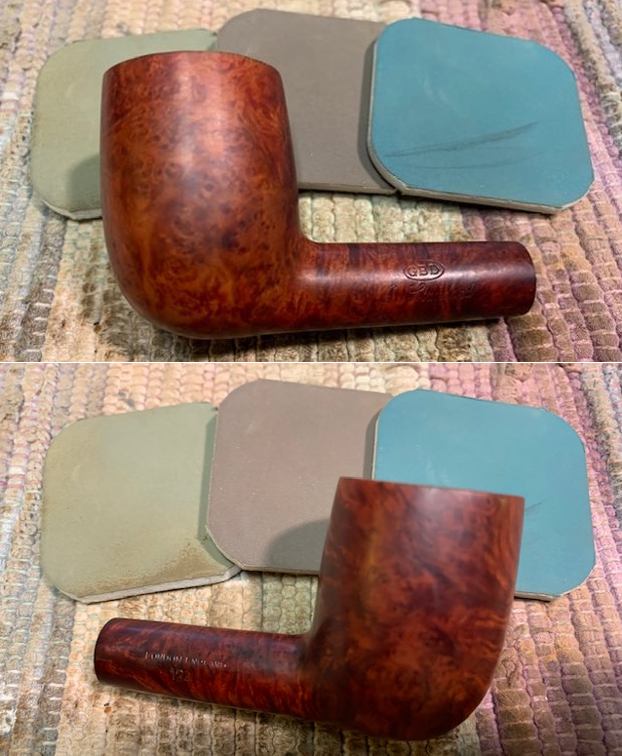
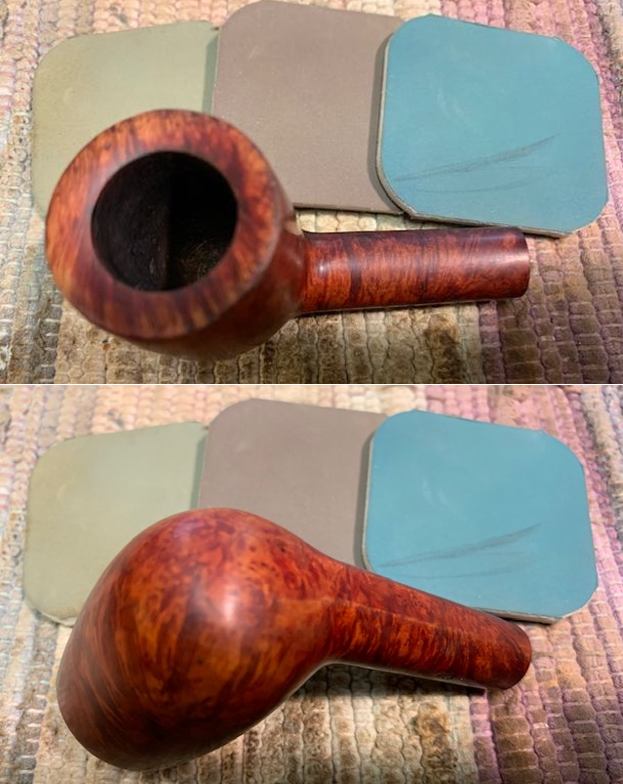
The next pipe on the table is one that came to us from an online auction in 2019 from Vanceburg, Kentucky, USA. The shape is very nice, with the rich red finish that highlights the grain around the bowl and shank. It is a great shape with a taper vulcanite stem with a GBD roundel on the left side. The finish was dirty with grime ground into the finish around the bowl sides. There was a thick cake in the bowl and lava overflow on the beveled top of the rim – heavy around the entire rim top. The edges – inner and outer both appeared to be okay under the lava coat. The pipe is stamped on the left side of the shank and reads GBD in an oval [over] New Standard. On the right side it reads London England [over] the shape number 124. The stem was lightly oxidized and there were tooth marks and chatter on both sides near the button. The taper stem also has a brass GBD roundel on the left side that was oxidized and dirty. Jeff took some photos of the pipe before he started the clean up work. He took photos of the rim top and bowl to give a clear picture of the thickness of the cake and well as the nicks, lava and darkening on the rim top. The inner edges showed some burn damage on the inner bevel of the bowl. The outer edges of the bowl appeared to be in great condition. He also took photos of the top and underside of the stem to show the oxidation, calcification and the chatter and tooth marks. Jeff took a photo the sides and heel of the bowl to give a picture of the beautiful grain around the bowl and shank. There were also shiny spots of varnish around the bowl and shank sides.The stamping on the sides of the shank is clear and readable and read as noted above. There is also GBD Brass roundel on the left side of the stem.I turned to Pipephil’s site and looked for information on the GBD New Standard I was working on (http://pipephil.eu/logos/en/logo-gbd.html). As always there was a good, brief description of the history of the brand.

Brand created in 1850 in Paris by Ganneval, Bondier and Donninger. Marechal & Ruchon Cie first, then C.J. Verguet Frères (closed in 1970) owned GBD from 1903 to 1970 and manufactured these pipes in the St Claude (Fr) plant.

Sometime in the 1970s Cadogan company (Oppenheimer group) took over GBD. Prior to this time, the pipes were stamped “London England” in a straight line, even if they were sometimes crafted in France.

I turned to Pipedia (https://pipedia.org/wiki/GBD) to see what I could find on the GBD Brand and the New Standard Line. There was a few tidbits scattered in the body of the material.

The New Standard was introduced in order to give the popular Standard of the 20s a higher rank in value…

… The following list comprises the better grades in descending order: Pedigree, Pedigree I, Pedigree II, Straight Grain, Prodigy, Bronze Velvet, Virgin, Varichrome, Prestige, Jubilee, New Era, Prehistoric, International, Universe, Speciale Standard, Ebony, Tapestry, New Standard, Granitan, Sauvage, Sierra, Penthouse, Legacy, Concorde.

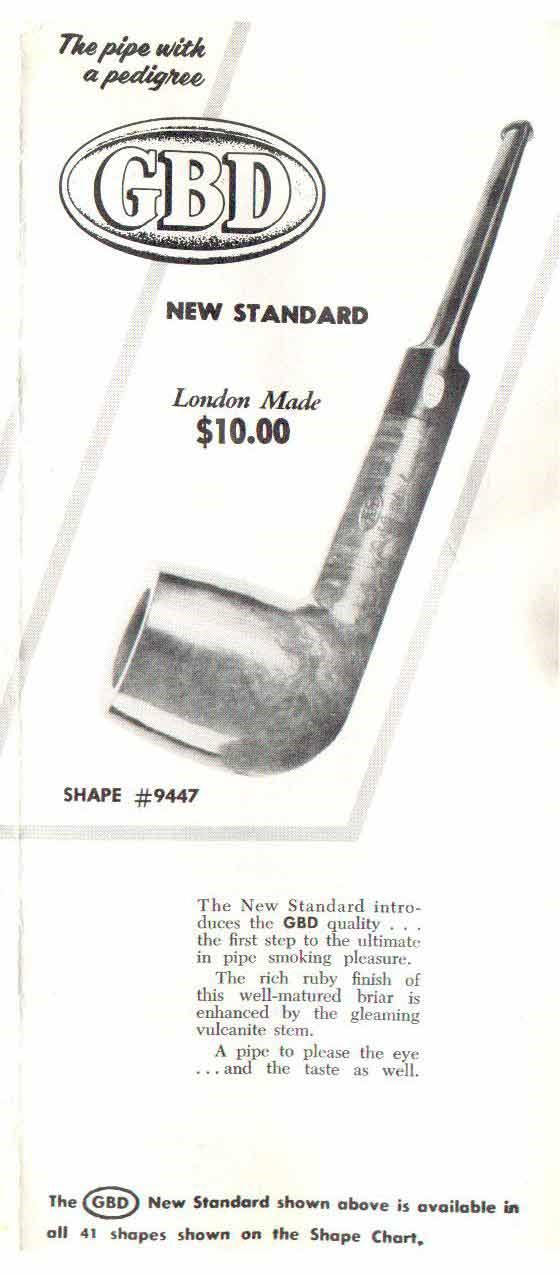
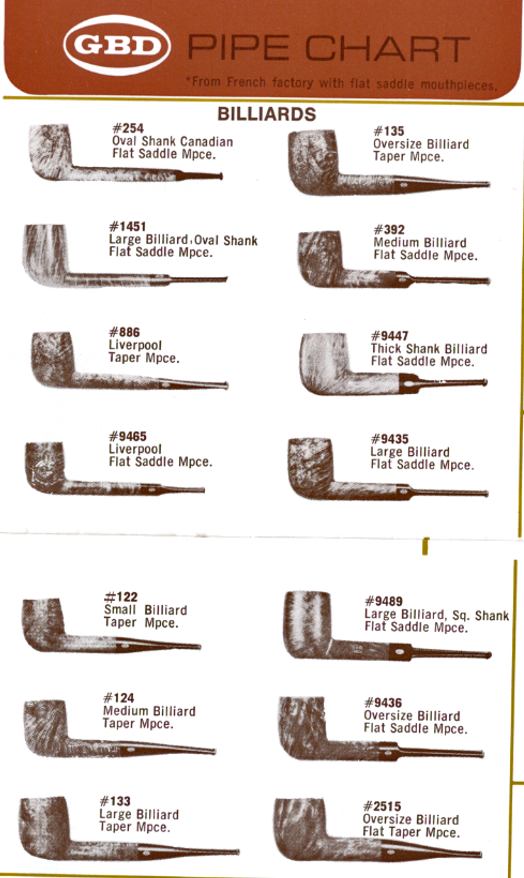
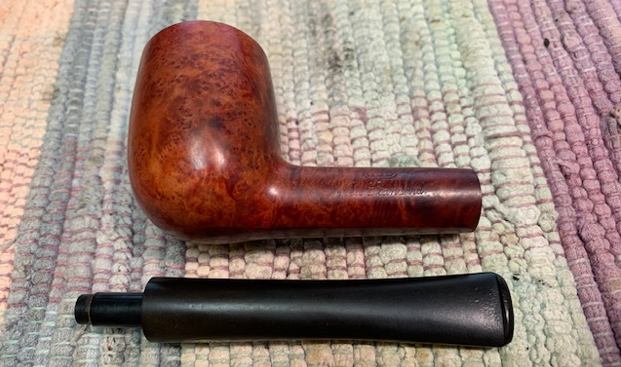
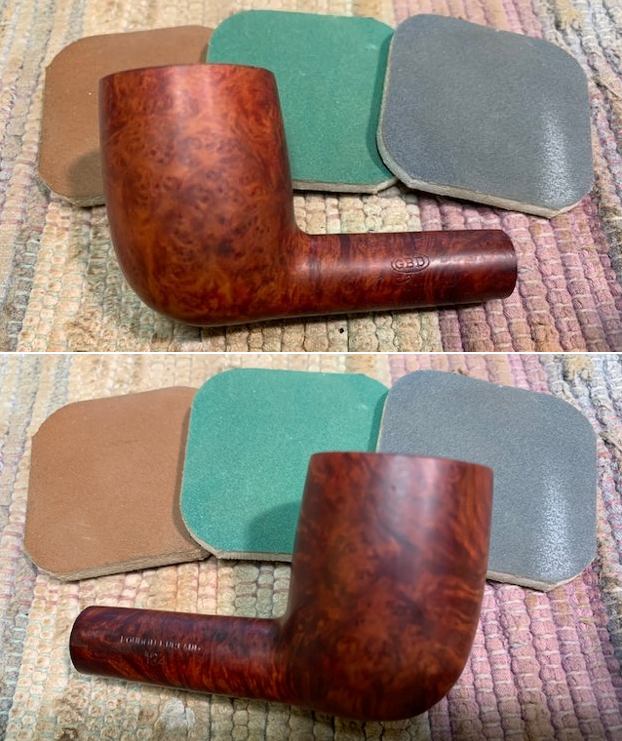
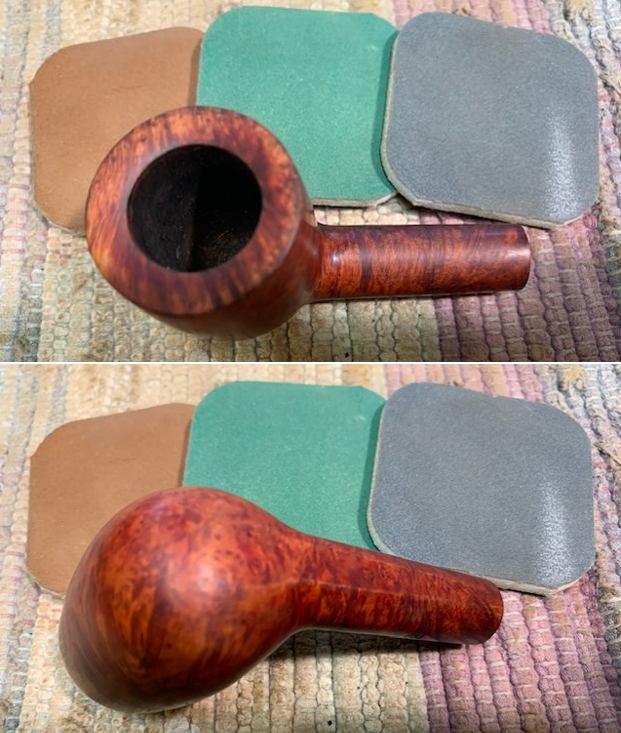
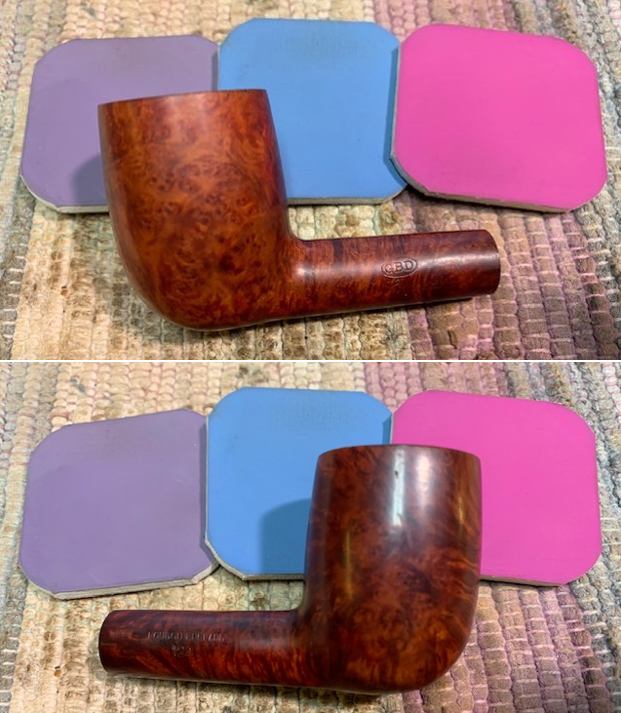
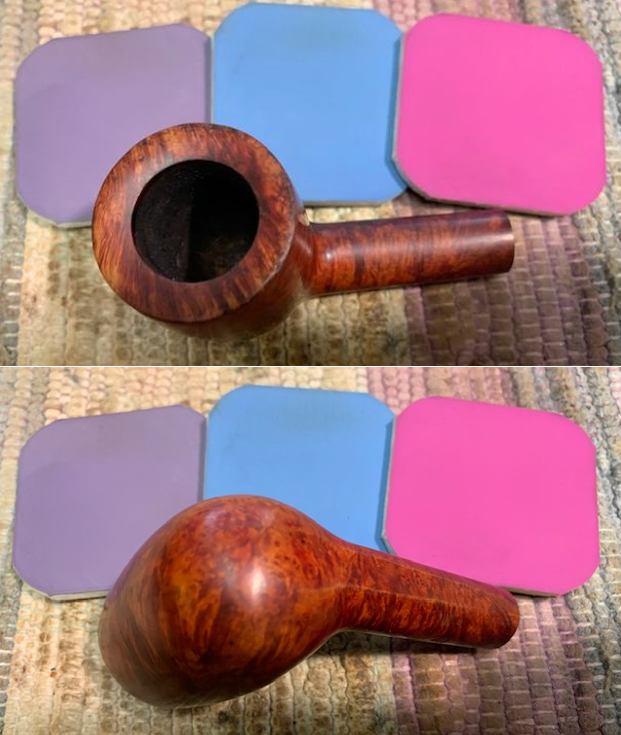
I also found two advertising fliers on the brand – one with the variety of shapes for the New Standard London Made and the other with a saddle billiard and a longer description of the pipe. I also found a shape chart that had the 124 pictured and described as a Medium Billiard with a taper mouthpiece.Now it was time to work on the pipe. Jeff had cleaned up the pipe following his usual procedures. He reamed the pipe with a PipNet pipe reamer and cleaned up the remnants with a Savinelli Fitsall Pipe Knife. He cleaned out the inside of the shank and the airway in the stem with 99% isopropyl alcohol, cotton swabs and pipe cleaners. He scrubbed the exterior of the bowl with undiluted Murphy’s Oil Soap and a tooth brush. He rinsed it under running warm water to remove the soap and grime. He soaked the stem in Before & After Deoxidizer and rinsed it off with warm water. I took photos of the pipe once I received it. The rim top cleaned up really well. But the cleaning revealed some nicks and dings on the inwardly beveled rim top but the edges looked quite good. The stem surface looked good and the light tooth marks and chatter would be easy to address. The stamping on the sides of the shank is readable and reads as noted above.  I removed the stem and took a photo of the pipe to give a sense of the shape and the grain on the bowl and shank. It was a great looking shape and would be a beautiful pipe when I was finished. I worked on the rim top marks and polished the bowl and rim with micromesh sanding pads – 1500-12000 grit pads. I wiped it down with a damp cloth after each sanding pad. It was beginning to look good to my eyes.I rubbed the bowl and shank down with Before & After Restoration Balm. I worked it into the surface of the bowl sides and shank with my fingertips to clean, enliven and protect the briar. I let the balm sit for ten minutes then buffed the bowl with a cotton cloth to raise the shine. I set the bowl aside and turned my attention to the stem. I “painted” both sides of the stem with the flame of a lighter to lift the tooth marks (forgot to take photos). It did a great job and left only one deep mark on the topside and on the underside ahead of the button. I filled them in with clear CA glue and once it cured I sanded the stem with 220 grit sandpaper to smooth out the repairs. I started polishing it with 400 grit sandpaper. I polished the stem with micromesh sanding pads – 1500-12000 grit pads. I wiped it down with Obsidian Oil after each sanding pad. I used Before & After Pipe Polish – both Fine and Extra Fine to further polish the stem. This GBD New Standard 124 Billiard is a great looking pipe now that it has been restored. The ruby coloured wash/stain around the bowl is quite beautiful and highlights grain very well. The ruby coloured finish works well with the polished vulcanite taper stem. I put the stem back on the bowl and carefully buffed the pipe with Blue Diamond on the buffing wheel using a light touch on the briar. I gave the bowl and the stem multiple coats of carnauba wax on the buffing wheel and followed that by buffing the entire pipe with a clean buffing pad. I hand buffed the pipe with a microfiber cloth to deepen the shine. The finished GBD New Standard Billiard sits nicely in the hand and feels great. Give the finished pipe a look in the photos below. The dimensions of the pipe are Length: 6 inches, Height: 1 ¾ inches, Outside diameter of the bowl: 1 ¼ inches, Chamber diameter: ¾ inch. The weight of the pipe is 39 grams/1.41 ounces. I will be putting it on the British Pipemakers section of the rebornpipes store shortly. If you are interested in adding this pipe to your collection send me a message or an email. Thanks for reading this blog and my reflections on the pipe while I worked on it. There are many more to come! 
New Life for a Butz-Choquin Regate 1282 Zulu


Blog by Steve Laug

The next pipe on the table is one that came to us from Australia. It went to Jeff first then was shipped to me. It is a well traveled pipe that was purchased in 2020 from the estate of a fellow pipeman in Australia, shipped to the US and then to Canada. The shape is very nice, with the forward canted bowl and the quarter bent stem. It is a great shape with a taper vulcanite stem. The finish was dirty with grime ground into the finish around the bowl sides. There was a thick cake in the bowl and lava overflow on the top of the rim – heavier on the backside of the rim top but nonetheless on the entire rim top. There was some burn damage on the right front inner beveled edge of the bowl. The pipe is stamped on the left side of the shank and reads Butz-Choquin at an angle [over] Regate. On the right side it reads St. Claude – France [over] the shape number 1282. The stem was lightly oxidized and there were tooth marks and chatter on both sides near the button. The taper stem also has a BC stamped on the left side. Jeff took some photos of the pipe before he started the clean up work. He took photos of the rim top and bowl to give a clear picture of the thickness of the cake and well as the nicks, lava and darkening on the rim top. The inner edges showed some burn damage on the inner bevel of the bowl. The outer edges of the bowl appeared to be in great condition. He also took photos of the top and underside of the stem to show the light oxidation and the chatter and tooth marks. Jeff took a photo the sides and heel of the bowl to give a picture of the beautiful grain around the bowl and shank. There were also shiny spots of varnish around the bowl and shank sides. The stamping on the sides of the shank is clear and readable and read as noted above. There is also BC stamp on the left side of the stem. I turned to Pipephil’s site and looked for information on the Butz – Choquin Regate I was working on (http://pipephil.eu/logos/en/logo-butzchoquin.html). As always there was a good, brief description of the history of the brand.

I turned to Pipedia (https://pipedia.org/wiki/Butz-Choquin) to see what I could find on the brand that the Regate line there. I found a catalogue page from Doug Valitchka on the Regate that listed the pipe line and a description (https://pipedia.org/wiki/File:BC10.jpg). I have captured that image below. The description under the Regate heading reads –

Regate (and the description below is in both French and English)

Les veines classique qui rallie les suffrages de la plupart des fumeurs

A great classic which meets with the approval of the majority of smokers.

I have also included another picture from Doug Valitchka that shows the shape of the pipe that I am working on (https://pipedia.org/wiki/File:BC06.jpg). It is the second shape that is shown on the page – Shape 1282. The shape is called a Genoises. Now it was time to work on the pipe. Jeff had cleaned up the pipe following his usual procedures. He reamed the pipe with a PipNet pipe reamer and cleaned up the remnants with a Savinelli Fitsall Pipe Knife. He cleaned out the inside of the shank and the airway in the stem with 99% isopropyl alcohol, cotton swabs and pipe cleaners. He scrubbed the exterior of the bowl with undiluted Murphy’s Oil Soap and a tooth brush. He rinsed it under running warm water to remove the soap and grime. He soaked the stem in Before & After Deoxidizer and rinsed it off with warm water. I took photos of the pipe once I received it.  The rim top cleaned up really well. But the cleaning revealed some serious burn damage on the rim top and front inner edge toward the right side. The stem surface looked good and the light tooth marks and chatter would be easy to address. The stamping on the sides of the shank is readable and reads as noted above.I removed the stem and took a photo of the pipe to give a sense of the shape and the grain on the bowl and shank. It was a great looking shape and would be a beautiful pipe when I was finished. I decided to start my work on the pipe by wiping the bowl down with acetone on a cotton pad to remove the heavy stain around parts of the bowl sides. I wanted really be able to see the grain on the bowl. I dealt with the damage to the rim top by topping it on a topping board with 220 grit sandpaper. I cleaned up the beveled inner edge of the rim with 220 grit sandpaper to remove as much of the burn damage as possible. I polished the bowl with micromesh sanding pads – 1500-12000 grit pads. I wiped it down with a damp cloth after each sanding pad.  It was beginning to look good to my eyes. I stained the inner edge and rim top with an Oak Stain Pen to match the rest of the surrounding bowl. It helps to blend in the burned area some more. The rim top and edges definitely look better than when I started.I rubbed the bowl and shank down with Before & After Restoration Balm. I worked it into the surface of the bowl sides and shank with my fingertips to clean, enliven and protect the briar. I let the balm sit for ten minutes then buffed the bowl with a cotton cloth to raise the shine. I set the bowl aside and turned my attention to the stem. I “painted” both sides of the stem with the flame of a lighter to lift the tooth marks. It did a great job and left only one deep mark on the underside and some lighter tooth marks on the topside along the button. I filled them in with clear CA glue and once it cured I used a small file to sharpen the edge of the button and smooth out the repair. I sanded the stem with 220 grit sandpaper to smooth out the repairs. I started polishing it with 400 grit sandpaper.  I used some white acrylic fingernail polish to touch up the BC stamp on the left side of the stem. I painted it on with the brush and once it dried scraped it off and sanded it with a 1500 grit micromesh sanding pad.I polished the stem with micromesh sanding pads – 1500-12000 grit pads. I wiped it down with Obsidian Oil after each sanding pad. I used Before & After Pipe Polish – both Fine and Extra Fine to further polish the stem. This Butz-Choquin Regate 1282 Zulu is a great looking pipe now that it has been restored. The combination of various brown stains around the bowl is quite beautiful and highlights grain very well. The finish works well with the polished curved vulcanite taper stem. I put the stem back on the bowl and carefully buffed the pipe with Blue Diamond on the buffing wheel using a light touch on the briar. I gave the bowl and the stem multiple coats of carnauba wax on the buffing wheel and followed that by buffing the entire pipe with a clean buffing pad. I hand buffed the pipe with a microfiber cloth to deepen the shine. The finished Butz-Choquin Regate Zulu sits nicely in the hand and feels great. Give the finished pipe a look in the photos below. The dimensions of the pipe are Length: 6 inches, Height: 1 ¾ inches, Outside diameter of the bowl: 1 ¼ inches, Chamber diameter: ¾ inch. The weight of the pipe is 35 grams/1.23 ounces. I will be putting it on the French Pipemakers section of the rebornpipes store shortly. If you are interested in adding this pipe to your collection send me a message or an email. Thanks for reading this blog and my reflections on the pipe while I worked on it. There are many more to come! 
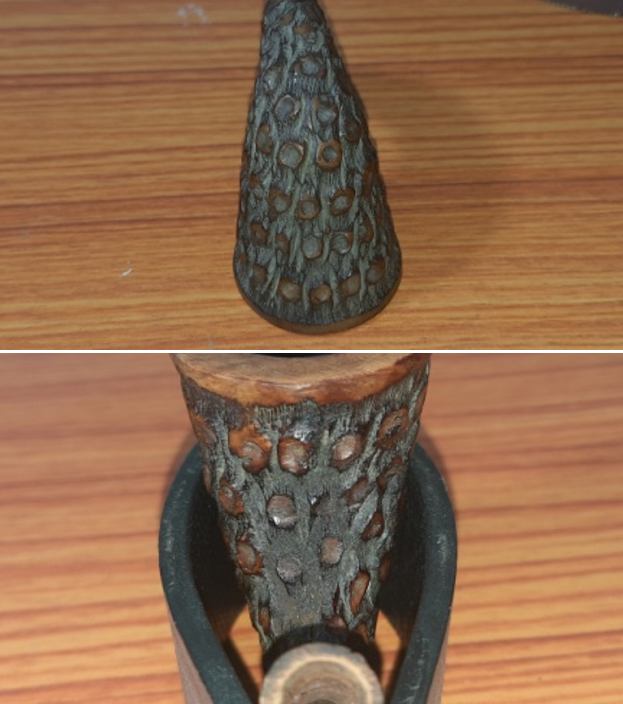
Restoring and Repairing a Cracked Shank on a John Surrey Ltd Super Panel Lovat


Blog by Steve Laug

The next pipe on the table is one that we picked up back in 2018 and have no clear record of where and when we picked it up. The shape is what attracted us to the pipe. It is a unique shape with the panels on the bowl and the short Lovat style shank with a saddle stem. The finish was dirty with grime ground into the finish around the bowl sides. There were also some cracks in right side mid shank and on the lower part as well. The cracks were in the middle of some fills on that side of the bowl. There was a thick cake in the bowl and lava overflow on the top of the rim. There was also tobacco debris in the bowl. The stem was lightly oxidized and there were tooth marks and chatter on both sides near the button. The pipe is stamped on the left side of the shank and reads SUPER. On the right side it reads IMPORTED BRIAR. On the underside it is stamped John Surrey Ltd. The stamping is all clear and readable. He took photos of the rim top and bowl to give a clear picture of the thickness of the cake and well as the nicks, lava and darkening on the rim top. The inner and outer edges of the bowl were in great condition. He also took photos of the top and underside of the stem to show the light oxidation and the chatter and tooth marks.  Jeff took a photo the sides and heel of the bowl to give a picture of the beautiful grain around the bowl and shank. He also took a photo of the fills and damage to the right and underside of the shank – there were fills that had fallen out and there was a crack that needed attention.The stamping on the sides of the shank is clear and readable and read as noted above. Jeff did not take a photo of the John Surrey Ltd. stamp on the underside of the shank. I turned to Pipephil’s site and looked for information on the John Surrey Ltd pipe company (http://pipephil.eu/logos/en/logo-j3.html). I found that the company, John Surrey, Ltd. was originally located at 509 Fifth Avenue New York City, New York in the USA. I also did a screen capture of the section on the brand. Interestingly the Super line is not included in the list but all of the other pipes in the section are stamped with the same style stamping as the one I am working on. The closest one is the John Surrey Ltd. Imported Briar Super Deluxe. It is possible that the Deluxe stamp is worn off on this one but it is not clear.I turned to Pipedia in the US pipe makers section to see if I could find some more information on the brand (https://pipedia.org/wiki/John_Surrey_Ltd.). I found a short summary which I include below regarding the brand.

John Surrey Ltd. made John Surrey pipes. They were based at 509 Fifth Ave, New York. And in 1948 the company put a pipe on the market which sold very successfully: the Slugger Baseball Pipe (shank and stem like a baseball bat, and bowl similar to a baseball).

That was the extent of the information so it was not time to work on the pipe. Jeff had cleaned up the pipe following his usual procedures. He reamed the pipe with a PipNet pipe reamer and cleaned up the remnants with a Savinelli Fitsall Pipe Knife. He cleaned out the inside of the shank and the airway in the stem with 99% isopropyl alcohol, cotton swabs and pipe cleaners. He scrubbed the exterior of the bowl with undiluted Murphy’s Oil Soap and a tooth brush. He rinsed it under running warm water to remove the soap and grime. He soaked the stem in Before & After Deoxidizer and rinsed it off with warm water. I took photos of the pipe once I received it. The crowned rim top cleaned up really well. The rim top had a lot of nicks and deep gouges in it but the inner and outer edge of the bowl appeared to be in good condition. The stem surface looked very good and the tooth marks chatter on the stem on both sides near the button could probably be sanded out. The stamping on the sides of the shank is readable and reads as noted above.  I removed the stem and took two photos of the pipe to give a sense of the shape and the grain on the bowl and shank. It was a unique shape and would be a beautiful pipe when I was finished. I took a series of photos of the cracks on the shank and flaws where the putty fills had fallen out.I decided to start my work on the pipe by dealing with the damage on the shank end. I filled in the crack and the damaged fills with briar dust and clear CA glue. I found a thin brass band in my band collection that was a perfect fit on the shank so once the repair had cured and I sanded it down I fitted a band. I put a thin bead of glue around the shank end and pressed the band in place. It bound the repaired areas together and it gave the shank a touch of bling. I took some photos of the banded shank to give a picture of what I was seeing! I dealt with the damage to the rim top by topping it on a topping board with 220 grit sandpaper. Like so many other things in this process I also would need to redo the crowned rim top once I was finished.I wiped the bowl down with acetone on a cotton pad to remove the heavy stain around parts of the bowl sides. I wanted really be able to see the grain on the bowl. I also used this in preparation for reworking the bowl crown.I used a flat file to take down the outer edge and bevel it to bring the crowned rim back to the top of the bowl. I sanded the outer filed edge and the inner edge to give a slight inward bevel with 220 grit sandpaper to smooth out the file marks and fine tune the shape of the rim.I polished the newly shaped rim top and edges along with the rest of the bowl with micromesh sanding pads – 1500-12000 grit pads. I wiped it down with a damp cloth after each sanding pad. It was beginning to look good to my eyes. I forgot to take a photo of the underside at this point. I paused the polishing to stain the rim top and edges of the bowl with an Oak Stain Pen. I wanted to see if I could blend it into the bowl sides. I also touched up the light spots on the bowl sides at the same time. Once I finished that I buffed the bowl with Blue Diamond on the buffing wheel and returned to finish the polishing with 6000-12000 grit micromesh pads. I rubbed the bowl and shank down with Before & After Restoration Balm. I worked it into the surface of the bowl sides and shank with my fingertips to clean, enliven and protect the briar. I let the balm sit for ten minutes then buffed the bowl with a cotton cloth to raise the shine. I set the bowl aside and turned my attention to the stem. I “painted” both sides of the stem with the flame of a lighter to lift the tooth marks. It did a great job and left only one deep mark on the underside and some lighter tooth marks on the topside along the button. I filled them in with clear CA glue and once it cured I sanded the stem with 220 grit sandpaper to smooth out the repairs. I started polishing it with 400 grit sandpaper. I polished the stem with micromesh sanding pads – 1500-12000 grit pads. I wiped it down with Obsidian Oil after each sanding pad. I used Before & After Pipe Polish – both Fine and Extra Fine to further polish the stem.This John Surrey Ltd. Super Imported Briar Panel Lovat is a great looking pipe now that it has been restored. The combination of various brown stains around the bowl is quite beautiful and highlights grain very well. The finish works well with the thin brass band on the shank end and the polished vulcanite saddle stem. I put the stem back on the bowl and carefully buffed the pipe with Blue Diamond on the buffing wheel using a light touch on the briar. I gave the bowl and the stem multiple coats of carnauba wax on the buffing wheel and followed that by buffing the entire pipe with a clean buffing pad. I hand buffed the pipe with a microfiber cloth to deepen the shine. The finished John Surrey Ltd. Super Panel Lovat sits nicely in the hand and feels great. Give the finished pipe a look in the photos below. The dimensions of the pipe are Length: 4 ¾ inches, Height: 1 ½ inches, Outside diameter of the bowl: 1 ¼ inches, Chamber diameter: ¾ inch. The weight of the pipe is 38 grams/1.34 ounces. I will be putting it on the American (US) Pipemakers section of the rebornpipes store shortly. If you are interested in adding this pipe to your collection send me a message or an email. Thanks for reading this blog and my reflections on the pipe while I worked on it. There are many more to come!