Blog by Steve Laug
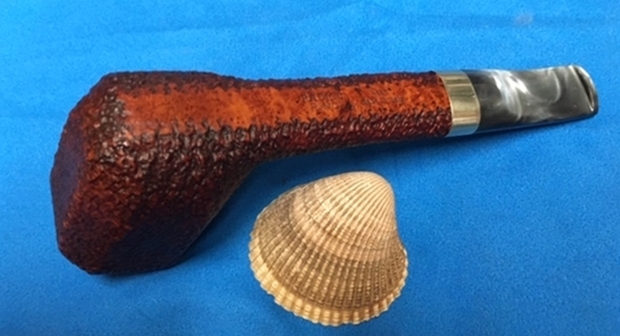
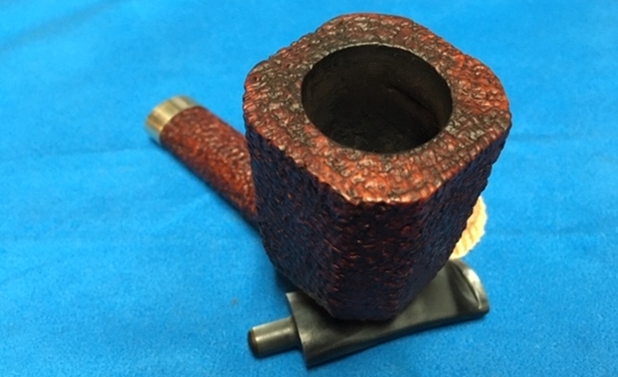
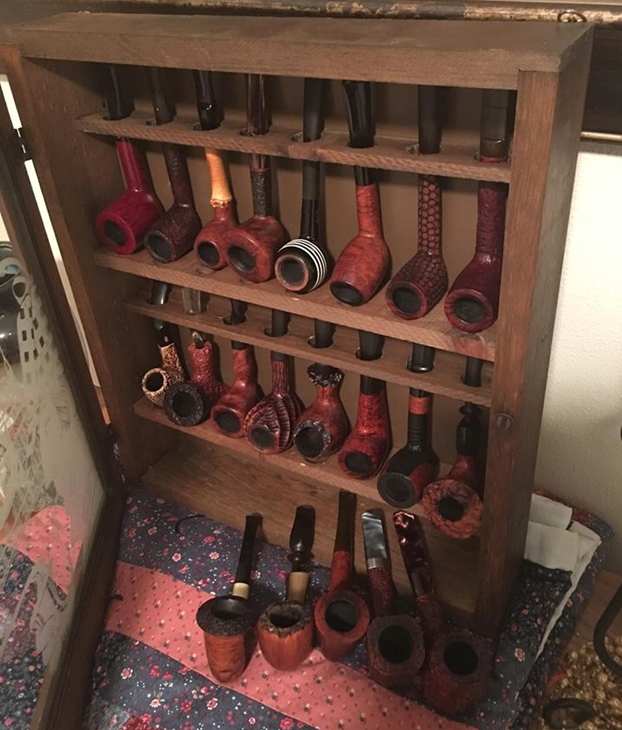
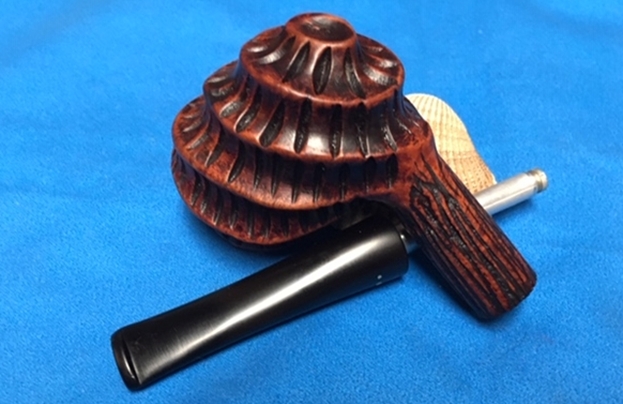
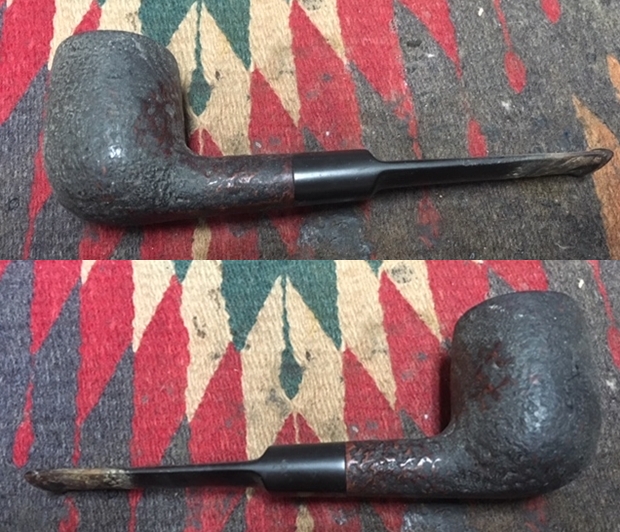
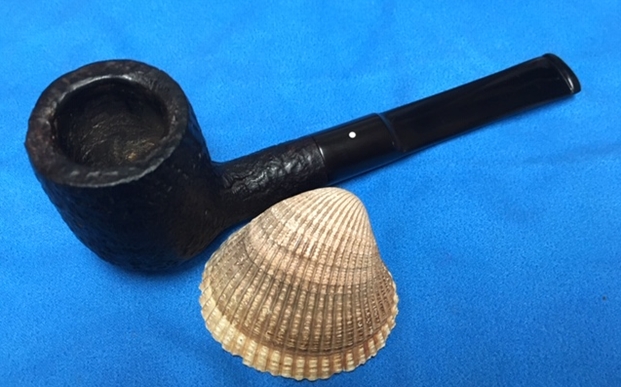
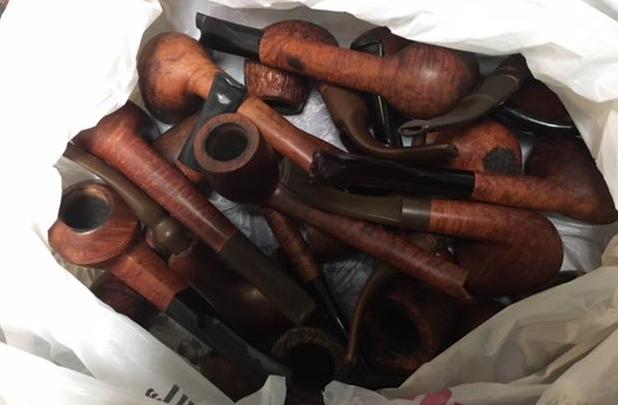
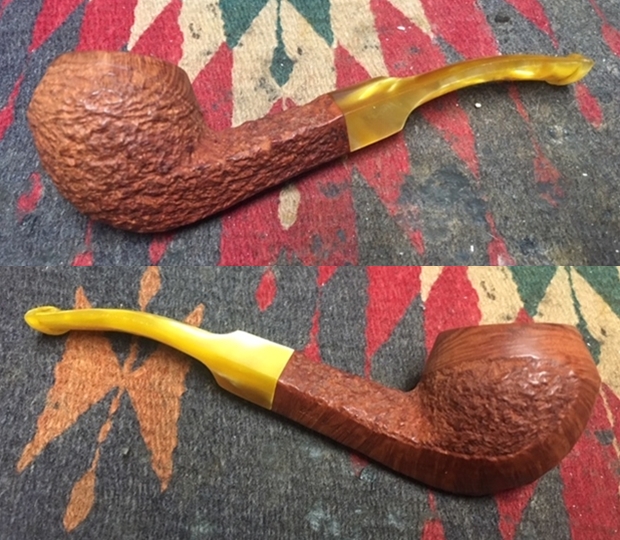
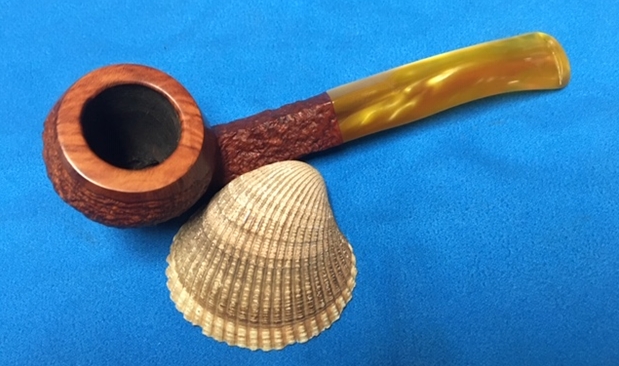
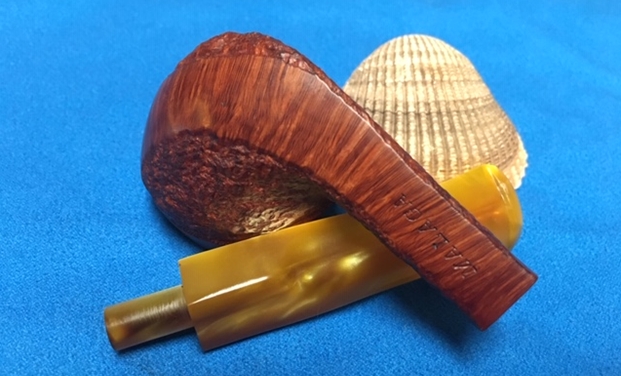
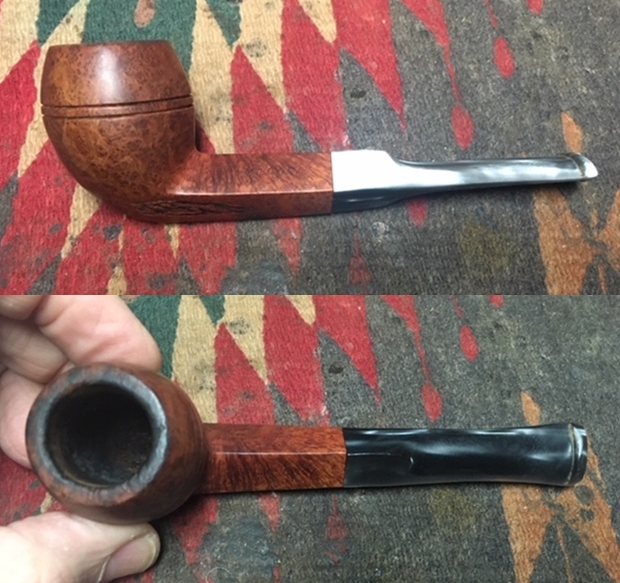
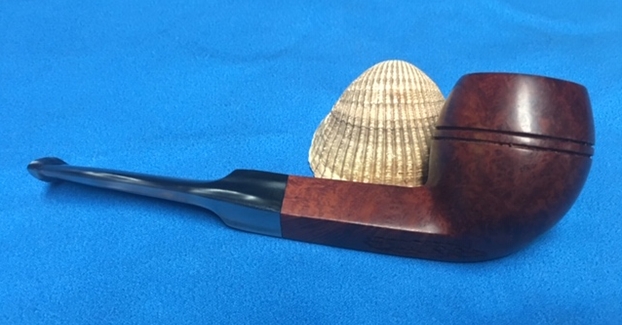
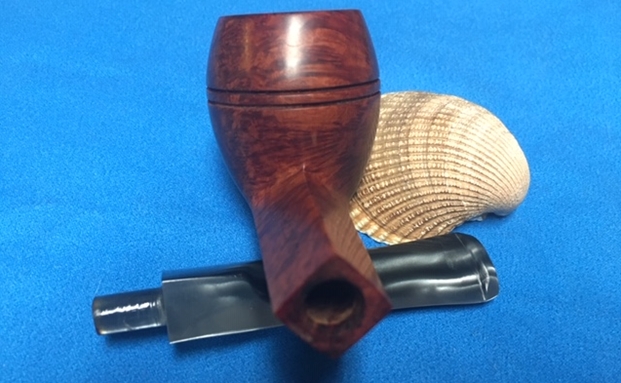
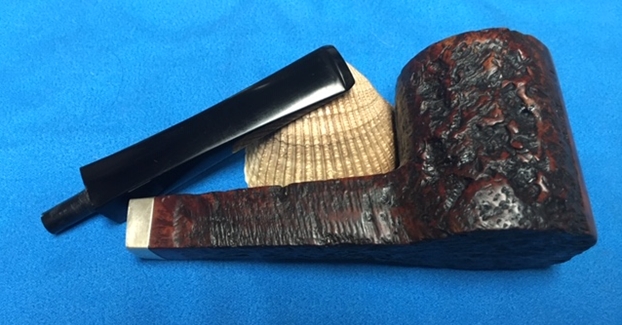
The next pipe on the work table is another relatively new acquisition from a collection Jeff and I purchased from Michigan. It included a pipe cabinet and 21 pipes that is pictured below. There were some nice pipes in that collection and some that I have never seen before.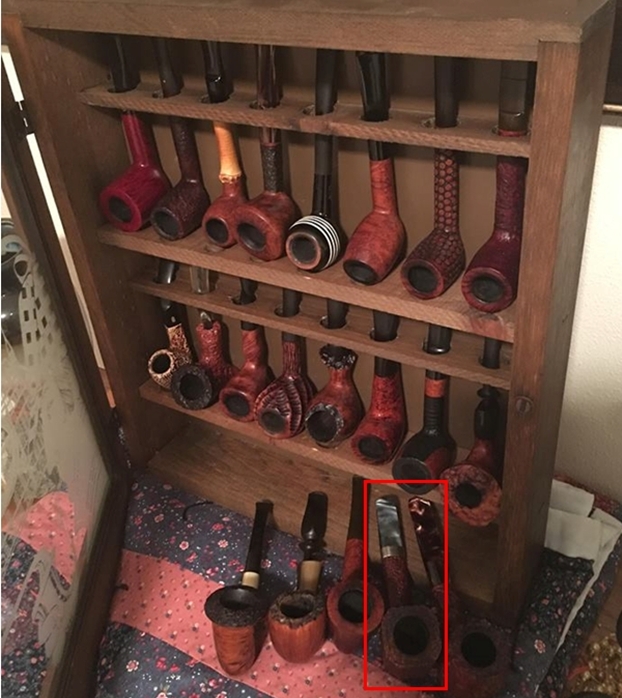 In looking over the pipes in the collection the next pipe I chose to work on an interesting large Paneled pipe. I don’t know what to call the shape – a Panel Canadian with a saddle stem? It has an oval shank but a slight saddle stem. The band is for bling and not for repair and the stem is a swirled or marbled Lucite. The rustication on the bowl is almost sandblast like and quite nice. The grain shows through the blast and the contrast of brown colours is quite stunning. It is shown in the photo of the rack above – it is identified at the bottom of the rack by the red border around it. The pipe is stamped on a smooth panel on the underside. It reads Radice over Rind with a subscript GT after Rind. Next to that it is stamped Hand Made in Italy. It was quite dirty, like the rest of the pipes in this collection. There was a thick cake in the bowl and a heavy lava overflow on the rim top. The inner and outer edges of the bowl looked very good. The stem had some tooth marks and chatter on both sides near the button and some tooth damage to the sharp edge and top of the button. Jeff took photos of the pipe before he started his cleanup process.
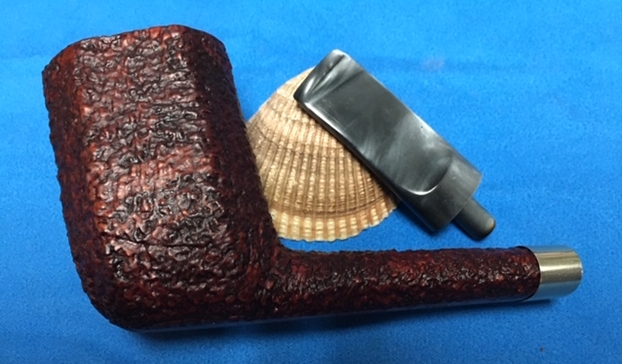
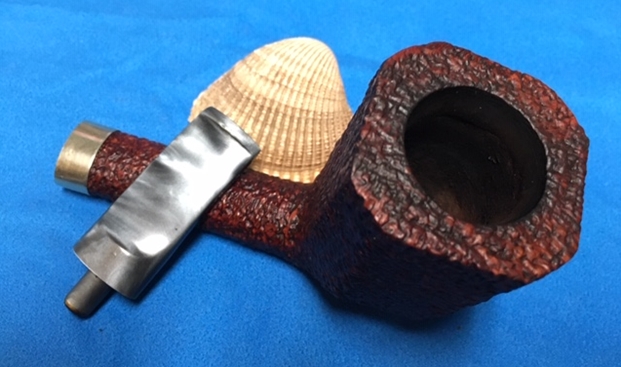
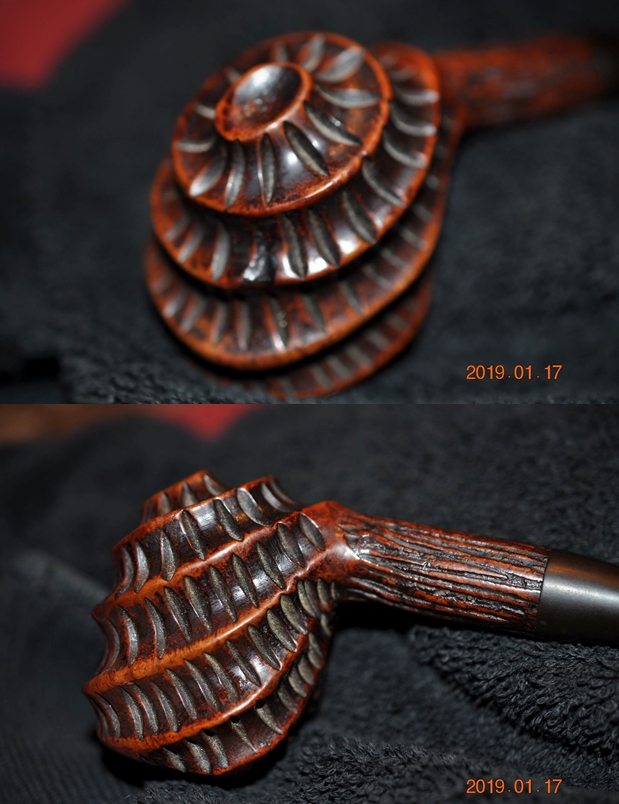
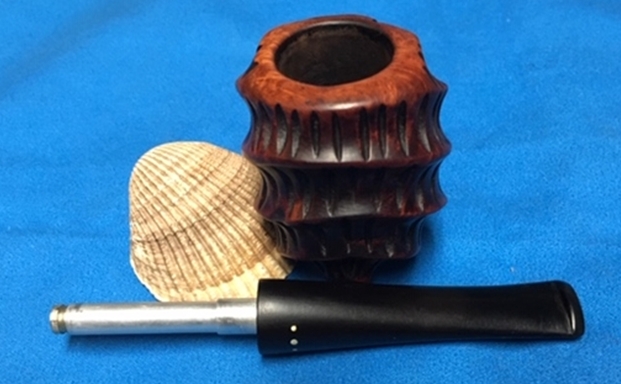
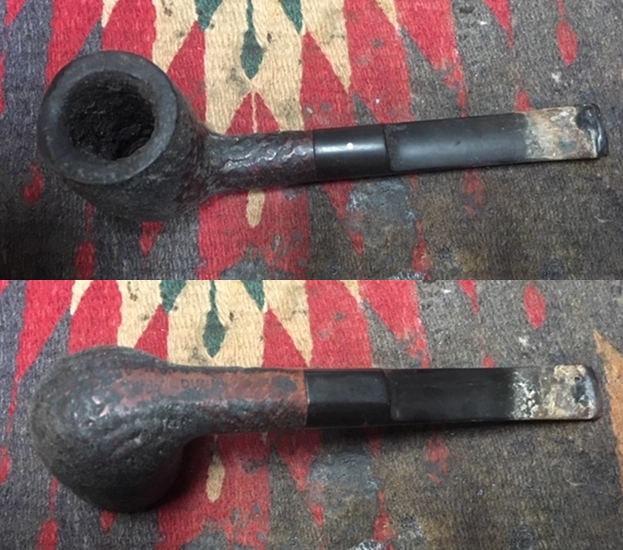
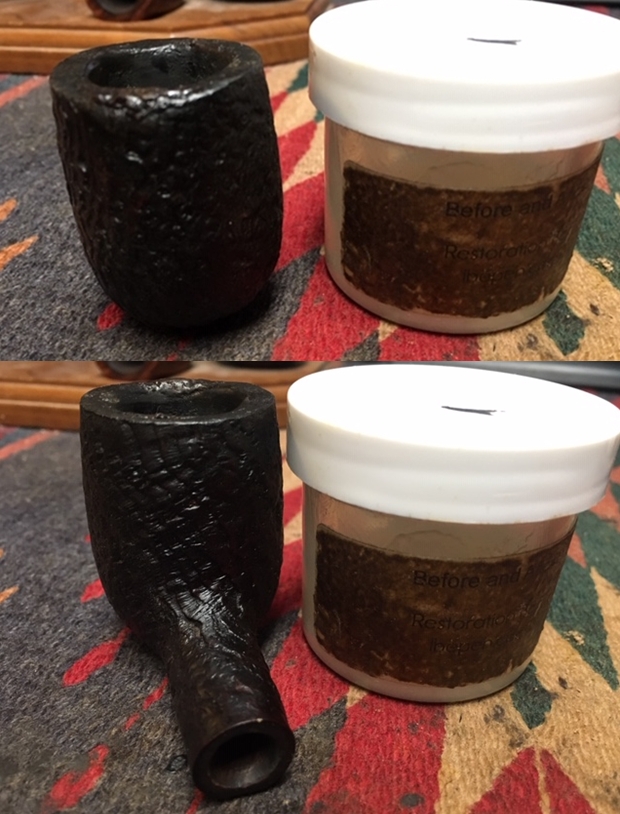
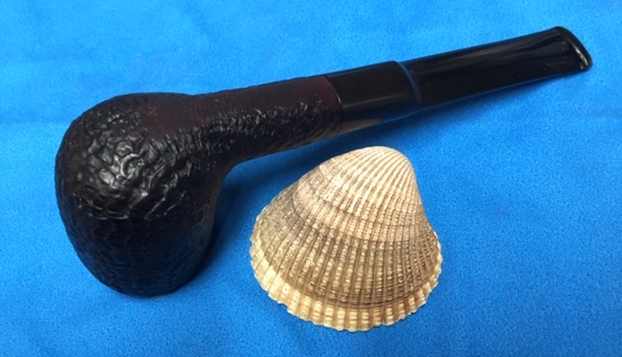
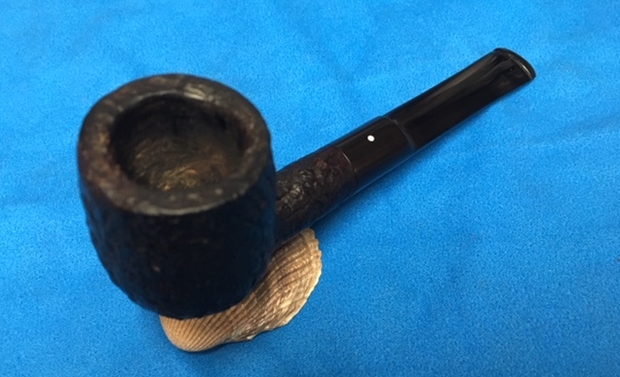
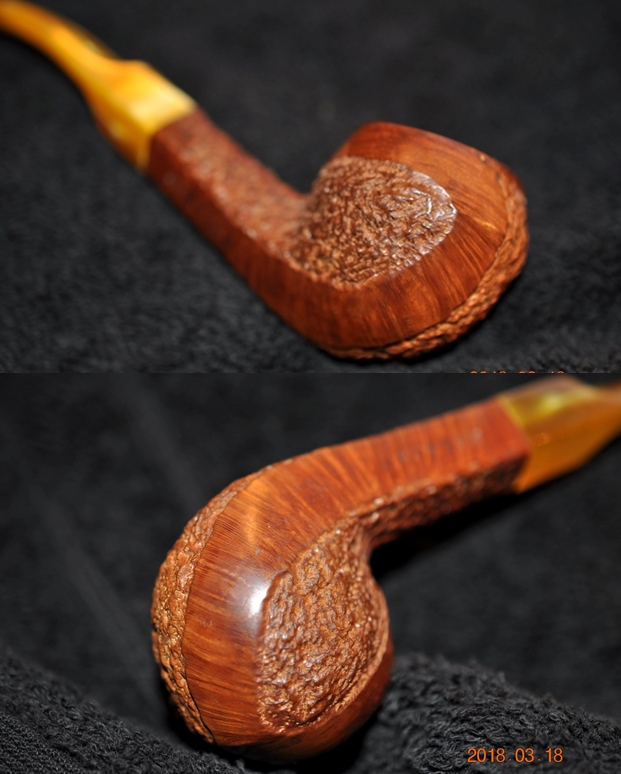
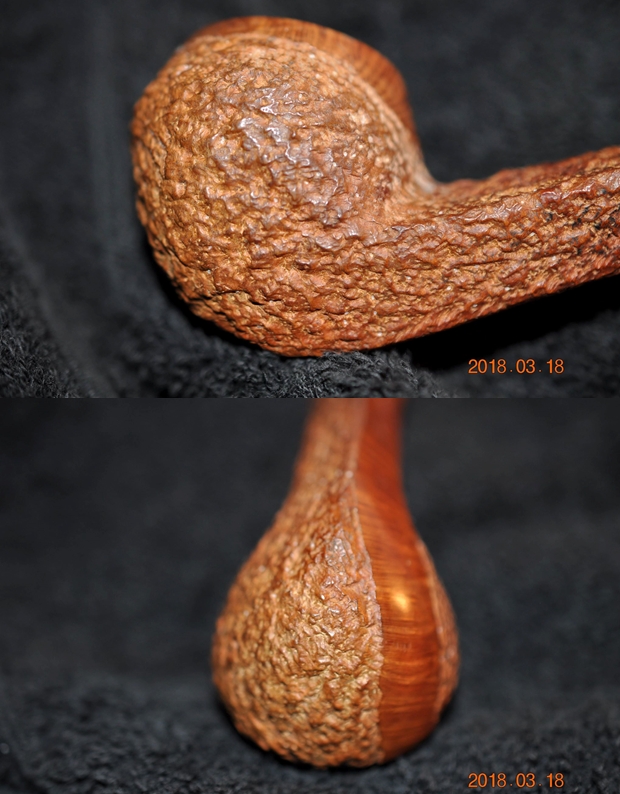
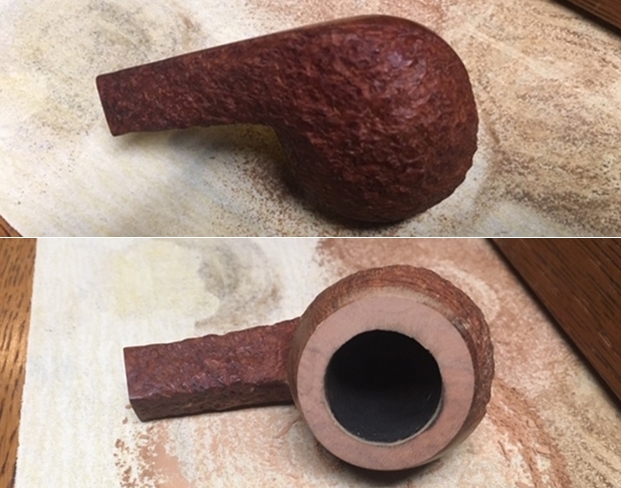
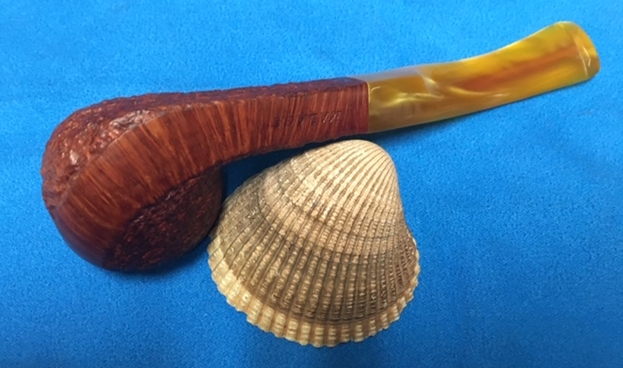
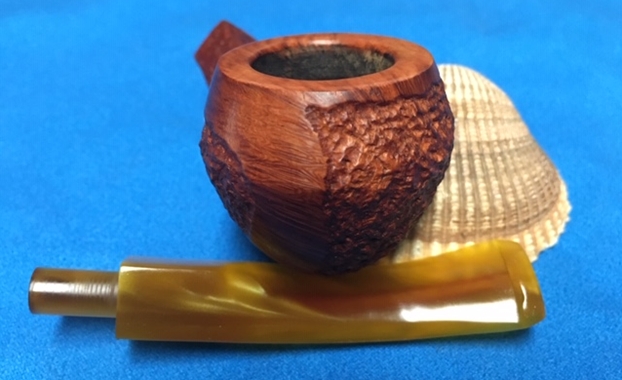
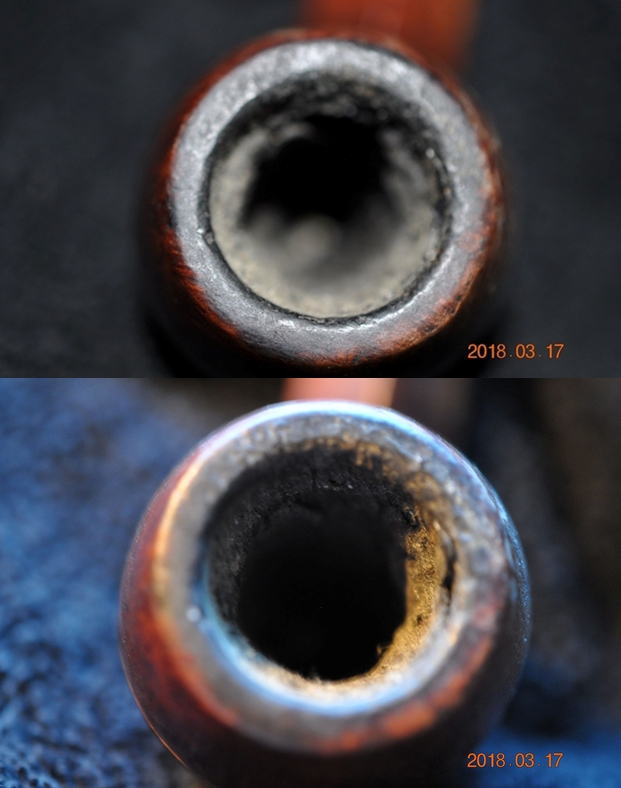
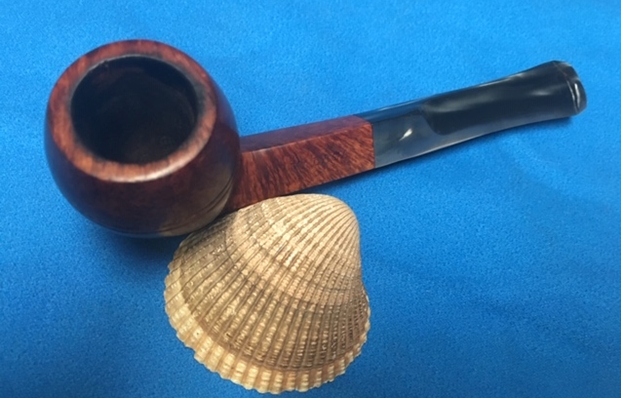
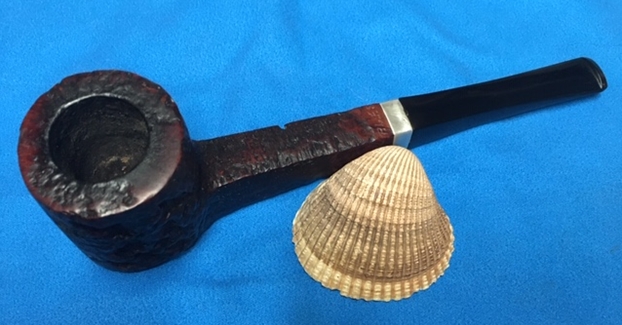
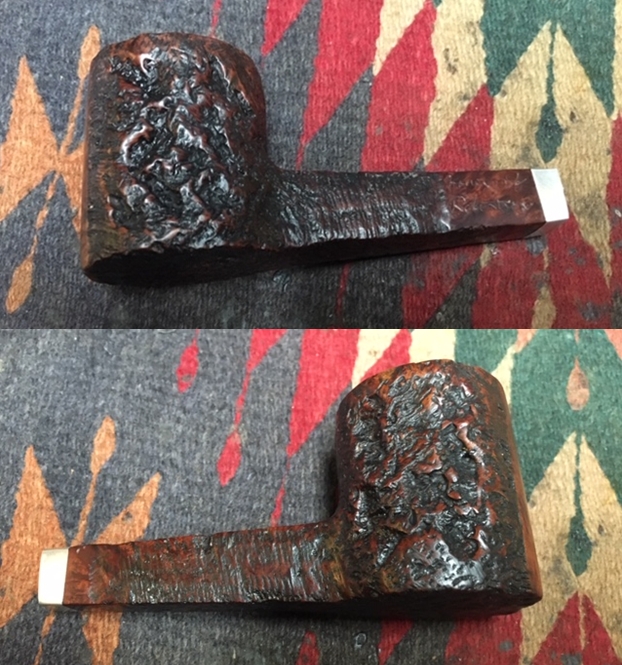
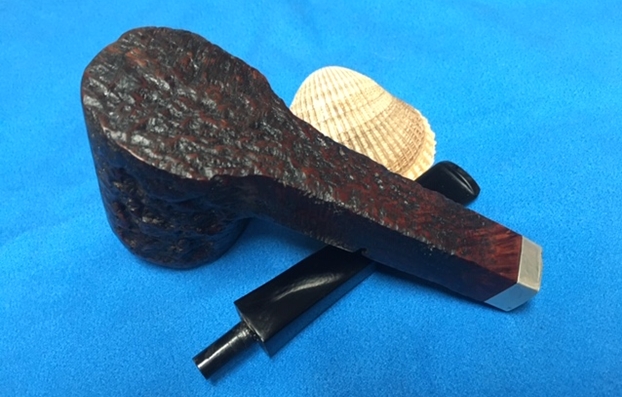
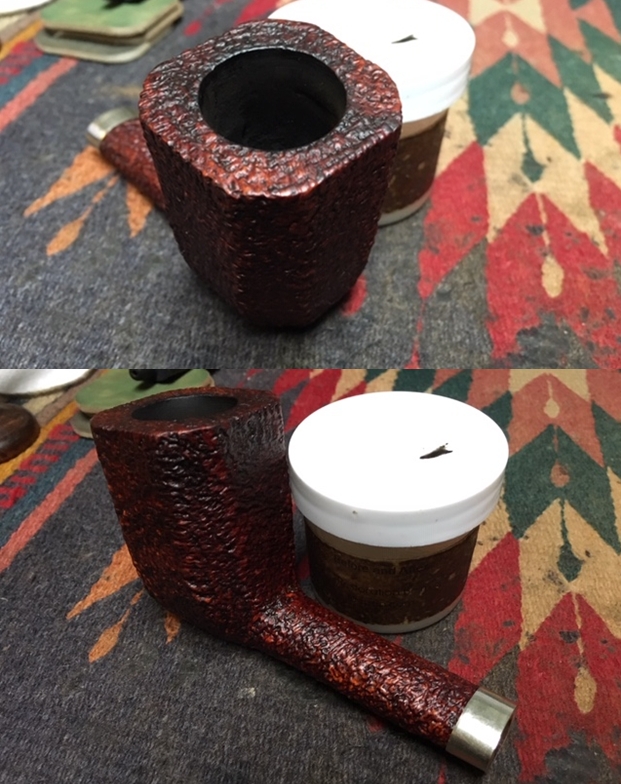
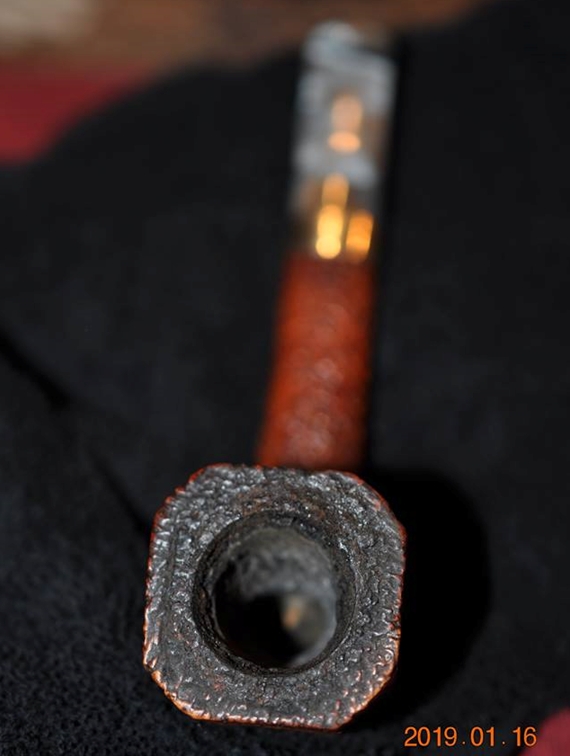 The next photo is a close up of the bowl. You can see the thick cake in the bowl and heavy overflow of lava on the rim top. He also took photos of the side and bottom of the bowl to highlight the condition of the pipe and the beauty of the rustication and finishing. It was a dirty pipe and obviously it was someone’s favourite pipe because it is so dirty and caked.
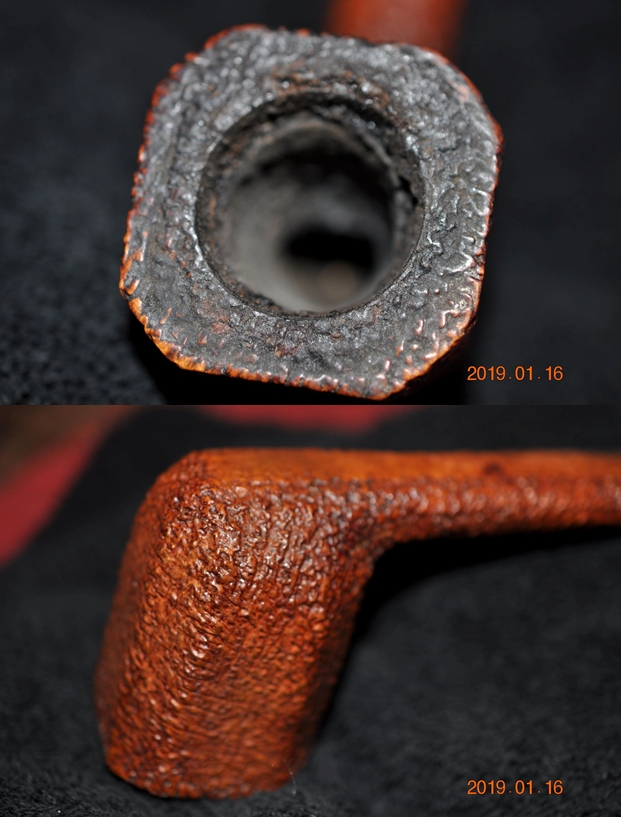
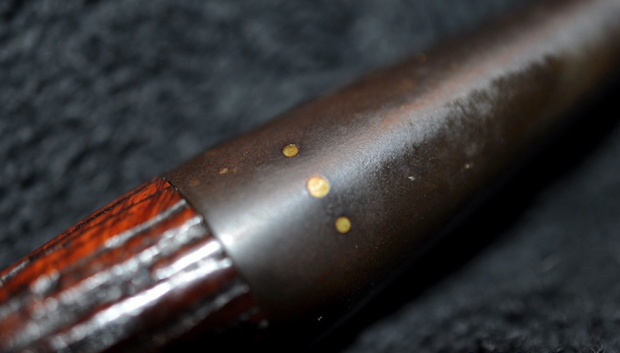
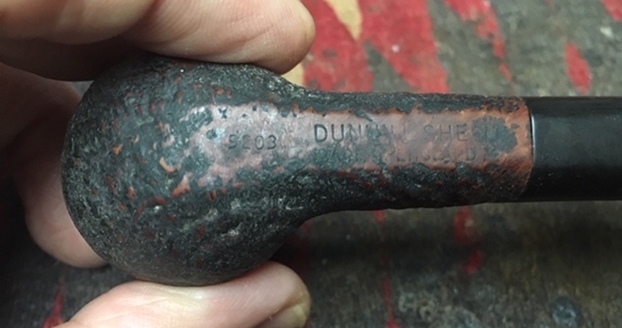
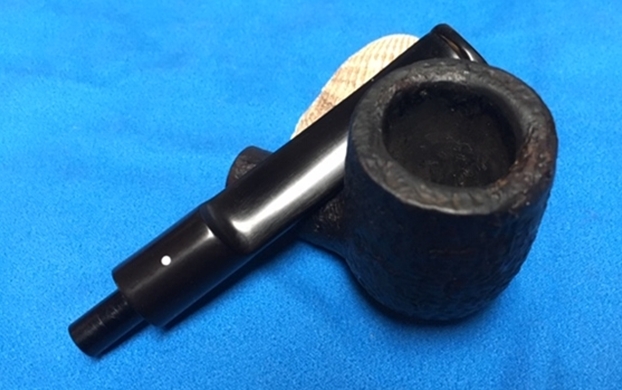
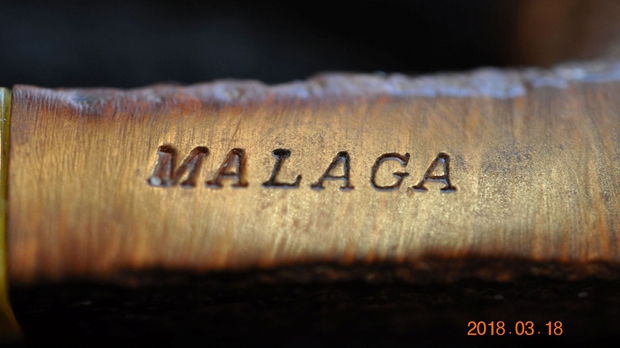
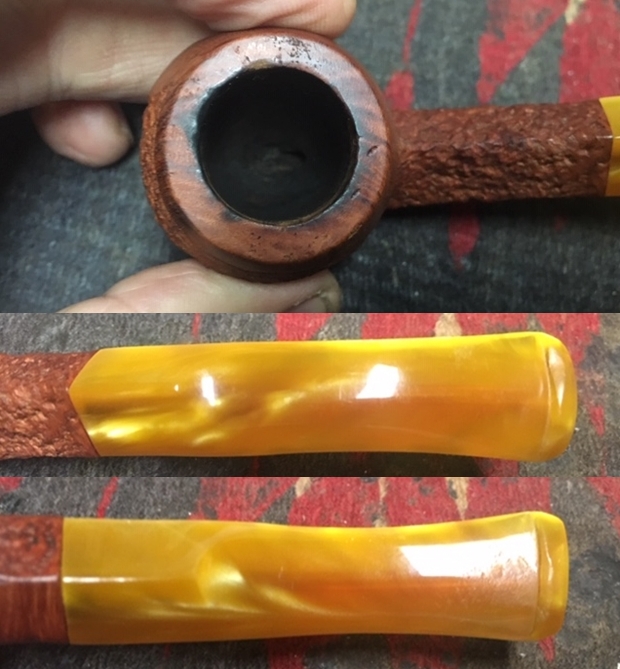
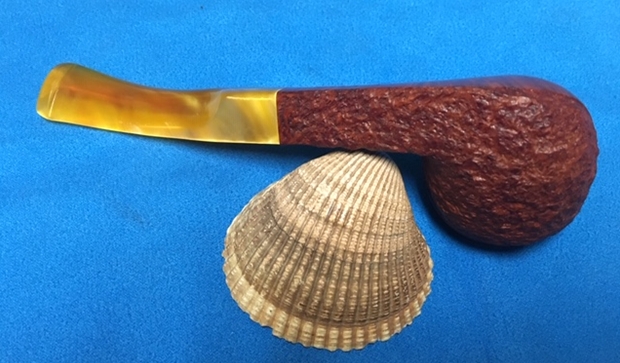
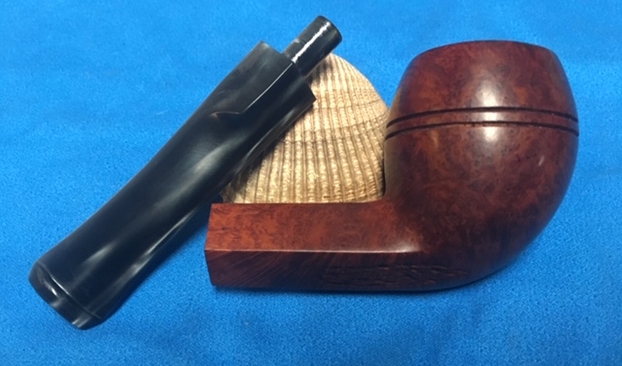
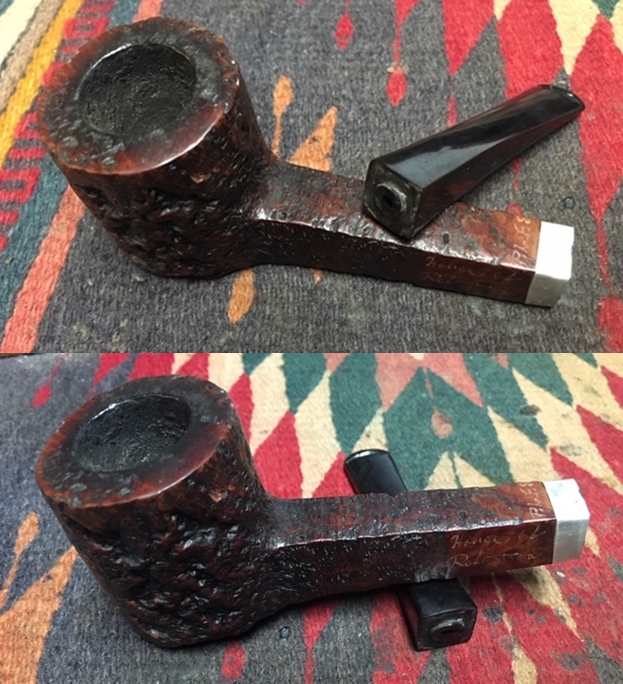
 The next photo shows the stamping on the underside of the shank. You can also see some grim and dirt in the letter G of the GT stamp. I wondered if it was a crack when I saw it. Once the pipe was cleaned up I would know better.
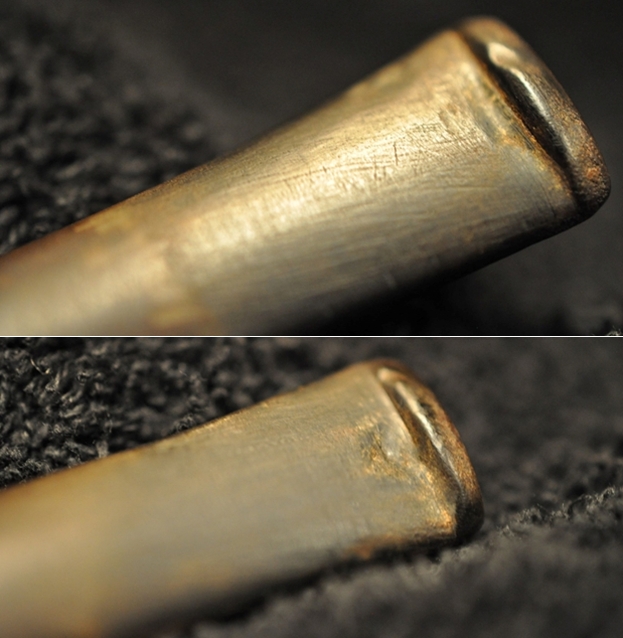
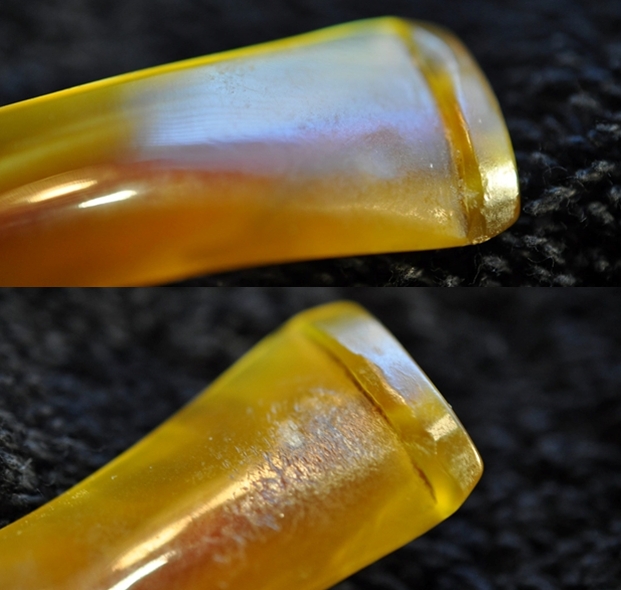
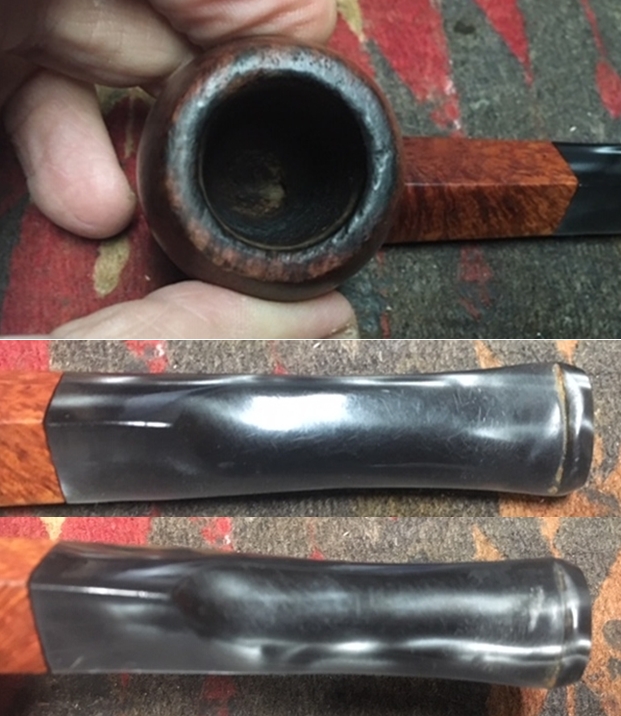
  The close up photos of the stem show the tooth marks in the surface near the button and the damage to the button itself on both sides.
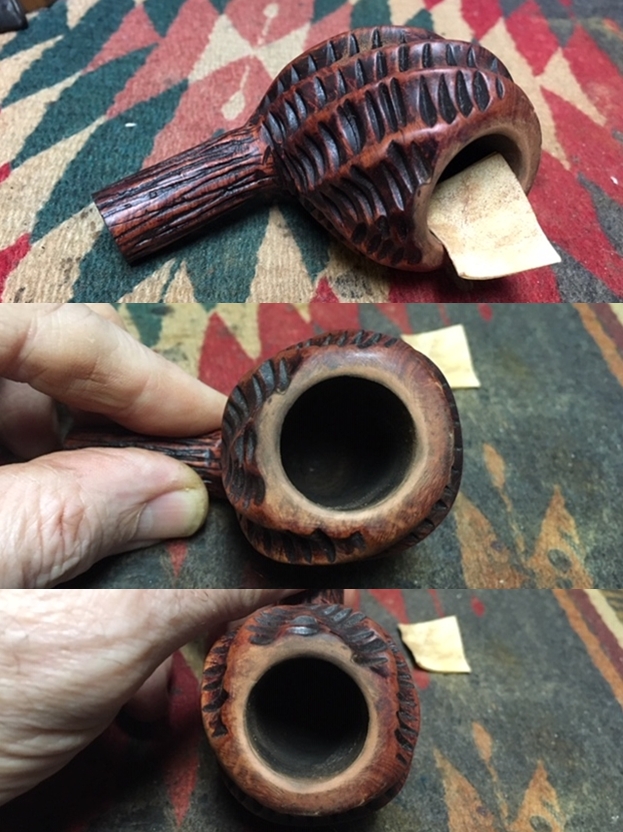
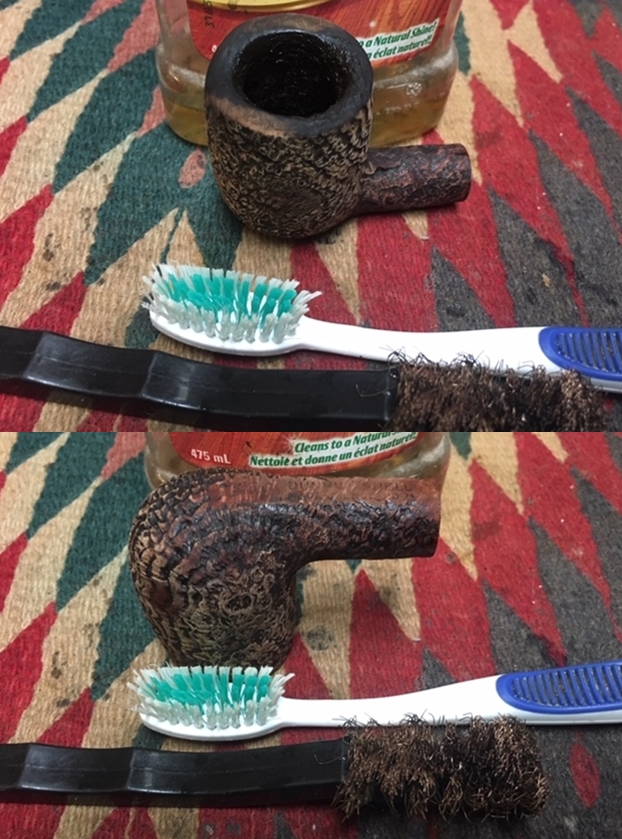
 If you have been a reader of the blog for a long time or maybe even a short time you probably could write the next part of this restoration. Jeff and I follow a pattern that rarely changes in the cleanup of pipes we work on. I include it here for new readers so that you can have a sense of that pattern. Jeff reamed the bowl with a PipNet pipe reamer and followed up with a Savinelli Fitsall pipe knife to remove the cake. He scrubbed out the mortise and the airway in the shank and the stem with alcohol, cotton swabs and pipe cleaners. He scrubbed the exterior of the bowl, rim, shank and stem with a tooth brush and Murphy’s Oil Soap to remove the oils and tars on the rim and the grime on the finish of the bowl. He rinsed it under running water. He dried it off with a soft cloth. He was able to remove the lava build up on the rim top and you could see the slight darkening at the back of the rim. I took photos of the pipe to show its condition before I started my work on it.
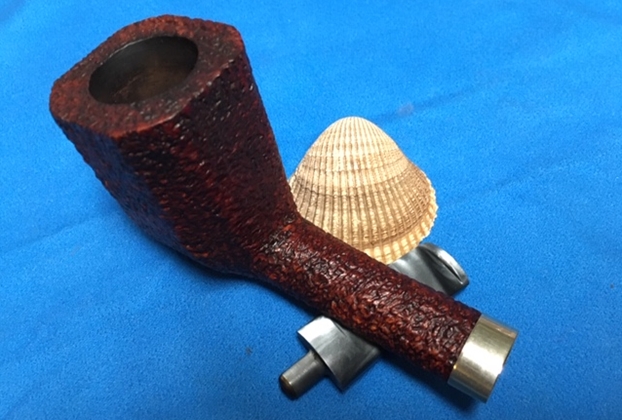
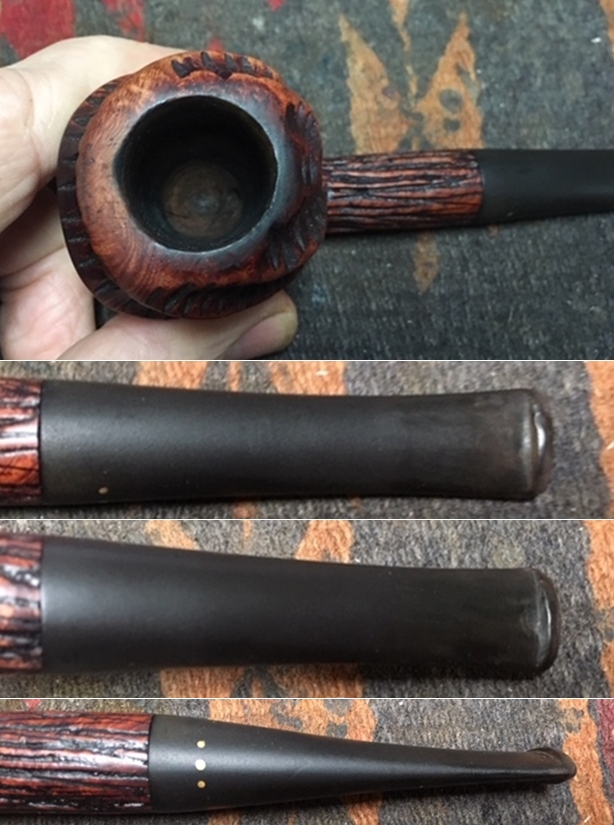
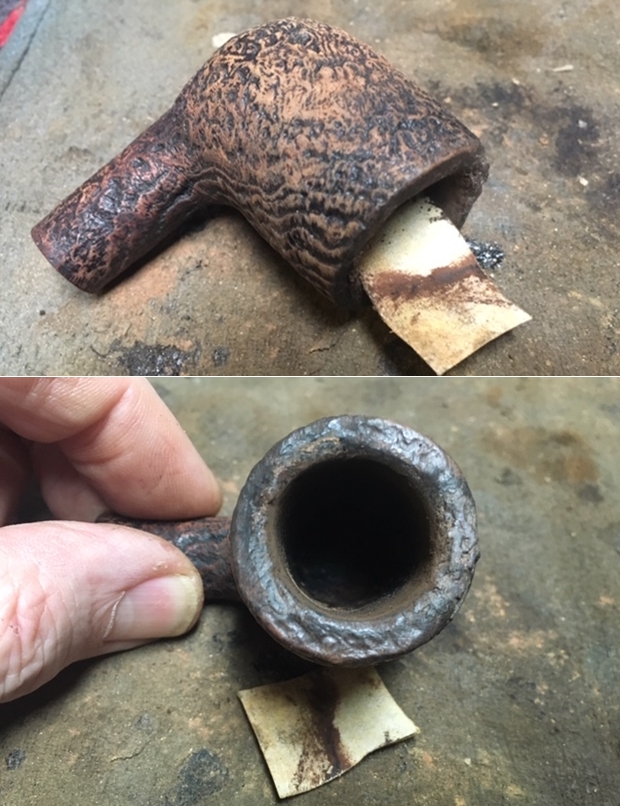
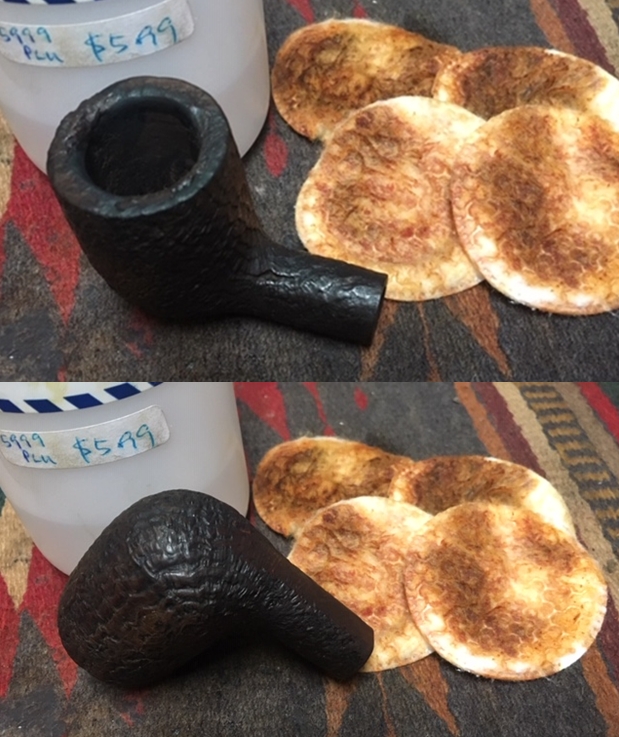
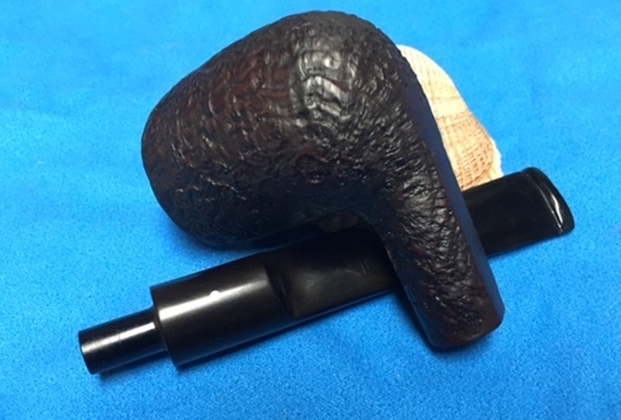
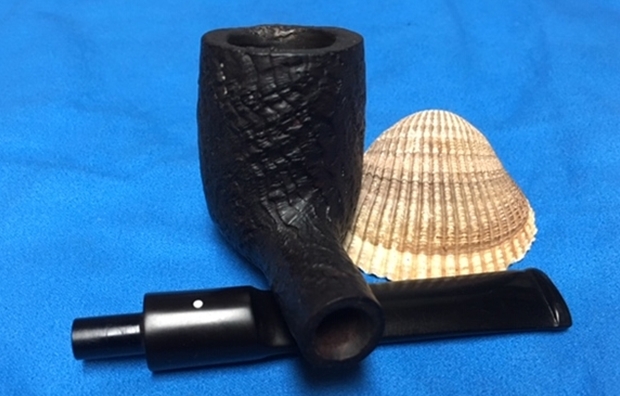
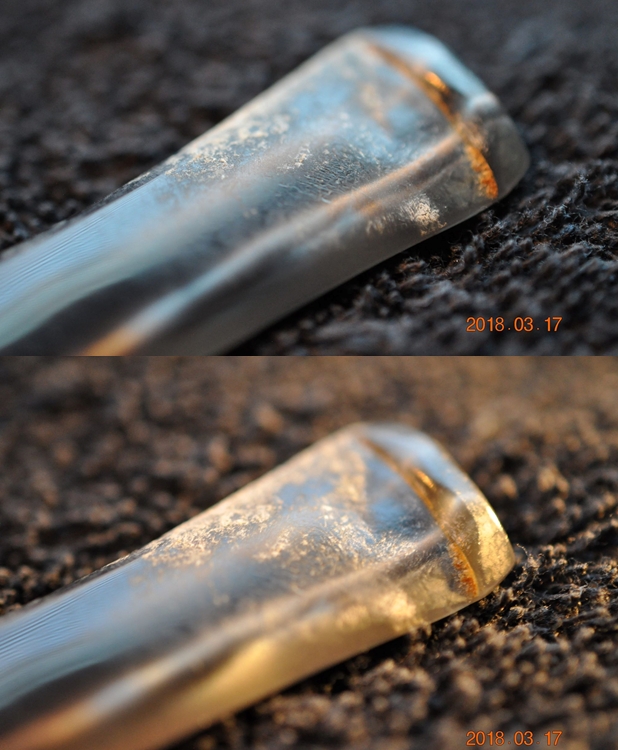
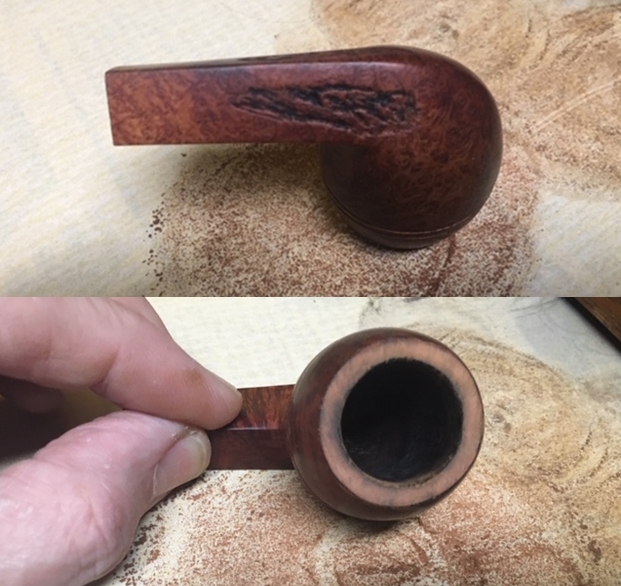
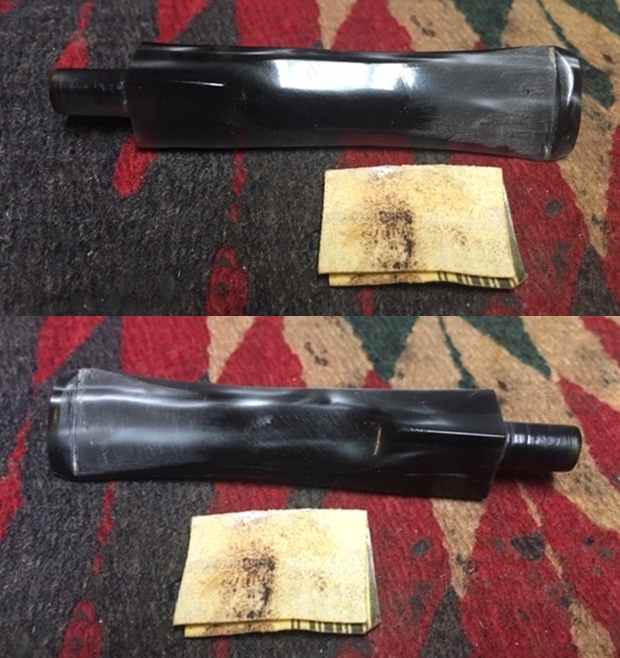
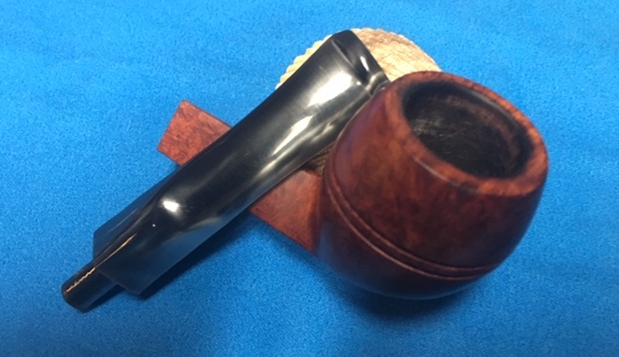
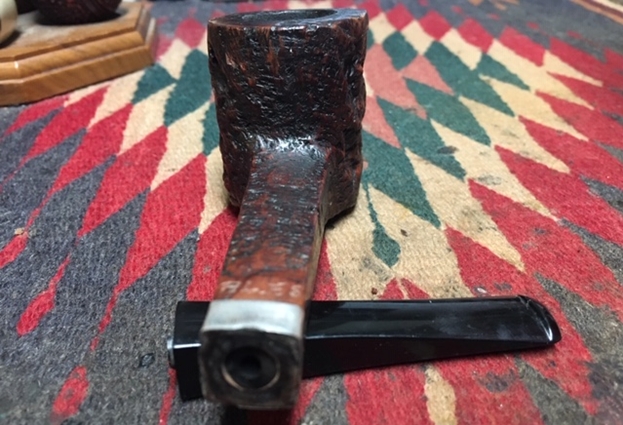
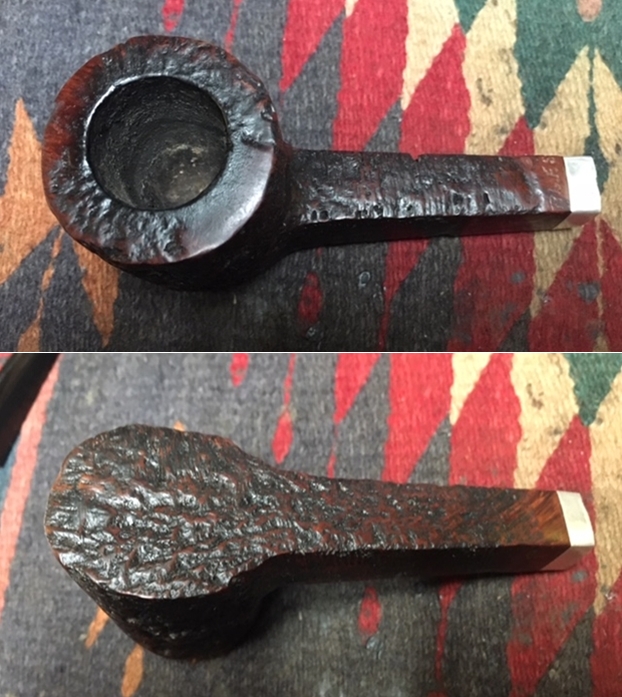
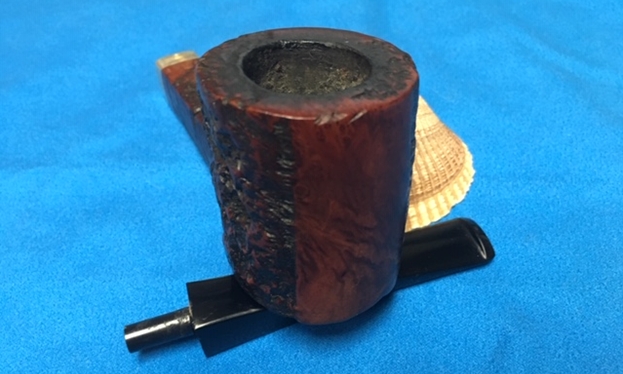
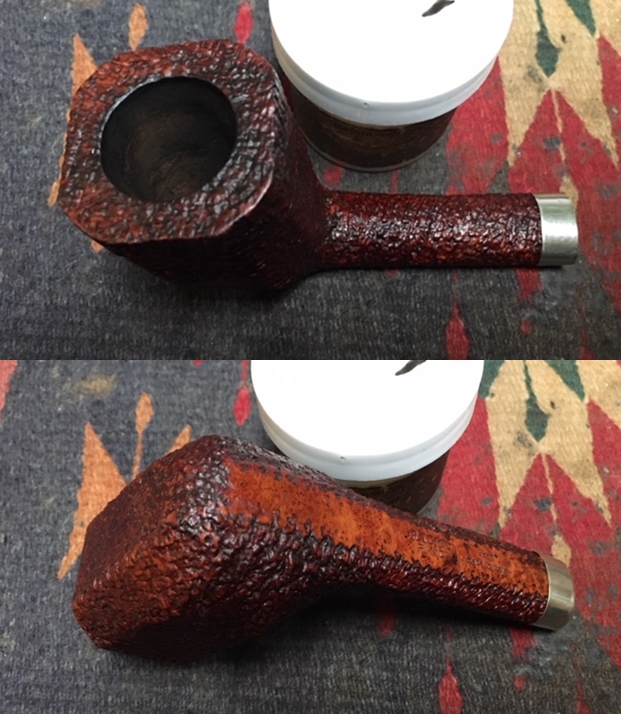
 I took close up photos of the bowl and rim top as well as the stem. You can see the condition of the rim top and bowl in the first photo. Jeff was able to remove all of the tar and oils and all that remained was some darkening toward back of the rim top and some deep lava in the rustication at the back of the rim. The Lucite stem had tooth chatter and some tooth marks on the top and underside of the stem near and on the button surface. The tooth marks are quite prominent and will need to be addressed on both the stem surface and button but otherwise the stem looked very good. The swirled grey Lucite looked good with the band and the variegated browns of the briar.
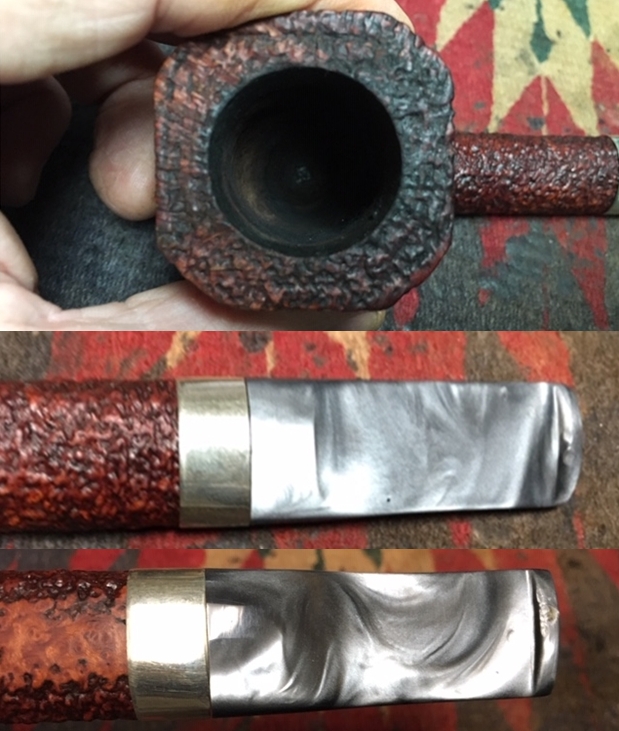 After the cleanup, the darkening around the G of the GT stamp on the underside of the shank looked better. I probed it with a dental pick and the area is solid. That was good news to me.
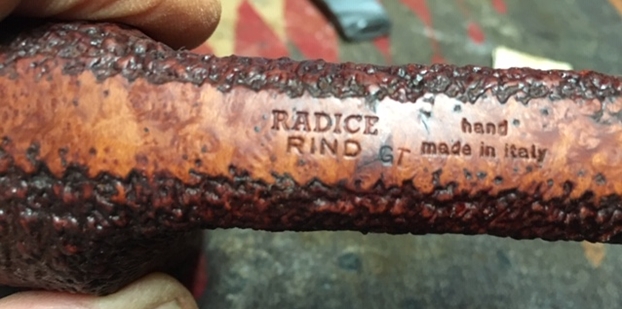 I remembered that Radice, the carver had started with Castello but could remember little else about the brand or the carver. I turned to Pipedia to refresh my memory of the brand and get some feel for the pipe I was working on (https://pipedia.org/wiki/Radice). I quote from there showing the connection not only to Castello but to Ascorti and Caminetto pipes.
 Luigi Radice, born 1939, took a piece of briar in his hands for the first time in 1961, when he was employed at Carlo Scotti’s Castello in nearby Cantu.
After lengthy experience, he founded, together with Peppino Ascorti, the famous “Pipa del Baffo”, the “Caminetto” which through 1974 and 1975 made wealth with the precious cooperation of Gianni Davoli, Milanese distributor.
In 1980 Luigi undertook a new adventure, founding his own brand: the Pipa Radice. From the beginning his son, Gianluca, joined the workshop, together with Luigi’s father, Paolo Radice, who helped in some basic steps of production.
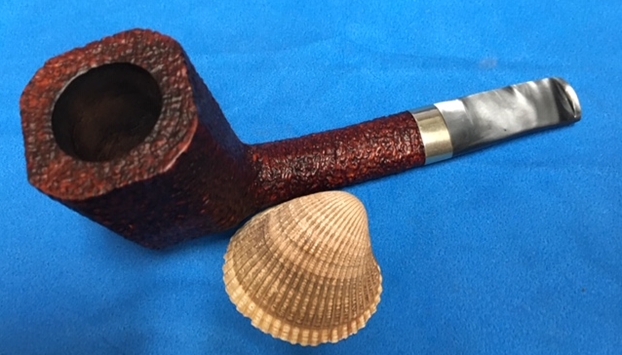
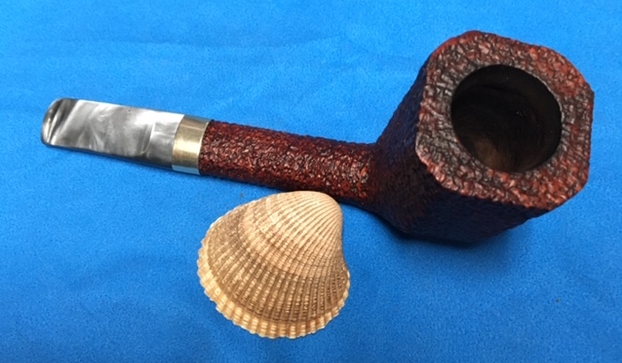
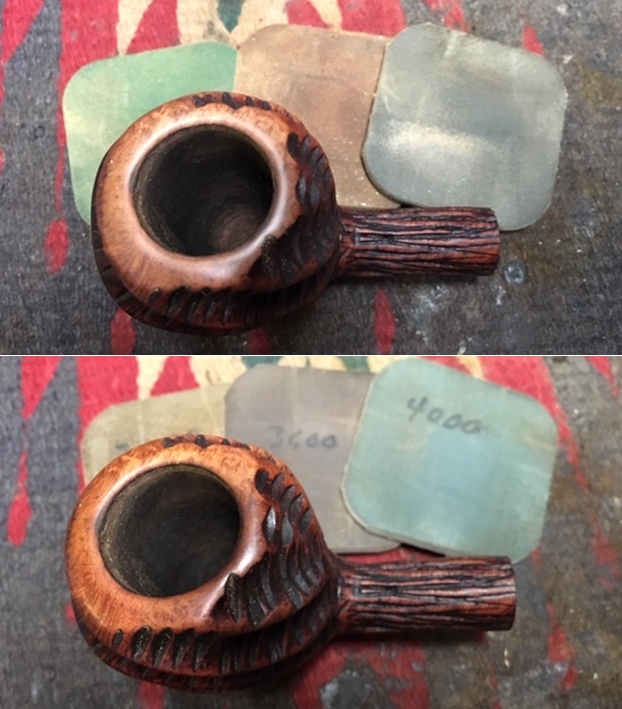
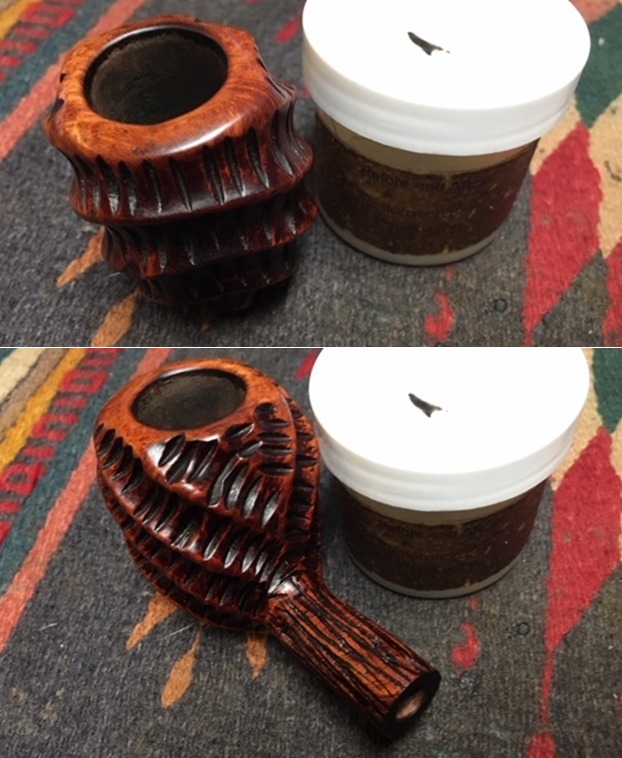
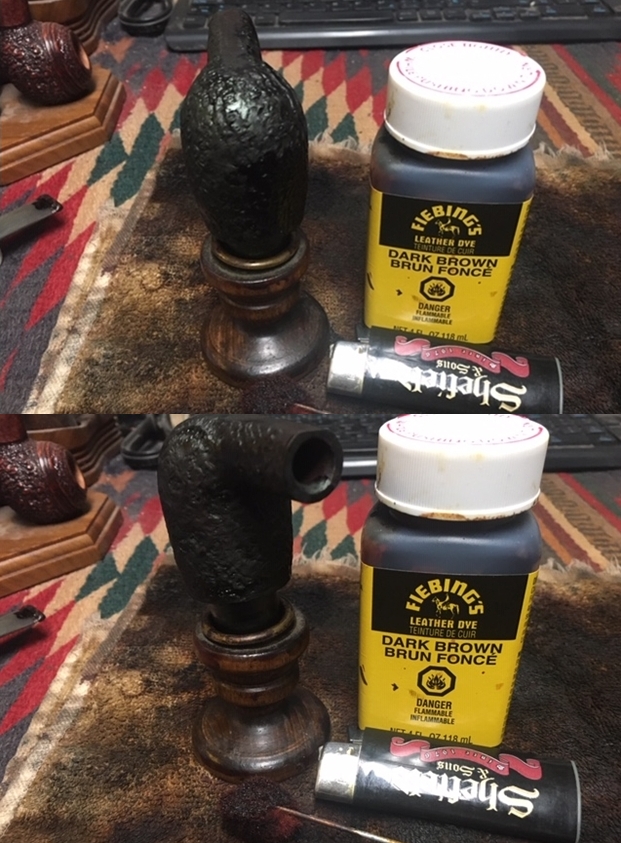
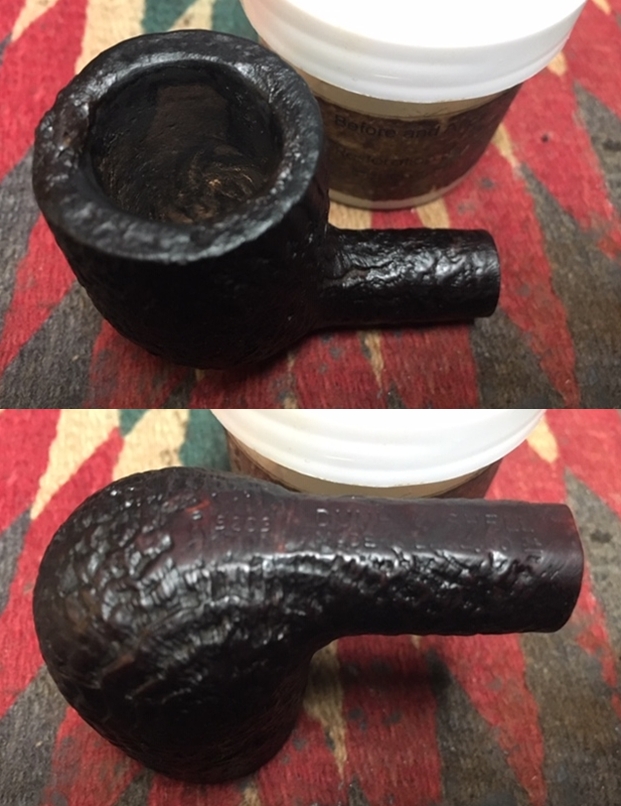
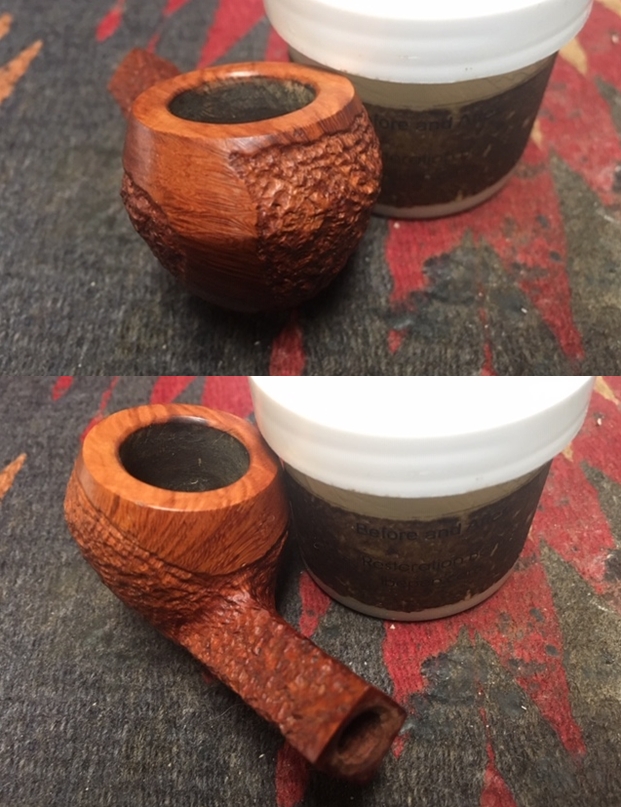
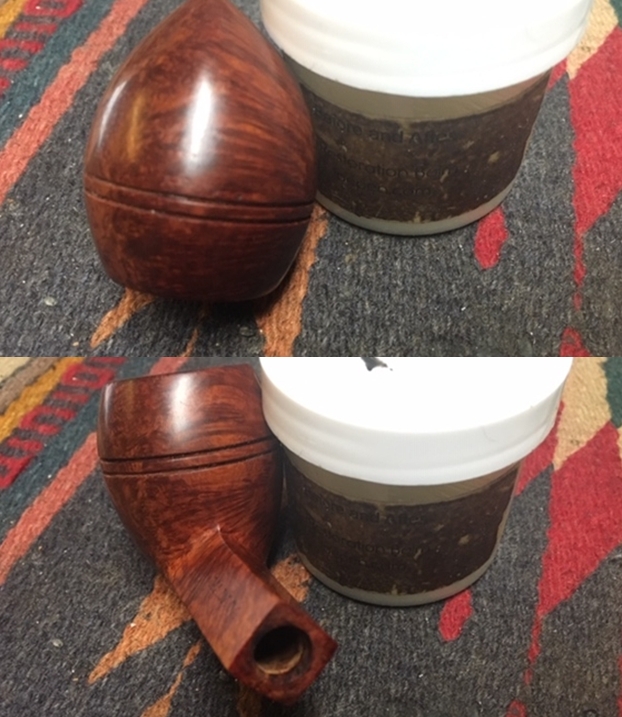
With that reminder of the maker and the brand I turned my attention to the pipe. I decided to start with the bowl as it was already so clean and the work would be minimal. I worked over the rim top with a brass bristle wire brush to clean out the remaining lava and to remove the darkening at the back of the rim. It had appeared that it was surface and the brush proved that to be true. The rim top looked really good once I had finished. 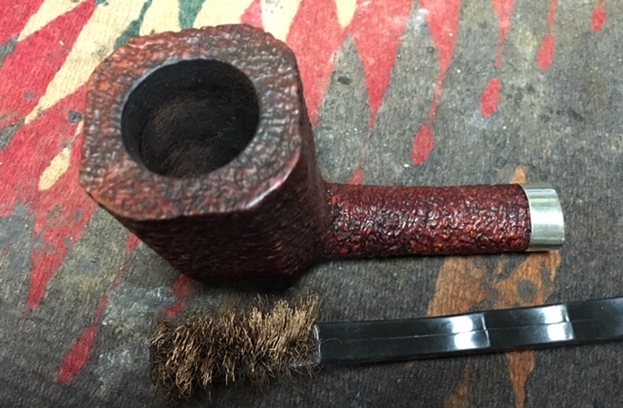 Once the rim top was clean, I worked some Before & After Restoration Balm into the rusticated surface of the briar with my fingertips to clean, enliven and protect it. It took some time to really get it into the grooves and valleys of the rustication but I was able to work it in. I worked it in with a shoe brush. I let the balm sit for a little while and then buffed with a cotton cloth to raise the shine. The following photos show the bowl at this point in the restoration process. The rim top looks really good and the darkening and lava are gone. I am very happy with the results.
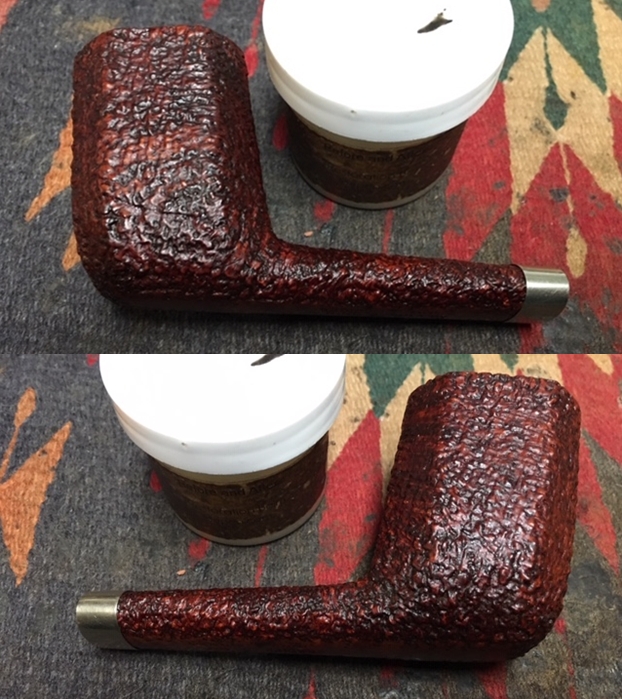
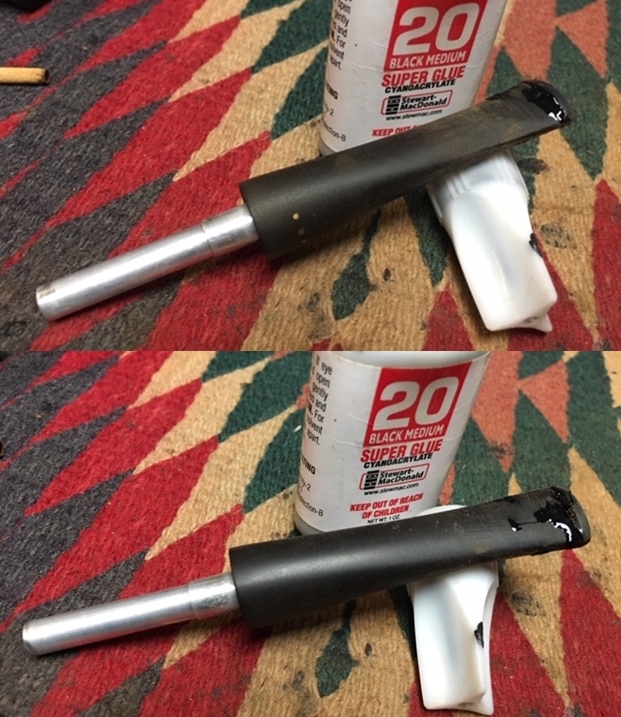
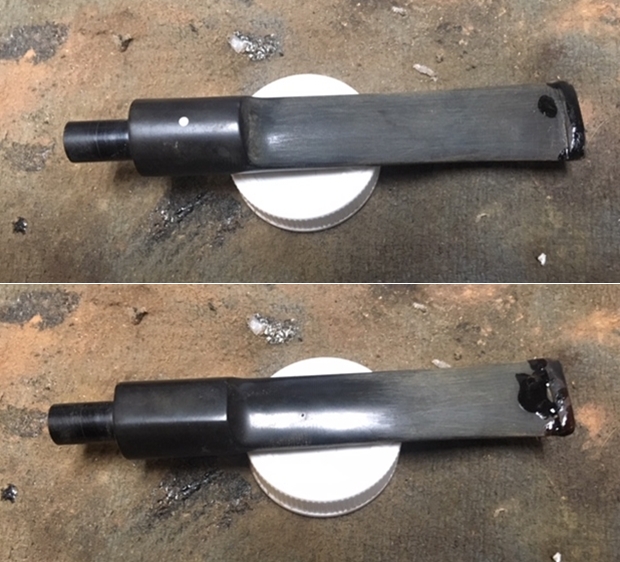
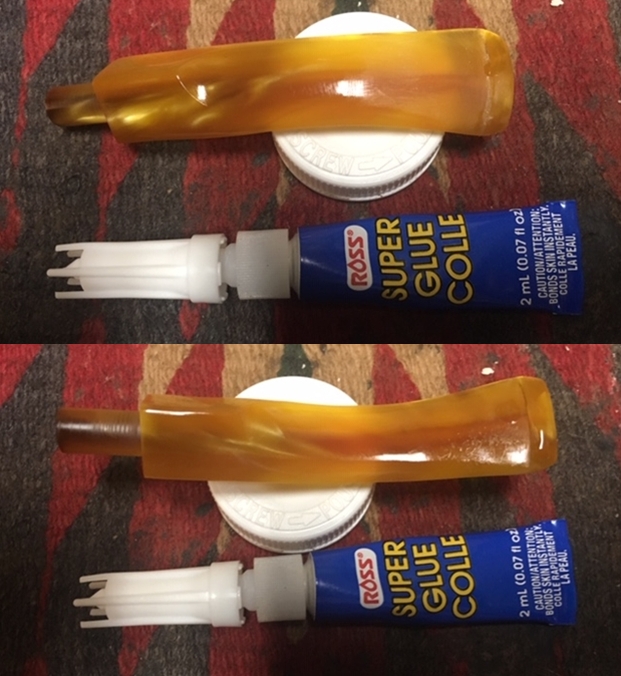
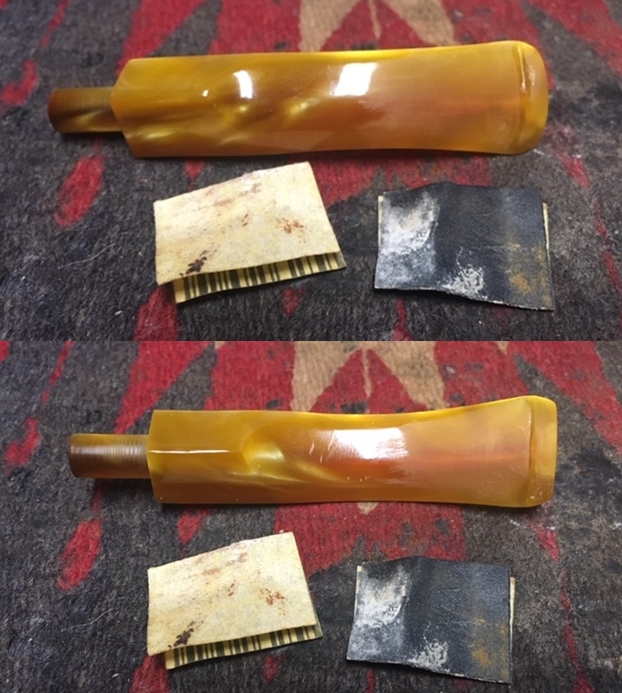
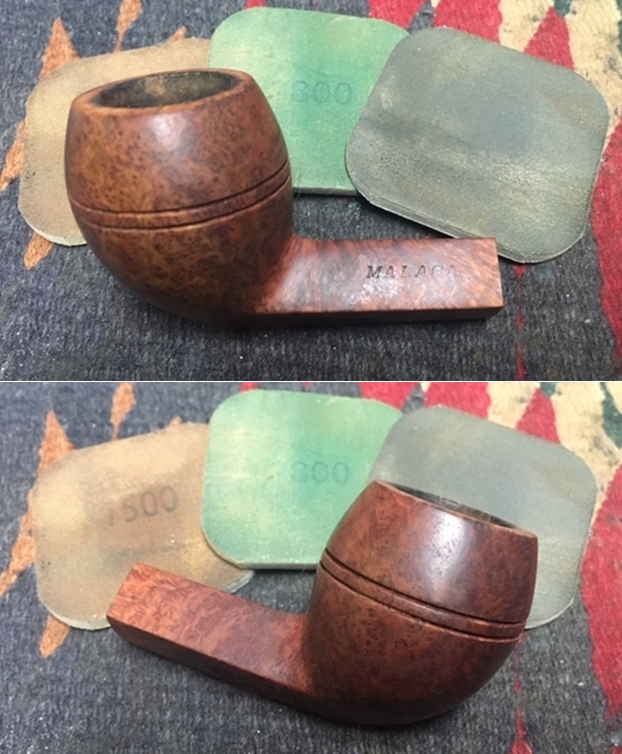
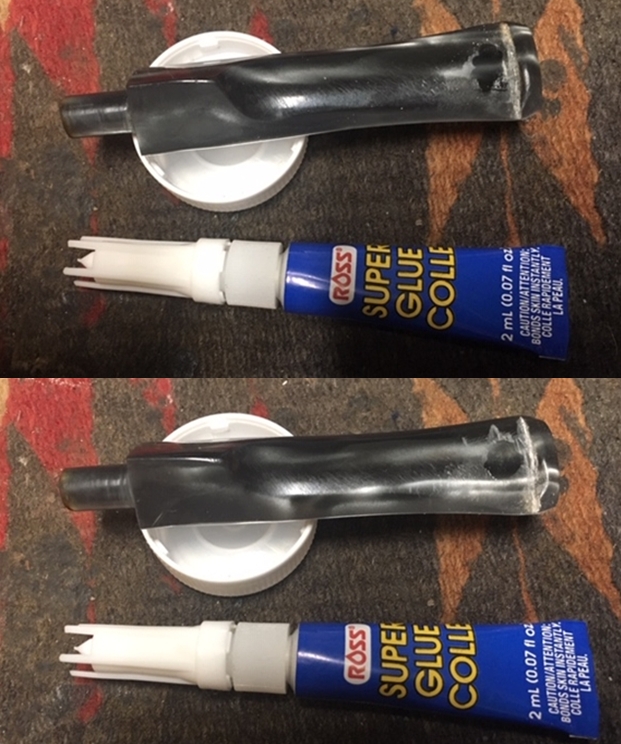
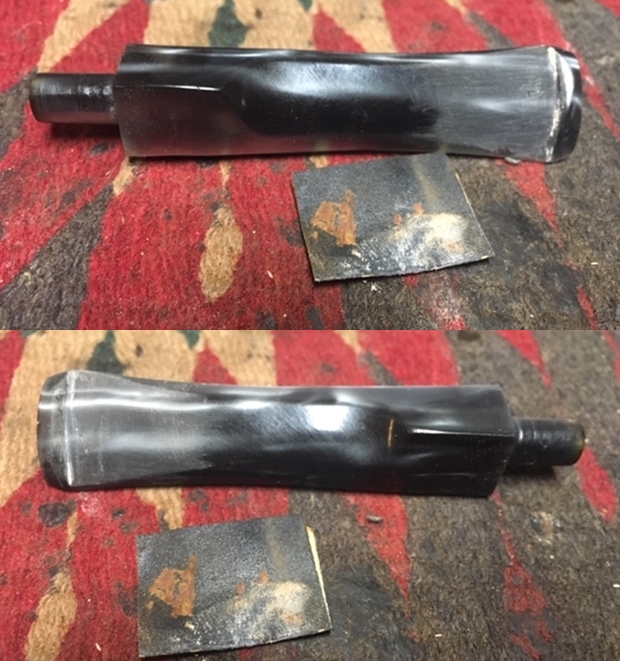
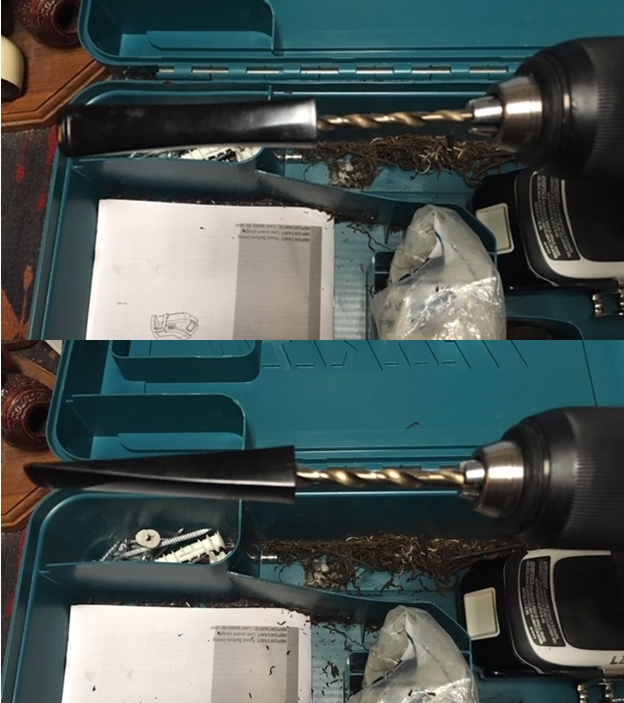
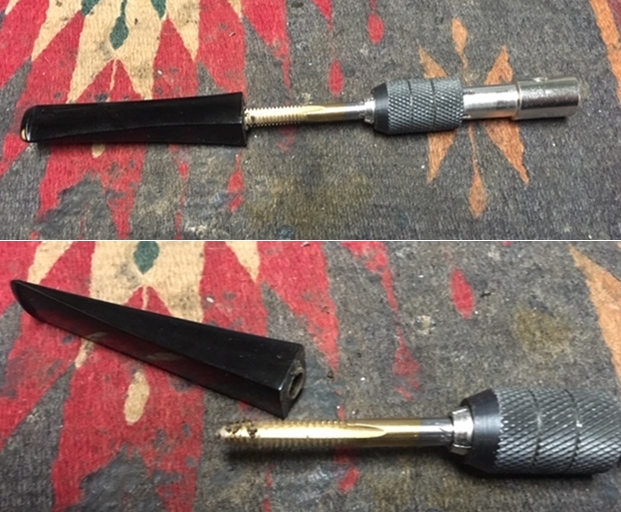
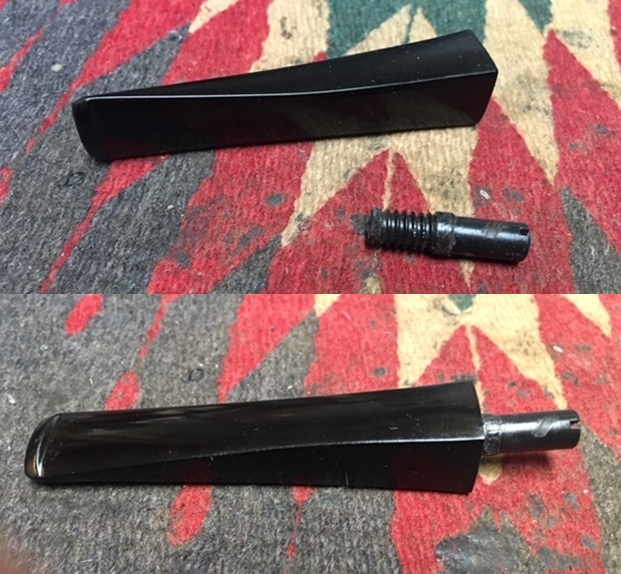
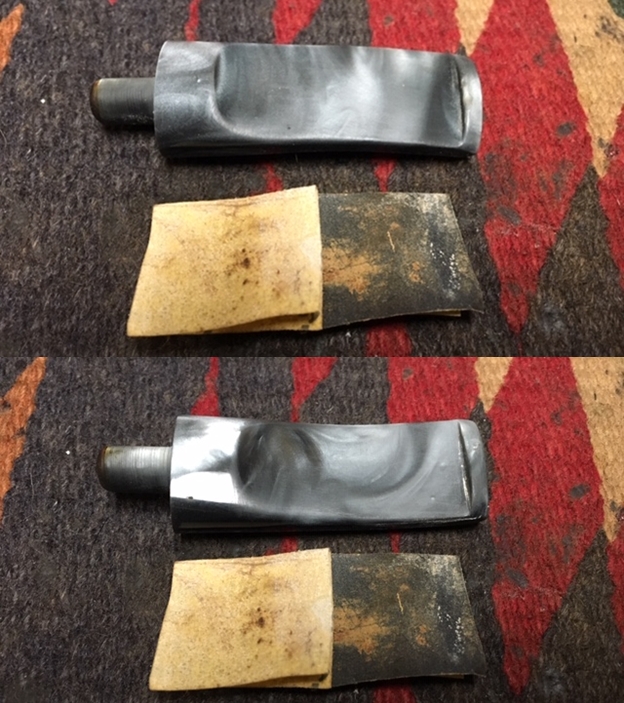
 I set aside the bowl at this point and turned my attention to the stem. I reshaped the button surface and edges with 220 grit sandpaper. I also sanded out much of the tooth chatter. All that remained of the damage were three tooth marks (two on the underside and one on the topside) and some damage to the edge of the button. I repaired the damaged areas on the edge of the button and filled in the tooth marks with clear super glue. Once the glue cured I sanded the repairs with 220 grit sandpaper to blend them into the rest of the stem surface. I polished the sanding marks with 400 grit wet dry sandpaper. The photos tell the story.
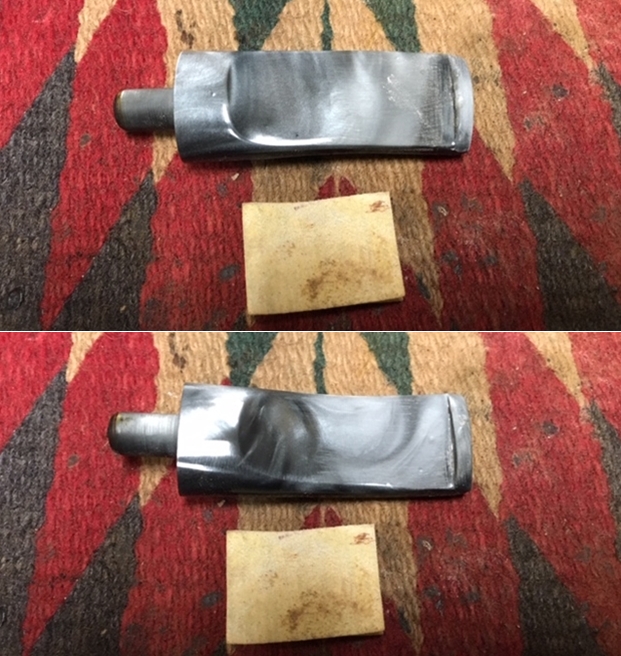

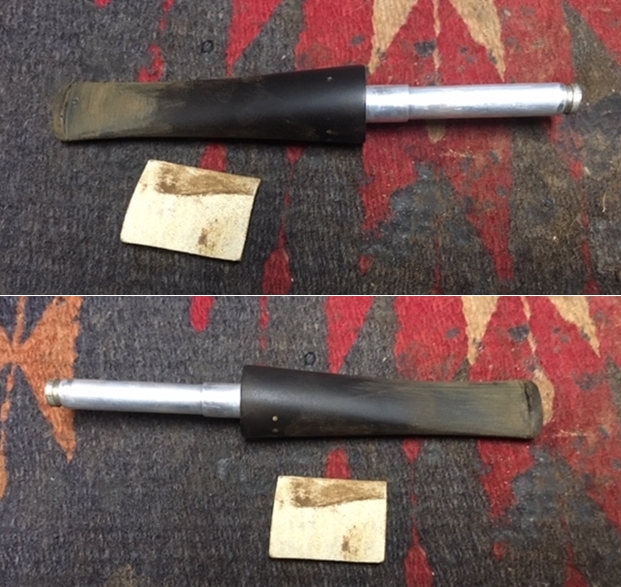
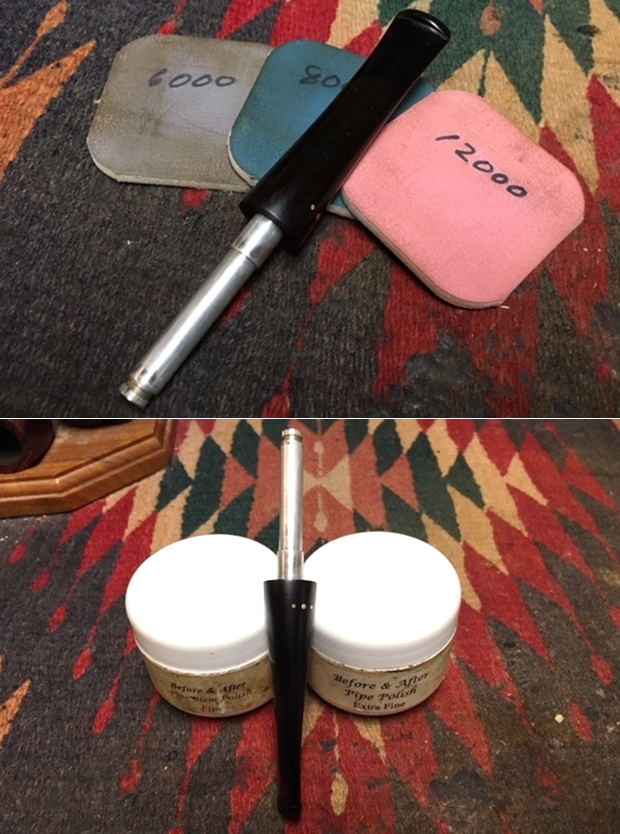
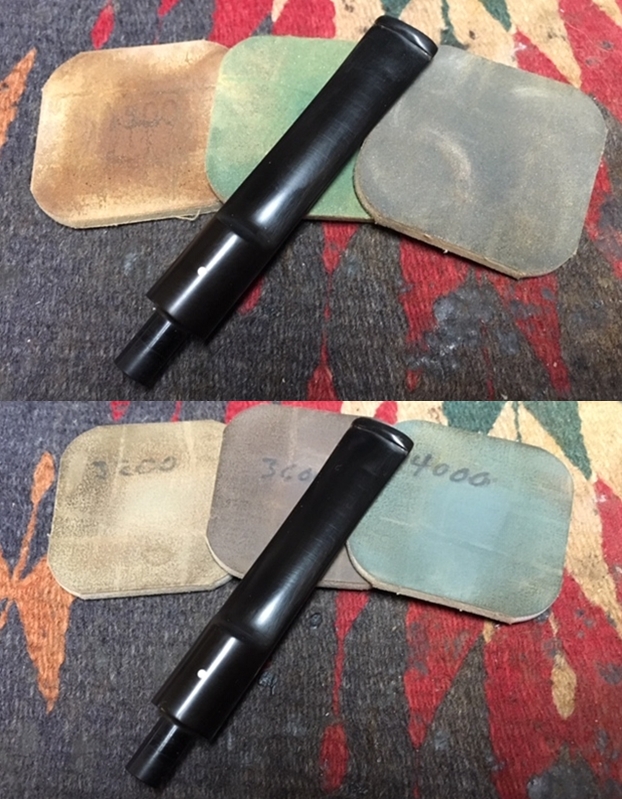
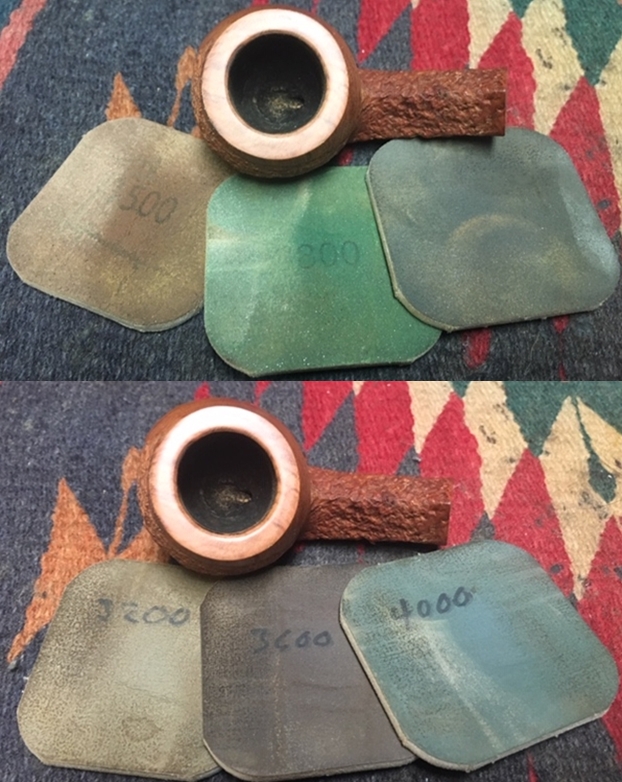
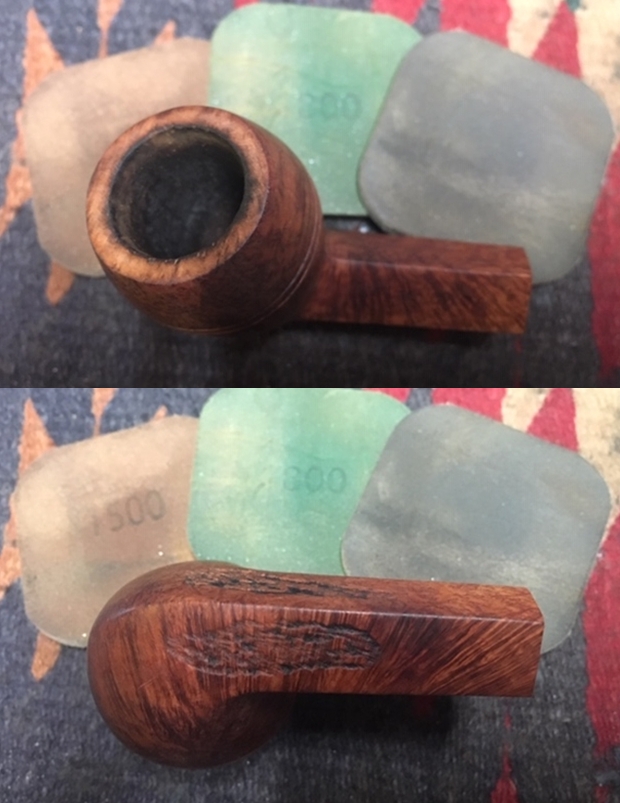
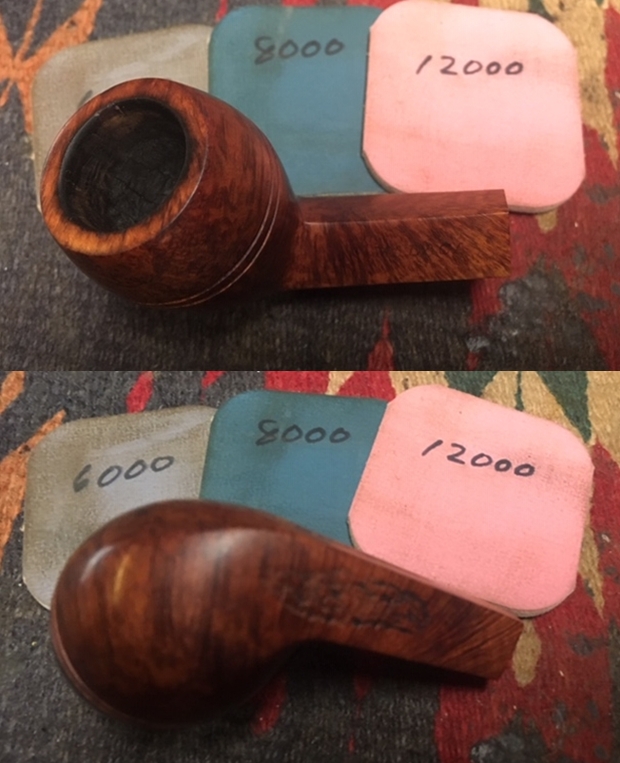
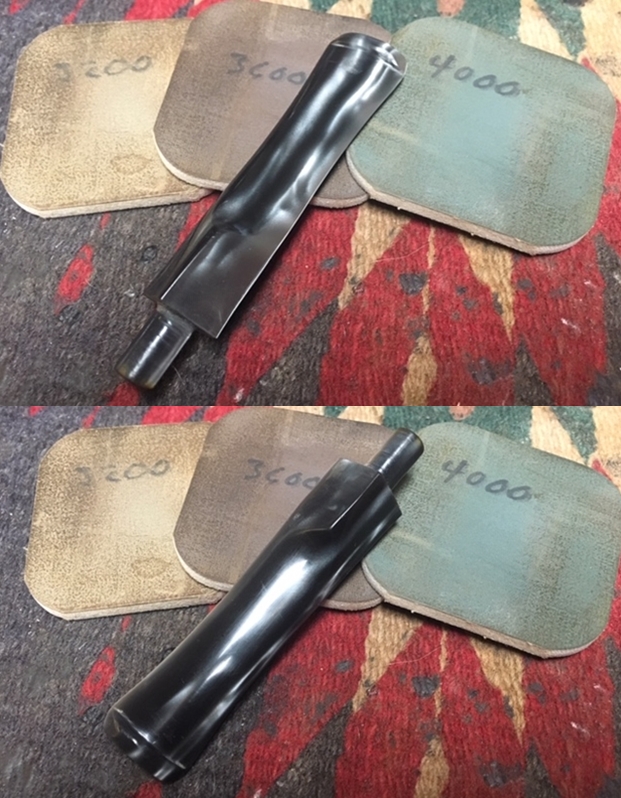
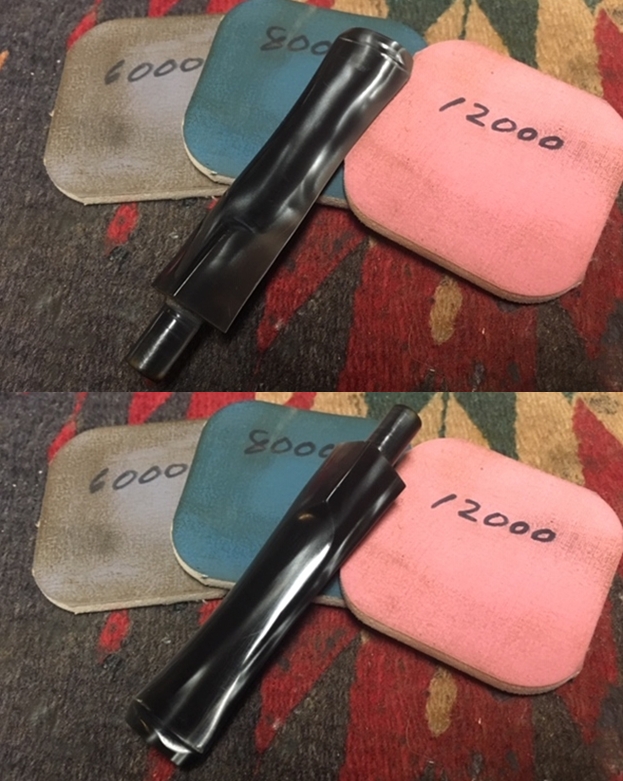
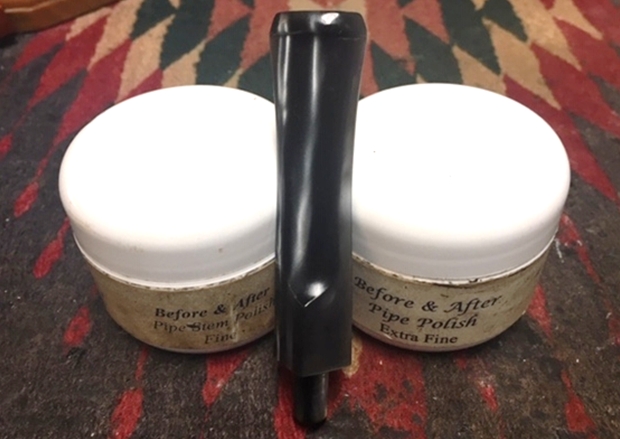
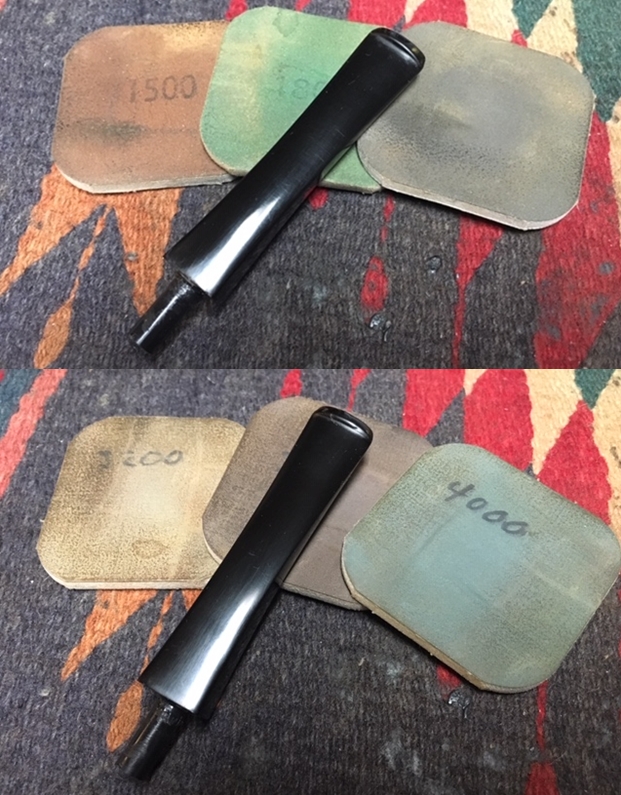
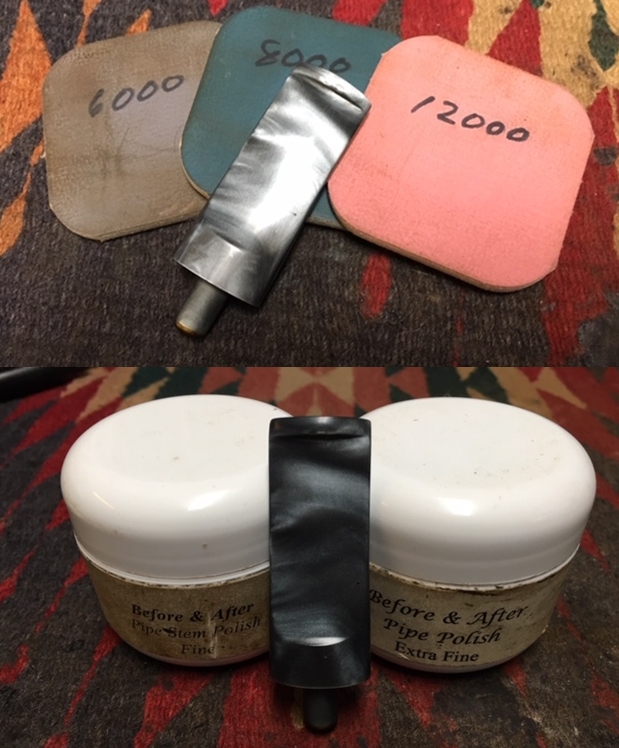
 I polished the Lucite stem with micromesh sanding pads – wet sanding with 1500-2400 grit sanding pads and dry sanding it with 3200-12000 grit sanding pads. I wiped it down after each sanding pad with a damp cloth. I polished it with Before & After Pipe Stem Polish and wiped it down a last time with the damp cloth.
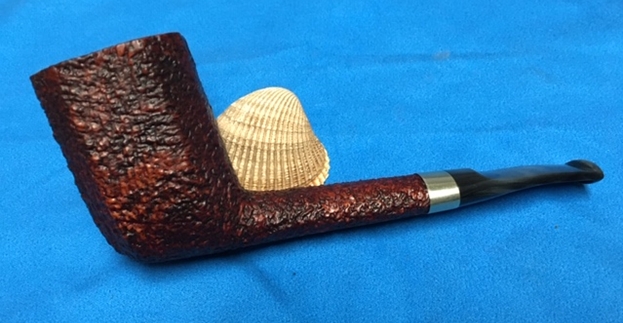
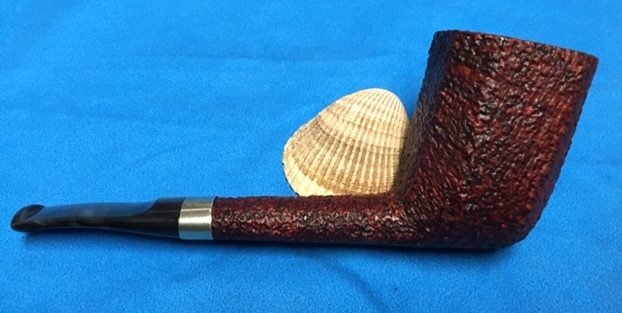
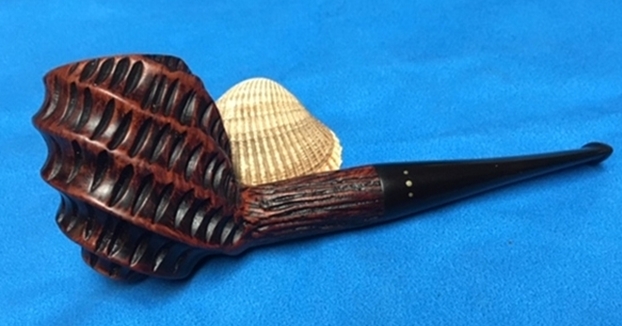
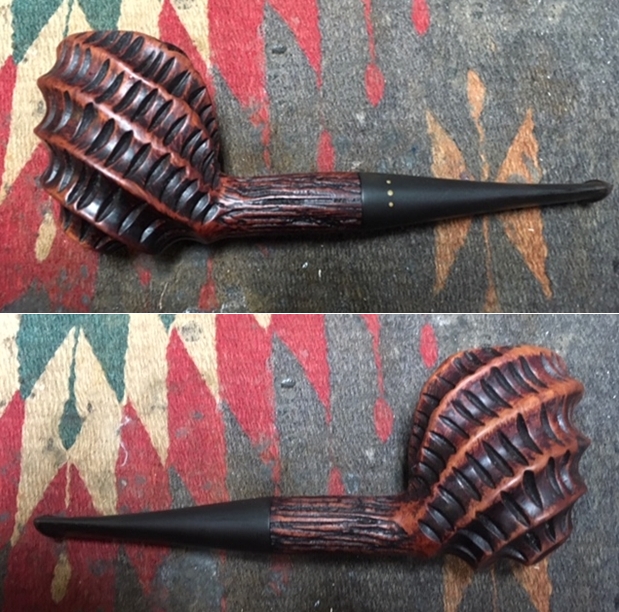
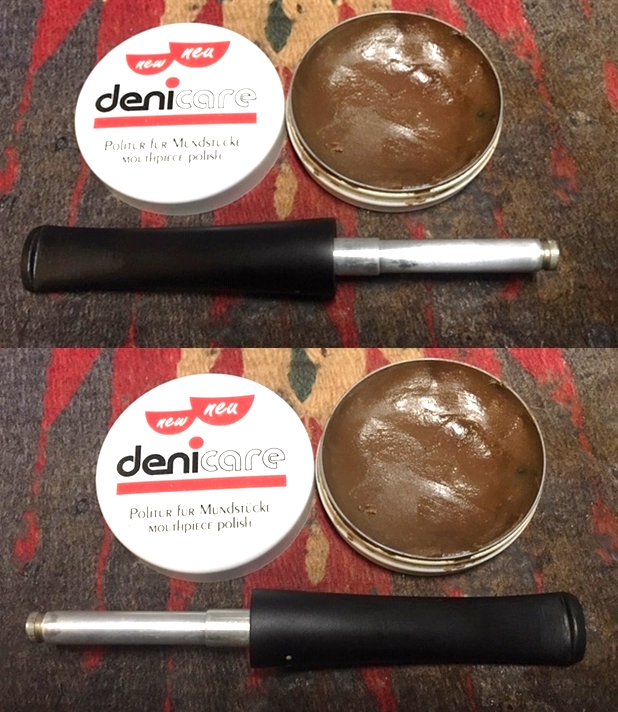
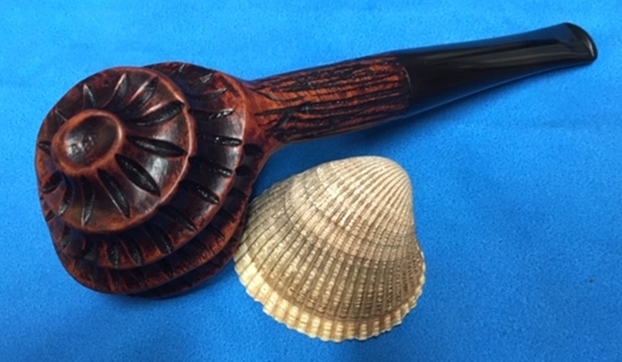
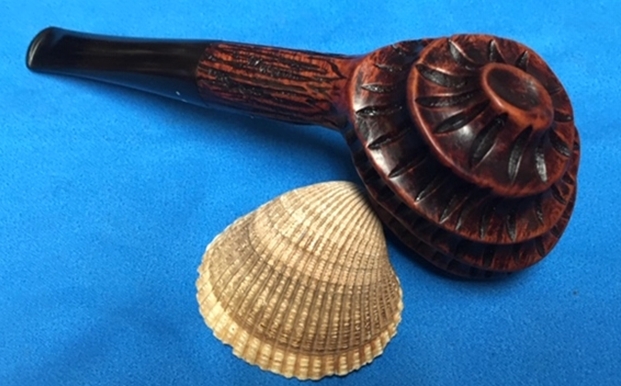
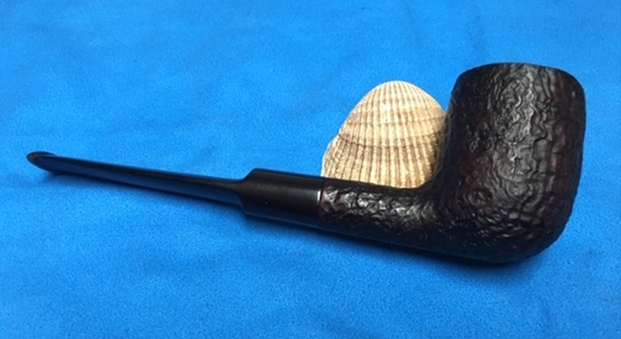
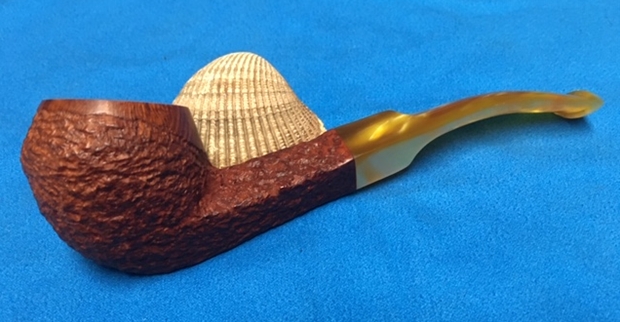
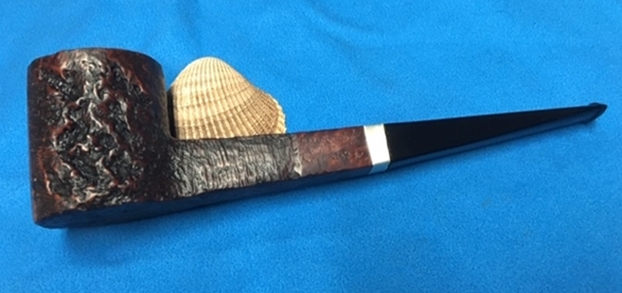
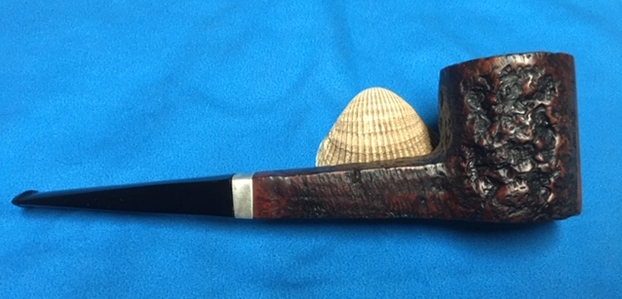
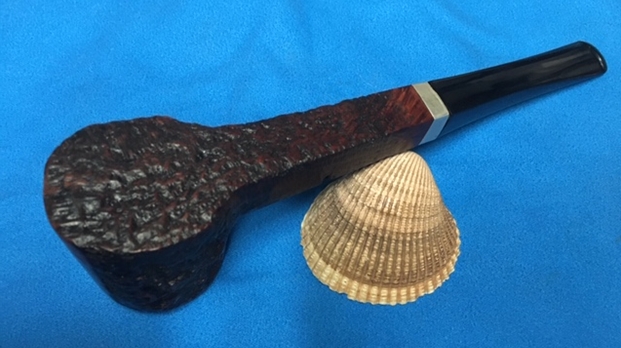
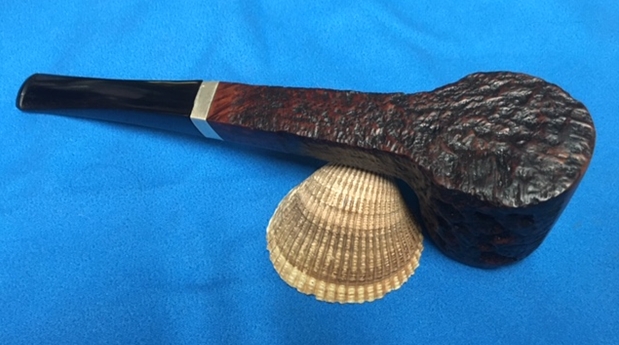
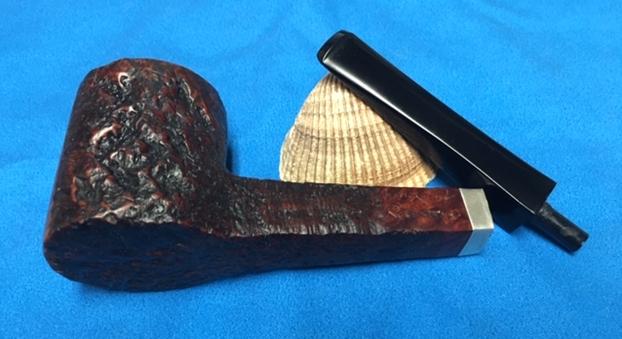
 This large, panel Radice Canadian is a real beauty. I polished stem with Blue Diamond polish on the buffing wheel. I gave the bowl multiple coats of Conservator’s Wax and the stem multiple coats of carnauba wax. I buffed the pipe with a clean buffing pad to raise the shine. I hand buffed it with a microfiber cloth to deepen the shine. The pipe polished up pretty nicely. The multi-coloured grain shining through the rustication came alive with the buffing. The rich contrasting brown colour works well with the polished swirling grey Lucite stem. The finished pipe is a beauty and feels great in the hand. Have a look at it with the photos below. The dimensions are Length: 6 ½ inches, Height: 2 1/2 inches, Outside diameter of the bowl: 1 3/4 inches, Chamber diameter: 1 inch. I will be putting this Radice on the rebornpipes online store soon. It may well the kind of large, tactile pipe you have been looking for so have a look. Thanks for walking through the restoration with me on this interestingly shaped Radice.