Blog by Steve Laug
Today I have been working on the second Windy Perpetual Dry Smoker that has come across my work table. The first was a gift from Troy who writes here on rebornpipes. I have written the description of the restoration on a previous blog. You can read about the cleanup and restoration on that blog: https://rebornpipes.com/tag/windy-perpetual-drysmoker-pipe/ . In that blog I did some research on the brand, as prior to the first pipe I was gifted I had never heard of or seen one of these pipes. I decided to repeat a portion of that first blog here to give some background on the brand.
Here is the link to one of my favourite informational sites on metal and unique system style wooden pipes. The link will take you to the article as a whole and some photos that show the pipe quite well: http://www.smokingmetal.co.uk/pipe.php?page=508
“WINDY PERPETUAL DRYSMOKER by Stan Wolcott”
“In my travels I recently came across this intriguing pipe on which very little information appears online by Google search. The left side (?) is stamped “Windy Perpetual Drysmoker” and on the right side (?) “Imported Briar/Italy”. The stem has a small round gold medallion on the left side bearing an “R”. Although several similar pipes are pictured online here in the USA and UK, no explanatory information is included with those images. Floyd Norwood of Tennessee, who restored the pipe for me, also had no idea how the pipe was to be smoked. Tony Pringle of the UK, who has one pictured on his website, believes there may be other pieces which are missing from the four present in the images—flat cap, rounded cap with five vent holes (presumably the wind cap) and the pipe bowl and stem. As can be seen from the images, the flat cap has female threads and screws into the bottom (?) onto male threads on the bowl. The wind cap has male threads and screws into the top (?) of the bowl. I have placed the question marks in parentheses following the terms top, bottom, right and left, since I’m not even sure whether the flat cap is intended to be the bottom. Can someone out there enlighten me and the NASPC readership about this “mystery pipe”, its manufacturer and the proper way of smoking it?”
“The “Perpetual” part of the name seems to come from the ability to actually load more tobacco from the bottom of the pipe whilst still alight and of course the dottle etc. gets burnt as the smoking progresses. Rather ingenious. There are at least two possible for makers from the logo, REGIS and EMPIRE STATE and nothing seems to be known of these either.
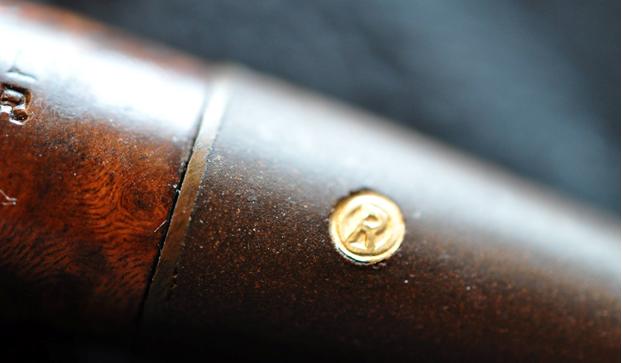
Tony Pringle of smokingmetal then includes the following photos of the pipe. There is no doubt that it is the same pipe that I have. There are a few variations between the two but the overall design is the same. He shows photos of the pipe as a whole, taken apart and of the stamping.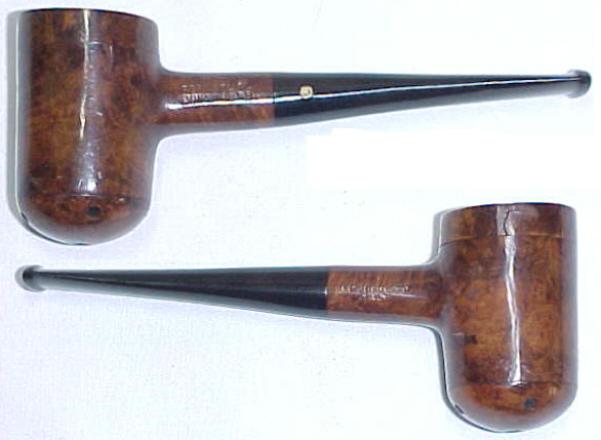 I have only included the first photos as the pipe I have is virtually identical to this one. Mine also has the gold circle R on the logo on the side of the stem. The only difference is that mine is has a brass spacer on the stem that forms a thin band between the shank and stem. Mine is also in better condition than the one in the photos with no cracks or breaks in the bowl, caps or threads. I believe along with Tony from smokingmetal that the pipe was crafted in the late 1940s. Many things about the briar quality, the rubber that is used in the stem etc. point to manufacture of the pipe occurring during or after the conclusion of World War II.
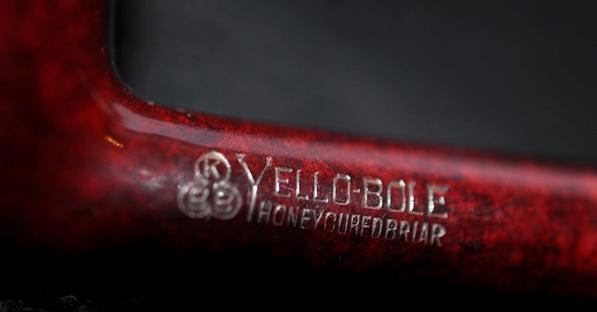
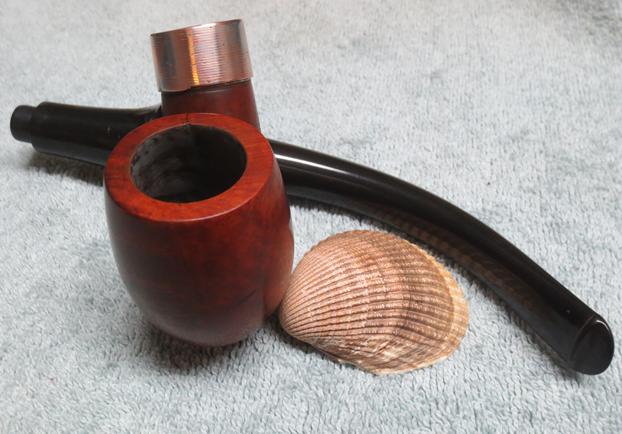
The stamping on the one above and the one I have is simply WINDY over PERPETUAL over DRYSMOKER in caps on what is the left side of the shank. On the right side of shank it is stamped Imported Briar over Italy. The pipe is meant to be smoked with the perforated, rounded cape pointing downward. That is why the stamping is the way it is. If the pipe is held otherwise the stamping is upside down. If the pipe is inverted it can be set upright on a desk or table on the flat top cap and act as a sitter pipe. The pipe is 5 ¼ inches from the front of the bowl to end of bit. The diameter of the outer bowl is 1 3/8 inches. The chamber diameter is just over 5/8 inch and depth is over 1 ¼ inches with both the top and bottom cap removed. The pipe is lit from the bottom and the wind cap cover is screwed in place. I think that more tobacco can be fed in from the top of the bowl with the flat cap removed thus making the pipe a PERPETUAL DRYSMOKER.
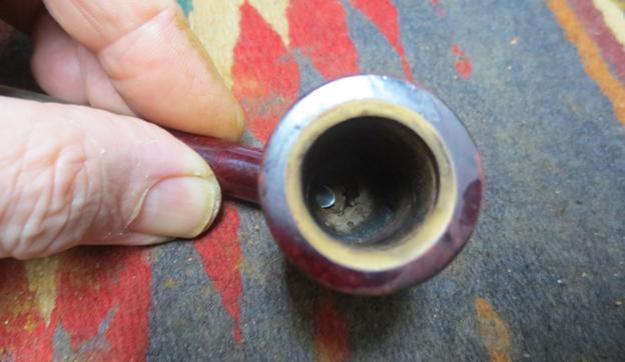
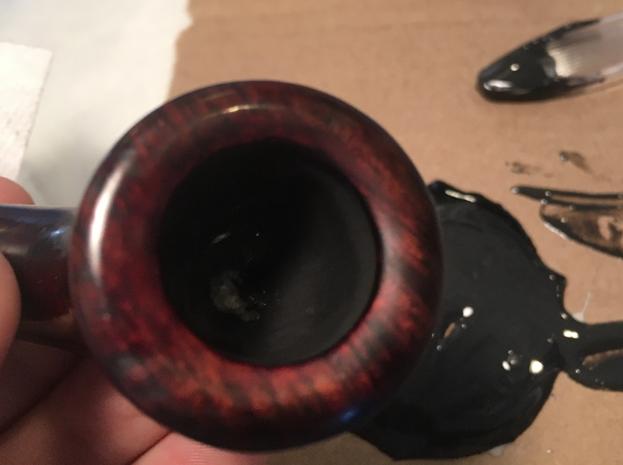
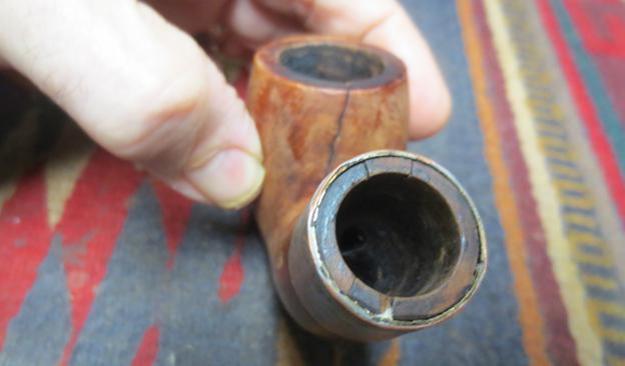
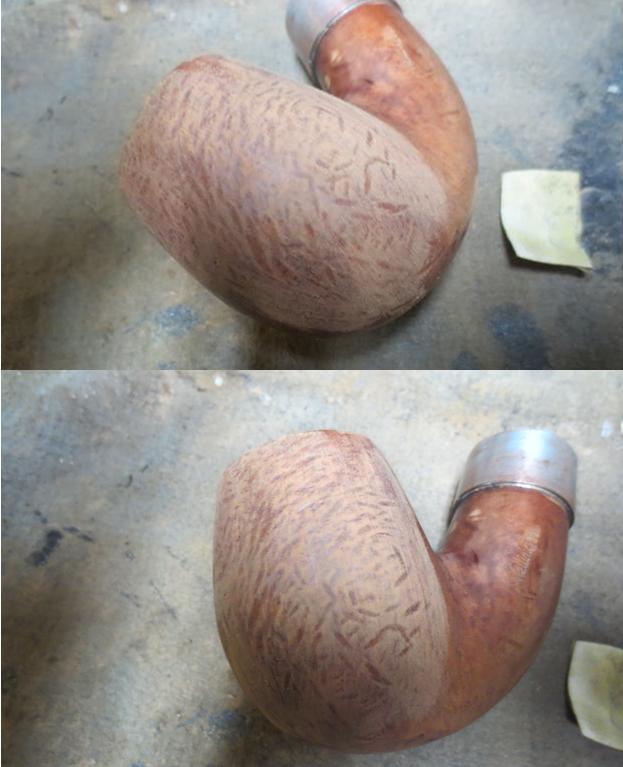
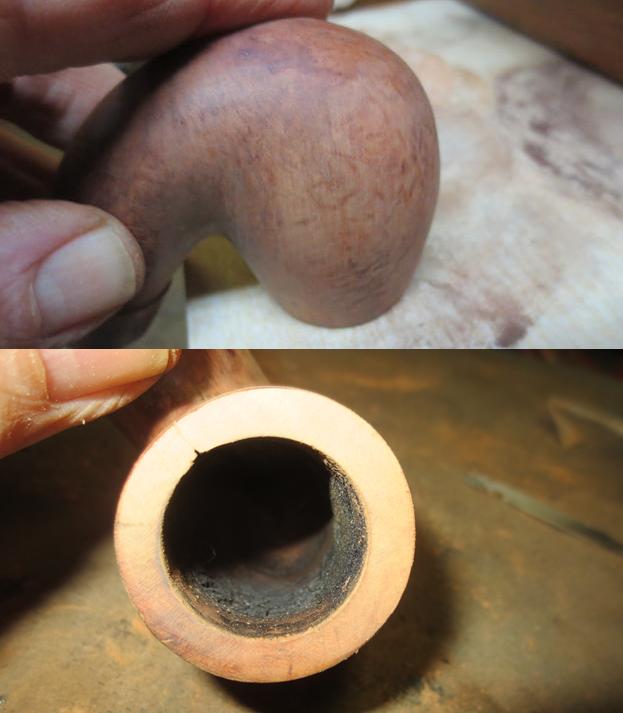
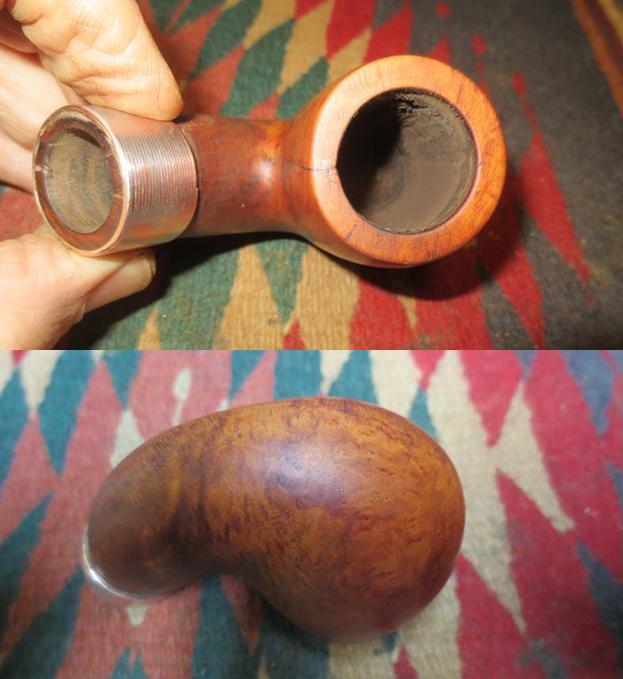
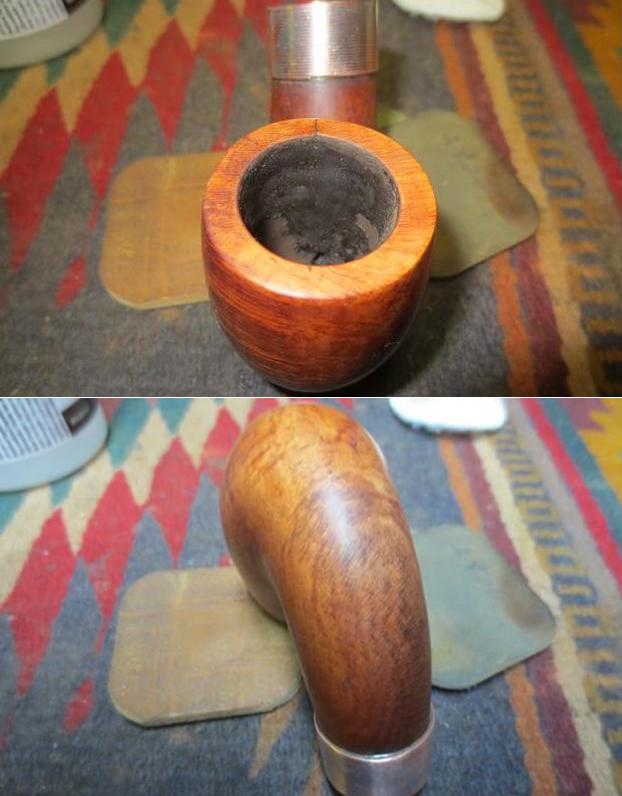
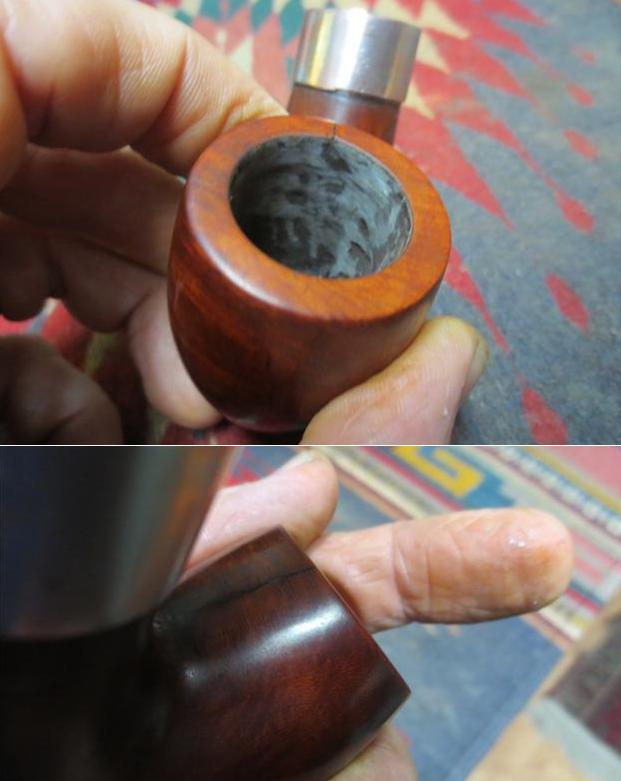
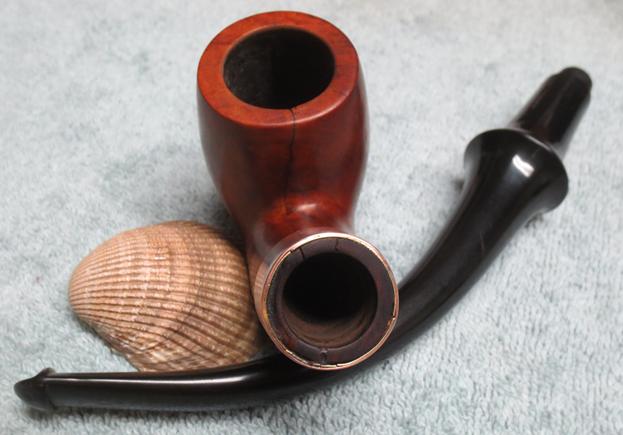
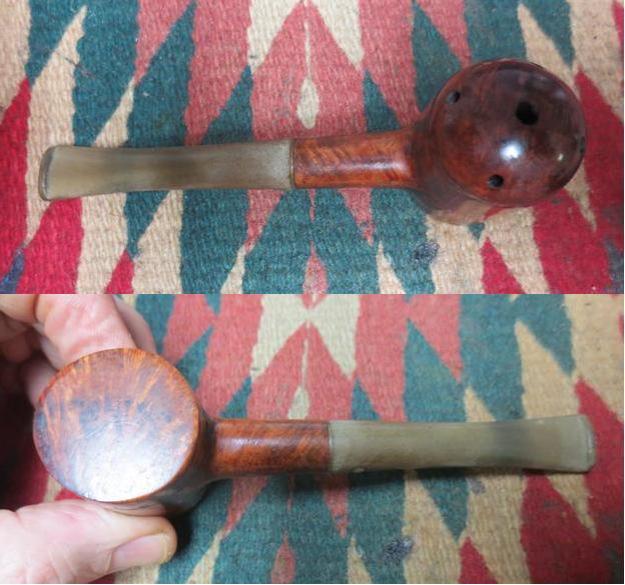
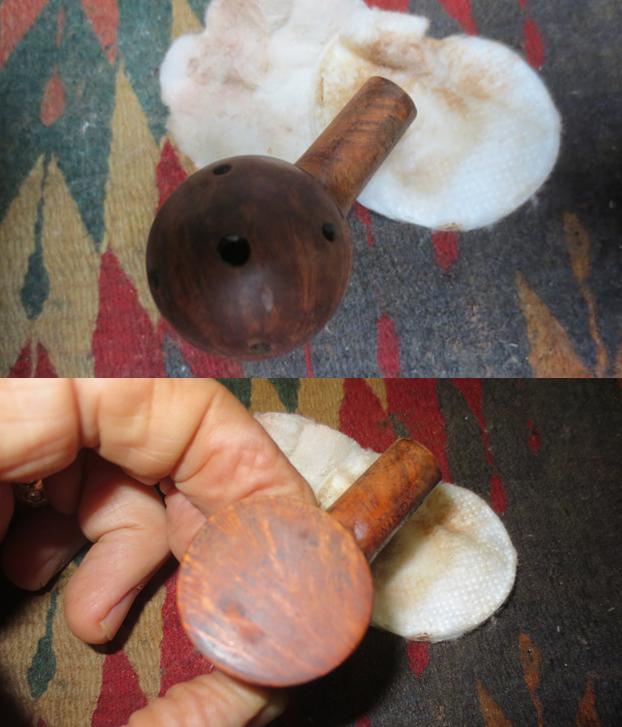
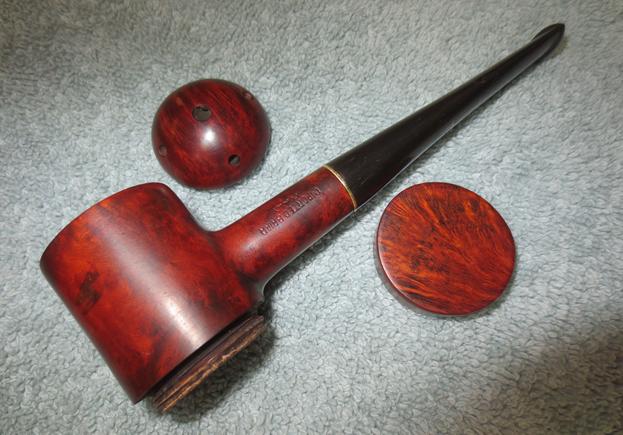
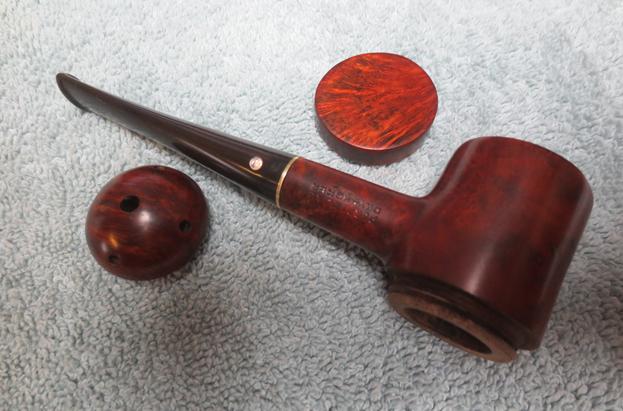
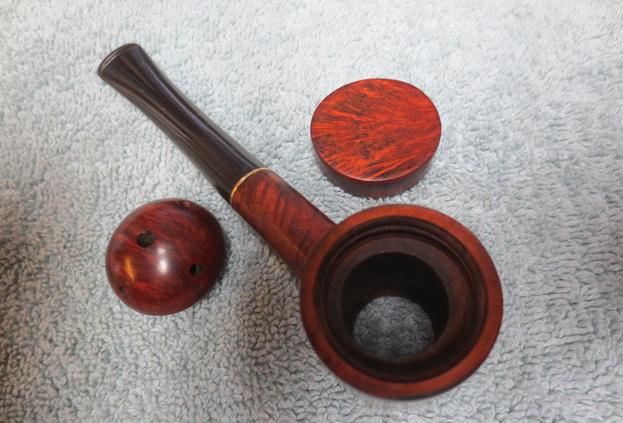
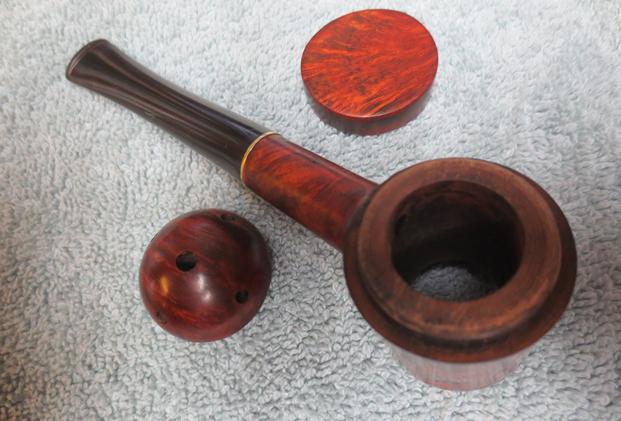
The pipe my brother Jeff picked up is shown in the next photos that he took of it before cleaning it and sending it to me in Vancouver. You can see some darkening in the finish around the flat cap on the bowl and some general wear and tear to the finish as a whole. The bowl has quite a few fills in the shank, the left and right front sides and the crowned perforated bottom cap. The stem was oxidized quite heavily and the diameter of the shank and the diameter of the stem did not match.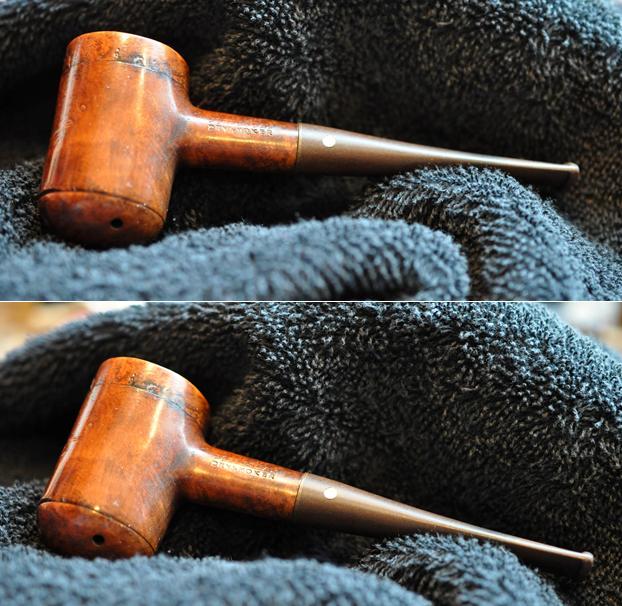 Jeff took some great photos of the bowl taken apart. Contrary to what Tony and Stan mention in the quote article from the website all the parts are present with the pipe. There are no additional pieces needed to make the pipe functional. The first two photos show the rounded bottom cap and the flat top cap removed from the bowl. You can see the wooden threads on the inside of the bowl in the first photo where the bottom cap screwed into it. The second photo shows the threads on the outside of the bowl where the flat top cap screwed onto it. The completed pipe resembled a salt or pepper shaker to my mind – a unique and interesting smoking device. Both caps were darkened by smoking but appeared to be clean. There was a small crack in the rounded bottom cap but it did no effect the fit in the bowl.
 He also took some photos with the parts laid out together to give an overall idea of what the pipe looked like.
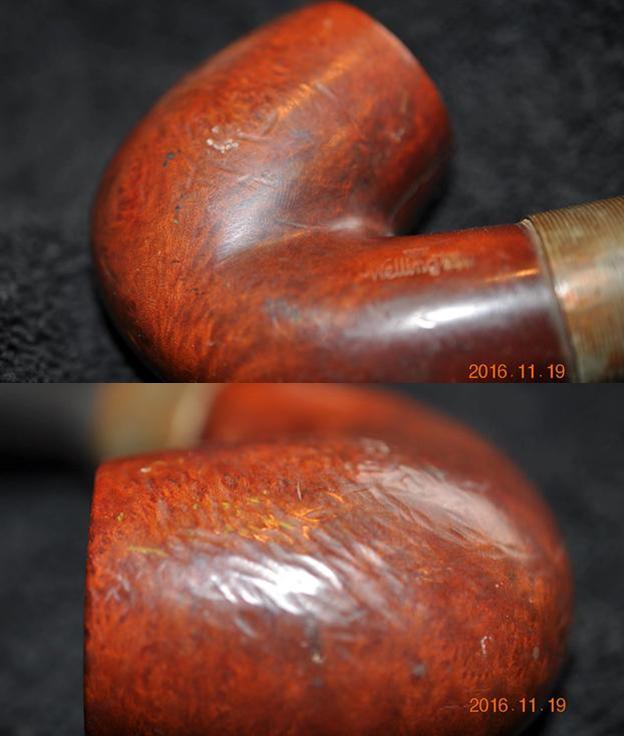
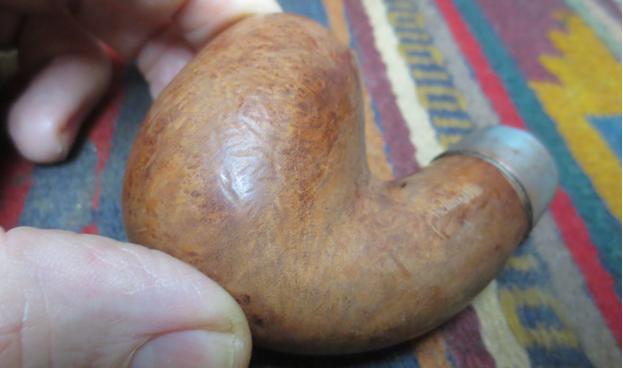
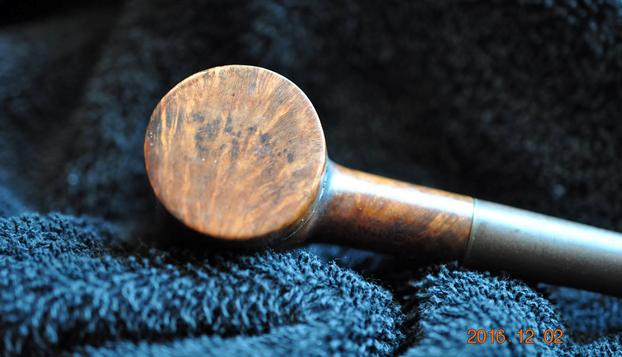
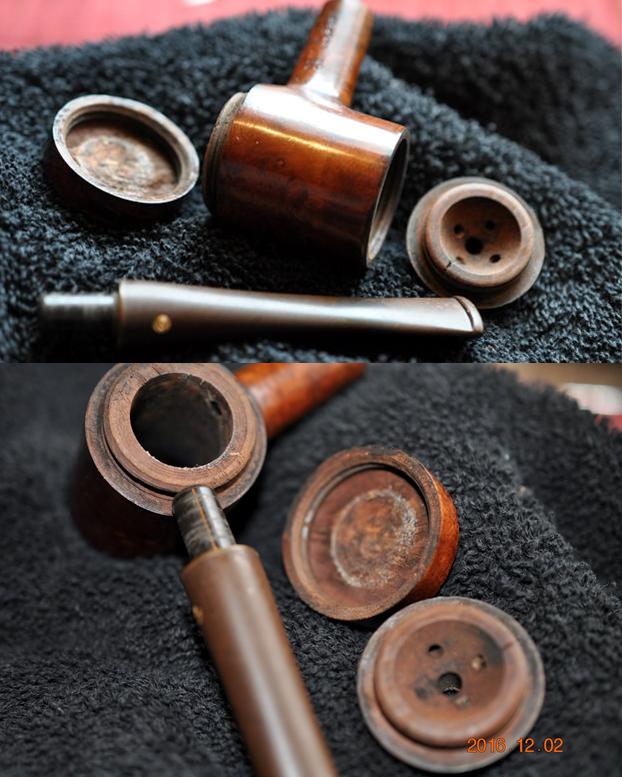 My brother also included some close up photos of the sides of the bowl to show the condition of the finish and what would need to be done to clean it up. He included a photo of the flat top cap to show the remarkable grain underneath the staining and grime.
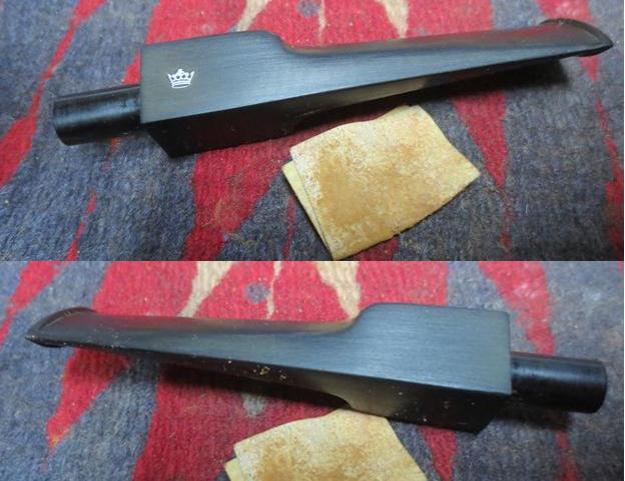
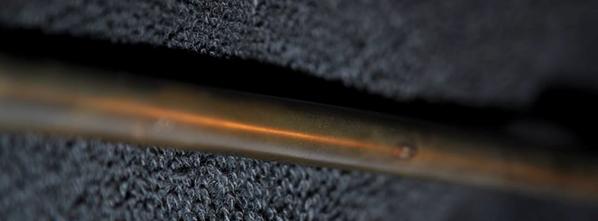
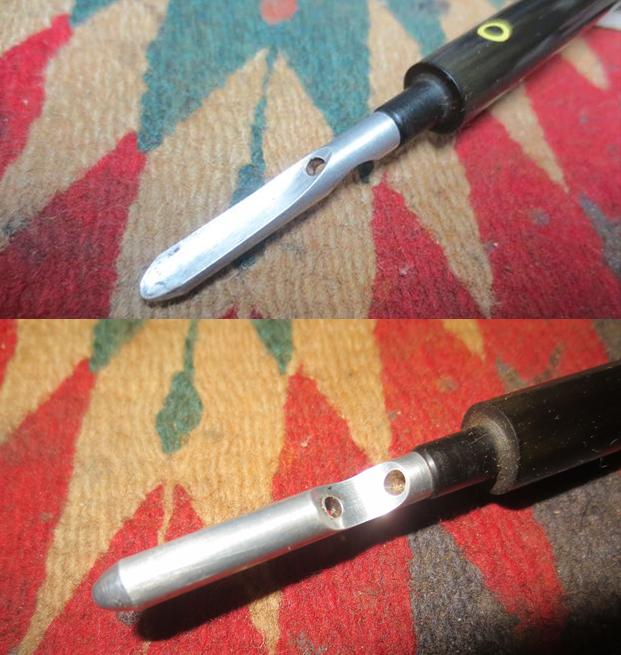
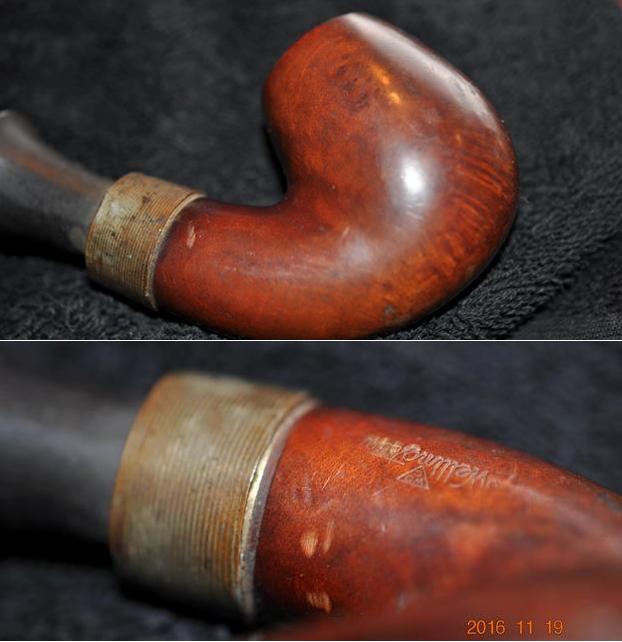
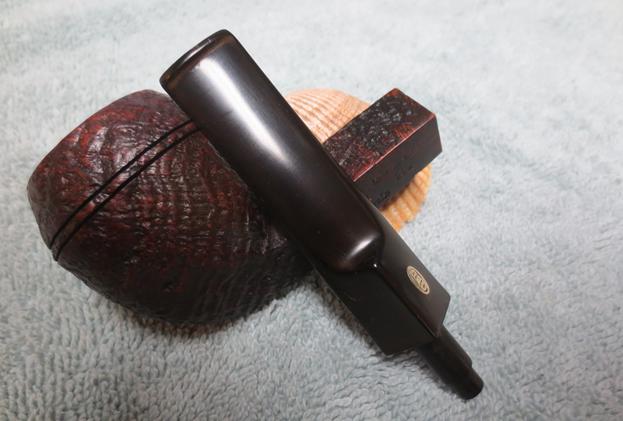
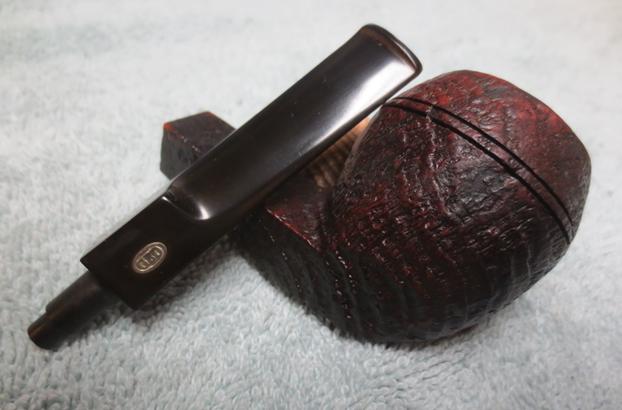
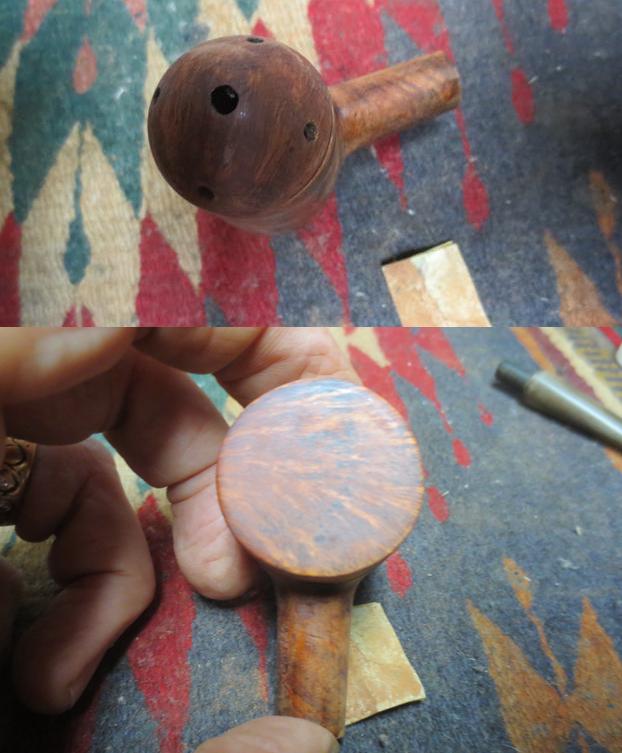
 The next two photos show the stamping on both sides of the shank. The third photo shows the brass circle R logo on the stem and also the brass spacer in between the stem and the shank.
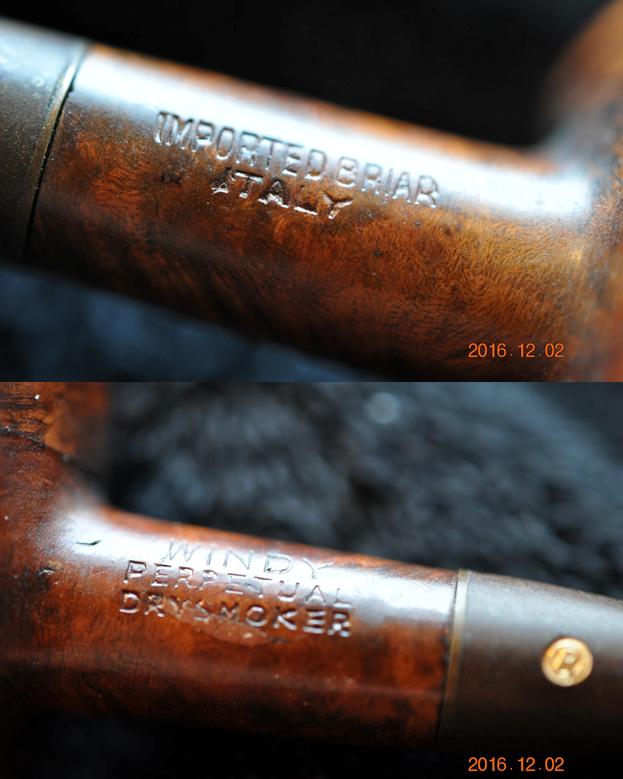
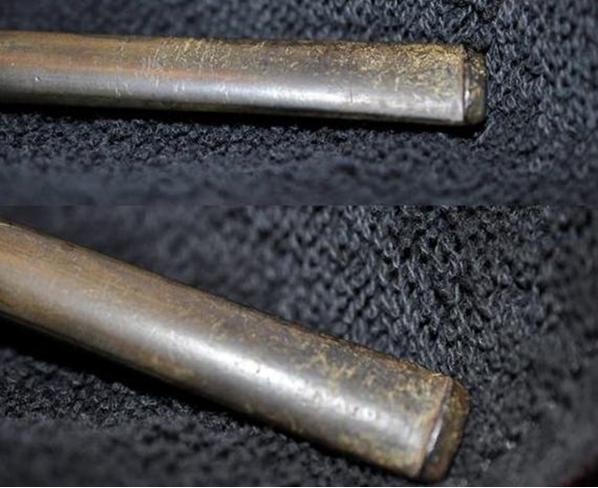
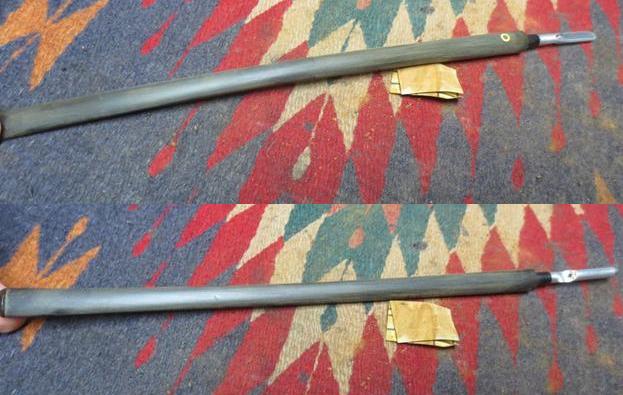
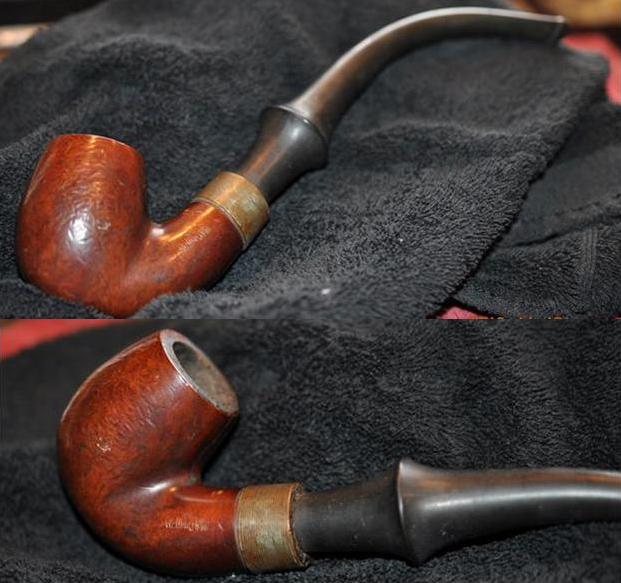
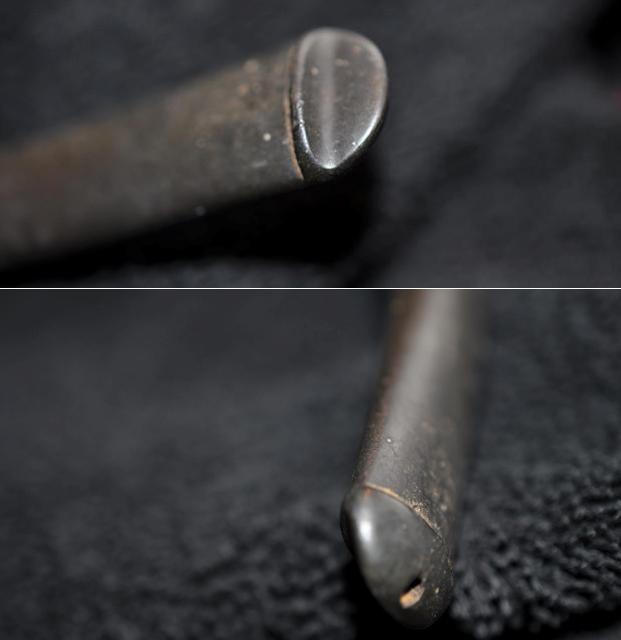
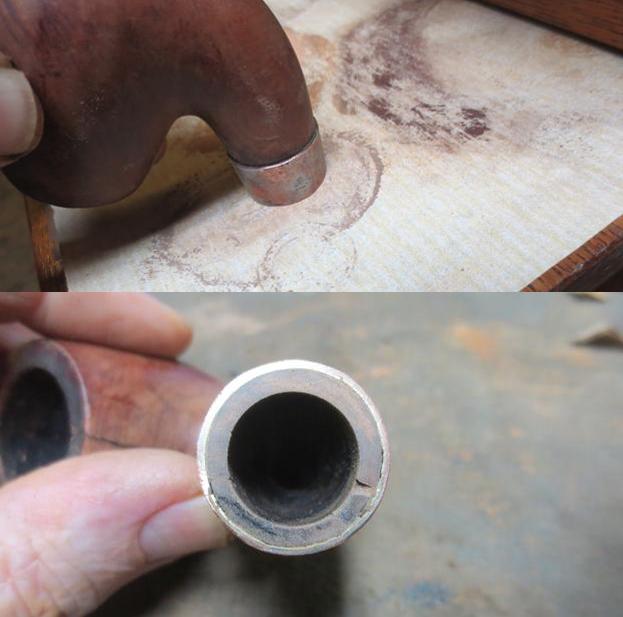
 The final two photos Jeff included showed me the condition of the stem. It looked really good other than the oxidation. There was no tooth chatter or tooth marks in the surface. The only issue I would need to address was the mismatched diameter of the shank and the stem.
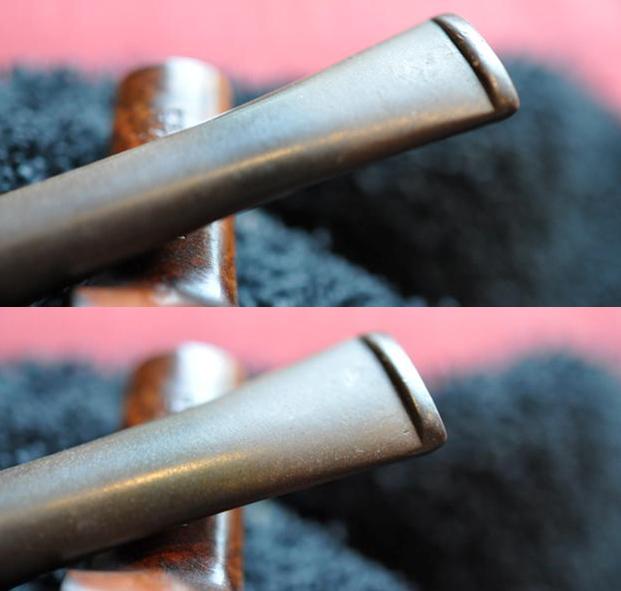 My brother did a really thorough job cleaning up this old pipe. When it arrived in Canada the inside of the bowl and both caps was really clean. He had scraped out the light cake in the bowl and cleaned out the mortise and airway in the stem and shank with alcohol, cotton swabs and pipe cleaners. He cleaned off the exterior of the bowl and was able to remove much of the grime on the surface. The brass space was oxidized but would clean up easily when I worked on the diameter of the stem. I took the next four photos to show the condition I found the pipe in when I unpacked it here in Vancouver.
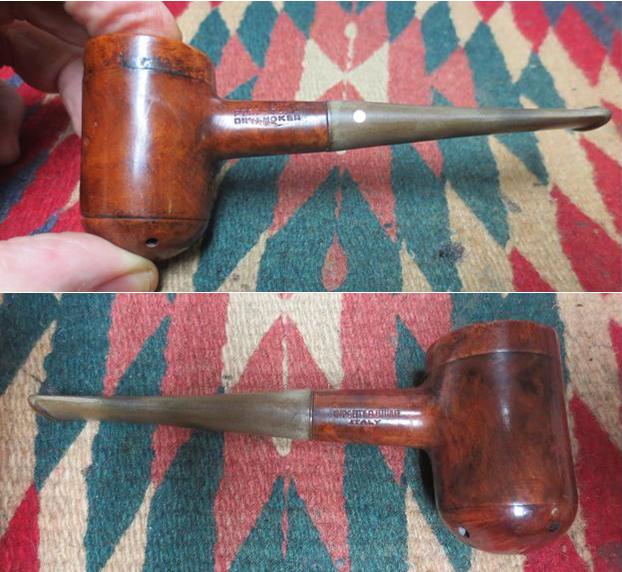
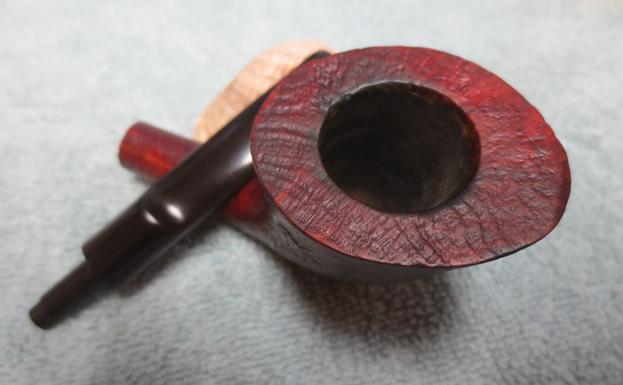
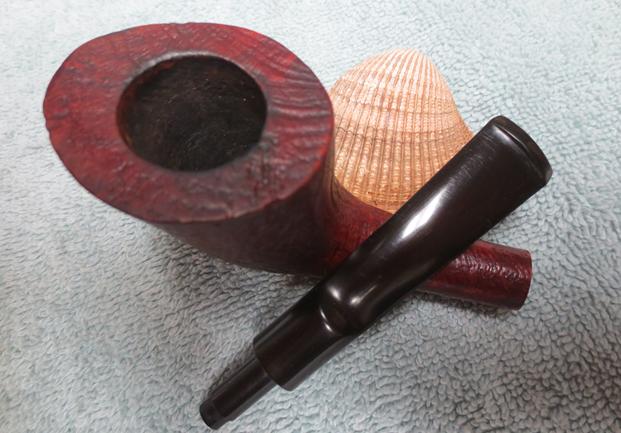
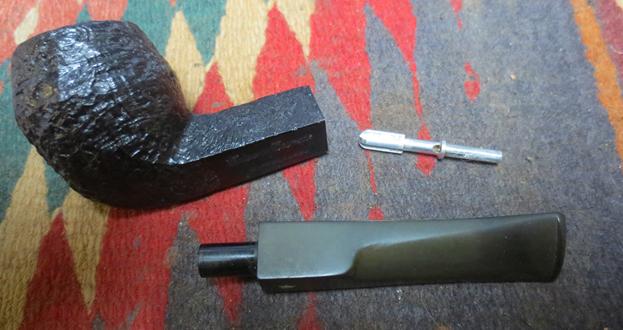
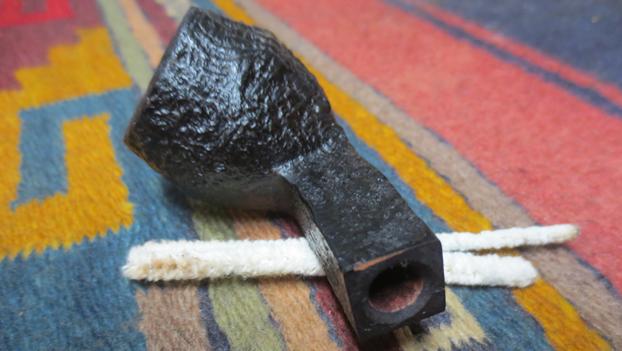
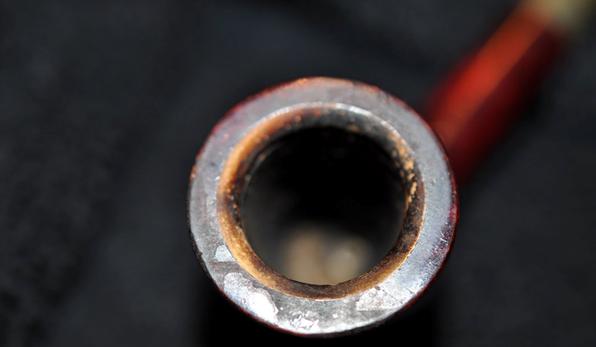
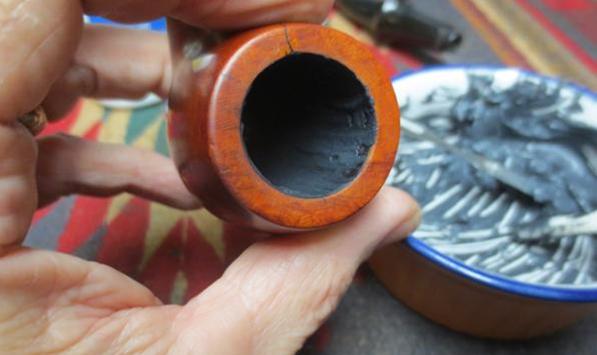
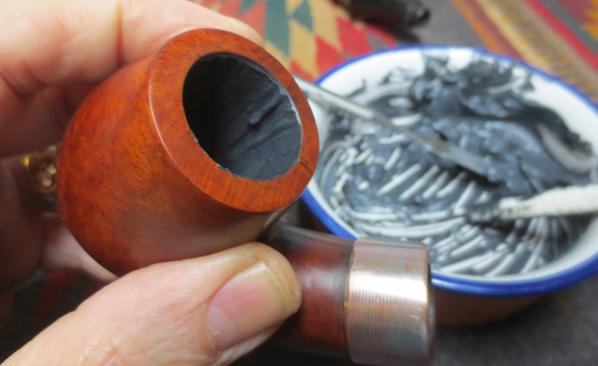
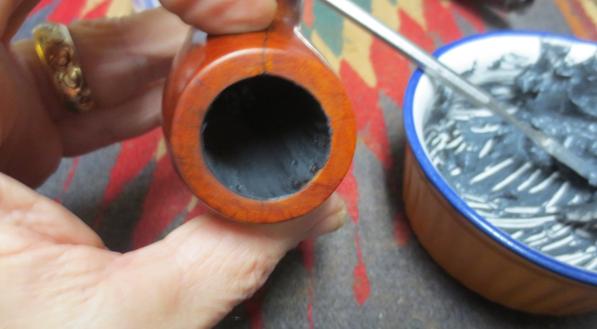
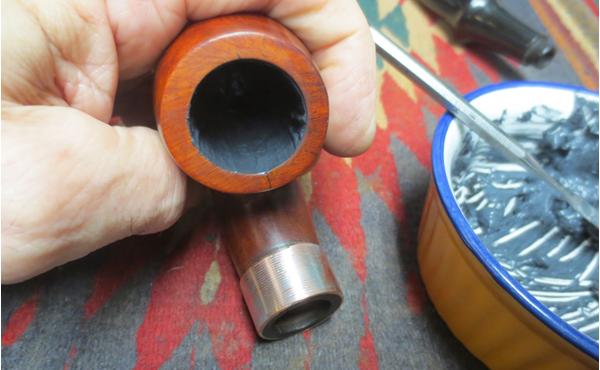
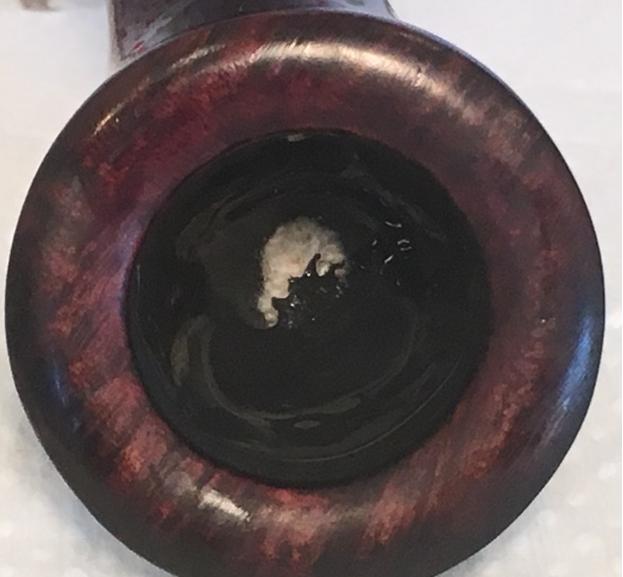
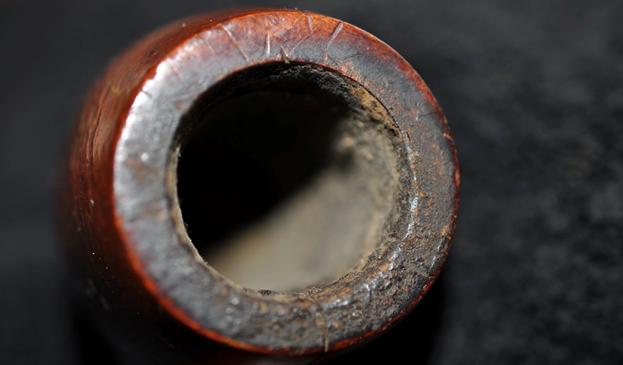
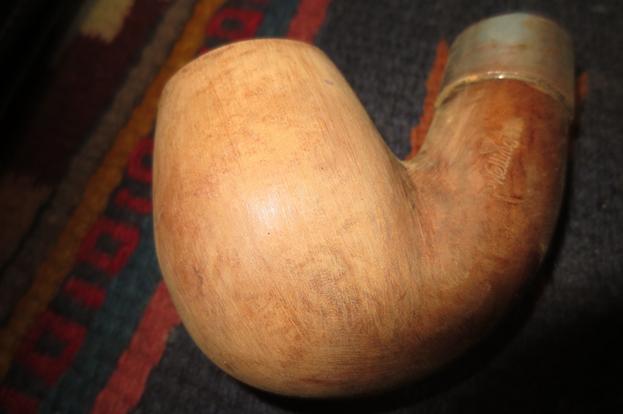
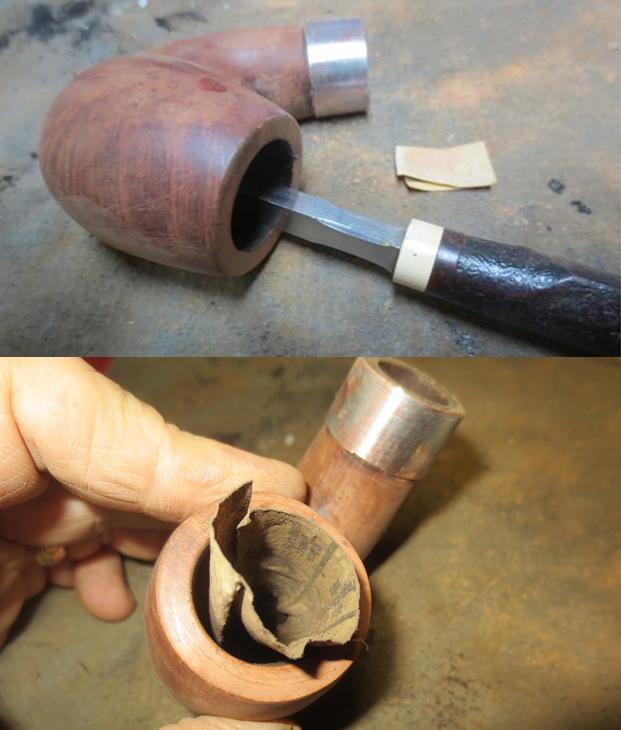
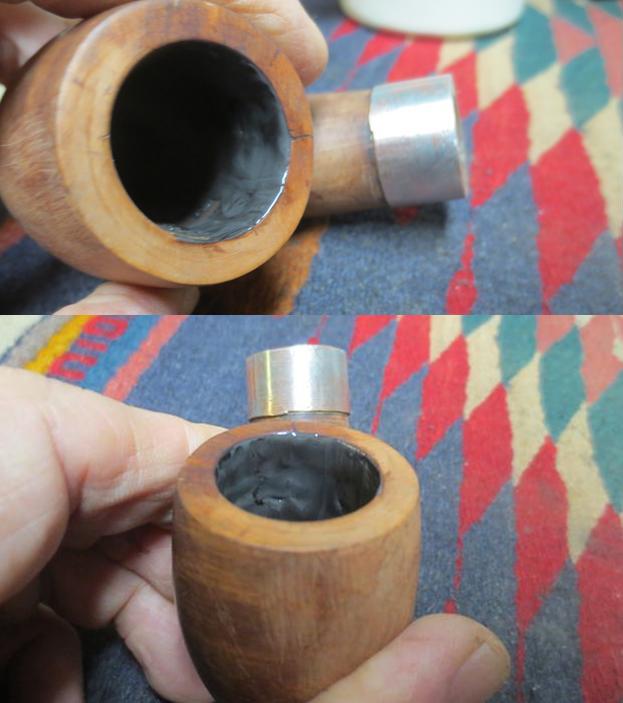
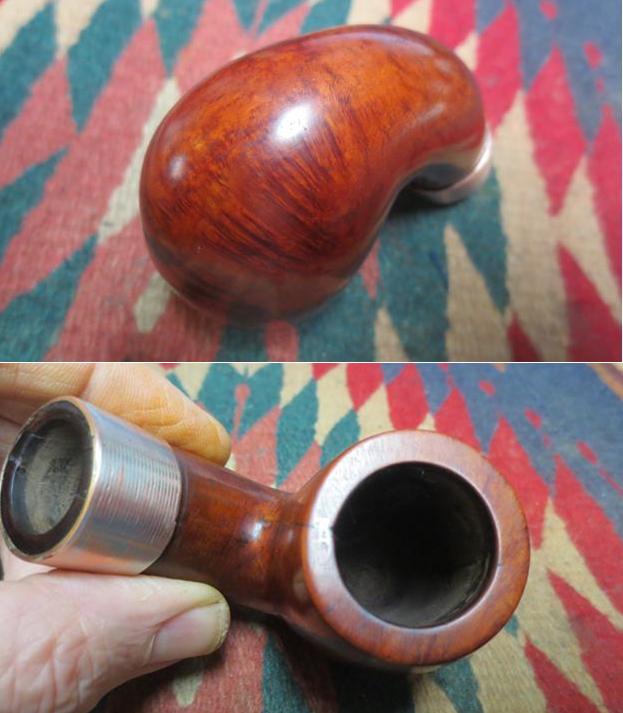
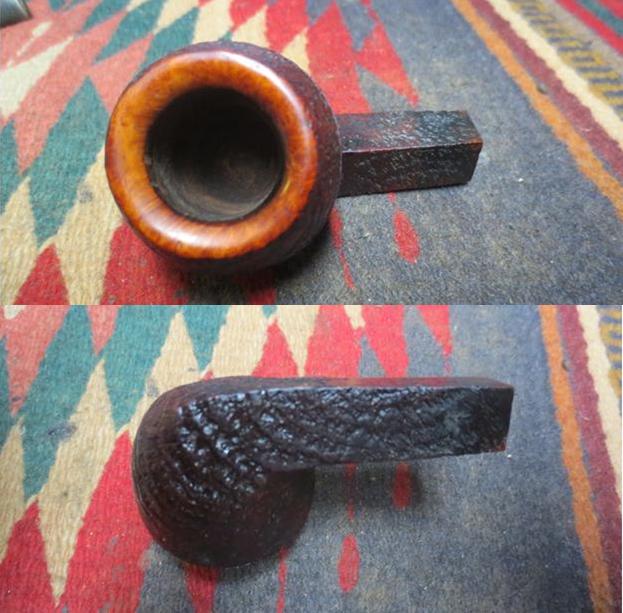
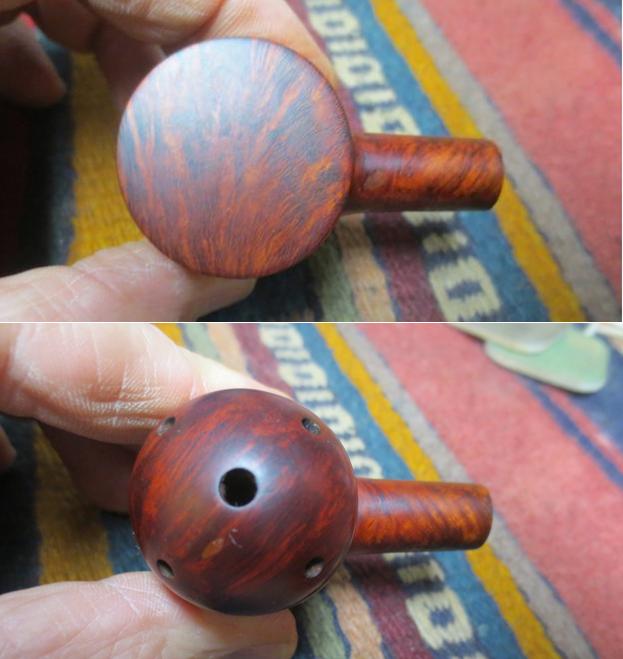
 I took the pipe apart and took photos of the parts of the bowl – the centre core, the rounded bottom cap and the flat top cap. In the photos the core is flat side up in the first one and rounded side up in the second one. The bowl and caps were very clean and you could see raw briar inside all of the parts which led me to think that the pipe had not been smoked often.
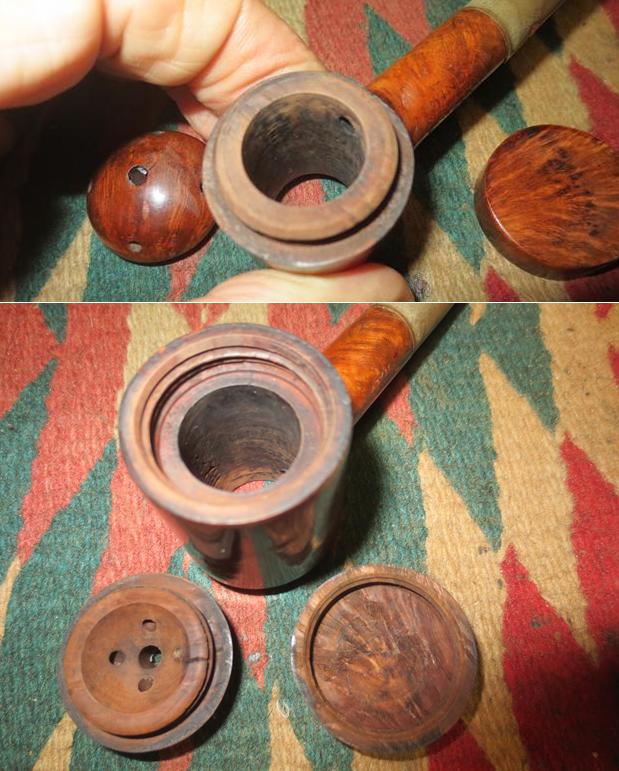 I took some close up photos of the stem to record its condition as well.
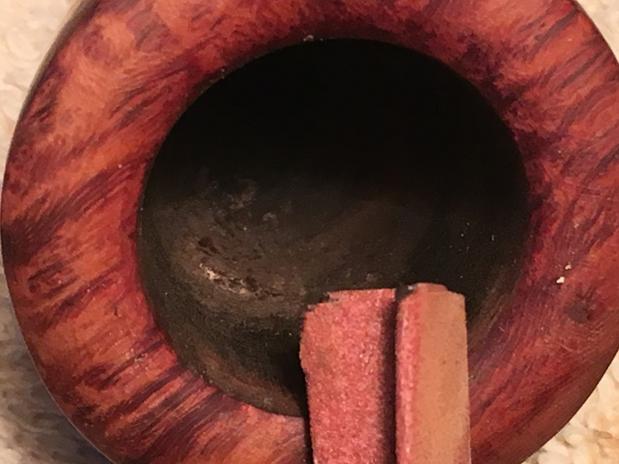
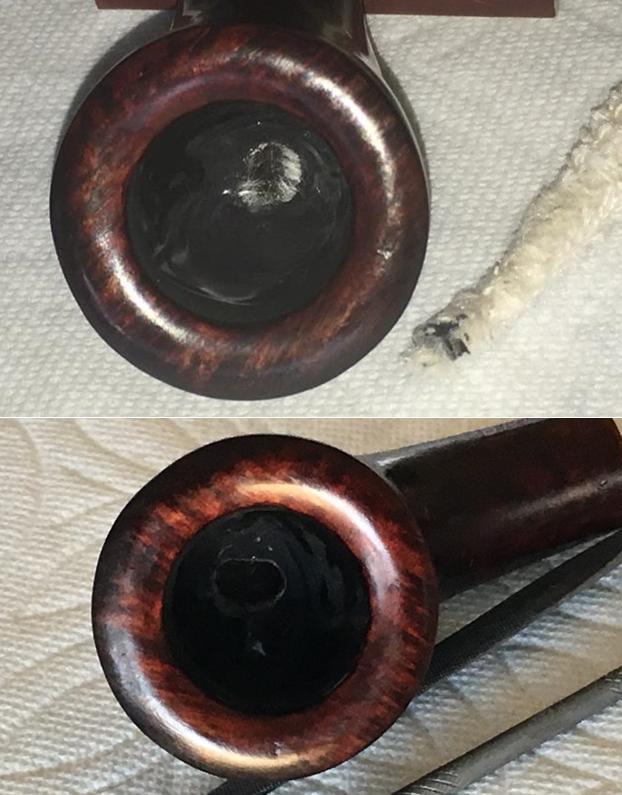
 The fit of the crowned bottom cap to the edge of the core part of the pipe had some damage to it that did not allow the cap to seat tightly against the edge of the core. I topped it with 220 grit sandpaper on the topping board until the cap fit snugly.
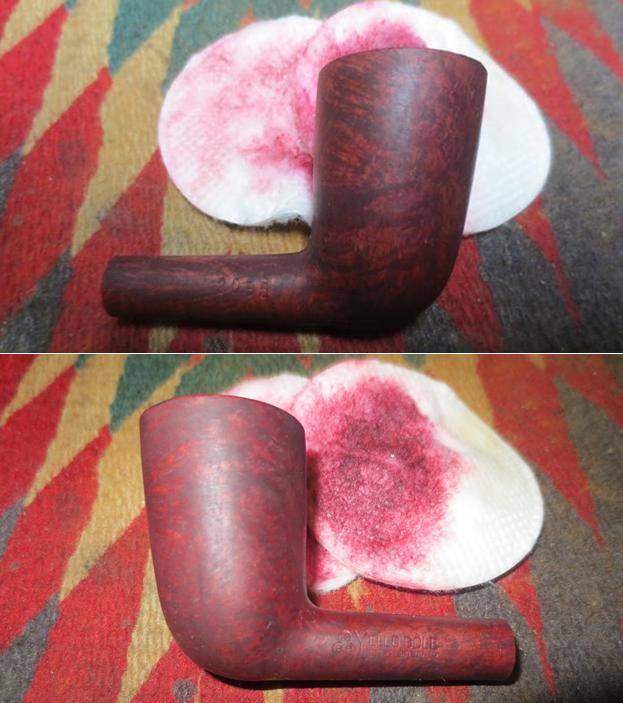
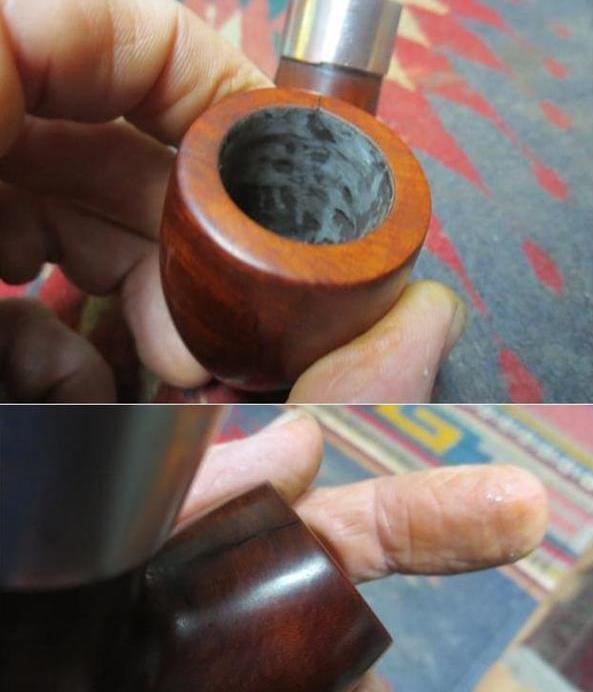
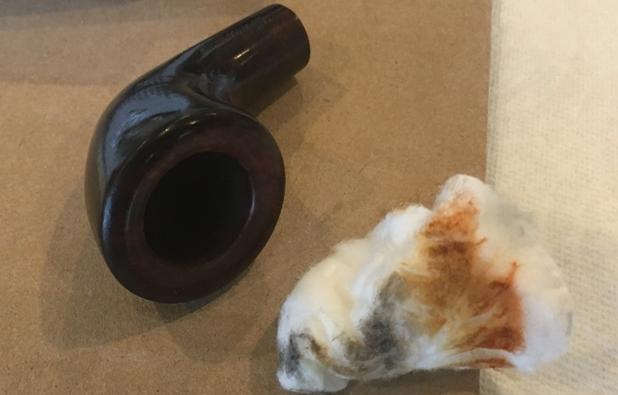
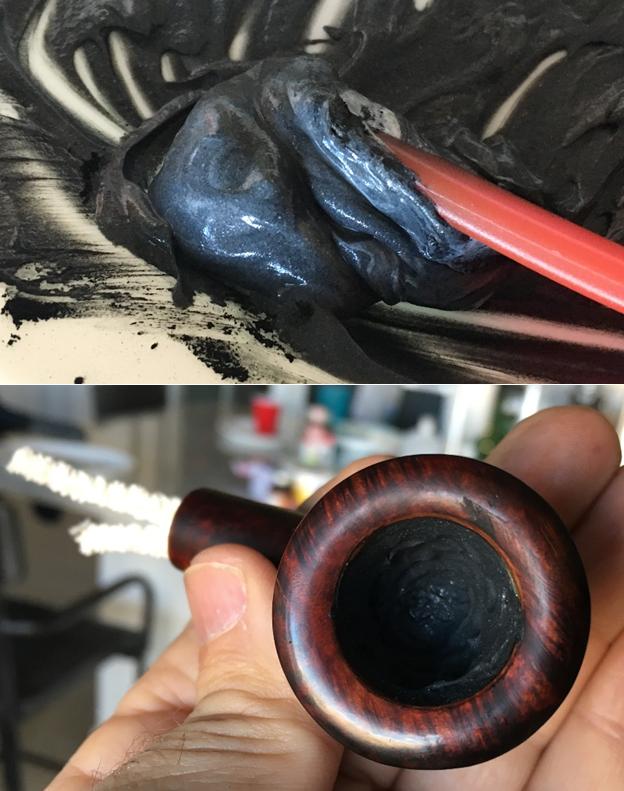
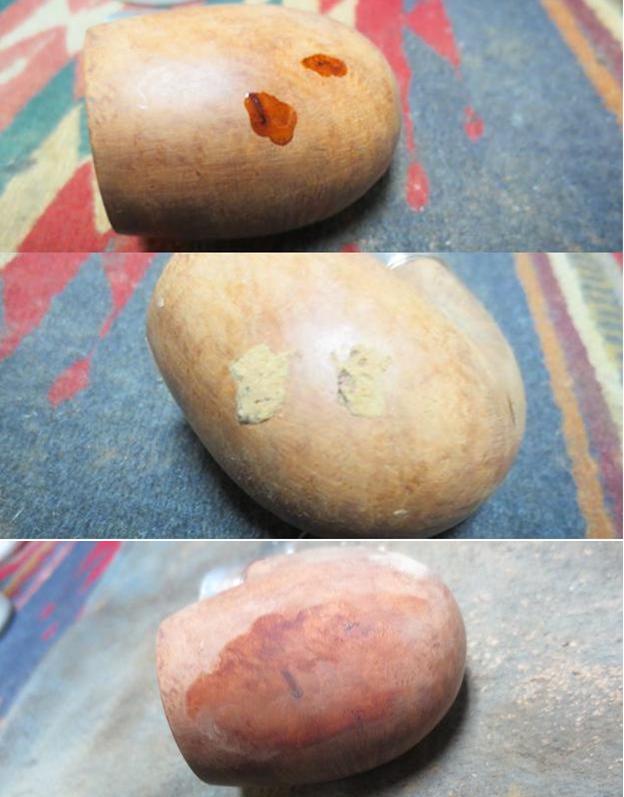
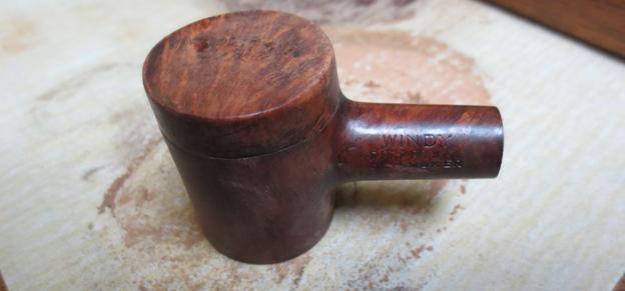 I put the cap back in place and wiped the bowl down with acetone on cotton pads to remove the finish. The fills on the bowl were dimpled so they would need to be repaired with briar dust and super glue.
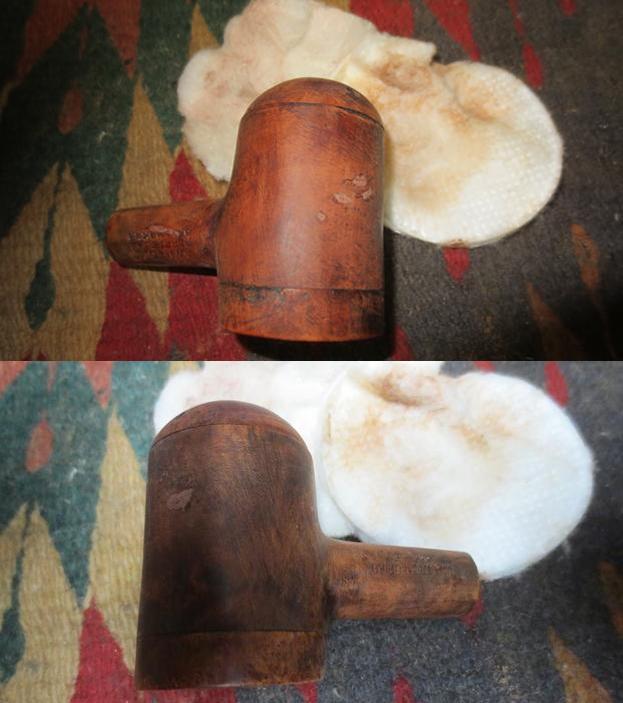
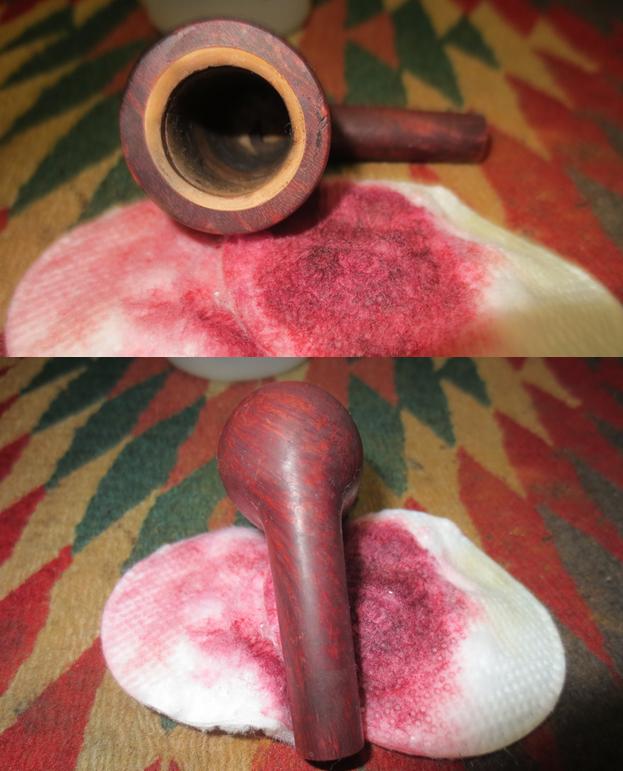
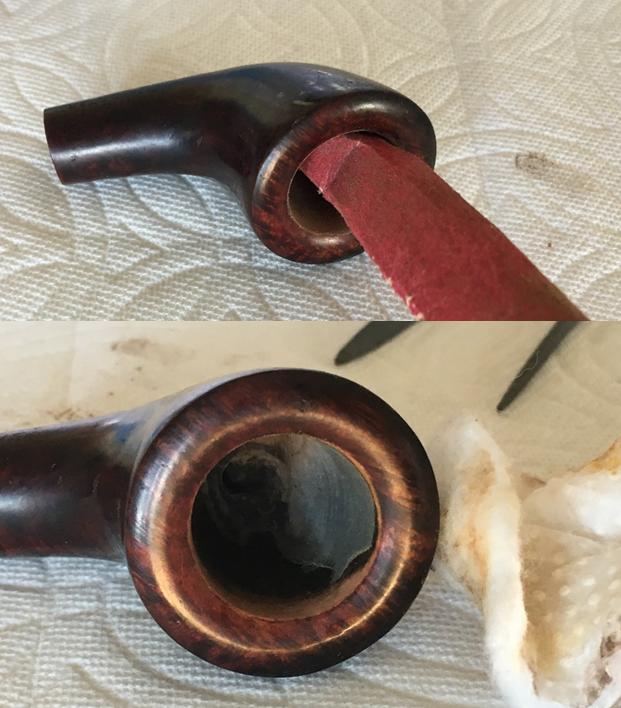
 With the finish removed I could better assess the darkened areas around the sides and bottom of the flat cap. I could also see areas that needed to be sanded around the edges of the rounded bottom cap also. I sanded the entire pipe with 220 grit sandpaper to remove the damaged areas and smooth out the transitions between the core and the caps. I also smoothed out the edges of the fills to prepare them for repair later in the process.
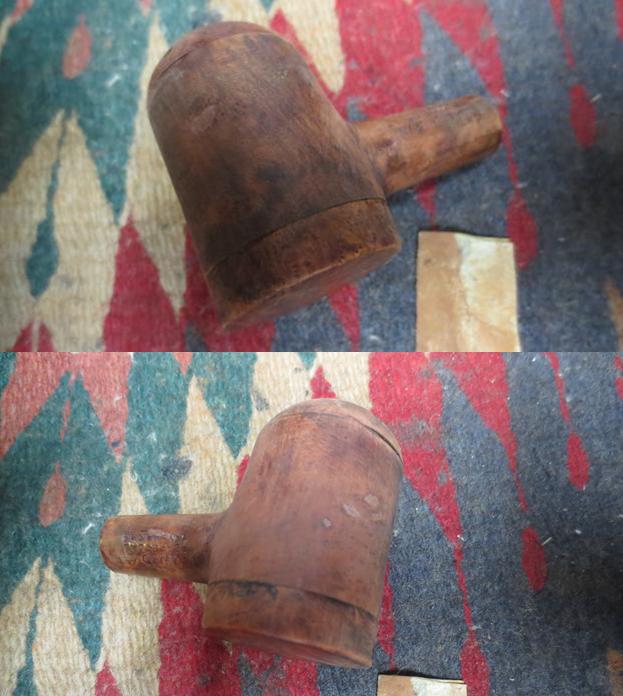
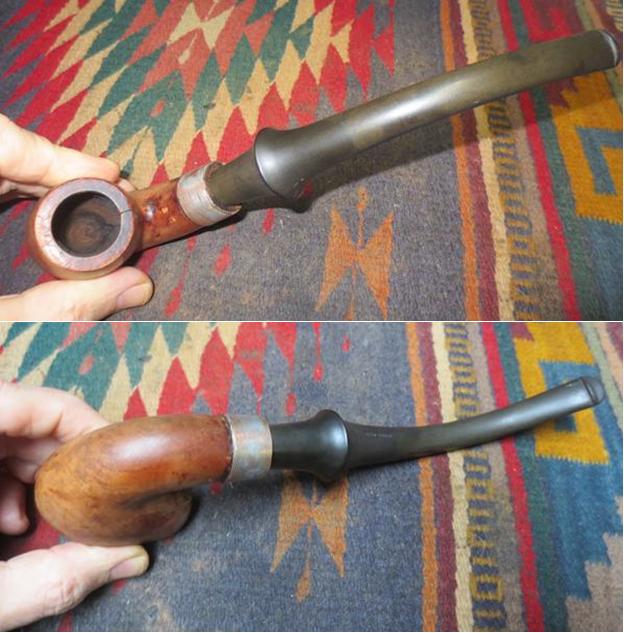
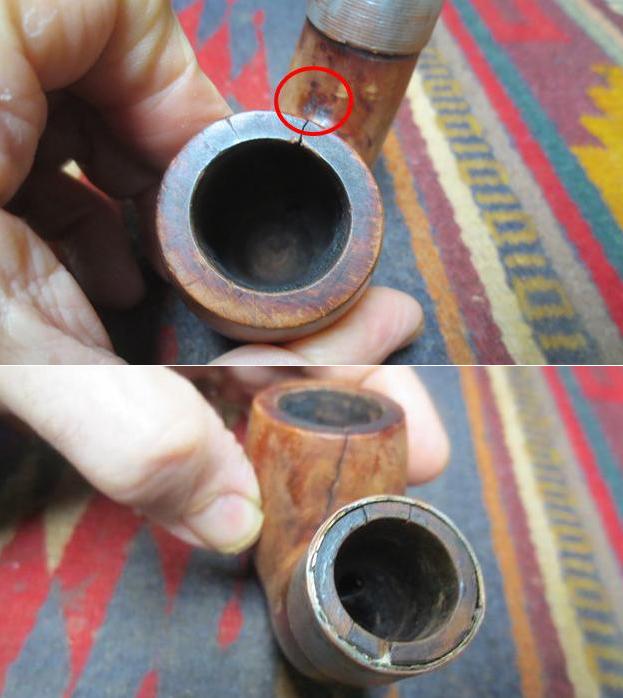
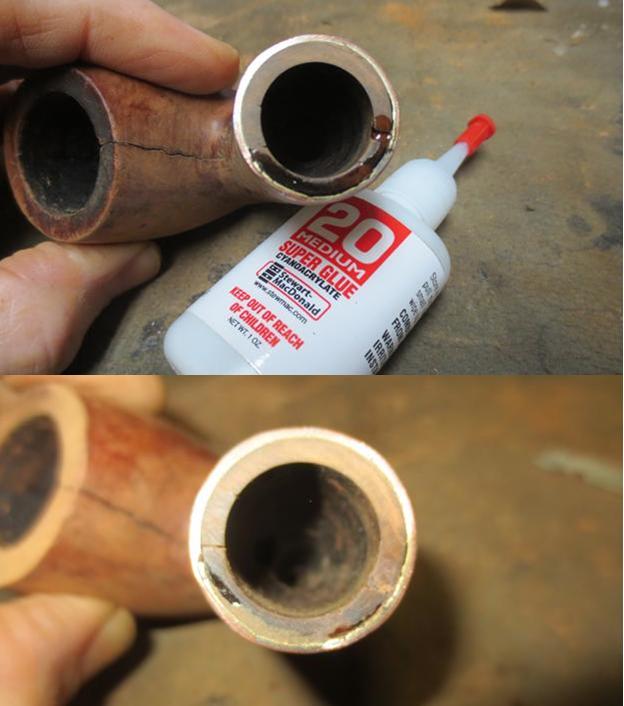
 With that part finished I needed to rework the shank/stem diameter. The right side of the shank was narrower than the right side of the stem. With the stem removed it was easy to see why. That side of the briar shank was thinner in terms of the thickness of the walls of the shank than the left side. The red circle shows the side that needed to be taken down.
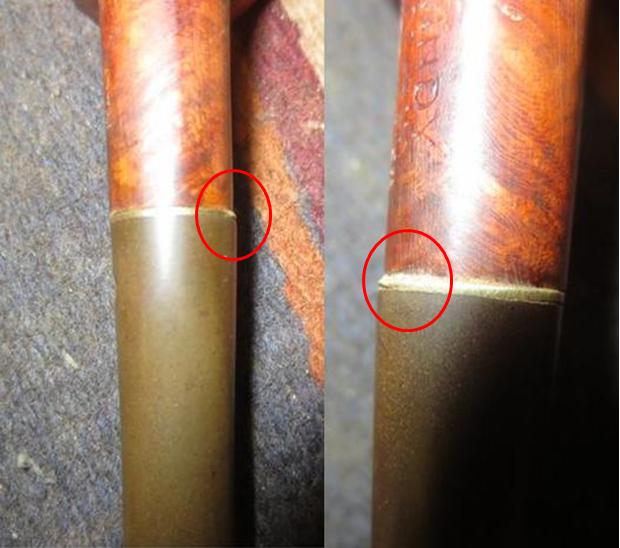 I used the Dremel with a sanding drum to take down the excess vulcanite and brass of the spacer.
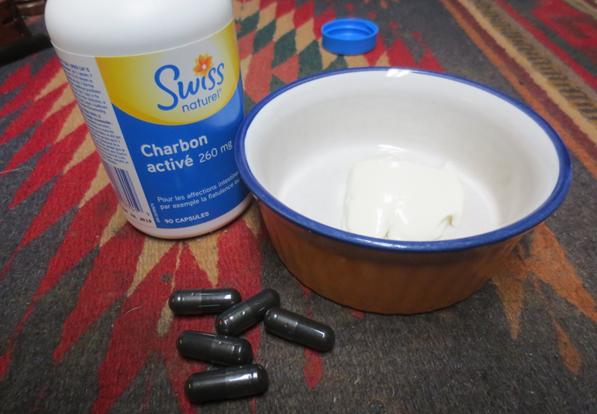
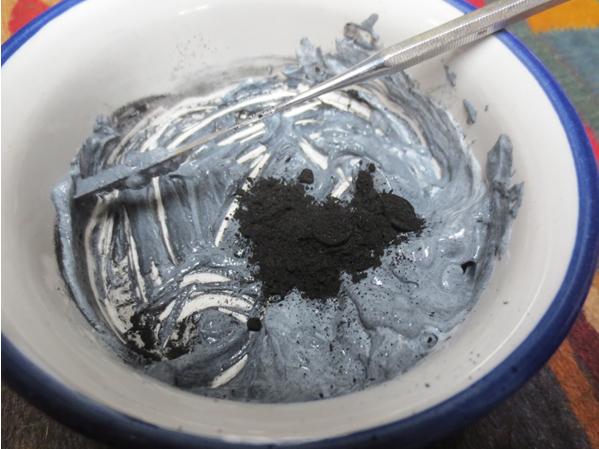
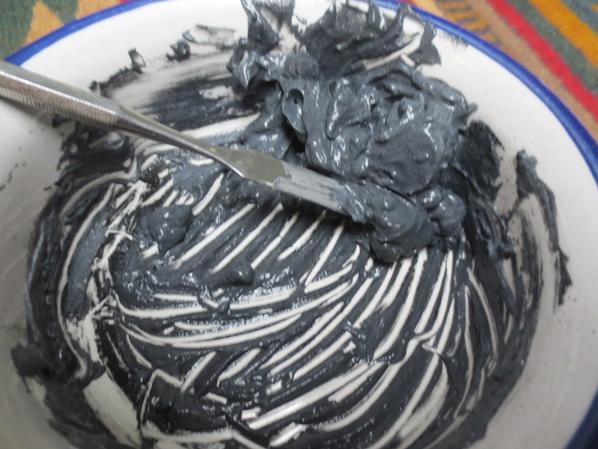
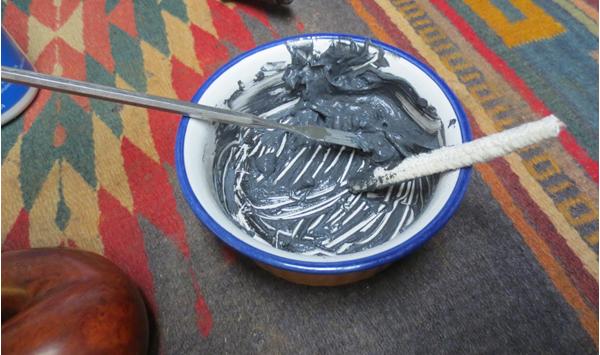
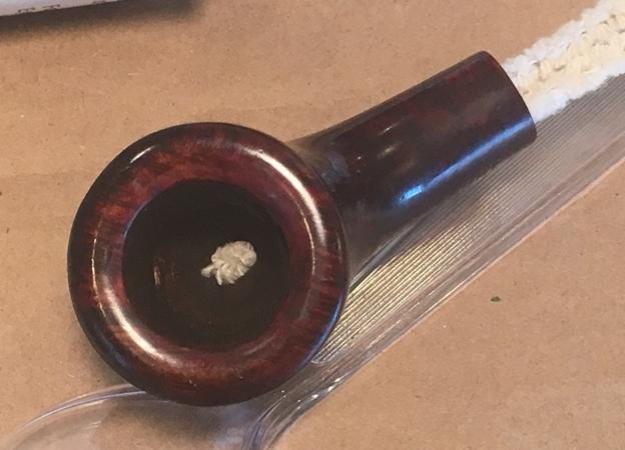
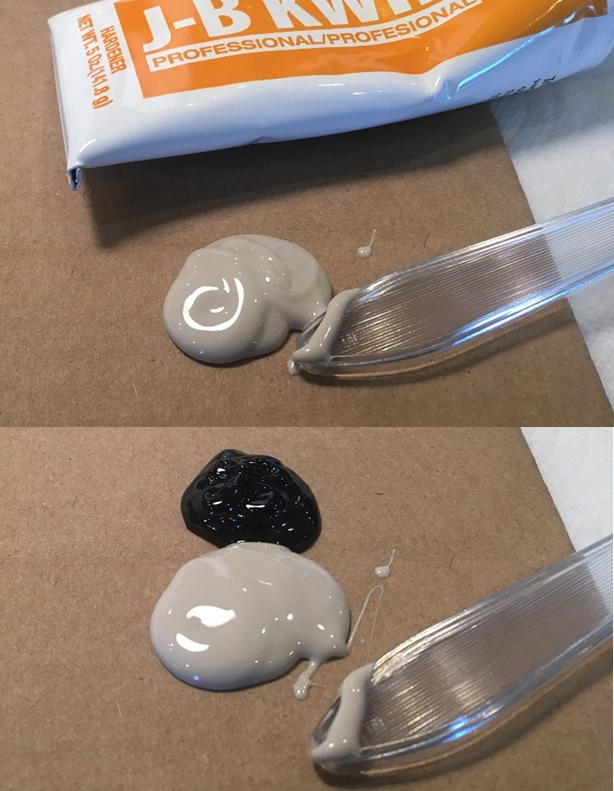
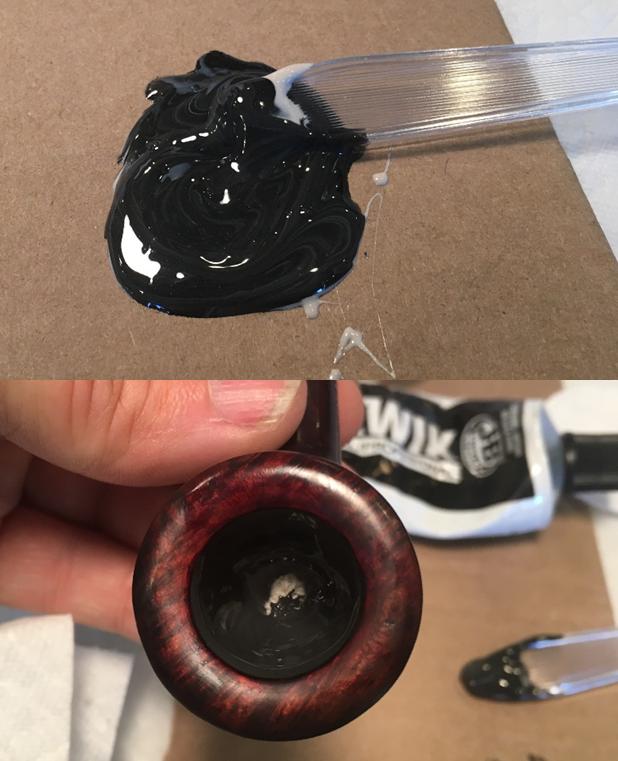
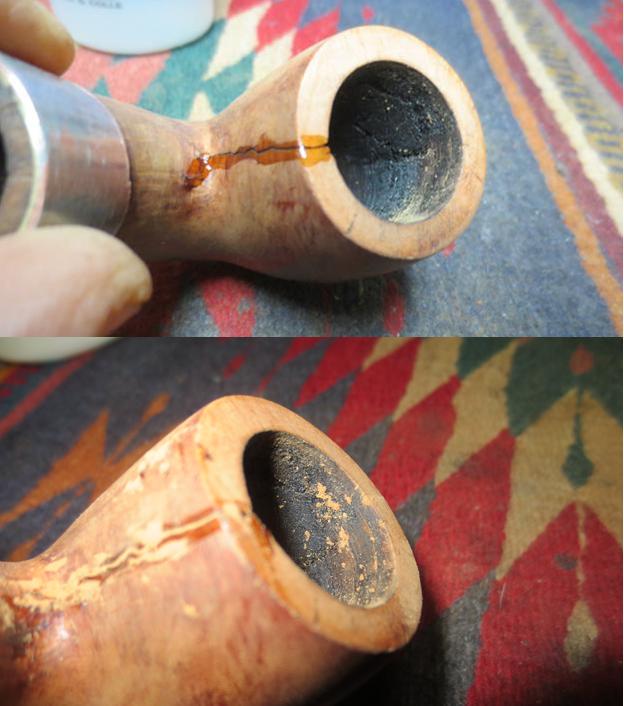
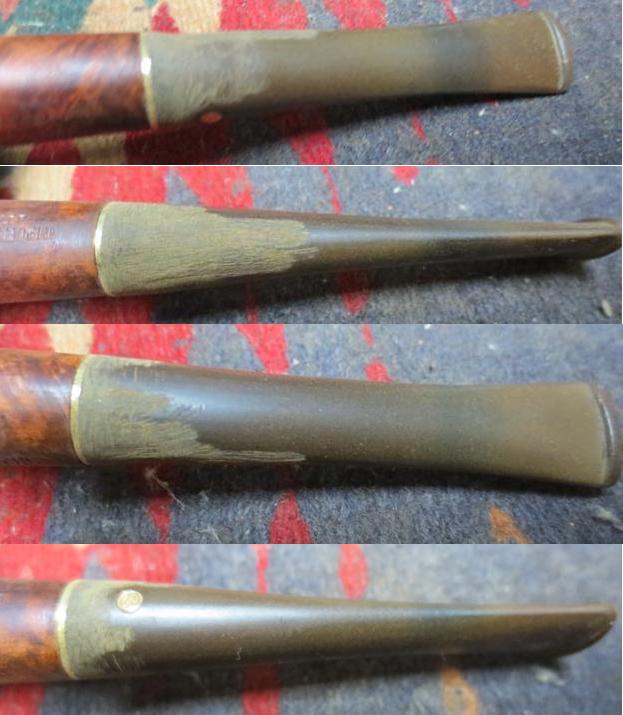 I cleaned out the areas around the fills and removed any of the loose debris around them. I rebuilt the areas around the fills with a mixture of clear super glue and briar dust. I overfilled the repairs to allow for shrinkage. I sanded the repairs smooth to match the surface of the bowl.
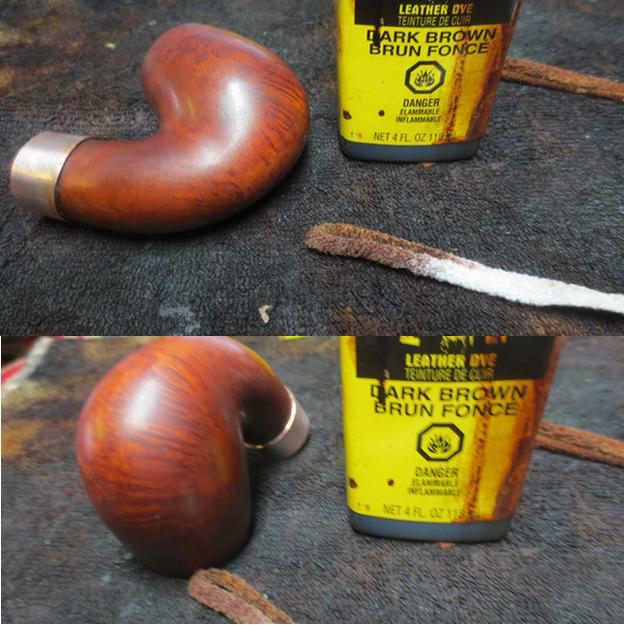
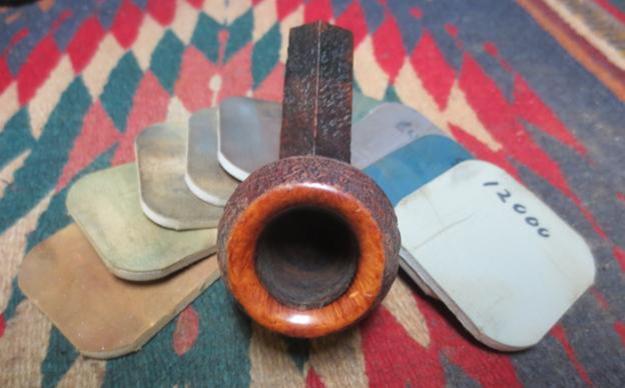
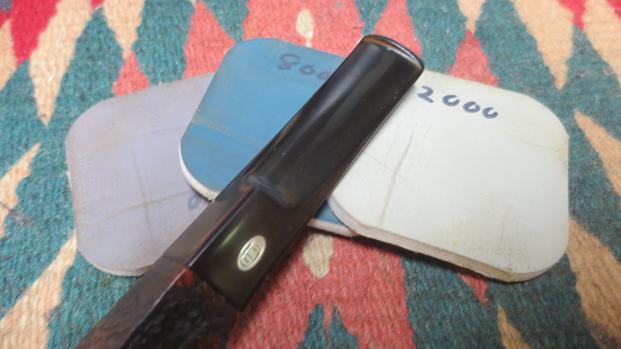
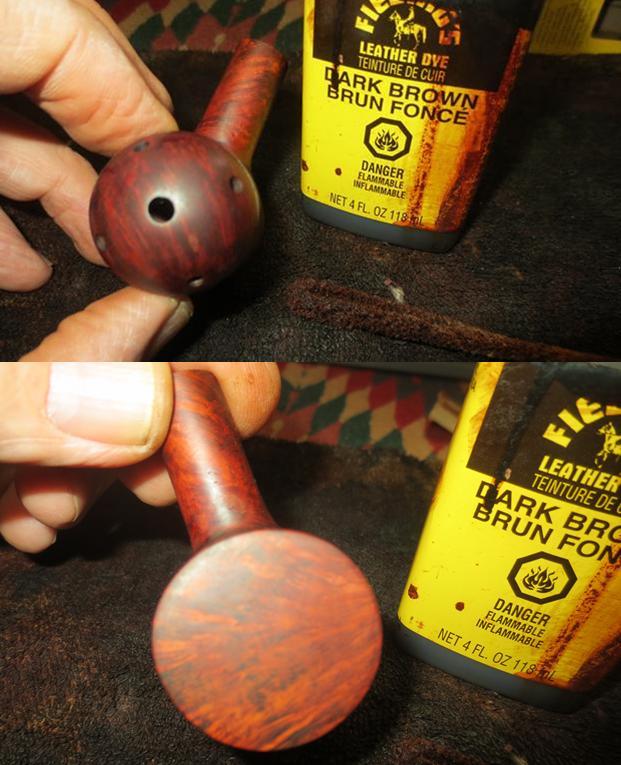
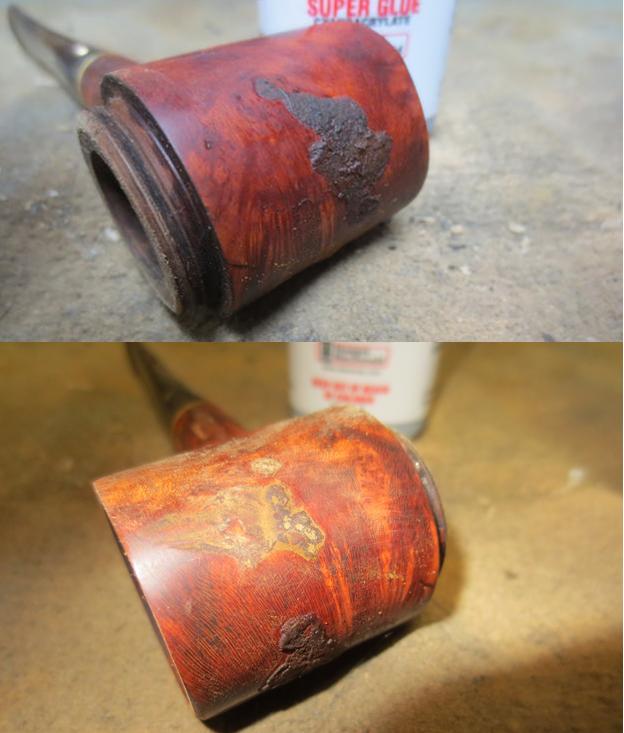 I sanded the repairs smooth and then polished the areas with micromesh sanding pads. I wet sanded the repaired areas with 1500-2400 grit sanding pads and dry sanded them with 3200-12000 grit pads. I wiped the bowl down with a damp cloth. I stained the bowl and the caps with dark brown aniline stain and flamed it to set it. I repeated the process until the coverage was even.
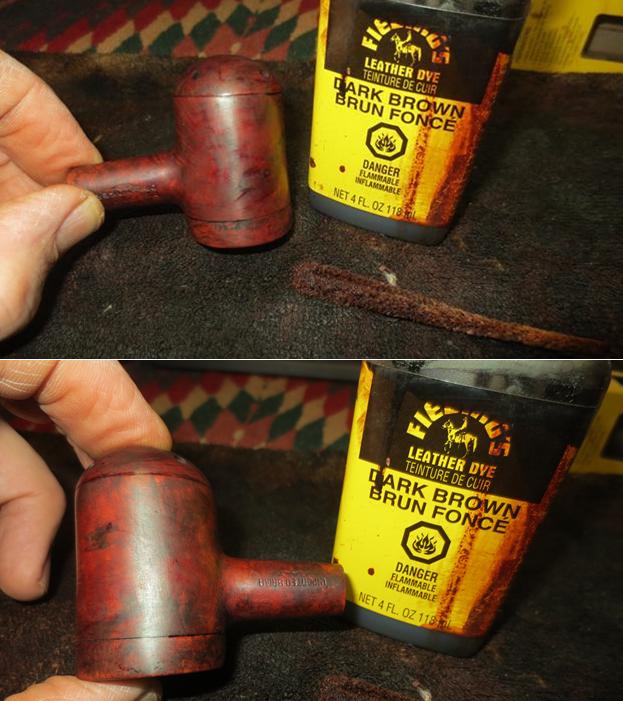
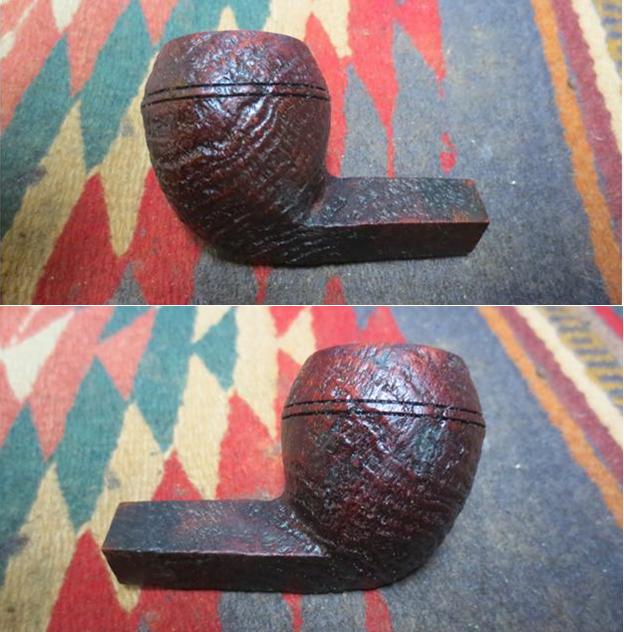
 I buffed the bowl with Blue Diamond polish on the buffing pen. I gave it several coats of carnauba wax and buffed it to a shine.
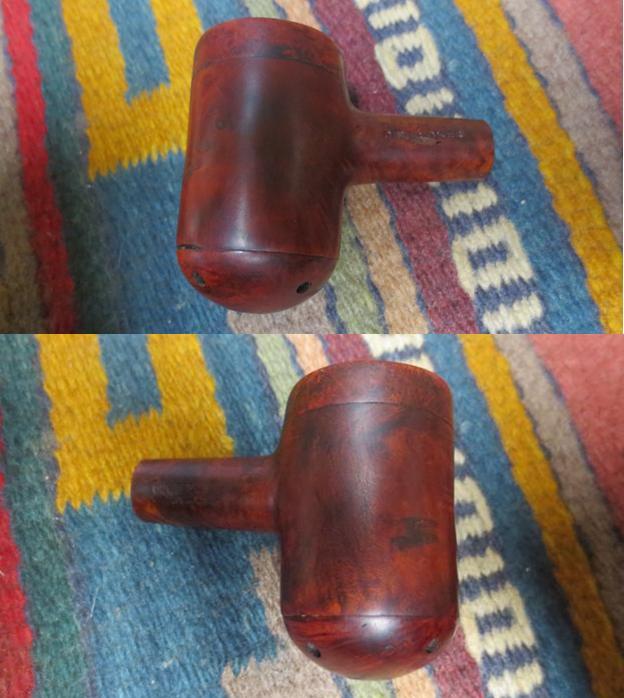
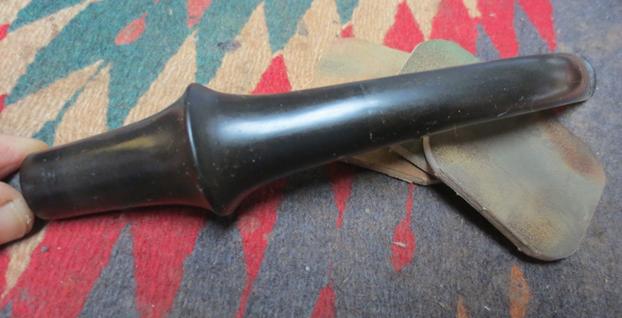
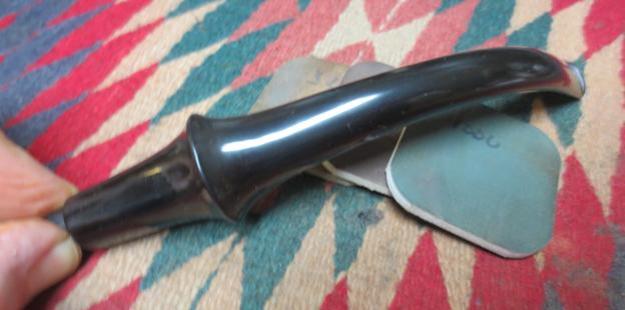
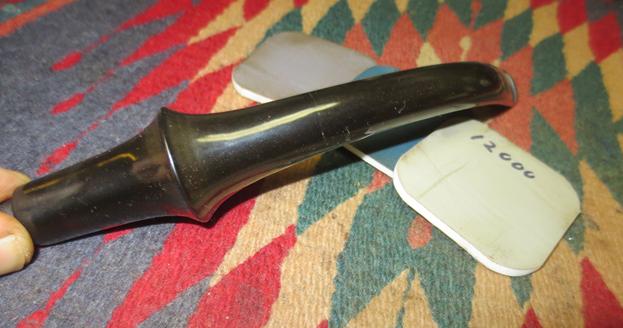
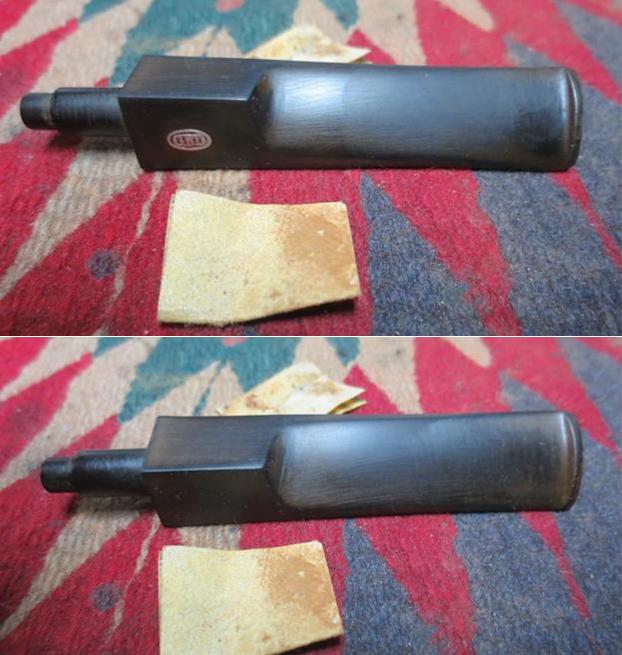
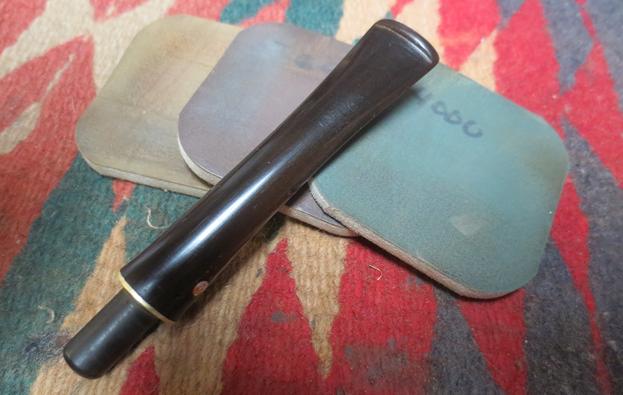
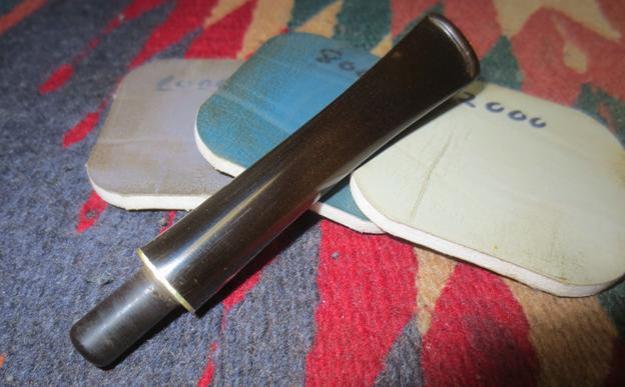
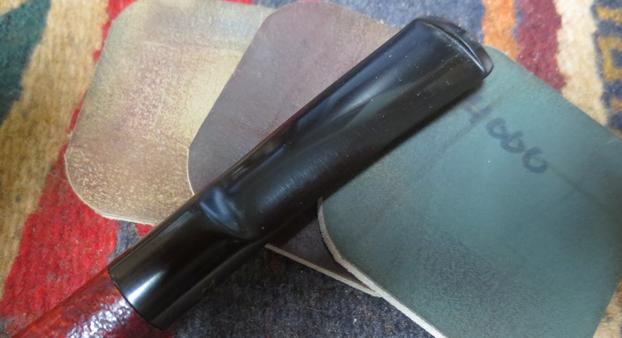
 I sanded the stem with 220 grit sandpaper to smooth out the scratch marks on the vulcanite. I polished it with micromesh sanding pads – wet sanding with 1500-2400 grit pads and dry sanding with 3200-12000 grit pads. I rubbed the stem down with Obsidian Oil after each set of three pads. After the final coat of oil I set it aside to dry.
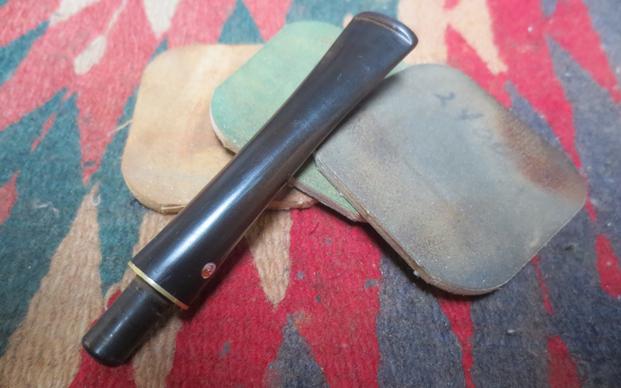
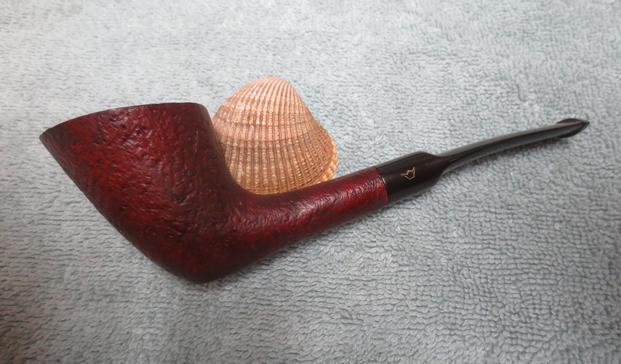
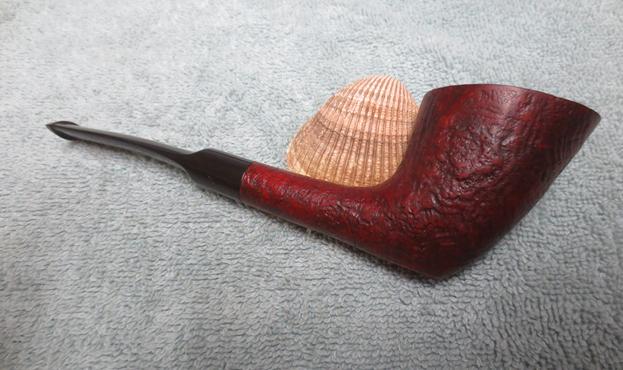
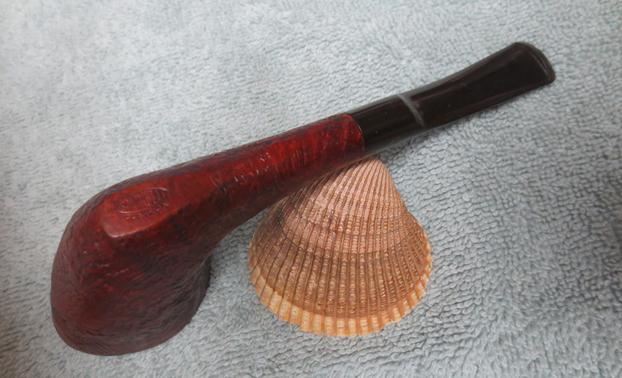
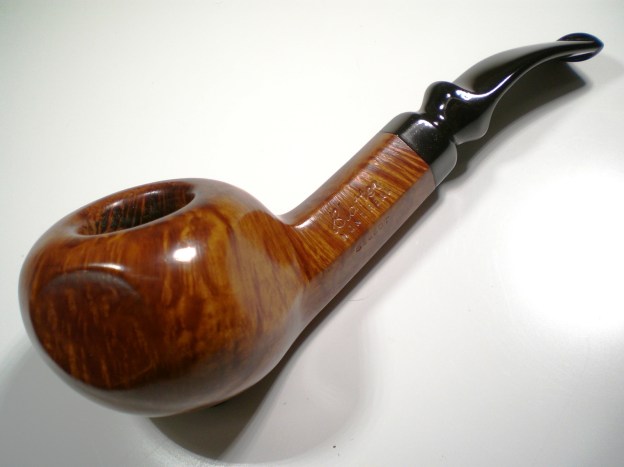
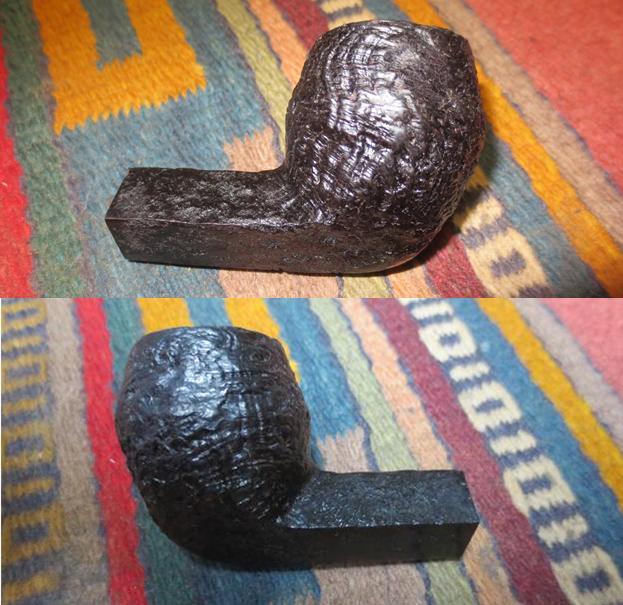
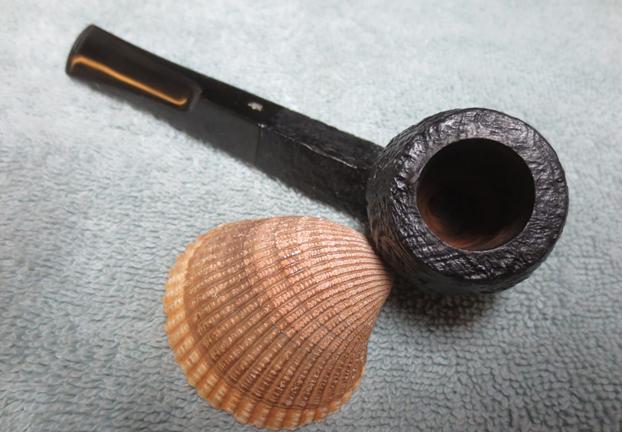
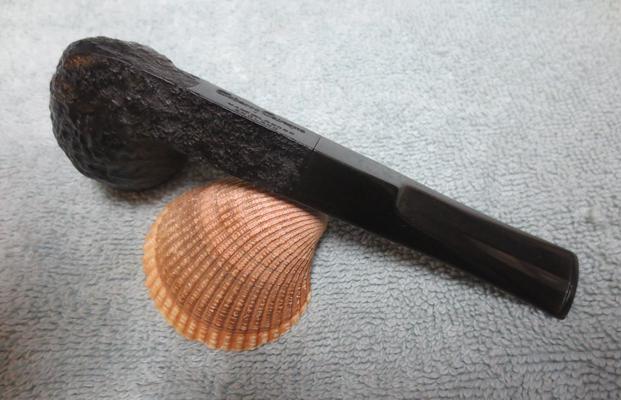
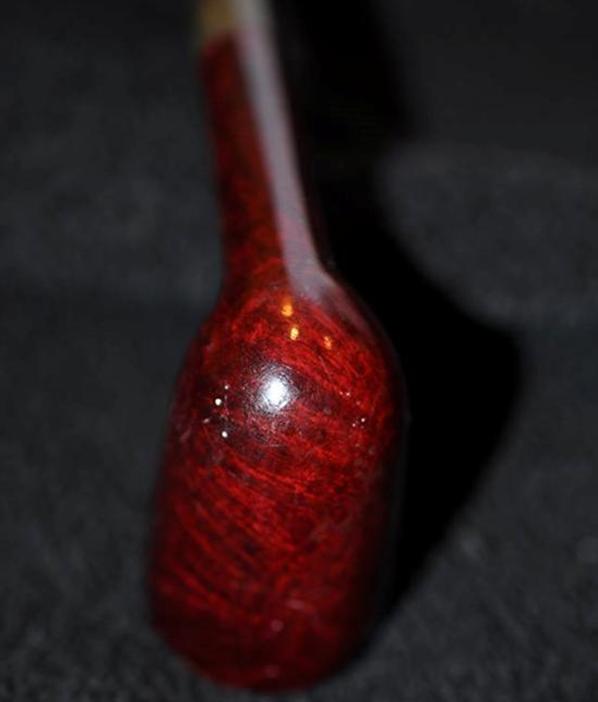
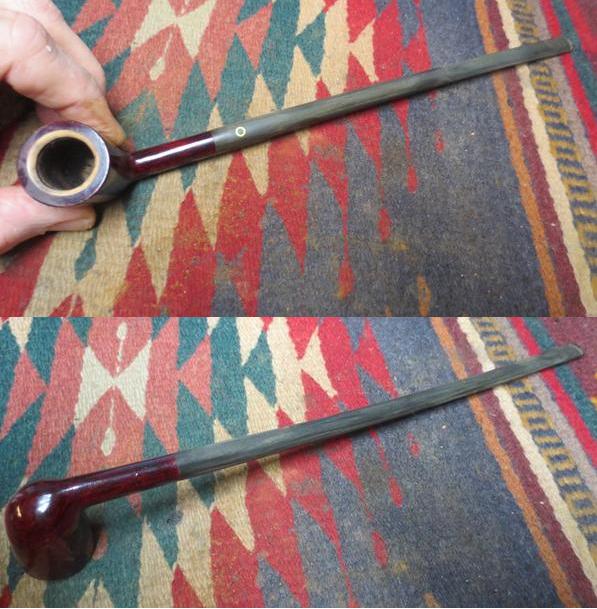
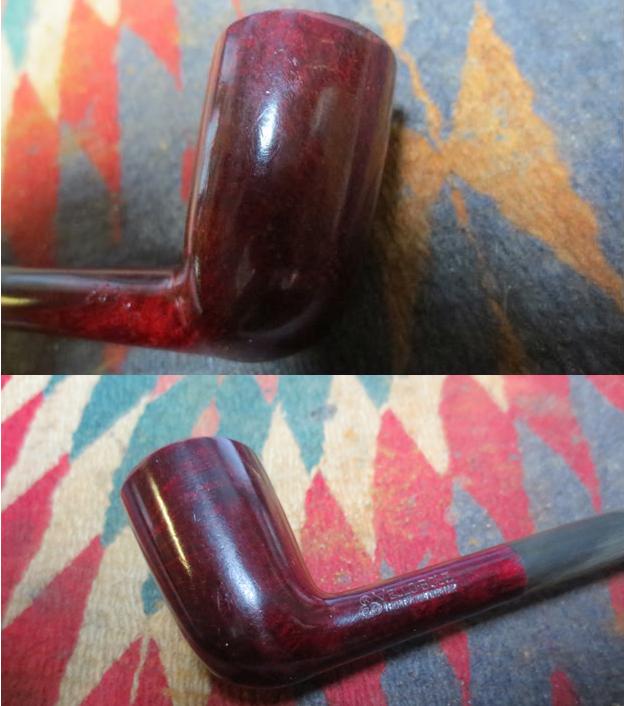
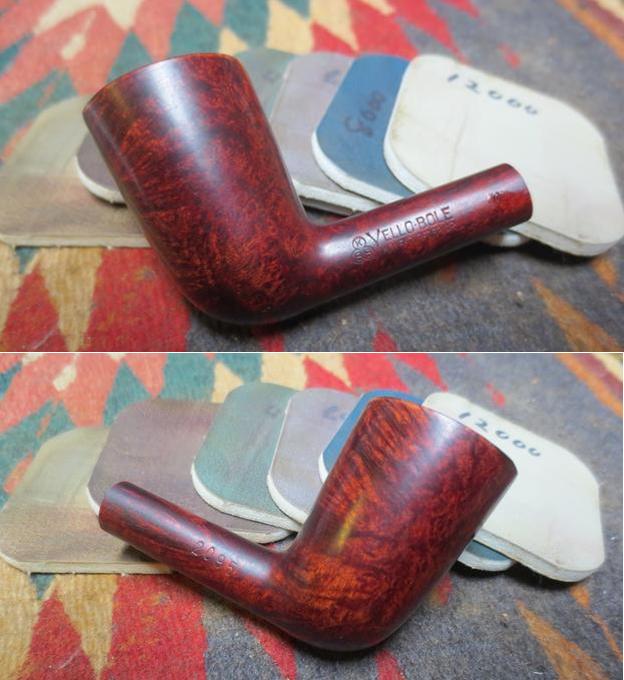
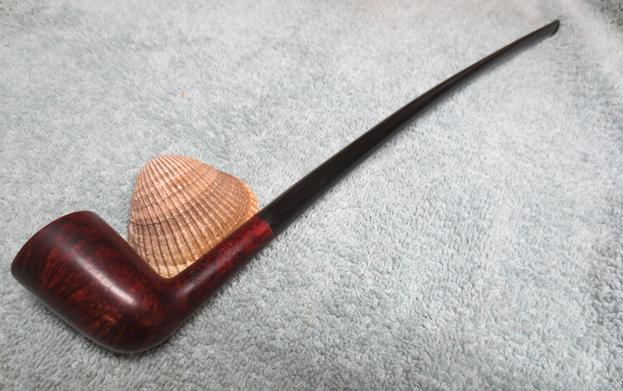
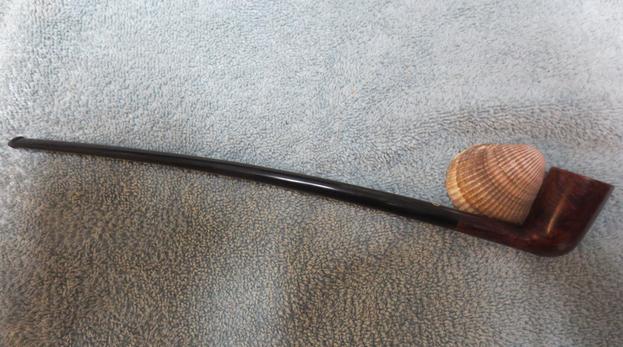
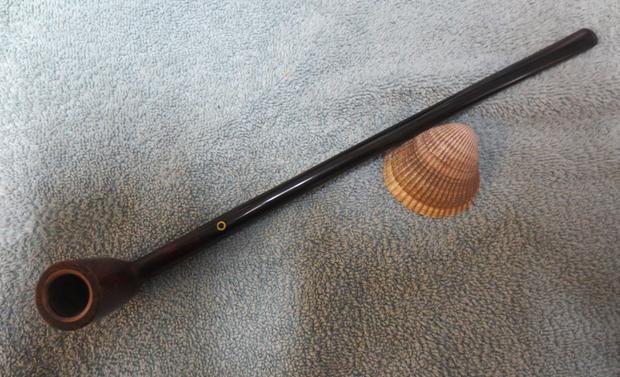
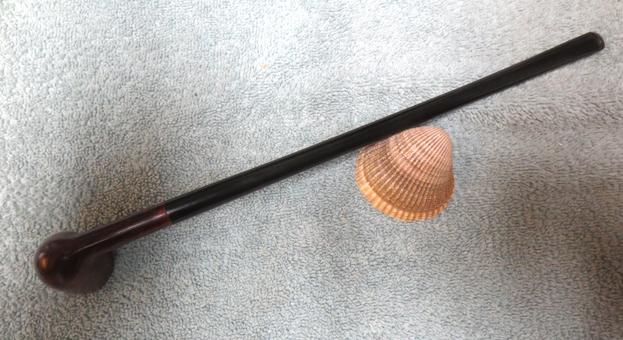
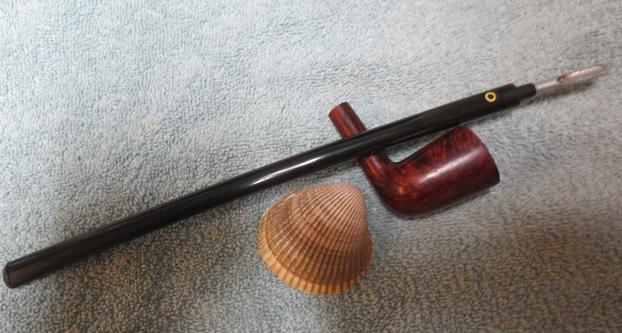
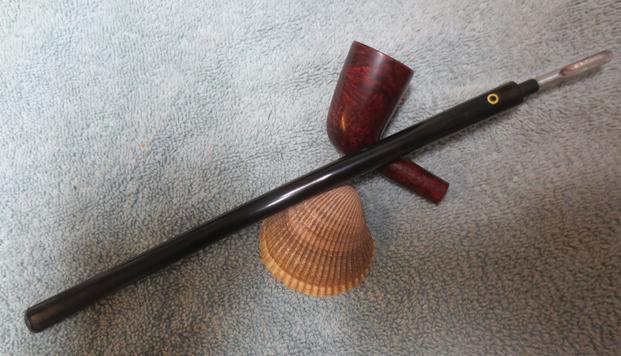
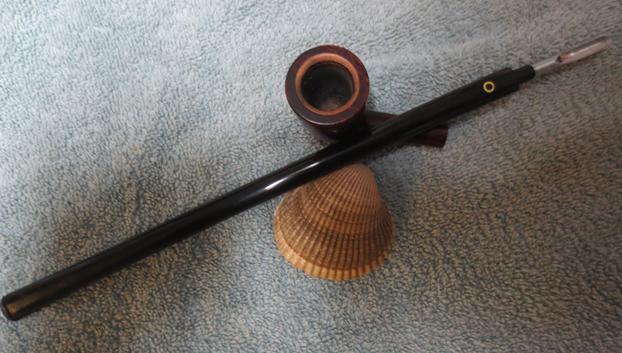
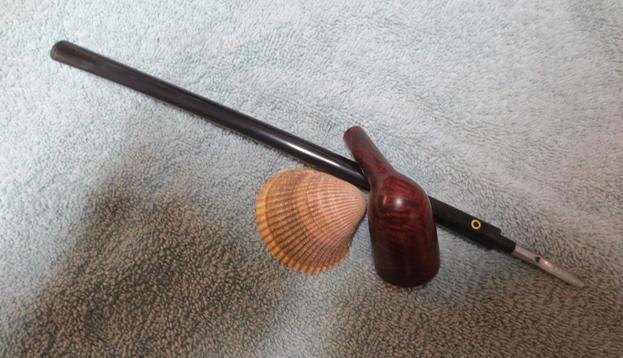
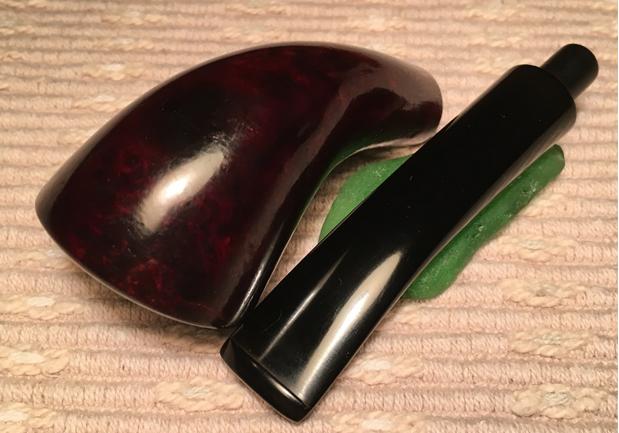
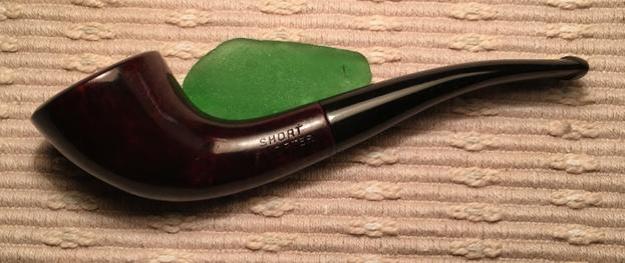
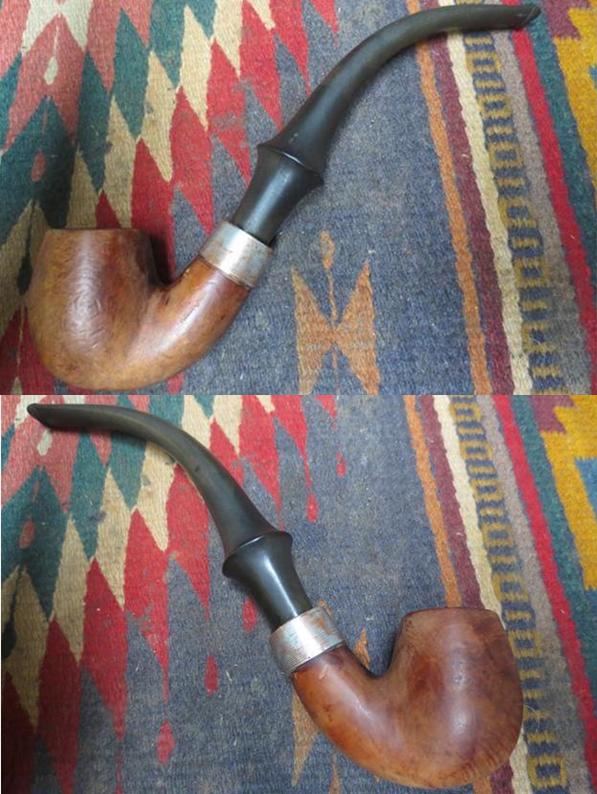
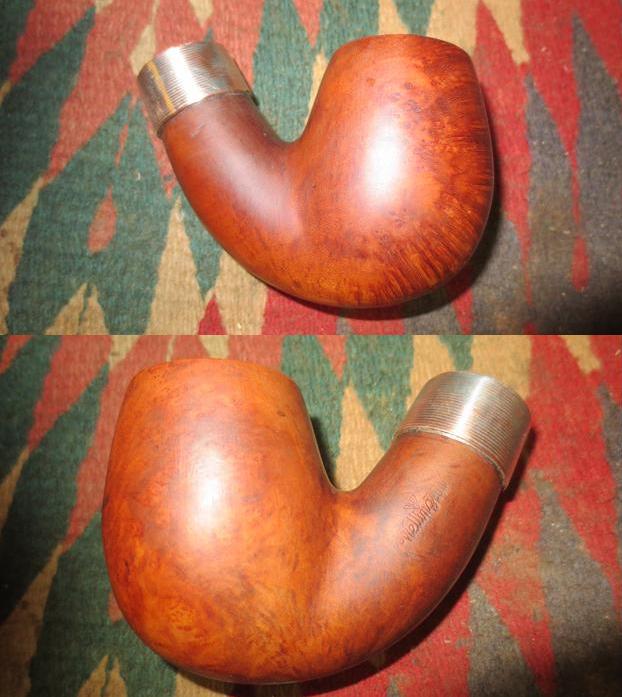
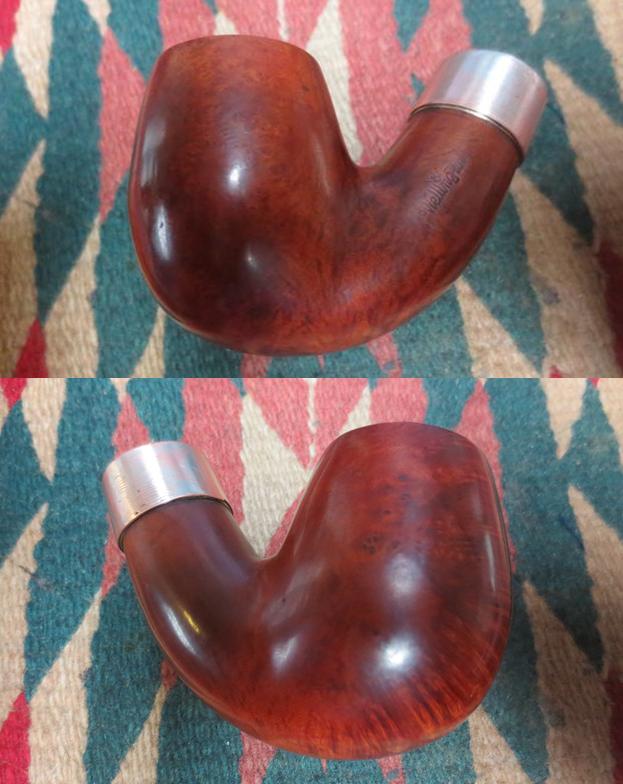
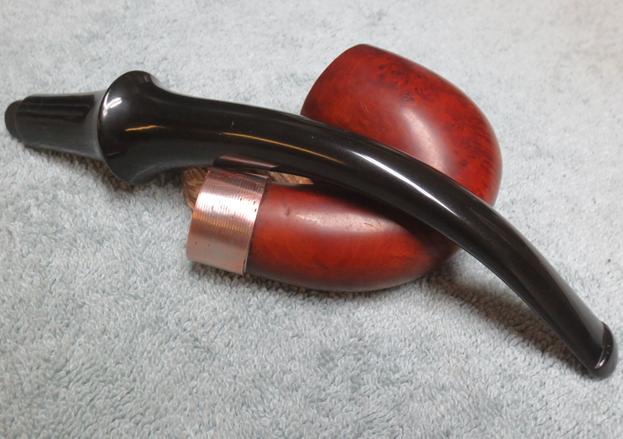
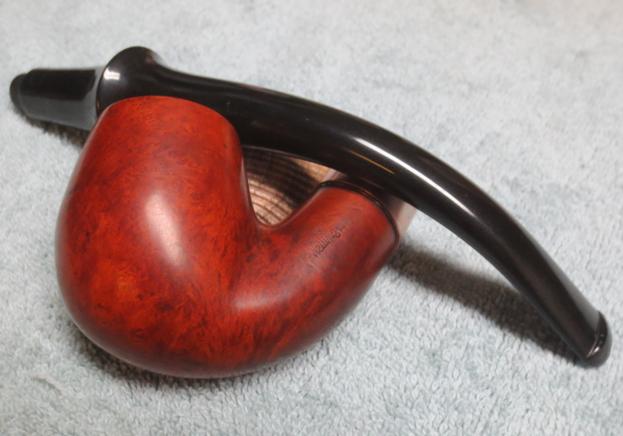
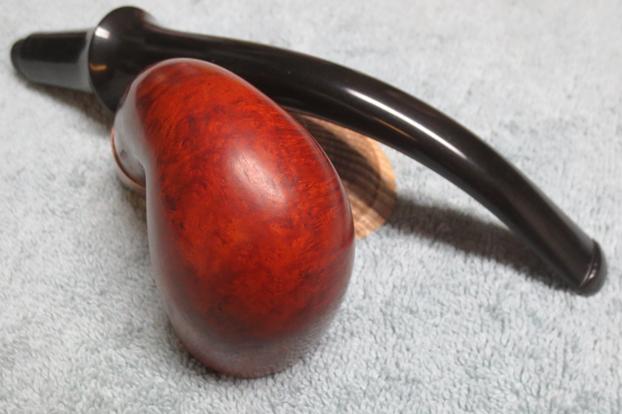
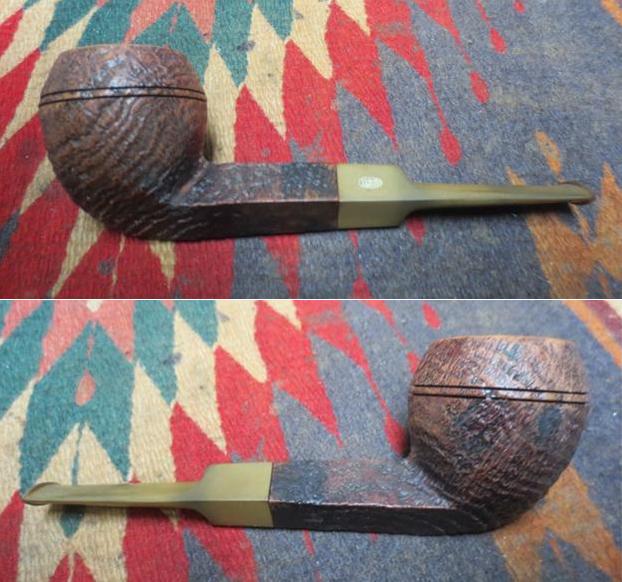
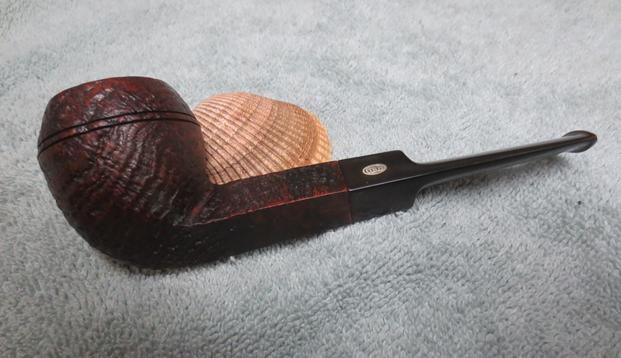
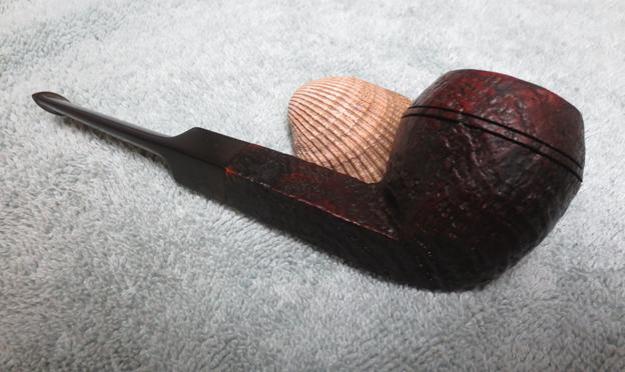
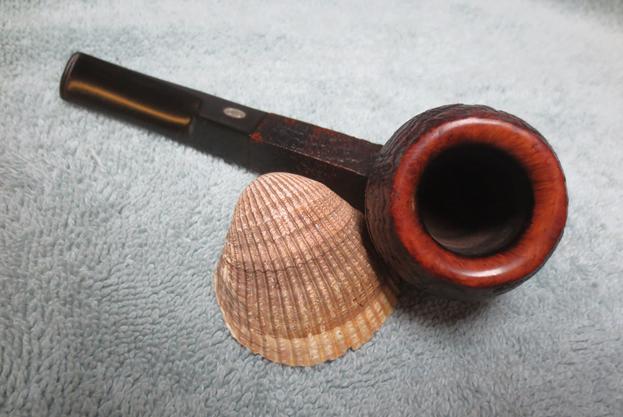
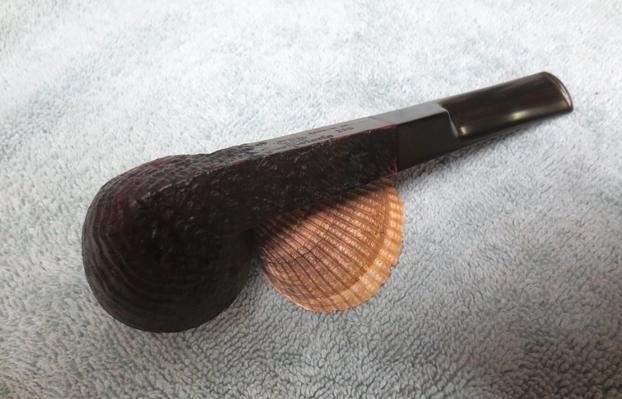
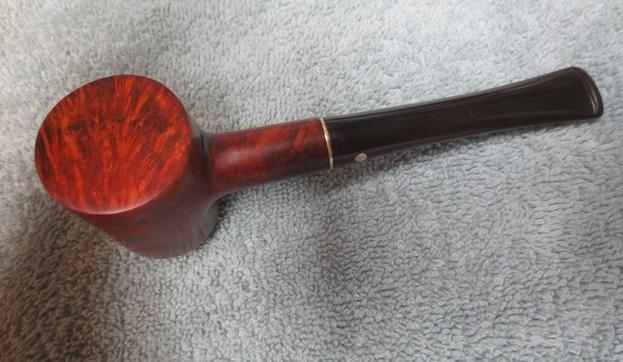
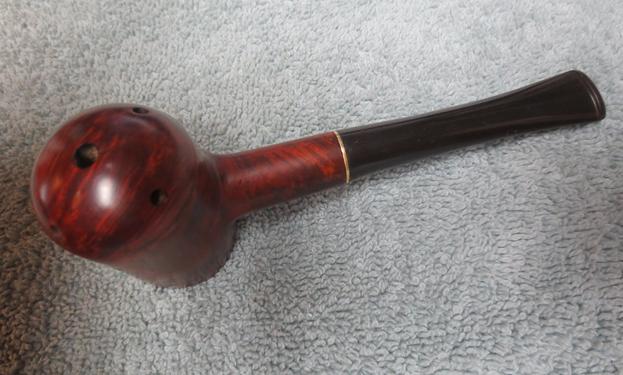
 I buffed the pipe with Blue Diamond once more and then gave the bowl and stem multiple coats of carnauba wax. I buffed it with a clean buffing pad to polish it and then by hand with a microfibre cloth to deepen the shine. The finished pipe is shown in the photos below. Some of the character marks of the pipe that came to me still show and I am sure could tell a story if they were able to speak. I like the finished look – the marks and all give the pipe a sense of history and time. It is not a bad looking old pipe considering that it has traveled from the 1940s into 2016 and who knows how much longer. Thanks for looking.
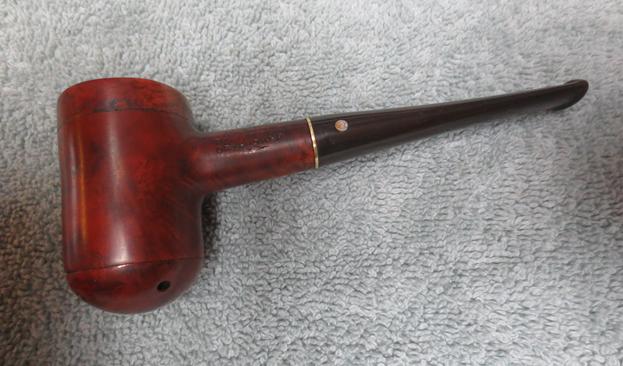


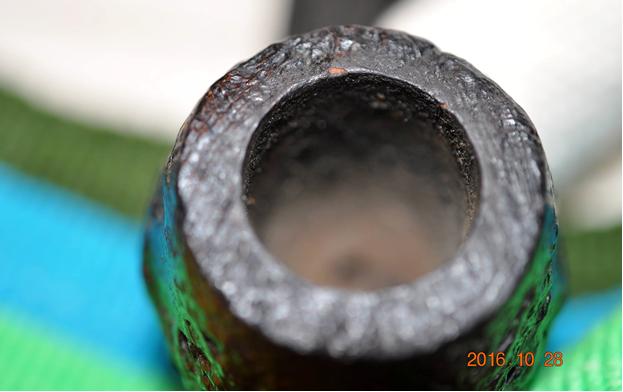
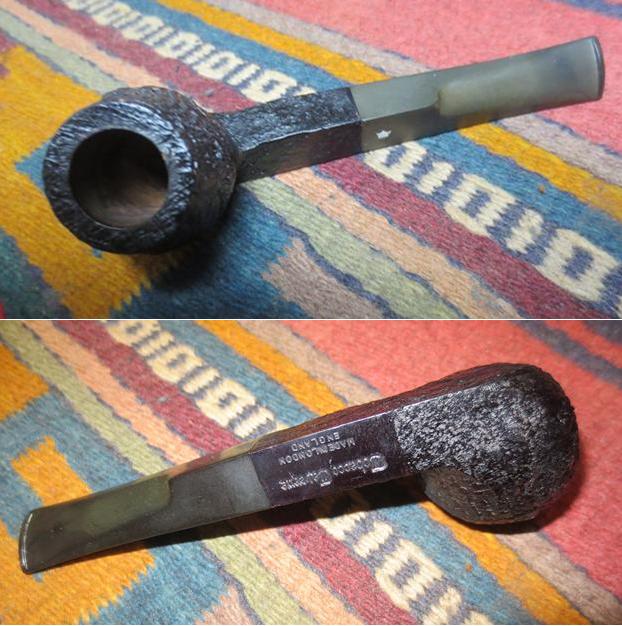
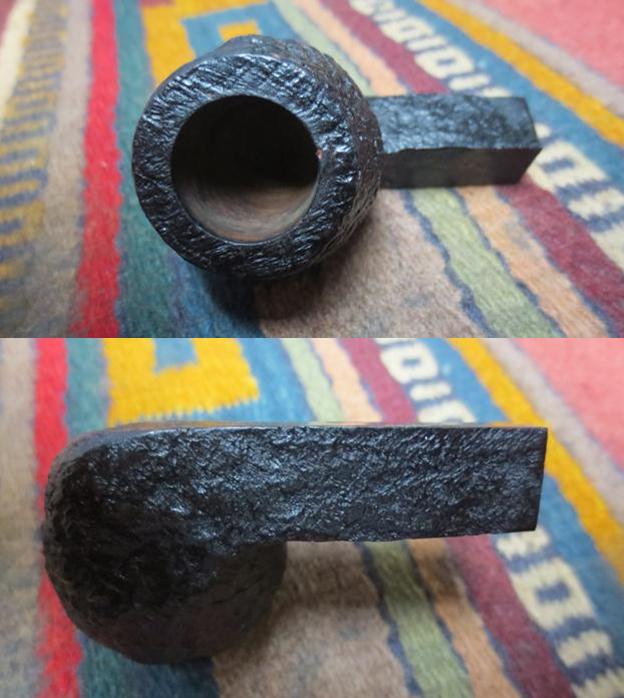
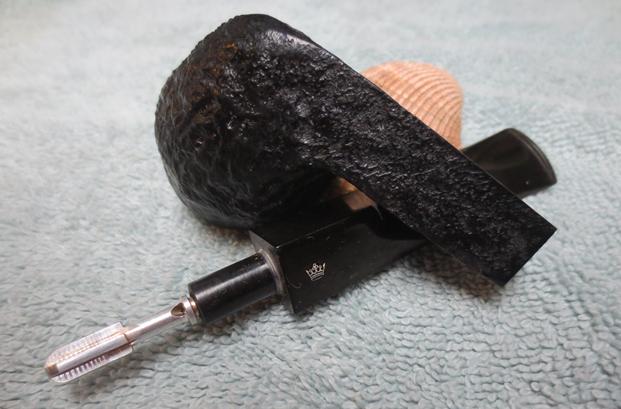
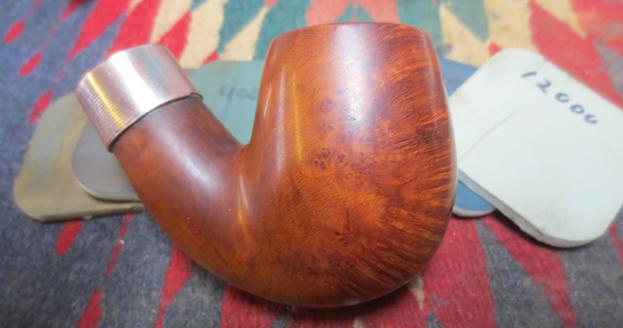
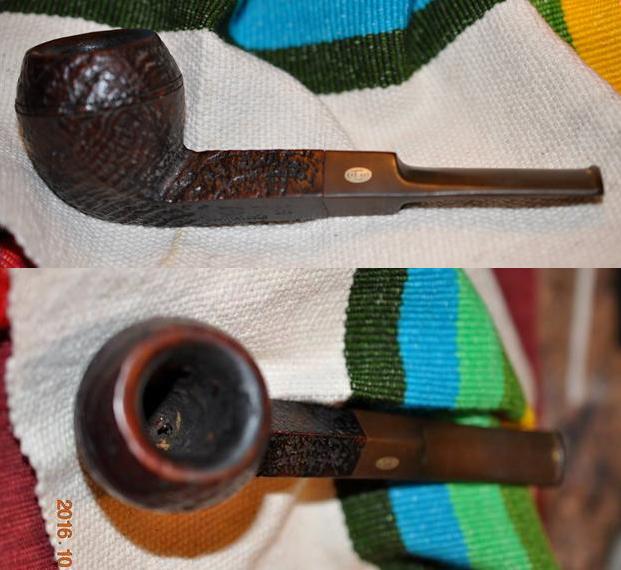
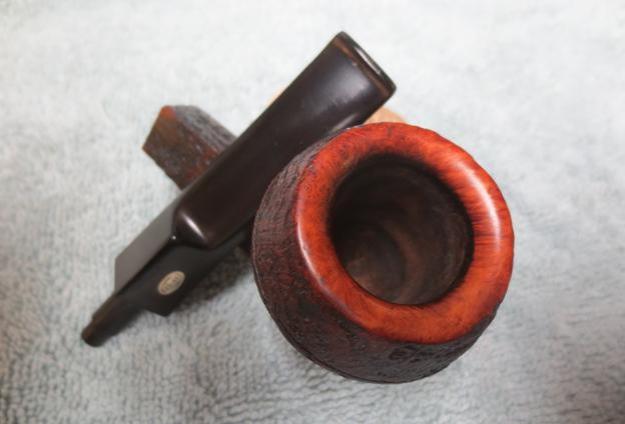
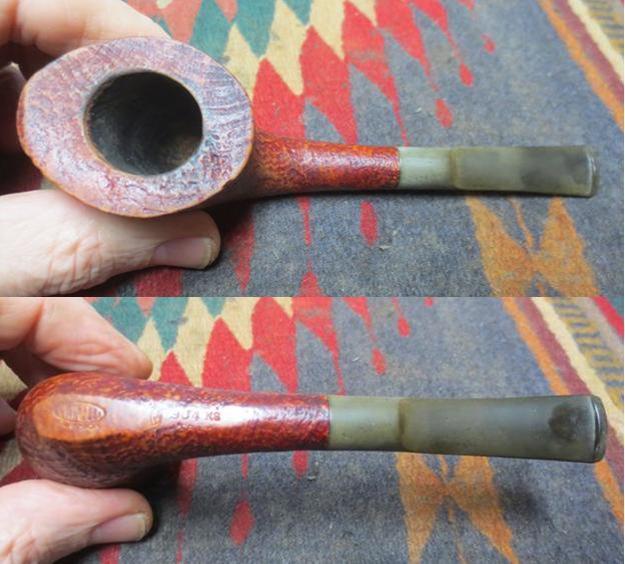
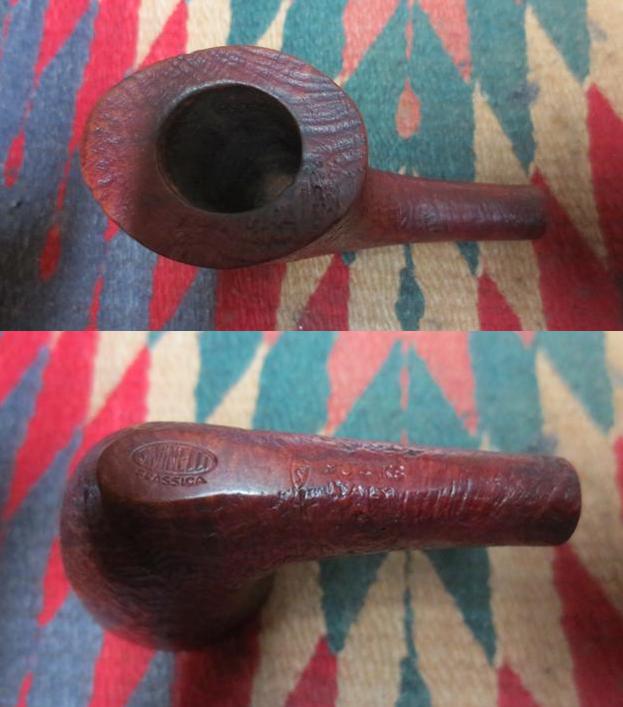
 He took a close up photo of the bowl and rim. Note the light cake in the bowl and the tars and oils built up on the back side of the rim top. The crevices of the sandblast are filled in but the inner and outer edge of the bowl look to be in good condition.
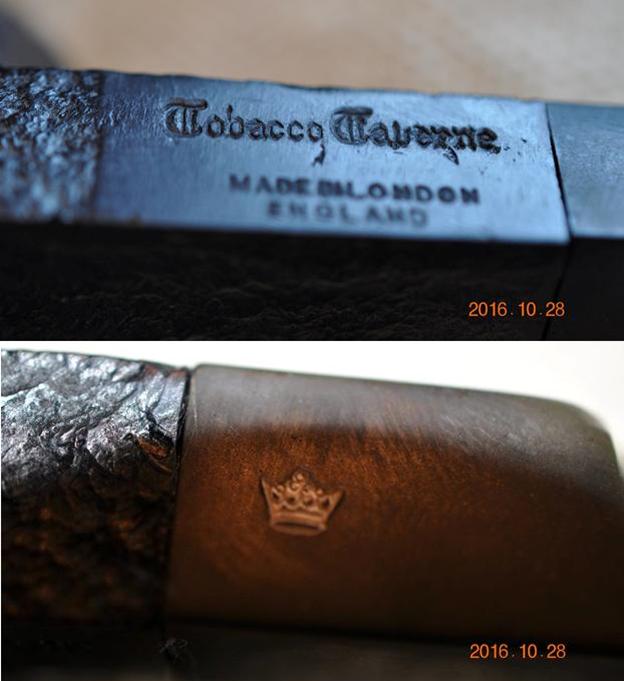
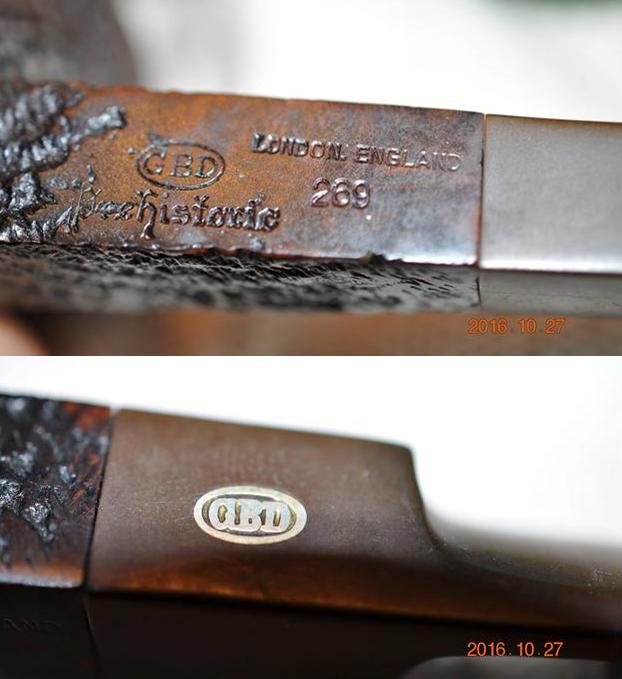
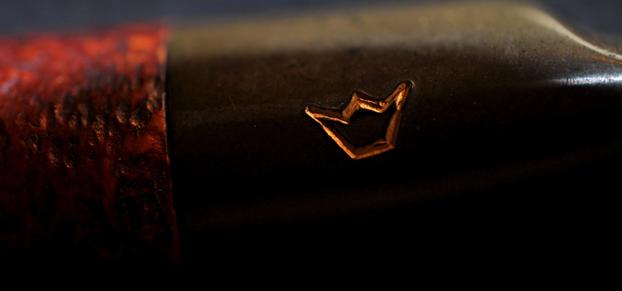
 The next three close up photos, show the stamping on the underside of the shank. The stamping is clear and readable. The S shield and the Italy stamp are the most hard to read but they are still readable. The fourth photo shows the gold crown on the side of the stem is also very clear.
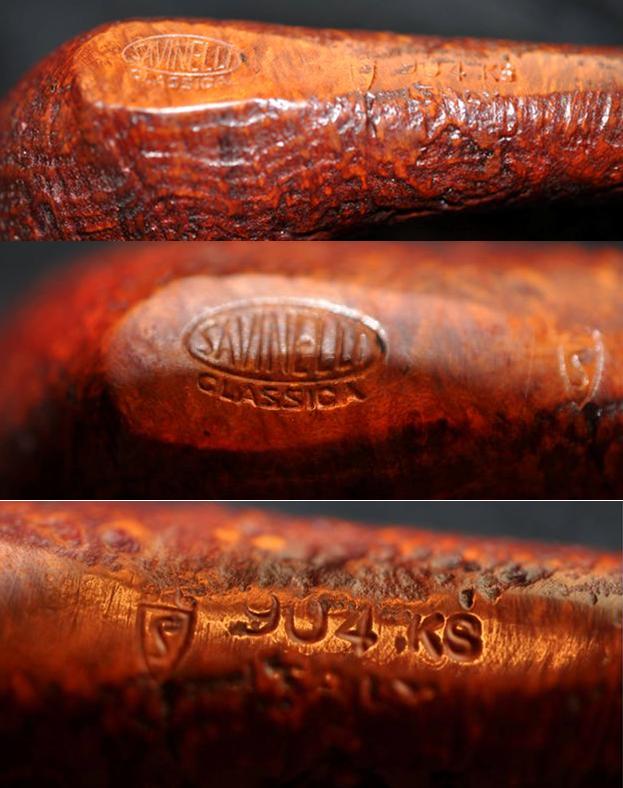
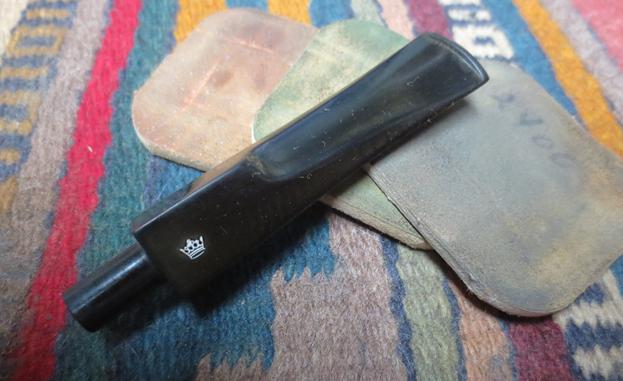
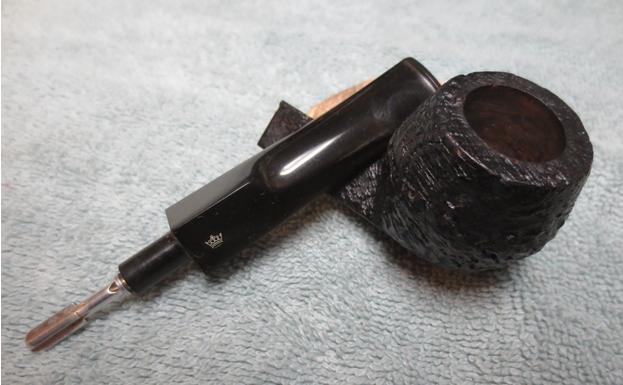
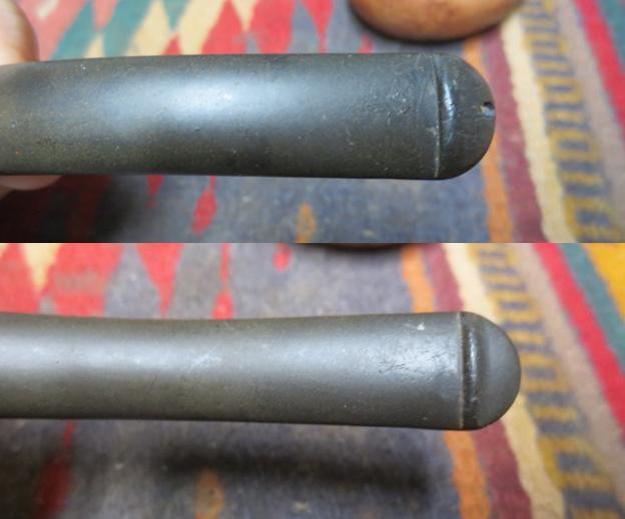
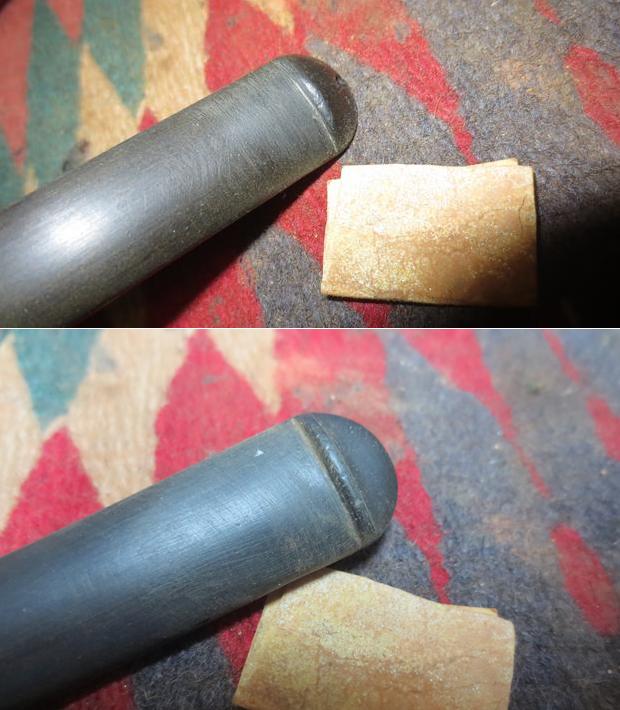
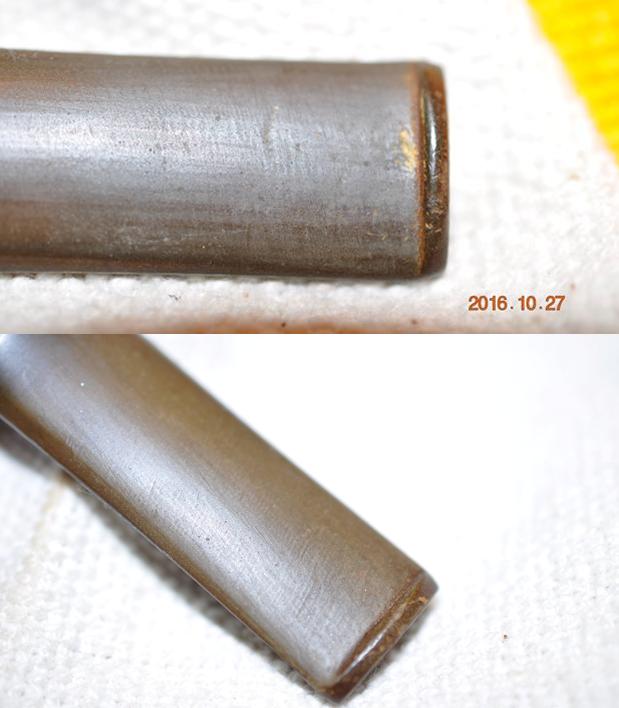
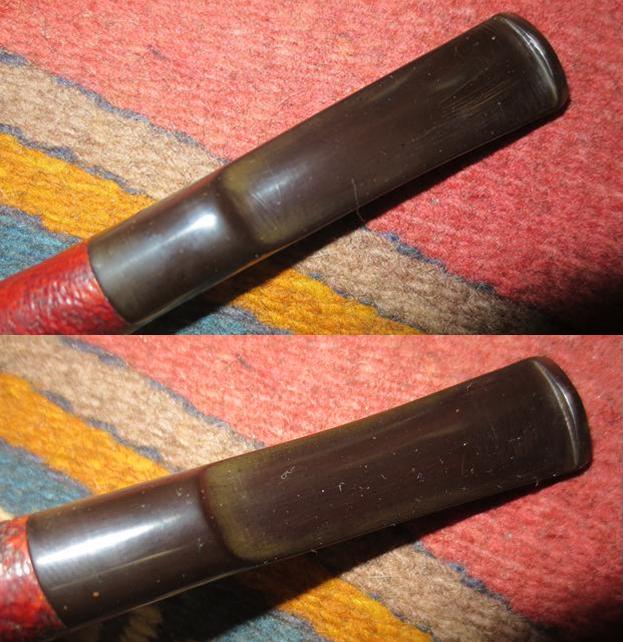
 The last two photos he sent to me show the tooth marks and chatter on the stem near the button. The oxidation is light but in the curves of the saddle they are darker.
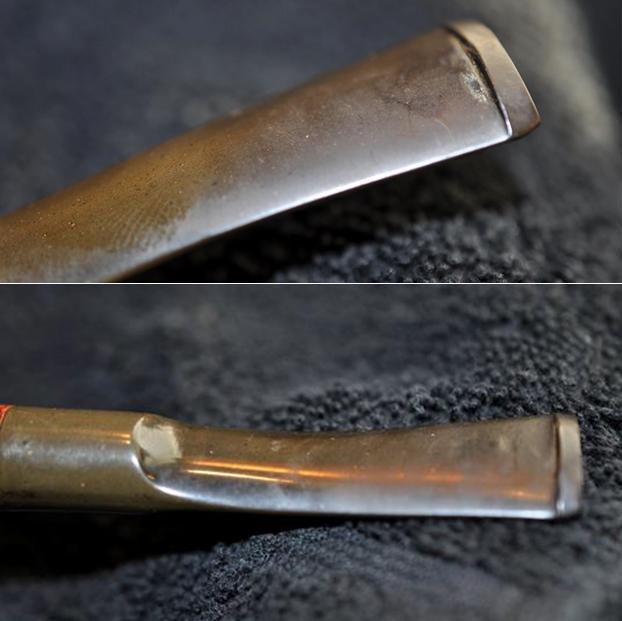 My brother scrubbed the exterior of the pipe and stem with Murphy’s Oil Soap and rinsed it with running water. He scrubbed the rim top to remove the oils and tars from the grooves and crevices. He reamed the bowl, cleaned out the inside of the shank, mortise and airway in the stem with alcohol, pipe cleaners and cotton swabs. When I received the pipe in Vancouver I took photos of what it looked like. The oxidation came to the surface of the stem and the finish looked washed out.
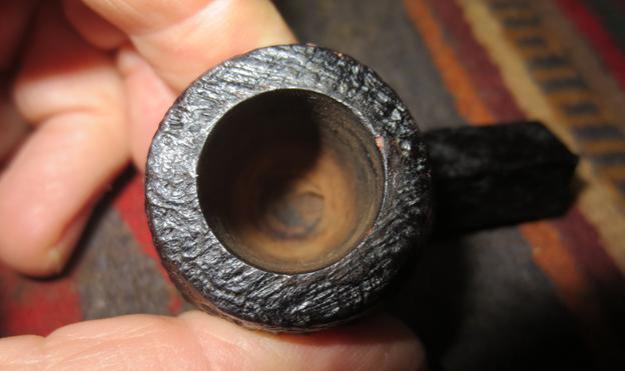
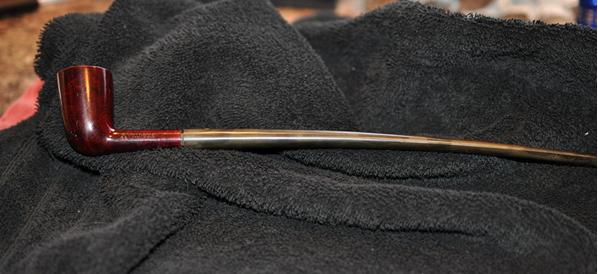
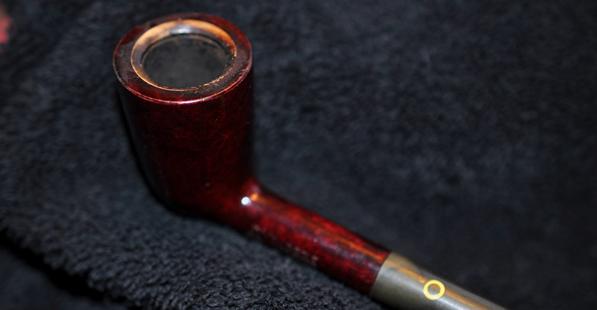
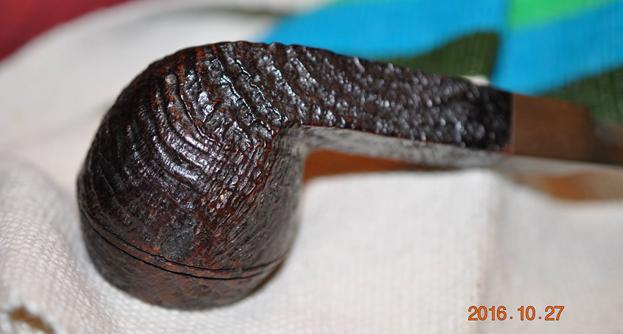
 I took a close up of the rim top and the bowl. The bowl was very clean and my brother had been able to clean up the crevices in the sandblast. The stain was worn on the sides and top of the rim.
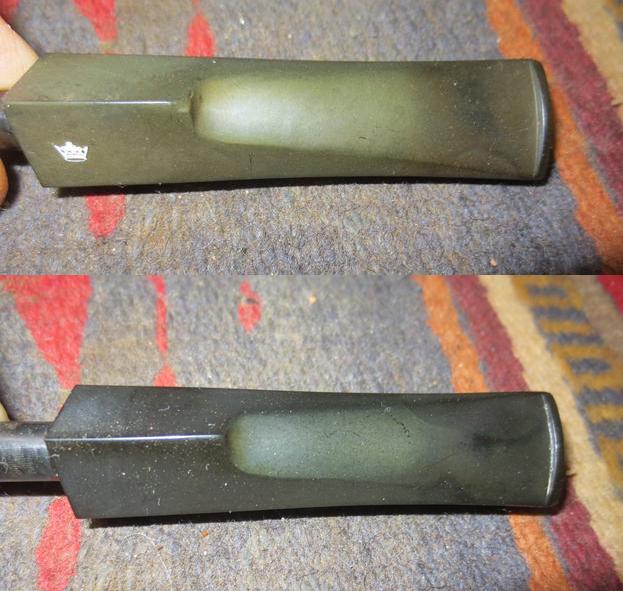
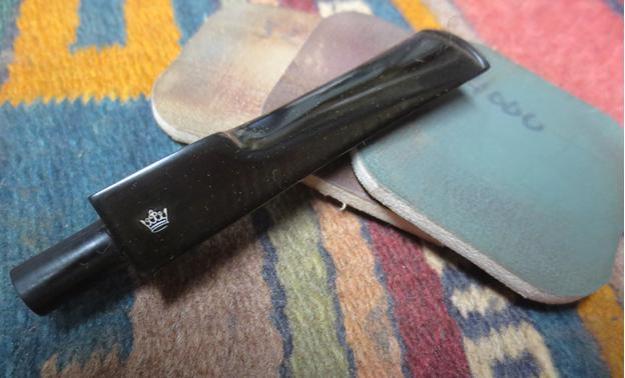
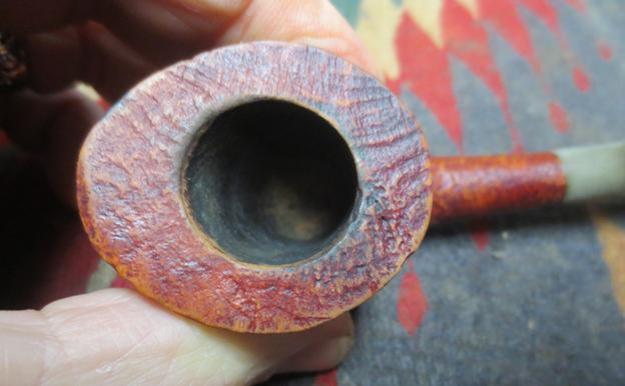 I took close up photos of the stem. There are some dents in the top edge of the button and along the sharp edge of the button. There were tooth marks on both sides of the stem and some tooth chatter.
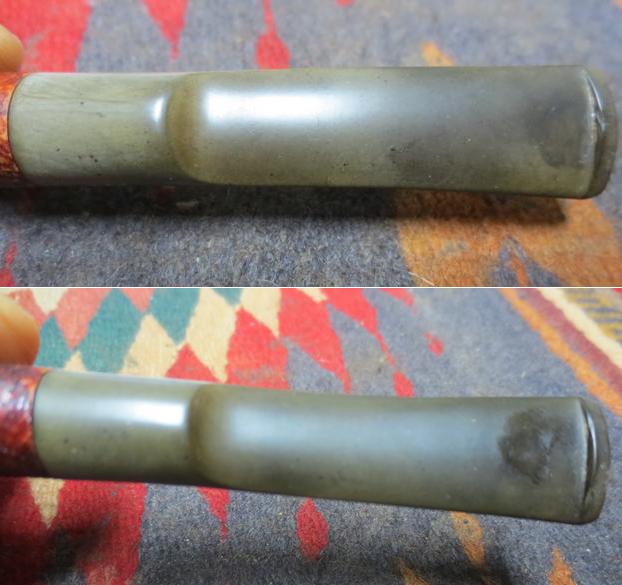 I started the restoration process by working on the bowl. I wiped it down with alcohol and cotton pads to remove and dirt or grime. After it was cleaned off I restained it with brown aniline stain, flamed it and repeated the process until the coverage and colour were even and what I was looking for on this particular blast.
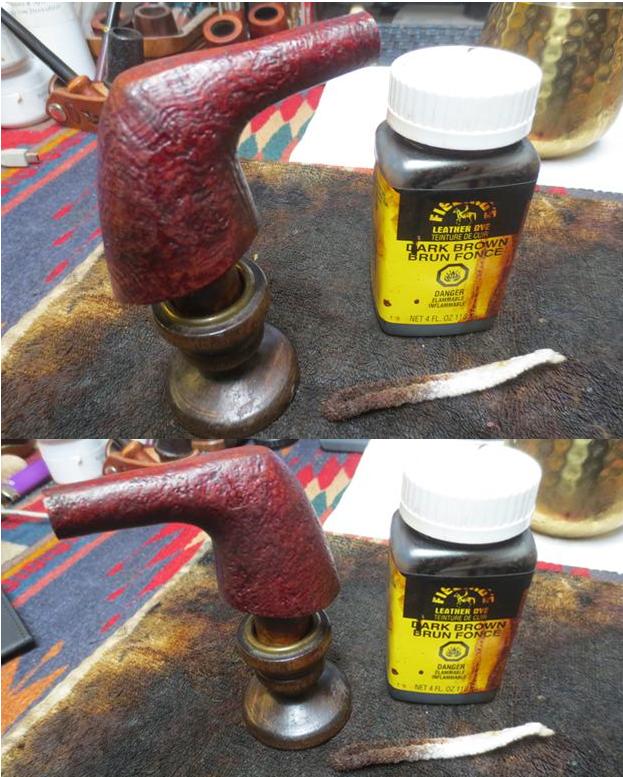
 When the finish was dry I lightly buffed it with a shoe brush. I took photos of the bowl after the staining.
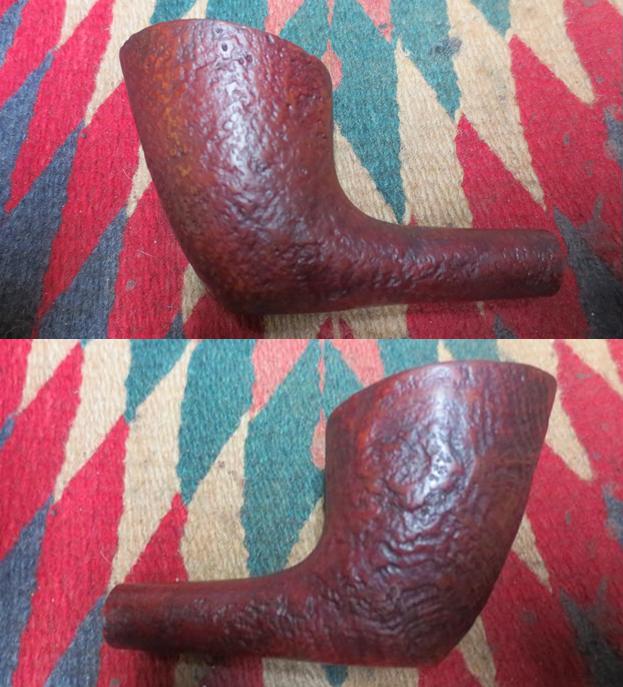
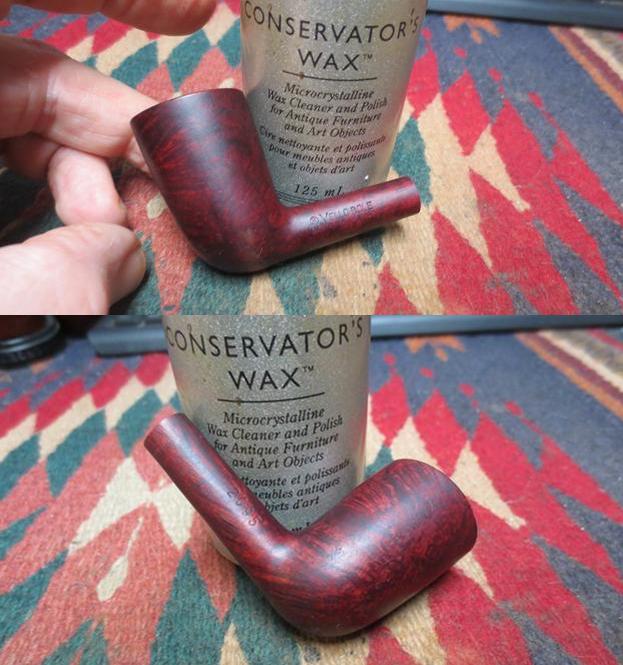
 I hand waxed the bowl with Conservator’s Wax and buffed it harder with a shoe brush. I was able to raise the shine on the bowl and it was beginning to look better and better.
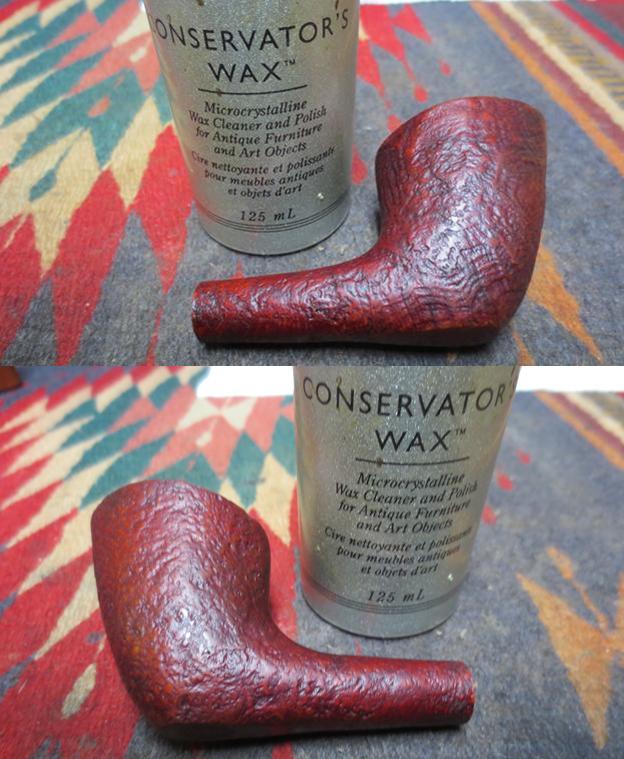
 I sanded out the tooth marks and chatter with 220 grit sandpaper. I sanded the remainder of the stem at the same time to break up the oxidation. I was careful around the crown logo on the stem side. While the gold stamp was light the stamping itself was deep in the vulcanite and would be easy to restore once the stem was clean.
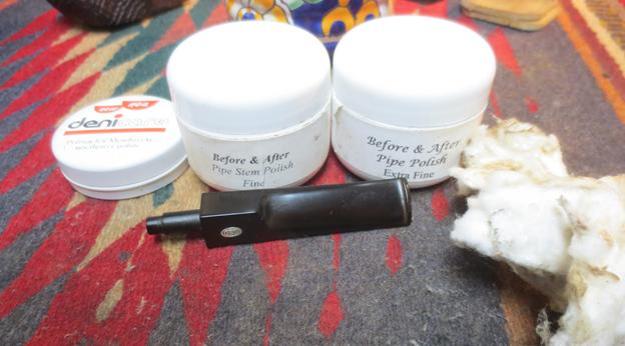
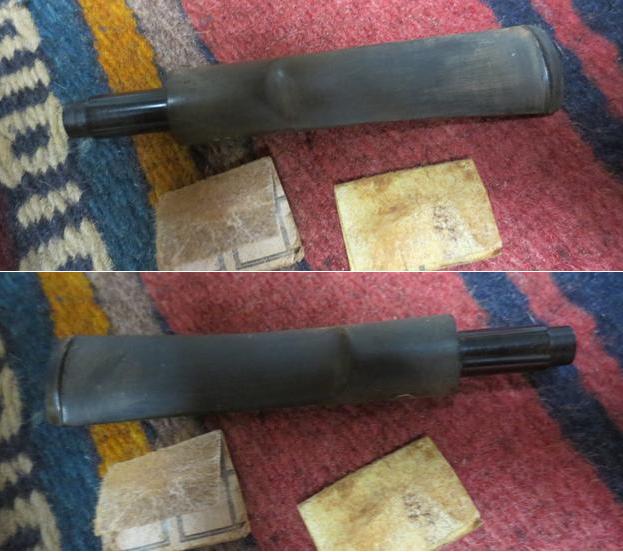 I decided to scrub the stem with the Before & After Stem Deoxidizer and pipe stem polish starting with gritty DeniCare polish and then using Before & After’s Fine and Extra Fine Stem polish. While it cut through the oxidation on the flat and round portion of the stem it did not work as well in the curves of the saddle. I took photos of the stem after spending about an hour scrubbing the stem with the polishes. You can see the shadows of oxidation that still needed to be dealt with.
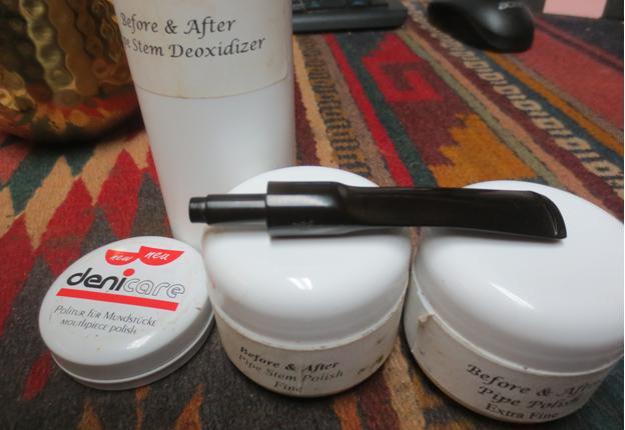
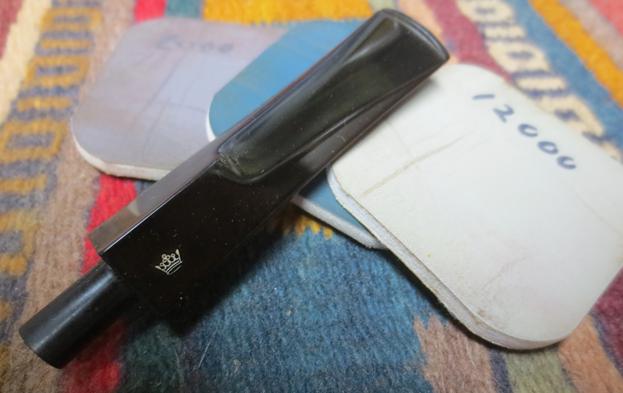
 I used Rub’n Buff European Gold to rework the stamping in the crown on the side of the stem.
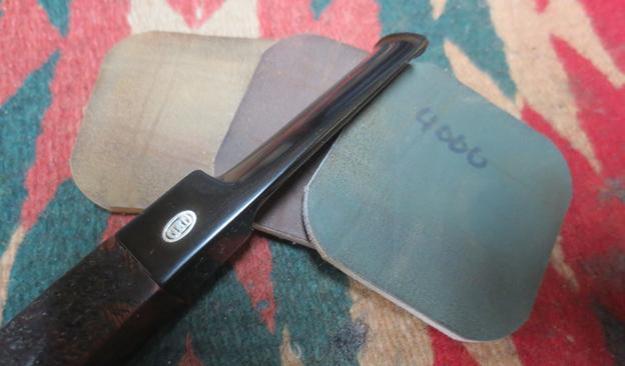
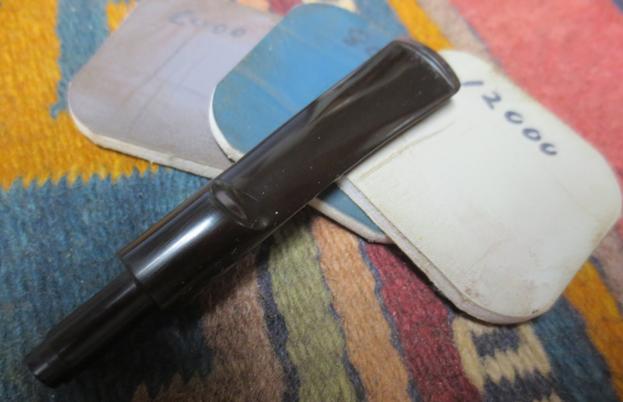
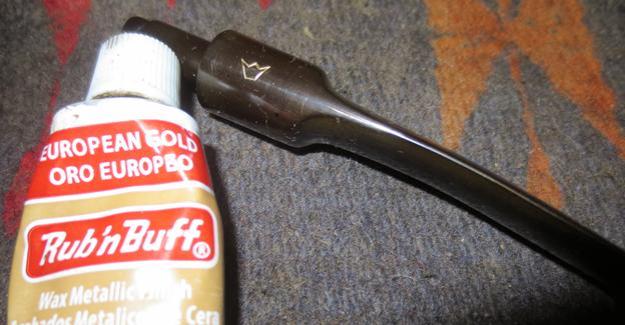 I worked over the stem with micromesh sanding pads – wet sanding with 1500-2400 grit pads and dry sanding with 3200-12000 grit pads. I rubbed the stem down with Obsidian Oil after each set of three pads. After the last set of pads I gave it a final coat of oil and set it aside to dry.
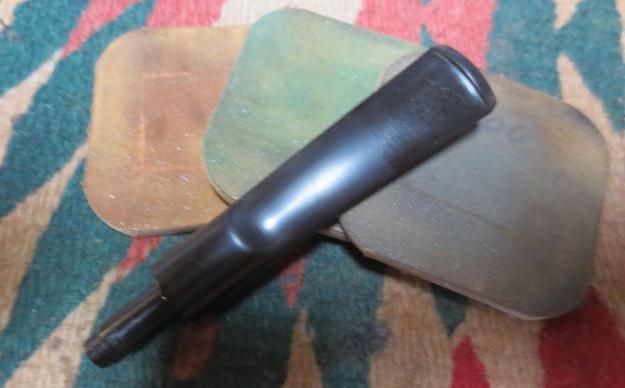
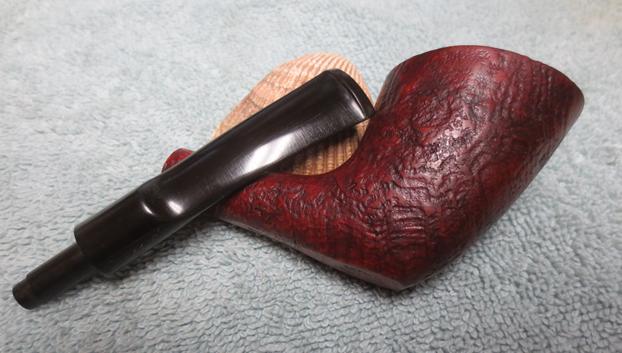
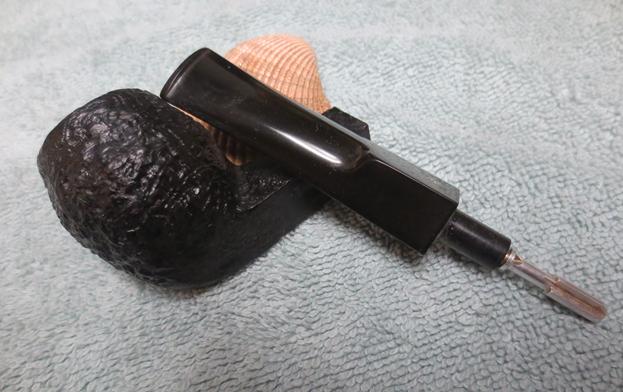
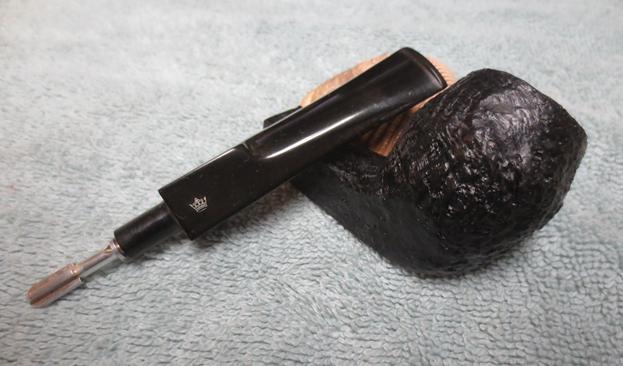
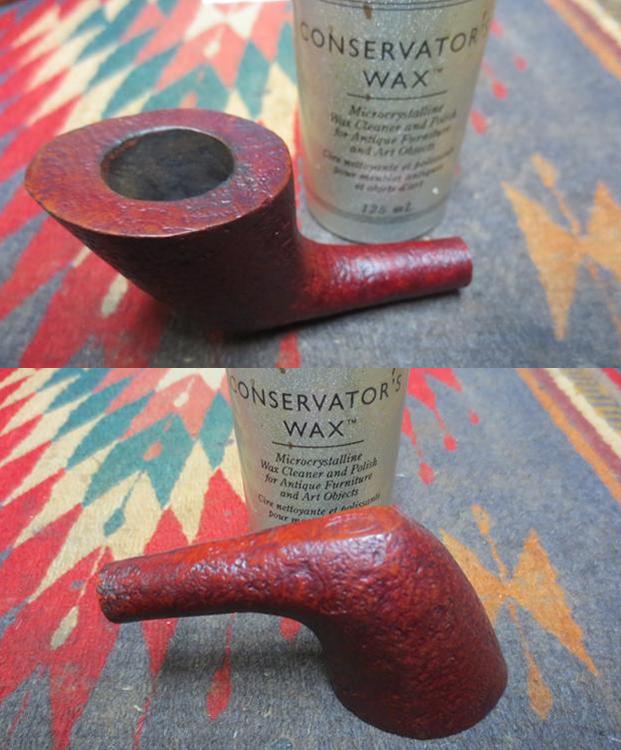
 I buffed the stem with Blue Diamond on the buffing wheel and gave the stem several coats of carnauba wax. I gave the bowl another coat of Conservator’s Wax and buffed the bowl and stem with a clean buffing pad to raise the shine. I hand buffed it with a microfiber cloth to deepen the shine. The finished pipe is shown in the photos below. It is a great looking pipe that has a lot of life in it. It should be a good addition to someone’s rack and provide years of good smokes. Thanks for looking.