Blog by Steve Laug
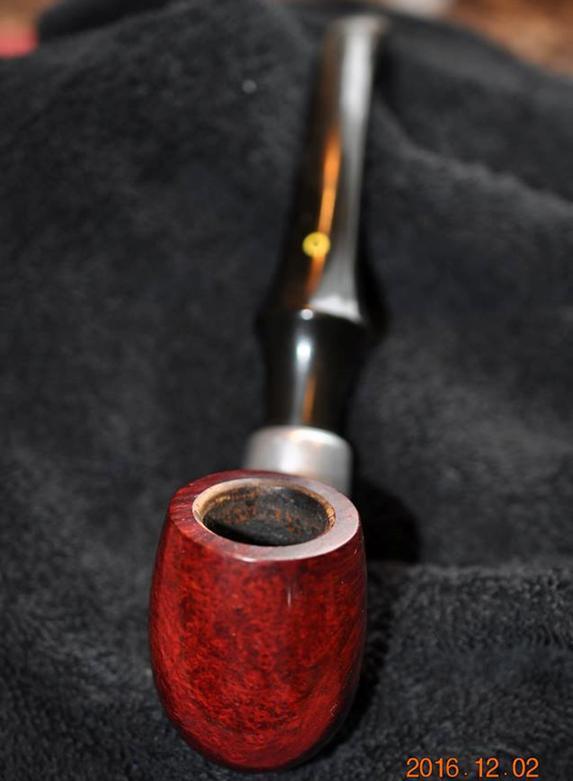
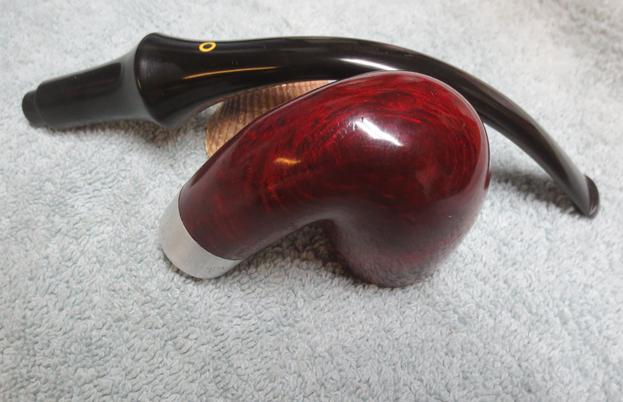
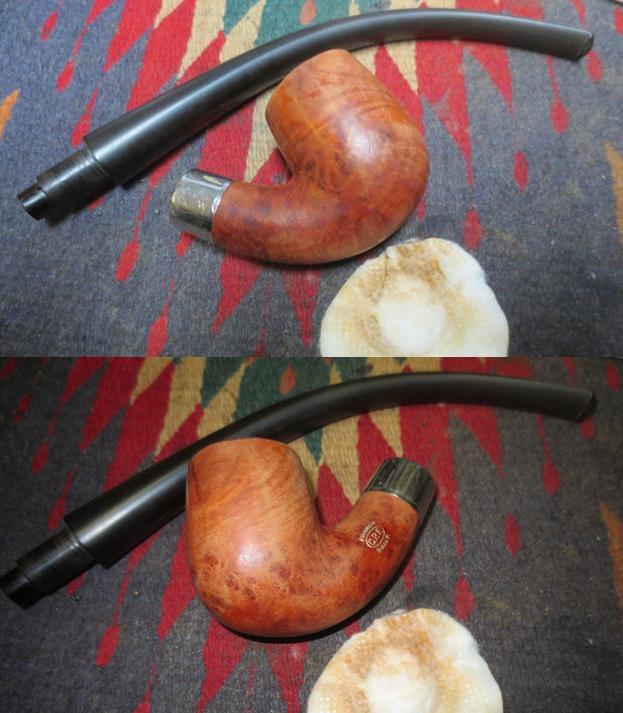
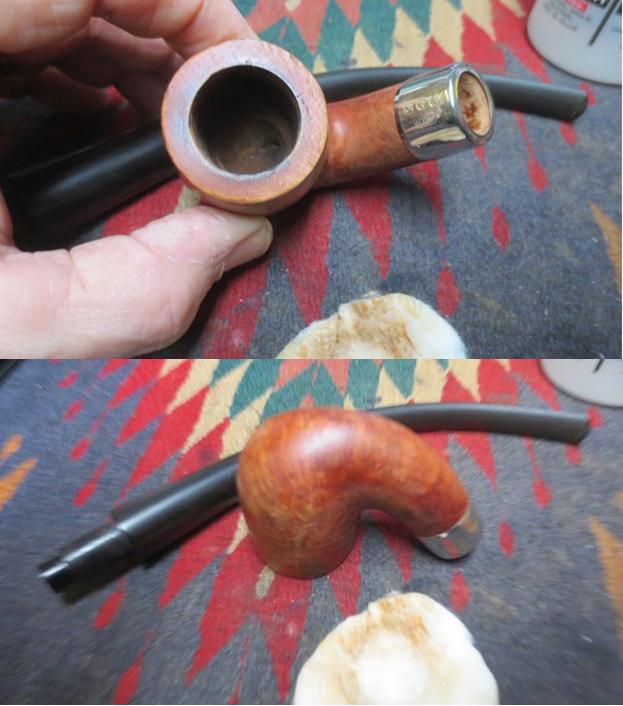
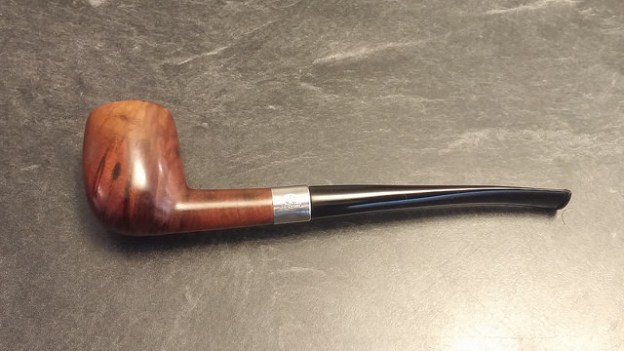
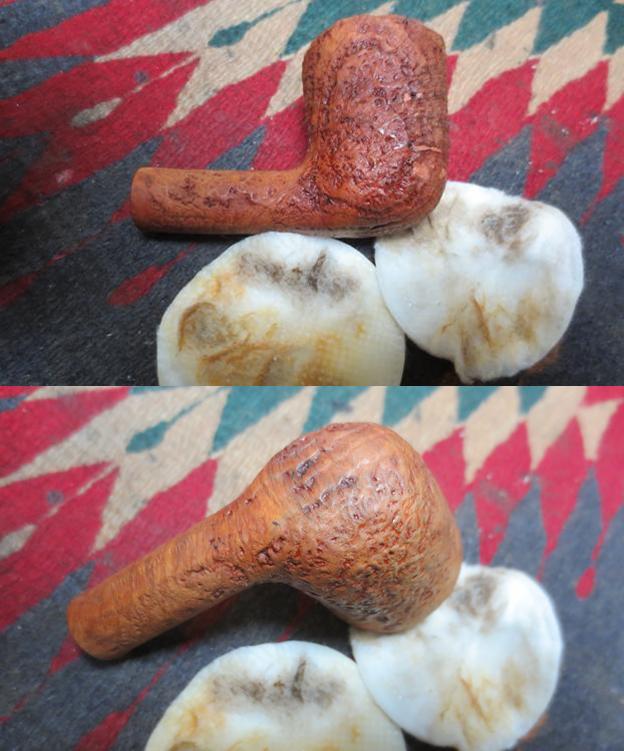
Yesterday and today I have been working on two giant pipes – two House Pipes. The first was a CPF French Briar Giant and the second was a KBB Yello-Bole 3068C Giant. Both were over 10 inches long with at least a 2 inch bowl. I have written about both of them on the blog. You can read them by clicking on the name of the pipe above as they have been linked to the appropriate blog. This afternoon I decided to do something a little different. In the latest box my brother sent he included a tiny little pipe. It is 3 ¼ inches long, 1 inch tall, outside bowl diameter 7/8 inches, inside bowl diameter 7/16 inches. In the photo below you can see it in comparison to the big Yello-Bole 3068C. It is minuscule.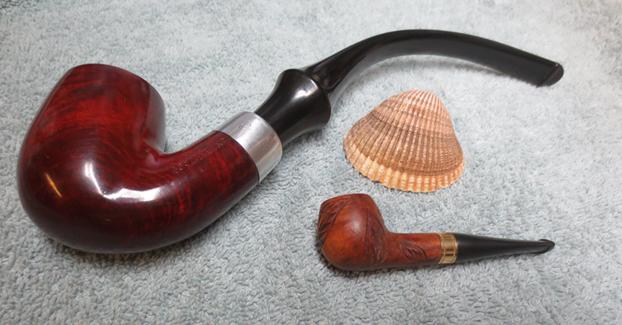 I took a photo of the pipe between my thumb and forefinger to give an idea of the size in hand. What do you think? Would you ever smoke a pipe this tiny? It is fully functional.
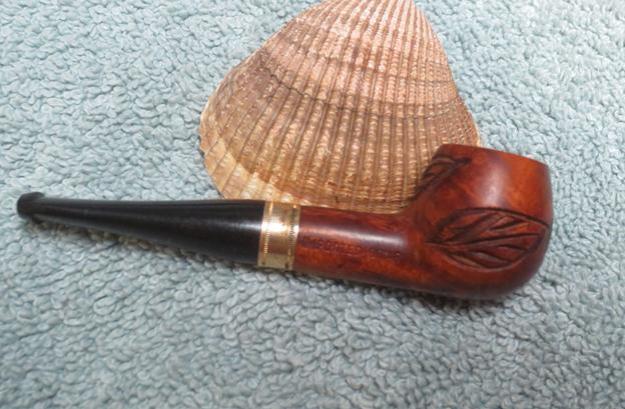
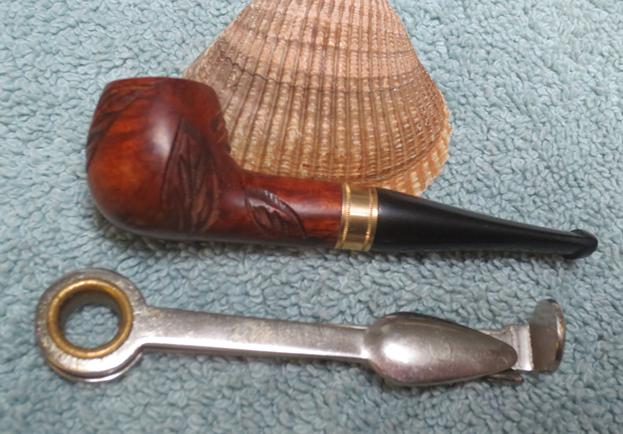
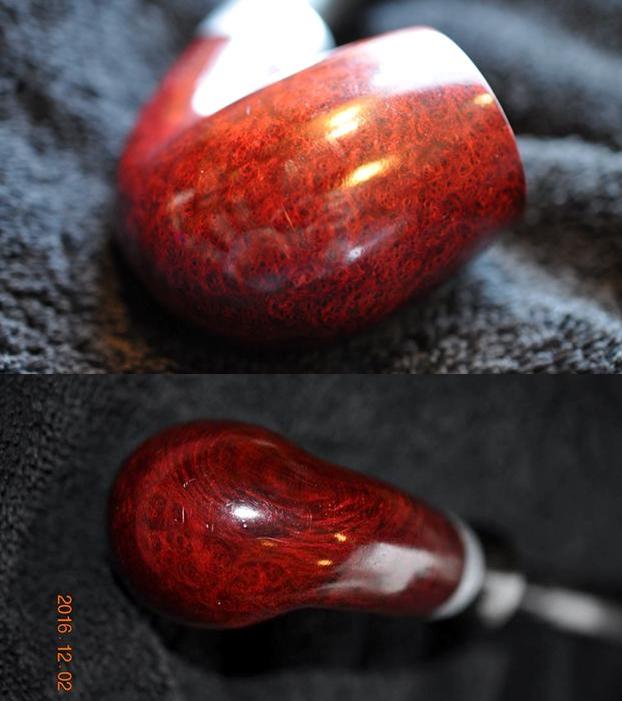
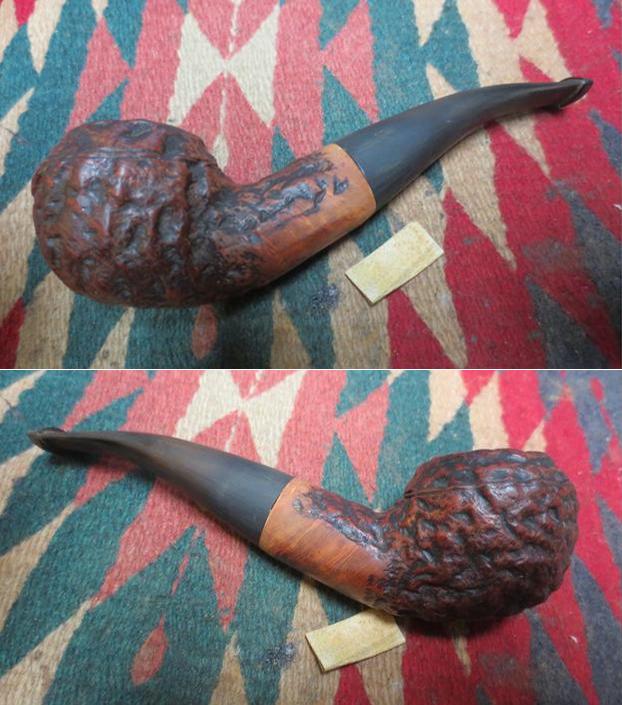
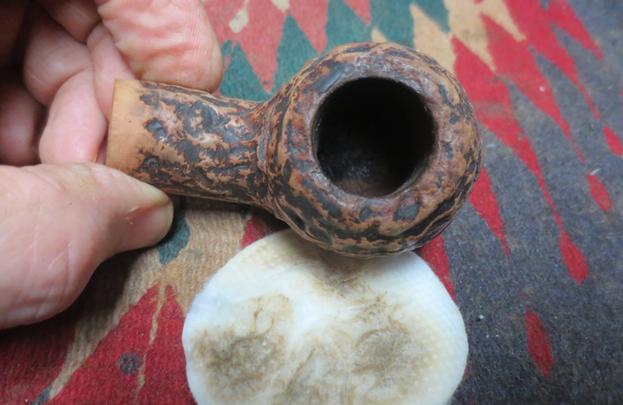
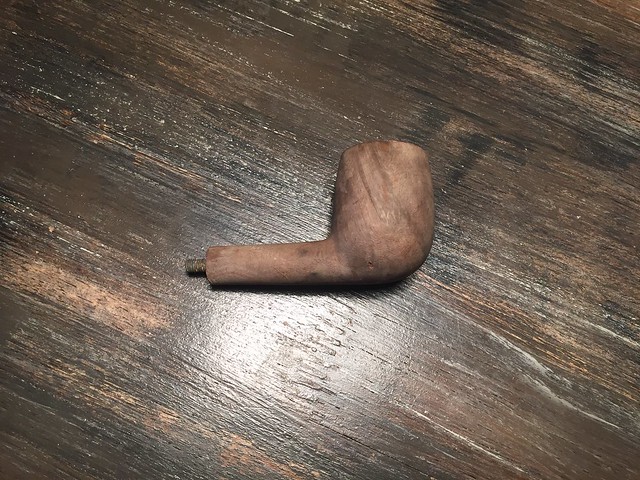
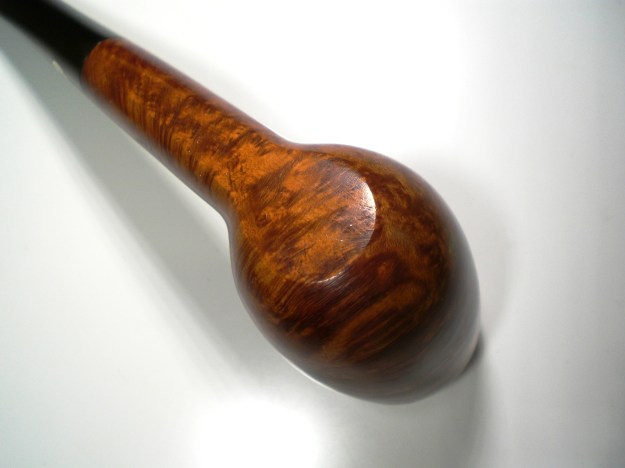
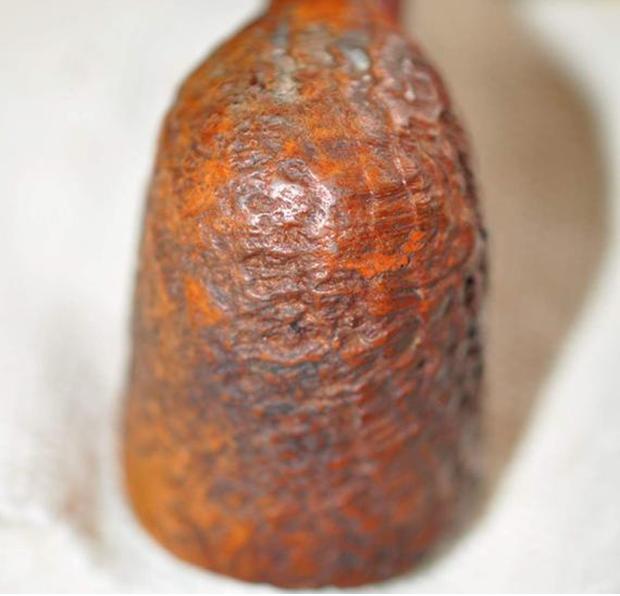
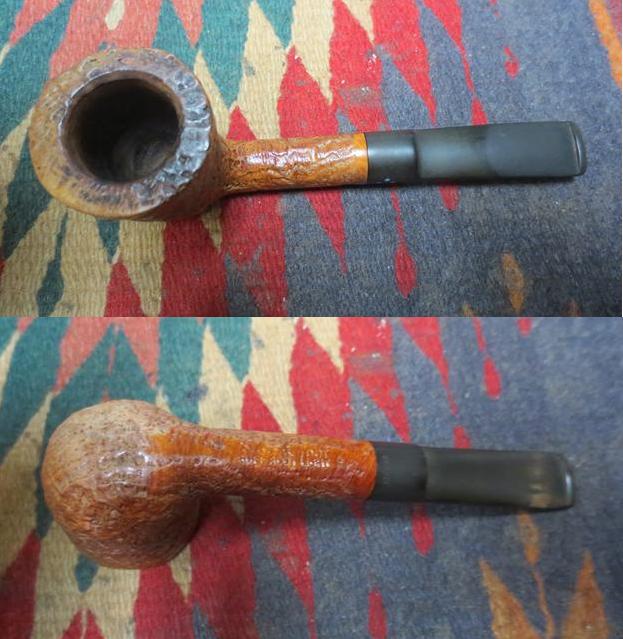
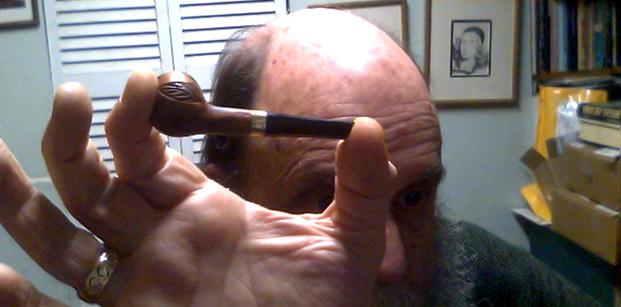 My brother took some photos of it to show the condition when he got it. You can see that it was in rough shape and had been smoked quite a bit. Pretty amazing in my opinion as the bowl is the size of a small thimble. The bowl is carved with tobacco leaves around all sides – front, back, right and left. The bottom of the bowl is smooth as is the rim. The finish is in rough shape with grit and grime in all of the grooves, a dark spot on the underside of the bowl and darkening at the rim with the inner edge slightly out of round. There is a small brass band around the shank of the pipe that has a set of rings around it on the inside and outside edges. In the first photos that my brother took before cleaning it you can see the oxidation and what looks like damage to the band. The stem also appeared to be in rough shape.
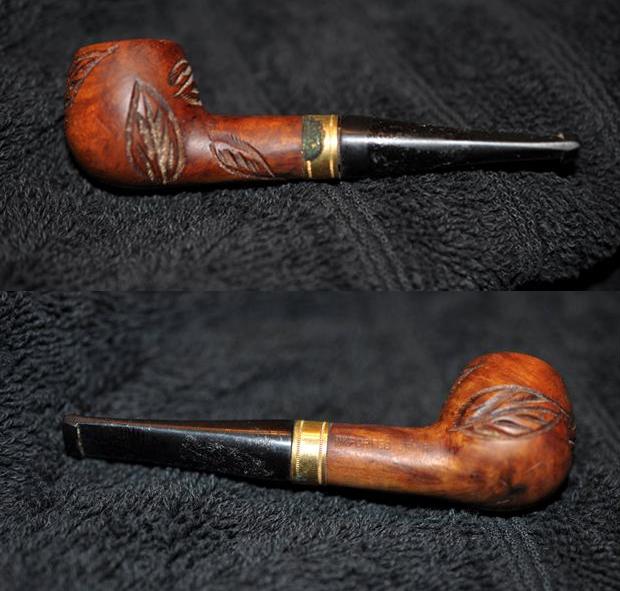
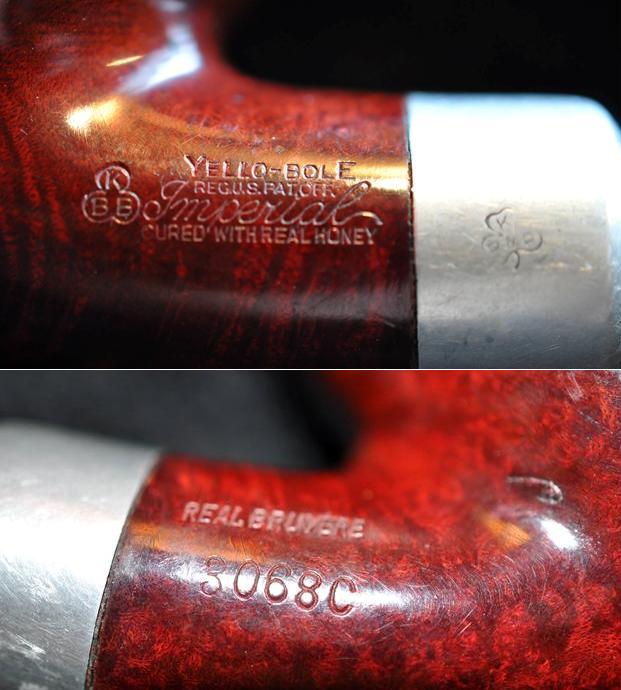
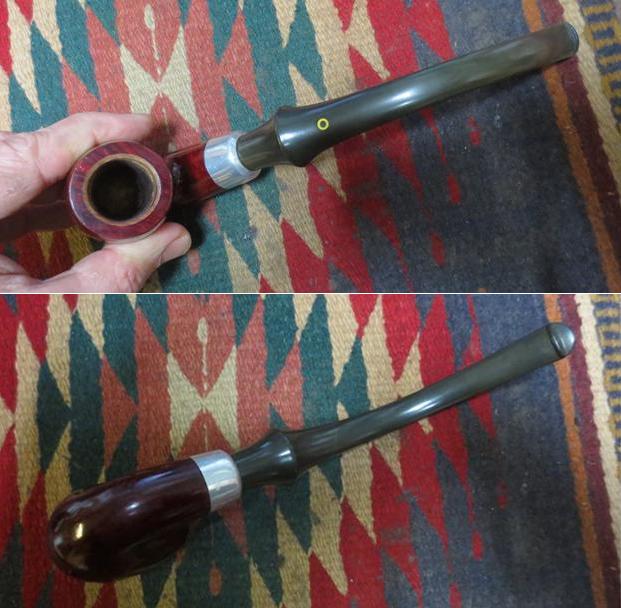
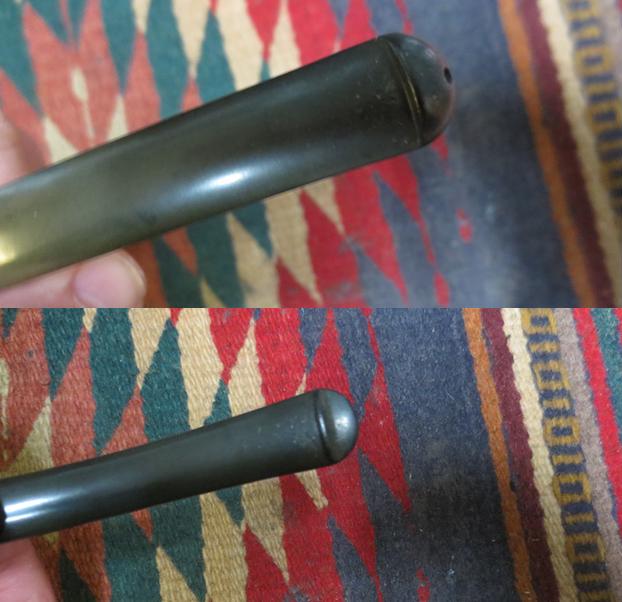
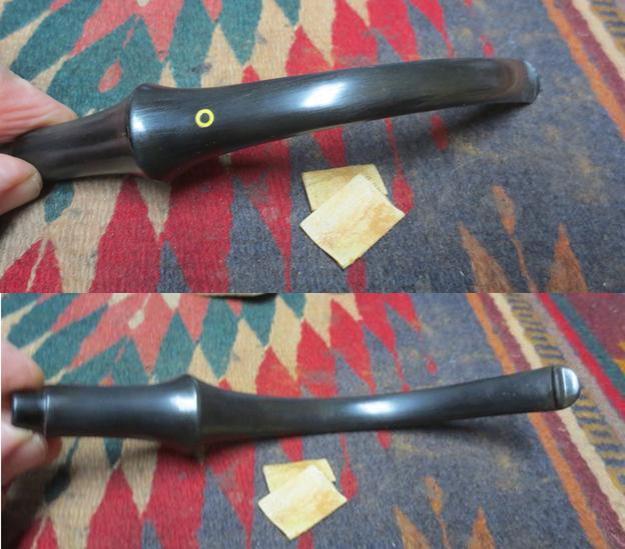
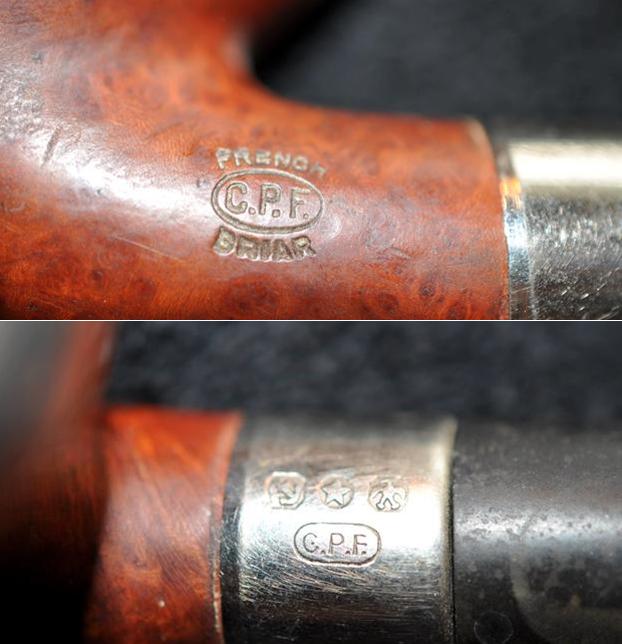
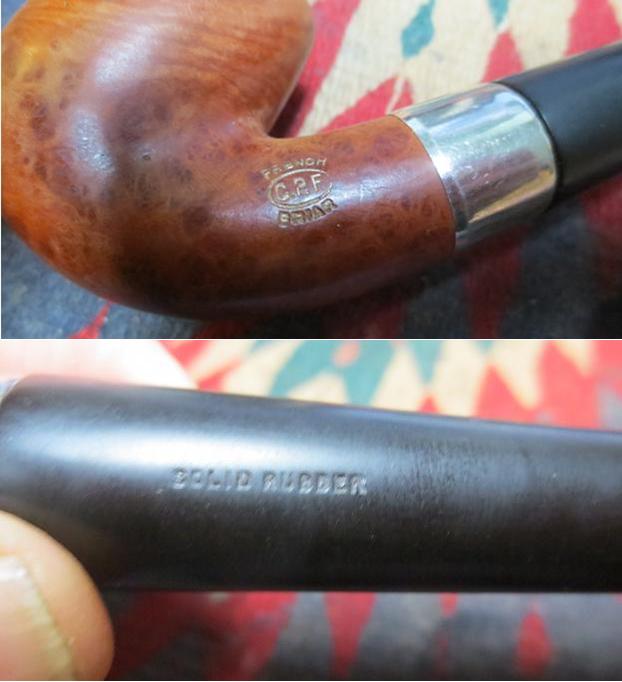
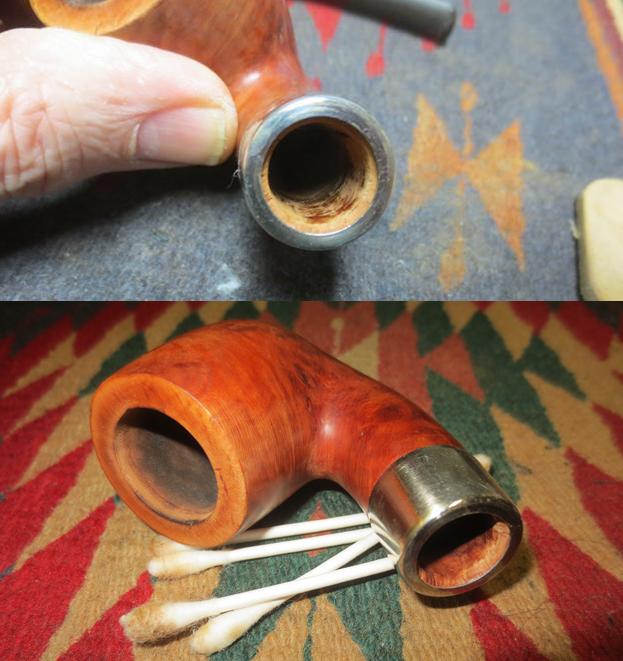
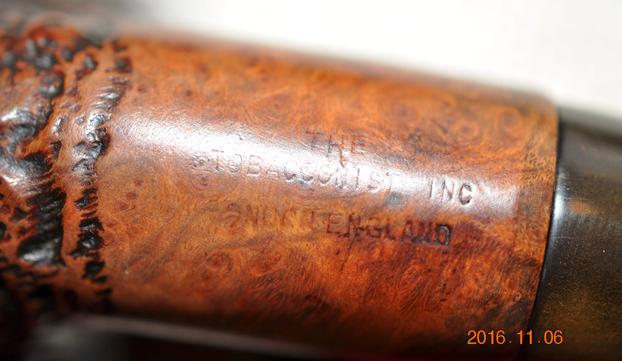
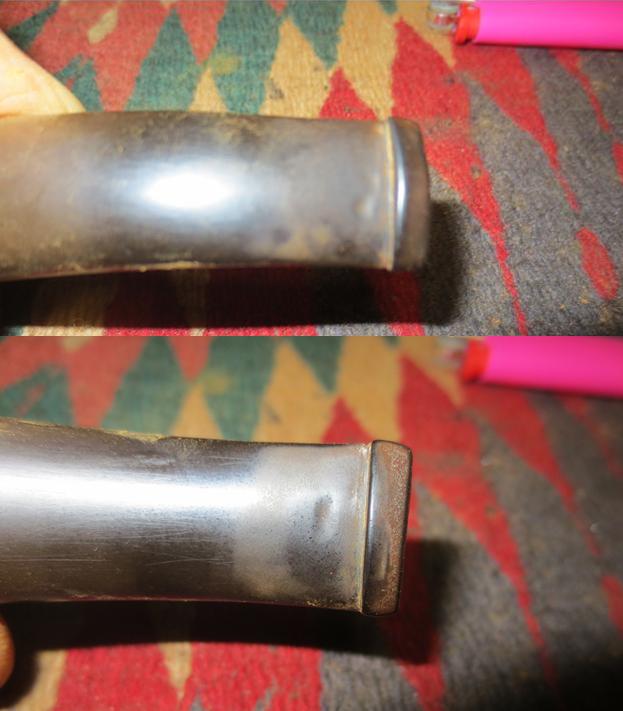
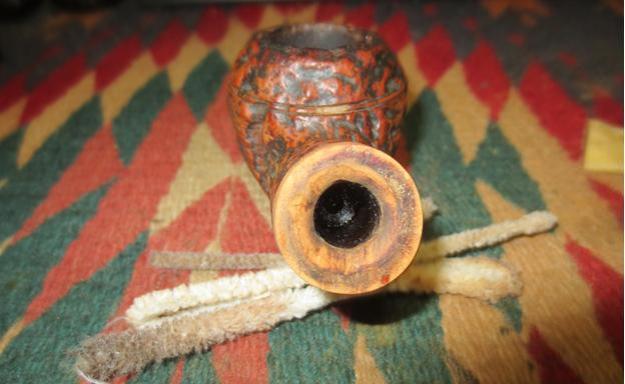
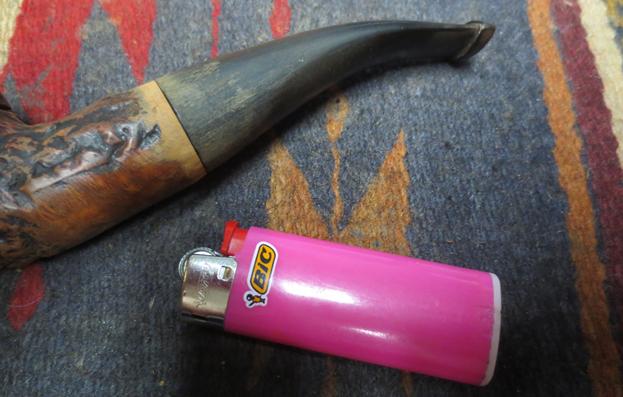
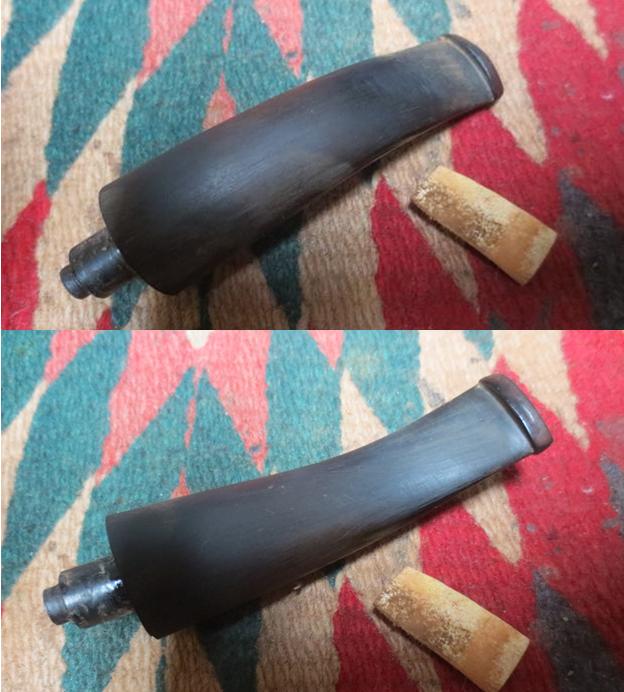
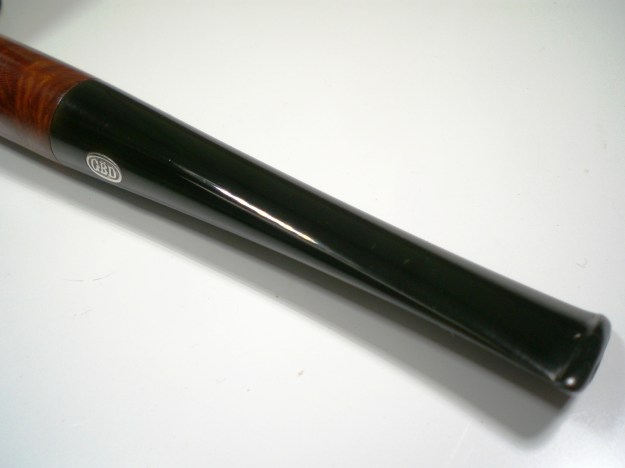
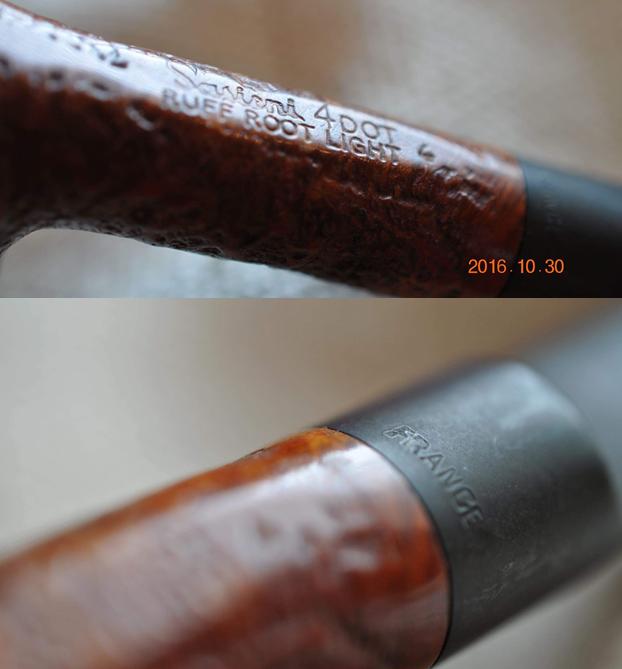
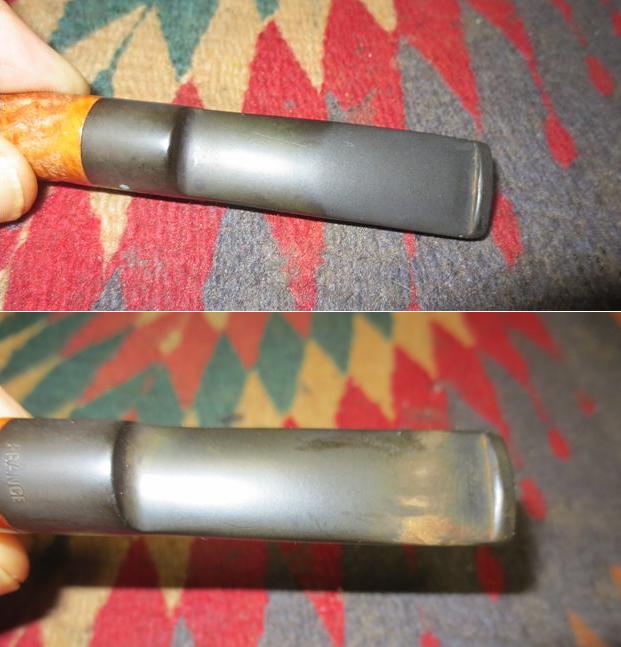
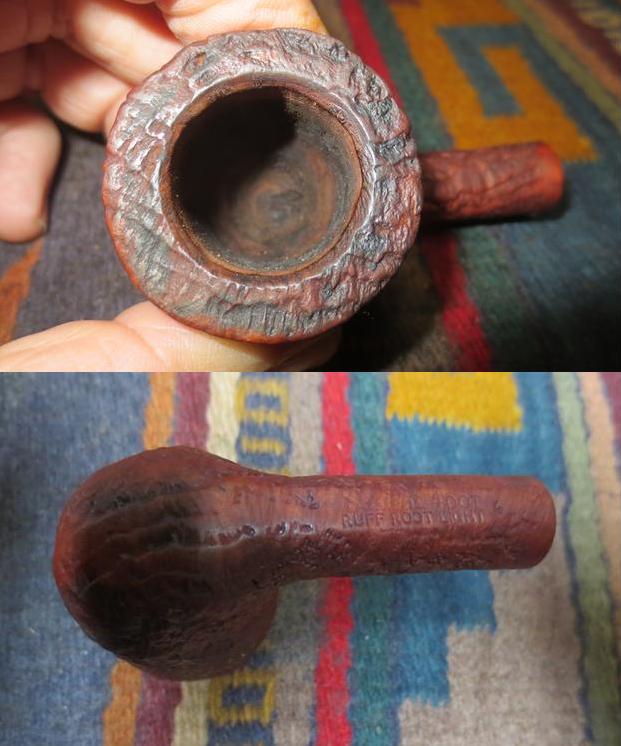
 My brother took a few close-up photos that show the condition of the pipe and categorically show that it had been smoked quite a bit for the doubters among us. The first photo shows the only stamping on the pipe – Imported Briar on the right side of the shank. It also shows some of the oxidation on the band and intricate rings around its edges. The second photo shows how the stem is not aligned in the shank due to the dirtiness of the shank and also the condition of the stem. It appears that there some glue on the stem from a label that was on the pipe at the antique shop where he purchased it.
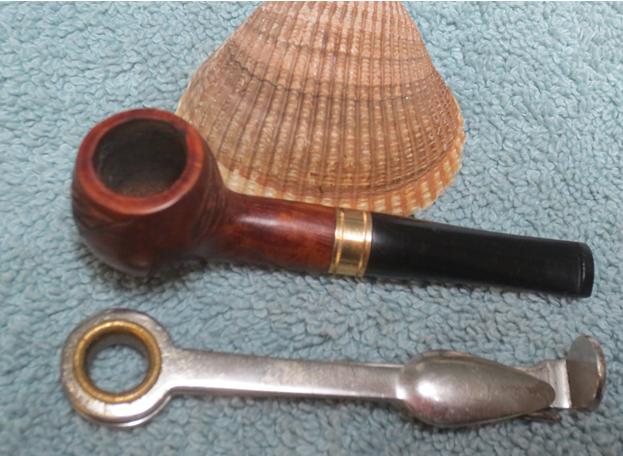
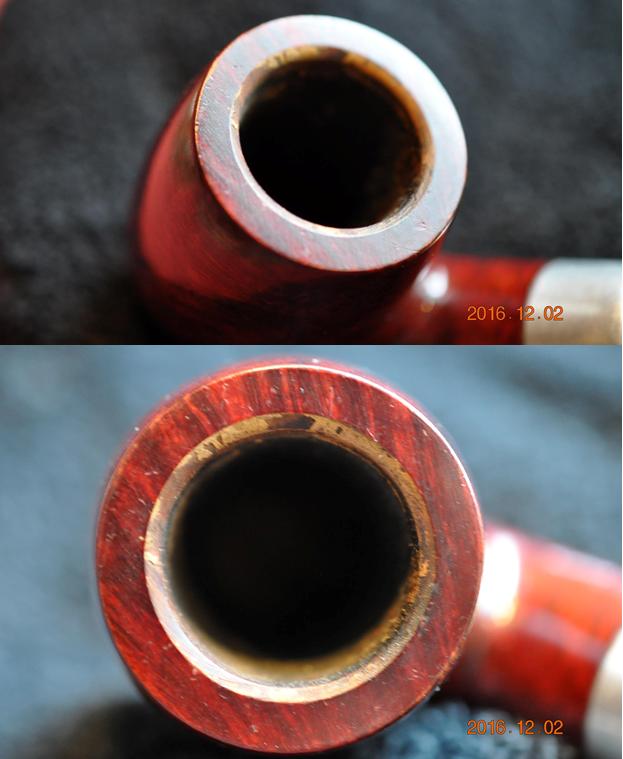
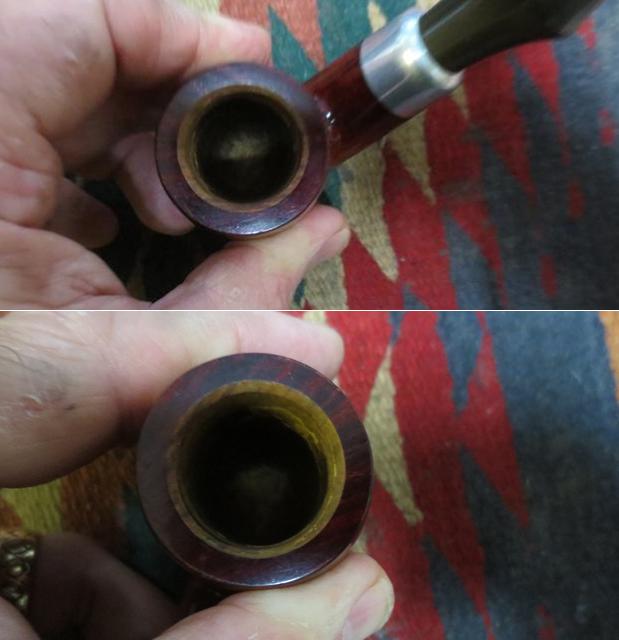
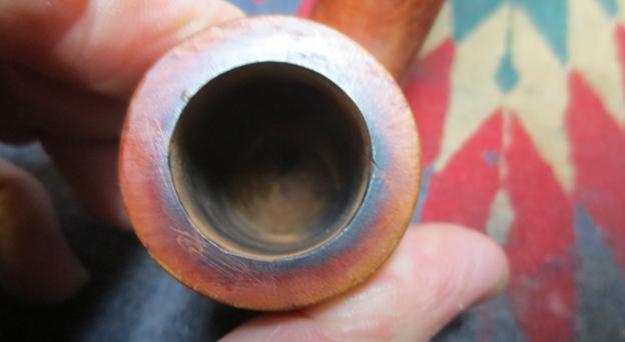
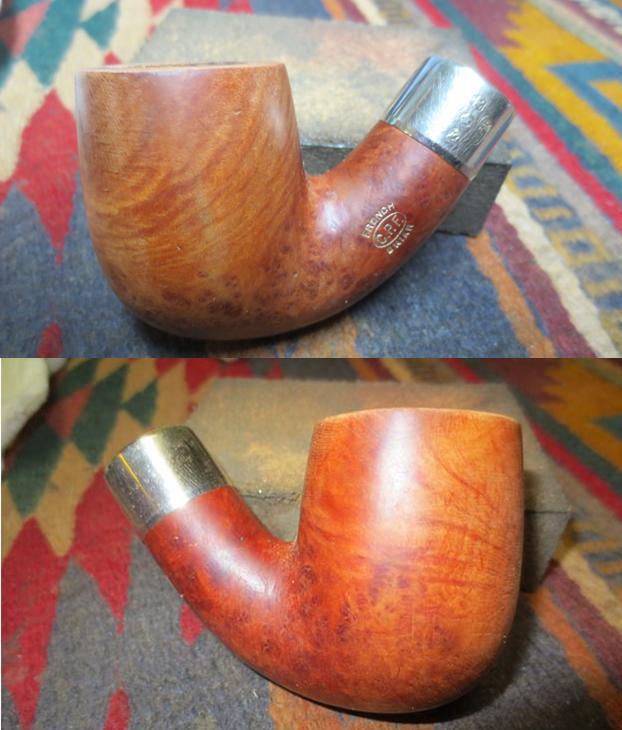
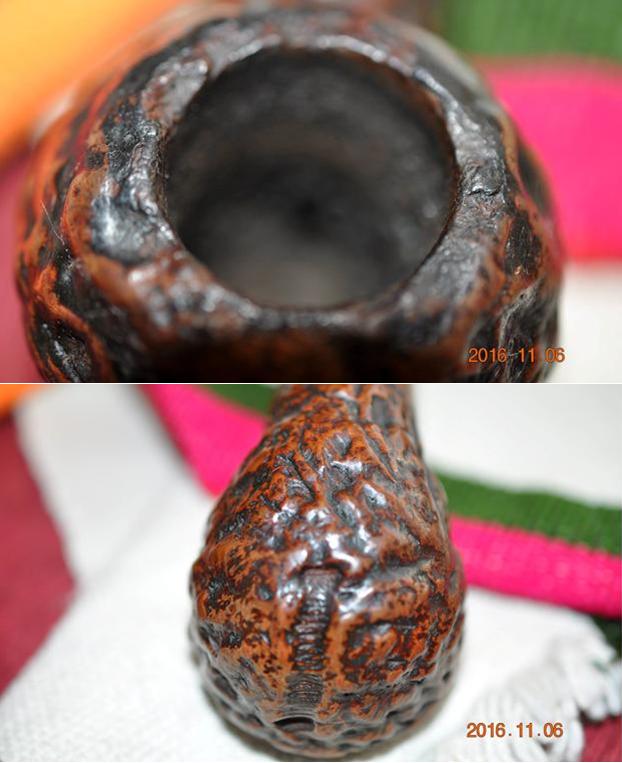
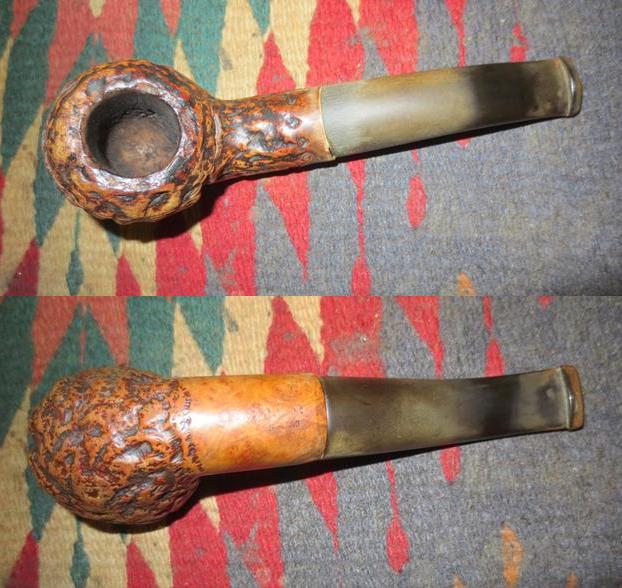
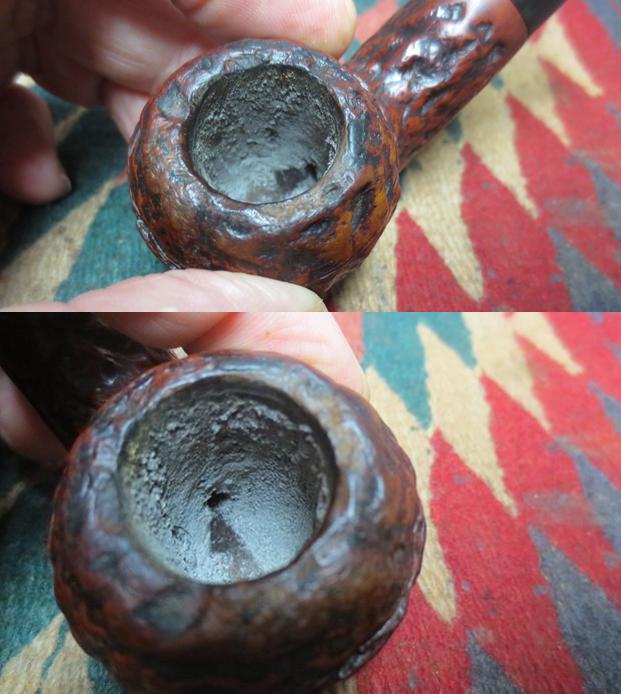
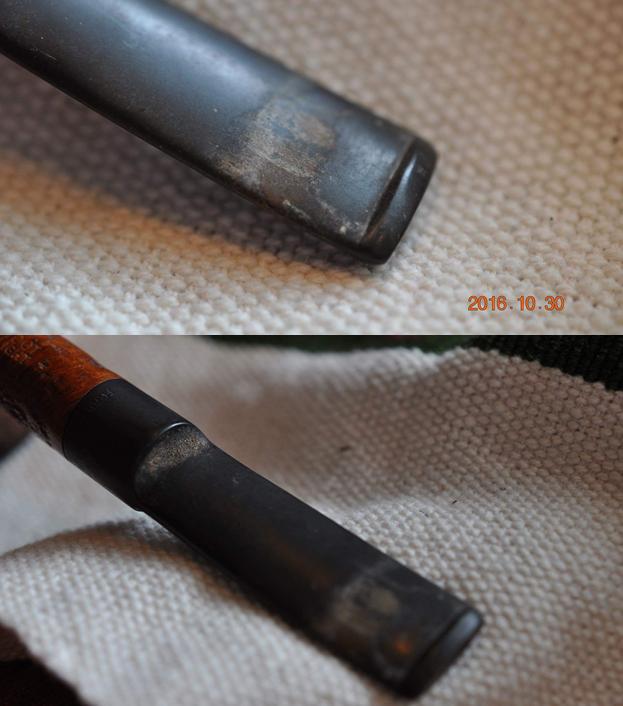
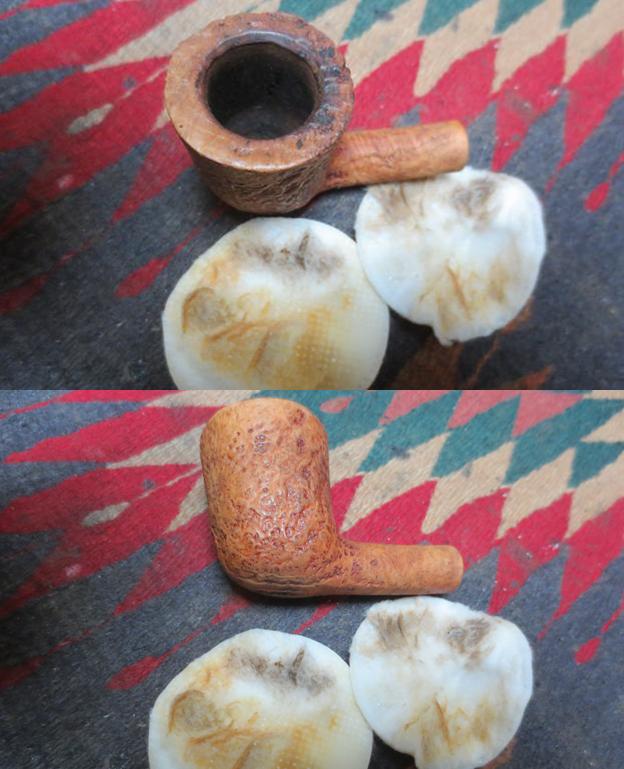
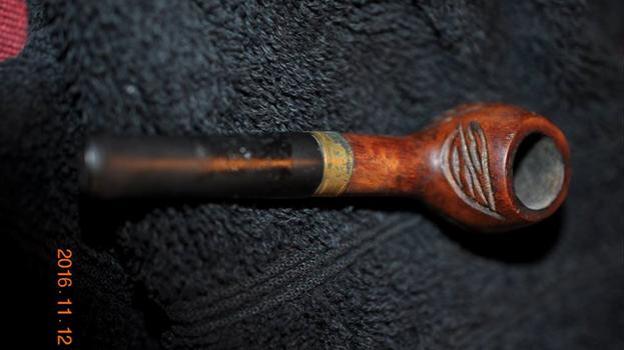
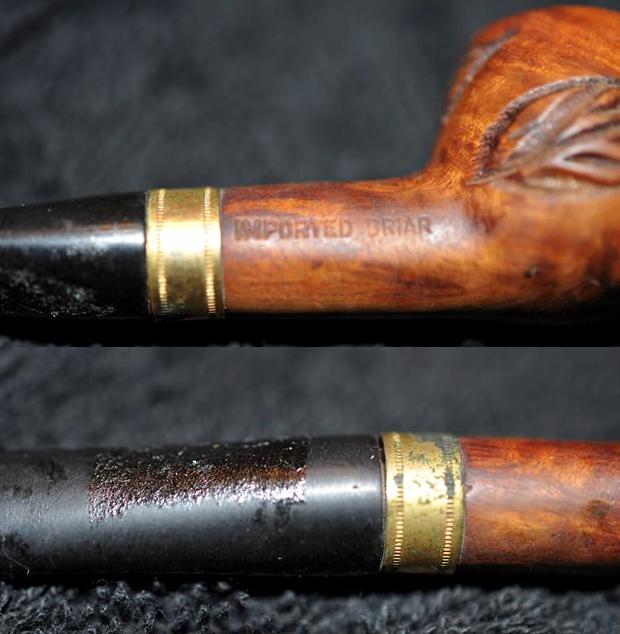 The next photo shows the rim with a cake in the bowl and the damaged inner edge the rim on the lower left side of the photo. The second photo gives a good picture of the carved leaves on the bowl sides and back. They had a similar etching pattern around the edges of the leaves as those on the twin rings on the shank band.
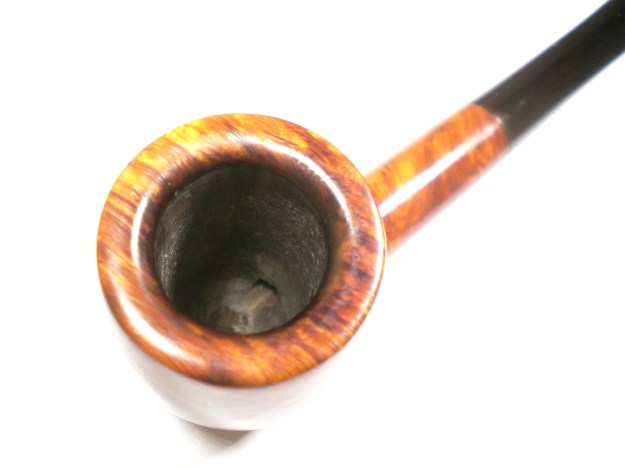
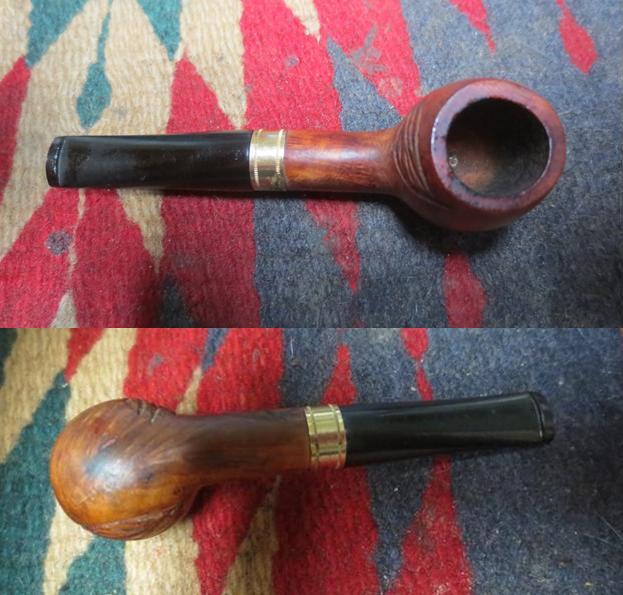
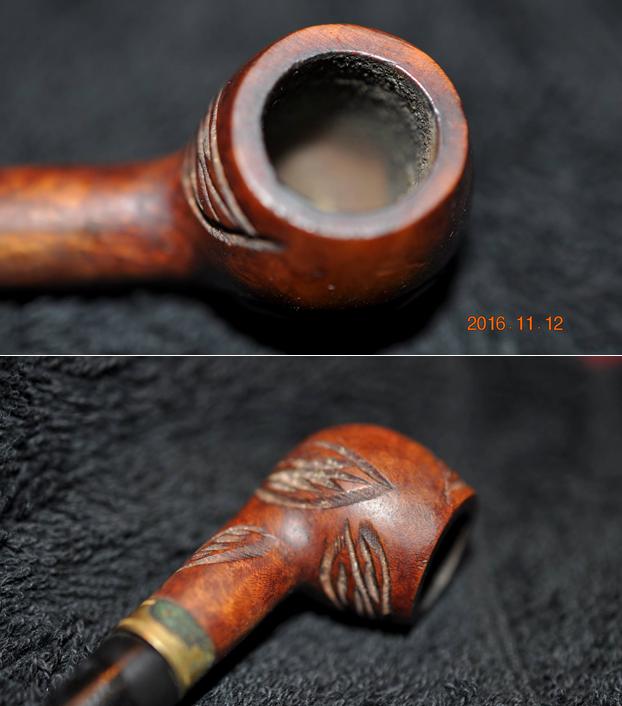 At this point you might well be wondering what the point is in investing time and effort into the restoration of this small bit. It takes as much work to clean and restore a tiny pipe as it does a big one and the steps and process is the same regardless of size. Though it is a good question there is something singularly interesting in these small pipes that were used by salesmen in their sales routes through city tobacco shops. This one is particularly unique in that I have never seen one with this attention to detail. Soooo… the short of it is that between my brother and I we decided to clean it up and restore this bit of tobacciana.
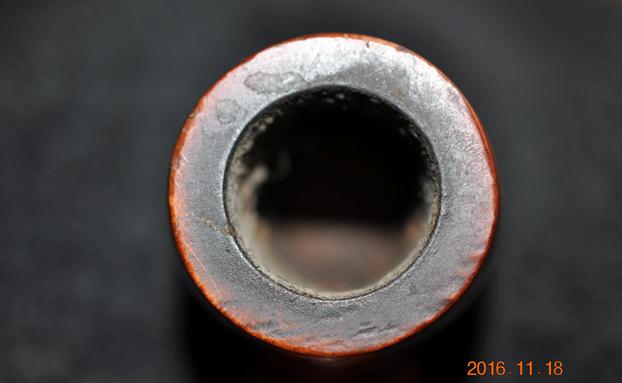
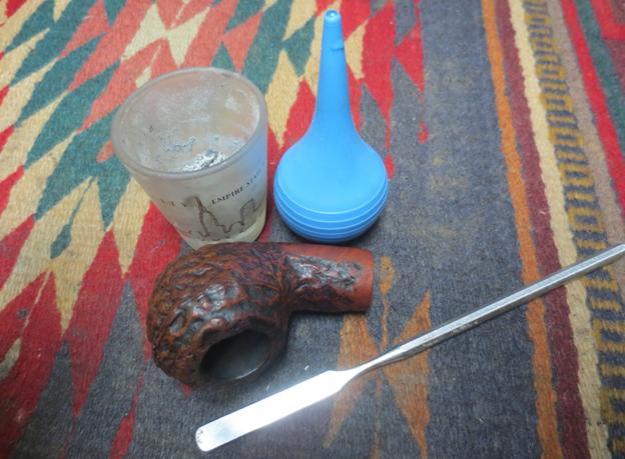
Jeff did his usual thorough job in cleaning if this tiny little apple. He reamed it with a Savinelli Fitsall Pipe Knife (and by the way it truly does fit all) to remove the cake. He scrubbed the surface of the bowl and rim with Murphy’s Oil Soap and a tooth brush to remove all of the grime. He used the soap on the exterior of the stem and the band with the tooth brush and was able to remove all of the grime and glue that remained on the stem and the oxidized portion of the band. He cleaned out the mortise and the airway in the stem and the shank with alcohol, cotton swabs and thin pipe cleaners. When the pipe arrived in Vancouver it looked like a different pipe.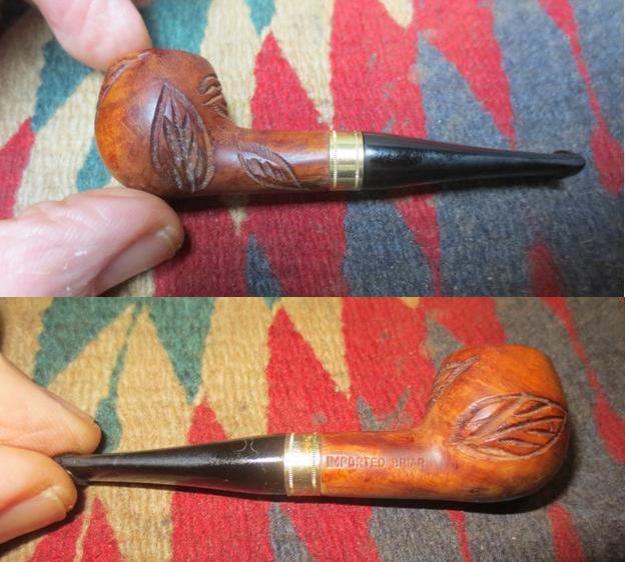
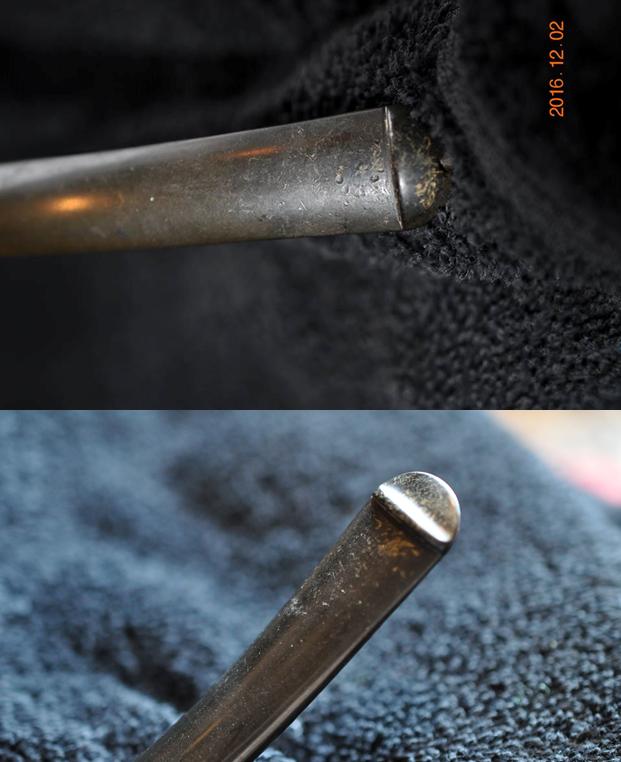
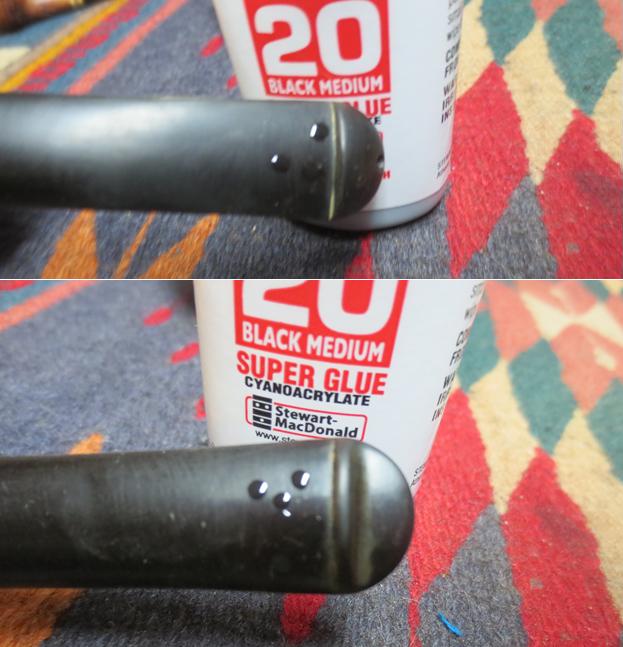
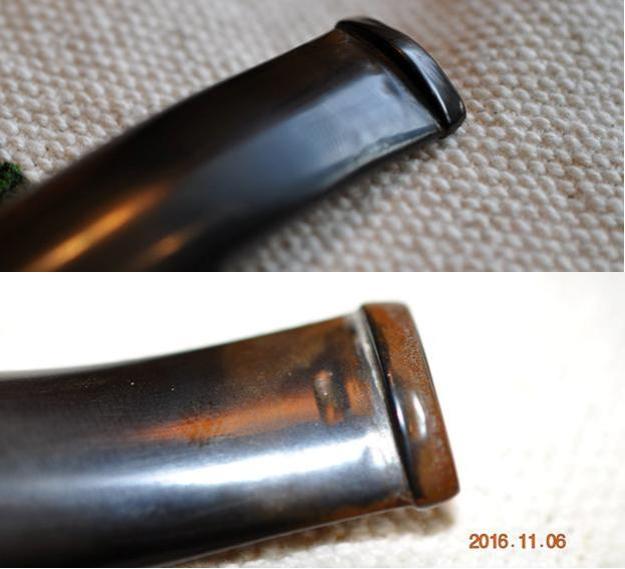
 When I took the pipe apart you can imagine my surprise when I found tiny stinger in the end of the tenon. It was a typical ball and slot style stinger with an open slot on the top side of the stinger allowing airflow into the stem. Jeff had cleaned up the stinger so that was polished and none of the typical tars and oils that collect on these contraptions was present.
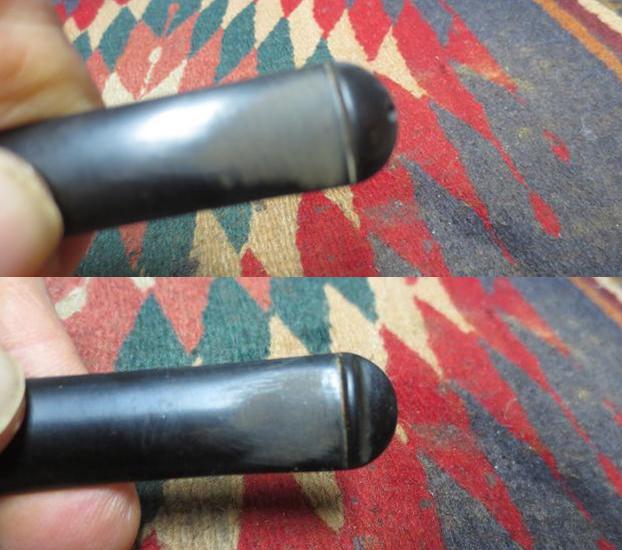
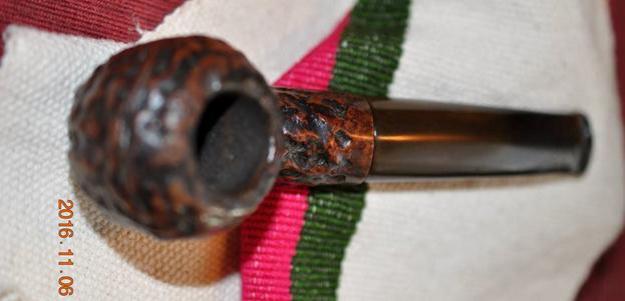
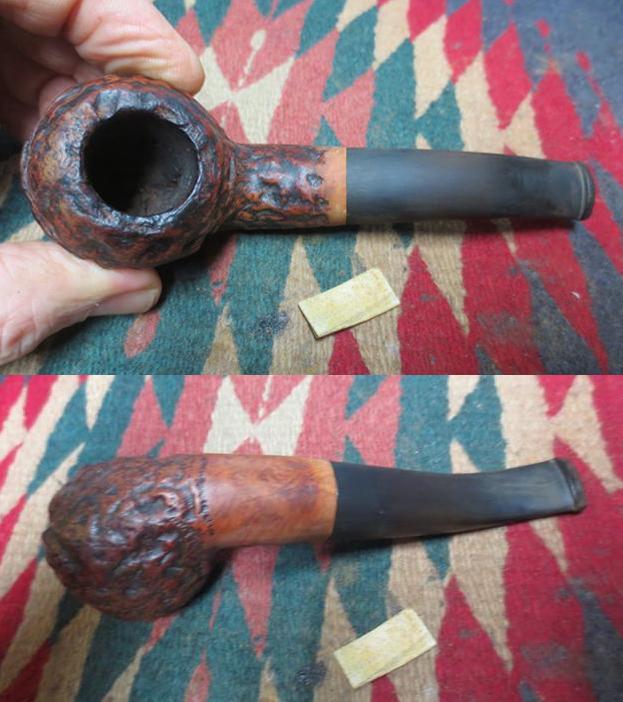
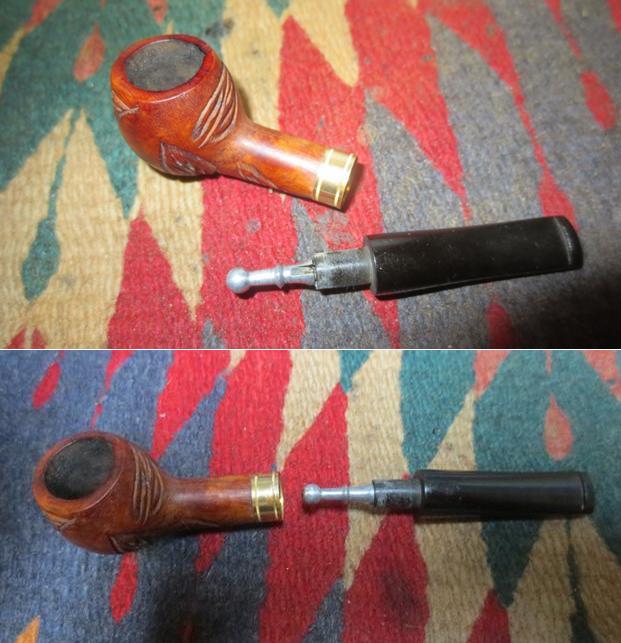 He had been able to clean up the band so that it shone and the rim top was actually quite clean. The damaged area on the back right side of the inner edge was not too bad and would be able to be cleaned up easily.
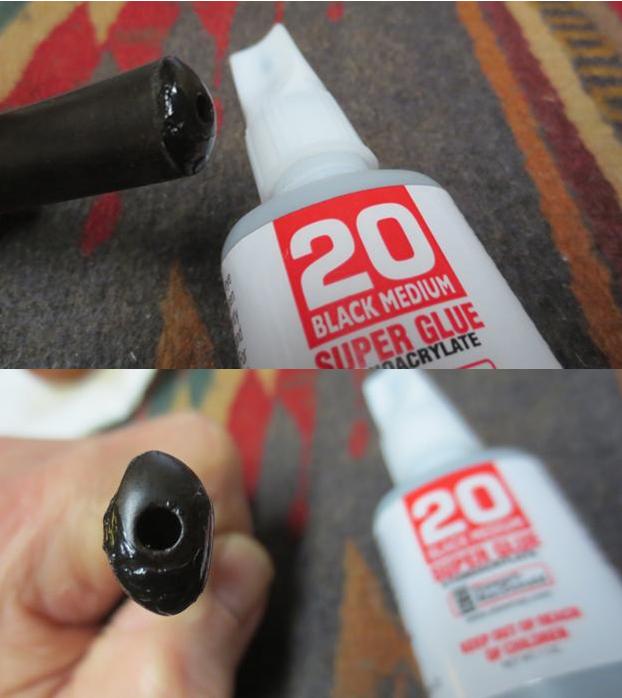
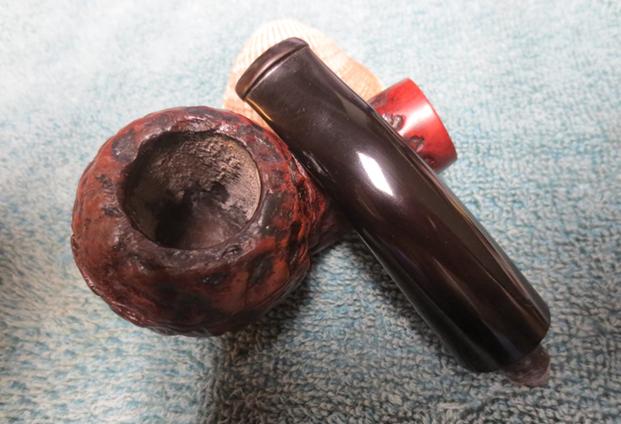
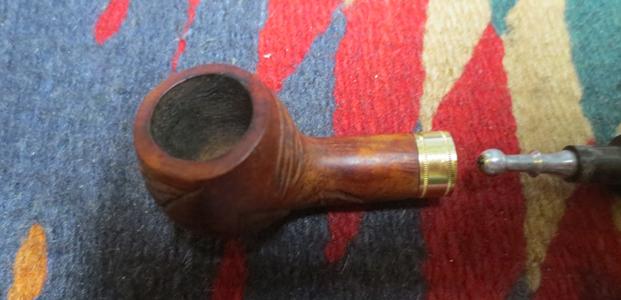 The stem was actually in very good condition. The glue on the underside from the label had come off nicely. There were no tooth marks or chatter on the stem at all. A light polishing would make it like new.
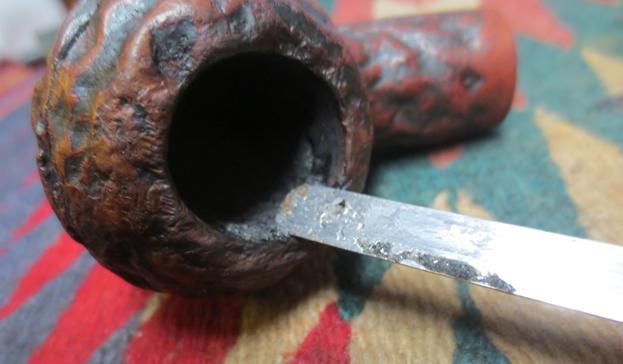
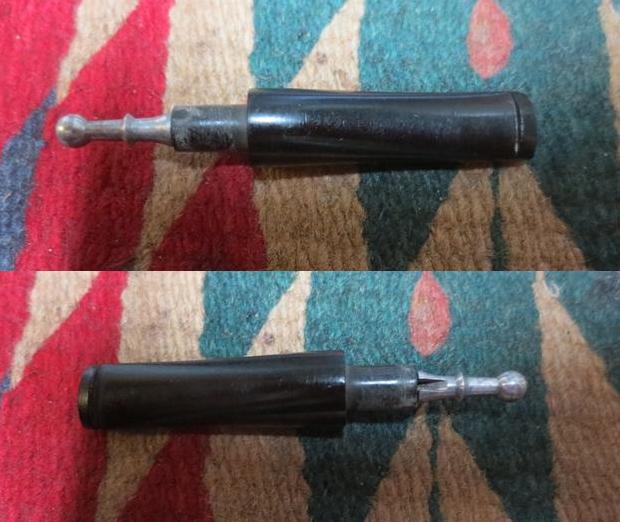 I used a folded piece of 220 sandpaper to clean up the damage on the inner edge of the rim. It did not take too much and the nicked area was removed and smoothed out.
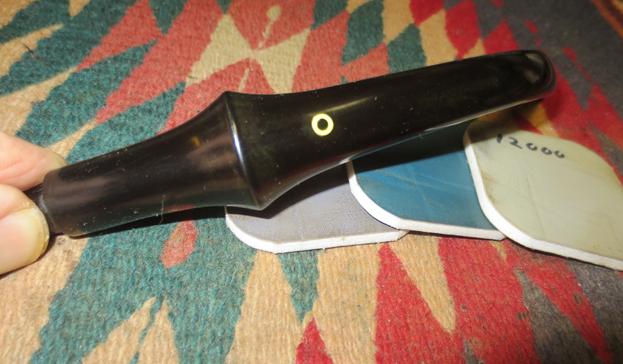
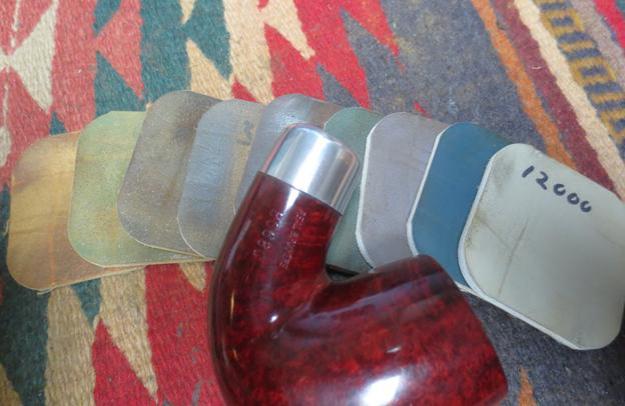
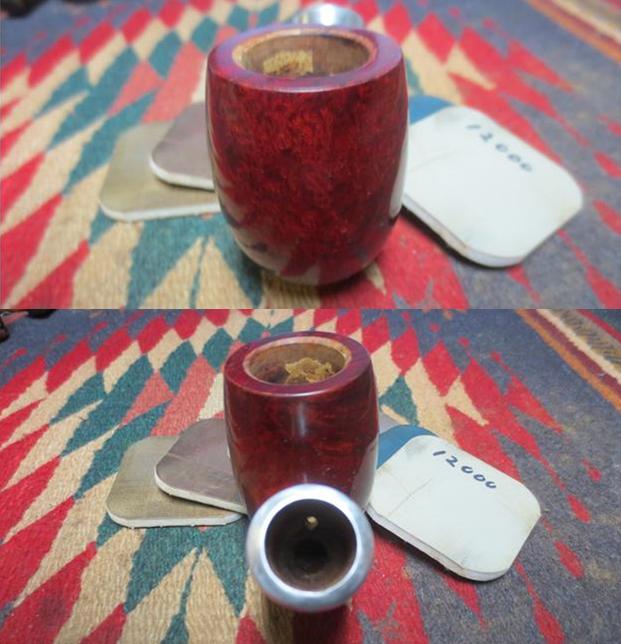
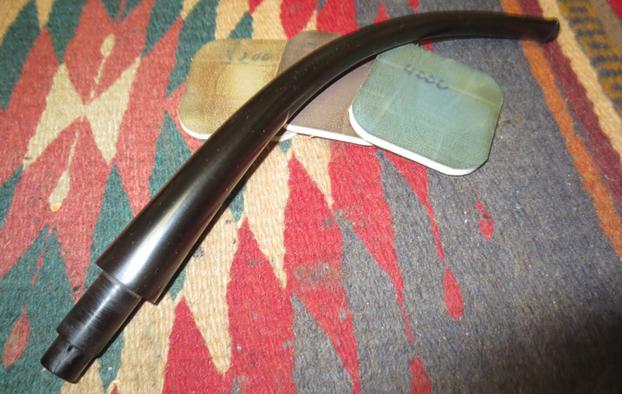
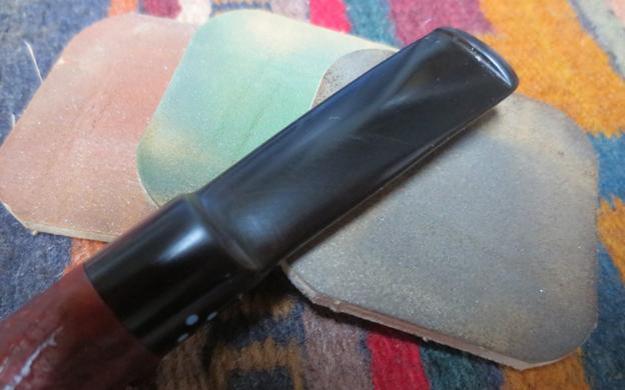
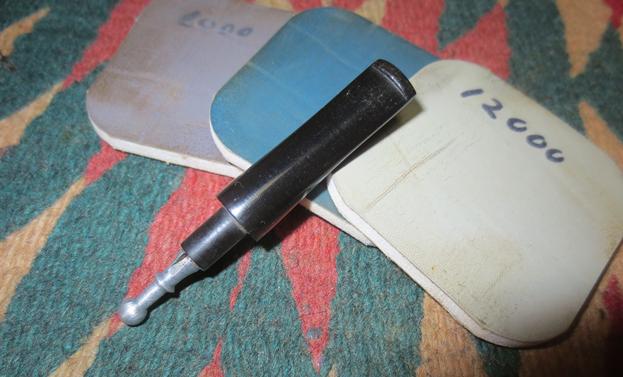
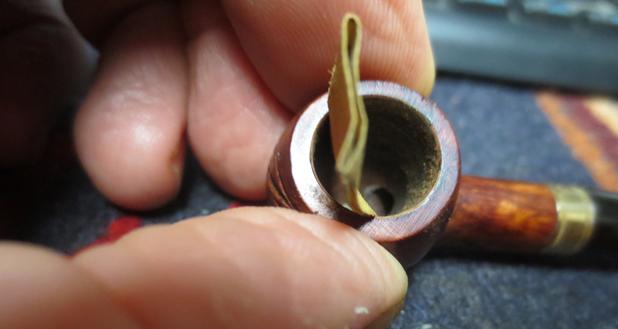 I polished the briar with micromesh sanding pads – dry sanding with 1500-12000 grit pads. I wiped the briar down with a damp cloth after the polishing and then buffed it lightly with a soft cloth.
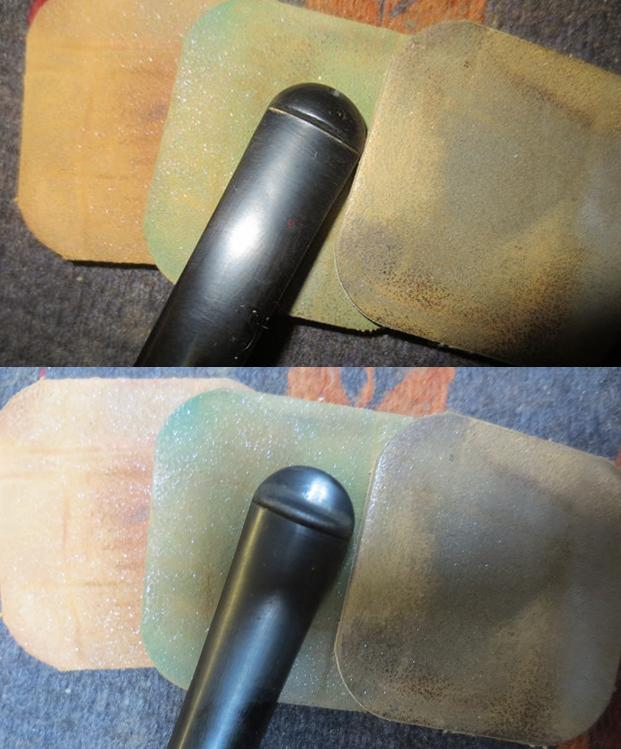
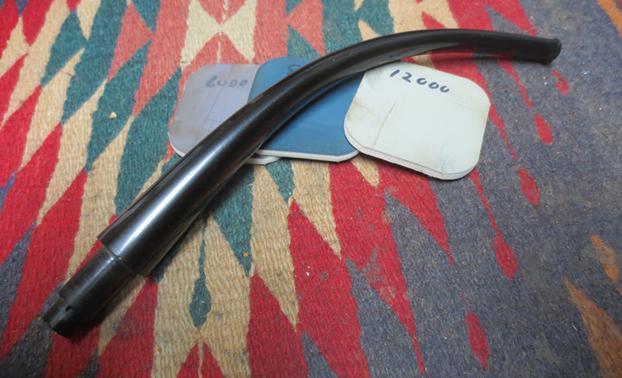
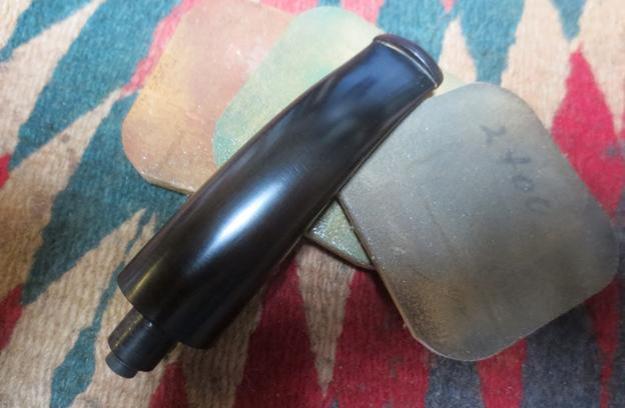
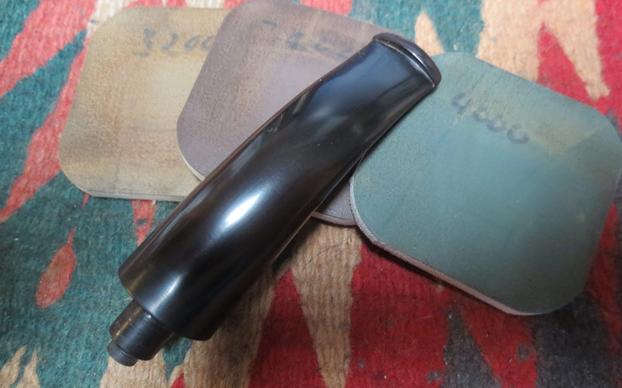
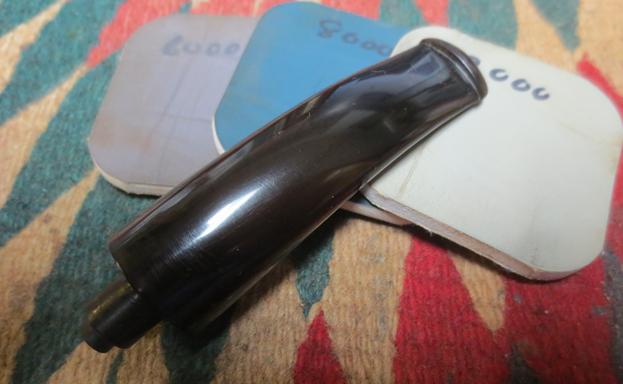
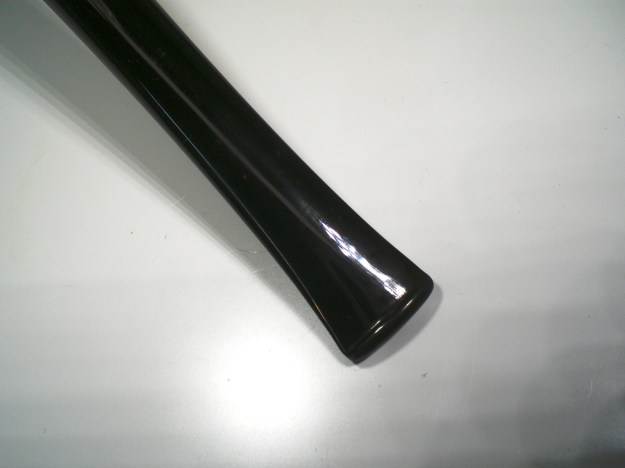
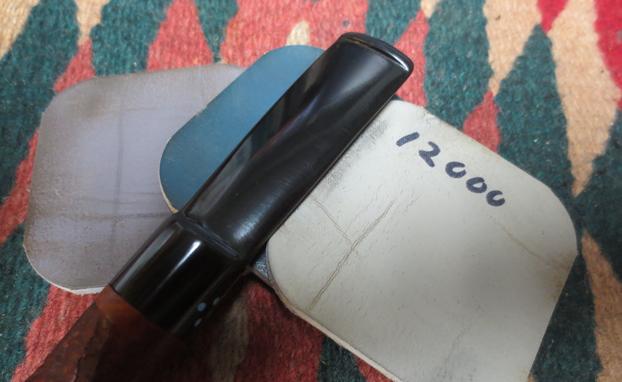
 I polished the stem with micromesh sanding pads – wet sanding with 1500-2400 grit pads and dry sanding with 3200-12000 grit pads. I rubbed the stem down after each set of three pads with Obsidian Oil and after the last coat of oil I set the stem aside to dry.
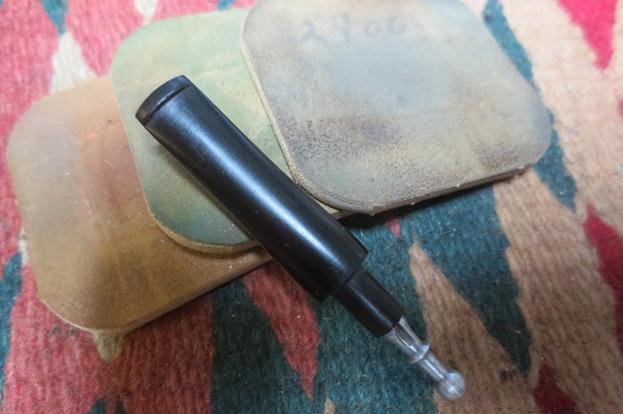

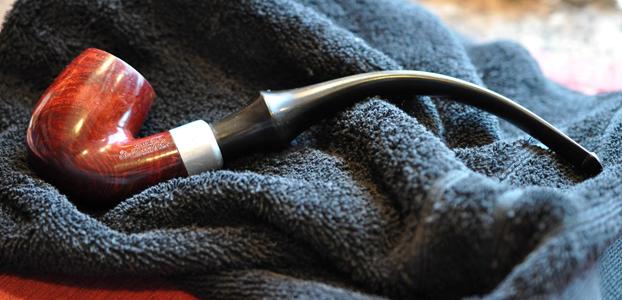
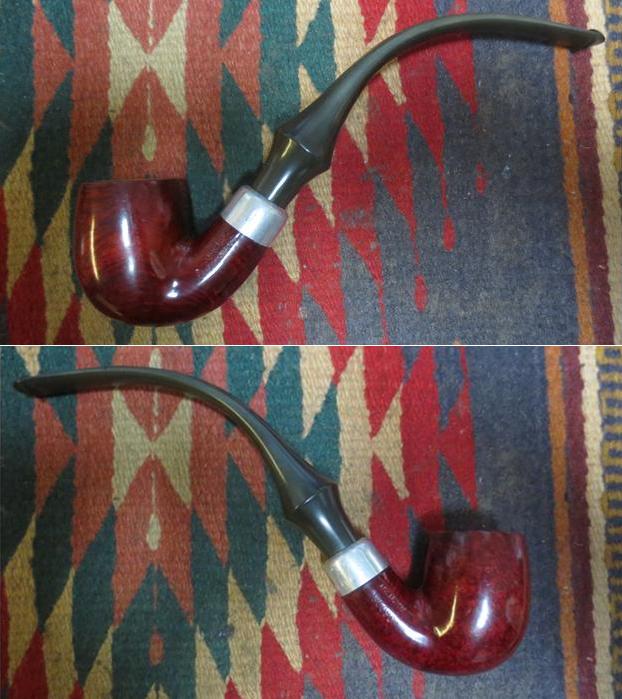
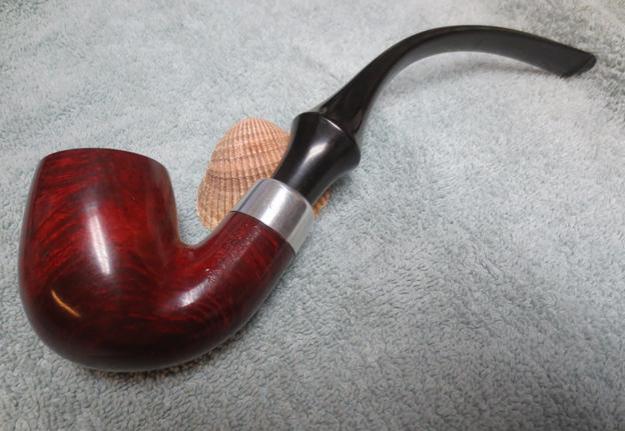
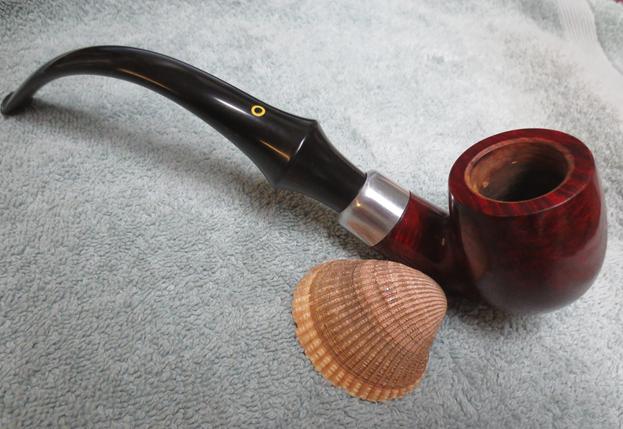
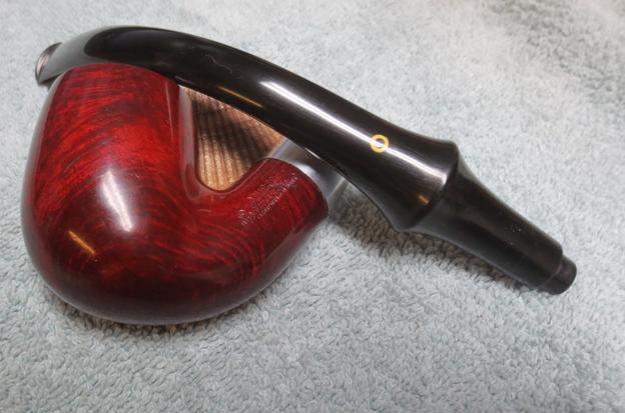
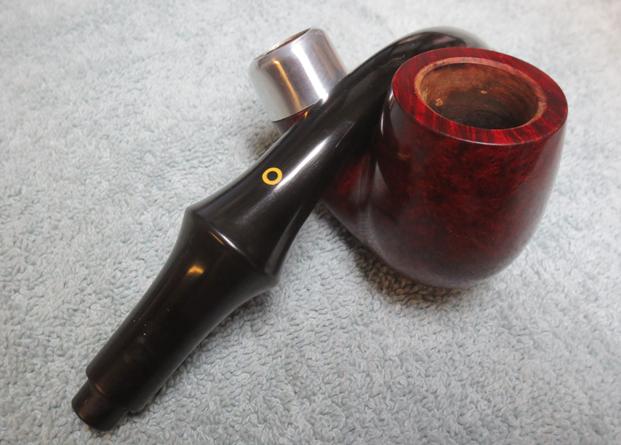
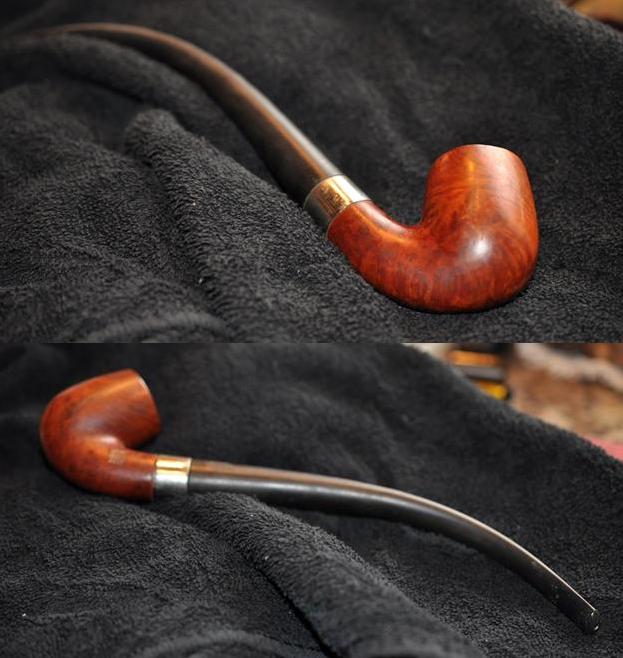
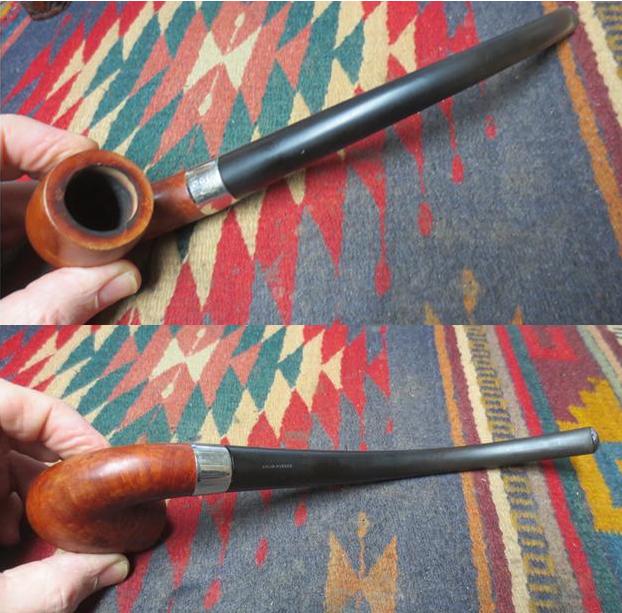
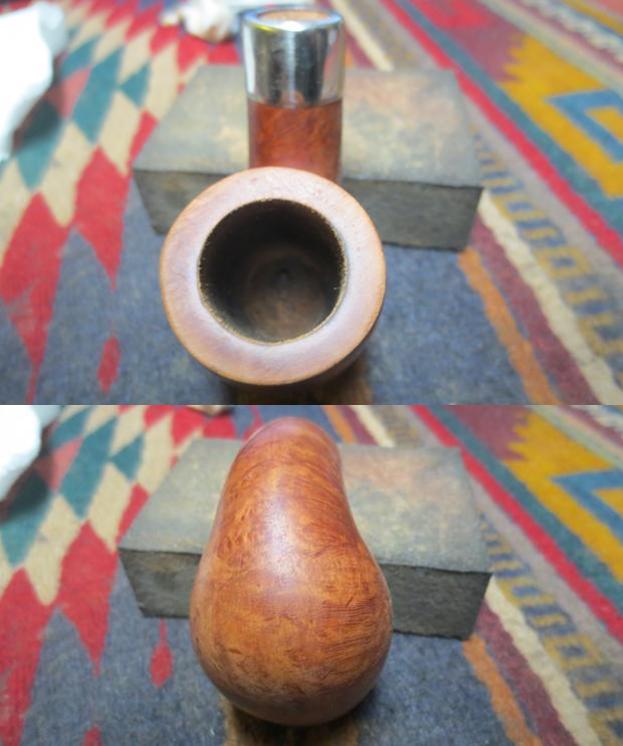
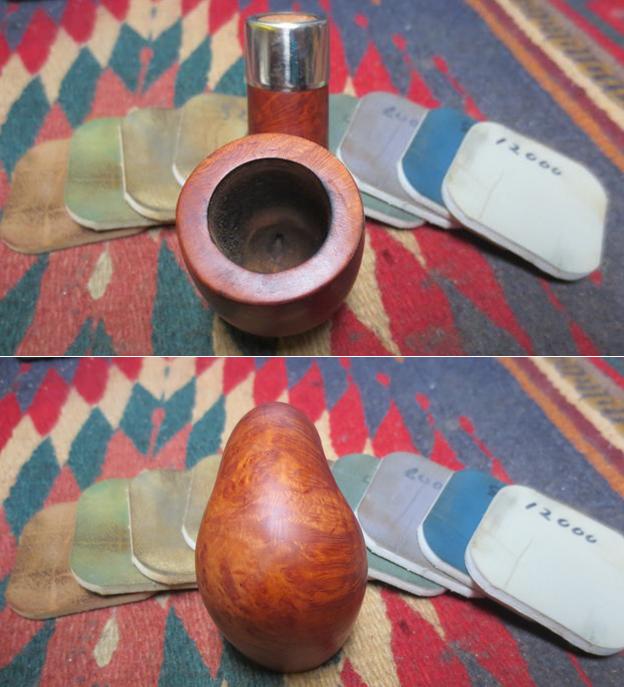
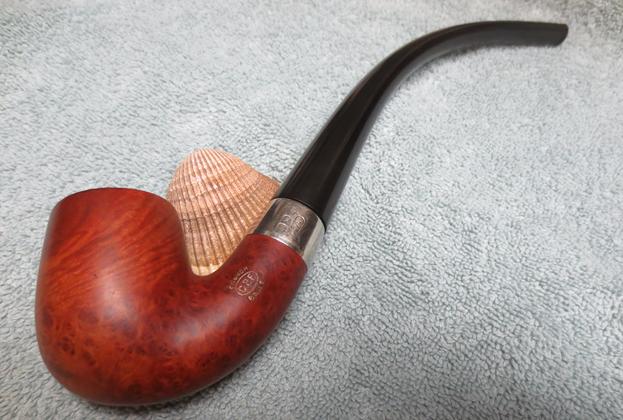
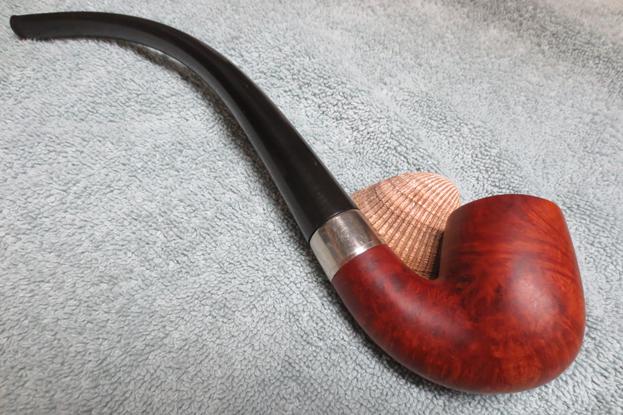
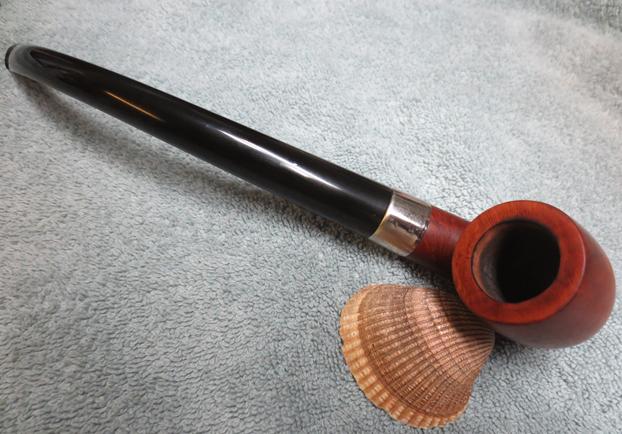
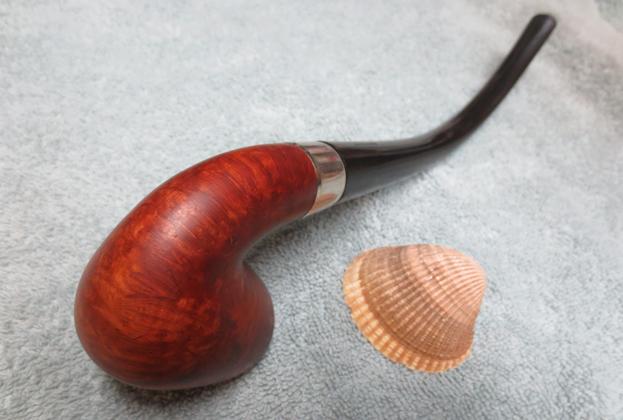
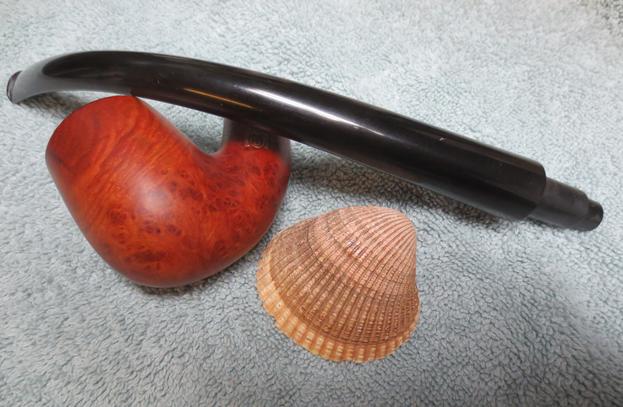
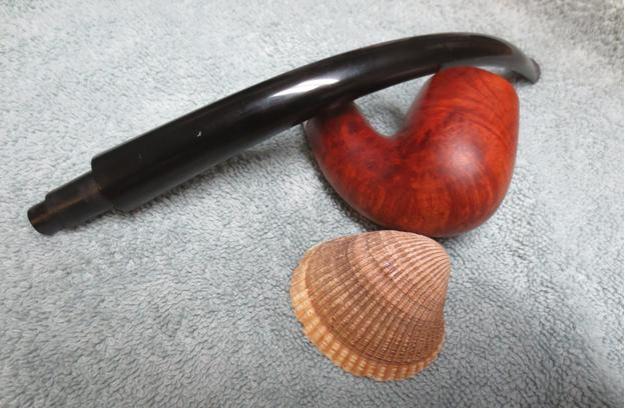
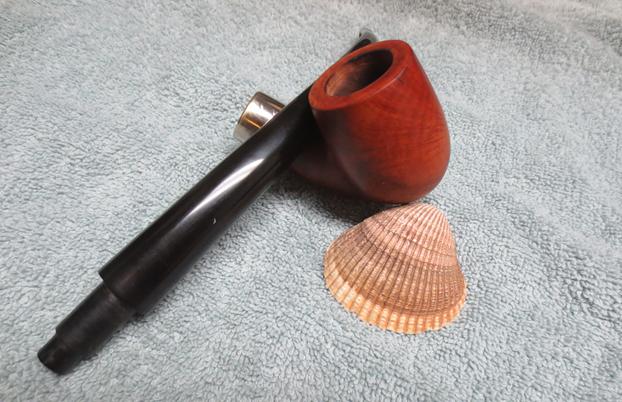
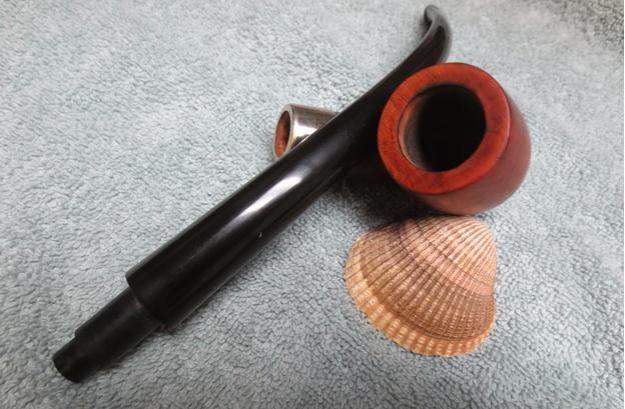
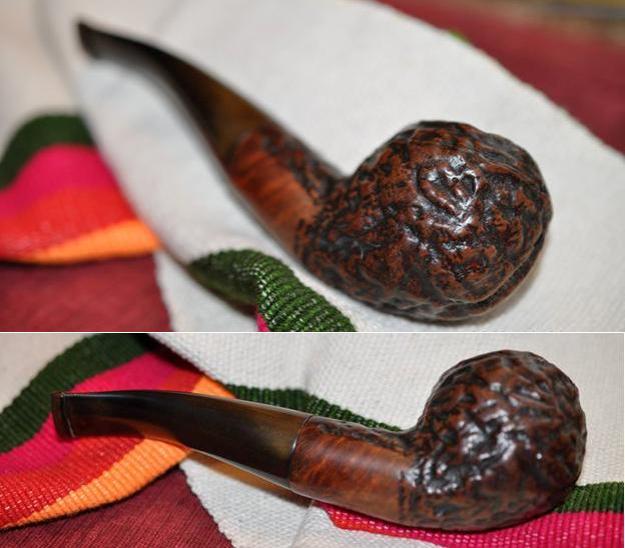
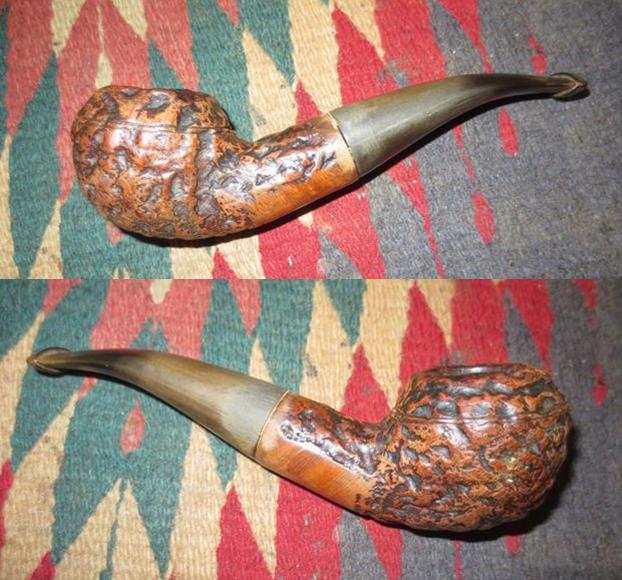
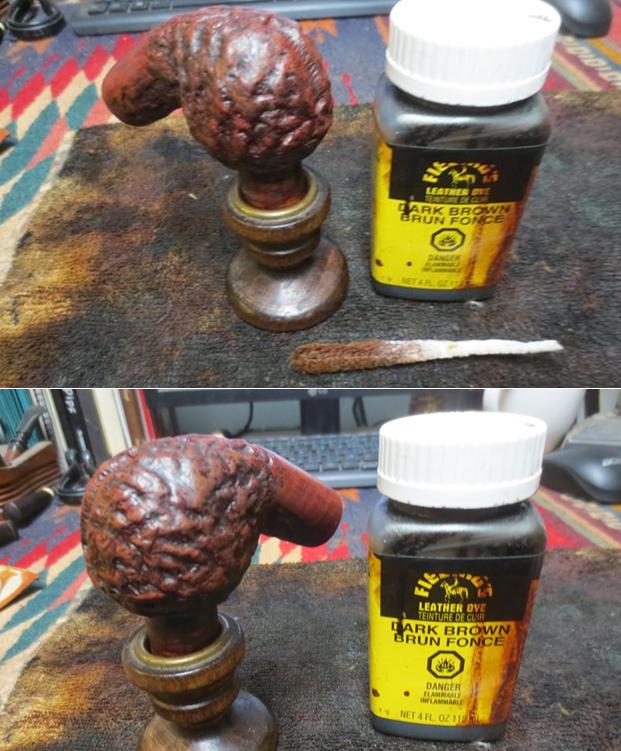
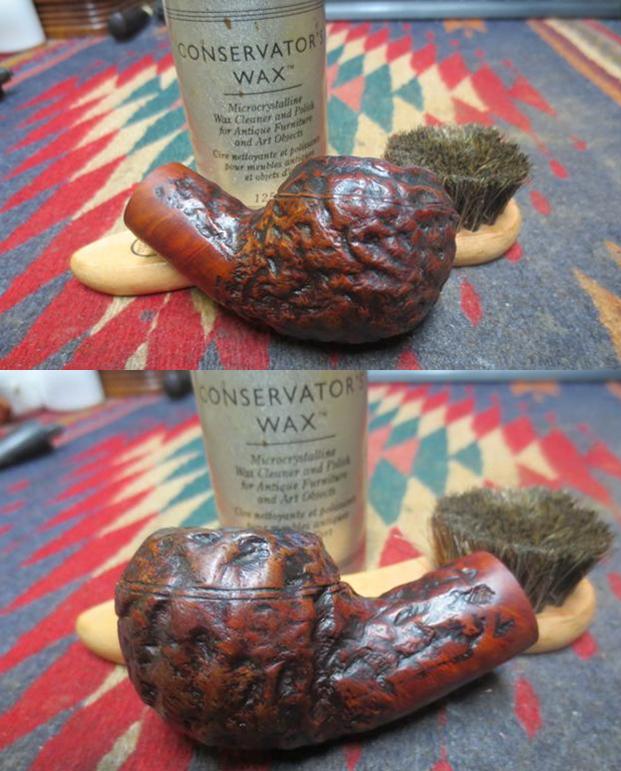
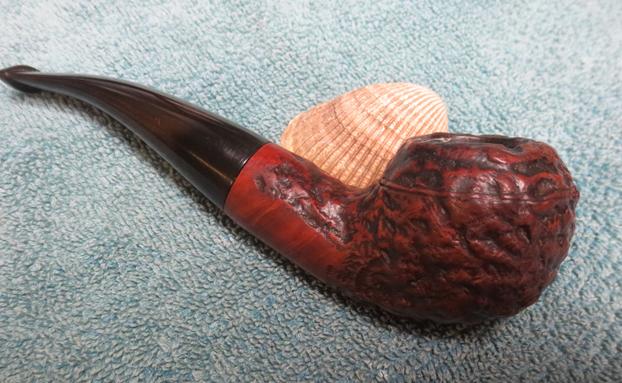
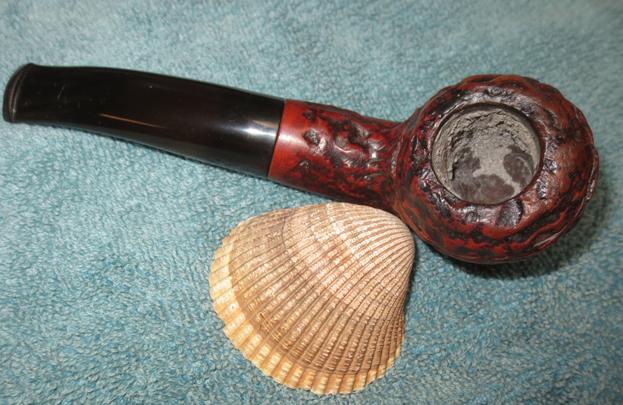
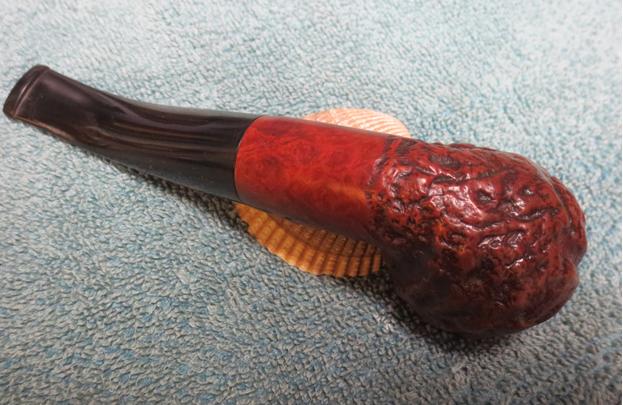
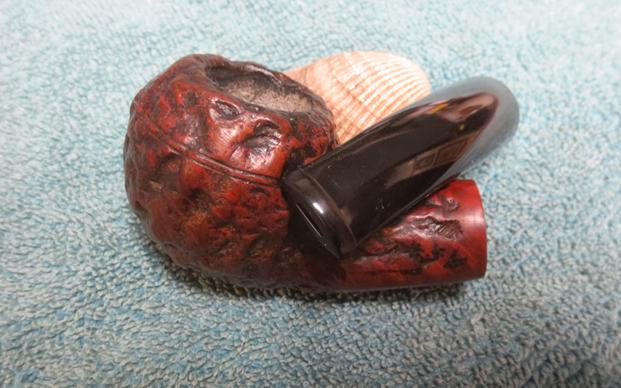
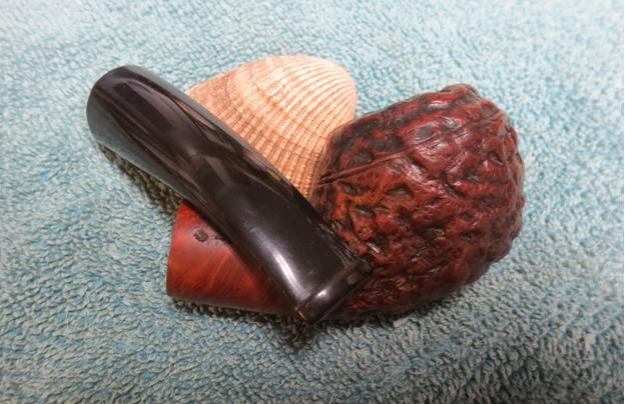
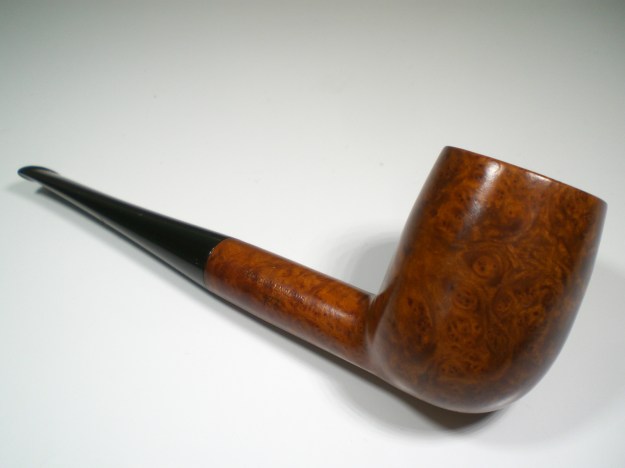
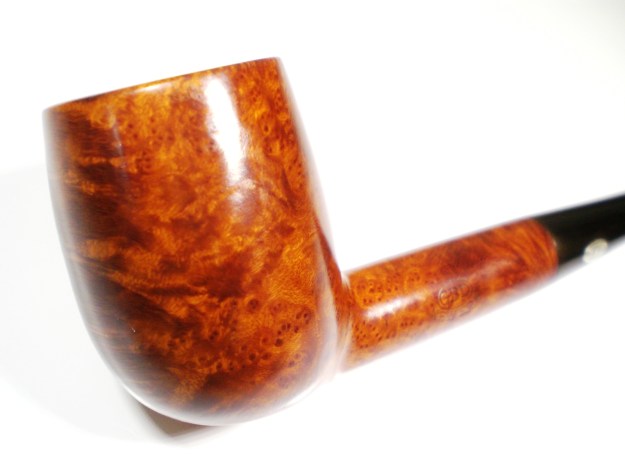
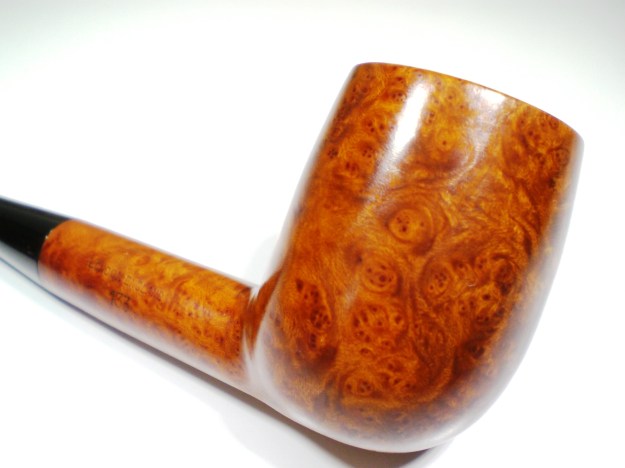
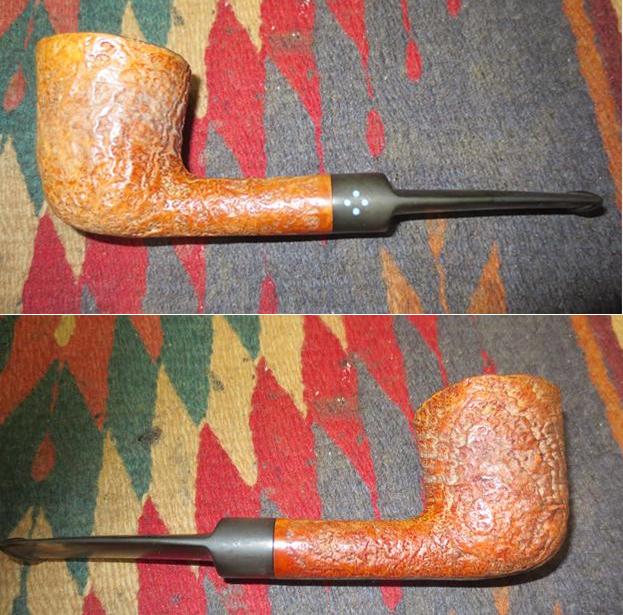
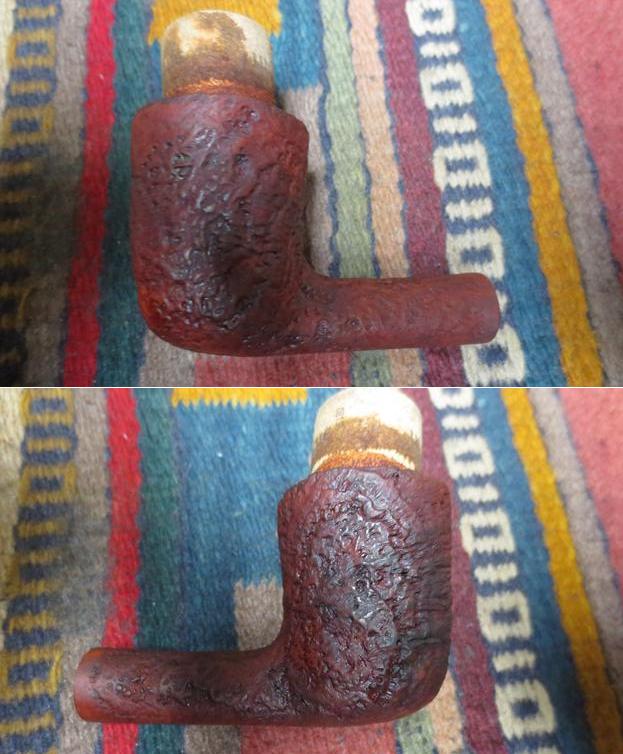
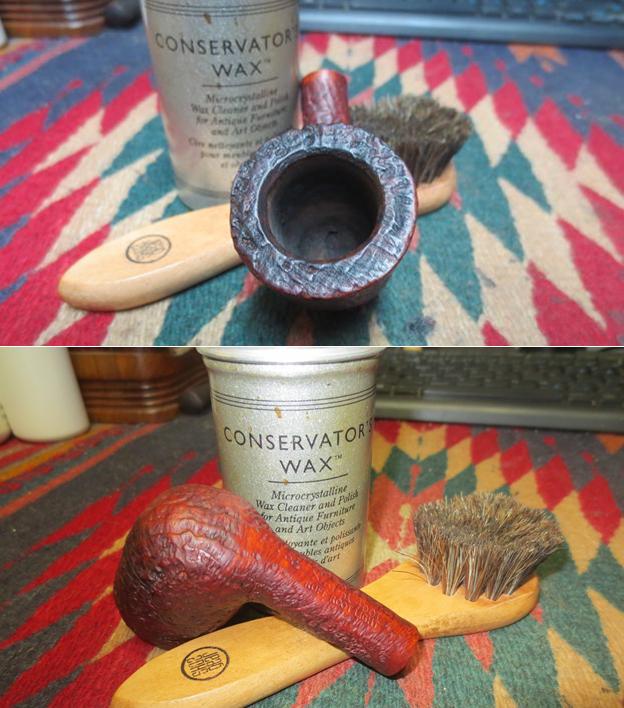
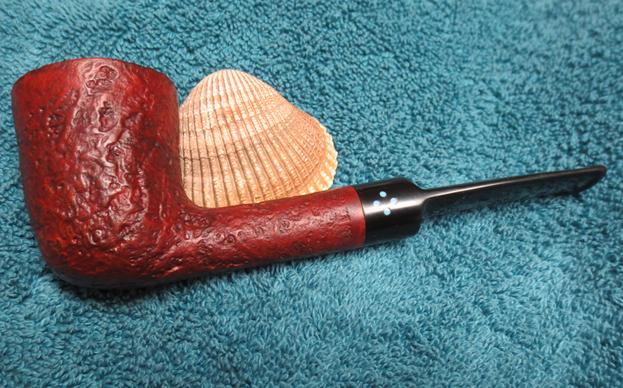
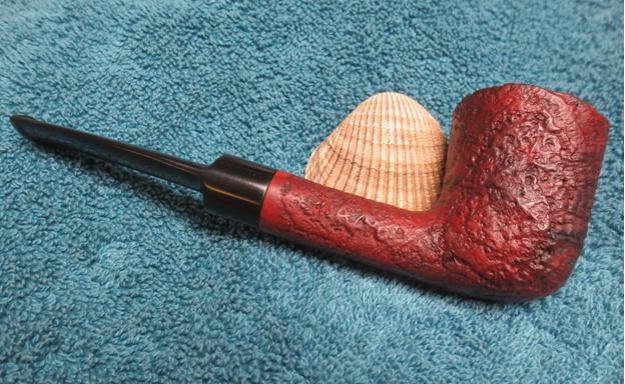
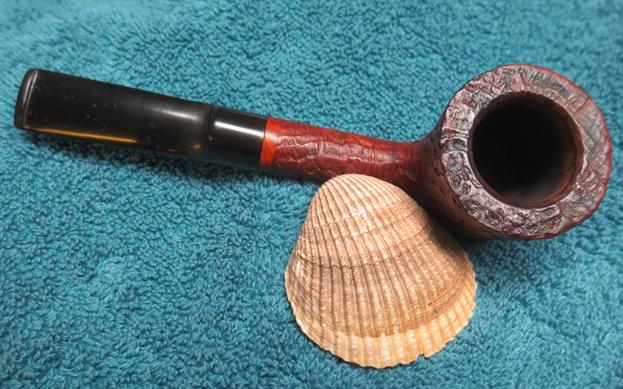
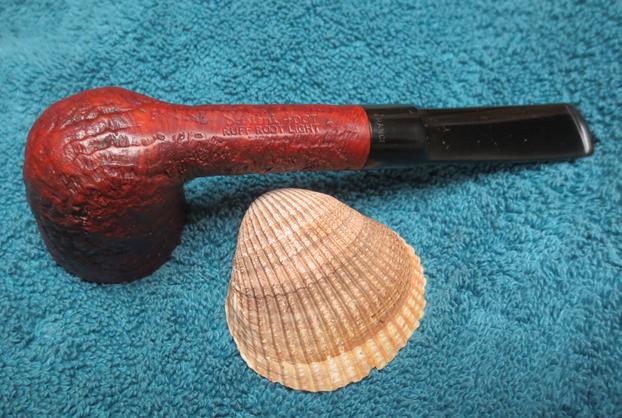
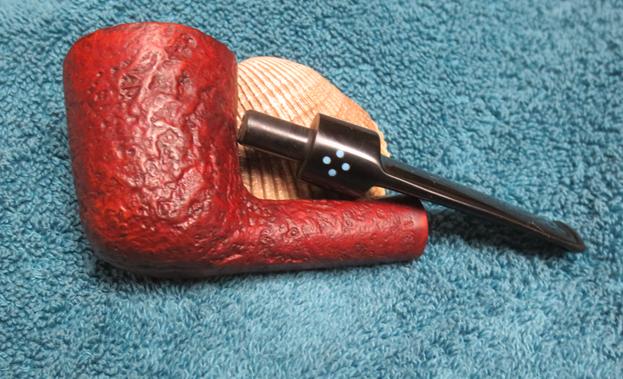
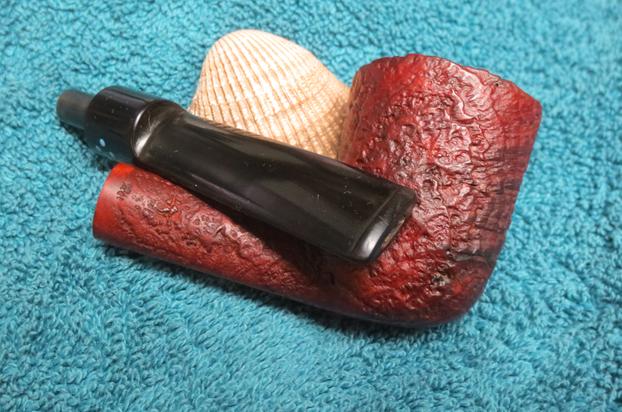
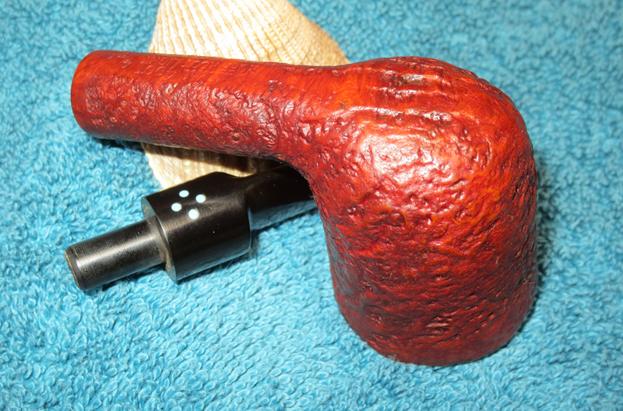
 I lightly sanded the burn spot on the bottom of the bowl with 220 grit sandpaper and buffed it with red Tripoli to minimize the spot. I buffed the bowl and stem with Blue Diamond on the buffing wheel and then gave the pipe multiple coats of carnauba wax. I used a light touch on all buffing of the bowl so as not to get build up in the grooves of the carved leaves. I buffed the pipe with a clean buffing pad and by hand with a microfibre cloth to deepen the shine. The finished pipe is shown in the photos that follow. It took as much work as a full-sized pipe to bring it back to life – though in proportion. Personally I think it was worth the effort. It is a fine piece of tobacciana history and I sure wish it could talk and tell its story. I wondered how it ended up in Boise, Idaho and where it was before then. At least the part of the story from Boise to Idaho Falls and then to Vancouver in Canada has now been recorded. Thanks for looking.