Blog by Dal Stanton
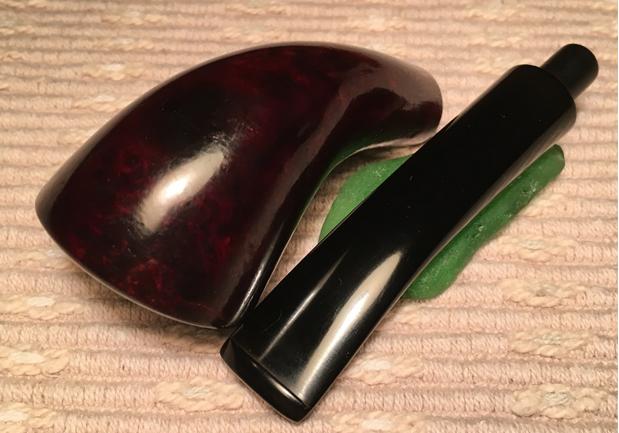
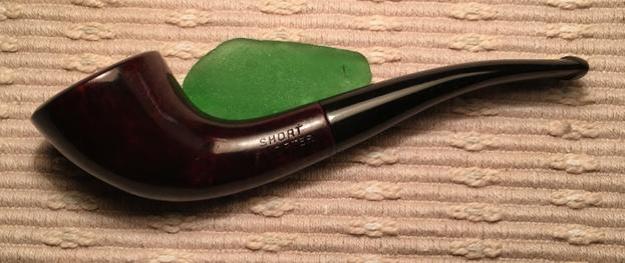
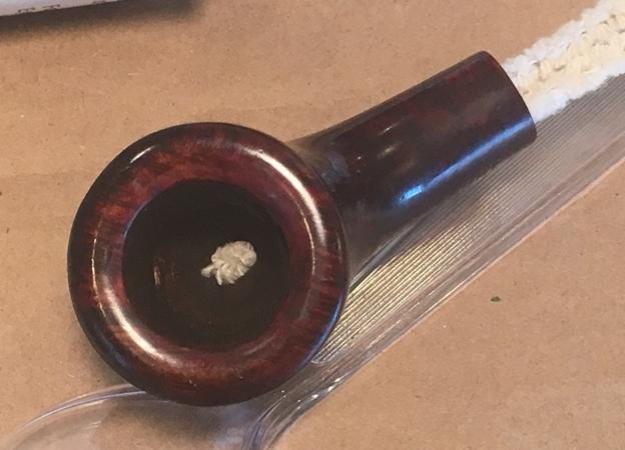
Having semi-completed the restoration of the unmarked Weber Short Snorter previously (see Link), since my wife and I were heading to Denver for Christmas, I ran out of time to complete the needed repair of this Short Snorter’s burn through problems. The slender horn shape had contributed to a thinning front firewall which in turn had created a darkened burnt area on the front of the bowl, which in turn had produced a burn fissure crack in the impacted briar. My subsequent attempt to repair the crack by drilling holes (not going through to the fire chamber!) on either side of the crack to halt any crack creep, resulted in one of the drilled holes punching through the thinner-than-expected wall…. Things went from bad to worse in a blink! A briar dust mixed with superglue patch soon followed. I completed the full restoration of stummel and stem except for rebuilding the fire chamber. A few pictures serve as a reminder of the restoration dealing with the burn area bringing us up to date.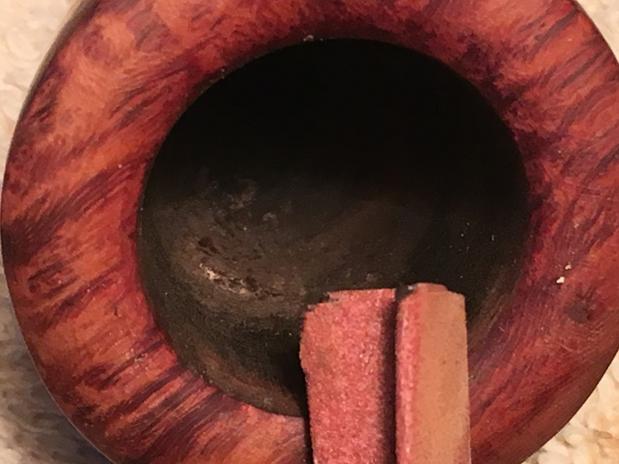

 With this Short Snorter destined to be under the tree in Denver as a gift for my daughter, Santa’s sleigh took the shape of Lufthansa Airlines from Sofia via Munich to Denver to deliver the gift in time. Now that Christmas Day is finished, the Short Snorter unwrapped and introduced to a new steward, I need to complete the repair to the internal burn area. Using Charles Lemon’s technique, author of Dad’s Pipes, of applying JB Weld to rebuild the internal firewall, I had ordered JB Kwik from Amazon and it arrived in the mail in Denver for my use with the Short Snorter. To make sure the internal bowl was clean; I wiped it down with alcohol. The trick will be to do the work and not disturb the externals which are already completed!
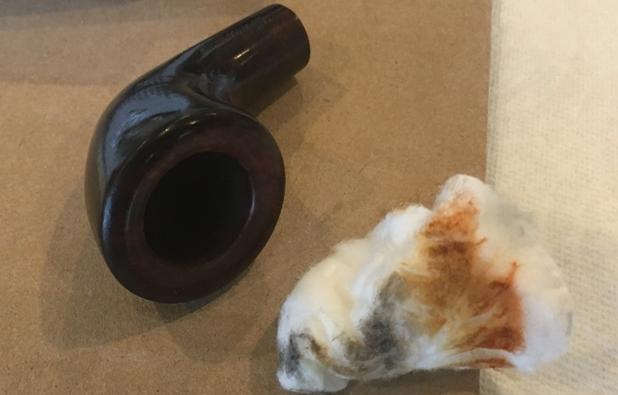 Since this is my first time using a JB Weld product I read the directions – a novel idea! I discover that the mixture between the two tubes that make up the ‘weld’ is straight forward. The JB Kwik ‘hardener’ and ‘steel’ are mixed at a 1 to 1 ratio. The directions also describe a window of 4 minutes until the mixture sets and then 4 hours until fully cured. The JB Weld website gives JB Kwik a tensile strength rating at 2424 PSI and withstanding temperatures up to 300ºF (See Link). Since I want to build-up the thinned fire chamber wall with a thick layer of JB Weld, I insert a folded pipe cleaner into the mortise and slightly out the draft hole as it enters the internal bowl. When I put the JB Weld mixture in the bowl, I don’t want the airway plugged!
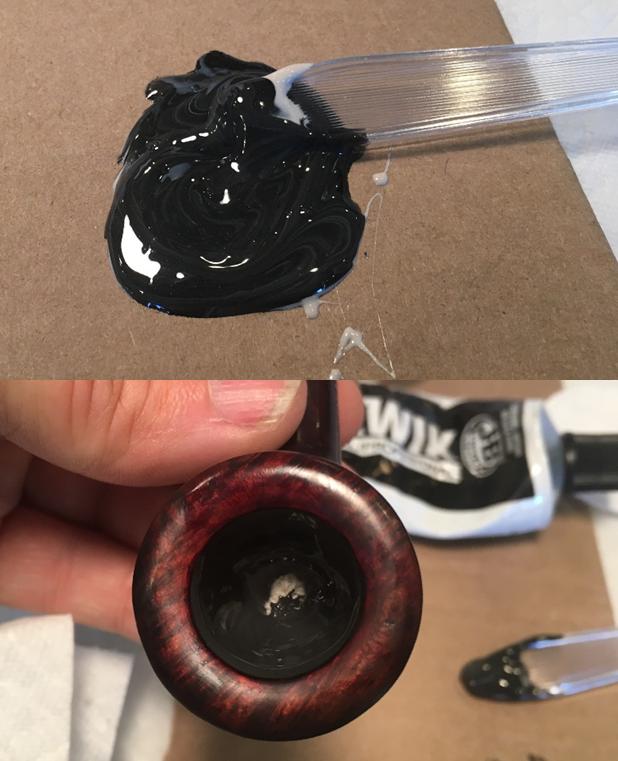
 Since this is my first go at using JB Weld, I did not know how much to use. I squirt out probably more than needed, but I would rather err on that side than not enough. I first put some hardener on the cardboard mix area. Then, taking more effort to squeeze out of the tube, I put an almost equal amount of ‘steel’ next to it and then mix. When it appeared mixed, using the end of a plastic spoon as a spatula (left over from our Christmas feast!) I try to apply the mixture carefully – wanting to avoid the finished rim! With a gloved hand, I use my pinky finger to contour the weld mixture over the forward burned area making sure the thin chamber wall is reinforced well with added thickness and I also shape the round curvature of the forward chamber patched area. As careful as I try to be, I dribble a bit of weld mixture over the rim. With a wetted paper towel, I easily can wipe the rim dribble off while the weld mixture is in the setting state. I also wipe the inner rim with my gloved thumbnail to clean away the weld mixture leaving a briar strip above the patched area. Pictures show the progress.
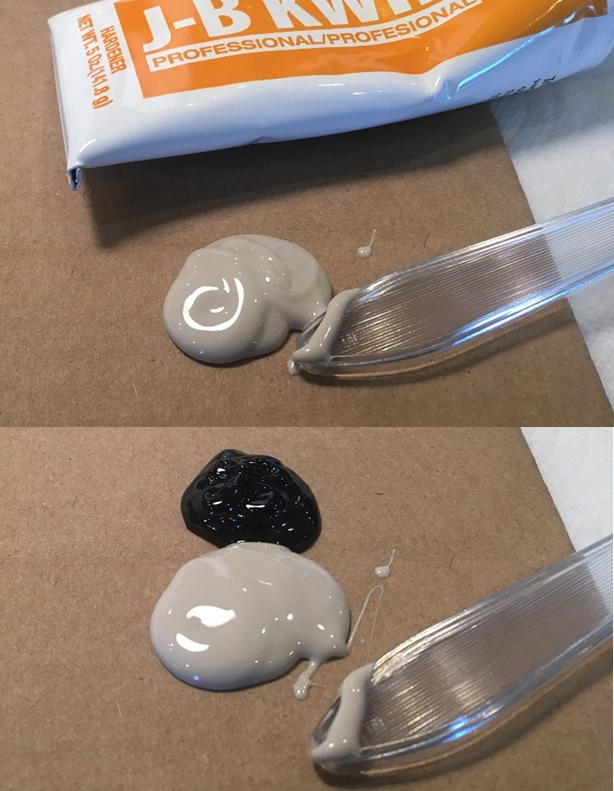
 After about 5 minutes, I take the following picture. The JB Kwik is setting and I put it aside for its 4-hour rest to cure.
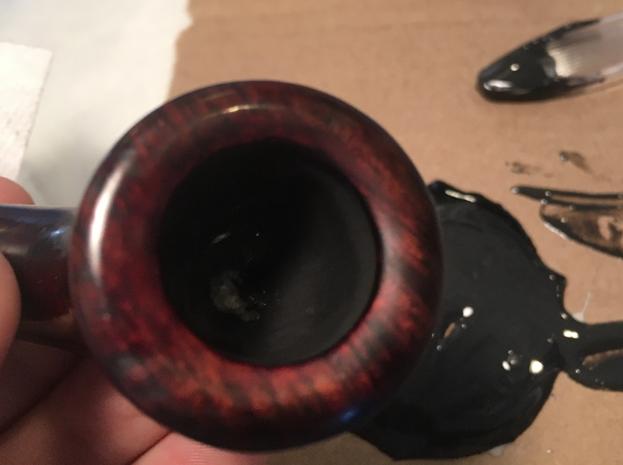
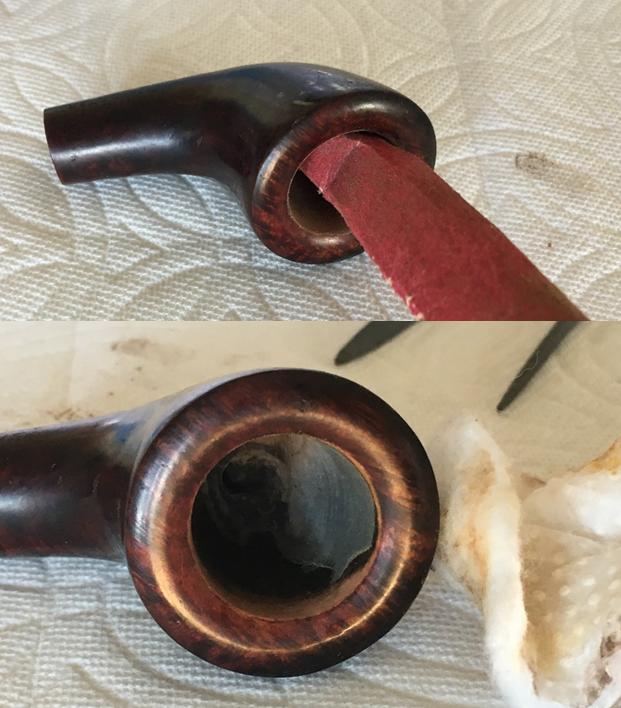
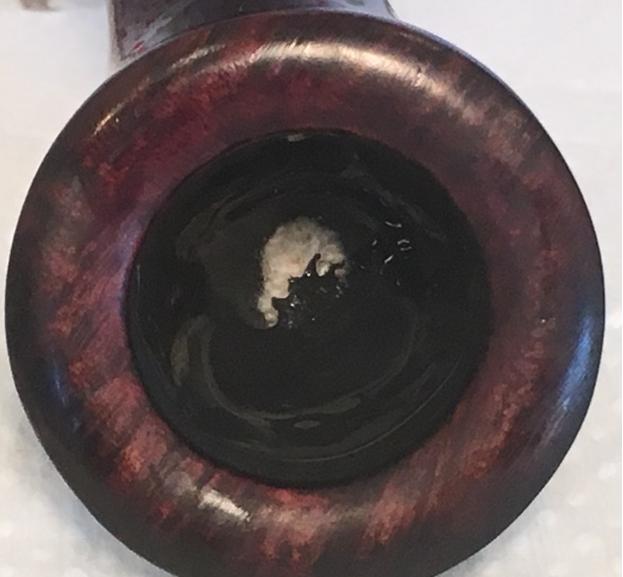 Hindsight is 20/20 they say. In hindsight, I should have removed the pipe cleaner while the JB Weld was still pliable and shaped the draft hole. After the JB Kwik Weld cured, I yank a bit on the pipe cleaner and the pipe cleaner is not budging! After unsuccessfully pulling on the welded pipe cleaner a few times, I take needle-nose plyers and extract the pipe cleaner leaving behind pipe cleaner fibers. To remove the left-over pipe cleaner fiber and to contour the draft hole I sand with a round needle file. I follow this with 220 grit sanding paper and smooth the internal surface between the native briar and the cured JB Weld patch and finish by wiping the bowl with 95% isopropyl to remove left over dust and debris. The last picture in the set below clearly shows the reinforced area of the fire chamber. It looks good and feels smooth. The pictures show the progress.
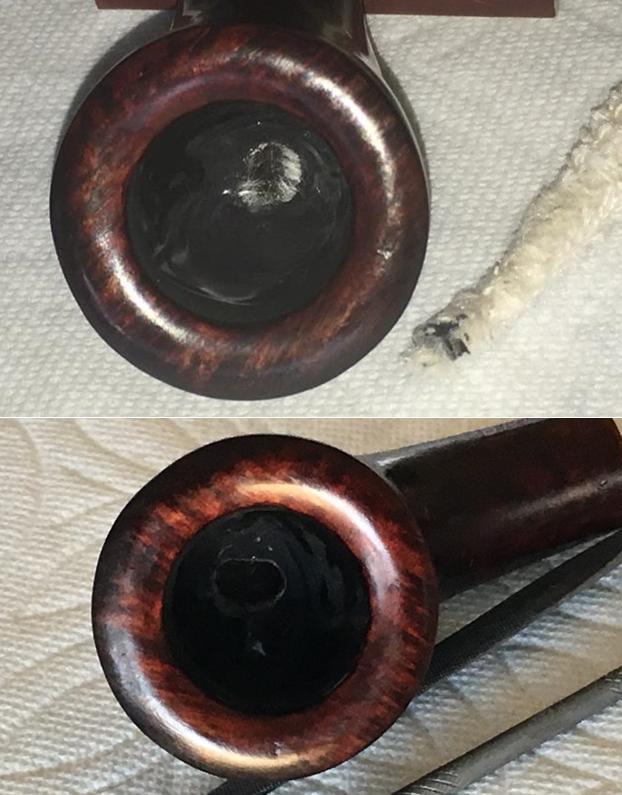
 To complete the bowl repair, I mix sour cream and charcoal to form a paste that I use to create a protective insulation around the bowl. This insulation provides the foundation for a new cake to form to protect the briar long-term. After cured, it is hard and leaves no taste or smell. When Steve first told me about this mixture, I was a bit doubtful! Yet, after using this mixture several times, his assurances have been verified. After applying the paste to the internal wall with a folded pipe cleaner, I set the bowl aside to cure well overnight.
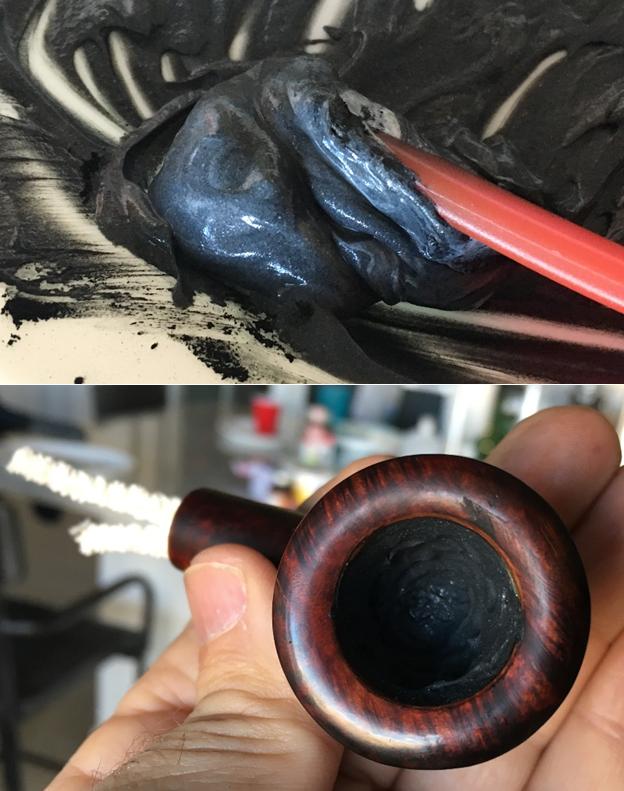 The next morning I record the following pictures completing this Christmas Addendum of the Short Snorter from Denver. I trust you all have had a wonderful Christmas and you will enjoy a blessed New Year! Thanks for joining me!

Certainly a better job of it than my father used to do. HIs method was quite snappy. He would plug holes in the bowl with bits of toothpicks and then glue them over from the outside of the bowl. 🙂
LikeLike
Hey Todd – I would call your father’s approach definitely utilitarian with capital “U”! And you know, sometimes that’s totally what is needed!
LikeLike
Very nice, Dal. My grandson looked over my shoulder as I was reading this and asked me what the JB Weld was for. I explained and he asked what about the hole you breathe through. I showed him the photo of the pipe cleaner in the shank and said I hoped you remembered to remove it before it got hard … just before I saw your “hindsight is 20/20” statement! LOL Don’t feel bad though: I’ve done the same thing 🙂
LikeLike
I tend to learn more by experience, unfortunately not all experiences are good! I’m glad I could provide your grandson with a ‘learning moment’! I’ll remember that next time.
LikeLiked by 1 person
Reblogged this on The Pipe Steward.
LikeLike
Looks good, Dal! That little pipe
LikeLike
Thanks, Charles.
LikeLiked by 1 person
Inspirational! Well done!
LikeLike
Thanks, David!
LikeLike