Blog by Steve Laug
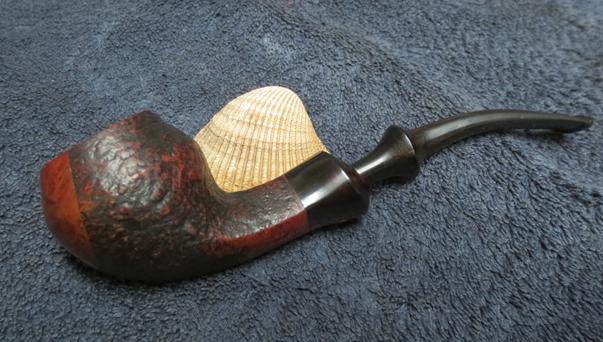
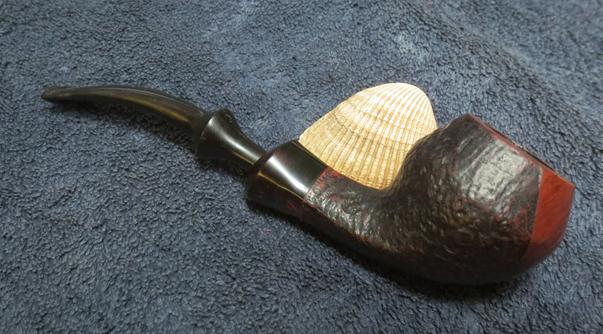
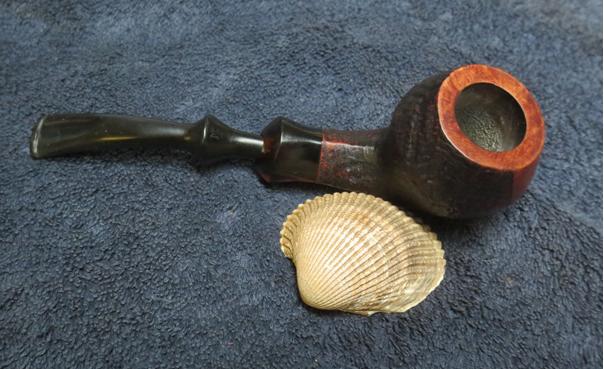
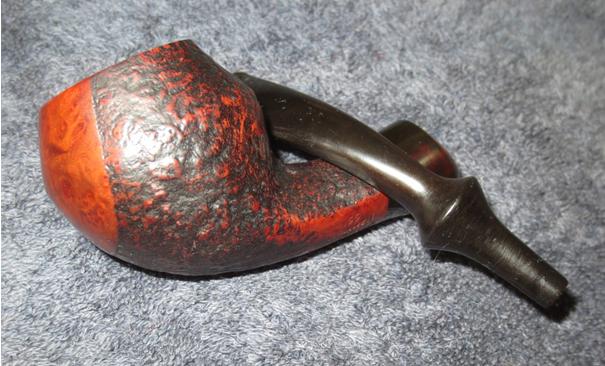
The next pipe I brought to my work table is another Stanwell Antique. This one is stamped on the underside of the shank with the words Stanwell over the script Antique and over the top of them both is the number 156 which is the shape number. This one came in the same lot as the two victims of Jaws that I have already written about on the blog – the Estella and the GBD Midnight (https://rebornpipes.com/2016/12/06/jaws-and-an-estella-non-pareil-%c2%bc-bent-9606-stack-by-savinelli/ and https://rebornpipes.com/2016/12/09/another-jaws-victim-a-gbd-midnight-788-oval-shank-apple/). This Stanwell Antique Bulldog had a poorly fit replacement stem – a diamond shaped stem from a classic bulldog shape. The stem had many deep tooth marks on both the top and the underside of the stem. 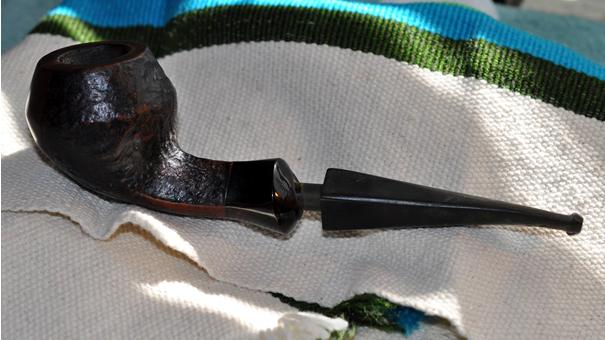 The finish on the bowl was in decent shape though the rim had some tarry buildup and there was a thick cake in the bowl. The first photo shows the mixture of sandblast and smooth on this pipe was a nice contrast. The front of the pipe was smooth and joined the smooth rim. The second photo shows that the front outer edge had nicks and dents in it as did the surface of the rim. The close up photo of the rim shows the condition of the pipe when my brother received it.
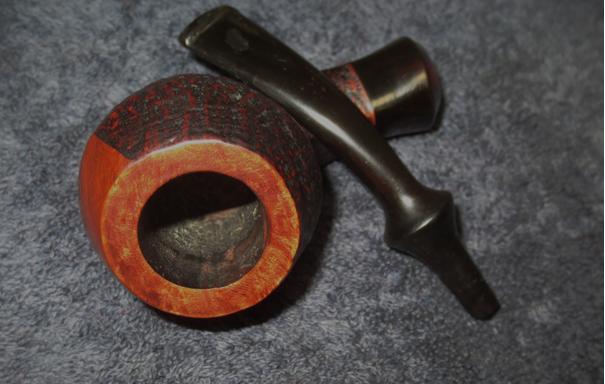
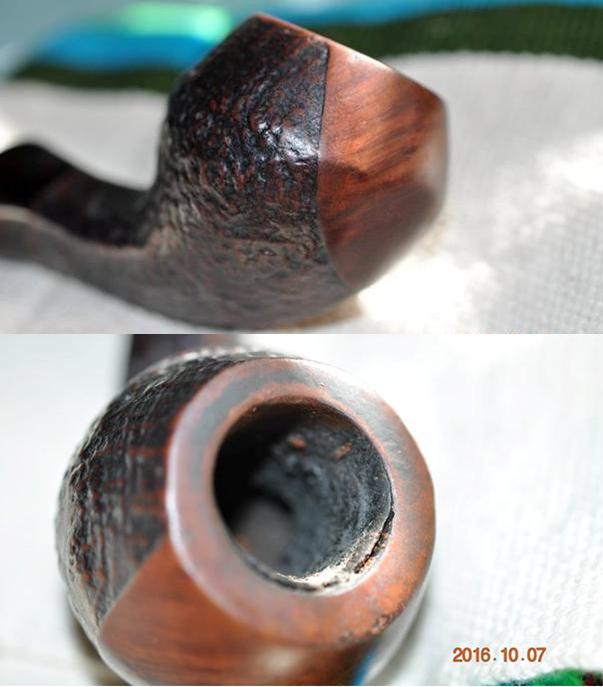 The Lucite shank extension is amber coloured. The thickness of the extension makes it hard for the light to shine through it. The mortise had been damaged – it is my thought that whoever put the new stem in place redrilled the mortise and damaged the inner edge and the bottom of the mortise.
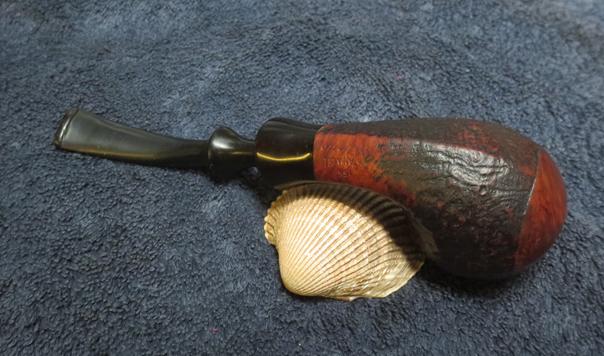
 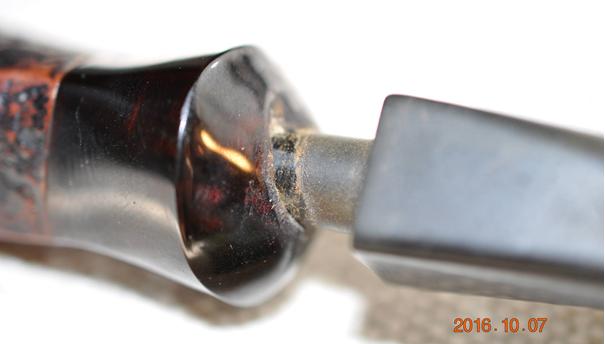 The stamping on the underside of the shank is better than the stamping on the previous Antique I just finished. The shape number is very clear and sharp. The Stanwell logo is lighter on the left side and the Antique stamping is also very clear and sharp.
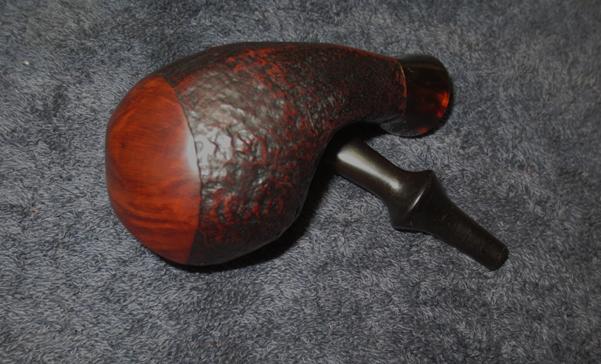
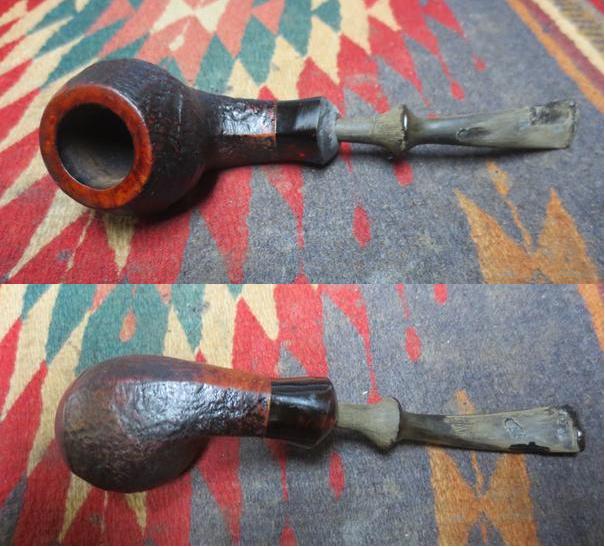
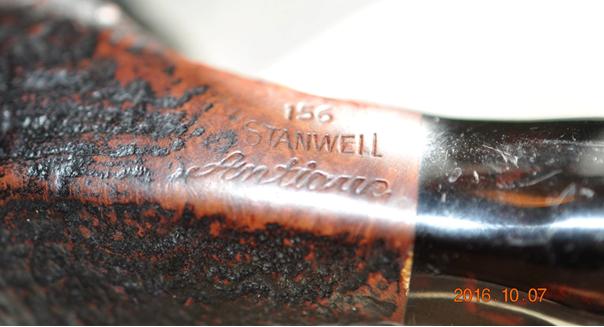 The next photo shows the transition from the smooth front of the bowl to the sandblast on the rest of the bowl. You can see some of the grit in the grooves and crevices of the blast and the grime on the smooth portion.
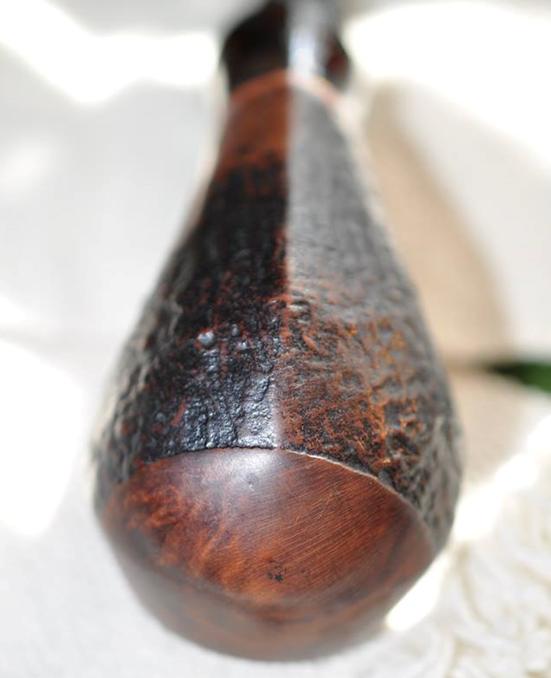 The last photo that my brother sent me shows the bite marks on the diamond stem. They are identical in pattern to the ones on the previous two “Jaws” pipes.
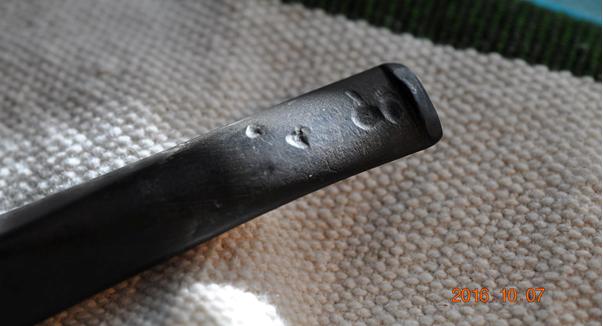 My brother cleaned up the pipe with his usual thoroughness. When the pipe arrived in Vancouver the finish was clean and the grooves and crevices clean. The rim was better though it show the damage to the front edge and the dents to the top of the rim. He had reamed and cleaned the mortise and the airway in the replacement stem so the pipe was very clean and ready for me to work on.
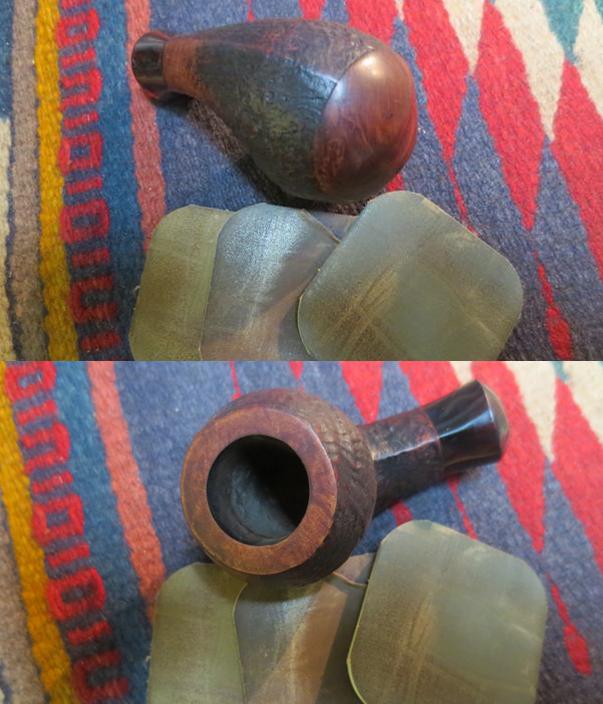
I cleaned up the shank extension end and used clear super glue to rebuild the damage portion of the Lucite. I sanded it with 180 grit sandpaper and also with 220 grit sandpaper to smooth out the repairs. I cleaned out the shank with a cotton swab and warm water to remove the debris in the shank. I took photos of the bowl after I cleaned it up and scrubbed it with Murphy’s Oil Soap.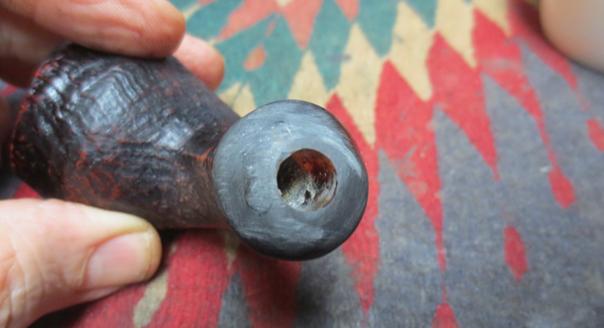
 The rim shows some damage to the top and the back edge in the photo below.
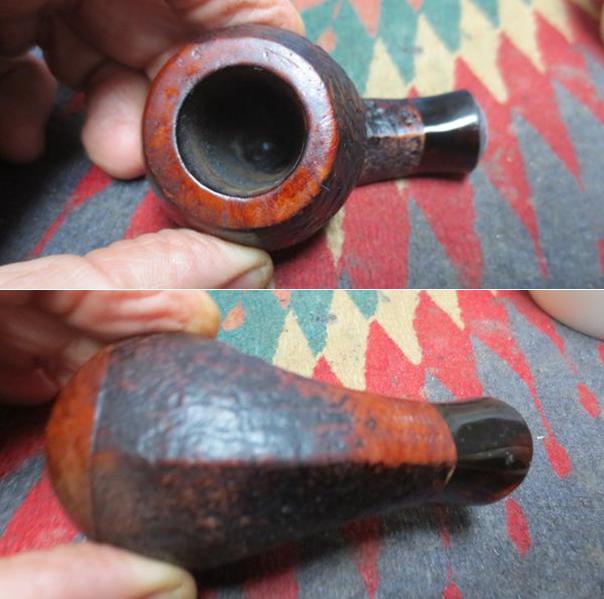 The stem was an obvious replacement so I put it in my can of stems and looked for a stem that would be a good candidate for a replacement. I had one in a lot of stems that my brother sent me. It was a Danish looking freehand stem that had a long tenon and a step up toward the ring in the middle. I forgot to take a photo of the stem before I worked on it but I had another example of one that was similarly shaped that is shown in the next photo.
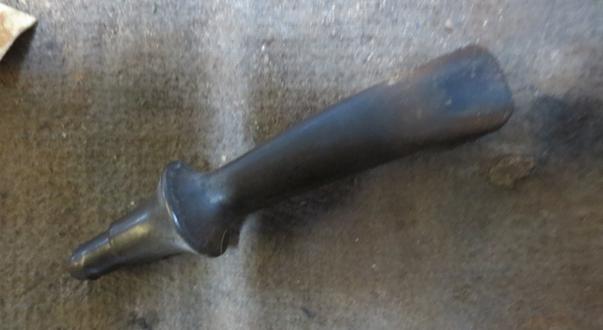 I sanded the stem with a Dremel and sanding drum to shorten and remove the step down area. I wanted to have a smooth transition from the tenon end to the mid ring. I also wanted to make the slope to the ring more abrupt that it was in the one above. The stem was in pretty rough shape. There was deep tooth mark on the topside of the stem from the damaged button forward. There was also some tooth damage on the underside of the stem in the middle and on one side. The button was also damaged on the underside. There was a missing chunk of vulcanite on the button edge. I filled in the damaged areas with black superglue to build them up. I let the glue dry and once it was dry I sanded it smooth to match the surface of the rest of the stem. I filled in the damaged button and built up the edge on the top and bottom sides. I sanded the button as well once it had cured and reshaped it.
 I sanded the diameter of the tenon area on the new stem until the fit in the mortise was correct. The stem still looked a little long but I would take care of that shortly. I put it in the mortise and took photos of the pipe with the new stem.
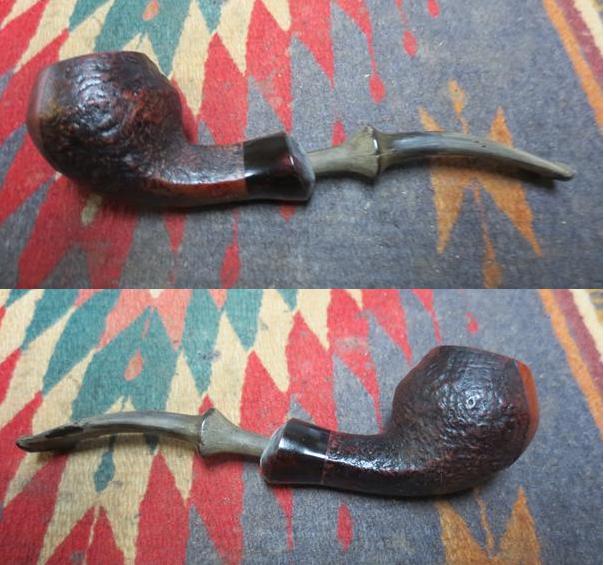
 I sanded the stem with 180 grit and 220 grit sandpaper to smooth out the repairs and reshape the stem to match the rest of the stem.
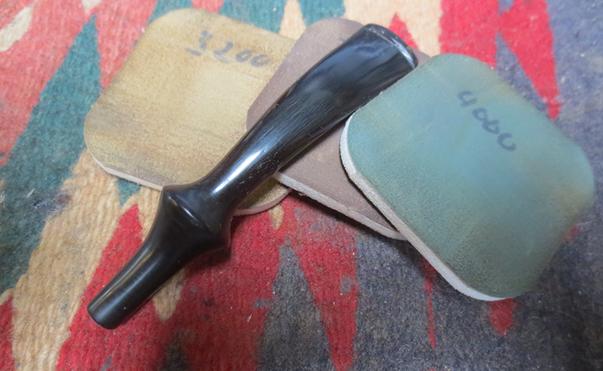
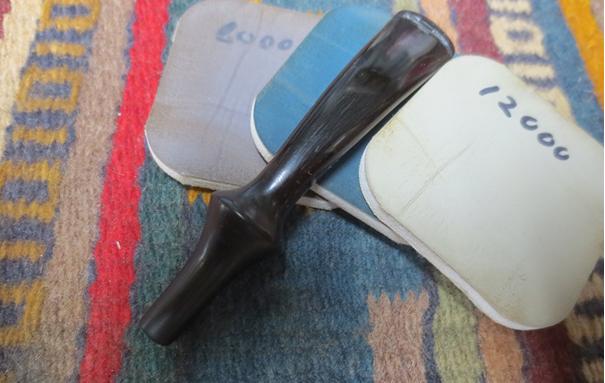
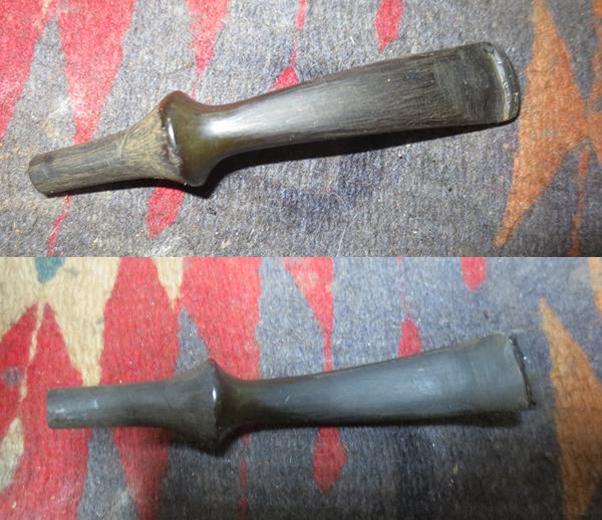 I polished the stem with micromesh sanding pads – wet sanding with 1500-2400 grit sanding pads and rubbed it down with Obsidian Oil and dry sanding with 3200-12000 grit sanding pads and rubbing it down with the oil after each set of three pads. After the final set I gave it a final coat of the oil and set the stem aside to dry.
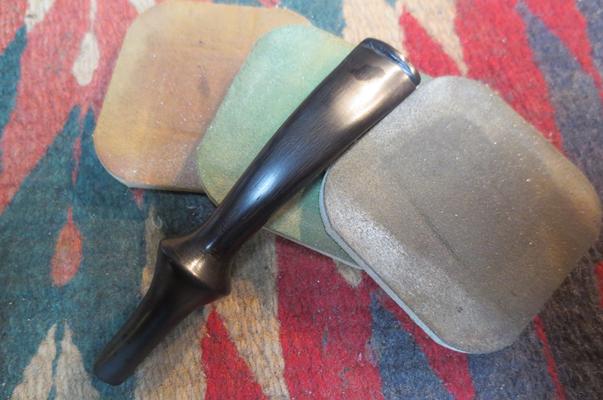
 To remove the damage to the front edge and the top of the rim I topped the bowl with 220 grit sandpaper on the topping board. I sanded it with 1500-6000 grit micromesh sanding pads to sand out the scratches in the rim surface. I restained the rim to match the front of the bowl using a dark brown stain pen. I buffed it lightly with a microfibre cloth.
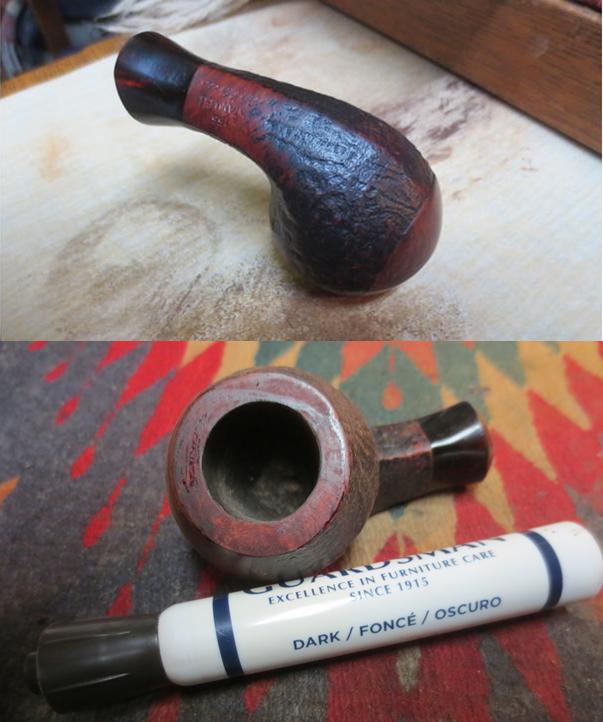 I sanded the smooth portions of the bowl face and the rim with 1500-6000 grit micromesh sanding pads to polish them.
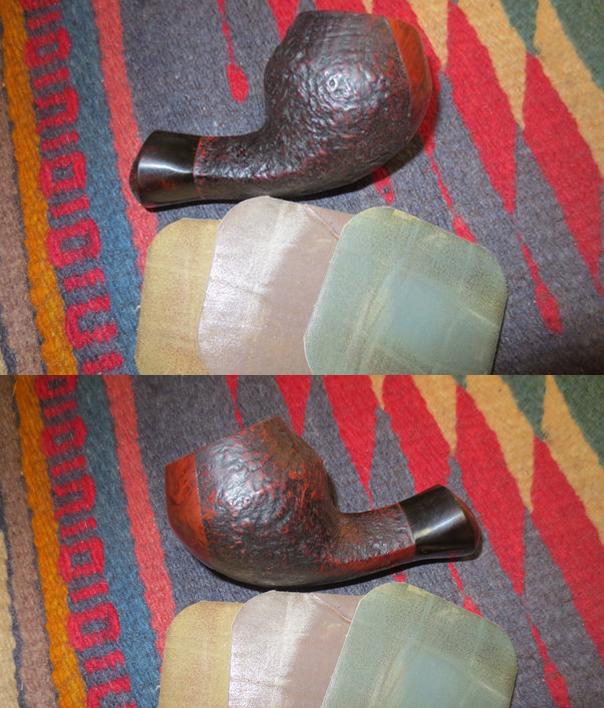
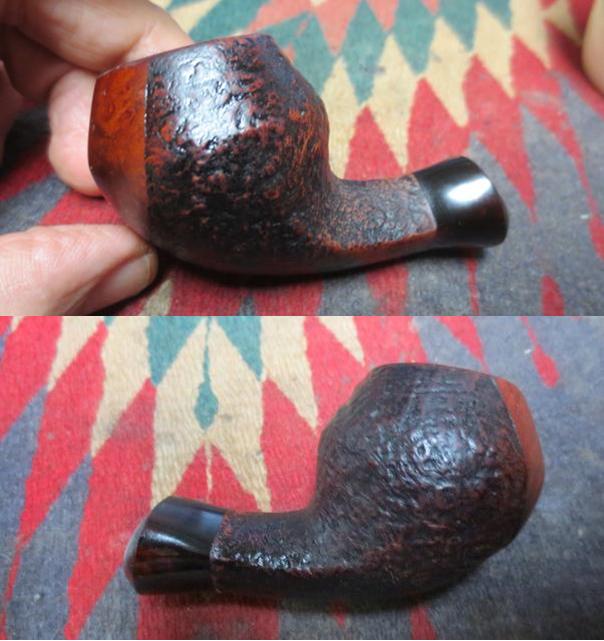
 I buffed the rim and smooth part of the bowl and the stem with Blue Diamond polish on the wheel. I gave the stem multiple coats of carnauba wax and gave the bowl several coats of Conservator’s Wax. I buffed the pipe with a clean buffing pad and hand buffed it with a microfibre cloth to deepen the shine. The finished pipe is shown in the photos below. The repairs on the stem show under the bright lights of the flash but in person they are pretty well blended into the surface of the stem. Thanks for walking through the restoration with me.