Blog by Steve Laug
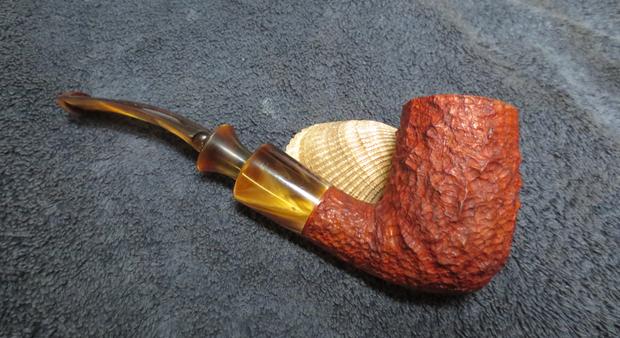
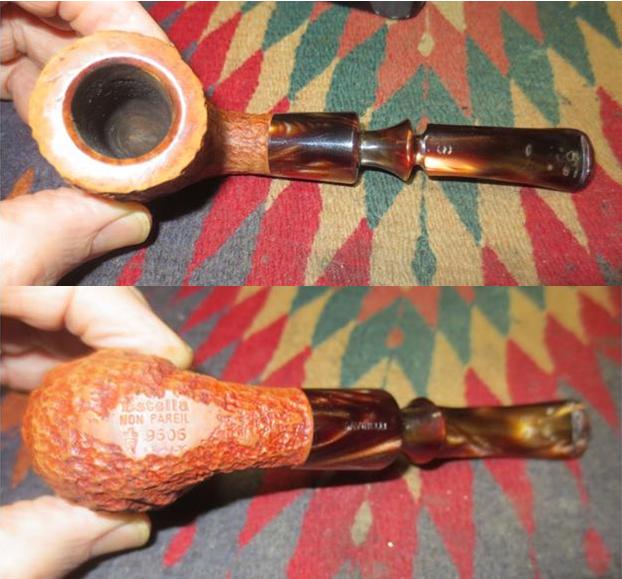
The next pipe on my work table is a Savinelli made Estella that my brother sent my way. It is stamped on the underside of the shank on a smooth oval – Estella over Non Pareil over 9606 with the Savinelli S shield next to that and Italy underneath. When my brother sent me the photos it appeared to be a good looking pipe. The rustication and the stain colour were very nicely done. The Lucite shank extension and the matching Lucite stem in brown and gold tones looked really good – from the side view. The finish on the bowl looked to be dirty or at least had darkening where the hand of the previous owner had wrapped around the bowl.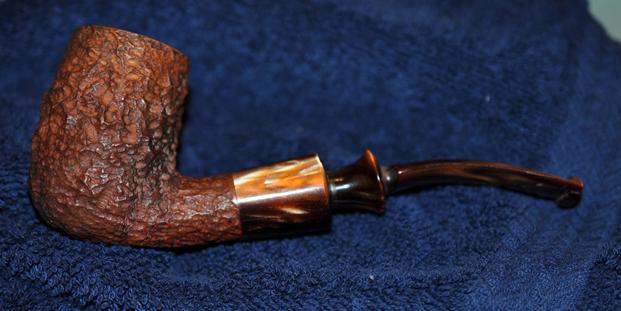
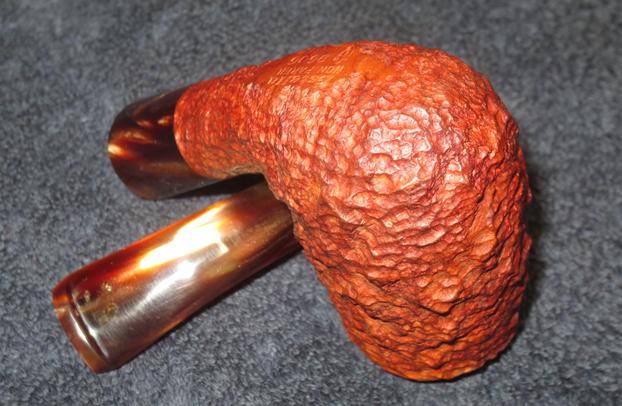
 The cake in the bowl had overflowed on to the rim top and left behind a black and pitted mess. The right front outer edge of the bowl also had a large scrape from a drop or a badly chosen knock to remove the dottle. The close up photos of the rim and the side of the bowl show the condition of the pipe. In the last photo in this series you can see the darkening where the hand wrapped around the side of the bowl.
 The next photo shows the stamping on the bottom of the bowl and the shank extension. Other than the S shield logo connecting the Estella and Savinelli the stamping on the Lucite certified the connection.
 The mortise in the shank extension showed damage and wear as well. It appeared that the mortise was lined with a Delrin tube to go with the Delrin tenon on the stem.
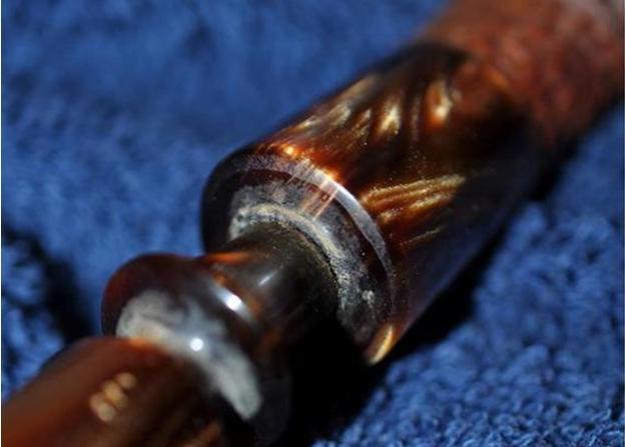 Now I am ready to show you the meaning of the word Jaws in the title of this blog. The two photos after the portrait below show the tooth marks left behind by the “shark” who owned this pipe. Lucite stems are really hard material so for him to leave behind this kind of deep gouges in the stem he must have had quite a pair of choppers. Maybe the teeth were like those on one of the villains on James Bond known as Jaws.
 Whatever then previous pipeman’s choppers were like they left behind a legacy of damage on both sides of this hard Lucite stem that needed a lot of work and would never really disappear.
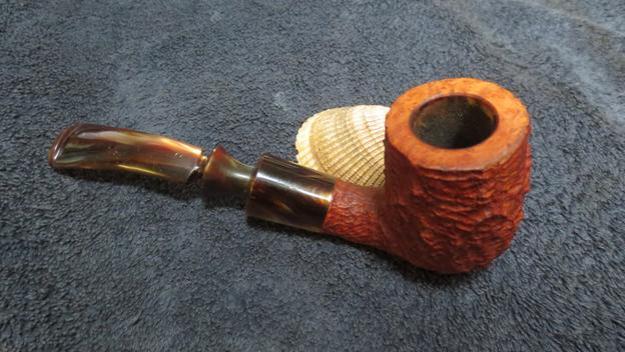
 My brother did his usual thorough clean up on the pipe. He reamed the bowl and scrubbed the externals with Murphy’s Oil Soap and a soft tooth brush. He was able to remove all of the buildup on the rim top. He cleaned the internals of the mortise and the airway in the shank and the stem with pipe cleaners and alcohol. He wiped down the stem so that when the pipe came to me it was ready to restore. The next four photos show the pipe when I brought it to my work table.
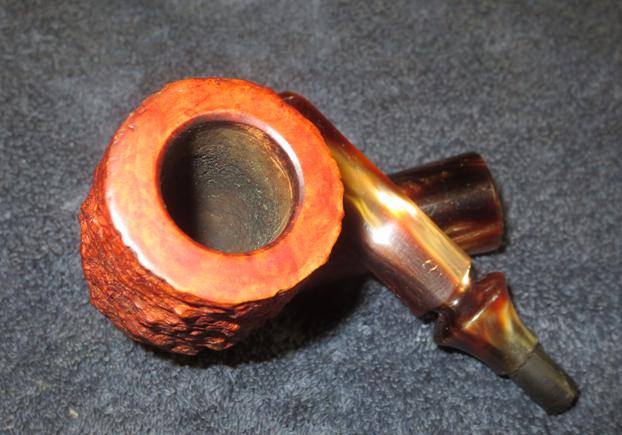
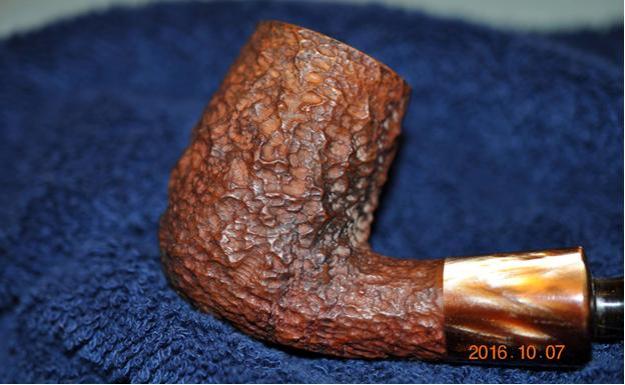
 I took a close up photo of the rim top to show the pitting and the damage on the right front outer edge of the bowl.
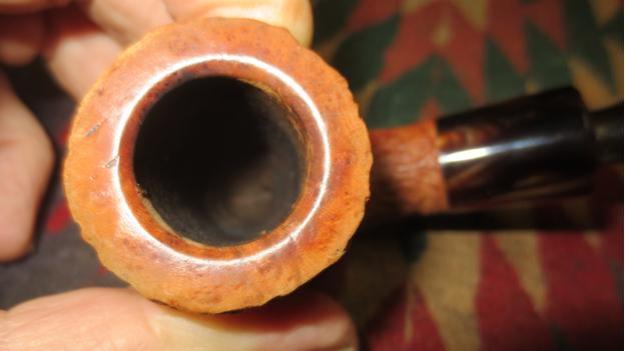 I took close up photos of the chomped on stem. It was truly a mess and one that would be a challenge to blend in the repairs on the variegated browns and tans of the Lucite.
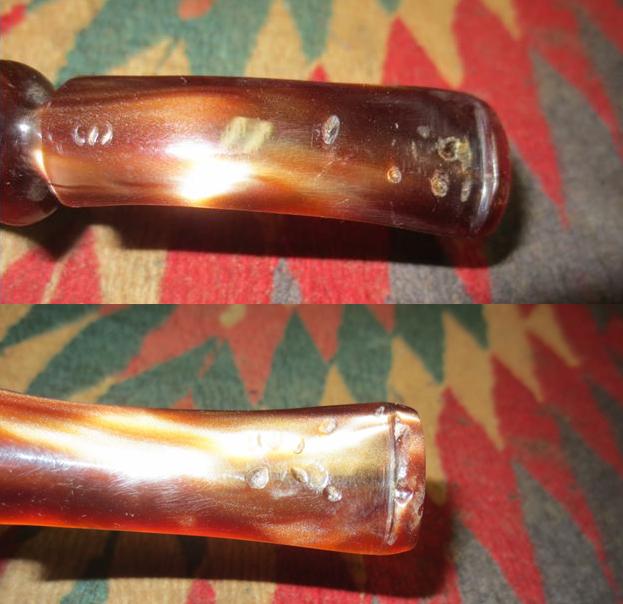 The stem had a partial stamp of an S on the topside near the saddle. Now the challenge began. I examined the tooth marks and saw clearly that they were sharp cuts in the material and not just dents. Heating the stem and trying to raise them would not work. I looked through my super glue options and I had clear and amber superglue that might work. My guess was that no matter what I used would stand out to some degree because of the striations in the browns of the Lucite. I cleaned out the divots with a cotton swab and alcohol to make sure there was no debris in them and put a drop of amber super glue in the divots on both sides of the stem.
 Once the glue dried I sanded it with 220 grit sandpaper to smooth out the repairs to the surface of the stem. So far the topside was looking better than the underside.
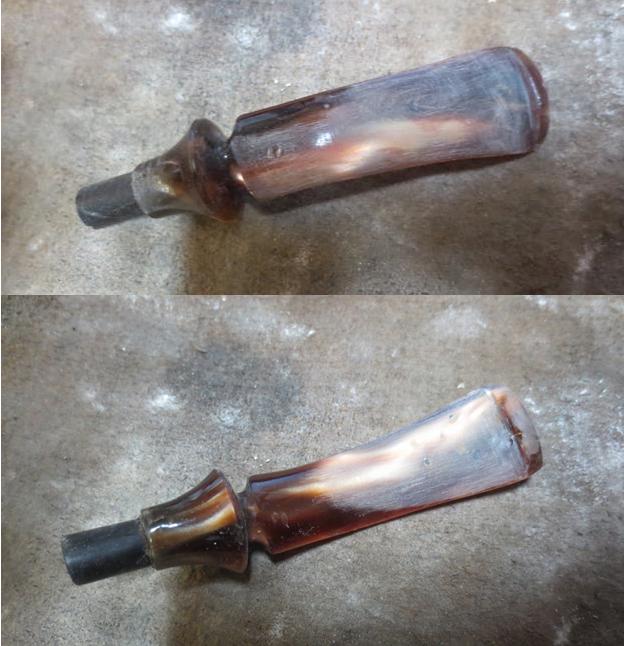 I decided to see if I could remove more of the darkening around the spot where the hand of the previous owner clasped the bowl. I used some undiluted Murphy’s Oil Soap and scrubbed it with a tooth brush. I rinsed the pipe under running water avoiding getting water in the bowl. I was able to remove the remainder of the darkening.
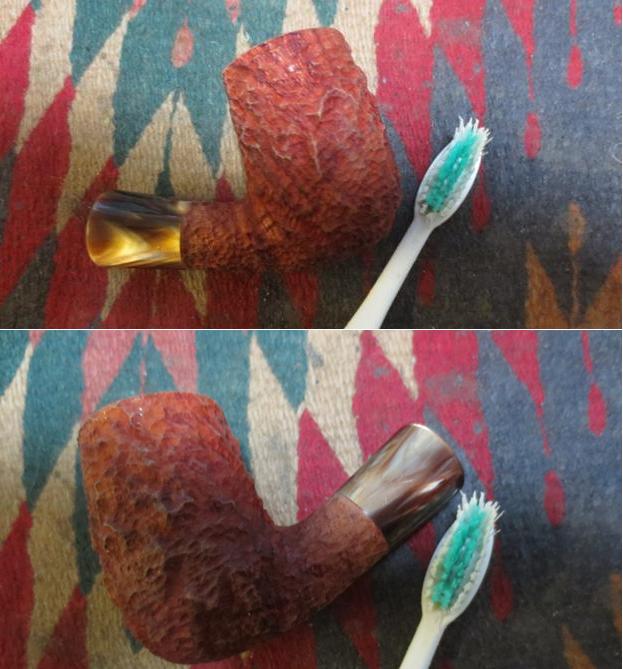
 To remove the nicks and gouges from the rim top and to remedy the rough outer edge on the front right I topped the bowl on a topping board until the damage was gone and the rough edge was minimized.
 I cleaned off the exterior of the stem with a damp cotton pad and cleaned out the stem with a pipe cleaner. You can see the ghosts of the repairs in the variations of the colour in the stem material.
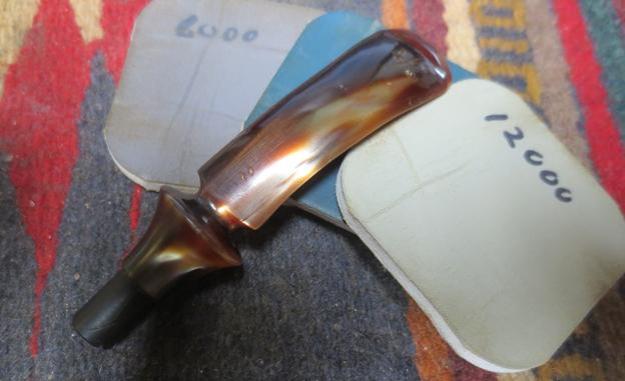
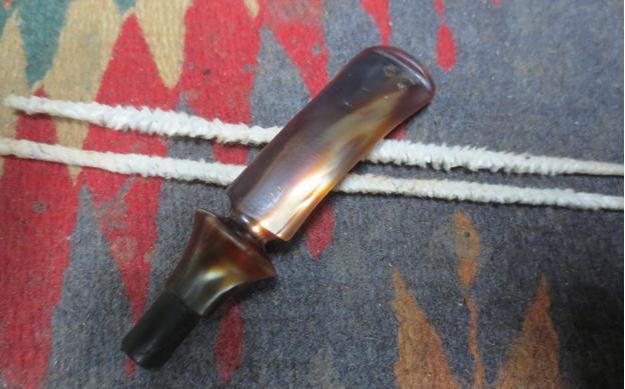 I polished the stem with micromesh sanding pads – wet sanding it with 1500-2400 grit pads and dry sanding it with 3200-12000 grit pads. After each set of three pads I wiped the stem down with the damp cotton pad to check the progress. The repairs certainly were smooth to the touch but nonetheless they were visible against the variations of the colour of the stem. I had been able to blend in the repairs on the upper portion of the stem but the closer I got to the button the more they seemed to stand out on both the top and the bottom sides.
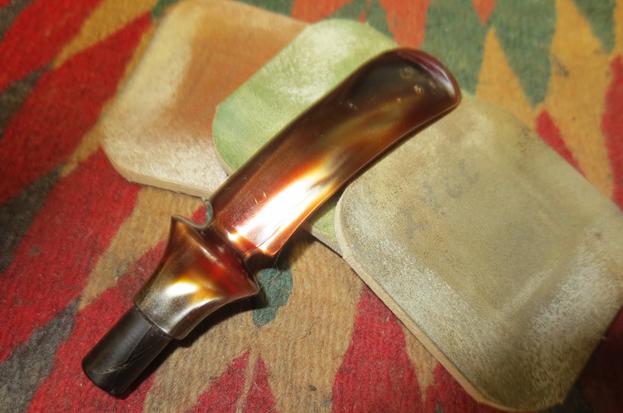
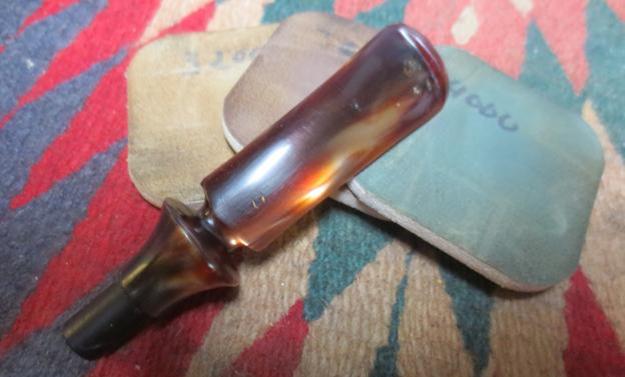
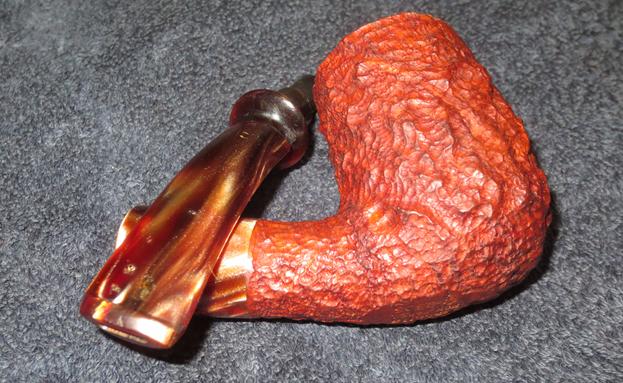
 I gave the bowl a coat of Conservator’s Wax and buffed it with a shoe brush. I buffed the stem with Blue Diamond on the wheel to see if I could further smooth and blend the repairs. I buffed the entire pipe with a clean buffing pad and then once again by hand with a microfibre cloth. The finished pipe is shown in the photos below. The bowl and rim look really good and the finish is clean and as good as new. The stem and shank extension have a rich glow and from the side they look amazing. The top and underside of the stem with the repairs is absolutely smooth to touch and has a glow. The repairs do show but only because of the swirls of the Lucite. It was a pain to repair but I am happy with the overall finished product. Thanks for journeying with me on this chomped stem and knocked about pipe.