Blog by Steve Laug
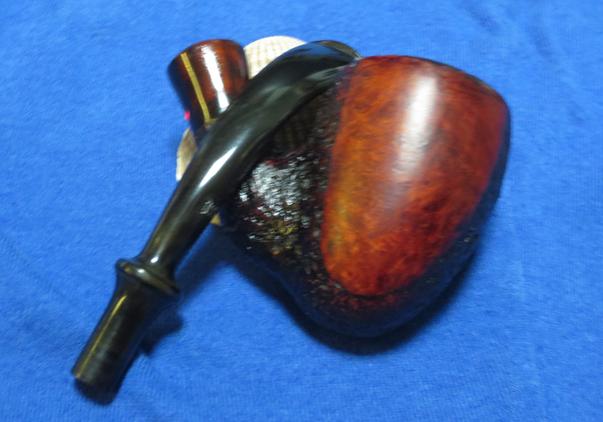
The next pipe on the work table is a beautiful little Stanwell Acorn. The finish on the pipe was in excellent condition. There were some tars and oil that had overflowed the bowl onto the rim but it was pretty clean. The cake was not too thick. The inner and outer edge of the rim was in excellent shape. The amber Lucite shank extension was in excellent shape and the mortise hole was in perfect condition. The underside of the shank is stamped with the Stanwell logo over the word Antique in script. To the right of it was stamped 127 which is the shape number. The stem was clean with some tooth chatter and quite a bit of oxidation on the top and the underside. The white Stanwell Crowned S logo was stamped on the left side of the stem.
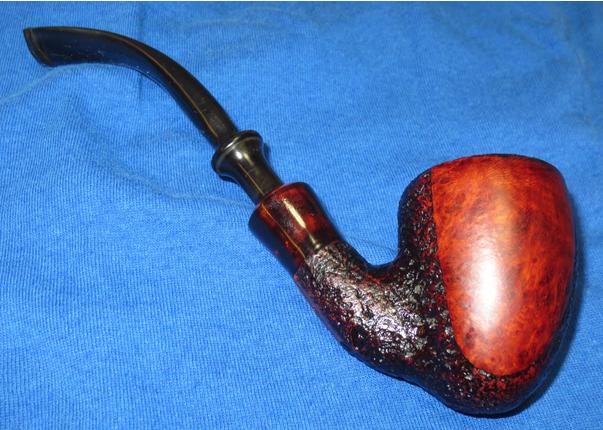
The next series of photos were taken by my brother before he cleaned up the pipe. He did his usual thorough job of cleaning the inside and the outside of the pipe. He reamed the bowl and cleaned out the airways in the shank and stem with alcohol, cotton swabs and pipe cleaners.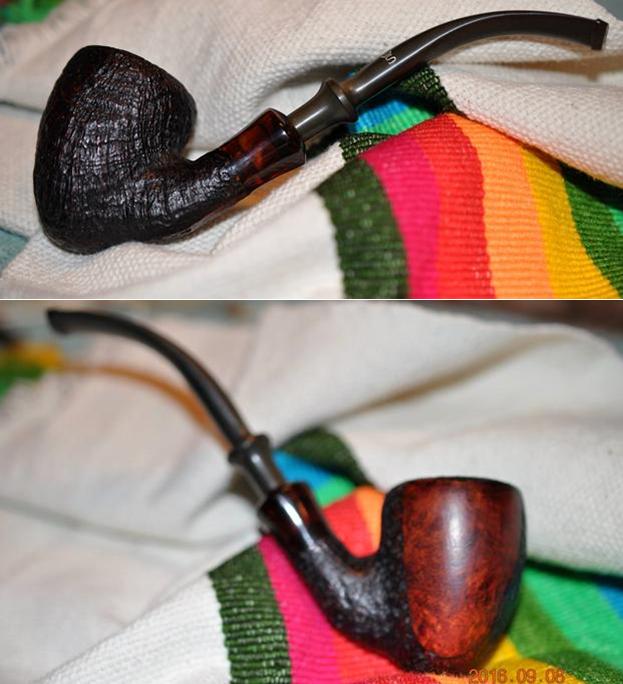 The next two photos show the two sides of the bowl. The left side of the bowl is a beautiful tight sandblast finish. The rim is also sandblasted as is the entire shank. The right side of the bowl is a smooth medium brown patch of briar that is on all of the Antique line of Stanwell pipes that I have seen.
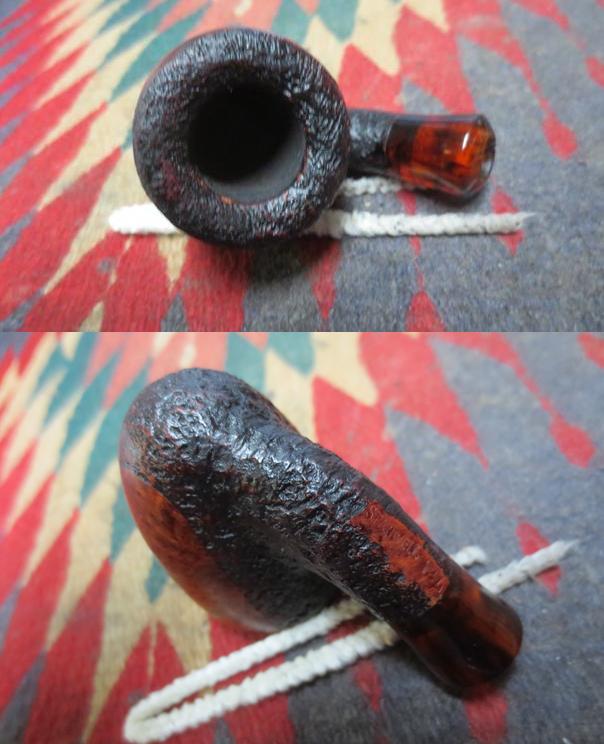
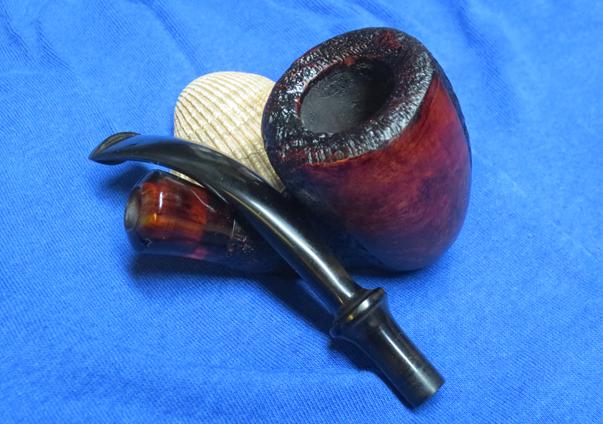
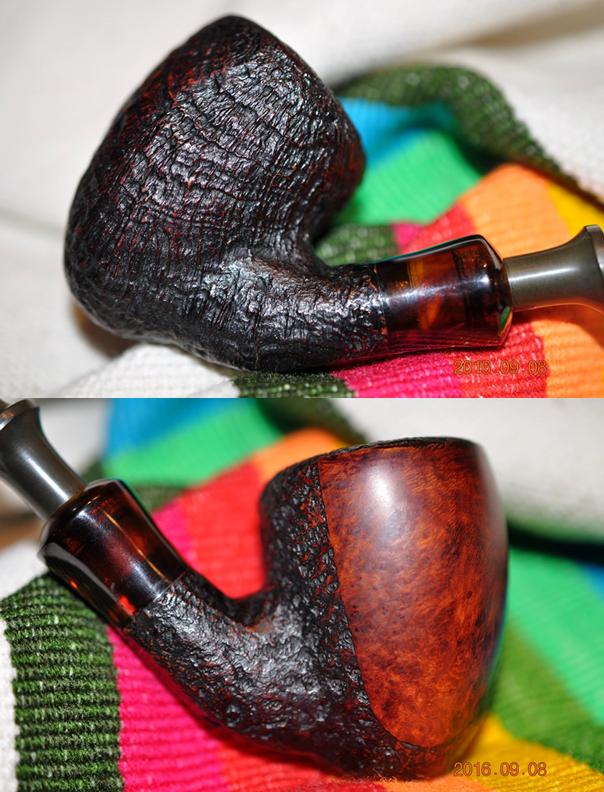 The photo of the rim shows the condition and the thin cake in the bowl. The pipe was well cared for and did not need to have a lot of work done to bring it back.
 The next photo shows the underside of the shank and the stamping. You can read the Stanwell stamping even though it is a bit faint on the left side. The Antique stamping is also light but the shape number is clear and deep.
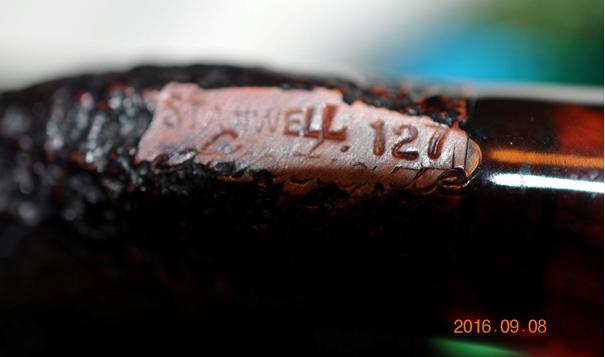 The last two photos show the condition of the stem and the light oxidation and tooth chatter on the top side near the button. The Crown S stamping on the stem is in perfect condition.
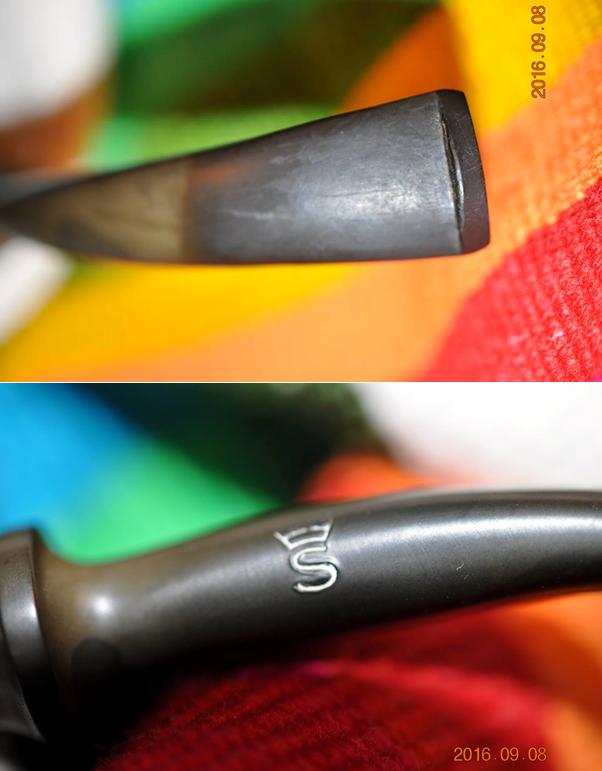 The next four photos show the condition of the pipe when it arrived in Vancouver. I took the photos to show what the pipe looked like before I began the cleanup.
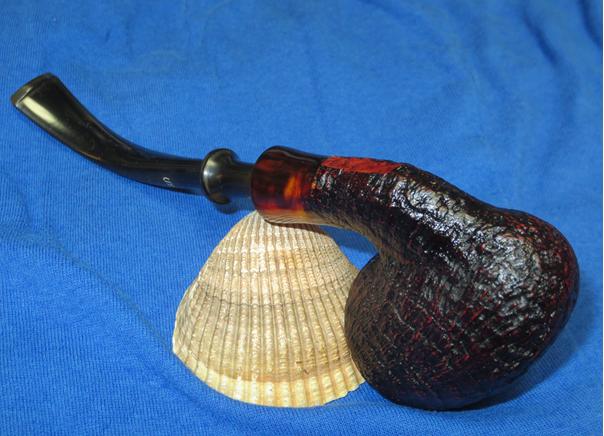
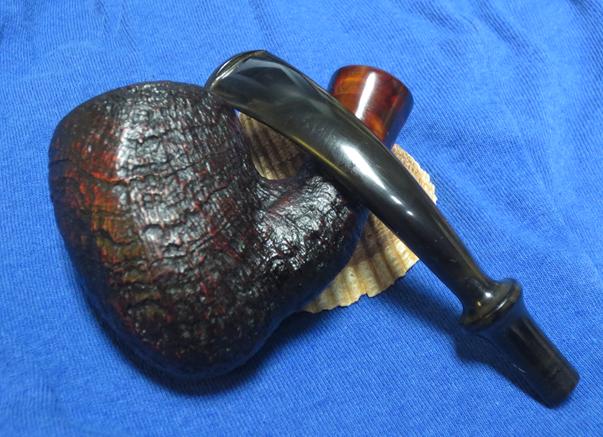
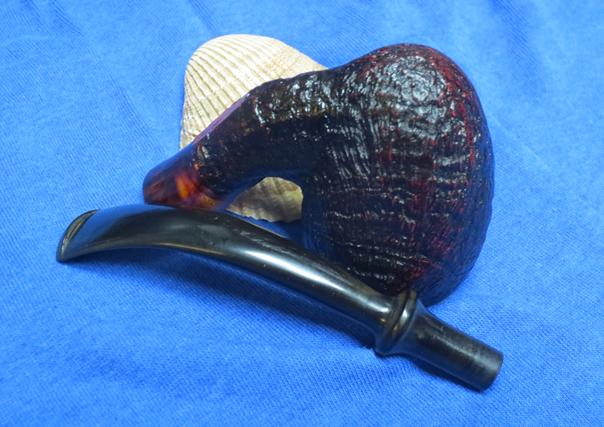
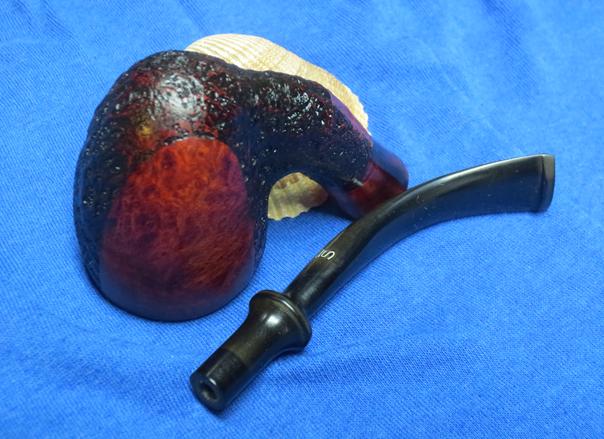
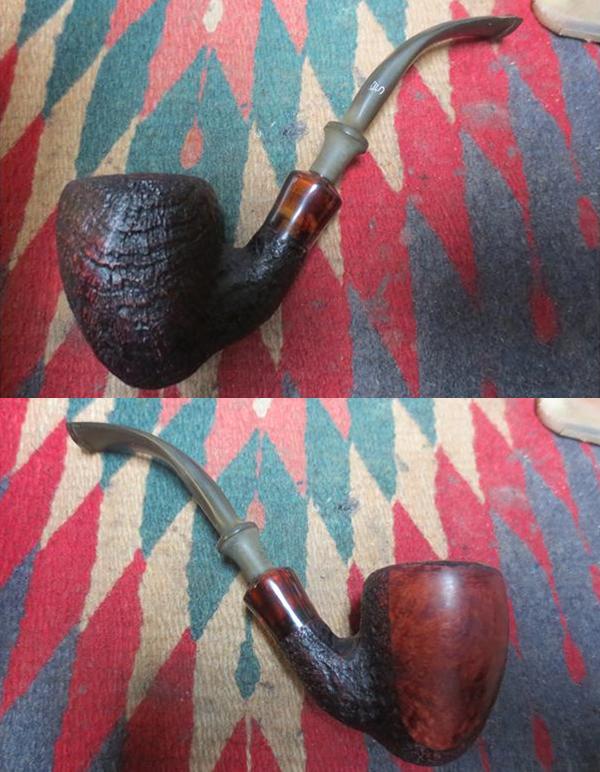
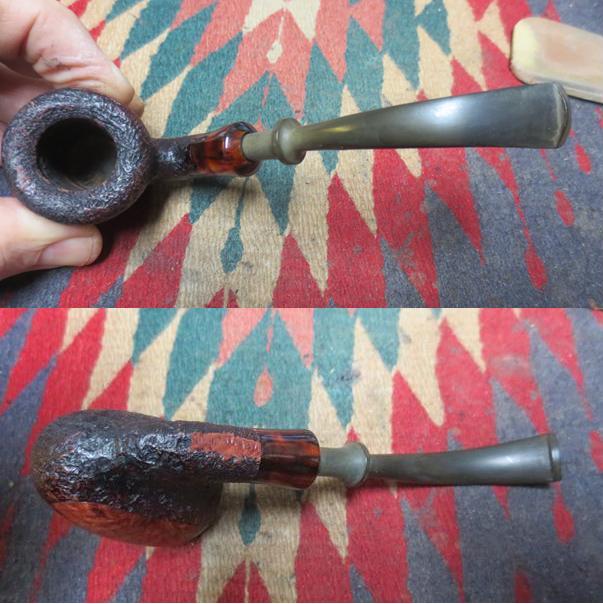 I took a close-up photo of the rim and the shank extension to show the contrast in colours and the condition of the rim at the point I received the pipe.
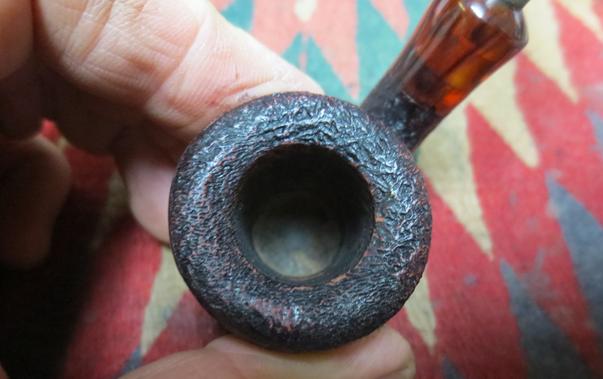 I also took some close up photos of the stem to show the oxidation and the light tooth chatter on both sides of the stem.
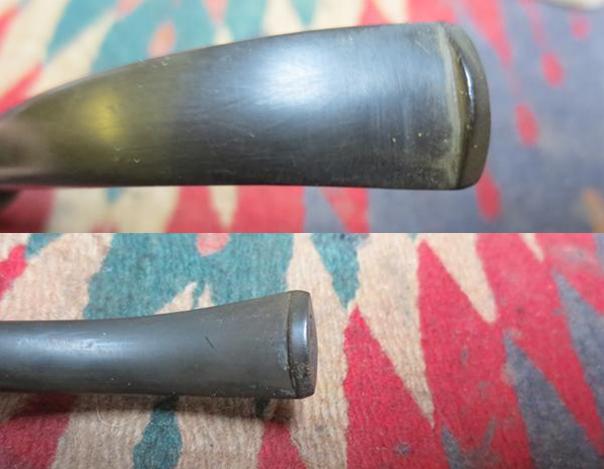 I gave the bowl and shank several coats of Conservator’s Wax and hand buffed the pipe with a shoe brush and then a microfibre cloth to raise and deepen the shine on the briar. I ran a pipe cleaner through the airway and the mortise and it came out clean.
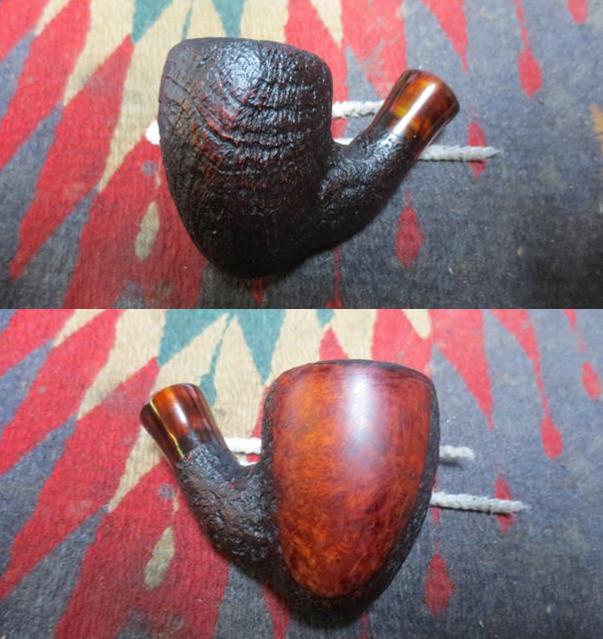
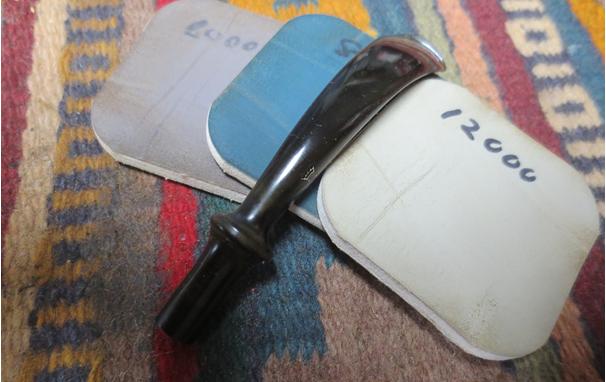
 The stem was lightly oxidized so I decided to only use micromesh sanding pads to clean it up. I wet sanded it with 1500-2400 grit sanding pads and gave it a coat of Obsidian Oil. I dry sanded it with 3200-12000 grit pads and gave it a rub down with Obsidian Oil after each set of three pads. I set it aside after the final set of pads to dry.
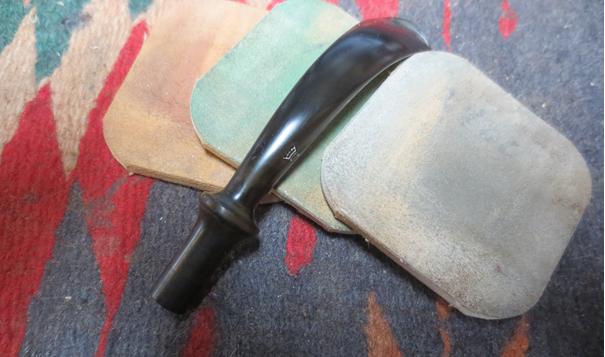

 I buffed the pipe with Blue Diamond on the buffing wheel to polish it. I gave the bowl several coats of Conservator’s Wax and buffed it with a clean buffing pad. I gave the stem multiple coats of carnauba wax and buffed it with a clean buffing pad. I hand buffed the pipe with a microfibre cloth to deepen the shine. The finished pipe is shown in the photos below. The complexity of the contrast of dark and medium browns as well as a hint of black gives a dimensionality to this pipe that is quite stunning. It did not take a lot of work to bring it back but it was a pleasure to work on it. Thanks for walking with me through the process.
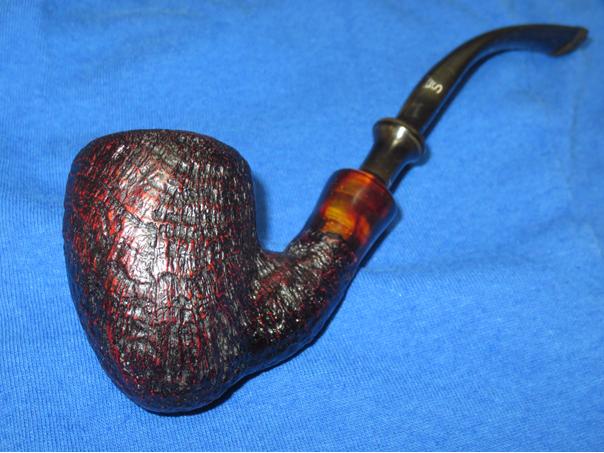


 It was now time to start cleaning the internals of both the stem and stummel.
 Needless to say, the pile of cotton swabs and pipe cleaners were only a representative sample of what it took to get the stem clean. And the well/mortise and airway of the pipe was equally nasty’ I really hadn’t expected this given the maintained cake in the bowl. I stuffed a cotton ball in the bowl and a cotton swab in the air hole, filled the bowl with alcohol and left it to sit over night. I completed cleaning inside the stem before going to bed.


