Blog by Steve Laug
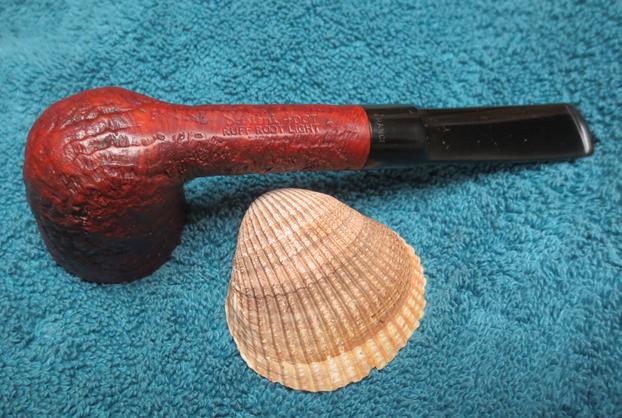
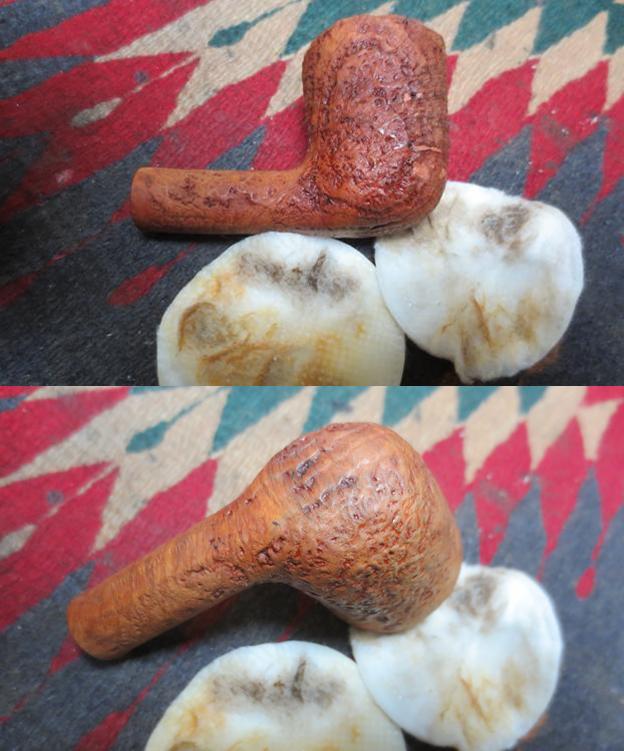
Not being too knowledgeable about the ebb and flow of Sasieni pipe history leaves me with a lot of questions about the latest pipe that my brother sent my way. It is stamped on the underside of the shank Sasieni 4 Dot over Ruff Root Light. There is a 4 stamped at the end of the name stamping next to the stem/shank junction. The stem itself is stamped France. There are four blue dots on the left side of the saddle portion of the stem. He picked it up in a thrift shop in Boise, Idaho along with the Dunhill Shell 5113 I wrote about restoring in an earlier blog (https://rebornpipes.com/2016/12/18/an-unsullied-once-the-paint-was-removed-dunhill-5113-bent-apple/). When my brother first sent the following photos before his cleanup work I was intrigued but the finish looked very spotty. The stem appeared to be in overall good condition with no bite marks or tooth chatter on either side. Can any of you help me regarding the age of the pipe? Any help would be much appreciated. We discussed this a bit and he sent me a photo of the front of the bowl from the bottom side that showed the spotty finish that I noted. There was also a lot of grime in the sandblast grooves on the bowl leaving it with a muddy appearance.
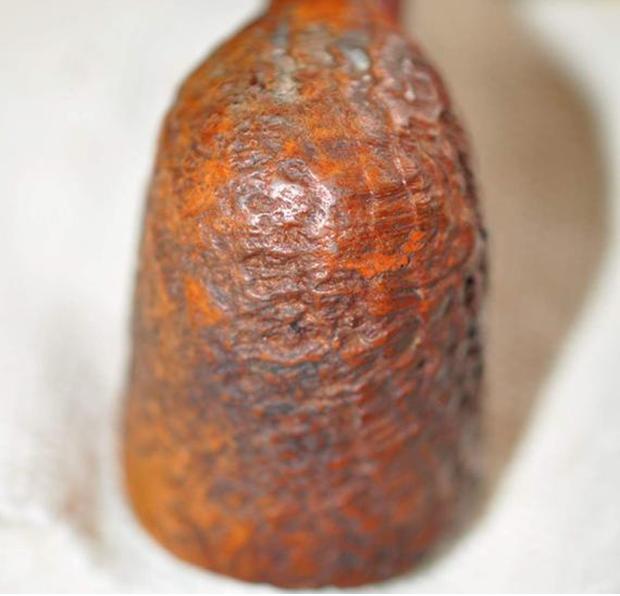 The bowl had a thick cake that overflowed over the top of the rim obscuring the blast features on the top side. They also made it hard to tell if there was any damage to the inner or outer edges of the rim.
 The stamping on the smooth underside of the shank was really quite clear and sharp. The bowl and stem had not been over buffed which were good omens for what it would look like when it was cleaned up.
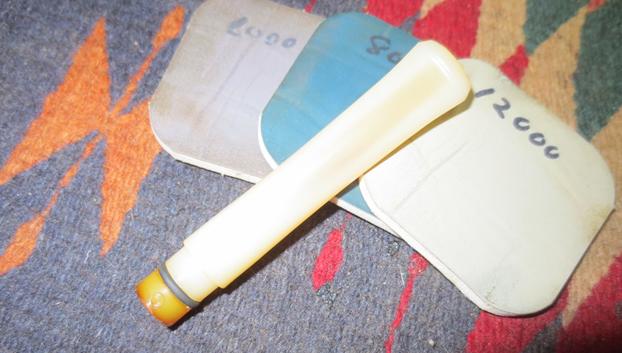
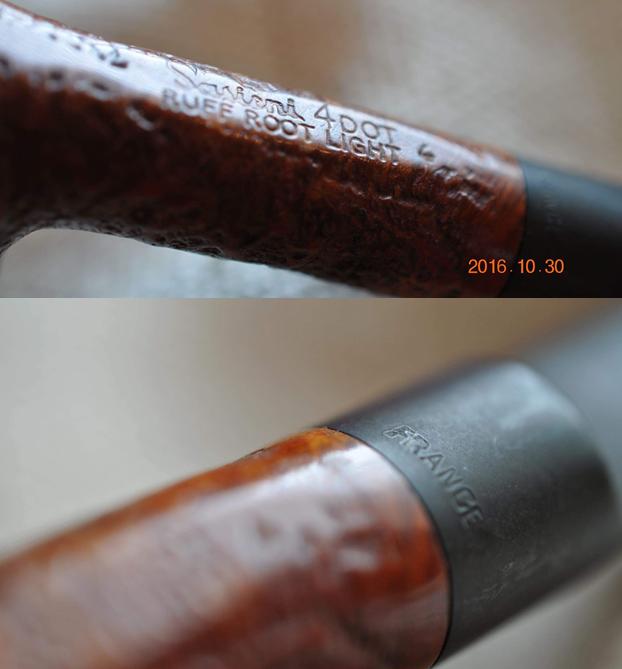 The close up photos of the stem told a little different story than the overall photos. There was light oxidation on the surface and what appeared to be some sticky glue left behind by a price tag from the shop the pipe came from. Just and aside; if you sell pipes in an antique shop or have a booth in an antique mall do not used gummed labels to price your merchandise. It leaves behind residue that is a pain to remove.
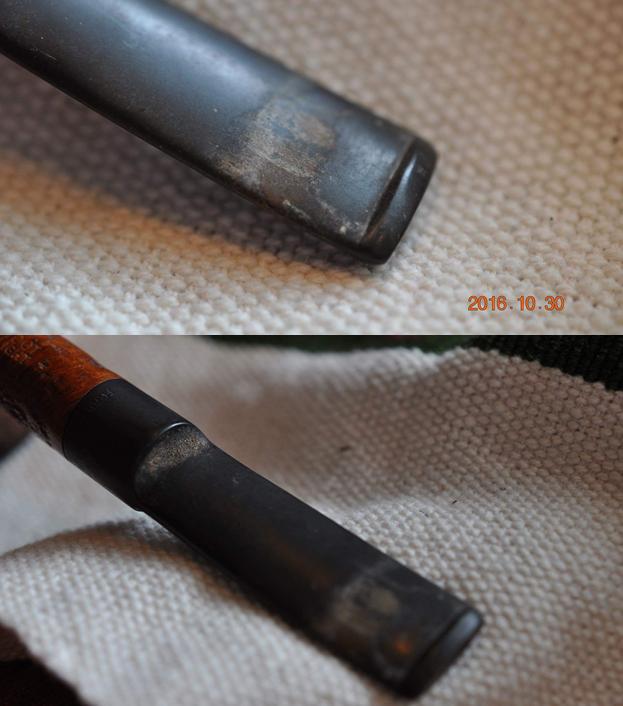 I was curious to see what the pipe would look like once my brother had worked his cleaning magic on it. I was sure I would be surprised at what it came out looking like. I wondered if the mottled finish would survive the cleanup and whether the stem would be oxidized further as well in the process. When the pipe arrived in Vancouver I took some photos of it to show what it looked like before I worked on it. He had been able to remove much of the mottled finish and the grime in the grooves of the sandblast. The gummy substance on the stem was gone and the stem was not too badly oxidized. There were no tooth marks or chatter on the stem. The reaming job on the bowl had taken care of the cake and the scrubbing had removed most of the buildup on the rim. What remained was a little darkening and some grime deep in the grooves.
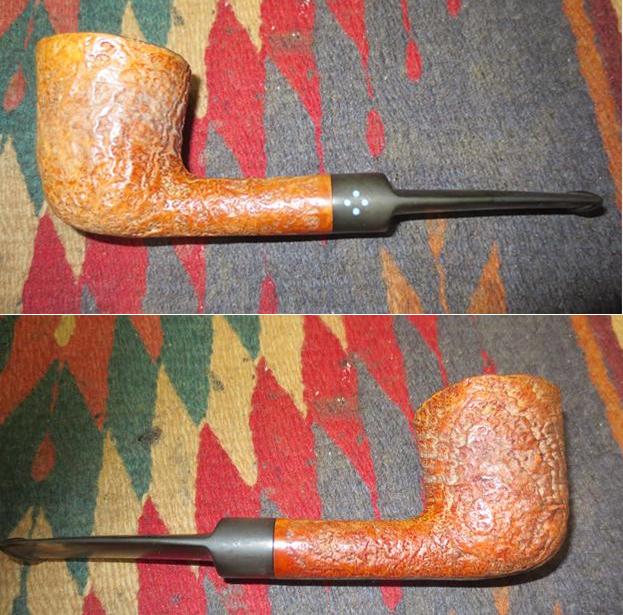
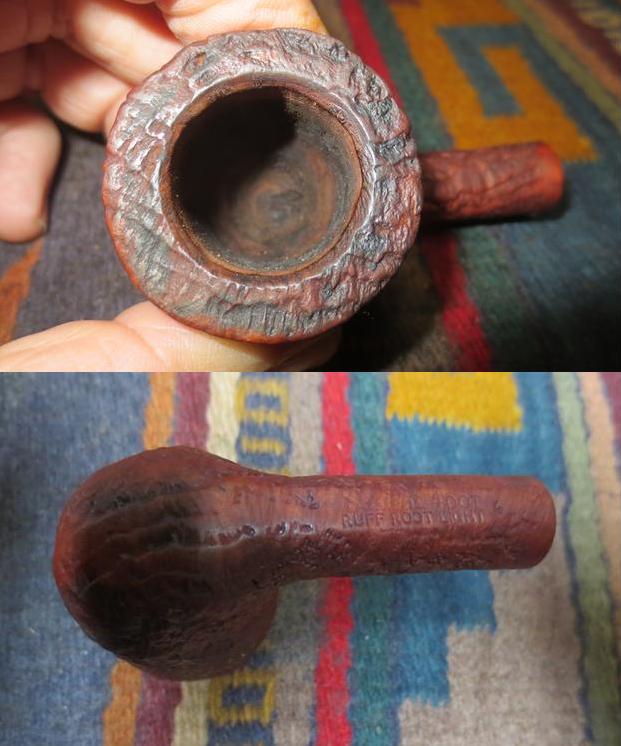
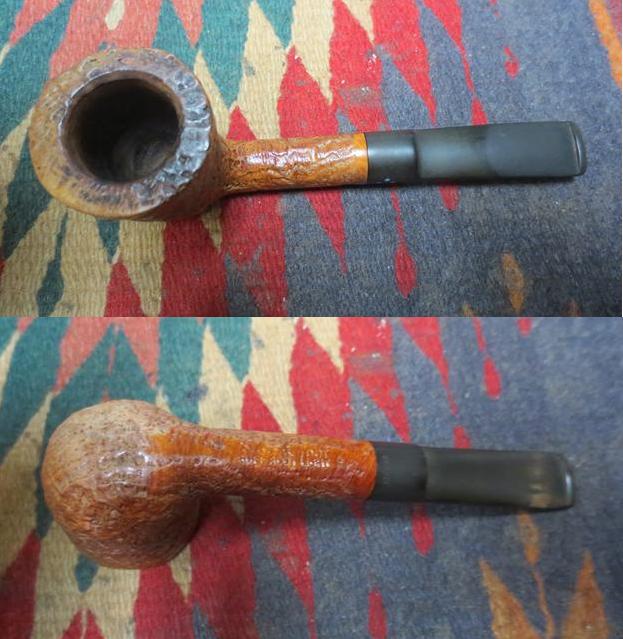 I took a close up photo of the rim and bowl. The bowl was reamed clean. The rim needed some more work with a brass bristle brush to clean out the remaining debris deep in the grooves of the blast.
 I took some photos of the stem to show the overall condition it was in before I started working on it. I was glad to see that there were no deep bite marks or tooth chatter that I would need to deal with on this one. It would be a pleasant change.
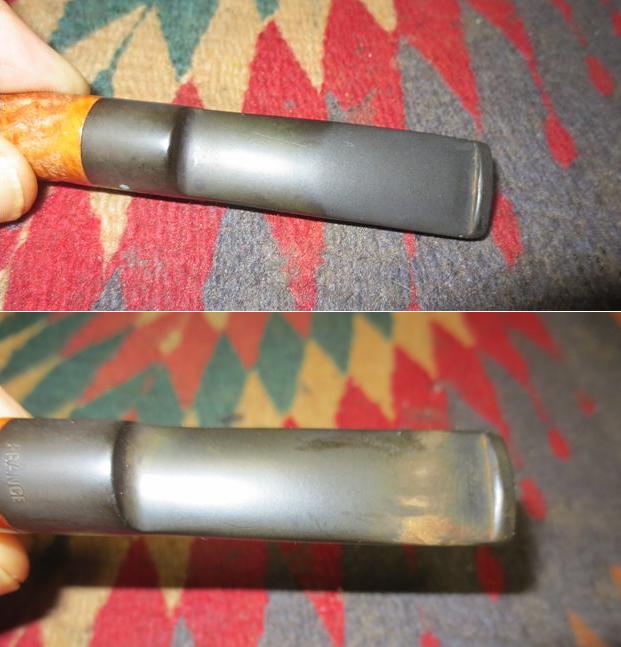 I scrubbed the rim with a brass bristle tire brush and was able to remove more of the grime in the grooves. I scrubbed down the exterior of the bowl and shank with acetone on a cotton pad to remove the shiny spots of varnish on the finish and even out the mottled appearance.
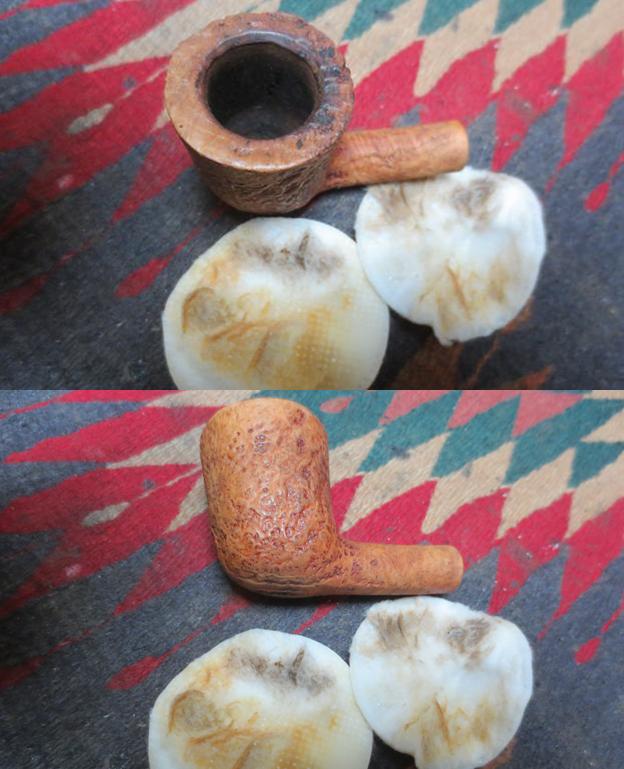
 I used a black Sharpie Pen to add some dark to the rim and to some of the spots on the bowl that appeared to be lighter. I put a cork in the bowl to use as a handle while I stained the bowl with a dark brown aniline stain cut 50/50 with isopropyl alcohol. I was aiming for the brown colour with darker highlights that I had seen on other Ruff Root Light pipes. I flamed the stain and repeat the process until the coverage was even.
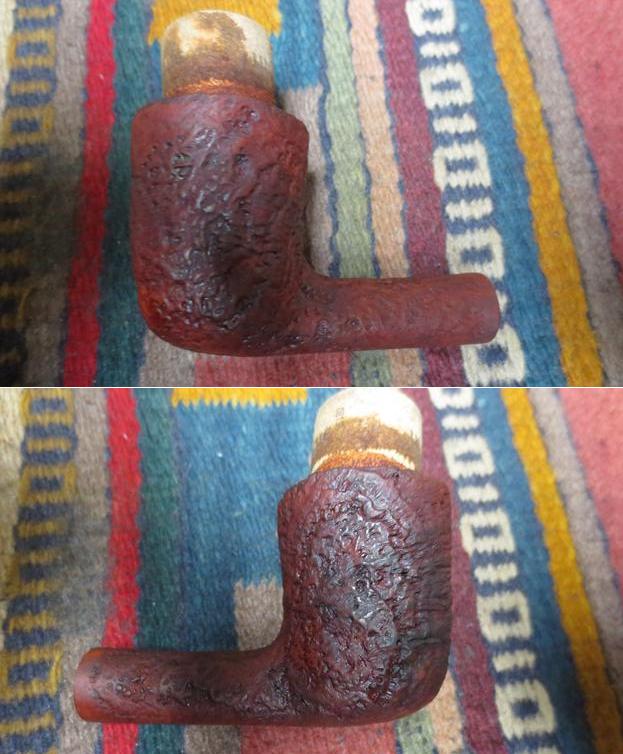
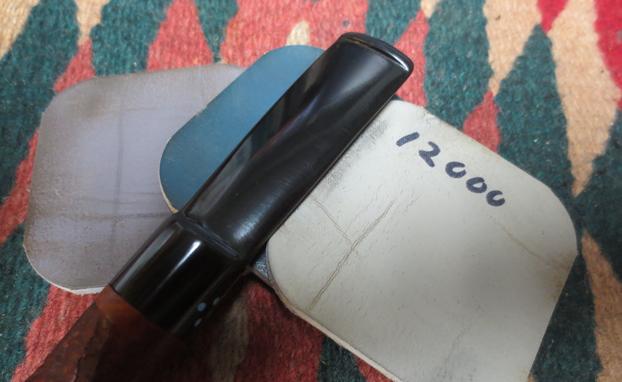
 Since the oxidation was on the surface and I was not dealing with any tooth marks on the stem I started right away with polishing the stem. I wet sanded it with 1500-2400 grit micromesh sanding pads and rubbed it down with Obsidian Oil. I dry sanded it with 3200-12000 grit pads and gave it a coat of oil after each set of three pads. After the final set of pads I gave it a final coat of oil and set the stem aside to dry.
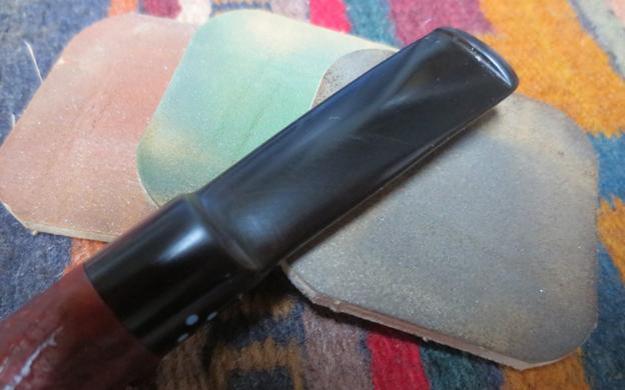

 I gave the bowl and shank several coats of Conservator’s Wax, let it dry and buffed it with a shoe brush.
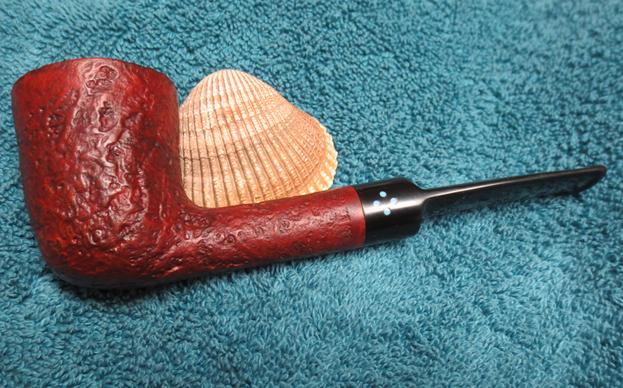
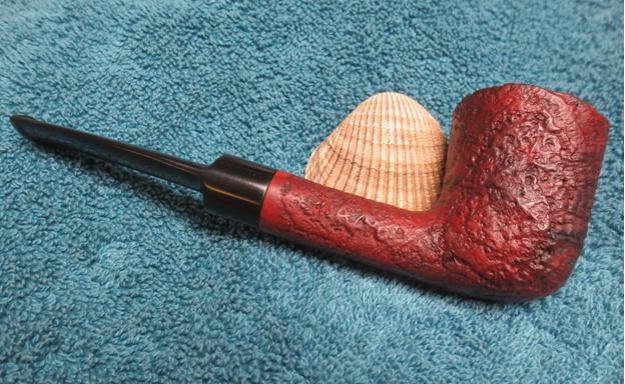
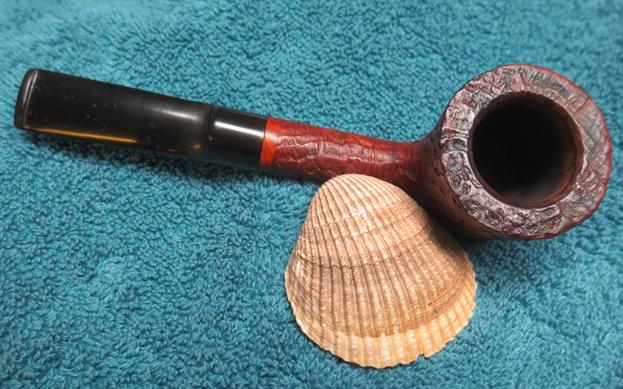
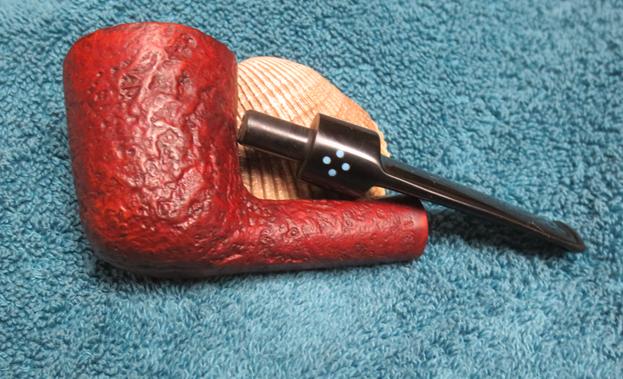
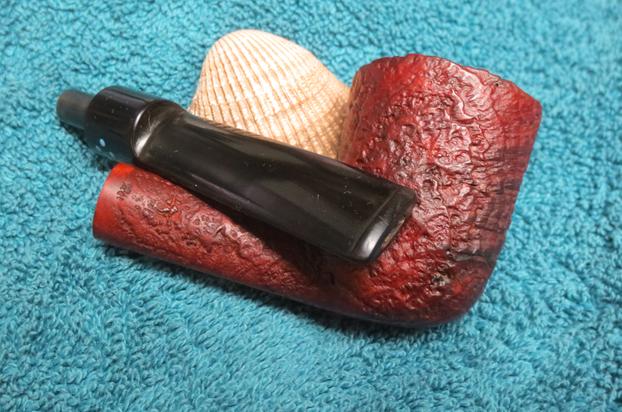
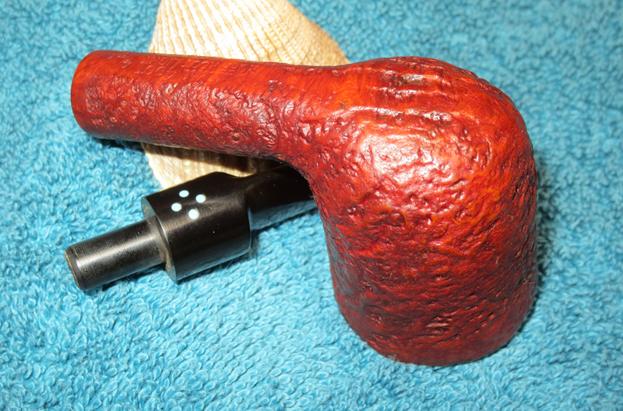
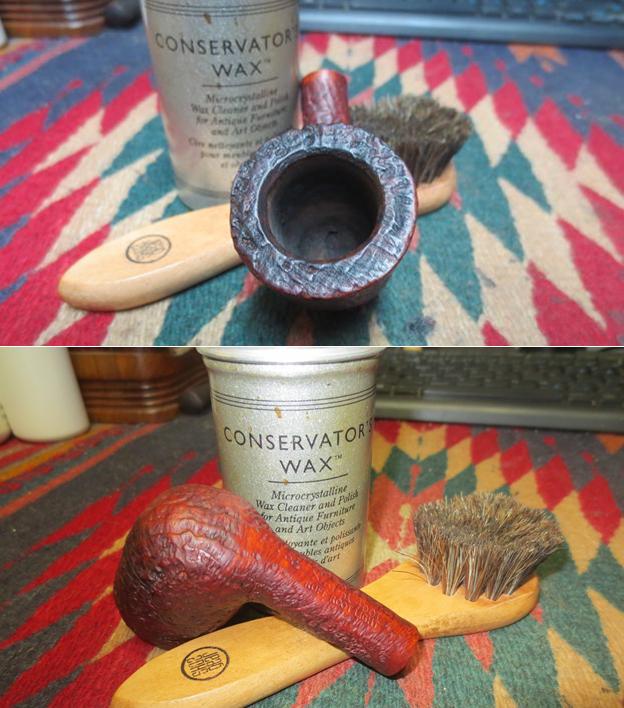 I gave the stem multiple coats of carnauba wax and buffed the bowl and stem with a clean buffing pad to raise the shine. I hand buffed it with a microfibre cloth to deepen the shine. The finished pipe is shown in the photos below. I think the look of the finished pipe is pretty close to the original look it must have had when it left the Sasieni factory. The depth of the shine, the multifaceted colours that come through with the browns and black on the sandblast add another dimension to the look of the pipe. The blue four dots on the stem stand out nicely against the shiny and polished vulcanite stem. Overall it is a pleasant looking pipe and one that was a pleasure to restore. Thanks for looking.