Blog by Steve Laug
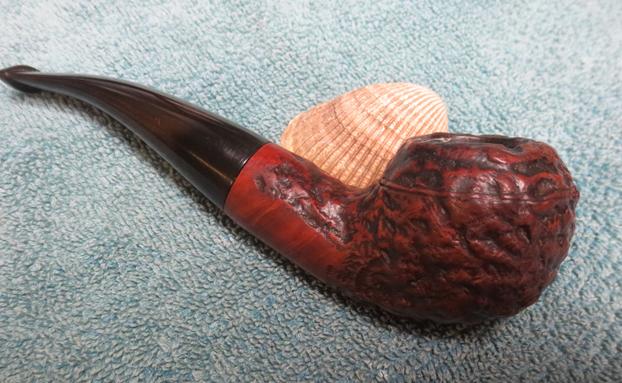
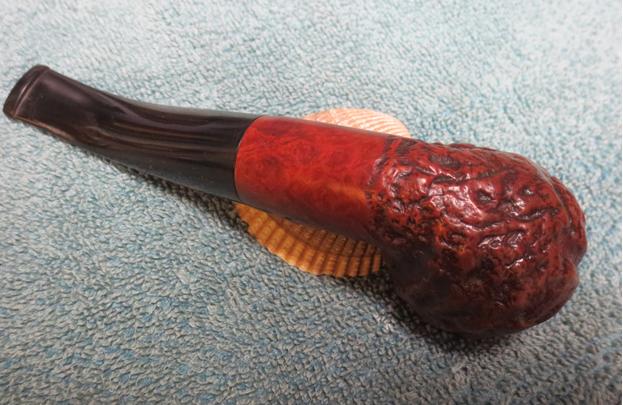
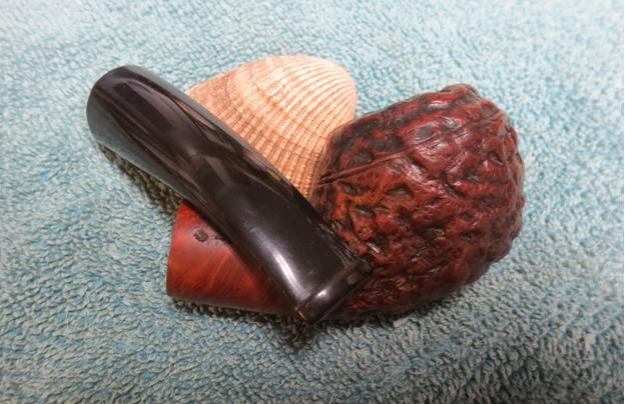
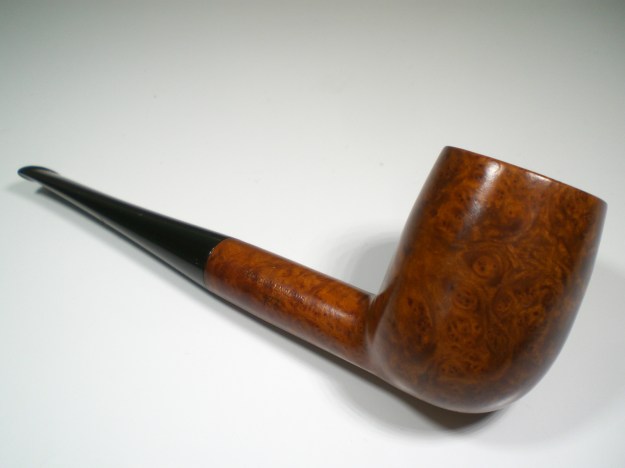
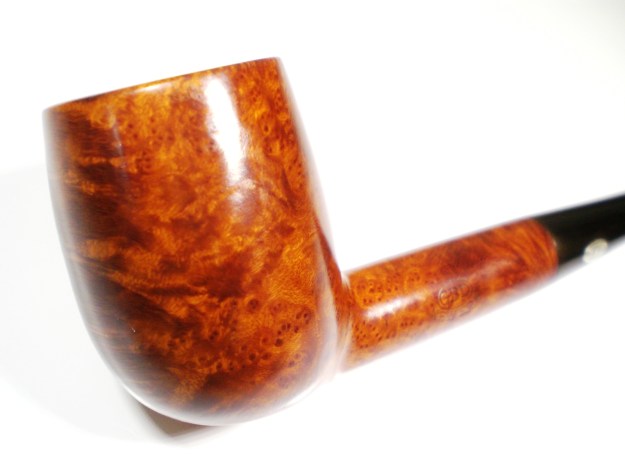
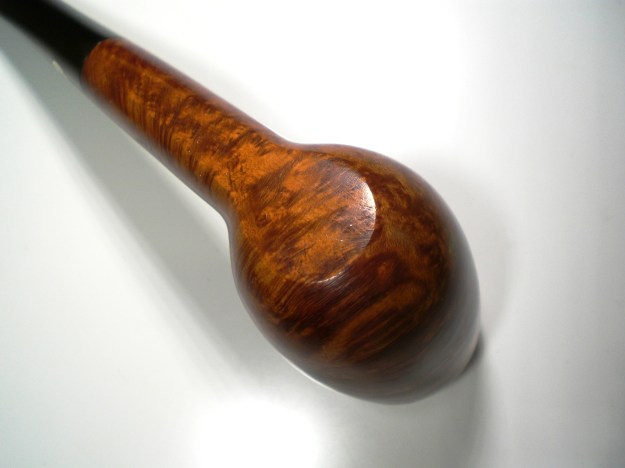
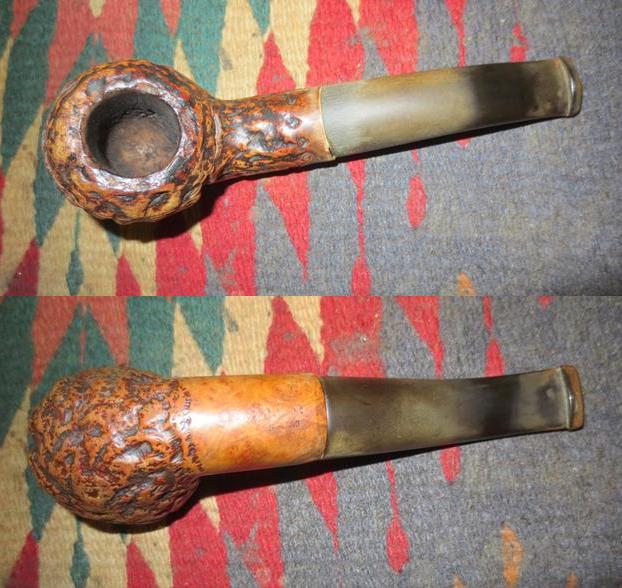
In the last box of pipe that my brother sent there was a pipe that is of course one of my favourite shapes – a 9438/9242 GBD style Rhodesian though the taper stem makes me think of a 9242 shape. It is not stamped with a shape number or a make but the Made in England stamping on the underside of the shank matches that found on GBD pipes. From first glance at the pictures of the pipe that my brother sent me it looked to be in decent shape. This was to be proved wrong once my brother started to clean it and I received it in Vancouver. But from the photos the contrast finish of blacks and browns looked really good. The rustication on the bowl is a combination of worm trails and “squiggles” that is reminiscent of Custombilt pipes. From the front there is a worm trail that divides the bowl into two hemispheres like a brain (photo 5). Strange humour of the original pipe maker, I think.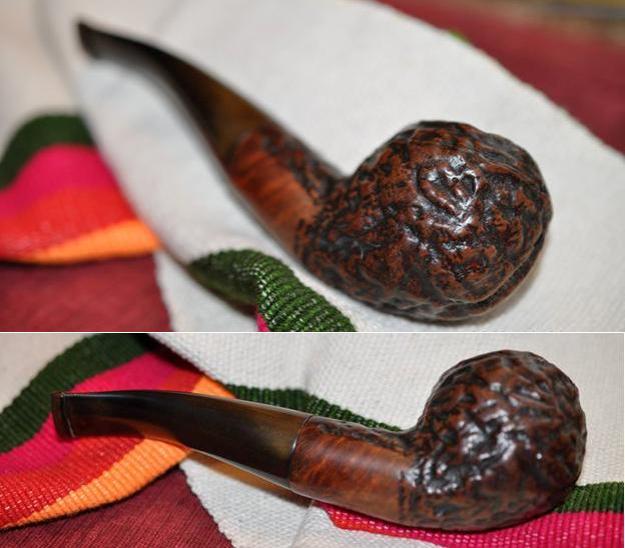
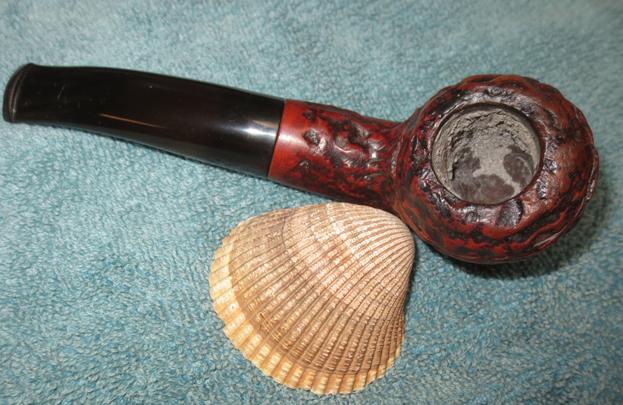
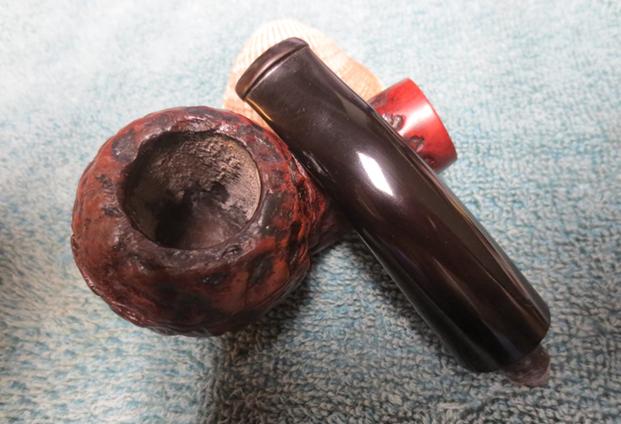
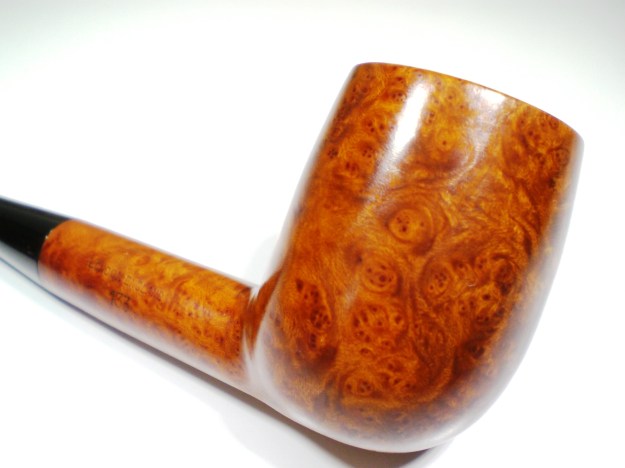
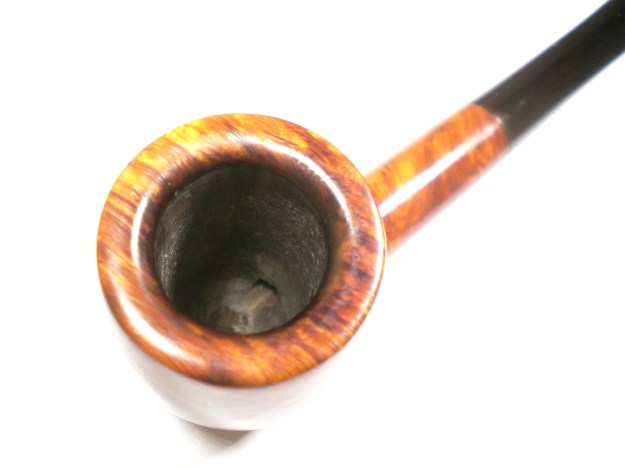
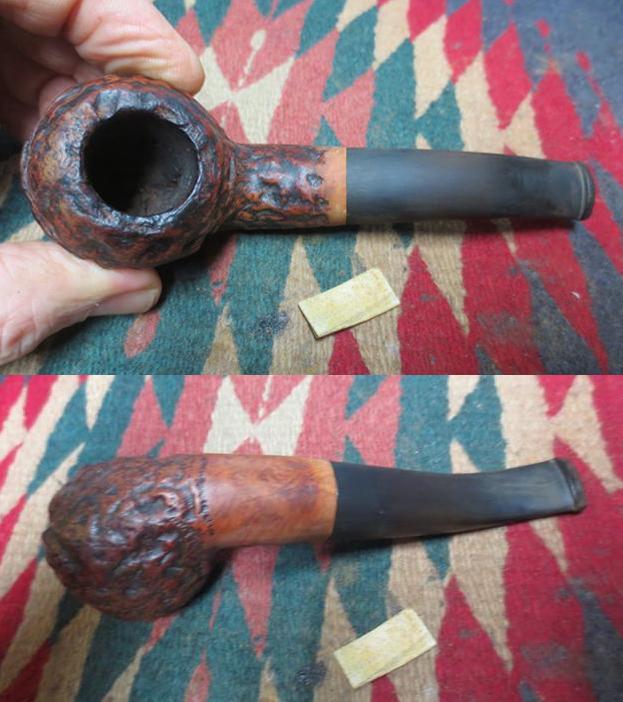
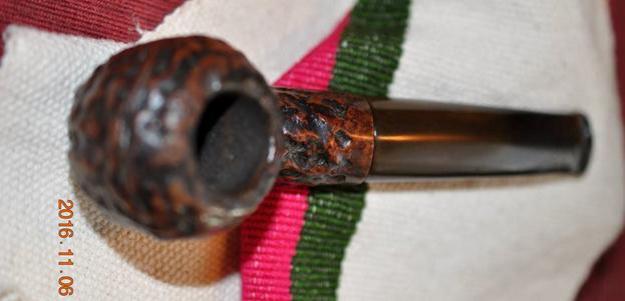 The close up photos of the rim and bowl give a bit of a foretaste of the hidden issues in the bowl and on the rim. It is hard to see the inside of the bowl from this photo but there was a light cake in the bowl and it had run over the top edge of the bowl filling in some of the grooves and crevices in the rustication. The second photo below shows the worm trail on the front and underside of the bowl that divides the bowl into two hemispheres.
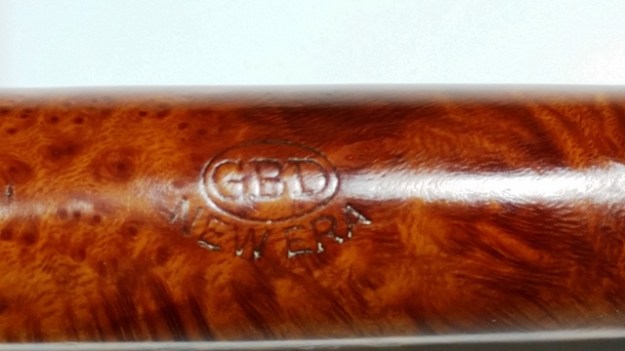
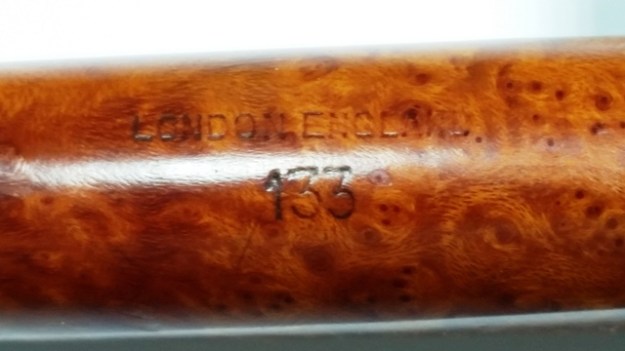
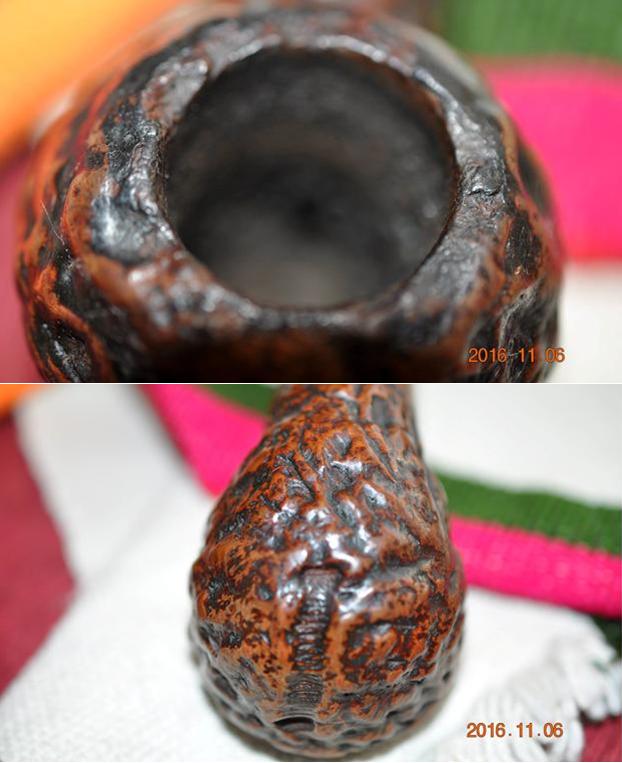 The stamping on the underside of the shank on a smooth portion of briar was faint but could still be read. It said The Tobacconist Inc. over Made in England.
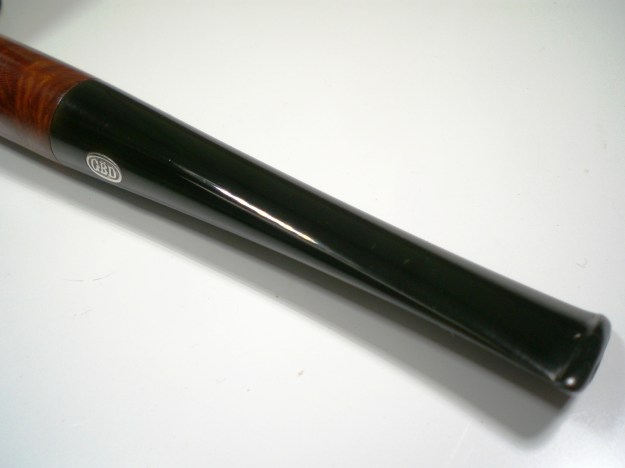
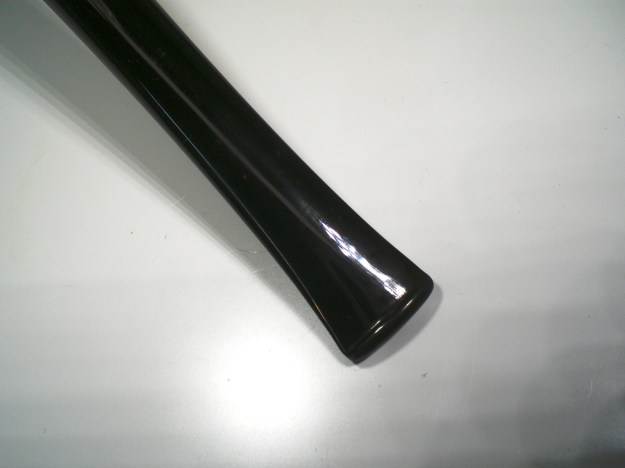
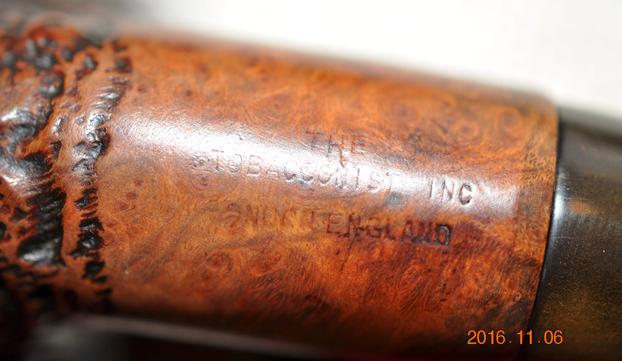 The stem was lightly oxidized around the shank end and the button end, though the middle was strangely clean. There were tooth marks on the top and underside near the button. The top edge of the button on both sides had tooth marks as well.
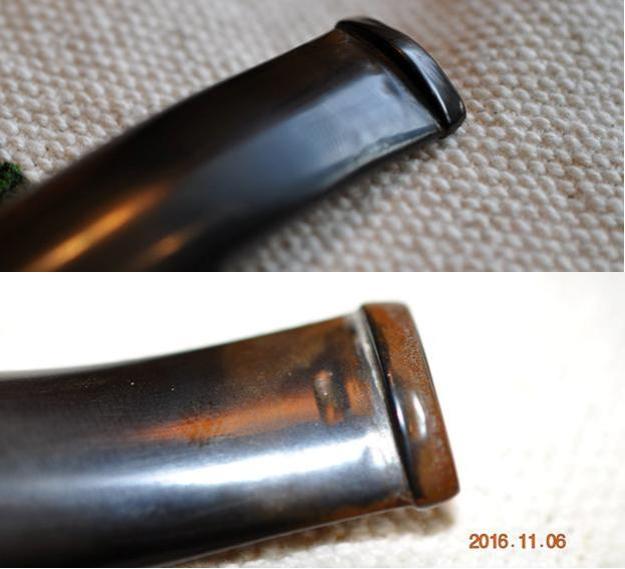 I have restored a Liverpool shaped pipe with The Tobacconist Inc. stamping and written a blog on it – (https://rebornpipes.com/2016/07/16/a-liverpool-stamped-tobacconist-inc/). I remember hunting to no avail on information on the brand and finding nothing. I checked once again with my usual sources – the book Who Made that Pipe and the online sites Pipedia and Pipephil. None of the sources had any new information. For that blog, I searched for the name of the shop – The Tobacconist Inc. to see if I could find any information on it and possibly see if they had shop pipes made for them. The name Tobacconist Inc. came up shop a tobacco shop in Chicago. It is called The Tobacconist Inc. and is located at 3524 W. Irving Park Rd. Chicago, Illinois. The phone number is 773-463-8468. I have included two photos from that blog – one of the sign and the other of the shop. The sign says the shop has “Everything for the Smoker” and has been in existence since 1946. Sounds like a place I need to visit one day. Now that I have worked on a second pipe with the name stamped on it I really need to call them and see if they have any information about the pipe.
 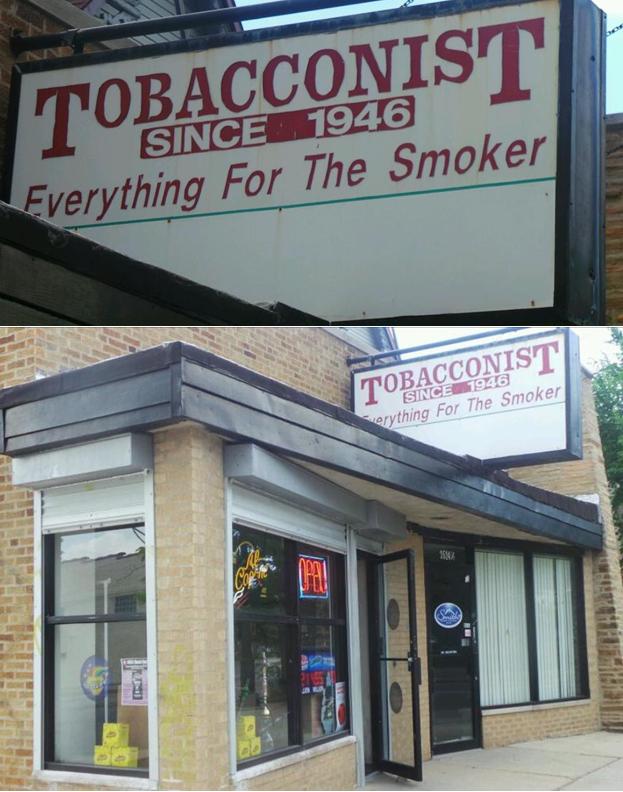 My brother wrote that cleaning out the inside of the pipe was a pain. It took a lot of work to get the buildup of tars and grime out of the bowl and the shank. The rim top also had some damage under the thick tars. When it arrived in Vancouver I could see that the pipe was in pretty rough shape with a poorly fitting stem. The diameter of the stem and the shank don’t match. Not sure if it was because the stem was poorly fitting to start with or if it is a replacement stem. It looks to be original so I am opting for a poor fit. I took some photos of the pipe before I started working on it (well almost – I had done a little sanding at the shank stem union before I remembered to take the photos).
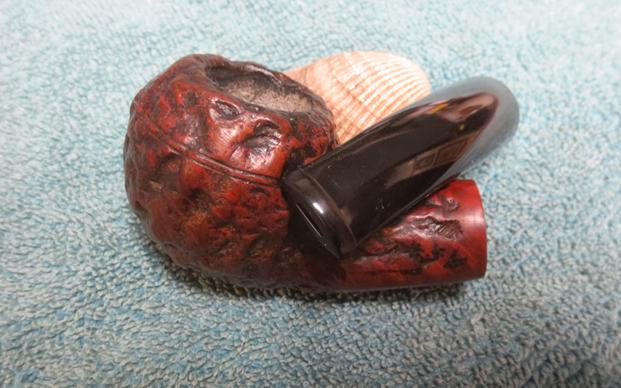
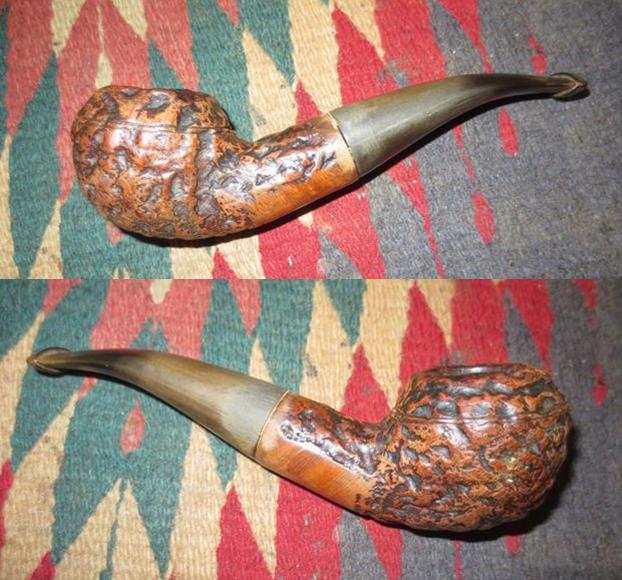
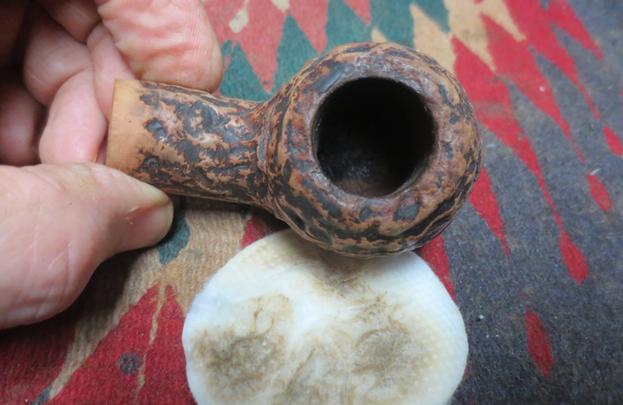
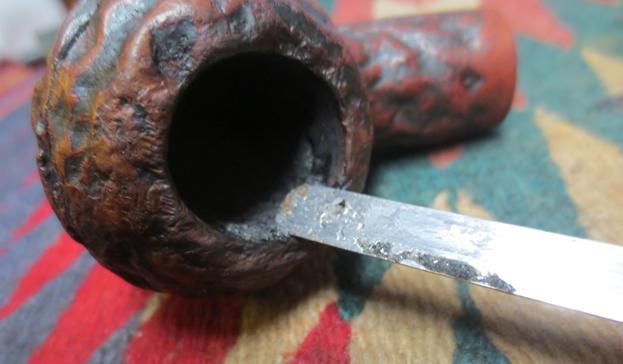
 I took a close up photo of the rim and bowl. The rim inner edge had some chips and nicks that would need to blended in to make the rim more balances looking. It is hard to see from the photos but the walls of the bowl are in damaged condition.
 The tooth dents in the top and underside of the stem near the button were quite deep. I heated the dents with a Bic lighter to raise them as much as possible. I painted them with the flame of the lighter and when I was finished they were not as deep as before. It would not take too much now to sand them out to match the surface of the rest of the stem.
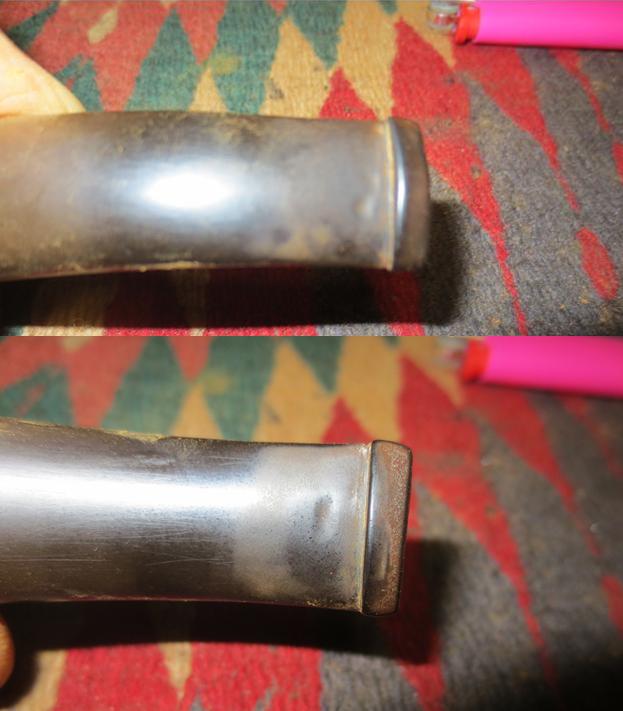 I cleaned out the inside of the shank with alcohol, pipe cleaners and cotton swabs to remove the last of the debris on the walls. The bevel on the edge of the mortise was rough and needed to be cleaned up and smoothed out but the wood was solid with no cracks.
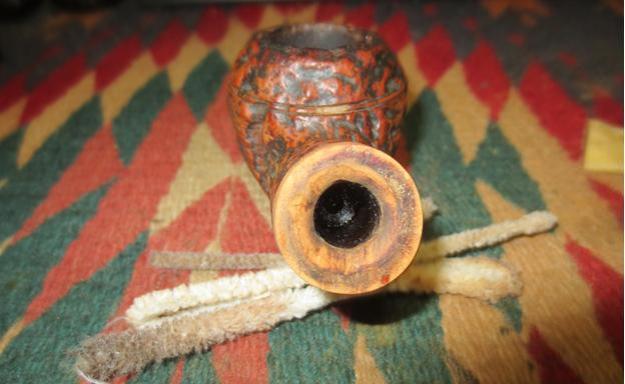 I used a Dremel and sanding drum to remove the excess briar and vulcanite and get the shank and the bowl to match in diameter. It took some work but it certainly was a better fit once I was finished. I sanded the bevel in the shank end until it was smooth but the stem still did not fit tightly against the shank. I heated the tenon to soften the vulcanite and make it flexible. I pushed the stem carefully into the shank and held it against the shank end to align it until the tenon cooled.
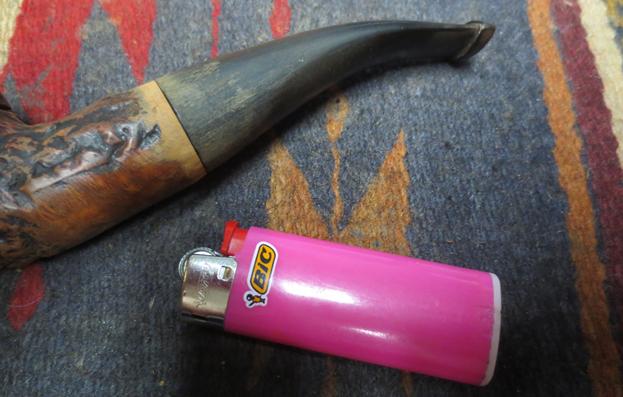 I sanded the stem/shank union with 220 grit sandpaper to smooth it out and make the transition clean. I took the following photos to show the restoration at this point.
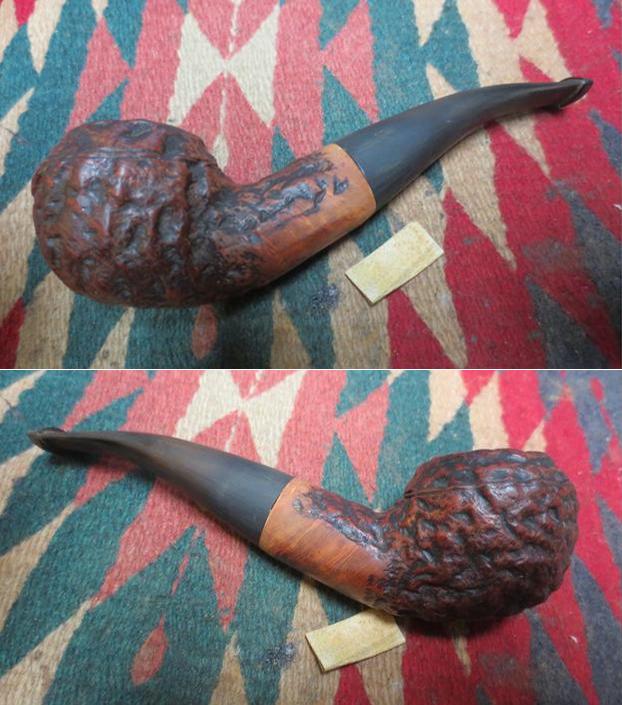
 I used a brass bristle tire brush to work over the rim top. It took some work but I was able to get the grime and grit out of the grooves of the rim.
 I scrubbed off the finish on the bowl and rim to remove the stain and the remaining varnish coat on the briar. When I finished cleaning the surface the pipe was ready for the stain coat.
 I stained the bowl with a dark brown aniline stain and flamed it to set it in the grain. I repeated the process until the stain coverage was even across the bowl.
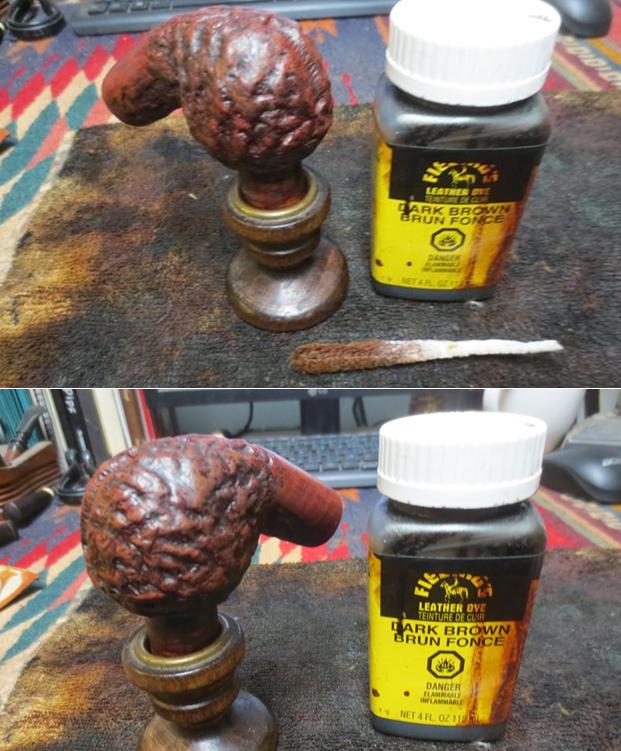
 I used the Savinelli Fitsall pipe knife to scrape out the walls of the bowl. I examined the interior and saw a lot of spidering cracks on the walls of the bowl. While the briar around them was still solid and the briar was not too badly damaged. This would need to be addressed to assure that the briar would be protected until a new cake had formed.
 I decided to mix up a batch of pipe mud with some tap water and a dental spatula. I applied the mud mixture to the inside of the bowl pressing it into the cracks in the bowl walls. I coated the inside of the bowl with the mud until there was a solid bowl coating.
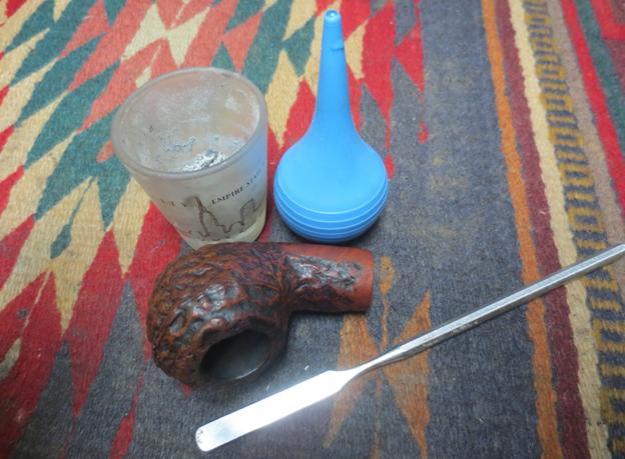
 I set the bowl aside to dry overnight. I took the following photos to show what the inside looked like after the mud had cured.
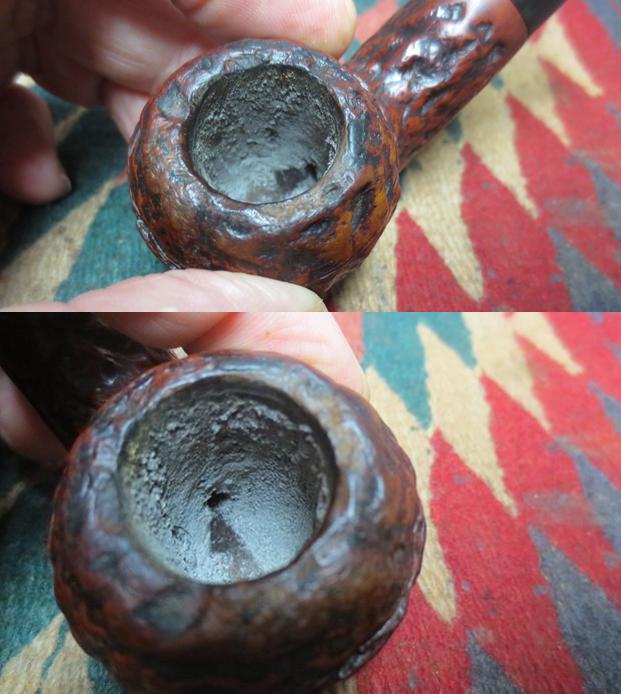 I sanded the stem with 220 grit sandpaper to remove the last remnants of the tooth dents and reshape the button on both sides. It also removed the surface oxidation.
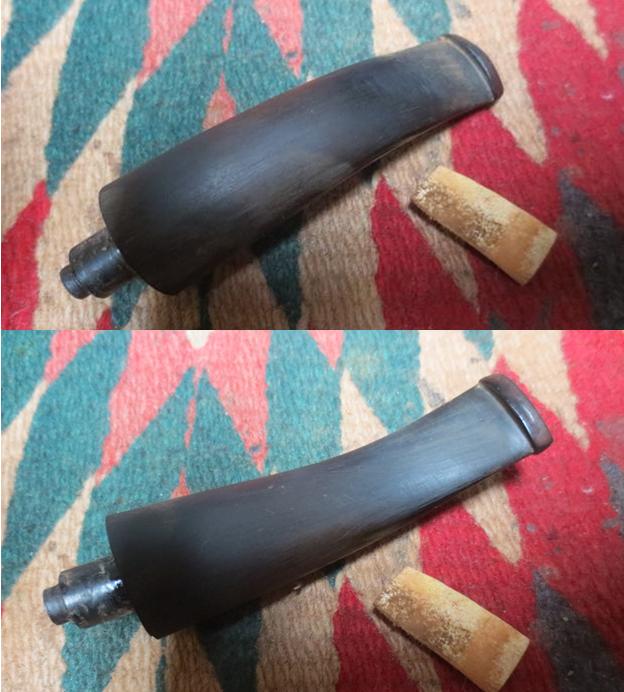 I used a black Sharpie Pen to touch up the grooves in briar on the sides and the rim top. I gave briar a touch up coat of dark brown stain. I waxed the rusticated briar with multiple coats of Conservator’s Wax and once it had dried buffed it with a shoe brush to raise the shine.
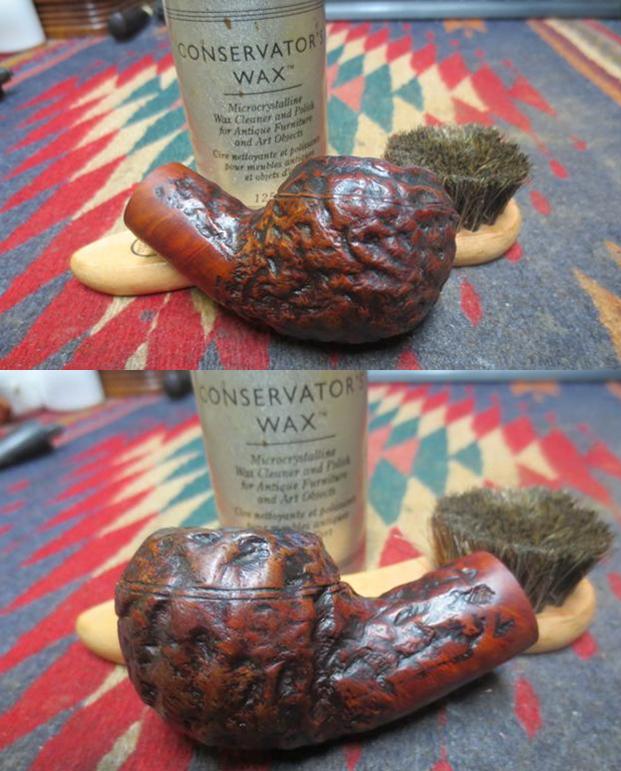
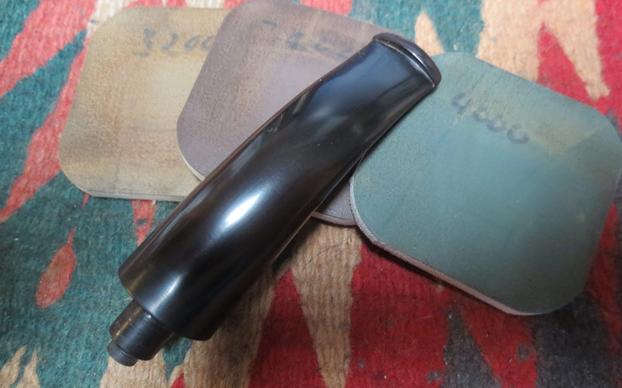
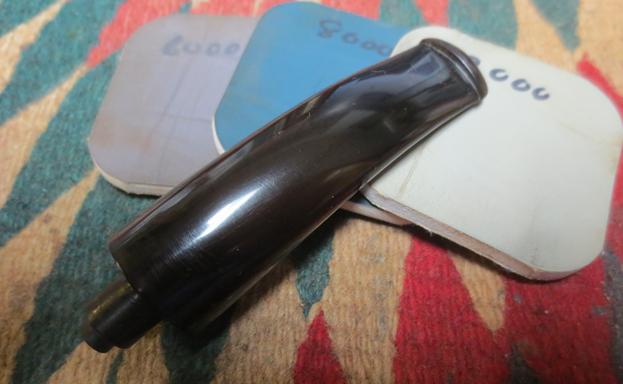
 I polished the stem with micromesh sanding pads – wet sanding with 1500-2400 grit pads and dry sanding with 3200-12000 grit pads. I rubbed the stem down with Obsidian Oil after each set of three pads. I gave it the final coat of oil and set it aside to dry.
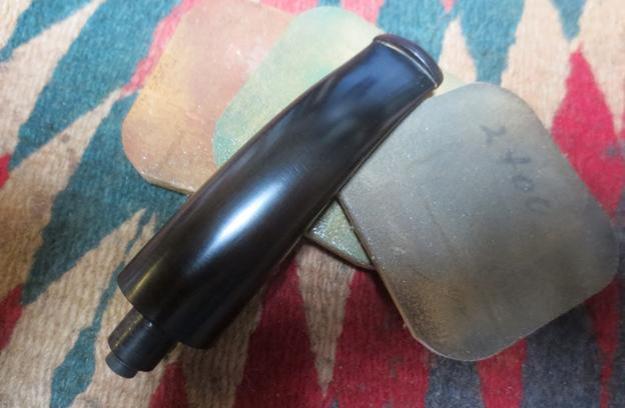
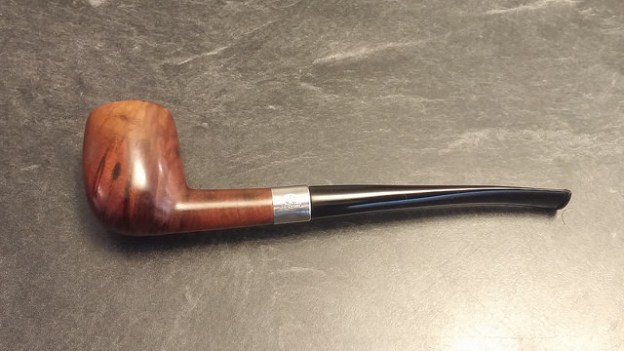
 I buffed the bowl and stem with Blue Diamond polish on the wheel. I gave the stem multiple coats of carnauba wax and put another coat of Conservator’s Wax on the briar. I buffed the bowl and stem with a clean buffing pad. I hand buffed the pipe with a microfibre cloth to deepen the shine. The fit of the stem against the shank is far better than it was when I started the cleanup. I like the way the flow is now between the stem and the shank. The finished pipe is shown in the photos below. It had a great feel in hand and I think the rustication will heat up nicely with the next first smoke. I think that the pipe mud will protect the bowl until a new cake is built. Thanks for walking through the restoration with me.