Blog by Steve Laug
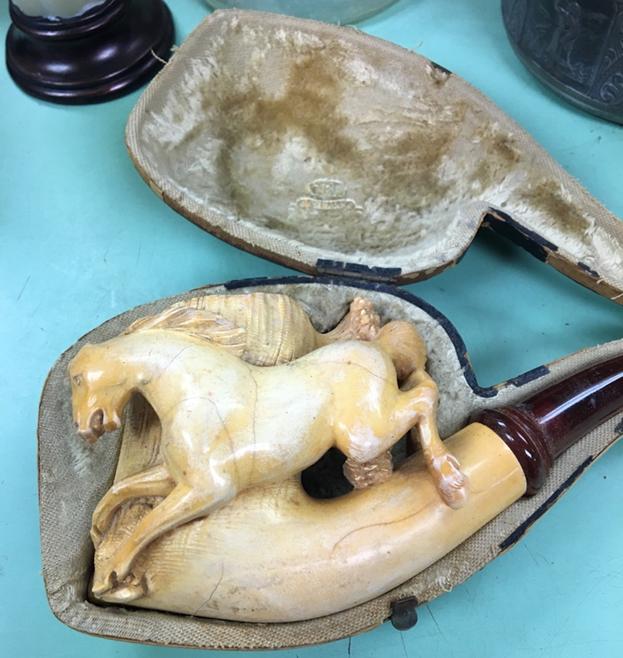
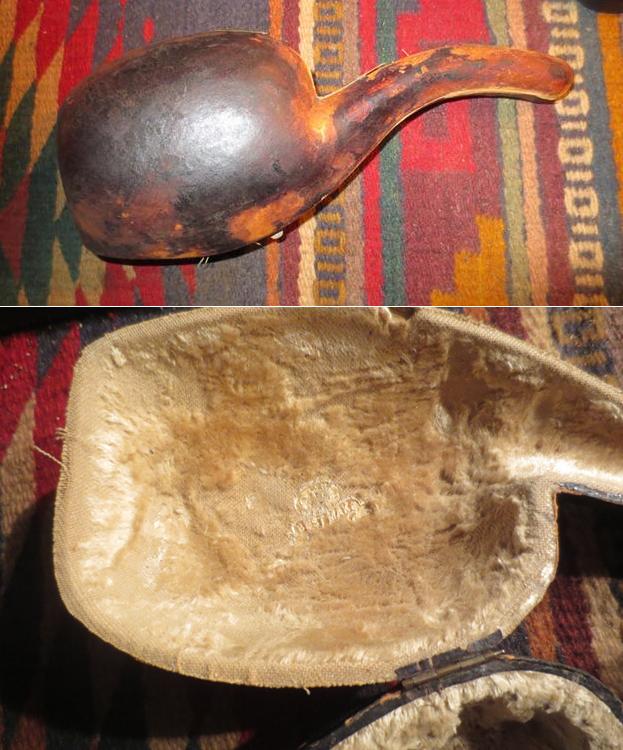
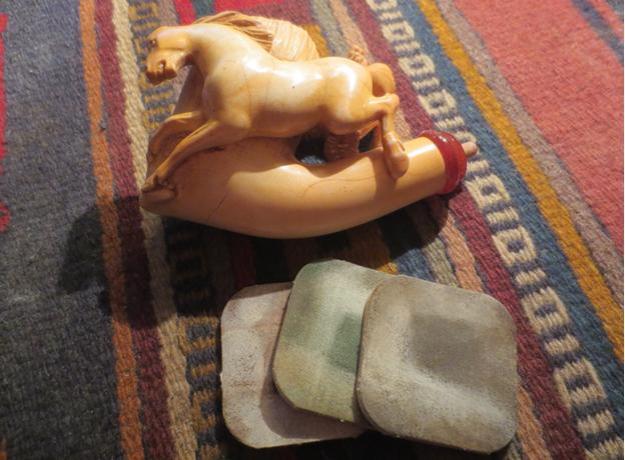
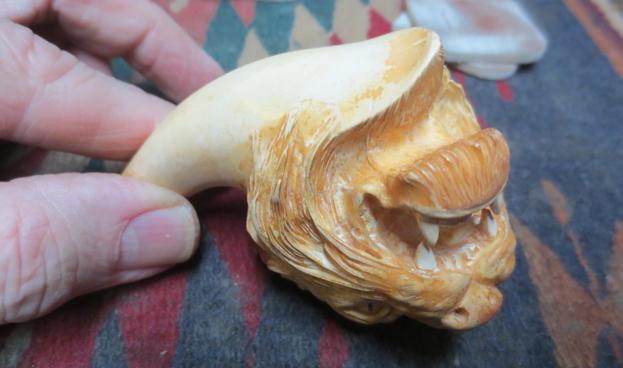
In one of the boxes of pipes that my brother sent me there was a brown leather pipe case that was in good shape. There was some scuffing along the edges of the case but the latch and the hinges were in excellent shape. I love a good mystery and certainly this brown pipe case offered up a good one. Fortunately solving this mystery was very simple. All I needed to do was to press the latch on the front of the case and I would know what was inside. I was curious to see what was inside of the case. The shape hinted at a figural pipe and I was pretty sure it was a meerschaum.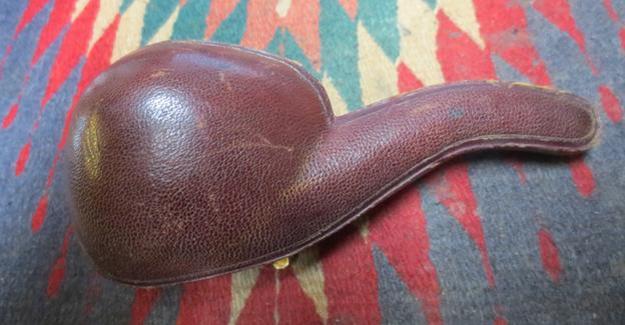 I pressed the latch and the case popped open. Inside was a nicely carved lions head staring out at me. The head was turned toward me and the carving was well done. It looked at me the same time I was looking at it. It seemed to have a snarl coming out of its wide open mouth. The large curved fangs were opened and appeared to ready to bite my hand when I reached for it. The lion was well carved – the shape of the head, the open mouth, the fangs and the look of a roar were very realistic. The ear on the right side looked really good with no chips. The meerschaum was developing a patina on the jaws and the shank. It was beginning to darken. The stem looked to be amber but I was not sure at this point in the examination. The last inch of the stem to the button had been broken off and was still in the case.
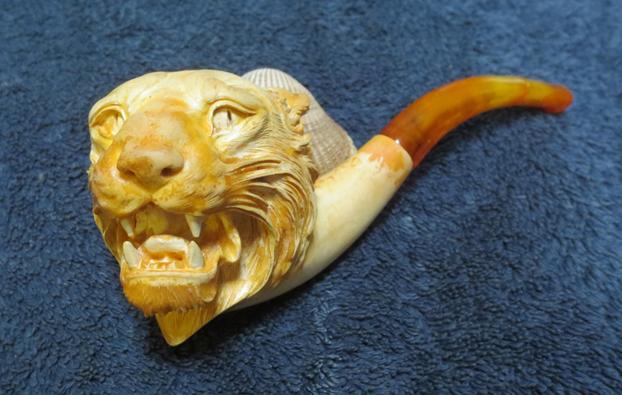
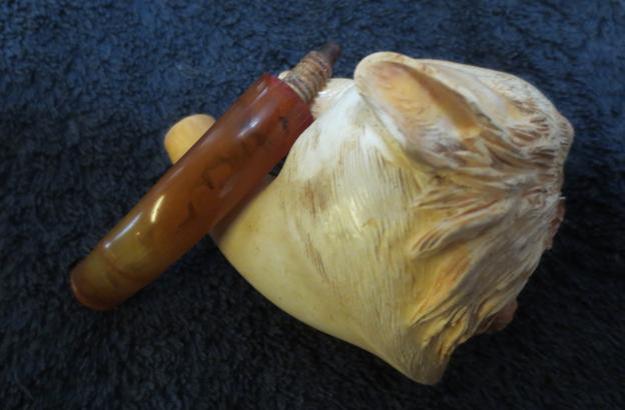
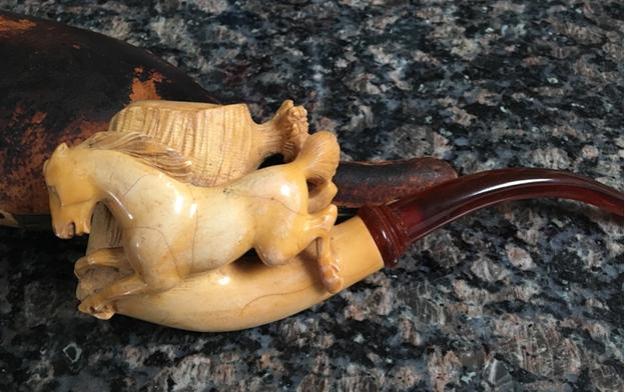
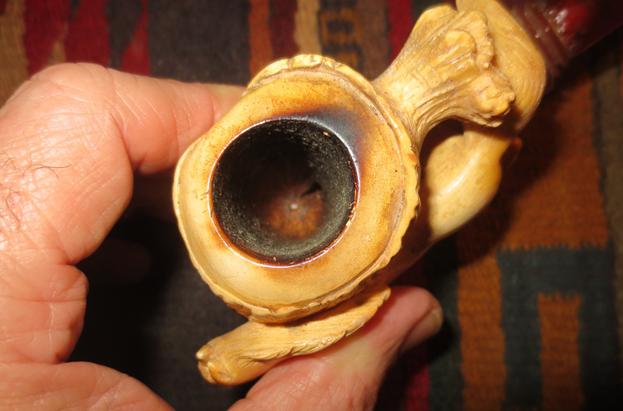
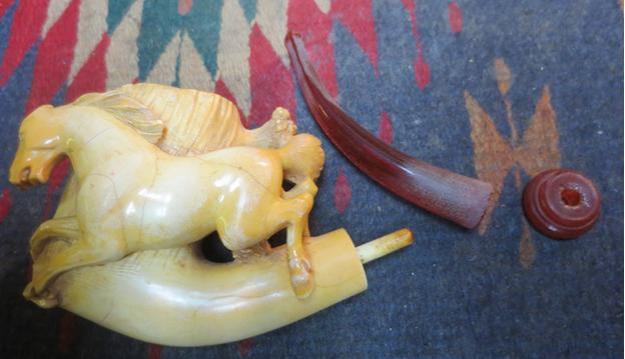
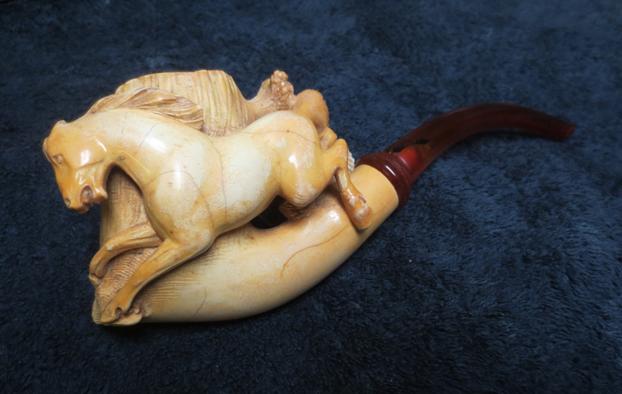
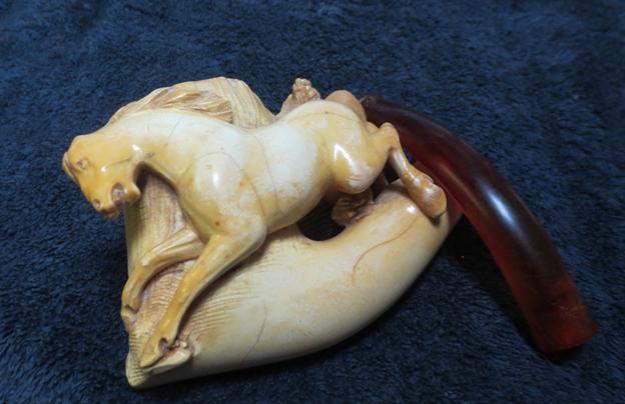
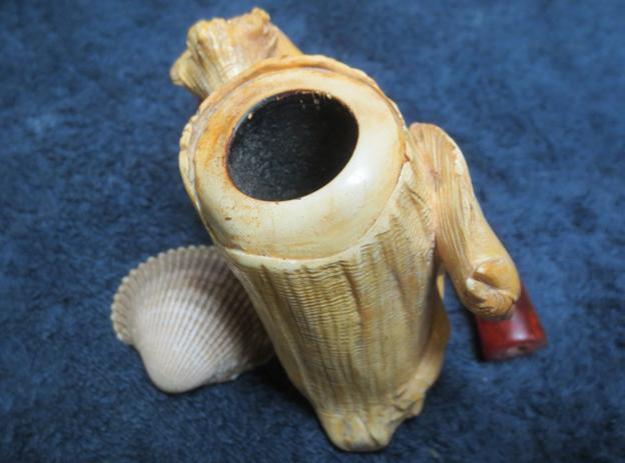
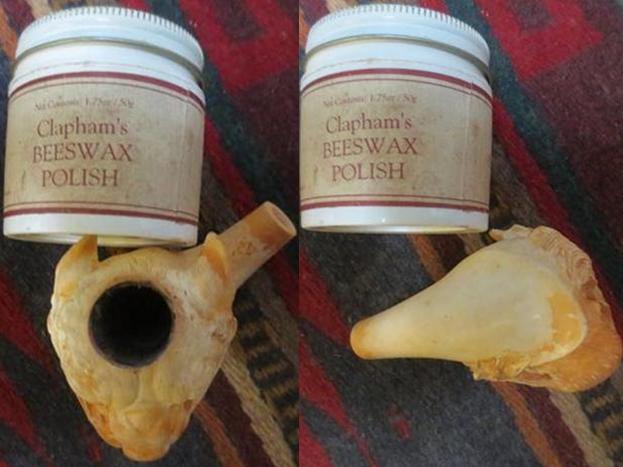
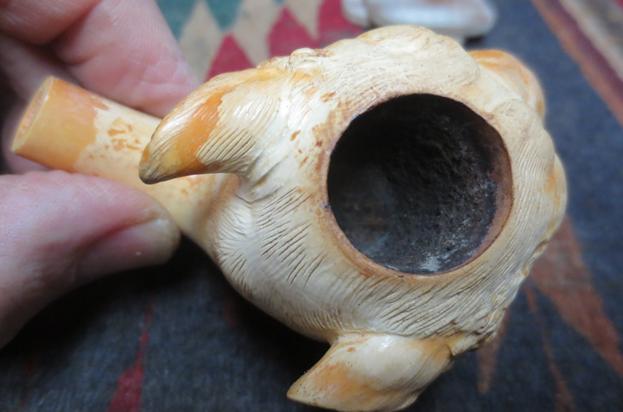
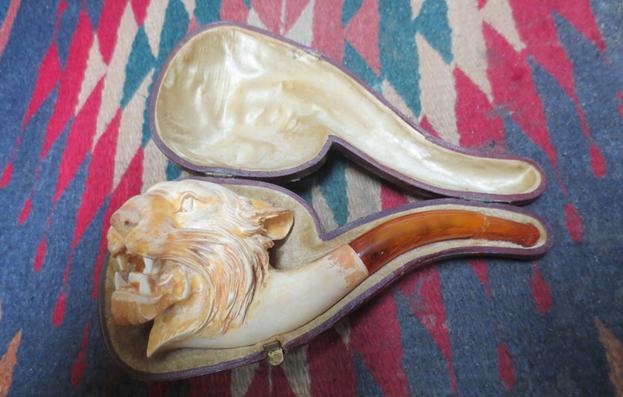 I removed the pipe from the case along with the broken tip of the stem and took some photos of the pipe. My brother had cleaned up the externals and the airway in the shank and the stem. He had reamed the bowl and cleaned the soiled surface of the figural. There was a small chip missing from the bottom edge of the right ear. It is hard to see unless you are looking for it. The rim was clean and solid with no chips or dents. The inner edge of the bowl was also clean with no damage. The fur and whiskers on the big cat were also well carved and the patina was beginning to develop in the deeper grooves of the carving.
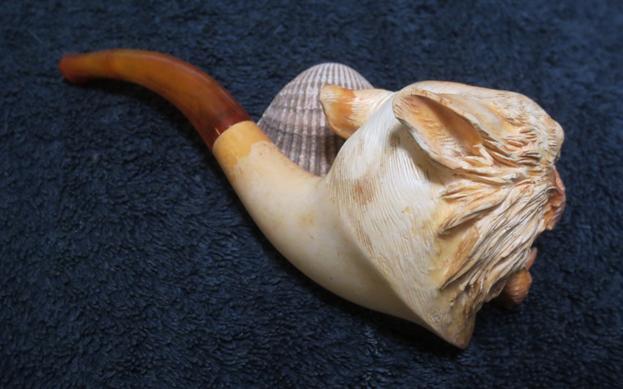
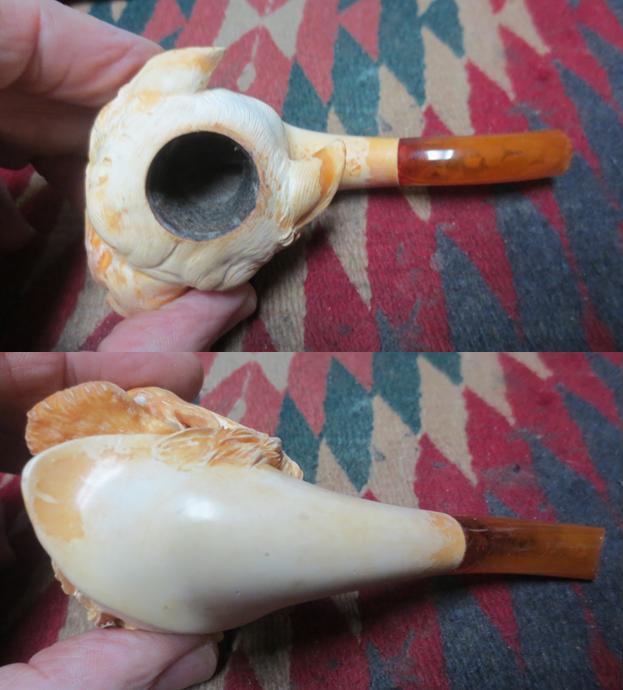
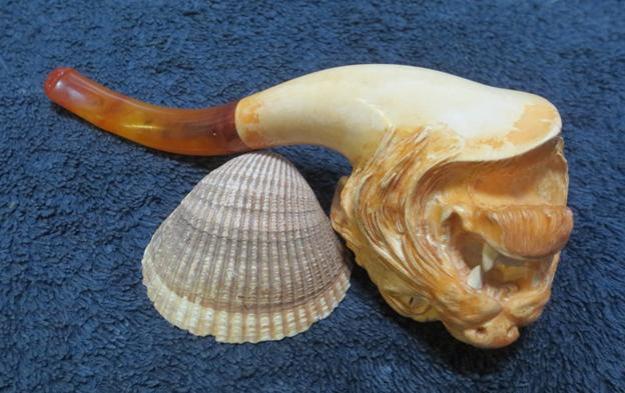
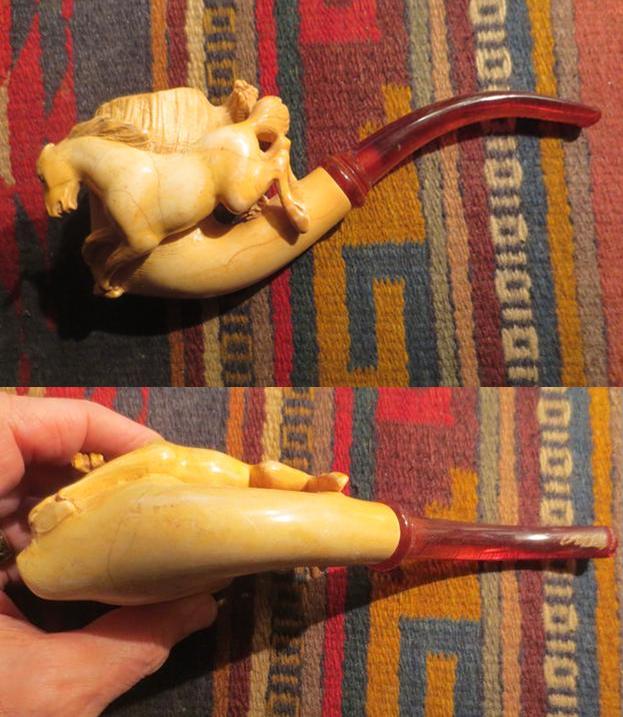
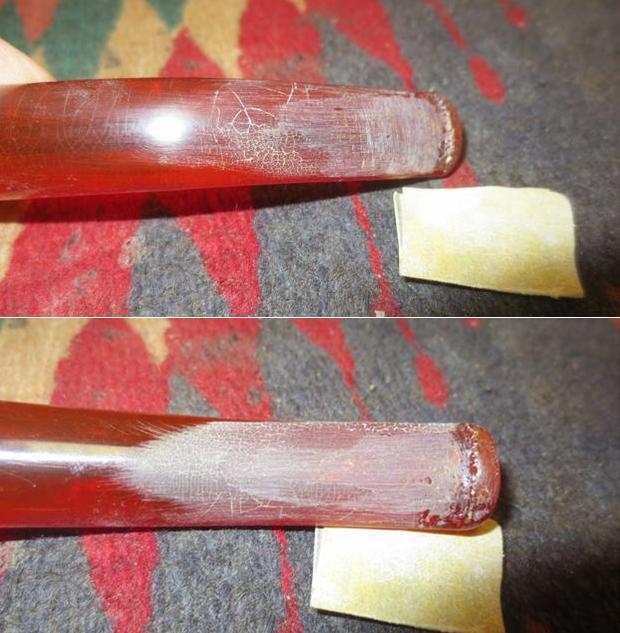
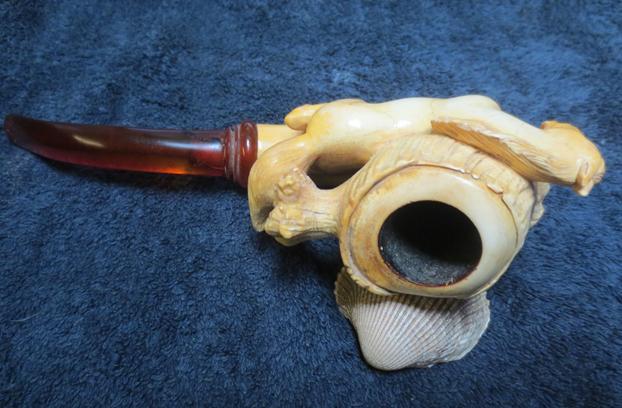
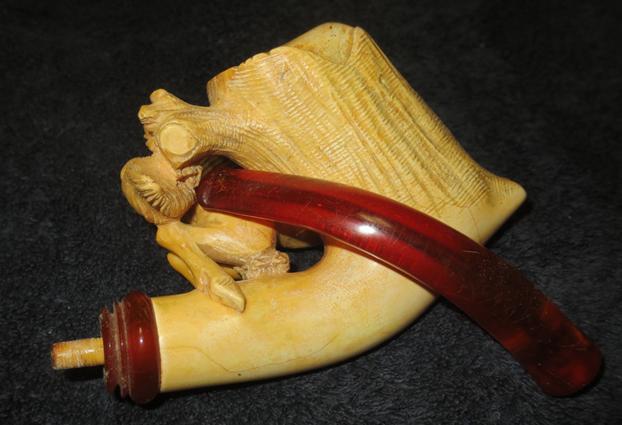
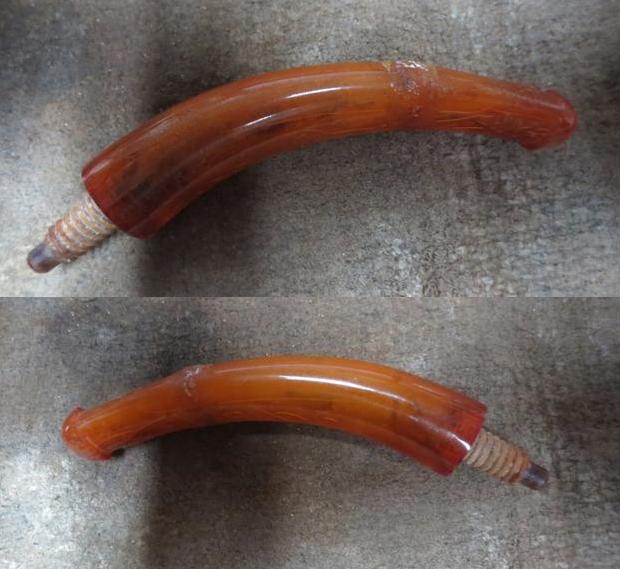
I examined the stem more closely. I looked at the edges on both sides of the break on the stem and I was sure that I was dealing with another Bakelite stem rather than an amber one. The break looked clean and there was no splintering like I have seen in broken amber stems. It also had a plastic like feel when I probed it with a dental pick. The feel of the material was definitely not amber. The stem could be made of “Amberoid” that was used in making stems before Lucite was invented. The last photo in the series below shows the pipe after I had taken it apart. A threaded bone tenon held the stem on the pipe when screwed into the threads in the end of the shank.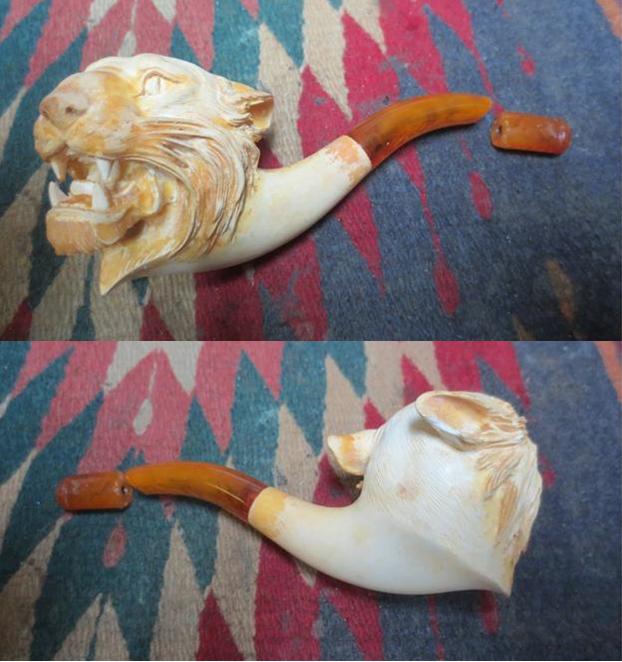
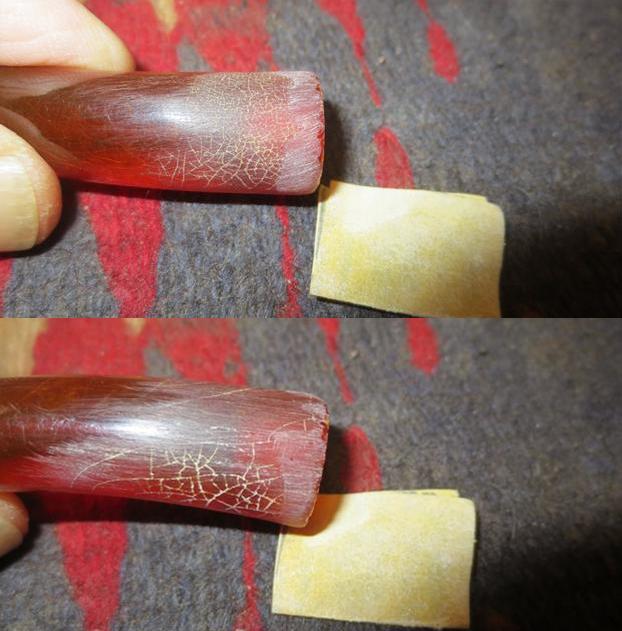
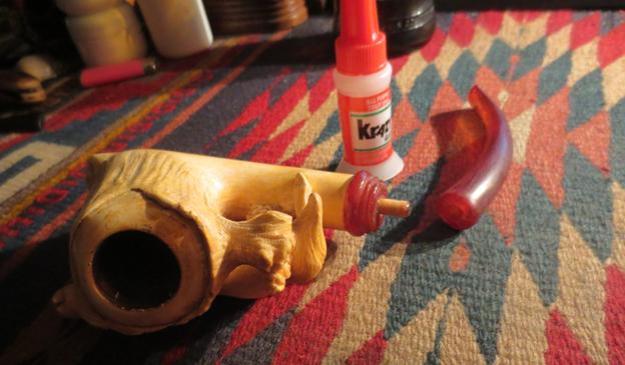
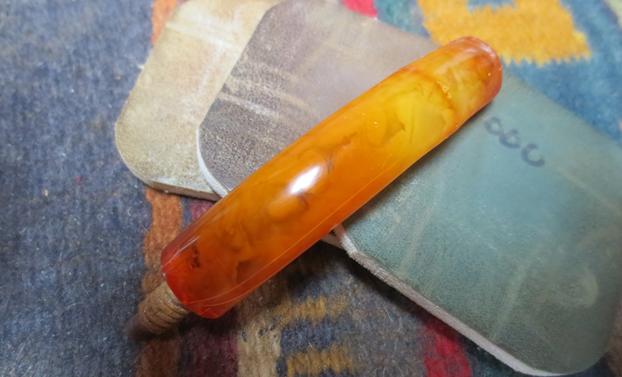
 I wiped off both sides of the broken stem with a cotton pad that was dampened with alcohol. Once it was clean I used clear super glue to glue the two pieces back together. I then used the amber super glue to fill in the gaps around the repair. I also used it to fill in the tooth marks on the top and the underside of the stem. The next series of photos show the repaired stem before I sanded it smooth.
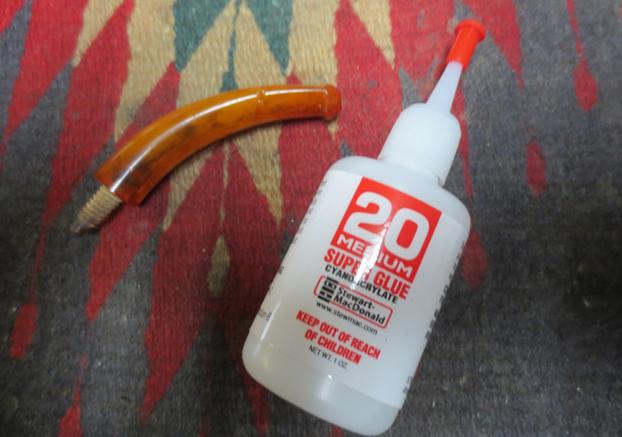
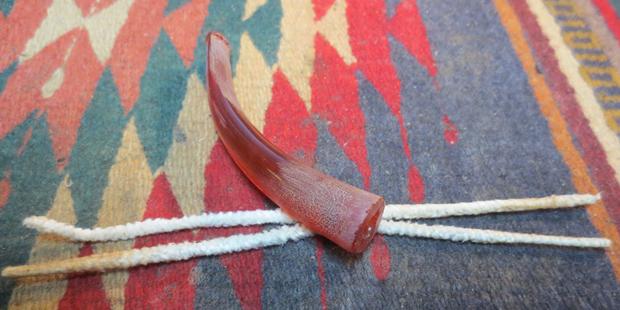
 I cleaned out the inside of the airway in the stem to remove any debris from the repair and also to remove the last bit of darkening I had seen in the stem when it was apart. I used pipe cleaners and warm water so as not to damage the Bakelite with alcohol. I had learned the hard way long ago that alcohol can cause a Bakelite stem to craze – not always but it certainly did on the one I learned on.
 I have a jar of Clapham’s Beeswax Polish in my restoration kit that I have used over the years to polish meerschaum figurals. It is a white beeswax paste that easy to work into all of the carved grooves in the meerschaum and polishes well. I applied the wax to the bowl with a qtip and my finger and once it was dry I buffed it with a shoe brush.
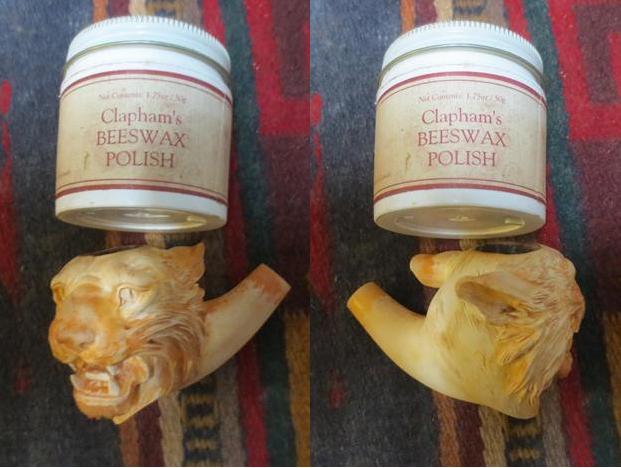
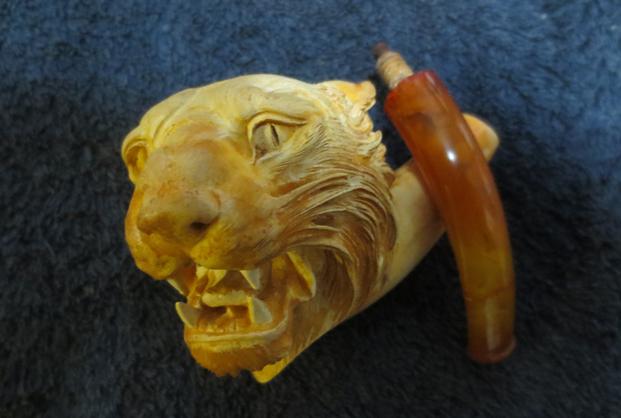
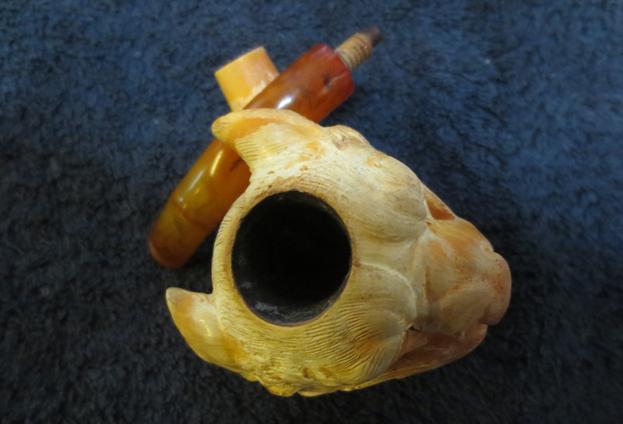
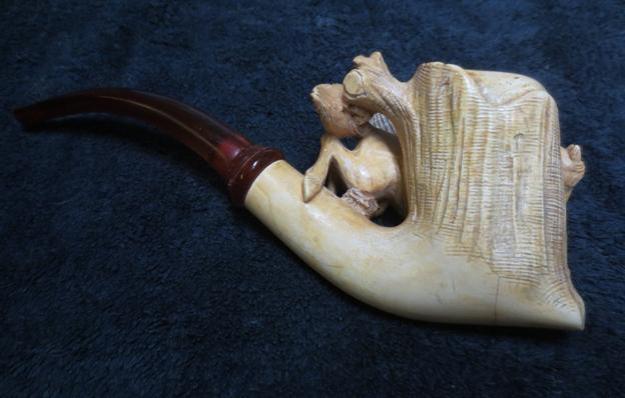
 The next series of photos show the pipe after I buffed it with the brush. I love the frontal look of the lion’s head.
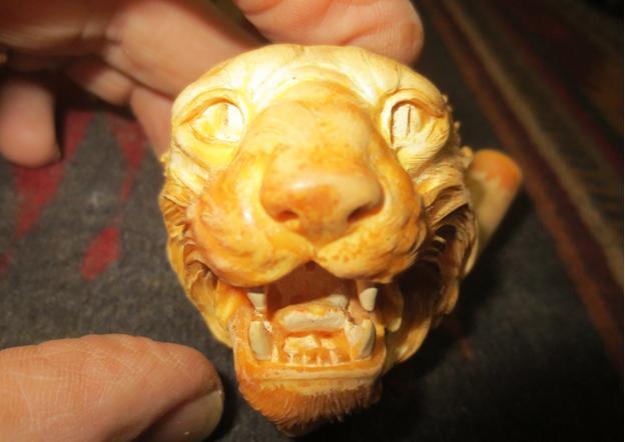


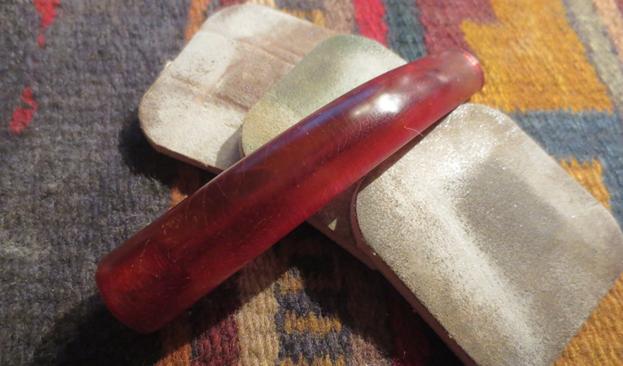
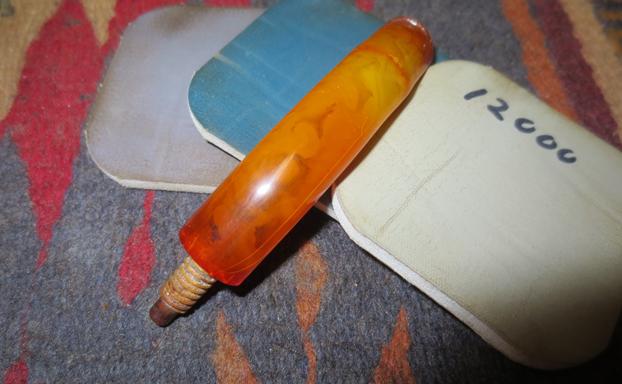
 I sanded the stem repair with 220 grit sandpaper to remove the ridge that was over the repaired area. I sanded it until the repair blended into the surface of the stem on both sides. I polished the stem with micromesh sanding pads – wet sanding with 1500-2400 grit pads and dry sanding with 3200-12000 grit pads. I rubbed the stem down with Obsidian Oil after each set of three sanding pads. After the final set of three pads I gave it a final coat of the oil and set it aside to dry.
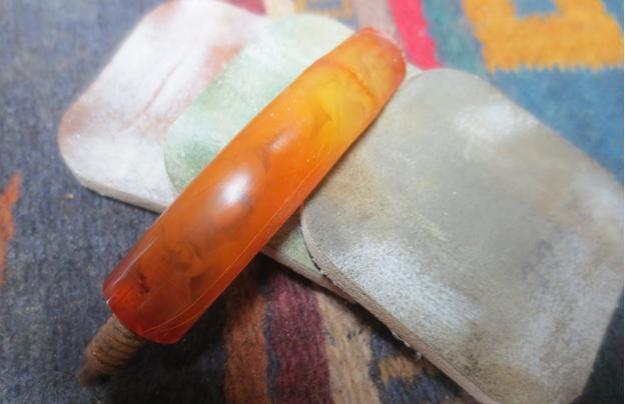
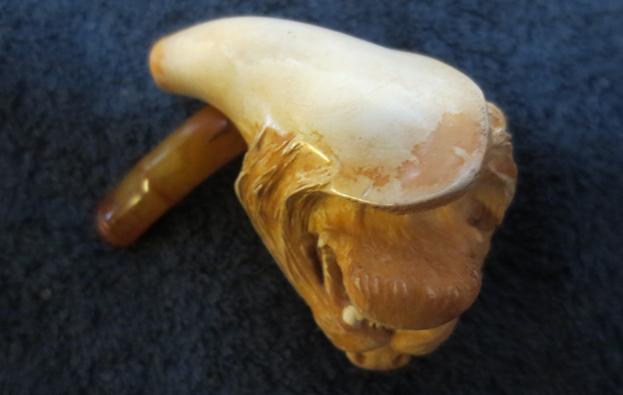
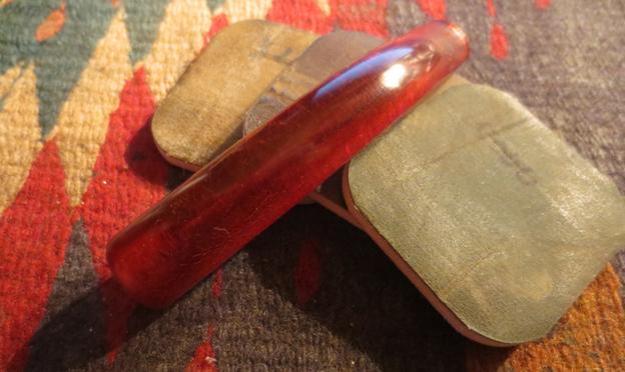
 The finished pipe is shown in the photos below. I lightly buffed the bowl with a clean buffing pad and gave the stem multiple coats of carnauba wax. I also buffed the stem with a clean buffing pad to raise the shine. I hand buffed it with a microfibre cloth to deepen the shine on the meer. I have found that a newly waxed meerschaum will darken after the bowl has been smoked for a while. The spotty appearance of the finish will gradually blend into the patina of the bowl. Thanks for taking this journey with me.