Blog by Steve Laug
Over the years I have spent quite a bit of quiet time scanning through the smokingmetal.co.uk website reading over all of the various metal pipes that have been made. I love reading and looking at the inventive creations made to capture that illusive grand smoke. One of the pipes that stood out to me on the site was the Aristocob metal bowl that came with two corn cobs that fit inside the bowl, held in place by the screw on metal cap. I wanted to see one of those but somehow always missed them on eBay at the last minute or at an antique shop by a matter of minutes. I included two of the photos from the website. The first one showed a plastic box with a form fitted purple velvet nest for the pipe and the pair of cob inserts that came with it. The pipe had a black nylon stem that held a Medico paper filter in place in the metal shank of the pipe.  The second photo showed the pipe taken apart with a pretty good descriptive view of the metal bowl and cap, the cob insert, the filter and the stem with an O-ring on the tenon to keep it in the metal shank.
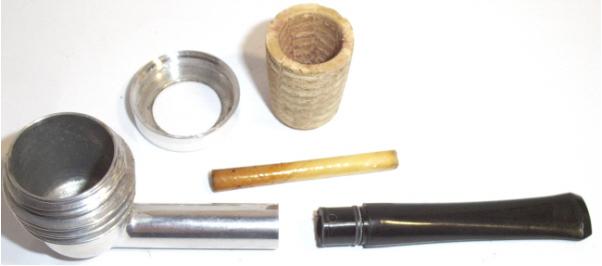 I remember first reading this description years ago when I looked up the pipe on the site. I was struck then as I am now that I could not have described it any better. I have included it here in full with a link for you to look it up should you desire to do so:
The ARISTOCOB is an American made system pipe with corn cob bowl inserts. Originally the AL-COB CORPORATION out of Grand Haven, Michigan, which later became ARISTOCOB INCORPORATED from Caledonia, Michigan. Later still they were bought out by Missouri Meerschaum Company
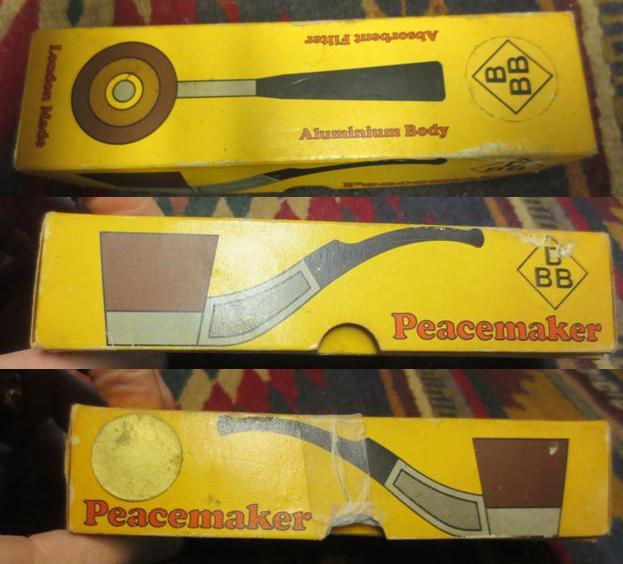
Apparently available in the first place in a plastic case containing one pipe, 2 replacement corn cob bowl inserts and instructions for use. The cob inserts were made for some time by The Missouri Meerschaum Company, manufacturer of corn cob pipes in Washington, MO. The box shown is their box. They made the inserts from the early 1970’s until 1983. They are no longer available from that source but do appear on eBay at times
The top of the vaned outer bowl unscrews to enable easy replacement of the bowl insert. An inline filter can be used in the stem. The mouthpiece has been seen in two version, with and without an ‘O’ ring. The patent was filed on 20 Dec 1966 with the US patent # 3,292,639. The inventor was Joesph W. Zarikta of Grand Haven, Michigan USA – the assignor was the Al Cobb Corp. (http://smokingmetal.co.uk/pipe.php?page=56).
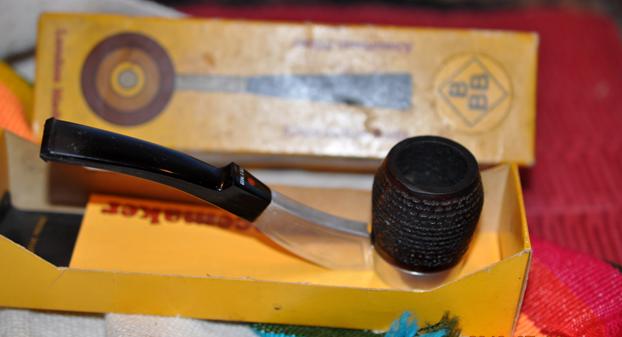
I mentioned to my brother to keep an eye open for one of these never expecting him to find what he did. I have not seen a cased version of the pipe in my hunts but have only found the pipe with the inserted cob bowl if I was lucky. He happened to find a boxed set and bought it. He sent me the following photos of the pipe. The next set of photos are the ones that the seller posted on the eBay sale.


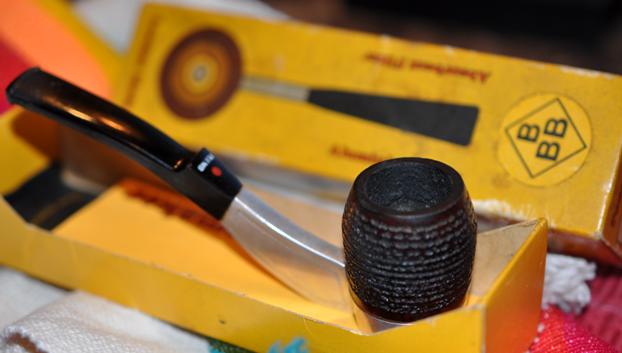
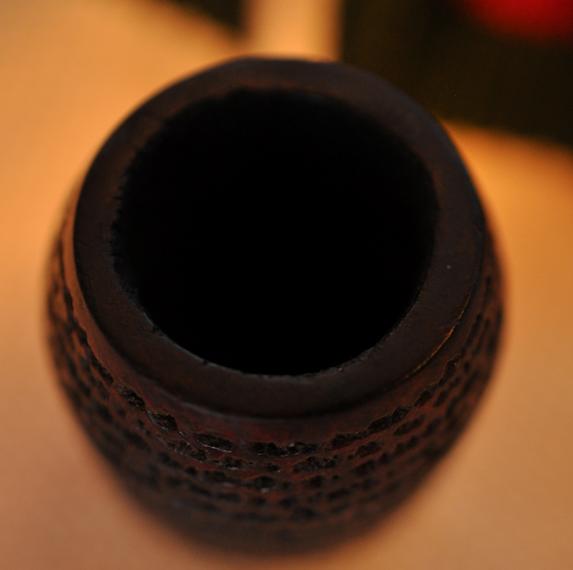
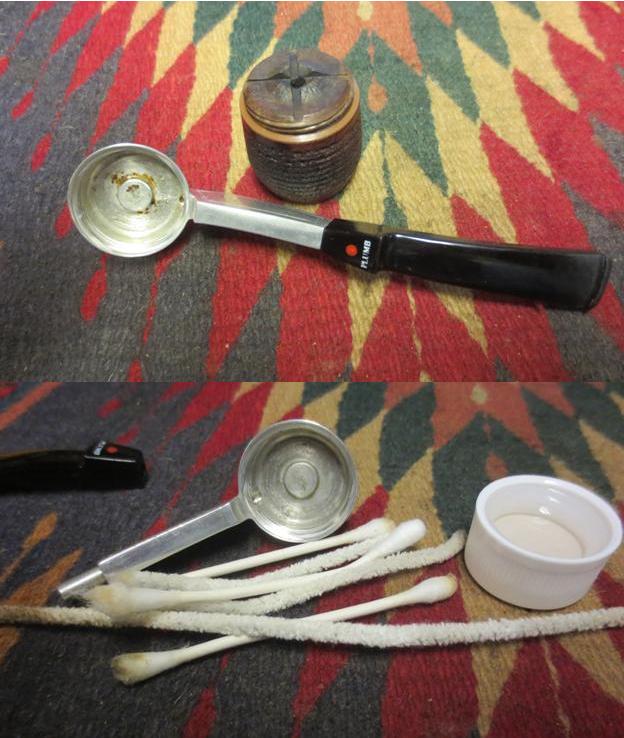
 When the pipe arrived in Idaho my brother took some photos before he cleaned it up. I have included a few of those photos next. The pipe was quite dirty. The rim cap had a buildup of tars and oils on the top. The cob insert was dirty and crumbling on the top edge. The aluminum pipe body was oxidized and dirty as well.
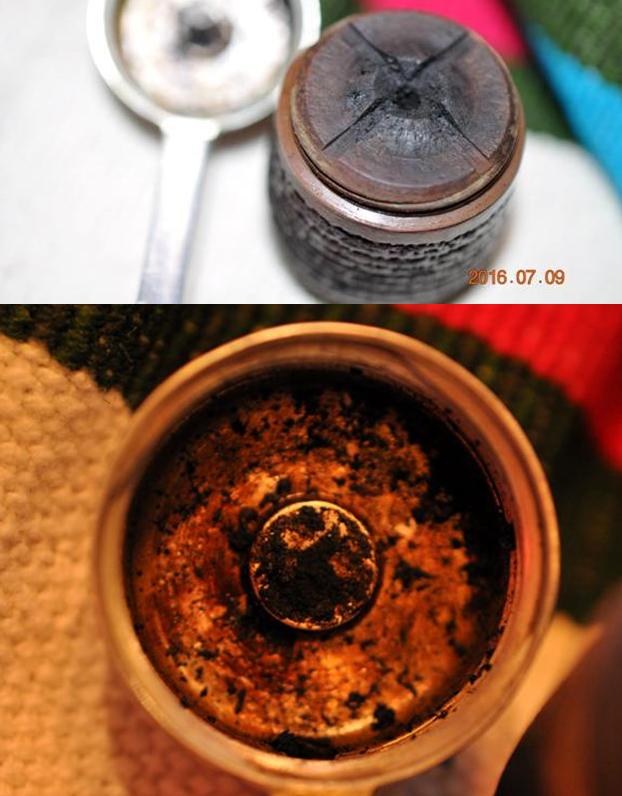
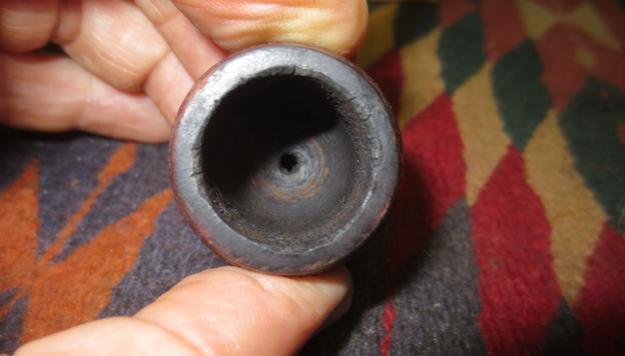
 When he took it apart, the inside of the aluminum body had also built up tars in the bottom and on the inside walls.
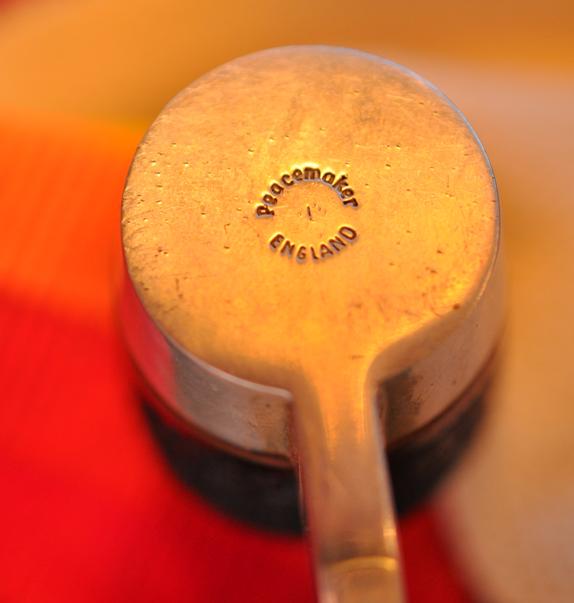
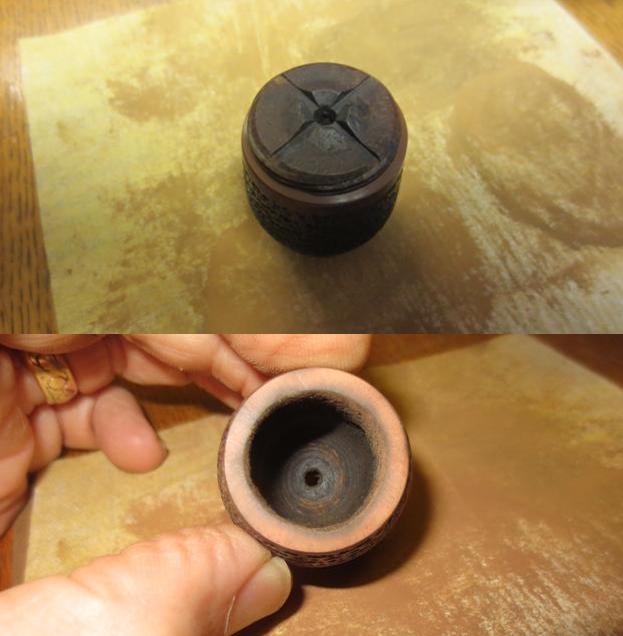
 The inner edge of the insert was in rough condition. The rest of the bowl appears to be solid. The aluminum disk on the bottom of the bowl was dirty but undamaged.
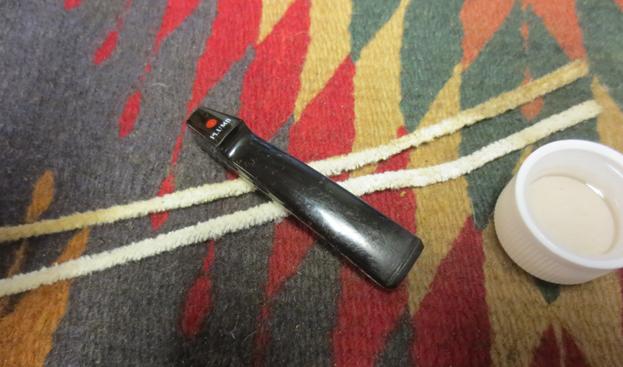
 The stem was darkened on the tenon end. The O-ring was still in good condition. The paper Medico Filter in the tenon was dirty and would need to be replaced. The top and undersides of the nylon stem had some tooth chatter on the surface near the button. The inside of the shank was dirty and there was some tarry buildup on the walls of the aluminum.
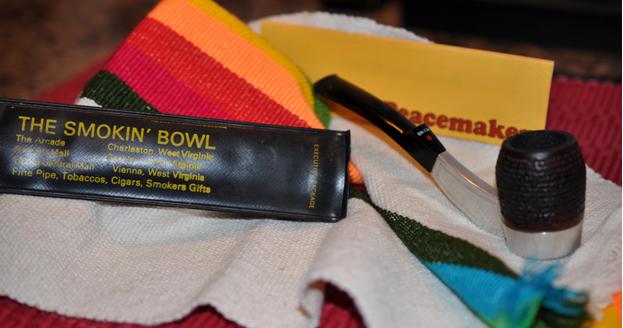
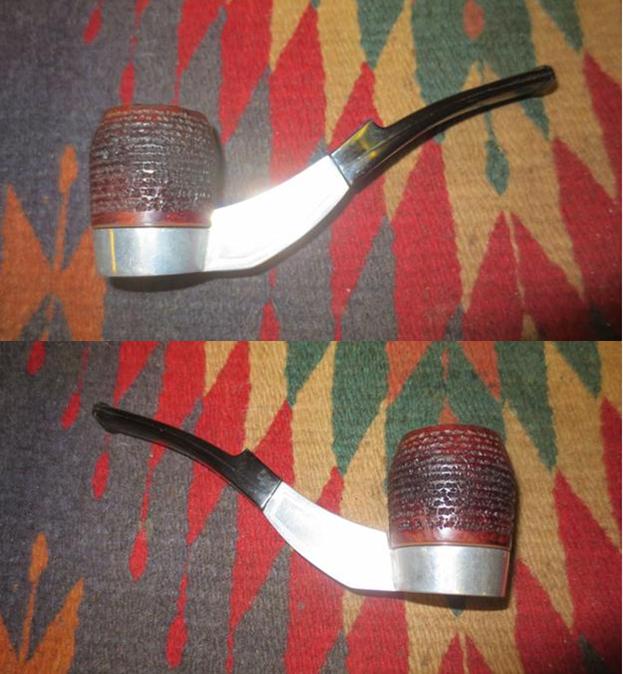
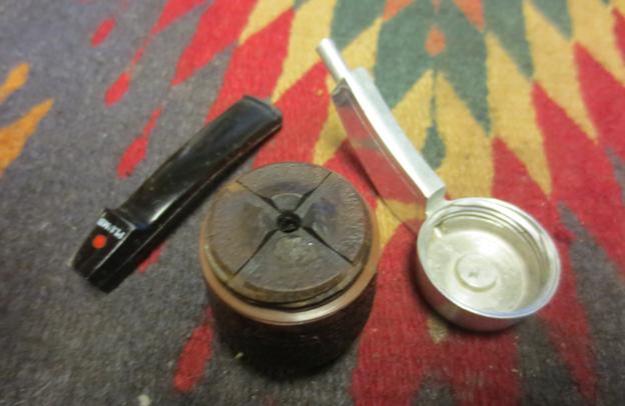
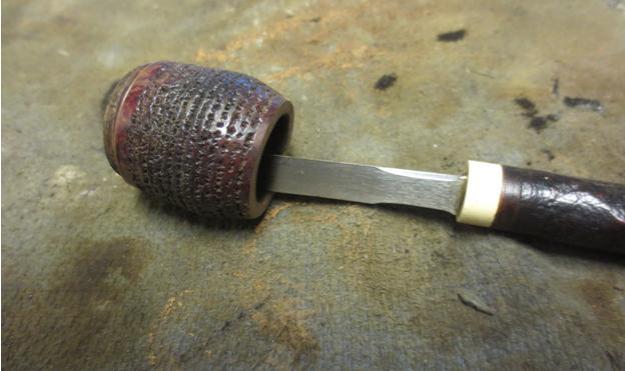
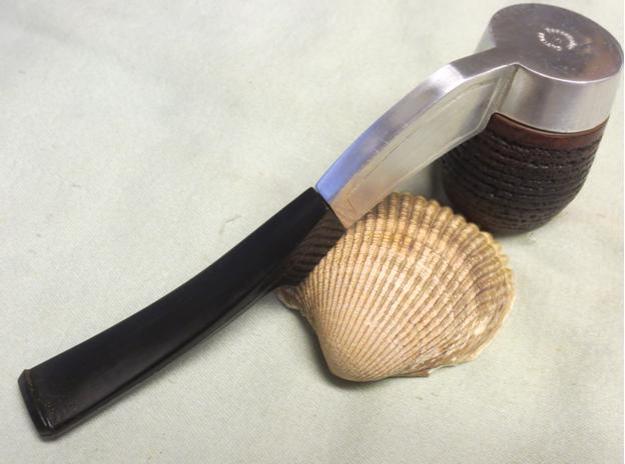
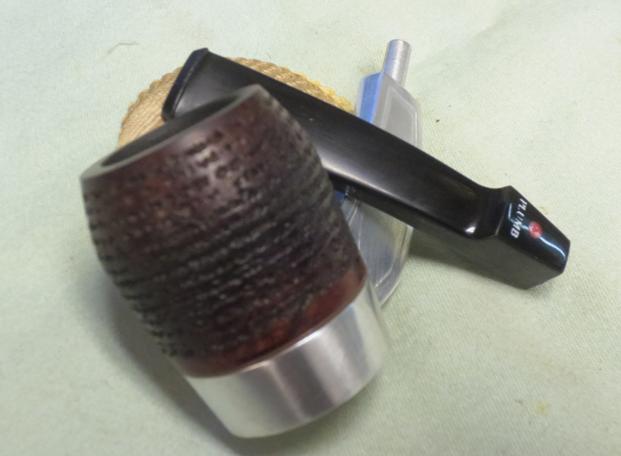
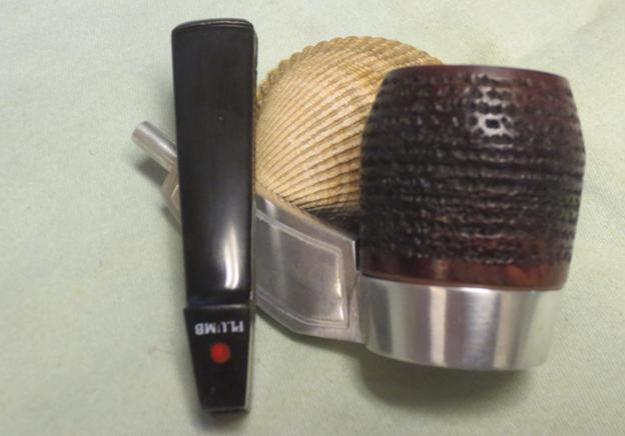
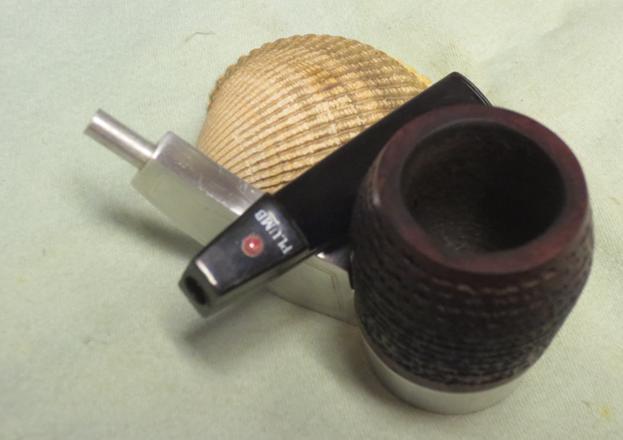
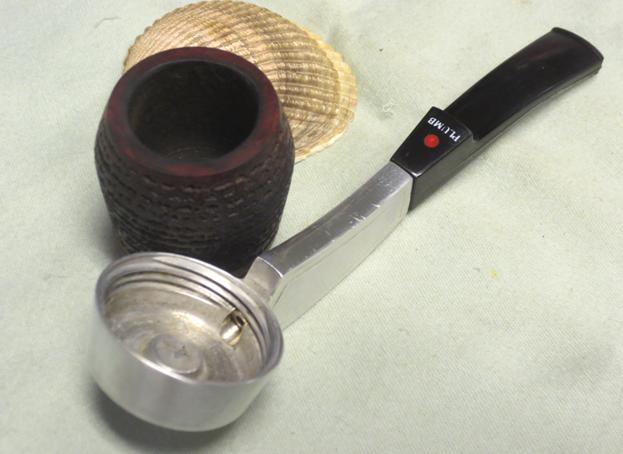
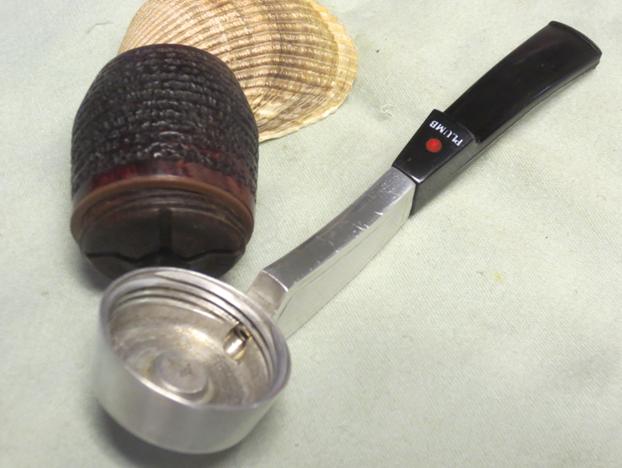
 My brother cleaned up the cap and the interior of the aluminum bowl holder and shank. He cleaned the aluminum with Murphy’s Oil Soap inside and out. He scrubbed out the airway in the shank and stem. He cleaned up the damaged edge of the cob insert. When it arrived in Vancouver, I brought it to the work table and took some photos of the condition it was in before I started.
 Inside the plastic box there was a pamphlet that explained the function of the pipe and all of its parts. The description of the pipe and how to use it was a marketing document that sold the pipe and all of its design as the best smoking pipe available.
 I polished the aluminum with micromesh sanding pads. I started polishing with 1500-2400 grit pads and wiped it down with a damp cotton pad. I continued to polish it with 3200-12000 pads and the finish began to shine.
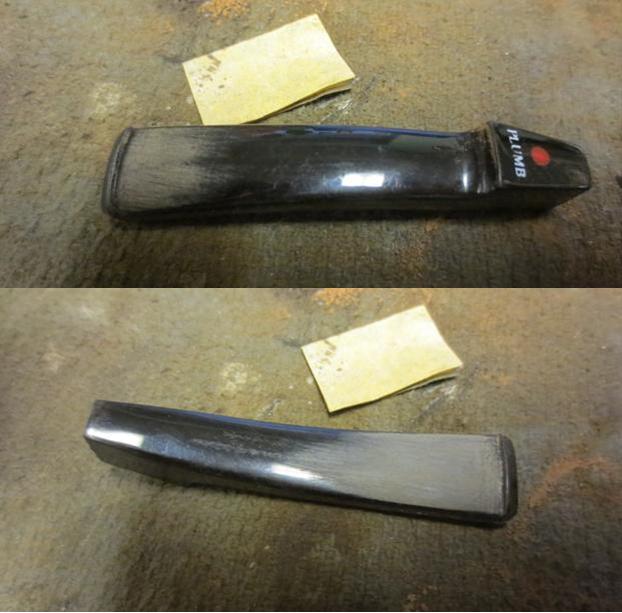
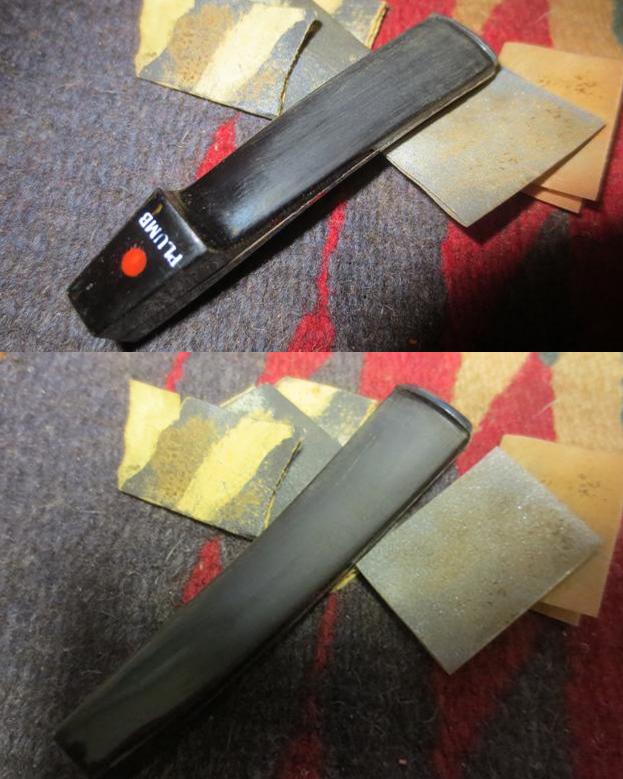
 I sanded the stem to remove the tooth marks and chatter from the top and bottom sides of the stem. I ran a pair of bristle pipe cleaners and alcohol through the airway in the stem to remove the residue that still remained in the stem.
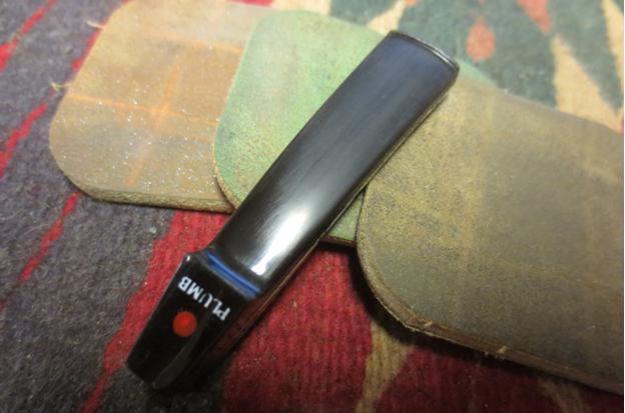
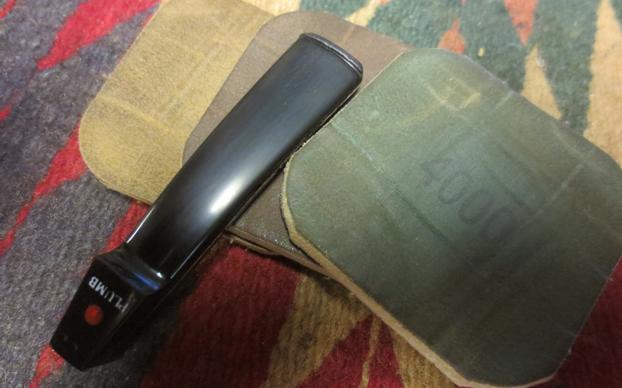
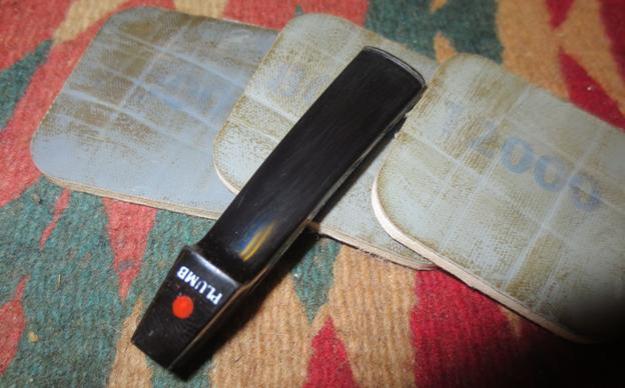
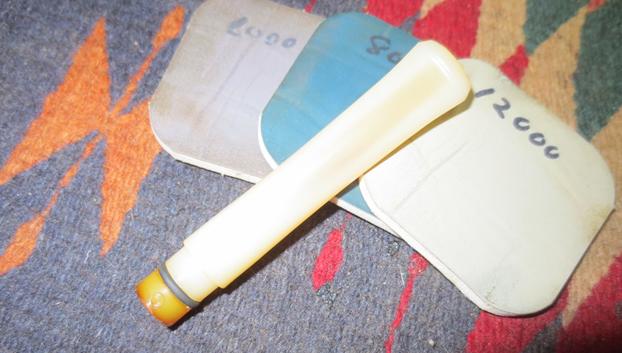
 I polished the stem with micromesh sanding pads – wet sanding with 1500-2400 grit pads and dry sanding with 3200-12000 grit pads. I wiped it down with a damp cotton pad after each set of three pads.

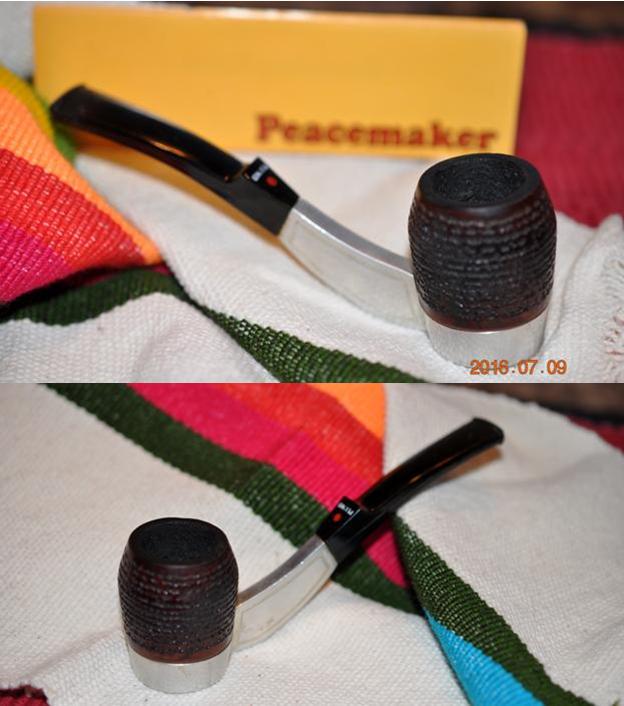
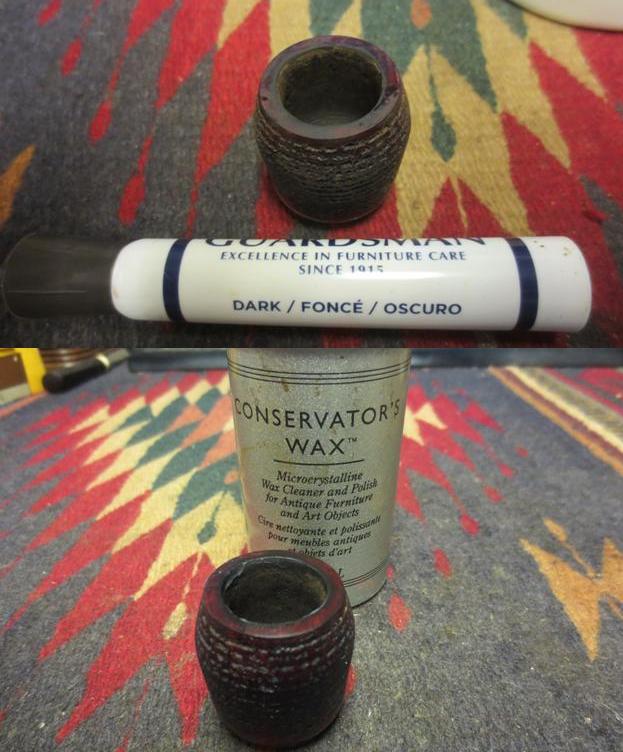
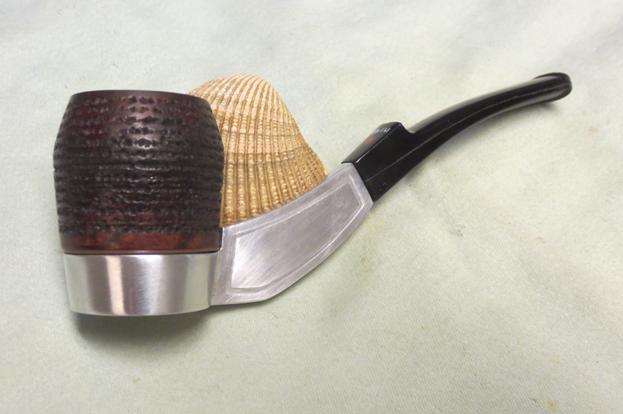
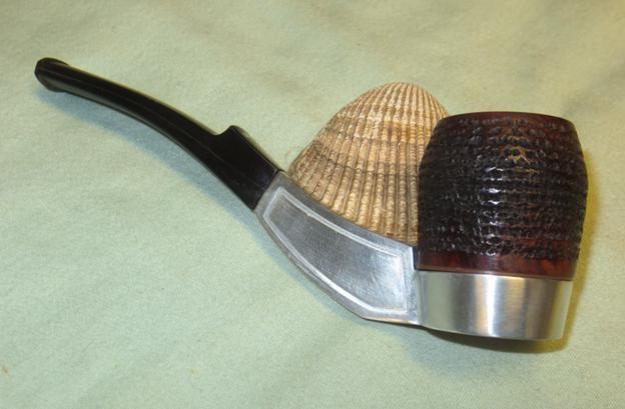
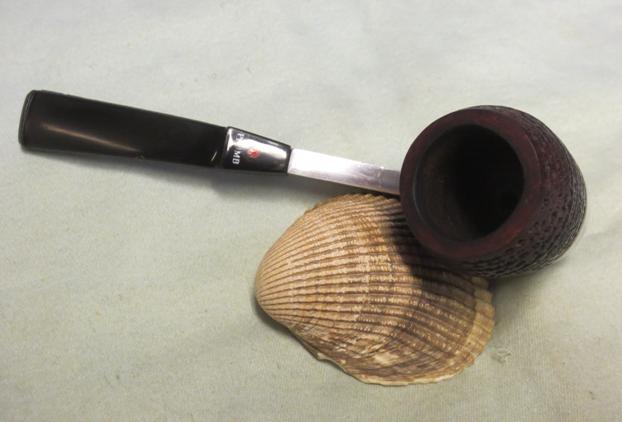
 Because the stem was nylon I decided not to use the buffing wheel. I gave it several coats of Conservator’s Wax and hand buffed it with a microfibre cloth. I lightly buffed the aluminum on the Blue Diamond wheel and then with a clean buffing pad to raise the shine. The finished pipe is shown in the photos below. It makes a great piece of pipe history in the ongoing search for the illusive perfect smoke. It will hold a place in my collection of tobacciana. Thanks for walking through this restoration with me.