Blog by Steve Laug
After the last challenge of the cracked bowl on the WDC Wellington House Pipe it was time to take on something that would go quickly and have some real beauty as well when finished. My brother had included just the pipe in the latest shipment that came to Vancouver from Idaho. It is a twelve inch long churchwarden. The bowl had the typical varnish coat over a oxblood stain that was peeling. There was a light cake in the bowl and the rim was dirty but the Yello-Bole Honey Cured Coating was very visible on the inner bevel of the rim top. The stamping on this one is the classic older Yello-Bole. It had the KBB cloverleaf on the left side of the shank and next to that it read YELLO-BOLE over Honey Cured Briar. ON the right side of the shank it has the shape number 2095. The stamping is in excellent shape. The stem was lightly oxidized and had the yellow circle on the top side near the shank/stem junction. There were single cut marks on both the top and underside of the stem about three inches forward from the button. There was also minimal tooth chatter and tooth marks on the stem on either side. The stem did not fit all the way into the shank when the pipe arrived in Idaho. (I have included the photos of the pipe that my brother took before he started to clean up the pipe.)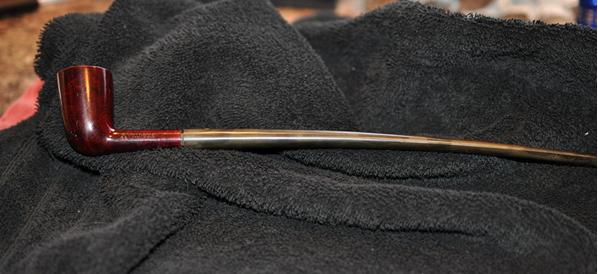
 From a comment on a blog I wrote on the various Yello-Bole logos in my collection of these pipes I was able to narrow down a date for the pipe. Here is the link to the post and the comments on the blog: https://rebornpipes.com/2013/01/25/yello-bole-logos-from-my-collection-of-old-yello-bole-pipes/. The comment came from Troy who I consider my go to guy for Yello-Bole informantion (who has written on rebornpipes and also has a blog of his own). Troy wrote as follows on dating Yello-Bole pipes by the stamping and logos.
“I have a large KBB Yello-Bole collection, They are some of my most favorite pipes and the best smokers for the money (briar wise) you can find in my opinion. I have restored and researched them quite a bit. I have several listed on my blog that I have cleaned or restored. I own about 30-40 KBB Yello-Boles now.”
“Here is a little guide to dating KBB Yello-Boles. If it has the KBB stamped in the clover leaf it was made 1955 or earlier as they stopped the stamping after being acquired by S.M. Frank. From 1933-1936 they were stamped Honey Cured Briar. Pipes stems stamped with the propeller logo they were made in the 30s or 40s no propellers were used after the 40s. Yello-Bole also used a 4 digit code stamped on the pipe in the 30s. If the pipe had the Yello-Bole circle stamped on the shank it was made in the 30s this stopped after 1939. If the pipe was stamped BRUYERE rather than briar it was made in the 30s.”
From that information I ascertained the following. The churchwarden I had was stamped with KBB in the cloverleaf on the shank side which told me that the pipe was made before 1955. It is also stamped under the YELLO-BOLE name stamp with the words Honey Cured Briar which put its manufacture between 1933 and 1936. Further the four digit shape code 2095 also put the date in the 1930s. With all of that collected I knew the pipe was made between 1933 and 1936 which means that this old Churchwarden has seen a lot of life. I wish it could tell its story.
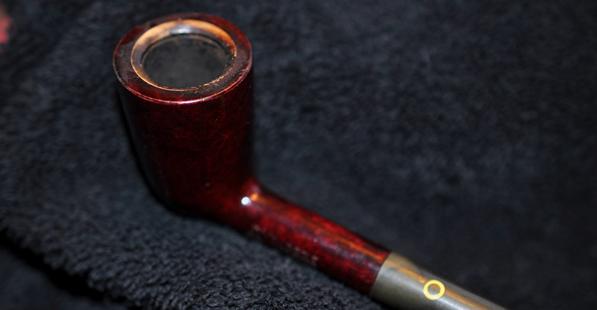
My brother included some close up photos of the rim top and the peeling varnish on the bowl sides and bottom for information. You can also see some peeling of the varnish on the rim top along with the darkening and overflow of cake.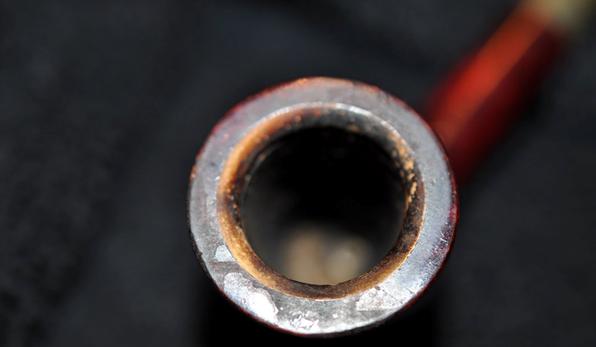

 The next photo shows the stamping on the left side of the shank. The stamping is clear and readable.
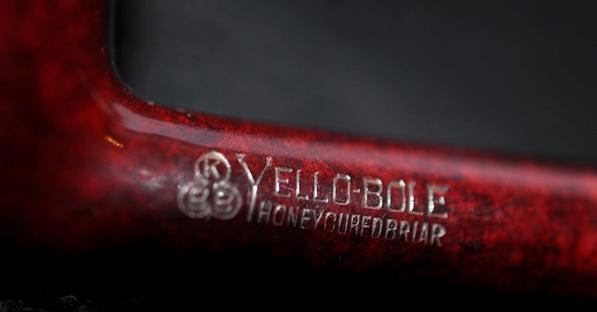 The next two photos show the condition of the stem. You can see the tooth chatter and marks on the stem surface on both sides. None of them are deep and all should be able to be polished out.
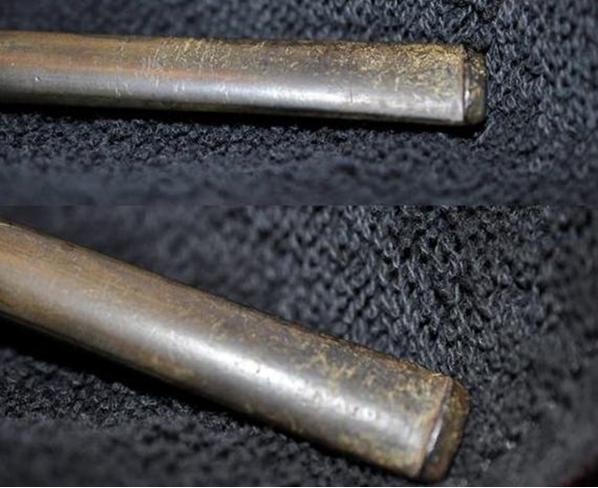 The next photo shows the cut mark on the top side of the stem. There is a matching mark on the underside.
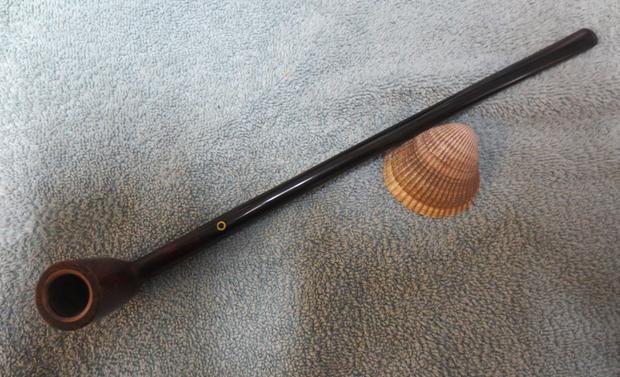
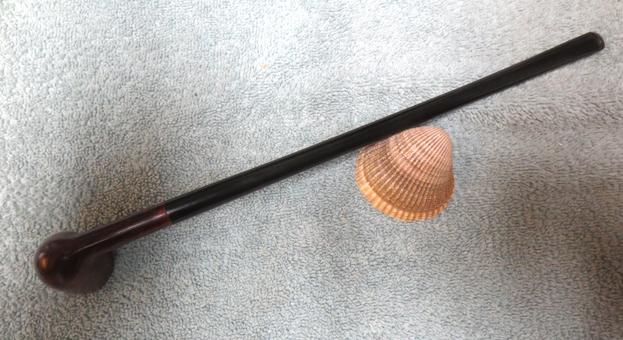
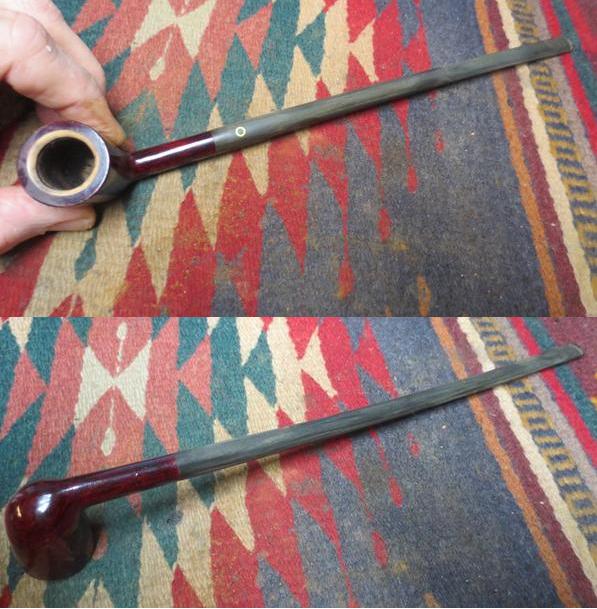
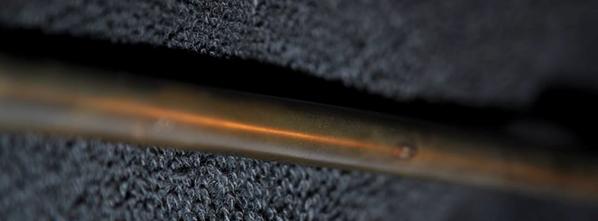 My brother cleaned up the pipe – reaming the bowl, cleaning out the shank, airway in the shank and stem with alcohol, cotton swabs and pipe cleaners. The inside was clean. He scrubbed the briar and stem with Murphy’s Oil Soap and cleaned out the buildup on the rim and the grime on the sides of the bowl. The next four photos show what the pipe looked like when it arrived in Vancouver. It was ready to clean up and bring back to life.
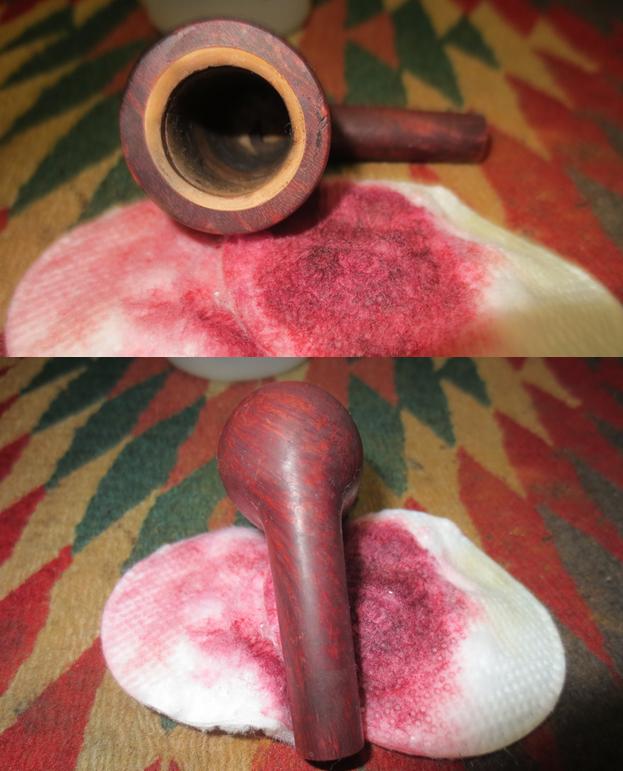
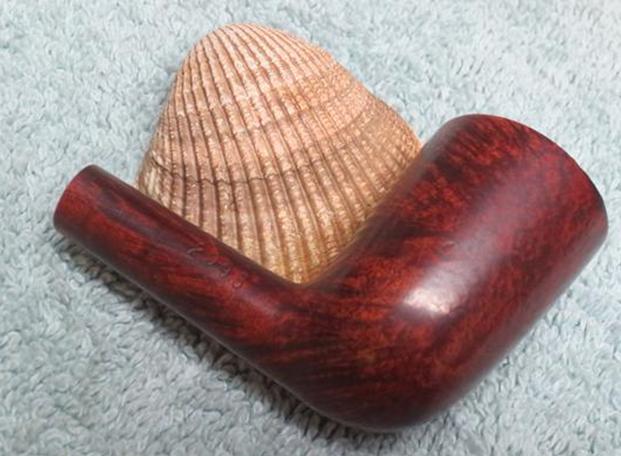
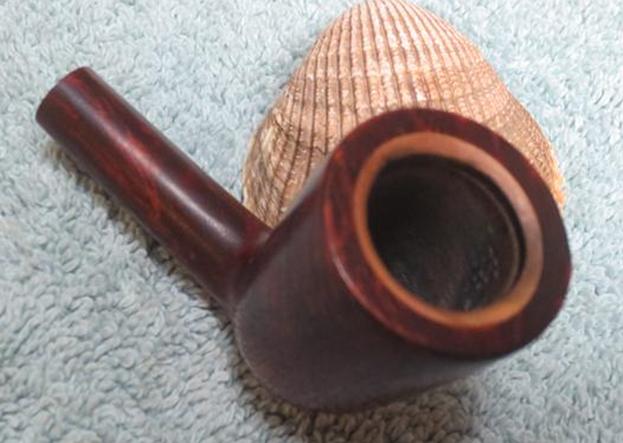
 I took a close up photo of the bowl and rim. The beveled inner edge shows the Yello-Bole coating. It is also visible on the inside of the bowl.
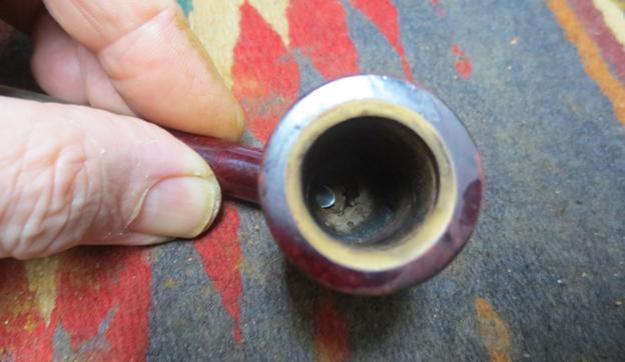 I sanded the stem with 220 grit sandpaper and worked on the tooth chatter on each end with the same sandpaper.
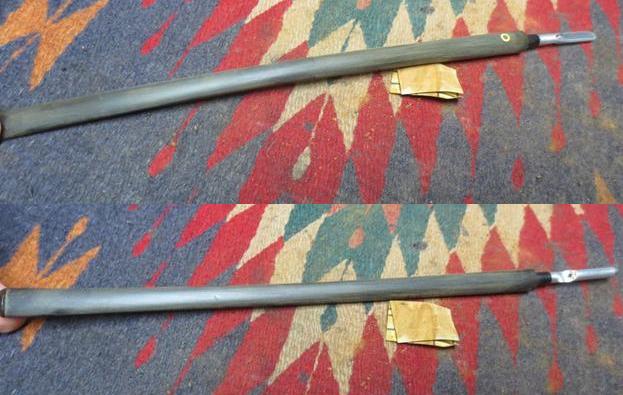
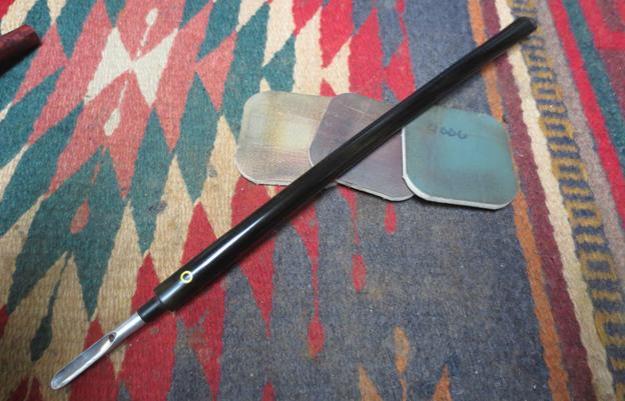
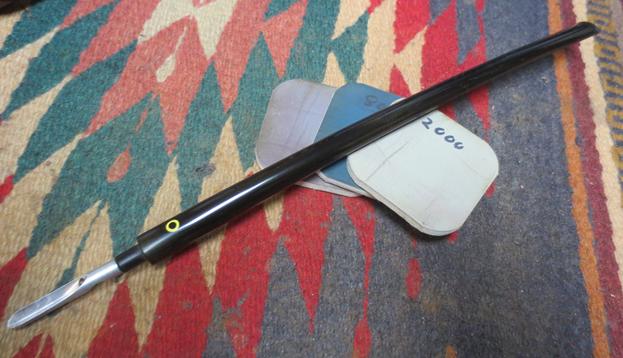
 I took closeup photos of the Yello-Bole stinger apparatus. The first shows the topside of the stinger and the second the underside.
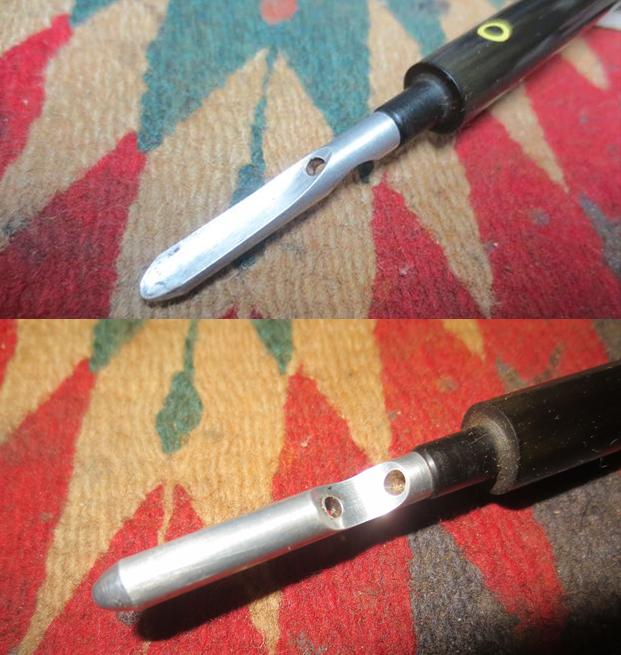 I took closeup photos of the existing finish on the bowl to show the peeling varnish and the speckled finish.
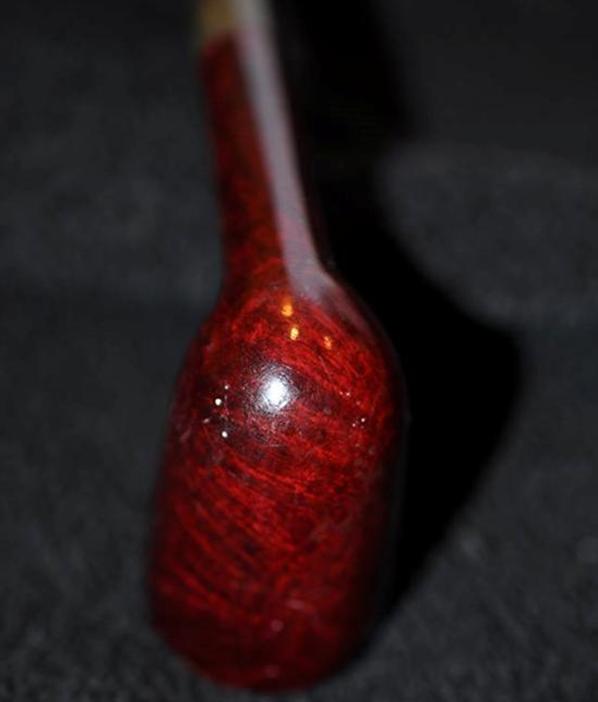
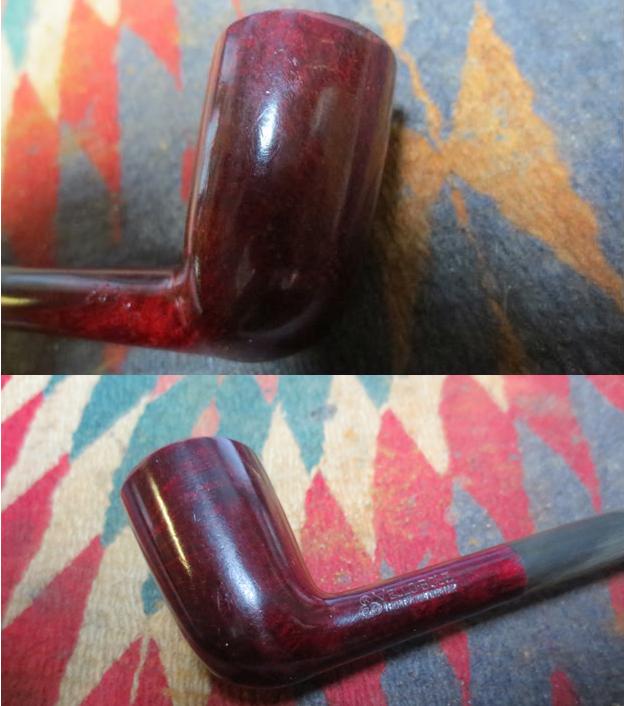 I wiped down the bowl with acetone on a cotton pad to remove the varnish coat and I was surprised by the grain that came through once the varnish was gone.
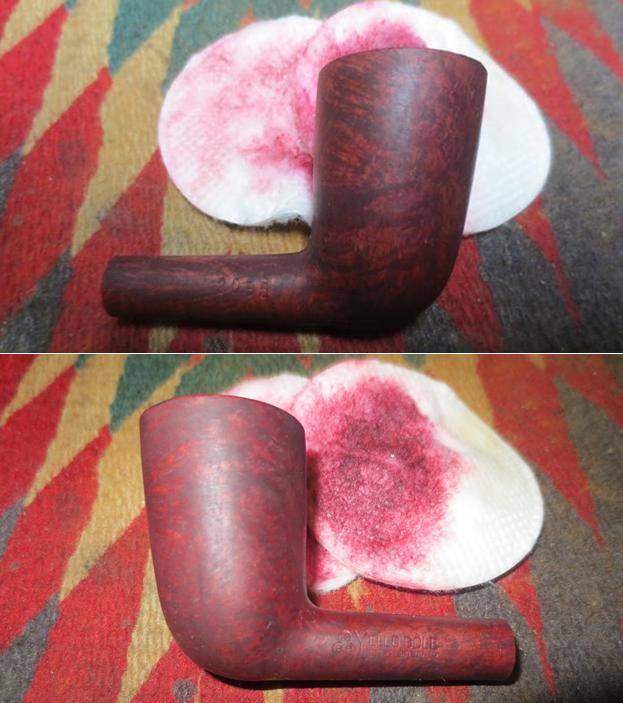
 I waxed the bowl with Conservator’s Wax so that I could see the scratching and spots that needed more attention on the briar. A bit of a shine makes issues in the briar stand out.
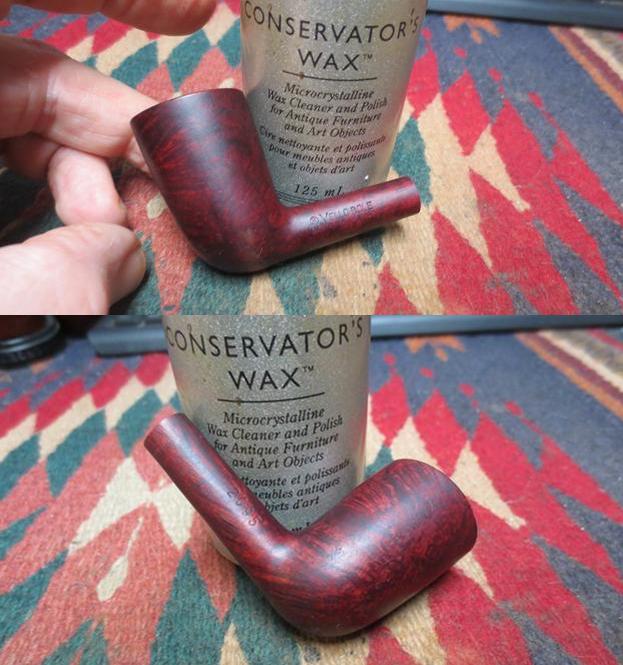
 I polished the briar with micromesh sanding pads – dry sanding it with 3200-12000 grit pads. I wiped the bowl down with a damp cotton pad to remove any polishing dust left behind.
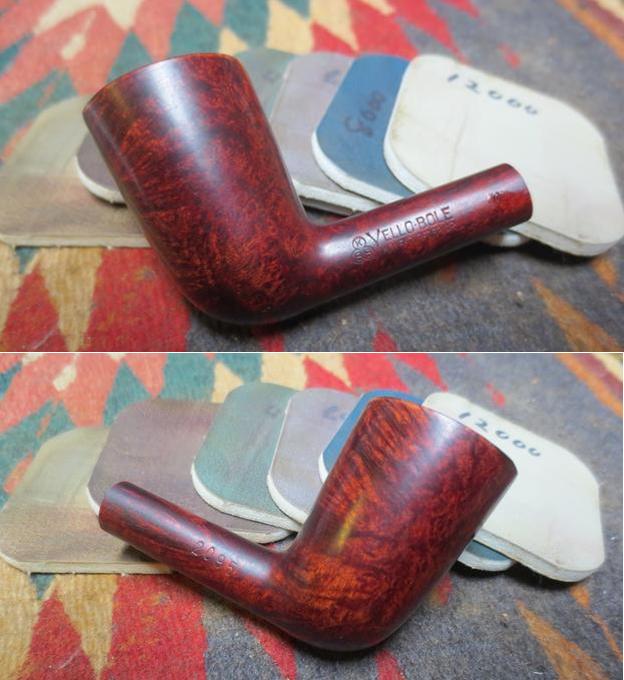
 I polished the stem with micromesh sanding pads – wet sanding it with 1500-2400 grit pads and dry sanding with 3200-12000 grit pads. I rubbed it down with Obsidian Oil after each set of three pads. After the last set of pads I rubbed it down with a final coat of oil and set the stem aside to dry.
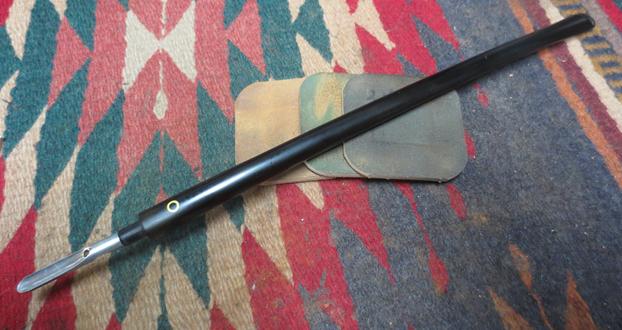
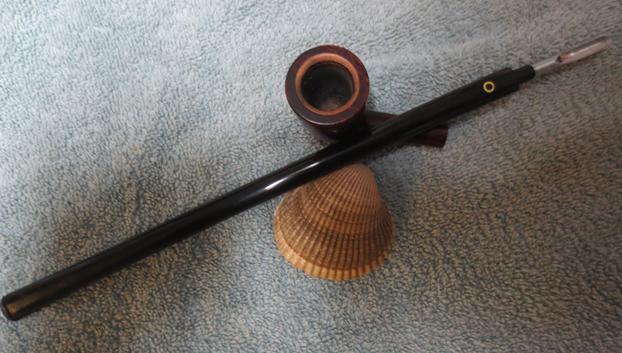
 I buffed the bowl with Blue Diamond on the buffing wheel to polish out the last of the scratches in the briar. I gave the bowl multiple coats of carnauba wax and buffed the bowl with a clean buffing pad. The next photos show the finished bowl.
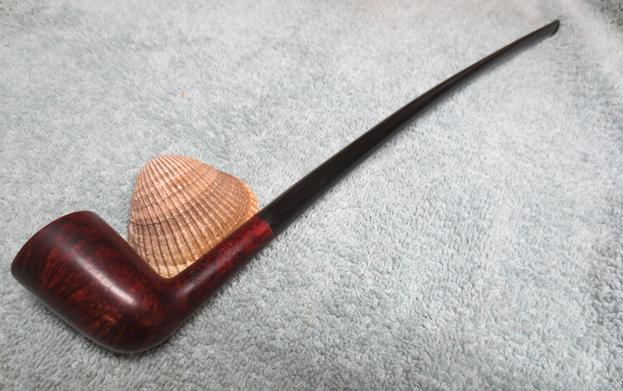
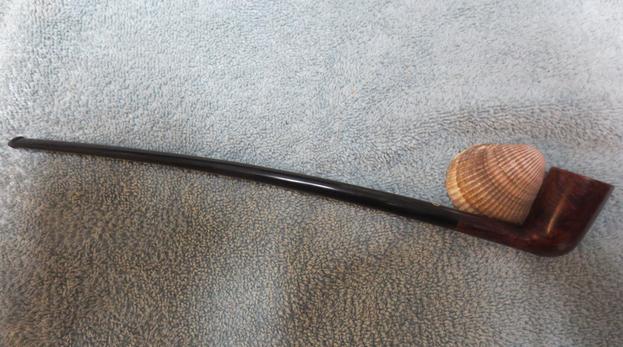
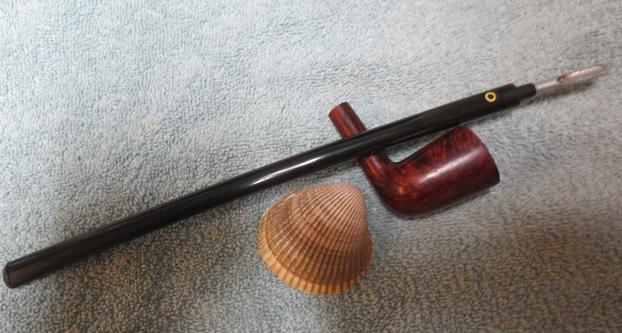
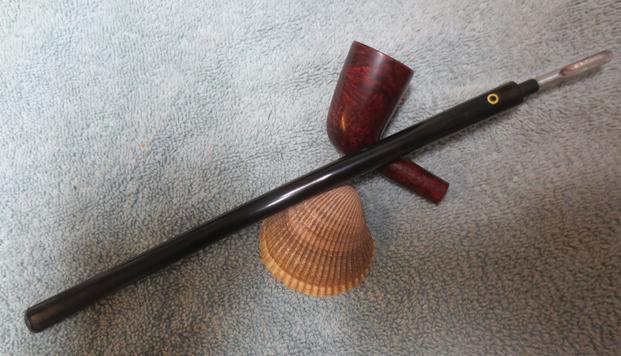
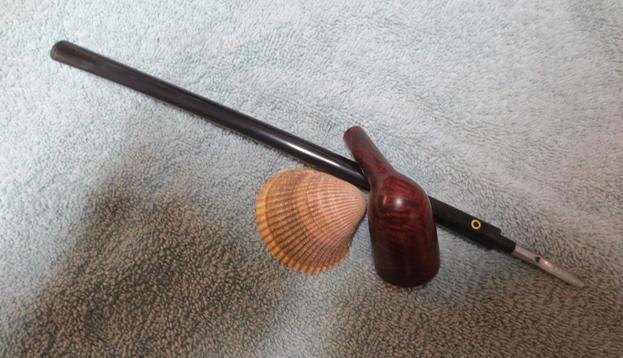
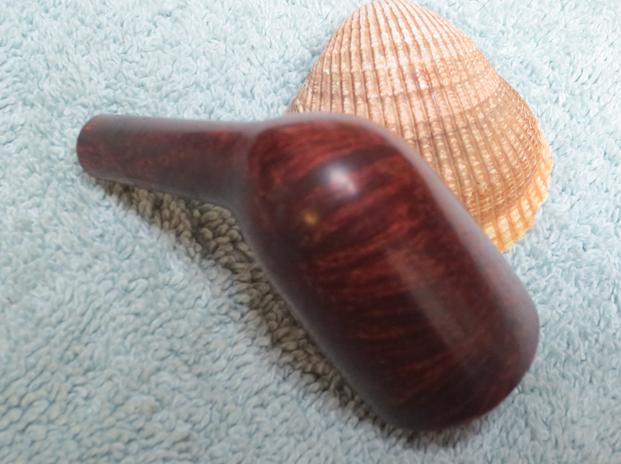 I put the stem on the bowl and buffed the entirety again with Blue Diamond and gave the stem multiple coats of carnauba wax. I buffed it with a clean buffing pad and hand buffed the pipe with a microfibre cloth to deepen the polish. The finished pipe is shown in the photos below. It is cleaned, all varnish has been removed from the bowl and shank and it has been waxed and buffed. The finished pipe has a rich shine and all of the grain is visible through the finish. Thanks for walking through the restoration with me.