Blog by Steve Laug
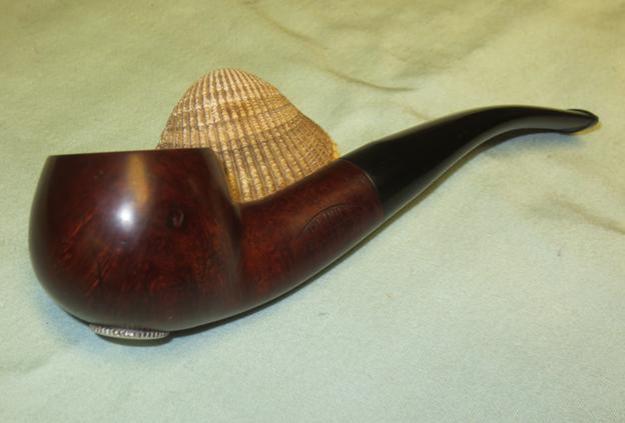
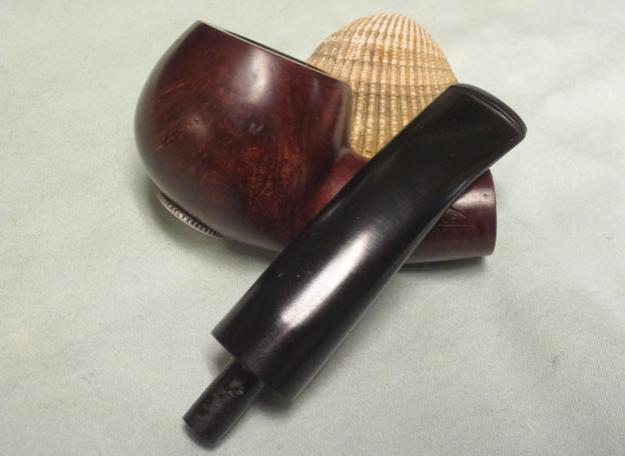
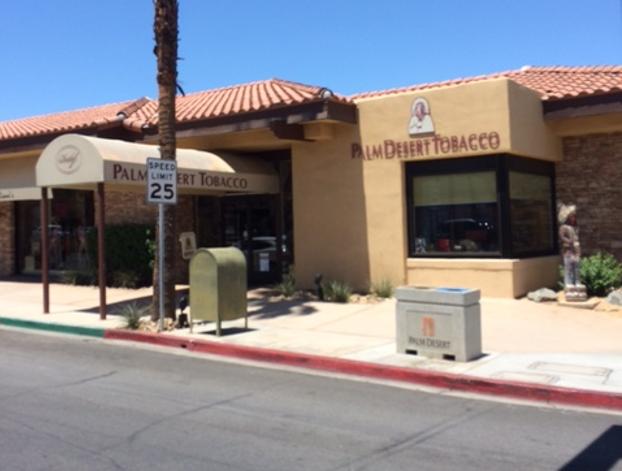
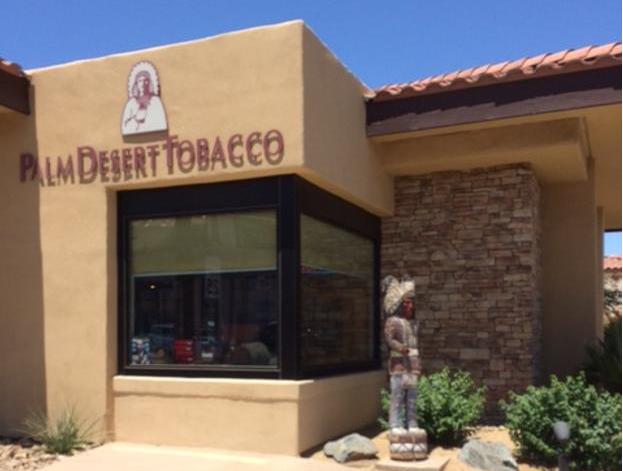
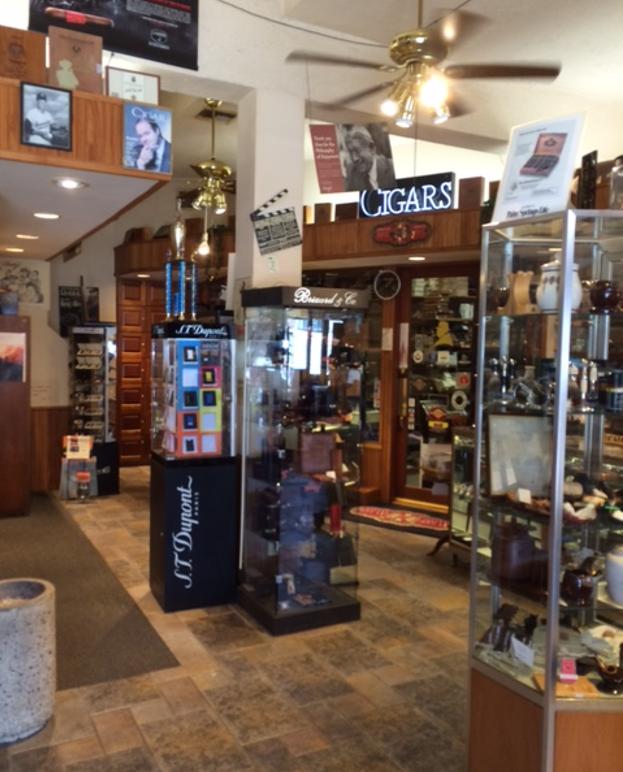
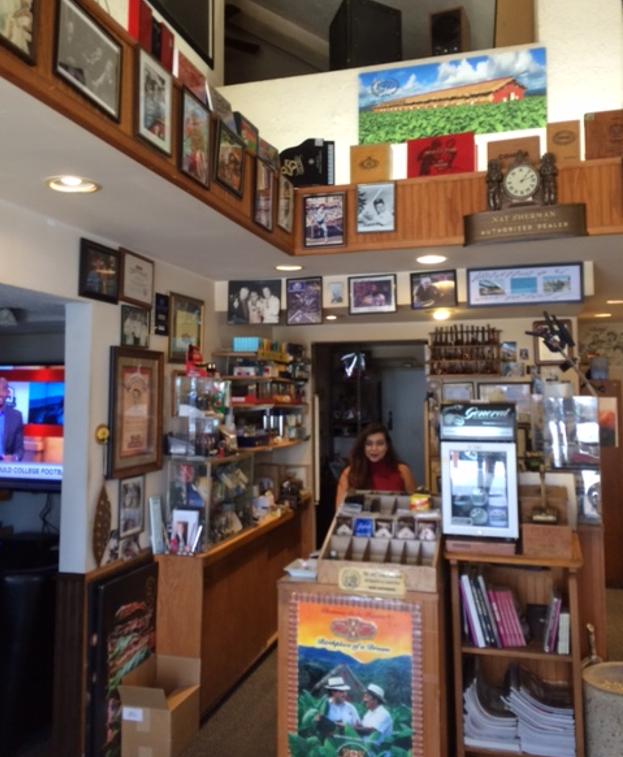
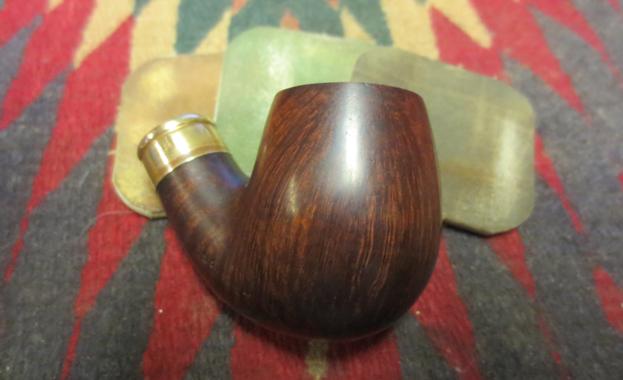
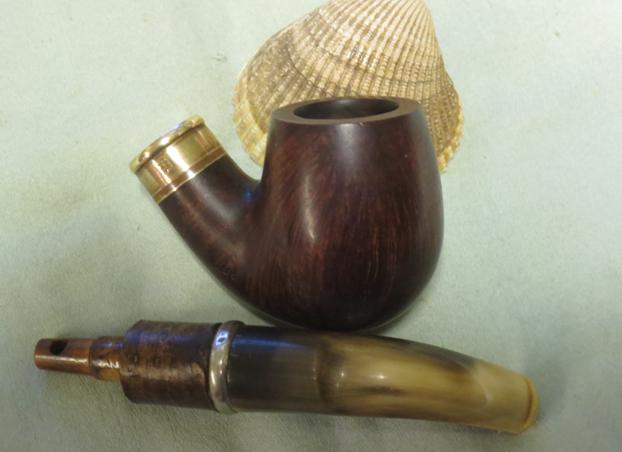
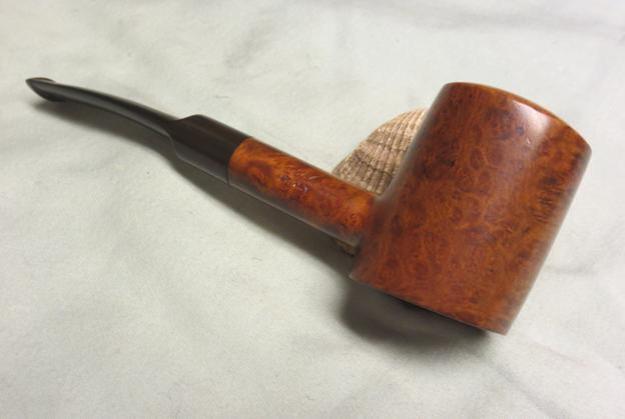
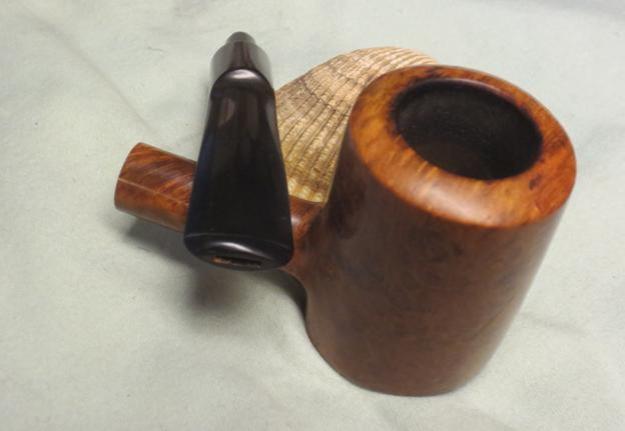
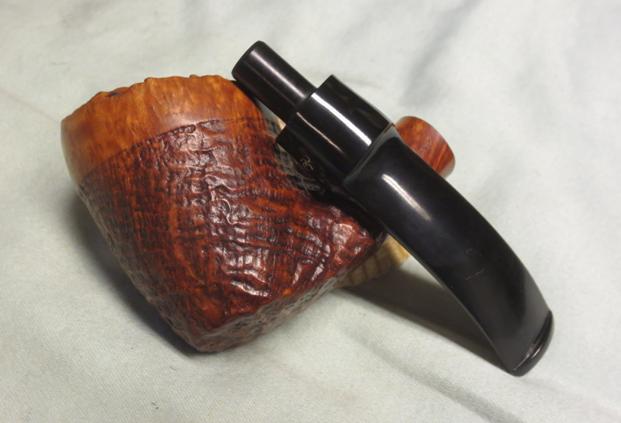
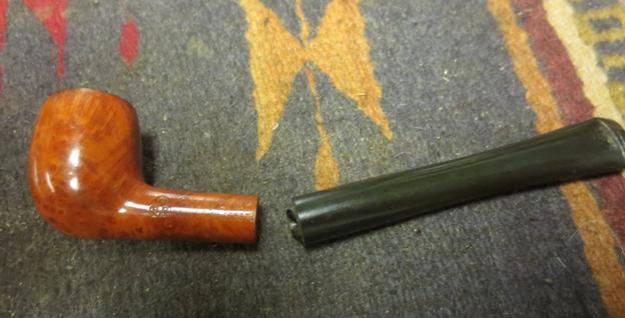
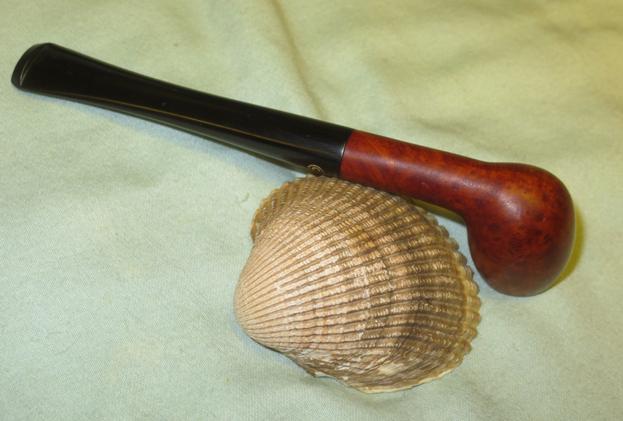
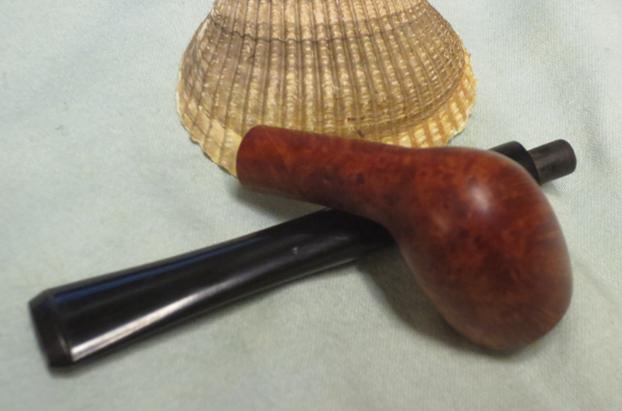
When Jeff and his wife took a trip to Southern California he could not stay away from the antique shops and looking for pipes. He found quite a few that will over the months show up on the blog after refurbishing. The one I chose to work on next came in a box with the Don Roberto logo and name on it. It is labeled a Lancelot pipe. On the end of the box it reads Don Roberto Lancelot over 9489 which immediately made me think of the GBD numbering system and Italy which threw me off from my GBD assumption. I had looked at the pipe a few months back when he sent it to me for restoring but had put in the refurbishing bin and forgotten what was in the box. I took the box out of the bin of pipes awaiting restoration and brought it to my work table. I opened the box and found myself looking at a Cherrywood or a Poker shaped pipe. It was sitting on top of a pipe sock that did not look original.
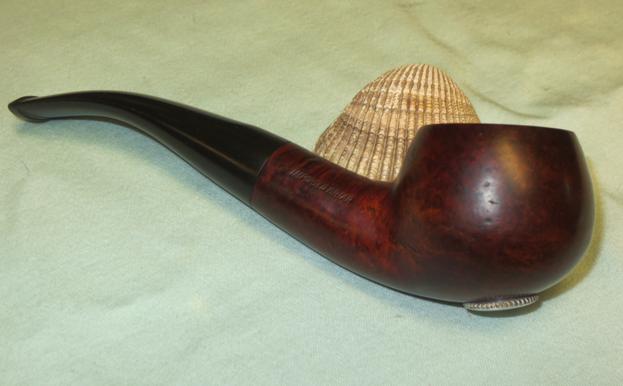
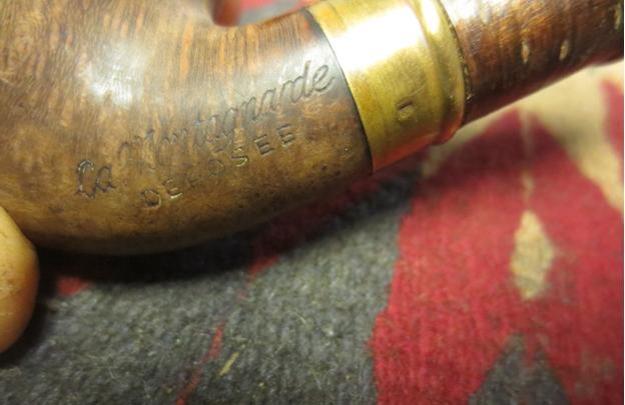
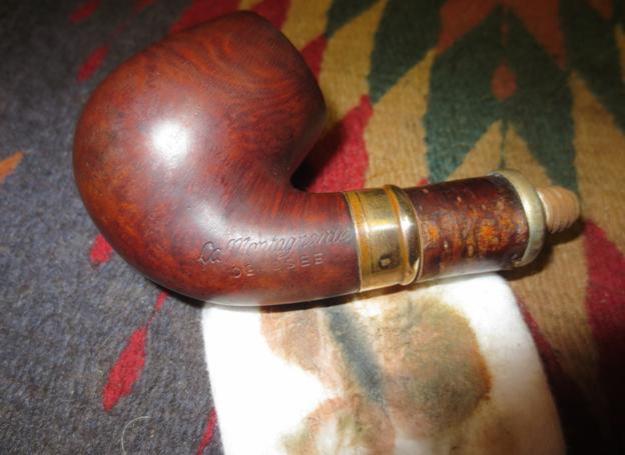
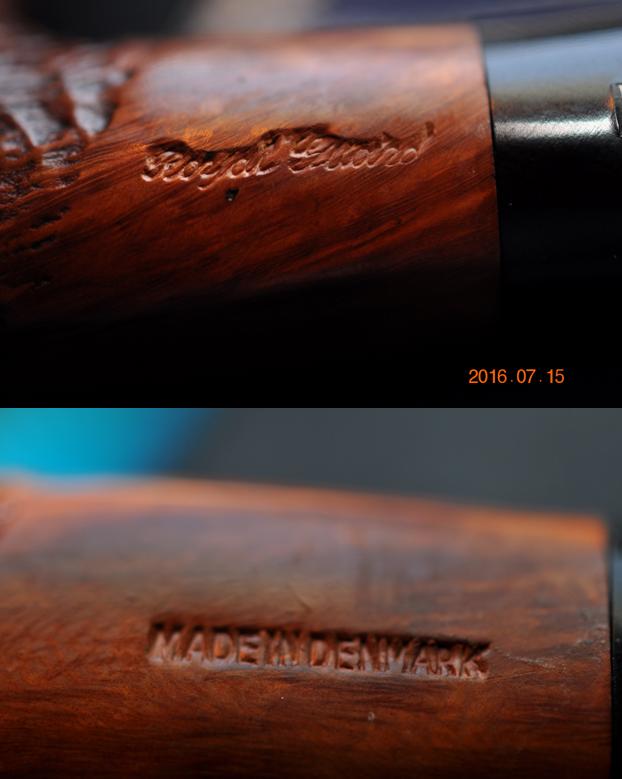
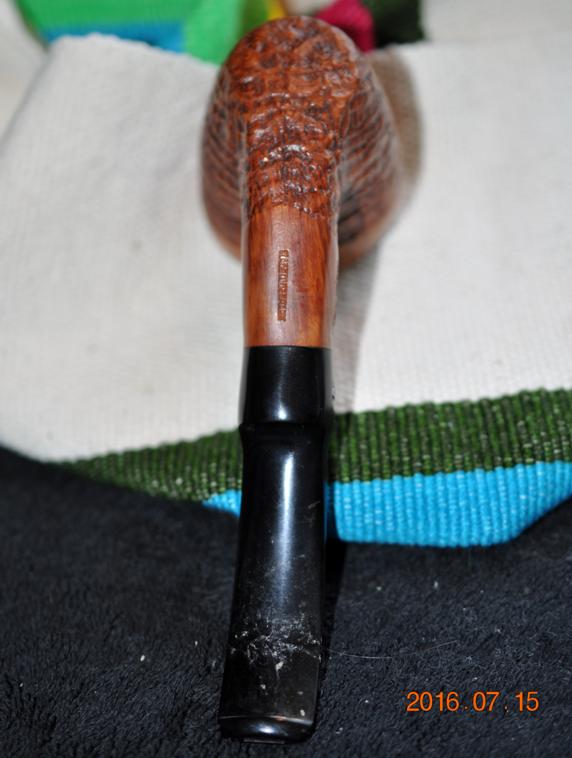
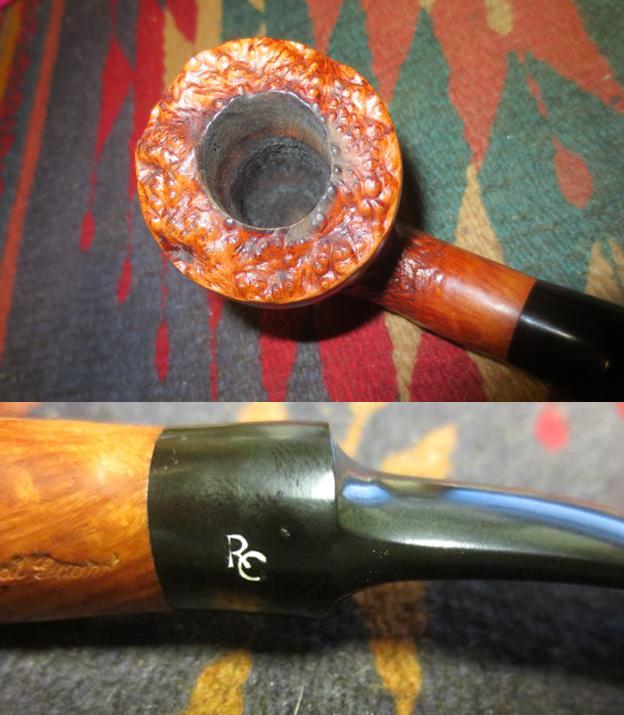
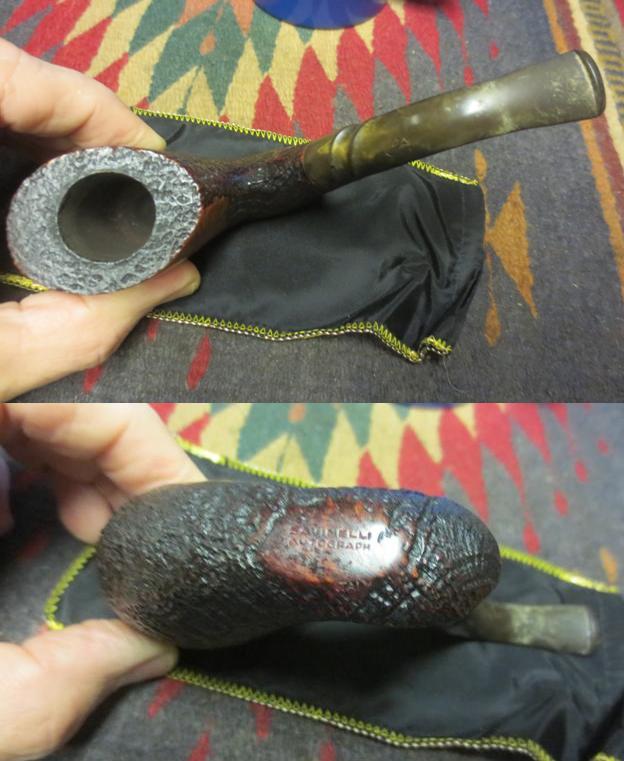
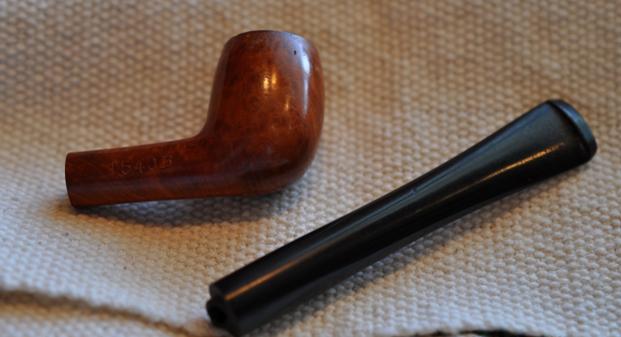
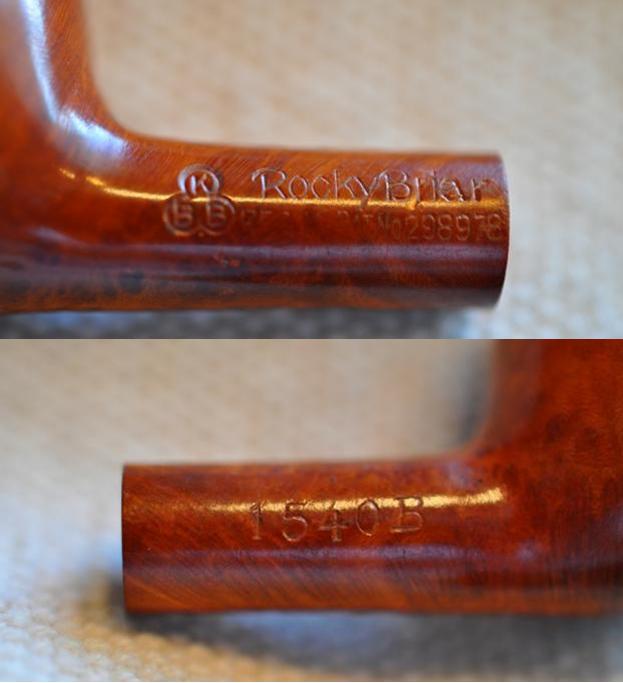
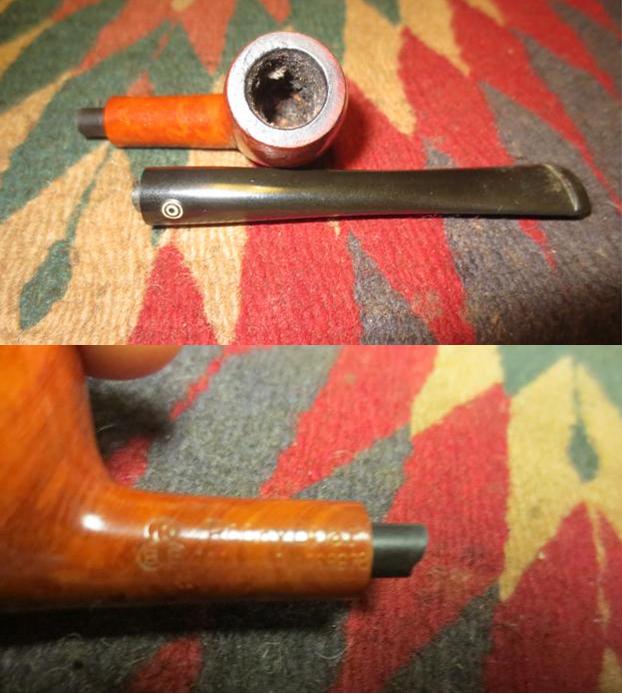
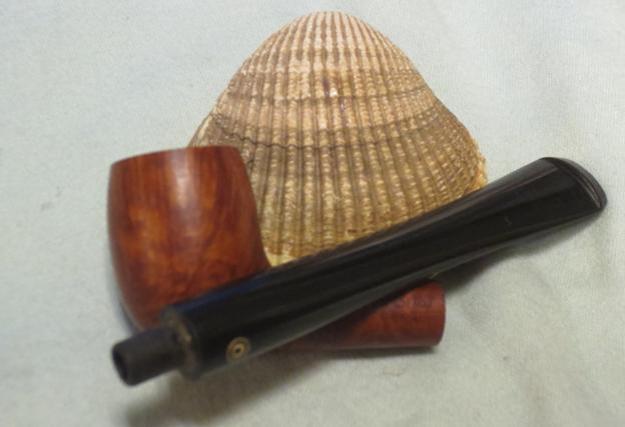
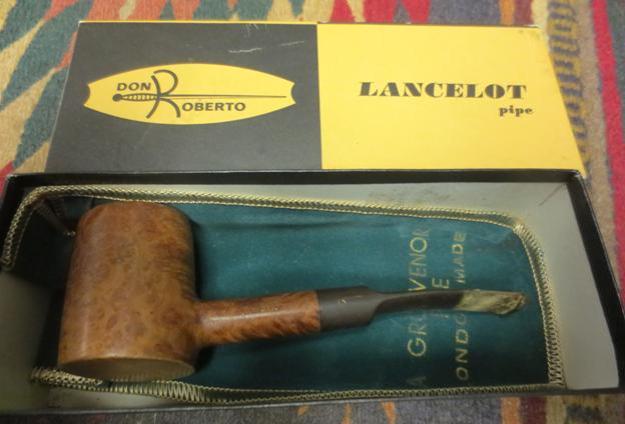 I took the pipe out of the box to have a look at it. The finish originally must have been virgin or oil finished. The stamping on the pipe was interesting – on the left side of the shank it was stamped with the logo like the one on the box, Don Roberto separated by at sword over Lancelot. On the right side of the shank it was stamped 1344 over Italy. There was something familiar to me about the shape and the shape number so I looked it up and found it on my GBD shape chart. 1344 was the number for a GBD Poker so the number and shape matched. The mystery to me was the Italy stamp. How does that fit into the picture? The stem also had a worn Don Roberto and sword logo on the left side of the saddle.
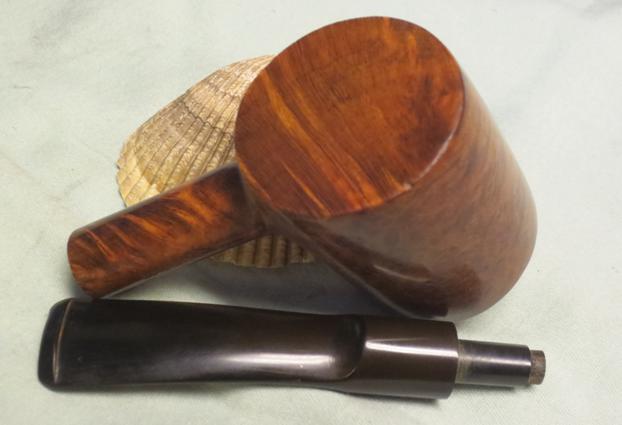
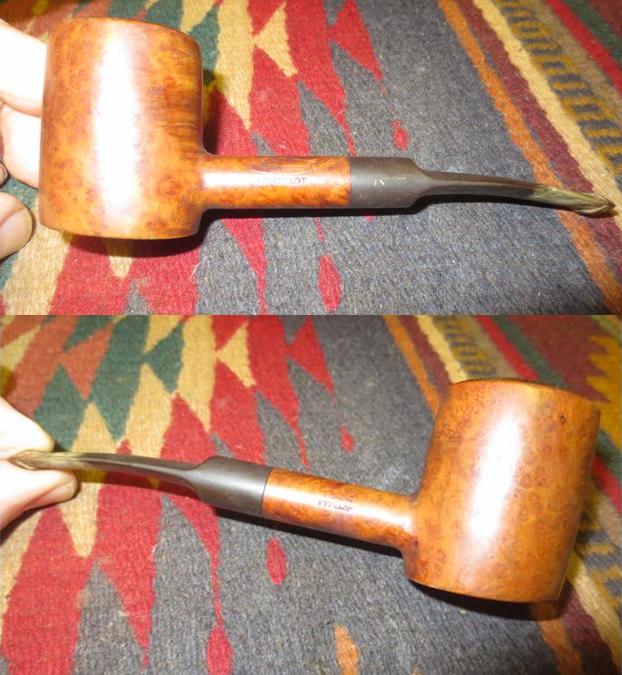 The rim was in bad shape. It looked as if it had been knocked out on concrete. The entire crowned surface of the rim was covered with road rash – stippling left behind from the concrete. There was also some tars and oil on top of the damage. The inner edge of the bowl looked to be in round and undamaged and the inner bevel looked to be in good condition. There was a groove carved on the bottom of the bowl and part way up the front side. Probably it was cause by aggressive cleaning with pipe cleaners over the years but I cannot be sure. The stem had a heavy coat of calcification on the end and the button hiding quite a bit of tooth damage and tooth marks.
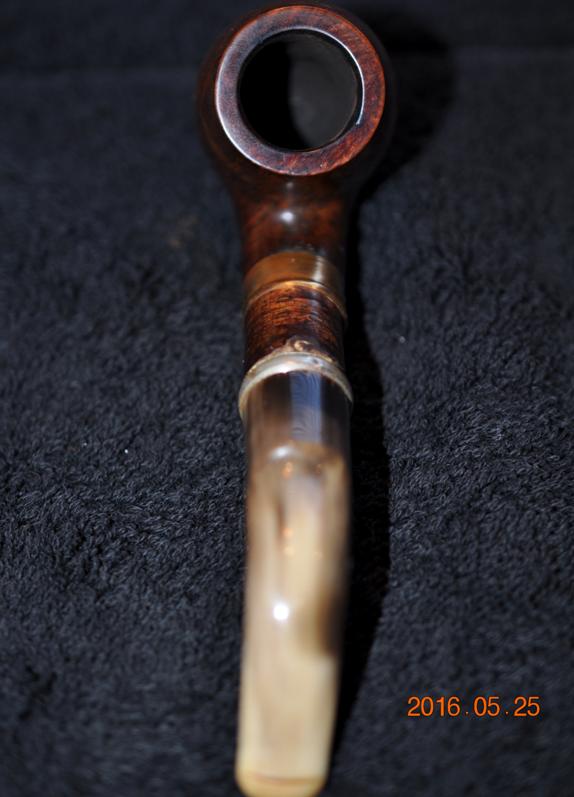
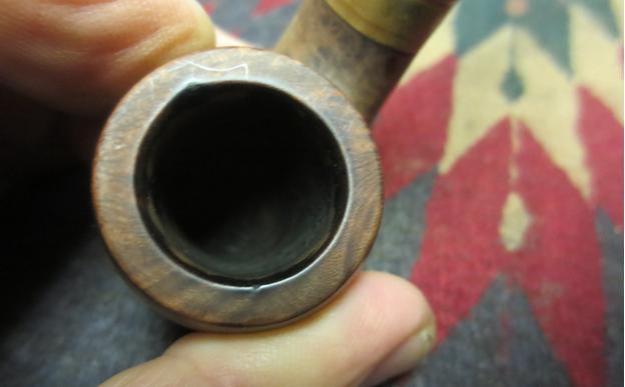
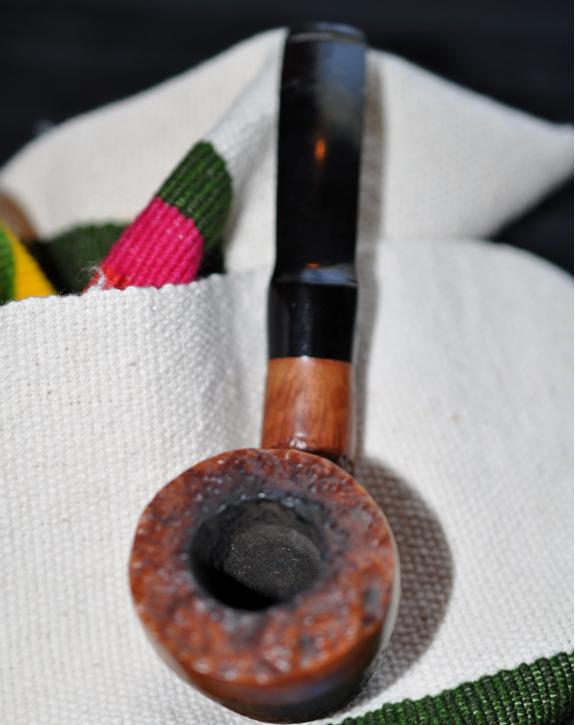
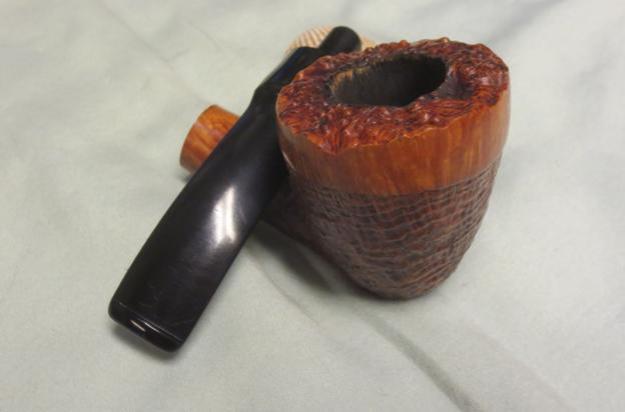
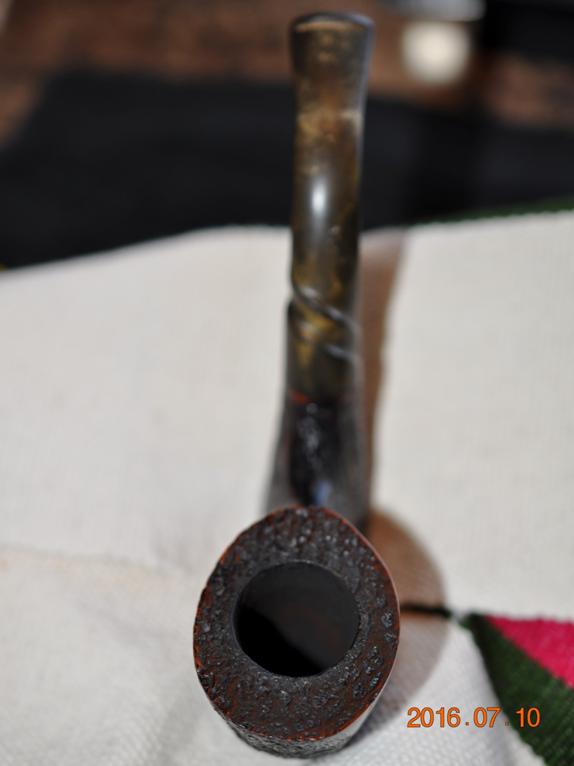
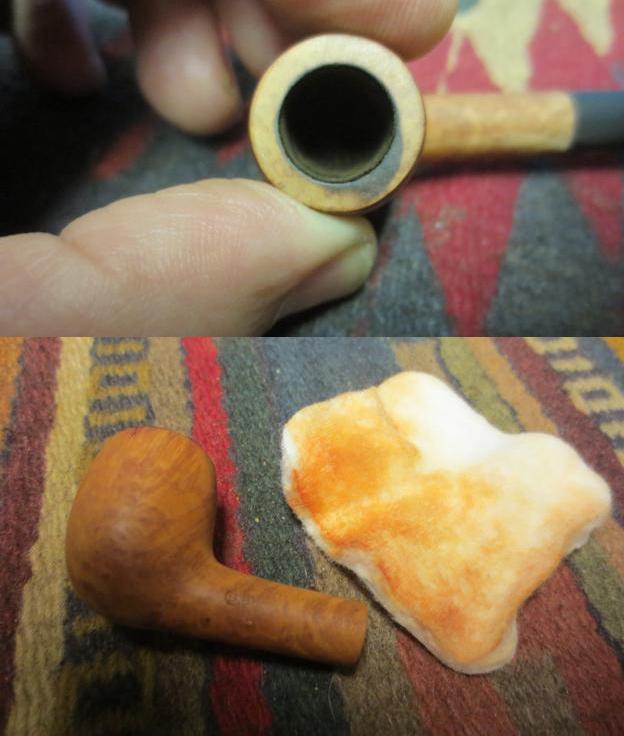
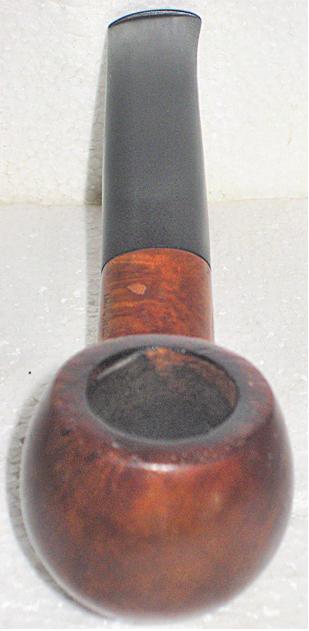
 I took a close up photo of the rim top to more adequately show the damage to the crowned surface. The light cake in the bowl is also visible in the photo.
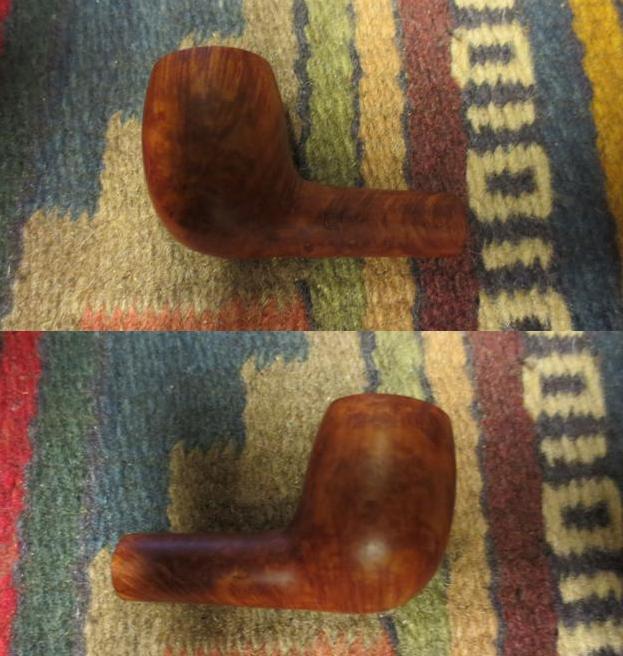
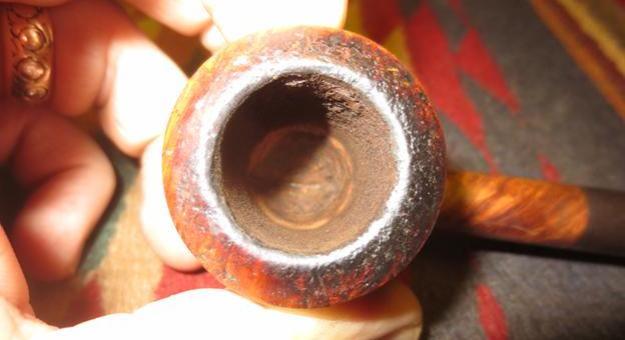 I sanded the crowned rim with a folded piece of 220 grit sandpaper to preserve the crown and not flatten it on a topping board. Care must be taken to keep the angle of the curve and the line around the top of the bowl sides equal. I sanded until I removed damage to the bowl top. I wiped down the bowl with acetone to remove the grime and the wax on the briar. The photo below shows the bowl top before I sanded out the scratches.
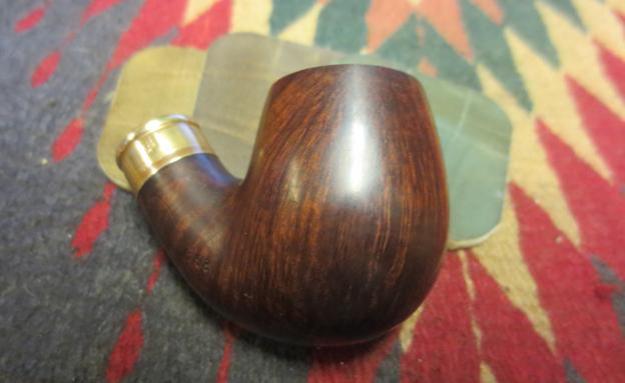
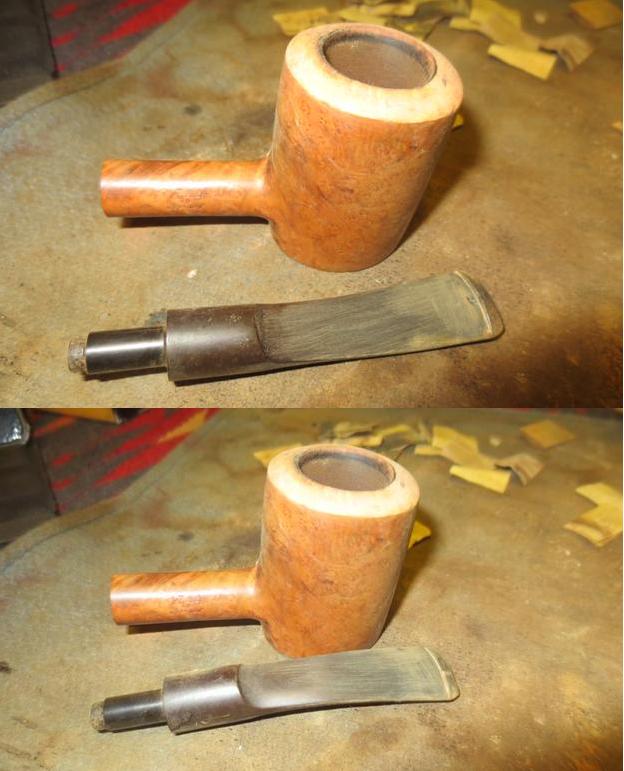
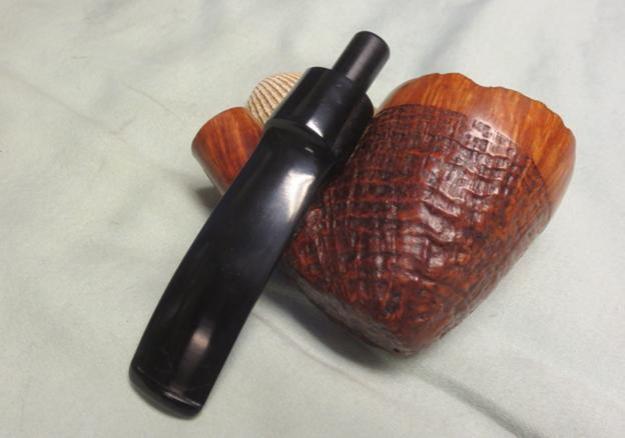
 The next photos show the bowl after the scrubbing with acetone.
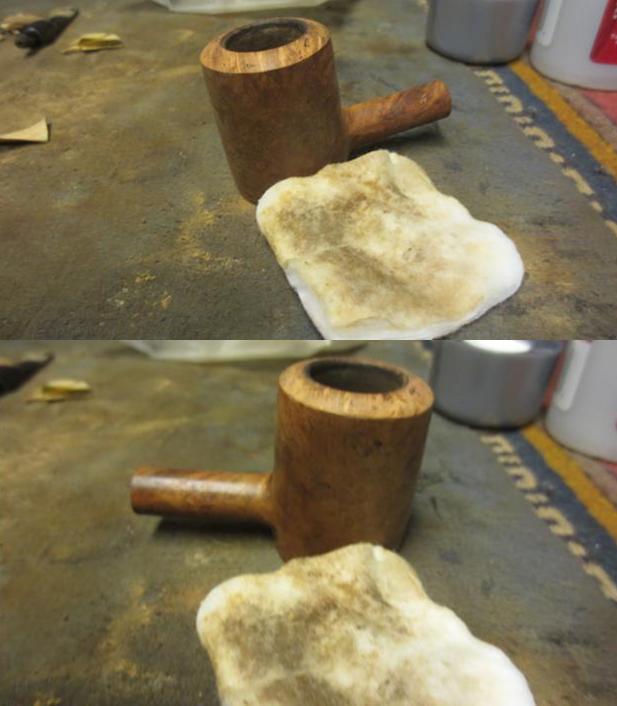
 I sanded the rim some more with the folded 220 grit sandpaper and also worked on removing the calcification on the stem. It took a lot of sanding to get the rim smoothed out and also to remove the buildup on the stem.
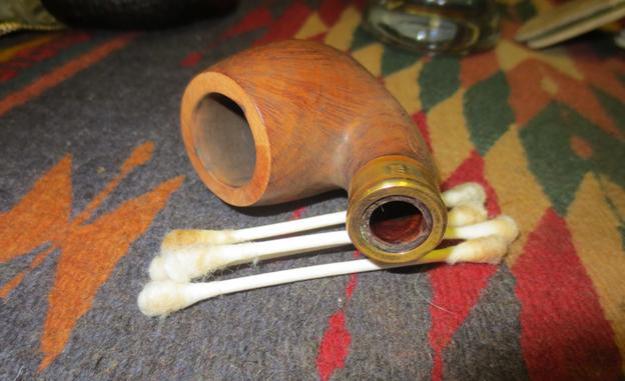
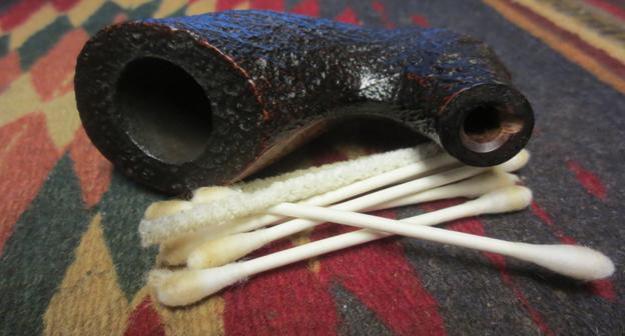
 There were a lot of tars and oils lining the walls of the mortise. I used a dental spatula to scrape the walls before scrubbing the mortise with pipe cleaners, cotton swabs and alcohol.
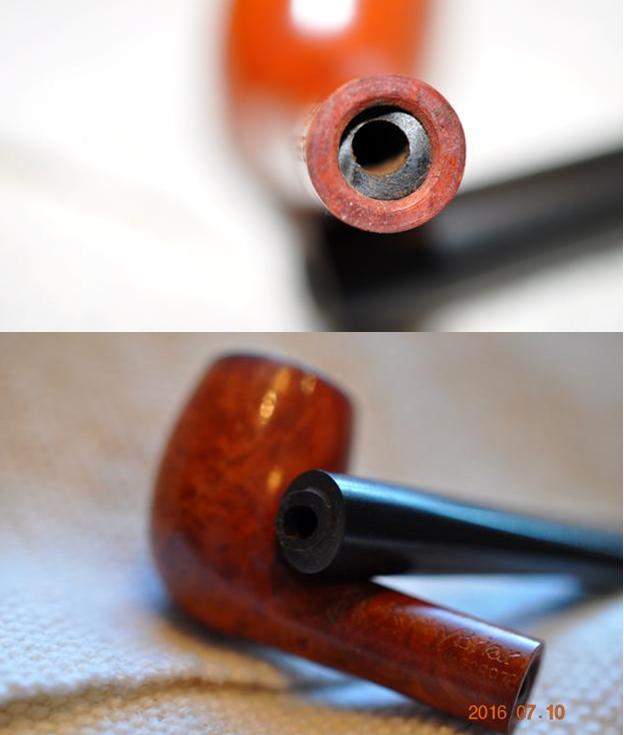
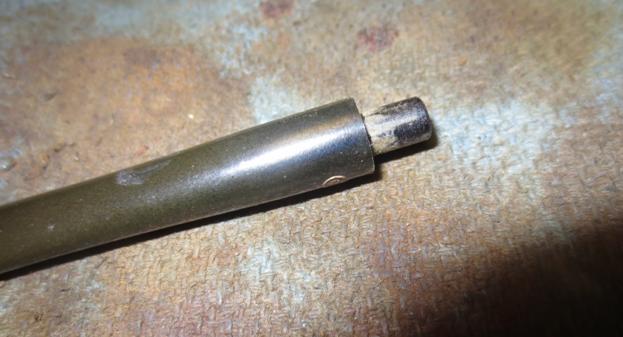
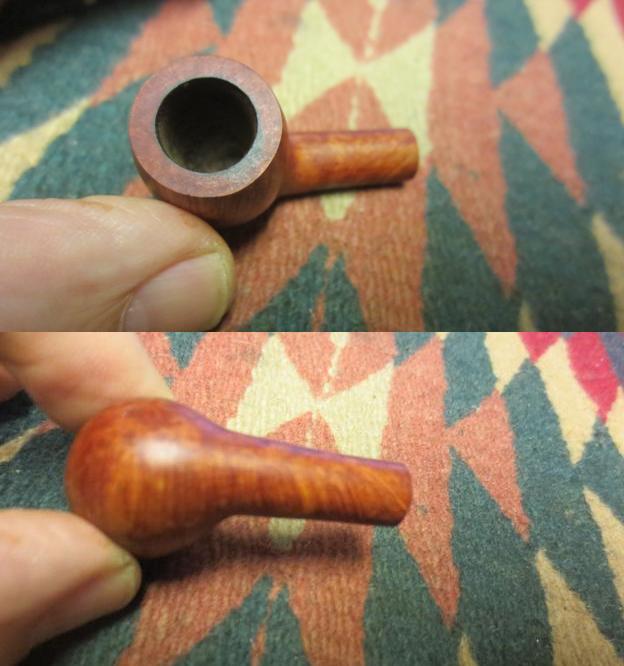
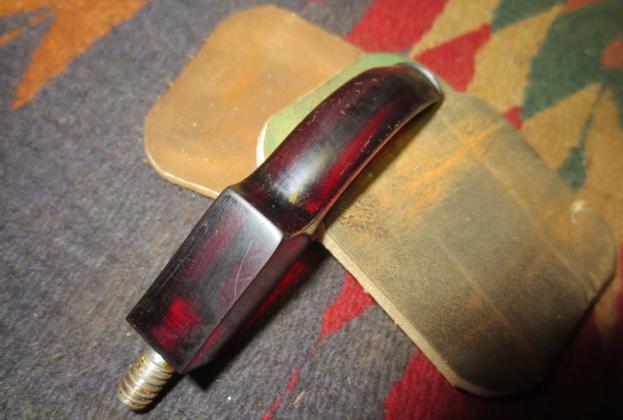
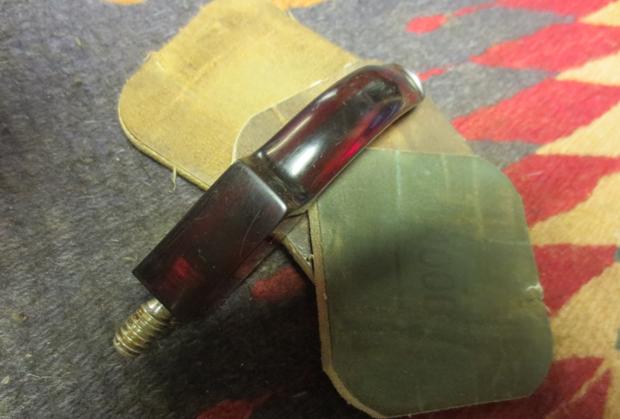
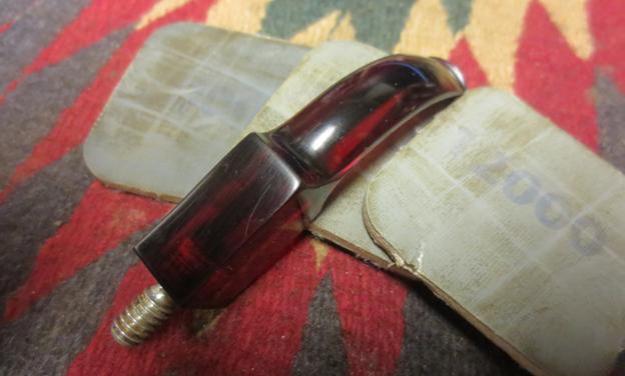
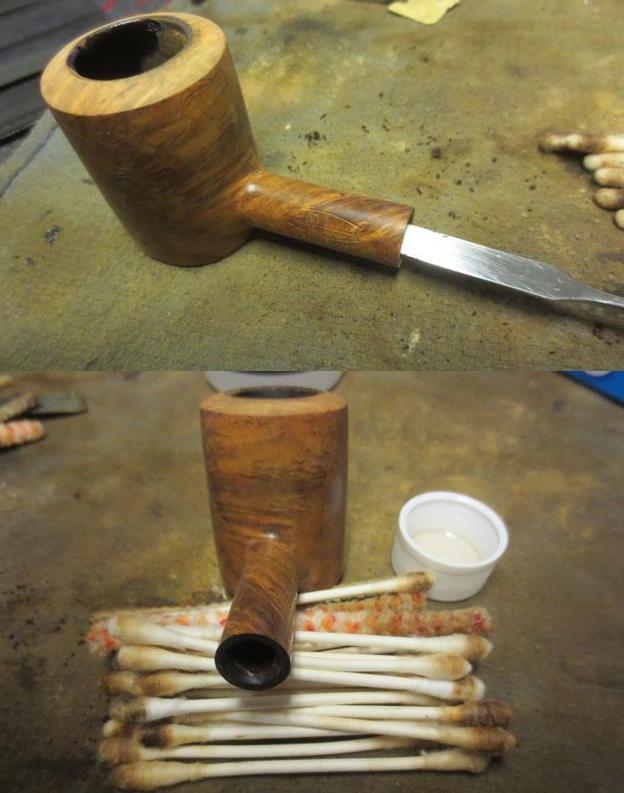 I scrubbed the airway in the stem with pipe cleaners and alcohol. As I cleaned it a small reducing ring popped out of the tenon. I have never figured out why people put these constrictors inside o the tenon but this one had one. It is shown in the second photo below. I used the spatula to scrape away the buildup on the stepped down area on the end of the tenon.
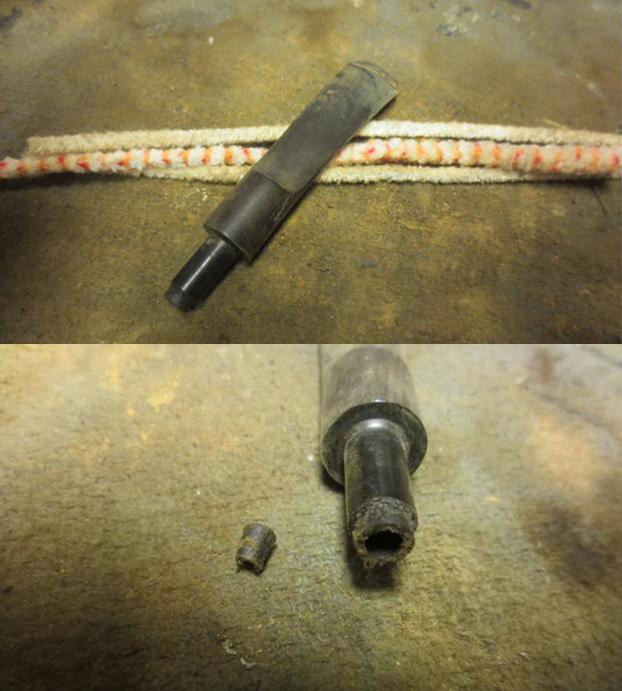 I used a drop of black super glue to repair a deep tooth mark on the underside of the stem near the button and also to repair a tooth mark in the surface of the top side of the button. I sanded the patch with 220 grit sandpaper to smooth it out and blend it into the surface of the stem.
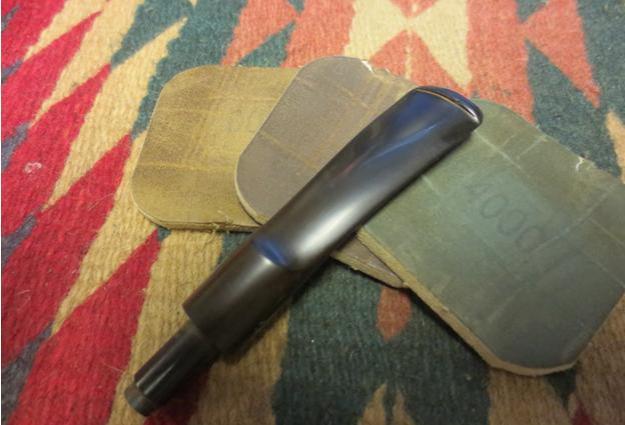
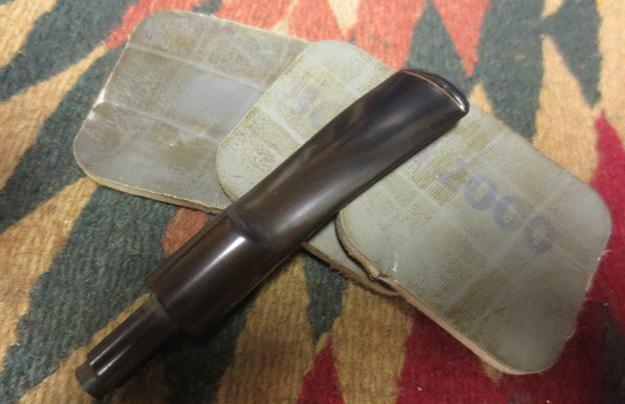
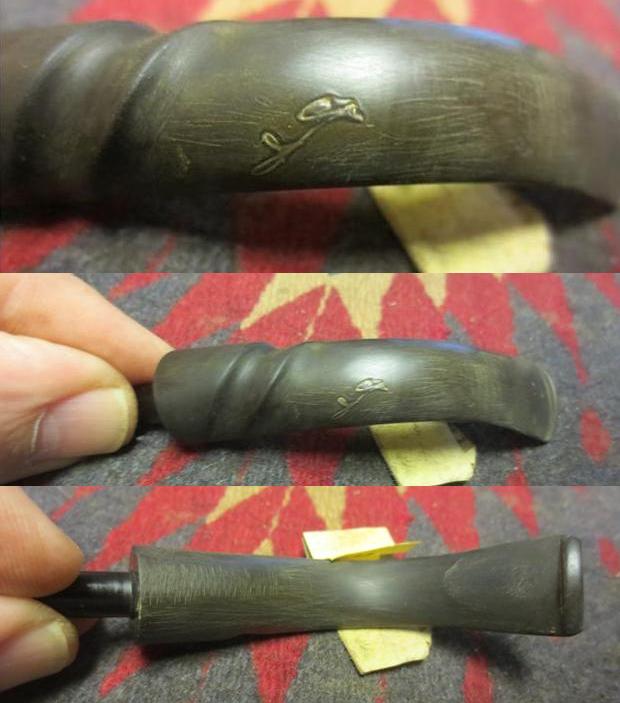
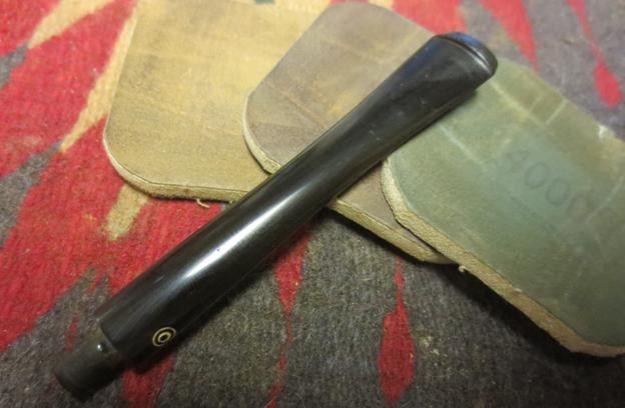
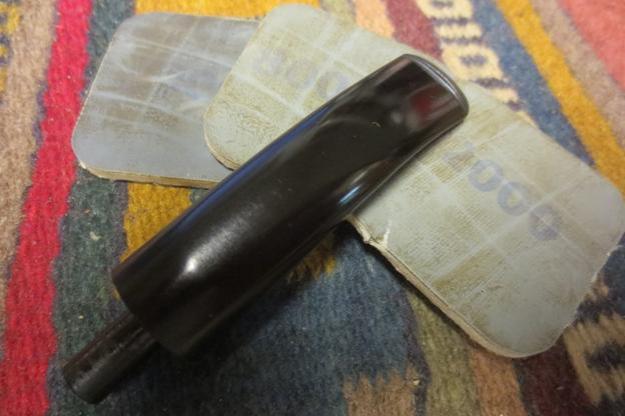
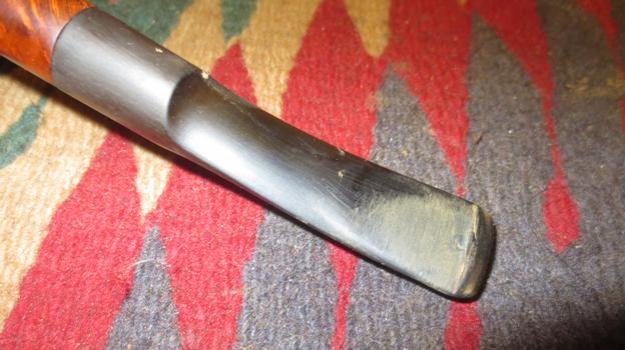 I wet sanded the stem with 1500-2400 grit micromesh sanding pads and gave the stem a rubdown with Obsidian Oil. I dry sanded with 3200-4000 and 6000-12000 grit pads and gave the stem a coat of oil between each set of three. I gave it a final rubdown of Obsidian Oil and set the stem aside to dry.
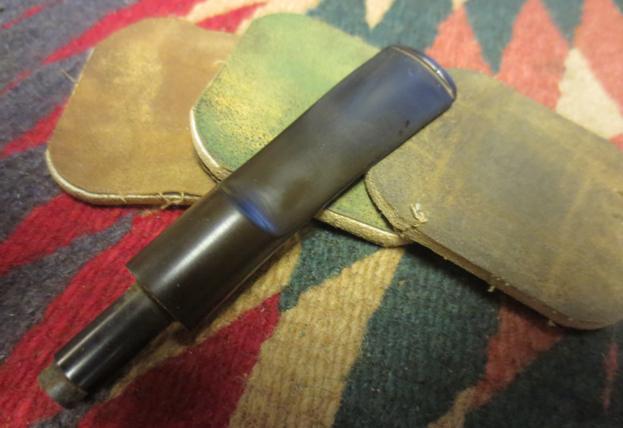
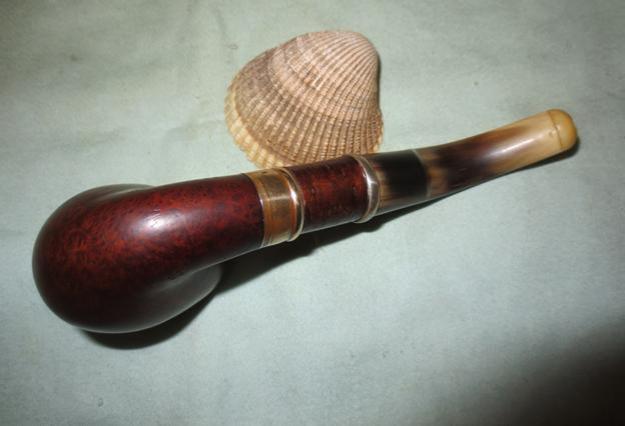
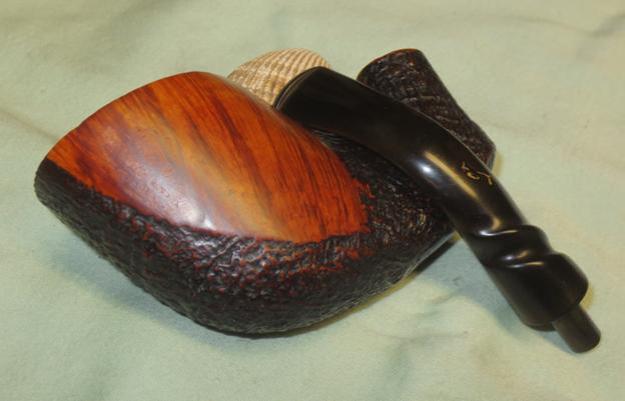
 I wet sanded the bowl and crowned rim with 1500-2400 grit micromesh sanding pads and dry sanded it with 3200-12000 grit pads. The polishing with the micromesh really made the grain stand out. The pipe is well laid out to follow the grain. The sides of the bowl are covered with birdseye grain that wraps around to the front and back to perfectly aligned cross grain. The top and bottom of the bowl as well as the shank all have cross grain as well. I cannot find a fill in the briar – it is one great looking piece of briar.
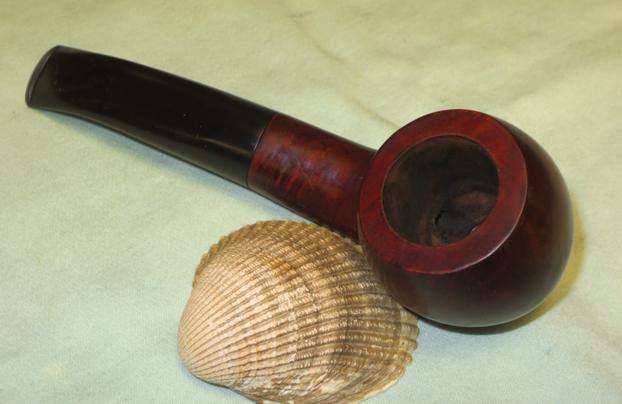
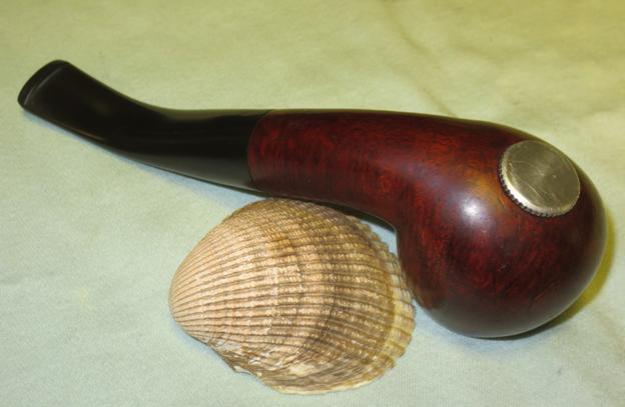
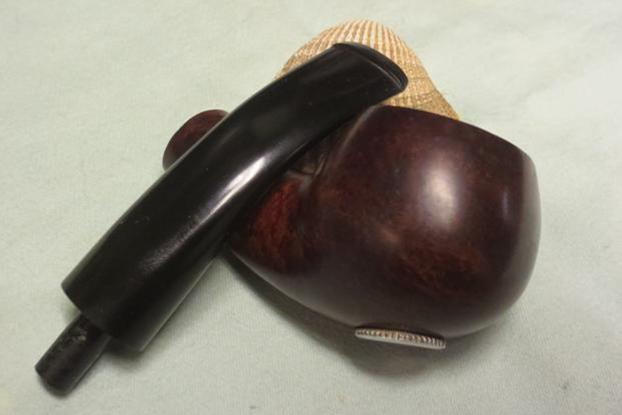
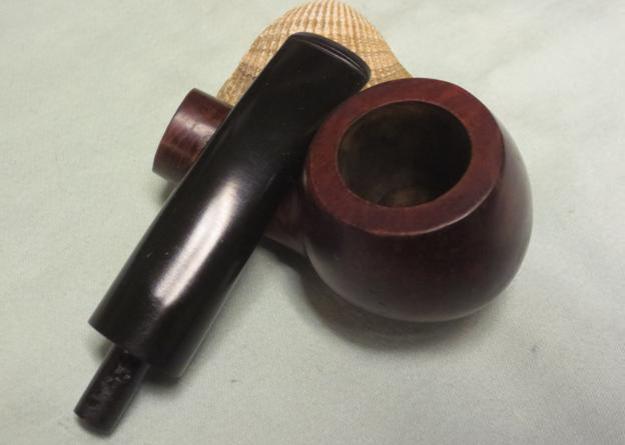
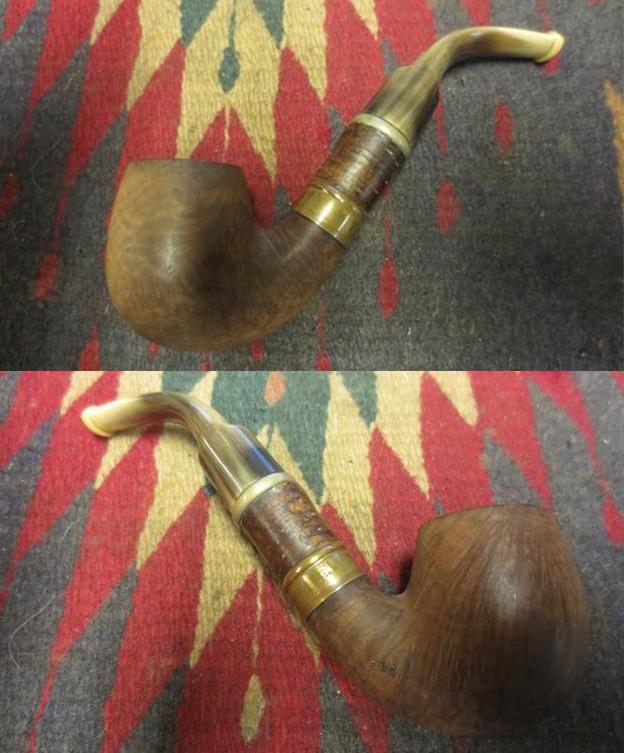
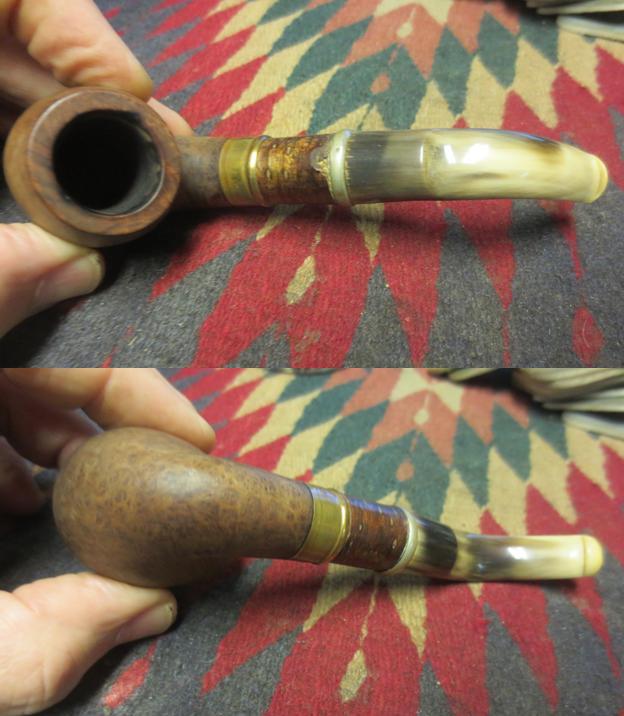
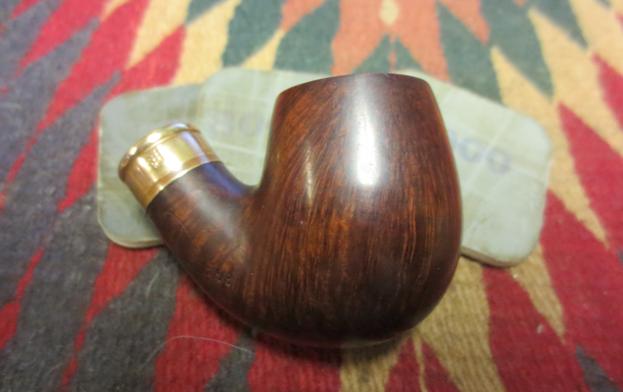
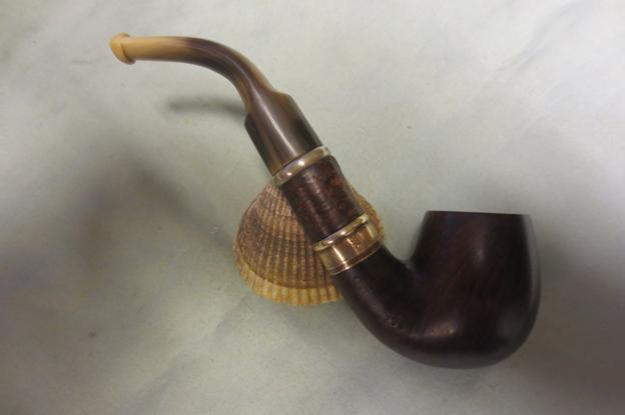
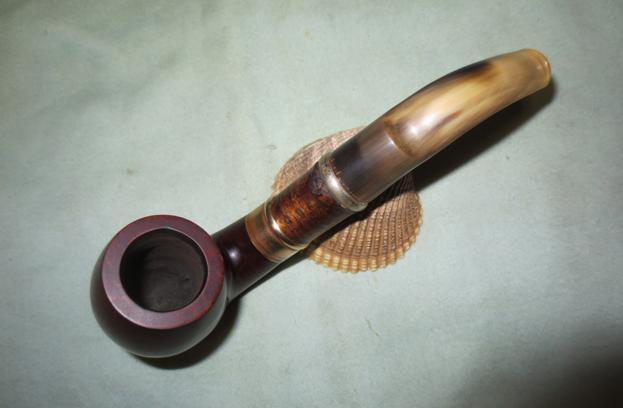
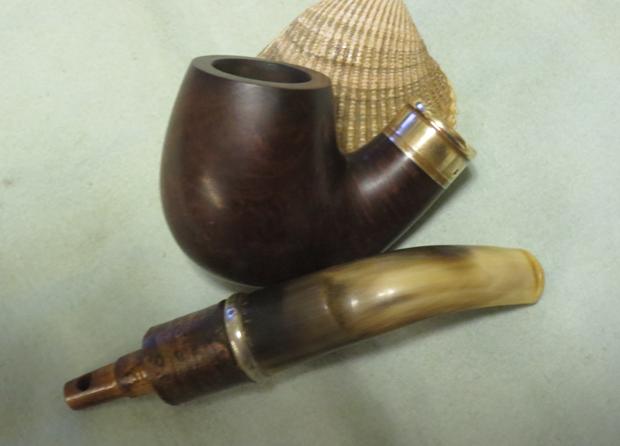
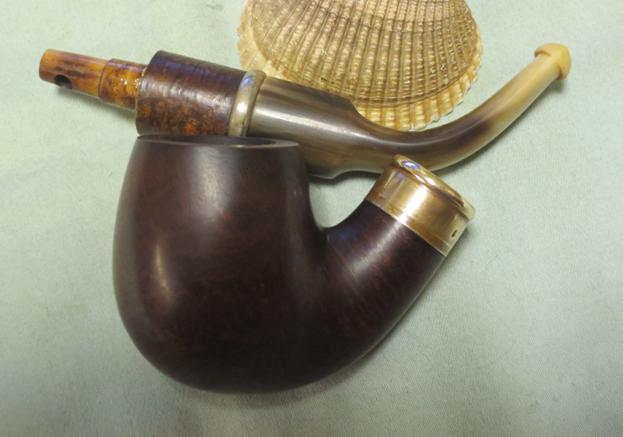
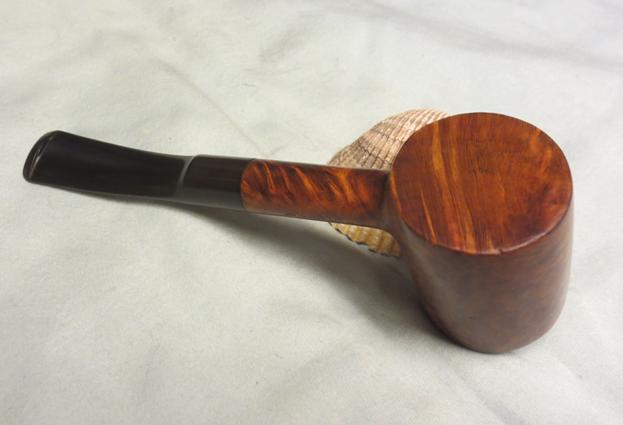
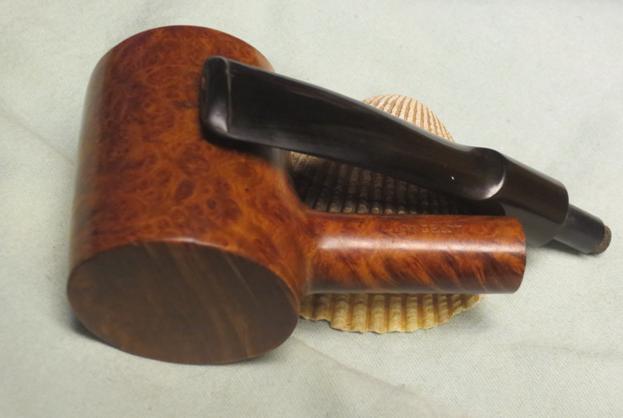
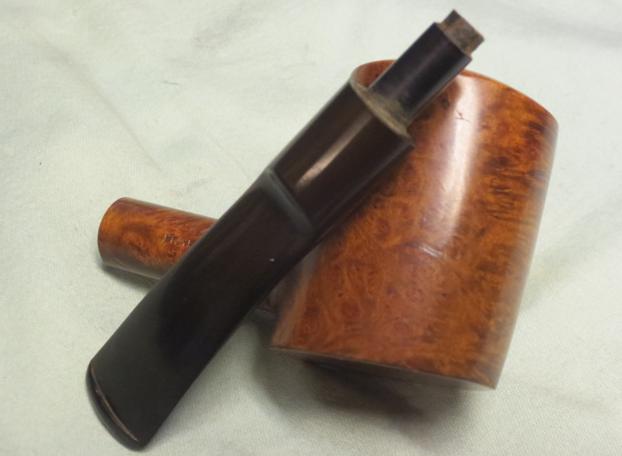
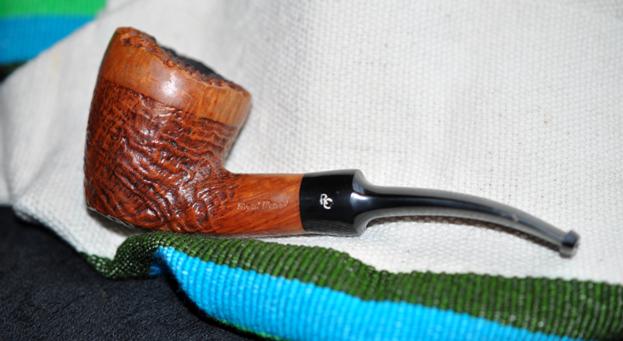
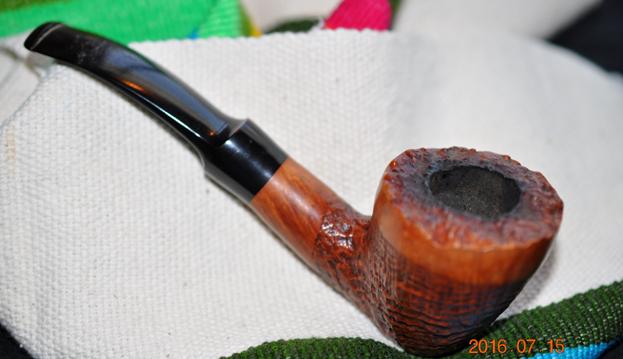
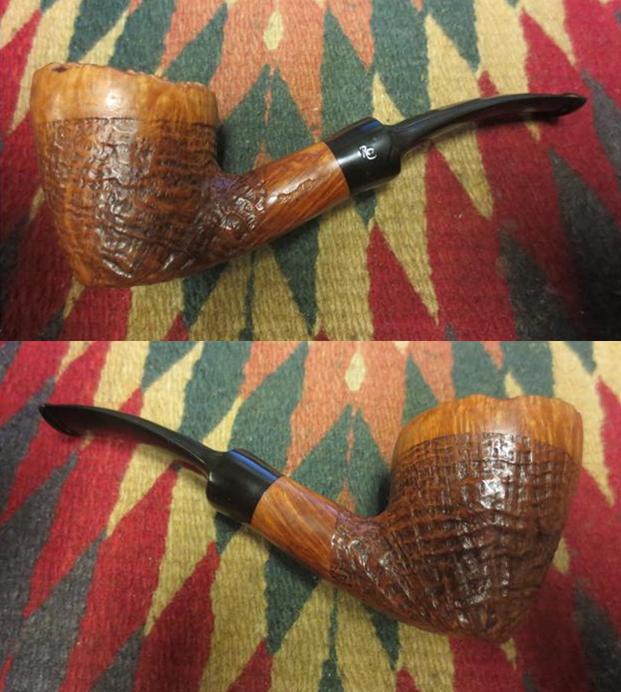
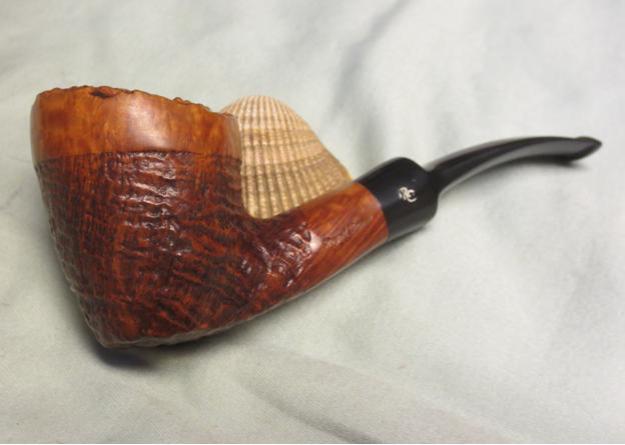
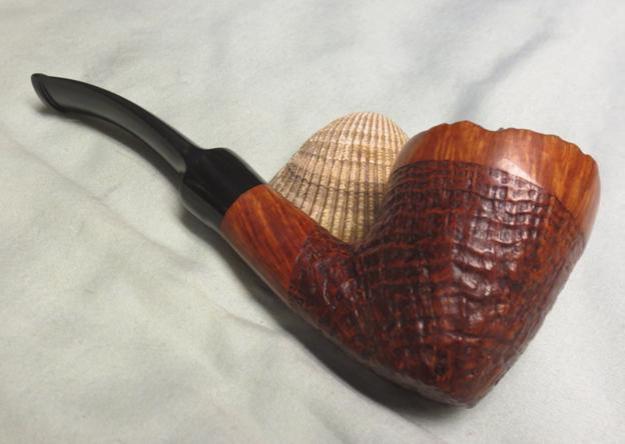
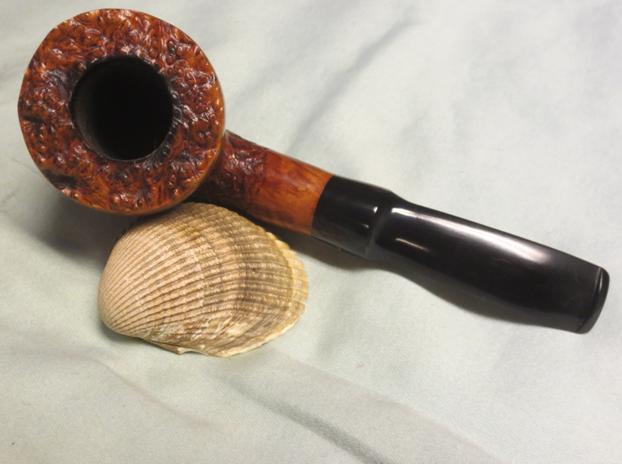
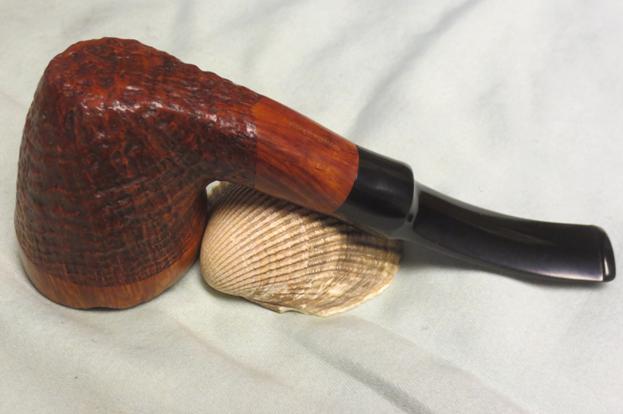
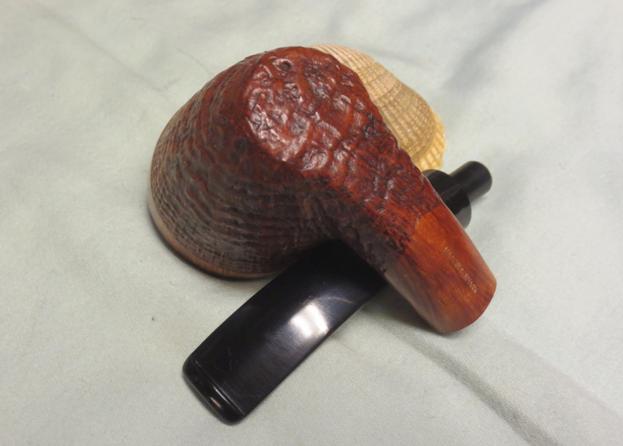
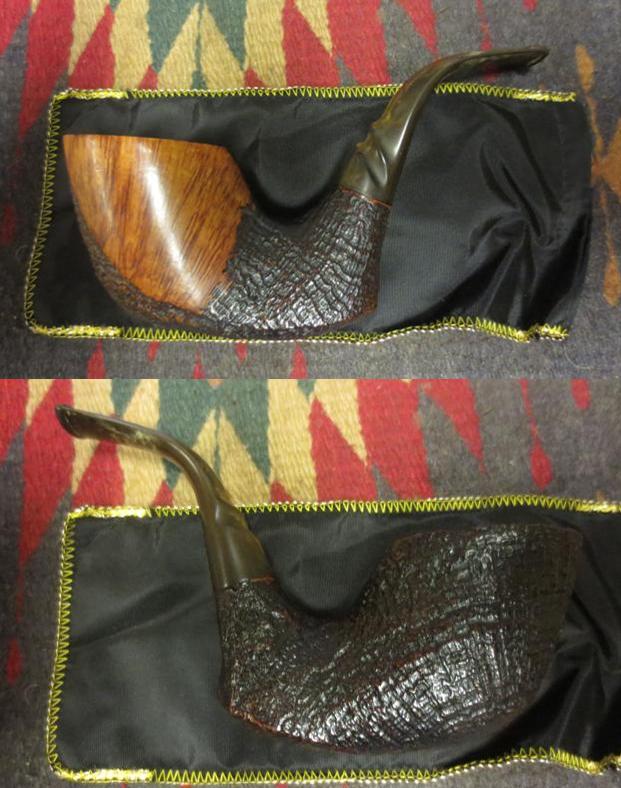
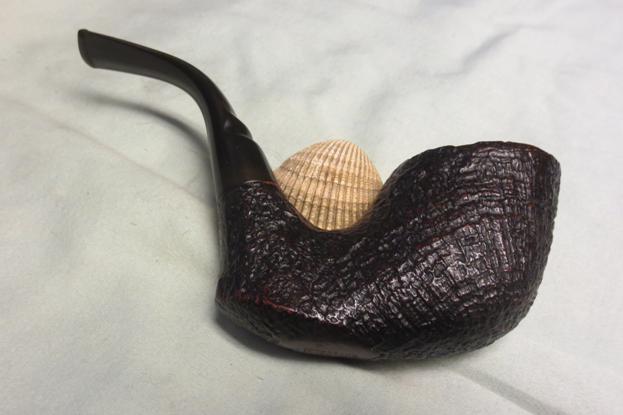
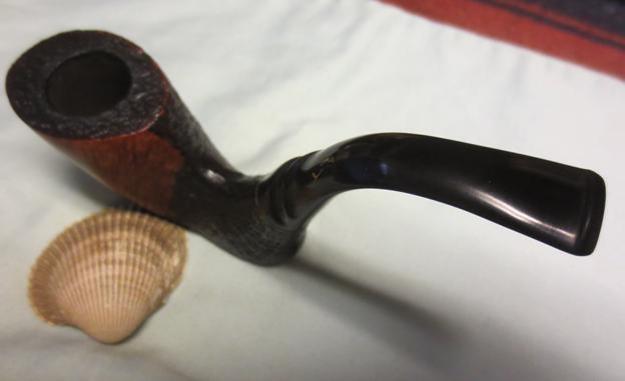
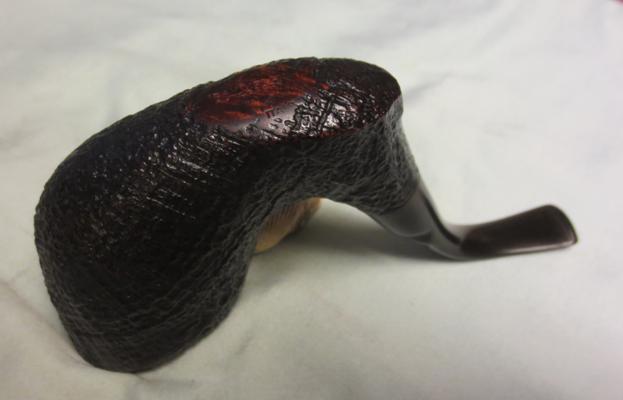
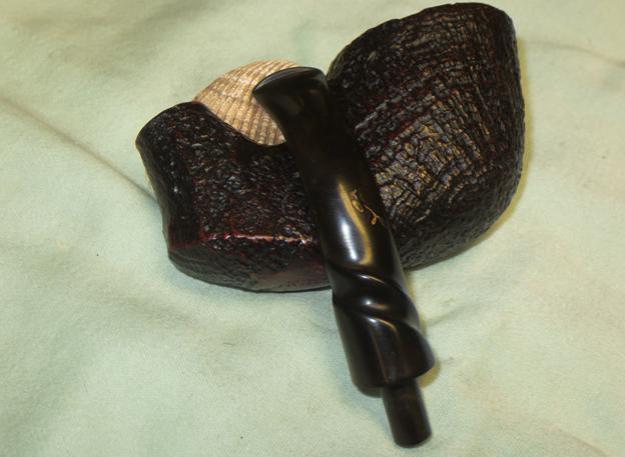
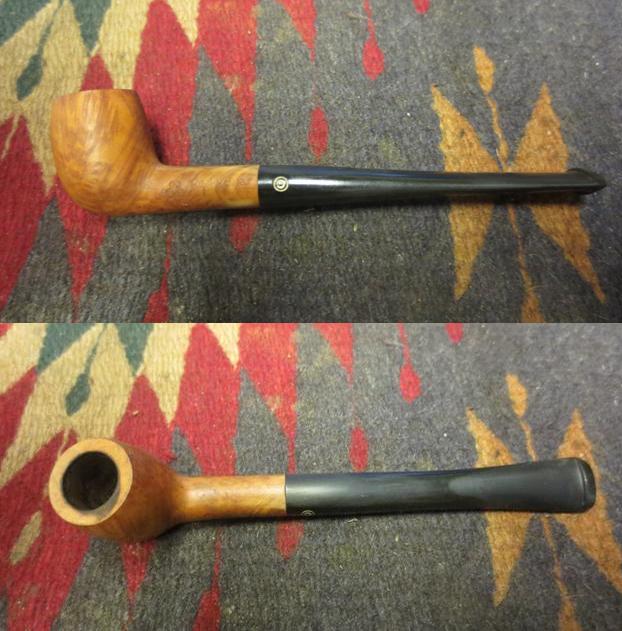
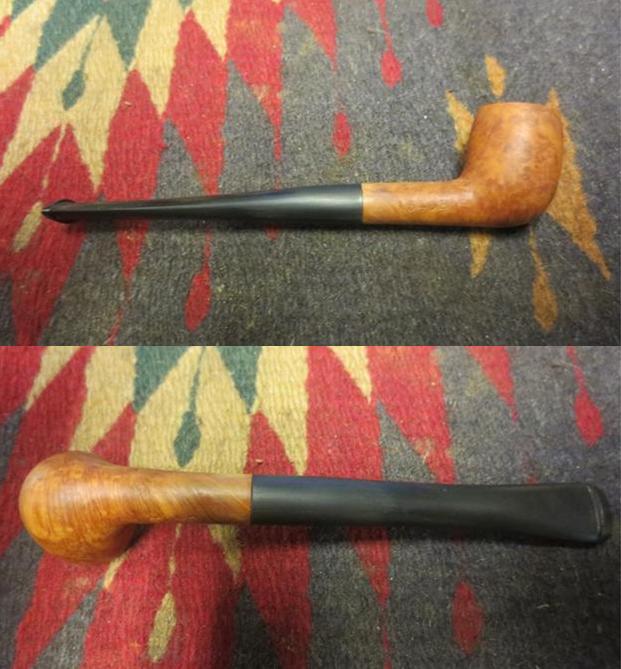
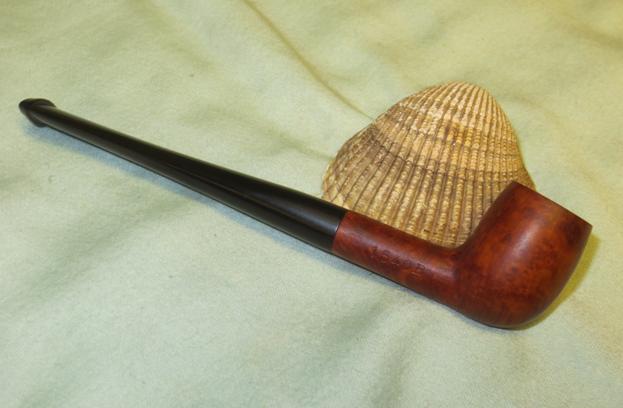
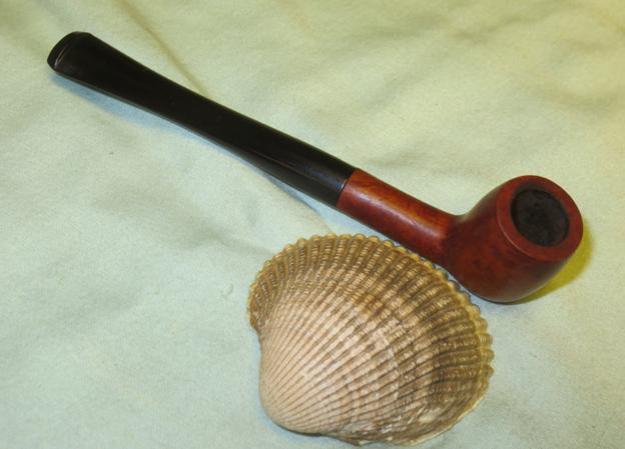
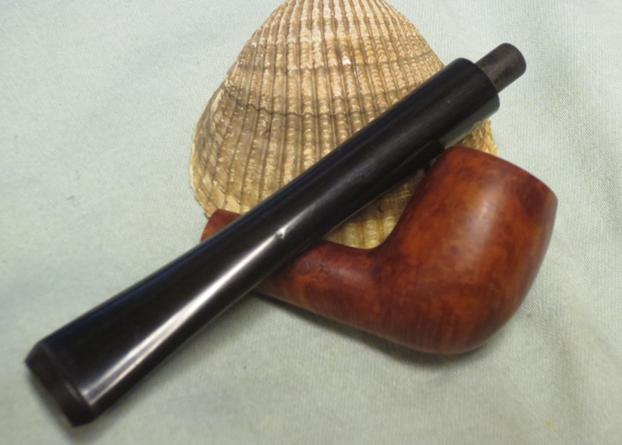
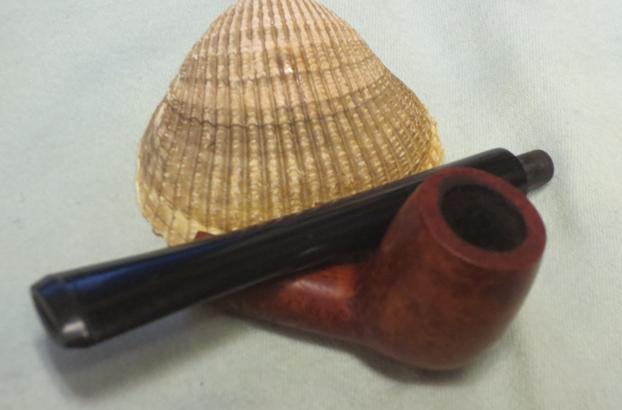
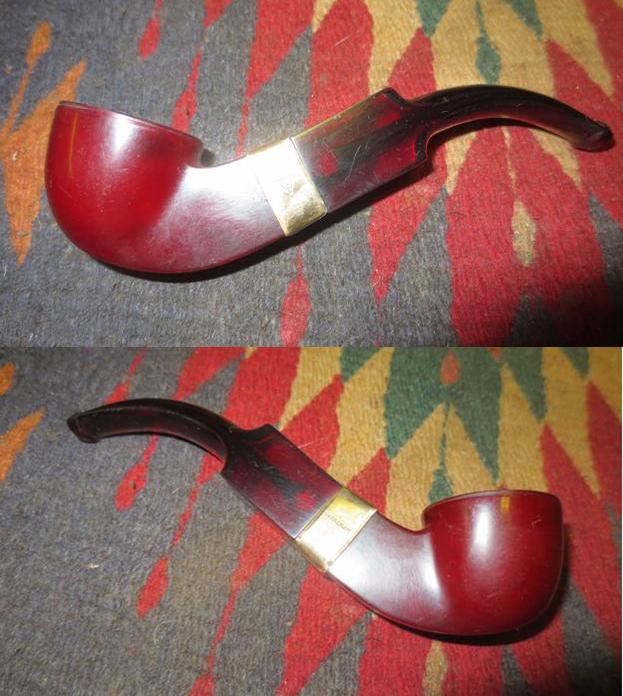
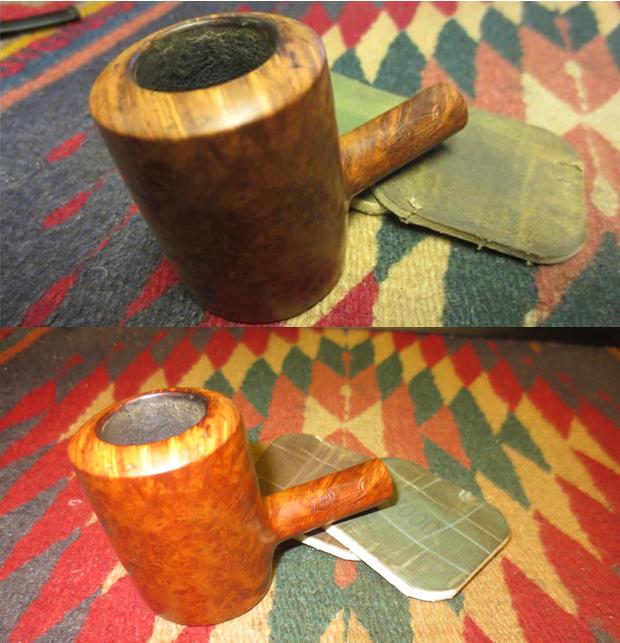 I buffed the bowl and stem with Blue Diamond on the wheel and then gave it multiple coats of carnauba wax. I buffed it with a clean buffing pad and then by hand with a microfibre cloth. The finished pipe is shown in the photos below. The layout of the grain with the shape of the pipe is exceptionally well done. Look at the stunning grain around the bowl. Thanks for looking.


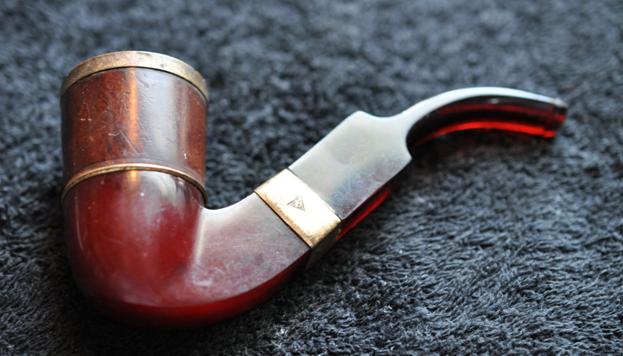
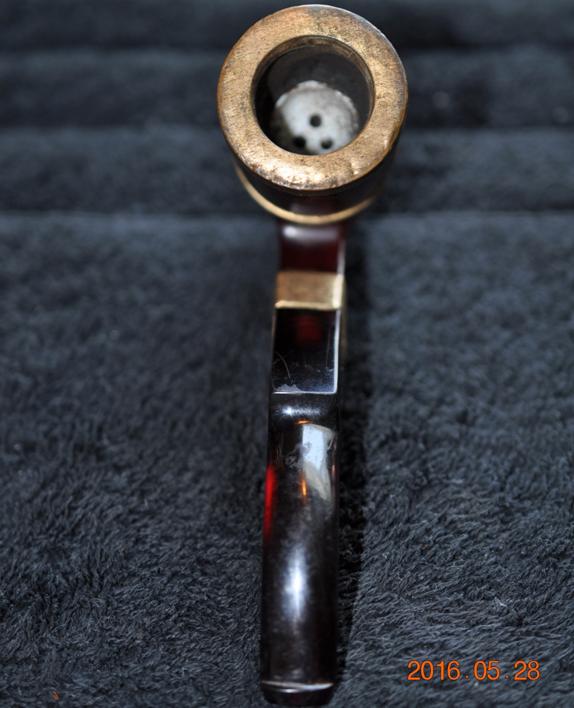

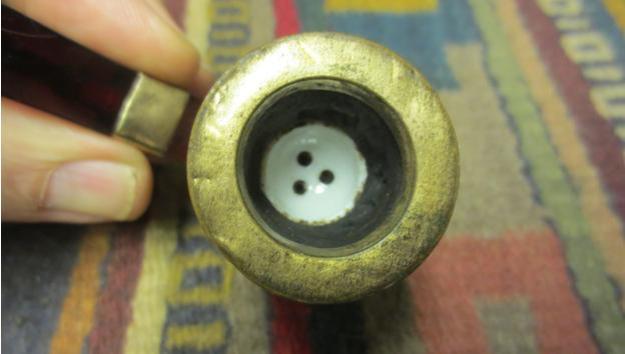


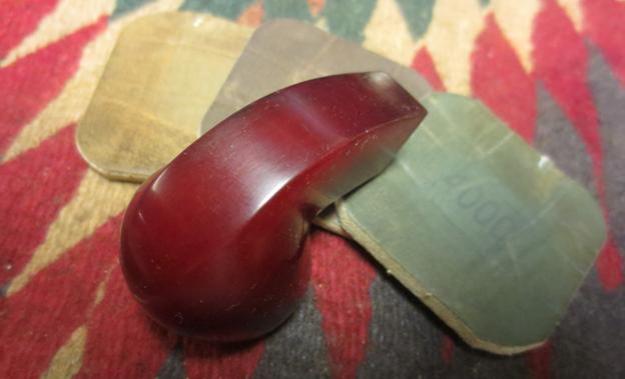
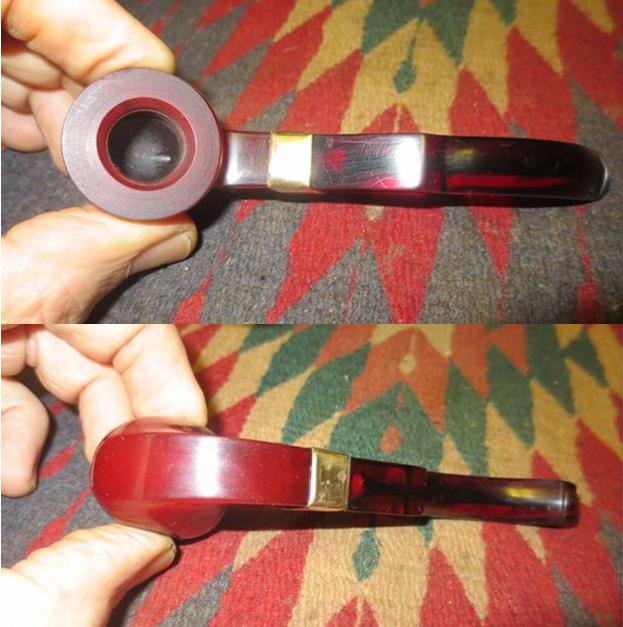

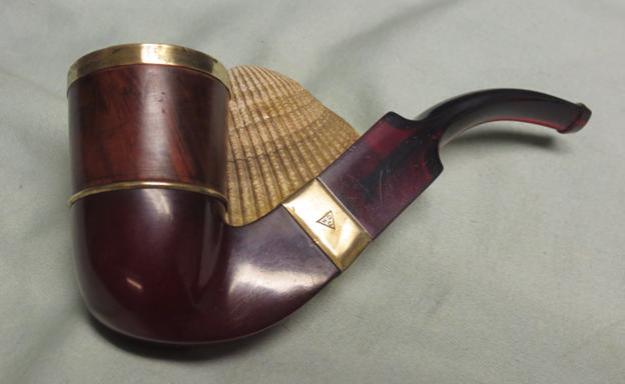

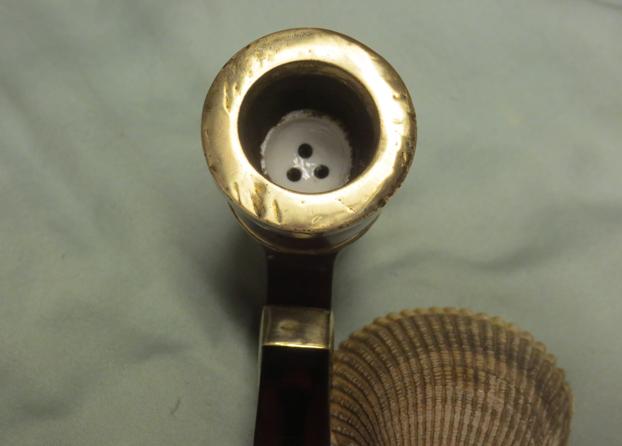
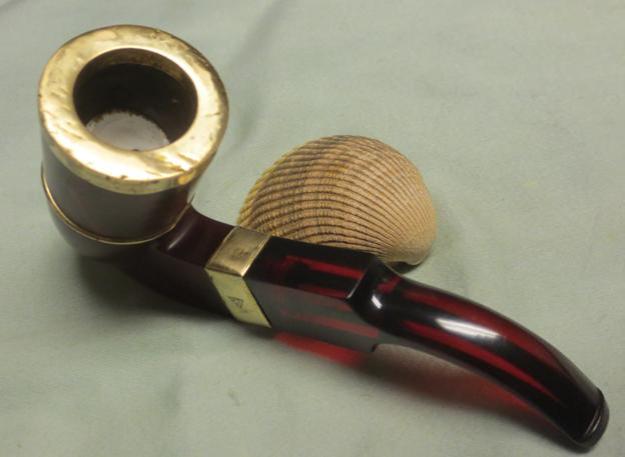


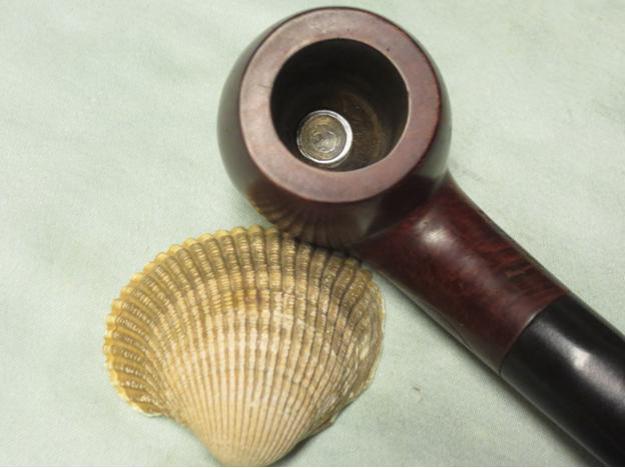
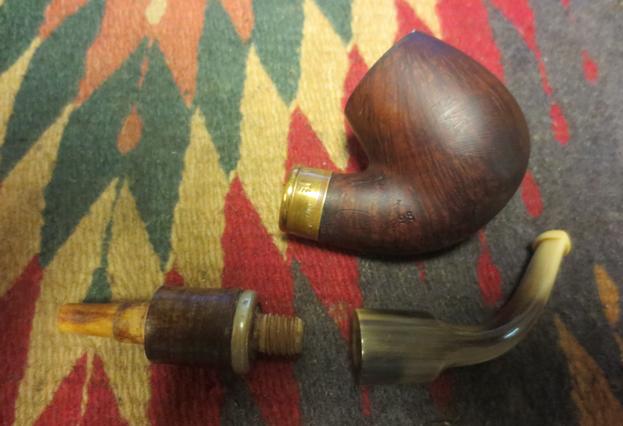
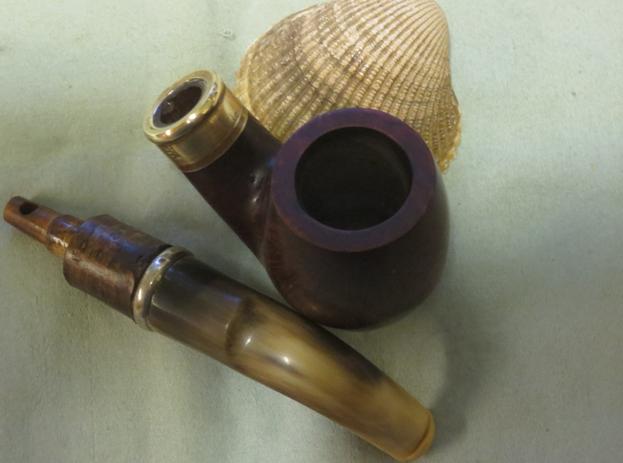
 The fourth and fifth pictures remove the mystery of the knurled edge on the bottom of the bowl that showed in the first photo. You can see in that photo of the bowl bottom that the silver disk looks like it was made to be rotated. We talked and my brother bid and won the pipe (I can’t wait for the pipe to get here so I can check this out). The fifth photo shows the inside of the bowl. The top of the disk appears to be a cup intruding into the bowl bottom. It was really odd looking.
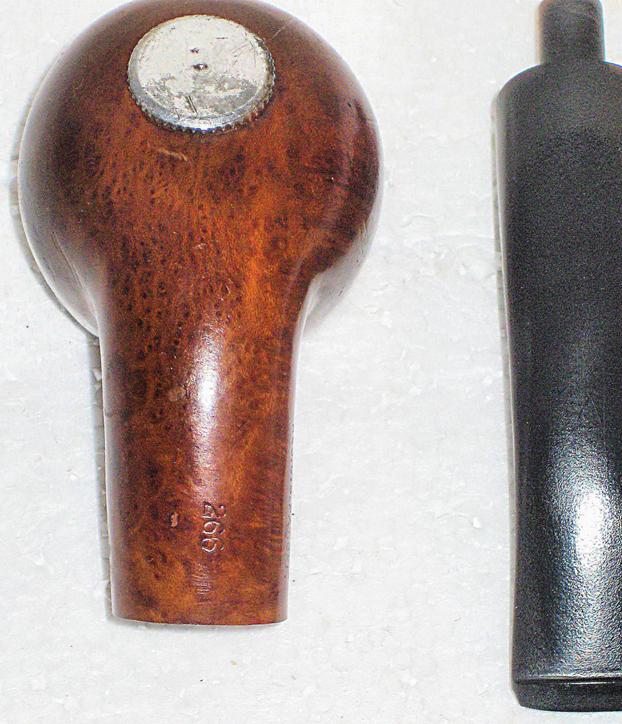
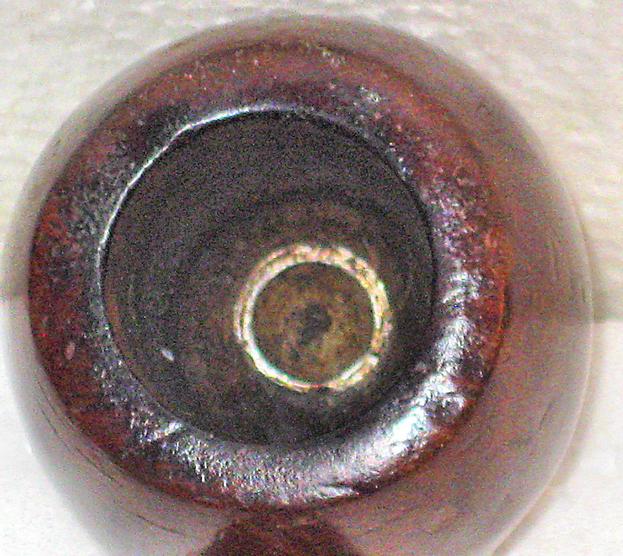 That information was helpful on many levels. He did not however have any photos or drawings of the pipe or pictures of the advertisements. I wanted to know if the bottom “sump” as he called it was pressure fit or threaded and screwed into the briar. I wanted to know if the bottom of the bowl was damaged or if the “sump” sat as it was supposed to flush with the bottom. It was hard to tell from the photos. I wanted to know was the “wads” were that sat in the sump. From the look of the bowl bottom it appeared that the “wads” may well have been lozenges that fit in the curved cup and then sat flat in the bottom of the bowl. But what did they look like? More research would be needed to answer these questions. But at least the mystery of the knurled edge peaking from the first photo was solved. It was a single unit with a cup on the inside of the bowl. I could not wait to see this in person and “fiddle” with it.
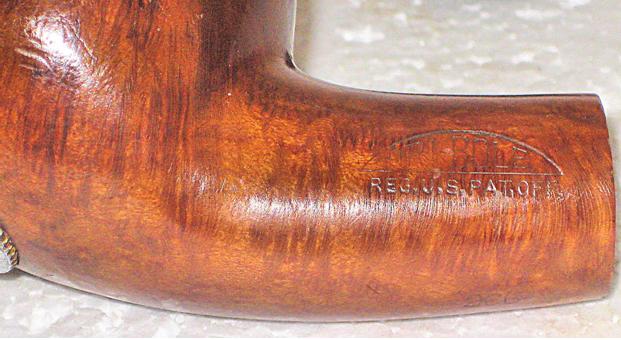 He gave the dimensions of the pipe as follows: overall length: 5 ½ inches, bowl height: 1 ½ inches, diameter of the bowl: 1 5/8 inches, bore diameter: 7/8 inches, bore depth: 1 1/8 inches and the weight: 44 grams or 1.6 ounces
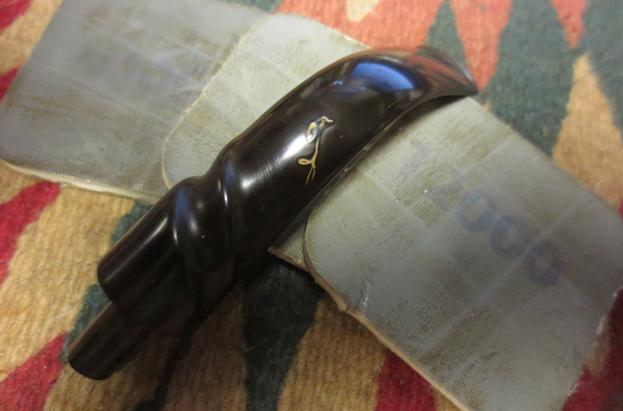
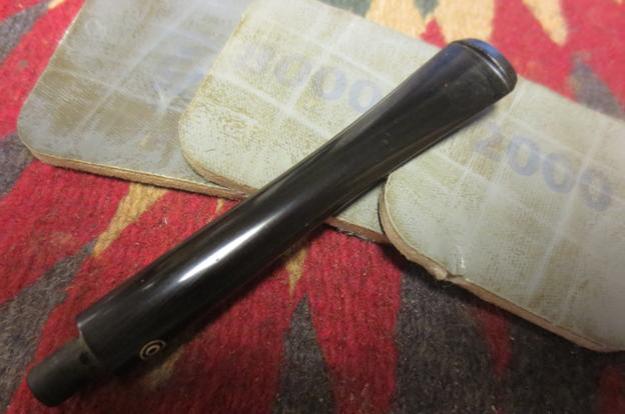
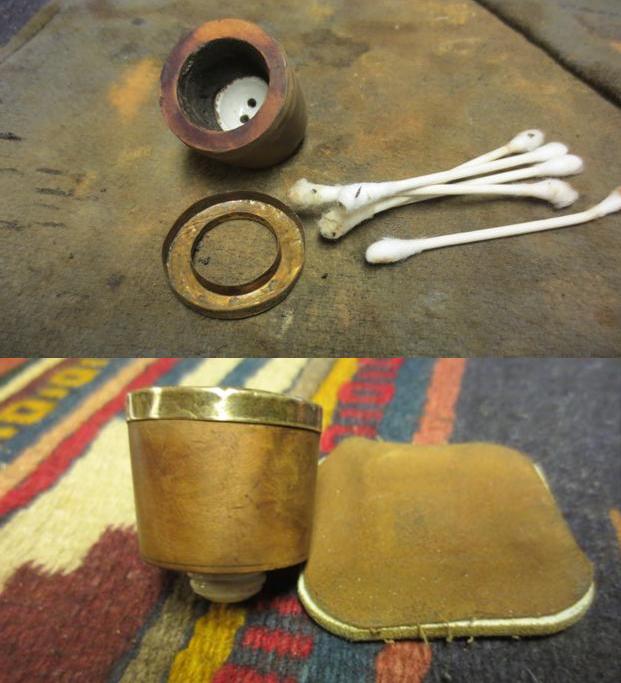
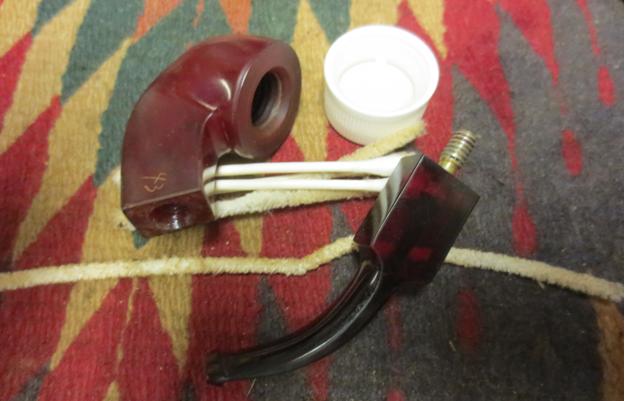
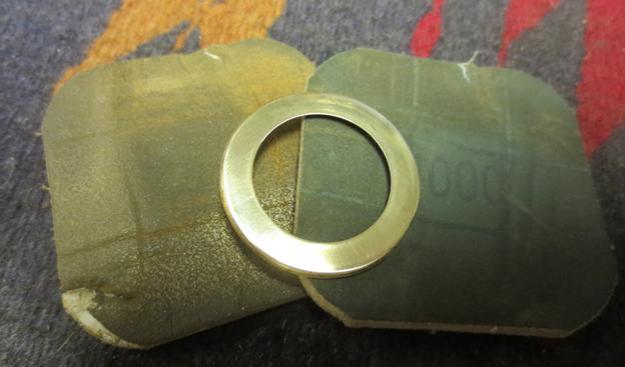
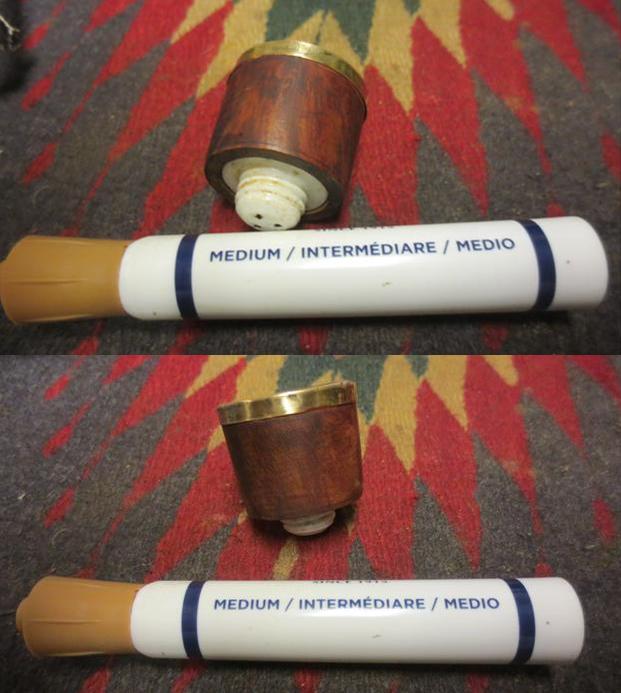
 I took it out of the alcohol bath and heated the disk with the flame of a lighter. I used a pair of pliers to hold tightly to the edge of the disk and I was able to twist it out of the bowl. Once it popped free I could undo it by hand. The first photo below shows the inside of the silver disk. The second shows the knurled outside.
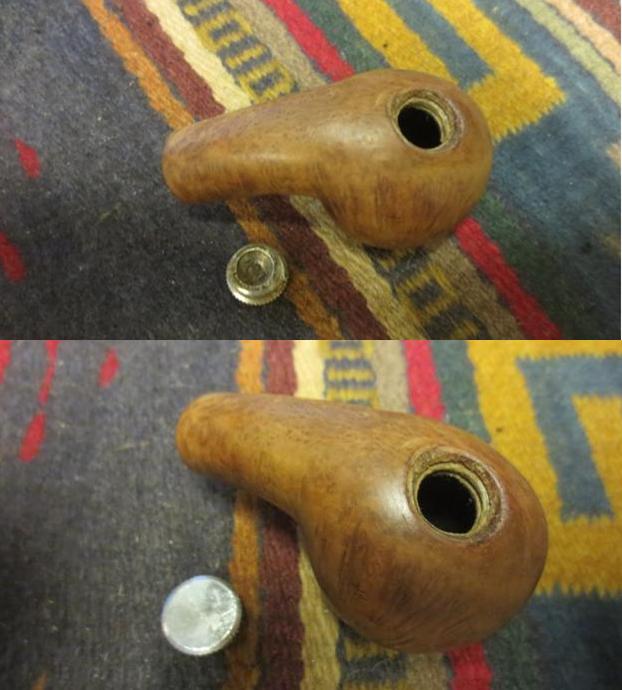 To remove the damage to the rim top and edges I topped the bowl on a topping board with 220 grit sandpaper.
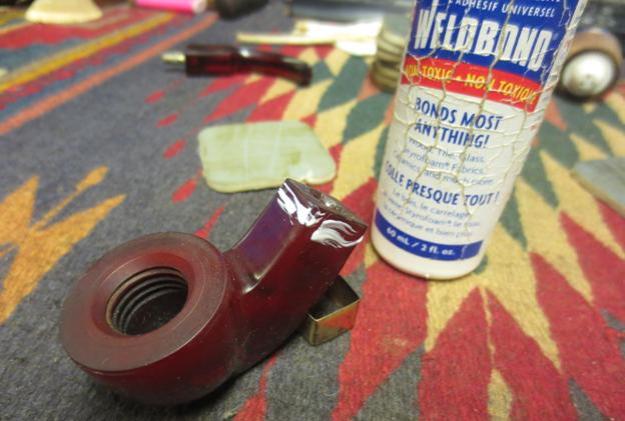
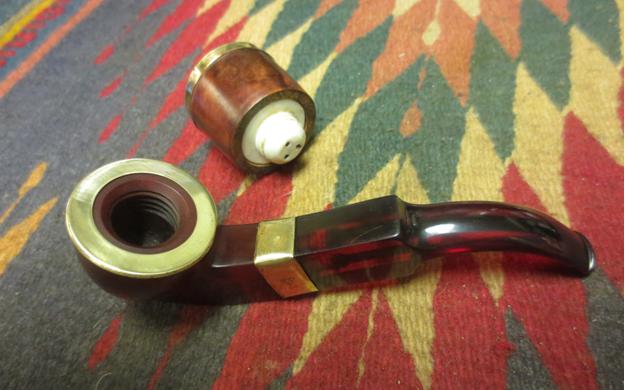
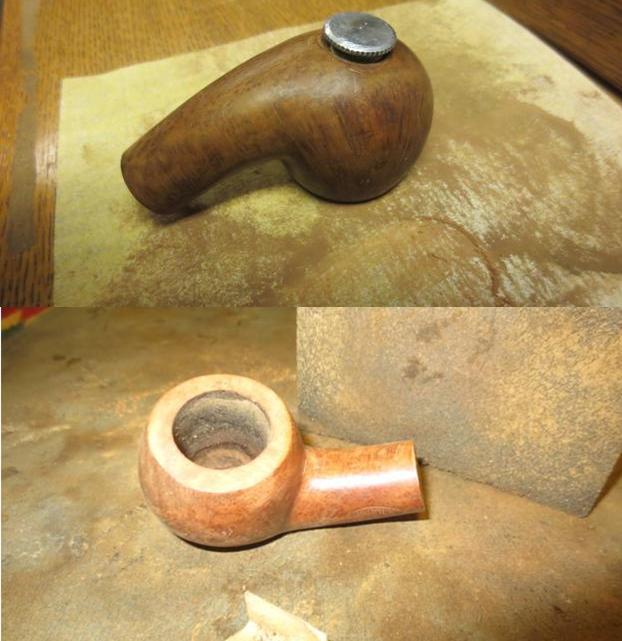 There were some nicks around the hole in the bottom of the bowl so I sanded those smooth with sandpaper and then cleaned out the threads in the briar with a cotton swab and alcohol.
 I used the brass bristle brush to scrub the threads and the cup on the disk. I cleaned it afterwards with cotton swabs and alcohol.
 I used a cotton swab to coat the threads on the disk with Vaseline and turned it into the bottom of the bowl. I wanted to make sure that I could easily turn the disk by hand.
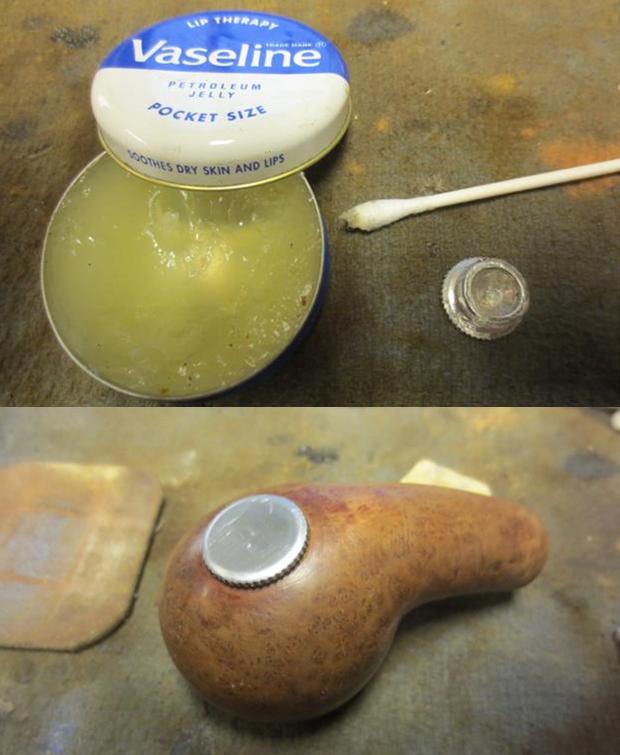 I cleaned out the internals with pipe cleaners, cotton swabs and alcohol. It was pretty clean thanks to my brother. It did not take too many to clean it out.
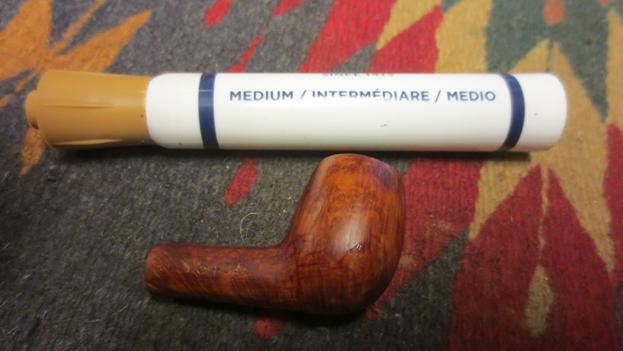
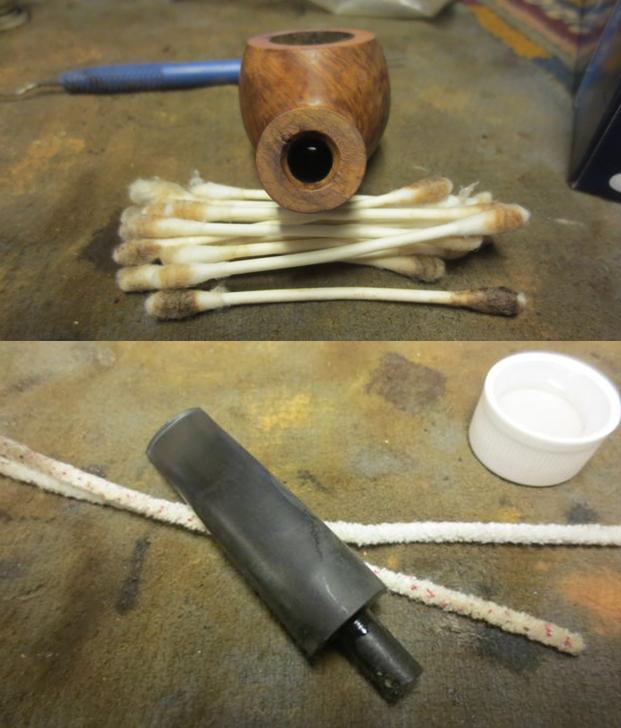 I sanded the bowl and stem with a medium and a fine grit sanding block. The pipe is beginning to look really good. I had to make a decision how far to sand the bowl and how many of the original dings and dents to remove without changing the “story” and character of this old timer.
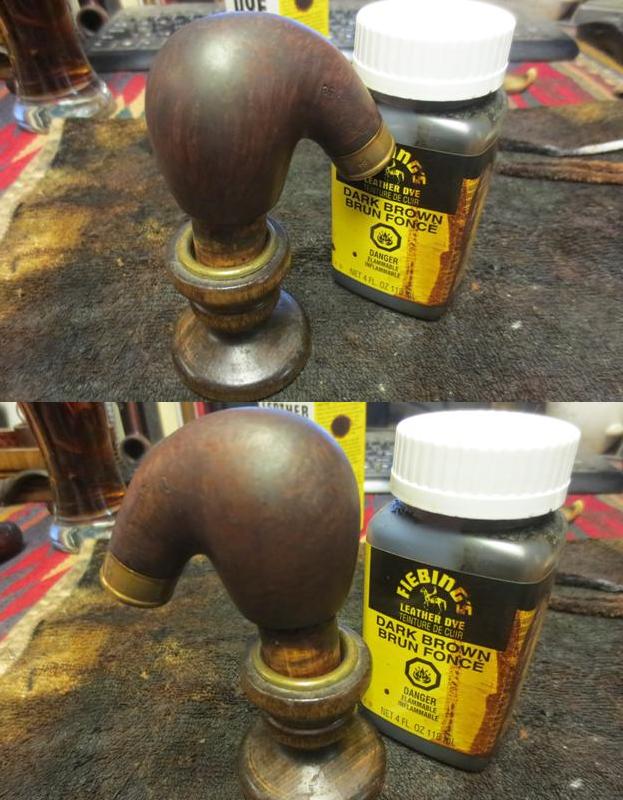
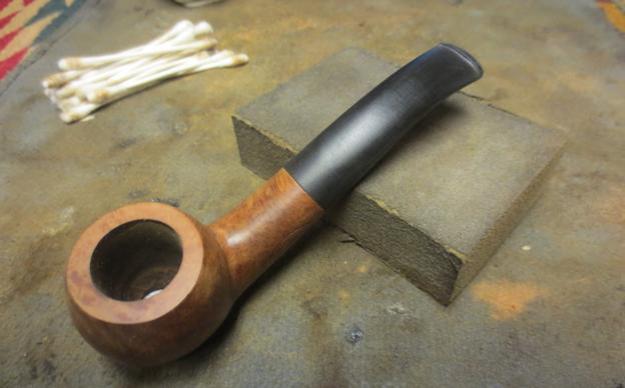 I heated the briar and then stained it with dark brown aniline stain cut by 50% with isopropyl alcohol. I flamed it to set the stain and repeated the process.
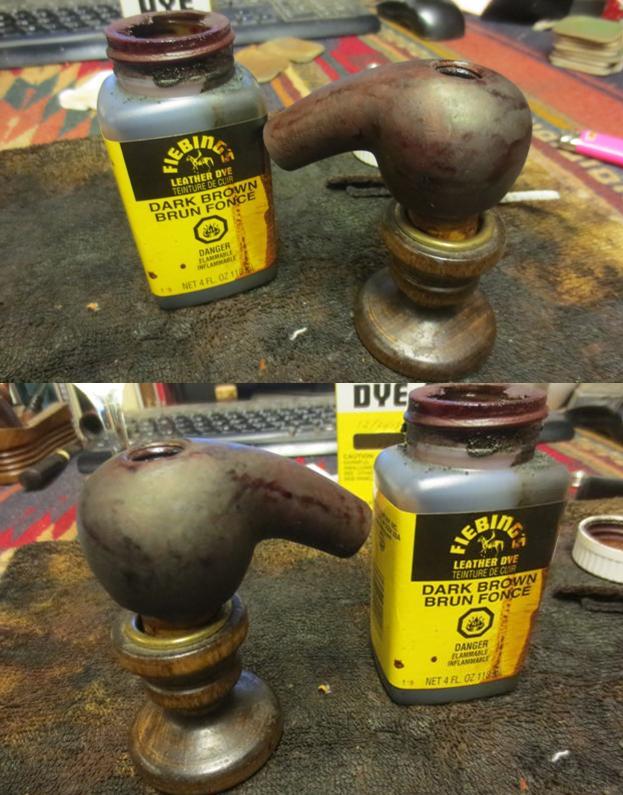 I wiped down the stain with alcohol dampened cotton pads to make it more transparent and make the grain stand out. At this point the fills stood out and I would need to address them a bit differently.
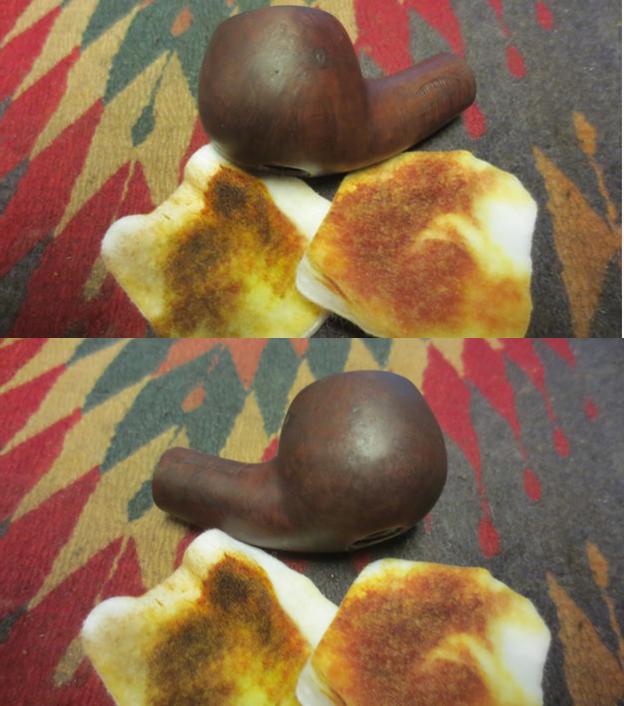
 I used a black Sharpie Permanent Marker to draw some lines across the fills and blend them into the grain on the pipe. I then chose to give the bowl a second contrast staining using a Cherry Danish Oil stain. I find that the combination of the black marker and the cherry stain blends the fills better than a brown stain. The combination of the brown and the cherry stains gives depth to the finish so I like using them together.
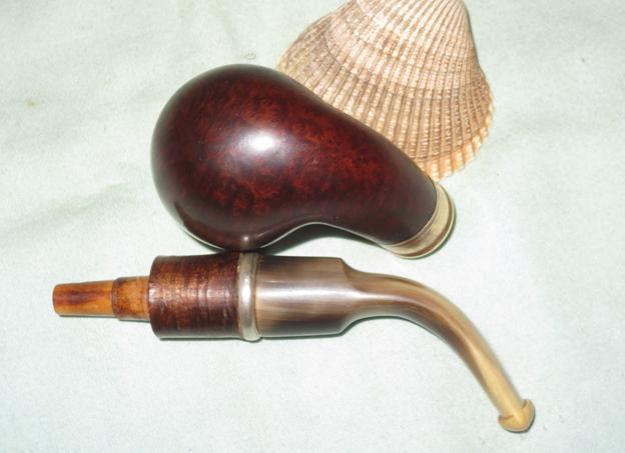
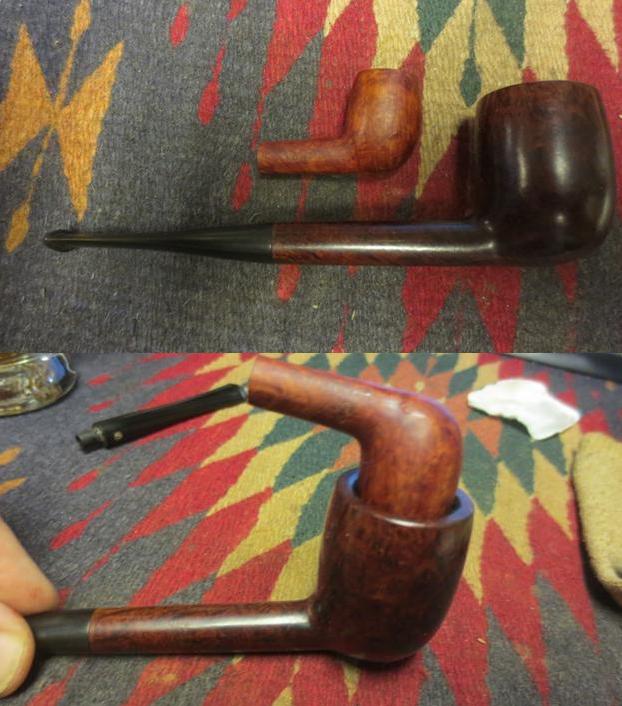
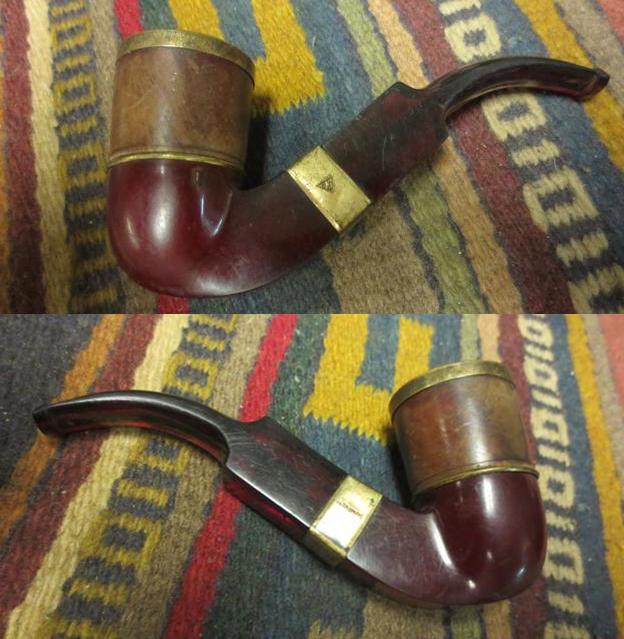
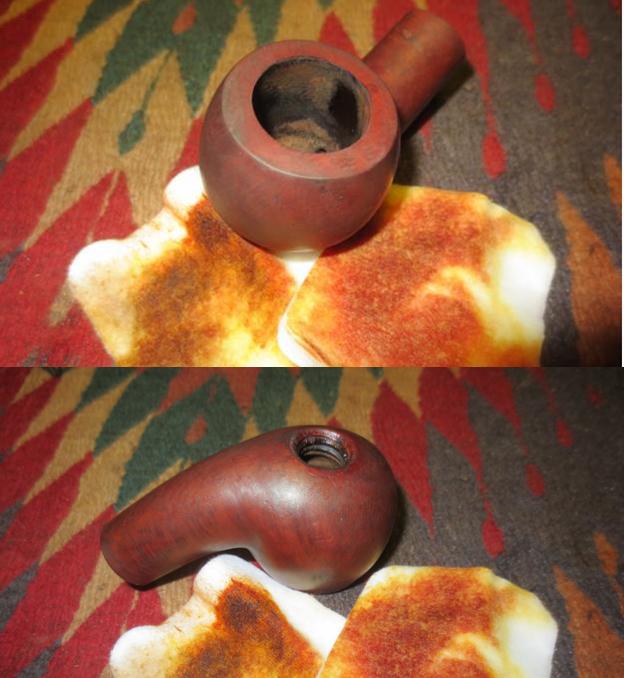
 Once the cherry Danish Oil stain dried (overnight) I buffed it lightly on the wheel with Blue Diamond and then gave the bowl a coat of carnauba wax. I hand buffed it with a microfibre cloth. You can see the small dings that I left in the bowl sides rather than change the look. I polished the silver disk with a silver polishing cloth. The next series of photos shows the bowl at this point in the process.
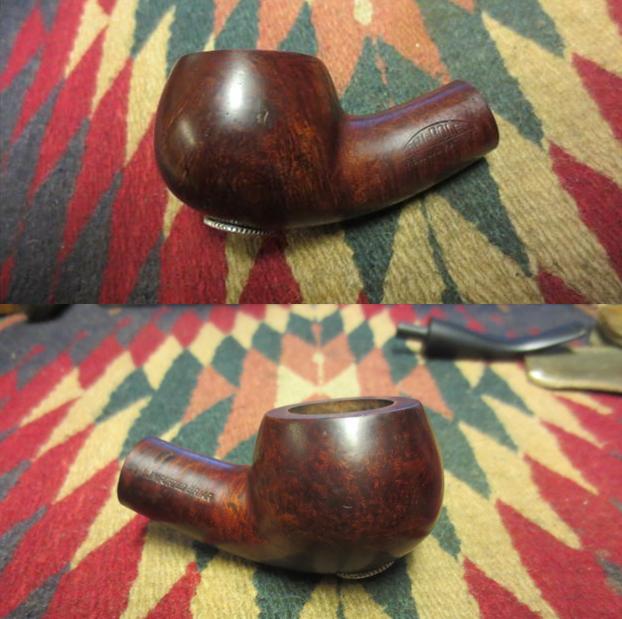
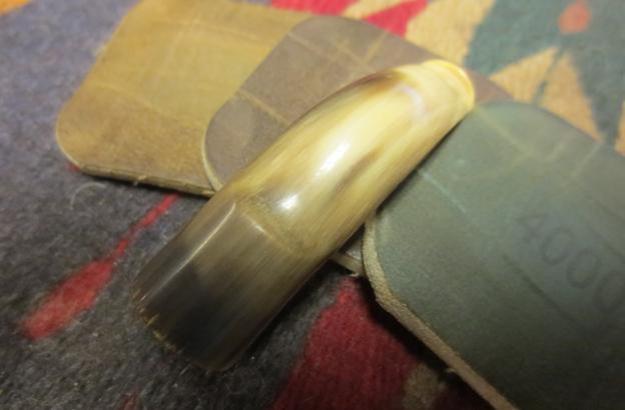
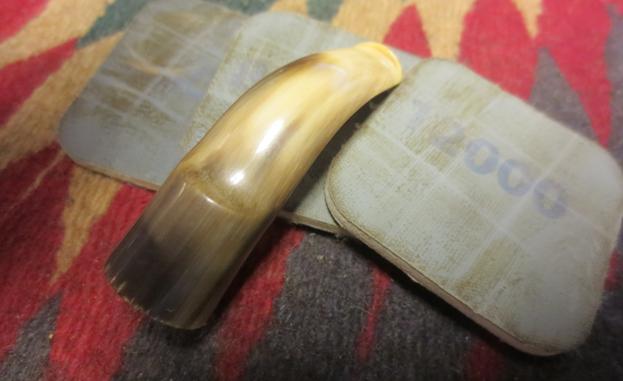
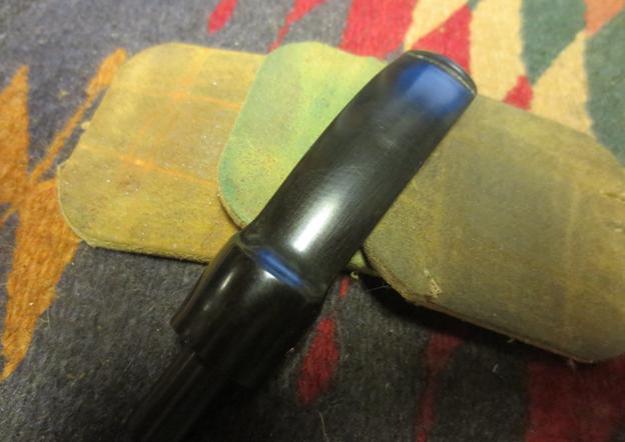
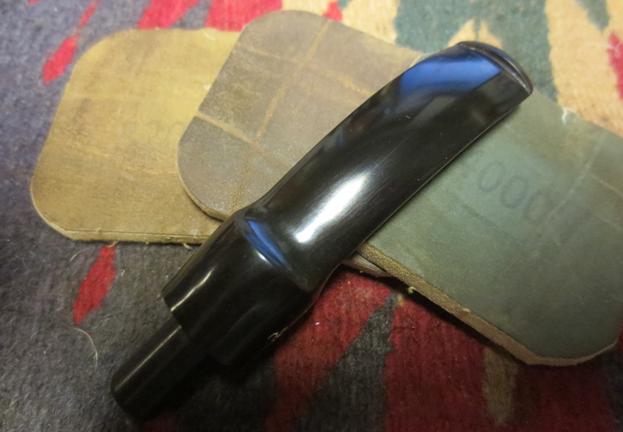
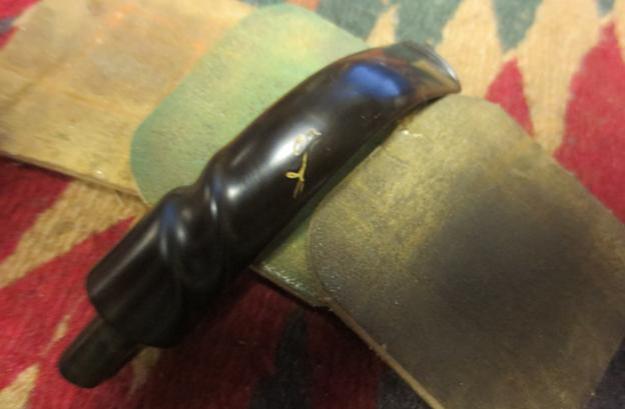
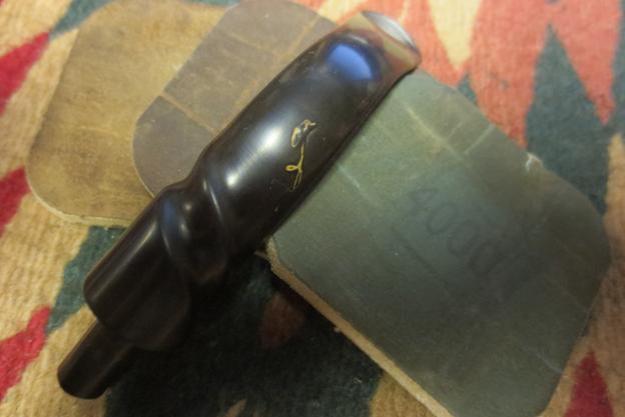
 I set the bowl aside and worked on the stem. The old hard rubber that was used on this stem was good quality. There was very little oxidation if any on it. The main issue was the pitting that covered the surface of the stem. I sanded it with 220 grit sandpaper to address the pitting and smooth out the surface and then began my normal sequence of micromesh sanding pads. Between each set of three grits (1500-2400, 3200-4000, 6000-12000) I rubbed the stem down with Obsidian Oil. I gave it a final coat of the oil and let it dry before I buffed the pipe.
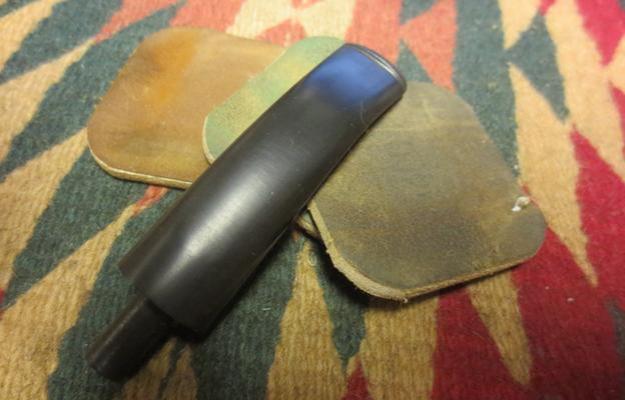
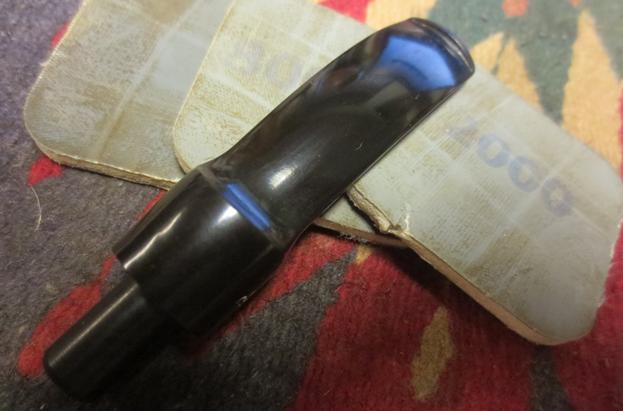
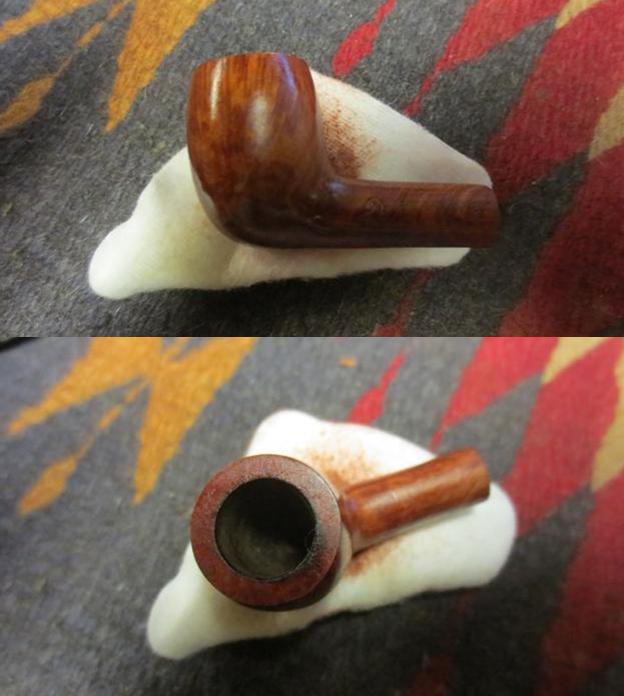
 I buffed the pipe and stem with Blue Diamond and gave it several coats of carnauba wax. I buffed it with a clean buffing pad to raise the shine. I hand buffed it with a microfibre cloth to put the finishing touches on the pipe. The finished pipe is shown in the photos below. Thanks for looking.