Blog by Steve Laug
I have always been intrigued by the Stanwell Golden Contrast finish regardless of the pipes it has been applied to. The contrast of dark and light playing across the grain is beautiful. To me the lines and the elegance of the pipe are stunning and the contrast stain makes the lay of pipe with the grain gorgeous. The stain highlights the birdseye and the flame grain and makes them pop from the surface of the bowl and shank. The slight flare of the saddle on the stem to the pinch of the blade behind the saddle all pointed to a hand that I had seen before. I did a little digging because I wanted to confirm my guess/my suspicions about the designer. What I found out confirmed the direction I was thinking. It turns out that shape number 142 was originally designed for Stanwell by Jess Chonowitsch. For a list of various Stanwell Shape numbers and who they are attributed to you can read this list compiled by leading Stanwell Collector Bas Stevens on rebornpipes at: https://rebornpipes.com/2013/09/03/stanwell-shapes-compiled-by-bas-stevens/
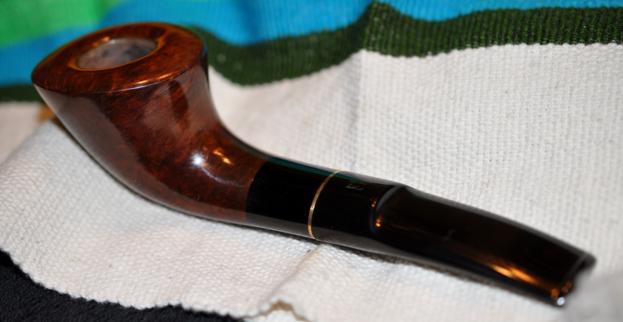
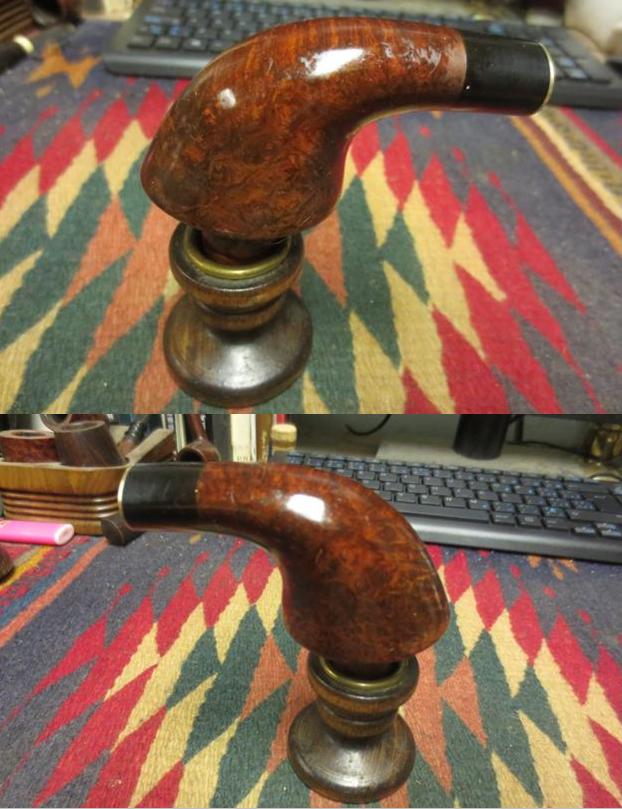
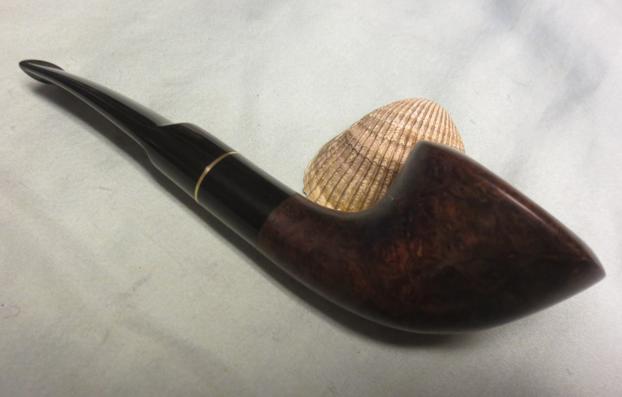
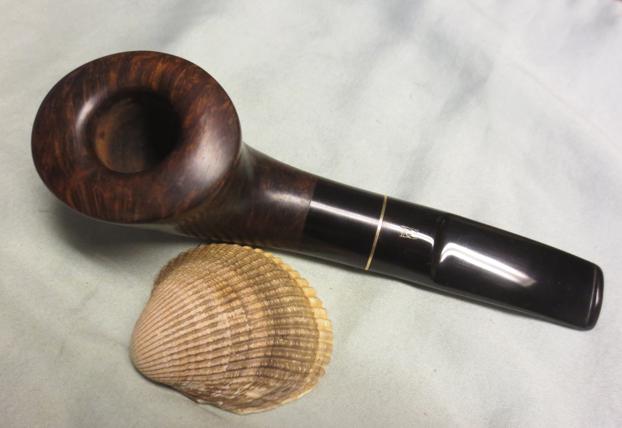
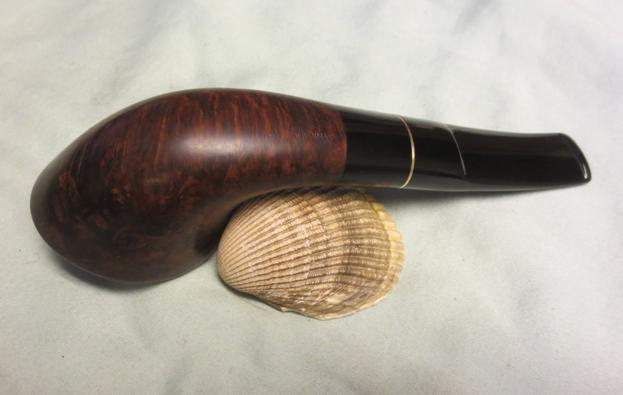
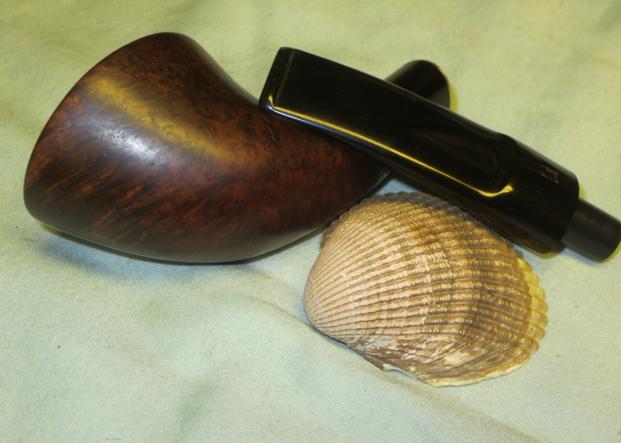
This particular pipe was another of the interesting pipes in the recent shipment of estate pipes my brother Jeff picked up. He is getting pretty good at grabbing some great pipes. This Golden Contrast was in pretty decent shape. The finish was dirty but in great shape. The rim showed some darkening and a build-up of tars and oils. There was a light cake in the bowl and the internals were dirty. The stem had some calcification on the top and bottom inch of the stem from the button forward. There was some tooth chatter as well but no deep tooth marks. The stem was oxidized. The brass crown S on the left side of the saddle appeared to be lightly oxidized as well but would take little to make it shine. The various photos that follow are ones that my brother took before he cleaned the pipe. They show the amazing grain on this beauty.

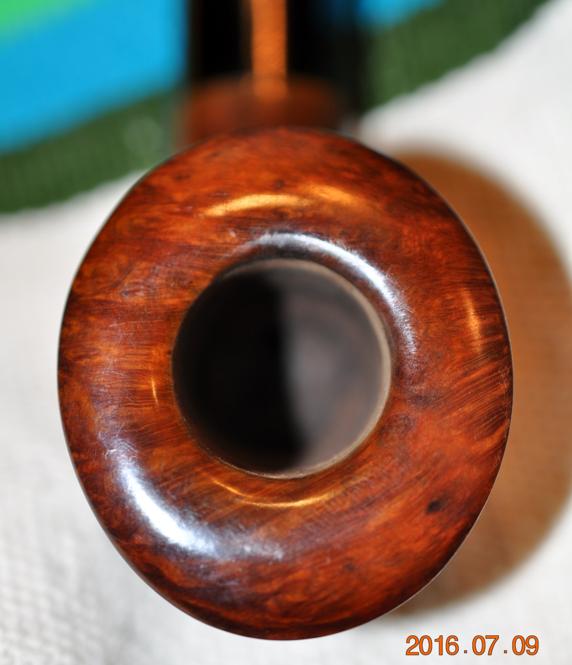
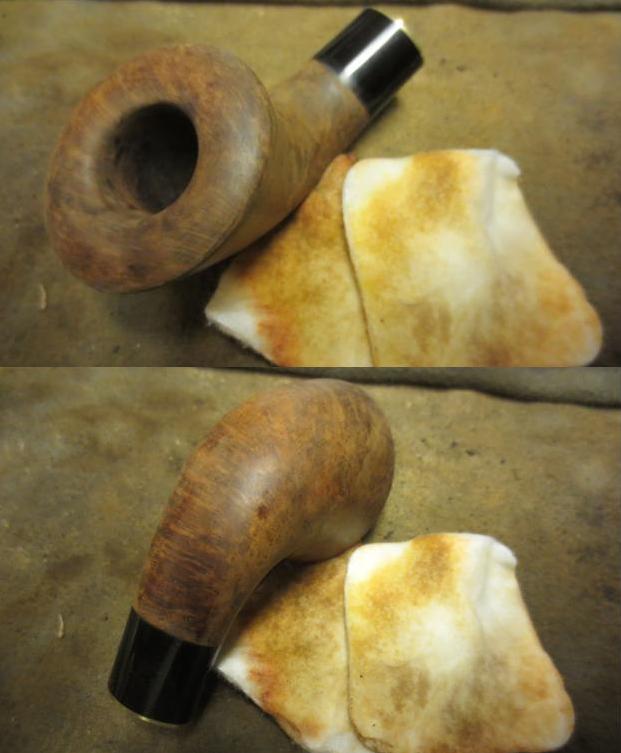
 The next two photos of the rim and the underside of the bowl and shank. The birdseye on the rim and the bottom of the shank is quite stunning to me. The third photo below shows the grain on the side of the bowl and the flame grain. The contrast stain makes the grain stand out.

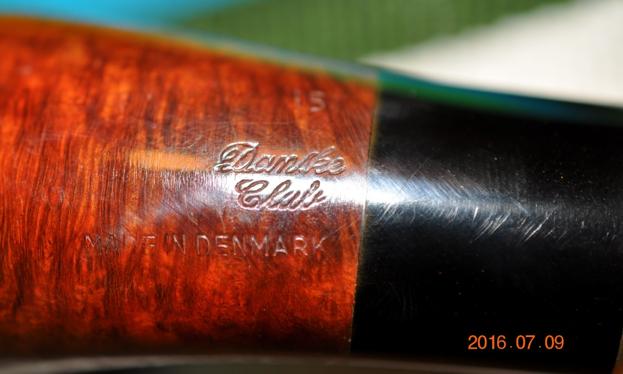
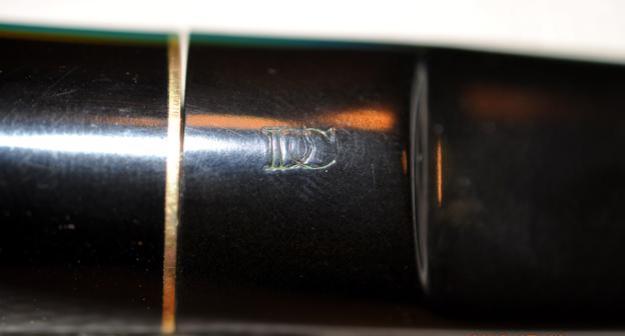
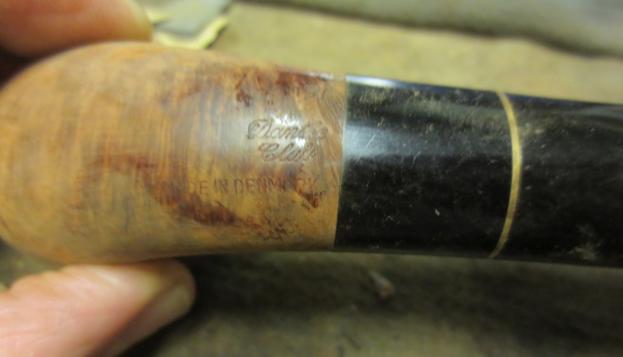
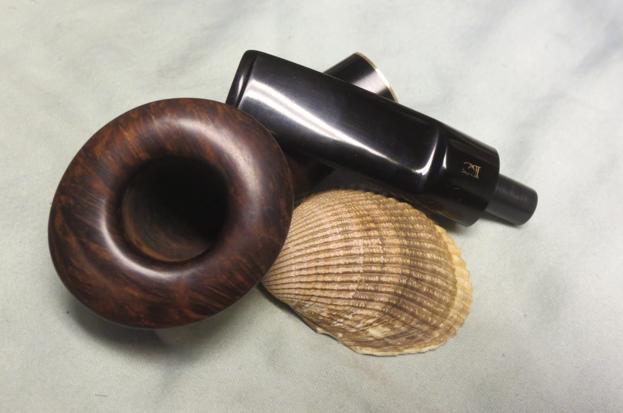
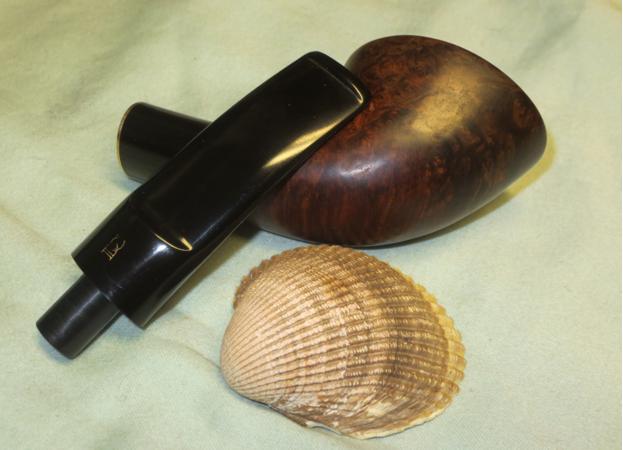
 The next photos show the various stamping on the shank sides and bottom. The left side of the shank reads Stanwell over Golden Contrast in script. The right side of the shank is stamped with the shape number 142. The underside of the shank is stamped Made in Denmark. All the stamping is sharp and clear.

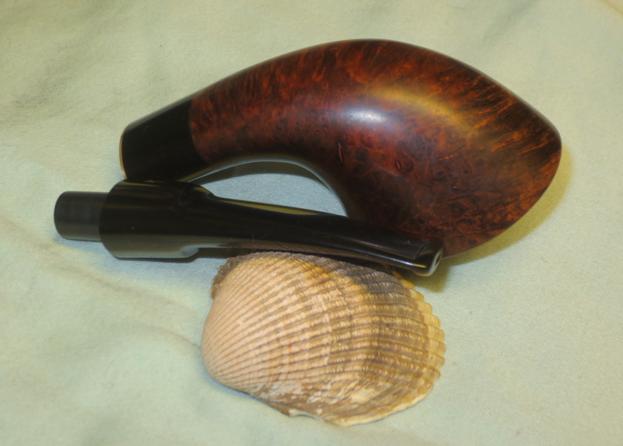
 My brother did the major clean and ream of the pipe. When I received it the pipe was very clean. I ran pipe cleaners through but they came out clean. I took these photos of the pipe when it arrived. The stem was lightly oxidized from the earlier clean up.
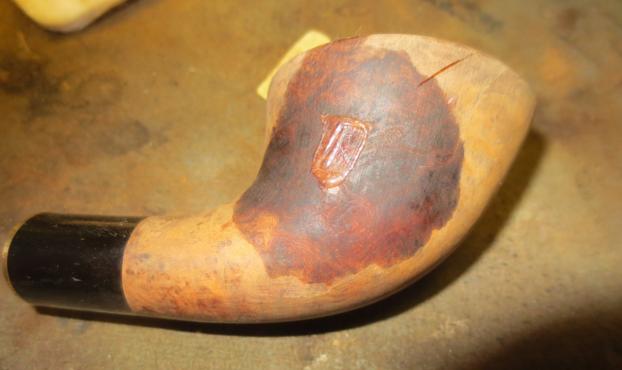
 Jeff had done a great job on the rim top. He was able to remove most of the tars and oils. There was still some darkening on the back edge of the rim.
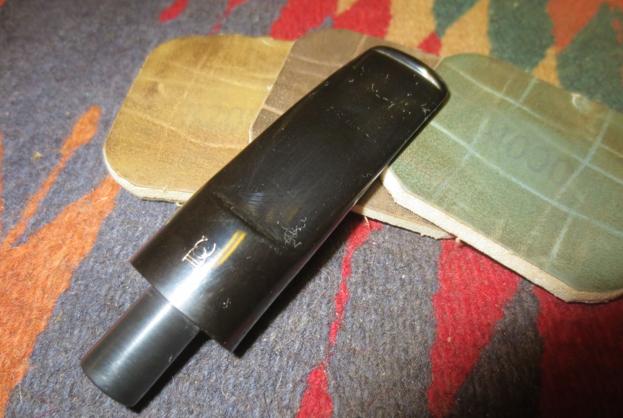
 I took some photos of the top and underside of the stem to show the striping of the oxidation on the vulcanite. The stem was actually clean – no tooth marks or chatter at this point in the process.
 The airway in the stem was drilled off centre in the tenon. The photo below shows the location of the airway in the end of the tenon. The alignment of the airway in the stem with the airway in the tenon was off. The mortise airway was centered in the end where it entered the bowl. The one in the tenon was off.
 I lightly scraped the bowl with a Savinelli Pipe Knife to clean out a small ridge of cake just above the top of the airway.
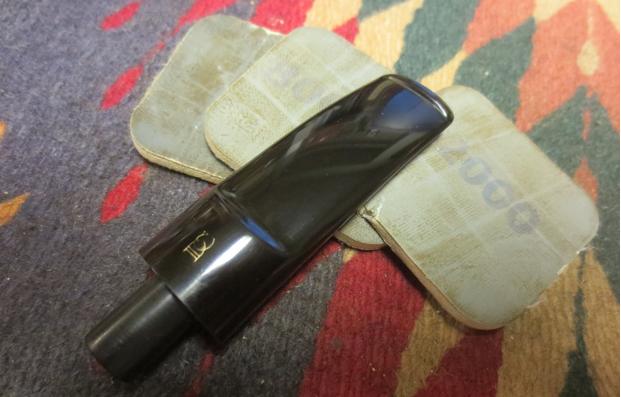
 I used a sharp knife to bevel the airway in the tenon until the funnel was round and the alignment against the end of the mortise was better. With the funneled airway I was able to get good airflow through the stem with no constriction in the union between the two airways.
 I scrubbed the back side of the rim with saliva and a cotton pad and was able to remove more of the rim darkening and reveal the grain pattern underneath. I sanded it with 1500-2400 grit micromesh sanding pads to polish the rim top.
 I worked on the oxidation on the stem by wet sanding the stem with 1500-2400 grit micromesh sanding pads. I rubbed the stem down with Obsidian Oil and dry sanded it with 3200-12000 grit pads. I rubbed the stem down with oil between each set of three pads and after the final sanding with the 12000 grit pad. I set the stem aside to dry.

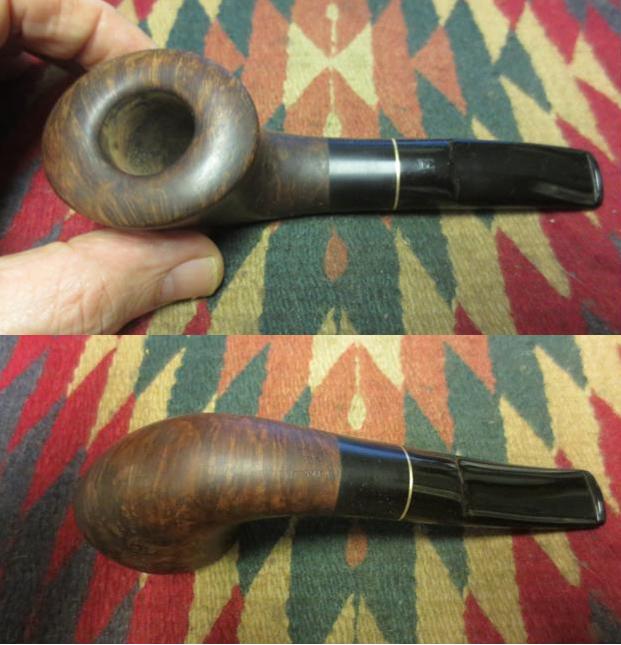
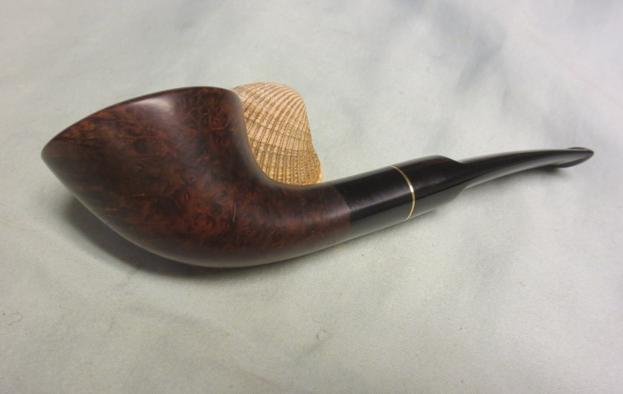
 I buffed the pipe with Blue Diamond on the buffing wheel. I gave it multiple coats of carnauba wax. I buffed it with a clean buffing pad to raise the shine on the bowl and the stem. I hand buffed it with a microfibre cloth to deepen the shine. This is a beautiful piece of briar that the carver aligned flow of the pipe with the direction of the grain. The polishing shows the contrast between the dark and light of the grain. The elegance of the shape and the flow of the grain work well together and the golden contrast stain work together to make a great looking pipe. Thanks for looking.