Blog by Steve Laug
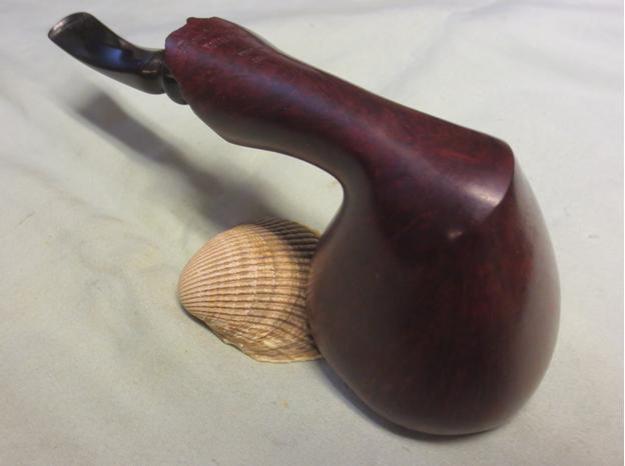
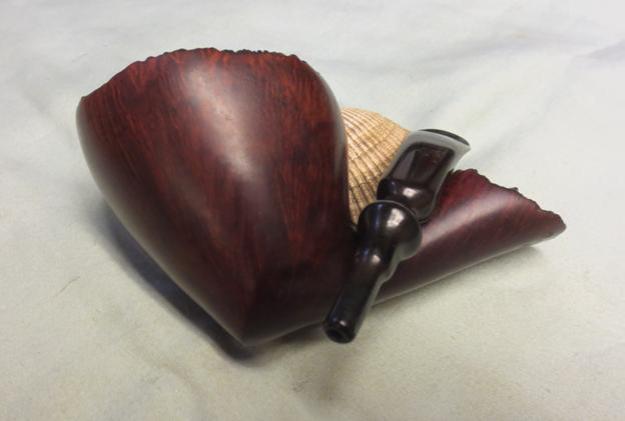
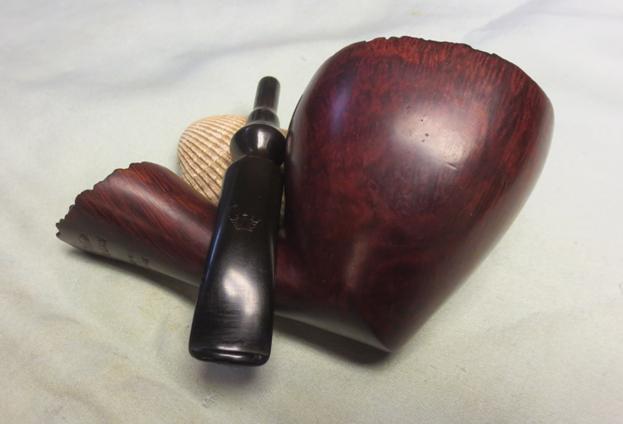
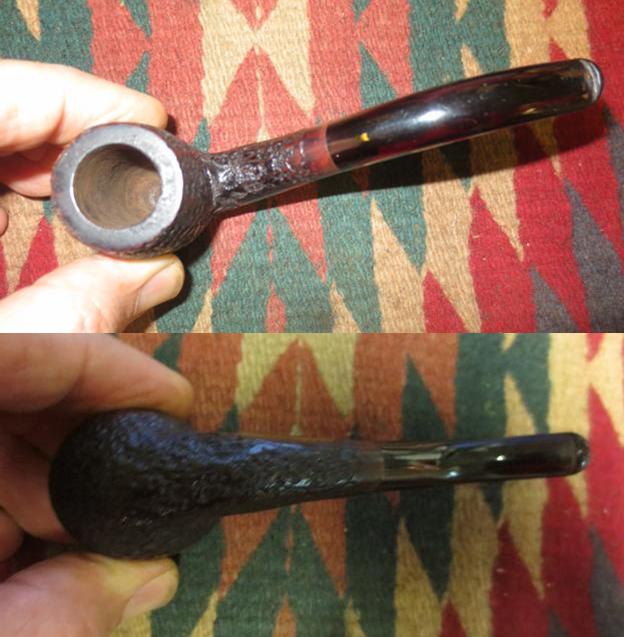
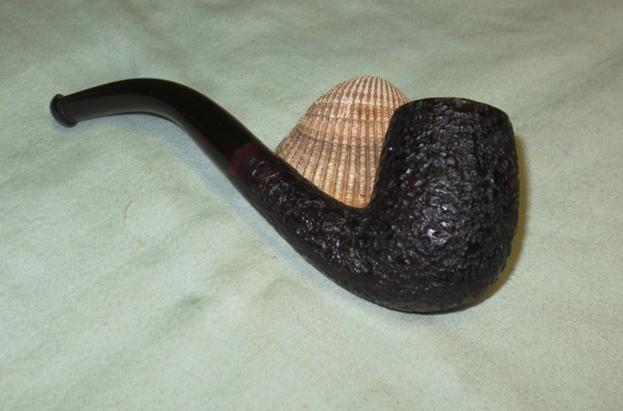
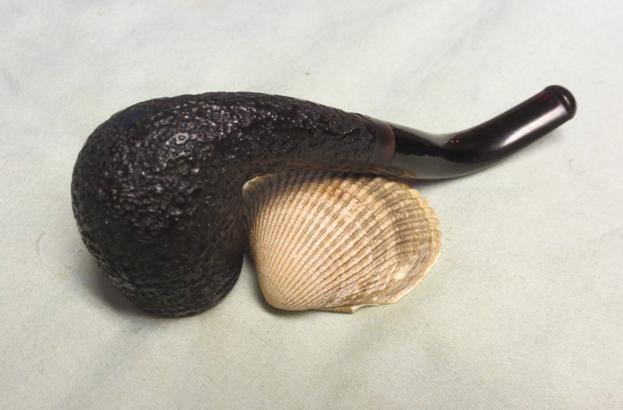
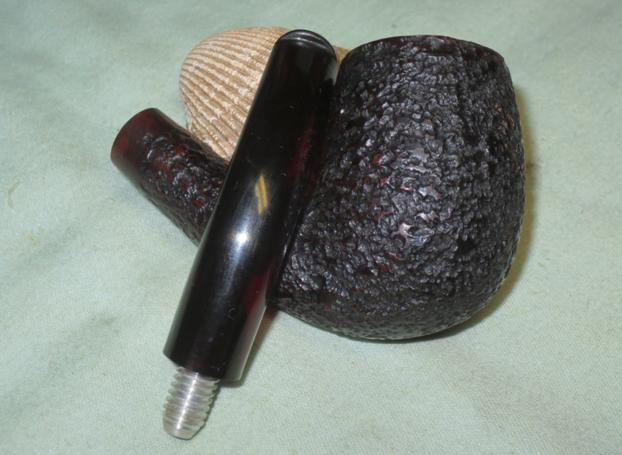
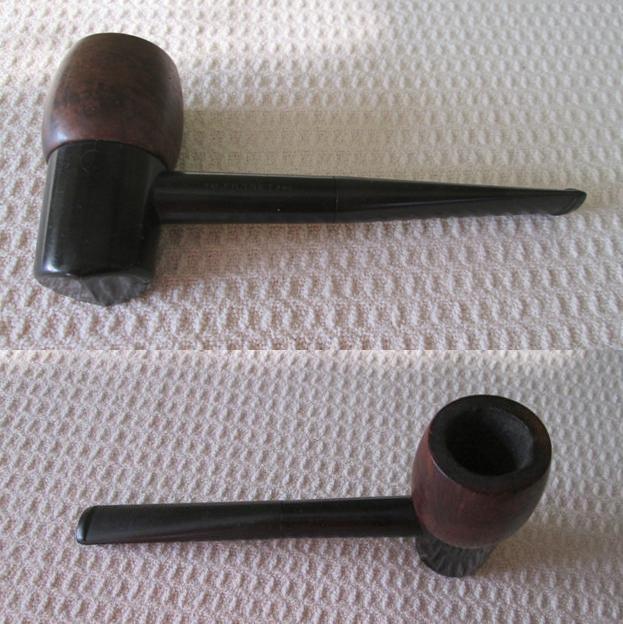
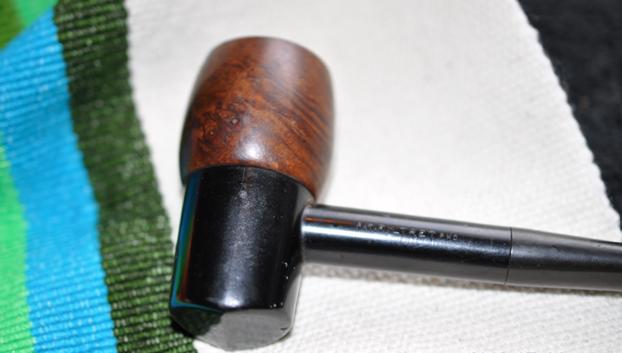
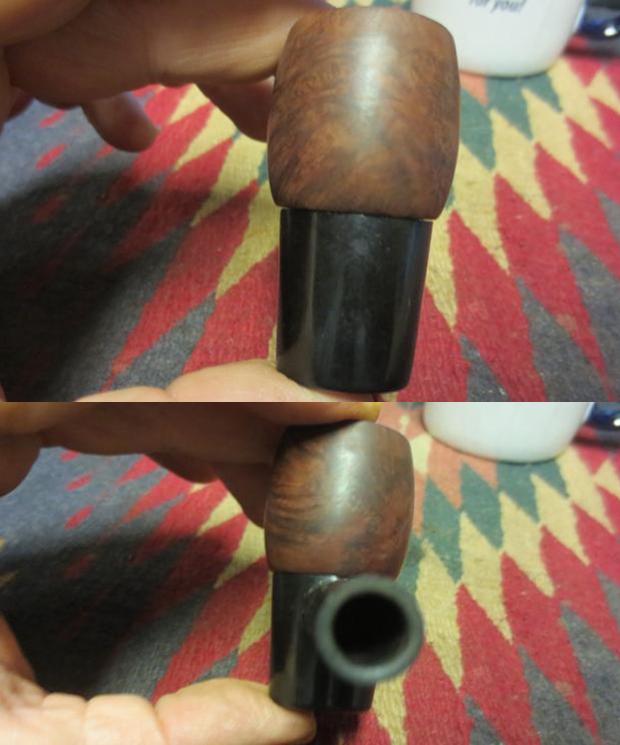
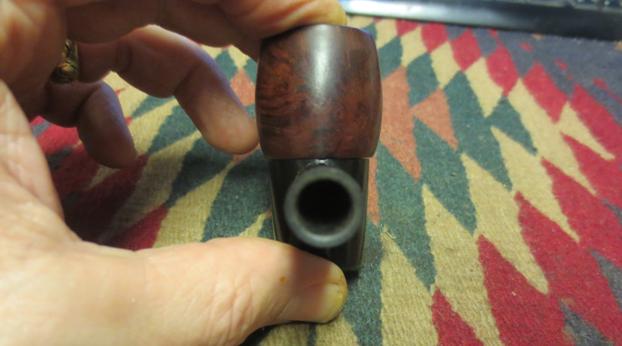
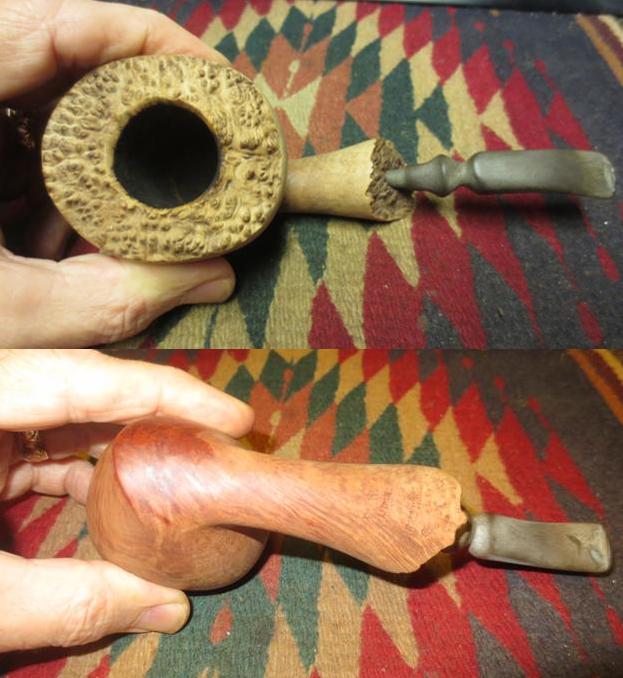
One of the recent acquisitions that my brother sent me is a beautiful freehand briar pipe. The briar is a piece of plateau with mixed flame and straight grain. The plateau is on the top of the bowl and also the end of the shank. The plateau was faded with most of the dark stain washed out. The smooth portions of the bowl were also faded and washed out. The stem was oxidized and had deep teeth marks on the top and the bottom of the stem near the stem. There were some scratches on the bowls sides but none of them were deep. The bowl was large – 1 inch in diameter. The inside of the bowl was also quite clean. The photos below show what the pipe looked like when my brother received it.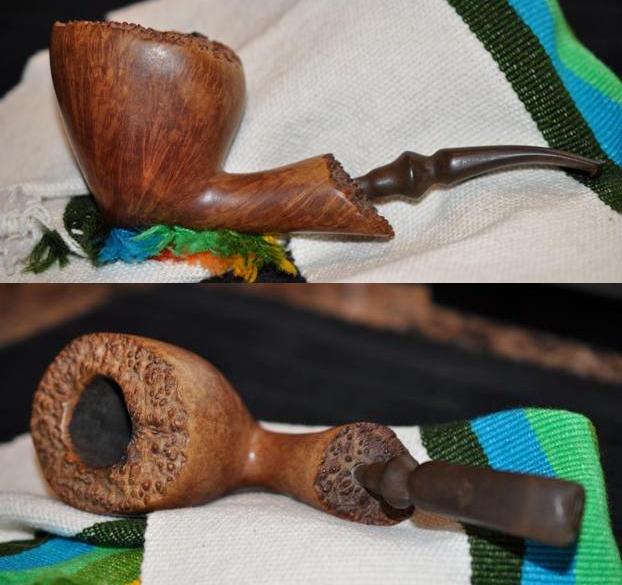
 The pipe is stamped Ben Wade over Royal Grain over Hand Made in Denmark. The stamping is clear and readable.
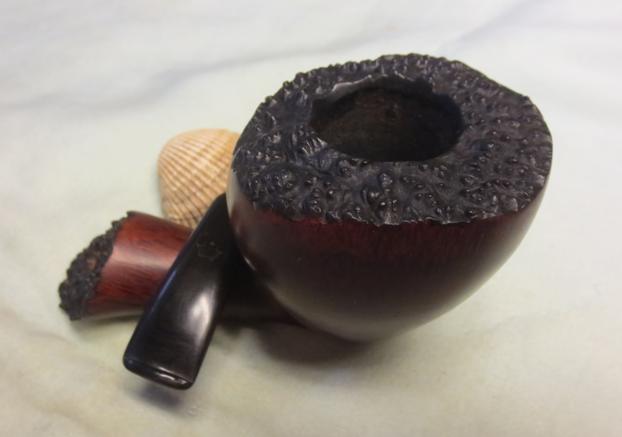
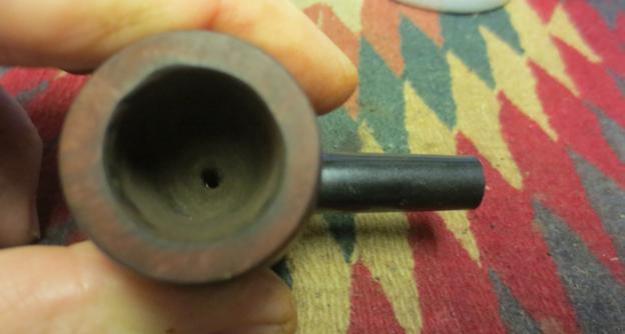
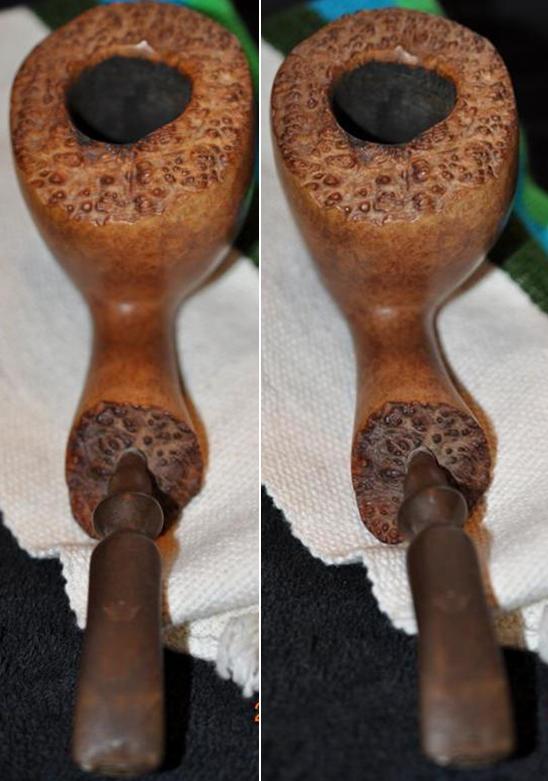
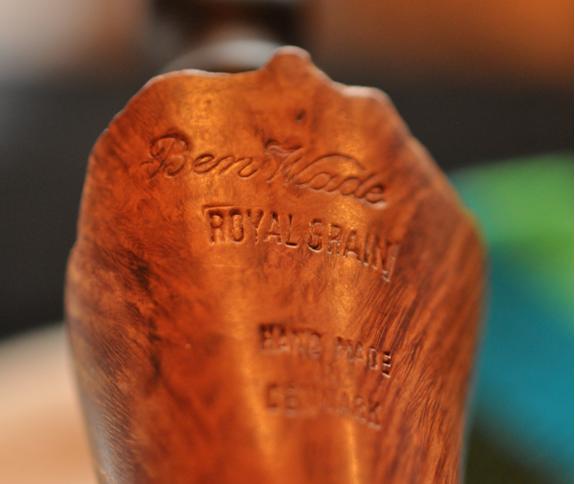 The next photo shows some of the scratches in the bowl. They are not deep but they are visible.
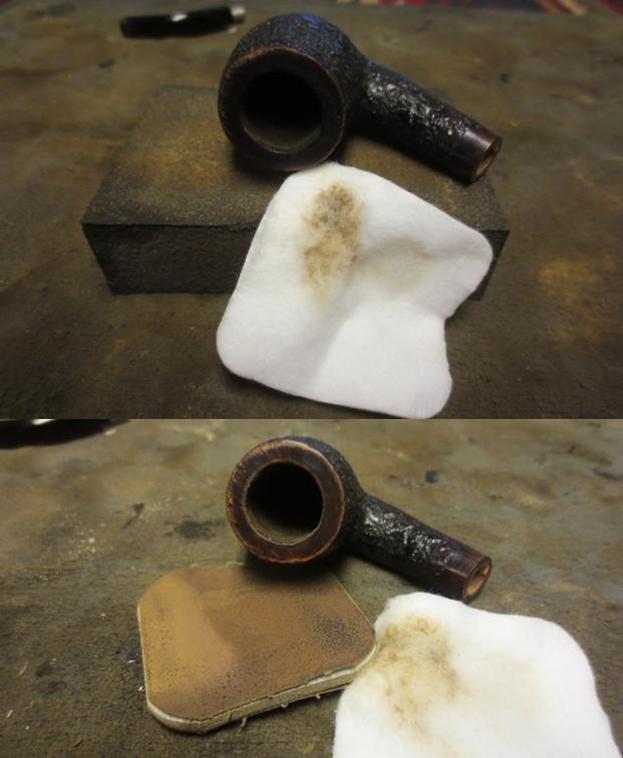
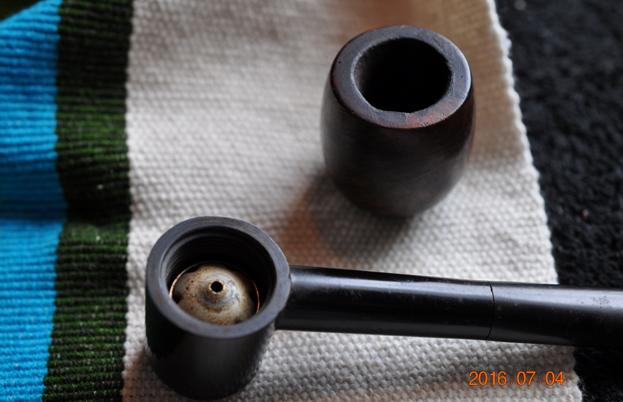
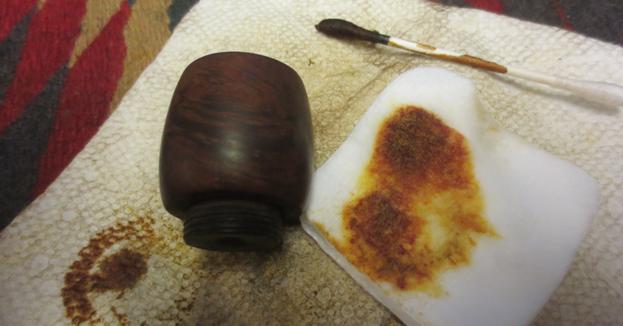
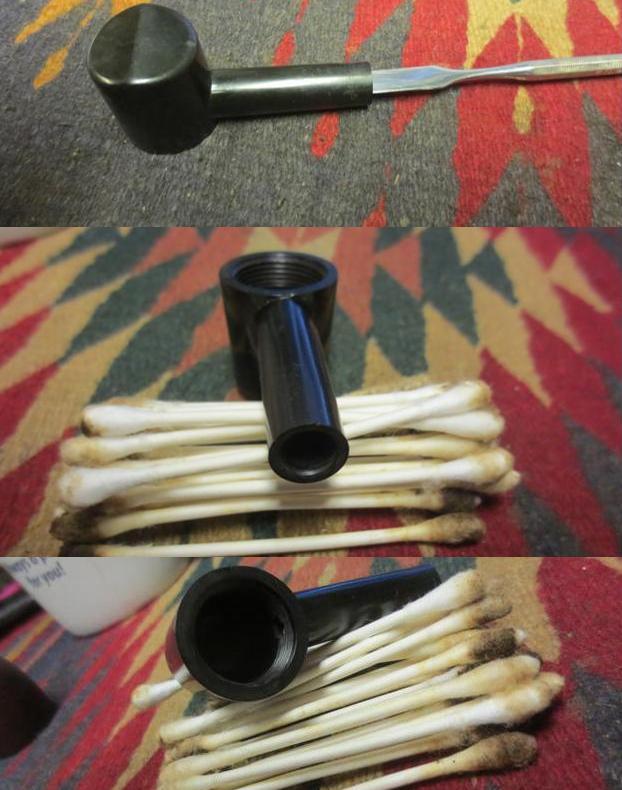
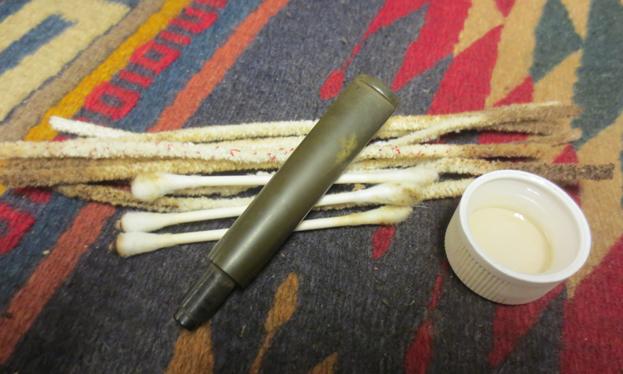
 My brother scrubbed the briar with Murphy’s Oil Soap and a soft tooth brush. He rinsed it under running water and cleaned out the interior with pipe cleaners, cotton swabs and alcohol.
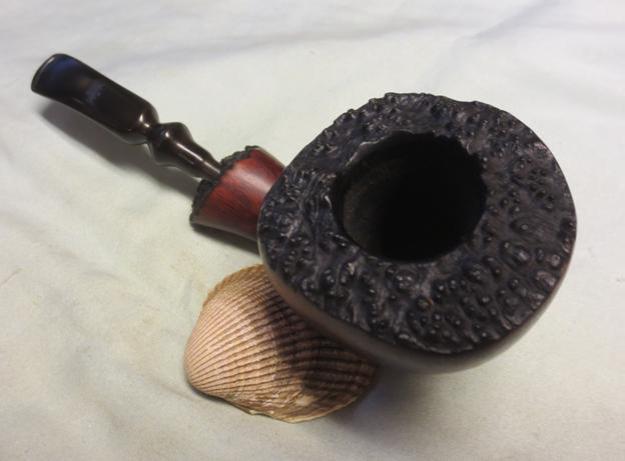
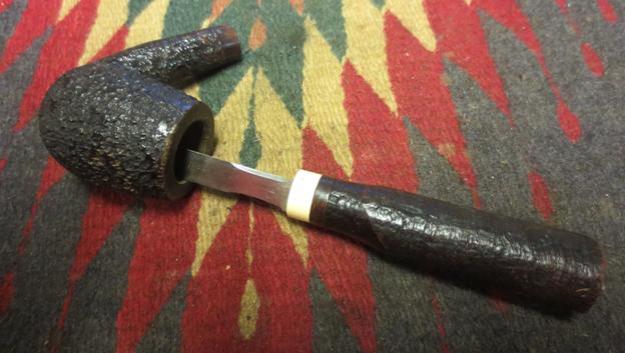
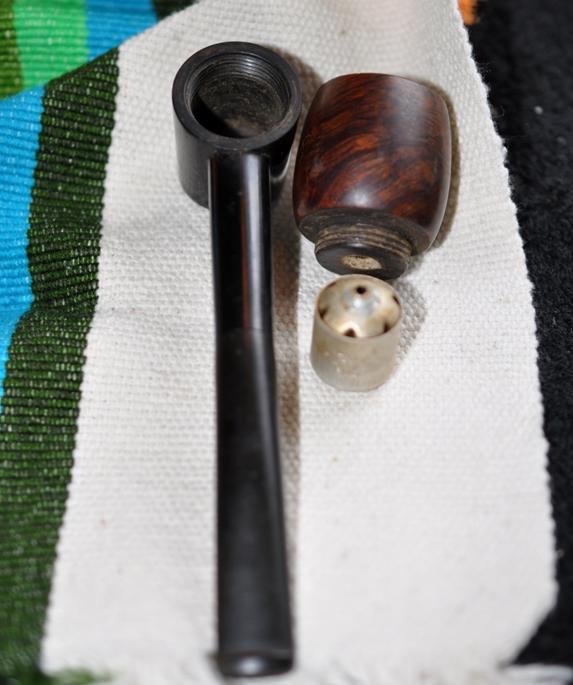
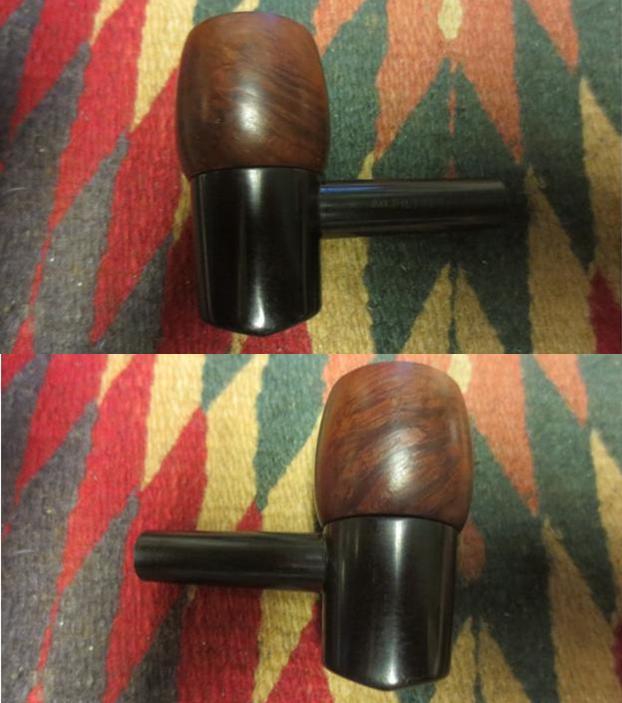
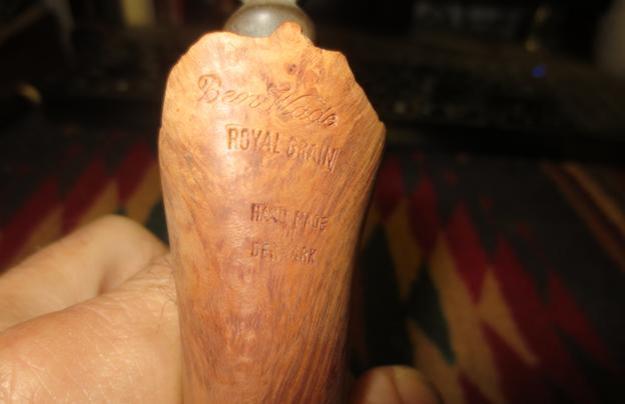
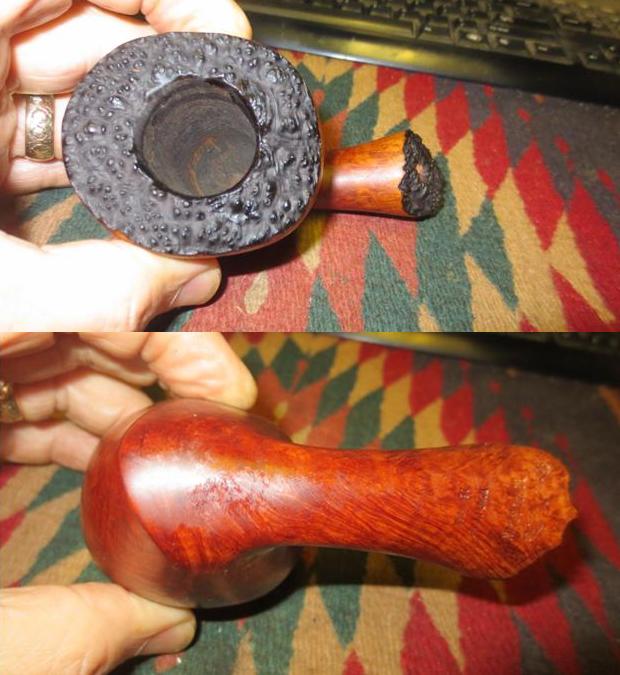
 I took a close up photo of the plateau rim. It is clean and undamaged. I took a close up photo of the stamping on the shank as well. The grain and the stamping are in great shape.
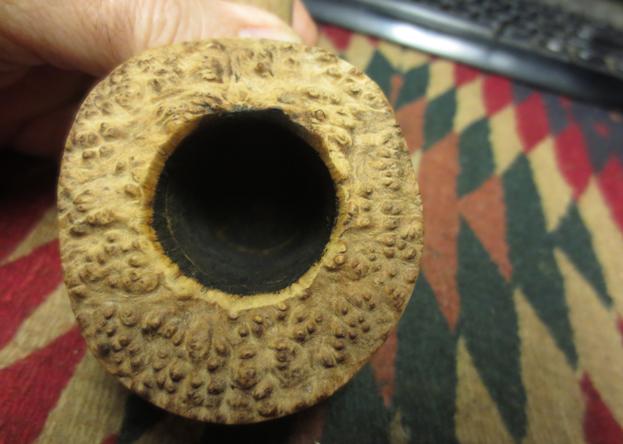
 I stained the plateau on the rim and the shank with black aniline stain and flamed it to set it in the grain. I used a pipe cleaner to apply the stain because the fuzz on it went into the grain and high spots. I find that it works amazingly well to apply the stain.
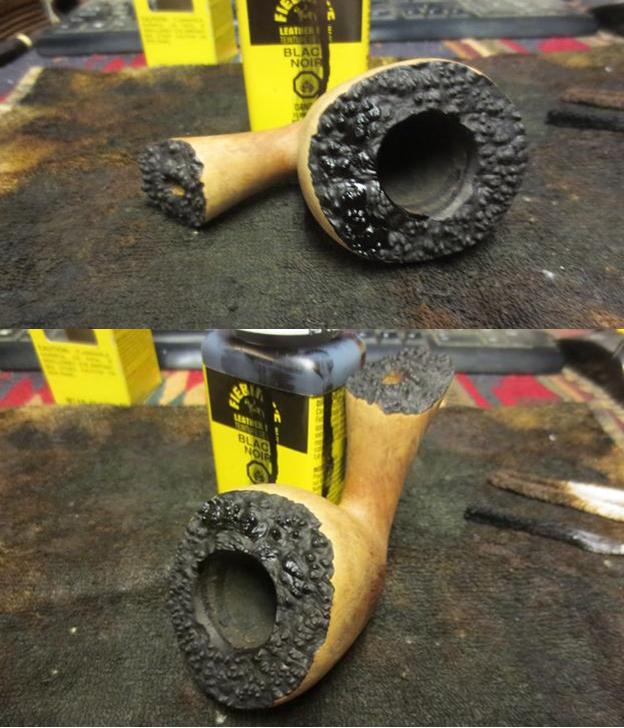 I wiped down the bowl with a little bit of olive oil to see what the grain looked like and also so I could sand the bowl with micromesh sanding pads. I sanded it with 1500-4000 grit sanding pads until it was smooth.
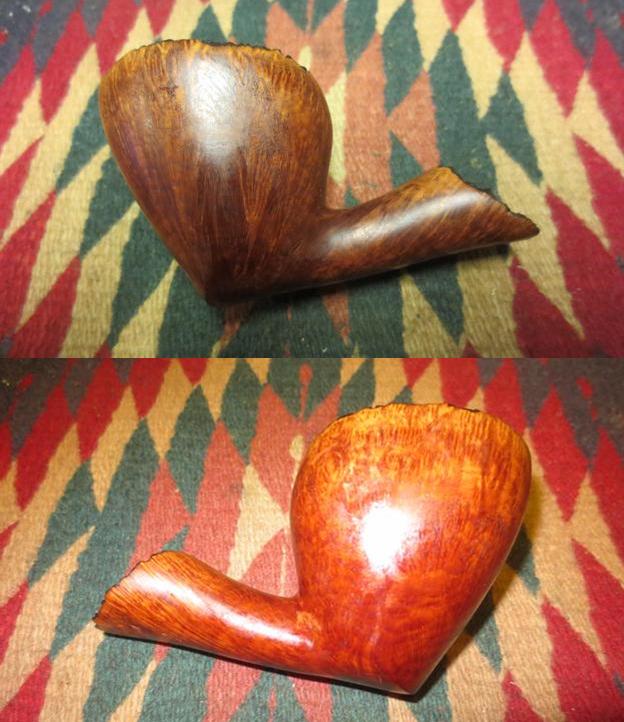
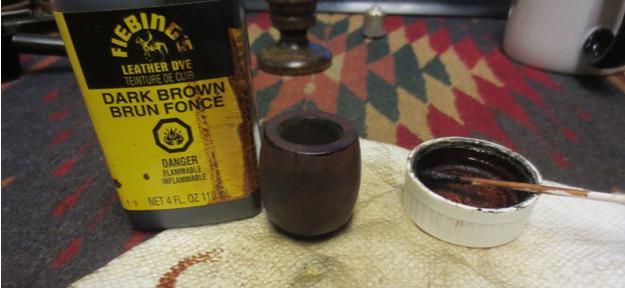
 Once I had sanded the scratches out of the grain I stained it with a mixture of dark brown stain and alcohol – 50/50 mixture. I flamed it and repeated the process until the coverage was good. I kept the brown stain off of the plateau areas of the bowl and shank.
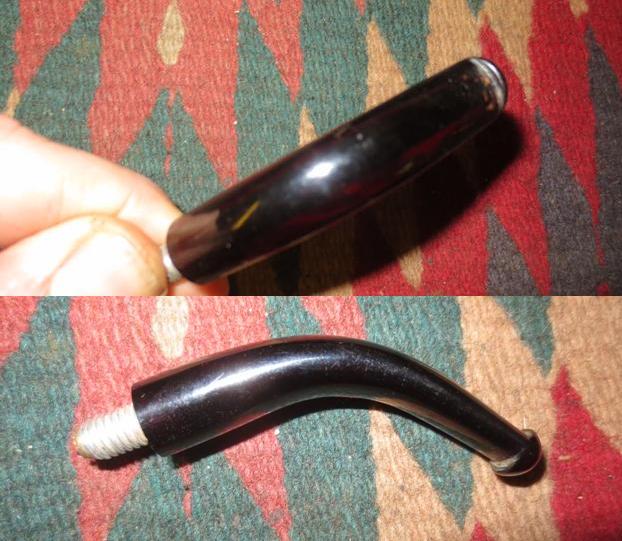
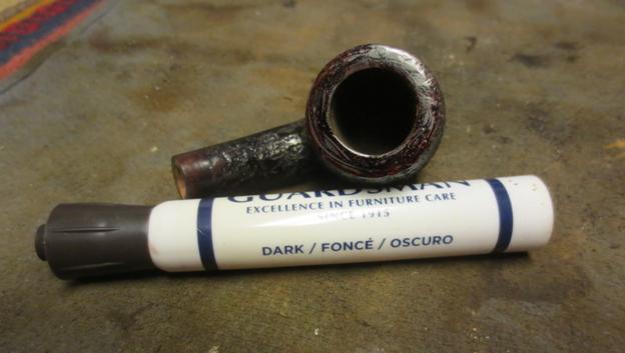
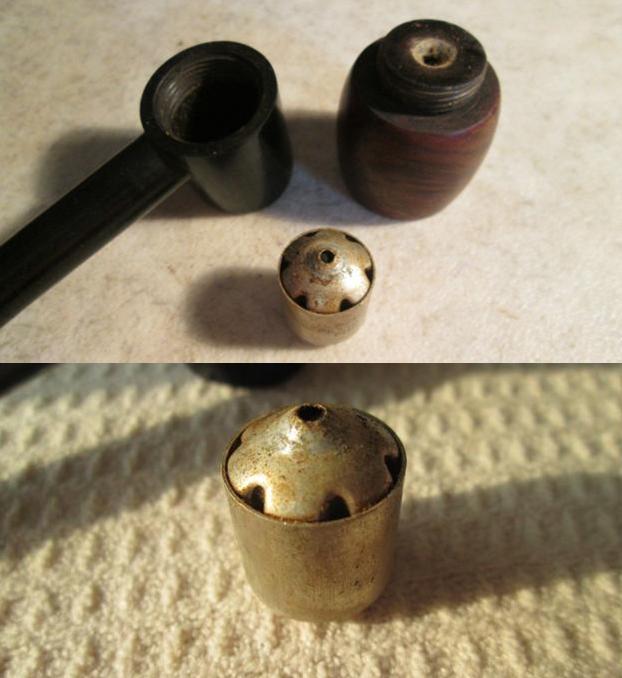
 My brother washed the stem with Murphy’s Oil Soap and rinsed it off. The oxidized stem has deep tooth marks on the top of the stem that crossed the top of the stem and the button on the left side. The underside had three deep grooves in it that did not penetrate into the airway. The fact that they did not break through into the airway was the only real blessing in the mess.
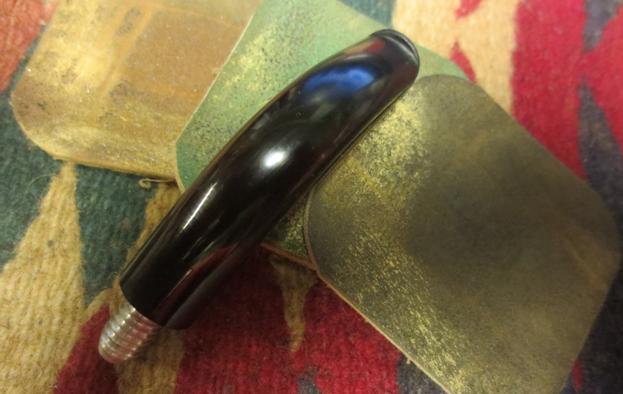
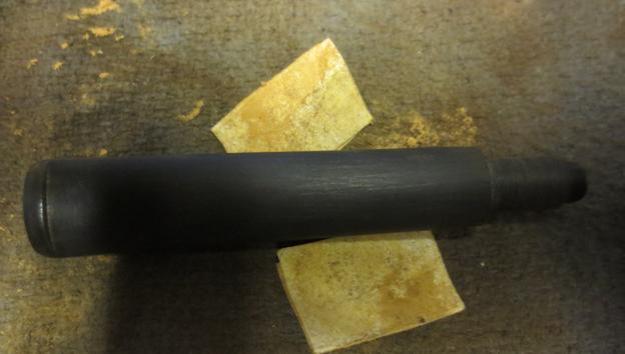
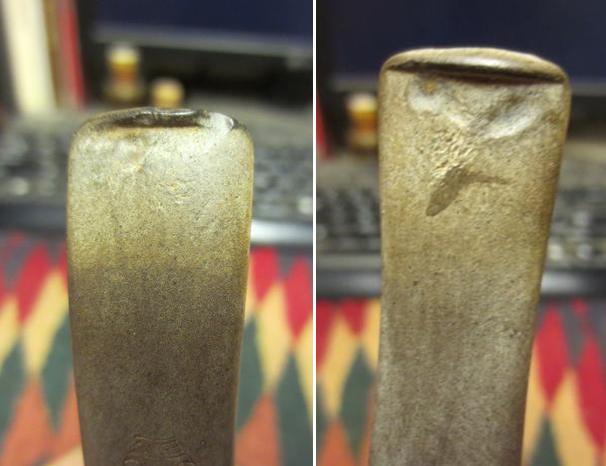 I sanded the stem to smooth out the oxidation and to remove the debris around the tooth marks. I wanted the stem area clean so that I could patch it. I used black super glue and let it dry for one hour and then sprayed it with an accelerator to harden it.
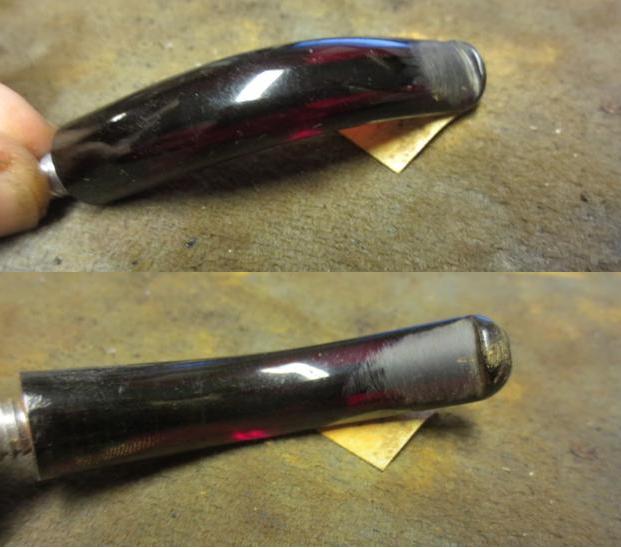
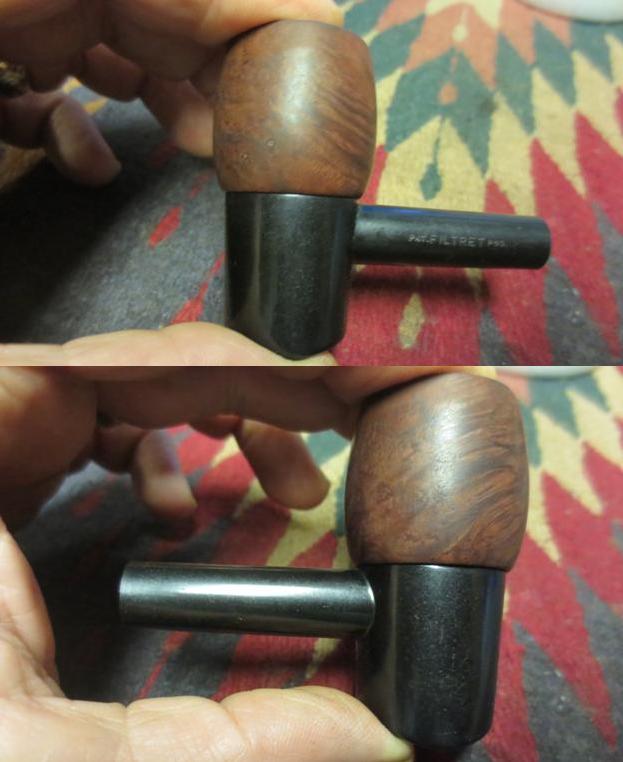
 I used a needle file to recut the button edges and clean up shape of the button. I sanded it with 220 grit sand paper to remove the excess black super glue patch and blend it into the surface of the stem. The Ben Wade Crown stamp was faint but still slightly visible. I planned on maintaining it as much as possible.
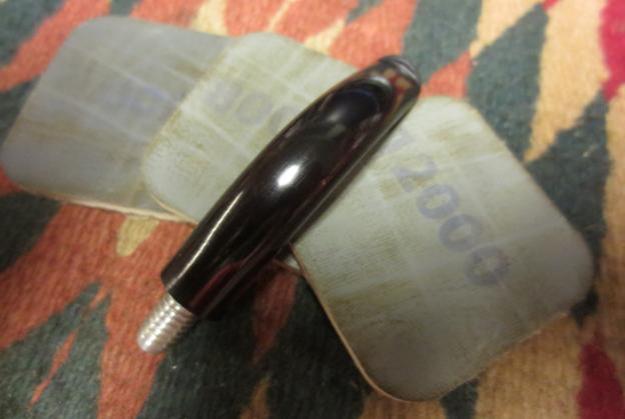
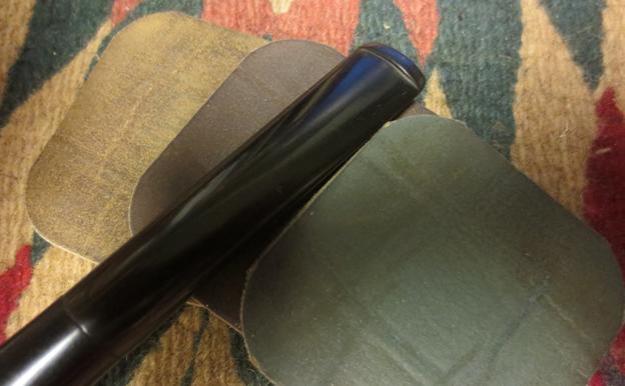
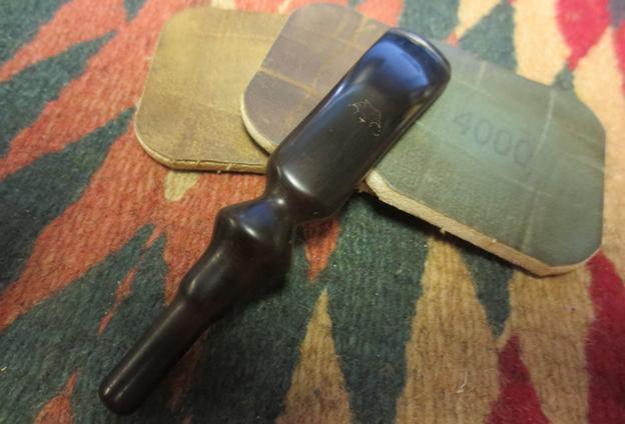
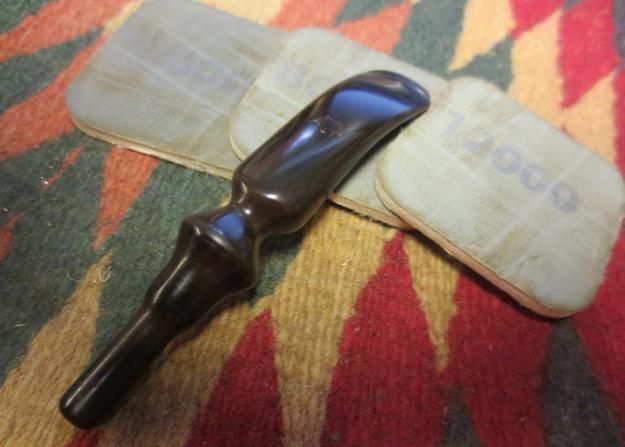
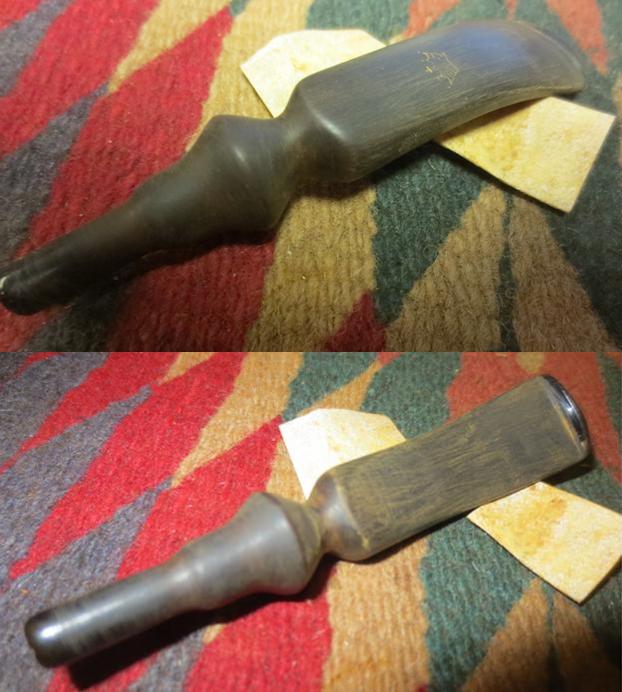 I wet sanded the stem with 1500-2400 grit micromesh sanding pads and rubbed it down with Obsidian Oil. I dry sanded the stem with 3200-4000 grit pads and gave it another coat of oil. I finished sanding it with 6000-12000 grit pads, gave it a final coat of Obsidian Oil and set it aside to dry.
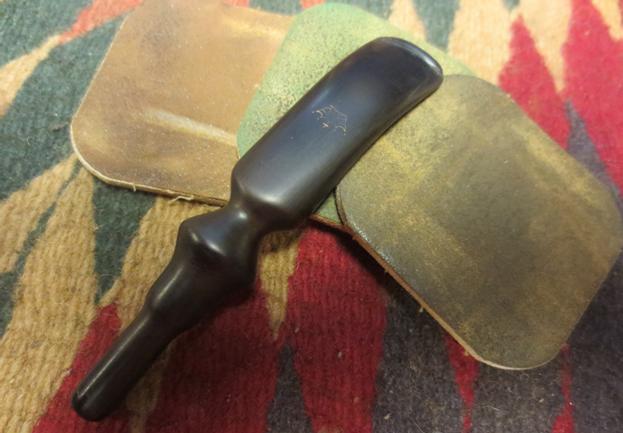
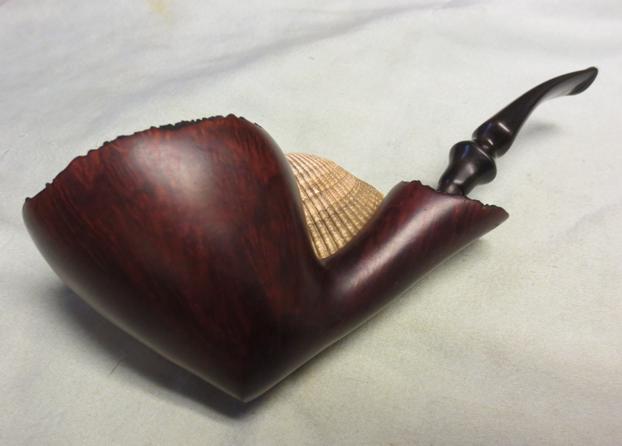
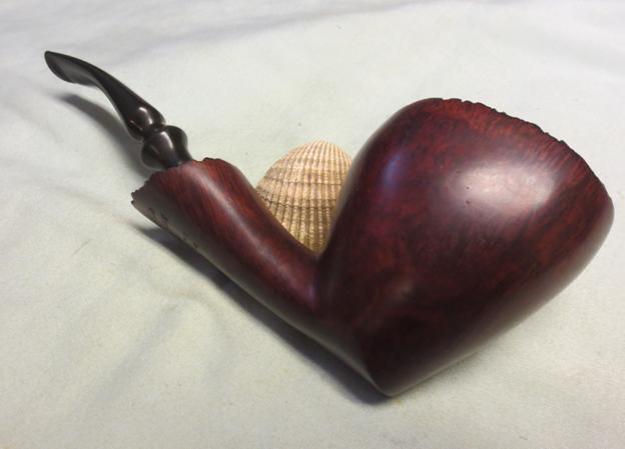
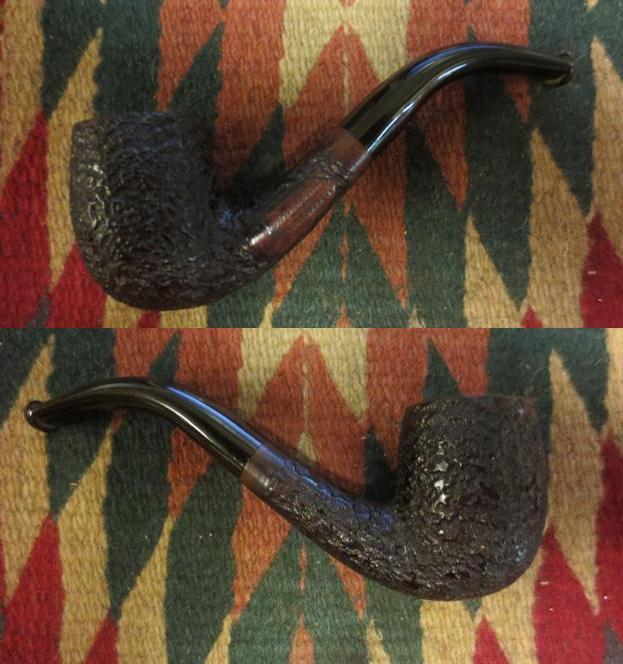
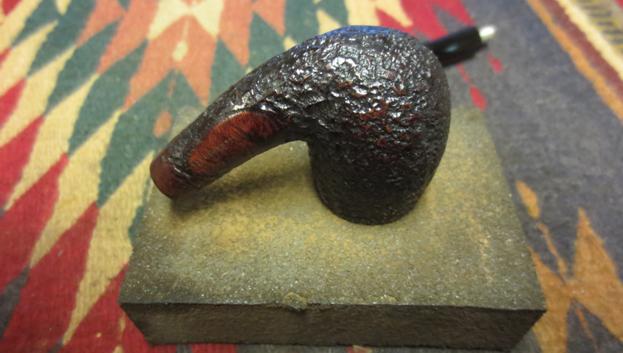
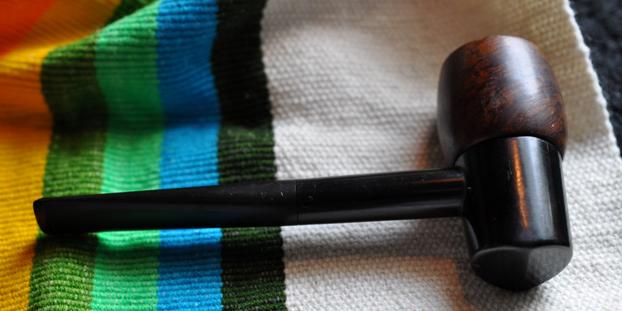
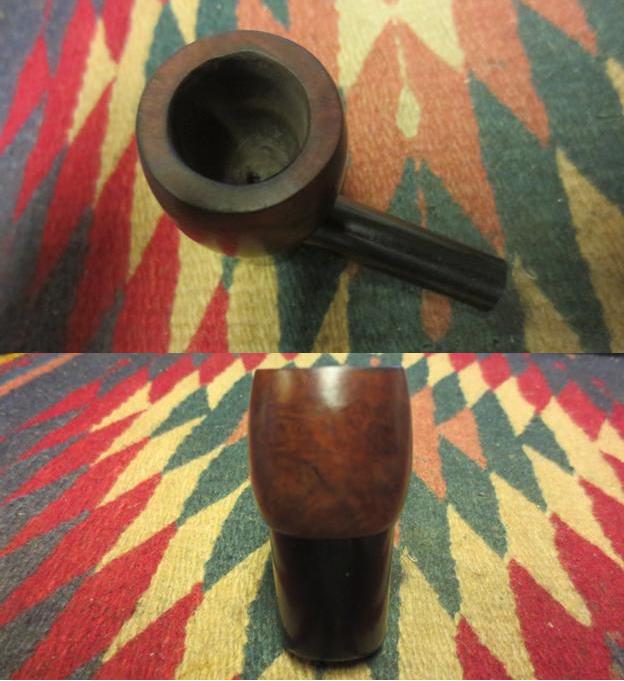
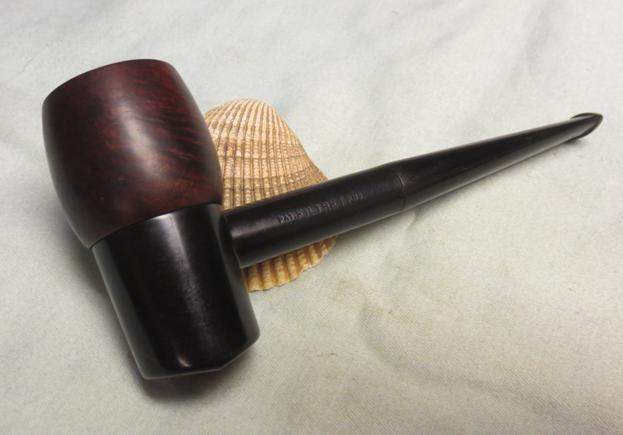
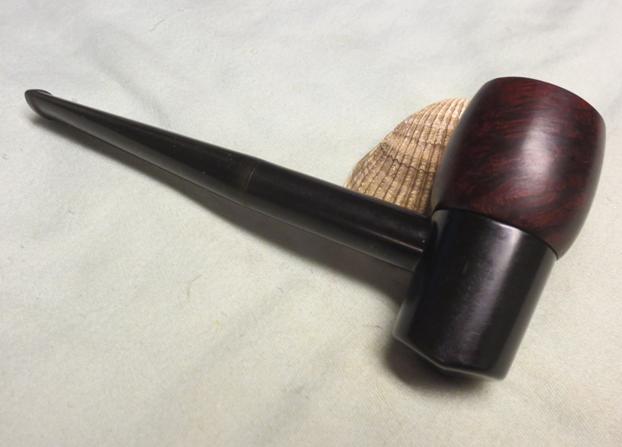
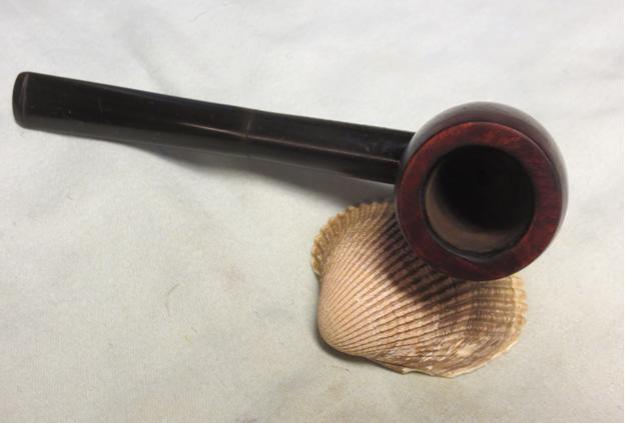
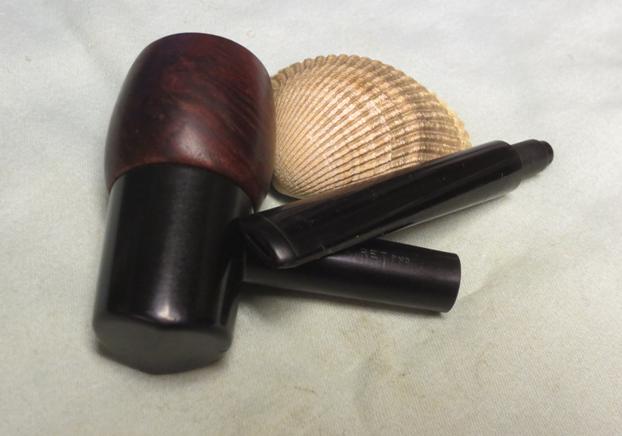
 I buffed the bowl and stem with Blue Diamond on the buffing wheel and then gave the bowl and the stem multiple coats of carnauba wax. I buffed it with a clean buffing pad to raise the shine. I finished by hand buffing it with a microfibre cloth to deepen the shine. The finished pipe is shown in the photos below. It is a large pipe. The dimensions are: length – 7 inches, height – 2 ½ inches, inside diameter of the bowl – 1 inch, outside diameter of the bowl – 2 ½ inches. If this beauty is of interest to you send me a message or leave a response below. It could easily be added to your rack and provide years of service. If it is anything like my Ben Wade Freehand this is likely to be great smoking pipe. Thanks for looking.