Blog by Steve Laug
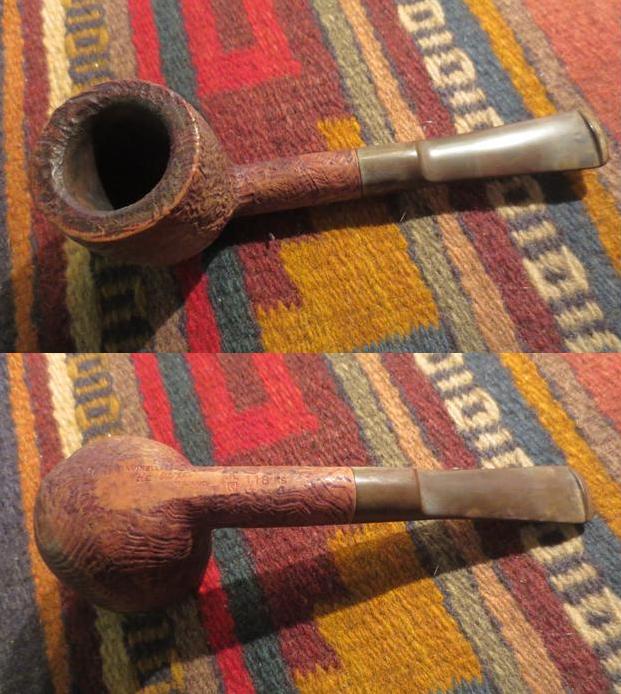
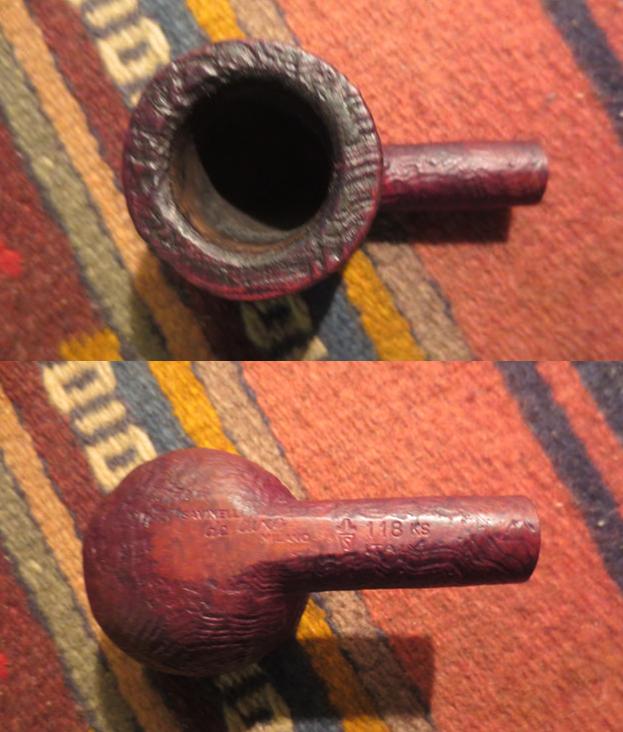
 This pipe came to me from my brother. I am not sure if he found it in one of his antique shop forays between Idaho and Nebraska or on a recent trip to California or even if he found it on eBay. It really doesn’t matter in the long run where it came from. Though sometimes I wish that the pipes I cleaned up could talk and tell their stories. It was obviously a favourite of the pipeman who owned it. It was well smoked but not broken down. The pipe is stamped on the smooth underside of the bowl and the shank with clear and distinct markings. On the bottom of the bowl it reads Savinelli over de luxe over Milano. Next to that it was stamped with the Savinelli Shield logo and the shape number 118KS. Under that is stamped Italy. It is a standard Pot shaped pipe with a large bowl that is one inch in diameter.
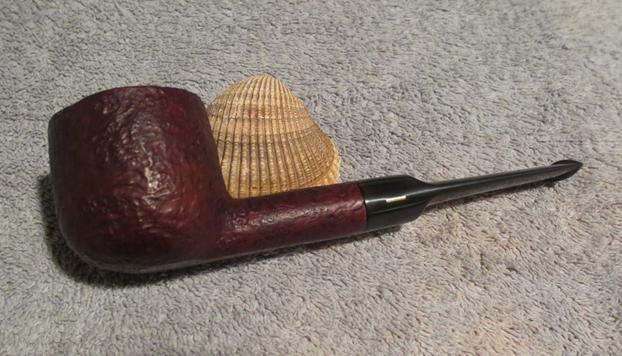
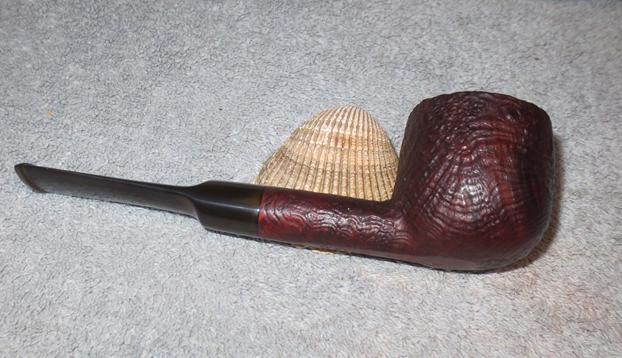
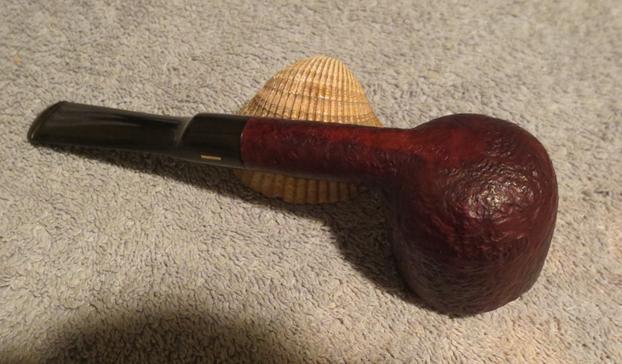
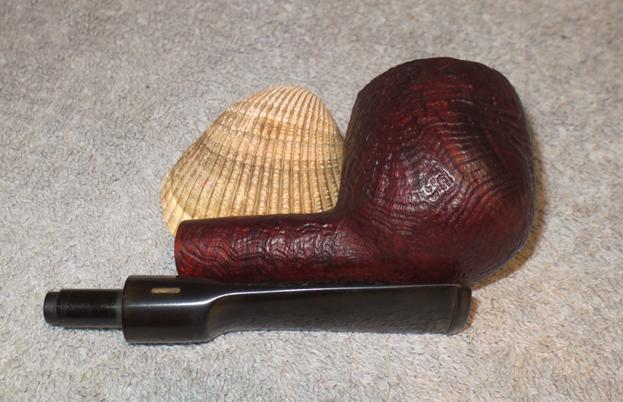
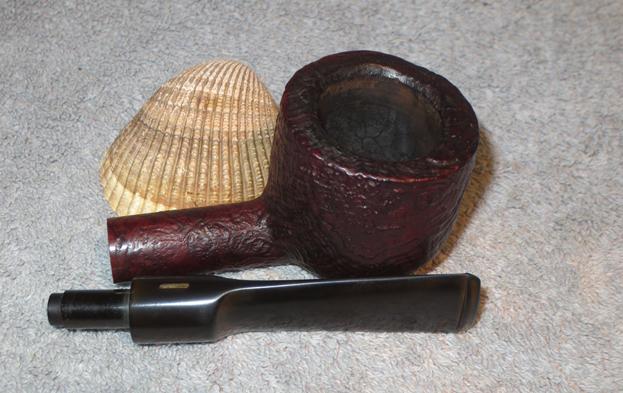
The sandblast shown on the pipe in these photos is stunning. Even under the tar, oils and dirt the pipe is quite beautiful. The bowl had a fairly thick cake that had overflowed onto the rim and filled in the grooves. The dust and dirt had filled many of the grooves of the blast on the sides of the bowl and the shank. The stem was oxidized but was high quality vulcanite. In the photos below it is inserted upside down with the brass/gold bar that generally was on the left side of the saddle was turned to the right side. There was some tooth chatter on the top and bottom sides of the stem. On the top side of the stem (which was turned upside down) there was a deep tooth mark.
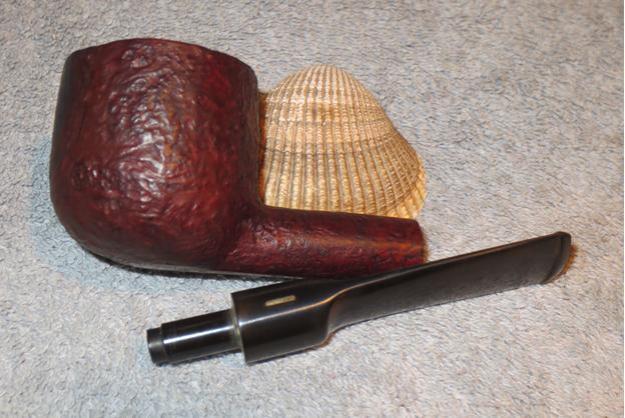
My brother took these three photos before he cleaned up the pipe. He reamed it with a PipNet reamer to rid the bowl of the cake and scrubbed the exterior with Murphy’s Oil Soap to remove the tars and grime. He cleaned out the airway in the shank, the mortise and the stem airway and removed all of the tar that had collected there. When the pipe arrived it was spotless. The sandblast really stood out with clarity as can be seen in the next set of four photos. The ring grain, the birdseye and even the flame grain showed but there was also an under grain that shown through that was beautiful as well.
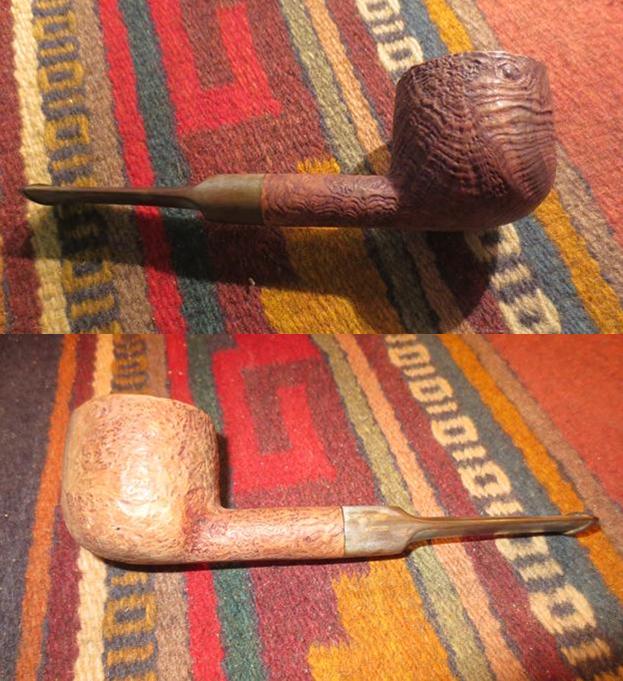
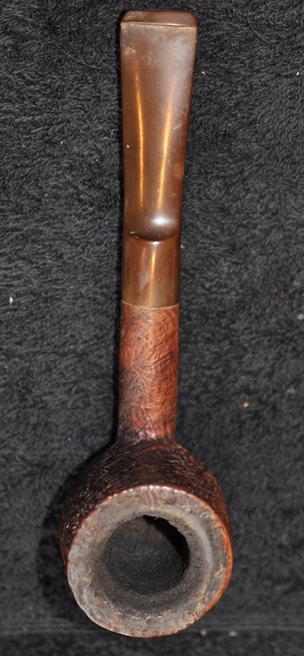
 I took some close up photos of the pipe. The first shows the stamping on the bottom of the bowl. You can see the clear markings on the pipe and how they stand out on the flat smooth bottom of the bowl and the shank. The second photo shows the rim. There was still light dust and grit in the grooves of the rim.
 I also took some close up photos of the stem. I turned it right side up and the tooth mark on the topside near the button is visible in the first photo below. The underside of the stem showed some tooth chatter. Both sides are oxidized.
 I used a brass bristle brush to clean out the debris from the grooves in the rim top. It did not take much but once finished the rim was not as dark. I ran a couple of cotton swabs and alcohol through the shank and it was very clean.
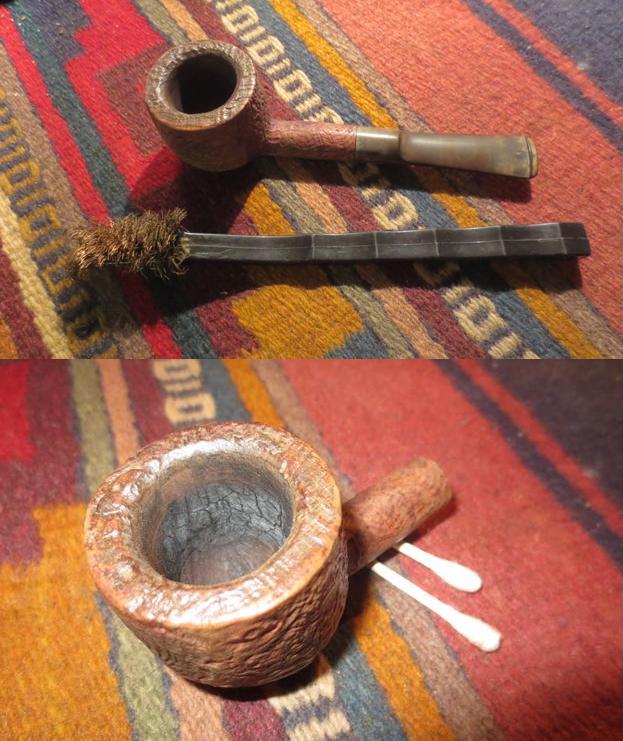 I wiped the bowl down with acetone on a cotton pad to remove dust from the bowl surface in preparation for staining the bowl. I applied some dark brown stain thinned by 50% with isopropyl alcohol using a folded pipe cleaner. I flamed the stain and then repeated the process.
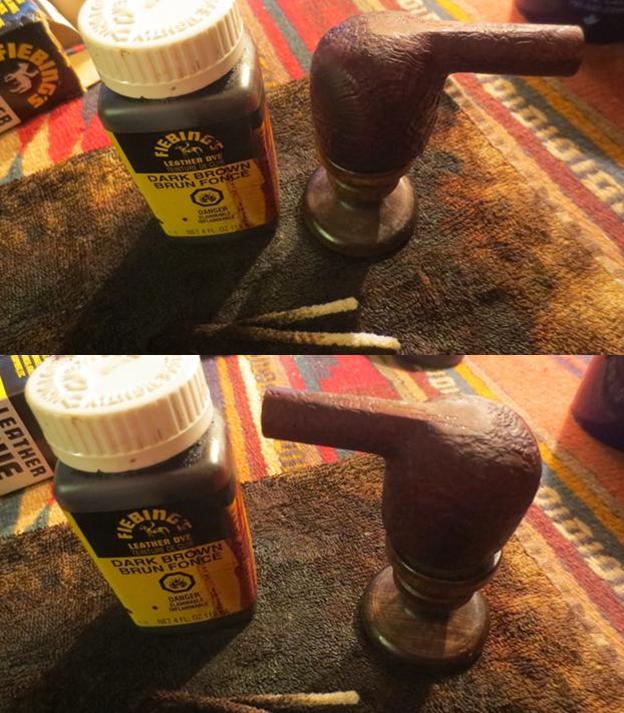 I hand buffed the bowl with a microfibre cloth to raise a shine. The next four photos show the bowl after the initial hand buffing. The grain really stands out clearly in these photos.
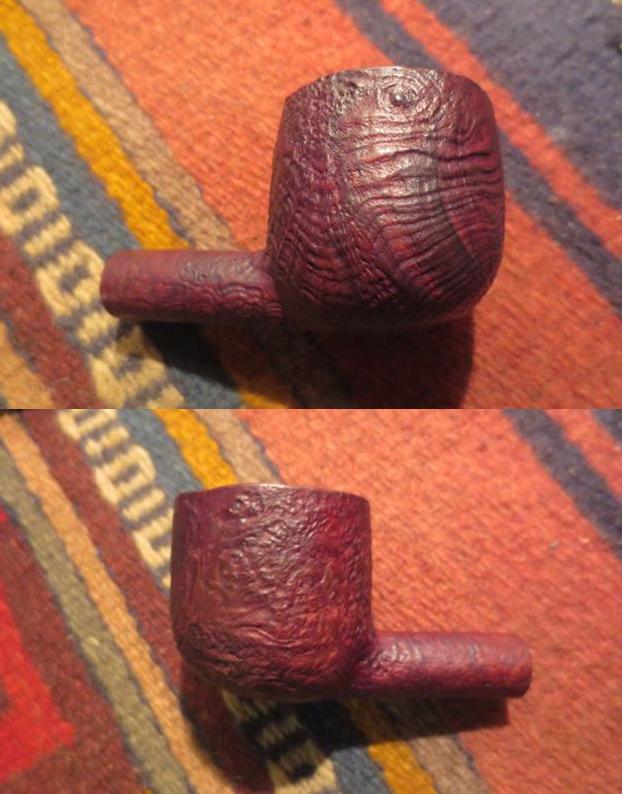
 I sanded out the bite marks with 220 grit sandpaper. Thankfully they were not as deep as I thought and were easily removed. I sanded the oxidation as well and gave the stem a general workover.
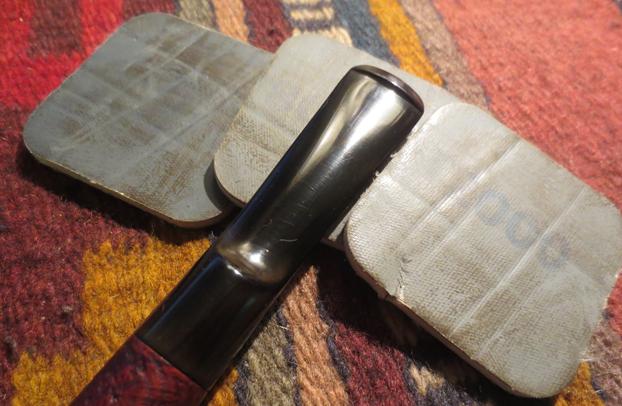
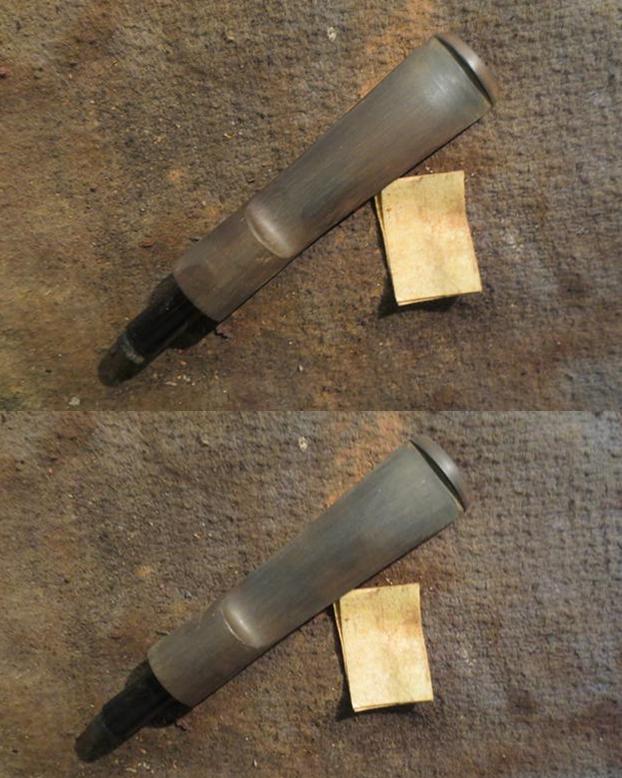 I polished the stem with micromesh sanding pads – wet sanding it with 1500-2400 grit pads and dry sanding with 3200-12000 grit pads. I rubbed the stem down with Obsidian Oil after each set of three pads. I gave the stem a final rubdown with the oil after sanding with the 12000 grit pad and set it aside to dry.
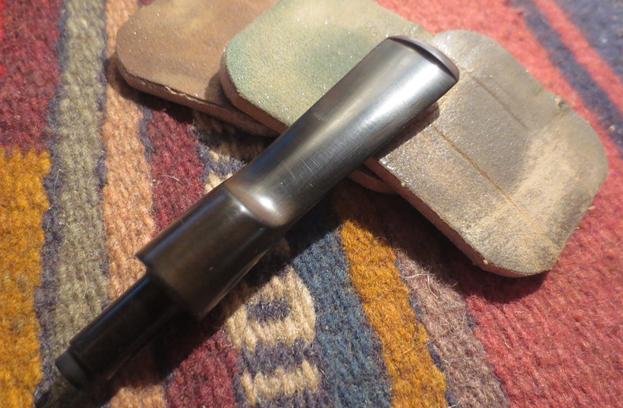
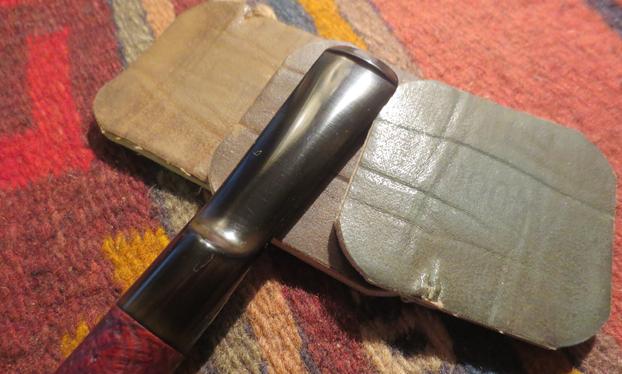
I buffed the bowl and stem with Blue Diamond on the buffing wheel to polish it. I used a light touch on the bowl so as not to get the polish stuck in the grooves of the sandblast. The stem took some work to polish off some of the stubborn oxidation at the shank stem union. I polished the stem with multiple coats of carnauba wax a buffed it with a clean buffing pad. I hand waxed the bowl with Conservator’s Wax and buffed the bowl with a clean buffing pad. I hand buffed the pipe and stem with a microfibre cloth to deepen the shine. The finished pipe is shown in the photos that follow. It is a great looking pipe with an amazing sandblast finish that is worth taking the time to look at. Thanks for looking.