Blog by Steve Laug
Ed James, Ozark Southpaw posted a Morta pipe that he had made, a beautiful Dublin with a Cumberland stem and an interesting addition of a piece of black palm that was fitted onto the stem. It was an amazing looking pipe and certainly one I would have loved to own. I wrote to Ed and asked about it but it was sold. We went back and forth on email and finally I decided to commission Ed to make a pipe for me. I wanted the same work on the stem – Cumberland and Black Palm. He was getting some Morta from Croatia and he said it was great stuff so we decided to wait until he had it in hand. We discussed the shape of the pipe and I decided to go with an apple – one of my favourite shapes. I have yet to have one of Ed’s pipes and I have never had a Morta before so this was several firsts in one pipe. I was looking forward to seeing what he was going to make. I asked if he would mind sending me some photos along the way as he made the pipe. He said he would gladly do so.
Here is the first set of photos Ed sent me. The first shows his sketch of the pipe or the pattern of how he laid it out on the block of Morta. From the pictures that follow it is clear that it was stuck to the Morta block and when he cut away the pieces noted with the Xs there is paper stuck to them in the third photo below.  The next photo shows the drilled block of Morta, the Delrin tenon and the Cumberland rod stock with the Black Palm overlay on the rod. I like the looks of the parts of the pipe so far. That block of Morta looks really clean and has some interesting grain on it. The speckled Black Palm is one of my favourite exotic woods and I love the look of it with Cumberland.
 Ed cut away the excess from the block leaving the rough form of the apple in the midst of the slices of Morta. The bowl shape is present and the shank is emerging from the bowl.
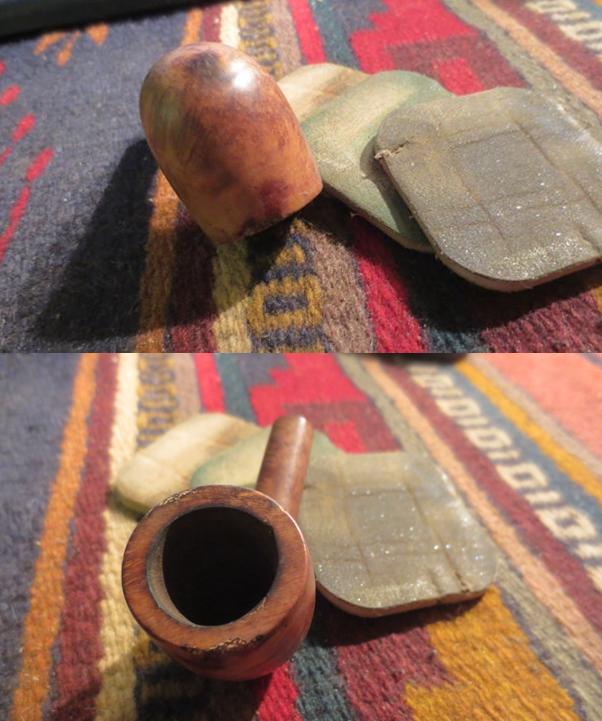
 I believe that Ed began to turn the bowl on the lathe to round out the top half of the pipe and the shank. The grain on the Morta is really showing through.
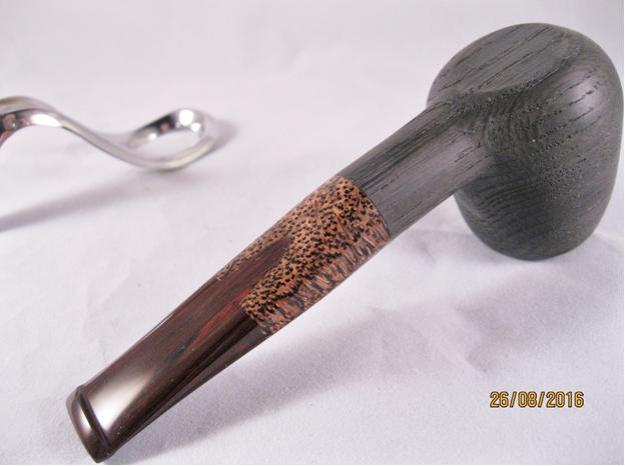
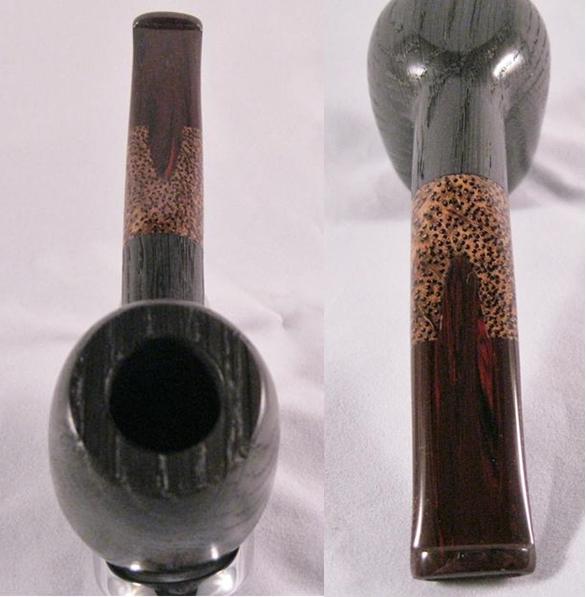
 He removed the rest of the excess material on the remainder of the shank and the bottom of the bowl. He also began to shape the stem. The black palm looks great against the Cumberland and the Morta. Ed asked if I wanted to leave it natural or wanted a red stain on the Palm. My choice was to leave it natural. The cut away portion of the palm that flows into the Cumberland is also a nice touch. The arch of Cumberland extending into the Palm will stand out nicely once the stem is finished.
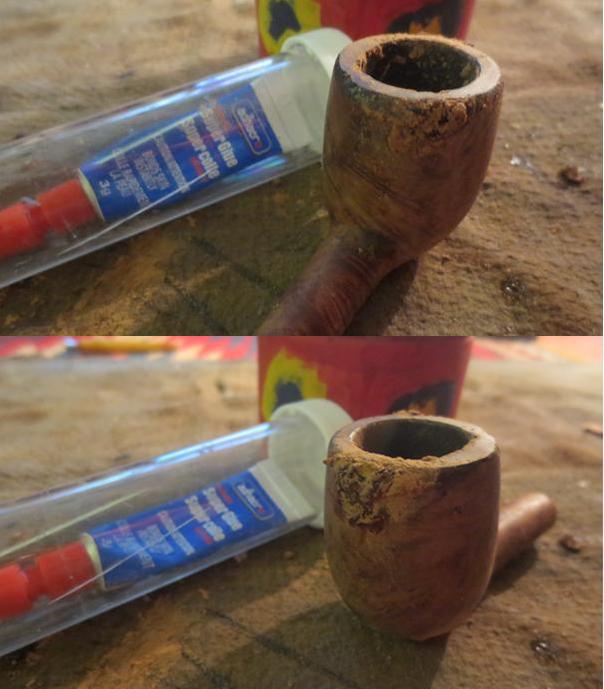
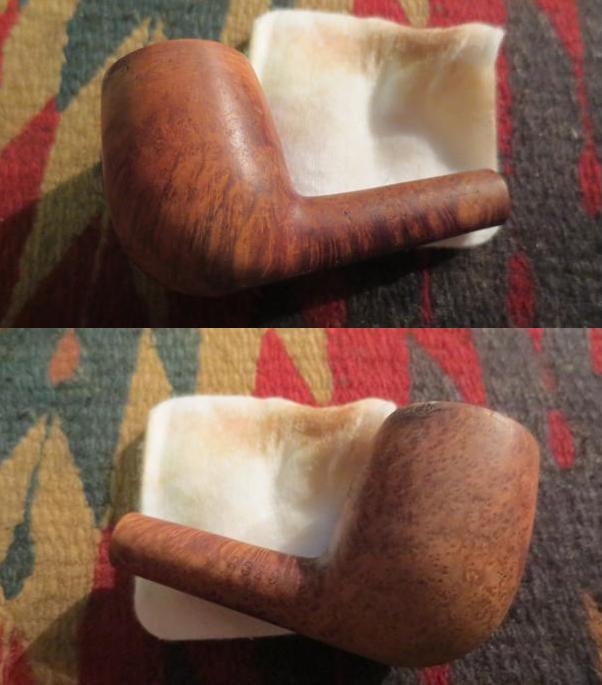
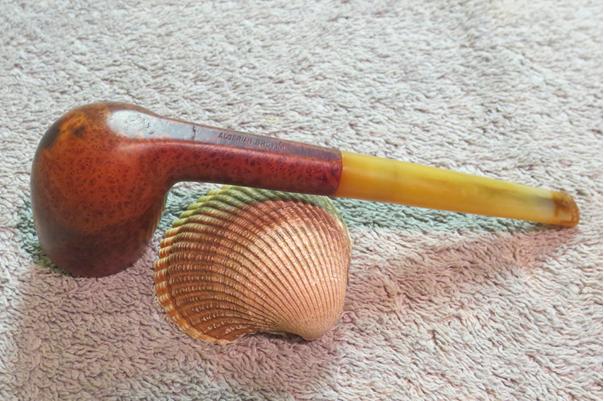
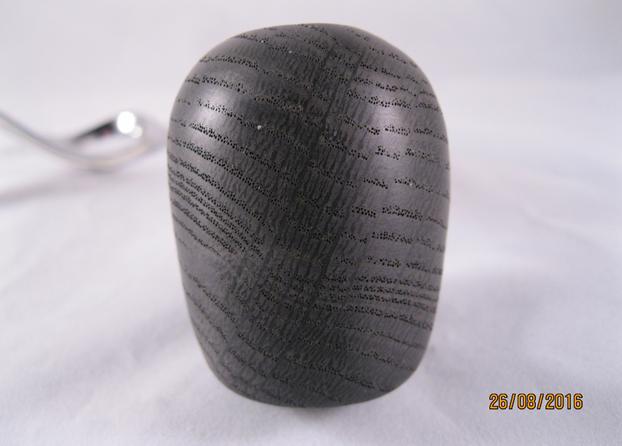
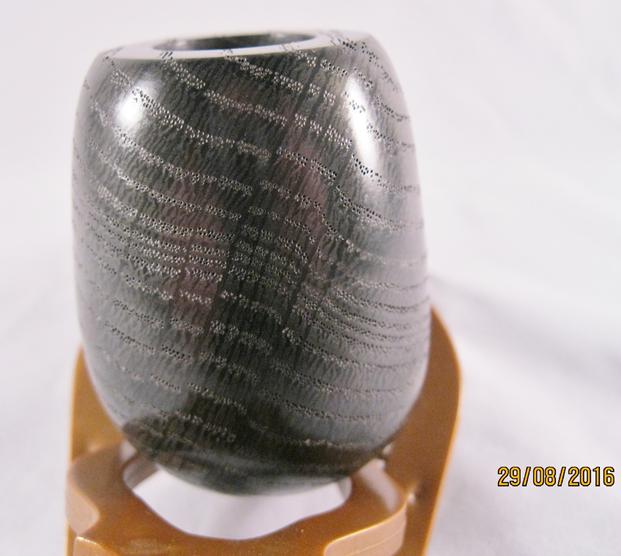
 Ed sent a close up of the bowl to give me an idea of the shape and the grain. It is looking really good at this point. The speckled Black Palm looks really good with the Morta.
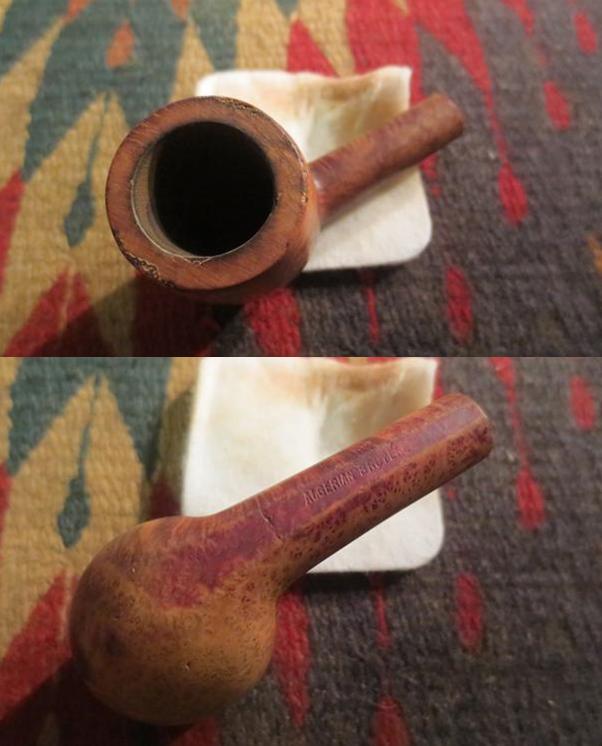
 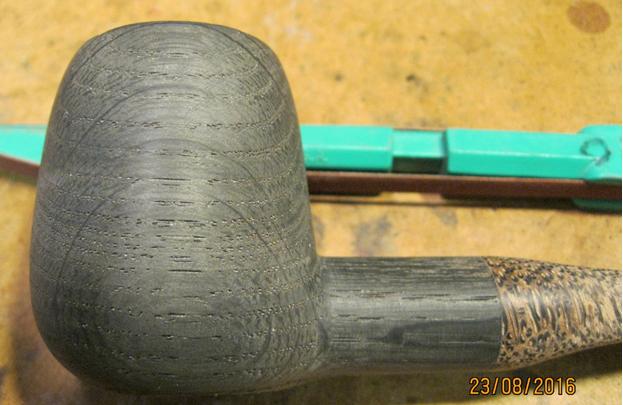 He also flattened the bottom of the bowl so the pipe would stand on its own on the desk.
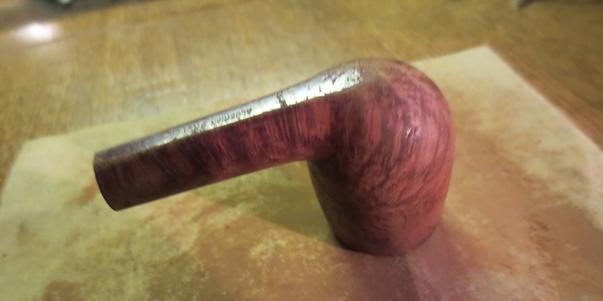
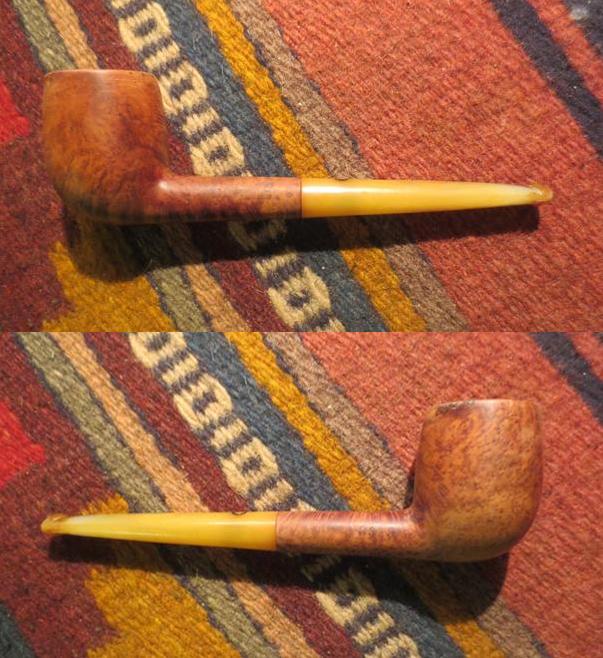
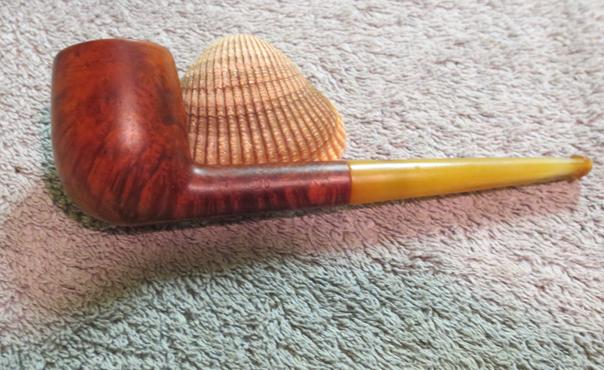
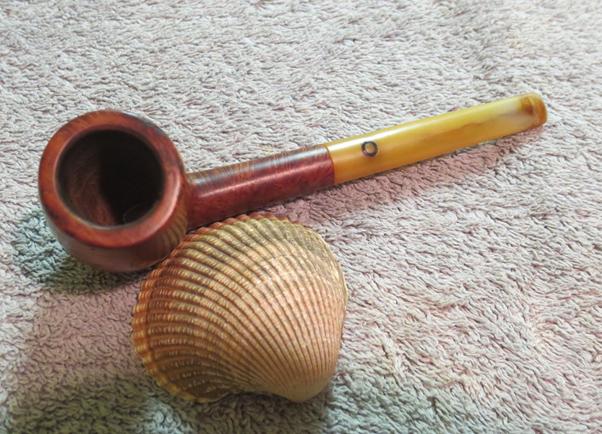
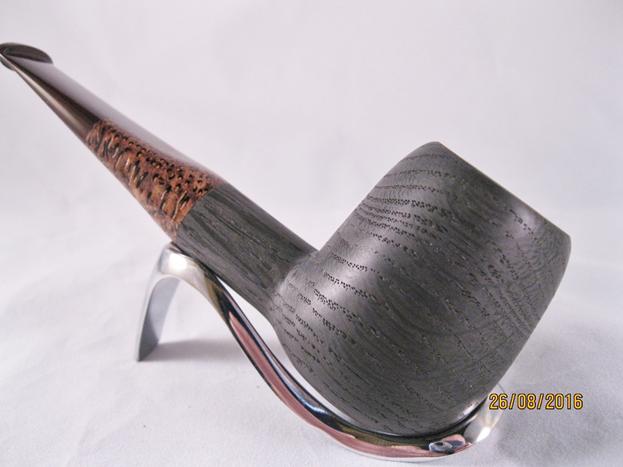
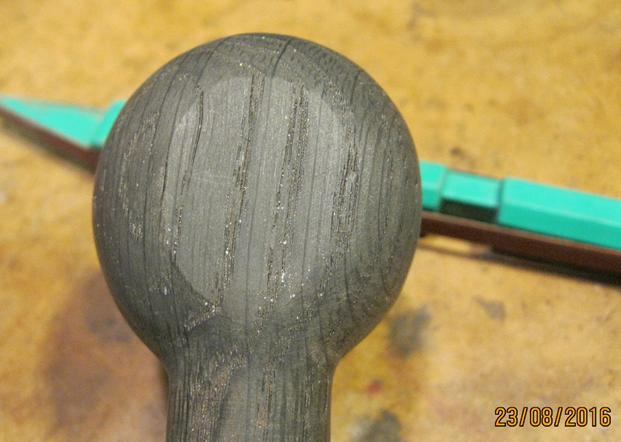 He did a lot more sanding and shaping of the bowl and the stem. The next photos show the pipe polished and ready for its final finish. Ed wrote and said he want to do some polishing on the Morta. I can’t wait to see what it looks like once it is done. The pipe shown in the photos below is stunning to me. The Black Palm and the Cumberland work really well together. The shine he achieved on both is amazing. Thanks Ed.
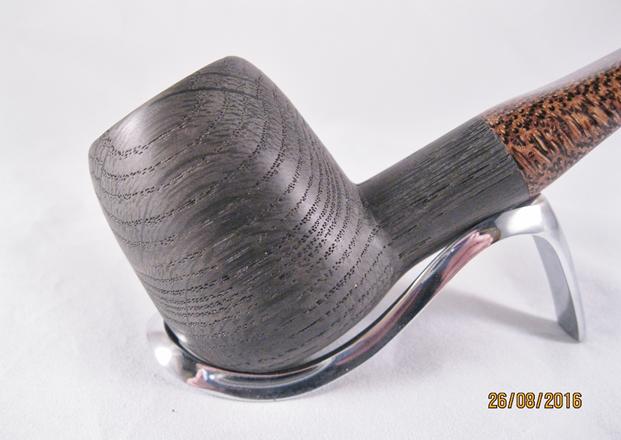
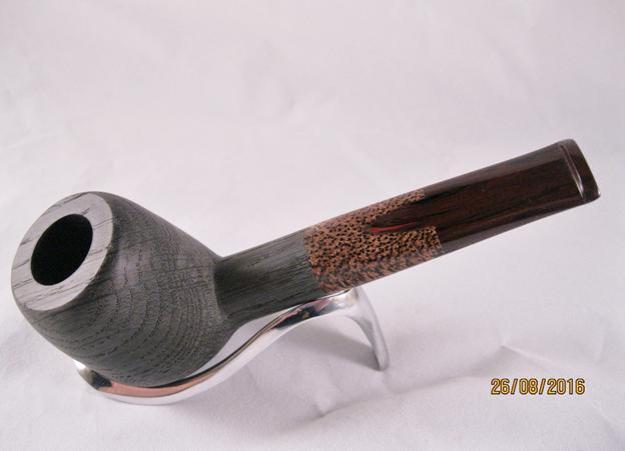
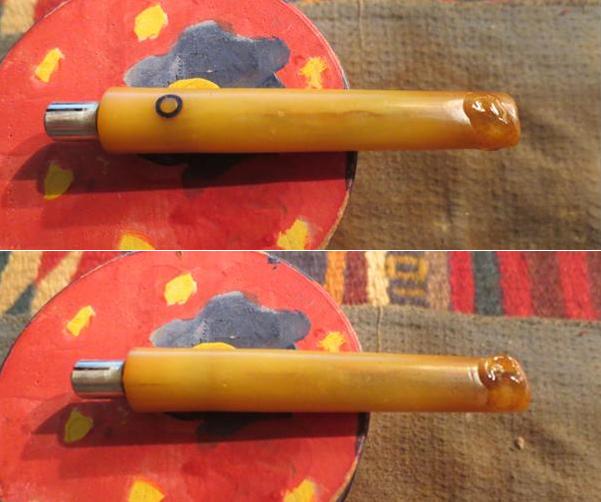
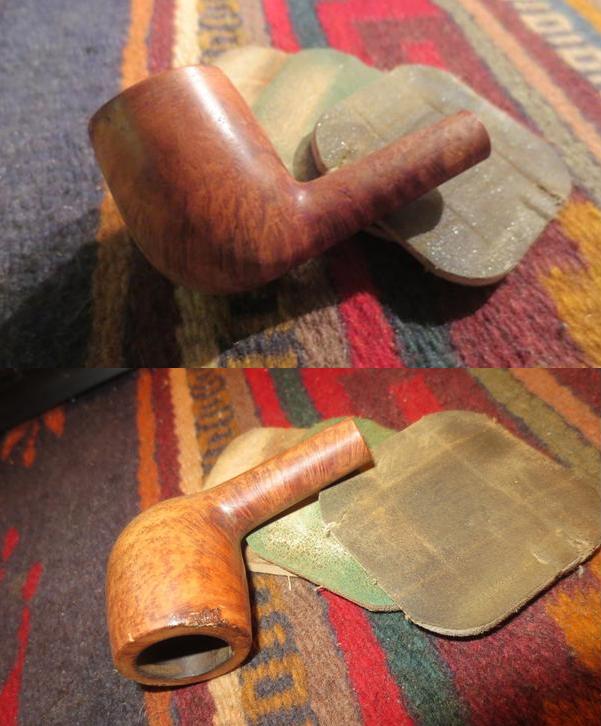
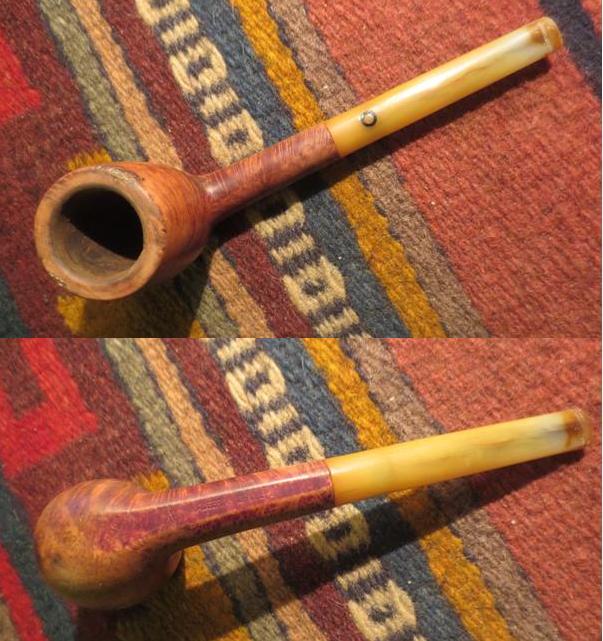
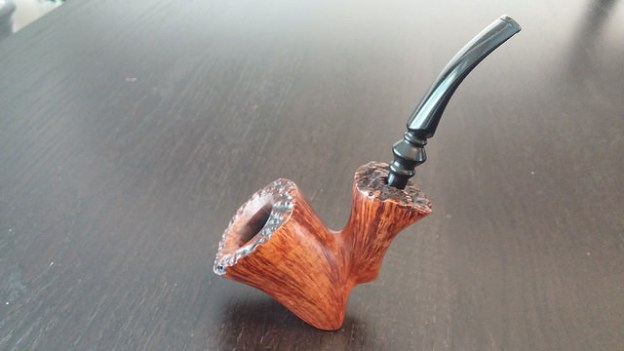
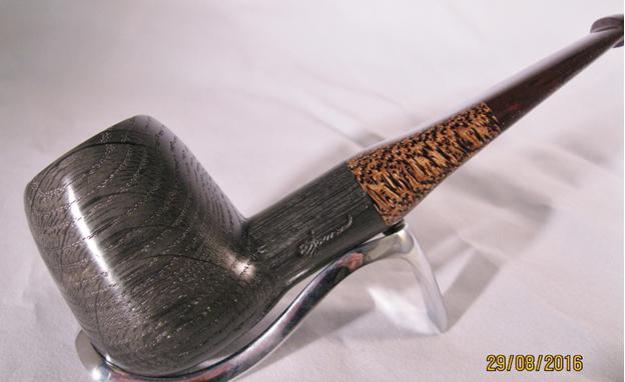
 Ed wrote me on the weekend and said that the pipe just needed some polishing. He hand rubbed the pipe with some Halcyon II Wax. He applies it with a finger and rub it in well, lets it dry for 5-10 minutes then buff with a clean wheel — then repeats the process. He has found that the Halcyon Wax doesn’t build up in the pores of the Morta like carnauba does and looks better to his eye. He said, like I have often discovered when buffing a pipe that he had to do a bit more sanding as he found some scratches that he didn’t get out on the bowl. The polished and finished pipe is shown in the photos below. To me it is a beauty and I can’t wait to get it here and see it in person. Thanks Ed for making a beautiful looking pipe. You got my attention with this first Morta that I have purchased.
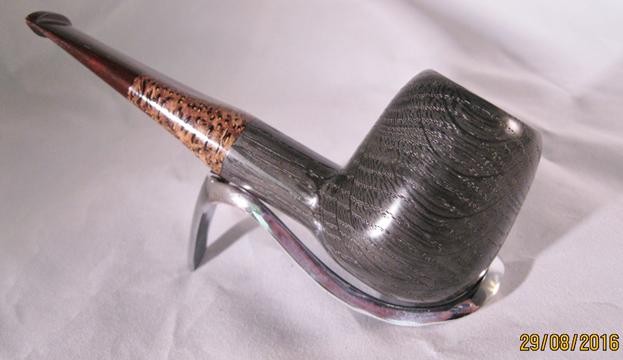
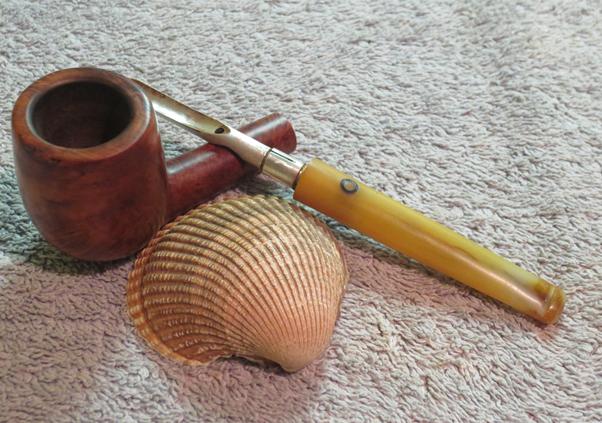
ADDENDUM:
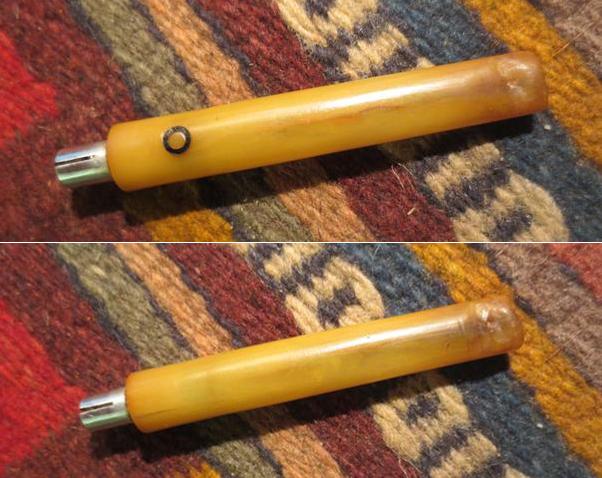
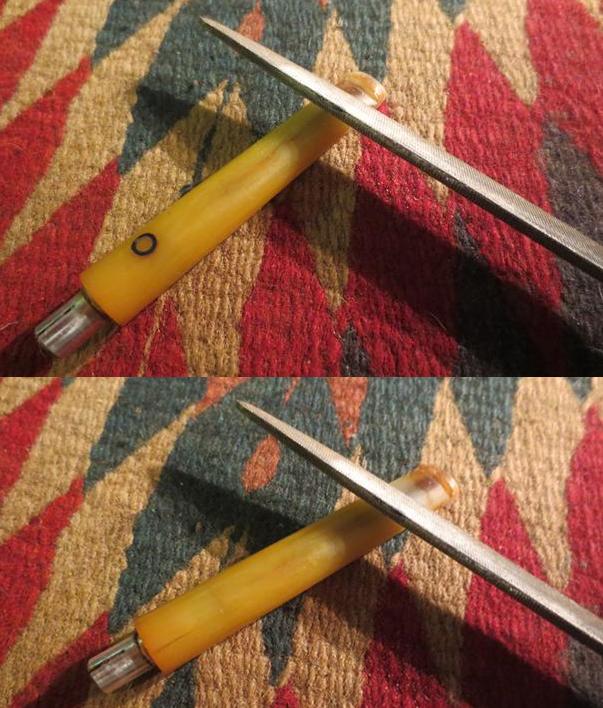
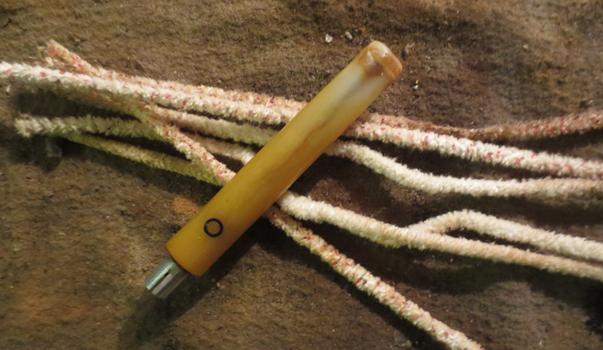
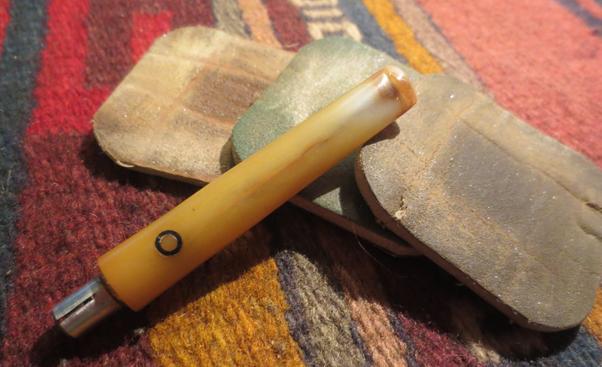
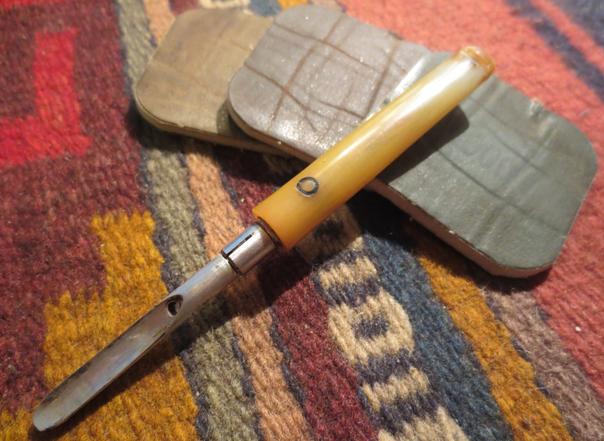
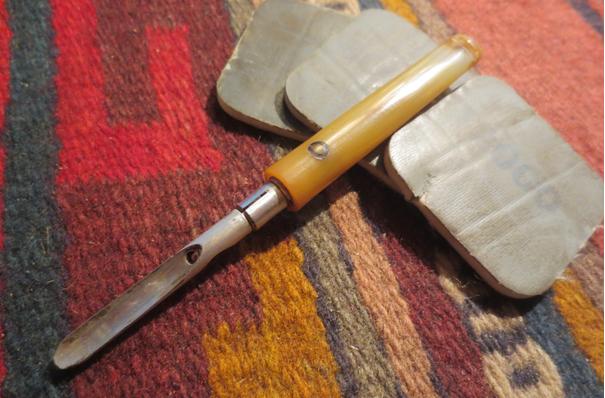
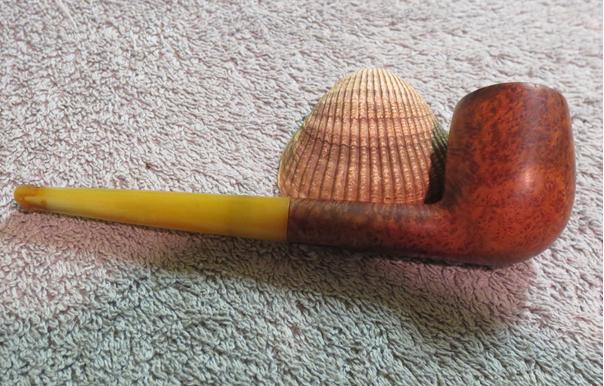
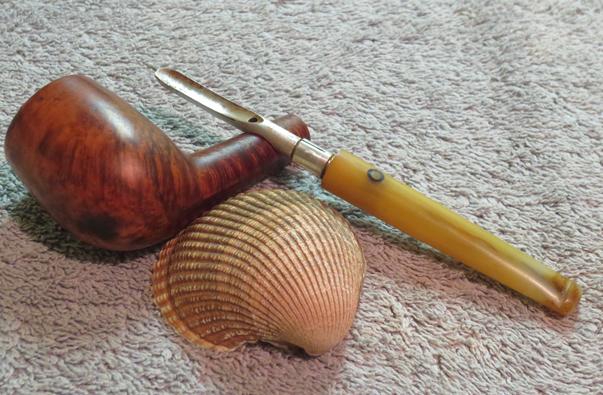
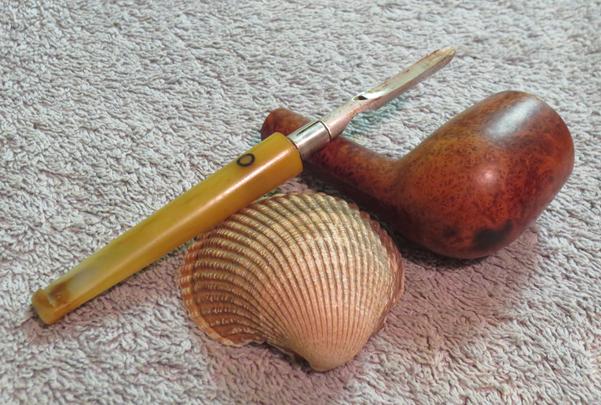
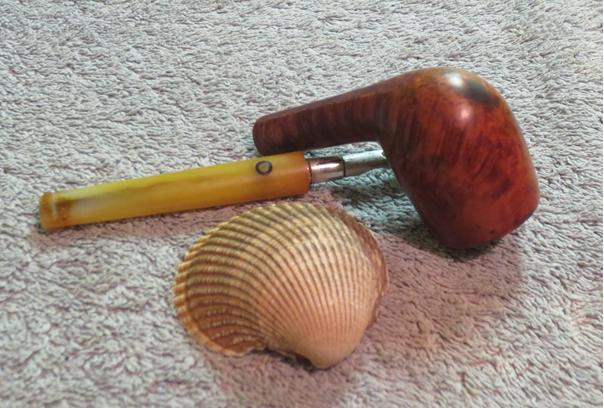
Ed just sent a photo of a tamper that he made from the pieces of Black Palm and Morta. It is a beauty. Thanks for the tamper Ed.