Blog by Steve Laug
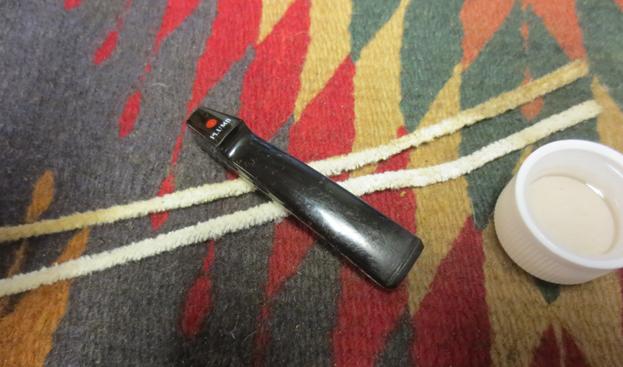
I learned something this afternoon as I worked on a Peacemaker. The stem bears the Dr. Plumb stamp and red dot but the box says BBB. So who made this pipe? What I found inside the box may well explain that question. The brochure reads The Peacemaker Pipe. There is no Dr. Plumb or BBB on the brochure. This got me thinking that the pipe was probably made by a third manufacturer and sold under a variety of labels. Somewhere along the way a Dr. Plumb version got placed in a BBB box. The interesting thing about the box was that it had peal and stick logos on circular marked areas. It was missing a sticker on one side. I looked on-line and found a BBB version of the pipe. It was stamped identically to mine with the only difference being on the top of the stem. Where my pipe had the Plumb and red dot it had the BBB Diamond on the top. I tried to find out who made them but everything pointed to them being made by Peacemaker. I am wondering if they were not made by the Cadogan Group after they had bought out both GBD and BBB. Maybe some of you know some of the history about the brand. Don’t be shy let us all know.
When my brother received the pipe and opened the box it was an interesting discovery. The pipe definitely did not read BBB and it was in pretty decent condition. The metal was in great shape as was the stem. There was some minor tooth chatter on the top and bottom sides of the stem. The finish on the bowl was in good condition. There was a cake in the bowl and the rim top was dirty and the inner edge of the bowl had some nicks that made it slightly out of round.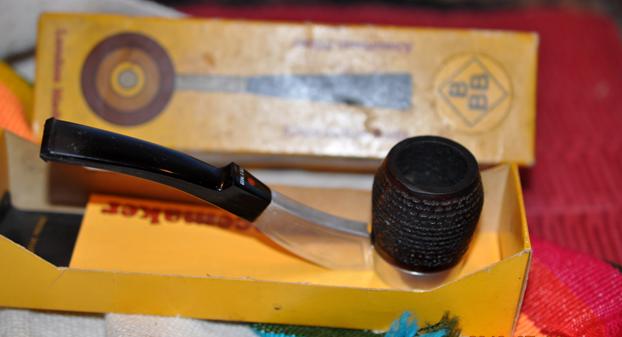
 The box had a Peacemaker brochure inside and a pipe cleaner sleeve for the Smokin’ Bowl, a pipe shops in Charleston, Beckley and Vienna West Virginia.
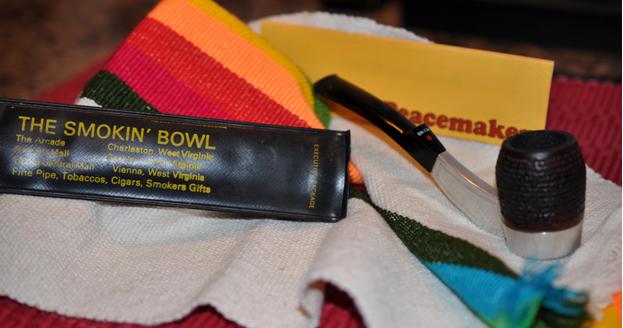
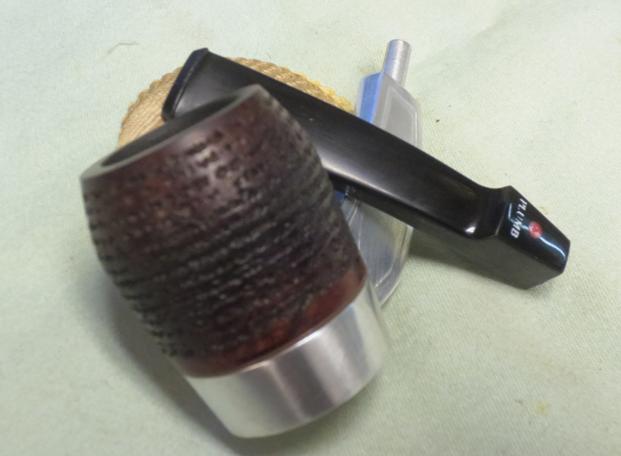
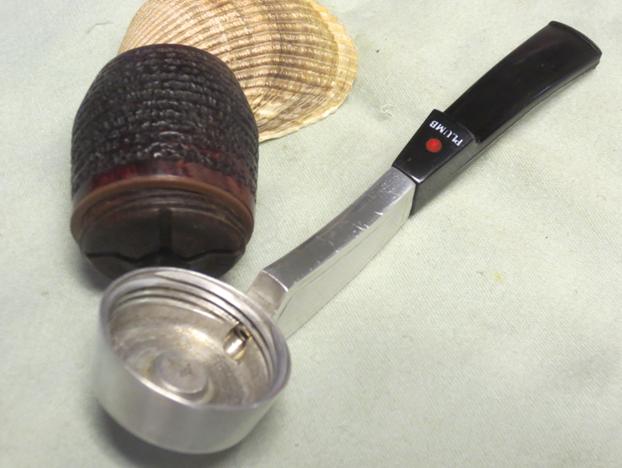
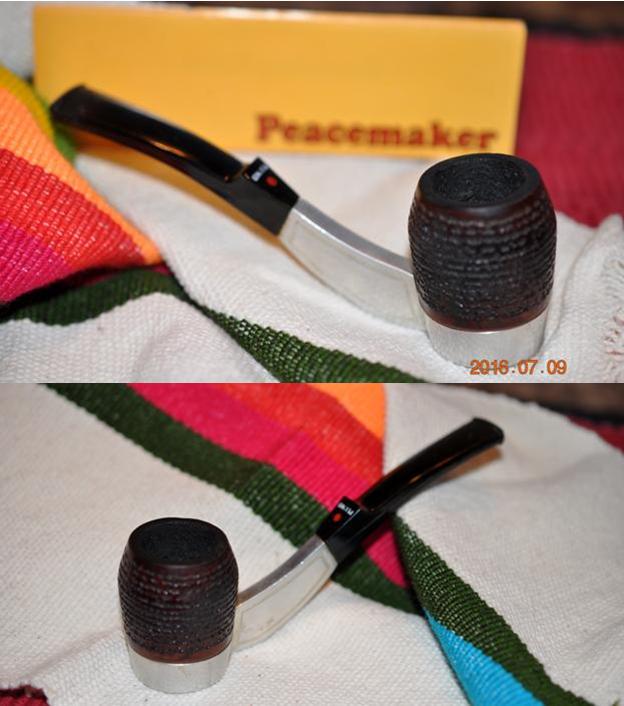 My brother took the above photos and also some close-up photos to show the condition of the pipe before he cleaned it up.
 The bottom of the metal base is stamped Peacemaker England in a Circle and the number 1 in the centre of the circle.
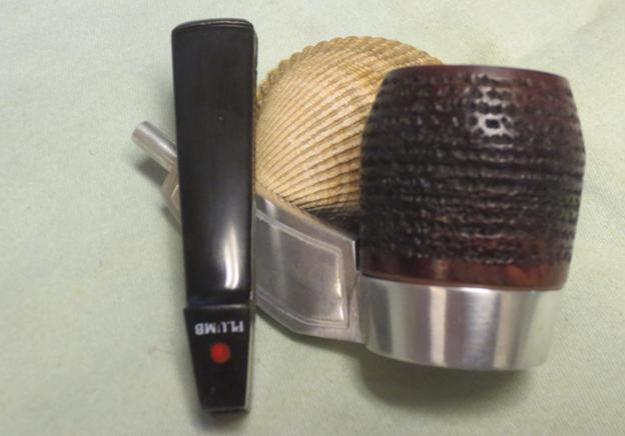
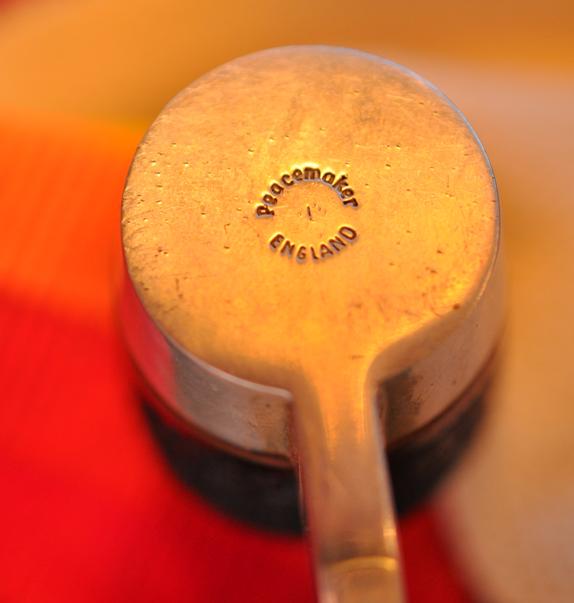 He took a close up photo of the rim top and bowl. It shows the chips and nicks on the inner edge of the rim.
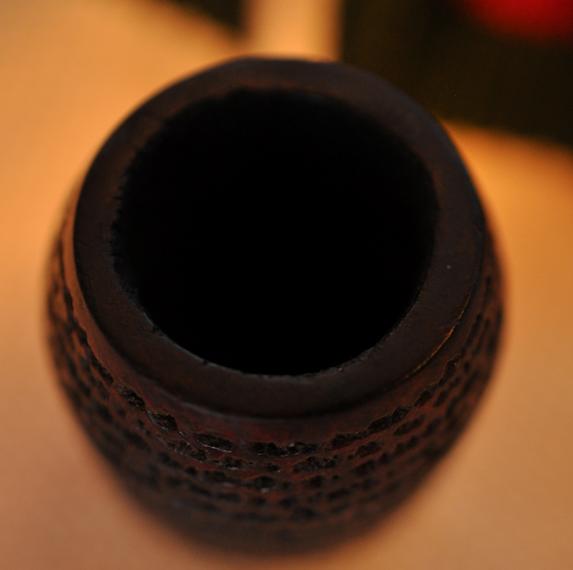 He took the bowl off of the base and took a photo of the bottom of the bowl and the inside of the base that both reveal the tars and oils built up in both places.
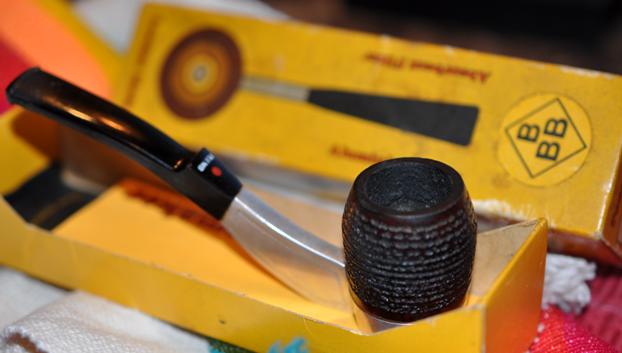
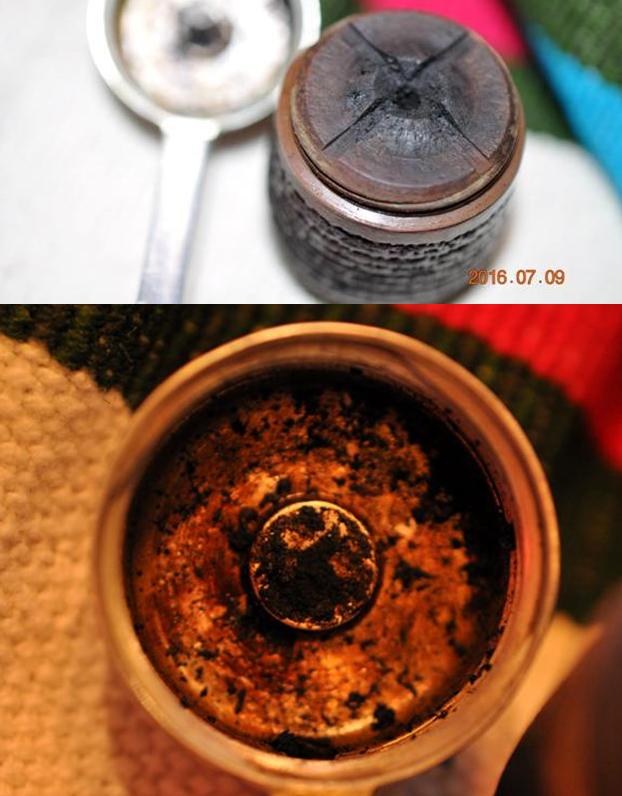 When the pipe arrived here it was in the BBB box. I took some photos of the box because I had not seen one of them before. It is an interesting box. The BBB logo is a sticker on the top and on one side of the box.
 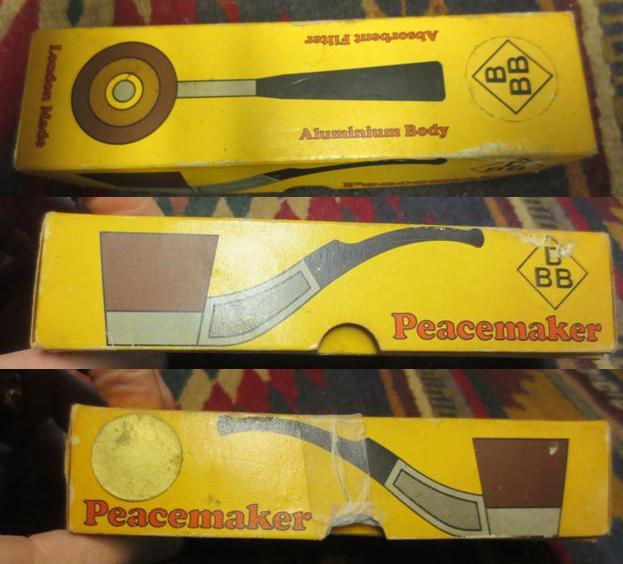 I opened the box and inside was the pipe and a brochure for Peacemaker pipes. It shows the various bowl shapes and finishes that are provided. The pipe looked pretty good. My brother had done the hard work of cleaning up the bowl and the base. He had reamed it and scrubbed the finish and rim. He had also washed the base to remove the hardened oils and tars.
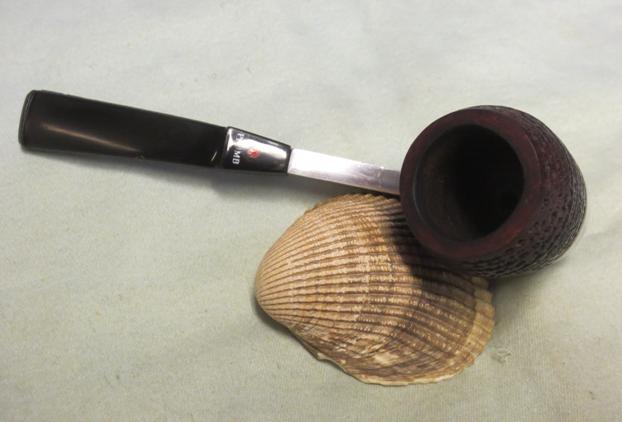
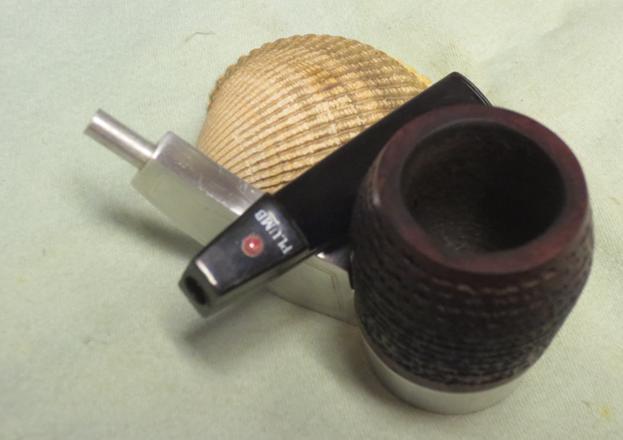
 I took the pipe out of the box and took some photos of it showing where it stood when I started my clean up.
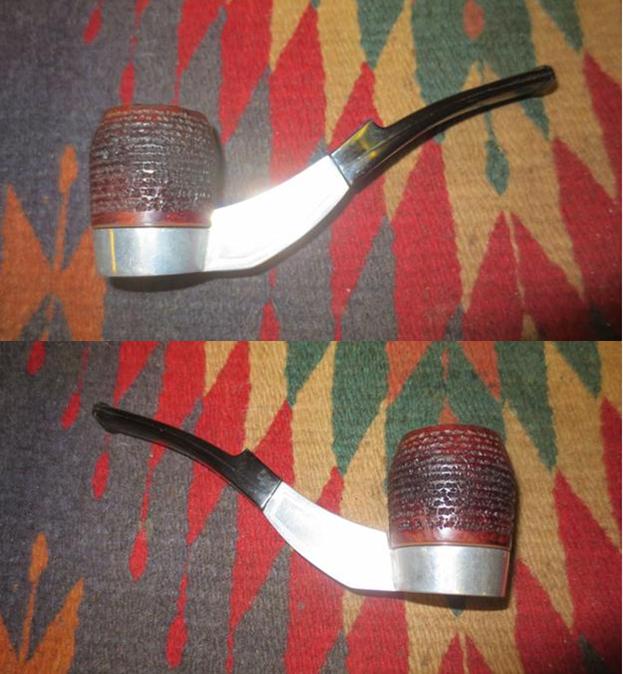
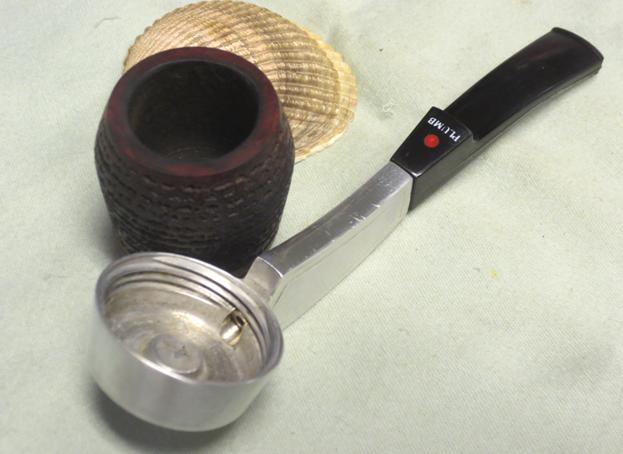
 I took a close up photo of the rim and bowl. I still needed to do some light reaming with the Savinelli pipe knife and the bowl would need to be topped to remove the damage to the inner edge of the bowl.
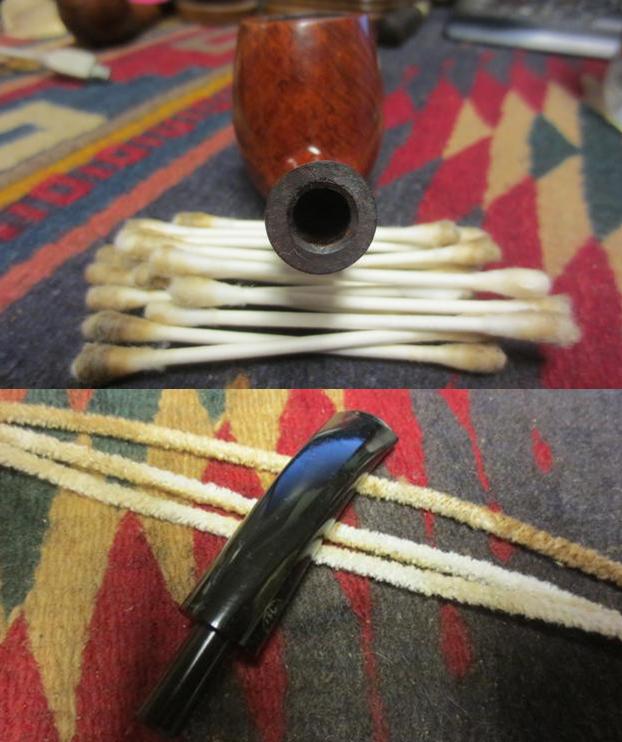
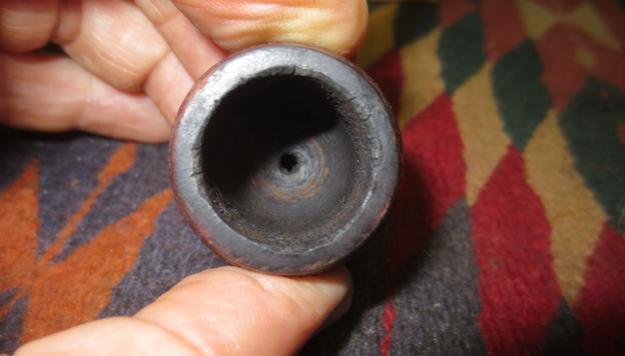 I took the bowl off the base to see what I would need to do to clean out the inside of the base. The threads and the entry of the airway into the shank needed to be cleaned up. I removed the stem from the shank and used pipe cleaners, cotton swabs and alcohol to clean out the base and the entrance of the airway into the base. I cleaned out the airway in the stem with pipe cleaners and alcohol.
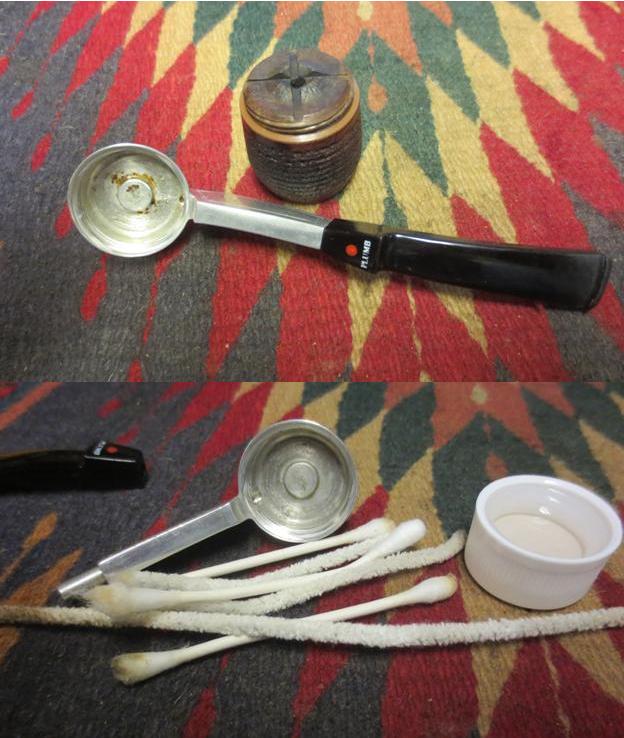
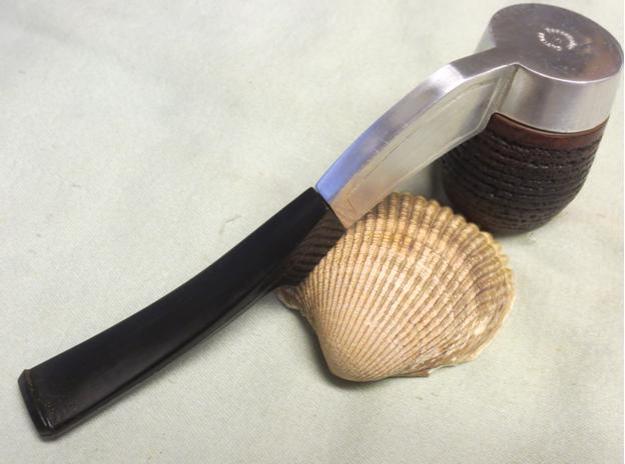
 I took a photo of the cleaned up parts of the pipe. It is a simple and yet effective design that is very similar to the Falcon pipe in basic concept.
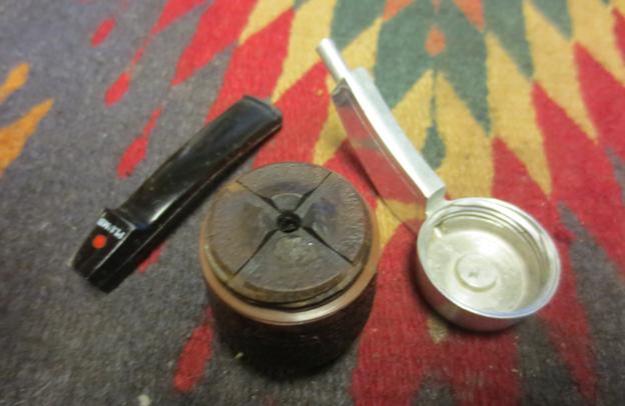 I topped the bowl on the topping board with 220 grit sandpaper to remove the damage to the rim and the inner edge. I sanded until the rim was smooth and the rim was round once again.
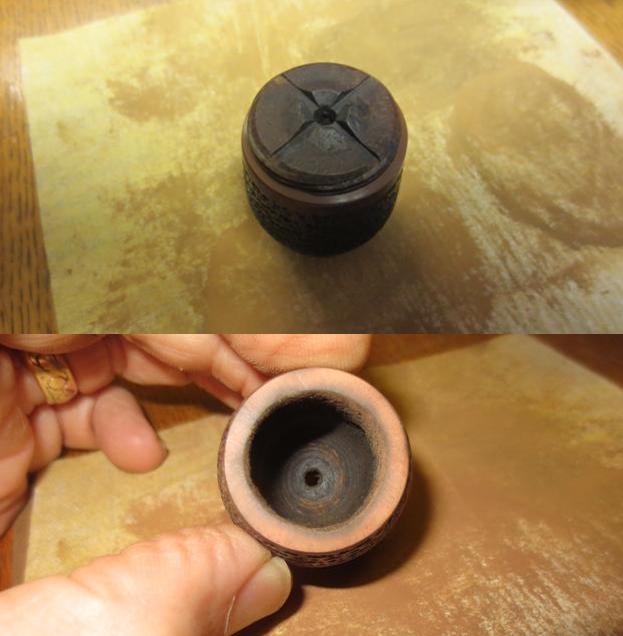 I cleaned up the inside of the bowl with a Savinelli Pipe Knife to remove the light cake that still was in the bowl. I smoothed out the walls and the base of the bowl.
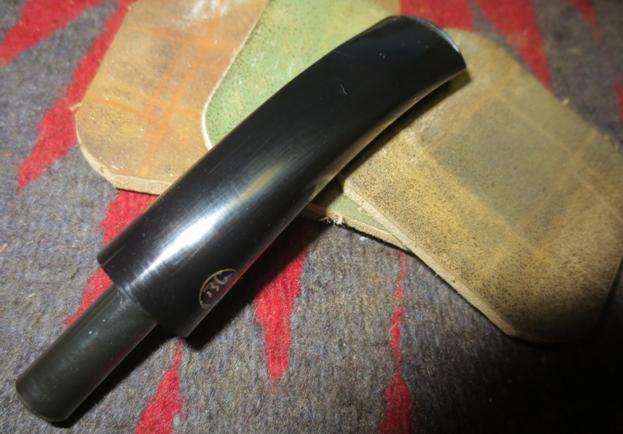
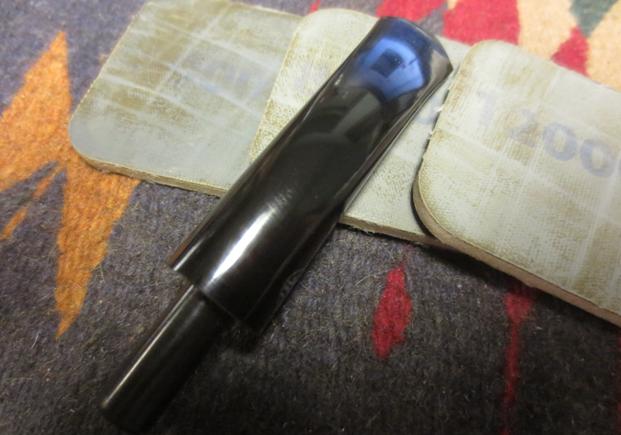
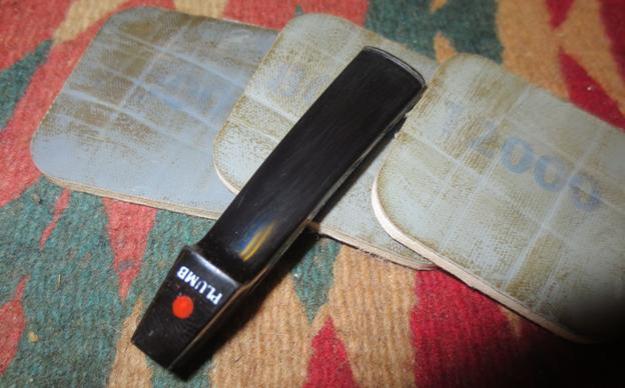
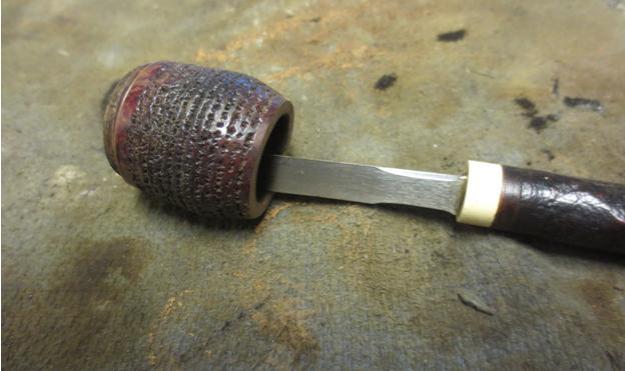 The stem had tooth chatter on the top and the bottom sides near the button. These plastic stems are not too hard to sand smooth but it is an issue to get the shine back. It takes a lot of sweat equity investment to bring a shine back to the stem. I sanded it with 220 grit sand paper and then with a series of 400-600 grit wet dry sandpaper to smooth out the scratches.
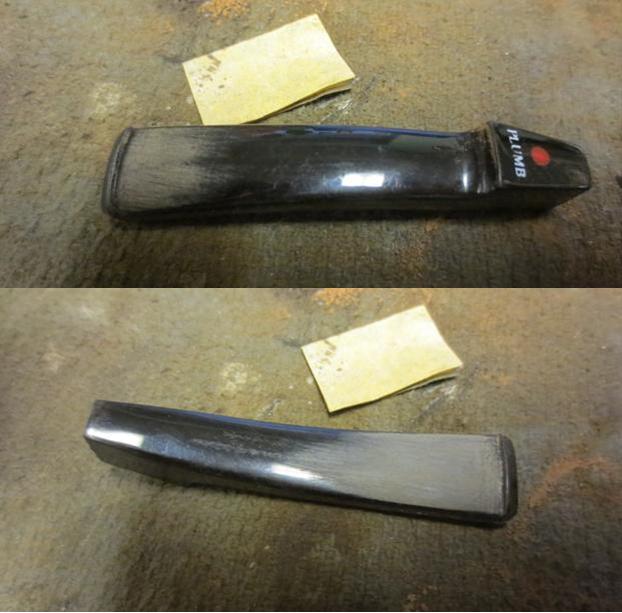
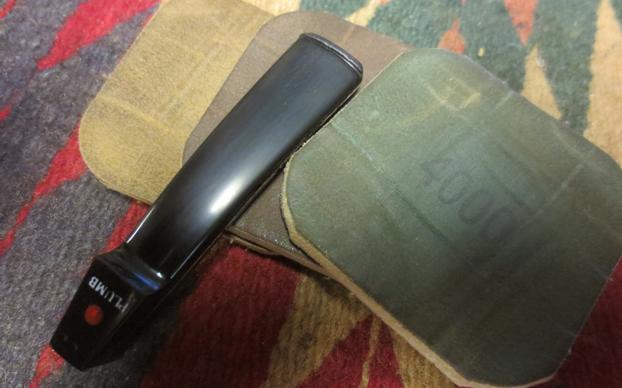
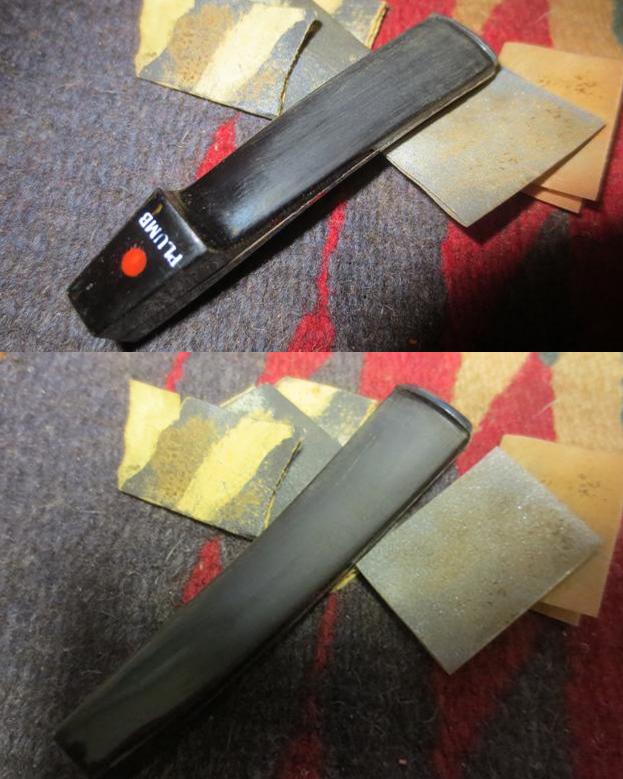 I wet sanded it with 1500-2400 grit micromesh sanding pads. I gave it a rub down with Obsidian Oil. I dry sanded it with 3200-4000 grit pads and gave it another coat of oil. I finished sanding it with 6000-12000 grit pads, gave it a final coat of oil and set it aside to dry.
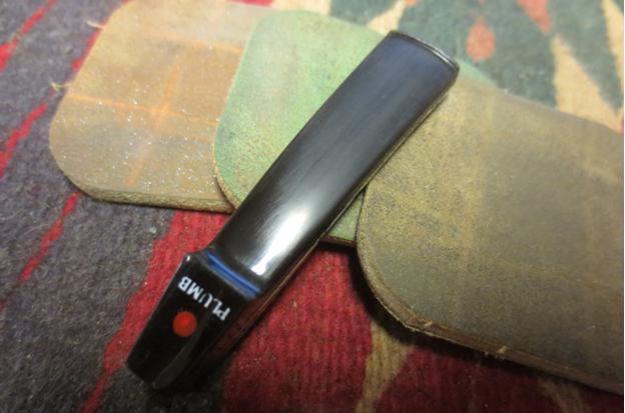
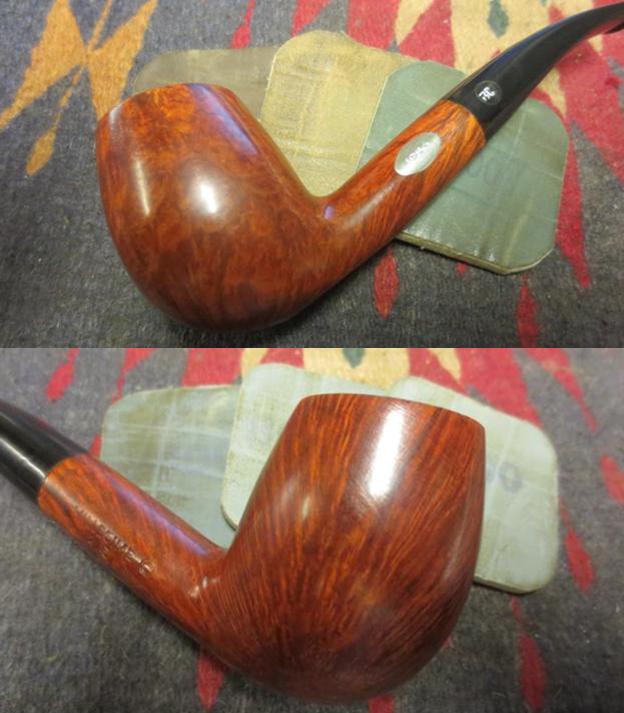
 I sanded the rim with 1500-4000 grit micromesh sanding pads to smooth out the scratches left behind when I topped the bowl. I used a dark brown stain touch up pen to restain the rim to match the sides of the bowl. I touched up the outer edge of the rim as well making sure that all the stain matched the bowl. I gave the bowl multiple coats of Conservator’s Wax and then used a shoe brush to buff it. I also buffed it with a clean buffing pad to raise the shine (The second photo was taken when I had coated the bowl with the third coat of wax).
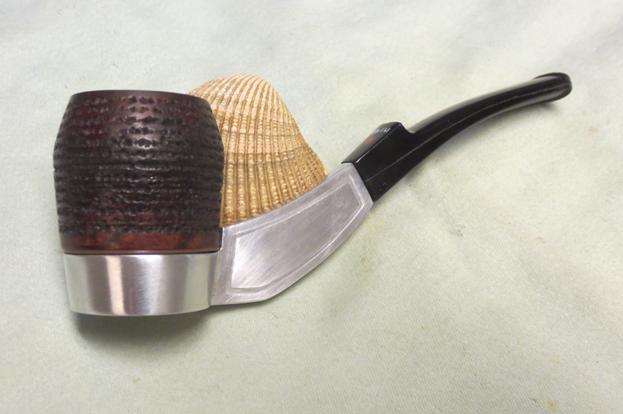
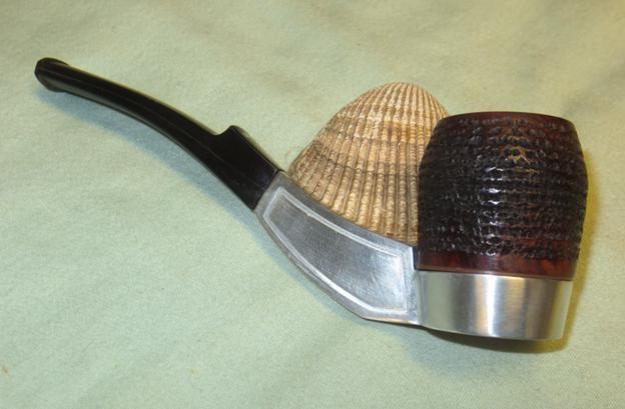
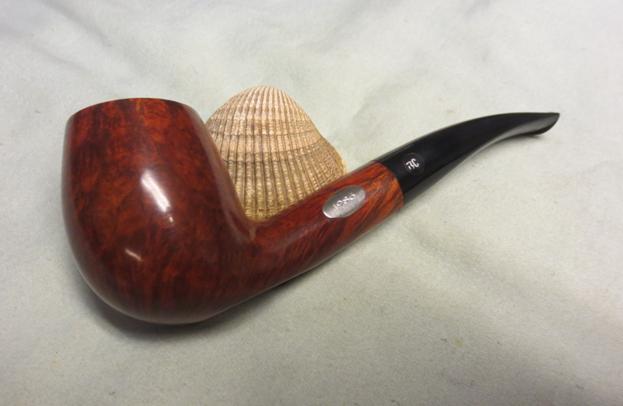
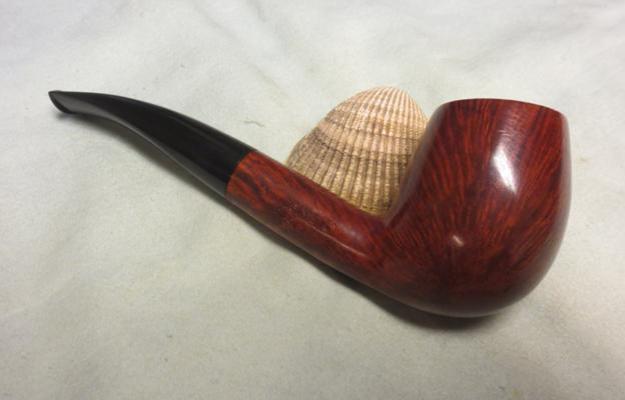
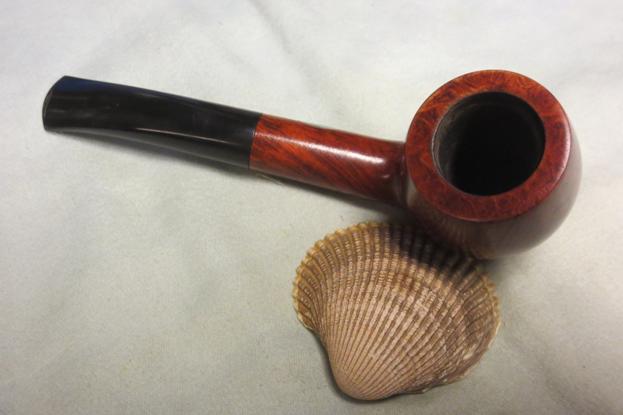
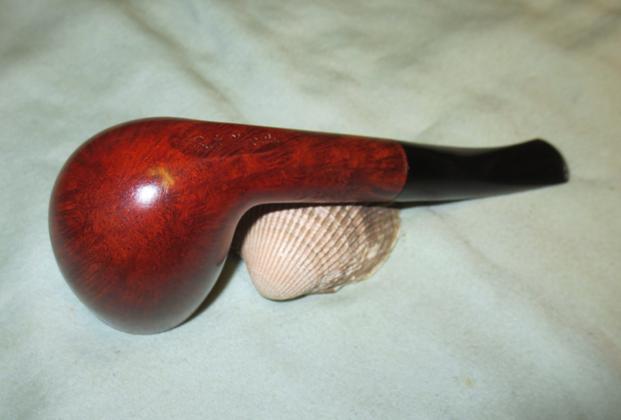
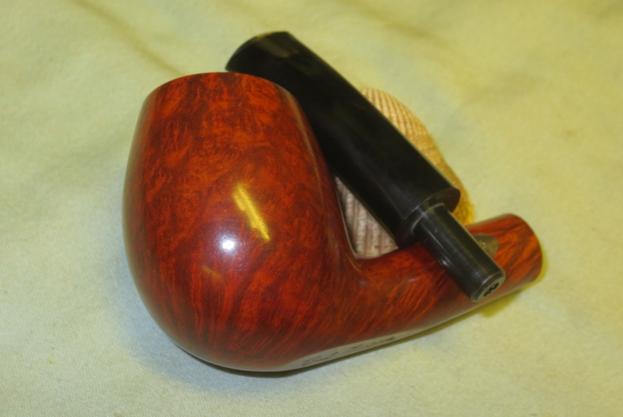
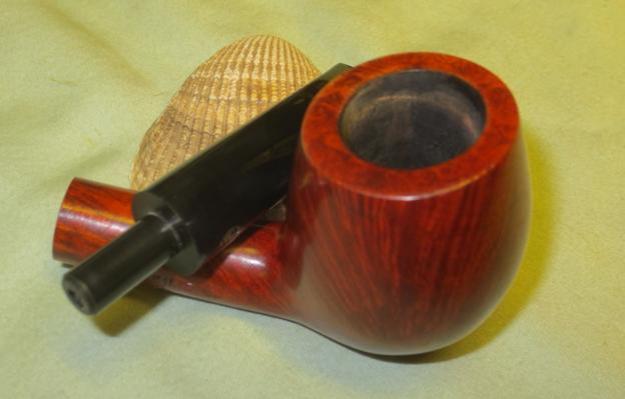
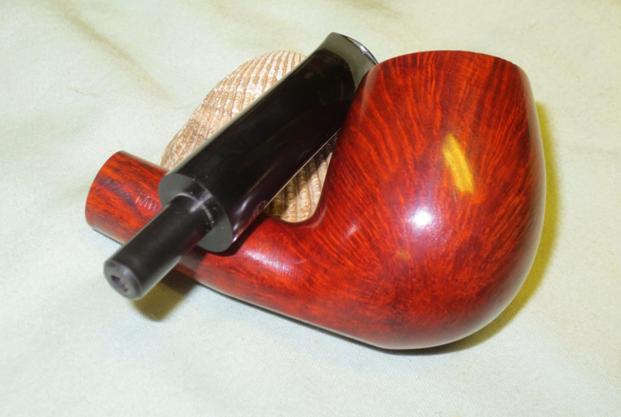
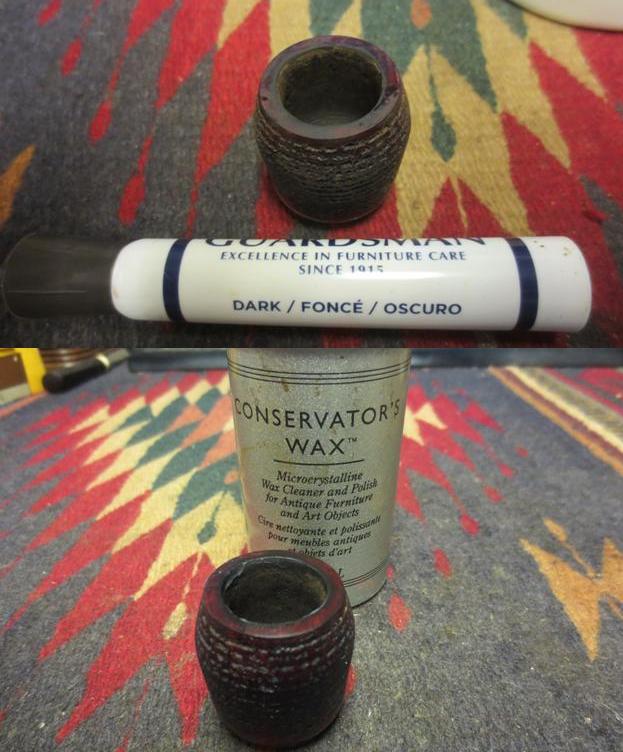 I lightly buffed the aluminum base and the stem with Blue Diamond on the wheel. I put the pipe back together and then buffed the pipe with a light touch giving it multiple coats of carnauba wax. I buffed it with a clean buffing pad and then with a microfibre cloth. The finished pipe is shown in the photos below. It is a great example of the Peacemaker Pipe. I have several of these so I will not be keeping this one either. If any of you want to have a Peacemaker for your metal collection, contact me and this one can be yours. Thanks for looking.