
Blog by Steve Laug
 Not long ago I sold a pipe to a fellow in Quebec, Canada named Peter which led to several phone conversations. One of those conversations involved a pipe that was one of his favourites. It was a Corso Freehand and it had developed a crack in the underside of the shank that wept tobacco juices as he smoked it. The long and short of the conversation was that he would send the pipe to me to see what I thought could be done with it.
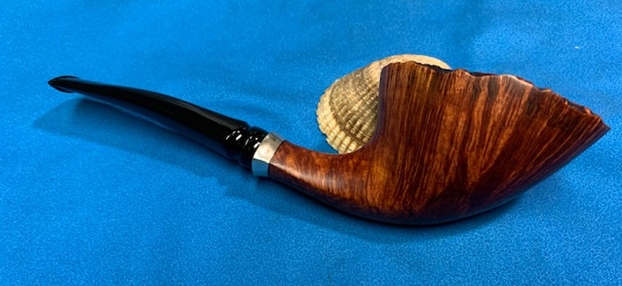
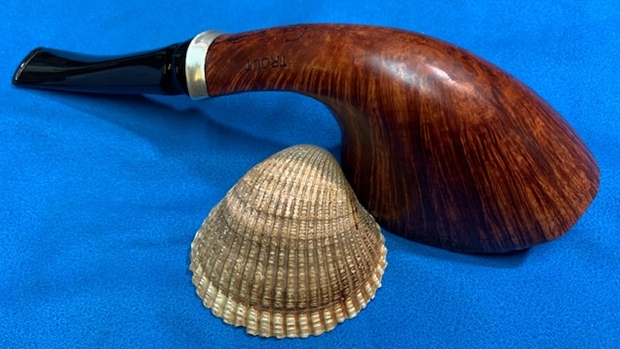
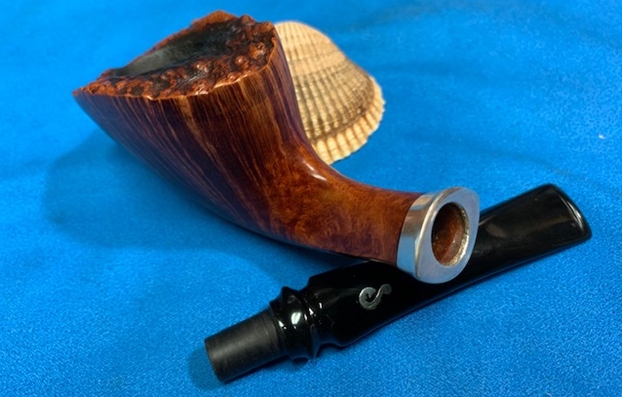
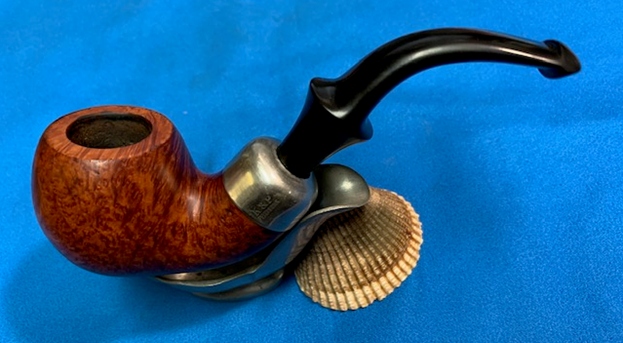
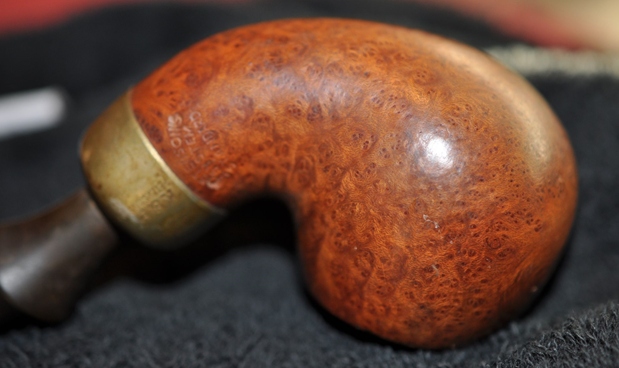
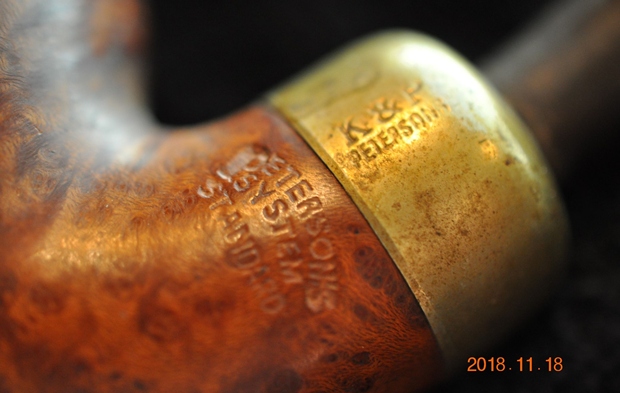
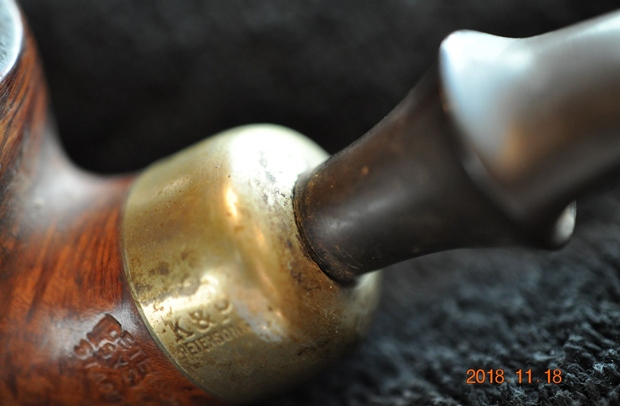
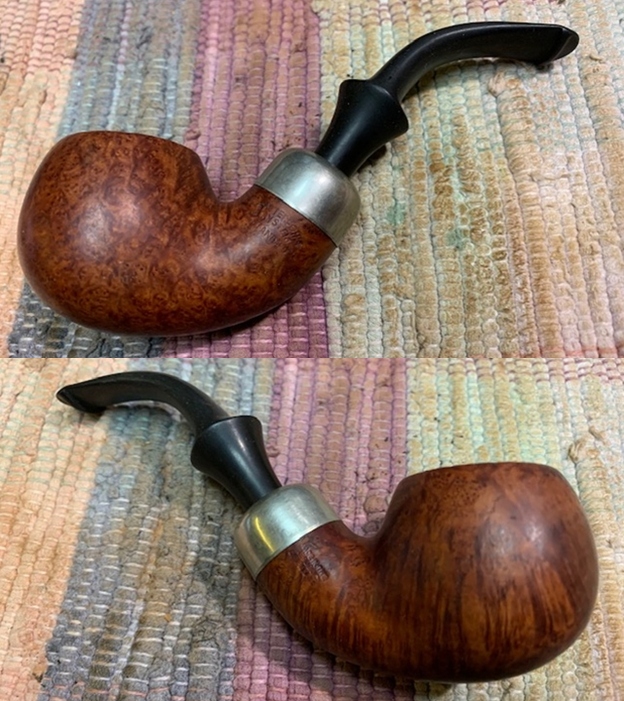
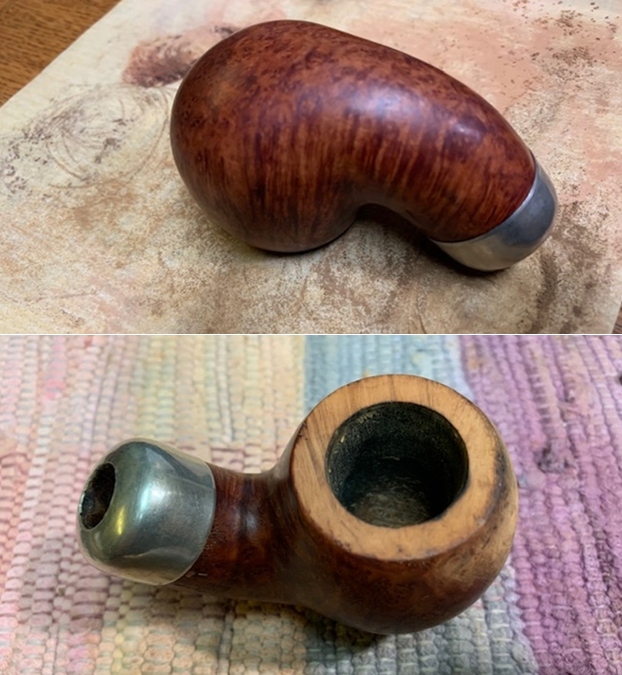
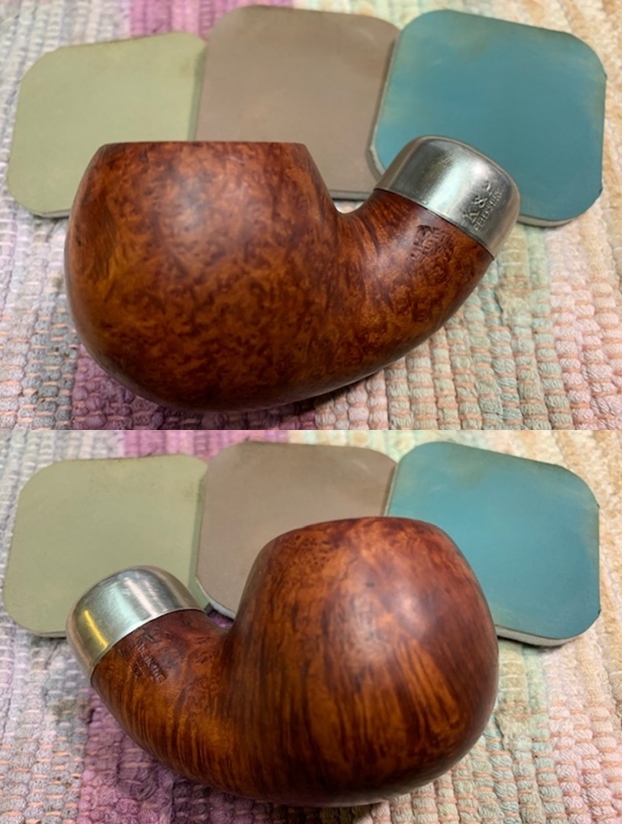
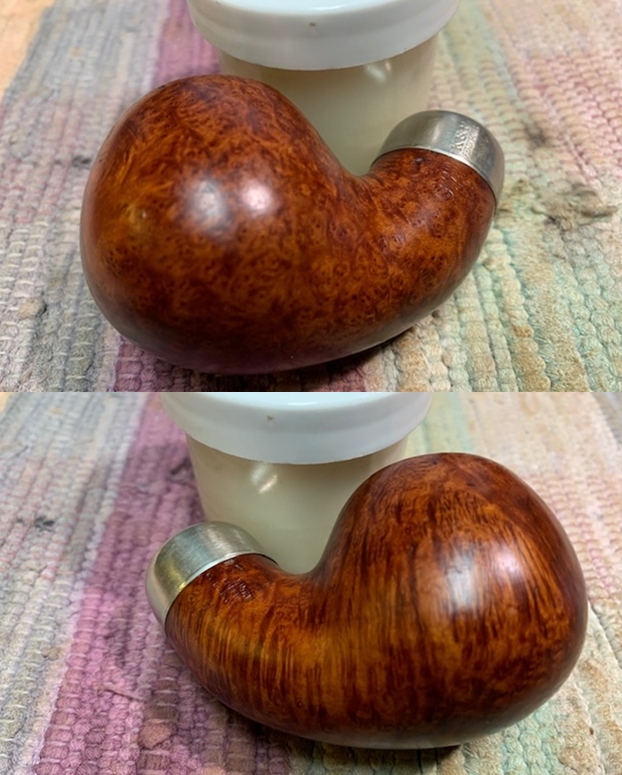
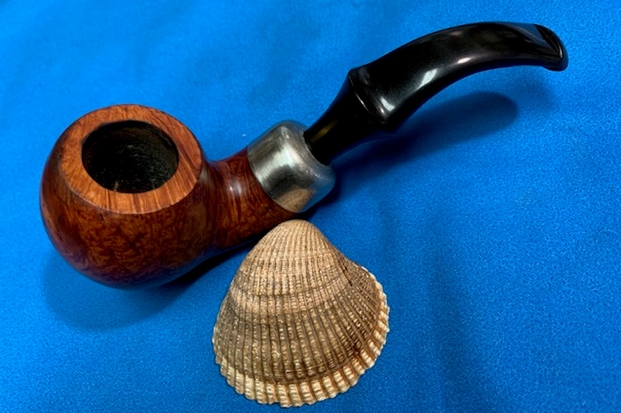
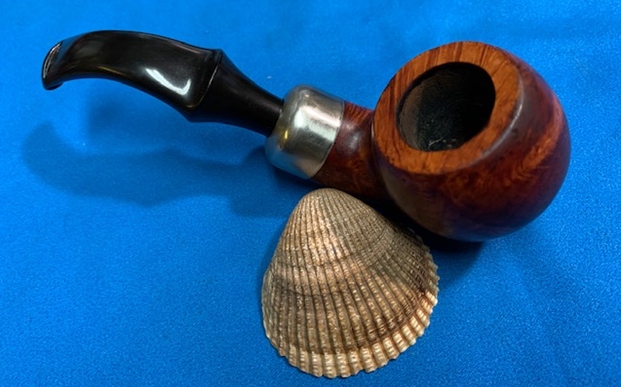
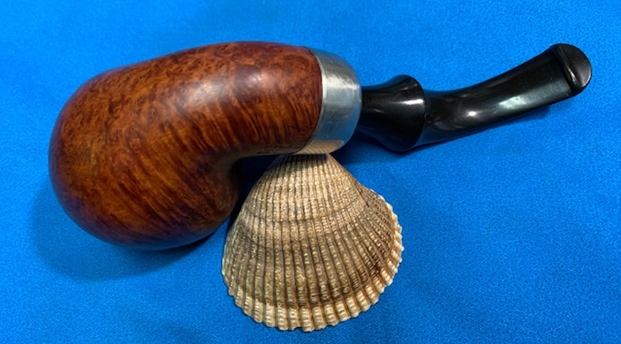
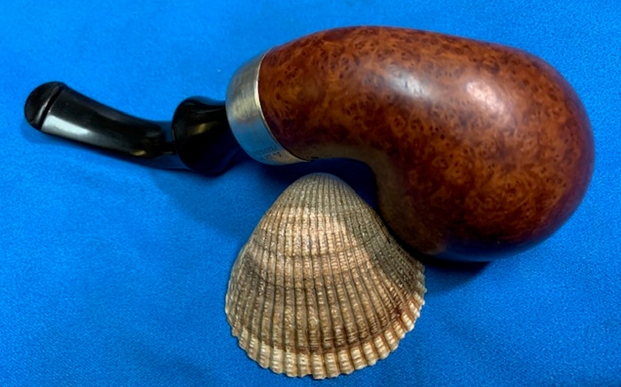
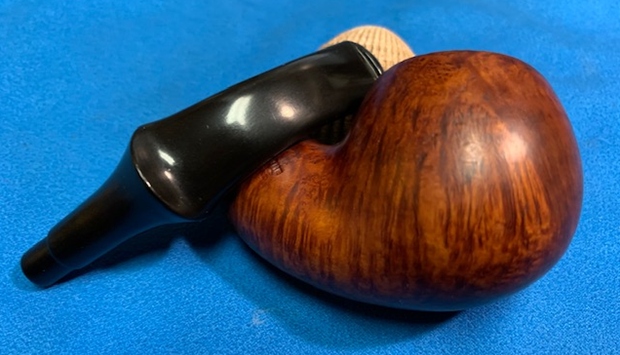
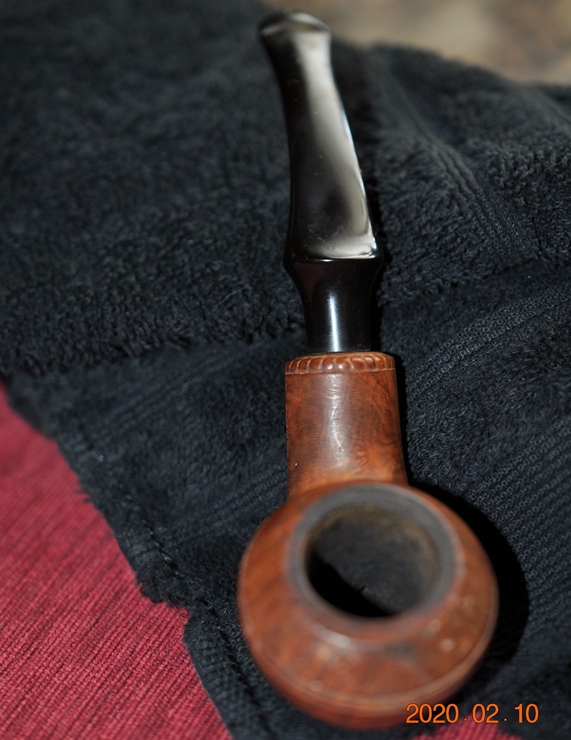
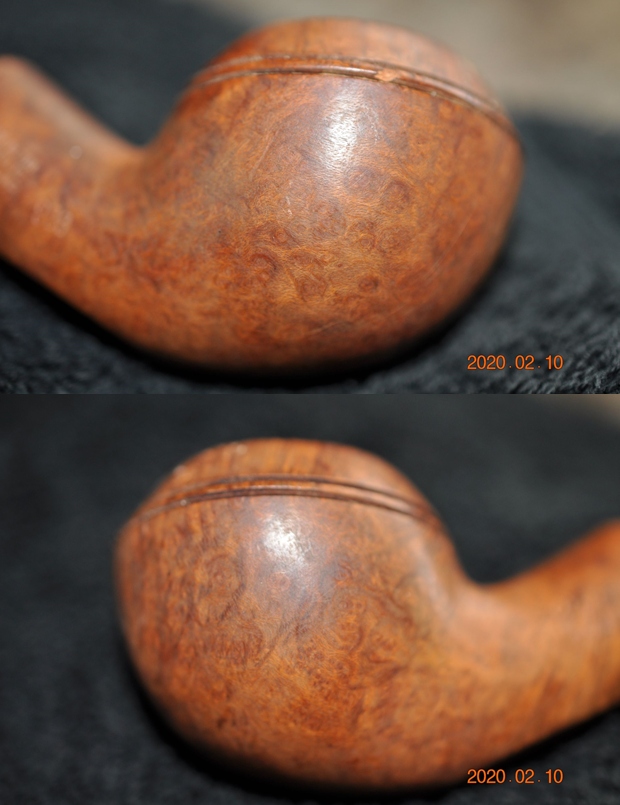
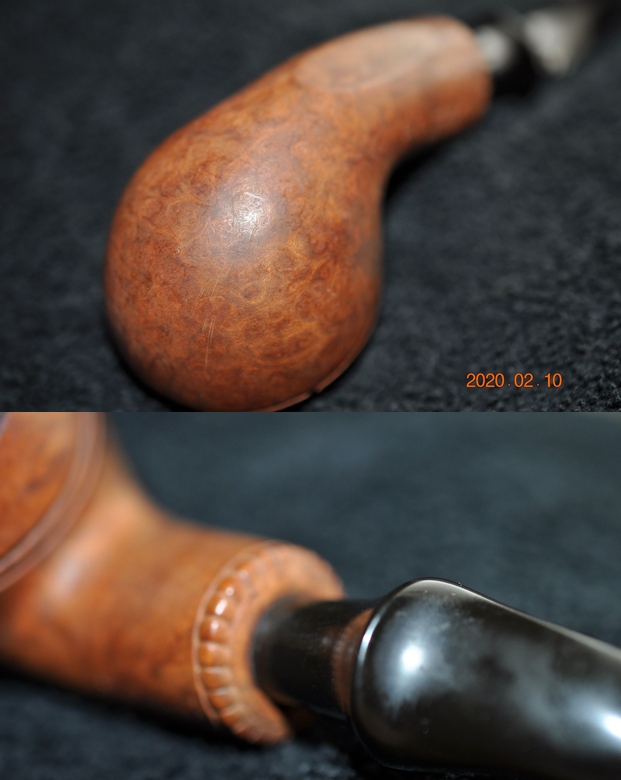
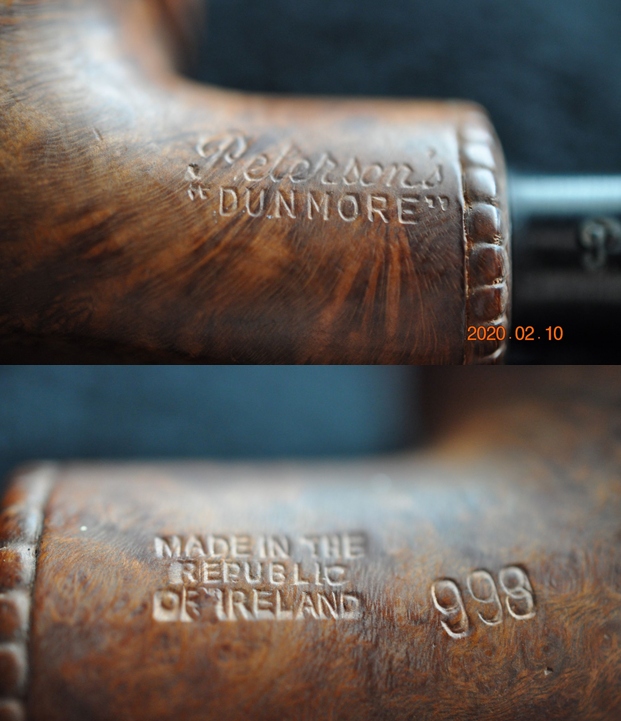
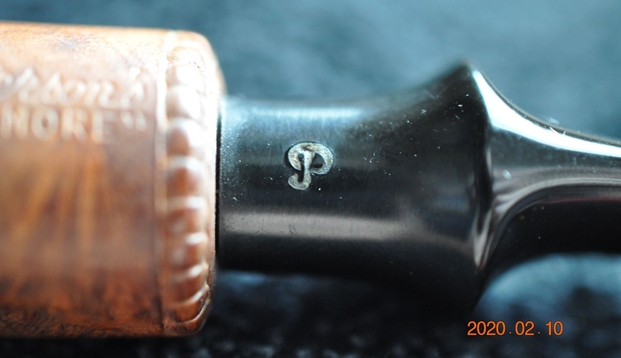
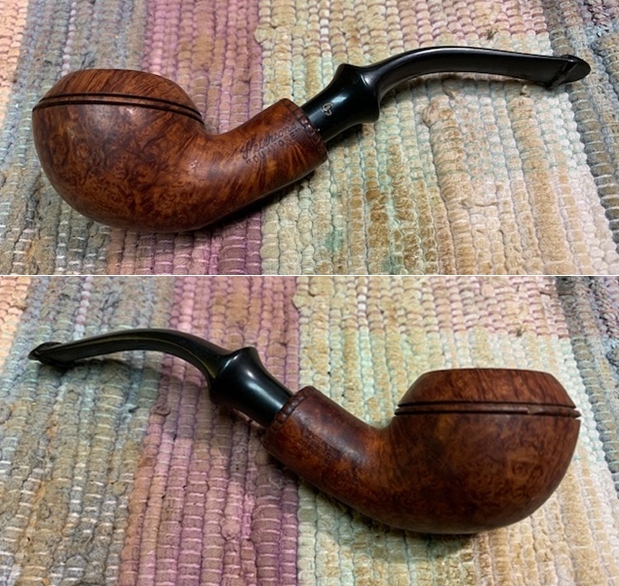
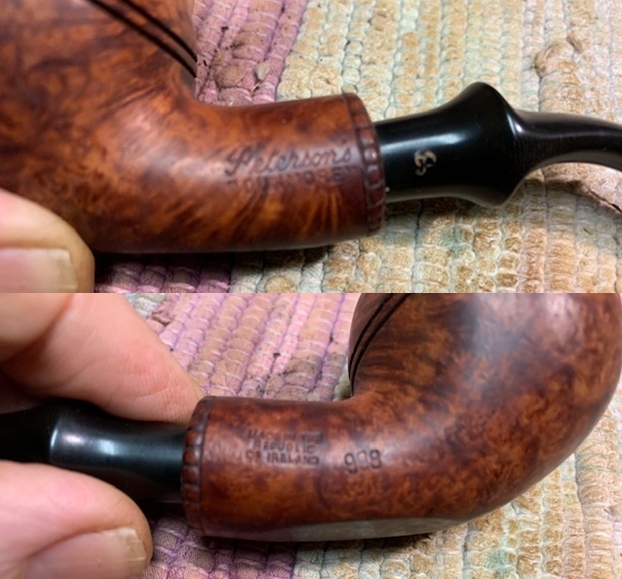
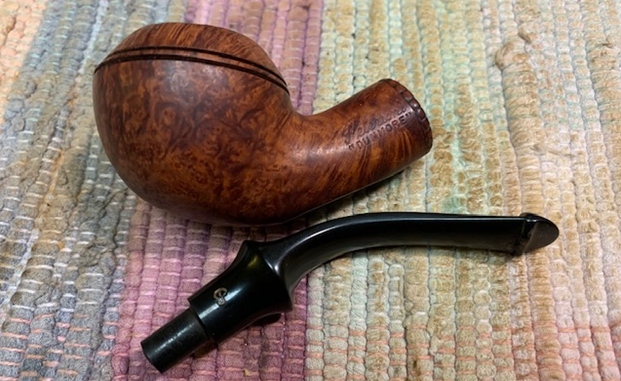
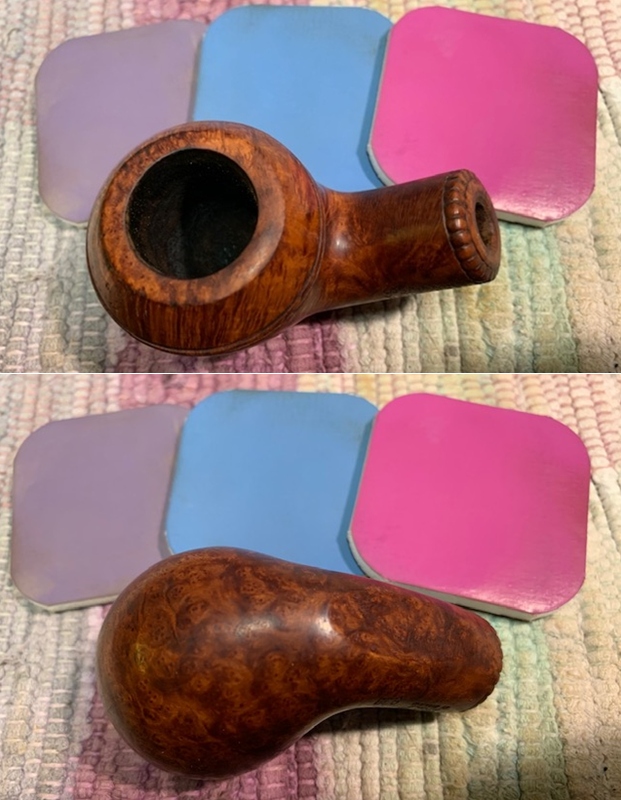
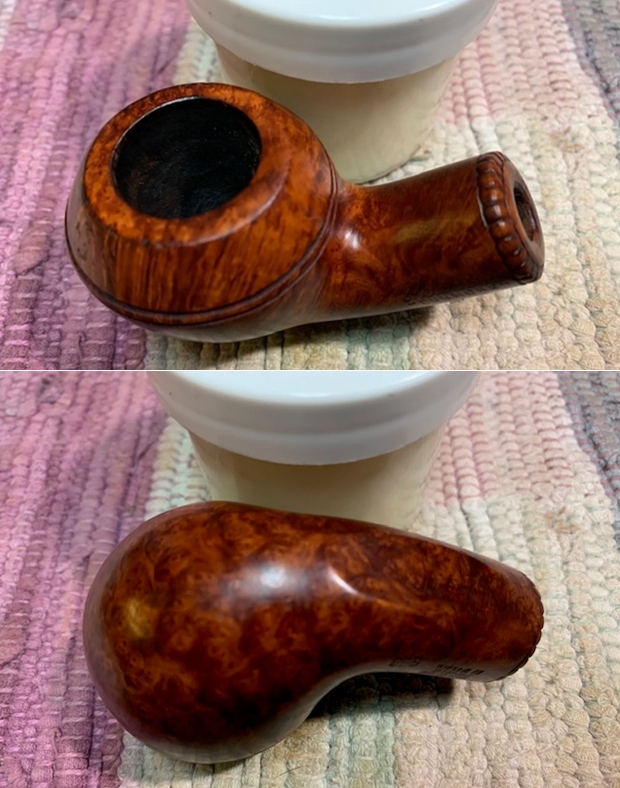
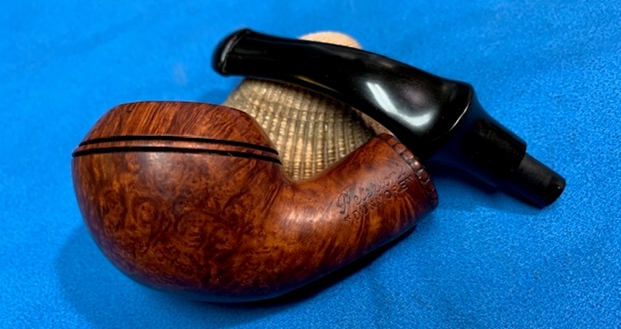
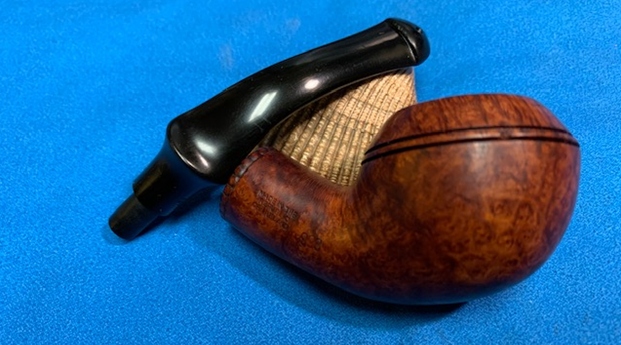
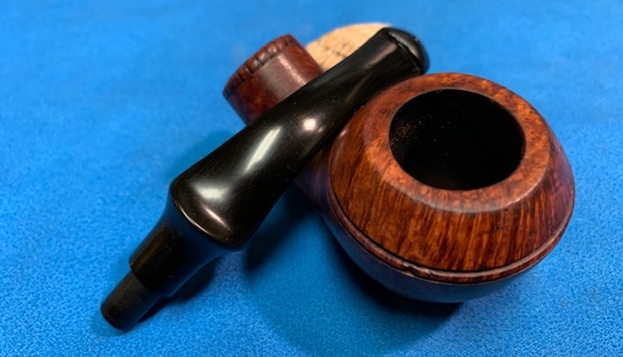
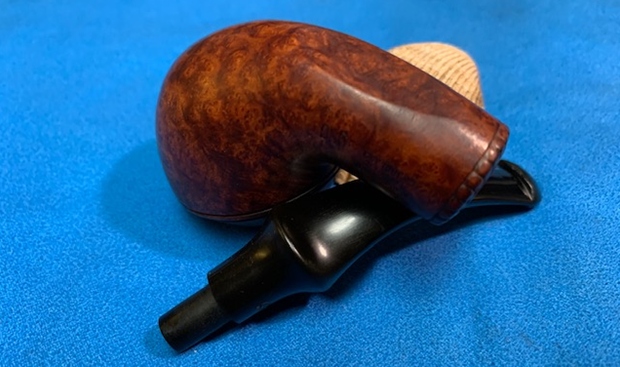
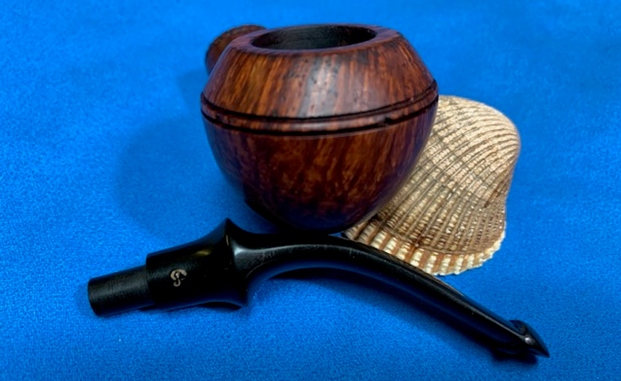
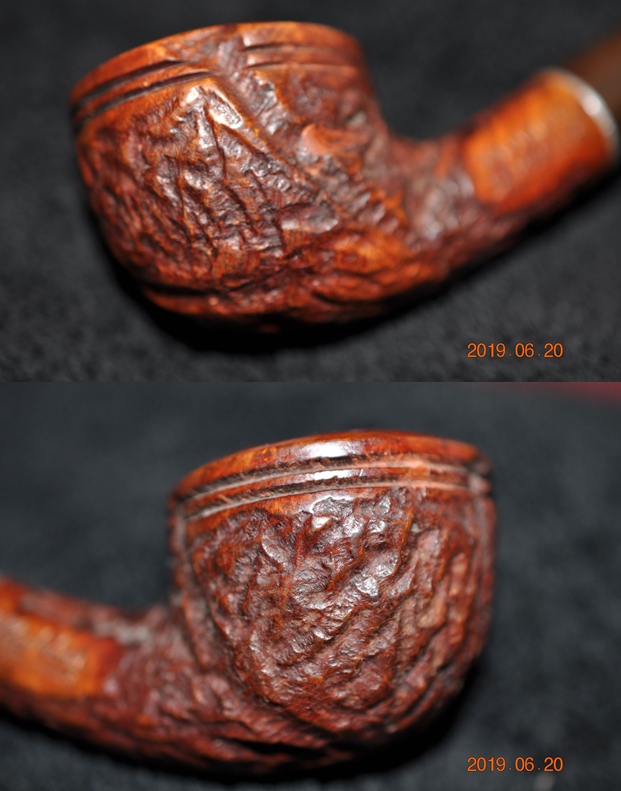
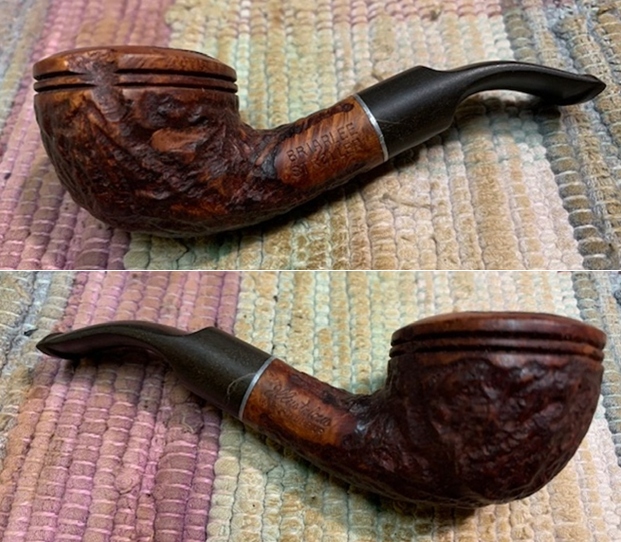
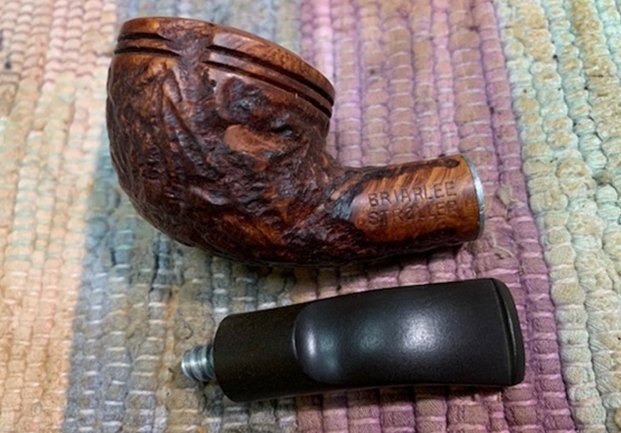
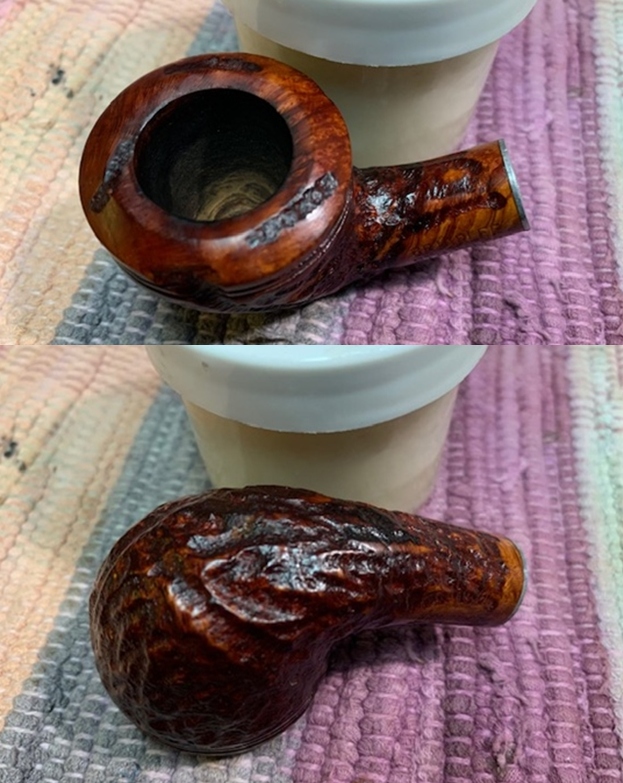
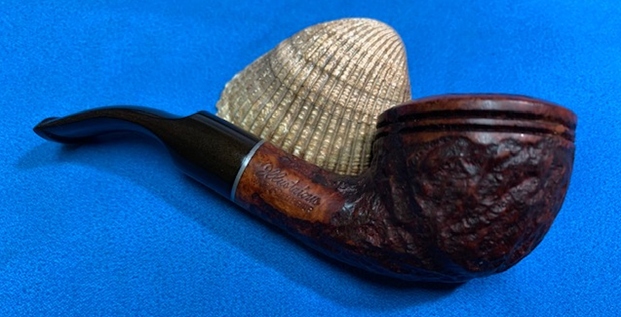
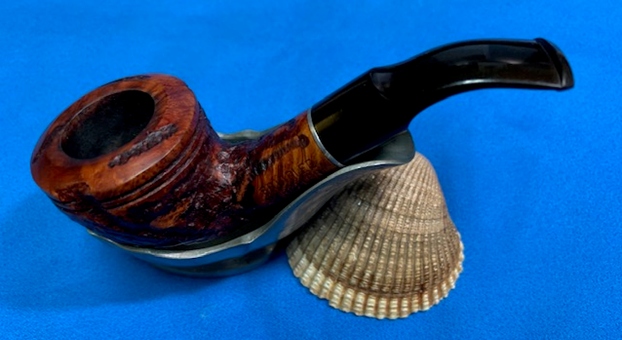
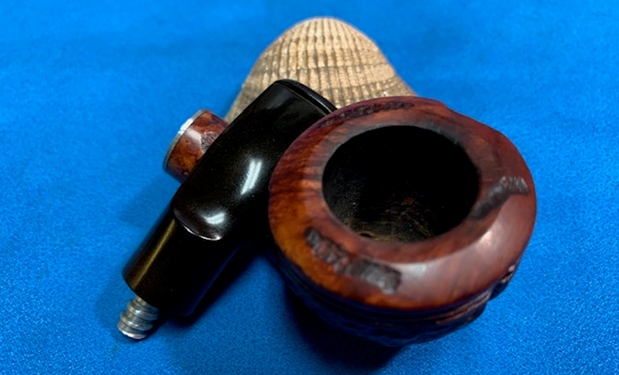
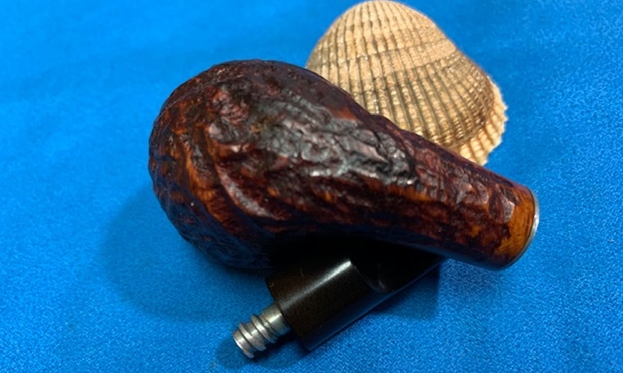
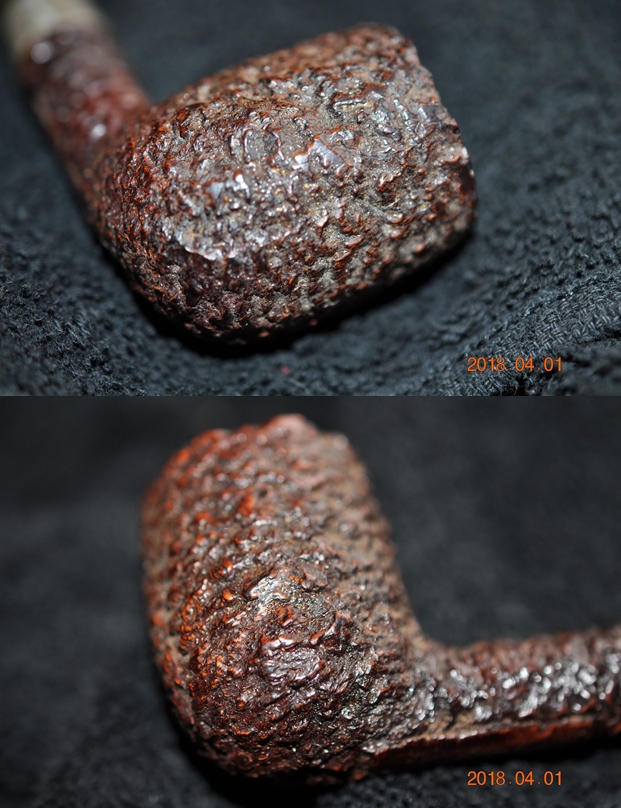
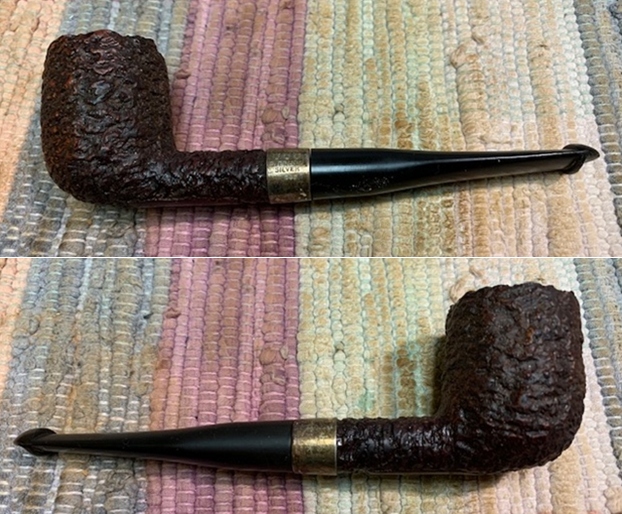
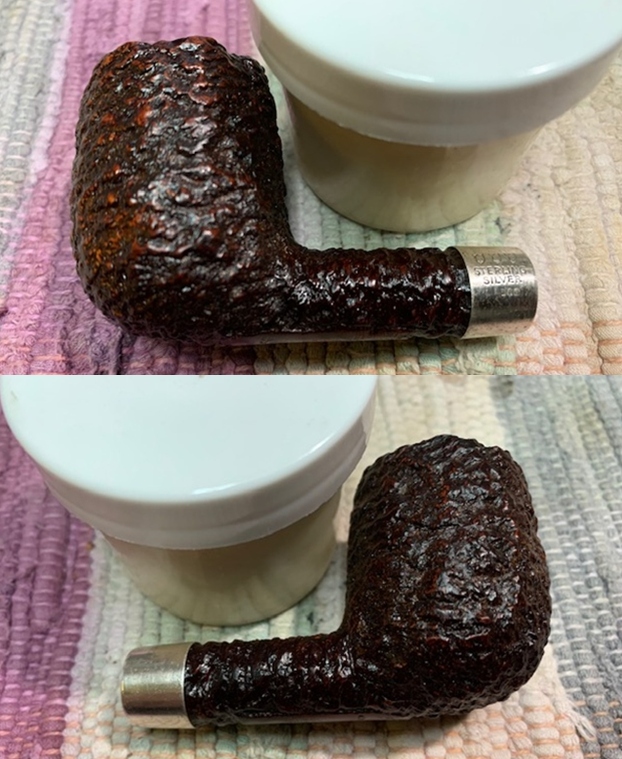
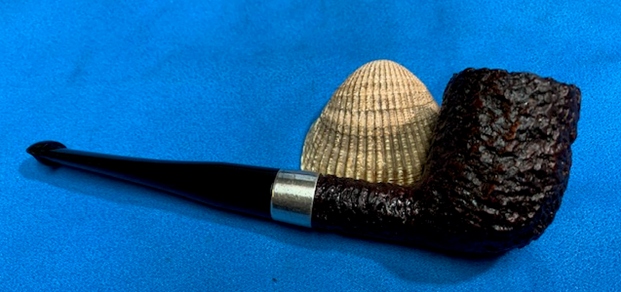
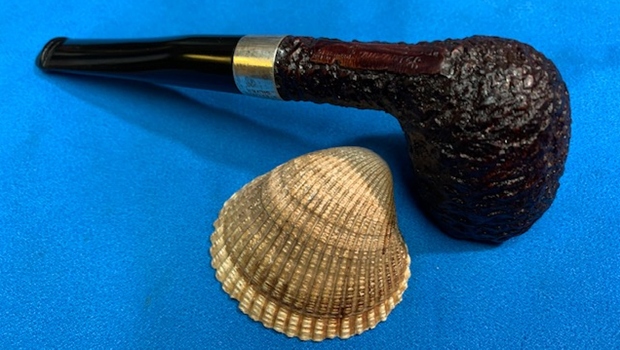
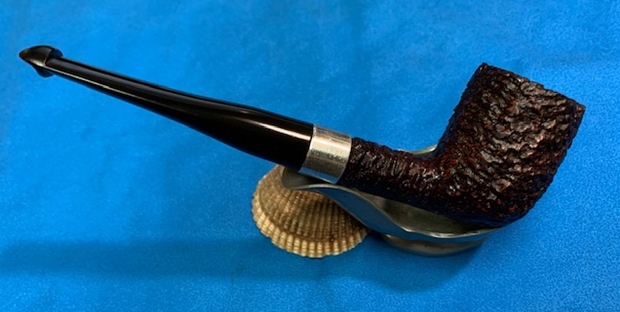
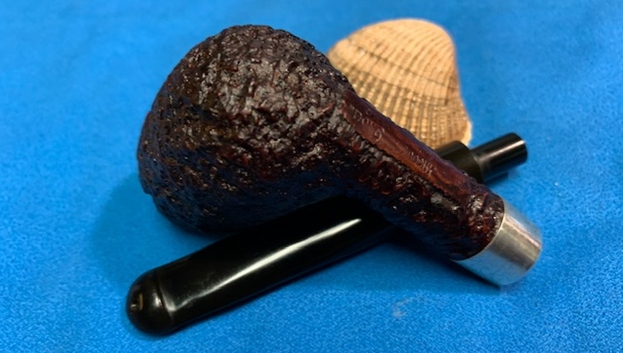
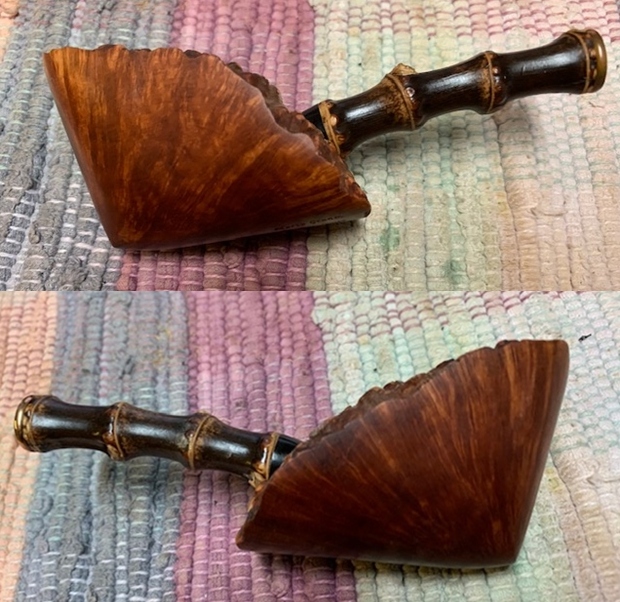
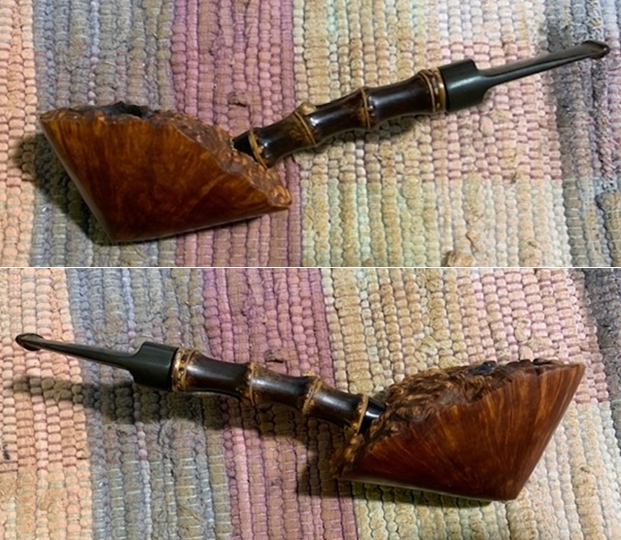
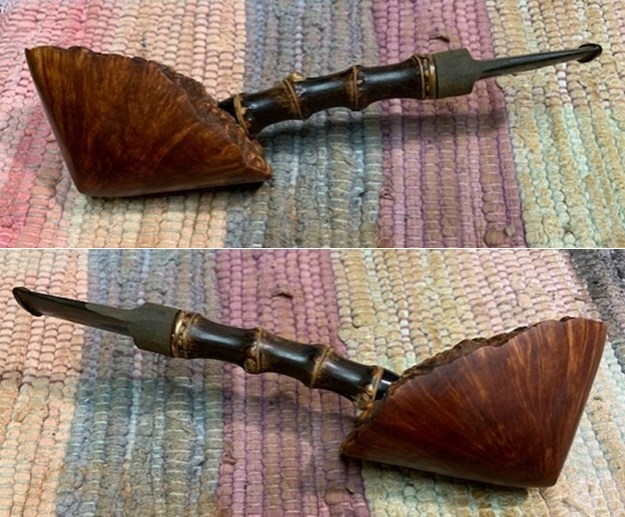
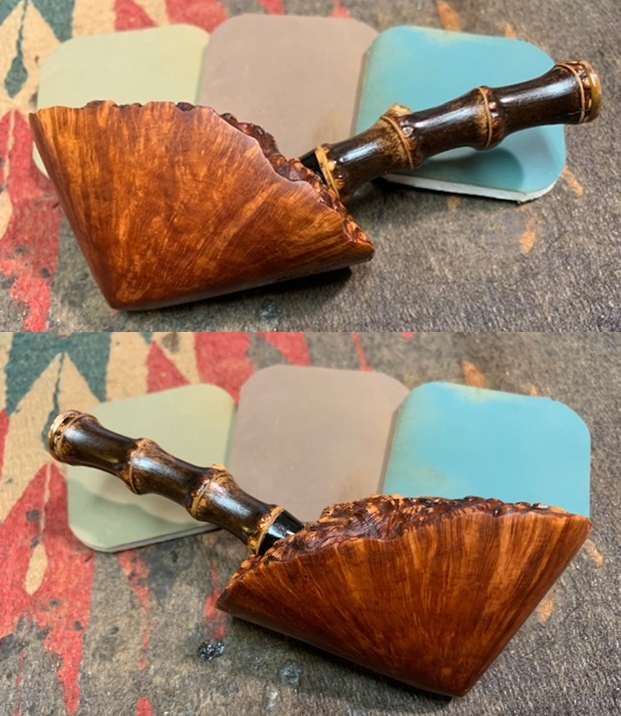
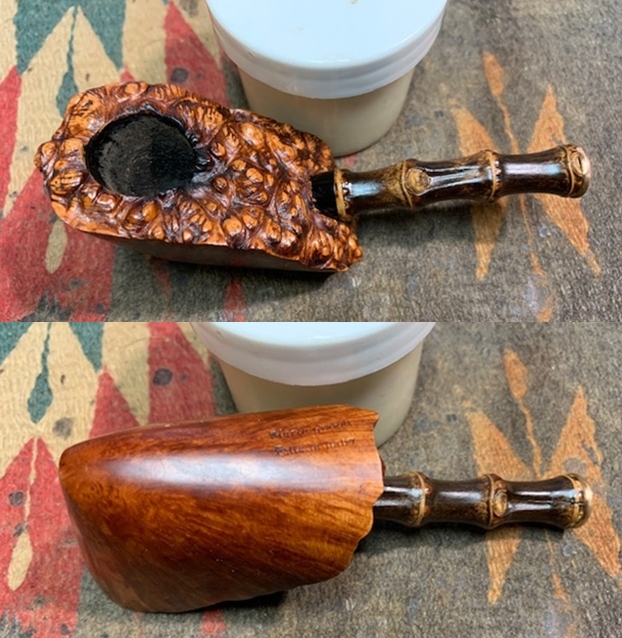
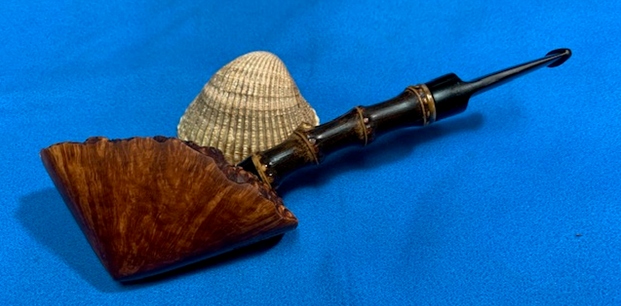
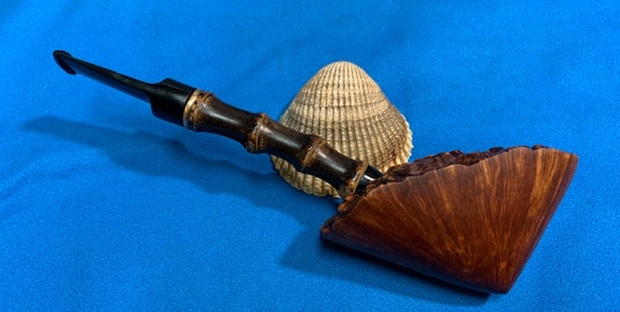
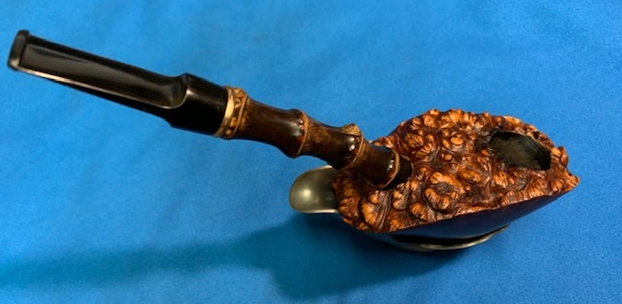
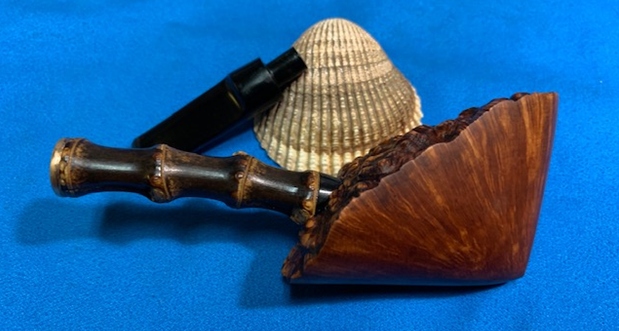
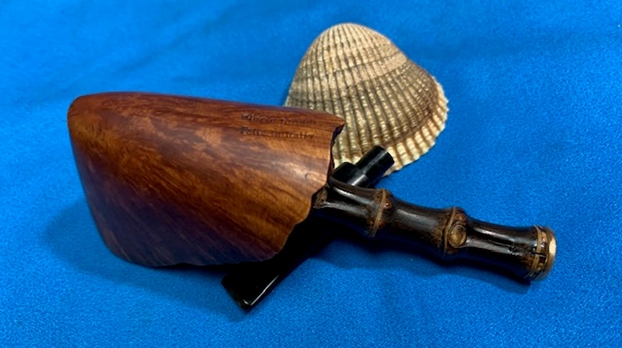
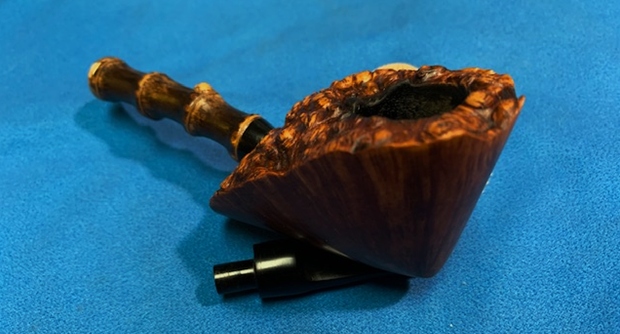
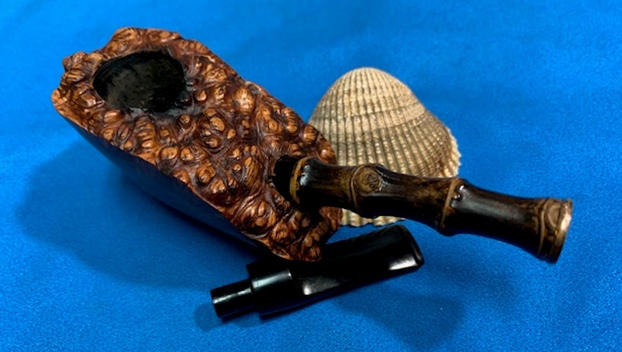
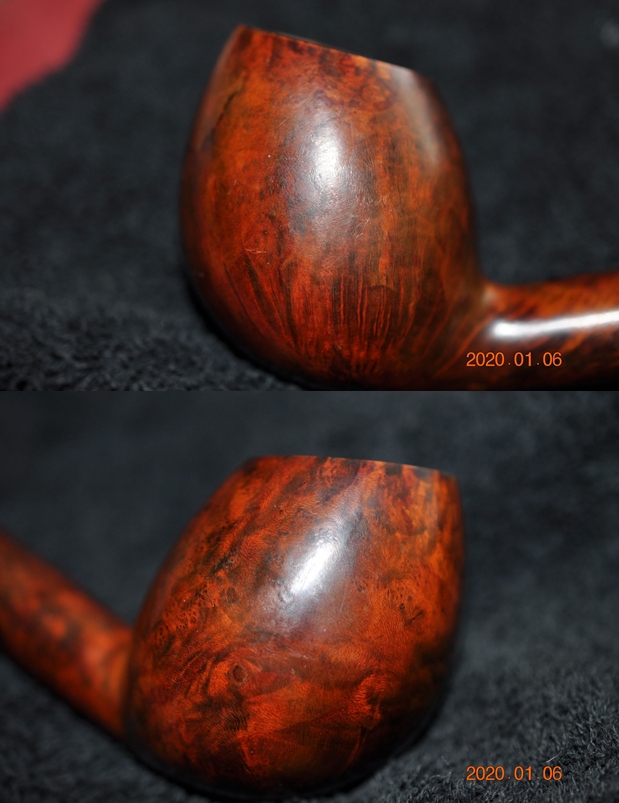
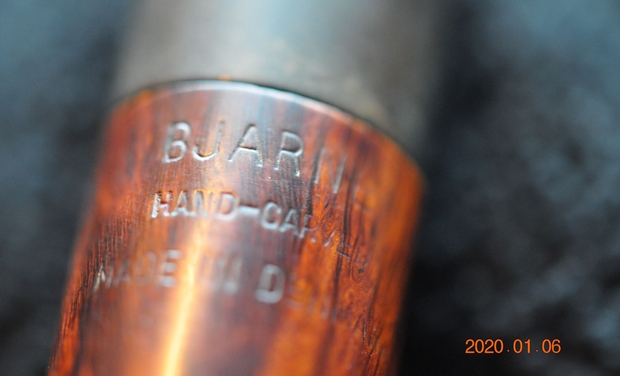
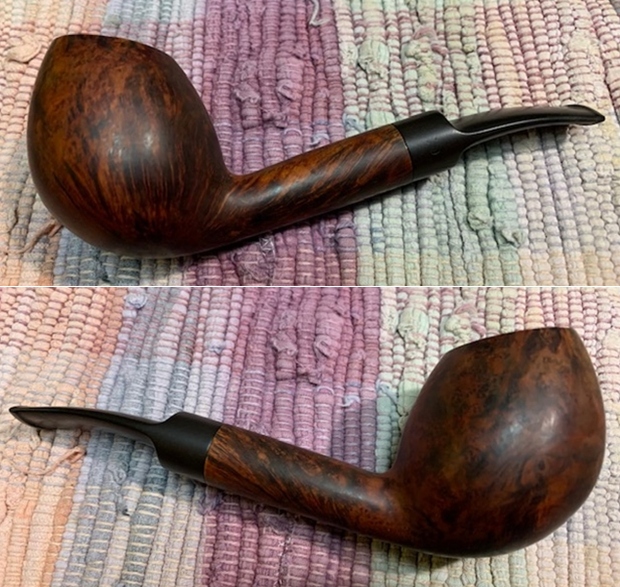
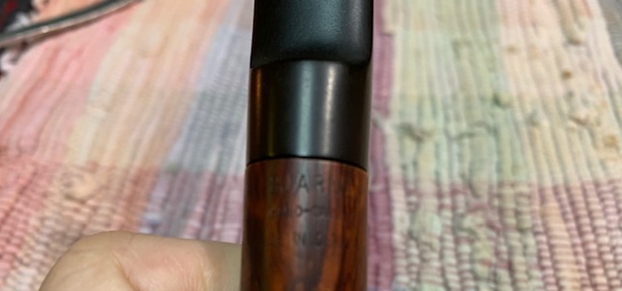
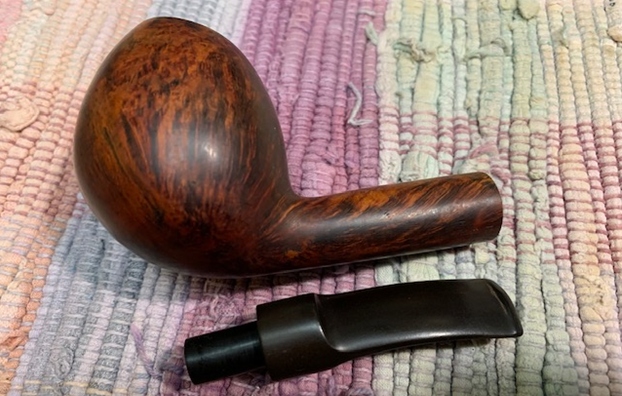
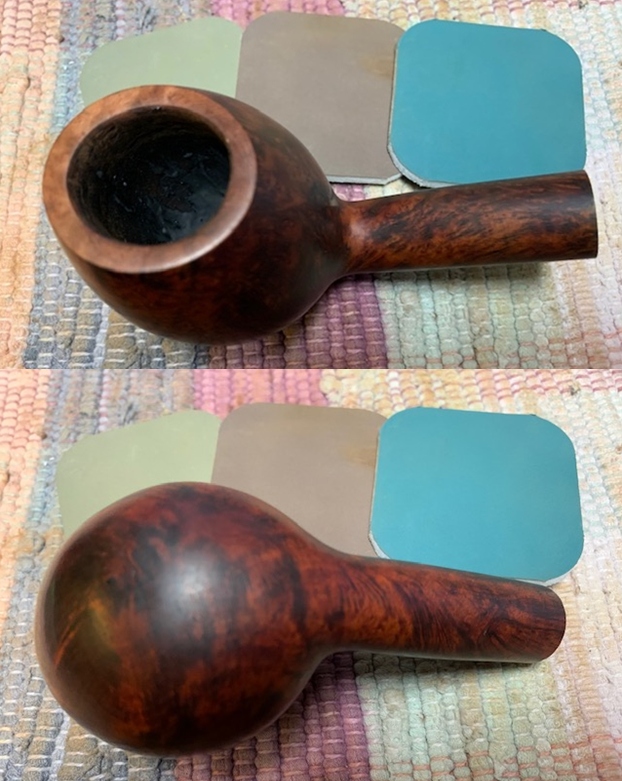
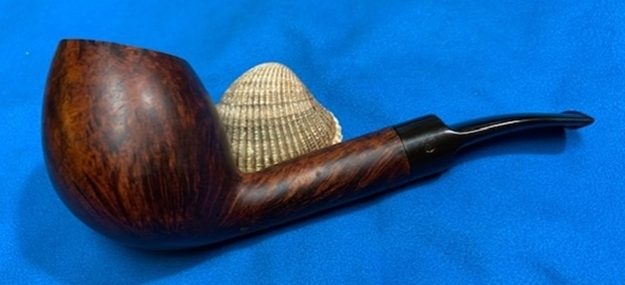
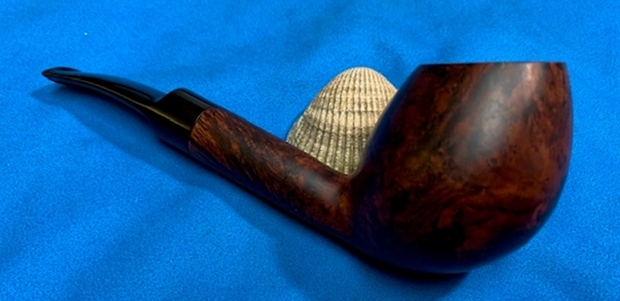
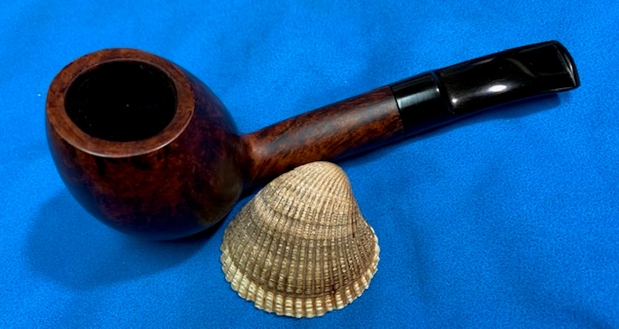
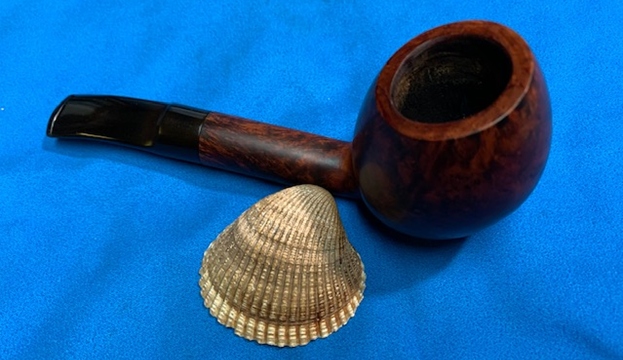
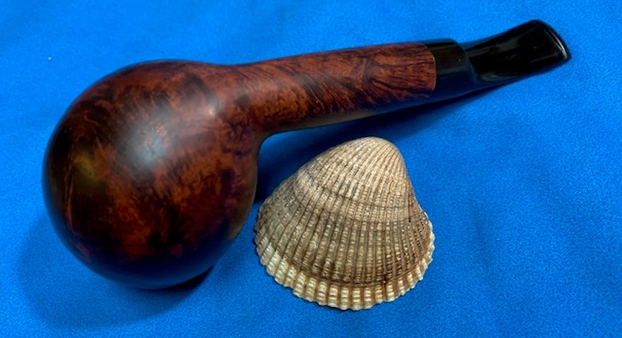
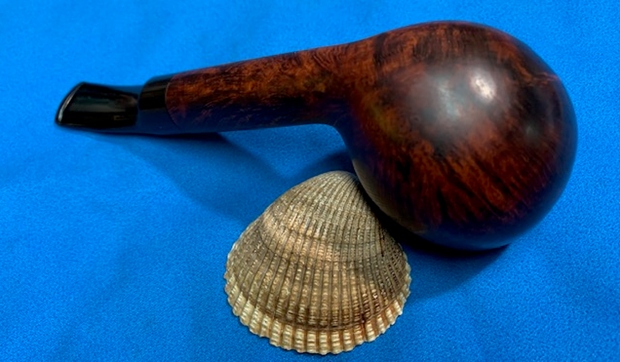
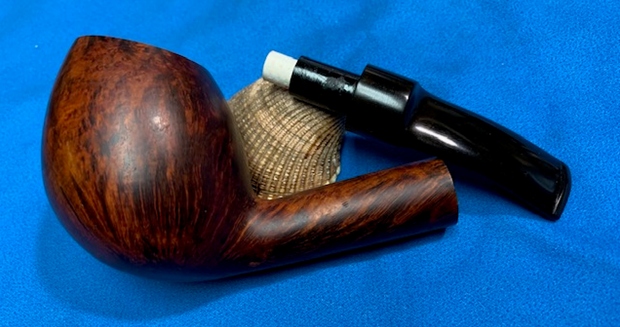
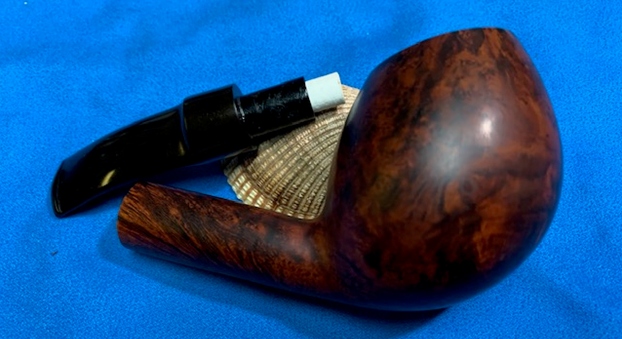
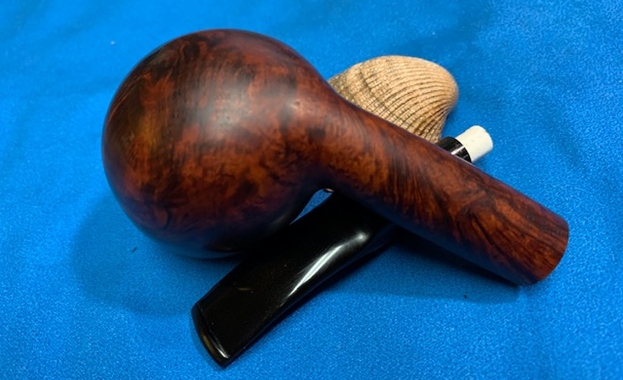
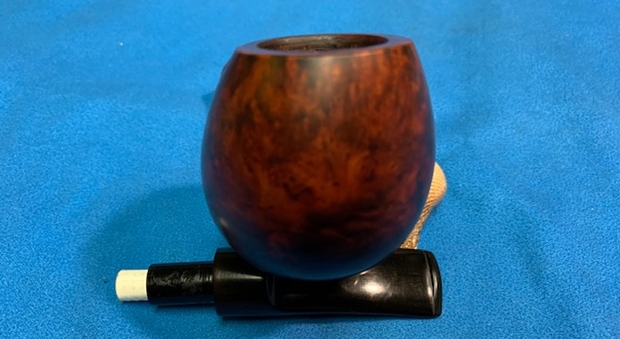
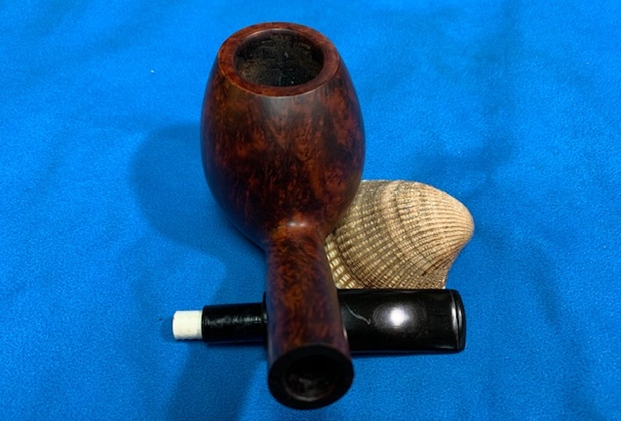
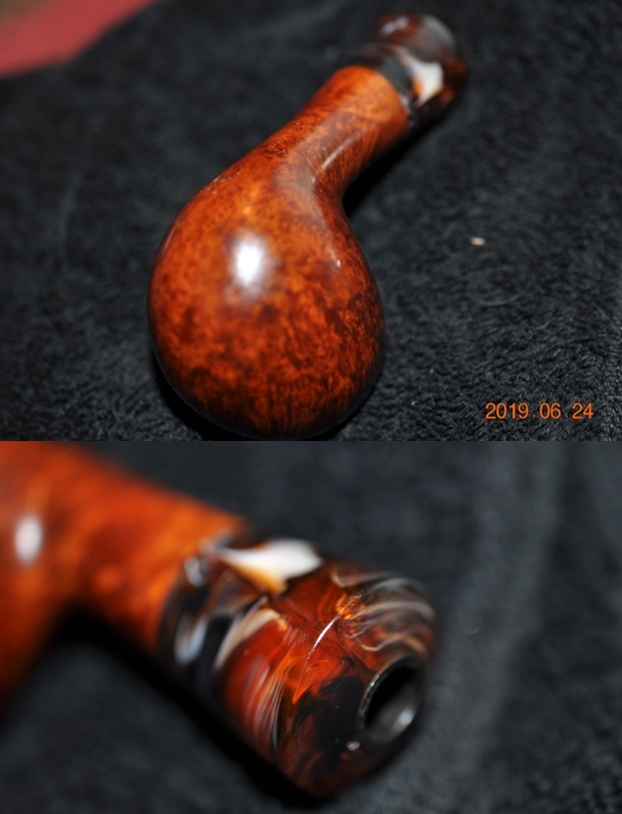
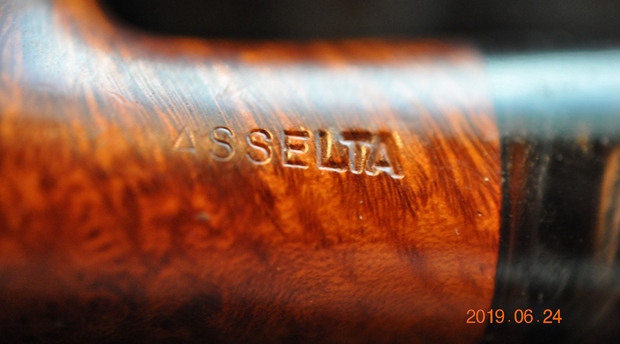
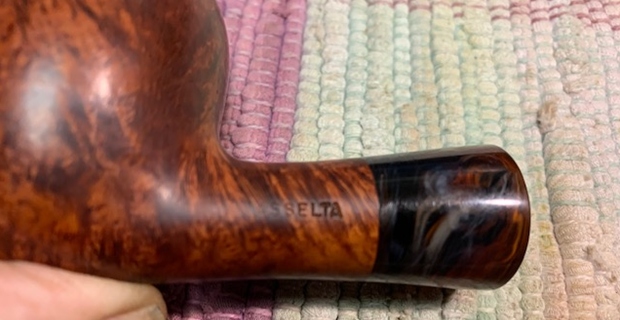
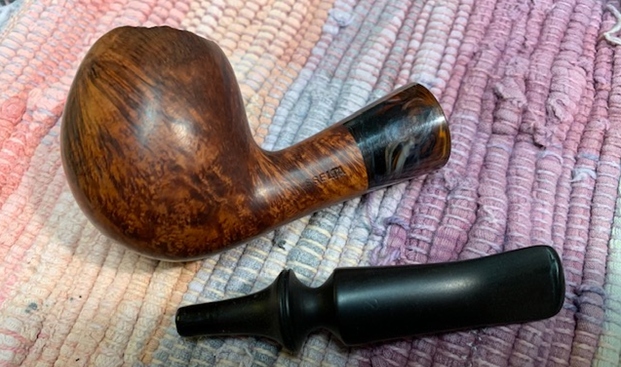
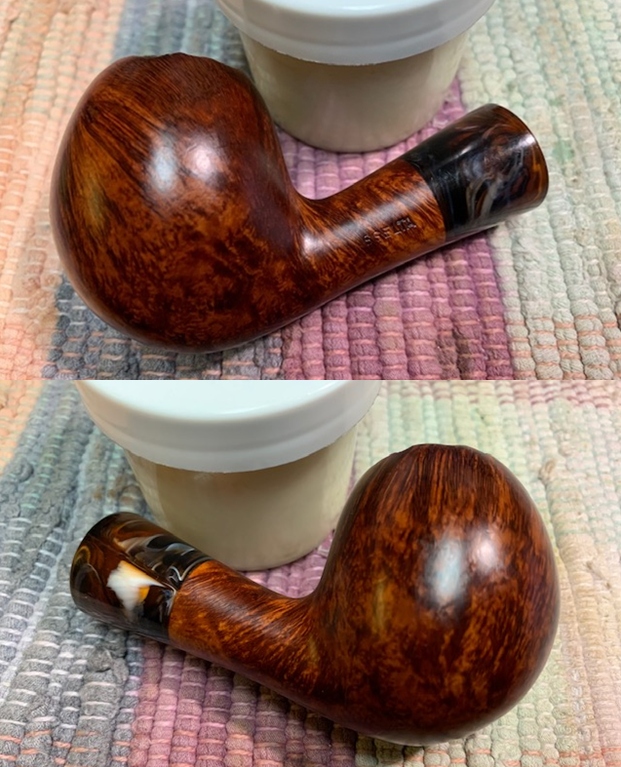
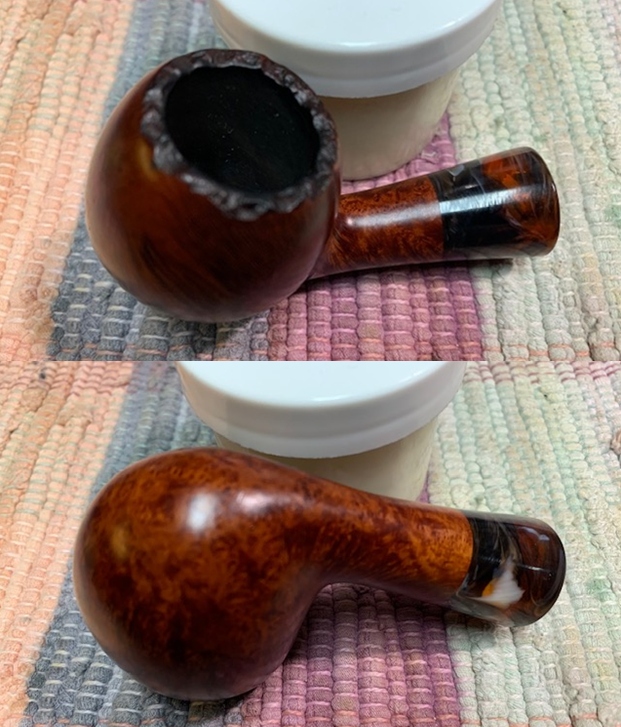
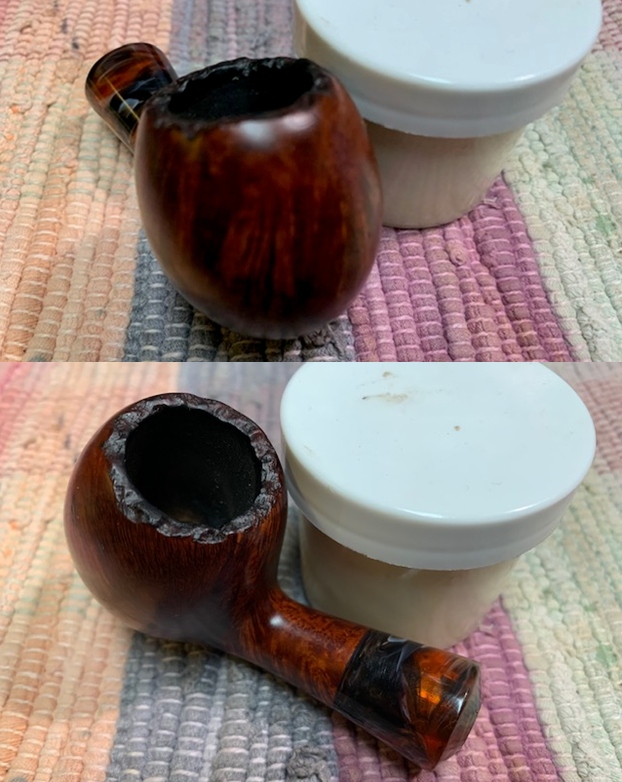
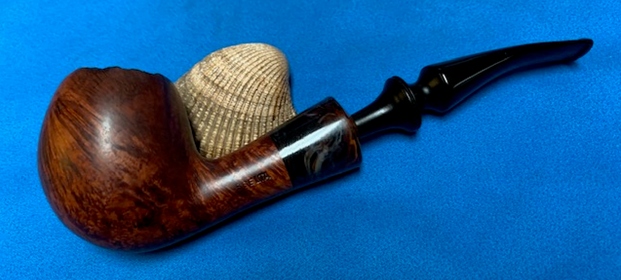
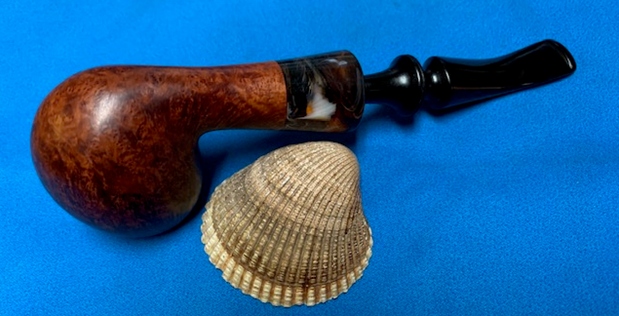
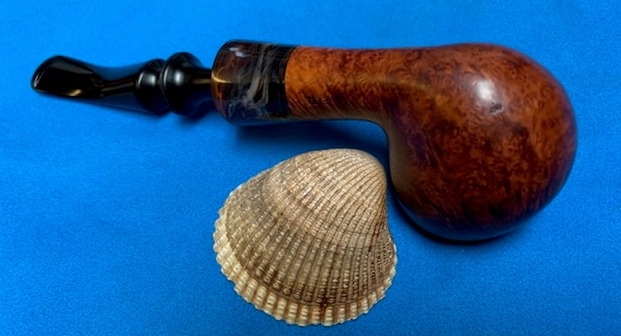
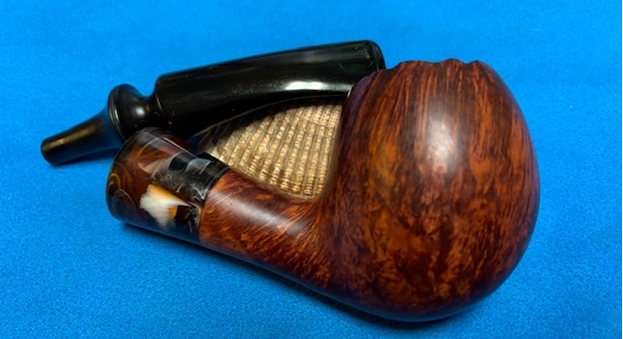
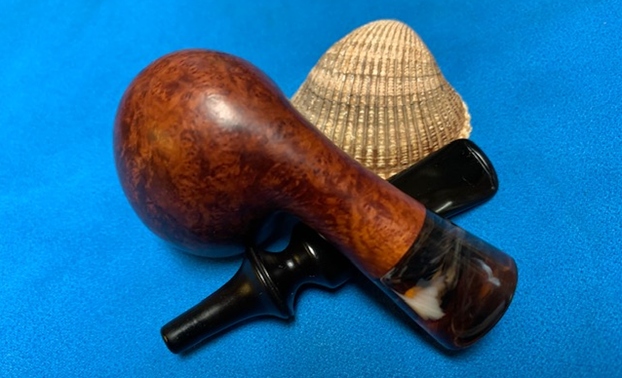
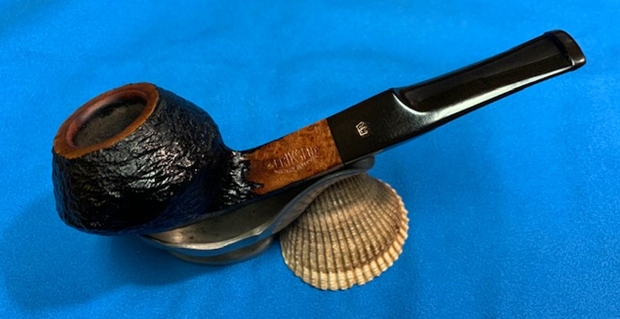
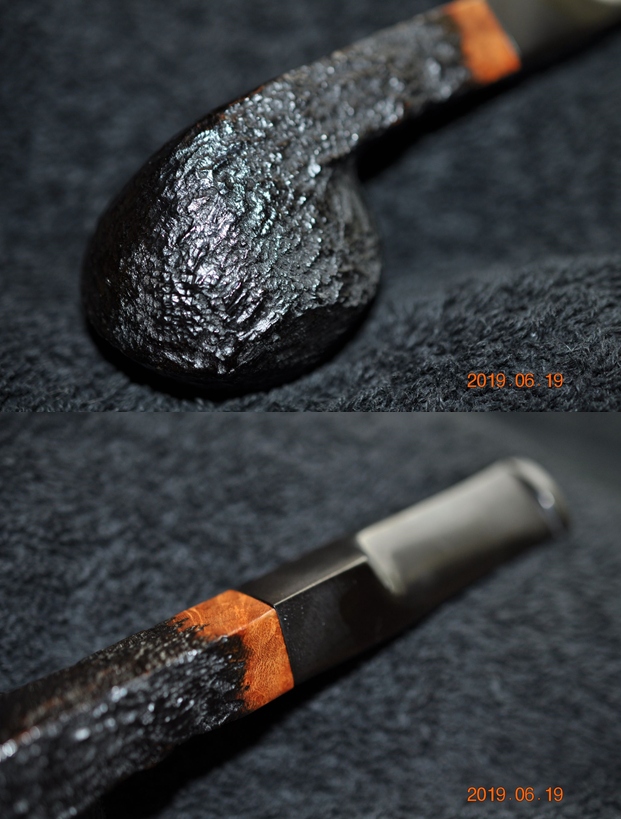
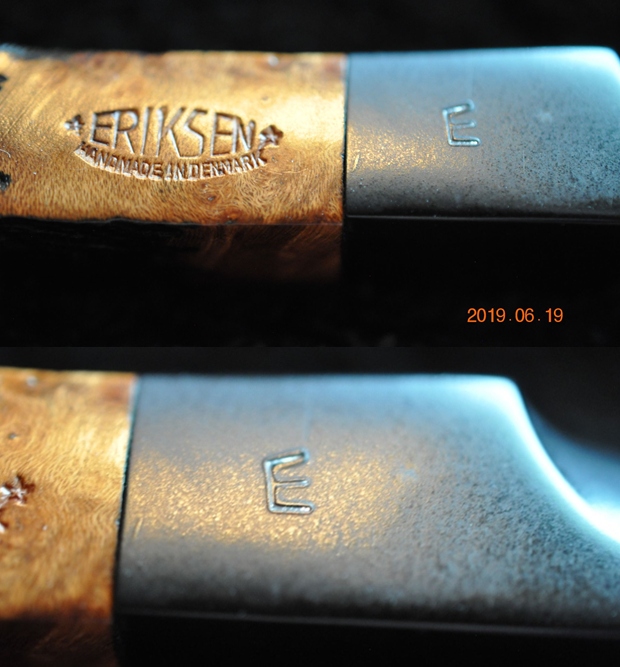
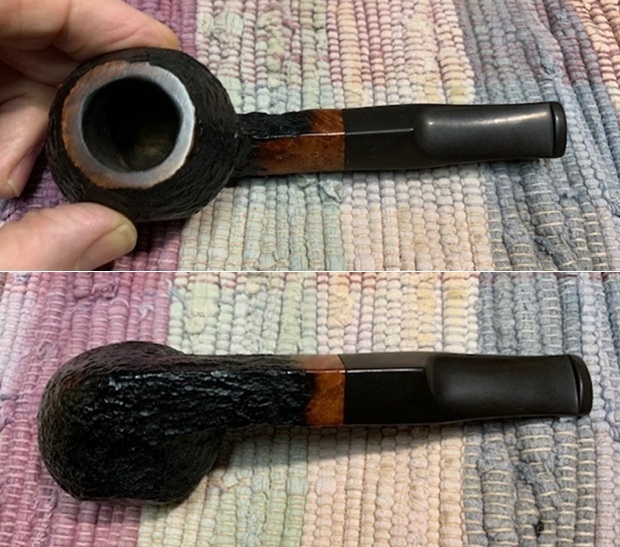
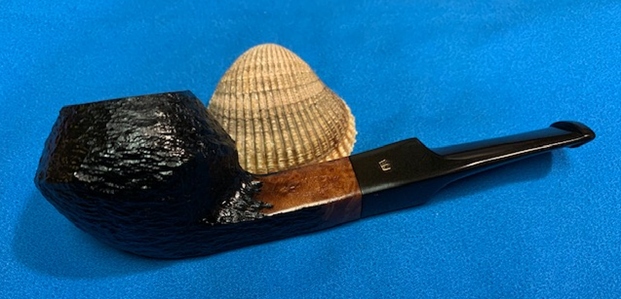
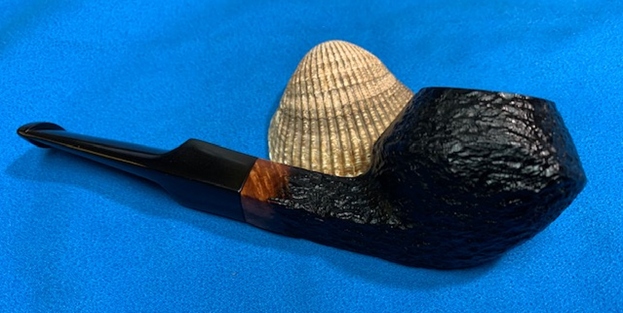
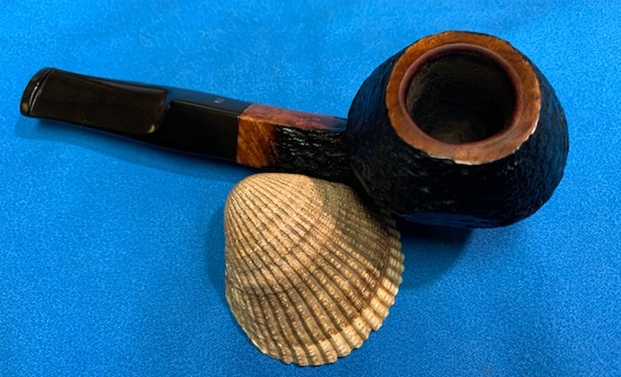
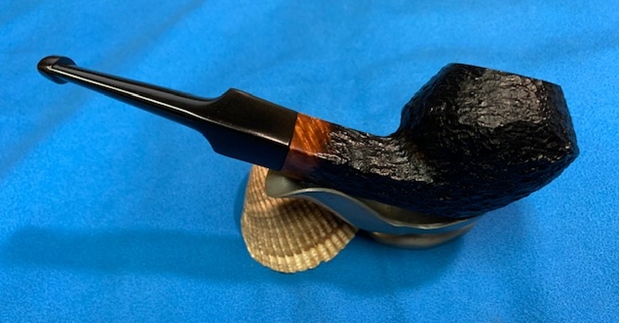
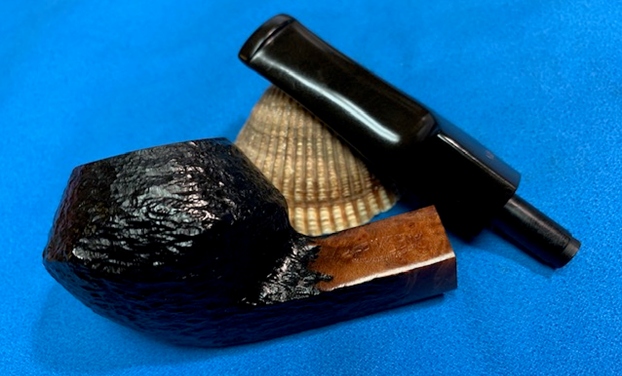
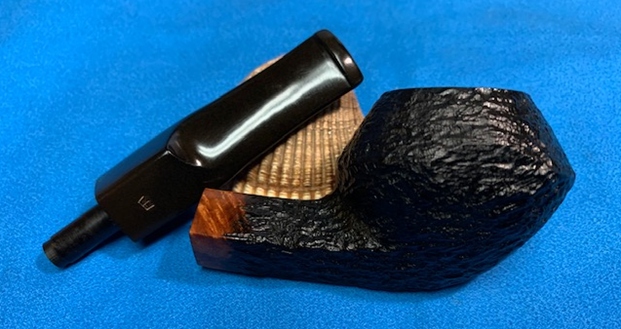
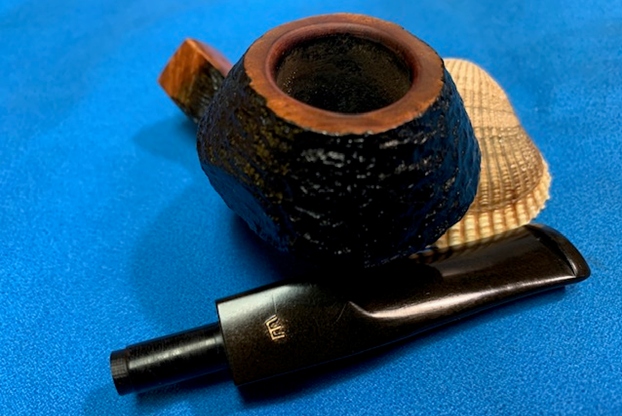
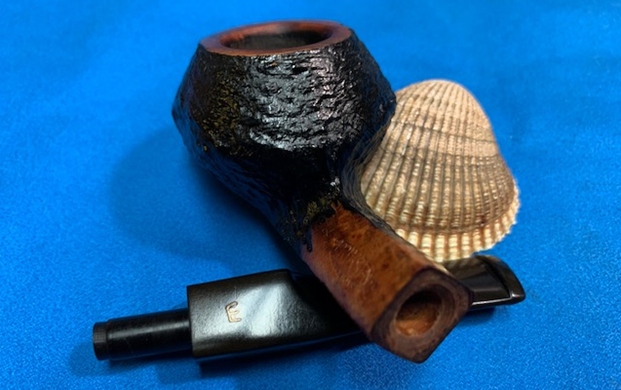
The pipe arrived in Vancouver yesterday. It is definitely an interesting pipe made by a maker that I had not heard of before. It is stamped on the underside of the shank CP Trout and has an oval that is stamped Handmade in Italy. The pipe had some amazing grain and an oval stummel with a normal round bowl in the center of the plateau top. The shank end was banded with an oval silver ferrule like cap that matched the shape of the stummel. The angle of the drilling followed the angle of the front of the bowl. The pipe was obviously a favourite as it was well smoked. The stem was black acrylic with a silver fish hook on the top side near the saddle. The tenon was drilled for a 9mm filter as was the shank of the pipe. Here is what the pipe looked like when it arrived. If you like beautifully grained freehand pipes you will understand how this one had captured its owner. 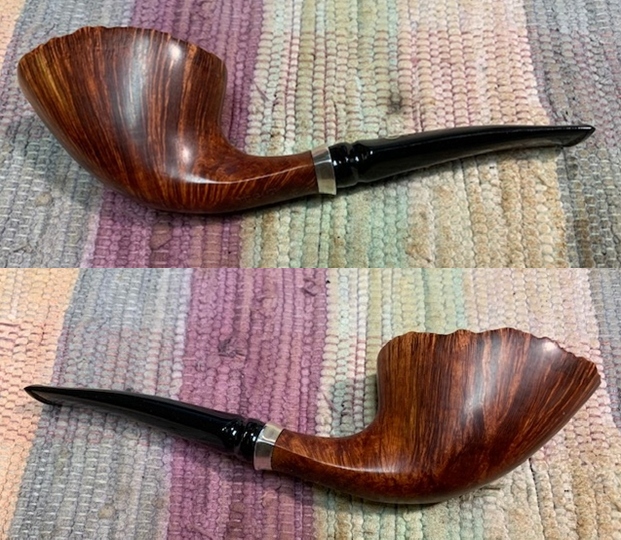
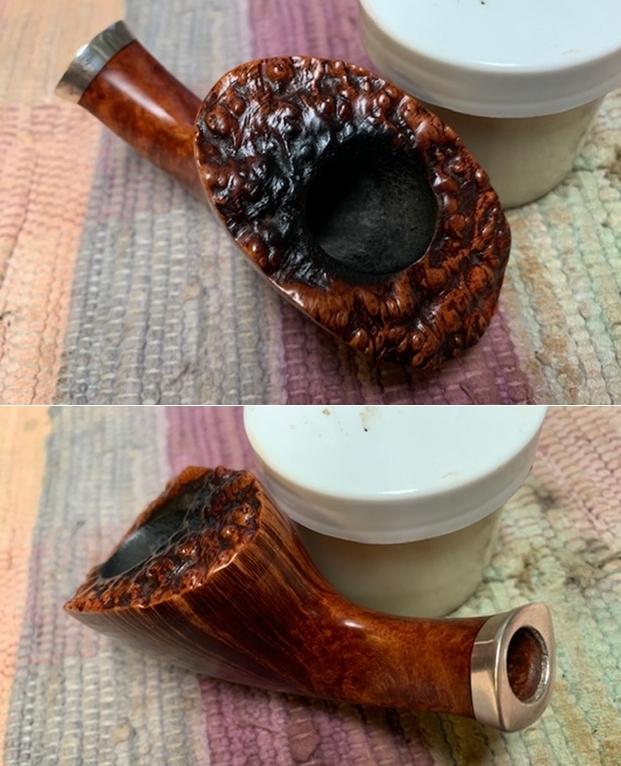
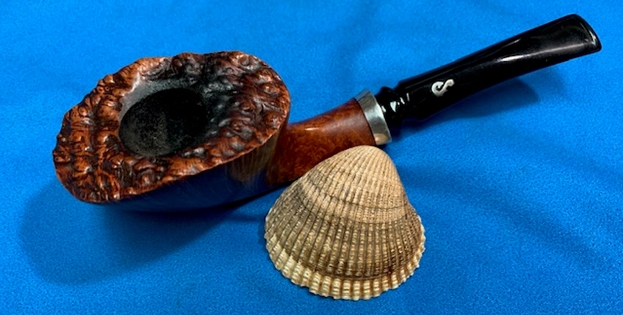
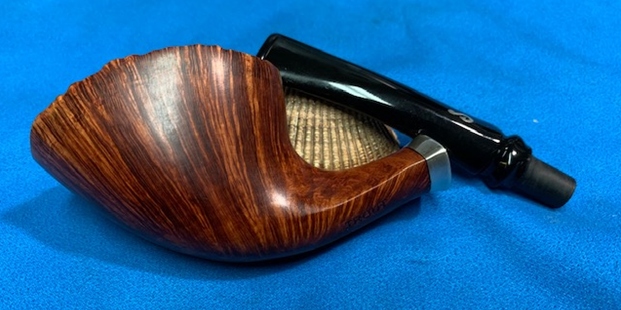
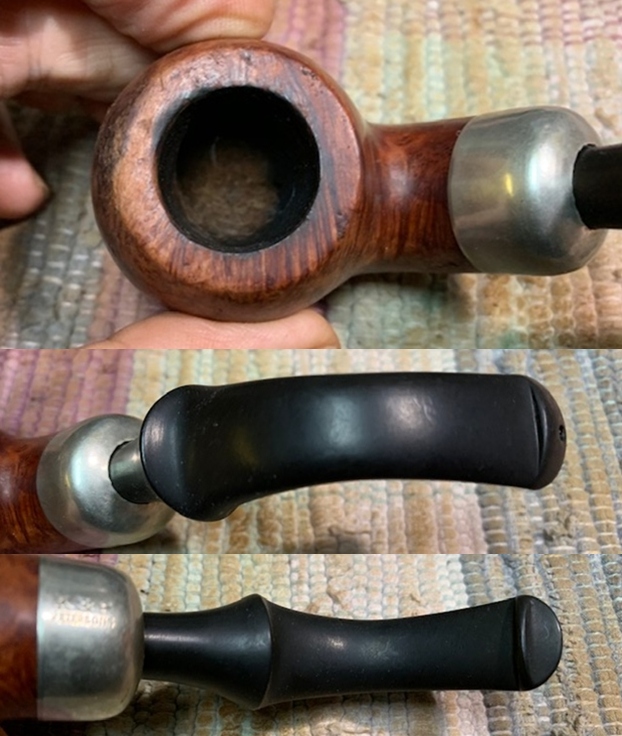
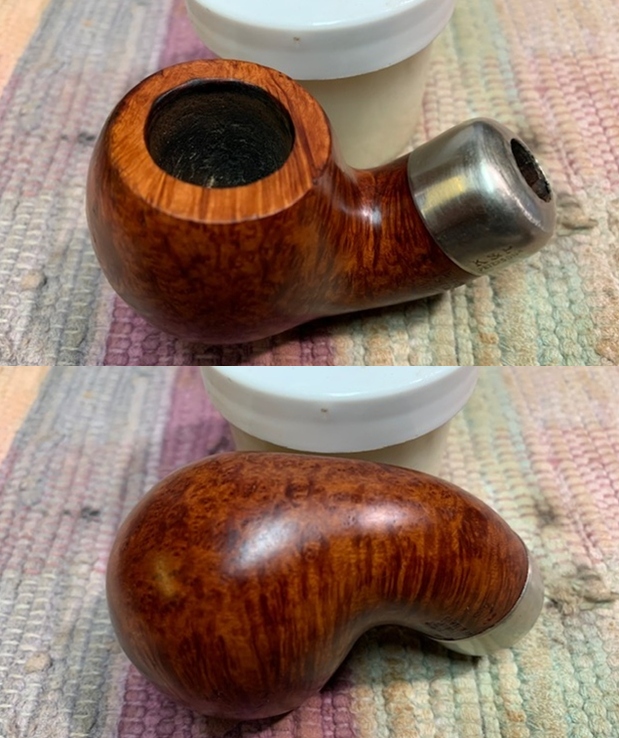
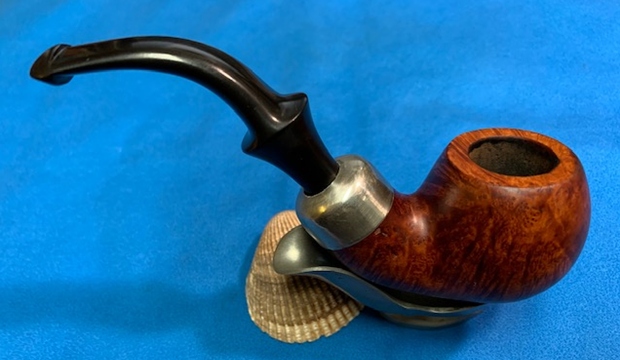
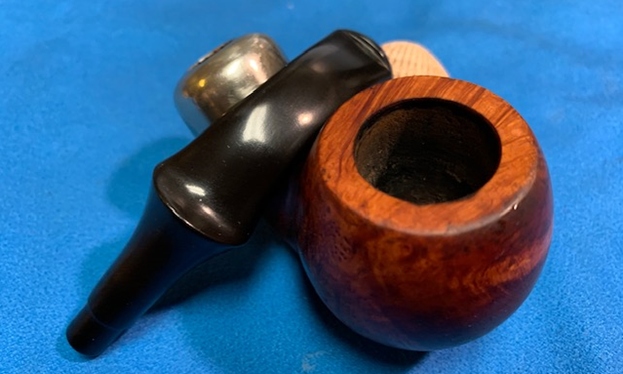
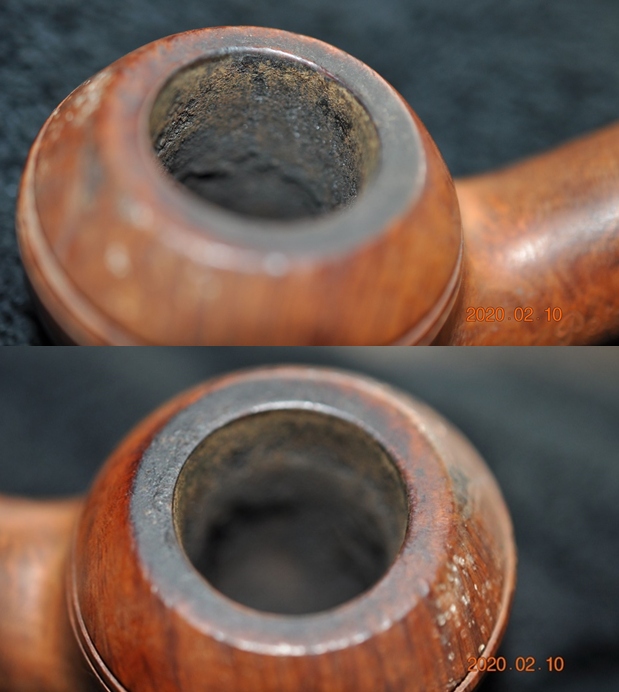
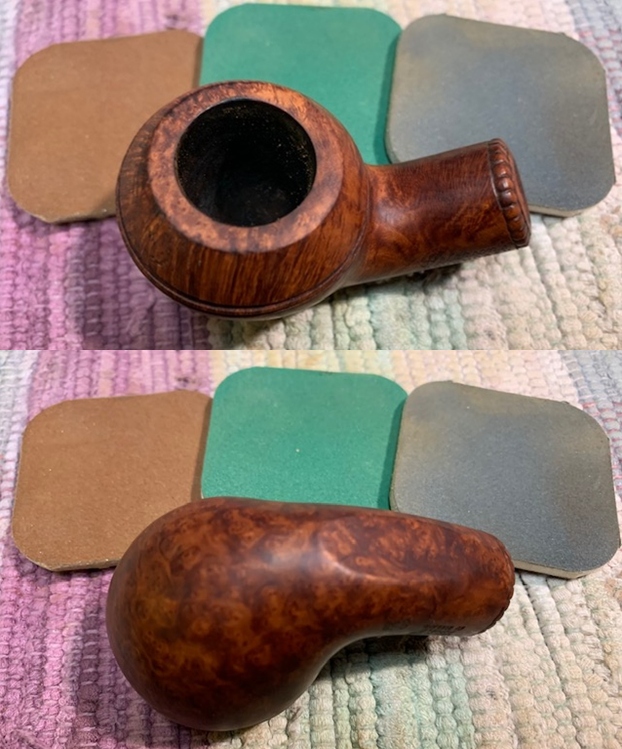
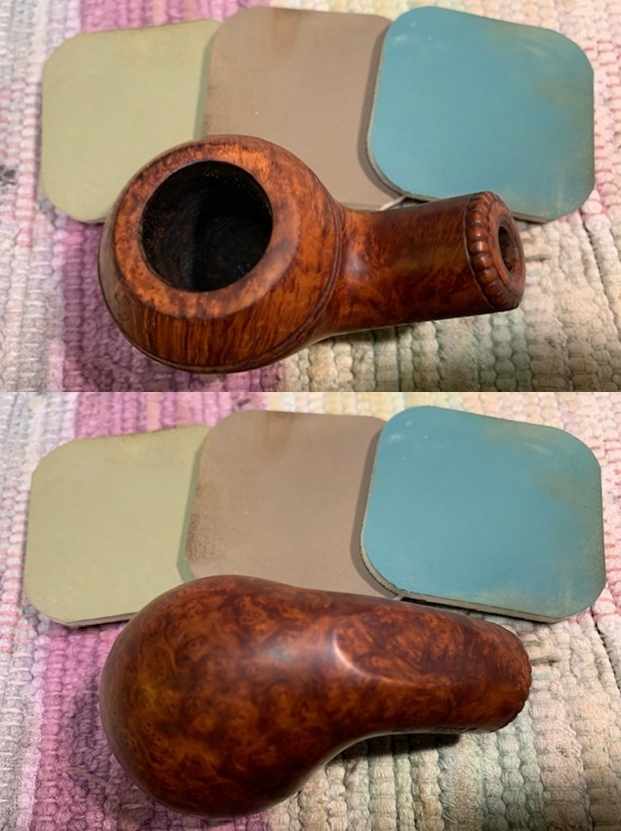
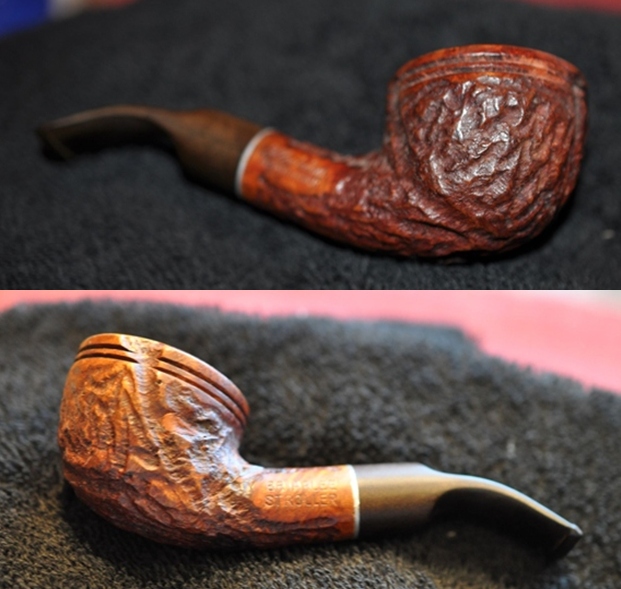
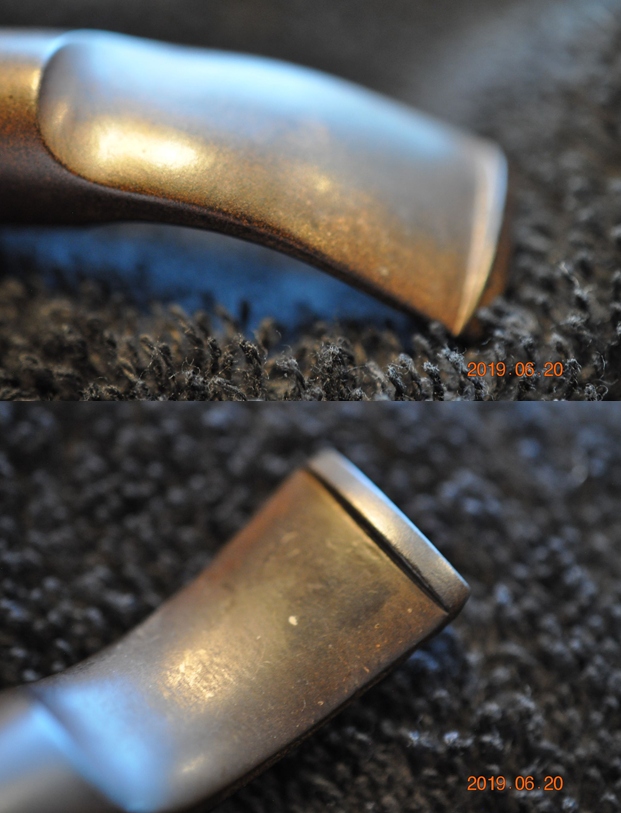
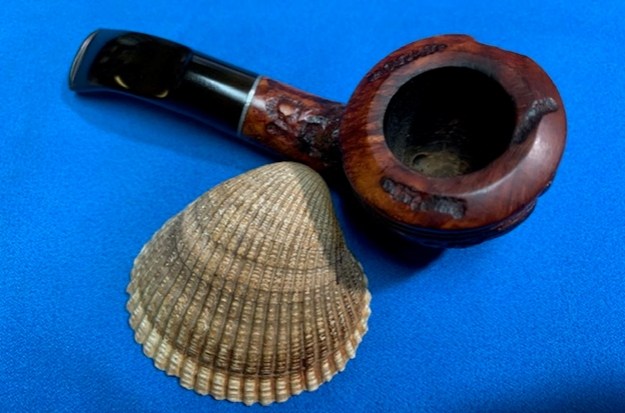
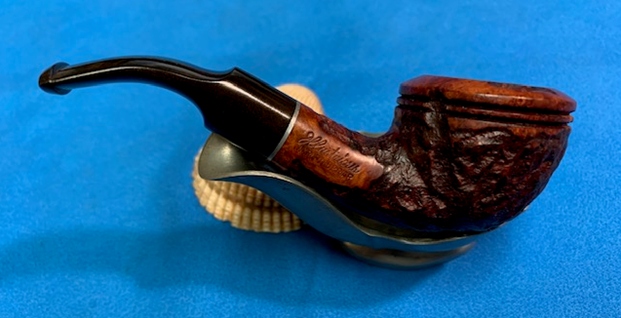
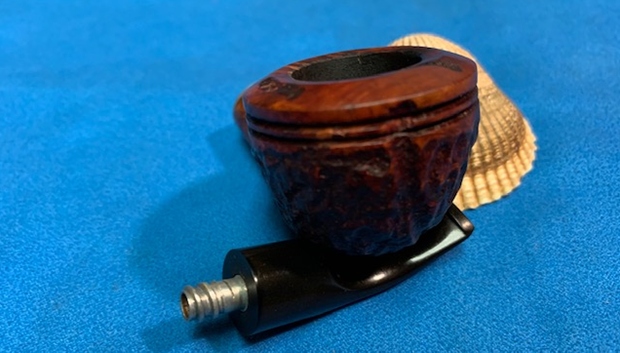
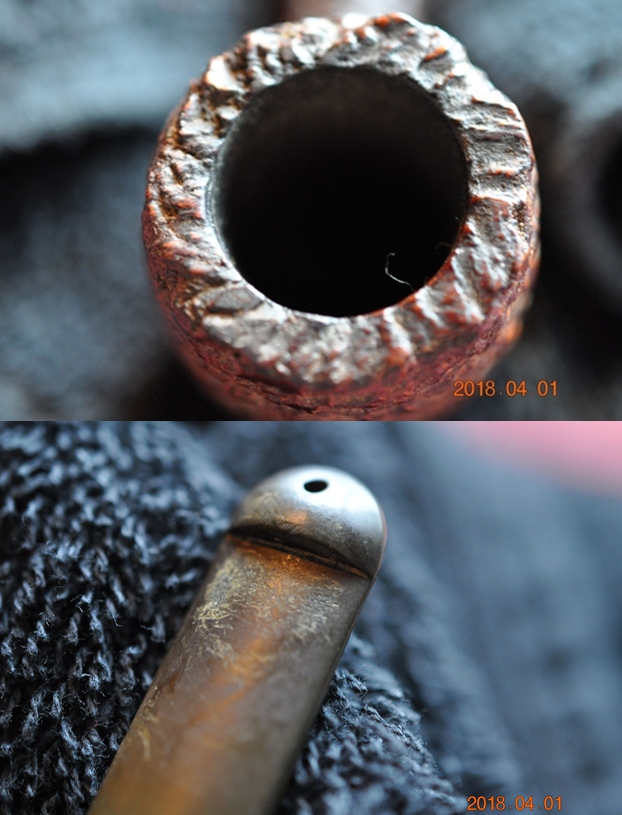
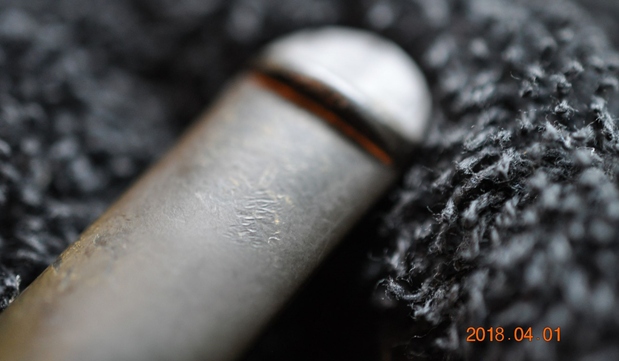
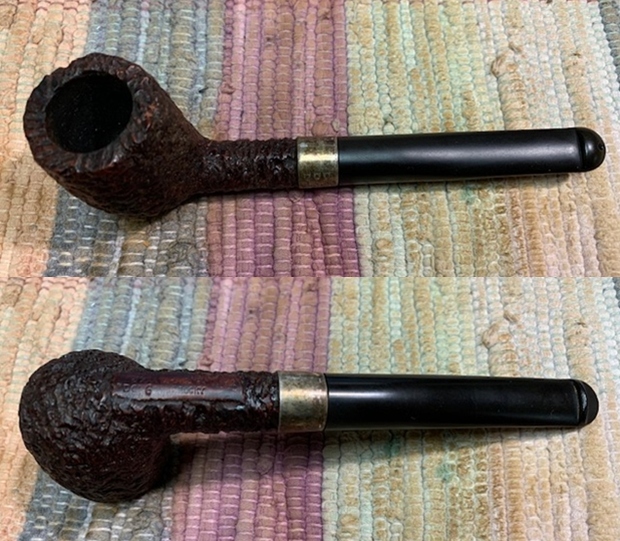
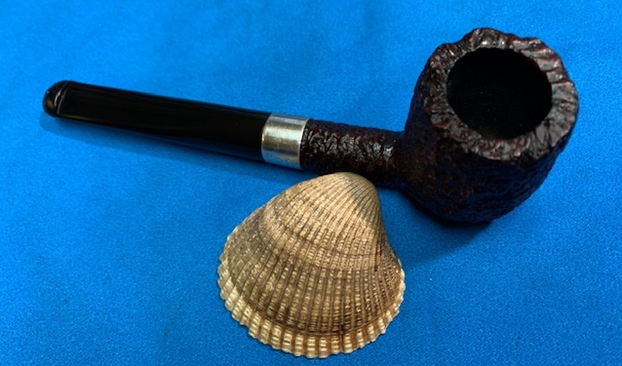
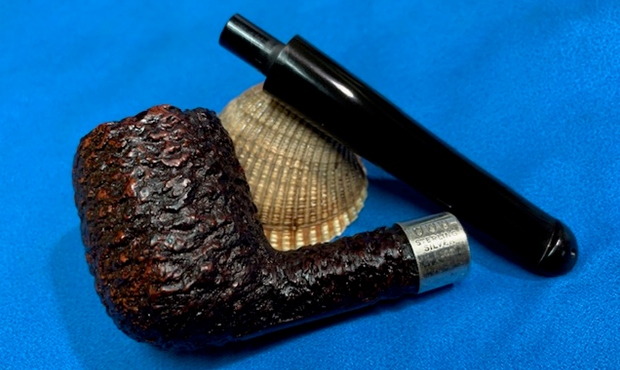
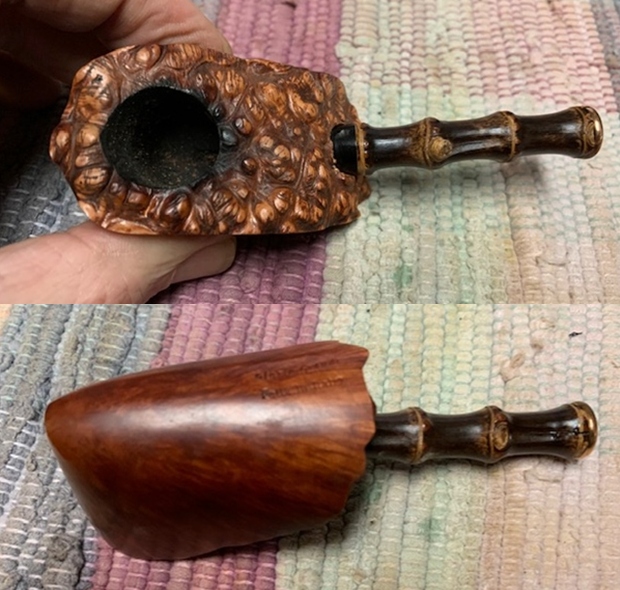
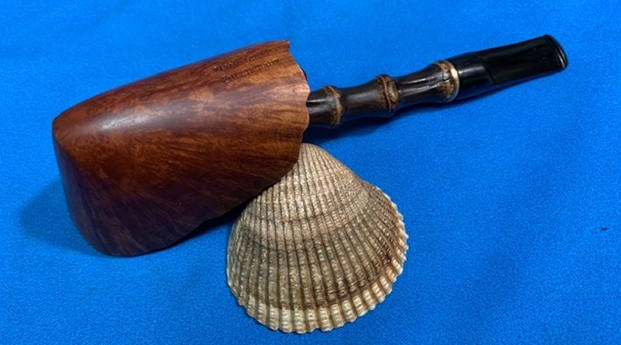
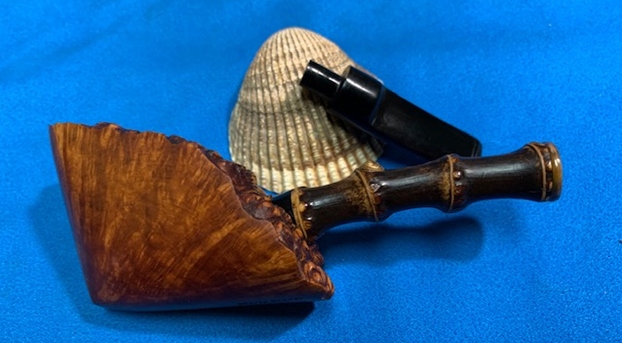
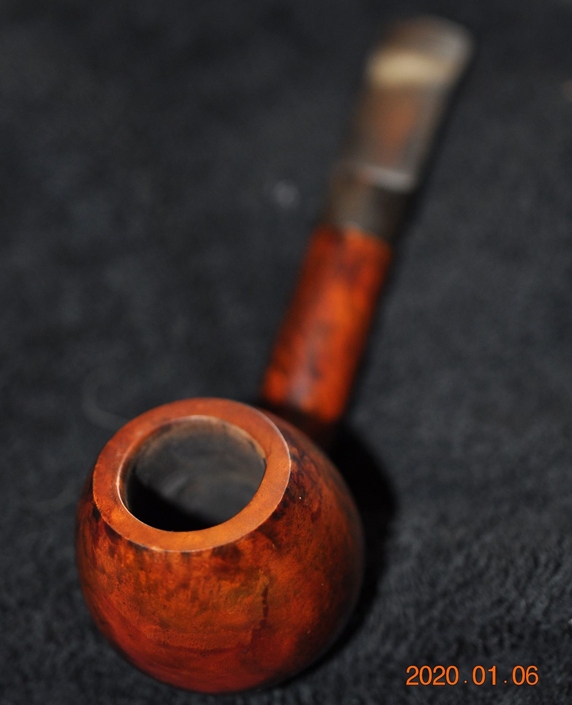
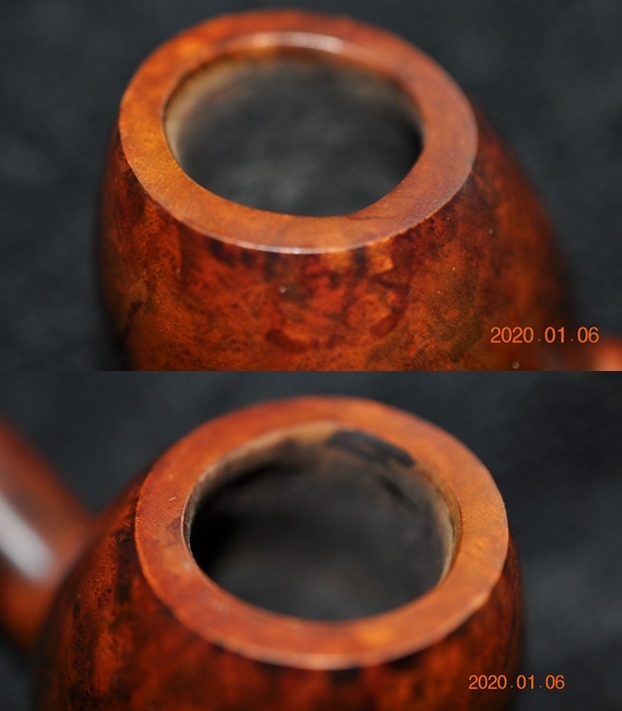
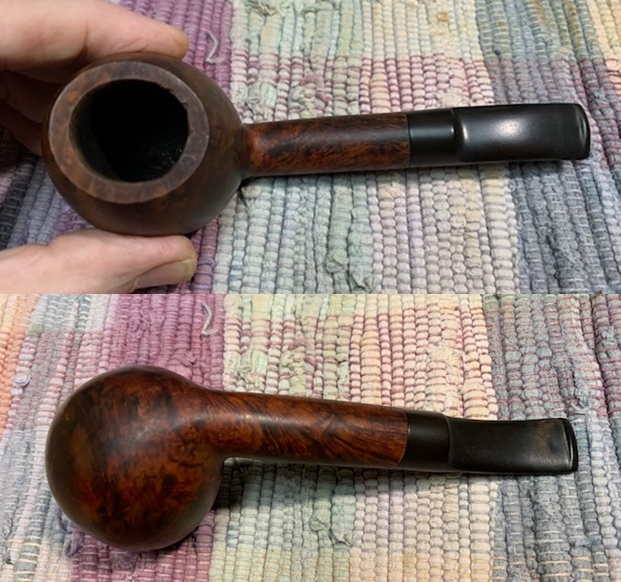
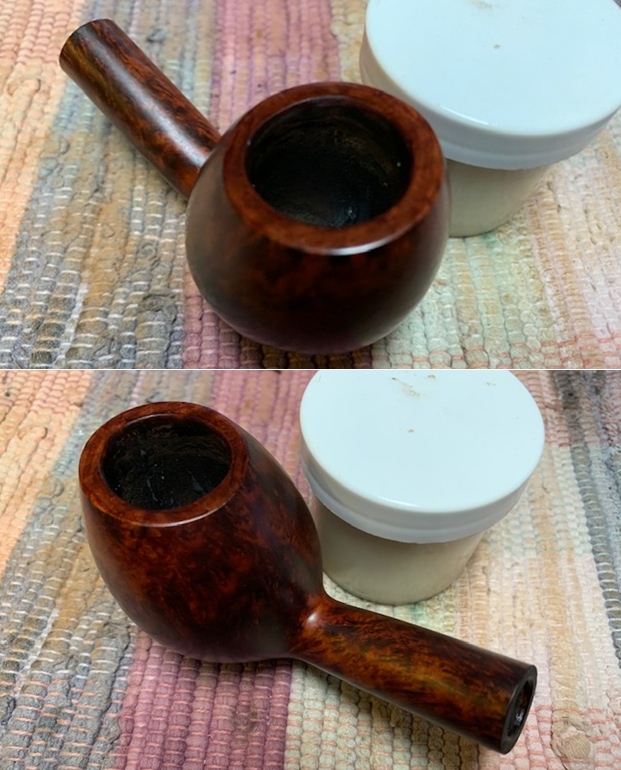
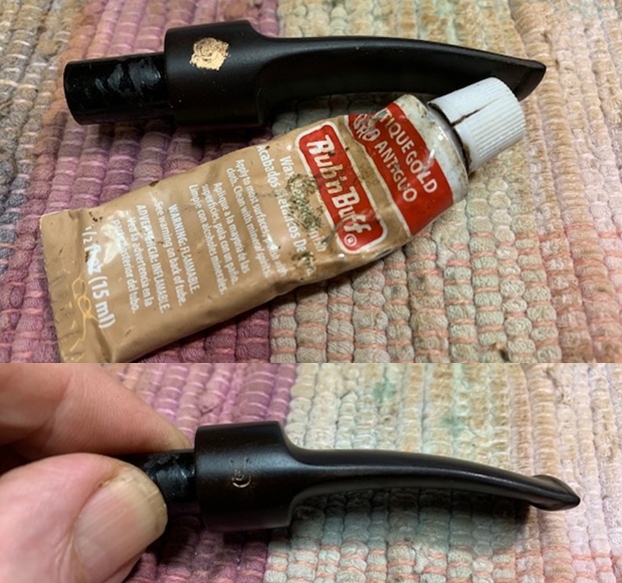
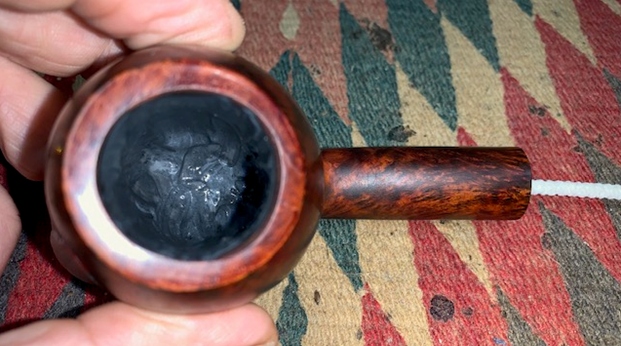
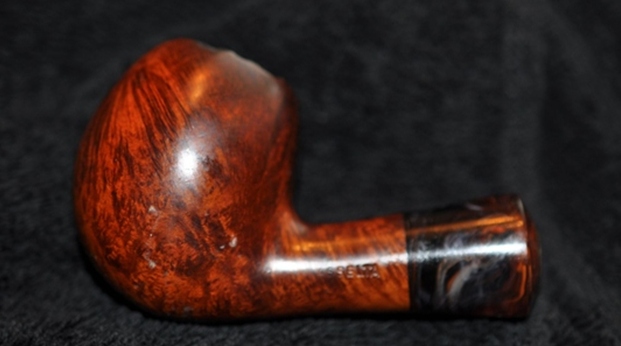
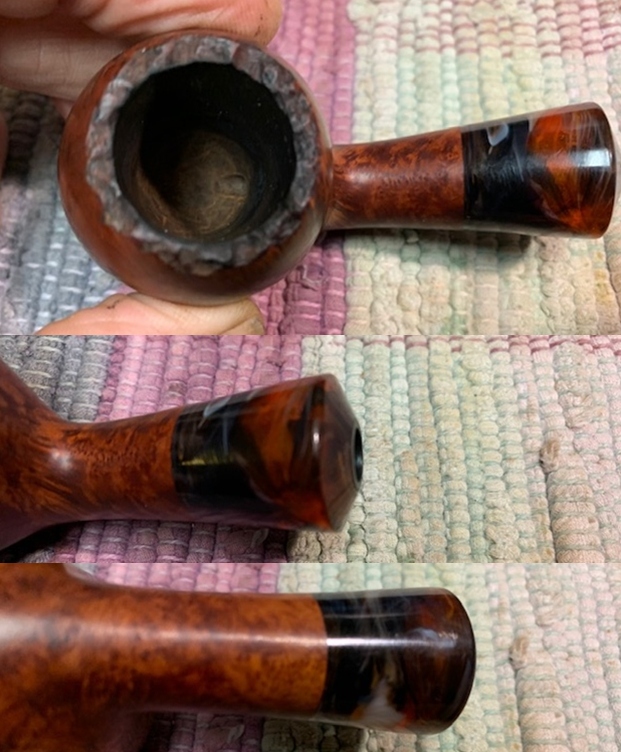
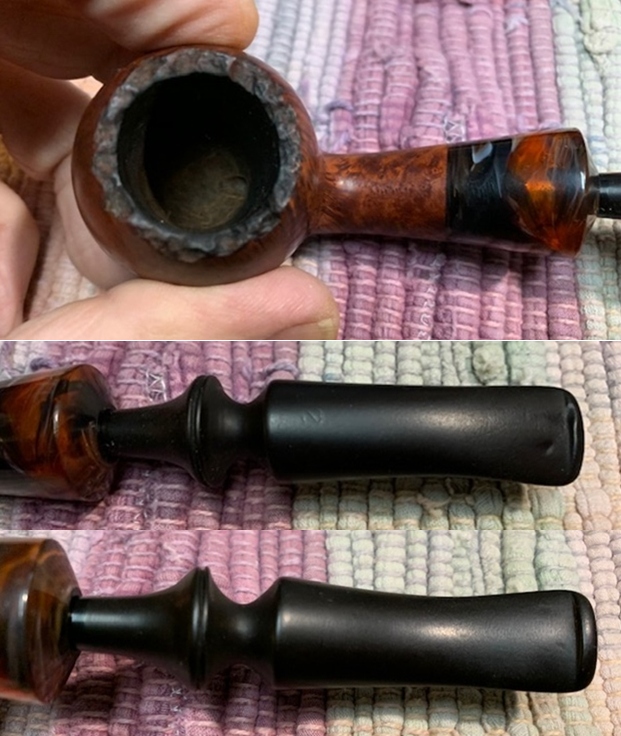
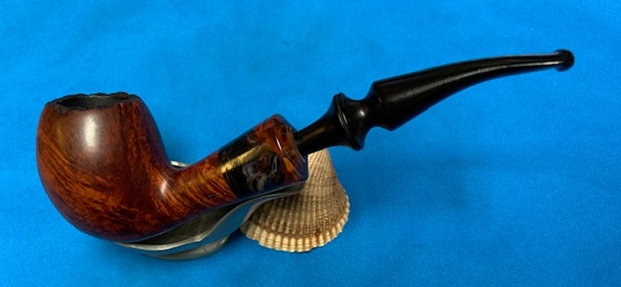
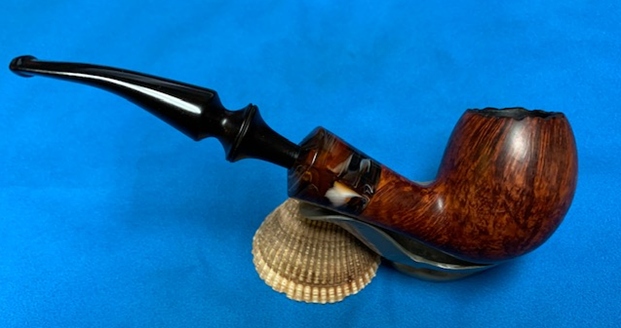
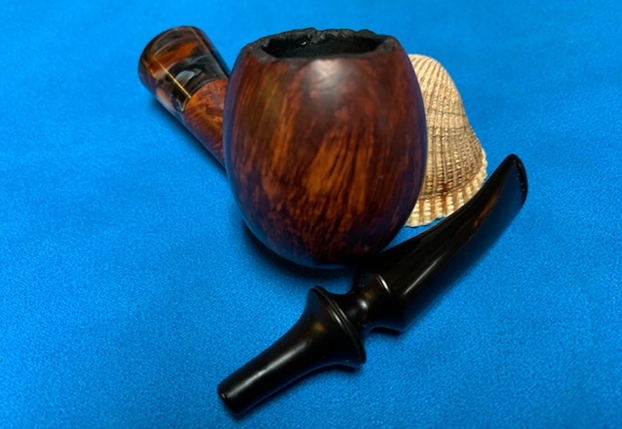
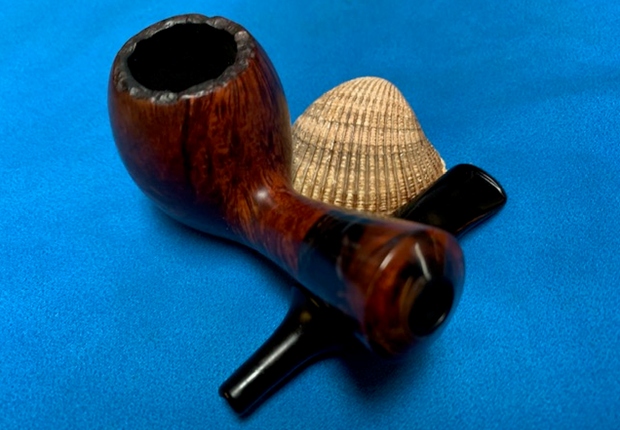
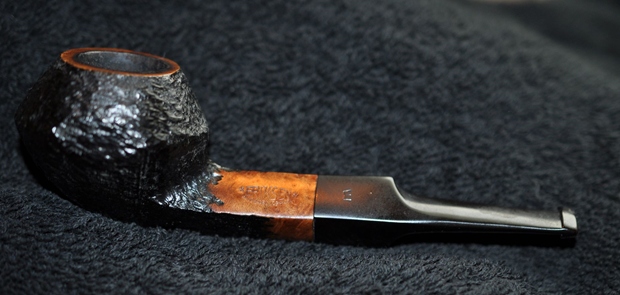
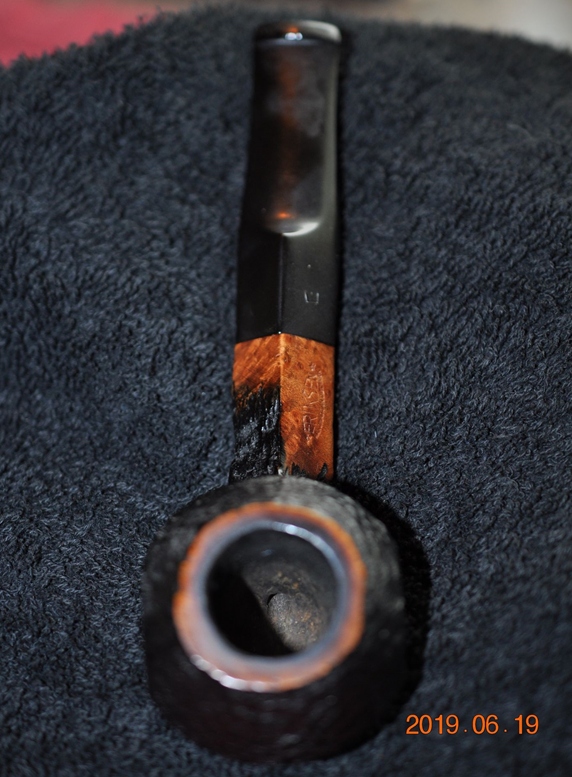
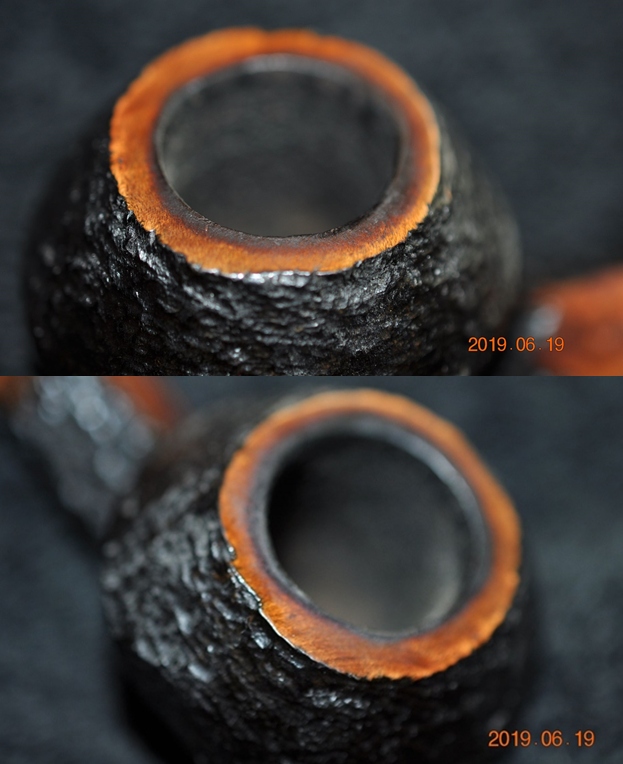
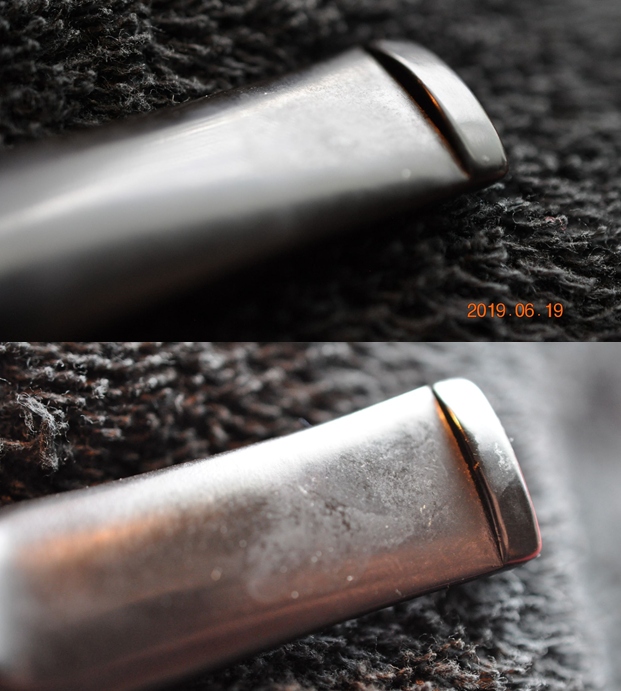
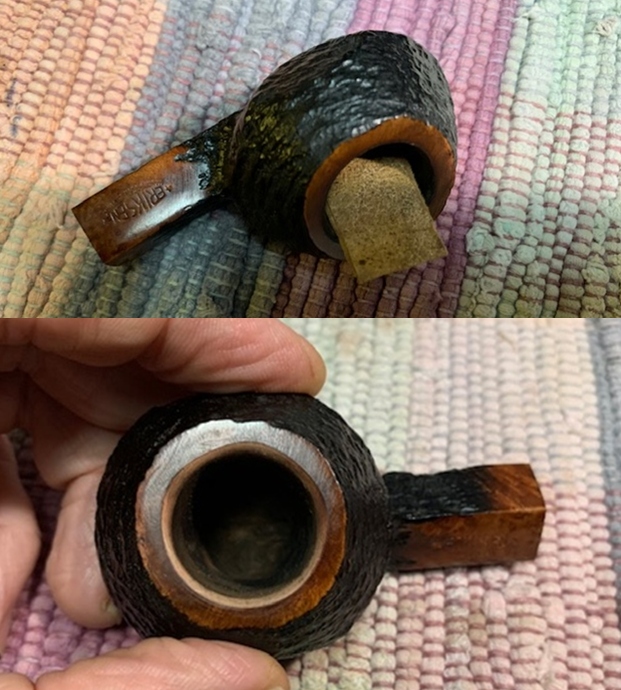
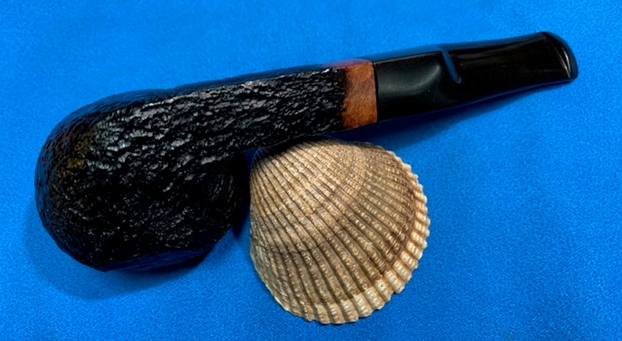
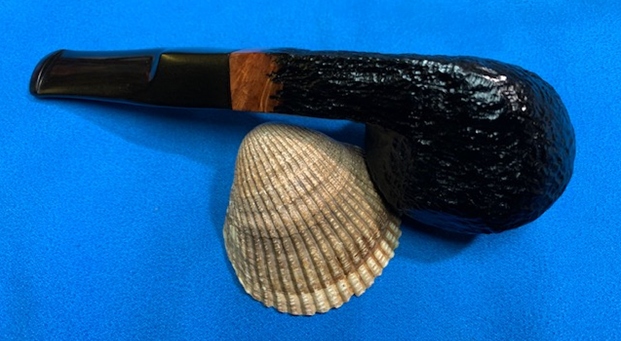
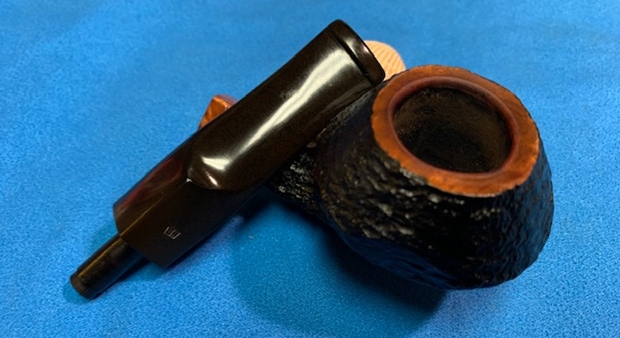
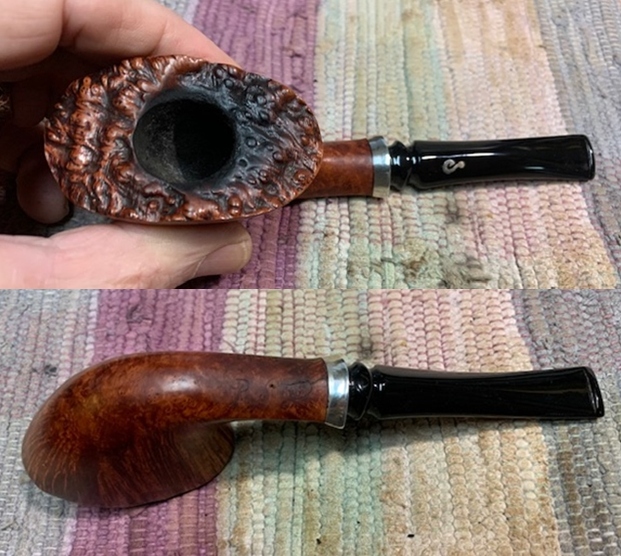 Out of habit I took photos of the rim top and stem to show the condition but in this case to show the design of the pipe.
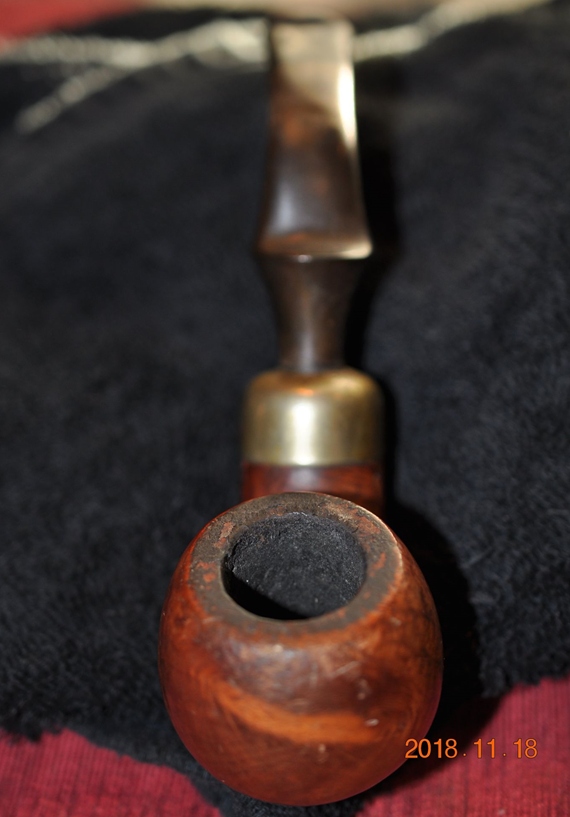
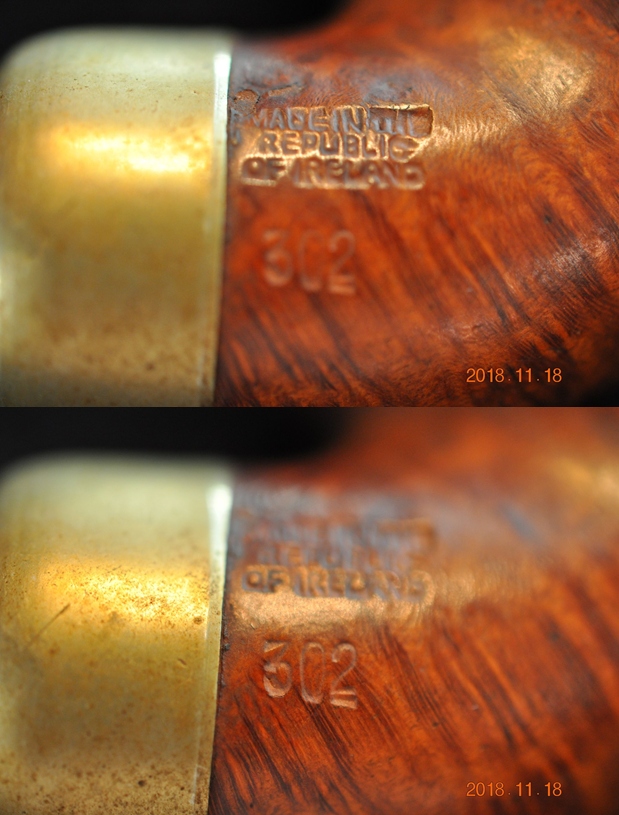
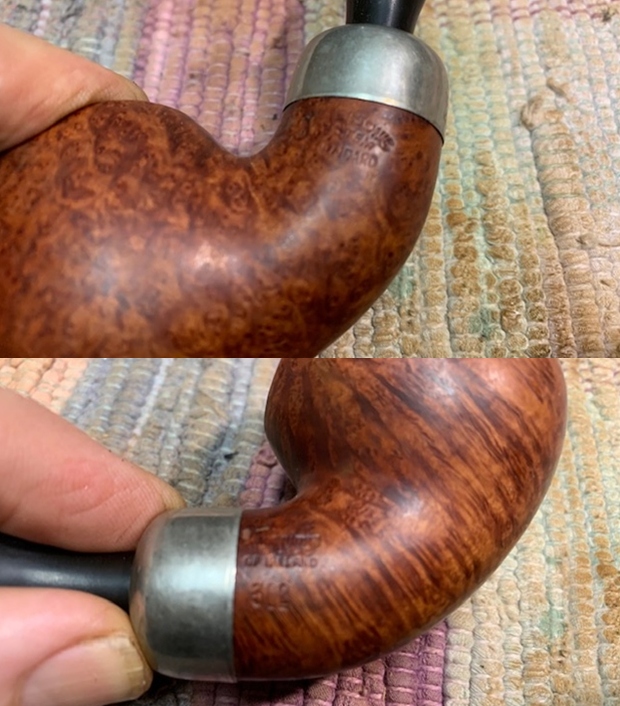
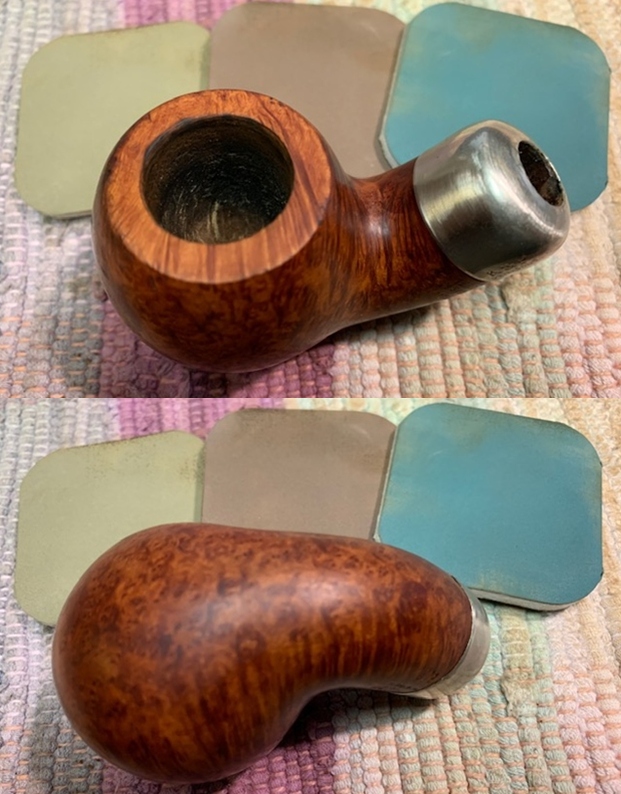
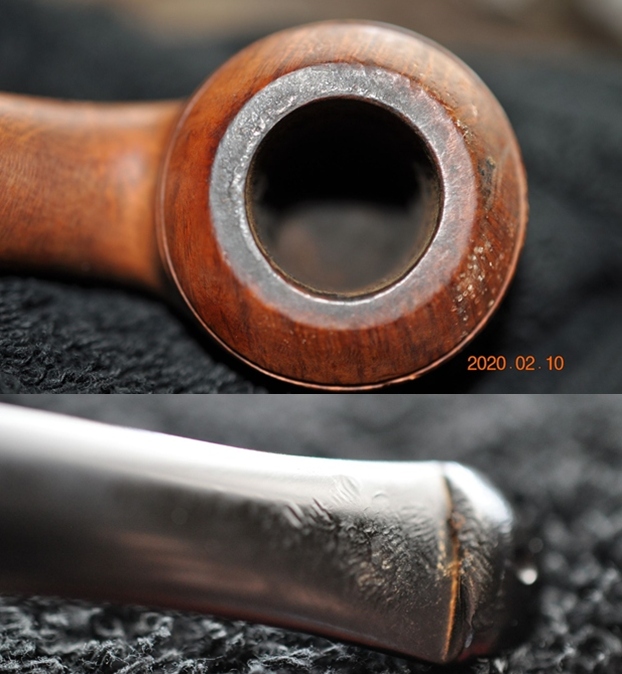
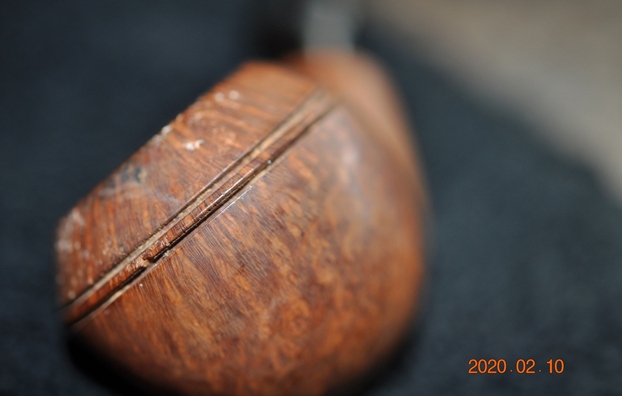
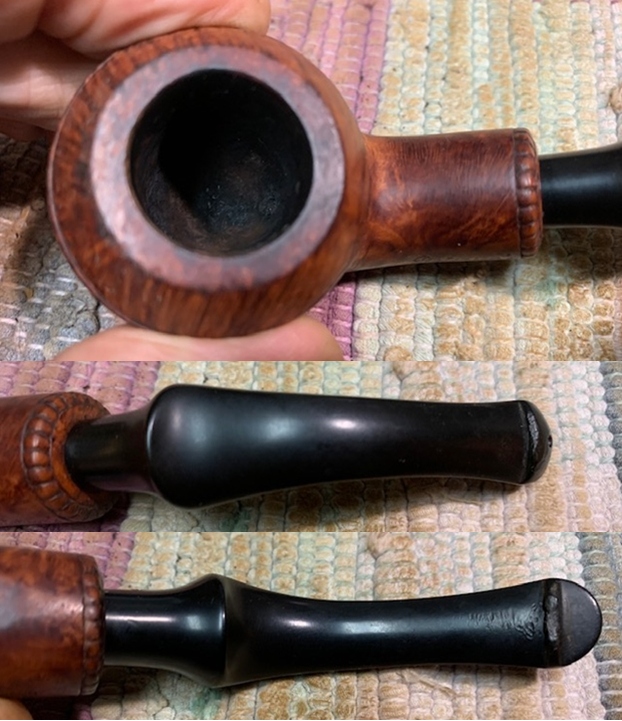
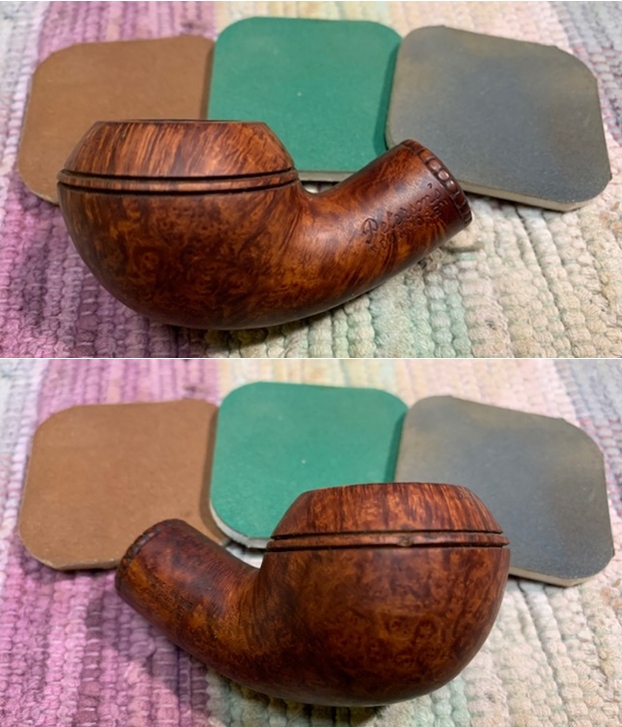
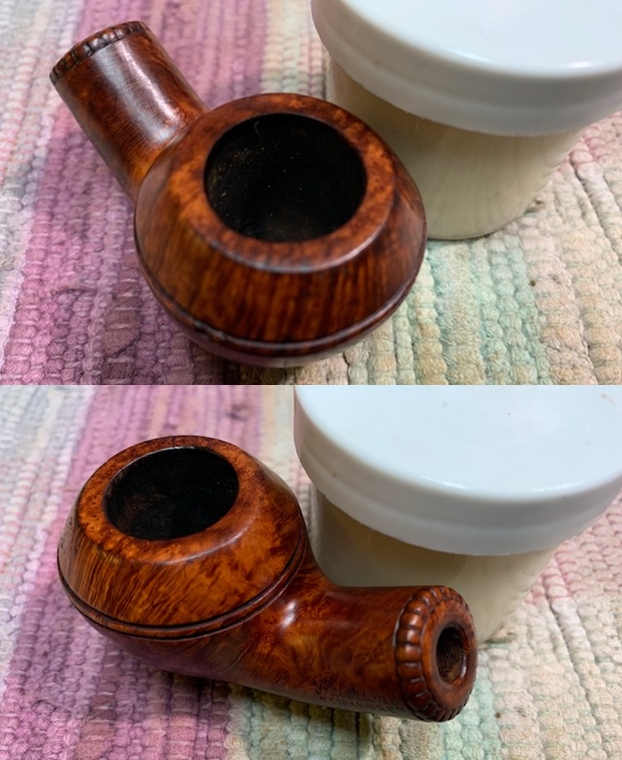
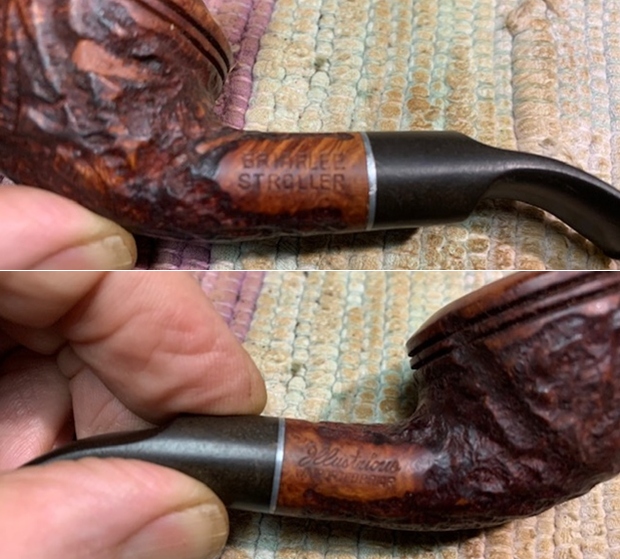
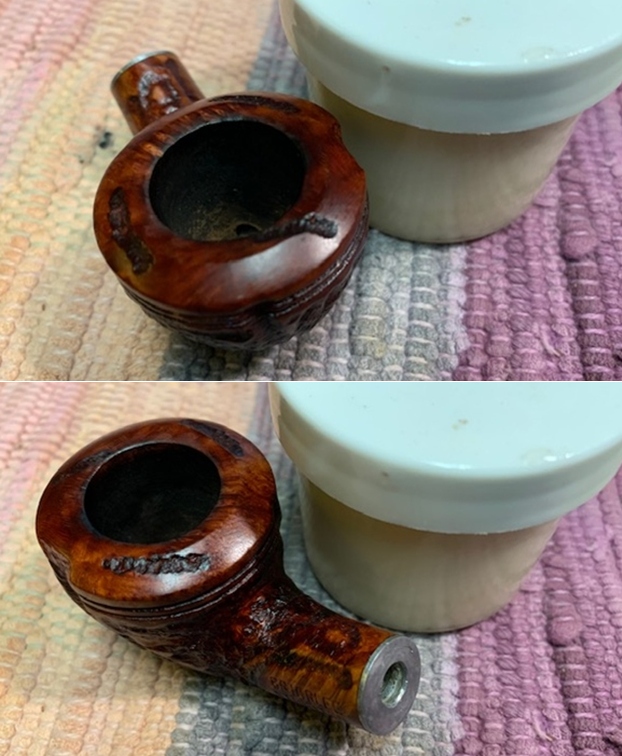
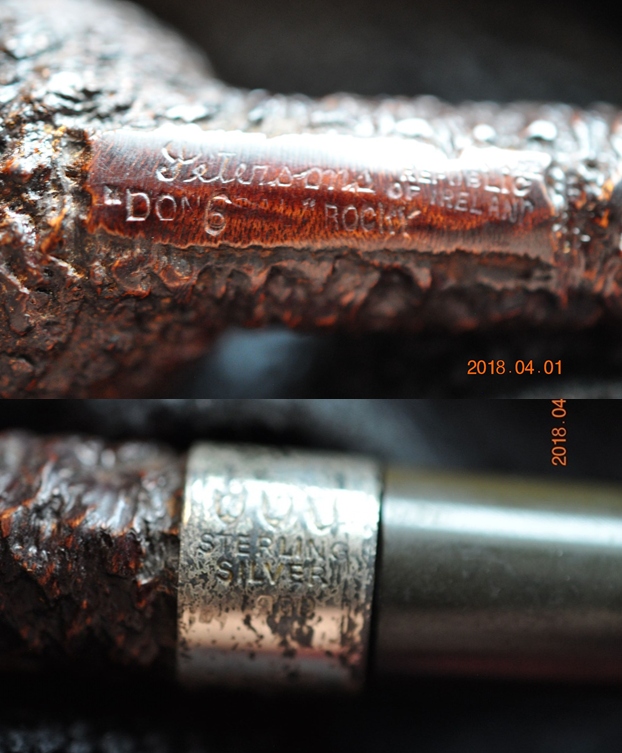
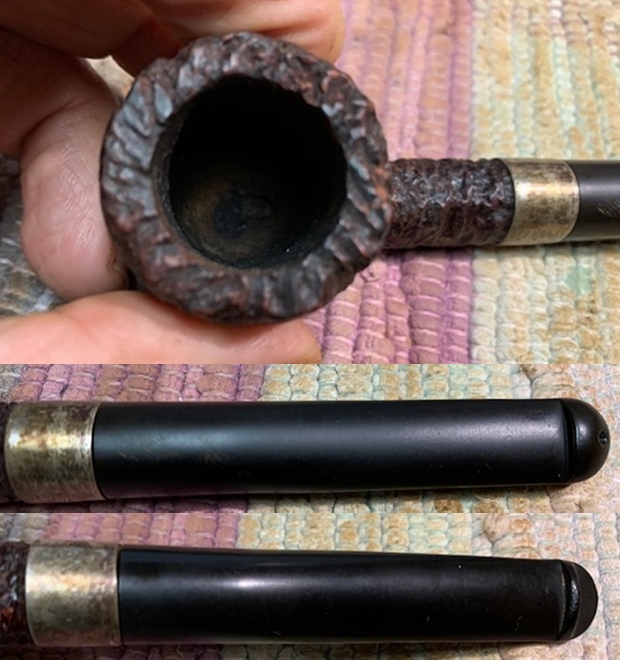
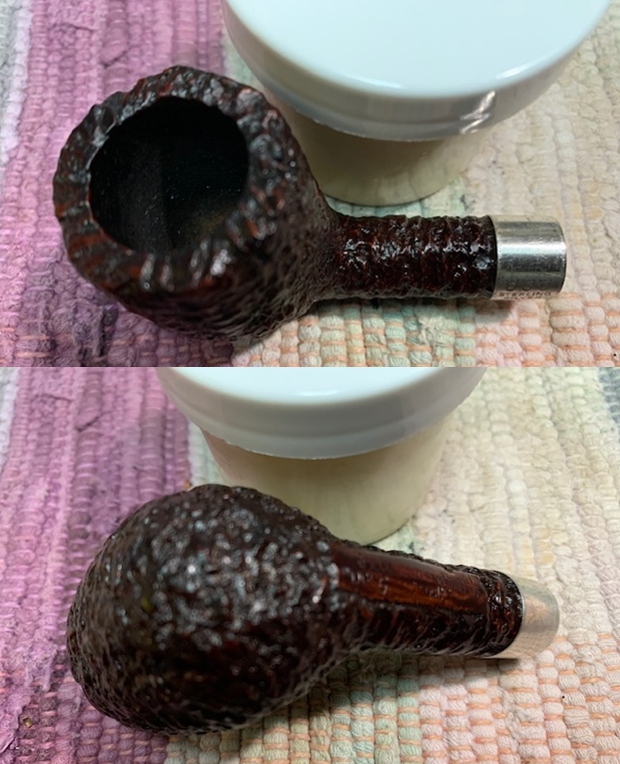
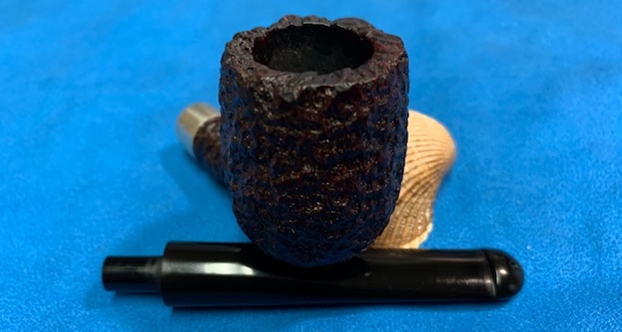
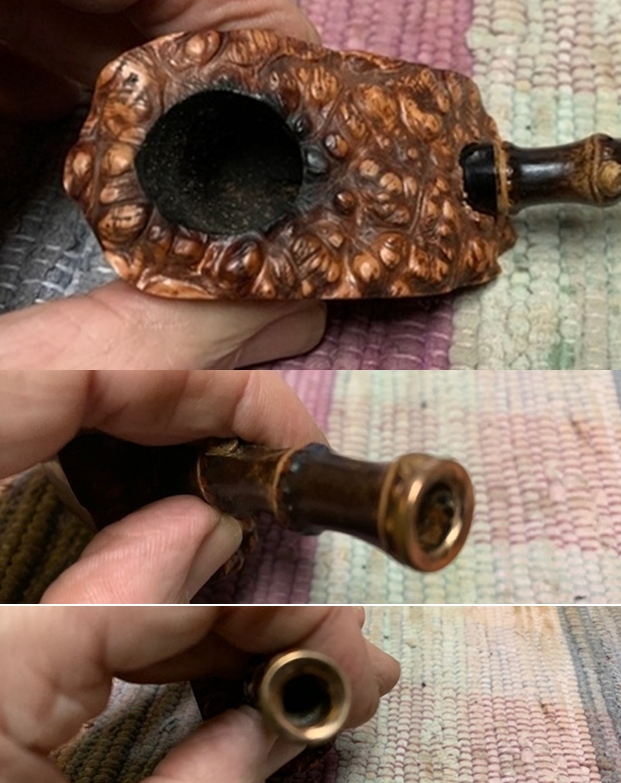
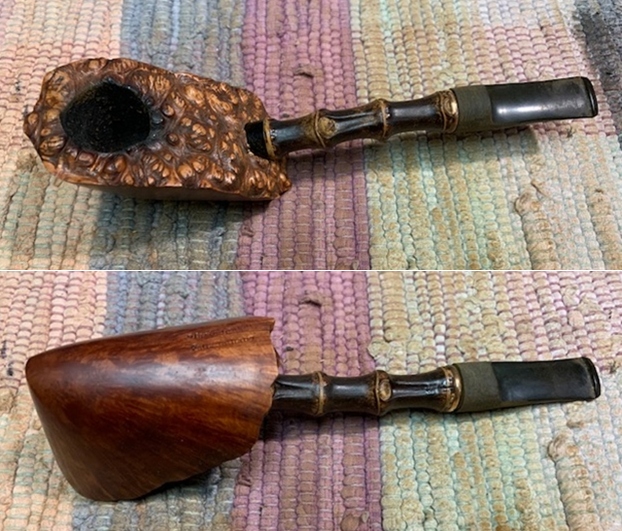
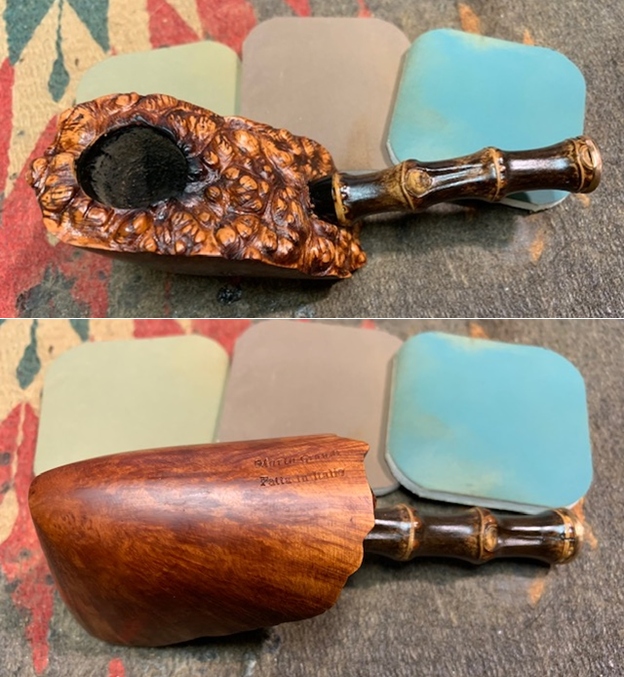
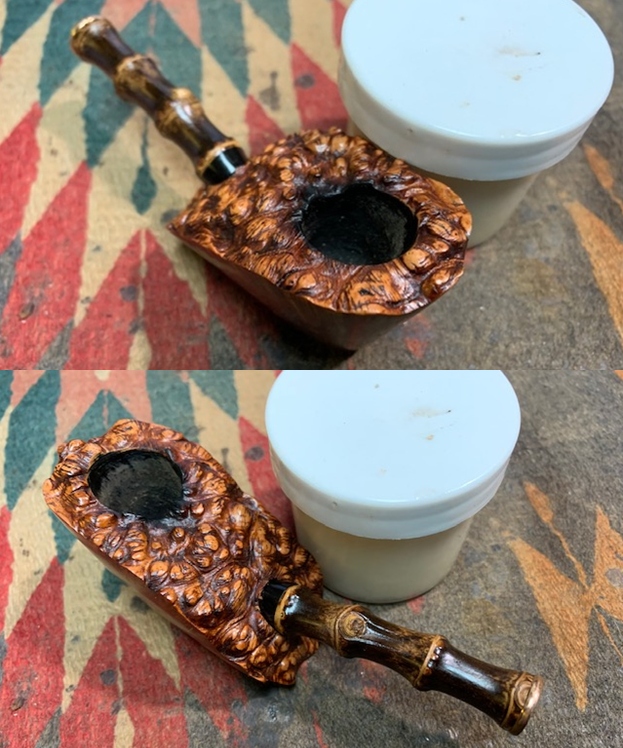
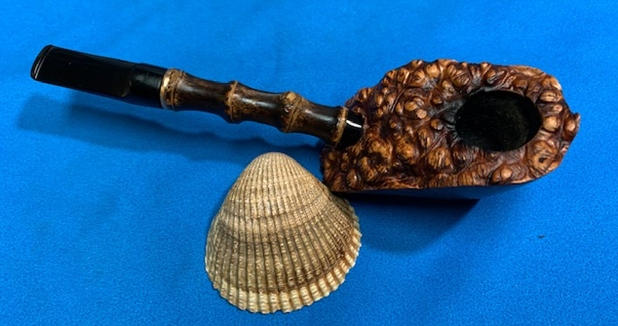
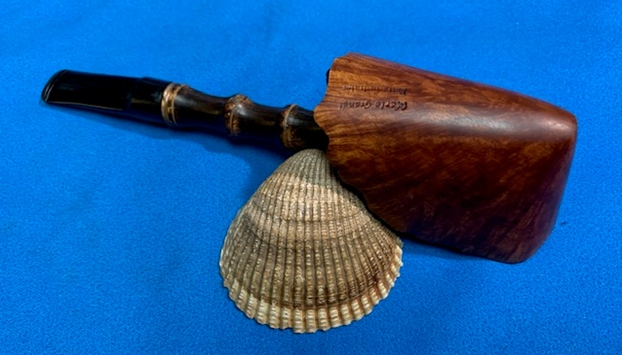
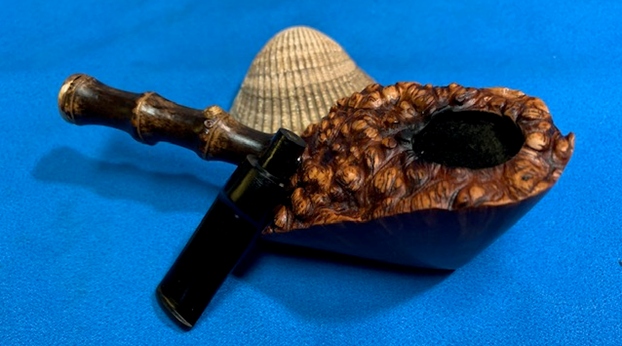
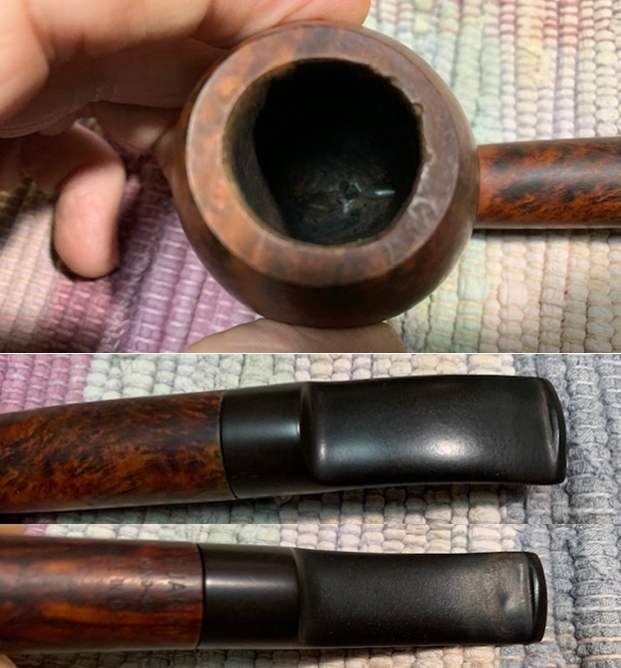
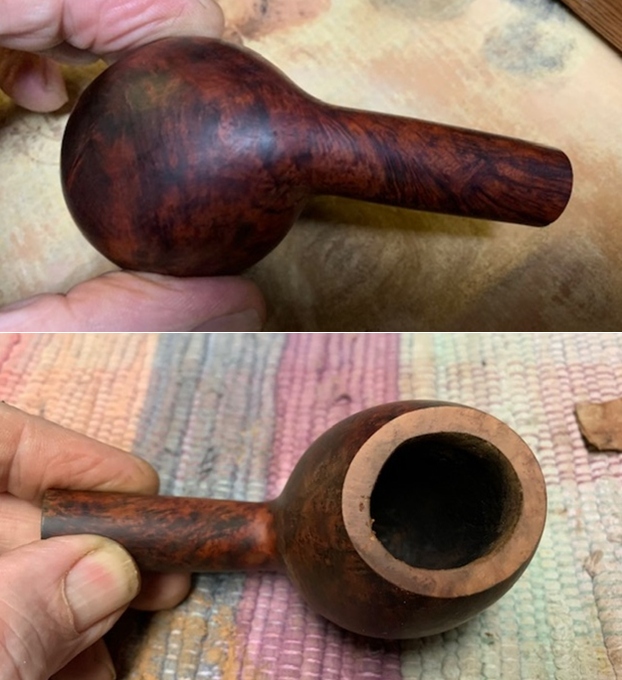
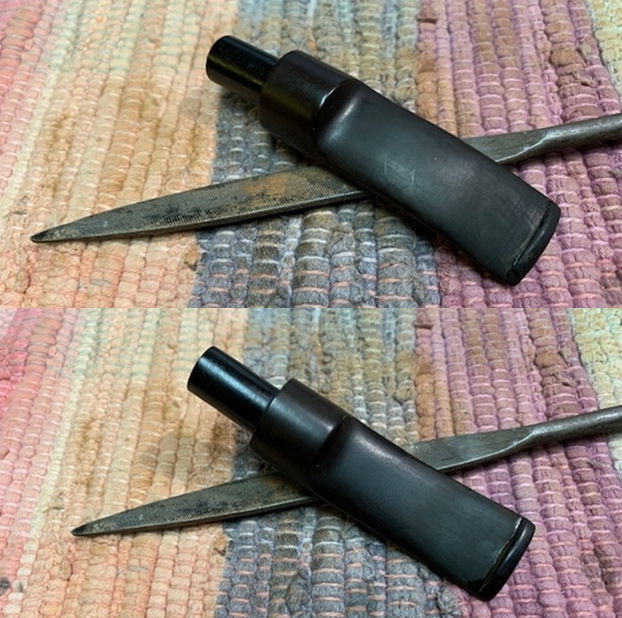
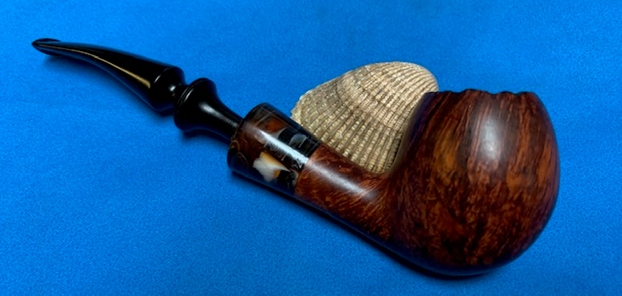
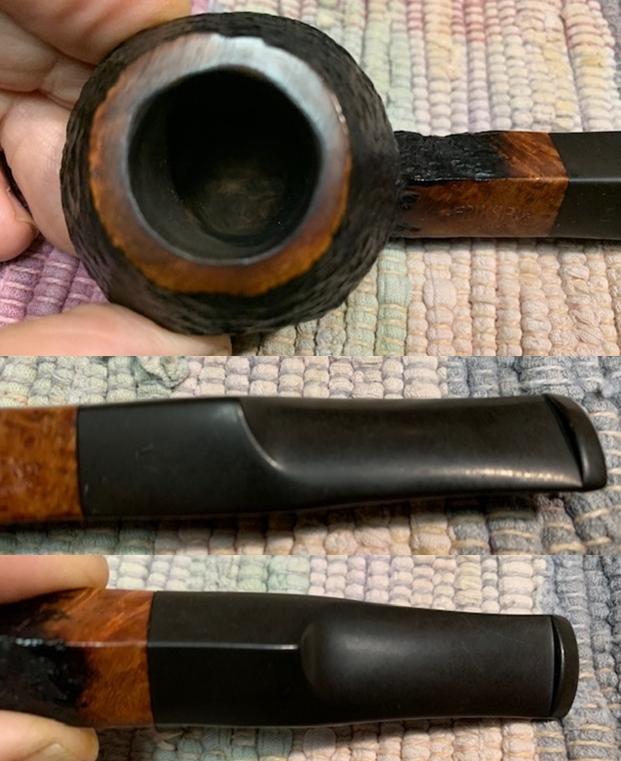
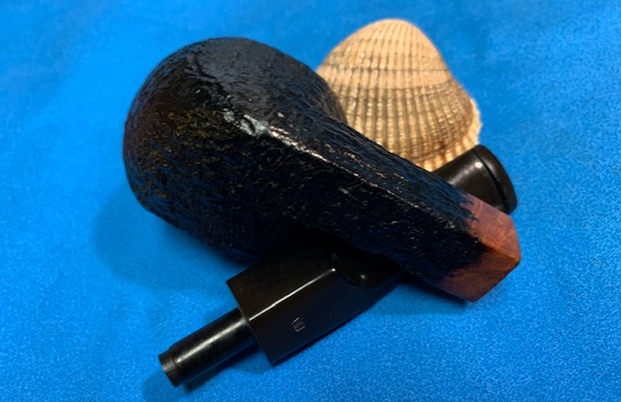
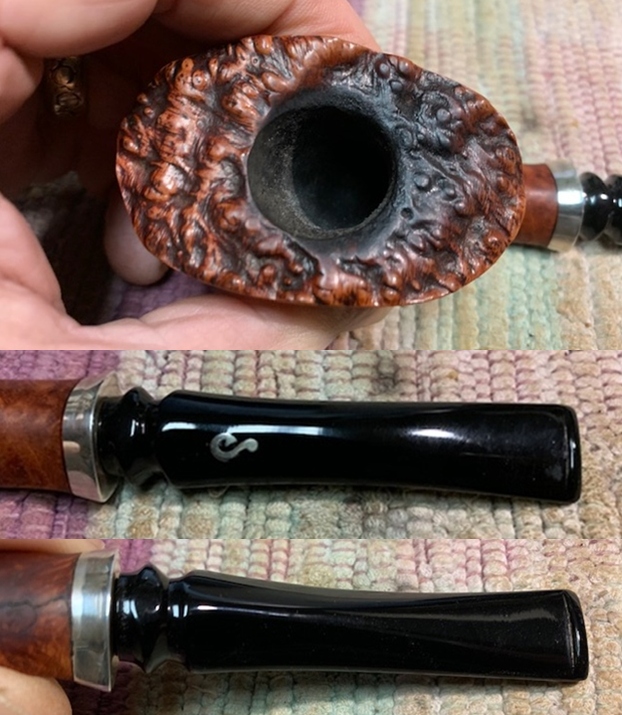 Getting past the external aesthetics of the pipe I removed the stem and examined it thoroughly to see the extent of the crack on both the inside and outside of the shank. Externally, the crack in the shank runs from the shank end coming out under the edge of the ferrule and extending almost ¾ of an inch straight up the shank toward the bowl. I ran through the “Handmade” part of the stamp and literally ended at the H. It was a messy crack in that it had spread open and had darkened from the tobacco juice that had seeped out of the crack and filled in along the silver band on the shank end. I put a dot on the underside of the shank to identify the end of crack. At that point on the shank it stopped and under a bright light, with a lens I could see that it ended. You can also see the faint oval stamp that the crack crosses in the photo below.
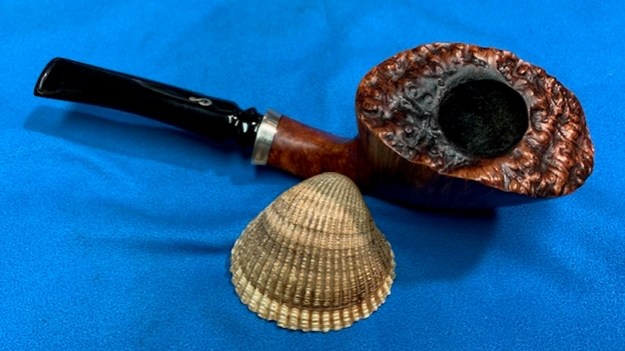
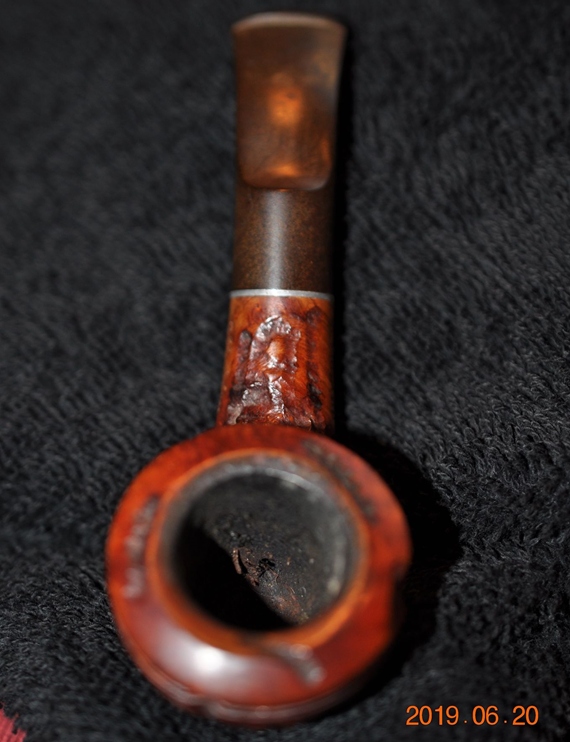
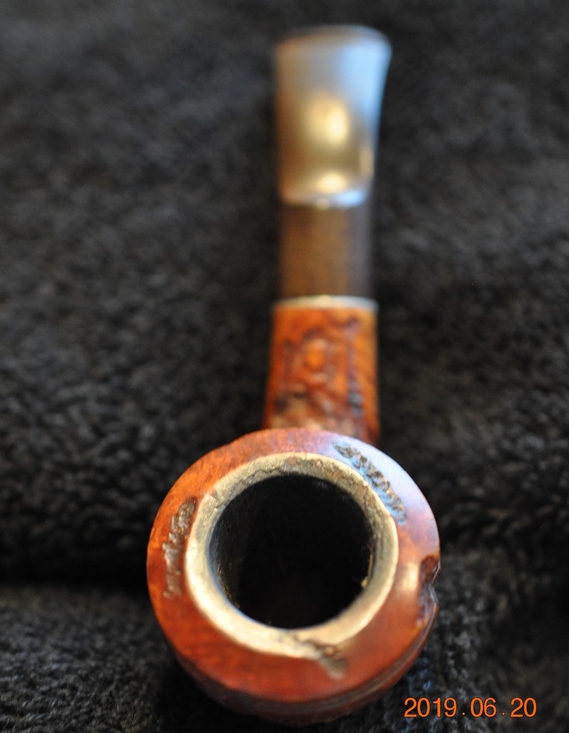
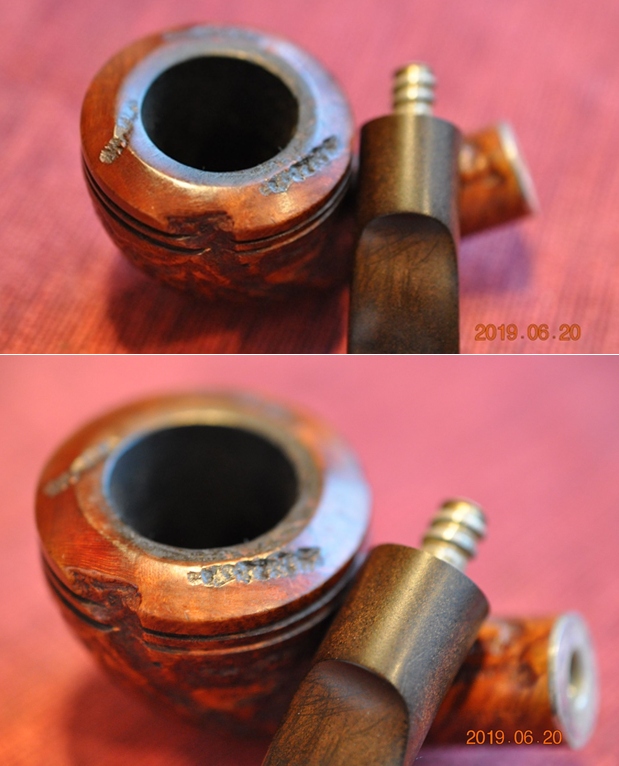
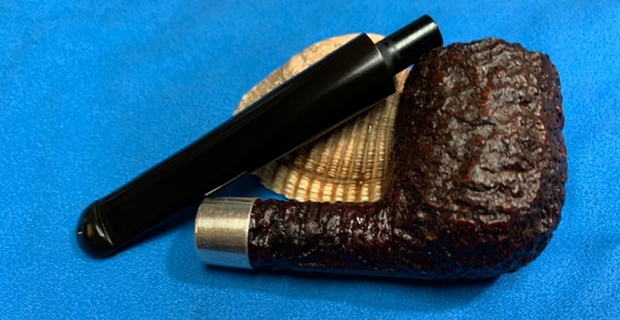
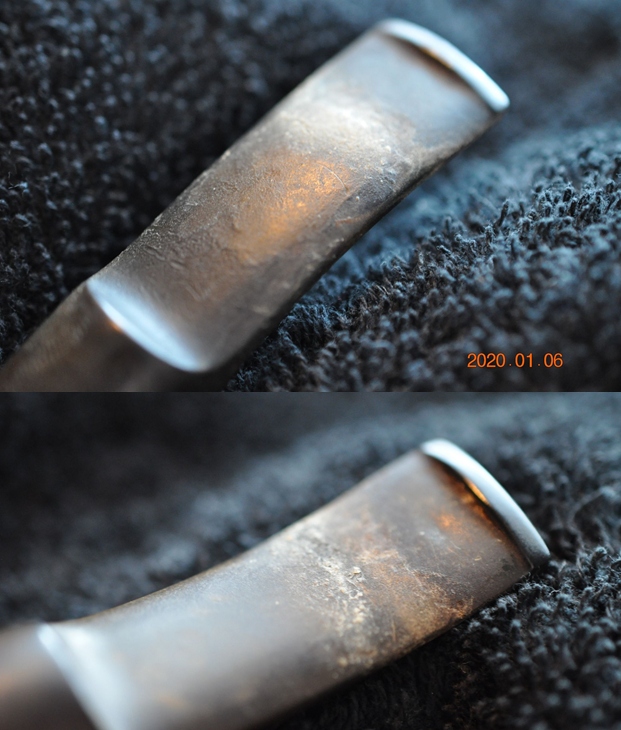
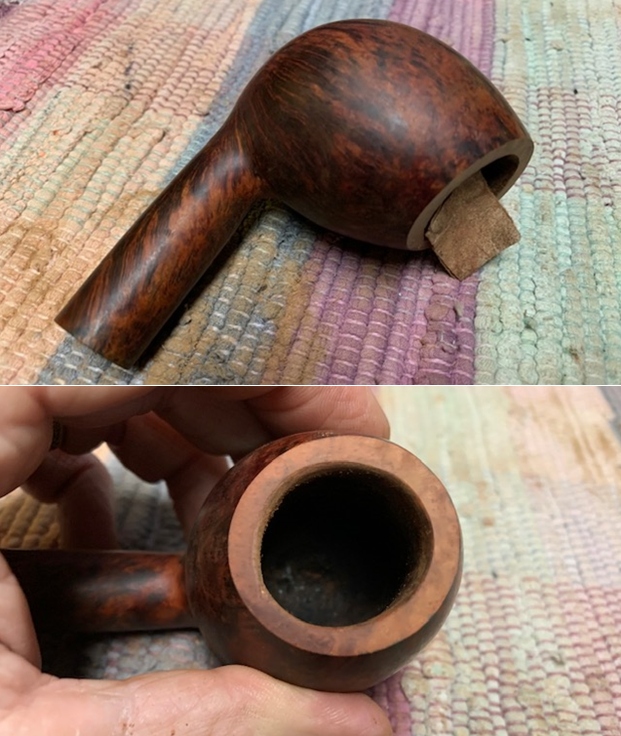
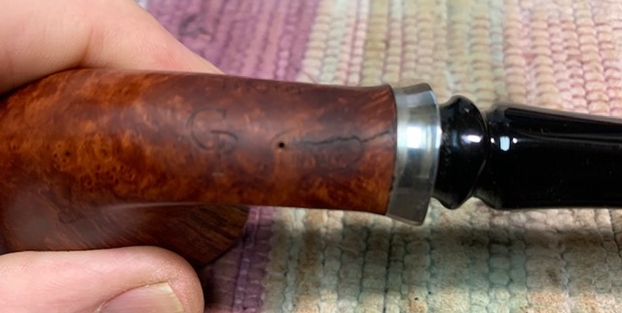 The silver band/ferrule had been inset on the shank end and from what I could see had been glued with an epoxy. It had seeped out a bit along the edge of the band. Removing the silver band and leaving it useable would be next to impossible.
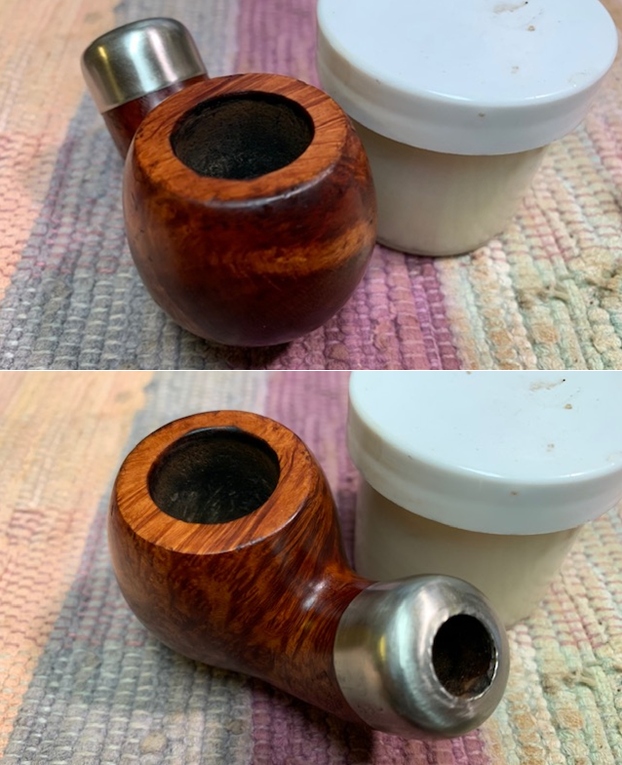
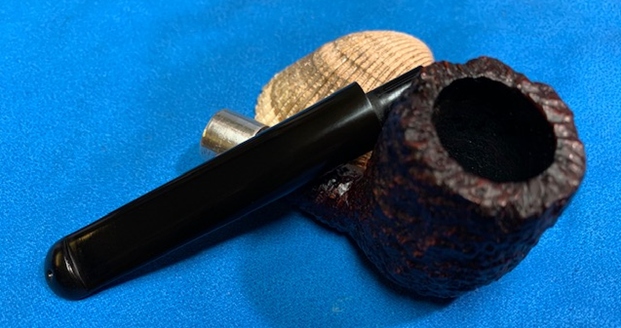
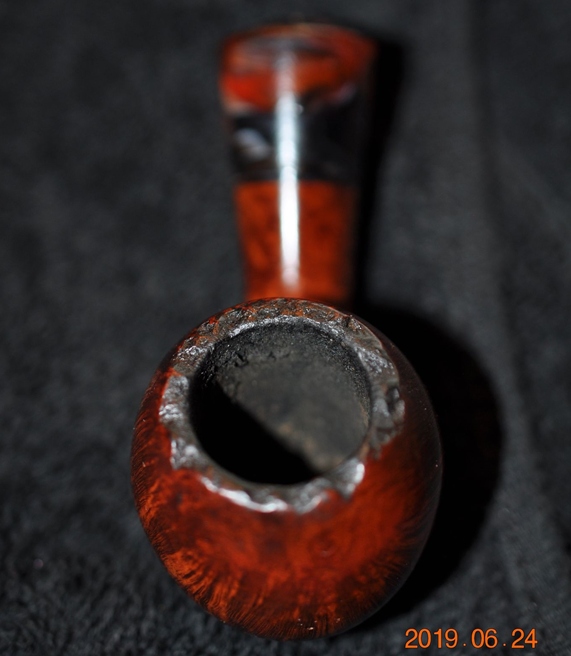
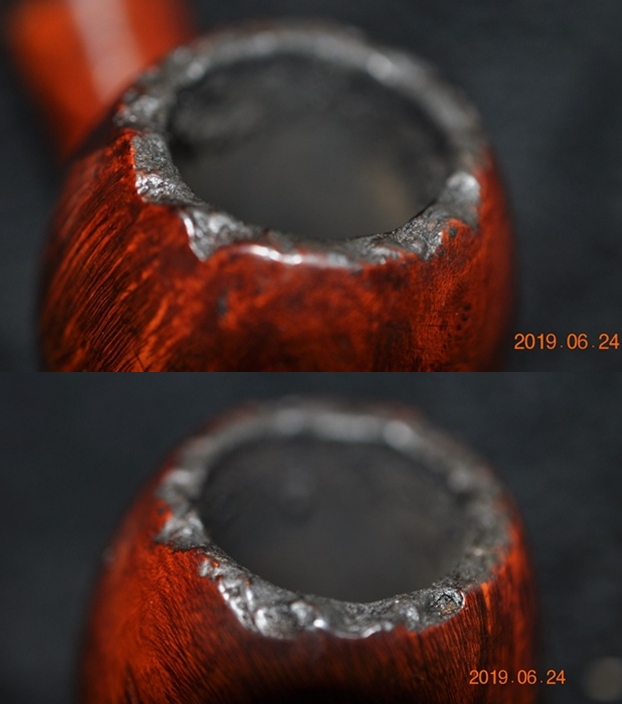
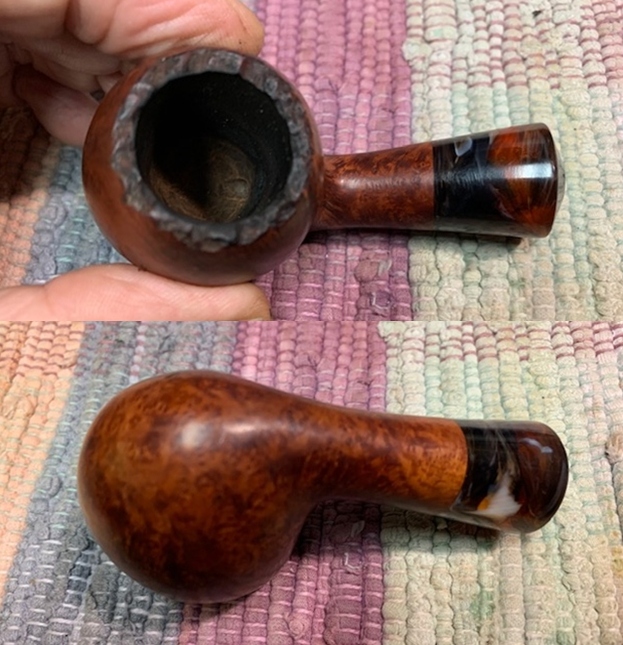
I then turned to the internals of the shank/mortise area. I expected to see the crack clearly on the bottom of the mortise but surprisingly it was not visible. I used a flashlight and probe to explore the mortise looking for the crack. The mortise had been drilled for a 9mm filter as I noted above. Because of that it was very dirty. I cleaned it out with a cotton swab and still did not find the crack. However, the light revealed something even more strange! It appeared that the pipe maker or a possible repair person had filled in the damaged area of the mortise with wood putty. The putty extended into the shank about a ½ of an inch. It ended abruptly with a sharp edge. Using the probe I found the crack under that edge. It matched the largest portion of the crack in the photo above. What was obviously happening was that the liquids from smoking the pipe were pooling at that point (the lowest point in the mortise) and seeping out the crack.
I had figured out what was going on with the crack in the shank, both internally and externally. Now I needed to communicate the issues with Peter and letter him know what I had found in my examination of his pipe. I wrote him the following assessment.
Examining your pipe this is what I see
- The pipe maker/ repair person filled in the inside of the shank with what appears to be some wood putty. It was used to build up the lower inside of the shank. The good news is that the crack is bound together on the inside by that.
- The pipe maker also permanently set the band in place as well to bind things together so that it cannot be removed. The good news also is that it will keep the crack from opening wider.
Now what I need to do
- I need to drill a pilot hole at the end of the crack which actually goes through the oval Hand Made in Italy stamp. It extends all the way to the “H” in Hand Made.
- I will fill in the crack with super glue and briar dust which should harden and keep it from weeping out as you smoke it.
- I will sand that repair smooth and then stain the repair to match the rest of the pipe.
After I sent that I continued to examine the inside of the shank with the light and the probe to make sure I was seeing the issues there correctly. Once I was convinced I was correct I sent an addendum about the putty and the issue on the inside of the shank.
- I will smooth out the transition from the putty to the briar and use some food grade super glue to fill in the area of the pit that is collecting the moisture. I will sand that area smooth. It should not be an issue for your smoking of the pipe as it cures completely inert.
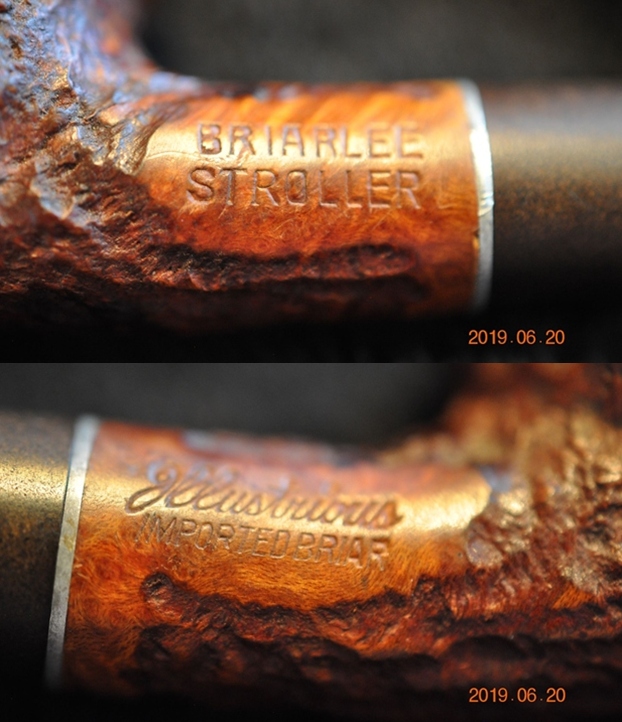
I ended my email to him with a quick question about the pipe maker and the pipe. I wanted to know if he had purchased it directly from the pipe maker or if he purchased it as a used pipe. Peter’s response was helpful. It gave me the information I wanted on the brand and muddied the waters in terms of who had made the putty fill in the shank. It could well have been a repair made long after it had left the pipe maker’s shop.
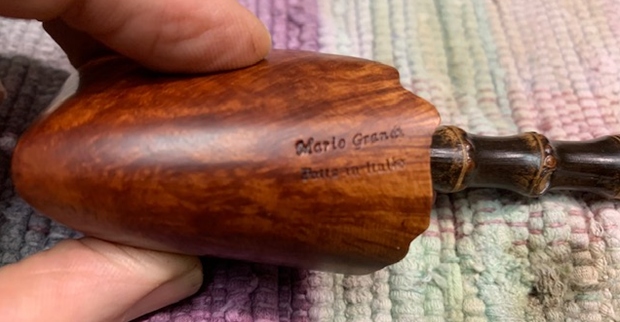
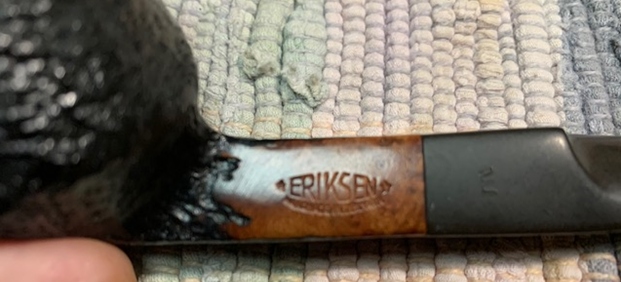
It’s an estate pipe .The pipe maker is Paolo Corso and this model is called Trout. I didn’t notice the crack at first and when I did I guess it was too late. It’s a gorgeous pipe and smokes well. Paolo Corso is a fisherman and he uses Tuscany briar he has a Bass and Trout line under his brand “Silver Hook”.
Before I started my work on the pipe I wanted to learn about the maker and see some of his other pipes. I checked on Pipedia and Pipephil and the Corso Brand as well as the Silver Hook Brand did not show up in either place. Usually I follow that search up with a quick Google search for the name of the maker and the brand. Once I got past all of the extraneous bits of information I came across a link to the website of the brand (https://handmadepipes.it/silverhook.html).
The website gave a great idea of the philosophy of the pipe maker and a sense of his craftsmanship. After reading the site I am more certain than ever that the putty in the shank and the “cemented” ferrule were the work of an aftermarket repair person rather than the pipe maker cutting corners. I have included some information from the website below for your reading pleasure and introduction.
ABOUT SILVERHOOK PIPES
 The Silver Hook pipes are exclusively hand made, produced in limited numbers, using first choice Tuscany briar, selected one by one, with a minimum aging of 5/6 years.
Customers who already smoke my pipes say they are as sweet as biscuits and have a particularly dry smoke.
The holes in the wood are made so that the brush passes easily through the stem, the shank, up to the chamber, so as to be able to clean the pipe perfectly.
The stems are made of Vulcanite, the hook is in silver and is inserted on the hot stem.
Mine are pipes for fishermen, but not only. I have personally designed the shapes for my pipes to be comfortable in the mouth, whether you are on the river for a day of trout fishing, or sitting comfortably in your favourite chair.
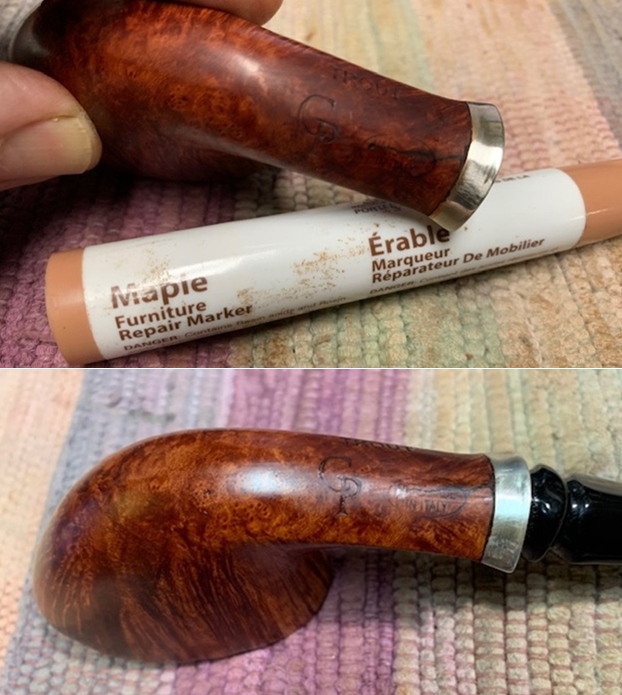
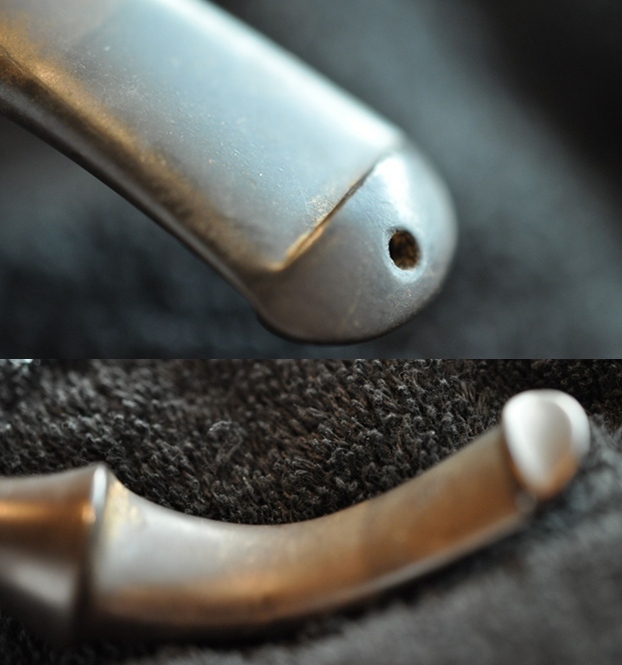
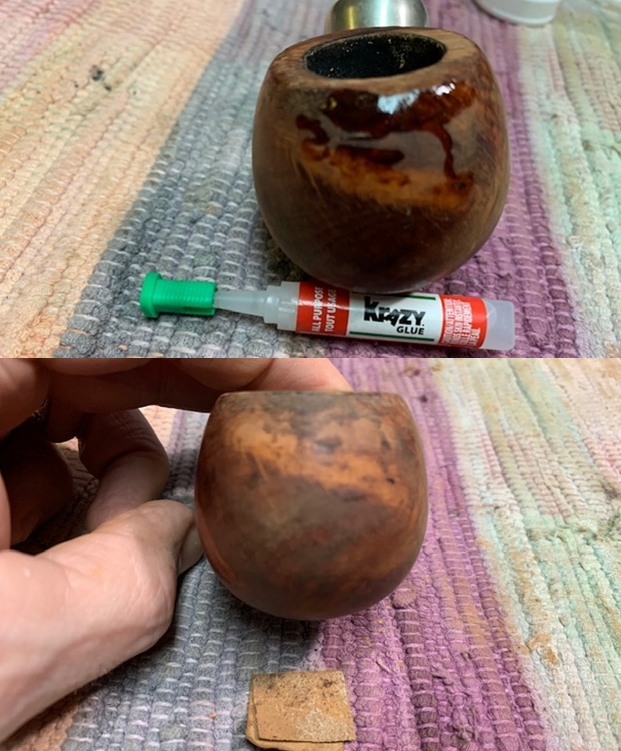
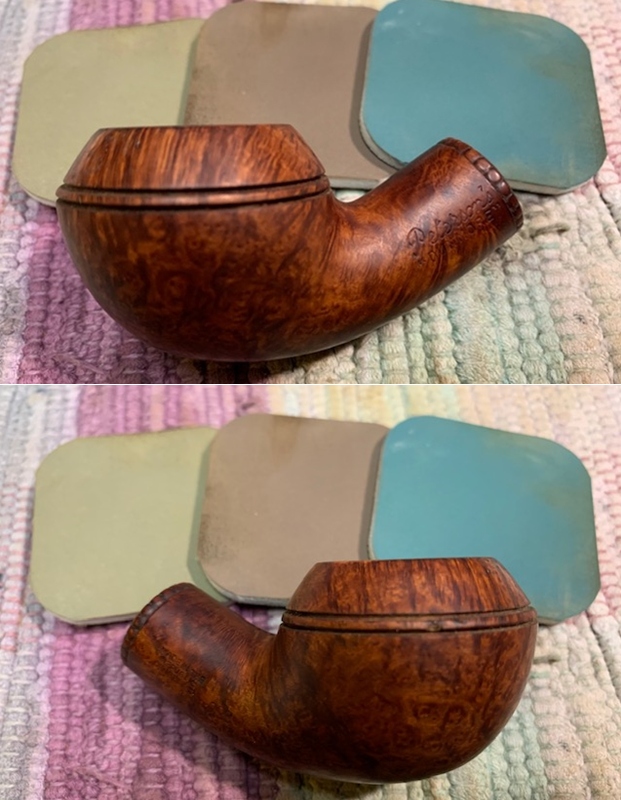
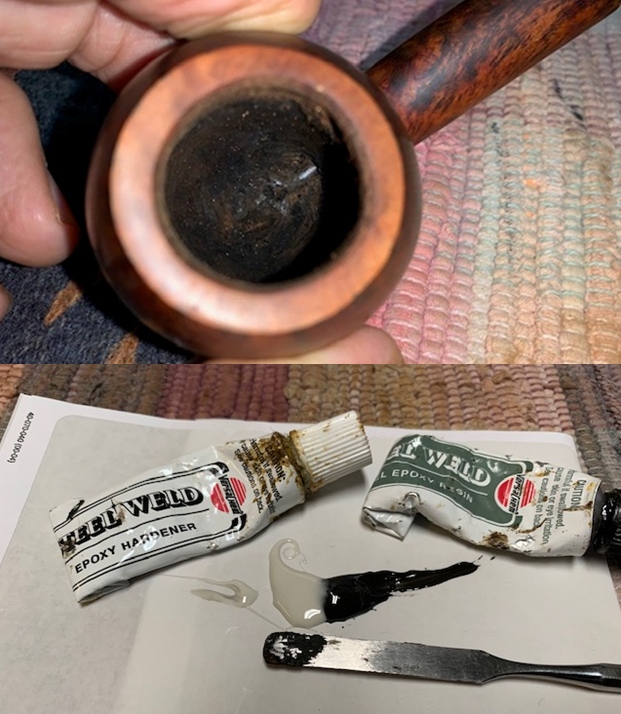
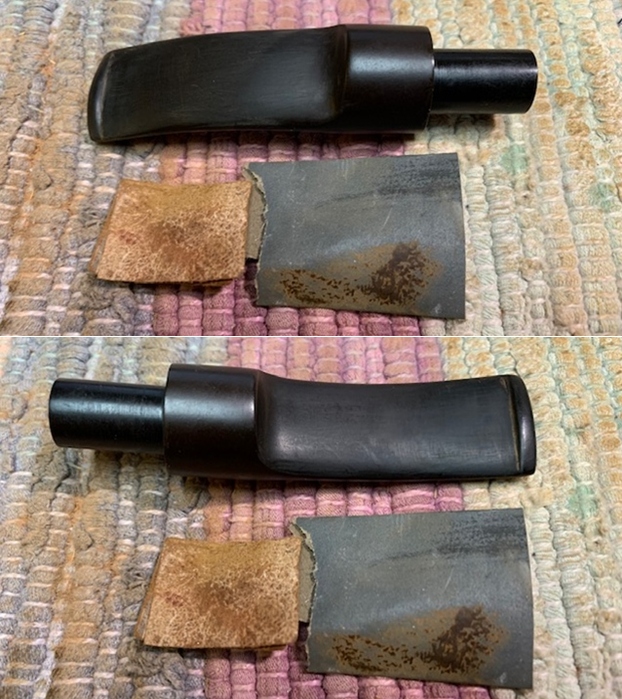
Now it was time to work on the pipe. I started by cleaning out the shank ahead of the large putty fill on the bottom of the shank on the inside. There were a lot of tars and oils built up there so I cleaned it with alcohol, cotton swab and pipe cleaners. Once it was clean I used a tooth pick to fill in the large gap just ahead of the putty with super glue. I gave the patch a smooth angle and filled in the large pit that was there. I squeezed the crack together while it cured and saw that the glue came out on the outside of the crack. Once it had cured the crack was tighter and had sealed. I used a small file to smooth out the repair and the putty fill. 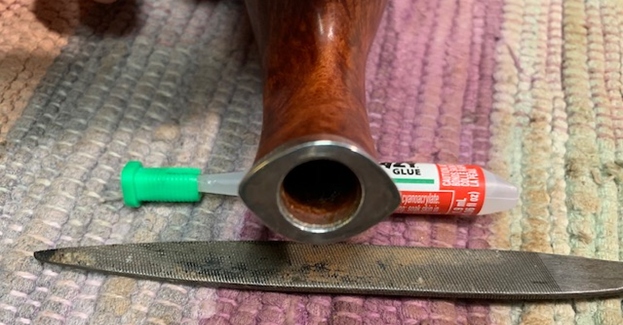 With the internal repair finished I turned my attention to the exterior crack. Using a lens I located the end of the crack and marked it with a Sharpie pen. I used a micro drill bit in the Dremel to drill a pilot hole at the end of the crack forming an end to the crack.
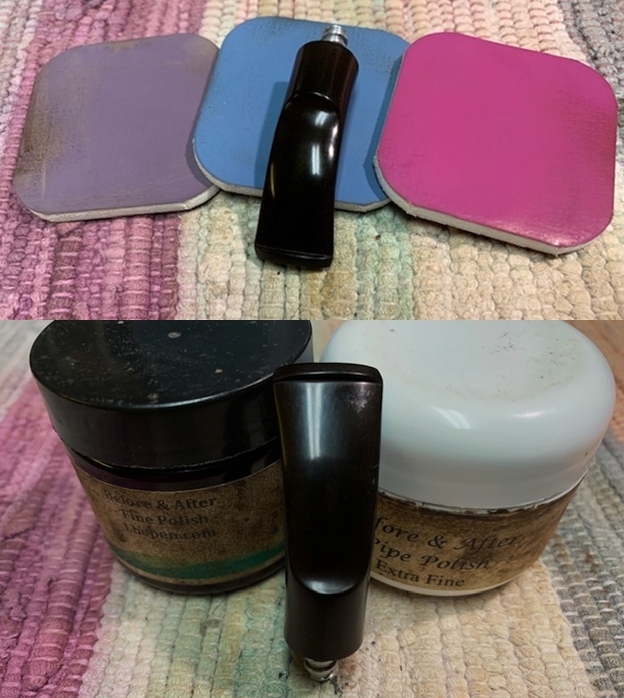
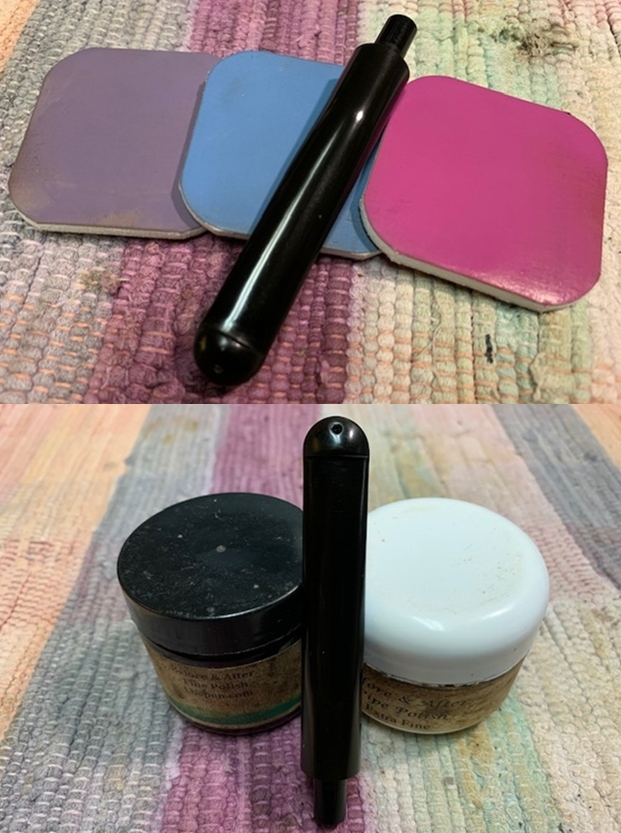
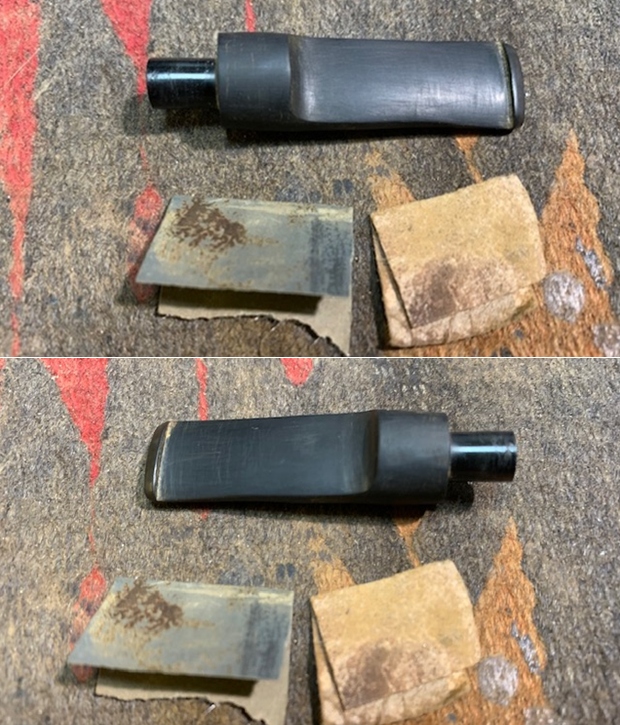
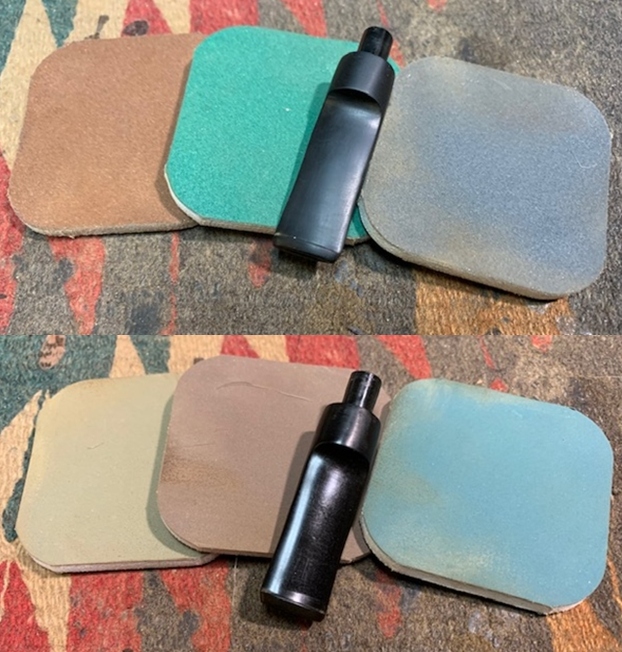
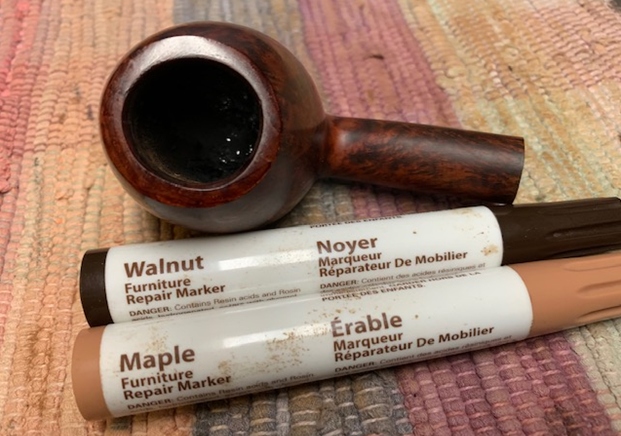
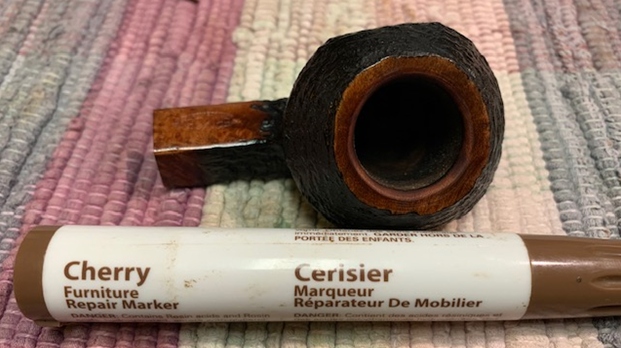
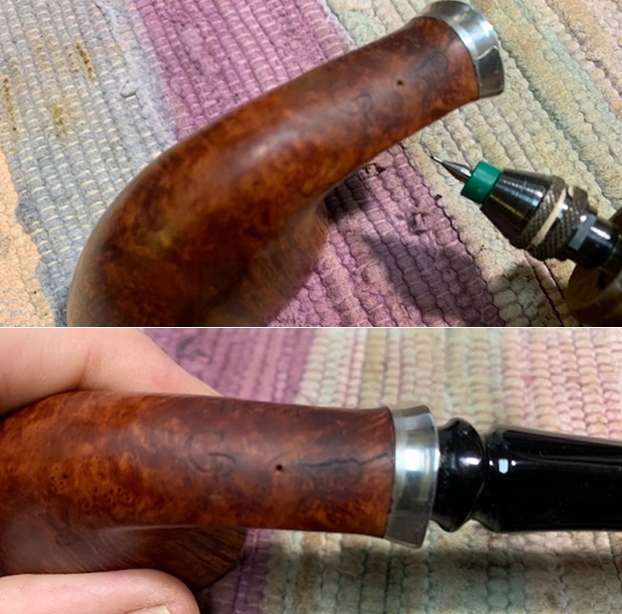 I filled in the pilot hole and the crack with clear super glue. I followed the crack to the band and spread the glue across the surface. I carefully sanded the repair smooth and blended it into the surrounding briar. I stained the repaired area with a Maple stain pen to match the surrounding briar. I buffed it out with Blue Diamond to further blend it.
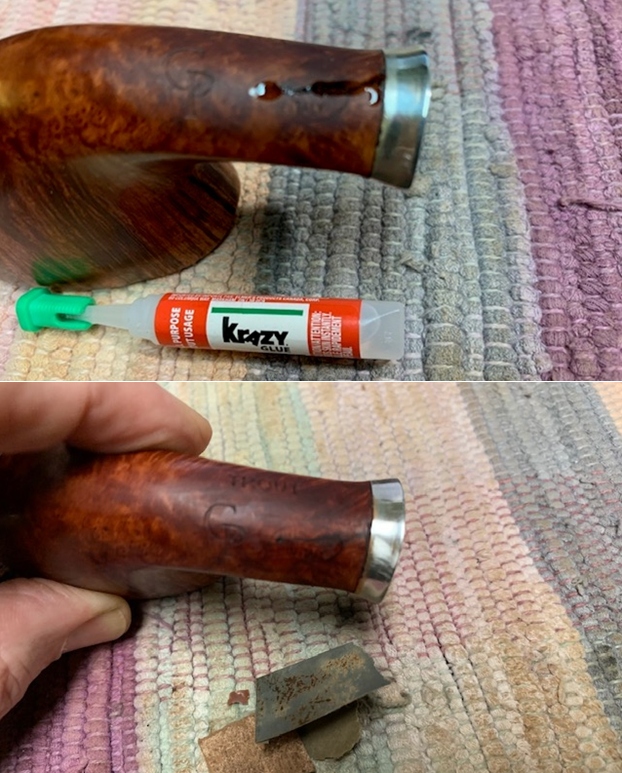
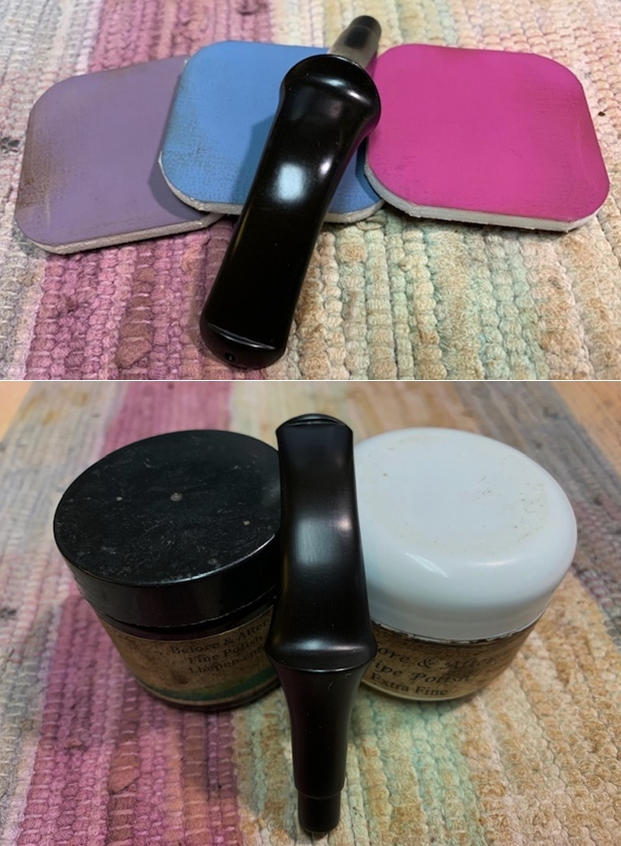
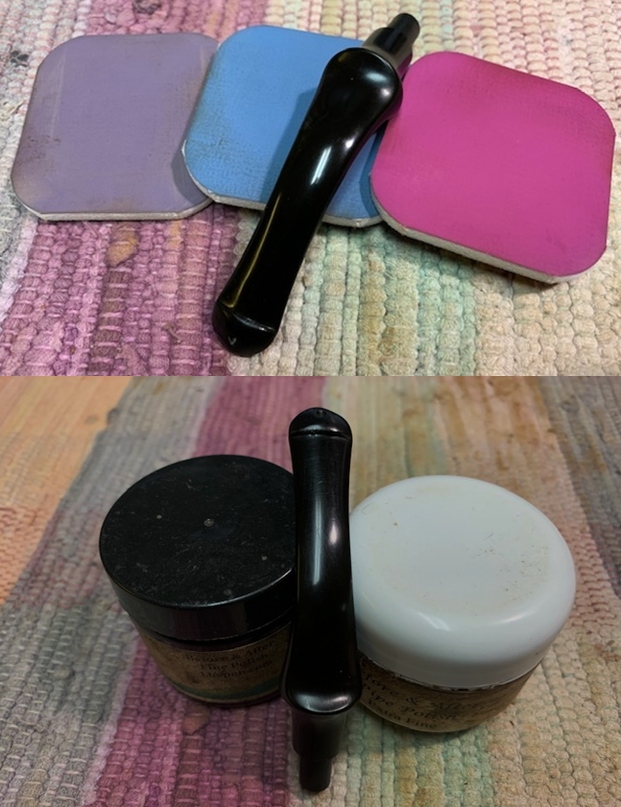
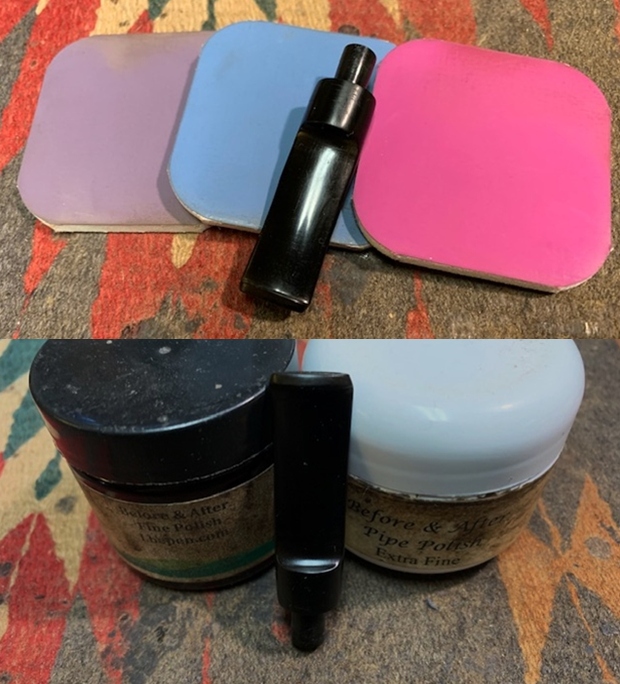
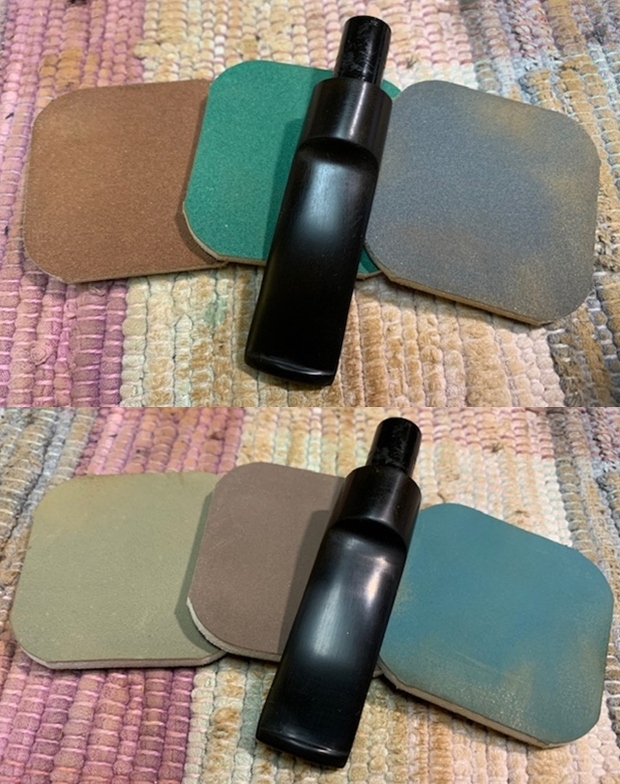
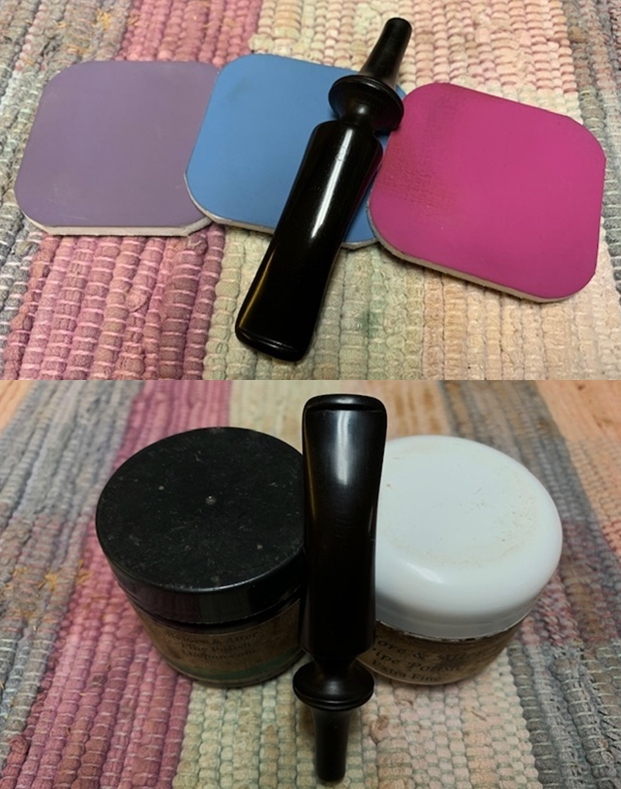
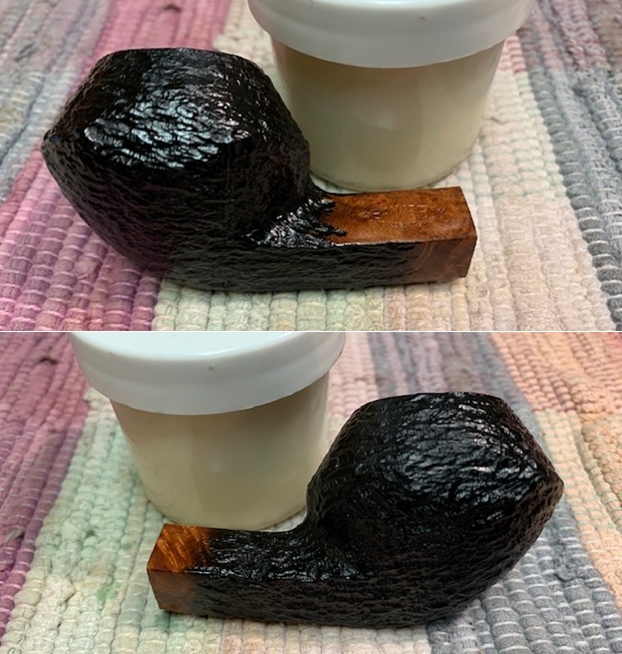
 I rubbed the bowl down with Before & After Restoration Balm. I worked it into the surface of the bowl sides and shank with my fingertips. The product works to clean, enliven and protect the briar. I let the balm sit for a little while and then buffed with a cotton cloth to raise the shine.
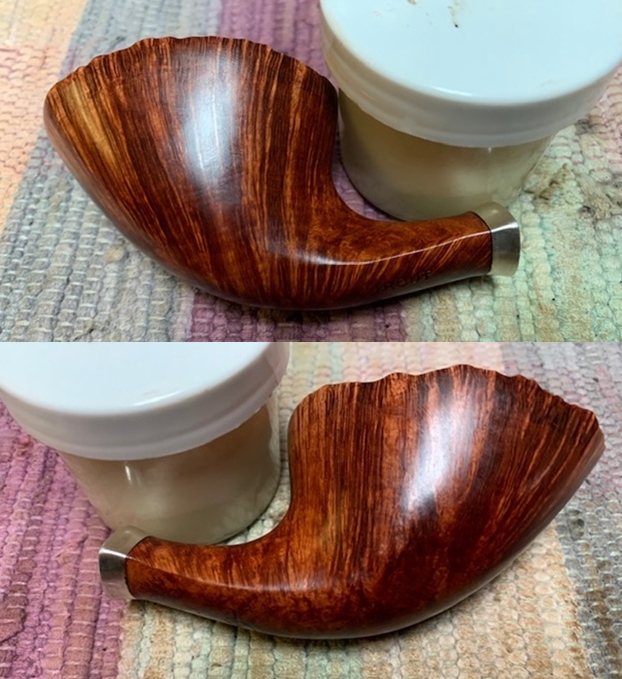

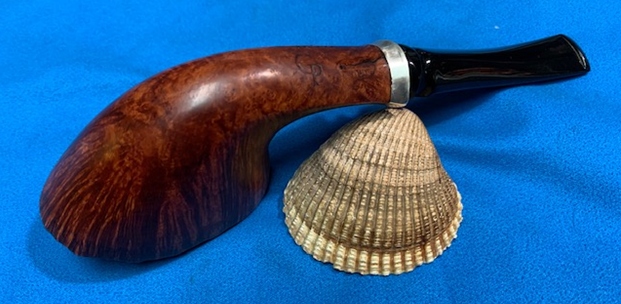
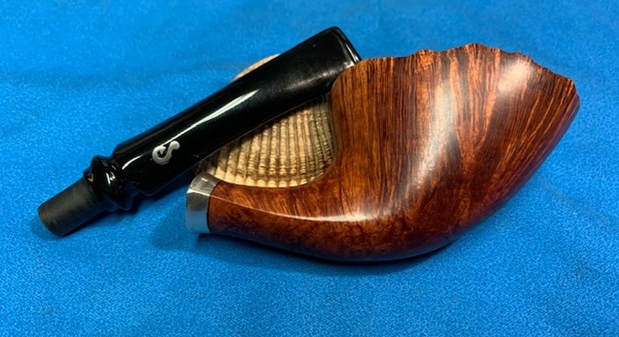
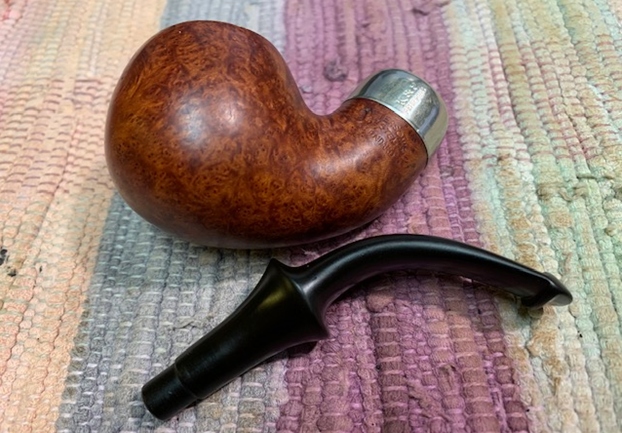
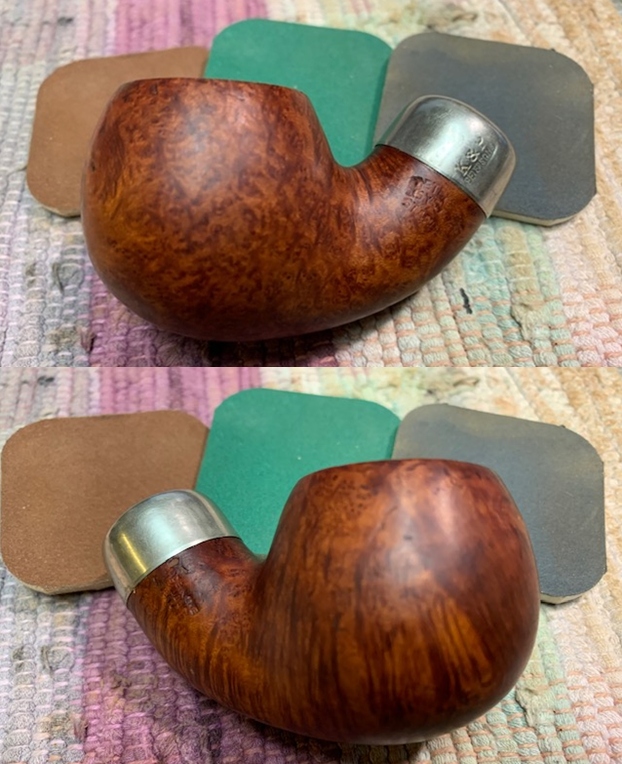
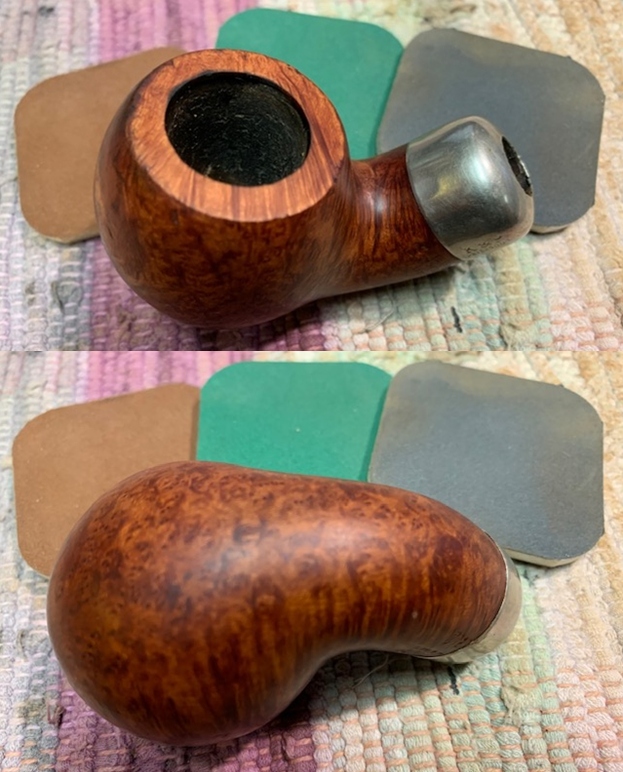
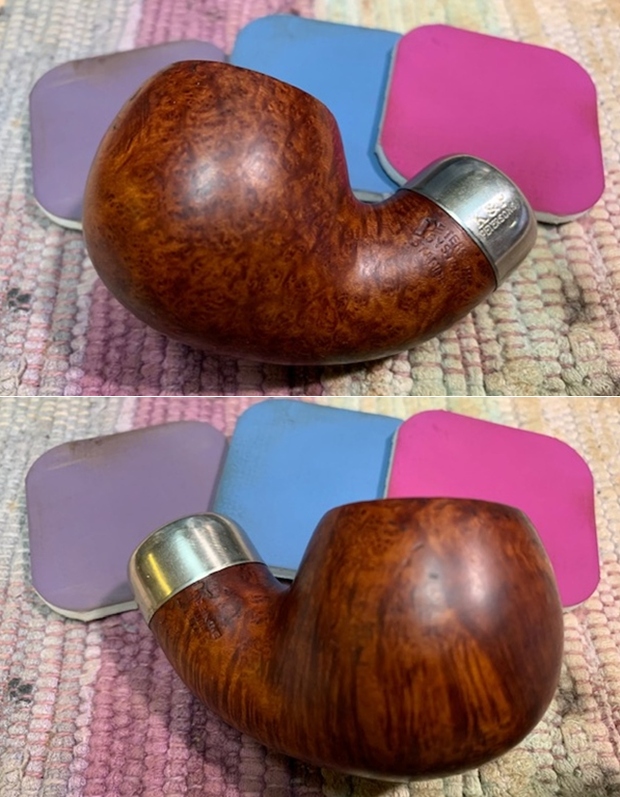
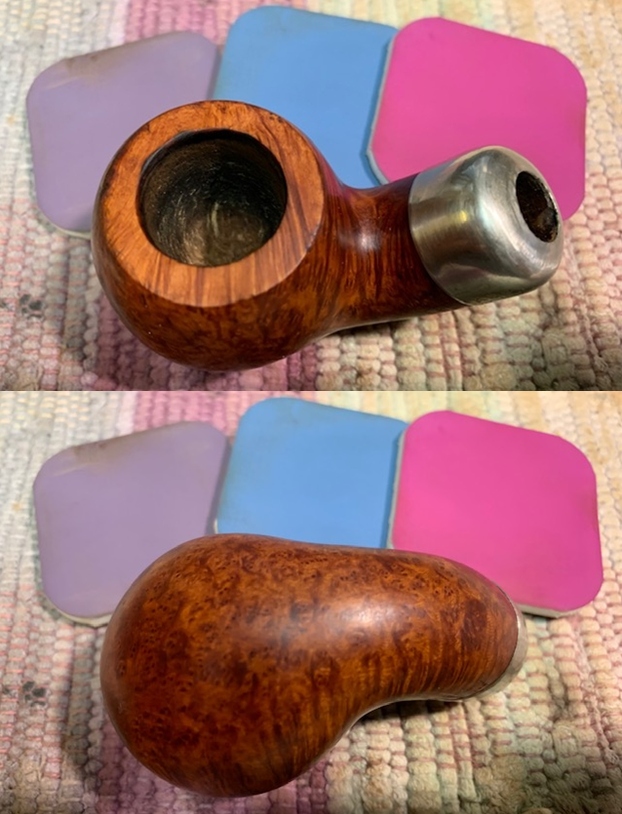
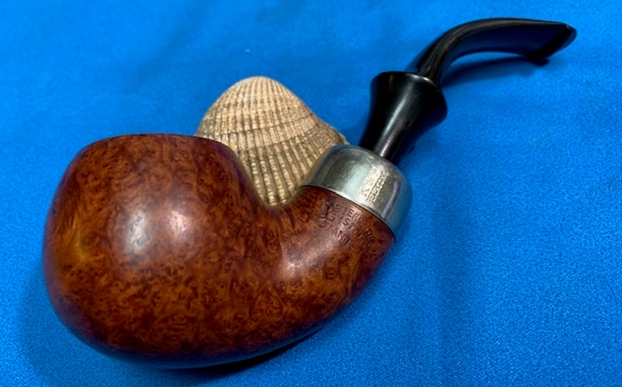
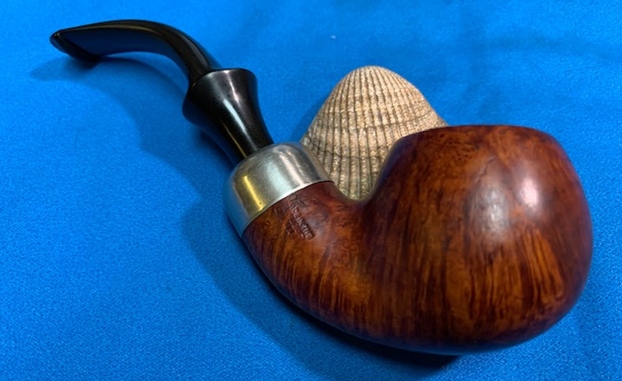
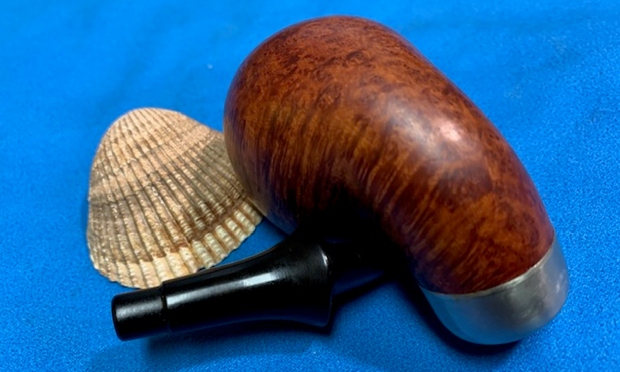
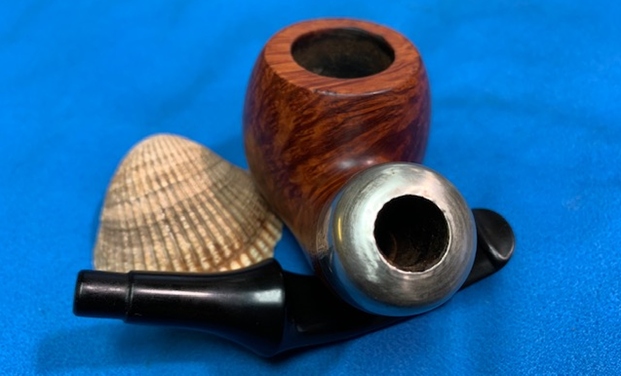
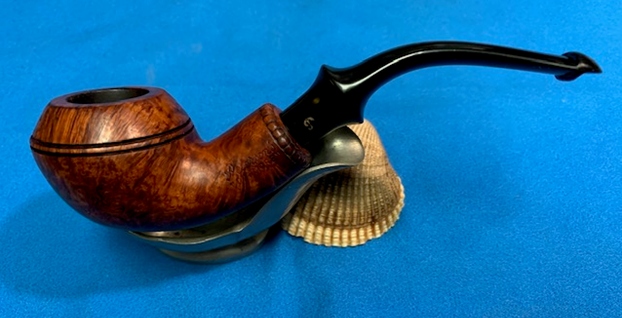
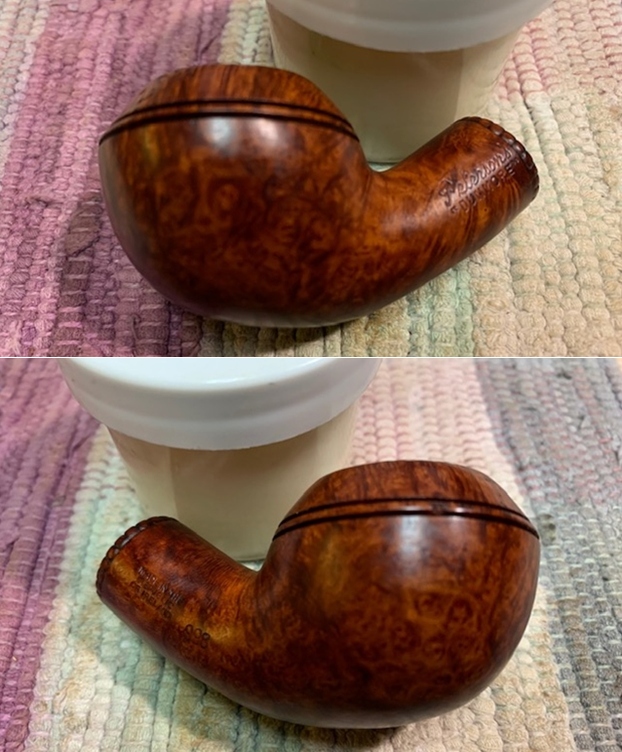
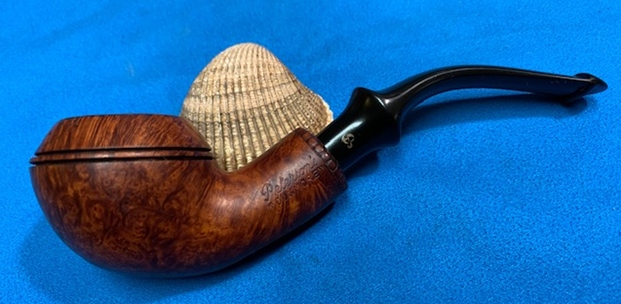
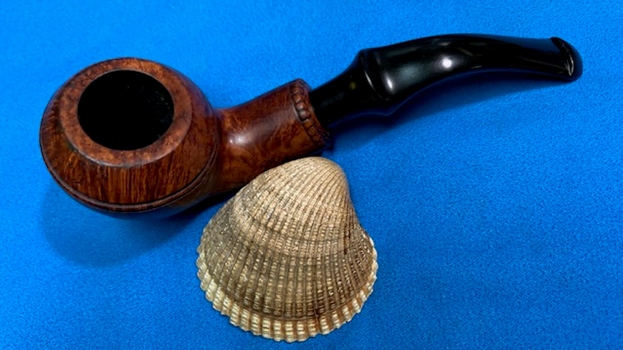
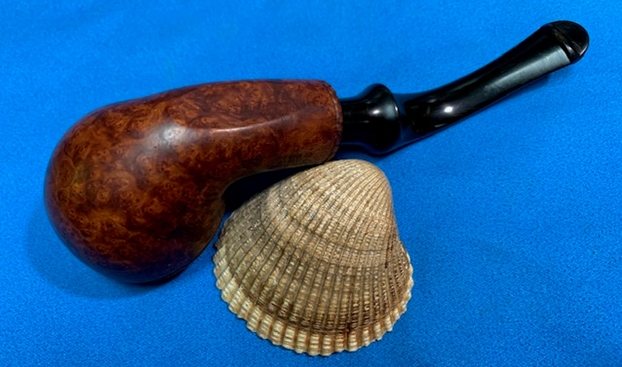
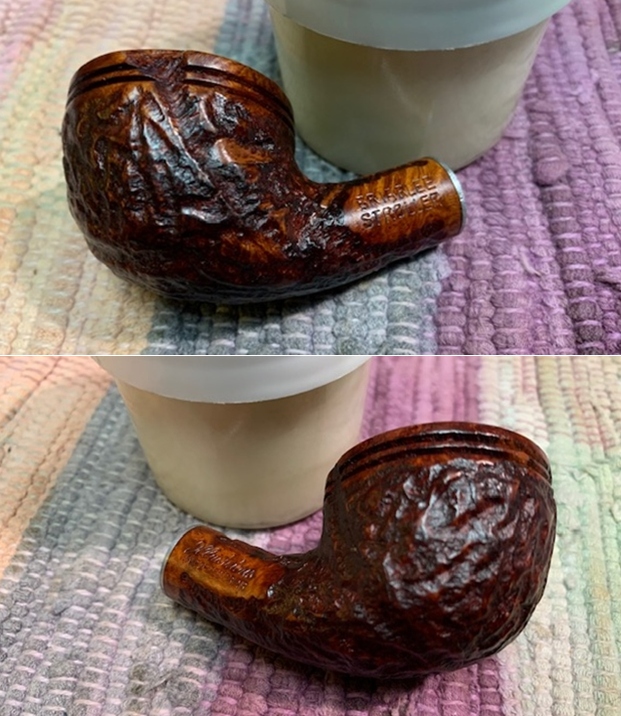
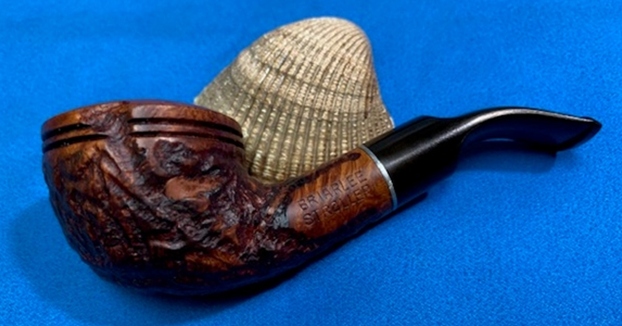
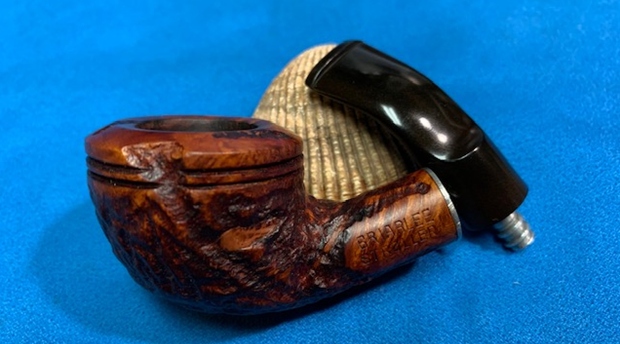
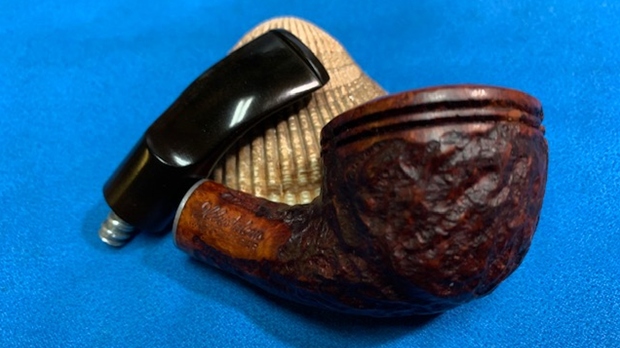
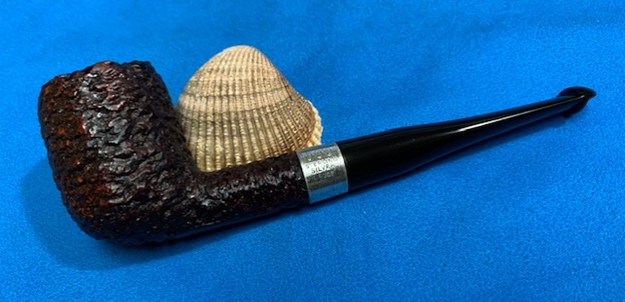
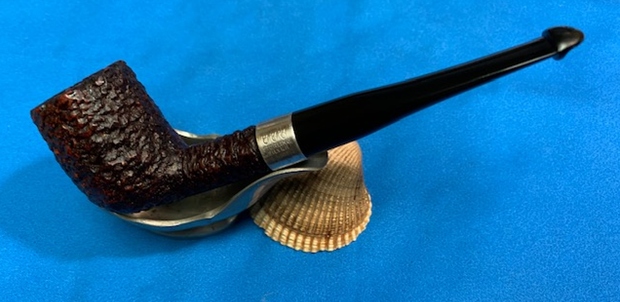
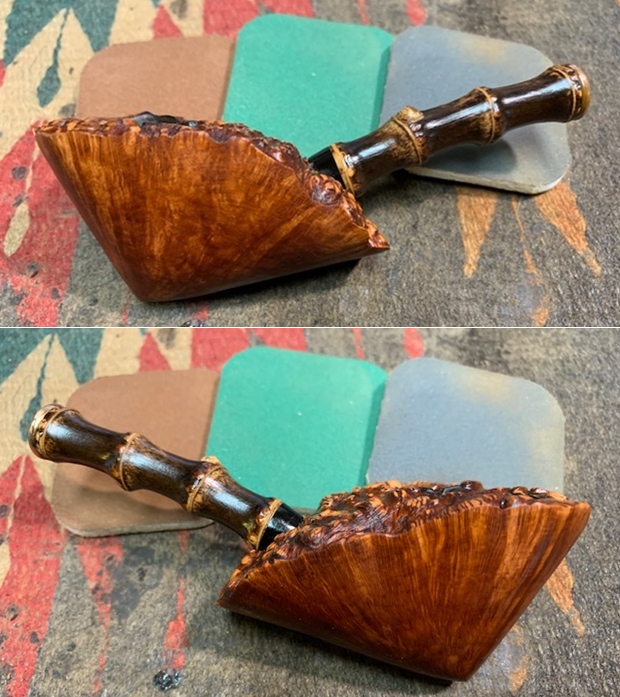
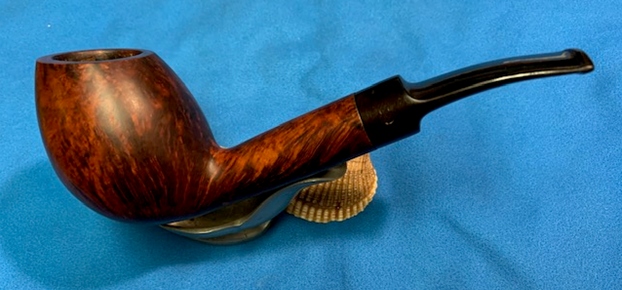
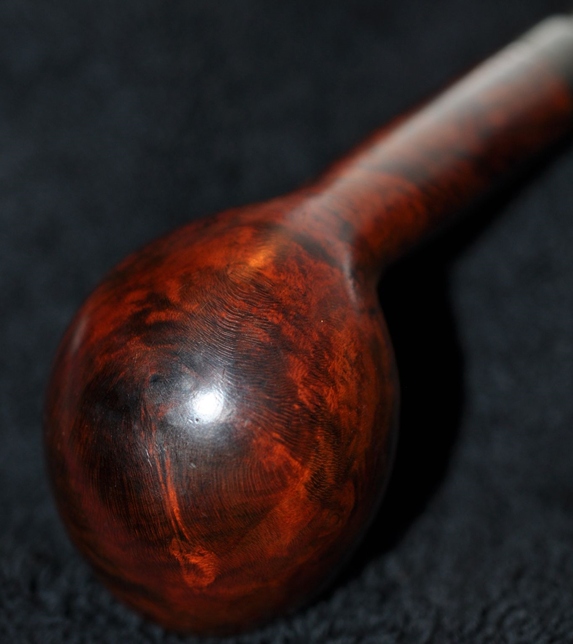
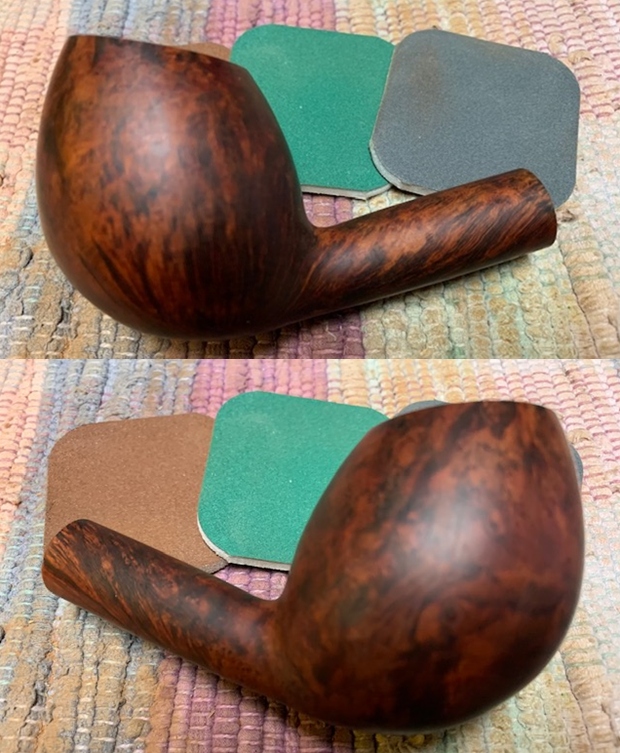
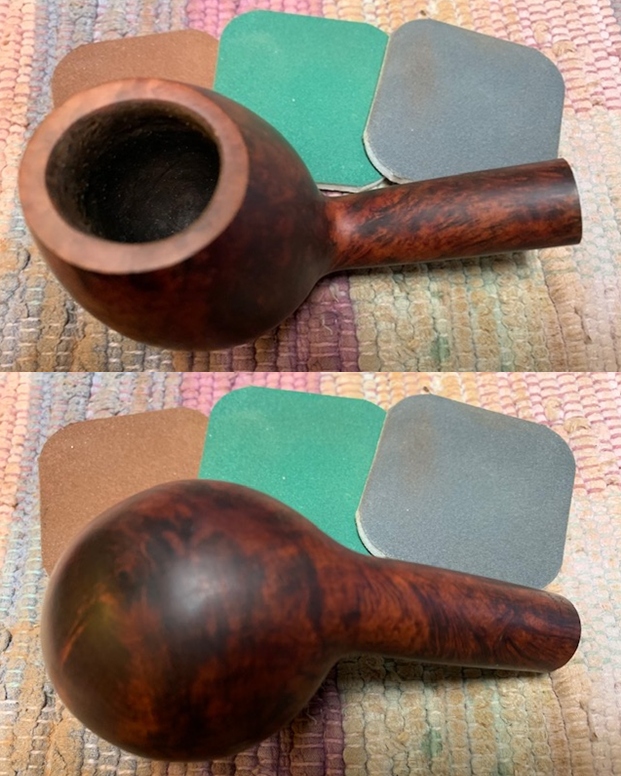
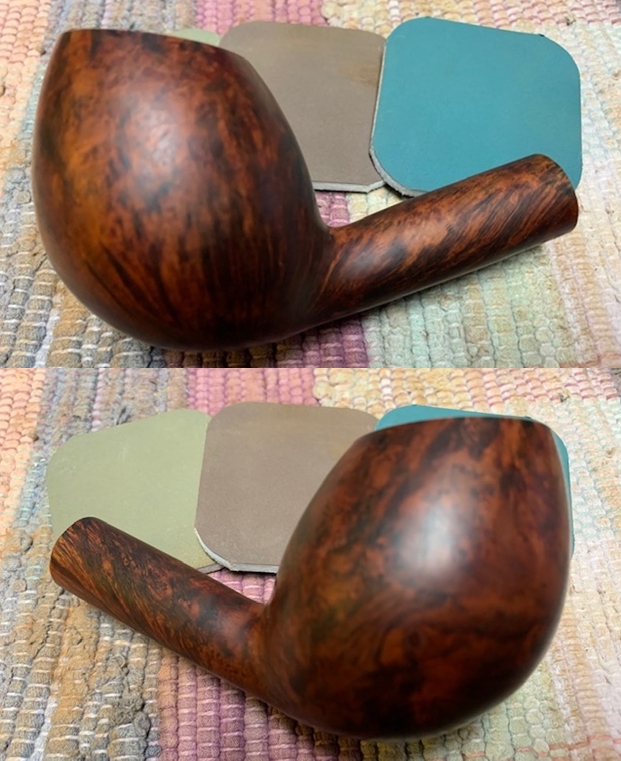
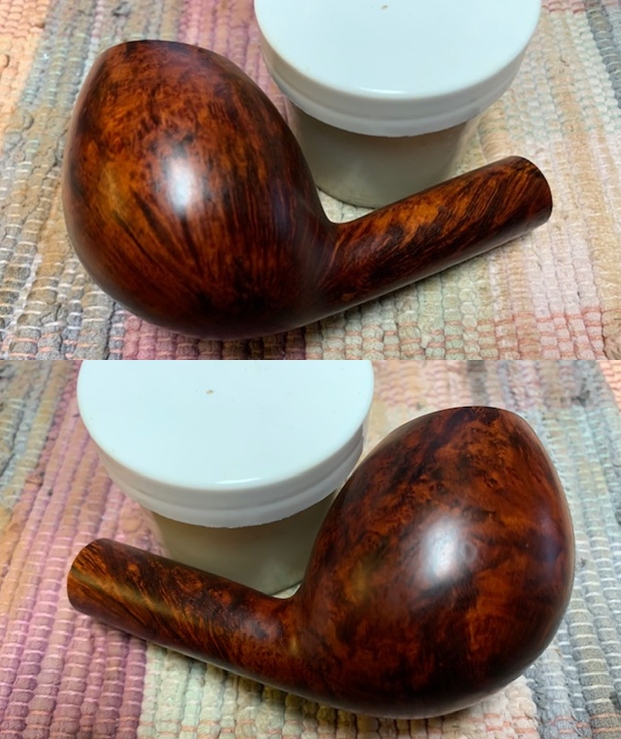
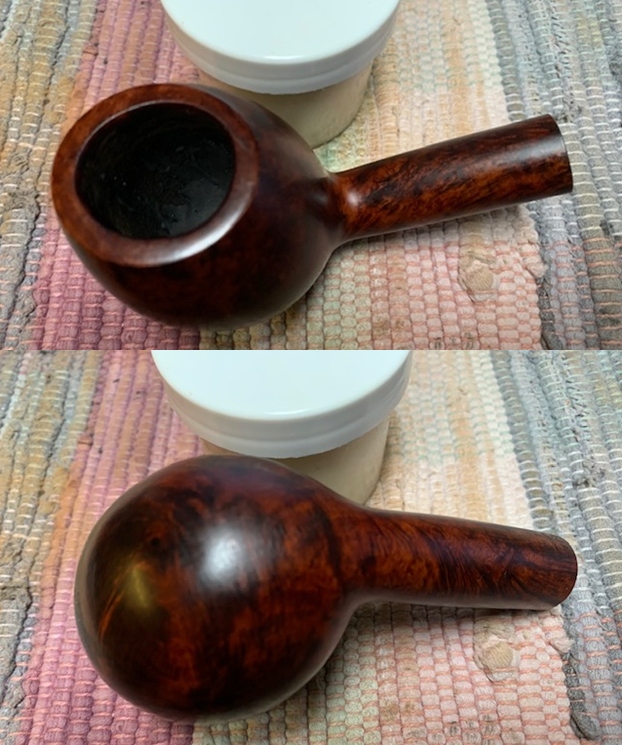
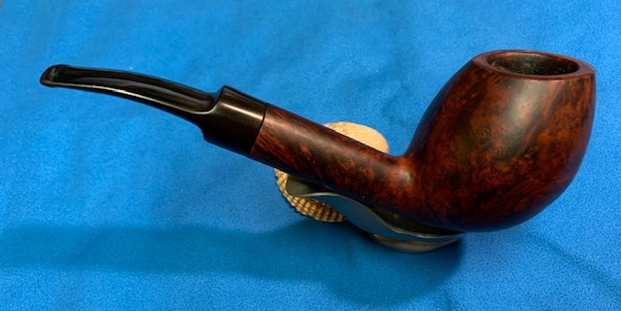
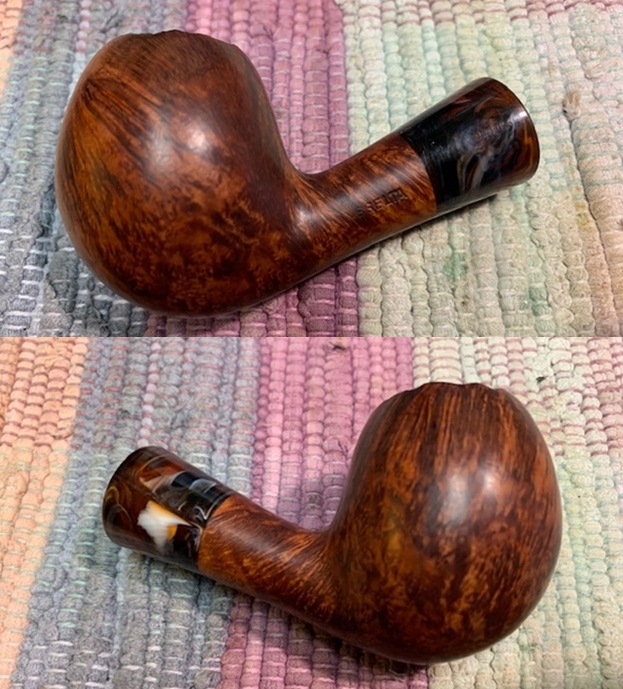
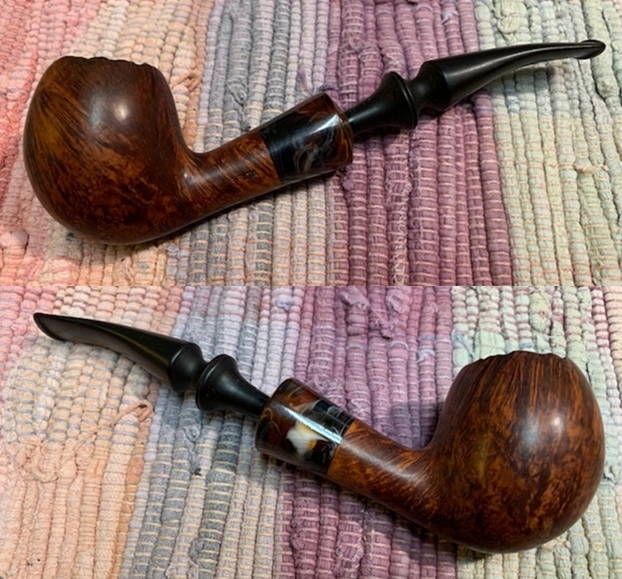
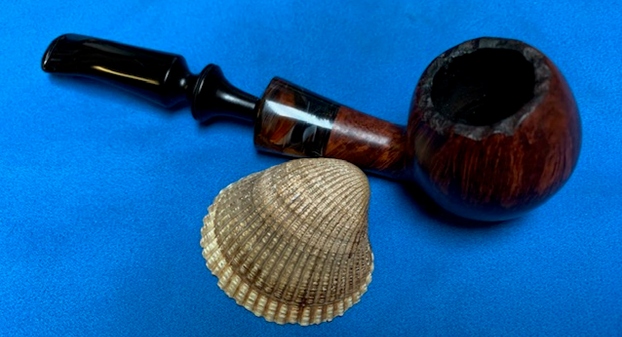
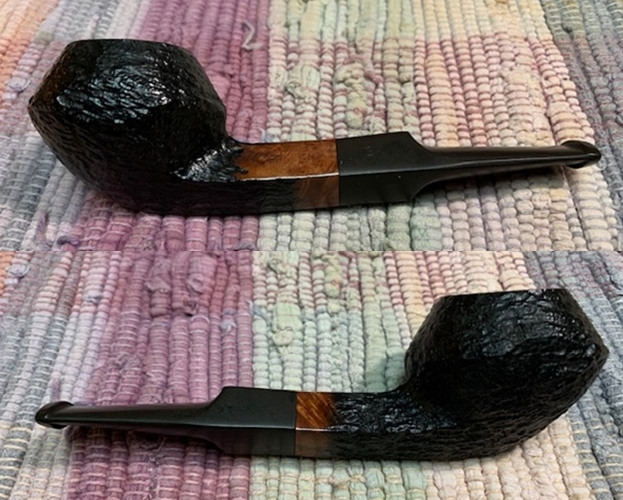
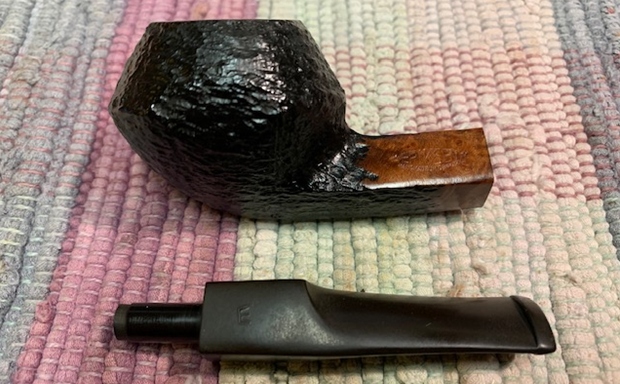
 This interesting Corso Silver Hook Trout Freehand with an acrylic stem is a great looking pipe. The beautiful grain that shines through the polished finish is stunning. I put the stem back on the bowl and carefully buffed the pipe with Blue Diamond on the buffing wheel. I gave the bowl and the stem multiple coats of carnauba wax on the buffing wheel and followed that by buffing the entire pipe with a clean buffing pad. I hand buffed the pipe with a microfiber cloth to deepen the shine. The grain just popped with the wax and the buffing. It is a beauty! The finished Corso Silver Hook Trout fits nicely in the hand and feels great. The cracked shank is repaired and less visible and certainly less problematic. Give the pipe a look in the photos below. The dimensions of the pipe are Length: 7 inches, Height: 2 inches, Outside diameter of the bowl: 2 ½ inches long x 1 ¾ inches wide, Chamber diameter: ¾ of an inch. The weight of the pipe is 59gr/2.08oz. This one will head back to Quebec by the weekend. I am hoping Peter gets many more years of pleasure from it. Thanks for reading this blog and my reflections on the pipe while I worked on it.


