Tag Archives: topping a bowl

Craig’s Pipes #3 – Restemming and Restoring a Wally Frank Natural Bulldog


Blog by Steve Laug

In my previous 2 blogs on Craig’s pipes I spoke of the five pipes that I am working on for him. In this blog I am taking on the third of his pipes – a Wally Frank Natural Unvarnished Bulldog that came to me sans stem. It was by far the most used pipe he sent me with a cake in the bowl that was thick and hard. I am going to include what Craig wrote me about his pipes. I have included it in the previous two blogs but I think it adds context to the bunch.

I was recently given a bag of pipes…literally, a BAG of 20 or so pipes that are 50+yrs in age and VERY used. I was wondering if you would have time to either Skype or FaceTime with me, and go through what I have in order to determine which are worth sending to you to have them refurbished. If you would be so kind, I’d really appreciate it.

We met on FaceTime and walked through each of the pipes in his bag. He pulled out a grocery bag with no rhyme or reason to it. It was filled with a jumble of no name or low-end drug store pipes. The only pipes that stood out for me were an old WDC Campaign pipe and a Grabow Starfire. We excluded all but five of the pipes. The amount of work necessary to bring them back was not worth the price. These are the five that we chose to work on. As I finish them, I will include the link to the blog covering that pipe.

– A No Name Meerschaum that looked interesting – https://rebornpipes.com/2018/01/31/is-it-a-meerschaum-looks-like-one-feels-like-one-but/
– A leather clad billiard marked R20 and bearing a shield – https://rebornpipes.com/2018/02/01/rejuvenating-a-leather-clad-billiard/
– A Wally Frank Bulldog marked Natural Unvarnished lacking a stem
– A Dr. Grabow Starfire 39 that had great grain
– A WDC Campaign underslung pipe

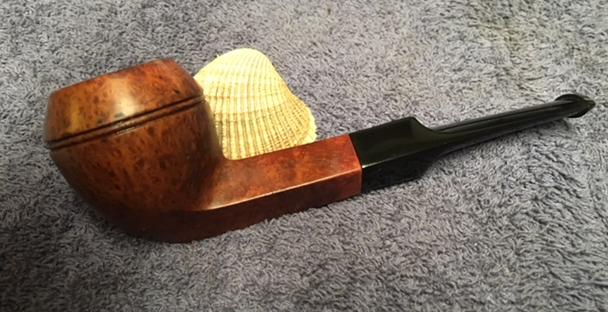
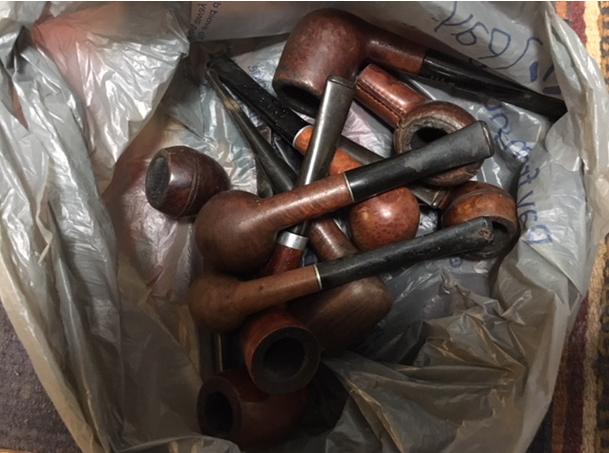
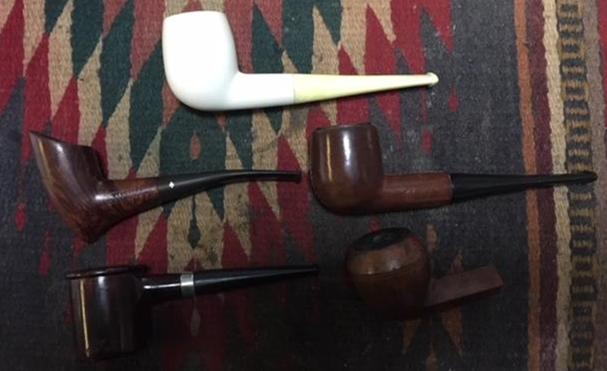
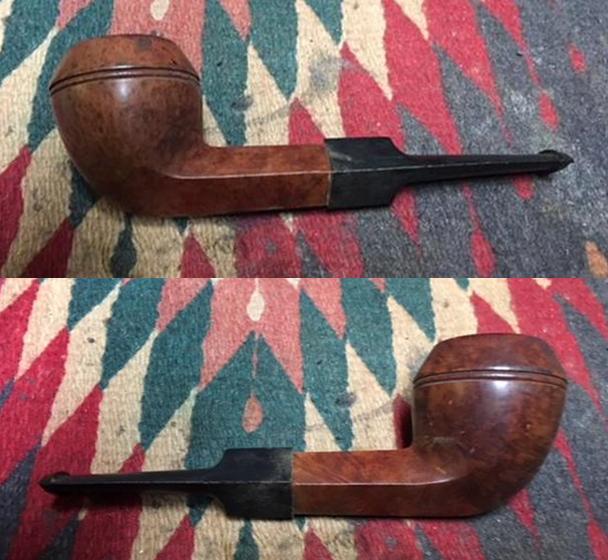
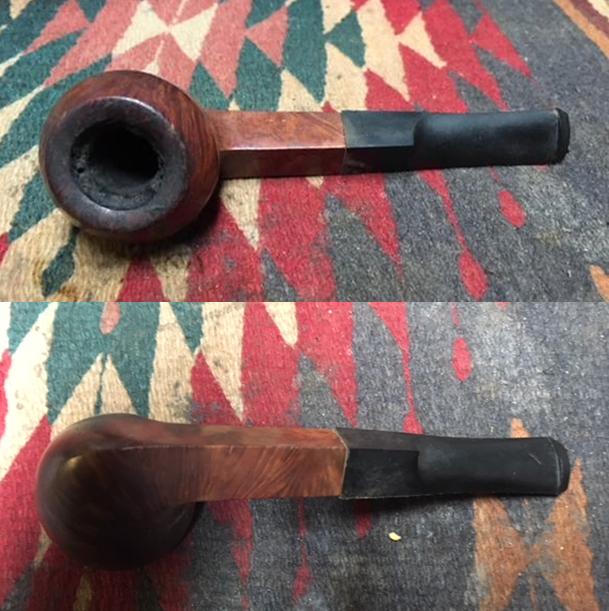
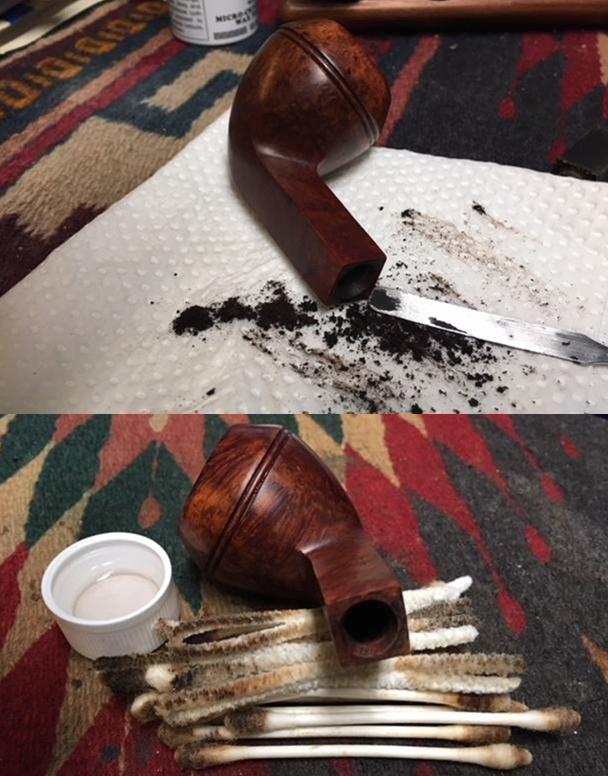
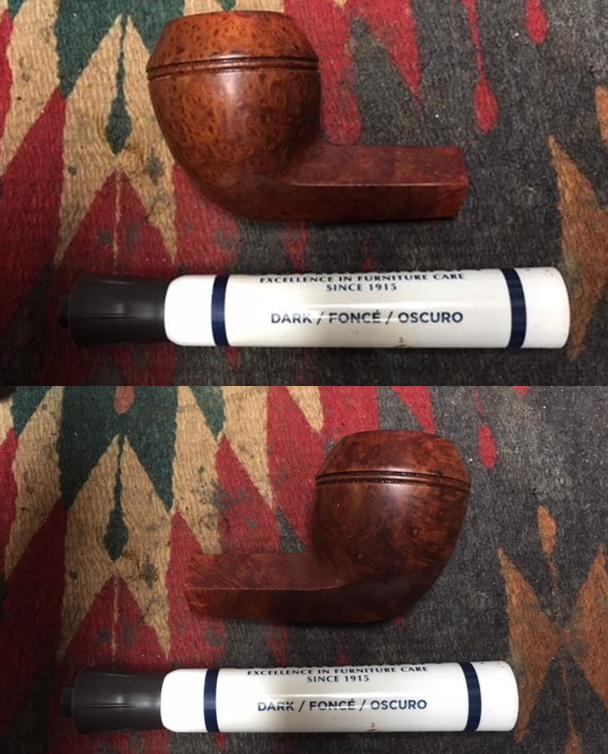
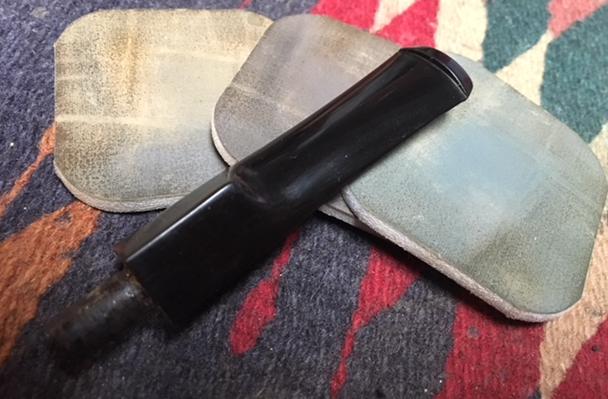
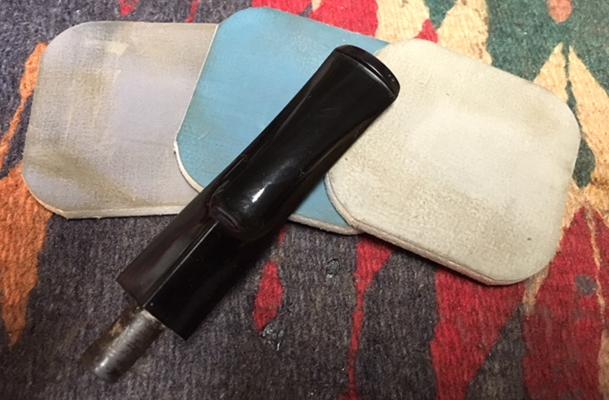
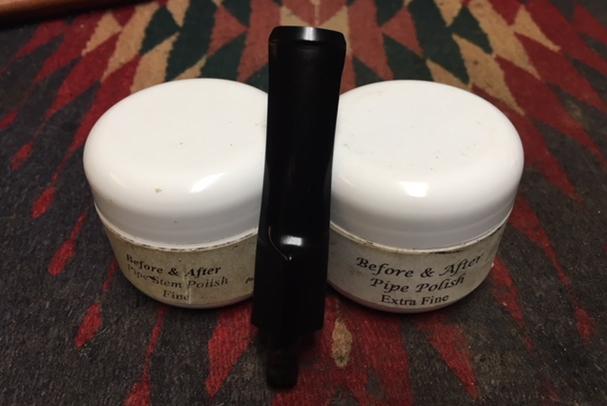
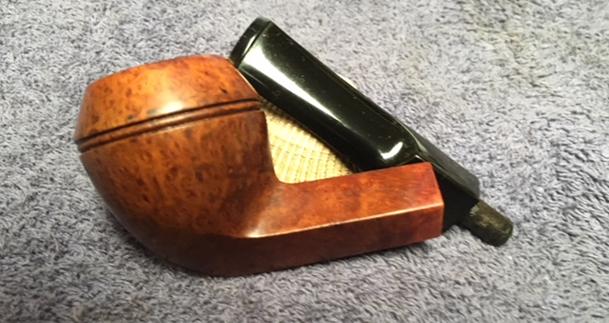
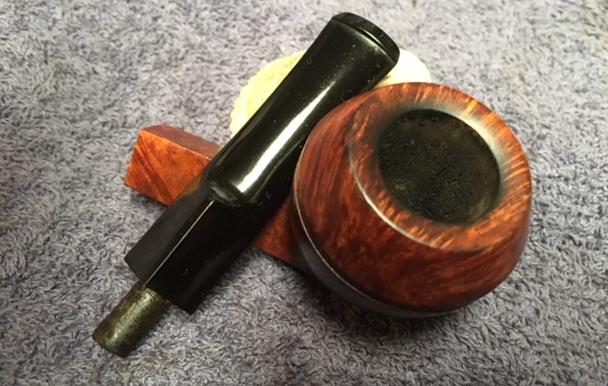
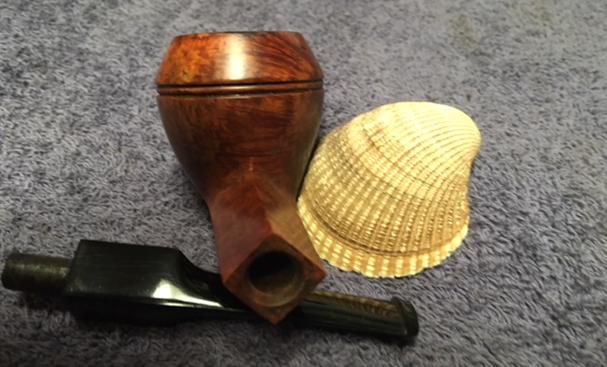
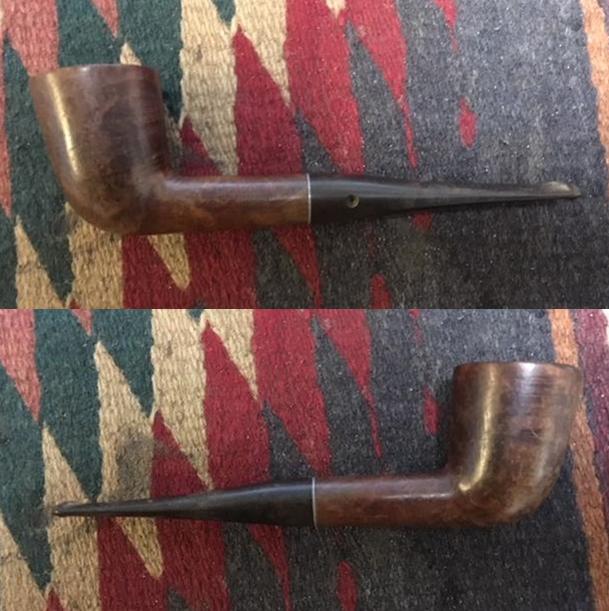
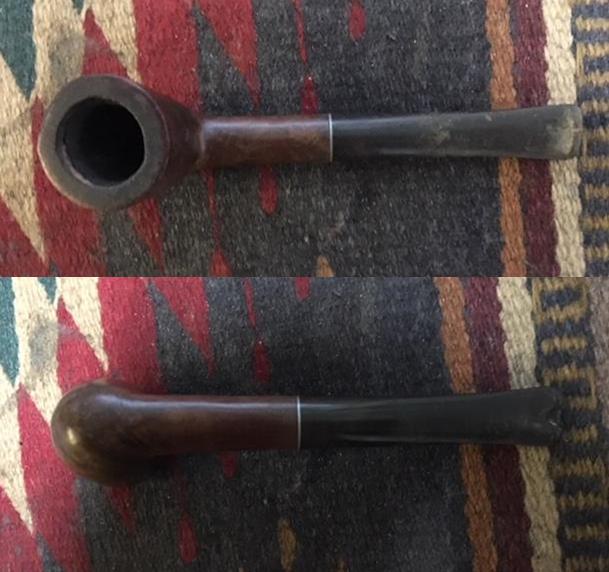
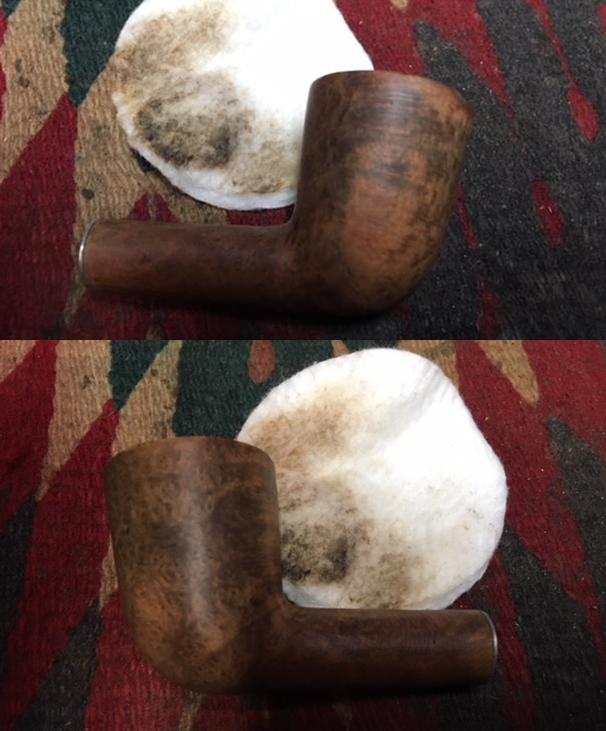
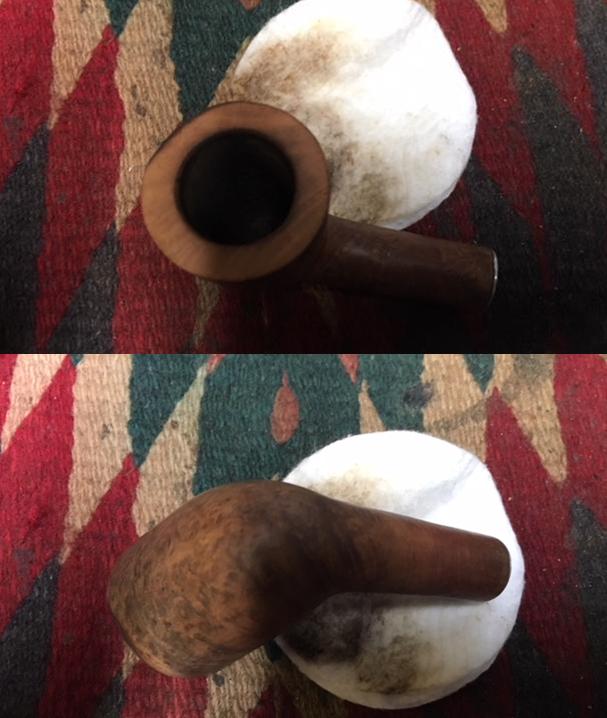
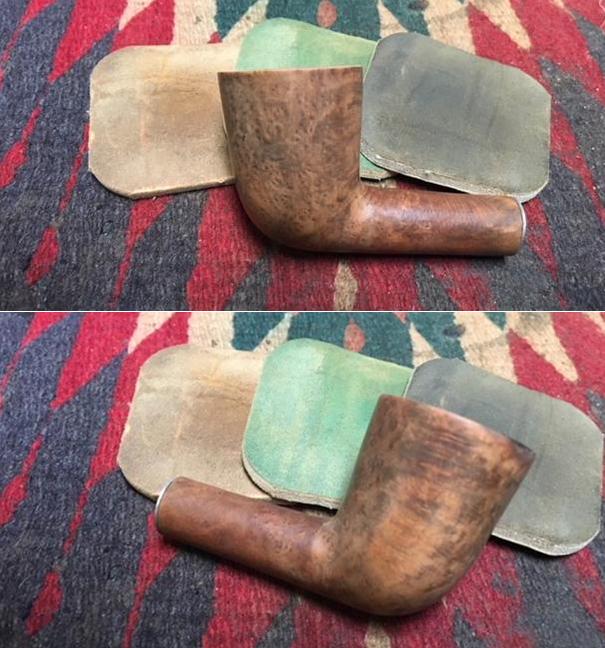
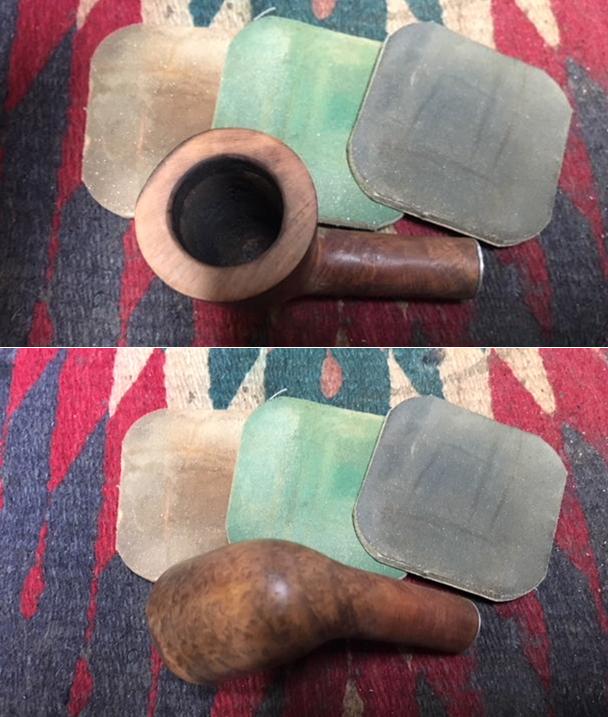
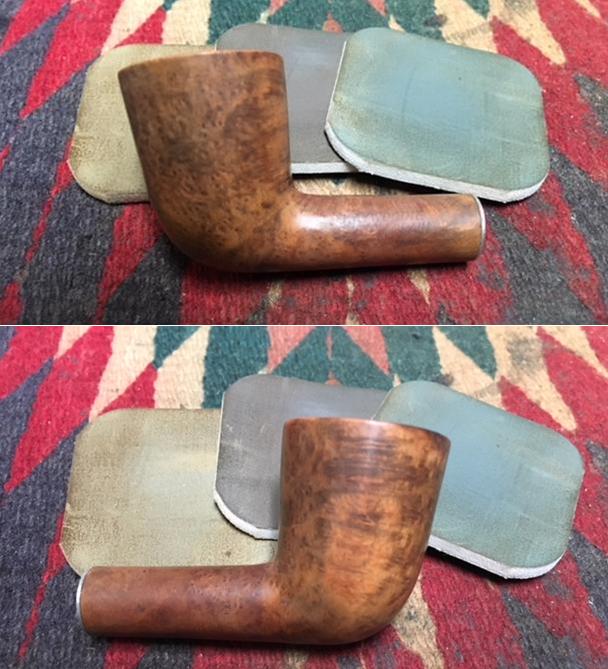
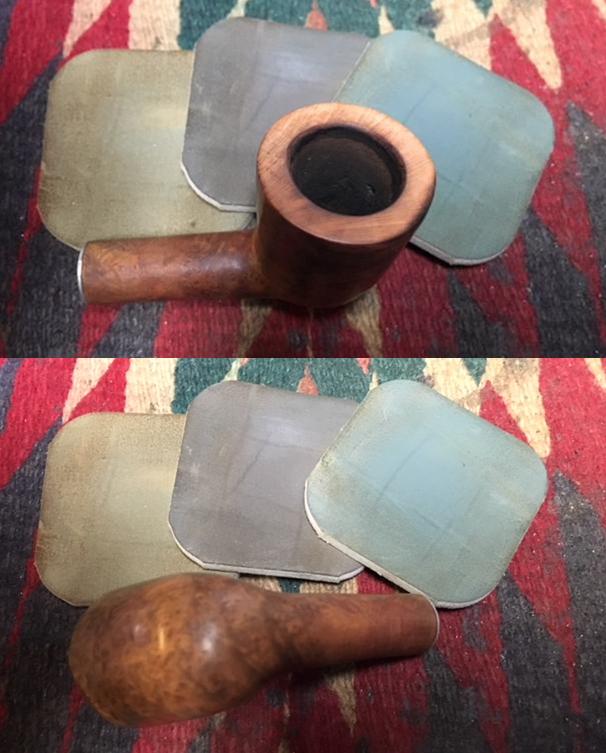
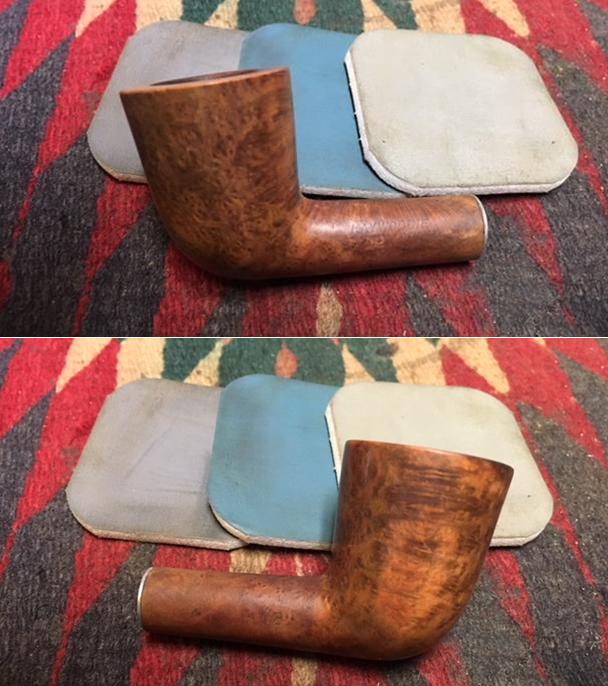
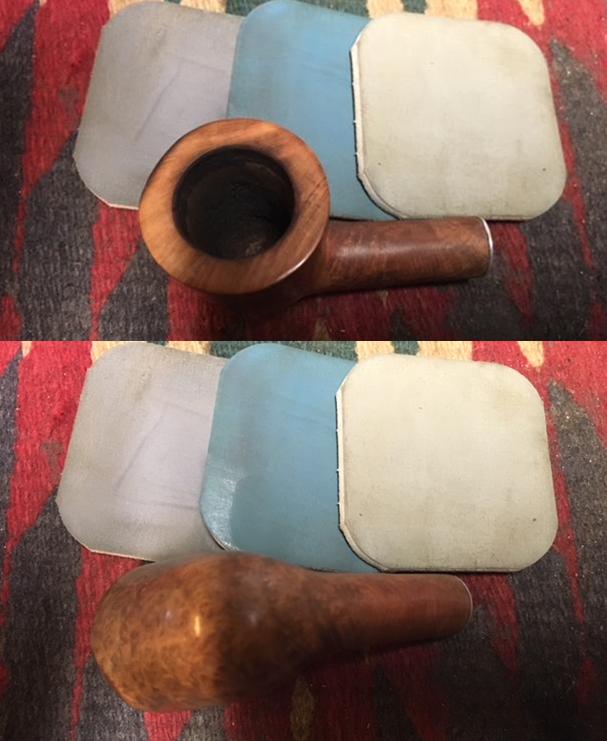
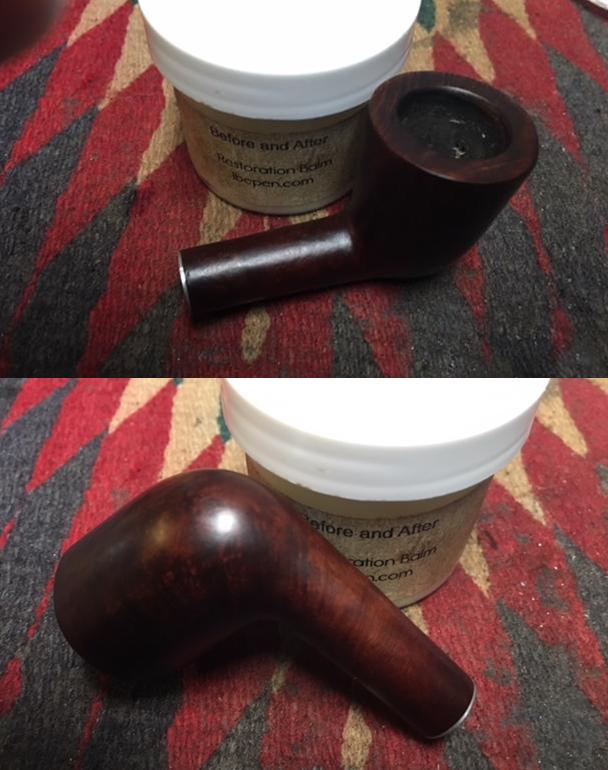
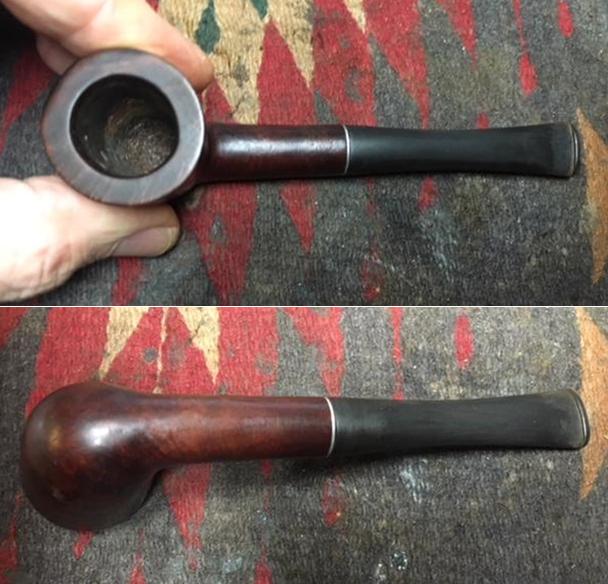
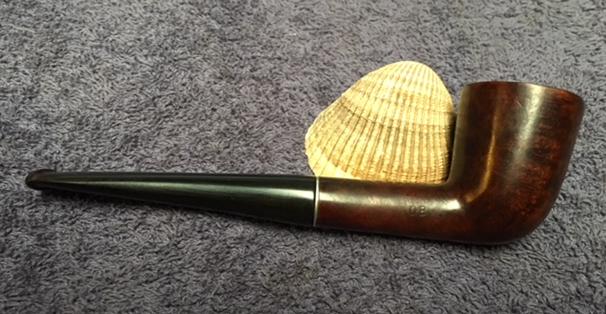
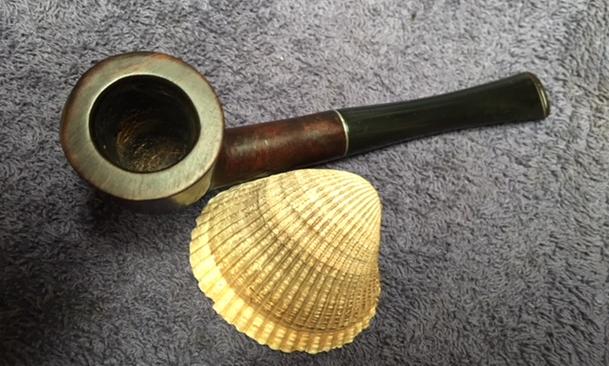
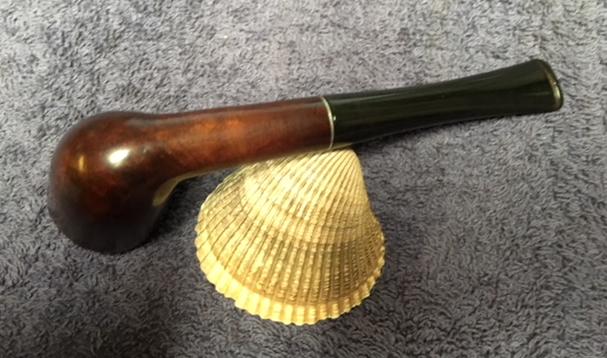
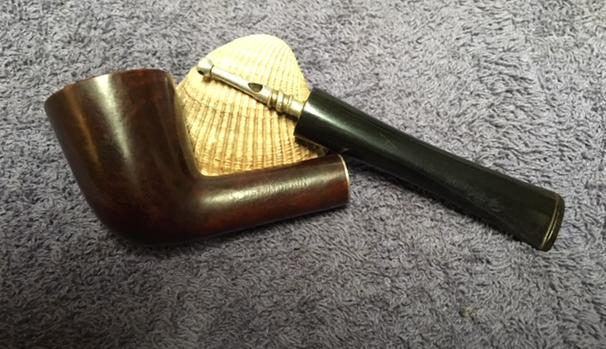
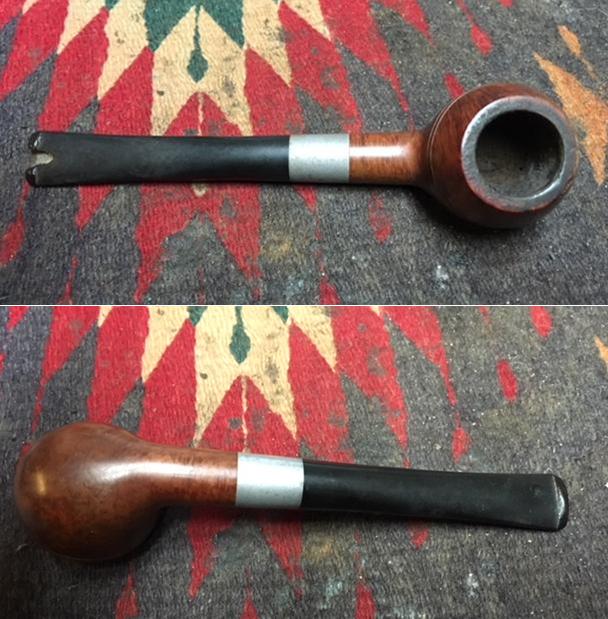
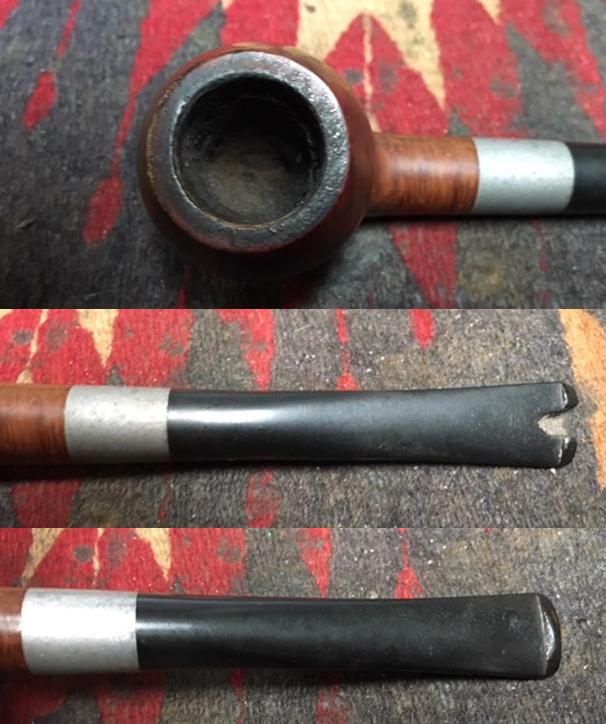
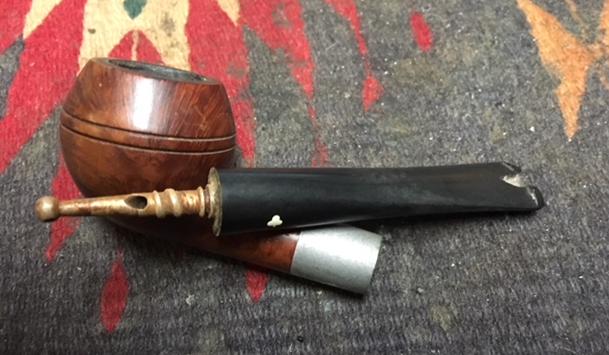
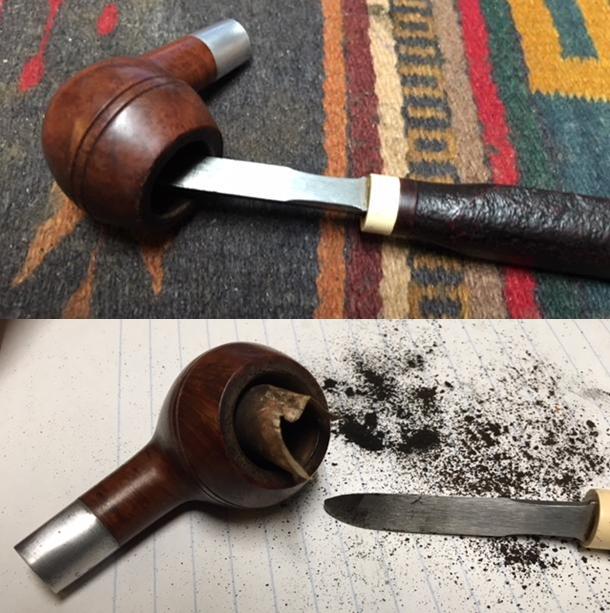
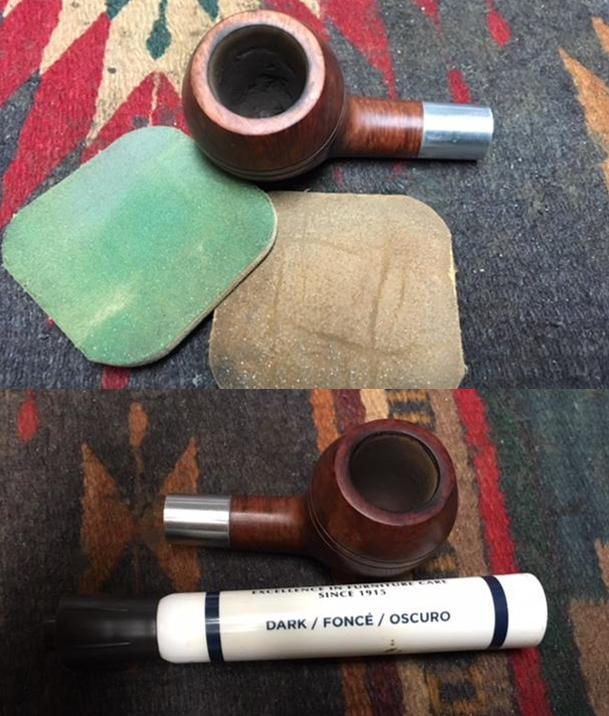
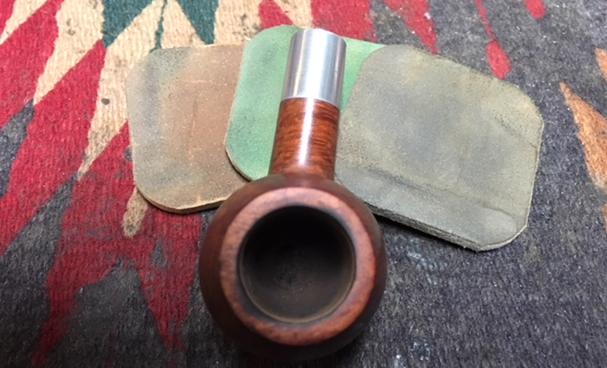
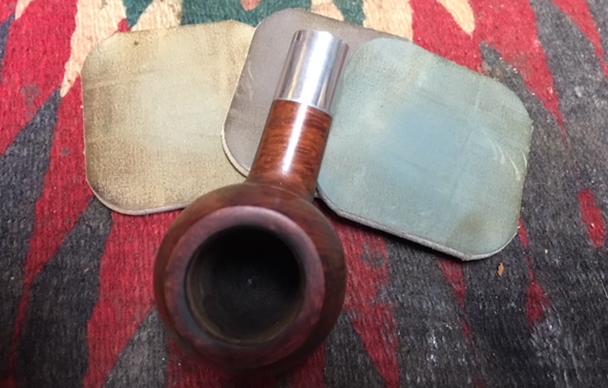
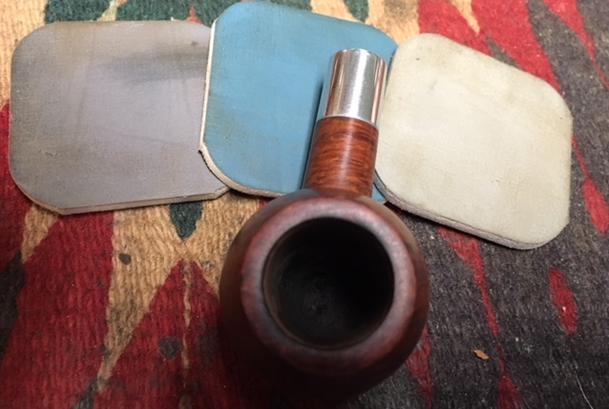
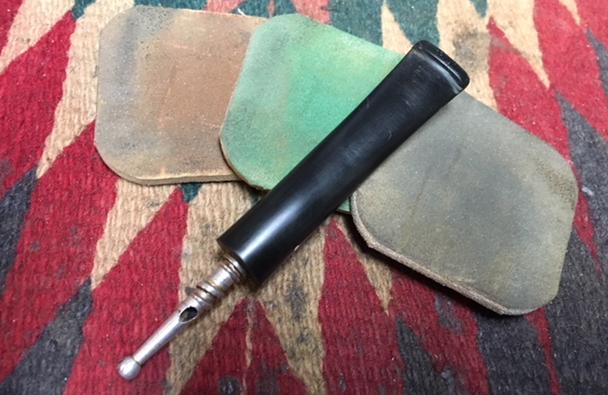
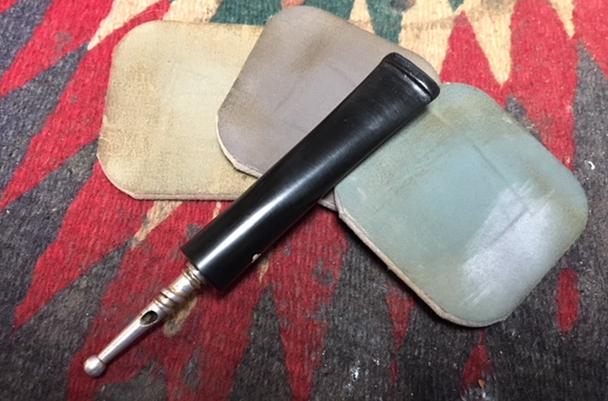
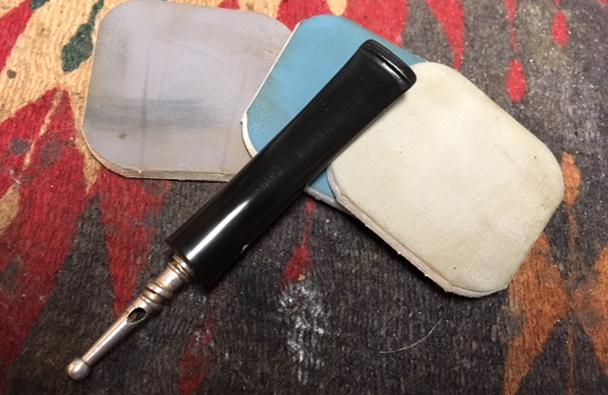
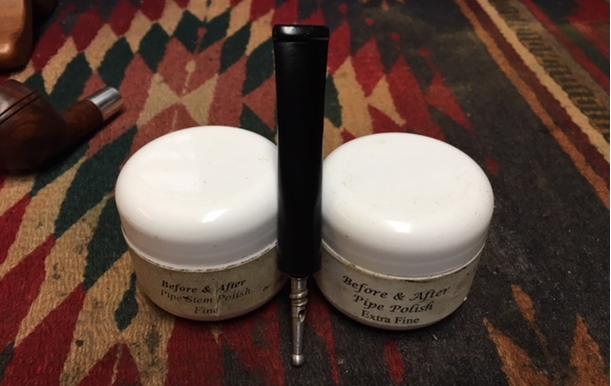
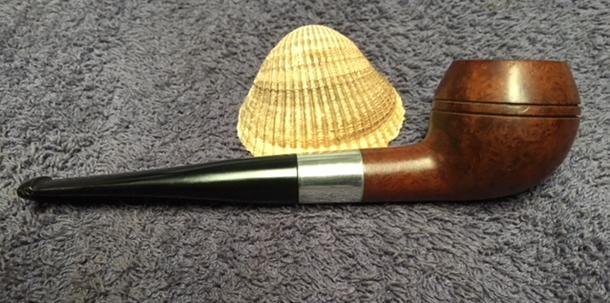
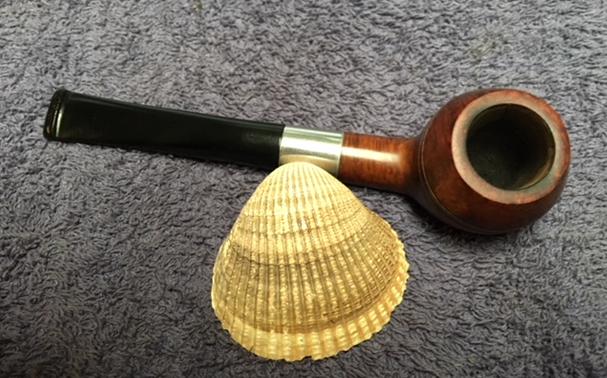
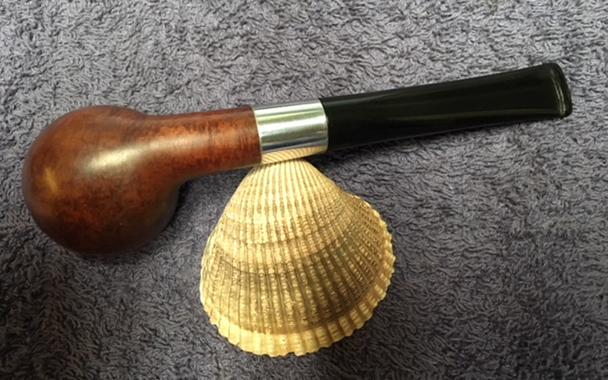
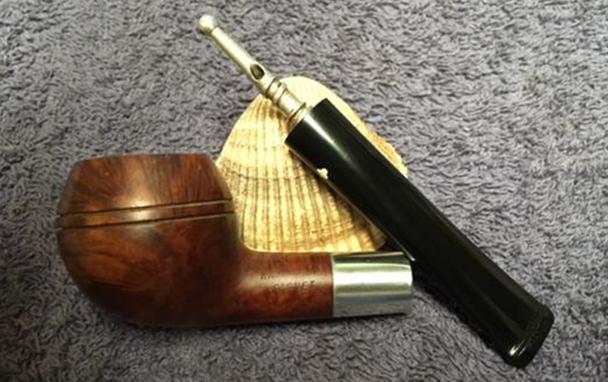
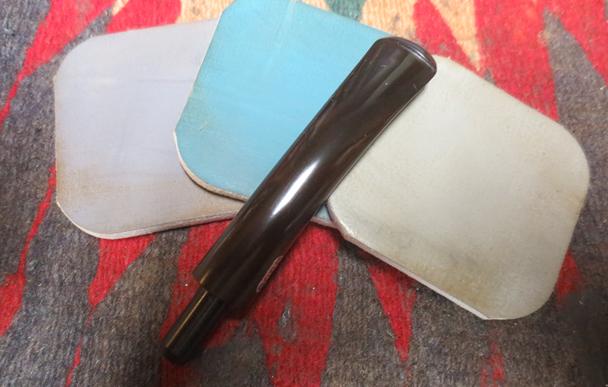
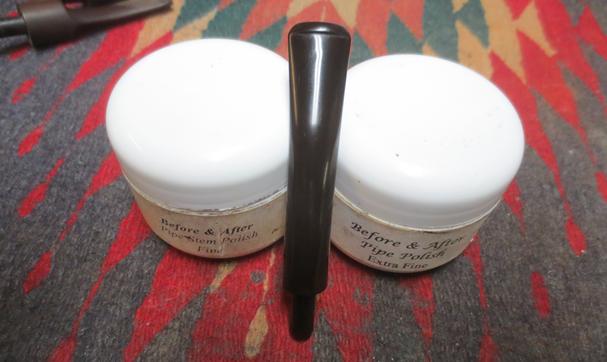
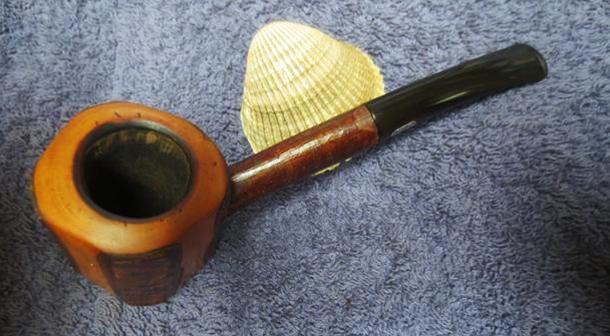
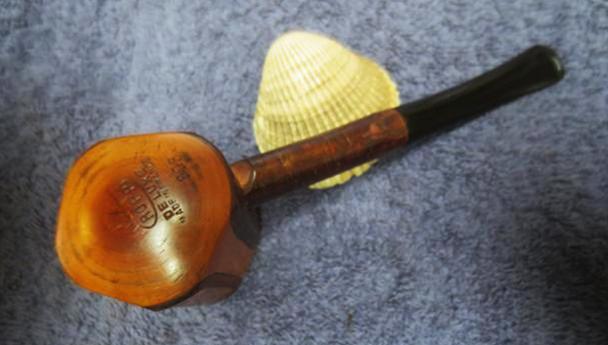
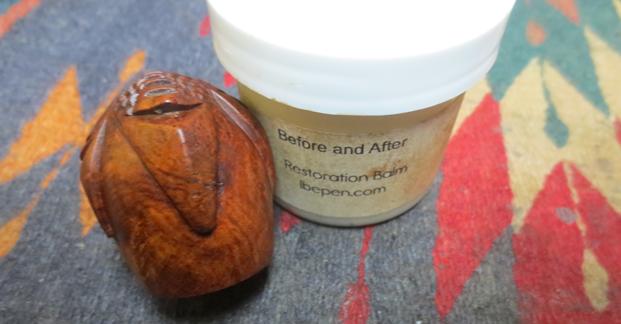
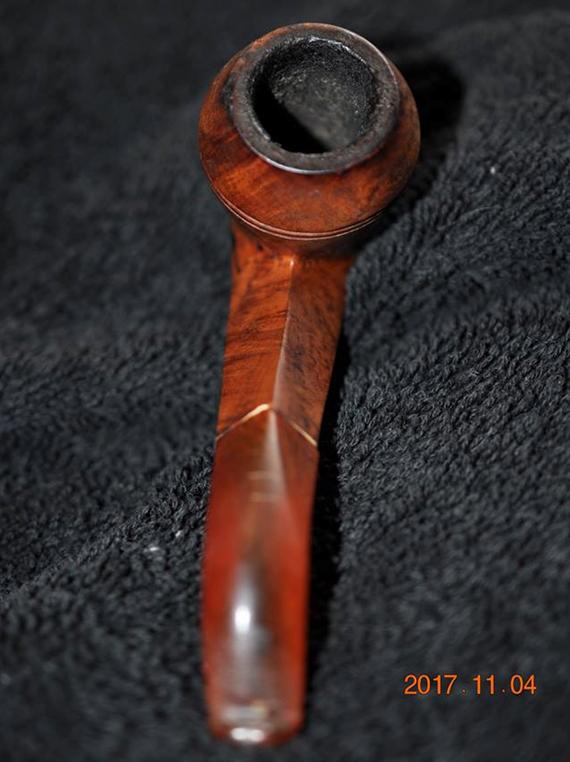
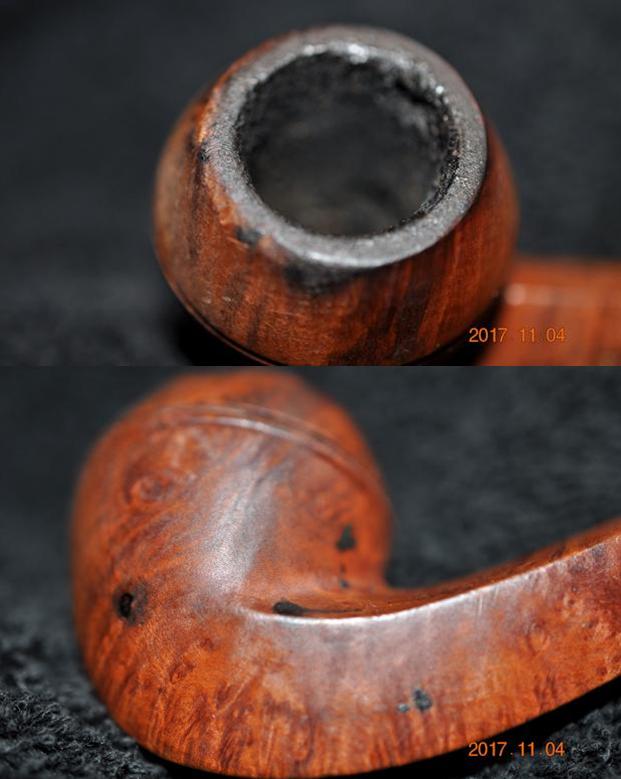
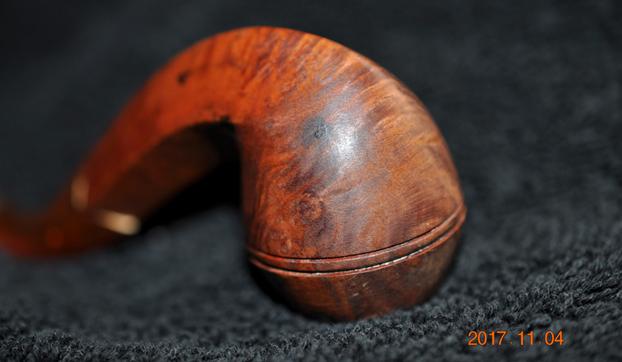
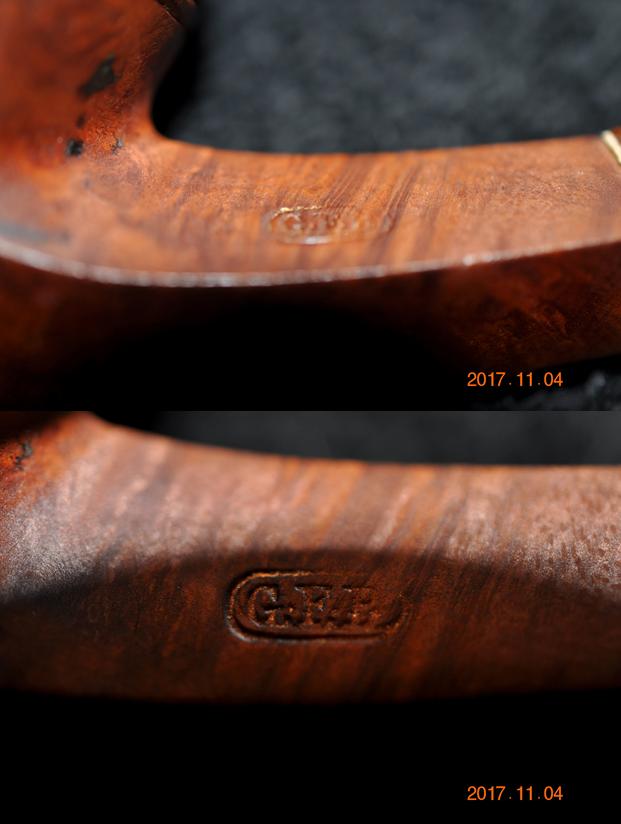
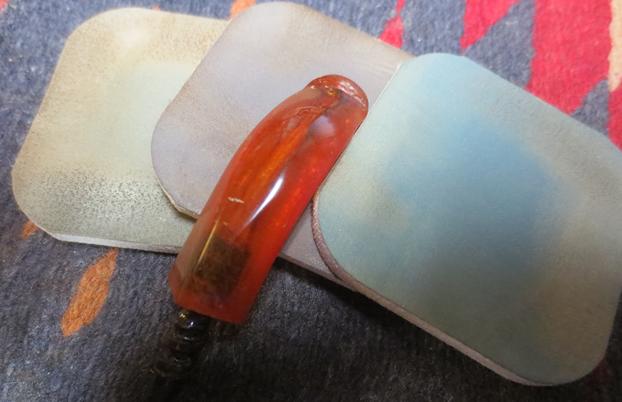
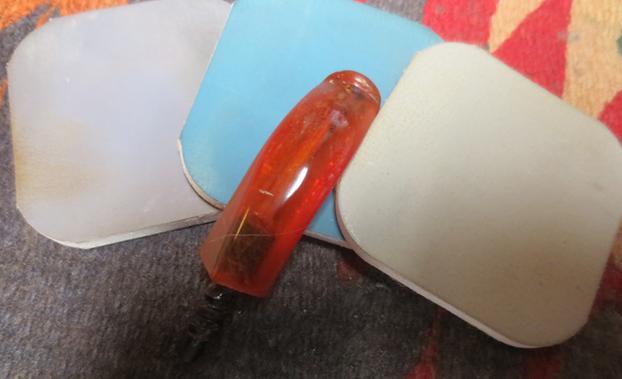
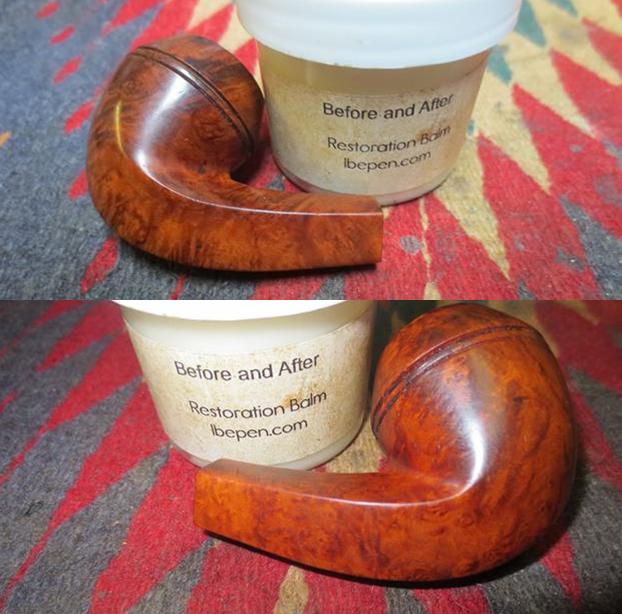
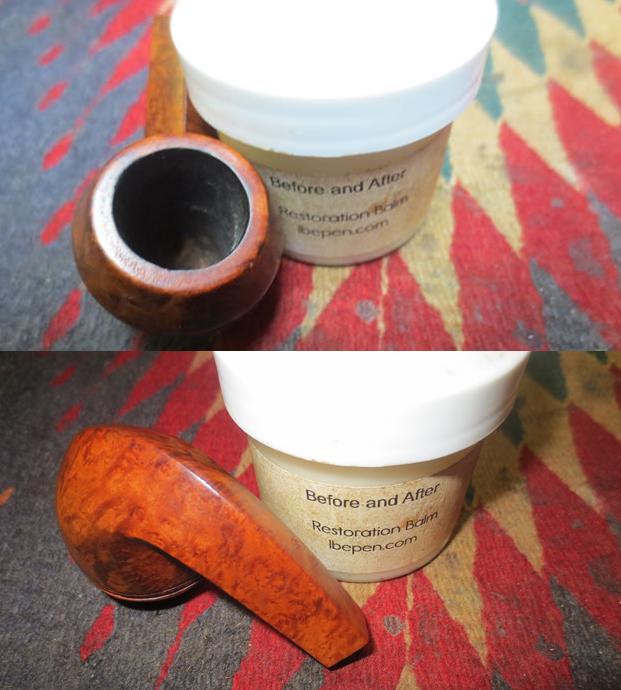
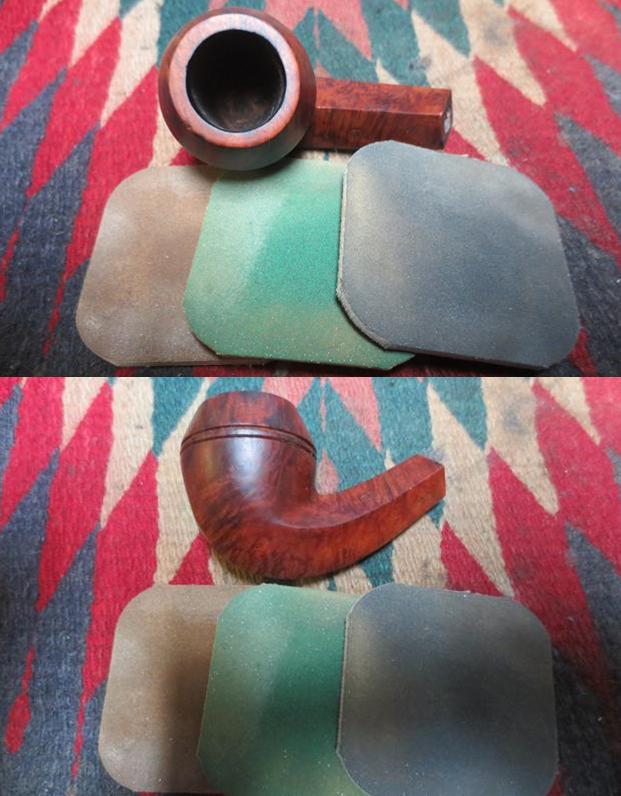
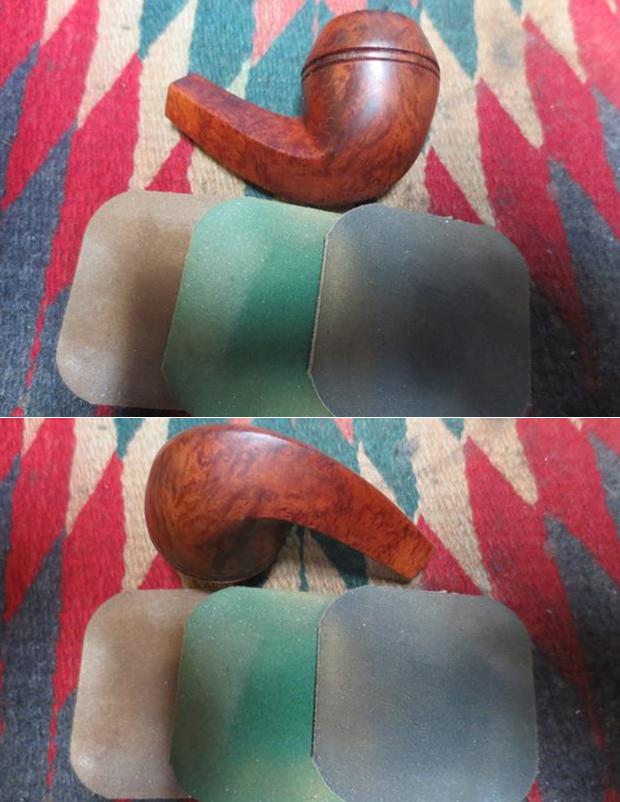
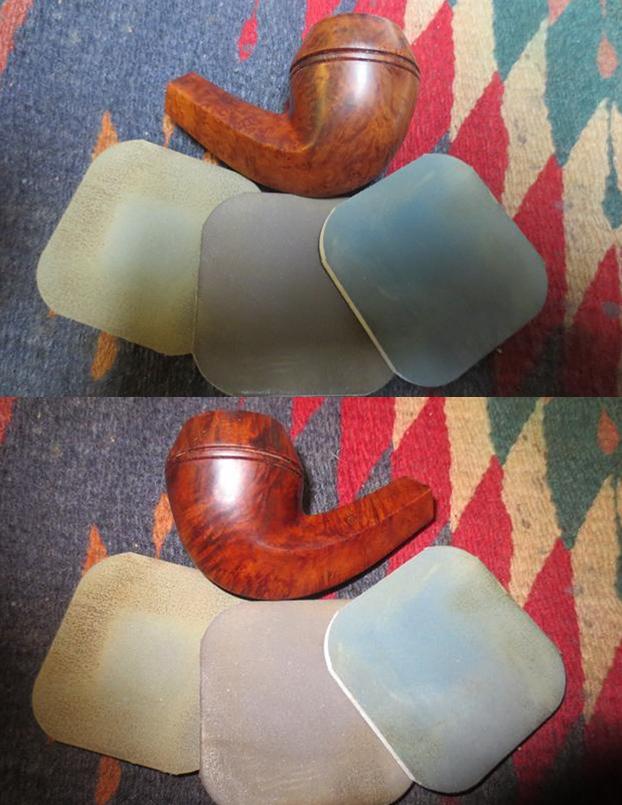
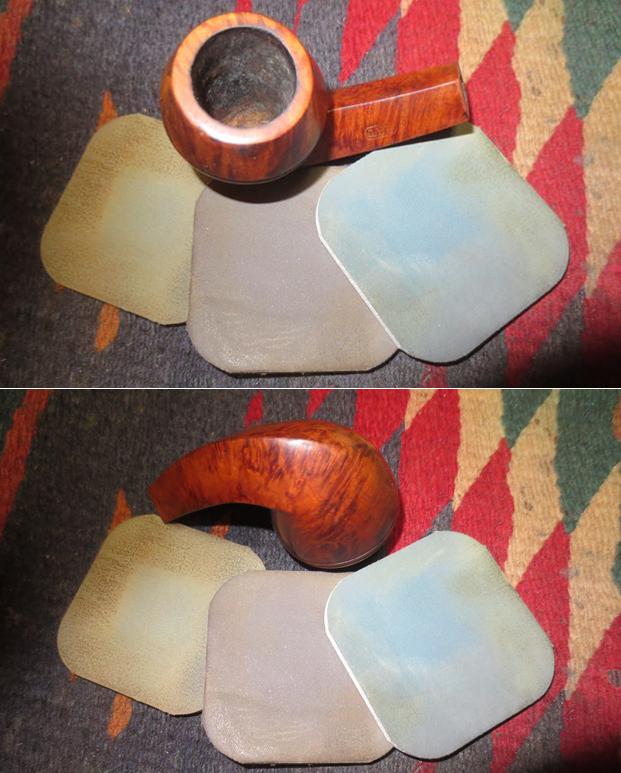
After our conversation, he packed up the pipes and threw the rest of the pipes in a separate bag for me to scavenge parts. The box did not take too long to get to Vancouver and when it did I opened the box and had a look. Here are pics of what I saw – there were two bags inside. One bag held the discards for the scrap pile and the other held the five pipes he wanted restored. The third pipe was the stemless Bulldog on the lower right of the photo above. The briar was very dirty with lots of grime and some residue that had hardened on the surface of the bowl. The rim top was in good condition but I would not be sure until I was able to remove the lava overflow from the bowl over the bevel. The outer edges were undamaged all around the bowl and I was hoping the same was true of the inner edge. There was some darkening on the rim as well. The bowl had a thick cake in it and remnants of tobacco. On the front of the bowl on the cap there was some hardened sticky substance. The shank is stamped on the left side Natural over Unvarnished. On the right side it is stamped Wally Frank Ltd. On the underside of the left side it reads Imported Briar. There was no stem so I was going to need to fit one to the shank. I took the following photos of the pipe before I started cleaning it up. I went through my can of stems and found one that would work with the pipe. It was a diamond saddle stem. The saddle portion was slightly larger than the shank of the pipe but I could work that to make it fit well. The tenon would need to be turned with the PIMO tenon turning tool make it a snug fit in the shank.I drilled out the airway in the stem with a drill bit the same size as the post in the centre of the tenon turning tool. Once it was open I adjusted the cutting head on the tool to take the tenon down incrementally to the right dimension. I readjusted it and repeated the process until the fit was right. I sanded down the tenon lightly with 220 grit sandpaper to fine tune the fit and put it in the shank of the pipe. I took photos of the pipe at this point to show what needed to be done to adjust the fit. It needed some work. The bowl was also very caked and that needed to be reamed. I took the stem off and reamed the bowl with a PipNet reamer. I started with the smallest cutting head and worked my way up to the one that was the same diameter as the bowl. I reamed it back to bare briar. I cleaned up the remnants with a Savinelli Fitsall Pipe Knife. With bowl reamed I turned to the rest of the internals. I used a dental spatula to scrape out the heavy tar buildup in the shank. There was a lot of mess there and it took a lot of scraping before I had it cleaned out. I cleaned the shank and mortise with pipe cleaners, cotton swabs and alcohol. I scrubbed out the shank and mortise until the pipe cleaners and swabs came out clean.I sanded off the lava and darkening on the rim top with 220 grit sandpaper. I was able to remove all of the buildup and damage on the rim.I sanded the saddle portion of the stem with a Dremel and sanding drum to reduce the sides to match the shank. I sand it on a slower speed and carefully work to keep it from hitting the shank of the pipe. I finish the fitting with 180 and 220 grit sandpaper to sand it to match the shank. I sand the shank at the same time to make the transition smooth. The next set of four photos show the fit of the stem at this point in the process. I worked some Before & After Restoration Balm into the surface of the briar with my finger tips to deep clean the finish, enliven and protect the wood. I worked the balm into the rim top and inner bevel of the rim to polish the cleaned up area. I let it sit for a few minutes and then buffed it with a cotton cloth. The grain in the wood came alive and there was a rich shine to the briar. I took some photos of the bowl at this point to mark the progress in the restoration. I polished the bowl and rim with micromesh sanding pads – wet sanding it with 1500-2400 grit pads and dry sanding with 3200-12000 grit pads. I wiped the bowl down after each pad with acetone to clean off the sanding dust. The photos show the progress of the polishing. I used a dark brown stain pen to blend the sanded shank end with the rest of the bowl. I polished it with micromesh sanding pads to blend it in and hand buffed it with a microfibre cloth. I worked over the stem with micromesh sanding pads. I polished out the sanding scratches and marks from the reshaping work. I wet sanded it with 1500-2400 grit pads and dry sanded it with 3200-12000 grit pads and wiped it down with Obsidian Oil after each one. I polished the stem with Before & After Pipe Stem Polish, using both Fine and Extra Fine polishes to polish out the remaining light scratches in the vulcanite. When I finished with the polish I gave it a final coat of oil and let it dry. With the stem replaced and polished I put it back on the pipe and buffed the entire pipe again with Blue Diamond polish on the buffing wheel. I polished it with the polishing compound until it was shiny. I gave the entire pipe several coats of carnauba wax and buffed it with a clean buffing pad to raise the shine. I hand buffed it with a microfibre cloth to deepen the shine. The new stem and the bowl polished up pretty nicely. The finished pipe is shown with the original stem in the photos below. This is the third of Craig’s five pipes. Once I finish the other two pipes I will pack them up and get them out to him. I am looking forward to what he will think once he has them in hand. Thanks for walking through these restorations with me. I am thinking that the pipeman who gave Craig these pipes would be happy that they are back in service and that Craig is carrying on the pipeman’s trust with them. Cheers.

Rejuvenating a Leather Clad Billiard


Blog by Steve Laug

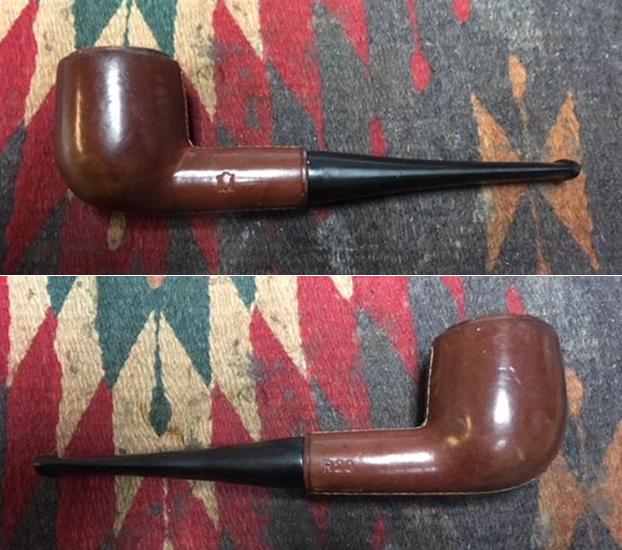
In my previous blog on the No Name Meerschaum I spoke of the five pipes that I am working on for Craig. In this blog I am taking on the second of his pipes – a leather clad billiard marked R20. It looks like a Longchamp pipe but there is no name on the shank. Here is what Craig wrote me about his pipes: I was recently given a bag of pipes…literally, a BAG of 20 or so pipes that are 50+yrs in age and VERY used. I was wondering if you would have time to either Skype or FaceTime with me, and go through what I have in order to determine which are worth sending to you to have them refurbished. If you would be so kind, I’d really appreciate it. We met on FaceTime and walked through each of the pipes in his bag. He pulled out a grocery bag with no rhyme or reason to it. It was filled with a jumble of no name or low-end drug store pipes. The only pipes that stood out for me were an old WDC Campaign pipe and a Grabow Starfire. We excluded all but five of the pipes. The amount of work necessary to bring them back was not worth the price. These are the five that we chose to work on. As I finish them, I will include the link to the blog covering that pipe.

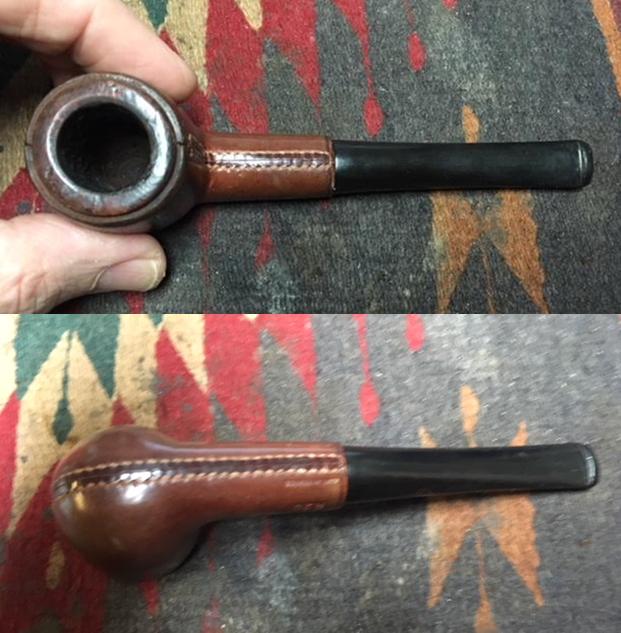
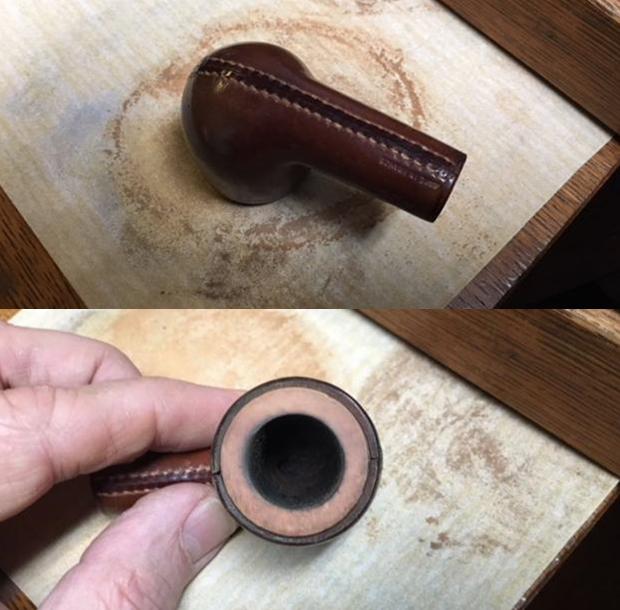
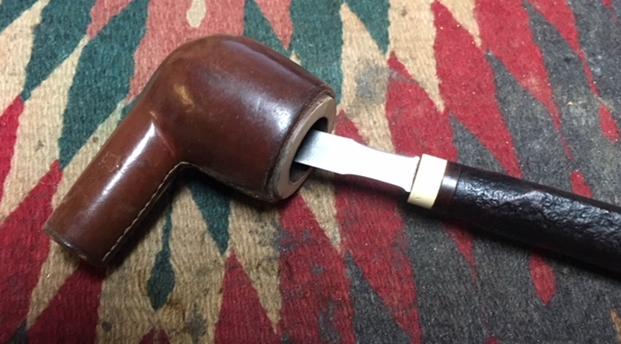
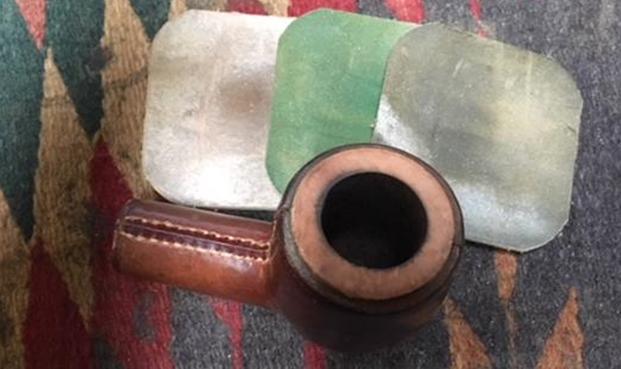
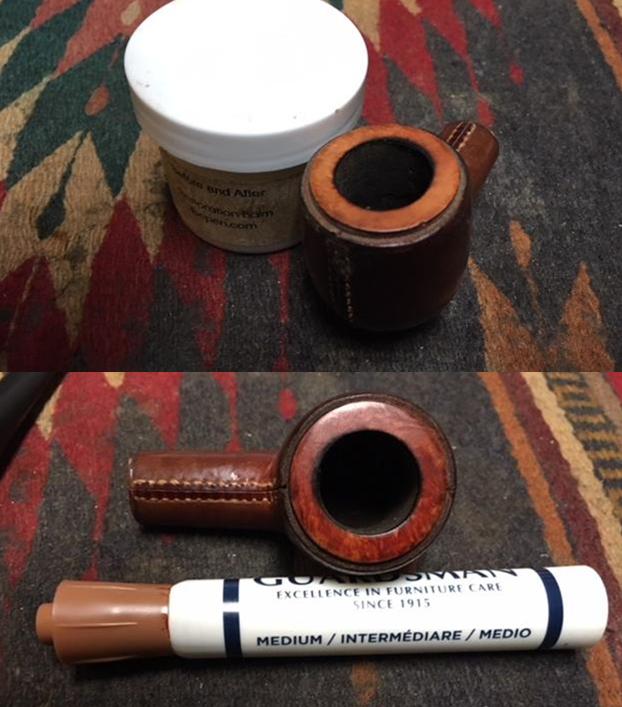
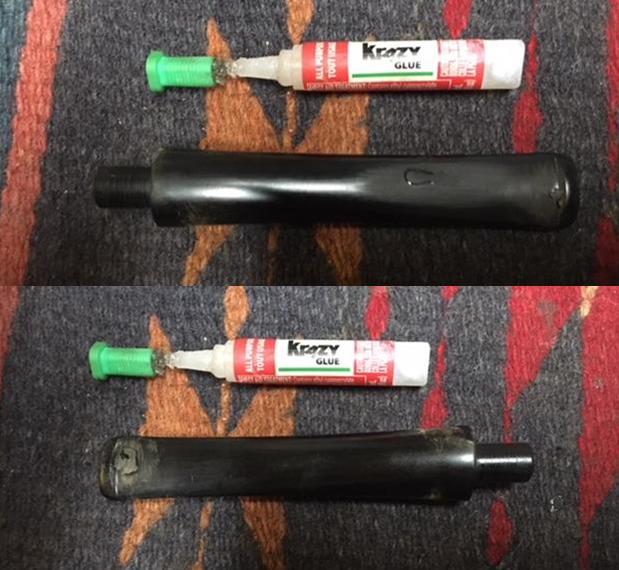
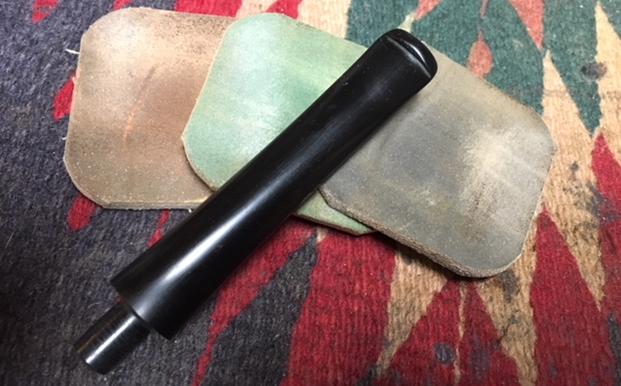
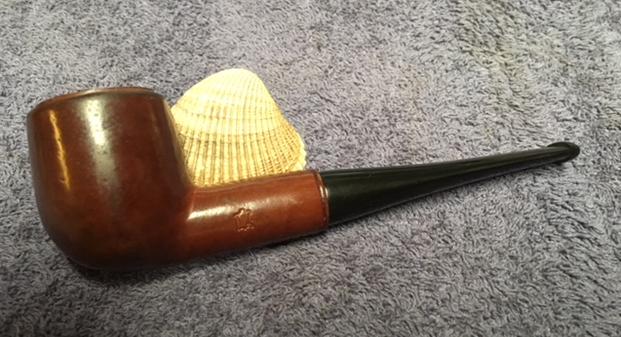
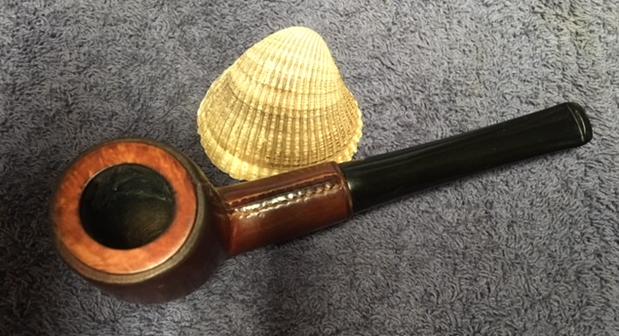
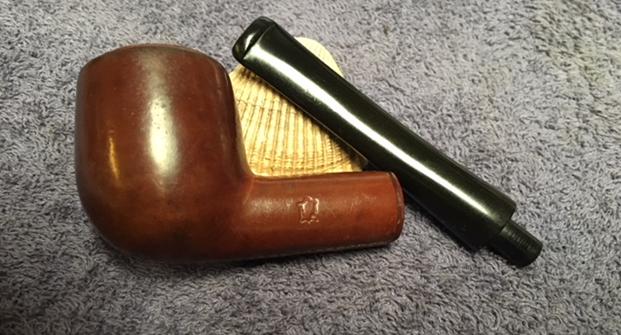
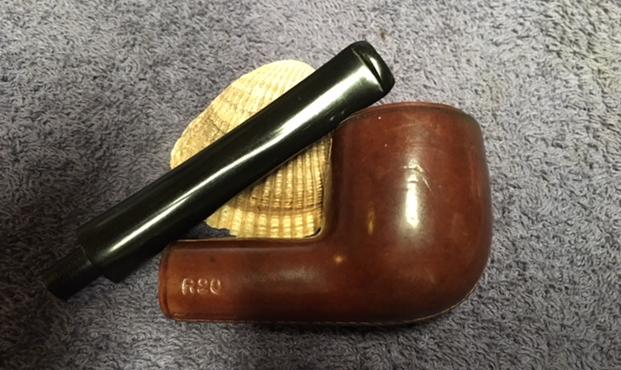
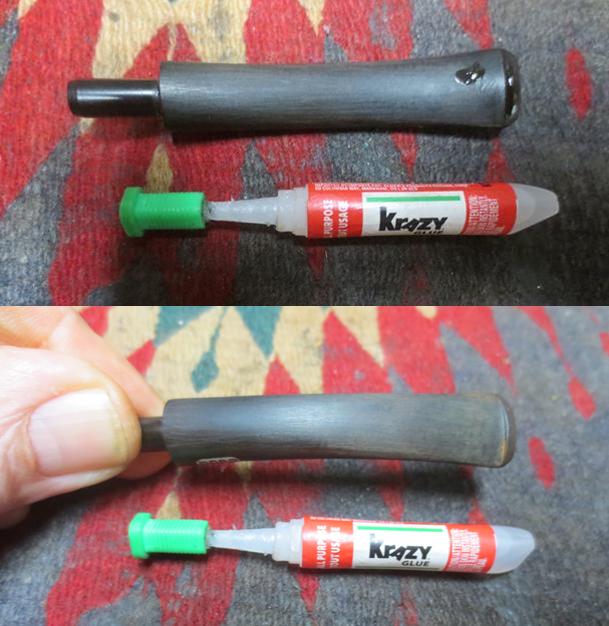
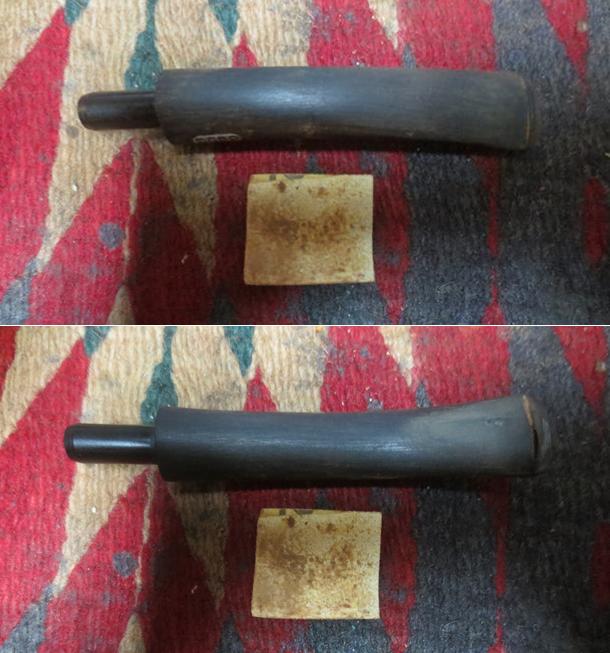
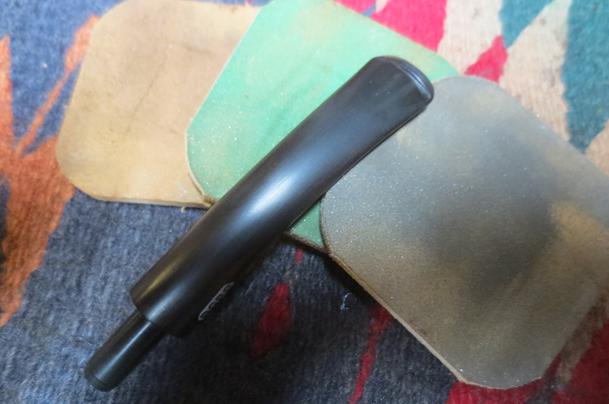
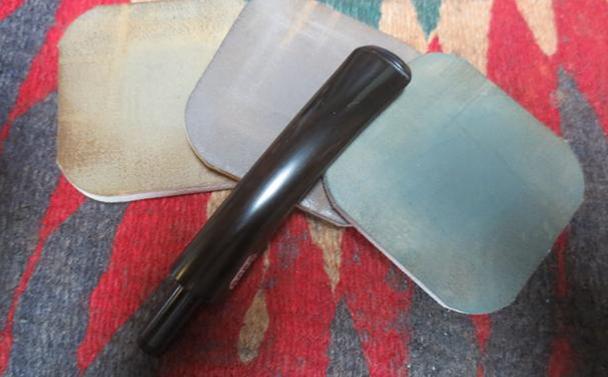
After our conversation, he packed up the pipes and threw the rest of the pipes in a separate bag for me to scavenge parts. The box did not take too long to get to Vancouver and when it did I opened the box and had a look. Here are pics of what I saw – there were two bags inside. One bag held the discards for the scrap pile and the other held the five pipes he wanted restored. The second pipe was the leather-clad billiard. The leather was dry and dirty but the stitching holding the halves together was sound and undamaged. A little leather soap or oil would bring it back to life. The rim top had been hammered against a hard surface to knock out the dottle and there was serious road rash on the surface of the rim. The outer edges were damaged all around the bowl but predominantly on the right side. There was some darkening on the rim as well. The bowl had a thin cake in it and remnants of tobacco. The leather cover had scuff marks around the sides near the top. The only identifying mark was what looked like the shape of a tanned hide (cowhide or other) stamped into the left side of the shank. There were no other identifying marks on the left side. On the right side was the stamping R20 which I am assuming was the shape number. The stem was vulcanite and it had nicks half way up the stem and tooth marks and chatter on both sides near the button. The surface was dirty and dull looking but thankfully not oxidized. There was a corkscrew like stinger apparatus in the tenon that was clogged and I could not even blow air through the slot or stem. The slot itself also had tars built up reducing the size of the slot by half. The pipe smelled like the same Half and Half tobacco as the other pipe. The tobacco leaves behind a ghost of an anise smell that clings to a pipe that has smoked that blend. I took the following photos of the pipe before I started cleaning it up. I took close up photos of the bowl and rim top as well as the stem. The rim top had been beaten on a hard surface to knock out the dottle and there were some serious nicks and dents in the surface. There was some overflow on the rim. The stem was another story – it was in decent shape with tooth marks and chatter on both sides near the button. There was a metal tenon like a spear tip on the end of the stem. It was very dirty.I decided to top the damaged portion of the bowl to remove the rough top of the bowl. It did not take too much sanding to remove the damaged inner and outer edges of the rim as well as the surface. Once it was smooth and even all the way around I finished the topping.I used a Savinelli Fitsall Pipe Knife to clean out the cake and tobacco remnants from the bowl. As I worked on it I was again certain that the tobacco of choice to the pipeman who had smoked the pipe in the past was Half and Half.I polished the rim top with micromesh sanding pads – wet sanding with 1500-2400 grit pads and dry sanding with 3200-12000 grit pads. I polished the rim until it was smooth and shiny. I wiped the rim top down with a damp cotton pad to remove any sanding dust. I scrubbed the surface of the briar with Before & After Restoration Balm. I worked it into the rim top with my fingers and it raised the grime and dust that was in the grain of the briar. I buffed it with a soft cotton cloth to remove the debris and the remaining balm on the surface of the briar. When it was clean I stained the rim top with a medium brown stain pen to match the colour of the leather and the blend it with the rest of the pipe. The rim would still need to be buffed to smooth out the colour of the rim.I decided to try out the restoration balm on the leather cover of the pipe. I worked it into the pores of the leather to clean and enrich it. I was amazed at how well it worked. It lifted the grime to the surface and I was able to wipe it off with a clean cotton pad. I worked it into the grain of the leather until the leather was soft and pliable. I worked it into the cotton cord that held the halves of the leather cover together. It worked very well. The corkscrew stinger was threaded as I expected. I unscrewed it from the shank to remove it. It was clogged with tars and oils in the slot and in the stem. I could not blow air through the stem as the debris clogged it. I would clean up the stinger and leave it out of the tenon. I would send it back to Craig and he could do what he wanted.I cleaned out the mortise and the airways in the shank and stem with alcohol, pipe cleaners and cotton swabs. Both were very dirty and as the pipe cleaners and cotton swabs came out they reeked of  Half and Half tobacco. It was strong smelling. It took a while to get rid of all the tars and the oils in the vulcanite and the briar. I used a lot of pipe cleaners, cotton swabs and alcohol before the airways in the stem and shank and the mortise were clean.With the stem cleaned on the outside it was time to work on the outside of the vulcanite. There were tooth marks near the button on both sides and there were deep nicks on the top of the stem about half way up. I filled in the spots with clear super glue and overfilled it. I started to smooth out the repairs and then remembered that I had not photographed the filled in areas. So the photos below show the stem midway in the process of sanding it.When the repaired areas had dried I used a needle file to smooth out the bubbles of hardened glue. I worked them over until the surface area in front of each button and on the top of the stem was smooth. I sanded them with 220 grit sandpaper to remove the file marks and the scratches in the surface of the vulcanite. I polished the stem with micromesh sanding pads – wet sanding with 1500-2400 grit pads and dry sanding with 3200-12000 grit pads. After each pad I wiped the stem down with Obsidian Oil. When I finished with the last pad I gave it a final coat of the oil and let it dry. When I finished polishing the stem and it had dried I put it back on the bowl and took it to the buff. I gently buffed both the rim of the bowl and stem with Blue Diamond. I gave the rim and stem several coats of carnauba wax and buffed them with a clean buffing pad to raise the shine. I buffed the leather with a clean buffing pad as well to give it a shine. I hand buffed the pipe with a microfiber cloth to deepen the shine. This is the second restoration of the pipes Craig sent me. I look forward to the rest of them. I think he will enjoy this one when I send it back. The finished pipe is shown below. Thanks for looking.

Reworking & Restemming Last of Mark’s Uncle’s Pipes – a Kaywoodie Custom Grain Dublin


Blog by Steve Laug

This is the last one of Mark’s uncle’s pipes and when I finish this one the lot of seven are complete and ready to go back to him. This last one is another Kaywoodie. I have repeatedly written how much I am enjoying working on these pipes for Mark. For me an important part of the restoration project is to know the history behind the pipe I am working on. When I find out the story it really adds another dimension to the pipe repair or restoration work.

I have finished six of the seven pipes that Mark sent me and have written about them. As I have worked on each pipe the pipeman who originally owned these pipes was with me through Mark’s story of his life. The links to the blog on each pipe is listed below if you want to read about the work on each of them.

  1. The Ropp Cherrywood De Luxe (https://rebornpipes.com/2018/01/17/cleaning-and-restoring-a-ropp-cherrywood-de-luxe-805/)
  2. The Doodler (https://rebornpipes.com/2018/01/19/restoring-a-beautiful-the-doodler-bullmoose/)
  3. A newer three hole stinger Kaywoodie Super Grain Billiard S-L (https://rebornpipes.com/2018/01/21/restoring-marks-uncles-third-pipe-a-kaywoodie-super-grain-s-l-billiard/)
  4. a Savinelli Churchwarden (https://rebornpipes.com/2018/01/22/restoring-marks-uncles-savinelli-churchwarden-aged-briar-2002/).
  5. A Tally Ho 33 Pot made by Hardcastle’s (https://rebornpipes.com/2018/01/25/restoring-and-restemming-marks-uncles-5th-pipe-a-tally-ho-33-pot/)
  6. A Kaywoodie Signet Rhodesian/Round shank Bulldog https://rebornpipes.com/2018/01/27/reworking-marks-uncles-6th-pipe-a-kaywoodie-signet-rhodesian/

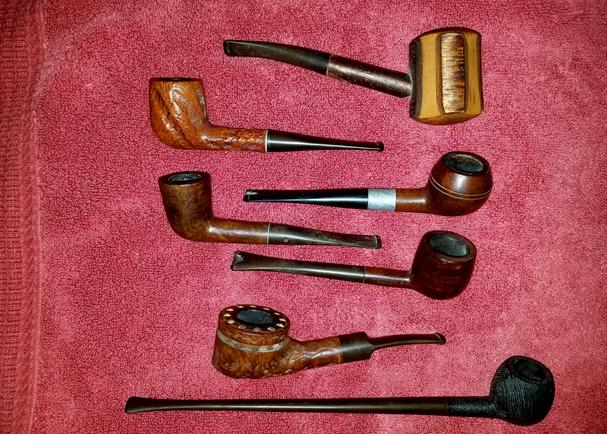
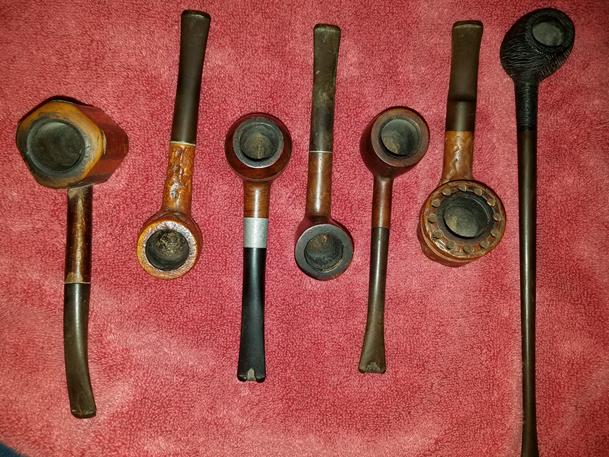
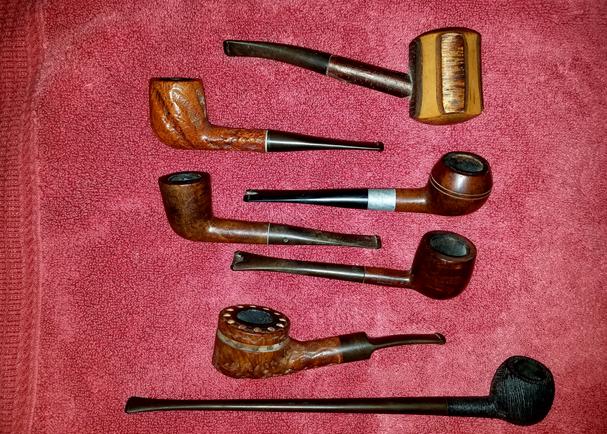
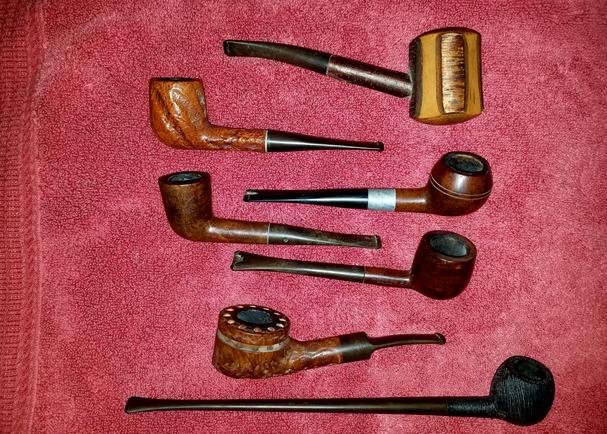
Here are some pictures of the pipes.The pipe I am working on now is the fourth pipe down in the above photo and the fourth from the left in the photo below. It is a Dublin shaped pipe with a major piece missing from the button on the stem and the Kaywoodie logo missing from the stem. One last time I am going to include a bit of what Mark’s sent me about his uncle. I have included much of this in each of the past pipe restorations to give you a sense of the information that always in behind the desire to clean up and restore this set of old pipes. Mark wrote…

…My Uncle John, raised in an Appalachian Mountain family (think Hatfield and McCoy), was a large man with an affable personality – although this had limits and he could be quite formidable.

During WWII he left home and enlisted in the US Army where he was assigned to Patton’s 3rd Army as an ambulance driver.  After Germany surrendered, he was transported back to the US on a converted ocean liner troop ship (I believe it was the Queen Mary).  Upon reaching the US, his unit was immediately sequestered on a troop train for transport to the West Coast to be shipped to the Pacific for the invasion of Japan.  About half way across the country (possibly somewhere in Texas), the train stopped and the troops informed that Japan had capitulated – WWII was over.

Before the Korean War began, my uncle re-enlisted in the US Air Force.  He as assigned to a Photo Mapping unit as an Aircraft Mechanic.  He worked his way up to Crew Chief and served in Photo Mapping until he medically retired in the mid 60’s due to heart problems.

Being part of an Air Force family, I did not get to spend much time with my uncle while growing up.  However, I was able to stay a couple of summers with him at his West Palm Beach home while in my teens.  On a desk in his Florida Room sat collection of old used pipes in a walnut pipe rack / humidor combo (very similar the Decatur Industries 6 pipe Rack and humidor combination shown in the rebornpipes store).  There were a couple of packages of old dried up commercial brand tobacco in the humidor – one was cherry, I think.  I never saw my uncle smoke and never discussed the pipes with him, but I was intrigued by the pipe collection.  They were old, dirty, and well used – some with chewed through stems.  Obviously, the pipes had been smoked by a devoted pipe enthusiast.  As a young boy, I loved the smell of pipe tobacco, which you could occasionally smell in public way back then.  I started smoking an occasional pipe in college.  When my uncle passed away a few years later, I asked for his pipe collection and have stored it away since then.  The pipes are just as I received them some thirty years ago.

While I will never know for sure, I believe my uncle purchased the pipes in various PX’s and smoked them while an Air Crew Member.  The PX’s would have sold common commercially available pipe brands at a good price, nothing too expensive or exotic – consistent with the pipes in my uncle’s collection.  As a Photo Mapping Air Crew Member / Chief my uncle traveled the world extensively, and was stationed at many bases  – including “permanent” stations in West Palm Beach, Warner Robins, and Goose Bay Labrador, to name a few.  Smoking a pipe would have been a relaxing way to spend a few monotonous hours on the flight line or in the air.  After his heart problems, he must have given up pipe smoking and the pipes sat unused thereafter.  If the bowls look like they were recently scraped, it would have been over fifty years ago, most likely with a Case hardware store folding knife. If dirty, it is due to sitting for many years in the back room.  If well used and chewed it is due to many hours of smoking enjoyment.

I’m looking forward to seeing my Uncle John’s pipes in restored condition.  I know they are not “collectors” items, but they bring back priceless memories of my uncle and the times we spent together sharing “war stories”…

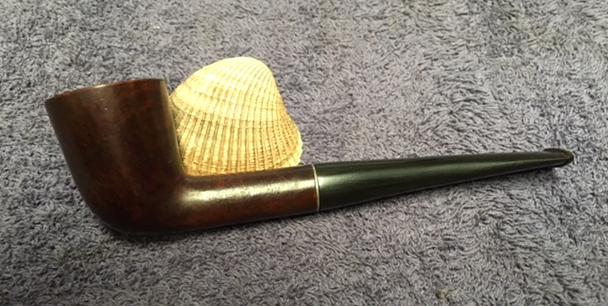
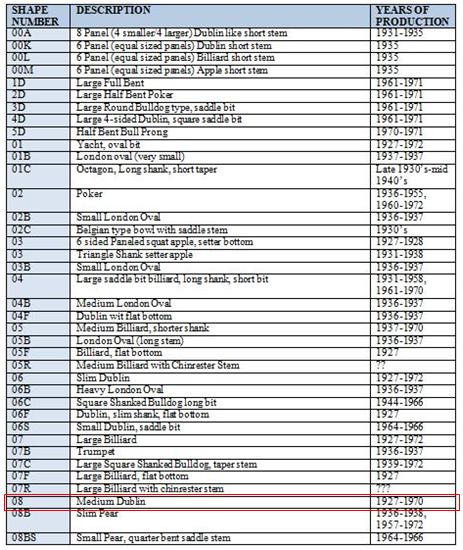
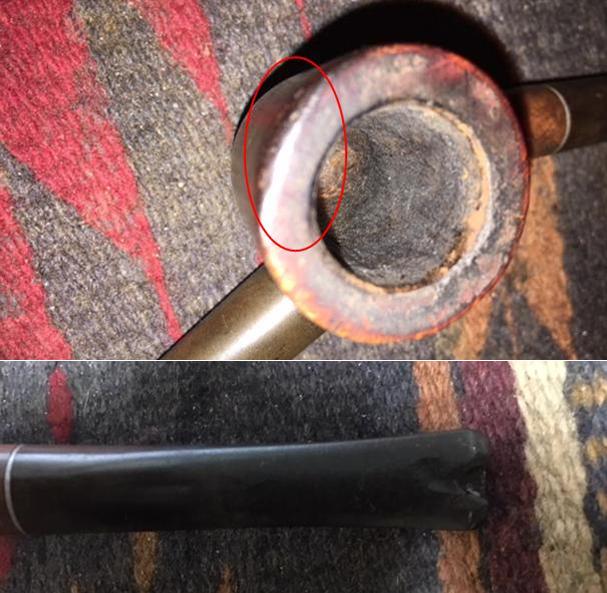
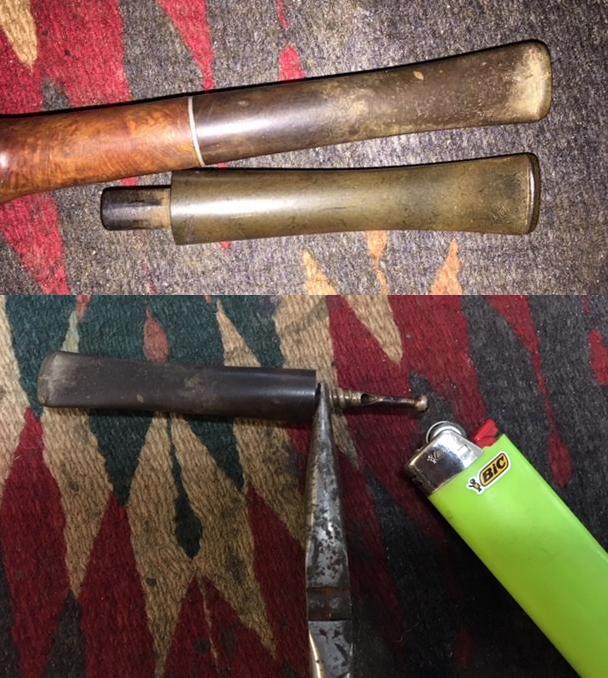
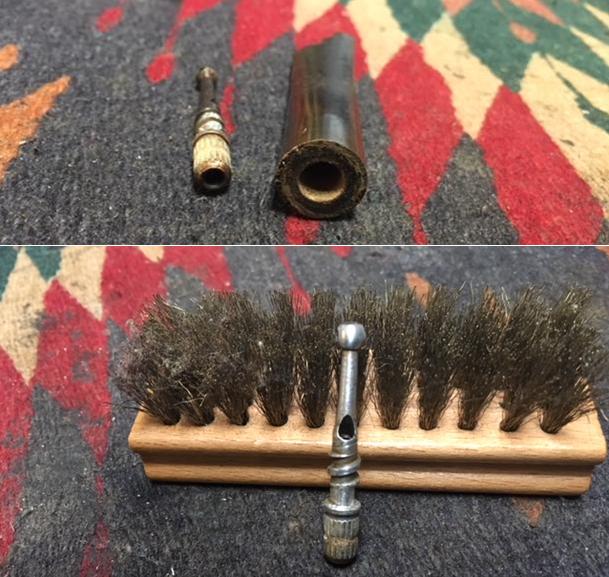
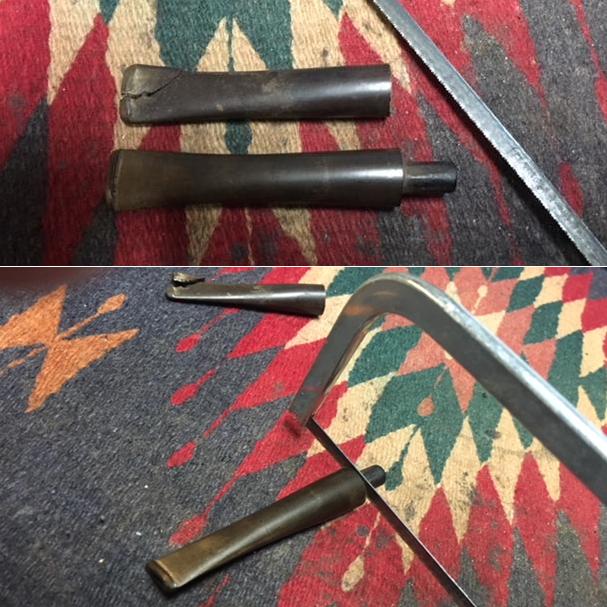
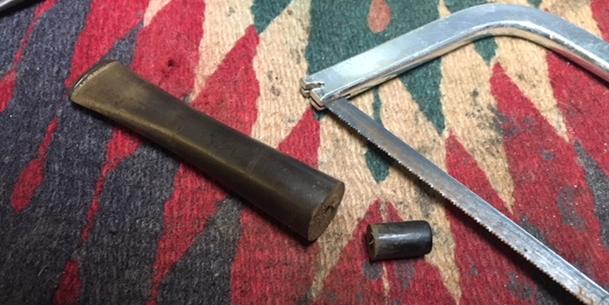
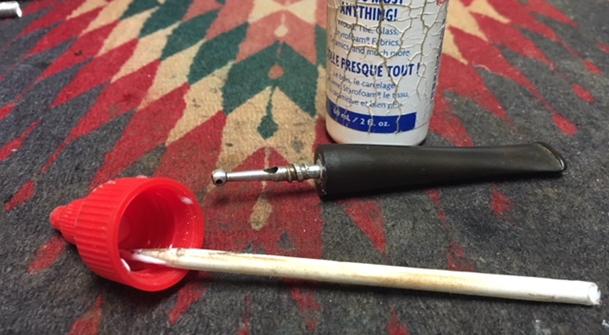
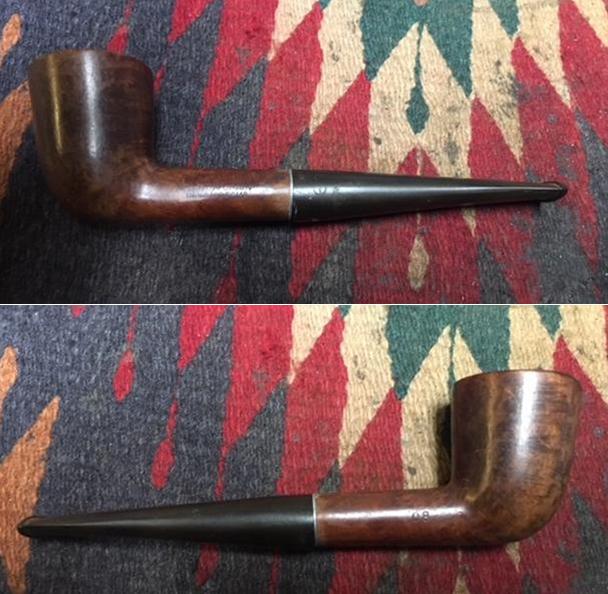
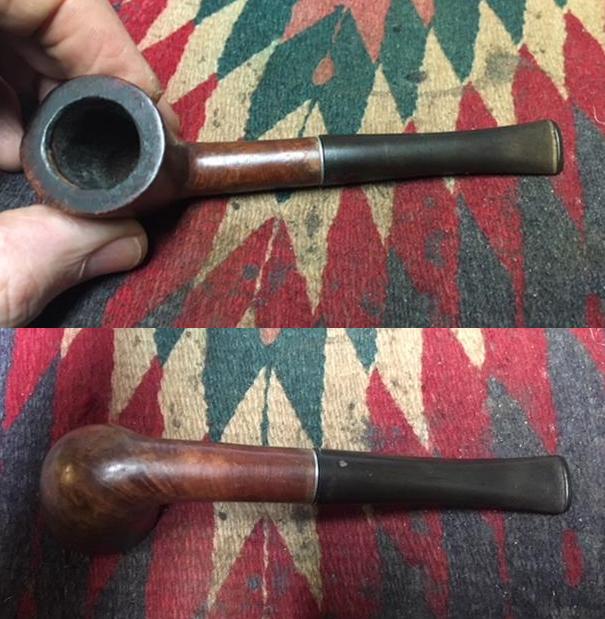
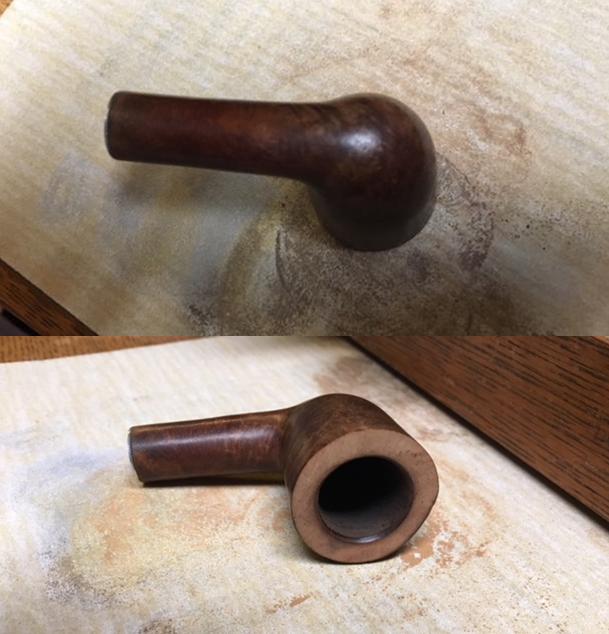
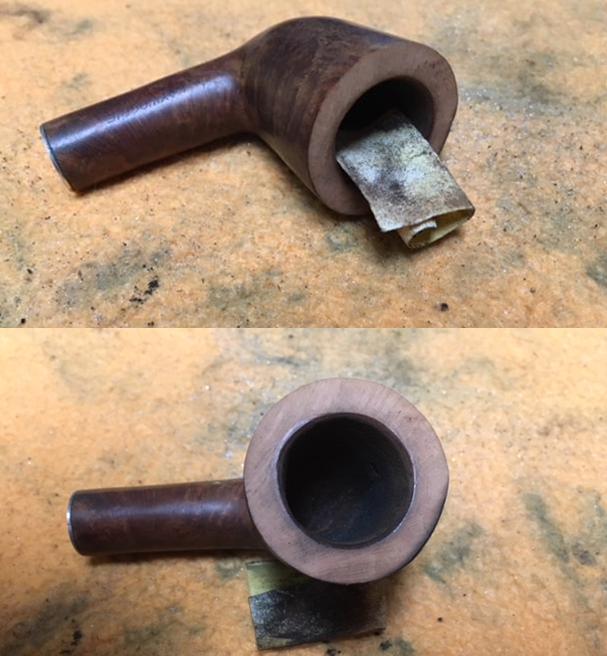
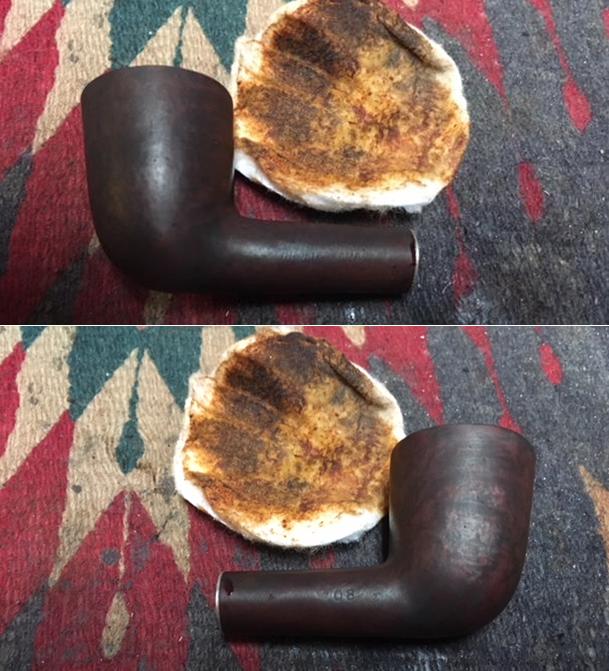
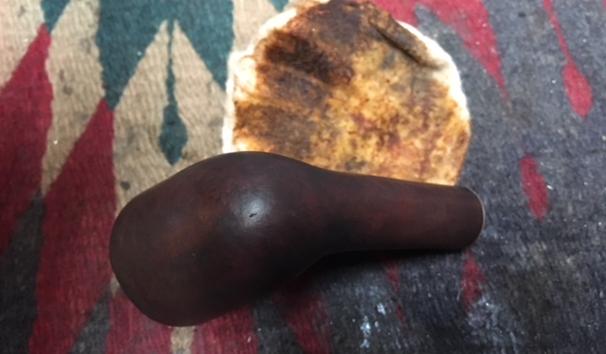
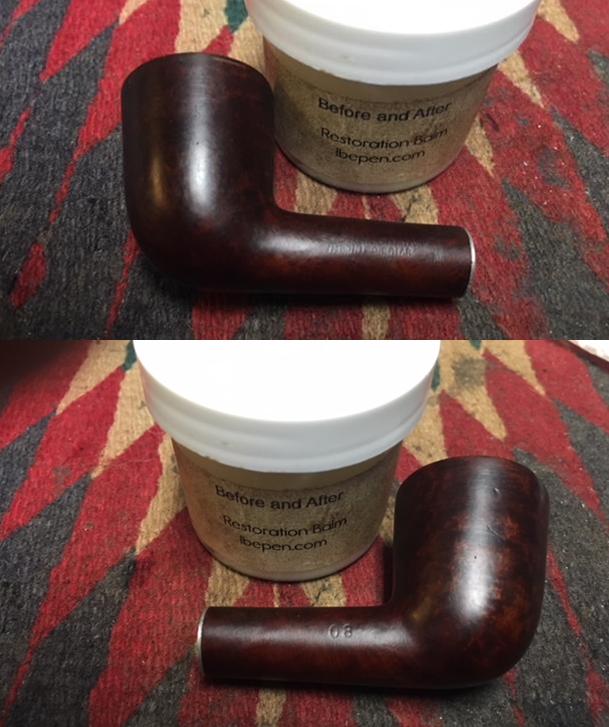
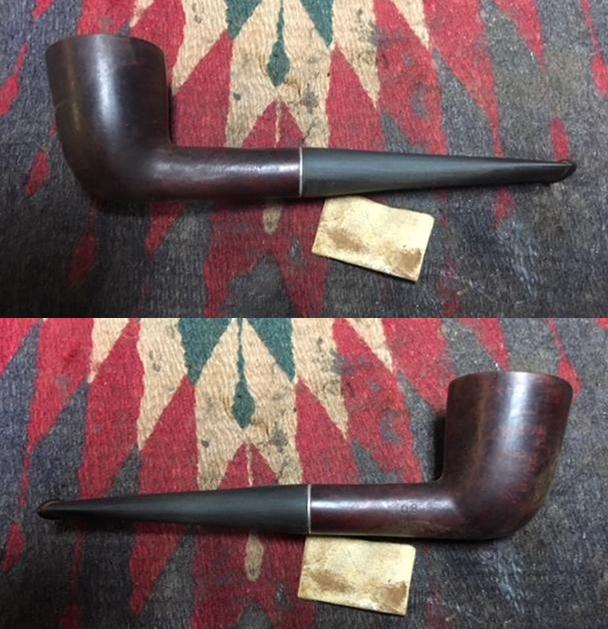
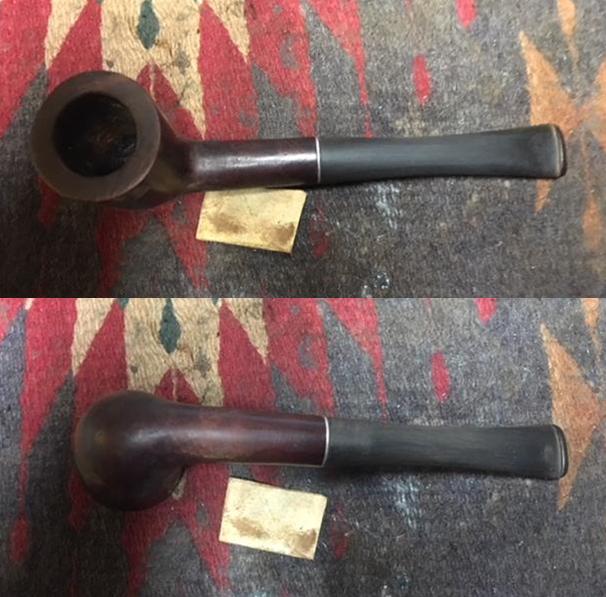
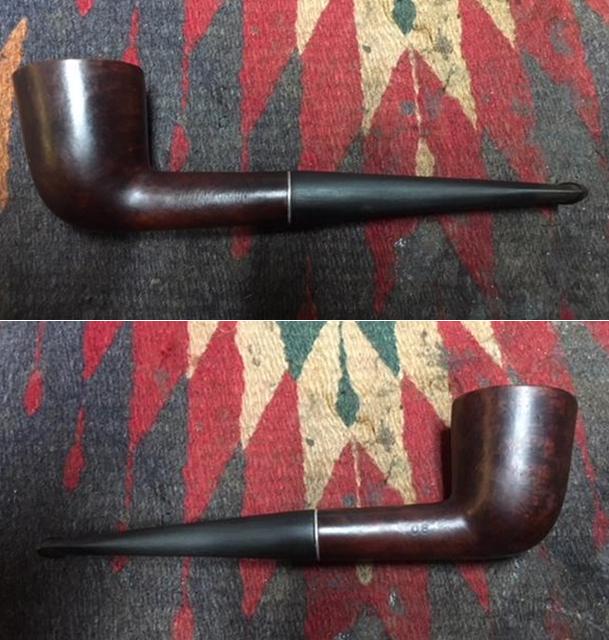
With the old pipeman almost standing over my work table, I turned my attention to the last of his pipes – a Kaywoodie Custom Grain Dublin shaped pipe. The pipe was stamped on the left side of the shank with the word Kaywoodie over Custom Grain over Imported Briar. On the right side of the shank is the shape number 08. I wrote about the various shape numbers of Kaywoodie and Yello-Bole pipe on the blog. I include that link now if you would like to have a look. https://rebornpipes.wordpress.com/wp-admin/post.php?post=39480&action=edit. I am also including the portion of the chart on the blog that shows the shape number of this old pipe and the years it was produced. I have boxed the shape number in red for quick reference. The exterior of the pipe was dirty and grimy with a few small dents in the sides of the bowl. The rim top was dirty and had some tar and lava overflowing the inside of the bowl. The right front of the bowl had burn damage where it looked like Mark’s uncle had repeatedly lit his pipe. The bowl itself did not have a thick cake but there was a still a thin cake in the bowl. The pipe looked like it had been reamed not too long before the last bowls were smoked. Overall the finish was in the worst condition of all of the pipes in this lot. It was dirty and dusty. The stem was oxidized and there was a large chunk of the vulcanite missing on the top end of the stem where it had been chewed through or broken off. The logo was missing from the inset on the left side of the stem. I took photos of the pipe before I started restoring it. I took a close up photo of the rim top to show the remnants of cake in the bowl and the lava buildup on the rim top. I took the photo at a bit of a different angle to show some of the damage to the rim top. The inner and outer edges were in rough shape. The front right outer edge was very worn. I have circled it in red to highlight it in the poor photo below. The top of the rim was also spotty and had tars and lava as well as nicks and scratches. I took some close up photos of the stem to show the size of the missing vulcanite chunk near the button on the underside. The oxidized metal three hole stinger on the stem needed polishing but otherwise it looked good.Since the stem was not only chomped on the underside but in examining it I found it was also cracked. I went through my can of stems and found one that was close to the same diameter and length. I had a decision to make – drill out the mortise to receive a push stem or transfer the stinger from the damaged stem and fitting it to the new stem. I chose the latter. I heated the tenon with a lighter while holding it with a pair of pliers. It did not take too long for the glue to heat up enough for me to turn the stem off of the stinger. I used a brass bristle brush to polish off the tars and oils that had hardened on the stinger. With the stinger removed it was time to work on the new stem to make it ready to take the stinger. Notice that the crack in original stem gave way in the first photo. The first thing that had to go on the new stem was the tenon. I cut it off with a hack saw as close to the end of the stem as possible. Once the tenon was gone I faced the end of the stem on the topping board to smooth out any rough or high spots that remained. I wanted a flush fit against the shank of the pipe. Once the tenon was gone I needed to drill the airway open to receive the stinger apparatus. The base of the stinger had a diameter of ¼ inch but I did not start drilling with that. I started with a bit slightly larger than the airway in the stem and worked my way up. I marked the bit with a permanent marker so that I would not drill too deep. I used a cordless drill at slow speed. To pull the bit out I reversed the drill and let it work it out slowly. This leaves a clean wall on the inside of the new stem.I cleaned out the new hole with cotton swabs and alcohol to remove all of the dust from drilling. I blew air through the stem to dry it out. I swabbed it with a clean and dry cotton swab. I lined the stinger upright with the hole on top and glued it in place with all-purpose glue. While it was still soft I threaded it into the shank and lined everything up so that it would dry straight. I set it aside and worked on something else while the glue dried. I took photos of the pipe to show the new stem in place after the glue dried. After the glue in the stem had set I removed the bowl from the stem and worked on it. It needed a lot of work. I wiped the bowl down with acetone on cotton pads to remove the remnants of the finish. Once I had the briar cleaned off I topped the bowl on the topping board with 220 grit sandpaper. I wanted to minimize the damage from the burn on the right front. I could not take it down to remove all of the burn without compromising the shape. I worked until it was less visible and then called it quits.The bowl was out of round and the inner edge of the bowl was damaged. I worked it over with a folded piece of sandpaper to minimize the damage and bring it back to round. I also worked on the outer edge of the rim to smooth it out as well. The second photo below shows the cleaned up rims – both inner and outer.I wiped the bowl down again with acetone on a cotton pad to remove the rest of the finish and clean up the briar. I took photos of the bowl at this point to show its condition. I polished the bowl with micromesh sanding pads – wet sanding it with 1500-2400 grit pads and dry sanding with 3200-12000 grit pads. I wiped the bowl down after each pad with acetone to clean off the sanding dust. The photos show the progress of the polishing. I wiped the bowl down with alcohol and then stained it with a medium brown aniline stain. I flamed the stain to set it and repeated the process until the coverage was what I was looking for. I washed down the bowl with alcohol on a cotton pad to make the stain a bit more transparent. I wanted to blend in the burn mark and still leave the grain showing through. I worked some Before & After Restoration Balm into the surface of the briar with my finger tips to deep clean the finish, enliven and protect the wood. I worked the balm into the rim top and inner bevel of the rim to polish the cleaned up area. I let it sit for a few minutes and then buffed it with a cotton cloth. The grain in the wood came alive and there was a rich shine to the briar. I took some photos of the bowl at this point to mark the progress in the restoration. I set the bowl aside and worked on fitting the stem to the shank. I repeatedly put it on the shank to check the diameter and clean up the fit. I worked on it with 180 grit sandpaper and 220 grti sandpaper to shape the stem to match the diameter of the shank all the way around. I wiped it down each time I finished sanding and then tried the fit. I repeated the process until the transition was smooth between the shank and the stem. It took a lot of sanding to get the fit correct but once it was there the stem was ready to polish with micromesh sanding pads. I gave the bowl several coats of Conservator’s Wax to clean it and give it a light shine. I rubbed the stem down with Obsidian Oil to highlight what I needed to work on.  I also wanted to get an idea of what the pipe was going to look like once it was finished. I worked over the stem with micromesh sanding pads. I polished out the sanding scratches and marks from the reshaping work. I wet sanded it with 1500-2400 grit pads and dry sanded it with 3200-12000 grit pads and wiped it down with Obsidian Oil after each one. When I finished with the 12000 grit pad I gave it a final coat of oil and let it dry. With the stem replaced and polished I put it back on the pipe and buffed the entire pipe again with Blue Diamond polish on the buffing wheel. I carefully buffed the new button with a light touch so as not to damage it. I gave the entire pipe several coats of carnauba wax and buffed it with a clean buffing pad to raise the shine. I hand buffed it with a microfibre cloth to raise the shine. The new stem and the original stem looked good to me and the bend was just right. The bowl polished up pretty nicely. The finished pipe is shown with the original stem in the photos below. This is the final pipe – number seven of Mark’s uncle’s pipes. Now I just need to pack these up as well as he did when he sent them to me and get them out to him. I am looking forward to what he will think once he has them in hand. Thanks for walking through these seven restorations with me. I am thinking Mark’s uncle would be proud of his pipe and glad that his nephew is carrying on the pipeman’s trust with them. Cheers.

Reworking Mark’s Uncle’s 6th pipe – a Kaywoodie Signet Rhodesian


Blog by Steve Laug

I have one more of Mark’s uncle’s pipes left after this one. The one on the table now is one of the Kaywoodies. I am really enjoying working on these and I think it is because of the known history behind these old pipes. To me one of the fun parts of this hobby is the history or backstory on the pipes. If I can find out about that it gives another dimension to the pipe repair or restoration work. I have finished five of the seven pipes that Mark sent me. The Ropp Cherrywood De Luxe (https://rebornpipes.com/2018/01/17/cleaning-and-restoring-a-ropp-cherrywood-de-luxe-805/), The Doodler (https://rebornpipes.com/2018/01/19/restoring-a-beautiful-the-doodler-bullmoose/), newer three hole stinger Kaywoodie Super Grain Billiard S-L (https://rebornpipes.com/2018/01/21/restoring-marks-uncles-third-pipe-a-kaywoodie-super-grain-s-l-billiard/), a Savinelli Churchwarden (https://rebornpipes.com/2018/01/22/restoring-marks-uncles-savinelli-churchwarden-aged-briar-2002/) and a Tally Ho 33 Pot made by Hardcastle’s (https://rebornpipes.com/2018/01/25/restoring-and-restemming-marks-uncles-5th-pipe-a-tally-ho-33-pot/) are completed and I have posted them on the blog. I mentioned in each previous blog that I think about the pipeman who used these pipes as a daily part of his life while I am working on them. Here are some pictures of the pipes.The pipe I am working on now is the third pipe down in the above photo and the third from the left in the photo below. It is a Rhodesian or round shank bulldog pipe with a major piece missing from the button on the stem.I have included a bit of the history of Mark’s uncle with each of the past pipe restorations to give you a sense of the information that always in behind the desire to clean up and restore this set of old pipes. Mark wrote…

…My Uncle John, raised in an Appalachian Mountain family (think Hatfield and McCoy), was a large man with an affable personality – although this had limits and he could be quite formidable.

During WWII he left home and enlisted in the US Army where he was assigned to Patton’s 3rd Army as an ambulance driver.  After Germany surrendered, he was transported back to the US on a converted ocean liner troop ship (I believe it was the Queen Mary).  Upon reaching the US, his unit was immediately sequestered on a troop train for transport to the West Coast to be shipped to the Pacific for the invasion of Japan.  About half way across the country (possibly somewhere in Texas), the train stopped and the troops informed that Japan had capitulated – WWII was over.

Before the Korean War began, my uncle re-enlisted in the US Air Force.  He as assigned to a Photo Mapping unit as an Aircraft Mechanic.  He worked his way up to Crew Chief and served in Photo Mapping until he medically retired in the mid 60’s due to heart problems.

Being part of an Air Force family, I did not get to spend much time with my uncle while growing up.  However, I was able to stay a couple of summers with him at his West Palm Beach home while in my teens.  On a desk in his Florida Room sat collection of old used pipes in a walnut pipe rack / humidor combo (very similar the Decatur Industries 6 pipe Rack and humidor combination shown in the rebornpipes store).  There were a couple of packages of old dried up commercial brand tobacco in the humidor – one was cherry, I think.  I never saw my uncle smoke and never discussed the pipes with him, but I was intrigued by the pipe collection.  They were old, dirty, and well used – some with chewed through stems.  Obviously, the pipes had been smoked by a devoted pipe enthusiast.  As a young boy, I loved the smell of pipe tobacco, which you could occasionally smell in public way back then.  I started smoking an occasional pipe in college.  When my uncle passed away a few years later, I asked for his pipe collection and have stored it away since then.  The pipes are just as I received them some thirty years ago.

While I will never know for sure, I believe my uncle purchased the pipes in various PX’s and smoked them while an Air Crew Member.  The PX’s would have sold common commercially available pipe brands at a good price, nothing too expensive or exotic – consistent with the pipes in my uncle’s collection.  As a Photo Mapping Air Crew Member / Chief my uncle traveled the world extensively, and was stationed at many bases  – including “permanent” stations in West Palm Beach, Warner Robins, and Goose Bay Labrador, to name a few.  Smoking a pipe would have been a relaxing way to spend a few monotonous hours on the flight line or in the air.  After his heart problems, he must have given up pipe smoking and the pipes sat unused thereafter.  If the bowls look like they were recently scraped, it would have been over fifty years ago, most likely with a Case hardware store folding knife. If dirty, it is due to sitting for many years in the back room.  If well used and chewed it is due to many hours of smoking enjoyment.

I’m looking forward to seeing my Uncle John’s pipes in restored condition.  I know they are not “collectors” items, but they bring back priceless memories of my uncle and the times we spent together sharing “war stories”…

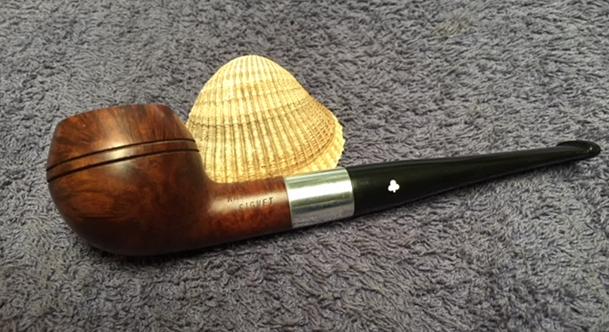
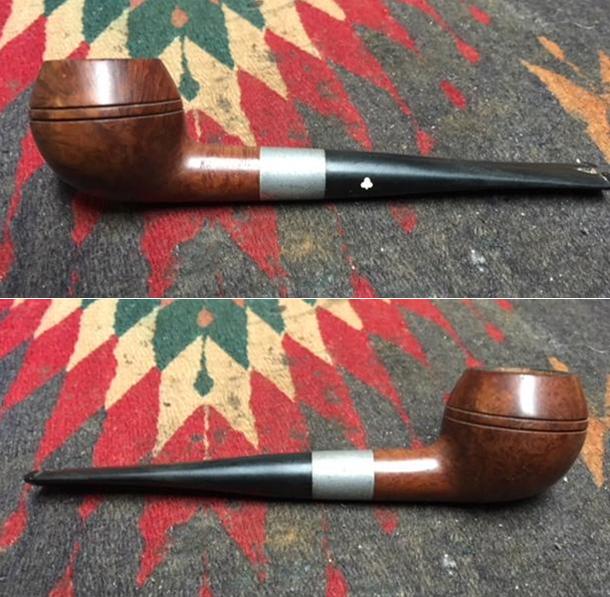
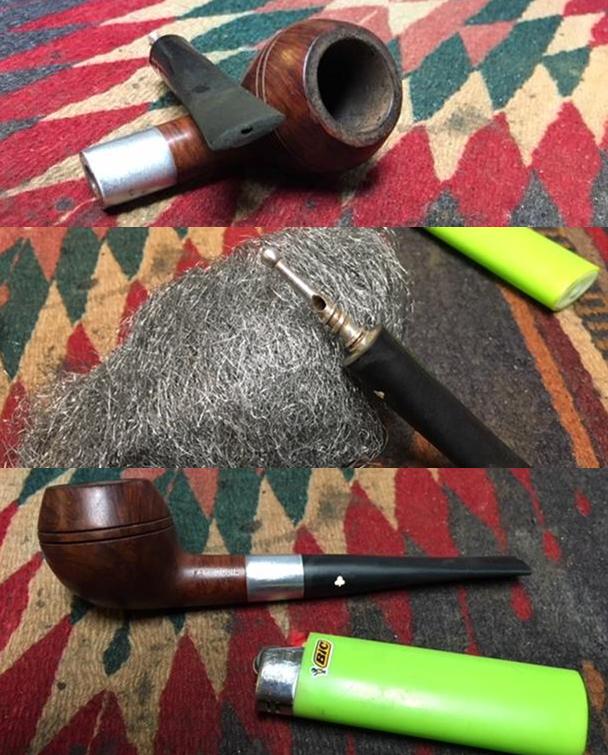
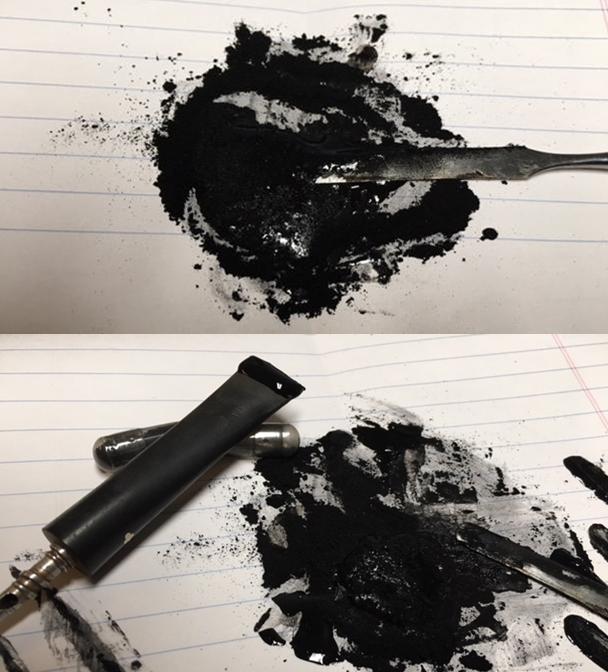
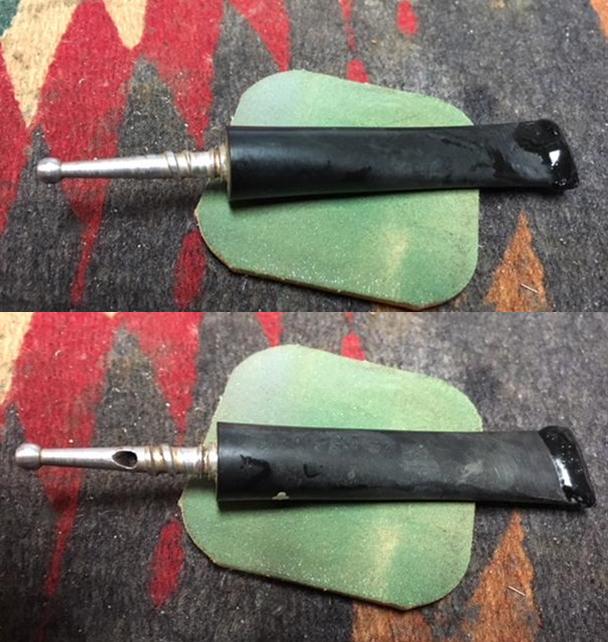
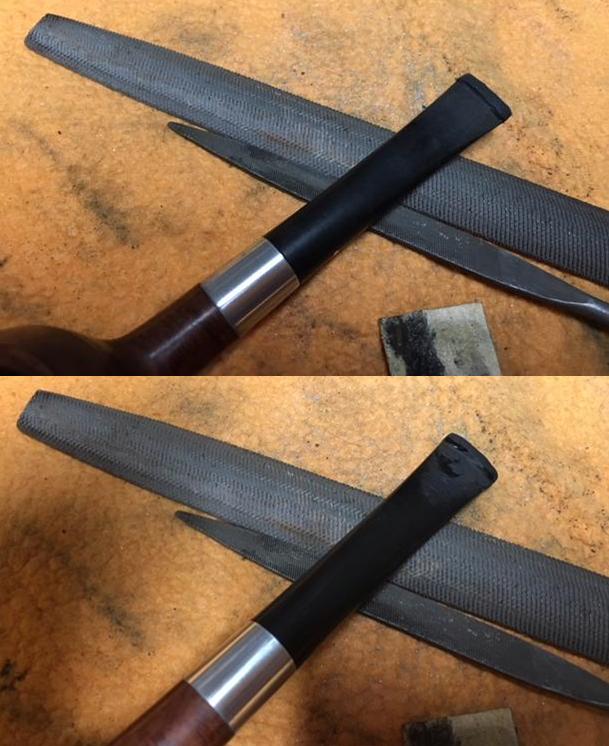
With that reminder of the old pipeman, I turned my attention to the sixth of Mark’s uncle’s pipes – a Kaywoodie Signet bulldog/Rhodesian shaped pipe. The pipe was stamped on the left side of the shank with the word Kaywoodie over the word Signet. There were no shape numbers on the right side or underside of the shank. The was an oxidized aluminum end cap threaded to hold the stinger/tenon apparatus. The exterior of the pipe was dirty and grimy with a few small dents in the sides of the bowl. The rim top was dirty and had some tar and lava overflowing the inside of the bowl. The bowl itself did not have a thick cake but there was a thin cake and remnants of tobacco in the bowl. The pipe looked like it had been reamed not too long before the last bowls were smoked. Overall the finish was in good condition but it was dirty and dusty. The stem was oxidized and there was a large chunk of the vulcanite missing on the top end of the stem where it had been chewed through or broken off. The stem was also slightly underclocked to the left. I took photos of the pipe before I started restoring it. I took a close up photo of the rim top to show the remnants of cake in the bowl and the lava buildup on the rim top. It appeared that the pipe may have been reamed or cleaned at some point very recently. The inner and outer edges of the rim were in good condition. But I would know more once I removed the lava overflow. I took some close up photos of the stem to show the size of the missing vulcanite chunk near the button on the top side. The oxidized metal fitment on the shank end needed polishing but otherwise it looked good.The stinger apparatus in the shank had three holes in the ball at the end of the piece. It was covered in tars and oils and was quite dirty. The great thing was that there was nothing missing on the stinger and there were no deep scratches or gouges in the aluminum.I used a Savinelli Fitsall Pipe Knife to scrape away the remnants of cake and tobacco on the walls of the bowl. I used a rolled piece of 220 grit sandpaper to sand the walls of the pipe and smooth out all the remaining bits. The bowl looked good once it was cleaned.Because it was the original stem and there was thickness to it, and because the stinger was intact in the stem I decided to do something a little different. I cut off the end of the damaged stem with a Dremel and sanding drum until I had solid vulcanite to work with. I cleaned off the stinger with 0000 steel wool to remove all of the tars and oils. I heated the stinger until the glue had softened and realigned the stem with the shank.I took the stem off the pipe and cleaned the exterior, especially focusing on the end that I was going to rebuild. I mixed up a batch of charcoal powder and black super glue (2 capsules of charcoal powder were mixed together with the super glue) to make a paste to use in rebuilding the button. I applied it to the area where the button would be with a dental spatula. I made it thicker than it needed to be so that I could shape and contour the finished look once the repair had cured. I sprayed the repair with accelerator and set it aside to dry. While the repair cured I worked on the aluminum shank end to polish out the oxidation. I worked on it with 1500-2400 grit micromesh to get it to the point is in the photos below. Once the new button area had cured and the repair was hard, I shaped it with a rasp and a needle file. I matched the two sides of the button – the top and bottom in terms of shape and width. I cut the sharp edge of the button square with the files and shaped the top and underside in front of the button with 220 grit sandpaper. I still need to open up the slot in the button at this point as well as round the edges of the button itself but it is coming along nicely.I turned my attention to opening the slot in the end of the new button. The first photo shows the look of the slot and button at this point. The second shows the new slot that has been opened in the button end using needle files.I cleaned out the airway inside the stem and stinger with pipe cleaners and alcohol. I want to remove the grime but also the dust that would be present from my shaping of the button and slot. I was surprised at how clean the inside of the airway was. I also cleaned out the metal mortise and shank with pipe cleaners, cotton swabs and alcohol.I cleaned off the tars on the top of the rim and polished it with 1500-2400 grit micromesh sanding pads. Once I had it smooth and unscratched I stained it with a dark brown stain pen. I hand buffed it with a soft cloth to blend the stain into the rest of the bowl.I polished the aluminum end of the shank with micromesh sanding pads to raise a shine. I wet sanded it with 1500-2400 grit pads and dry sanded it with 3200-12000 grit pads. I wiped it down with a damp cotton pad after each grit of micromesh. I worked over the stem with micromesh sanding pads. I polished out the sanding scratches and marks in the vulcanite and the rebuilt button – wet sanding it with 1500-2400 grit pads and dry sanding it with 3200-12000 grit pads and wiped it down with Obsidian Oil after each one. When I finished with the 12000 grit pad I gave it a final coat of oil and let it dry. Once it had dried, I polished it with Before & After Pipe Stem Polish Fine and Extra Fine. I rubbed it down with final coat Obsidian Oil and took the following pictures. With the stem repaired and polished I put it back on the pipe and buffed the entire pipe again with Blue Diamond polish on the buffing wheel. I carefully buffed the new button with a light touch so as not to damage it. I gave the entire pipe several coats of carnauba wax and buffed it with a clean buffing pad to raise the shine. I hand buffed it with a microfibre cloth to raise the shine. The new stem and the original stem looked good to me and the bend was just right. The bowl polished up pretty nicely. The finished pipe is shown with the original stem in the photos below. This is pipe number six of Mark’s uncle’s pipes. One left to finish up and then it will head back home to him. Thanks for looking.

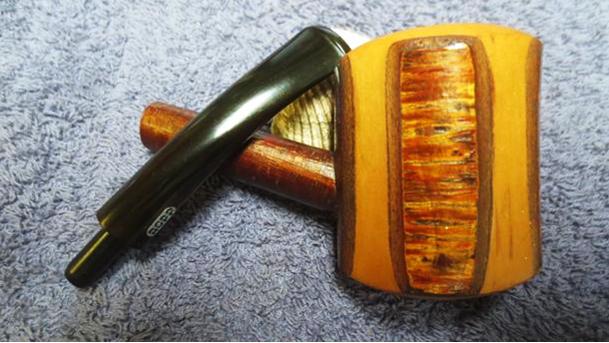
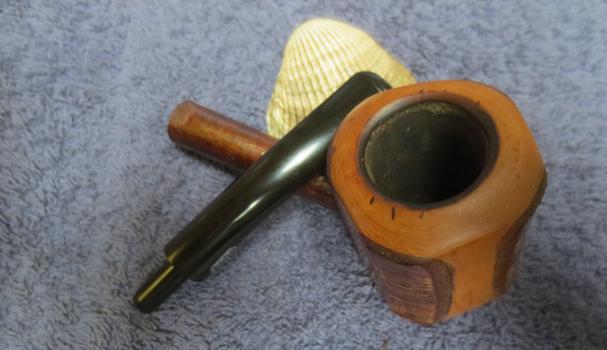
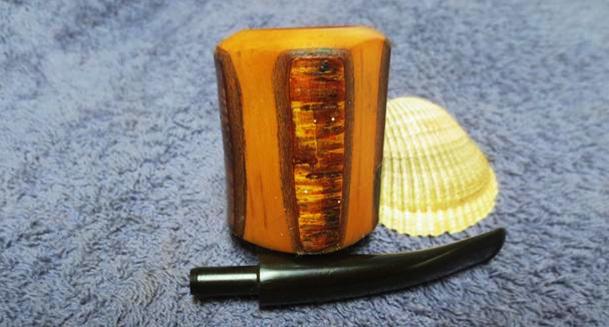
Cleaning and restoring a Ropp Cherrywood De Luxe 805


Blog by Steve Laug

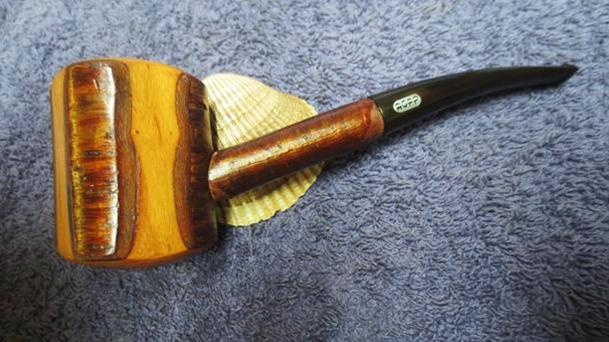
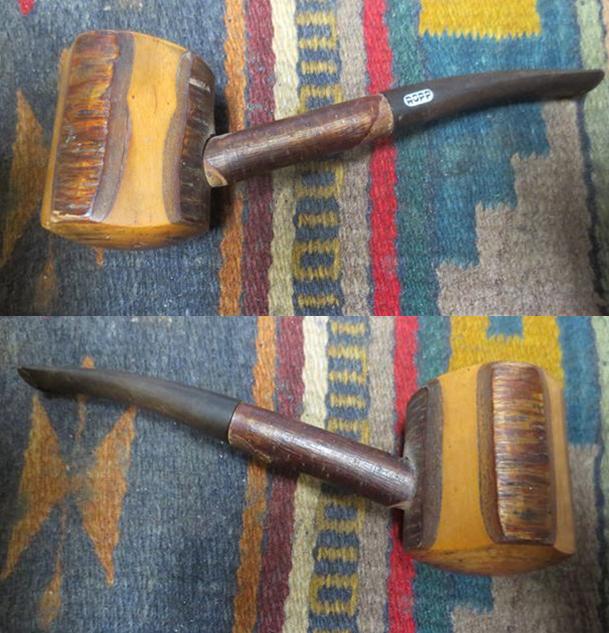
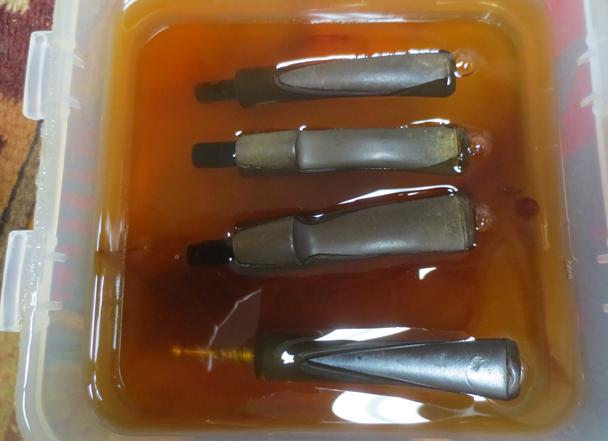
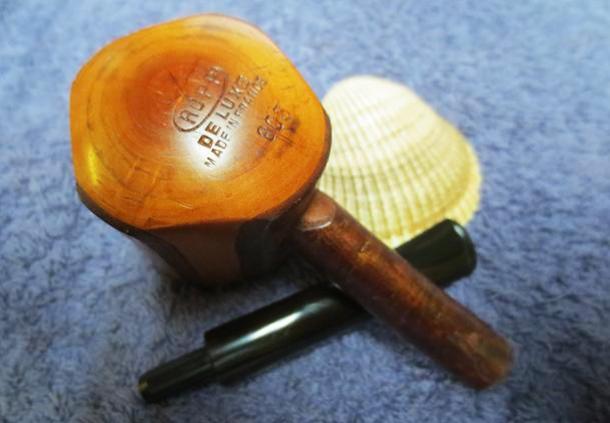
Not long ago I got an email from Mark, who had been reading the rebornpipes blog. He said that he had seven pipes that had belonged to his uncle that he was wondering if I would be interested in restoring. He said that the pipe were in good condition in terms of the bowls (though in looking at them they were in need of a good cleaning). The finishes were in decent shape – just dirty. He said that the stems all had issues and he was right with that. Some were worn with tooth marks on the stem on both the top and underside at the button. Some had been chewed off. All were oxidized to varying degrees. He sent me the following photos of the pipes for me to have a look at and we talked back and forth via email. About a week ago or so they arrived here in Canada. He had done an amazing job packing the lot. Each one was packaged in its own baggy with the stem separated for shipping. They were nicely wrapped in bubble wrap and boxed with the return mailing address inside! Very nicely done package. I opened the box and unpacked each pipe. I went over them carefully to assess what was needed in terms of repair. I chose to work on the Cherrywood pipe at the top of the first photo and on the far left of the second photo. It is a nice looking Cherrywood pipe with panels. The high points on the bowl all had bark on them with stripes without the bark. The shank also had bark on it. The bowl had a light cake in it. The rim top had a thick overflow of lava on it that had overflow from the bowl. There were also some light nicks in the rim top. The underside of the bowl was dirty but it was stamped ROPP over De Luxe over Made in France. Underneath that what the shape number 805. The stem had tooth marks and tooth chatter on the top side of the stem with some deep marks on the underside. The stem surface was oxidized. It had the ROPP oval on the left side of the stem. I took the following photos before I started to clean up the pipe. I took a close up of the rim top to show the lava build up and the cake in the bowl. It appeared that the bowl had been reamed before I received it but there were some remnants of the cake in the bowl. I took some close up photos of the stem to show the condition of both sides.I chose four of the pipes to work on first and put the stems in the Before & After Pipe Stem Deoxidizer. I pushed them under the solution and left them to soak overnight.While the stems were all soaking I turned my attention to the bowl. I scrubbed the surface of the Cherrywood with Murphy’s Oil Soap to clean off the dust and grime that sat on the surface. There were also some paint flecks that needed to be addressed as well. I scrubbed the surface with a tooth brush and rinsed it off with running water. I dried the bowl and shank off with a soft cotton towel to make sure I did not damage the bark. I took photos of the cleaned Cherrywood bowl. It actually looked really good. The rim top still needed work but it looked better. I cleaned up the inside of the bowl to remove the remaining bits of cake on the walls and the bottom of the bowl with a Savinelli Fitsall Pipe Knife.I used a folded piece of 220 grit sandpaper to sand off the remaining thick lava on the rim top and the damaged areas as well. I worked on it to smooth out the surface and then polished it with 1500-4000 grit micromesh sanding pads. I cleaned up the inner edge of the rim with a folded piece of sandpaper and removed the damaged areas there as well.I worked some Before & After Restoration Balm into the surface of the Cherrywood and the bark with my finger tips to deep clean the finish, enliven and protect the wood. I let it sit for a few minutes and then buffed it with a cotton cloth. The wood came alive and really had begun to show through at this point and there was a rich shine to the bark as well. I took some photos of the bowl at this point to mark the progress in the restoration. I set the bowl aside and called it a night. The bowl was ready other than touching up the cleaning of the shank. In the morning. In the morning I removed the stem from the Before & After Stem Deoxidizer and wiped it off with a paper towel to remove the remaining oxidation and bath. I cleaned out the airway with pipe cleaners and alcohol until it was clean. I cleaned out the shank with alcohol, pipe cleaners and cotton swabs at the same time  to remove any debris that remained inside. The stamping on the stem looked good. The stem was clean and black with the scratching, tooth marks and an odd red tint in the vulcanite visible on the left side. It was ready for repairs to the tooth marks and polishing. I lightly sanded the stem to remove the scratching and tooth chatter. I heated the stem with a Bic lighter to lift some of the tooth marks. Once that was done I built up the edge of the button on the underside and filled in the two remaining tooth marks on the underside of the stem with clear super glue. Once the repair had dried I sanded the repaired areas with 220 grit sandpaper to blend them into the surface of the stem. I sanded the rest of the stem as well working on getting rid of the red tint on the left side. I worked over the stem with micromesh sanding pads. I polished out the sanding scratches and marks in the vulcanite – wet sanding it with 1500-2400 grit pads and dry sanding it with 3200-12000 grit pads and wiped it down with Obsidian Oil after each one. When I finished with the 12000 grit pad I gave it a final coat of oil and let it dry. Once it had dried, I polished it with Before & After Pipe Stem Polish Fine and Extra Fine. I rubbed it down with final coat Obsidian Oil and took the following picture. I put the stem back on the bowl and took the pipe to the buffing wheel to work it over. I carefully buffed the bowl and shank with Blue Diamond. I did not want to damage the bark on the bowl or shank so I used a very light touch. I worked on the stem with Blue Diamond to polish it. I gave the bowl multiple coats of Conservator’s Wax and hand buffed it with a shoe brush. I gave the stem multiple coats carnauba wax. I buffed the entire pipe with a clean buffing pad to raise the shine. I hand buffed it with a microfiber cloth to deepen the shine. The finished pipe is shown in the photos below. The bark now has a rich glow to it and the peeled areas of the Cherrywood bowl look rich as well. The shank looks good. The hard rubber/vulcanite stem came out quite nice with a shine to the ROPP oval on the left side. The pipe came out really well. Now I have six more of the uncle’s pipes to finish up and then I will pack these back in their well packed box and send them back to the US to carry on life for the nephew of the pipe man who left them to him. Thanks for looking.


A Refurb and a Replacement Stem for a Lorenzetti Galatea Apple


Blog by Steve Laug

Not long ago I received a phone call from an interesting woman who had been given my phone number by a local pipe and cigar shop. She had a couple of pipes that needed some stem repair. In our conversation it turned out that they belonged to her husband and he had a total of two pipes. Both of them needed work and she was determined to get them repaired for him. In our talking we spoke of the options – either repairing the stem or making a new stem. She spoke with him and they decided to repair them. A few days later her husband stopped by the house to show me the two pipes. We talked and he decided to work on one pipe at a time so that he would have one to smoke while I repaired the other one. I finished the repair on the stem of his Big Ben Nautic 252 bent apple kind of quasi brandy shaped pipe. Here is the link to the stem repair on that pipe. https://rebornpipes.com/2017/12/22/restoring-repairing-a-damaged-stem-on-a-big-ben-nautic-252/ I returned it to him and he dropped off his second pipe for a repair as well. Two days later he called and said he had already chomped through the repair on the one he took with him. Even with a rubber softee bit he had demolished the repair. So we decided on this one to replace the stem.

The second pipe is a Lorenzetti Galatea Bent apple shape. It is stamped on the left side of the shank Lorenzetti over Italy. On the right side it is stamped Galatea. There is no shape number on the bowl or shank. The end of the shank has a decorative ferrule that is silver with two silver rings and a Lucite ring. The original stem also had a silver band between the shank and the rest of the stem. Lots of bling on this Italian beauty. The stem was black acrylic. From the side view photos below the pipe looked pretty good. The finish was dirty but the pipe appeared to be in decent condition. The top view photos show what the bowl and stem looked like from the top and underside views. Like the other pipe the bowl on this one had never been reamed and there was a thick cake that was composed of aromatic tobacco. It was soft and sticky. The lava overflow on the rim top was also sticky to touch. The smell of the pipe was a sickly sweet and sour smell of a pipe that had never seen a pipe cleaner and never had been cleaned. Once again he had gnawed the stem and had broken the top edge and a bit of the stem in front of the button. It was a mess. The underside had deep tooth marks and was also damaged. The poor pipe was a mess but he obviously smoked it as much as he did the first one. Now I had a task – clean and replace the stem on this one so that I could put a new stem on the first one. I had a mission. I took photos of the pipe before I cleaned it up. I took a close up photo of the bowl and rim to show the thickness and composition of the cake and the thick overflow of lava on the rim top. It looked to me that there was some damage to the inner edge and bevel of the rim on the right side of the bowl toward the back. I would know more once I reamed the cake back and could see what was underneath. It was not in nearly the condition of the Big Ben that finished for him early. I also took some photos of the stem damage so that you could see what I was up against. The sad thing to me was that this second pipe had exactly the same damage to the stem and the bowl looked identical as well.I reamed the bowl back to bare briar with a PipNet pipe reamer. I started reaming it with the smallest cutting head and worked my way up to the second cutting head which matched the diameter of the bowl. I touched up the reaming with a Savinelli Fitsall Pipe knife.The rim was in rough condition. There was gouging around the inner edge of the bowl cause by a knife and there was some charring in that area as well. The rest of the rim was in rough condition and appeared to have been knocked about a bit. It would need to be topped and reworked.I topped the bowl on a hard board with a piece of 220 grit sandpaper. I was able to remove much of the surface damage to the rim top. The second photo below shows the top of the rim after the topping. You can see the charred area in that photo as well.I used a folded piece of 220 grit sandpaper to re-bevel the inner edge of the rim and smooth out the damaged areas on the right inner edge. I blended that area into the rest of the beveled rim. Once it was shaped correctly I wiped it down and polished the briar with micromesh sanding pads – wet sanding with 1500-2400 grit pads and dry sanding with 3200-6000 grit pads. I restained the top and inner edge of the rim with a dark brown stain pen. The colour blended well with the rest of the bowl.I had enough of the smell of the pipe permeating the workspace so I decided to rid it of the smell filled my work area. I used pipe cleaners, cotton swabs and alcohol to clean out the interior of mortise and the airway in the shank. I used a dental spatula to scrape the walls of the mortise area. It took a lot of pipe cleaners to remove all of the buildup but once it was clean the pipe smelled better and it would be more pleasant for me to work on.With internals clean I turned my attention to the outside of the briar. I rubbed the bowl and shank down with Before & After Restoration Balm to deep clean the smooth finish, enliven and protect the briar. I hand rubbed it with my fingers and wiped it off with a soft cloth. I buffed the bowl with a soft cotton cloth to polish it. It really began to have a rich shine in the briar. I took some photos of the bowl at this point to mark the progress in the restoration. With the bowl finished I set it aside and went through my can of stems to find one that would work well with the pipe. I had two that could work – one was a vulcanite stem that had promise and looked good on the shank. It was the same length but slightly smaller in diameter than the original stem. The other stem was Lucite/acrylic. It was the same diameter as the previous stem and about 1/8 inch shorter. It also looked good with the pipe. Neither stem had the metal adornment on the end. I had nothing like that in my available stems. I chose the acrylic stem as it as harder than the vulcanite and I believe it will outlast the vulcanite stem with this particular pipe man. The tenon was slightly shorter but the shank was wide open with a deep mortise that was designed for a filter. I figured the length of the tenon did not matter in this case. I bent the stem over a heat gun to match the original stem. I sanded out the nicks and marks on the stem surface. The second and third photos below show the stem after the bend. I continued to sand out the nicks and scratches with 220 grit sandpaper to smooth out the stem surface. There were a lot of rough places on the stem and the tenon that needed to be smoothed out and blended into the surface.I polished out the sanding scratches and marks in the acrylic on both sides of the stem and the button surface itself with micromesh sanding pads – wet sanding it with 1500-2400 grit pads and dry sanding it with 3200-12000 grit pads. I wiped down the stem after each pad with a damp cloth to remove the sanding dust. I used a series of needle files to open the stem and funnel the airflow. After that I buffed the stem on the buffing wheel with Blue Diamond to polish out the final scratches in the acrylic. I put the stem on the bowl and worked the pipe bowl over on the buffing wheel using Blue Diamond to polish the bowl and stem. I hand buffed the stem to raise the gloss on the stem and polished the metal stem adornment with a silver polishing cloth. I gave the bowl and stem multiple coats of carnauba wax and buffed it with a clean buffing pad to raise the shine. I buffed the entire pipe with a clean microfiber cloth to deepen the shine. The finished pipe is shown in the photos below. The medium brown stains on the smooth finish of the apple shaped bowl works well with the rich black of the Lucite stem. The new stem and the polishing revealed a beautiful piece of briar and a well-shaped pipe. Thanks for looking.

A Few Firsts on a GBD Garland II Calabash 9552


Blog by Aaron Henson

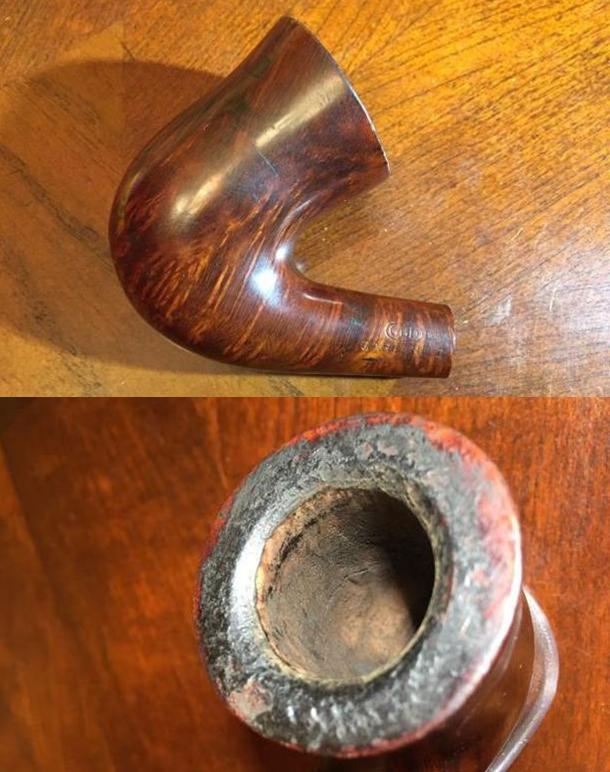
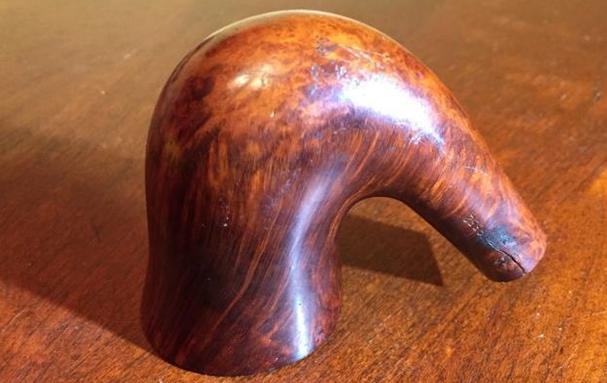
Before you get into this write up, I need to confess that despite my best efforts, I did a poor job of photo documenting this repair and restoration.  I had good intentions, but the project was spread out over two months, working on it as I had time. Because of this, some of the pictures were taken out of sequence and others were chosen that best show a repair but also show repairs that have not yet been covered in the write up.

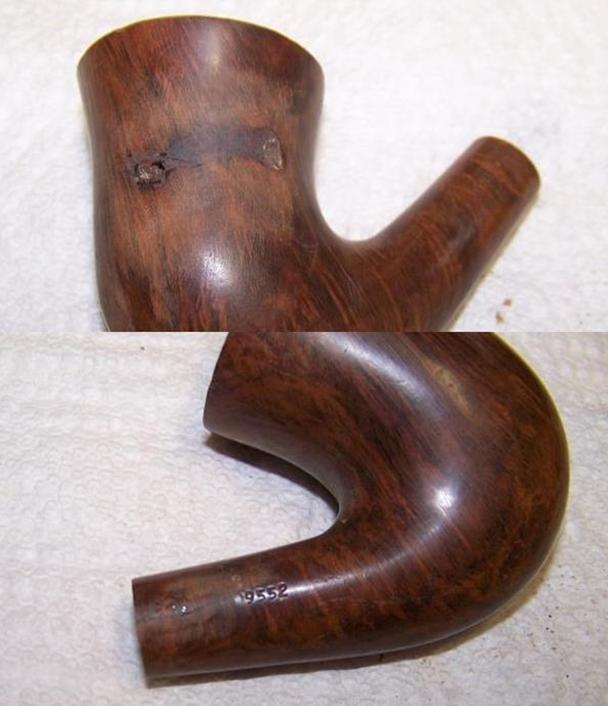
I realized a while back, that I had not restored a pipe recently that I was really excited about.  There have been a number pipes that have crossed my work table and some have even posed some new challenges but the pipes themselves were hardly memorable. With the pickings at the second hand store in my area being slim – I turned to eBay to see if I could find a project pipe that would peak my interest.  After a few hours of browsing I, found just what I was after: a stemless, GBD Garland II stummel – shape 9552.  I submitted my bid and picked it up for a price that I thought was reasonable.

I don’t typically like to buy pipes on eBay.  I prefer to be able to see them first hand so I know what I am getting myself into.  But in this case the seller was forthcoming in the auction description, revealing that the pipe had a major crack in the bowl and another in the shank and of course, it lacked a stem.  But what really fascinated me was the shape of the stummel and what promised to be some beautiful grain patterns.

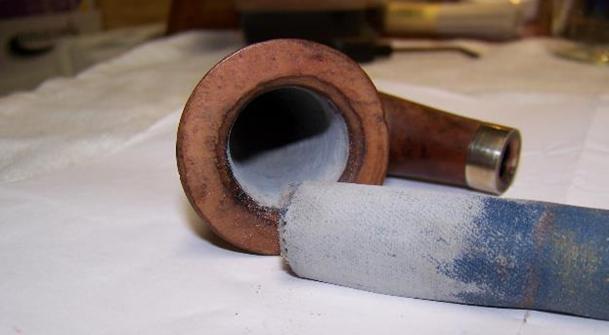
The following pictures were from the seller auction page: Wanting an idea of what kind of stem was originally on the pipe, I headed on-line to see what I could find.  My first stop was here at Reborn Pipes.  In a 2016 article, our host, Steve, restored a GBD Colossus Fantasy 9552.  I found additional examples of the 9552 shape in the GBD’s Prehistoric, Prestige and Virgin lines.  In all cases the 9552 originally came with a bent saddle bit – some fancier than others.
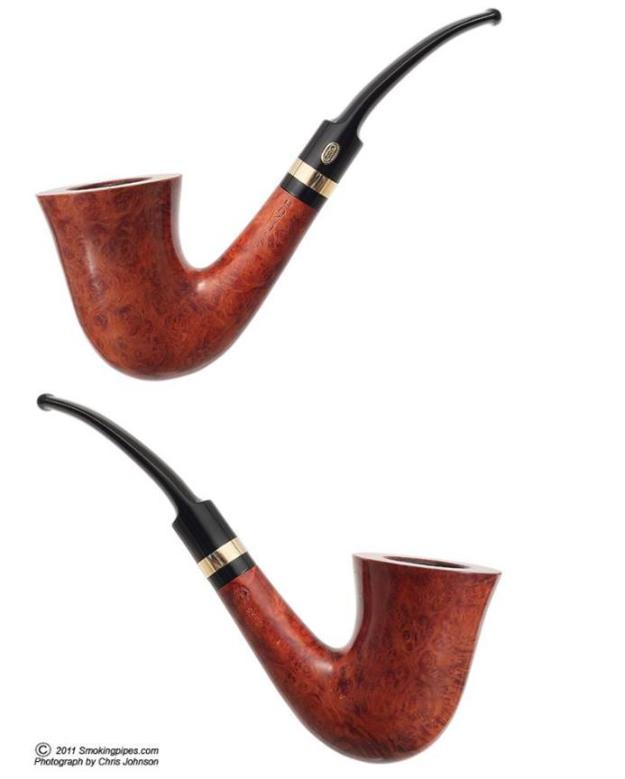
These next two pictures are of a Garland II I found online.  I was not going to try to duplicate the band in the stem, but knew I was going to need a band on the shank and that wouldn’t look too bad. Then I ended up at a Pipedia article for GBD Models where I learned that the Garland is a seconds line from GBD. I found this surprising because the Garland that I have and the ones I have seen online are excellent specimens of briar.  Admittedly, my eye is not that experienced, but just from the quality of the briar and the lack of fills and pitting I would guess that the Garland line is GBD’s higher end seconds consisting more of fabrication errors rather than materials flaws.  Can anyone confirm my guess?
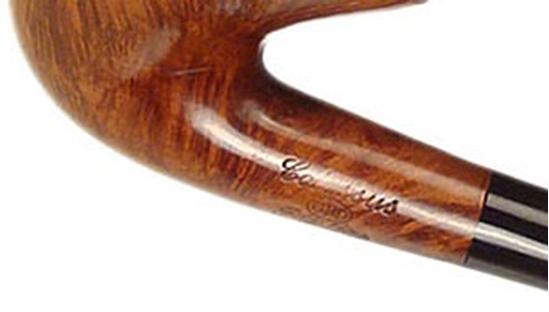
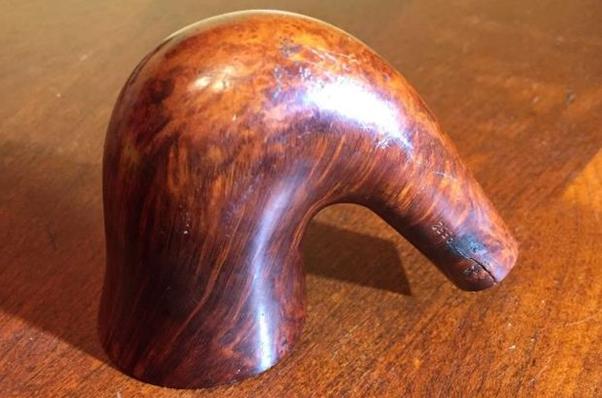
Another interesting fact that I note is that the 9552 shape is often stamped with “Colossus”.  The term Colossus was used by GBD as plus sized pipe designation.  This size designation is used on all the GBD lines of pipes, but is lacking on this particular Garland II stummel. When the stummel arrived, I eagerly open the package and began to inspect the damage up close, fearing that some of the worst damage may not have been disclosed.  But the seller’s pictures and description were accurate and I didn’t find hidden issues.  The pipe was indeed big; the bowl height is 2.4 inches and the outside diameter is 1.75 inches. The chamber is 0.96 of an inch in diameter and 1.9 inches deep.
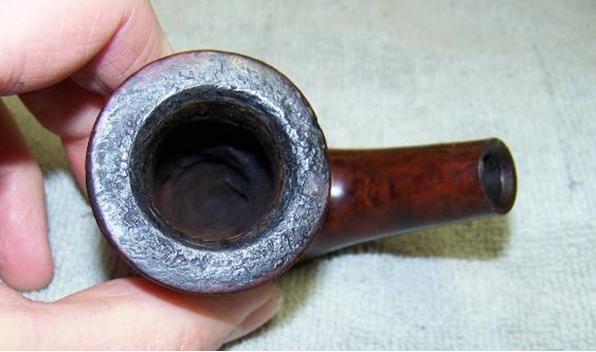
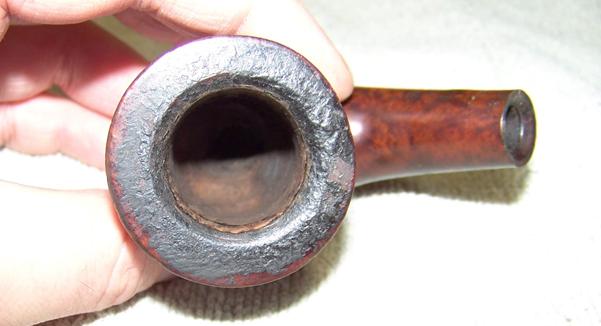
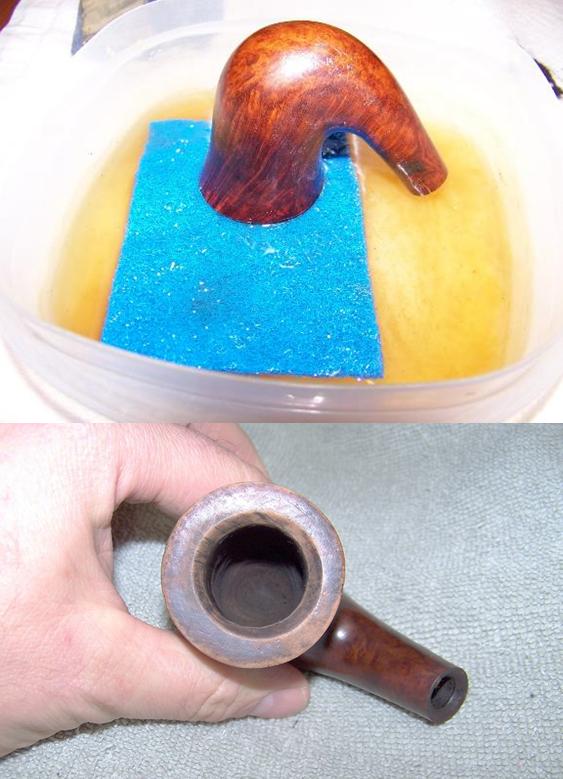
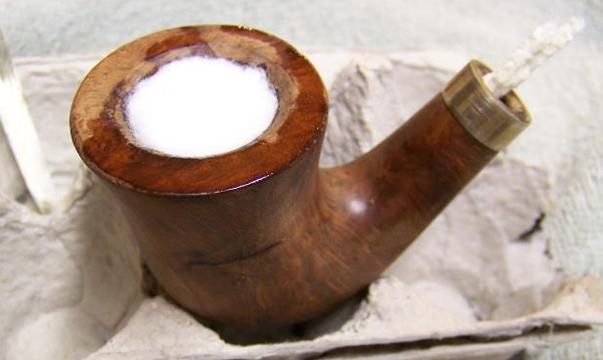
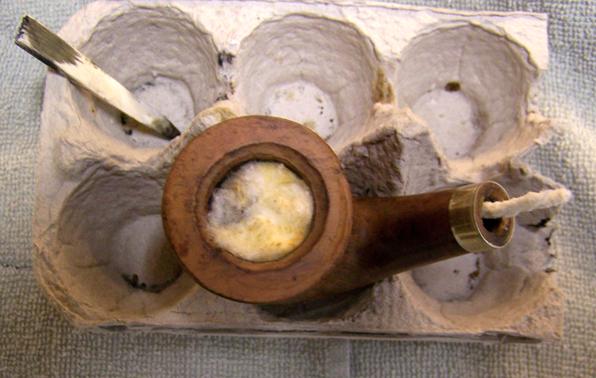
The left side of the shank is stamped GBD in an oval over Garland II.  The left side has the COM (Country of Manufacture) stamp: MADE IN LONDON in a circle over ENGLAND and the shape number to the right: 9552. There was a heavy amount of the lava on the rim and the bevel at the edge of the chamber was a little distorted.  The chamber too seemed to be drilled a little off center.  Perhaps this was the why it was a second?  The chamber had been reamed but not back to briar. The horizontal crack in the bowl was located on the left side and was a little over an inch long.  I suspected that it went all the way through bowl wall but I could not be certain until I finished reaming the chamber.  The crack in the stem was about half an inch long from the end of the shank right through the COM stamp but missing the shape number. Looking the pipe over closely, I noted quite a few dents in the heel of the stummel and handling scratches on the sides of bowl and the rim.  I guessed that this piece of briar had been rattling around in a drawer for some time.Now that I had the stummel in hand I could measure the shank diameter (.610” at the end) and estimate the length that I wanted the new stem to be; about 3-1/4 inches. I took these measurements to the Vermont Freehand website and selected a stem that best fit.  I chose the vulcanite stem blank number 722, a round saddle bit 21/32” diameter and 3-1/16” inches long.  I always order two in case I ruin the first one.  I also ordered four nickel plated shank rings, two 15.5 mm and two 16 mm not being sure which would be the better fit. With the parts on order, I started cleaning up the interior of the stummel.  I reamed the chamber back to bare wood with my Castleford reamer and Decatur pipe knife. I also cleaned the shank alternating with bristled and soft pipe cleaners dipped in 91% isopropyl alcohol.  The last person who tried reaming the chamber must have also ran a pipe cleaner or two through it because it only took five or six pipe cleaners before they started coming out as clean as they went in. The mortise I cleaned with cotton swabs. In all, the stummel was relatively clean. I wiped down the outside of the stummel with alcohol and acetone to remove the grime.  Underneath the dirt and oils was some beautiful straight grain with a birds-eye heel.  I looked closely and could not find any fills.  Next, I addressed the thin crust of dried tars on the rim.  I wetted down a green pad (mine was actually blue and did not work as well as the original green ones) with a mixture of tap water and granulated Oxy-clean.  Placing the pad in a shallow dish, I pressed the rim of the pipe down on the pad and scrubbed in a circular motion.  A little elbow grease and the moist Oxy-clean solution did its job. I dried the stummel with a paper towel and set it aside to dry for a bit.Next, I wanted to remove the ghosts of the previous tobacco that I could still smell in the chamber with an alcohol soak.  I use the cotton ball method because it seems to do the job and is easier to clean up than the salt method. This chamber needed three cotton balls and I used 98% grain alcohol for the soak. I placed a cap over the top of the bowl for the first couple of hours to keep the alcohol from evaporating too fast then I removed the cap so the evaporative action can draw out the tars from the briar.When I got back to it the next day I was disappointed (though not surprised) that the crack in the bowl was wet where alcohol had been seeping through.  At lease now I knew for sure that the crack went all the way through the bowl wall.  The good news was I could easily see the ends of the hairline crack.  I used a dental pick to mark the ends so I could find them later, then I removed the cotton balls and wiped out the chamber with a dry paper towel. I began the crack repair by using a small drill bit (0.5 mm) and hand drilled the stopper holes at the location I marked with the dental pick. Since the crack went completely trough the chamber wall I also drilled the hole all the way through the wall.  I have not dealt with a crack that was this deep before so I was on unfamiliar ground.  I packed the hole the half full with briar dust using a tooth pick then placed a drop of clear CA glue into the hole – coaxing it in with the tooth pick.  I filled the holes up the rest of the way and dripped more glue.  I used a magnifying glass to locate the end of the shank crack and gave it the same treatment.
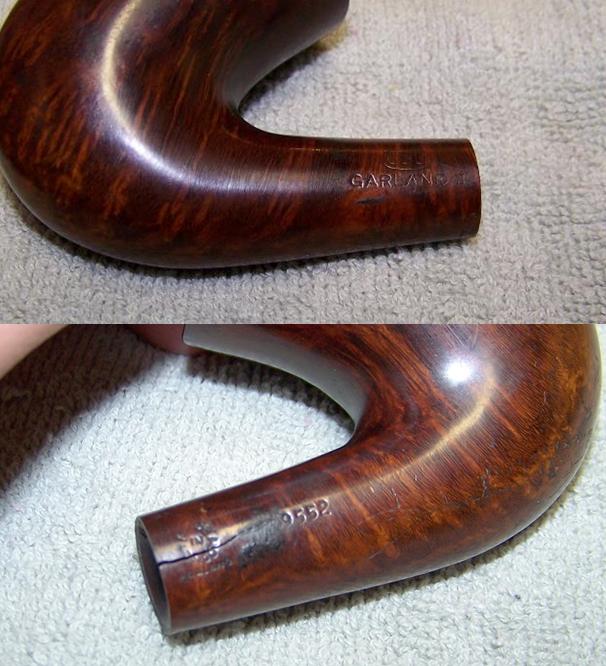
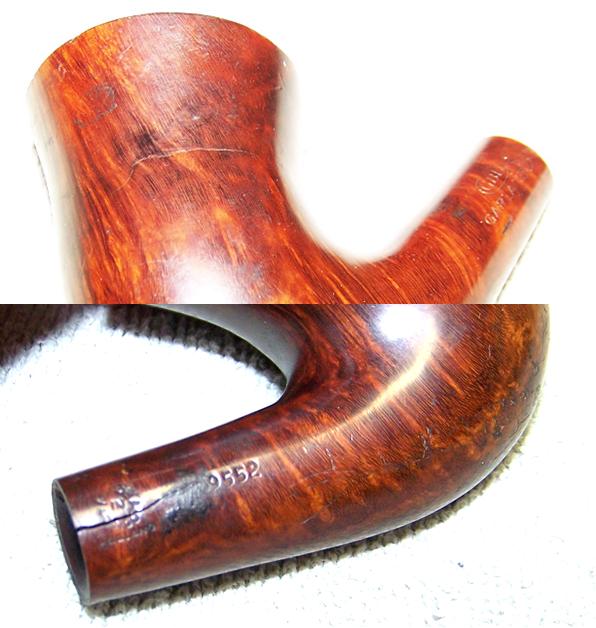
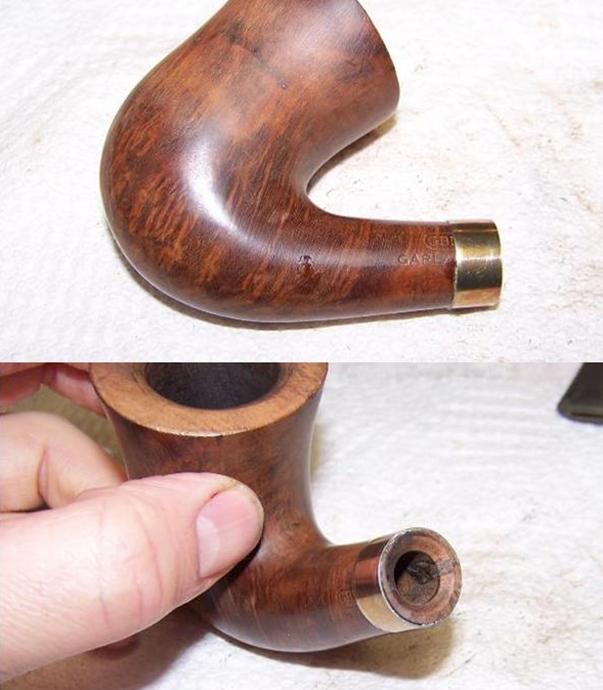
I unsuccessfully tried working some CA glue into the bowl crack. The glue just seemed to set too fast and did not penetrate the crack.  The shank crack on the other hand I could work open and get the glue to flow into it.  I put a clamp on the shank while the glue set.  Then when dry, I sanded the glued repairs smooth with 220 grit paper, careful not to over sand and change the shape of the pipe or damage the stamping on the shank. I resolved to repair the bowl crack by applying coat of heat resistant epoxy to the inside of the chamber.  In this case I used the two part JB Weld – not the Quick Weld, which is useful for other pipe repairs.  For pipe chamber repairs, I like the original JB Weld epoxy, it is easy to use and when cured it has a 550 degree (F) heat resistance.  It is also easy to sand smooth.  I apply it with my finger because it is much easier to get an even coat.  I highly recommend wearing a pair of powder free Nitrile blue gloves for this operation! By this time the parts from Vermont Freehand arrived and wanted to band the shank. I have fixed a few banded pipes before but never put a band on an unbanded pipe. I tried dry fitting the two different sized bands I had bought.  The smaller band would only just slip on the first fraction of an inch so I was glad I had ordered the next size up. The bands were a bit wider than I wanted because I did not want it to cover up too much of the stamping.  Not sure what to do about the band width, I kept focusing on the seating of the band.  I used a heat gun to heat up the band and get it to expand.  Then with the band resting on a wood block, I pressed the shank down into the ring. The first attempt didn’t go well. The band was a bit cocked and only seated about a quarter of an inch.  I realized that the shank’s taper was going to prevent the band from going on much farther and that was going to resolve the width issue; I was going to have to trim the band.
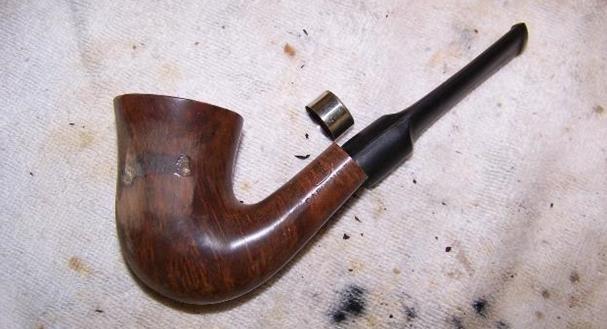
I removed the band and heated it up again.  I smeared a little CA glue around the end of the shank and was able to seat the band squarely.  This time about 3/8” onto the shank.  Once cool, I used a skinny wheel on a rotary tool to trim of the excess band material and flush it up to the end of the shank.  Although the band covered up the COM stamp and ‘AND II’ of ‘GARLAND II’ it was necessary and it gives the stummel a touch of class. I was pleased that the replacement stem I had chosen seemed to be a good fit although it was going to need some work.  I started by using a fine tooth file to square up the face of the stem so it sits flush to the shank and removing the casting burrs.The tenon on the blank was way oversized as was the body of the stem.  I don’t have a tenon turning tool, so I use my drill press to turn the stem.  Wedging a bamboo skewer into the air hole at the tenon end, I leave about an inch of skewer exposed that I can secure into the chuck of the drill.  Setting the drill to about 1300 RPM I use small pieces of 60 grit sand paper to slowly reduce the diameter of the tenon and the stem until it the correct size. The drill press method works well in theory.  Once in a while the stem slips loose from its friction fit with the skewer and I have to reseat it.  I work the vulcanite with 60, 120 and 220 grit sand paper, leaving the polishing to be done by hand with micromesh pads.
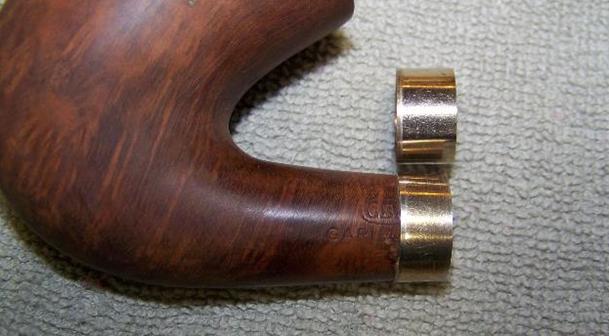
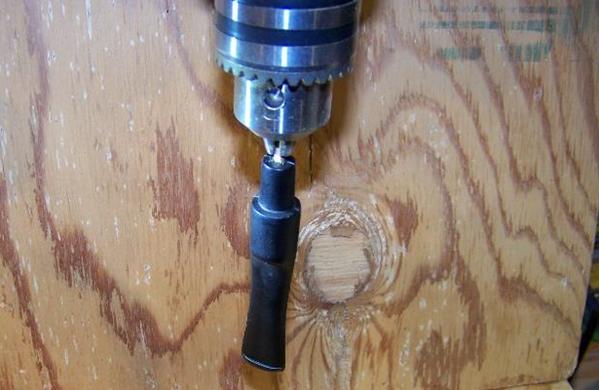
I kept a caliper nearby set at the correct tenon diameter to check my progress.  As I got closer to the correct size, I switched to 120 and 220 grit paper.  But I didn’t switch soon enough!  By the time I got some of the deep scratches of the 60 grit out I had overturned the tenon and it was a hair too small.  I finished turning the body of the stem before addressing the tenon issue.I thought at first that a little bee’s wax on the tenon would be enough to tighten the fit but in the end I had enlarge the tenon.  To do this, I heated the tenon and inserted a drill bit into the air hole to enlarge the tenon.  Letting the tenon cool with the bit in it I checked the fit:  A little too big.  I didn’t want to take anymore material off the tenon because if the tenon gets hot during a smoke it will return to its original size, vulcanite has a memory.  I looked around my tool box and found a small punch that had a slightly smaller diameter than the drill bit and repeated the heating process.  This time the fit was much better.
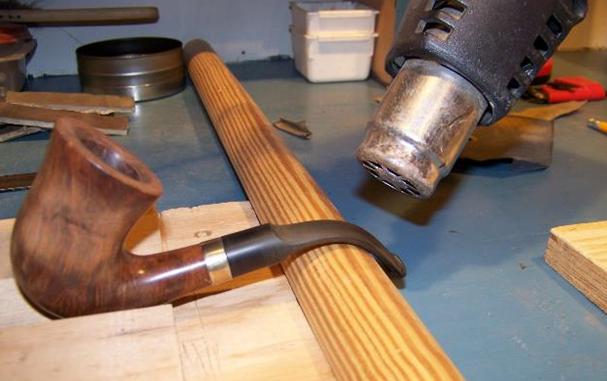
With the stem fitted it was time to bend the stem.  I have jig for holding round stock and I used this to hold the assembled pipe steady with the bit resting on a 1-1/4” round dowel.  Using my heat gun, I heated the bit until it draped over the dowel.  I dipped the bent stem in water to cool the vulcanite and set the shape.  Then I checked the angle of the bend and had to repeat the process a couple of times until I had what I thought was the original stem shape just right.Stem polishing started with 220 grit to remove the remainder of the casting burrs.  Then I wet sand with micromesh pads 1500 – 4000.I removed the plastic guard after the 2400 pad.  I used the 3200 and higher micromesh pads to also polish the band.After the 4000 pad I coated the stem with mineral oil and let it sit for a few hours.  Then I finish polishing with pads 6000 to 12000. I started finishing the stummel by giving it a steam treatment to raise the dents and handling damage.  Holding a wet terry cloth rag on the briar I press a hot iron on to it.  This method works very well but I have two points of caution: 1) don’t burn your fingers in the steam; and 2) do not press the iron near the stamping, it will ruin stamping very quickly.  I only apply the iron around the bowl body and the heel where the dents are the worst anyway.
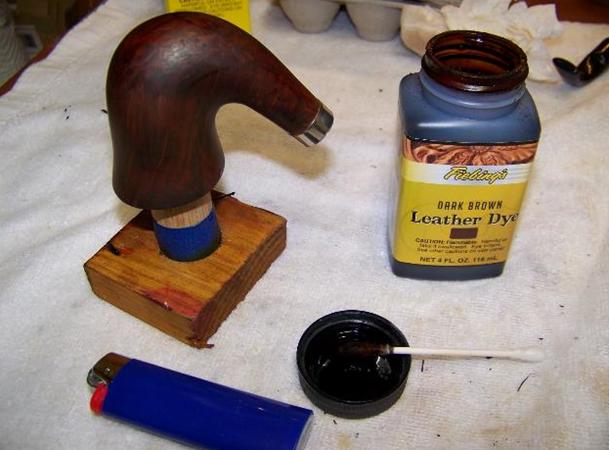
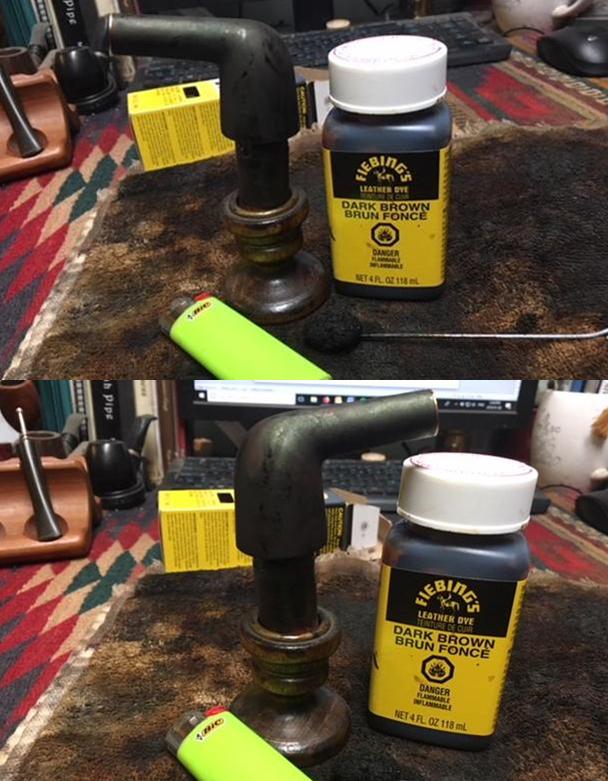
I sanded the stummel with micromesh pads 1500 through 3200, with special attention paid to the rim to make sure it was smooth.  I selected Fiebing’s dark brown aniline dye to better hide the repairs and applied the stain, without dilution, using a cotton swab straight from the bottle.  I used a flame to heat and set the stain.  I wiped down the stummel with isopropyl alcohol on a cotton pad to remove the excess stain.  I kept wiping it down until the level of color was what I thought it should be. After staining the stummel I like to refresh the briar with a light coat of mineral oil and let the oil soak in overnight.  All of the alcohol in the stain and the wiping down tends to dry out the stummel and I find the mineral oil helps to bring some of the life back to the briar.  It also seems to give the finished pipe a healthy look.After the oil soaked in, I polished the briar with the 3200 – 6000 micromesh pads.  Wiping it down with a clean cloth when finished.I took the assembled pipe back to my drill press/buffing station and ran over the entire pipe with red diamond polishing compound.  Two or three passes of the pipe seems to prepare the pipe well for the final finish.  I wiped the pipe down with a microfiber cloth to remove the buffing compound and then changed the buffing wheel for the waxing wheel.  Three coats of carnauba wax put a nice shine on the pipe.
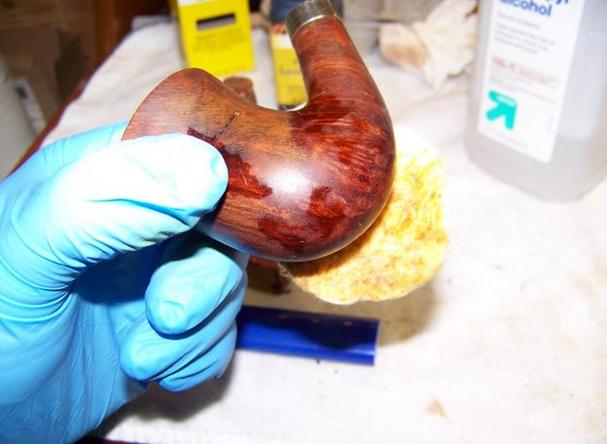
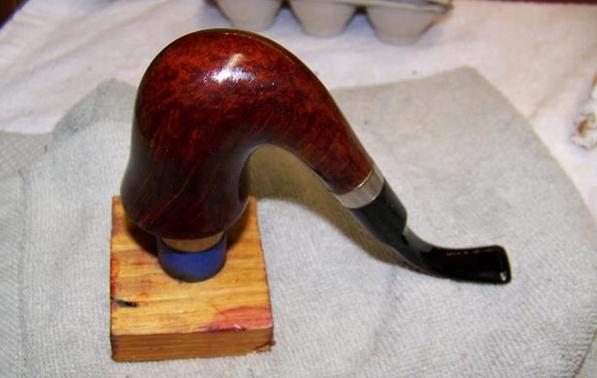
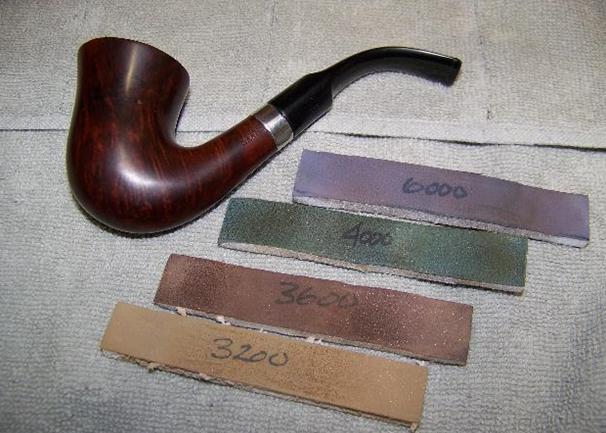
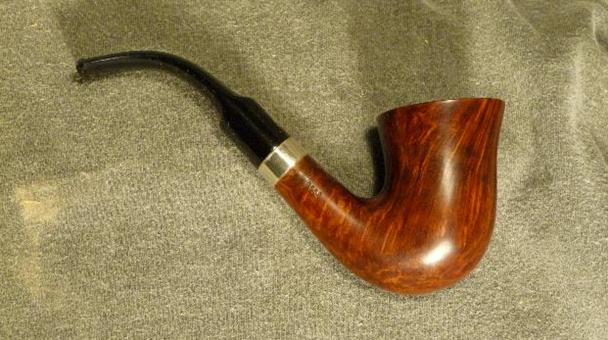
The last step in this restoration was the bowl coat.  I had earlier sanded the epoxy chamber repair and wiped out the bowl with alcohol so the inside was relatively smooth.  I mixed up a small batch of bowl coat using 2 teaspoons of sour cream and about three activated charcoal capsules.  This made a thick, black, creamy paste that I spooned into the chamber with a wood spatula made from a popsicle stick. Donning the Nitrile gloves again, I used my finger to evenly spread the coating around the inside of the chamber. Wiping the excess coating off the rim with a cotton pad I set the pipe aside to dry for a few days.

Now am I looking forward to the weather warming up so I can break in this pipe.  I think it might become one in my regular rotation. Thank you for sharing in my adventure. If you like the tamper in the picture above, it is one that I made and is for sale.  Please see the Reborn Pipes Store page for it and other tampers.  All proceeds go to charity.


Refreshing & Restemming a Missouri Meerschaum Great Dane Spool


Blog by Steve Laug

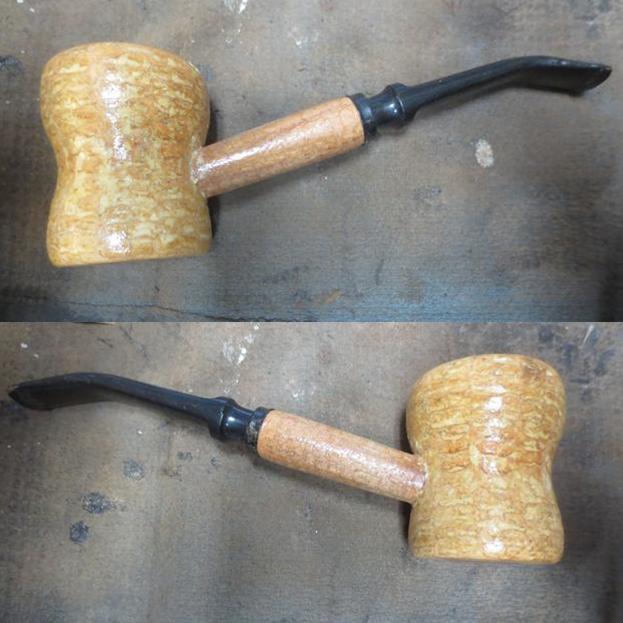
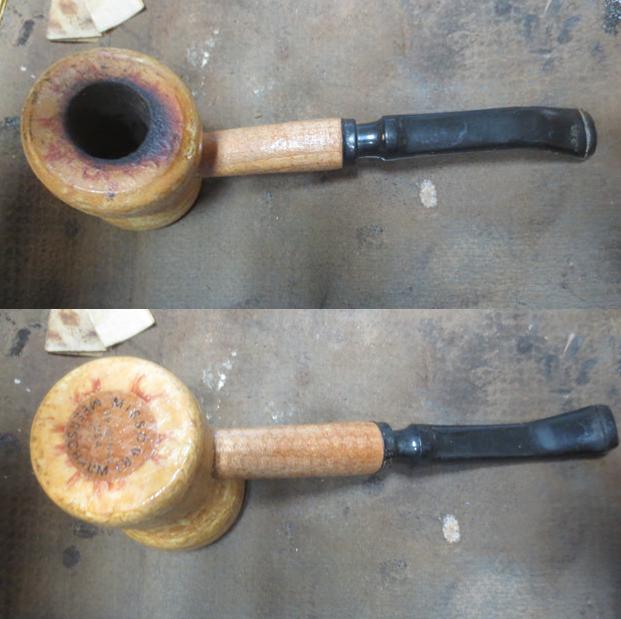
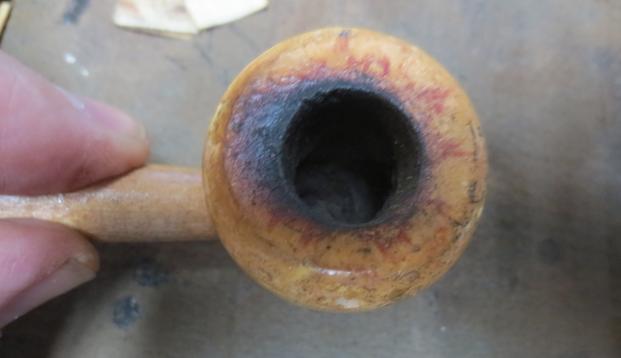
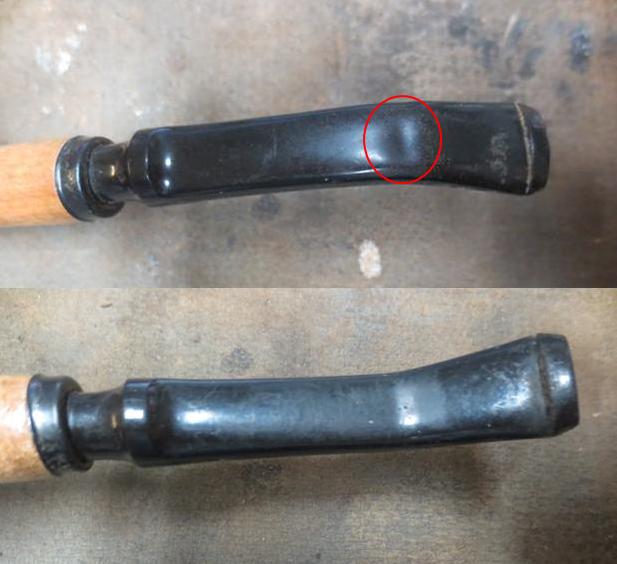
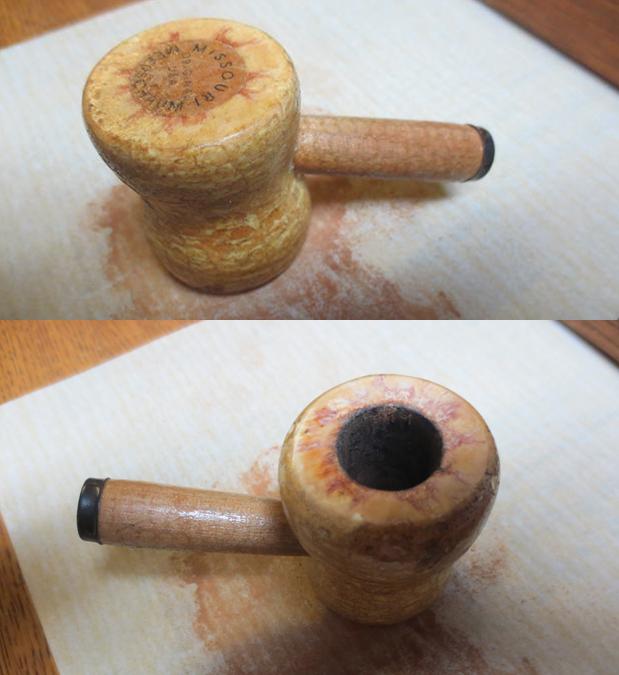
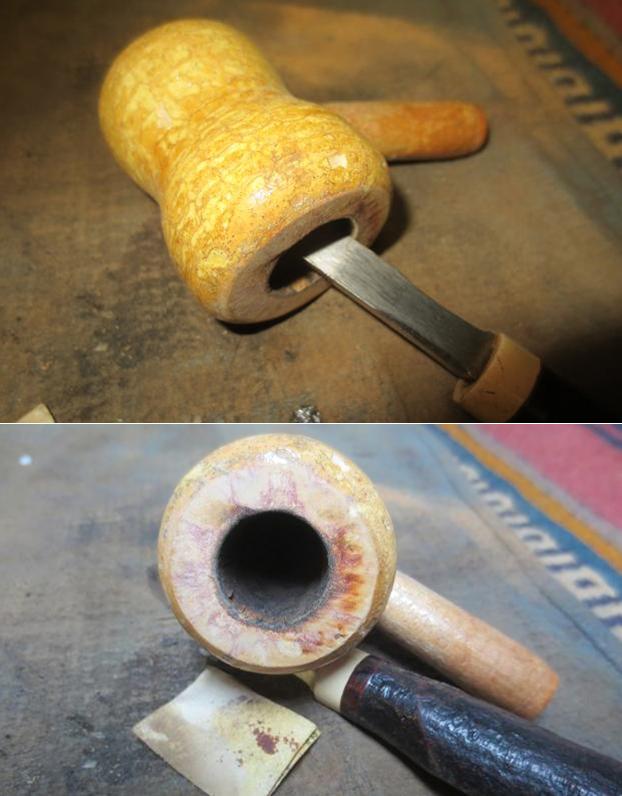
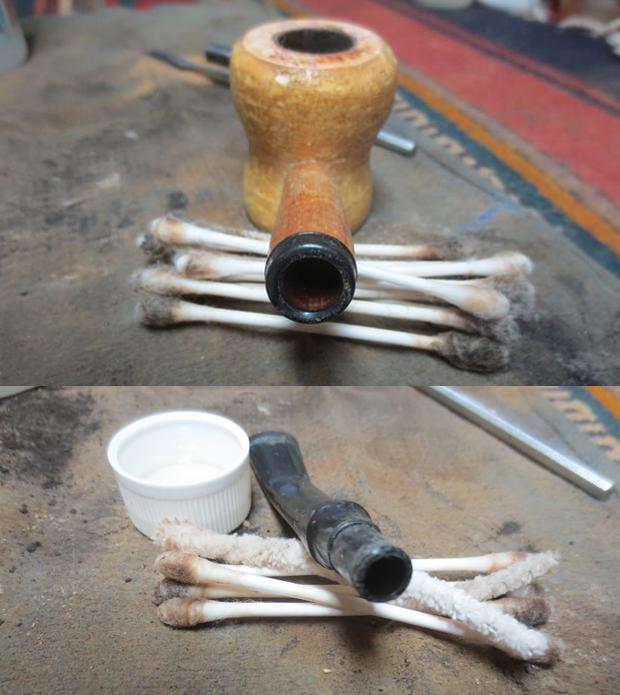
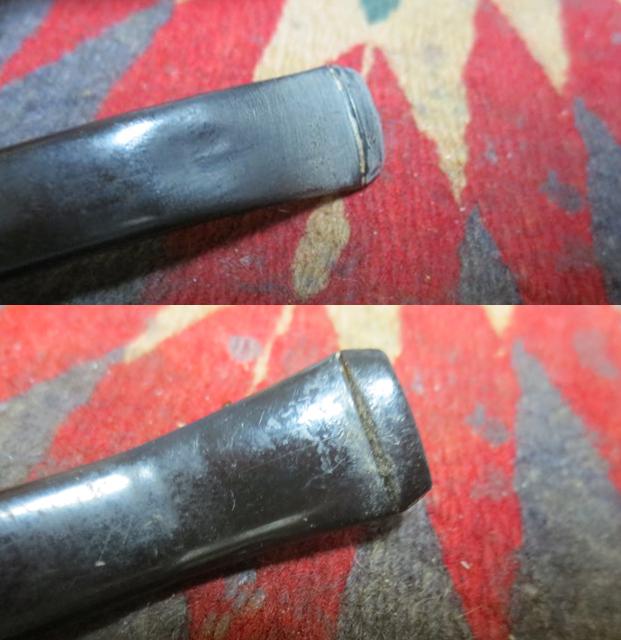
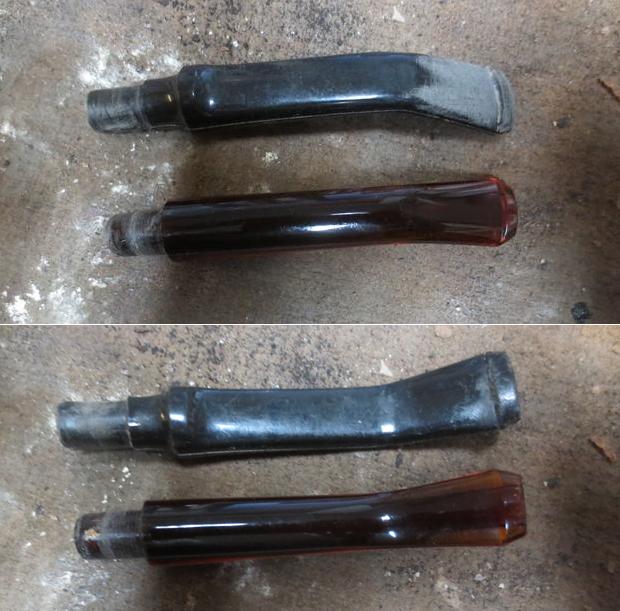
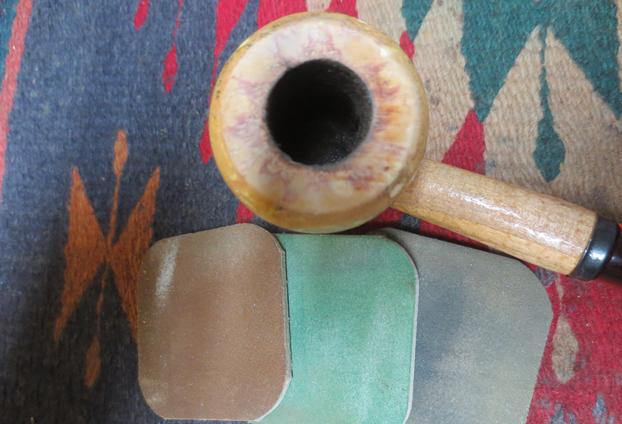
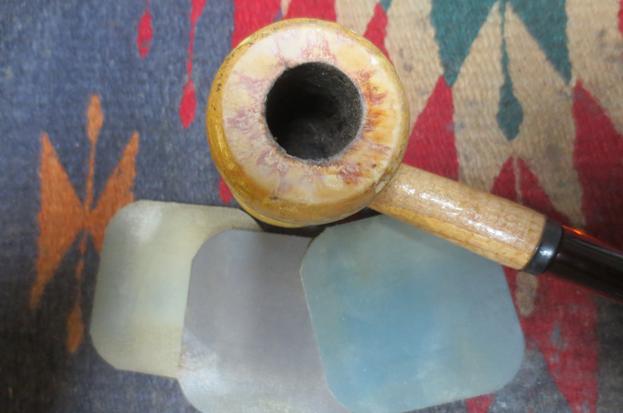
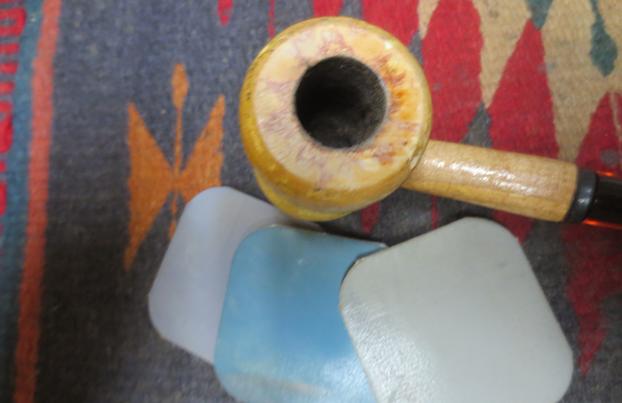
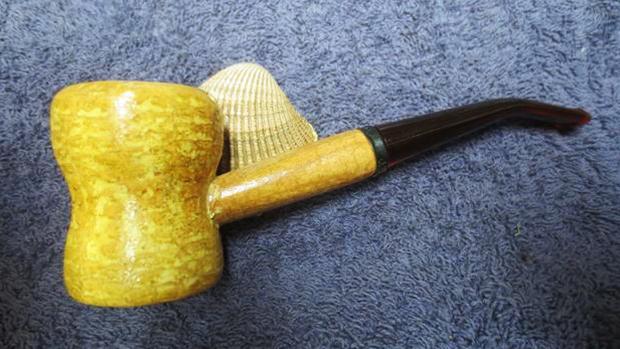
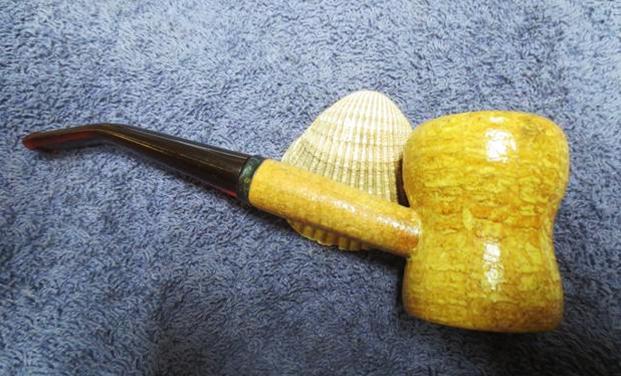
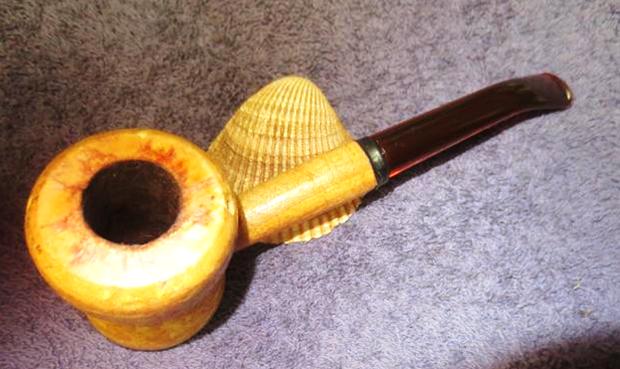
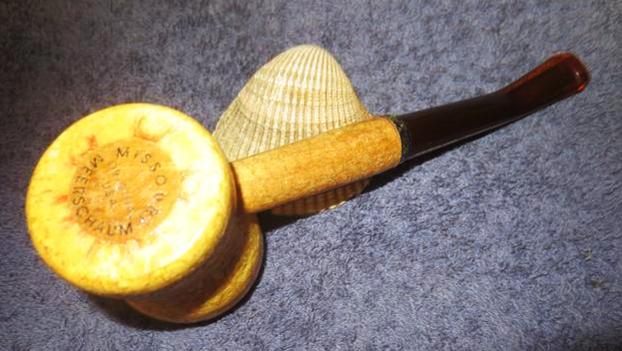
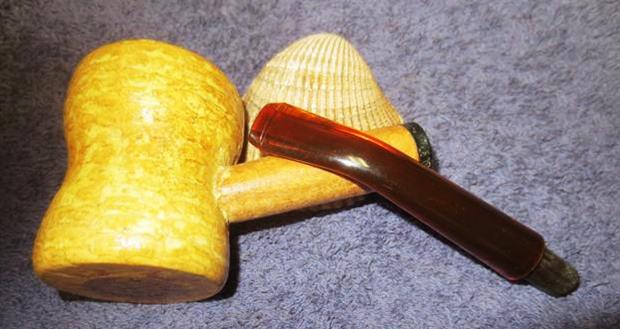
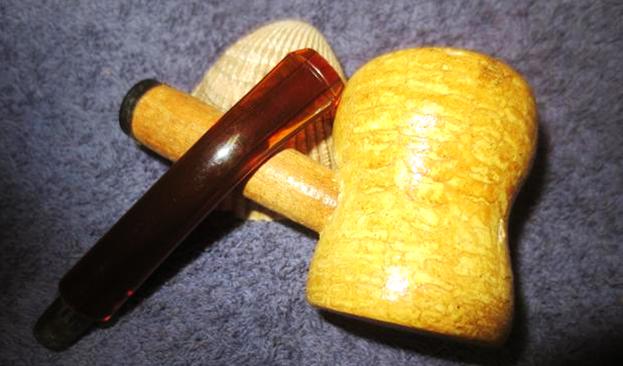
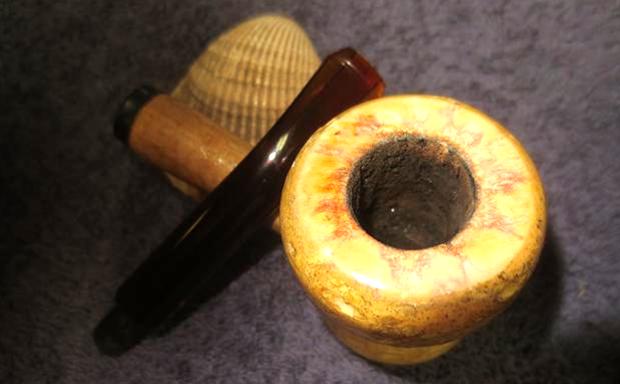
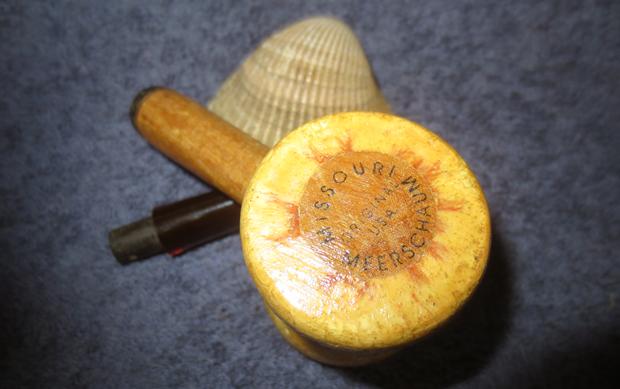
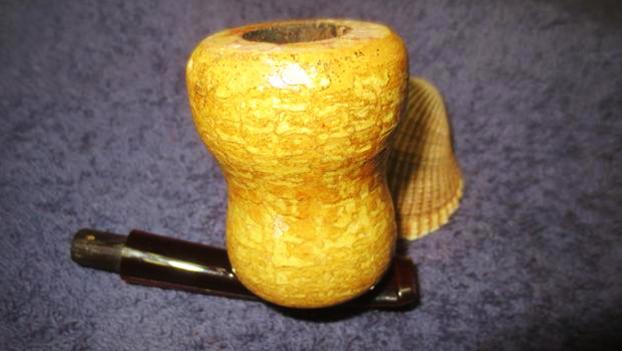
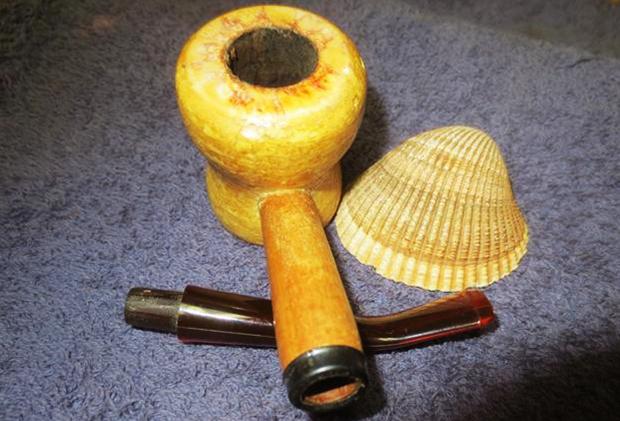
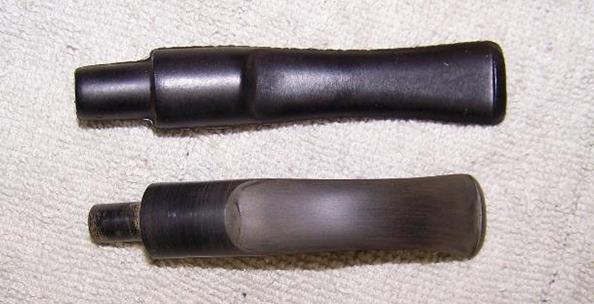
My brother was going to pitch this old cob but when I saw it I told him to throw it in one of the boxes he sent my way. I figured I could do something with it. I think he told me that the stem had collapsed but I don’t remember. It didn’t matter anyway because the stems are not expensive to replace. It arrived several months ago and I chucked it in the pipes to be refurbished box and forgot about it. Yesterday (first day of my Christmas holiday time off work) I was going through the boxes and consolidating a bit. I came across this one and brought it to the work table. The bowl and shank were in pretty good condition – just a little cake in the bowl, lava on the rim and tars and oils in the shank. The stem looked ok other than some tooth marks and chatter on both sides of the stem. You might wonder why I would even bother cleaning up a cob, but remember that every pipe that comes across the worktable provides an opportunity to practice skills and potentially learn new ones. I took some photos of the pipe before I started to clean it up. I took a picture of the rim and bowl to show the condition of the light cake and the lava overflow and scorching on the back side of the rim top. Otherwise the bowl looked decent.I took some photos of the stem to have a look at it and see what I was going to do. You can see the dent in the stem on the first photo. I have circled it in red to make sure you can identify it. It looks like a dent but it actually was a collapse in the airway that was blocking it off part way. The cheap plastic stems on the cobs do not do well with heat in my experience. I have ruined a few of them trying to raise dents and even just from the heat of buffing them.I topped the bowl with 220 grit sandpaper on the topping board to remove the lava build up and scorched area on the back of the rim top. It cleaned up really well leaving behind a pretty pristine looking rim. The inner and outer edges were in good shape.I reamed the bowl with Savinelli Fitsall Pipe Knife to take back the cake that had formed around the middle of the bowl and smooth out the inside walls. I ran a folded piece of sandpaper around the inner edge of the bowl to clean it up a bit.I cleaned out the mortise and the airway in the shank and the stem with pipe cleaners, cotton swabs and alcohol. At this point I was not sure what I would do with the stem so I figured I might as well clean it up.I sanded the top of the stem to see what I could do with the dent. I put a pipe cleaner in the airway and painted the surface with the flame of a lighter. The area did not lift but collapsed further. The stem was a going to be a loss. It was time to look for another one that would work on this pipe.Jeff had sent me a couple of bags of stems that he had picked up on Ebay. In one of them there were quite a few Missouri Meerschaum stems that might work. I found a nice looking reddish amber plastic one that was bent the same angle. It was new and unused and it would look really good with the spool cob. I put the two stems side by side and took a couple of photos. You will notice that the new stem is slightly shorter than the original but the shape and the bend were more classic and elegant.I polished the rim top with micromesh sanding pads – 1500-12000 grit pads. Each pad brought more of a shine to the cob and it matched the rest of the bowl well. I gave it a coat of Conservator’s Wax and buffed it with a soft cloth. I put the new stem on the bowl and gave the pipe a hand buff with a microfiber cloth to give it a bit of a shine. The finished pipe is shown in the photos below. The cob is in great shape and the shank is made to look like a cob. The transparent red plastic stem looks really good with the golden yellow of the cob. This old cob has lots of life in it and it would be a great addition to anyone’s rack. Have you been wanting to give a cob a try? This is your chance to pick one up at a great price. The dimensions of the pipe are: Length: 6 inches, Height: 2 inches, Outer diameter of the bowl: 1 ½ inches, Chamber diameter: 5/8 inches. I will be adding this one to the rebornpipes store shortly if you are interested. If you are interested email me at slaug@uniserve.com or send me a message on Facebook. Thanks for looking.


Breathing Life into an early 1900s Eagle Claw Billiard


Blog by Steve Laug

My brother Jeff picked up this interesting Eagle Claw pipe in Montana on one of his pipe hunts. It is well carved and is a well grained piece of briar. The finish was very dirty and worn but under the dirt and dust of years sat some beautiful briar. The bowl had a thin cake – almost like it had been cleaned. Sometime in the life of the pipe the inner edge of the bowl had been chipped on the left side of the bowl. I would almost bet that it happened the last time the pipe was cleaned as there was no buildup of tars or cake in the chip itself. There were remnants of lava on the top of the rim around the rim top but not too thick or too much. There was a very tarnished brass band on the shank that was loose. The stem was Bakelite and was overturned. It also was worn and the top surface at first appeared to be crazed but the more I looked at it the more I could see that it was actually deeply pitted. There were bite marks on the top of the stem and the top edge of the button was worn down. There was a large bite through on the underside of the stem and the button was worn. There was some chipping around the junction of the stem and the band on the shank. Jeff took the photos of the pipe that follow before he started his cleanup work. It is always good to have a baseline of what the pipe looked like when we began the work. The next two photos show the condition of the briar. The first shows the rim top and bowl. There is minor tar buildup on the left side rim top. The chip in the rim is also visible in that photo. The second photo shows the carving patterns on the side and bottom edge of the bowl and shank. Though they are dirty they are well executed and interesting.The band is worn and oxidized but appears to be brass underneath. The top side of the stem is worn and there appears to be casting marks on both edges.The next photos show the bite through in the underside of the stem and the shape and condition of the airway in the button end.The last two photos show the stem. The first is the top side showing the tooth marks near the button and the pitting and checking of the material. This photo shows why originally I thought that the stem had crazed. The second photo gives a close up look at the bite through in the underside of the stem. It was quite large and went from one side of the airway to the other.Jeff did his usual thorough cleanup on the bowl and stem. He used his two favourite reamers to clean up the bowl and rim edges – a PipNet pipe reamer a Savinelli Fitsall reamer. He cleaned the internals with alcohol, pipe cleaners and cotton swabs – scrubbing out the mortise and shank as it was very dirty. He scrubbed the exterior of the pipe with Murphy’s Oil soap and a tooth brush and was able to remove all of the tars and oils built up on the briar. He was able to remove all of the tars and lava on the rim top and left it looking very clean. The chip damage on the rim top and inner edge was clean and visible. He cleaned the stem with warm soapy water and pipe cleaners. He rinsed it with clean water to remove the soap in the airway. When it arrived I took photos of the pipe before I started to work on the restoration. I took a close up photo of the rim top to show how well it had cleaned up. The chip is on shown on the bottom of the photo (left side of the bowl). It would need to be repaired and topped to clean up the damage.The stem cleaned up nicely. The next two photos show the stem after Jeff’s clean up. You can see the pitting, chipping at the shank connection and the tooth marks on the top side. The bite through is clear on the underside and I have pushed a pipe cleaner through to show the size of the hole.Since the stem was quite clean, I wiped it down with a damp cotton pad and dried it off. I greased the pipe cleaner with Vaseline and inserted it into the airway. I filled in the bite marks on the top side and repaired the bite through with Amber super glue. I overfilled the two repairs to make sure that it would not shrink and require more as it dried. I sprayed it with an accelerator and set it aside to dry for an hour.Once the repair had cured for an hour I used a small file to smooth out the patch and reshape the edge of the button. At this point I was interesting in smoothing out the repair and the surface of the stem to match. I also wanted to have the edges of the button look as close as possible to their original shape.I sanded the repaired areas and the rest of the stem with 220 grit sandpaper to deal with the pitting and to blend the repair into the rest of the surface of the stem. The stem is starting to look pretty good and the button and shape are correct.I polished out the sanding scratches, pitting and marks in the Bakelite with micromesh sanding pads – wet sanding it with 1500-2400 grit pads and dry sanding it with 3200-4000 grit pads. I wiped the stem down with Obsidian Oil after each sanding pad. I carefully buffed the stem with Blue Diamond on the buffing wheel so as not to let it get too hot and damage the material. I brought it back to the table and sanded it with the final three 6000-12000 grit pads. After the final pad I gave it a final coat of oil and set it aside to dry. The band/ferrule on the end of the shank was loose so I removed it to clean up the pipe. The photos below show the beautiful grain in this pipe. I really like the looks of the grain and the carving. It is well laid out on the briar. In order to repair the damaged edge of the rim I wanted to top the bowl back to get rid of the other damage to the rim top and prepare it for the patch. I topped it on a topping board using 220 grit sandpaper. I removed enough of the rim top to take care of the other damage on the rim and the burned areas around the inner edge. I pushed some of the briar dust from sanding into the chipped area and put several drops of clear super glue on top of the dust. I repeated the process until the edge and the rim top were even. I sanded the inner edge with a folded piece of 220 grit sandpaper to smooth it out and finished by lightly topping the bowl. The repair looks really good.I polished the rim top using the micromesh sanding pads – wet sanding with 1500-2400 grit pads and dry sanding with 3200-12000 grit pads. I wiped the rim down after each pad with a damp cotton pad. When I finished the polishing I wiped it down a final time. I rubbed the briar down with Before & After Restoration Balm to deep clean the smooth finish, enliven and protect the briar. I hand rubbed it with my fingers and a cotton swab to get into the deep grooves of the carving. I wiped it off with a soft cloth and lightly buffed the bowl with soft cloth. I lightly buffed it with Blue Diamond on the wheel to polish it. It really began to have a deep shine in the briar. The rich reds and browns of the stain, which I have often found in briar of this age, made the grain really stand out. I took some photos of the bowl to mark the progress in the restoration. At this point I decided to not restain the rim top but let is remain natural. The balm that rubbed into the briar made it almost blend with the rest of the bowl. I used a cotton swab to paint some white glue around the shank end to hold the band firmly in place. Once it was evenly spread I pressed the band in place on the shank and let it dry. Once the band had cured I polished it with micromesh sanding pads and a jeweler’s cloth. The brass band really took on a rich glow that went well with the stain on the pipe. I put the stem back on the bowl and gently worked the pipe over on the buffing wheel using Blue Diamond to polish the bowl and shank. I lightly buffed the bowl so as not to get a lot of polishing compound in the grooves and feathers. I carefully buffed the stem to raise the gloss on the Bakelite without damaging it from the heat. I gave the bowl and stem multiple coats of Conservator’s Wax. I gently buffed the entire pipe with a clean buffing pad to raise the shine. I hand buffed it with a microfiber cloth to deepen the shine. The finished pipe is shown in the photos below. The rich reddish brown stain on the carved eagle claw and egg bowl works well with the yellow amber gloss of the Bakelite stem. This old carved pipe really has a nice mix of grain and now that it is restored it has lots of life in it. This is another pipe that I wish could speak and tell its story. As I hold it I wonder about its travels and how it came to rest in Montana before coming to Idaho and then up to Vancouver. It would be fascinating to be able to sit and have a chat with it while I fired up a bowl. I guess though I will have to be satisfied to add my own chapter to the ongoing saga of this old pipe. Thanks for looking.
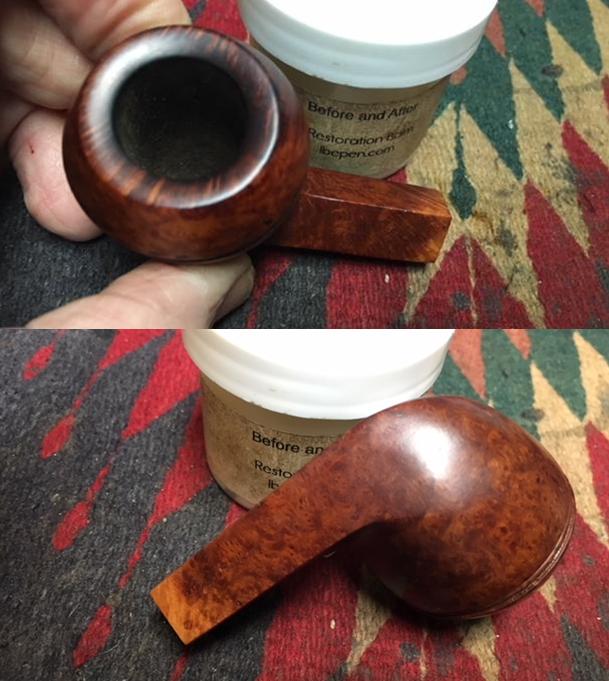
 

Resurrecting an old GFB Bent Bulldog


Blog by Steve Laug

I have worked on three older GFB pipes over the past 4 years. One was an unsmoked briar calabash, one a military mount bent billiard and the final one a horn stemmed bulldog. All had the same stamping as the pipe I am working on now. All were made of a nice piece of briar and all had the same classic shape to them. When I saw this old pipe on eBay I wanted to add it to the collection. It was similar in shape to the little GFB horn stemmed bulldog though the stem was shorter. The first photo below shows the horn stemmed GFB and the second one was photo that the seller included in the eBay advertisement. The stem on the second one is a Bakelite amberoid stem. The finish on both pipes appeared to be similar. The shape is identical. The stamping on the top pipe was GFB in an oval with three stars over the oval. The second pipe has the same GFB oval but it did not have the stars on it. I am including the link to the previous blog. https://rebornpipes.com/2013/11/21/restoring-an-older-gfb-three-star-horn-stem-bent-bulldog/I am including the rest of the photos that seller attached to the item. They give a pretty good picture of what I saw when I was hooked by the pipe. The finish was very worn. The stem was the same size as the shank and lined up straight on all angles. The stem appears to have a paper washer between the shank and the stem to help keep things straight. It appears that there is a small gap between the shank and the stem but I would not know for sure until I saw it. It is a small pipe – just 4 inches long and 1 ¾ inches tall.The rim top looked to be darkened and possibly burnt in the next two photos but it is hard to tell by the dark quality of the photos. The stem shows some damage on the edge at the joint with the shank. The photos show that the pipe is clearly stamped with the GFB in an oval logo. In the article I noted above on the other GFB bulldog I found some interesting information that I have included here for ease of reference.
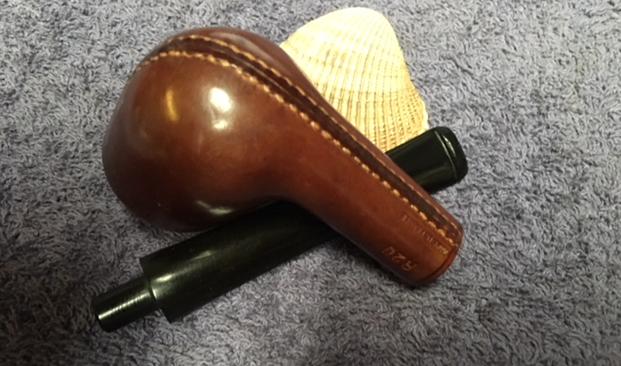
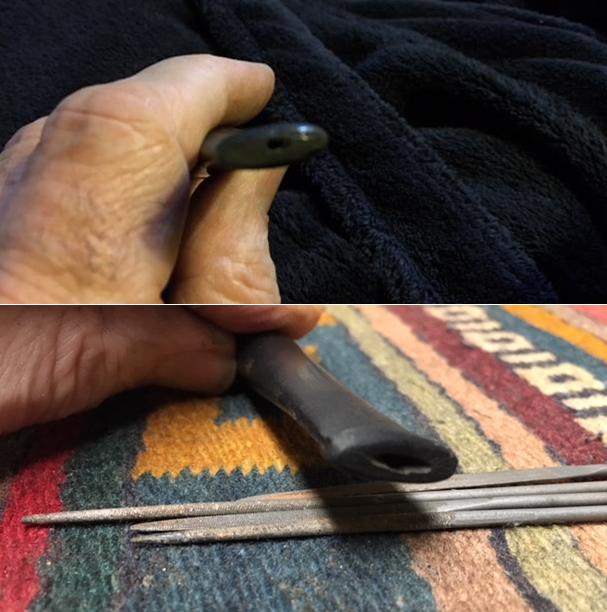
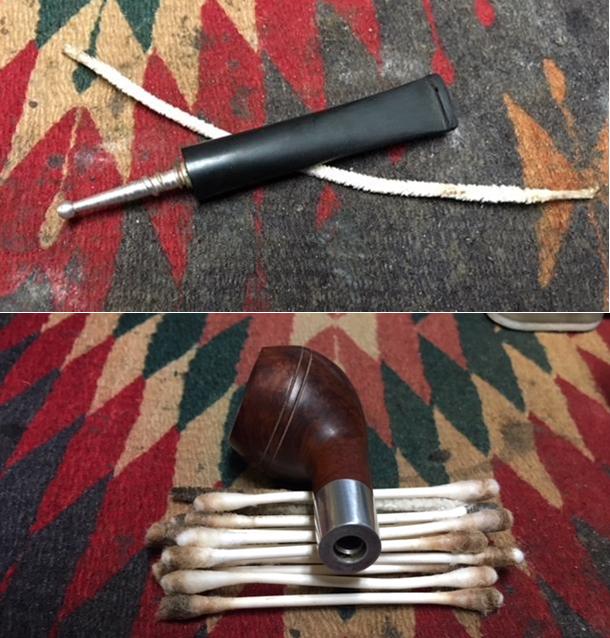
The first thing I found was information that the GFB brand was an older French Trademark and that it came from Saint Claude, France. A more focused search for GFB French Briar Pipes led to information that the stamping GFB stood for Great French Briar – something about that did not seem right to me so I continued to look and finally came across the following advertisement from a Sears Catalogue. It shows a full page of GFB pipes and the header says GENUINE FRENCH BRIAR. That made much more sense to me, and all three of my GFB pipes match the pipes in the catalogue. It was good to be reminded of the old brand. I am pretty sure that all three of my GFB pipes come from either the late 1890’s or the early 1900’s. Here are links to the other two GFB pipes that I restored and restemmed if you are interested in some further reading on the brand.

https://rebornpipes.com/2013/06/07/restemming-and-reclaiming-an-older-unsmoked-gfb-briar-calabash/

https://rebornpipes.com/2013/04/01/restoring-a-gfb-bent-billiard-another-reclamation-project/

When the pipe arrived in Idaho, Jeff took photos of it. His photos gave a more accurate look at the condition of the pipe before he cleaned it up. The bowl had a lot of black spots all around the sides of the bowl and the shank. The paper washer can be seen between the stem and the shank. It almost looks like a spacer. The Bowl had a thick cake that had overflowed onto the rim top and hardened like lava. The finish on the bowl was worn and tired but the original reddish brown stain still looked good underneath the grime. The rim top was so covered it was hard to know if the inner or outer edge had damage. The stem had tooth marks on both the top and the underside near the button itself was worn as was the slot in the end. The stem material was amberlike but was not amber. There was some crazing in the stem material on both sides of the stem. Jeff took a close up photo of the stem to show the condition of the bowl and the rim top. You can see the thick cake in the bowl and it appears that there may be a little damage on the front right side of the inner edge of the bowl. He also included a picture of the left side of the bowl with the black spots on the finish – it almost looked like tar. The next two photos show the stamping on the left side of the shank. It shows the GFB in an oval logo. It is slightly worn but still showed signs of the gold leaf that is stamped inside the logo.Jeff unscrewed the stem from the shank. In the next photos you can see the buildup of tars and oils on the bone tenon and the wear on it as well. The paper washer was torn and when he removed it off the tenon it fell apart.The next photos show the crazing in the stem and a few cut marks on the top side. The stem was worn, dirty and the sharp edge of the button had smoothed out and was worn into the surface.Jeff did a thorough cleanup on the bowl and stem. He reamed the bowl back to bare briar with a PipNet pipe reamer and cleaned up the remnants with a Savinelli Fitsall reamer. He cleaned the internals with alcohol, pipe cleaners and cotton swabs – scrubbing out the mortise as it was very dirty. He scrubbed the exterior of the pipe with Murphy’s Oil soap and a tooth brush and was able to remove all of the tars and oils built up on the briar. He was able to remove all of the tars and lava on the rim top and left it looking very clean. The damage on the rim top and outer edge was clean and visible. He cleaned the stem with warm soapy water and rinsed it with clean water to remove the soap in the airway. When it arrived I forgot to take photos of the pipe. I started to work on it before I took the photos. I remembered after I had topped the bowl and also started to sand the stem and fit it to the shank. I painted the worn tenon with clear fingernail polish to build it up. Then fit it to the shank and took some photos of it to show how it looked before I continued on the restoration. I took photos of the stem to show the crazing in the Bakelite and some of the damaged areas on the top and underside.I took some photos of the topping process on the bowl. I did not have to remove too much of the rim surface to get rid of the damage to that area. I used 220 grit sandpaper on the topping board and carefully worked on the rim top until it was smooth and the damaged removed.I set the bowl aside and turned my attention to the stem. I filled in the deep gouges on the top of the stem with amber super glue. I sprayed it with accelerator and when it dried I sanded out the repairs with 220 grit sandpaper to blend them into the surface. I polished out the sanding scratches and marks in the Bakelite with micromesh sanding pads – wet sanding it with 1500-2400 grit pads and dry sanding it with 3200-4000 grit pads. I wiped the stem down with Obsidian Oil after each sanding pad. I carefully buffed the stem with Blue Diamond on the buffing wheel so as not to let it get too hot and damage the material. I brought it back to the table and sanded it with the final three 6000-12000 grit pads. After the final pad I gave it a final coat of oil and set it aside to dry. I was able to polish out much of the damage to the stem. Most of crazing was on the surface so most of it is gone as well. The amber Bakelite polished up really well and almost glowed. That part of the restoration went well and the stem looked new and would look good on the finished pipe bowl.

I set the stem aside and rubbed the briar down with Before & After Restoration Balm to deep clean the smooth finish, enliven and protect the briar. I hand rubbed it with my fingers and wiped it off with a soft cloth. I buffed the bowl with Blue Diamond on the wheel to polish it. It really began to have a deep shine in the briar. The rich reds in the briar and the brown stain really looked good at this point in the process. I took some photos of the bowl to mark the progress in the restoration. I decided to leave the small nicks in the bowl surface as marks of character rather than damage the original finish by sanding them all out. I polished the bowl and rim top using the micromesh sanding pads – wet sanding with 1500-2400 grit pads and dry sanding with 3200-12000 grit pads. I wiped the rim down after each pad with a damp cotton pad. When I finished the polishing I wiped it down a final time. I used some Rub’n Buff European Gold to touch up the GFB stamp on the left side of the shank. I applied it to the stamp with a cotton swab and worked it into the stamp. I repeated the process until the coverage was good. I wiped it off and buffed the shank with a cotton pad.I put the stem back on the bowl and worked the pipe over on the buffing wheel using Blue Diamond to polish the bowl and shank. I lightly buffed the stem to raise the gloss on the Bakelite. I gave the bowl multiple coats of carnauba wax and the stem multiple coats of Conservator’s Wax. I buffed the entire pipe with a clean buffing pad to raise the shine. I hand buffed it with a microfiber cloth to deepen the shine. The finished pipe is shown in the photos below. The rich reddish brown stain on the bulldog shaped bowl works well with the amber gloss of the Baklite stem. This old GFB pipe has a nice mix of grain and now that it is restored it has lots of life in it. It is pipes like this that I wish could speak and tell their story. I would love to know the length and breadth of its journey around the world from France to the US and now to Canada. I guess though I will have to be happy adding my own story to the ongoing saga of this old pipe. Thanks for looking.