Blog by Steve Laug
One of the things I really like about restoring pipes is the opportunity to get to know the back story behind the pipes. I like knowing the journey they have traveled and if the opportunity presents itself the pipeman who held them in trust for the years of his own travels. When Mark sent me his uncle’s seven pipes I had no idea of the back story but I liked the idea of being able to enter into the ongoing story of the pipe. After I finished the Ropp Cherrywood De Luxe (https://rebornpipes.com/2018/01/17/cleaning-and-restoring-a-ropp-cherrywood-de-luxe-805/) and the Doodler (https://rebornpipes.com/2018/01/19/restoring-a-beautiful-the-doodler-bullmoose/) and posted them on the blog Mark sent me an email about the backstory. To me it adds a lot of flavour to the work I am doing on the pipes. As I ream and clean them bringing them back to a fresh look I often think of the pipeman who had used the pipe daily as a part of his life. With this lot now I had the story.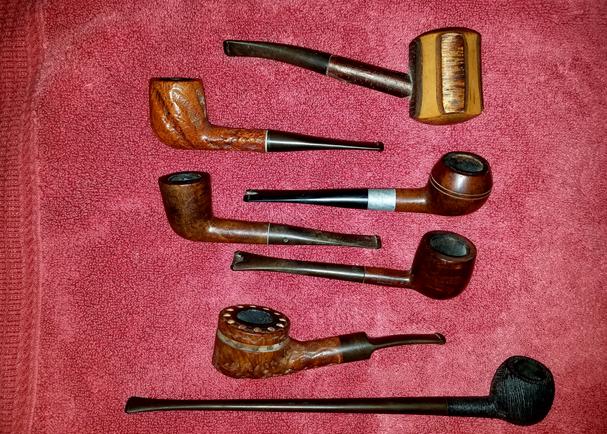 Mark’s Uncle’s pipe were worn a bit and the Kaywoodies had stem damage but the pipes were relatively clean – the bowls did not have a thick cake and the rim tops though caked with lava were decent. You can tell from the photos which pipes were his favourites.
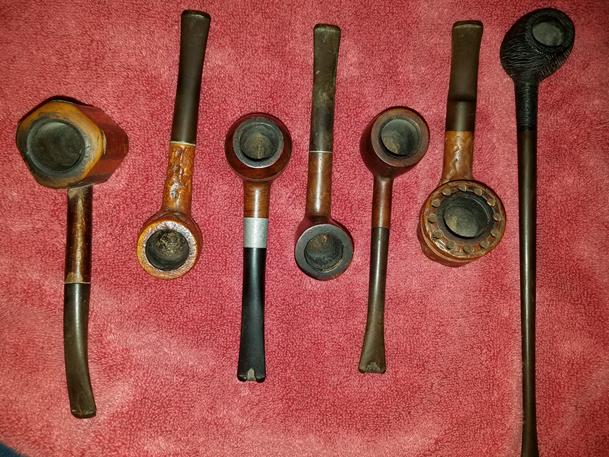 Mark sent me the following email giving me some back story on this set of pipes. I love hearing the story behind the pipes I work on. Here is what he wrote:
Hello Steve,
You must wonder about the history of the pipes you work on, so I thought might like to know a little about my uncle and his pipes:
My Uncle John, raised in an Appalachian Mountain family (think Hatfield and McCoy), was a large man with an affable personality – although this had limits and he could be quite formidable.
During WWII he left home and enlisted in the US Army where he was assigned to Patton’s 3rd Army as an ambulance driver. After Germany surrendered, he was transported back to the US on a converted ocean liner troop ship (I believe it was the Queen Mary). Upon reaching the US, his unit was immediately sequestered on a troop train for transport to the West Coast to be shipped to the Pacific for the invasion of Japan. About half way across the country (possibly somewhere in Texas), the train stopped and the troops informed that Japan had capitulated – WWII was over.
Before the Korean War began, my uncle re-enlisted in the US Air Force. He as assigned to a Photo Mapping unit as an Aircraft Mechanic. He worked his way up to Crew Chief and served in Photo Mapping until he medically retired in the mid 60’s due to heart problems.
Being part of an Air Force family, I did not get to spend much time with my uncle while growing up. However, I was able to stay a couple of summers with him at his West Palm Beach home while in my teens. On a desk in his Florida Room sat collection of old used pipes in a walnut pipe rack / humidor combo (very similar the Decatur Industries 6 pipe Rack and humidor combination shown in the rebornpipes store). There were a couple of packages of old dried up commercial brand tobacco in the humidor – one was cherry, I think. I never saw my uncle smoke and never discussed the pipes with him, but I was intrigued by the pipe collection. They were old, dirty, and well used – some with chewed through stems. Obviously, the pipes had been smoked by a devoted pipe enthusiast. As a young boy, I loved the smell of pipe tobacco, which you could occasionally smell in public way back then. I started smoking an occasional pipe in college. When my uncle passed away a few years later, I asked for his pipe collection and have stored it away since then. The pipes are just as I received them some thirty years ago.
While I will never know for sure, I believe my uncle purchased the pipes in various PX’s and smoked them while an Air Crew Member. The PX’s would have sold common commercially available pipe brands at a good price, nothing too expensive or exotic – consistent with the pipes in my uncle’s collection. As a Photo Mapping Air Crew Member / Chief my uncle traveled the world extensively, and was stationed at many bases – including “permanent” stations in West Palm Beach, Warner Robins, and Goose Bay Labrador, to name a few. Smoking a pipe would have been a relaxing way to spend a few monotonous hours on the flight line or in the air. After his heart problems, he must have given up pipe smoking and the pipes sat unused thereafter. If the bowls look like they were recently scraped, it would have been over fifty years ago, most likely with a Case hardware store folding knife. If dirty, it is due to sitting for many years in the back room. If well used and chewed it is due to many hours of smoking enjoyment.
I’m looking forward to seeing my Uncle John’s pipes in restored condition. I know they are not “collectors” items, but they bring back priceless memories of my uncle and the times we spent together sharing “war stories”.
Your pictures and stories of the Doodler and Ropp are great, keep up the good work. Feel free to edit and use any of my uncle’s write up on your blog if you wish. – Mark
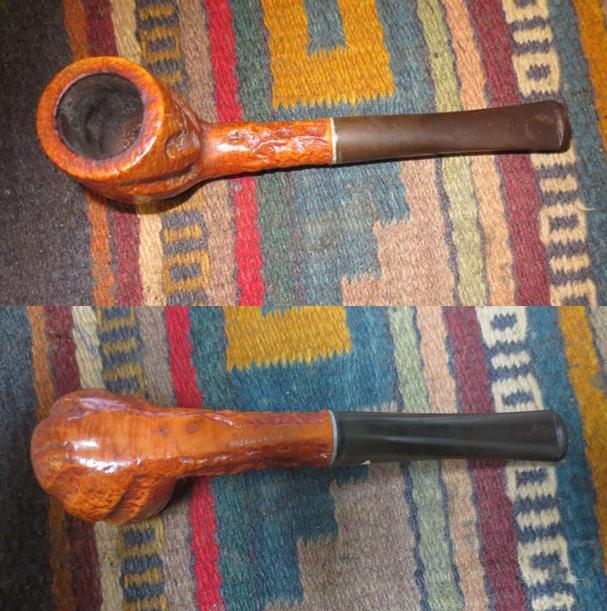
Armed with that information I had a better view of the pipeman who had once owned these pipes. That information always makes the restoration more personal and more interesting for me. I turned my attention to the third of Mark’s uncle’s pipes – a Kaywoodie Super Grain S-L rusticated billiard. The finish looked a lot like the classic Kaywoodie take on Tracy Mincer’s Custom-Bilt pipes. The pipe was stamped Kaywoodie ® over Super Grain S-L on the smooth, flat underside of the shank. There was a dust and grime deep in the grooves of the rustication. The rim top was clean and uncaked with lava. The bowl had a light cake around the walls but nothing heavy. There was some darkening on the rim along the inner edge on the back side of the bowl. Overall the finish was in really good condition but it was a dirty pipe. The stem was completely overturned in the shank to the point that Kaywoodie club logo was on the opposite side of the stem and upside down. The stem was oxidized and there was tooth chatter and tooth marks on both sides near the button. The stinger in the shank was a three hole one and it was coated in tars and oils. 
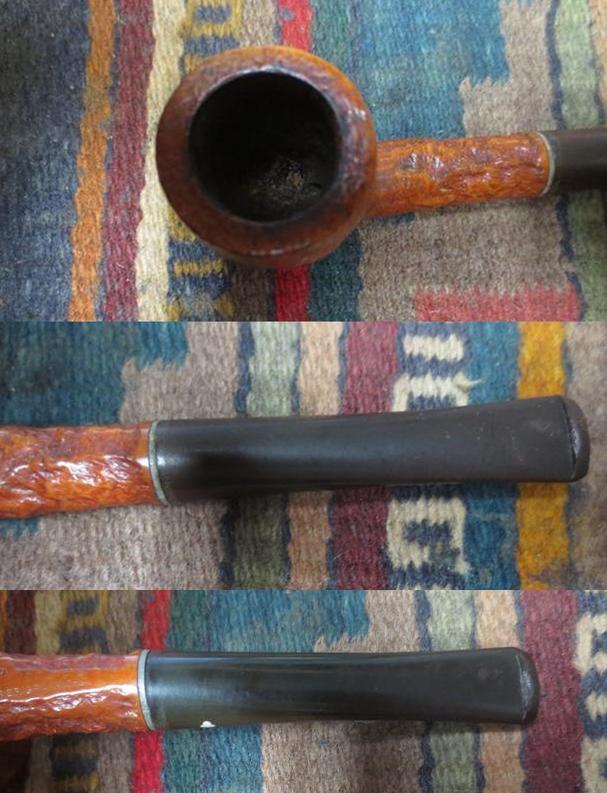
 I took a close up photo of the rim top to show the lack of lava build up and the light cake in the bowl. Mark’s uncle had kept the pipe relatively clean in terms of the cake. It appeared that the bowl had been reamed not too long ago. There were some remnants of the tobacco in the bowl. The rusticated rim top had some debris in the grooves of the finish. The edges of the rim looked to be in good condition. I took some close up photos of the stem to show the condition of both sides. The stem was oxidized and showed tooth chatter and tooth marks on both sides near the button.
 I added this stem to the other three stems that I put in the Before & After Pipe Stem Deoxidizer. I pushed them under the solution and left them to soak overnight.
 While the stems were all soaking I turned my attention to the bowl. I scrubbed the Custom-Bilt like grooves and rustication on the rim top with Murphy’s Oil Soap and a tooth brush to remove the grime and dirt on the bowl. I rinsed it off with running water and dried the bowl and shank off with a soft cotton towel. I took photos of the cleaned bowl to show what it looked like at this point in the process.
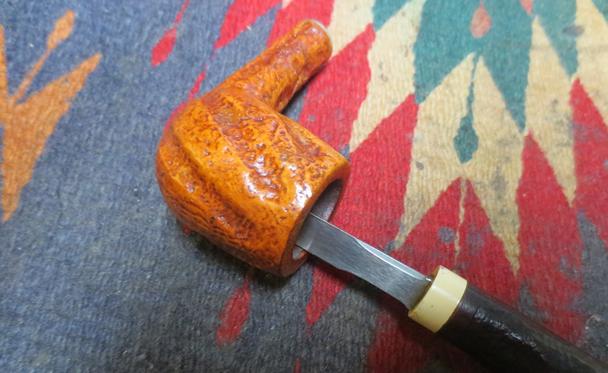
 I used a Savinelli Fitsall Pipe Knife to scrape away the remaining cake and debris in the bowl of the pipe.
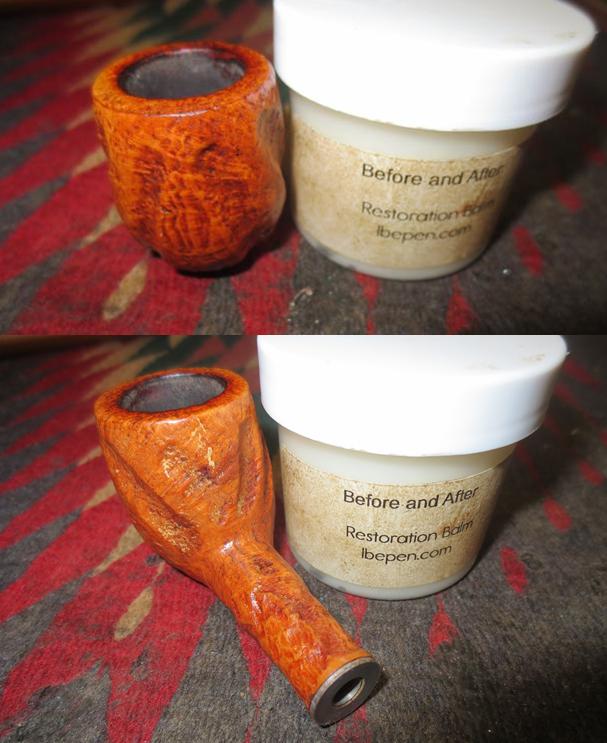
 I worked some Before & After Restoration Balm into the surface of the briar with my finger tips to deep clean the finish, enliven and protect the wood. I used a cotton swab to work the balm into the grooves in the rustication on the rim top and bowl sides. I let it sit for a few minutes and then buffed it with a cotton cloth. The wood came alive and the grain had begun to show through at this point and there was a rich shine to the briar. I took some photos of the bowl at this point to mark the progress in the restoration.

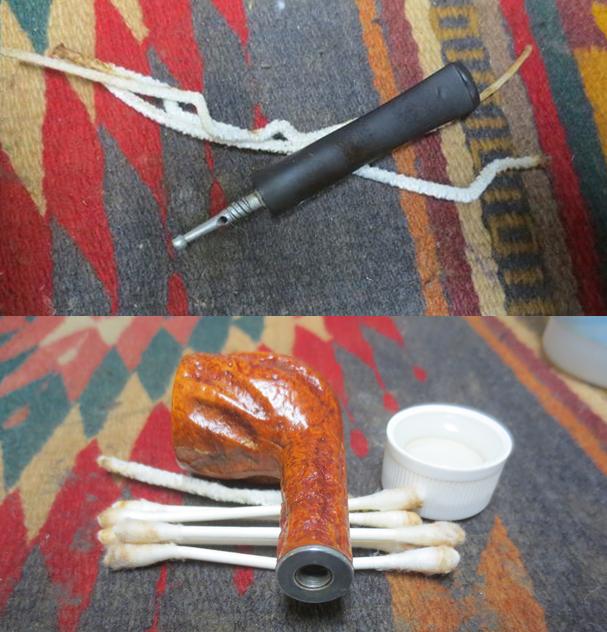
 I set the bowl aside and called it a night. The bowl was ready other than touching up the cleaning of the shank. In the morning I removed the stem from the Before & After Stem Deoxidizer and wiped it off with a paper towel to remove the remaining oxidation and bath. I cleaned out the airway with pipe cleaners and alcohol until it was clean. I cleaned out the shank with alcohol, pipe cleaners and cotton swabs at the same time to remove any debris that remained inside. The stem was clean and there was still some oxidation on the surface with some scratching, tooth chatter and marks. It was ready to be sanded and polished.
 I heated the stinger with a lighter and turned it into the shank to correct the overturn. With a little heat the glue loosens in the stem and it can be carefully turned to align. When it cooled I removed the stem from the shank and painted the surface of the stem with the flame of a Bic lighter to lift the tooth dents in the stem. I was able to lift all of them on both sides. It would not take too much sanding to smooth out the remnants of the dents and blend them into the surface. I sanded them smooth with 220 grit sandpaper.
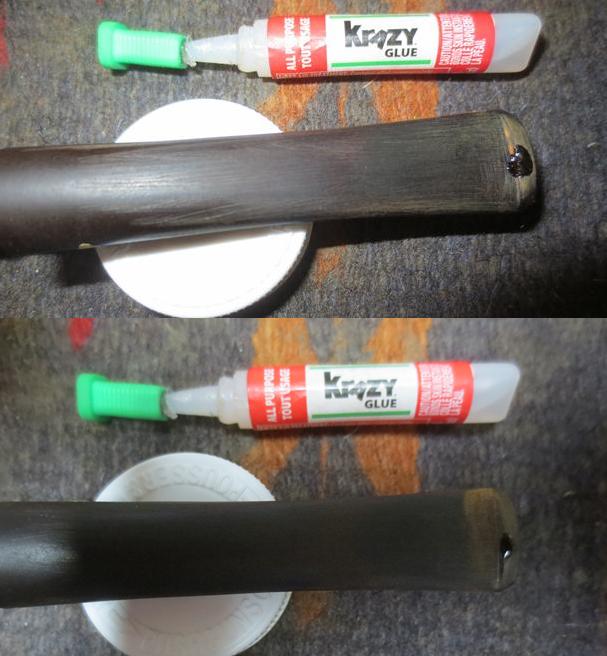
 The edge of the button was damaged on both sides of the stem. I filled in the damaged areas with clear super glue. Once it cured I sanded it with 220 grit sandpaper and needle files to shape it.
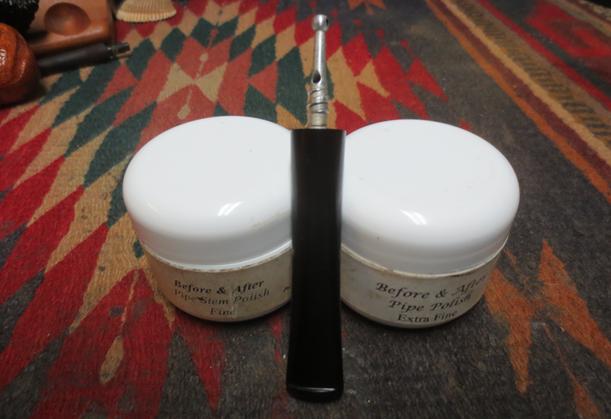
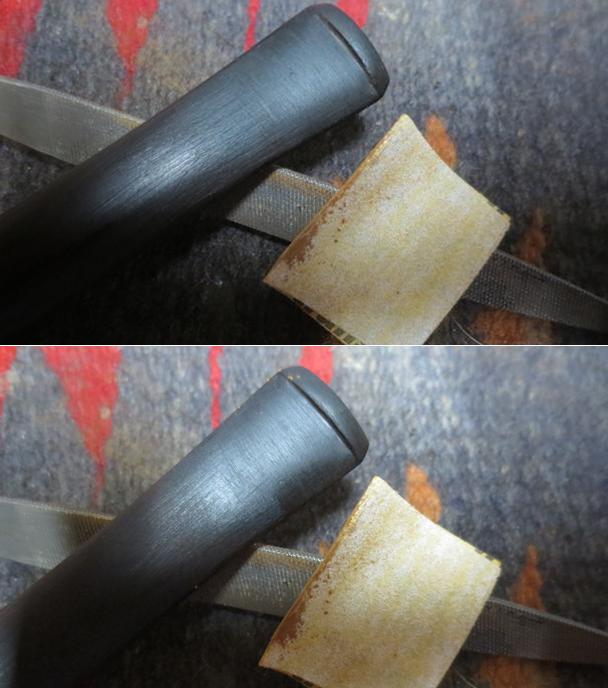 I worked over the stem with micromesh sanding pads. I polished out the sanding scratches and marks in the vulcanite – wet sanding it with 1500-2400 grit pads and dry sanding it with 3200-12000 grit pads and wiped it down with Obsidian Oil after each one. When I finished with the 12000 grit pad I gave it a final coat of oil and let it dry. Once it had dried, I polished it with Before & After Pipe Stem Polish Fine and Extra Fine. I rubbed it down with final coat Obsidian Oil and took the following pictures.
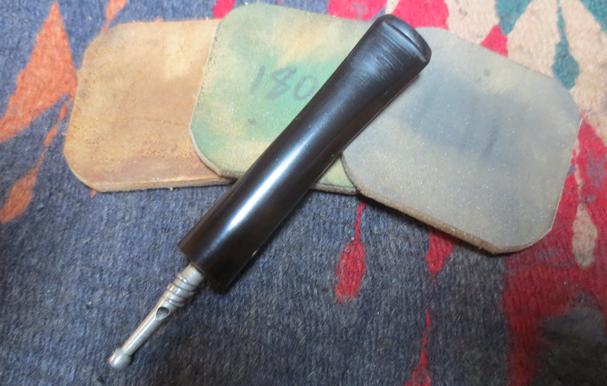

 At this point in the process, the camera had revealed more oxidation at the shank end of the stem and some scratching near the button. I put the stem back on the bowl and buffed it with Red Tripoli and Blue Diamond until the oxidation was gone. I also worked on the stubborn scratches on the button end of the stem to remove those. When I finished that I polished it with Before & After Pipe Stem Polish Fine and Extra Fine. I rubbed it down with final coat Obsidian Oil and took a photo.
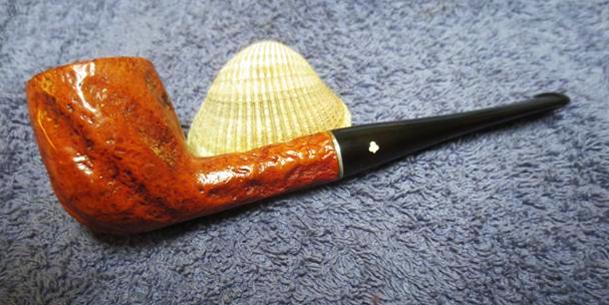
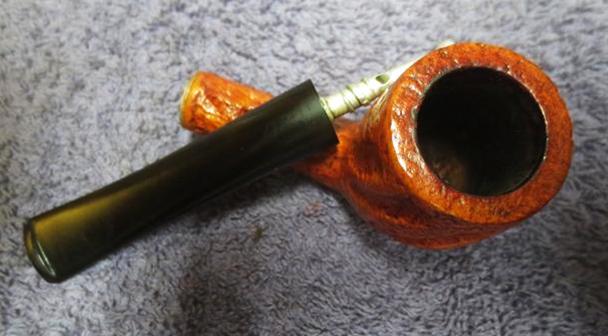
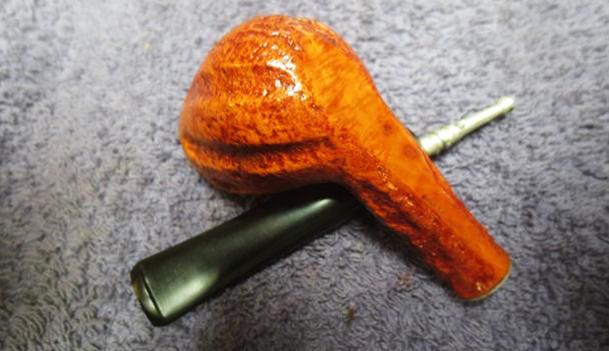
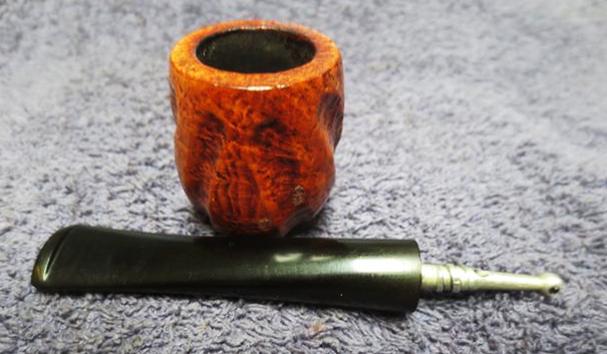
 I put the stem back on the bowl and took the pipe to the buffing wheel to work it over. I buffed the bowl and stem with Blue Diamond to polish them. I gave the bowl and stem multiple coats of carnauba wax. I buffed the entire pipe with a clean buffing pad to raise the shine. I hand buffed it with a microfiber cloth to deepen the shine. The finished pipe is shown in the photos below. The briar has a shine and a rich glow to it and the vulcanite stem came out quite nice with a deep shine. The pipe came out really well. I have four more of the uncle’s pipes to finish up and then these will be heading back to the US. Thanks for looking.




Pingback: Reworking & Restemming Last of Mark’s Uncle’s Pipes – a Kaywoodie Custom Grain Dublin | rebornpipes
Pingback: Reworking Mark’s Uncle’s 6th pipe – a Kaywoodie Signet Rhodesian | rebornpipes
Pingback: Restoring and Restemming Mark’s Uncle’s 5th pipe – a Tally Ho 33 Pot | rebornpipes
Pingback: Restoring Mark’s Uncle’s Savinelli Churchwarden Aged Briar 2002 | rebornpipes
Another great restoration. 3 drone, 4 to go. I’m really enjoying seeing and reading about the restoration of my uncle’s pipes.
LikeLiked by 1 person