Blog by Steve Laug
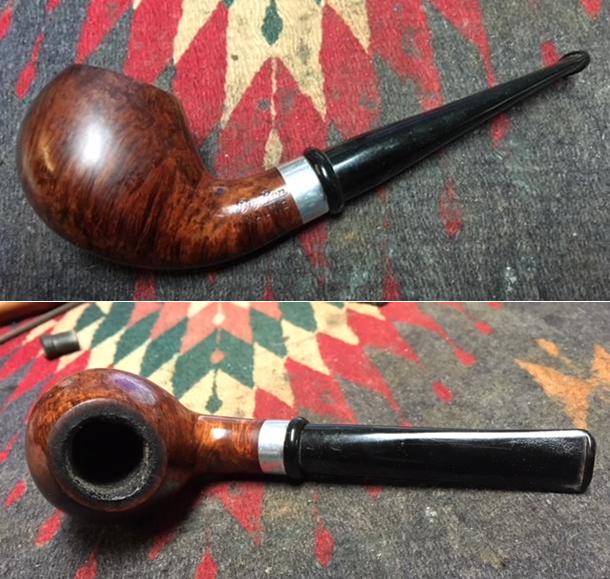
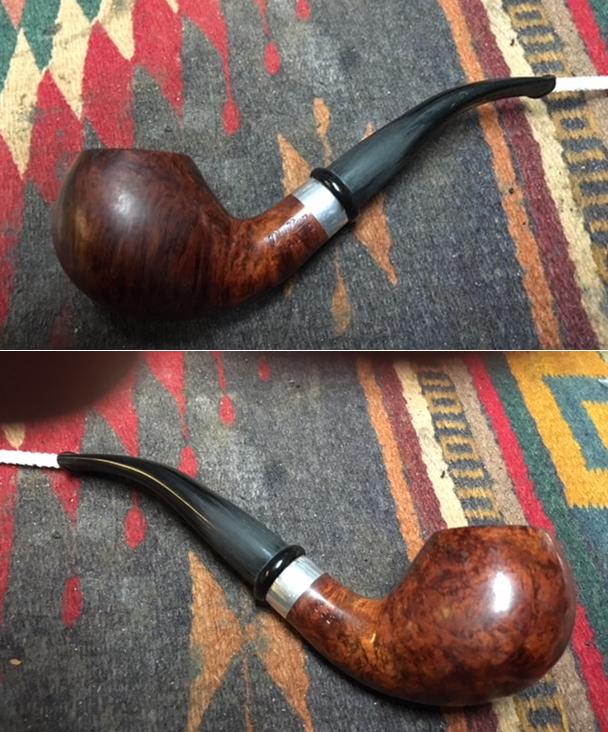
It was not too long ago that I repaired a stem for a fellow here in Vancouver. It was a Big Ben Nautic apple and it came to me looking like it had never been cleaned. I repaired the stem and suggested that the pipeman use a Softee bit to protect his stem from his incessant chomping. I even went so far as to put the rubber protector on the bit for him. It lasted may be a month and it is back for a restem. Here is the previous blog on the stem repair on this pipe. It was a lot of work to get it back to workable. https://rebornpipes.com/2017/12/22/restoring-repairing-a-damaged-stem-on-a-big-ben-nautic-252/. I have included before and after pictures from the previous blog to show what the pipe looked like when I started and when he picked it up.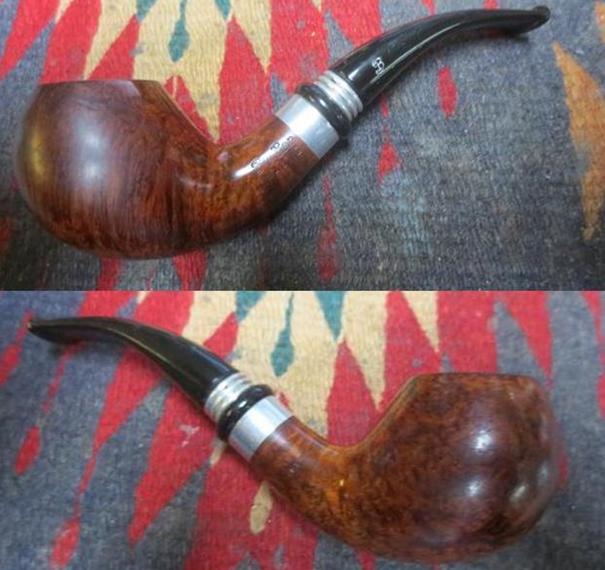
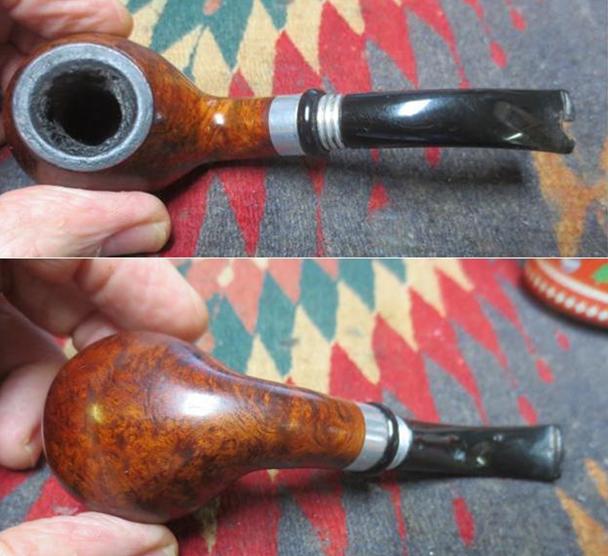 The pipeman and I were both very happy with the look of the pipe with the repaired stem and we were hoping that the warning and the rubber Softee bit would extend its life for a while.
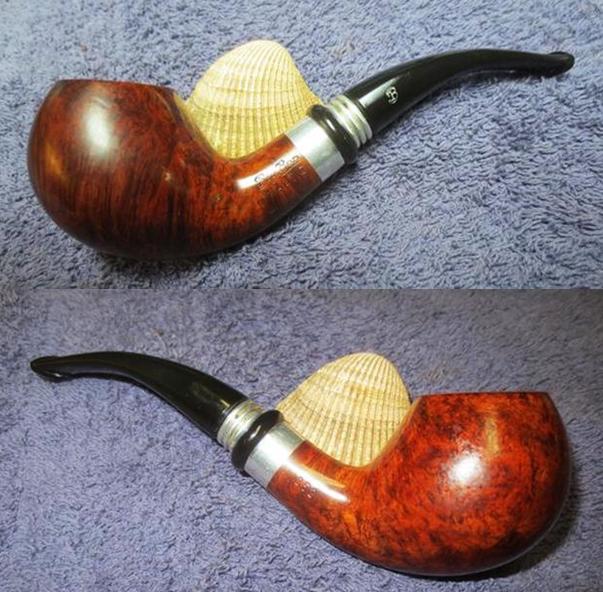
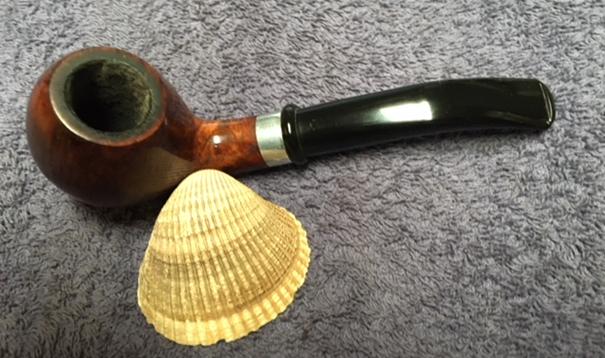
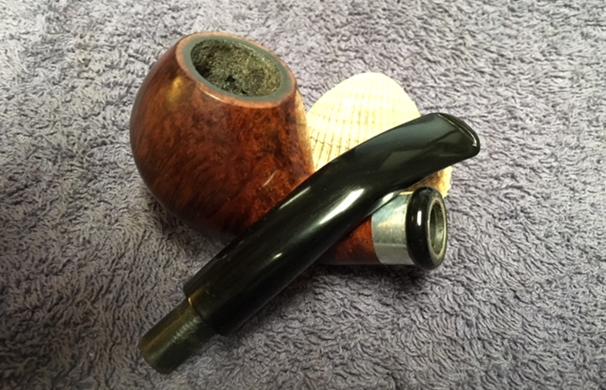
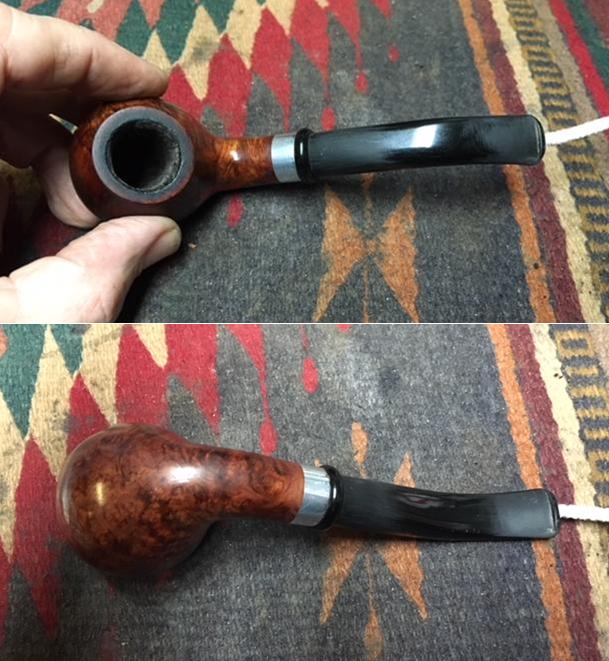
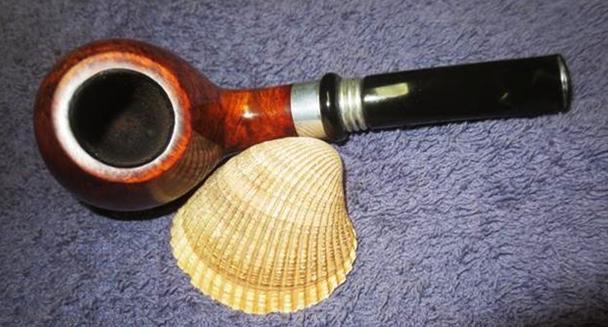 I had finished replacing the stem on his second pipe and I called him to come and pick it up and during the conversation he told me that he had chomped through the repair already – not even a month had passed and it was back to its original state. He dropped it off when he came to pick up his other pipe. It had not only broken but the bowl was already caking heavily. The shank and stem were filling up with tars once again and the rim top had darkened and was beginning to have a lava coat on it. We talked and decided it was time to make a new stem for this one. I reminded him that I could not do anything with the metal on the stem as it was unmovable at this point in its life. He was good with that and wanted his pipe workable. We were good to go. I went through my can of stems and found a likely candidate. It was acrylic and was a filter stem just like the one it would replace. It was a little longer but I think that it would work and look good. In the photo below you can see the two stems. Notice the chomped original stem.
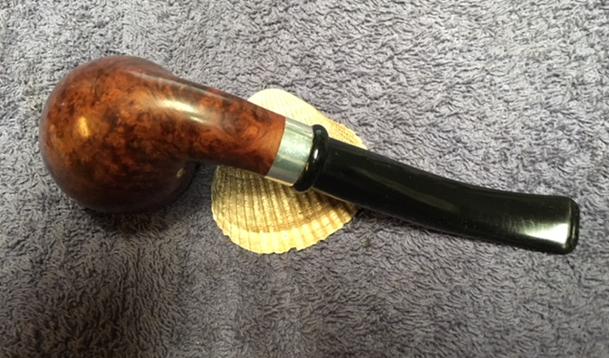
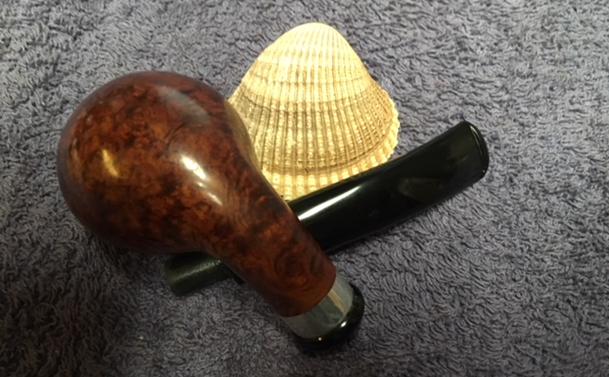
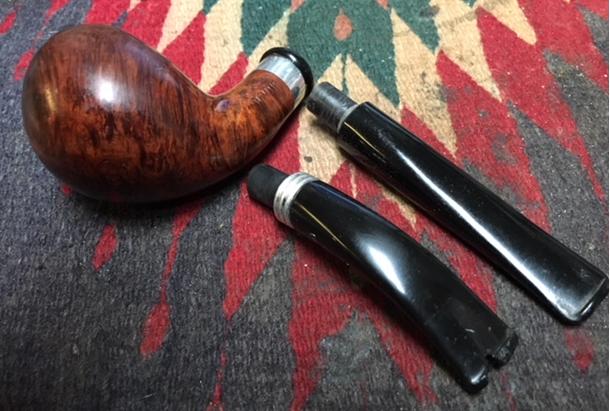 The tenon was slightly thicker in circumference than the original so I used a Dremel and sanding drum to take it down to the right size. The Dremel will not reach the end of the tenon as the stem so I used a rasp and needle file to clean it up. It did not take too much work to bring it down to size. I cleaned it up with 220 grit sandpaper and polished it with 1500-2400 grit micromesh sanding pads. I put it in the shank to check the fit and I was pleased with how it fit. I took photos of the stem in place on the pipe. It still needed to be bent but it would work nicely.
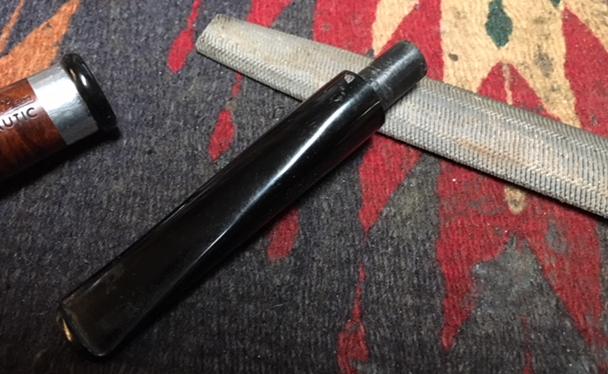
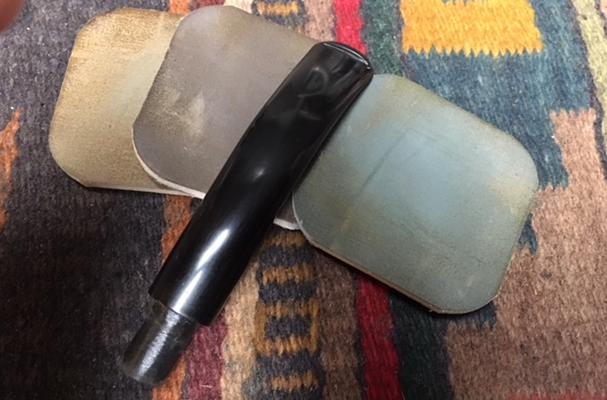
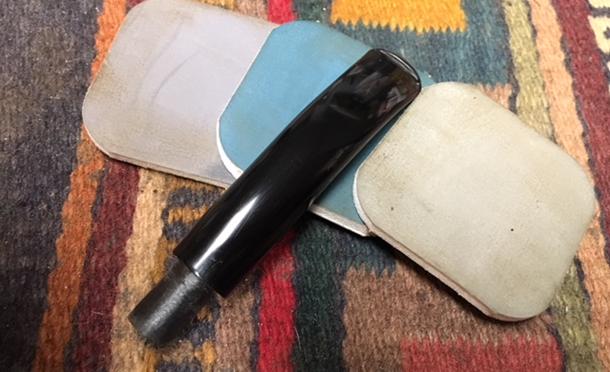
 The stem was not new – it was one of my scavenged stems so it had some tooth chatter on the surface on both sides near the button. It also had slight remnants of a logo on the top side that needed to be smoothed out. I sanded out the chatter and the remnants of the logo with 220 grit sandpaper.
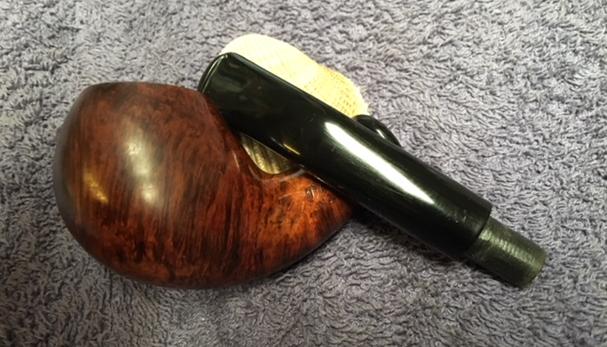
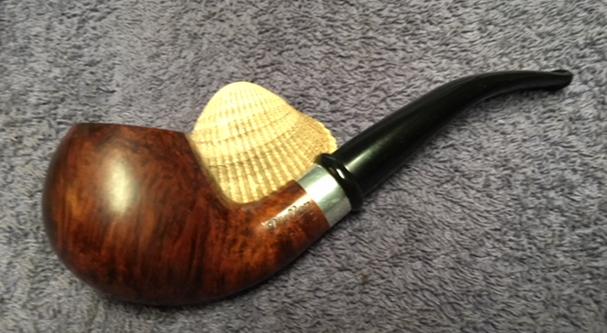
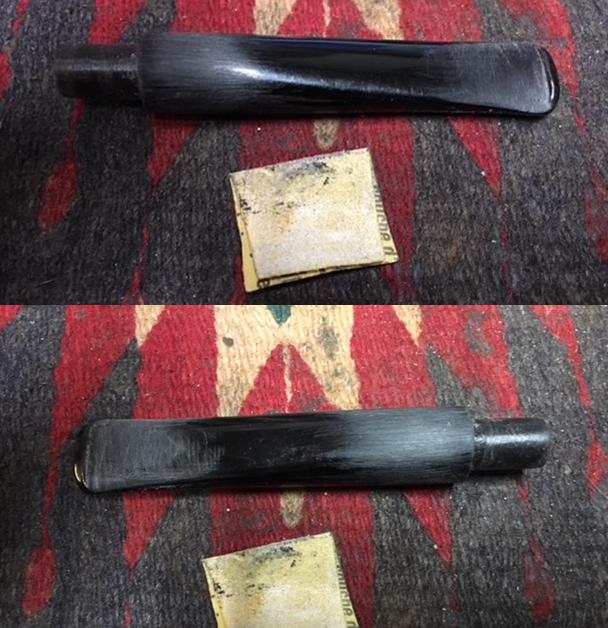 It is a rainy night in Vancouver so I did not want to do the stem bending out on the porch so I set up my heat gun on the top of the dryer. I put a pipe cleaner in the airway of the stem to protect the airway when I bent it. I did not want any kinks or collapsed areas in the stem. I heated it until the acrylic was pliable and bent it to the angle that I thought would look good on the stem. I set the bend with running water. I put the stem in the shank and took photos of the new look. I wanted to check out the bend and make sure it was sufficient.
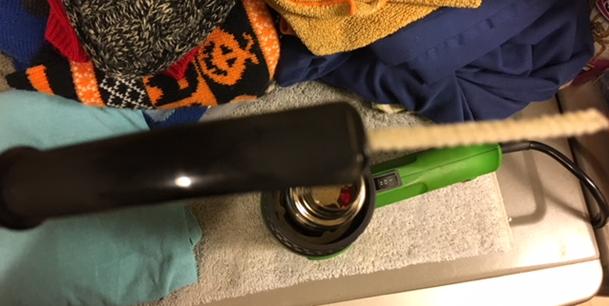
 I smoothed out more of the areas around the button and the shank/stem junction with 220 grit sandpaper and then polished the stem with micromesh sanding pads. I wet sanded it with 1500-2400 grit pads and wiped it down with a damp cotton pad and dry sanded it with 3200-12000 grit pads and wiped it down after each pad with the damp cotton pad.
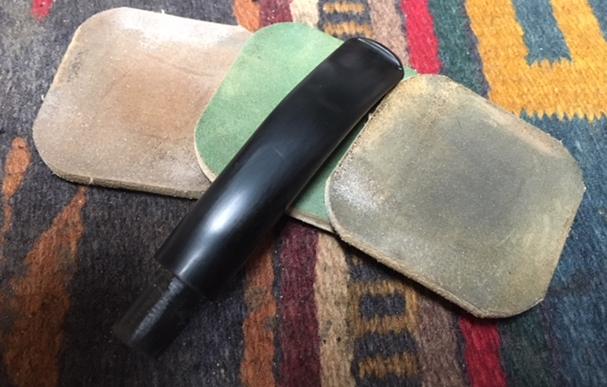
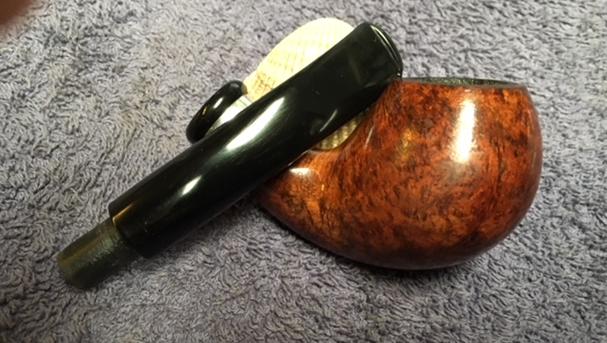
 With the stem polished I put it back on the pipe and buffed the entire pipe with Blue Diamond polish on the buffing wheel. I gave the entire pipe several coats of carnauba wax and buffed it with a clean buffing pad to raise the shine. I hand buffed it with a microfibre cloth to raise the shine. The new stem looked good to me and the bend was just right. The bowl polished up pretty nicely. I left the rim top pretty much as it was when it came to me this time. I wiped it down a bit with a cotton pad to clean off the tars but the darkening was left behind. The finished pipe is shown in the photos below. I will be calling the pipeman to pick it up this weekend. Thanks for looking.