
Blog by Steve Laug
In my previous 2 blogs on Craig’s pipes I spoke of the five pipes that I am working on for him. In this blog I am taking on the third of his pipes – a Wally Frank Natural Unvarnished Bulldog that came to me sans stem. It was by far the most used pipe he sent me with a cake in the bowl that was thick and hard. I am going to include what Craig wrote me about his pipes. I have included it in the previous two blogs but I think it adds context to the bunch.
I was recently given a bag of pipes…literally, a BAG of 20 or so pipes that are 50+yrs in age and VERY used. I was wondering if you would have time to either Skype or FaceTime with me, and go through what I have in order to determine which are worth sending to you to have them refurbished. If you would be so kind, I’d really appreciate it.
We met on FaceTime and walked through each of the pipes in his bag. He pulled out a grocery bag with no rhyme or reason to it. It was filled with a jumble of no name or low-end drug store pipes. The only pipes that stood out for me were an old WDC Campaign pipe and a Grabow Starfire. We excluded all but five of the pipes. The amount of work necessary to bring them back was not worth the price. These are the five that we chose to work on. As I finish them, I will include the link to the blog covering that pipe.
– A No Name Meerschaum that looked interesting – https://rebornpipes.com/2018/01/31/is-it-a-meerschaum-looks-like-one-feels-like-one-but/
– A leather clad billiard marked R20 and bearing a shield – https://rebornpipes.com/2018/02/01/rejuvenating-a-leather-clad-billiard/
– A Wally Frank Bulldog marked Natural Unvarnished lacking a stem
– A Dr. Grabow Starfire 39 that had great grain
– A WDC Campaign underslung pipe
After our conversation, he packed up the pipes and threw the rest of the pipes in a separate bag for me to scavenge parts. The box did not take too long to get to Vancouver and when it did I opened the box and had a look. Here are pics of what I saw – there were two bags inside. One bag held the discards for the scrap pile and the other held the five pipes he wanted restored.
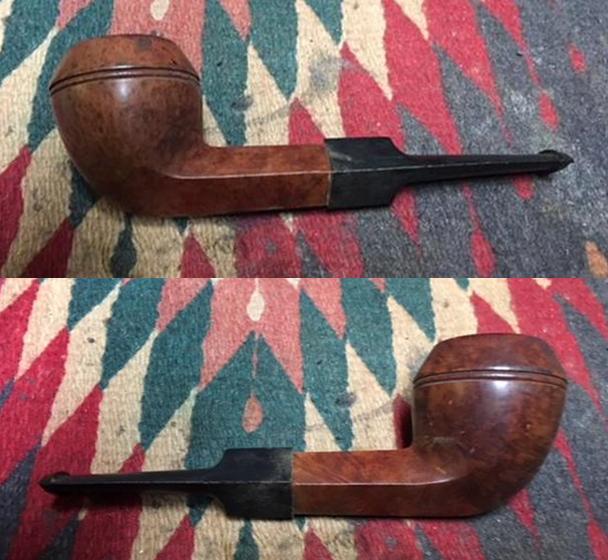
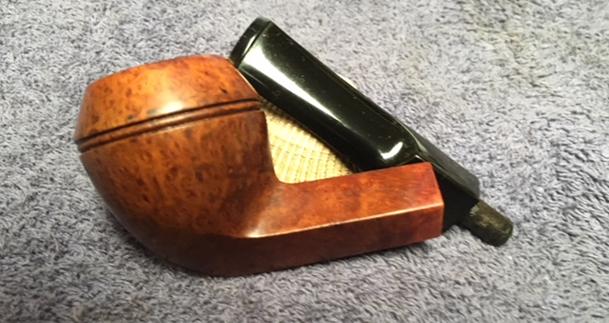
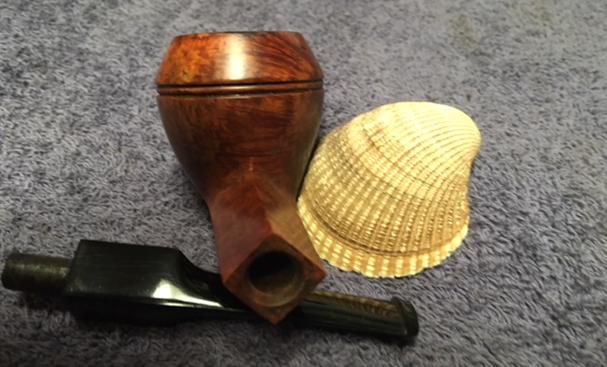
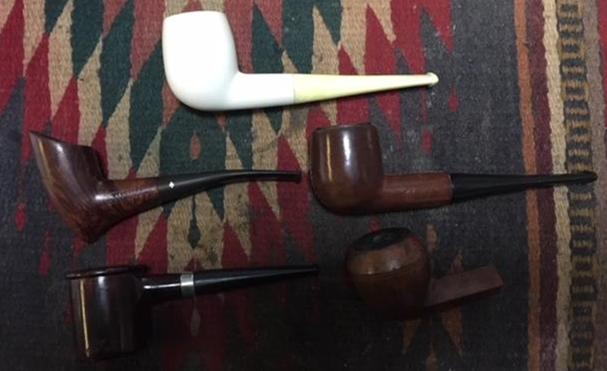 The third pipe was the stemless Bulldog on the lower right of the photo above. The briar was very dirty with lots of grime and some residue that had hardened on the surface of the bowl. The rim top was in good condition but I would not be sure until I was able to remove the lava overflow from the bowl over the bevel. The outer edges were undamaged all around the bowl and I was hoping the same was true of the inner edge. There was some darkening on the rim as well. The bowl had a thick cake in it and remnants of tobacco. On the front of the bowl on the cap there was some hardened sticky substance. The shank is stamped on the left side Natural over Unvarnished. On the right side it is stamped Wally Frank Ltd. On the underside of the left side it reads Imported Briar. There was no stem so I was going to need to fit one to the shank. I took the following photos of the pipe before I started cleaning it up.
 I went through my can of stems and found one that would work with the pipe. It was a diamond saddle stem. The saddle portion was slightly larger than the shank of the pipe but I could work that to make it fit well. The tenon would need to be turned with the PIMO tenon turning tool make it a snug fit in the shank.
 I drilled out the airway in the stem with a drill bit the same size as the post in the centre of the tenon turning tool. Once it was open I adjusted the cutting head on the tool to take the tenon down incrementally to the right dimension. I readjusted it and repeated the process until the fit was right. I sanded down the tenon lightly with 220 grit sandpaper to fine tune the fit and put it in the shank of the pipe. I took photos of the pipe at this point to show what needed to be done to adjust the fit. It needed some work. The bowl was also very caked and that needed to be reamed.
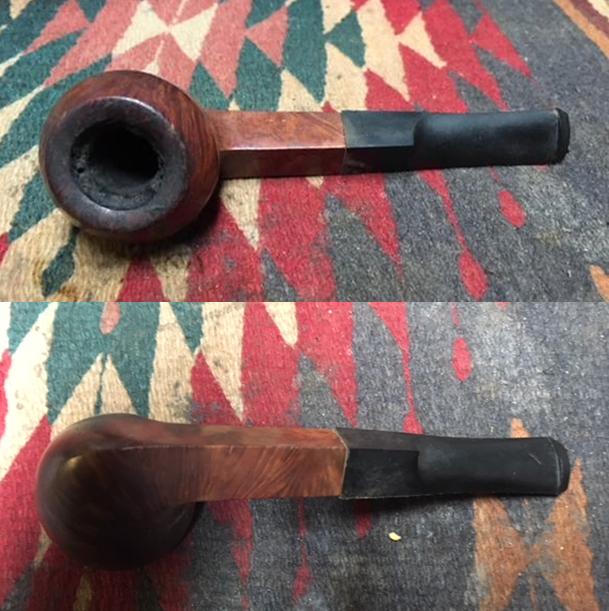 I took the stem off and reamed the bowl with a PipNet reamer. I started with the smallest cutting head and worked my way up to the one that was the same diameter as the bowl. I reamed it back to bare briar. I cleaned up the remnants with a Savinelli Fitsall Pipe Knife.
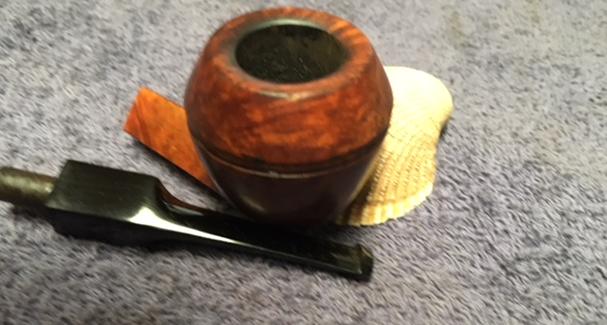
 With bowl reamed I turned to the rest of the internals. I used a dental spatula to scrape out the heavy tar buildup in the shank. There was a lot of mess there and it took a lot of scraping before I had it cleaned out. I cleaned the shank and mortise with pipe cleaners, cotton swabs and alcohol. I scrubbed out the shank and mortise until the pipe cleaners and swabs came out clean.
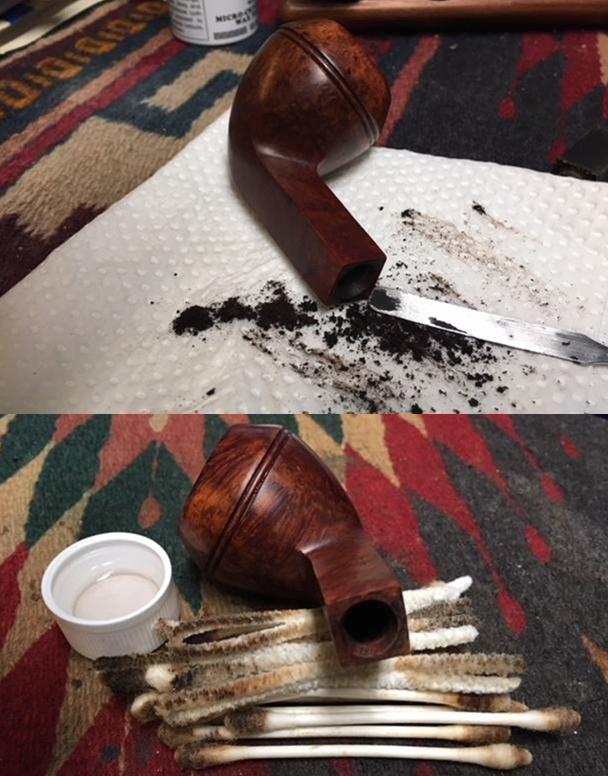 I sanded off the lava and darkening on the rim top with 220 grit sandpaper. I was able to remove all of the buildup and damage on the rim.
 I sanded the saddle portion of the stem with a Dremel and sanding drum to reduce the sides to match the shank. I sand it on a slower speed and carefully work to keep it from hitting the shank of the pipe. I finish the fitting with 180 and 220 grit sandpaper to sand it to match the shank. I sand the shank at the same time to make the transition smooth. The next set of four photos show the fit of the stem at this point in the process.
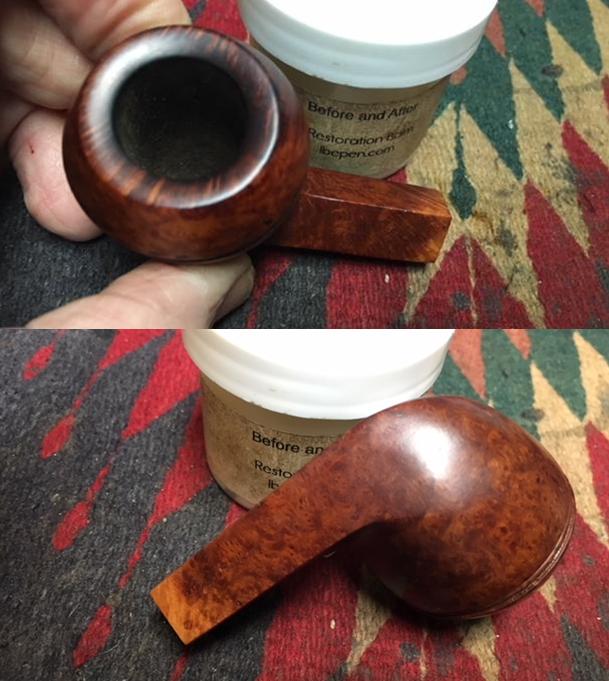
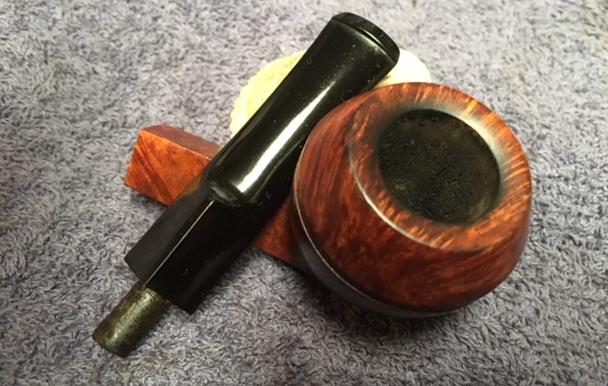
 I worked some Before & After Restoration Balm into the surface of the briar with my finger tips to deep clean the finish, enliven and protect the wood. I worked the balm into the rim top and inner bevel of the rim to polish the cleaned up area. I let it sit for a few minutes and then buffed it with a cotton cloth. The grain in the wood came alive and there was a rich shine to the briar. I took some photos of the bowl at this point to mark the progress in the restoration.
 I polished the bowl and rim with micromesh sanding pads – wet sanding it with 1500-2400 grit pads and dry sanding with 3200-12000 grit pads. I wiped the bowl down after each pad with acetone to clean off the sanding dust. The photos show the progress of the polishing.

 I used a dark brown stain pen to blend the sanded shank end with the rest of the bowl. I polished it with micromesh sanding pads to blend it in and hand buffed it with a microfibre cloth.
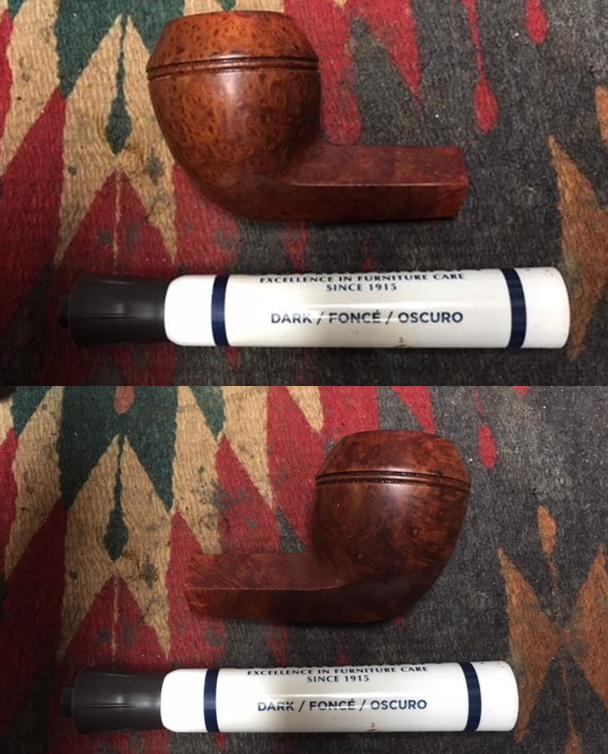
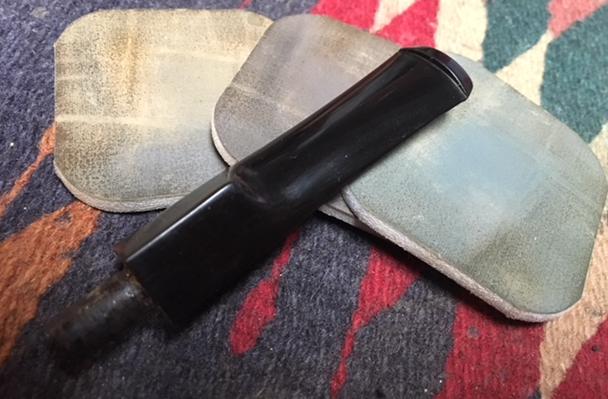
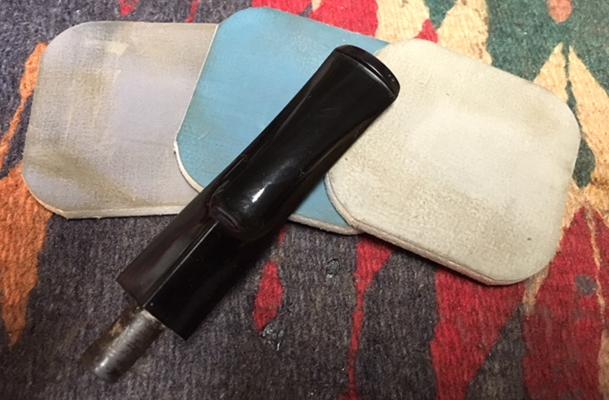
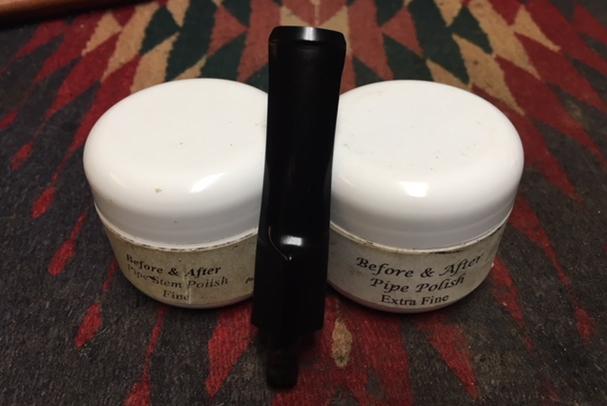
 I worked over the stem with micromesh sanding pads. I polished out the sanding scratches and marks from the reshaping work. I wet sanded it with 1500-2400 grit pads and dry sanded it with 3200-12000 grit pads and wiped it down with Obsidian Oil after each one. I polished the stem with Before & After Pipe Stem Polish, using both Fine and Extra Fine polishes to polish out the remaining light scratches in the vulcanite. When I finished with the polish I gave it a final coat of oil and let it dry.
 With the stem replaced and polished I put it back on the pipe and buffed the entire pipe again with Blue Diamond polish on the buffing wheel. I polished it with the polishing compound until it was shiny. I gave the entire pipe several coats of carnauba wax and buffed it with a clean buffing pad to raise the shine. I hand buffed it with a microfibre cloth to deepen the shine. The new stem and the bowl polished up pretty nicely. The finished pipe is shown with the original stem in the photos below. This is the third of Craig’s five pipes. Once I finish the other two pipes I will pack them up and get them out to him. I am looking forward to what he will think once he has them in hand. Thanks for walking through these restorations with me. I am thinking that the pipeman who gave Craig these pipes would be happy that they are back in service and that Craig is carrying on the pipeman’s trust with them. Cheers.


Pingback: rebornpipes
Pingback: Craig’s Pipes #4 – Restoring a Dr. Grabow Starfire 39 | rebornpipes
Really turned out nice.
LikeLike