Blog by Steve Laug
In my previous 4 blogs on Craig’s pipes I spoke of the five pipes that I am working on for him. In this blog I am taking on the fifth of his pipes – a WDC Campaign Calabash. It was another one with a cake in the bowl that was thick and hard. For the last time I am going to include what Craig wrote me about his pipes. I have included it in the previous four blogs but I think it adds context to the bunch.
I was recently given a bag of pipes…literally, a BAG of 20 or so pipes that are 50+yrs in age and VERY used. I was wondering if you would have time to either Skype or FaceTime with me, and go through what I have in order to determine which are worth sending to you to have them refurbished. If you would be so kind, I’d really appreciate it.
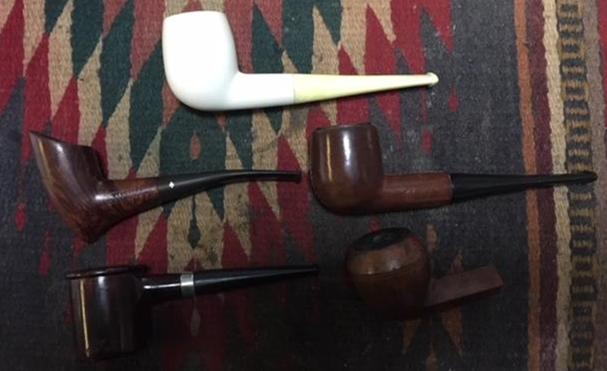
We met on FaceTime and he pulled out a grocery bag with no rhyme or reason to it. It was filled with a jumble of no name or low-end drug store pipes. This last pipe is one of the two pipes that stood out for me – the old WDC Campaign pipe and a Grabow Starfire. He had several others that he liked. But we excluded all but five of the pipes. The amount of work necessary to bring them back was not worth the price. These are the five that we chose to work on. I have included the links to the blog covering each pipe. I am finally addressing the last one.
– A No Name Meerschaum that looked interesting – https://rebornpipes.com/2018/01/31/is-it-a-meerschaum-looks-like-one-feels-like-one-but/
– A leather clad billiard marked R20 and bearing a shield – https://rebornpipes.com/2018/02/01/rejuvenating-a-leather-clad-billiard/
– A Wally Frank Bulldog marked Natural Unvarnished lacking a stem https://rebornpipes.com/2018/02/02/craigs-pipes-3-restemming-and-restoring-a-wally-frank-natural-bulldog
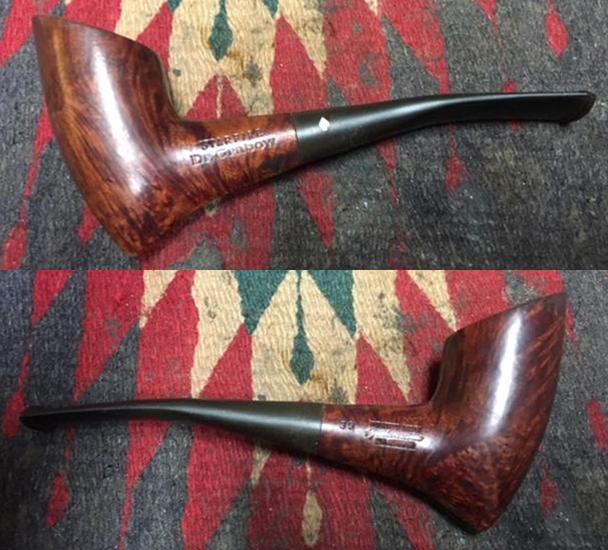
– A Dr. Grabow Starfire 39 that had great grain – https://rebornpipes.com/2018/02/03/craigs-pipes-4-restoring-a-dr-grabow-starfire-39/
– A WDC Campaign underslung pipe
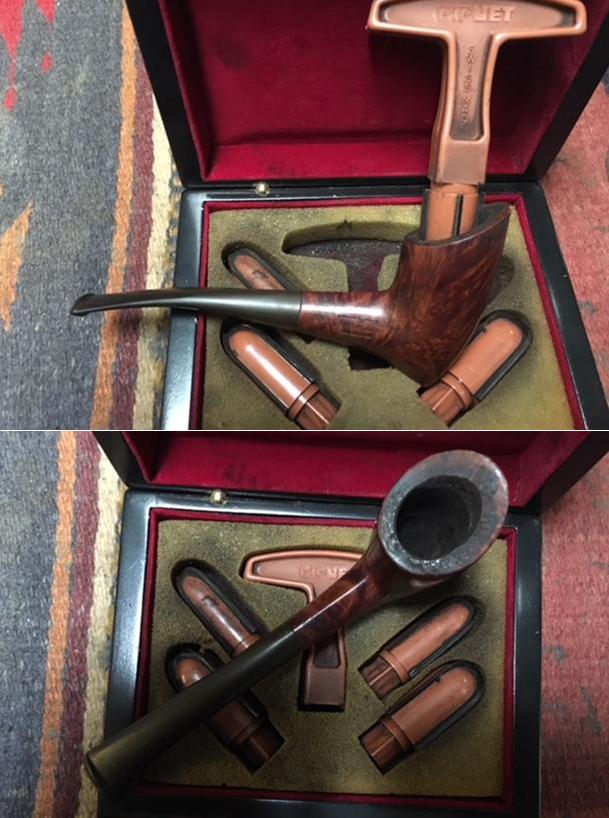
After our conversation, he packed up the pipes and threw the rest of the pipes in a separate bag for me to scavenge parts. The box did not take too long to get to Vancouver and when it did I opened the box and had a look. Here are pics of what I saw – there were two bags inside. One bag held the discards for the scrap pile and the other held the five pipes he wanted restored. 
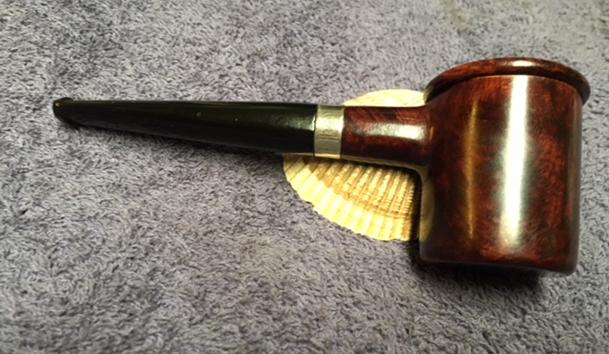
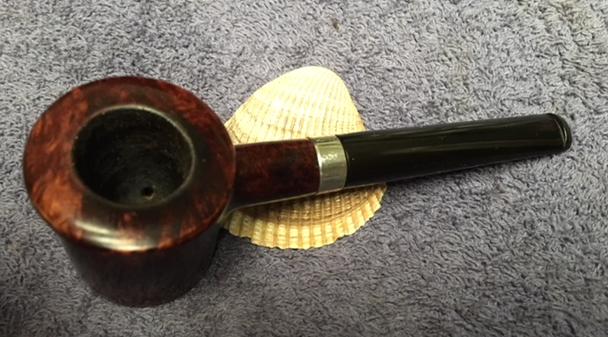
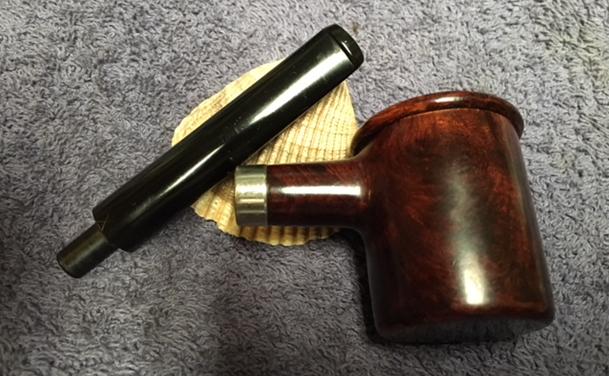
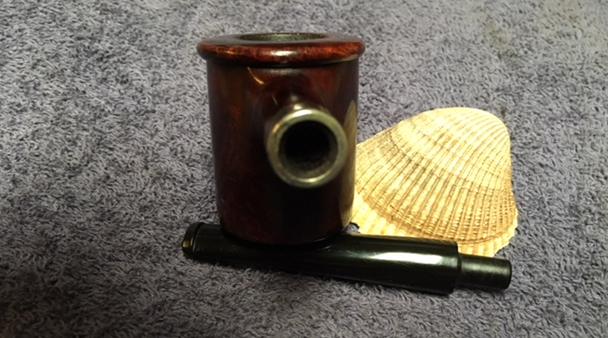
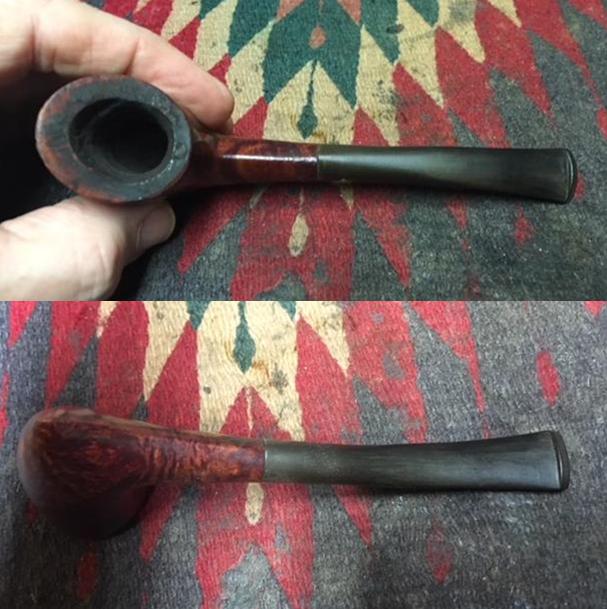
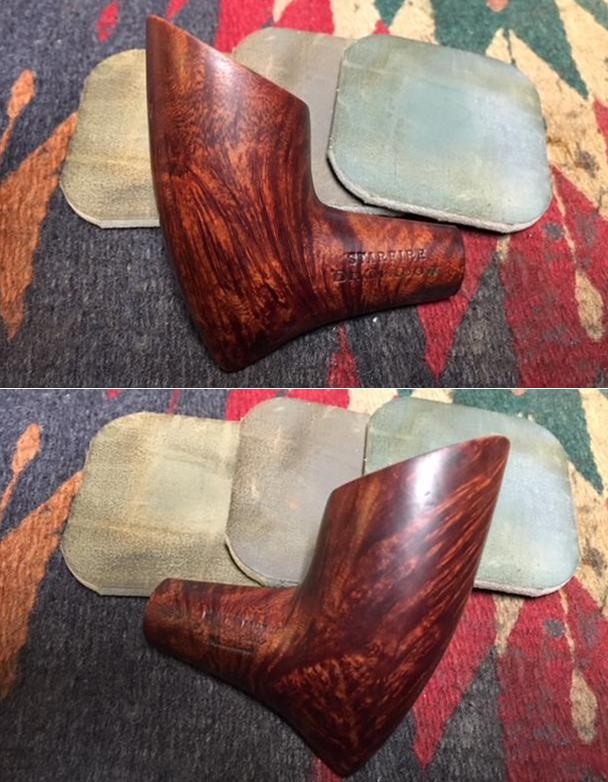
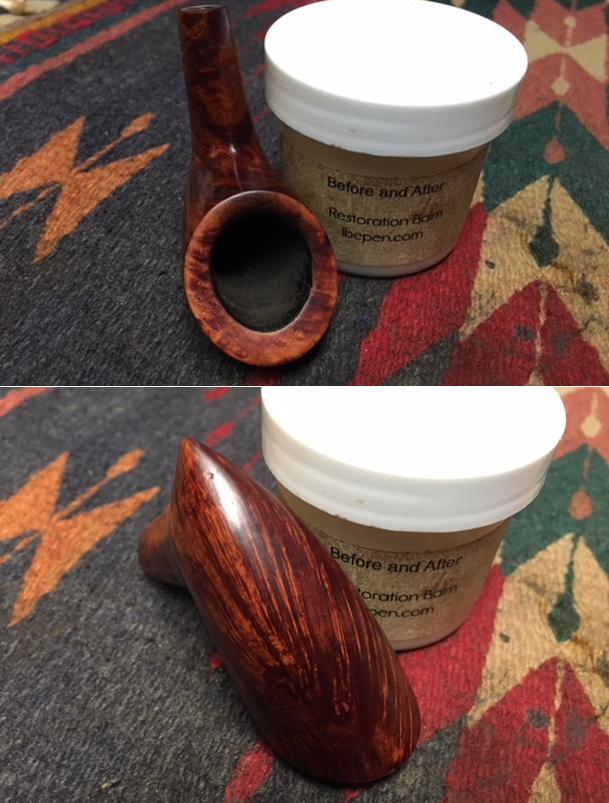
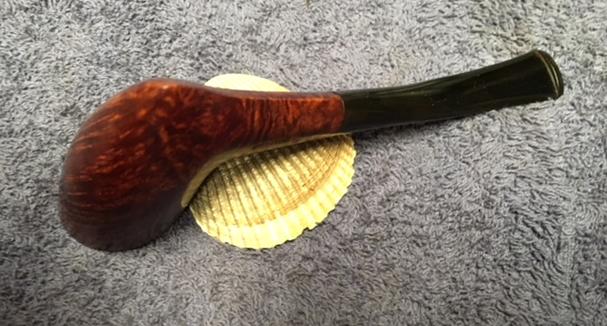
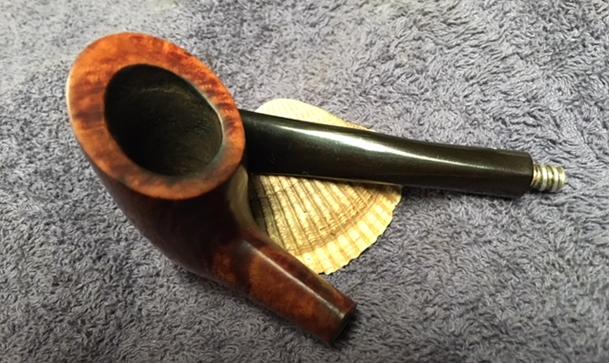
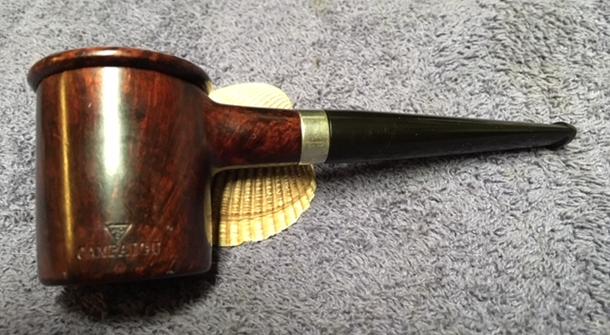
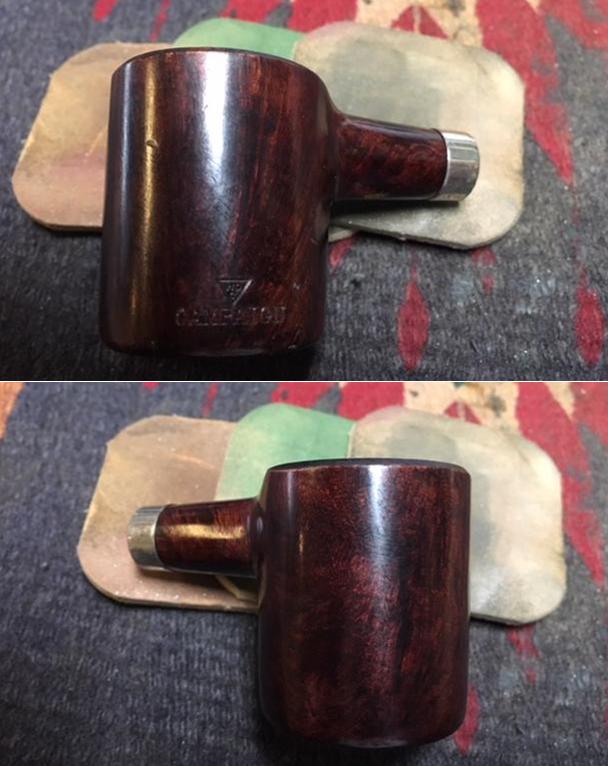
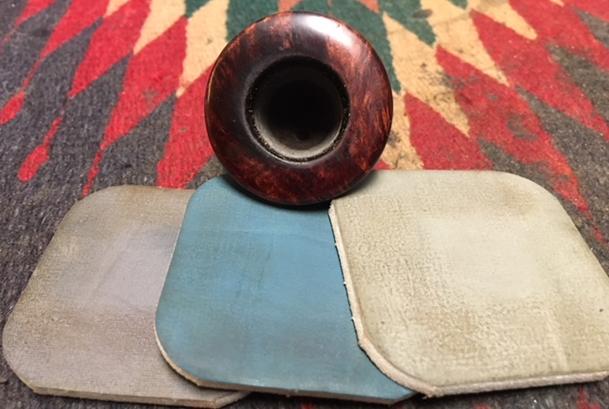
 This is last of Craig’s five pipes. It is the second WDC Campaign that I have worked on. It is stamped on the lower left side of the outer bowl with the WDC triangle logo over the word CAMPAIGN. There was no other stamping on the pipe. The bowl was like a calabash bowl and screwed into the outer bowl. The entirety was made out of briar. The grain on the bowl and rim top is mixed grain with straight, flame, swirled and a bit of birdseye thrown in as well. The briar was very dirty and there were some sticky spots around the sides of the bowl. The rim top had some lava on the surface and there was an uneven cake in the bowl. There was a polished nickel band on the shank but there was no shank stamping. The band was stamped NICKEL PLATED. The stem was lightly oxidized and the fit against the end of the shank was snug. I took photos of the pipe before I started my cleanup work.
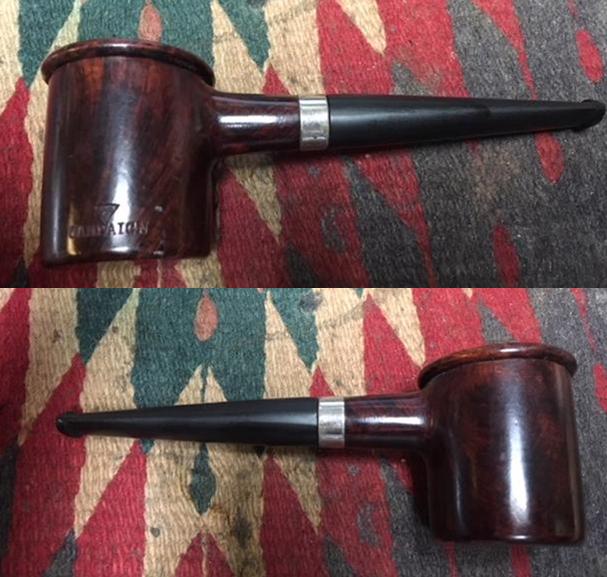
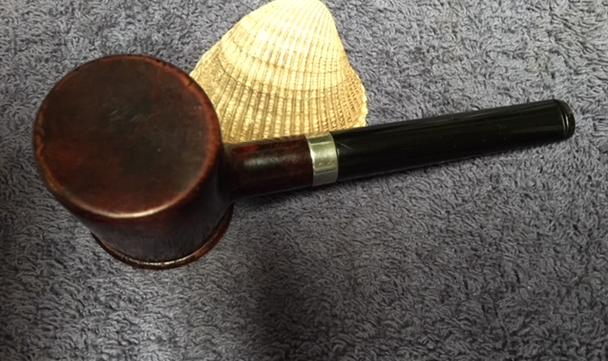
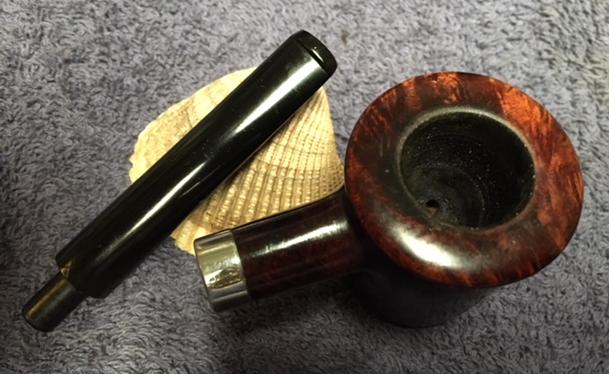
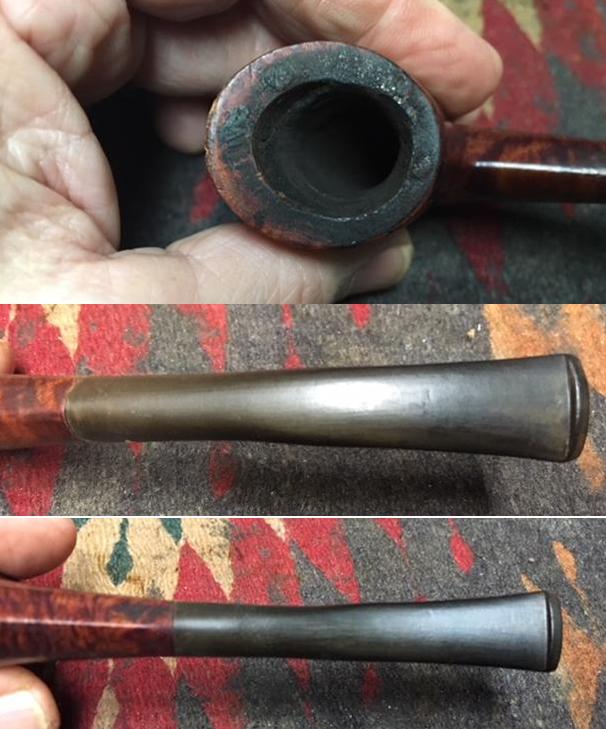
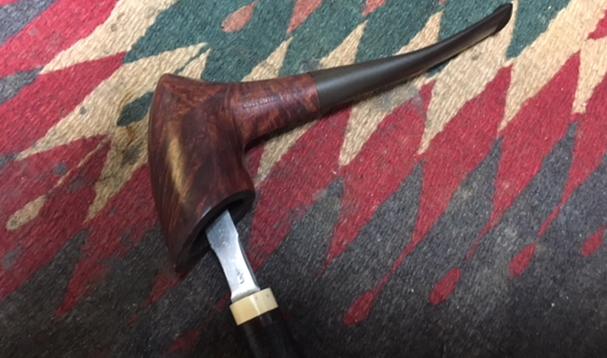
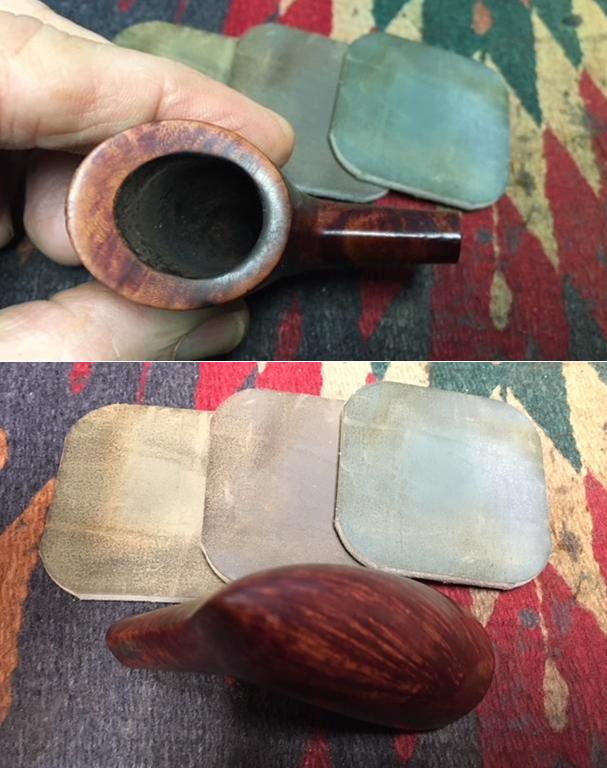
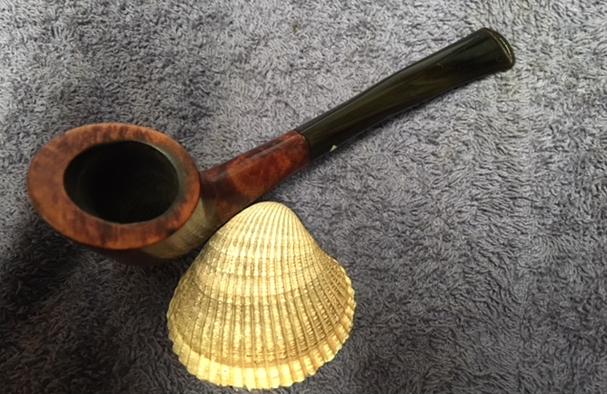
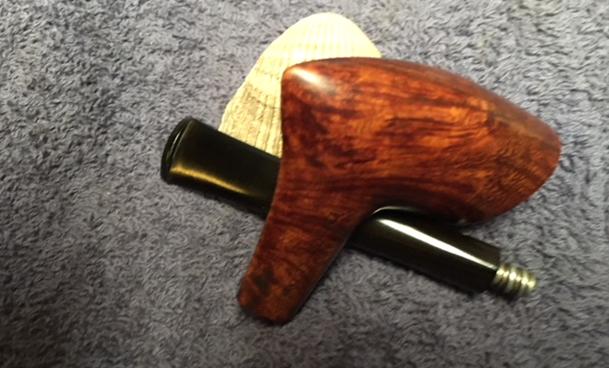
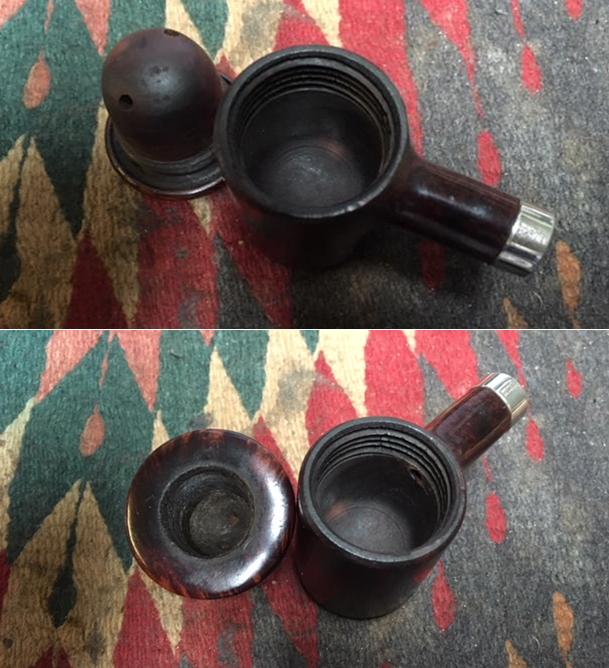
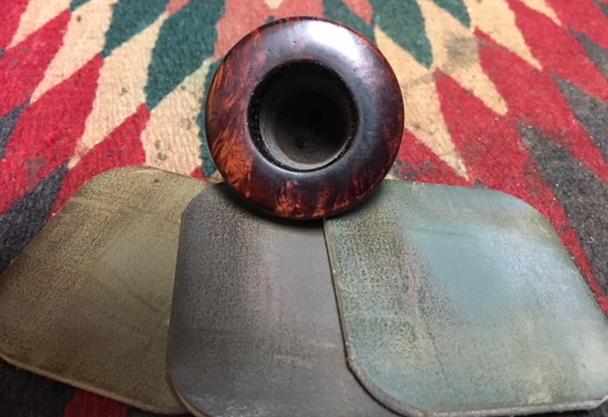
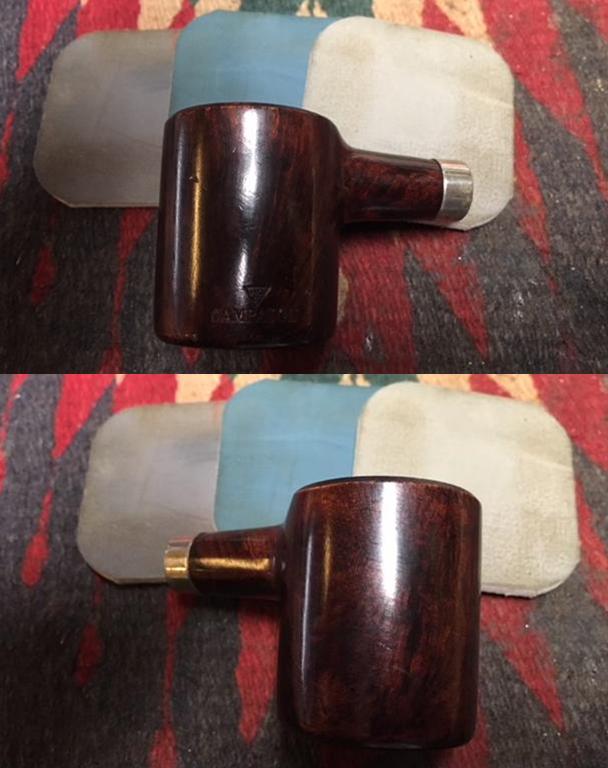
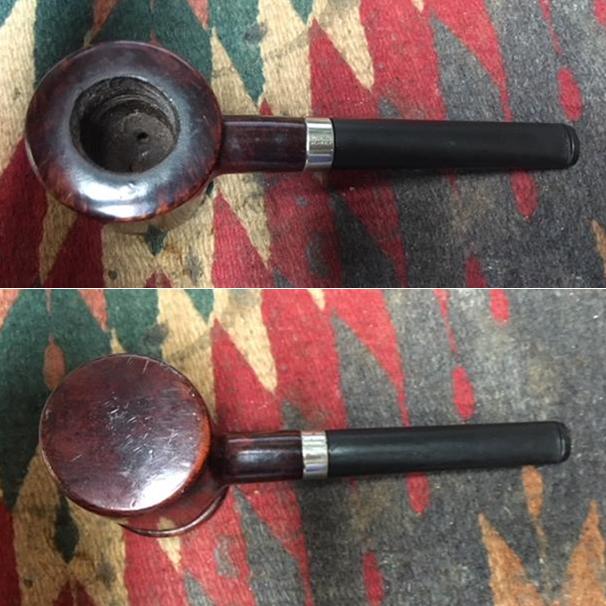 I took close up photos of the bowl, rim top and all of the parts of the pipe. The first photo shows the stamping on the left side of the bowl. You can see the WDC triangle over the word Campaign. The surface of the outer bowl was dirty and grimy. The rim top had some tars and lava on the surface and a few nicks along the outer edge of the bowl. I unscrewed the cup from the outer bowl and took photos of the parts. It was actually surprisingly clean. The photos show the cake in the bowl and the dust and grime between the bowls.
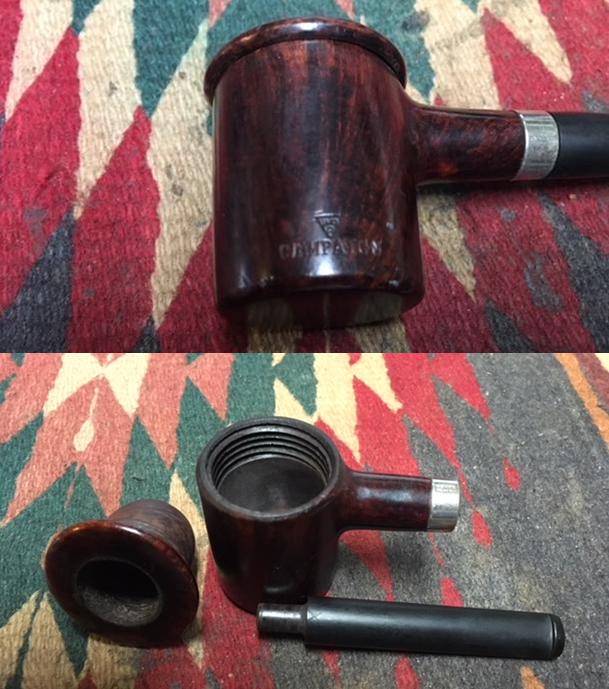
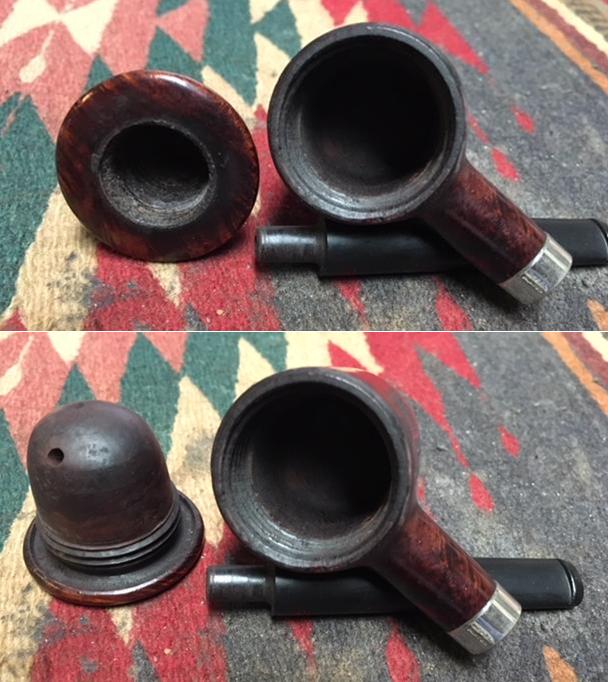
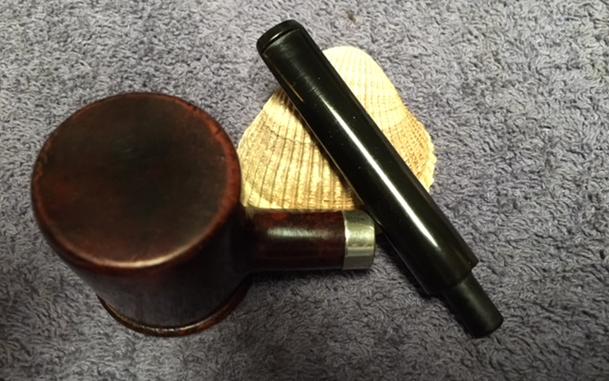
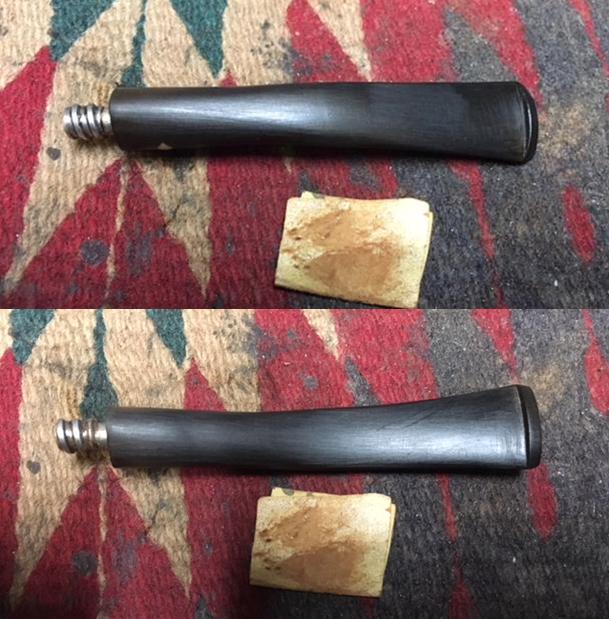
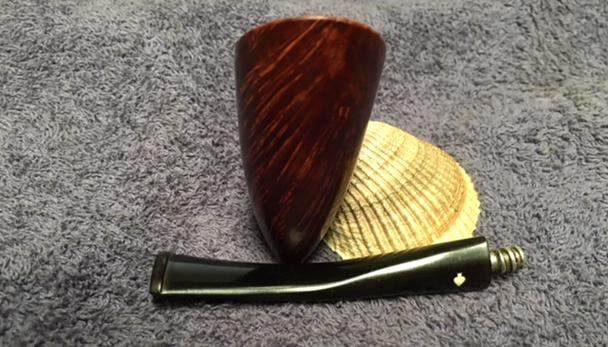
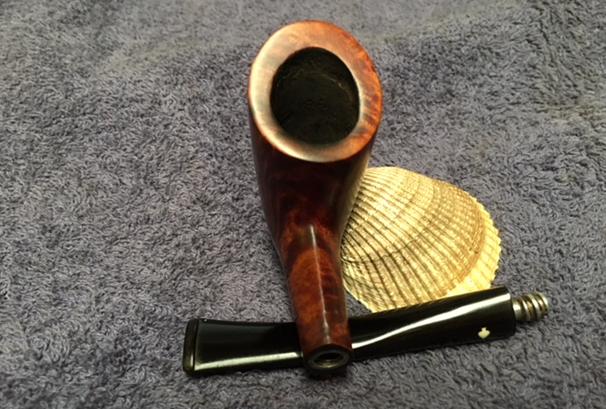
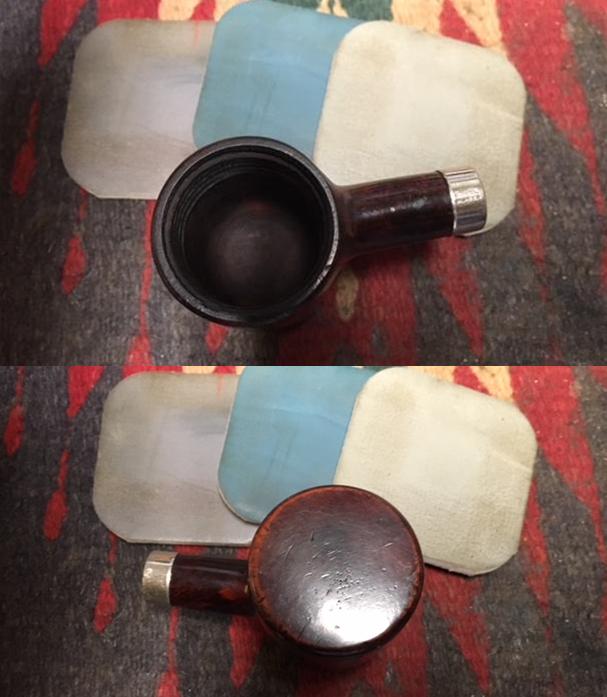
 The stem had some minor tooth chatter and marks on both sides near the button and scratching on the surface. There were some small nicks on the top side of the stem. There was an X on the underside of the stem at the shank/stem junction. The surface of the stem was lightly oxidized and dirty.
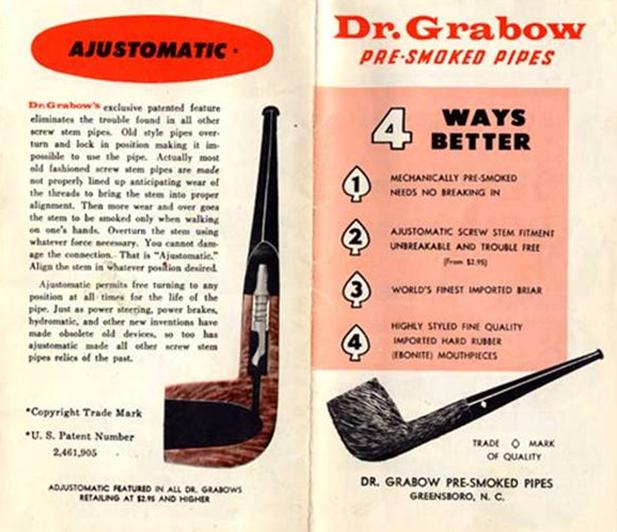
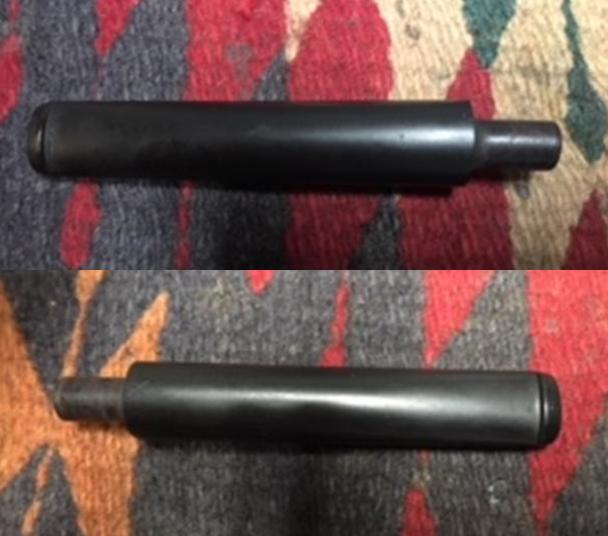 The previous Campaign pipe that I restored was posted on the blog earlier. I am attaching the link to that blog and some of the information that I found in researching the brand at that time. (https://rebornpipes.com/tag/wdc-campaign-calabash-pipe/). In my online research I found a brief interchange on a Google group. I include the link if you would like to read it in context and its entirety. It gives some helpful information regarding this particular pipe. https://groups.google.com/forum/#!topic/alt.smokers.pipes/kpkpd3zXoiwExcerpt from pipedia.org
To a request for information regarding the WDC Campaign pipe on the Google Group there was quite a long string of answers. I am quoting two of those in full…
Respondent 1: While I can’t say anything about this pipe specifically, I have a hazy memory of that shape listed in a book about pipes; (I may be totally misremembering this, but here goes) the shape being called the “Dawes”, named after Harding’s Vice President? Anyone else remember this? Sounds like an interesting pipe, whatever it’s called…
Respondent 2: From Weber’s Guide to Pipes: “The Dawes Pipe (more correctly named the Lyons, after its inventor, Charles Herbert Lyons) happened to be the favorite pipe of General Charles G. Dawes, Vice-President of the USA from 1925 to 1929. General Dawes smoked the curious pipe incessantly and it became popularly known as the Dawes Underslung, because the shank joined the bowl near its rim.”
I looked on Pipedia, (https://pipedia.org/wiki/William_Demuth_Company) and I quote in part from the article on the William Demuth Company.
The Demuth Company is probably well known for the famous trademark, WDC in an inverted equilateral triangle. William commissioned the figurative meerschaum Presidential series, 29 precision-carved likenesses of John Adams, the second president of the United States (1797-1801) to Herbert Hoover, the 30th president (1929-1933), and “Columbus Landing in America,” a 32-inch-long centennial meerschaum masterpiece that took two years to complete and was exhibited at the World’s Columbian Exposition in Chicago in 1893.
The Presidential series was the result of Demuth’s friendship with President James A. Garfield, a connoisseur of meerschaum pipes. Demuth presented two pipes to Garfield at his inauguration in 1881, one in his likeness, the other in the likeness of the President’s wife. Later, Demuth arranged for another figurative matching the others to be added to the collection as each new president acceded to the White House, terminating with President Hoover.
From the above information I learned some significant details about the Campaign pipe. It was invented by Charles Herbert Lyons and was the favourite pipe of General Charles G. Dawes who was the Vice President of the USA under President Harding from 1925-1929. It fits nicely into that period when WDC was having Presidential Pipes commissioned ending in 1933. That places this old pipe in the time period between the late 1920s and early 1930s.
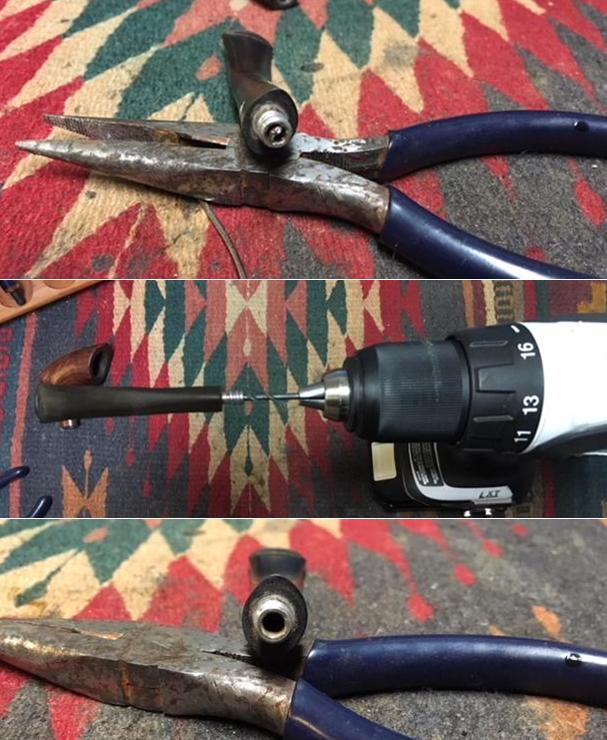
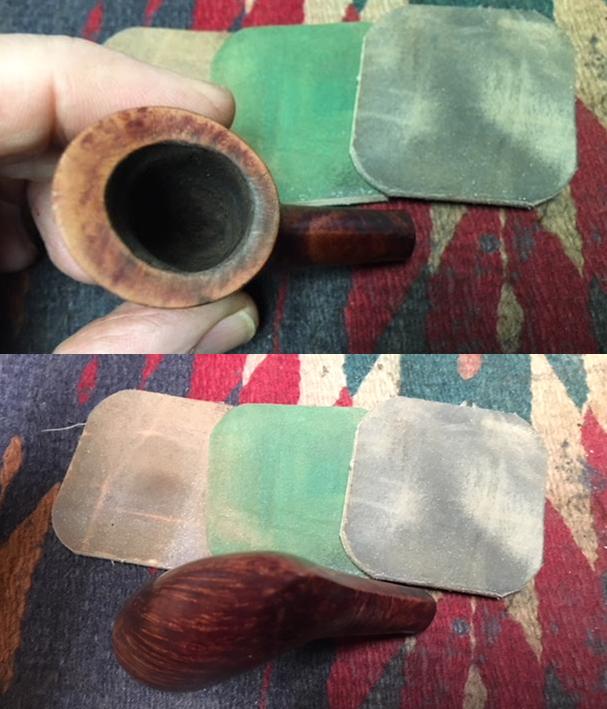
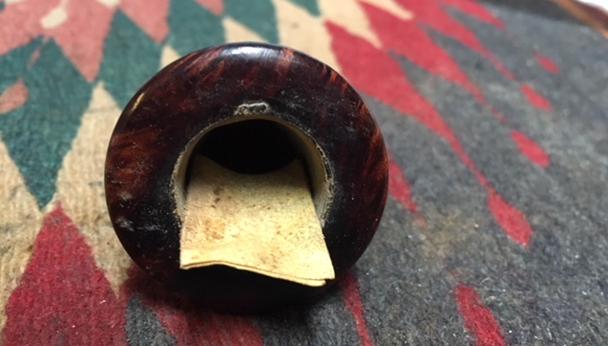
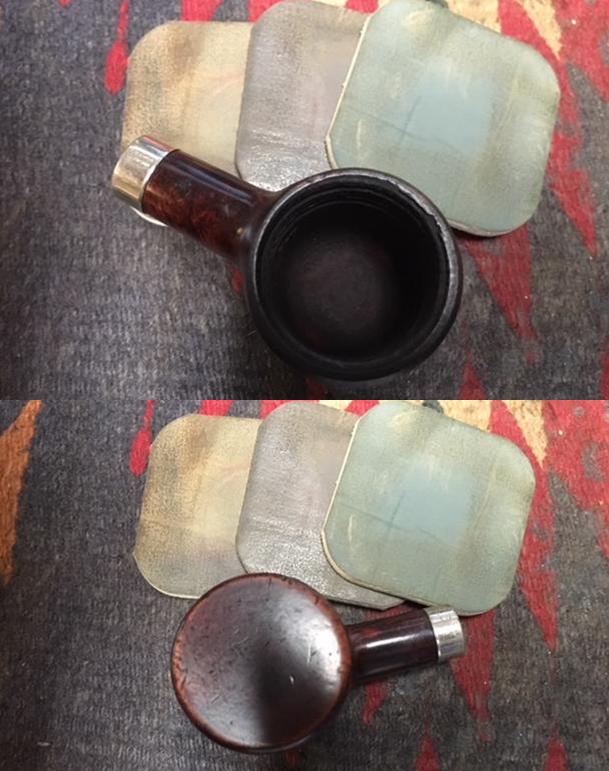
Reminded of the history of the brand and the provenance of this particular pipe it was time to begin working on the cleanup. I removed bowl cup and cleaned out the shank with pipe cleaners, cotton swabs and alcohol. I cleaned out the inside of the outer cup with cotton swabs and alcohol to remove the buildup of tars and oils in the threads and sides and bottom of the bowl.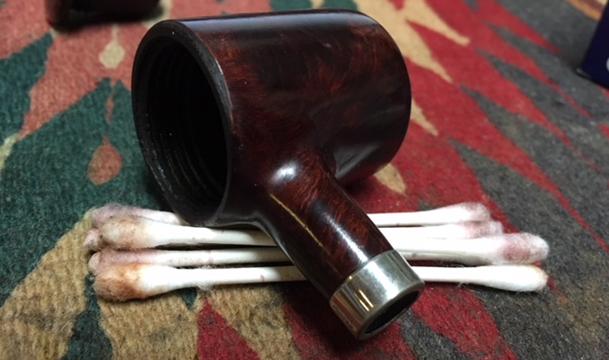 I reamed the inner bowl/cup with a Savinelli Fitsall Pipe Knife to scrape away the remaining cake that was in the bowl. I scraped it back to bare briar. I scrubbed out the outside and the inside of the bowl with cotton swabs and alcohol to remove the remaining oil and tars. I used a folded piece of 220 grit sandpaper to clean up the inner edge of the cup. I worked on the edge until it was clean.
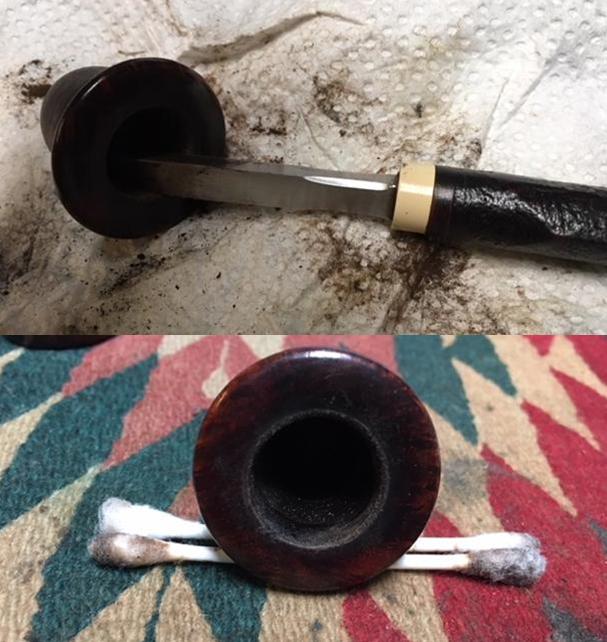
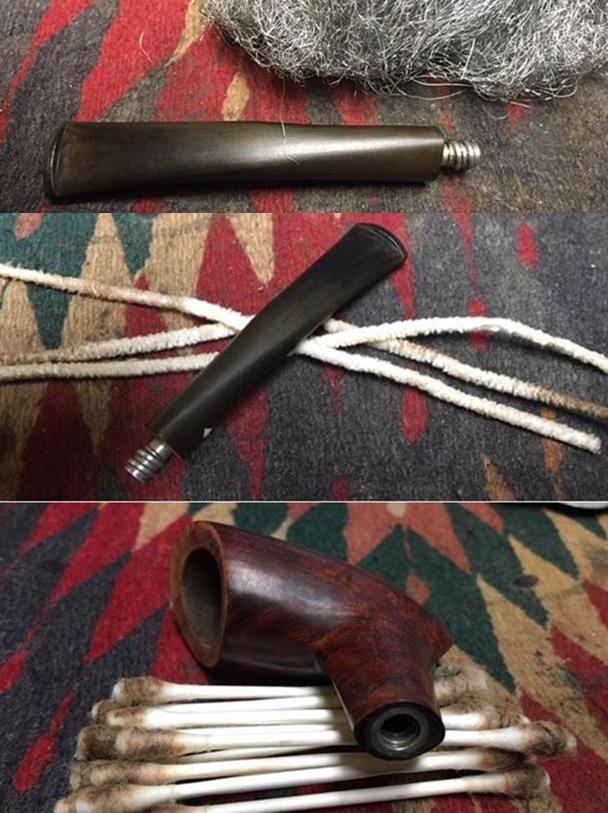
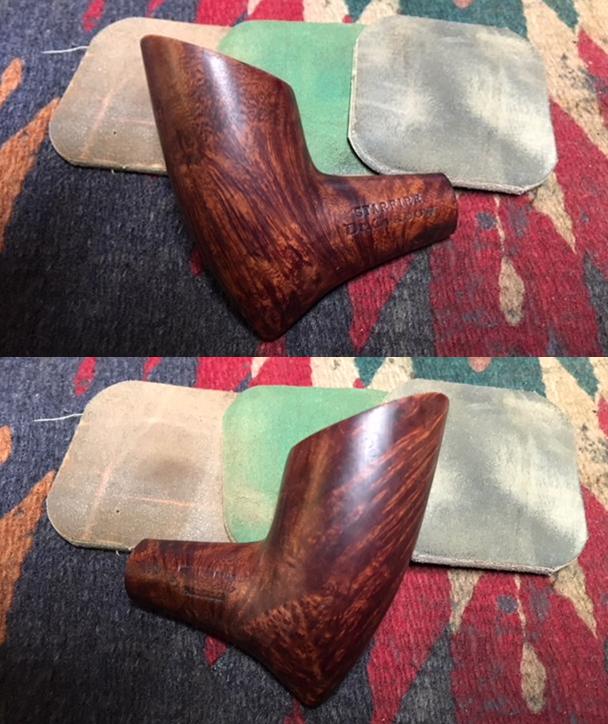
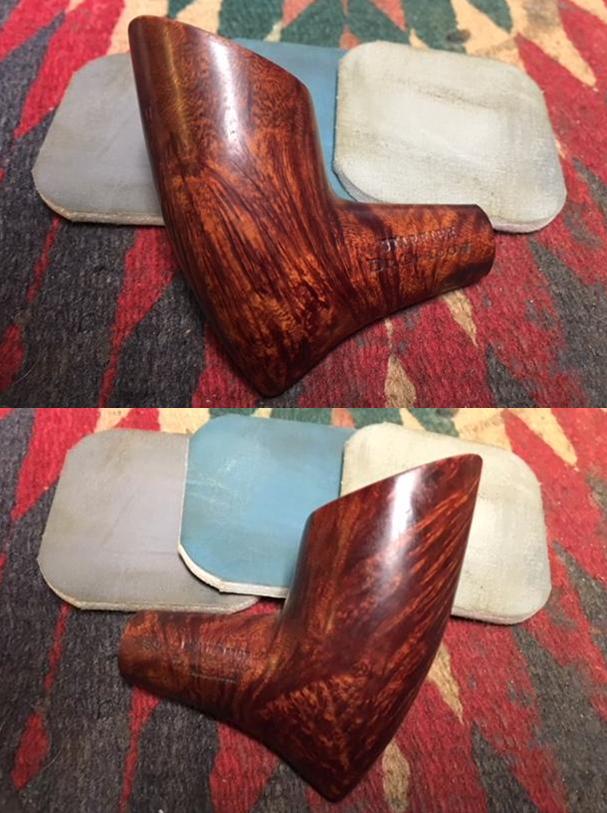
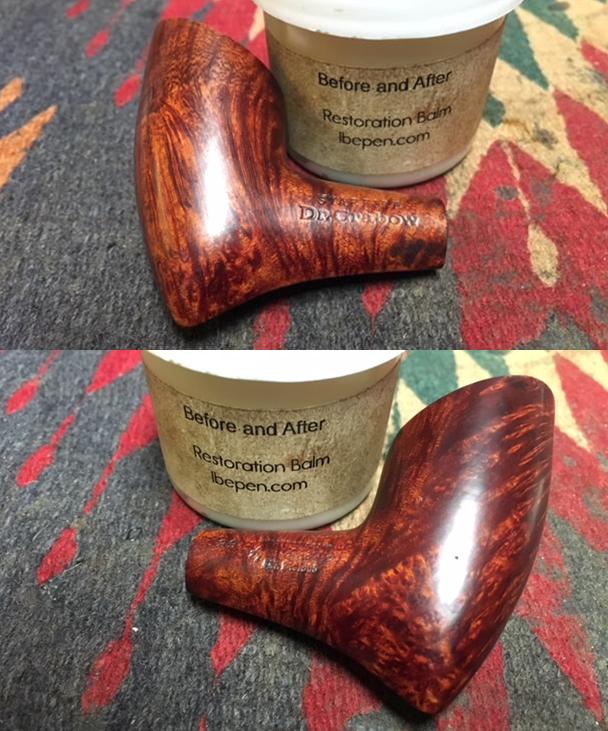
 I polished the bowl and rim with micromesh sanding pads – wet sanding it with 1500-2400 grit pads and dry sanding with 3200-12000 grit pads. I wiped the bowl down after each pad with a damp cotton pad to clean off the sanding dust. The photos show the progress of the polishing. Once again I decided to do this before the deep cleaning with Before & After Restoration Balm.
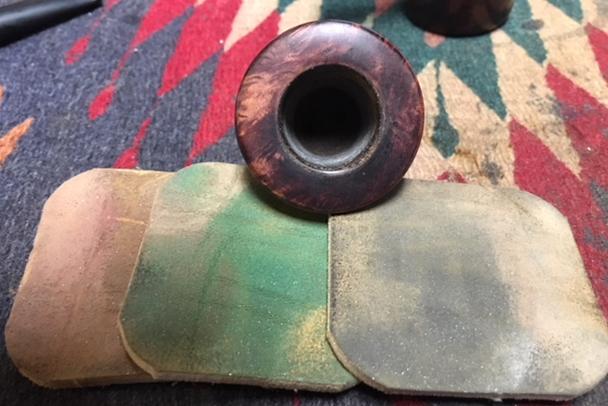

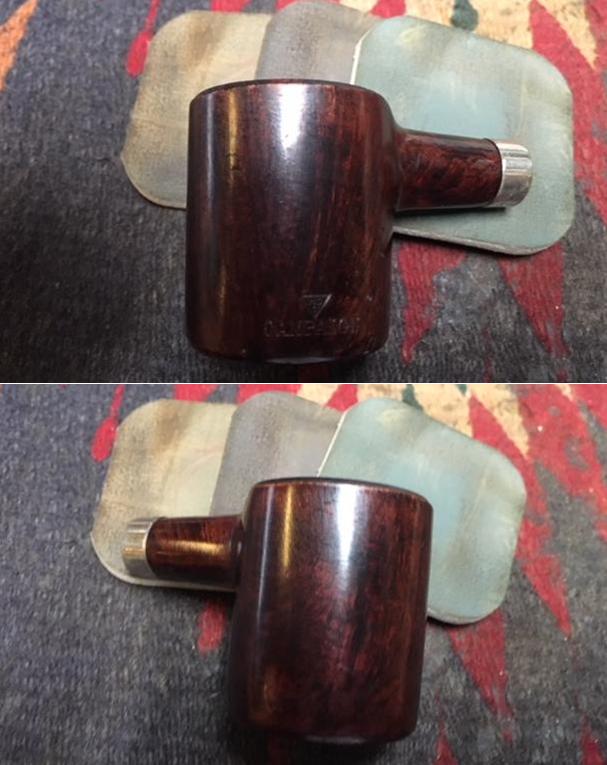
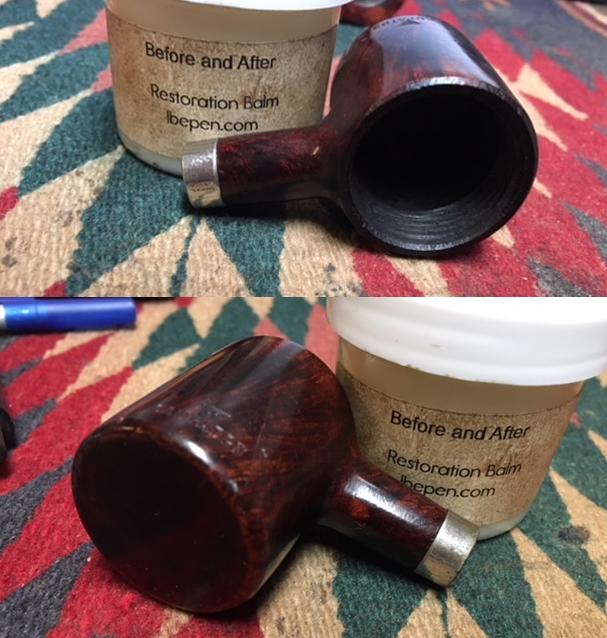
 I worked some Before & After Restoration Balm into the surface of the briar on the bowl and the rim top with my finger tips to deep clean the finish, enliven and protect the wood. I let it sit for a few minutes and then buffed it with a cotton cloth. The grain in the wood came alive and there was a rich shine to the briar. I took some photos of the bowl at this point to mark the progress in the restoration.
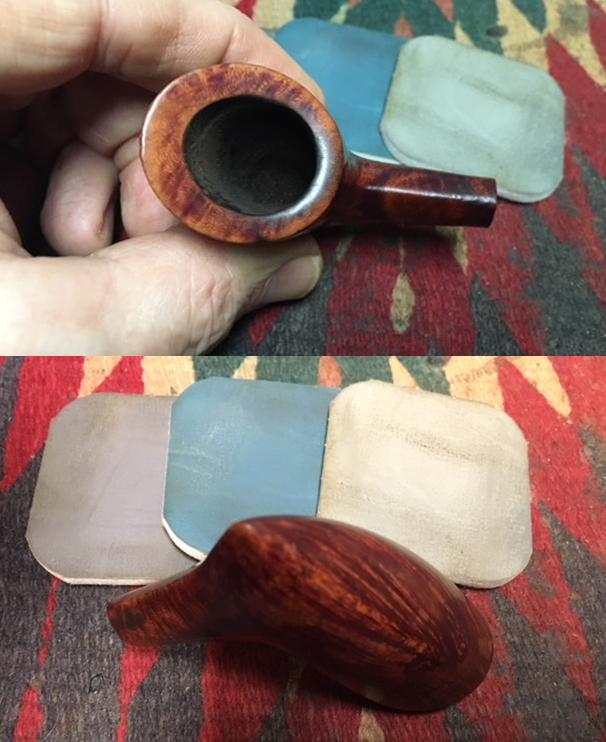
 I sanded the band with 6000-12000 grit micromesh sanding pads. I polished the nickel band with a jeweler’s polishing cloth.
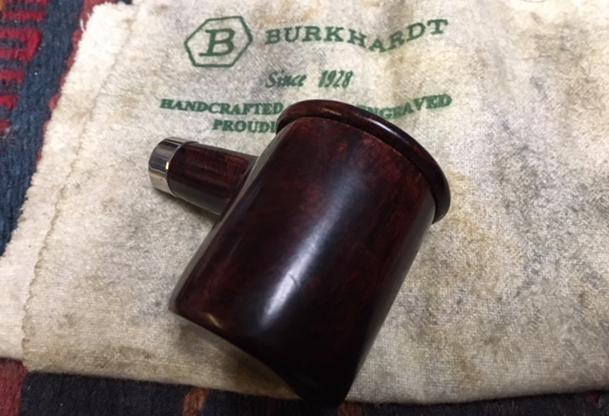 I set the bowl aside in my rack and worked on the stem. I started by sanding it with 220 grit sandpaper to remove the light oxidation, tooth chatter and nicks in the surface.
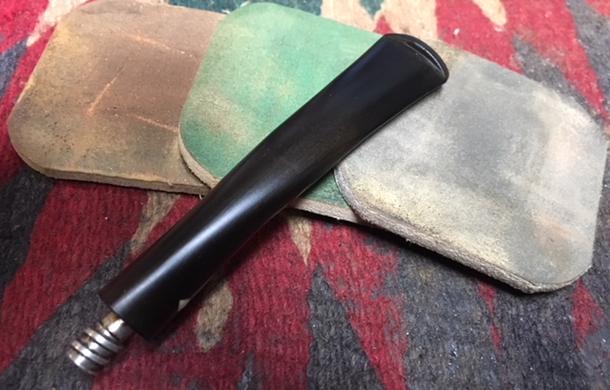
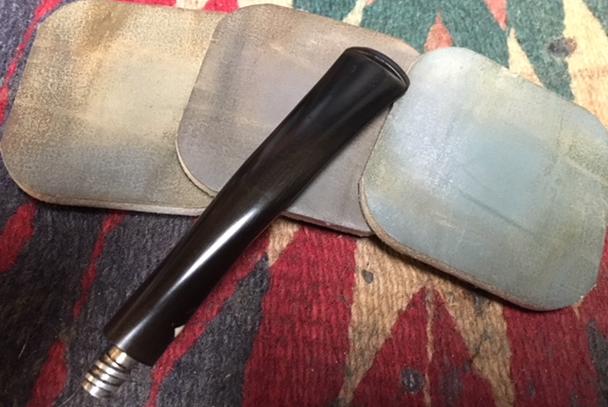
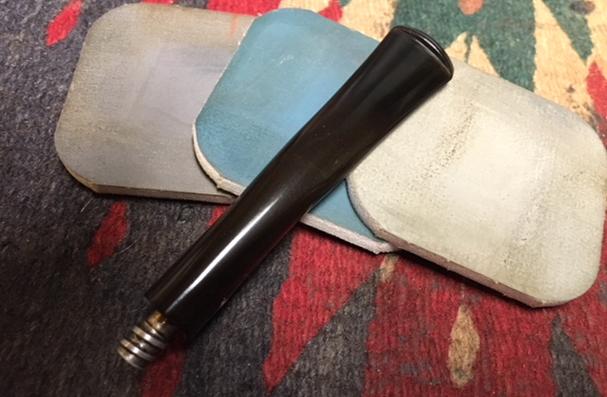
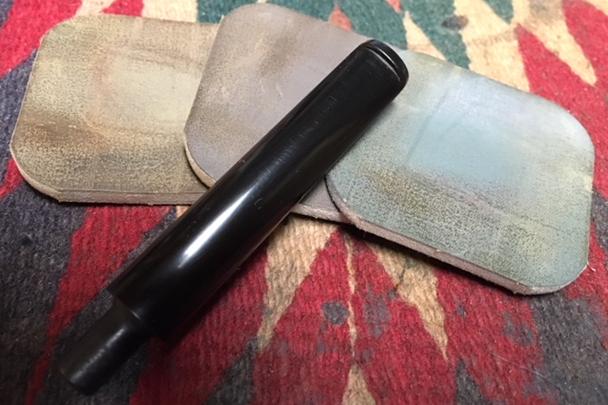
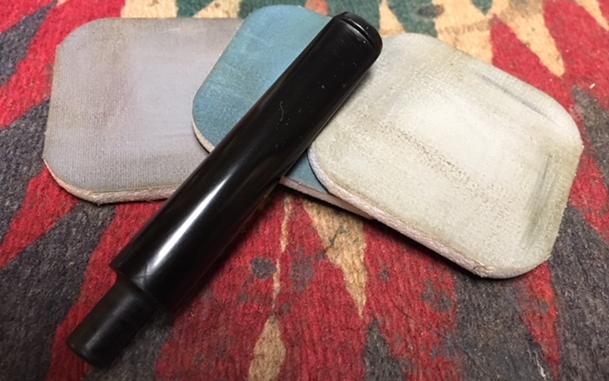
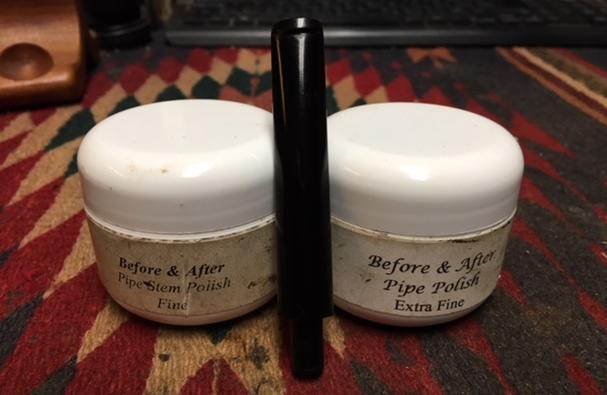
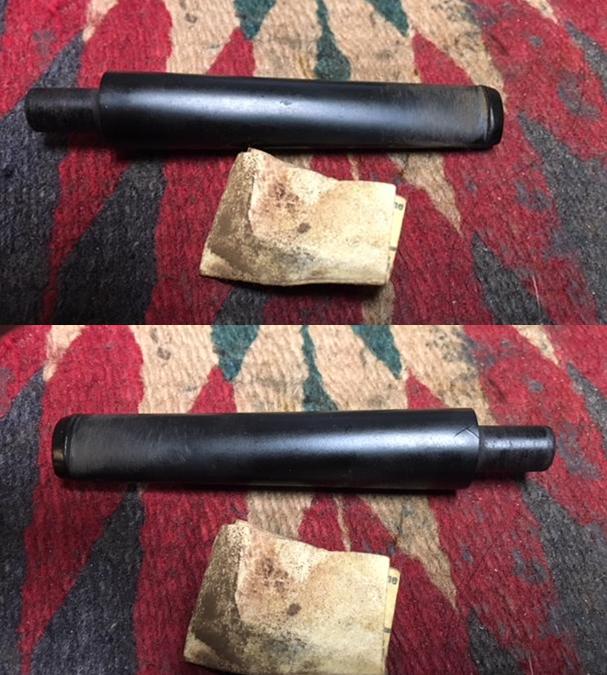 I cleaned the stem with alcohol and pipe cleaners to remove the debris and tars in the airway from the tenon to the slot in the button. I worked over the stem with micromesh sanding pads. I polished out the sanding scratches and marks from the reshaping work. I wet sanded it with 1500-2400 grit pads and dry sanded it with 3200-12000 grit pads and wiped it down with Obsidian Oil after each one. When I finished with the last micromesh pad I gave it a final coat of oil and let it dry. I polished the stem with Before & After Pipe Stem Polish – both the fine and the extra fine polishes. I wiped it down with a final coat of Obsidian Oil and set it aside to dry.
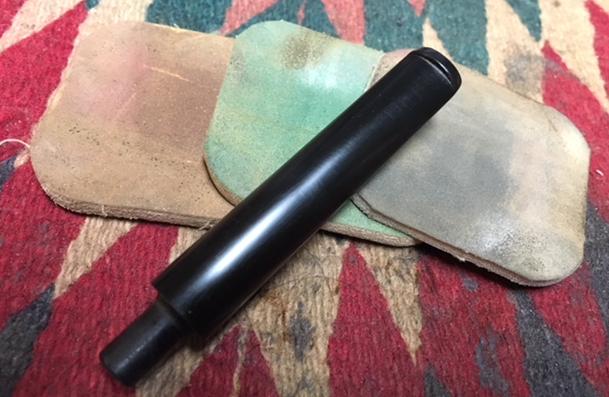
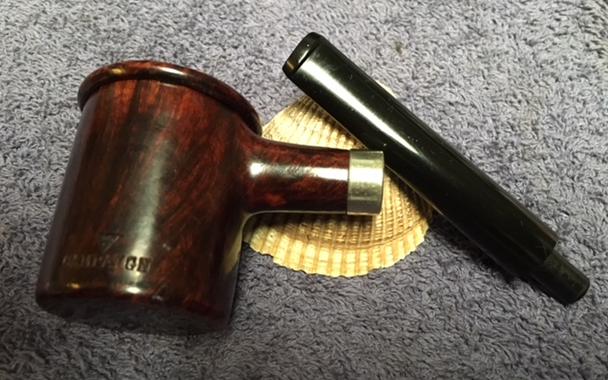
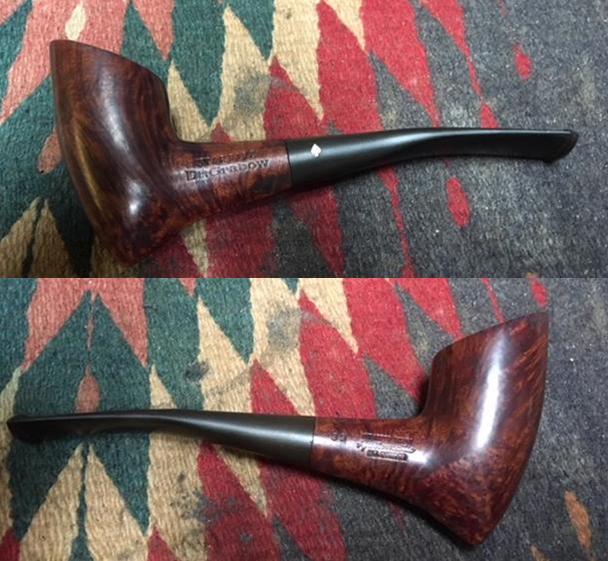
 With the stem polished I put it back on the pipe and buffed the entire pipe with Blue Diamond polish on the buffing wheel. I buffed it with the polishing compound until it was shiny. I gave the entire pipe several coats of carnauba wax and buffed it with a clean buffing pad to raise the shine. I hand buffed it with a microfibre cloth to deepen the shine. The stem and the bowl polished up pretty nicely. The finished pipe is shown in the photos below. This is the final pipe of Craig’s five. Now that I have finished the last of the pipes it is time to pack them up and get them out to him. I am looking forward to hearing what he will think once he has them in hand. Thanks for walking through these restorations with me. Once again I can’t help thinking that the pipeman who gave Craig these pipes would be happy that they are back in service and that Craig is carrying on the pipeman’s trust with them. Cheers.