Blog by Steve Laug
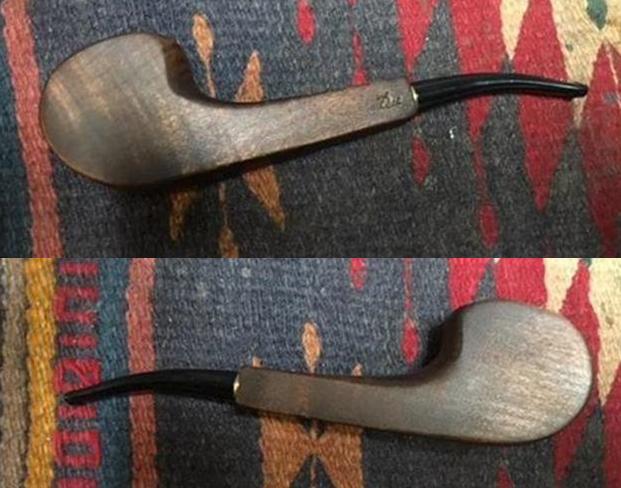
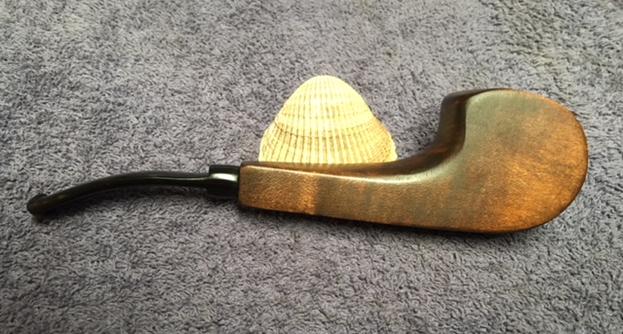
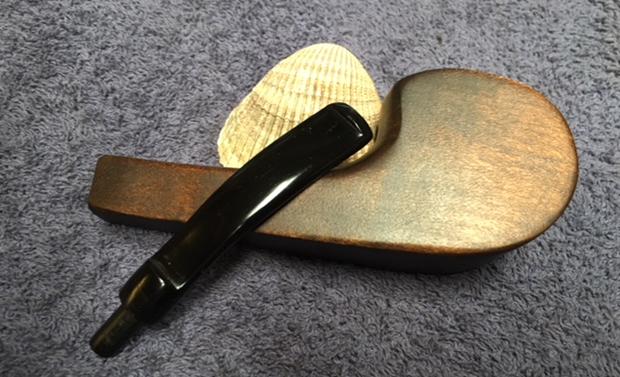
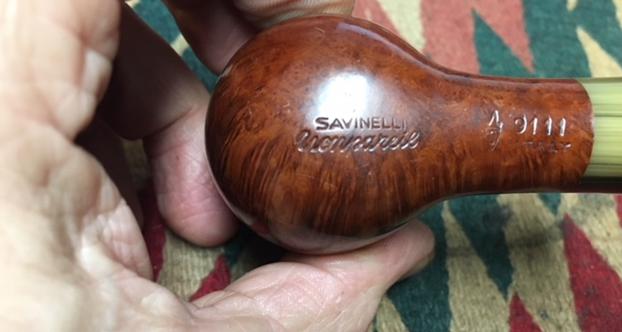
I received a private message on Facebook from Doug, a friend in the US about refurbishing the bowl on a pipe he just picked up. He would do the stem he said so there was no need for me to even worry about that so I sent him a message and the deal was done. The package arrived in Vancouver not long after that message exchange. When I opened the box there was a large beautiful briar pipe inside. It had amazing grain on it and a polished horn shank extension. The bowl had a very light cake in it and the rim had some darkening around the inner edge and a small nick on the back right side of the inner edge. The finish was dirty and there were some areas on the bowl just below the rim where there was some sticky substance and buildup. There was a small nick in the horn extension on the left side. The pipe was stamped on the underside of the bowl Savinelli over Nonpareil. Next to that was the Savinelli S shield logo and next to that it bore the shape number 9111 over Italy.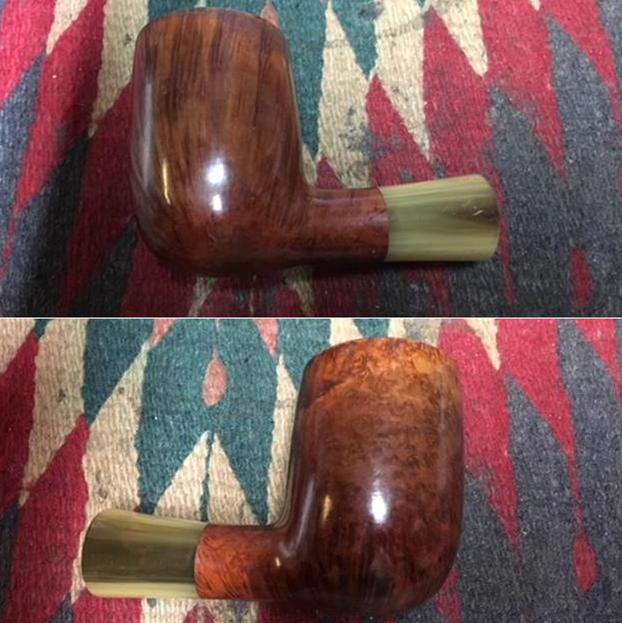
 In the Savinelli Grading Hierarchy the Nonpareil was just below the Giubileo d’Oro. It is thus one of the higher grade lines that Savinelli produces. The Nonpareil line has the shape number stamped using a 3 or a 4 digits shape code which is an exception to Savinelli’s routine 3 digits shape code. The 9111 is a beautiful shape in the line.
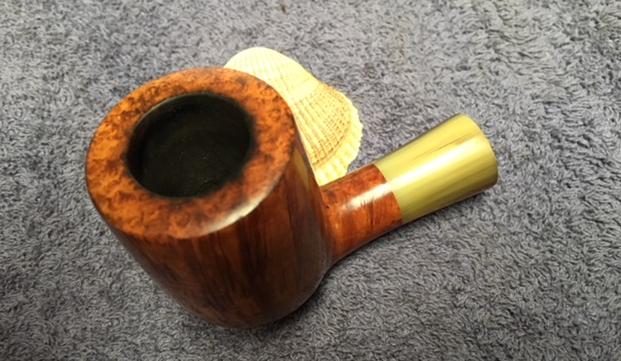
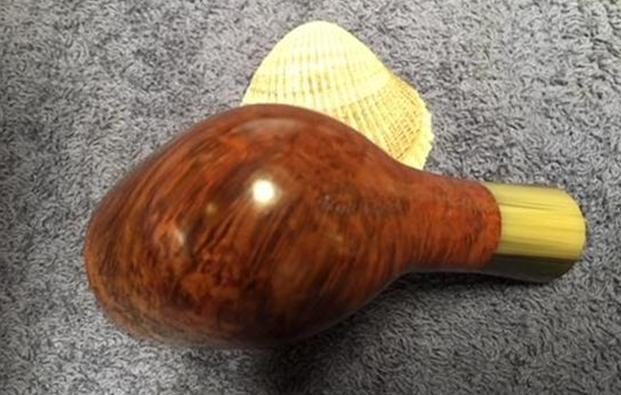
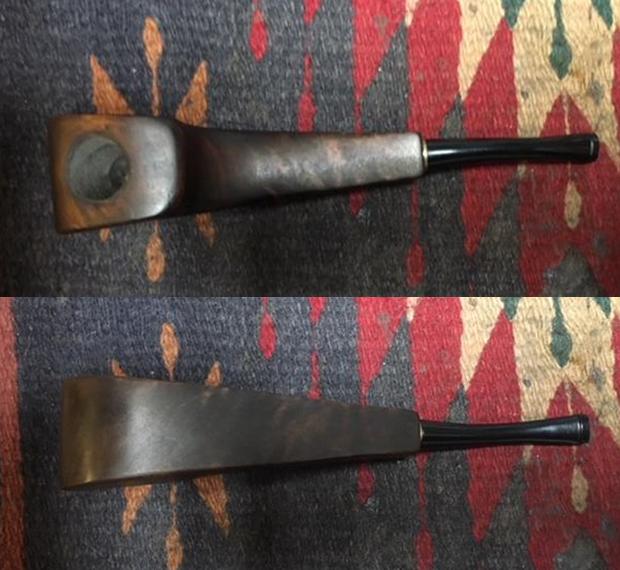
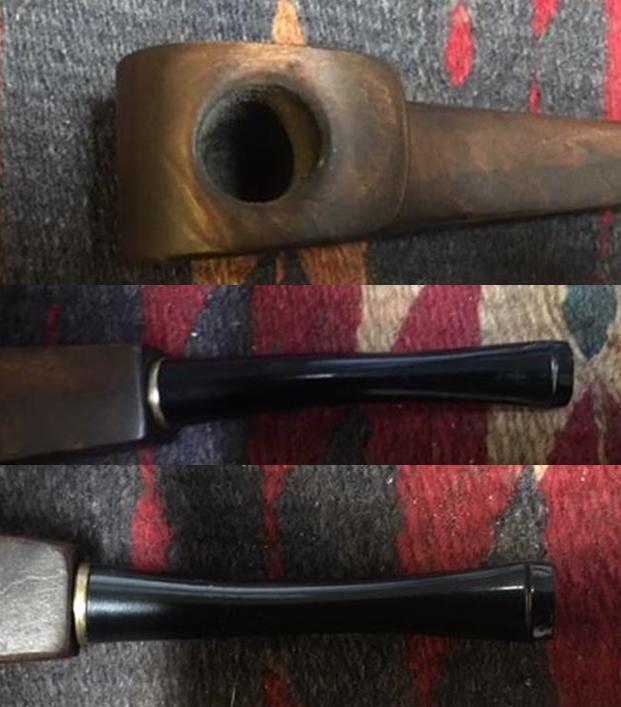
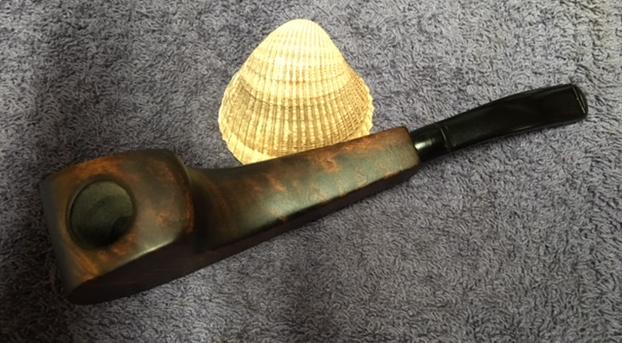
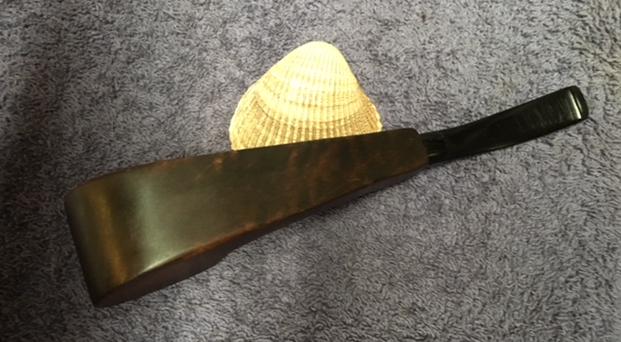
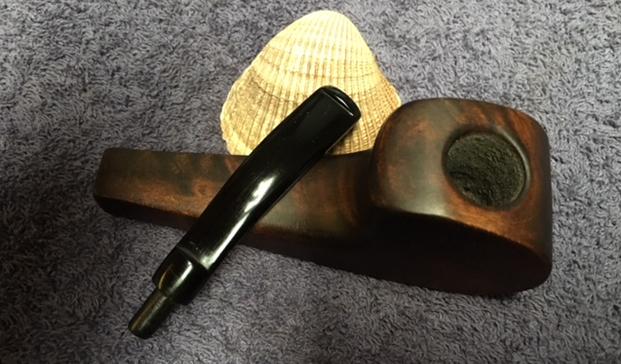
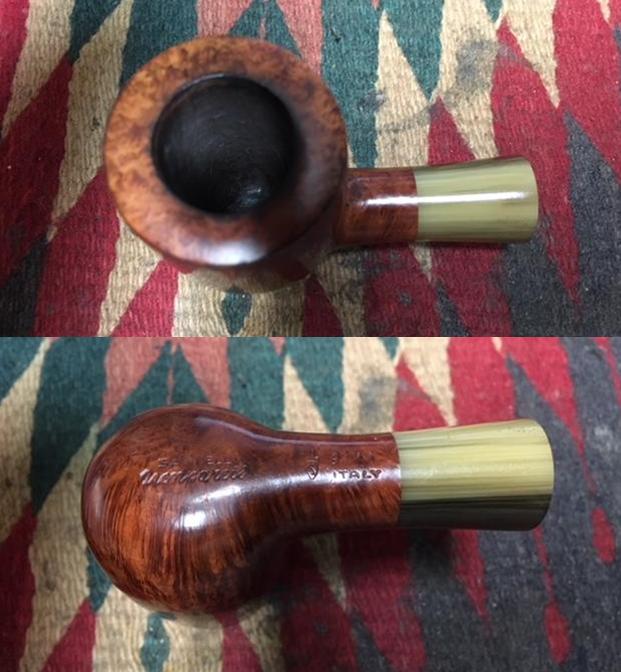
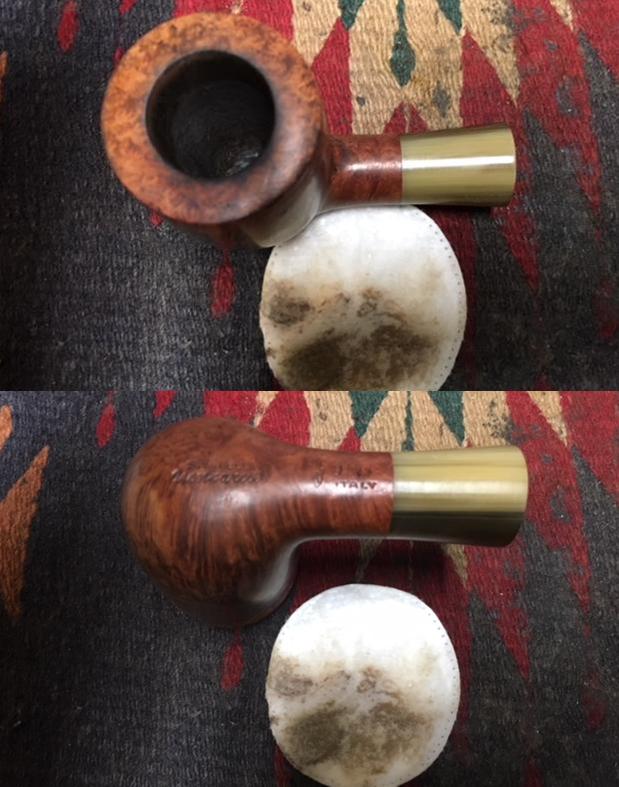
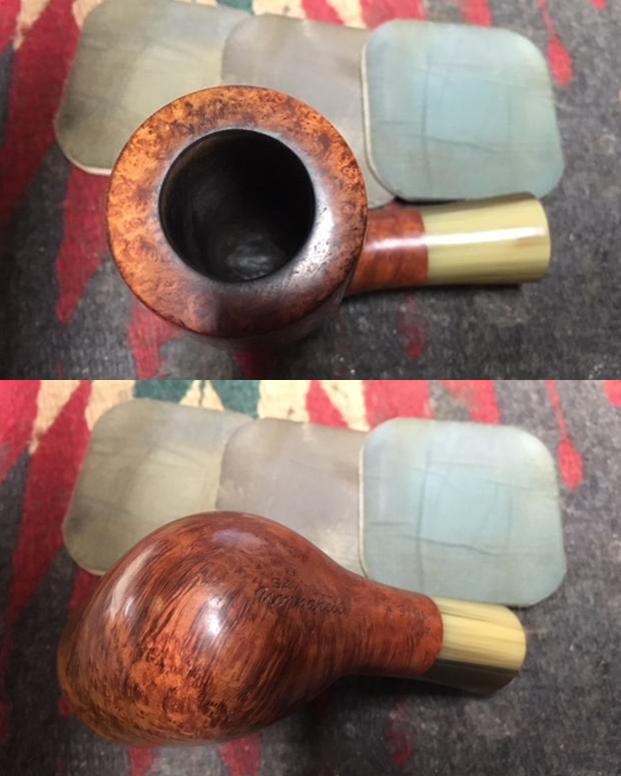
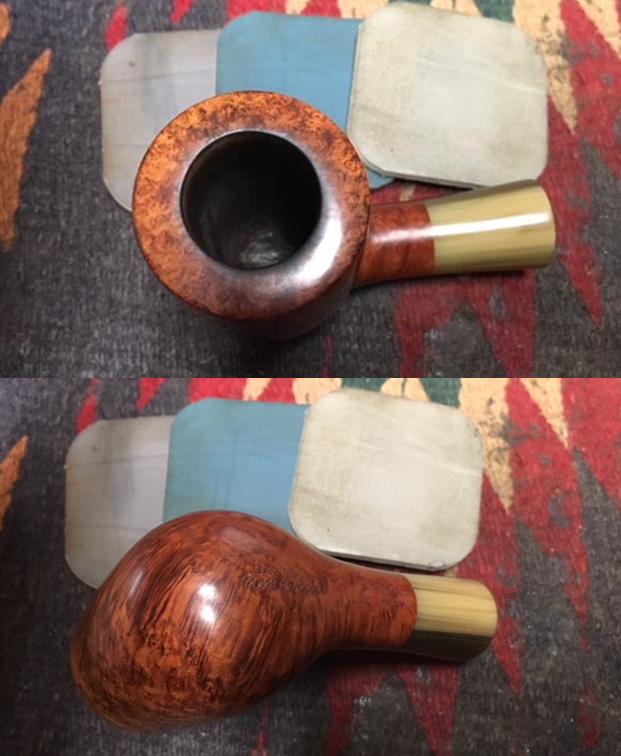
I took a close up photo of the shank end to show the darkened metal inset that runs the length of the horn extension. This added touch adds stability to the horn and seems to add protection that keeps it from splitting over time. The close up of the rim top shows the lightly caked bowl, the darkening on the inner edge of the rim and a small nick in the edge at about 7 o’clock in the photo. You can also see the sticky buildup on the backside of the bowl just below the rim in the first photo. The pipe really has some stunning grain under the grime on the surface. The final close up photo shows the stamping on the underside of the bowl and shank.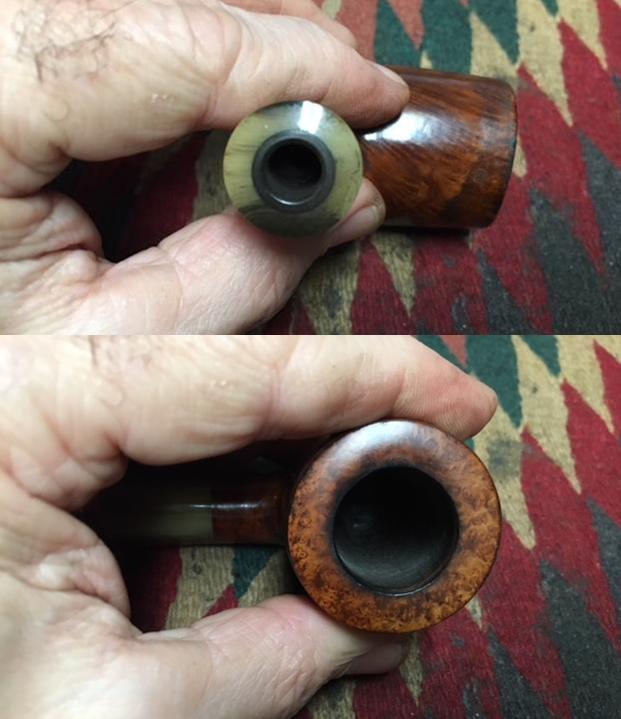
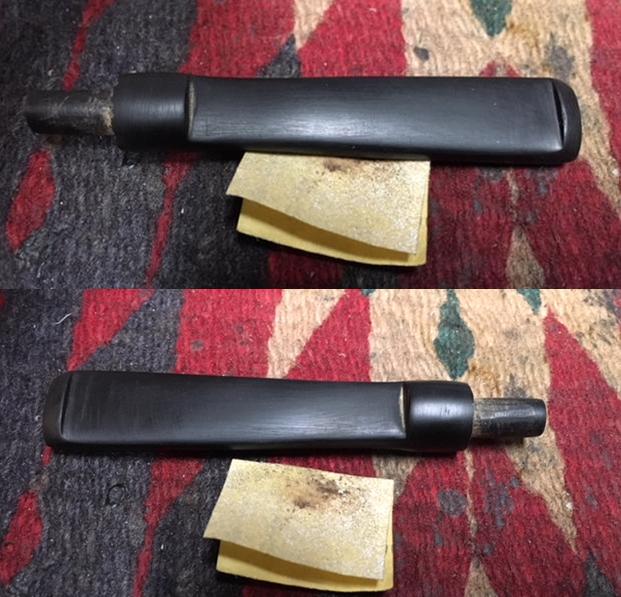
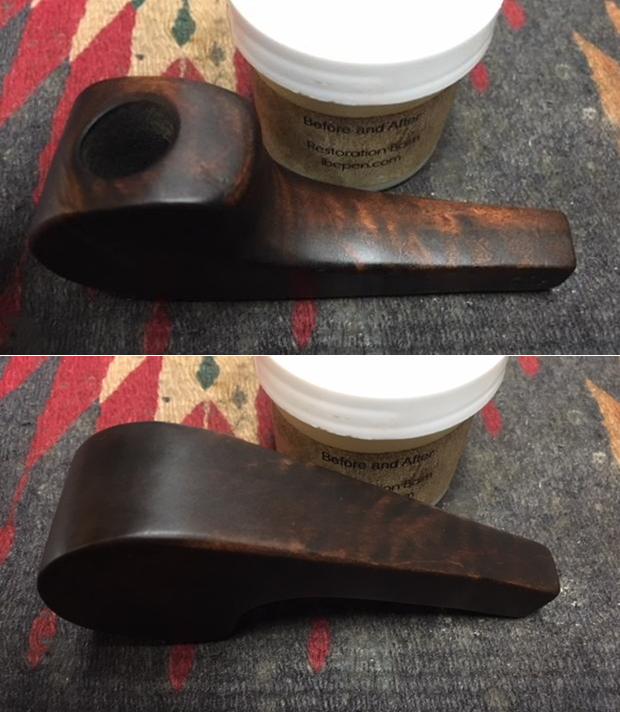
 I used a folded piece of 220 grit sandpaper to clean up the inside edge of the rim. I was able to minimize the nick on the rear right edge and also some of the darkening on the inner edge with the sandpaper. (Note the sticky substance on the side of the bowl just below the top of the rim. This extends all the way around the bowl.)
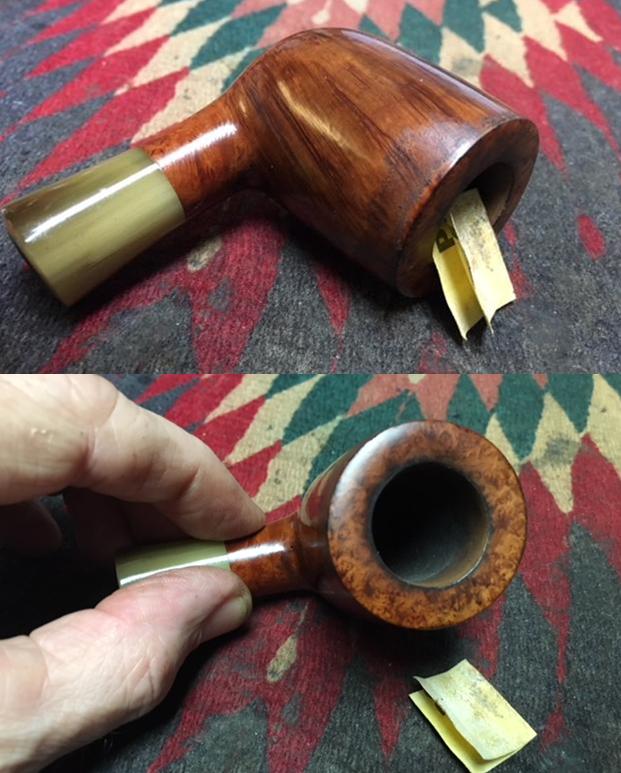 I cleaned off all of the stickiness and grime with a cotton pad and alcohol. I figured it would remove the debris and help the grain to really show up. I carefully wiped off the horn with just a dampened cotton pad. Once I was finished I was rewarded with some beautiful grain and some deep shine on the horn extension.
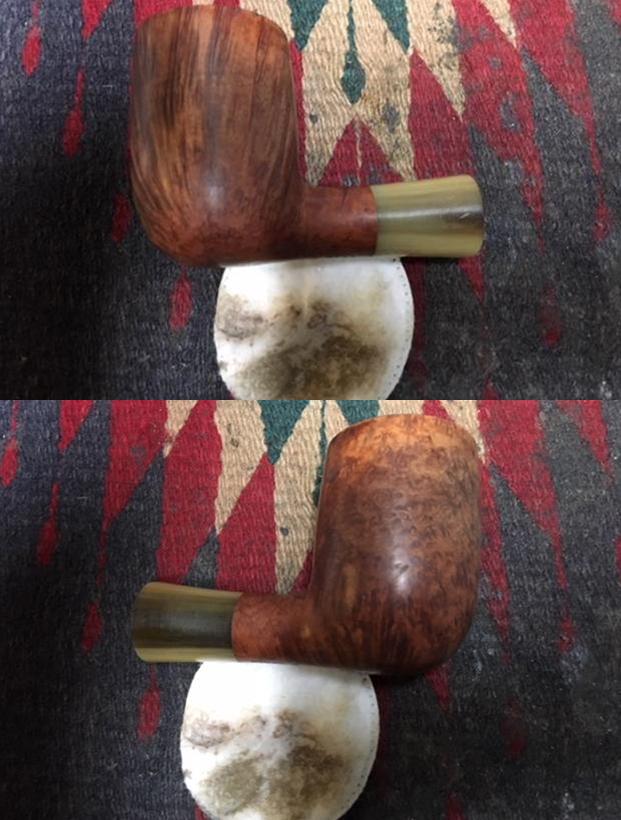
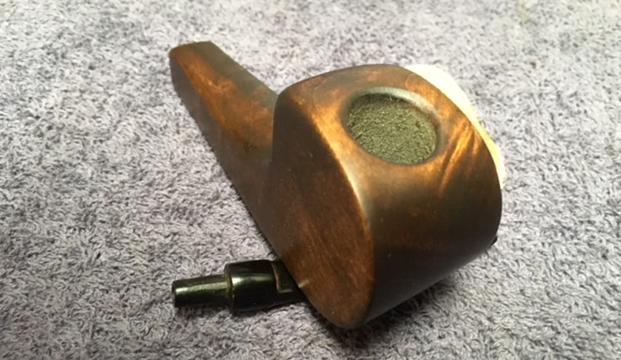
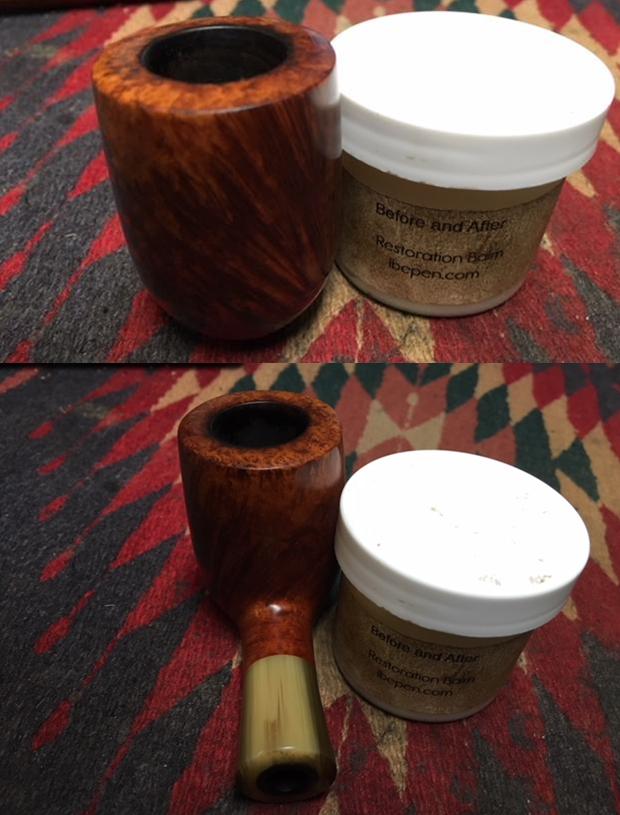
 I cleaned up the thin cake in the bowl with a Savinelli Fitsall Pipe Knife and took out the ragged edges of the cake.
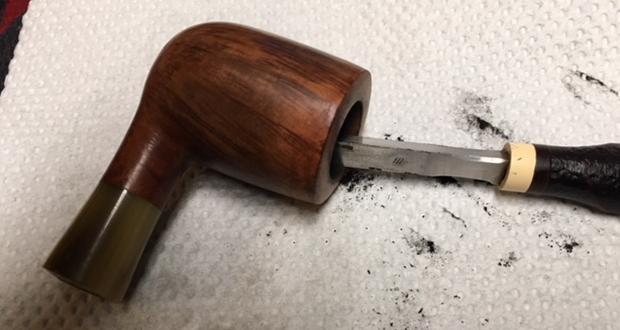 With the bowl cleaned I cleaned out the internals – the mortise and the airway in the shank with pipe cleaners, cotton swabs and alcohol.
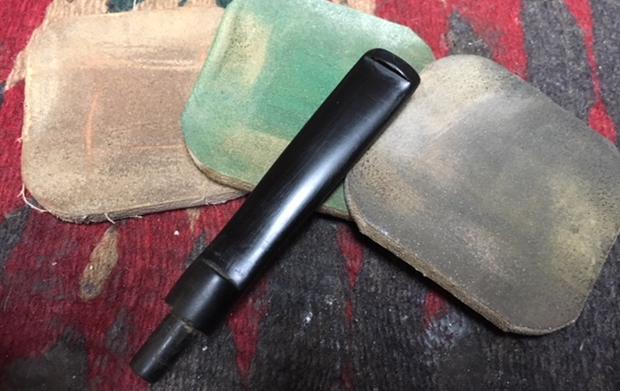
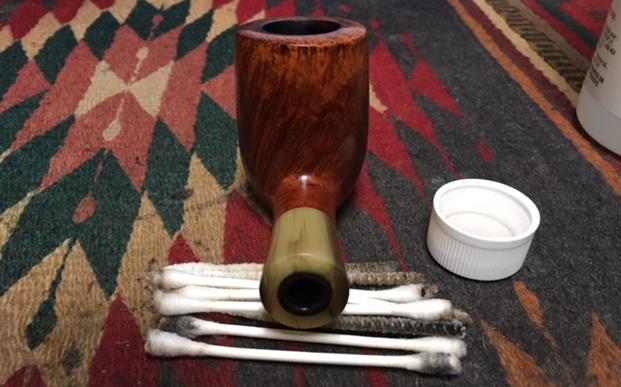 I polished the briar and horn with micromesh sanding pads – wet sanding with 1500-2400 grit pads and dry sanding with 3200-12000 grit pads. I wiped the bowl down after each pad with a damp cotton pad to remove the sanding dust.
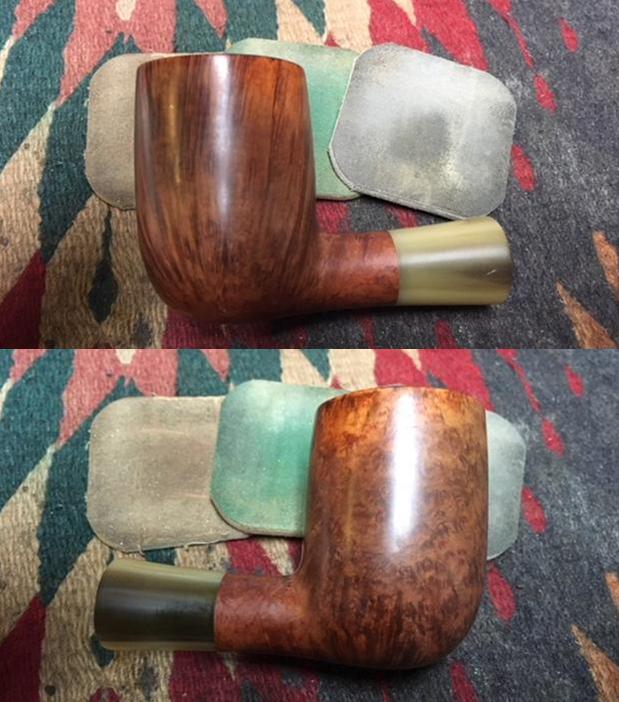


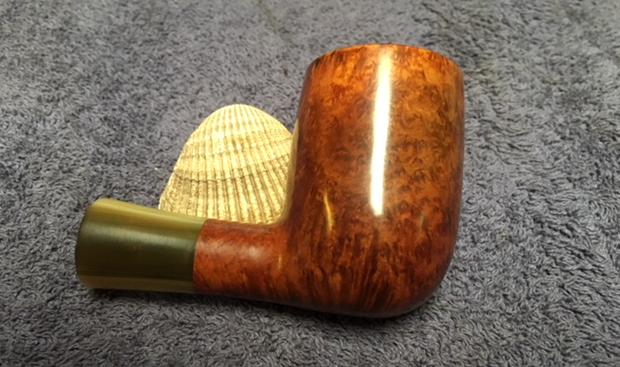
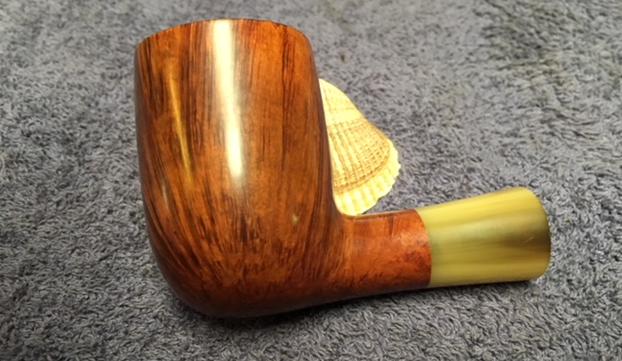
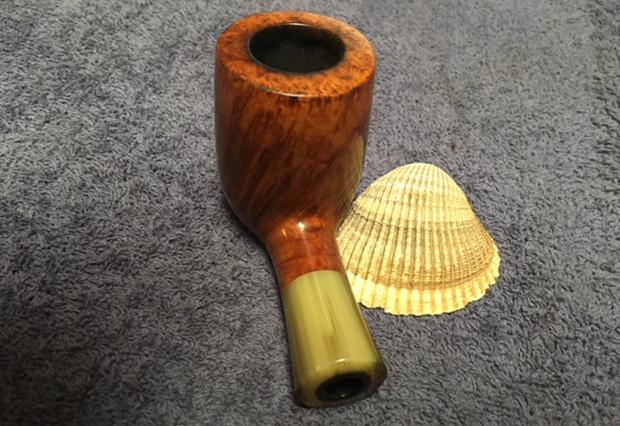
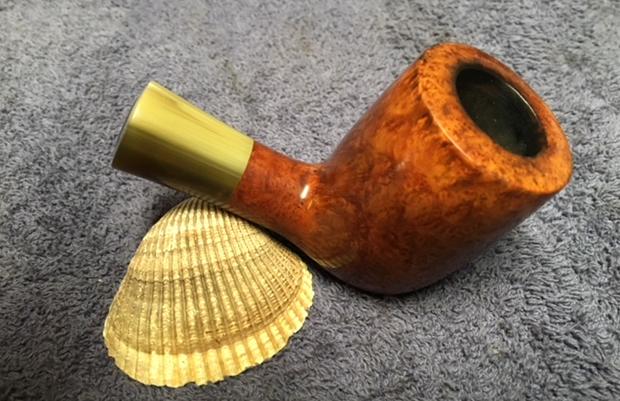
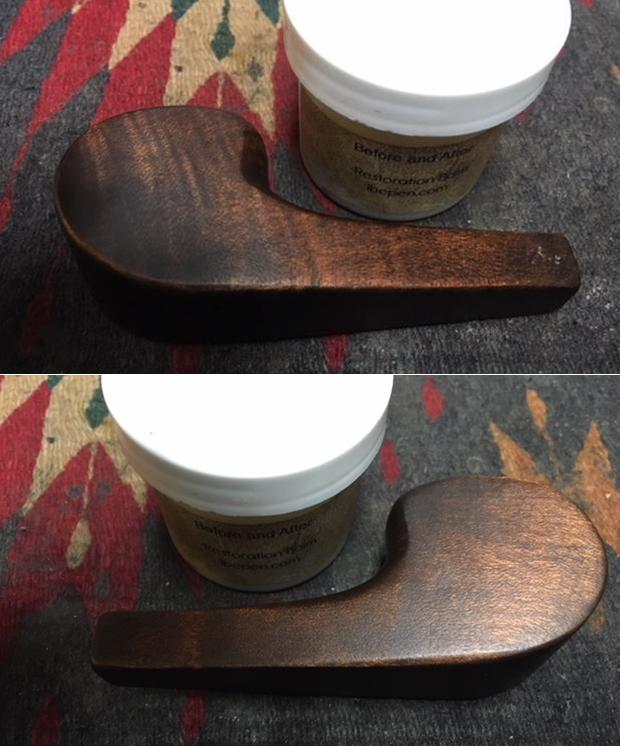
 I rubbed some Before & After Restoration Balm into the briar to lift out the dust in the grain, enliven and protect the bowl and horn shank. I let it sit for a little while then buffed it off with a soft cloth. I really like the way the grain stands out in some amazing contrast now.
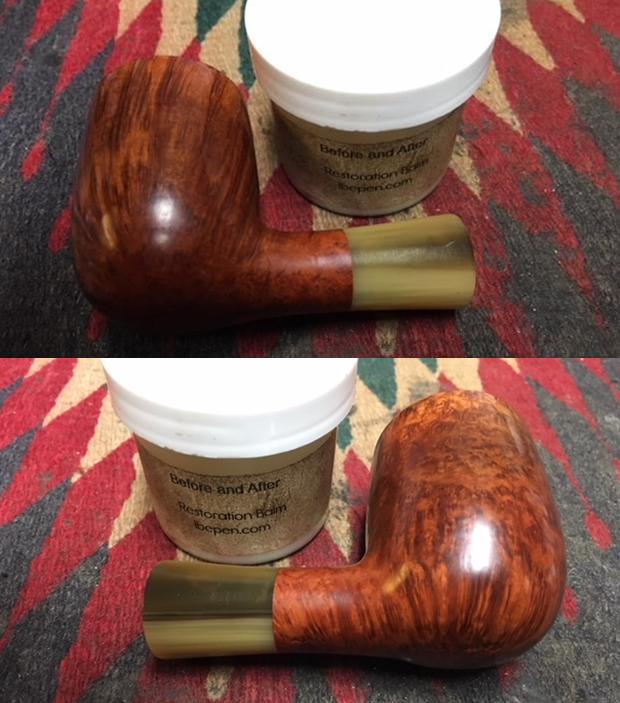

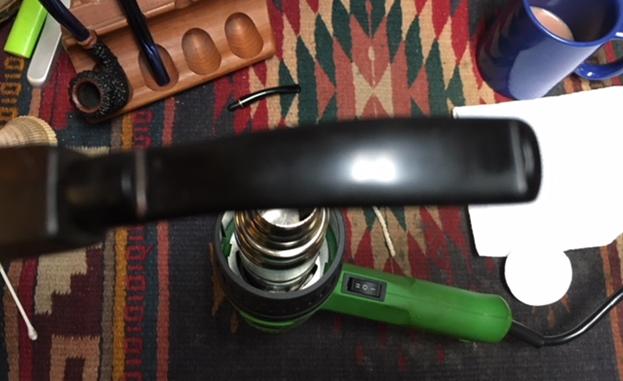
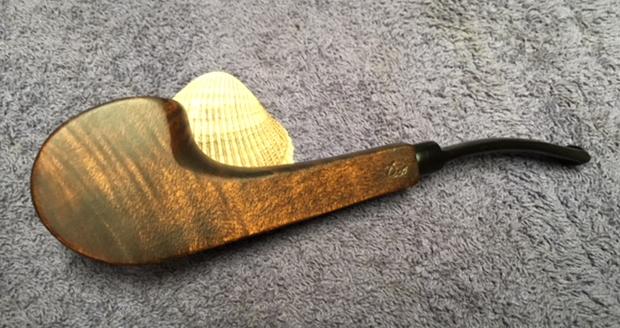
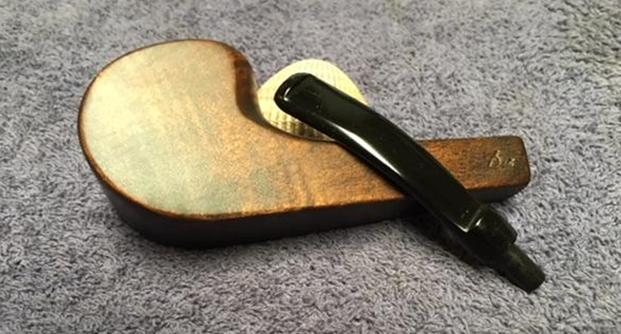
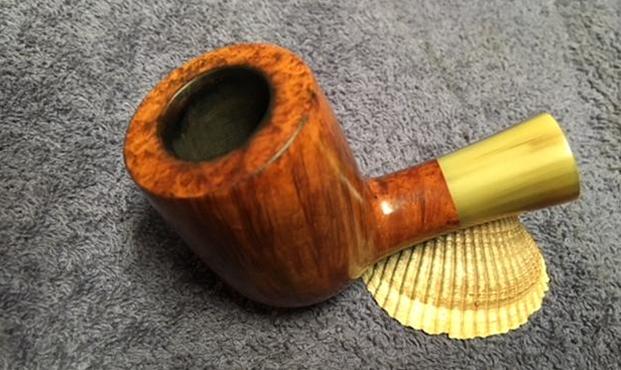
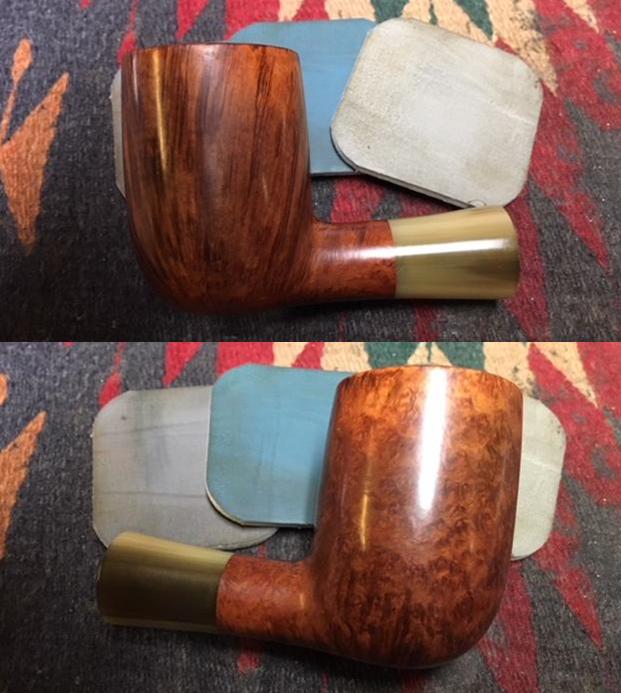
 With the bowl cleaned and polished I buffed it with Blue Diamond to polish out any remaining scratches. I gave the bowl several coats of carnauba wax and buffed the pipe with a clean buffing pad to raise the shine. I hand buffed it with a microfiber cloth to deepen the shine. The briar polished up pretty nicely. The finished bowl is shown in the photos below. Next week I will box the pipe up and put it back in the mail to Doug. I look forward to hearing what he thinks one he has it in hand. I can’t wait to see the bowl with the stem polished and in place. I have to remember to have Doug send me a finished picture of the pipe once he reunites the bowl and stem. Thanks for walking through the refurb with me. I am really pleased with the way it turned out. It is truly a beautiful piece of briar.