Blog by Steve Laug
The next collection of pipes that I am working on comes from the estate of an elderly gentleman here in Vancouver. I met with his daughter Farida last summer and we looked at his pipes and talked about them then. Over the Christmas holiday she brought them by for me to work on, restore and then sell for her. There are 10 pipes in all – 7 Dunhills (one of them, a Shell Bulldog, has a burned out bowl), 2 Charatans, and a Savinelli Autograph. He loved his pipes and she said that he was rarely seen without a pipe in his mouth. He traveled a lot and she remembers him having one of these pipes with him in the far north of Canada. His pipes are worn and dirty and for some they have a lot of damage and wear that reduce their value. To me each one tells a story. I only wish they could speak and talk about the travels they have had with Farida’s dad. Each of them has extensive rim damage and some have deeply burned gouges in the rim tops. The bowls were actually reamed not too long ago because they do not show the amount of cake I would have expected. The stems are all covered with deep tooth marks and chatter and are oxidized and dirty. The internals of the mortise, the airway in the shank and stem are filled with tars and oils. I took pictures of the Dunhill pipes in the collection. There are some nice looking pipes in the lot.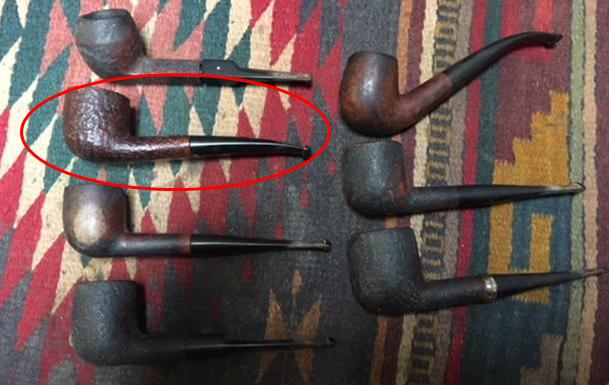
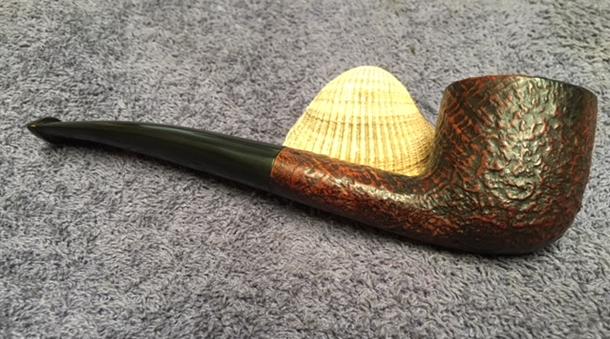
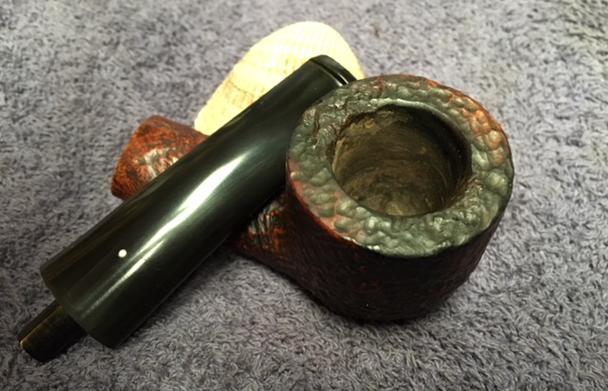
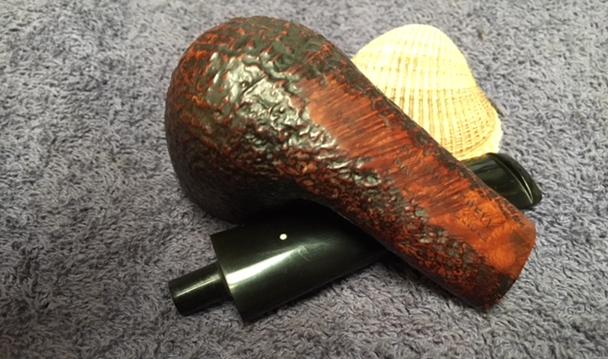
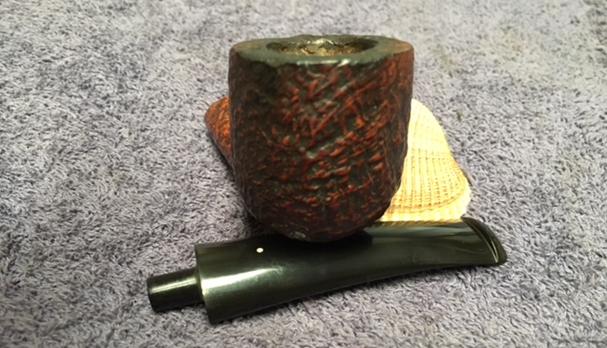
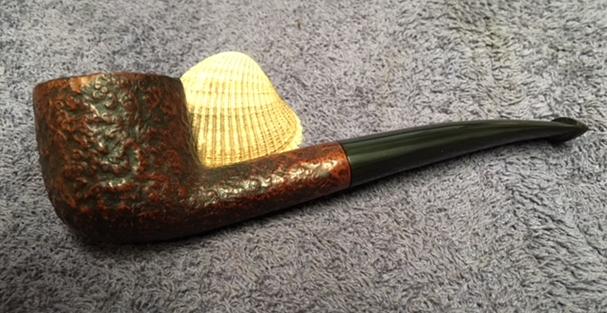
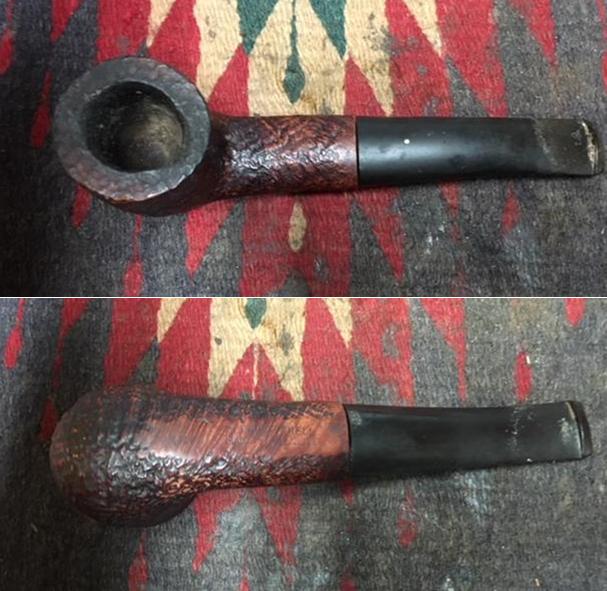
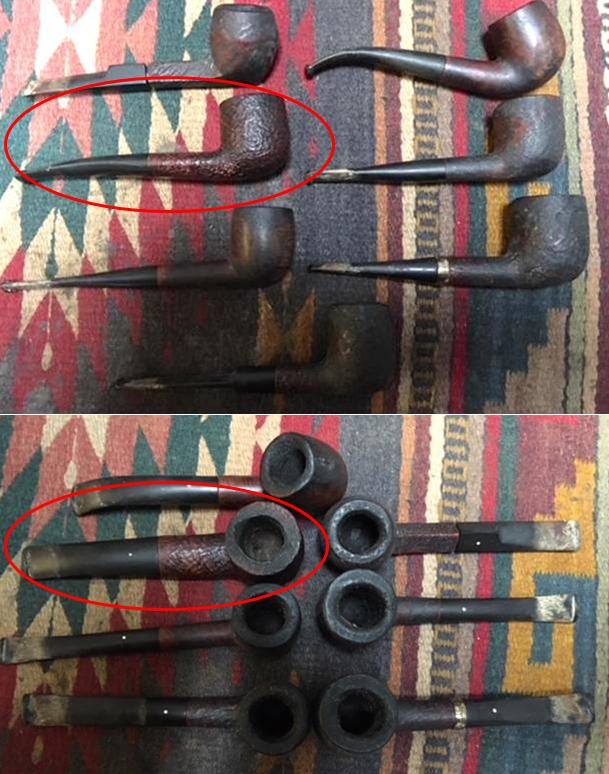 The first pipe that I am working on is a Shell Oval Pot. I have circled in the above three photos in red to identify it for you. It is an interesting shape. The pipe is stamped on the underside of the shank with the shape number 41009 next to Dunhill Shell over Made in England 23. Dating this pipe is a fairly easy proposition. You take the two digits following the D in England and add them to 1960. In this case it is 1960+23= 1983. (Pipephil’s site has a helpful dating tool for Dunhill pipes that I use regularly http://www.pipephil.eu/logos/en/dunhill/shell-briar1.html). It was in pretty rough shape. The bowl itself looked good and the finish was in decent condition. The top of the rim was rough and the inner edge was badly damaged. There were spots on the front of the rim top and at the rear that had deep burns into the briar. The briar was burned to a point where I could pick it out with my fingernail. The shank was so dirty that the stem would not properly seat in the mortise. The stem was not too bad – tooth marks on the underside near the button and lots of chatter on both sides. It was lightly oxidized and there was some calcification on the first inch of the stem. I took some photos of the pipe before I started to clean it up.
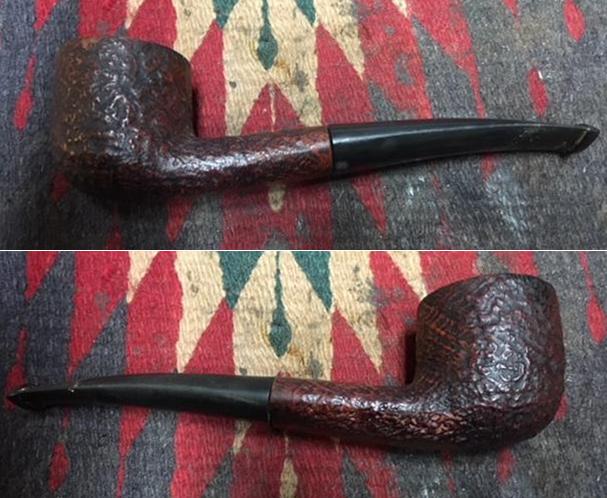
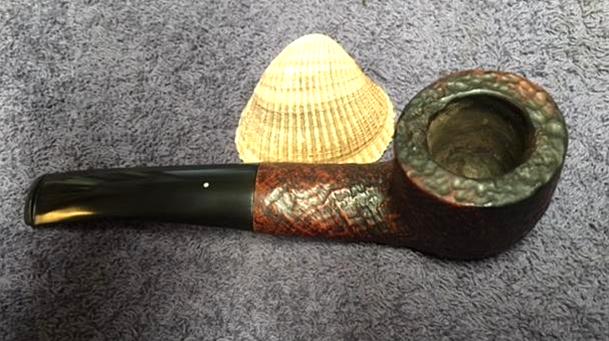
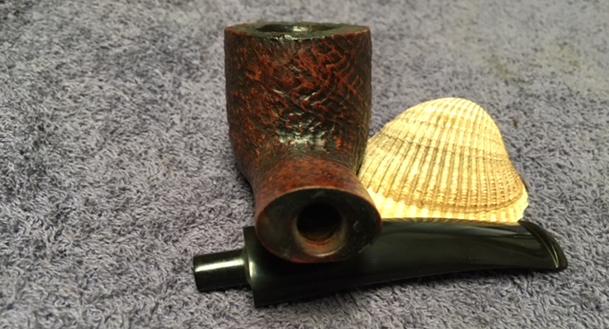
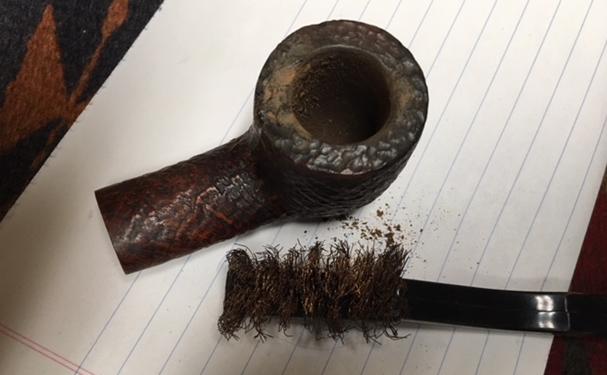
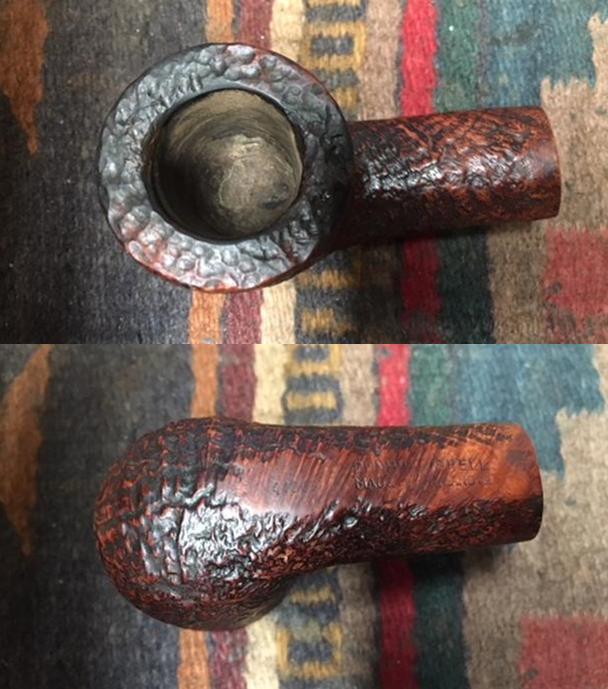
 I took close up photos of the rim top, bowl and the stem to show the condition the pipe was in before I started my clean up. The first photo shows the damage on the top of the rim and particularly the inner edge of the bowl. You can see the damage on the front edge and the back edge of the bowl. There was some major burn damage on the inner edge of the bowl. The rim top also had some tars and lava on the surface that would need to be addressed before I could work on the burned areas. The surface of the bowl was dirty and grimy with dust and oils ground into the grooves of the sandblast. The photos show the light cake in the bowl and the dust and grime on the finish. The stem photos show the oxidation and the tooth chatter and tooth marks on the stem surface. You can also see that the stem does not seat in the shank well.
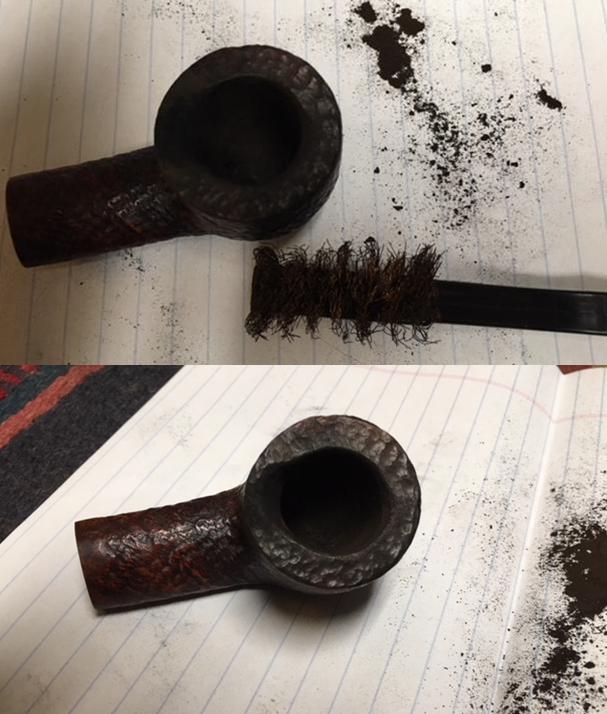
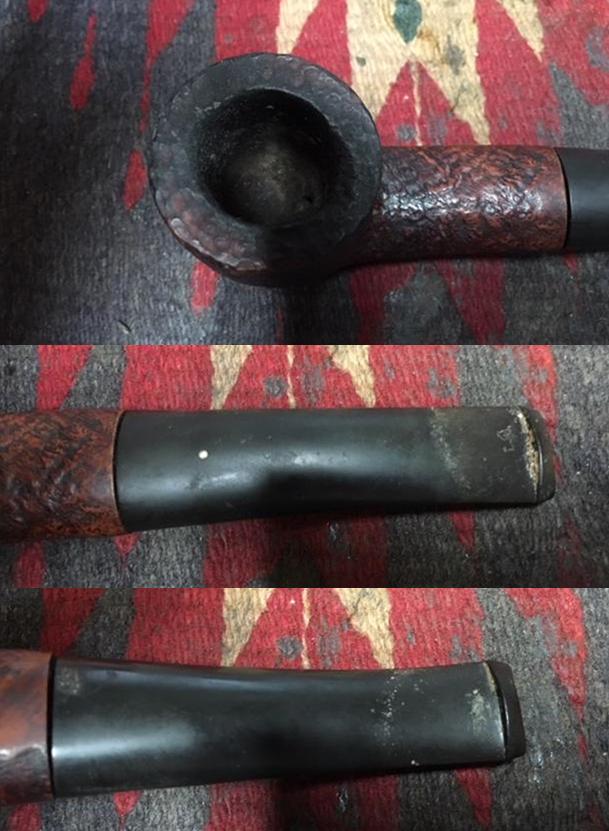 I reamed the bowl with a PipNet pipe reamer to cut back the cake to bare briar. I finished cleaning up the remnants with a Savinelli Fitsall Pipe Knife. I used the knife to scrape away the soft briar from the burned areas of the rim top. I used a brass bristle wire brush to clean up the grooves in the good portion of the rim top. I also cleaned out the burned areas.
 I wiped out the burned areas with cotton swabs and alcohol to clean out the remaining dust and leave it clean. I built up both areas with briar dust and super glue. I used a dental spatula to apply the briar dust to the glue. I built it up in layers until it was level and the inner walls were round.
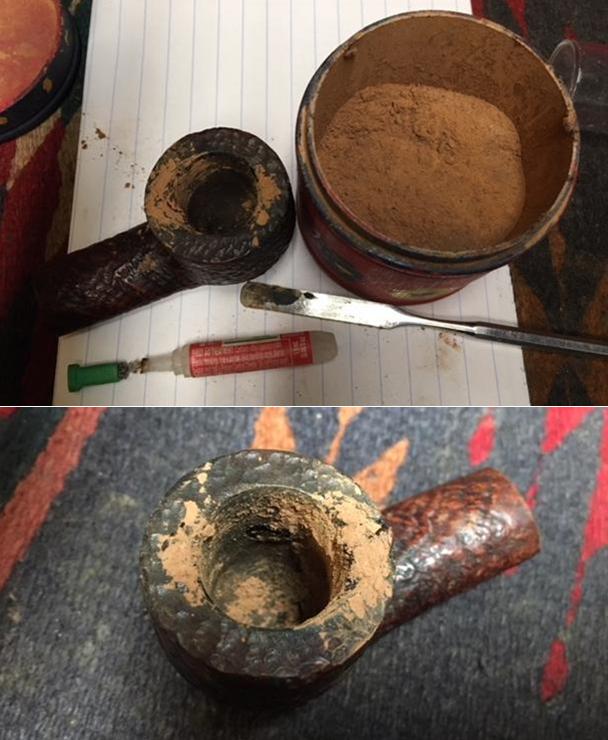 I used a folded piece of 220 grit sandpaper to smooth out the inner edge of the bowl. I worked on it to round the edges. I used a Dremel and sanding drum to smooth out the hard spots of dried glue and dust. I used the brass bristle wire brush to clean out the grooves in the rustication on the rim top.
 With the rim top basically finished (other than rusticating it with a Dremel and burr) I worked on cleaning out the internals in the shank. I used a dental spatula to scrape out the hard tars and oils that had lined the walls in the mortise. I cleaned out the mortise and the airway in the shank with alcohol, pipe cleaners and cotton swabs until the shank was clean.
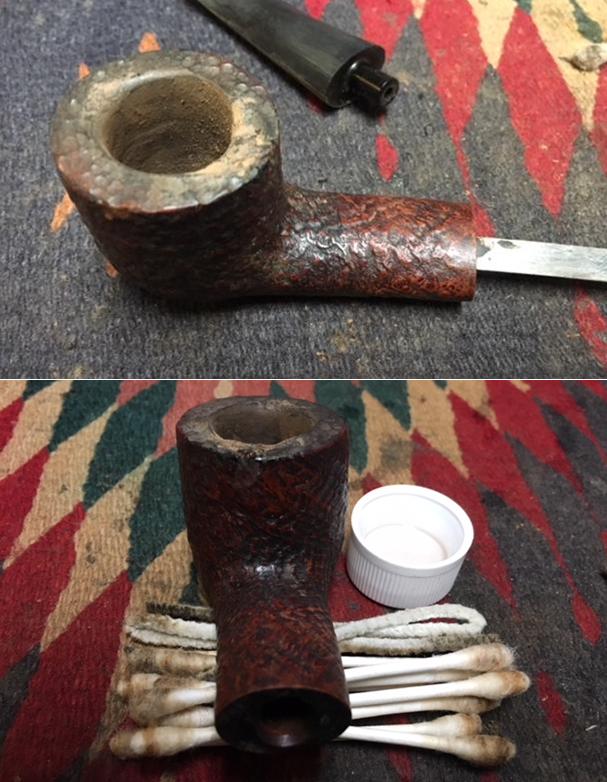 I used a dental burr in my Dremel to rusticate the top of the rim. I wanted to match the repaired areas to the rest of the rim top. I slowly and carefully put divots in the surface to match the rest of the surface of the rim. I restained the rim with a dark brown aniline stain and a cotton swab to get the stain deep in the recesses of the repaired rim top.
 I rubbed Before & After Restoration Balm into the deep grooves and crevices of the sandblast on the rim and the rest of the bowl. I rubbed it until it was deep in the briar. It was amazing to see the grime and dirt on the cotton pad that I wiped it down with. The balm brought life and a rich glow to the briar.
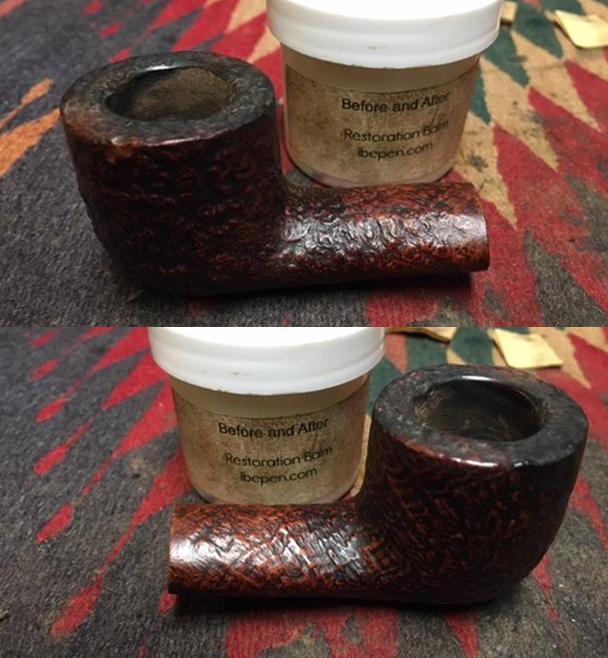
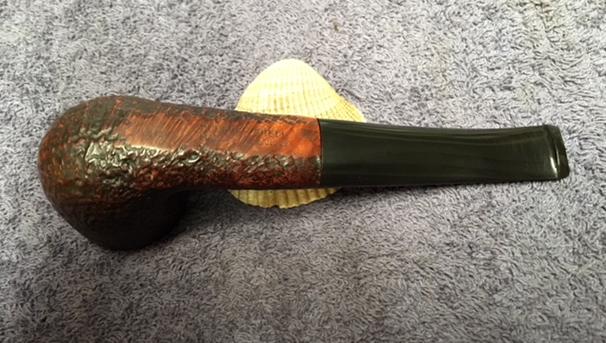
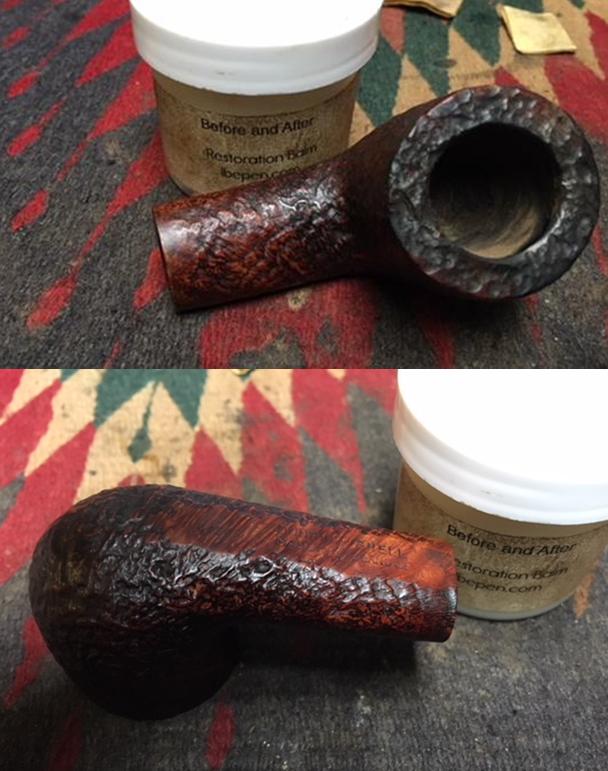 I rubbed the bowl down with Conservator’s Wax and buffed the pipe with a shoe brush. I took it to the buffer and buffed it with a clean buffing pad to raise the shine. I hand buffed it with a clean microfiber cloth to deepen the shine. The photos below show the repaired and restored bowl. It has come a long way from the damaged pipe I started with when I began.
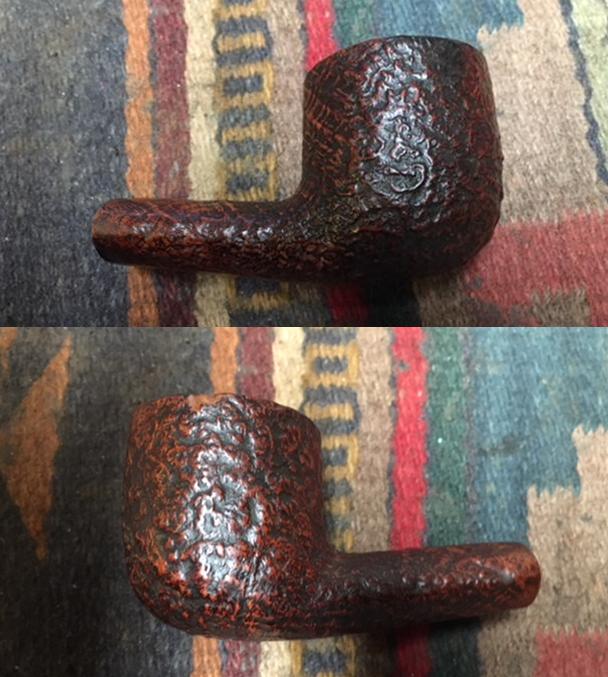
 I laid the bowl aside and turned my attention to the stem. I cleaned the surface with alcohol and a cotton pad and cleaned out the airway with alcohol, cotton swabs and pipe cleaners. I scrubbed until the cleaners came out white. I sanded the stem with 220 grit sandpaper to smooth out the tooth chatter and remove the tooth marks. Fortunately they were not too deep so they came out with a little elbow grease.
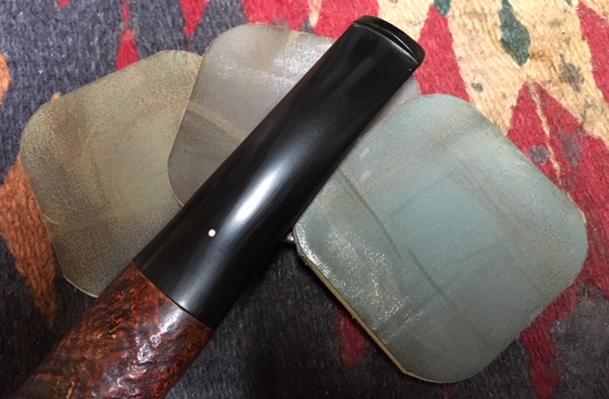
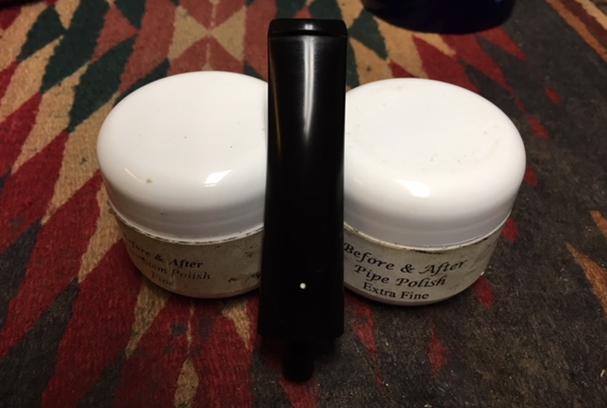
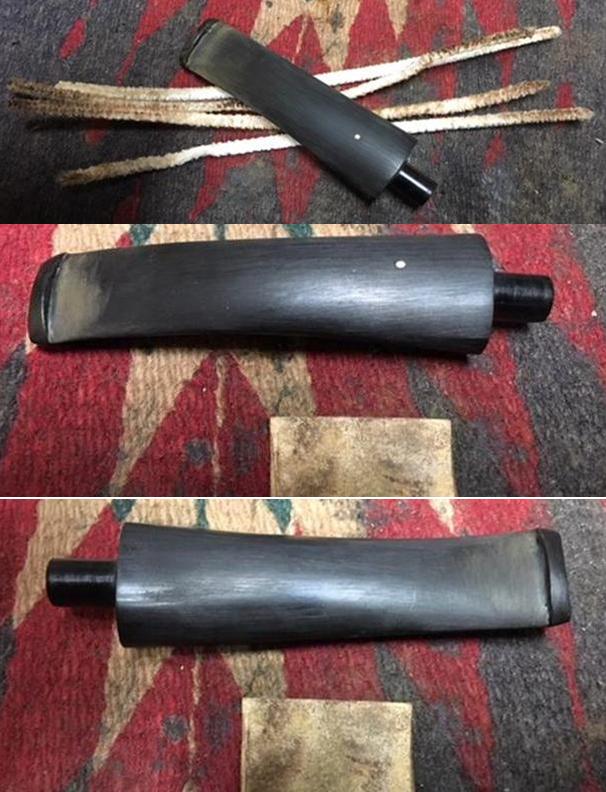 I polished the stem with micromesh sanding pads – wet sanding with 1500-2400 grit pads and dry sanding with 3200-12000 grit pads. I wiped them down after each pad with Obsidian Oil after each pad. I polished it with Before & After Pipe Stem Polish – both fine and extra fine to take out some of the tiny scratches in the vulcanite. I finished by rubbing it down with a final coat of Obsidian Oil and set it aside to dry.
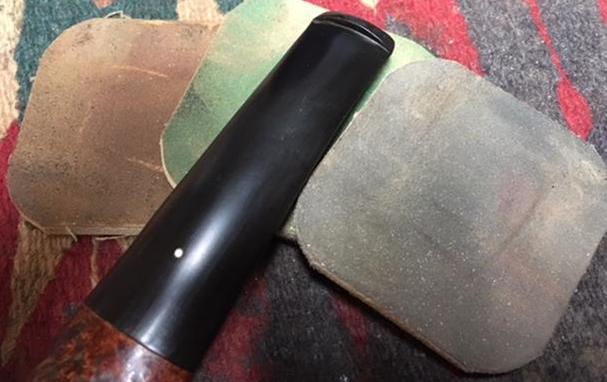

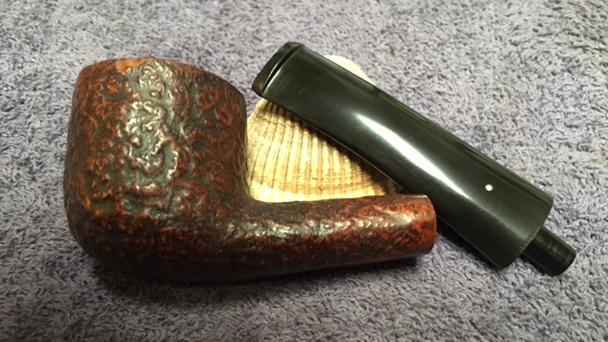
 With the stem polished I put it back on the pipe and lightly buffed the bowl with Blue Diamond being careful to not fill the grooves in the blast with the polishing compound. I used a regular touch on the stem to polish out any remaining scratches. I gave the bowl several coats of Conservator’s Wax and the stem several coats of carnauba wax and buffed the pipe with a clean buffing pad to raise the shine. I hand buffed it with a microfiber cloth to deepen the shine. The pipe polished up pretty nicely. The finished pipe is shown in the photos below. This is the first of six Dunhill pipes that I am restoring from Farida’s dad’s collection. I am looking forward to hearing what Farida thinks once she sees the finished pipe on the blog. I will be posting it on the rebornpipes store as she wants to sell them for the estate. It should make a nice addition to a new pipeman’s rack that can carry on the trust from her father. The dimensions are; Length: 6 inches, Height: 1 ¾ inches, Outside diameter of the bowl: 1 ½ inches, Chamber diameter: 7/8 inches. Thanks for walking through the restoration with me it was a fun pipe to work on. Cheers.