Blog by Steve Laug
I have one more of Mark’s uncle’s pipes left after this one. The one on the table now is one of the Kaywoodies. I am really enjoying working on these and I think it is because of the known history behind these old pipes. To me one of the fun parts of this hobby is the history or backstory on the pipes. If I can find out about that it gives another dimension to the pipe repair or restoration work. I have finished five of the seven pipes that Mark sent me. The Ropp Cherrywood De Luxe (https://rebornpipes.com/2018/01/17/cleaning-and-restoring-a-ropp-cherrywood-de-luxe-805/), The Doodler (https://rebornpipes.com/2018/01/19/restoring-a-beautiful-the-doodler-bullmoose/), newer three hole stinger Kaywoodie Super Grain Billiard S-L (https://rebornpipes.com/2018/01/21/restoring-marks-uncles-third-pipe-a-kaywoodie-super-grain-s-l-billiard/), a Savinelli Churchwarden (https://rebornpipes.com/2018/01/22/restoring-marks-uncles-savinelli-churchwarden-aged-briar-2002/) and a Tally Ho 33 Pot made by Hardcastle’s (https://rebornpipes.com/2018/01/25/restoring-and-restemming-marks-uncles-5th-pipe-a-tally-ho-33-pot/) are completed and I have posted them on the blog. I mentioned in each previous blog that I think about the pipeman who used these pipes as a daily part of his life while I am working on them. Here are some pictures of the pipes.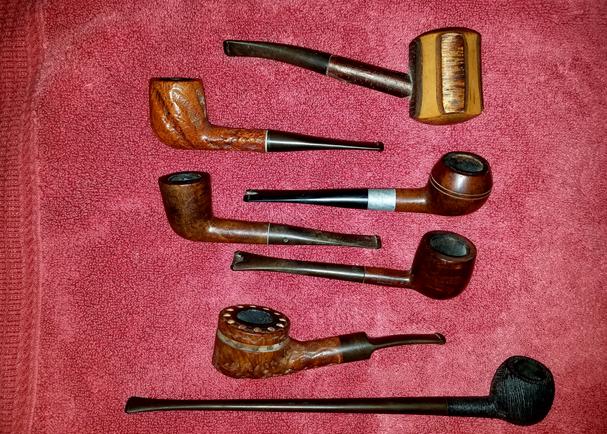 The pipe I am working on now is the third pipe down in the above photo and the third from the left in the photo below. It is a Rhodesian or round shank bulldog pipe with a major piece missing from the button on the stem.
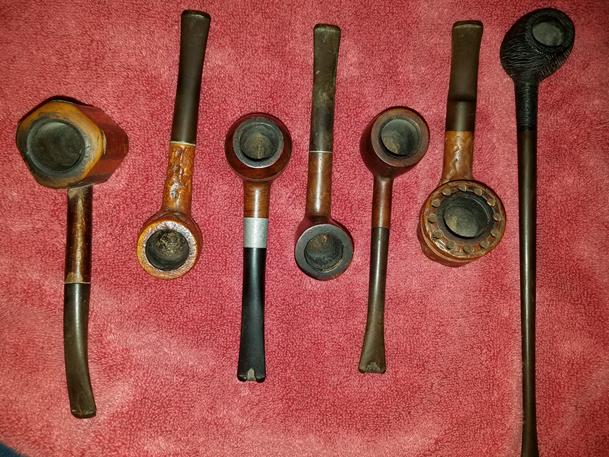 I have included a bit of the history of Mark’s uncle with each of the past pipe restorations to give you a sense of the information that always in behind the desire to clean up and restore this set of old pipes. Mark wrote…
…My Uncle John, raised in an Appalachian Mountain family (think Hatfield and McCoy), was a large man with an affable personality – although this had limits and he could be quite formidable.
During WWII he left home and enlisted in the US Army where he was assigned to Patton’s 3rd Army as an ambulance driver. After Germany surrendered, he was transported back to the US on a converted ocean liner troop ship (I believe it was the Queen Mary). Upon reaching the US, his unit was immediately sequestered on a troop train for transport to the West Coast to be shipped to the Pacific for the invasion of Japan. About half way across the country (possibly somewhere in Texas), the train stopped and the troops informed that Japan had capitulated – WWII was over.
Before the Korean War began, my uncle re-enlisted in the US Air Force. He as assigned to a Photo Mapping unit as an Aircraft Mechanic. He worked his way up to Crew Chief and served in Photo Mapping until he medically retired in the mid 60’s due to heart problems.
Being part of an Air Force family, I did not get to spend much time with my uncle while growing up. However, I was able to stay a couple of summers with him at his West Palm Beach home while in my teens. On a desk in his Florida Room sat collection of old used pipes in a walnut pipe rack / humidor combo (very similar the Decatur Industries 6 pipe Rack and humidor combination shown in the rebornpipes store). There were a couple of packages of old dried up commercial brand tobacco in the humidor – one was cherry, I think. I never saw my uncle smoke and never discussed the pipes with him, but I was intrigued by the pipe collection. They were old, dirty, and well used – some with chewed through stems. Obviously, the pipes had been smoked by a devoted pipe enthusiast. As a young boy, I loved the smell of pipe tobacco, which you could occasionally smell in public way back then. I started smoking an occasional pipe in college. When my uncle passed away a few years later, I asked for his pipe collection and have stored it away since then. The pipes are just as I received them some thirty years ago.
While I will never know for sure, I believe my uncle purchased the pipes in various PX’s and smoked them while an Air Crew Member. The PX’s would have sold common commercially available pipe brands at a good price, nothing too expensive or exotic – consistent with the pipes in my uncle’s collection. As a Photo Mapping Air Crew Member / Chief my uncle traveled the world extensively, and was stationed at many bases – including “permanent” stations in West Palm Beach, Warner Robins, and Goose Bay Labrador, to name a few. Smoking a pipe would have been a relaxing way to spend a few monotonous hours on the flight line or in the air. After his heart problems, he must have given up pipe smoking and the pipes sat unused thereafter. If the bowls look like they were recently scraped, it would have been over fifty years ago, most likely with a Case hardware store folding knife. If dirty, it is due to sitting for many years in the back room. If well used and chewed it is due to many hours of smoking enjoyment.
I’m looking forward to seeing my Uncle John’s pipes in restored condition. I know they are not “collectors” items, but they bring back priceless memories of my uncle and the times we spent together sharing “war stories”…
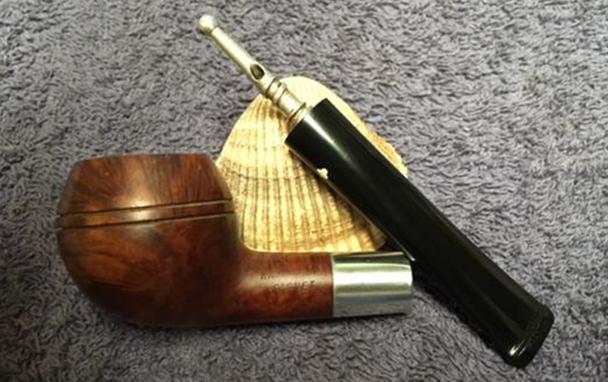
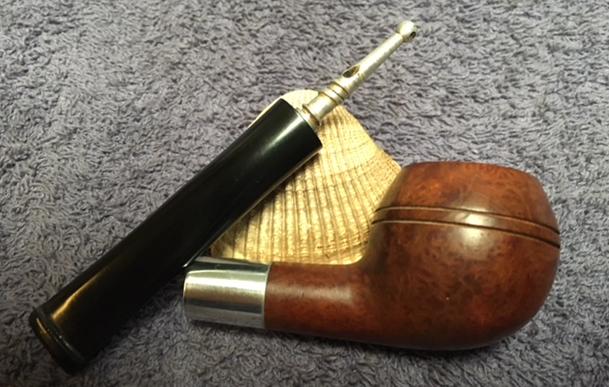
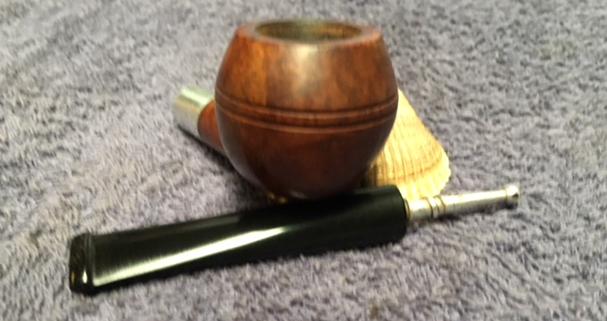
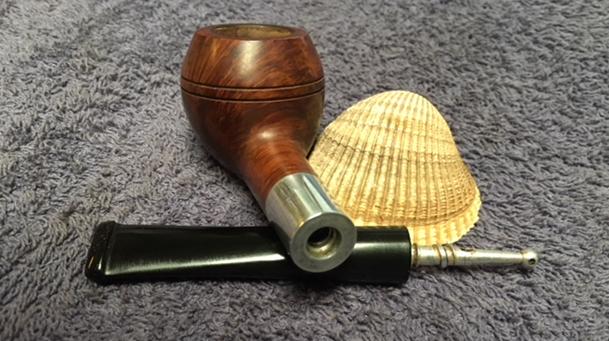
With that reminder of the old pipeman, I turned my attention to the sixth of Mark’s uncle’s pipes – a Kaywoodie Signet bulldog/Rhodesian shaped pipe. The pipe was stamped on the left side of the shank with the word Kaywoodie over the word Signet. There were no shape numbers on the right side or underside of the shank. The was an oxidized aluminum end cap threaded to hold the stinger/tenon apparatus. The exterior of the pipe was dirty and grimy with a few small dents in the sides of the bowl. The rim top was dirty and had some tar and lava overflowing the inside of the bowl. The bowl itself did not have a thick cake but there was a thin cake and remnants of tobacco in the bowl. The pipe looked like it had been reamed not too long before the last bowls were smoked. Overall the finish was in good condition but it was dirty and dusty. The stem was oxidized and there was a large chunk of the vulcanite missing on the top end of the stem where it had been chewed through or broken off. The stem was also slightly underclocked to the left. I took photos of the pipe before I started restoring it.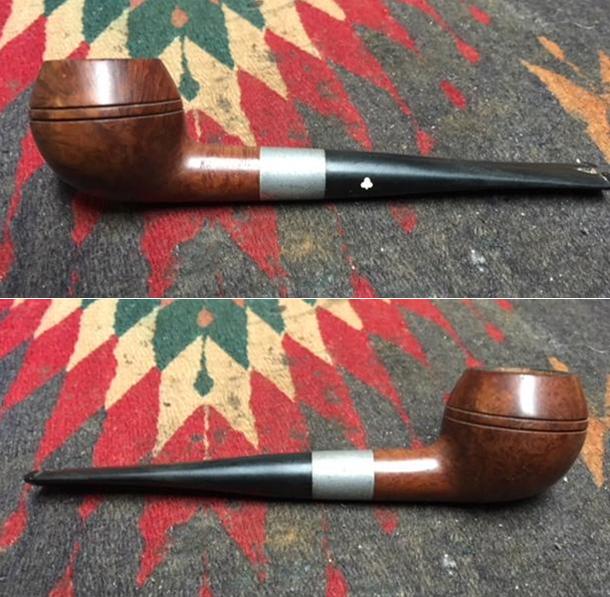
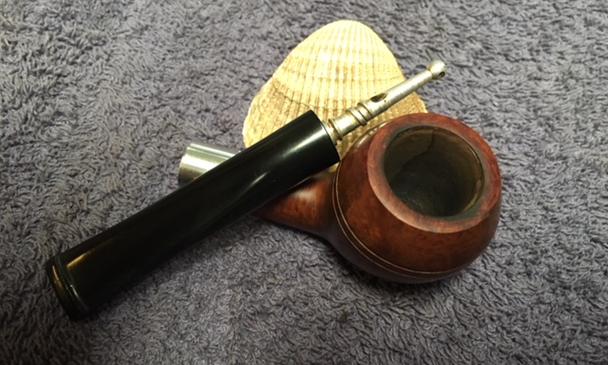
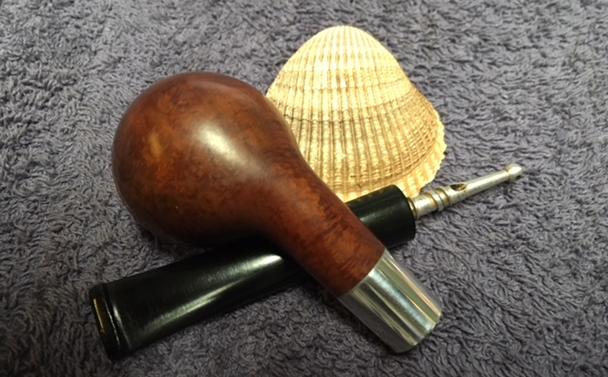
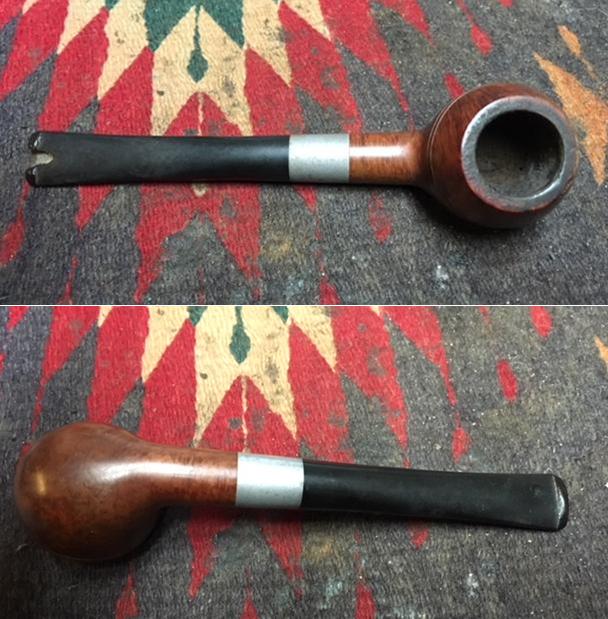 I took a close up photo of the rim top to show the remnants of cake in the bowl and the lava buildup on the rim top. It appeared that the pipe may have been reamed or cleaned at some point very recently. The inner and outer edges of the rim were in good condition. But I would know more once I removed the lava overflow. I took some close up photos of the stem to show the size of the missing vulcanite chunk near the button on the top side. The oxidized metal fitment on the shank end needed polishing but otherwise it looked good.
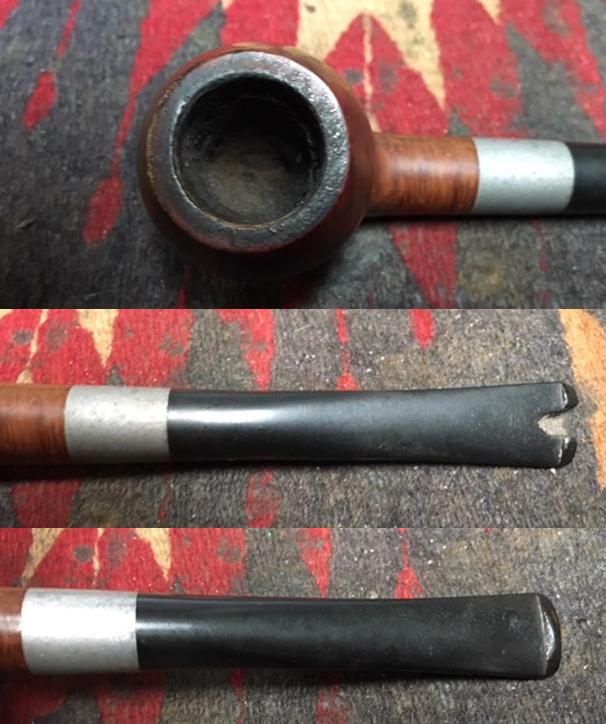 The stinger apparatus in the shank had three holes in the ball at the end of the piece. It was covered in tars and oils and was quite dirty. The great thing was that there was nothing missing on the stinger and there were no deep scratches or gouges in the aluminum.
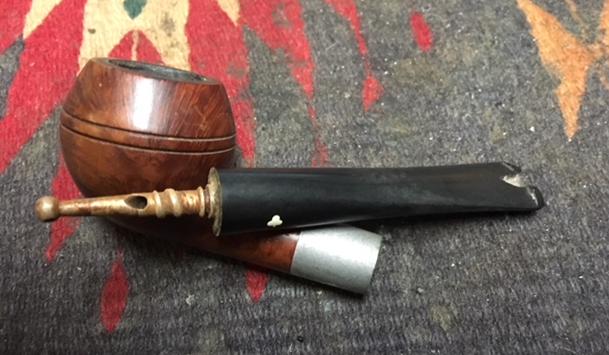 I used a Savinelli Fitsall Pipe Knife to scrape away the remnants of cake and tobacco on the walls of the bowl. I used a rolled piece of 220 grit sandpaper to sand the walls of the pipe and smooth out all the remaining bits. The bowl looked good once it was cleaned.
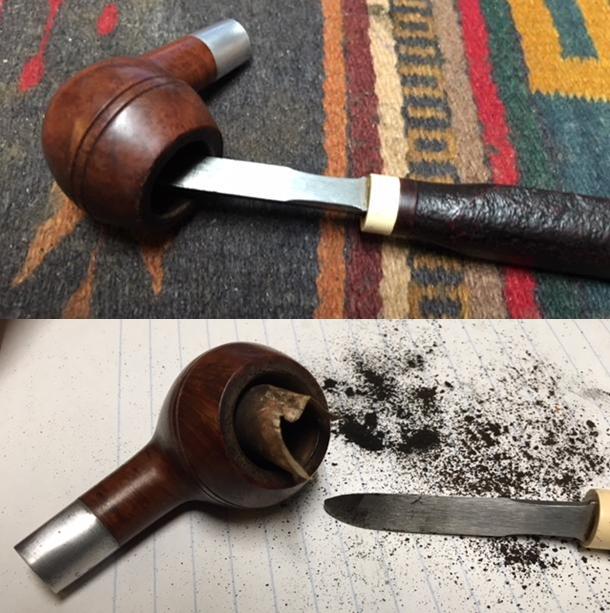 Because it was the original stem and there was thickness to it, and because the stinger was intact in the stem I decided to do something a little different. I cut off the end of the damaged stem with a Dremel and sanding drum until I had solid vulcanite to work with. I cleaned off the stinger with 0000 steel wool to remove all of the tars and oils. I heated the stinger until the glue had softened and realigned the stem with the shank.
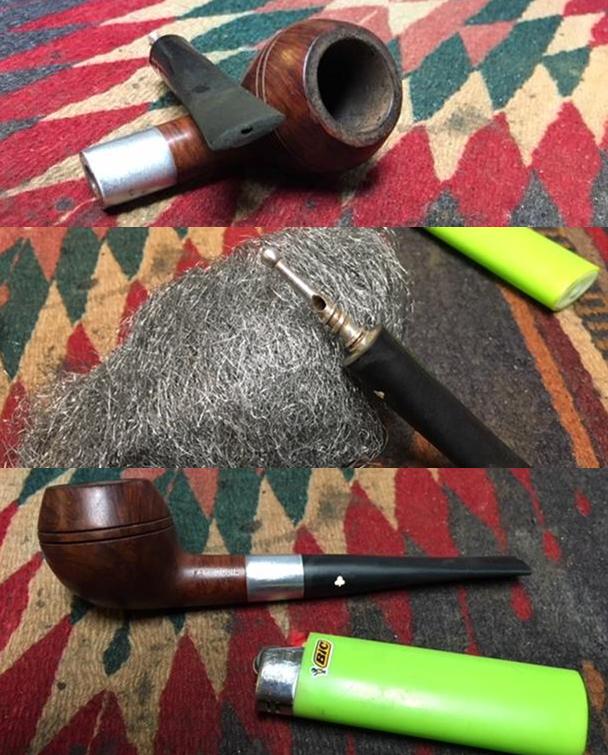 I took the stem off the pipe and cleaned the exterior, especially focusing on the end that I was going to rebuild. I mixed up a batch of charcoal powder and black super glue (2 capsules of charcoal powder were mixed together with the super glue) to make a paste to use in rebuilding the button. I applied it to the area where the button would be with a dental spatula. I made it thicker than it needed to be so that I could shape and contour the finished look once the repair had cured. I sprayed the repair with accelerator and set it aside to dry.
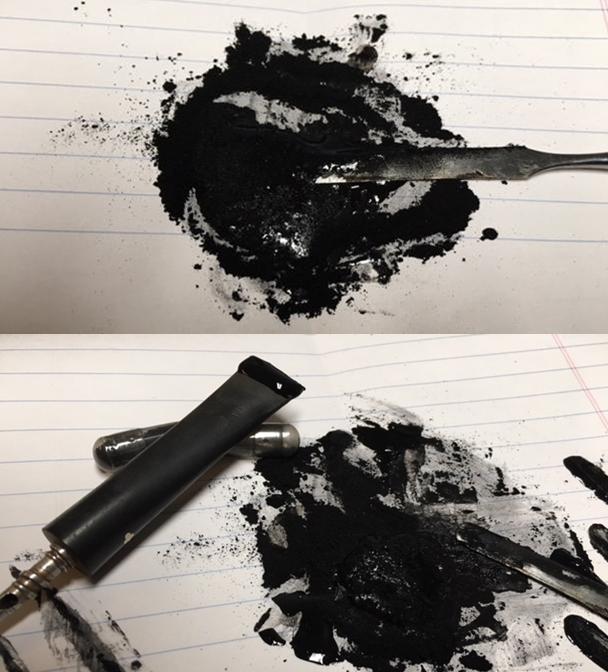
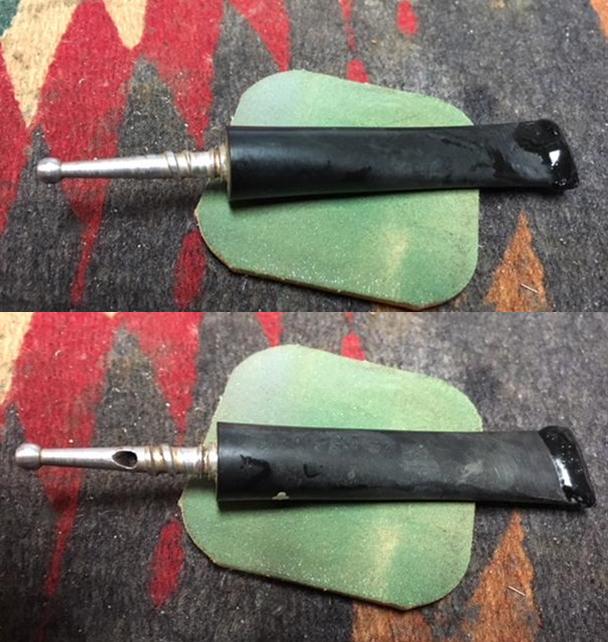 While the repair cured I worked on the aluminum shank end to polish out the oxidation. I worked on it with 1500-2400 grit micromesh to get it to the point is in the photos below. Once the new button area had cured and the repair was hard, I shaped it with a rasp and a needle file. I matched the two sides of the button – the top and bottom in terms of shape and width. I cut the sharp edge of the button square with the files and shaped the top and underside in front of the button with 220 grit sandpaper. I still need to open up the slot in the button at this point as well as round the edges of the button itself but it is coming along nicely.
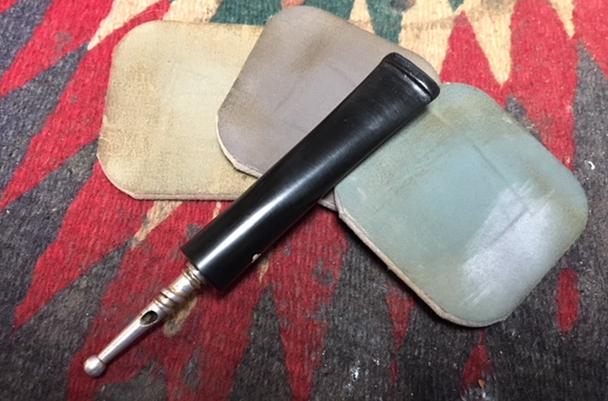
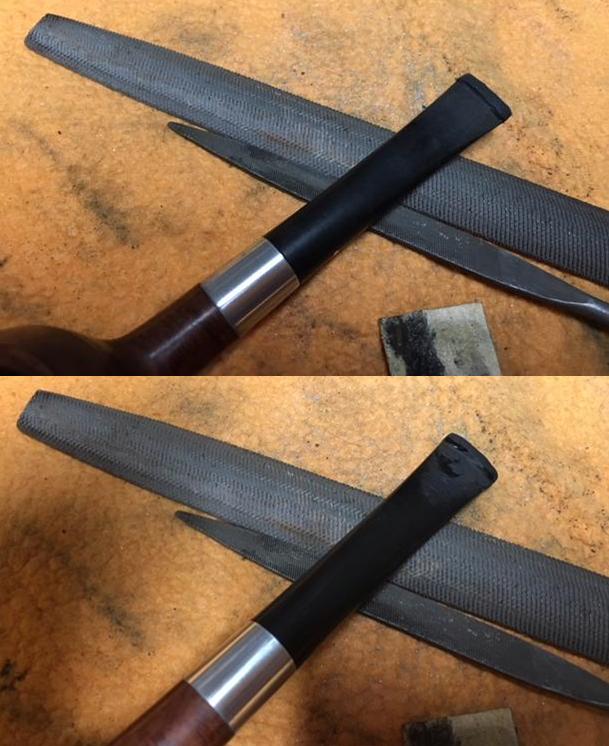 I turned my attention to opening the slot in the end of the new button. The first photo shows the look of the slot and button at this point. The second shows the new slot that has been opened in the button end using needle files.
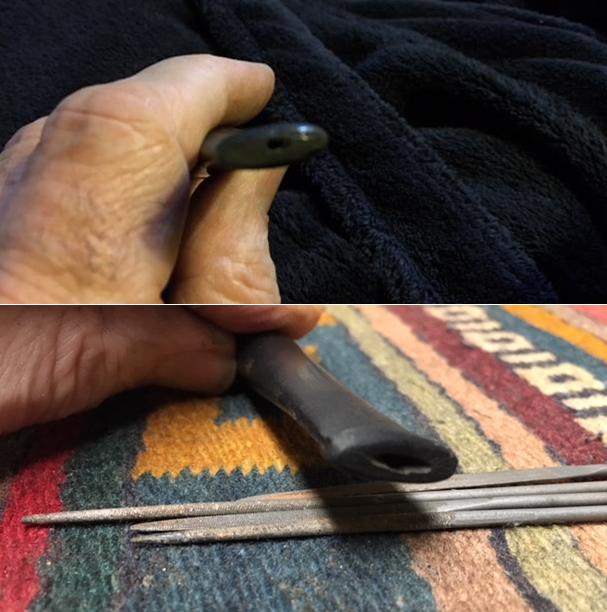 I cleaned out the airway inside the stem and stinger with pipe cleaners and alcohol. I want to remove the grime but also the dust that would be present from my shaping of the button and slot. I was surprised at how clean the inside of the airway was. I also cleaned out the metal mortise and shank with pipe cleaners, cotton swabs and alcohol.
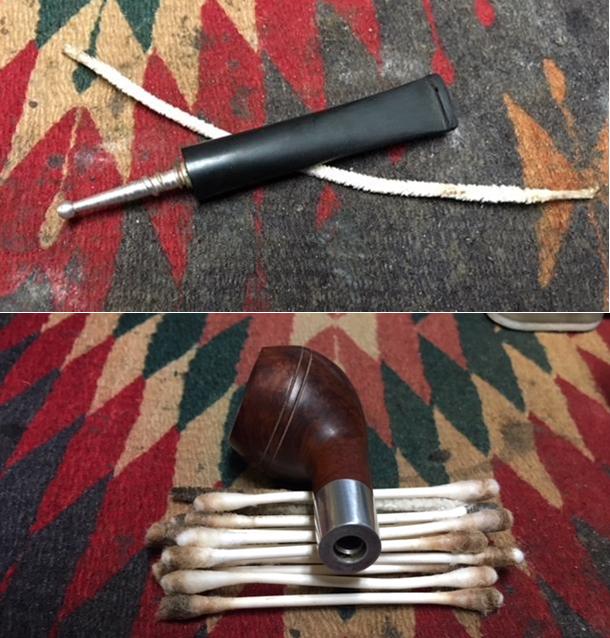 I cleaned off the tars on the top of the rim and polished it with 1500-2400 grit micromesh sanding pads. Once I had it smooth and unscratched I stained it with a dark brown stain pen. I hand buffed it with a soft cloth to blend the stain into the rest of the bowl.
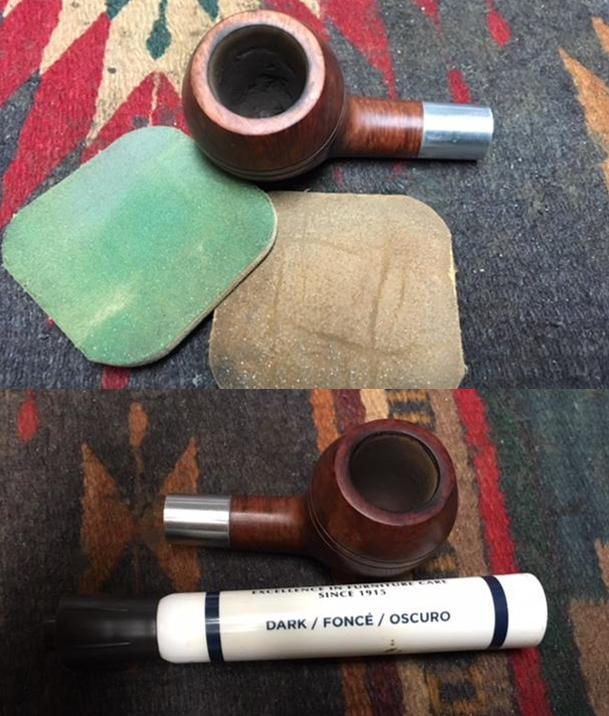 I polished the aluminum end of the shank with micromesh sanding pads to raise a shine. I wet sanded it with 1500-2400 grit pads and dry sanded it with 3200-12000 grit pads. I wiped it down with a damp cotton pad after each grit of micromesh.
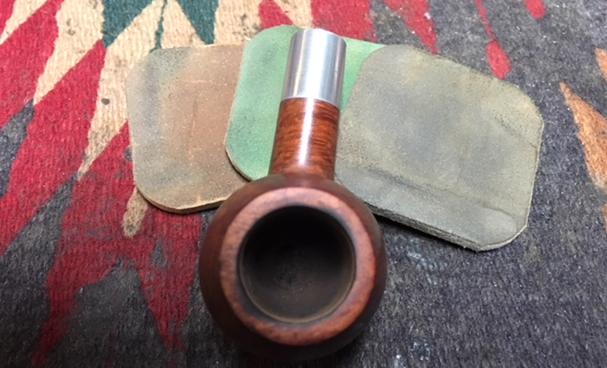

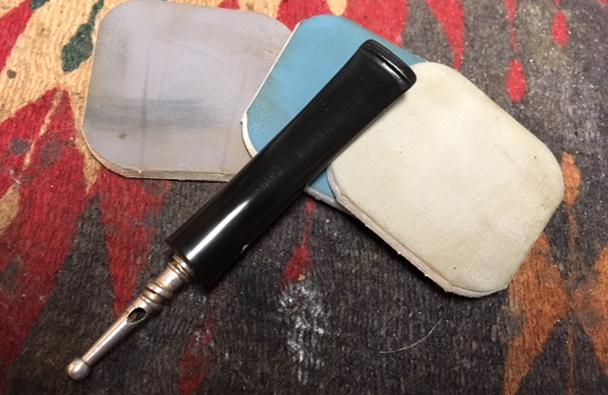
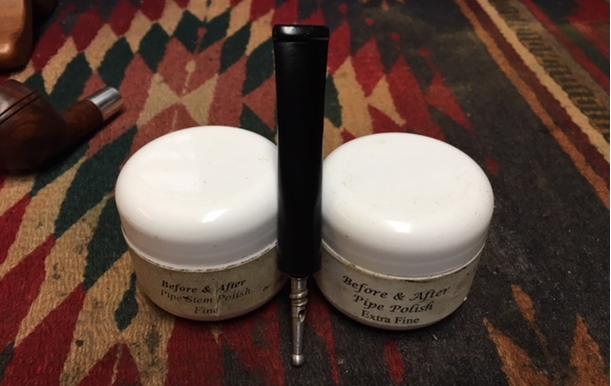
 I worked over the stem with micromesh sanding pads. I polished out the sanding scratches and marks in the vulcanite and the rebuilt button – wet sanding it with 1500-2400 grit pads and dry sanding it with 3200-12000 grit pads and wiped it down with Obsidian Oil after each one. When I finished with the 12000 grit pad I gave it a final coat of oil and let it dry. Once it had dried, I polished it with Before & After Pipe Stem Polish Fine and Extra Fine. I rubbed it down with final coat Obsidian Oil and took the following pictures.
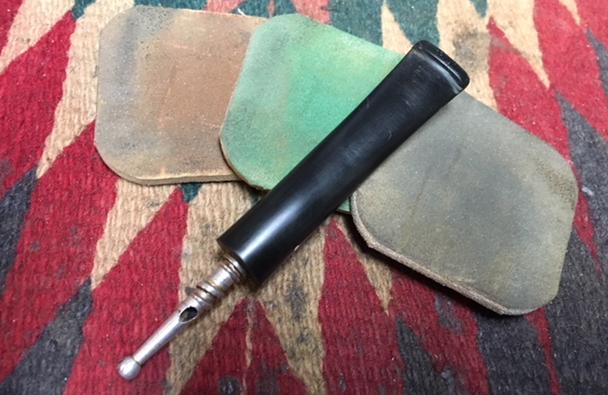
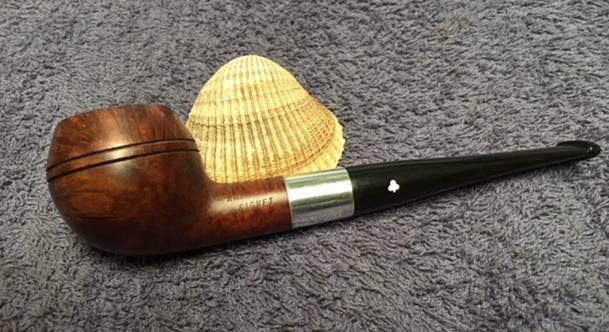
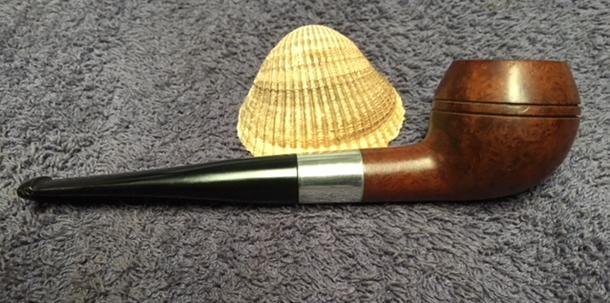
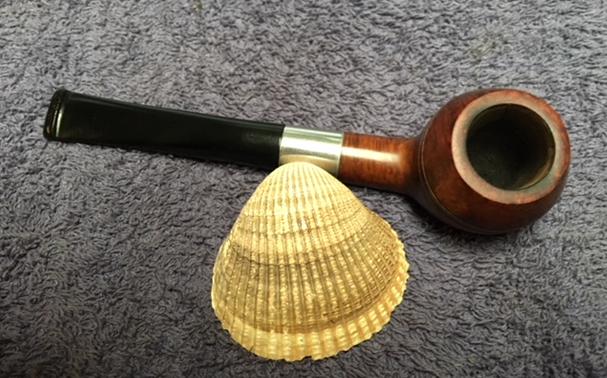
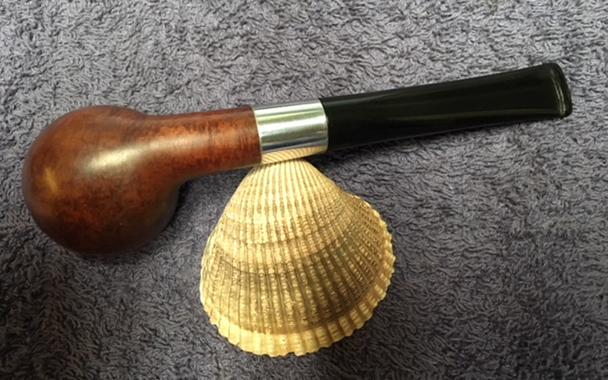
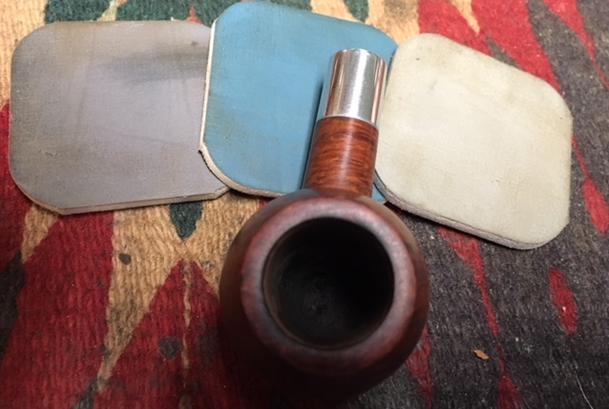
 With the stem repaired and polished I put it back on the pipe and buffed the entire pipe again with Blue Diamond polish on the buffing wheel. I carefully buffed the new button with a light touch so as not to damage it. I gave the entire pipe several coats of carnauba wax and buffed it with a clean buffing pad to raise the shine. I hand buffed it with a microfibre cloth to raise the shine. The new stem and the original stem looked good to me and the bend was just right. The bowl polished up pretty nicely. The finished pipe is shown with the original stem in the photos below. This is pipe number six of Mark’s uncle’s pipes. One left to finish up and then it will head back home to him. Thanks for looking.