Blog by Steve Laug
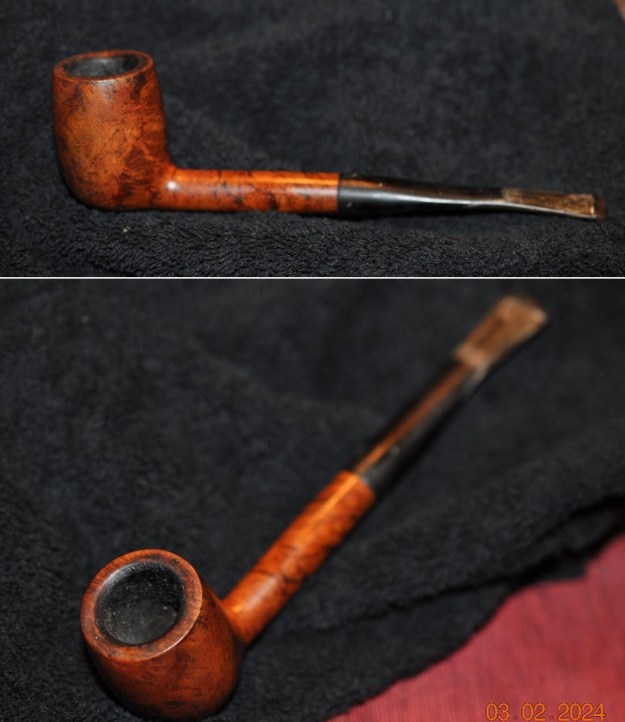
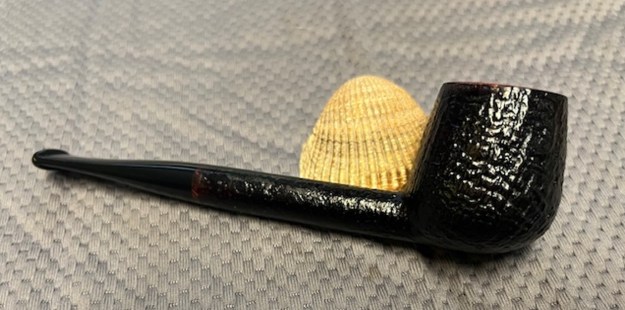
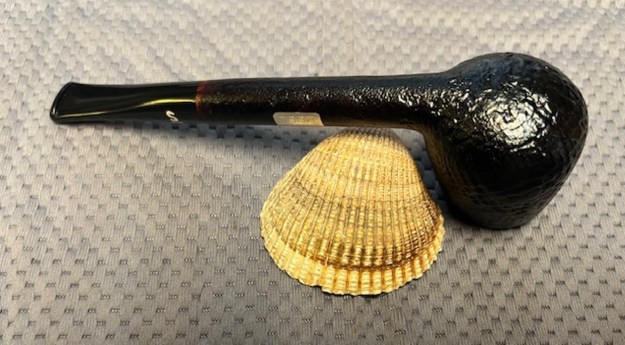
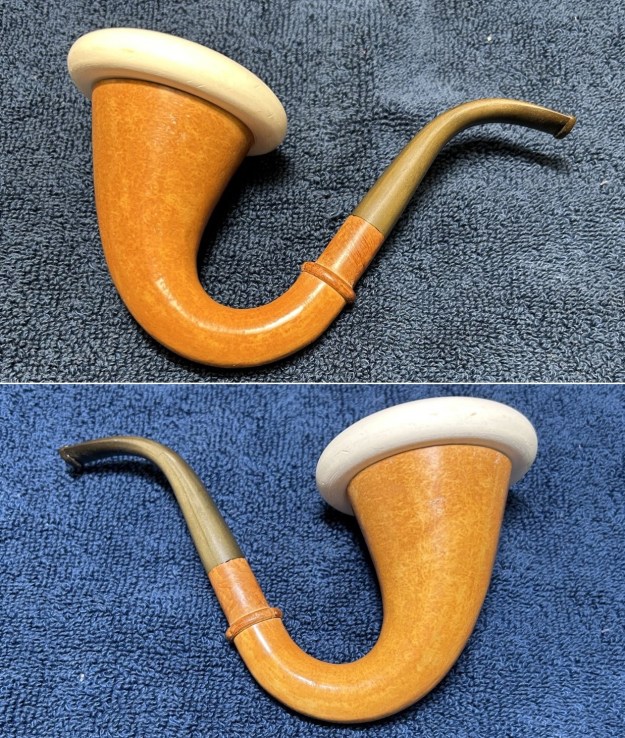
The next pipe on the table is a sandblast finish Billiard with a silver rim cap, band on the shank and a vulcanite stem. We purchased it from a seller on eBay from Jordan, Minnesota, USA on 01/22/2024. The pipe has a silver plaque identifying it as a 1993 pipe. It is stamped below that plaque and reads Huber [over] Nobleman. The shank has a silver, decorative band on it. The rim was in good condition other than a lot of lava overflowing from the thick cake in the bowl onto the smooth rim top It is hard to assess the condition of the inner edge of the rim due to the cake and lava overflow. There may be some darkening or damage at the back of the bowl but I cannot be sure. There were oils and grime ground into the beautiful sandblast on the bowl sides gives the dull, flat look. The vulcanite taper stem is a dirty stem with grime and grit on the surface. There were also tooth marks on both the top and underside of the stem just ahead of the button. It appears that there may be some small pin hole bite through marks on the underside ahead of the button. Jeff took photos of the pipe before he started his clean up work. I have included them below.
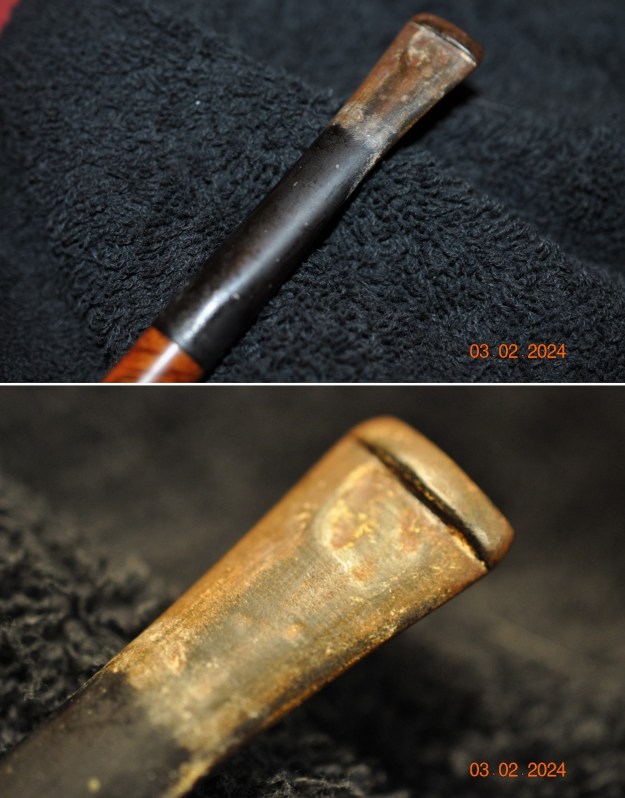
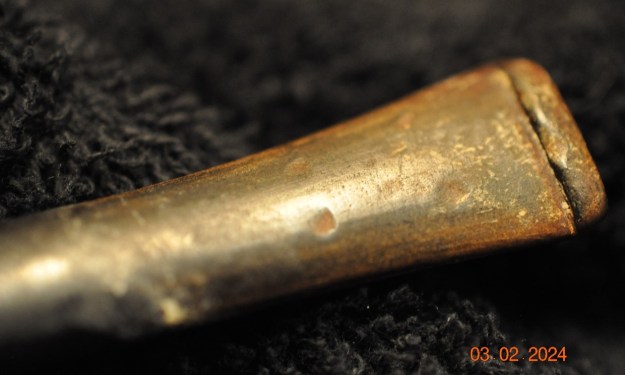
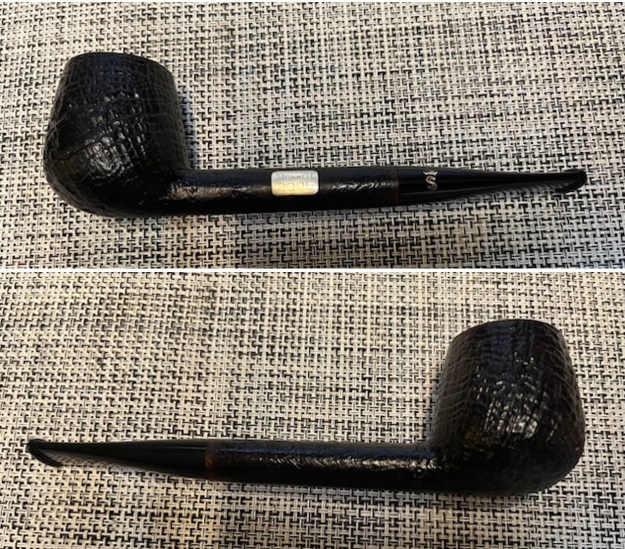
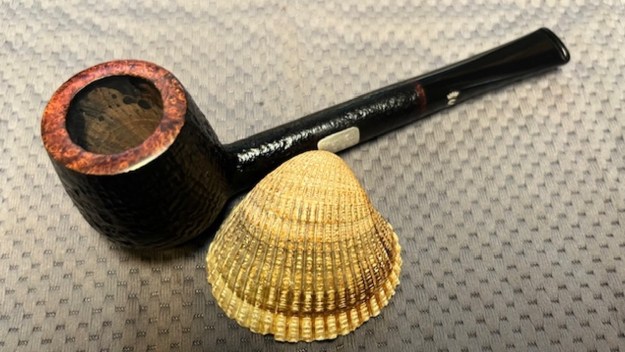
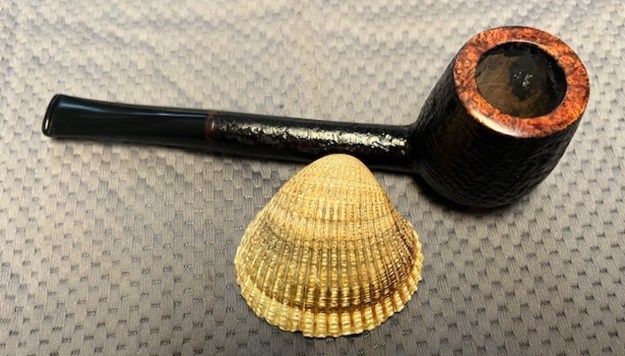
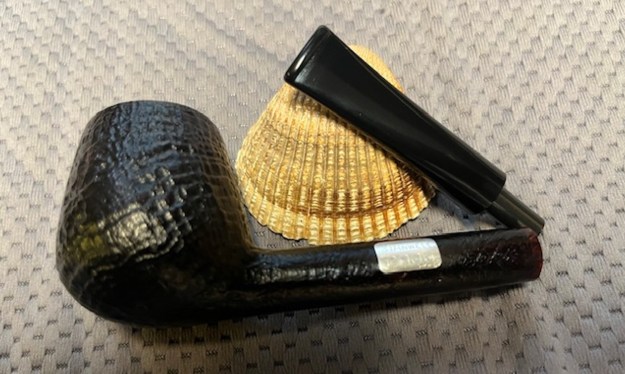
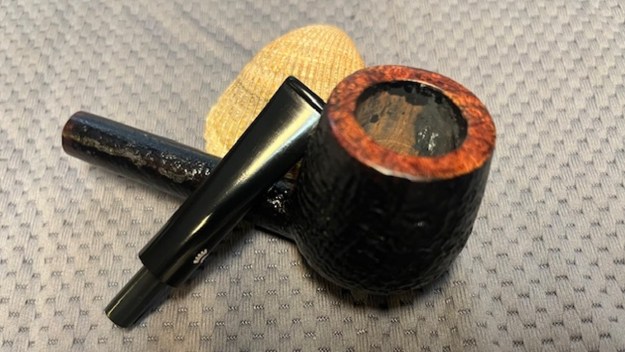
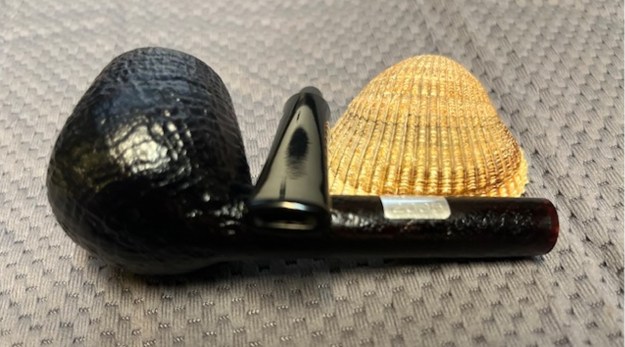
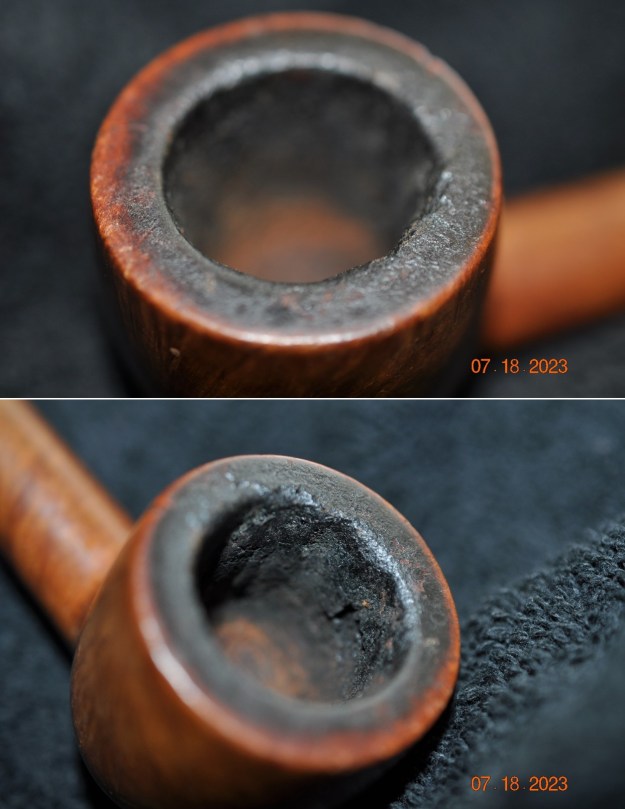
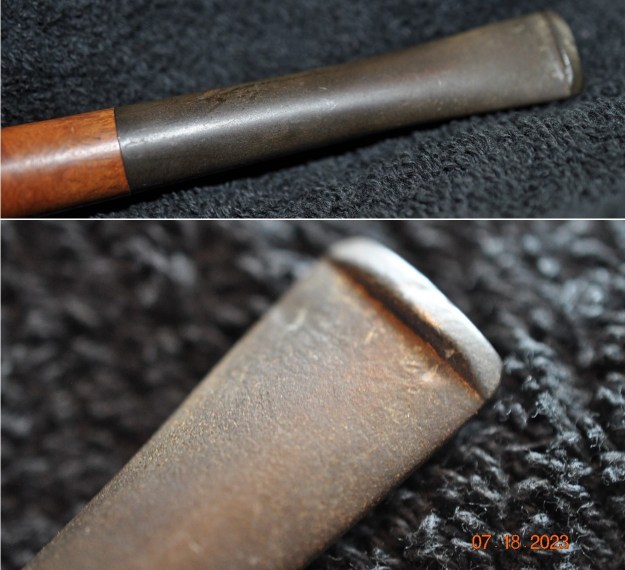
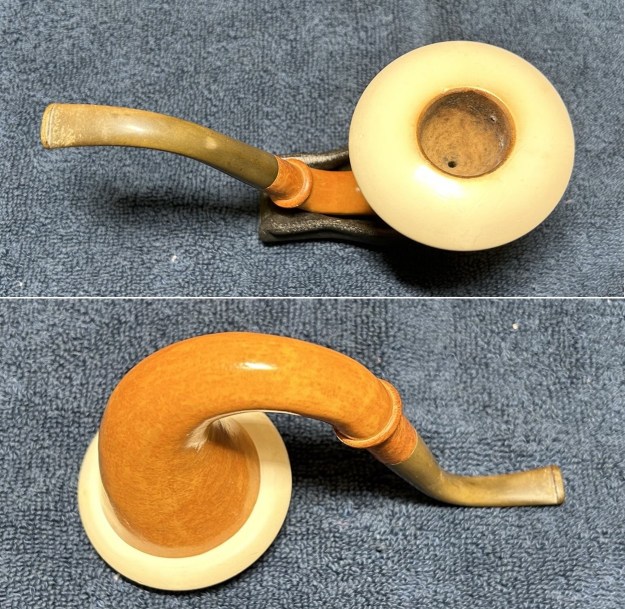
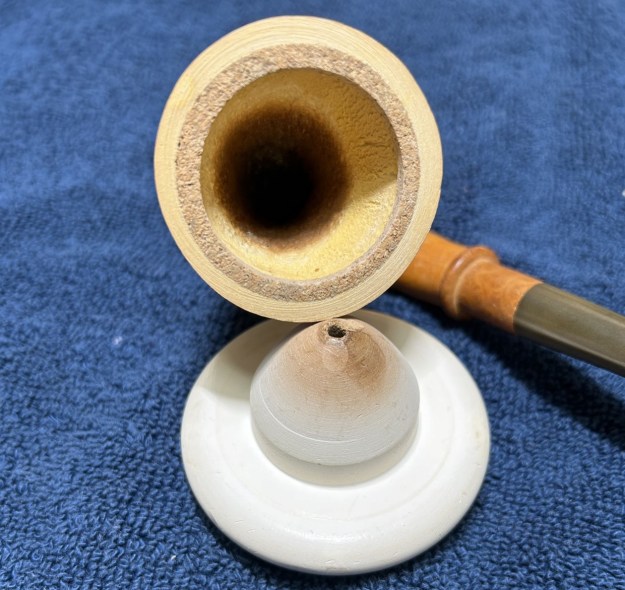
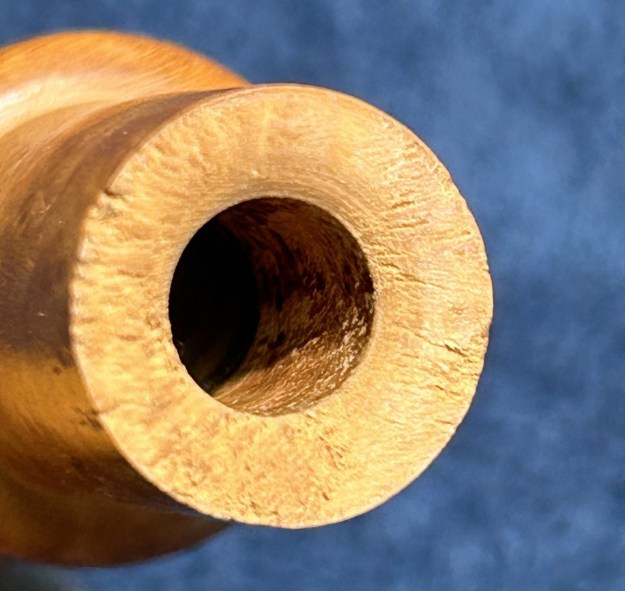
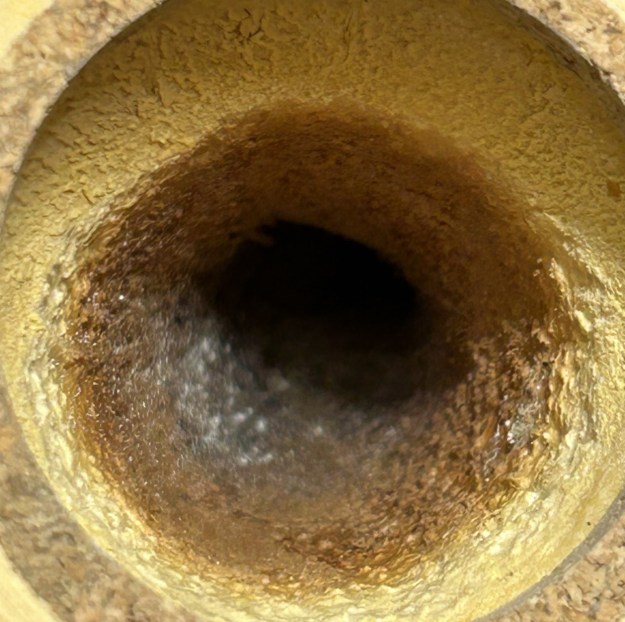
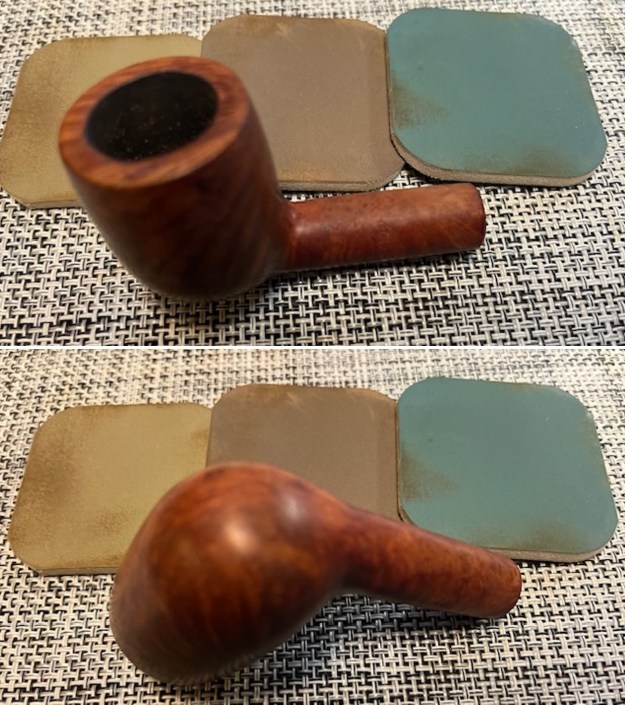
 He took photos of the pipe’s bowl and rim top to show the cake in the bowl and the lava coat overflowing onto the top. The silver rim cap/edge is also oxidized and dirty. This really is another dirty pipe. He also took photos to capture the tooth marks on the top and underside of the stem near the button. The stem is also oxidized and calcified.

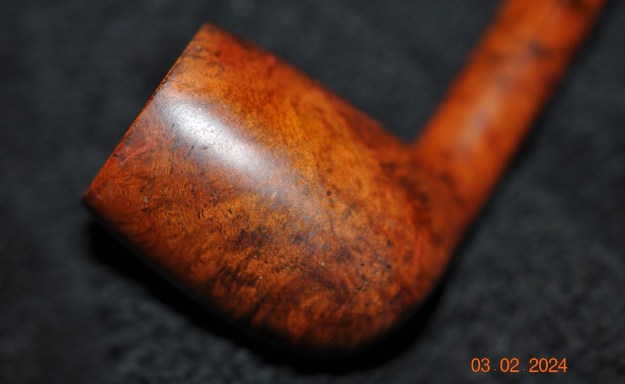
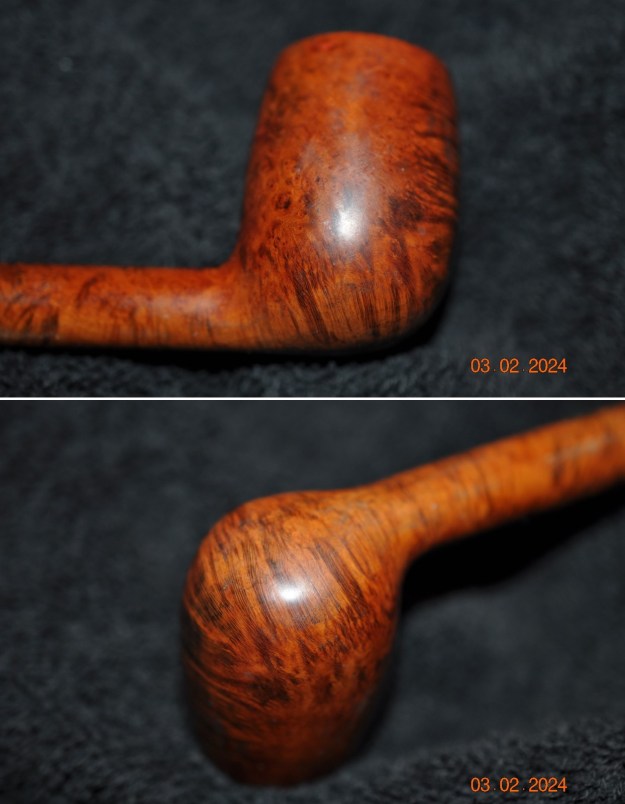
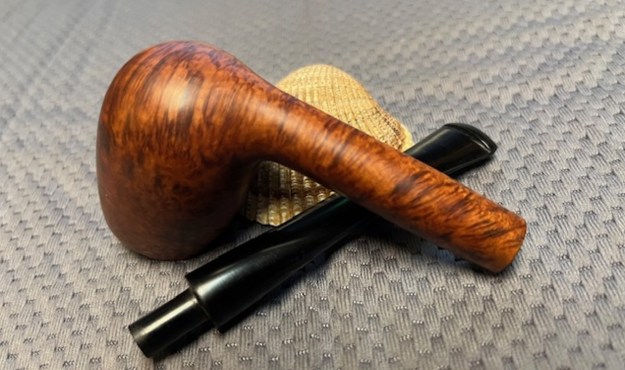
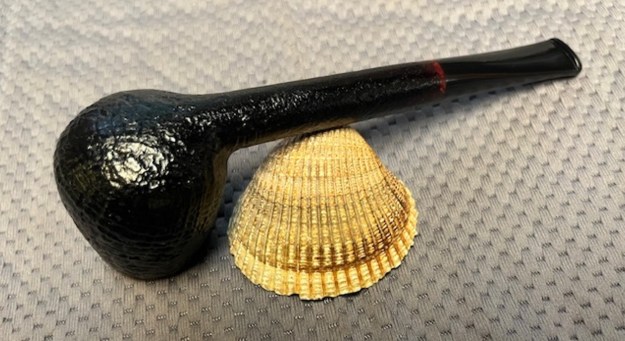
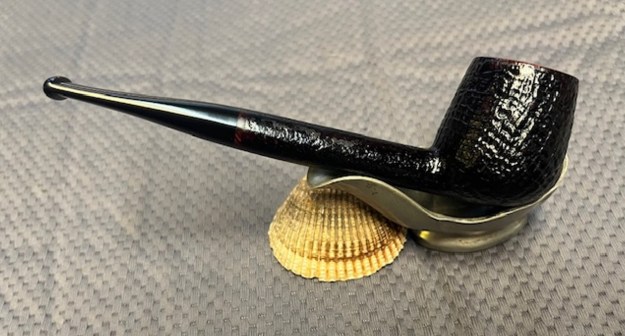
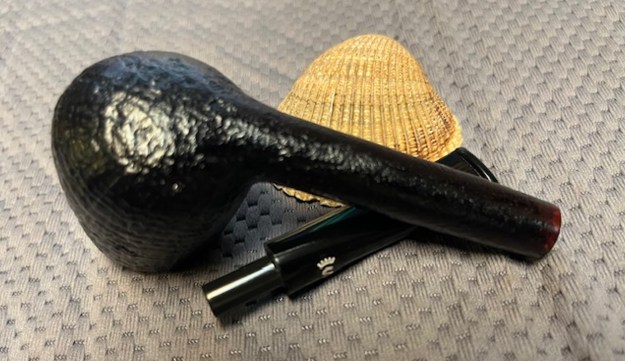
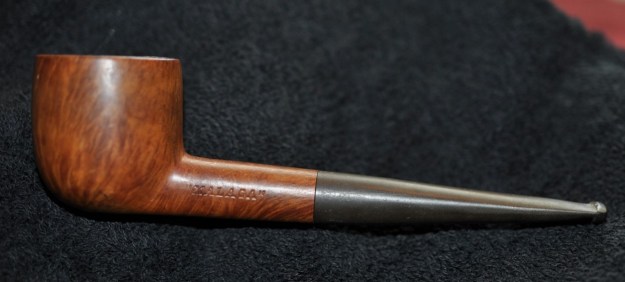
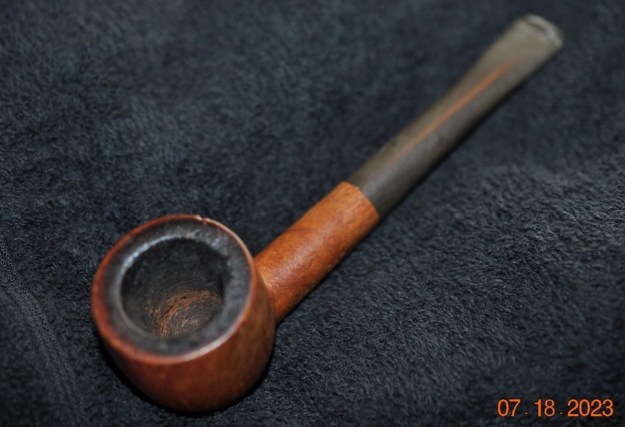
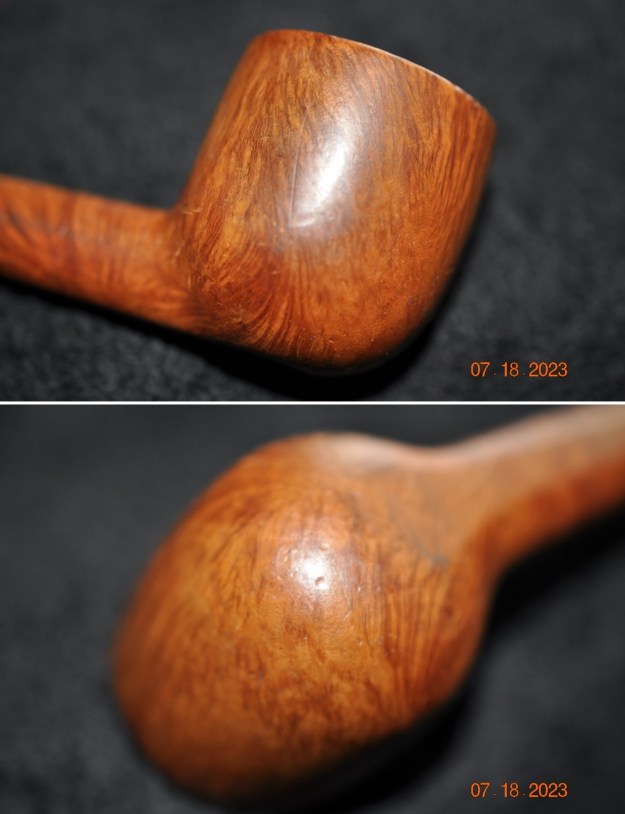
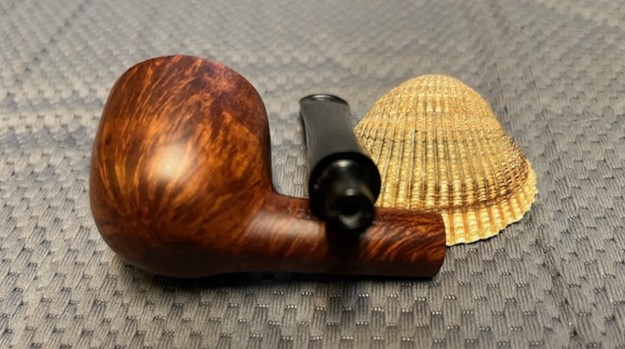
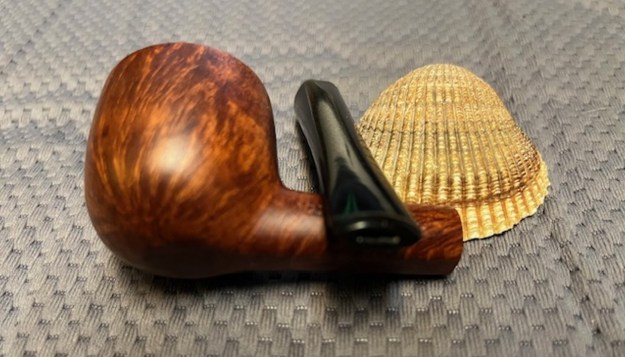
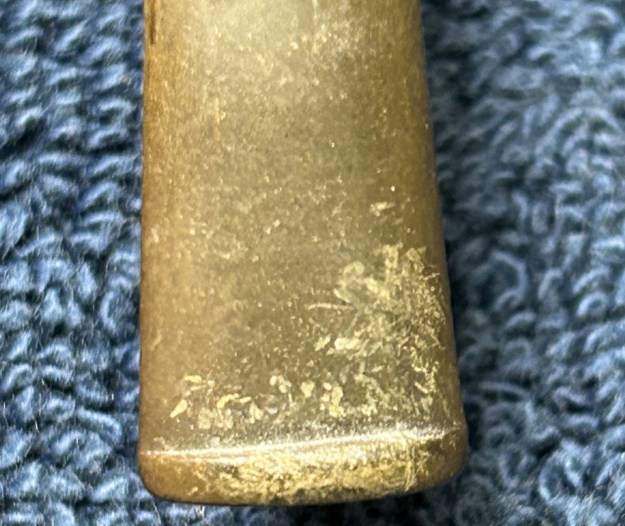
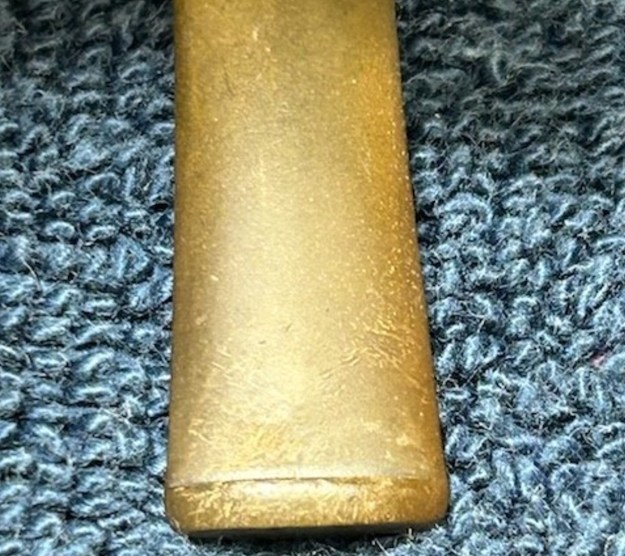
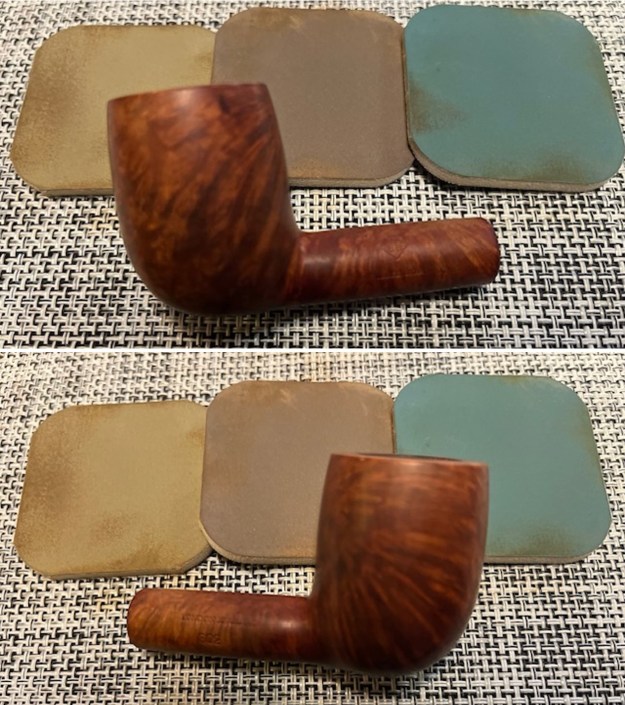
 He took photos of the sides and heel of the bowl to show the interesting sandblast grain around the bowl and the amount of grime ground into the surface of the briar.
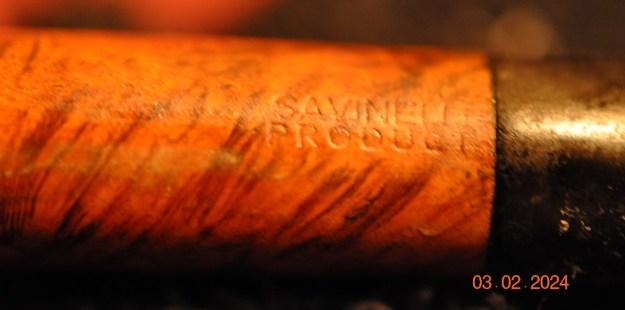
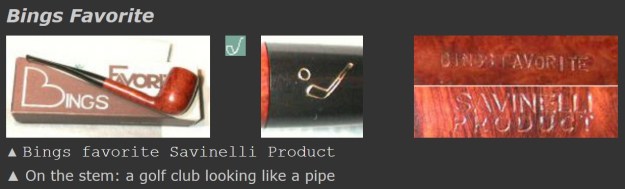
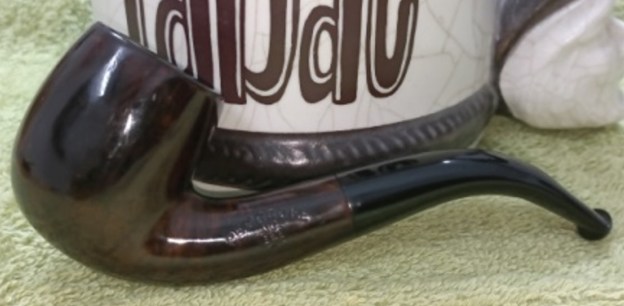
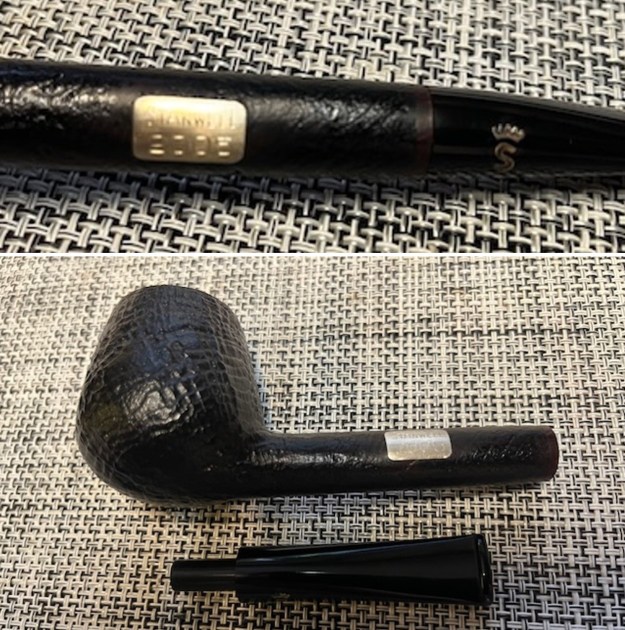
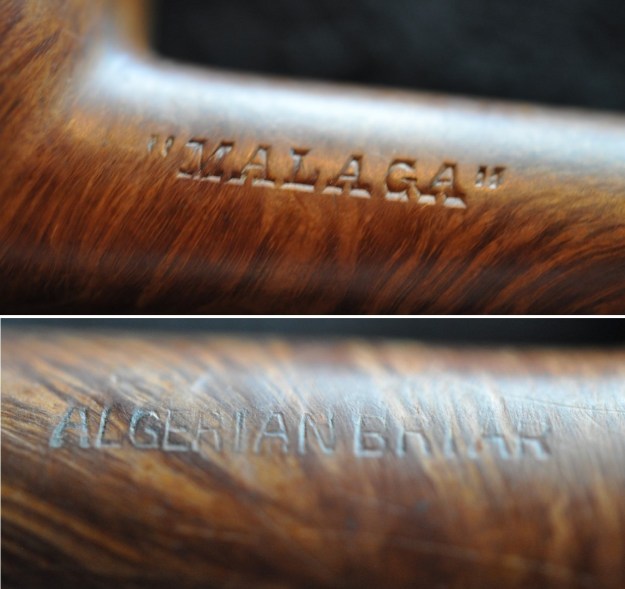
 He took photos of the stamping on the silver plague and the stamping below that on the left side of the shank. It is clear and quite readable.
  I knew from other pipes that I have worked on with the HUBER stamp (Peterson’s, Oldenkott and other) that the pipe was made for the Pfeifen Huber 1863 pipe shop in Munich, Germany. I found a great photo of the shop on Yelp. I have included that below. It is definitely a shop that I want to visit soon (https://www.yelp.ca/biz_photos/pfeifen-huber-m%C3%BCnchen-2?select=Fs5BlKOLDYfhjIM-3lhiAw).
 I turned to the Pfeifen Huber website (https://www.pfeifen-huber.de/pfeifen-ratgeber/chronik-pfeifen-huber-jahrespfeifen-teil-1). On the site was a section, written in German, regarding the annual pipe, made for Huber by various pipe making companies. I translated it with Google and have included it below.
The idea of an annual pipe in limited quantities was not really new in 1988. Dunhill was considered a pioneer, followed by Stanwell and Georg Huber in Munich at the end of the eighties. The idea came to him to produce a small, fine series of pipes in limited quantities, only in “First Quality”. The problem was finding a suitable manufacturer who was prepared to implement the high quality requirements in the desired quantities. This idea began to take shape with the German importer for Peterson and Savinelli, Detlef Seiffert. They hit it off straight away and at the end of 1988 the first annual pipe saw the light of day in Tal 22 in Munich. At that time it was a Hungarian from Peterson, with a silver top and ribbon on the handle. The edition of 300 copies was quickly sold out and the idea became reality. In order to be able to offer something for smaller budgets, Huber also launched a second series, the Nobleman. This series continues to this day. It is priced below the annual pipe and has no consecutive numbering, but is also limited. While the first models were still available with a normal bore, the 9mm filter bore became popular over the years. Today’s Nobleman are consistently designed for 9mm filters; an adapter for filterless smoking can be used if desired.
The portion in red above is very pertinent to the pipe I am working on. It is part of the second series by Huber designed for smaller budgets and was priced at less than the annual one. It is also a limited edition pipe issued in 1993. It has a stem made for a 9mm filter and is also fitted with an adapter making it a normal bore. It can be smoked either way.
Smokingpipes has several Stanwell pipes made for the Georg Huber Pipe Shop in Munich, Germany on their webstore. Here is a link if you would like to have a look at a similar pipe (https://www.smokingpipes.com/pipes/estate/denmark/moreinfo.cfm?product_id=602399).
There was also an interesting post on Facebook made by a fellow using the handle Pipe & Lighter in Hanoi, Vietnam. He posted this in 2019 and it is in Vietnamese. I translated it on Facebook and quote that below.
Huber München : Is an old pharmaceutical company in Munchen, Germany founded by Georg Huber in 1863 and is a major supplier of Pharmaceuticals & Cigars in Germany. Every year to celebrate, Huber München has hired some of the famous brands on TG exclusively for limited and finest products. In companies that were hired like Paul Winslow. Peterson…. Stanwell
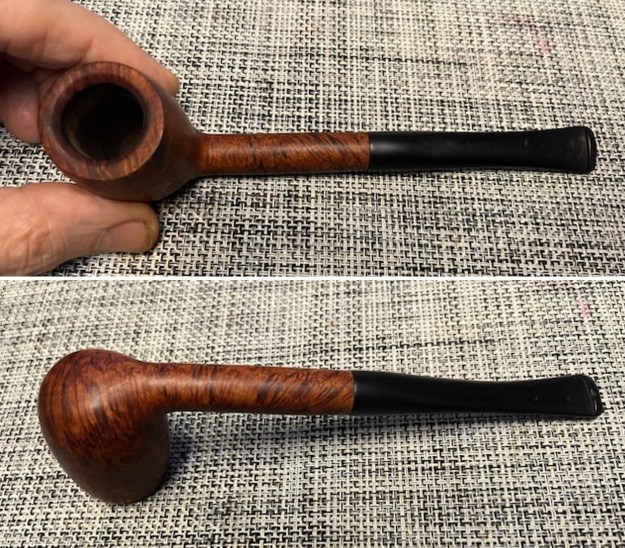
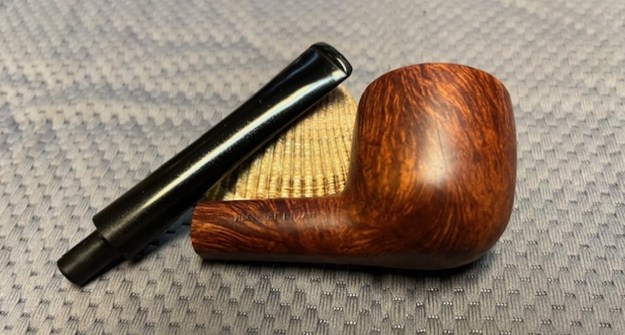
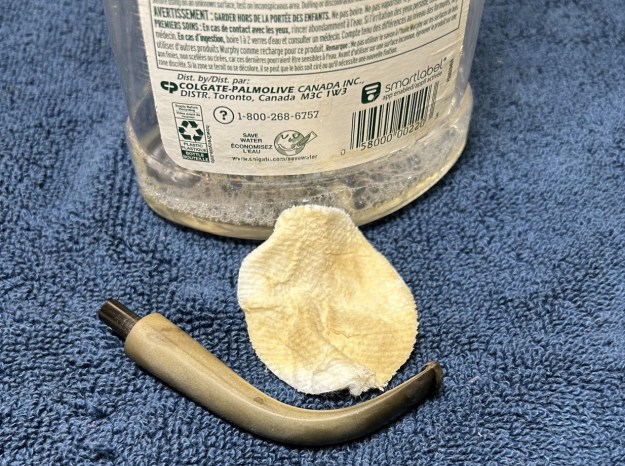
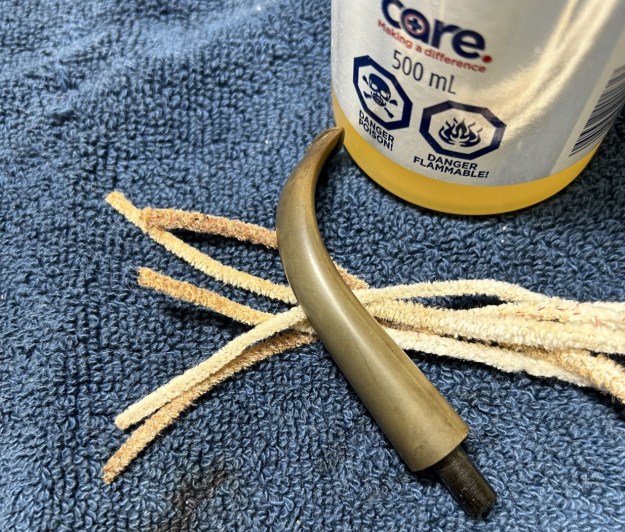
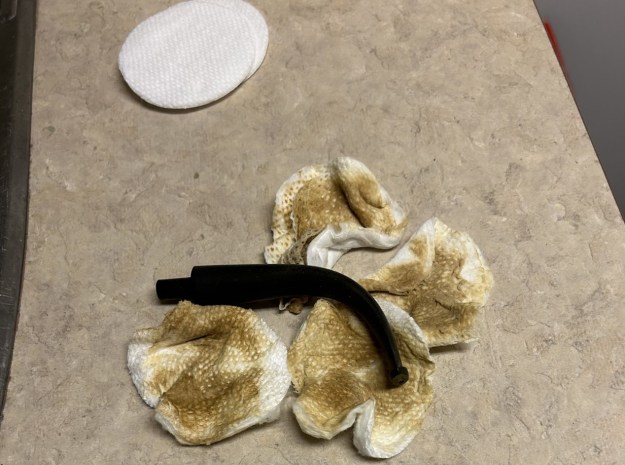
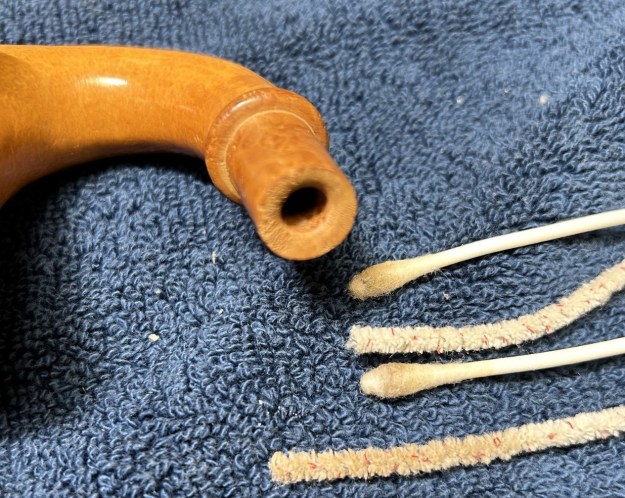
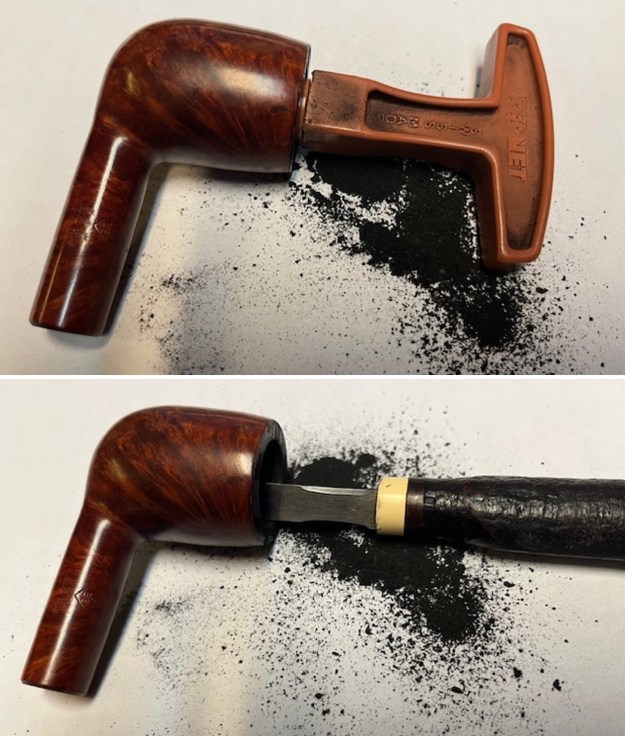
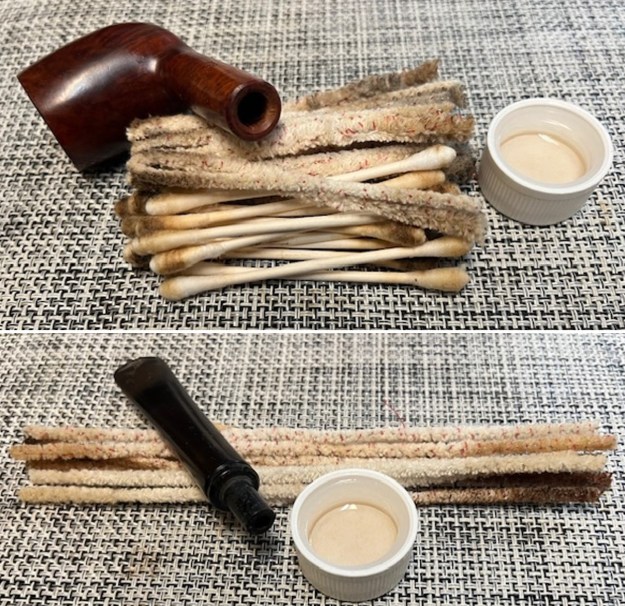
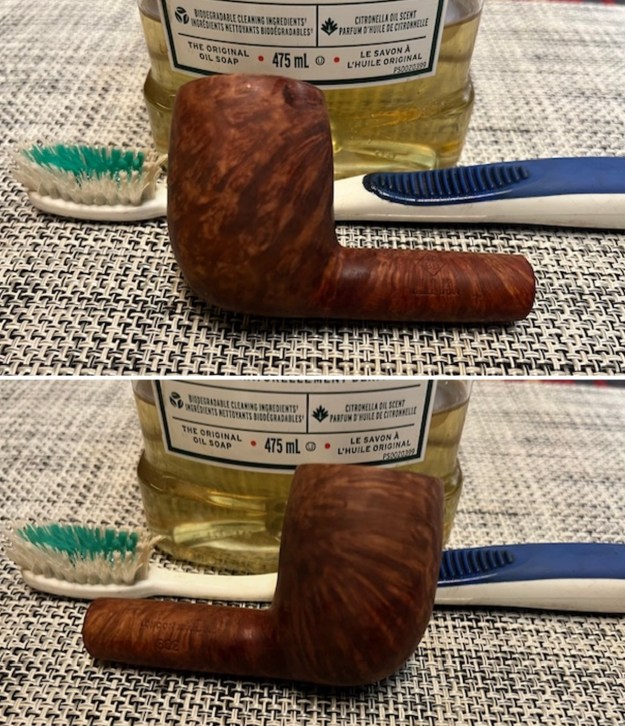
The pipe featured today is a Huber München model that made by Stanwell’s finest workers as a commemorative edition in 1996. The shank with 9mm airway diameter is typical of the German market….  Armed with that information I turned to work on the pipe itself. Jeff had done a great job cleaning up the pipe as usual. He cleaned up the inside of the bowl with a PipNet reamer and a Savinelli Fitsall Pipe Knife. The bowl walls looked very good. He scrubbed the interior of the bowl and shank with pipe cleaners, cotton swabs and alcohol to remove the tars and oils. He scrubbed the exterior of the pipe with Murphy’s Oil Soap and a tooth brush to remove the grime from the finish. He worked on the rim top lava and darkening with the soap and tooth brush. He scrubbed the inside of the stem with alcohol and pipe cleaners. He scrubbed the exterior with Soft Scrub and then soaked it in Briarville’s Pipe Stem Deoxidizer. He washed it off with warm water to remove the deoxidizer. The pipe looked far better. I took photos of the pipe when I received it before I started working on it.
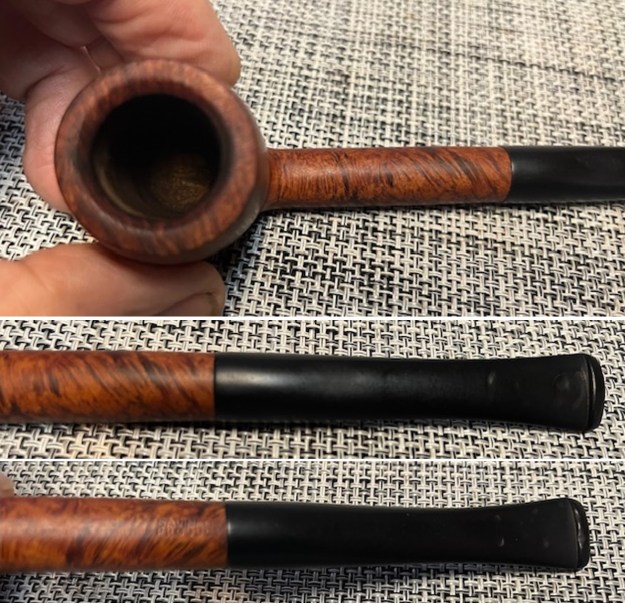
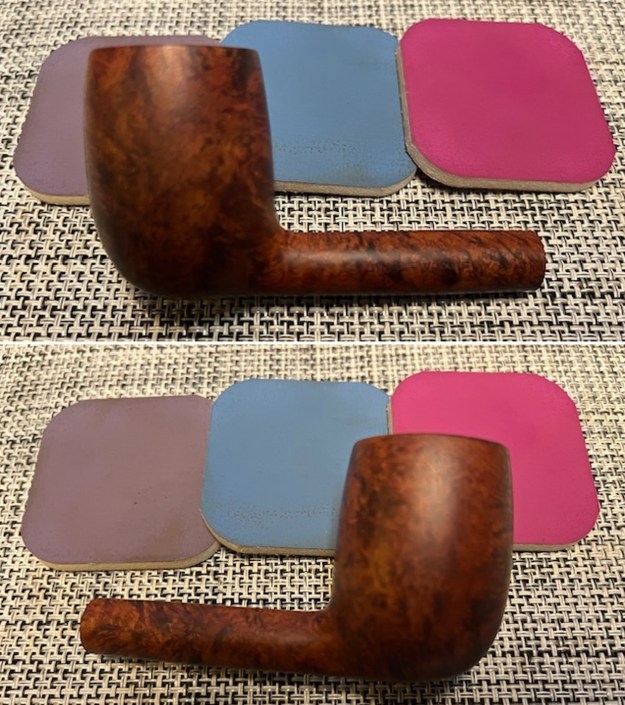
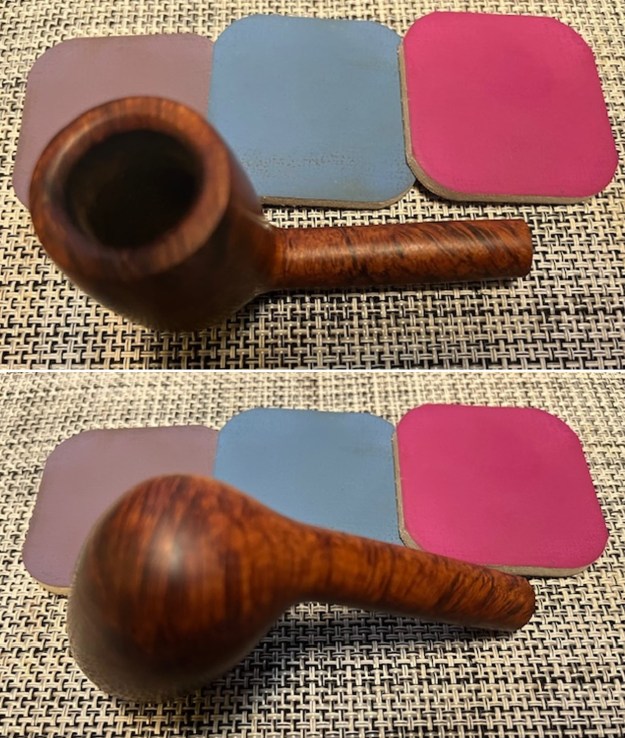
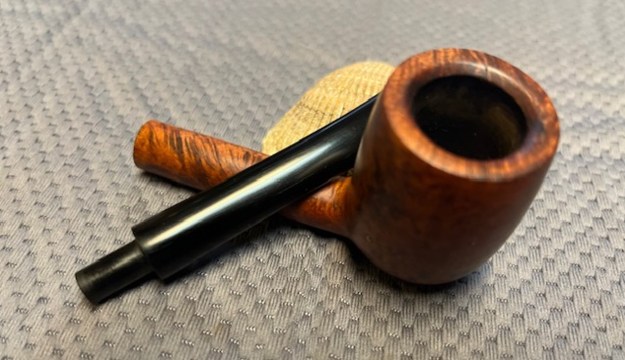
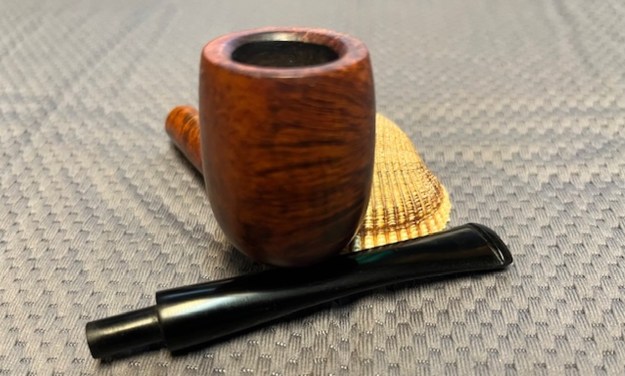
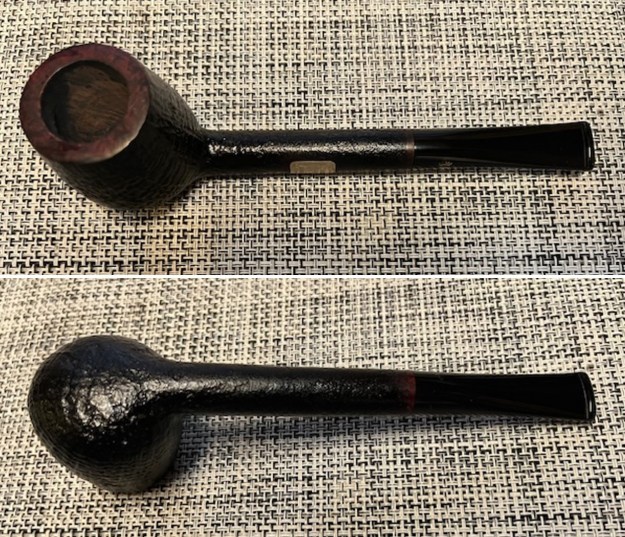
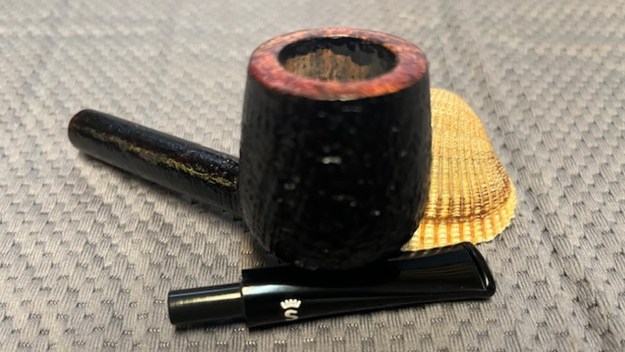
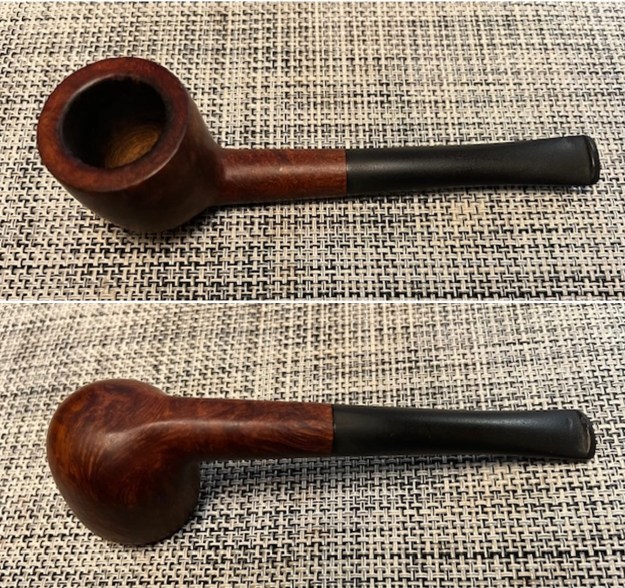
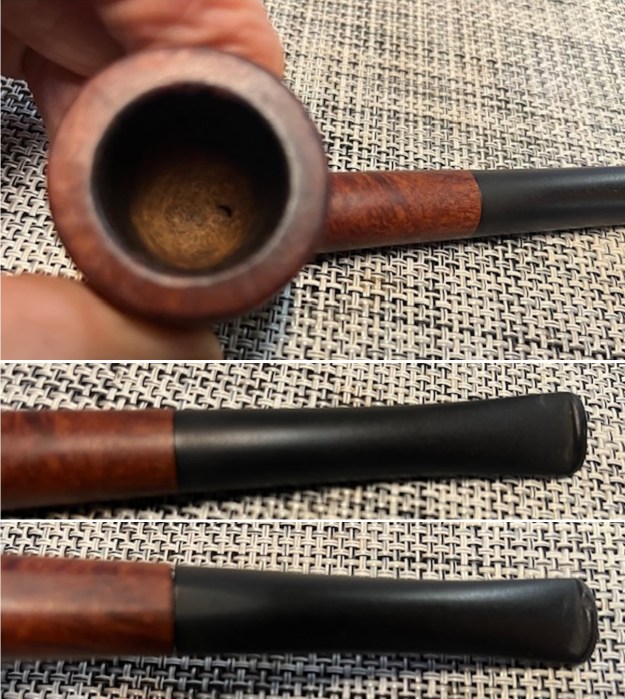
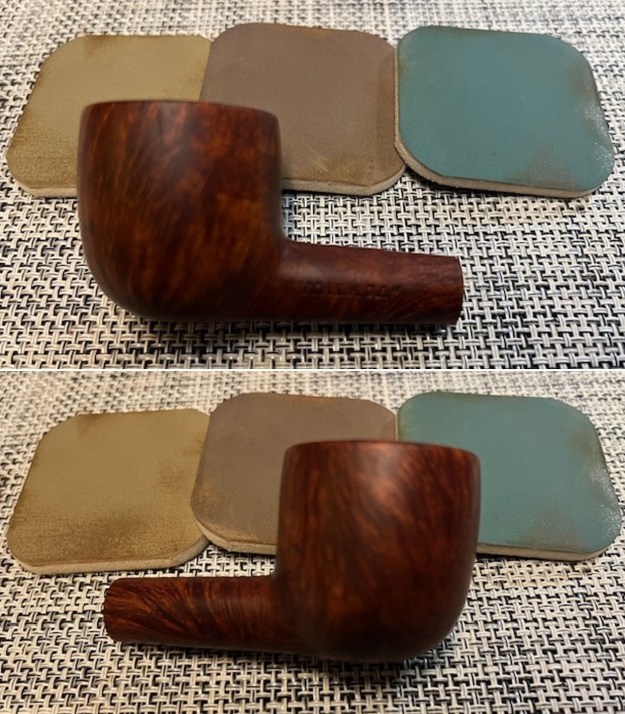
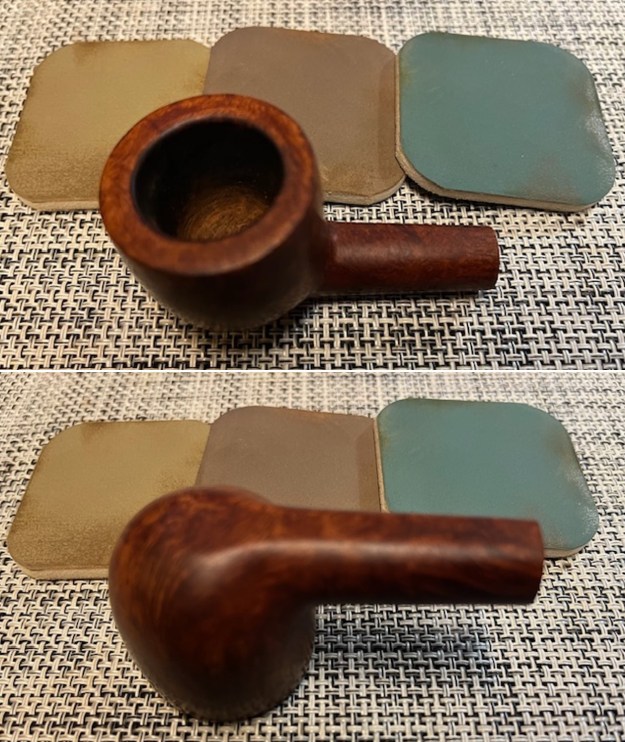
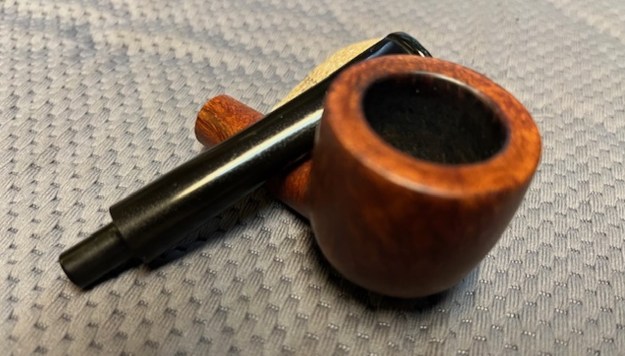
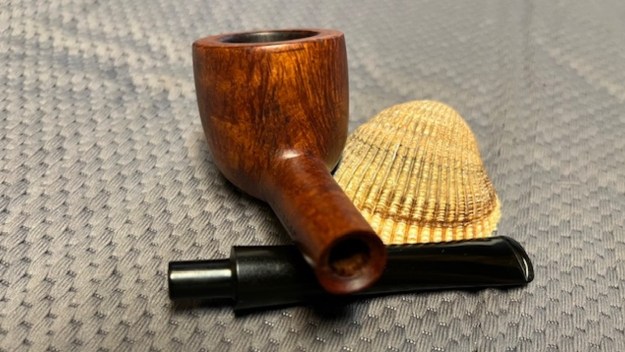
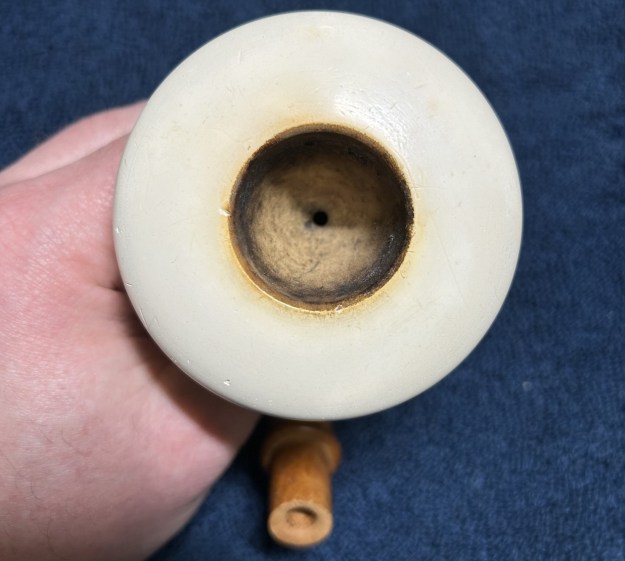
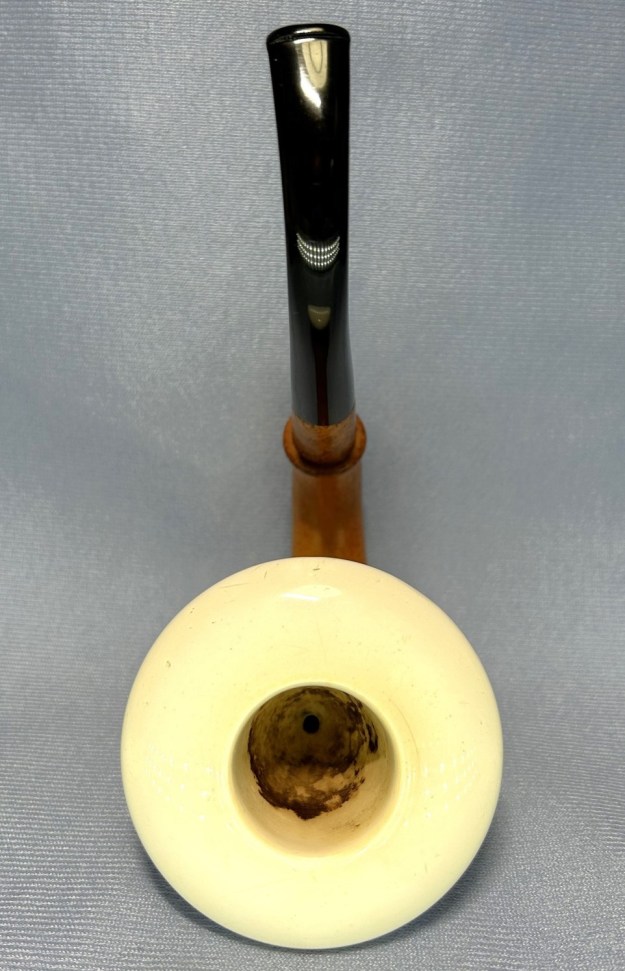
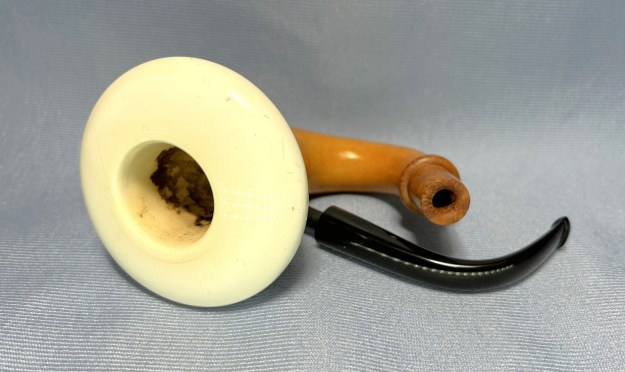
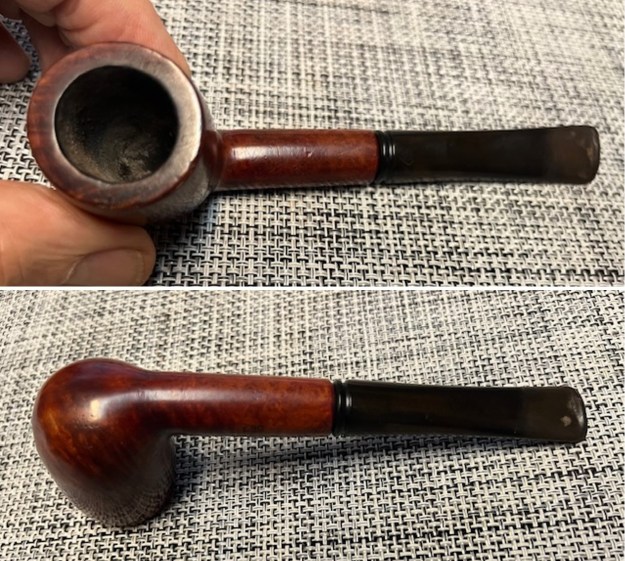
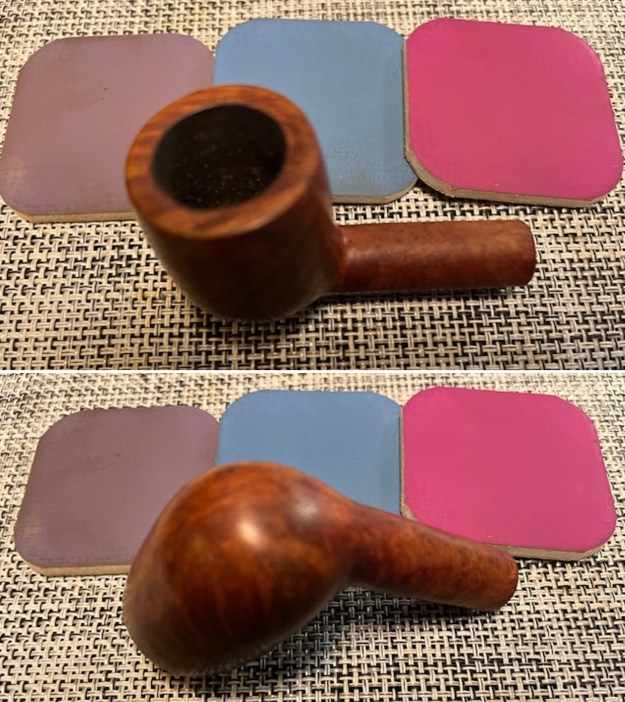
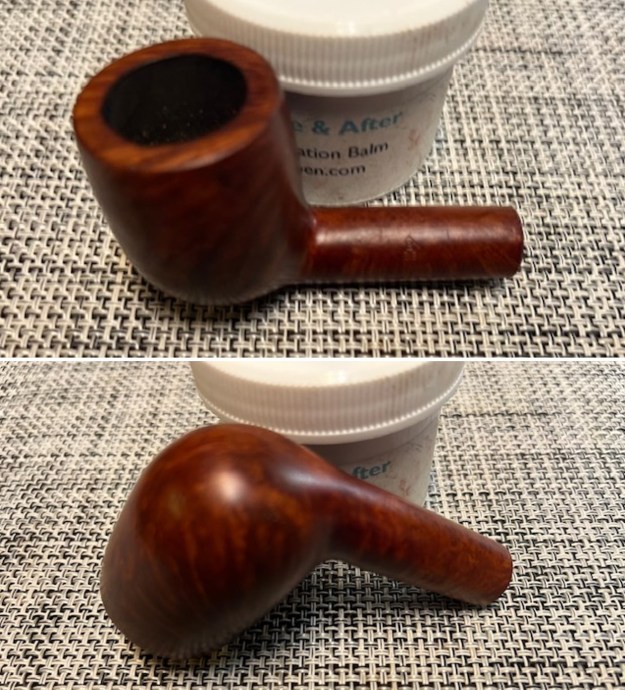
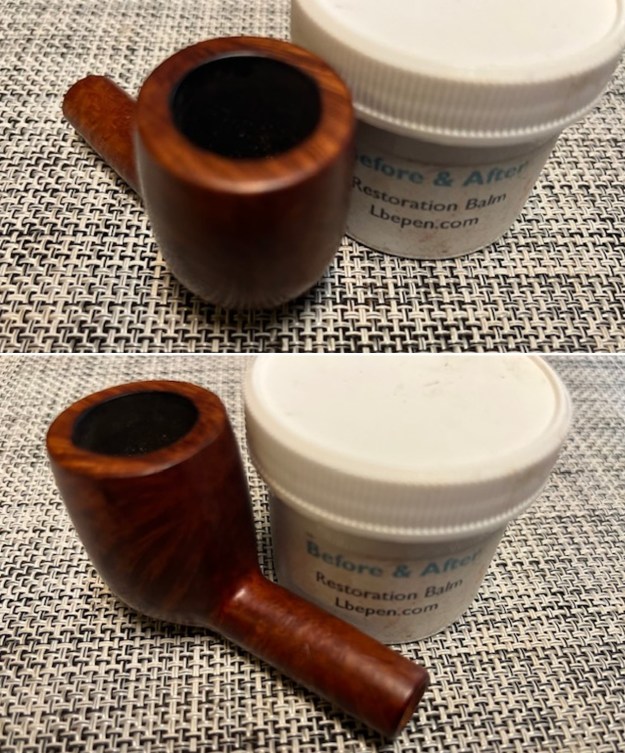
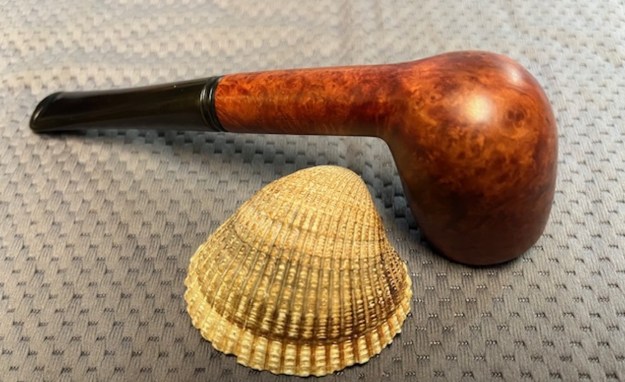
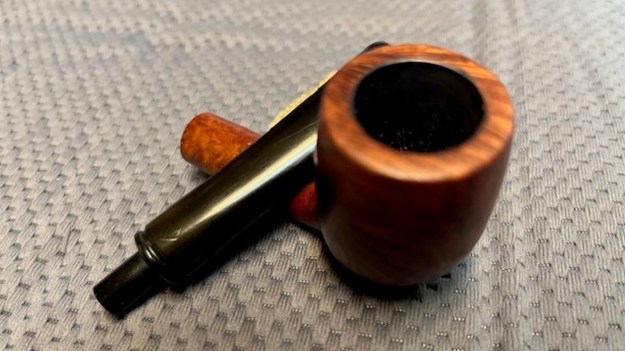
 I took photos of the bowl and rim top to show how clean it was. The top and the inner edge of the rim show some darkening, nicks and scratches. The inner edge of the bowl is thinner toward the front. There was some debris in the gap between the silver rim edge and the briar. The stem looks clean of debris and grime. There are tooth marks and chatter on both sides. There are also tooth marks on the underside of the stem.
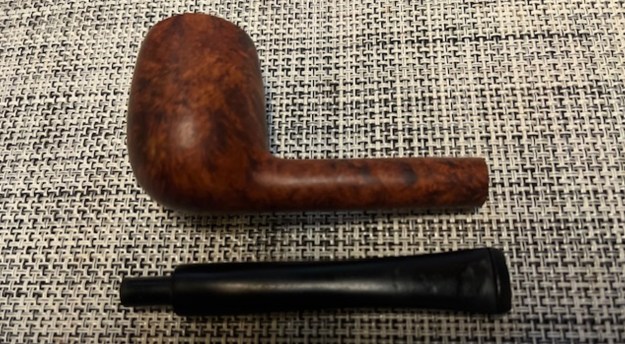
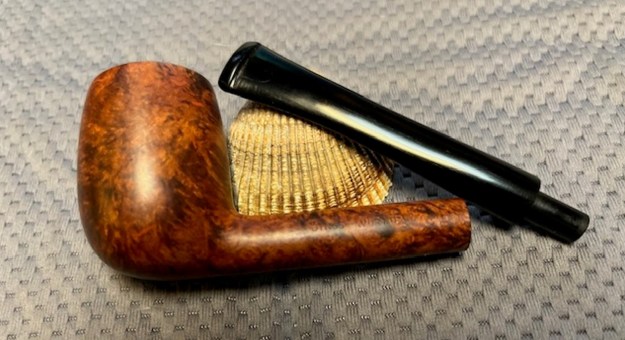
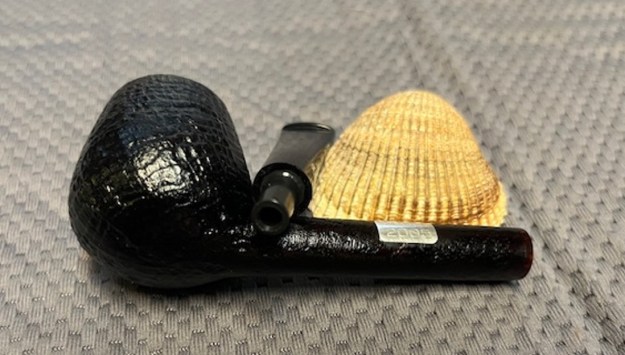
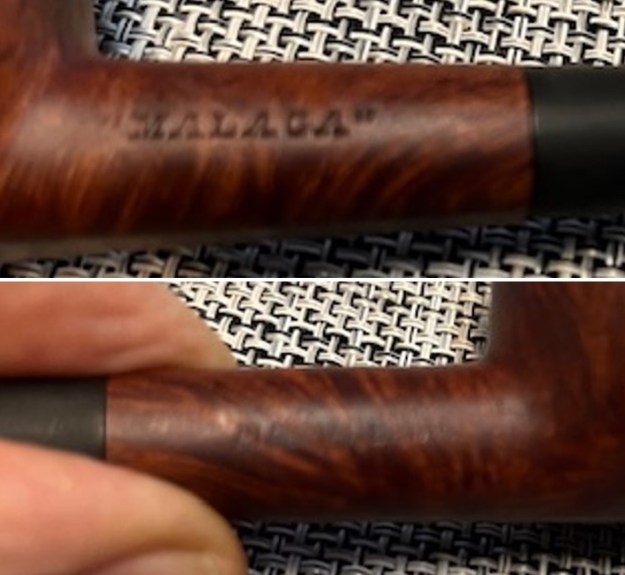
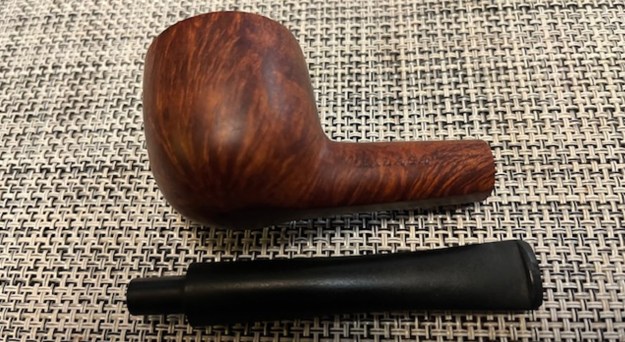
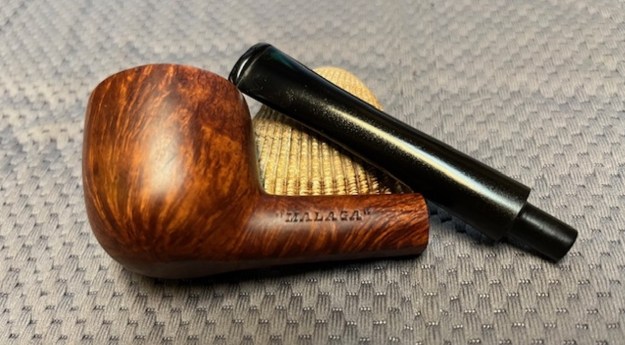
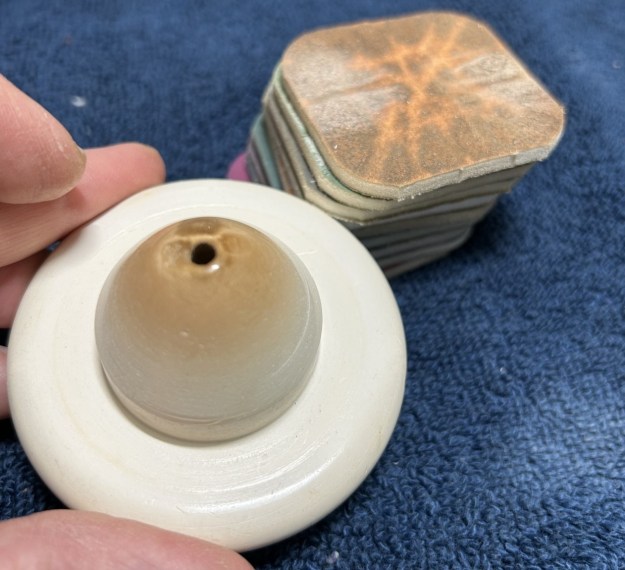
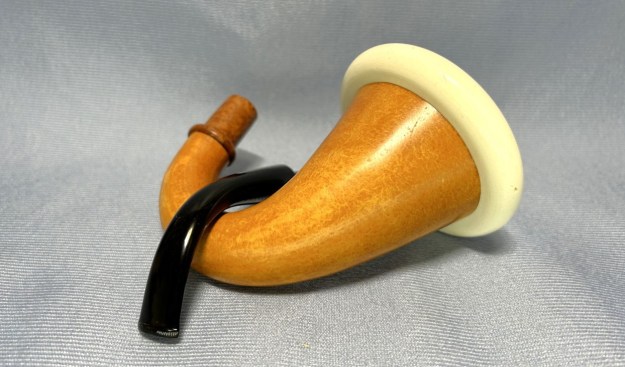
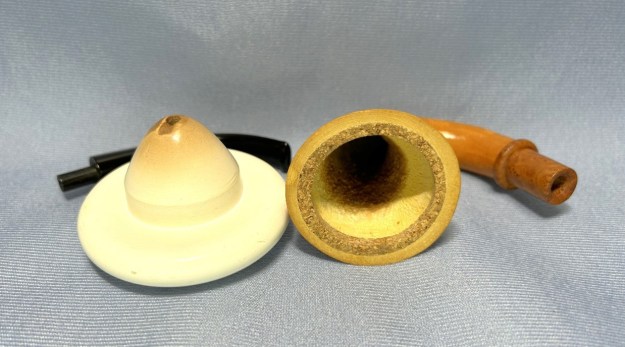
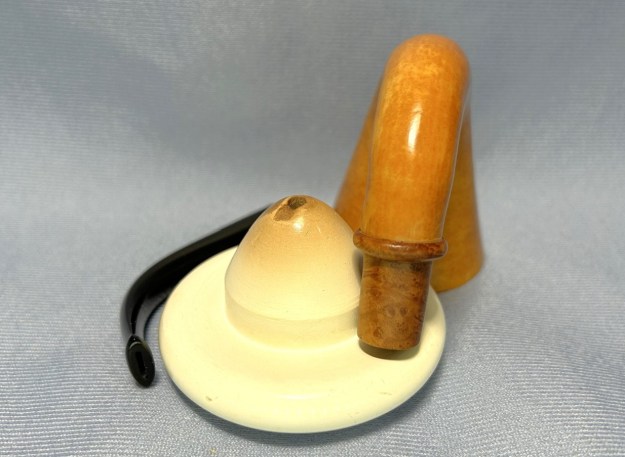
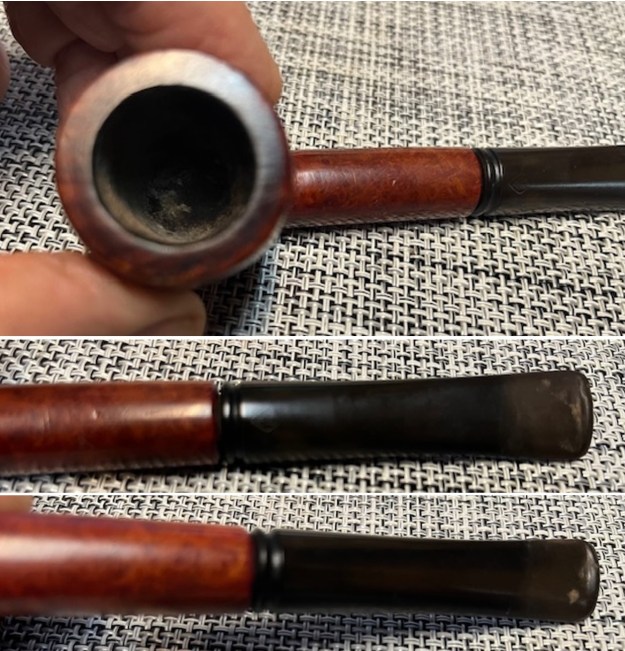
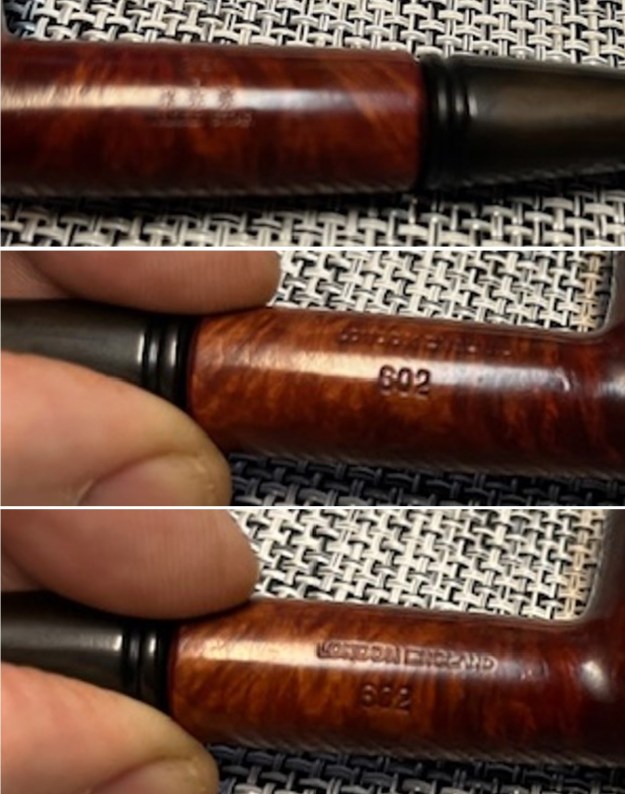
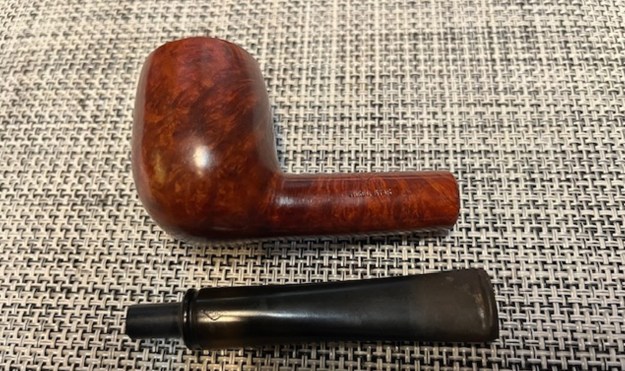
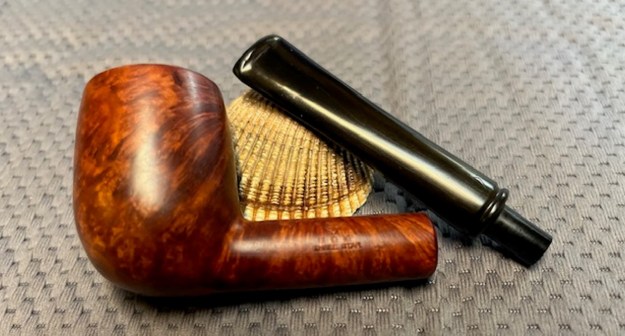
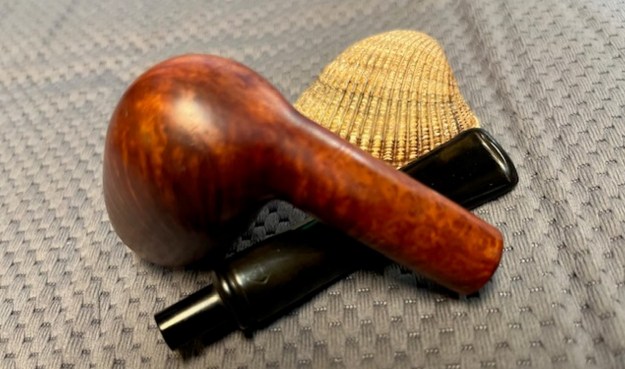
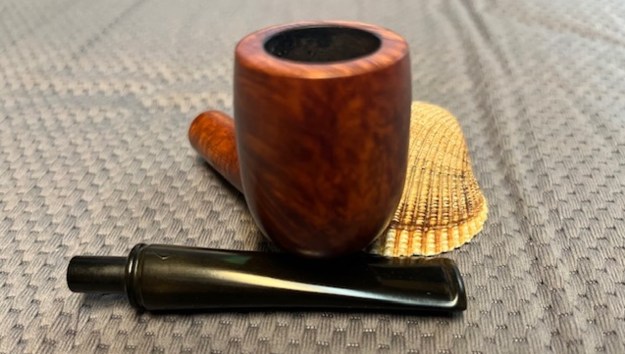
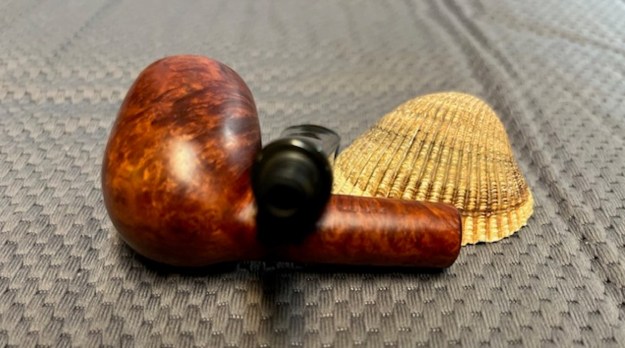
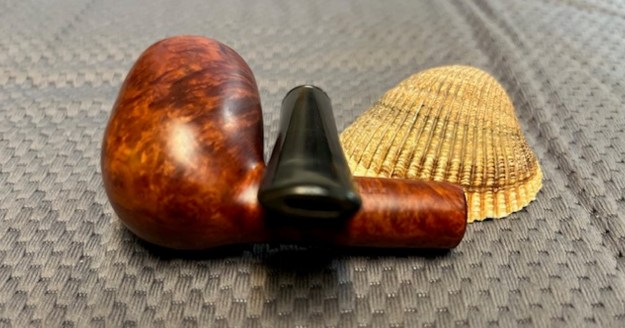
 I took photos of the stamping on the left side of shank. The stamping is clear and readable (much clearer in person than the photos show). I took two photos of the pipe with the stem removed to show the overall look of stem, tenon and profile of the pipe. The first photo shows the stem with the adapter removed and the second photo with it in place in the tenon.

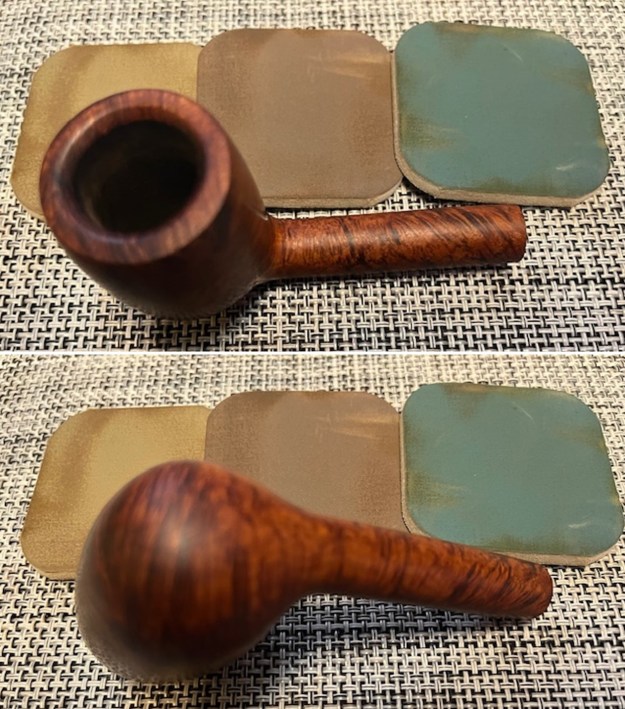
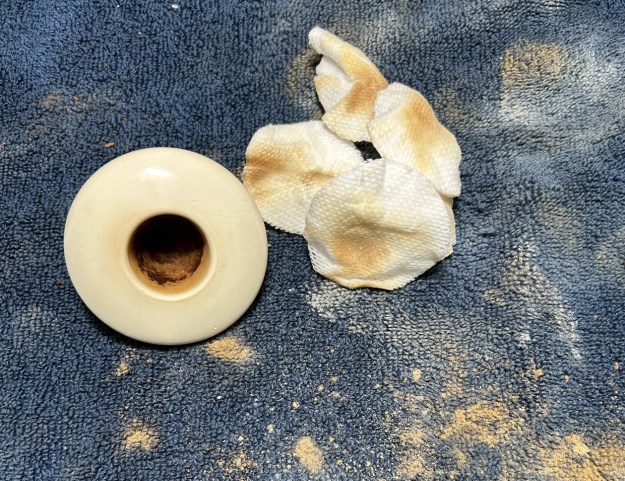
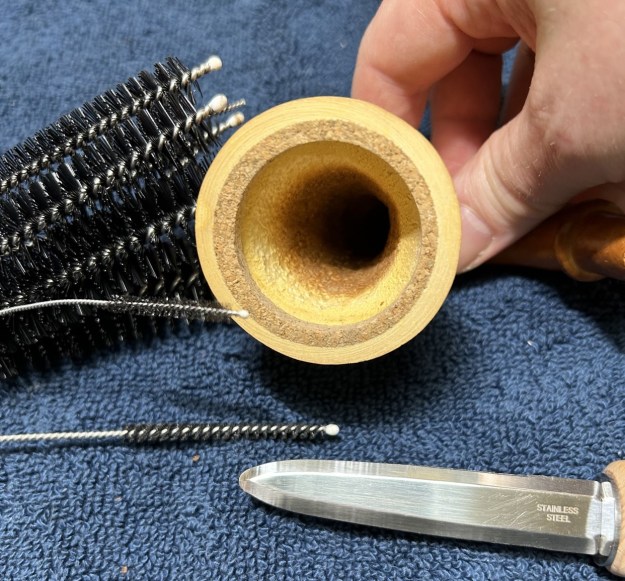
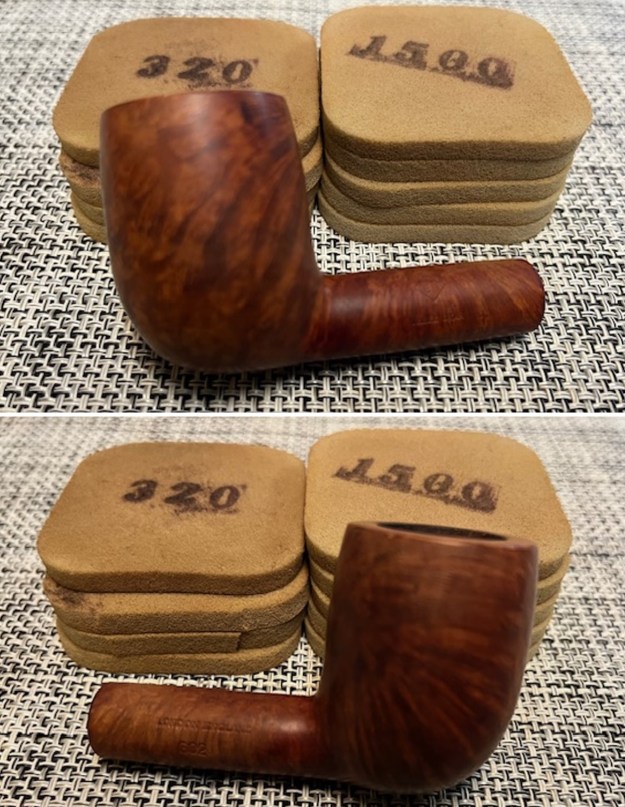
 I started my work on the pipe by addressing the damage on the inner edge of the rim. I used a folded piece of 220 grit sandpaper to smooth out the roughness. I then used 220 grit sandpaper smooth out the damage to the rim top of the bowl.
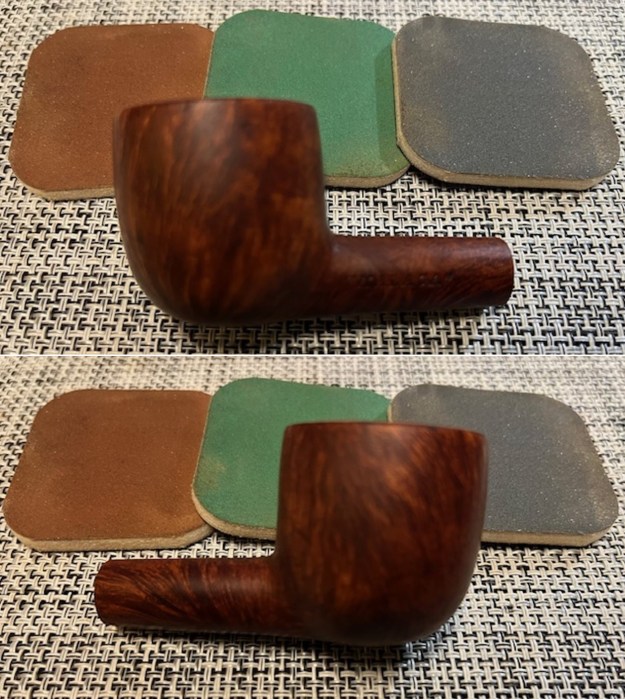
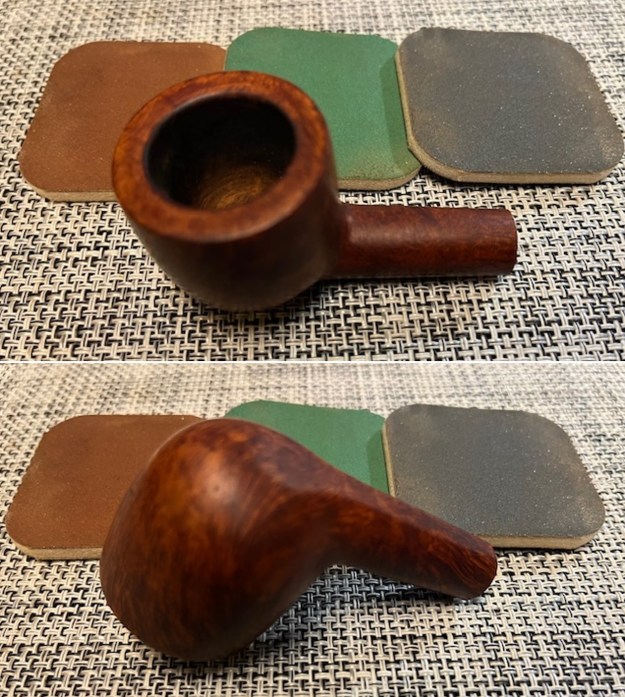
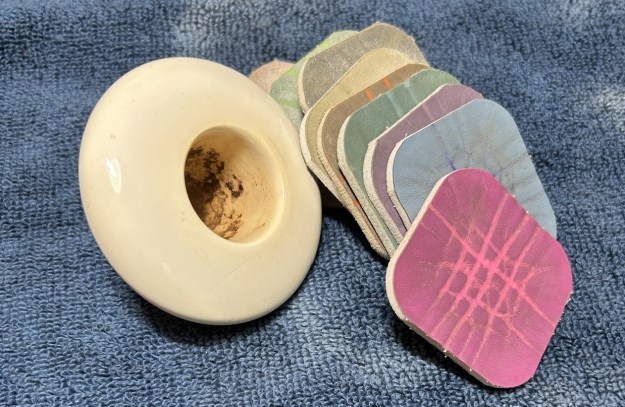
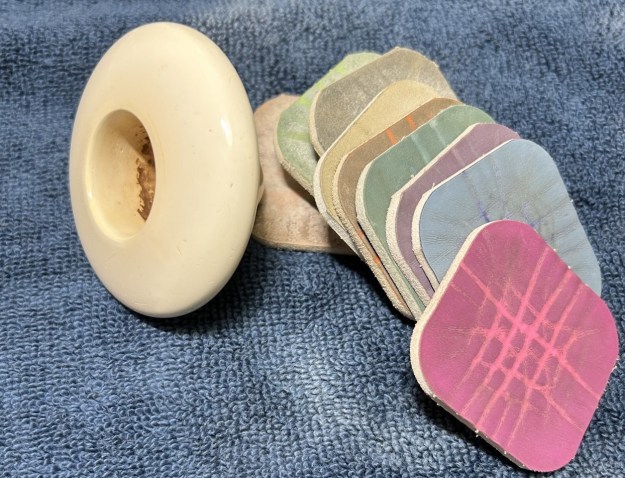
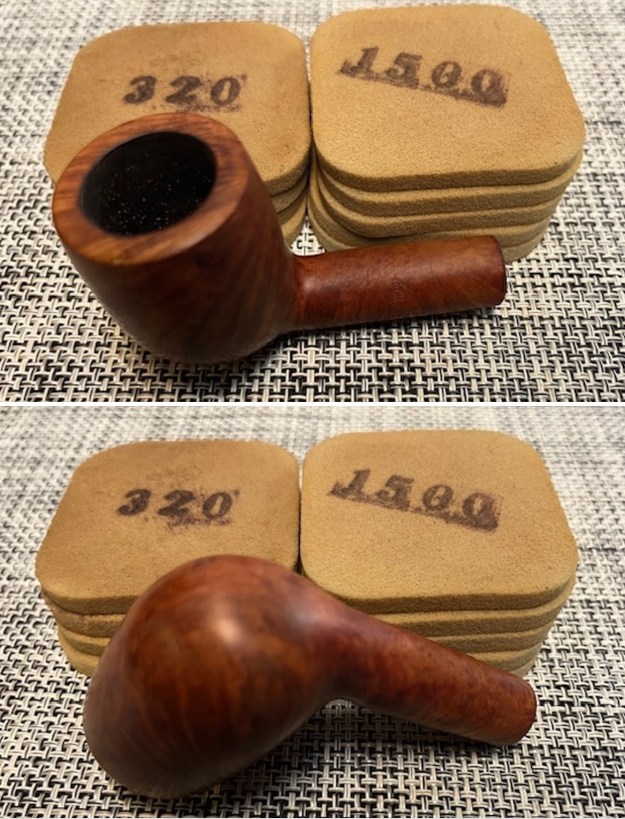
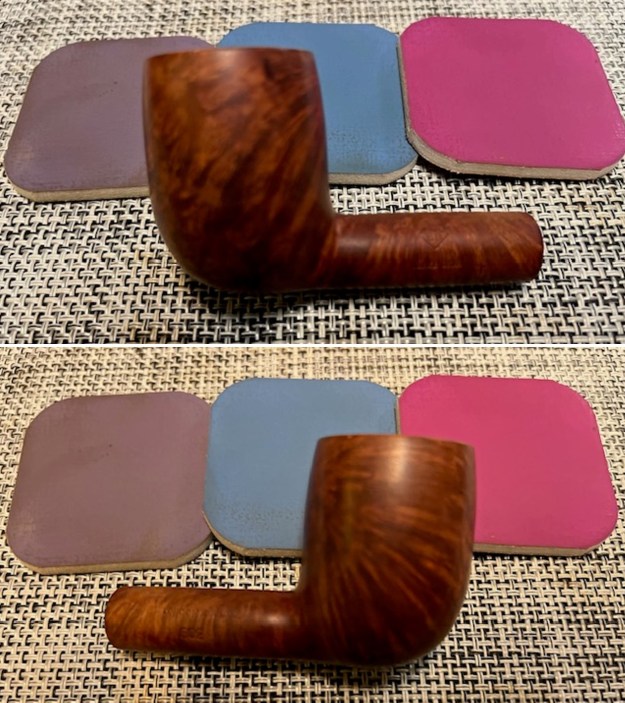
 I polished the smooth rim top and the smooth parts of the briar bowl and shank with micromesh sanding pads – dry sanding with 1500-12000 grit sanding pads. I wiped it down with a damp cloth after each pad to remove the debris. The smooth portions of the bowl took on a rich glow.
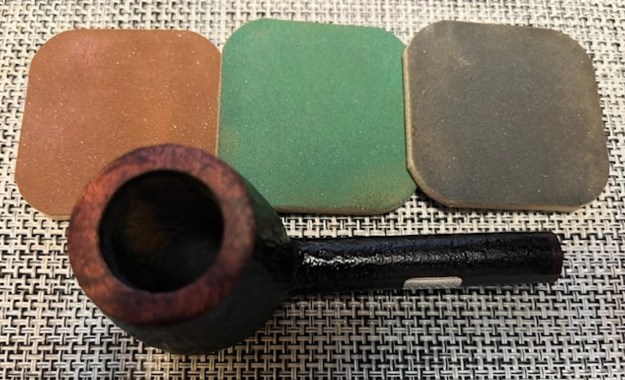
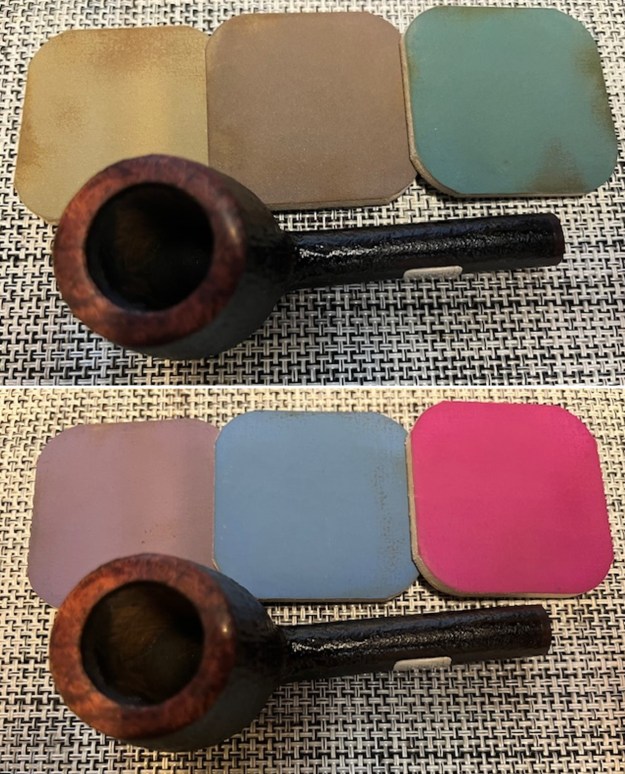


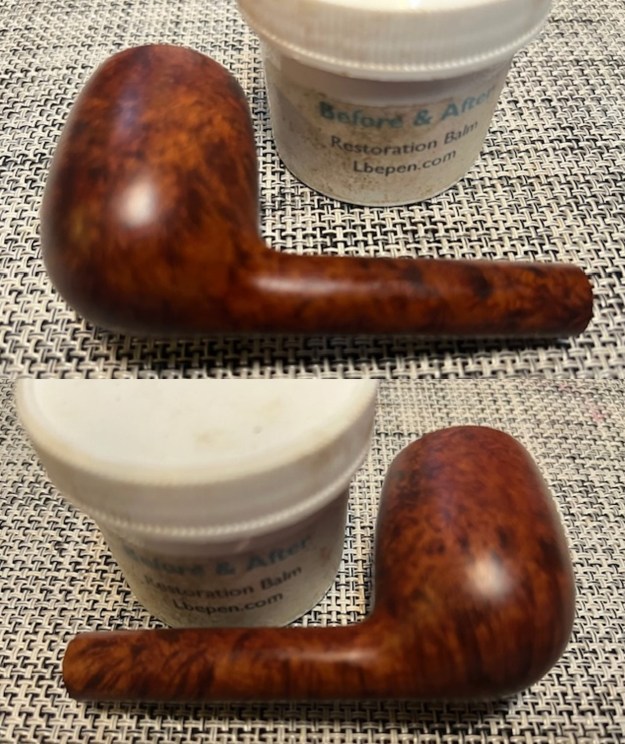
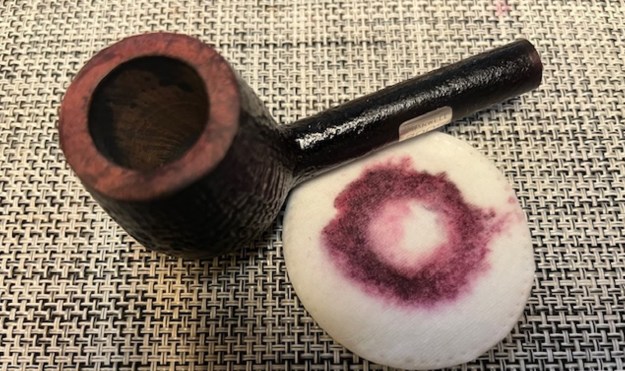
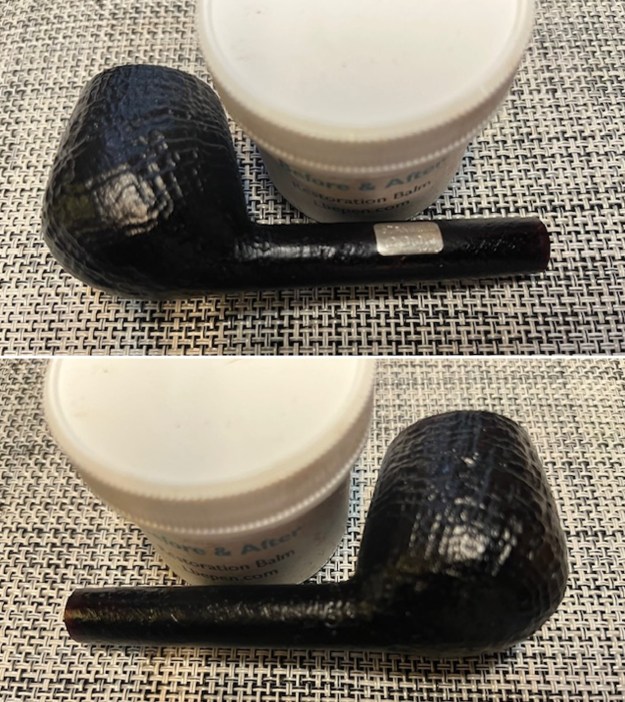
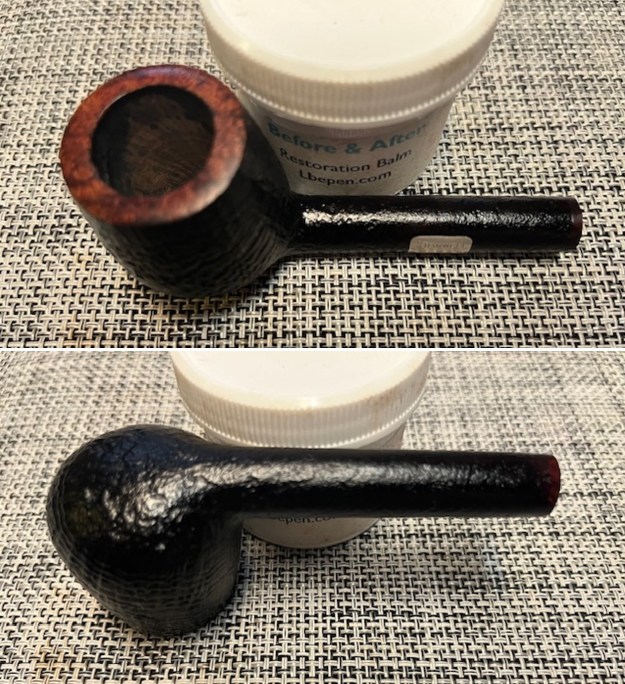
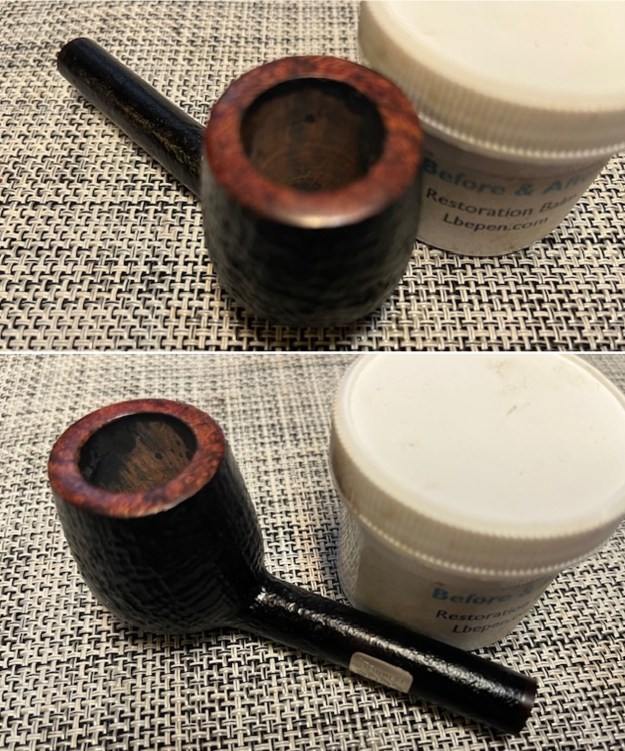
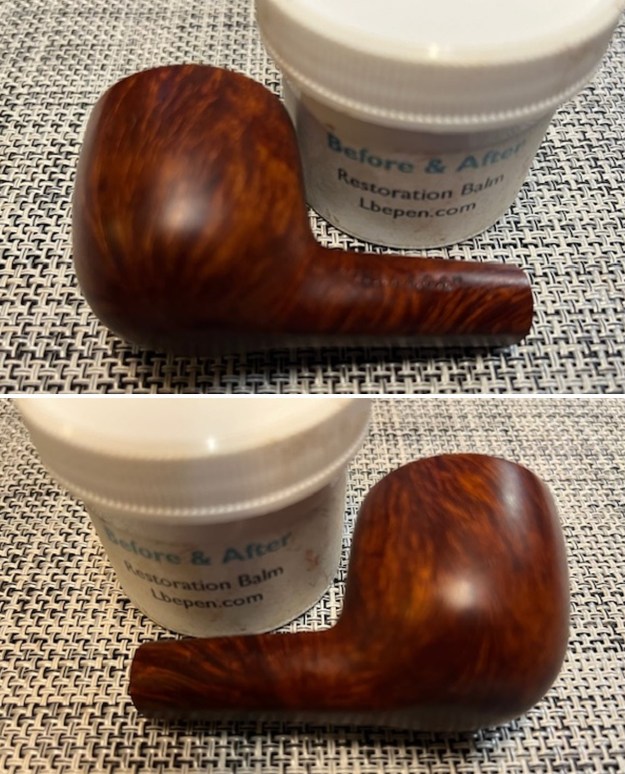
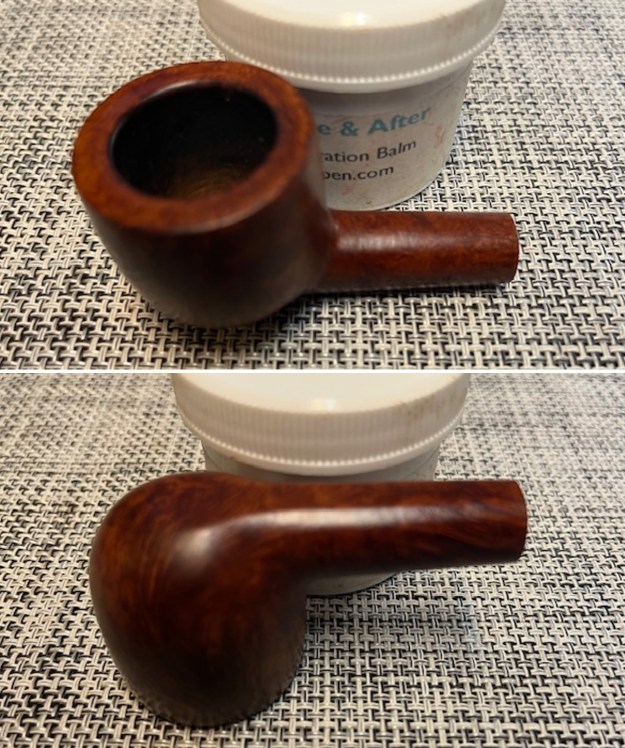
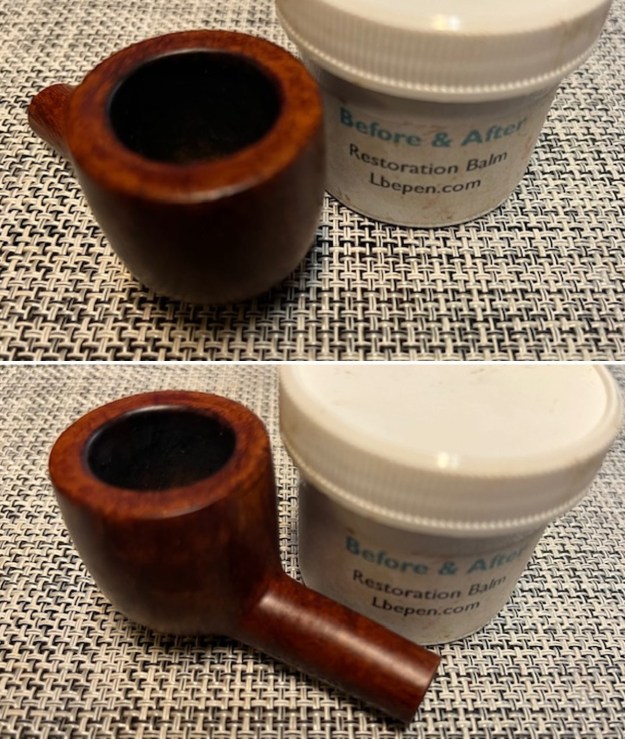
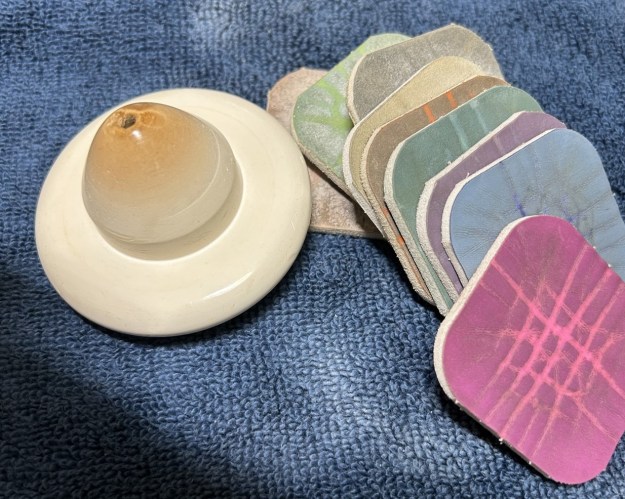
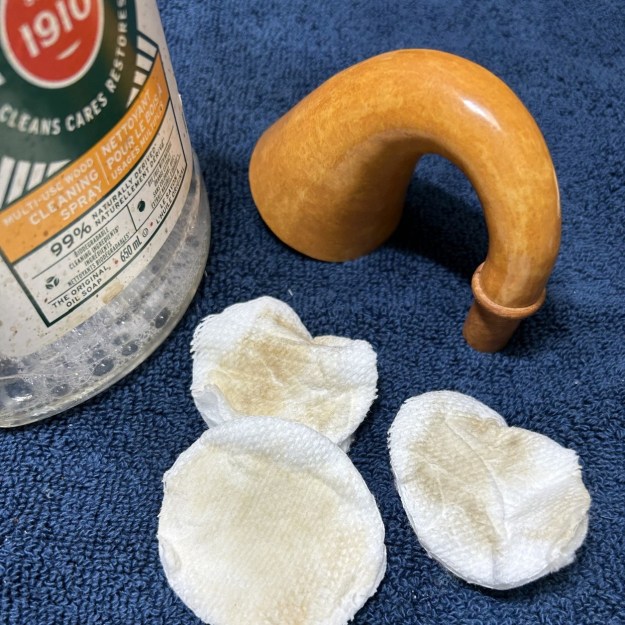
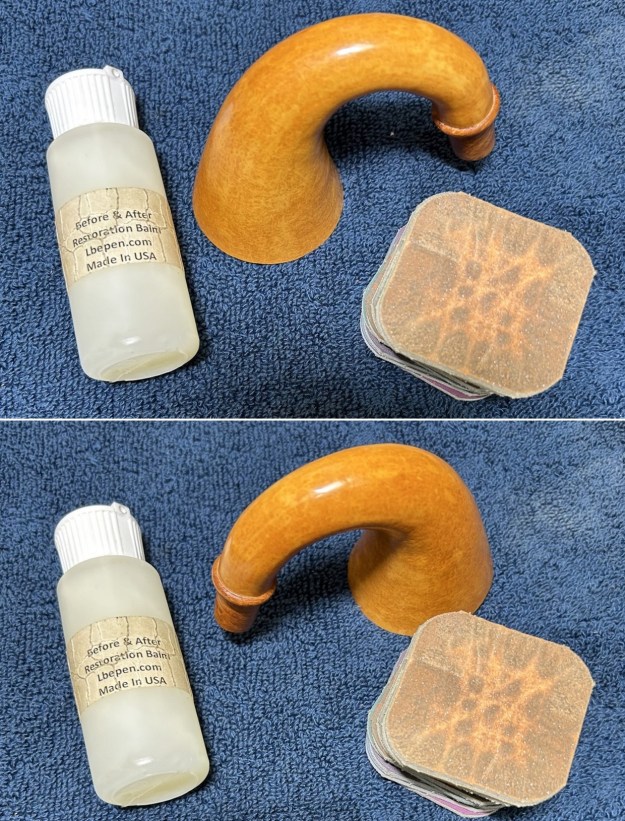
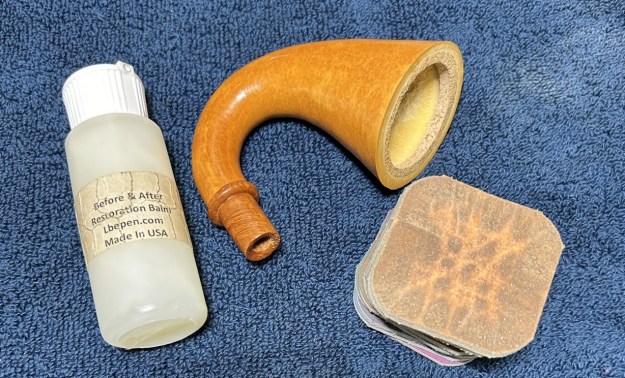
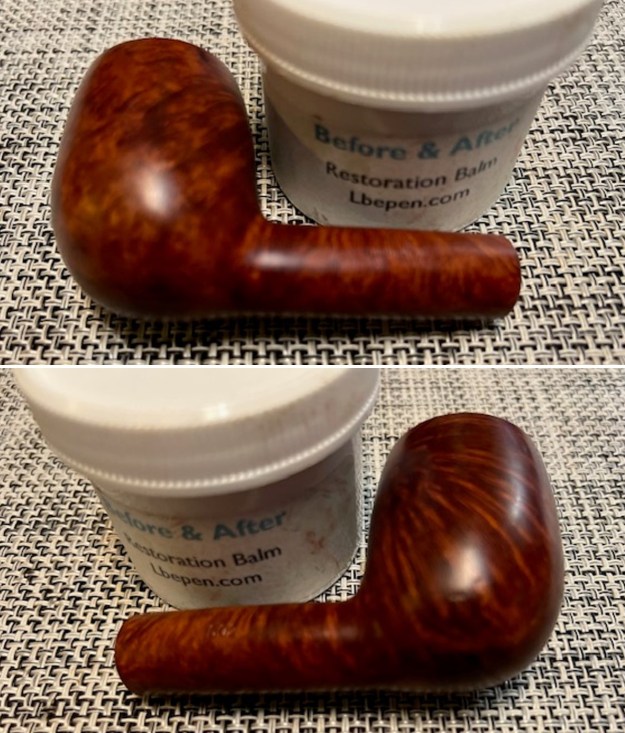
 I rubbed the bowl down with Before & After Restoration Balm. I worked it into the surface of the briar with my fingertips and a horsehair shoe brush to clean, enliven and protect it. I let the balm sit for 10 minutes and then buffed with a cotton cloth and shoe brush to raise the shine. Mark Hoover’s Balm is a product that I have come to appreciate and one I use on every pipe I have been working on.

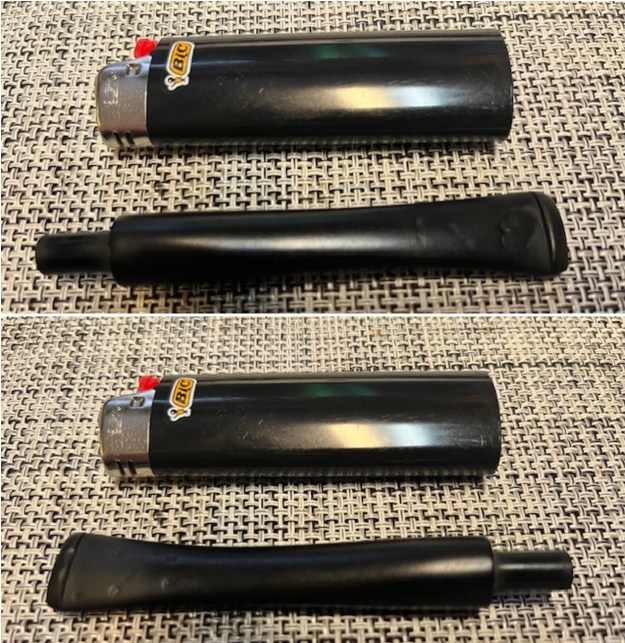
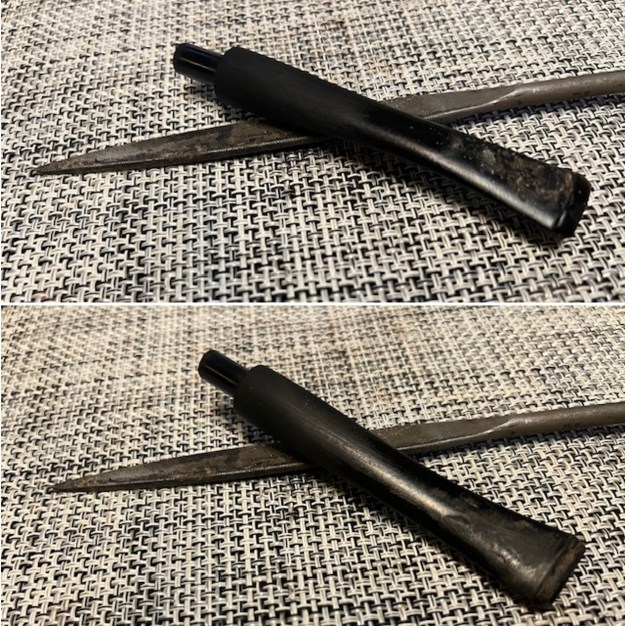
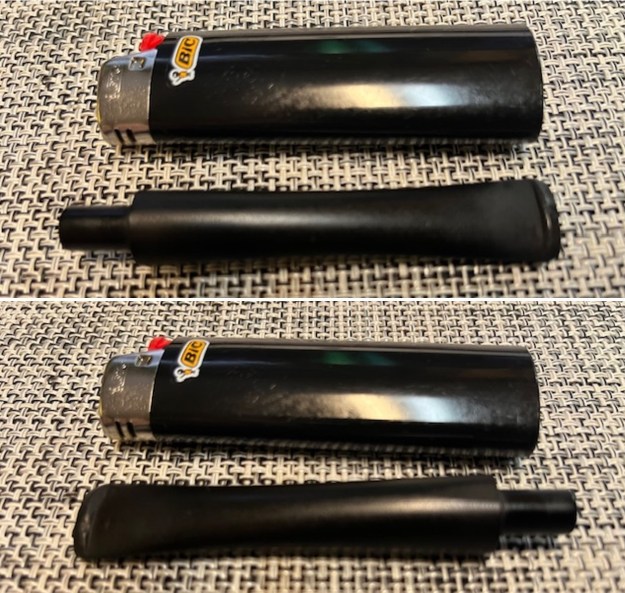
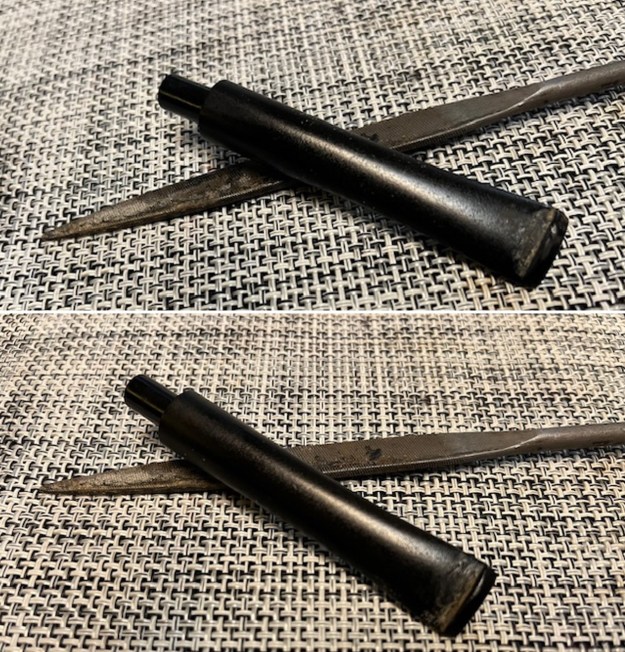
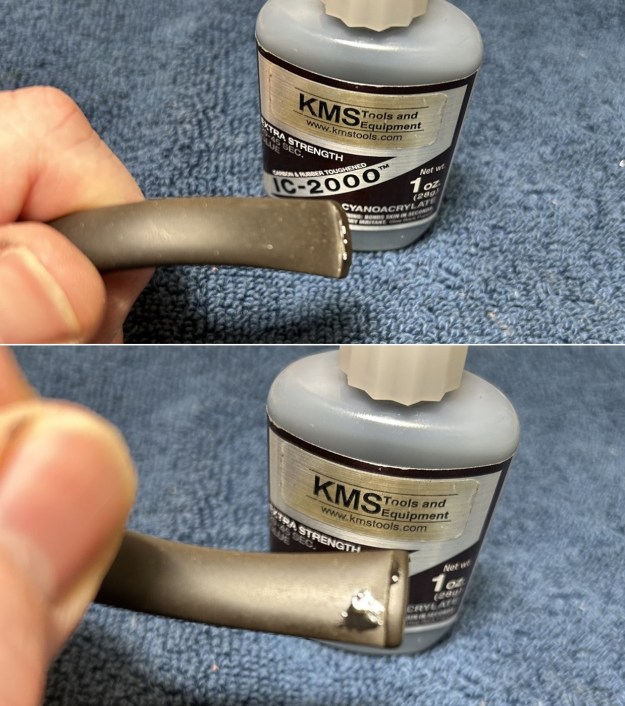
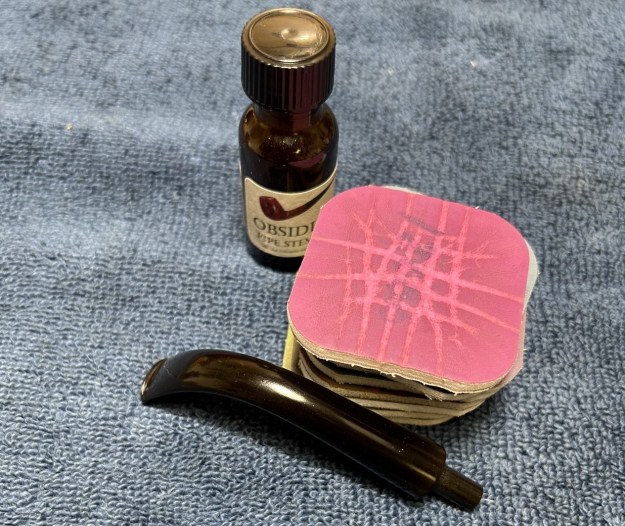
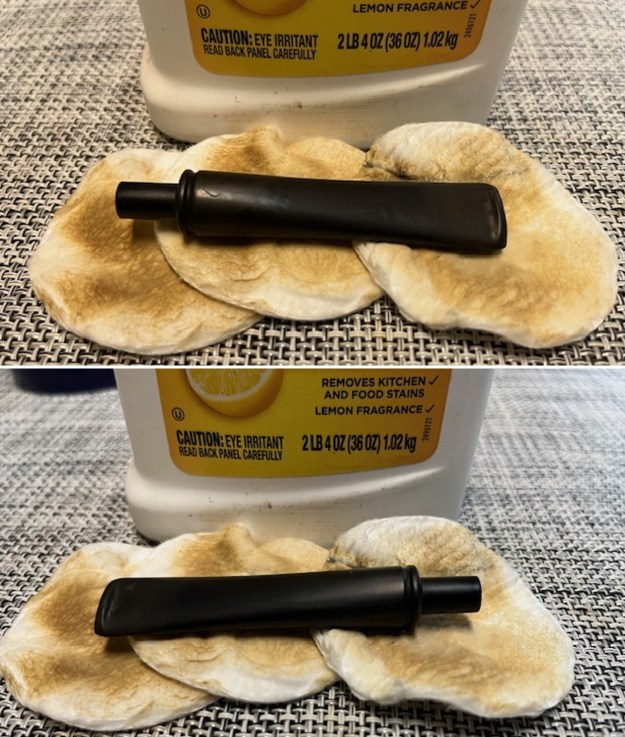
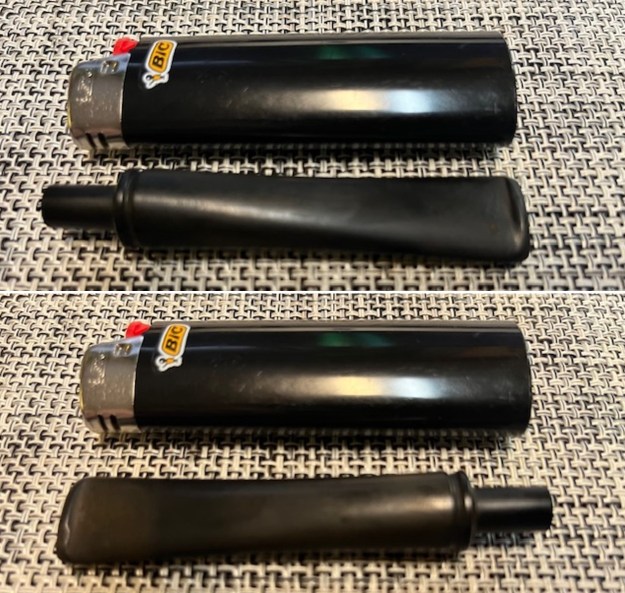
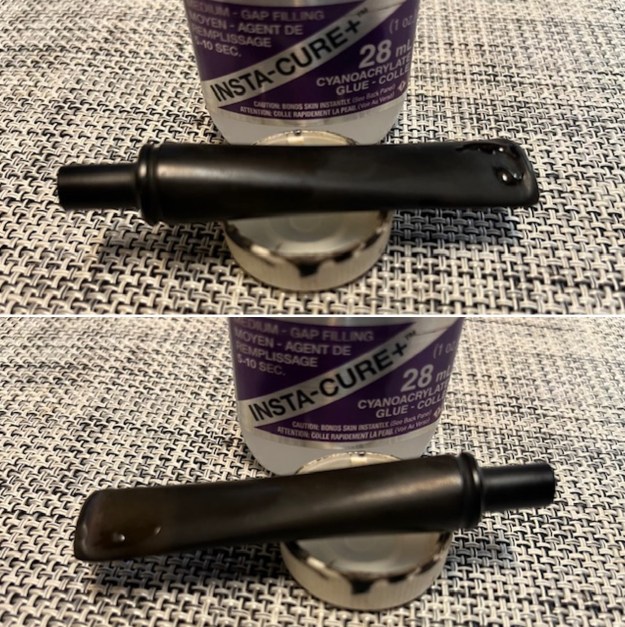
 I set aside the bowl and turned my attention to the stem issues. I painted the surface of the stem with the flame of a Bic lighter to lift the tooth marks. I was able to lift them significantly. I filled in the remaining one with clear CA glue. Once the repairs cured I smooth them out with a small to start blending them into the surface. I sanded the file marks and smoothed out the surface with 220 grit sand paper.


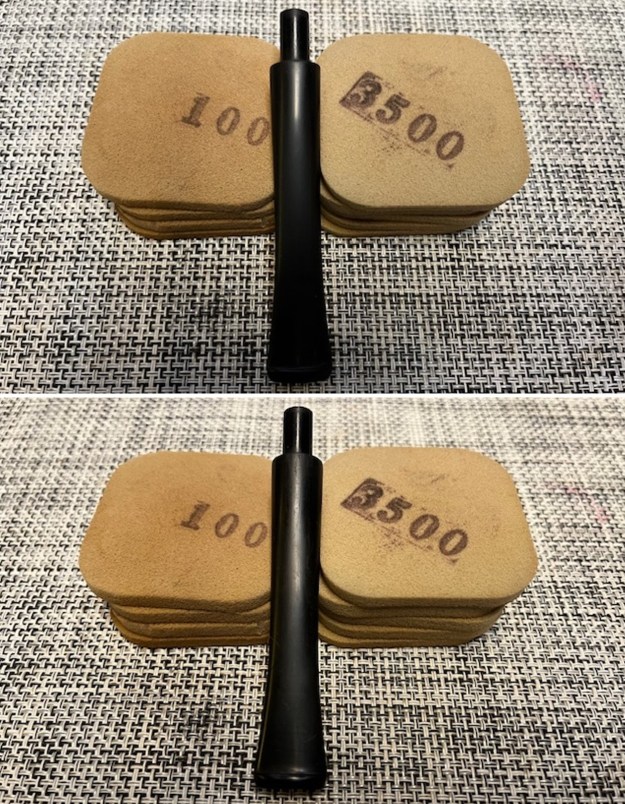
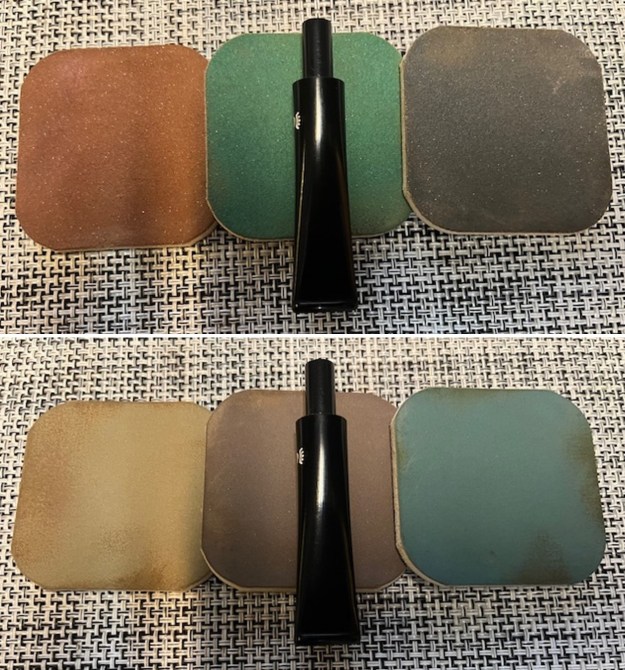
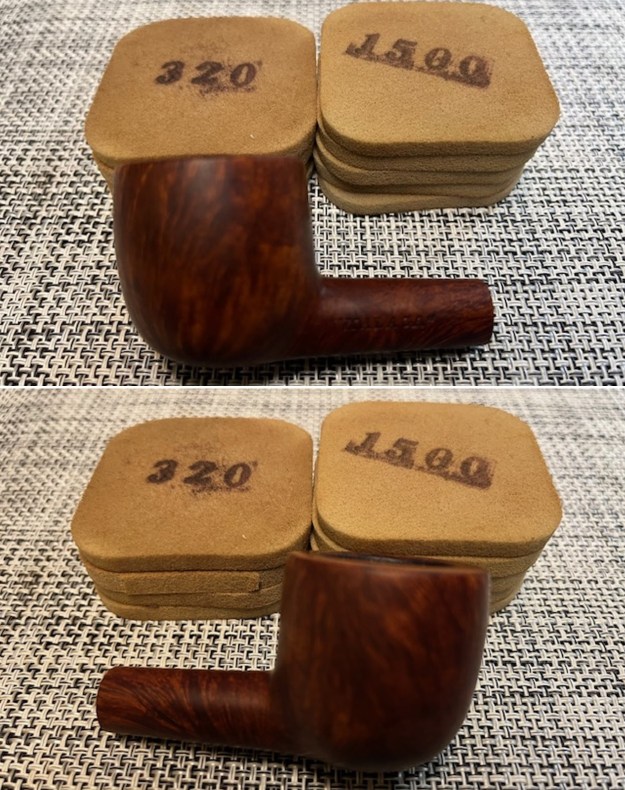
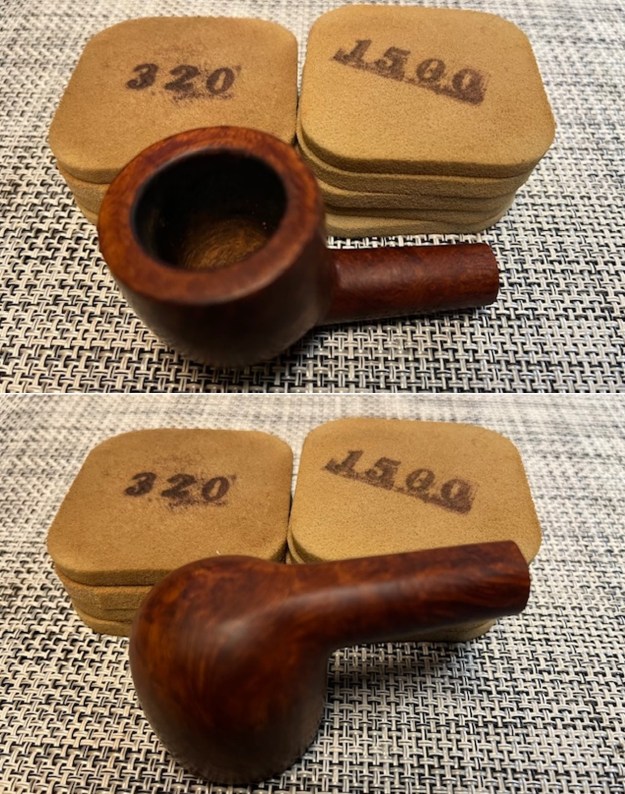
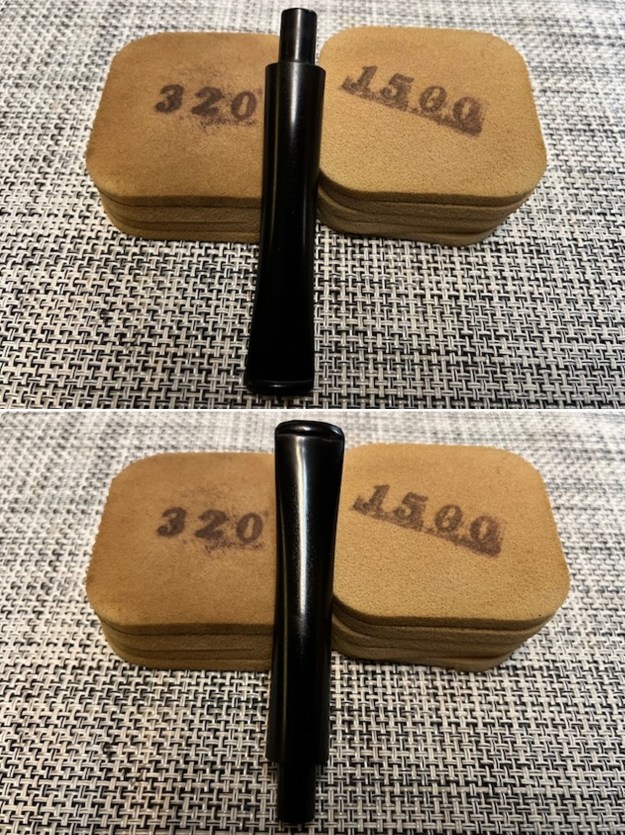
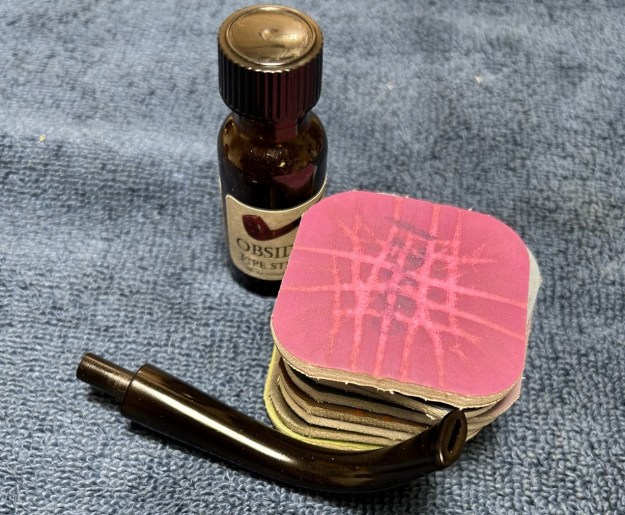
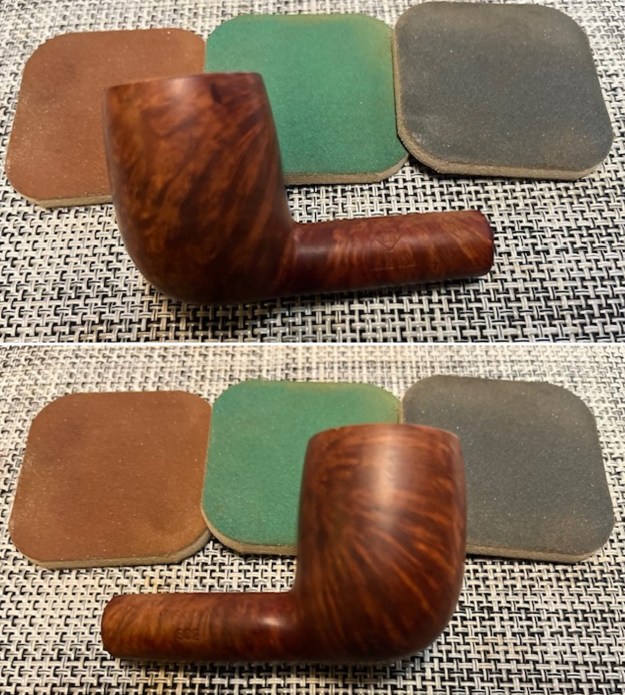
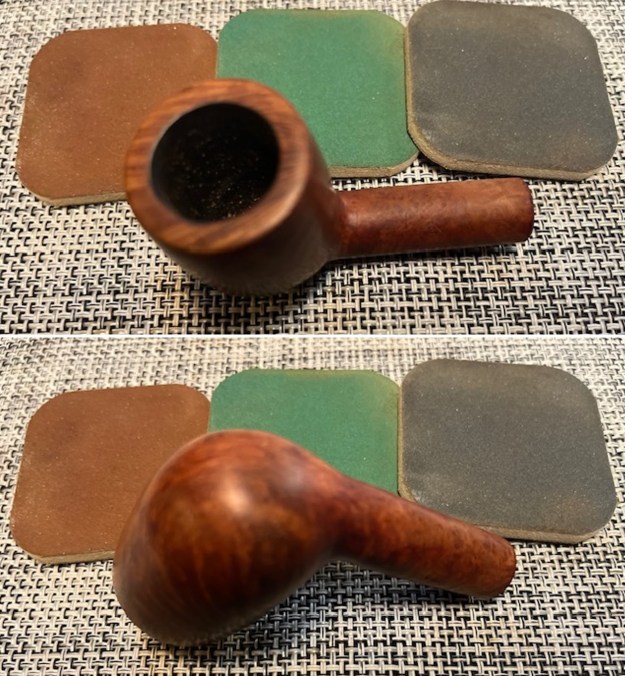
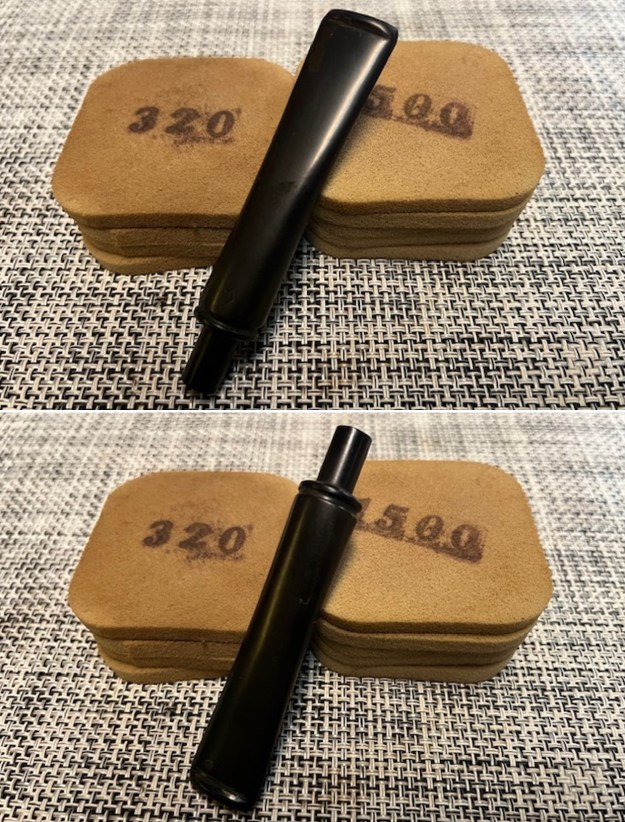
 I sanded the stem with 320-3500 grit sanding pads to further blend them in and smooth out the surface of the stem.
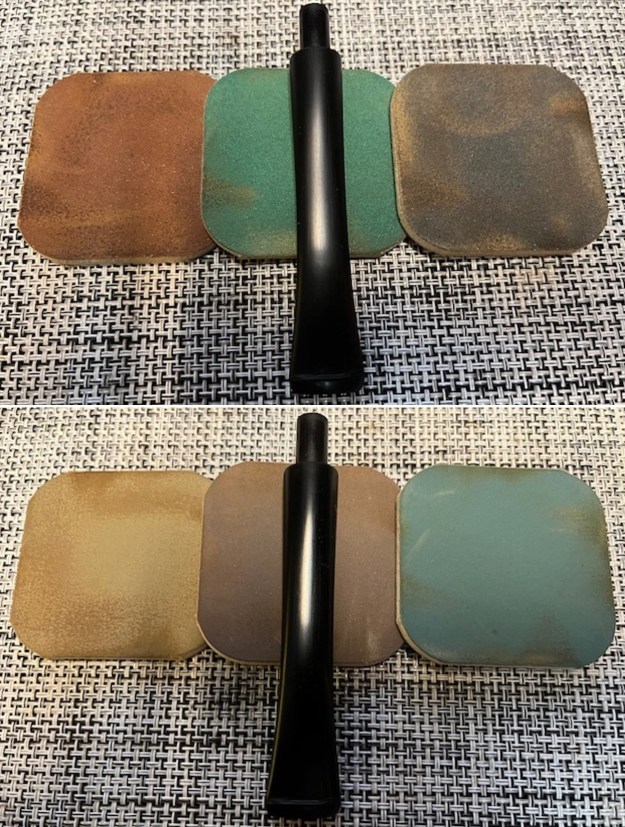
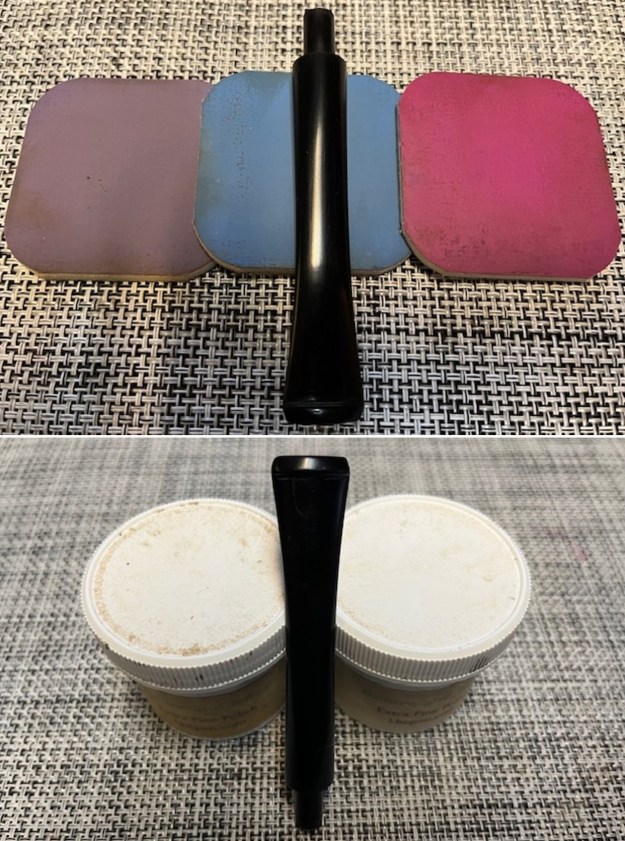
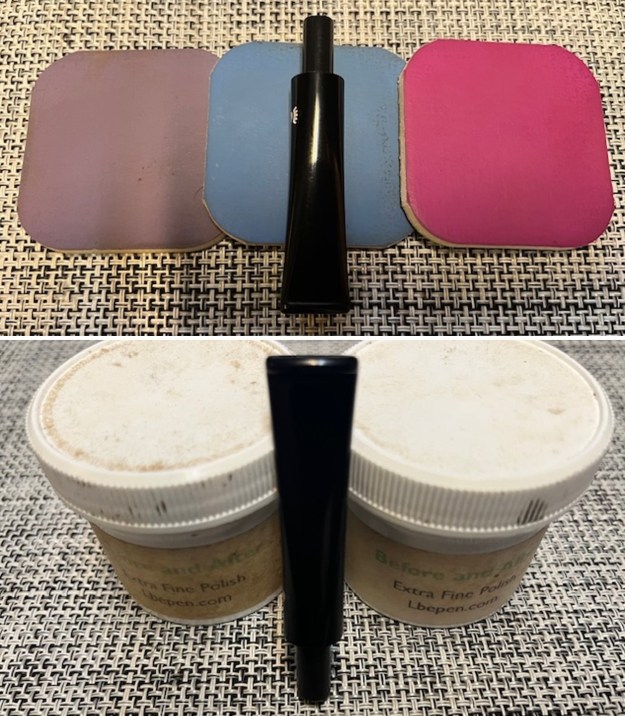
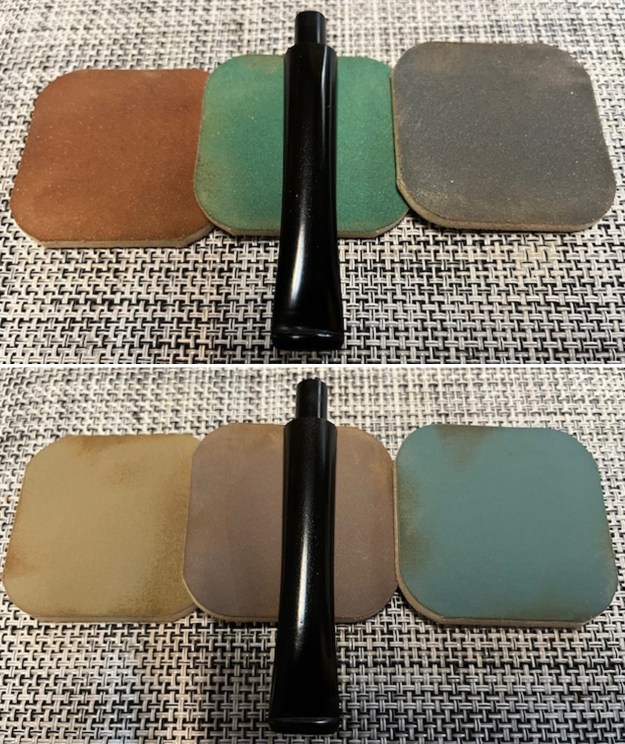
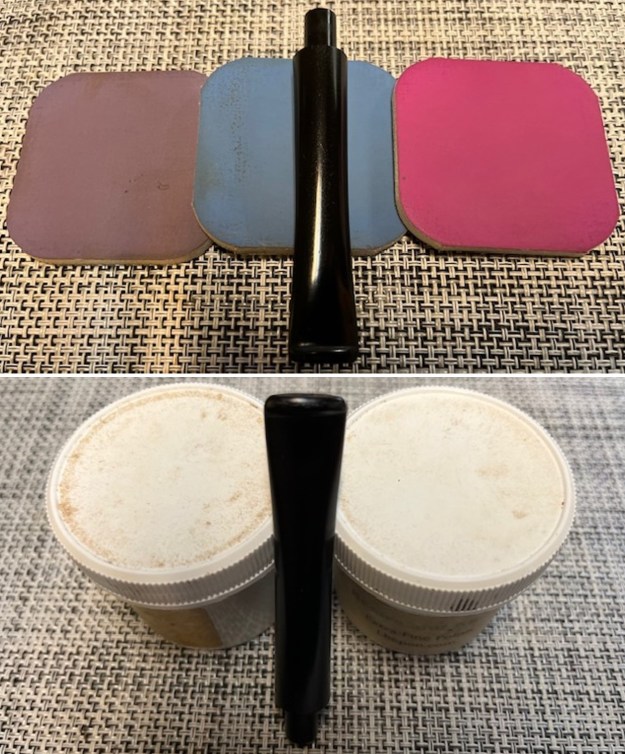
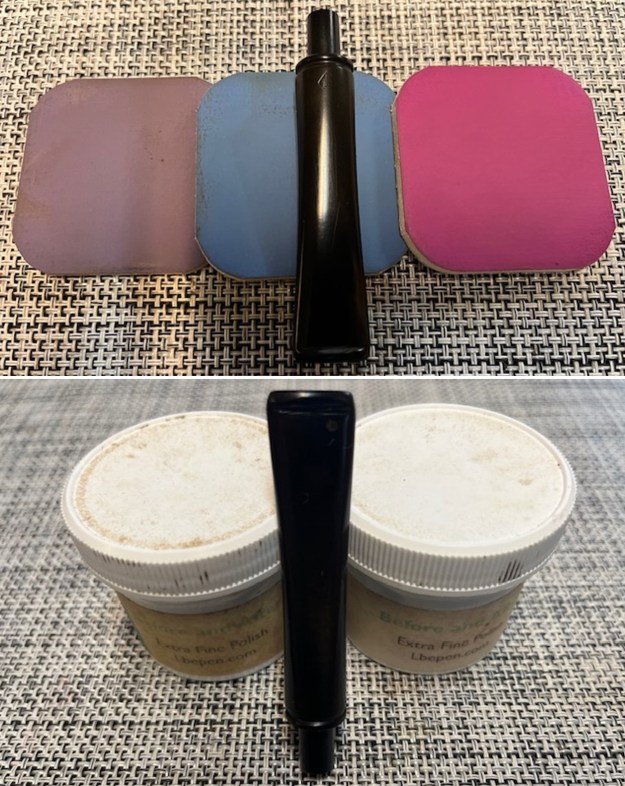
 I polished the vulcanite with micromesh sanding pads – 1500-12000 grit pads. I wiped it down with a damp cloth after each sanding pad. I used Before & After Pipe Polish – both Fine and Extra Fine to further polish the stem.
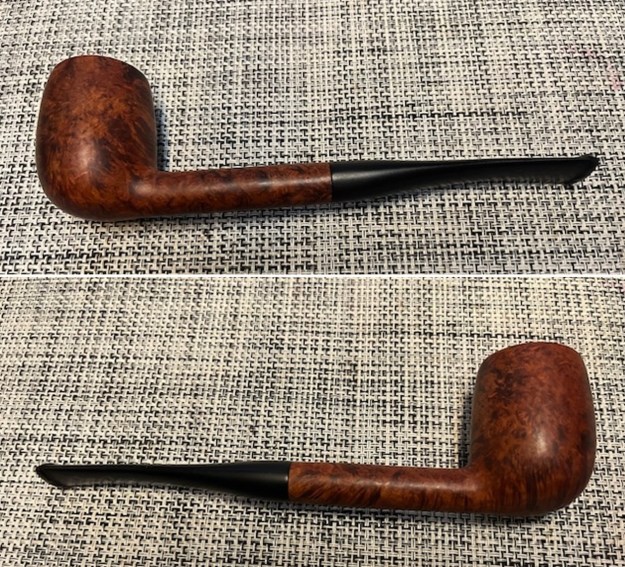
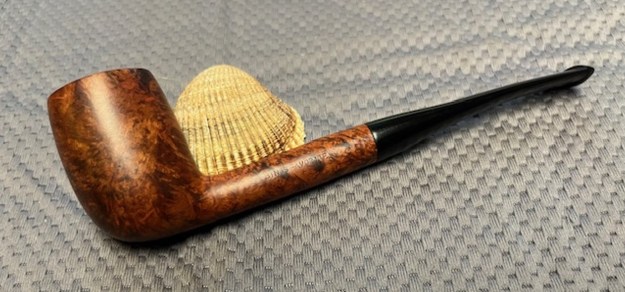
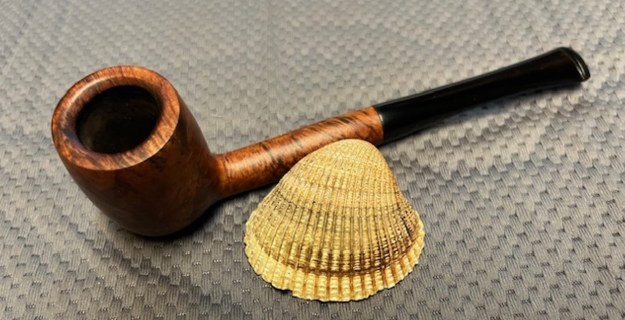
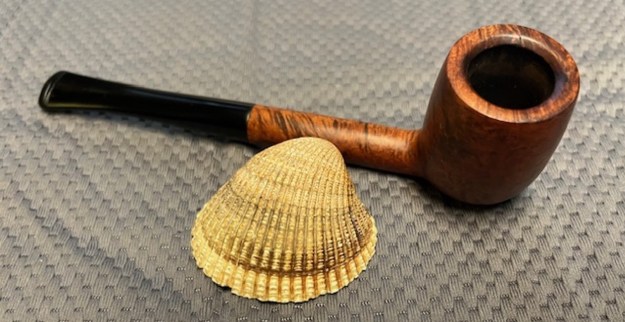
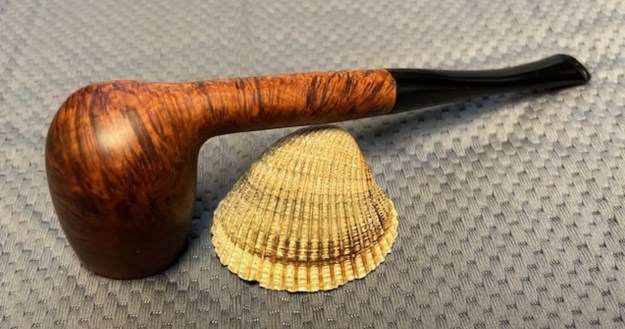
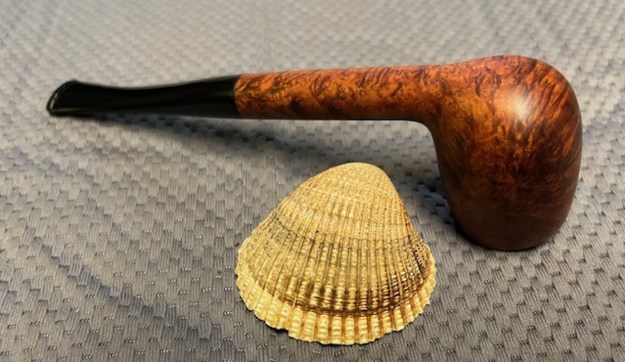
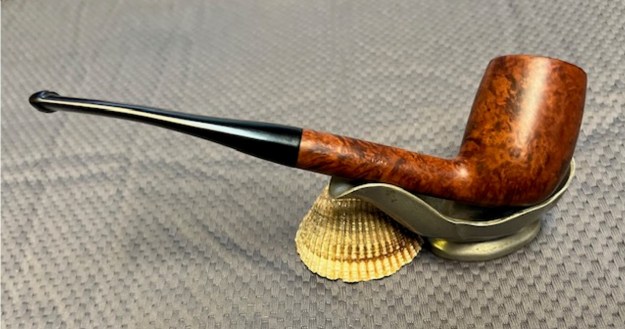
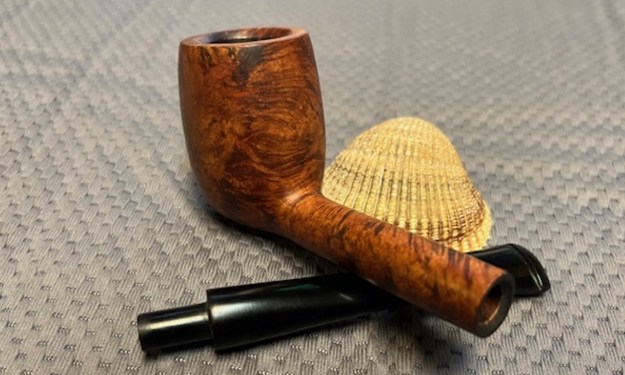
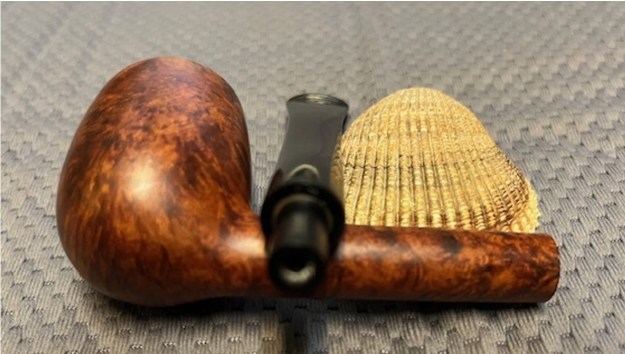
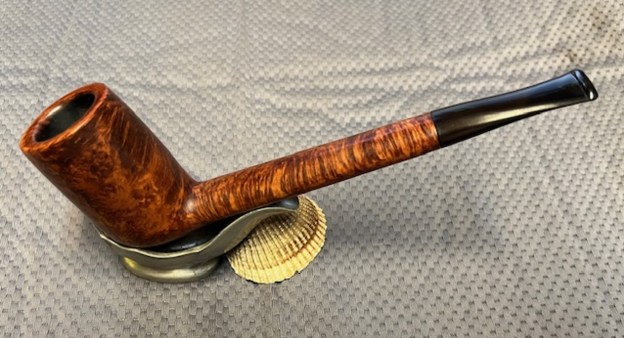
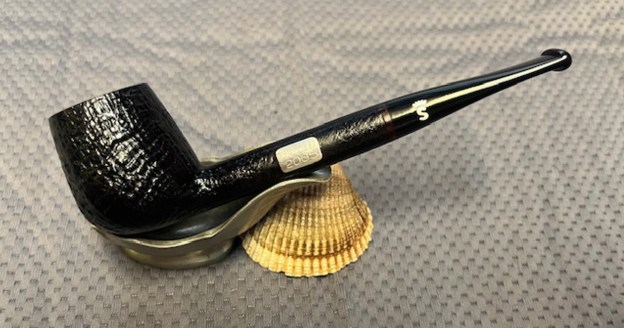
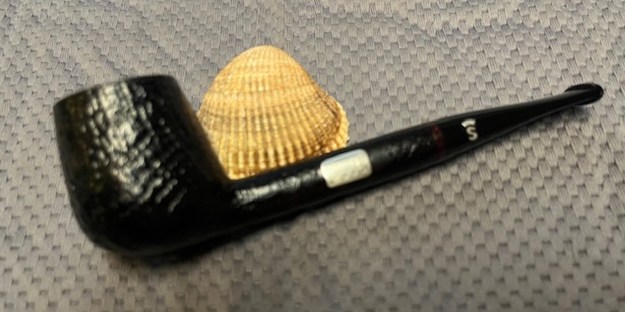
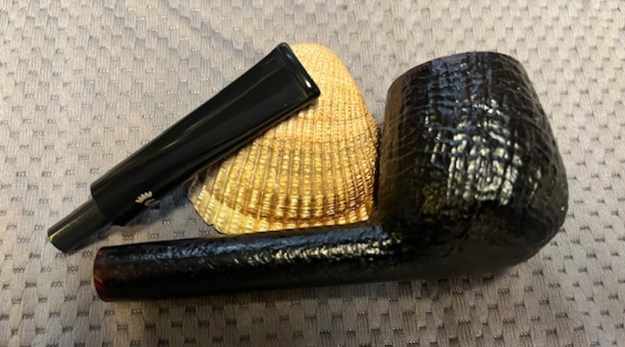
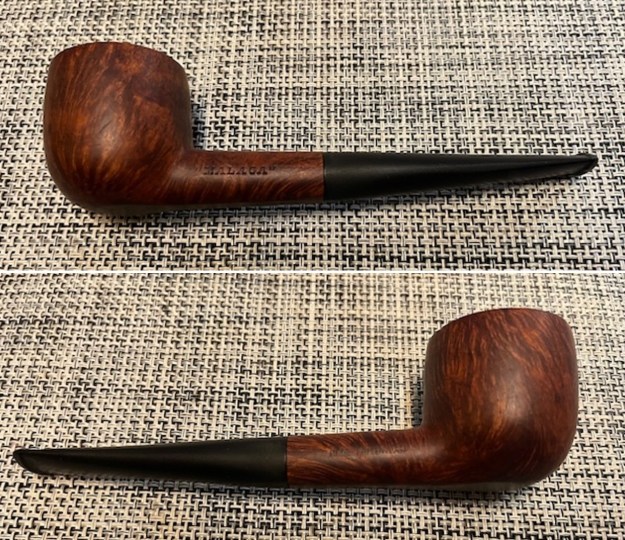
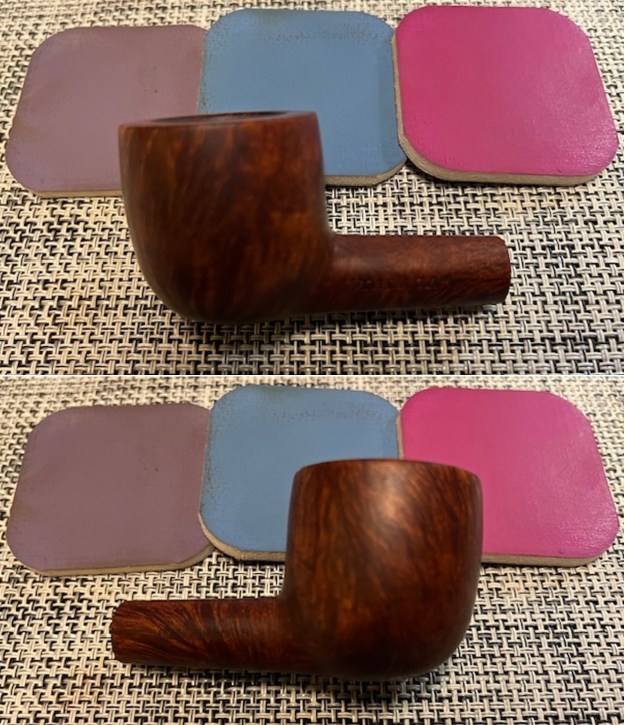
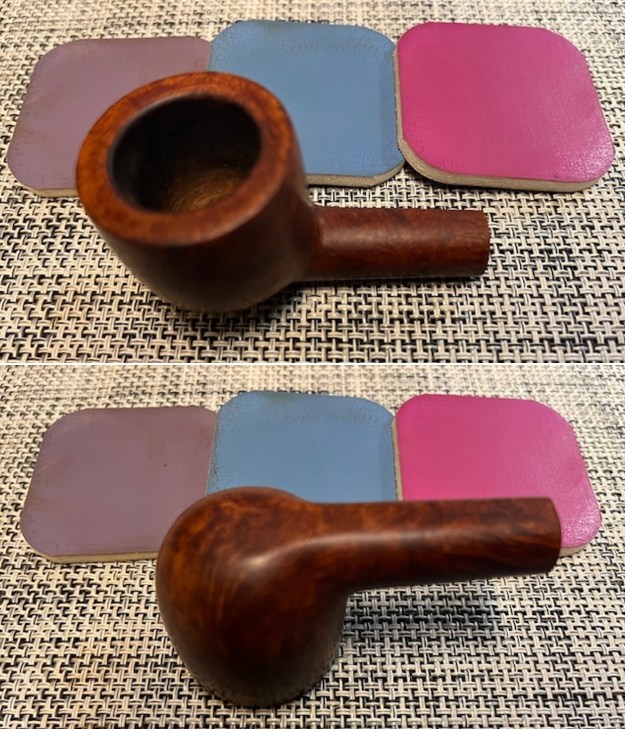
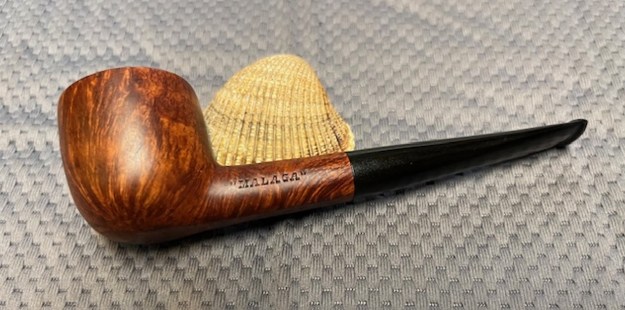
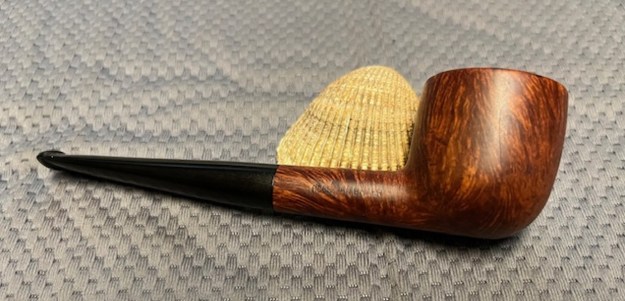
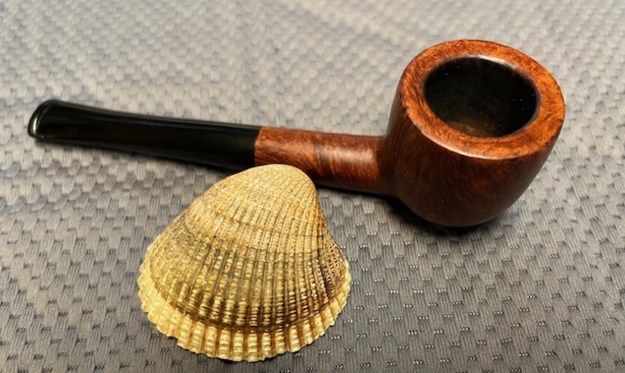
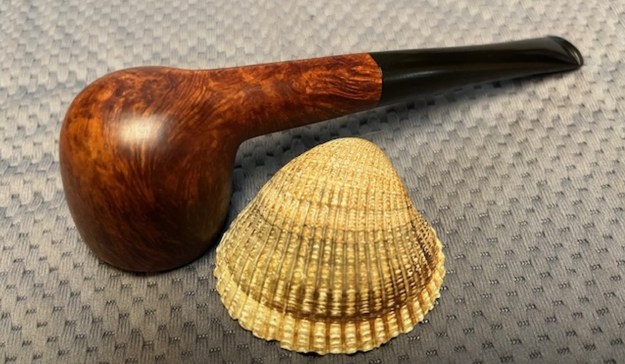
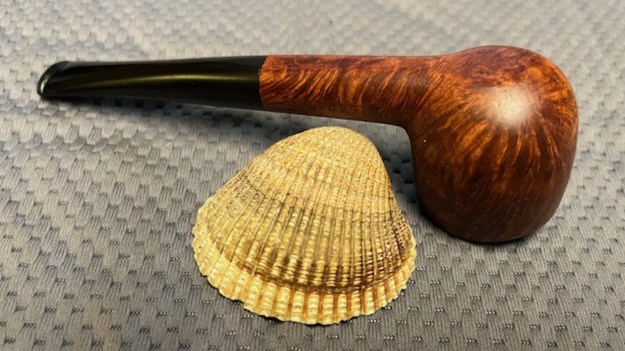
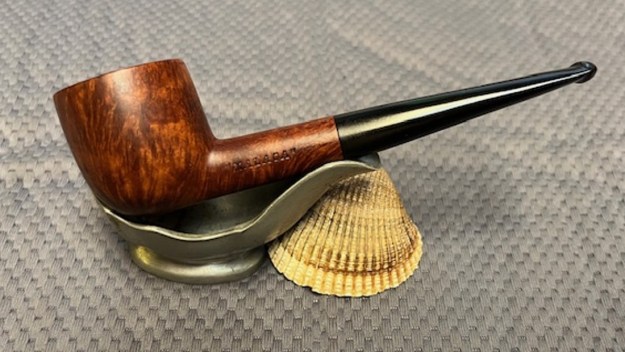
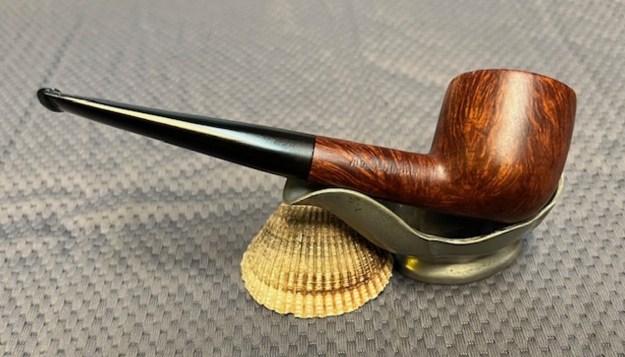
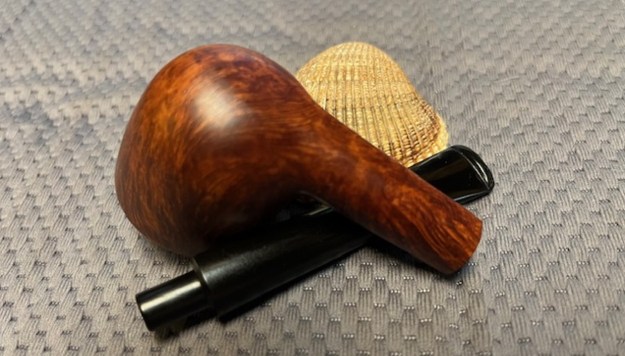
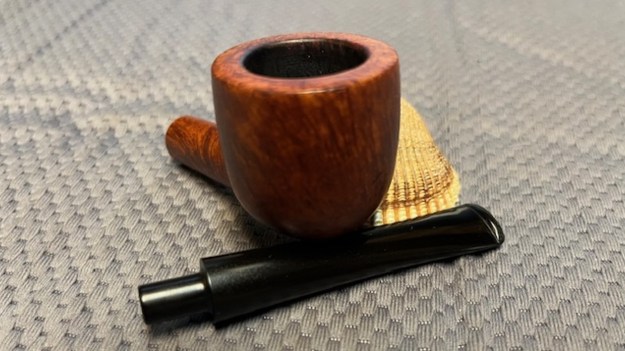
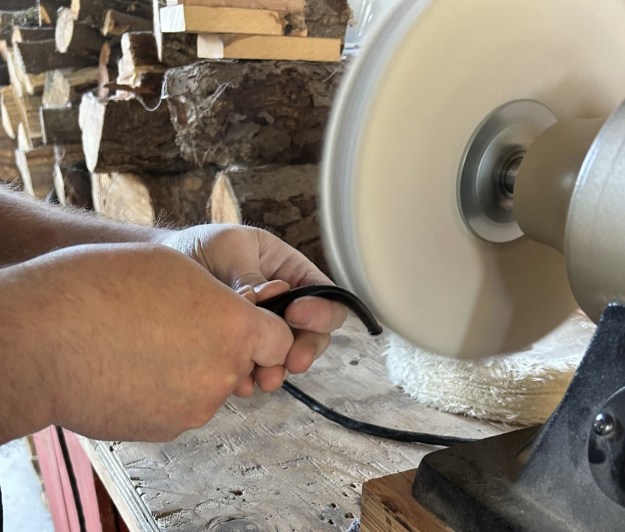
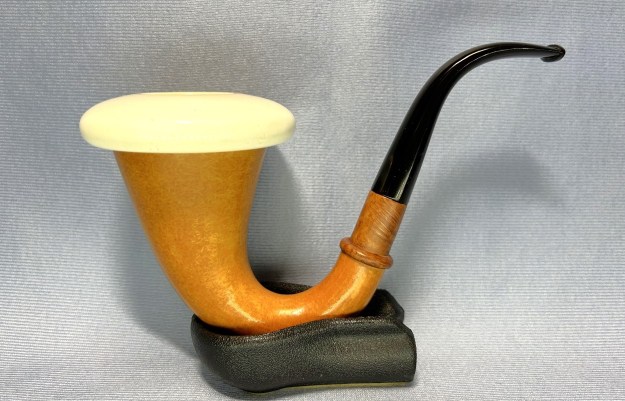
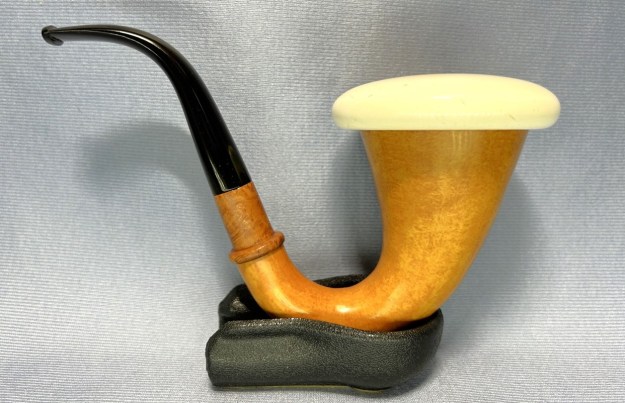
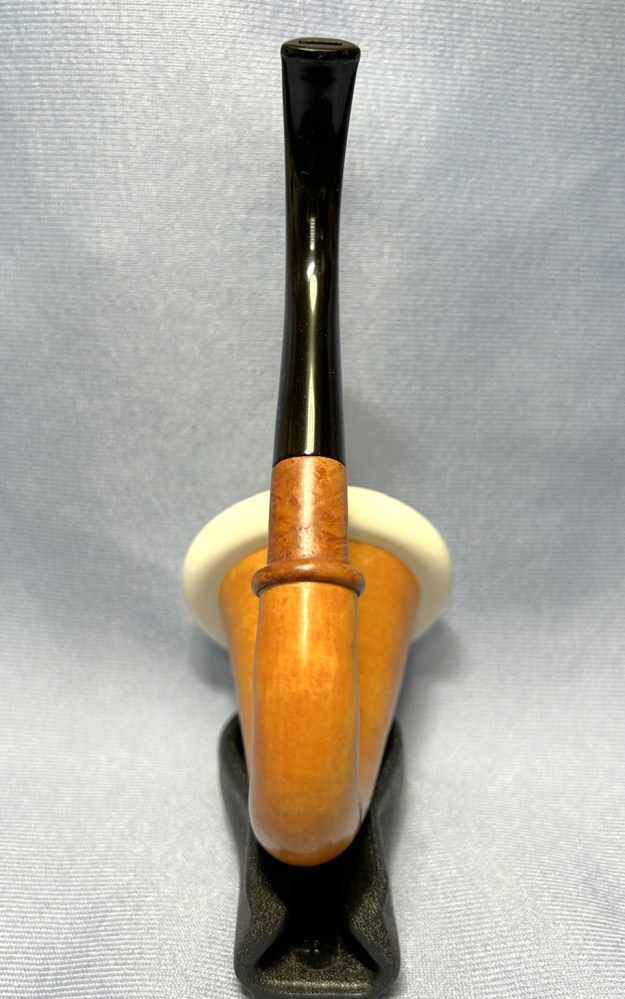
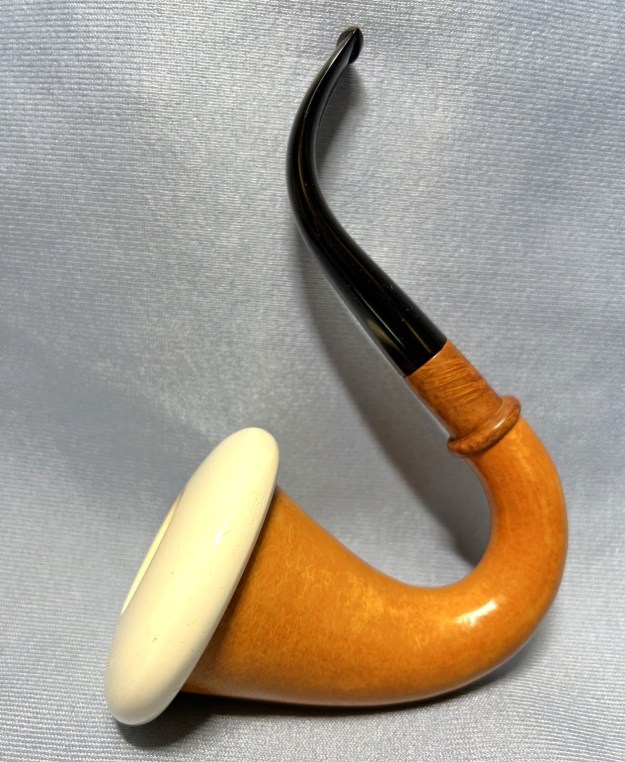
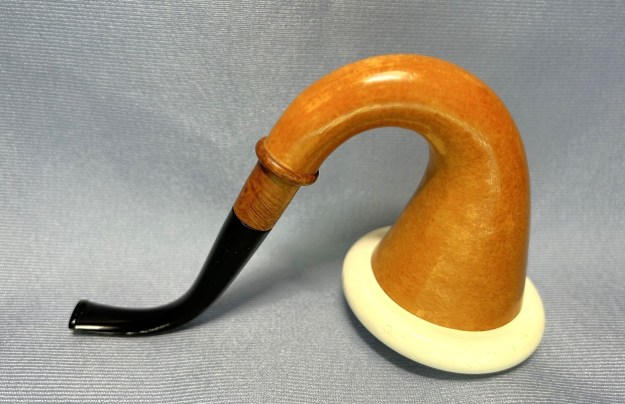
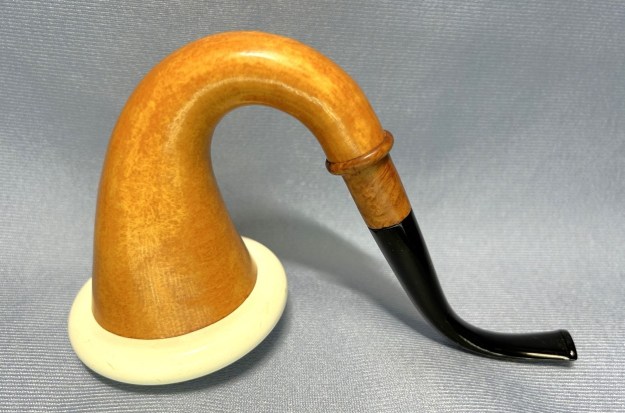
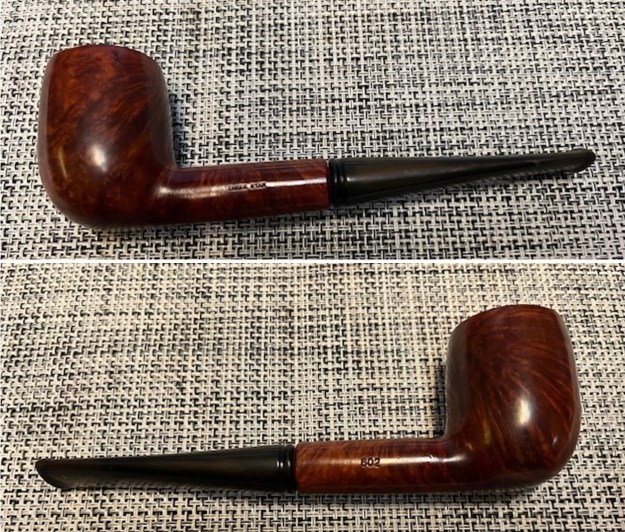
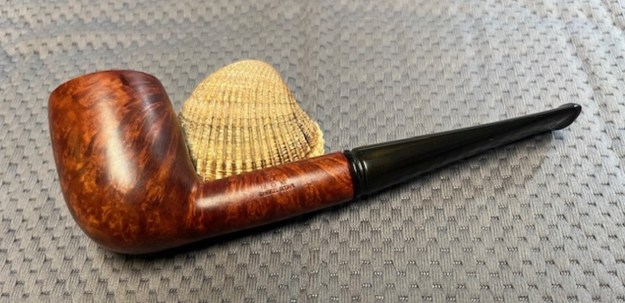
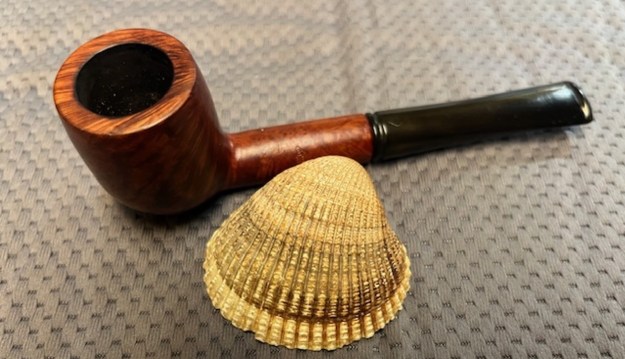
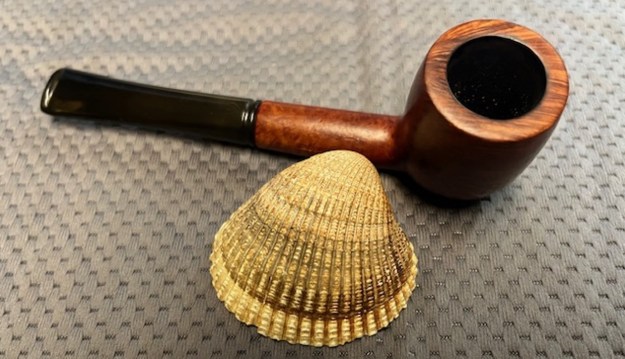
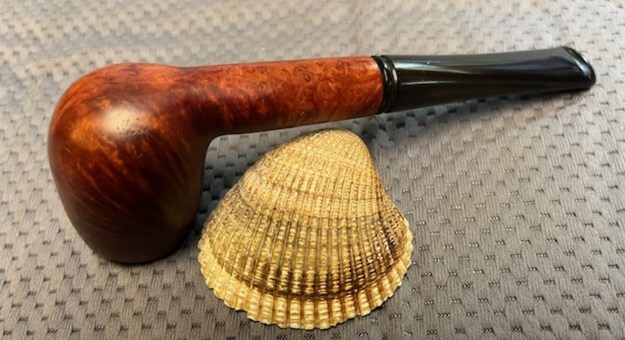
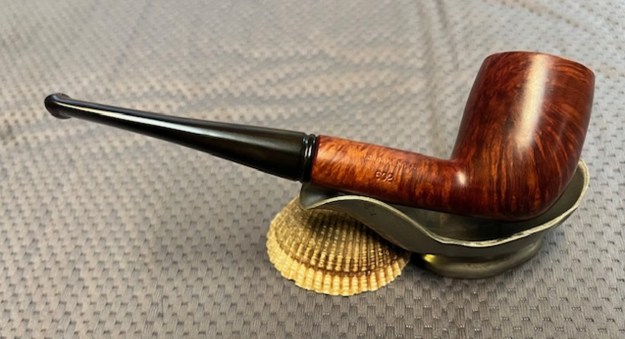
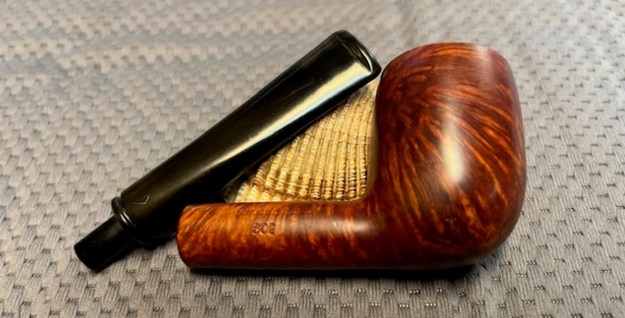
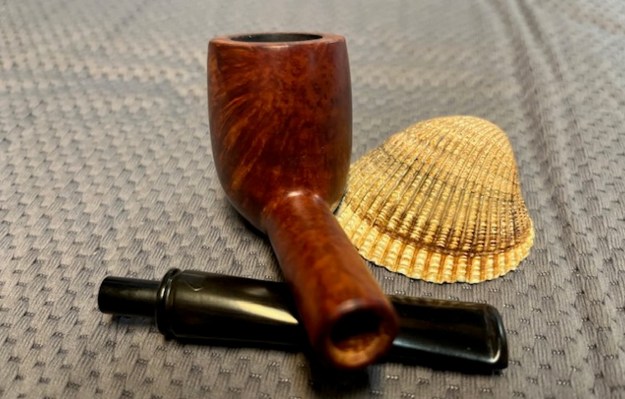
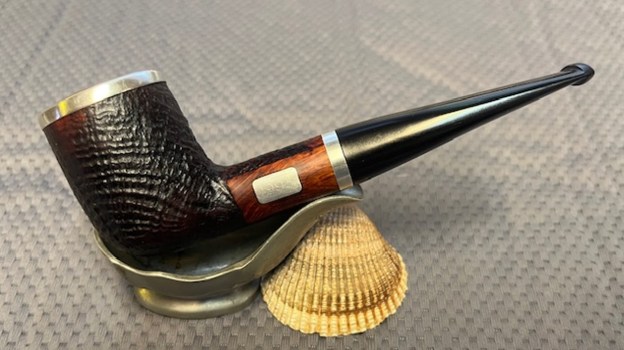
 I put the stem back on the Stanwell 1993 Huber Nobleman Billiard and took it to the buffer. I worked over the smooth portions with Blue Diamond to polish out the remaining small scratches. I gave the bowl several coats of Conservator’s Wax and the stem several coats of carnauba wax on the wheeland buffed the pipe with a clean buffing pad to raise the shine. I hand buffed it with a microfiber cloth to deepen the shine. The pipe polished up really well and the rim top and silver rim edge looked good. I was happy with the look of the finished pipe. The photos below show what the pipe looks like after the restoration. The long shank tall Canadian is a beautiful and unique take on a classic shape. The polished vulcanite taper stem looks really good with the browns of the briar. The dimensions of the pipe are Length: 5 ½ inches, Height: 1 ¾ inches, Outside diameter of the bowl: 1 ¼ inches, Chamber diameter: 7/8 of an inch. The weight of the pipe is 1.83 ounces/52 grams. This is another pipe that I will be putting it on the rebornpipes store in the Danish Pipe Making Companies Section shortly, if you are interested in adding it to your collection. This sandblast billiard looks and feels great in the hand. This one should be a great smoker. Thanks for walking through the restoration with me on this beauty!