Tag Archives: polishing a Meerschaum Calabash bowl

Finishing Touches for a Lovely Gourd Calabash


Blog by Kenneth Lieblich

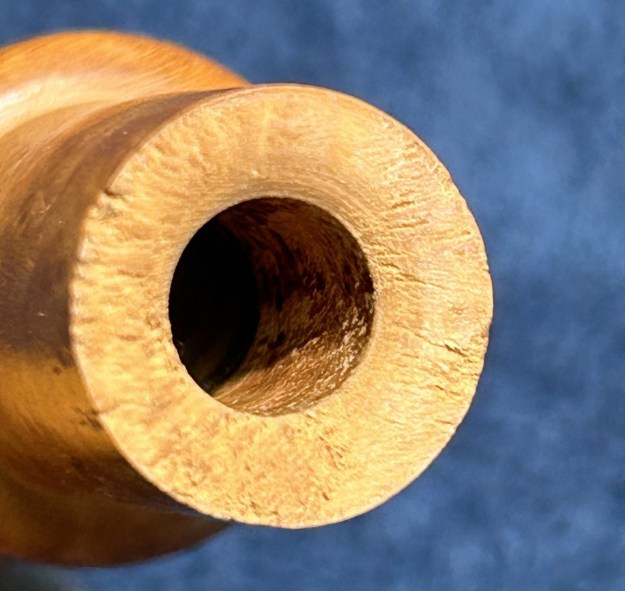
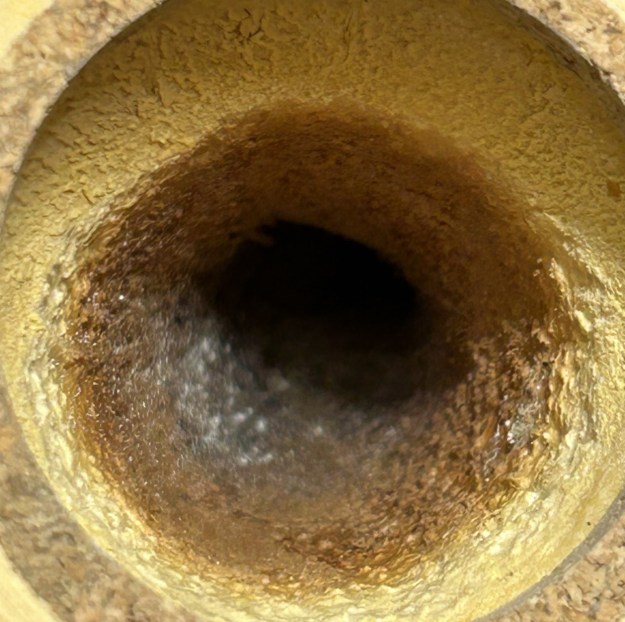
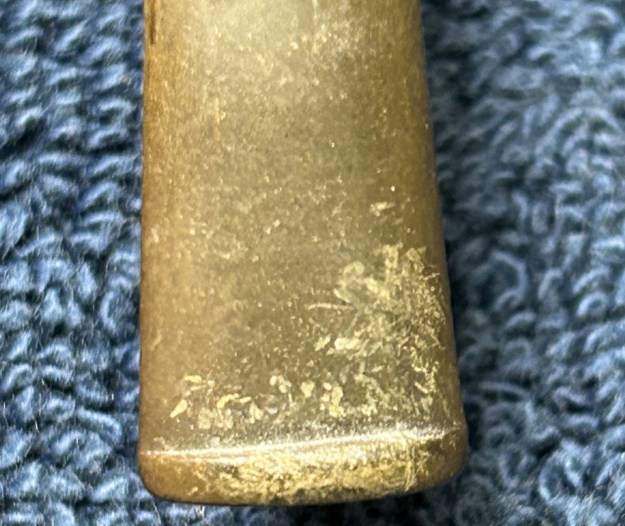
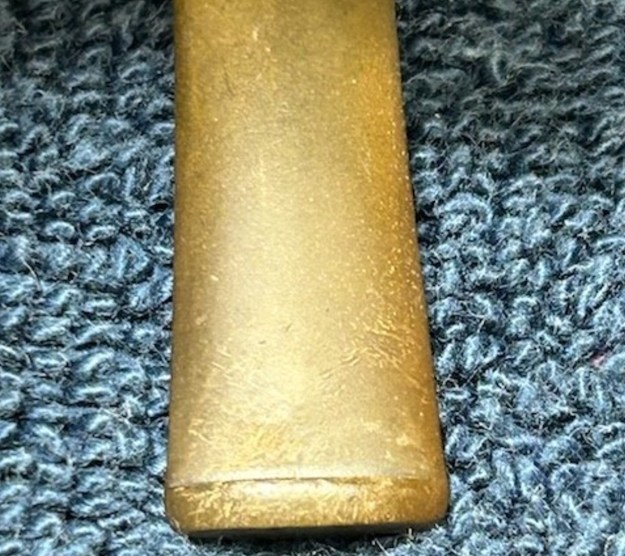
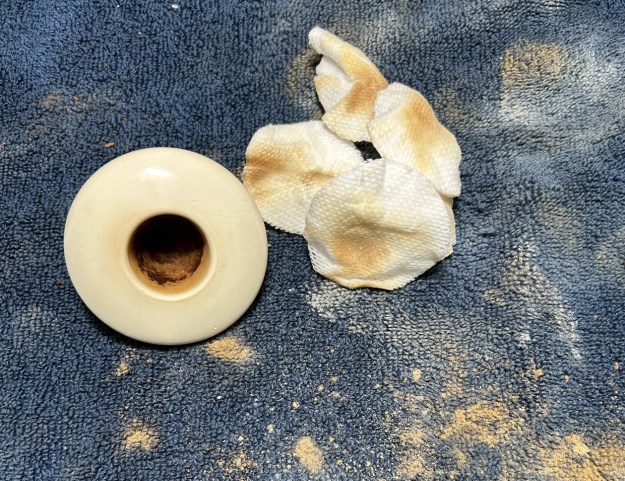
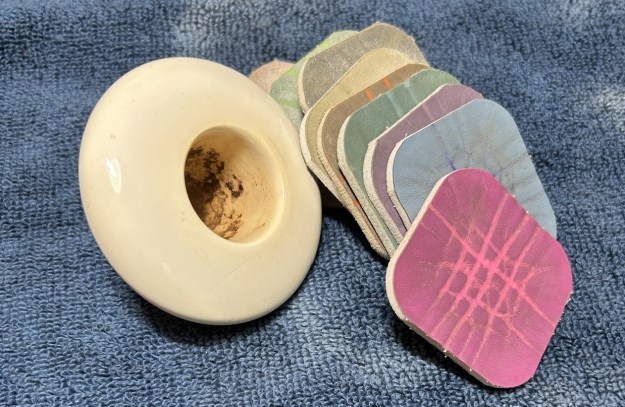
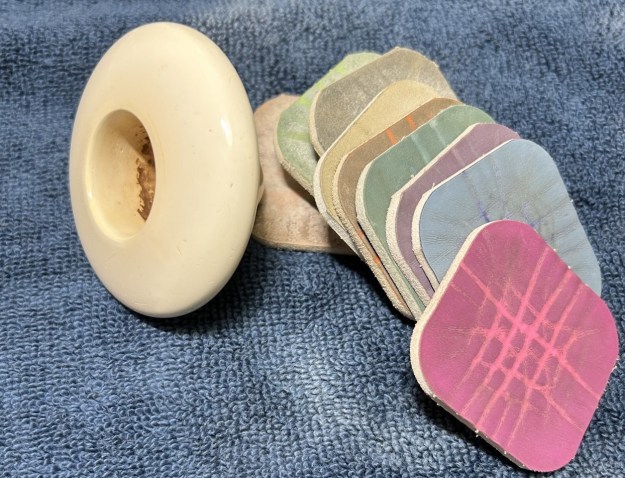
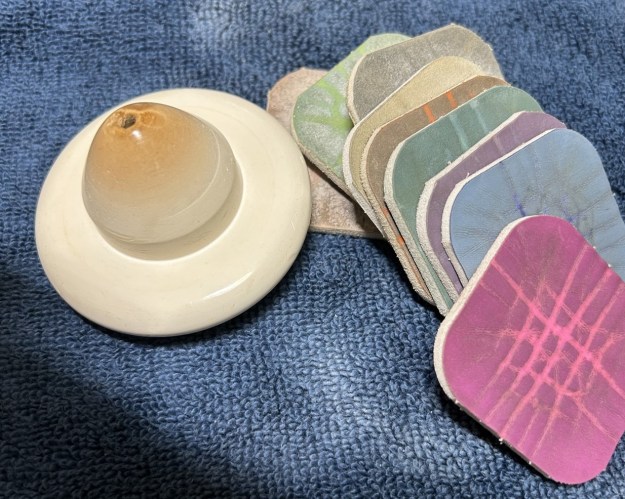
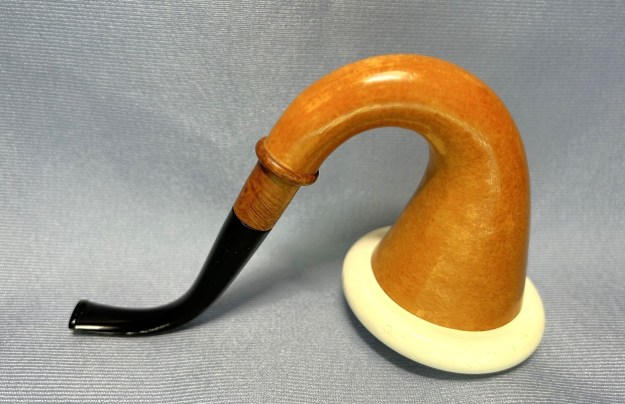
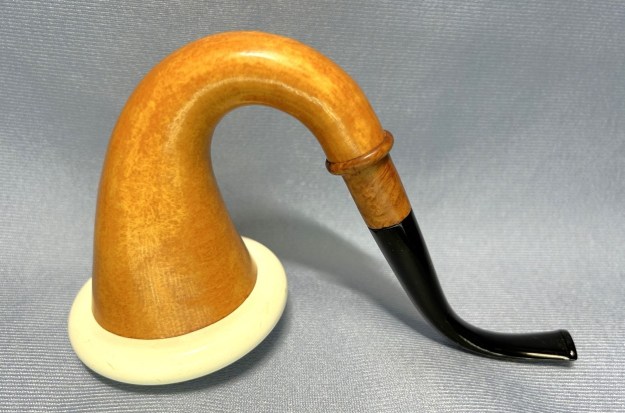
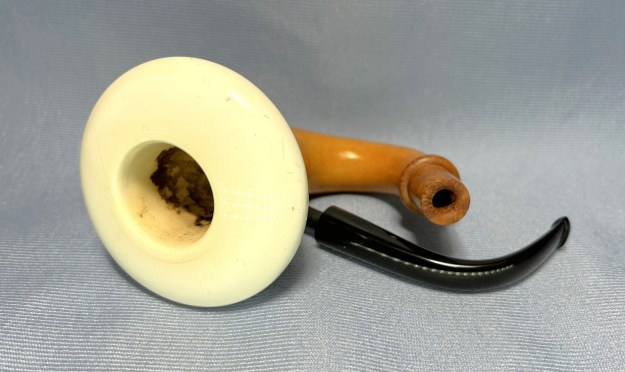
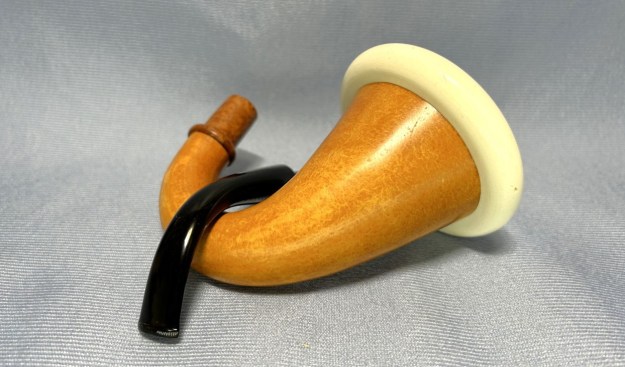
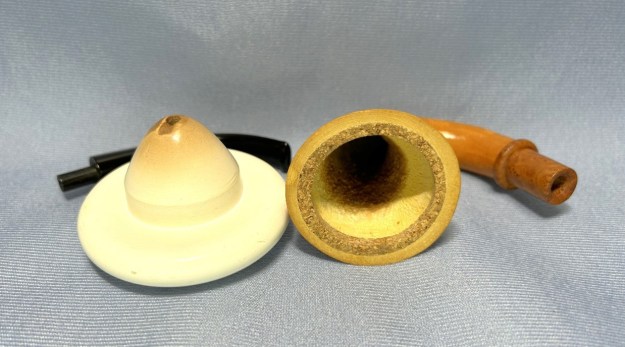
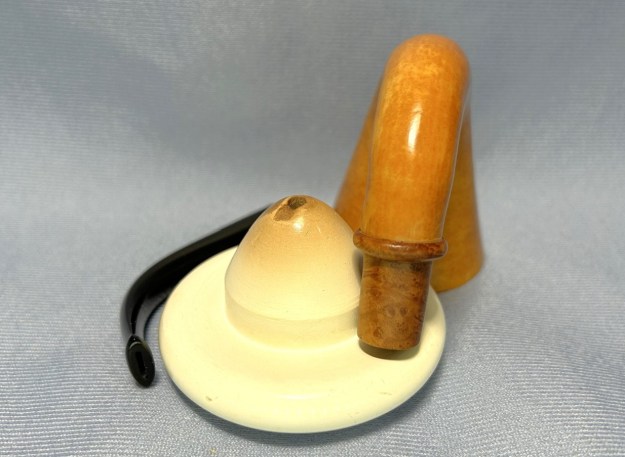
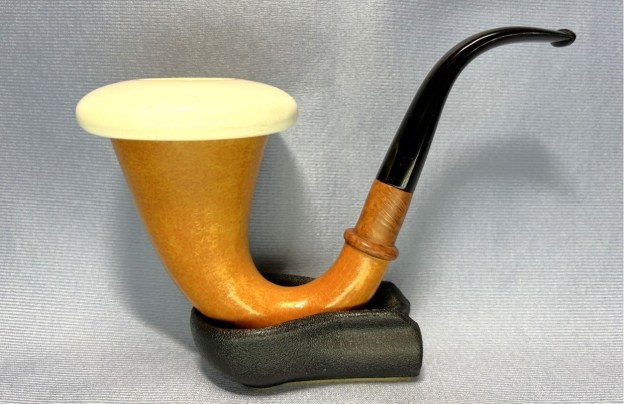
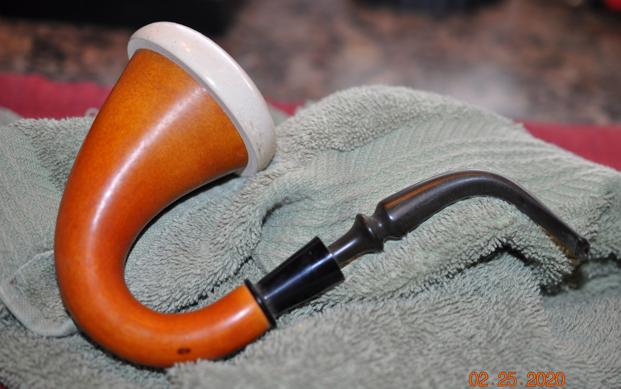
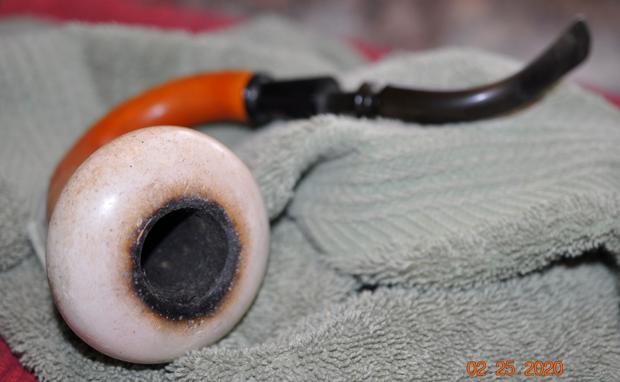
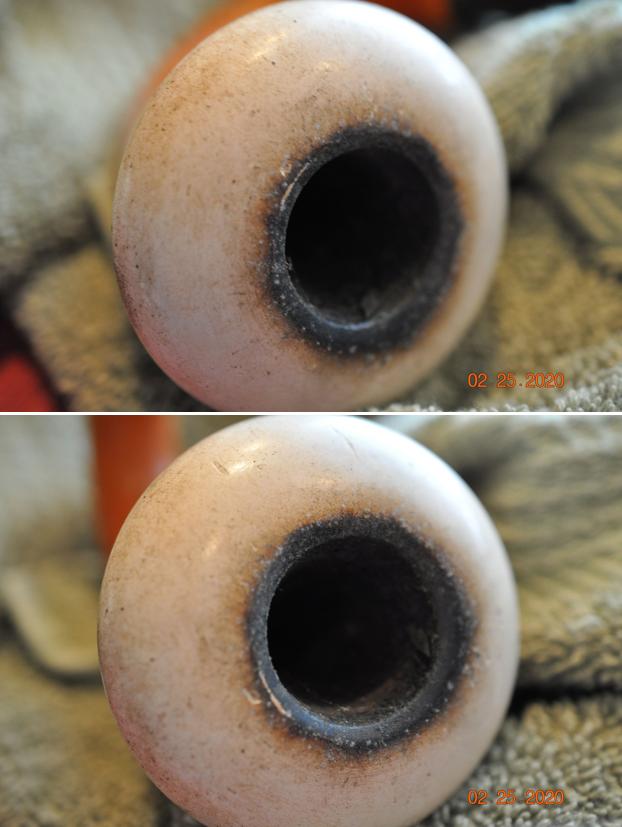
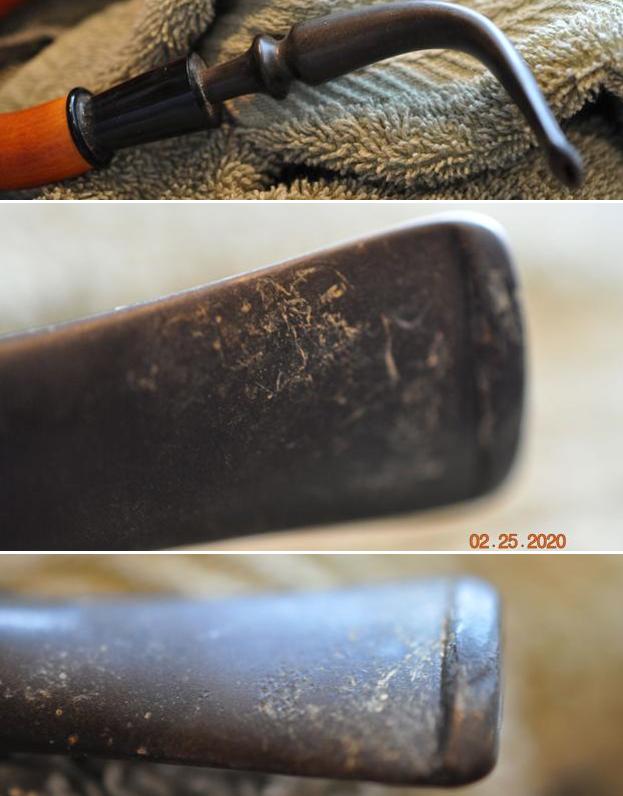
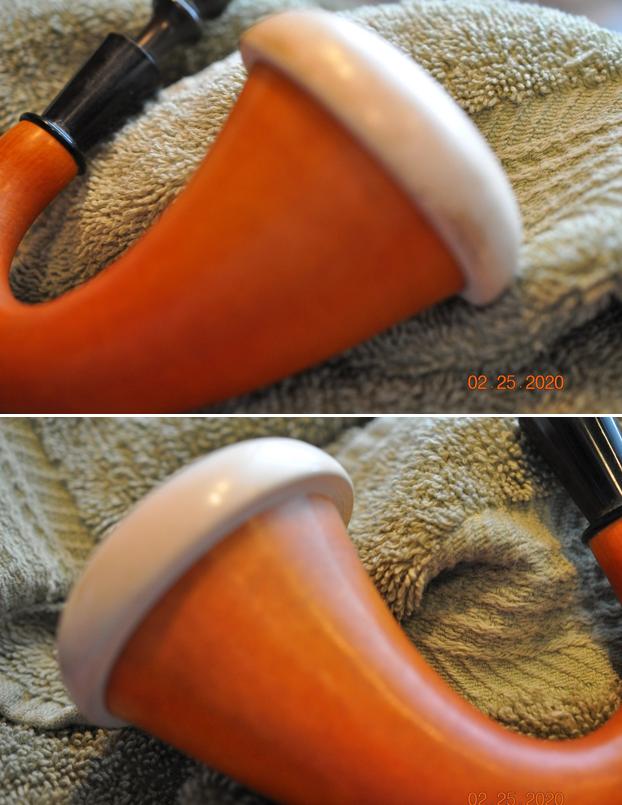
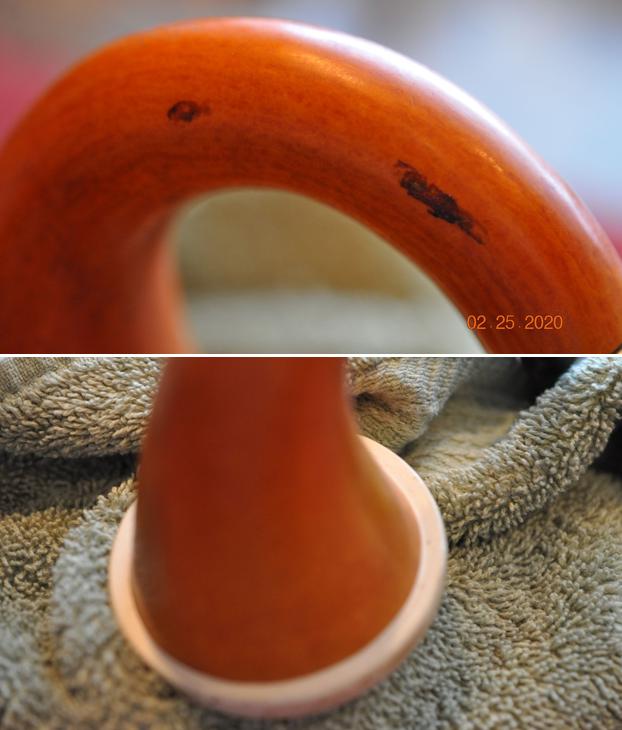
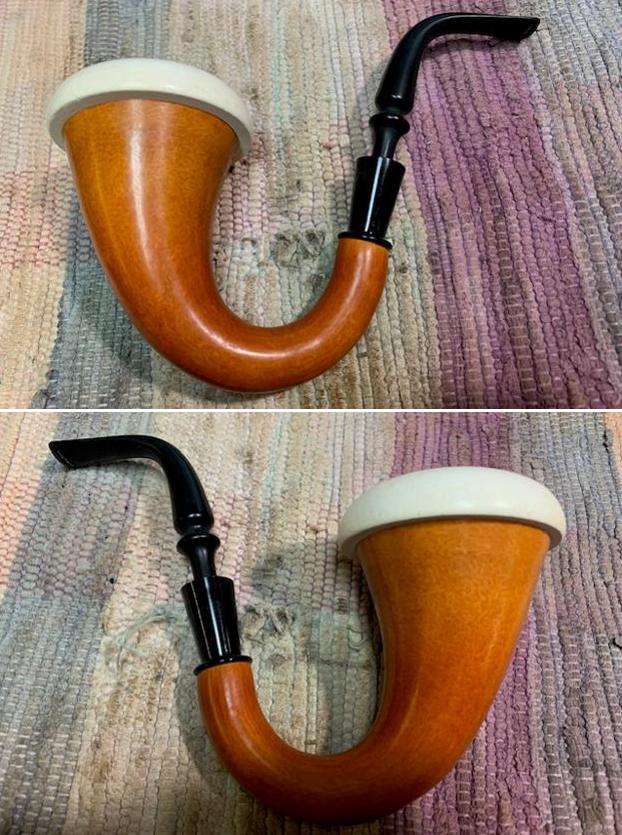
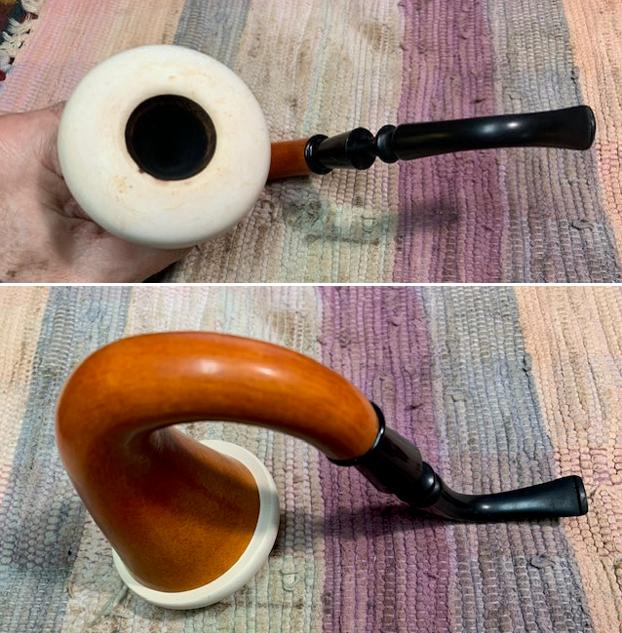
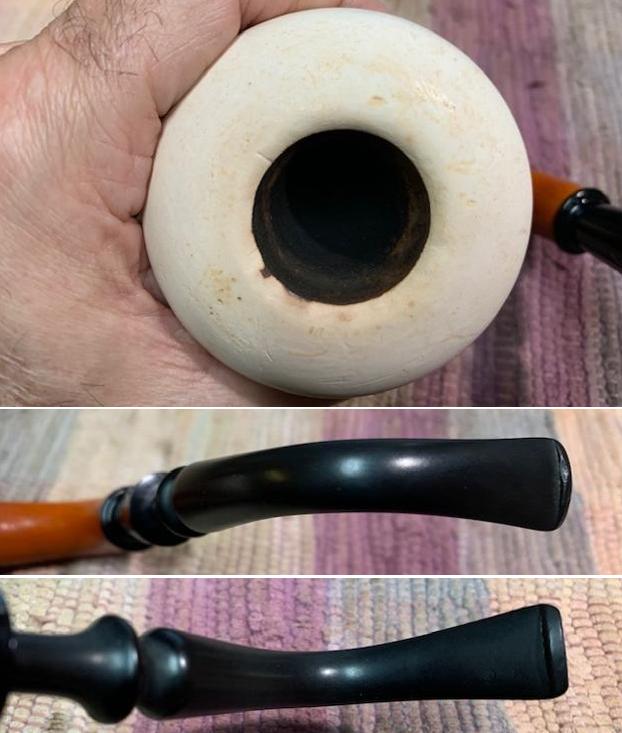
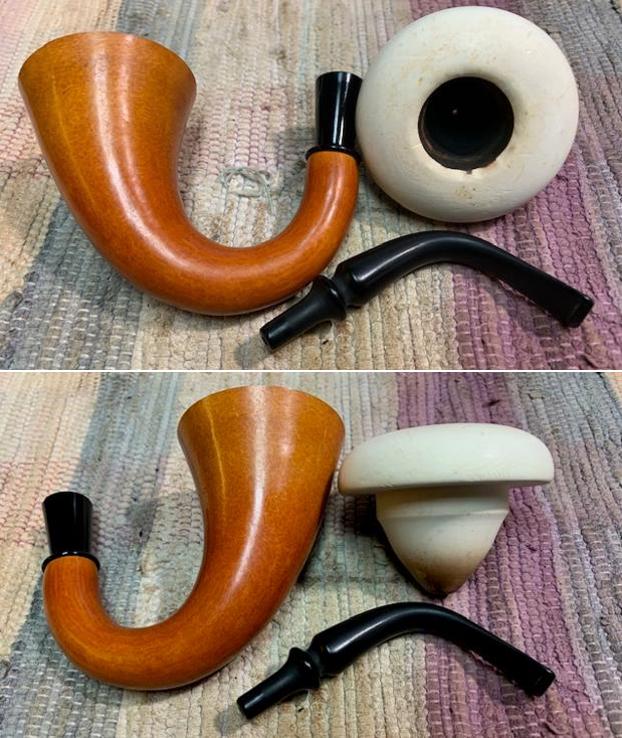
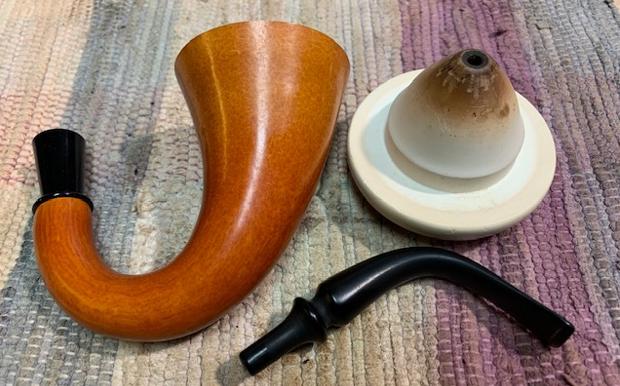
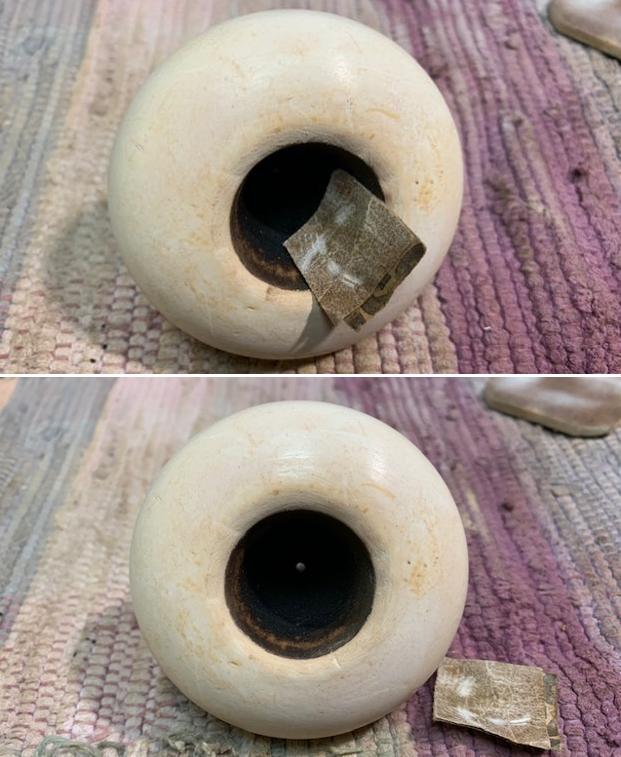
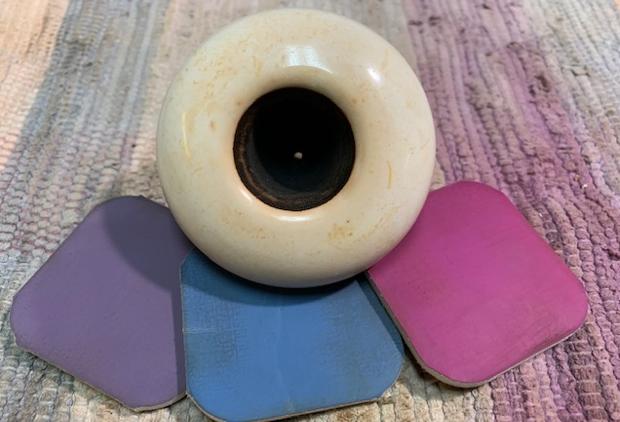
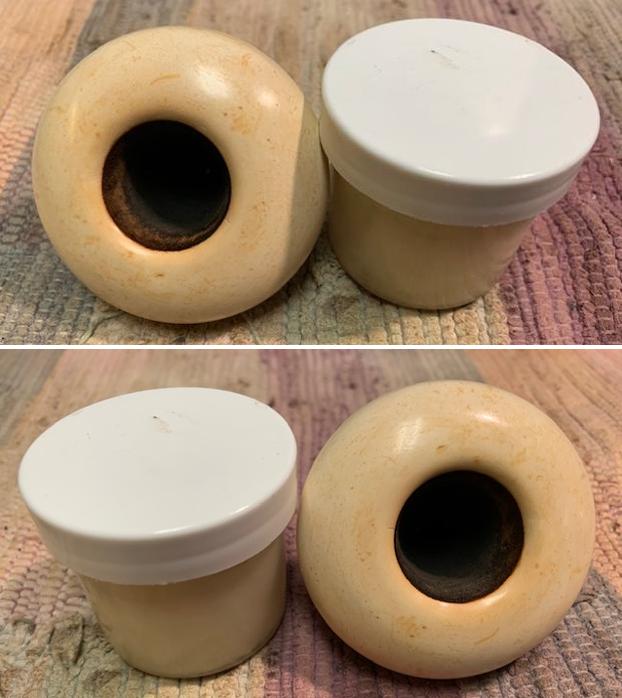
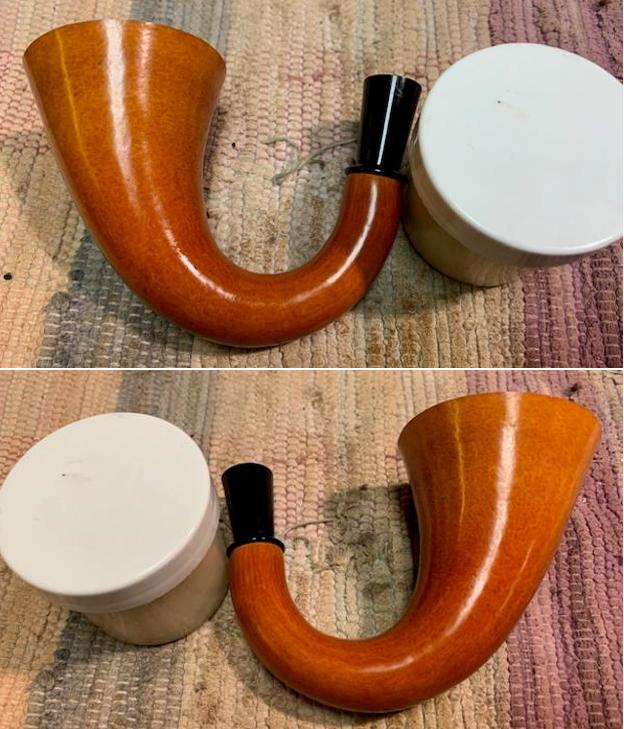
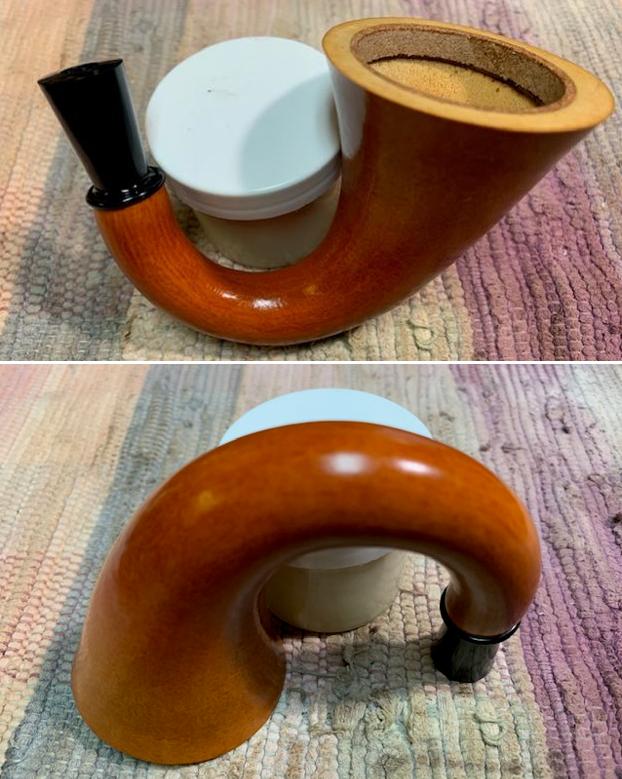
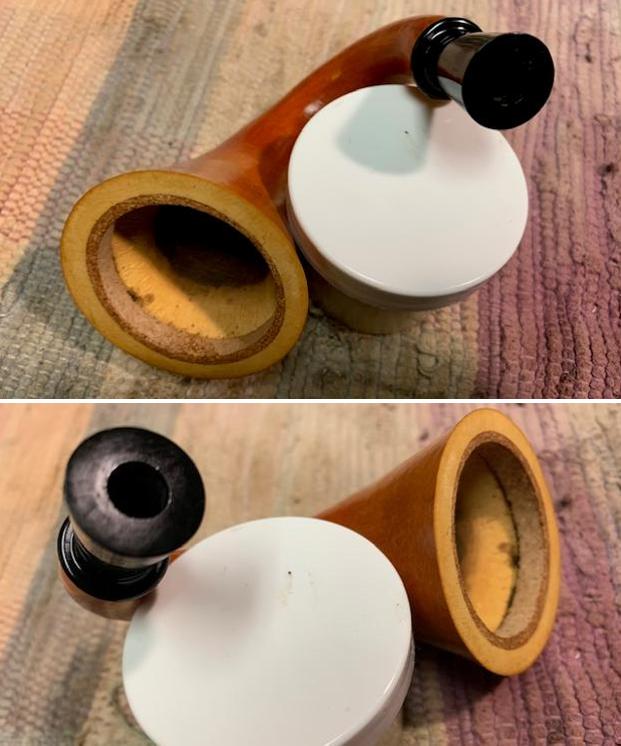
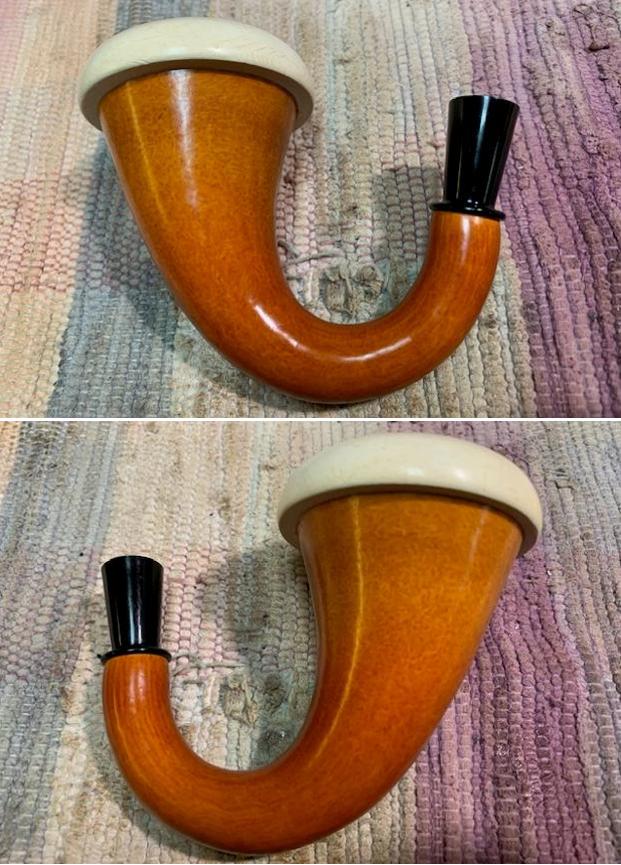
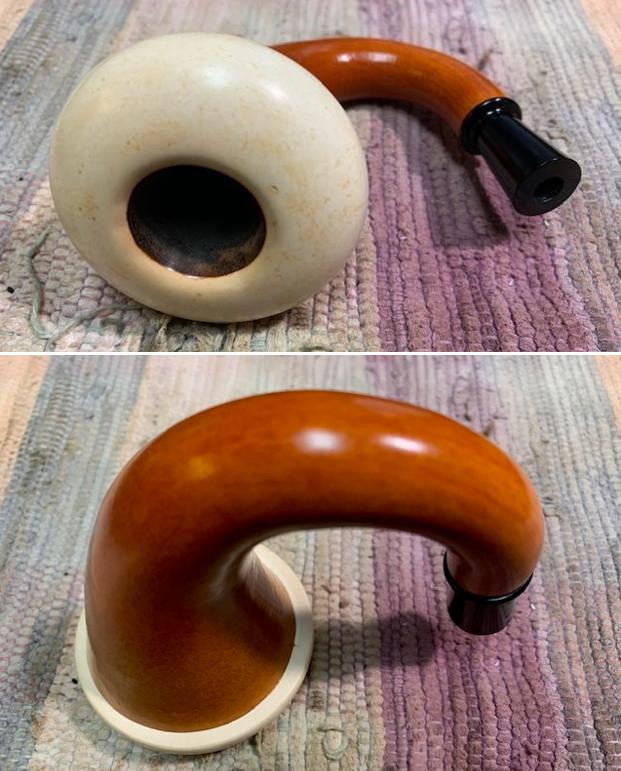
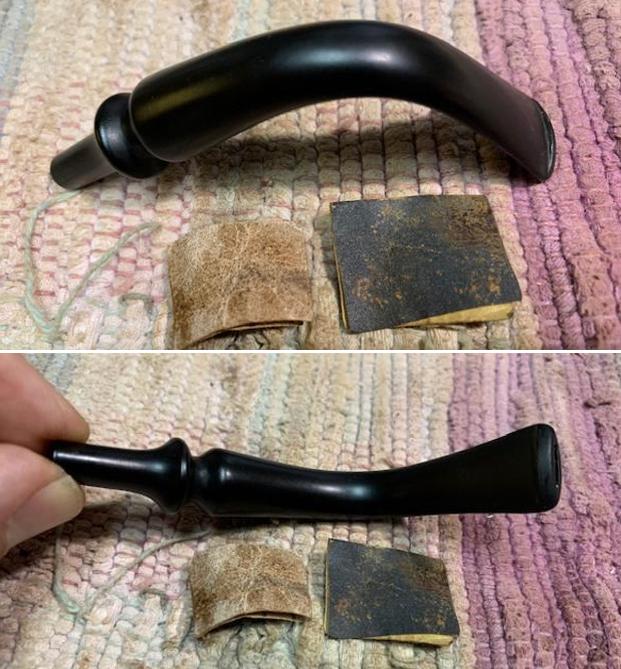
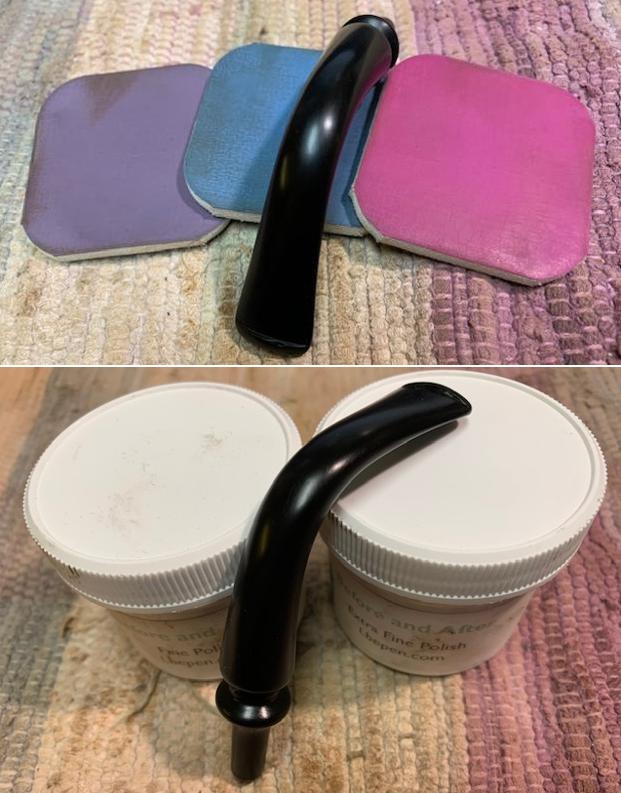
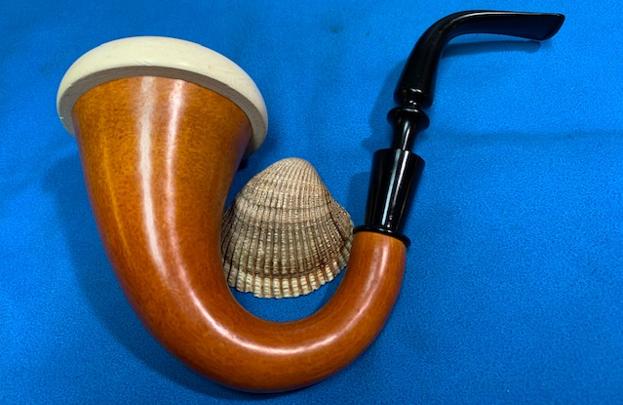
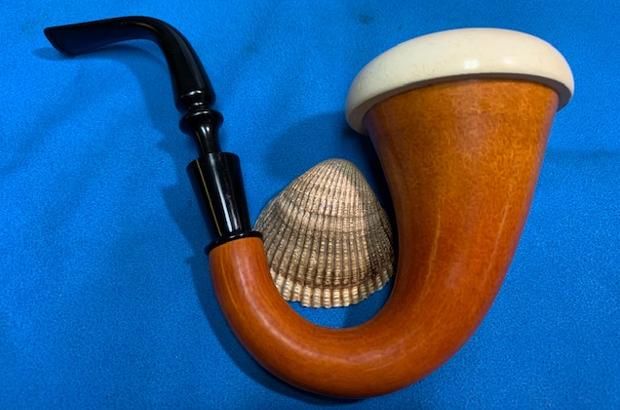
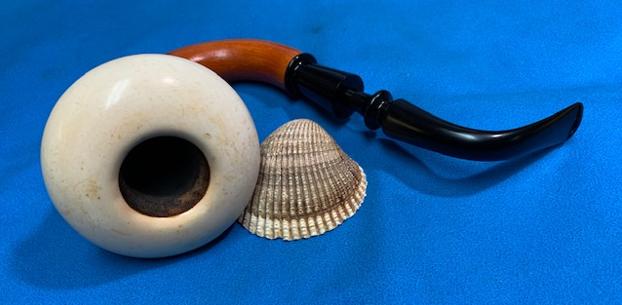
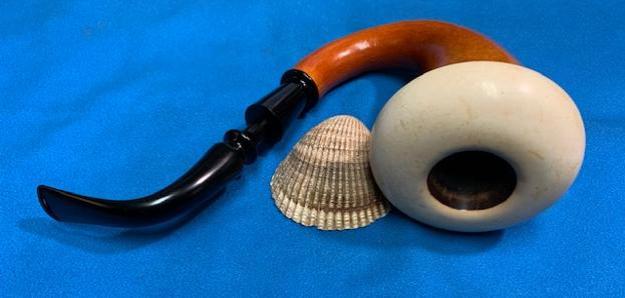
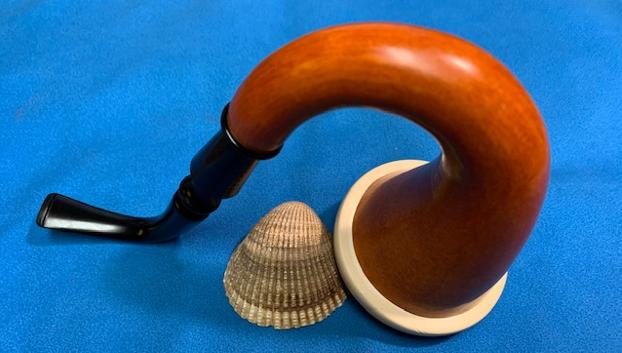
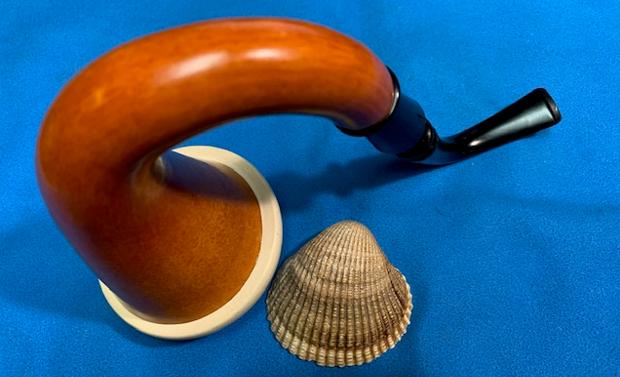
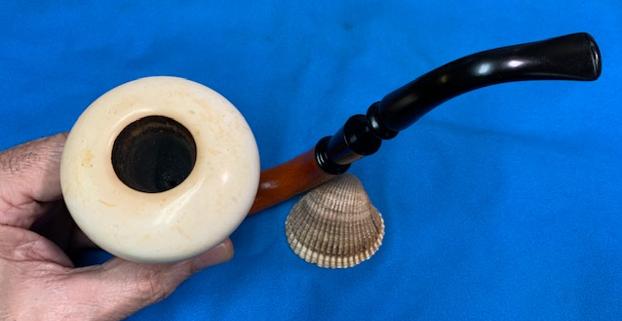
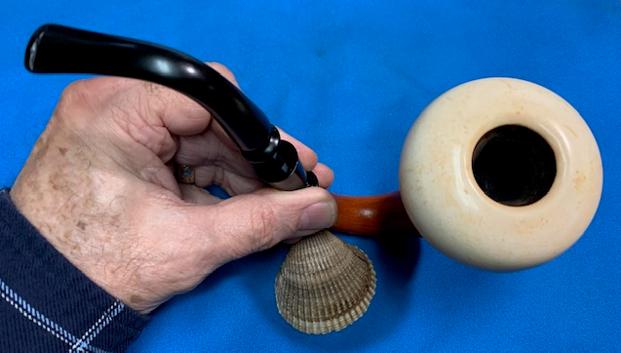
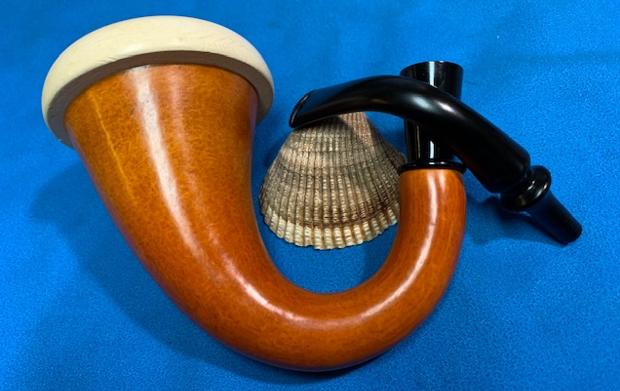
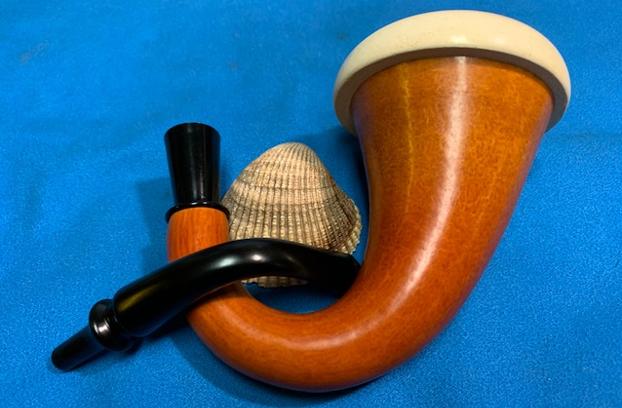
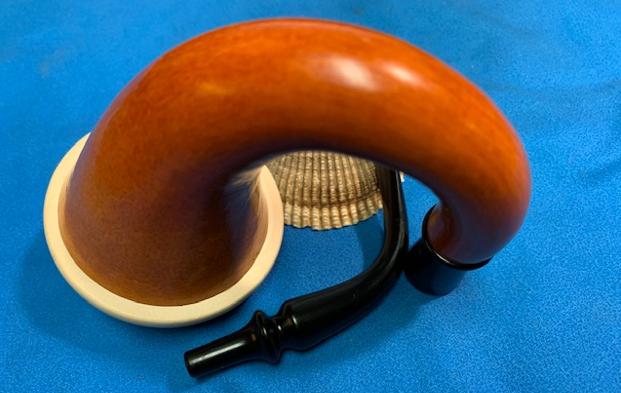
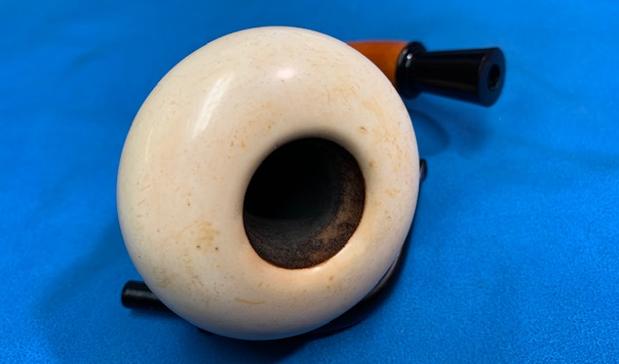
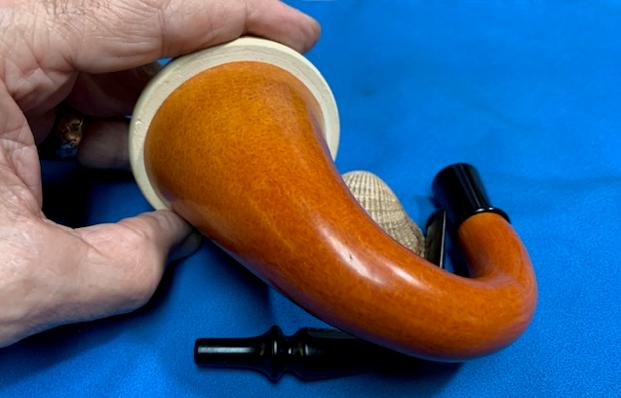
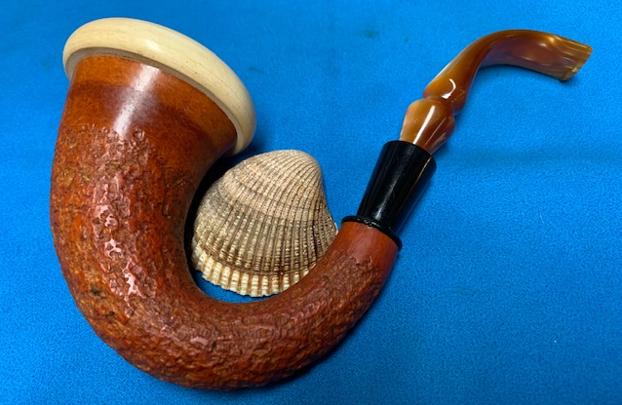
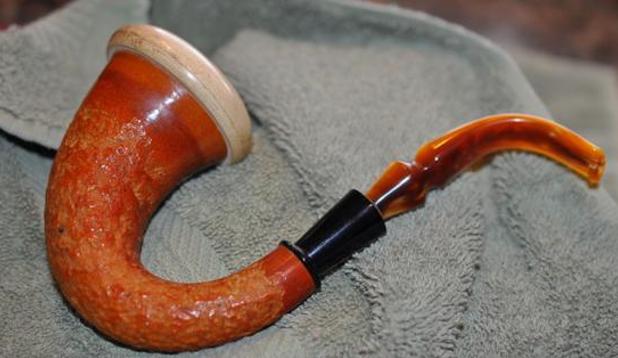
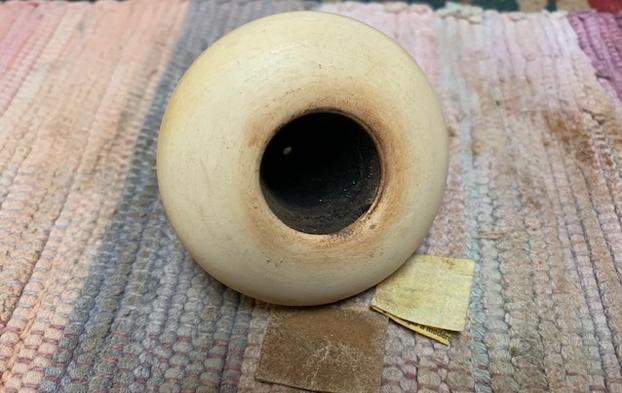
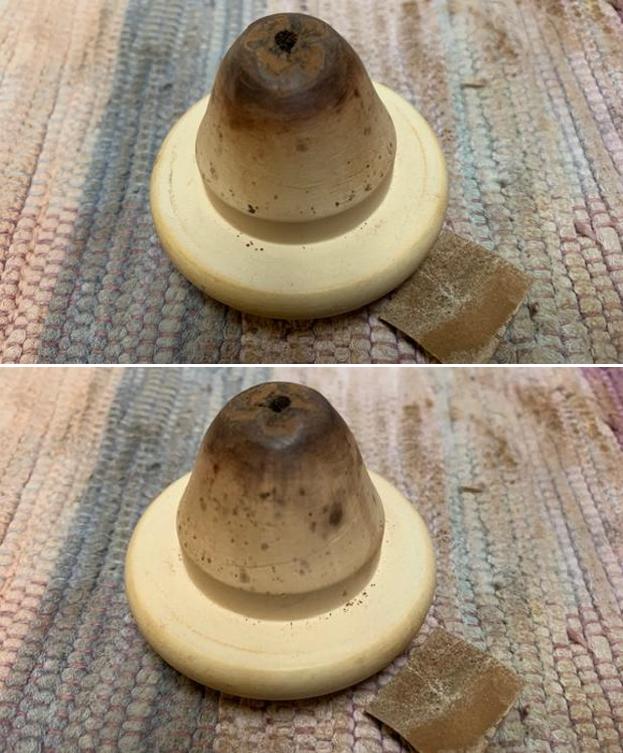
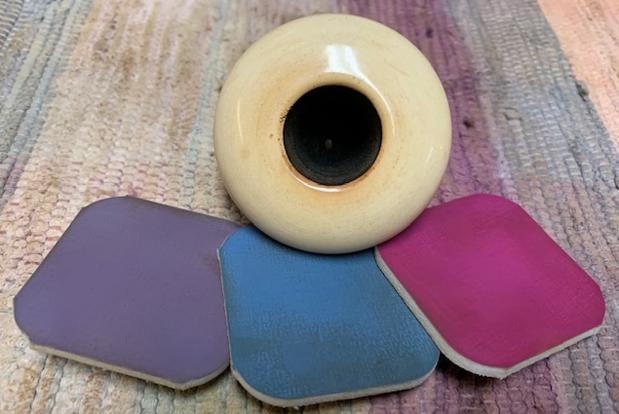
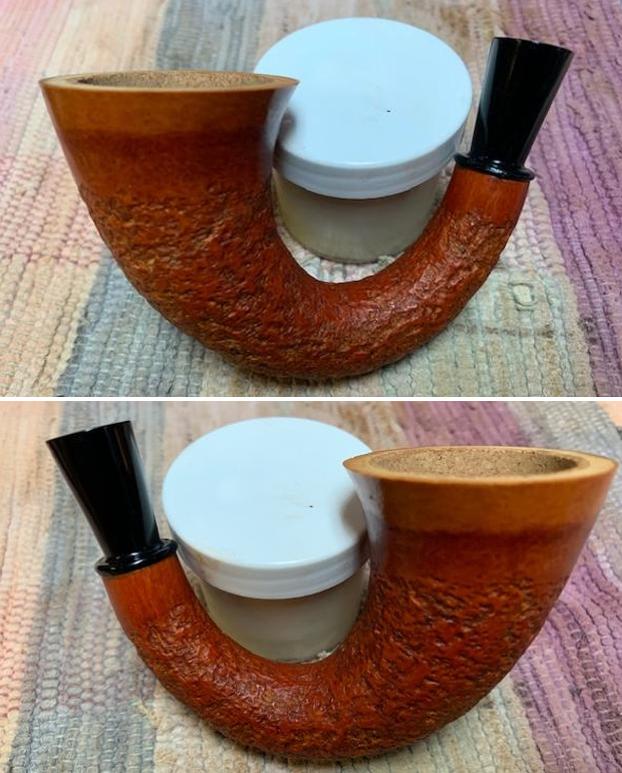
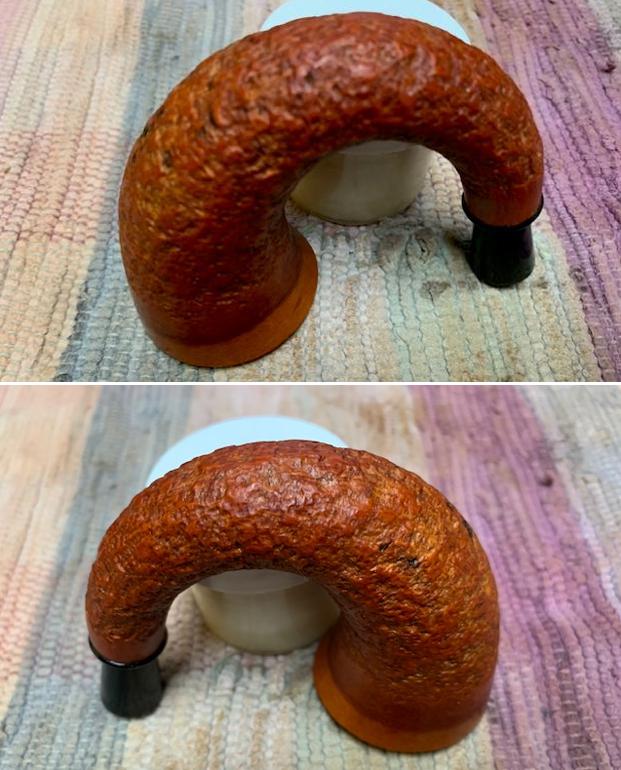
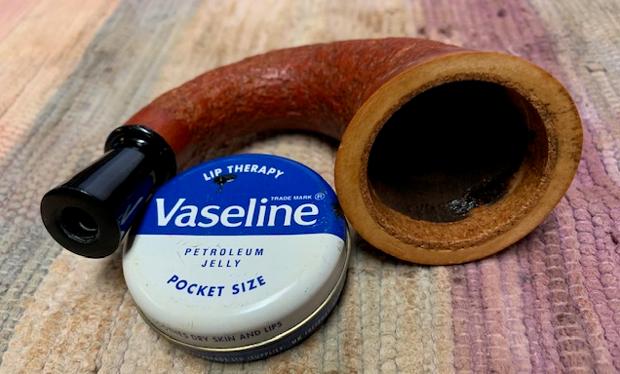
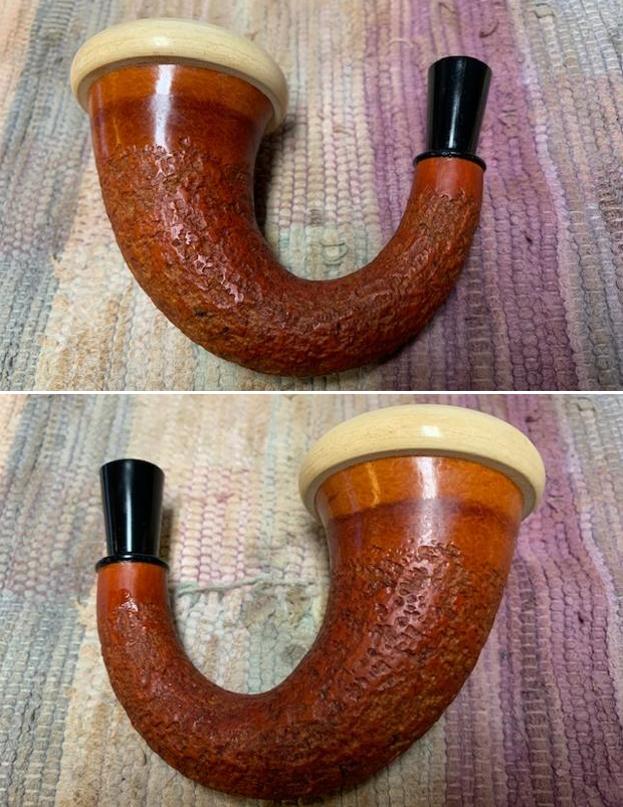
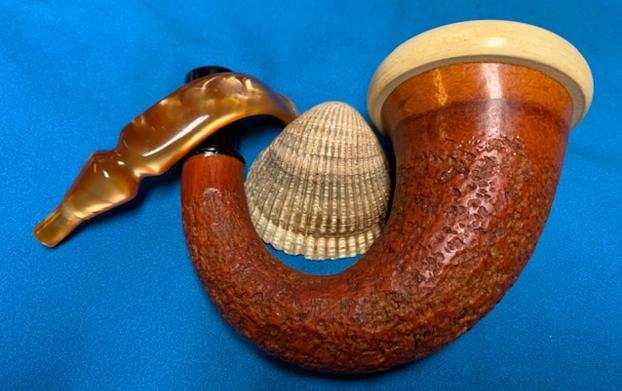
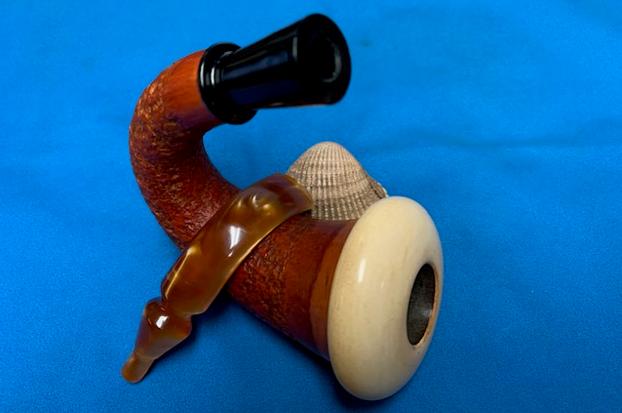
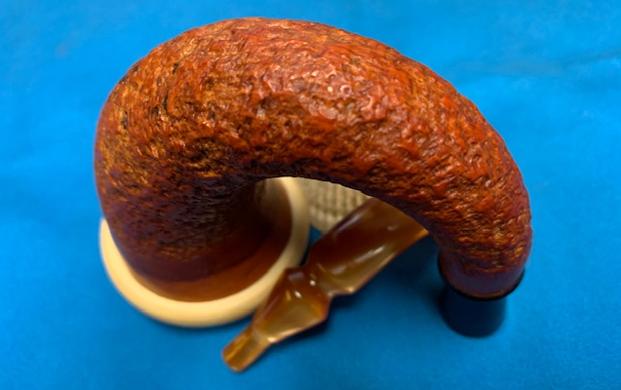
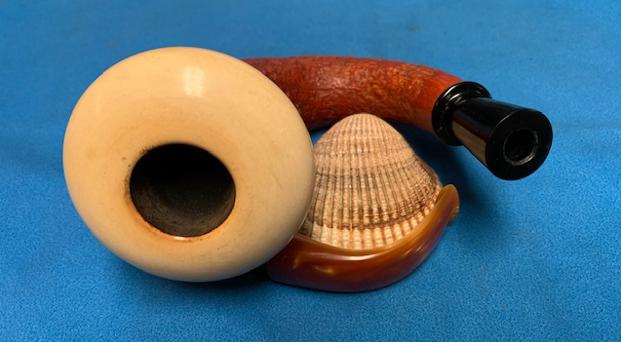
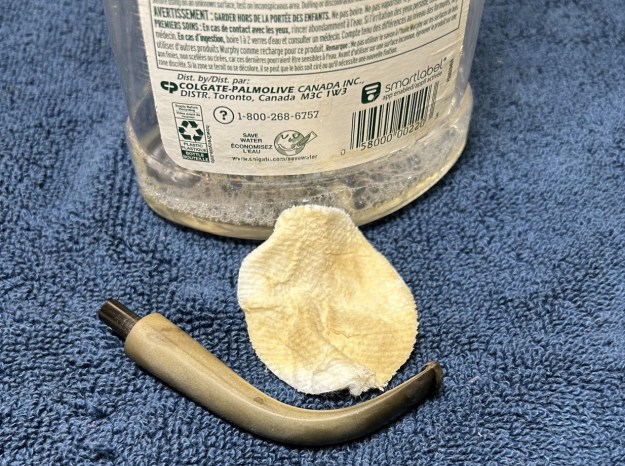
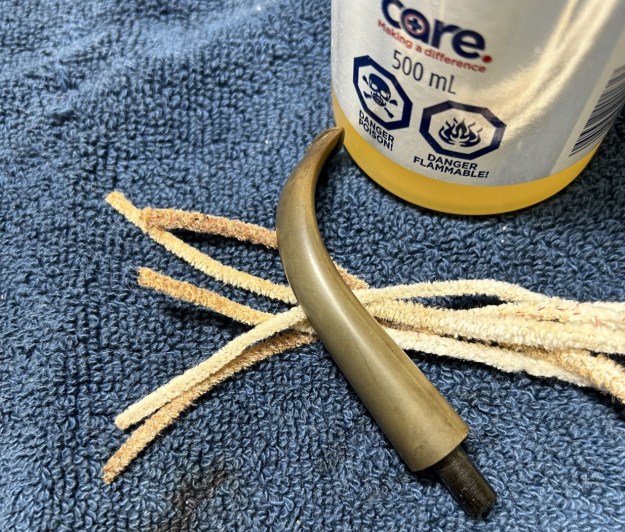
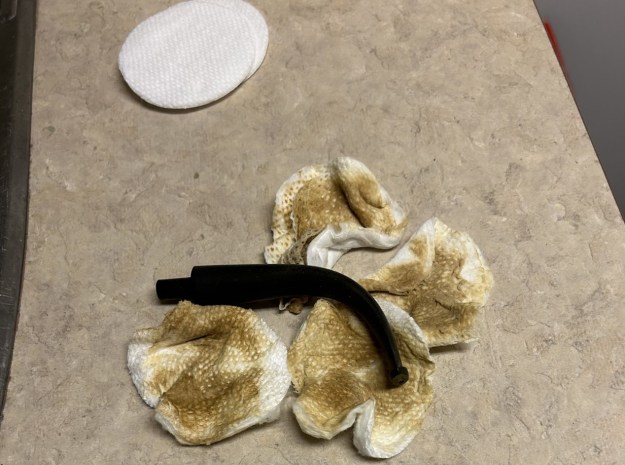
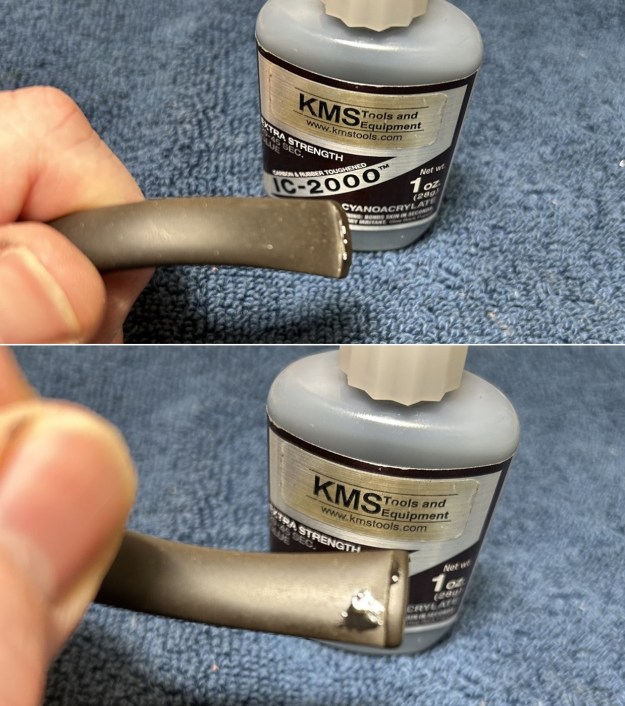
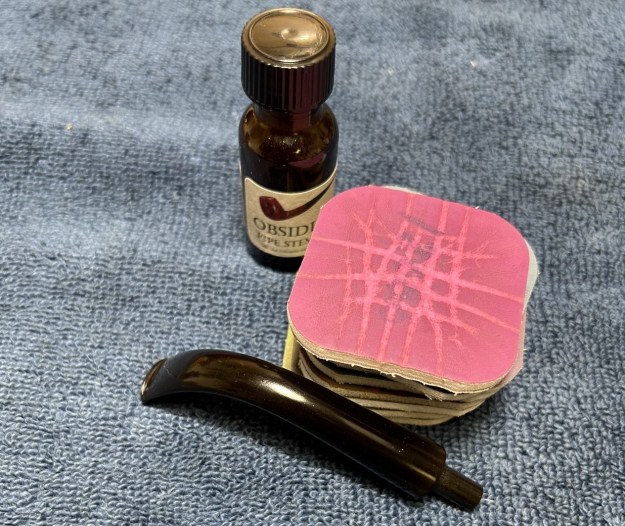
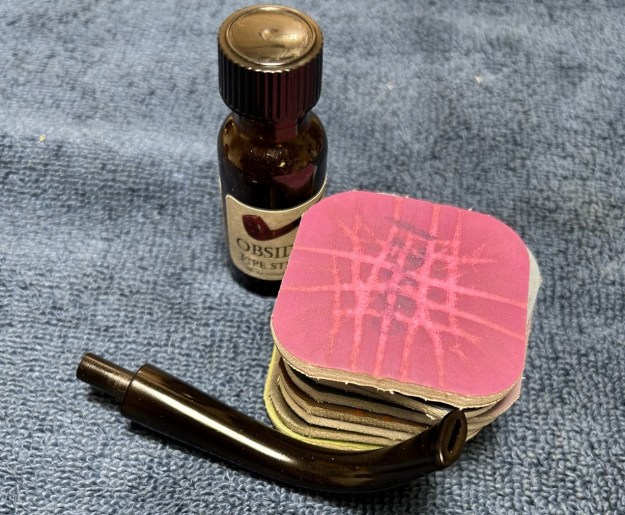
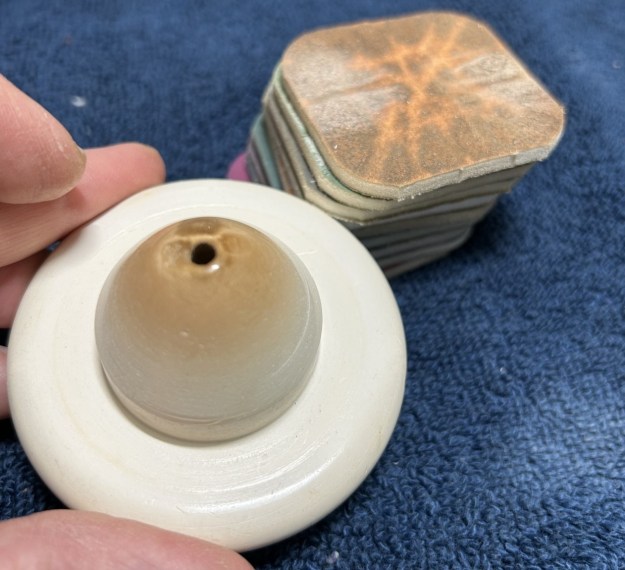
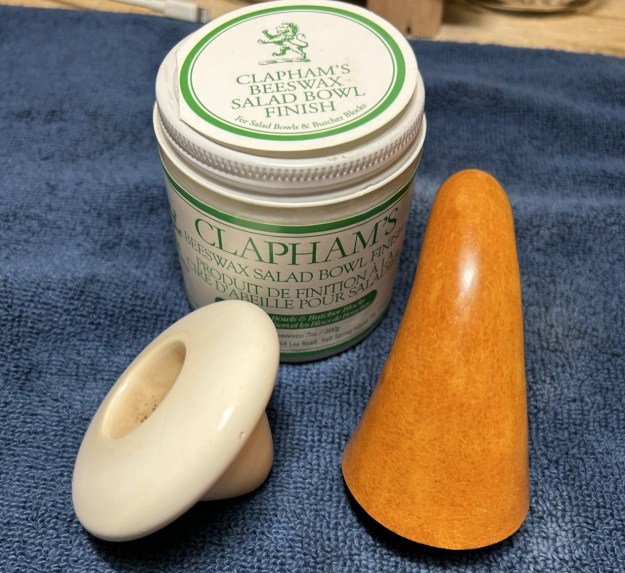
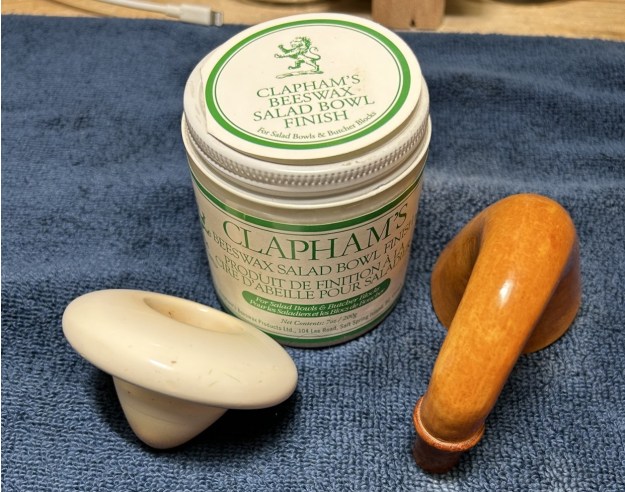
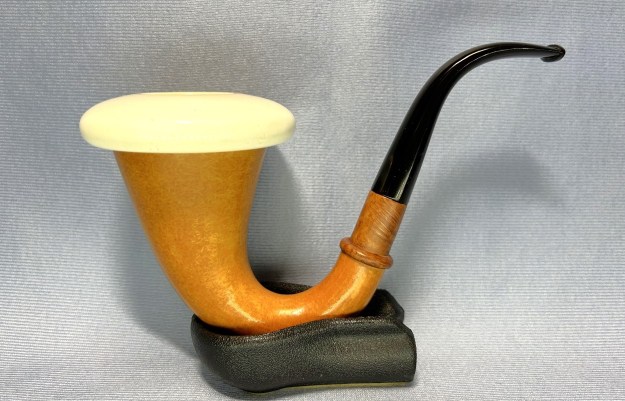
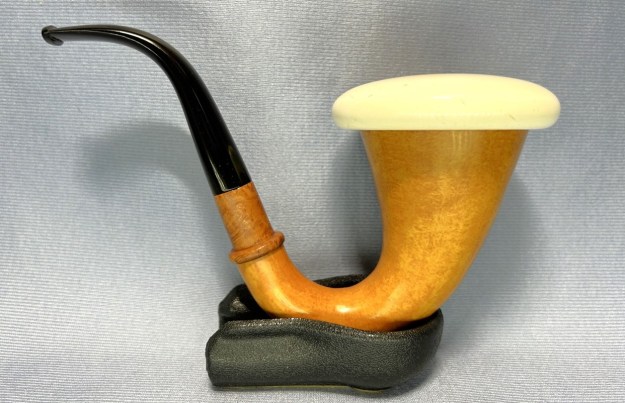
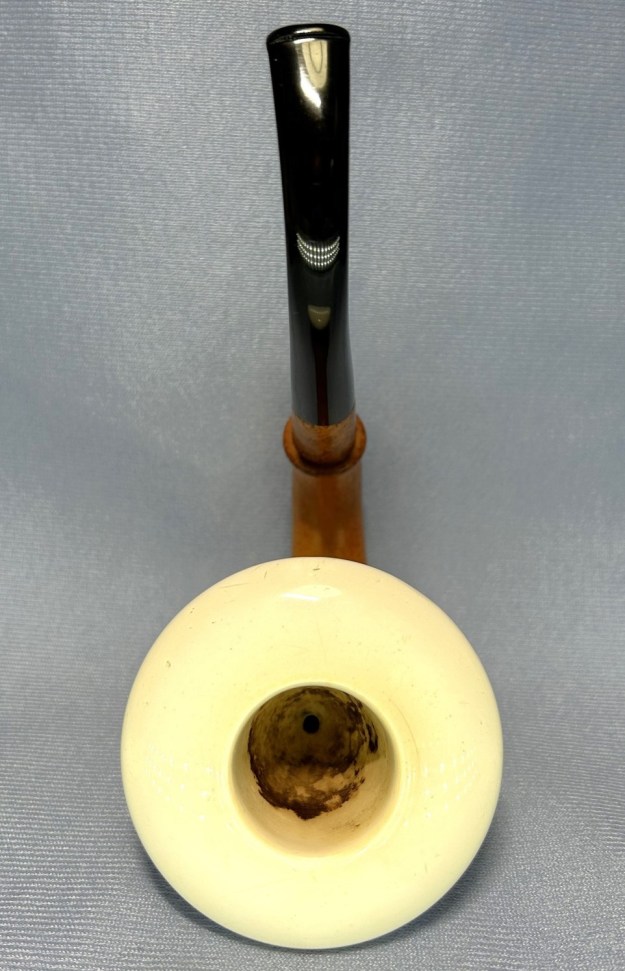
I recently came upon this calabash pipe and thought it was terrific. There is an elegance to the lines of this pipe, with its swan-like curves. Really nice looking, and in good shape. This one had obviously been seldom smoked – maybe a couple of times only. And maybe this is the pipe for you! Let’s take a closer look at it. The bowl is beautifully-shaped meerschaum. It has some minor signs of wear, but nothing serious. Similarly, the gourd is in lovely condition. No wear to speak of and the cork gasket is perfect. The gourd also has a wood shank extension in nice shape. Finally, the stem is also great. It has some notable oxidation and some small signs of wear, but nothing to worry about. The stem was first on my list. I wiped down the outside of the stem with Murphy’s Oil Soap on some cotton pads. Then, I cleaned out the insides of the stem with pipe cleaners and isopropyl alcohol. Once this process was done, I used SoftScrub and cotton pads to wipe down the stem before throwing it in the Pipe Stem Oxidation Remover. The following day, I cleaned all of the de-oxidizing mess and again scrubbed with SoftScrub on some cotton pads to remove the leftover oxidation. This worked well.Before I moved on to the Micromesh pads, I built up the dents on the stem with cyanoacrylate adhesive and let them fully cure.I sanded the adhesive down with 220- and 400-grit sandpapers to meld seamlessly into the stem. I then used all nine Micromesh pads (1,500 through 12,000 grit) to bring out the lovely black lustre on the stem. I also used Obsidian Pipe Stem Oil in between each pad scrubbing. On to the bowl. Meerschaum is too fragile for a proper reamer, so I used 220-grit sandpaper on the end of a wooden dowel to clean out the bowl and it turned out very well. I sanded down the entire piece of meerschaum with my Micromesh pads. One of the frustrations of cleaning meerschaum is that once smoked, the stains never go away. However, I did what I could and it definitely improved. I also rubbed some Clapham’s Beeswax into the meerschaum. Then I let it sit for 20 minutes, buffed it with a microfiber cloth and then repeated the beeswax process. Worked like a charm!
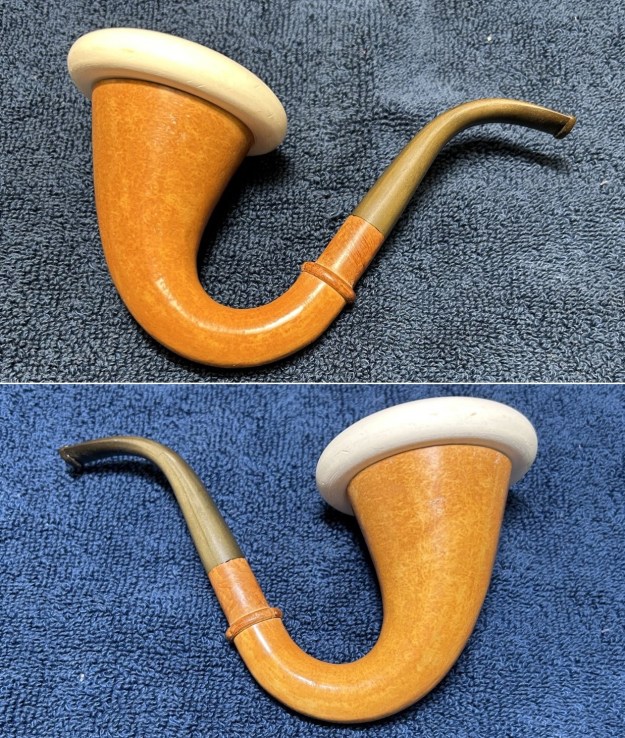
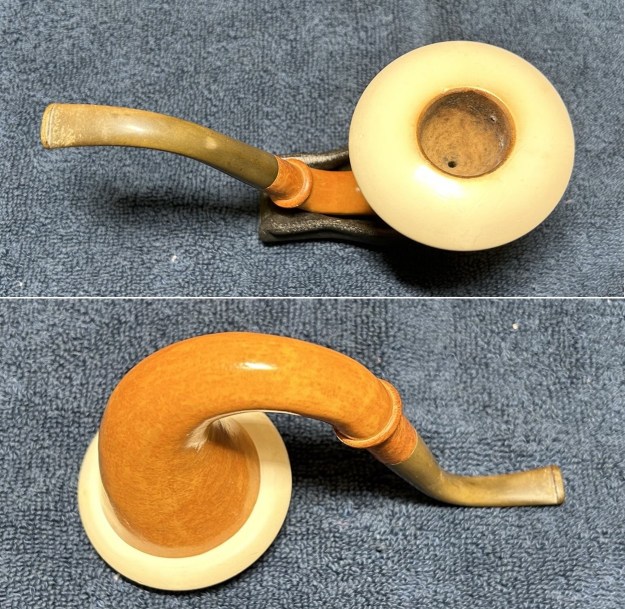
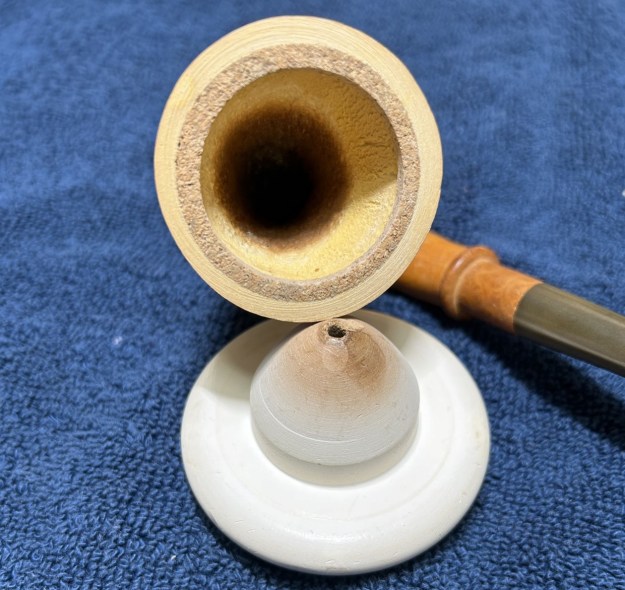
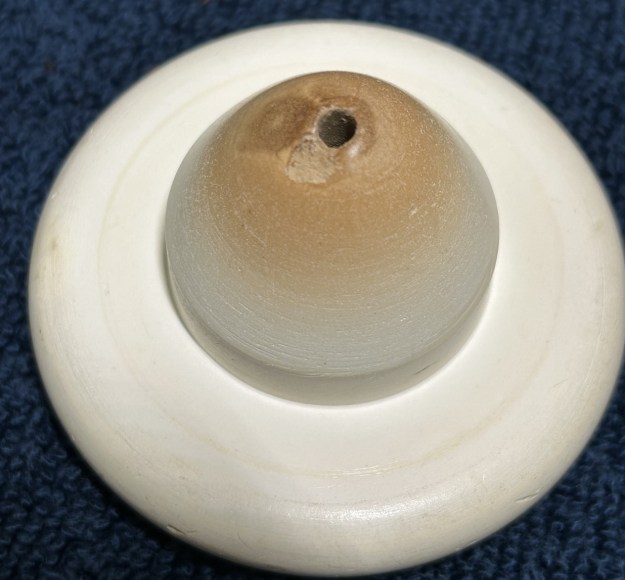
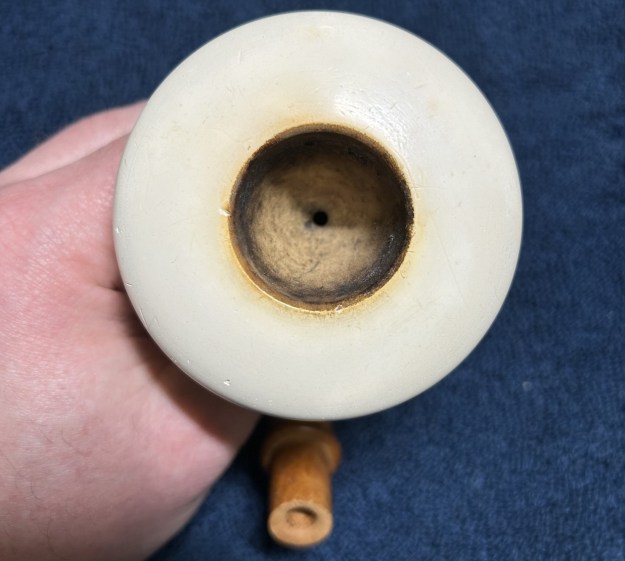
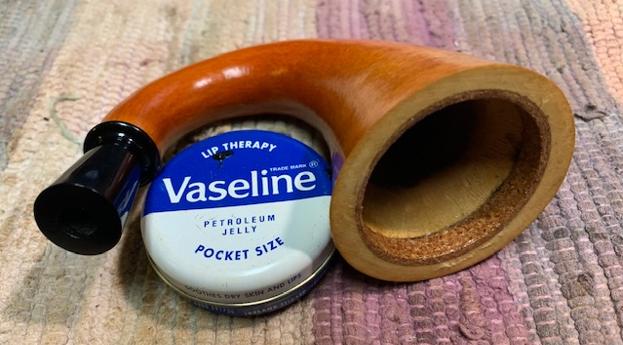
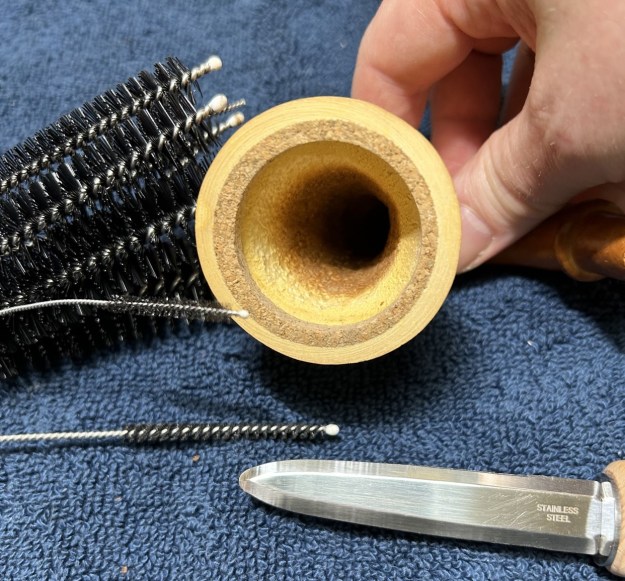
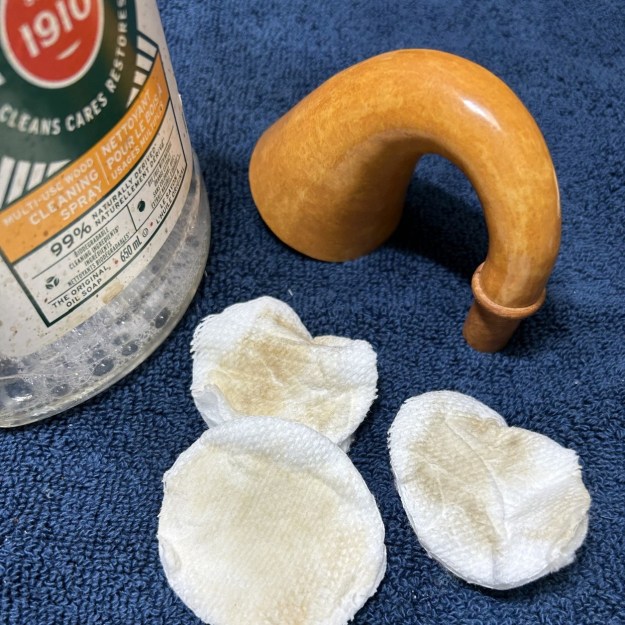
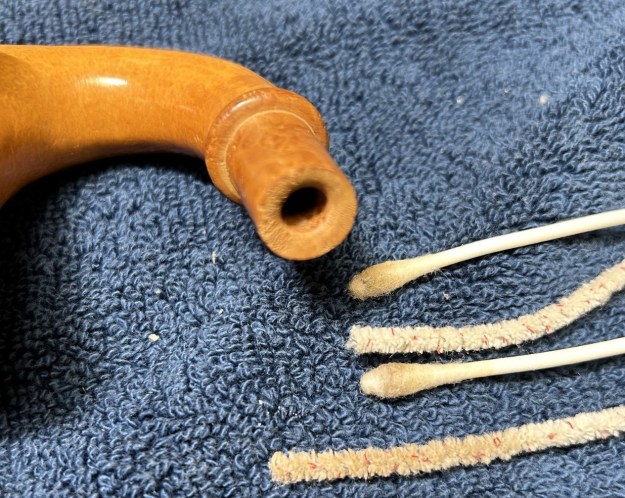
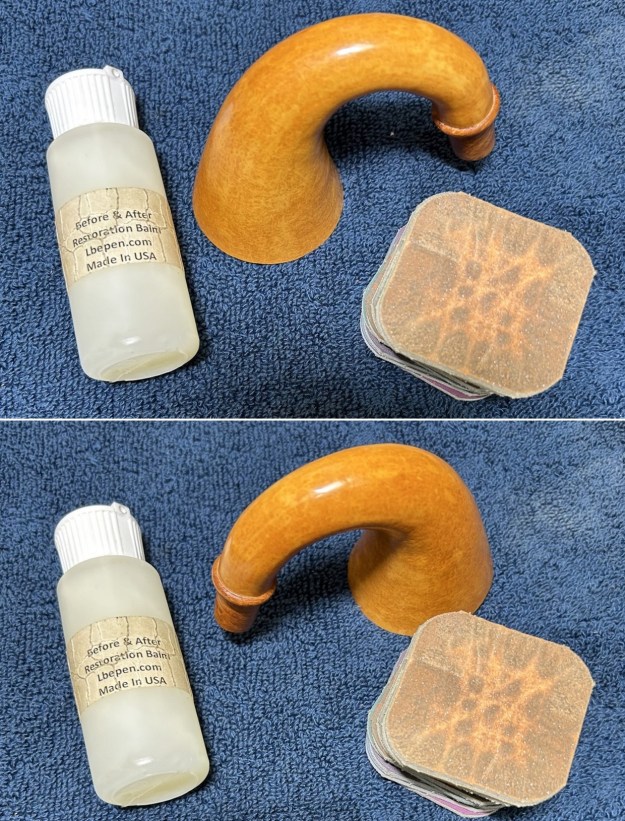
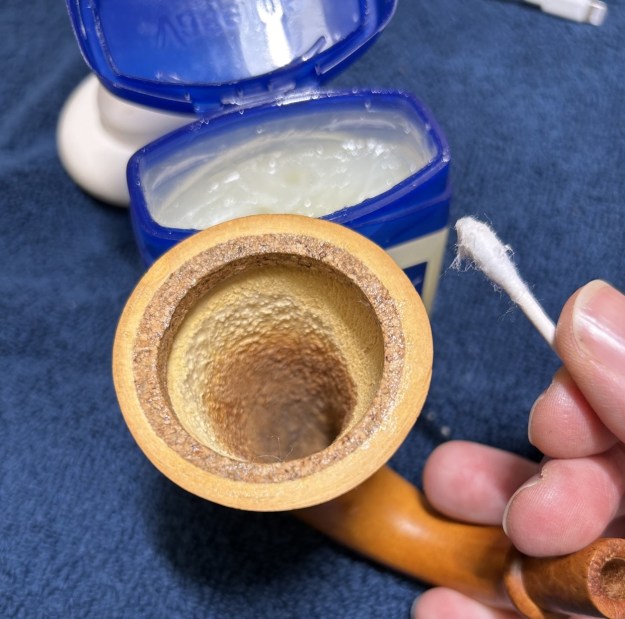
I cleaned the exterior of the gourd with some Murphy’s Oil Soap on a few cotton rounds. I cleaned inside the gourd gently by scraping with my reaming knife and some tube brushes. I was pleased with the results. I sanded down the wooden shank extension (but not the gourd) with my Micromesh pads. I also cleaned out the inside with cotton swabs and alcohol. It wasn’t very dirty. I then coated the gourd and shank extension with Restoration Balm and let it sit for 20 minutes. After that, I buffed it with the microfibre cloth. Finally, I applied some Vaseline to the cork gasket. Even though the gasket was in perfect shape, it’s a good idea to lubricate it in this way in order to maintain its elasticity. I set it aside to absorb and moved on.Before I went off to the buffer, I gave the meer and the gourd another going over with Clapham’s beeswax rub. This really worked well. I only took the stem to the buffer, as meerschaum and gourds don’t tolerate those high speeds very well! This gourd calabash was a delight from the start and its beauty only increased through the restoration process. I am pleased to announce that this pipe is for sale! If you are interested in acquiring it for your collection, please have a look in the ‘Calabash’ pipe section of the store here on Steve’s website. You can also email me directly at kenneth@knightsofthepipe.com. The approximate dimensions of the pipe are as follows: length 6¼ in. (160 mm); height 4½ in. (115 mm); bowl diameter 2¾ in. (70 mm); chamber diameter 1⅛ in. (28 mm). The weight of the pipe is 3 oz. (88 g). I hope you enjoyed reading the story of this restoration as much as I enjoyed restoring it. If you are interested in more of my work, please follow me here on Steve’s website or send me an email. Thank you very much for reading and, as always, I welcome and encourage your comments.
New Life for a Full Bent Gourd Calabash with a Meerschaum Cup


Blog by Steve Laug

I have several boxes of pipes that Jeff has sent me to work on over the past months that have some great looking pipes in them. I have chosen to work on four Gourd Calabash pipes that he picked up in several places. The last of them is a full bent Gourd with a meerschaum cup, a black acrylic shank end and a bent vulcanite stem. The gourd was very dirty with a lot of dust and grime ground into the finish. The meerschaum cup had a thick cake and an overflow of lava on the rim top. The pipe had obviously been heavily smoked which reflected on it being a great smoking pipe. The vulcanite stem was oxidized and had tooth marks and chatter on both sides ahead of the button. It is a an interesting pipe with a lot of potential under the grime and debris of the years. The  Jeff took some photos of the Gourd Calabash before he worked his magic in cleaning up the pipe. Jeff took photos of the bowl, rim top to show the thickness of the cake in the bowl and the thick lava on the rim top. The rim top and inner edge are thickly covered with lava. The meerschaum has some patina developing. He took photos of the top and underside of the stem showing the tooth marks and chatter on both sides and the overall look of the stem and shank extension on the gourd.Jeff took photos of the sides and heel of the bowl to show the condition of the gourd bowl the developing patina on the meerschaum cup. This Full Bent Gourd Calabash is another interesting looking pipe. The meerschaum bowl has developed a patina and the bent vulcanite stem looks very good with it. Everything about the pipe reminds me of the Gourd Calabash pipes that Pioneer used to make. Could this be one of those? Probably will never know.

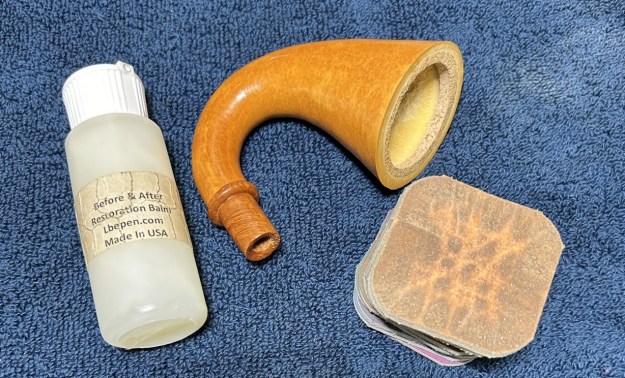
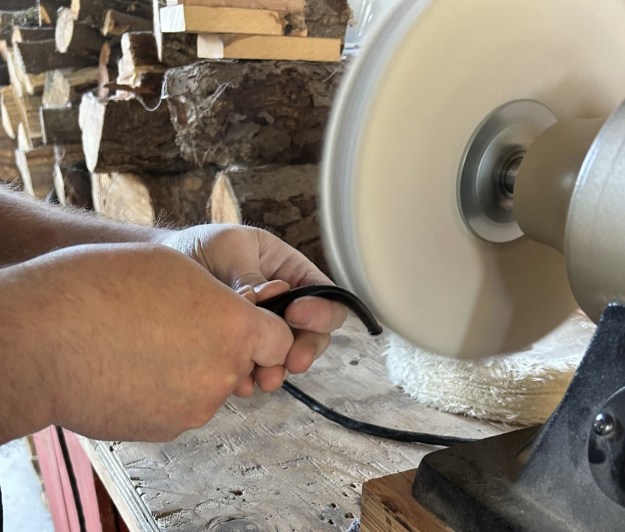
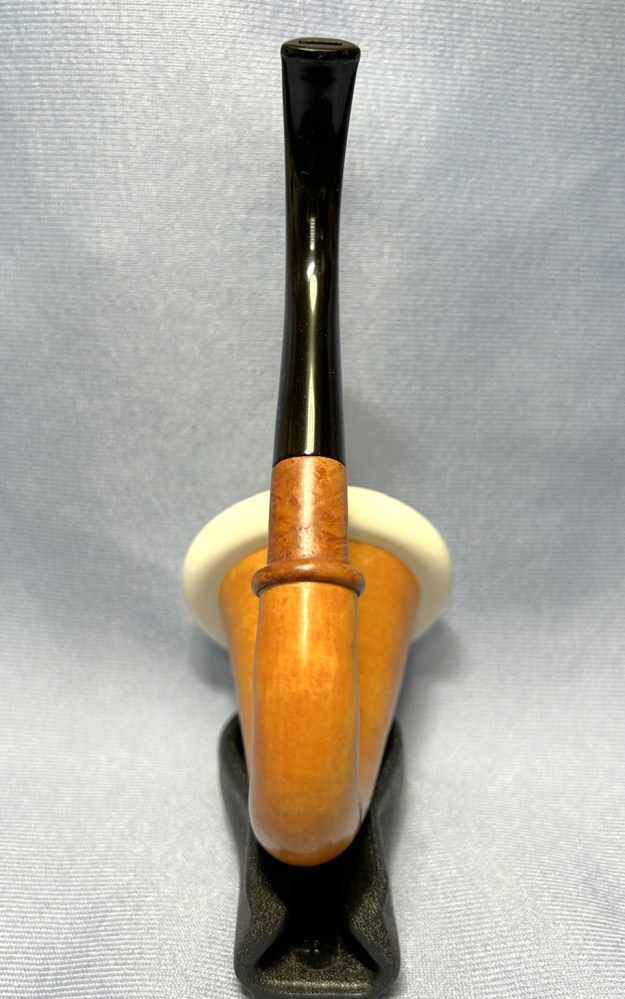
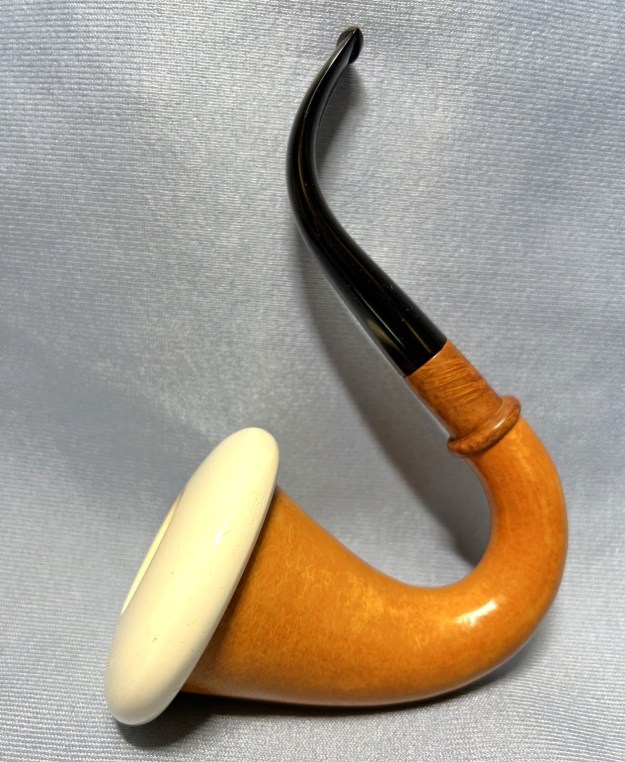
Jeff reamed carefully reamed the meerschaum bowl and the gourd base with a Savinelli Fitsall Pipe Knife. He carefully scrubbed the exterior of the bowl with Murphy’s Oil Soap and a tooth brush to remove the grime and grit on the exterior of the meerschaum cup and rim top and lava on the rim top. He scrubbed out the internals of the bowl and the gourd with Murphy’s Oil Soap and a tooth brush. He cleaned out the shank extension, shank and the stem with alcohol, pipe cleaners and cotton swabs until the pipe was clean. The finish looks much better and has a deep richness in the colour that highlights the patina in the meerschaum and the contrast of the rusticated gourd. He cleaned the internals of the vulcanite stem with alcohol, pipe cleaners and cotton swabs. He scrubbed the externals with Soft Scrub to remove the grime on the surface and soaked it in a bath of Briarville’s Pipe Stem Deoxidizer. He rinsed it and rubbed it down with a bit of olive oil before he sent it to me. When the pipe arrived here in Vancouver I was amazed that it looked so good. I took photos of it before I started my work on the pipe.I took some photos of the bowl and meerschaum cup. The rim top looks very good after the clean up though a bit spotty. There is still some darkening and chips/marks around the inner edge of the bowl that will need to be dealt with. The stem looks good but has light tooth marks and chatter on both sides near and on the surface of the button.I removed the stem from the shank and the meerschaum bowl from the gourd and took photos of the parts from various angles. The underside of the meerschaum cup was in good condition. I started the process of cleaning up the meerschaum bowl by sanding the inner edge and bevel with a folded piece of 220 grit sandpaper. I was able to remove the darkened edges and nicks with the sandpaper. It looked better after I worked on it.I polished the meerschaum rim top with micromesh sanding pads – dry sanding with 1500-12000 grit sanding pads. I wiped the bowl down after each pad with a damp cloth to remove the sanding debris.I rubbed the meerschaum rim cap down with some Before & After Restoration Balm and worked it into the surface with my finger tips. I let it sit for about 15 minutes and then buffed it to a polish. The Balm really highlights the growing patina on the meer bowl. It works to protect and polish the meerschaum.I worked some Before & After Restoration Balm into the surface of the gourd calabash with my fingertips to clean, enliven and protect the briar. I let the balm sit for 15 minutes and then buffed with a cotton cloth to raise the shine. The photos show the bowl at this point in the restoration process. I used some Vaseline Petroleum Jelly to rejuvenate the cork gasket around the inside edge of the gourd. It would make the fit of the meerschaum snug against the gourd and the rejuvenated cork would make it smooth and easy to insert and remove the bowl.I let the cork absorb the Vaseline for about 5 minutes and then fit the bowl in the gourd. The pipe looked very good at this point in the process.I set the bowl aside and turned my attention to the stem. I sanded the tooth marks on the top and underside of the stem with 220 grit sandpaper to smooth out the marks. I started to polish the stem with 400 grit wet dry sandpaper.I polished the stem with micromesh sanding pads – dry sanding with 1500-12000 grit sanding pads. I wiped it down after each sanding pad with Obsidian Oil. I polished it with Before & After Pipe Stem Polish – both Fine and Extra Fine. I gave it a final coat of Obsidian Oil. It looks significantly better!With the bowl and the stem finished I put the beautiful Gourd Calabash with Meerschaum cup and fancy vulcanite stem back together and buffed it the bowl and cup lightly on the wheel using Blue Diamond to give it a shine. I gave the bowl and stem multiple coats of carnauba wax. I buffed the pipe with a microfiber cloth to deepen the shine. The finish on the gourd and meer is a great looking. The fancy vulcanite stem looked very good. The dimensions of the pipe are – Length: 7 ½ inches, Height: 4 inch, Outside diameter of the bowl: 2 ¾ inches, Chamber diameter: 1 inch. The weight of this large pipe is 3.81 ounces /108 grams. This Gourd Calabash is another great find. It is much more beautiful in person than these photos can capture. I will be putting it on the rebornpipes store shortly. If you would like to add it to your rack let me know by email or message. This is another pipe that has the possibility of transporting the pipe man or woman back to a slower paced time in history where you can enjoy a respite. Thanks for walking through the restoration with me.

New Life for a Rusticated Gourd Calabash with a Meerschaum Cup


Blog by Steve Laug

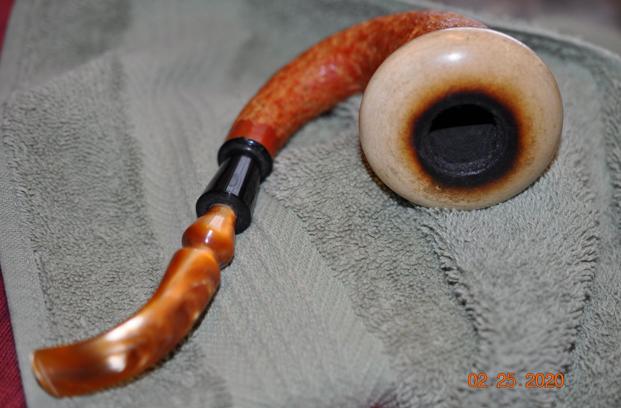
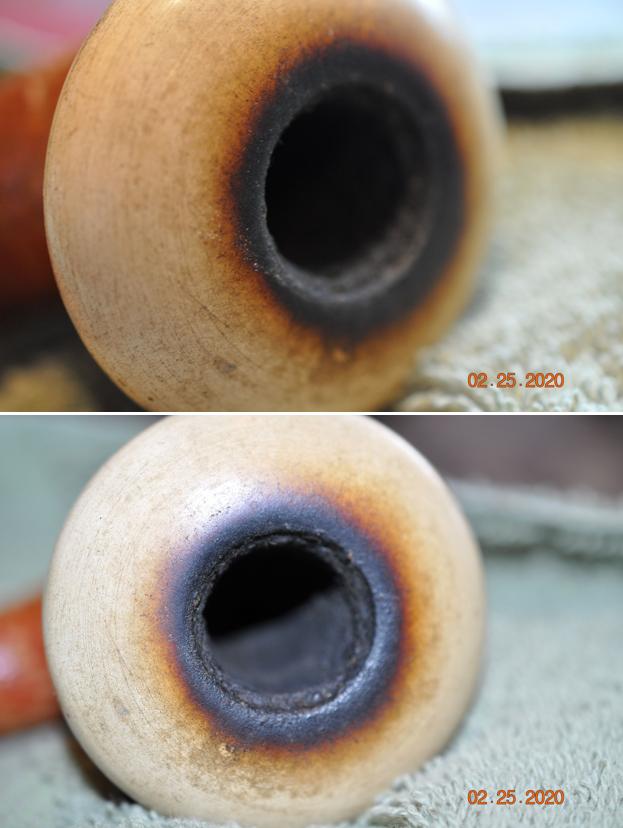
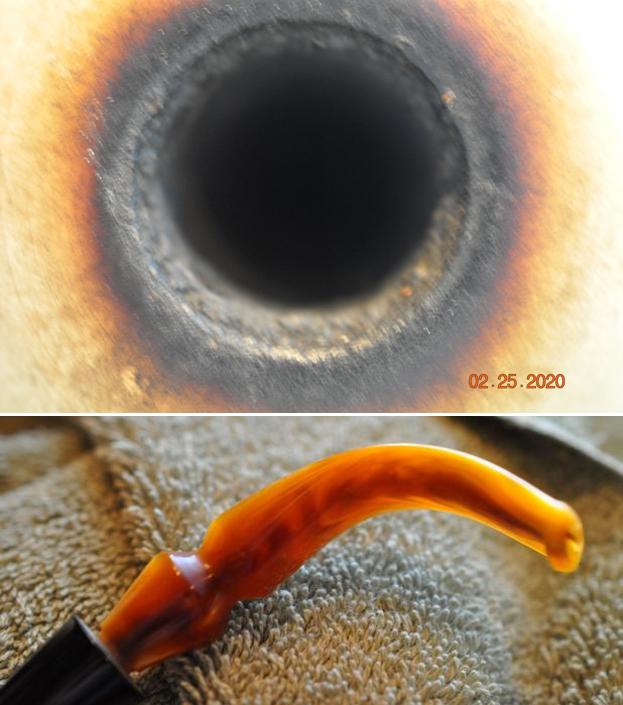
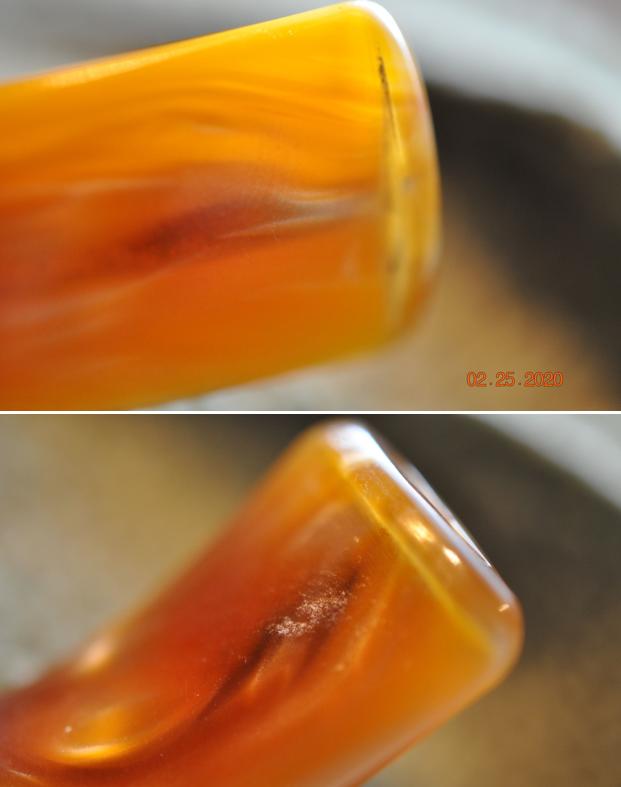
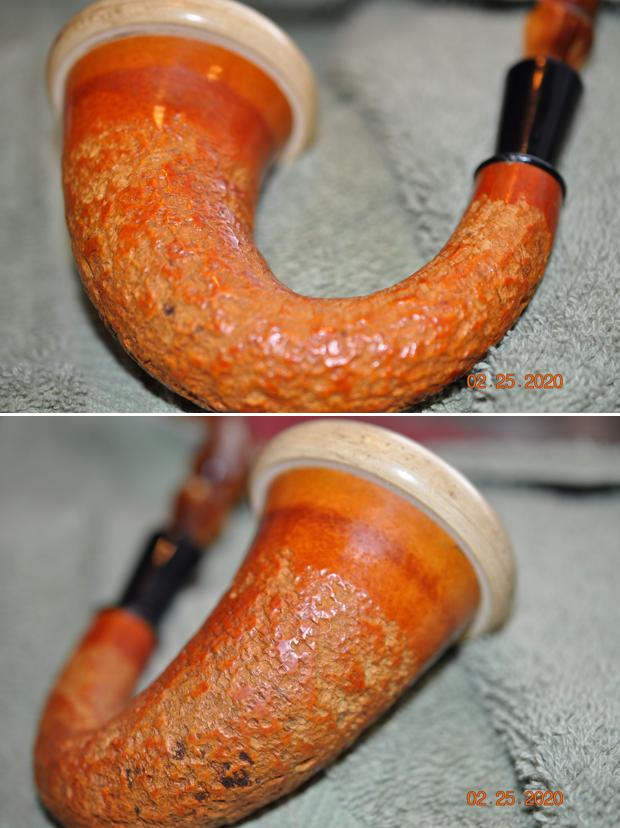
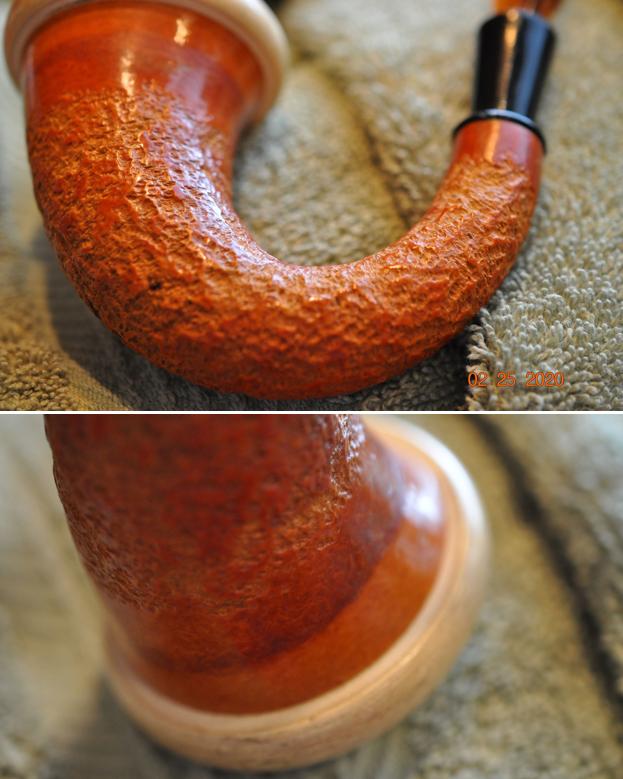
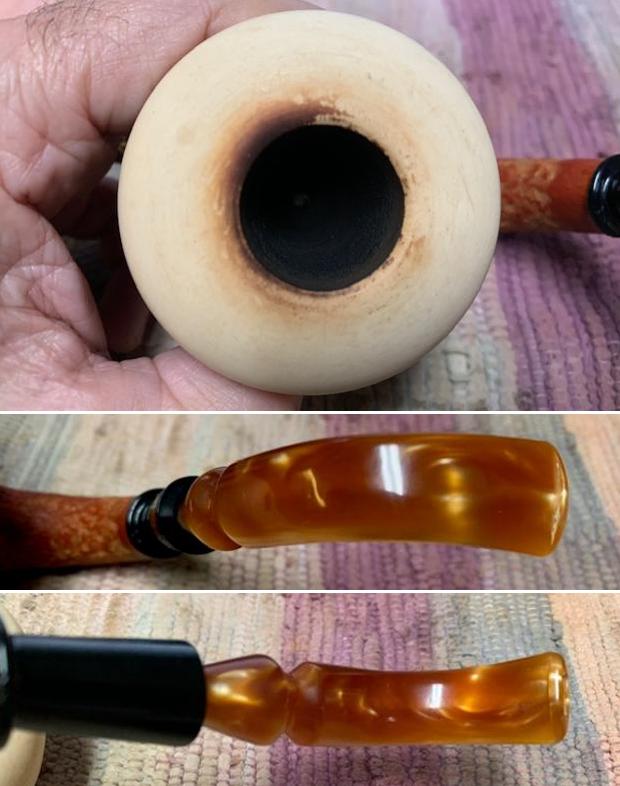
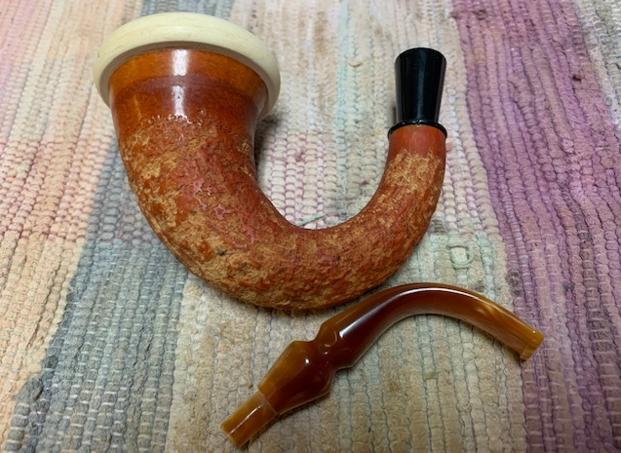
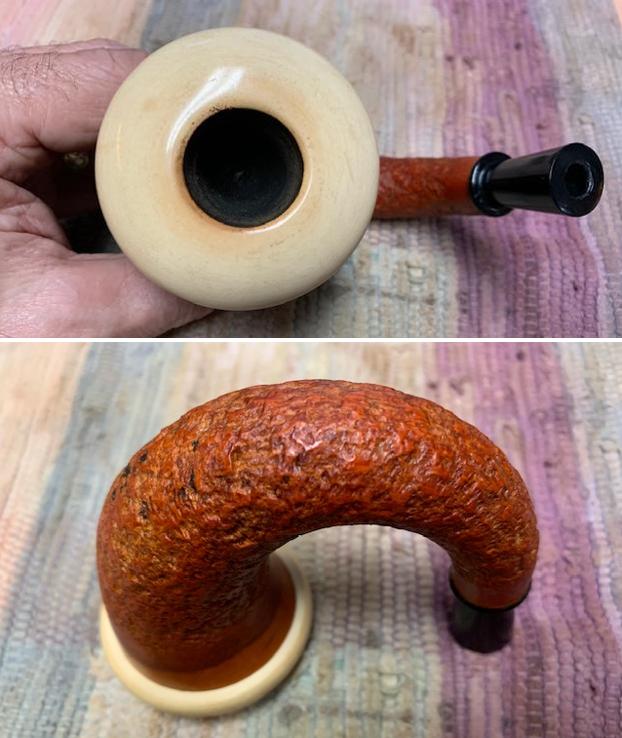
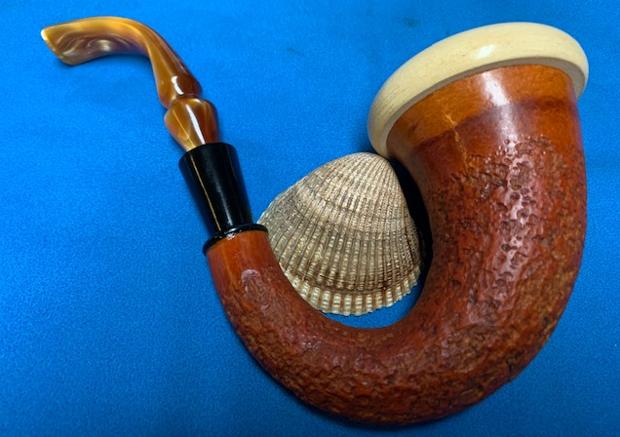
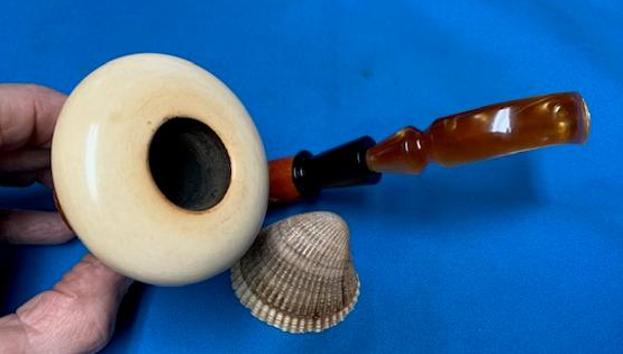
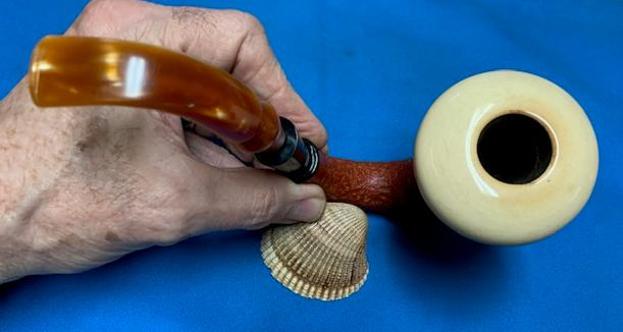
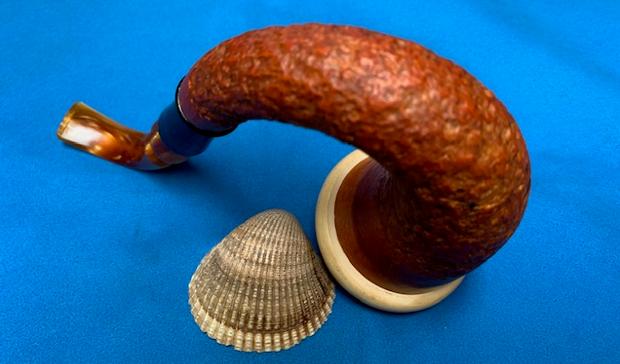
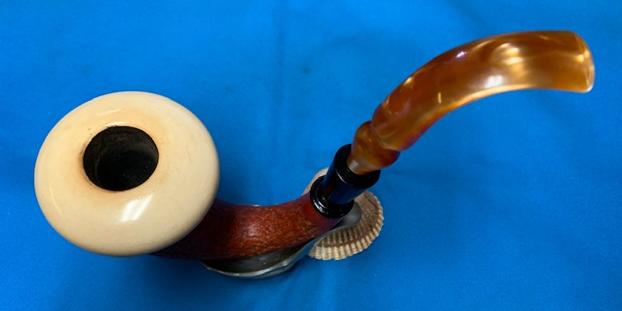
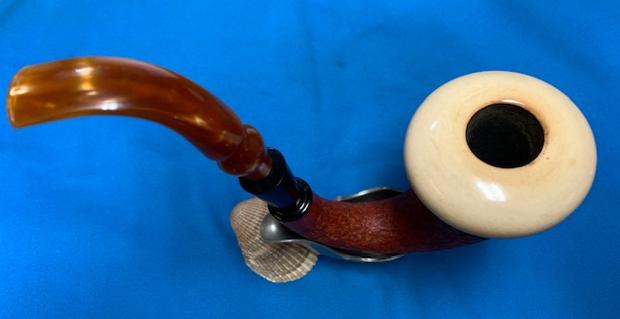
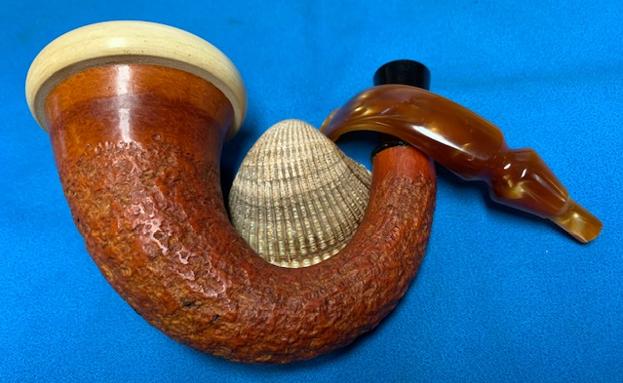
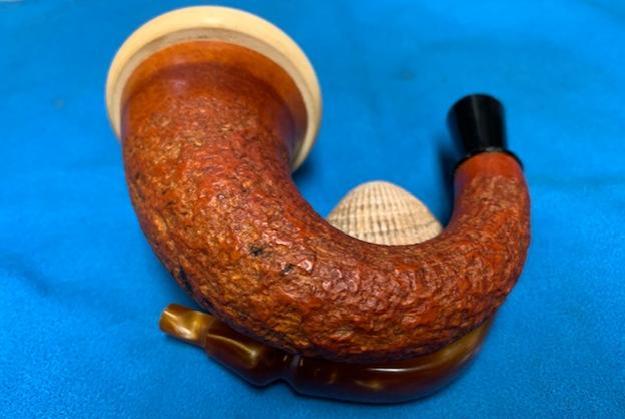
I have several boxes of pipes that Jeff has sent me to work on over the past months that have some great looking pipes in them. I have chosen to work on four Gourd Calabash pipes that he picked up in several places. The first of these is a rusticated Gourd with a meerschaum cup, a black acrylic shank end and a variegated gold/orange/brown fancy acrylic stem. The rusticated gourd was very dirty with a lot of dust and grime ground into the finish. The meerschaum cup had a thick cake and an overflow of lava on the rim top. The pipe had obviously been heavily smoked which reflected on it being a great smoking pipe. The acrylic stem had tooth marks and chatter on both sides ahead of the button. It is a an interesting pipe with a lot of potential under the grime and debris of the years. The  Jeff took some photos of the Gourd Calabash with a Meerschaum Bowl and acrylic stem before he worked his magic in cleaning up the pipe. Jeff took photos of the bowl, rim top to show the thickness of the cake in the bowl and the thick lava on the rim top. The rim top and inner edge are thickly covered with lava. The meerschaum has some patina developing. He took photos of the top and underside of the acrylic stem showing the tooth marks and chatter on both sides and the overall look of the stem and shank extension on the gourd.

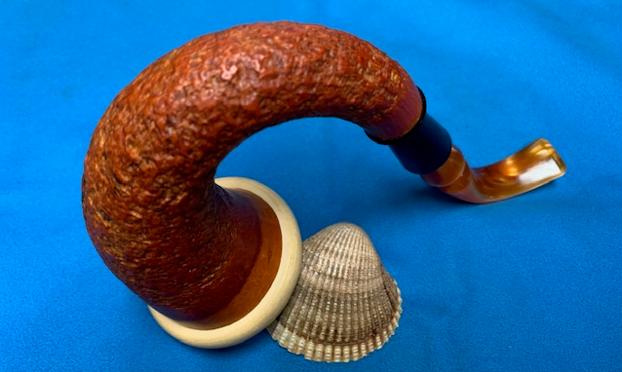
Jeff took photos of the sides and heel of the bowl to show the condition of the gourd bowl the developing patina on the meerschaum cup. This Rusticated Gourd Calabash is an interesting looking pipe. The meerschaum bowl has developed a patina and the acrylic amber coloured stem looks very good with it.

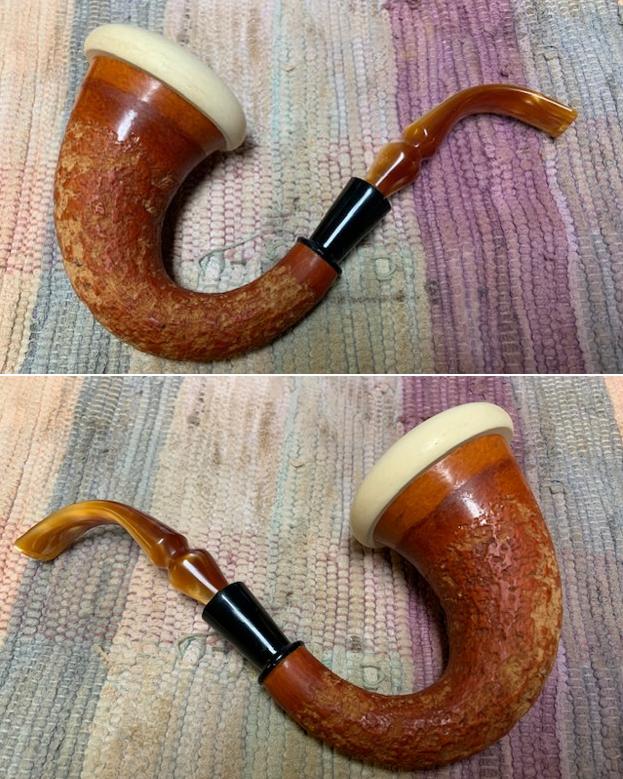
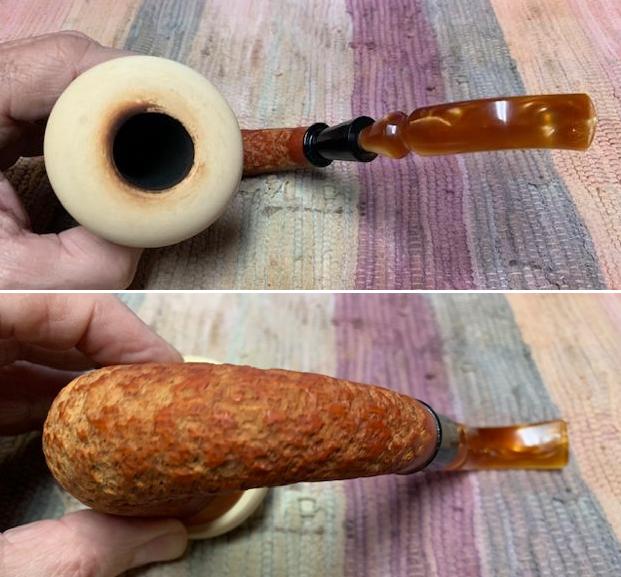
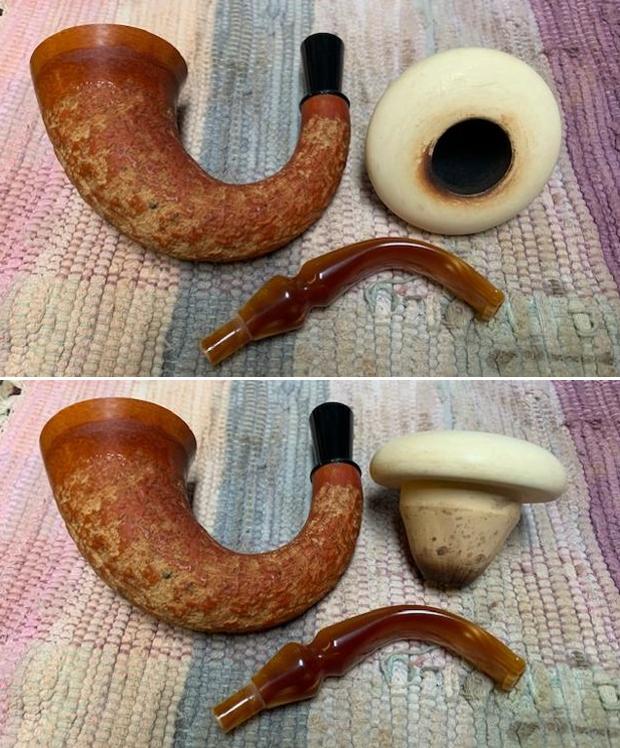
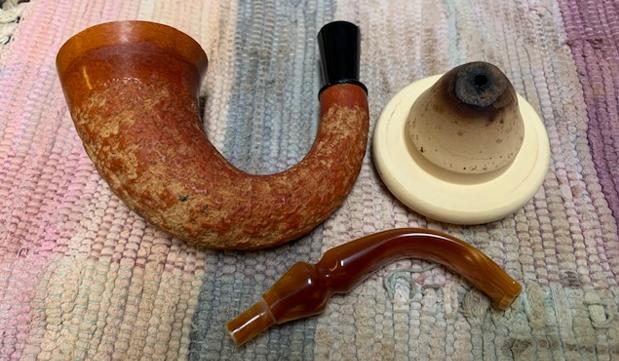
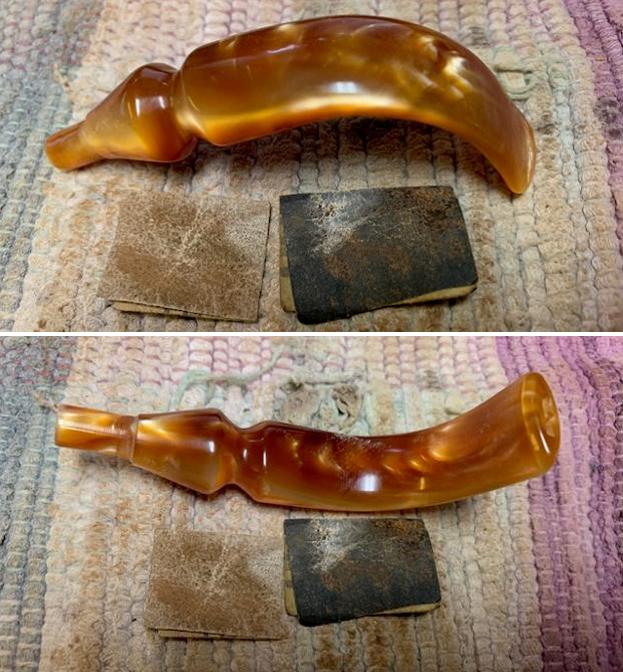
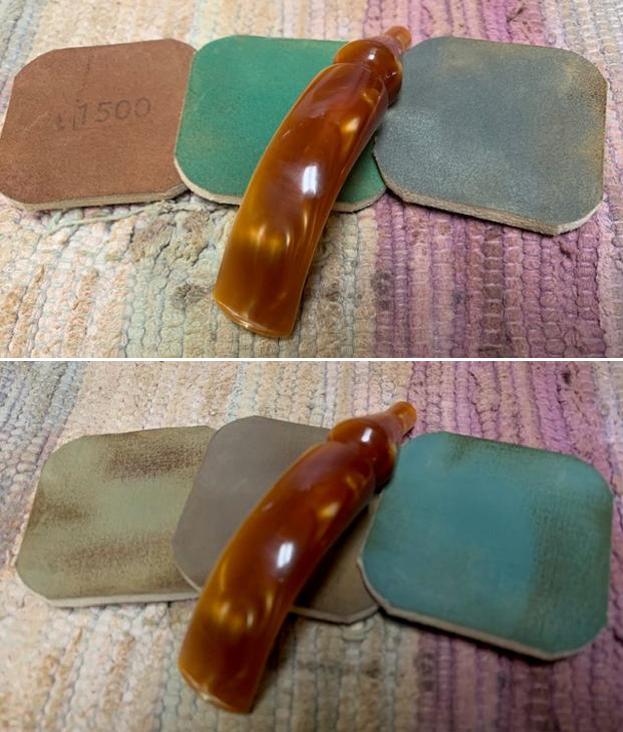
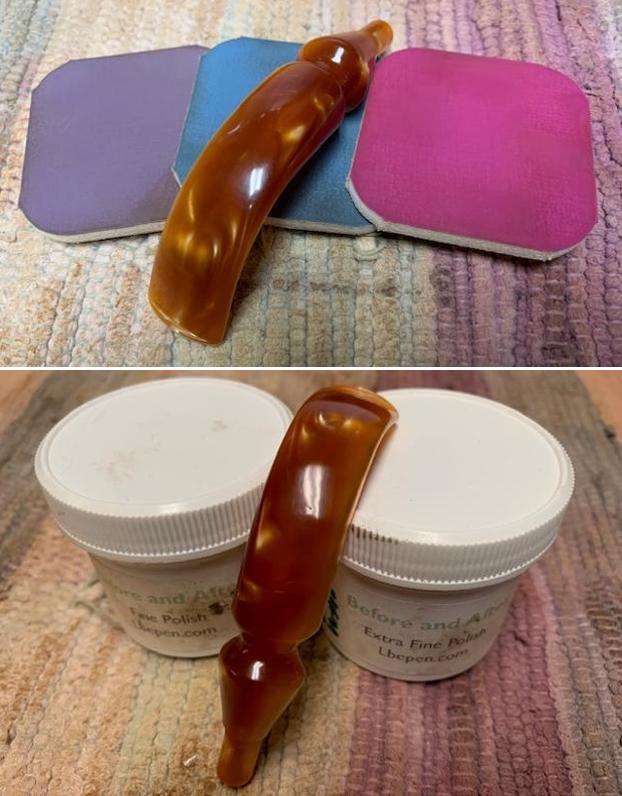
Jeff reamed carefully reamed the meerschaum bowl and the gourd base with a Savinelli Fitsall Pipe Knife. He carefully scrubbed the exterior of the bowl with Murphy’s Oil Soap and a tooth brush to remove the grime and grit on the exterior of the meerschaum cup and rim top and lava on the rim top. He scrubbed out the internals of the bowl and the gourd with Murphy’s Oil Soap and a tooth brush. He cleaned out the shank extension, shank and the stem with alcohol, pipe cleaners and cotton swabs until the pipe was clean. The finish looks much better and has a deep richness in the colour that highlights the patina in the meerschaum and the contrast of the rusticated gourd.  He cleaned the internals of the acrylic stem with alcohol, pipe cleaners and cotton swabs. He scrubbed the externals with Soft Scrub to remove the grime on the acrylic. When the pipe arrived here in Vancouver I was amazed that it looked so good. I took photos of it before I started my work on the pipe. I took some photos of the bowl and meerschaum cup. The rim top looks very good after the clean up though it is spotty. There is still some darkening around the inner edge of the bowl that will need to be dealt with. The stem looks good but has light tooth marks and chatter on both sides near the button.I removed the stem from the shank and took a photo of the parts. I removed the meerschaum bowl from the gourd and took photos of it from various angles. The underside was in good condition other than a chip out of one side of the pointed bowl bottom. I started the process of cleaning up the meerschaum bowl by sanding the inner edge and the rim top with a folded piece of 220 grit sandpaper. I was able to remove the darkened edges and top with the sandpaper. It looked better after I worked on it.I worked over the chipped bottom of the bowl with the some 180 grit sandpaper to smooth out the chipped area and round the edges. I polished the meerschaum rim top with micromesh sanding pads – dry sanding with 1500-12000 grit sanding pads. I wiped the bowl down after each pad with a damp cloth to remove the sanding debris. I worked some Before & After Restoration Balm into the surface of the gourd calabash with my fingertips to clean, enliven and protect the briar. I let the balm sit for 15 minutes and then buffed with a cotton cloth to raise the shine. The photos show the bowl at this point in the restoration process. I used some Vaseline Petroleum Jelly to rejuvenate the cork gasket around the inside edge of the gourd. It would make the fit of the meerschaum snug against the gourd and the rejuvenated cork would make it smooth and easy to insert and remove the bowl. I let the cork absorb the Vaseline for about 5 minutes and then fit the bowl in the gourd. The pipe looked very good at this point in the process. I set the bowl aside and turned my attention to the stem. I sanded the tooth marks on the top and underside of the stem with 220 grit sandpaper to smooth out the marks. I started to polish the stem with 400 grit wet dry sandpaper.I polished the stem with micromesh sanding pads – dry sanding with 1500-12000 grit sanding pads. I wiped it down after each sanding pad with Obsidian Oil. I polished it with Before & After Pipe Stem Polish – both Fine and Extra Fine. I gave it a final coat of Obsidian Oil. It looks significantly better! With the bowl and the stem finished I put the beautiful Gourd Calabash with Meerschaum cup and an amber acrylic stem back together and buffed it the bowl and cup lightly on the wheel using Blue Diamond to give it a shine. I gave the bowl and stem multiple coats of Conservator’s Wax. I buffed the pipe with a microfiber cloth to deepen the shine. The finish on the gourd and meer is a great looking. The fancy acrylic stem looked very good. The dimensions of the pipe are – Length: 6 ½ inches, Height: 3 ½ inch, Outside diameter of the bowl: 2 ½ inches, Chamber diameter: 7/8 of an inch. The weight of this large pipe is 3.17 ounces /90 grams. This Gourd Calabash is another great find from this collection. It is much more beautiful in person than these photos can capture. I will be putting it on the rebornpipes store shortly. If you would like to add it to your rack let me know by email or message. This is another pipe that has the possibility of transporting the pipe man or woman back to a slower paced time in history where you can enjoy a respite. Thanks for walking through the restoration with me.