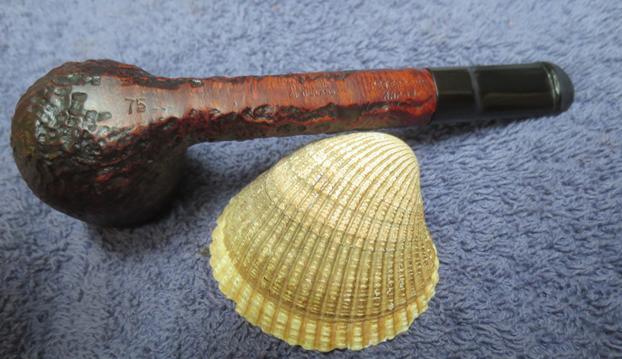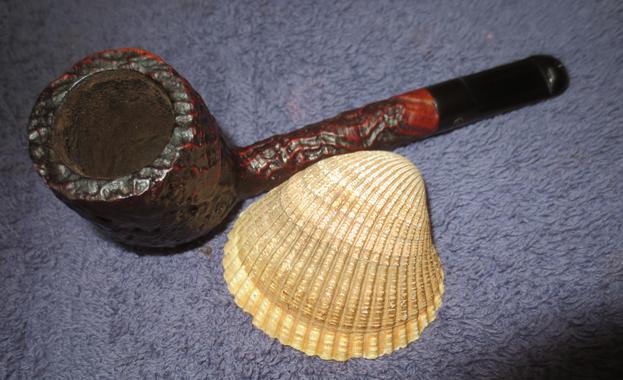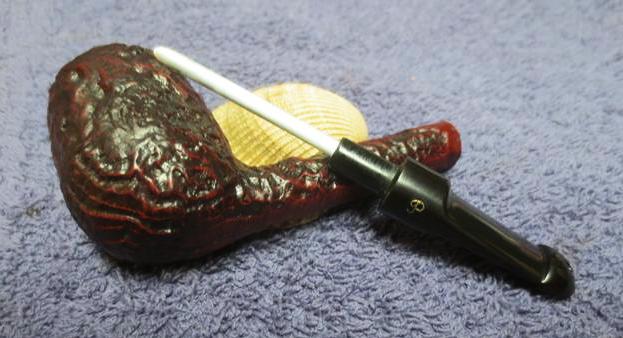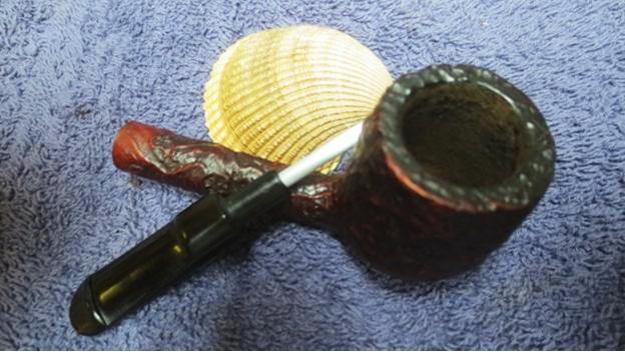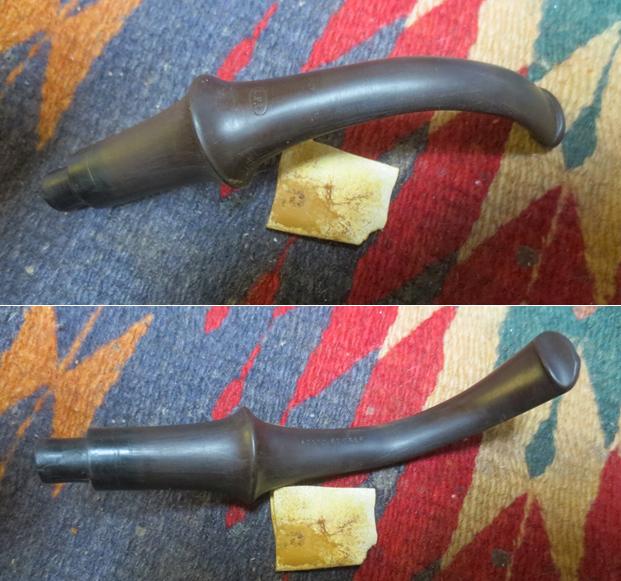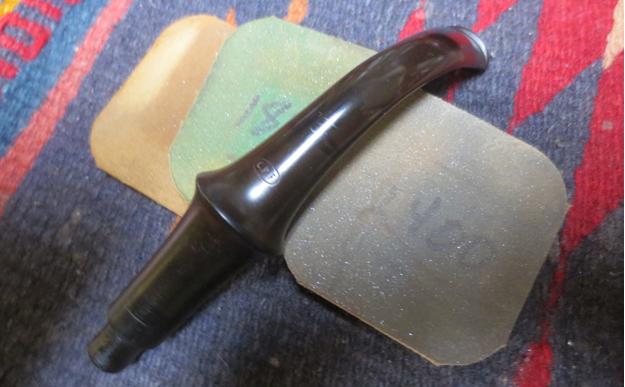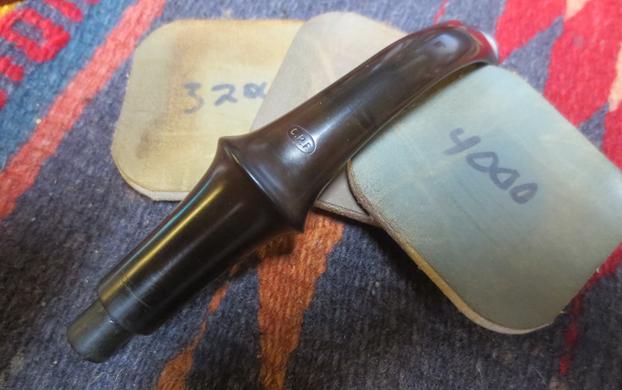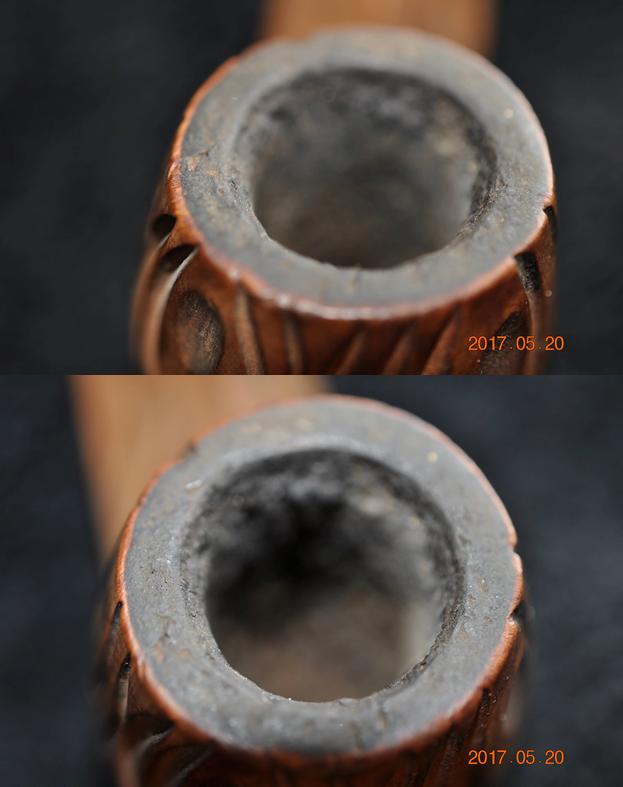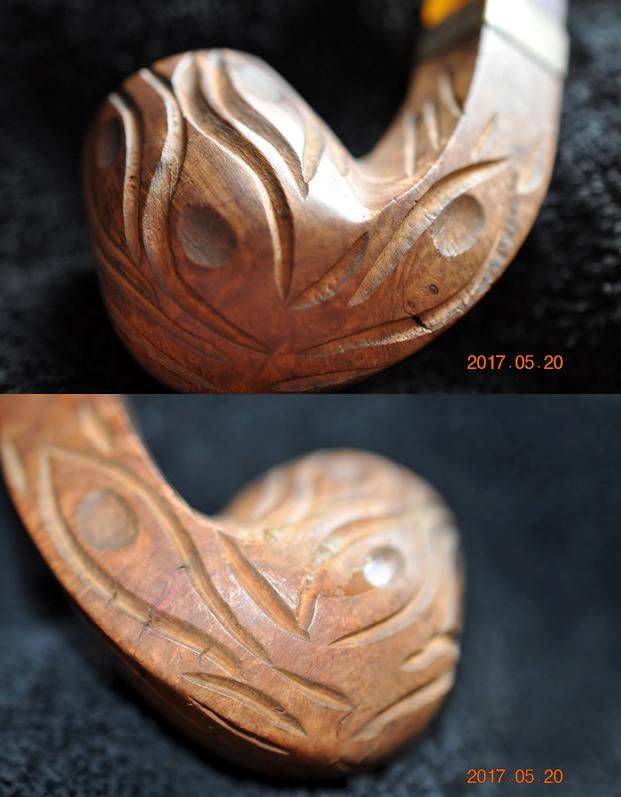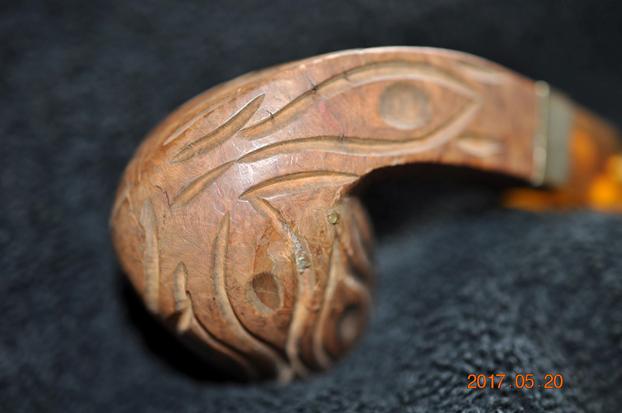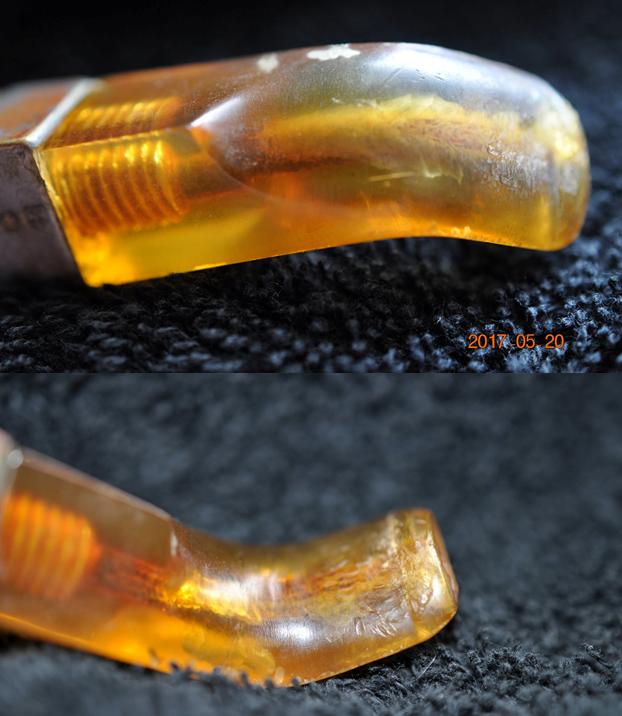
Tag Archives: shaping a stem

Replacing a Broken Tenon & Restoring an Old Italian Bulldog


Blog by Steve Laug

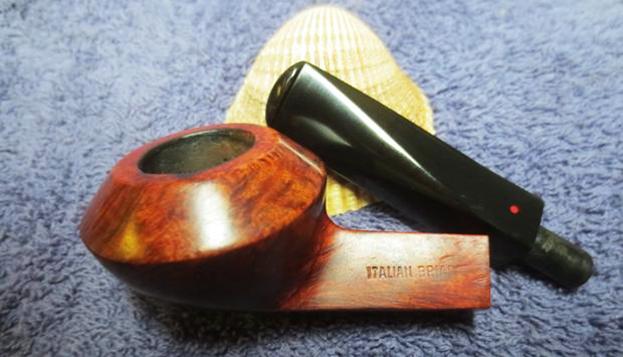
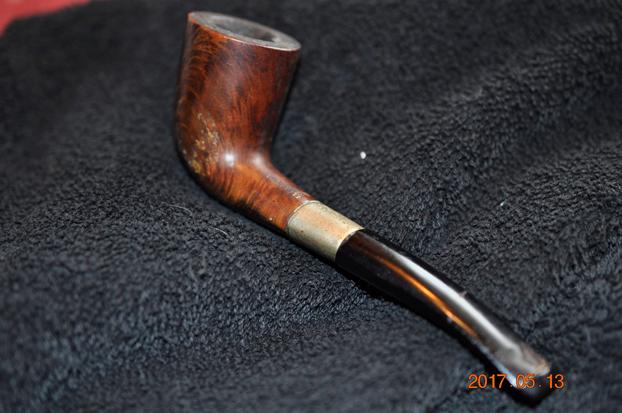
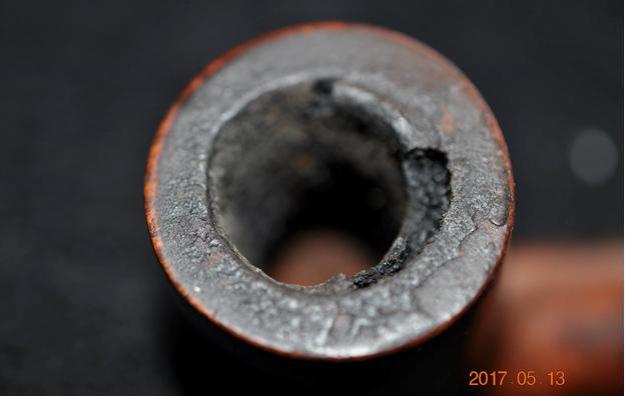
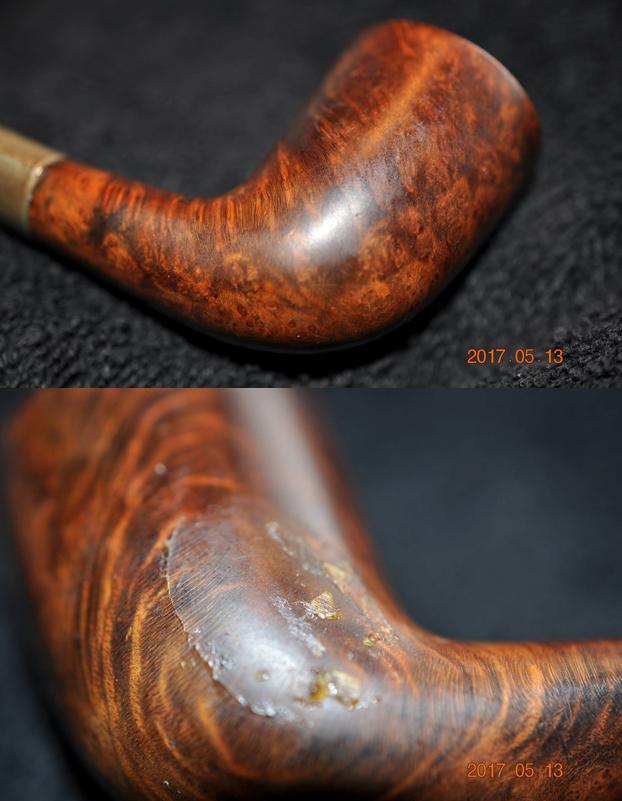
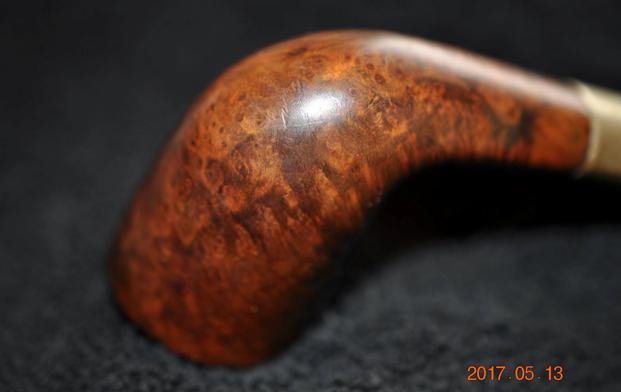
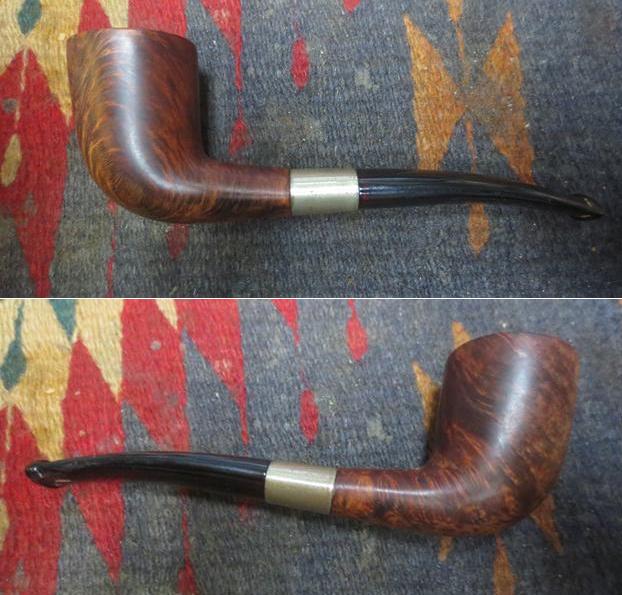
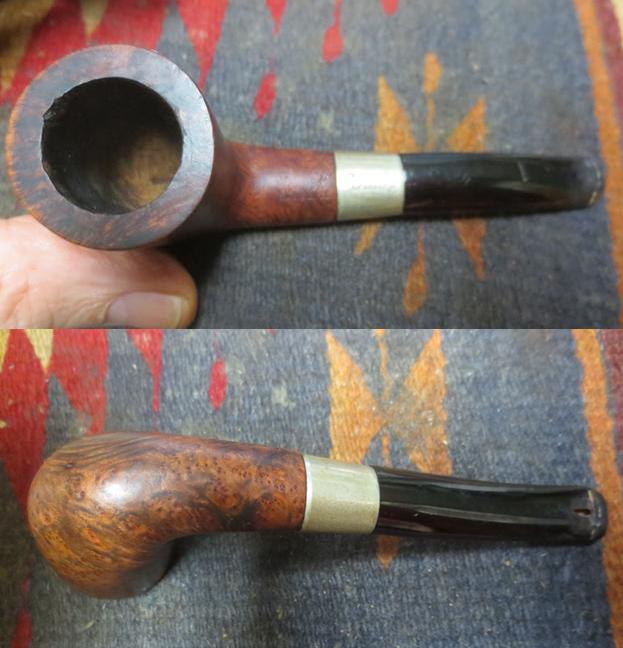
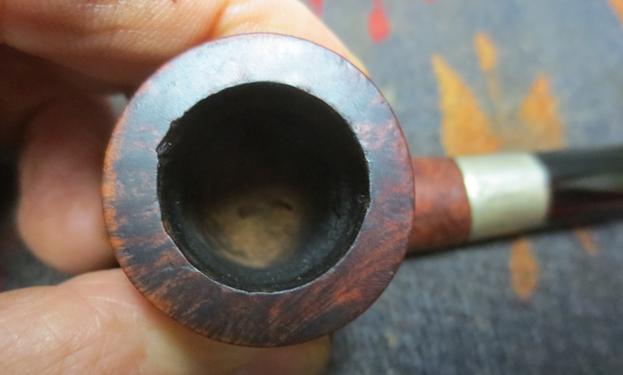
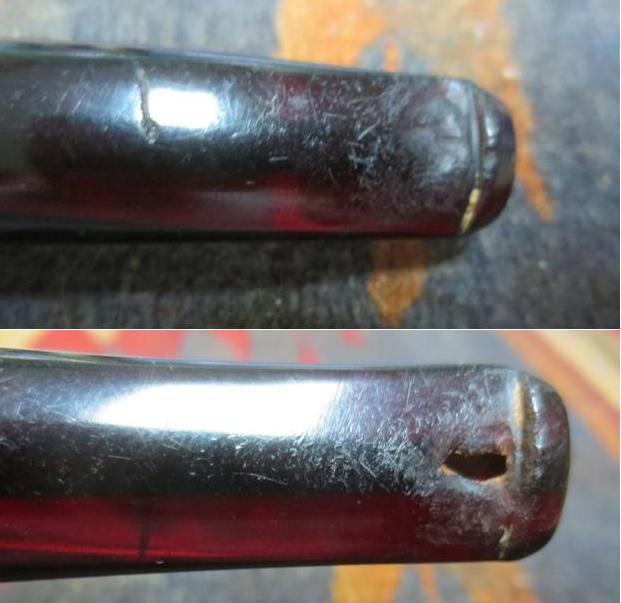
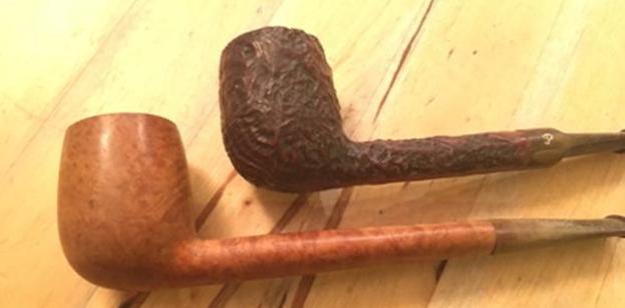
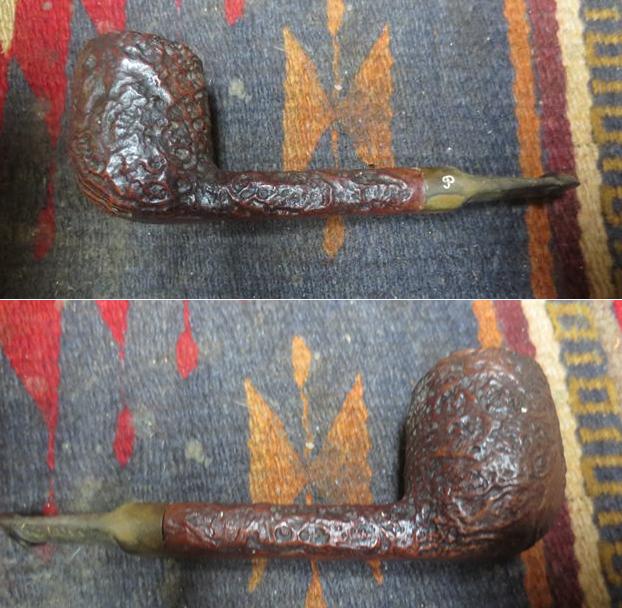
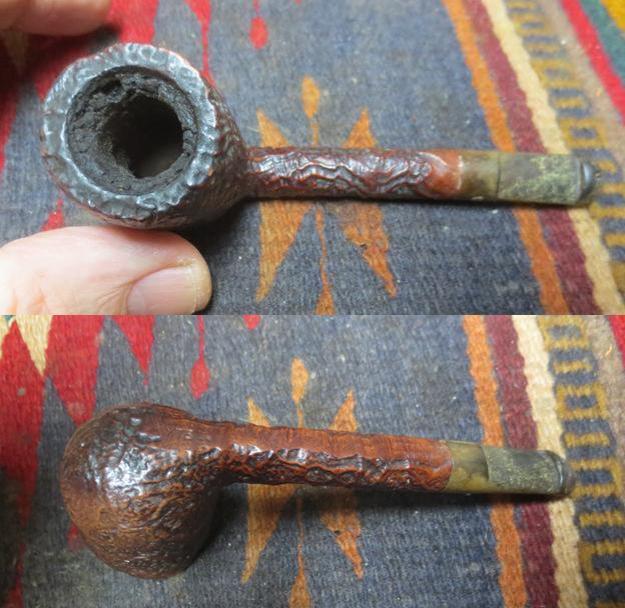
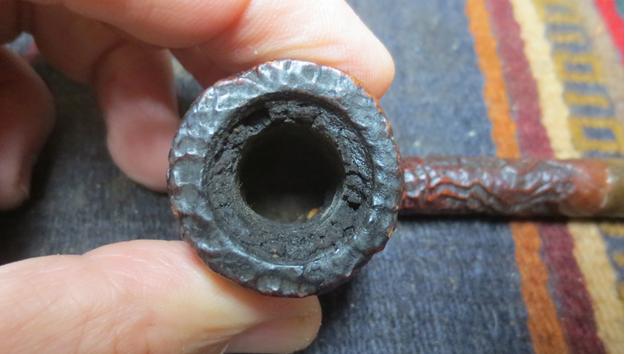
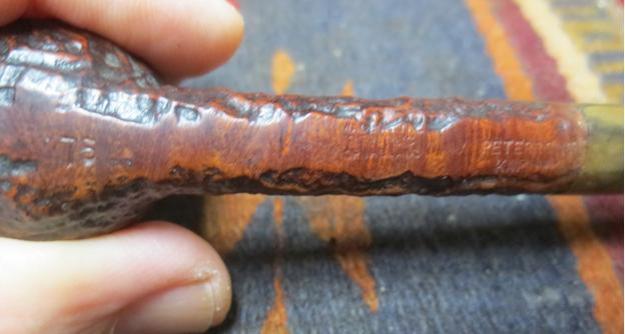
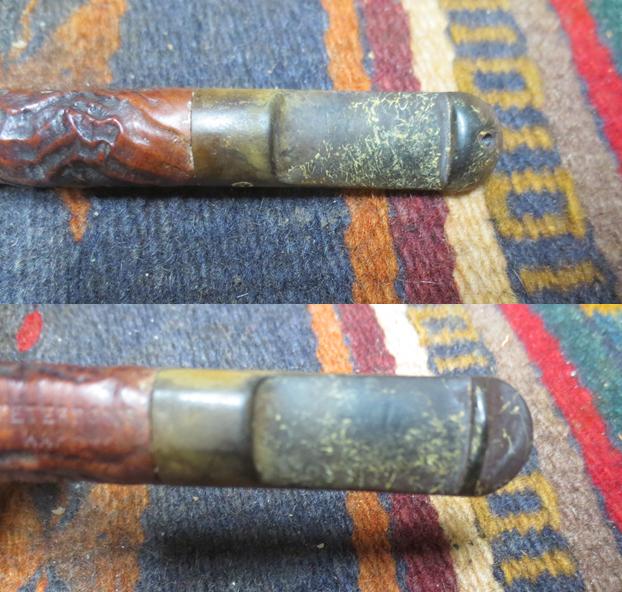
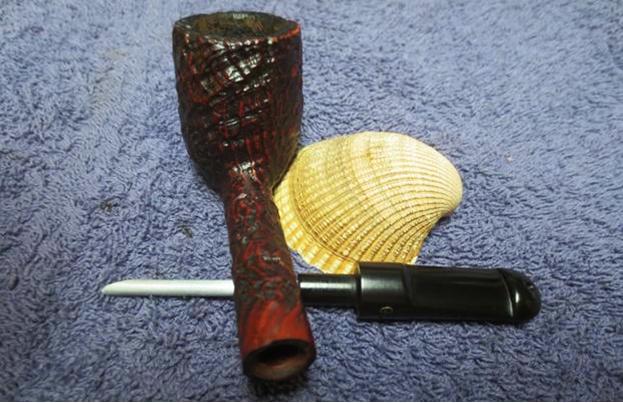
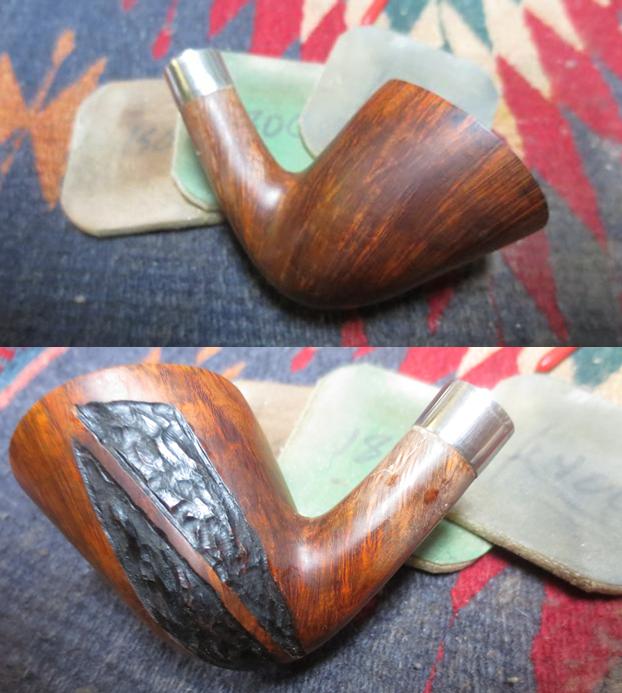
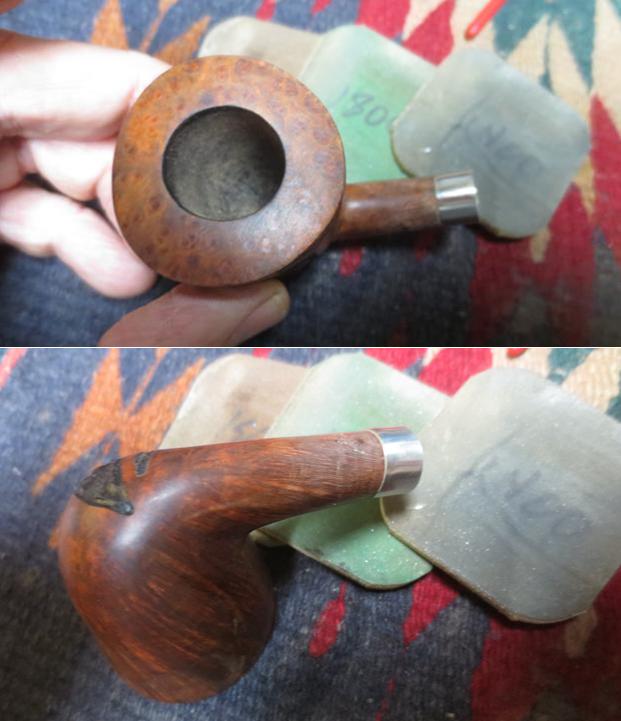
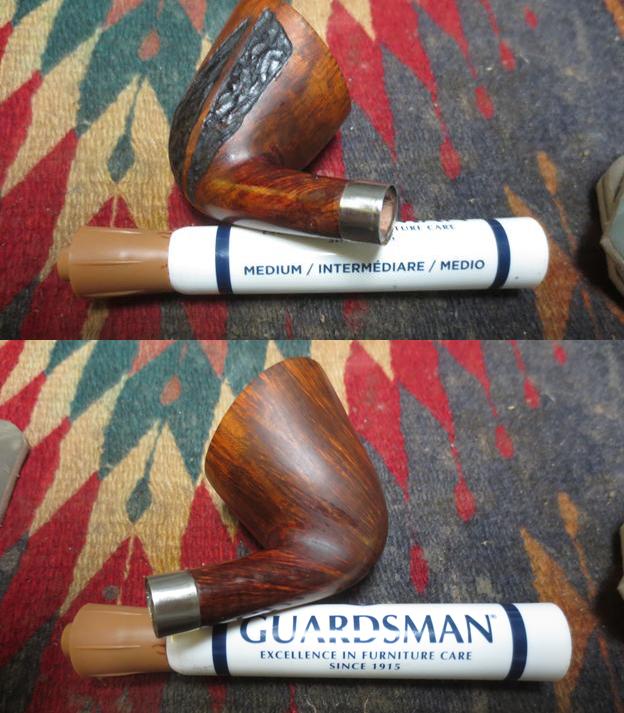
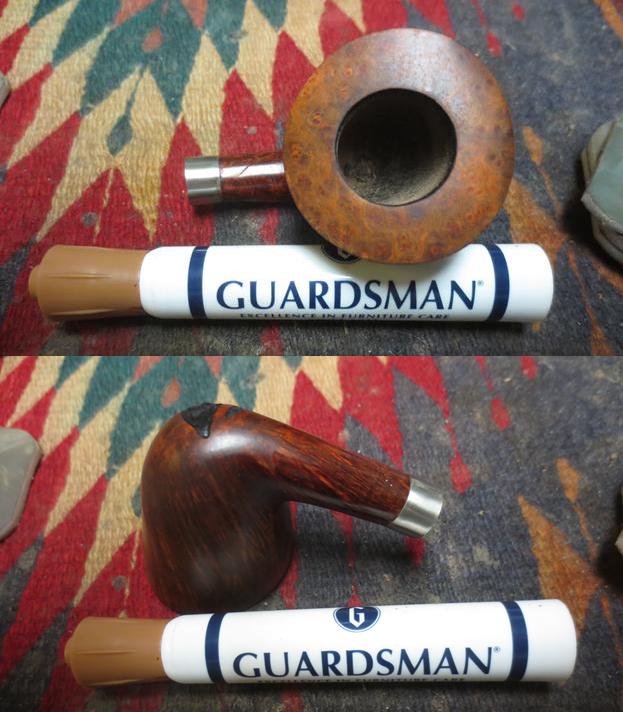
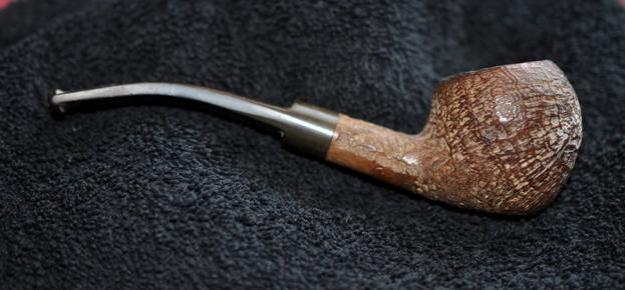
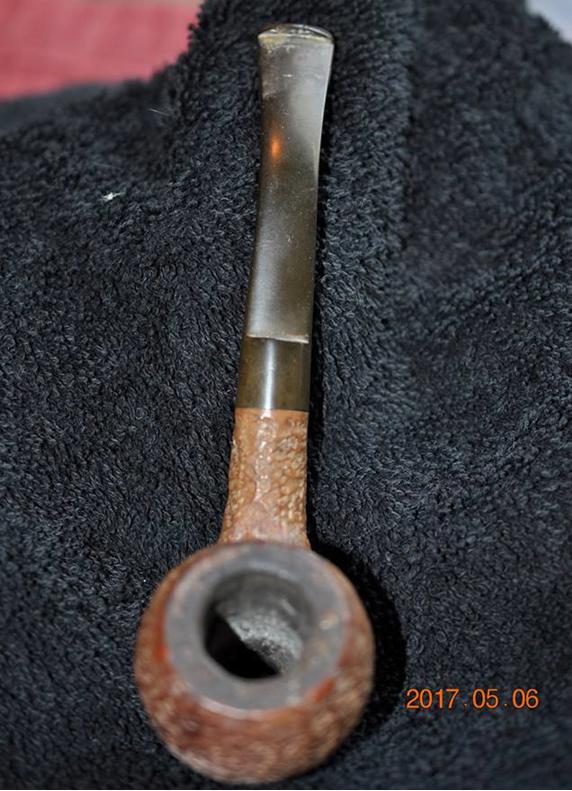
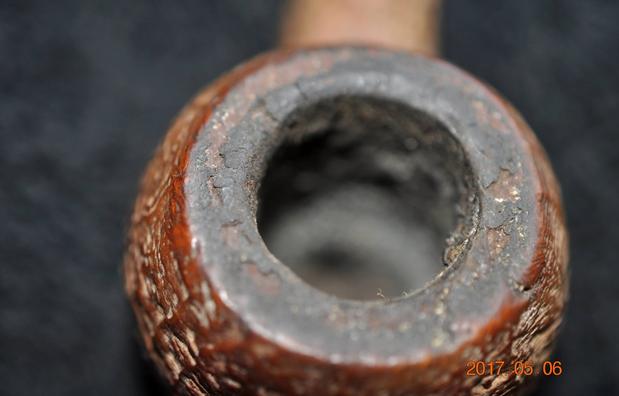
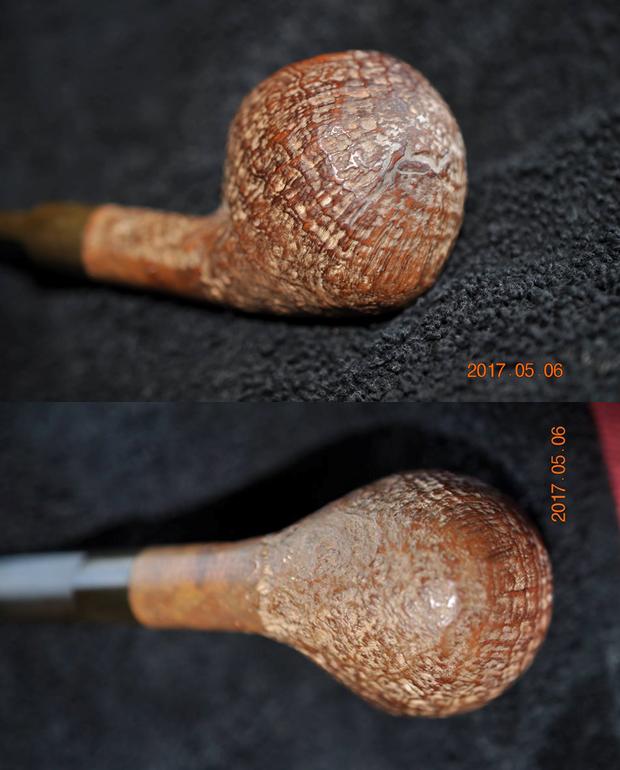
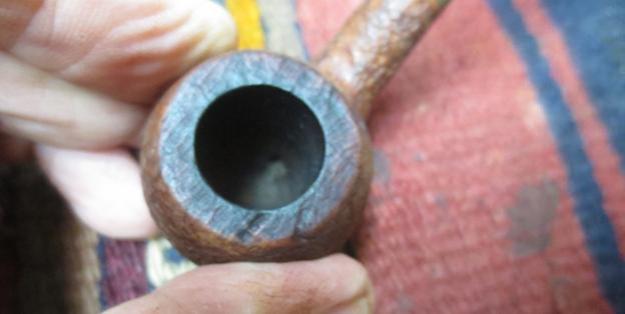
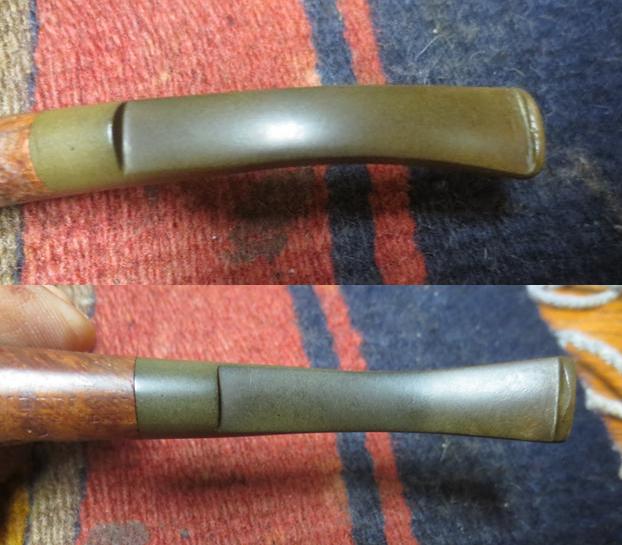
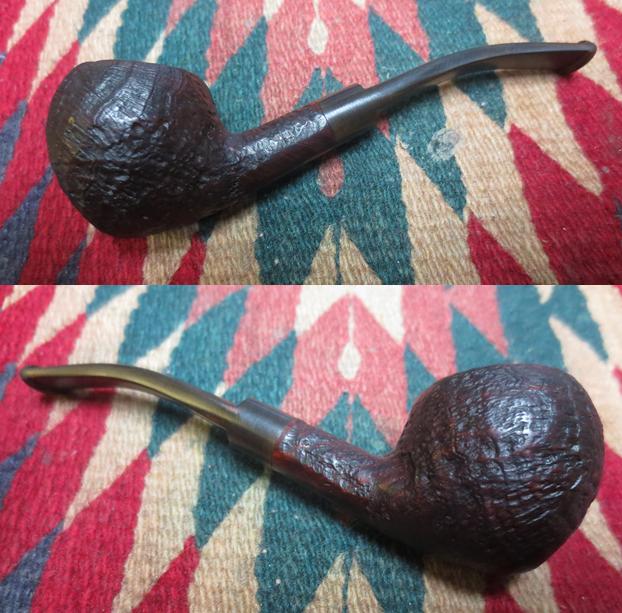
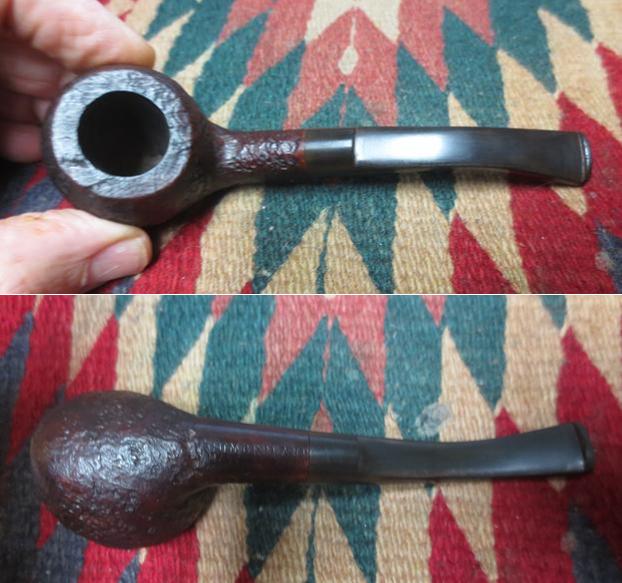
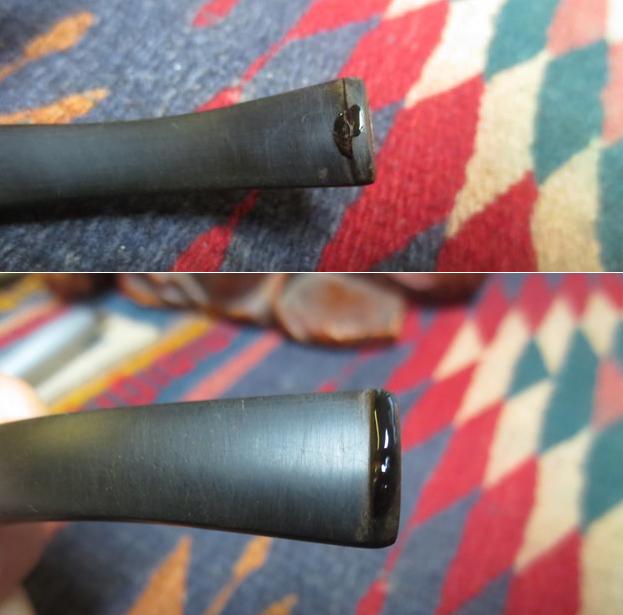
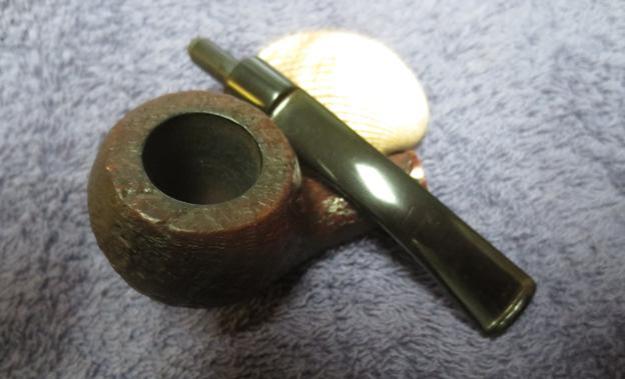
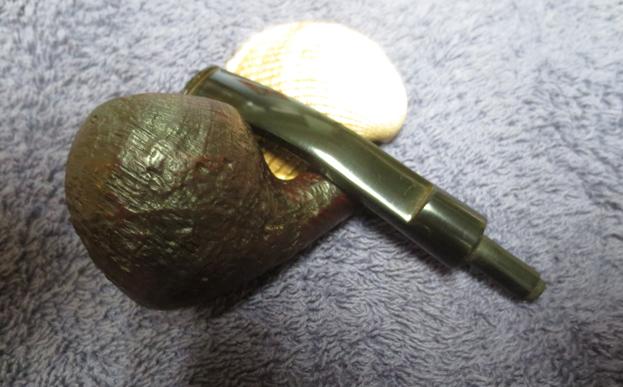
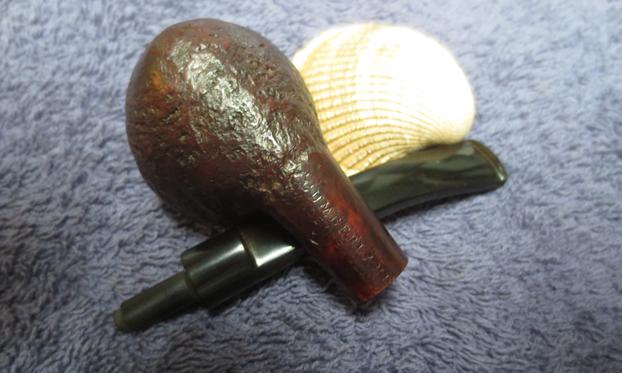
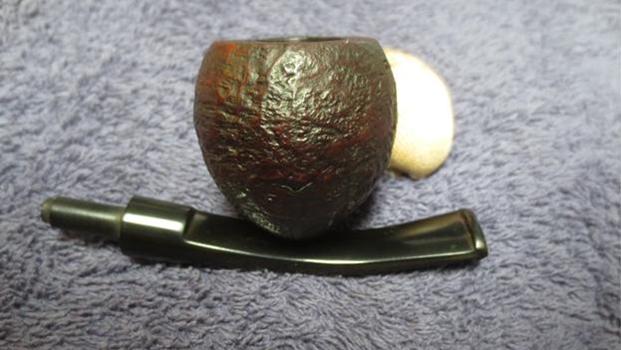
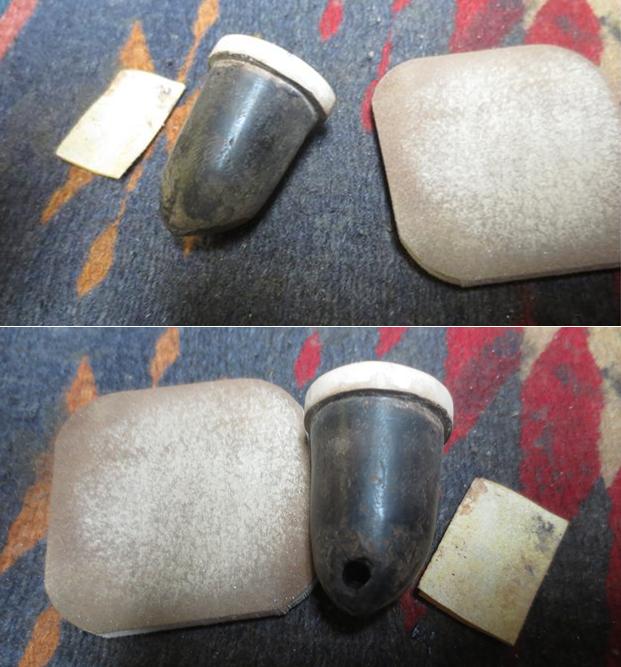
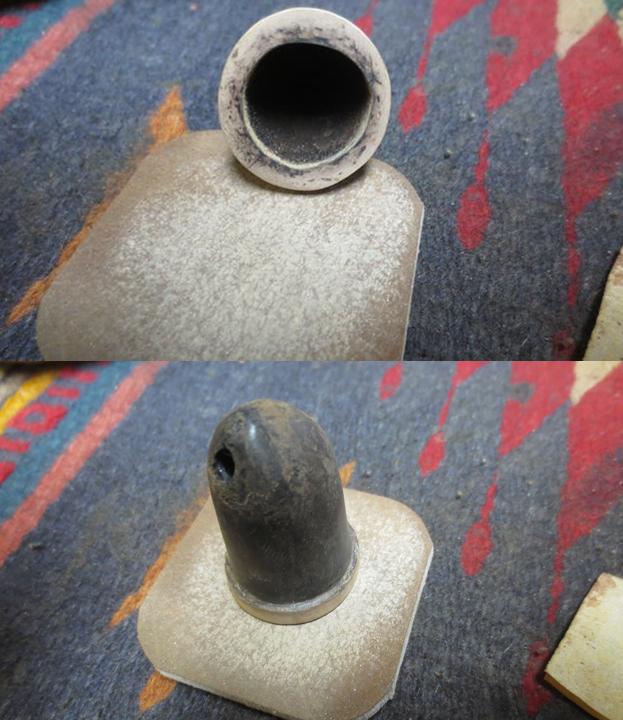
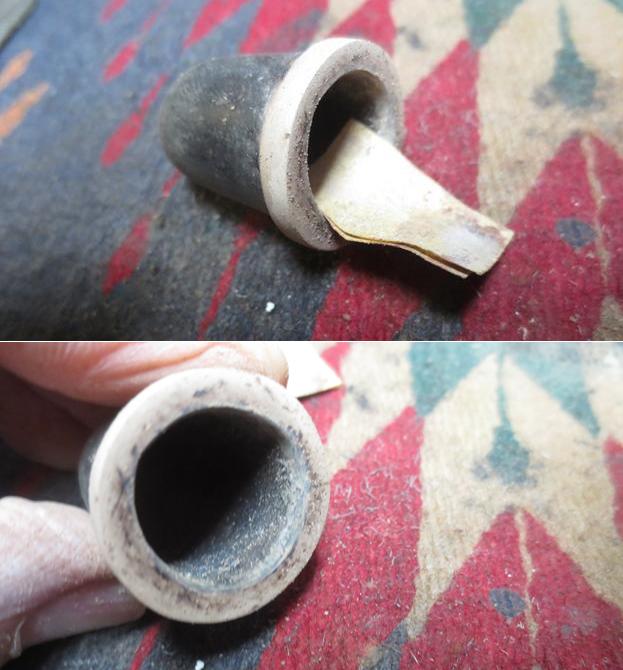
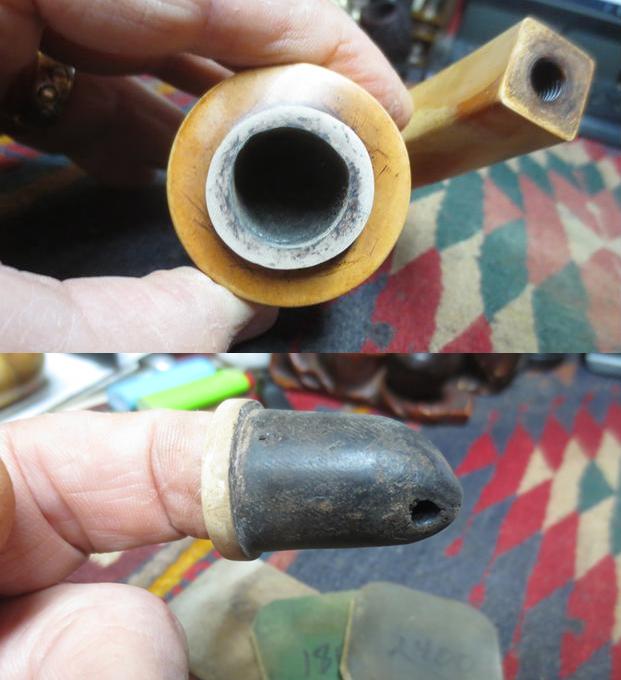
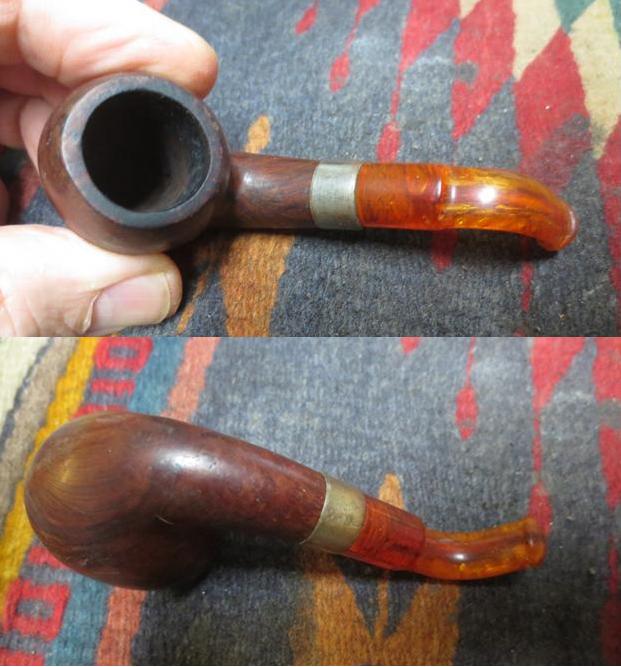
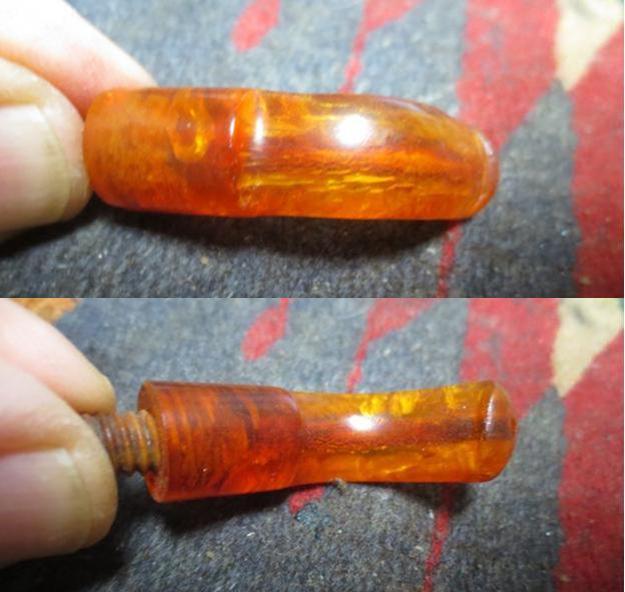
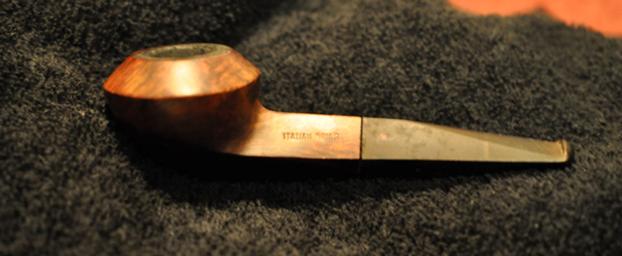
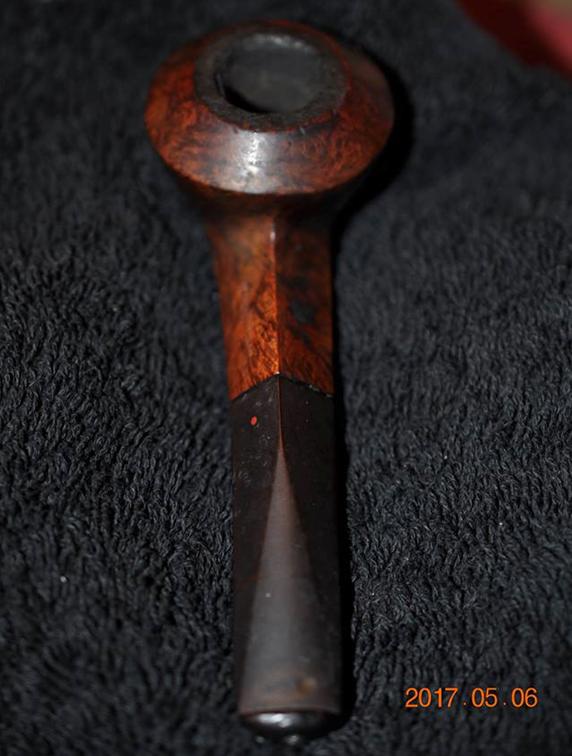
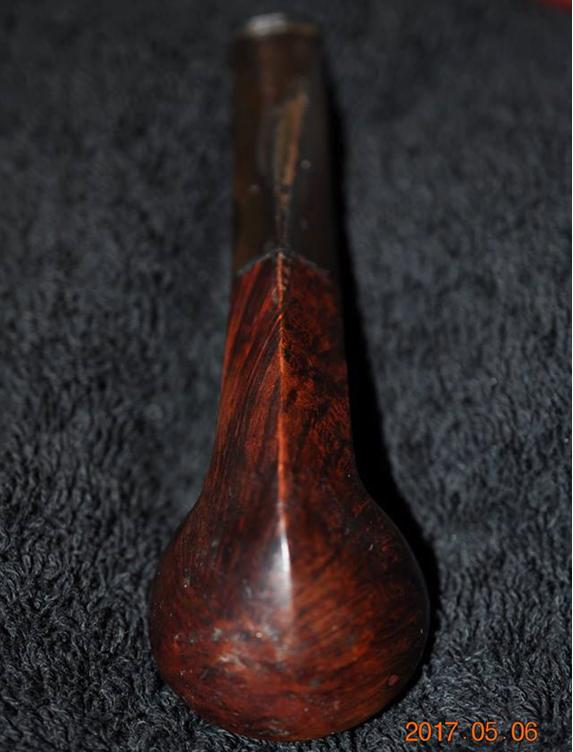
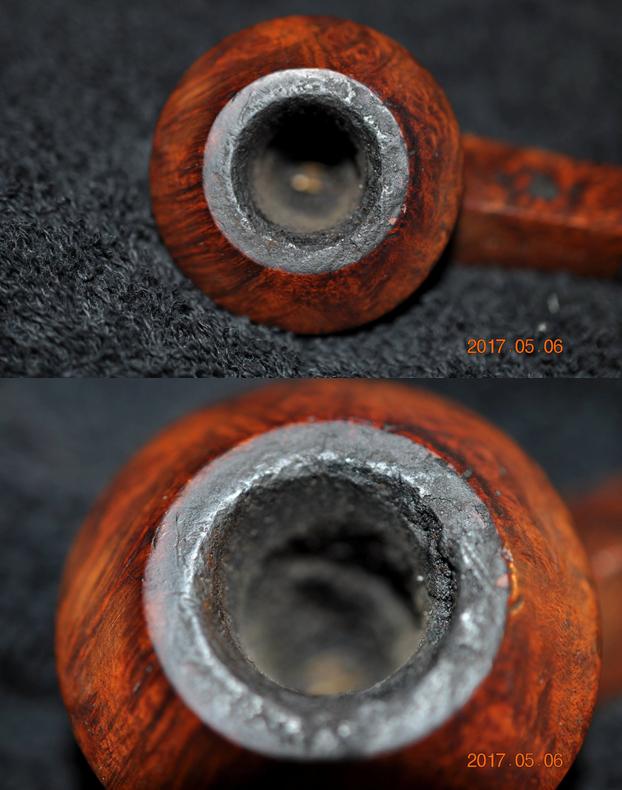
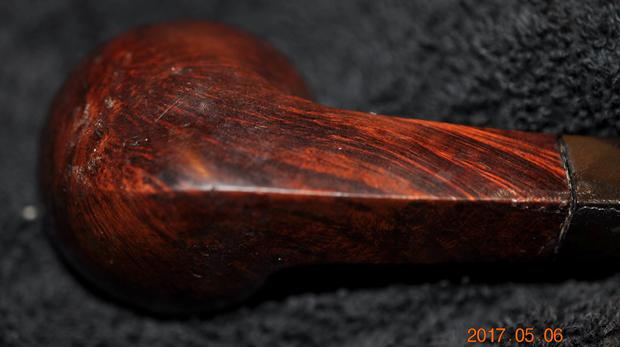
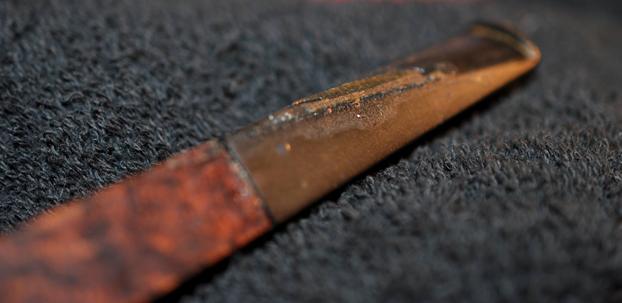
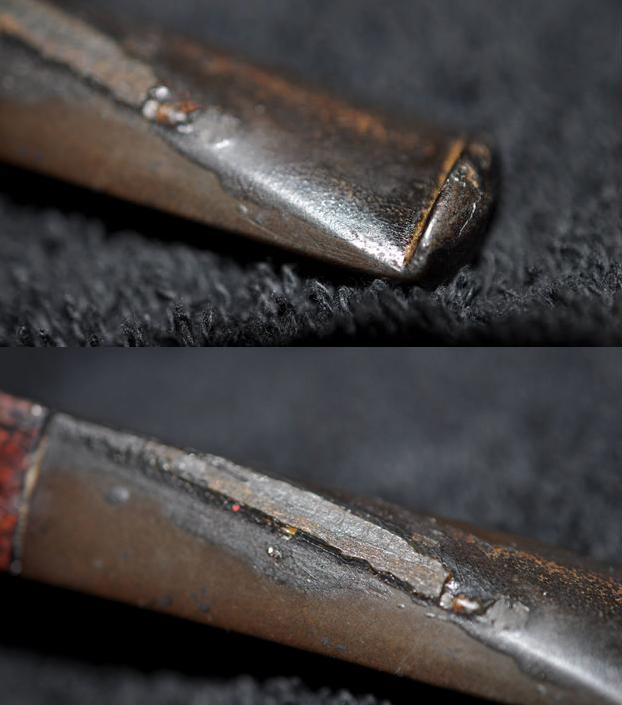
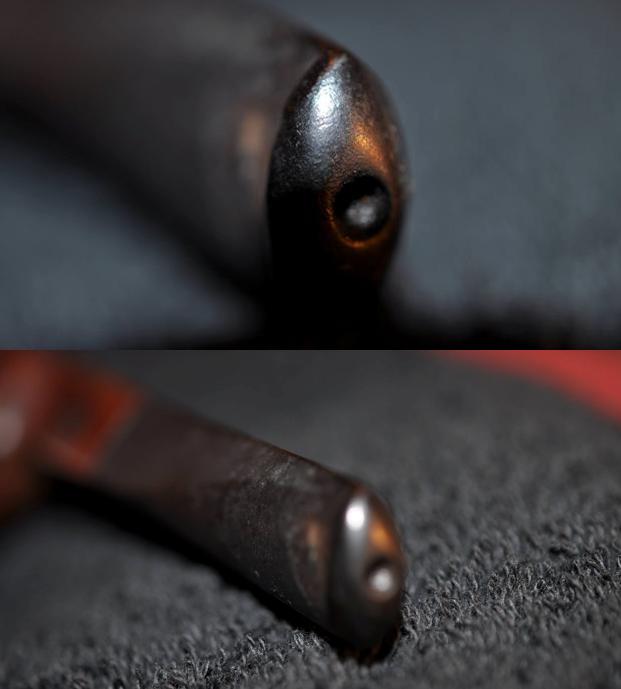
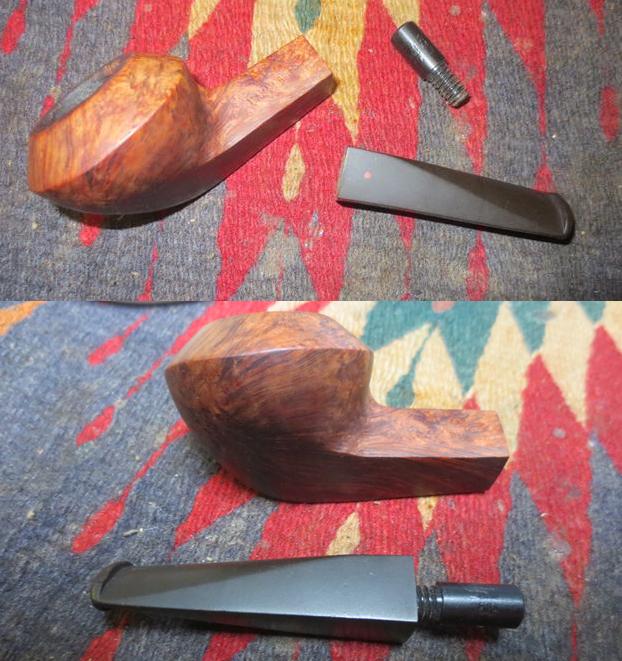
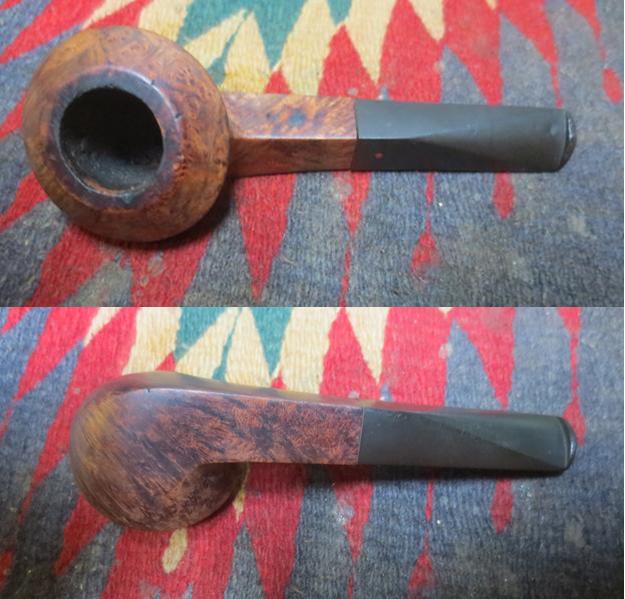
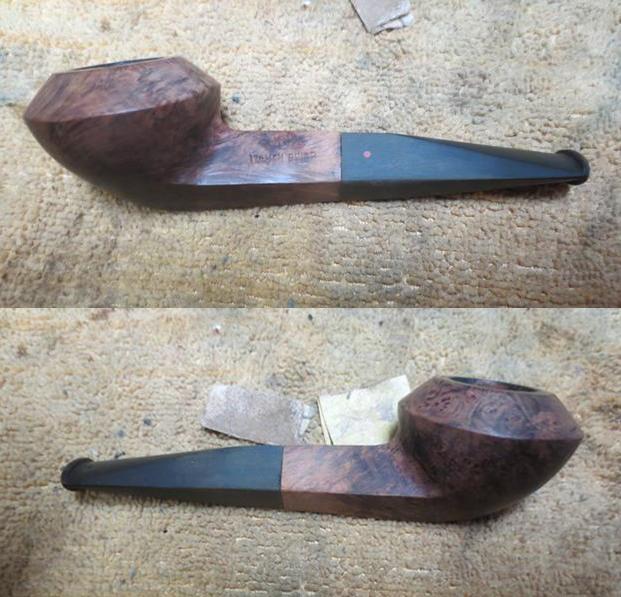
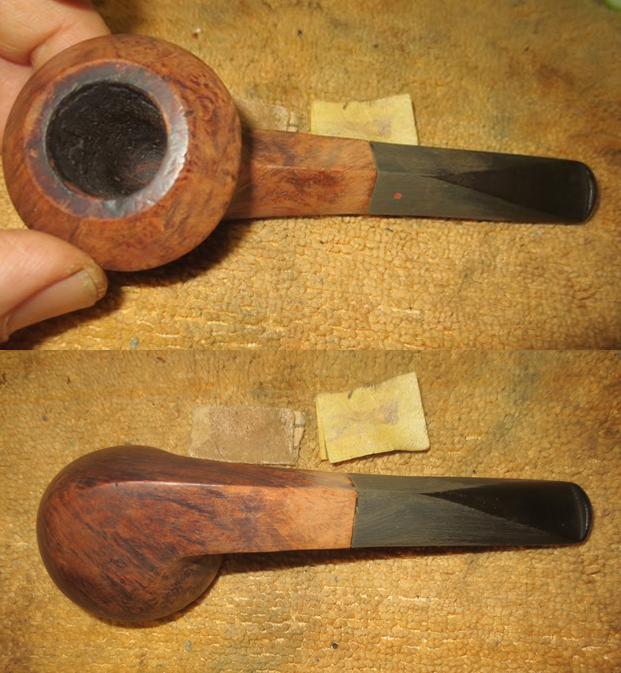
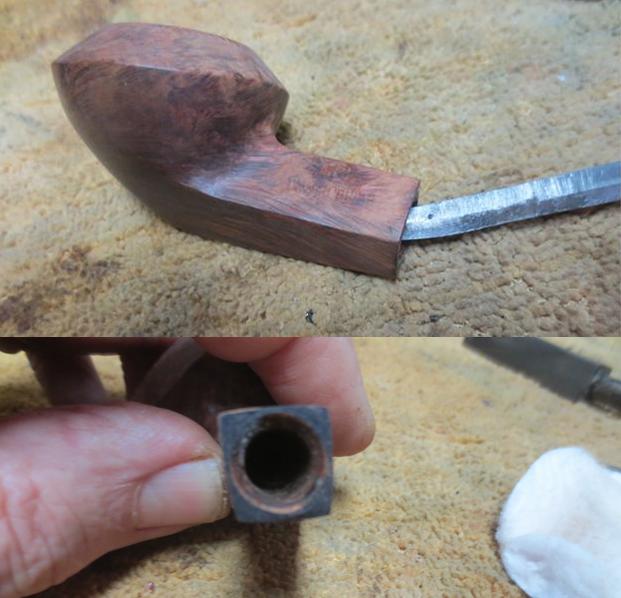
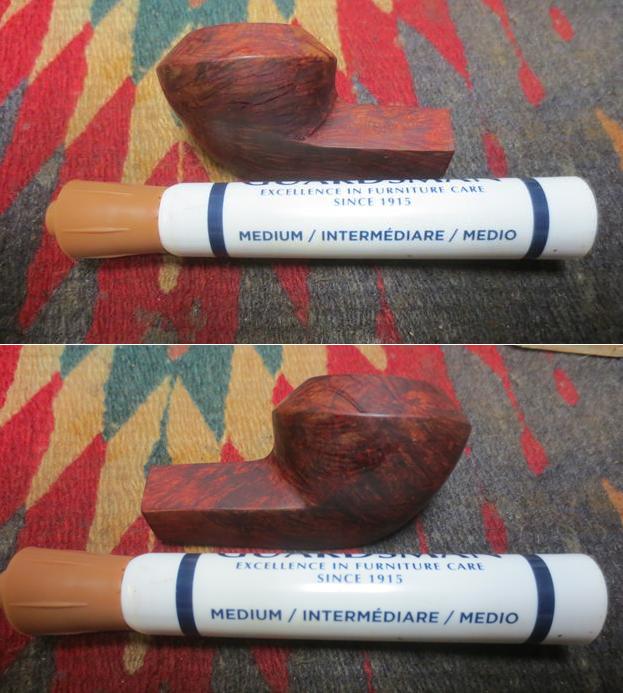
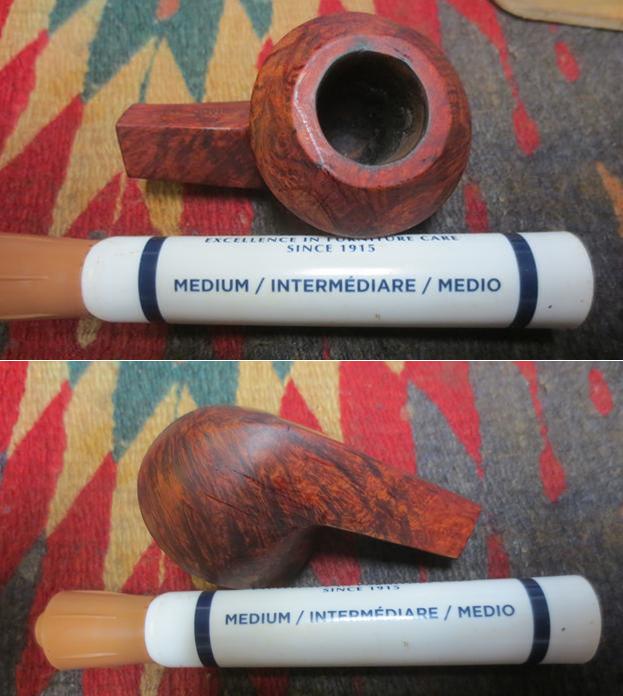
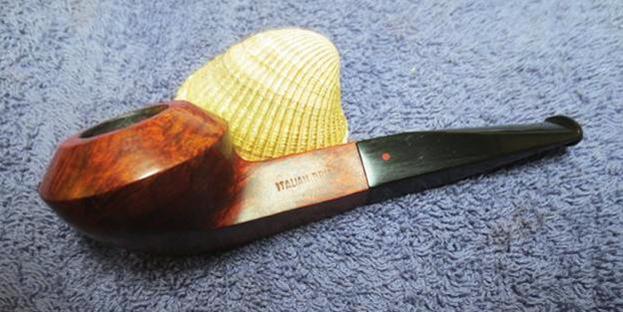
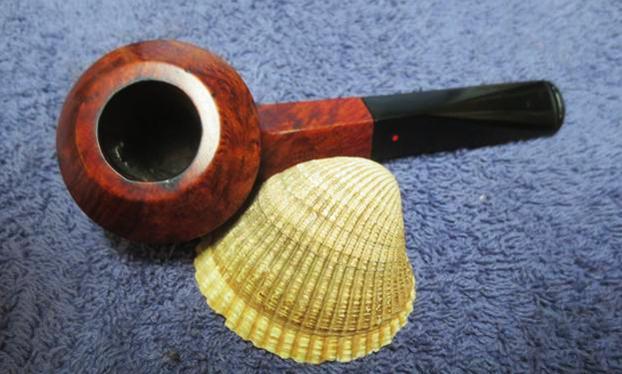
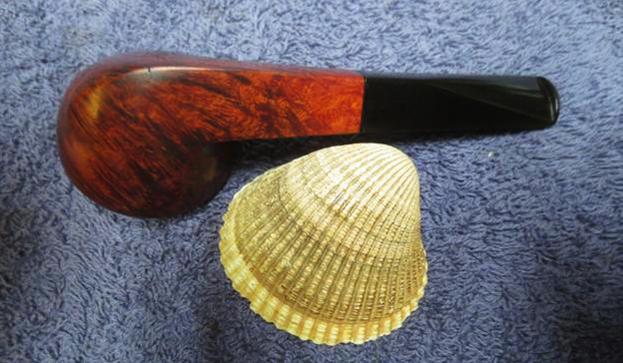
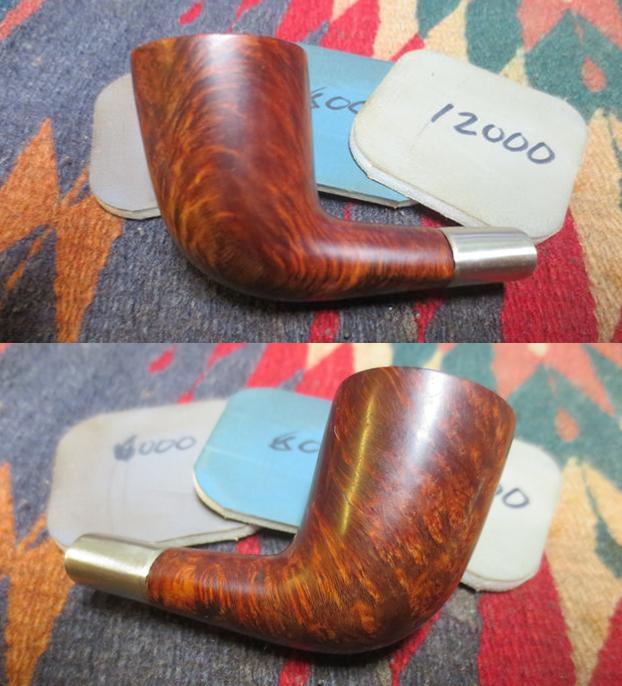
I am just about finished cleaning up and restoring the pipes my brother and I picked up on our Virtual Pipe Hunt in Montana. The next pipe that I brought to my work table was from that hunt. I think I may have two or three left two work on but this is one that I have picked up and put back several times since they arrived in Vancouver. As I mentioned in my last blog I have written several blogs about that hunt as it was one of those once it a life time finds. It contained a lot of late 1890s and early 1900 era pipes. These included C.P.F., W.D.C. and some no name pipes from the same era. Again if you are interested in reading about any of the restorations, a quick search on the blog for “Virtual Pipe Hunt” will give you the links to a blog about the hunt and to other pipes that were included. This particular little Bulldog shaped pipe had something about it that caught my eye. It combined some interesting grain (birdseye, swirled and cross grain) on the bowl and a diamond shaped taper stem with an orific button. The finish was worn and the stem was glued onto the shank. At this point in the process the stem would not move as the glue held it tightly in place. The top of the shank was stamped ITALIAN BRIAR in block print and no other stamping on the pipe on either side. The stem had a red dot on the left top side of the diamond. There were tooth marks and the stem was really dirty with an overflow of glue that was on both sides. My brother took photos of the pipe before he started the cleanup process.The next two photos show the pipe from the top side and the underside of the pipe. The topside shows the wear and tear to the finish. There were a lot of scratches and nicks in the briar and a cake in the bowl with lava overflow on the rim top. The underside of the bowl showed the nicks and scratches that went down both sides and the bottom of the bowl and shank. He took some photos of the rim top and bowl. Both photos show the thick cake in the bowl and a thick lava coat on the rim top. It is hard to know if there was any damage to the inner edge of the bowl or on the top surface of the rim.The close up of the underside of the bowl and shank shows the glue buildup in the gap between the shank and the stem.The stem looked like it was in rough shape. There were some peeling flakes on the surface of the stem. They could either be glue or damage to the stem.I was really surprised that my brother was able to get the stem off the shank. It turned out that the broken tenon was glued in the shank and a piece of inner tube was glued into the broken tenon. About an inch of the tube extended beyond the shank and the stem fit on the tube. The glue was painted onto the end of the shank and the end of the stem and the two parts were held together until the glue set. Jeff used some acetone to eat through the glue in the gap between the stem and the shank and was able to pry the pieces apart.The next photos show the damaged stem. It looked like the repair had also included painting the surface of the stem with glue. The glue had bubbled, cracked and peeled leaving behind a messy chipped finish. The orific button on the rounded stem end was in good shape. It appeared that the glue mixture had protected the stem from a lot of tooth marks and chatter. Jeff did his usual thorough cleanup of the pipe. I am coming to expect nothing less when he sends me pipes that have gone through his cleaning process. He reamed the bowl with a PipNet reamer, scraped the bowl and the rim top with a Savinelli Fitsall Pipe Knife to clear off the lava build up. He cleaned out the internals in the airway in the shank as much as possible with the broken glued in tenon in the way. He used alcohol, cotton swabs and pipe cleaners. He cleaned out the airway in the stem with alcohol and pipe cleaners. He scrubbed the exterior of the briar and the stem with Murphy’s Oil Soap and a tooth brush to remove all of the grime on the briar and the hardened, chipped glue on the finish of the stem. He rinsed the parts under running water and dried it with a soft cloth. He soaked the stem in OxyClean to clean off the glue on the surface. When the pipe arrived in Vancouver it looked different than it did when we picked it up in Montana. I forgot to take photos of the pipe before I started on it because I was excited to pull the broken tenon from the shank. You can see the clean bowl and stem in the photos.
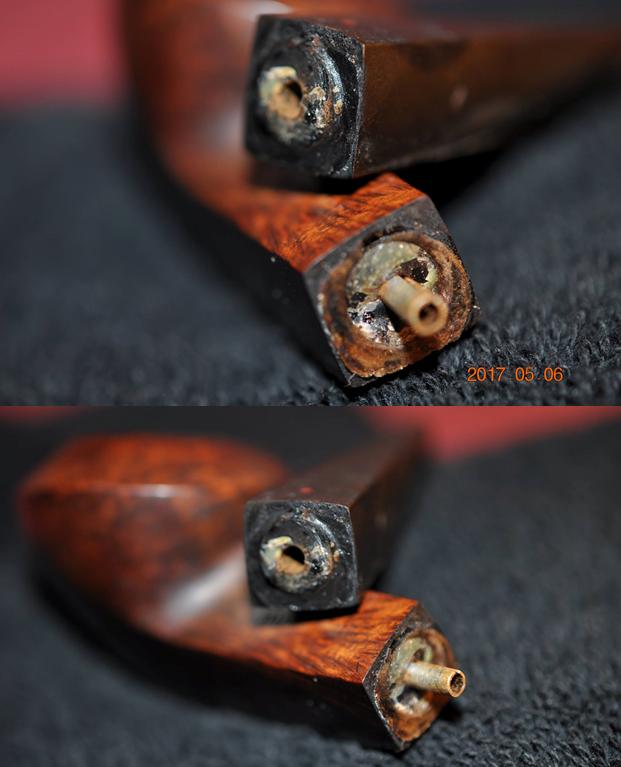
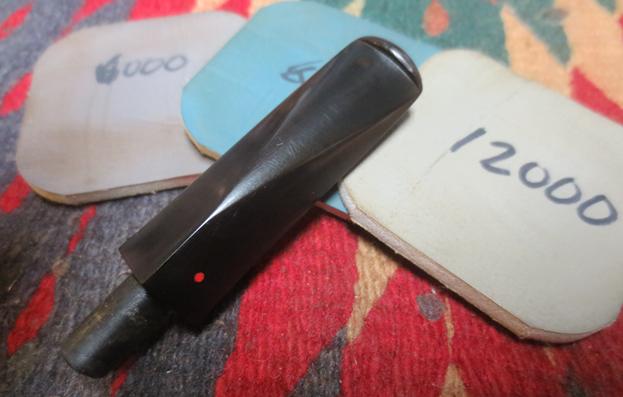
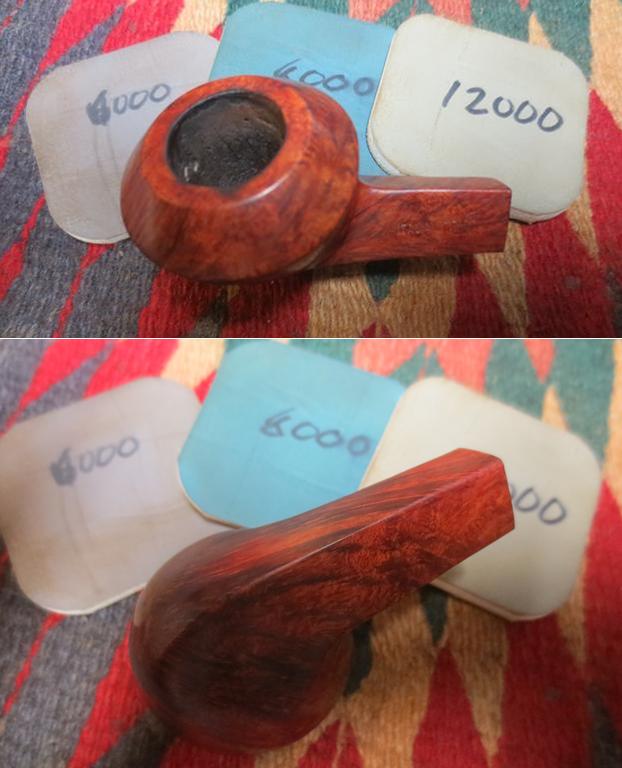
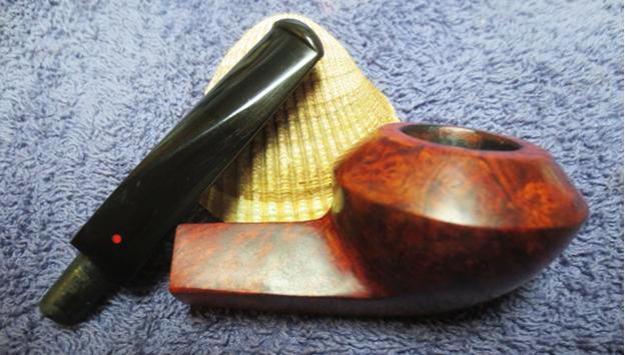
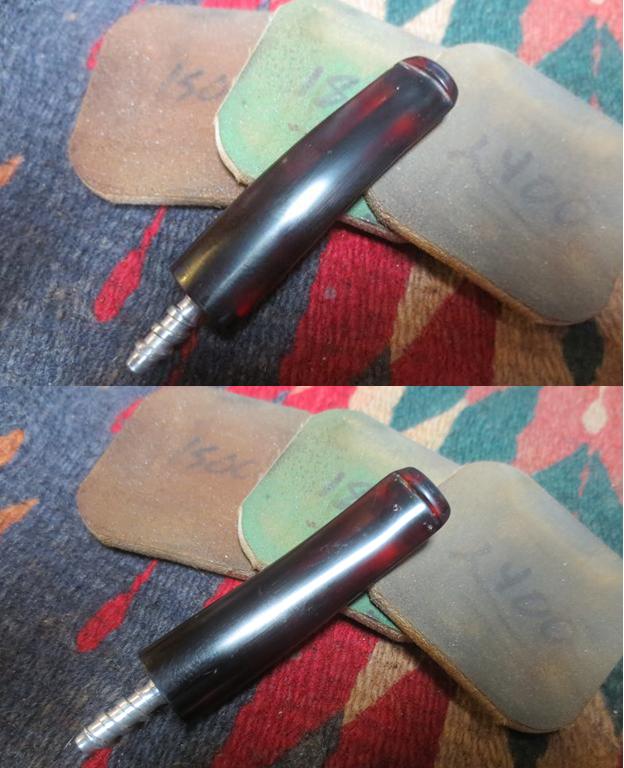
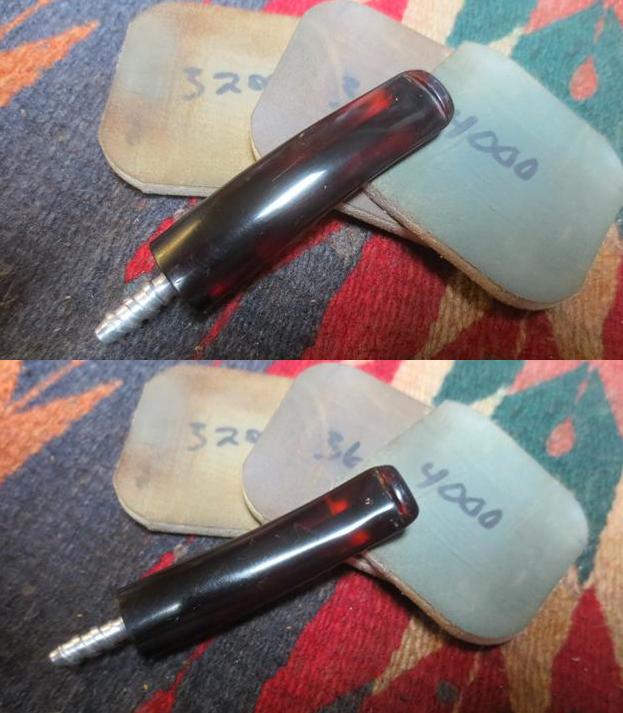
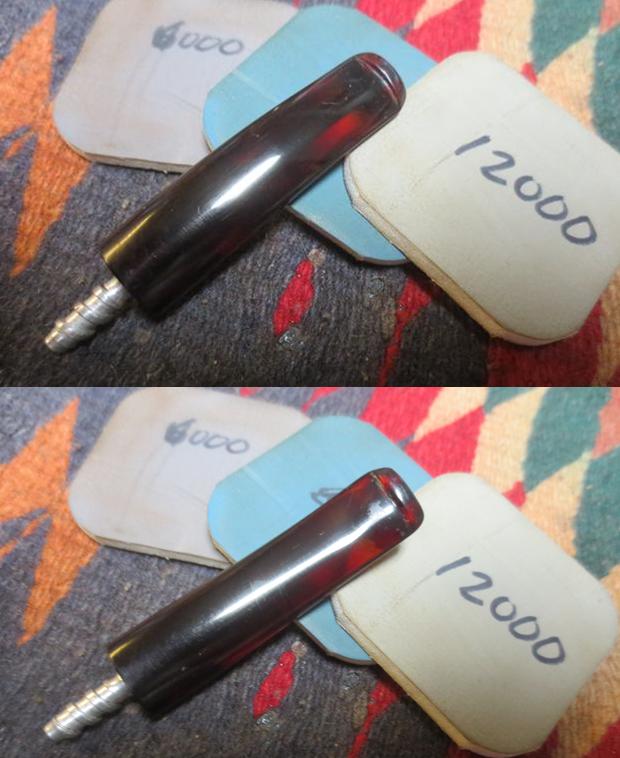
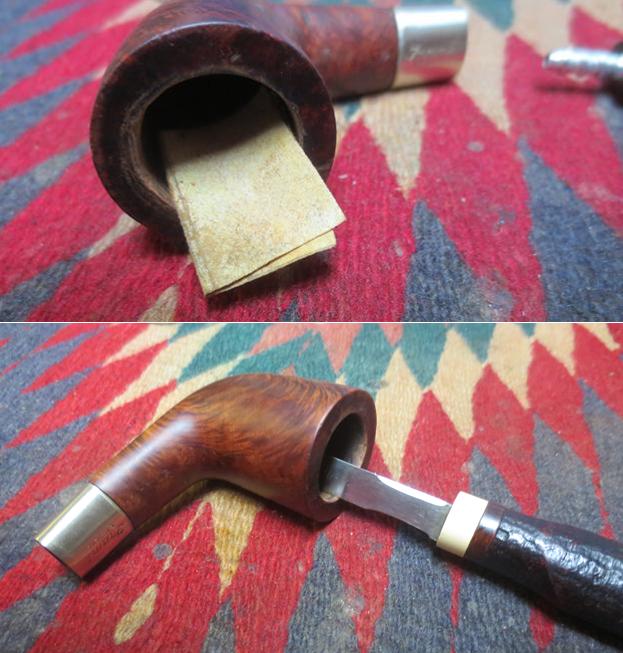
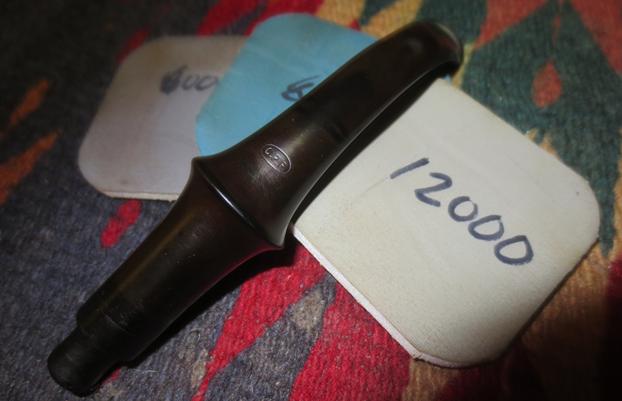
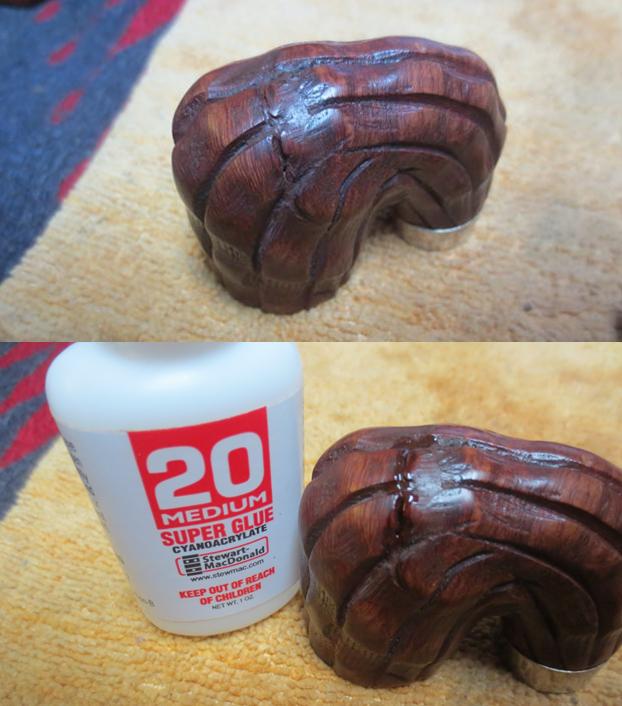
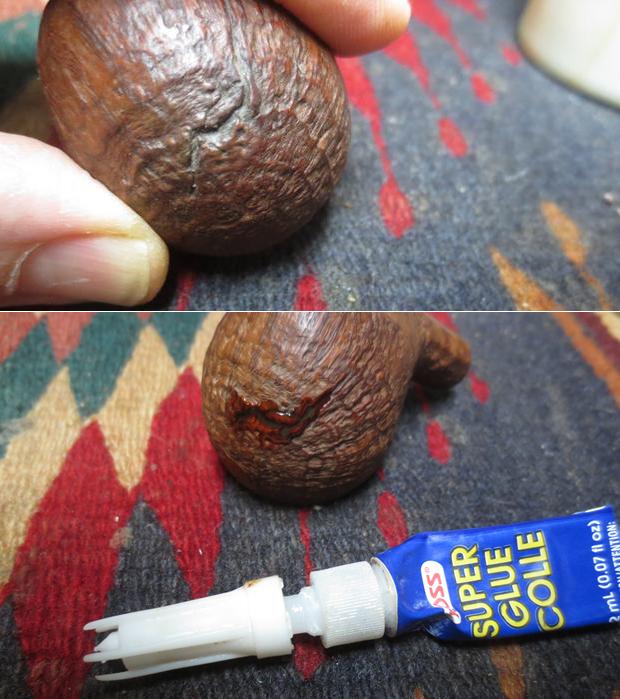
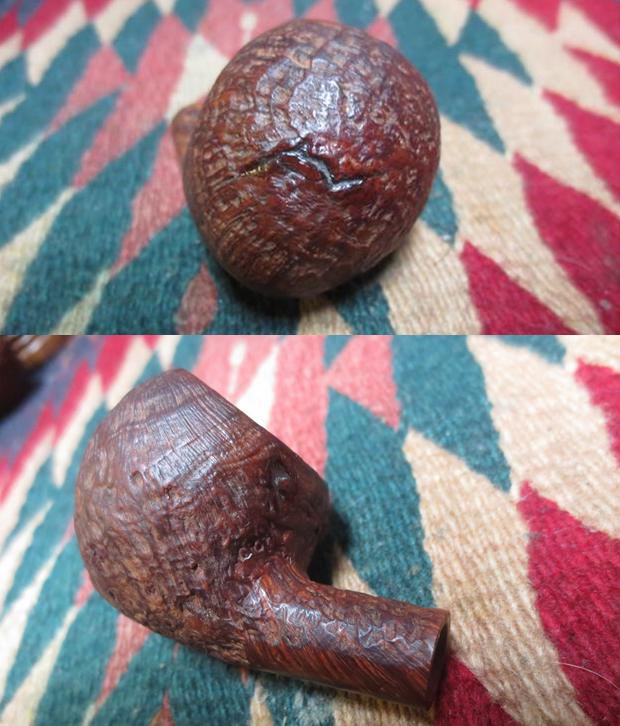
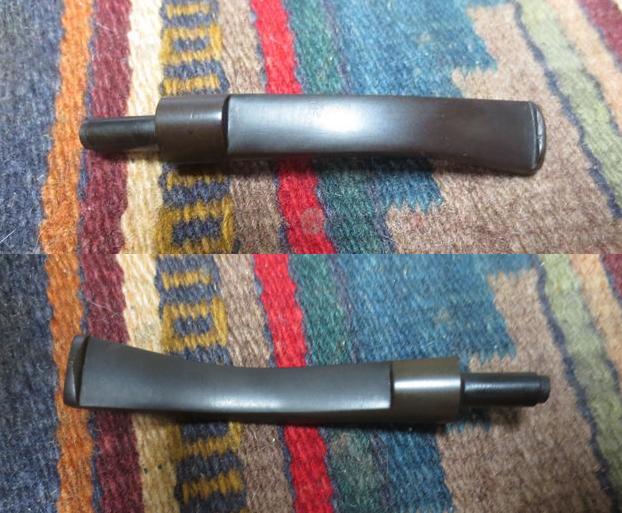
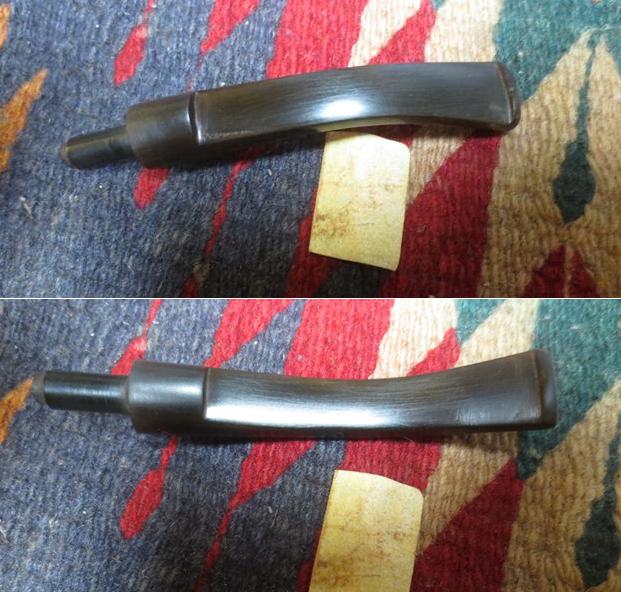
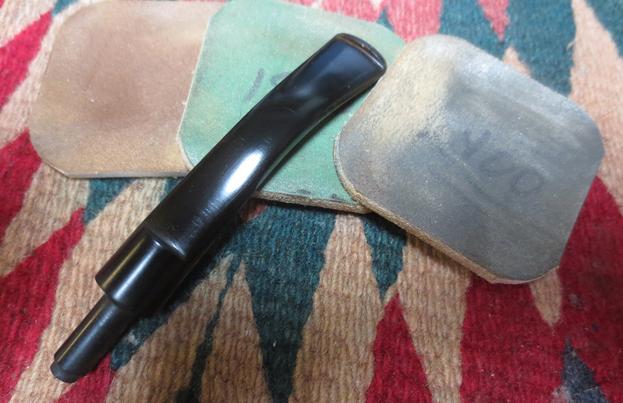
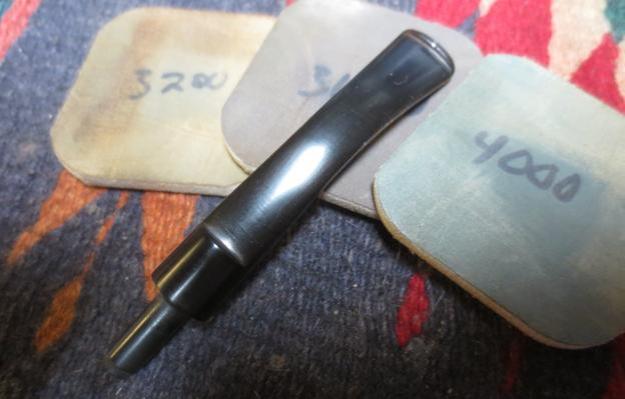
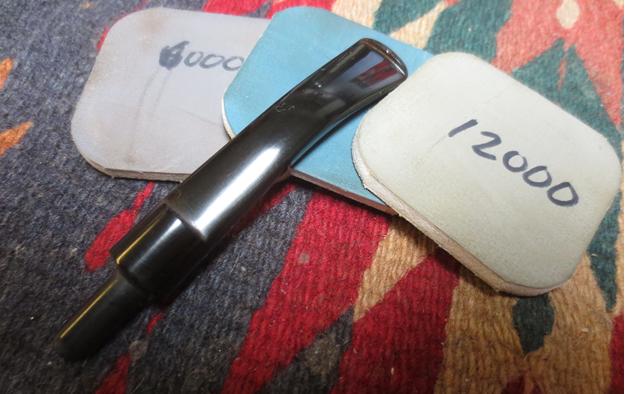
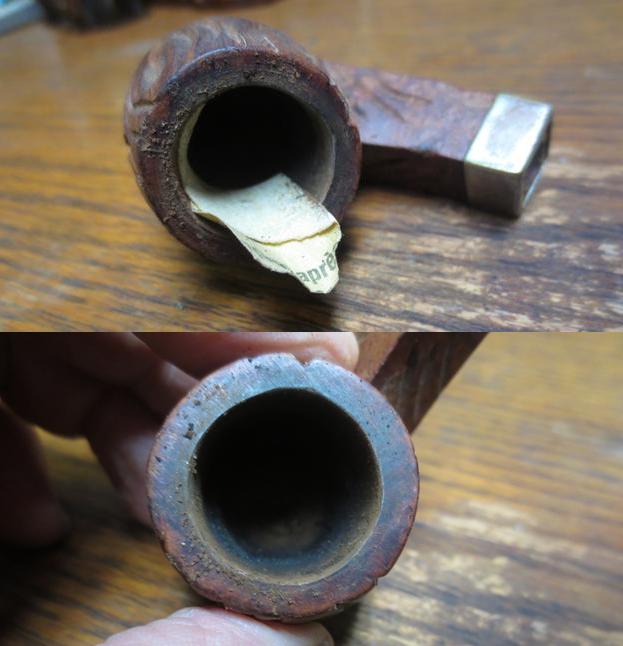
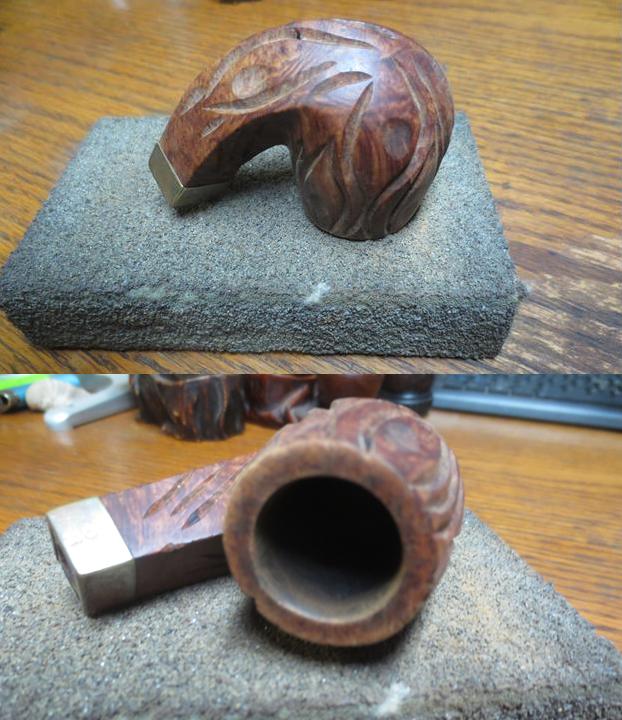
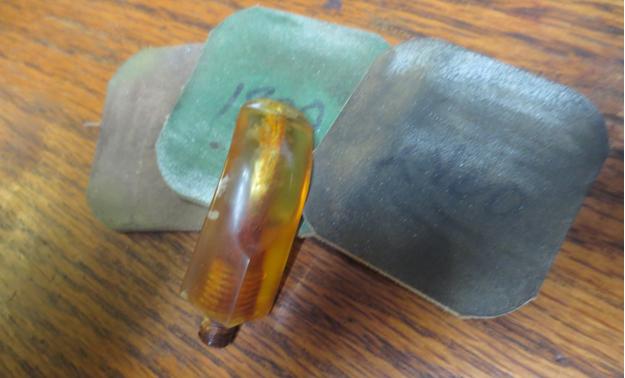
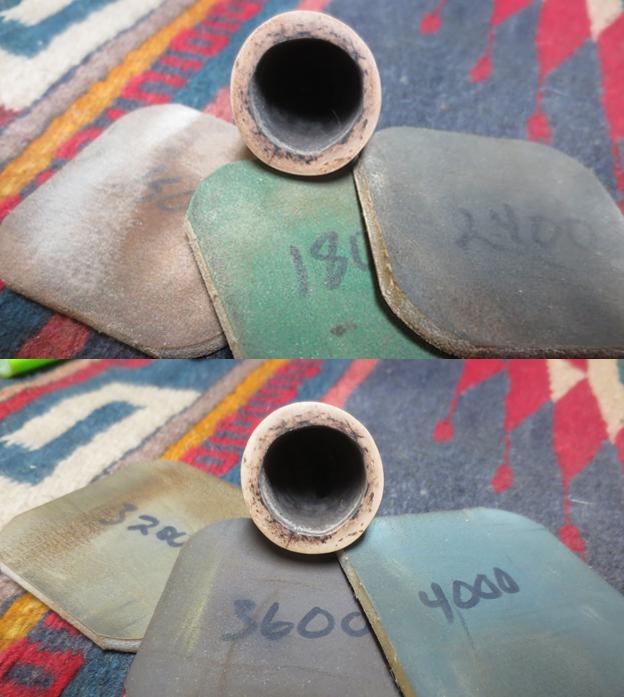
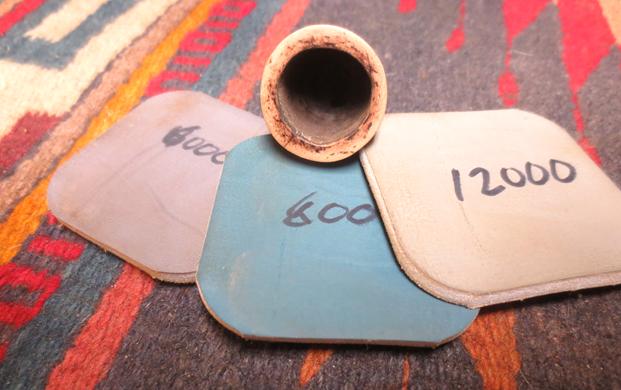
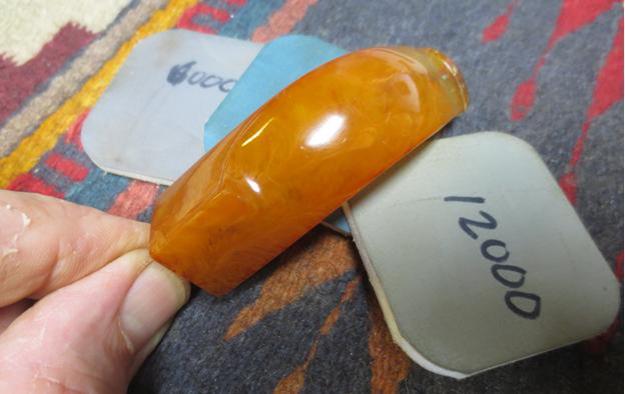
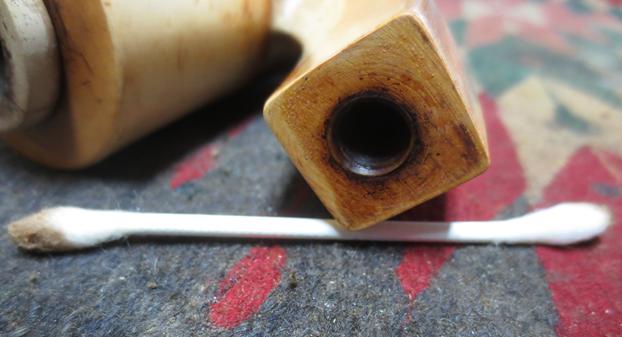
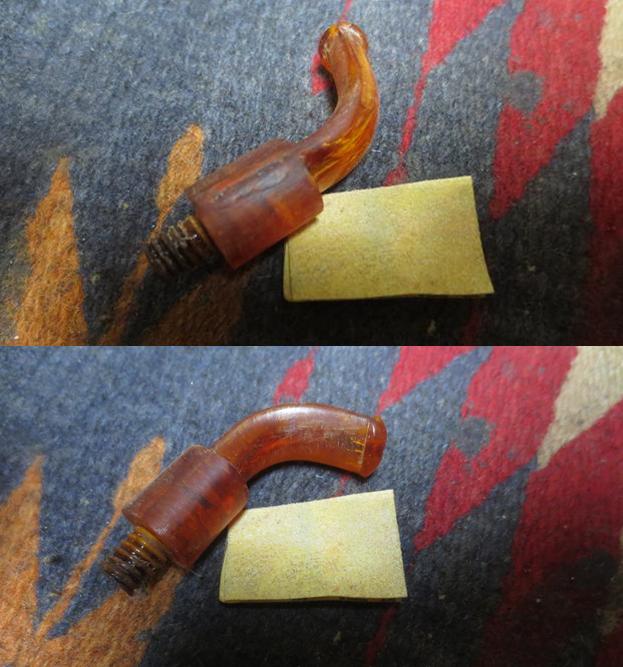
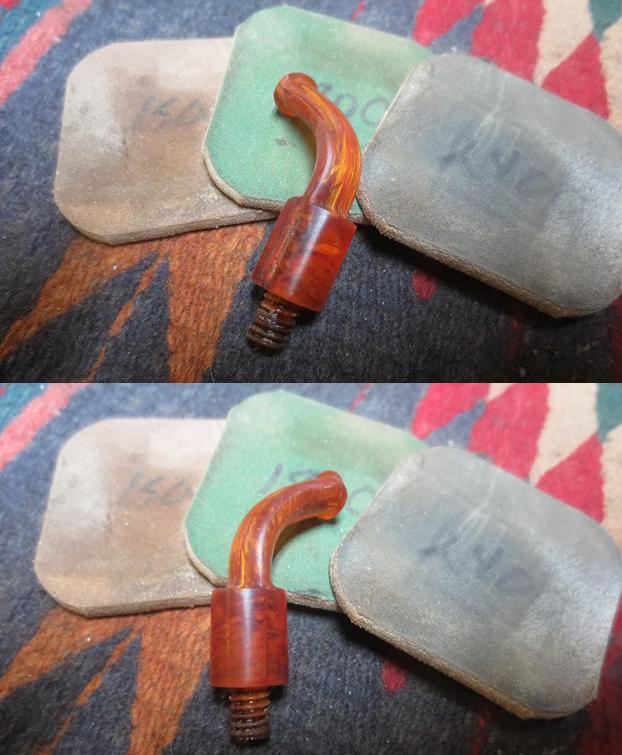
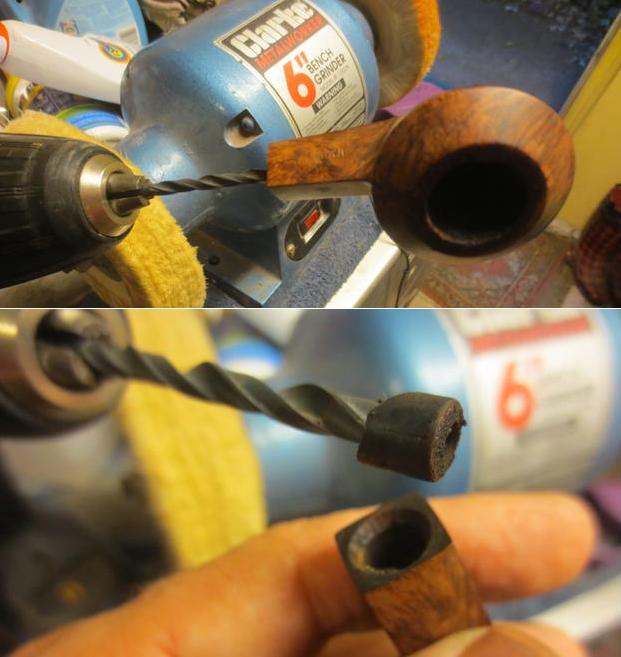
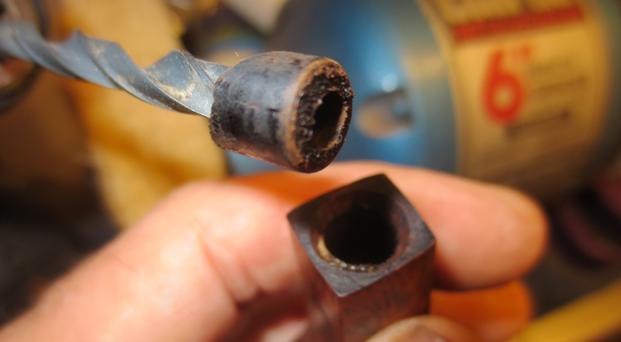
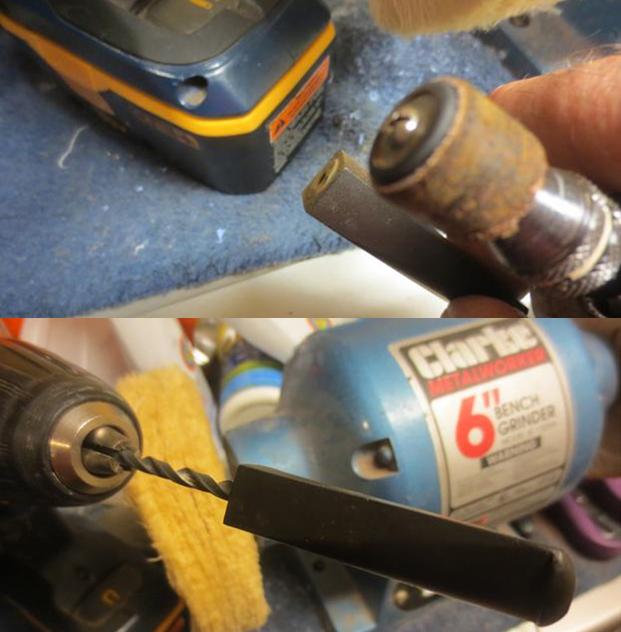
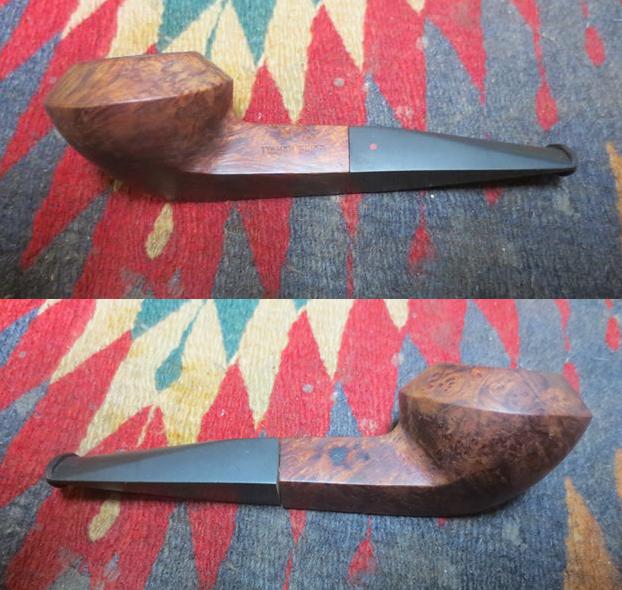
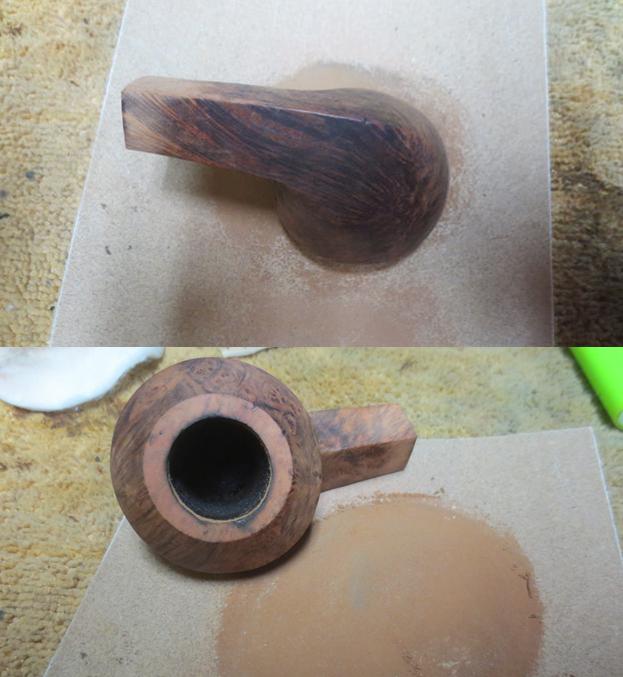
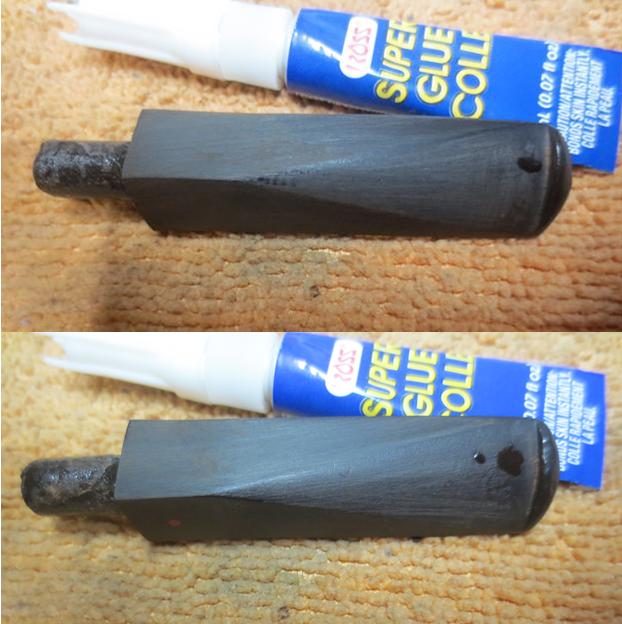
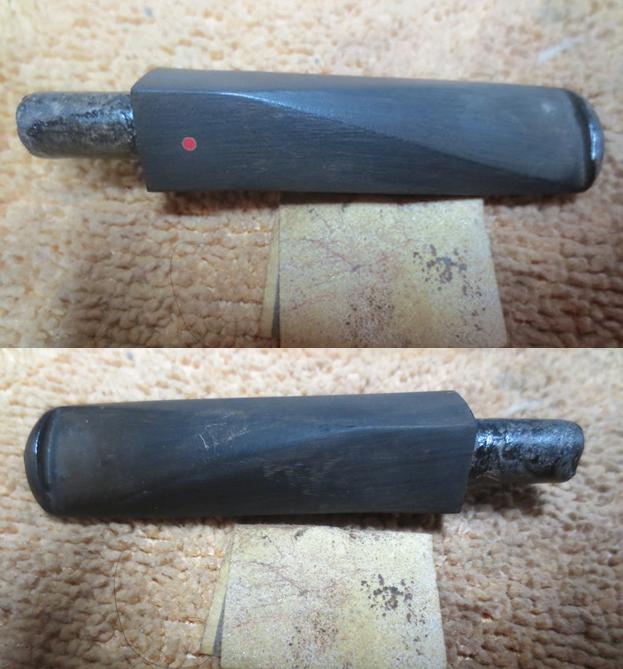
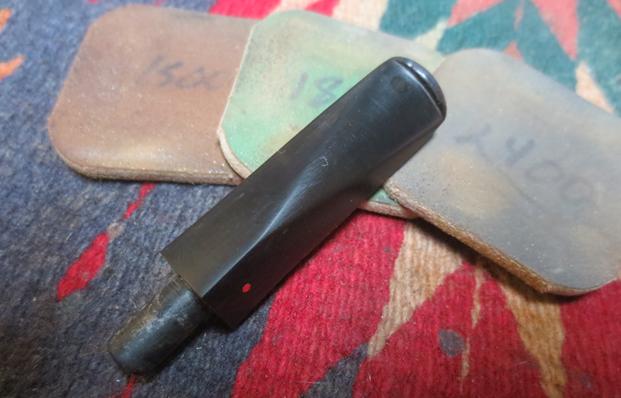
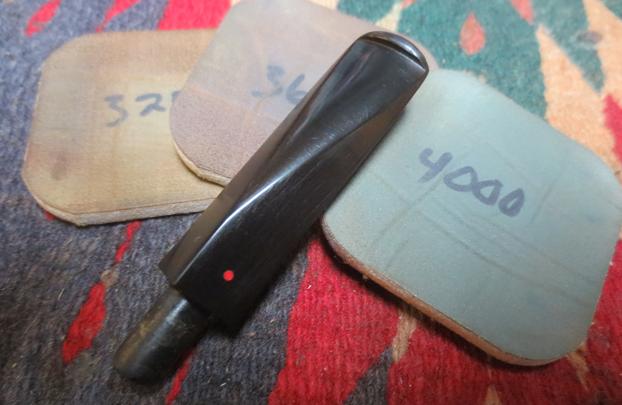
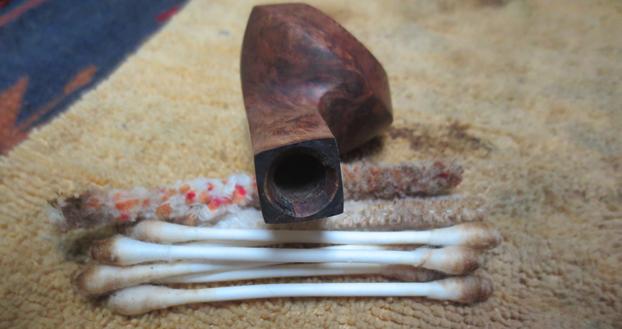
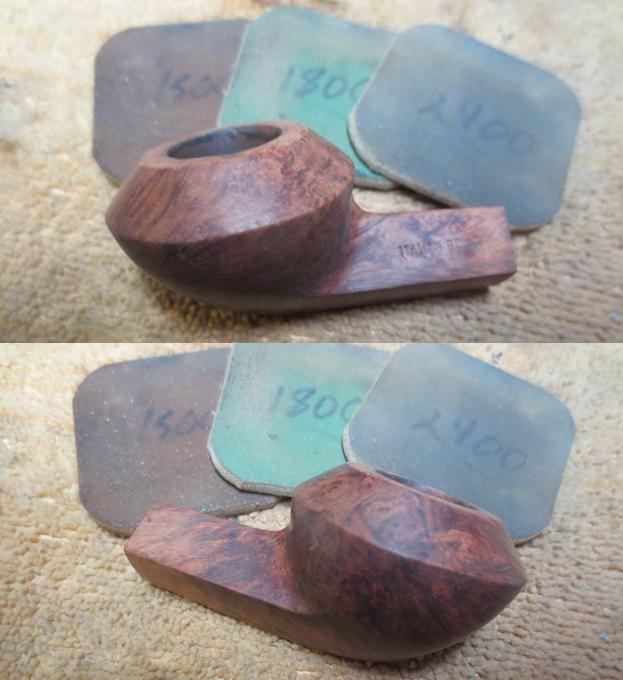
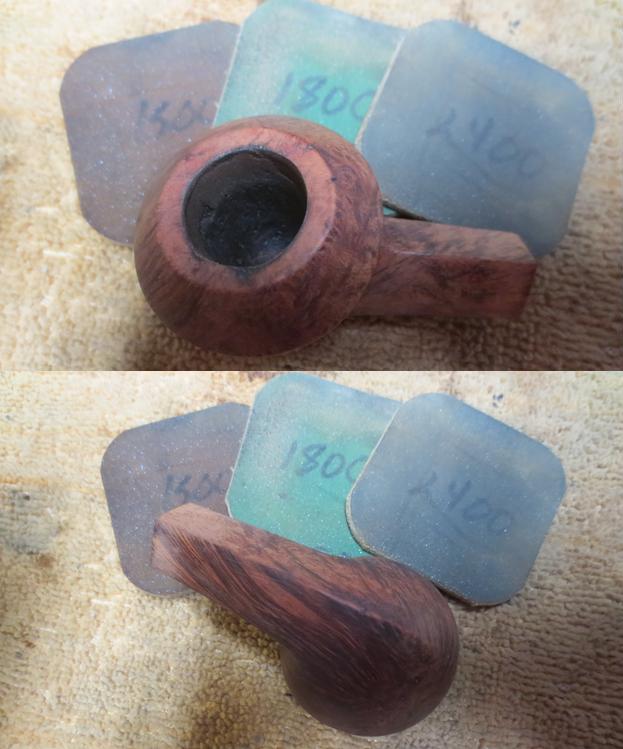
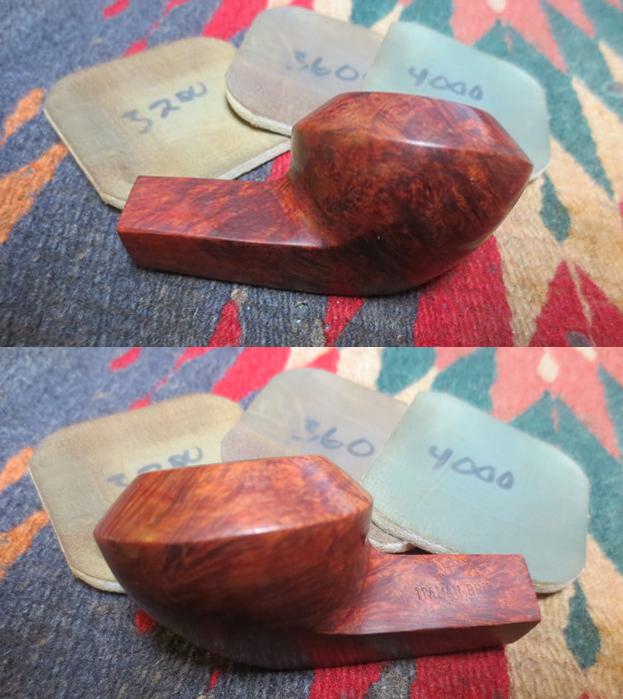
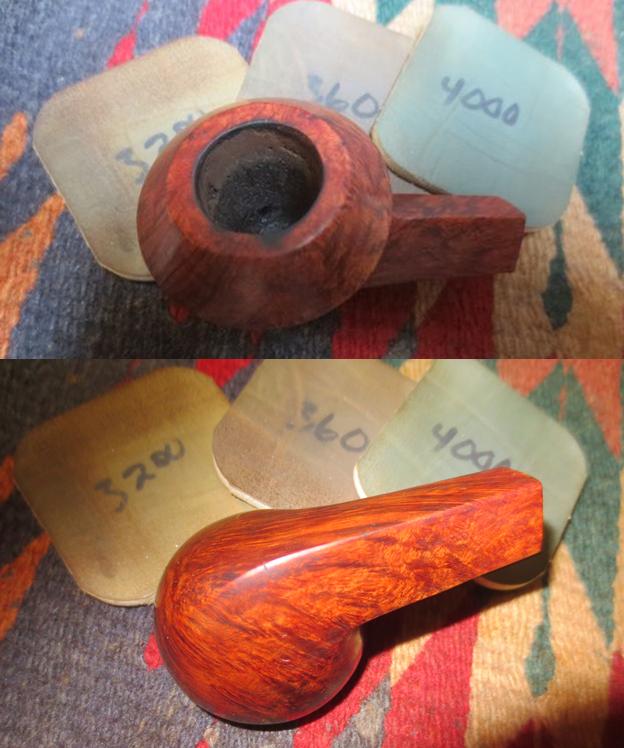
I put a drill bit in the chuck of my cordless drill and turned the bowl as the bit went into the airway on the broken tenon. I used one that was slightly larger than the airway and worked my way up to the one in the second photo. Some of the tenon crumbled away and the remainder stuck on the drill bit. I pulled it out of the shank and that part of the process was complete. The shank was clear. I used a Dremel and sanding drum to smooth out the broken edges of the tenon on the end of the stem. I smoothed it out until the broken tenon was smooth against the end of the stem. I put a drill bit in the chuck of my cordless drill and turned the stem onto the bit to open the airway for the new threaded Delrin tenon. I increased the size of the bit until it was the same size as the threaded tenon end. I cleaned up the newly drilled airway with a dental burr on the Dremel.I took the stem back to the work table and took pictures of the process of inserting the new tenon in the stem. The photos show the progress. I turned the tenon into the stem and put glue on the final few threads and use a pair of pliers to turn it into the stem until it was seated against the flush end. I put the stem in the shank and took some photos. The alignment is always a little off when the stem is first inserted. In this case the fit against the shank was perfect. The sides on the old stem and shank were just a little bit off. The left and top side aligned almost perfectly but the right and underside of the stem need some minor adjustments to fit properly. I sanded the stem/shank connection with 220 grit sandpaper to smooth out the transition and make it smooth to touch. I wiped the bowl down with acetone on a cotton pad to remove the remaining finish from the bowl. When I was finished I took photos of the fit and it was looking really good. I topped the bowl with 220 grit sandpaper on a topping board. I topped it until the surface was smooth and the damaged areas were removed. I used a folded piece of sandpaper to smooth out the inner edge of the bowl.I sanded the stem surface to remove the scratches and damage to the flat sides of the diamond and also the flat angle to the button. I wiped the stem down with alcohol on a cotton pad and removed the debris left behind by the sanding. I filled in the tooth marks with clear super glue and when the glue dried I sanded the repairs smooth with 220 grit sandpaper. I put some clear super glue on the tenon to build it up so that the fit in the shank would not be too loose. When the glue dried I sanded the surface of the tenon until it was smooth. I polished the stem with micromesh sanding pads – wet sanding it with 1500-2400 grit pads and dry sanding it with 3200-12000 grit pads. I rubbed the stem down with Obsidian Oil after each pad and after the final pad I gave it a final coat of oil. I set it aside to let it dry. I scraped out the inside of the mortise with a pen knife to remove the glue build up on the walls. I cleaned up the bevel with the blade of the knife at the same time to make sure that it did not interfere with the fit of the stem against the shank. I cleaned out the airway and mortise with pipe cleaners, cotton swabs and alcohol to remove the debris that remained once I pulled the old tenon. It took a few pipe cleaners and swabs but it did not take too long to clean it up. I polished the briar with micromesh sanding pads – wet sanding it with 1500-2400 grit sanding pads.  I worked around the stamping so I would not damage it in the process. I decided to stain the bowl with a medium brown stain pen rather than my regular aniline stain. I covered the sanded rim top, bowl sides and the shank with the stain. I continued to polish the bowl with micromesh sanding pads – dry sanding it with 3200-12000 grit sanding pads. I wiped it down after each pad with a damp cotton pad. The briar began to really shine as I worked through the micromesh sanding pads. I put the stem back on the bowl and buffed it with a carnauba wax buffing pad. I gave the stem and bowl multiple coats of wax. I buffed the completed pipe with a clean buffing pad to raise the shine. I hand buffed the pipe with a microfibre cloth to deepen the polish. The finished pipe is shown in the photos below. It turned out to be a pretty pipe. The black vulcanite stem with the red dot works well with the reddish colour of the briar. The grain stands out well with the colours of the stain. I like the look of finished pipe a lot. This one will probably stay in my own collection. Thanks for following along with me on this refurbishing journey.
Restoring an older Frank Bakelite Zulu


Blog by Steve Laug

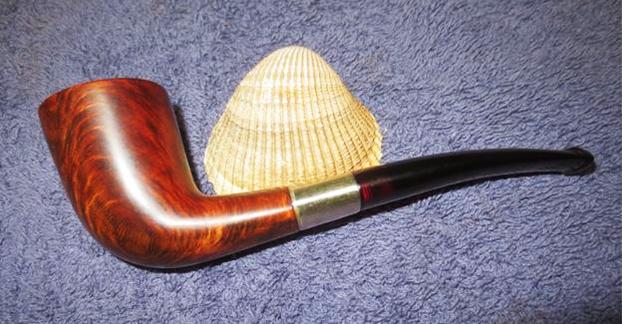
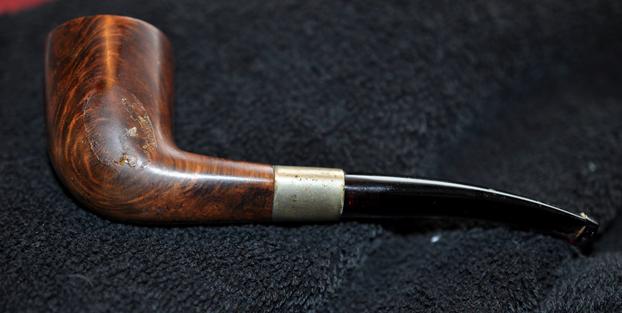
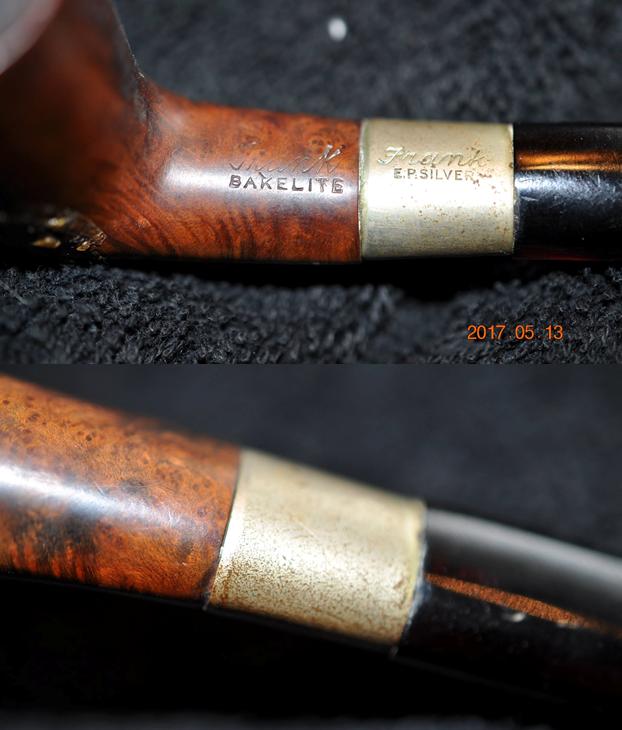
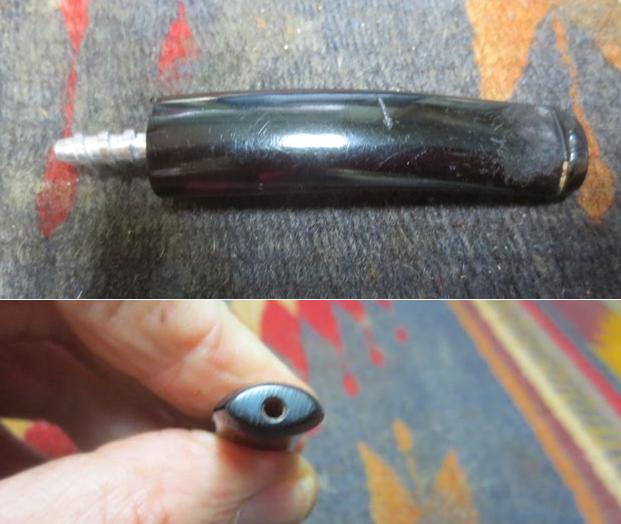
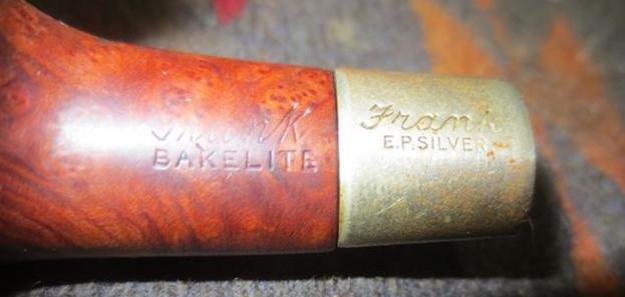
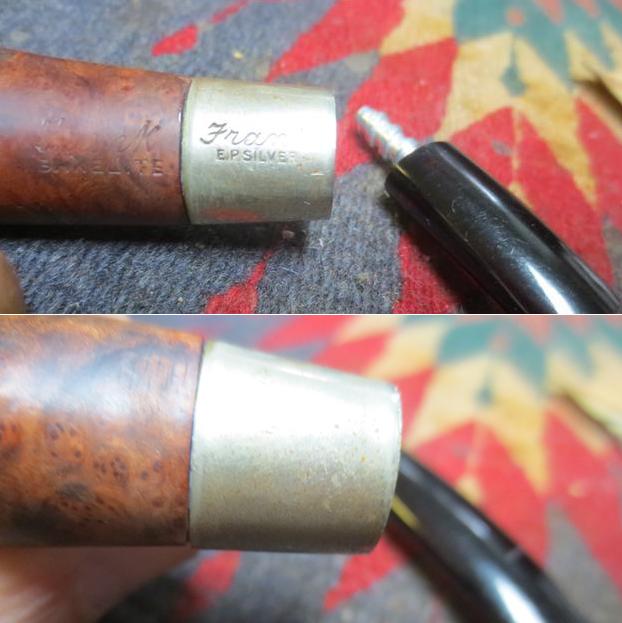
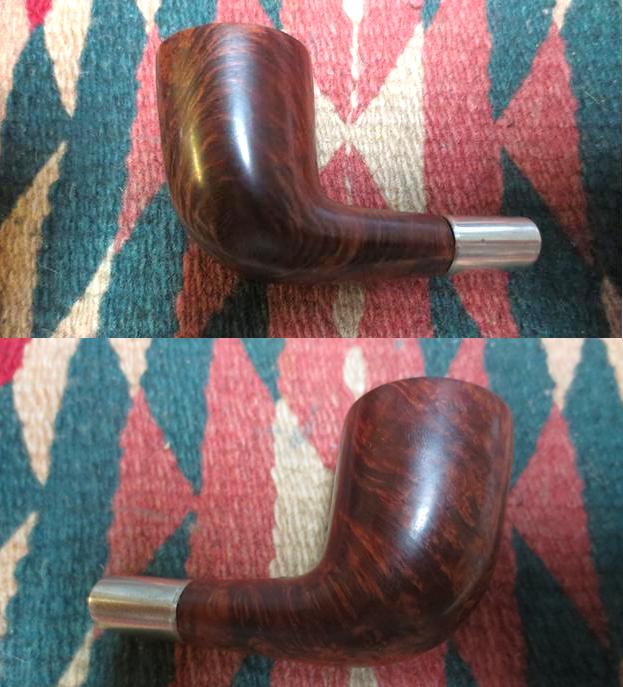
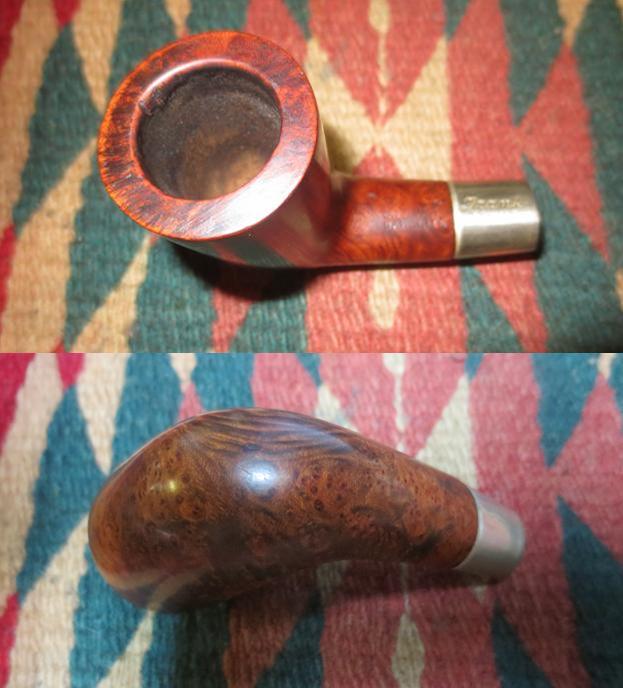
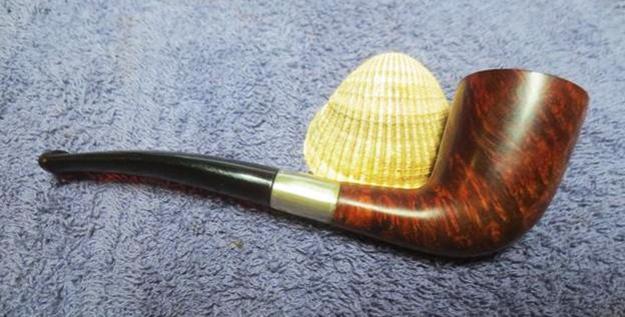
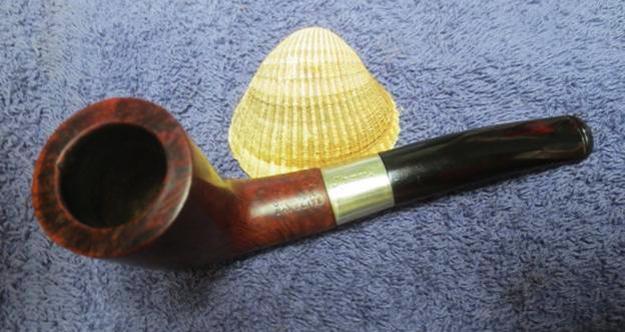
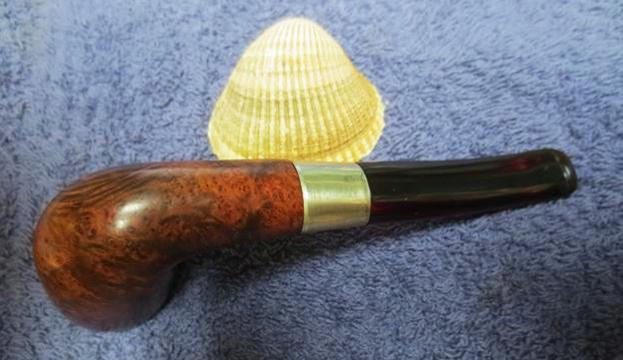
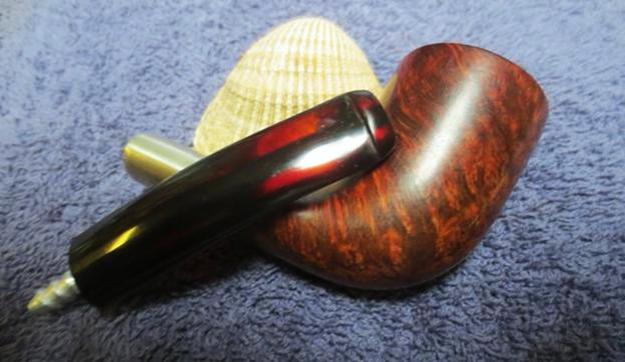
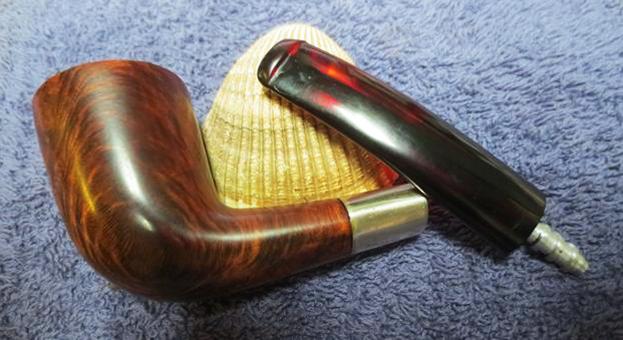
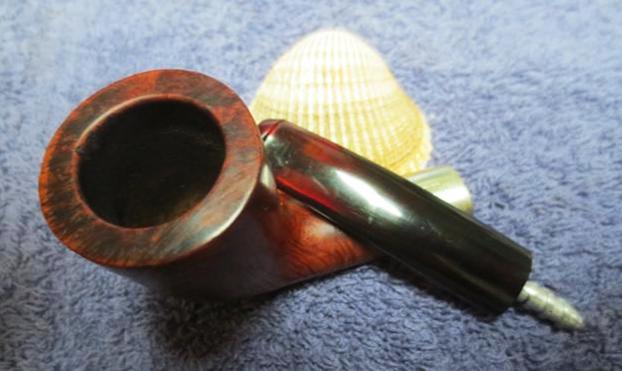
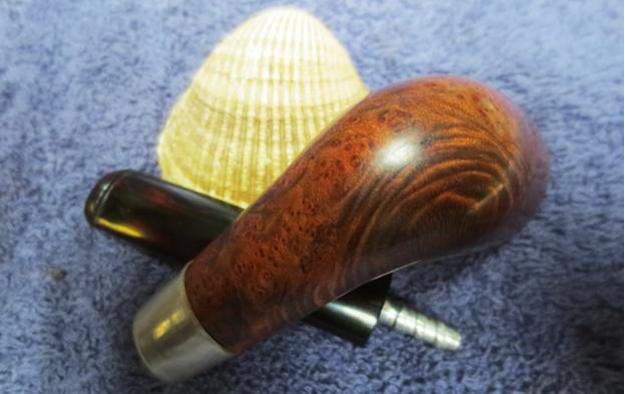
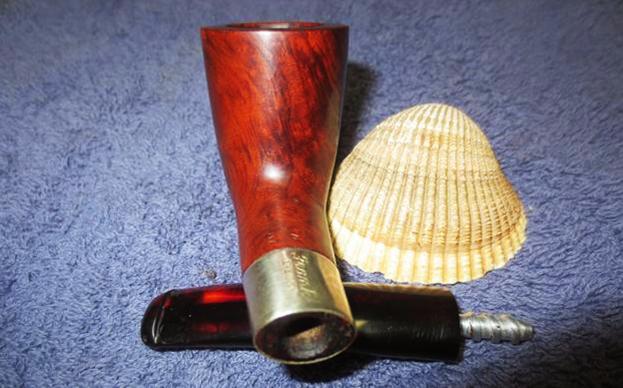
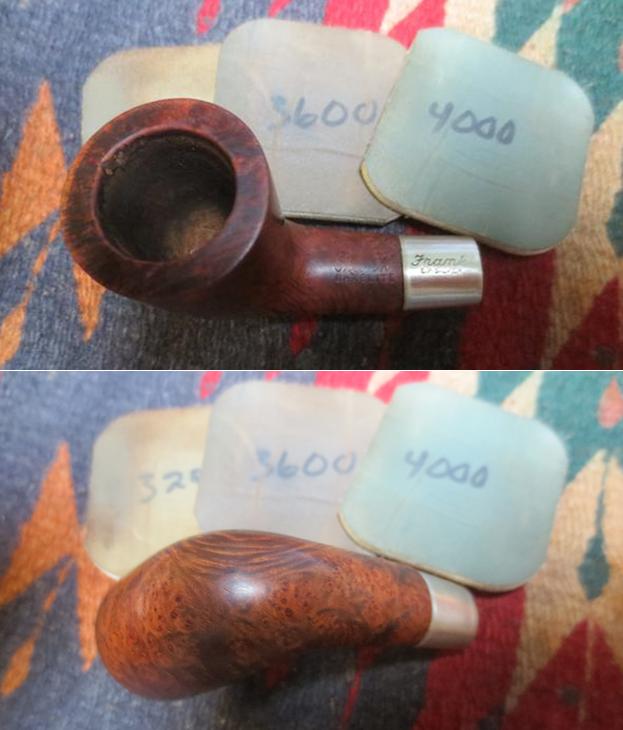
The next pipe that I brought to my work table came from the virtual pipe hunt that my brother and I did in Montana. I have written a few blogs about that hunt as it contained a lot of late 1890s and early 1900 era pipes. These included C.P.F., W.D.C. and some no name pipes from the same era. If you are interested in reading any of them, a quick search on the blog for “Virtual Pipe Hunt” will give you the links to a blog about the hunt and to other pipes that were included. This particular pipe was a Zulu shaped pipe with some interesting grain (birdseye, swirled and cross grain) on the bowl and a red Bakelite/Redmanol stem. The finish was very worn and there was some hard glue like residue stuck on the left side of the bowl that looked like the pipe had been glued to a display board of some kind. The top of the shank was stamped Frank in script over BAKELITE. There was a silver band on the shank stamped with the same Frank script over E.P. Silver (Electro Plated Silver).I was interested in differentiating the history of the S. M. Frank & Co. from Wally Frank. I knew that they were different companies and that eventually S.M. Frank became the owners of such brands as Kaywoodie, Yello-Bole, Reiss Premier, W.D.C. (William Demuth Company), Medico and Heritage brands. They also made the Frank brand of pipes of which the one I have in hand is one. This US based company has been around almost a century and a half and has been called the “oldest pipe house in America.” Wally Frank on the other hand was a company that existed alongside of S.M. Frank but was a totally different kind of company. They imported pipes from England, France, and Italy and even purchased American made pipes and stamped them with their brand name.I turned to Pipedia to get some background history on S.M. Frank & Co. I wanted to get a quick read on the brand. The link is https://pipedia.org/wiki/S.M._Frank. There was a section of the article called the Early History of S. M. Frank & Co. I quote from that now.

In the year 1900 Sam Frank Sr. started his own business, selling pipes and other tobacco items. His original office was located at 20 W. 17th Street, NYC. He was also closely associated with the sales staff of Wm. DeMuth & Co., selling their line of pipes. It was at this time that Mr. Frank first met Ferdinand Feuerbach and formed what would be a lifelong friendship. Mr. Feuerbach started working for the DeMuth Company in 1897 and by 1903 had become the production manager. In 1919, when Mr. Frank needed an experienced pipe man to run his pipe factory, located at 168 Southern Blvd., in the Bronx, he persuaded his old friend Ferdinand to join him. Mr. Feuerbach is credited with developing DeMuth’s popular Royal DeMuth and Hesson Guard Milano pipelines. In 1922, when S. M. Frank purchased the Manhattan Briar Pipe Co. the company incorporated…

In early 1937, the City of New York notified S. M. Frank of their intent to take by eminent domain, part of the land on which the company’s pipe factory was located. This was being done to widen two of the adjacent streets. As a result of this, S. M. Frank entered into negotiations to purchase the Wm. DeMuth & Co.’s pipe factory in the Richmond Hill section of Queens. It was agreed upon that DeMuth would become a subsidiary of S. M. Frank and all pipe production of the two companies would be moved to DeMuth factory. New Corporate offices were located at 133 Fifth Avenue, NYC.

In October 1943, Sam Frank Sr.’s passing marked a change of leadership of the company. Herbert Schloss, long-time friend and fellow salesman was named President, Ferdinand Feuerbach was Vice President and Treasurer, Charles Dietsch (Sam Frank’s nephew) was Vice President of Sales. William Feuerbach Sr., who joined the company in 1937, was named Assistant Treasurer. Sam Frank Jr. joined the company in 1948, after serving in the U.S. Marine Corps during the war. He worked in factory operations until 1950 when he was transferred to sales, covering various territories.

That gave me the history of the brand up until they started buying up other American Brands that later became company bywords. It gave me some sense of date for the pipe – it was made between 1900 when the company opened and 1922 when they took over the Manhattan Briar Pipe Company. The shape is very similar to pipes that came out from the Manhattan Briar Pipe Company during their pipemaking.

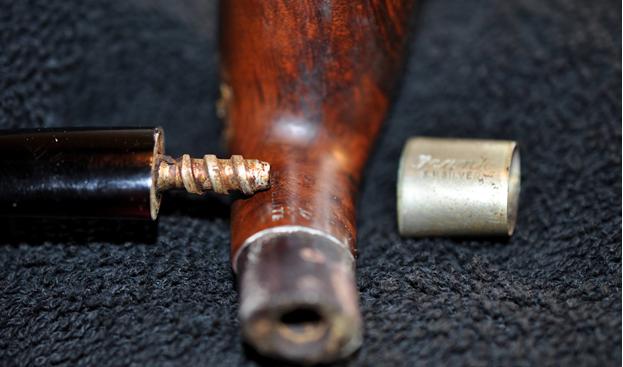
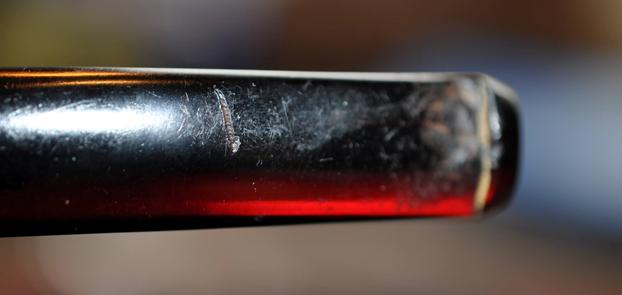
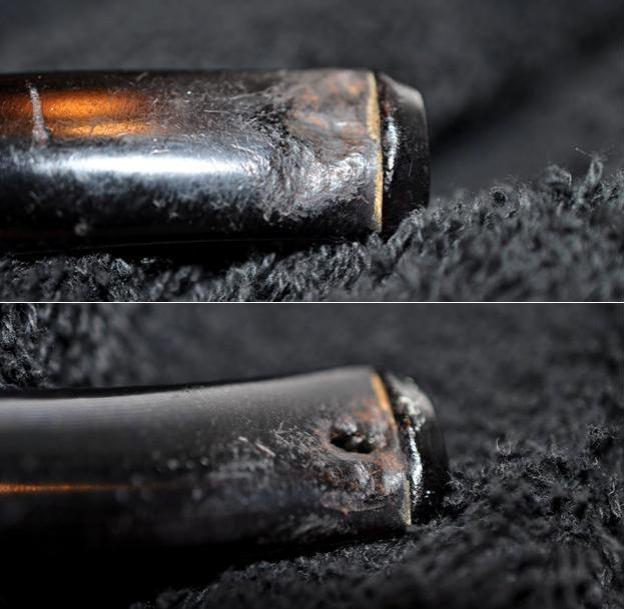
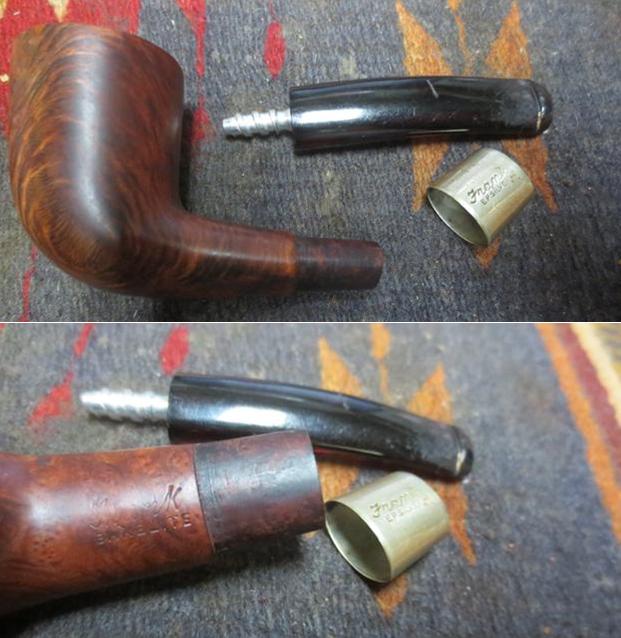
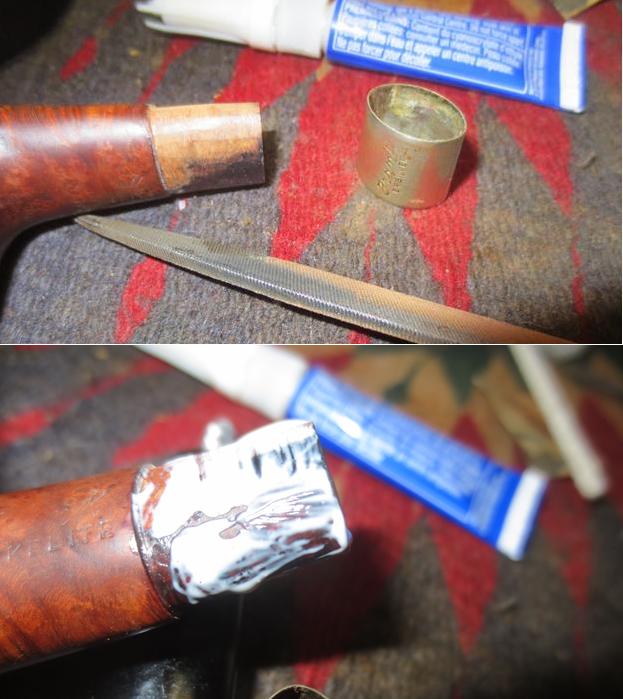
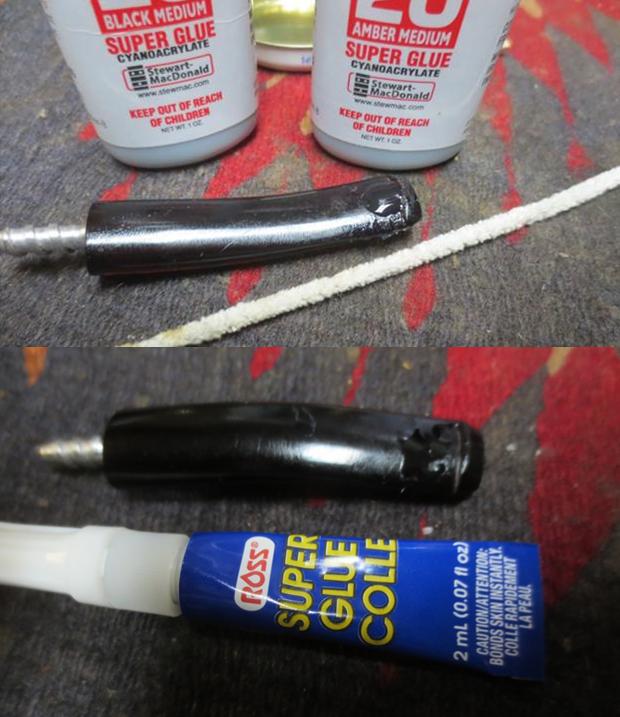
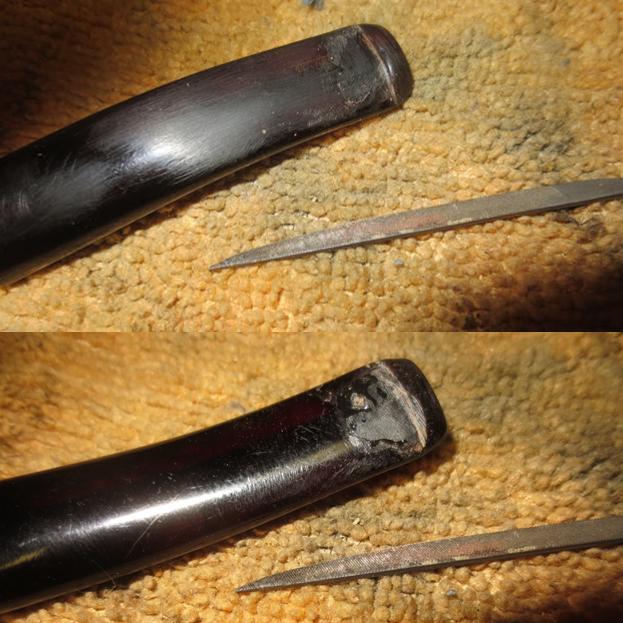
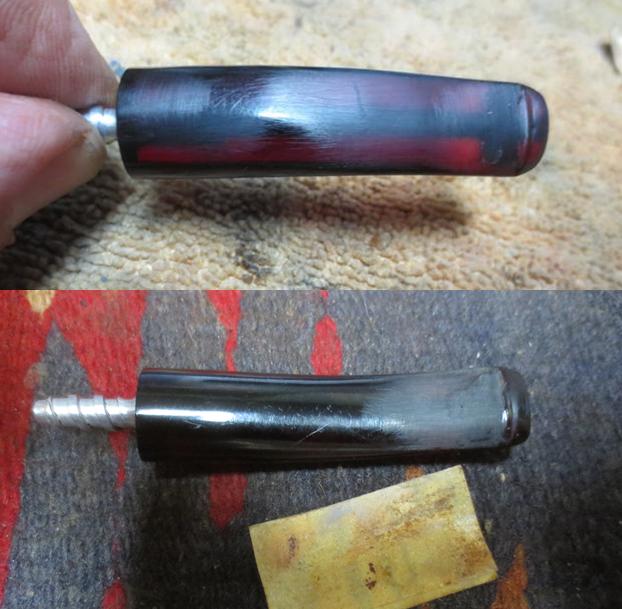
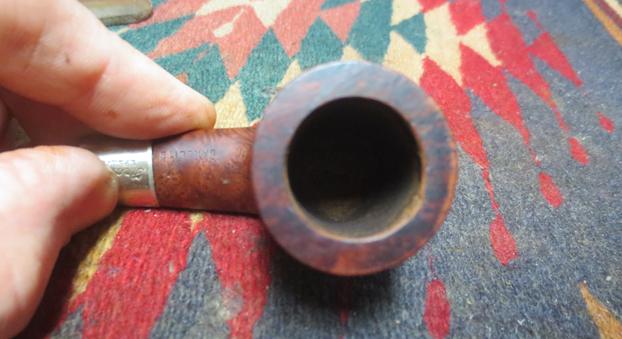
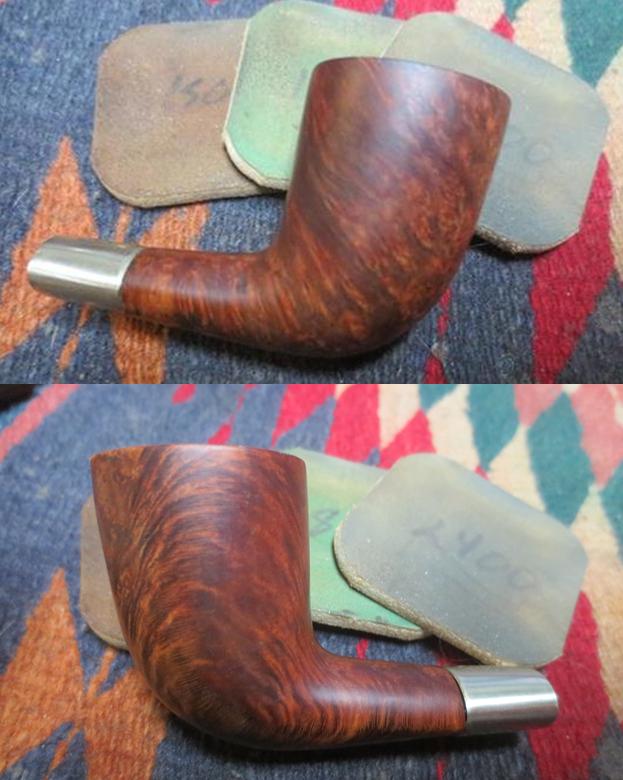
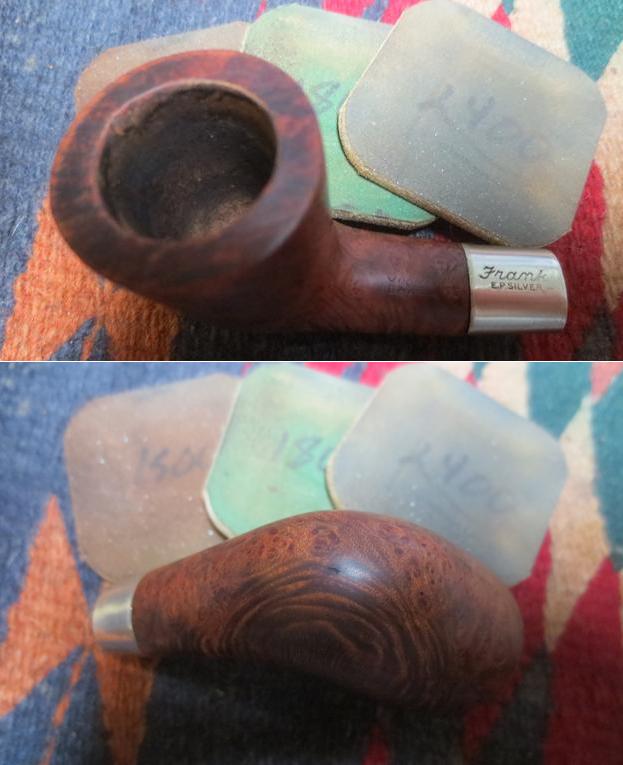
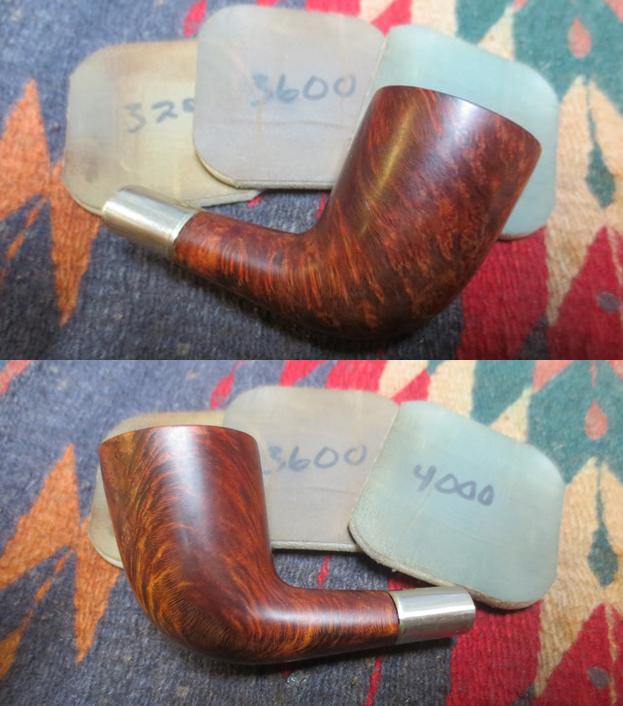
Jeff took some photos of the bowl and rim top to show the condition of the pipe. There was a very thick cake in the bowl which was heavier at the back of the bowl (that was interesting to me as it is very obvious in the photo below). The lava overflow on the rim top was also quite thick and flaky. The next three photos show the grain on the bowl sides and bottom. There is some stunning grain on this old pipe. The second photo shows the hard glue residue on the left side of the bowl that seems to have come from the time when the pipe may have graced a display box. The stamping on the top of the shank is readable. The script Frank is fainter than the BAKELITE stamp but both are readable. The stamping on the silver is also clearly stamped on the top side of the band. When I received the pipe the band was loose and it was upside down on the shank. When the stem was unscrewed off the shank the metal tenon was visible. The band fell off and it is clear that the shank was sanded more on the left side than the right which made the fit on the shank quite crooked. More of the band extended past the right side of the briar than the left side. The red Bakelite stem had a deep scar on the top side mid stem. There were a lot of deep tooth marks and indentations on the top of the stem and the button showed tooth marks.The next two photos of the stem show the deep tooth marks on the top of the stem, the wear on the button and the hole in the underside of the stem in front of the button. Both sharp surfaces of the button were worn down from tooth marks.Jeff did his usual thorough cleanup of the pipe. He reamed the bowl with a PipNet reamer, scraped the rim top with a Savinelli Fitsall Pipe Knife to clear off the lava build up. He cleaned out the internals – mortise, airway in the shank and stem with alcohol, cotton swabs and pipe cleaners. He scrubbed the exterior of the briar with Murphy’s Oil Soap and a tooth brush to remove all of the grime and hardened glue on the finish of the left side of the bowl. He rinsed the briar under running water and dried it with a soft cloth. He soaked the stem in OxyClean to clean off the Bakelite and cleaned out the airway in the stem with pipe cleaners, cotton swabs and alcohol. When the pipe arrived in Vancouver it certainly looked different than it did when we picked it up off the table in Montana. I took photos of the pipe before I started working on it to show the difference after Jeff’s amazing cleanup. Jeff got the thick cake out of the bowl and scraped off the lava on the rim top. The inner edge of the bowl had some damage and was no longer perfectly round. The bowl was clean and looked very good. The rim top was lava free and was in decent condition.I took close up photos of the stem to show its general condition and the tooth chatter, marks and scratches on the top of the stem and the hole in the underside of the stem that was a bite-through. I also took photos of the metal tenon and the orific hole in the button end of the stem. I took a close up photo of the shank and band to show the stamping and the oxidation on the band. The band is slightly turned to the right and will need to be aligned.I took a picture of the pipe taken apart to show all of its parts. You can see the discolouration of the left side of the shank. If you look closely you can see that the left side and the underside have been filed down slightly which made the band fit poorly. The right side was unfiled and would need to be filed so that I could move the band toward the left. I built up the left side and the bottom of the shank with clear super glue. Once that dried I used a needle file to cut down the right side and top of the shank. I checked the fit of the band on the shank repeatedly through the process and when it fit correctly I glued it in place with an all-purpose glue. I set the bowl aside so that the glue could harden. While the glue set on the shank I set it aside and worked on the stem. I decided to repair the tooth marks on the top and bite-through on the underside of the stem. I put a pipe cleaner greased with Vaseline in the orific airway in the button and slide it under the bite-through. I mixed some Black and Amber super glue together and filled in the hole on the stem. I filled in the tooth marks on the top of the stem with clear super glue. I sprayed the stem surfaces with accelerator to speed up the hardening of the repair. I pulled the pipe cleaner out of the stem so that it would not stick in the airway.Once the repair hardened I used a needle file to reshape the sharp edge of the button and flatten out the surface of the stem on both sides. I sanded the cut on the top of the stem with 220 grit sandpaper until it was smooth. I sanded the rest of the stem and the repaired areas with the sandpaper until the repairs were blended into the surface of the stem sides. The mixture of super glue colours worked well with the reds of the Bakelite stem. I polished the repaired stem with micromesh sanding pads – wet sanding with 1500-2400 grit pads and dry sanding with 3200-12000 grit pads. I wiped the stem down with Obsidian Oil after each pad. I have found that it works well on the old Bakelite stems. With the stem finished and the glue set on the band I turned to work on the bowl. I used a folded piece of 220 grit sandpaper to rework the inner edge of the bowl. I sanded out the damaged edge of the bowl and reshaped it to make it round once again. I did not bevel it, but kept it smooth to match the original bowl. I used the Savinelli Fitsall Pipe Knife to clean up the reaming of the bowl and remove the remnants of cake that were left. I used a 1500 grit micromesh sanding pad to smooth out the sanded edge of the bowl. The last photo of the bowl shows the repaired inner edge of the bowl. I polished the bowl and rim with micromesh sanding pads – wet sanding with 1500-2400 grit pads and dry sanding with 3200-12000 grit pads. I wiped the bowl down with a soft cloth after each sanding pad. I buffed the bowl with Blue Diamond on the buffing wheel and gave it multiple coats of carnauba wax. I buffed it with a clean buffing pad to raise the shine. I hand buffed it with a microfibre cloth to deepen the shine. I took photos of the bowl once I buffed it. I put the stem back on the bowl and buffed it with a carnauba wax buffing pad. I gave the stem and bowl several coats of wax. I was very careful to not push the stem to hard against the buffing wheel so that the Bakelite would not melt and cause more problems. I buffed it with a clean buffing pad to raise the shine. I hand buffed the pipe with a microfibre cloth to polish it deeper. The finished pipe is shown in the photos below. It turned out to be a pretty pipe. The Bakelite red stem and the grain and finish on the bowl went really well together. Thanks for following along with me on this refurbishing journey.
 

New Life for a C.P.F. Wellington Style Pipe


Blog by Steve Laug

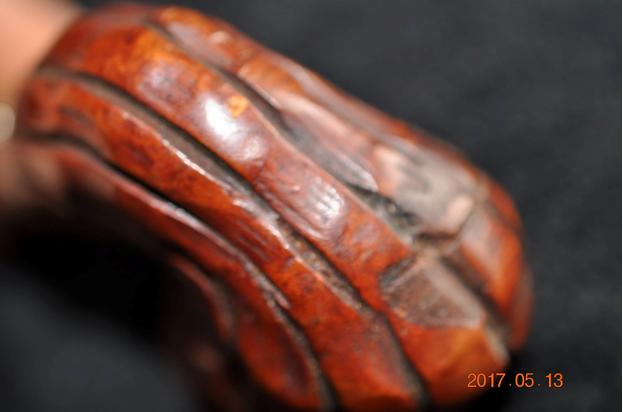
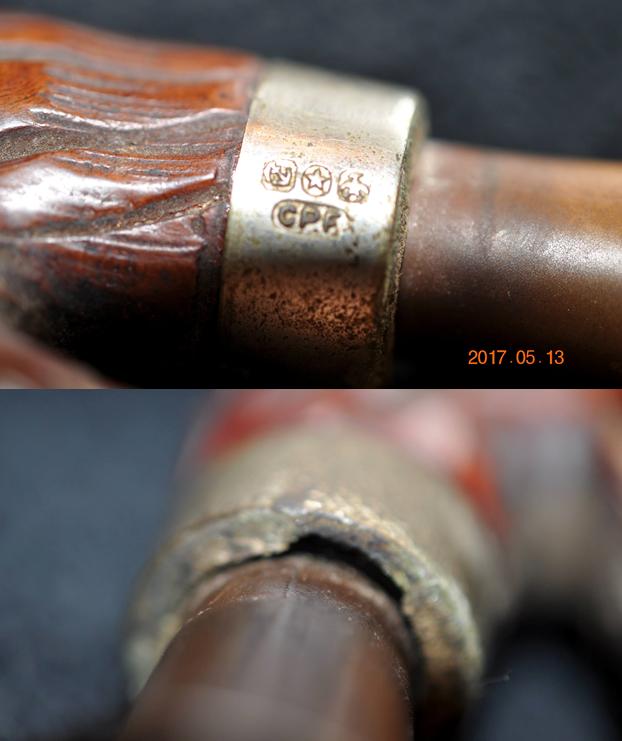
The next pipe on my work table is another C.P.F. from the virtual pipe hunt Jeff and I did in Montana. It is an interesting piece in that it has some age on it but to my thinking it is “newer” than the other C.P.F. pipes I have been working on from that hunt. This one has no stamping on the bowl but has the C.P.F. in an oval logo stamped on the ferrule underneath a set of the expected faux hallmarks.

To me it is very much like later C.P.F./KB&B post-merger Chesterfield pipes. KB&B acquired or started the C.P.F. line sometime between 1884 and 1898” (http://kaywoodie.myfreeforum.org/archive/cpf__o_t__t_161.html). They operated the factory at 129 Grand Street, in New York City, New York. The ferrule and stem are not stamped with the dual stamp that later pipes had, so I think it is safe to assume that it is from pre-1900. I went back and read my blog post on the background of the brand and I think I was able to date this one a bit.

The C.P.F. brand was discontinued sometime between 1910-1920. I turned to a quote I found from Bill Feuerbach where he notes the following, which pins down the time frame of the discontinuation of the brand more specifically, “I have a C.P.F. Chesterfield in our office display that has a nametag from way before my time that says 1900 C.P.F. Chesterfield. It looks like most other Chesterfields you’ve seen, including the military type push stem, except this stem is horn and not vulcanite. As far as I have gathered the C.P.F. brand was phased out sometime around 1915” (http://kaywoodie.myfreeforum.org/archive/cpf__o_t__t_161.html). Interestingly, he noted that the Chesterfield name and style was later introduced in the KB&B, Kaywoodie and Yello-Bole lines. He says that the 1924 KB&B catalog shows KB&B Chesterfields. (Here is a link to the full blog on the brand: https://rebornpipes.com/2013/04/14/some-reflection-on-the-historical-background-on-cpf-pipes/).

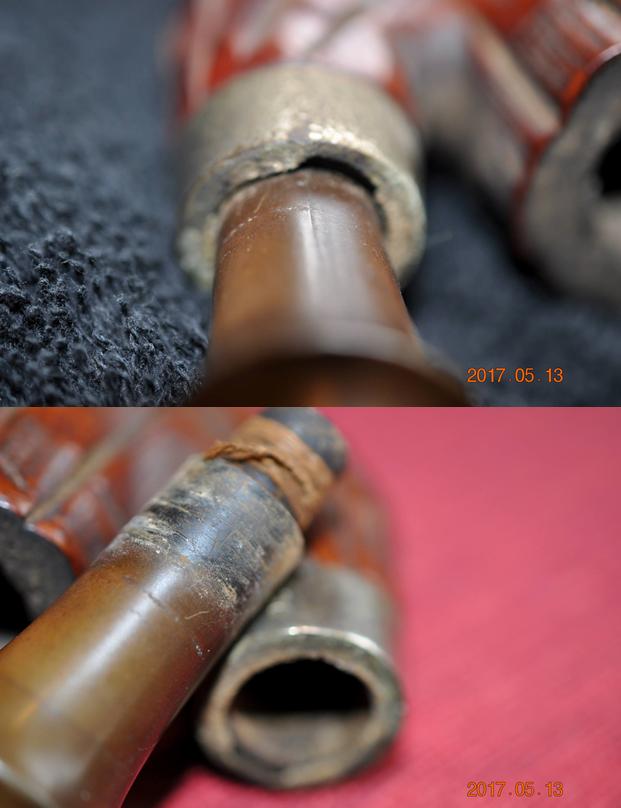
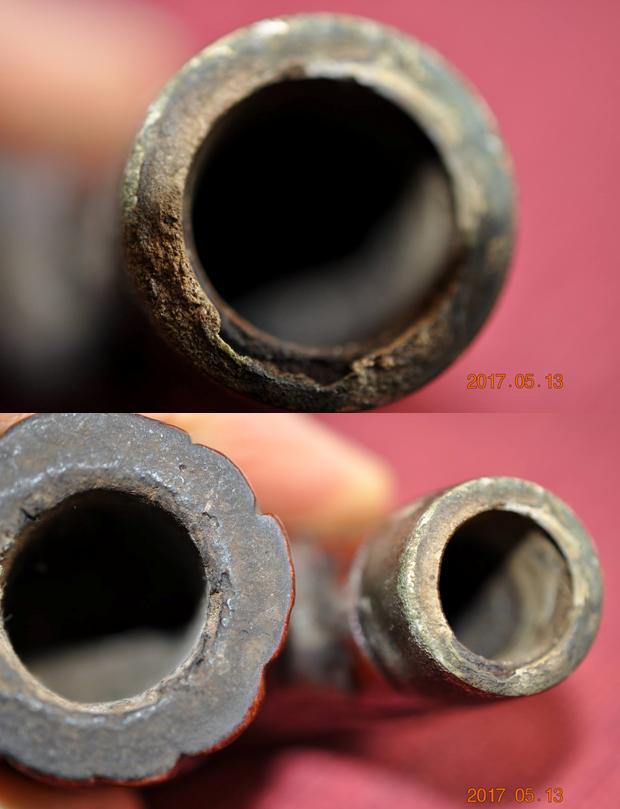
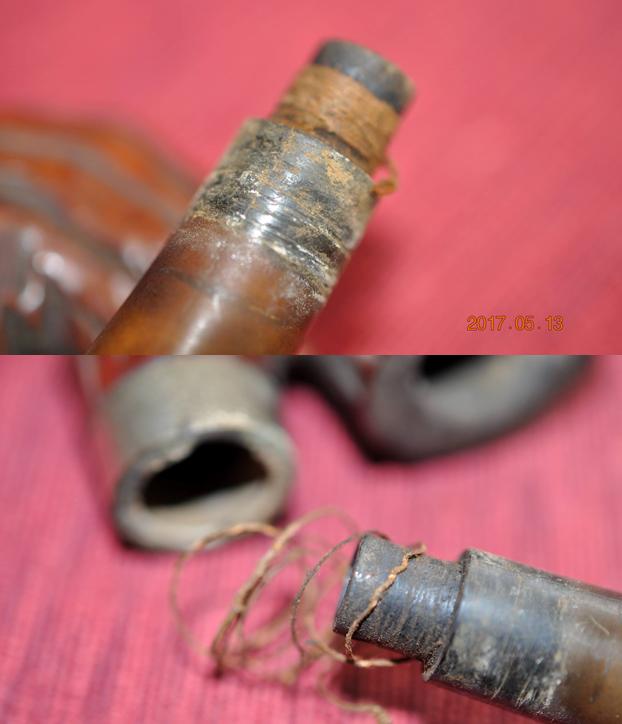
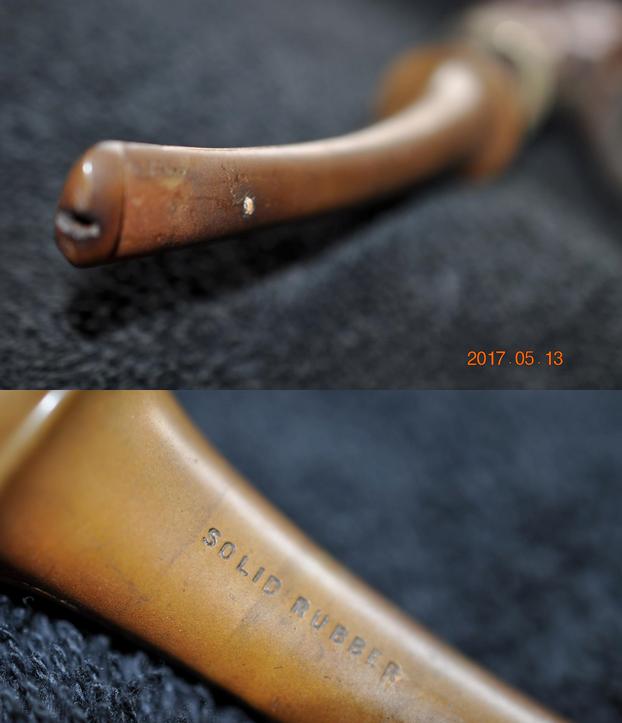
My brother Jeff took the previous and the following photos of the pipe before he cleaned it and sent it to me. It was extremely dirty with grime settled deep in all of the grooves of the rustication on the bowl. The nickel ferrule was oxidized and had turned and the stamping in the metal was not visible on the left side. The stem was oxidized and spotty looking and to my eye it had appeared to have straightened over time and lost some of the natural curve it originally had. This old pipe was in really rough shape. The rim was heavily covered in a thick lava coat and the bowl was caked with a hard carbon. It was thick against the walls with the cake thicker on the back side of the bowl. The way the cake was it was hard to tell what kind of condition the inner and outer edge of the bowl would be in until it was all removed.The next photo not only shows more of the rim and bowl but also the damage and heavy oxidation of the ferrule. It was rough to touch and there was a large piece missing on the end.The next photos show the dirt that was caked in the grooves and carvings of the bowl and shank sides. The curved area between the bowl and the shank was really dirty. The third photo below shows the heel of the bowl and the small crack that went across the width. It was hard to tell if it was just a flaw in the briar or a true crack. Once it was cleaned up I would be better able to tell. The one thing going for it was that there was no darkening to the exterior of the heel. The ferrule had come loose at some point in its life and had been reglued upside down. The C.P.F. in an oval logo and the faux hallmarks were on the bottom of the shank. The damaged spot on the ferrule had turned to the top of the shank. I wondered if the damage had been engineered when the shank had been drilled. Once again, I would know once we had cleaned it up and looked at it up close. When the stem was removed the end was wrapped up the stem about an inch with cord. This was often done to tighten the fit in the shank. I have found that on pipes this dirty that the sump below the airway in the mortise is generally filled and the sides of the mortise are so dirty that the stem no longer fits correctly in the shank. Jeff took a photo of the shank end to show the damage to the ferrule close up. It almost looks like it is notched. I am wondering if the turned ferrule (the notch) on the top of the shank rather than the bottom was not one reason for the misfit of the stem.The next two photos show the wrap as he began to unwind it from the end of the stem.The stem was badly oxidized and it was going to be hard to get all of the oxidation off the old vulcanite. The button end had a slight notch that opened up the orific airway. I was not sure if this was original or if it was damage. The stem was stamped on the underside with the words SOLID RUBBER and on the topside near the saddle with C.P.F. in an oval. There was some definite wear and tear on the stem but surprisingly no tooth marks. Once again, Jeff did his usual thorough cleanup of the pipe. He reamed the bowl with a PipNet reamer, scraped the rim top with a Savinelli Fitsall Pipe Knife to clear off the lava build up. He cleaned out the internals – mortise, airway in the shank and stem with alcohol, cotton swabs and pipe cleaners. He scrubbed the exterior of the briar with Murphy’s Oil Soap to remove all of the grime and grit in the finish and clean out the areas around the issue I had noted on the heel of the bowl. He rinsed the briar under running water and dried it with a soft cloth. He soaked the stem in OxyClean to bring the oxidation to the surface and remove the grime. When the pipe arrived in Vancouver it certainly looked different than it did when we picked it up out of the sale display in Montana. I did not take photos of the pipe before I started working on it but instead got sucked into the restoration process.
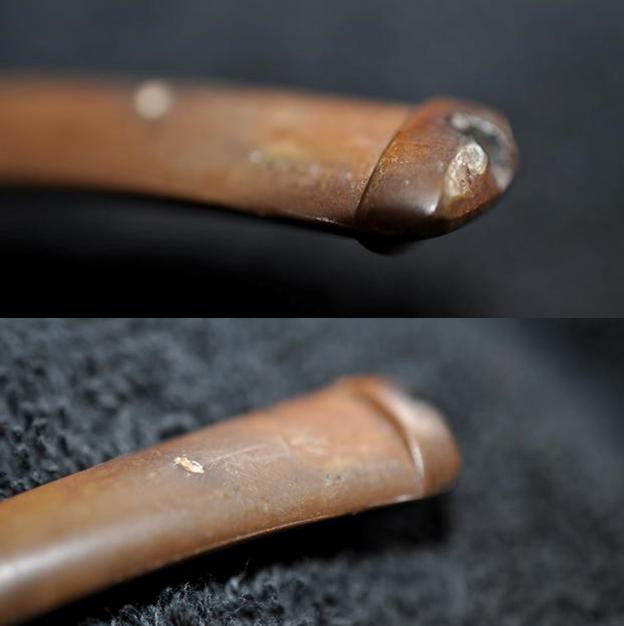
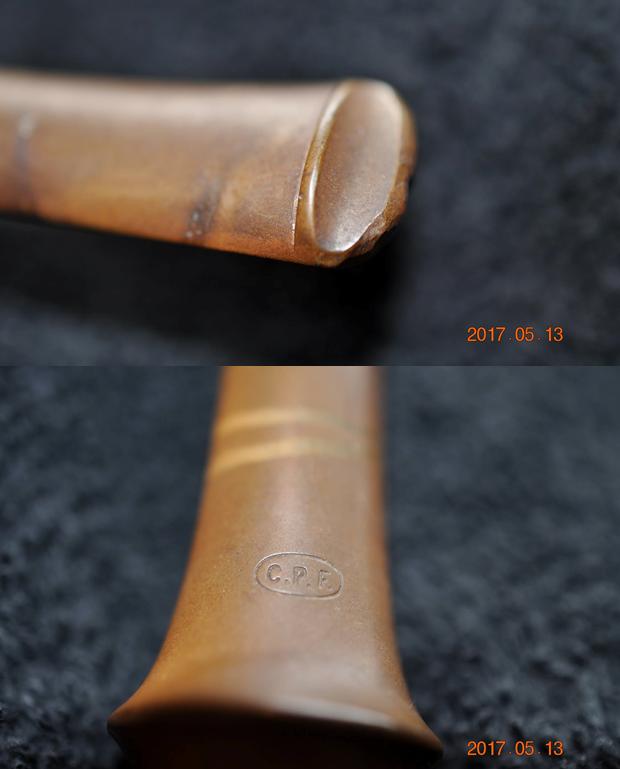
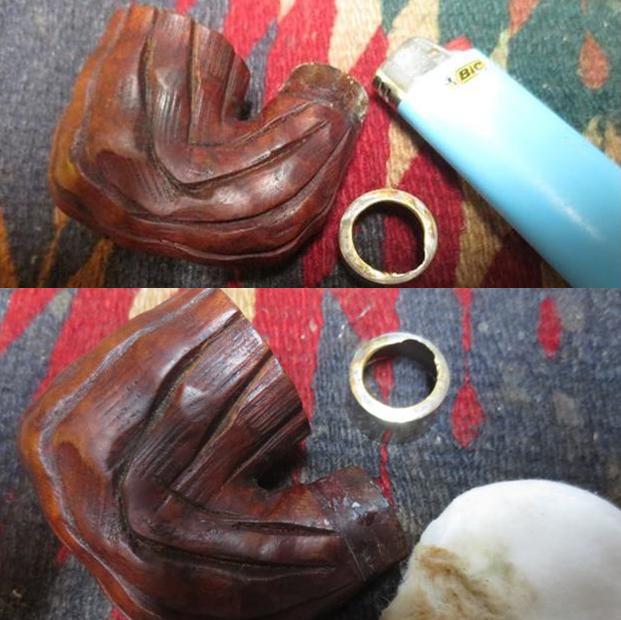
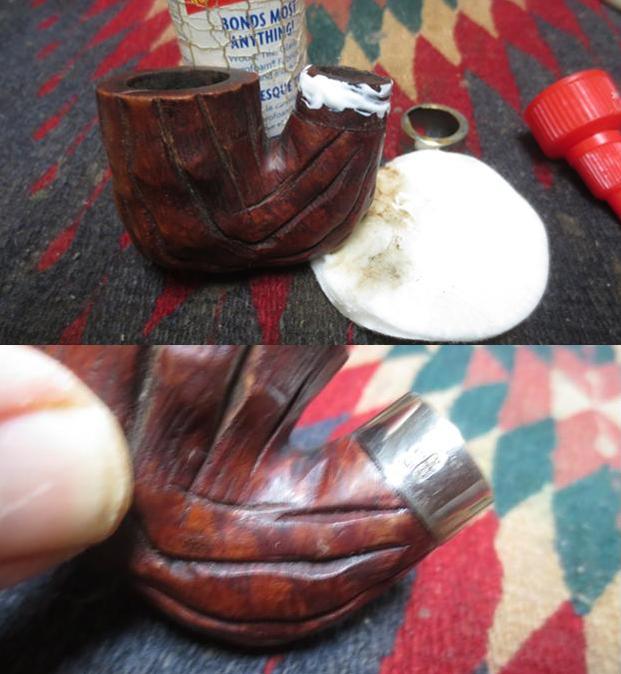
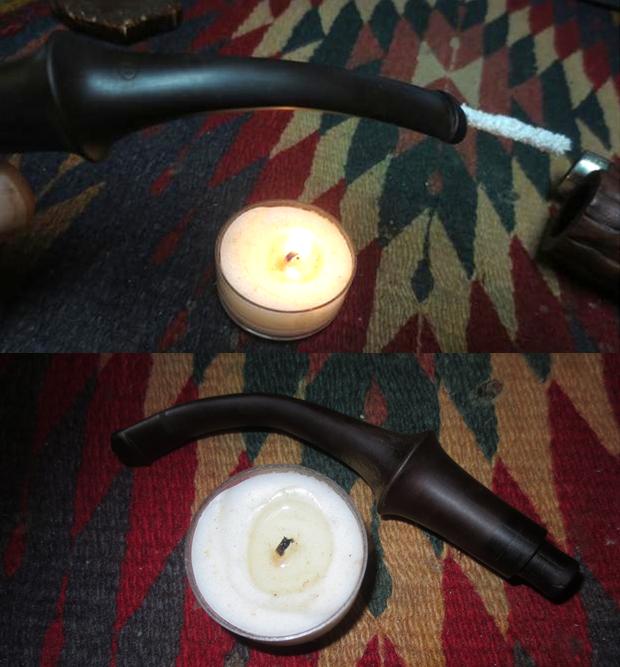
I heated the ferrule with a Bic lighter to soften the glue that held the metal to the shank end. It took a bit of heating a cooling before I was able to pry the ferrule off the shank end. In the photo below you can see the glue on the shank end and the notch in the face of the ferrule. I wiped down the finish with acetone on a cotton pad paying special attention to the glue on the shank end. I wanted the shank end clean before I reglued the ferrule on it. I painted all-purpose glue around the shank, aligned the ferrule so that the notch was at the bottom of the shank and the C.P.F. logo and faux hallmarks were on the left side of the shank as they had originally been when the pipe left the factory. I pressed the ferrule in place. Once it set on the shank I tried the stem and it fit better than previously. I put the stem in a bath of Before & After Pipe Stem Deoxidizer for 24 hours to let the mixture do its magic on the badly oxidized stem.Once the bowl had been reamed clean it was clear that the cake had been reamed out before with a knife and the airway entered the bowl high. The bottom of the bowl was below the airway and because of that it made the bottom quite thin. While the bowl was not burned or damaged it was a candidate for that to happen. I mixed a batch of JB Weld and applied it to the bottom of the bowl and up the sides part way to raise the bottom of the bowl and protect it. The airway entrance was also to open so I built up the edges around it with some of the mix. I set the bowl aside to let the repair cure overnight, turned off the lights and called it a day. Work was so busy last week that I did not get to work on the pipe again until the weekend. The stem had soaked in the bath for 48 hours and I was hoping that the mixture had done its magic and remove the oxidation. I took it out of the bath and dried it off and ran pipe cleaners and alcohol through the airway in the stem.I put a pipe cleaners in the airway and heated the solid rubber stem with a candle to soften the stem enough to be able to bend it. I kept it high enough above the flame so that the rubber would not burn. Once it was soft and flexible I bent it to the point that when in the shank it sat properly in the mouth of the pipe man.I sanded the stem with 220 grit sandpaper to remove the tooth chatter on both sides of the stem in front of the button. I reshaped the end of the button to make it more round and remove some of the damage on the edges.I buffed the stem with red Tripoli to remove some of the deep remnants of oxidation. I polished it with micromesh sanding pads – wet sanding it with 1500-2400 grit pads and rubbing it down after each pad with Obsidian Oil. I dry sanded it with 3200-12000 grit pads and once again rubbed it down after each pad. I gave it a last coat of oil after the 12000 grit pad and set it aside to dry. I examined the area on the heel of the bowl with a lens and could see that the bowl was not cracked but rather I was dealing with a flaw in the briar. I picked it clean and wiped it down with alcohol on a cotton swab to make sure that there was no debris in the crack. I pressed some briar dust into the flaw with a dental pick and spatula. I put clear super glue on top of the briar dust and let it seep into the flaw.I carefully sanded the repaired area with a folded piece of 220 grit sandpaper to smooth out the repair. Once it was smooth I touched up the stain with a medium grit stain pen and buffed the bowl with Blue Diamond on the buffing wheel. I rubbed the briar down with Conservator’s Wax and when it dried, I buffed it with a clean buffing pad to raise the shine. The next photos show the bowl at this point in the process.(An interesting note at this point. Looking down the bowl from the top you can see the JB Weld repair on the bowl bottom. Once this cures for about a week I will give the pipe a bowl coating of sour cream and charcoal powder.)I buffed the stem with Blue Diamond and gave it several coats of carnauba wax. I gave the bowl several more coats of Conservator’s Wax and buffed the pipe with a clean buffing pad to raise a shine on the pipe. The finished pipe is shown below. The dimensions of the pipe are Length: 6 ½ inches, Height: 1 ¾ inches, Bowl diameter: 1 3/8 inches, Chamber diameter: ¾ inches. Though the pipe is far from perfect, I think this old-timer has been given a new lease on life and should last the next pipe man for many years to come. The damages are repaired but in many ways still speak of the story of the old pipe. Hopefully the next pipe will keep the trust for this old pipe and pass it on to the next generation. Thanks for looking.

Repairing a broken shank and crooked alignment on a Joh’s Churchwarden


Blog by Steve Laug

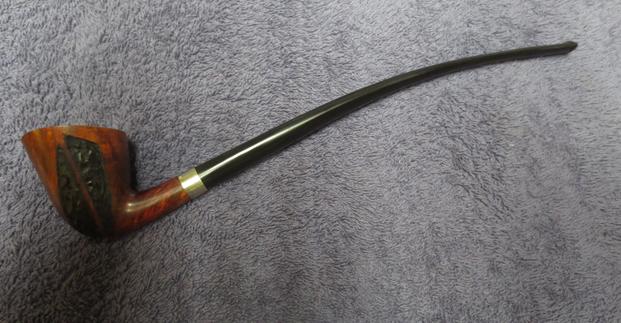
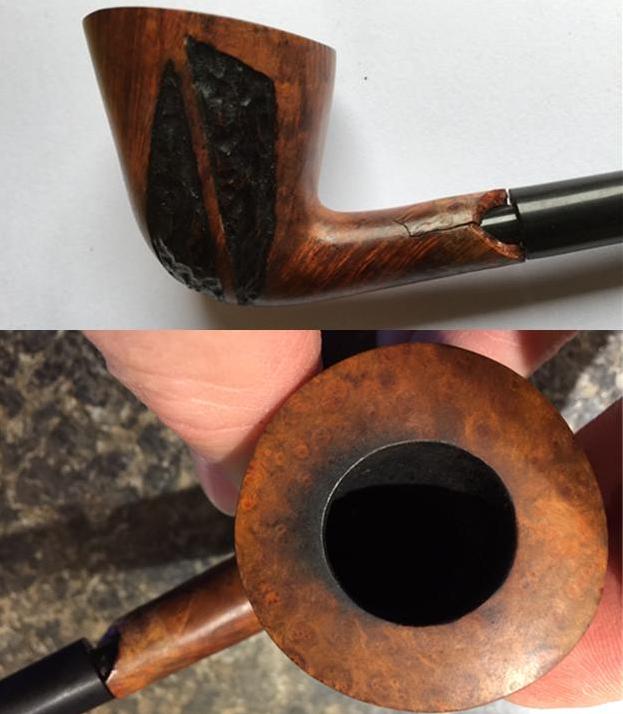
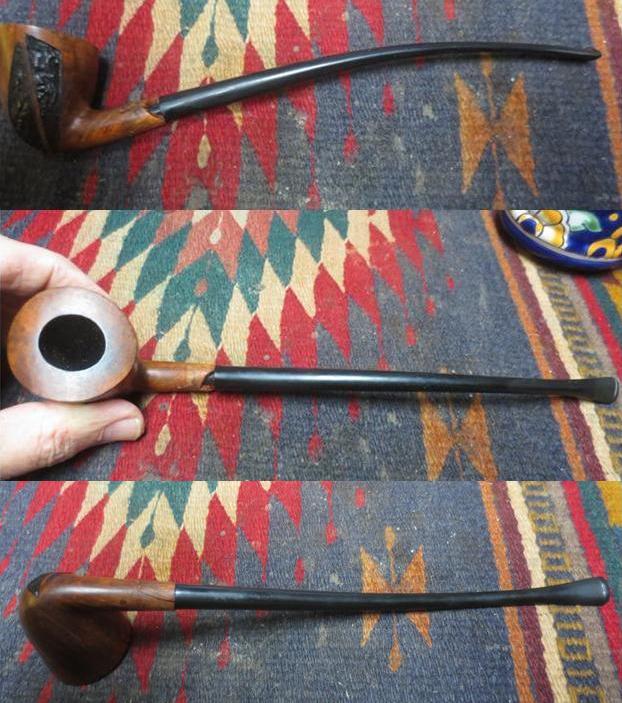
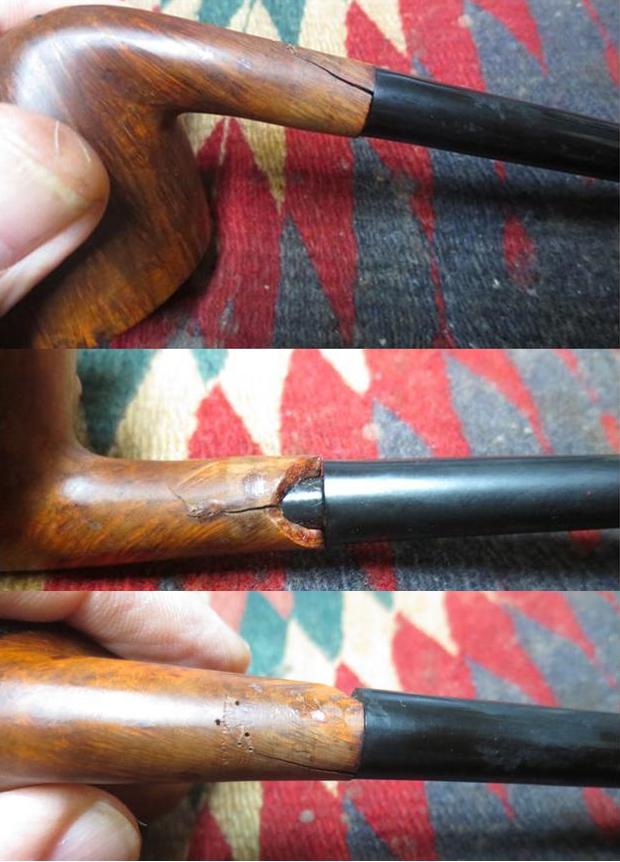
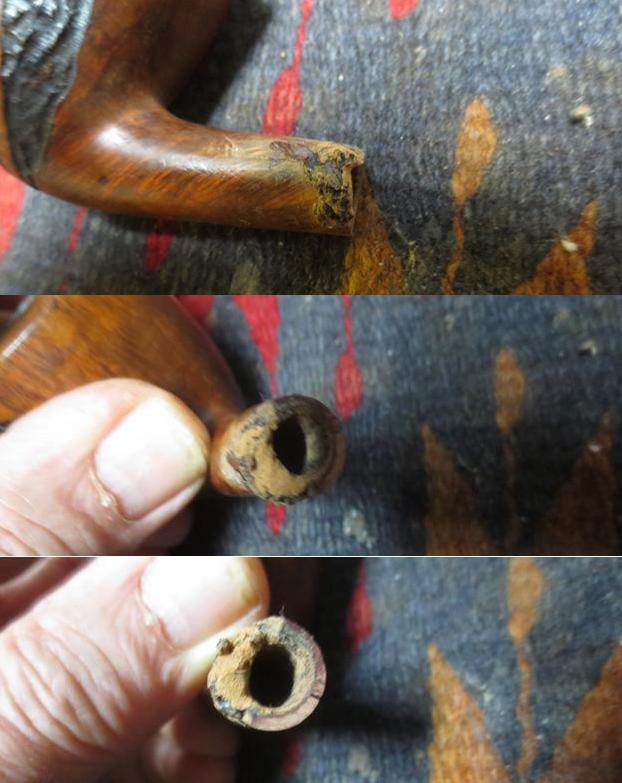
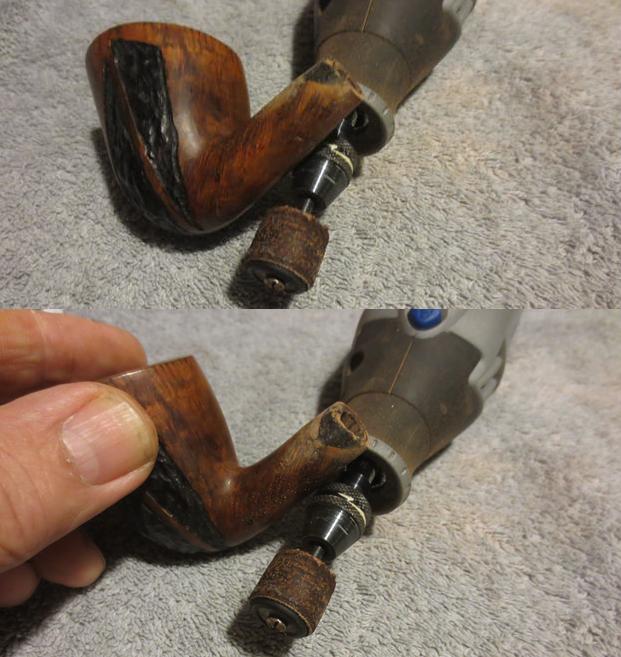
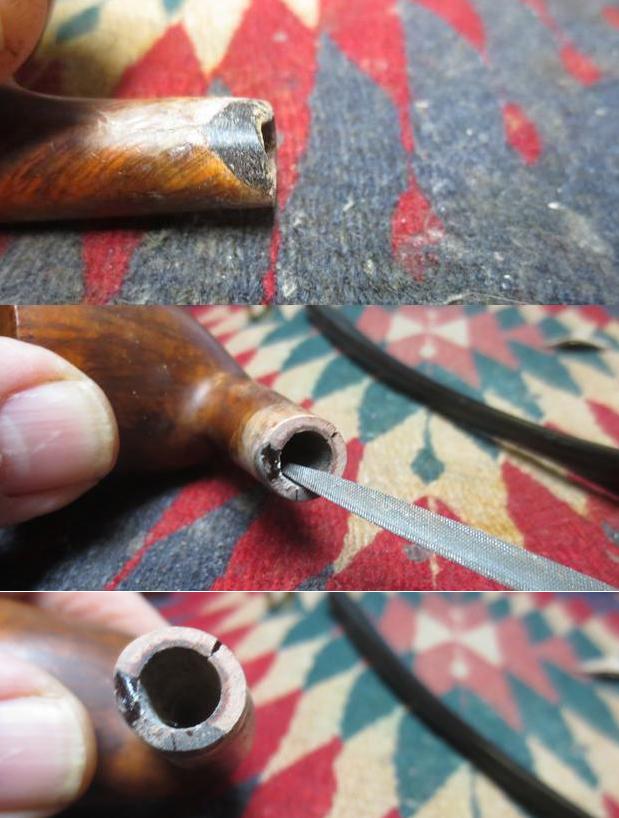
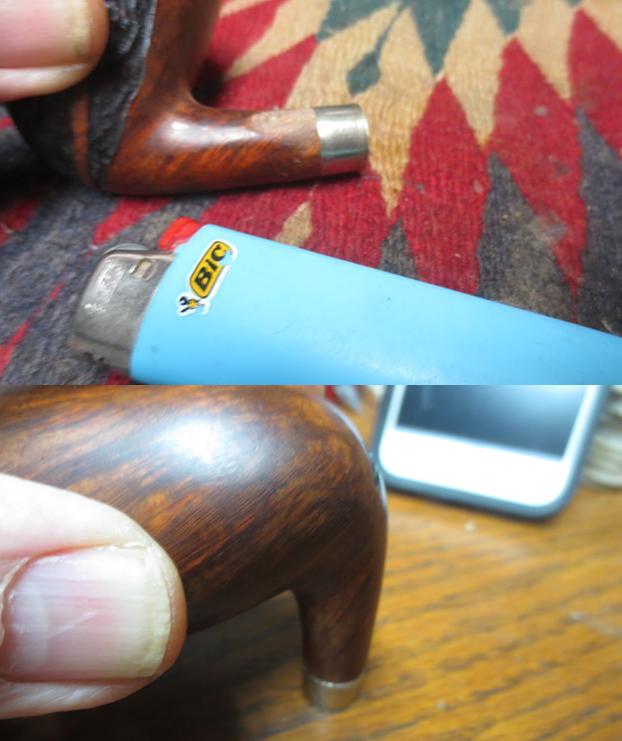
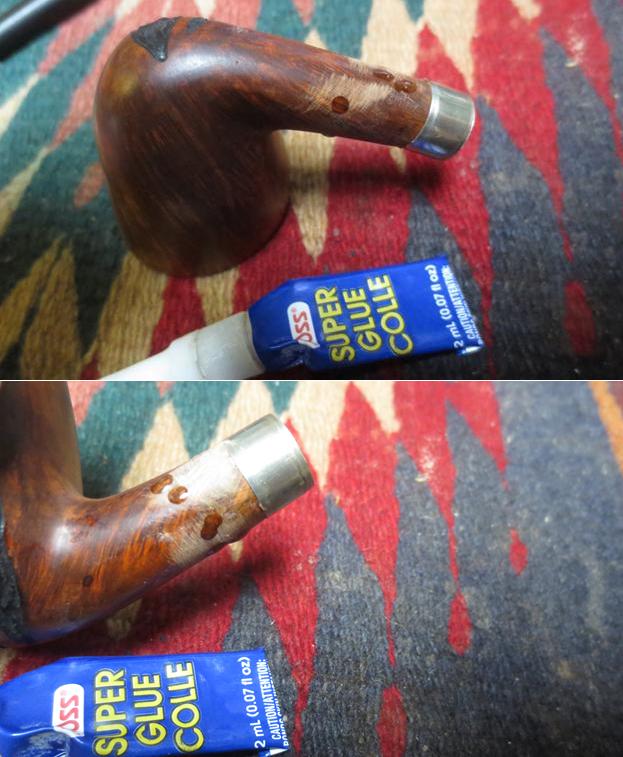
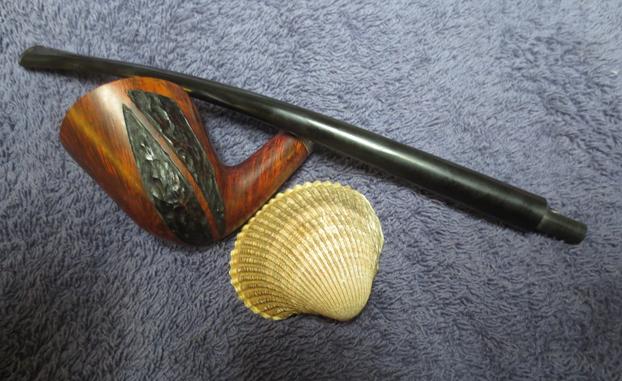
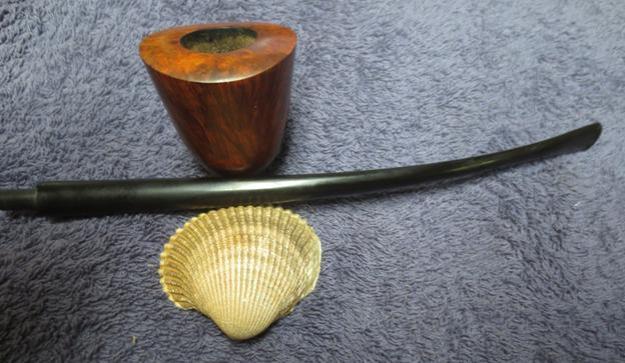
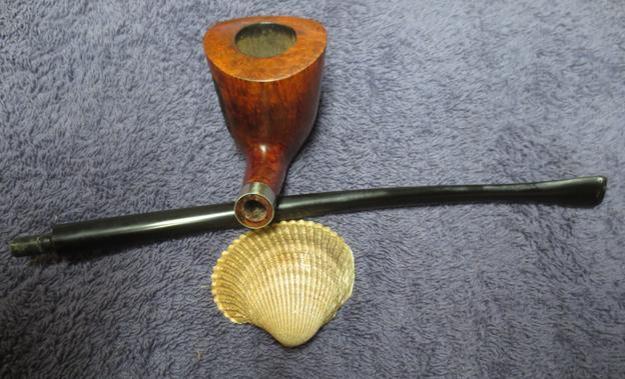
I received an email a few weeks ago from a fellow in Vancouver named Chris, asking if I would have a look at a cracked shank on his Joh’s churchwarden. He figured that it was not repairable but wanted to know if I would cut back the broken shank and refit the stem. I asked him to send me some photos of the damaged shank so I could see it myself. He sent me two photos of the pipe – one from the left side and the other from the top. The photos showed some extensive damage to the shank. There were cracks on the top, the bottom, the right and the left side of the shank. There was a large chunk of briar missing on the left side of the shank. It also appeared to me that the diameter of the stem was smaller than the diameter of the shank and that the stem sat toward the left side of the shank.Chris brought the pipe by my office for me to have a look at. We sat in my office and he went over the pipe with me. It was a nice looking pipe with two rusticated panels on the left side of the bowl and the rest of the bowl and rim were smooth. The pipe was in good shape other than the broken shank. The rim had some darkening and oils on the back side. The stem was in excellent condition with no tooth marks at all on either side. We made the decision to work on it and see what I could do repairing the damage. I took photos of the pipe when I brought it home from work and put it on the work table.I took close up photos of the cracked and broken shank. You can see the extensive damage and the difference in the diameter of the shank and the stem. I used a microdrill bit on the Dremel and drilled pin holes at the end of each crack to stop the cracks from spreading further.I used a combination of super glue and briar dust applied in layers to build up area where there was a missing chunk of briar in the left side of the shank. I built it up until the missing chunk was replaced with the mixture. It was not pretty but it was better than it was when I started the process.I sanded the repair with a sanding drum on my Dremel. The sanding drum smoothed out the repair on the exterior of the shank. The next series of three photos show the repaired area of the shank. I used a needle file to smooth out the inside of the mortise and to begin to return it to round. I would do more work on that once I had pressure fit a nickel band on the shank. I heated the nickel band with a Bic lighter to expand it and pressed it onto the shank of the pipe until the edge of the band and the edge of the shank end were even.I remembered that I had not filled in the pinholes that I had drilled. I used clear super glue and a tooth pick to put a bead of glue on top of each pin hole. When the glue had dried I sanded the shank repairs smooth with 220 grit sandpaper until they were blended into the surface of the briar.I polished the sanded areas of the briar and the dirty top of the bowl with 1500-2400 grit micromesh sanding pads. I wiped the shank down with a damp cotton pad to remove the dust. I used a medium brown stain pen to touch up the sanded areas around the shank. The medium brown blended perfectly with the existing stain. I polished the bowl and shank with 3200-12000 grit micromesh sanding pads and wiped it down with a damp cotton pad to remove the sanding dust on the surface after each pad. Before I took photos of the polished stummel after using the 12000 grit pad, I gave the bowl multiple coats of Conservator’s Wax and buffed the pipe on the buffer with a clean buffing pad to give it a shine. The polished pipe is shown in the photos below. I took close up photos of the shank repair and band to show the look of the repaired shank. If you look closely you can see the repaired cracks and the tiny pinholes but the pipe looks very good with the new nickel band and blended stain. I reshaped the mortise with needle files and built up the left side of the tenon with clear super glue to move the stem toward the centre of the shank. Once I had finished the alignment was far better than when I started and the stem looks more centred in the shank. I used a tooth pick and super glue to fill in the gap between the band and the right side of the shank. You can see from the photo that the shank was not round but more oval and slanted to the left. With the band and the repair the shank is round and the mortise end looks far better.I buffed the bowl and stem with Blue Diamond on the buffing wheel and gave the bowl and stem multiple coats of carnauba wax to protect it. I used a very light touch on the rusticated portions of the left side of the bowl. I buffed the pipe with a clean buffing pad to raise a shine and hand buffed it with a microfiber cloth to deepen the shine. The pipe is well proportioned with the following dimensions Length: 10 inches, Height: 2 inches, Bowl diameter: 1 ¾ inches, Chamber diameter: ¾ inches. The finished pipe is shown in the photos that follow. I think Chris will be happy to see one of his favourite pipes returned to his rotation looking better than when he left it with. Chris if you read this – tell us what you think. Enjoy. Thanks for looking.

Restoring a Made in England Cumberland Acorn


Blog by Steve Laug

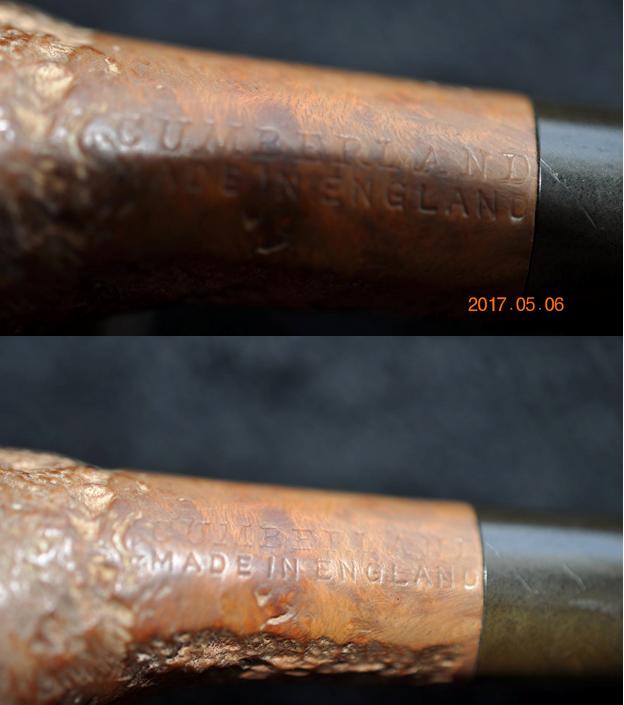
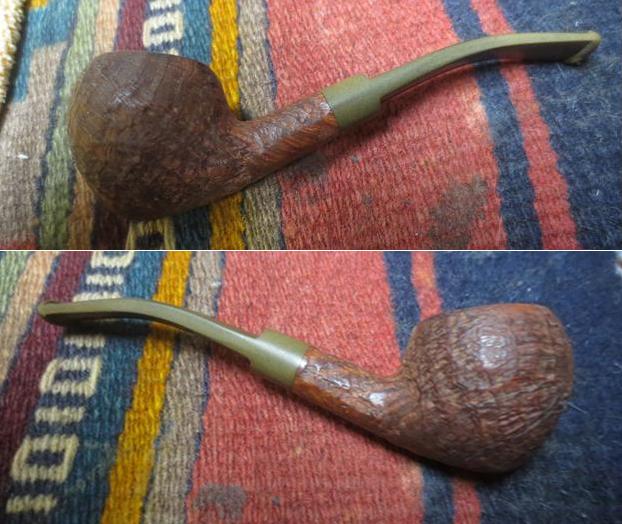
The stamping on the next pipe that crossed my work table was faint but it read Cumberland over Made in England. There is no shape number and no other name on the pipe. There is nothing Cumberland about the pipe as far as I can tell – the stem is black vulcanite and appears to be original. The finish is sand blast and quite nice though there are some sand pits in the bowl that are quite large and have been filled in. The rim and bowl are in good condition. The stem was badly oxidized and had a few tooth marks but otherwise clean. Like I said nothing Cumberland about it. I looked on Pipephil’s site and as expected nothing with this name other than Dunhill. I looked at Who Made That Pipe and they list it as UNKNOWN. So the mystery remains. I have no idea who made this nicely shaped acorn but I know that it was made in England. Anyone have any ideas?

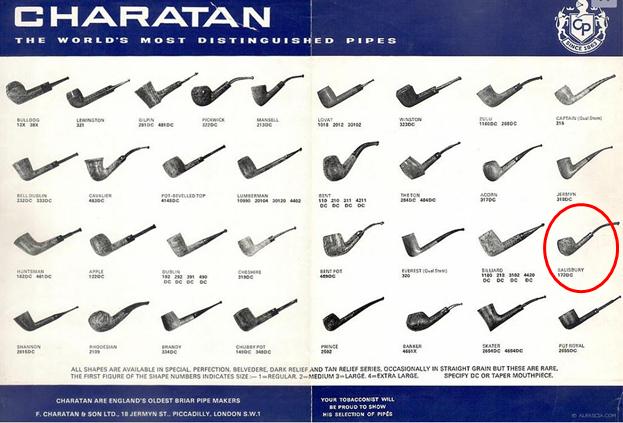
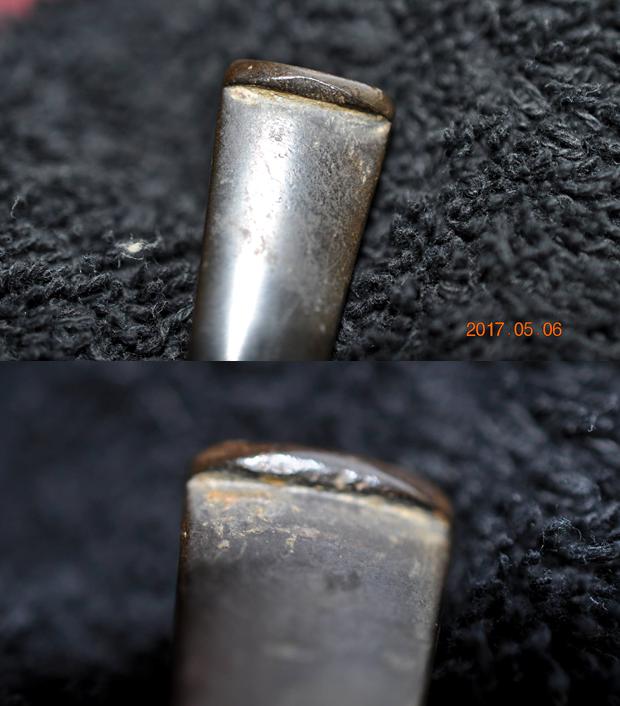
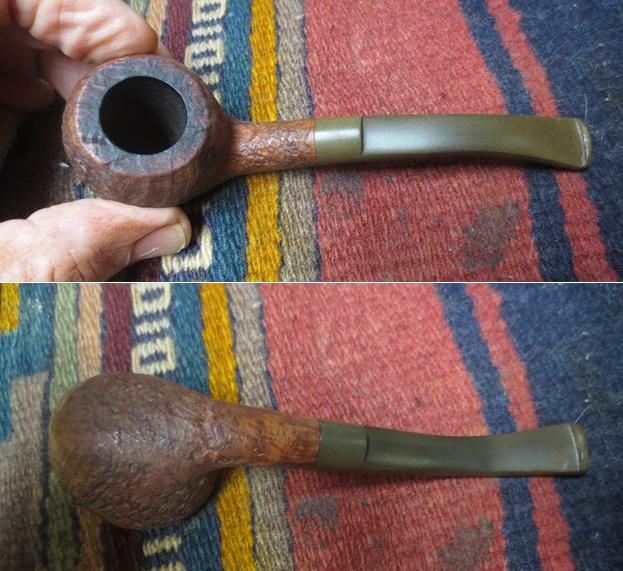
I received a comment on the blog and on my Facebook page both confirming what I asked regarding the maker of this pipe. Al Jones (upshallfan) and Dan Chlebove both figured it was made by Charatan. I did some searching online and found a Charatan Shape Chart on Al Pascia’s website. Sure enough, the shape was on the chart. It is the Salisbury Shape 173. Dan noted that it was an older one because it did not have the Double Comfort style bit on it. I think that the scar on the front of the bowl and the sandpit on the back make it a Charatan Reject. Thanks for the information gentlemen.My brother took the photo above and the ones that follow to show the condition of the pipe when it arrived in Idaho. The finish was very dirty and there was a lot of grime and dirt in the grooves of the sandblast. There was significant tar and darkening on the rim top and edges. The bowl had a thick cake and it had overflowed onto the rim top. The stem was lightly oxidized and very dirty with the slot almost closed off with tars. There were tooth marks and chatter on both the top and underside of the stem near the button and tooth damage to the sharp edge of the button on both sides.The next photo shows the cake and the overflow on to the bowl top. I have found that generally this kind of buildup protects the rim top as well as the inner and outer edges from damage.The next photos show the interesting sandblast finish on the bowl from various angles. Looking past the dirty finish it is an interesting blast. The first photo below shows the sandpit on the front of the bowl but future photos will give a better view of that spot.I have included both of the next photos because together they give a clear view of the stamping on the underside of the shank. The first one show the CUMBERLAND stamping though the Made in England stamp is blurry. The second is the reverse. The shank is stamped on the curve of the shank so it is hard to get a clear photo of both at the same time.The close up photos of the stem surfaces show the tooth marks, chatter and damage to the edge of the button on both sides.Jeff did his usual thorough cleanup of the pipe. He reamed the bowl and cleaned out the internals – mortise, airway in the shank and stem with alcohol, cotton swabs and pipe cleaners. He scrubbed the exterior of the briar with Murphy’s Oil Soap to remove all of the grim and grit in the finish and clean out the areas around the sandpits. He rinsed the briar under running water and dried it with a soft cloth. He soaked the stem in OxyClean to bring the oxidation to the surface and remove the grime. When the pipe arrived in Vancouver it certainly looked different than it did when we picked it up. I took the photos below to show the condition of the pipe when I brought it to the work table. The finish looked amazingly clean. The rim top looked better without the tars and buildup. There was some darkening on the rim top but the edges of the rim looked very good.The OxiClean had done the job and the oxidation was on the surface of the vulcanite stem. It was pretty green. I dropped it in the Before & After Pipe Stem Deoxidizer to soak for 24 hours while I turned my attention to the stummel. The “Harry Potterish” scar (flaw/sandpit) on the front of the bowl was quite deep but it was not cracked. To me it took away from the overall look of a nice sandblast. There was also a round sandpit on the back side of the bowl on the left toward the top edge that also needed attention. I used a brass bristle brush to scrub out the remaining debris in those areas. I filled them in with clear super glue to blend them into the surface of the briar better. When the repairs had cured I carefully wiped around the edges with acetone on a cotton swab to remove the excess glue. I have found that the super glue repairs leave a shiny spot on the finish if you don’t remove the overage. To blend the repairs into the briar even more I topped up the repaired areas with black super glue. It would blend in better with the final stain that I was planning on using on the briar. I cleaned up the areas with a cotton swab and acetone to remove any excess glue in the surrounding sandblast. I warmed the briar and stained it with a dark brown aniline stain. I applied the stain and flamed it several time until I had an even coverage on the stummel. I set the pipe aside for about an hour and worked on another pipe I have on the work table. When the stain had dried I wiped it off with alcohol on a cotton pad to make it more transparent and show some of the underlying grain. I like the contrast that happens in the finish when I wiped off some of the stain. Notice the repaired areas on the front and back side of the bowl. They blend in quite well with the darker finish. I gave the sandblast several coats of Conservator’s Wax and buffed it with a shoe brush to raise the shine. I really like the new colour on the bowl and find that the repaired areas really do blend in quiet well with the rest of the finish. It also blends in the darkening on the rim top and gives the pipe a richer new look. I took the stem out of the Before & After soak and dried off the stem with a rough cloth to remove the remnants of the soak and the oxidation that it had lifted. The next two photos show the stem after the soak. There is still some deep oxidation that will need to be addressed but it looks far better than it did when I started.I put the stem on the stummel and took some photos to get an idea of where I was at with the restoration. The pipe is going to look good once I am finished. I used some black super glue to repair the edge of the button on both sides of the stem. Once the repair dried I sanded the repairs and the rest of the stem with 220 grit sandpaper to shape the button and to remove the remaining oxidation. I worked on the saddle portion of the stem carefully so as not to round the edges where it met the shank of the pipe. It was looking better but more work was necessary to bring it to a full shine. I polished the stem with micromesh sanding pads – wet sanding with 1500-2400 grit pads and wiping the stem down after each pad with Obsidian Oil. I polished the stem with Before & After Pipe Polish to further remove the scratches left behind by the sandpaper. I dry sanded the stem with 3200-12000 grit micromesh pads to deepen the polish. I wiped the stem down after each pad and set it aside to dry after sanding with the 12000 grit pad. I put the pipe back together and polished it with Blue Diamond on the buffing wheel. I find that Blue Diamond Plastic polish really takes out the scratches in the vulcanite stems. I gave the stem multiple coats of carnauba wax and polished it with a clean buffing pad. I hand waxed the sandblast bowl with a final coat of Conservator’s Wax and buffed it with a clean buffing pad. I hand buffed the bowl and stem with a microfiber cloth. The darker stain blended the repaired sandpits and the darkening on the rim top into the rest of the finish. It turned out to be a nice looking pipe – its dimensions are Length: 5 ½ inches, Height: 1 1/2 inches, Bowl diameter: 1 3/8 inches, Chamber diameter: ¾ inches. The finished pipe is shown in the photos below. I will be putting it on the rebornpipes store soon. If it interests you, send me an email to slaug@uniserve.com or a message on Facebook. Thanks for looking.

An Old Bakelite Stemmed Diamond Shank Bent Billiard


Blog by Steve Laug

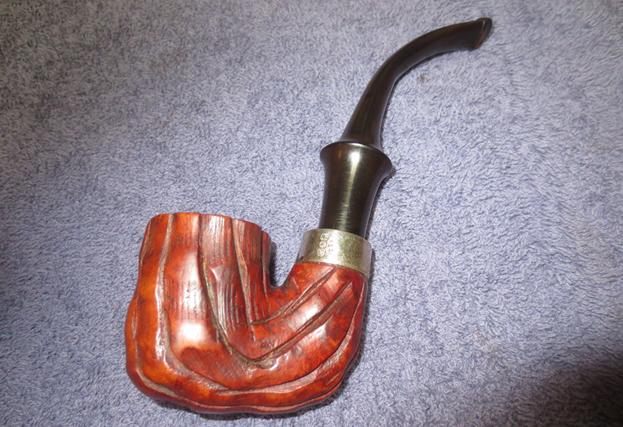
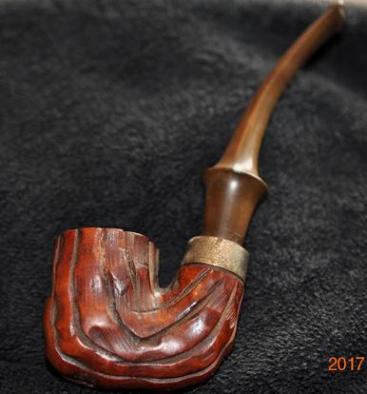
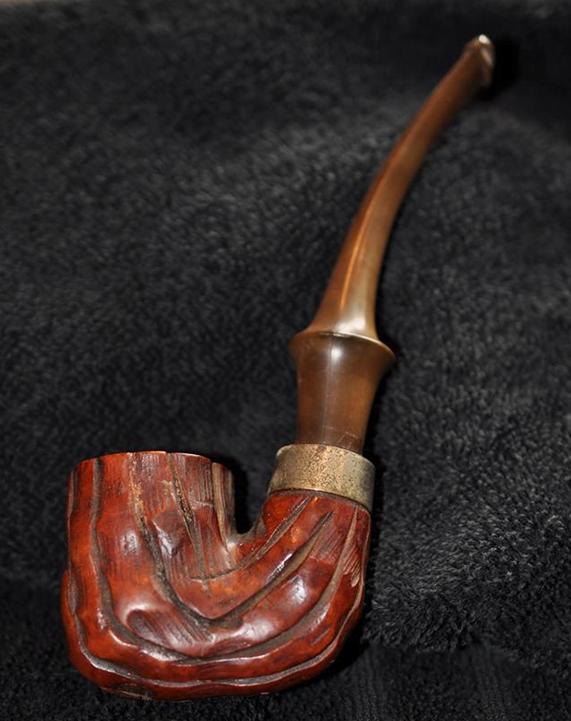
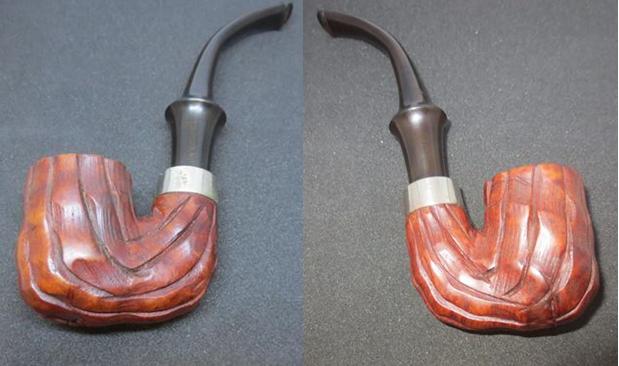
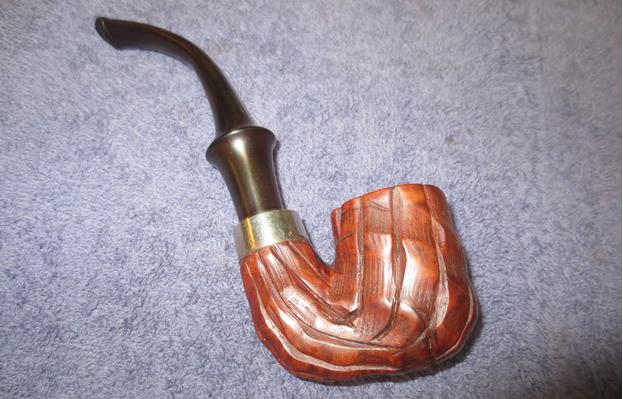
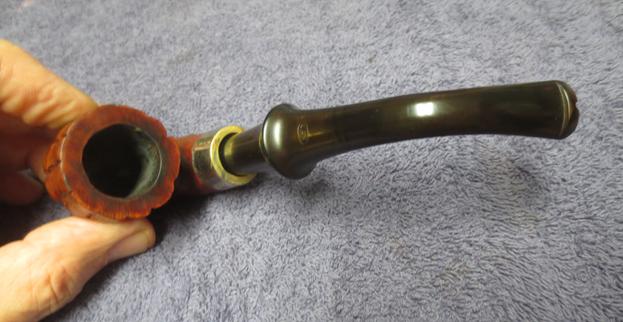
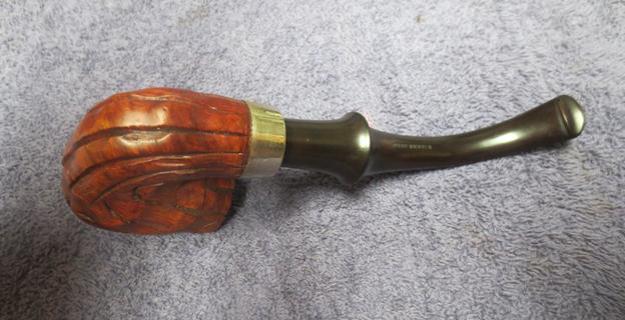
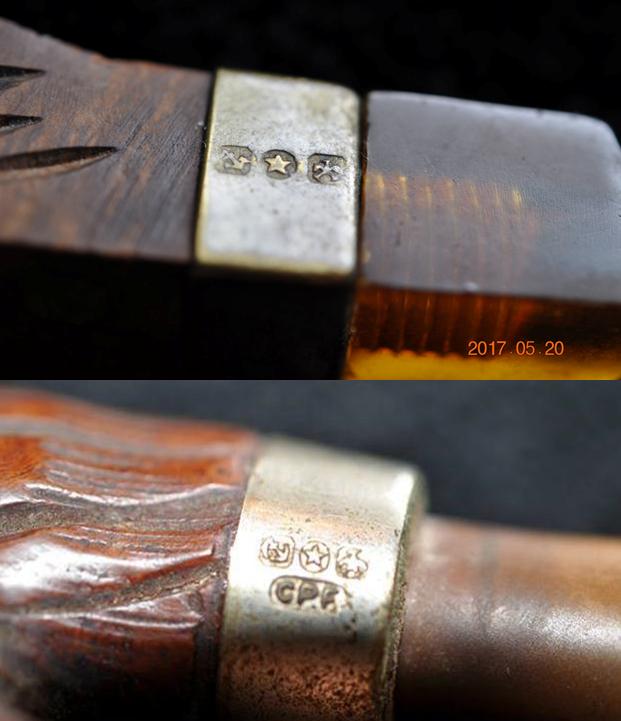
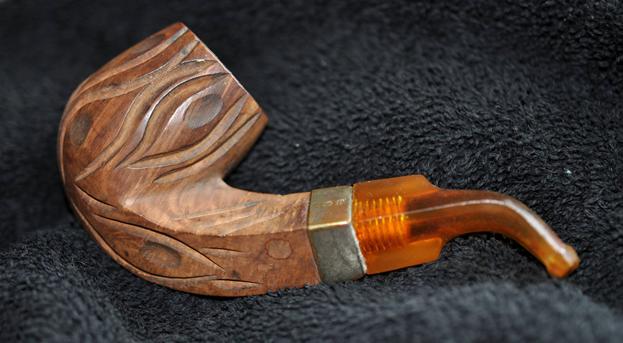
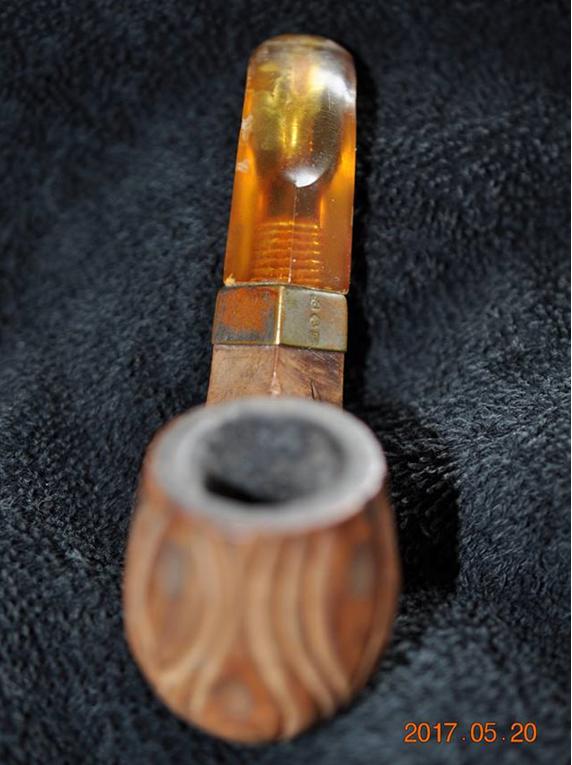
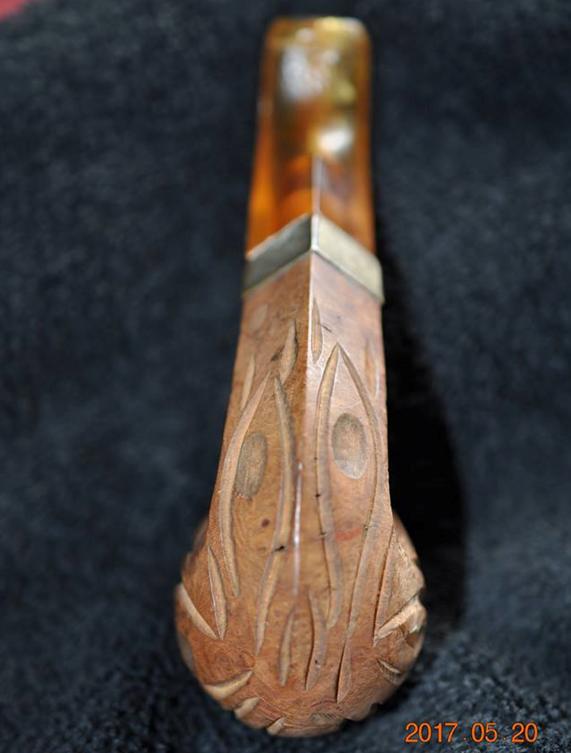
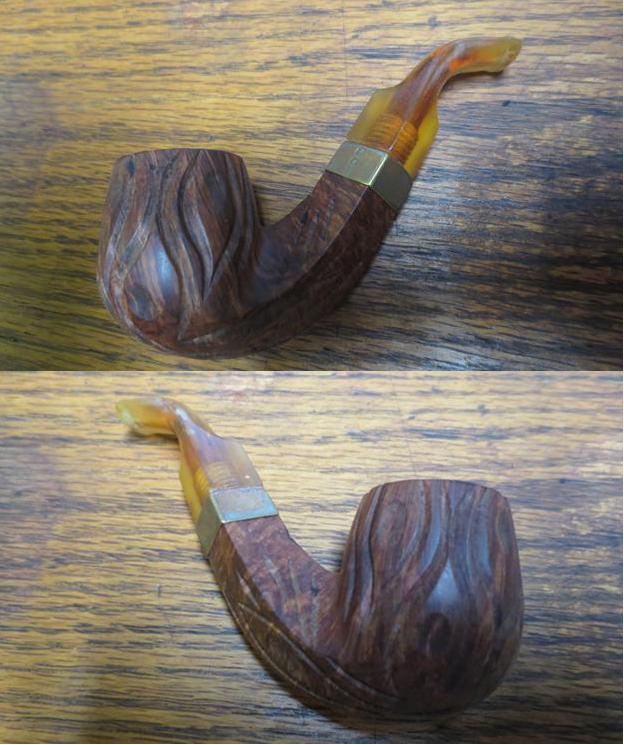
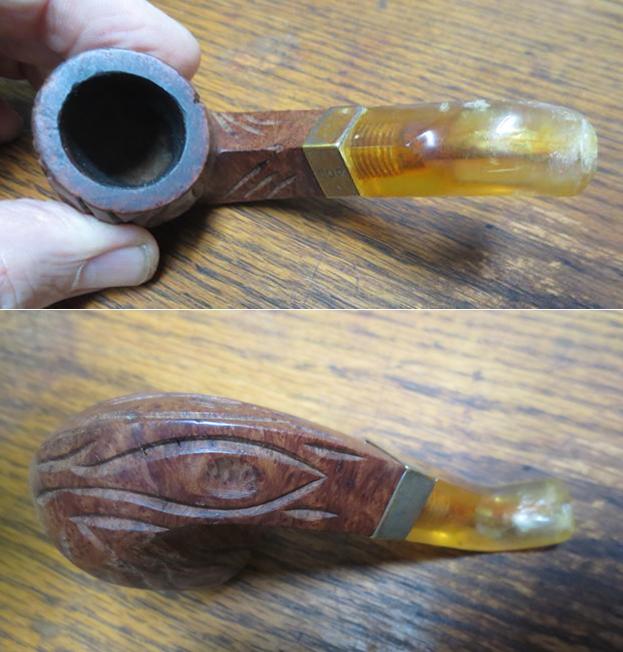
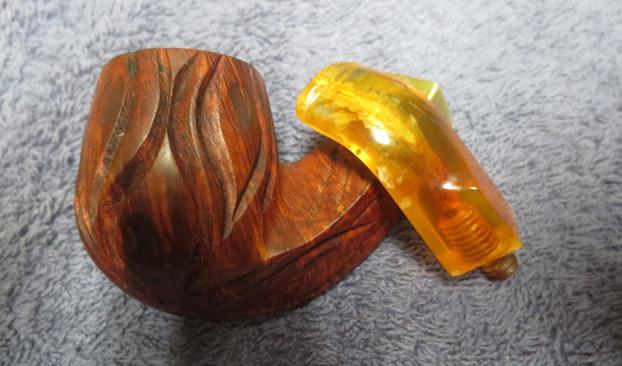
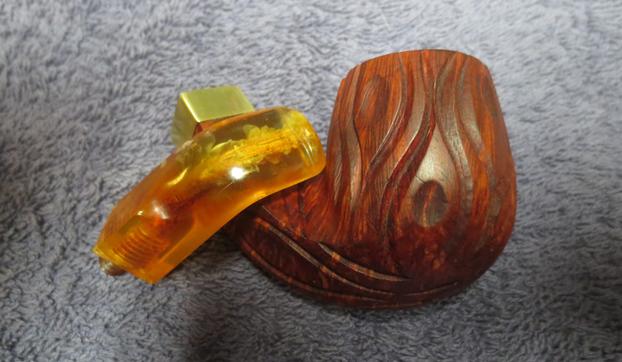
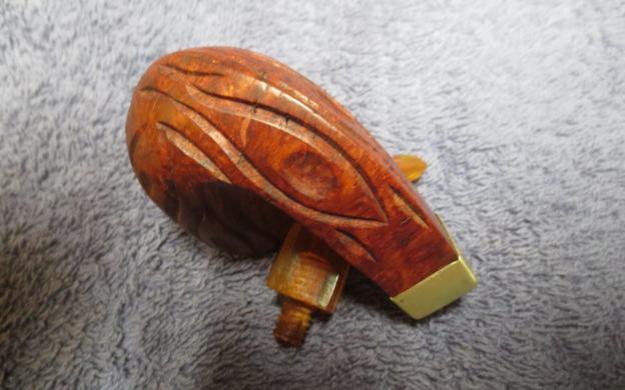
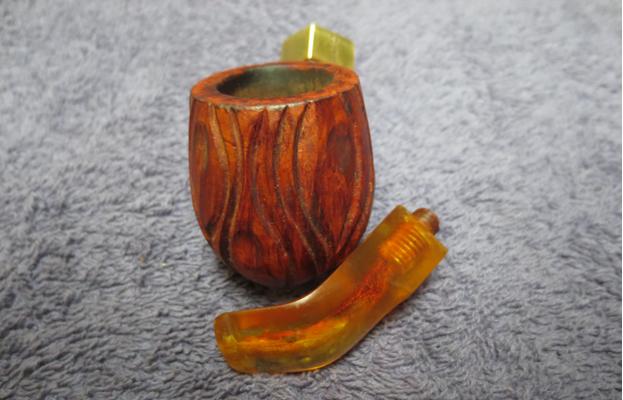
This old-timer came from the lot we purchased on our virtual pipe hunt in Montana. It has no stamping anywhere on the sides of the shank. There are faux hallmark on the oxidized brass band that don’t really help in identifying the pipe. The bowl and the shank have an interesting rustication pattern of swirls and divots. The finish was long gone from the bowl and the briar was worn and dirty. Some of the grooves were stained from oils and tars. There was a bone tenon in the stem that screwed into the shank of the pipe. The stem was worn and chipped with deep tooth marks on the top and underside near the button and on the button edges itself. My first impressions of it make me think it is Bakelite not amber. It is not heavy and it is warm to touch. The chips along the edges look like chips in Bakelite not amber and the tooth dents also go along with the theory of it being Bakelite.There was something about the rustication pattern that reminded me of some of the rustication patterns that I have seen on older Wellington style C.P.F. pipes. The next two photos show one with a similar style of rustication and it was in the same lot of pipe from the virtual pipe hunt.The C.P.F. pipe above has a nickel band that had similar faux hallmarks as the one I am working on but it also has the C.P.F. oval stamped in the metal. The hallmarks are an anchor, a star and a bird of some sort. The first photo below is from the pipe I am working on and the second one is the C.P.F. Wellington.It also has the same kind of work on the edges of the ferrule that are folded over the end of the shank. All of these parallels make me wonder if the pipe I am working on was also made by C.P.F. I may never know but I think that it is a pretty good guess.

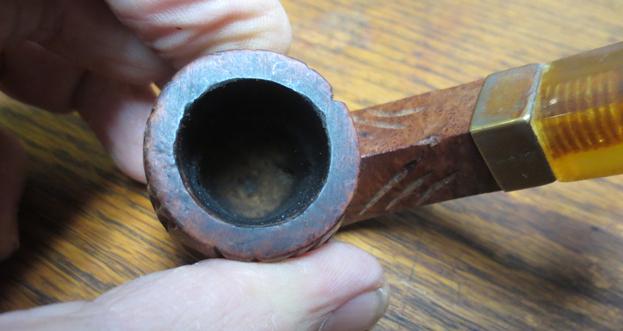
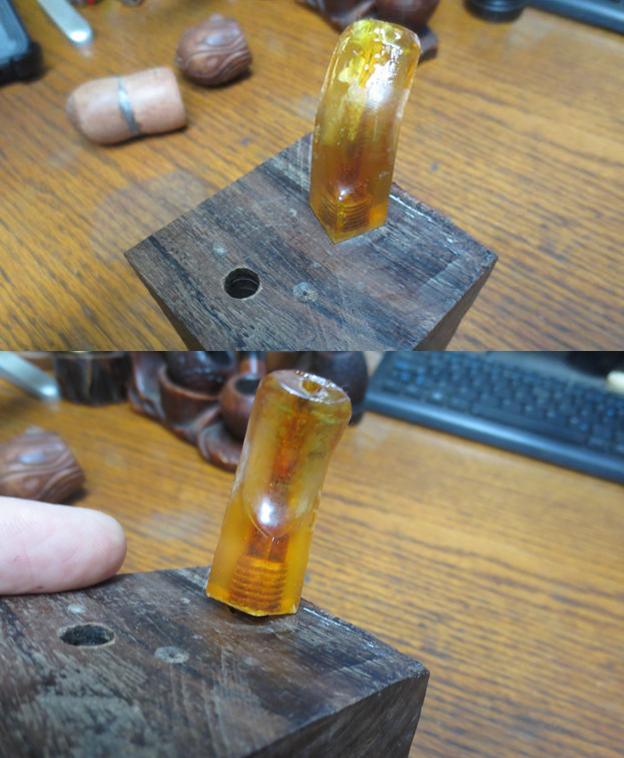
Jeff took the first photo above and the others that follow before he cleaned up the pipe to give me some idea of what we were dealing with. It is an interesting old pipe and the mystery of the trying to figure out who carved it may never fully be answered. The next photos show the pipe from various angles – looking at it from the left side, the front of the bowl and the underside of the bowl and the shank. You can see from the photos that the finish is almost nonexistent. There are spots on the briar that look like water stains but we won’t know until Jeff does his cleanup work on it. Looking at the pipe from the top down you can see the thick overflow of lava on the top of the rim and the thick cake in the bowl. Remarkably the inner and outer edge of the bowl appear to be in good condition with no damage but I would know for sure once it had been cleaned and reamed.The next close up photos show the swirling carving and divots on the sides and bottom of the bowl. There is some sticky substance like that found on sales labels on several spots on the briar. It is interesting to me that you can see the grain in the wood and some fills peeking through the remnants of the finish. It appears to have some beautiful grain. There were some chips and nicks along the sharp edges of the diamond shaped stem. There was tooth chatter and tooth marks on the top and underside near the button. The surface of the button itself had tooth marks on the left side. All were repairable but all were quite deep.Jeff reamed the bowl with a PipNet reamer and a Savinelli Fitsall Pipe Knife to finish the cleanup of the bowl. He scrubbed the exterior of the pipe using Murphy’s Oil Soap and a tooth brush. He worked the crevices and carvings over carefully to remove the sticky substance and the dirt and grime that were ground in there. When he finished scrubbing the briar he rinsed it off under running water. He dried it off with a soft cloth and the soap had removed the deeply ground in grime on the finish and the lava on the rim edges. He ran pipe cleaners and alcohol through the mortise and the airway in the shank and stem to remove dust and debris that had collected there. He carefully scrubbed out the nicks and tooth marks on the saddle stem using a tooth brush and rinsed it with water. Once the pipe was clean, he packed it up and sent it my way for the repair and restoration work. I took photos of the pipe when I brought it to my worktable. It is another intriguing little pipe from the collection of older C.P.F. and WDC pipes from our Montana pipe hunt. Once the rim top was cleaned I found that there was damage to the inner edge. There was also some darkening and surface damage on the flat of the rim as well that would need work.Jeff had been able to remove the debris from the chips and tooth marks on the stem surface. It was rough to touch but should clean up well. He had also removed all the tars and oils in the airway of the stem.I filled in the tooth marks and chips in the stem with amber super glue and set the stem aside in my drilled block to dry. This block allows me to work on both sides at the same time thus cutting my drying/curing time.While the repair on the stem cured I turned my attention to the inner edge of the bowl. I used a folded piece of 220 grit sandpaper to smooth out the damaged edge and bring the bowl back to round.To smooth out the surface of the rim I used a coarse, medium and a fine grit sanding sponge like a topping board. This method removes the grime and build up without removing briar from the rim surface.The band was loose on the shank so I removed it and polished it with micromesh sanding pads and a jeweler’s cloth to remove the tarnish. I used a pick to put some all-purpose glue on the surface of each side of the diamond shank and pressed the band in place. I set the bowl aside to let the glue dry.I polished the stem with micromesh sanding pads. I could not do anything about the spidering around the internal airway but the stem was very clean. The repairs polished up nicely. I wet sanded the stem with 1500-2400 grit pads and dry sanded with 3200-12000 grit pads. I wiped it down with Obsidian Oil after each pad and set it aside to dry after the final coat of oil. I polished the pipe with Blue Diamond on the buffing wheel. You have to have a light touch on the old Bakelite as it will melt and become deformed if you have too heavy a touch. At this point in the process I did not want to make more work for myself. I gave the stem multiple coats of carnauba wax and polished it with a clean buffing pad. I hand waxed the rusticated bowl with Conservator’s Wax and buffed it with a clean buffing pad. I hand buffed the bowl and stem with a microfiber cloth. This turned out to be a pretty little pipe – its dimensions are Length: 4 ½ inches, Height: 1 ¾ inches, Bowl diameter: 1 ¼ inches, Chamber diameter: ¾ inches. The finished pipe is shown in the photos below. If it interests you send me an email to slaug@uniserve.com or a message on Facebook. Thanks for looking.

Cleaning and Restoring a Large Meerschaum Calabash Oom Paul


Blog by Steve Laug

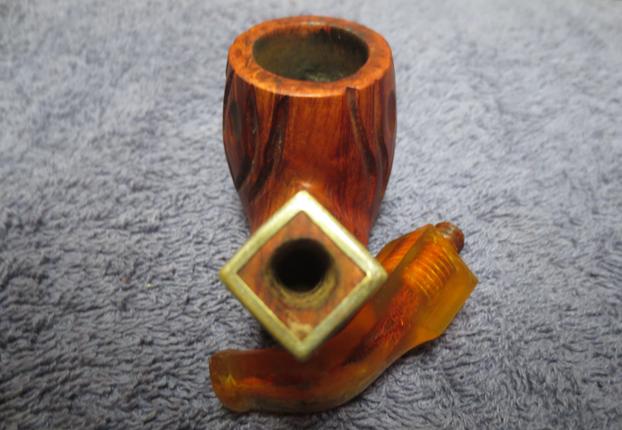
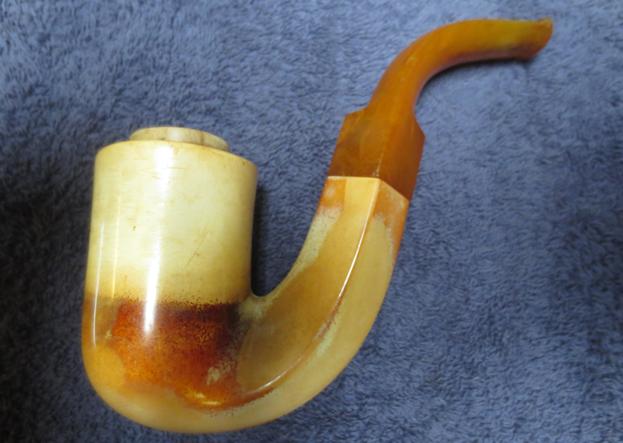
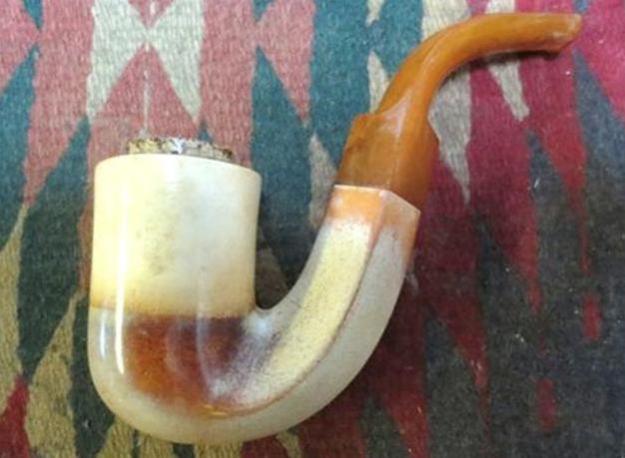
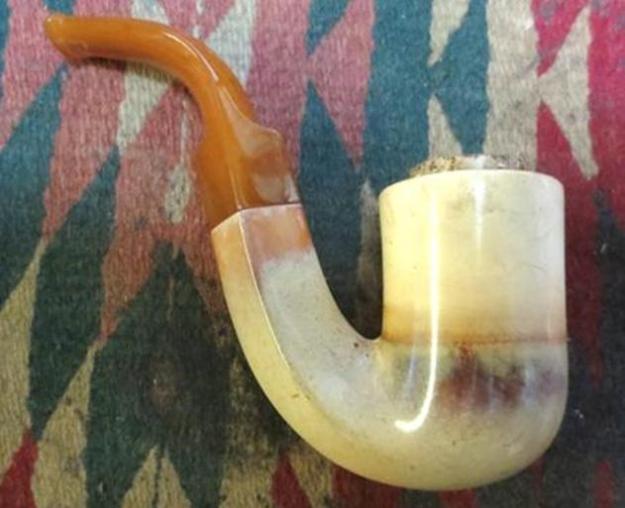
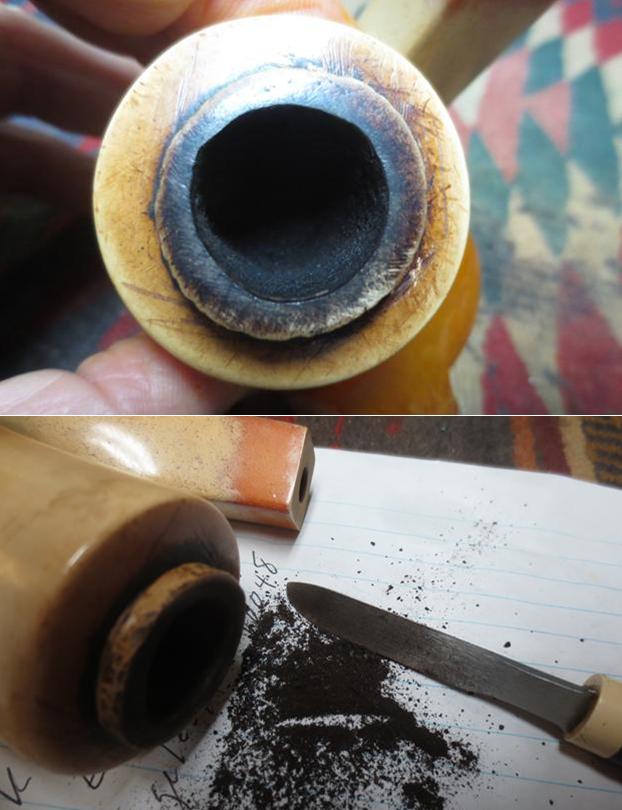
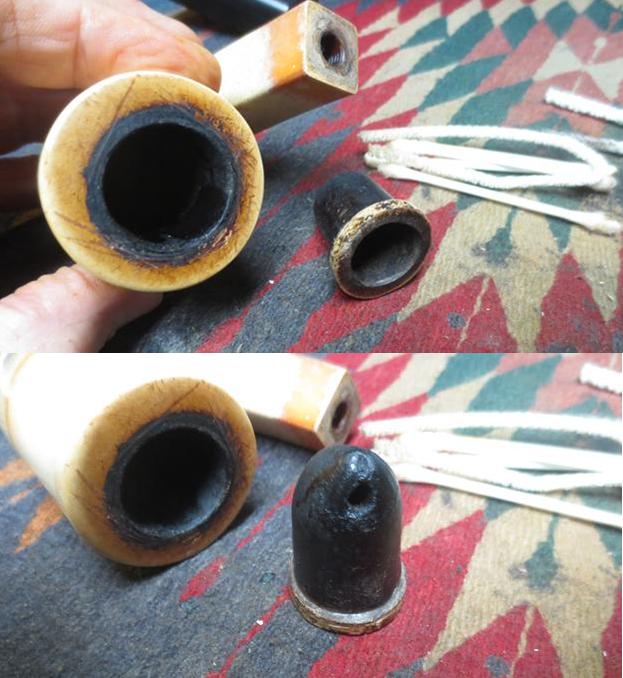
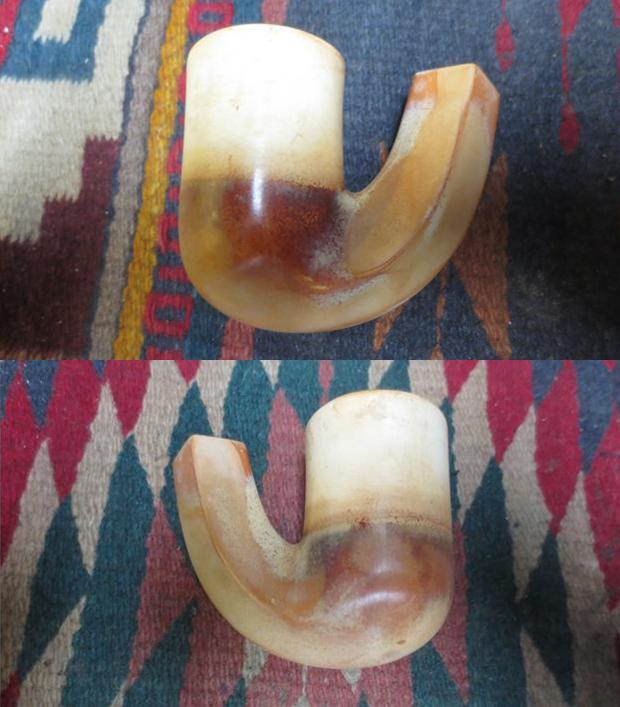
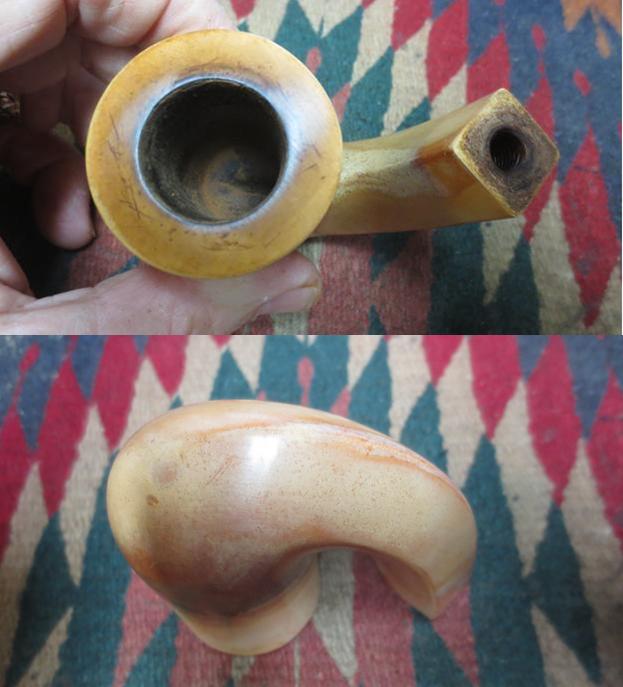
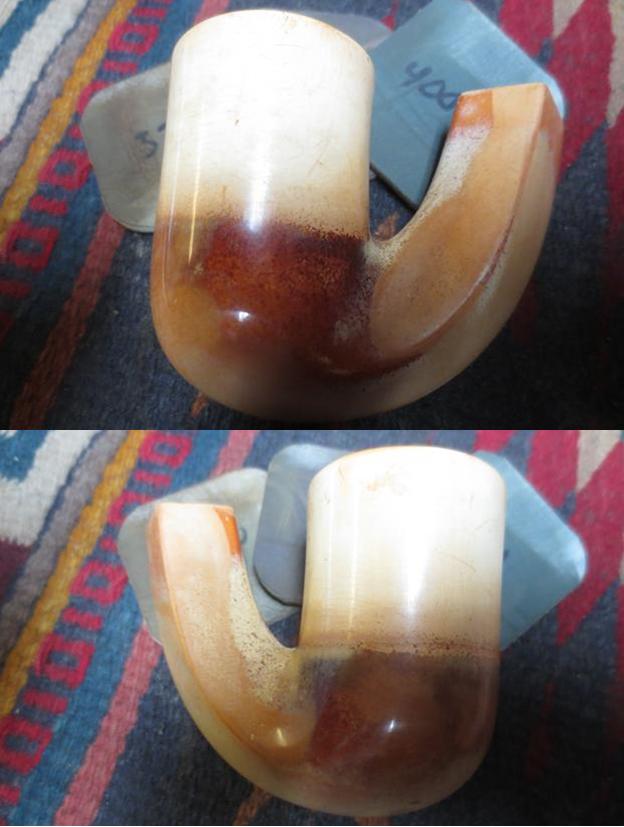
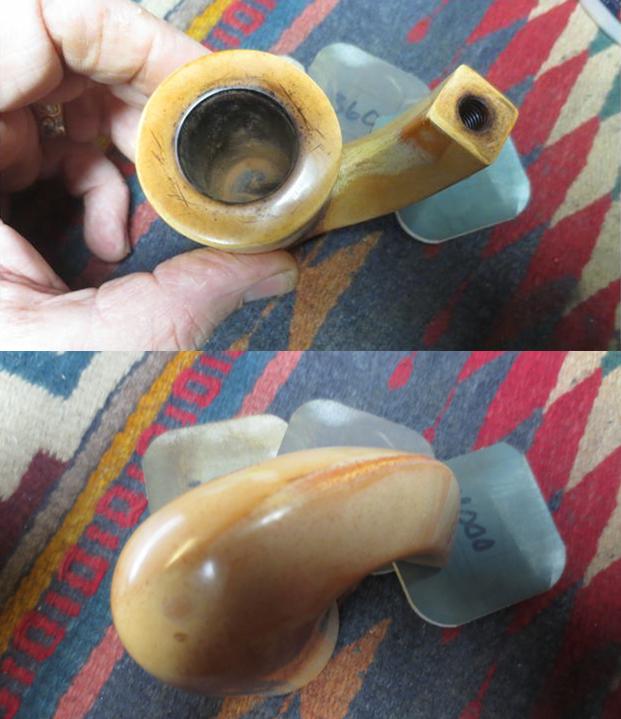
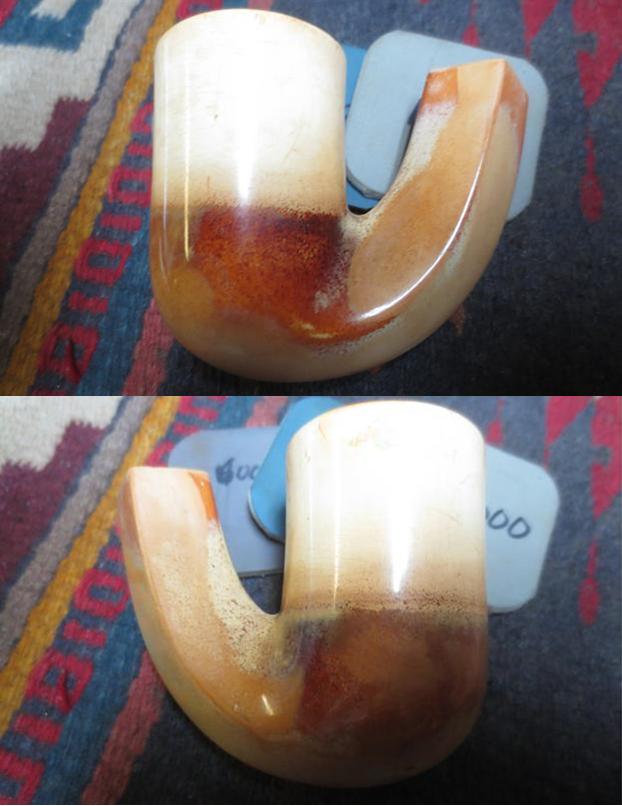
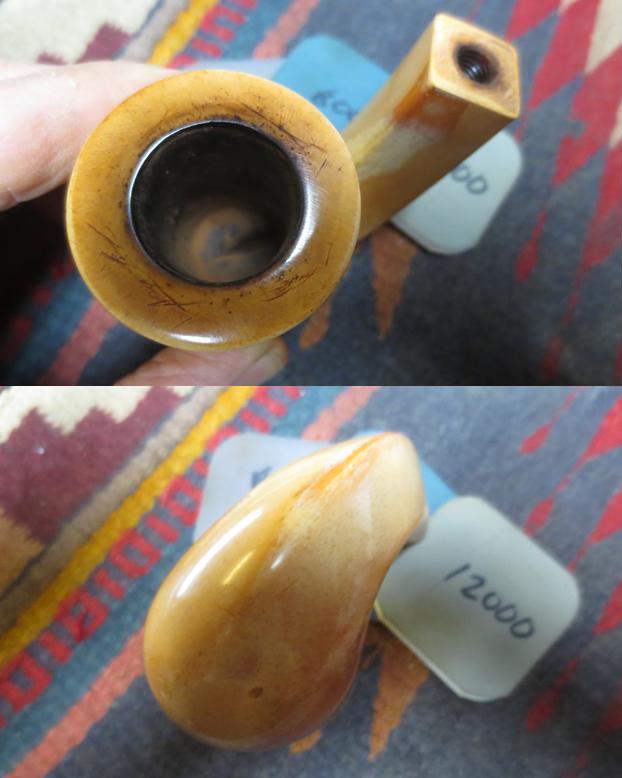
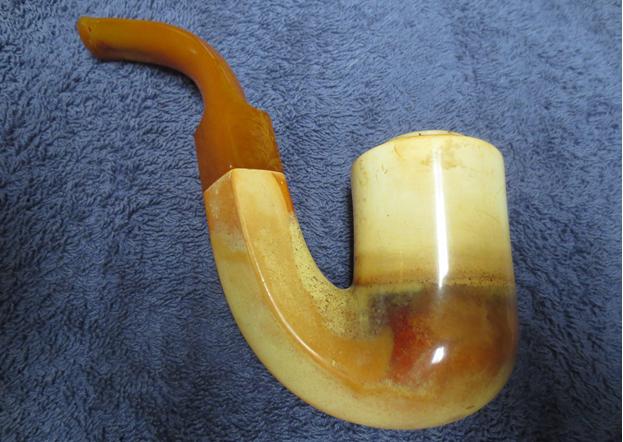
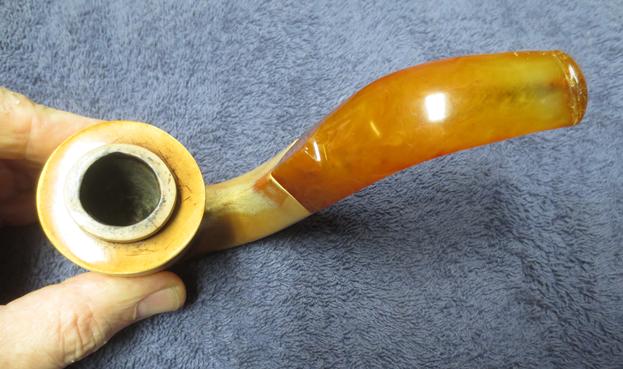
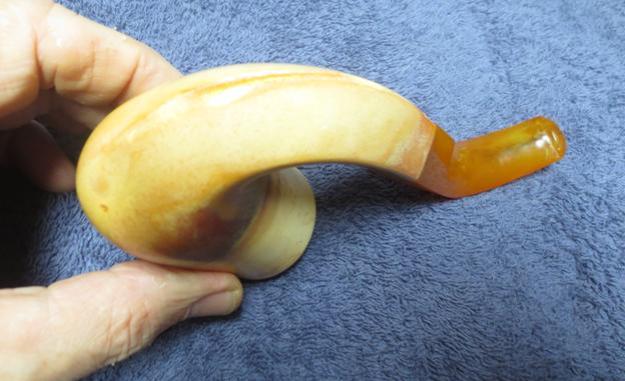
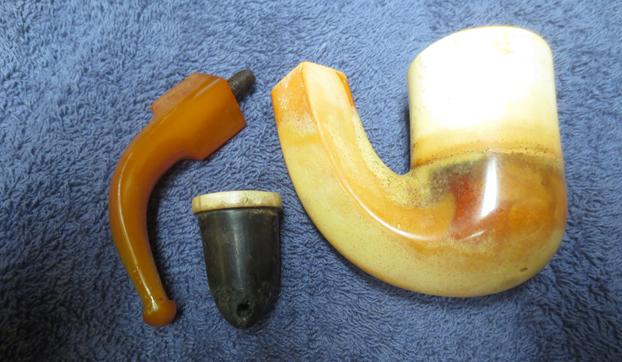
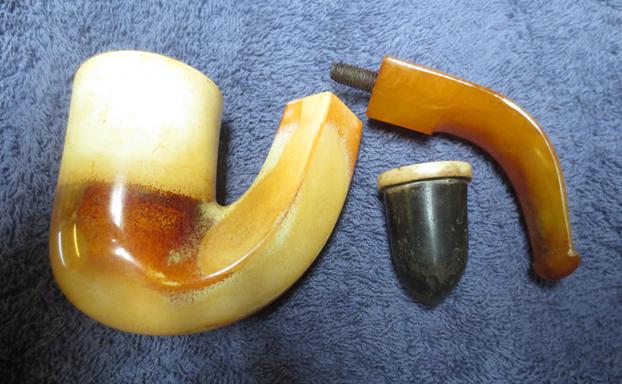
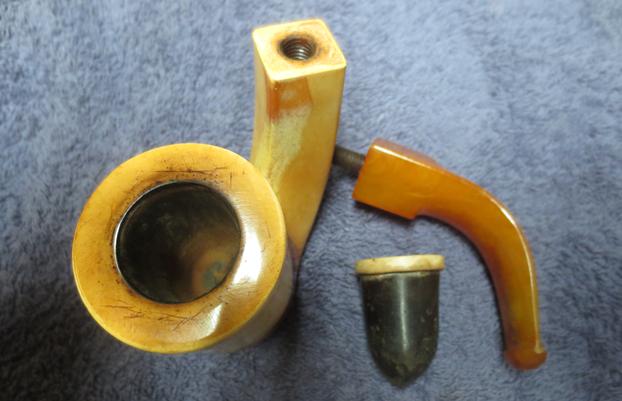
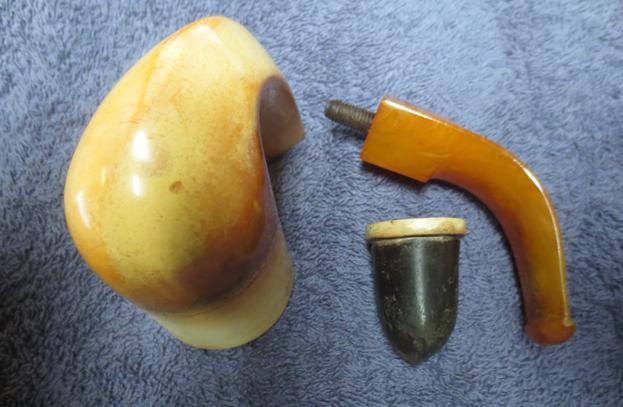
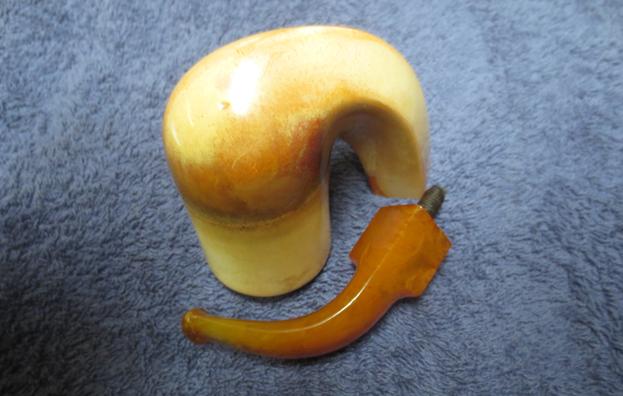
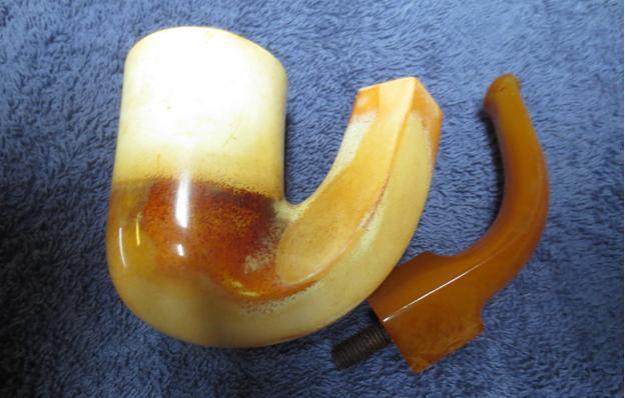
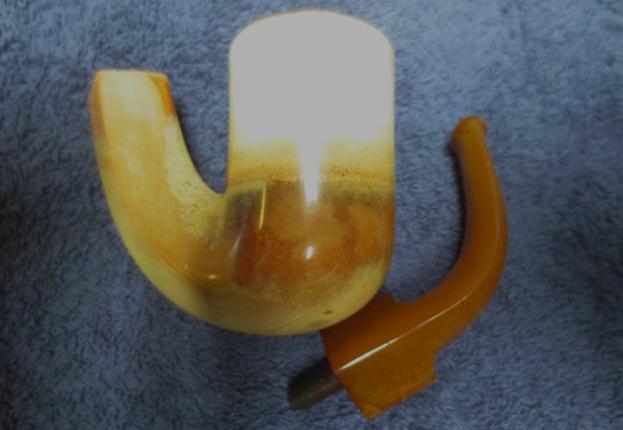
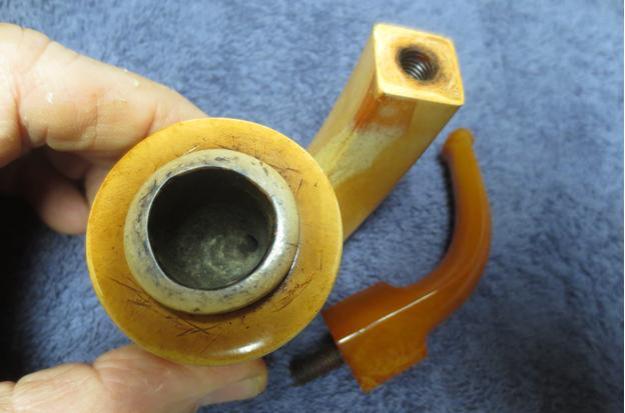
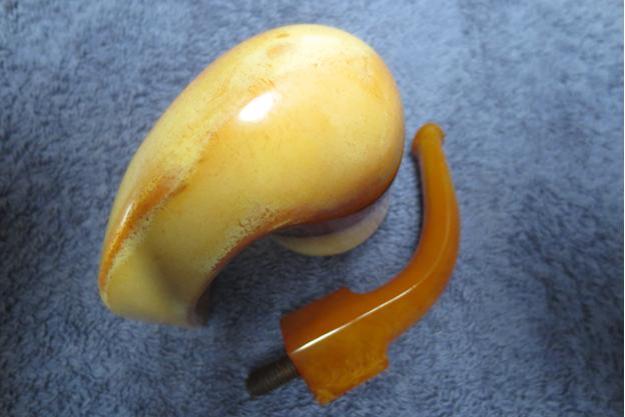
I was visiting my family in Idaho and staying with Jeff and his wife when this pipe arrived. We opened the box and took it out and I think both of us were surprised at how big it was. We took it out and turned it over in our hands to examine it. It was a huge meerschaum Oom Paul. The meer seemed to have an interesting colouring pattern coming up from the bottom of the bowl. The surface of the meerschaum was dirty and scratched. The rim top had a strange stepped up section that rose above the top of the rim. It was chipped and no longer round. The bowl had a cake in it and it did not seem to be as deep as the bowl exterior would have led us to believe. It was odd. The area around the raised section of the rim top was dirty and had a thick build up of tars and oils flowing out from the raised portion toward the outer edge of the rim. The stem was in rough condition at the button end but it aligned perfectly with the diamond shank. It was amber coloured Bakelite stem and I believe it was original. There were deep tooth marks and chatter on the stem at the button on both sides. The button itself was misshapen from tooth marks. I took photos of the pipe before I started the cleanup. The out of round portion that extends above the rim surface and the colouration pattern on the sides of the bowl made me wonder what I was dealing with in terms of the mechanics of this pipe. When I inserted my finger in the bowl, it is not as deep as the depth of the outer portion of the pipe. That too made me wonder.I took a close up photo of the rim top to show the condition of the bowl and rim at this point. You can see the rough inner and outer edges of the raised portion of the pipe. There was also scratching in the surface of the lower potion and a ring of darkening around the edge where the raised portion met the lower portion. This made me wonder if I was not dealing with some kind of bowl insert.I took photos of the stem damage on both sides of the stem. The button and the flat portion had a lot of tooth marks and chatter that left a very rough and uneven surface on both sides.I unscrewed the stem from the shank and found that the pipe had a metal tenon in the stem itself. That was a good sign in that it was not stuck in the shank.The next two photos show the cake in the bowl and how I used a Savinelli Fitsall Pipe knife to trim back the cake to bare meerschaum.I used a cotton swab to run a bead of alcohol around the raised portion of the bowl to begin to loosen it. I ran alcohol, pipe cleaners and cotton swabs through the mortise and shank of the pipe to clean out the tars. I ran a pipe cleaner into the airway in the bowl and as I pulled it back and forth the raised portion came loose on the pipe cleaner. I removed the inner bowl from the outer and was surprised by how deep the outer bowl was. The inner bowl was quite shallow and had the airway on the back side. In the bottom of the outer bowl there was a ball of cotton or wool that was used as a trap for moisture and a filter. It was brittle and crusty with old tars. It is visible in the third and fourth photo below. I used the Savinelli Fitsall Reaming Knife to ream the outer bowl. I scrubbed the inside and outside of the two bowls with SoftScrub cleanser and a tooth brush. I worked on the rim top with the scrub and tooth brush and was able to remove the tars and oils that were on that surface. Once it was clean I rinsed the pipe under running water. I dried it off with a soft cloth. The photos below show the bowl after the scrubbing and rinsing. The line on the bottom half of the bowl makes sense now. The colouration is all below the bottom of the insert bowl. Everything above the insert shows no colour at this point. The outer edge of the inner bowl was damaged. It almost looked as if someone had tried to remove it with a pair of pliers. The edge was very rough and no longer round. The inside edge and the outside edge was damaged. I used a Dremel and sanding drum to clean up the outer edge of the bowl. I sanded the bowl surface, the edges and the bottom portion of the bowl with 220 grit sandpaper and with 1500-2400 grit sandpaper. The next four photos show the bowl after my cleanup work. There was some darkening on the rim top that I was not able to remove without removing significant amounts of the meerschaum. I worked over the inner edge of the bowl with a folded piece of 220 grit sandpaper. I wanted to clean it up and make it more round again.One the bowl was cleaned up I put it back in the outer bowl and took a picture of how it looked in place in the meerschaum. I could easily put it in place and remove it with the tip of my index finger. The second photo below gives some idea of the size of the inner bowl.I polished the inner bowl with micromesh sanding pads – wet sanding with 1500-2400 grit pads and dry sanding with 3200-12000 grit pads. Each successive pad brought more of the shine to the surface of the inner bowl. I waxed the bowl edge and rim top with Clapham’s Beeswax and hand buffed it to raise a shine. I cleaned up the damaged portions of the stem with a cotton swab and alcohol to remove any debris in the deep tooth marks. I filled in the tooth marks and rebuilt the button surfaces to make the orific button round like it was originally. I layered on the amber super glue in the marks and on the button until the surfaces were slightly over filled.I put the stem in my ebony drilled block to allow the repair to dry on both sides.When the repair dried I recut the edges of the button on the top and underside of the stem with a needle file. I also smoothed out the surface of the repairs with the file to match the surface of the rest of the stem. I sanded the repaired areas on the stem surface and the button with 180 and 220 grit sandpaper to blend them into the surface of the stem and the button. I wanted the repairs to be as invisible as possible when the stem was examined. I polished the stem with micromesh sanding pads – wet sanding with 1500-2400 grit sanding pads and dry sanding with 3200-12000 grit pads. I rubbed the stem down after each sanding pad with Obsidian Oil. After the final sanding pad I gave it a final rubdown with the oil and set it aside to dry. I cleaned the end of the shank with alcohol and cotton swabs to remove the tars and build up on the shank end.I polished the meerschaum bowl with micromesh sanding pads – wet sanding with 1500-2400 grit pads and dry sanding with 3200-12000 grit pads. I wiped the bowl down after each pad with a dry felt cloth to polish it further. I have found that the micromesh pads do not remove the patina in the colouring meerschaum. I put the stem back on the bowl and buffed it with Blue Diamond on the buffing wheel to raise a shine. I put the inner bowl on the end of my finger and buffed it with Blue Diamond. I buffed the stem, the inner and outer bowl with a clean buffing pad to raise a shine. I hand buffed the pipe with a microfibre cloth to deep the shine. I inserted the inner bowl in the outer bowl and hand buffed it all one final time with the microfibre cloth. It is a big pipe and fills the hand. It is definitely one that should be smoked sitting beside the fire, sipping your favourite beverage and reading a good book. The dimensions of the pipe are Length: 6 inches, Height: 3 inches (with the inner bowl inserted), Outer diameter of the bowl: 1 ¾ inches, Chamber diameter: ¾ inches. The finished pipe is shown in the photos below. Thanks for joining me in the process.

Restoring a Sad, Old MLC Bent Billiard


Blog by Steve Laug

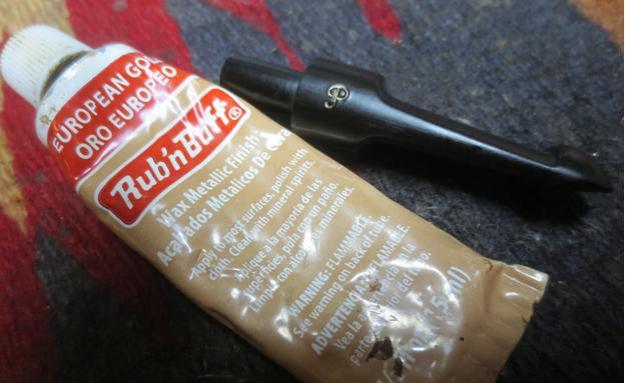
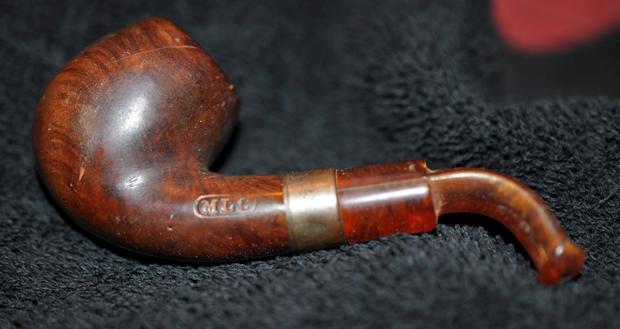
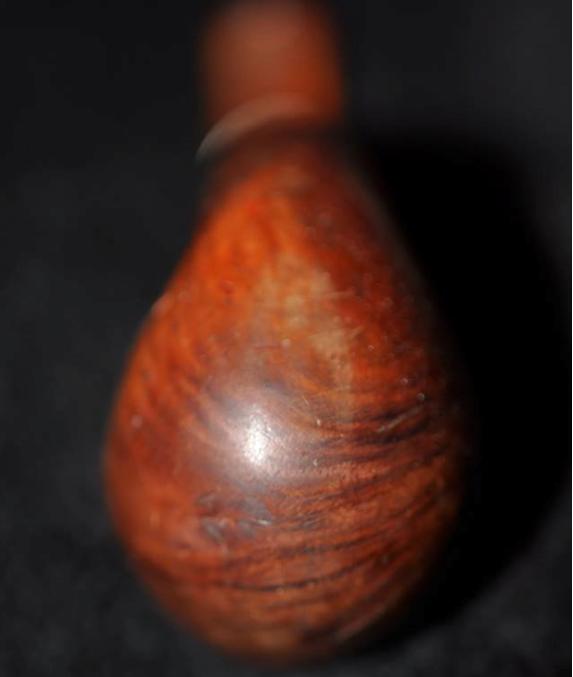
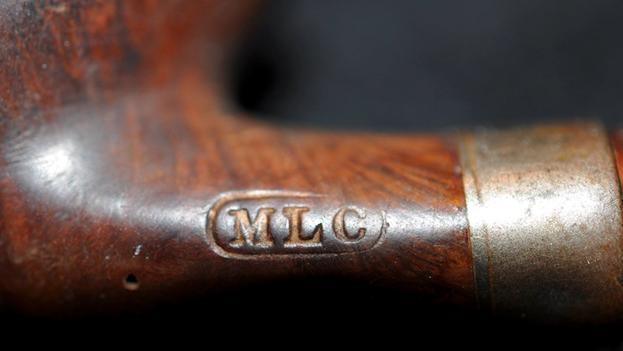
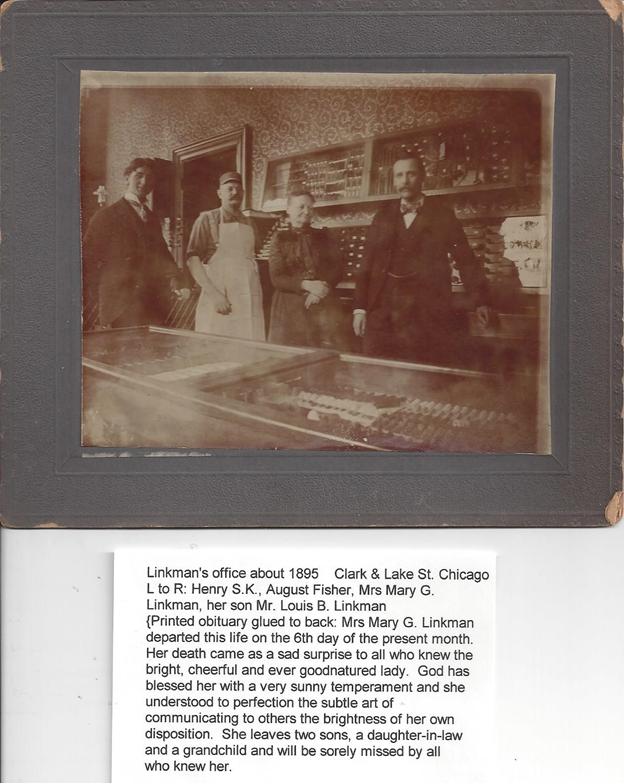
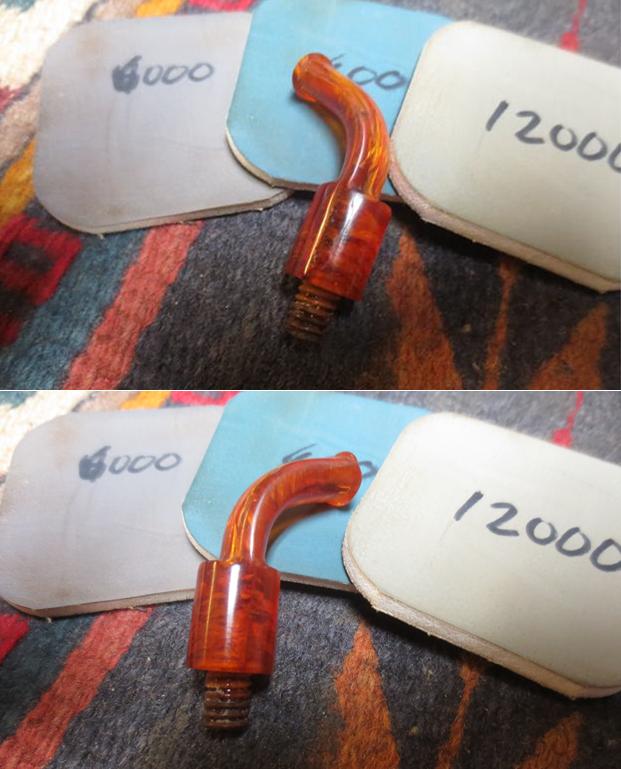
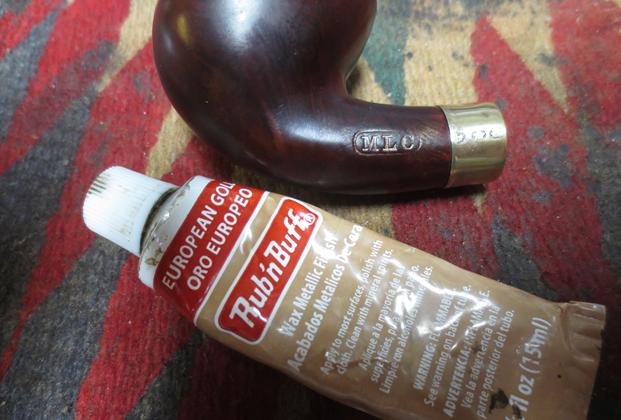
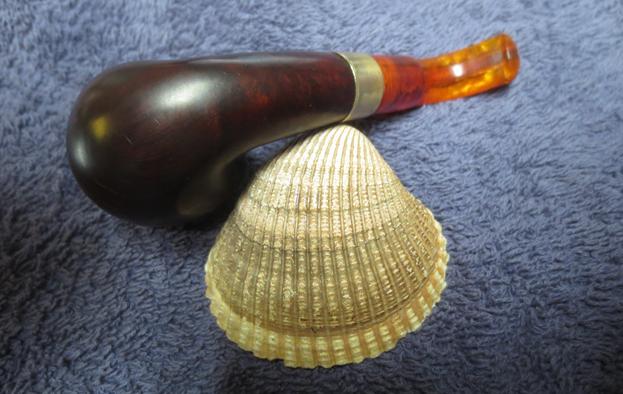
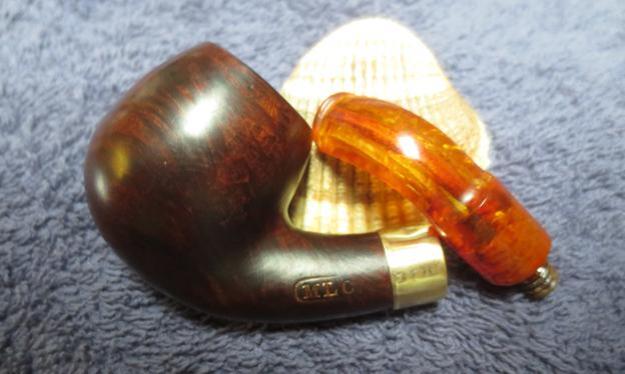
This older MLC bent billiard is a turn of the 20th century pipe. The initials stand for Mary Linkman Company. The company was named for the mother of the same Linkman who eventually branded pipes under that same name and then eventually became the Dr. Grabow pipe manufacturer with which we are familiar. If you have followed this blog for a while you have come to know that I love really old pipes and this one fits the bill. It is stamped MLC in an oval with no other stamping on the shank. The ferrule is brass and has faux hallmarks on the left side. They are worn but still readable with a bright light and a lens. It is another small pipe, slightly under 4 inches long and 1 ½ inches tall. The stem is Bakelite or Redmanol and has a lot of small spidering cracks in the flat portions of the stem on both sides. Both sides of the saddle are split the entire length of the saddle. There is very little tooth chatter or and minor tooth marks on both sides near the button. Jeff took the photos that follow before started the cleanup. (http://www.pipephil.eu/logos/en/logo-m6.html)The pipe was in really rough shape. The finish was worn and spotted with paint specks, grime and nicks in the briar. The stem was split and worn. The bone tenon looked good but the band on the shank was loose and spun around the shank. The wear and tear on the brass band and the tarnish left is a mottled mess. The bowl had been reamed somewhere in the process so the cake was not thick. The lava on the rim was light. The inner and outer edge of the bowl was undamaged. The rim close up shows the cake and the peeling lava on the surface of the bowl.Jeff took photos of the sides of the bowl and the bottom side to show the wear and tear on the finish. There were some deep gouges in the briar and a lot of paint speckles on the briar. The stamping on the left side of the shank is quite clear – MLC in an oval. It had originally been gold leaf but it was worn. The stamping on right side of the oval was lighter than the rest of the stamping.I did some digging on the net to see what I could find out about the MLC brand. I knew that it was a Linkman pipe but could not remember much about it. I turned to my go to site for quick information – Pipedia (https://pipedia.org/wiki/M._Linkman_%26_Co). The information did not add much to my understanding other than pin down the date to the late 1890s or early 1900s. Included in the article was a photo of Mary Linkman, her son Louis and August Fisher at their Chicago Office. The photo is from Mary’s obituary and is a fascinating piece of history. The scan of the photo and obituary are courtesy of August Fisher’s granddaughter.Jeff took some photos of the stem. The right side of the saddle stem was split from the end up to the transition to the blade of the stem. The right side also had a crack. It looked to me that someone had turned the bone tenon too deep into the stem and split the saddle. The flat surfaces of the top and bottom of the stem were filled with a series of small spidering cracks. The stem, like the bowl was covered with paint flecks or spray. You can see from the first photo that the band has been turned all the way around so that the worn faux hallmarks are upside down and on the wrong side. Jeff cleaned the exterior of the pipe with some Murphy’s Oil Soap and a tooth brush and rinsed it off under running water. He dried it off with a soft cloth and the soap had removed the paint flecks and the deeply ground in grime on the finish. He ran pipe cleaners and alcohol through the mortise and the airway in the shank and stem to remove dust and debris that had collected there. He carefully scrubbed out the cracks and splits in the sides of the saddle stem using a tooth brush and rinsing it in water. Once the pipe was clean, he packed it up and sent it my way for the repair and restoration work. I took photos of the pipe when I unwrapped it on my worktable. It is an intriguing little pipe that caught my attention. When I unscrewed the stem the ferrule fell off in my hand. I laid out the parts of the pipe and took the following photo. It shows the nicks, dents, sandpits and flaws in the briar. The band looked as if it was never glued to the shank. The briar is clean and the inside of the ferrule had no remnants of glue. It was clean.I took some close up photos of the stem to show the cracks and splits in the saddle portion. The stem was worn and battered. The bone tenon was darkened from tobacco smoke and tars. The edges on the tenon were worn down and when the stem was on the pipe it was over turned or over clocked.  I cleaned out the cracks in the side of the saddle stem with a dental pick and a damp cotton swab until the inside of the crack was clear of debris that would cause the stem repair to be very visible. I dried the stem off with a cotton pad. I filled in the cracks on both sides of the stem with amber super glue and set the stem aside to dry.When the repair had cured I sanded it smooth to blend it into the rest of the stem with 220 grit sandpaper. I sanded all of tooth chatter and marks out of the surface of the stem as well to smooth out all of the damage. I wanted it to disappear into the amber Bakelite. After I had smoothed out the repair I polished it with micromesh sanding pads – wet sanding with 1500-2400 grit pads and dry sanding with 3200-12000 grit pads. I wiped the stem down after each pad with Obsidian Oil and set the stem aside to dry. (I almost forgot to add this piece of information. Just before I polished the stem I painted the threads on the tenon with clear fingernail polish to build them up so the stem would align properly when I put it in place.) The bowl needed a lot of work. I wiped the bowl down with acetone and filled in the nicks, dents, flaws and sandpits in the briar with clear super glue. I sanded the fills smooth with 220 grit sandpaper until they blended into the surface of the briar. I wiped the bowl down again with alcohol on a cotton pad to remove the sanding debris. I gave the shank end a coat of white all-purpose glue and put the ferrule in place with the faux hallmarks aligned with the stamping on the shank side. I left it to dry and worked on another pipe for a while. Once the glue had set I sanded the bowl and the ferrule with a medium and a fine grit sanding sponge to smooth out the scratches left behind from sanding with the 220 grit paper. The photos below show the bowl at this point in the process of the restoration. I stained the bowl with a dark brown aniline stain and flamed it to set it in the grain. I figured that the dark brown stain would hide the repairs and give the bowl the original rich colour. I set it aside to cure while I went to work for the day.I buffed the bowl with red Tripoli on the buffing wheel to remove some of the heavy coat of stain. I sanded the bowl with 2400-6000 grit micromesh sanding pads to make the finish more translucent so the grain would stand out when it was polished. I gave the bowl multiple coats of Conservator’s Wax and set it aside to dry. I touched up the gold filled MLC Oval with Rub’n Buff European Gold. I applied it with a cotton swab and hand buffed the excess off with a cotton pad.I carefully buffed the bowl and stem with Blue Diamond on the buffing wheel. I gave the bowl and stem multiple coats of carnauba wax and buffed the pipe with a clean buffing pad to raise the shine. I hand buffed it with a microfiber cloth to deepen the shine. The photos of the finished pipe are shown below. It has come a long way from what it looked like when I started. It turned out to be a beautiful pipe that has served pipe men well for well over 100 years. Thanks for looking.

An Unbelievable Find – An Unsmoked Tiny Horn Stem WDC Bent Billiard


Blog by Steve Laug

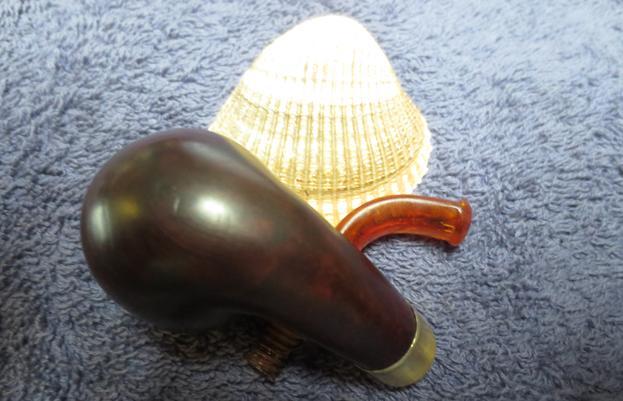
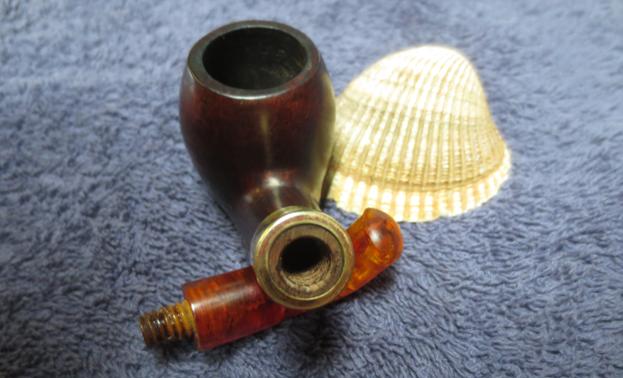
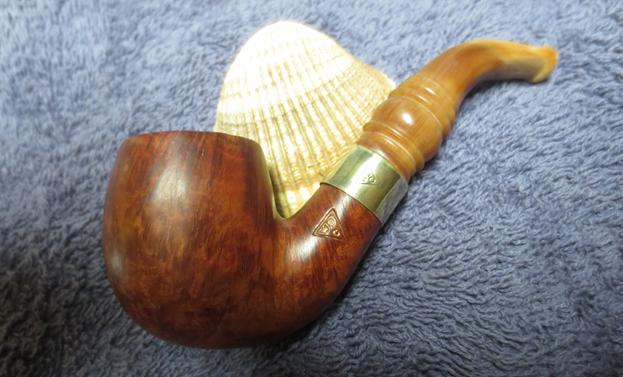
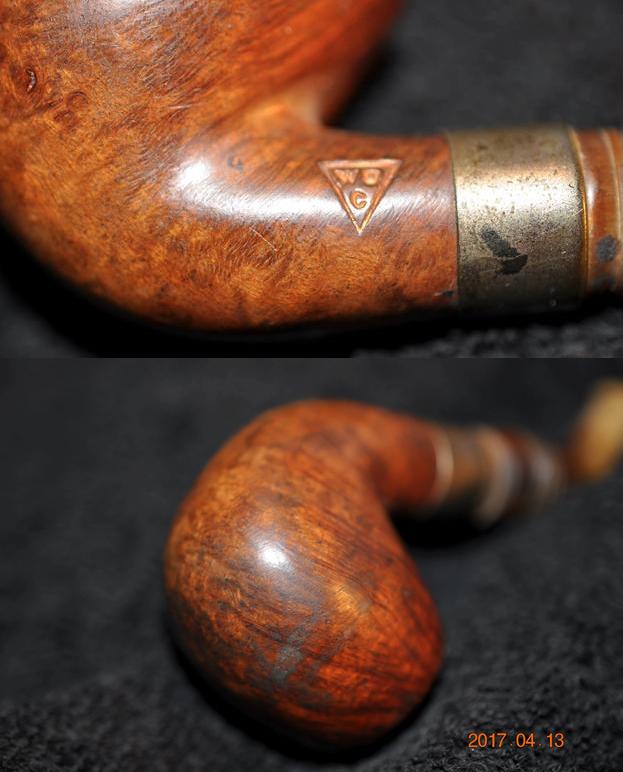
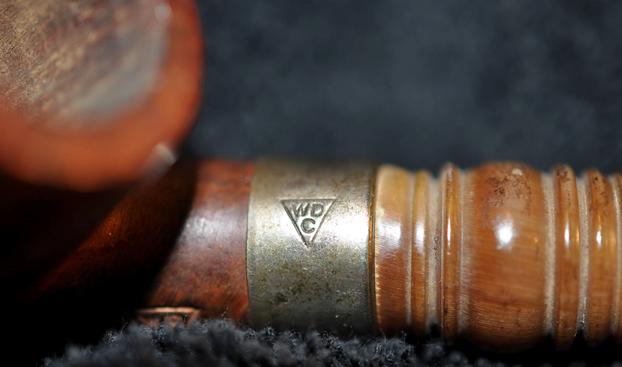
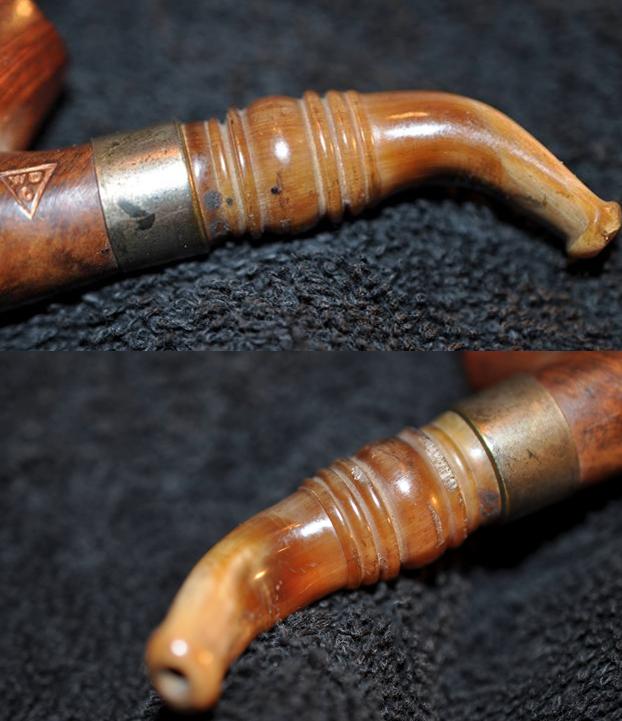
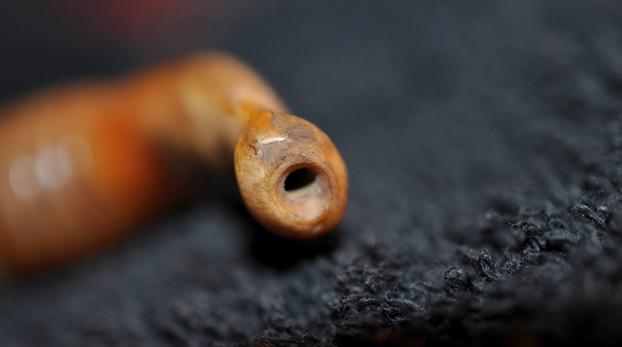
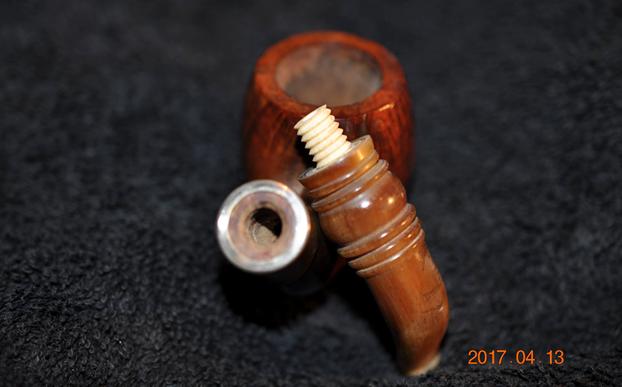
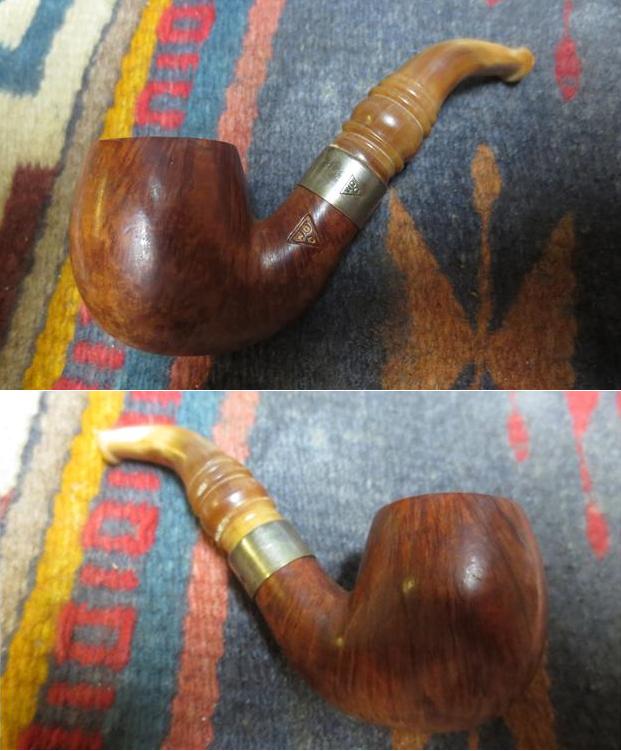
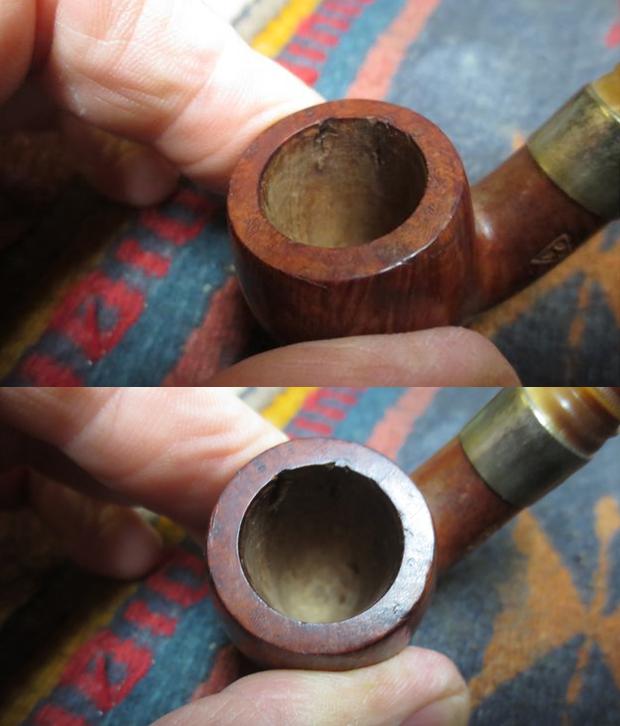
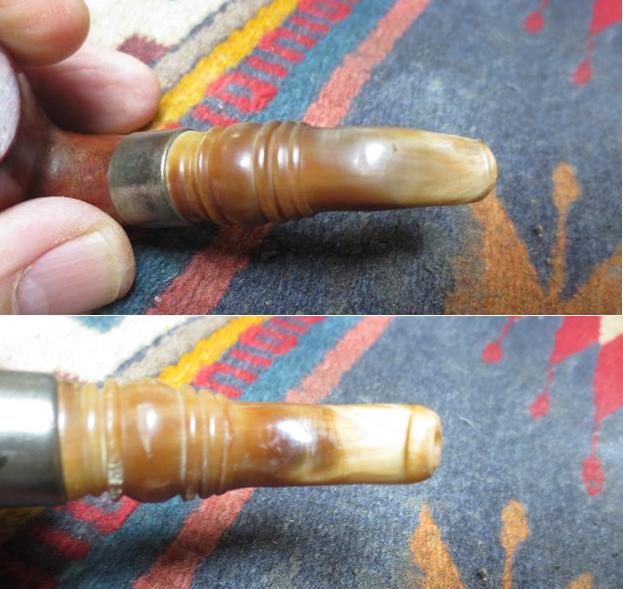
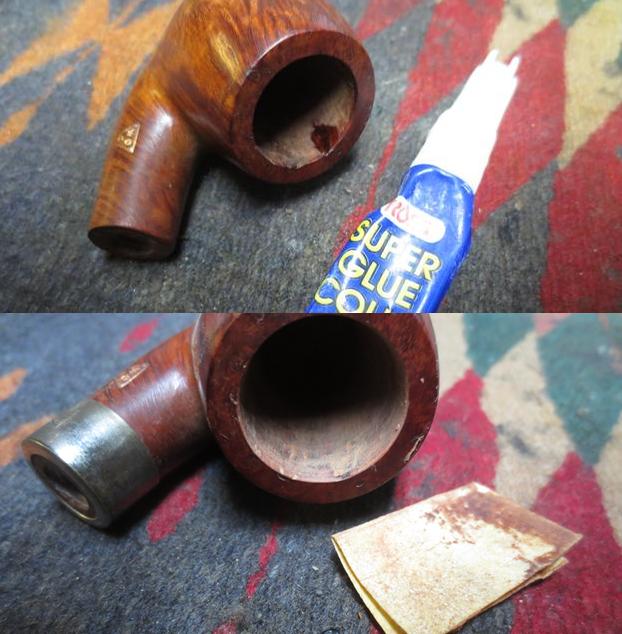
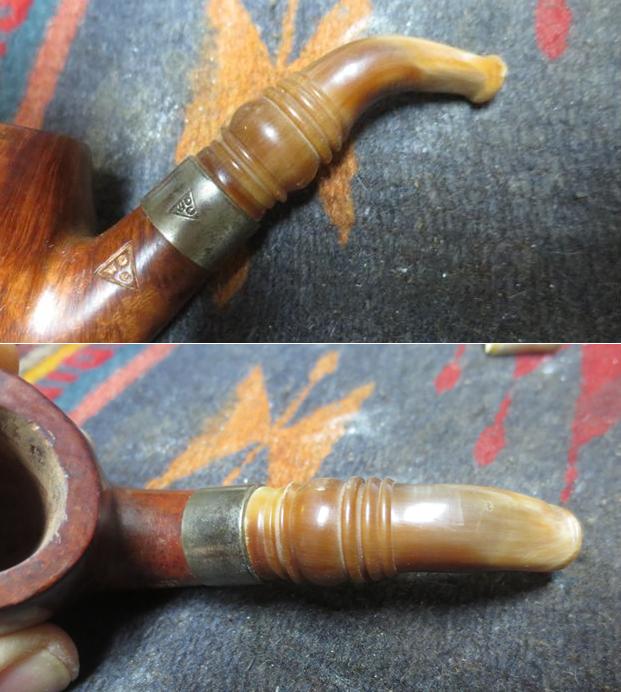
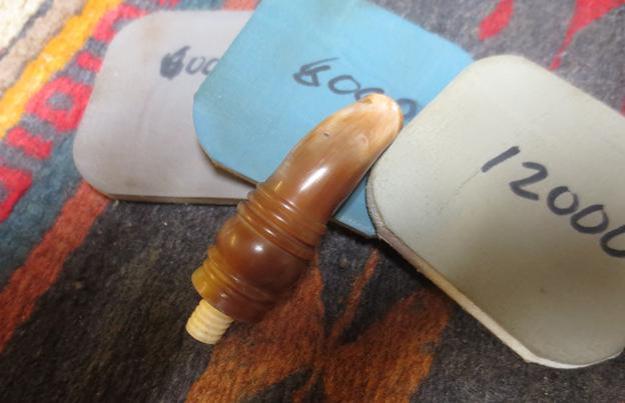
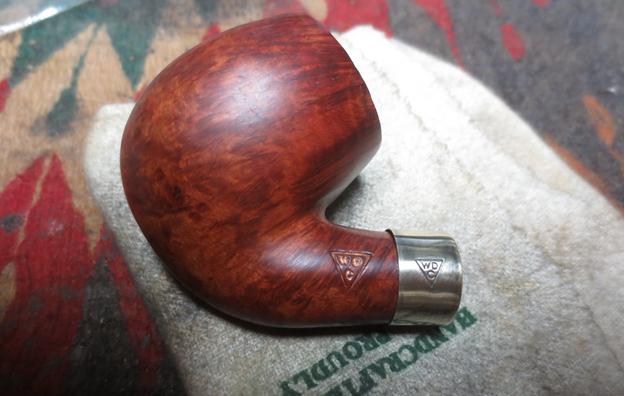
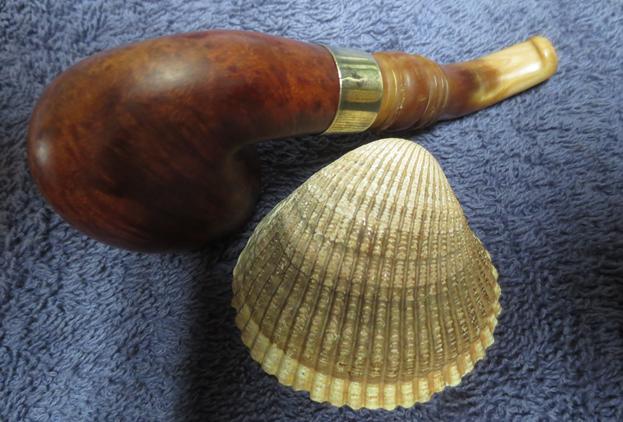
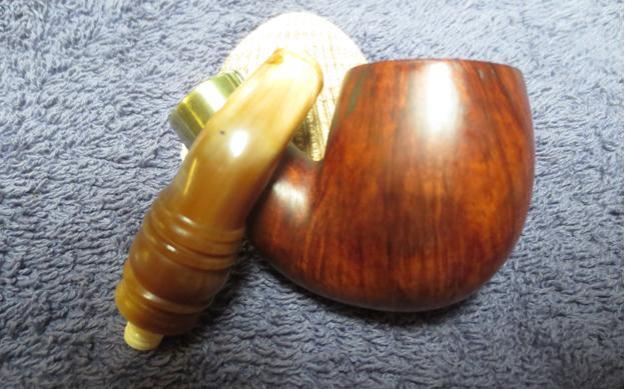
Jeff picked this one up in an antique shop somewhere along his travels. He is getting as bad as me in not being able to drive by an antique mall or shop without pulling over and having a quick look. We both have very patient wives that humour us with our obsession. He found this little beauty on one of those stops. It is a small pipe – 4 inches long and 2 inches tall. The bowl diameter is 1 1/8 inches and the chamber diameter is ¾ inches. For such a petite pipe the bowl is almost standard size and would hold a full bowl of tobacco. This pipe came from the age of putting the pipe in the pocket when you went to the opera or a show. It would hardly show whatever the pocket you slipped it into.What makes this pipe remarkable to me is that it is unsmoked. There has never been a bowl of tobacco lit and smoked in this old timer. I believe it is an early 1900’s era pipe or possibly earlier. It has a horn stem that is turned which is also unusual. I typically see straight or bent tapered horn stems. I don’t remember the last fancy turned horn stem I have seen. The pipe bears the WCD triangle logo on the left shank and a matching logo on the ferrule. There are a few small fills in the bowl and some issues on the inside that I will speak about when I get to the photos of the bowl and rim. Nonetheless this is a rare find – a pipe that is probably at least 100 years old that has not been smoked. It is new old stock with an emphasis on the old. Jeff took the above photo and the ones that follow when he brought it home from the trip. The finish was a little shop dirty from years of sitting on display. The rim was clean but had some grime in the finish. The issue I referred to above can be seen in the first photo below. There was a large fissure in the right side of the bowl from the rim downward into the bowl for about ¼ inch. It was clean and there was no burn thanks to the unsmoked condition. If the pipe is going to be used for its intended purpose then this will need to be repaired. The inner edge of the bowl is also nicked around the area above the flaw. It makes the inner edge out of round. Though the pipe is new and unsmoked it is dirty with the kind of dust and grime that comes from sitting for a long time on display. The next photos show the grain with the grime and also show the tarnished ferrule and the clear stamping on the shank. The ferrule has been turned as there is a WDC triangle logo on it as well. The next four photos give a closeup picture of the shank/stem fit and the WDC triangle on the ferrule. The turned horn stem really is beautiful under the dust and debris of time. The stem has the old style button with the orific opening on the end. The button is more rounded that new buttons and the round opening at the end is very different from the newer slot opening. Jeff took a photo of the pipe with the stem removed. The threaded bone tenon looks clean and new. This is yet more proof of an unsmoked pipe.The horn stem showed damage from the shuffling around. There were small scratches and nicks in the top side and underside on the flat portion of the stem. There were also small nicks on the some of the edges of the turned area of the stem. These were normal marks of wear and tear and really nothing too big to deal with. Jeff cleaned the exterior of the pipe with some Murphy’s Oil Soap and a tooth brush and rinsed it off under running water. He dried it off with a soft cloth and the grime on the finish was gone. He ran pipe cleaners and alcohol through the mortise and the airway in the shank and stem to remove dust and debris that had collected there and he packed it up and sent it my way for the touch up work. I took photos of the pipe when I unwrapped on my worktable. It is an intriguing little pipe that draws attention, that is for certain. He also turned the loose band so that it lined up properly with the stamping on the shank side. You can see from the photos that the stem is slightly underclocked and will need to be aligned. The next two photos show the damage to the bowl wall and rim edge.The stem had some small nicks that a bit of amber super glue would easily take care of.The ferrule was loose and it took nothing to have it drop off in my hands when I turned the stem out of the shank. The briar underneath looked as if it had never had glue on it. It made me wonder if the band had just been held in place originally by pressure fit and over time the wood shrunk as it dried and the band came free of the shank.To address the flaw in the briar on the right inside of the bowl I mixed some briar dust and clear super glue and filled in the flaw. As the patch dried it shrunk and I refilled it until it was even with the rest of the surround bowl walls. While the glue dried on the repair I put some white glue around the shank, aligned the ferrule and put it in place. Thus while the repair dried the band could also dry. Once the repair in the bowl dried I sanded it smooth with 220 grit sandpaper. I reshaped the inner edge of the bowl with the sandpaper as well and cleaned up the nicks in the edge. I chose not to bevel the rim as it had not been beveled previously. The bone tenons can swell over the years making the fit and alignment less than perfect. I have learned a few tricks over time with over and under turned stems with bone tenons. If the stem is over turned I generally build up the threads on the bone tenon with super glue until thing align properly. If it is under turned like this stem I remove material from the tenon. I carefully sanded the threaded area to reduce the diameter slightly. I checked the fit often and once I had it finish I cleaned up the tenon and put the stem aside. I filled in the nicks on the surface of the stem and near the button with clear super glue. The amber would have dried dark on this light horn. When the repair dried I sanded it smooth with 220 grit sandpaper. I sanded the nicks on the turned areas with 220 grit sandpaper to smooth them out and make them less obvious. I polished the horn stem with micromesh sanding pads – wet sanding it with 1500-2400 grit pads and dry sanding it with 3200-12000 grit pads. I rubbed the stem down with Obsidian Oil after sanding with each micromesh pad. After the final pad I set the stem aside to let it dry. I polished the metal ferrule with micromesh sanding pads to remove the tarnish on the metal. There was a small crack in the underside of the ferrule that I repaired when I glued it onto the shank. I finished with the 12000 grit pad and then rubbed the stem down with a jeweler’s cloth to polish the metal. The silver is a nice contrast between the brown of the bowl and the translucence of the horn.I buffed the pipe and stem with Blue Diamond on the buffing wheel and worked carefully around the band. I gave the bowl and stem multiple coats of carnauba wax. I buffed it with a clean buffing pad to polish the wax and give the pipe a shine. I hand buffed it with a microfiber cloth to deepen the shine. The wax made the grain stand out clearly and the two fills along the front and the back right edge of the bowl running with the grain. They are visible but they do not detract from the beauty of this old unsmoked William Demuth & Company pipe. It is an interesting piece of pipe history and I can only wish it could tell the story of its journey across the United States and now into Canada. Thanks for looking.