Blog by Steve Laug
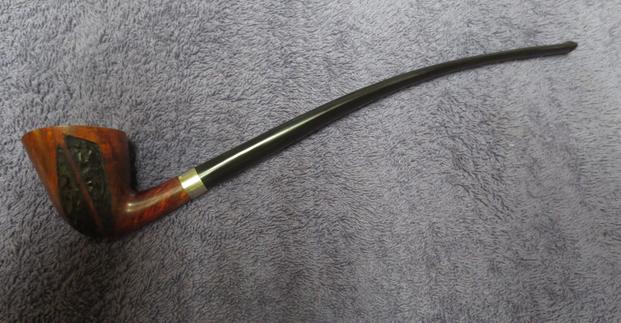
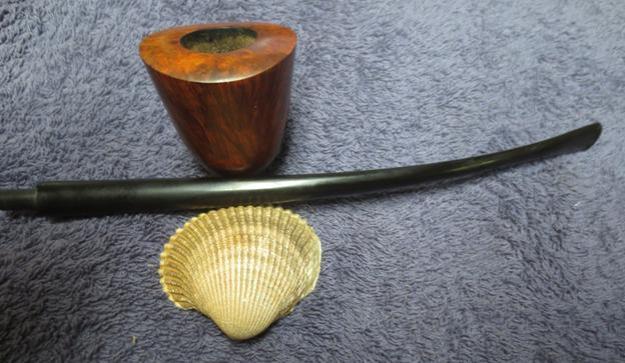
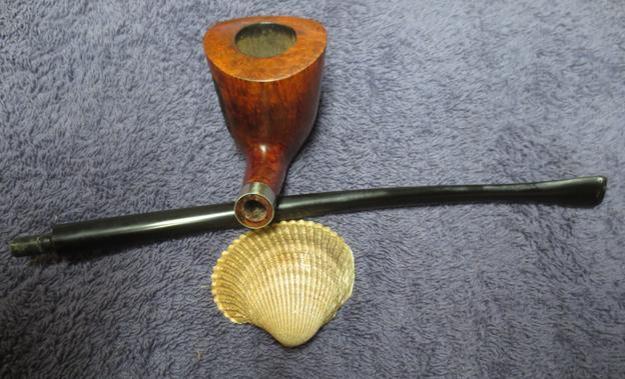
I received an email a few weeks ago from a fellow in Vancouver named Chris, asking if I would have a look at a cracked shank on his Joh’s churchwarden. He figured that it was not repairable but wanted to know if I would cut back the broken shank and refit the stem. I asked him to send me some photos of the damaged shank so I could see it myself. He sent me two photos of the pipe – one from the left side and the other from the top. The photos showed some extensive damage to the shank. There were cracks on the top, the bottom, the right and the left side of the shank. There was a large chunk of briar missing on the left side of the shank. It also appeared to me that the diameter of the stem was smaller than the diameter of the shank and that the stem sat toward the left side of the shank.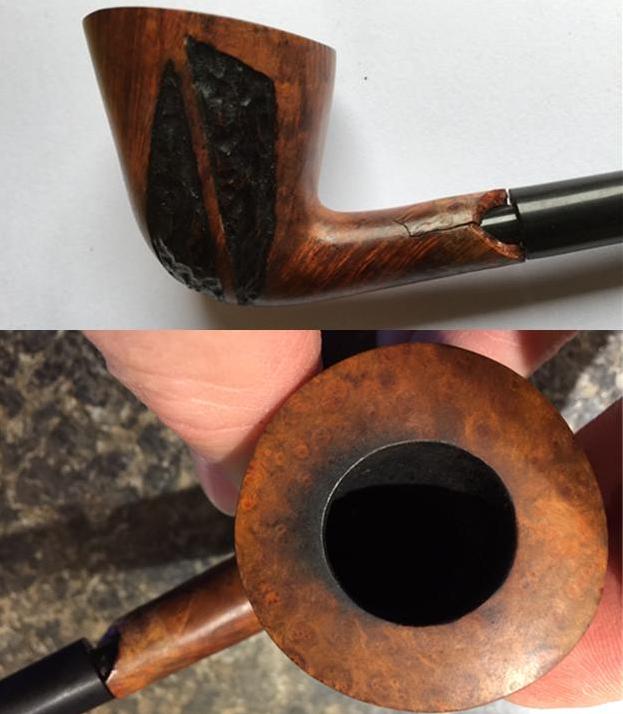 Chris brought the pipe by my office for me to have a look at. We sat in my office and he went over the pipe with me. It was a nice looking pipe with two rusticated panels on the left side of the bowl and the rest of the bowl and rim were smooth. The pipe was in good shape other than the broken shank. The rim had some darkening and oils on the back side. The stem was in excellent condition with no tooth marks at all on either side. We made the decision to work on it and see what I could do repairing the damage. I took photos of the pipe when I brought it home from work and put it on the work table.
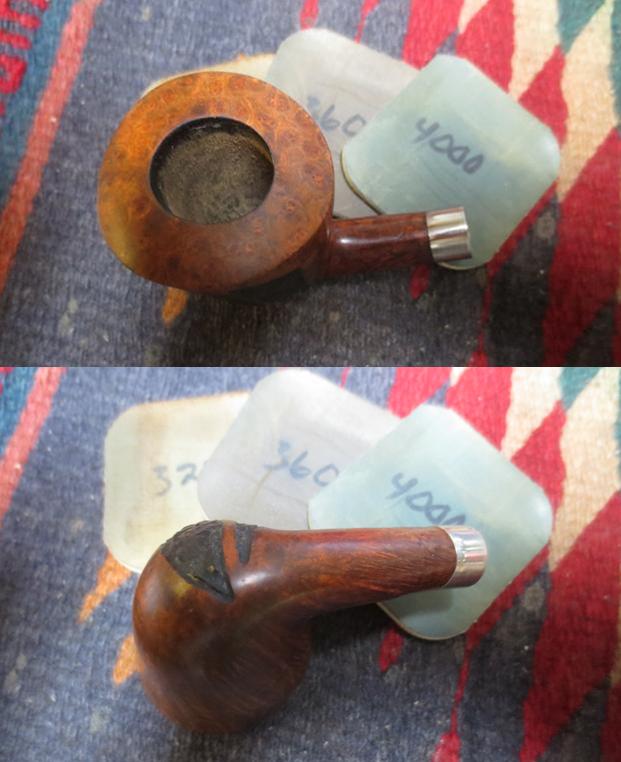
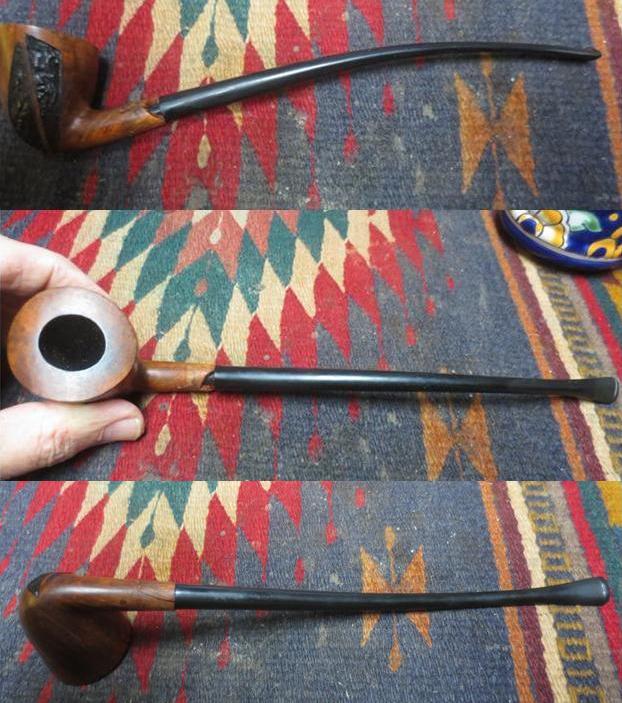 I took close up photos of the cracked and broken shank. You can see the extensive damage and the difference in the diameter of the shank and the stem. I used a microdrill bit on the Dremel and drilled pin holes at the end of each crack to stop the cracks from spreading further.
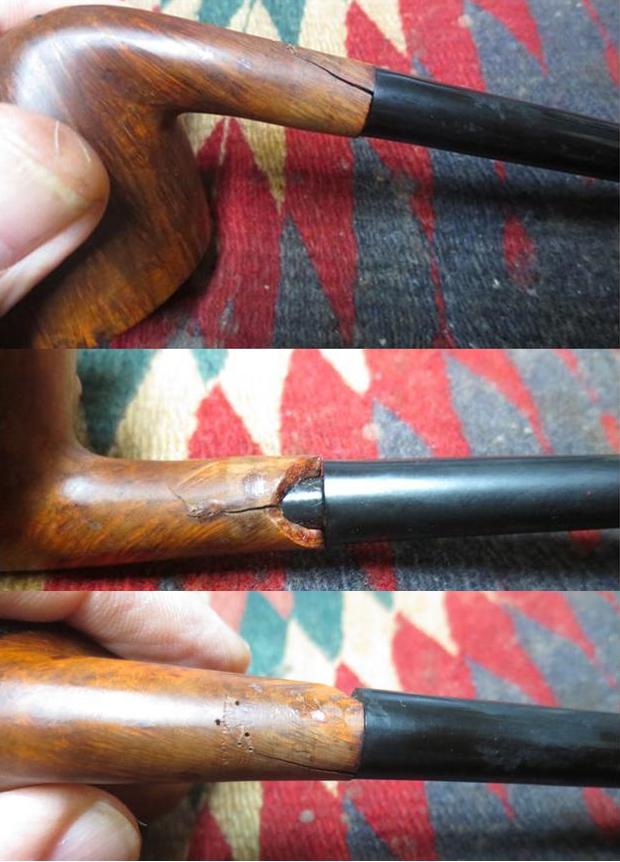 I used a combination of super glue and briar dust applied in layers to build up area where there was a missing chunk of briar in the left side of the shank. I built it up until the missing chunk was replaced with the mixture. It was not pretty but it was better than it was when I started the process.
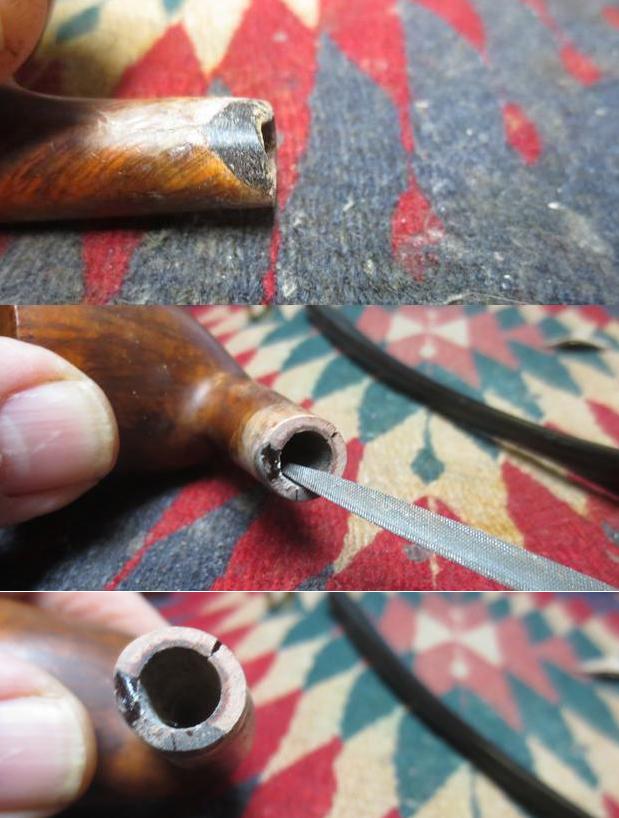
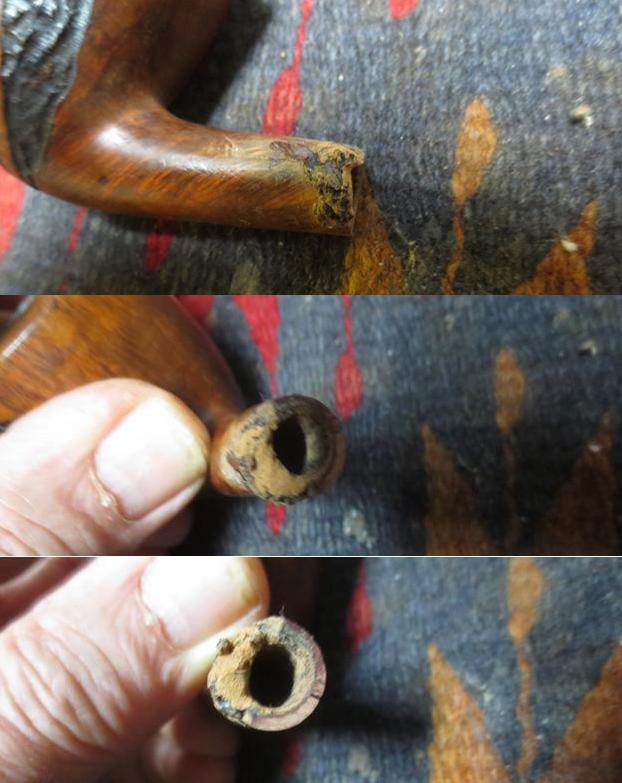 I sanded the repair with a sanding drum on my Dremel. The sanding drum smoothed out the repair on the exterior of the shank. The next series of three photos show the repaired area of the shank. I used a needle file to smooth out the inside of the mortise and to begin to return it to round. I would do more work on that once I had pressure fit a nickel band on the shank.
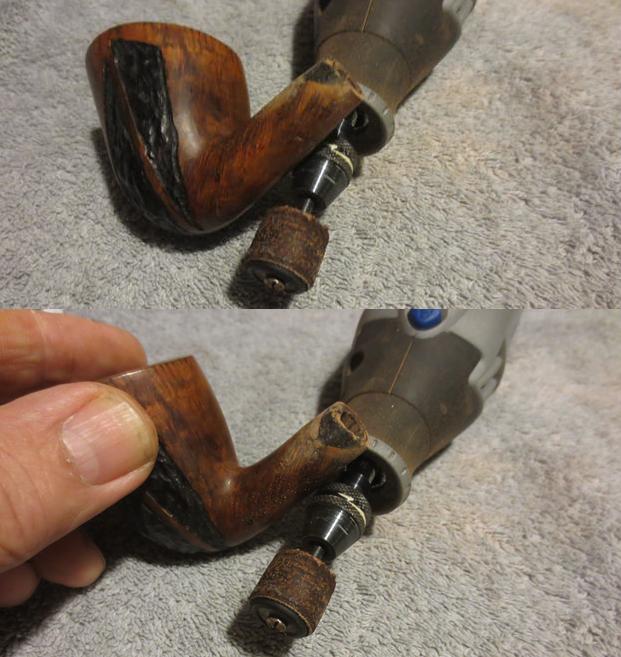
 I heated the nickel band with a Bic lighter to expand it and pressed it onto the shank of the pipe until the edge of the band and the edge of the shank end were even.
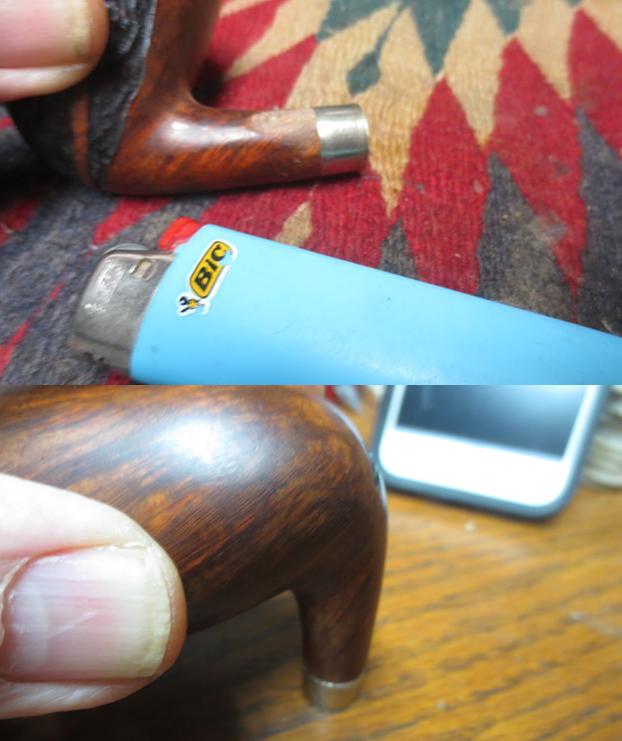 I remembered that I had not filled in the pinholes that I had drilled. I used clear super glue and a tooth pick to put a bead of glue on top of each pin hole. When the glue had dried I sanded the shank repairs smooth with 220 grit sandpaper until they were blended into the surface of the briar.
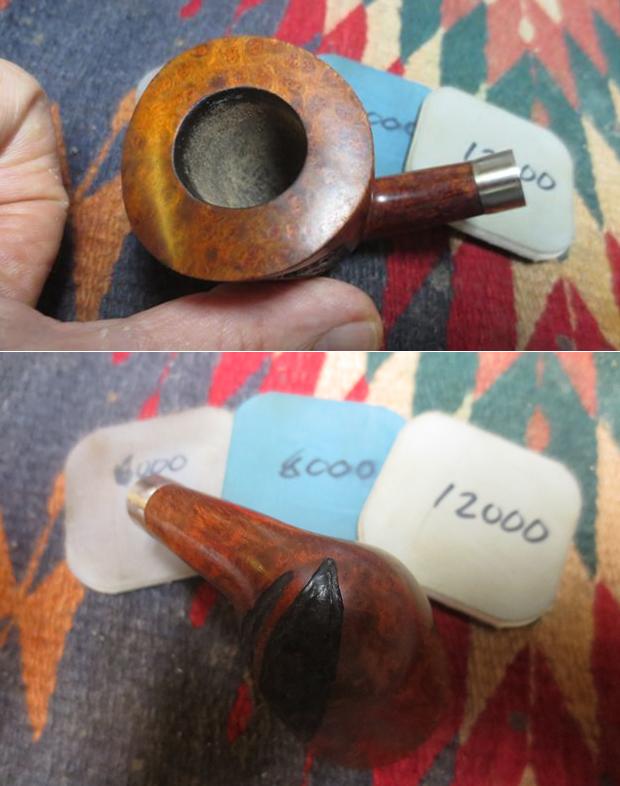
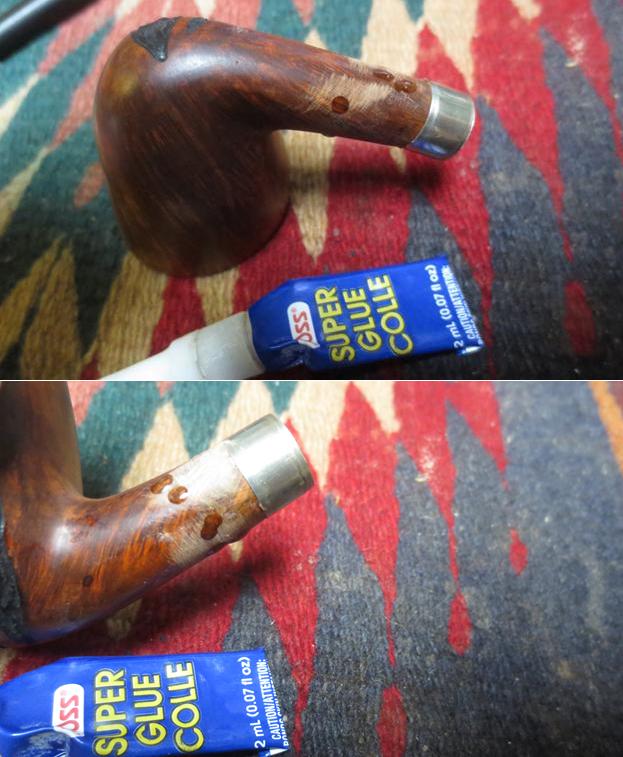 I polished the sanded areas of the briar and the dirty top of the bowl with 1500-2400 grit micromesh sanding pads. I wiped the shank down with a damp cotton pad to remove the dust.
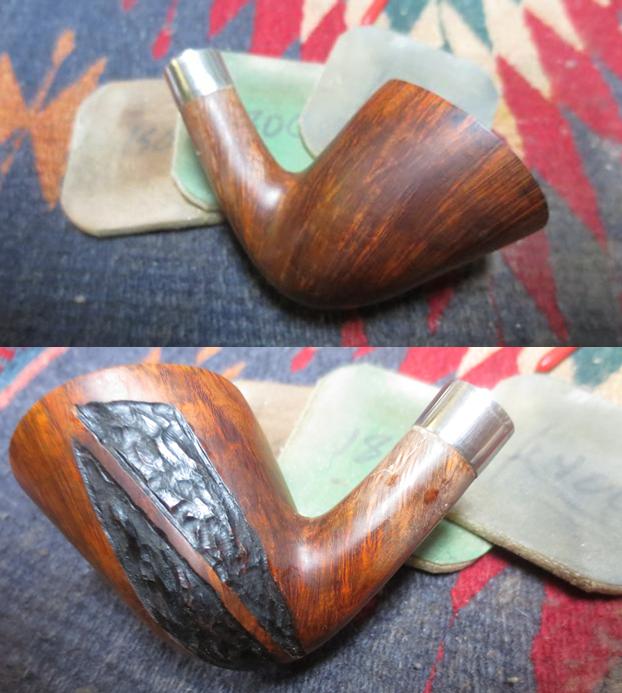
 I used a medium brown stain pen to touch up the sanded areas around the shank. The medium brown blended perfectly with the existing stain.
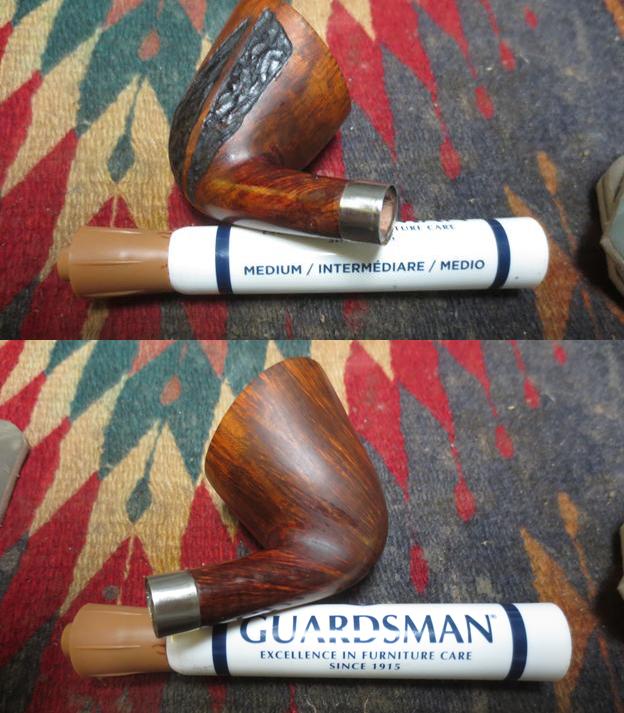
 I polished the bowl and shank with 3200-12000 grit micromesh sanding pads and wiped it down with a damp cotton pad to remove the sanding dust on the surface after each pad.
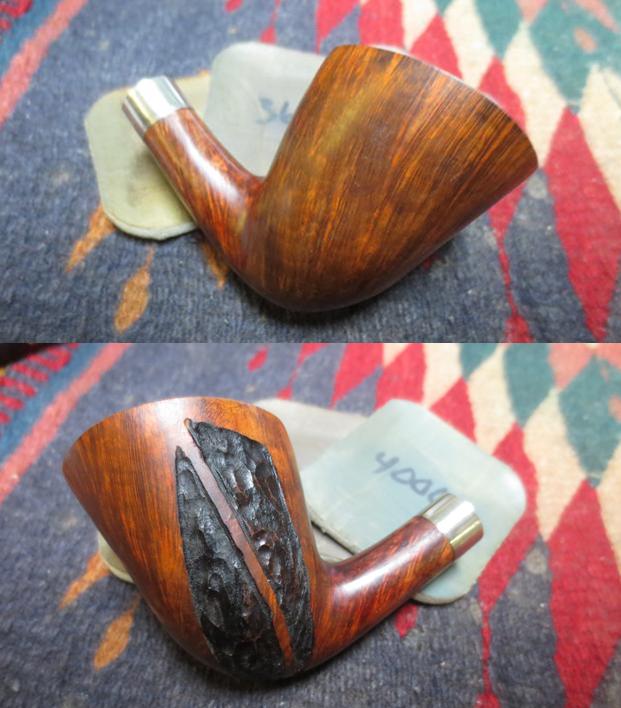
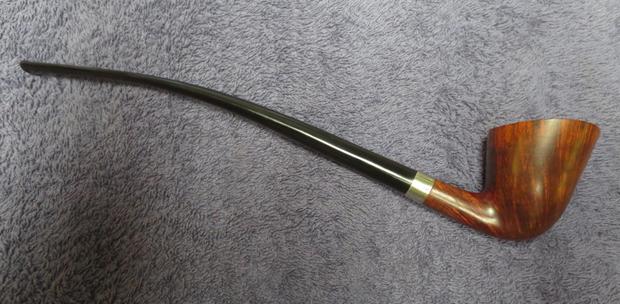
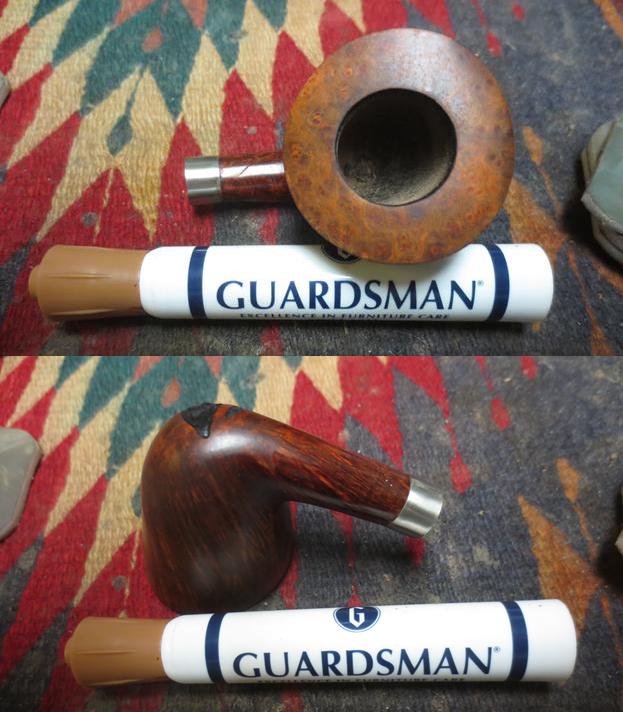
 Before I took photos of the polished stummel after using the 12000 grit pad, I gave the bowl multiple coats of Conservator’s Wax and buffed the pipe on the buffer with a clean buffing pad to give it a shine. The polished pipe is shown in the photos below.
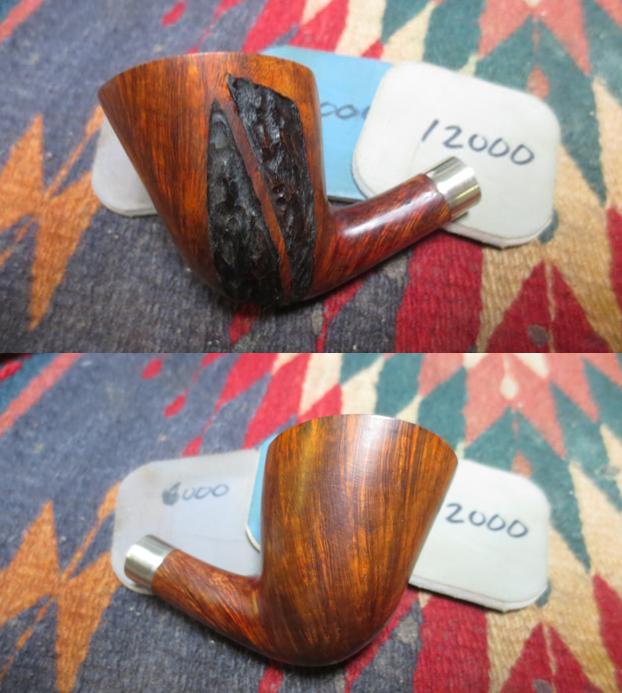
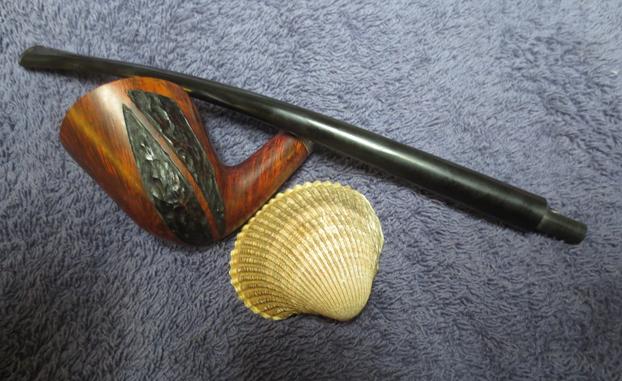
 I took close up photos of the shank repair and band to show the look of the repaired shank. If you look closely you can see the repaired cracks and the tiny pinholes but the pipe looks very good with the new nickel band and blended stain.
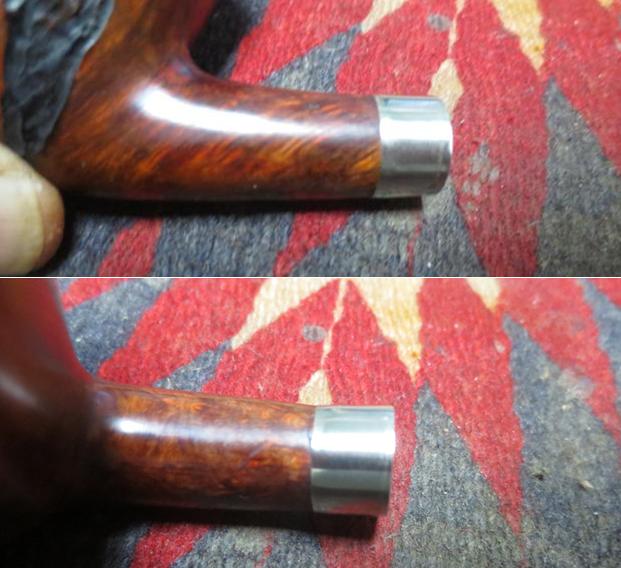
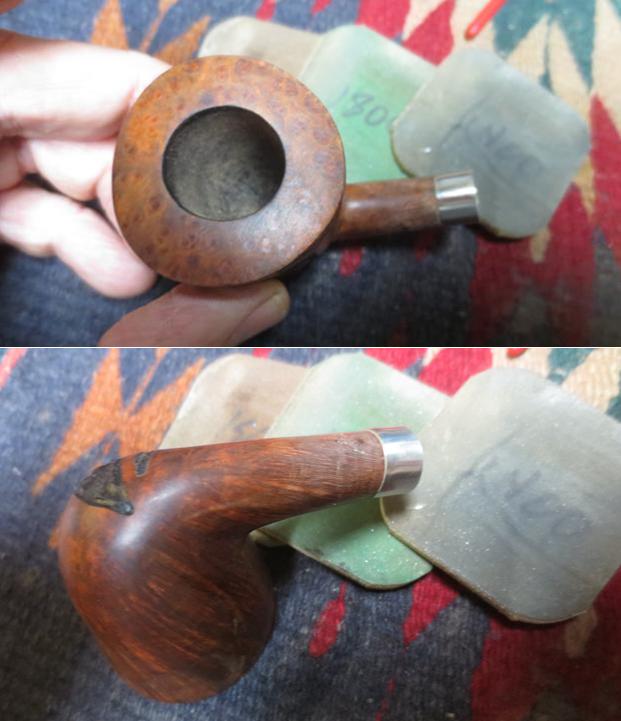
 I reshaped the mortise with needle files and built up the left side of the tenon with clear super glue to move the stem toward the centre of the shank. Once I had finished the alignment was far better than when I started and the stem looks more centred in the shank. I used a tooth pick and super glue to fill in the gap between the band and the right side of the shank. You can see from the photo that the shank was not round but more oval and slanted to the left. With the band and the repair the shank is round and the mortise end looks far better.
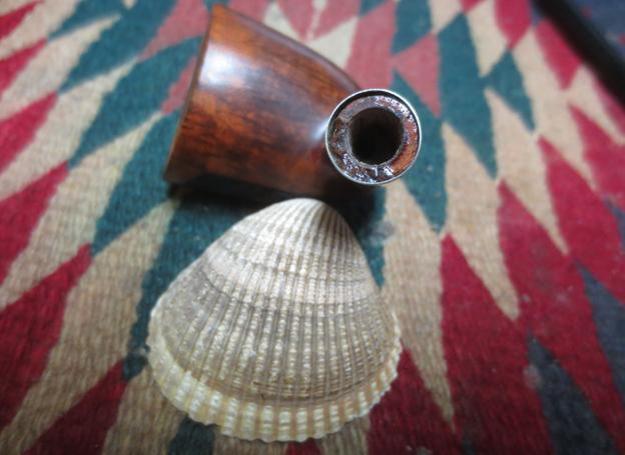 I buffed the bowl and stem with Blue Diamond on the buffing wheel and gave the bowl and stem multiple coats of carnauba wax to protect it. I used a very light touch on the rusticated portions of the left side of the bowl. I buffed the pipe with a clean buffing pad to raise a shine and hand buffed it with a microfiber cloth to deepen the shine. The pipe is well proportioned with the following dimensions Length: 10 inches, Height: 2 inches, Bowl diameter: 1 ¾ inches, Chamber diameter: ¾ inches. The finished pipe is shown in the photos that follow. I think Chris will be happy to see one of his favourite pipes returned to his rotation looking better than when he left it with. Chris if you read this – tell us what you think. Enjoy. Thanks for looking.