
Robert M. Boughton
Copyright © Reborn Pipes and the Author except as cited
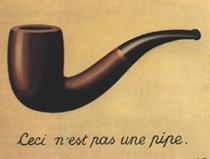
— “The Treachery of Images” (1929, also known by the translation of the message on it, from the French, “This Is Not a Pipe”), an oil on canvas painting by the great Belgian Impressionist, René Magritte (1898-1967)
INTRODUCTION
Sometimes I wonder if the D in P.A.D. shouldn’t be replaced with S for Serendipity, in the sense of being in the right place at the right time, or with still more sneaky spin, Fate with a capital F. Then my sense returns, and I realize the musing rationale is only a symptom of the Disorder. My most recent bout with this overwhelming inner turmoil was lost within minutes after I chanced (yeah, right) to read an informative and enthusiastic, yet brief, account of a little known but masterful creator of hand-carved Italian pipes in the 1980s and into the early ‘90s. Thinking of an assertion in the post that claimed the brand in question is difficult to find as a sort of challenge, I clicked on eBay and searched for the name. Indeed, only two samples popped up, as well as a nice, dark brown pipe sleeve. Not really able to afford either pipe, or the $11 sleeve for that matter, I was nevertheless torn between both and knew I had to have one. The source of the information that set my P.A.D. careering is an acquaintance on the Smokers Forums UK, on the Pipes page. The gentleman’s SF handle is fishnbanjo, which I suppose indicates two things he enjoys very much other than pipes. He and most everyone who knows him at all shortens the moniker to the simpler Banjo, which is also, after all, a kinder, gentler re-nicknaming than Fish, or even Fishn.
‘The title of the post caught my eye before I noticed it was started by Banjo: “The stepchild of Italian pipes.” I always enjoy Banjo’s contributions because of the rugged good looks of the pipes he has a knack for acquiring and his keen knowledge of the subjects he covers, and when it comes to pipes the brands of which, most of the time, I find I have never heard but without fail would like to own. Often spoken in pipe smoking circles is the comment, “That pipe looks good on you,” which is one of those statements that of course in intended to be courteous and friendly but, when considered in literal terms, is preposterous. Somehow, though, with Banjo the expression is more à propos than anyone I’ve ever seen, even if only in excellent selfies.
His own looks being a cross between Spencer Tracy, who played the down-on-his-luck old Cuban fisherman in the 1958 classic movie version of Hemingway’s The Old Man and the Sea, and Anthony Quinn, who reprised the role of Santiago in a 1990 TV remake, are complemented to perfection by his good, strong, masculine, bold taste in pipes. Here he is in an example of one of those apparent self-photos, from the Capitello post I had the good fortune to find. The self-portrait really is quite good since I decided to contact Banjo and ask for his permission to use it in full rather than lop off the top half of his head for the silly sake of protecting his privacy without even knowing if he minded.  When Caminetto Pipes (1968-1979, the official Caminetto Period) stopped production, all by hand, the assorted partners went their own ways. Giuseppe Ascorti produced Sergio pipes for a short time before forming the company bearing his own last name with his son Roberto; Luigi Radice opened Radice Pipes, and Enzo Galluzo, who was the official carver for Caminetto and had worked at Castello and later Ascorti’s shop, founded the Capitello Pipe Company with his partner on the business end, Corrado Ripamonti, c. 1982. Capitello closed in 1991, according to Banjo “because [Galluzo’s] distributor never paid him for the pipes he sold and without money to pay the bills a great, not well-known company ended its run.” In 1986, by the way, two years after the death of his father, Roberto Ascorti started the New Caminetto Period.
Banjo wrote, with nostalgic eloquence, of Capitello being the first Italian pipe manufacturer in the 1980s to use oil curing. The process was patented by the Alfred Dunhill Company Ltd. on November 14, 1918, just 28 days before the signing of the Armistice – at the 11th hour of the 11th day of the 11th month – that officially ended World War I (“the War to End All Wars”). Dunhill’s Patent №. GB119,708 involved immersing natural-finish stummels in olive oil for several weeks before drying with hot air and sandblasting away large rough parts of the early irregular results. Whether old Alfred in fact invented the procedure is debated, but I’m not going there today, so relax. At first the use of oil was for aesthetic reasons only, as it gave the outer area of the stummel greater luster. Pipe collectors and scholars giving every indication of being quarrelsome when it comes to just about everything, the rough effect that seems to have led to the creation of the Shell pipes (and is also the reason for the reddish tinge to the briar in that line) is yet another subject of discord in certain rarefied circles, with an emphasis on circles being never-ending. At any rate, the unavoidable consequences of Dunhill’s approach were unusual shapes that could not be classified according to the official charts until oil curing was “perfected” some years later.
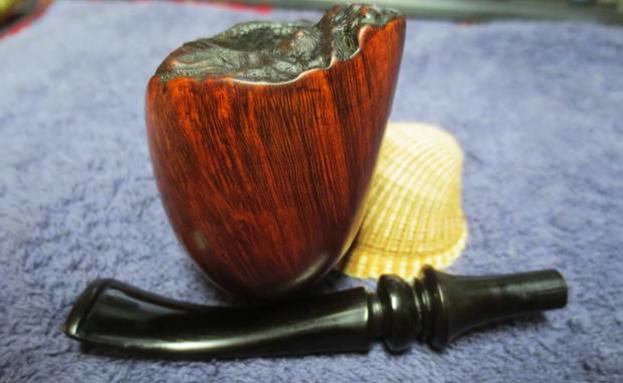
Returning to Banjo’s humble eloquence, he wrote of buying the pipe more than 30 years ago from “someone with much more experience than I who told me it would color much like a Meerschaum does.” As would most experienced pipesters familiar with the differences of wood and meerschaum, Banjo had his doubts, but he liked the huge, pebbled specimen, so why worry about it? I can’t help thinking and interjecting the notion that such a refreshing thought process could benefit certain more vocal experts. To Banjo’s lasting surprise, his old pipe indeed continues to color, just like a well-aged meerschaum. Banjo noted that today it is difficult to imagine the gorgeous piece of work in the virgin finish he first viewed it. I suspect it looked something like this other Capitello, minus the smooth finish.

Capitello Airlecchio 773, courtesy Haddock’s Pipes
Capitello’s peculiar, more common designs and crafting include the following.
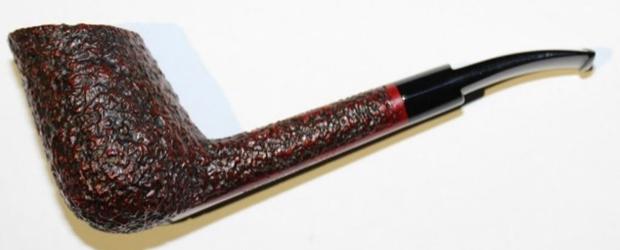
Corinzio Two Columns Sandblasted Belge, courtesy amaxwell1_eBay
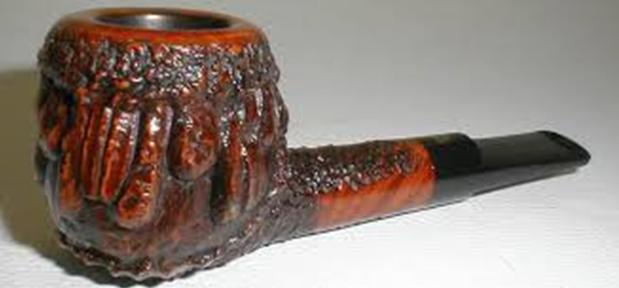
Wax Drip Gotico, courtesy Pipephil
My remaining opening comments are few enough to wrap up in short order, which I will now do. As far as the farfetched-sounding idea of smoking a wax-dipped pipe goes, see the last link in my Sources below before passing judgment. Concerning the somewhat confusing list of Italian names – both for some of the companies mentioned and more to the point Capitello and its various lines – my curiosity got the better of me. As a result, I discovered they have real meanings, and here they are.
- Capitello – capital. I sense a dual meaning here, as in the seat of power of a government, etc., as well as the monetary distinction
- Caminetto – literally, fireplace, but also used to describe a very hot, small space where objects are forged by craftsmen
- Radice – a surname that also means root
- Castello – castle
- Corinzio – Corinthian. No, not the Corinthian leather used in a certain car promoted by Ricardo Montalbán, but Corinthian architecture, the last and most ornate of the three main orders of ancient Greece and Rome that was characterized by columns. Hence, the Corinzio Two Columns Belge shown above. I did not find Belge anywhere.
- Gotico – Gothic
- Jonico – Ionian, or pertaining to the second primary architectural order of ancient Greece and Rome
RESTORATION
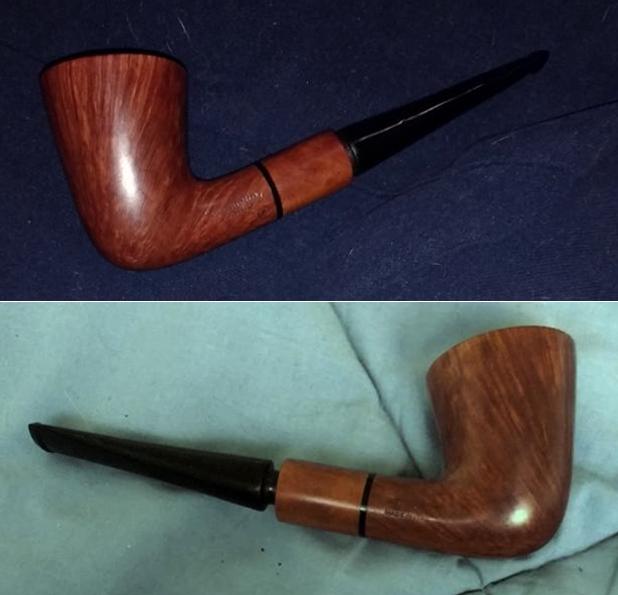
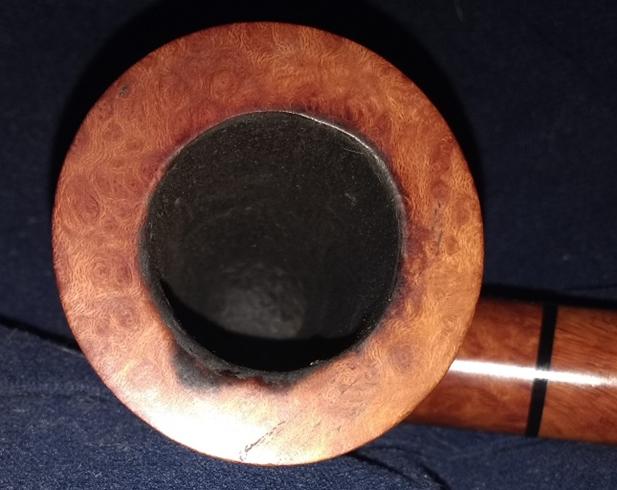
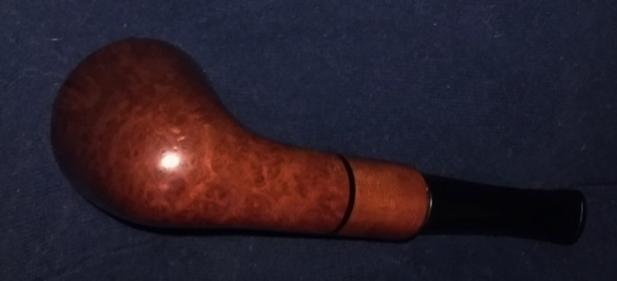
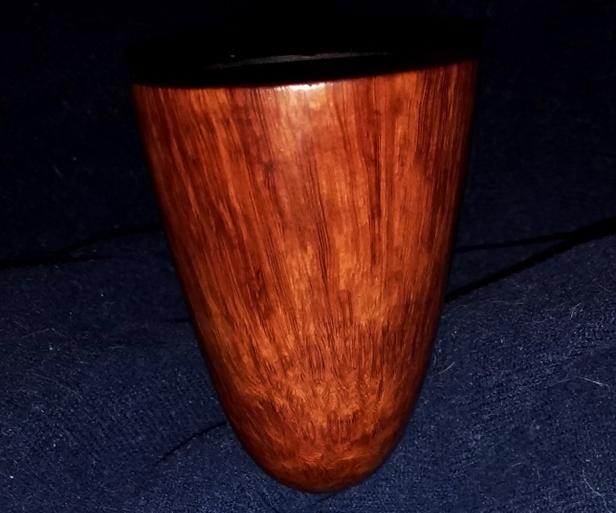
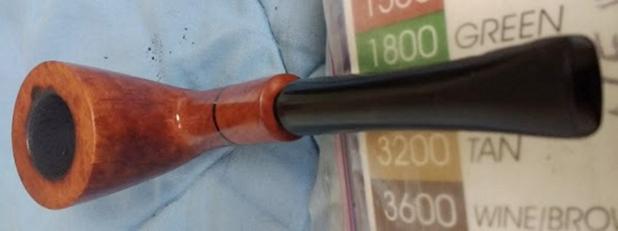
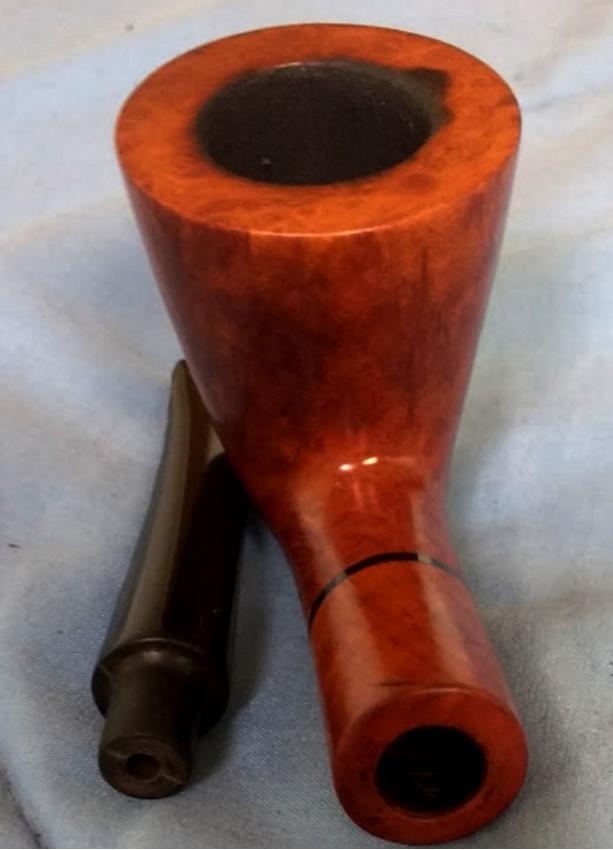
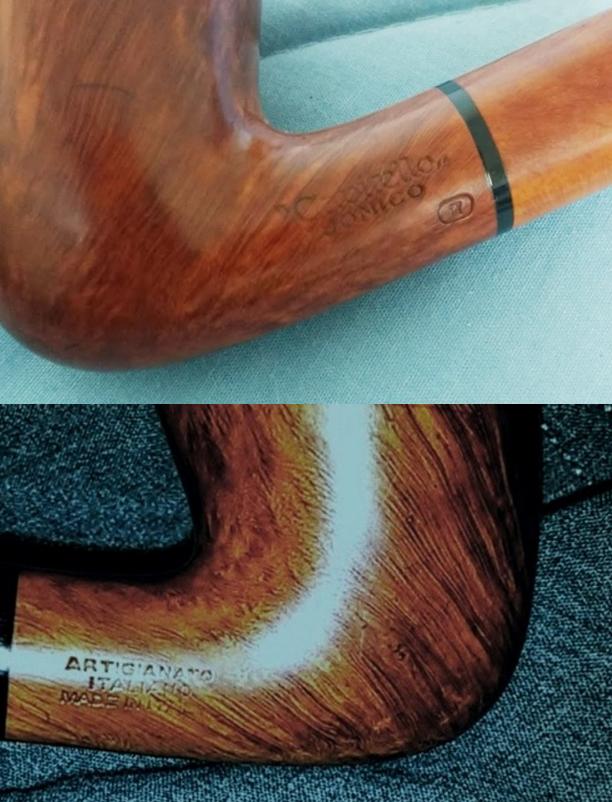
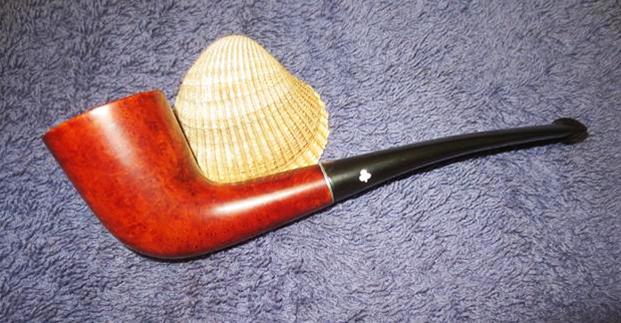
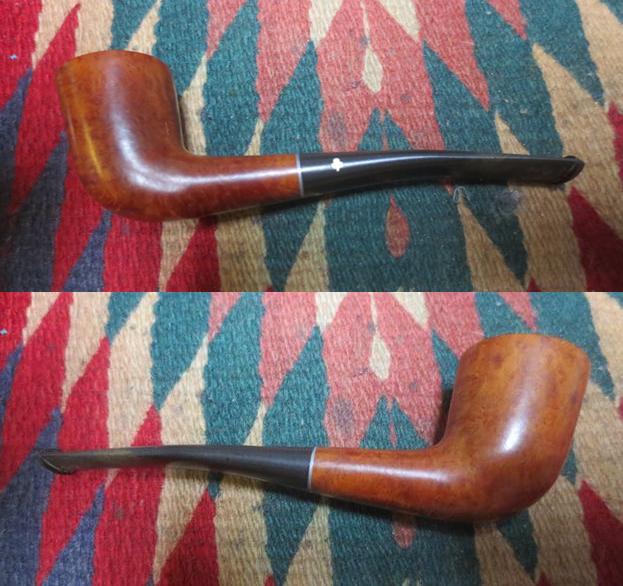
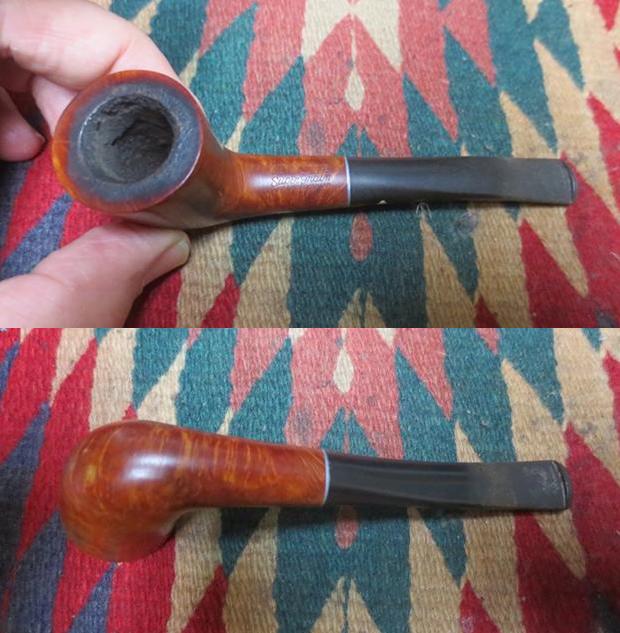
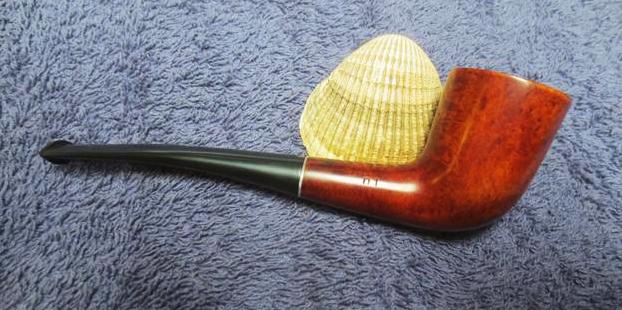
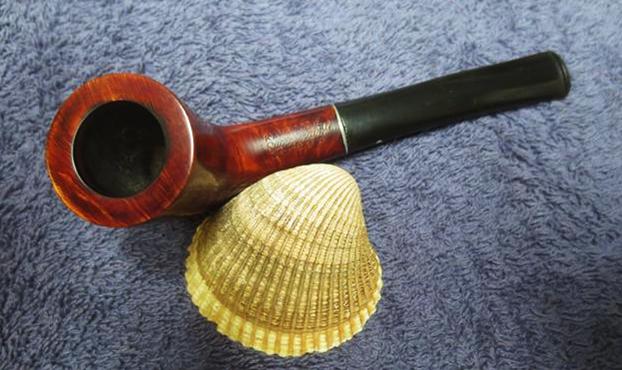
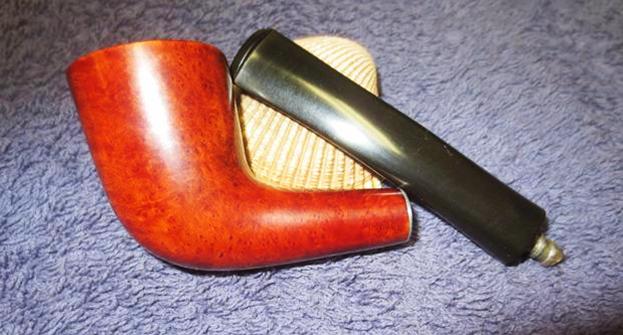
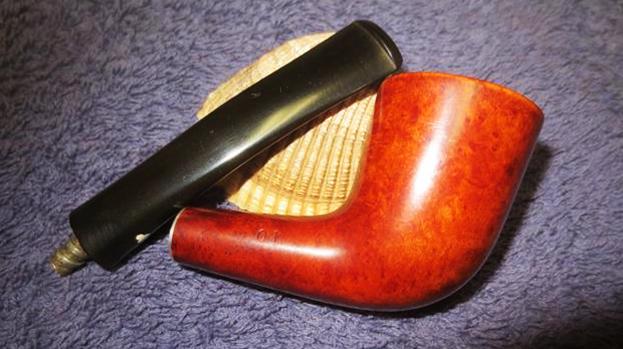
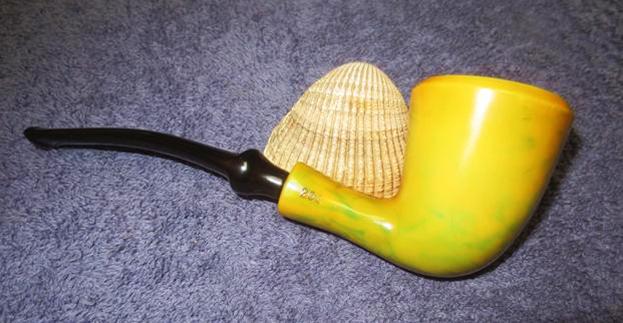
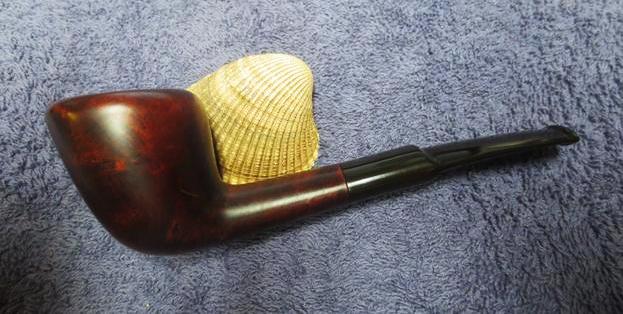
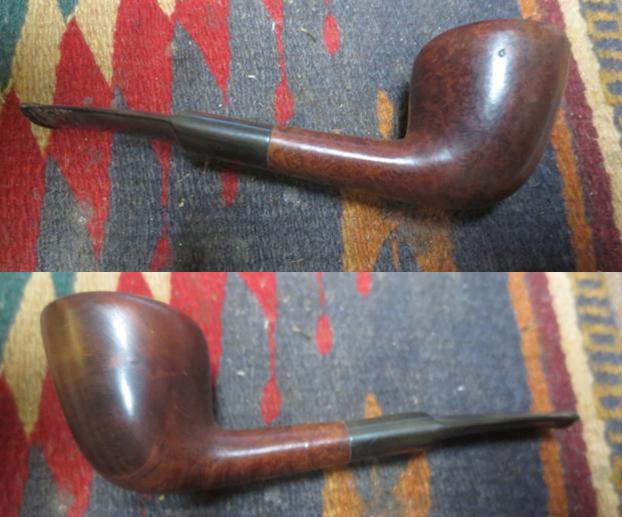
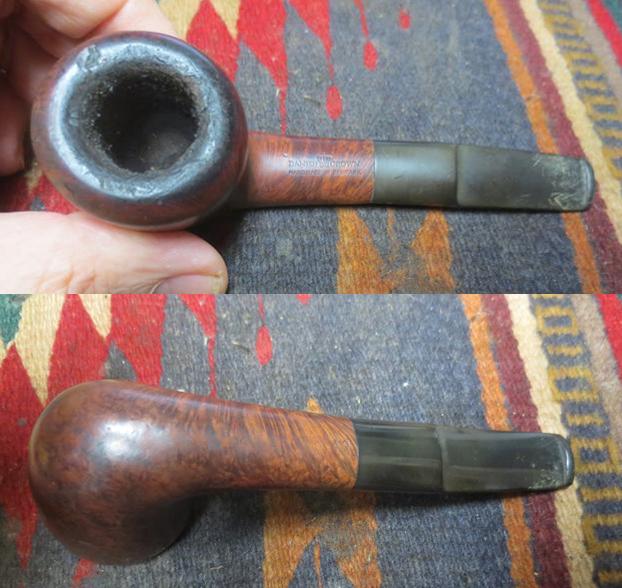
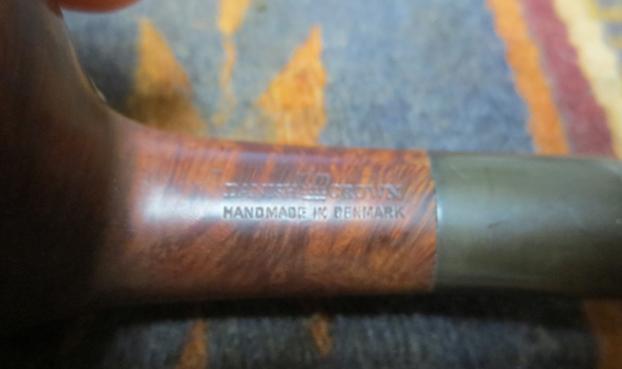
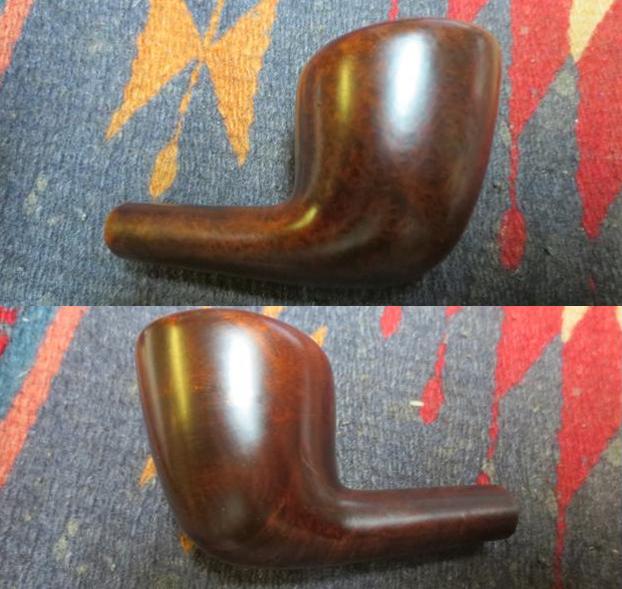
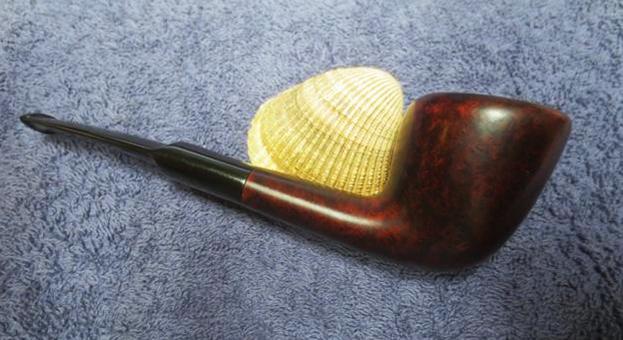
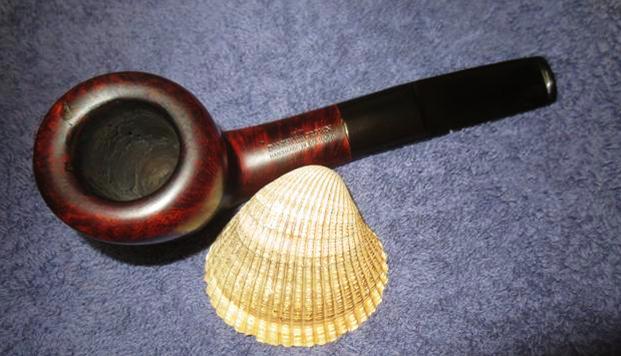
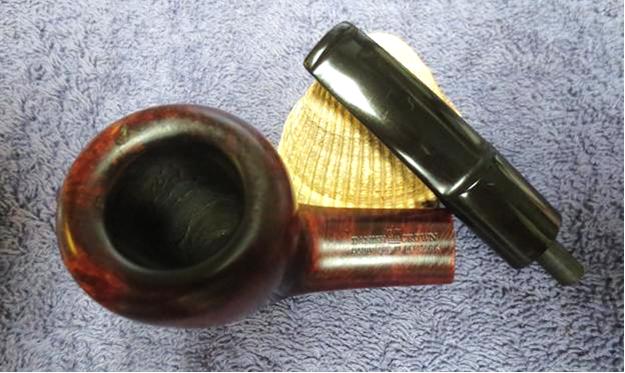
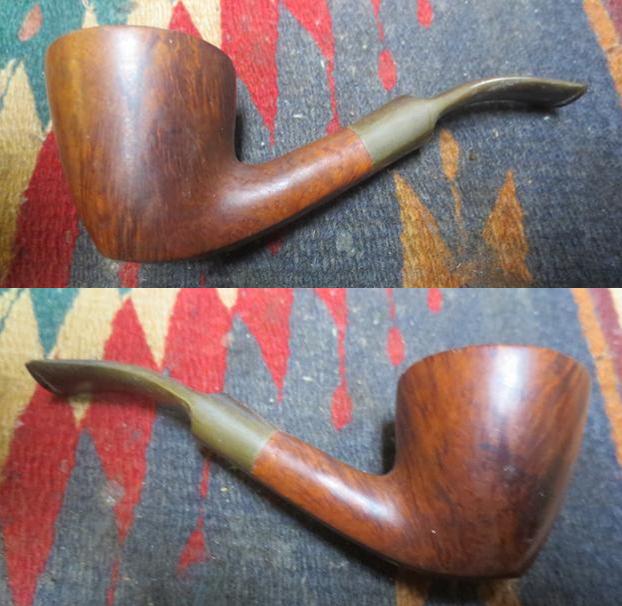
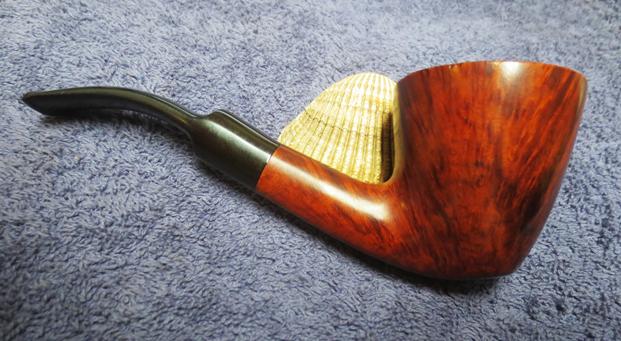
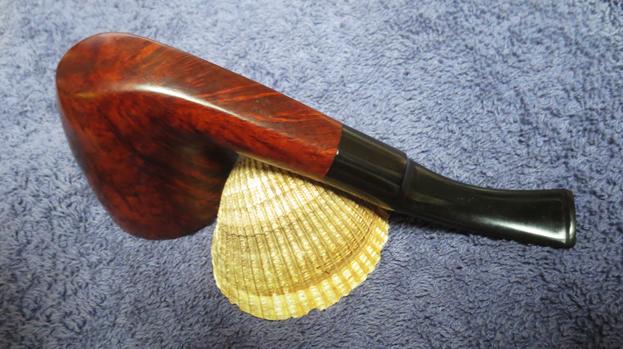
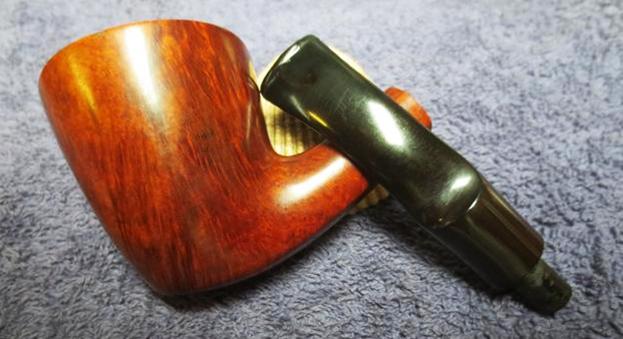
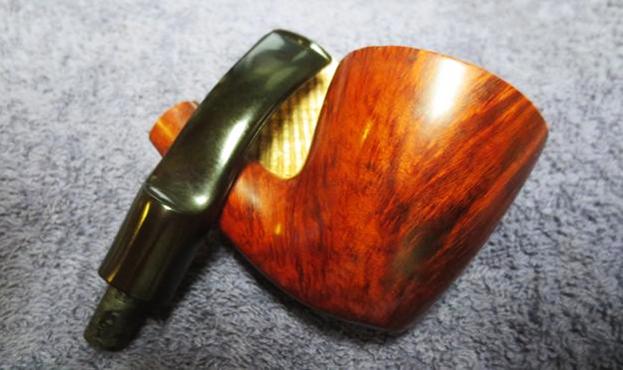
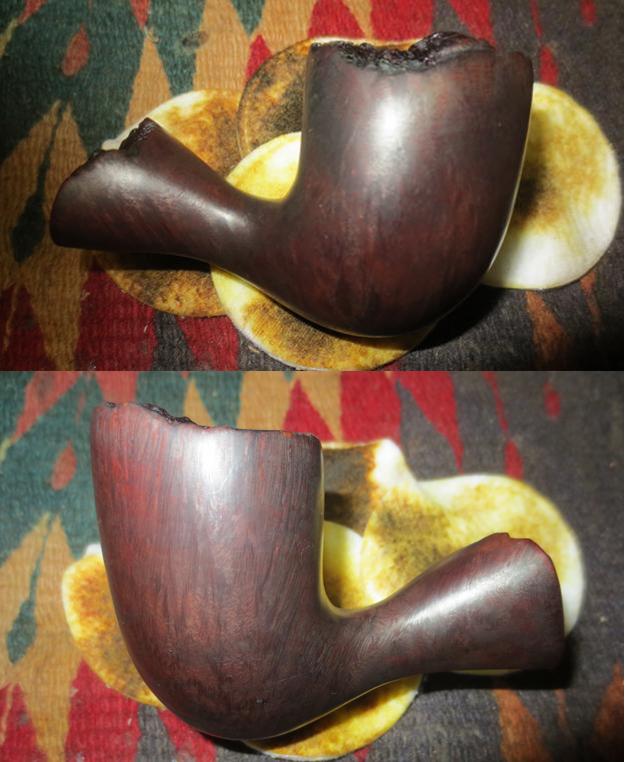
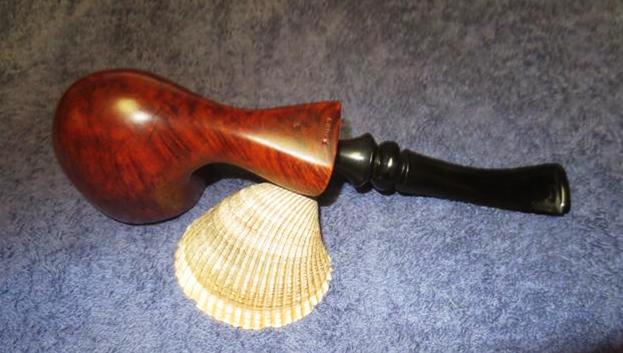
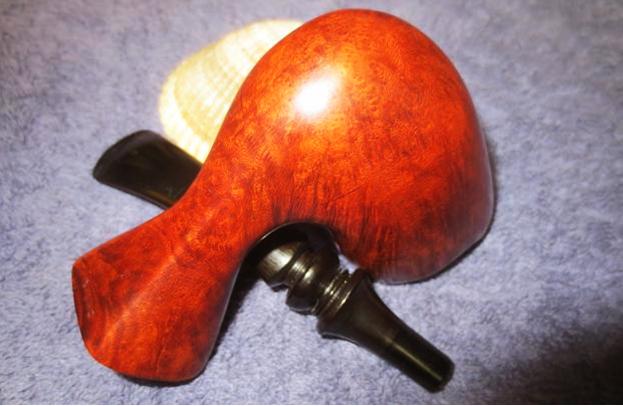
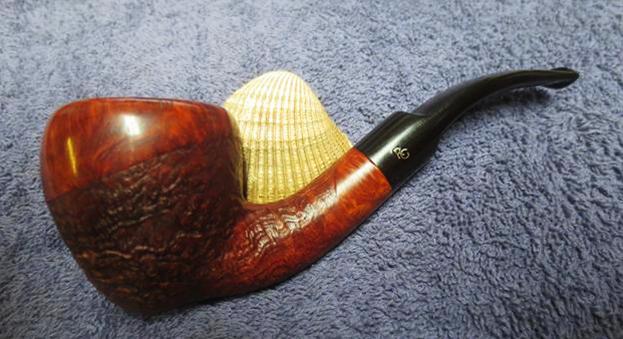
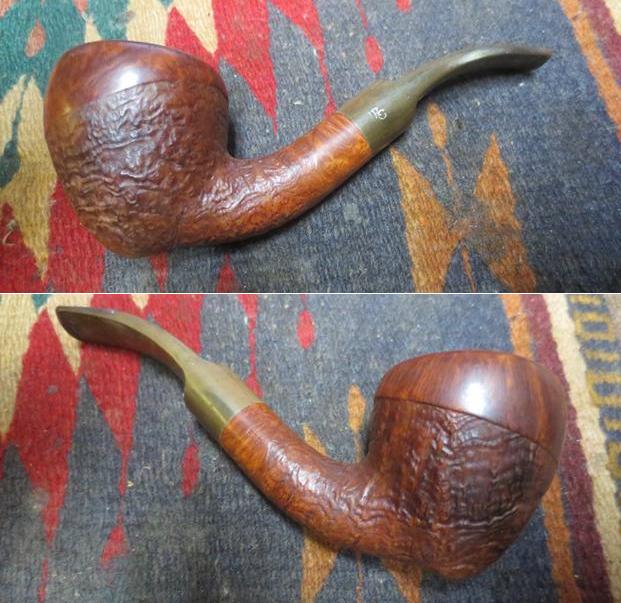
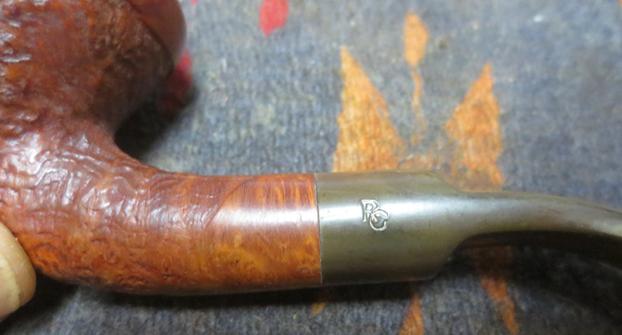
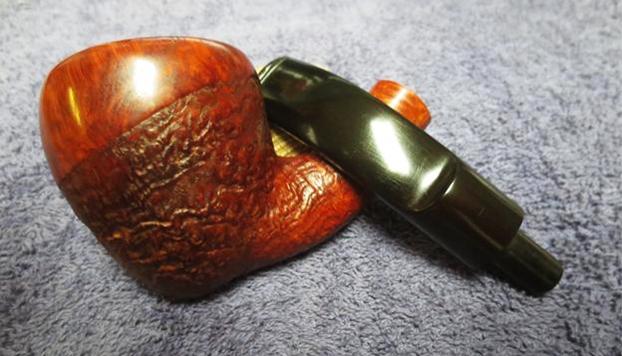
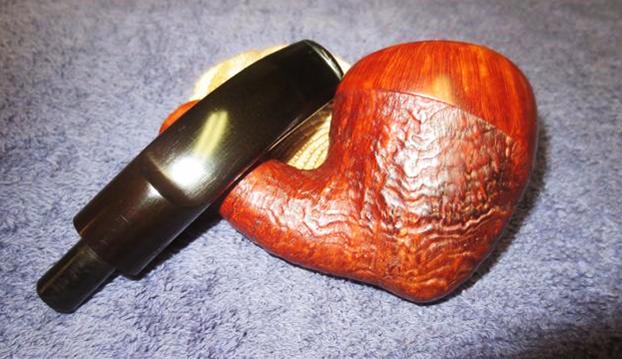
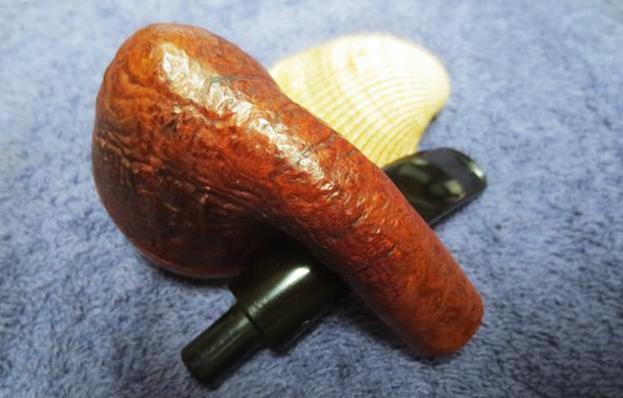
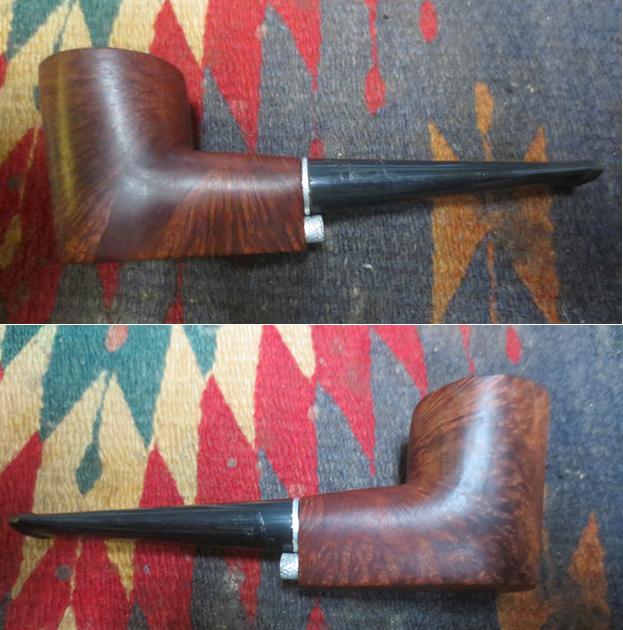
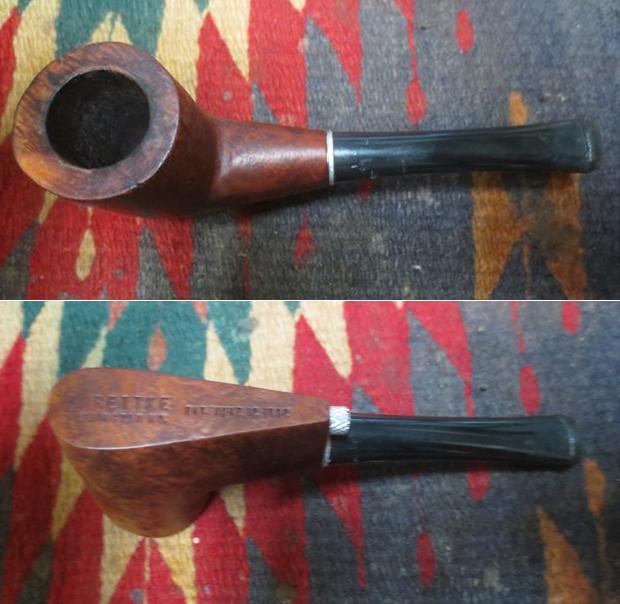
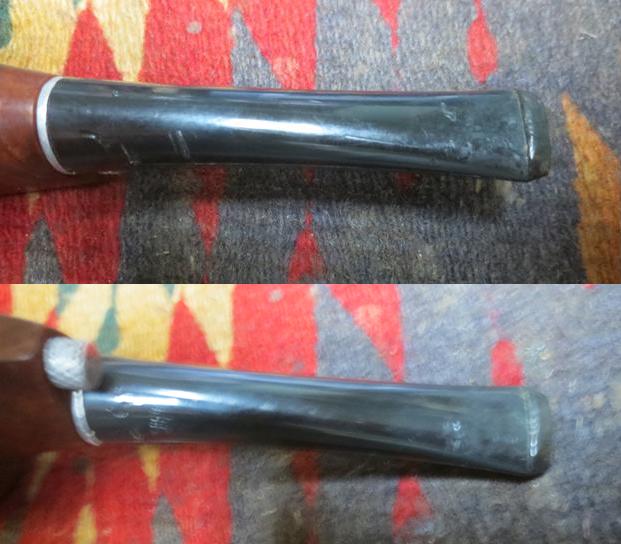
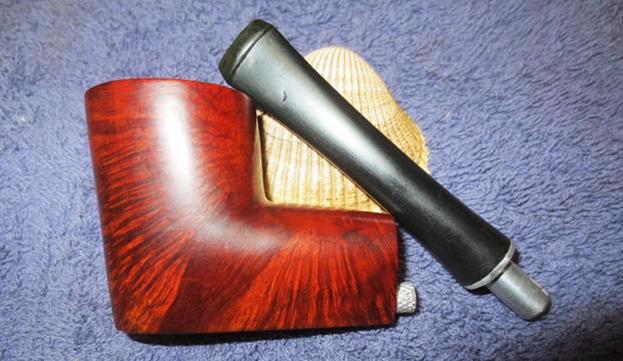
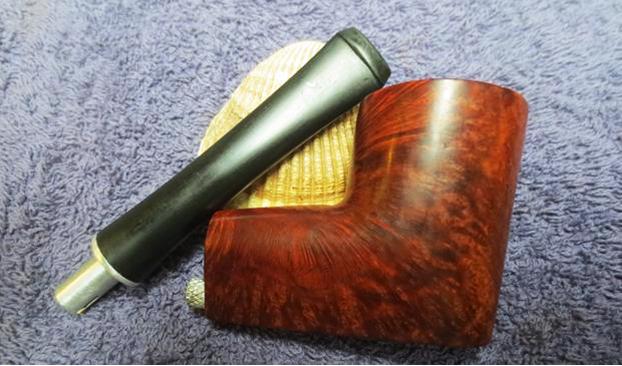
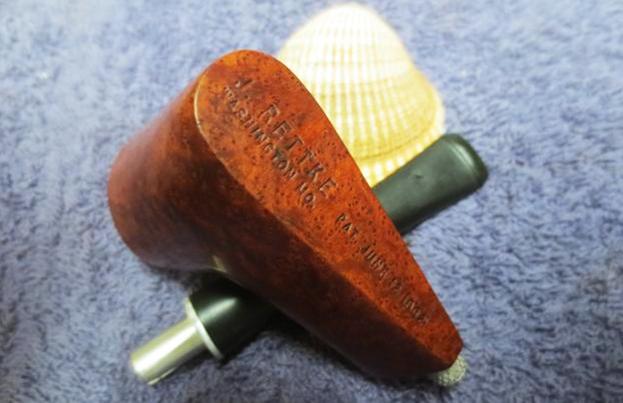
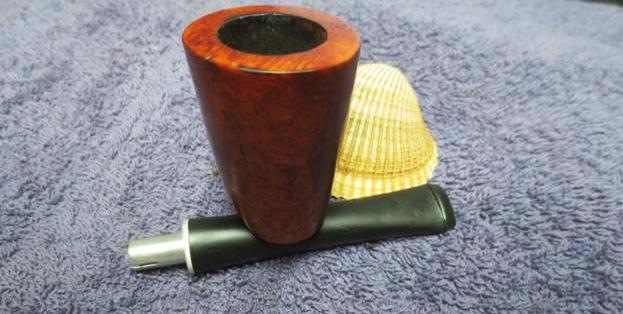
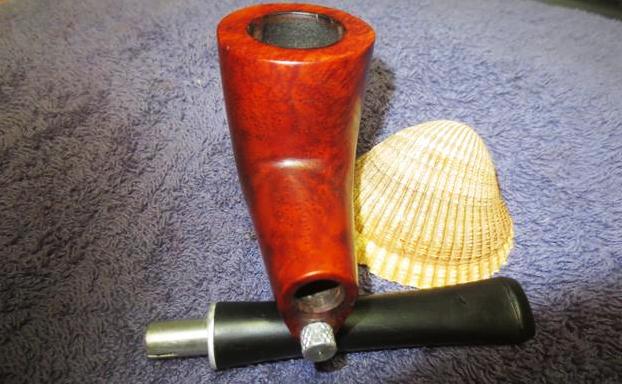
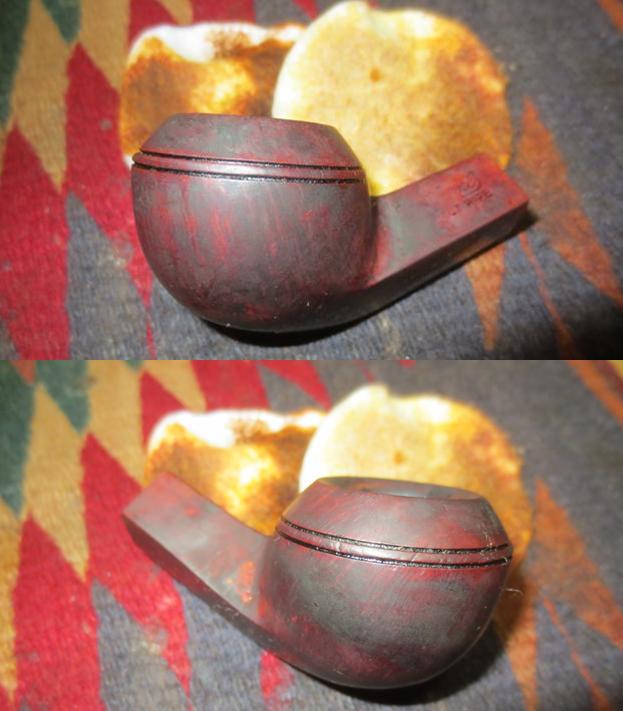
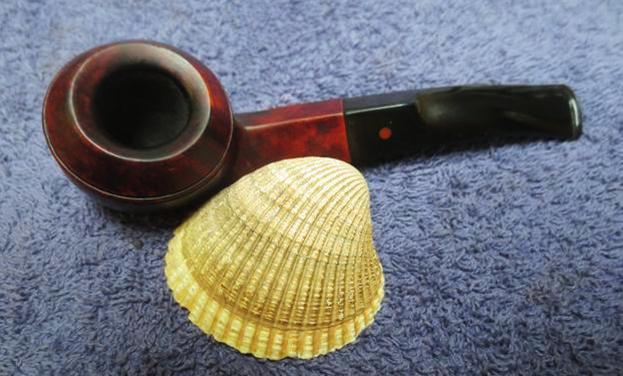
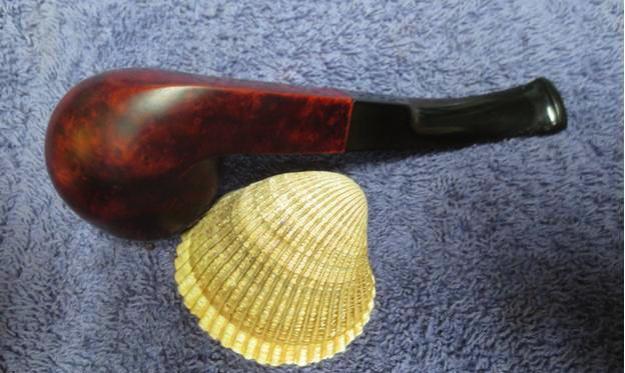
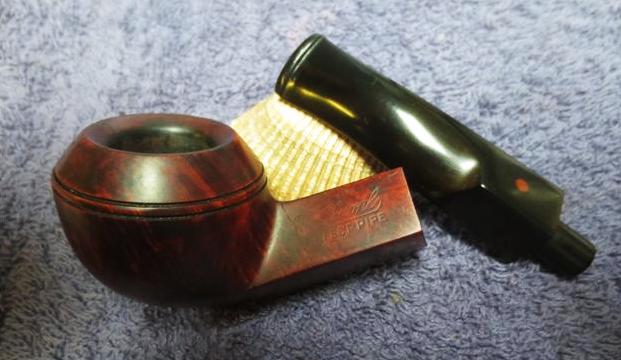
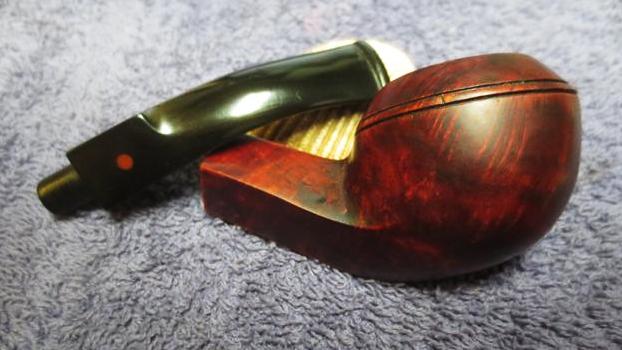
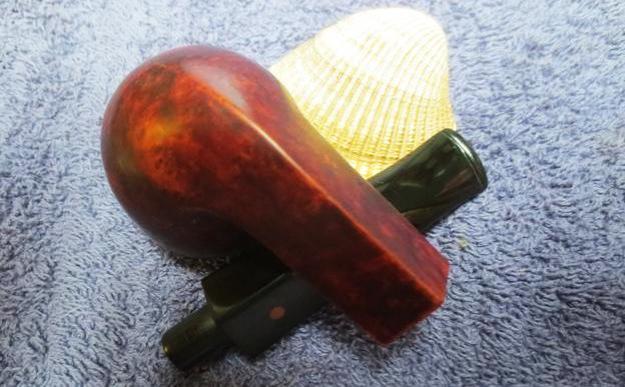
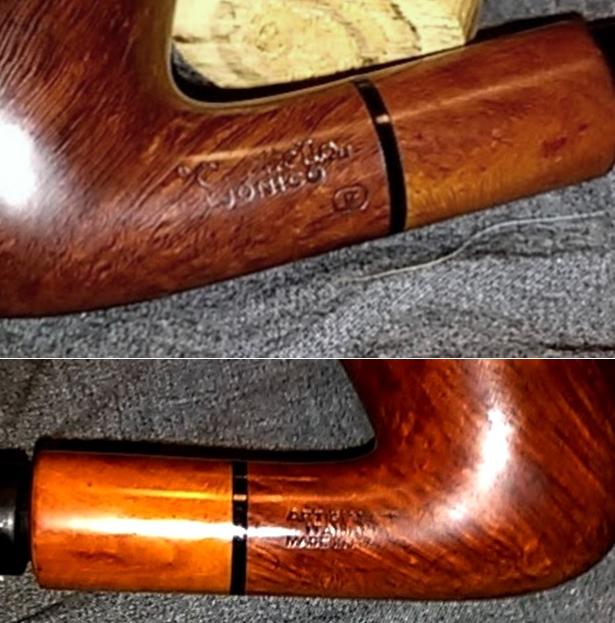
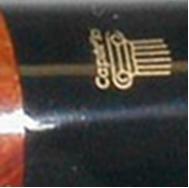 The nomenclature is crisp, although I had to edit the color and brightness levels of the photos above to make the stampings clear: on the left shank, lowercase “Capitello,” in quotations with the closing mark in subscript, above JONICO, and below that, to the right, a small square with what appears to be an Ionic column matching the brand’s logo as shown in this photo of a genuine Capitello stem, courtesy of Pipephil.
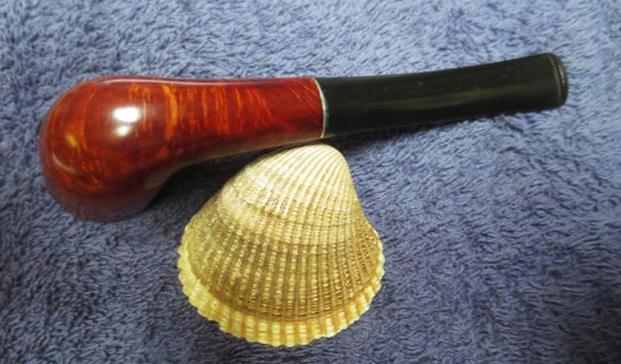
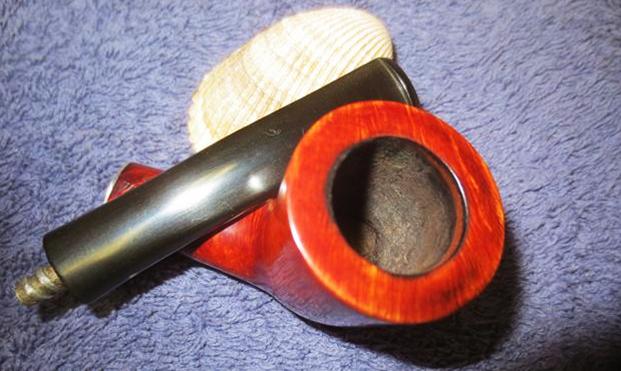
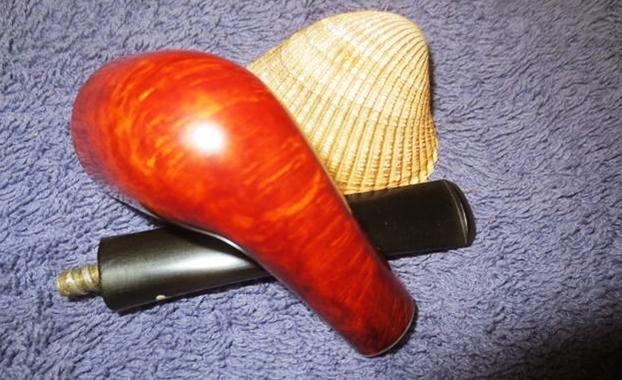
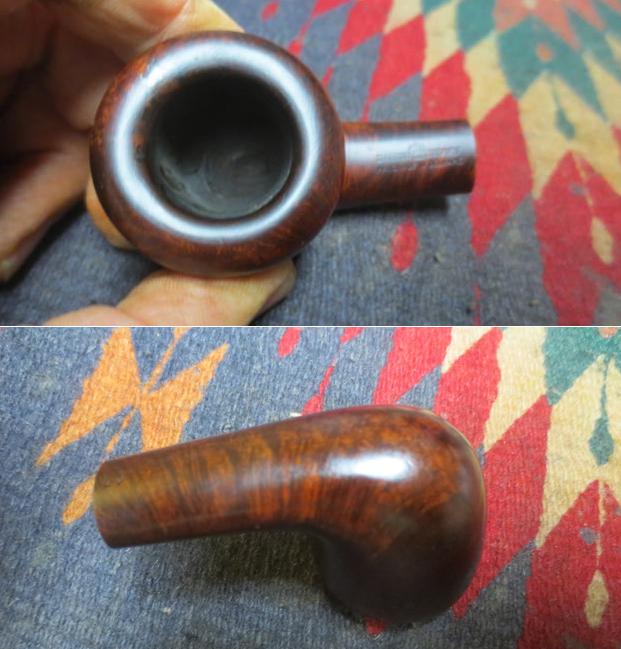
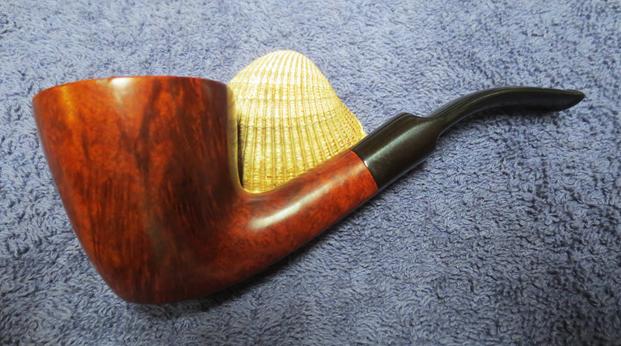
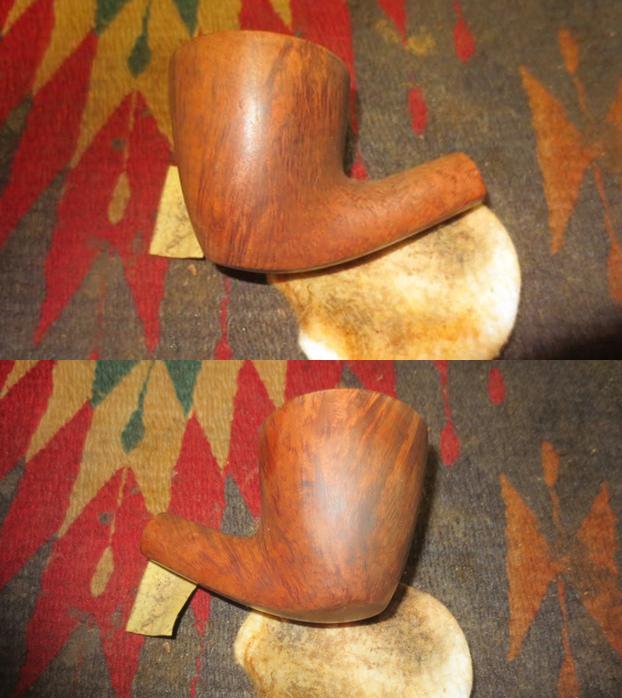
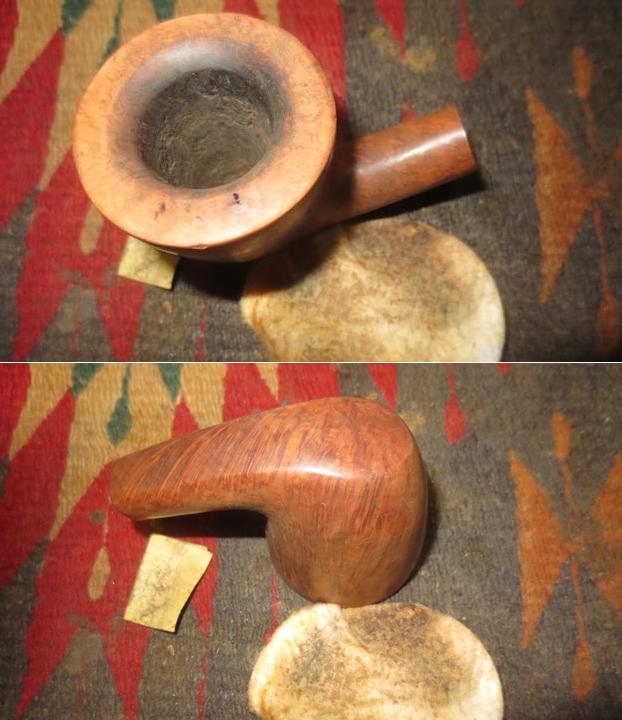
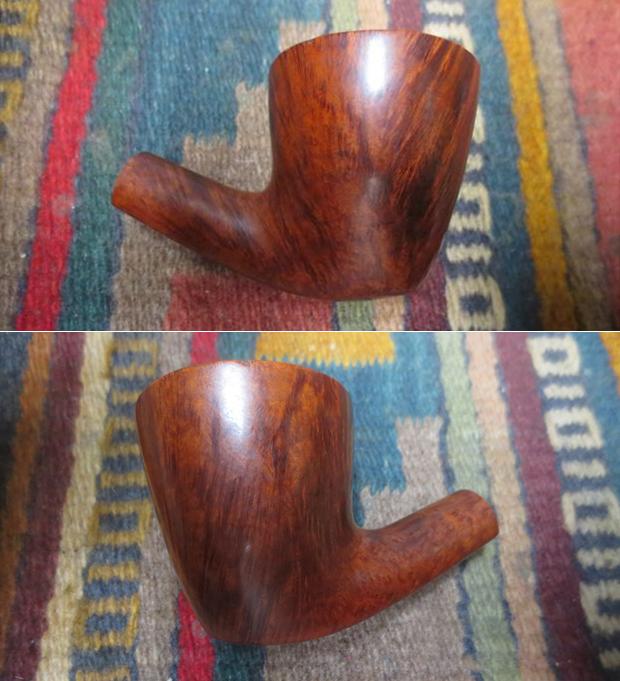
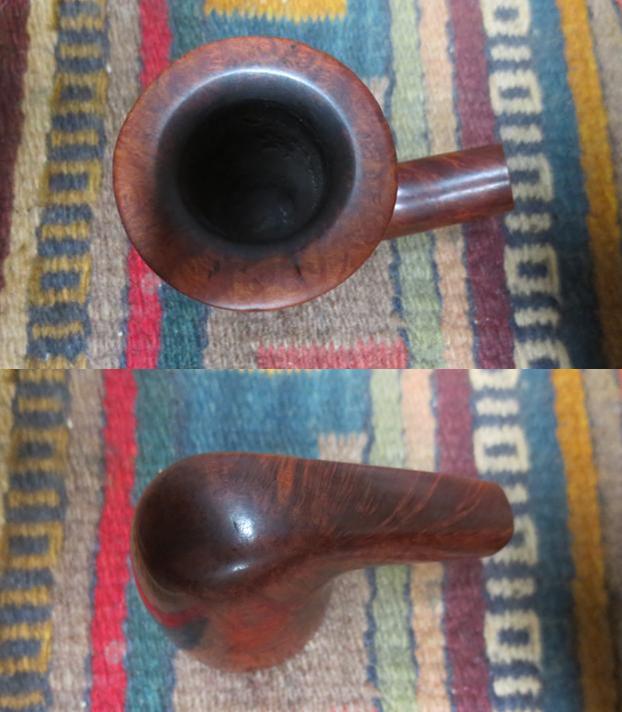
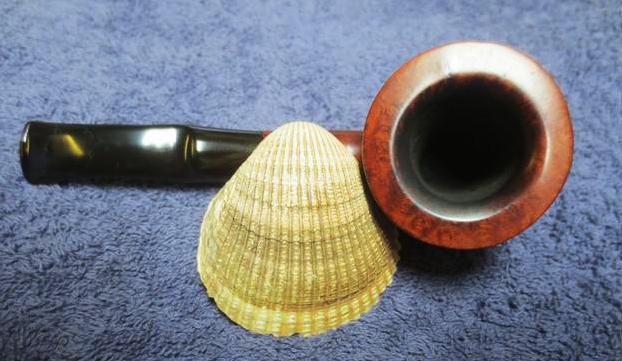
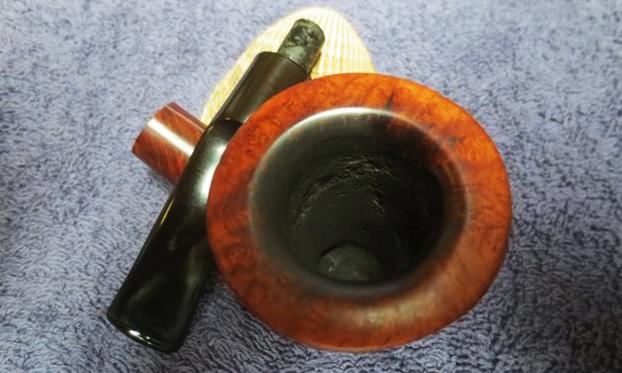
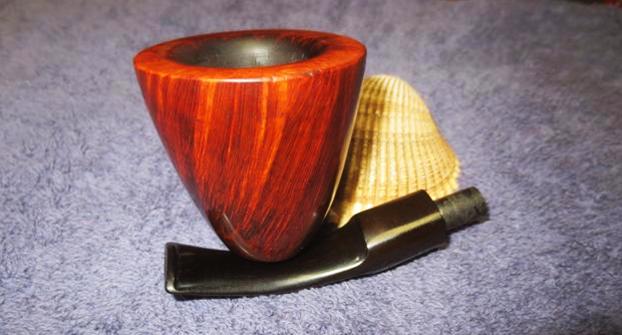
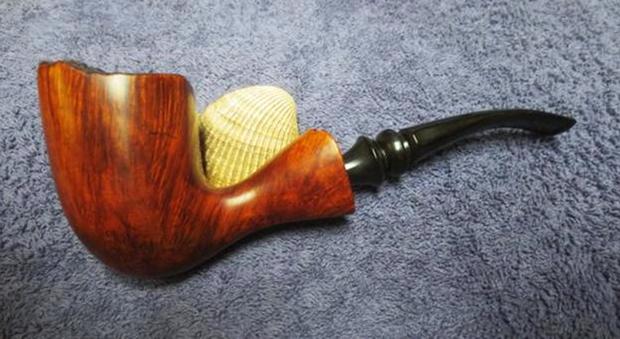
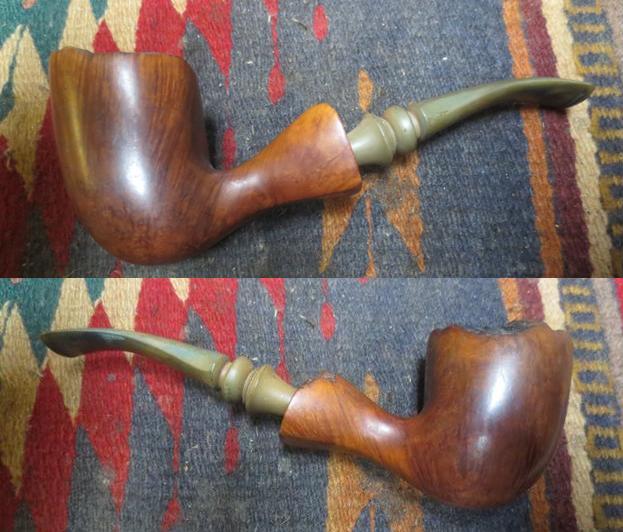
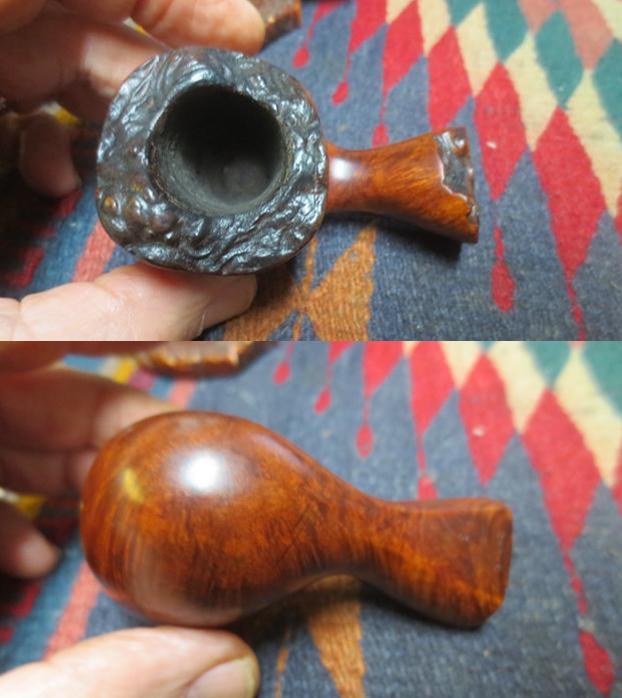
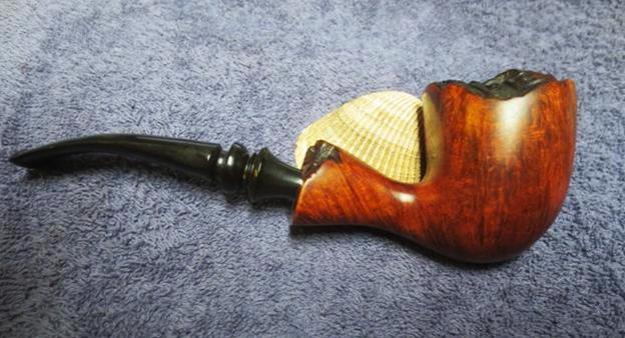
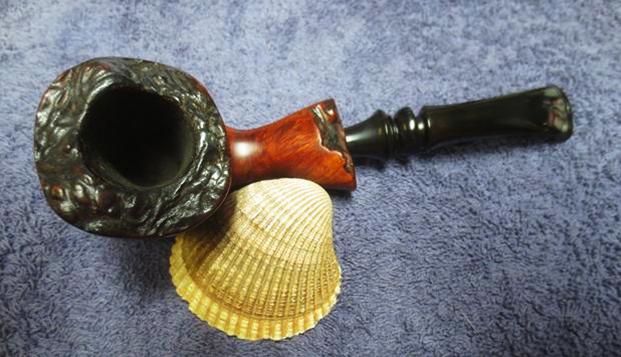
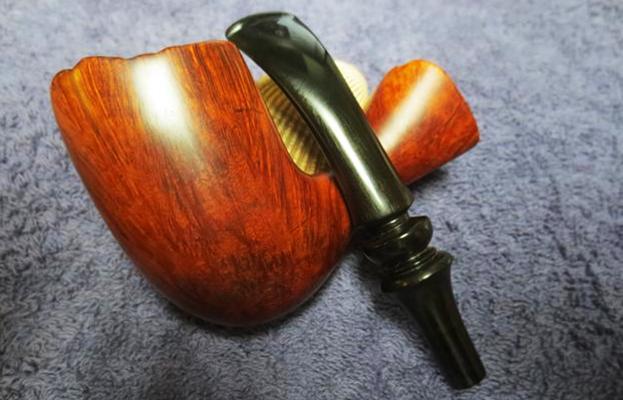
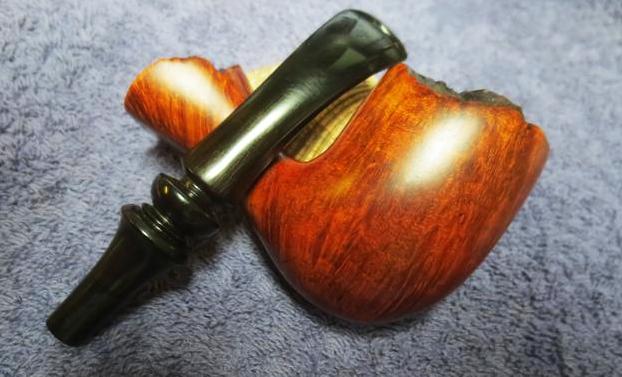
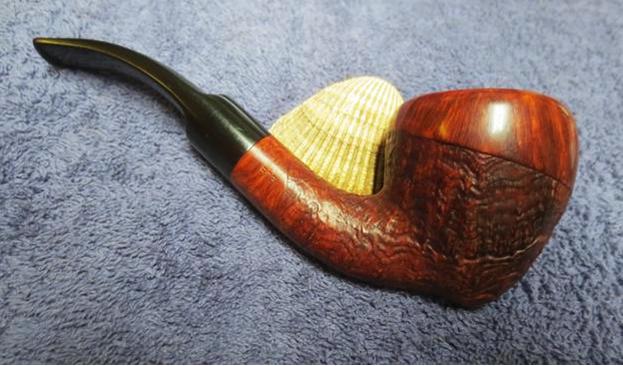
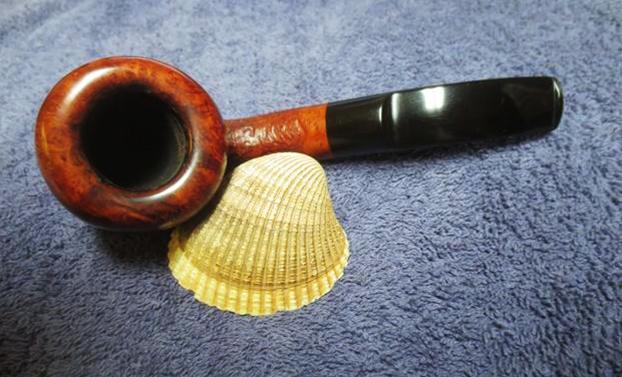
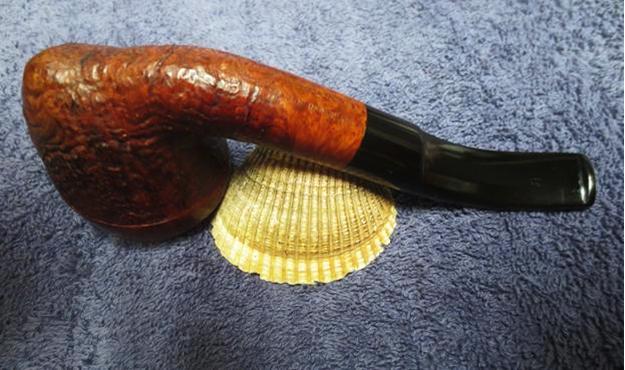
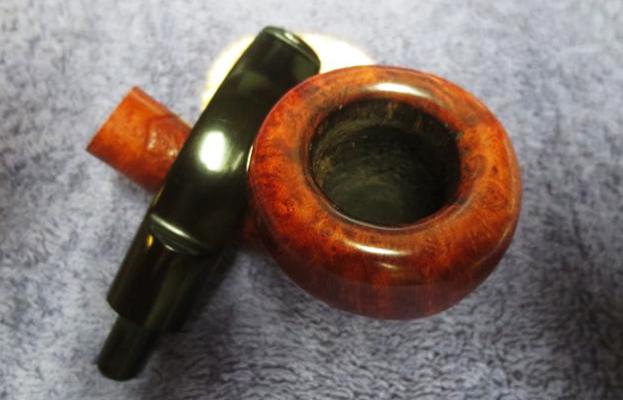
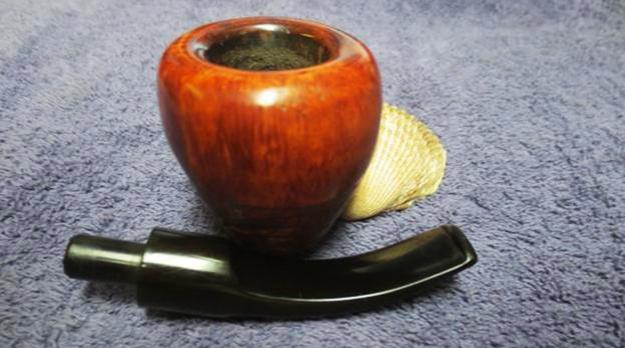
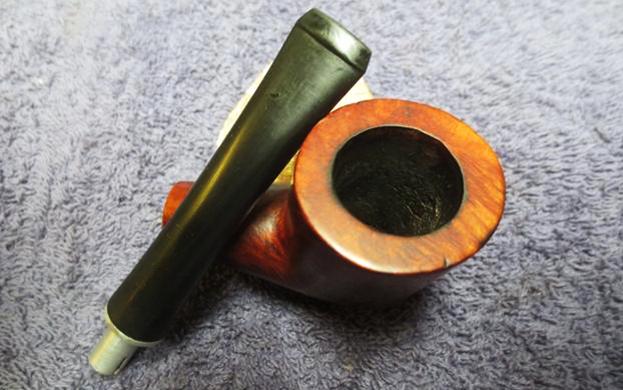
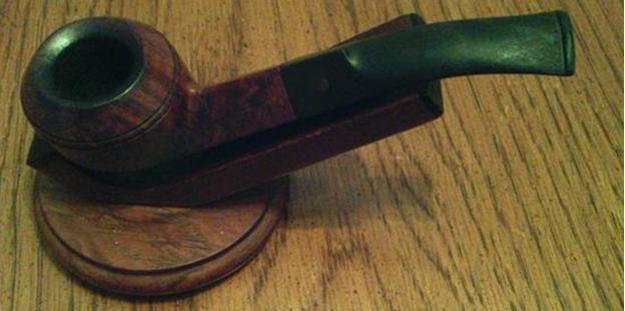
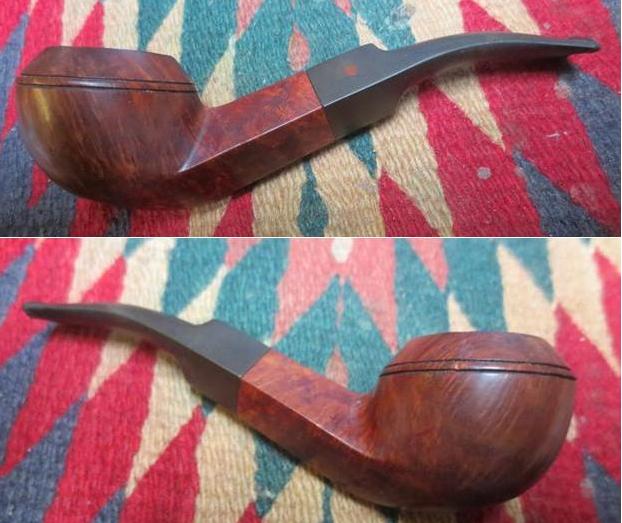
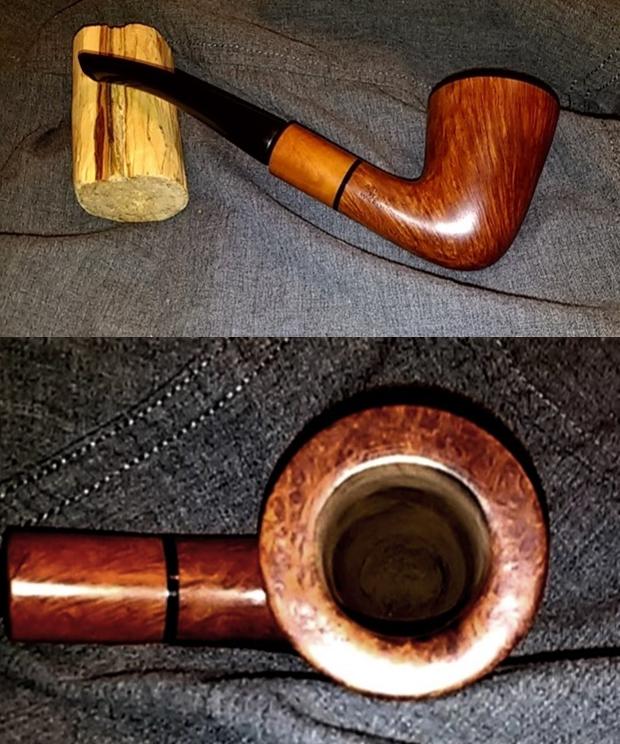
The symmetry of the classic Dublin shape combined with corresponding tight, vertical grain on the bowl except for the rear, which is more mottled, and the way all of it points to the flawless large bird’s-eye of the rim, transfixed every brain cell I possess related to reason. My power to resist, at $26.99 with about two days of bidding left and only three other buyers interested, turned to mush like a clay or meerschaum pipe after being retorted with Everclear. I’m happy to say I never made that mistake but have heard pained accounts from more than one friend who has, none of them more than once. Thus, I bid $100 on the pipe, thinking that if the bidding inched up $1 at a time I would be safe. Foolhardy but true! Not another bid was made.
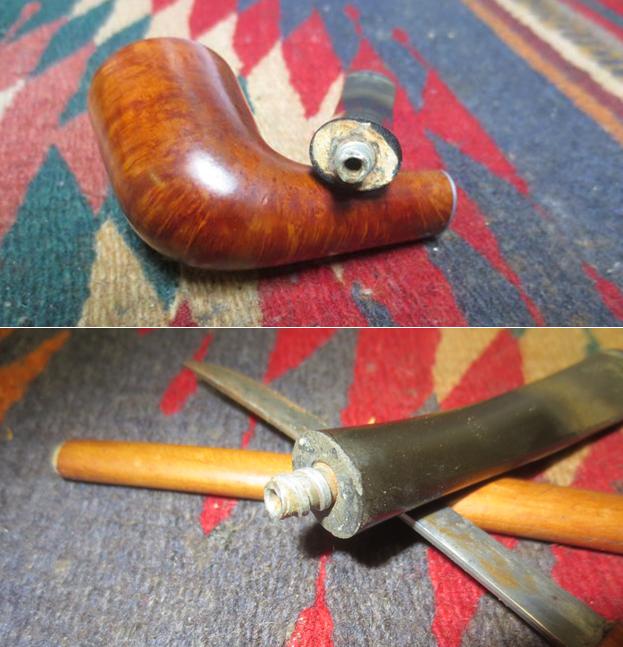
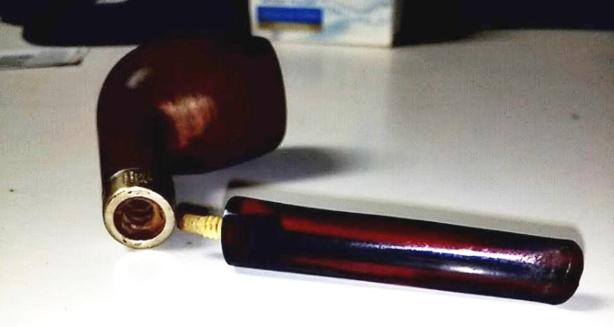
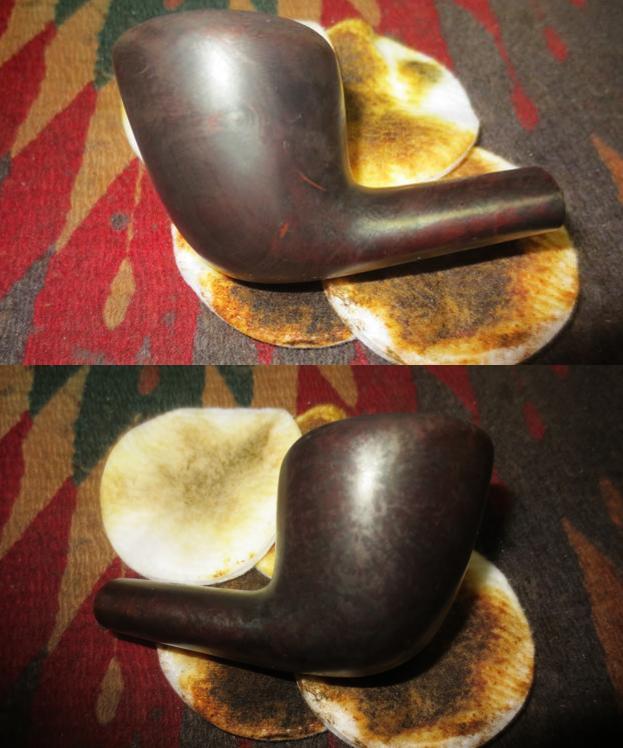
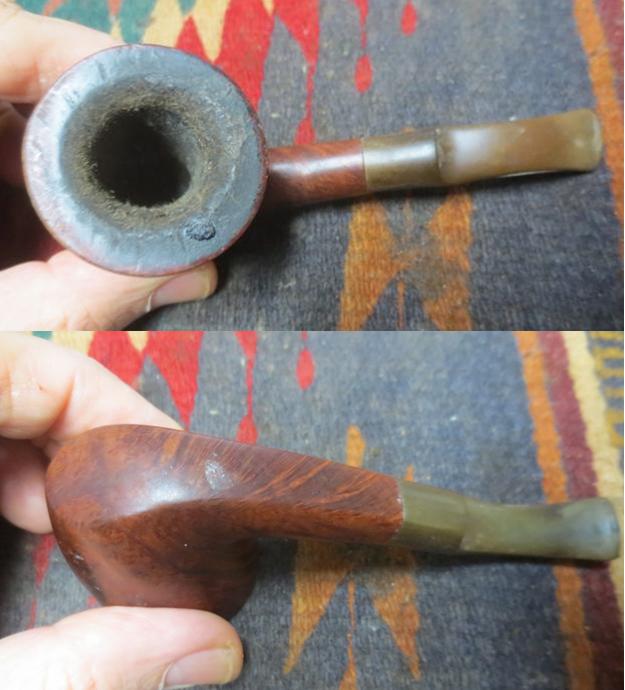
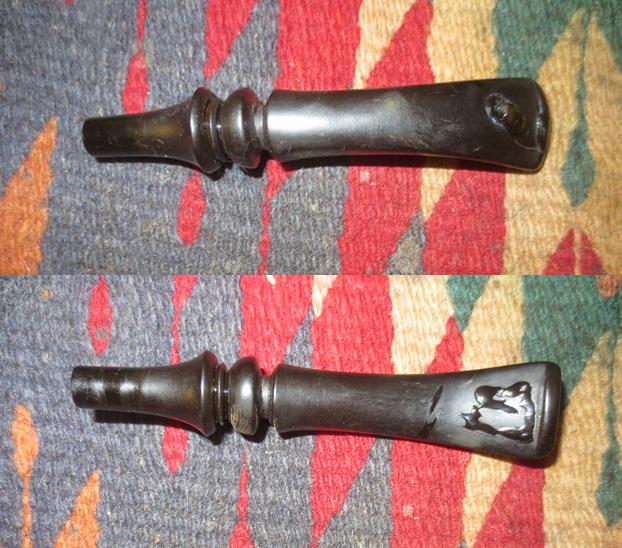
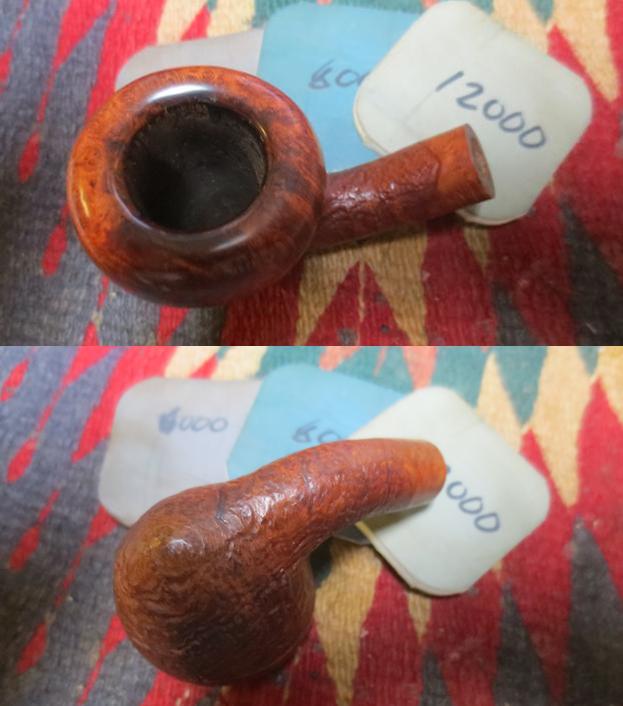
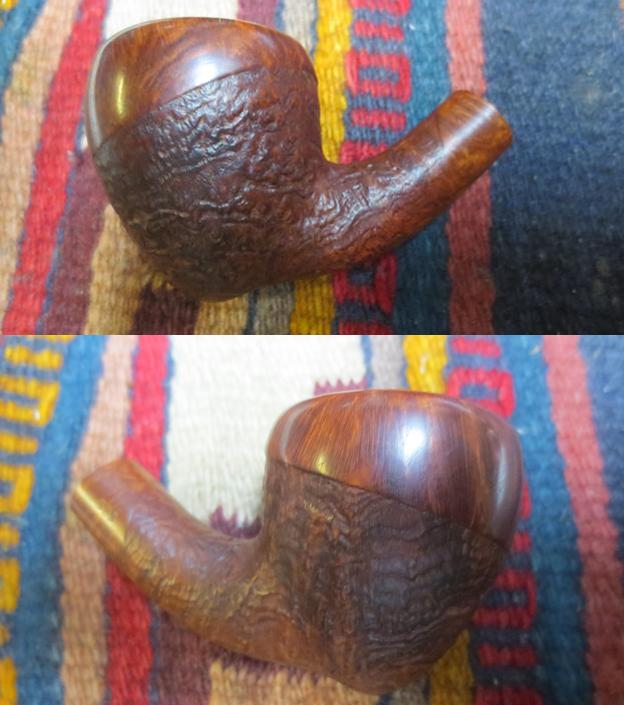
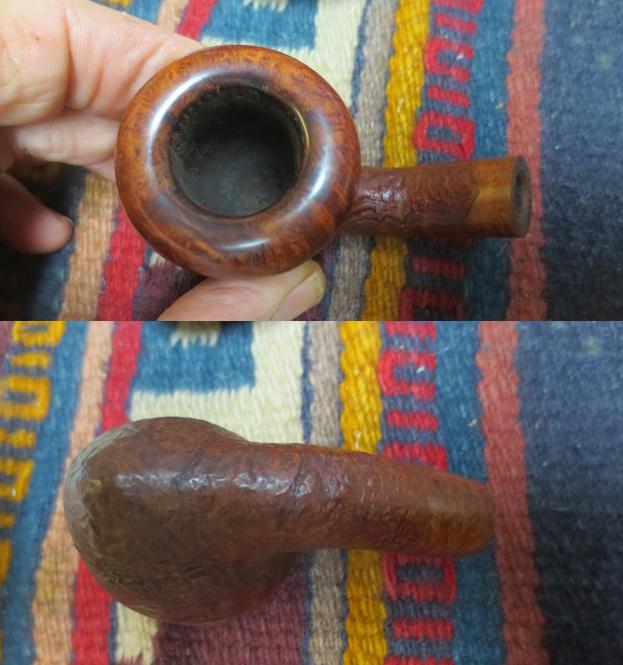
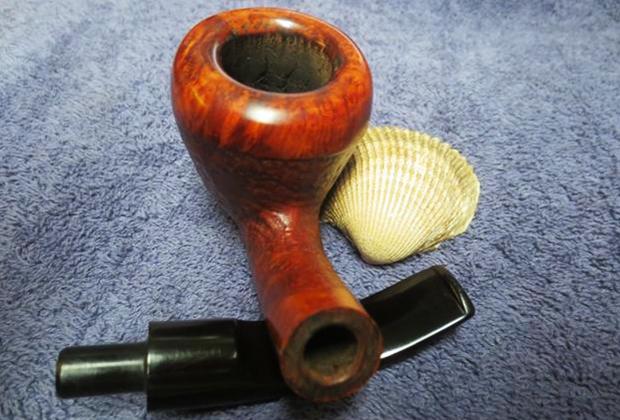
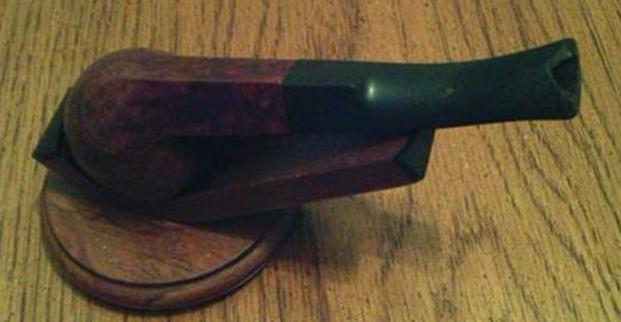
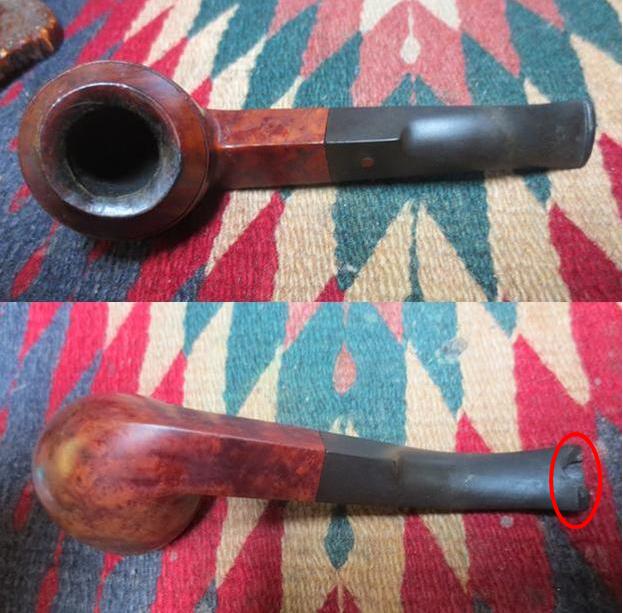
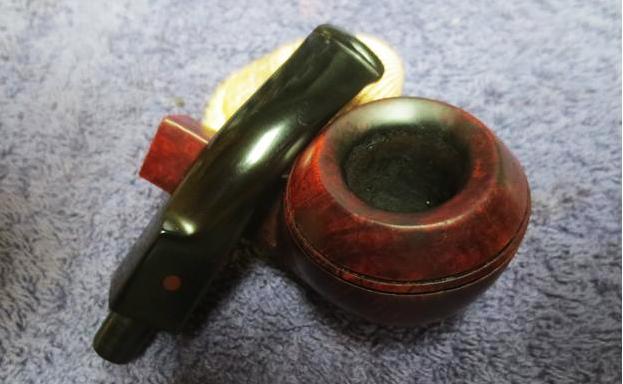
Scrutinizing each of the plentiful photos taken well and from every angle, except for the color that was a little darker, the only flaw I detected was the worse than average looking but single rim burn. The description noted the inclusion of a replacement stem which, in my excitement, I must admit I did not notice was left only halfway turned into the shank in the photos. I should have expected something was up with that. 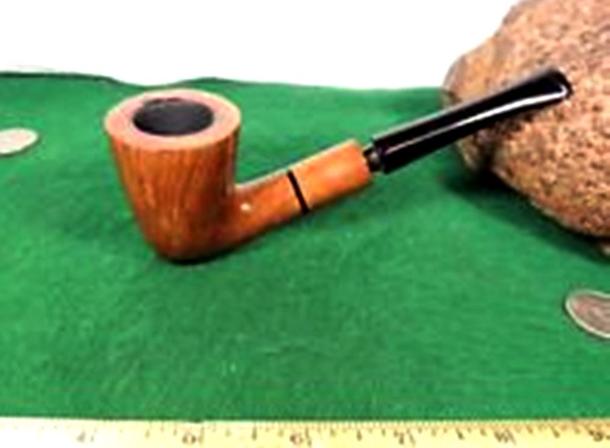
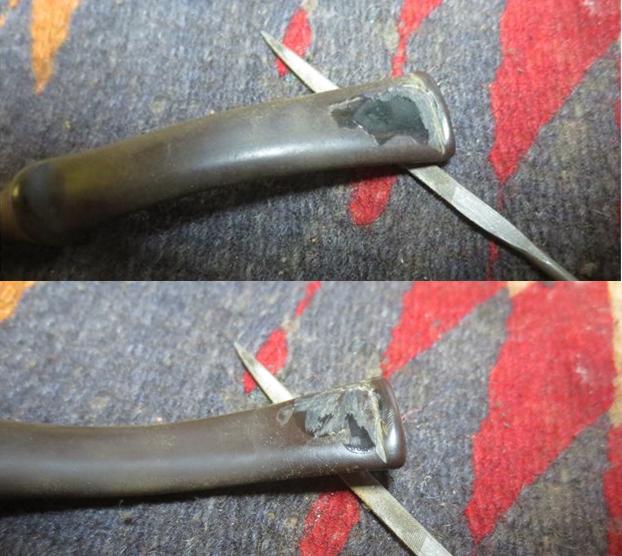
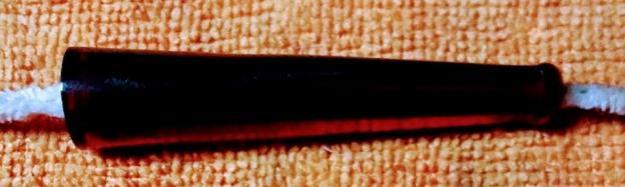
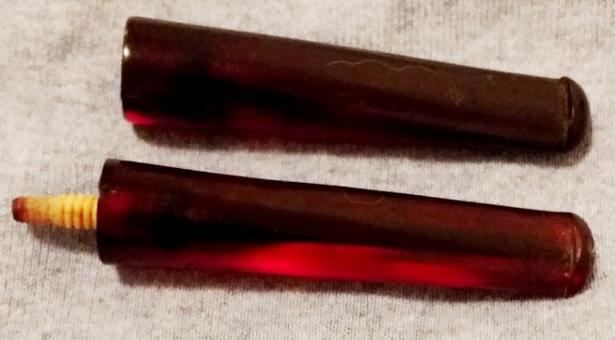
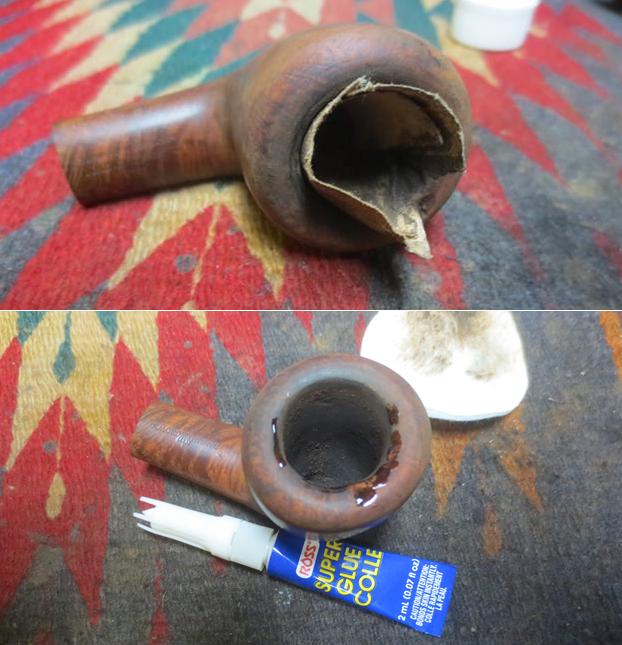
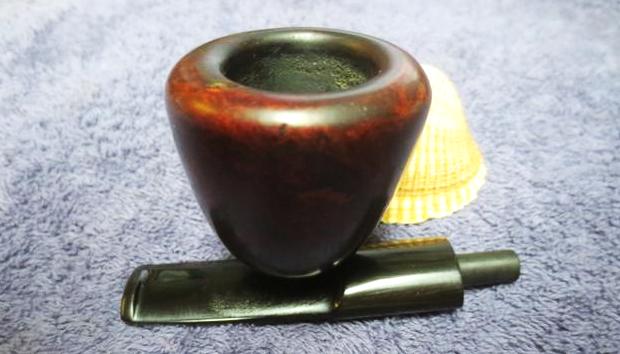
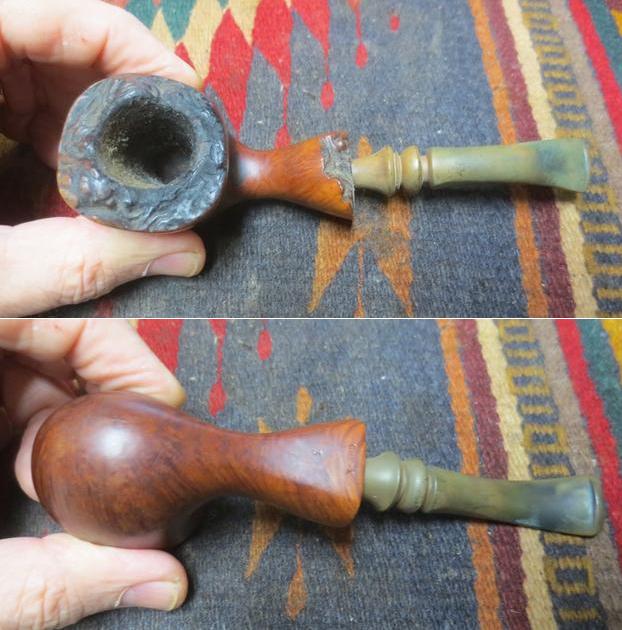
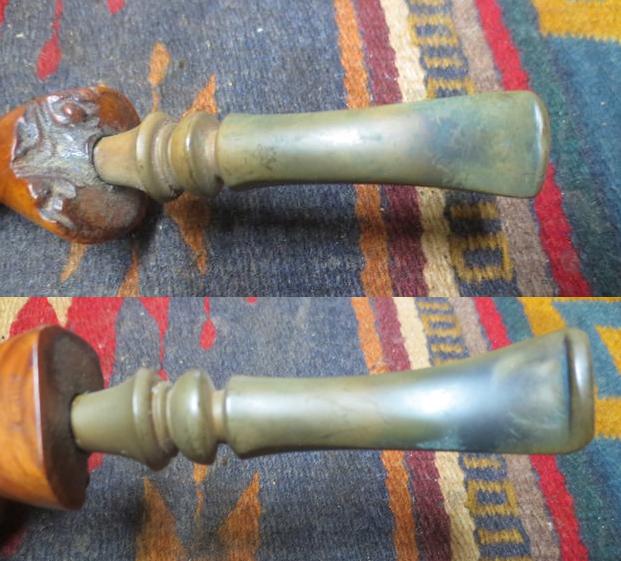
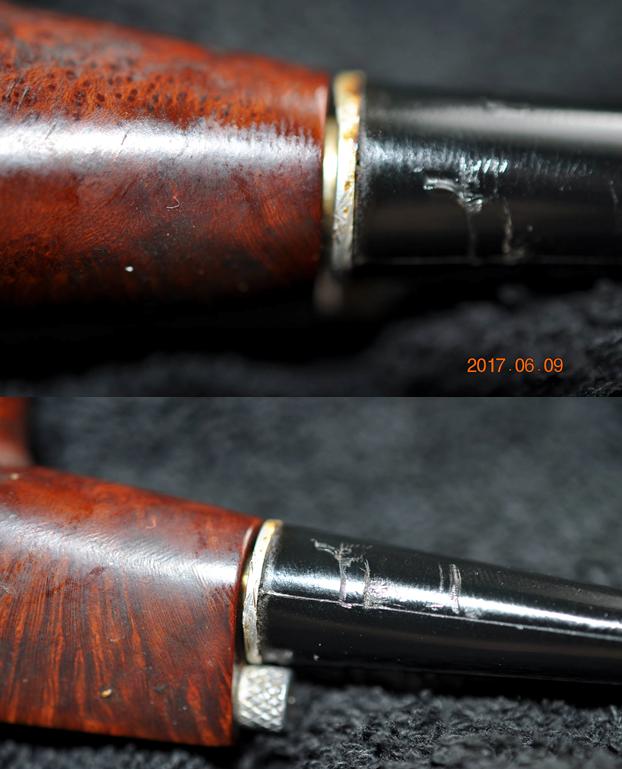
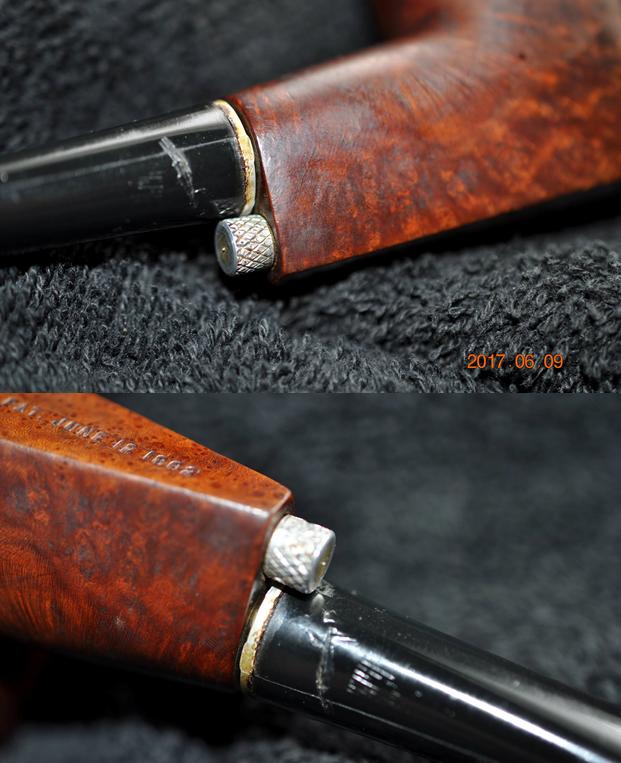
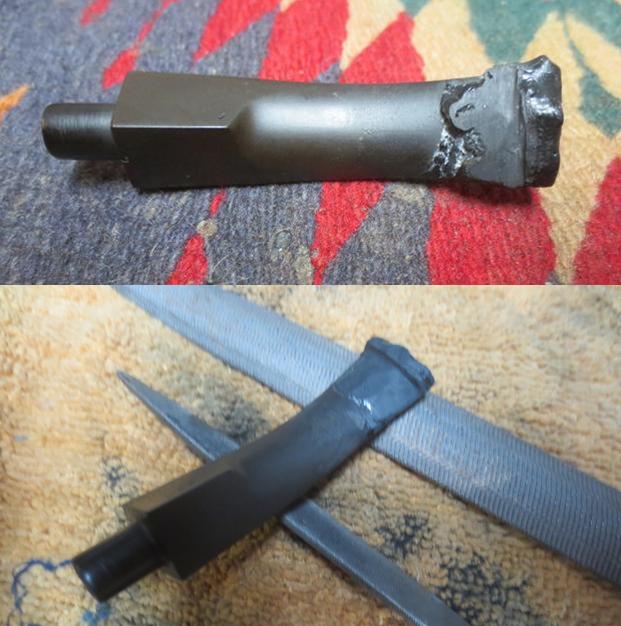
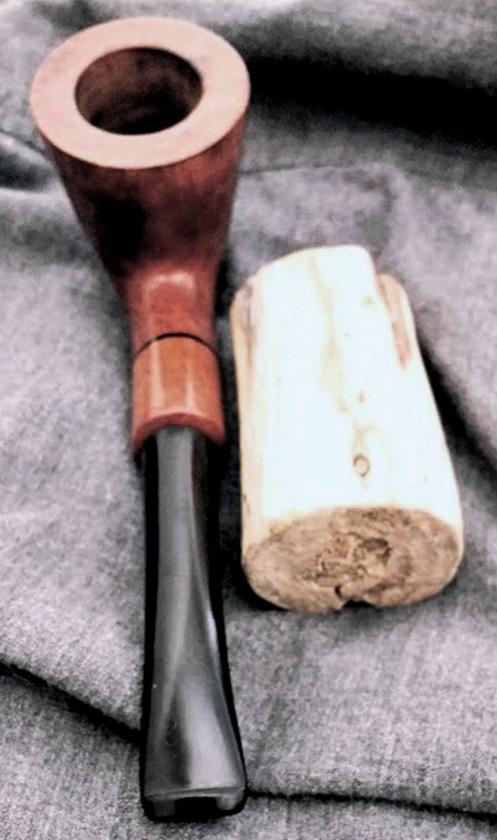
The pipe arrived from Daytona Beach, Florida only two days after shipping despite Irma’s devastation that left 80%+ of the power in that area off the grid. I inspected the pipe, and almost all of it looked very good. I love the olive wood ferrule. I tried to tighten the stem. No-go. Less than halfway, the Ebonite screeched. Halfway, I stopped with the certainty the tenon would break if I were to continue.
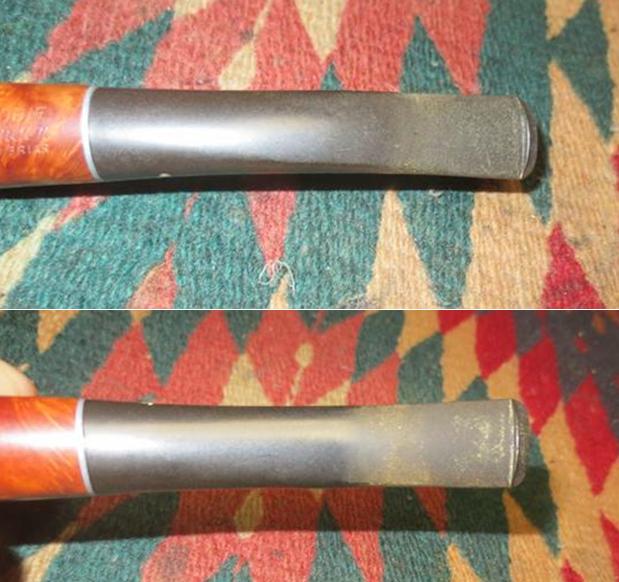
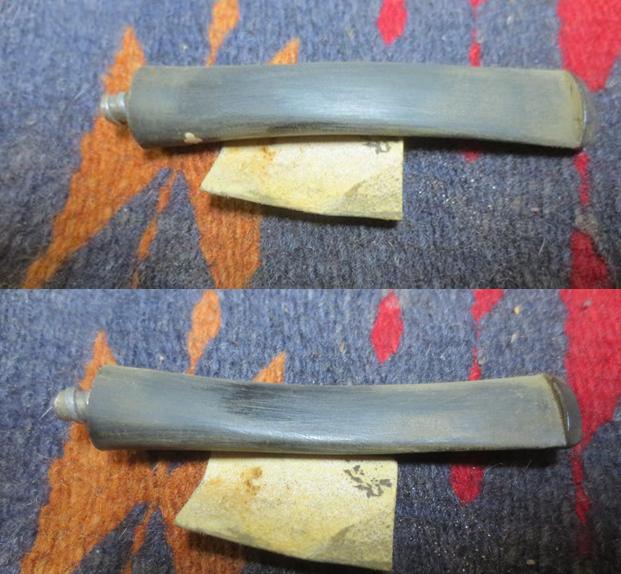
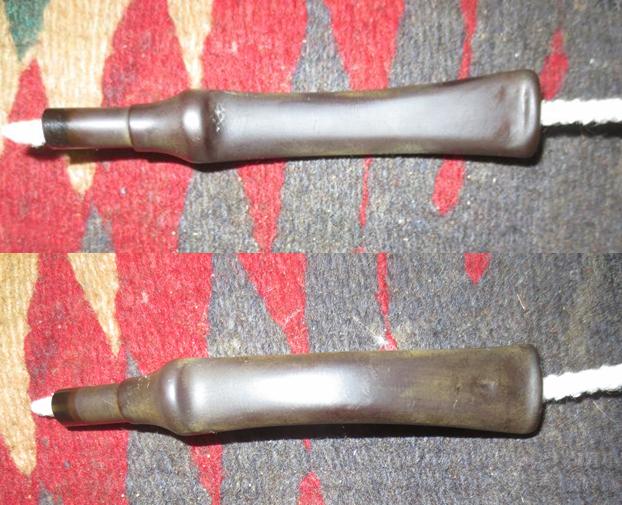
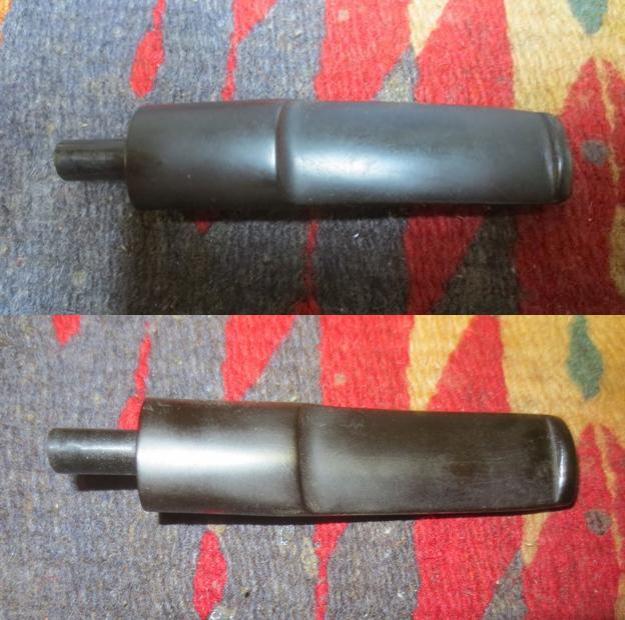
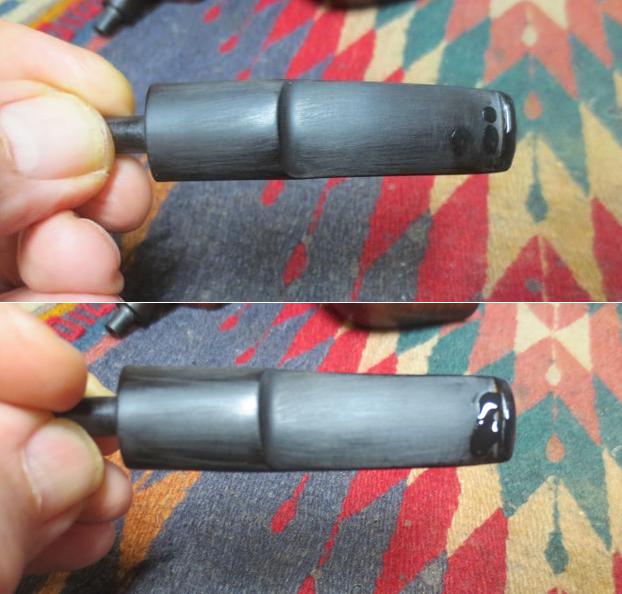
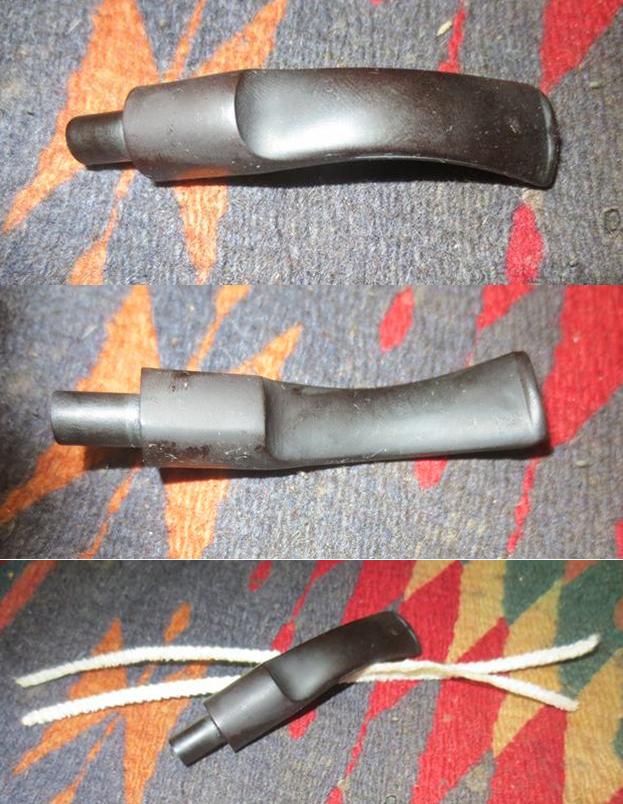
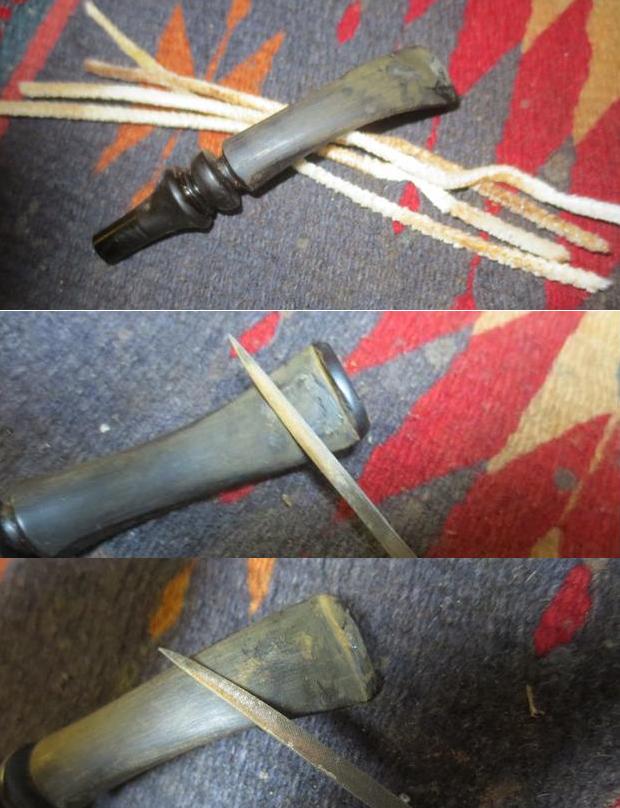
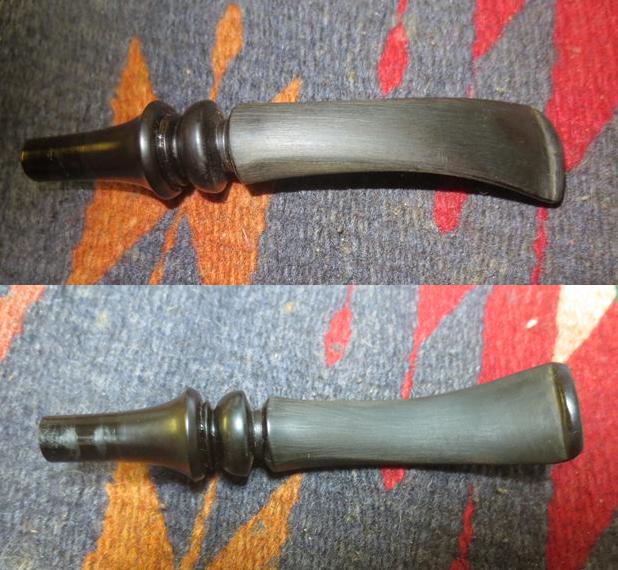
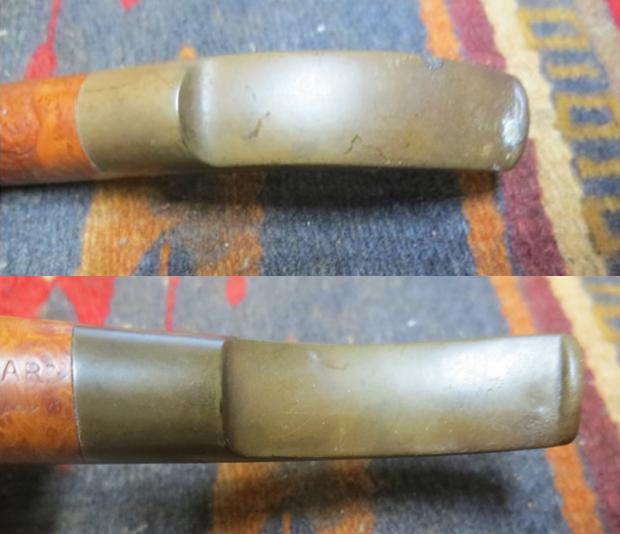
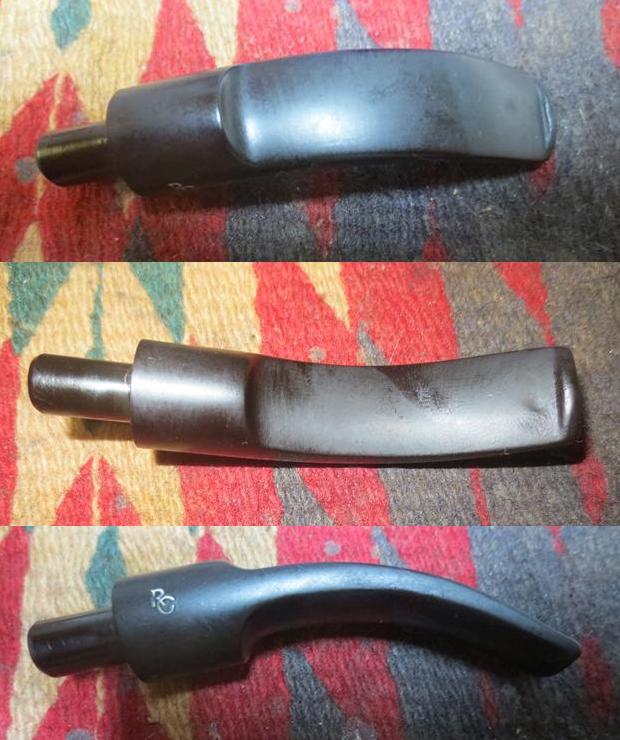
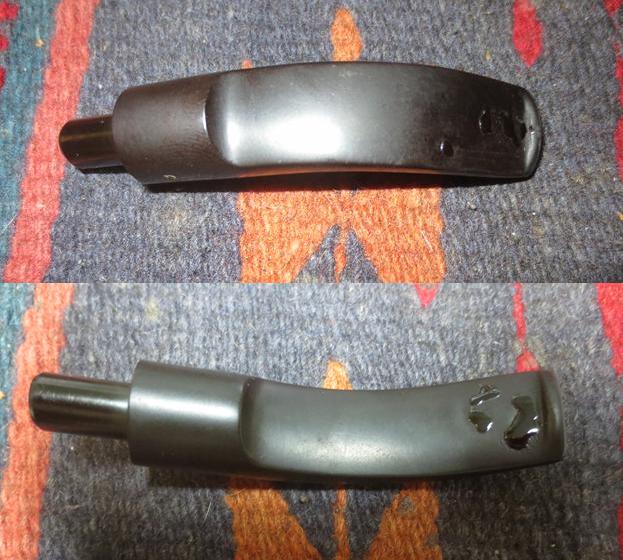
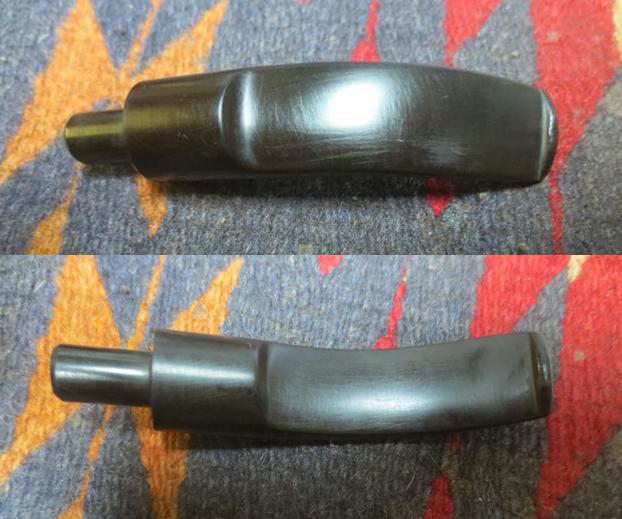
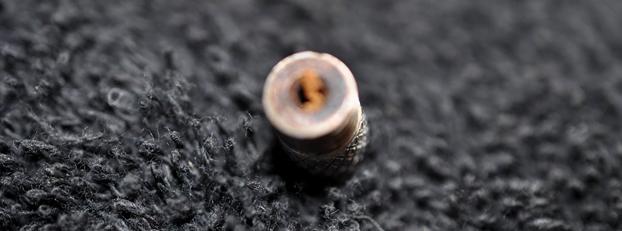
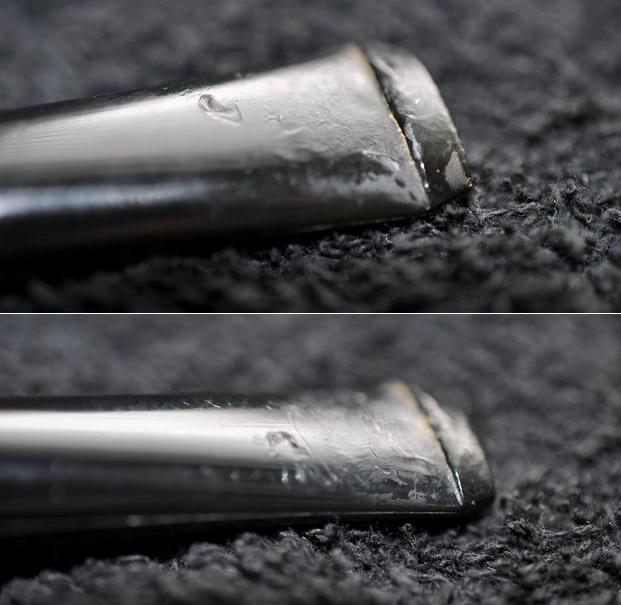
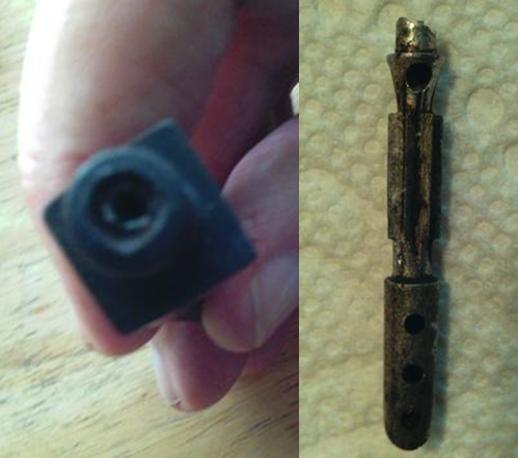
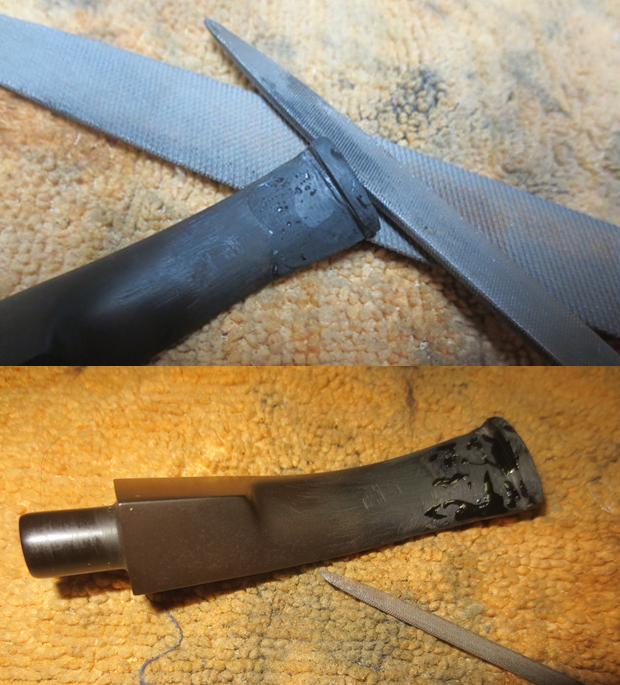
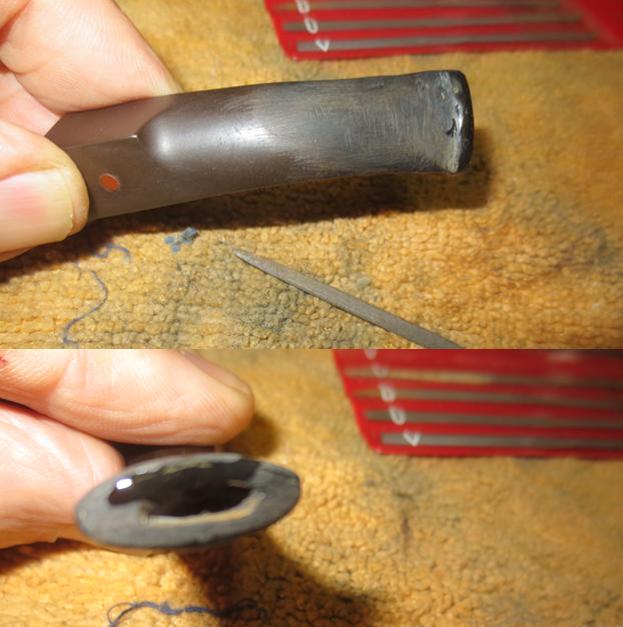
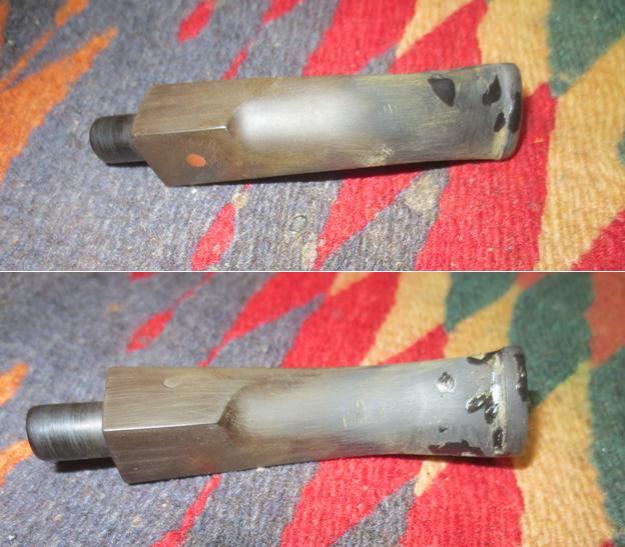
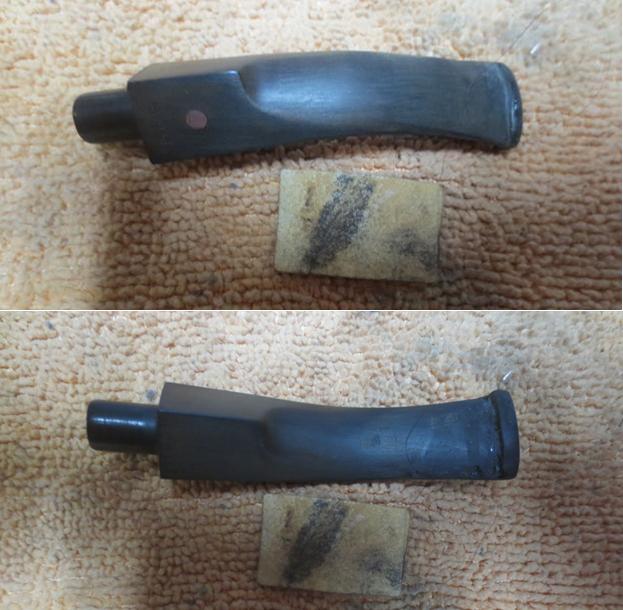
Now, adjusting the tenon circumference took only a few minutes before it fit as though hand-crafted for the Jonico. I should add that the stem was straight and needed a gentle curve, as well as removal of slight, almost imperceptible rough edges along the sides, left-over signs of the machines that stamped them in groups.
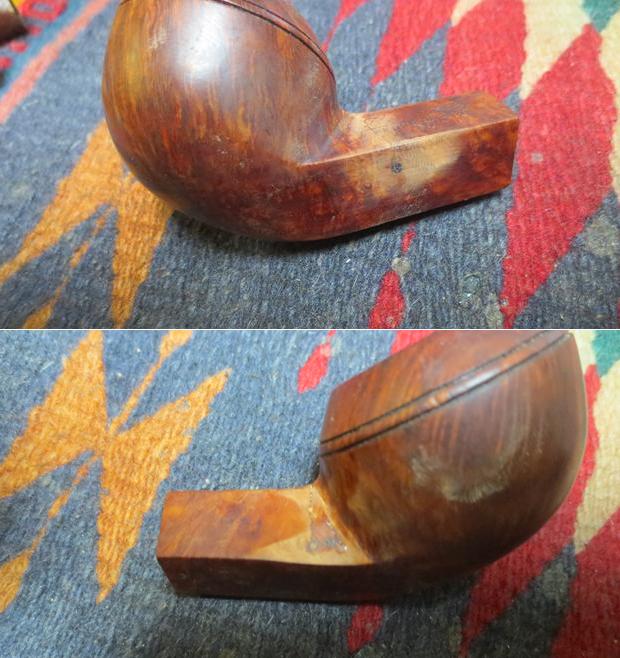
But the end of the shank was rounded, which I had seen with a few new and restored estate pipes I bought over the years. I just hadn’t ever given much attention to the stem fittings on these pipes. My first impulse, therefore, was to order a stem that was the correct diameter for the shank, specifically an army mount, but then I thought, “Why wait?” Scanning through my photos of various such pipes, I noticed that the one common trait of the stems used is that they look good on the given pipes. That being true enough for now with mine, and its destination being my shelf, I proceeded to the required stem work until the army mount stem arrives.
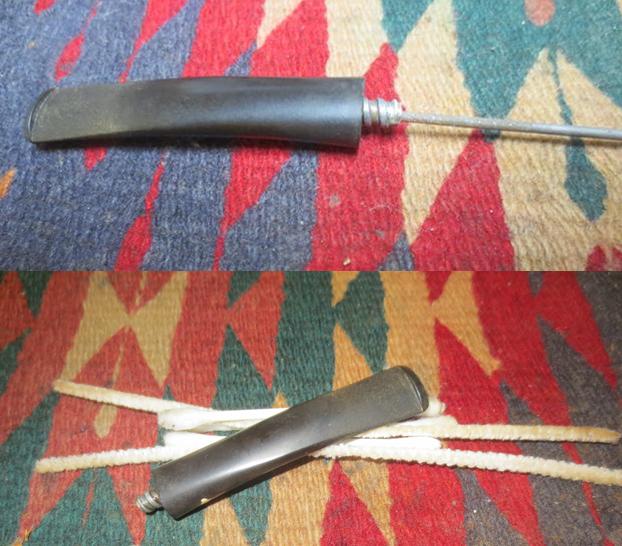
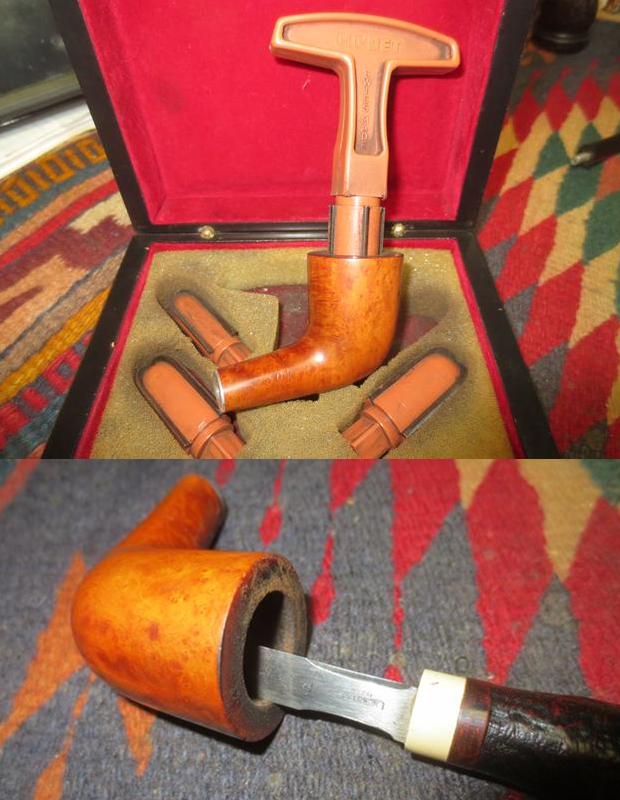
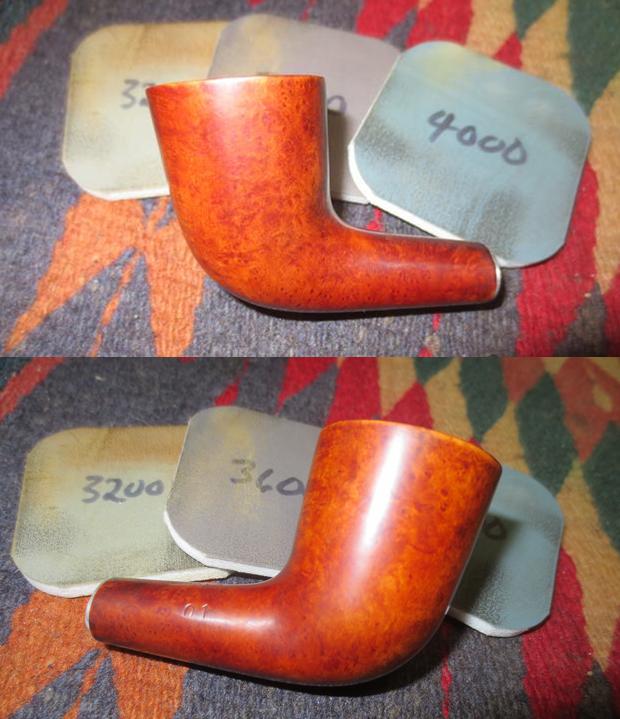
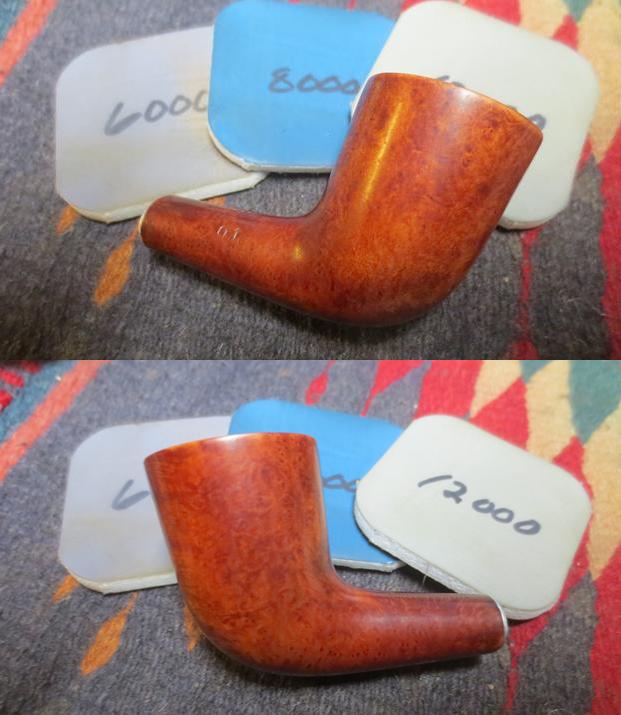
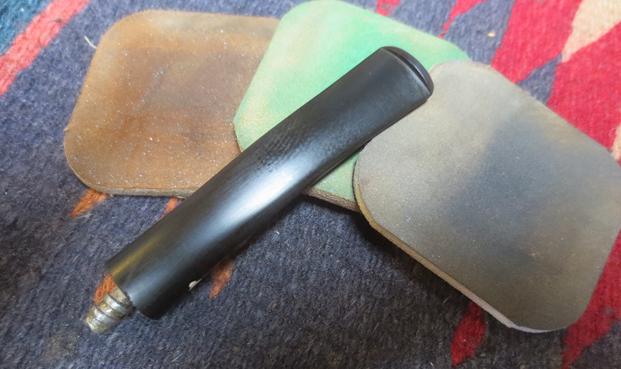
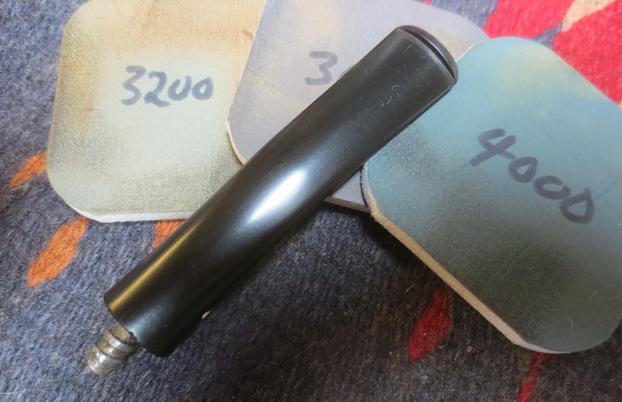
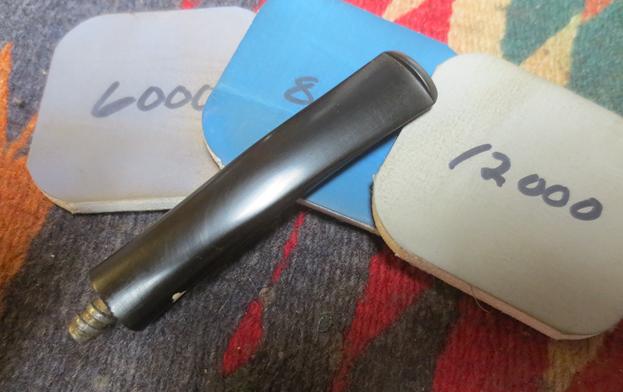
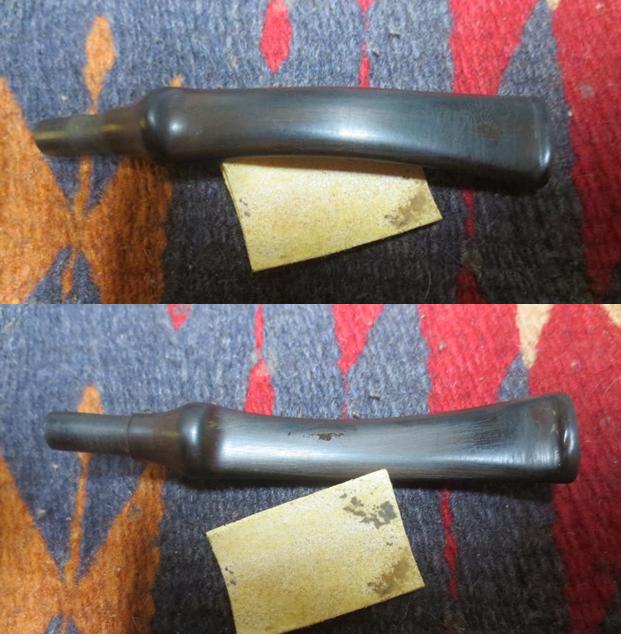
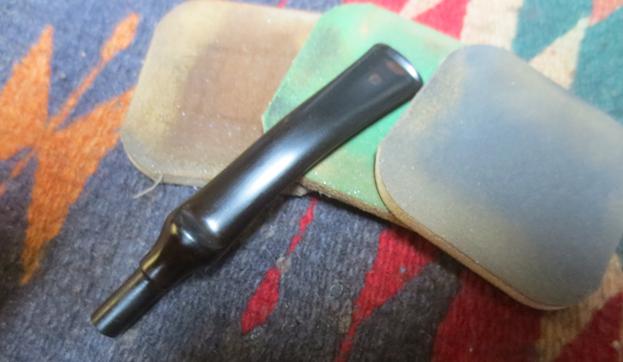
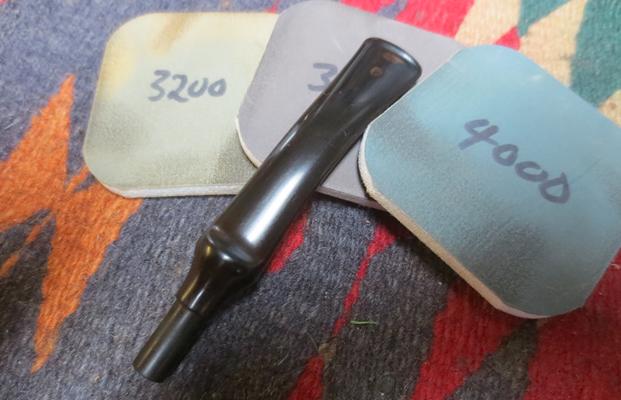
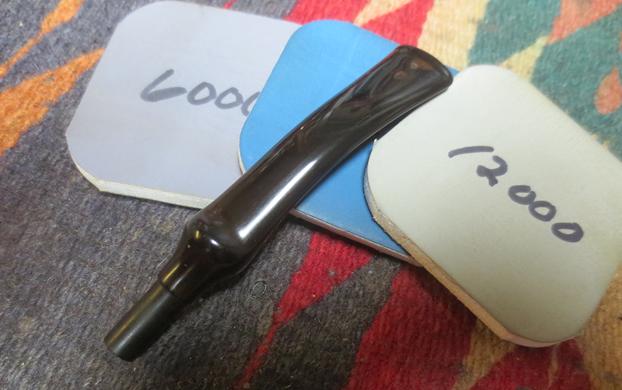
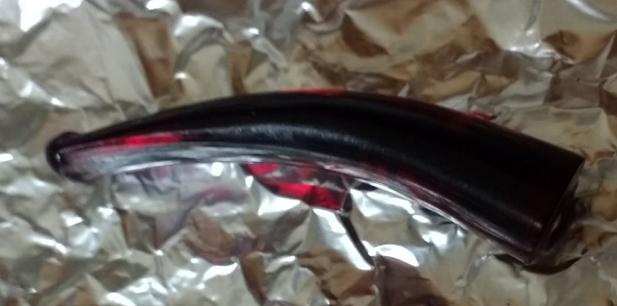
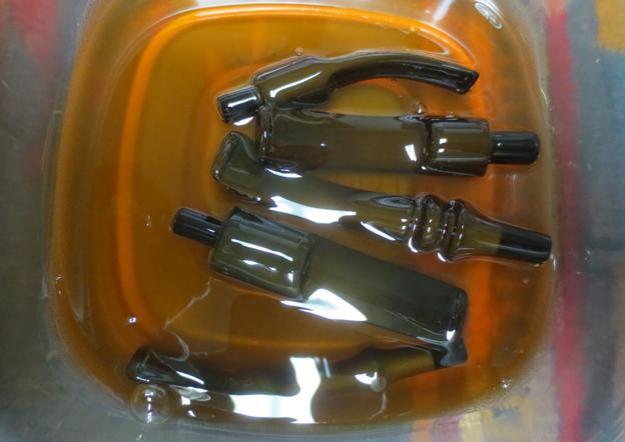
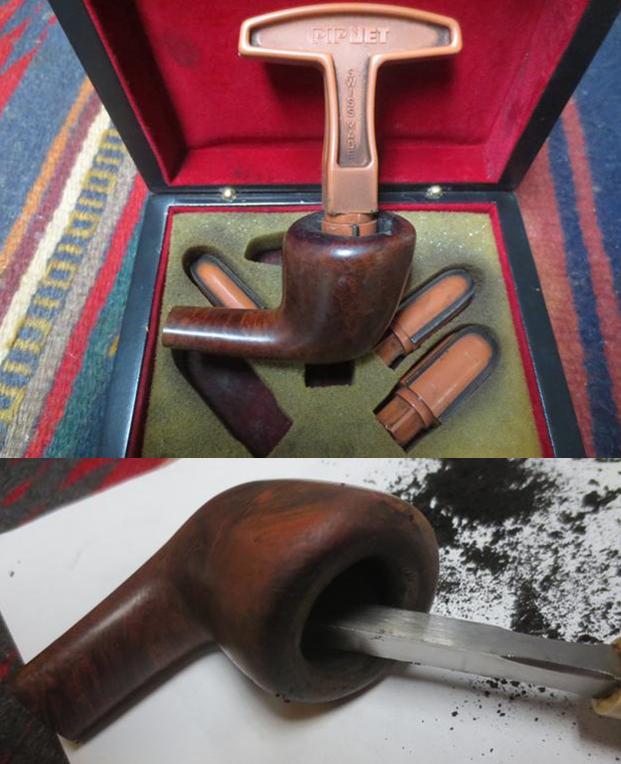
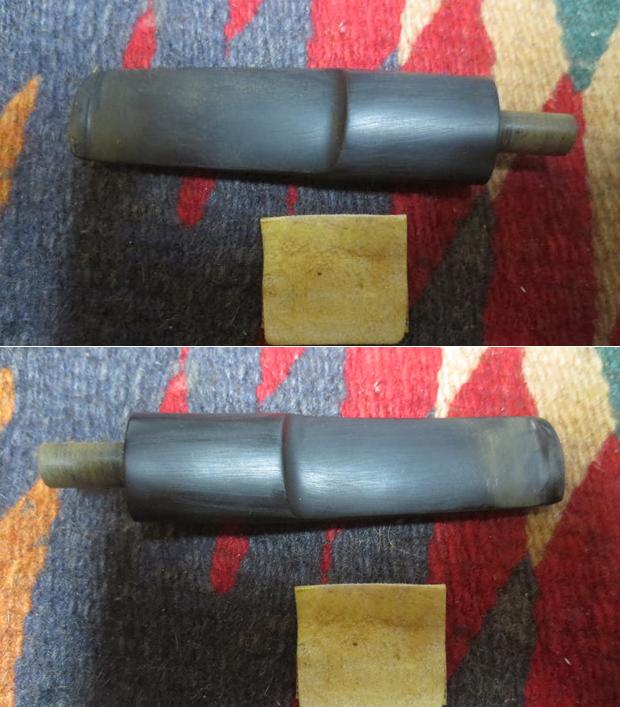
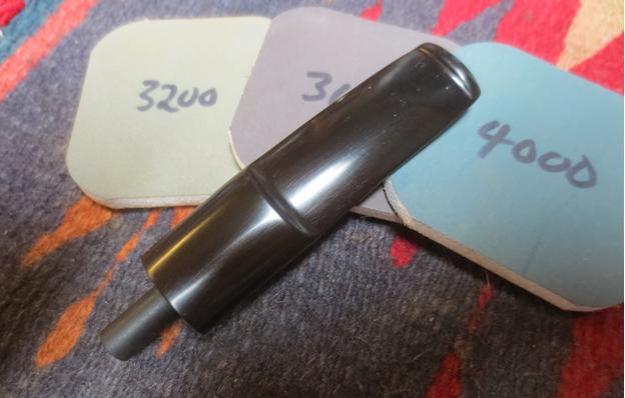
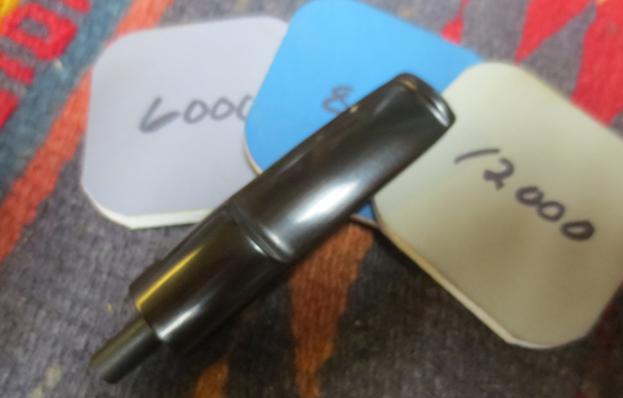
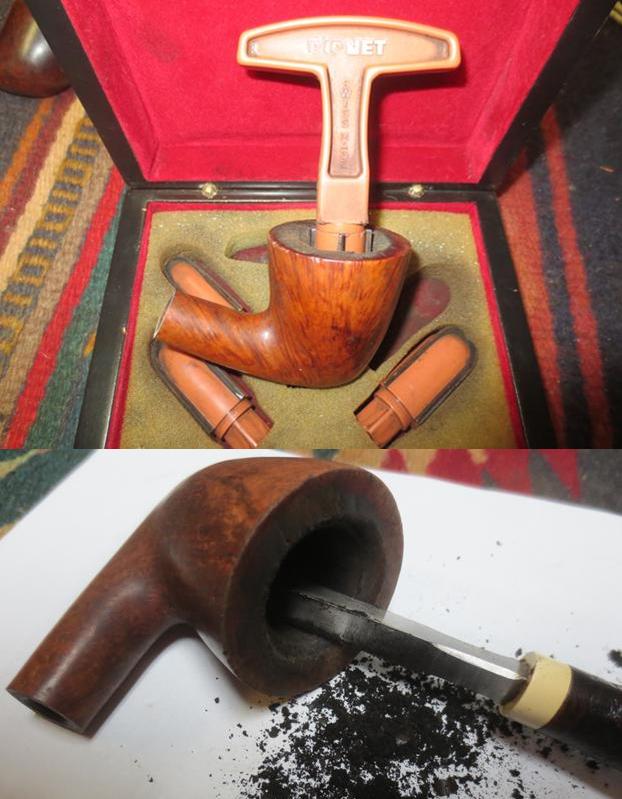
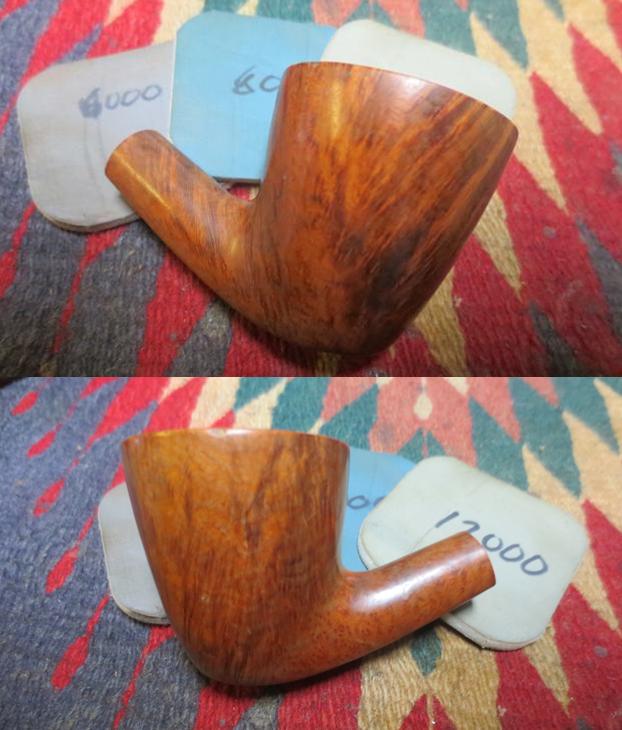
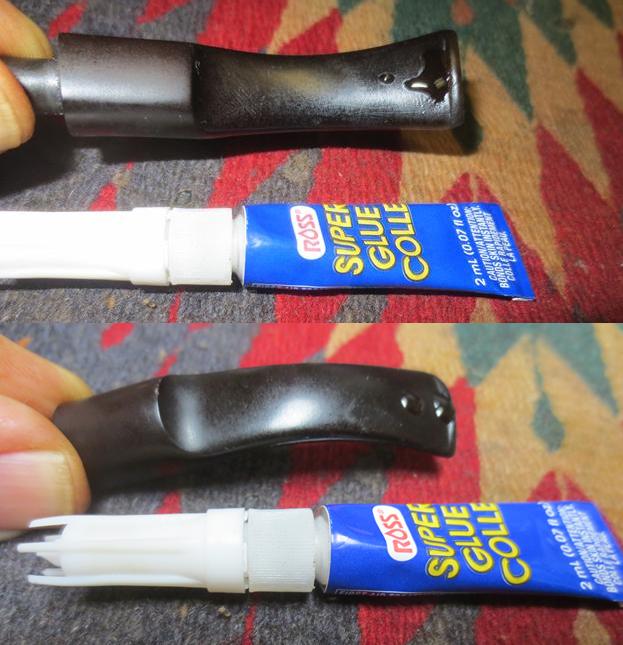
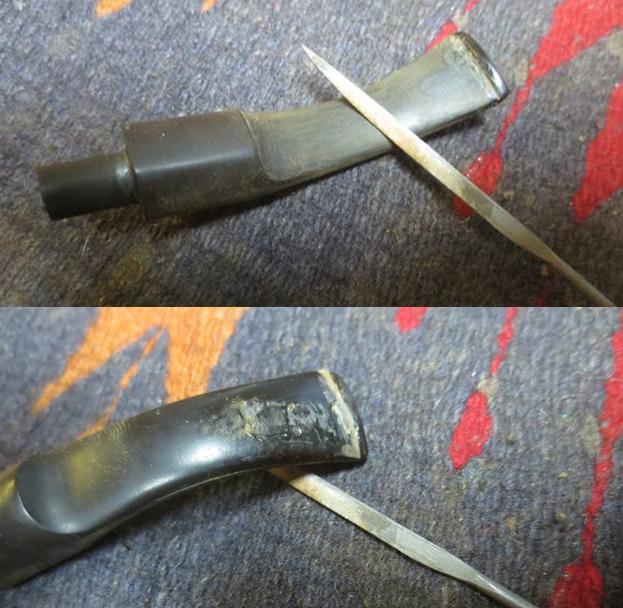
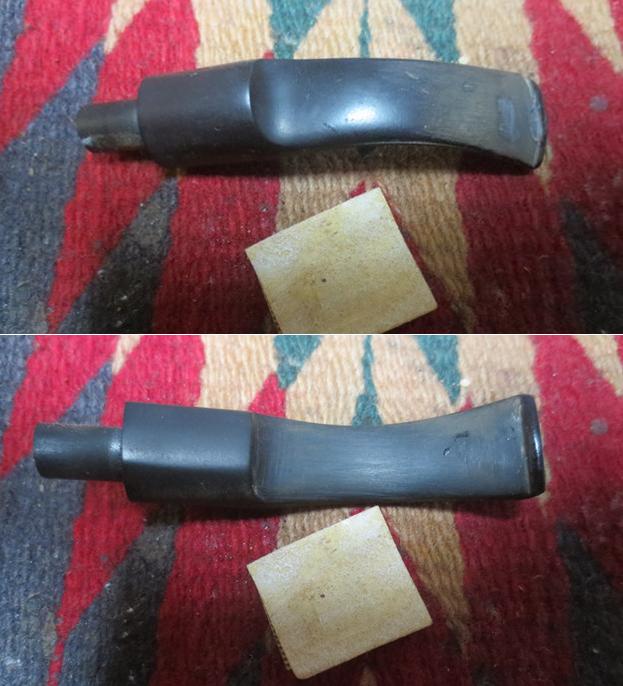
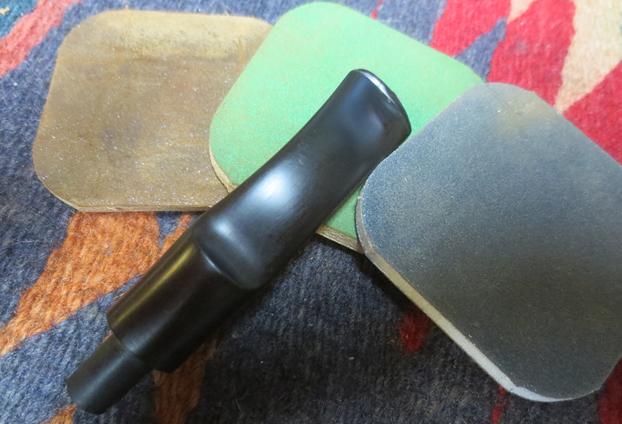
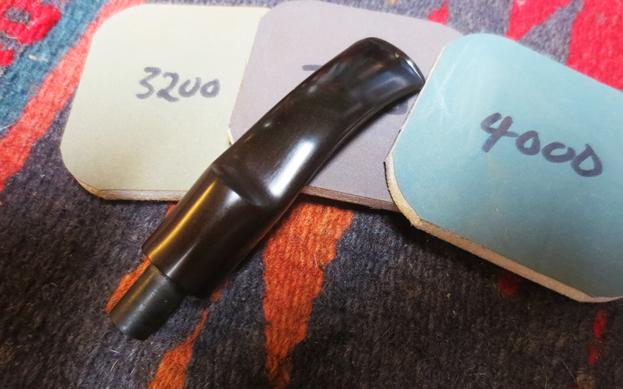
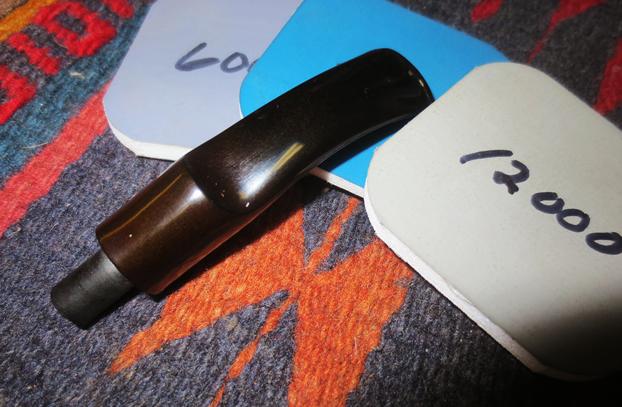
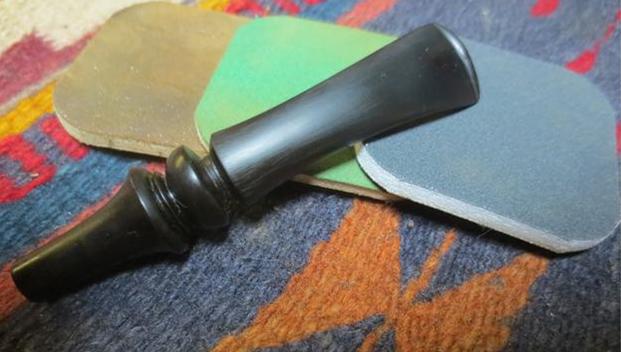
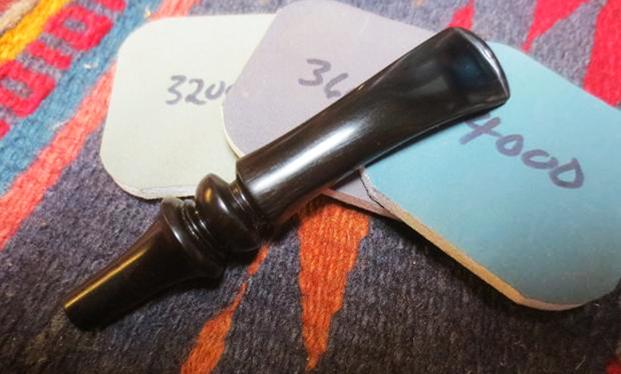
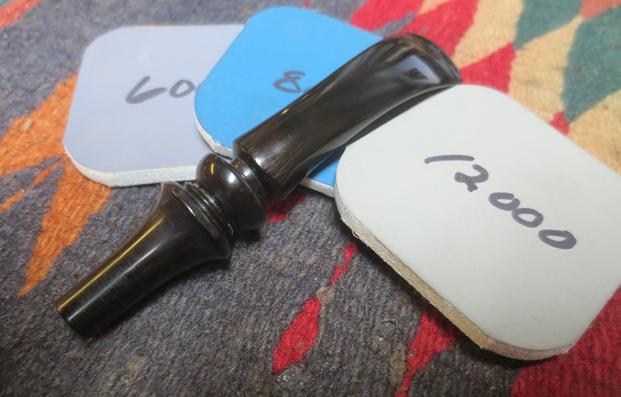
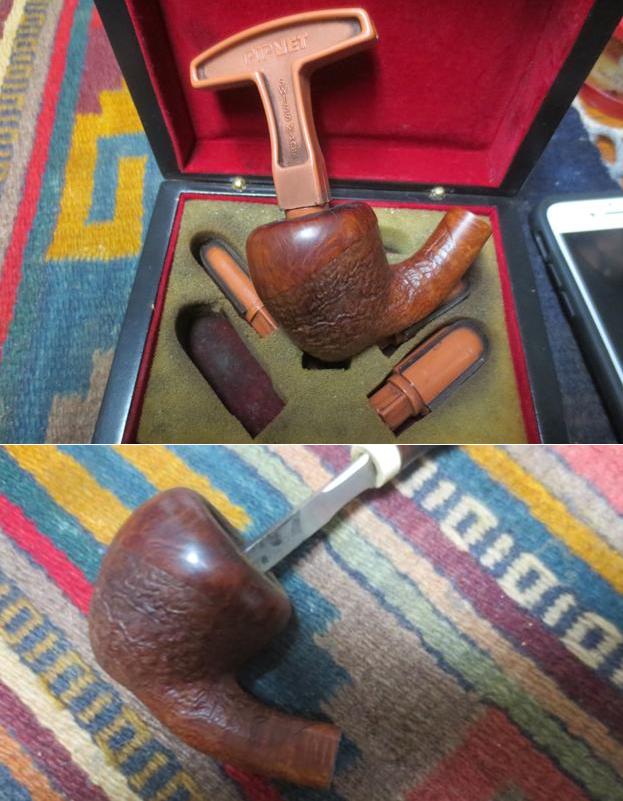
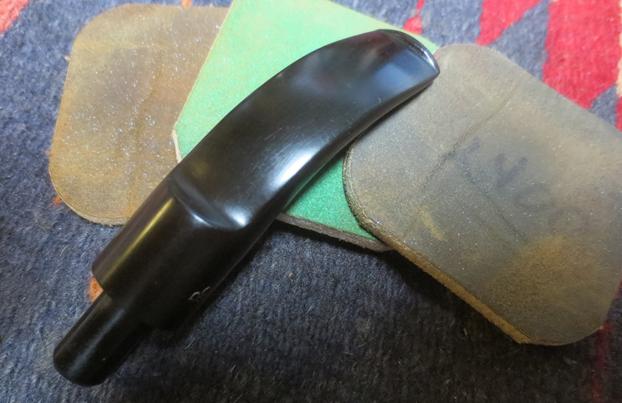
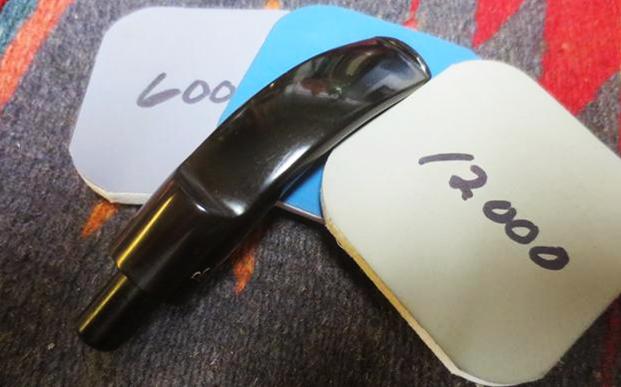
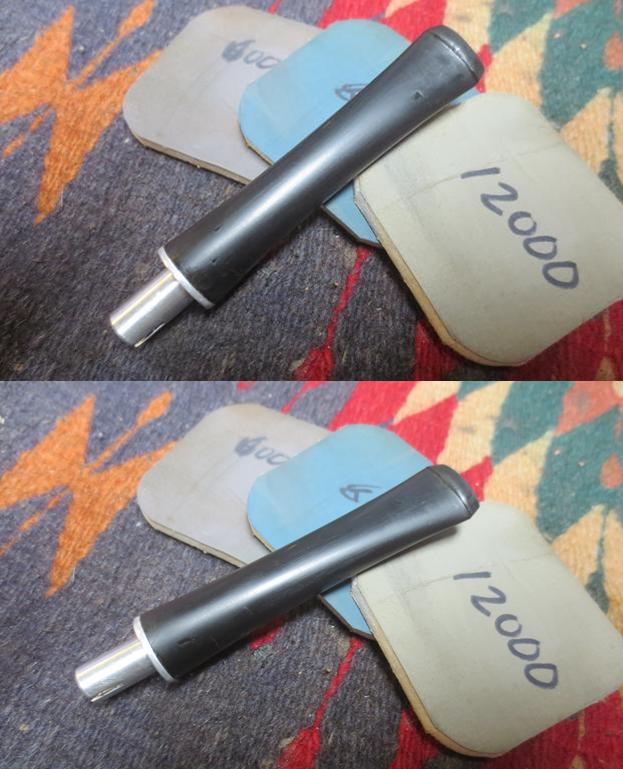
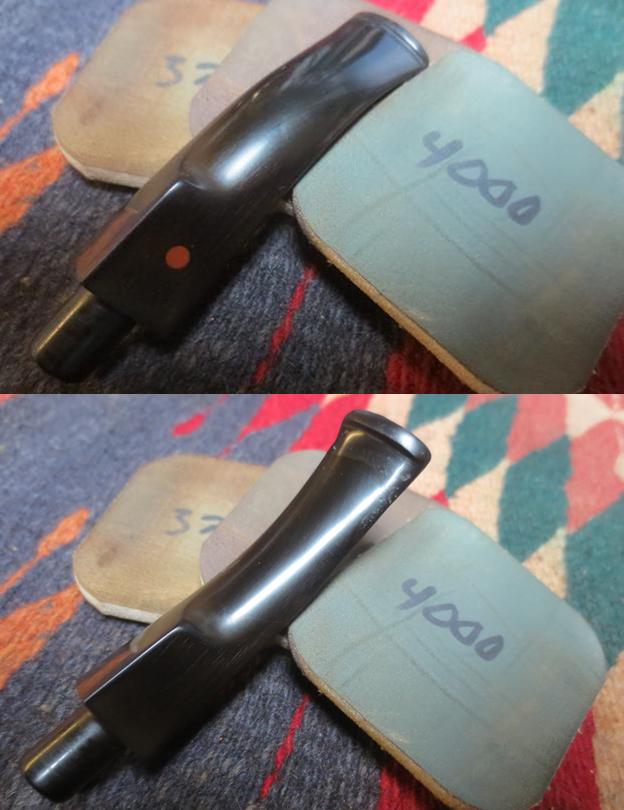
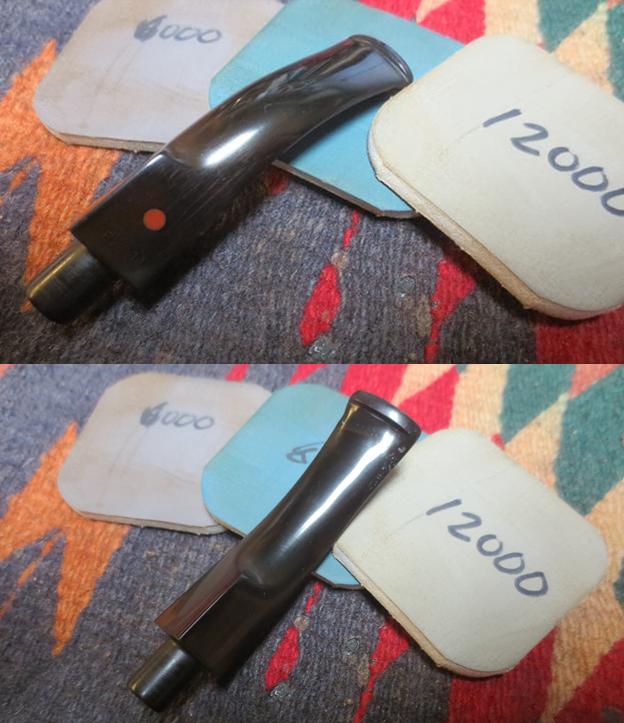
I started with feather-light, focused sanding using 400-grit paper followed by micro-meshing from 1500-12000. This stem was so shiny when I unwrapped it with the pipe that the first sight of it made me fear it might be plastic and hope it would turn out to be acrylic. The distinct odor of burned rubber and Sulphur that rose to my nose upon sanding cleared that up. Having already pre-heated the oven to 220° F., I slipped a regular cleaner through the stem’s airhole and placed the whole thing on a small sheet of aluminum foil.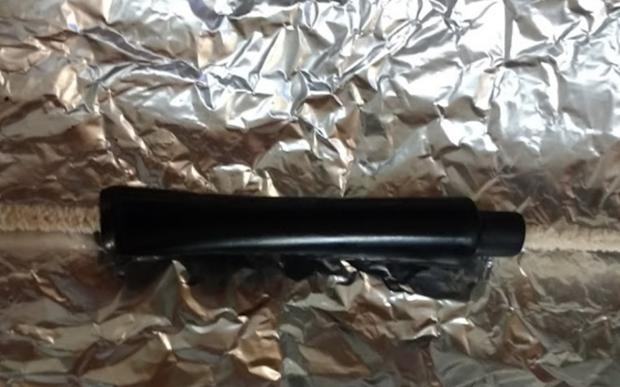 After 15 minutes in the cooker, the stem was pliant. I used the complex tool in the following shot to accomplish most of the task that called for the slightest curve of almost nothing but the mouthpiece. I returned the stem, already somewhat cooled, to the oven for a few more minutes and made the final, tiny bend by hand, with a cooking mitten and rag of course. Then I ran cold water from the tap over it and removed the cleaner.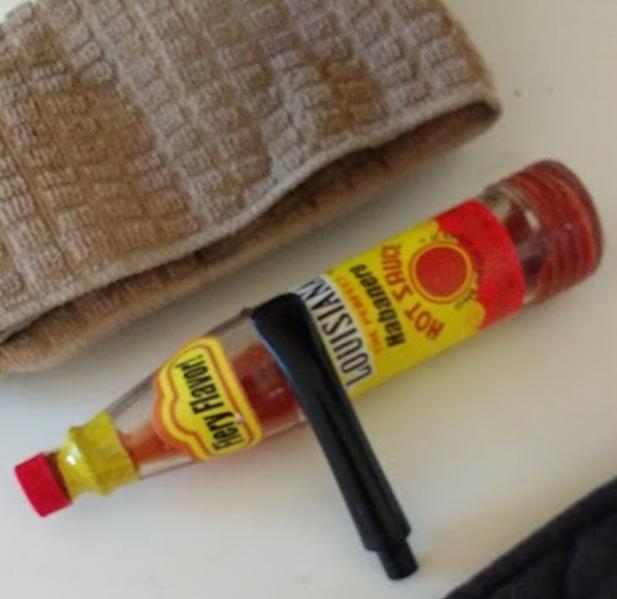
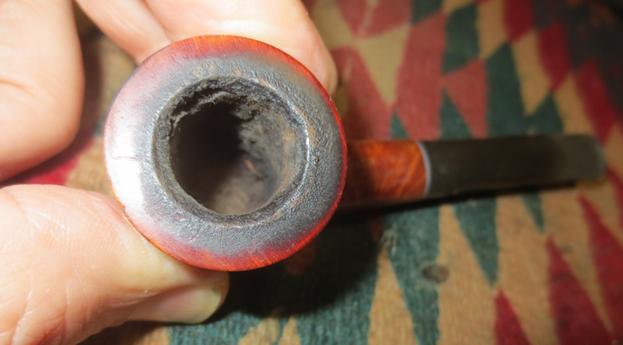
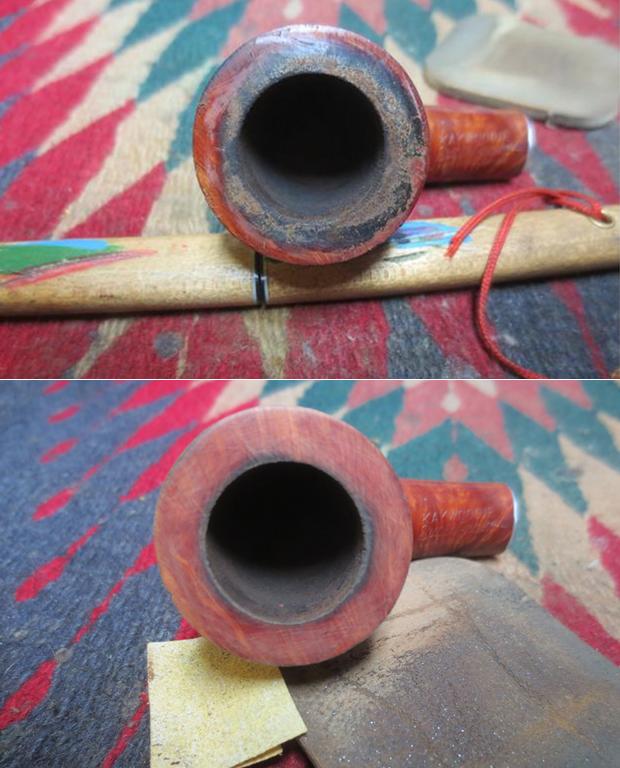
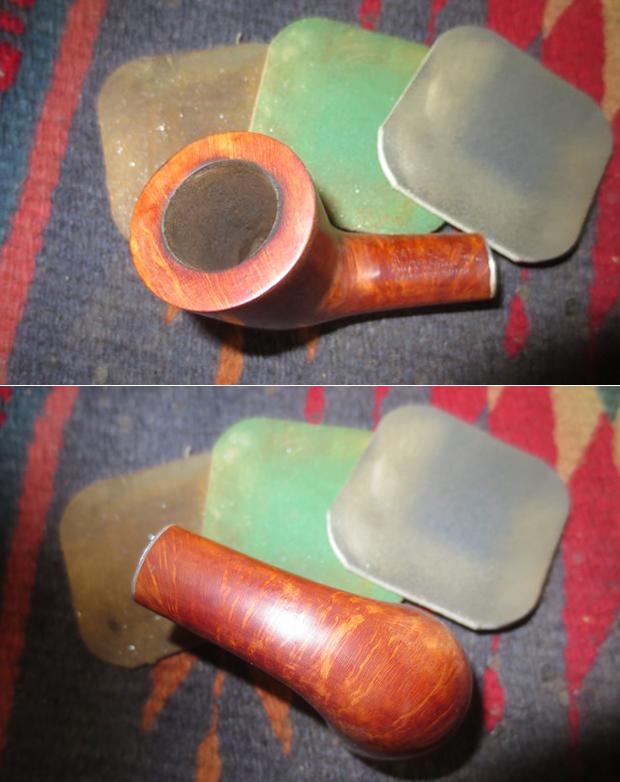
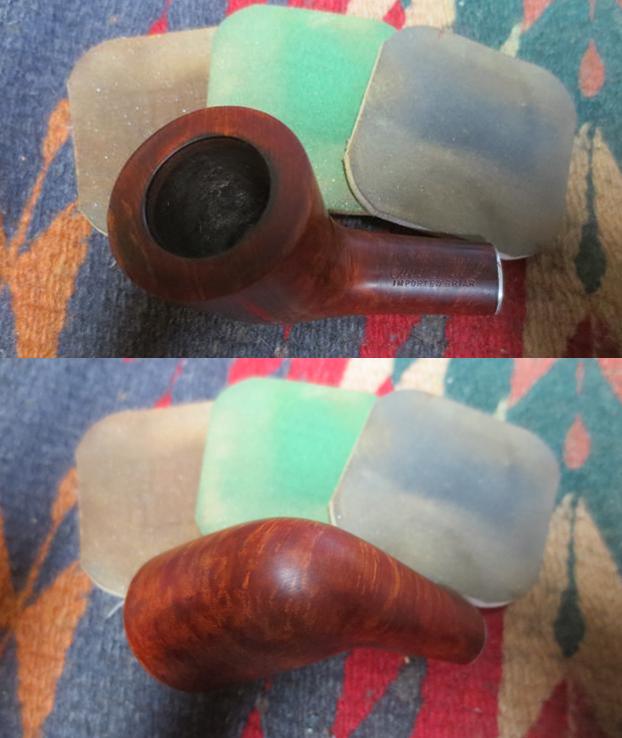
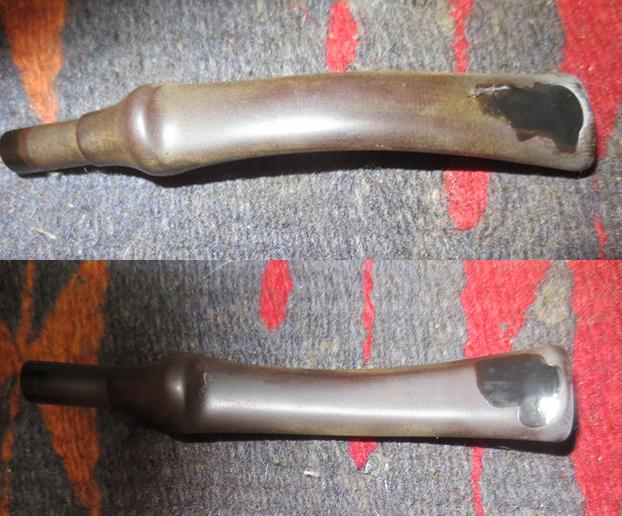
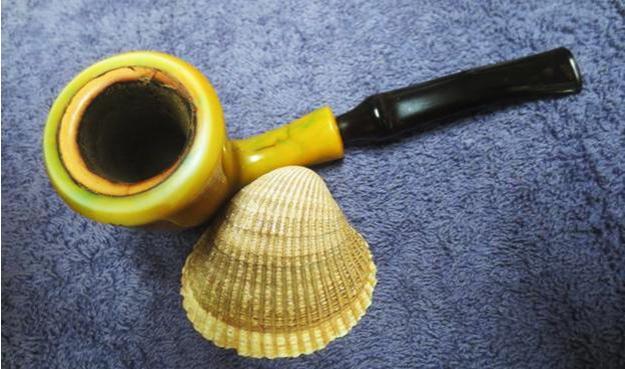
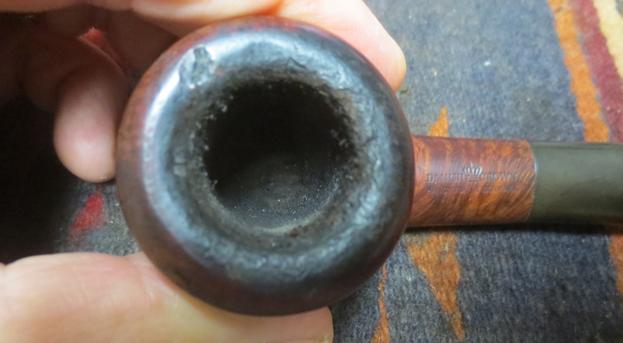
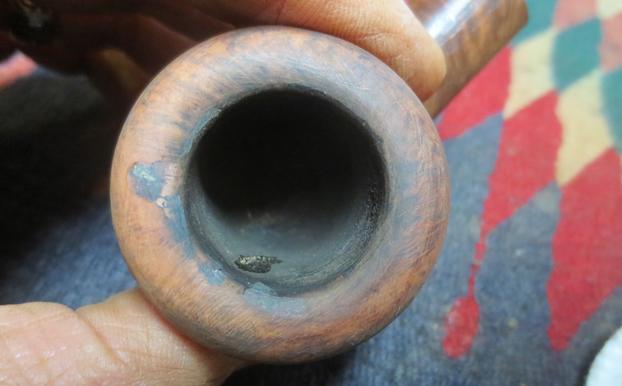
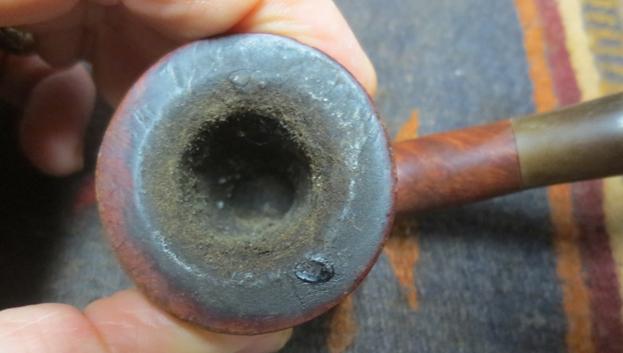
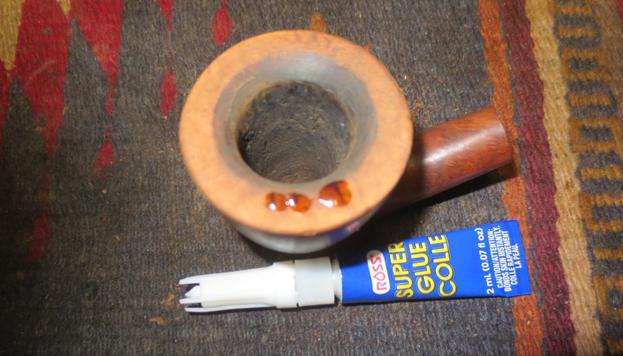
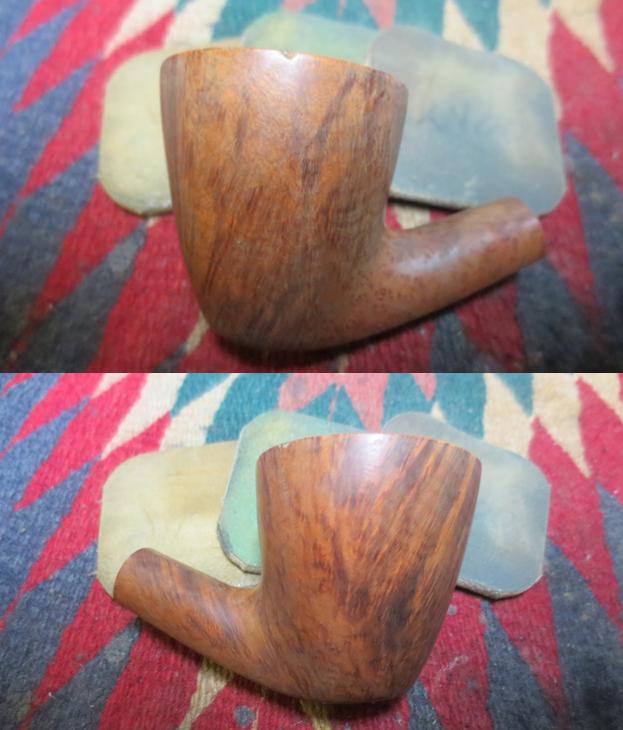
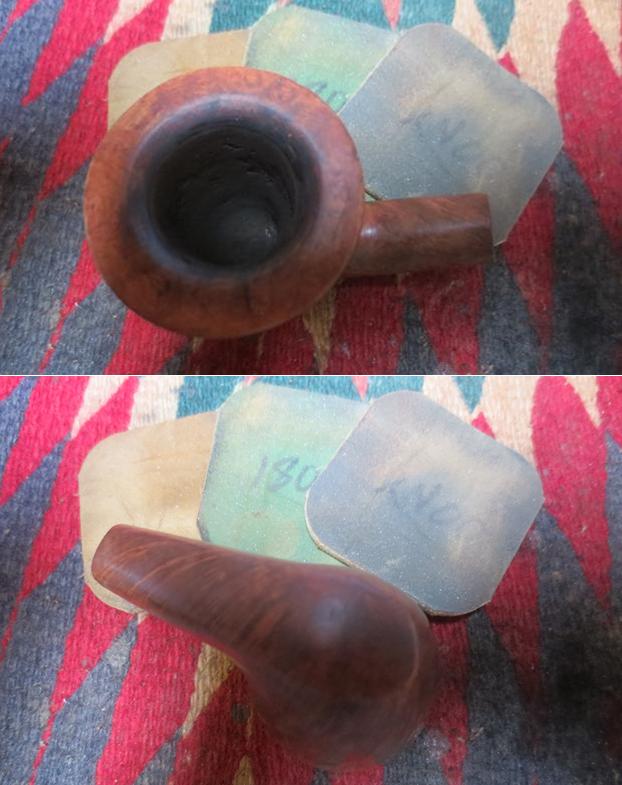
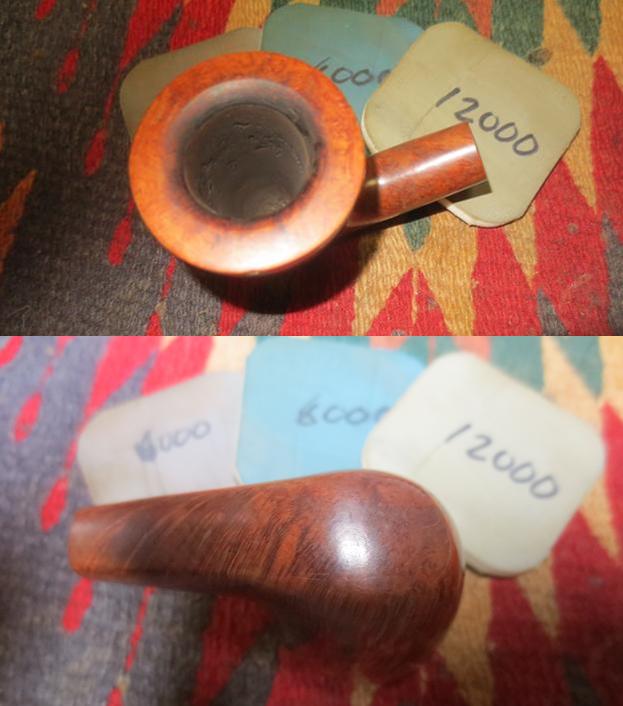
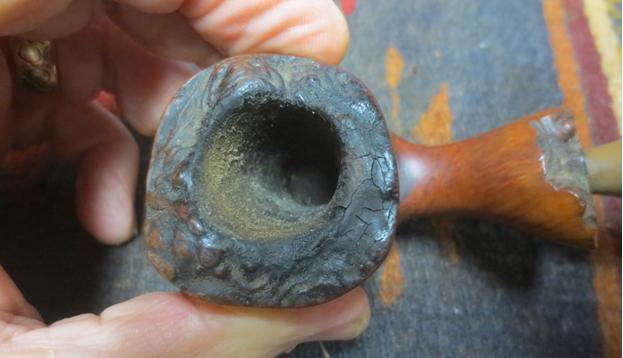
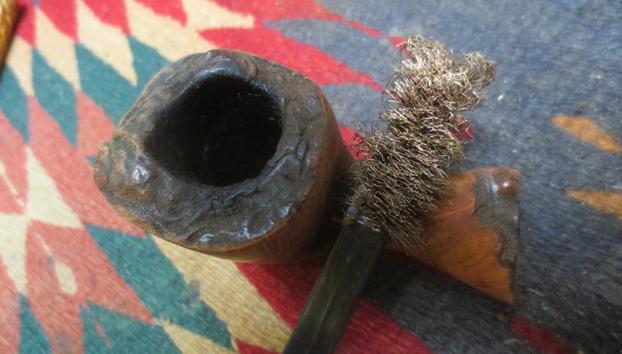
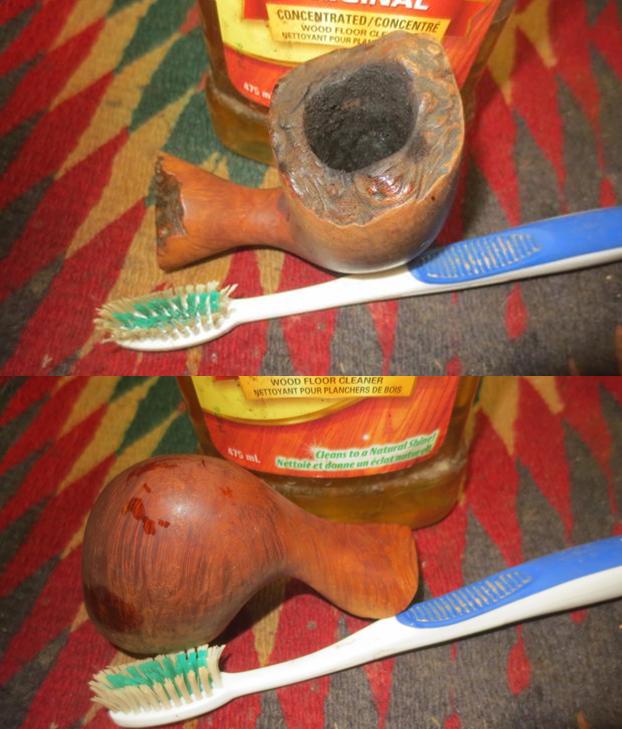
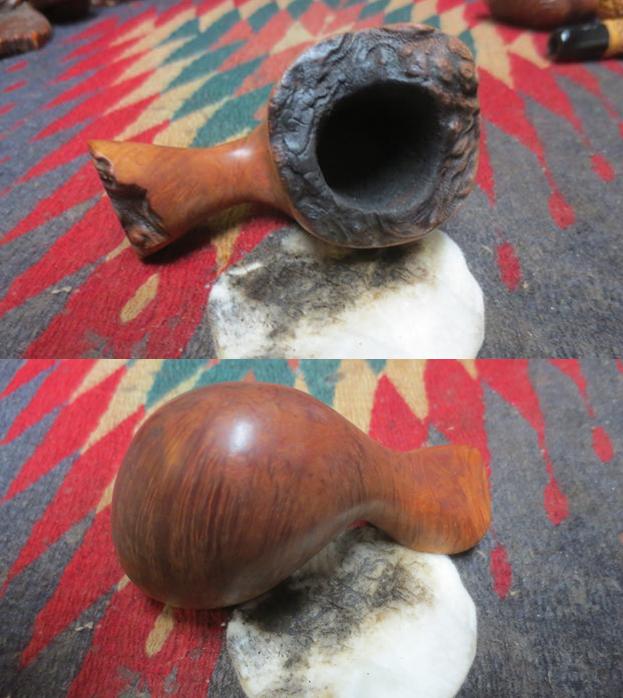
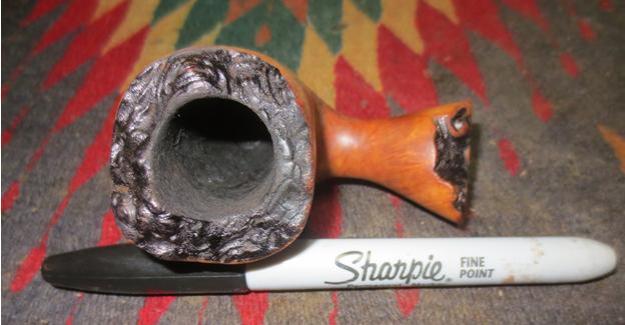
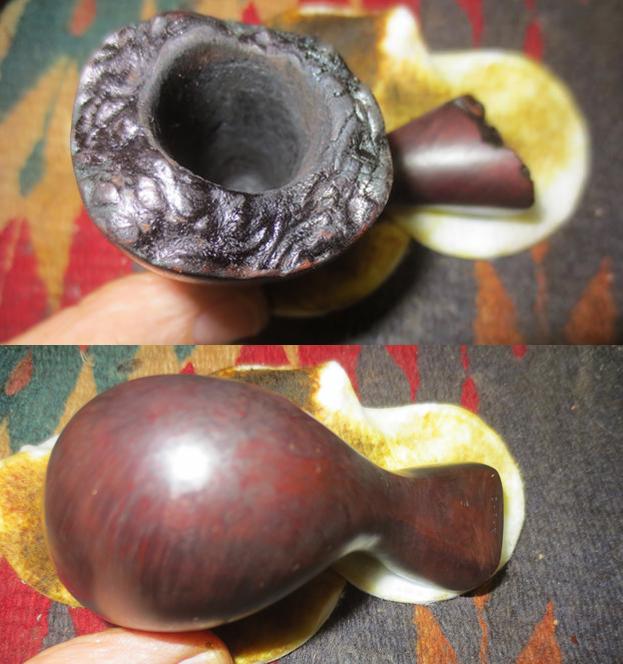
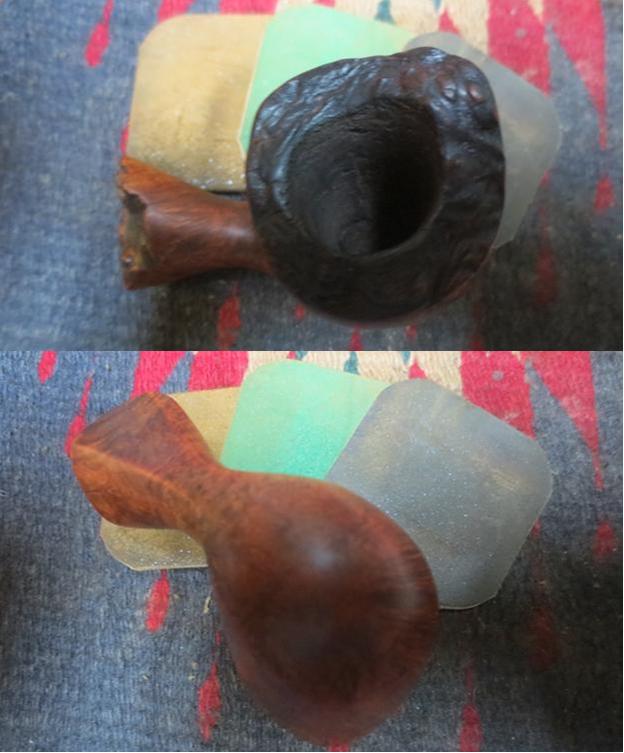
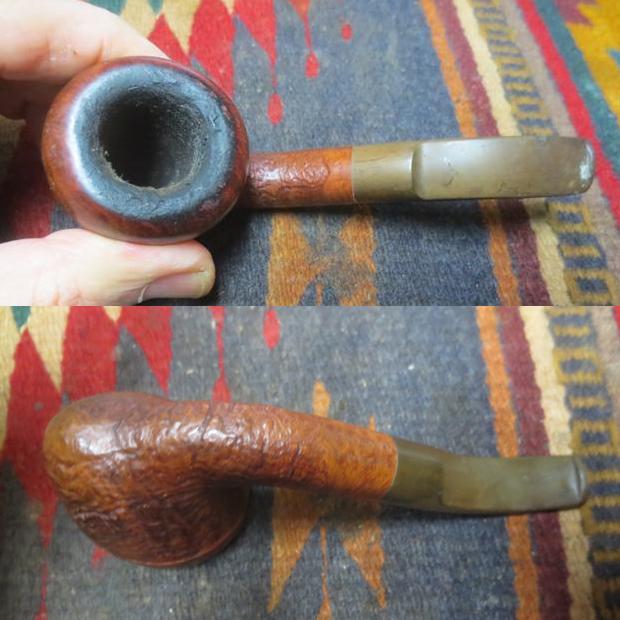
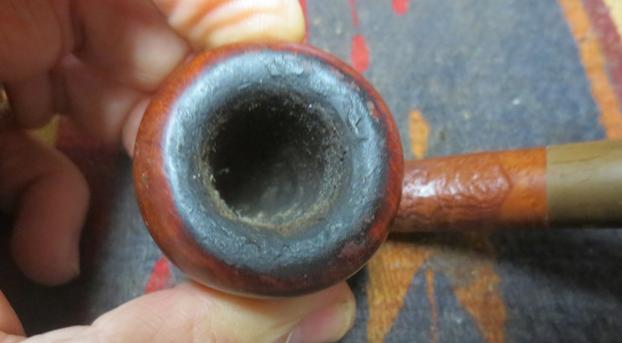
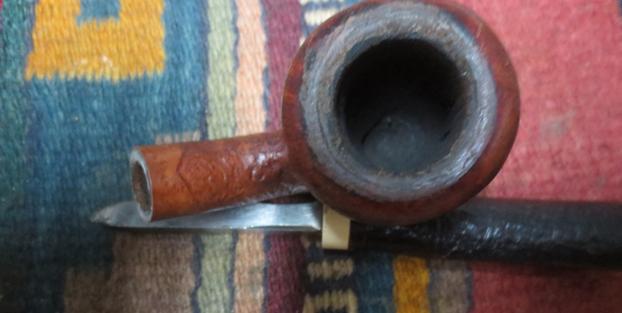
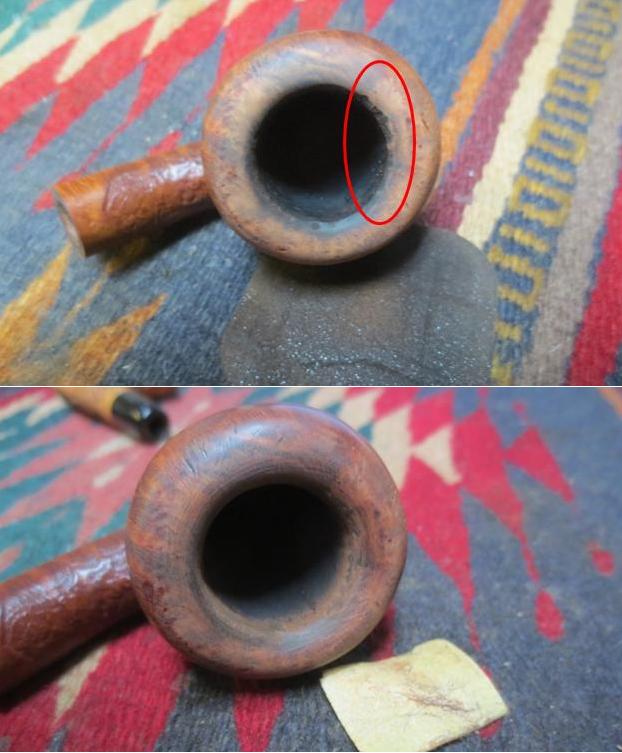
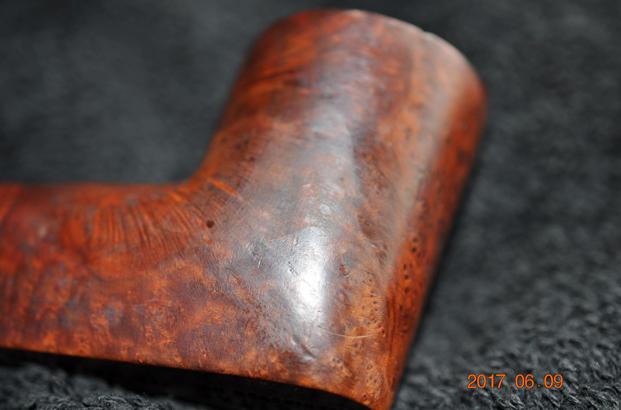
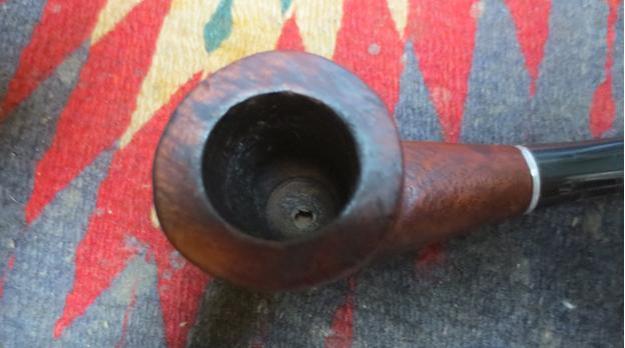
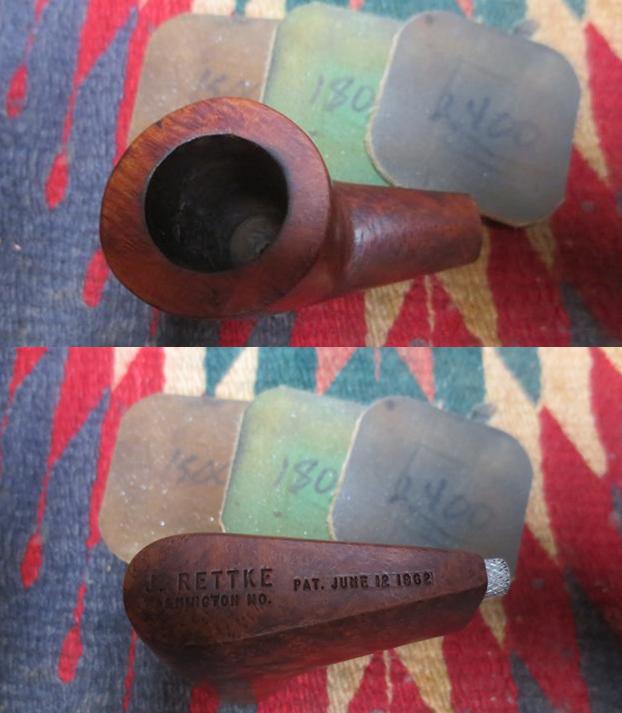
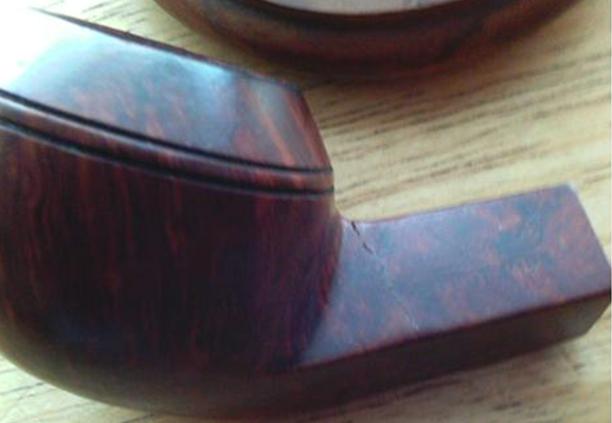
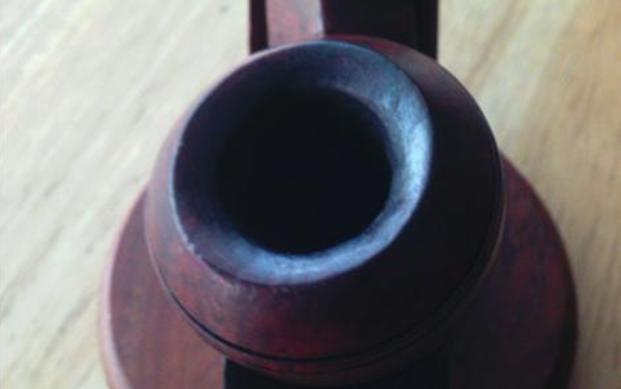
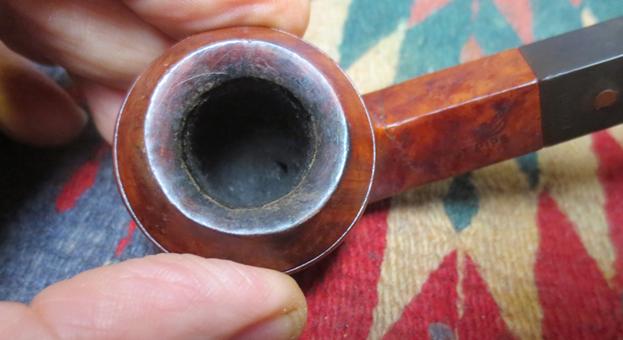
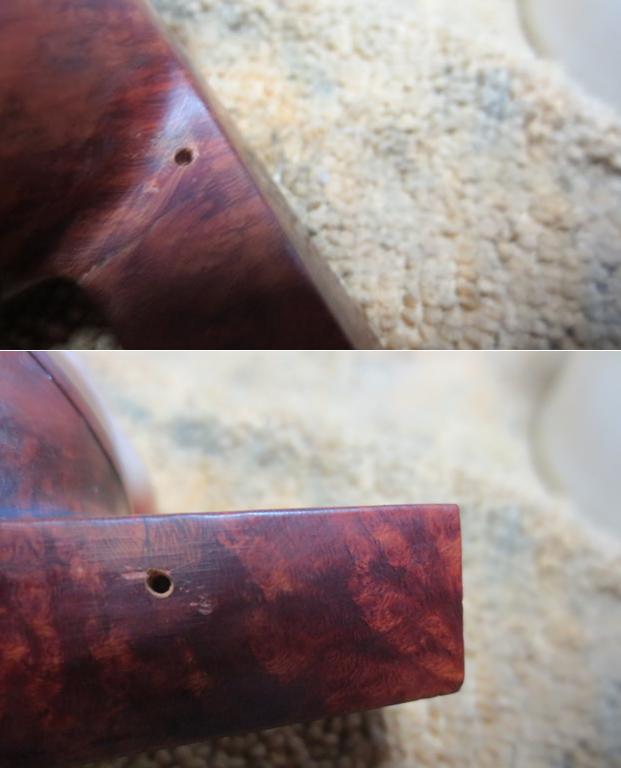
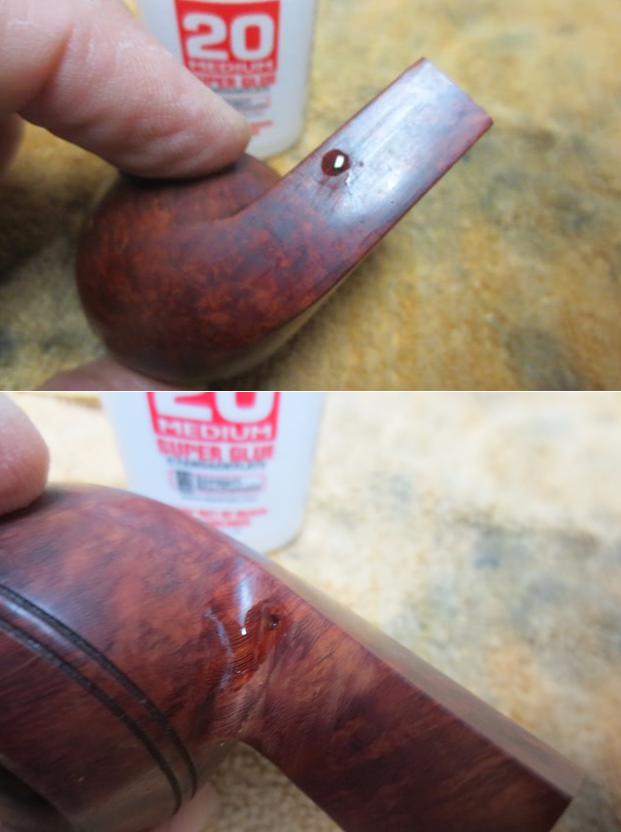
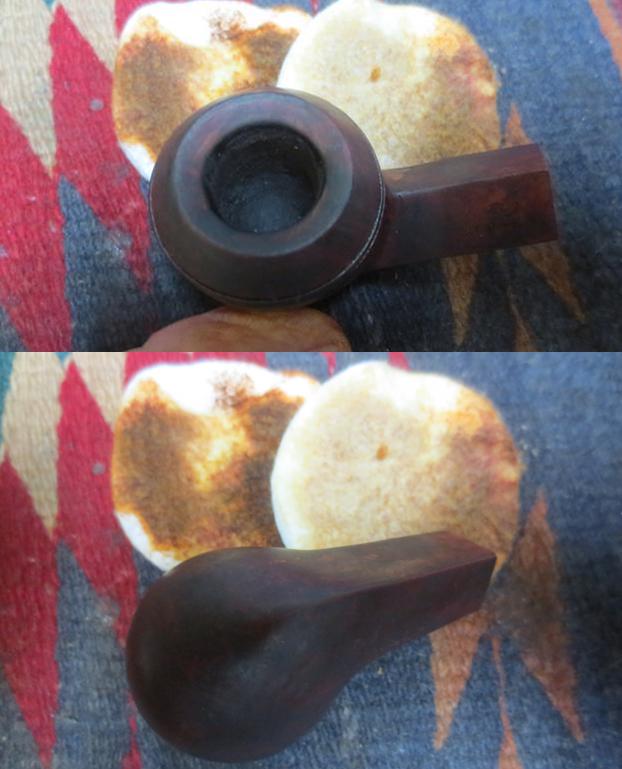
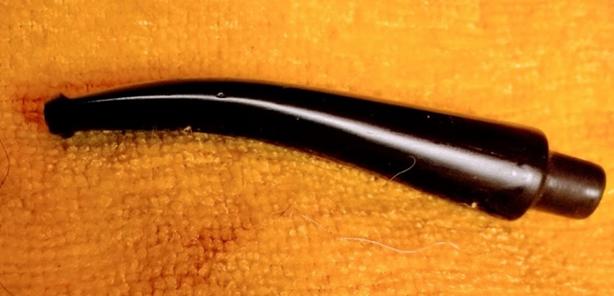 As I mentioned earlier, the burn on the rim in the eBay photos worried me, and my un-ease grew when I had my first Close Encounter of the Third Kind. The concern wasn’t whether I could fix it but how far I would need to go to do so. The reason was the depth of the affected areas, from the rim scorch that was isolated to one spot but crept into the chamber and ate away at the top of the inner wall most of the way around the top right side. By no means was this even close to bad as I have come to understand the word in terms of pipe rim repair, but I did not want to alter the uniform, hearty thickness of the wall any more than could be avoided. With this pipe, re-sizing the rim with a file was like to sacrilege, yet the idea did cross my mind in a sinful flash before I rejected it at the thought of eliminating any significant fraction of a millimeter of the wonderful bird’s-eye. Have a closer gander at the unfortunate but far less egregious degradation to the inner right rim this beautiful Dublin withstood.
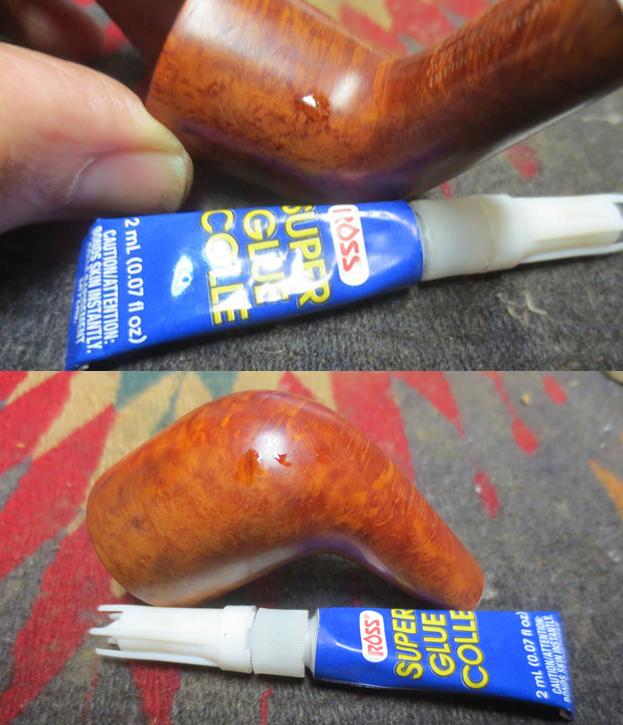
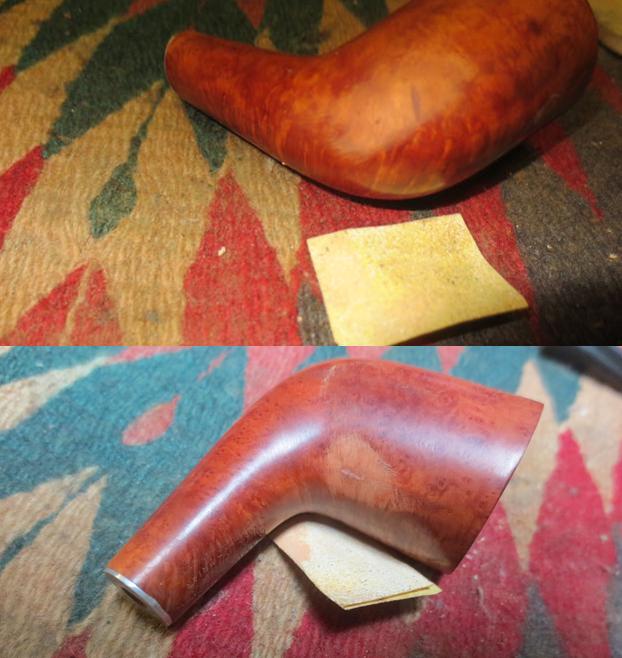
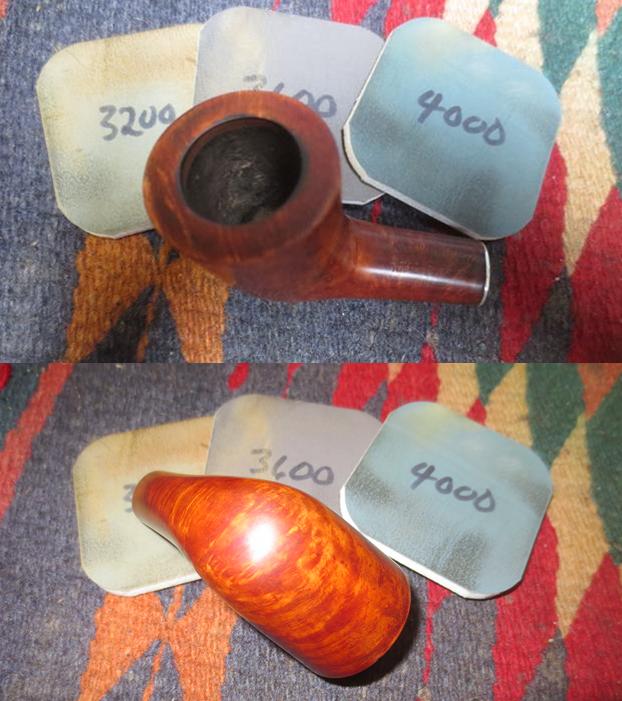
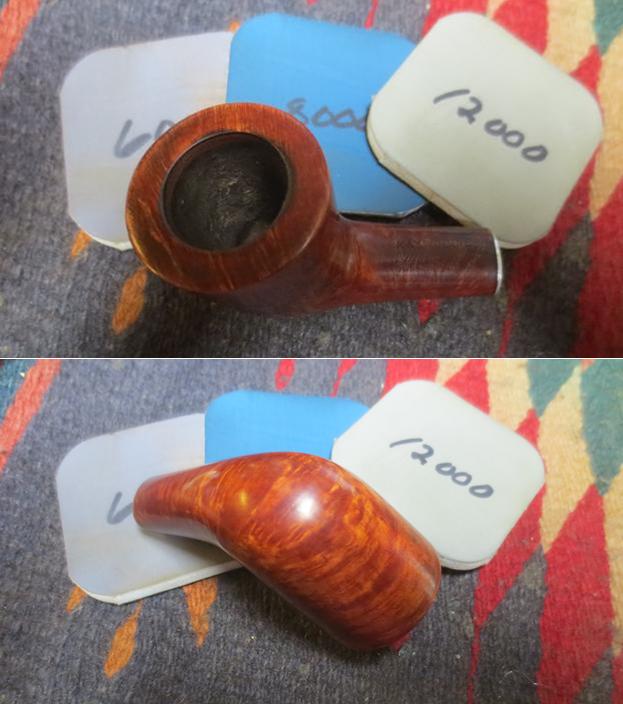
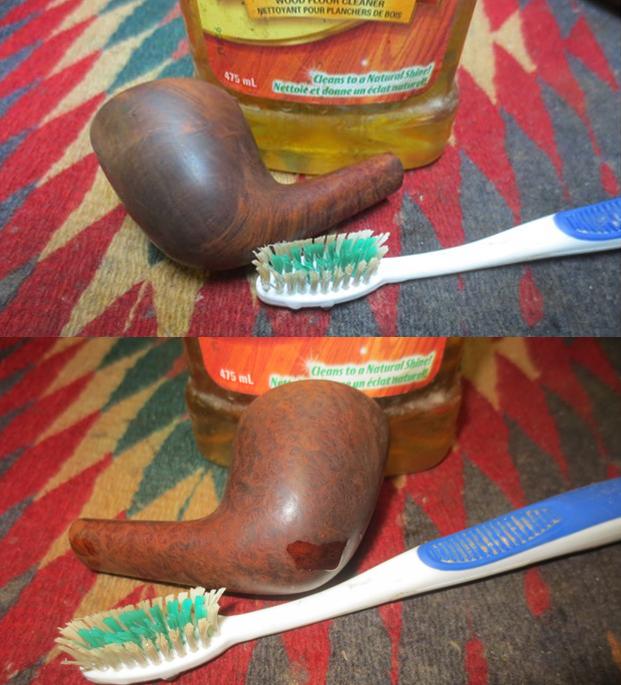
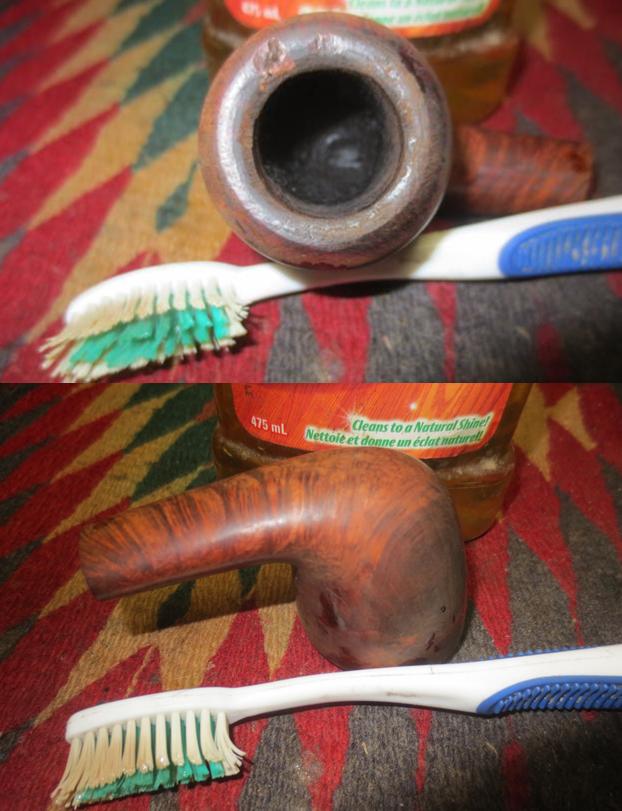
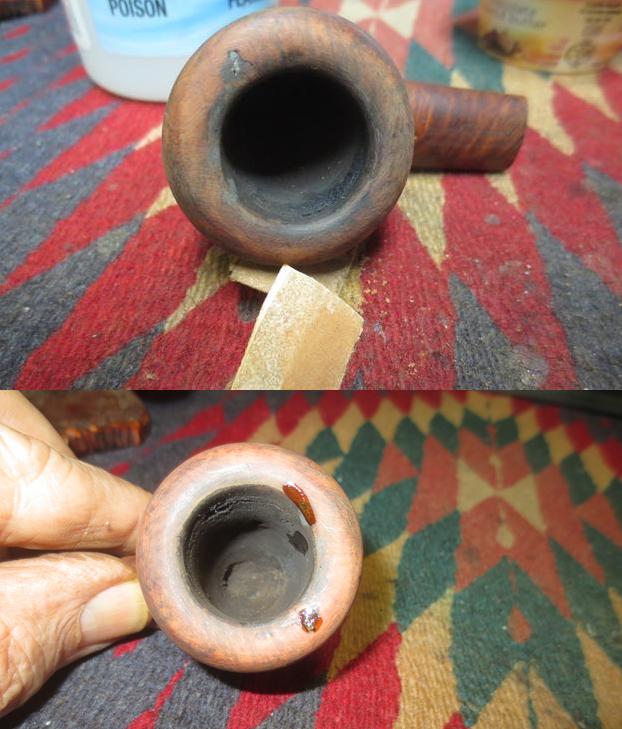
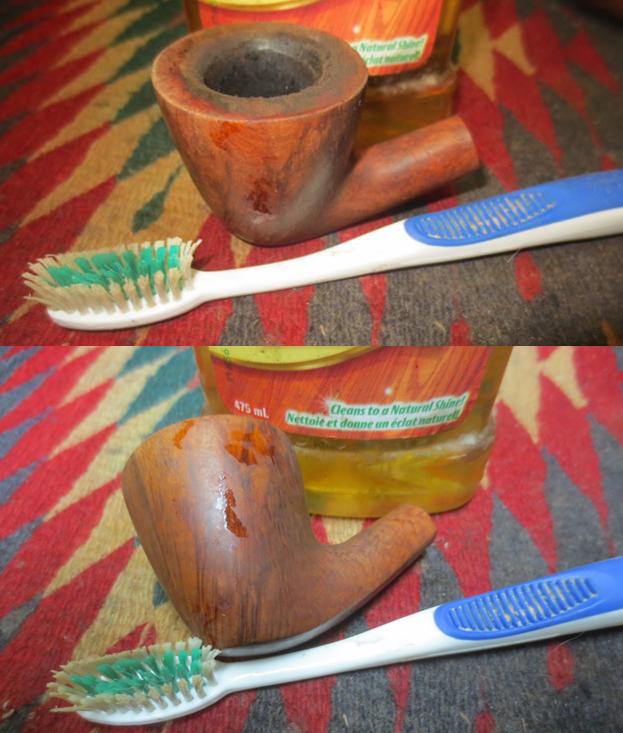
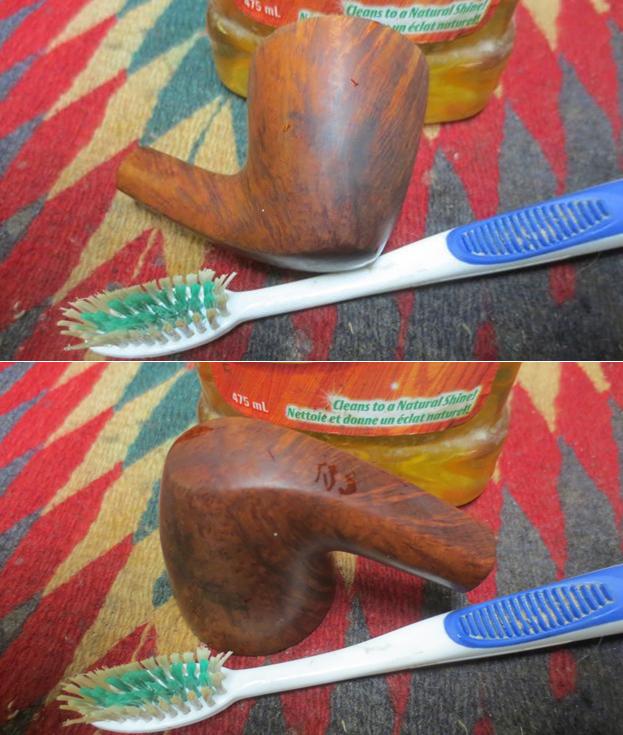
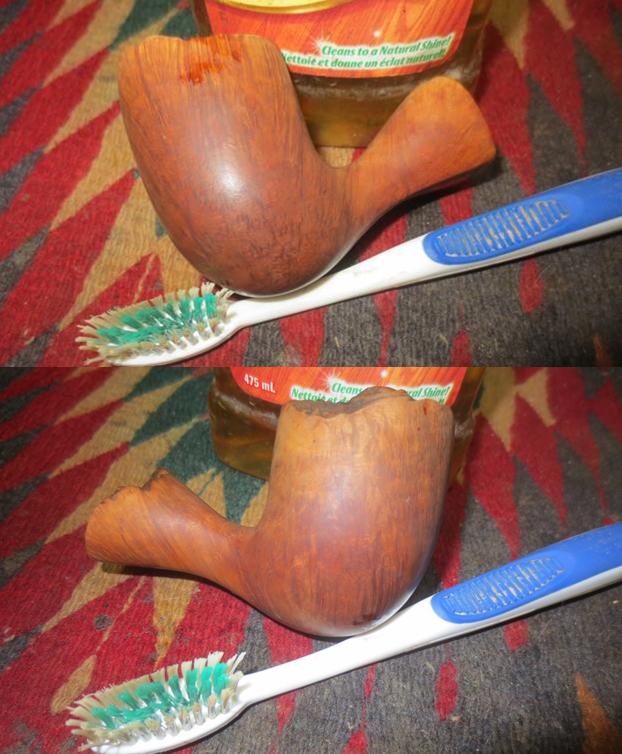
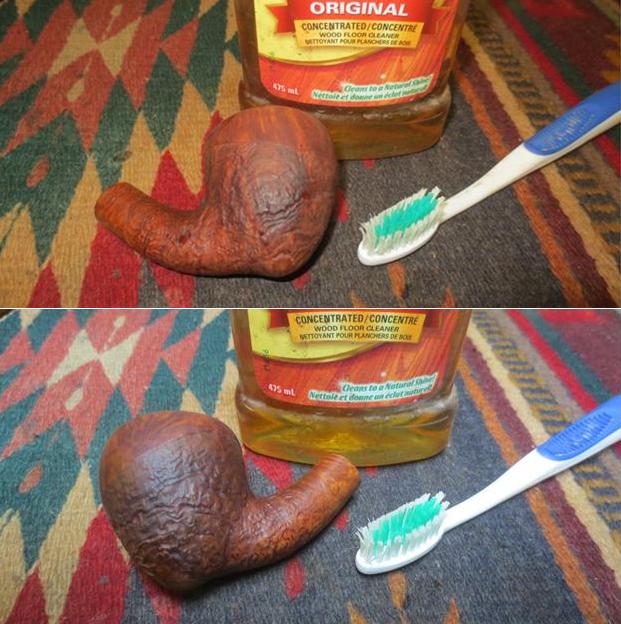
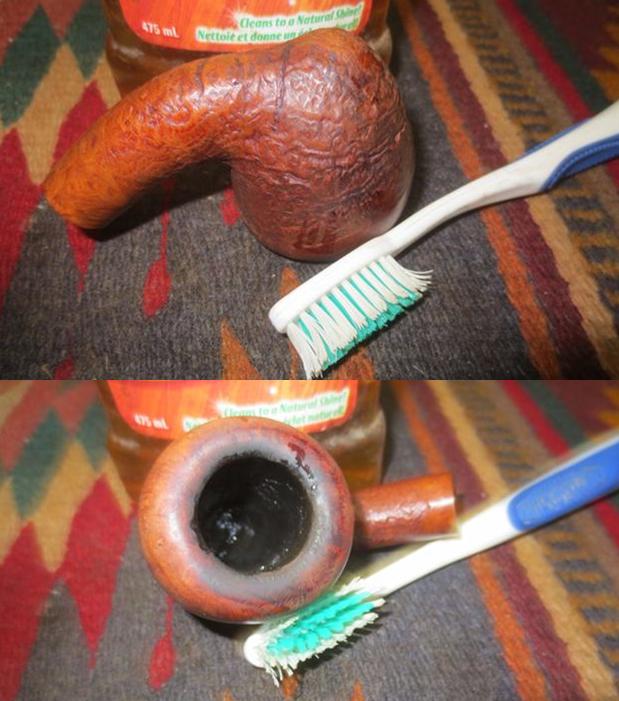
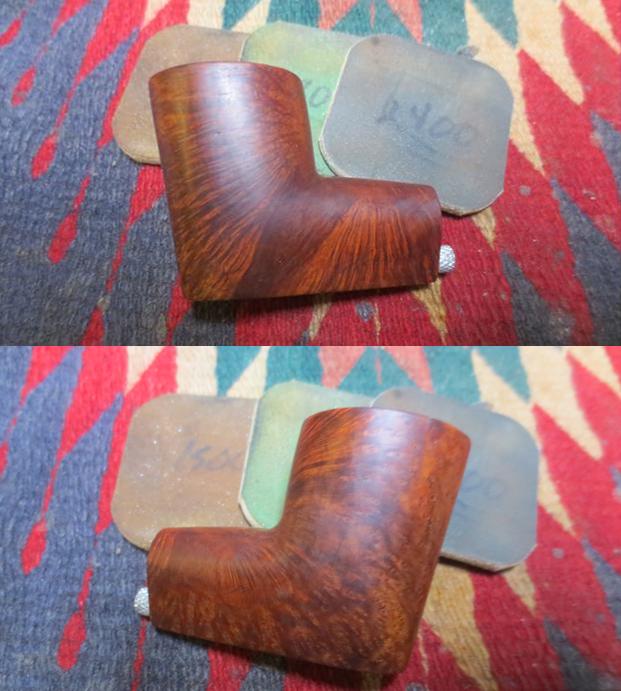
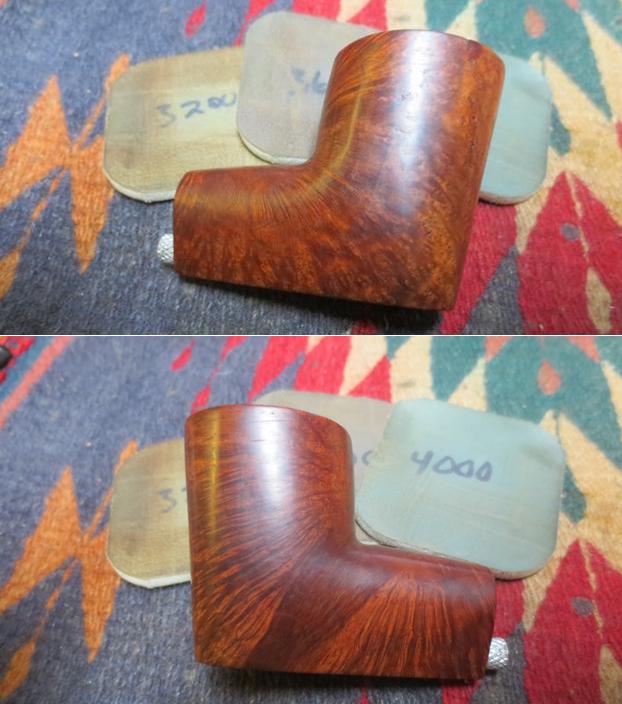
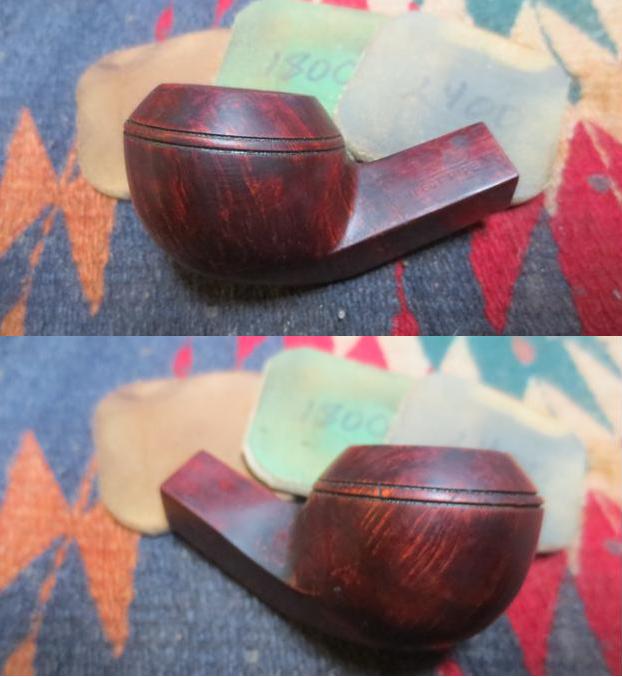
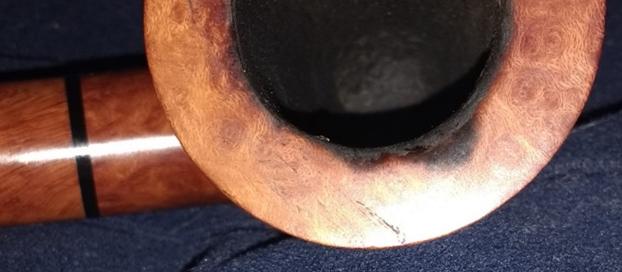 I began the only aspect of the refurbish that could be called any kind of challenge with the gentlest approach, purified water and a soft cotton cloth over the entire stummel. While a fair amount of soot, skin oil and whatnot came off, no amount of scrubbing made a dent, as it were, on the blemish. Fine grades of sand paper had no effect, either, and so, I worked my way down the numbers and up the grits to my two-in-one sanding sponge, half 180 and the other 150. Focusing on the deep rim burn spot, I went at it with the 150. My hand a blur and breaking out in a sweat all over, the removal of the single little spot took closer to 10 than five minutes. But I’ll be a turkey’s behind if the dang thang didn’t disappear on me! I reversed the harsh effects of the 150-grit sponge, minimal as they were because they only rid the fine Mediterranean briar of something that had no place pocking it, with 220- and 400-grit paper before the full scale of micro-mesh pads. While I was in the groove with the micro-mesh, I did the whole stummel. I remember coming across one scratch big enough to warrant 320-grit sandpaper, but to save my life I can’t remember where it was, and now it’s gone. Oh, well. C’est la vie!
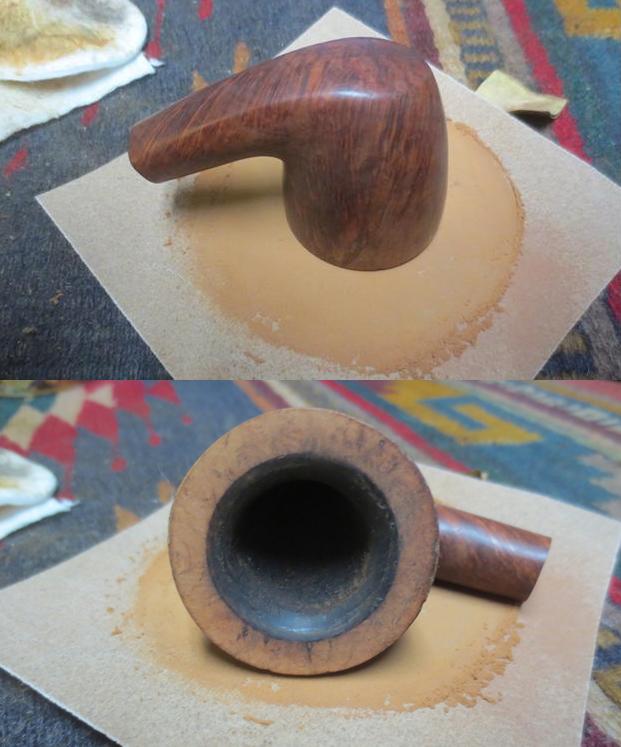
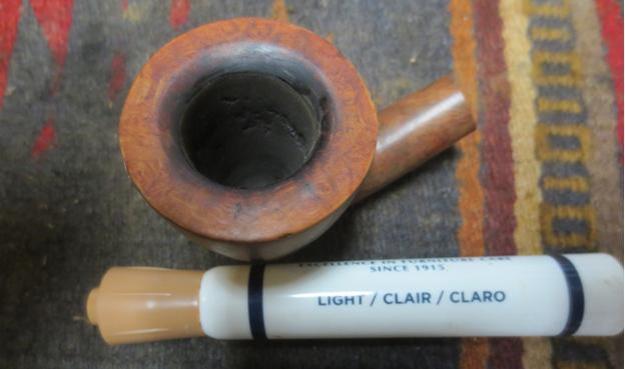
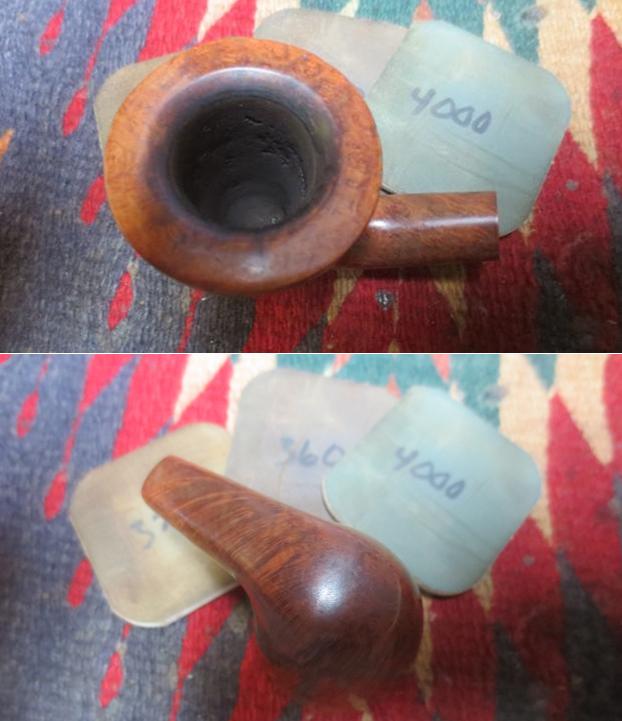
Happy with the absence of the nasty, pernicious burn mark, I found an old, small favorite piece of 150-grit paper that’s perfect for pipe chambers and, focusing again, only on the upper circle inside the chamber, succeeded in eliminating the unwanted beginning of a groove caused by what I can only imagine was a drunken fit of excessive lighting (as in the previous owner passing out while flicking his Zippo and only coming to when he burned his thumb). I followed the 150-grit strip with the 220- and 400-grits again, and after much careful tapping and blowing of soot and wiping the chamber clean with a piece of paper towel and alcohol, I saw that the damage was repaired, and the chamber was down to bright, clean briar as far as I had gone. Repeating the process in steady advances down the chamber, 30 or so minutes more passed before the entire inside of the chamber was down to the wood.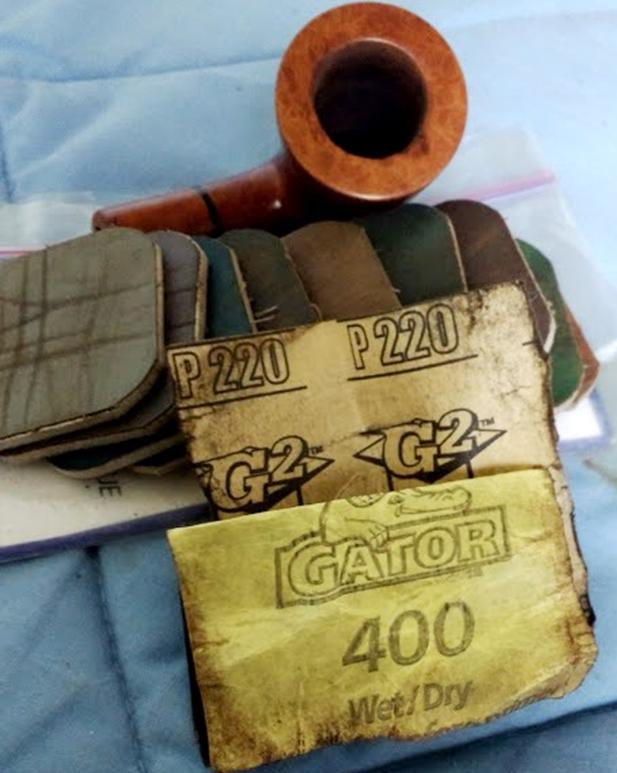
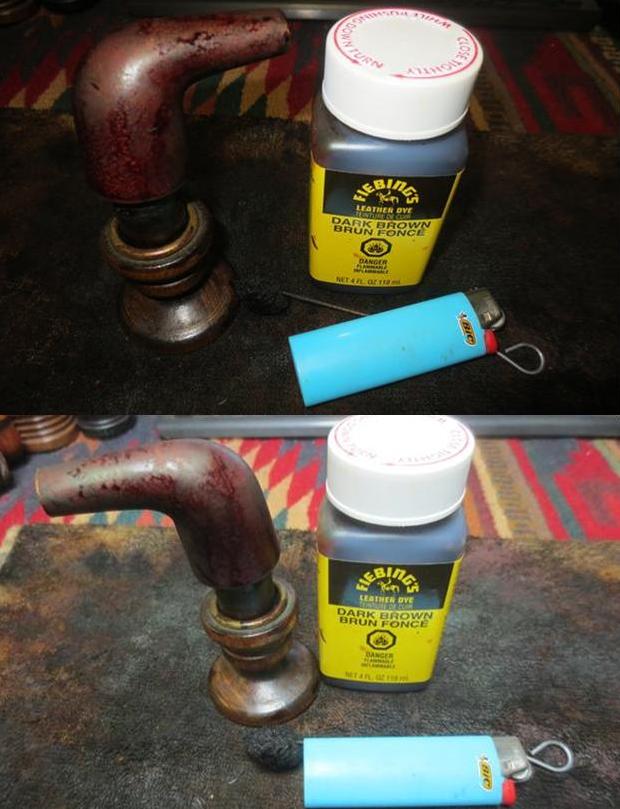
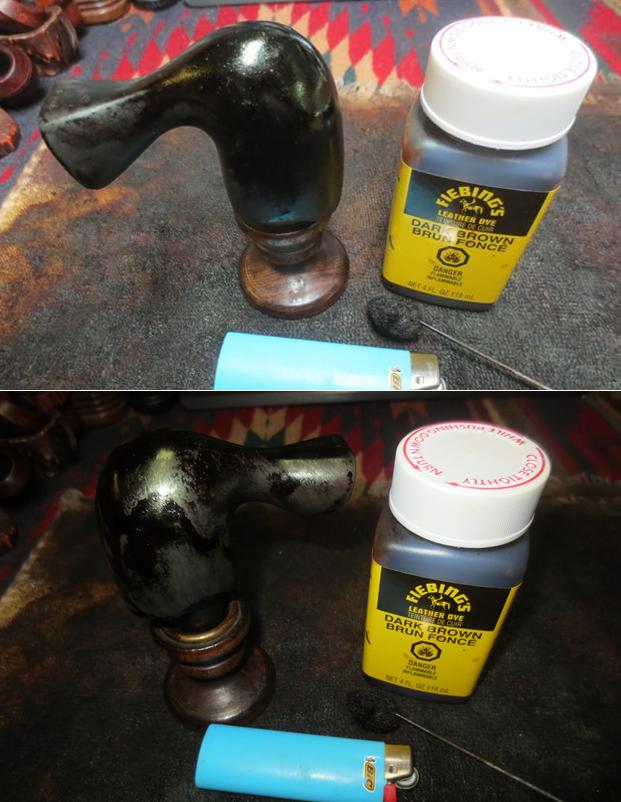
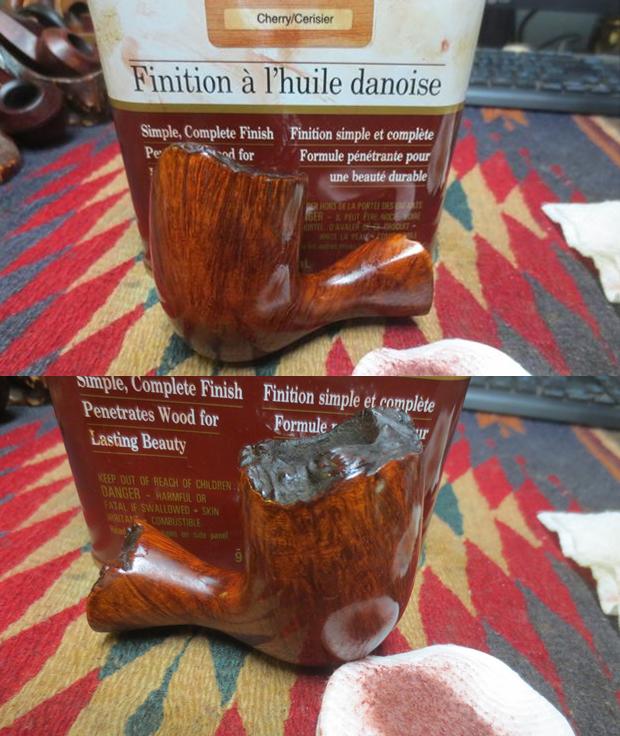
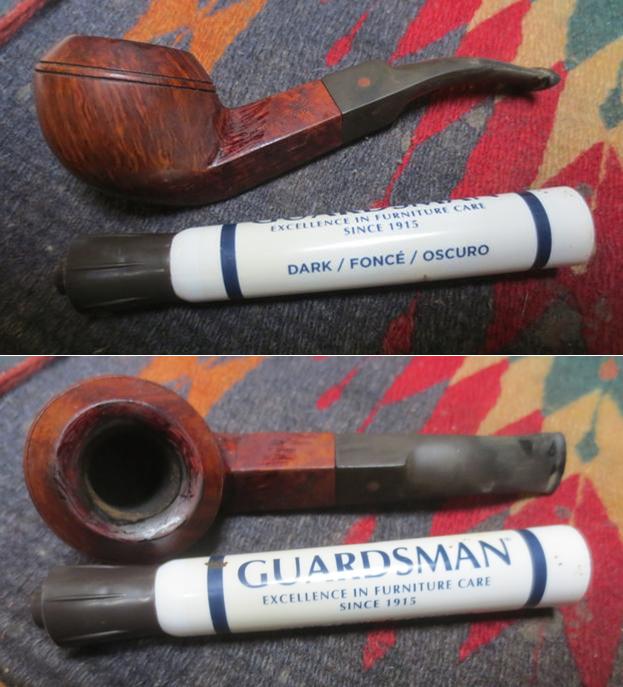
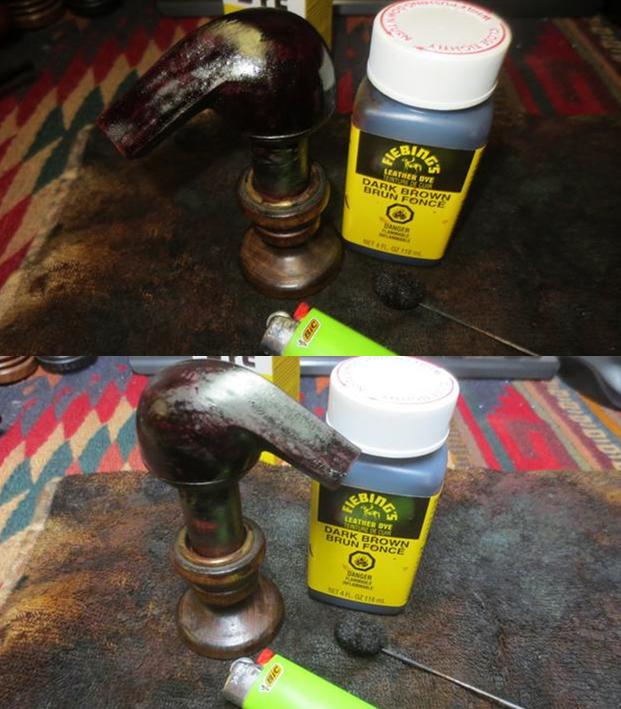
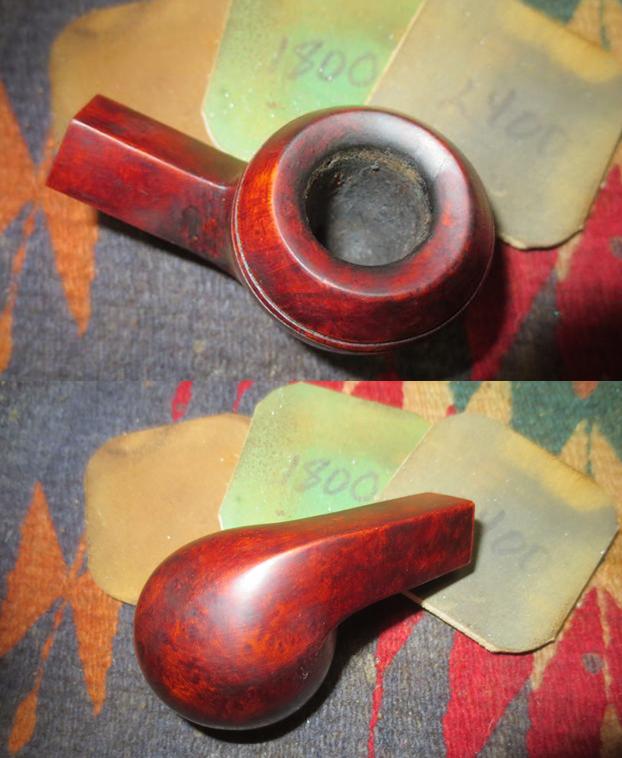
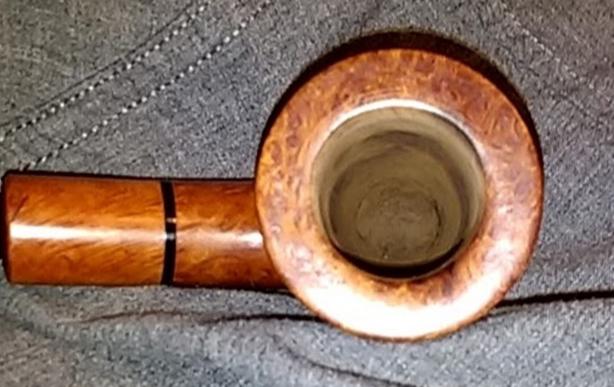 The end of this special restoration nigh, the time had come to re-stain the rim that had lost more than a little of its fine darker color. I rejected the notion of making the Capitello Jonico Dublin a two-tone, which is one of my favorite habits with many pipes, and chose instead to apply a couple of Qwik-Koats of Lincoln Brown Boot Dye, alcohol-based. You know I had my Bic handy to flick, but at least I was sober, safe and sane.
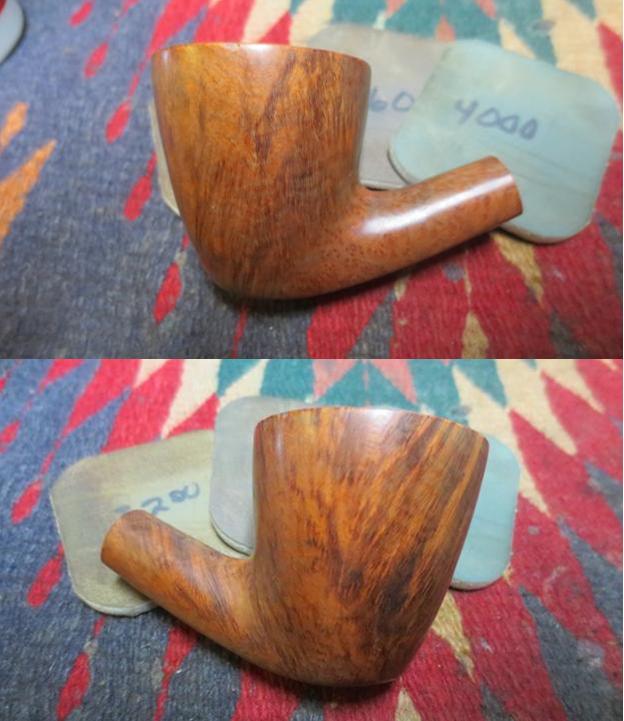
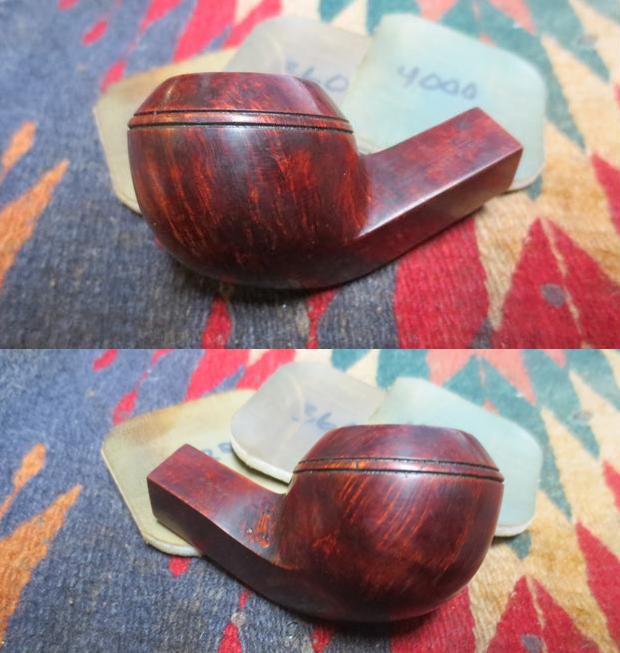
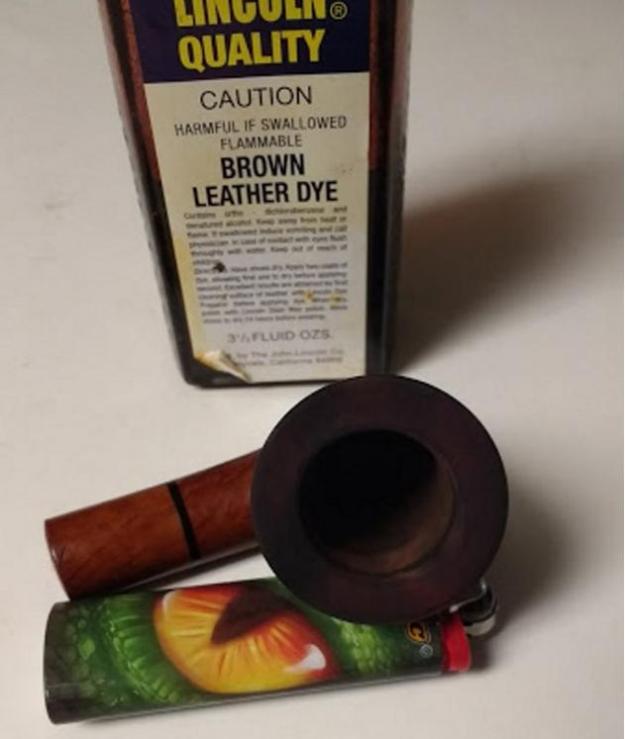 Taking off the charred stain and returning the rim color to the original shiny dark brown was simple with 1800 followed by 4000-12000 micro-mesh.
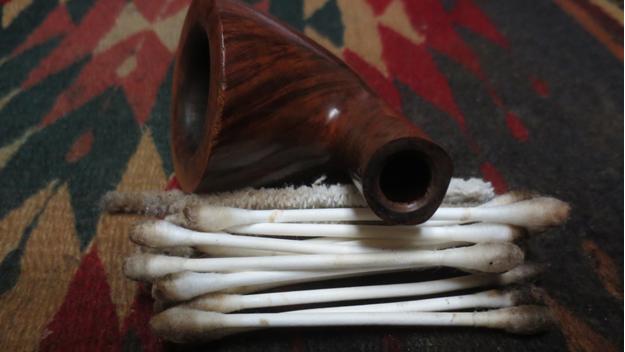
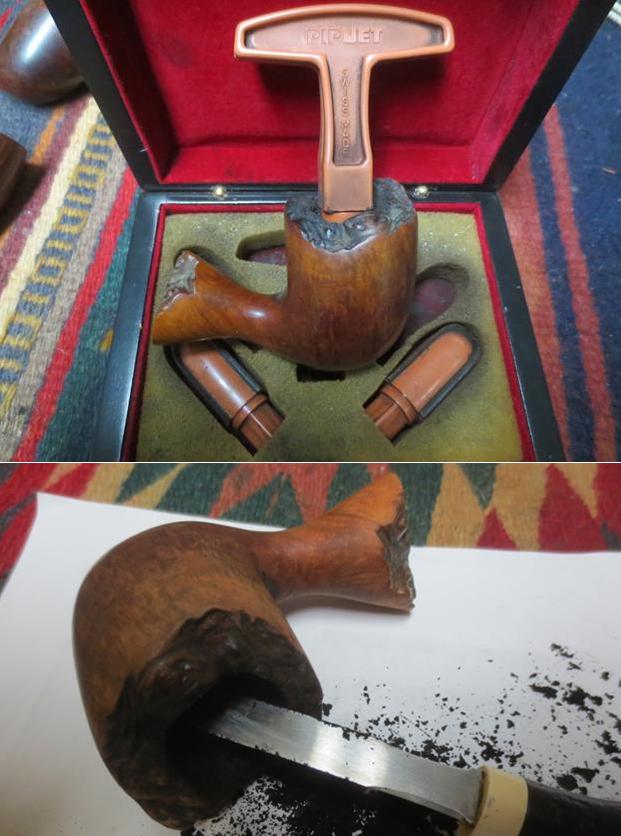
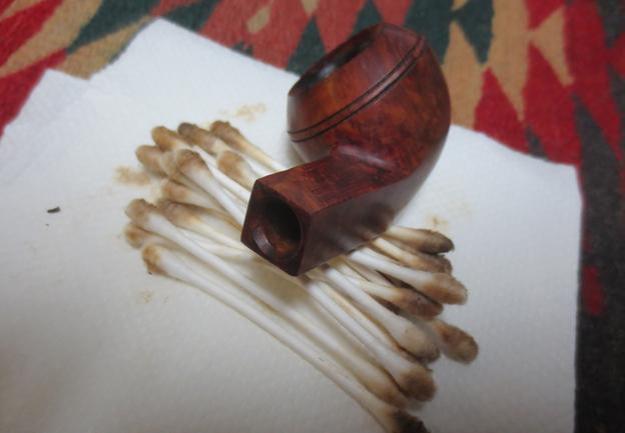
As a general rule, I don’t leave the cleaning and retorting of a pipe’s insides until just before the last step, but this time I became so wrapped up in the stem bending, burn removing and, for the first time, eliminating all but the ghost of the original owner’s tobacco char that I just forgot until the mental checklist time arrived. Whomever the previous owner was loved this pipe despite the one misadventurous rim burn incident. I can tell, because I only needed six regular cleaners half-soaked in alcohol with the dry ends to follow up each run through the shank before the last came out clean both sides. Also, the retort was fast and easy with only three Pyrex test tubes of alcohol boiled through the pipe.
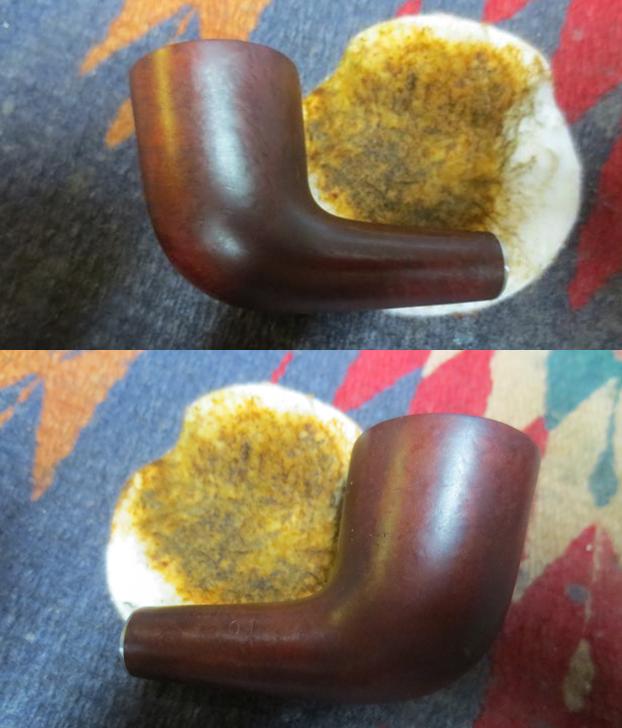
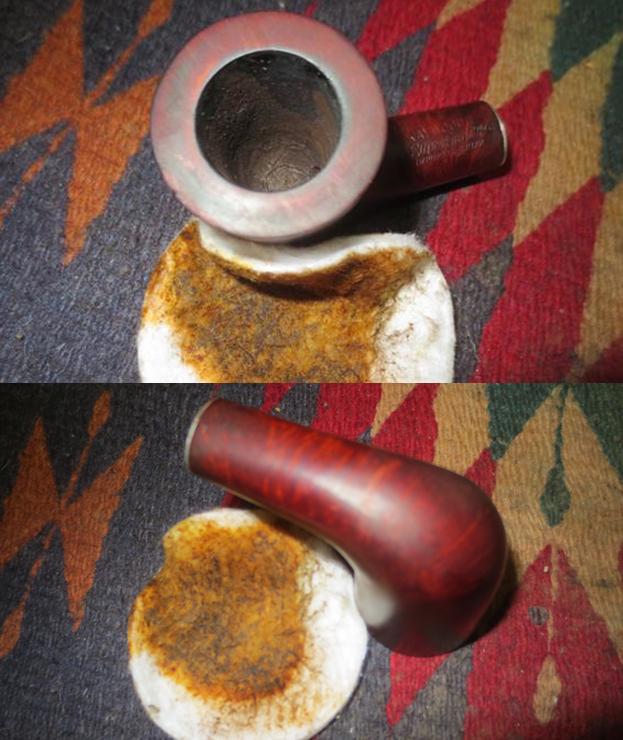
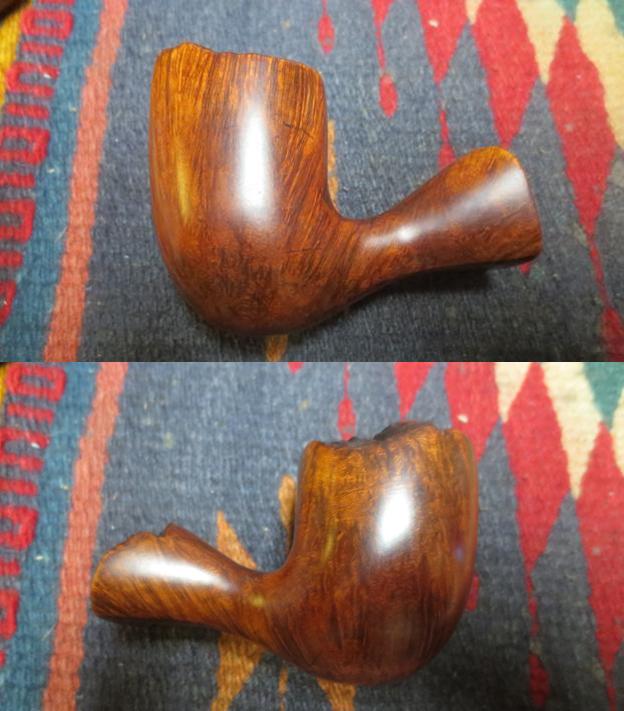
Strolling from the living room to the “workshop” (my bedroom still, for now, but next month or November at the latest I’ll start paying an old-time rent control-level extra charge for the spare third bedroom in the house and begin assembling the proper tools for this work), I plugged in the electric buffer. Before that, I asked the cats to leave, which they did because for some reason they don’t like the noise of the machine. I closed the door and freshened the brown Tripoli wheel I’ve been using to give more luster to the wood, made sure there were no papers or other light objects that might blow away nearby, and turned on the juice. The whir of a wood buffing wheel is one of the happiest sounds I know. Lightly turning the wooden stummel with confident firmness over the spinning cloth buffer is likewise one of the finest feelings, because of the completion it brings to another project.
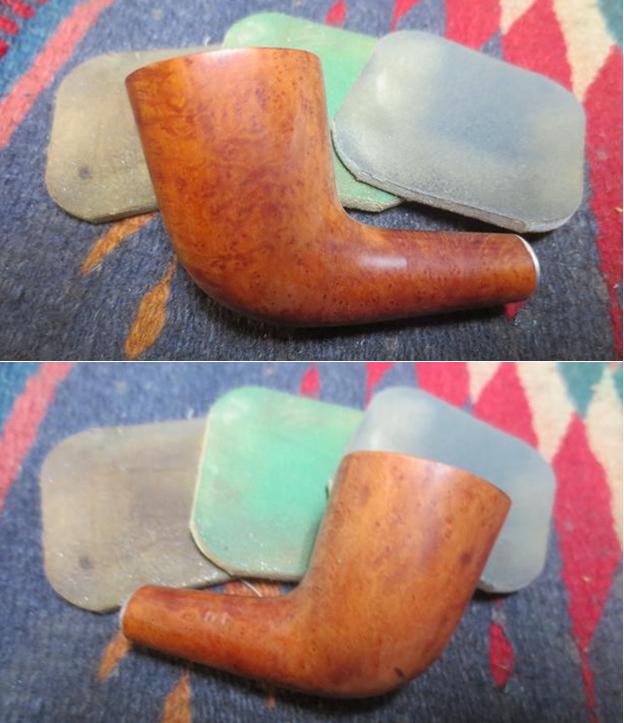
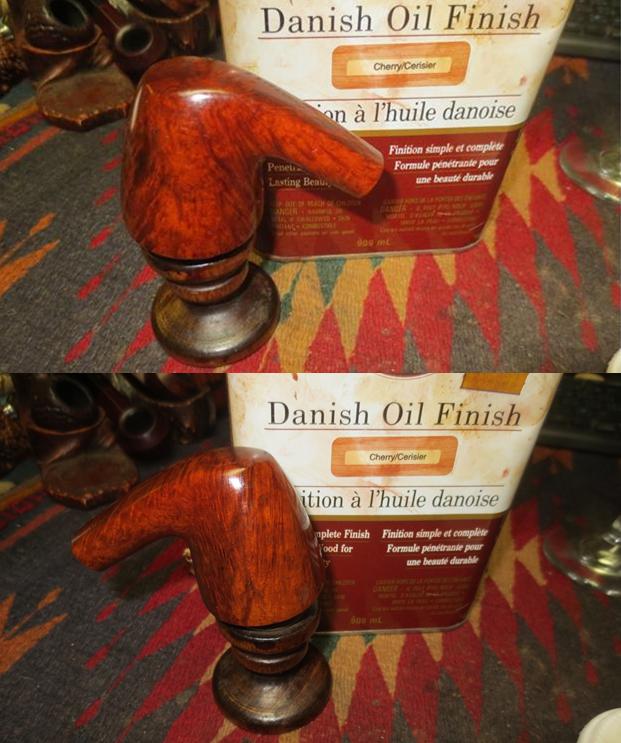
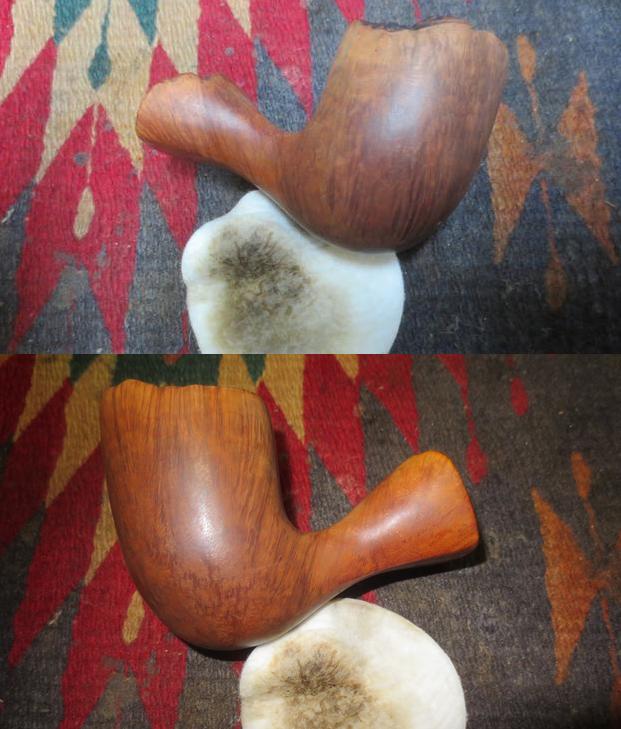
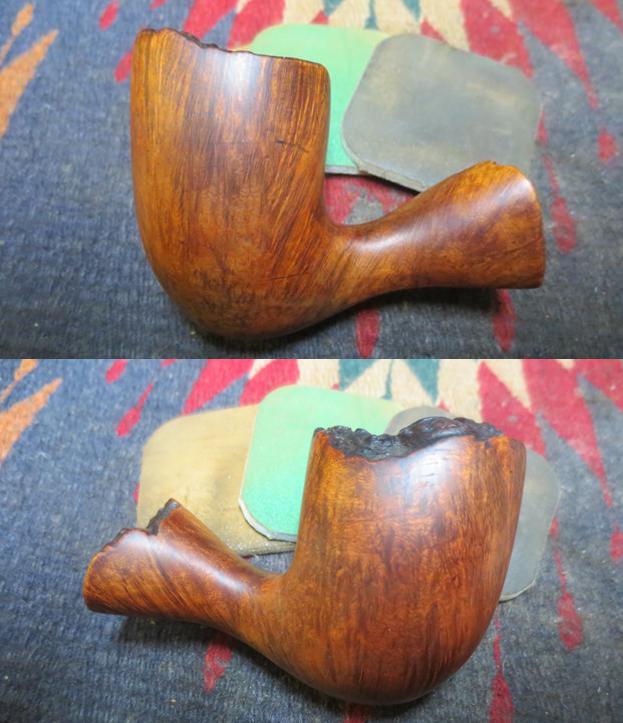
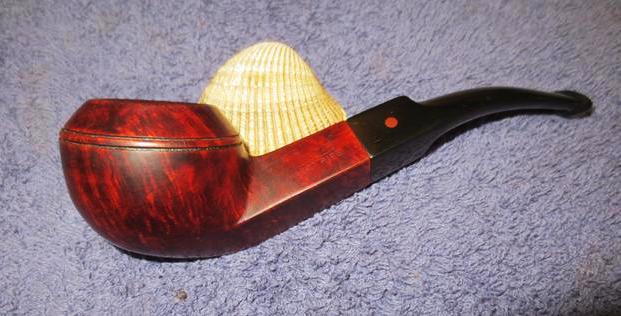
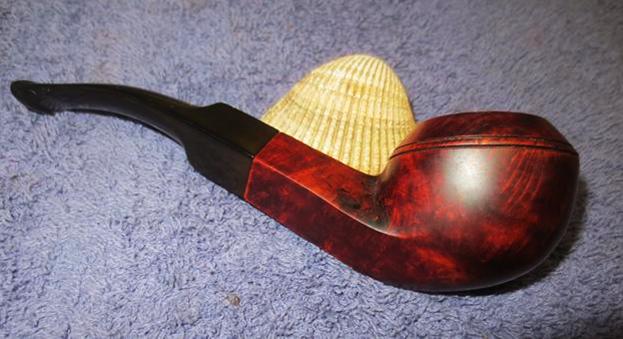
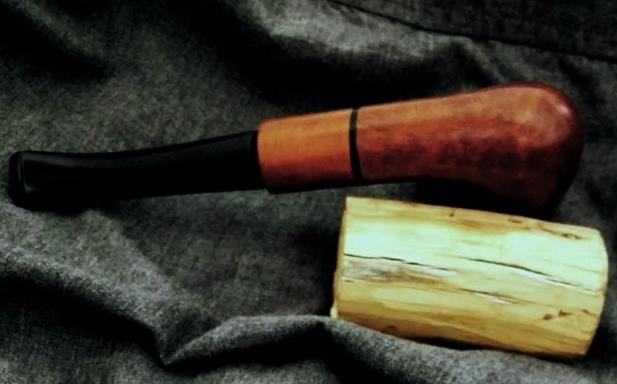
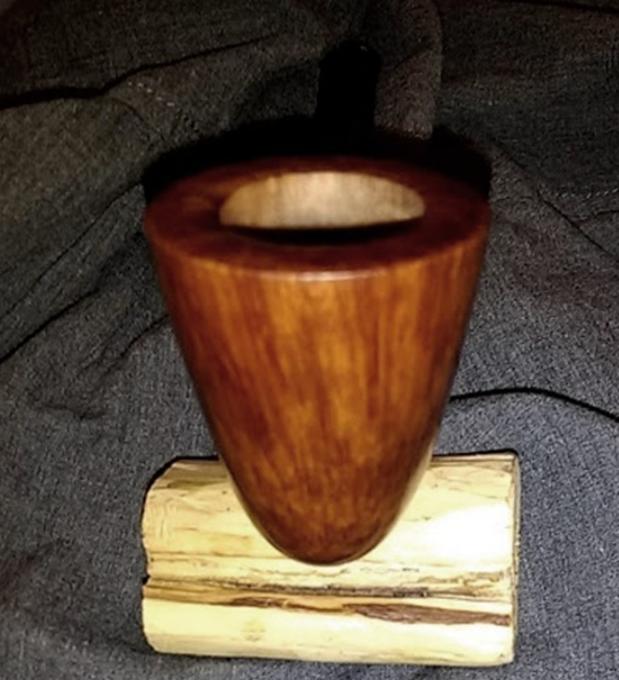
The brown Tripoli buffing finished, I wrapped a clean cotton cloth around the wood and, with both hands, worked the excess compound and a couple of streaks, part of it deeper into the stummel and the rest onto the cloth. I’ve been doing this lately instead of the alternative clean buffing wheel method, and it works just as well. Then I repeated the process with a coat of Carnauba wax, and after rubbing it with another cotton cloth gave it one more roll on the Carnauba wheel before the final rub-down. I buffed the stem with a single coat of Carnauba and rubbed it smooth of excess wax. For now, it is aligned with the shank as close to an army mount as I could approximate with a regular narrow tapered stem.

CONCLUSION
 René Magritte had a brilliant, often hilarious imagination fueled by his wild, wicked (as my generation used it to mean “awesome” or “totally [rad]”) sense of humor, even if he apparently didn’t smoke a pipe – or anything else. Take a close look at this photo of him as a young man, cribbed from Pinterest, and you’ll see the cigarette in his mouth appears to be backward, if it’s a cigarette at all and not a pencil. If I had to guess, and I do, I would say he appreciated the beauty of everything in life as he saw it. Pipes being a big part of culture during Magritte’s too-short time in this world before he moved on to the Totally Surreal Higher Place, my take on the painting I used as an atypical opening quote is that it is at the very least double-edged: the artist’s rendering of a pipe in a piece of art does not make it a pipe, and the conspicuously bland billiard he chose to create with paint and paper, without doubt using the greatest consideration of the multitude of options available to his ingenious mind, is something one might find on a basic pipe chart if they were as well illustrated as this work. That is why I chose the subtle example of the surreal to open this blog. Look at any pipe made by Capitello, and if you speak French, you would exclaim, “C’est une pipe [That’s a pipe]!”
SOURCES
http://www.pipephil.eu/logos/en/logo-c2.html
https://dutchpipesmoker.wordpress.com/tag/oil-curing/
https://patentscope.wipo.int/search/en/result.jsf
http://loringpage.com/pipearticles/First%20Shell.htm
https://pipedia.org/wiki/Dunhill
http://www.pipephil.eu/logos/en/infos/wax-drip-pipes.html