Blog by Steve Laug
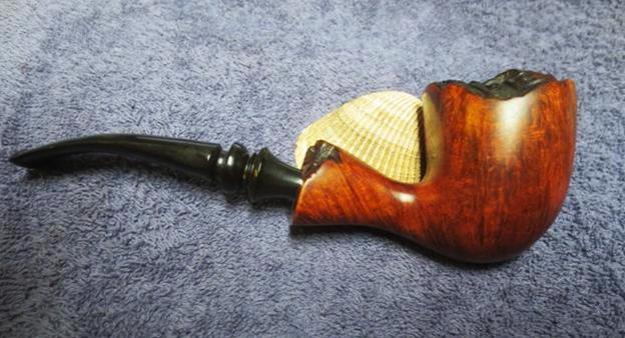
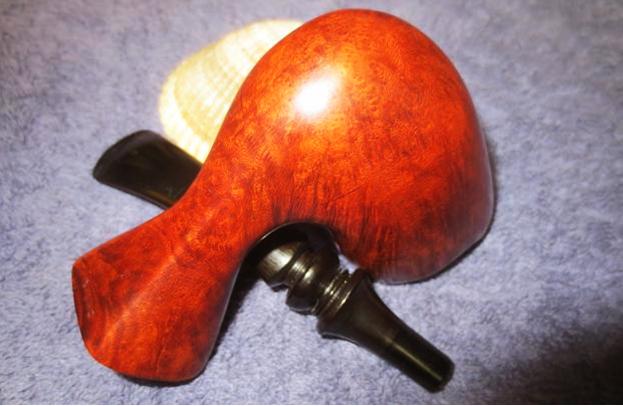
This old freehand was in the box of pipes that came from my friend Steve in Dawson Creek. It is one of the lot he sent for me to chip away at in my spare time. Today was the day for that chipping away to happen. I pulled out five of the remaining seven pipes and worked on all of them today. This one reminds me of a 70s era freehand. It is a lot like one of the old ones that I had years ago. It is stamped on the underside of the shank next to the stem shank junction with the letters CHP-X over the number 3. It is a large freehand with a chair leg style stem. The bowl is heavily caked and there is overflow of tars and cake onto the plateau of the rim top. The plateau on the top side of the shank is also filled with grime and grit. The finish on the bowl is worn and dirty. I it was originally a virgin finish or if not possibly oiled. The stem is oxidized and has light tooth chatter. From my research this pipe was made in the United States by Michael Kabik before 1973. It was named after Chuck Holiday who was a pipe maker that Kabik bought his shop from. The photos show the condition of the pipe before I began the restoration work.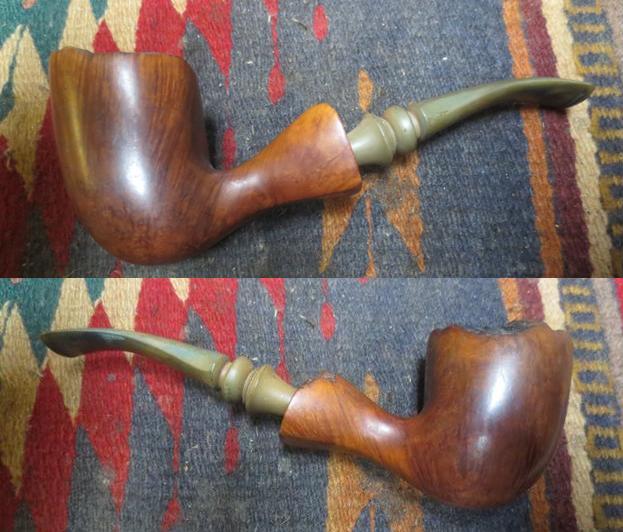
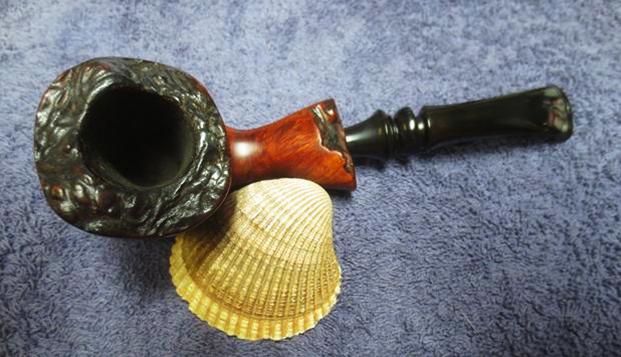
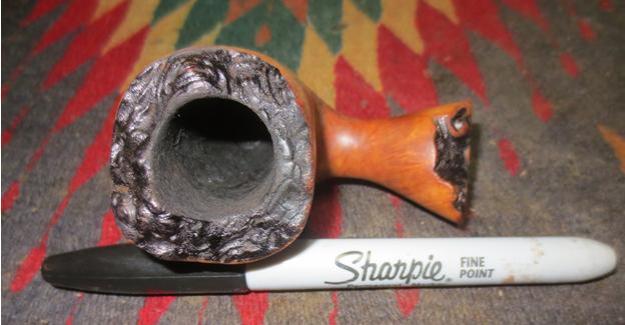
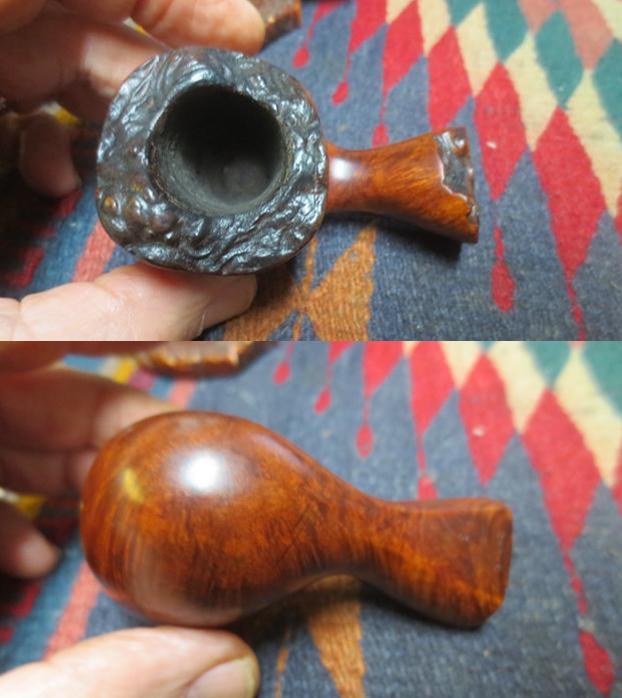
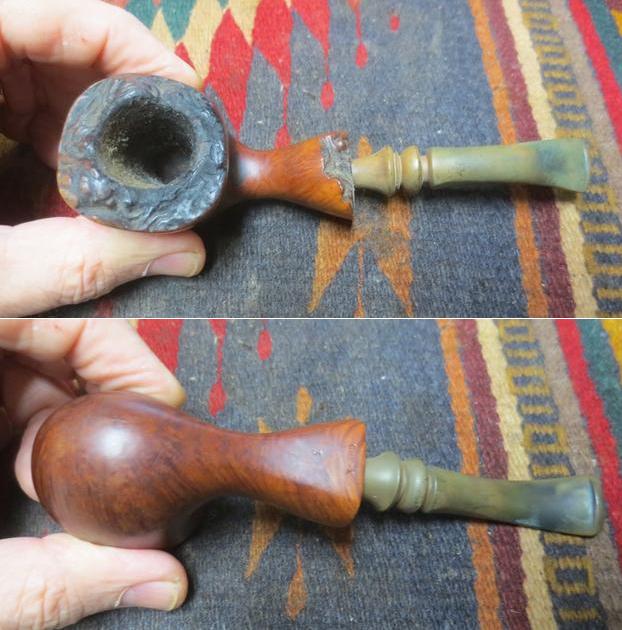 The cake in the bowl and the heavy coat of lava overflowing onto the plateau top of the rim are shown in the close up photo below. It is really a mess at this point.
 The stem was heavily oxidized and the button on the top side of the stem was worn. There were tooth marks and tooth chatter on both sides of the stem near the button. The grooves of the chair leg stem were very oxidized.
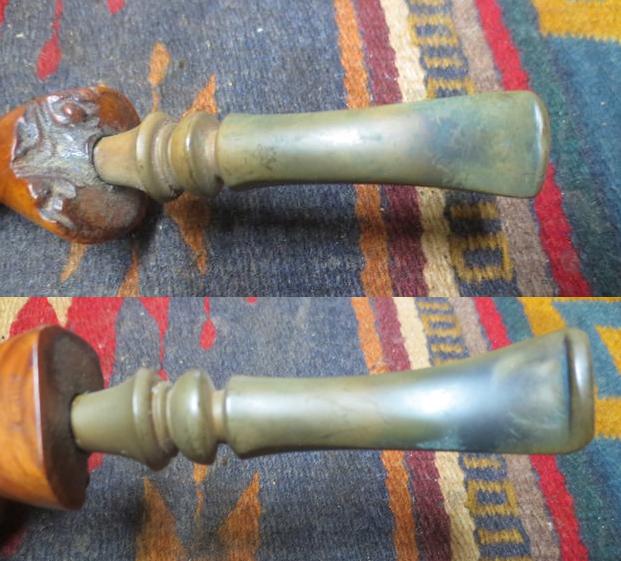 I put the stem in the Before & After Pipe Stem Deoxidizer bath to soak with the other stems from Steve’s pipes. While they soaked I worked on the five bowls that went with them.
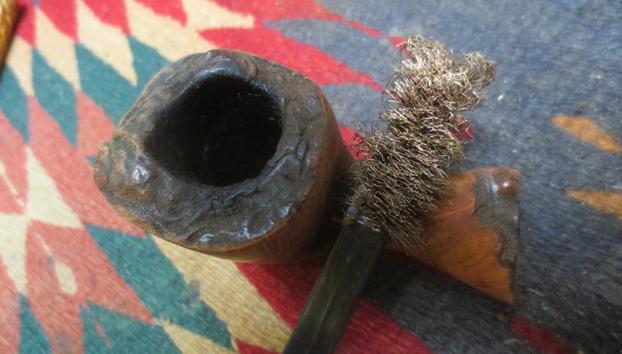
 I reamed the bowl with a PipNet Reamer starting with the smallest cutting head and working my way up to the second head which was the same size as the bowl. I cleaned up the reaming with a Savinelli Fitsall Pipe Knife. I took the cake back to bare briar. I used a brass bristle brush to clean up the lava buildup on the rim top. I scrubbed the rim until it was debris free.
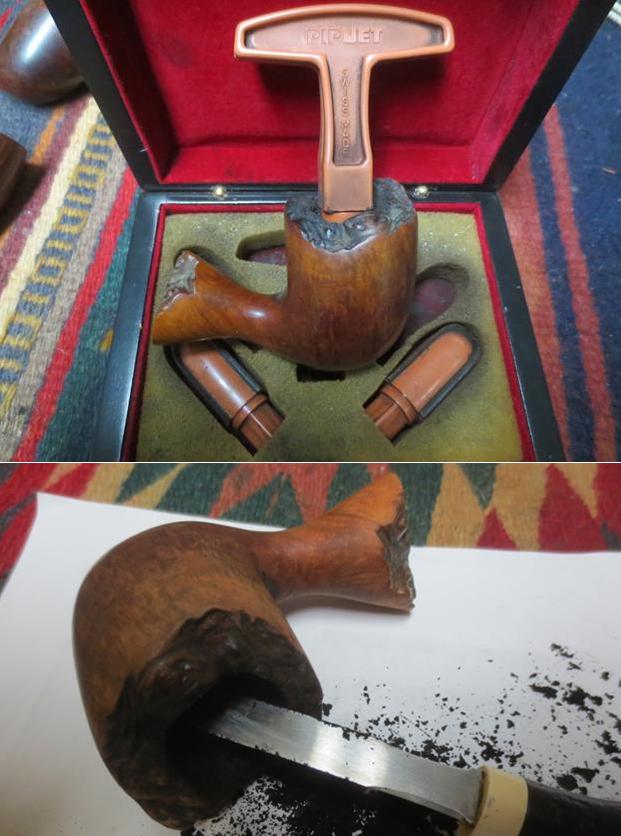
 I scrubbed the exterior of the bowl and shank with Murphy’s Oil Soap and scrubbed the plateau top on the rim and the end of the shank using a tooth brush. I rinsed the bowl under running water and continued to scrub it until it was clean and the plateau was clearly defined.
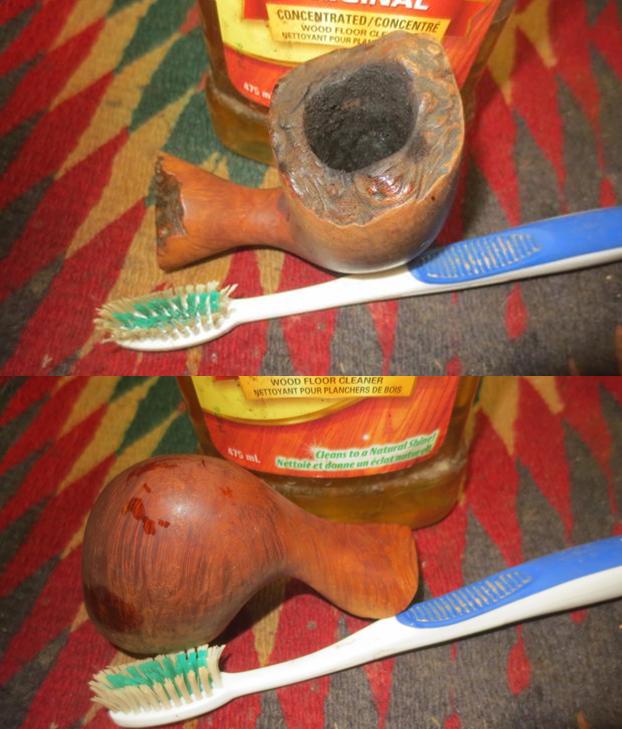 I wiped the bowl and plateau down with alcohol on a cotton pad in preparation for staining the plateau. I use a black Sharpie Pen to colour in the valleys and crevices in the plateau and leave the high spots lighter. I don’t worry too much about staining them as I will buff the top and remove the stain from the high spots before I am finished.
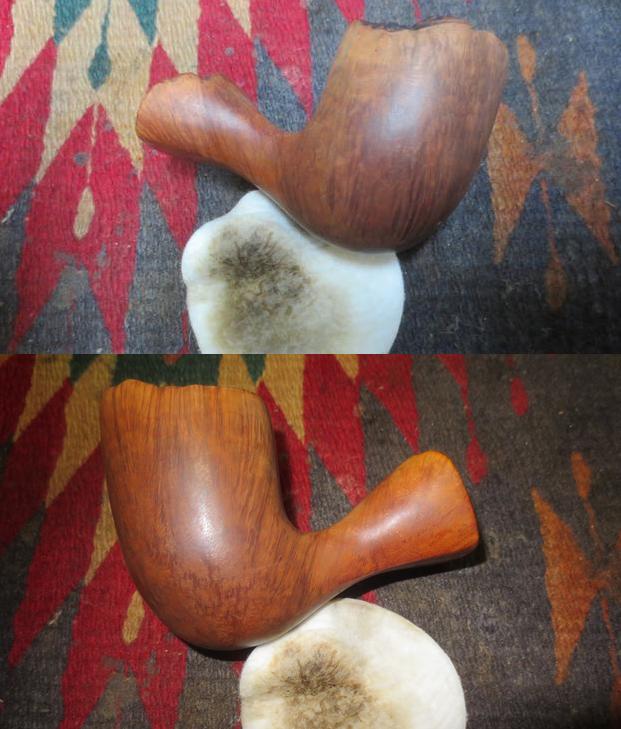
 To me the briar looked lifeless and the natural colour did not do justice to the beautiful grain that was present on the bowl. I decided to stain it with a dark brown aniline stain and flame it to set it in the briar. I repeated the process until I had an even coverage around the smooth portions of the pipe bowl. I left the plateau areas untouched by the dark brown stain.
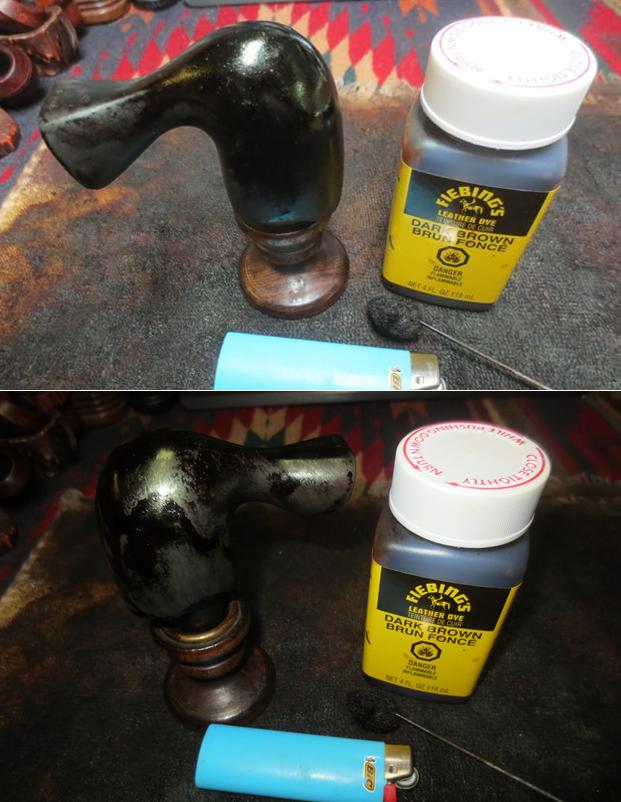 After the stain had dried for about 30 minutes I wiped the bowl down with alcohol on cotton pads to remove some of the heaviness of the brown and make the colour a bit more transparent. I still need to do a lot more but this was the start of the process.
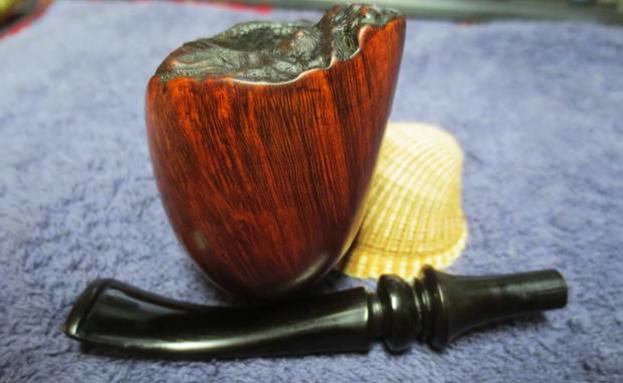
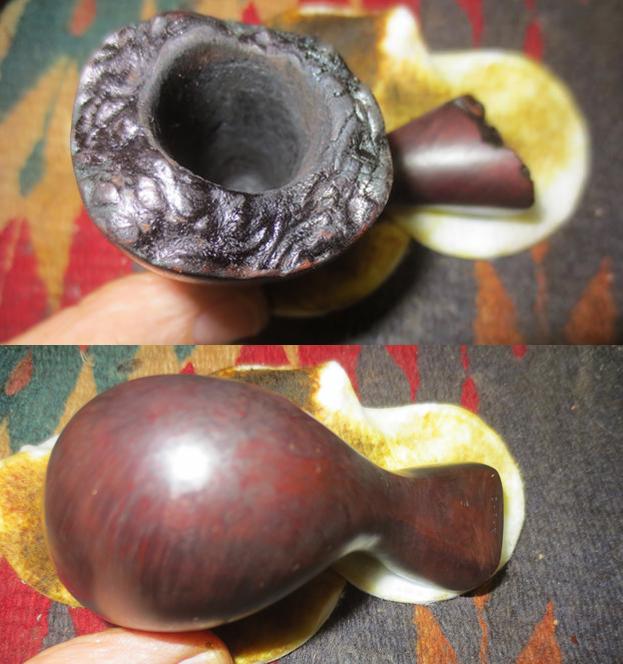 I sanded the smooth portions of the bowl with a medium and a fine grit sanding sponge and followed that with 1500-2400 grit micromesh sanding pads. I wiped the bowl down with alcohol on a cotton pad after each stage of the sanding process. The photos below show the bowl beginning to come to life.
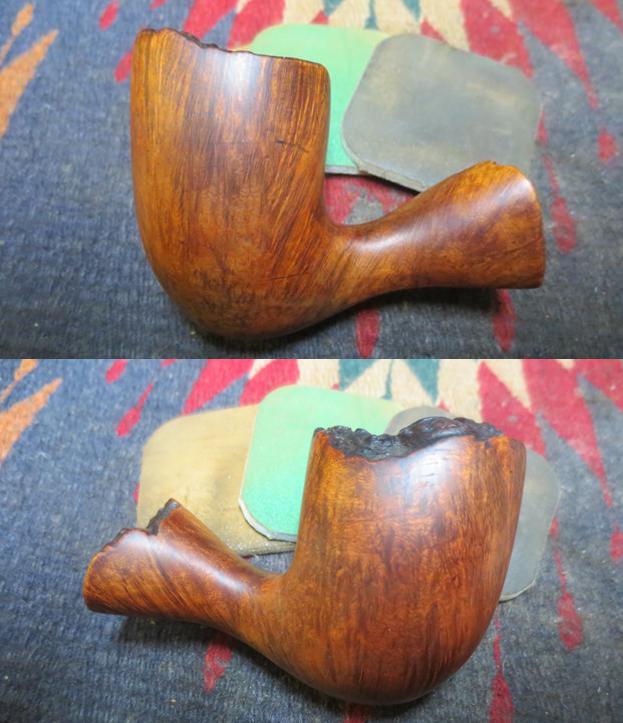
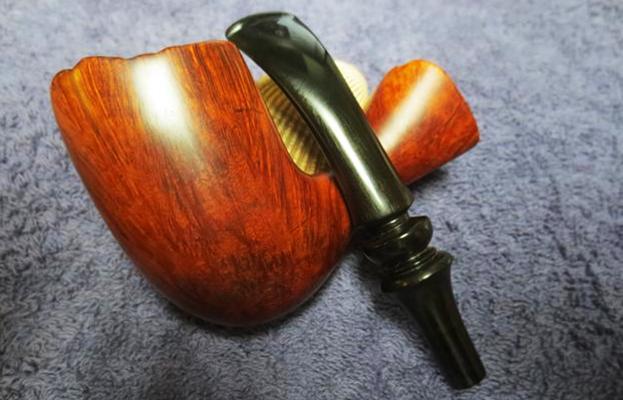
 To give the grain the kind of pop I wanted and to really set off the dark lines of the straight grain I decided to rub the bowl down with several coats of Danish Oil with Cherry stain. I apply the stain with a cotton pad and rubbed it down over the entire surface of the bowl including the plateau areas. I wanted the reds to penetrate into the nooks and crannies of the plateau to give the surface some flashes of colour and contrast.
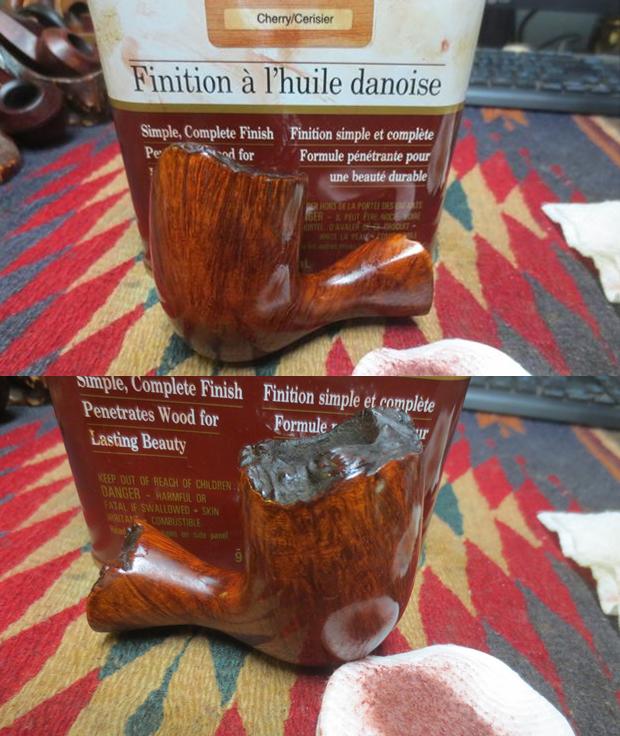
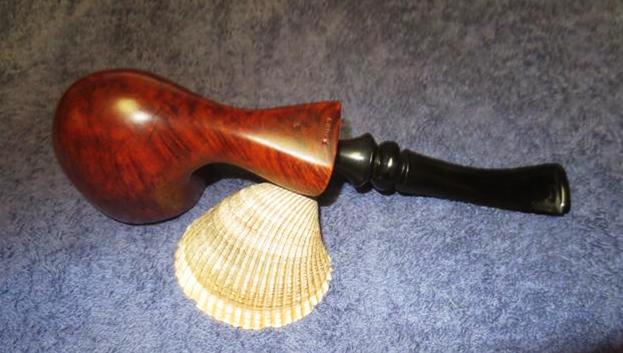
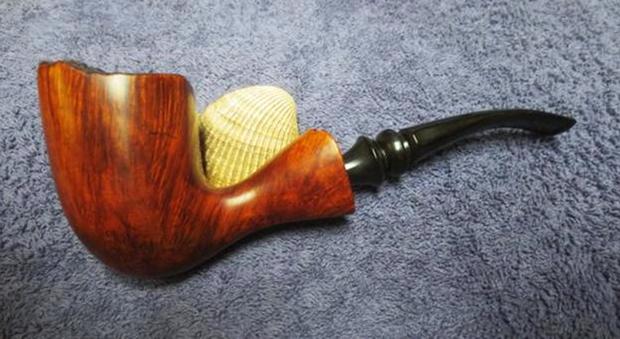
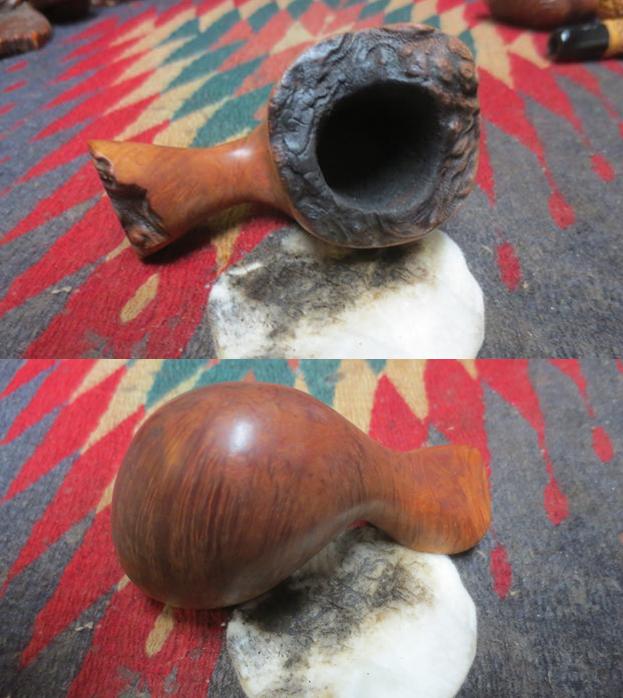
 I buffed it on the wheel and took the following photos to show the condition of the bowl at this point in the process.
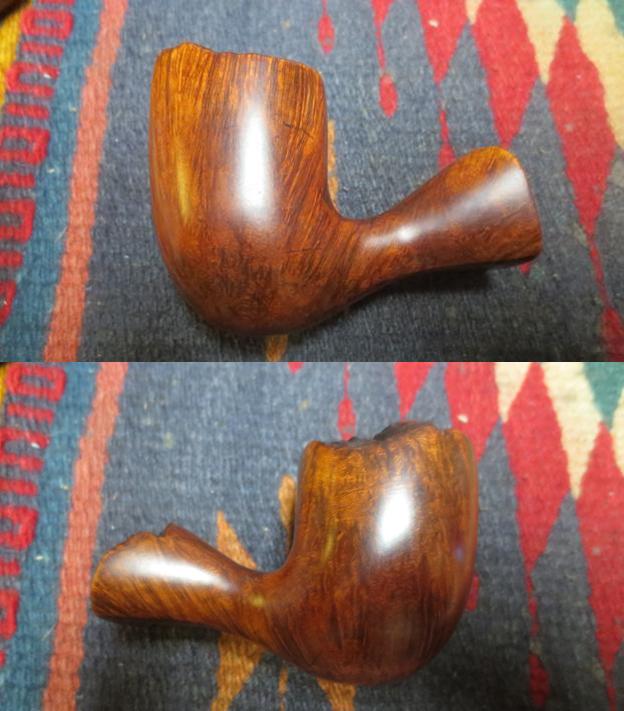
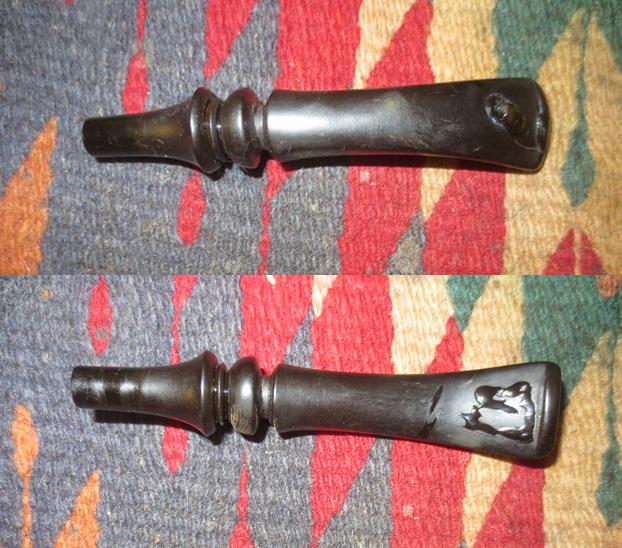
 I took the stem out of the Before & After Pipe Stem Deoxidizer bath and wiped it off with a clean paper towel. The first two photos below show the stem after the 24 hour soak. The stem was very clean and the tooth dents. a potential hairline crack and marks are shown in the photos below. These dents were deep enough that I chose to fill them with clear super glue and set the stem aside to let the repairs cure. The third and fourth photos show the repairs on both surfaces of the stem.
 When the repair dried I sanded the stem with 220 grit sandpaper to flatten out the glue and blend it into the surface of the vulcanite. I cleaned out the airway and slot in the stem with pipe cleaners and alcohol. There was some Before & After Pipe Stem Deoxidizer from the bath in the airway and debris and tars in it as well. The pipe cleaners took care of that fairly quickly. I used a needle file to recut the sharp edge of the button. During the filing and clean up I noticed what looked like a small crack in the top of the stem. I would keep an eye on it as I cleaned things up and repair it if indeed it is a crack.
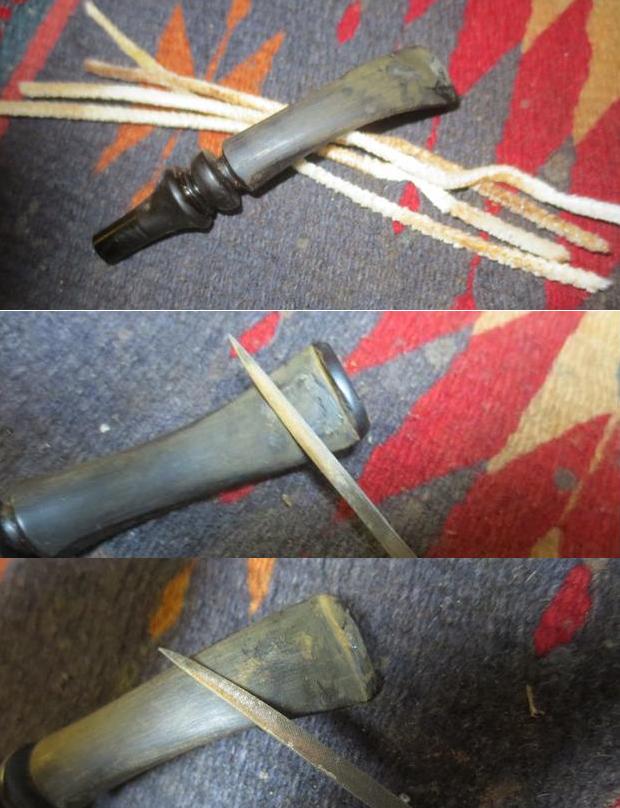 I sanded the stem surface with 220 grit sandpaper to smooth out the repaired areas and blend it into the surface of the stem. I reshaped the button at the same time. There still appeared to be a small crack on the top left side near the button. It was a very tiny hairline crack and was tight so I filled it in with clear super glue and sanded it smooth.
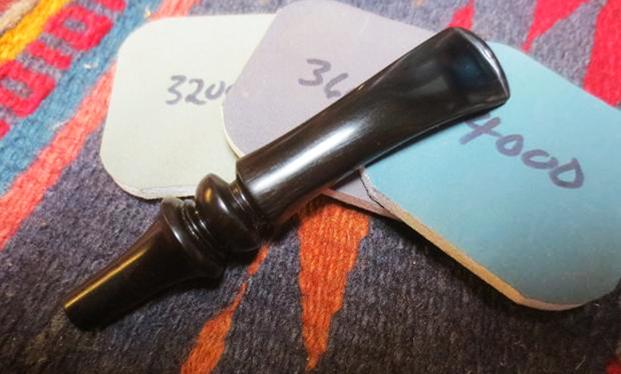
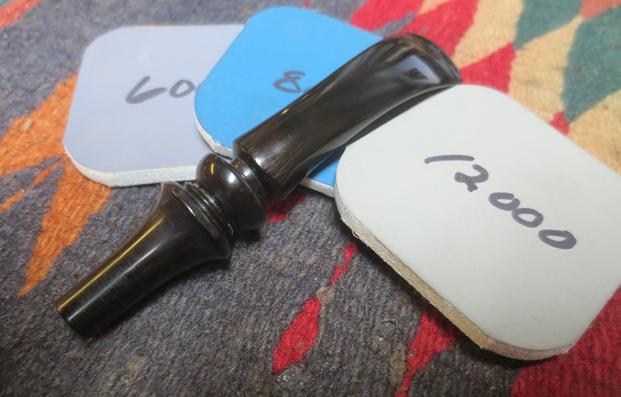
 I polished the stem with micromesh sanding pads – wet sanding with 1500-2400 grit pads (I opened a new package for this pipe) and dry sanding with 3200-12000 grit pads. I rubbed the stem down with Obsidian Oil after each pad. After the 12000 grit pad I gave it another coat of oil and set it aside to dry.
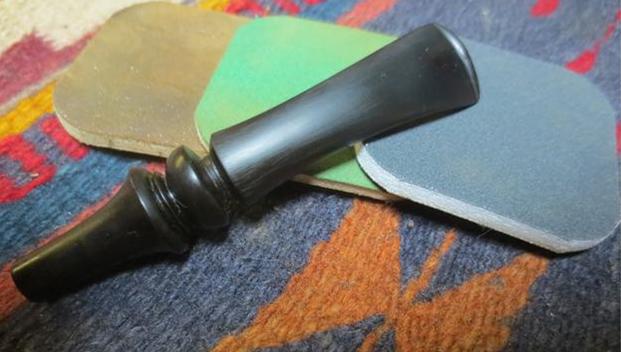
 I put the stem on the bowl and buffed the pipe with Blue Diamond on the buffing wheel. I gave the bowl several coats of carnauba wax and buffed the pipe with a clean buffing pad to raise the shine. I hand buffed it with a microfibre cloth to deepen the shine. The finished pipe is shown in the photos below. It is the third of pipe that I have restored for Steve from this last batch. It is an interesting freehand with some nice grain on it. The stem repair to the hairline crack looks pretty good and should hold up well. I will be putting an extra stem in the package for Steve as well. I think he is going to love this one. Steve, if you are reading this I hope you enjoy this beauty. It will be on its way to you very soon. Thanks for looking.