Tag Archives: sanding a stem

Savinelli deluxe Milano Stack Restemmed & Renewed


Blog by Steve Laug

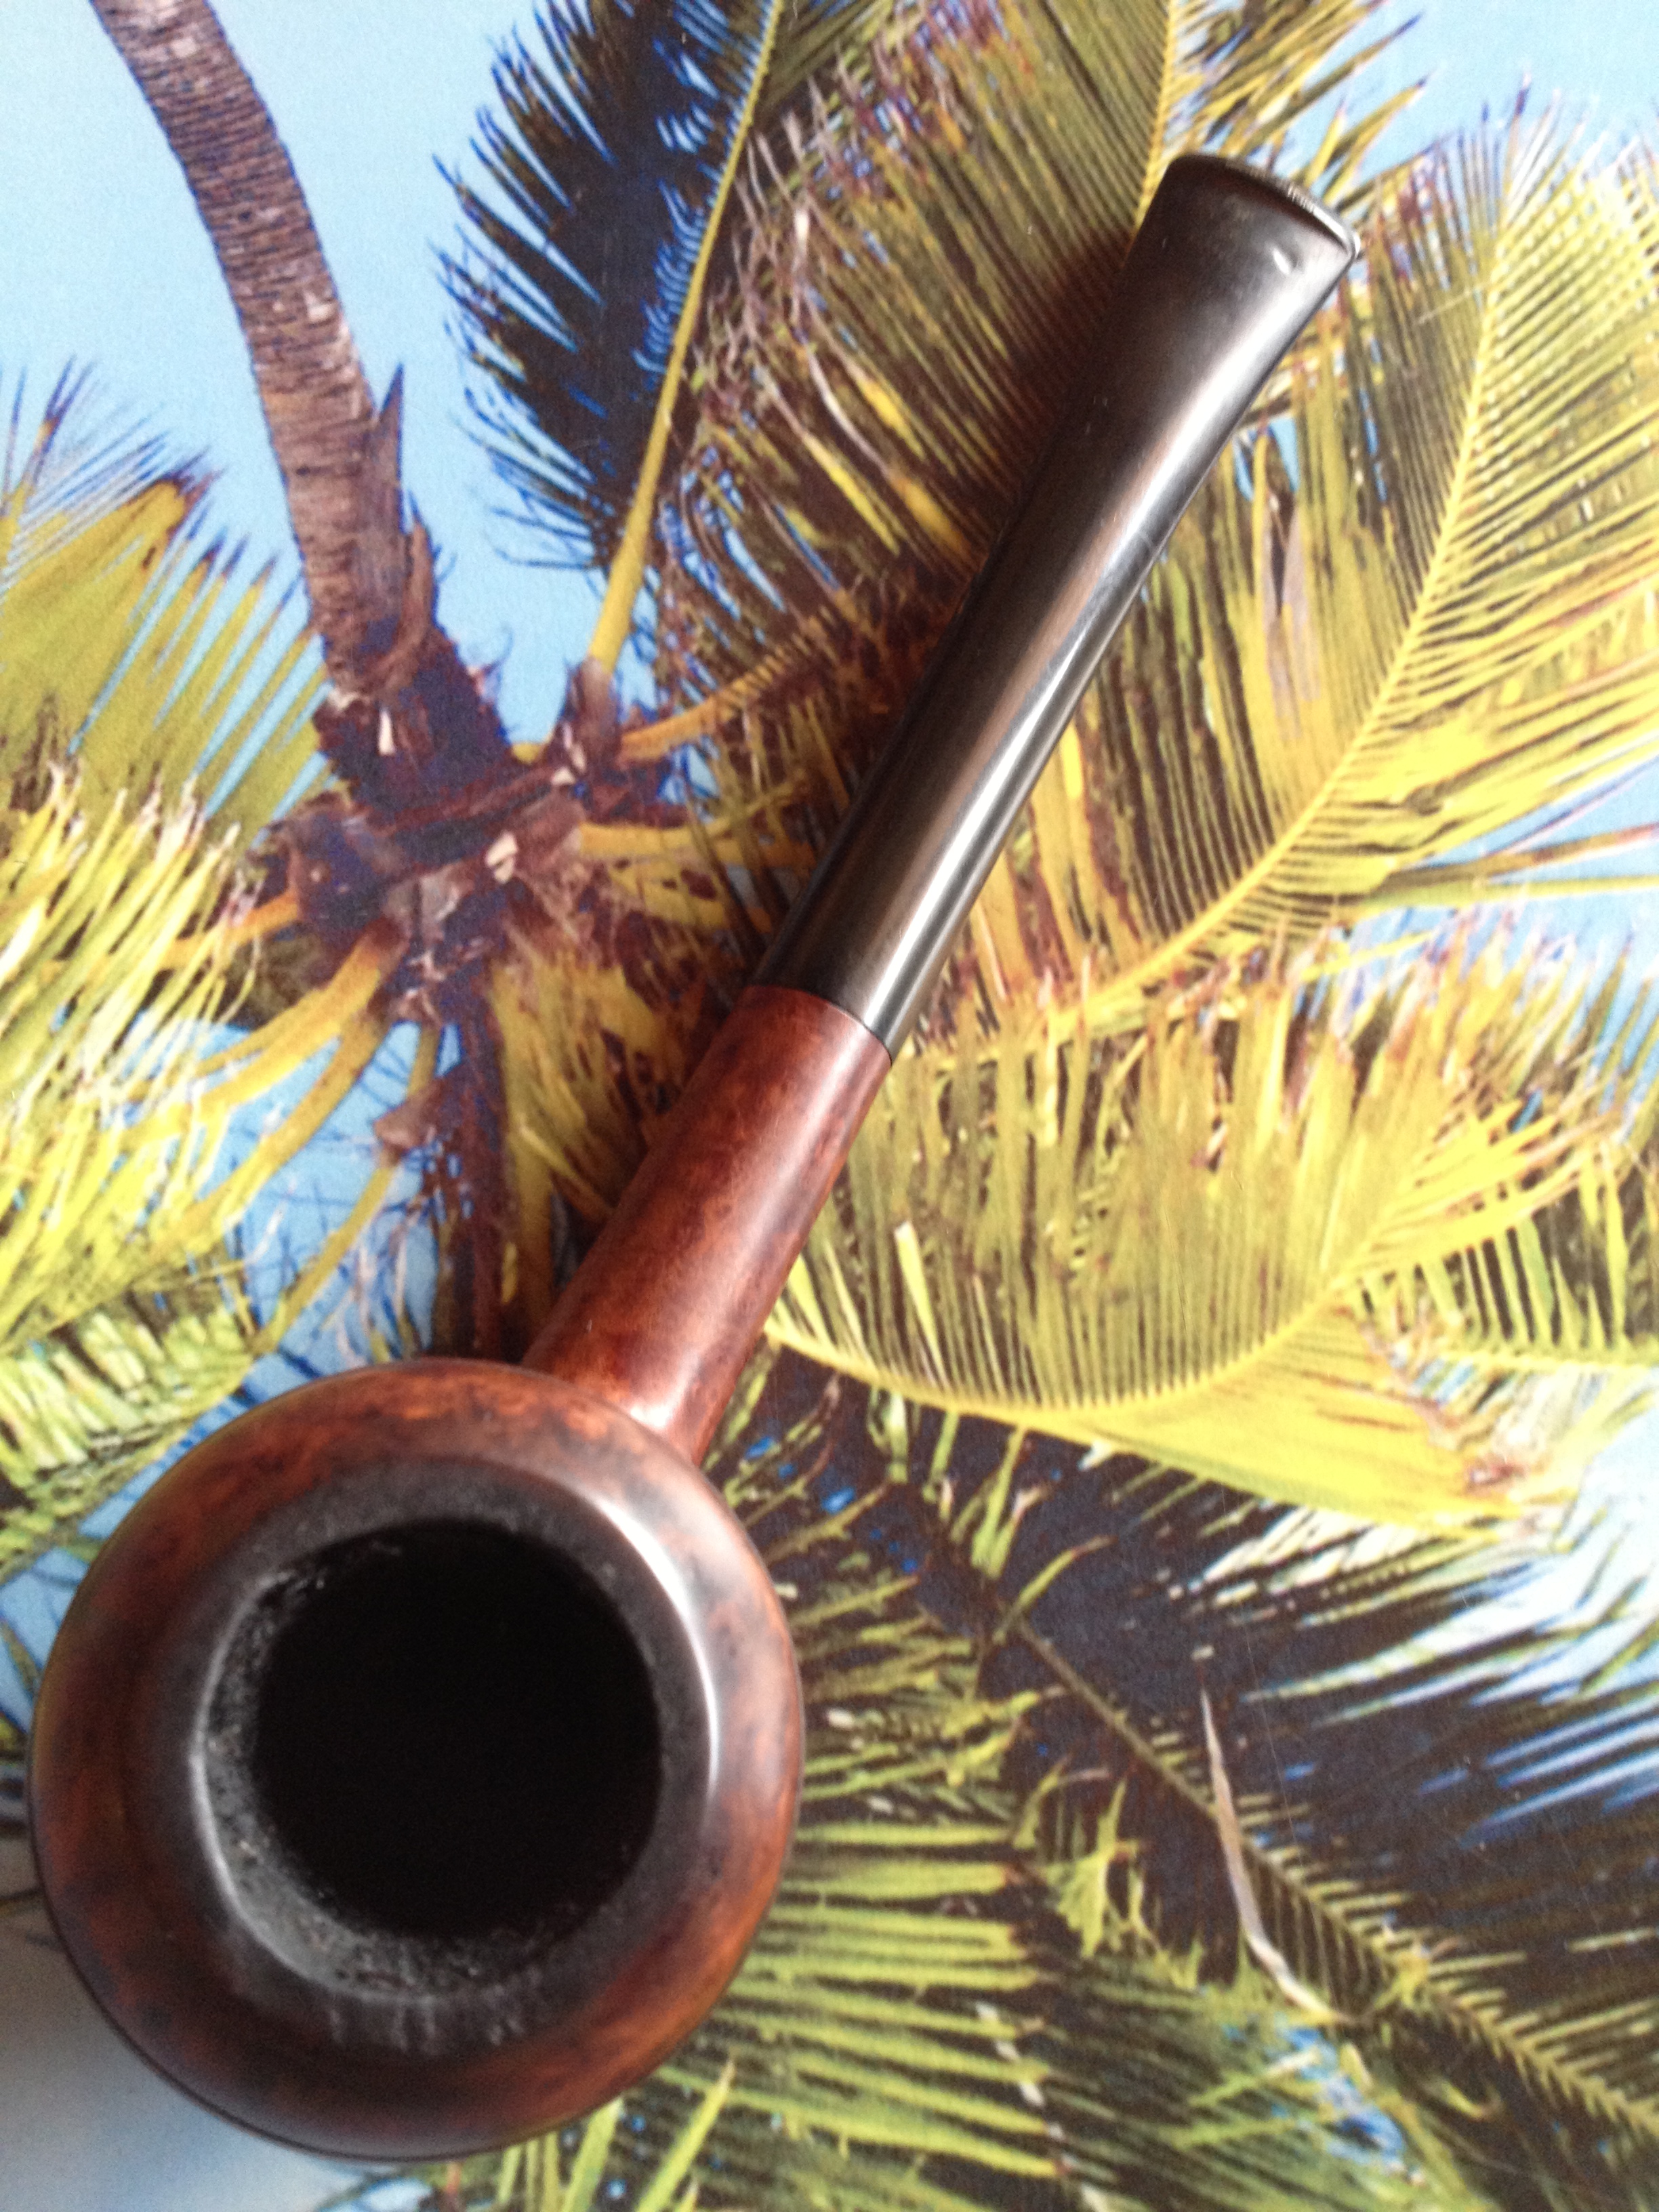
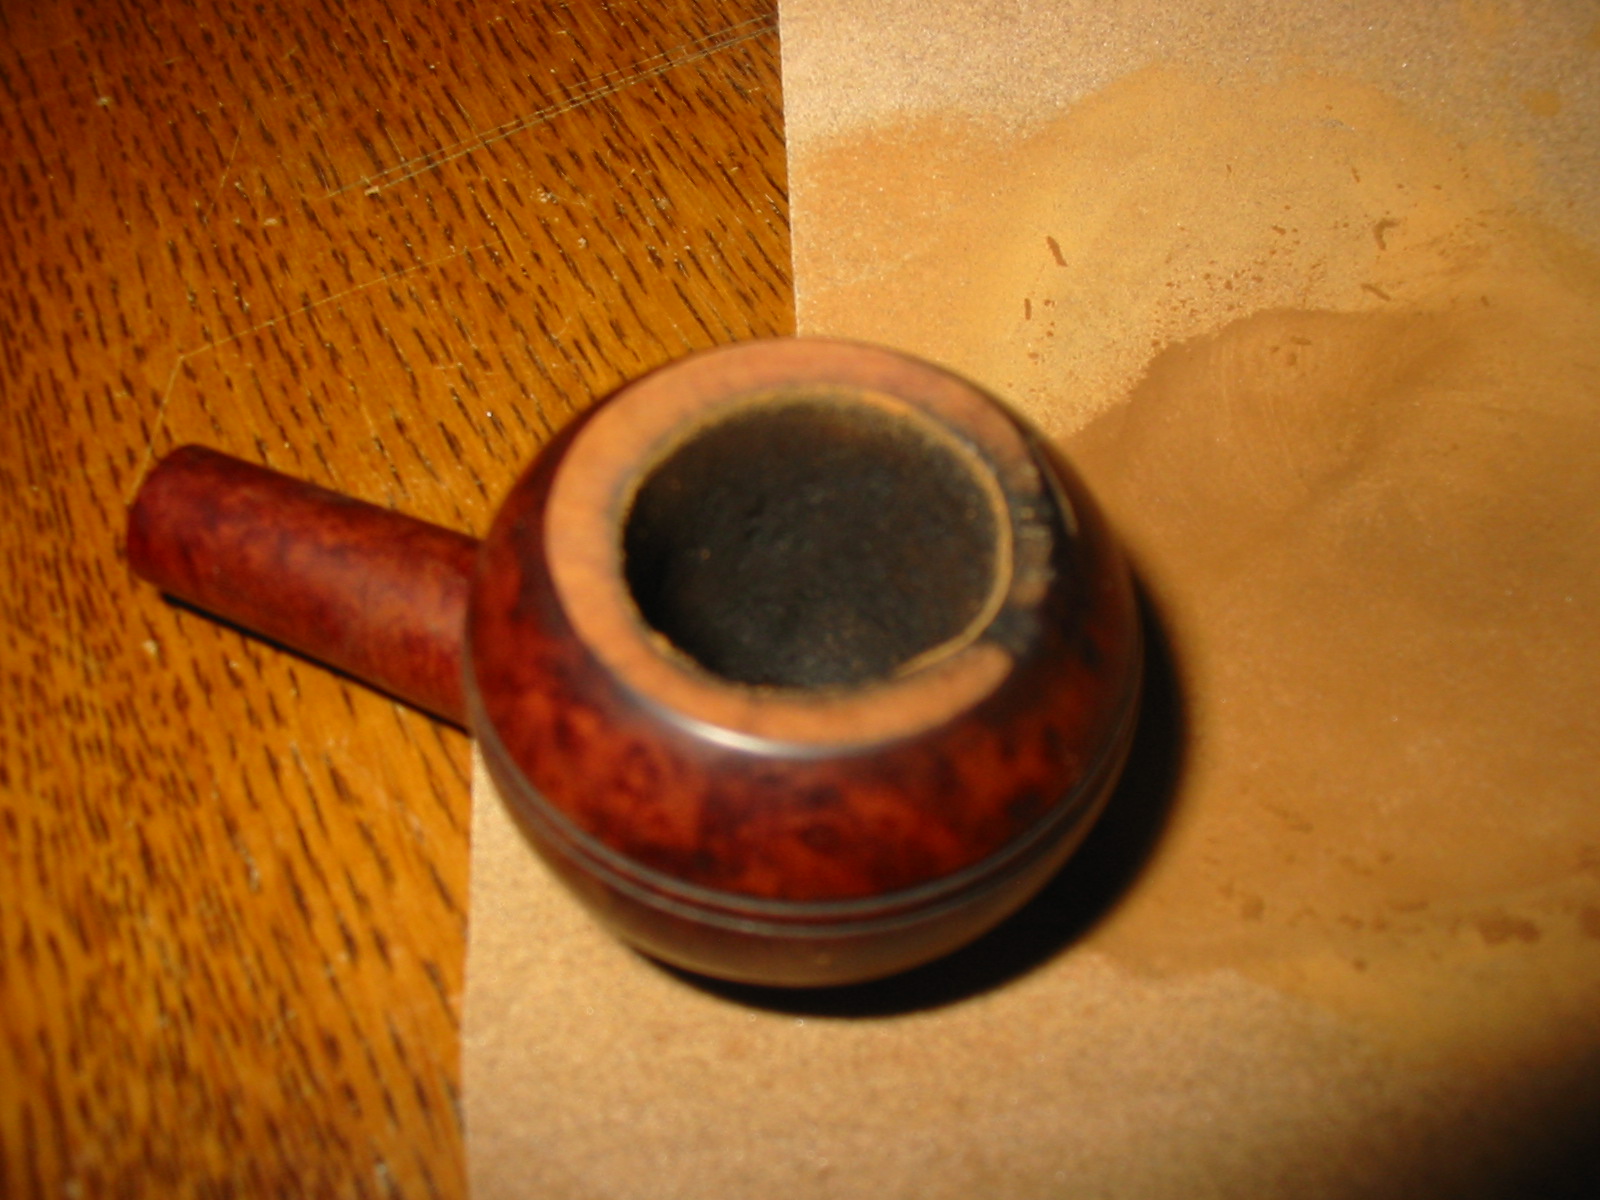
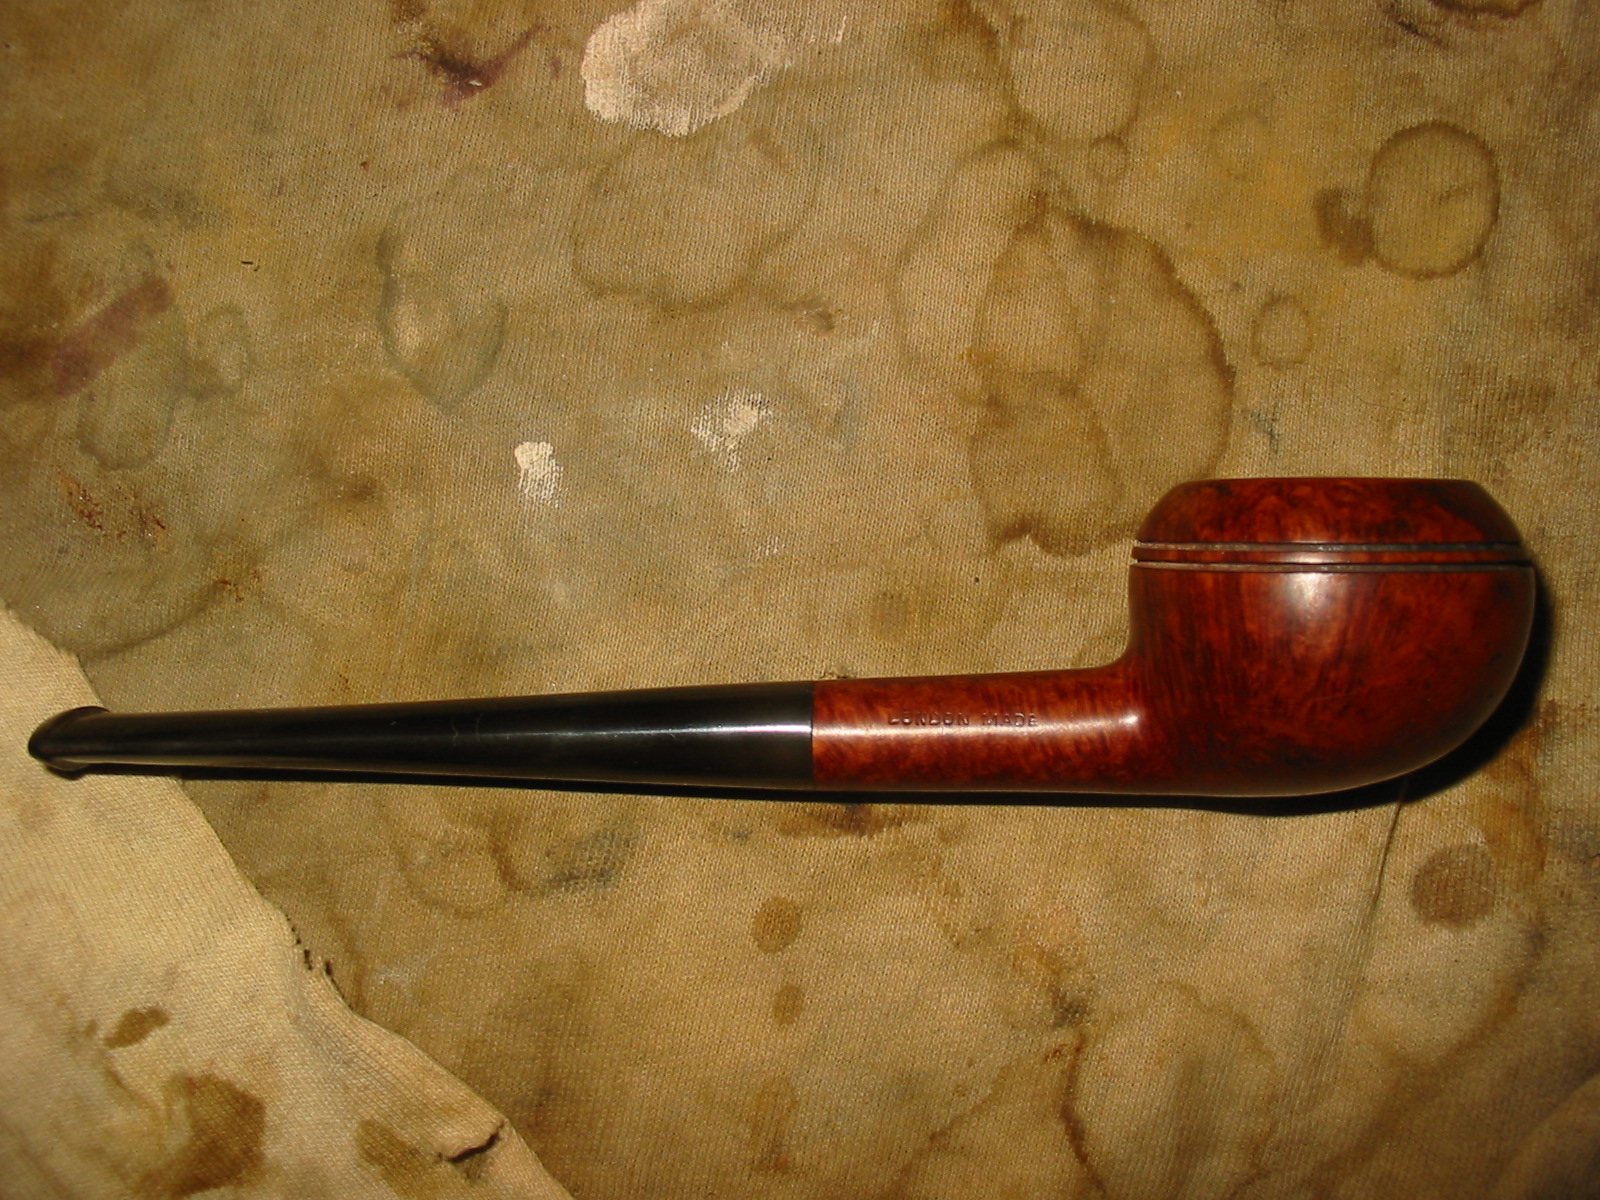
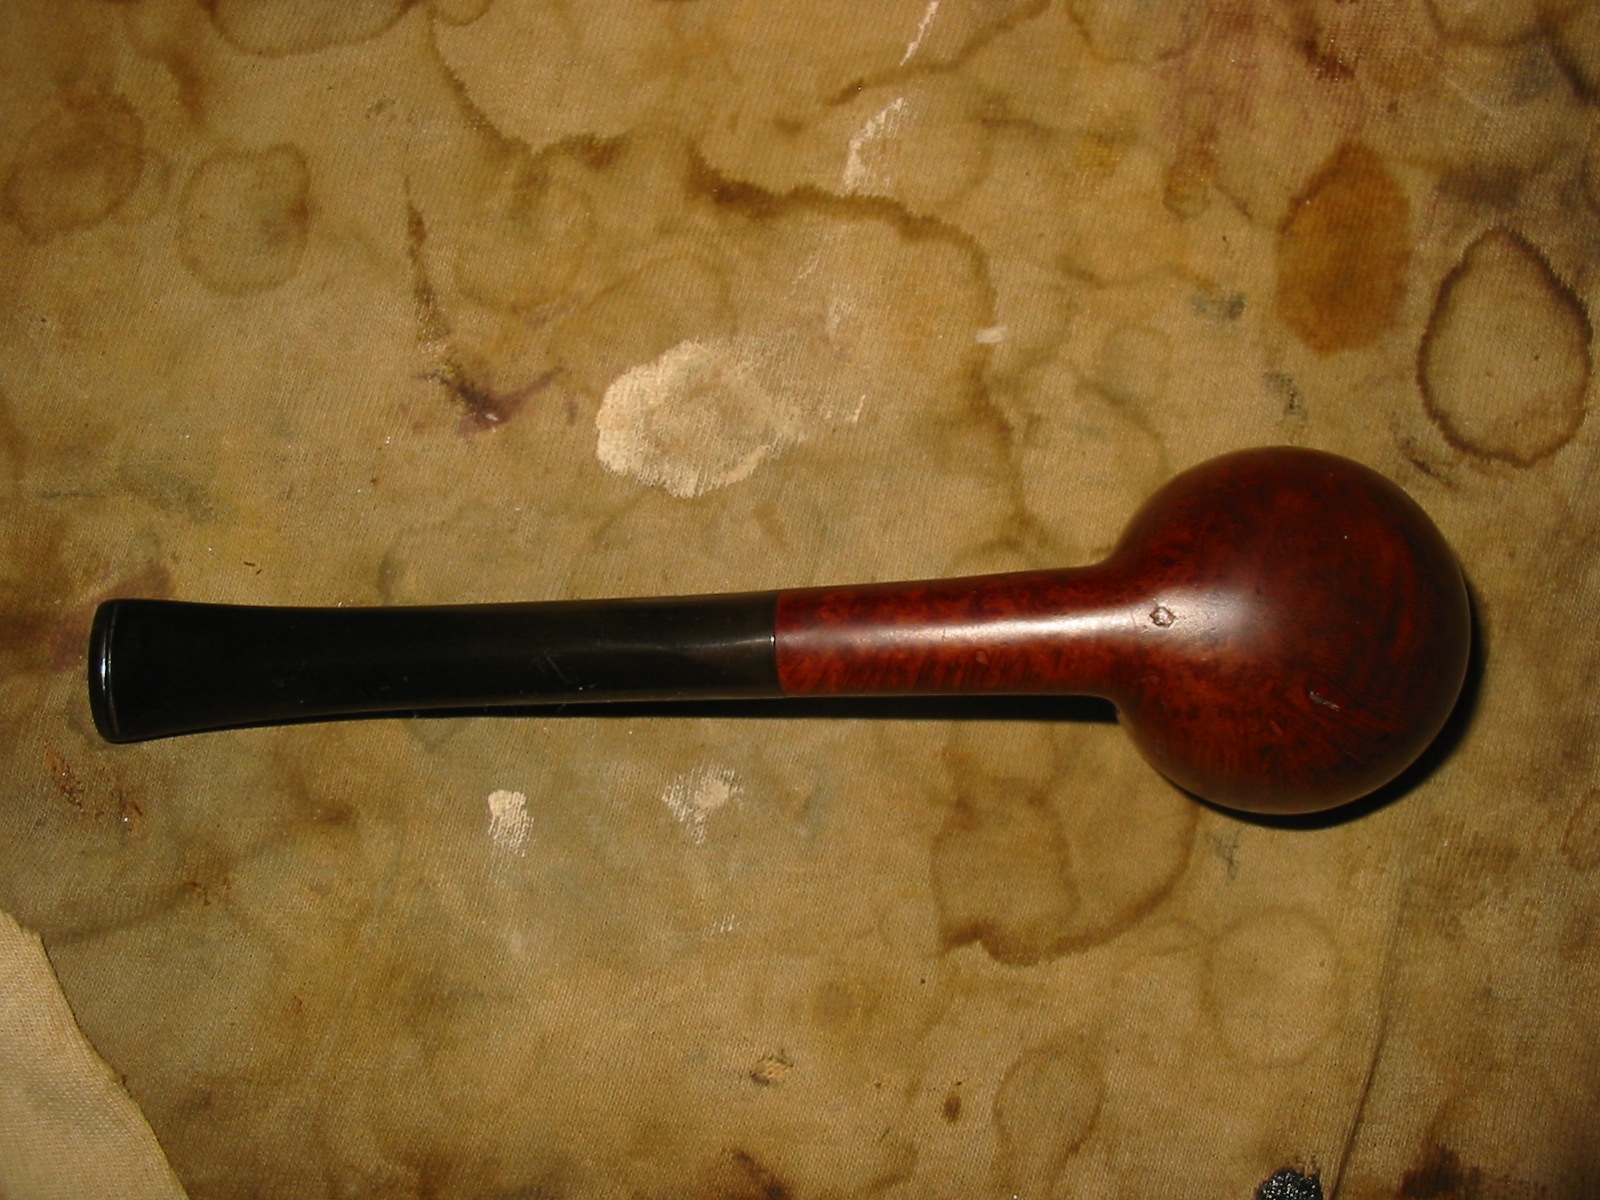
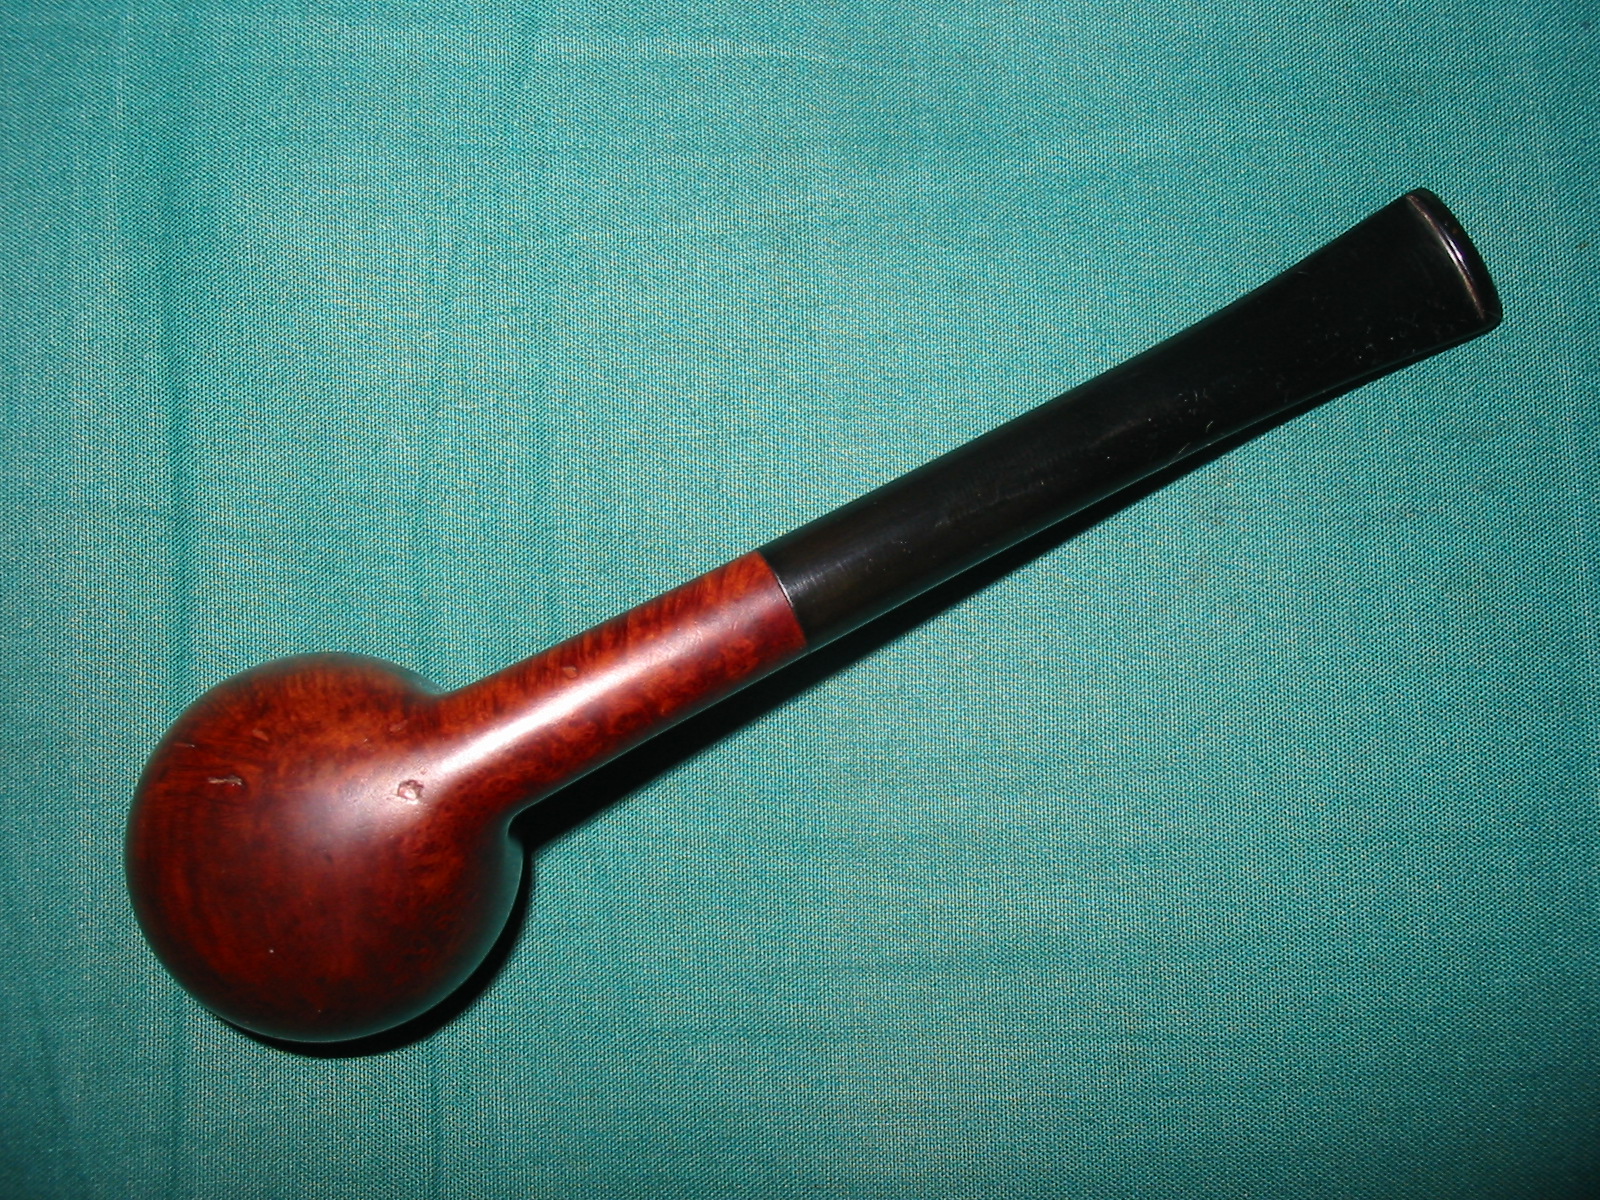
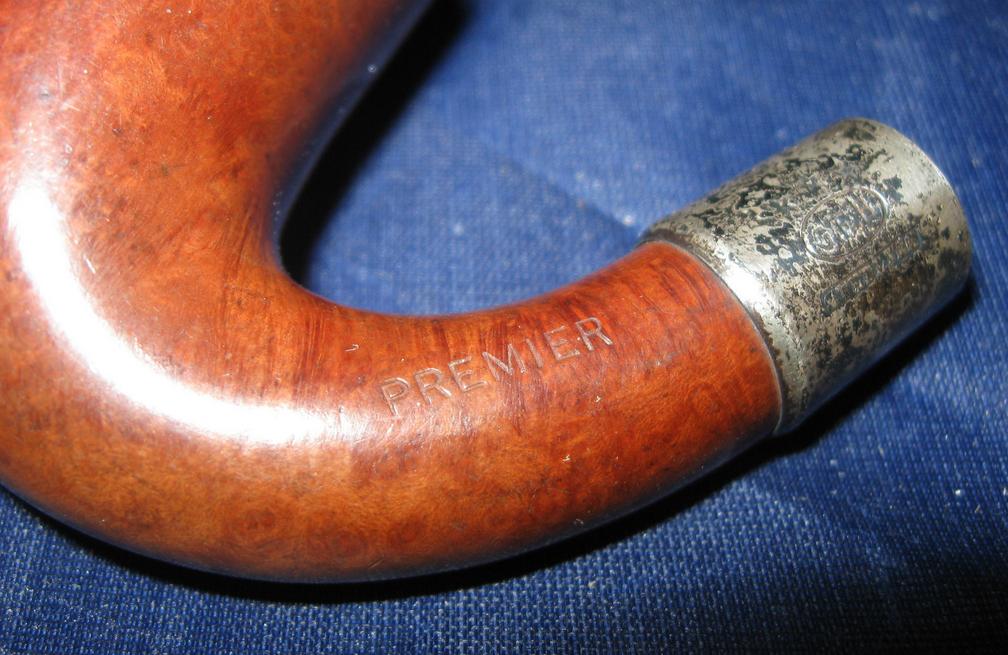
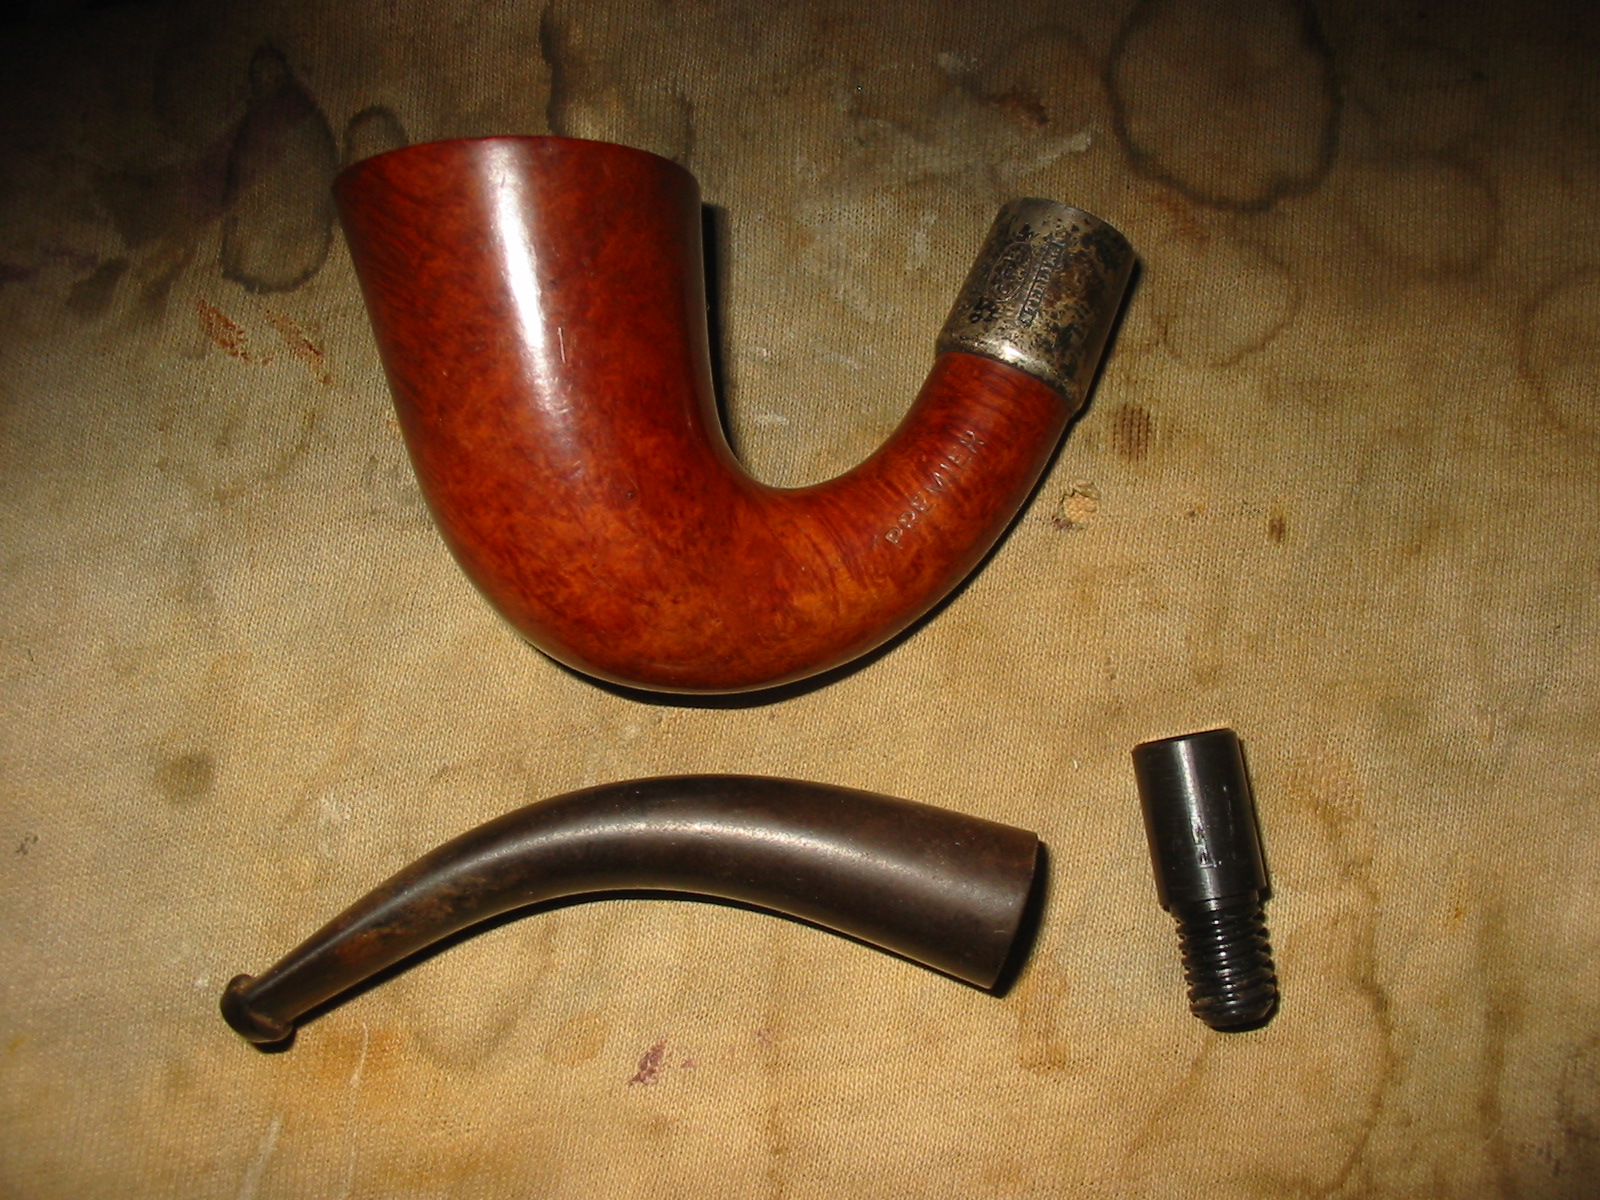
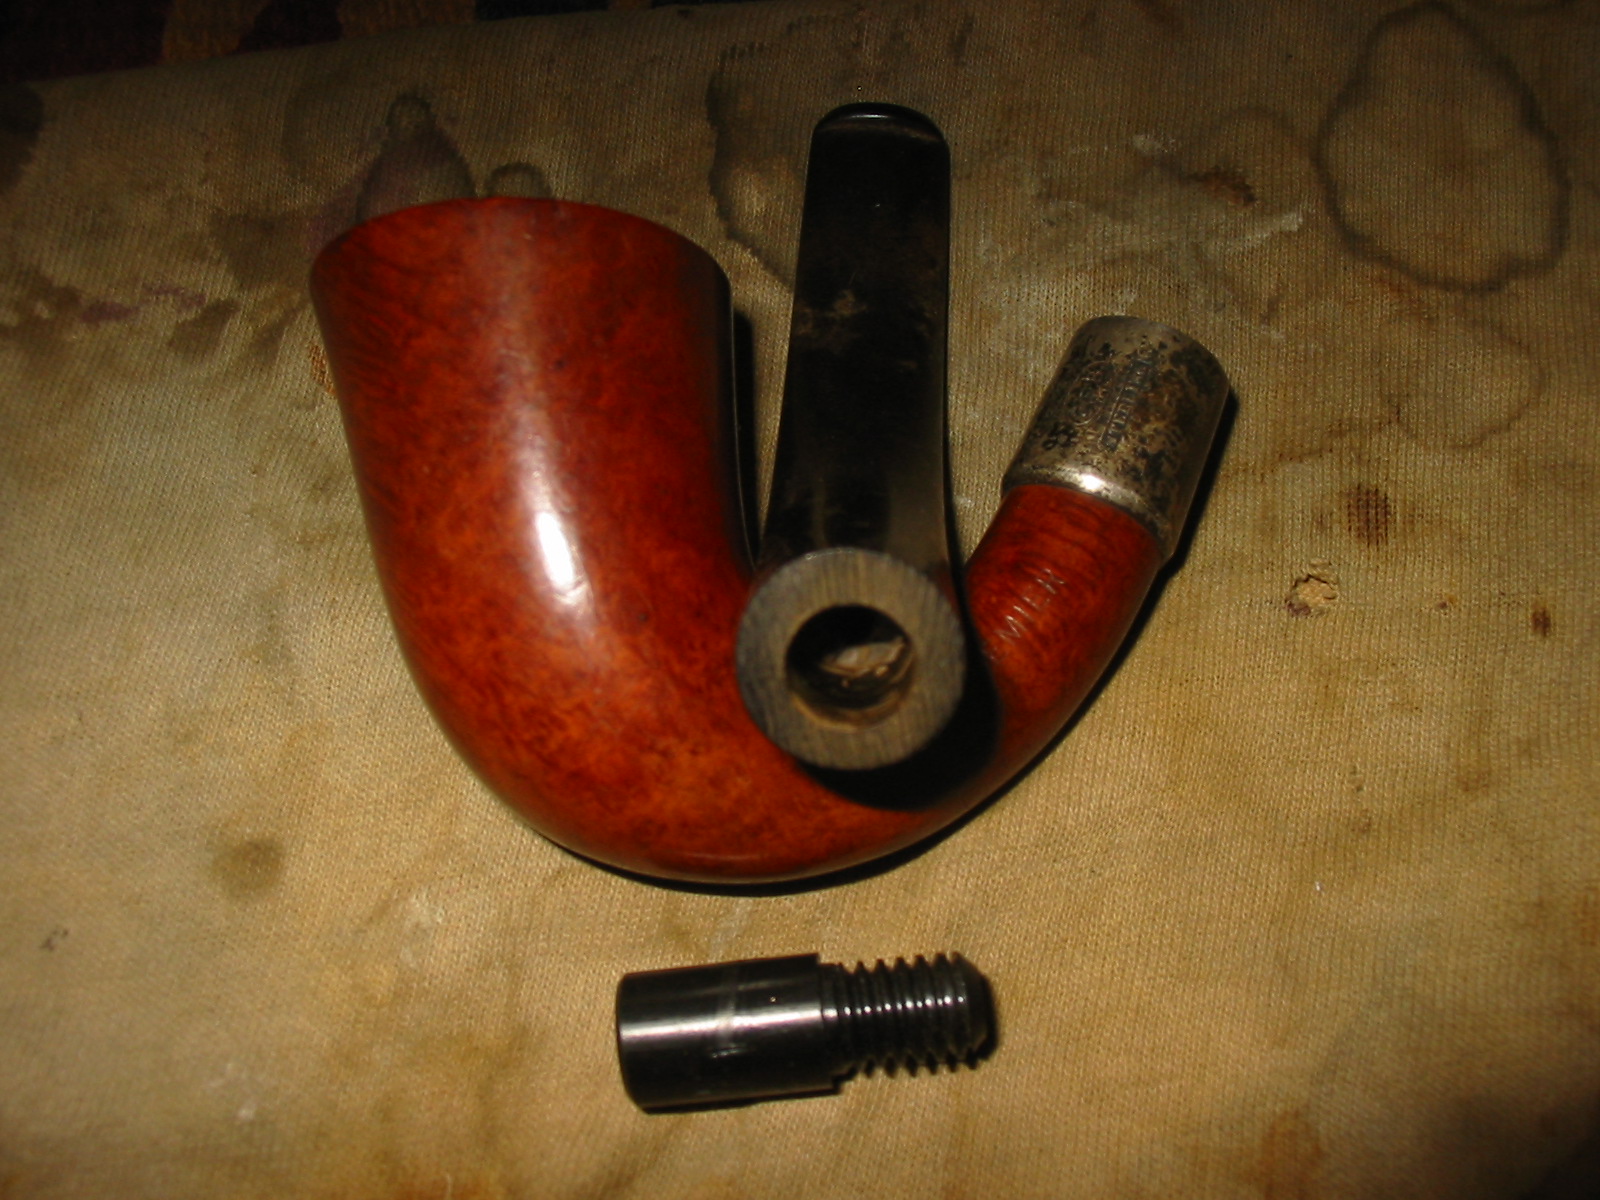
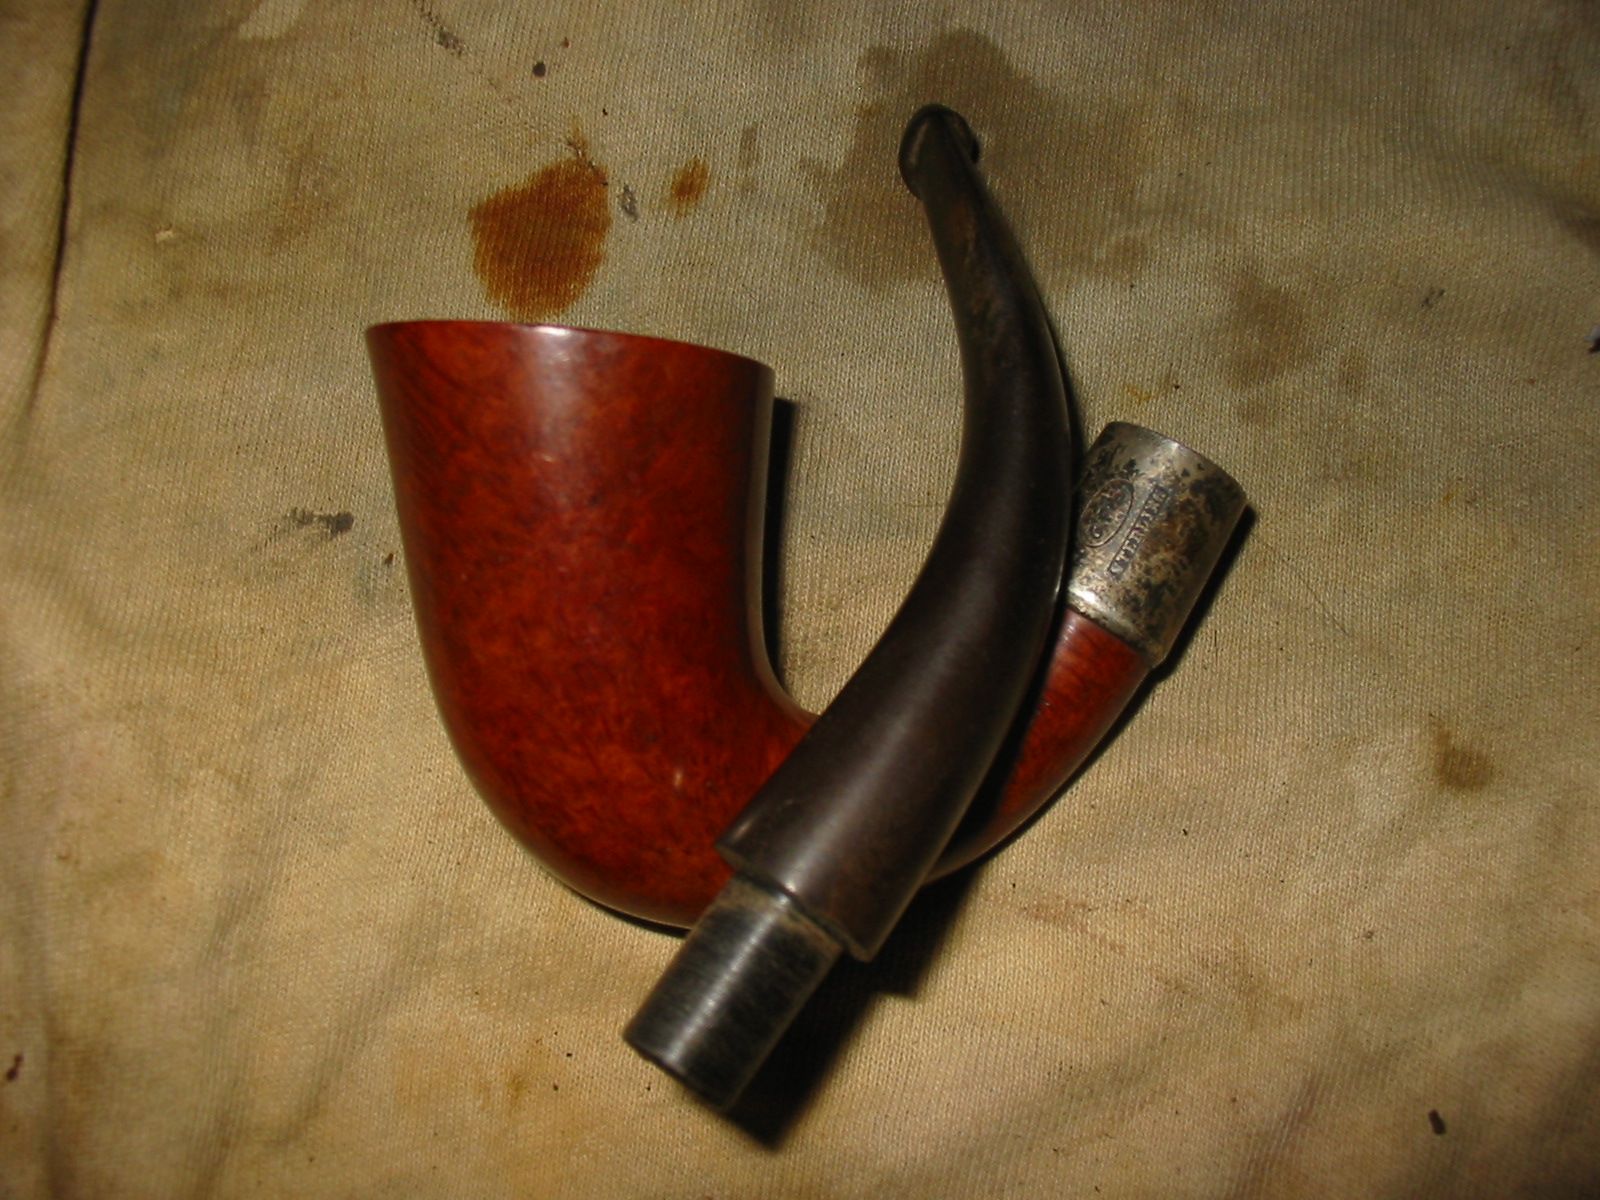
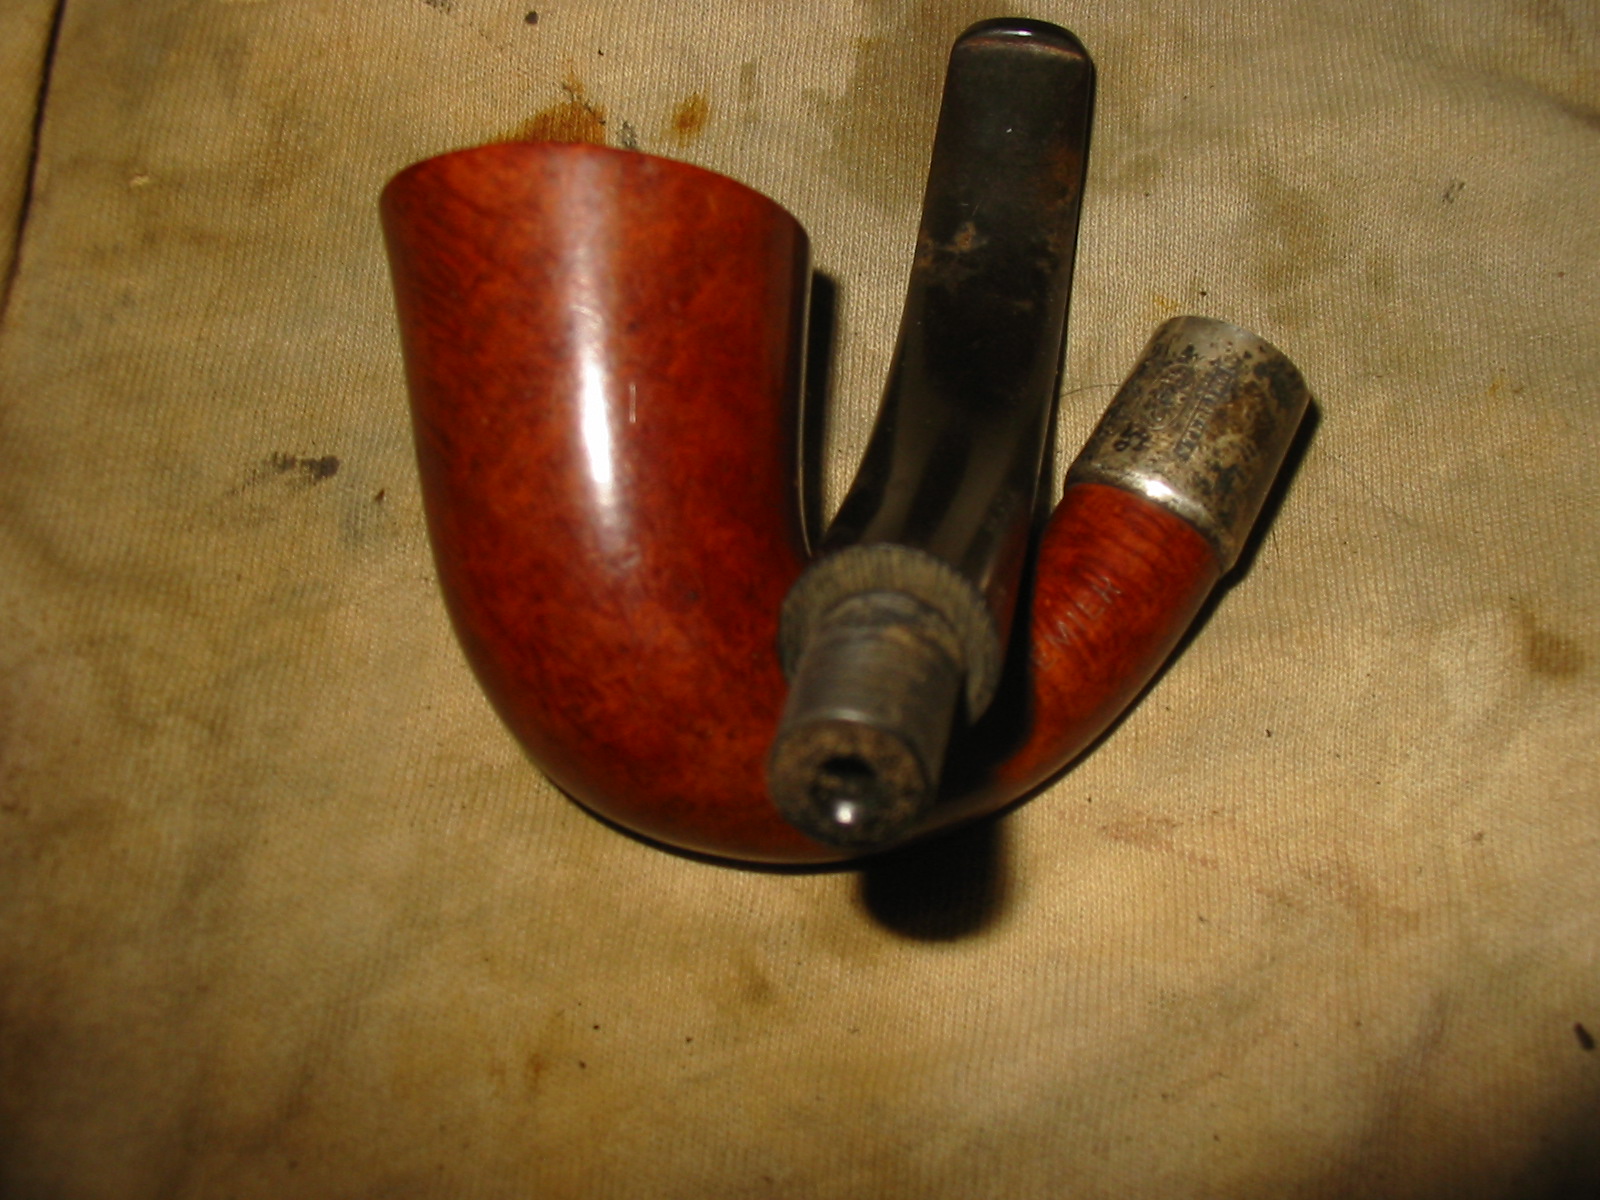
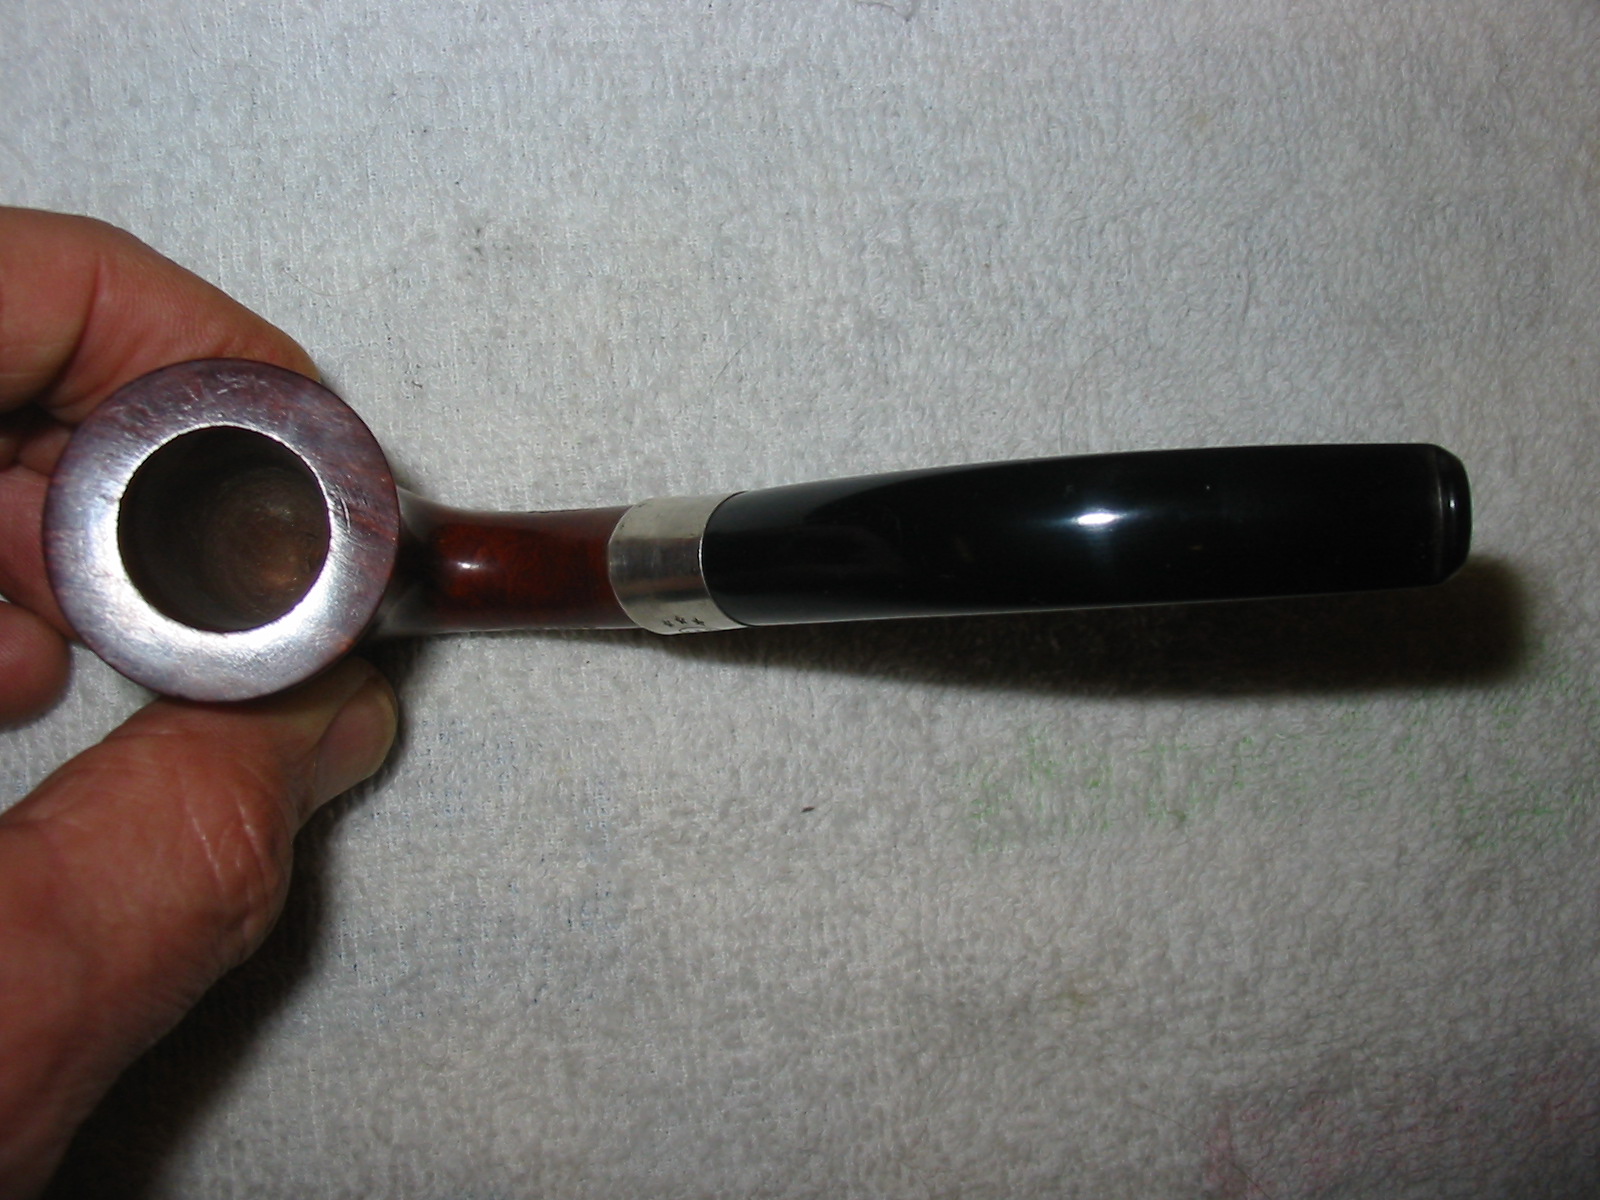
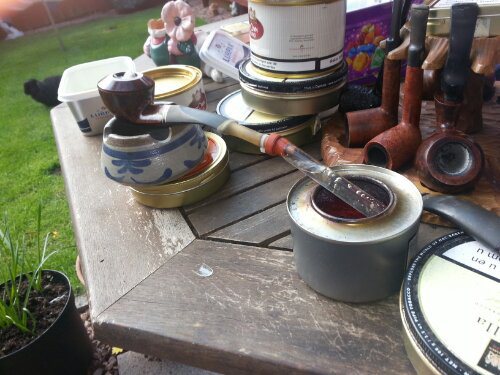
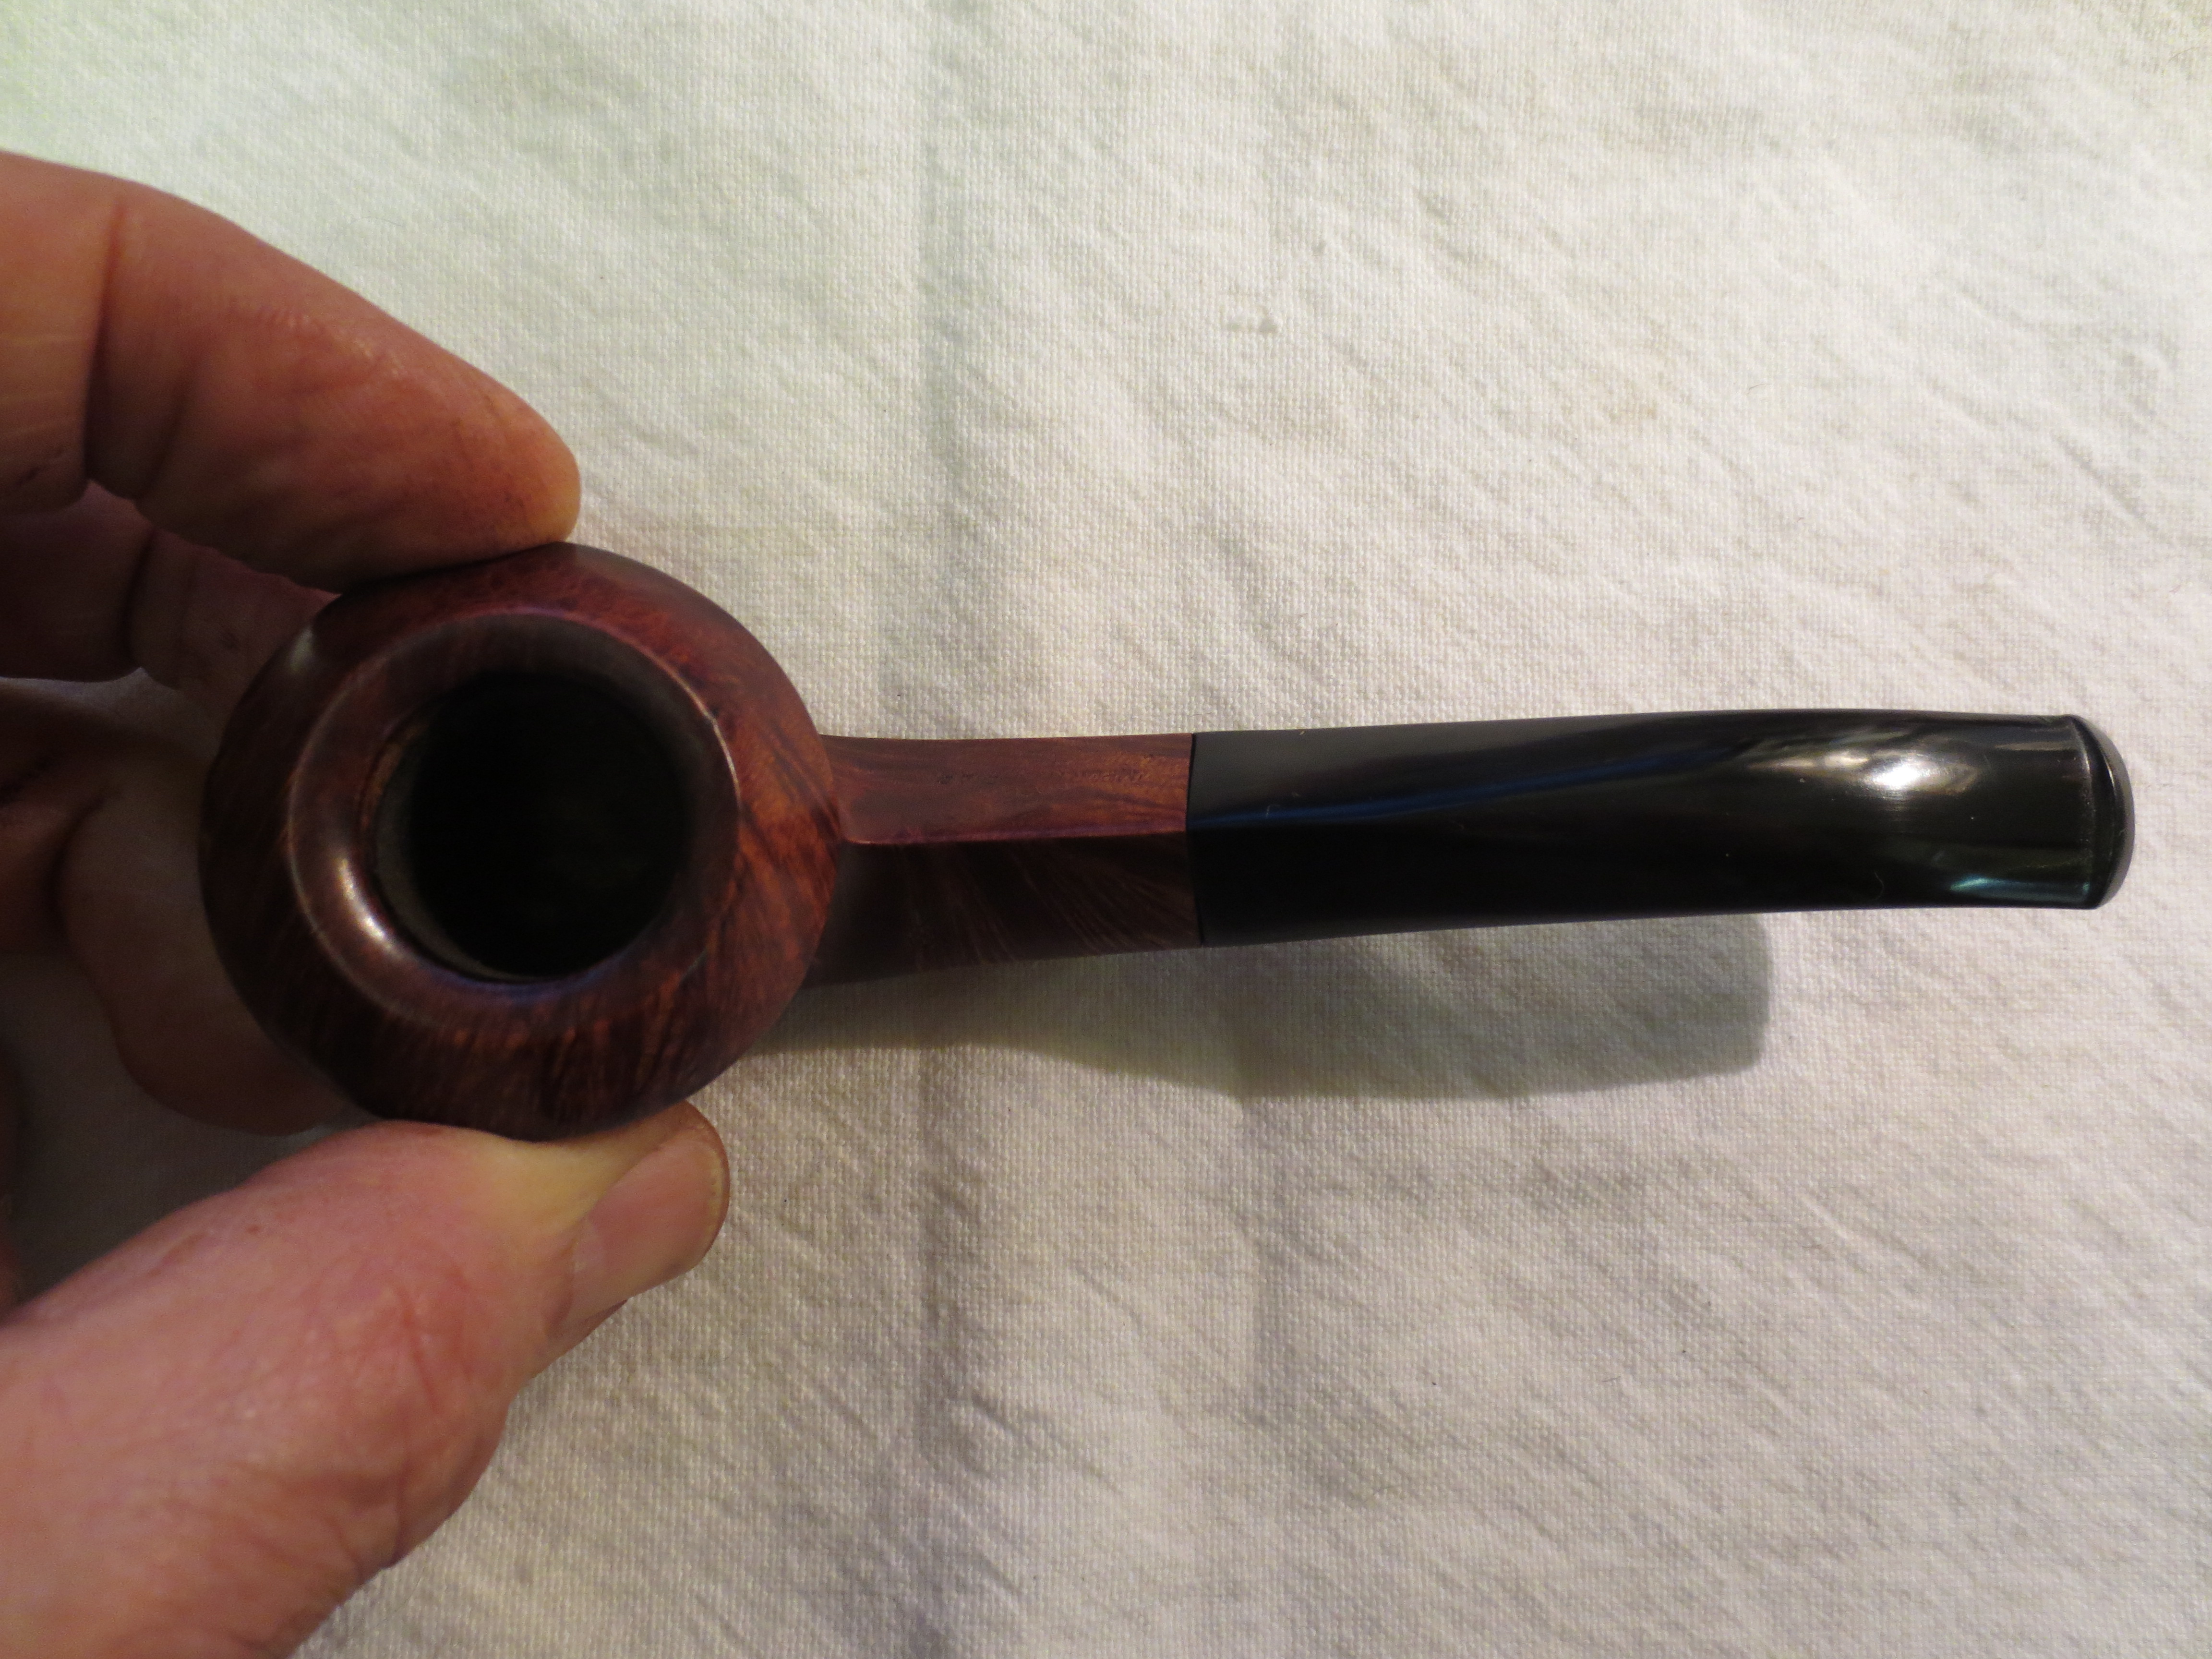
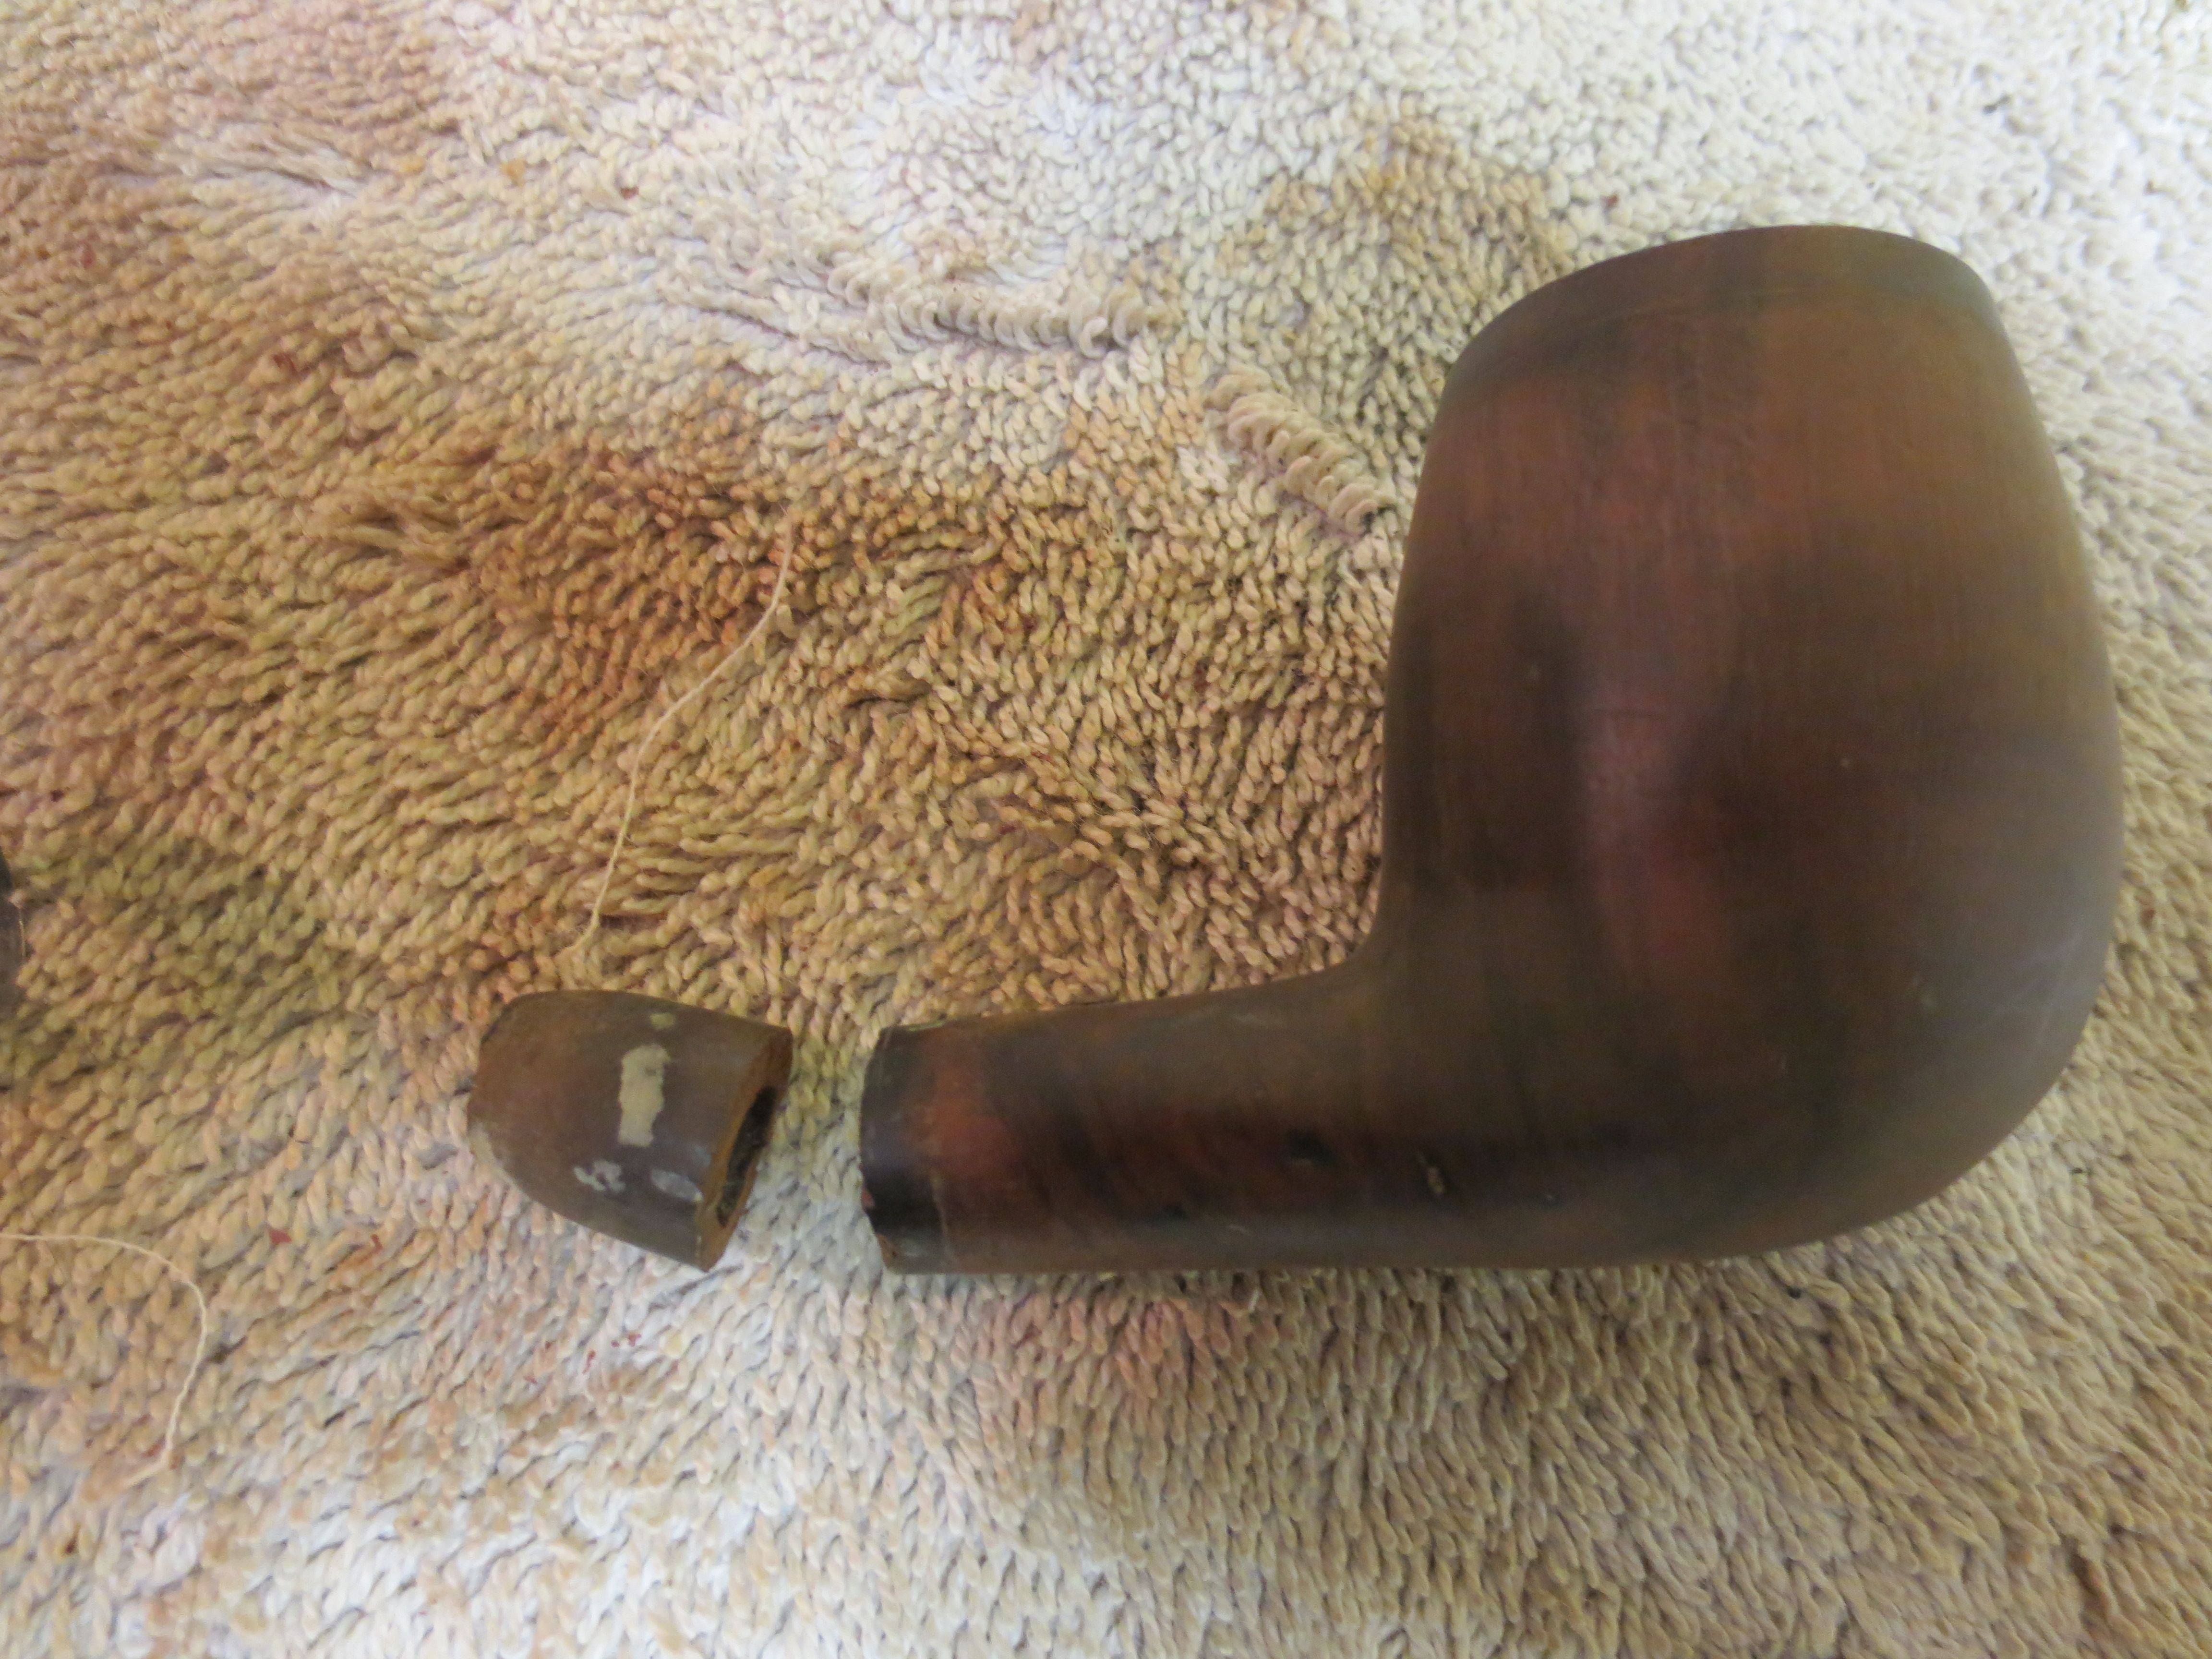
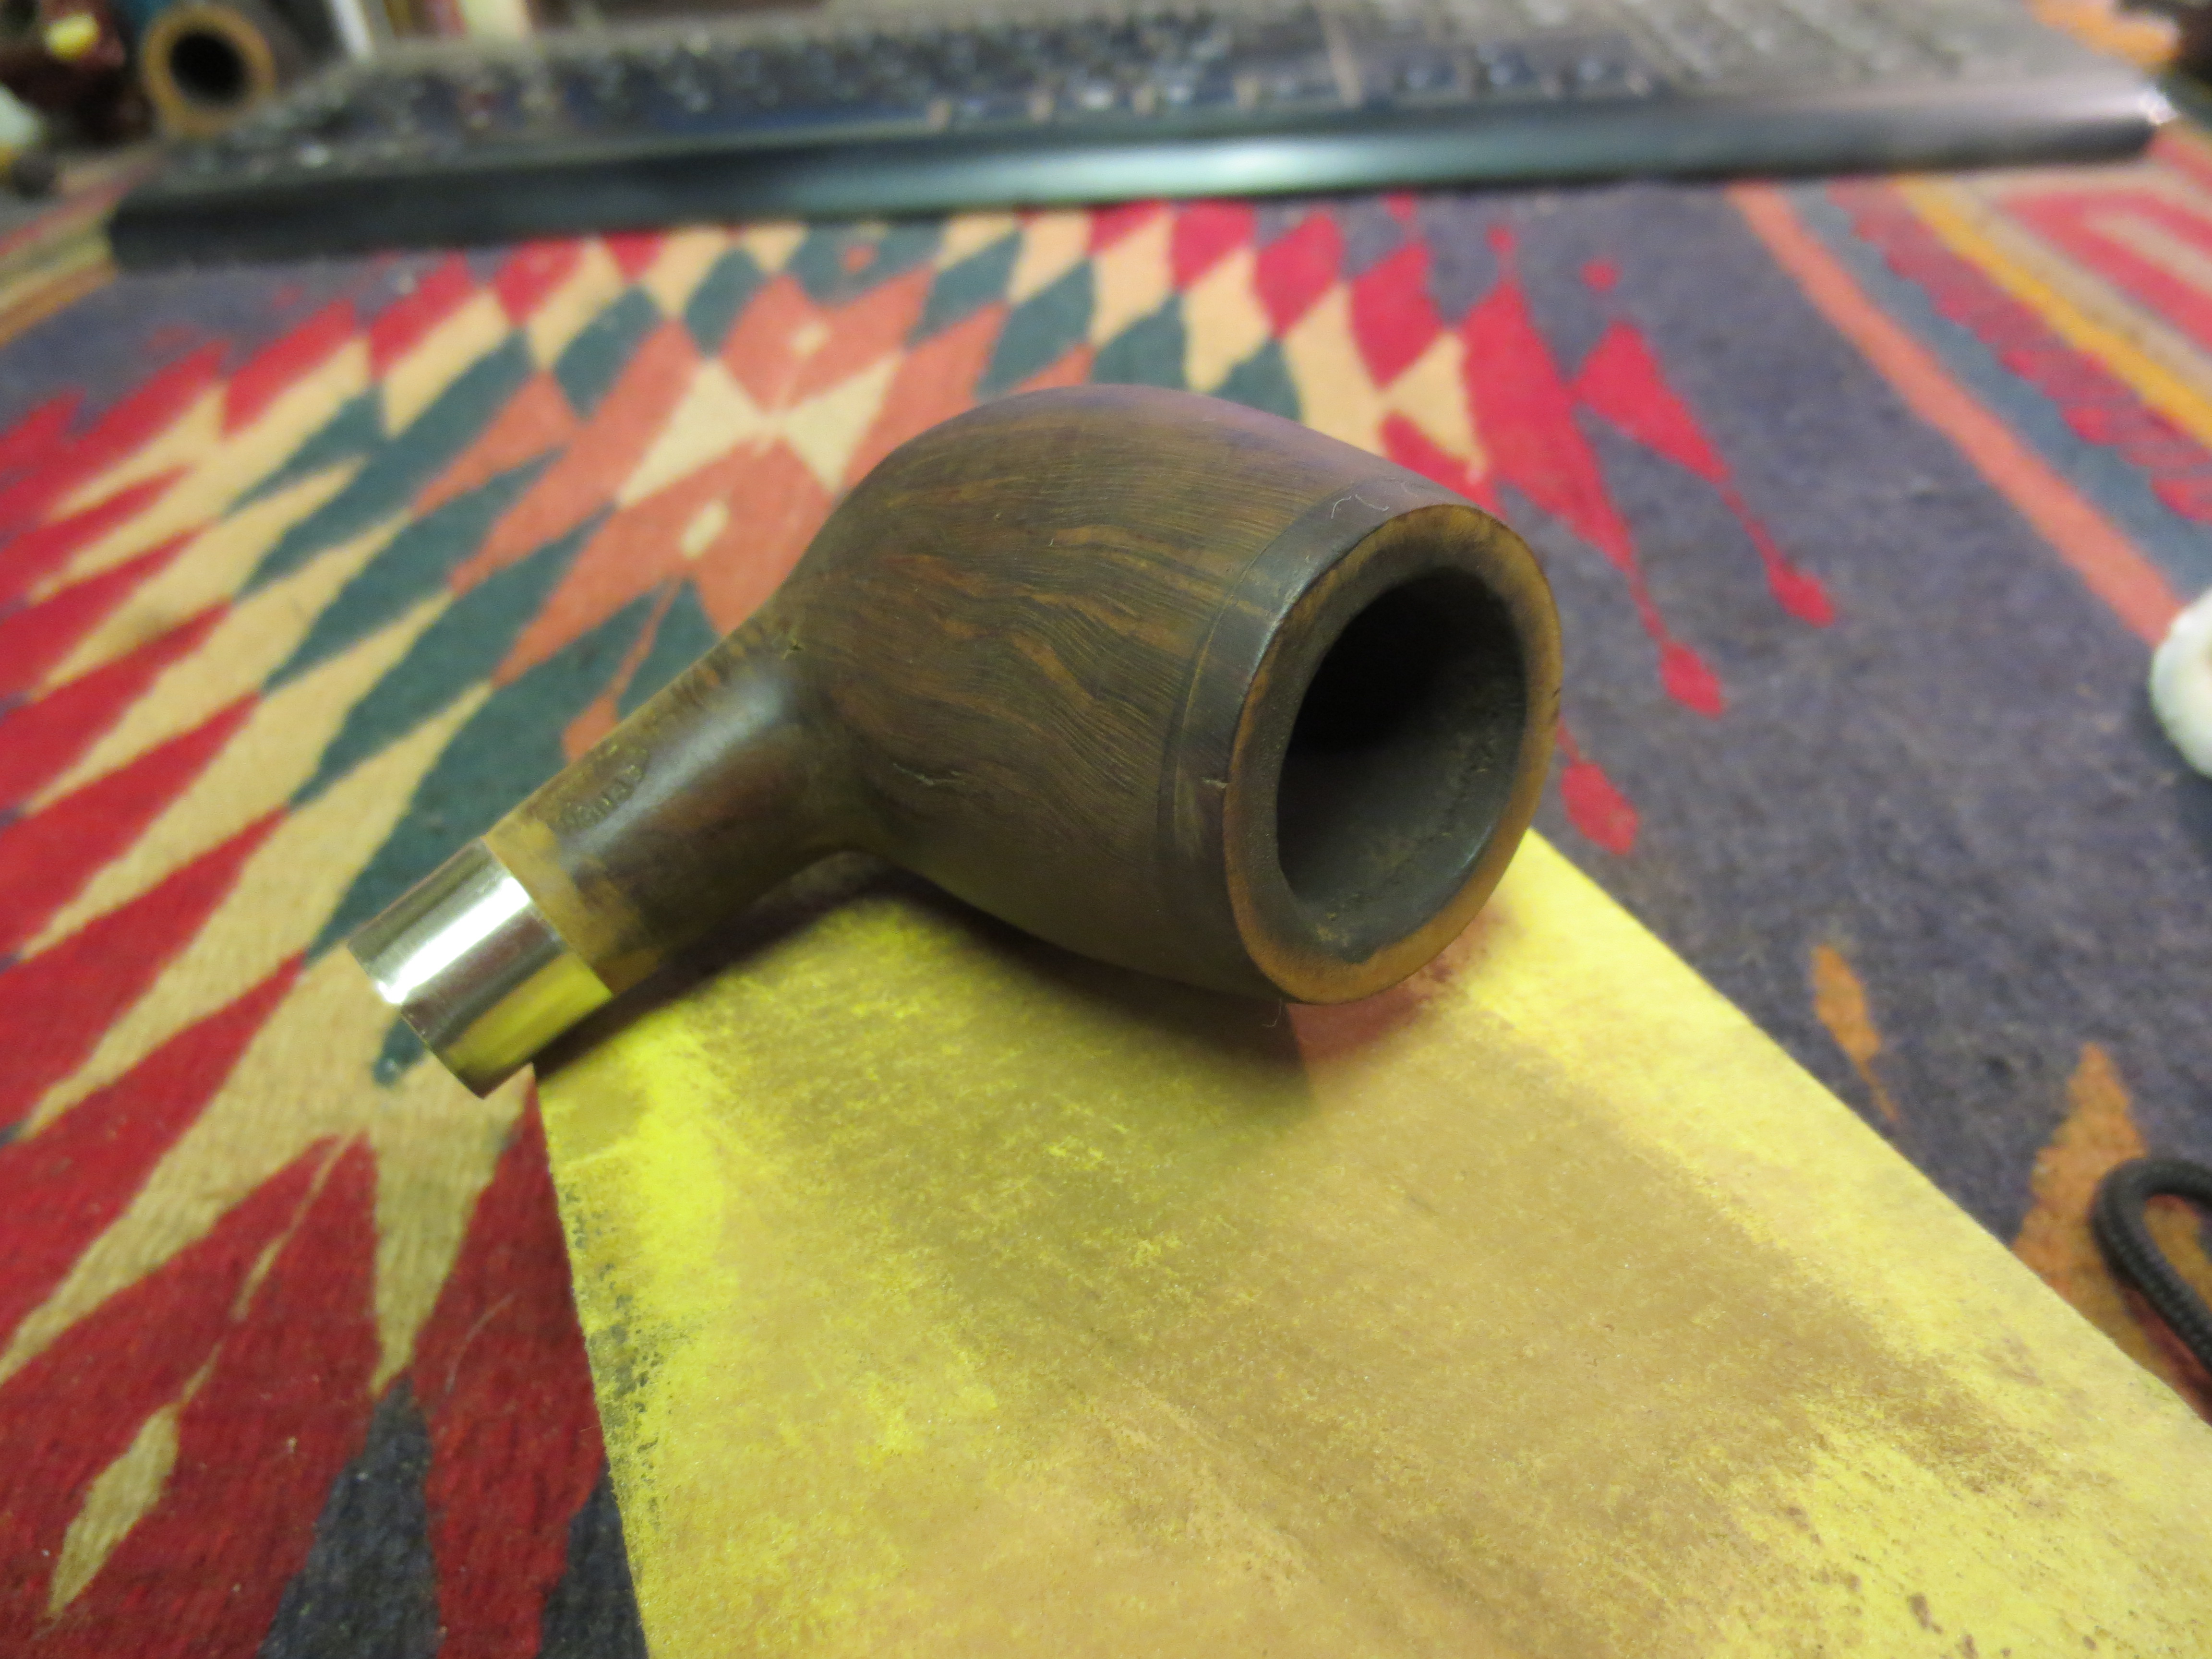
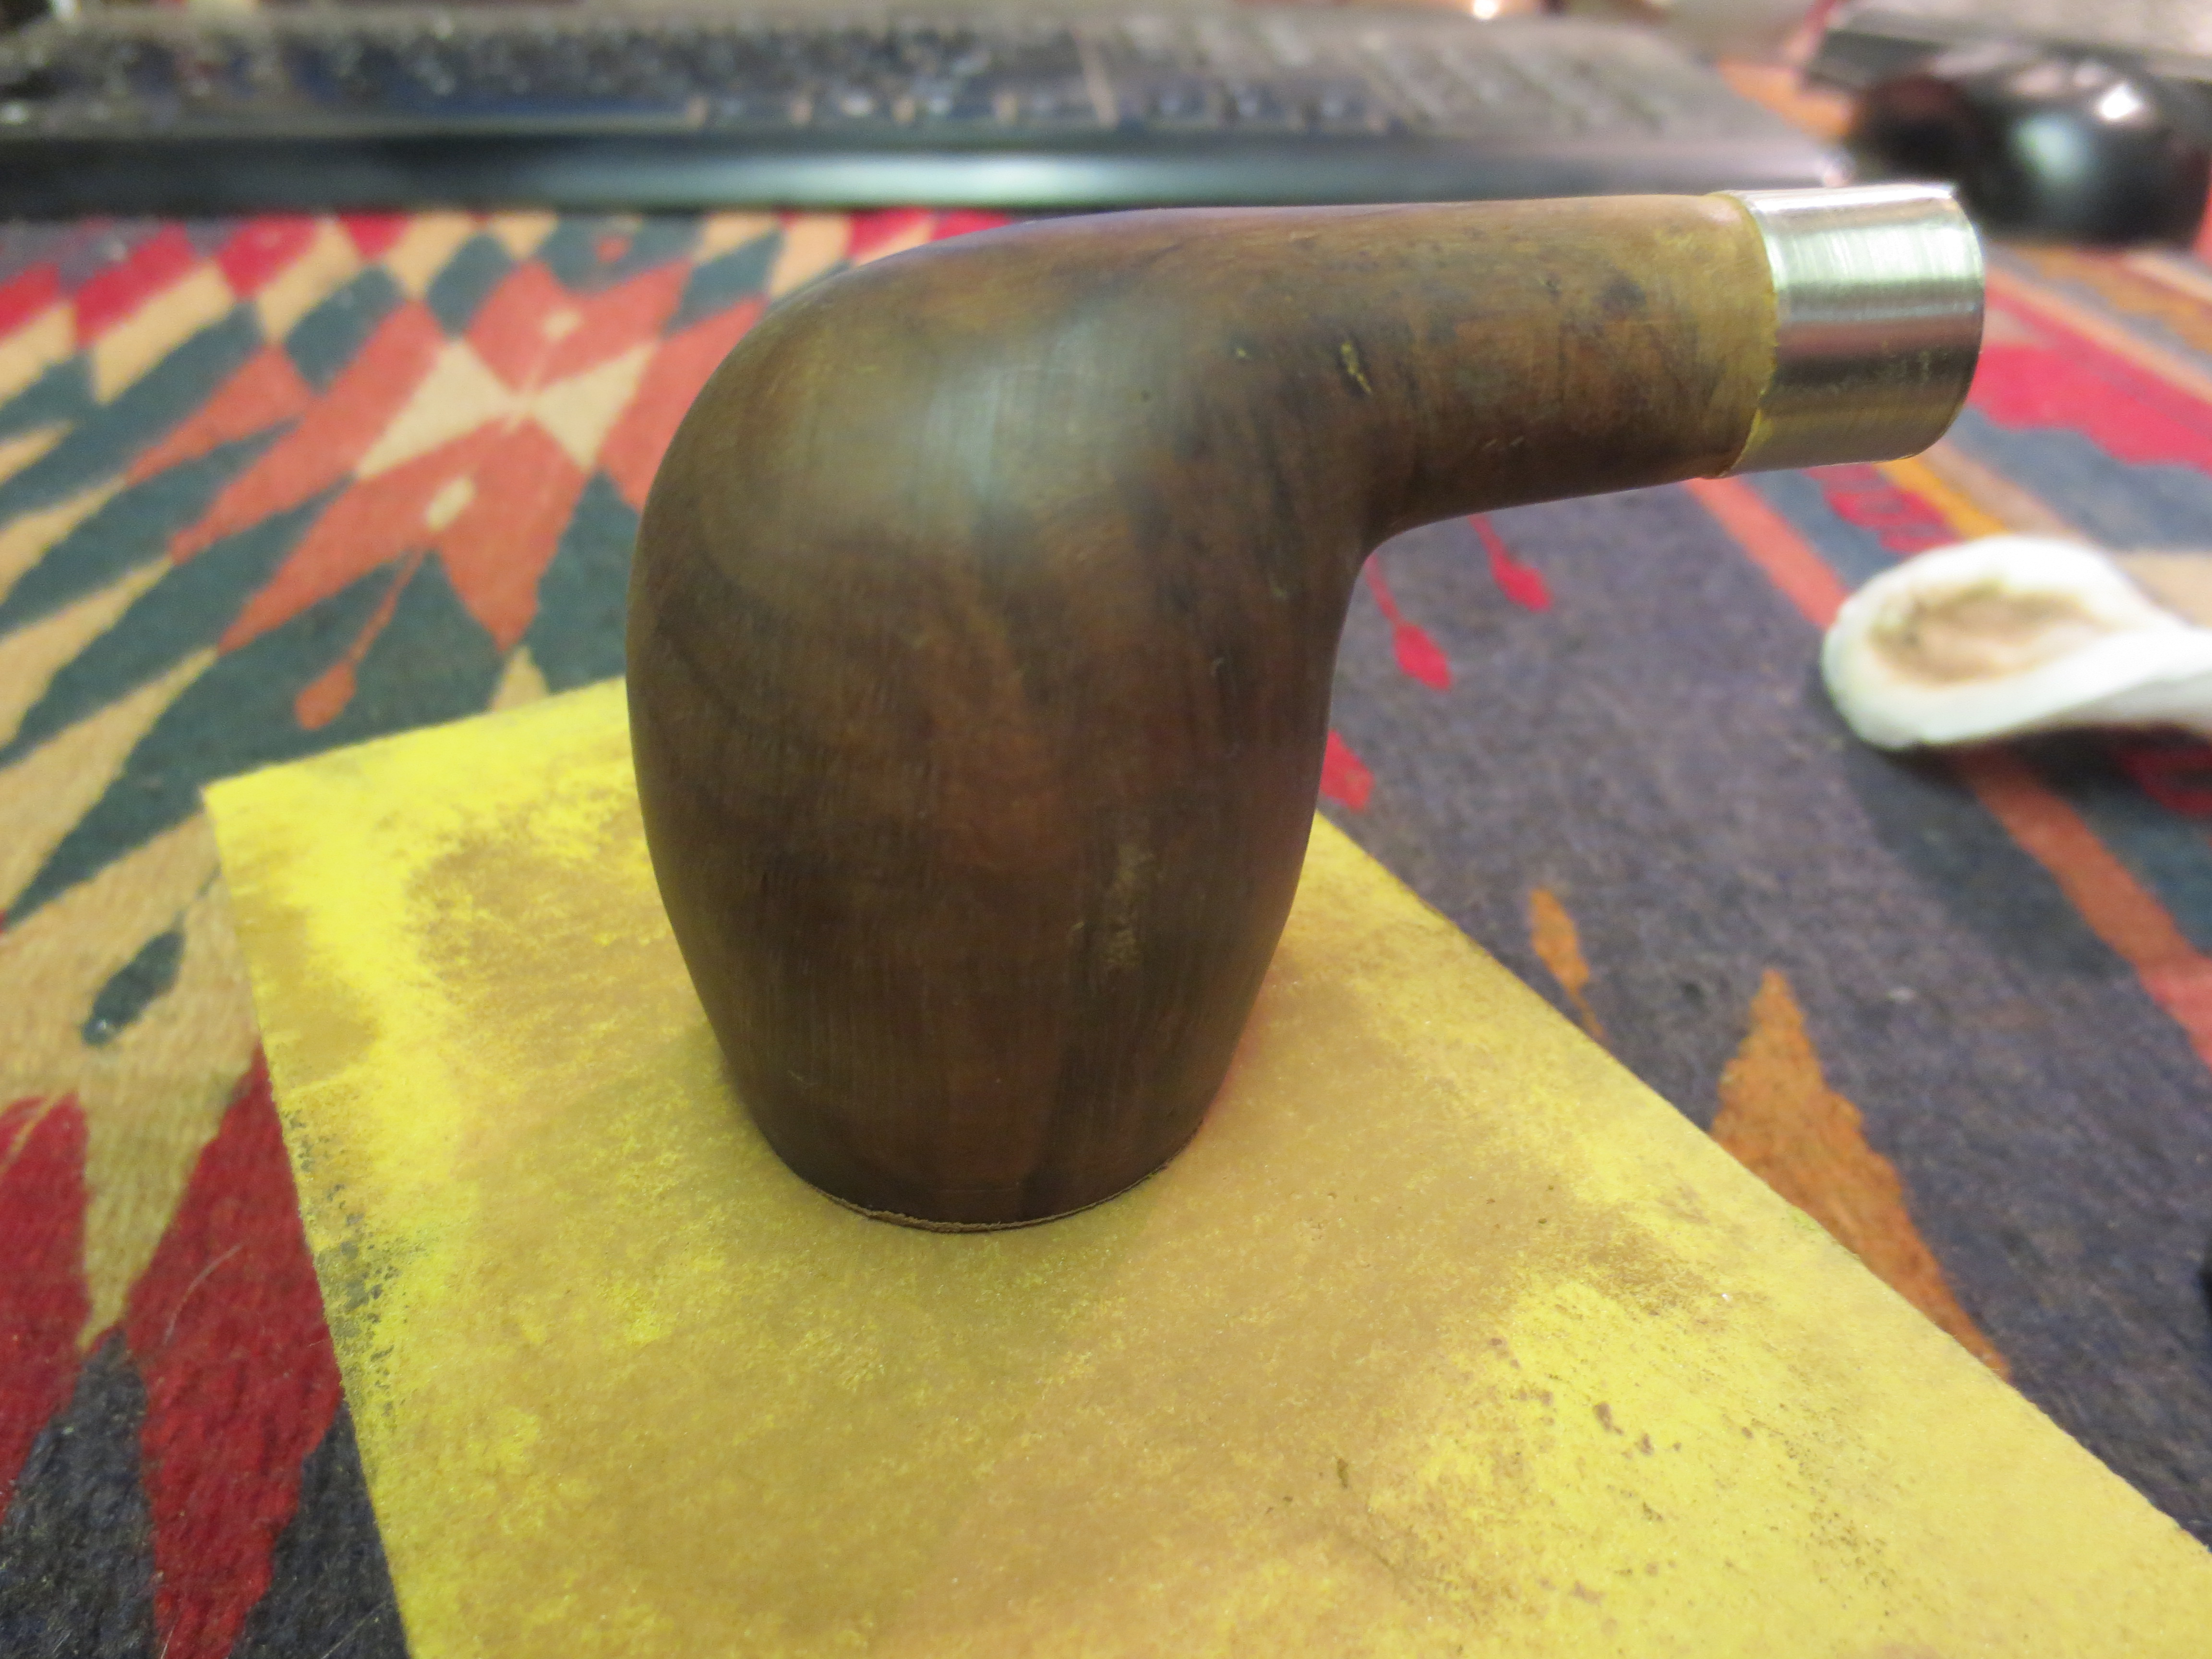
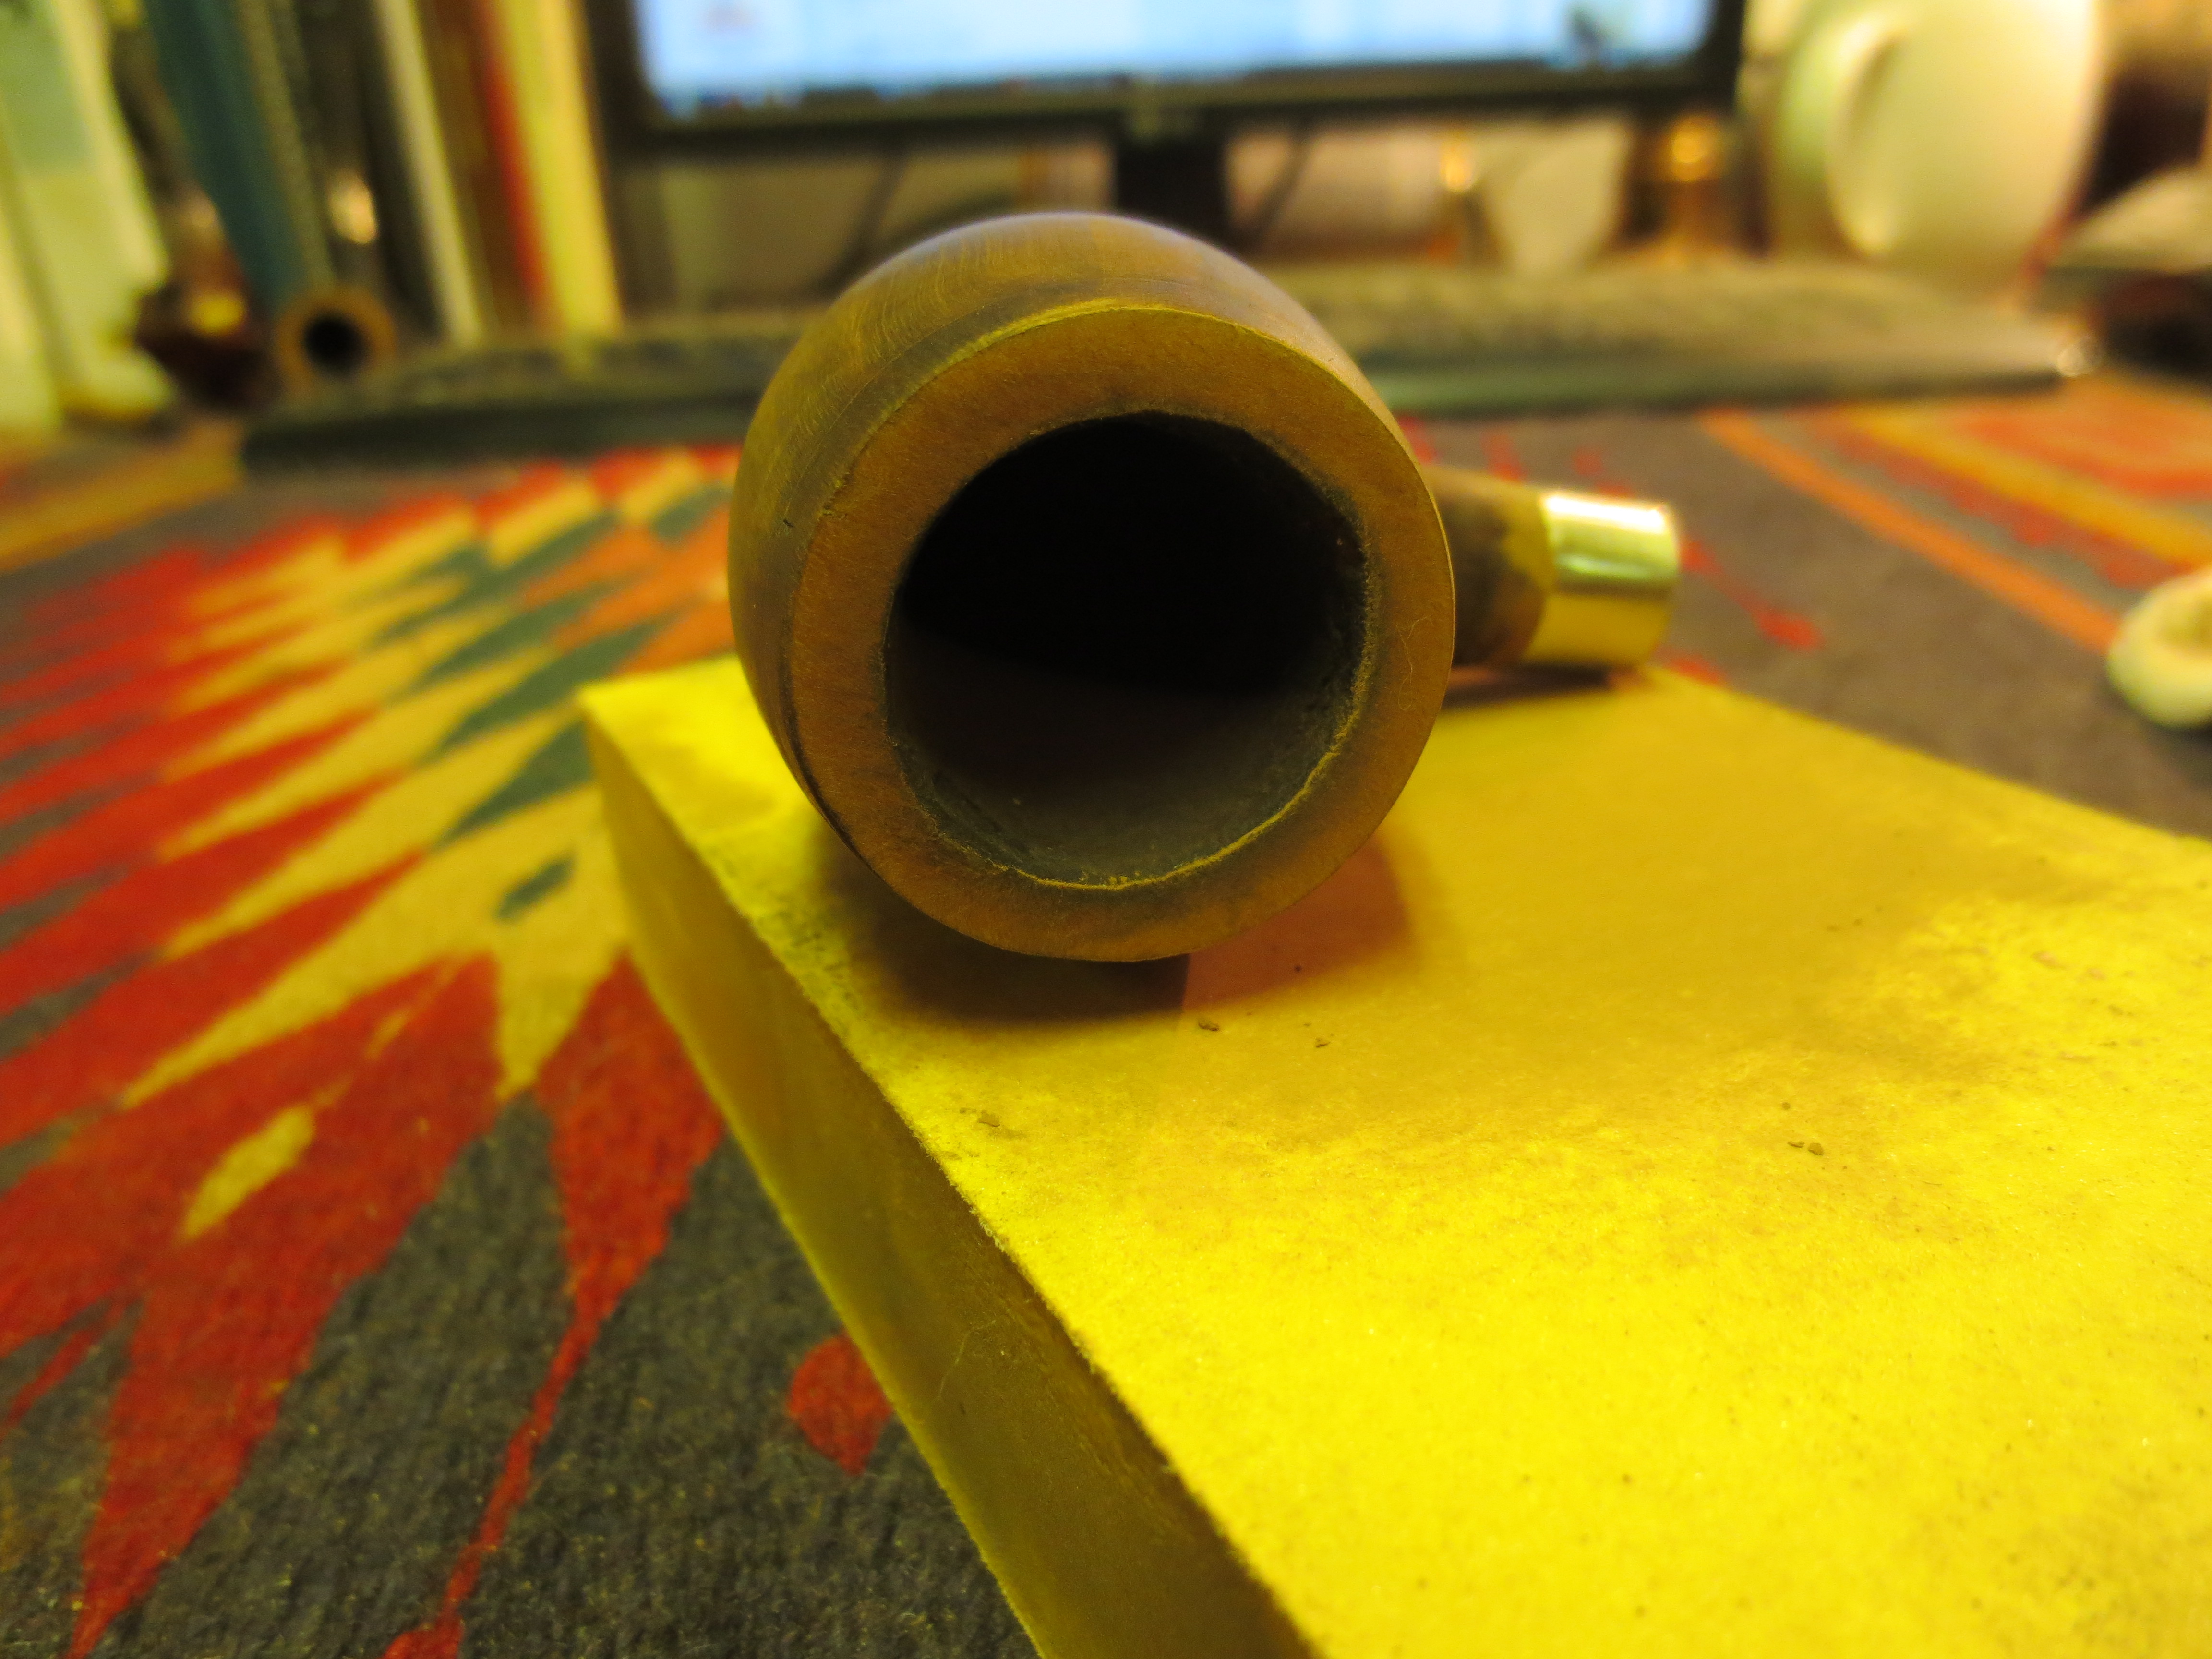
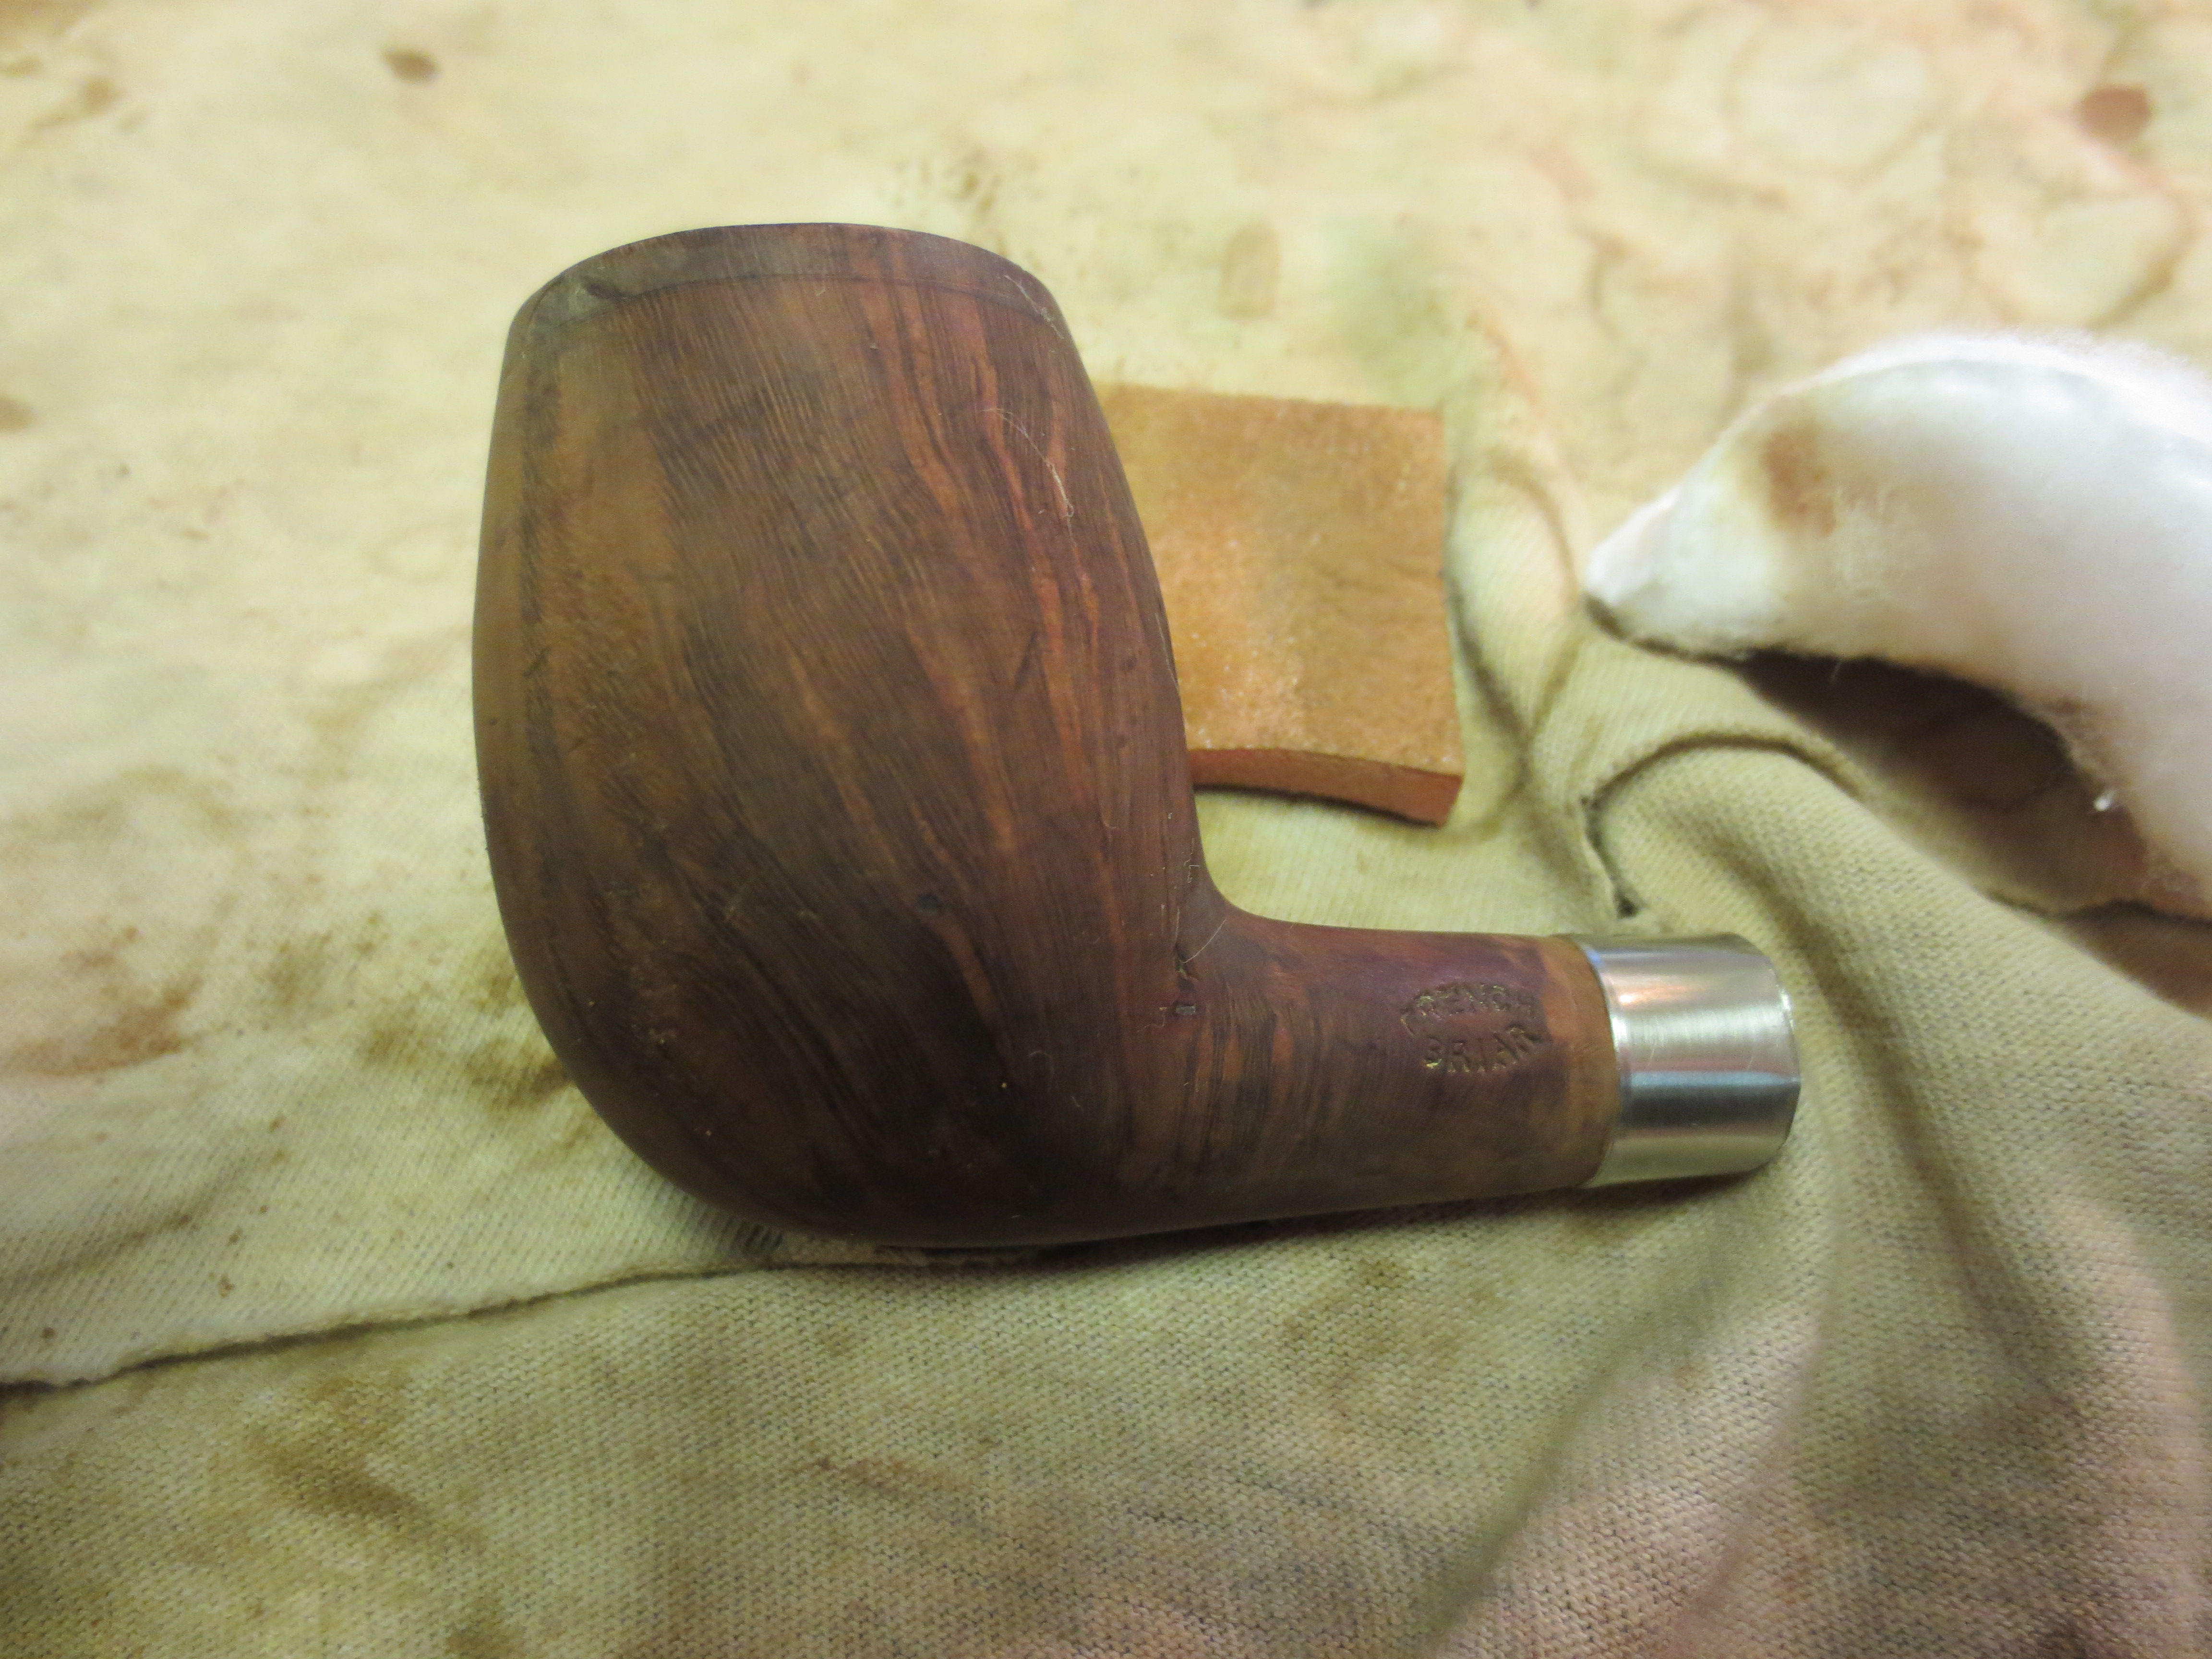
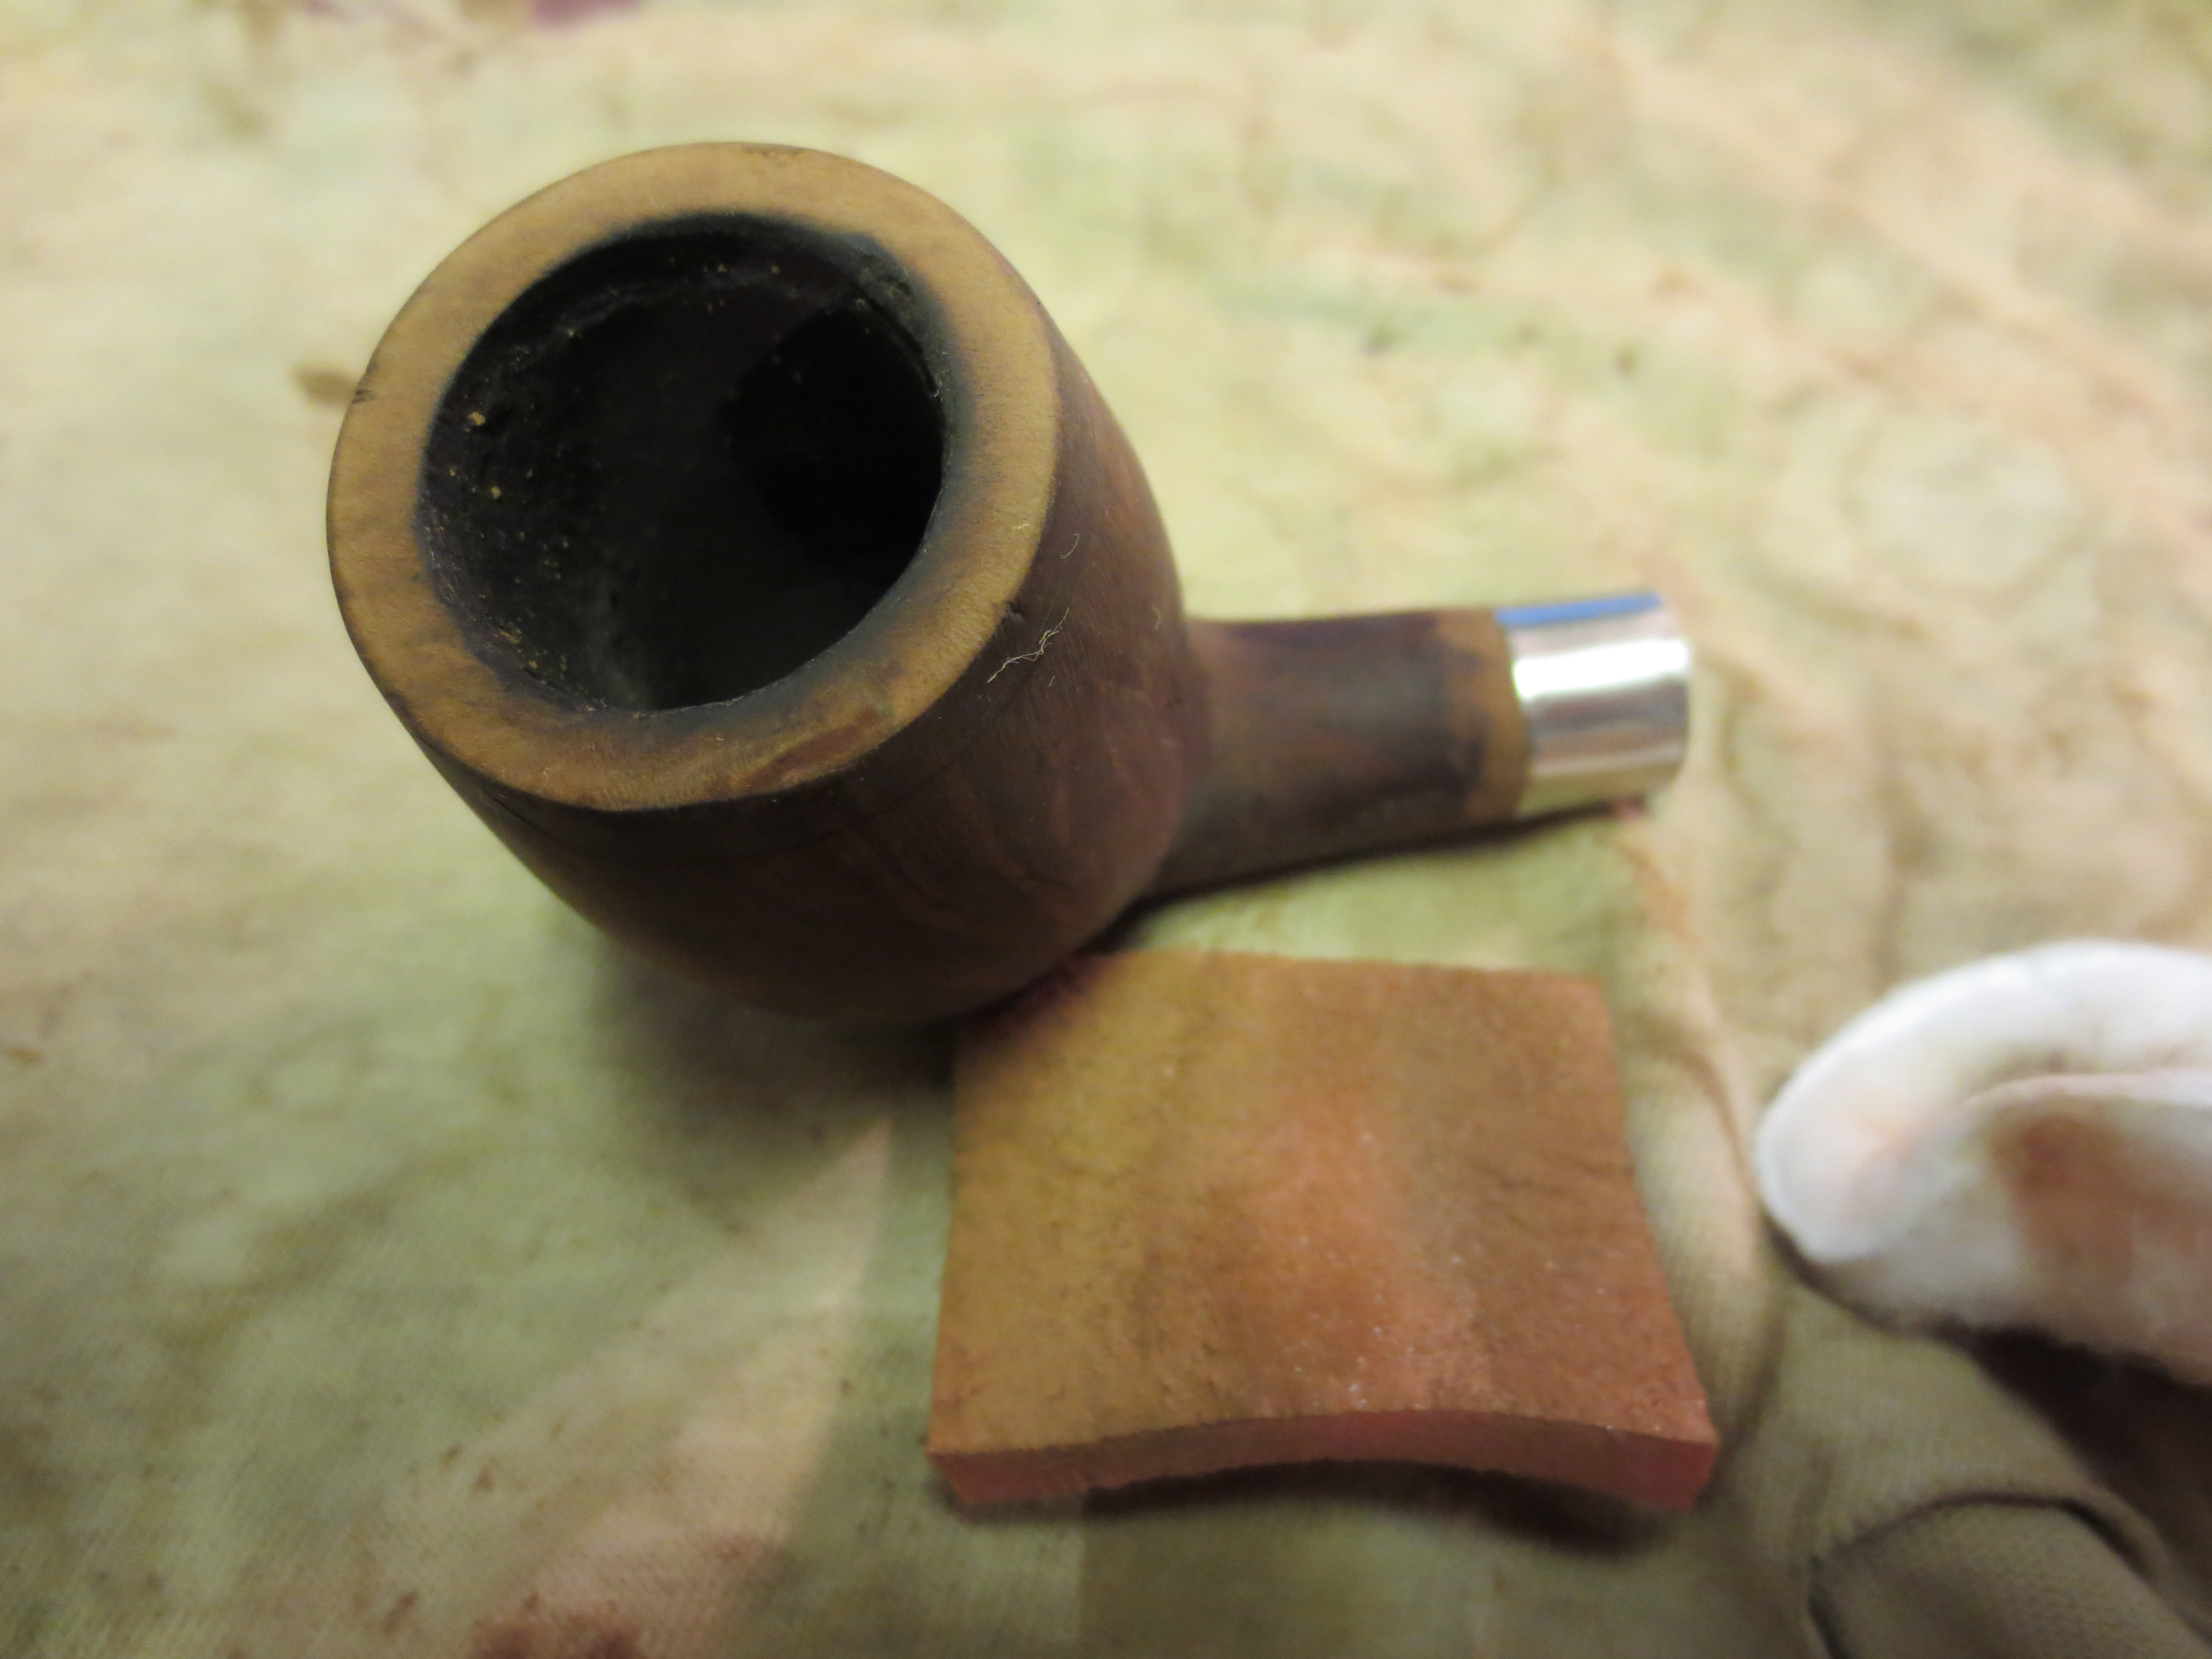
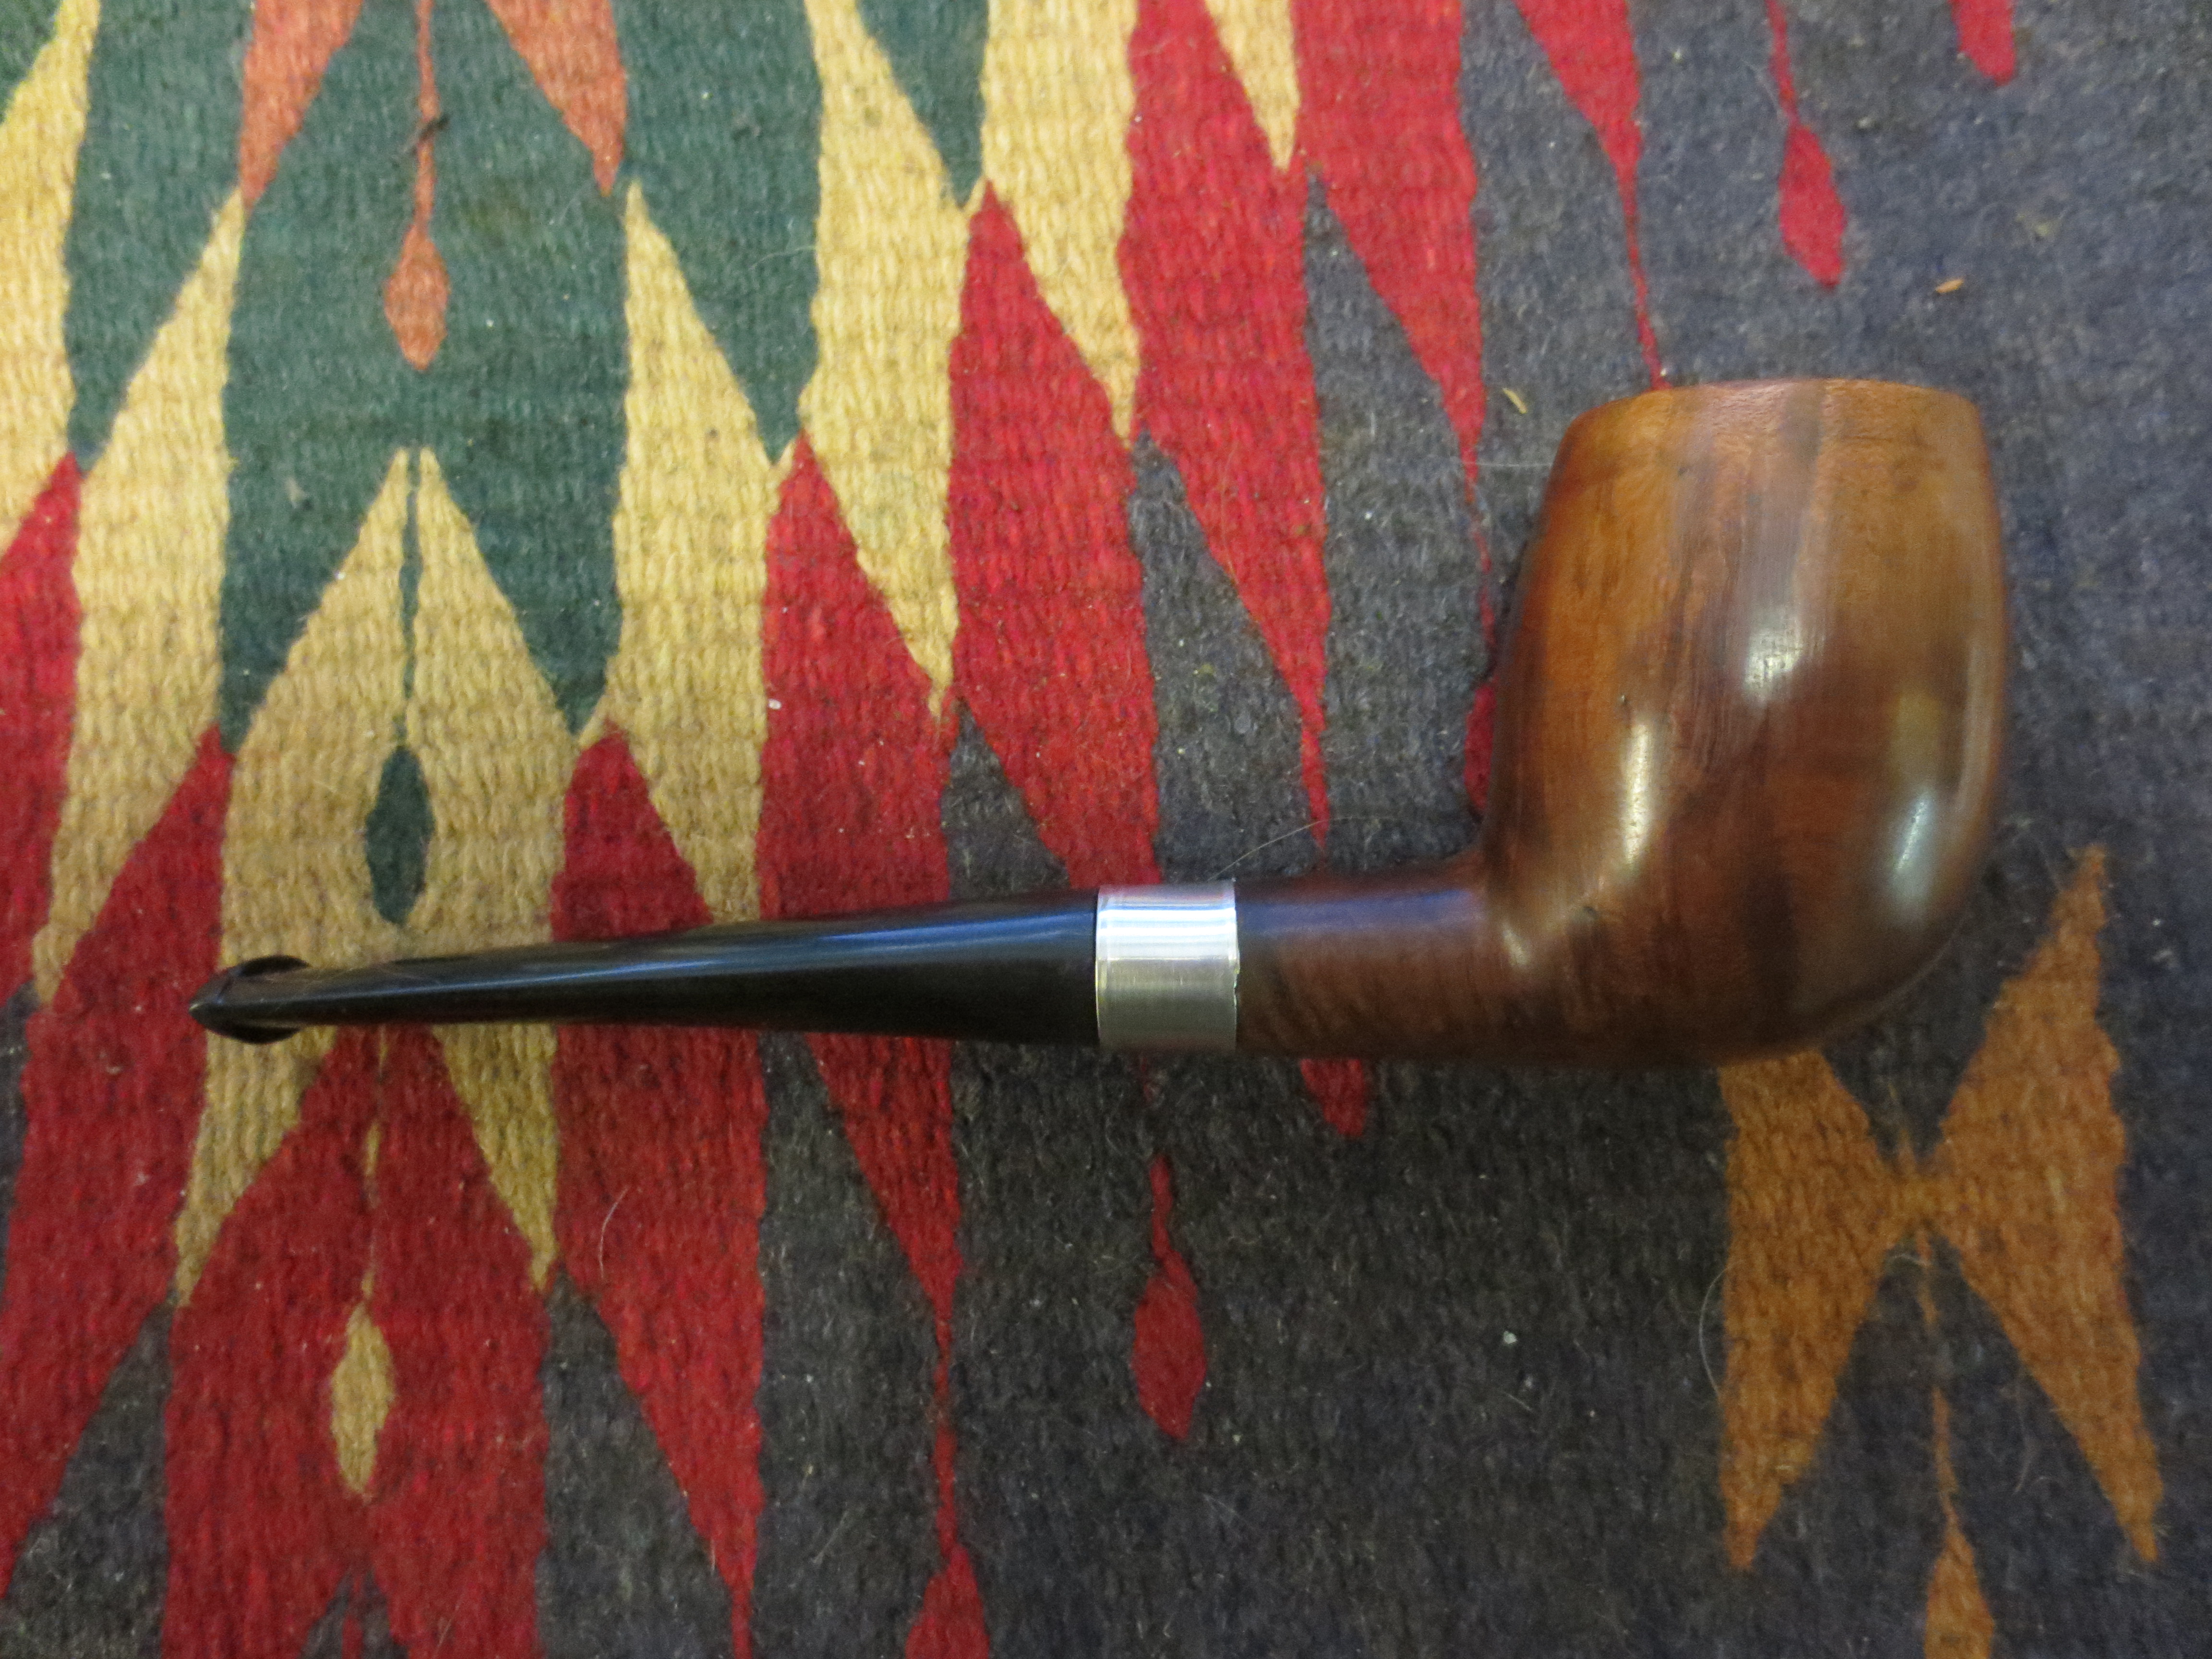
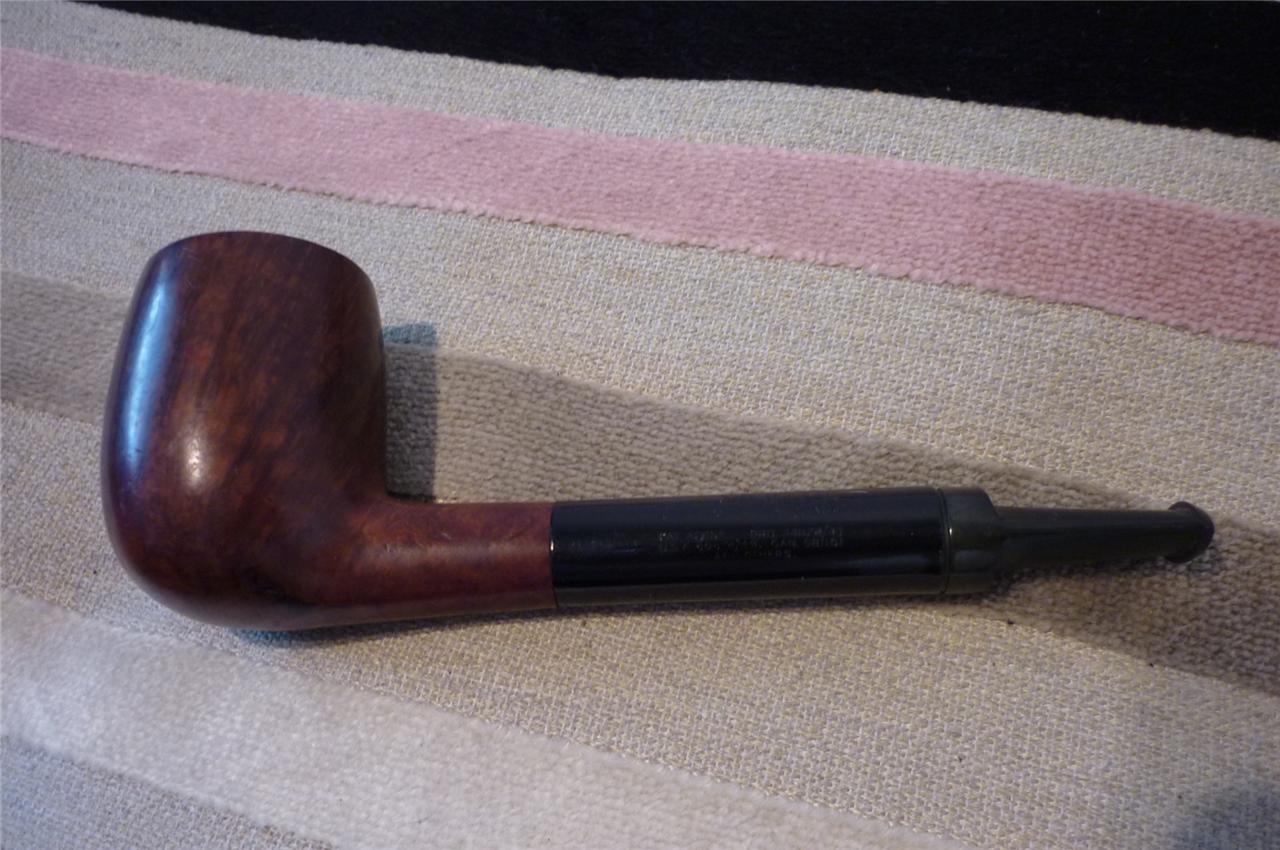
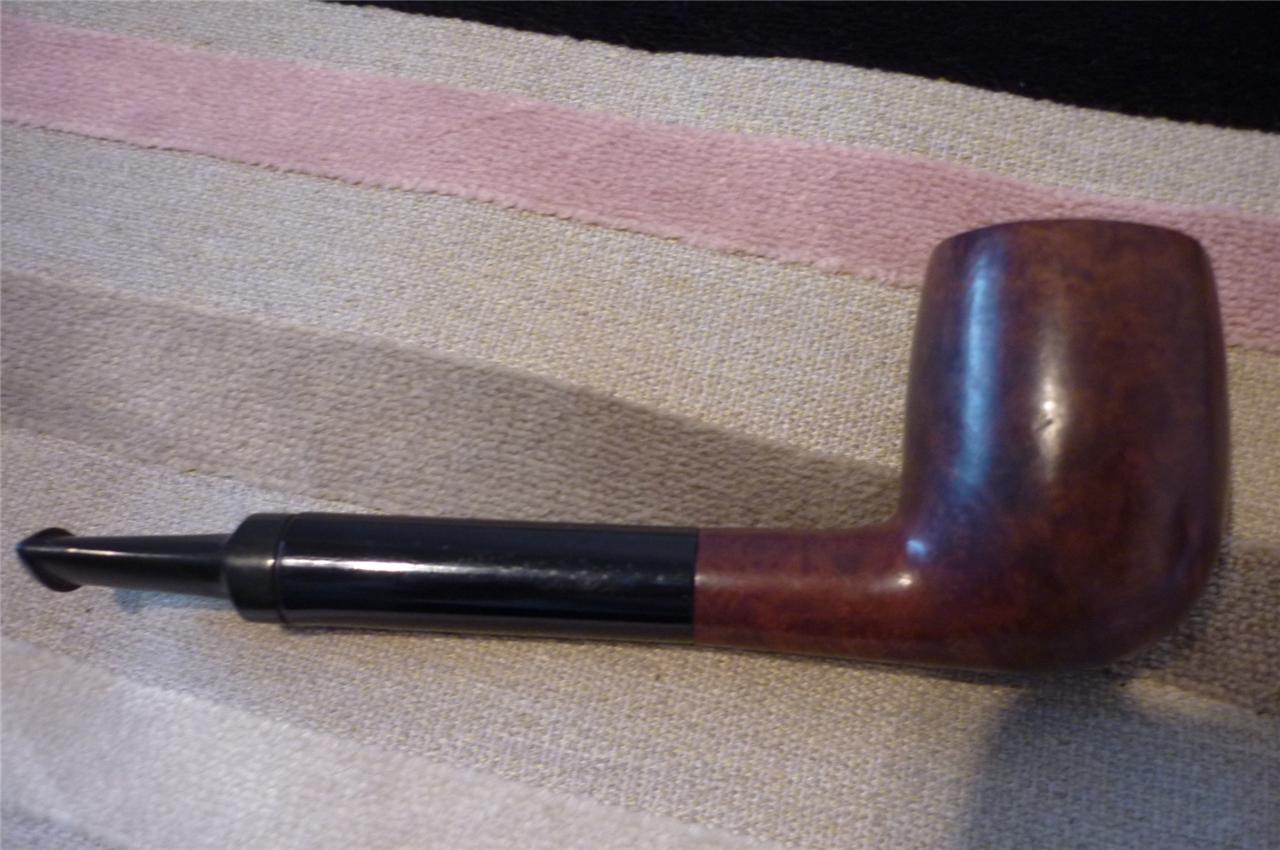
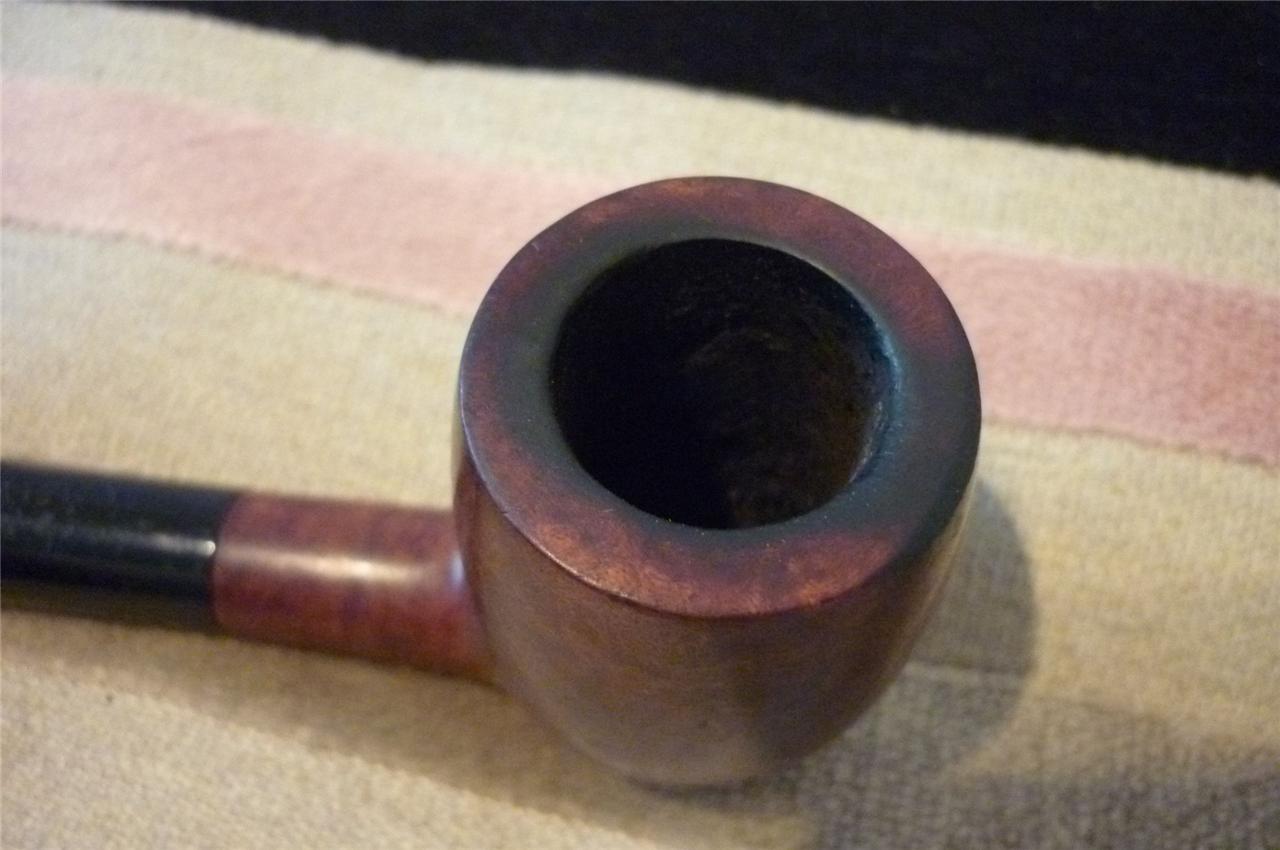
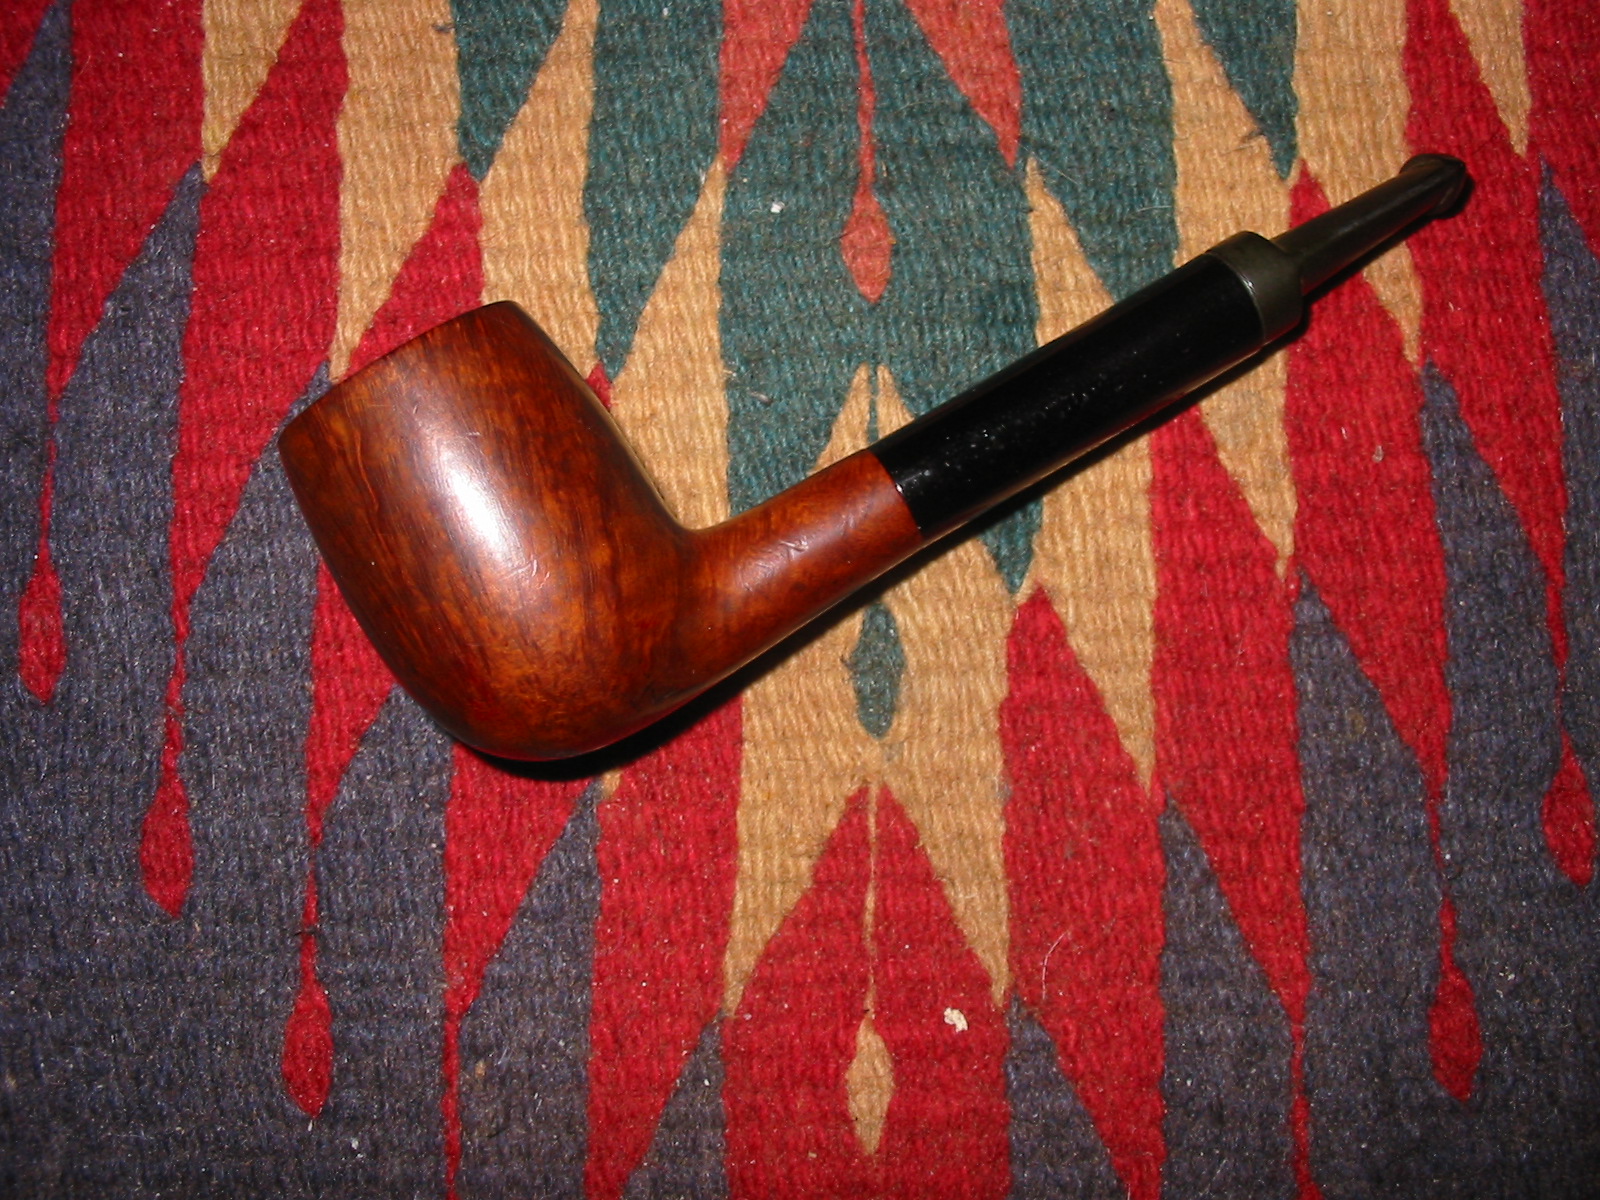
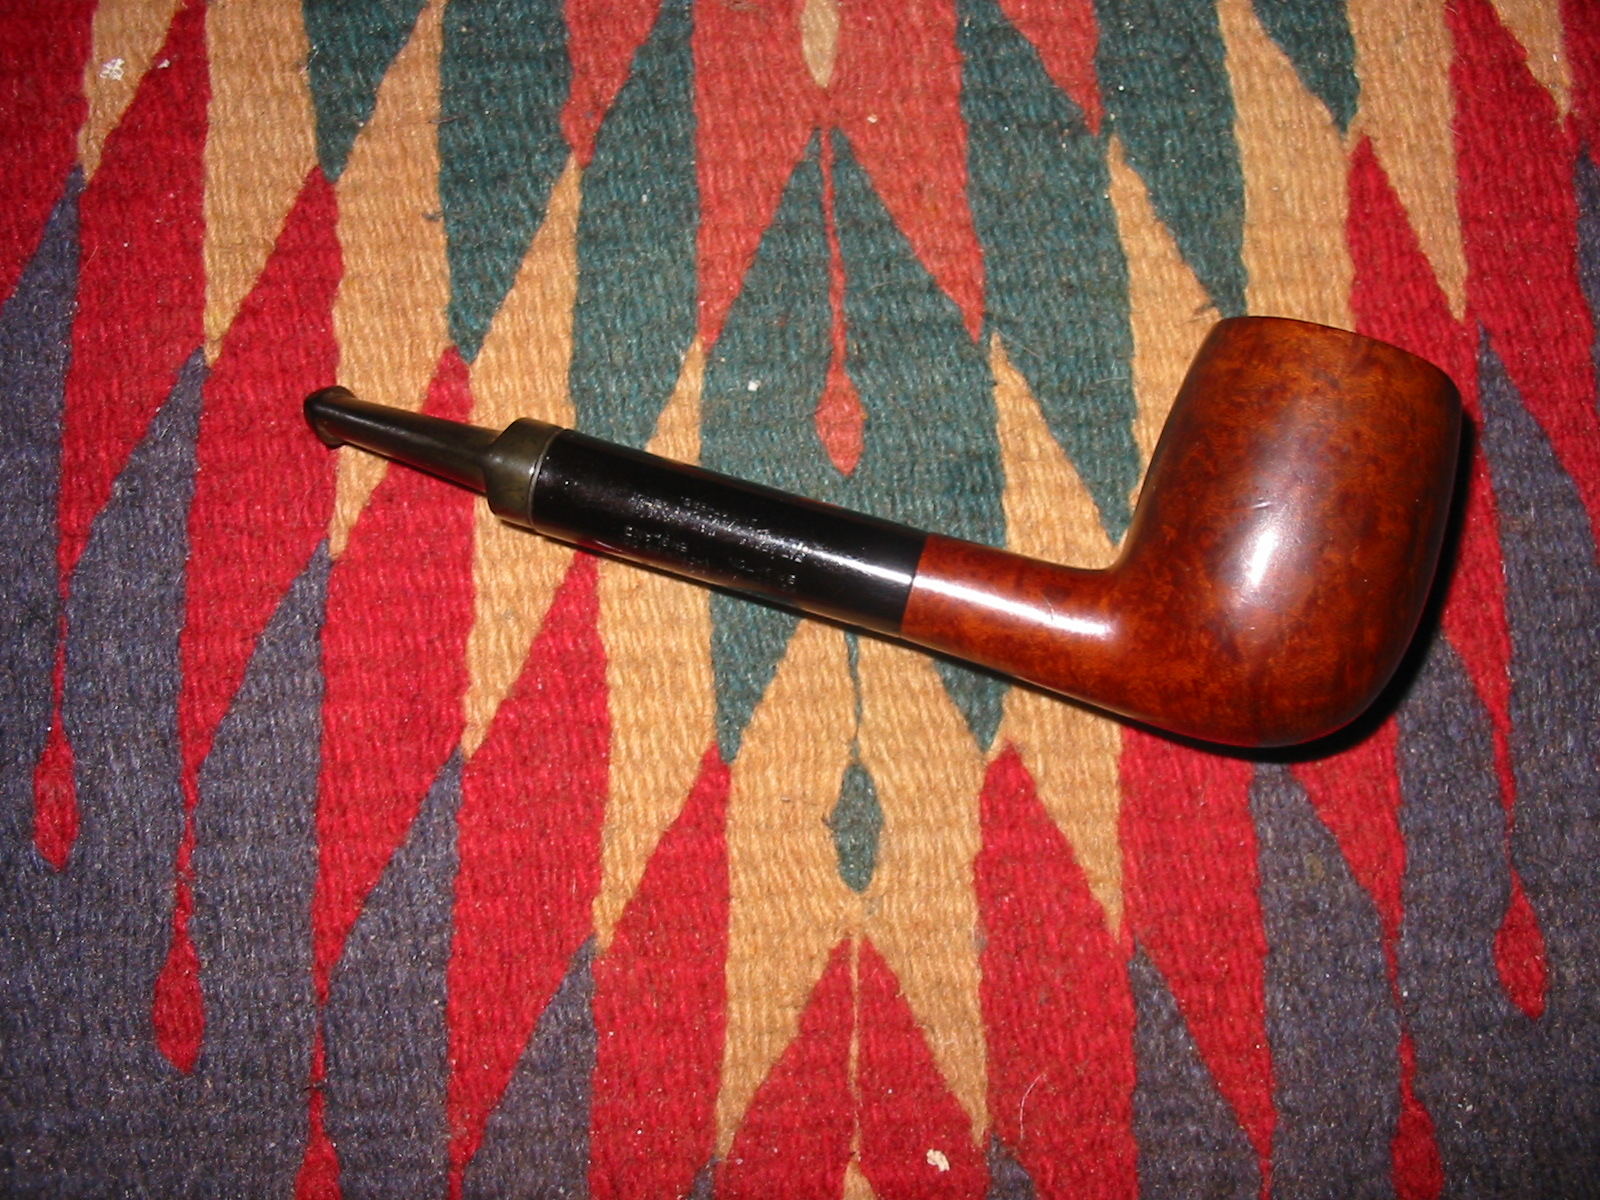
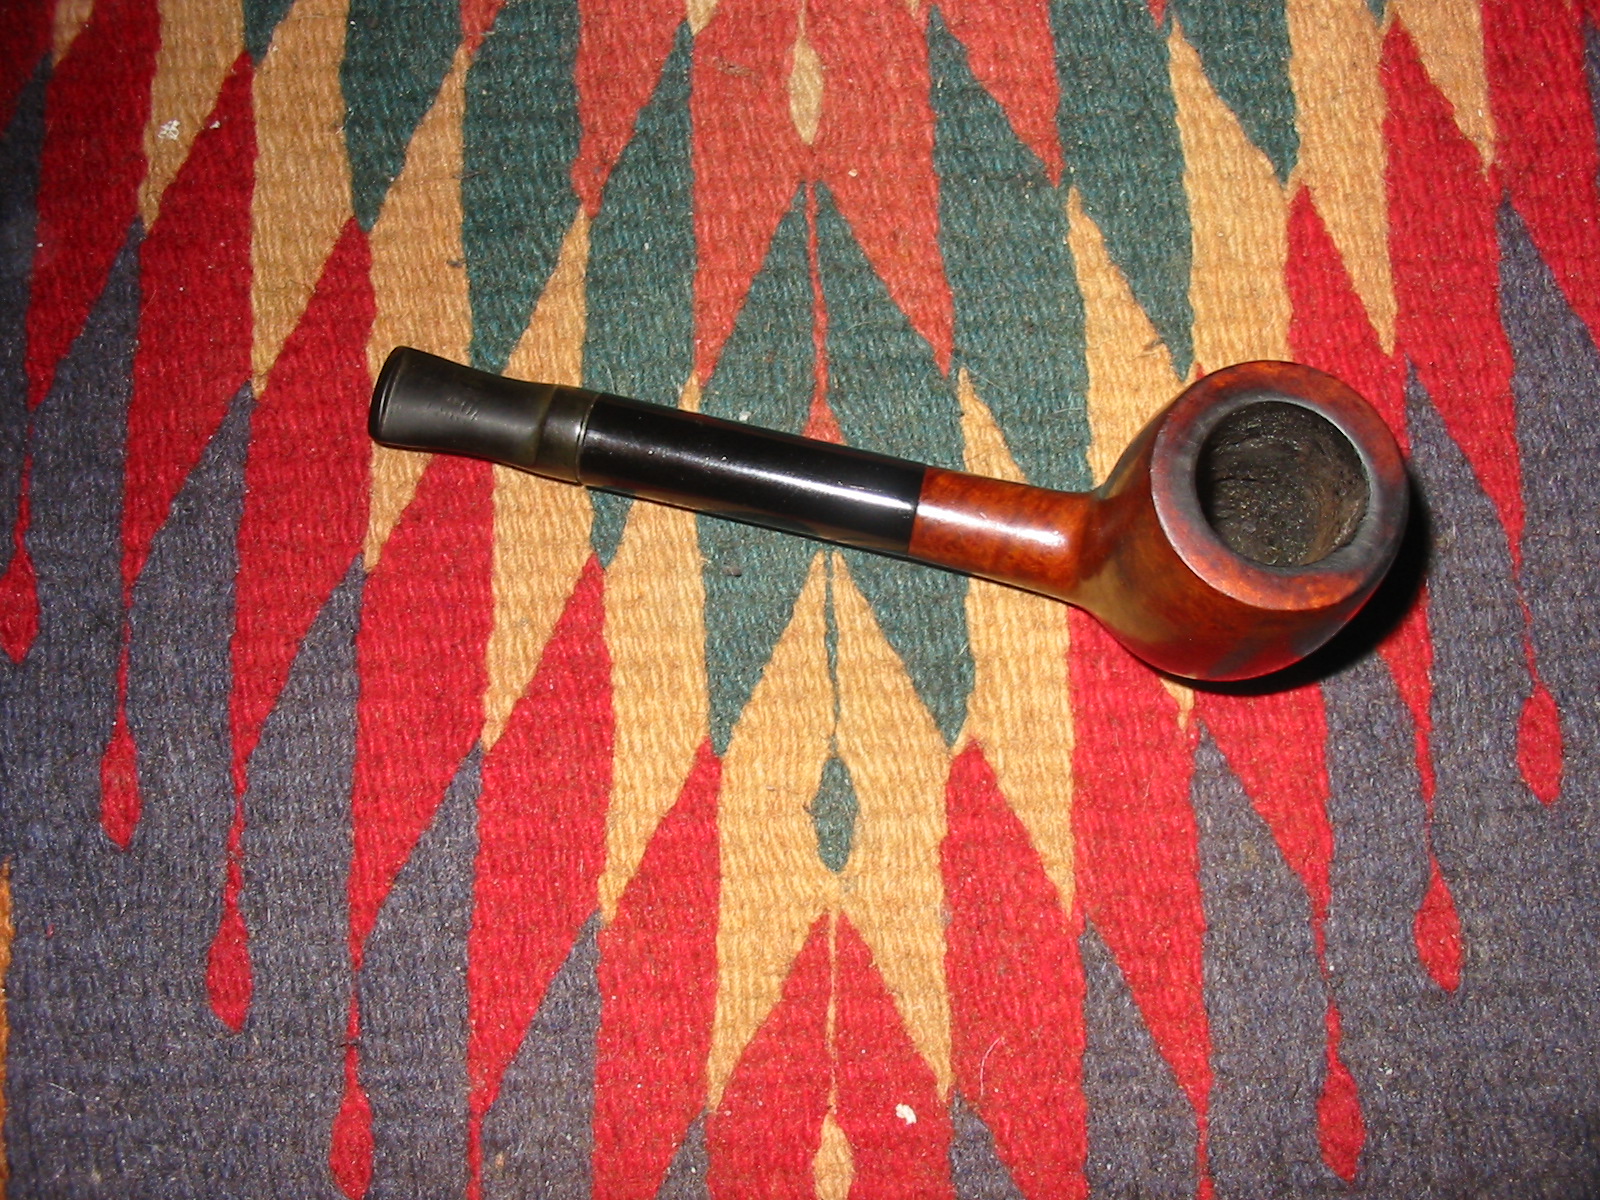
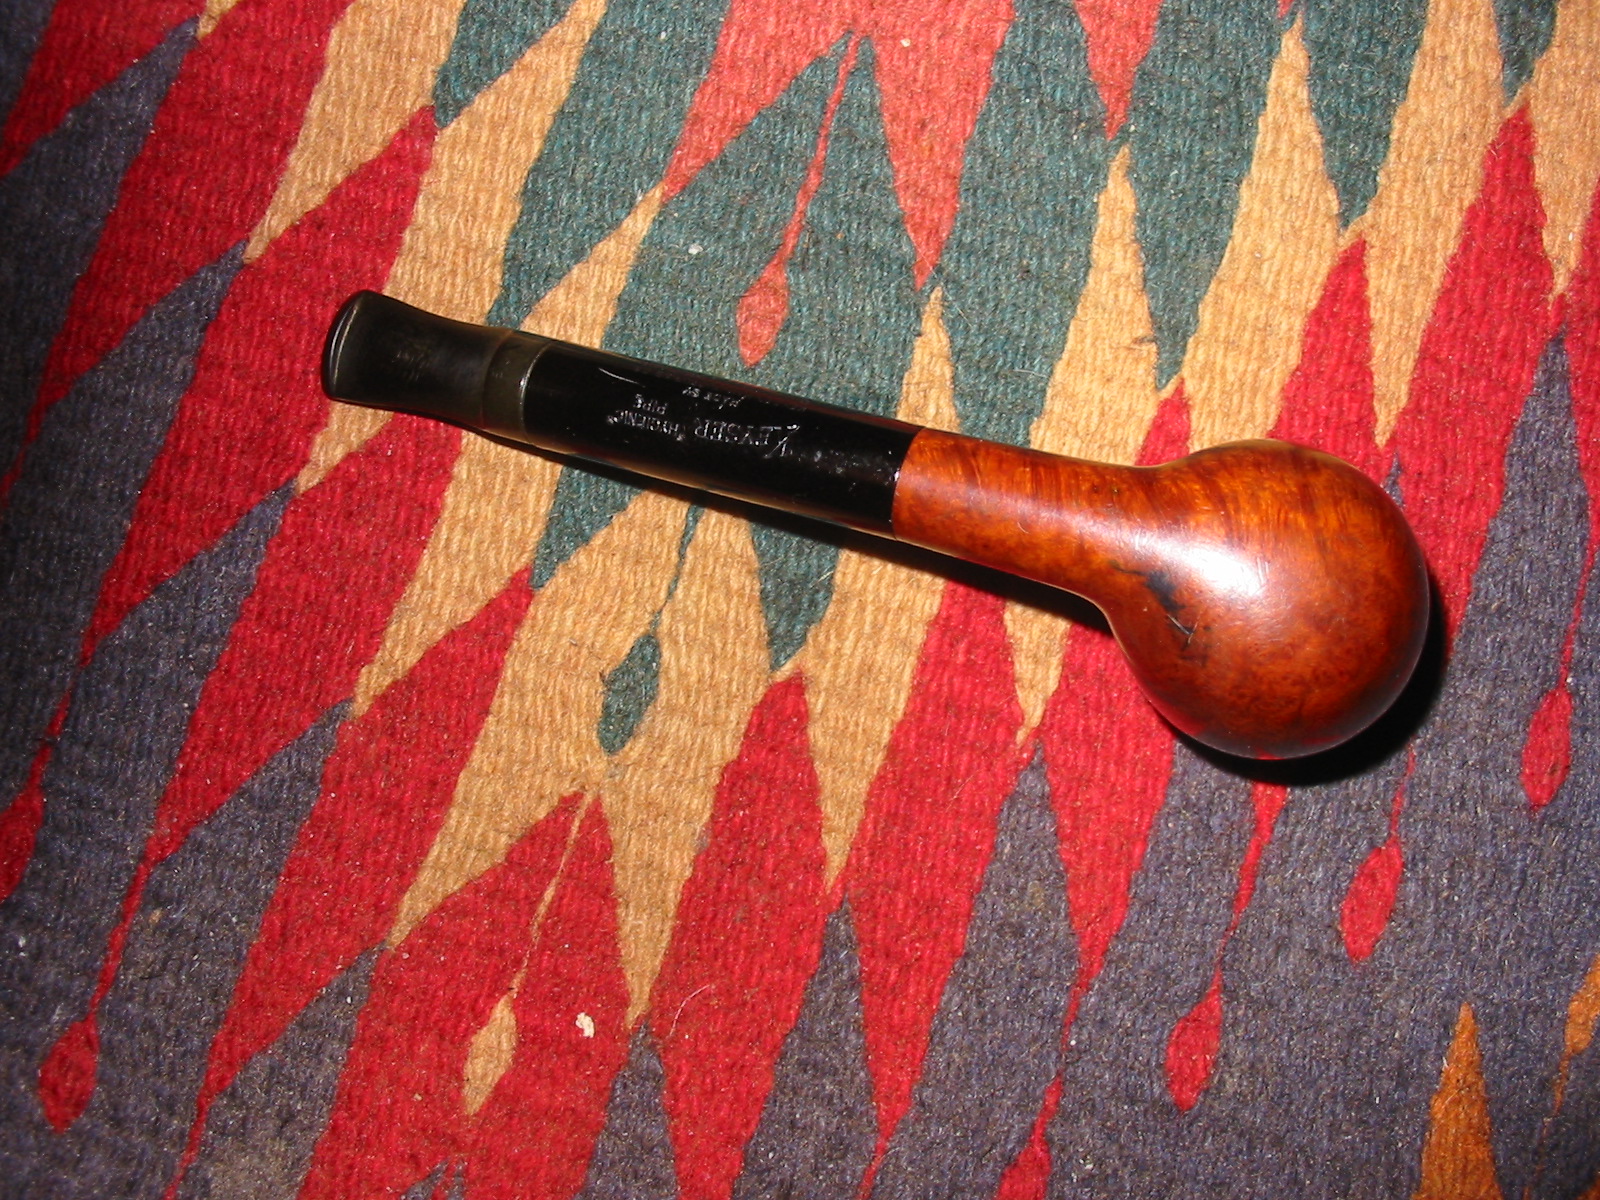
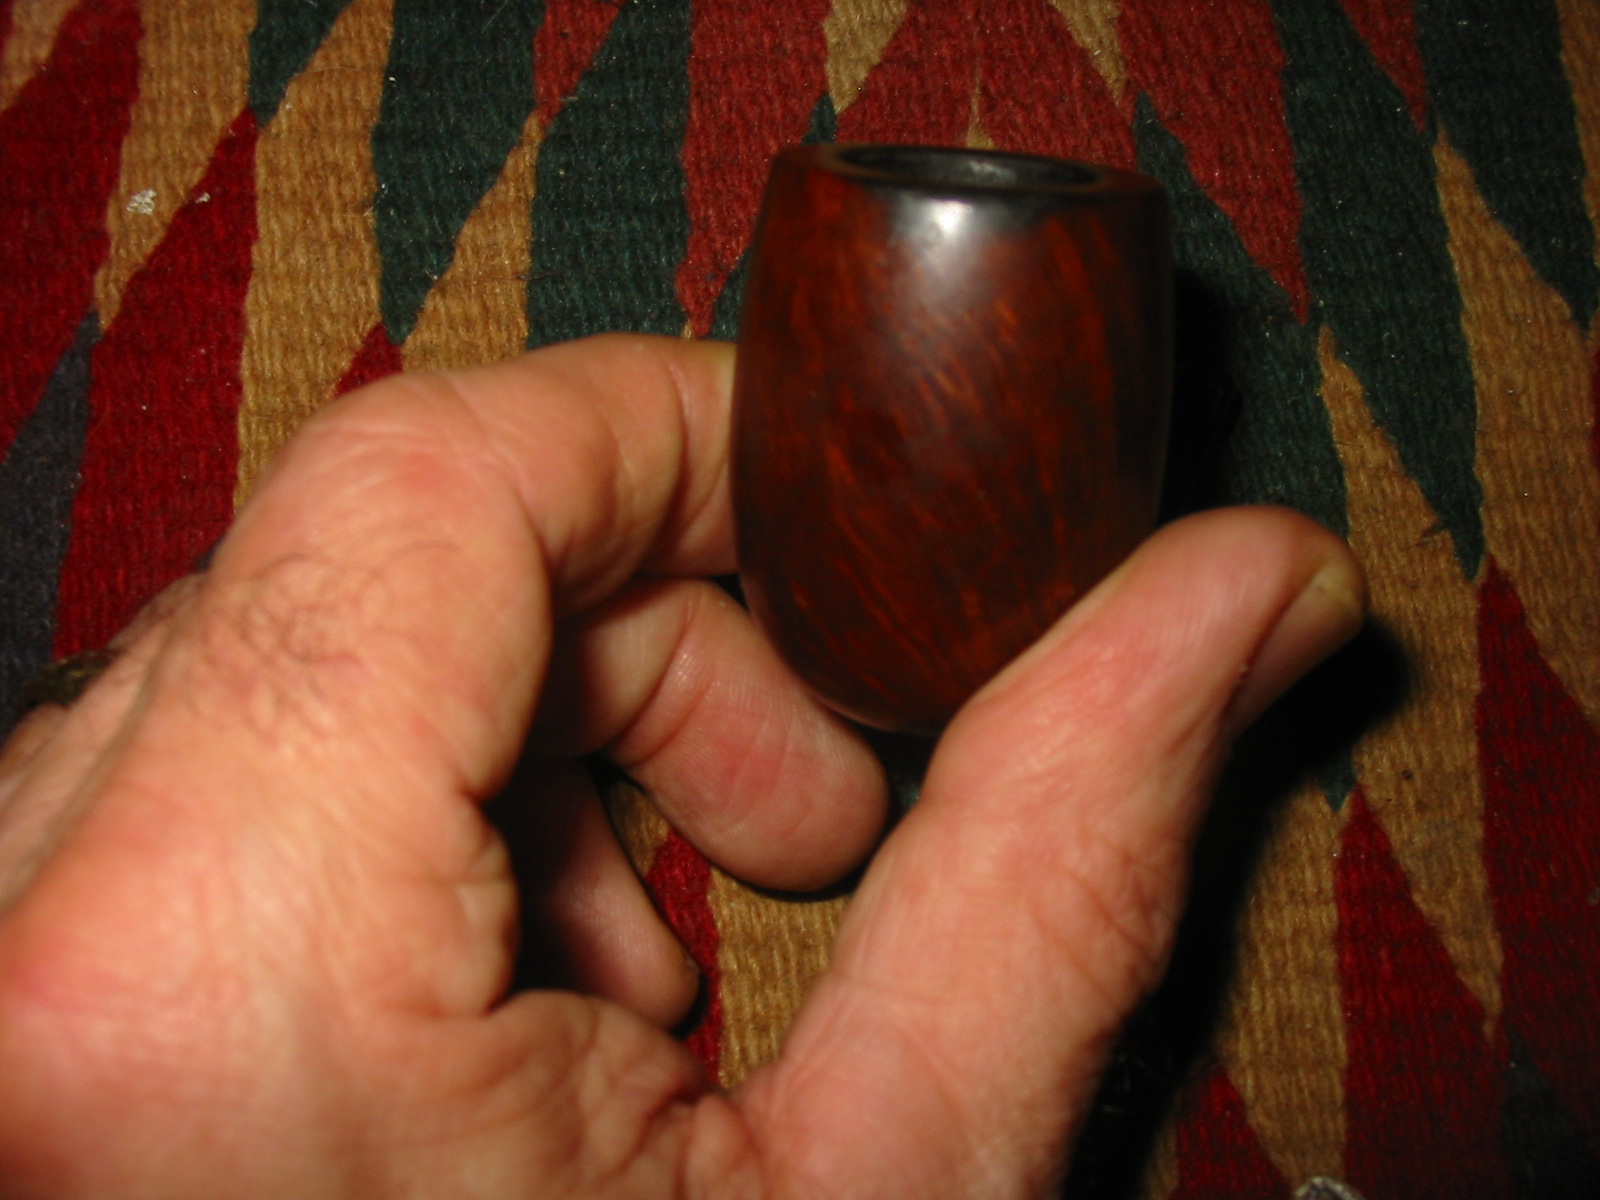
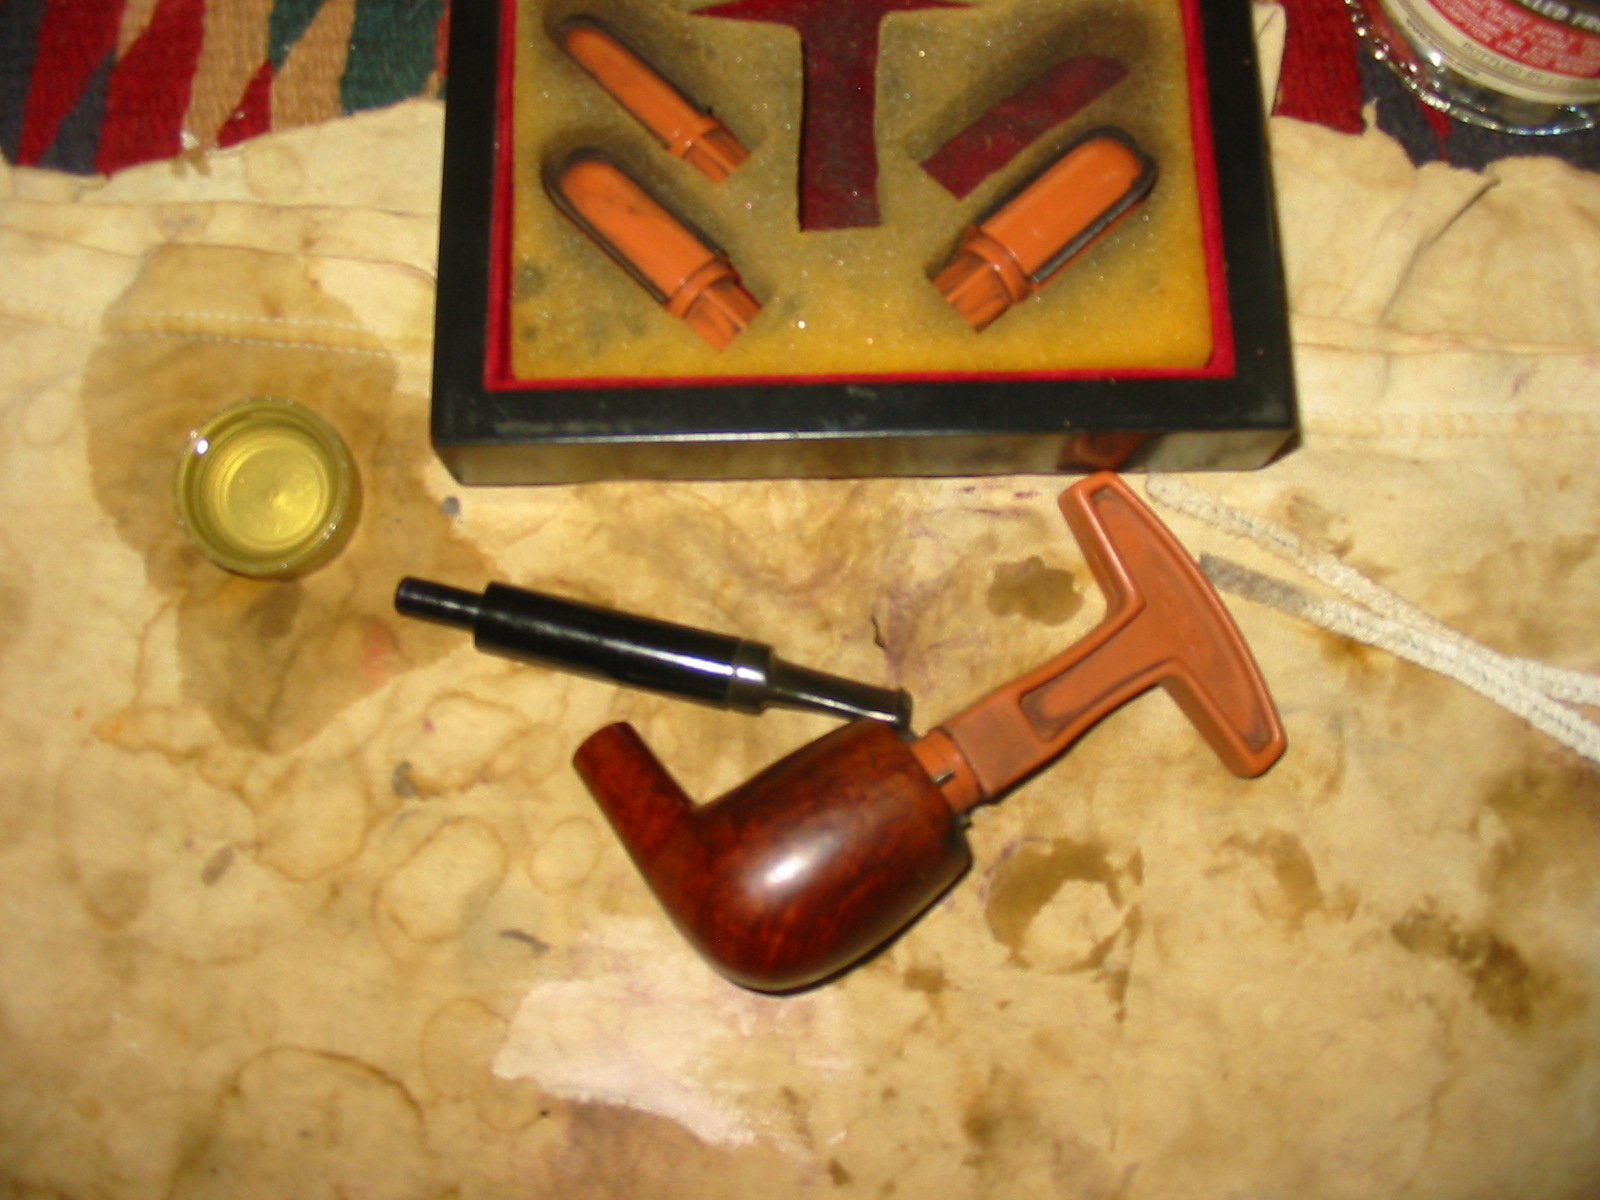
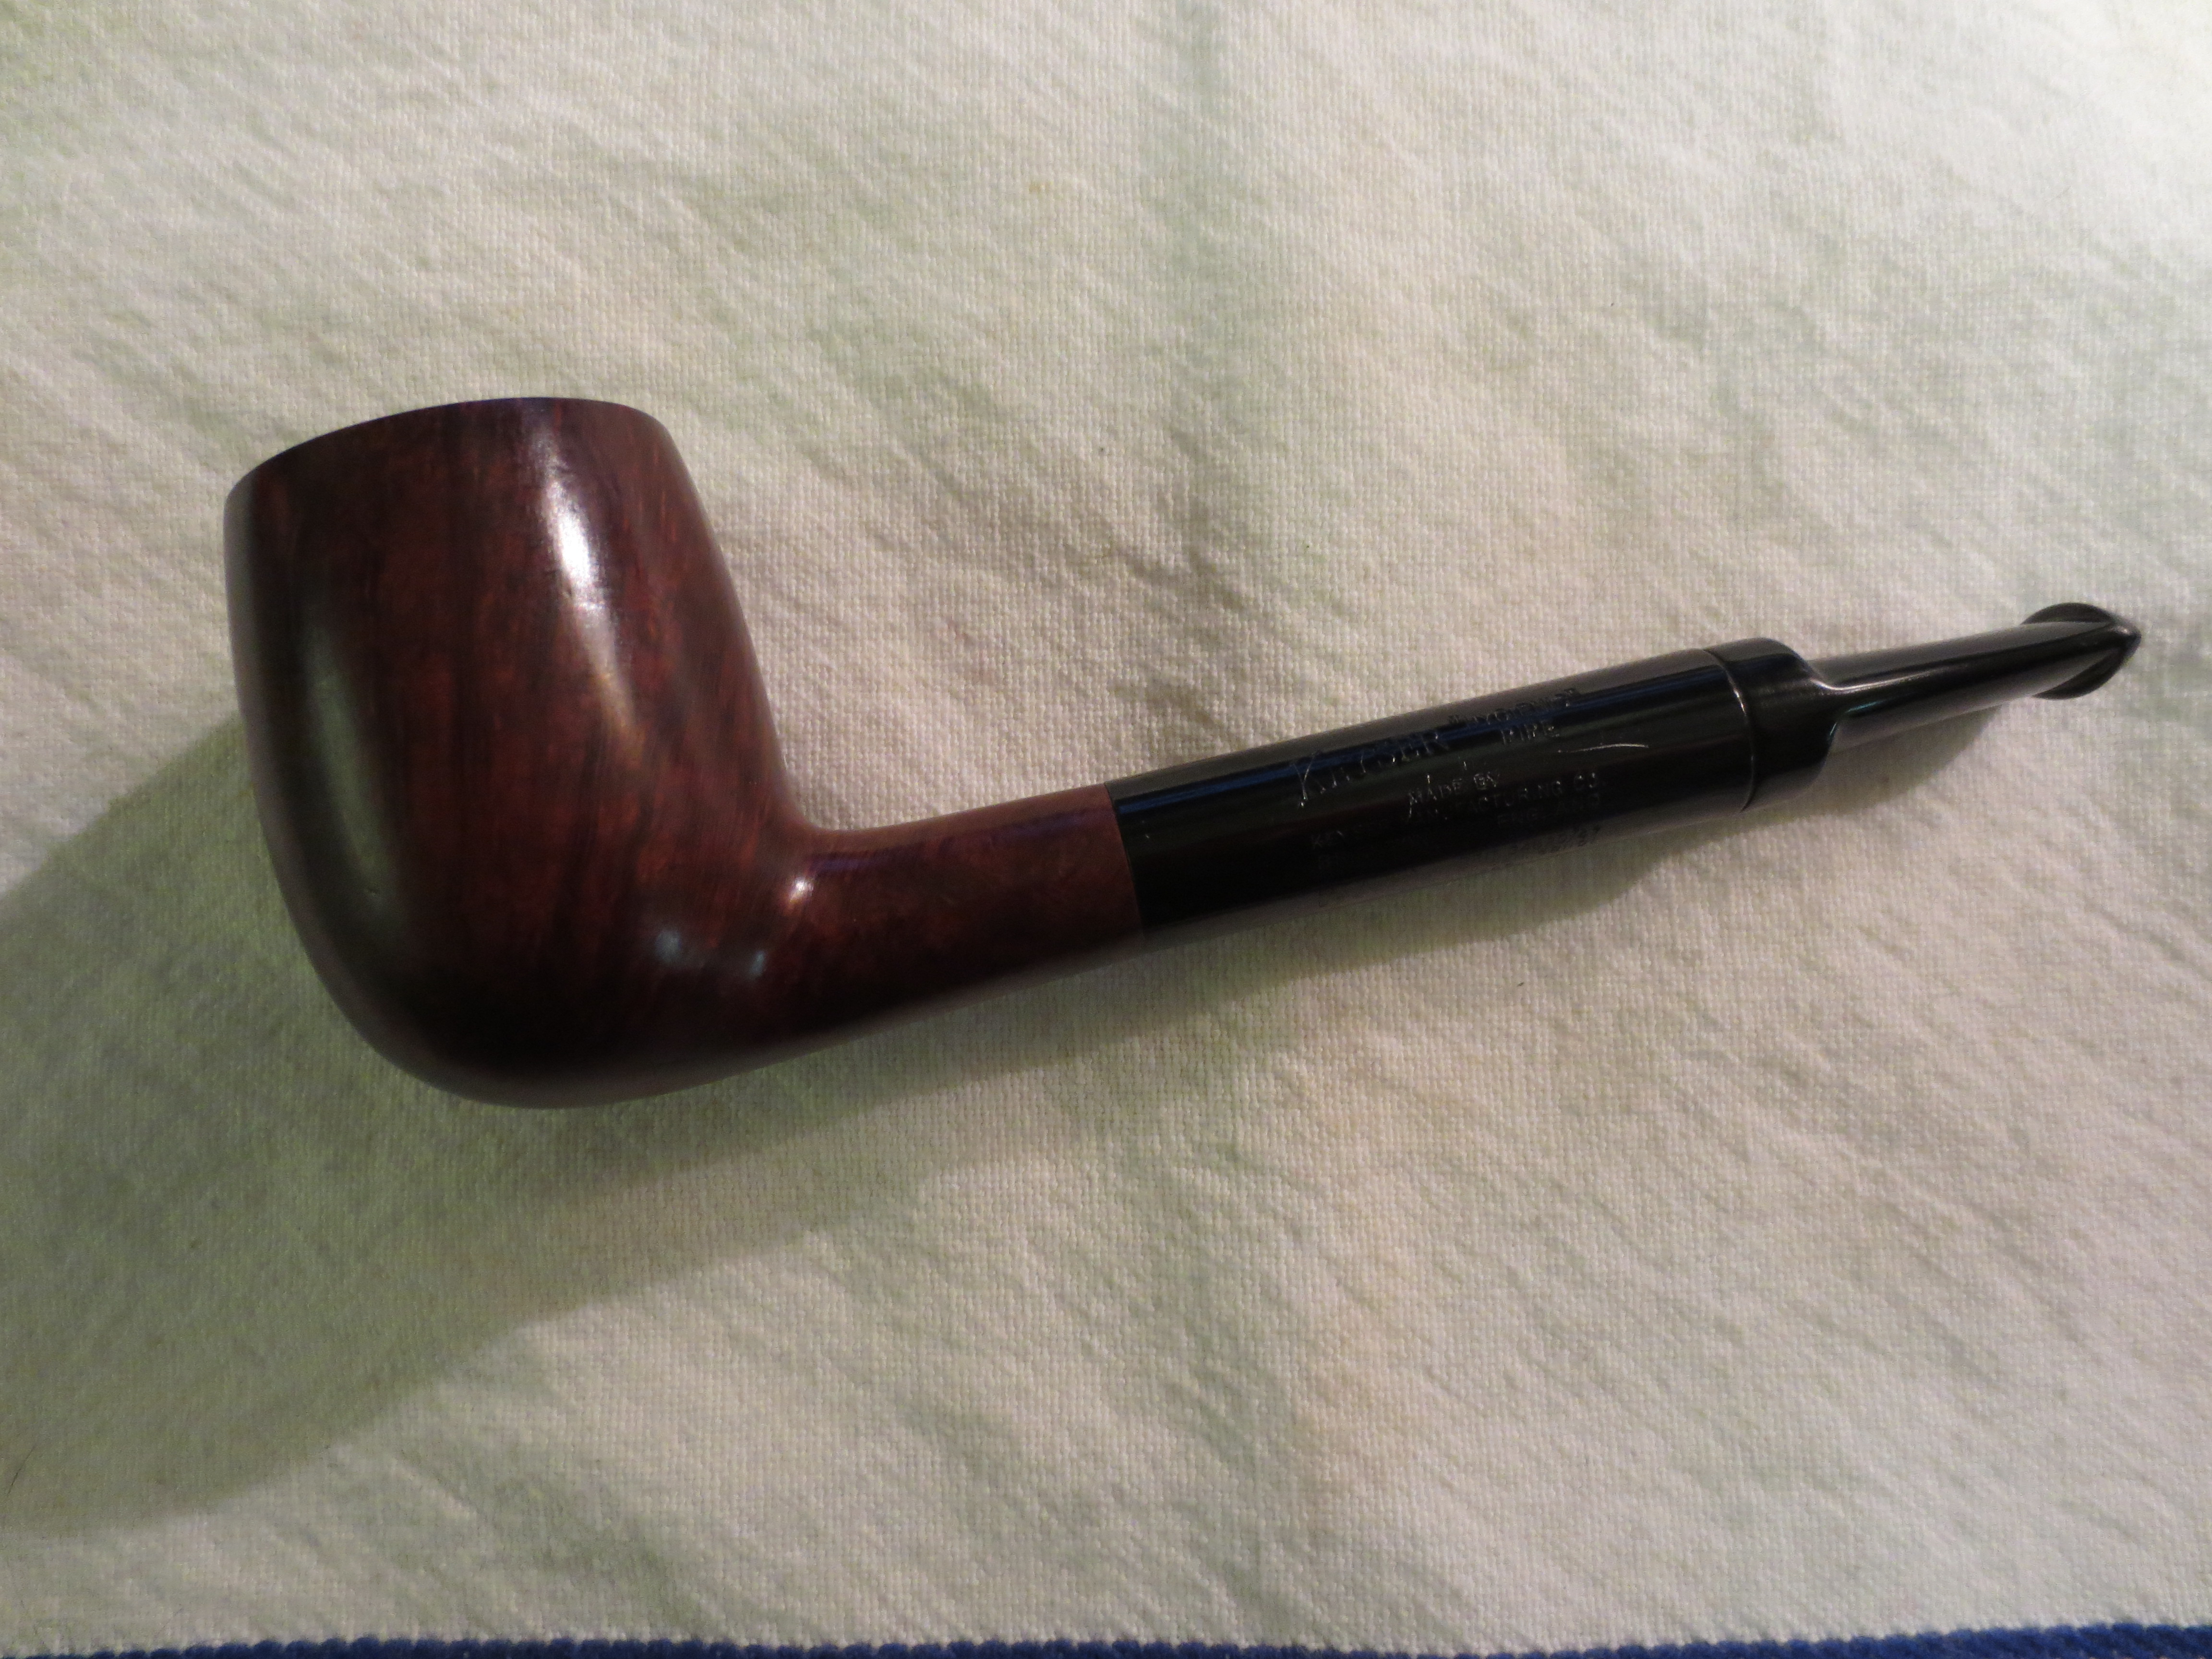
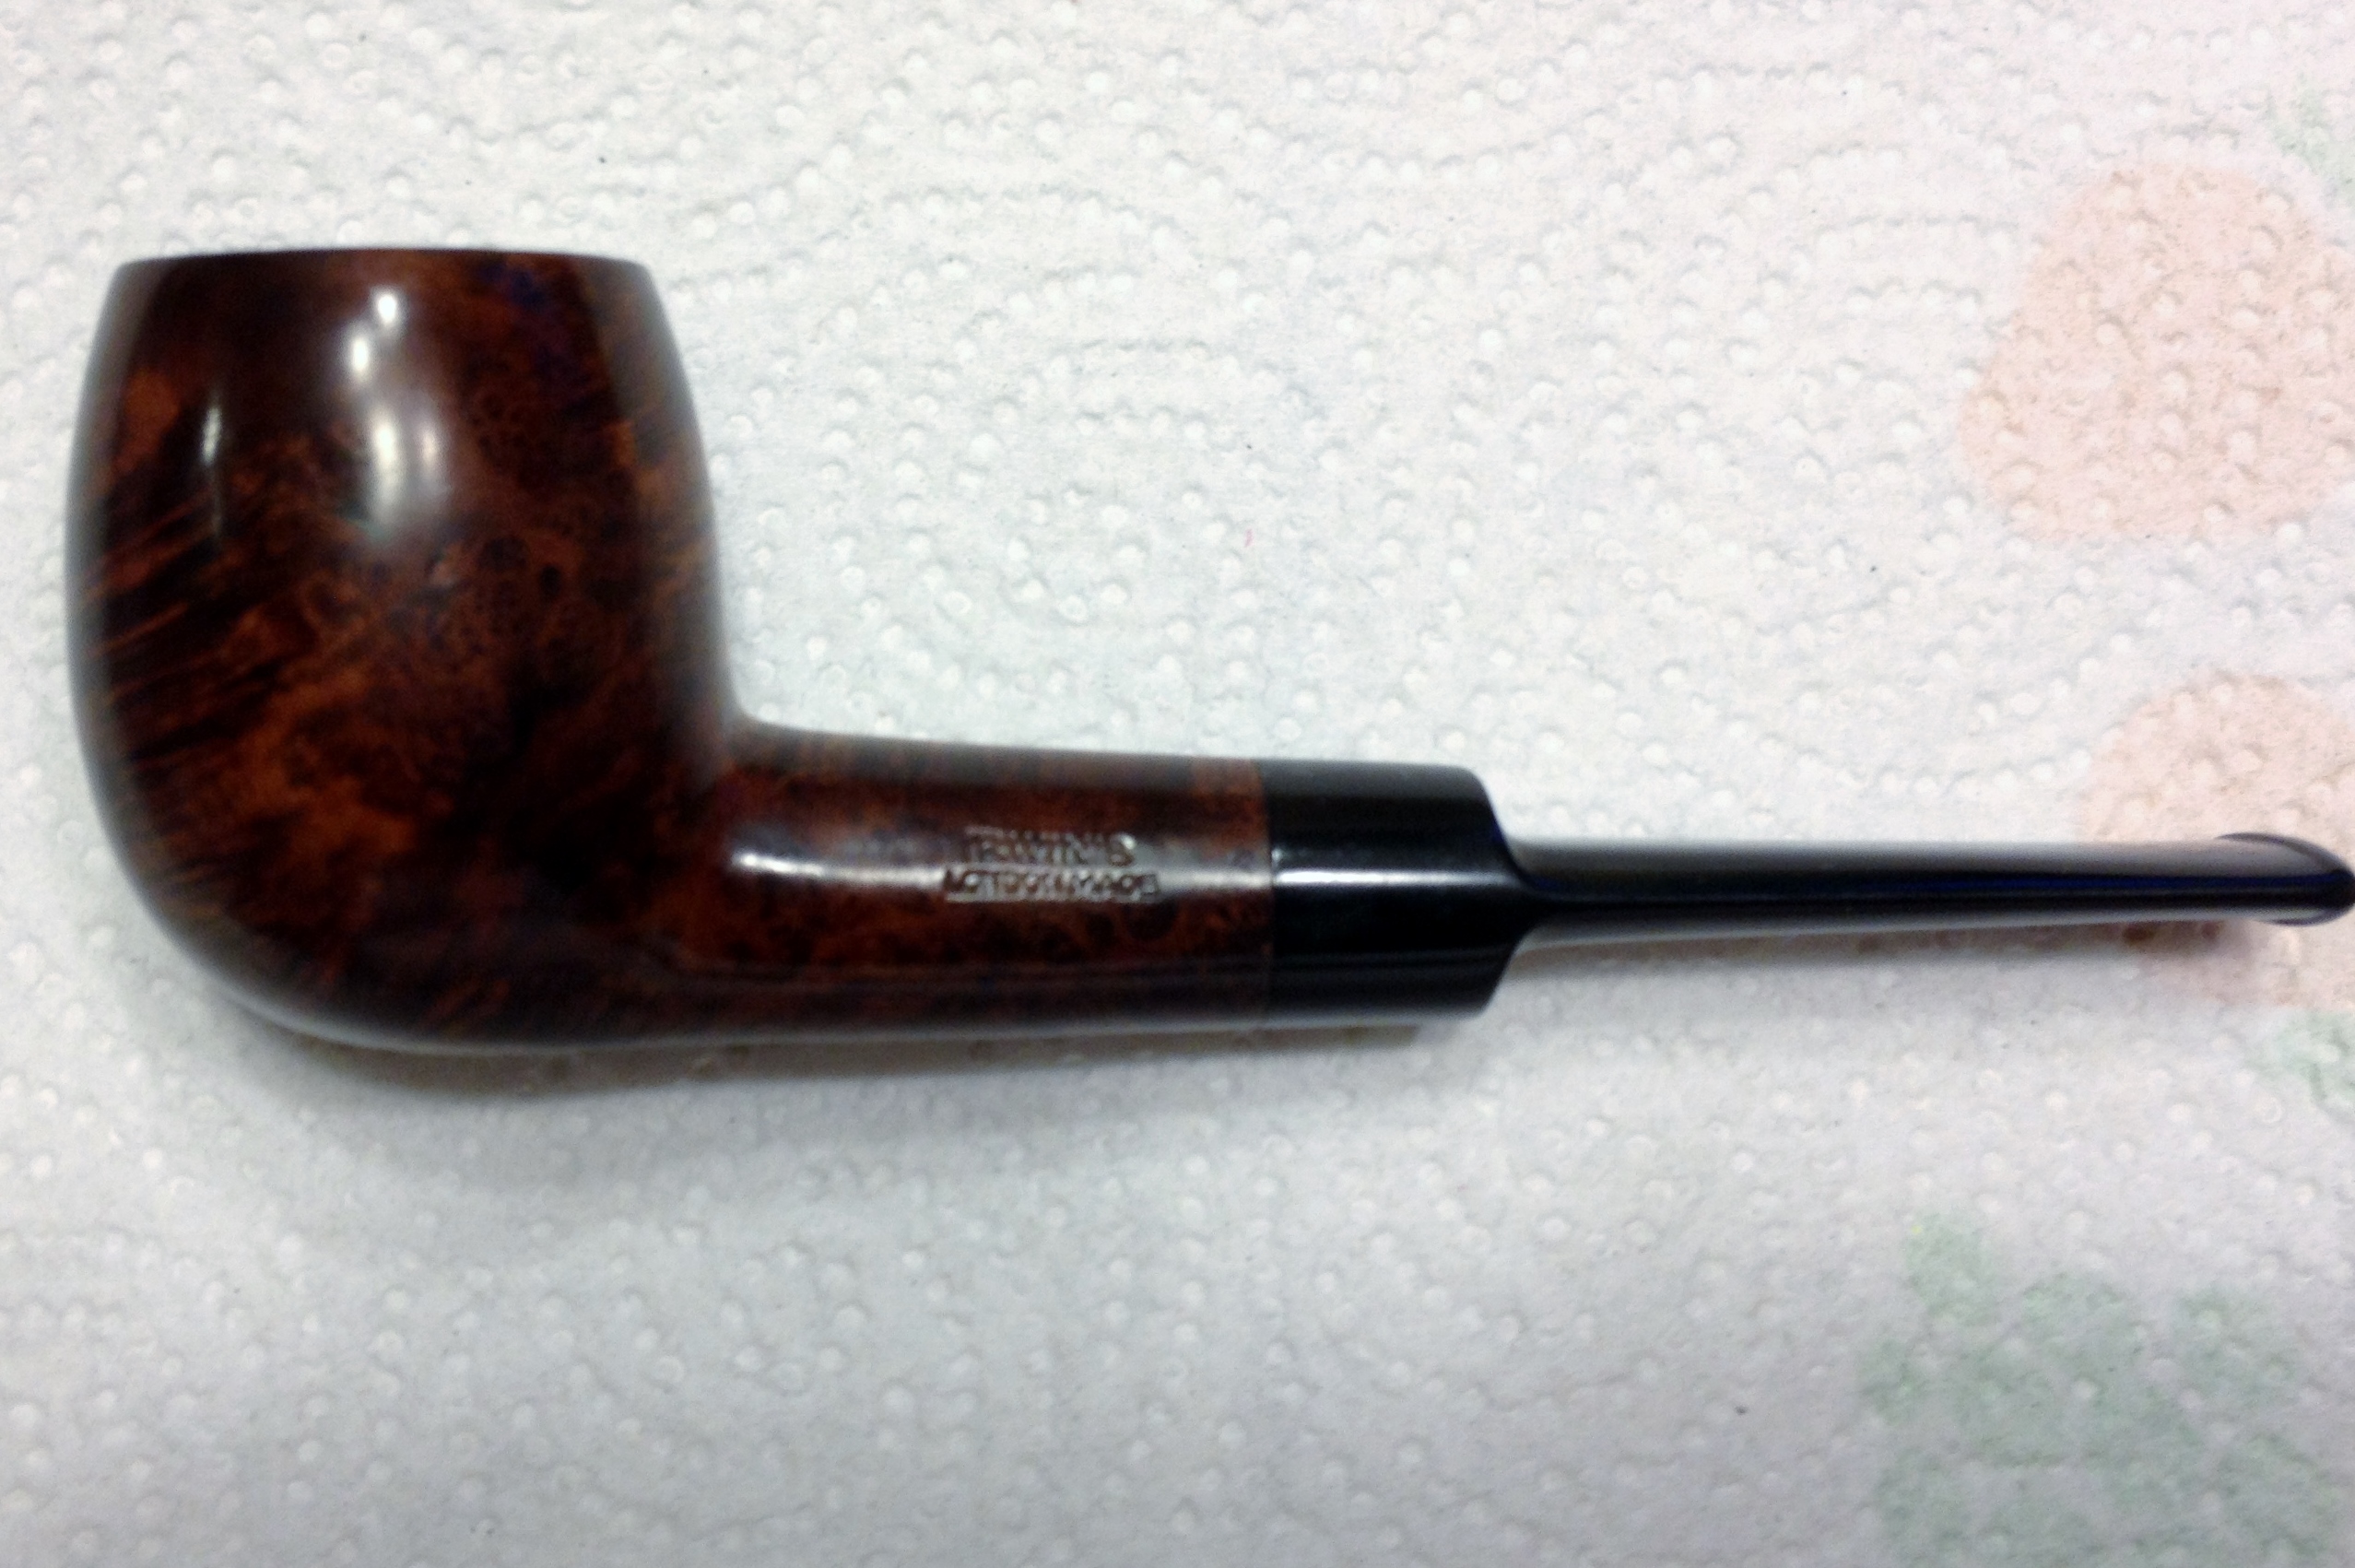
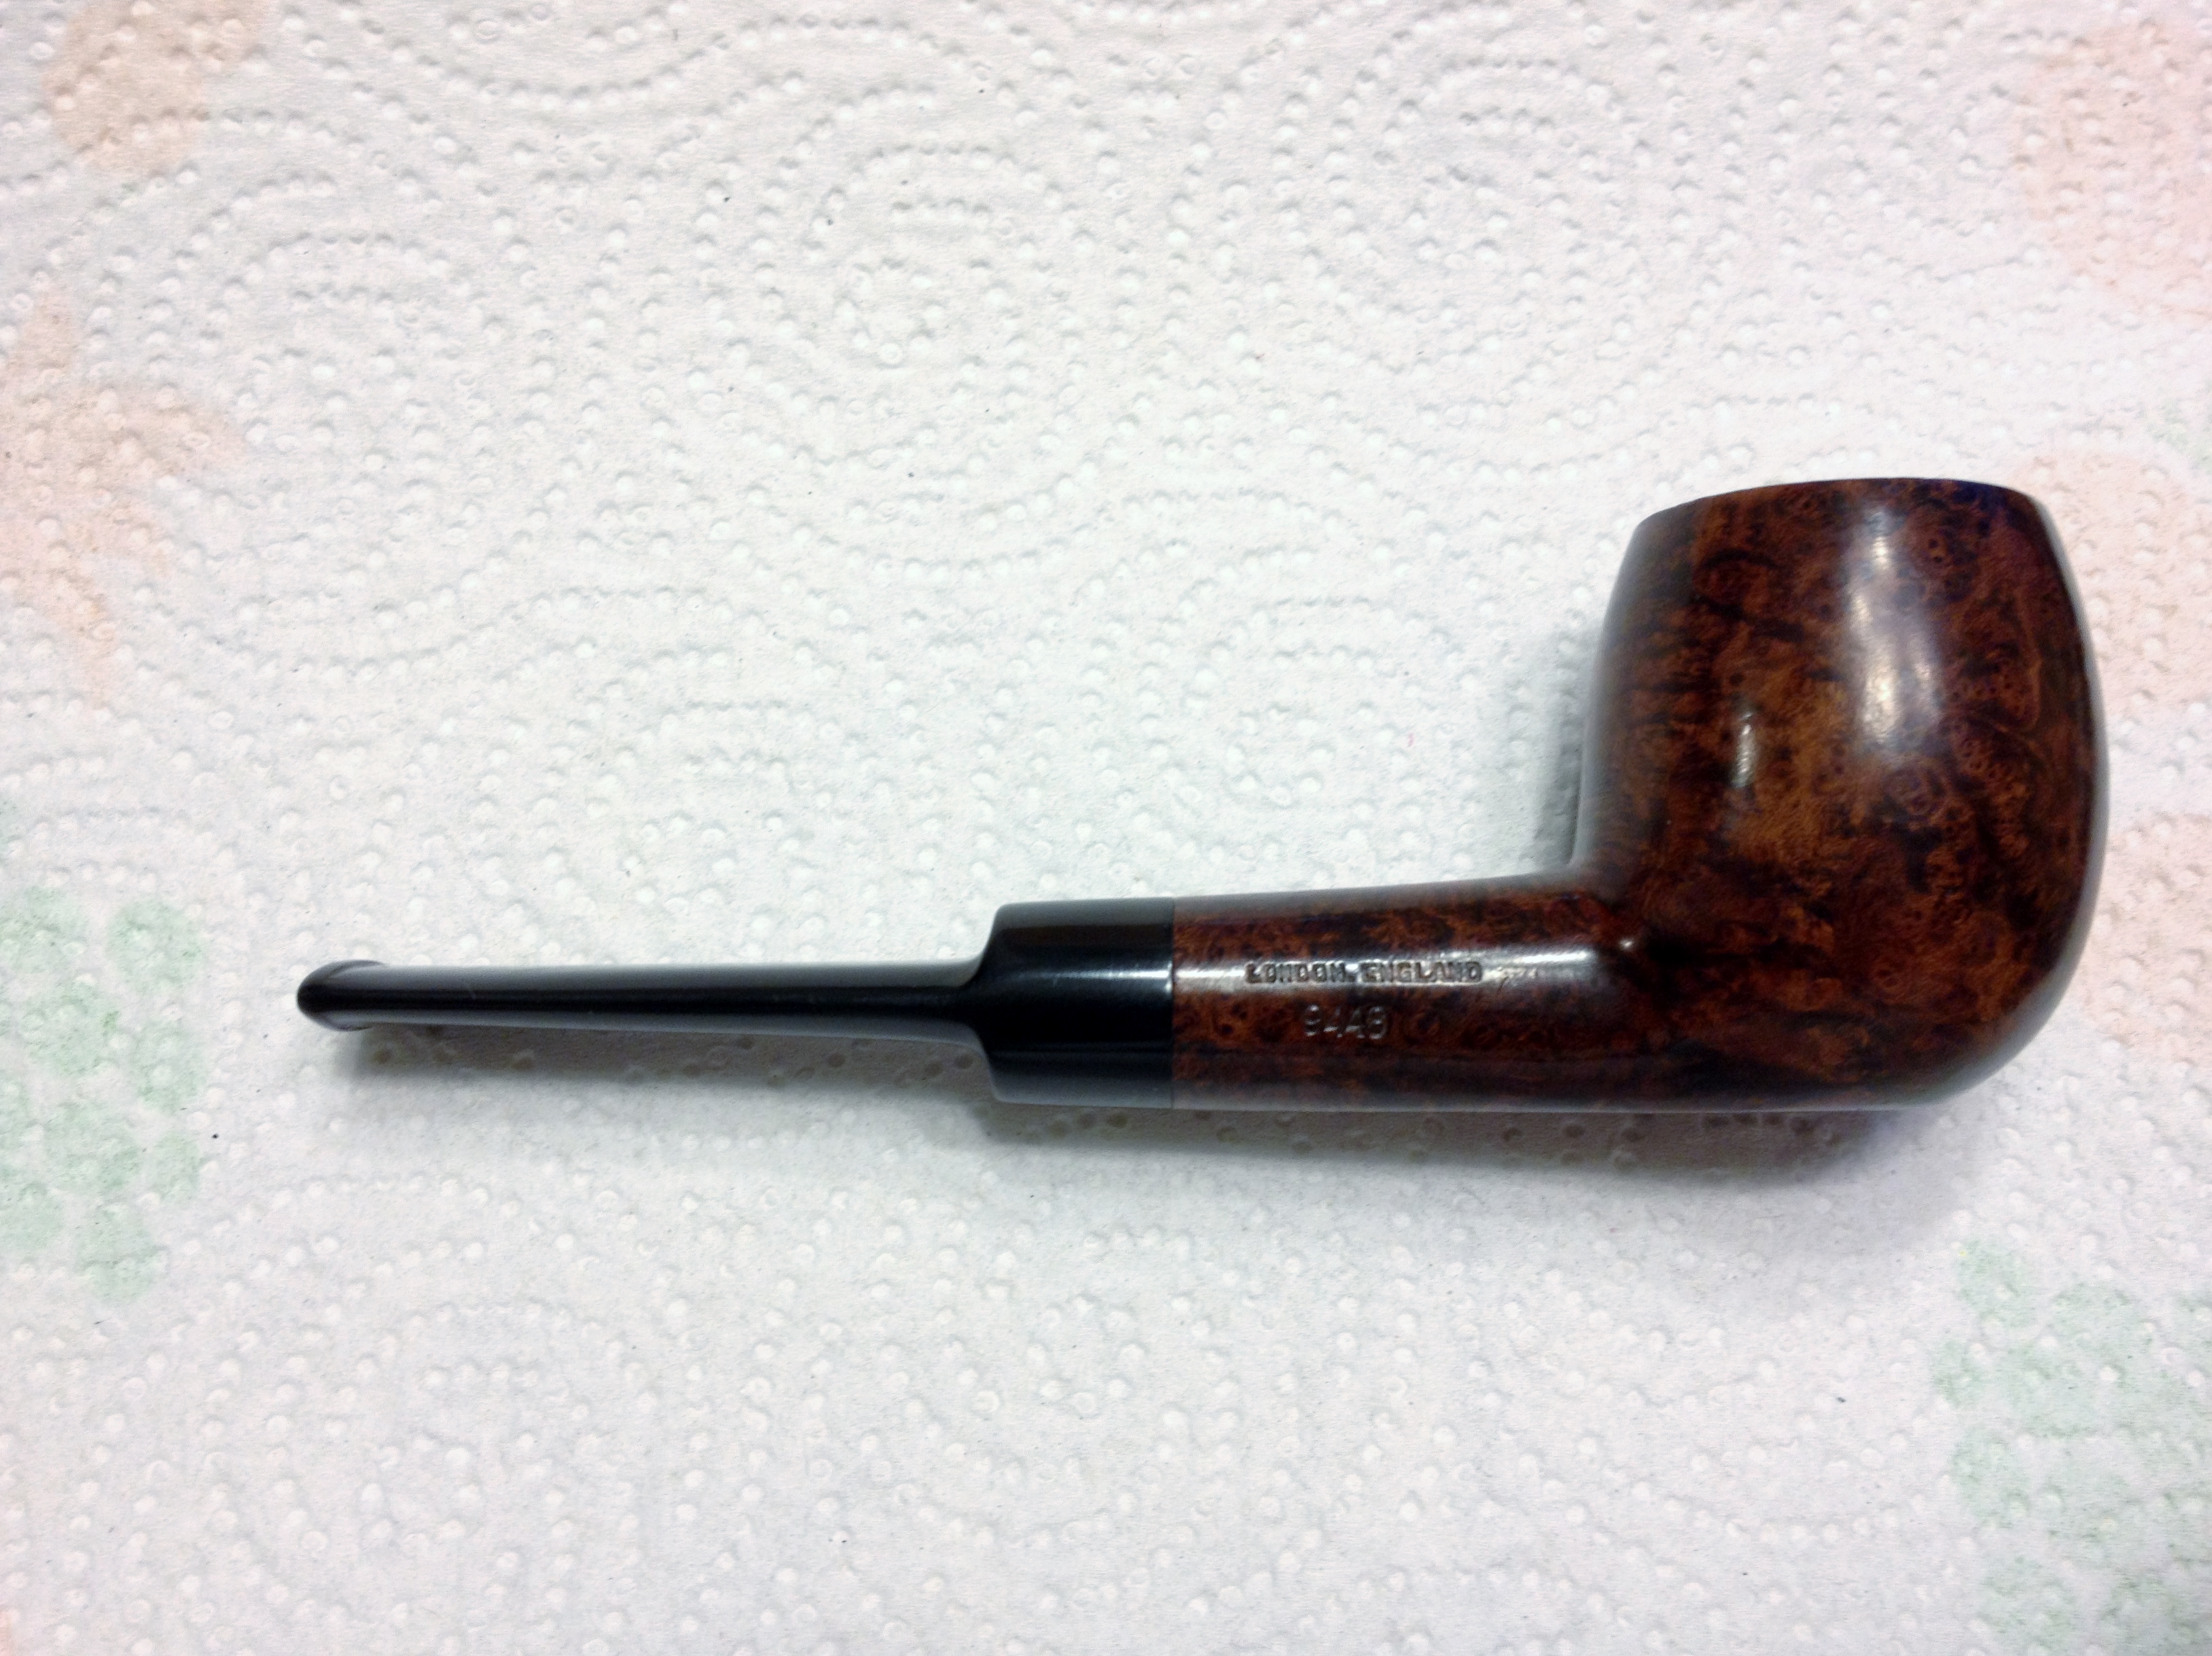
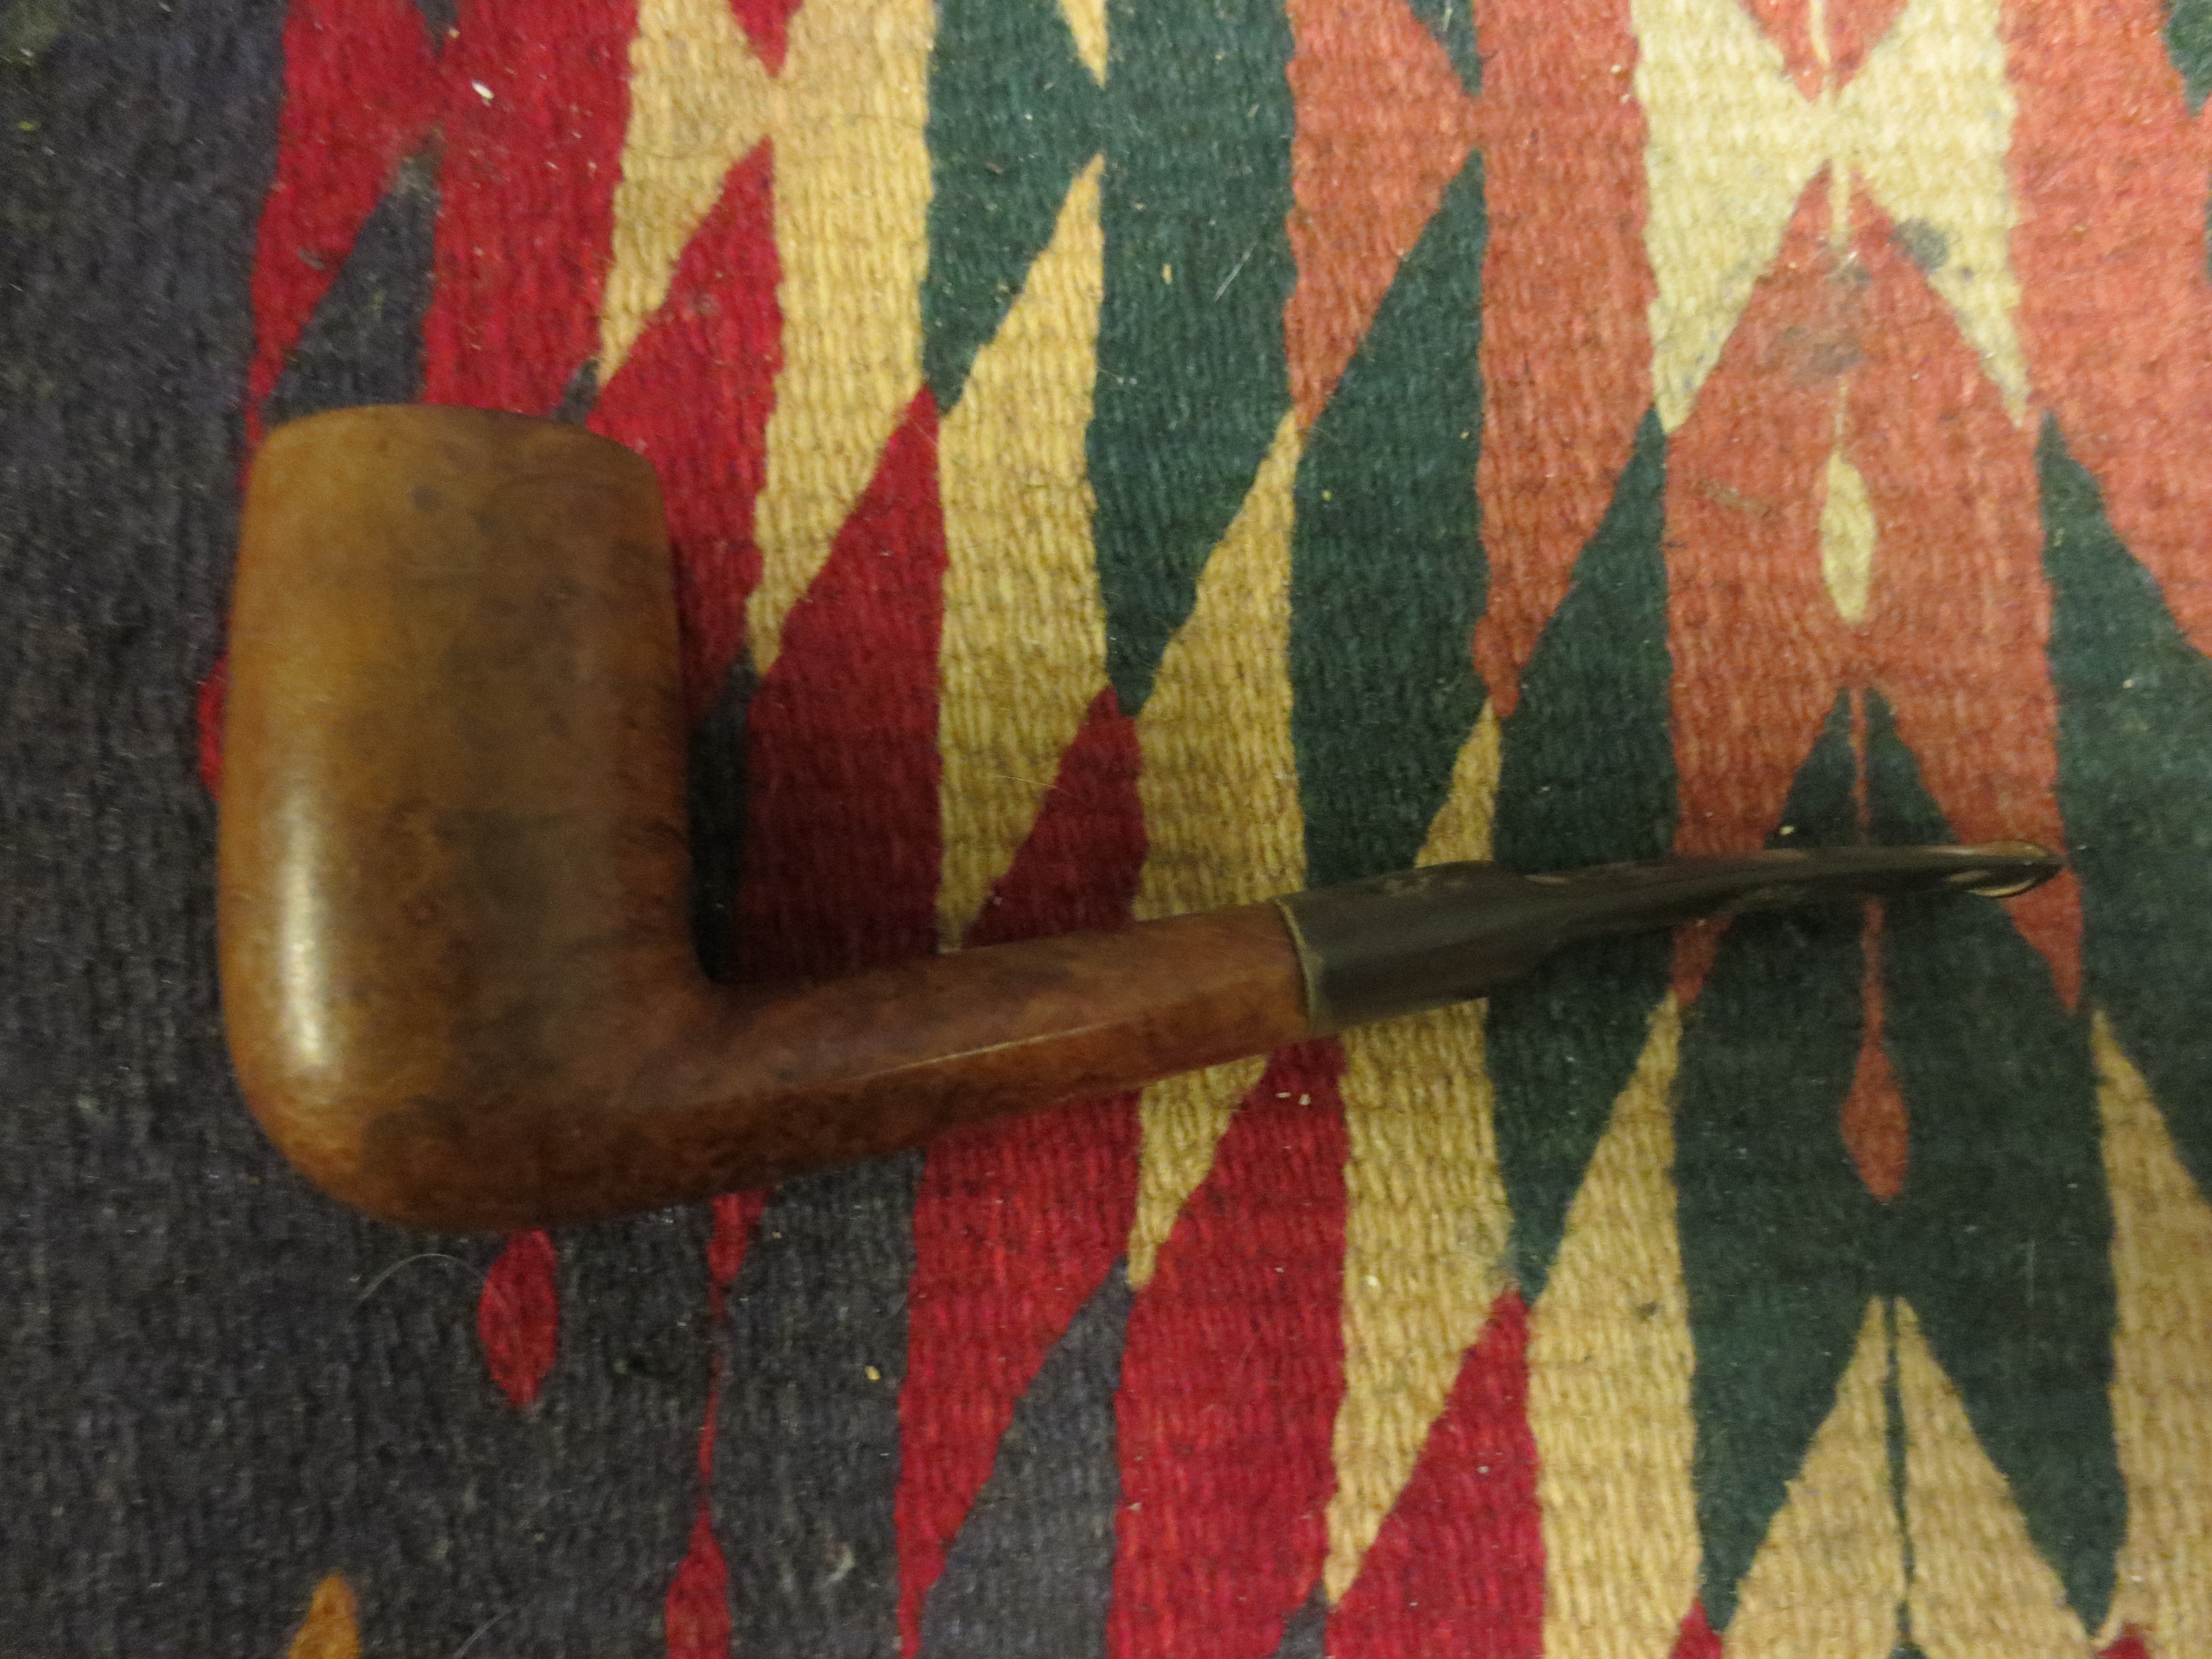
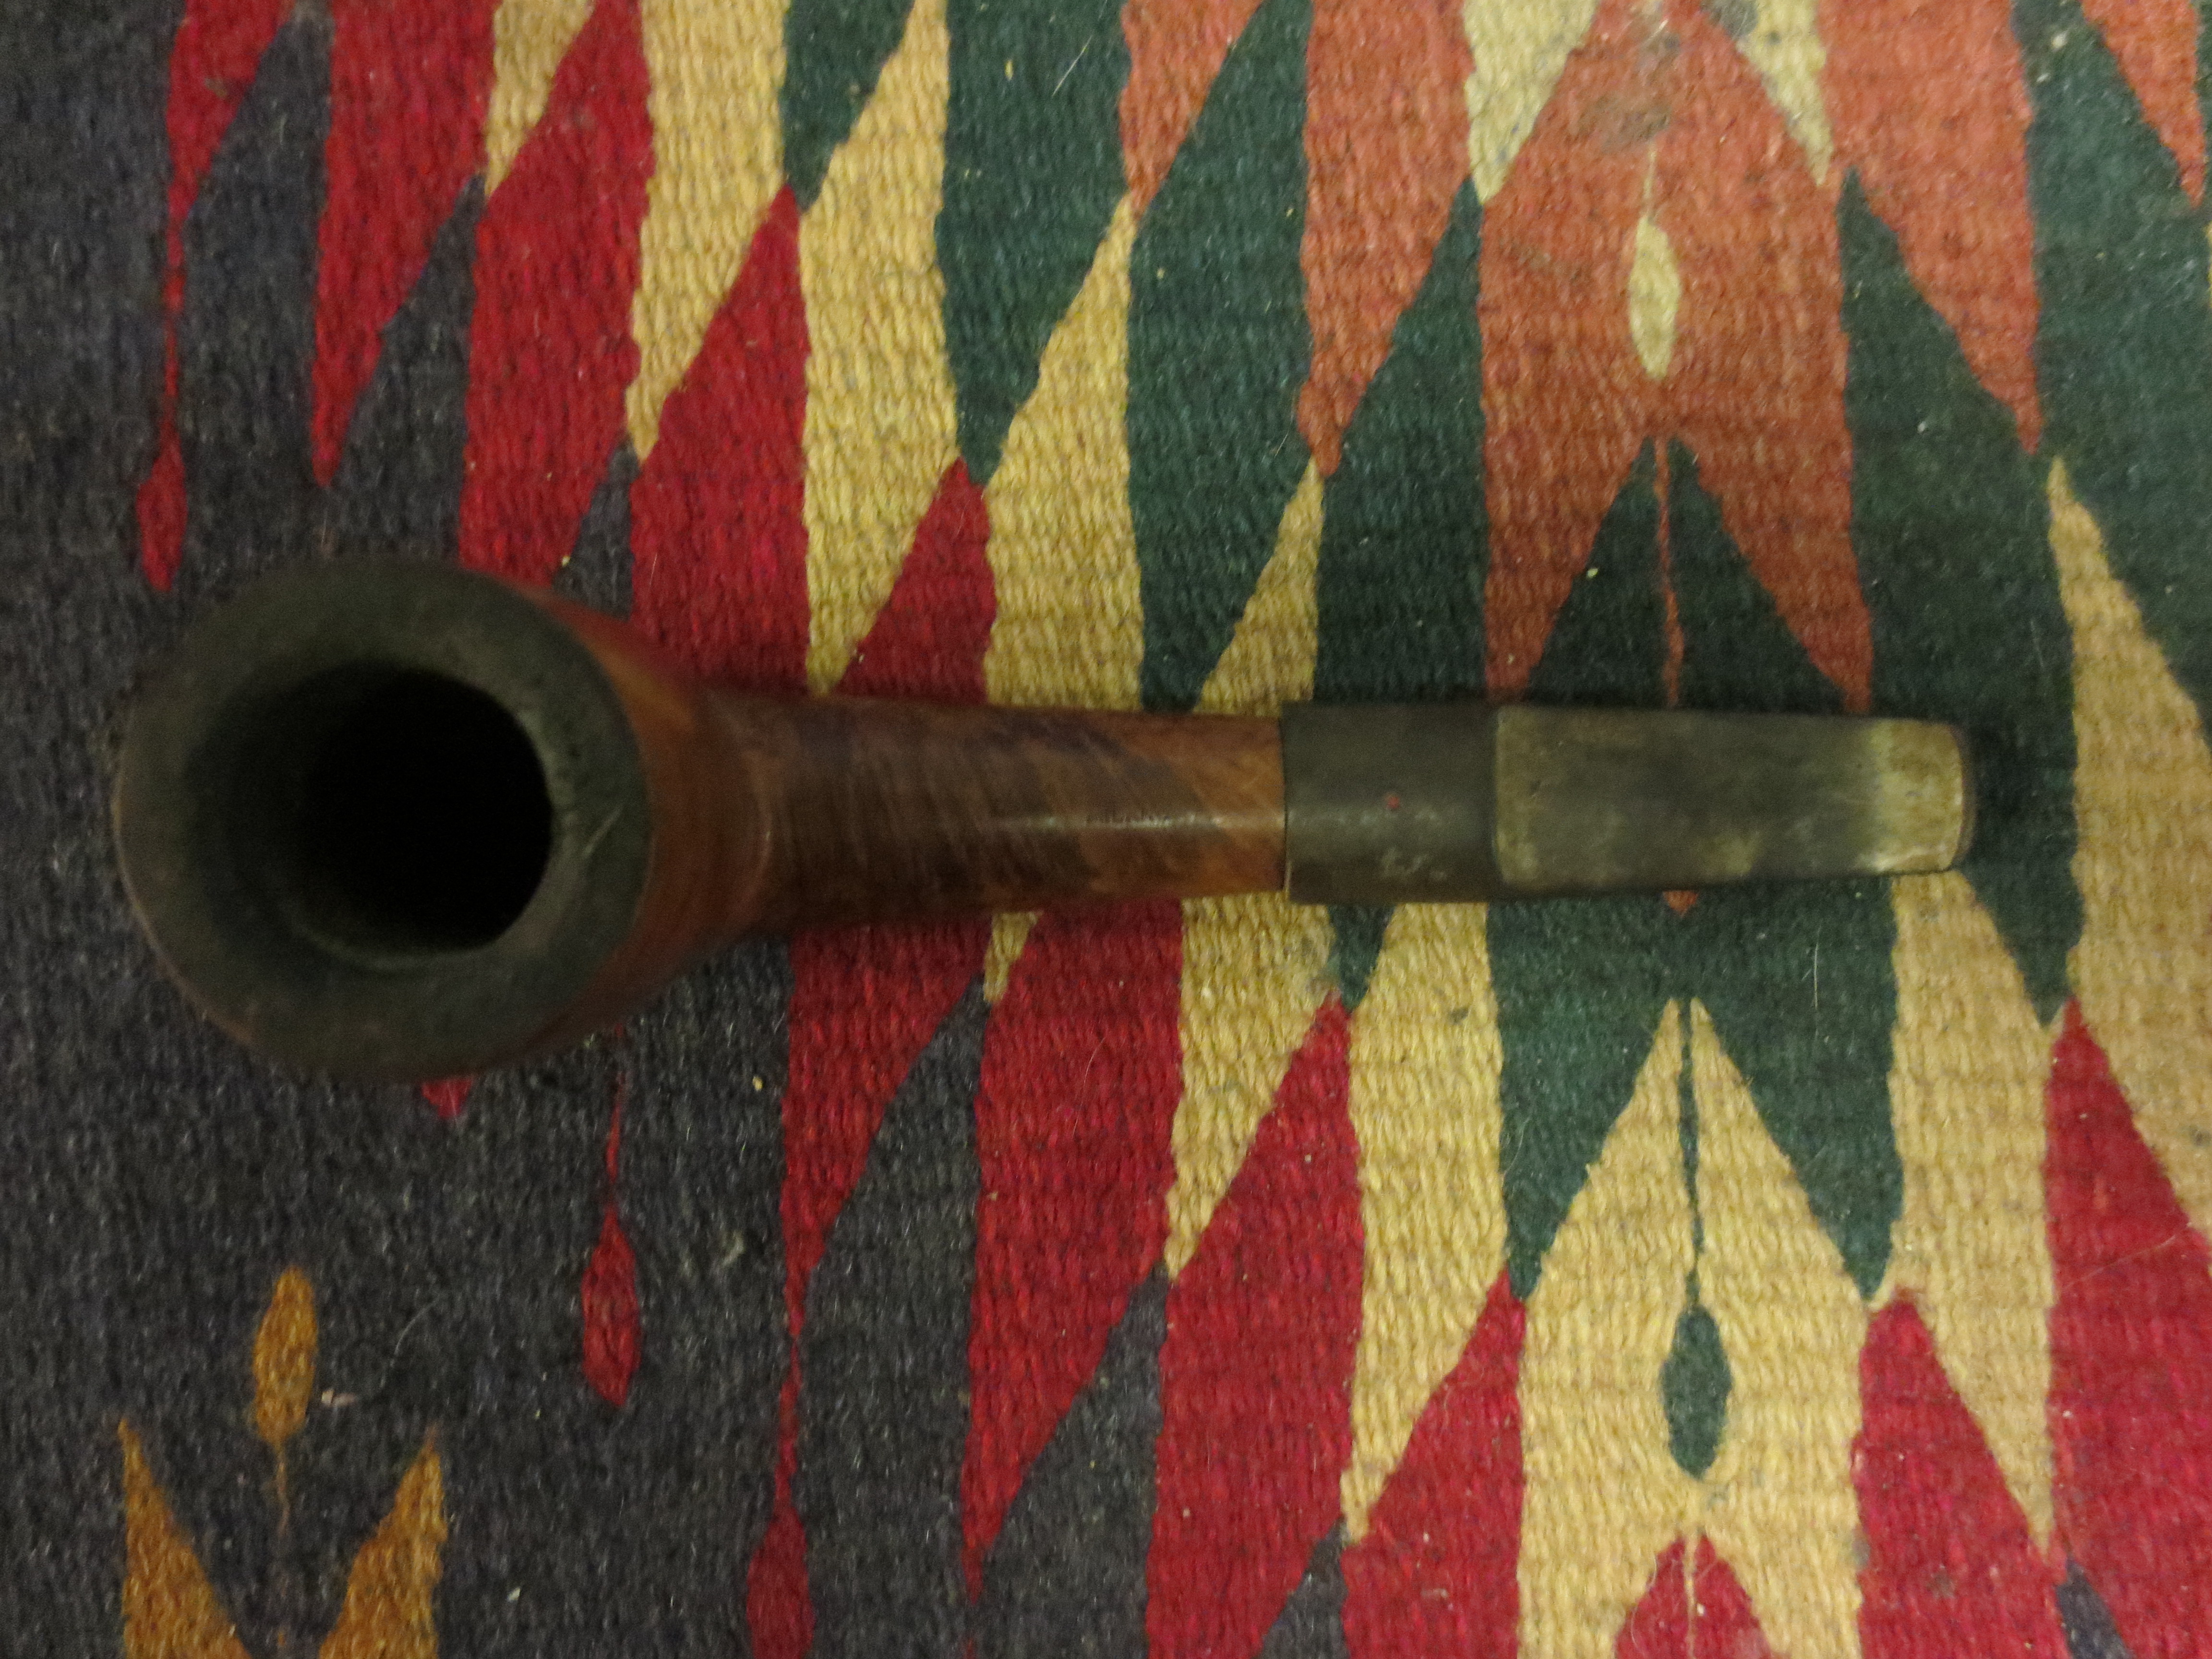
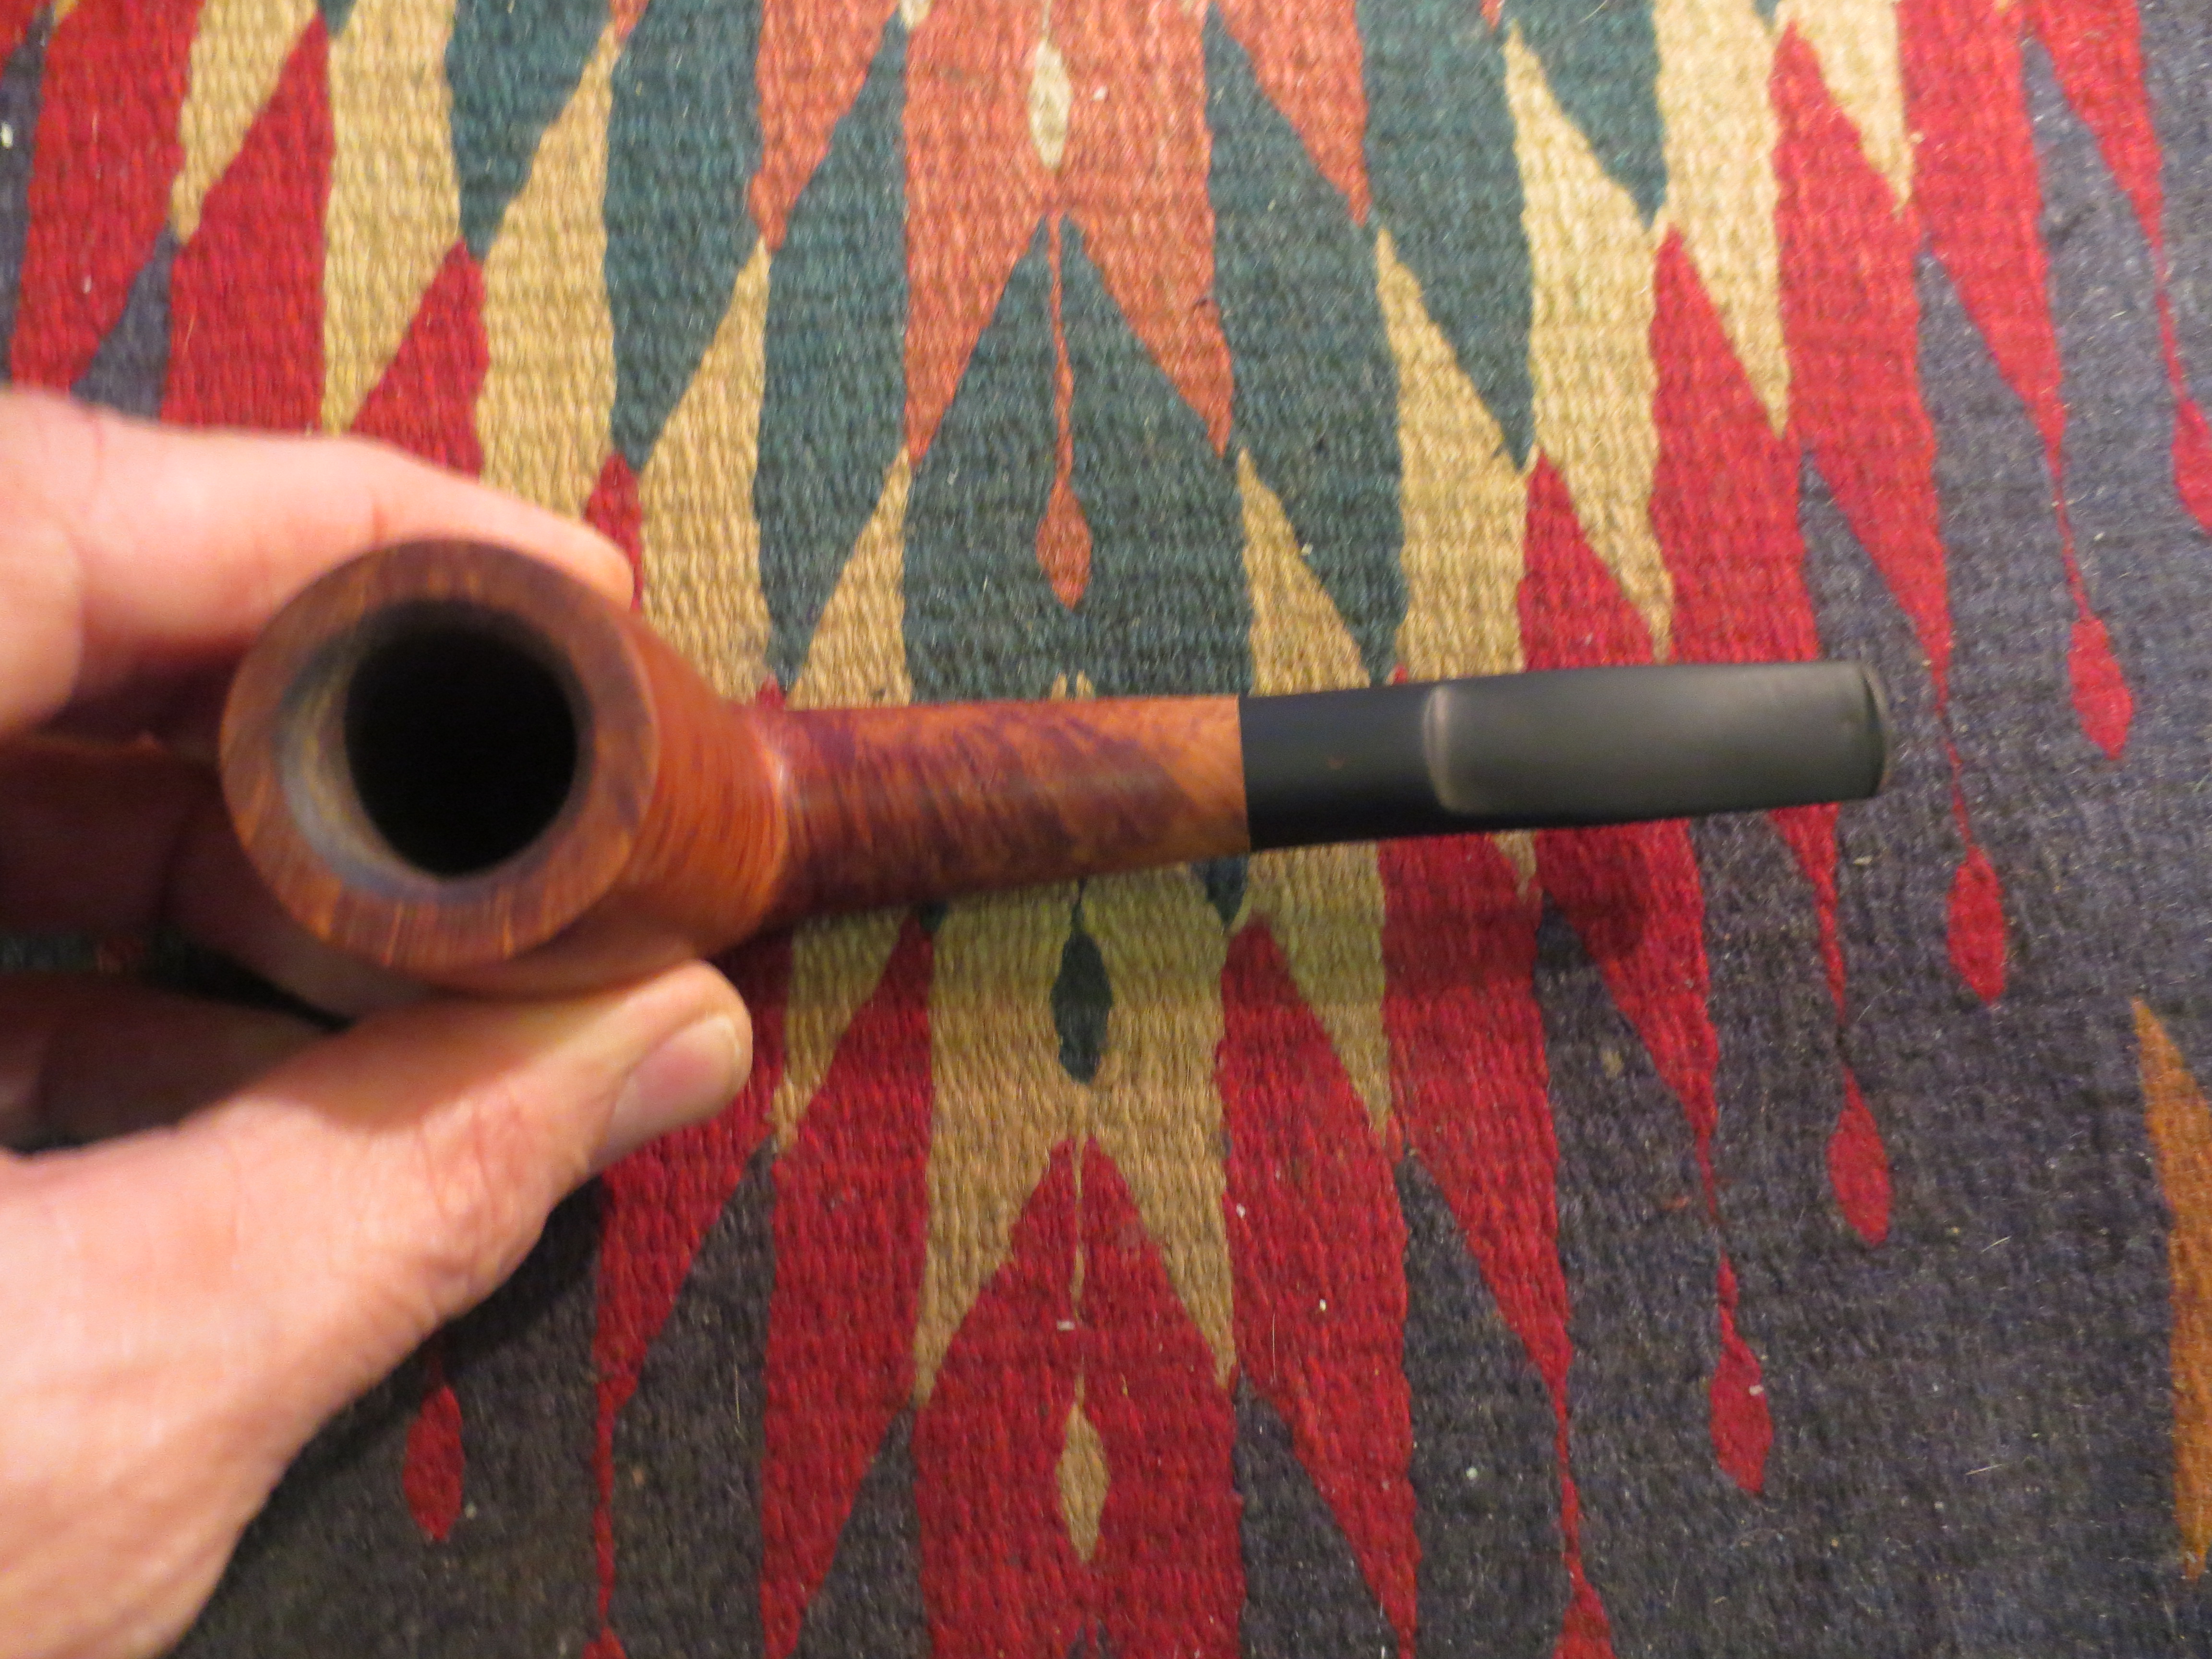
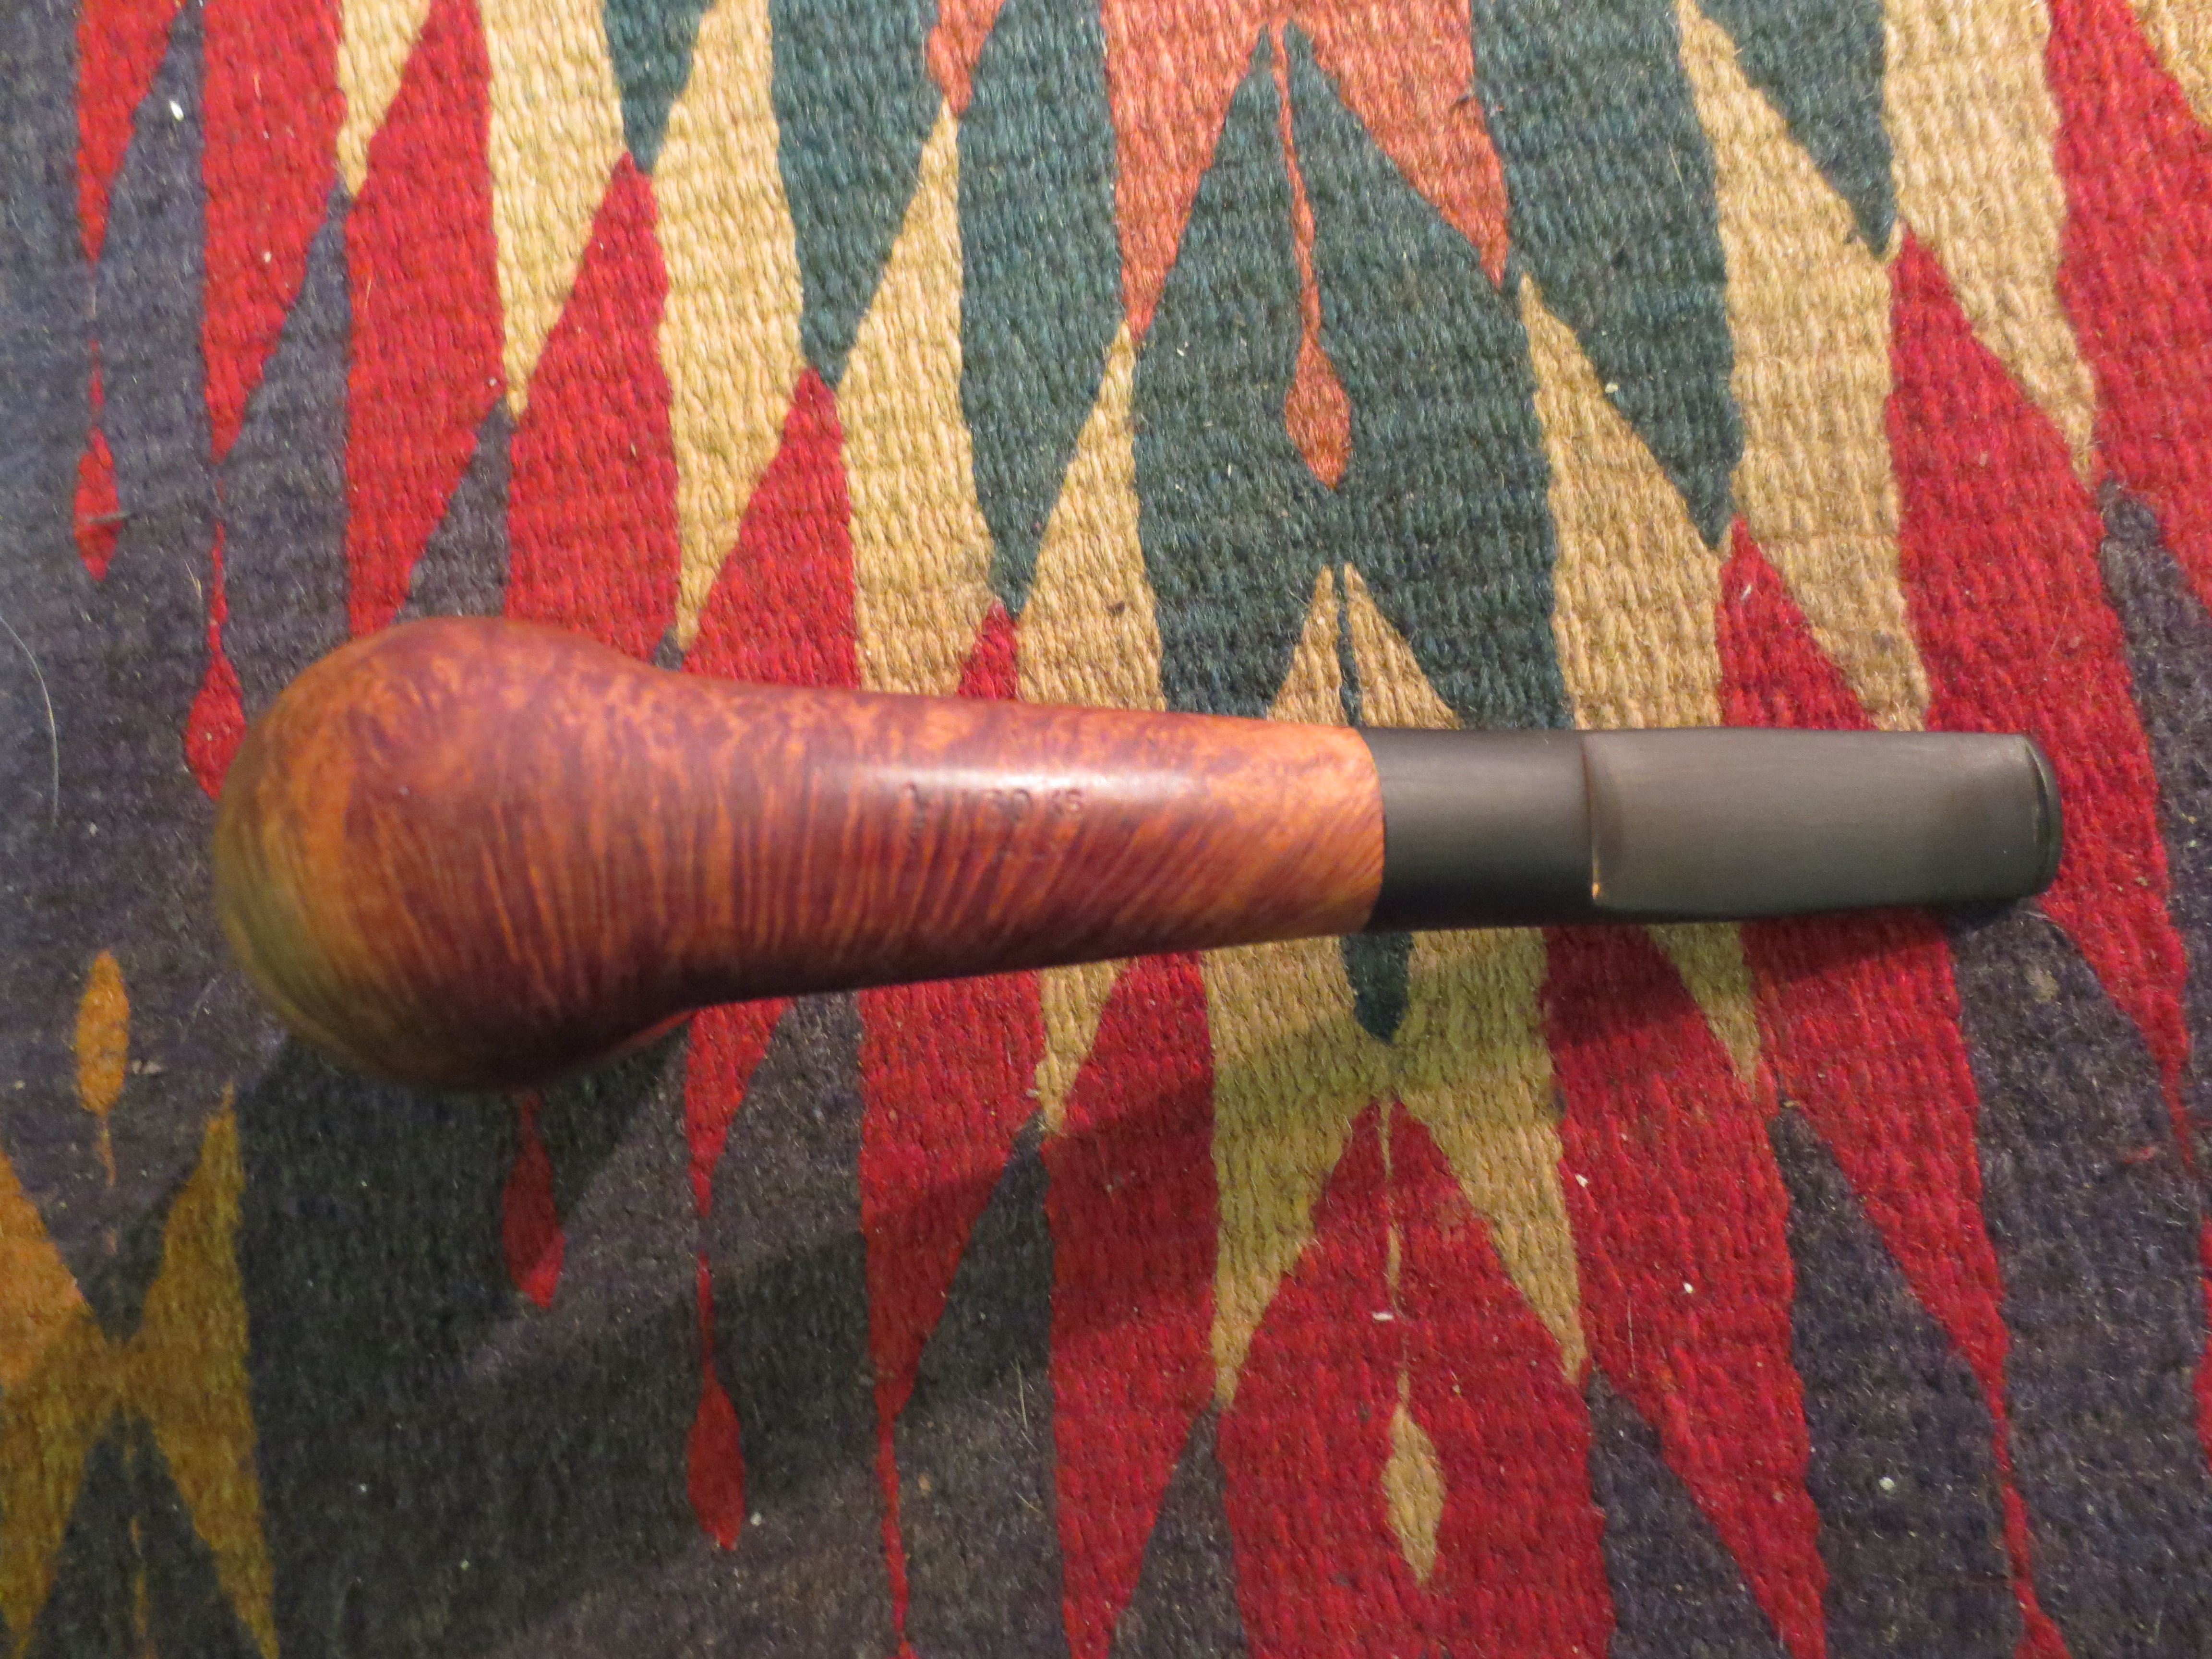
The second pipe in the lot pictured below that I chose to work on was the one on the top of the right column. It is stamped on top of the shank Savinelli de luxe Milano and on the underside the Savinelli shield and next to that is it stamped 130KS Italy. The finish was dull and mostly gone. The rim was not charred at all but had a heavy build up of tars. The bowl was caked – interestingly for a pipe this deep it was caked all the way to the bottom of the bowl. The dimensions of this bowl are: height 2 1/4 inches, outer diameter of the bowl 1 ½ inches, diameter of the chamber ¾ inches. It smelled of sweet aromatics so it would need to be reamed and cleaned well. There was no stem with it but there was a broken tenon stuck in the shank. I would have to pull the tenon and fit a new stem on the bowl. It was made of a good piece of briar – no fills or sand pits. The grain is cross grain on the front and back of the bowl and the top and the bottom of the shank. It had some very nice birdseye grain on each side of the bowl and the shank. The shape of the shank was a modified oval shape.

bowls1

Savinelli top

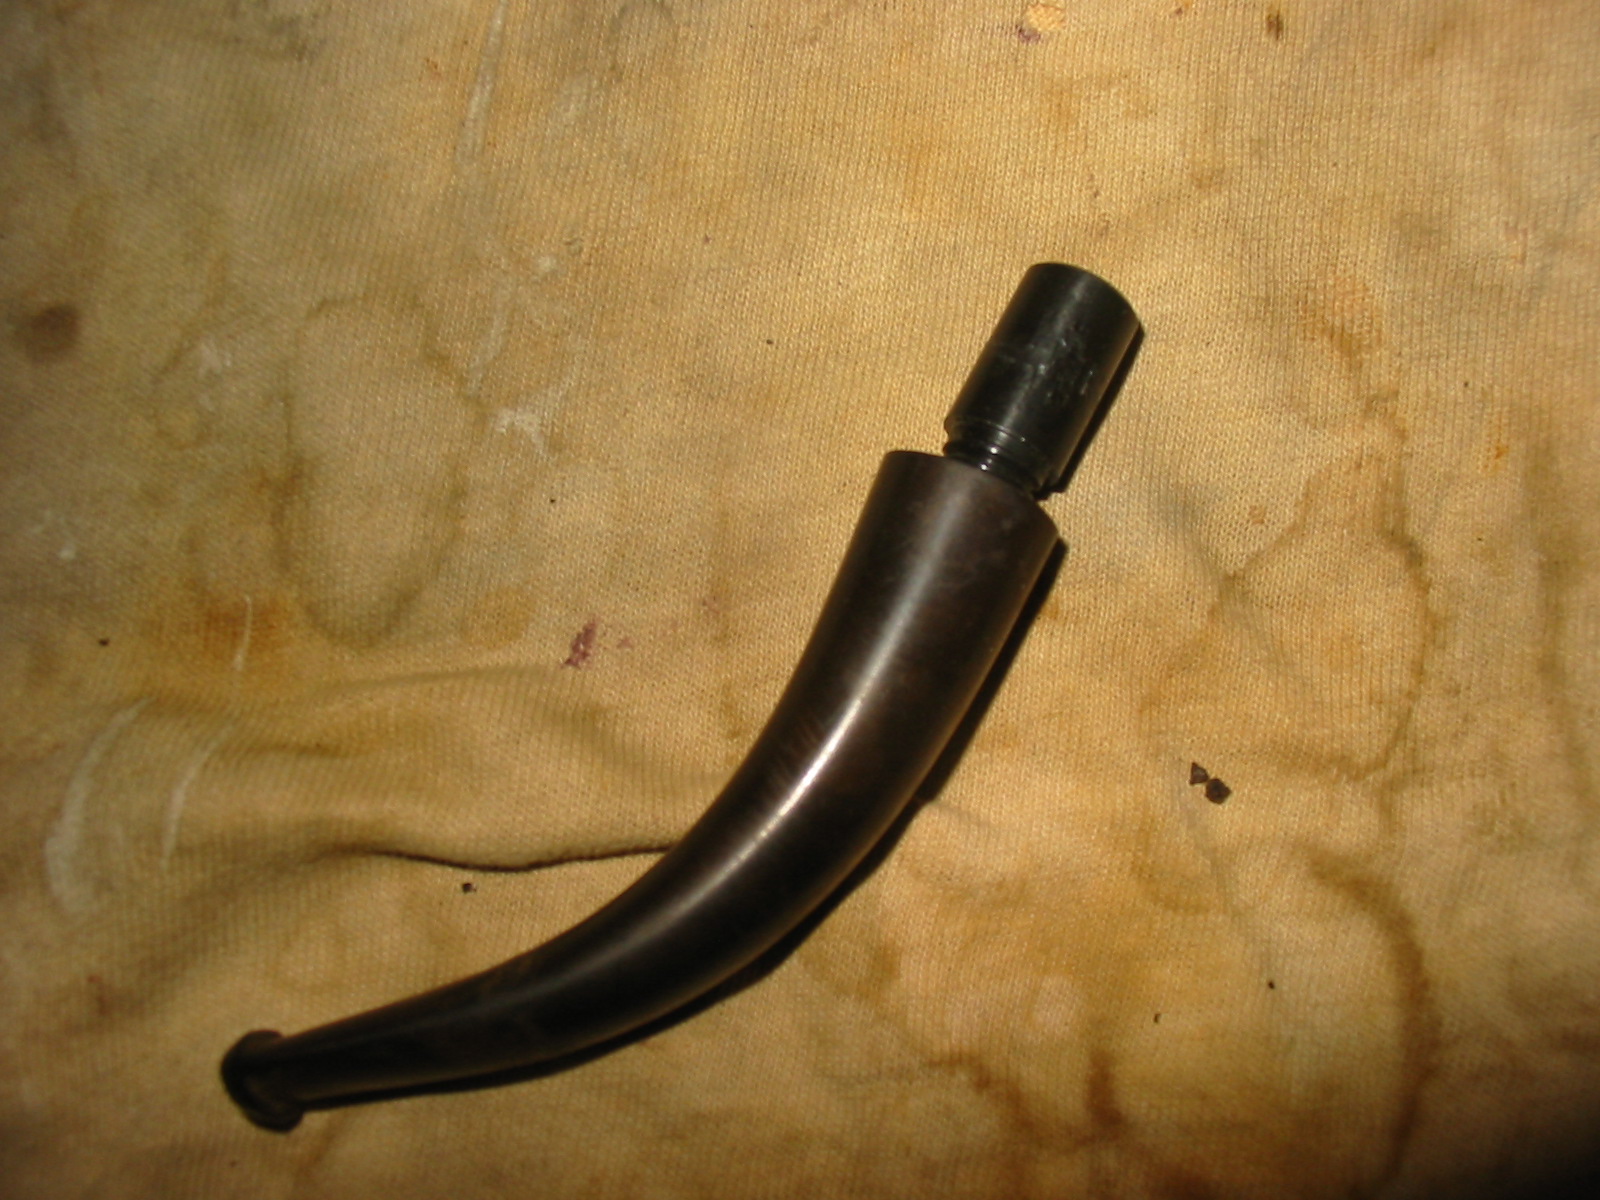
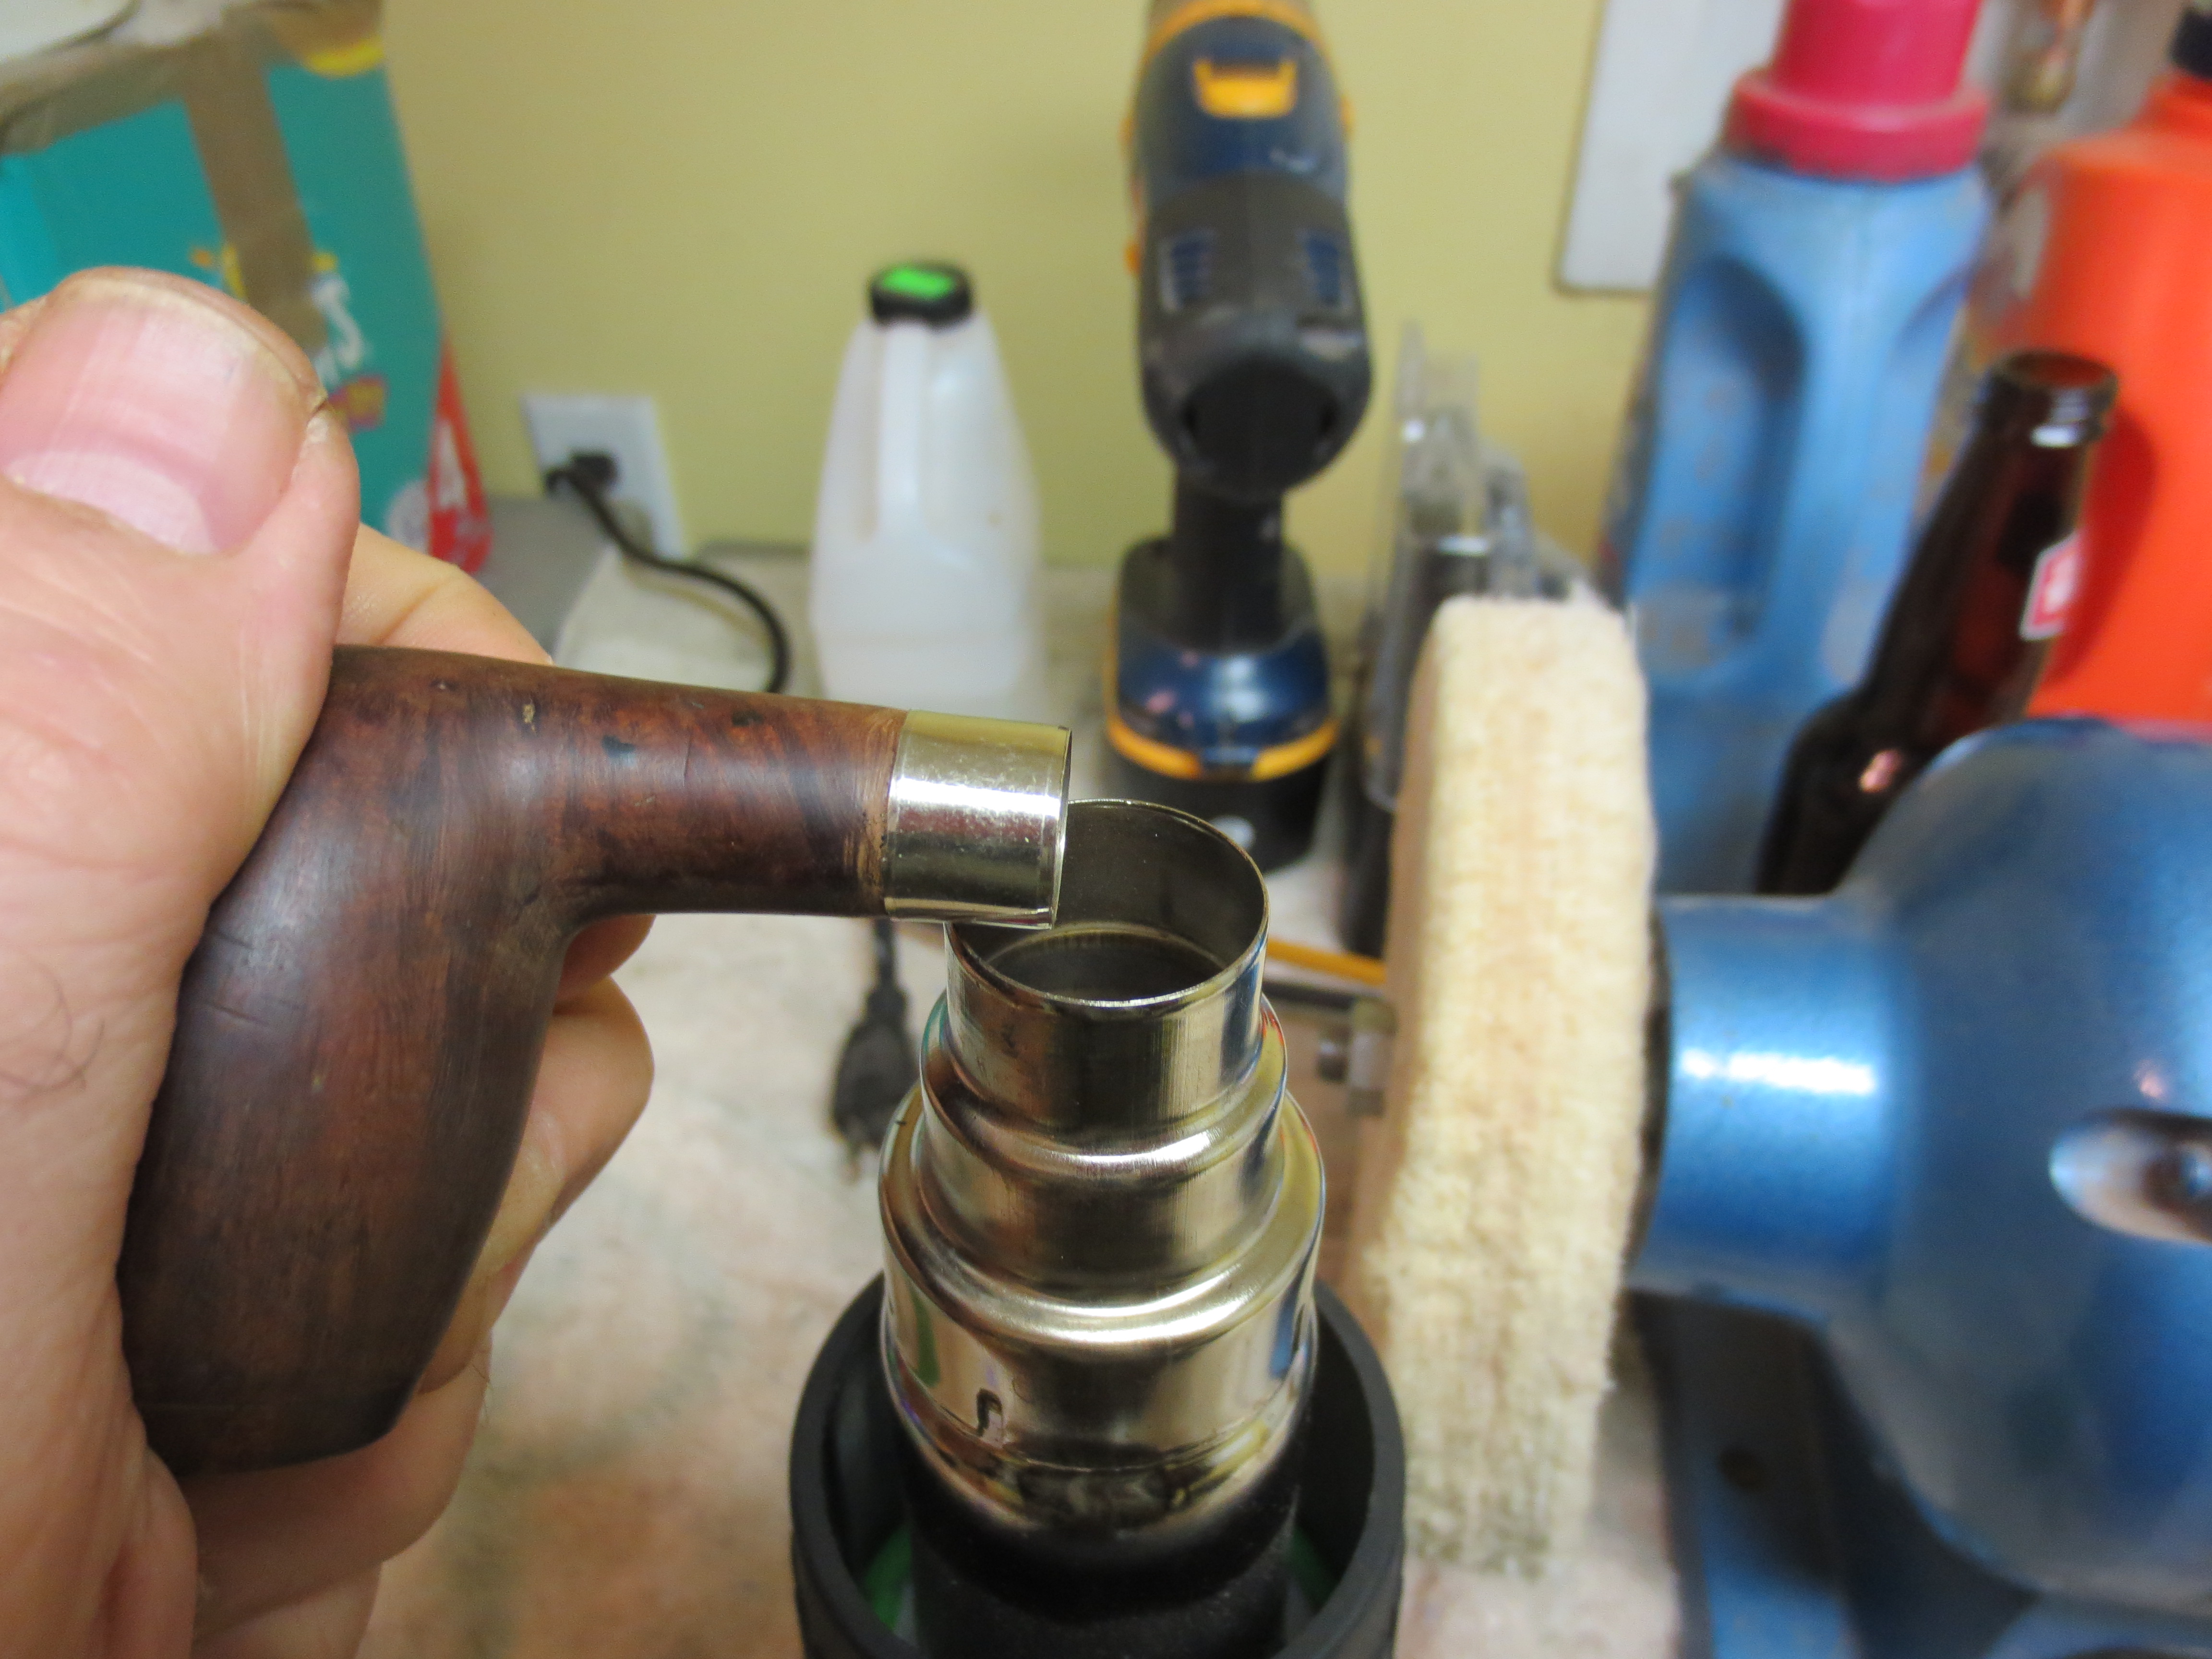
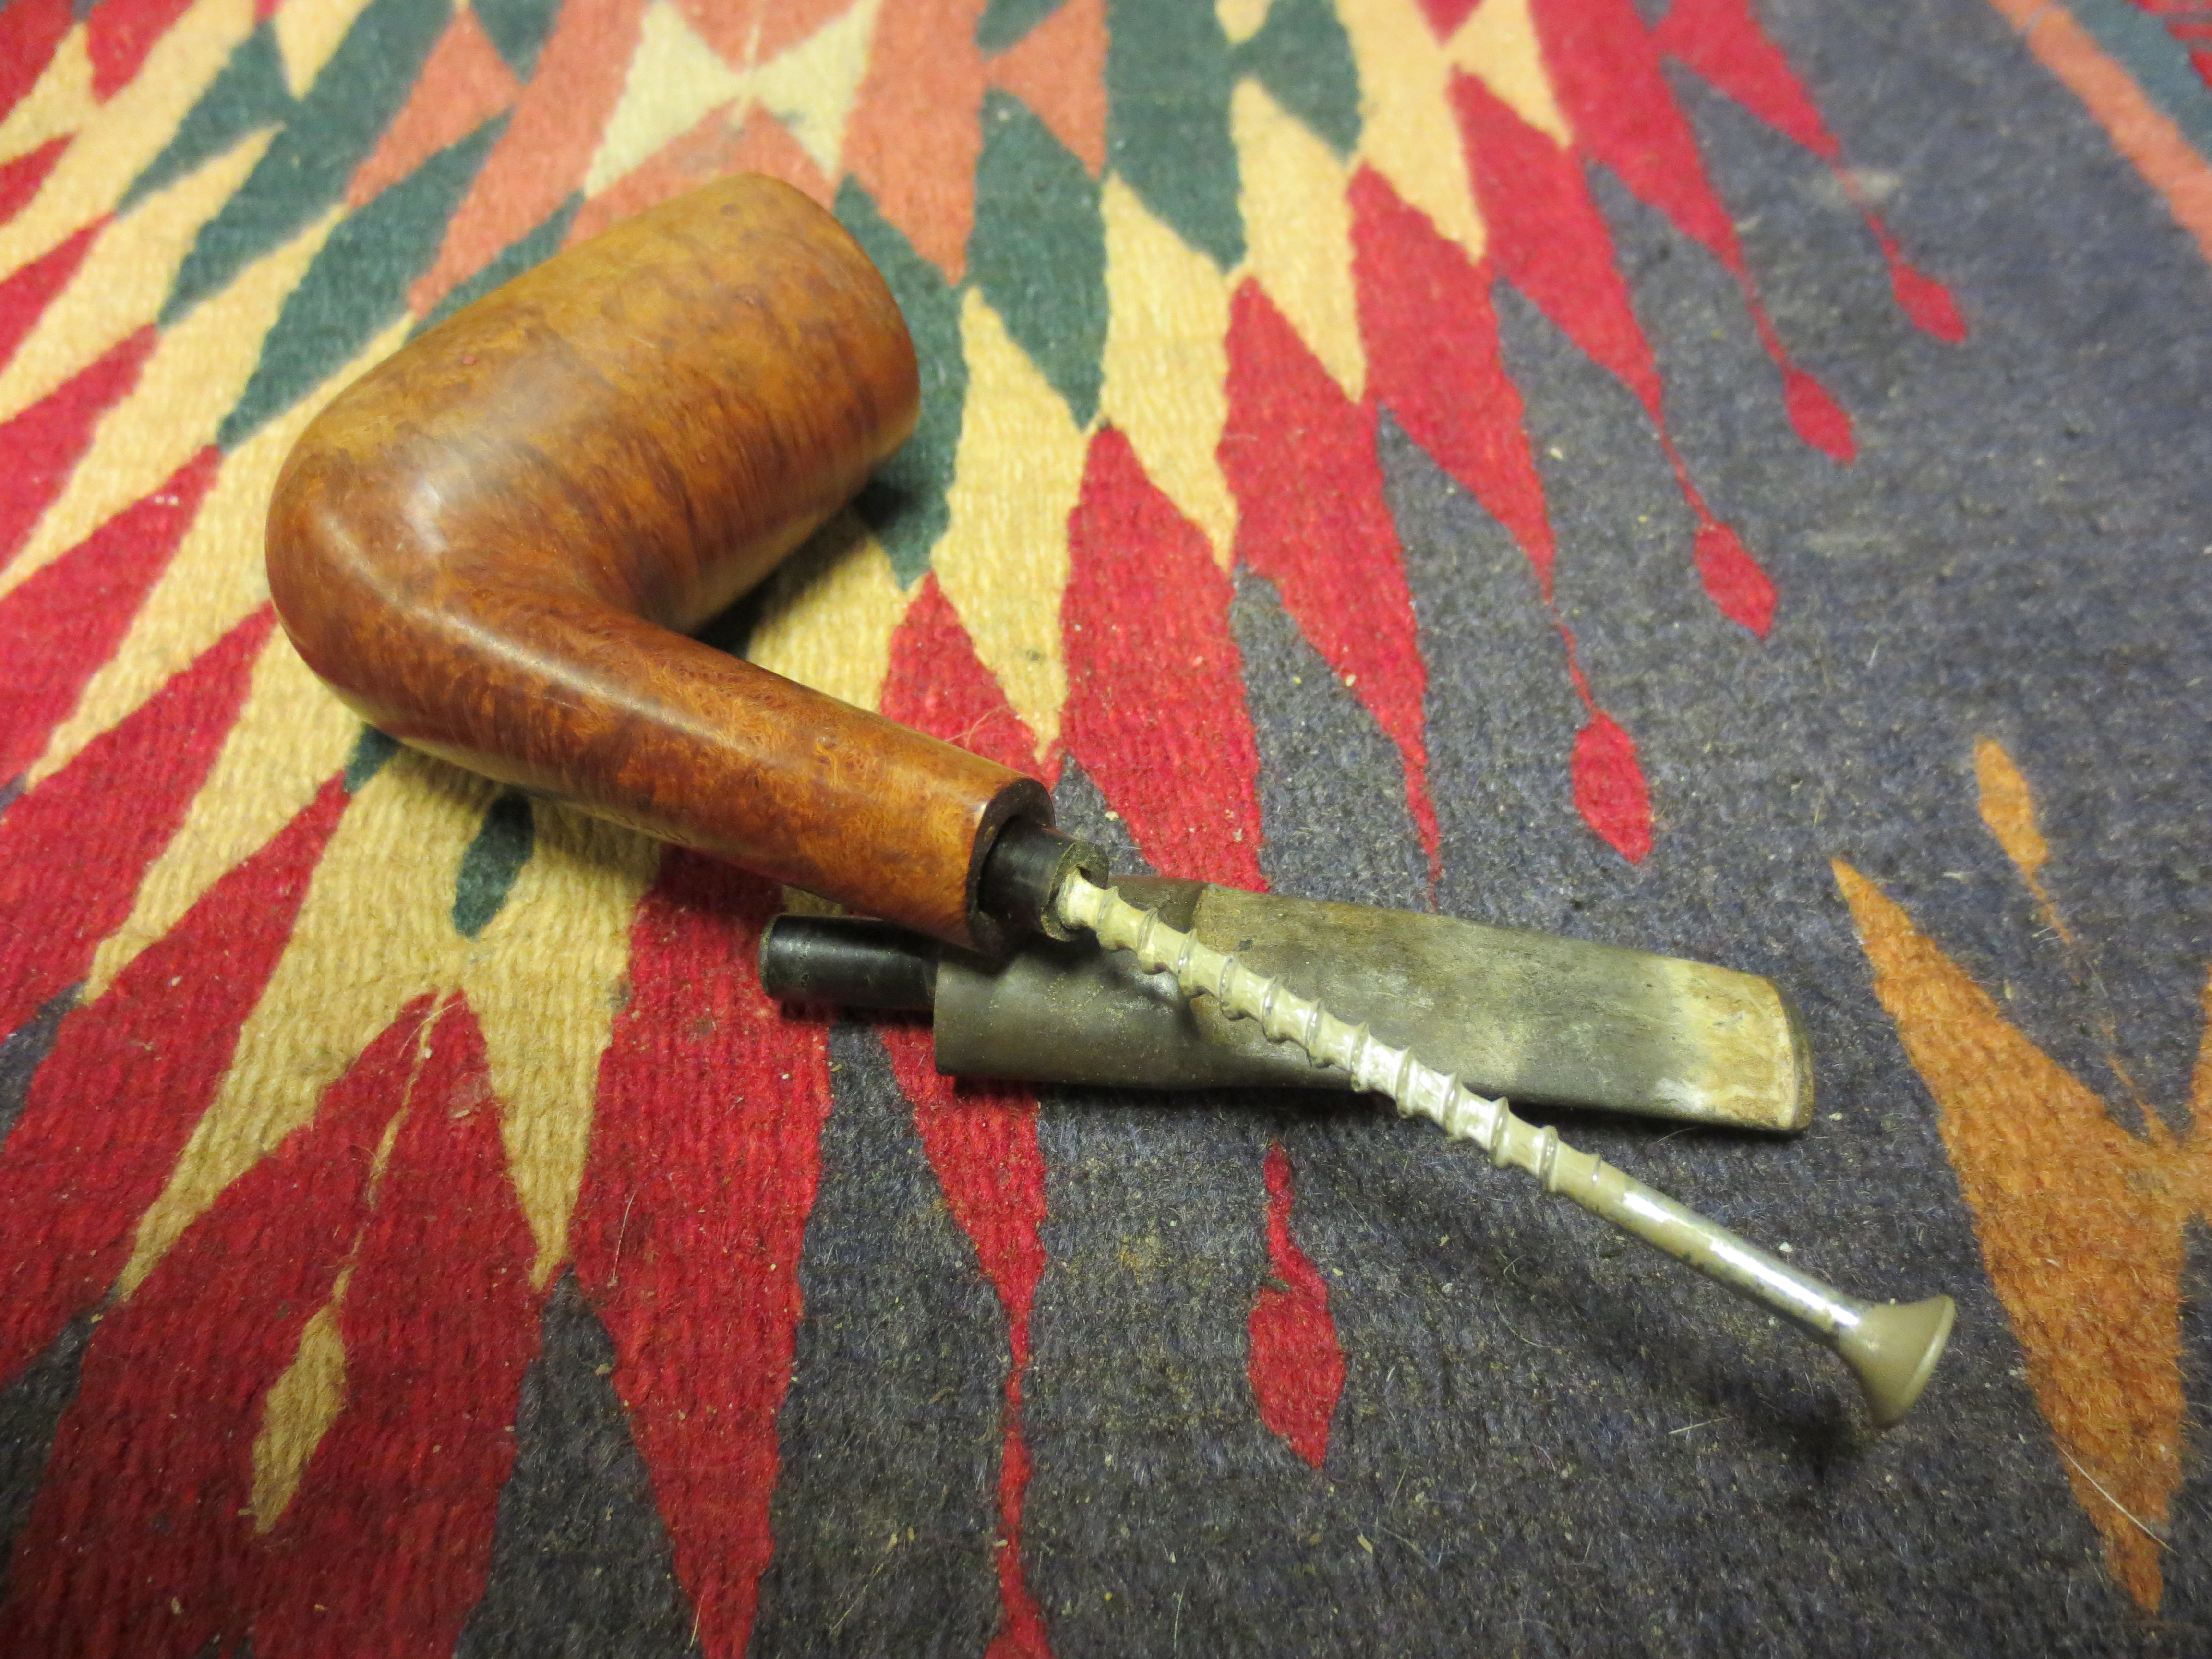
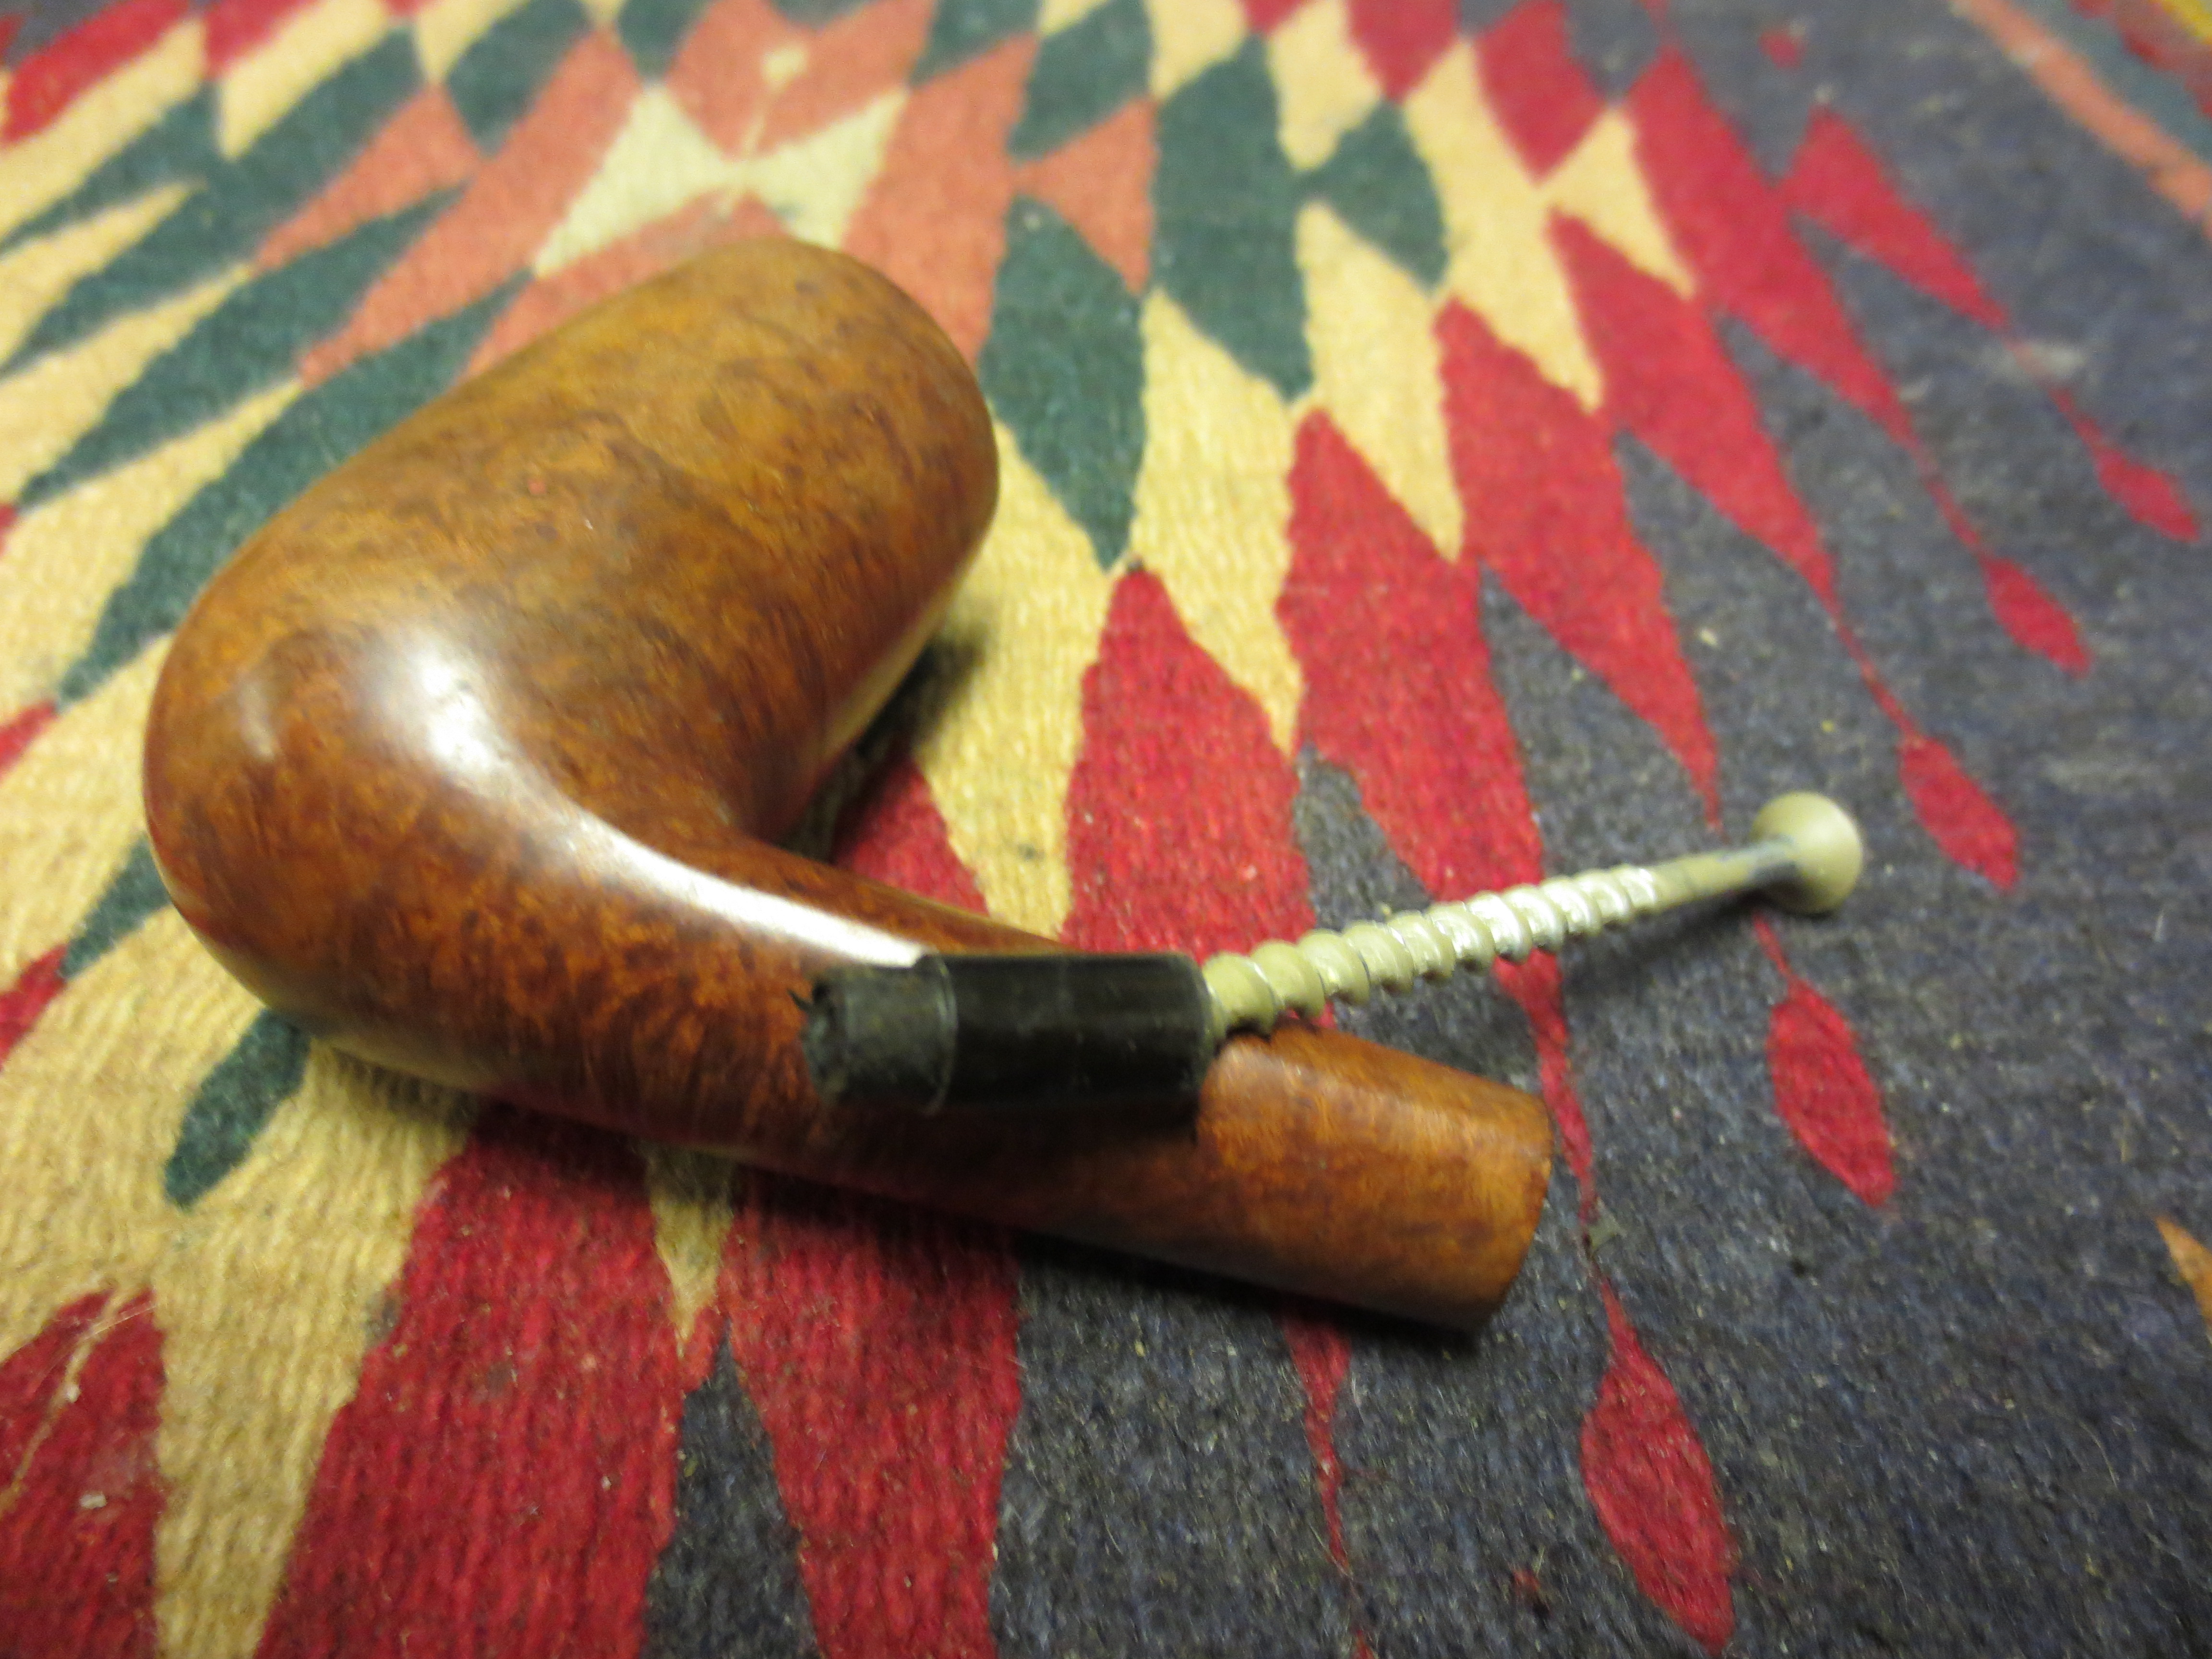
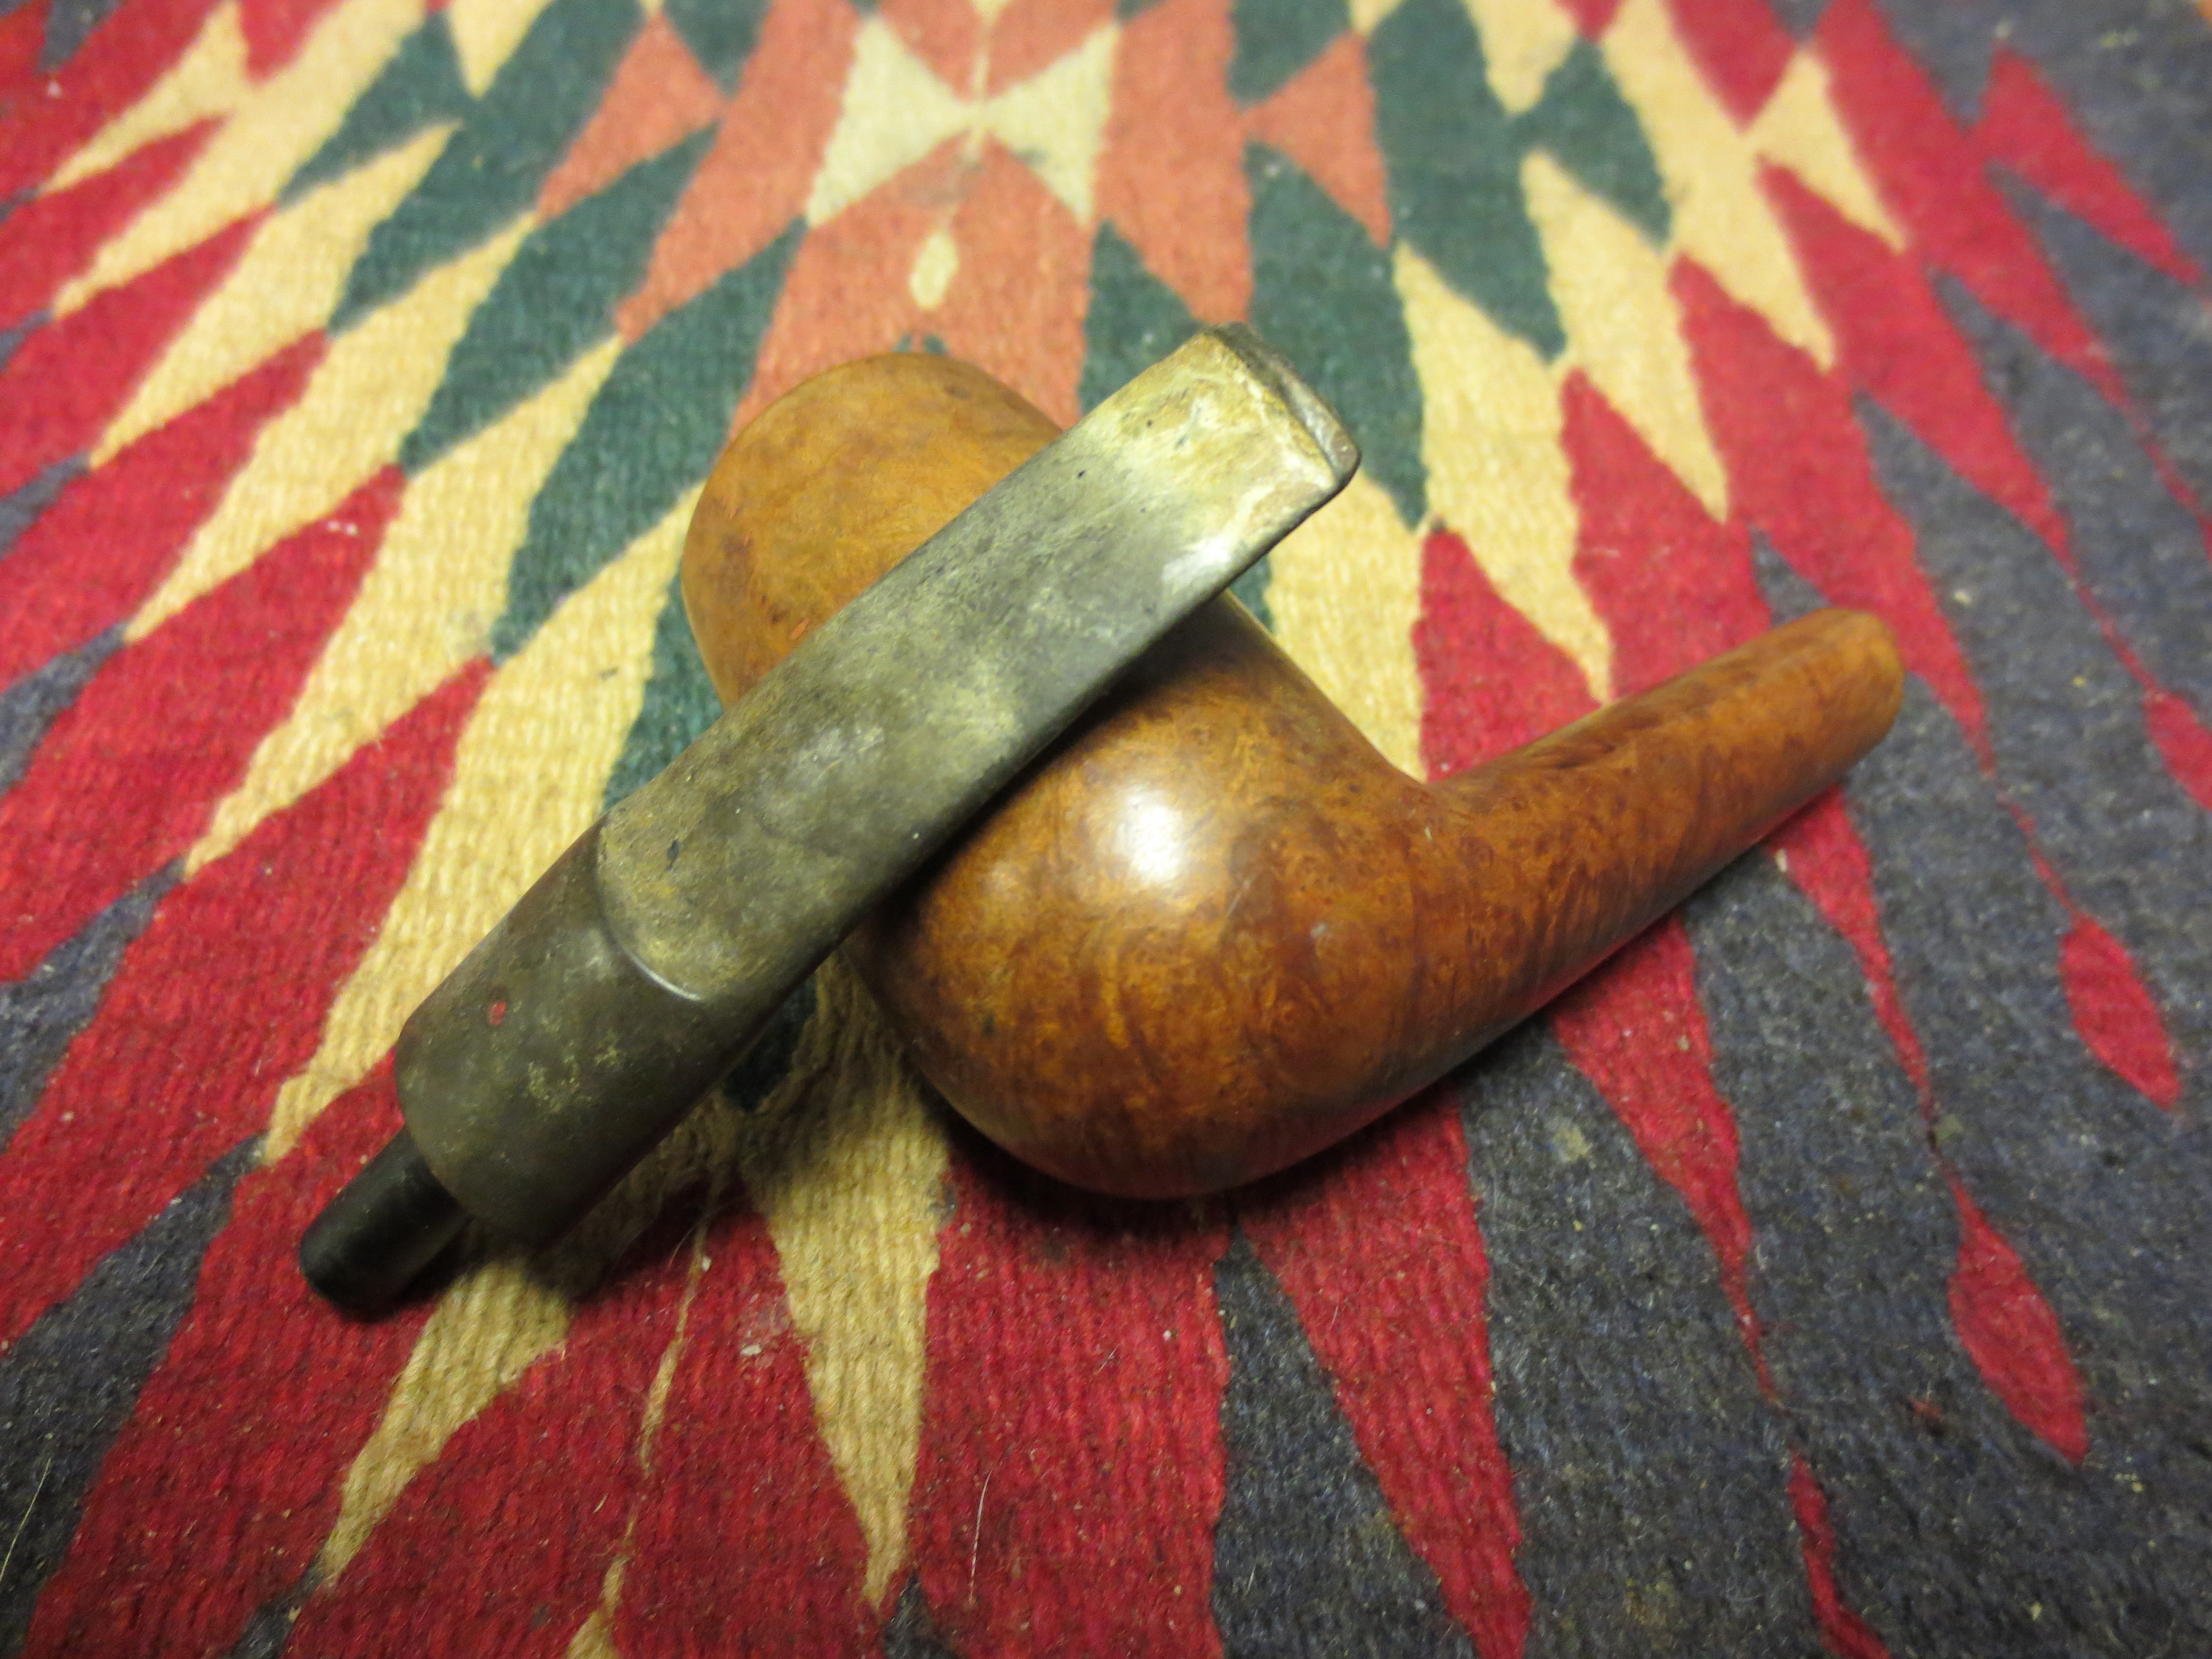
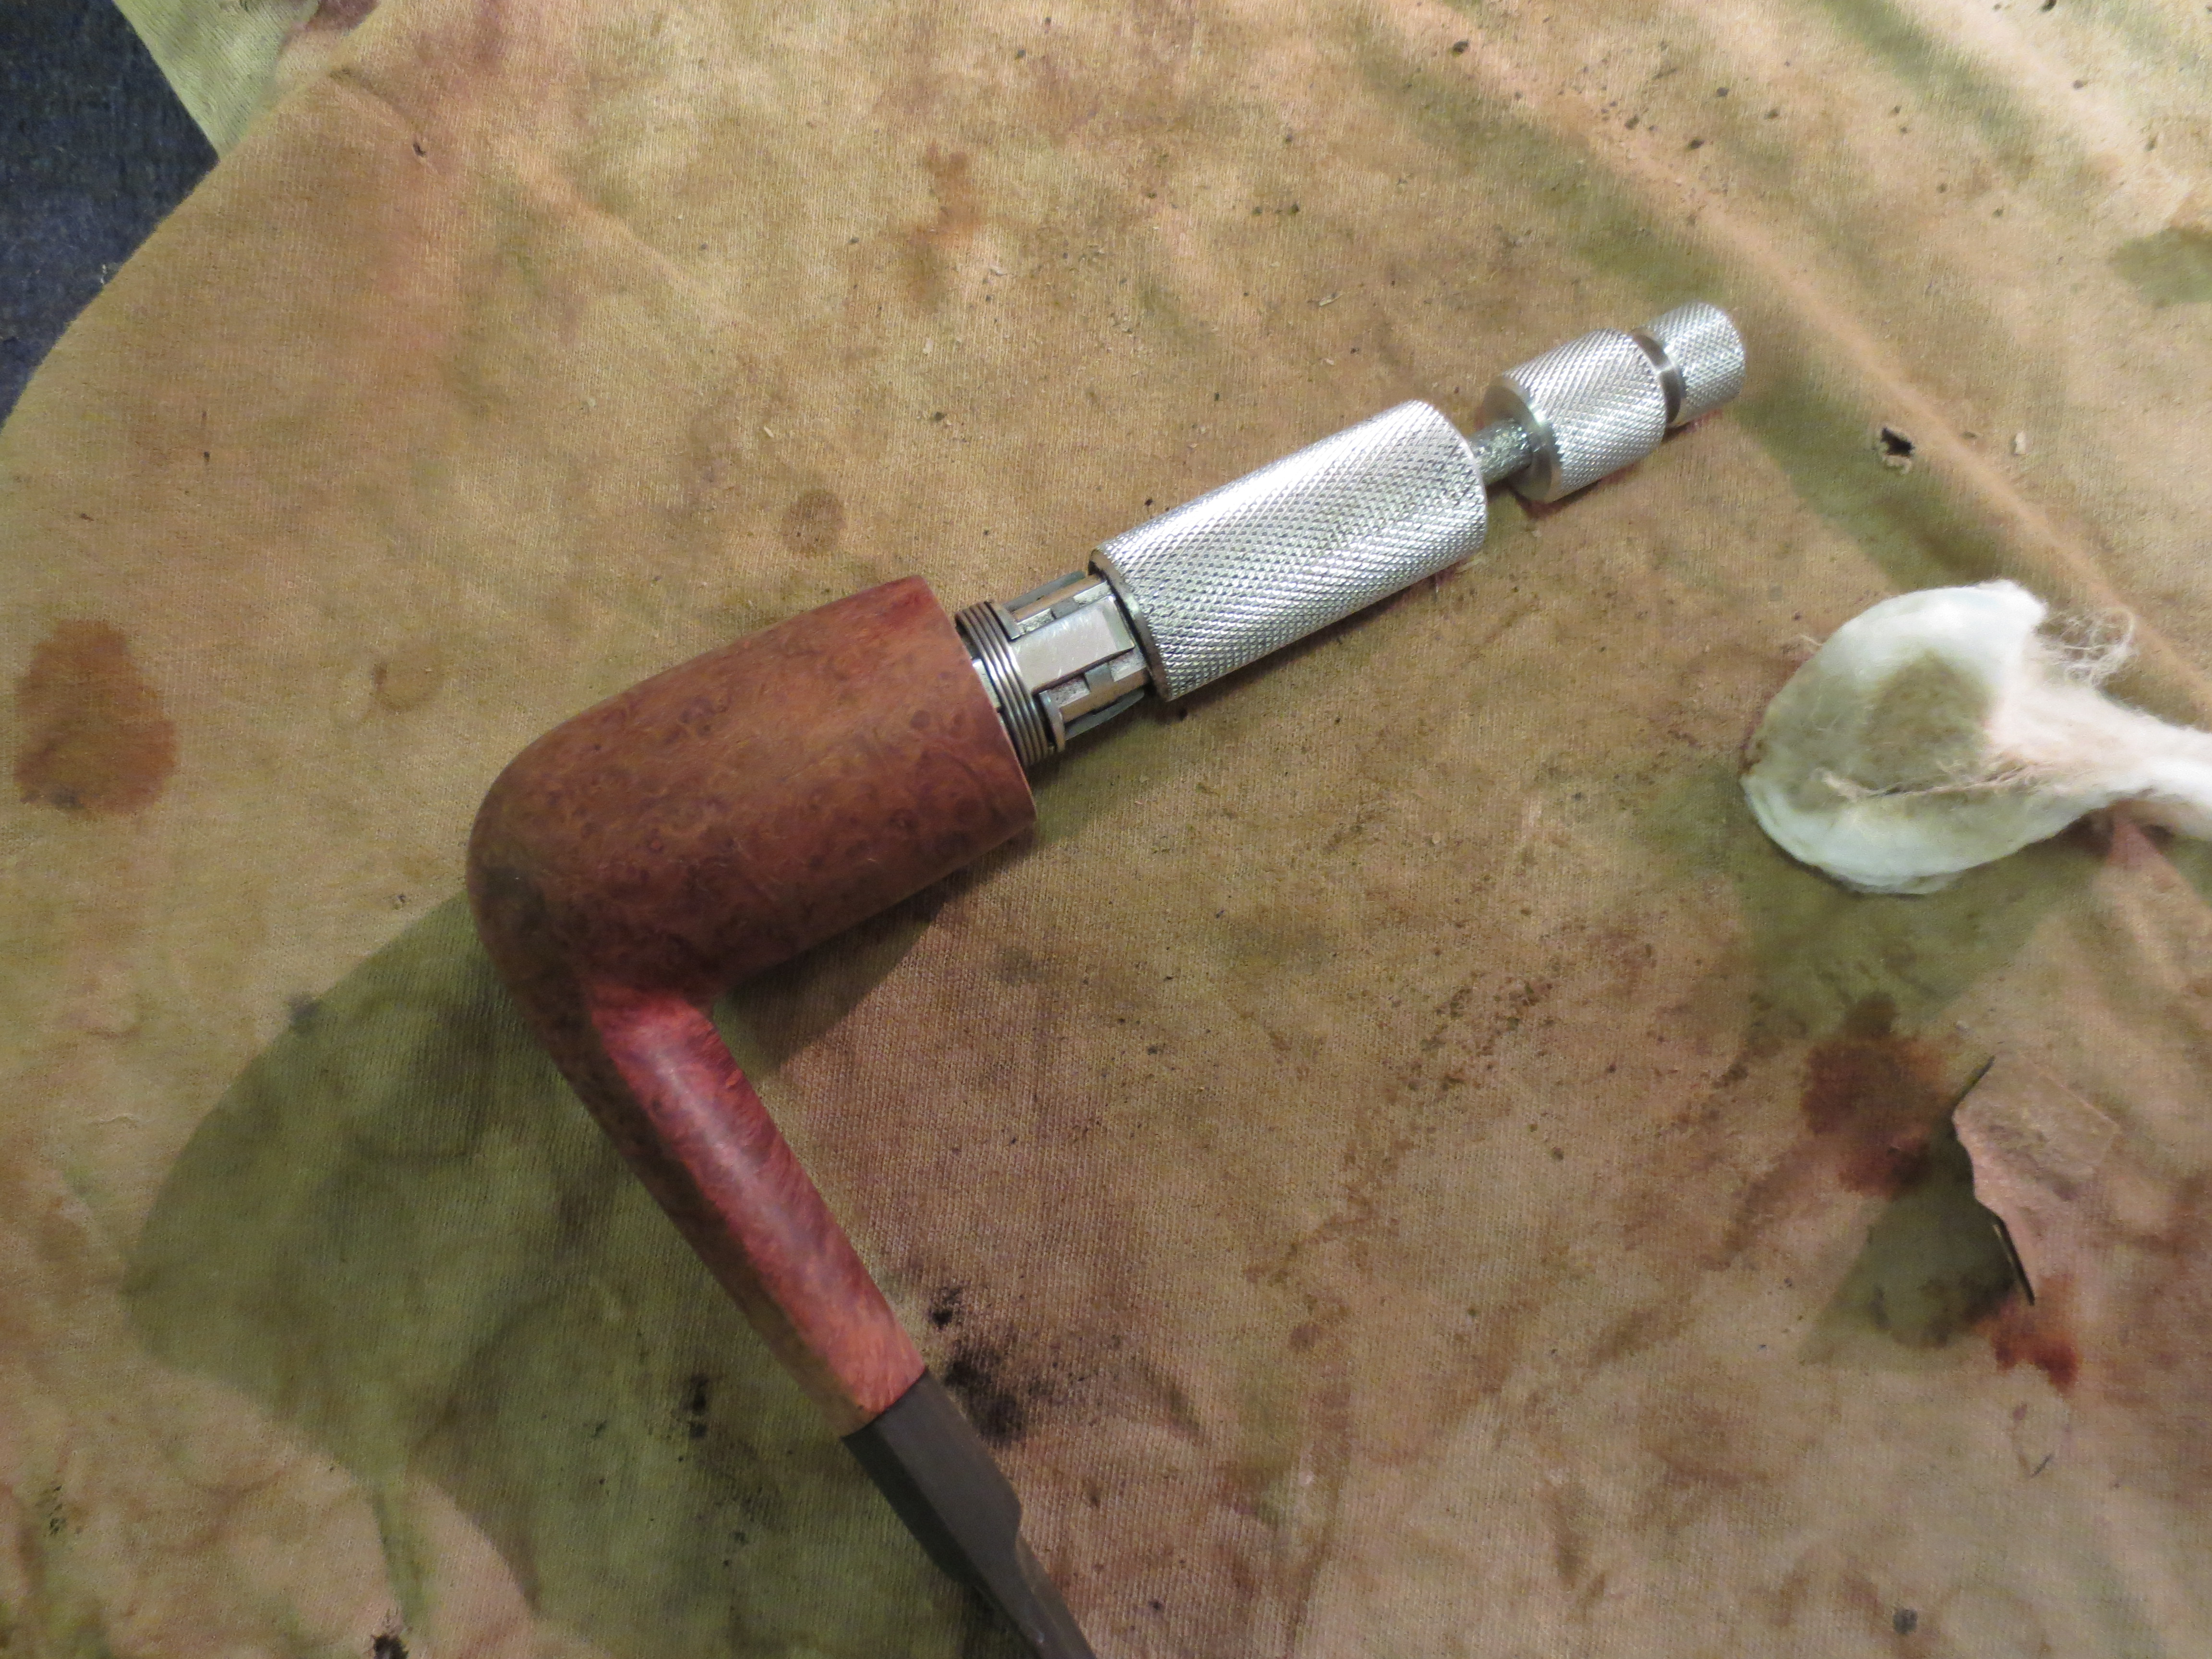
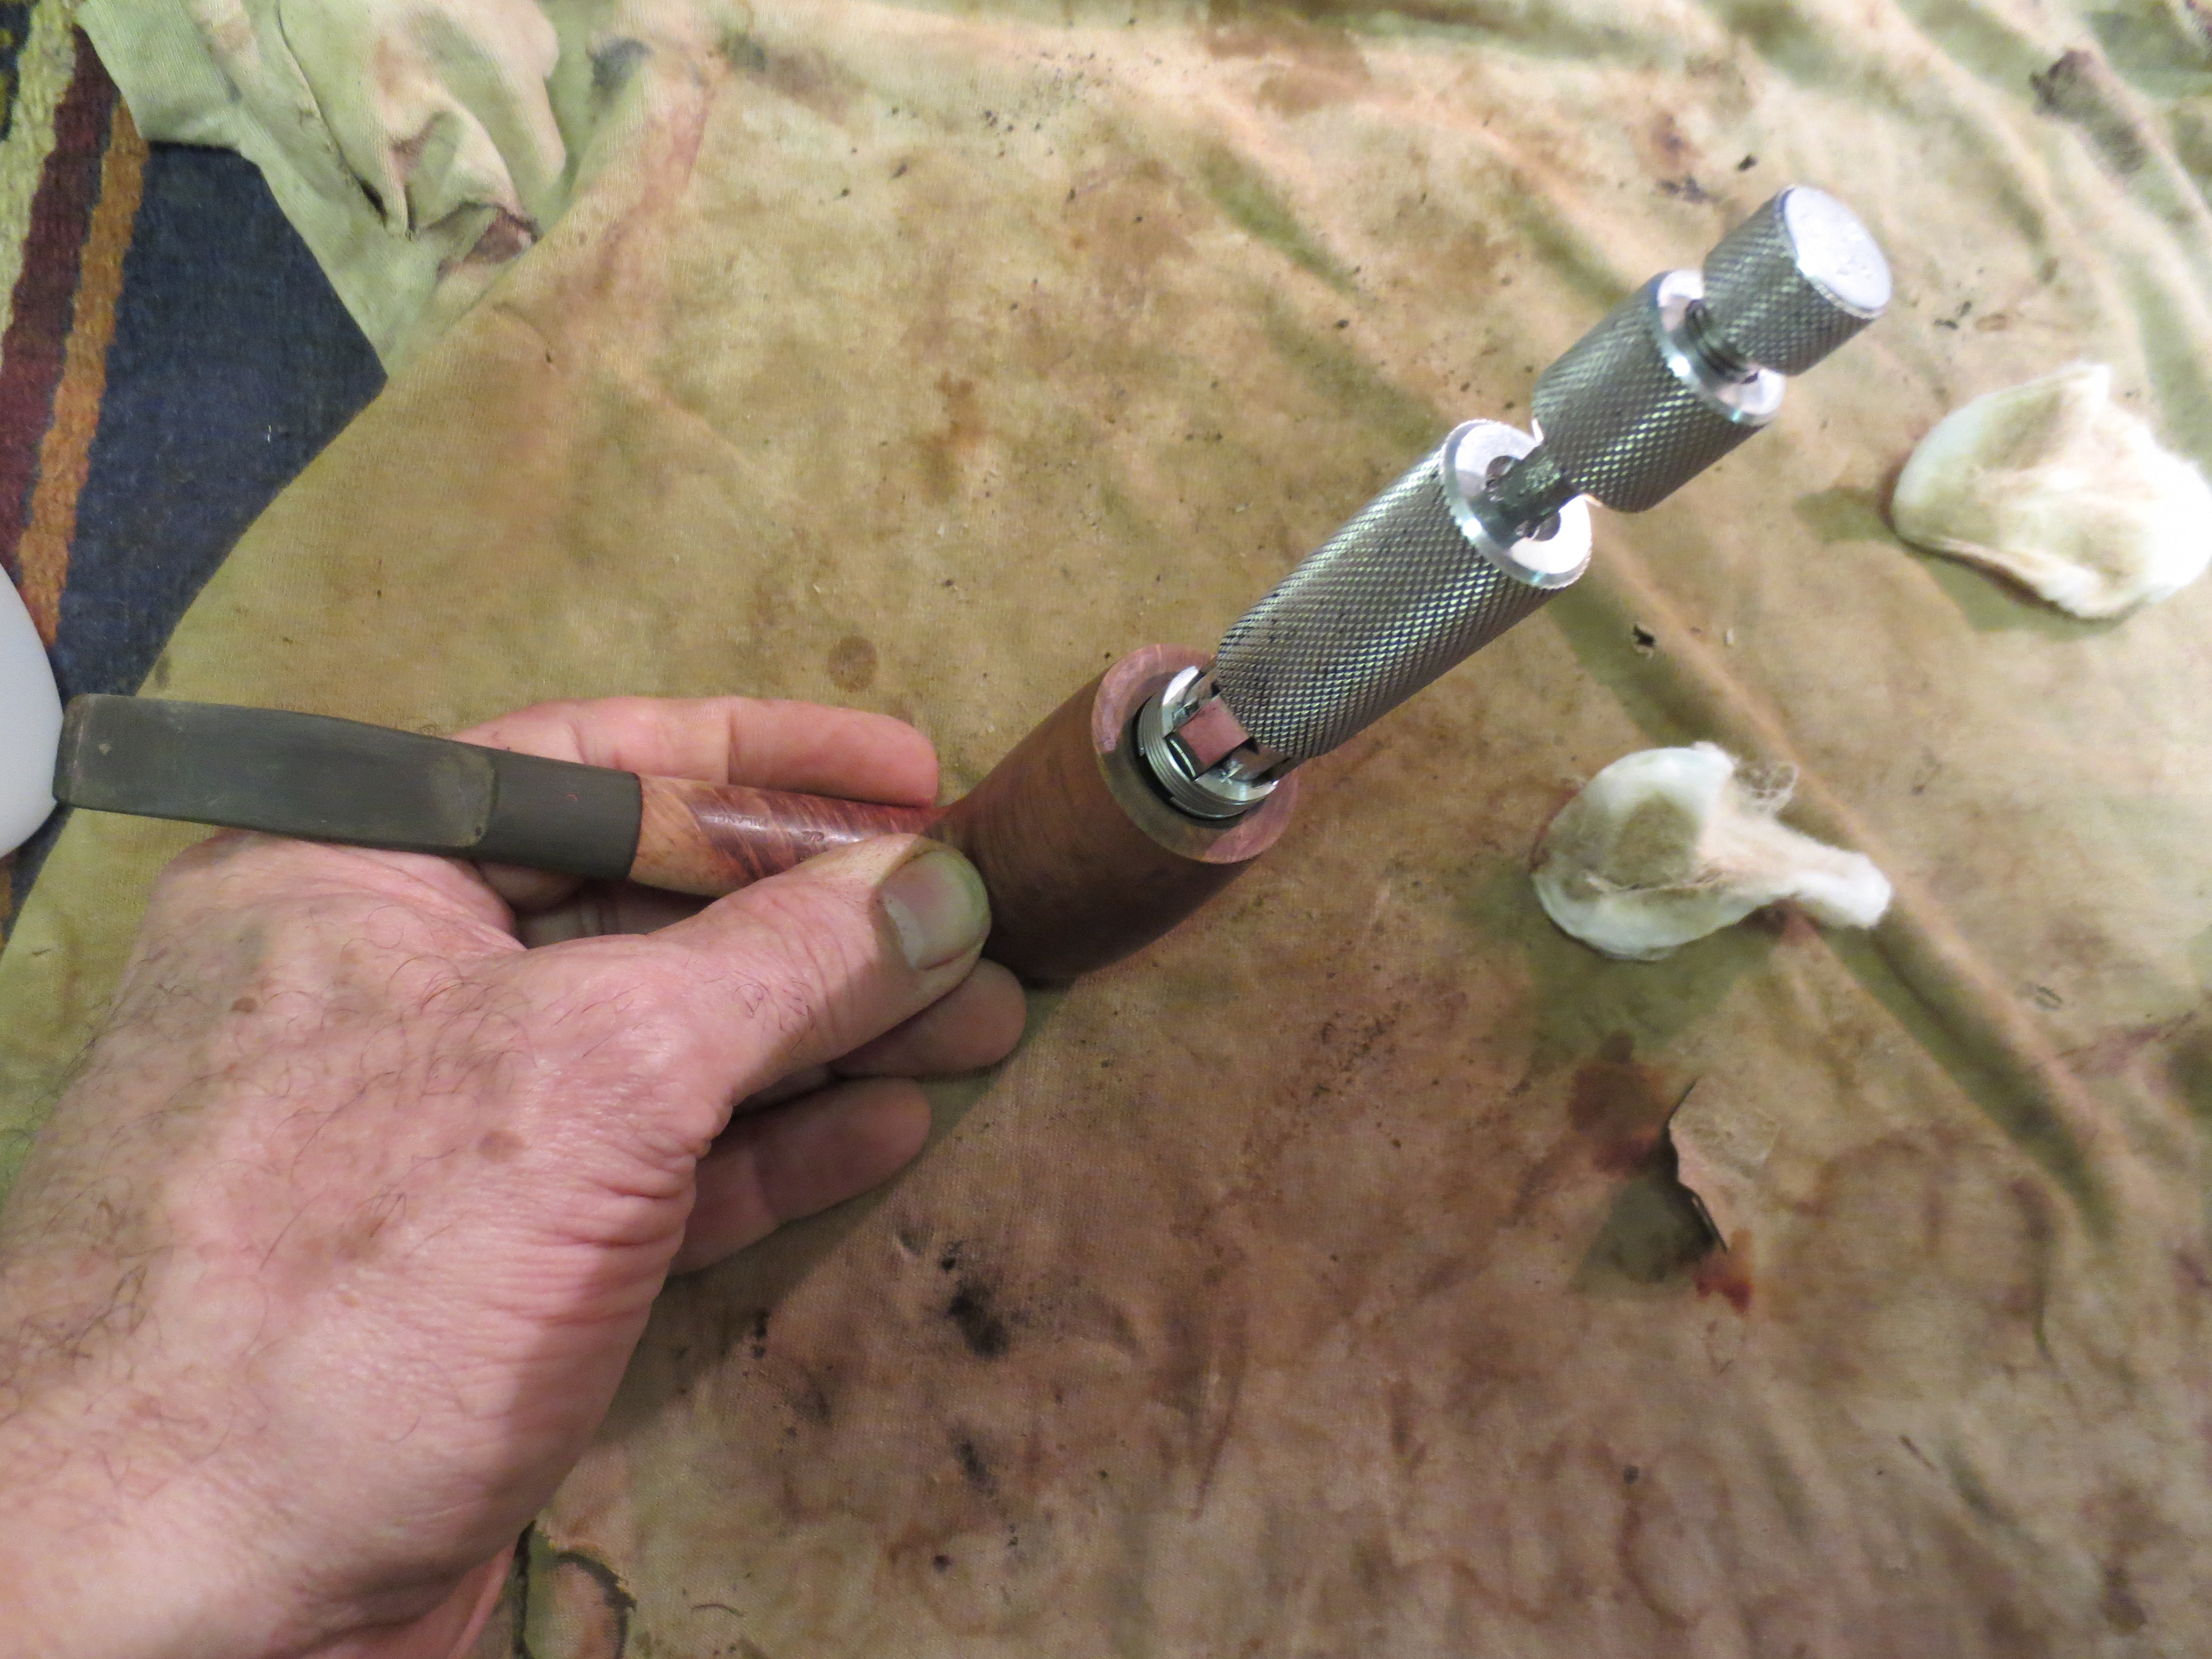
Before I cleaned the bowl and shank I removed the broken tenon that was stuck in the mortise. I have a screw that works perfectly for this process. I turn it into the tenon by hand or a screw driver and then work it out by hand or with a pair of pliers. If the tenon is stuck and will not move I put it in the freezer for 30 minutes or more and generally it will pop out quite easily. In this case it came out quite simply and I was able to move on in the process of cleaning.

IMG_1323

IMG_1324

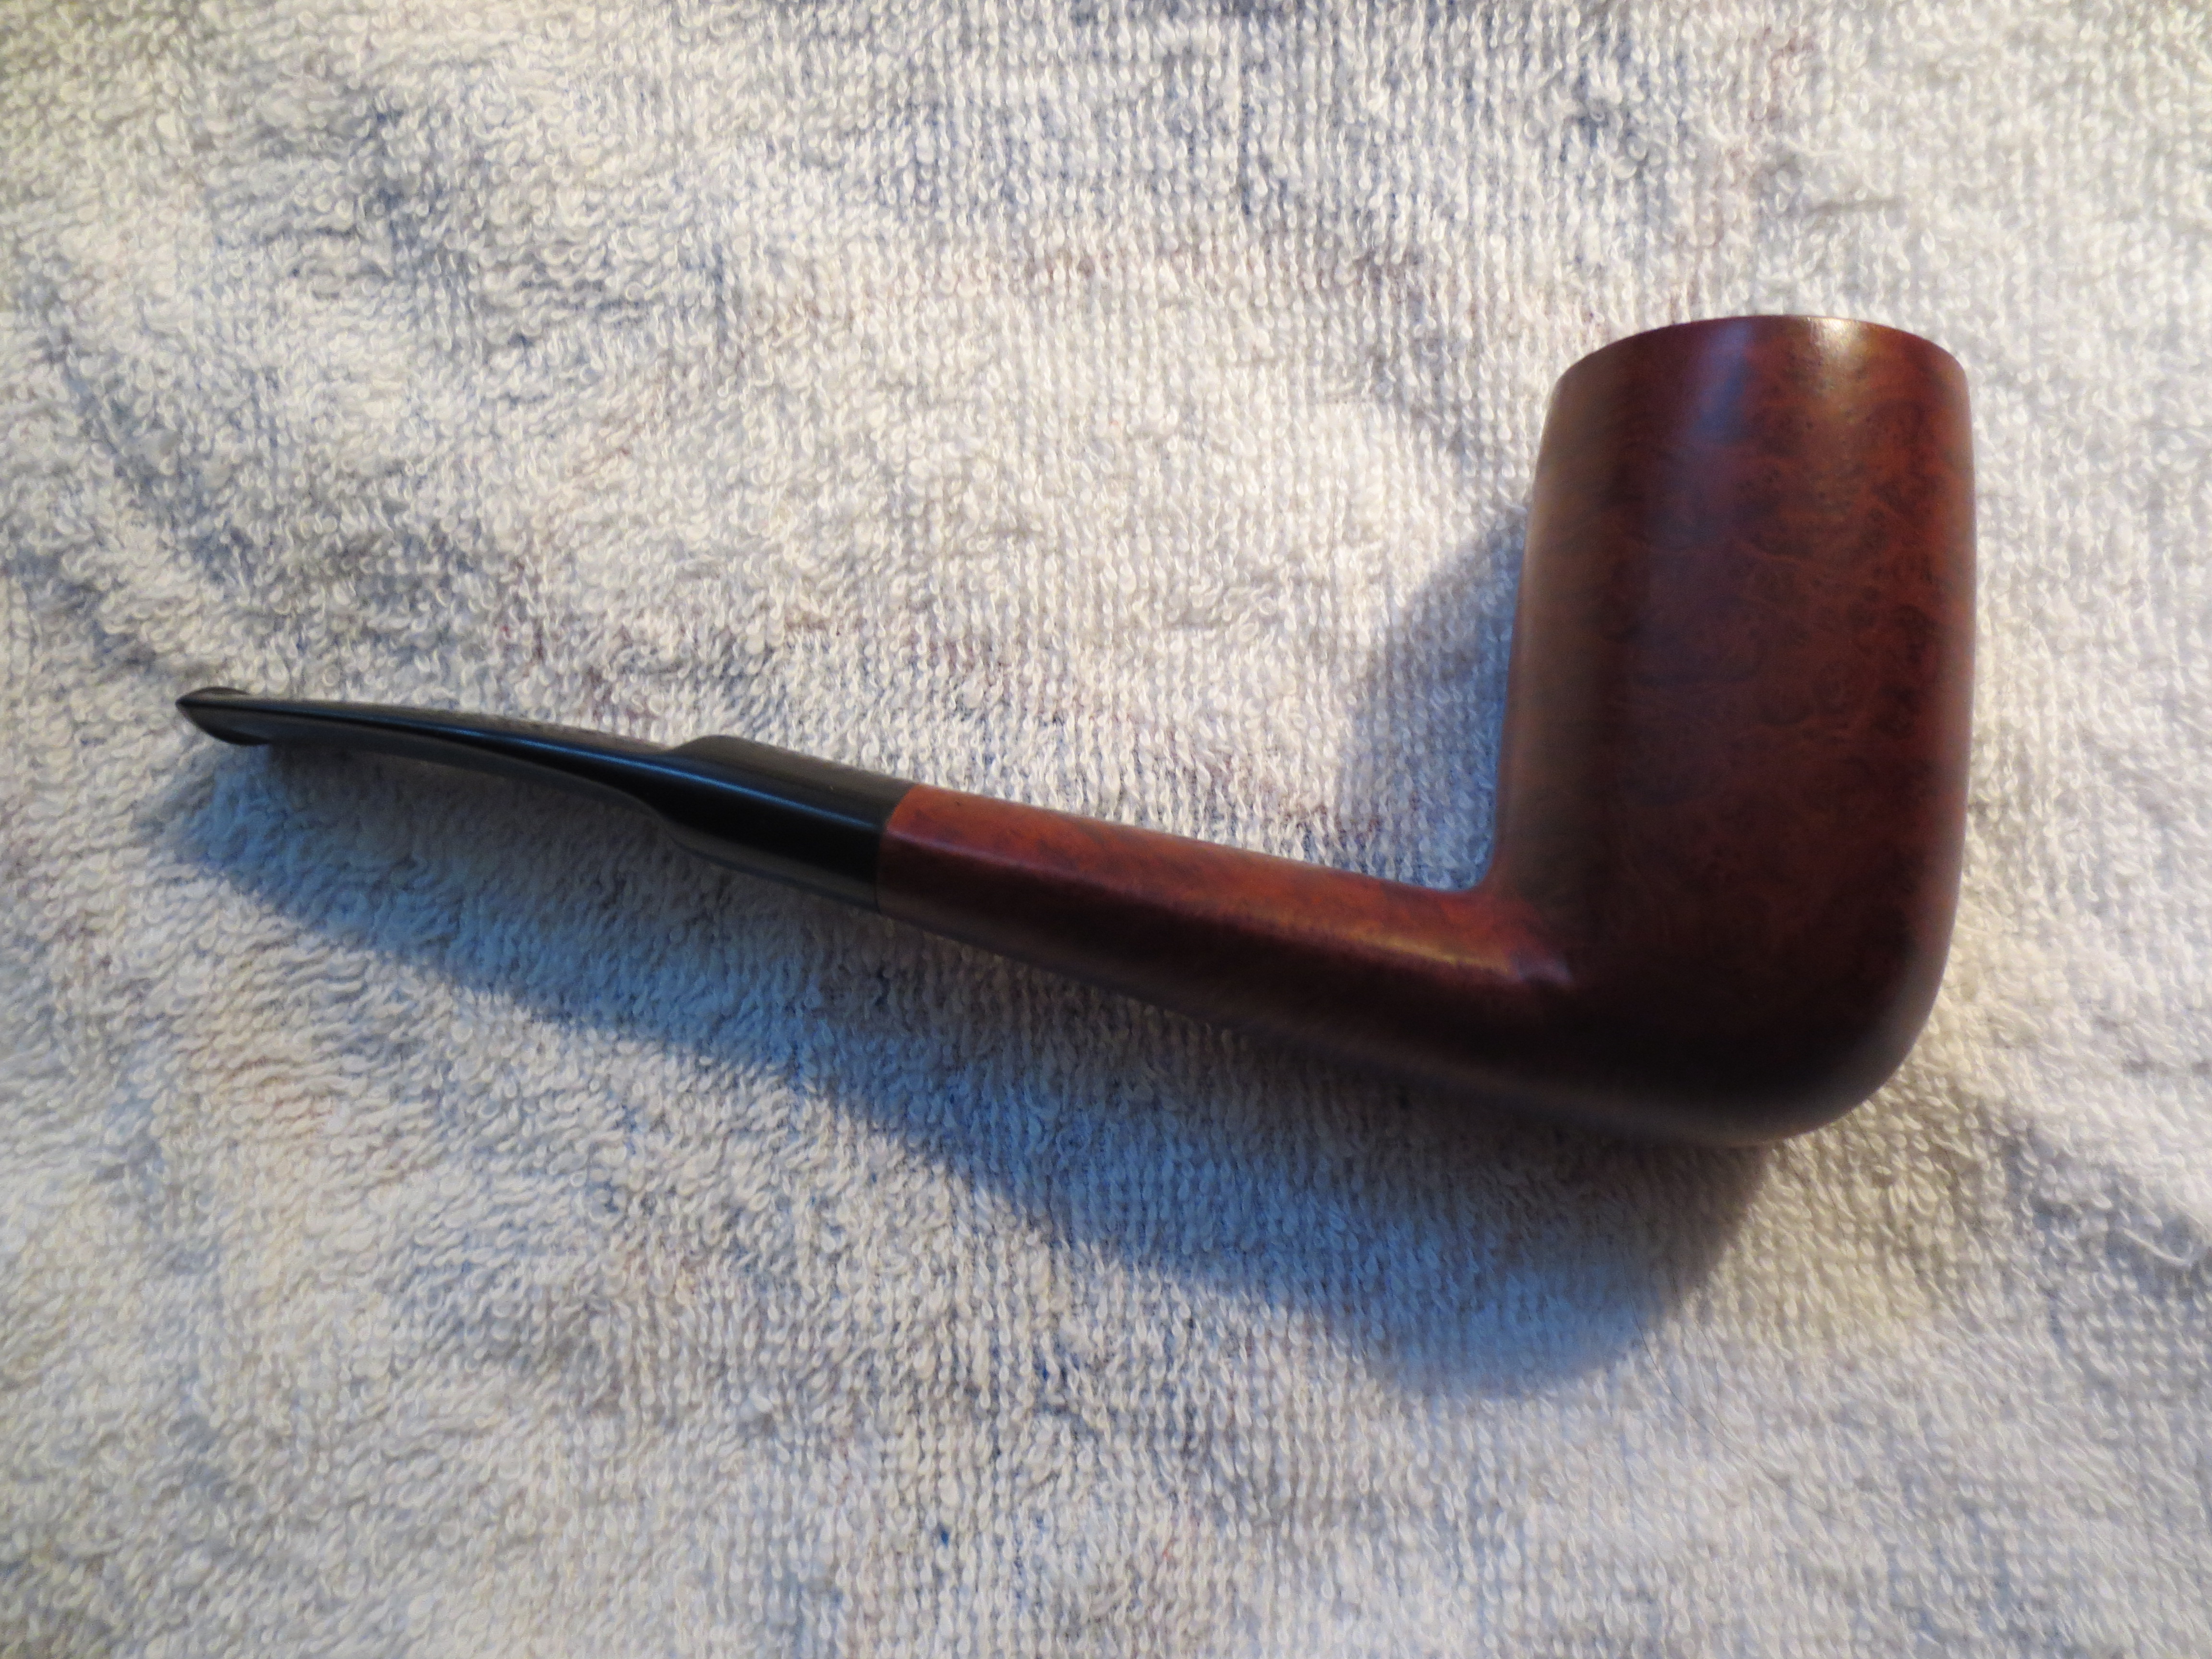
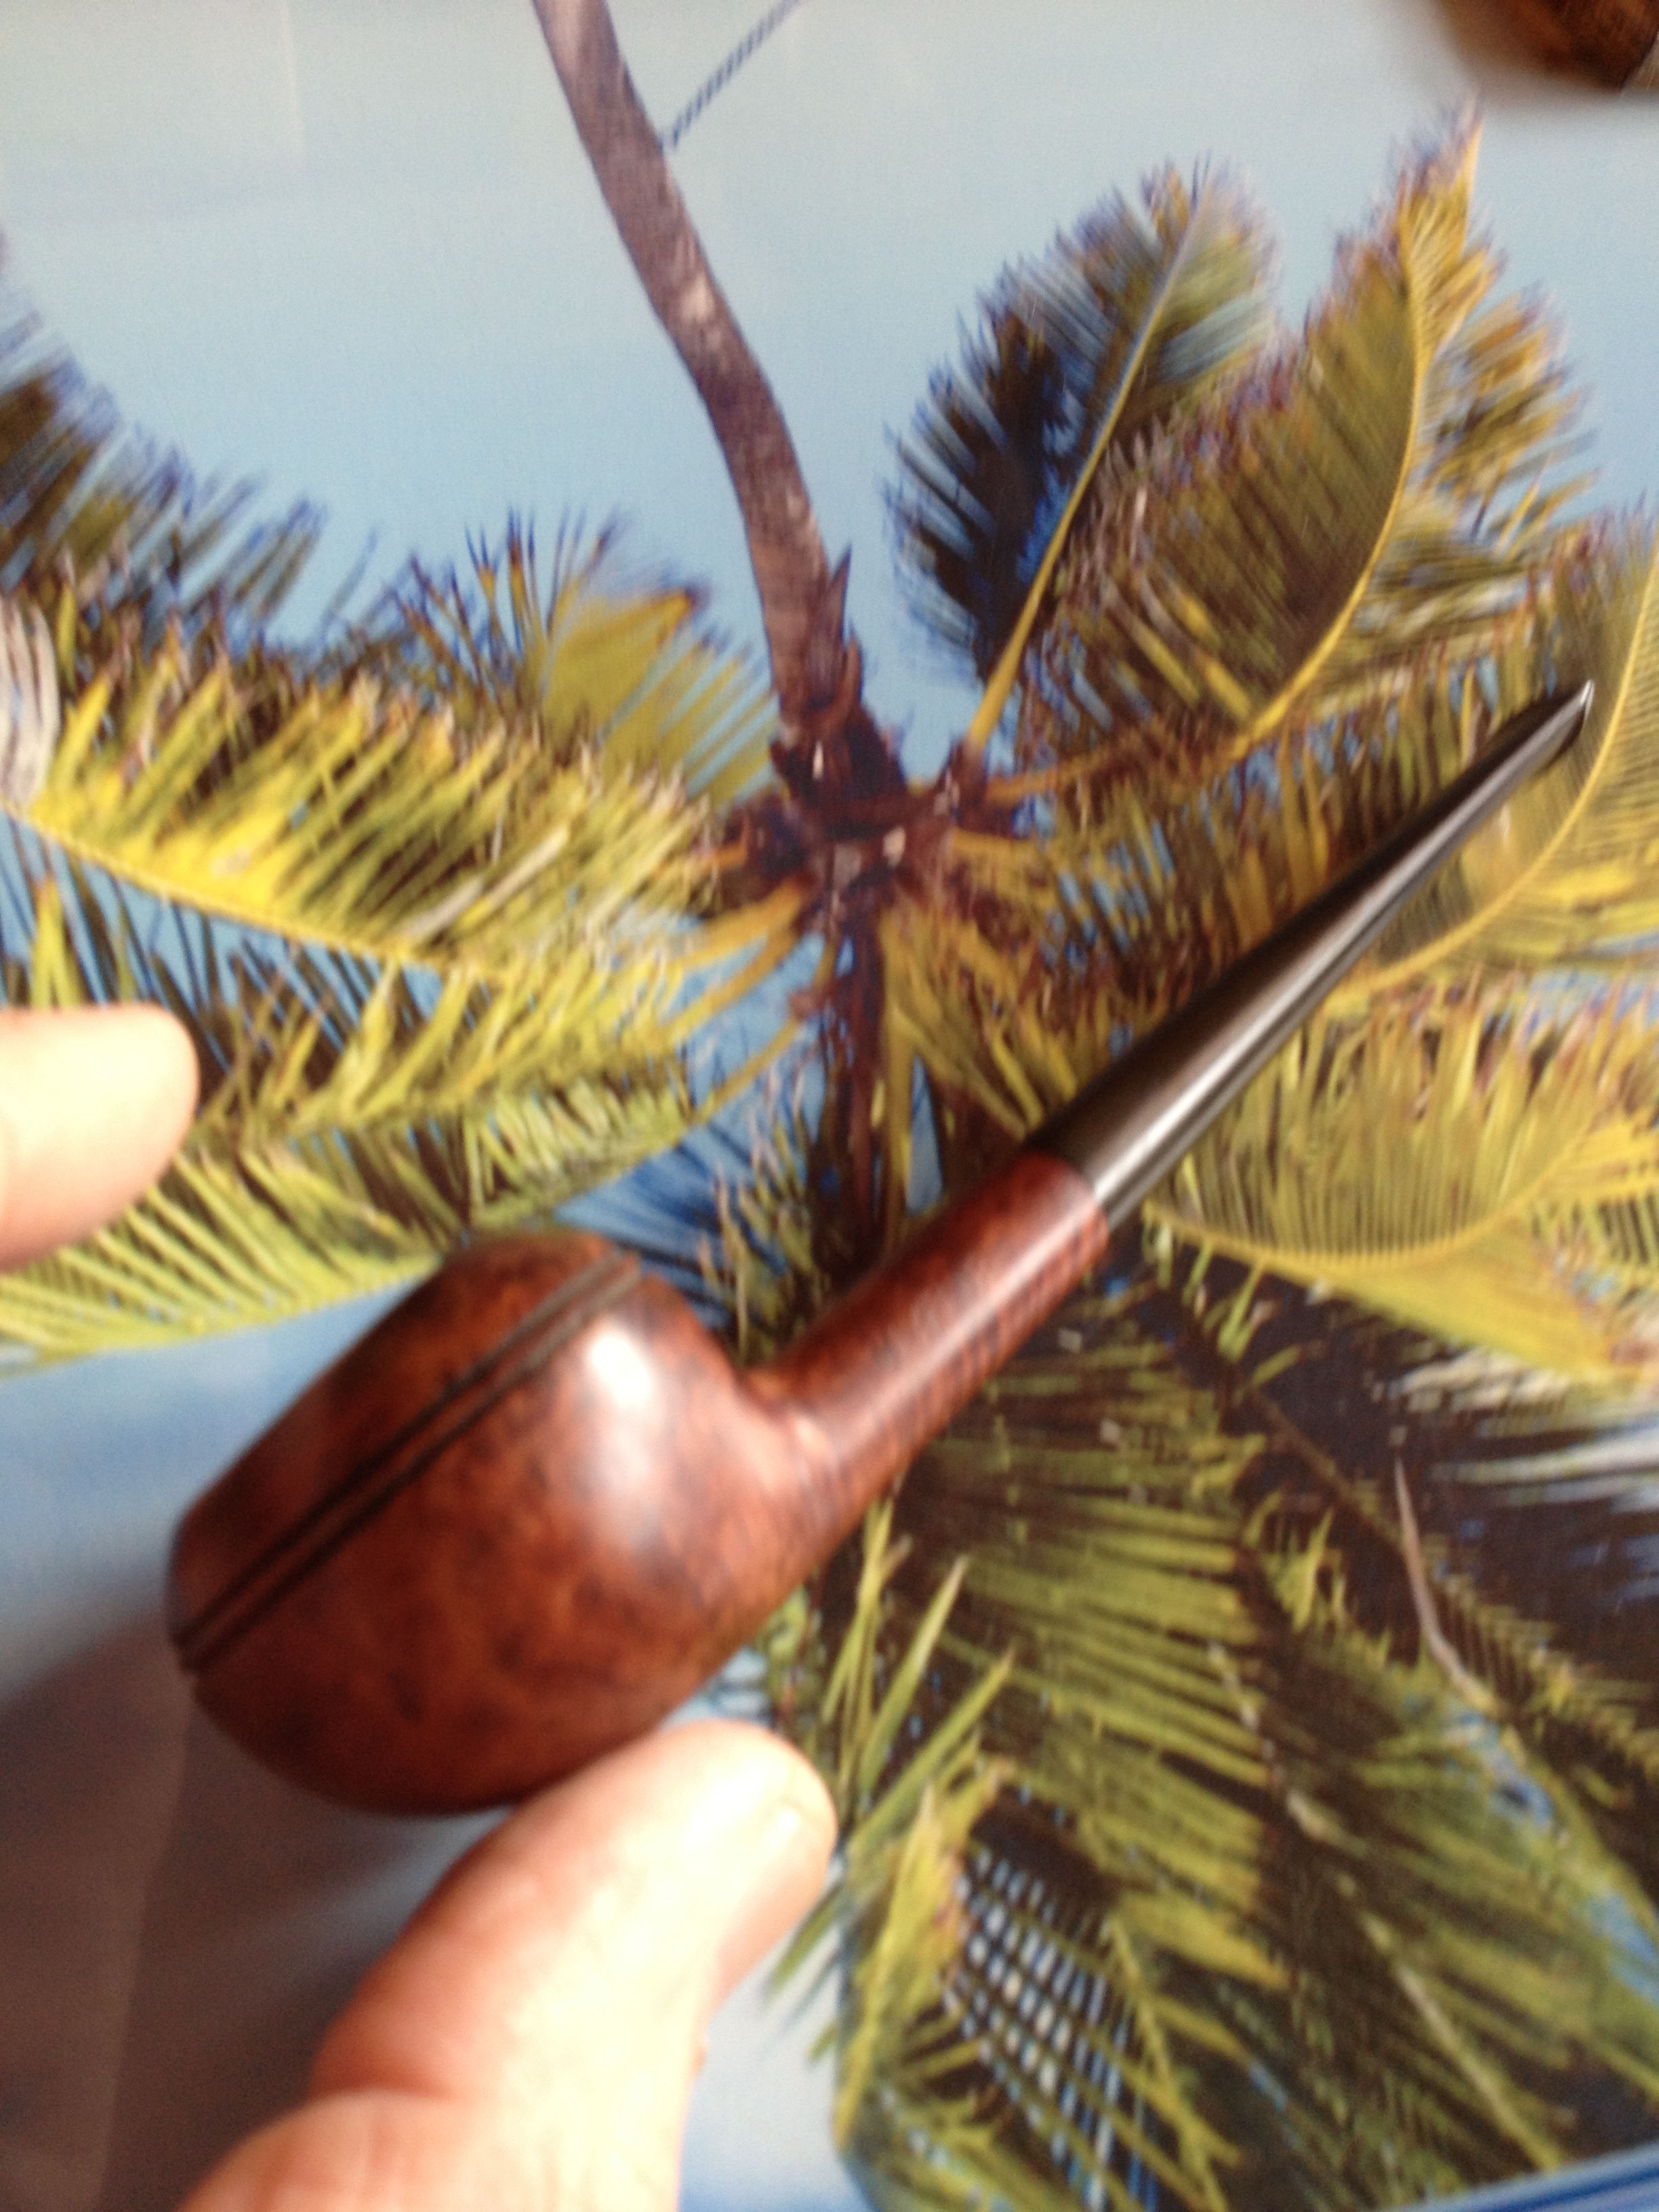
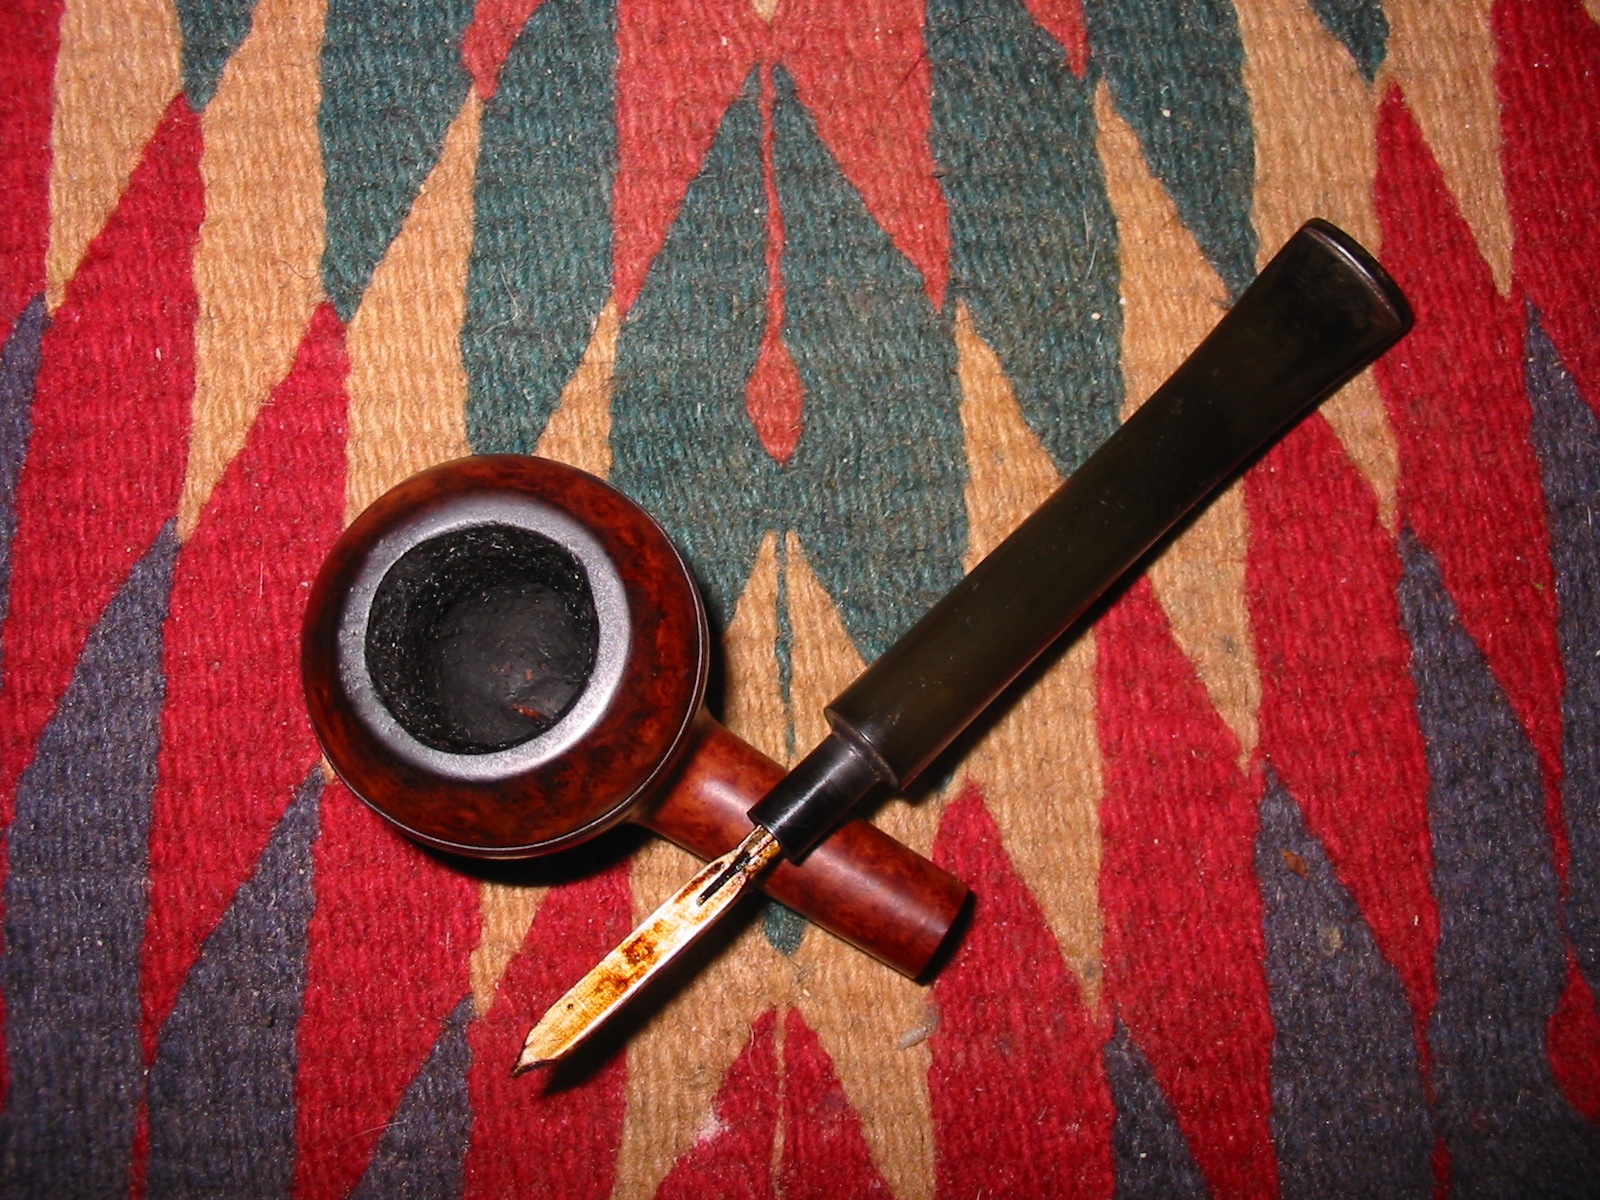
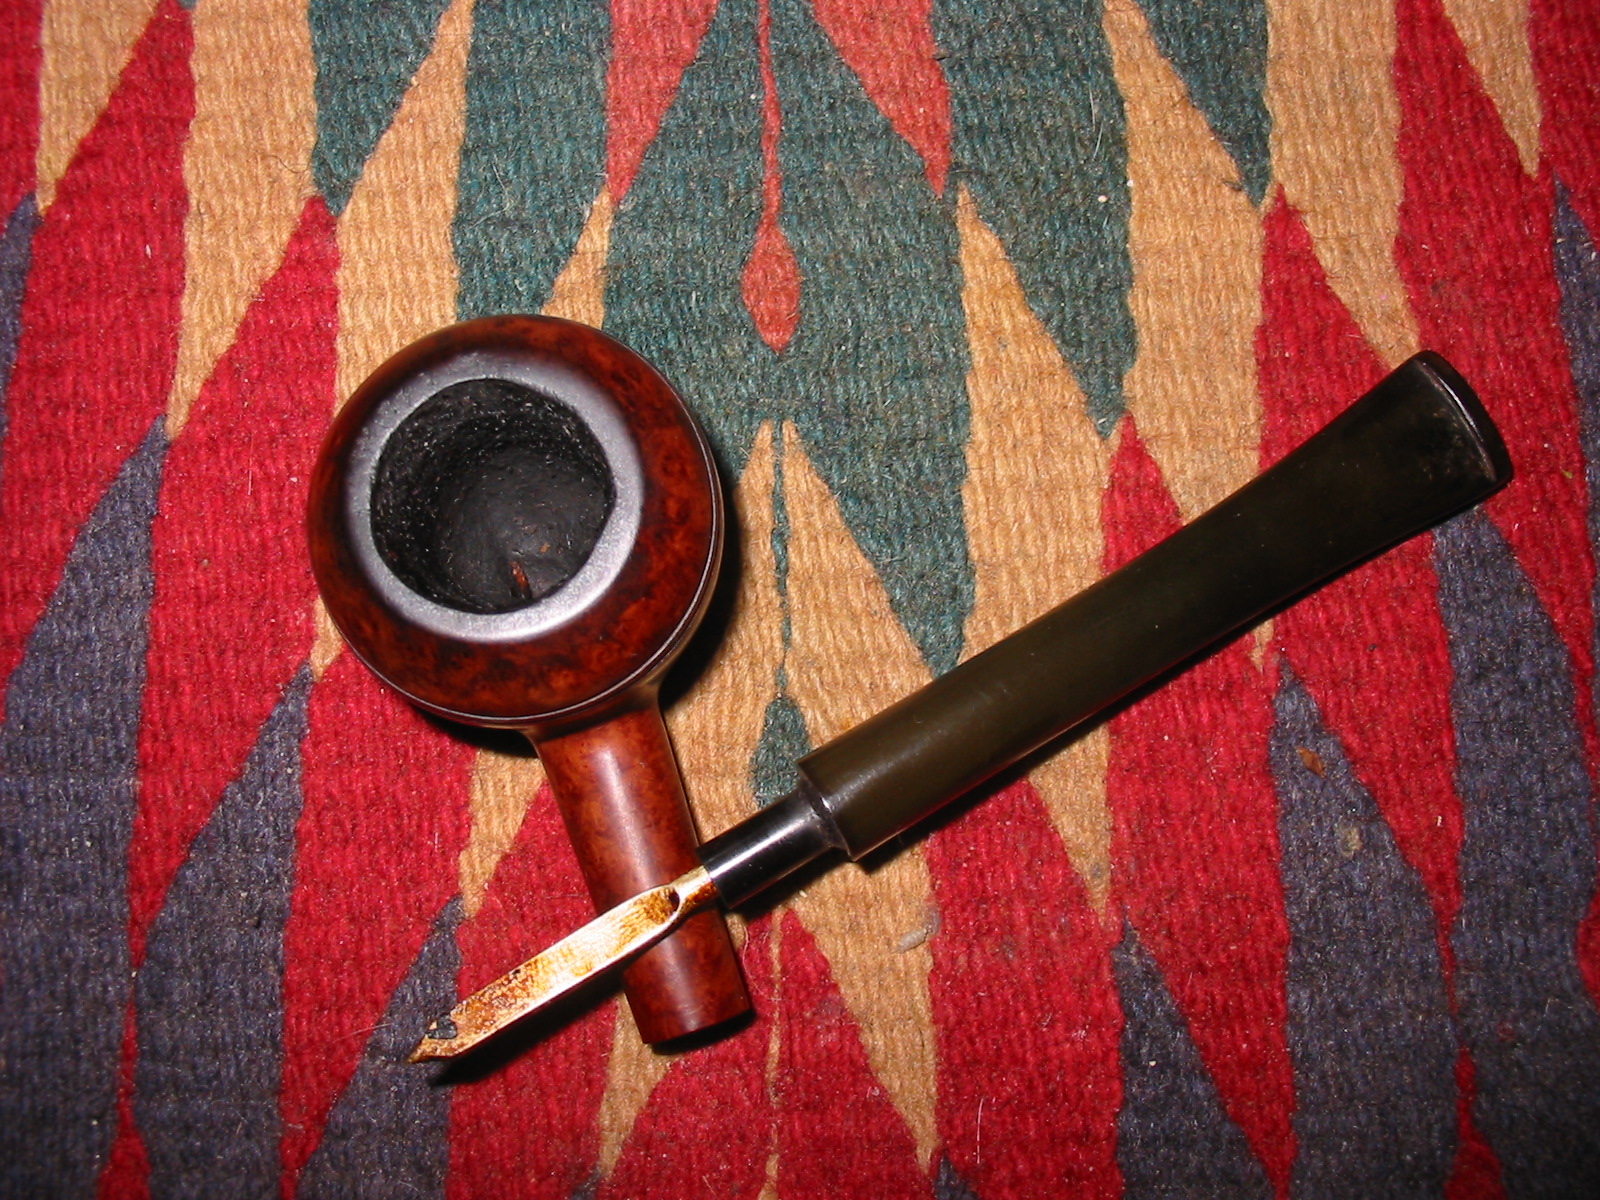
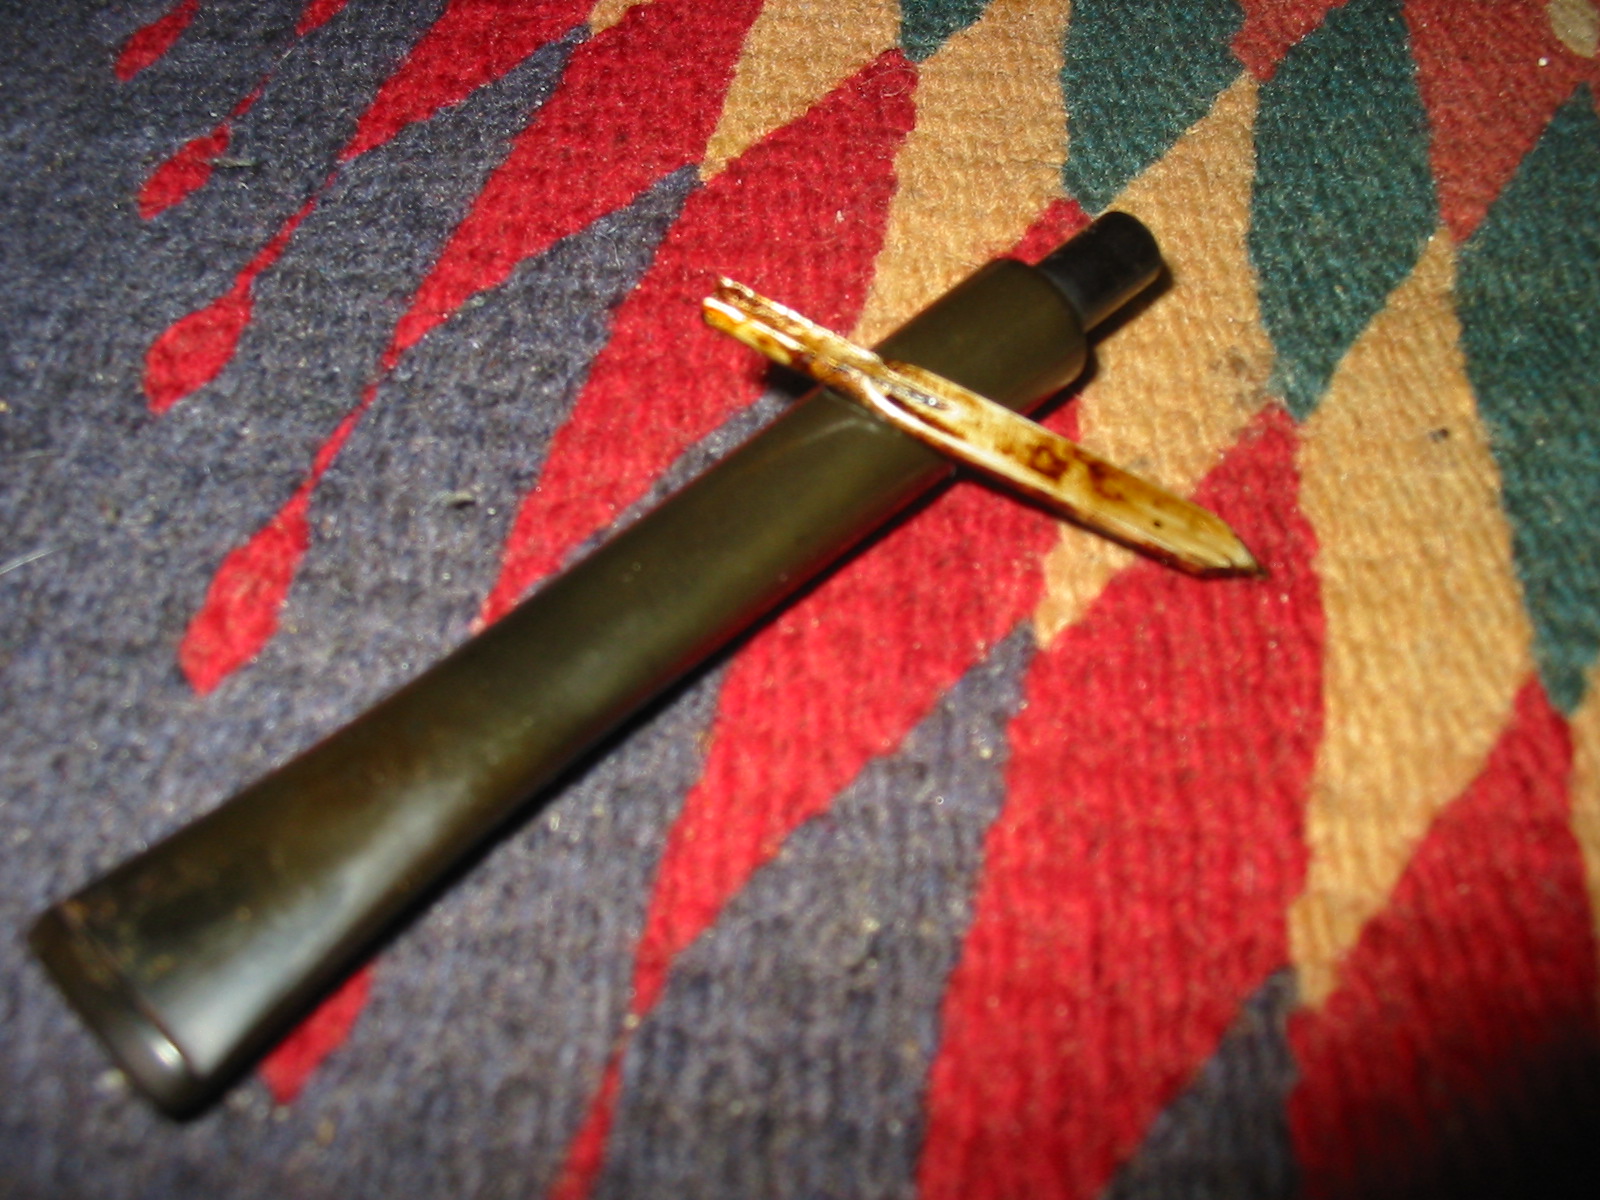
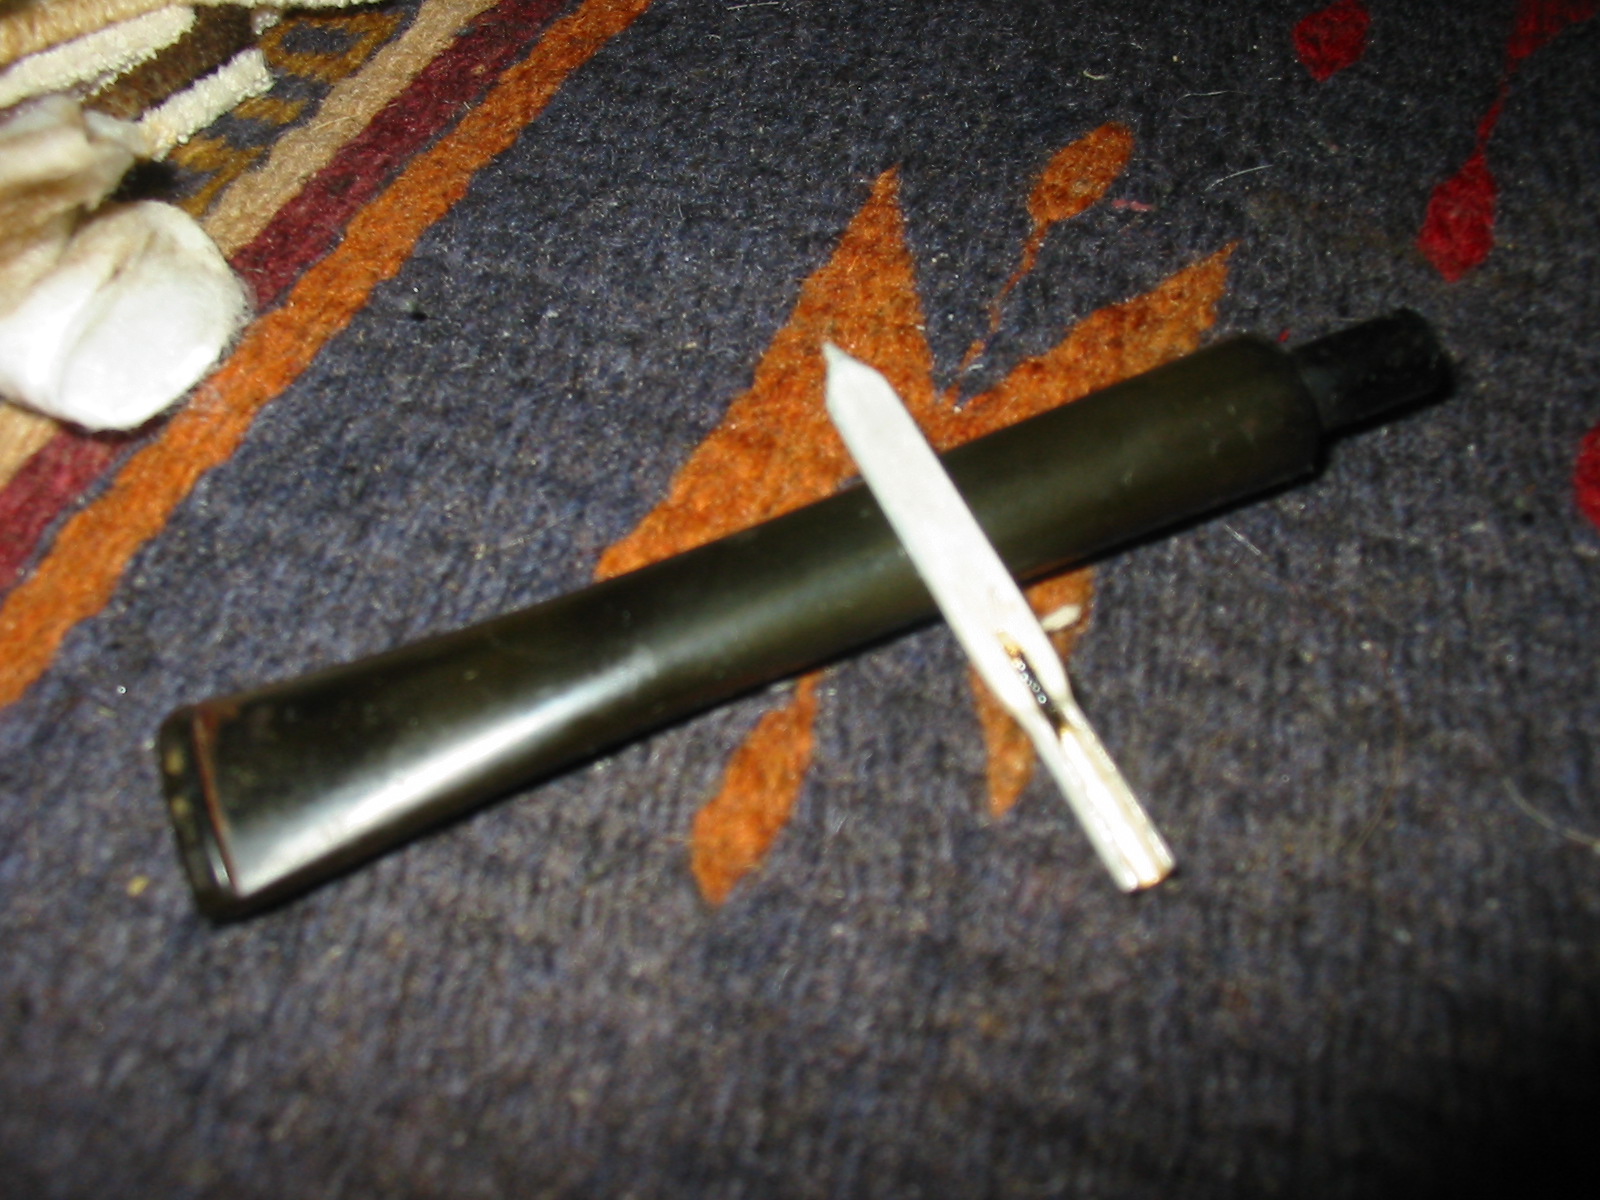
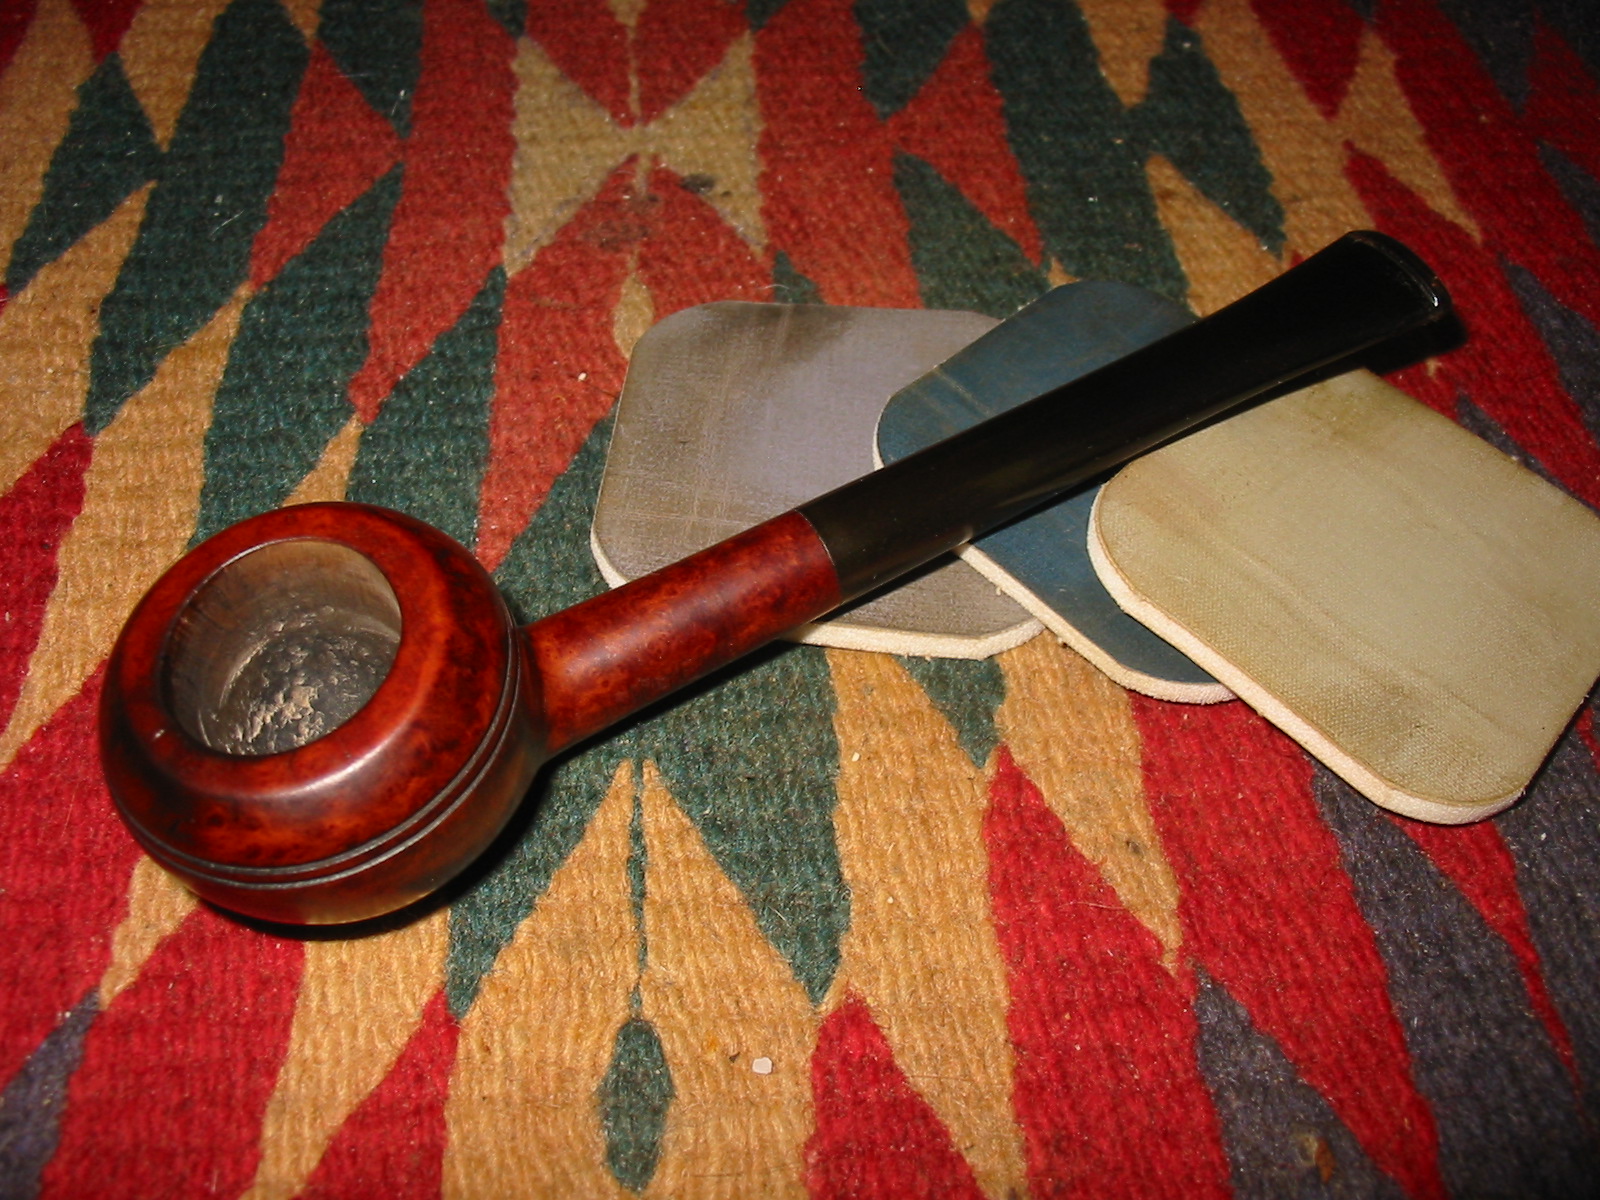
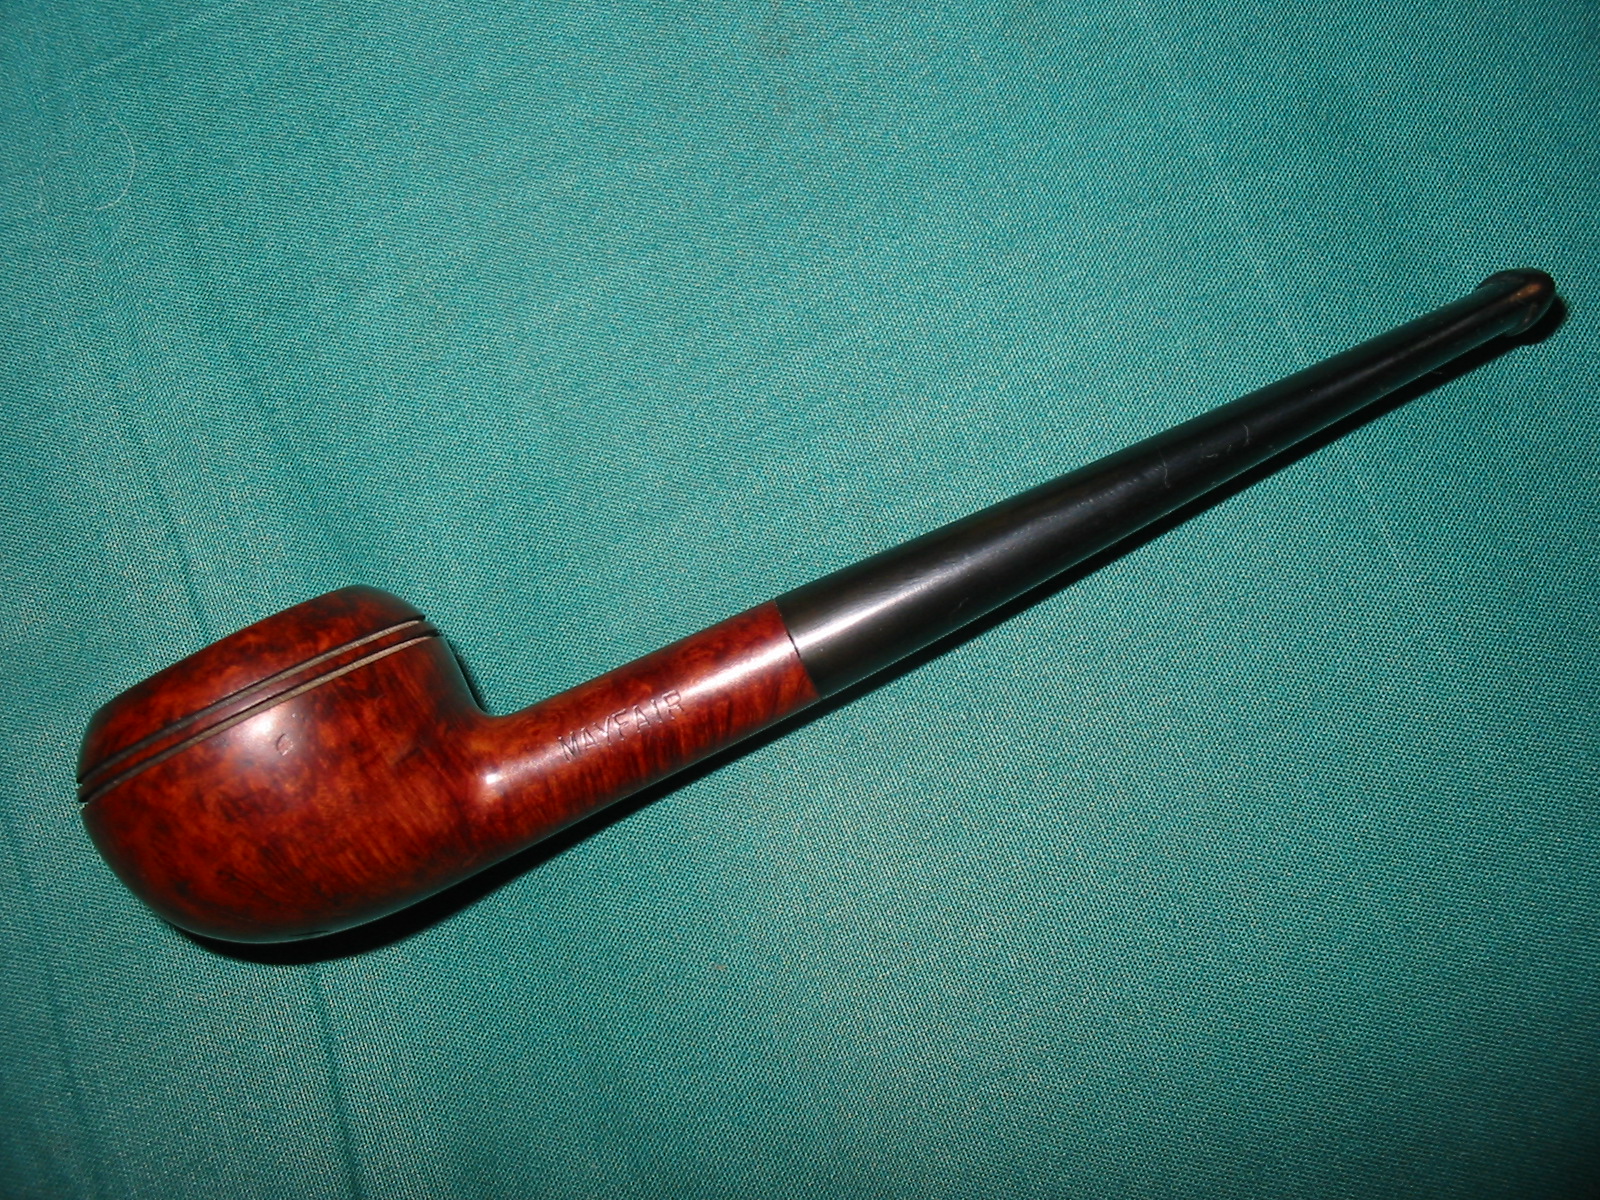
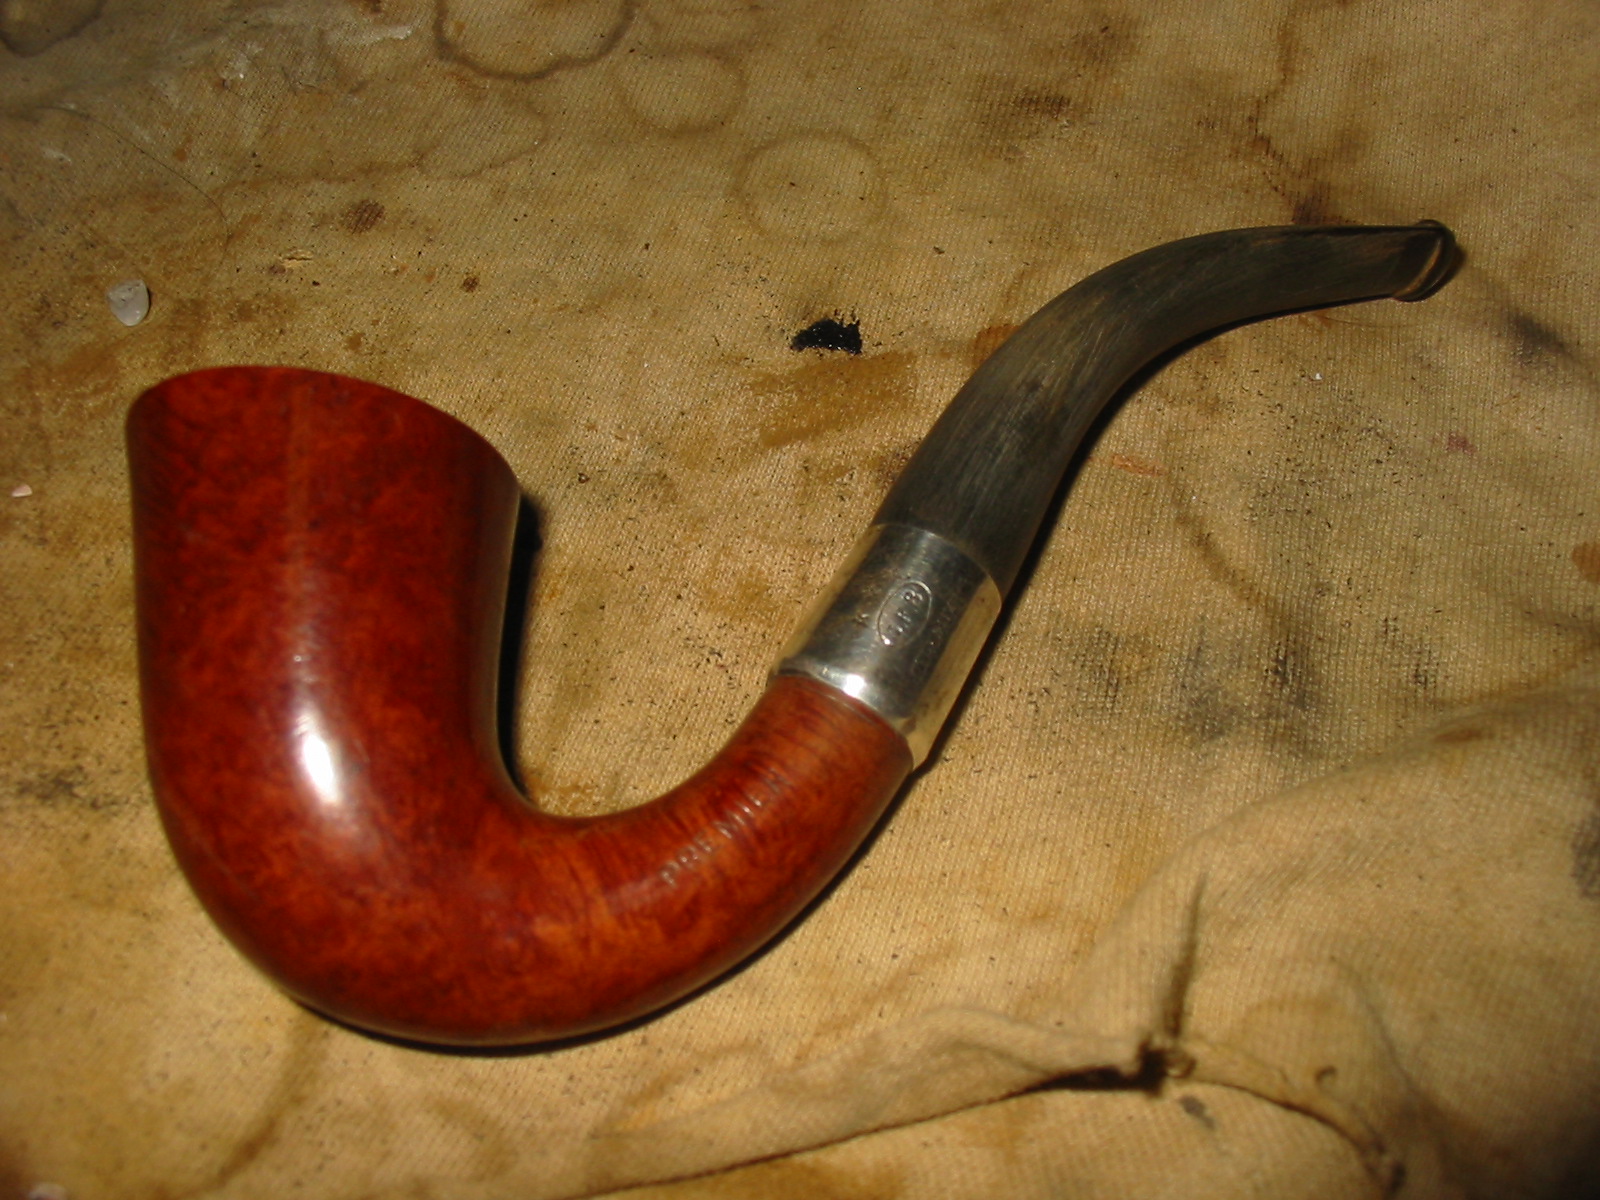
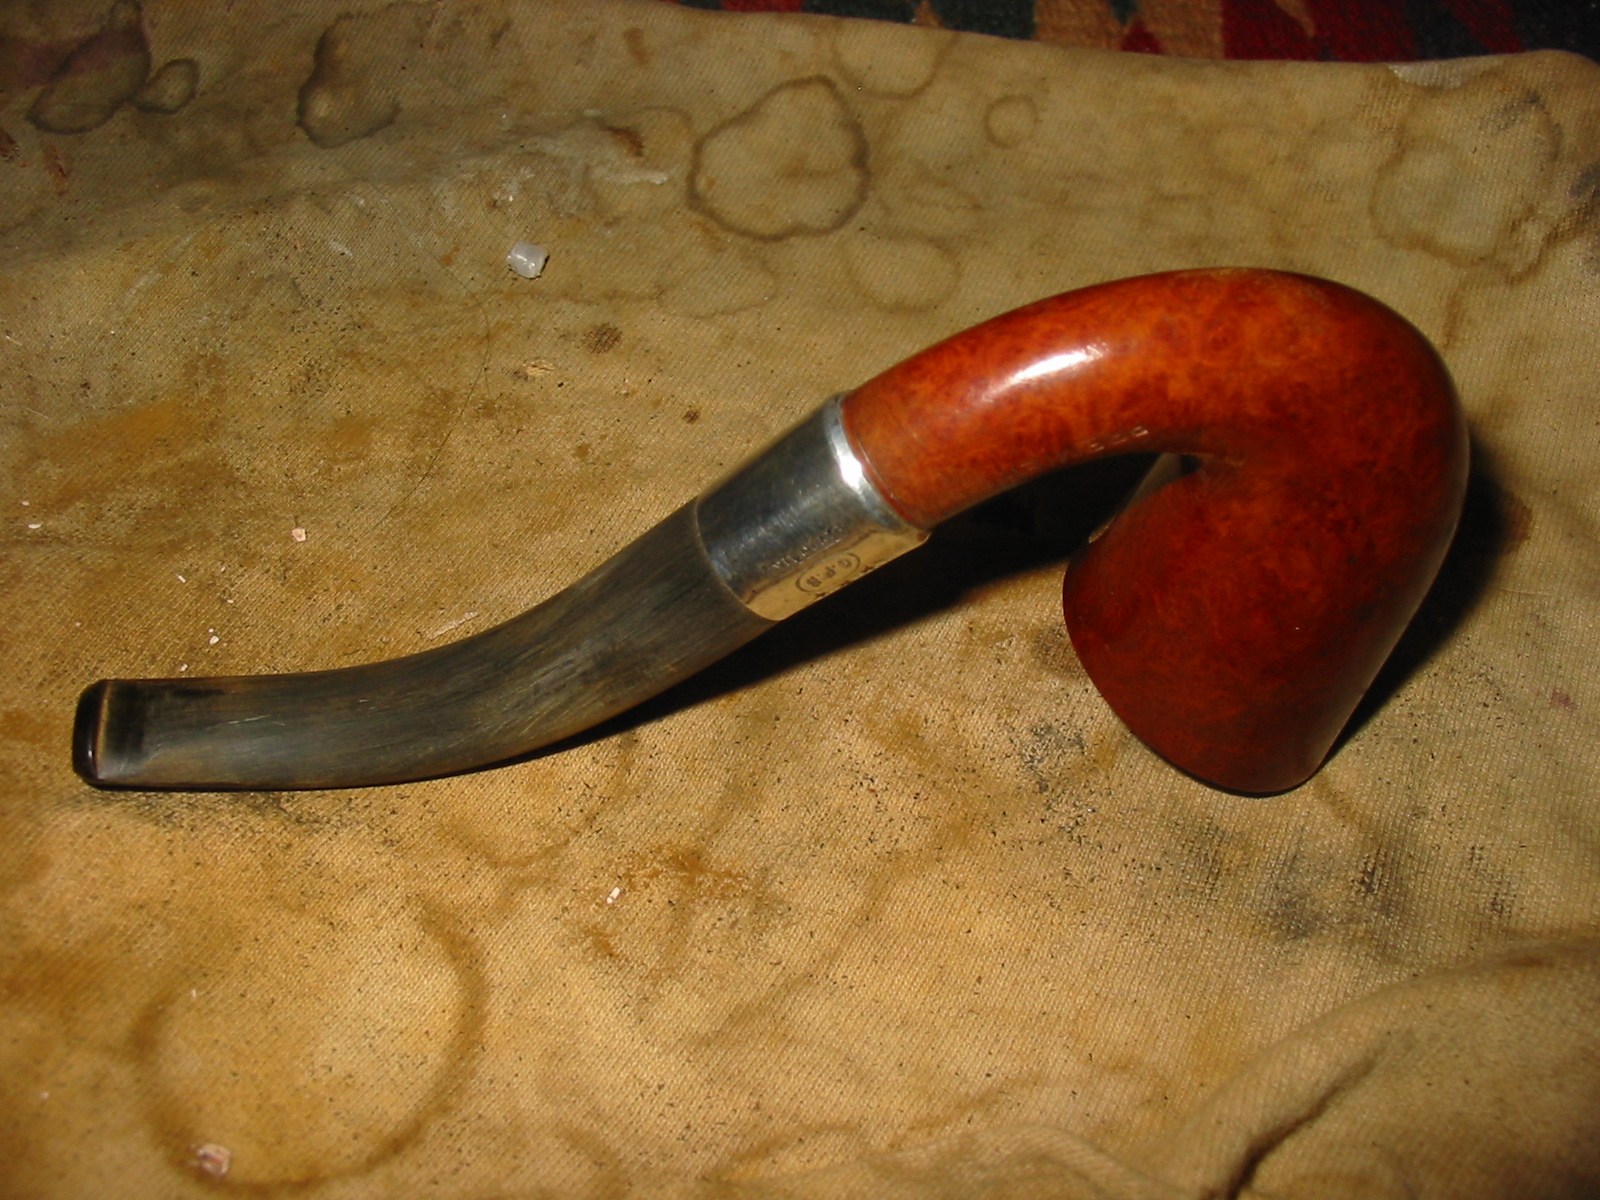
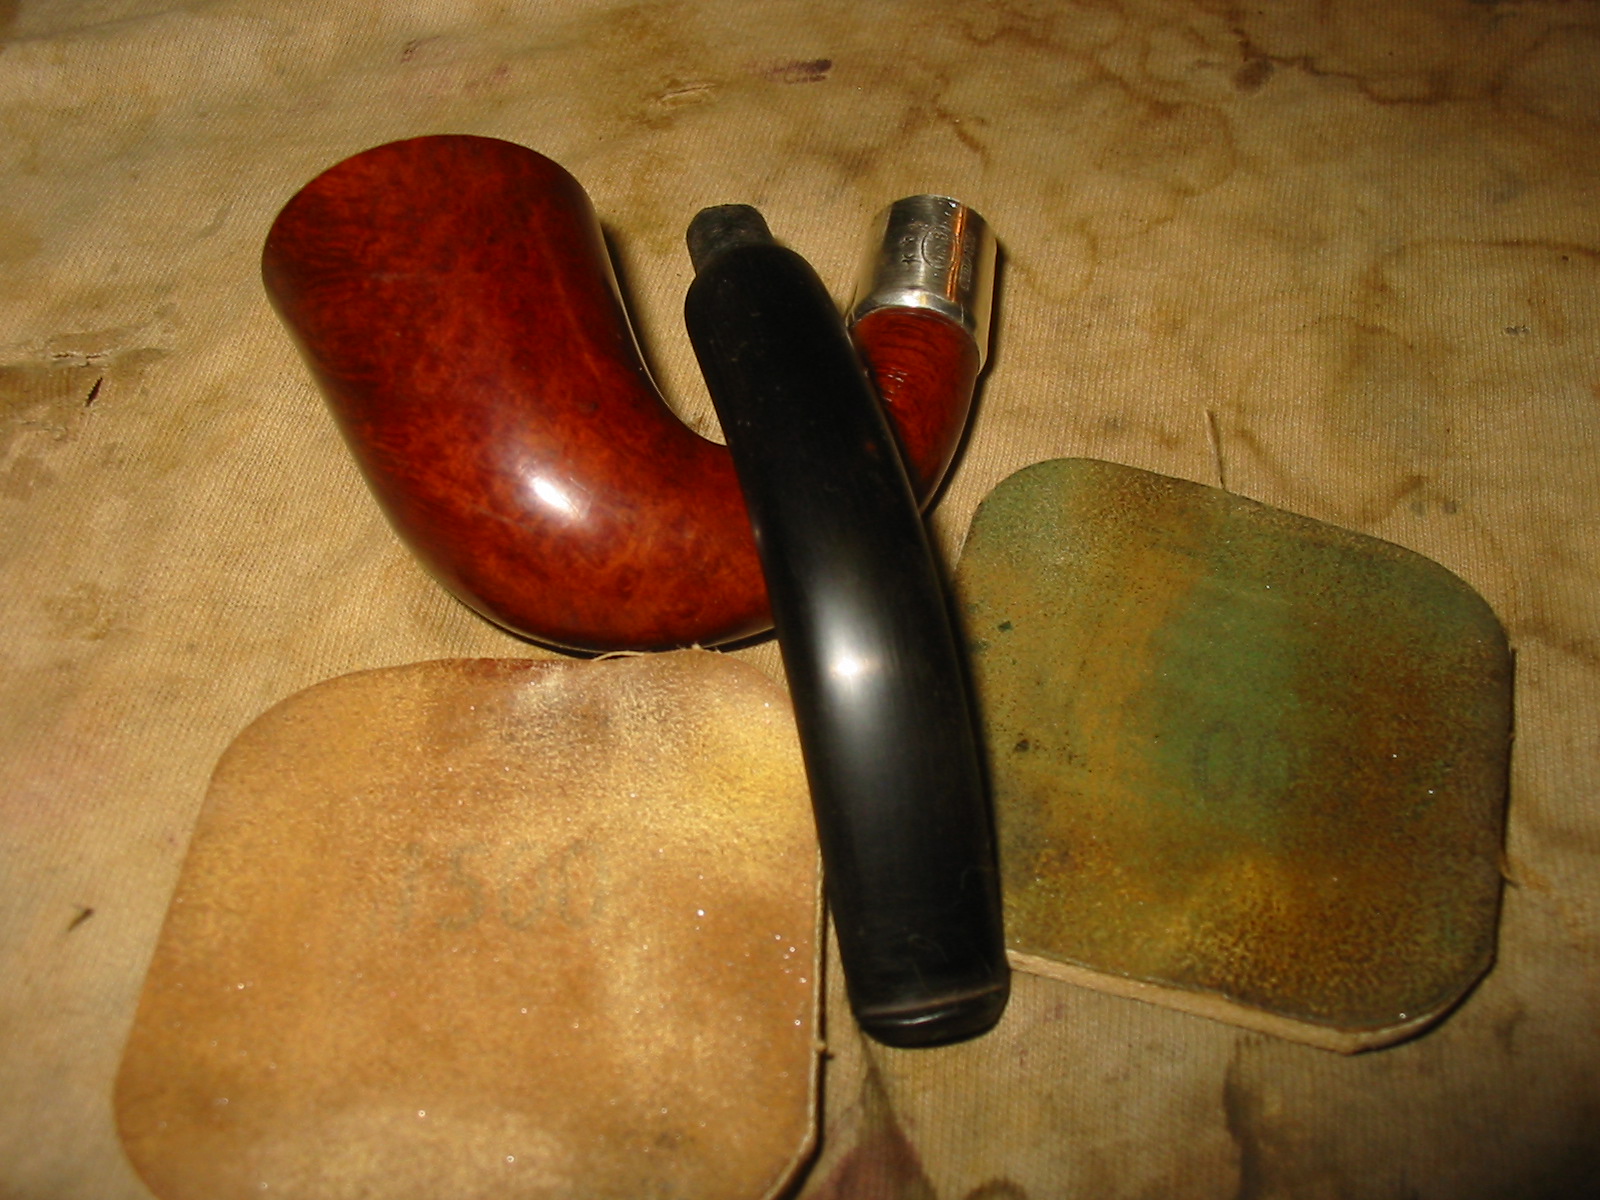
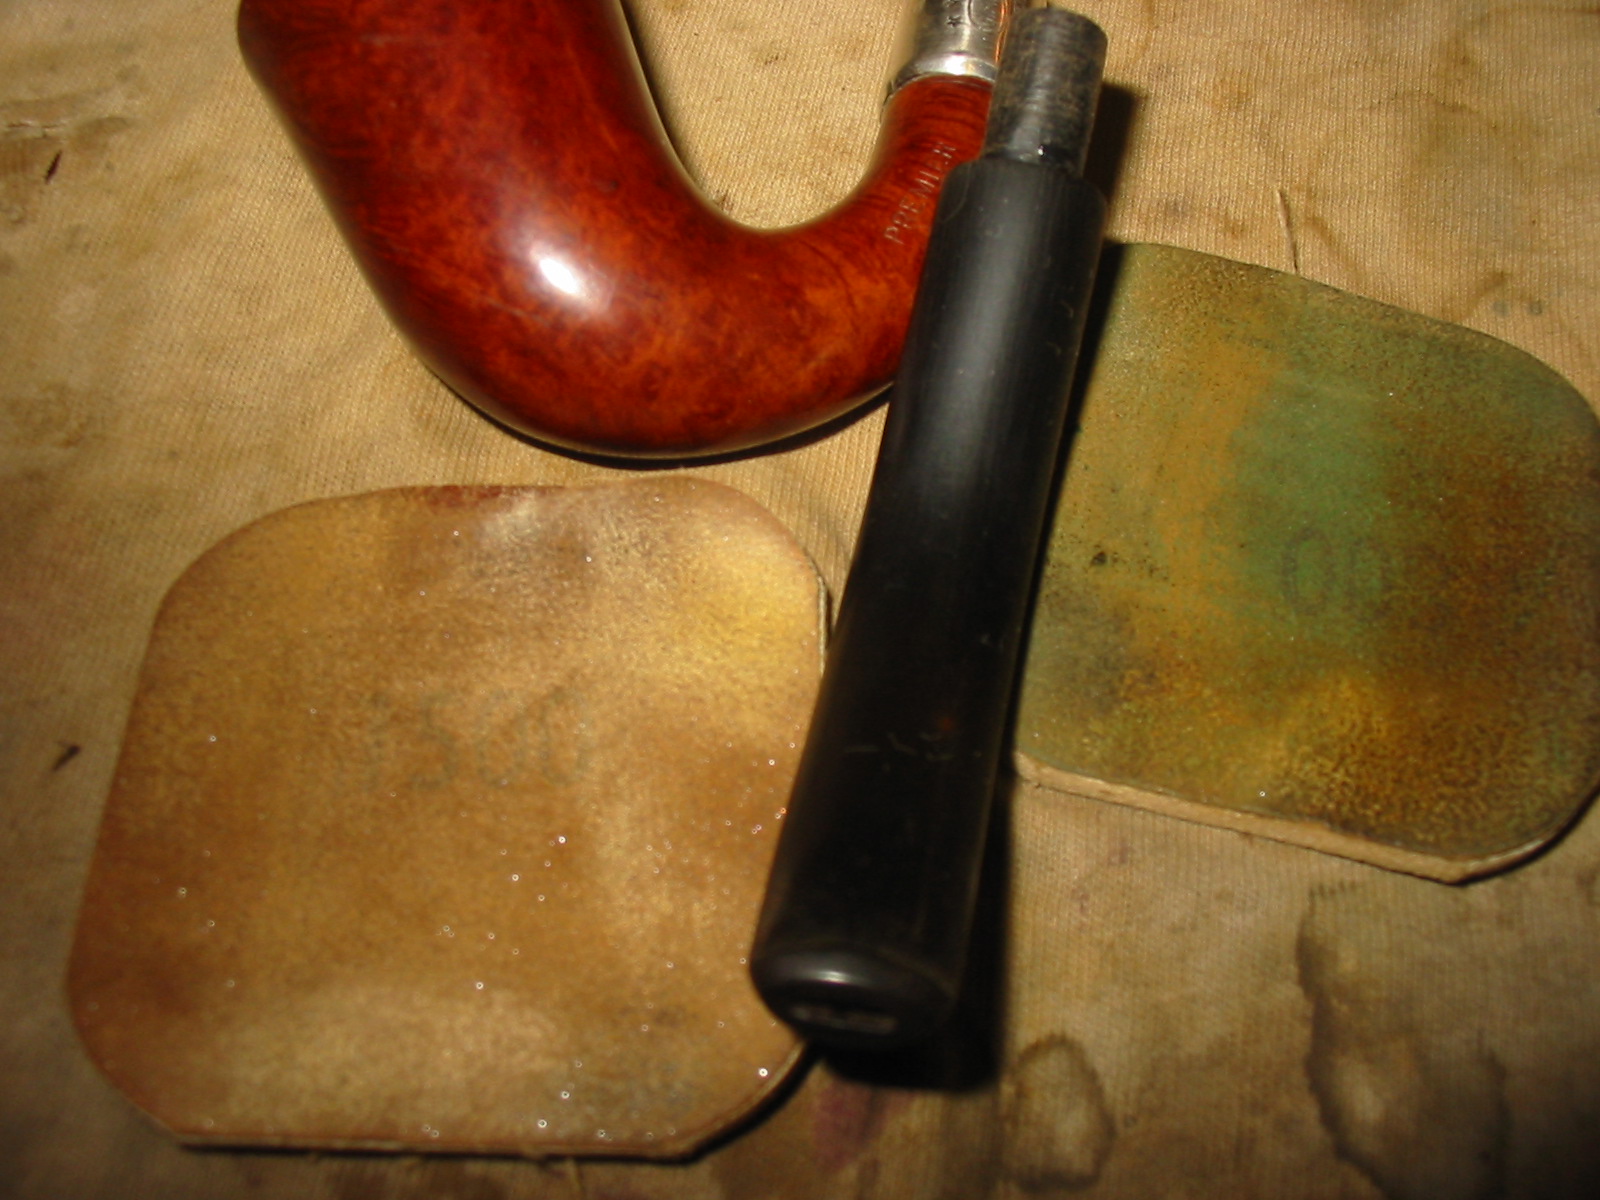
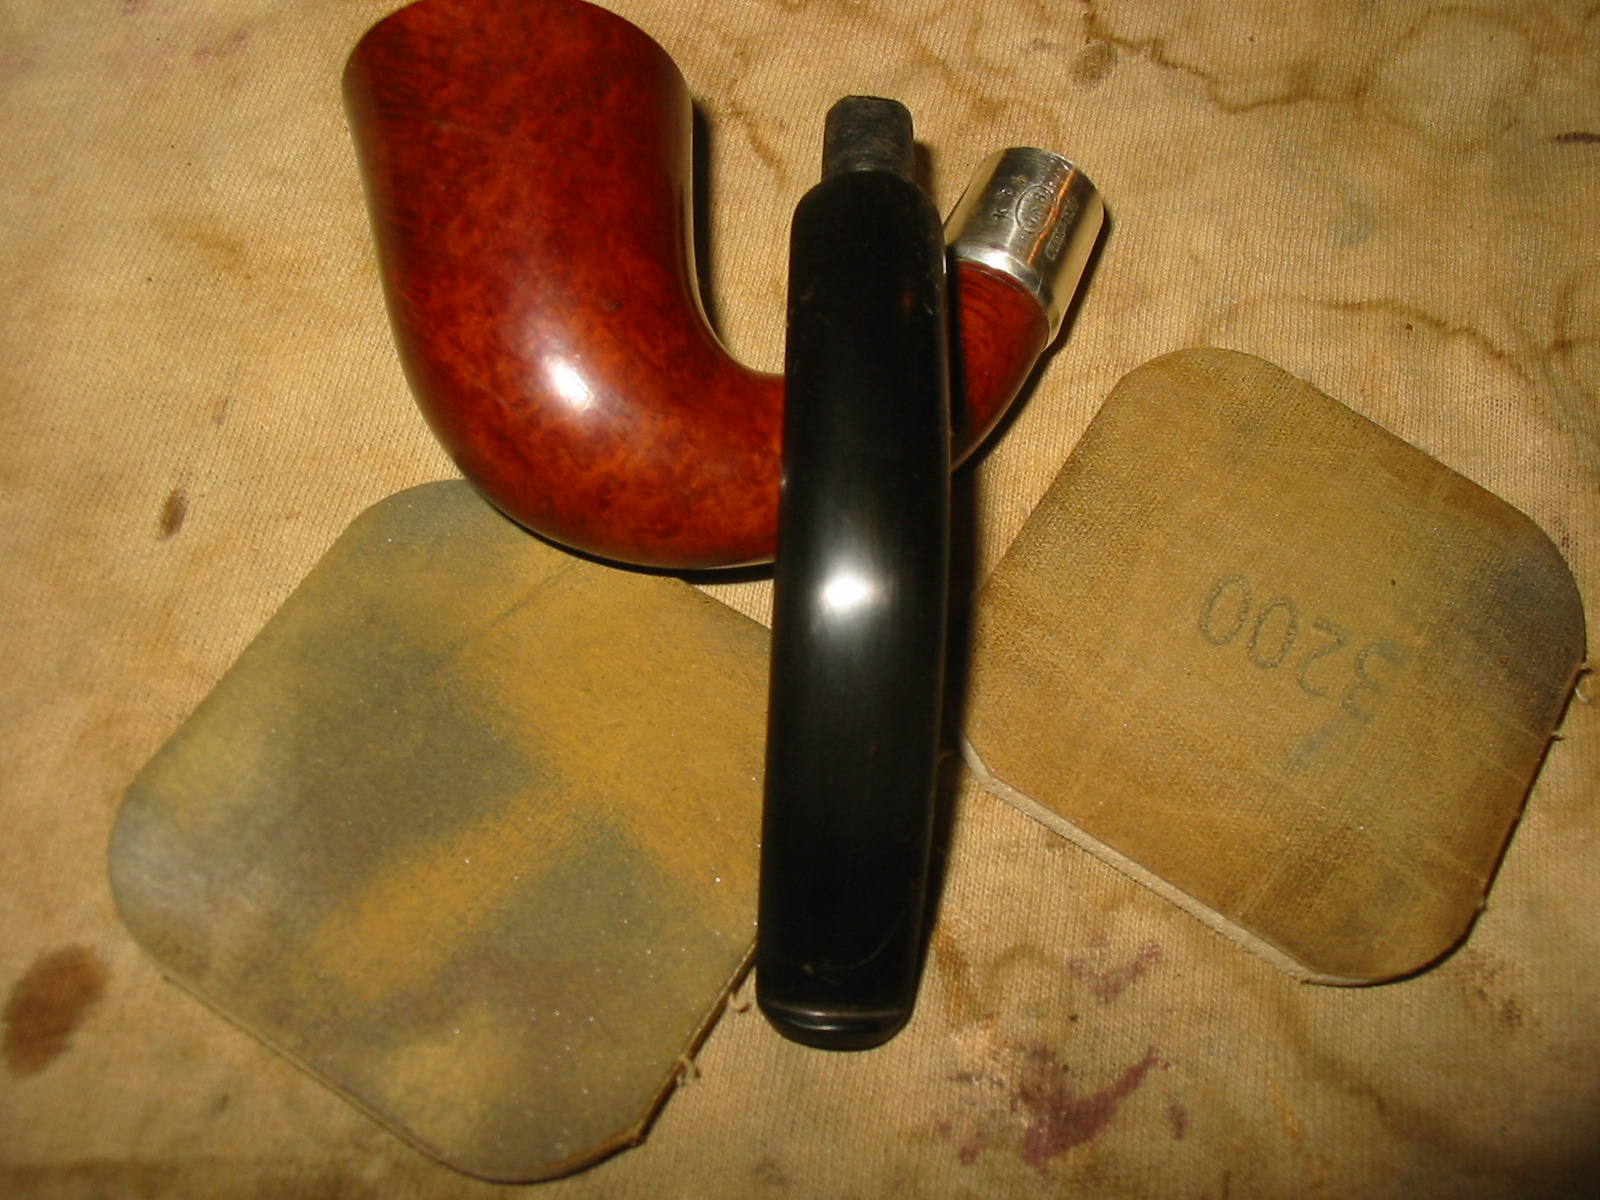
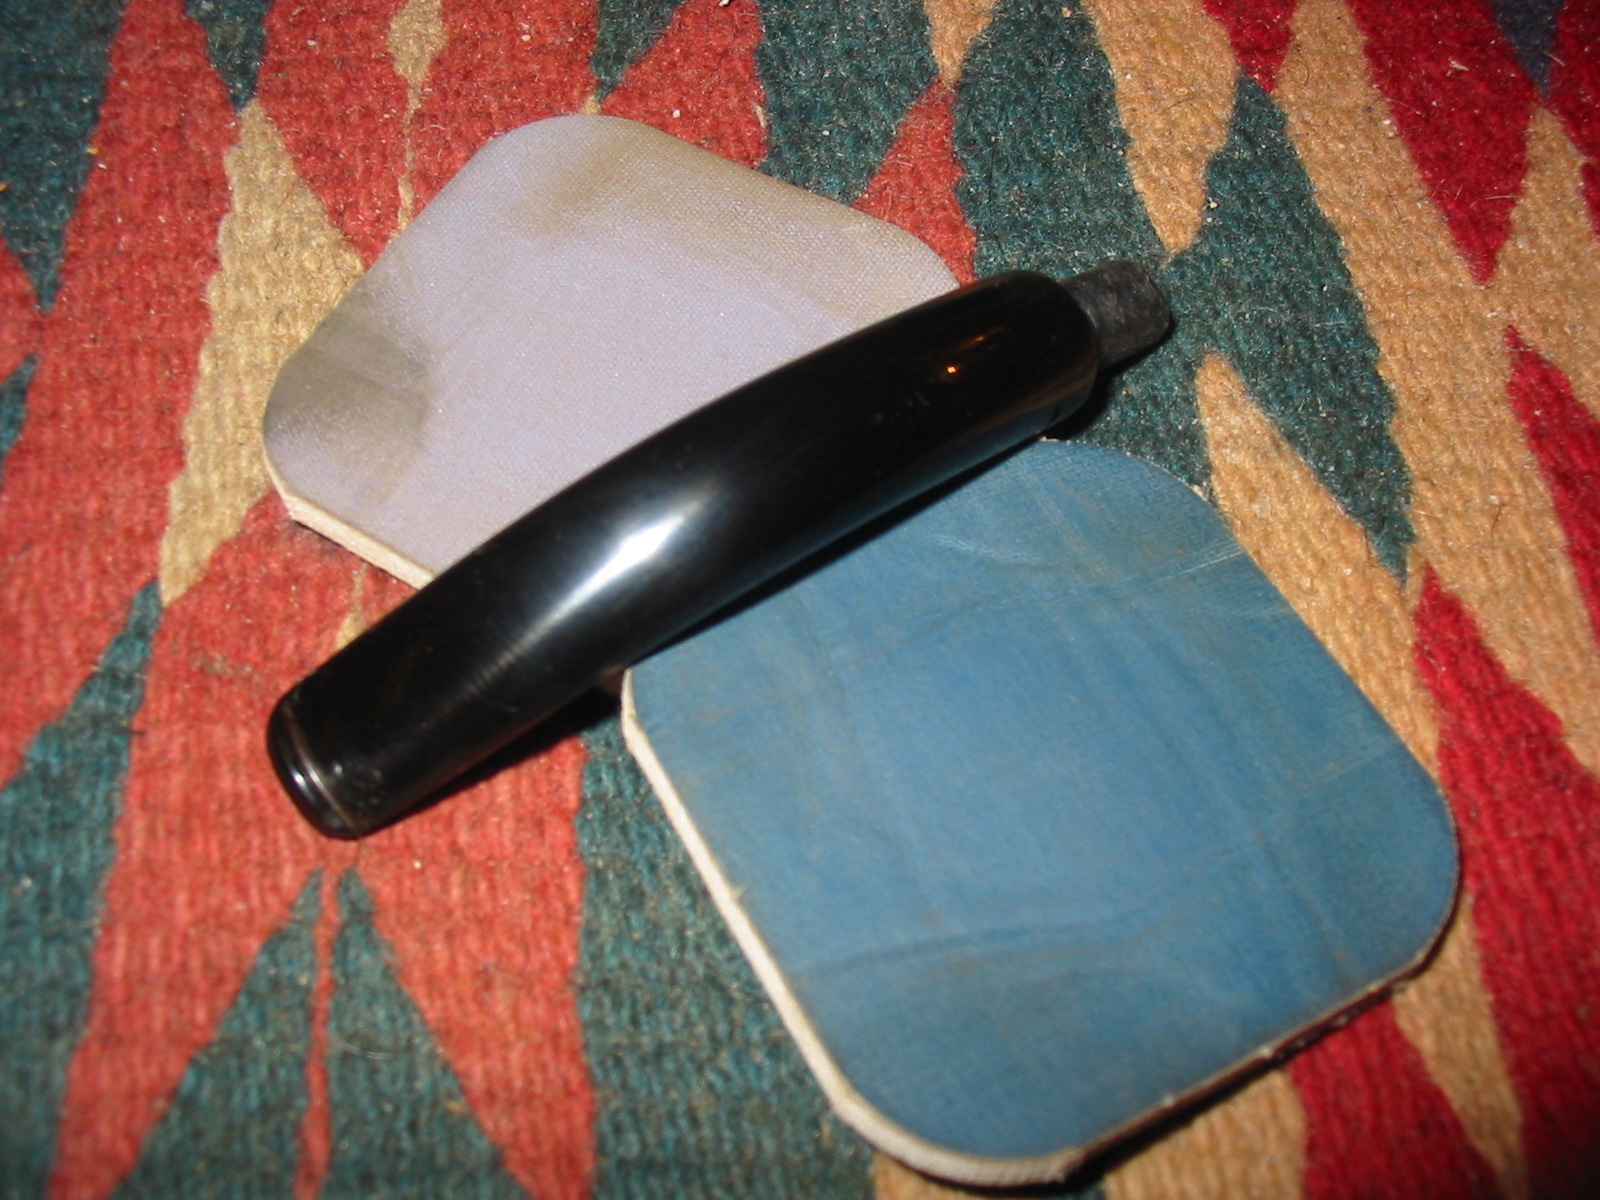
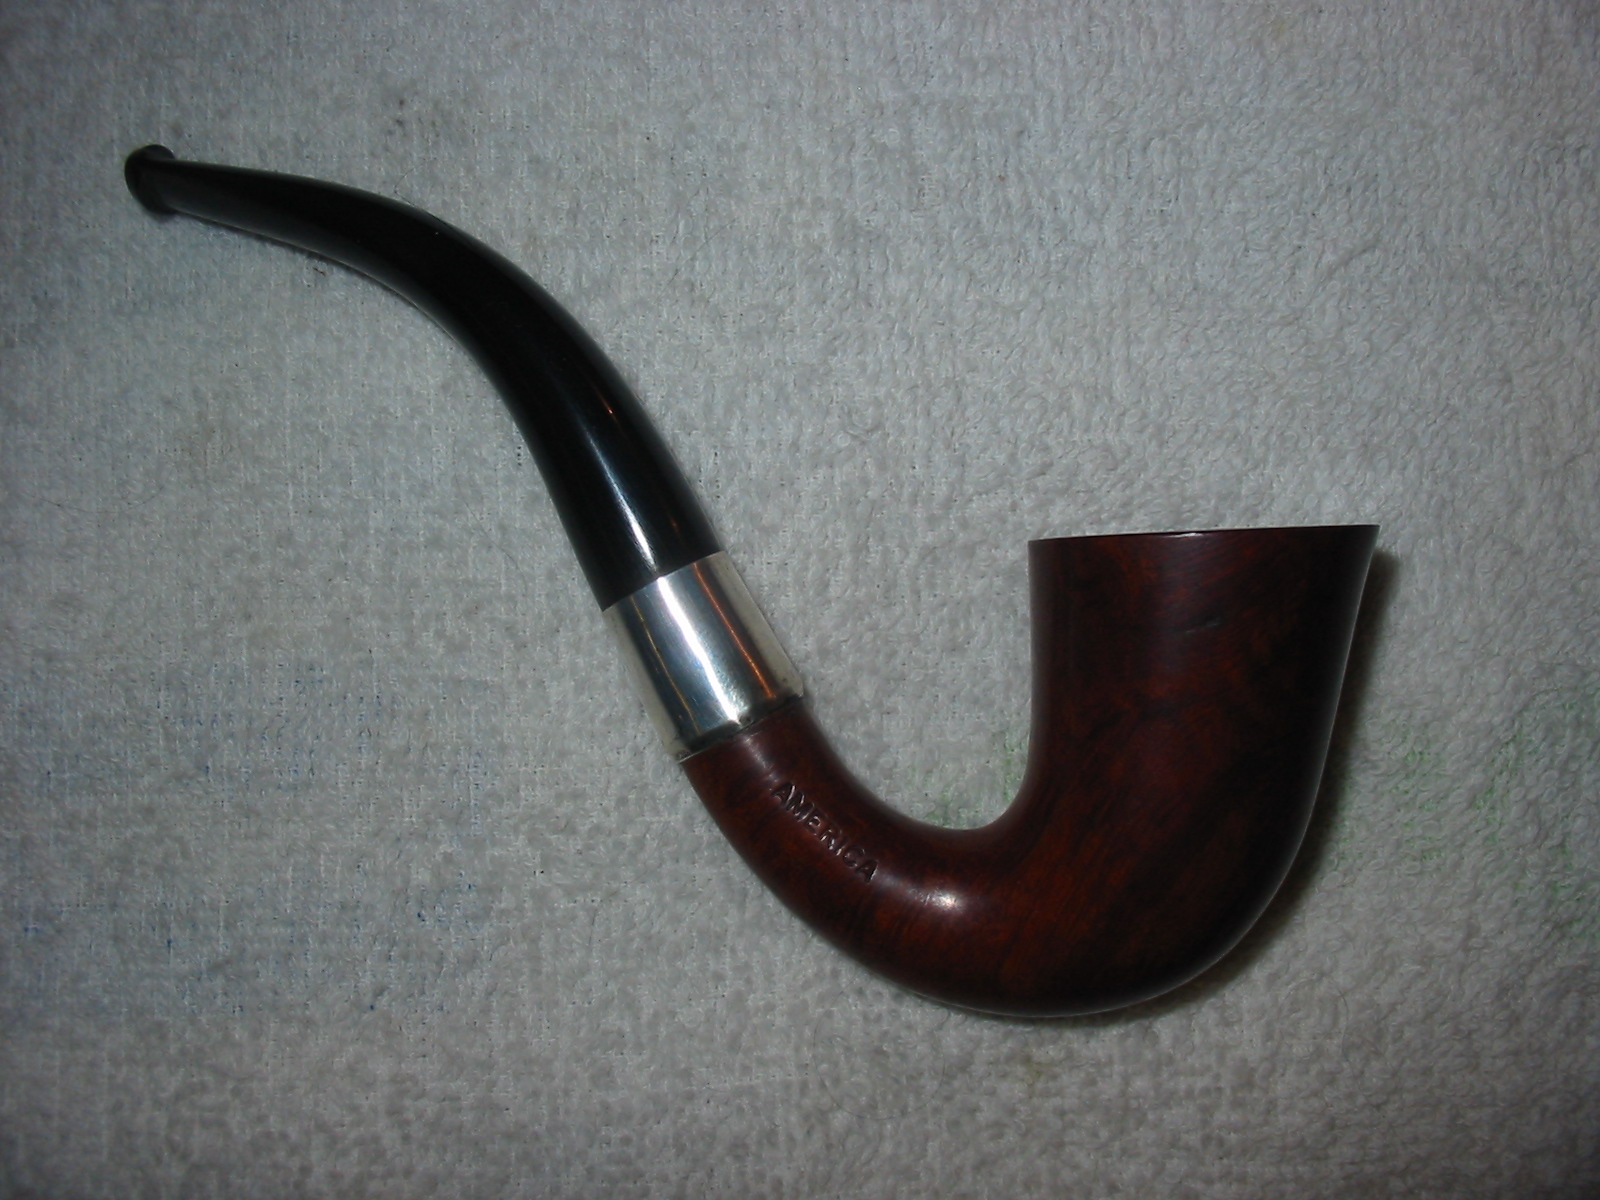
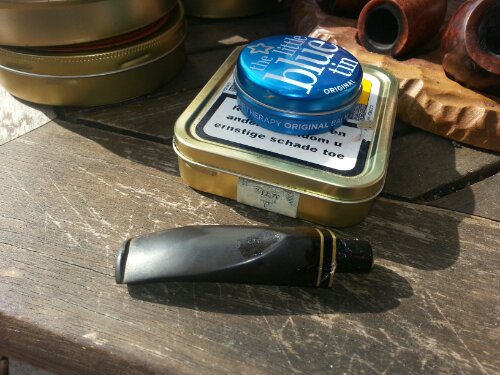
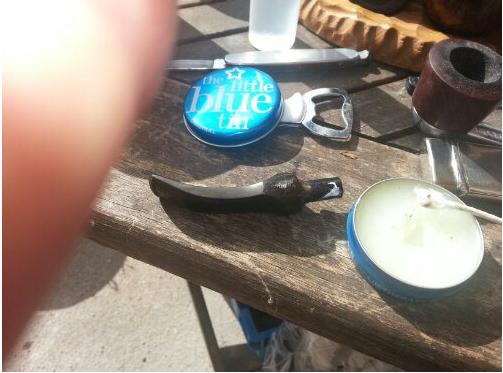
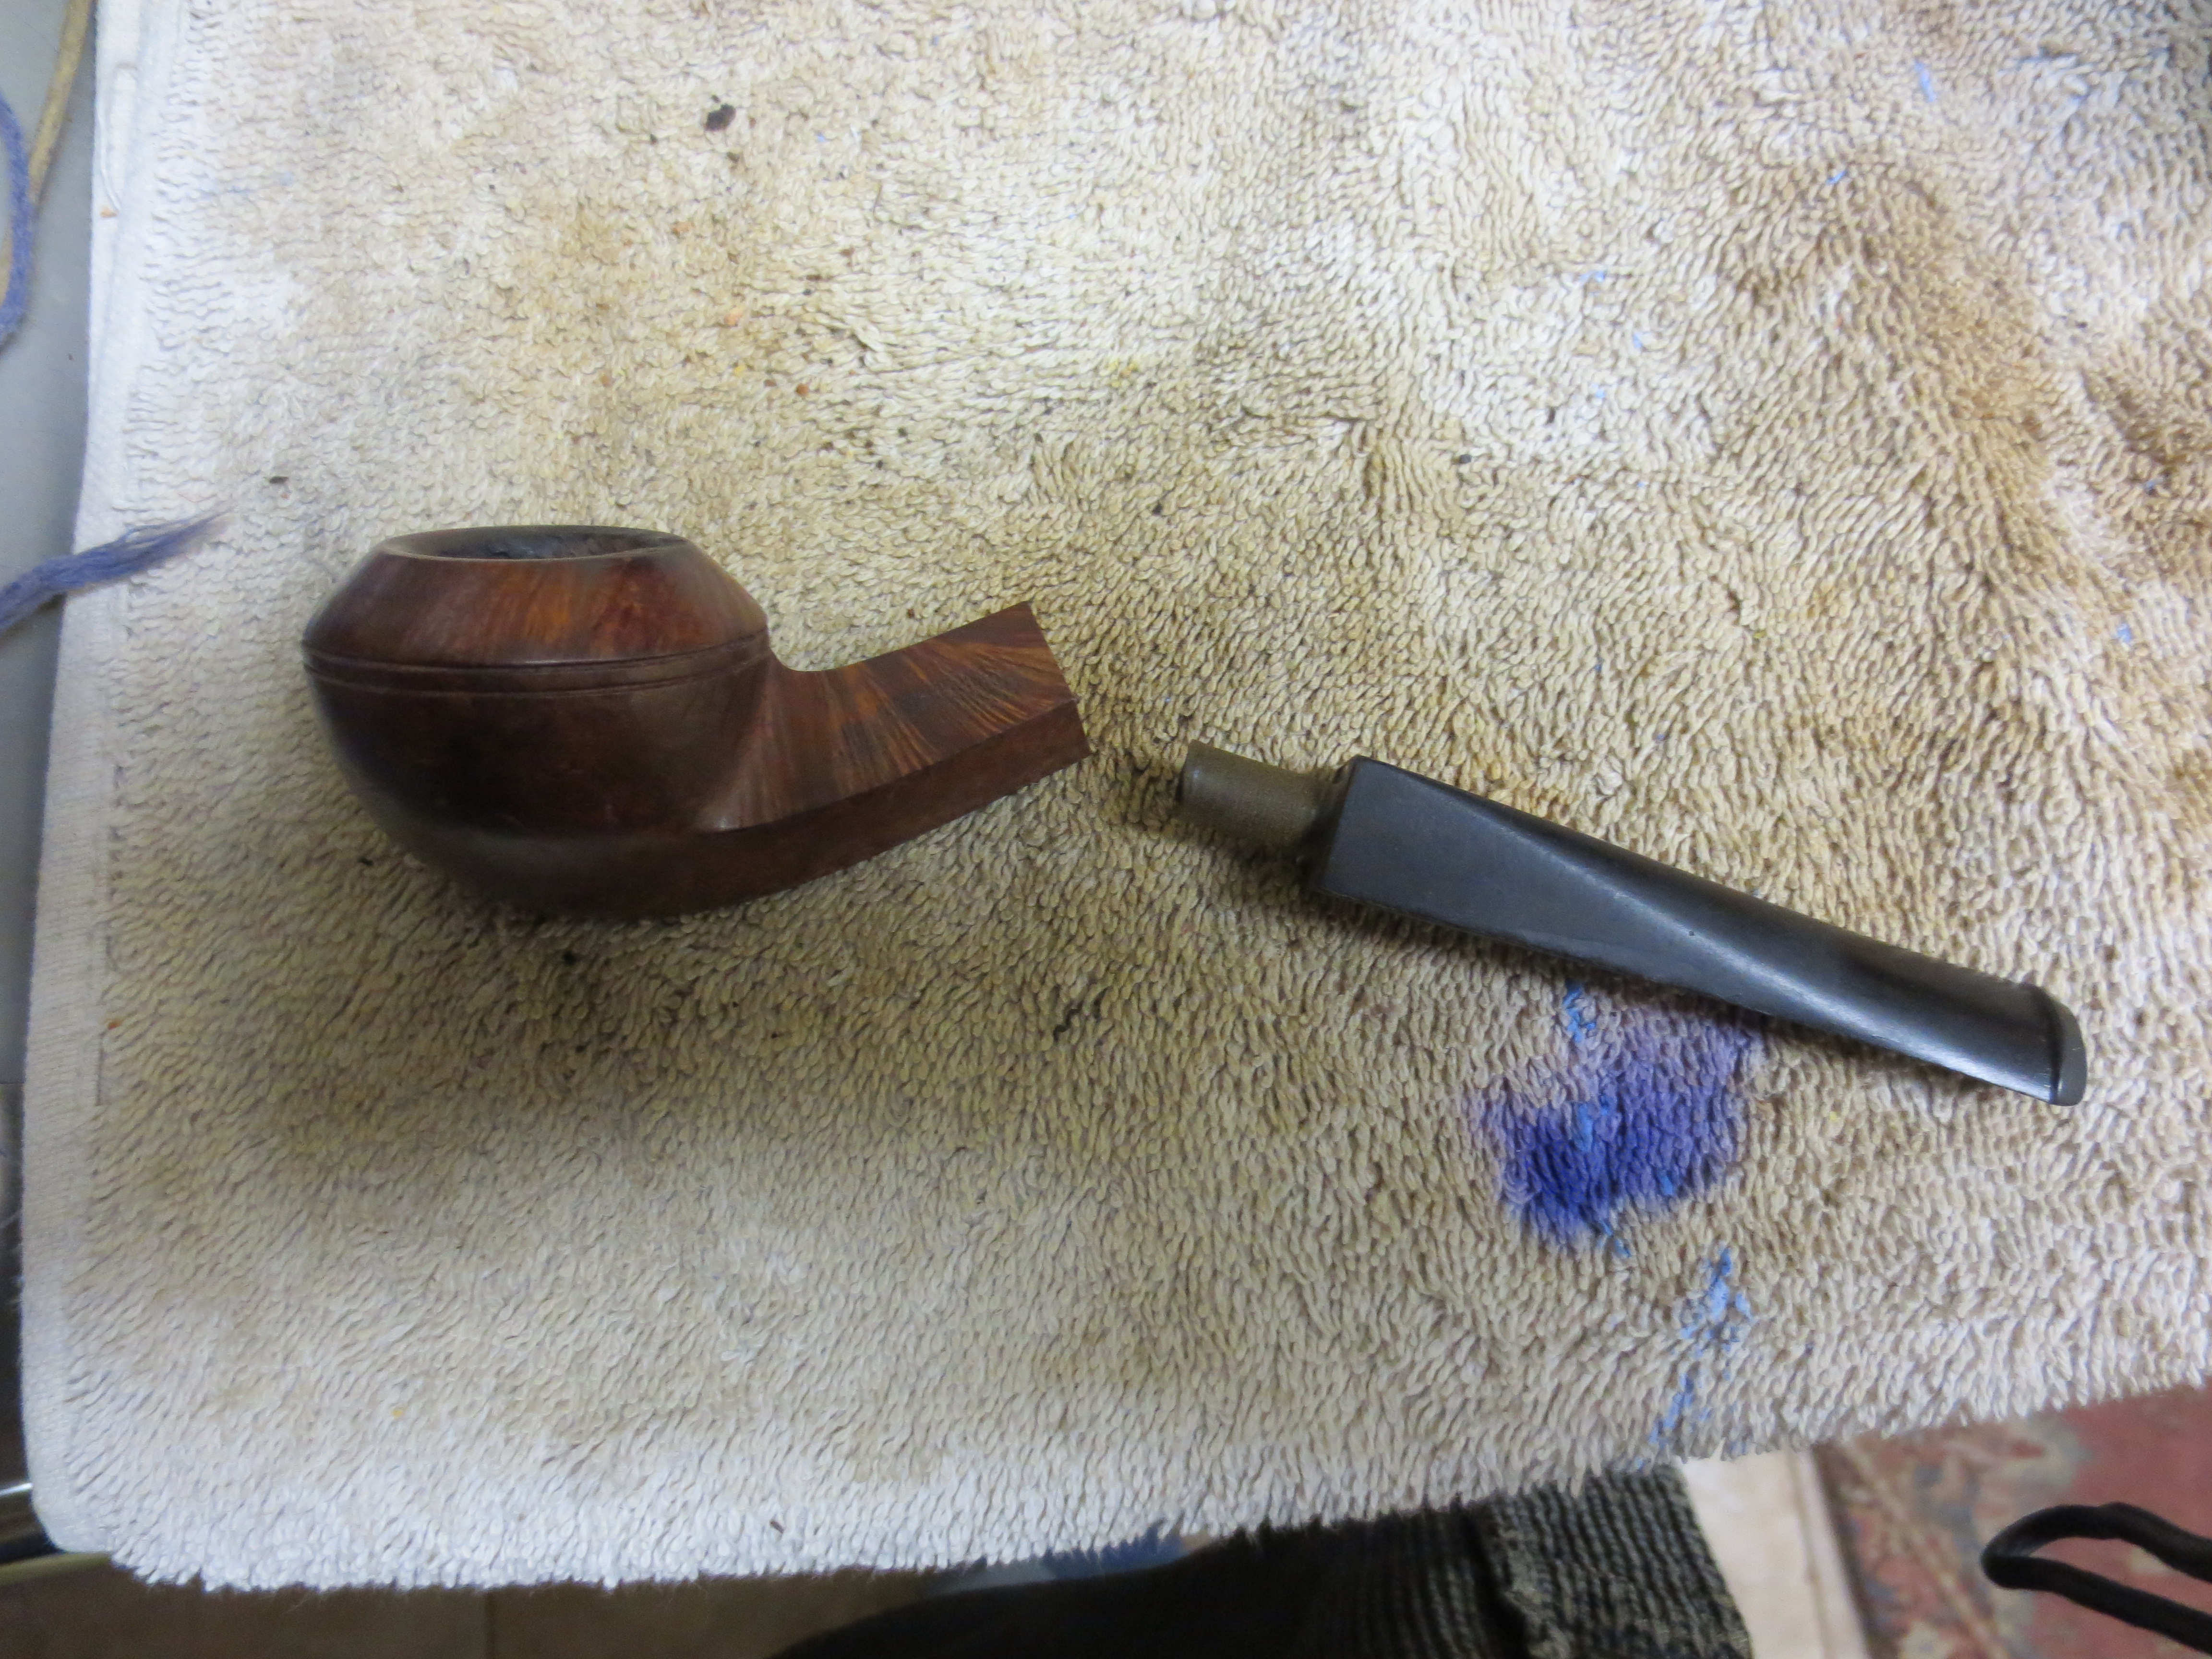
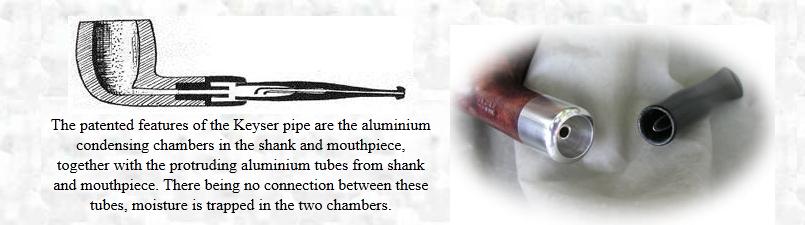
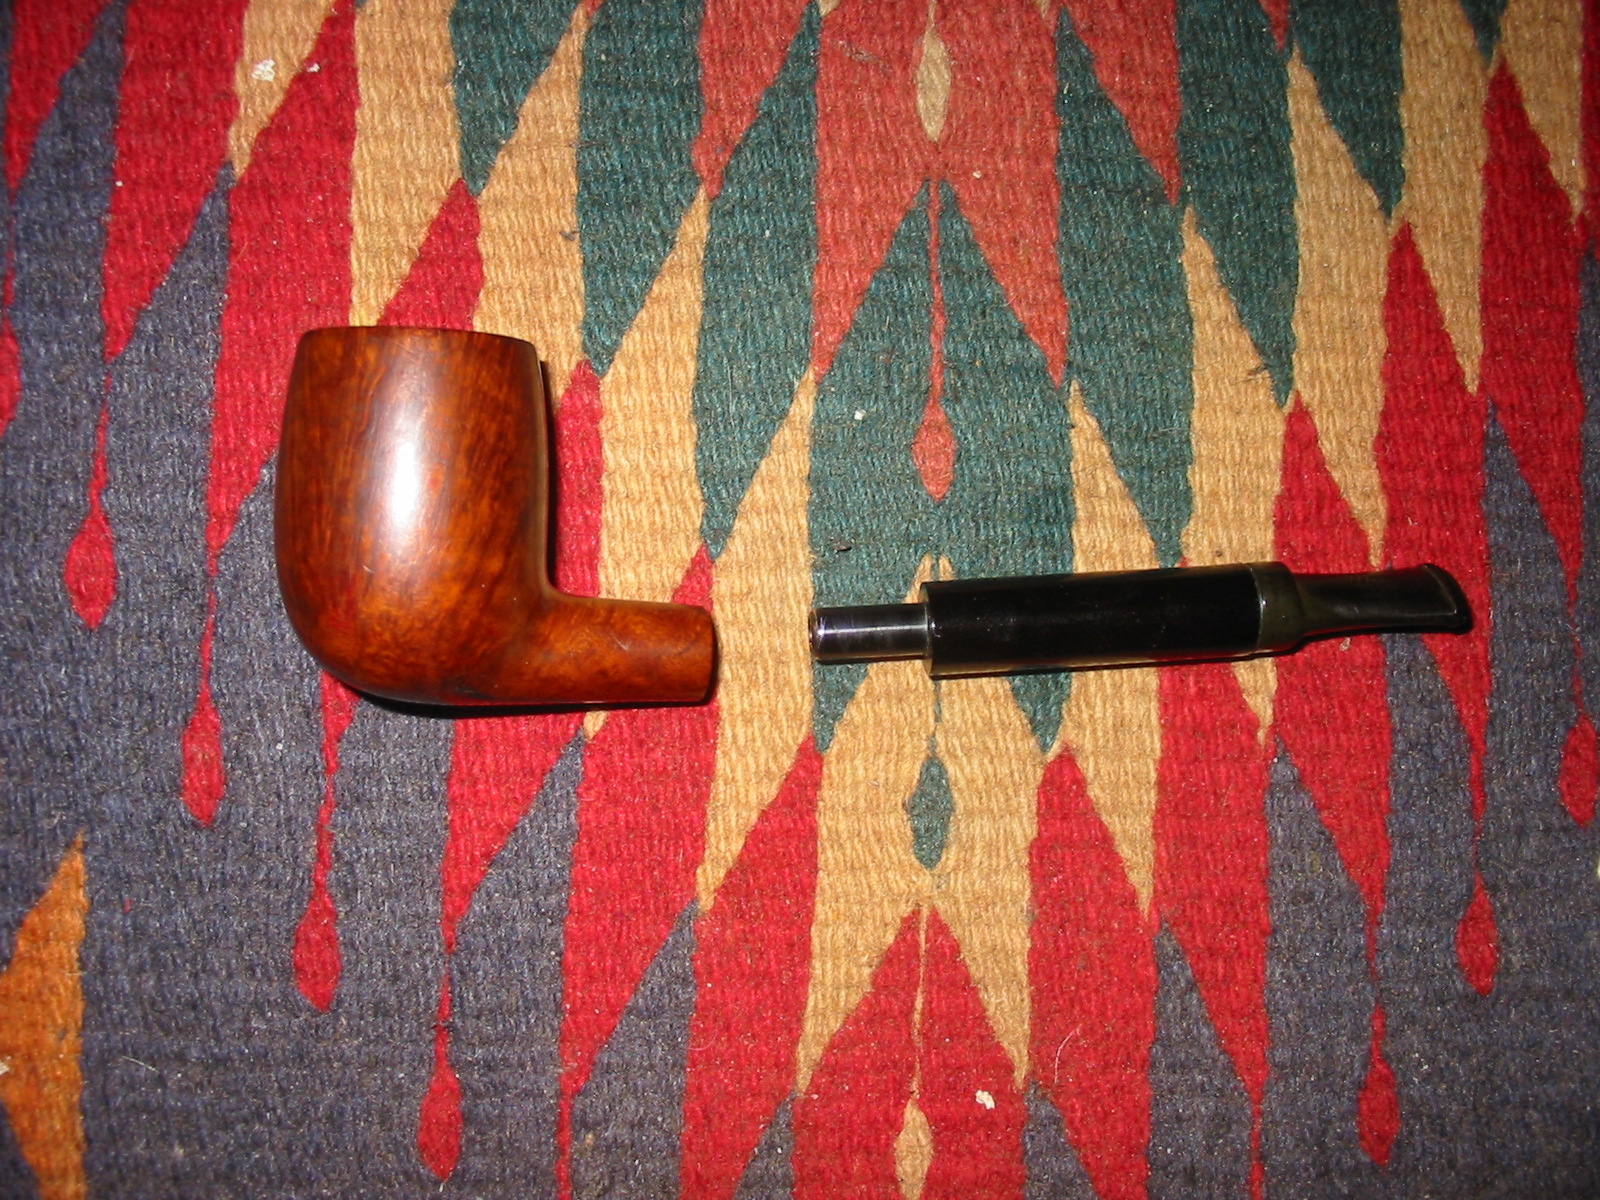
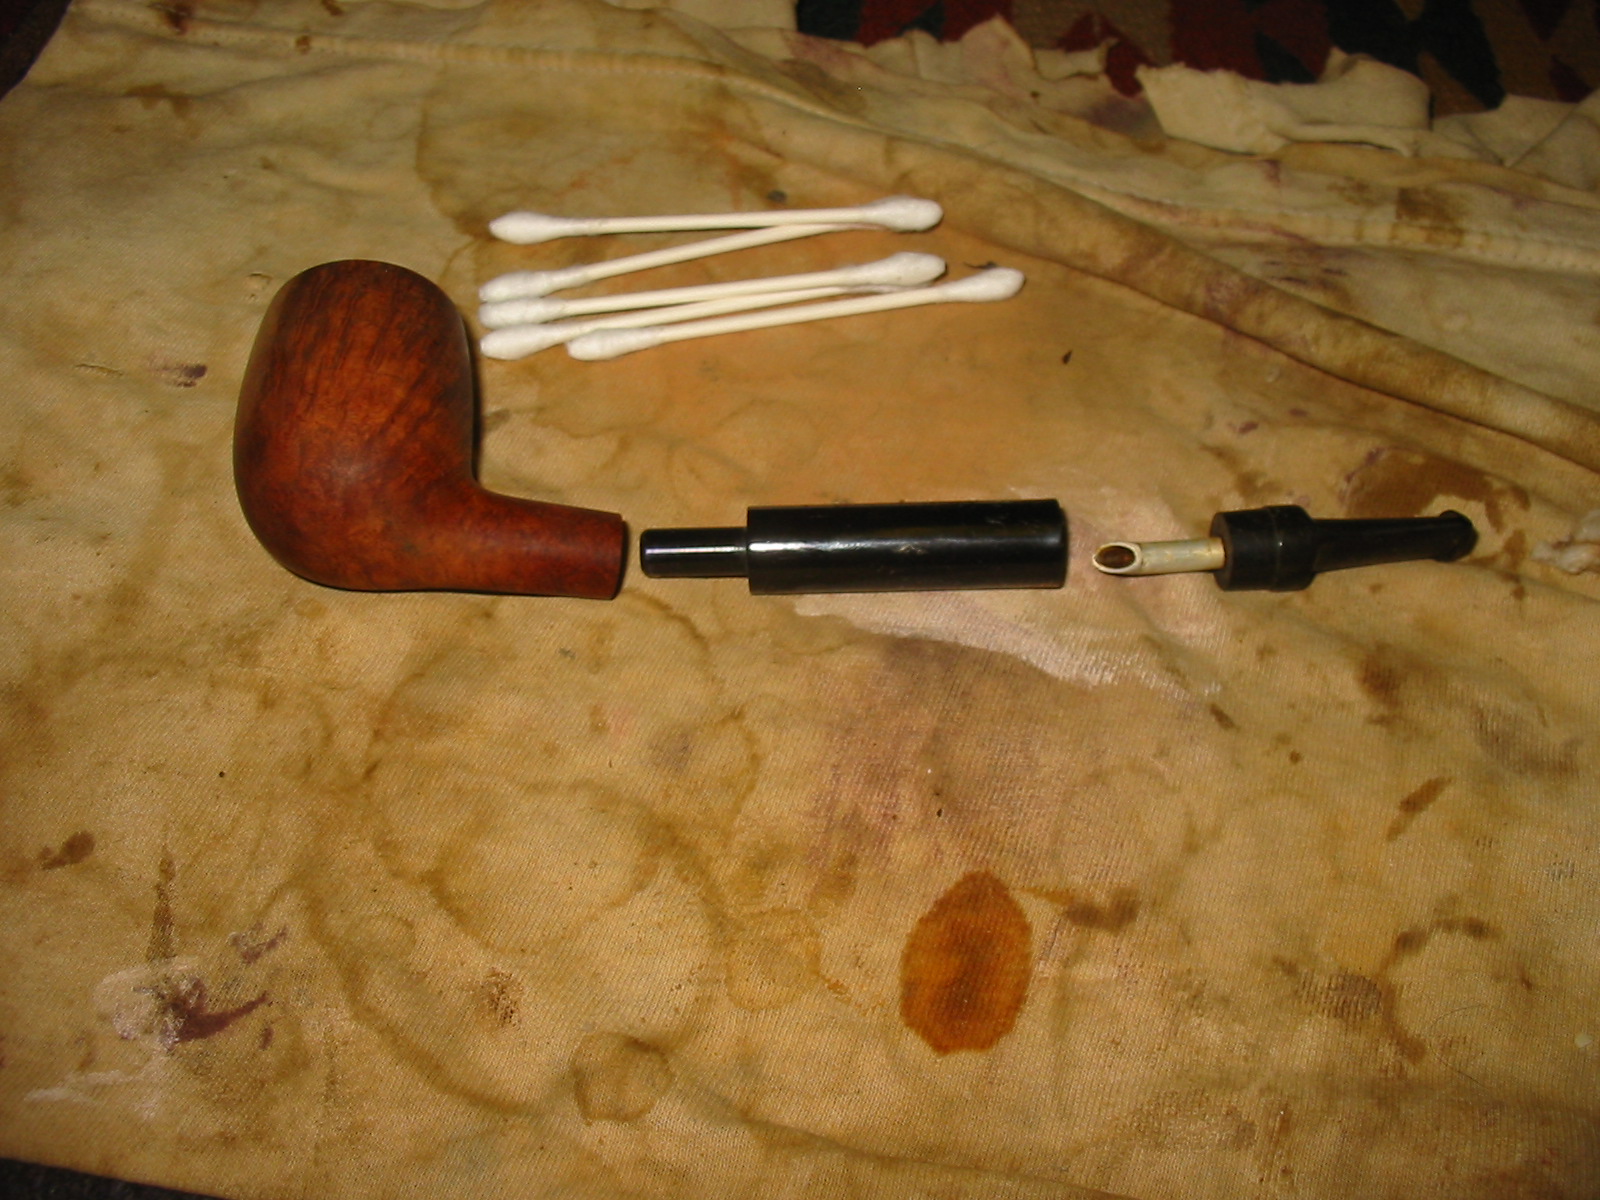
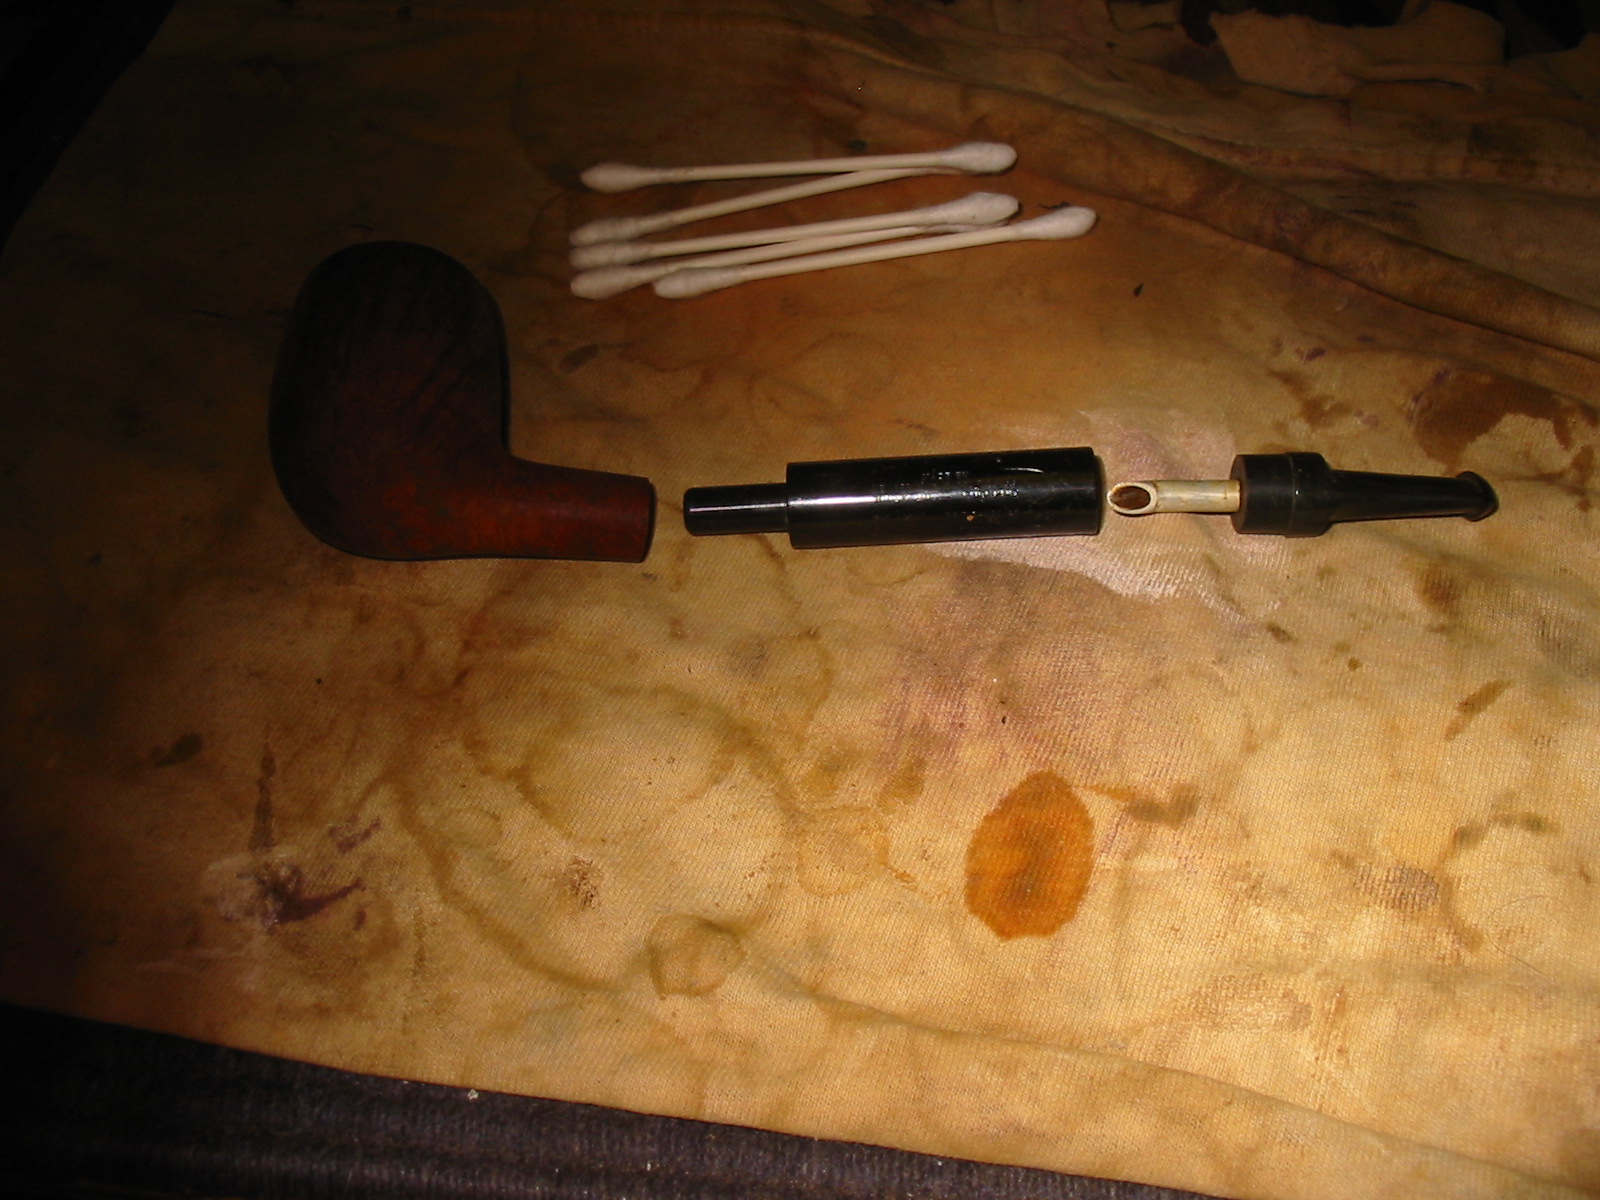
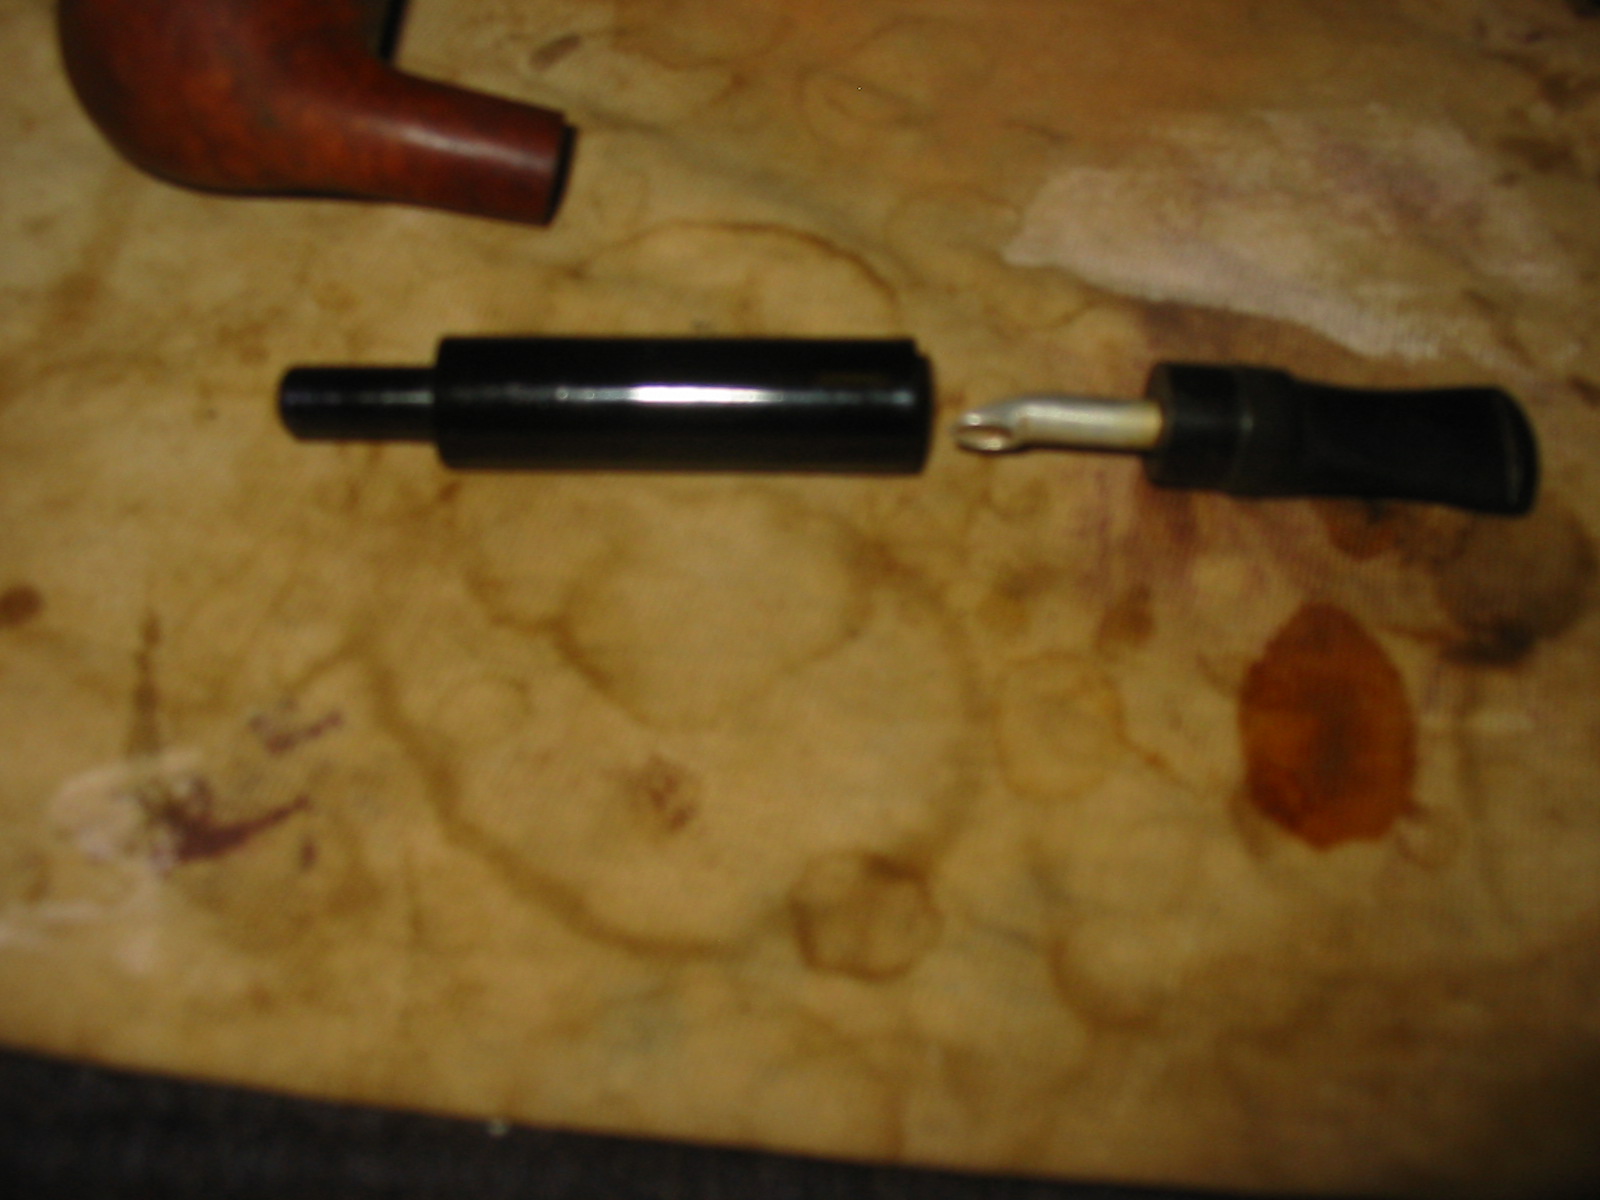
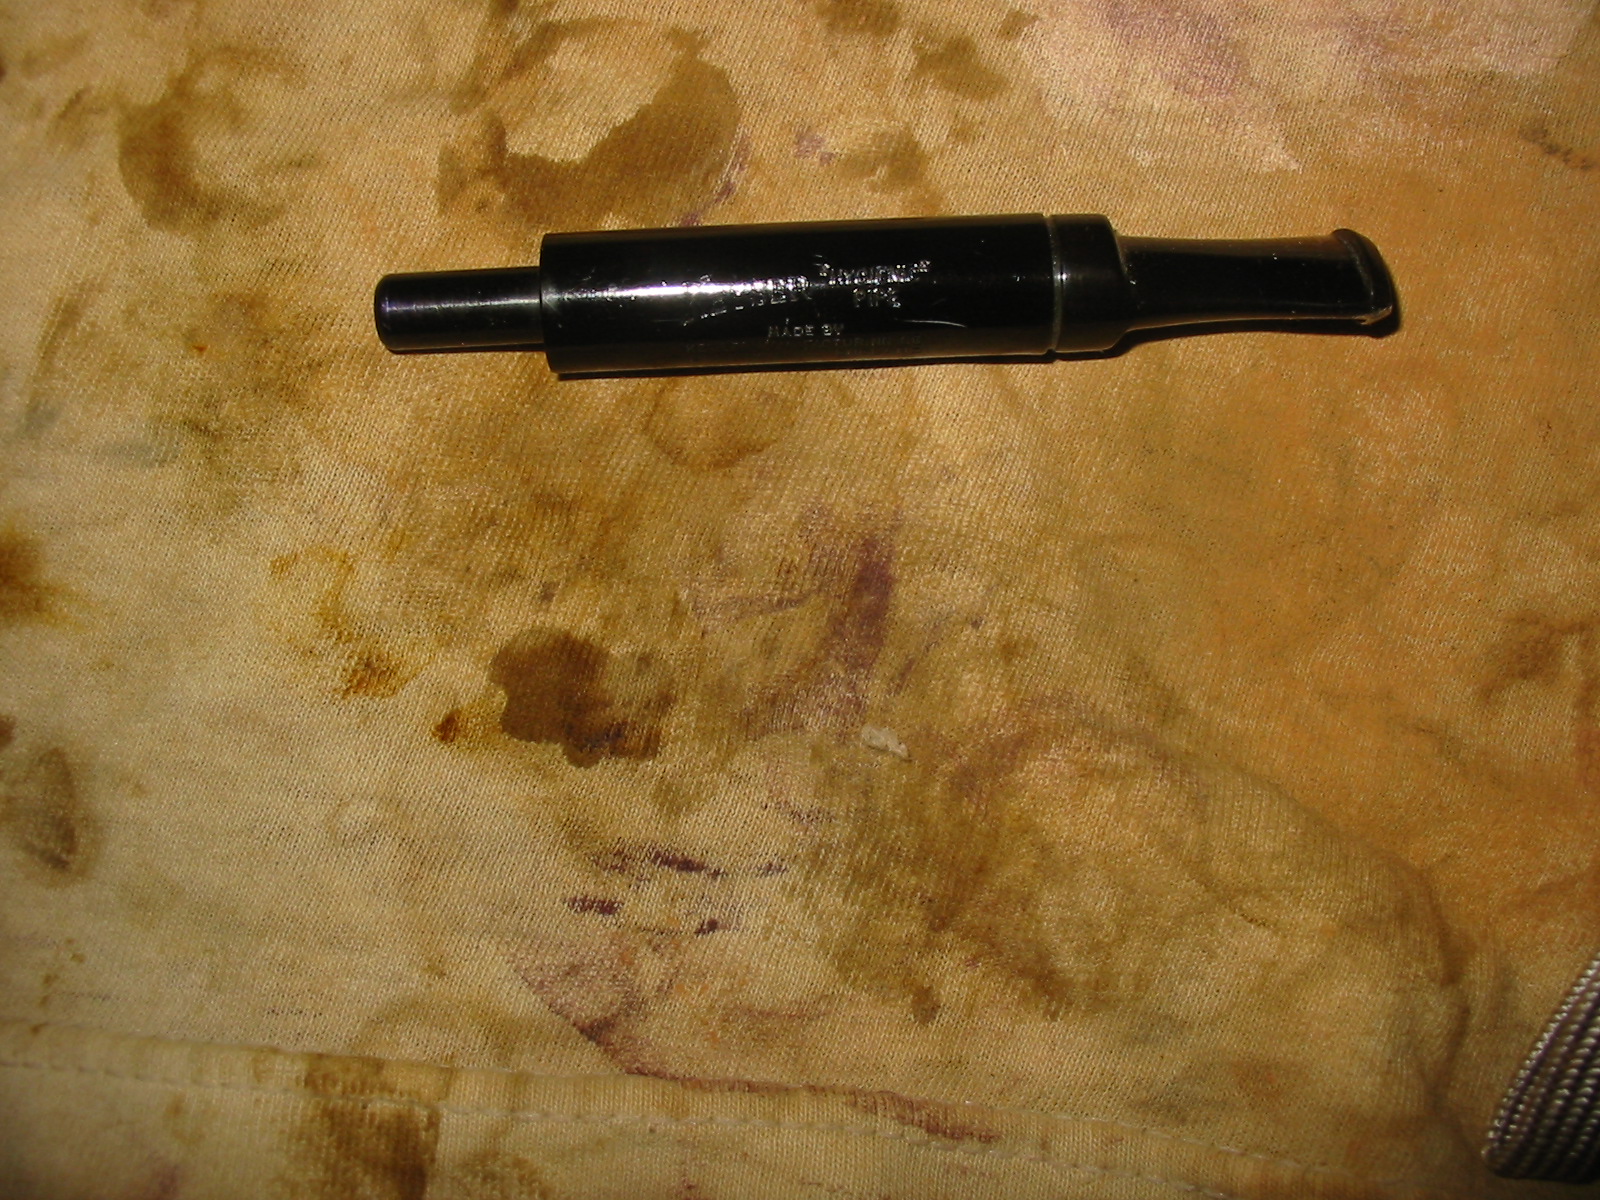
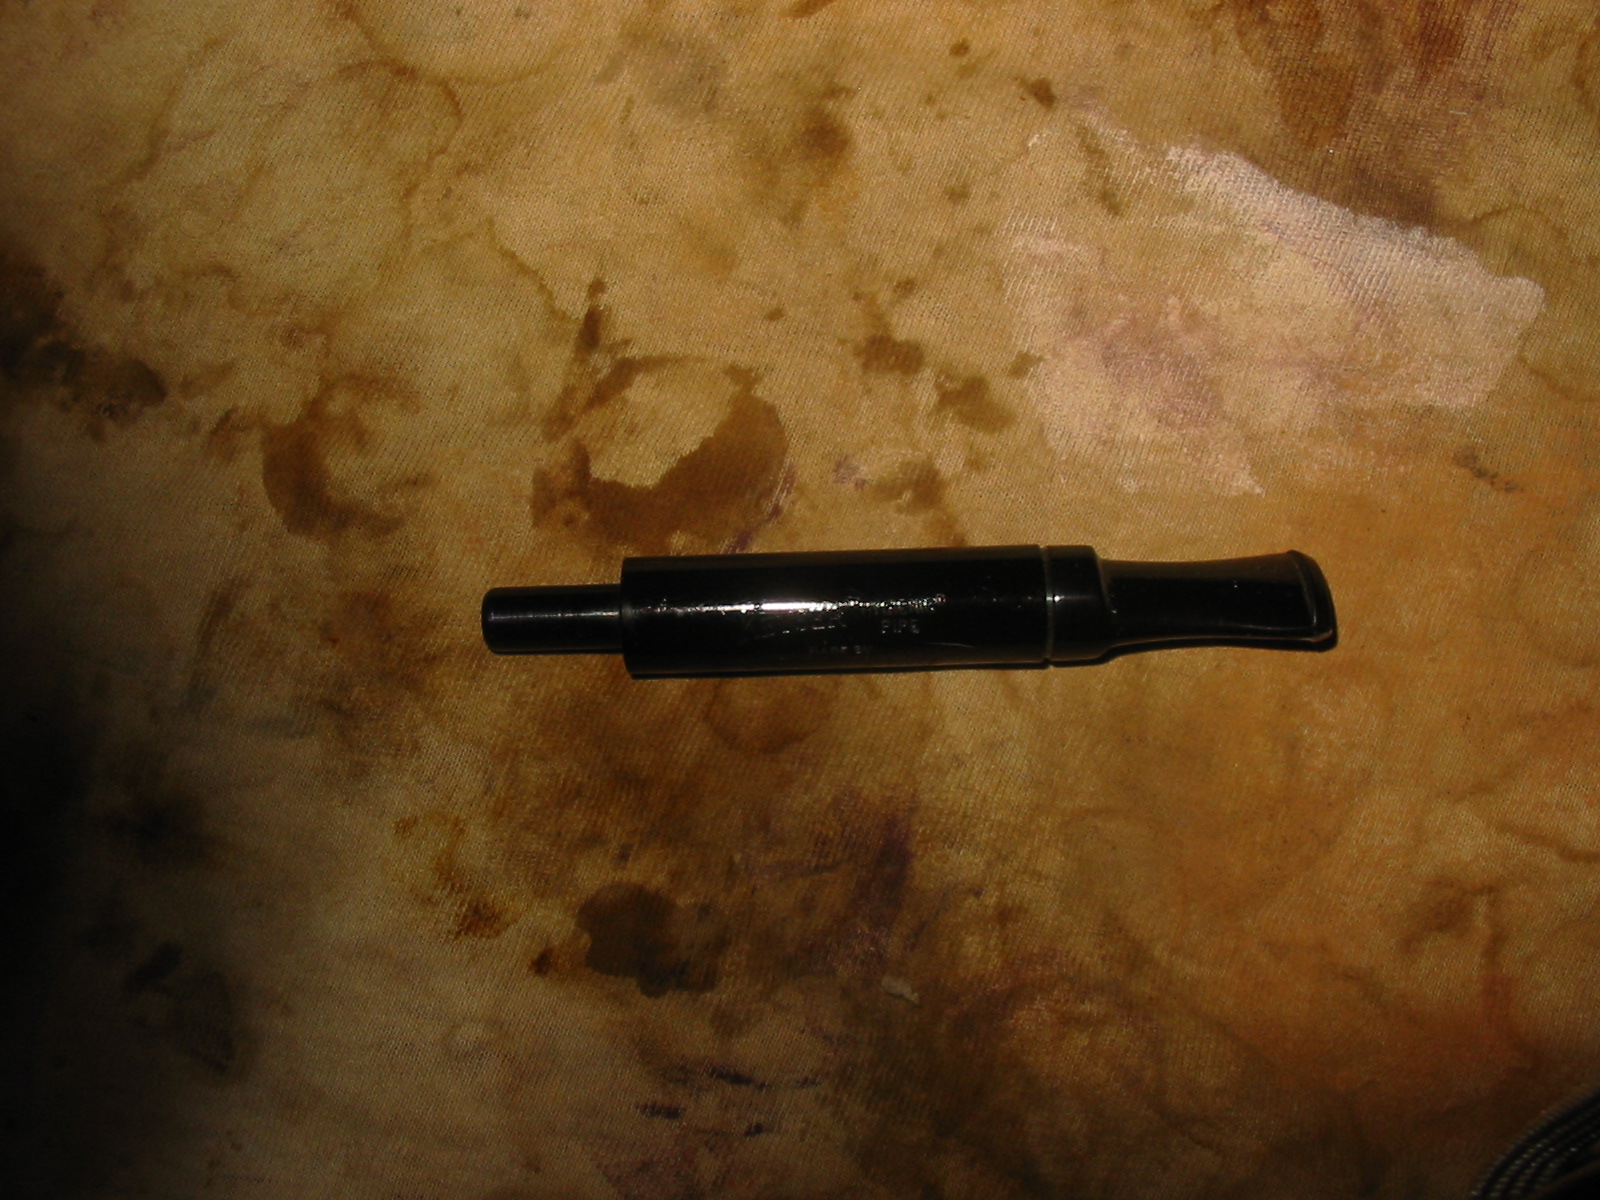
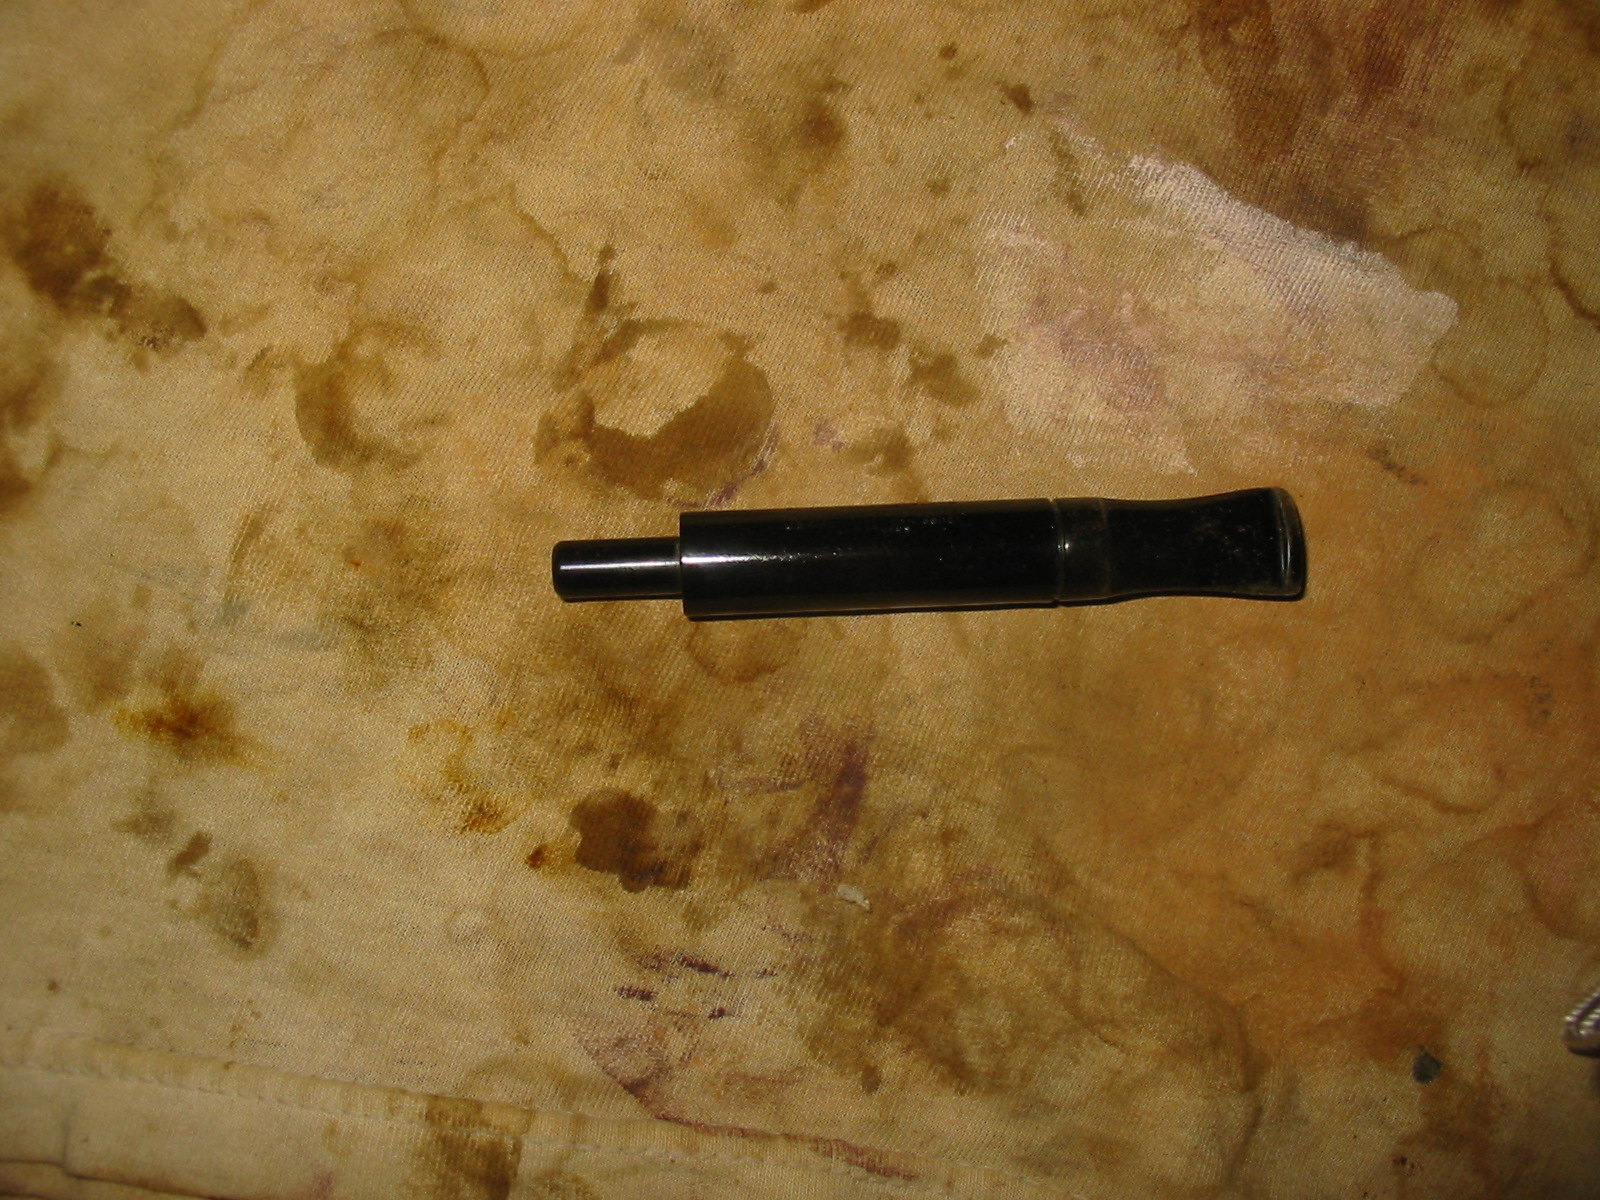
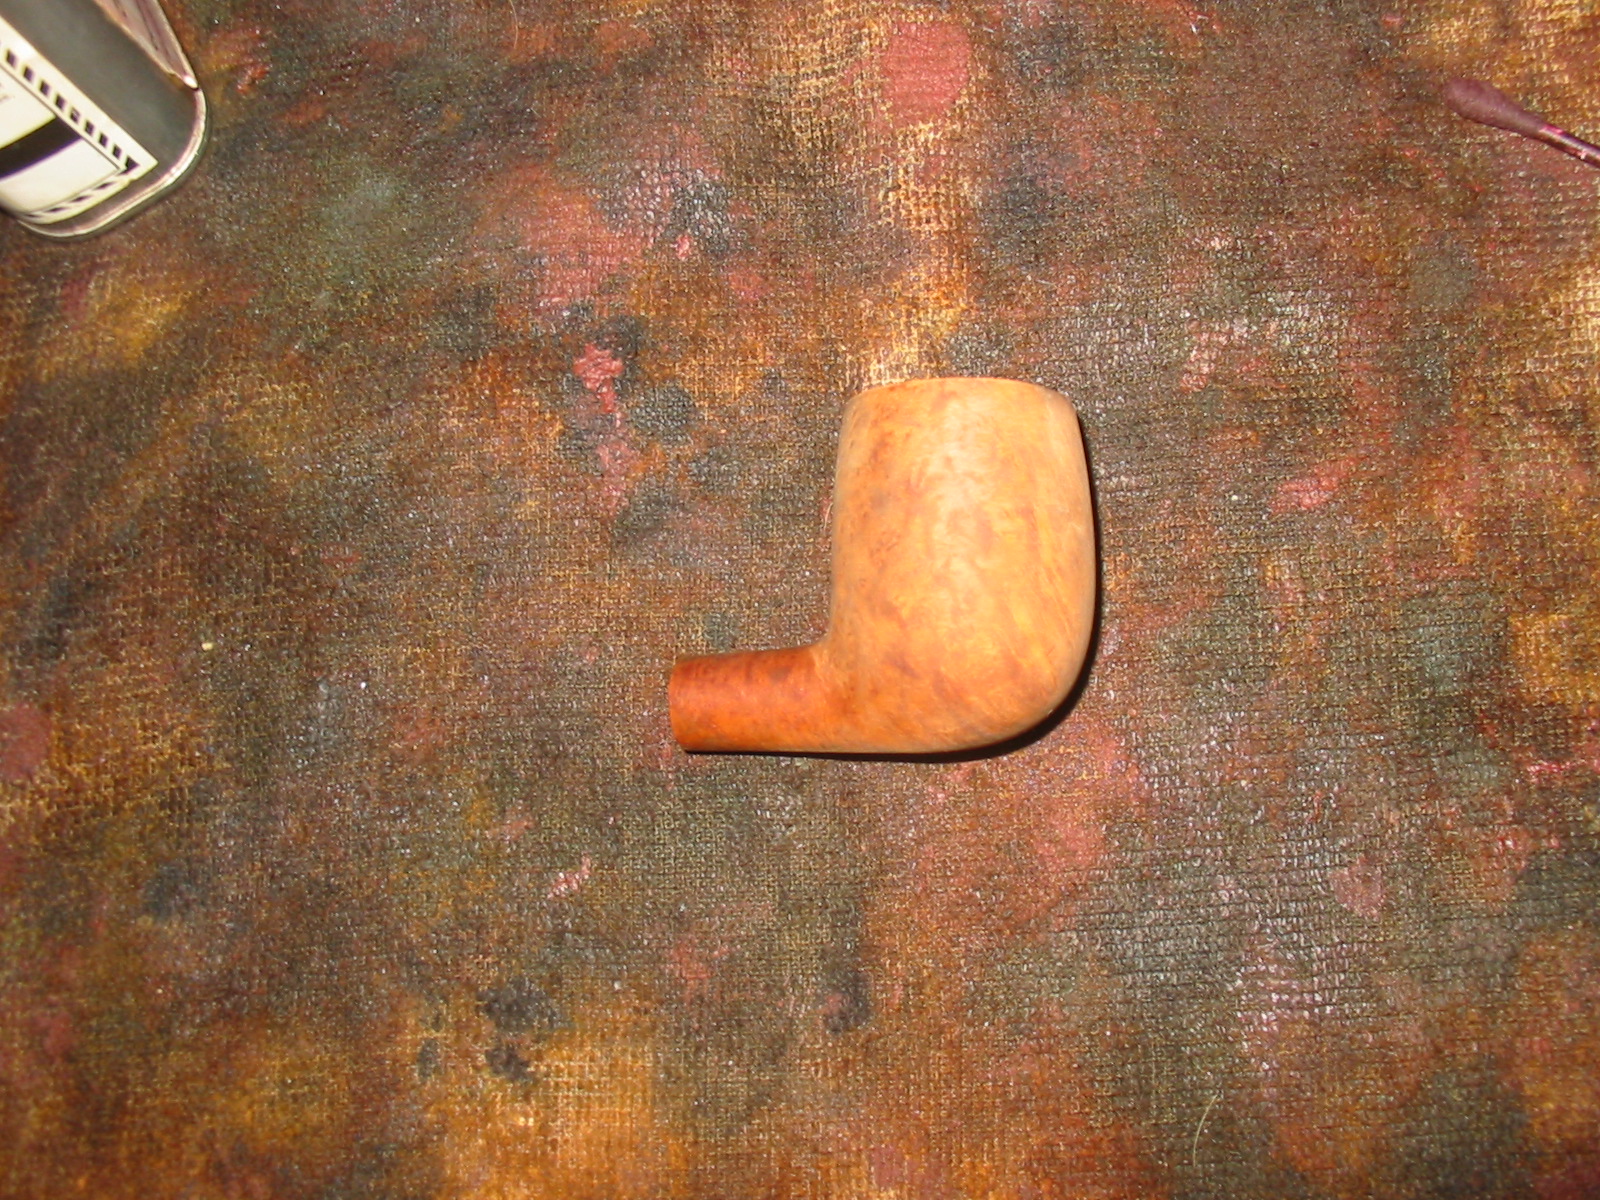
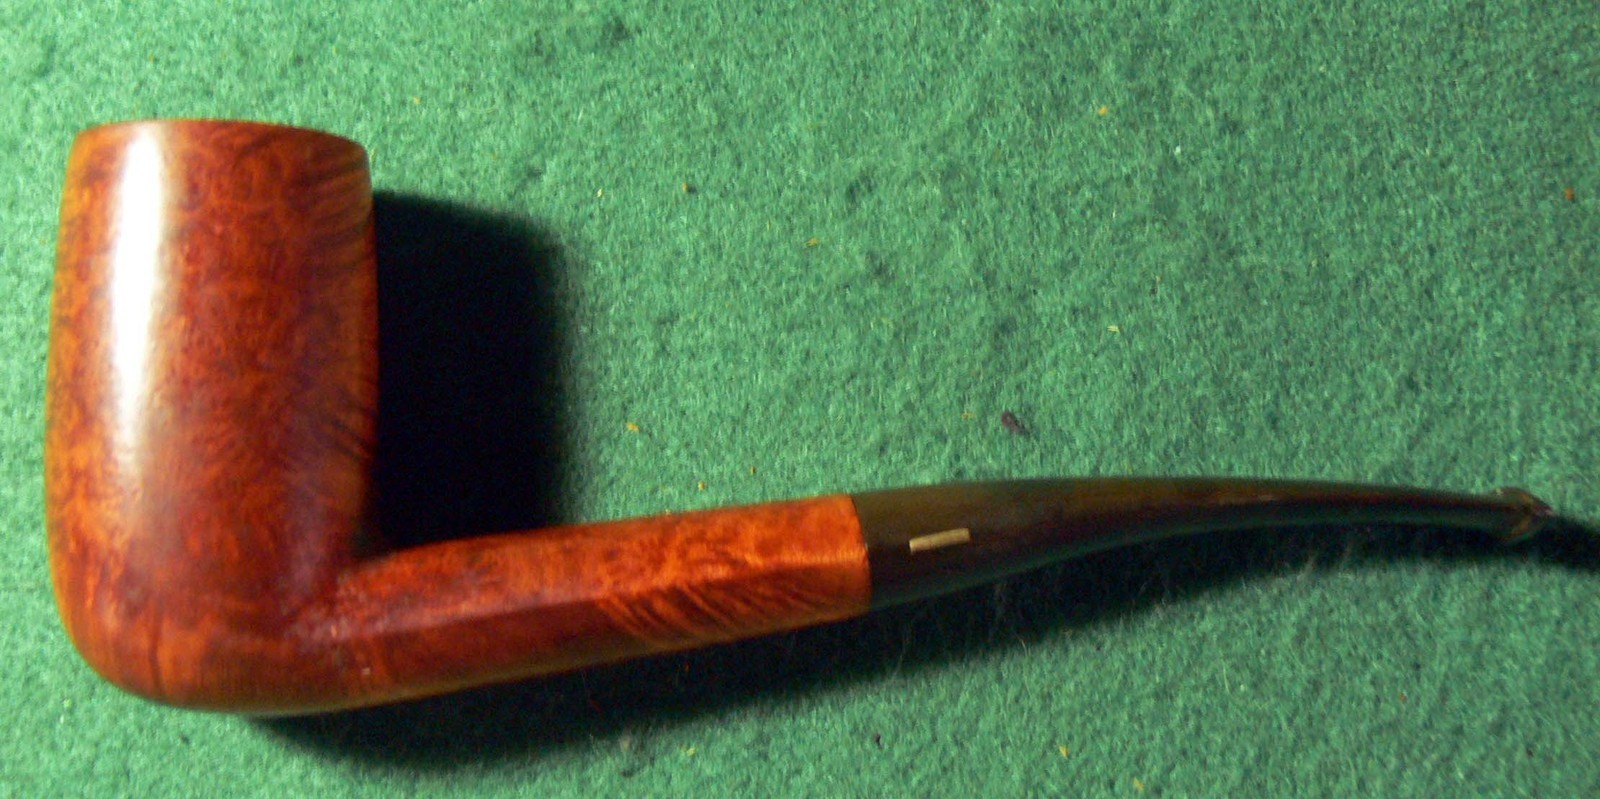
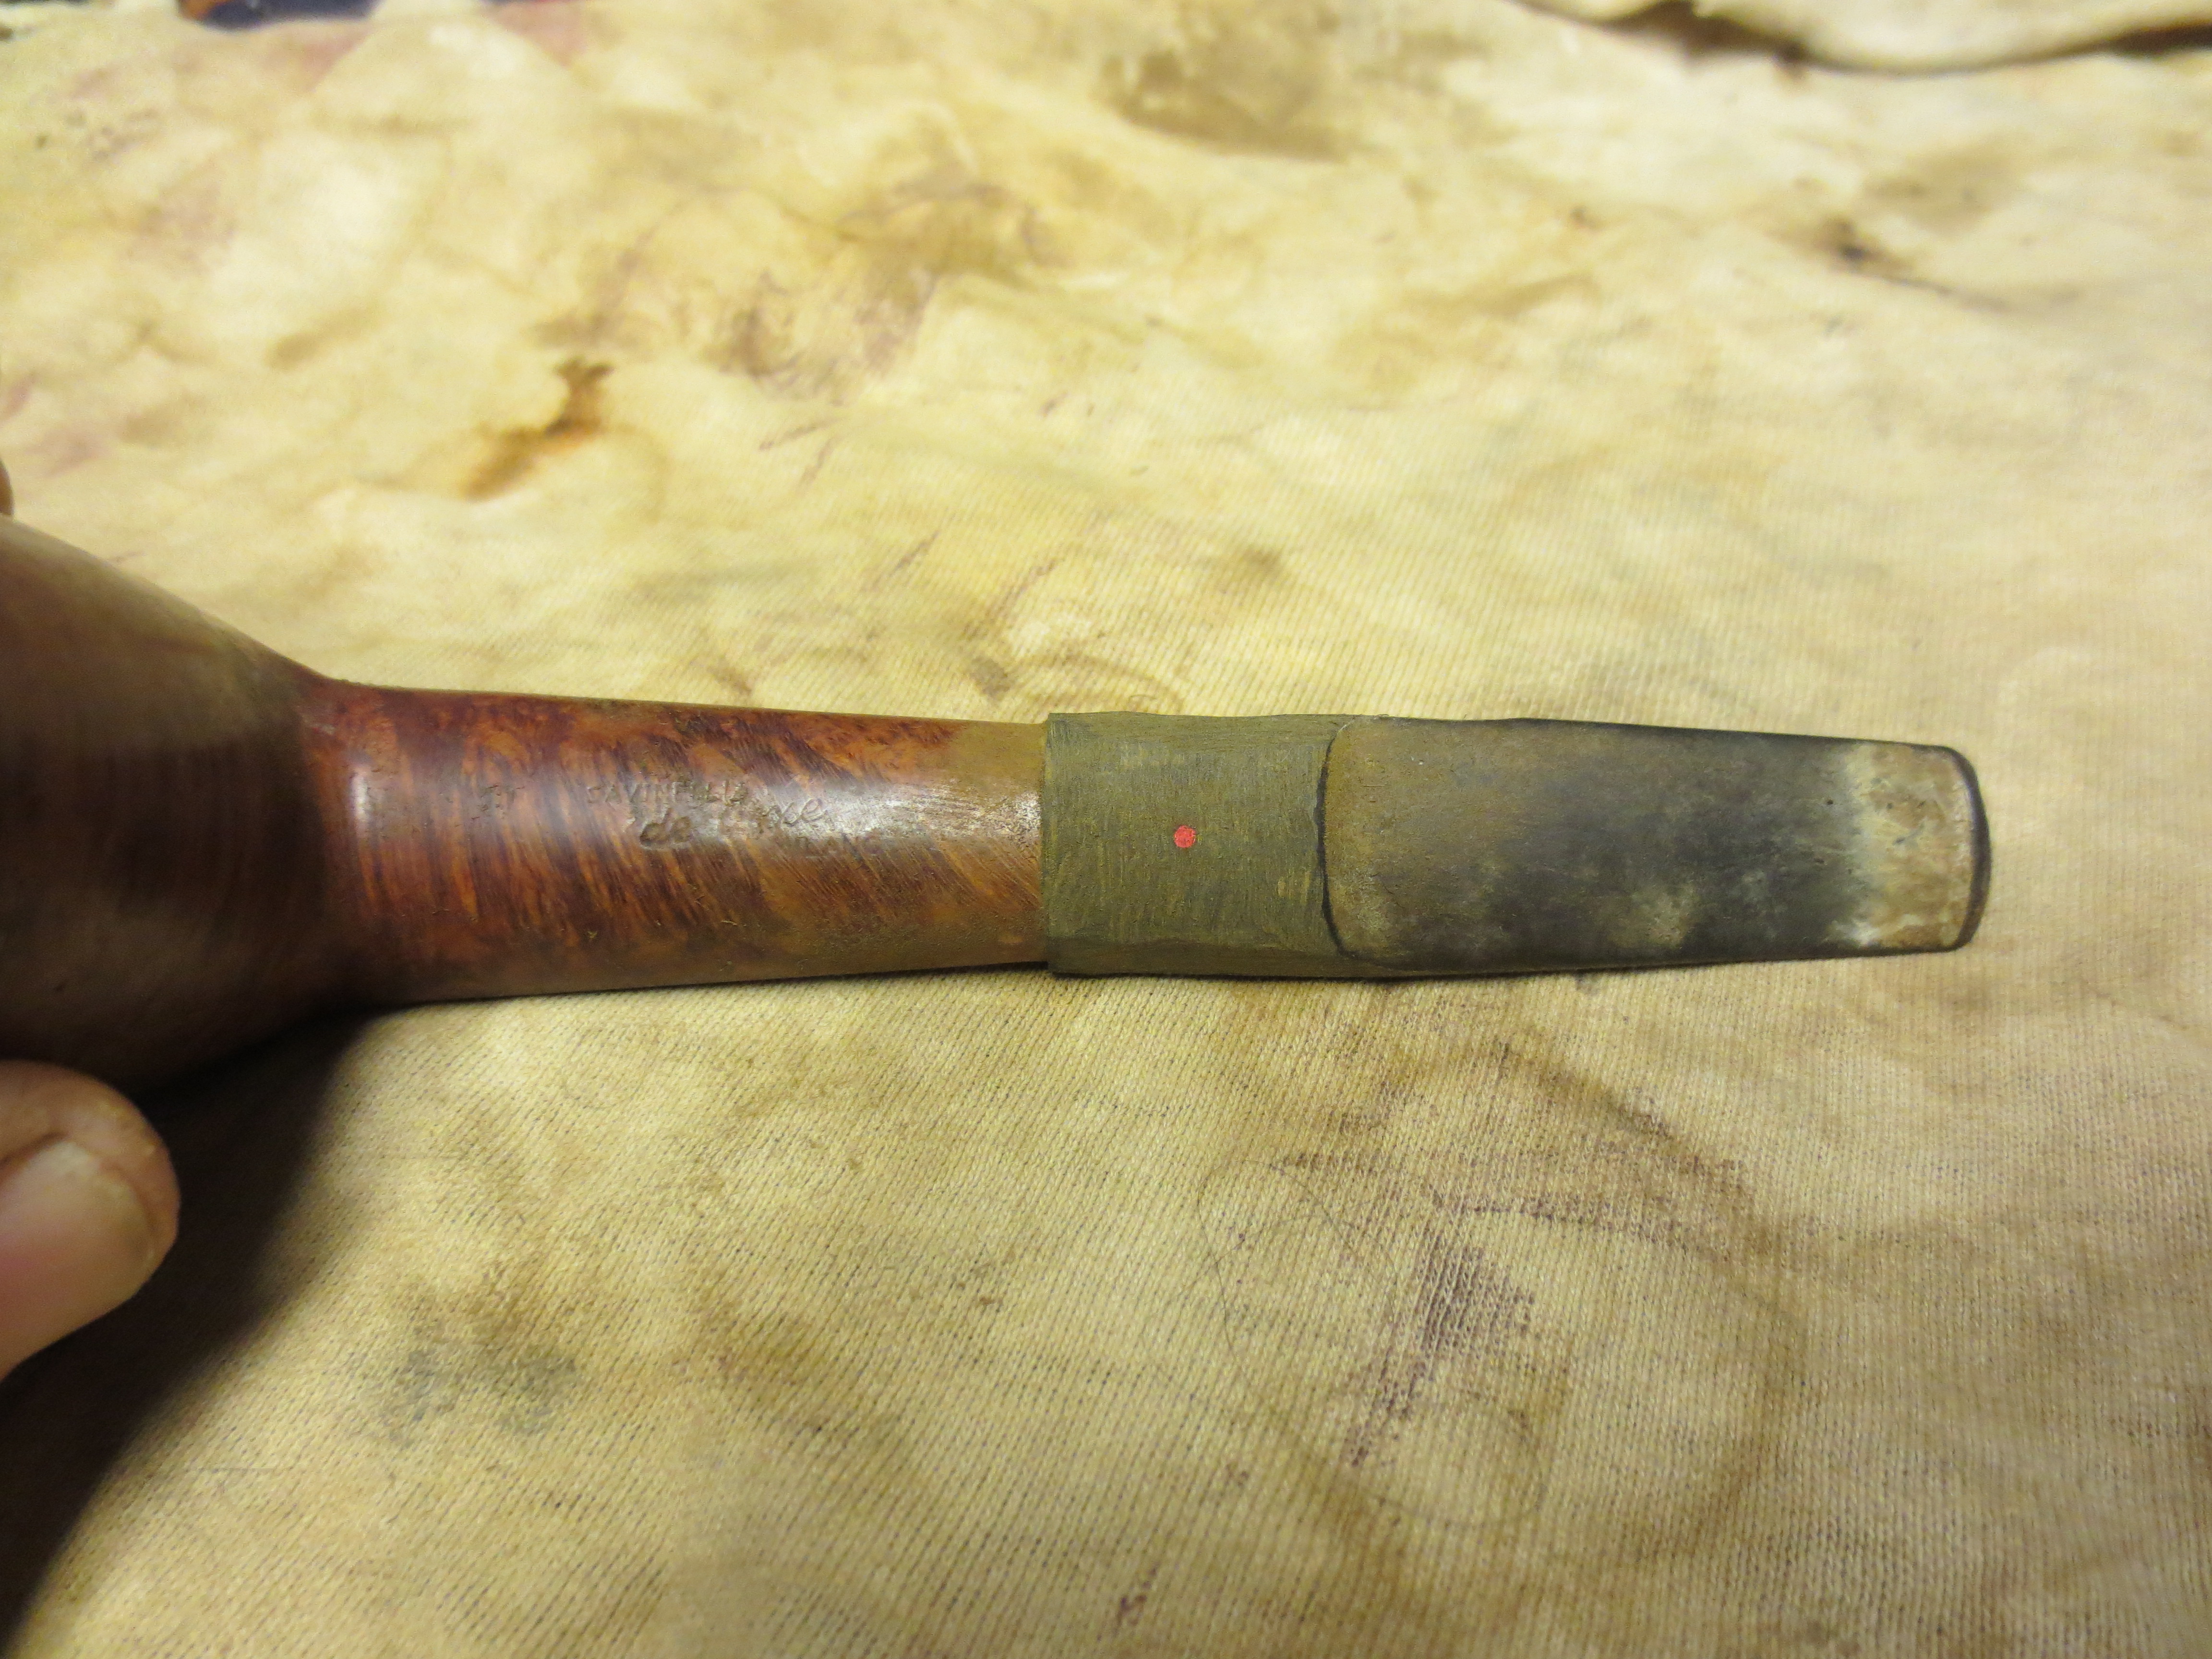
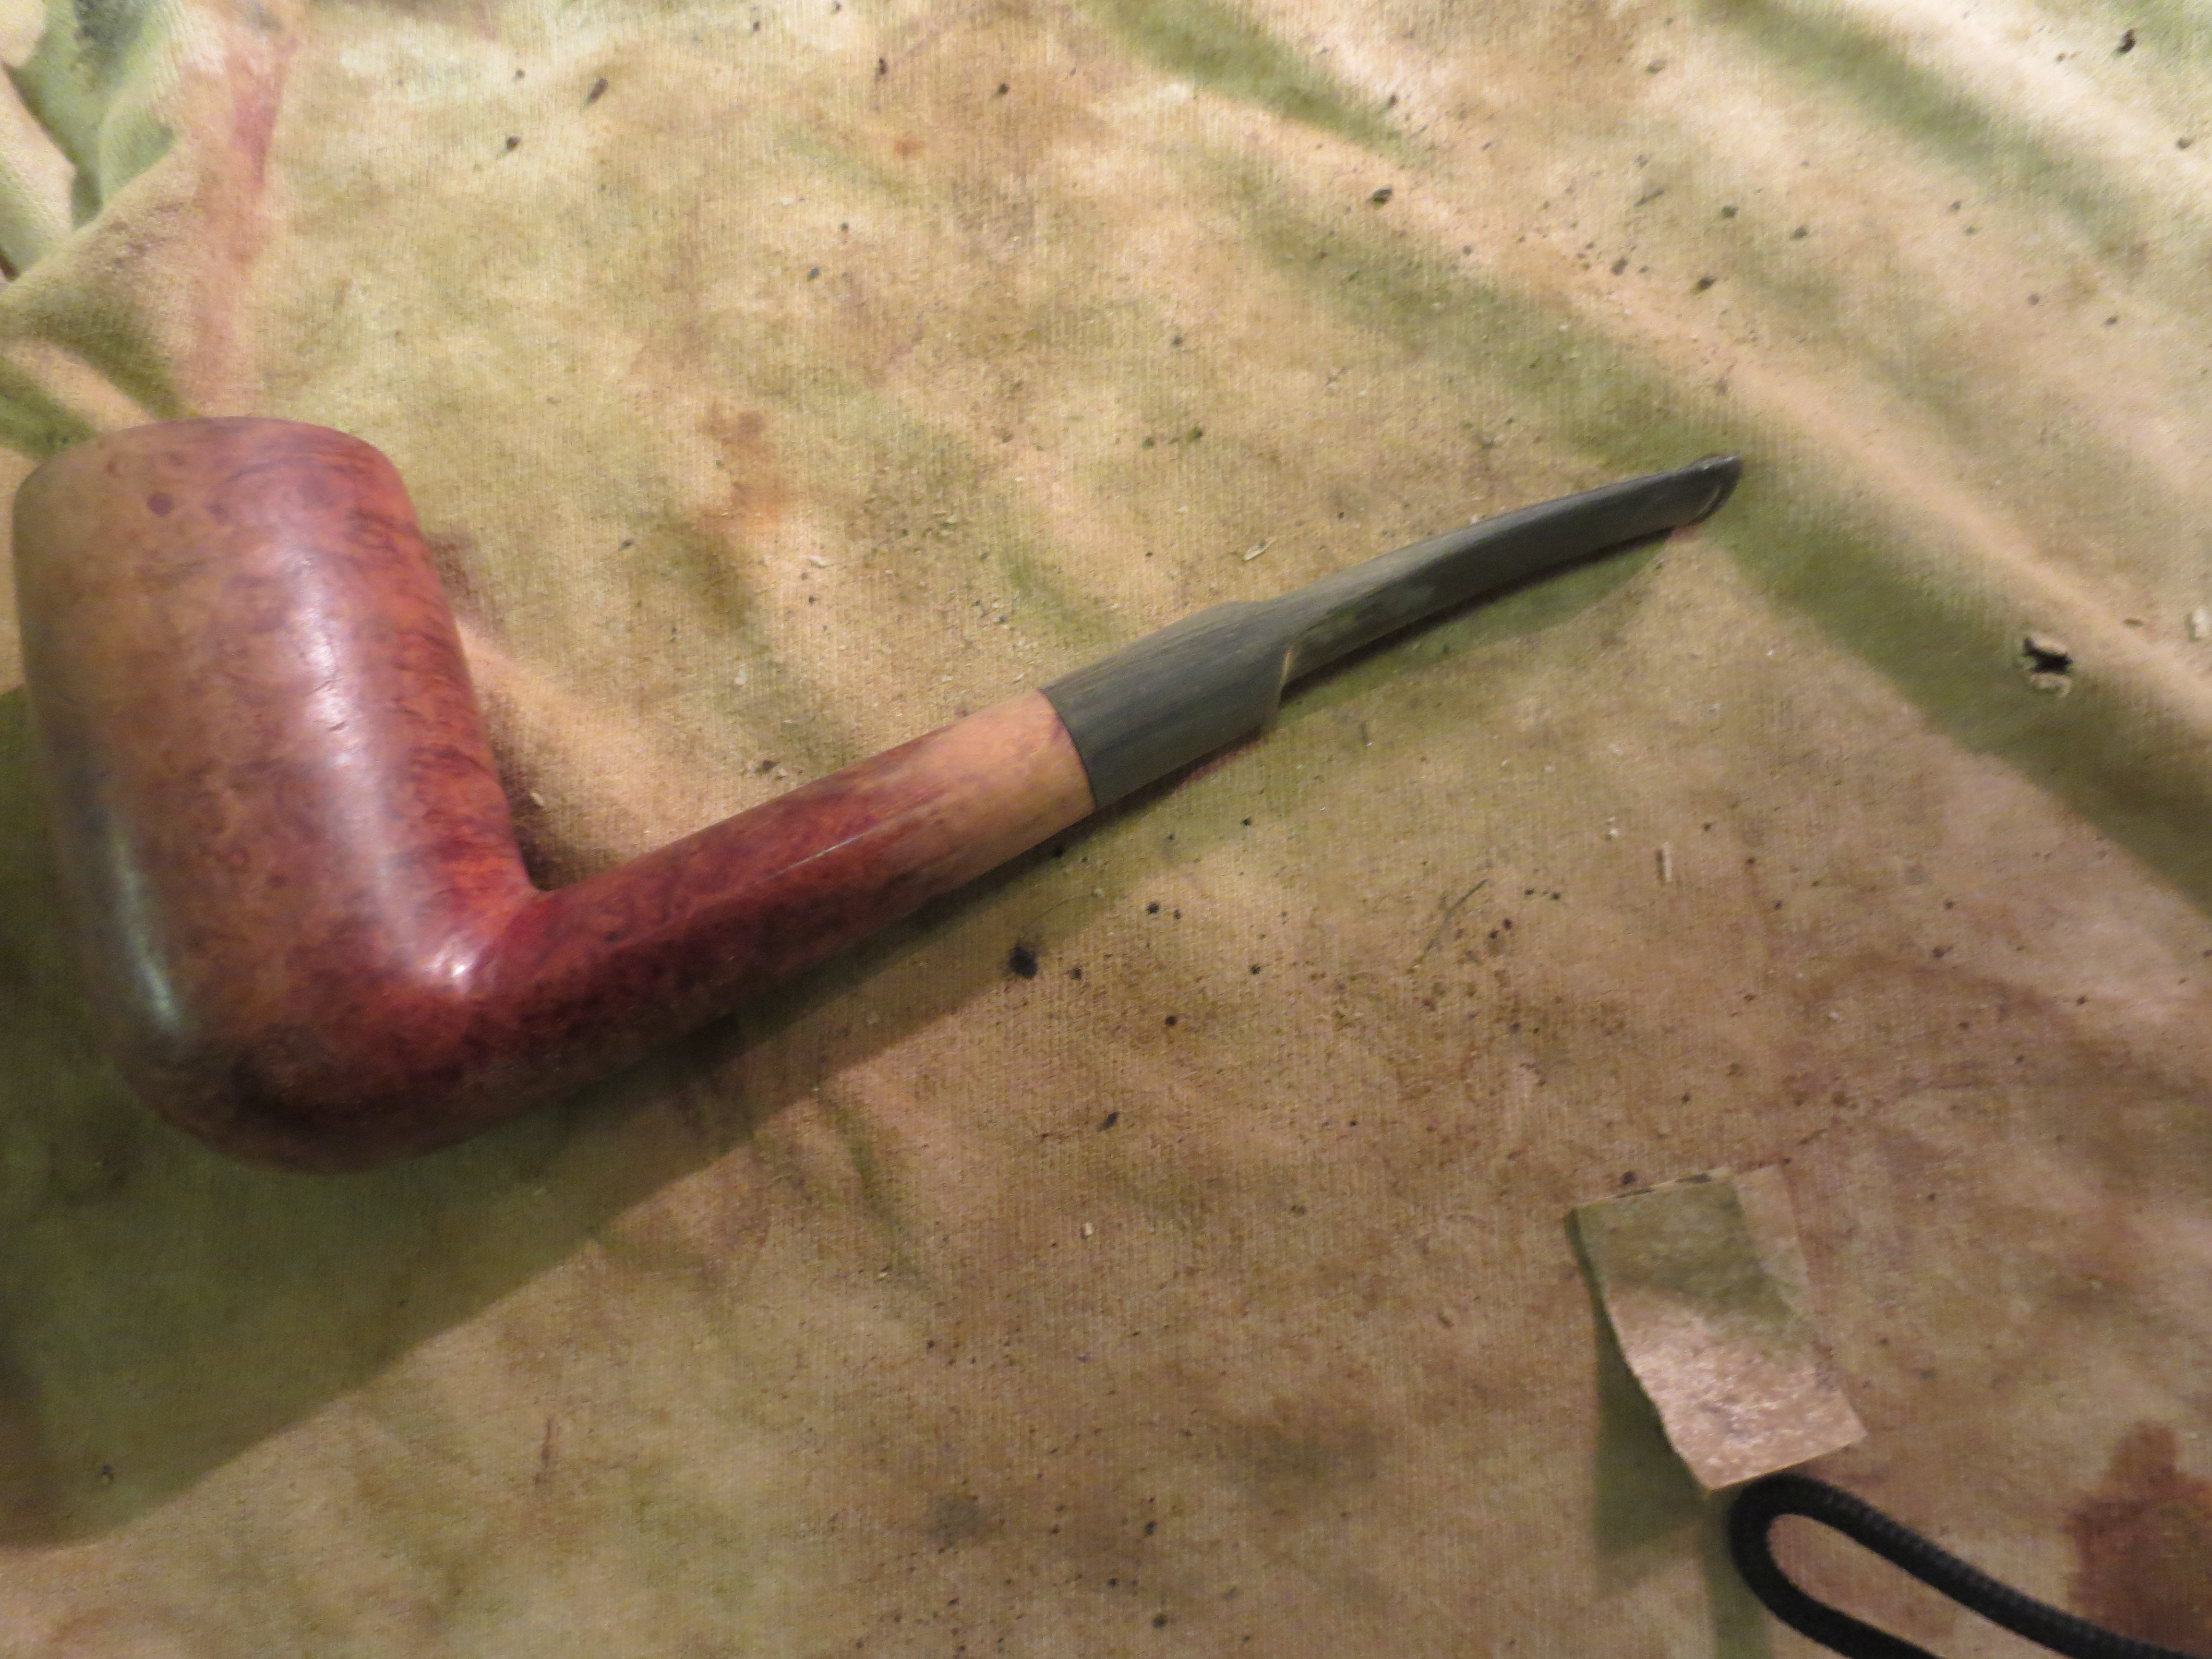
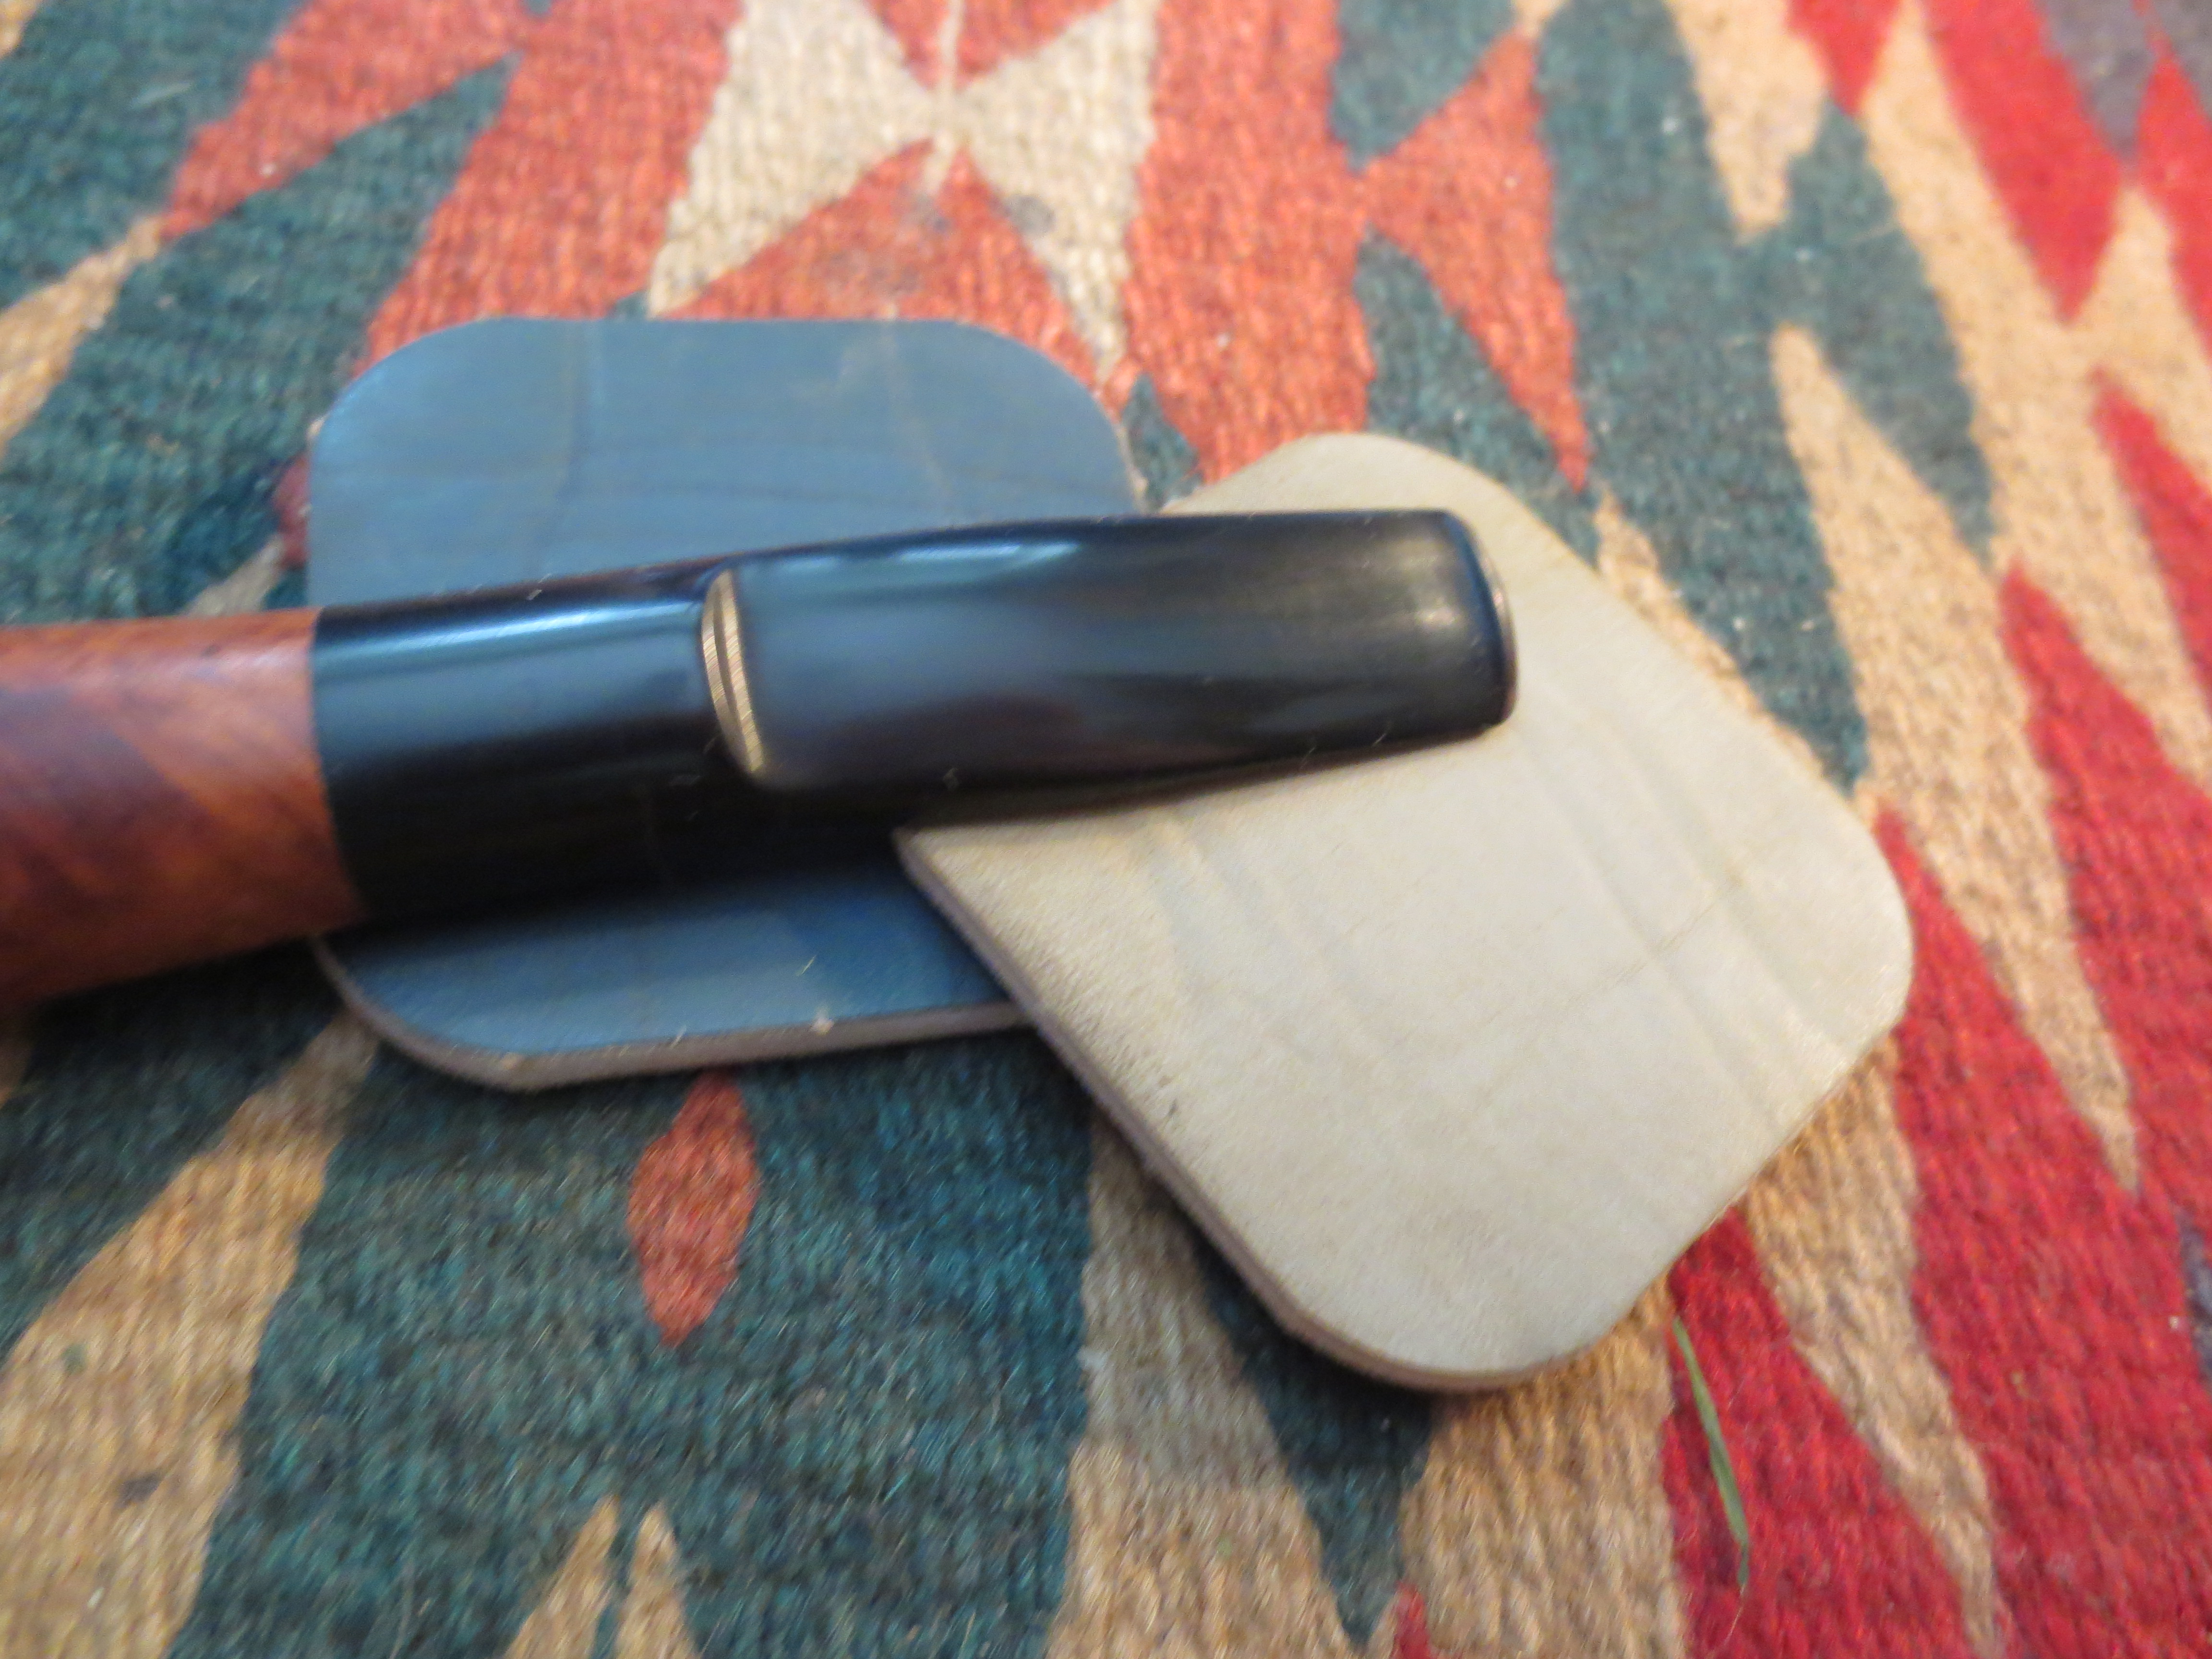
I sorted through my collection of old stems to find an oval one that I could modify to fit the style of the shank. I had looked on line and found that this particular model of Savinelli had a taper stem (see the first photo below). I did not have any oval tapered stems that would fit, nor did I have large enough round stems that could be modified. I chose an older oval saddle stem that I believed would look good. I think that originally it was on a Dr. Plumb pipe but the logo was worn off and my modifications would remove the red dot on the stem (second photo below).

$T2eC16JHJHUFFfhDpWd3BR)N9Jwnpw~~60_57

IMG_1325

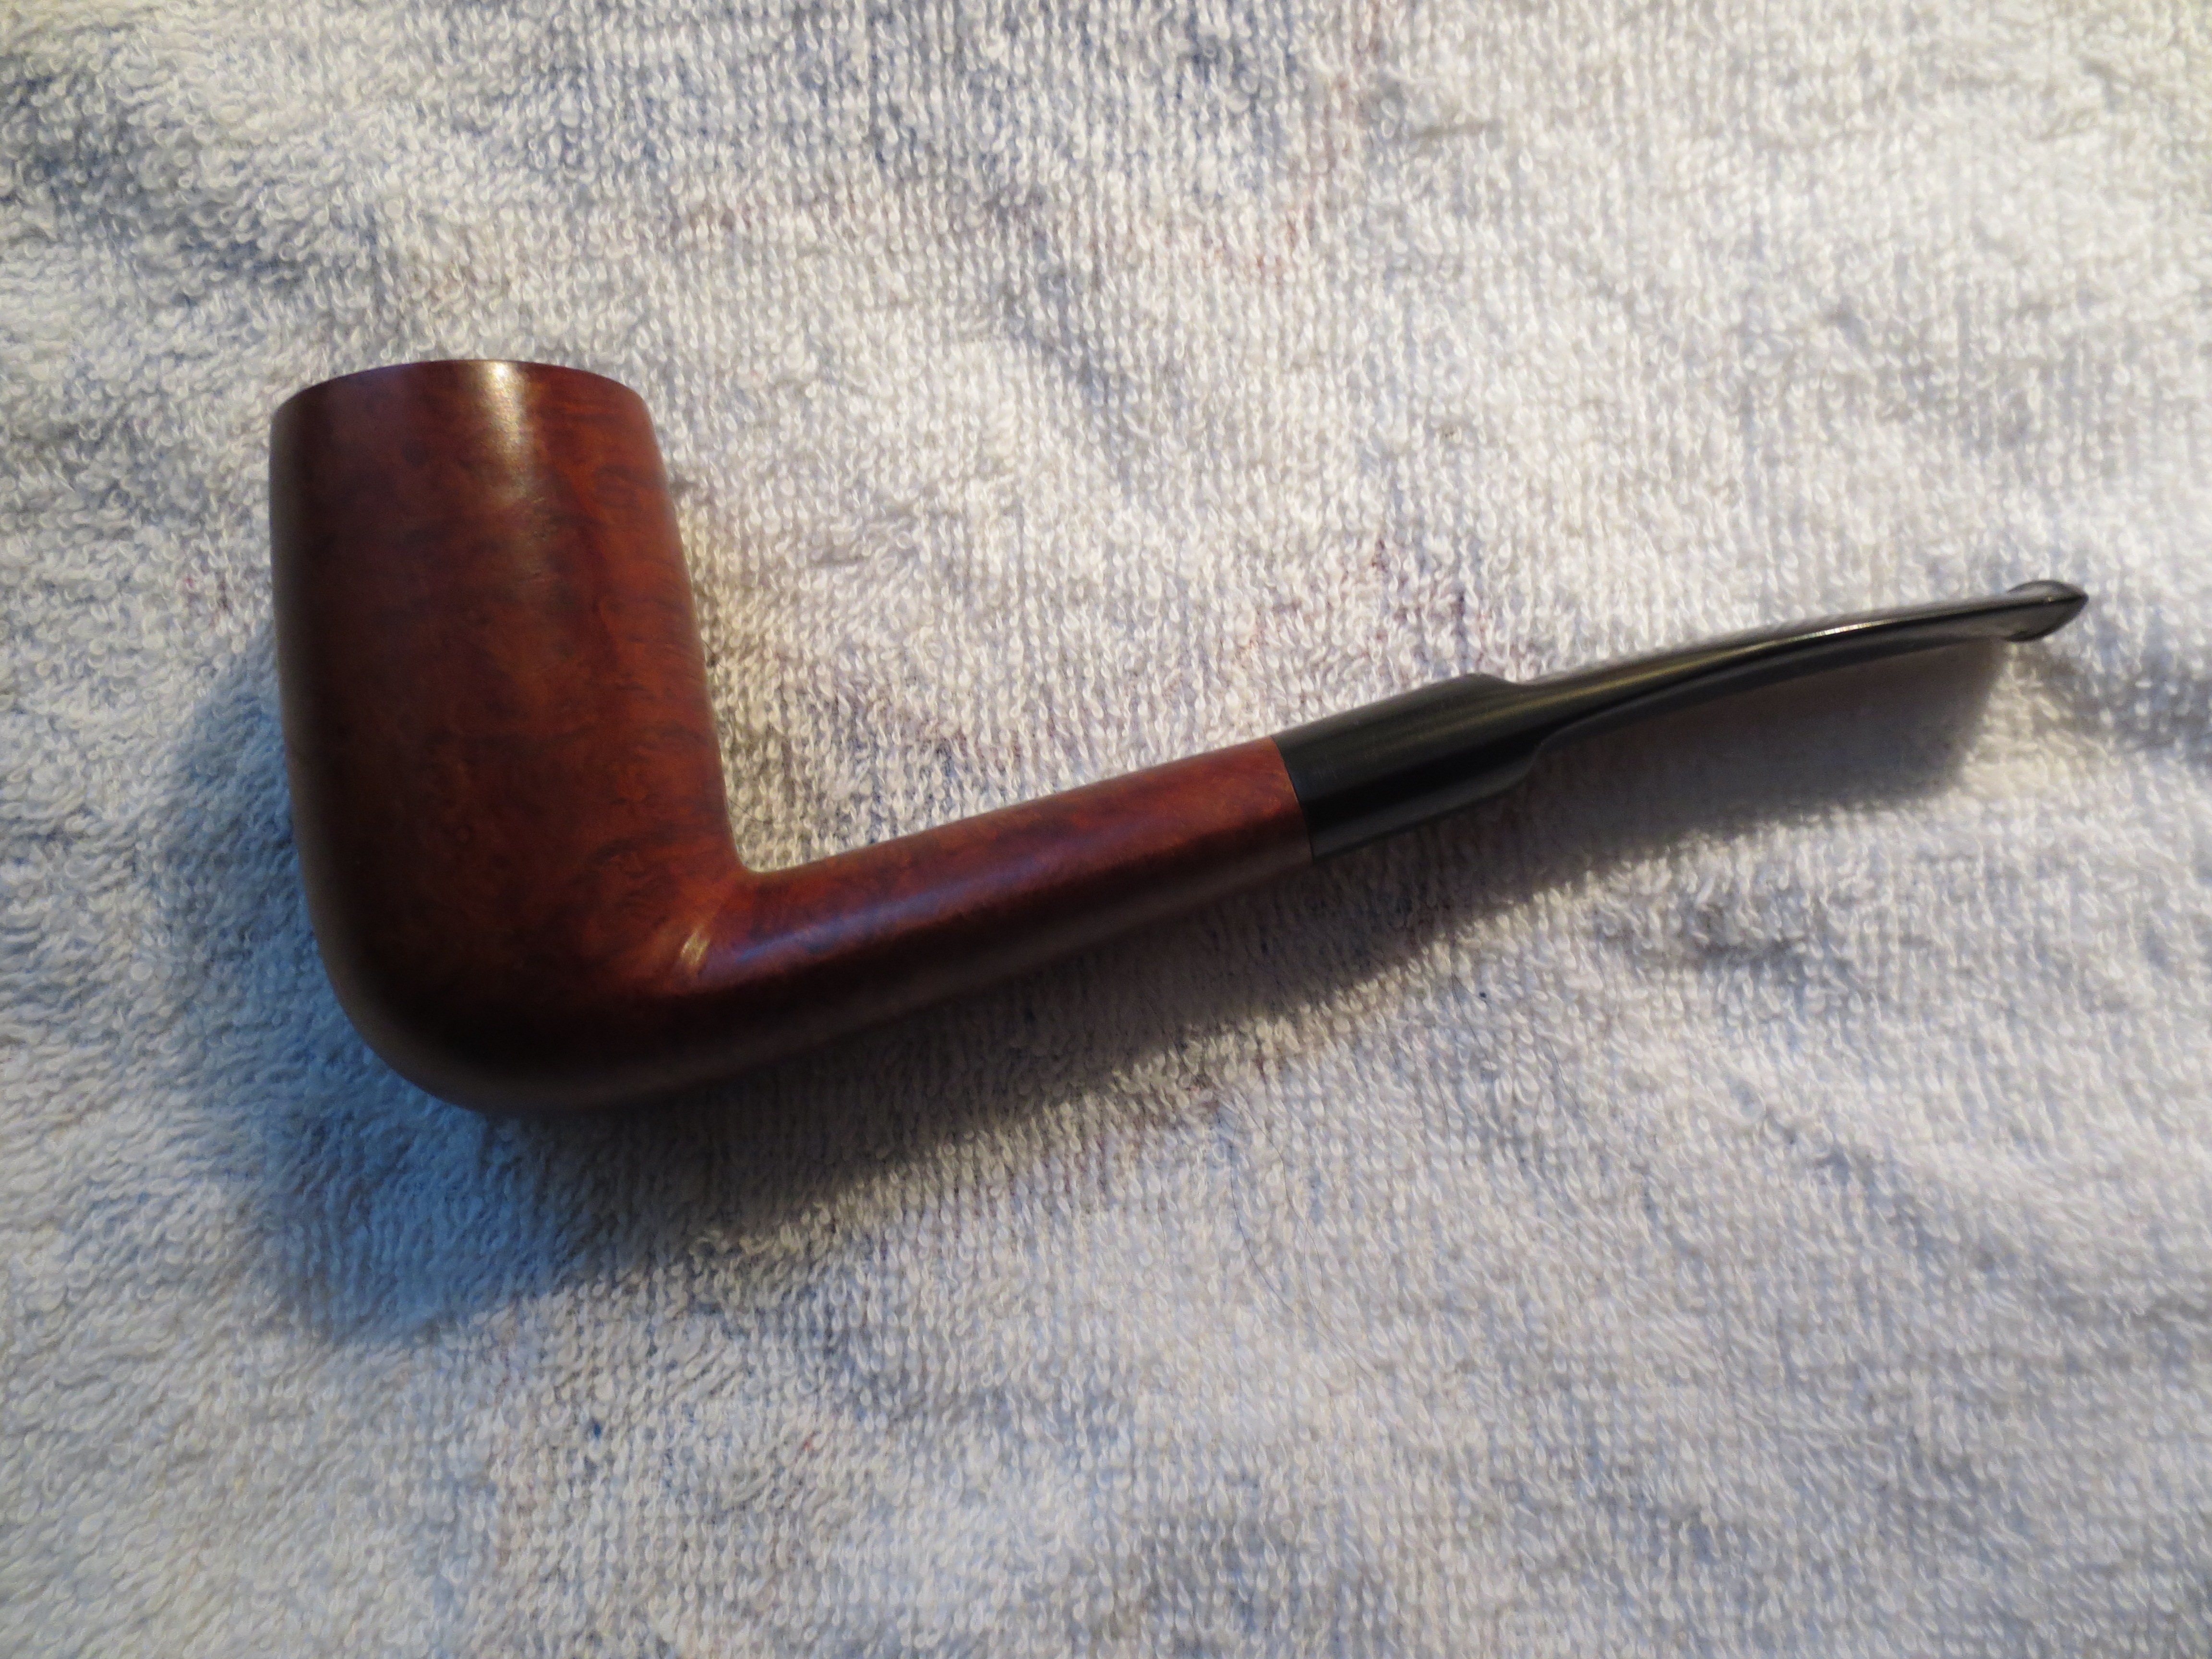
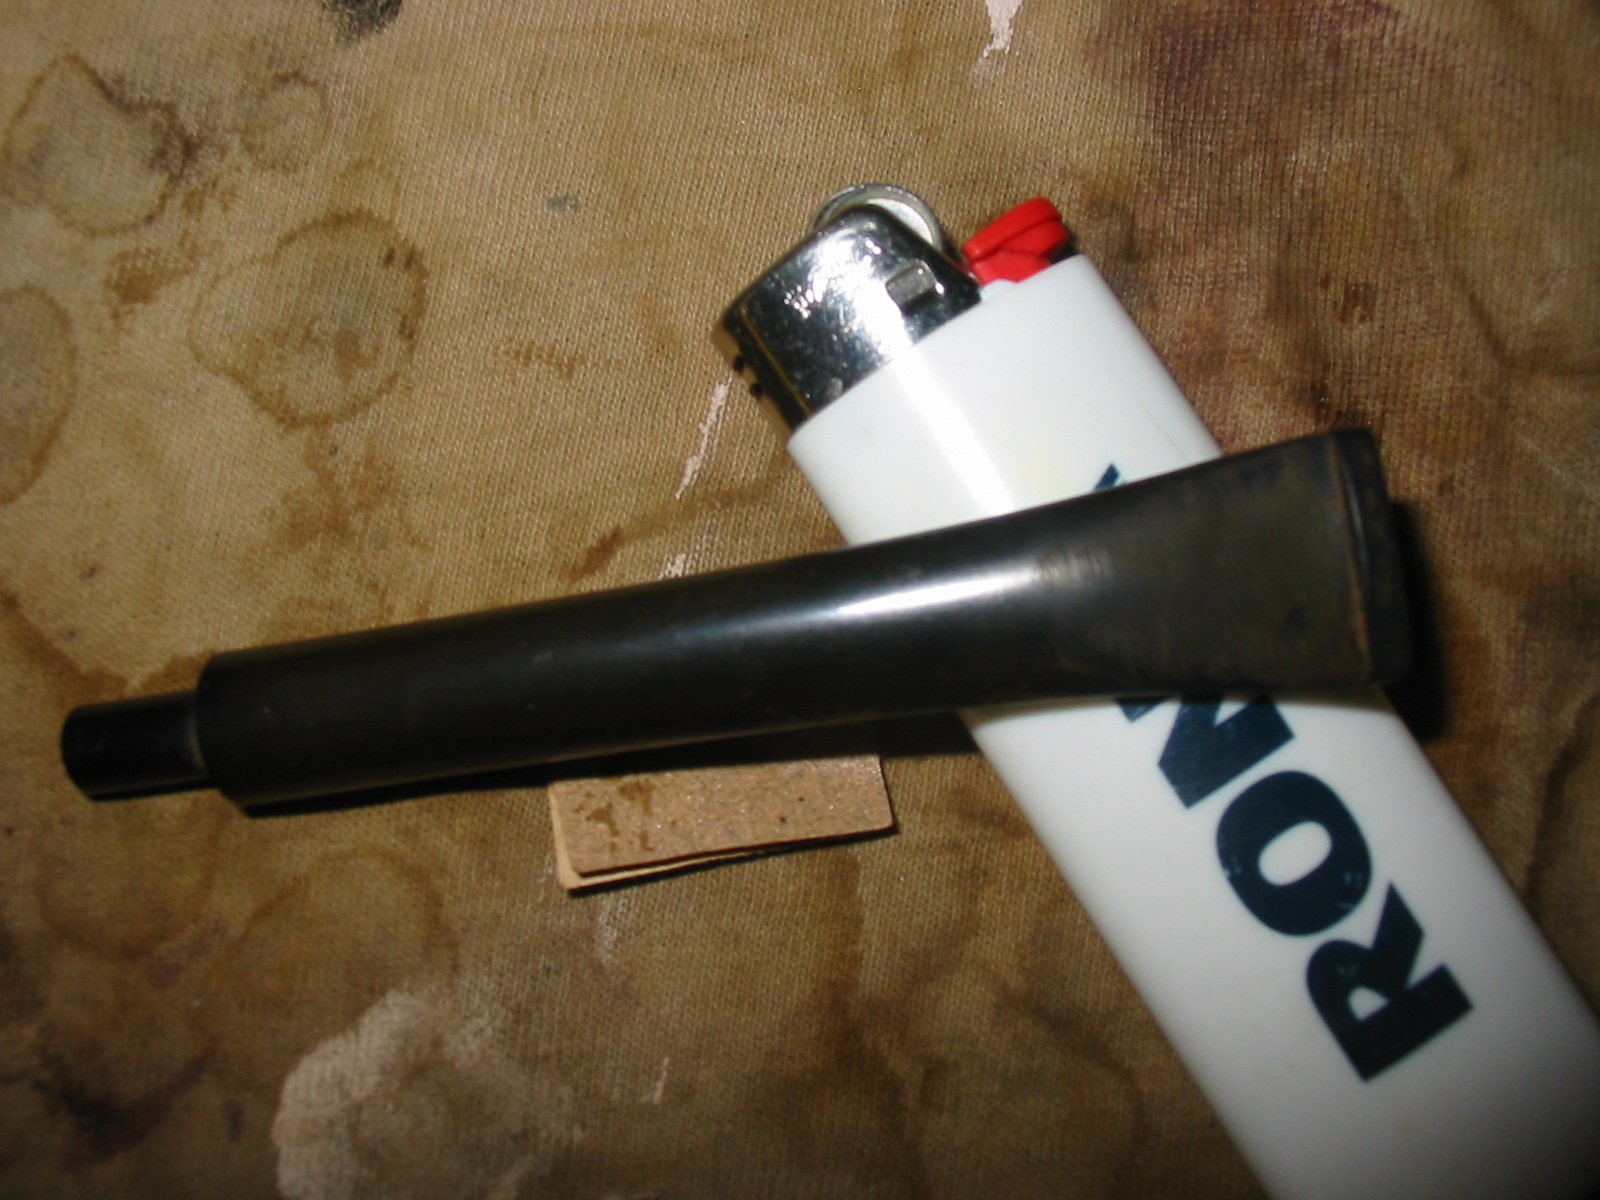
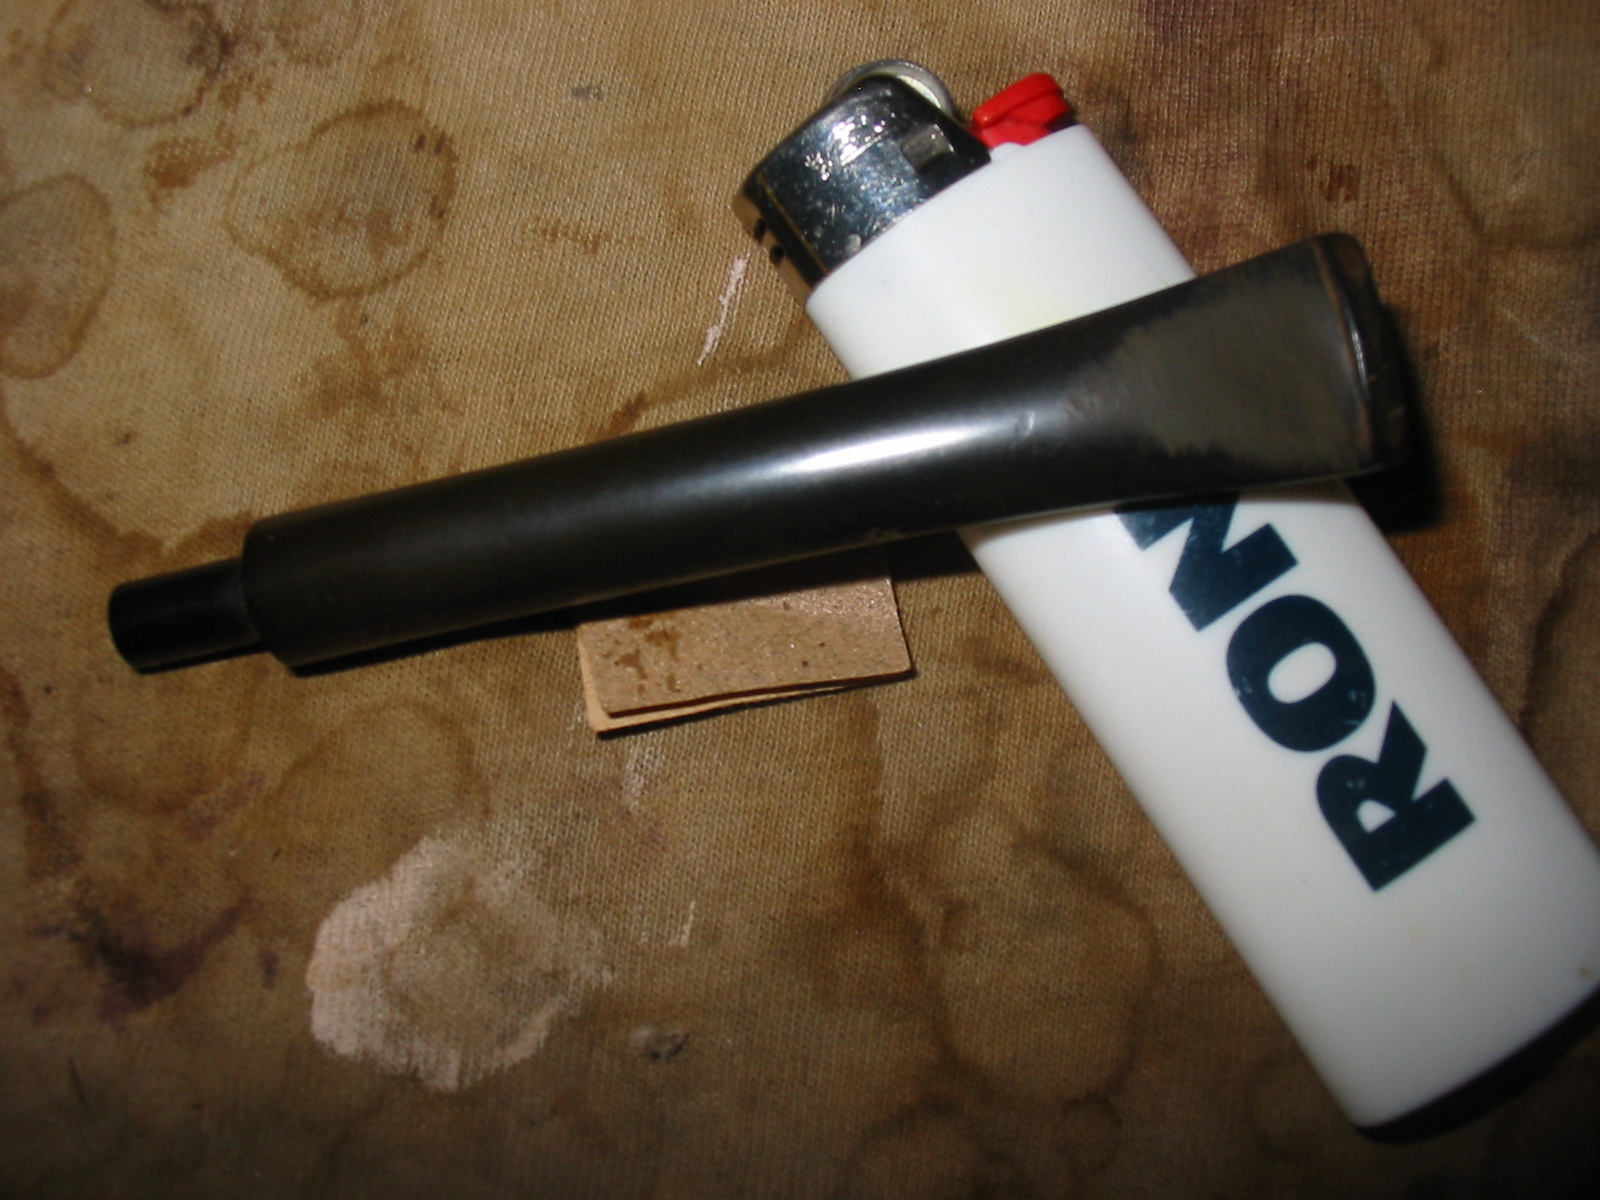
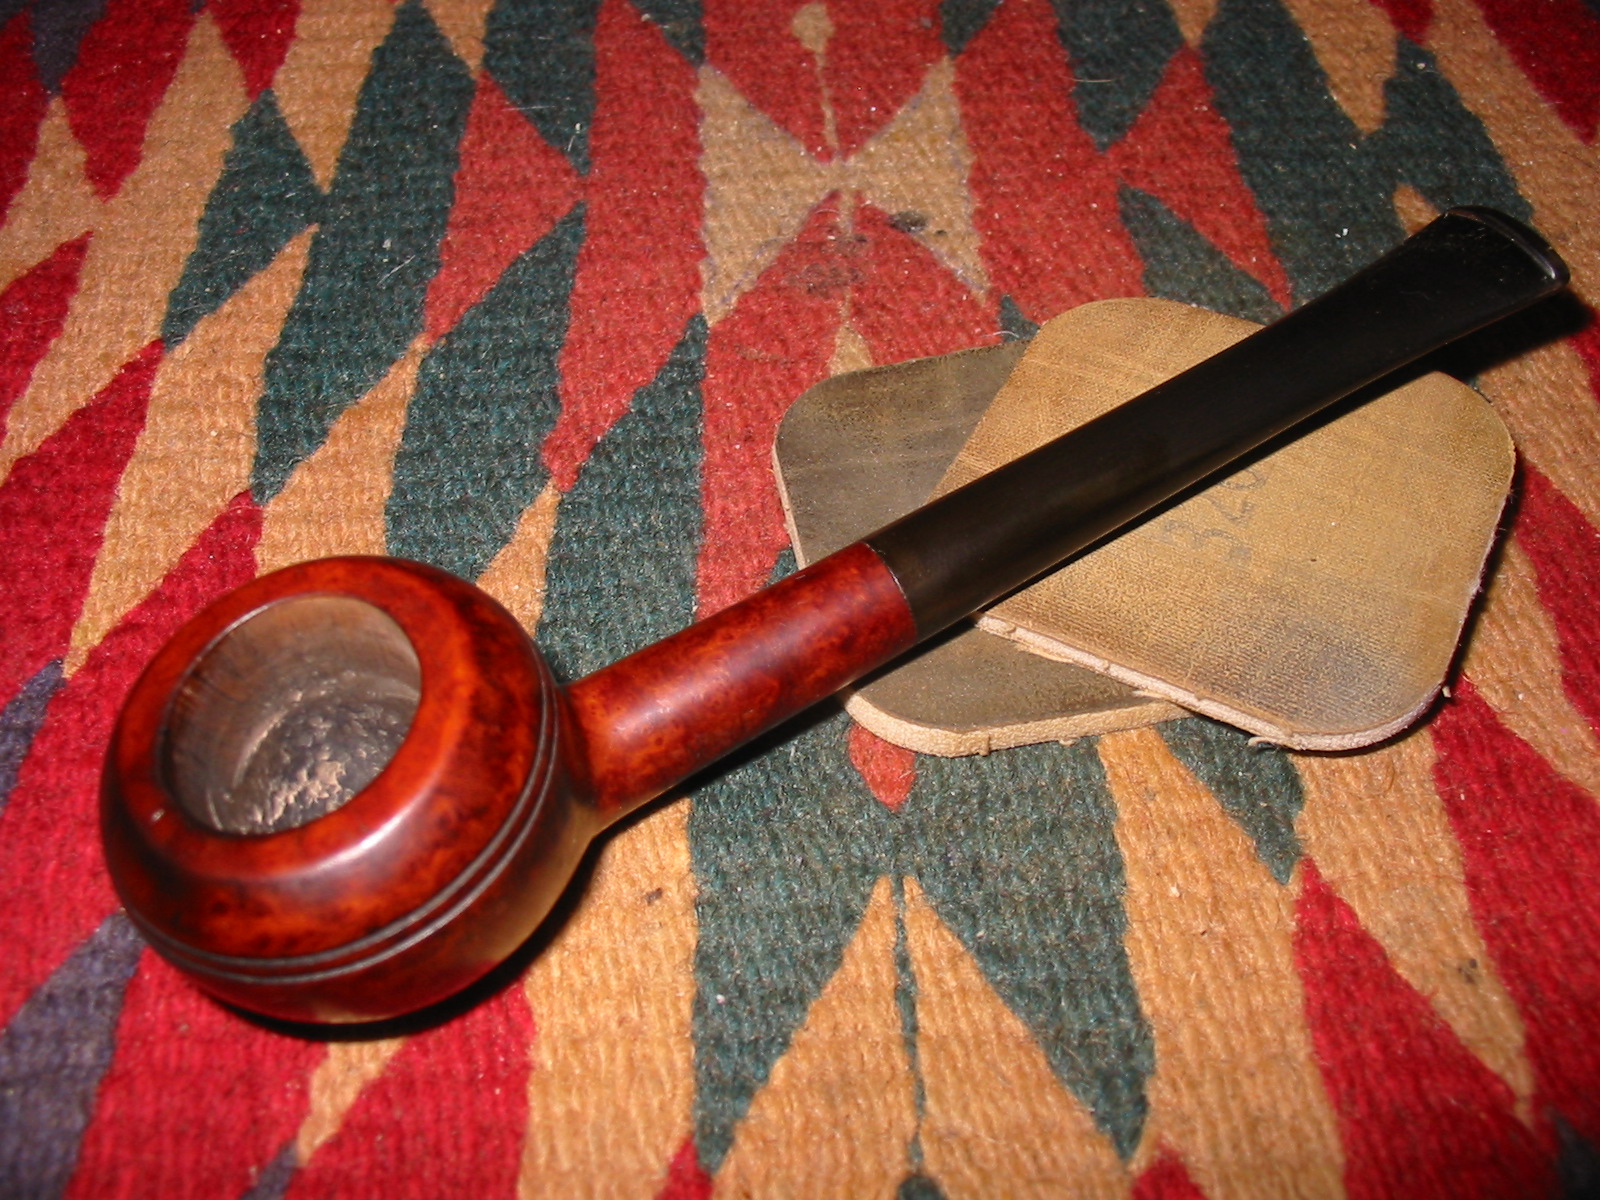
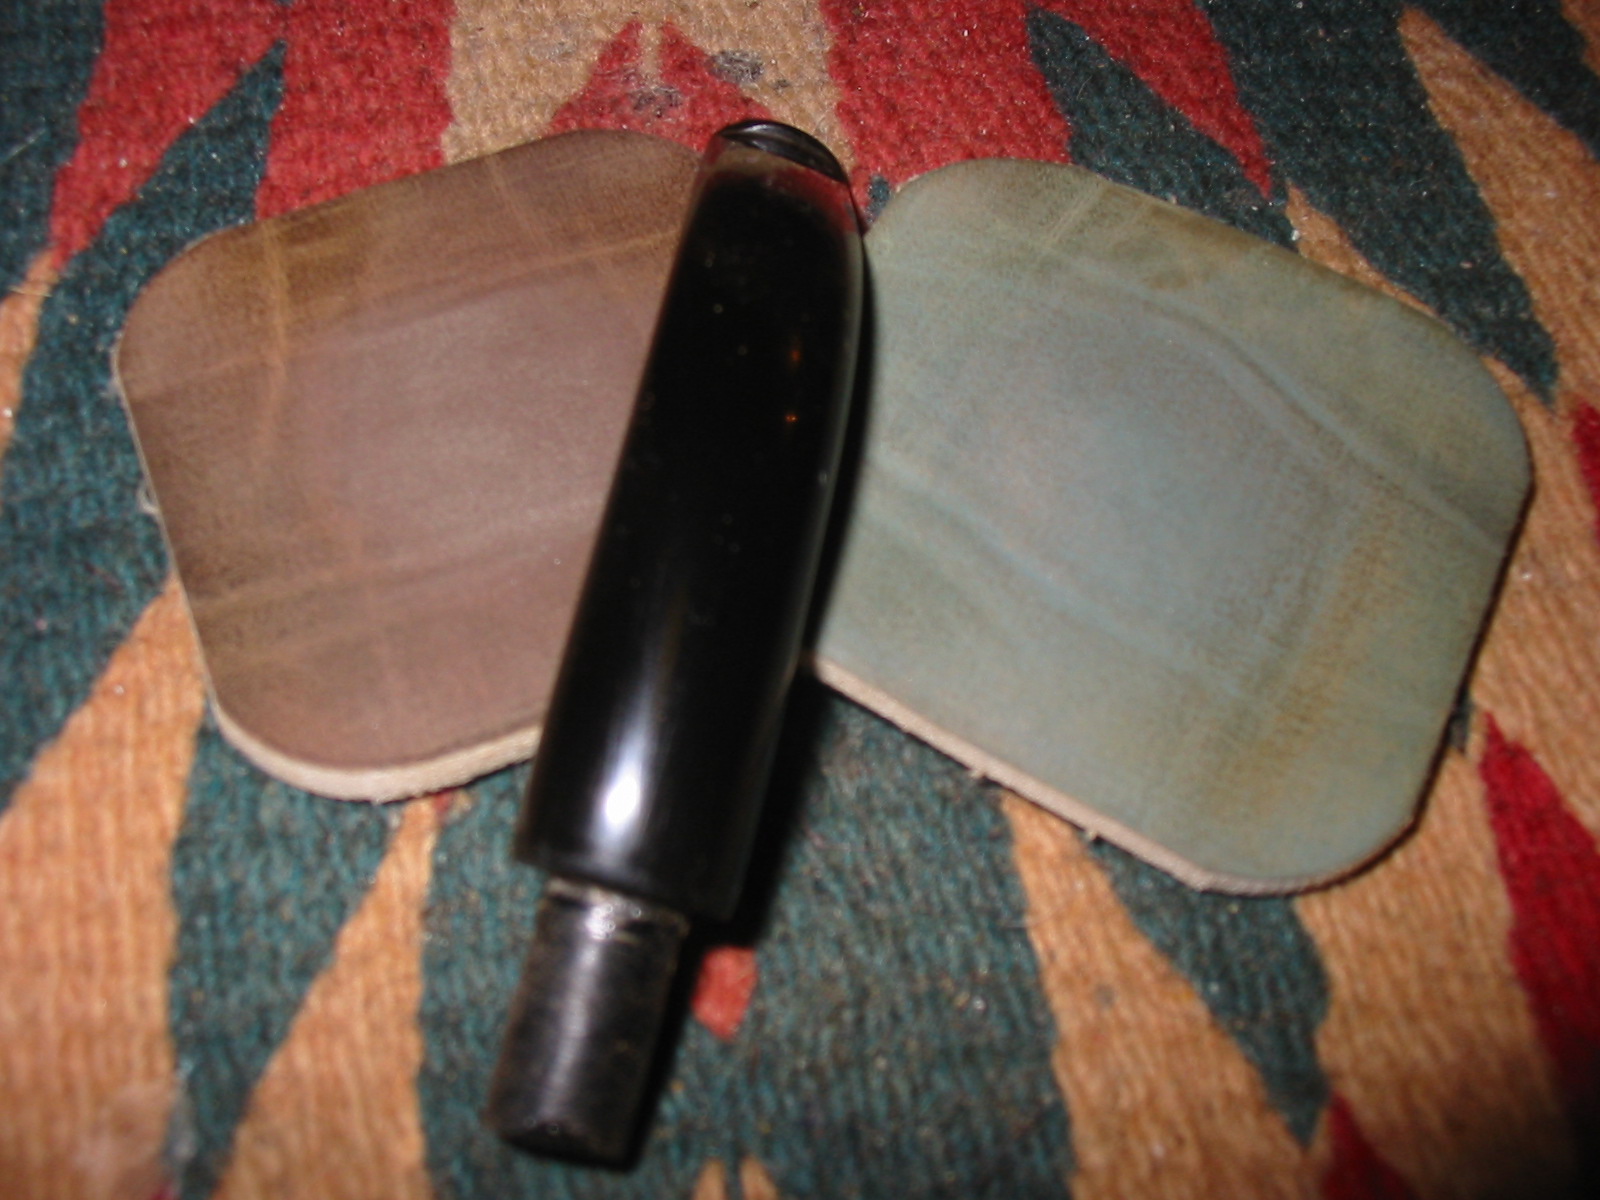
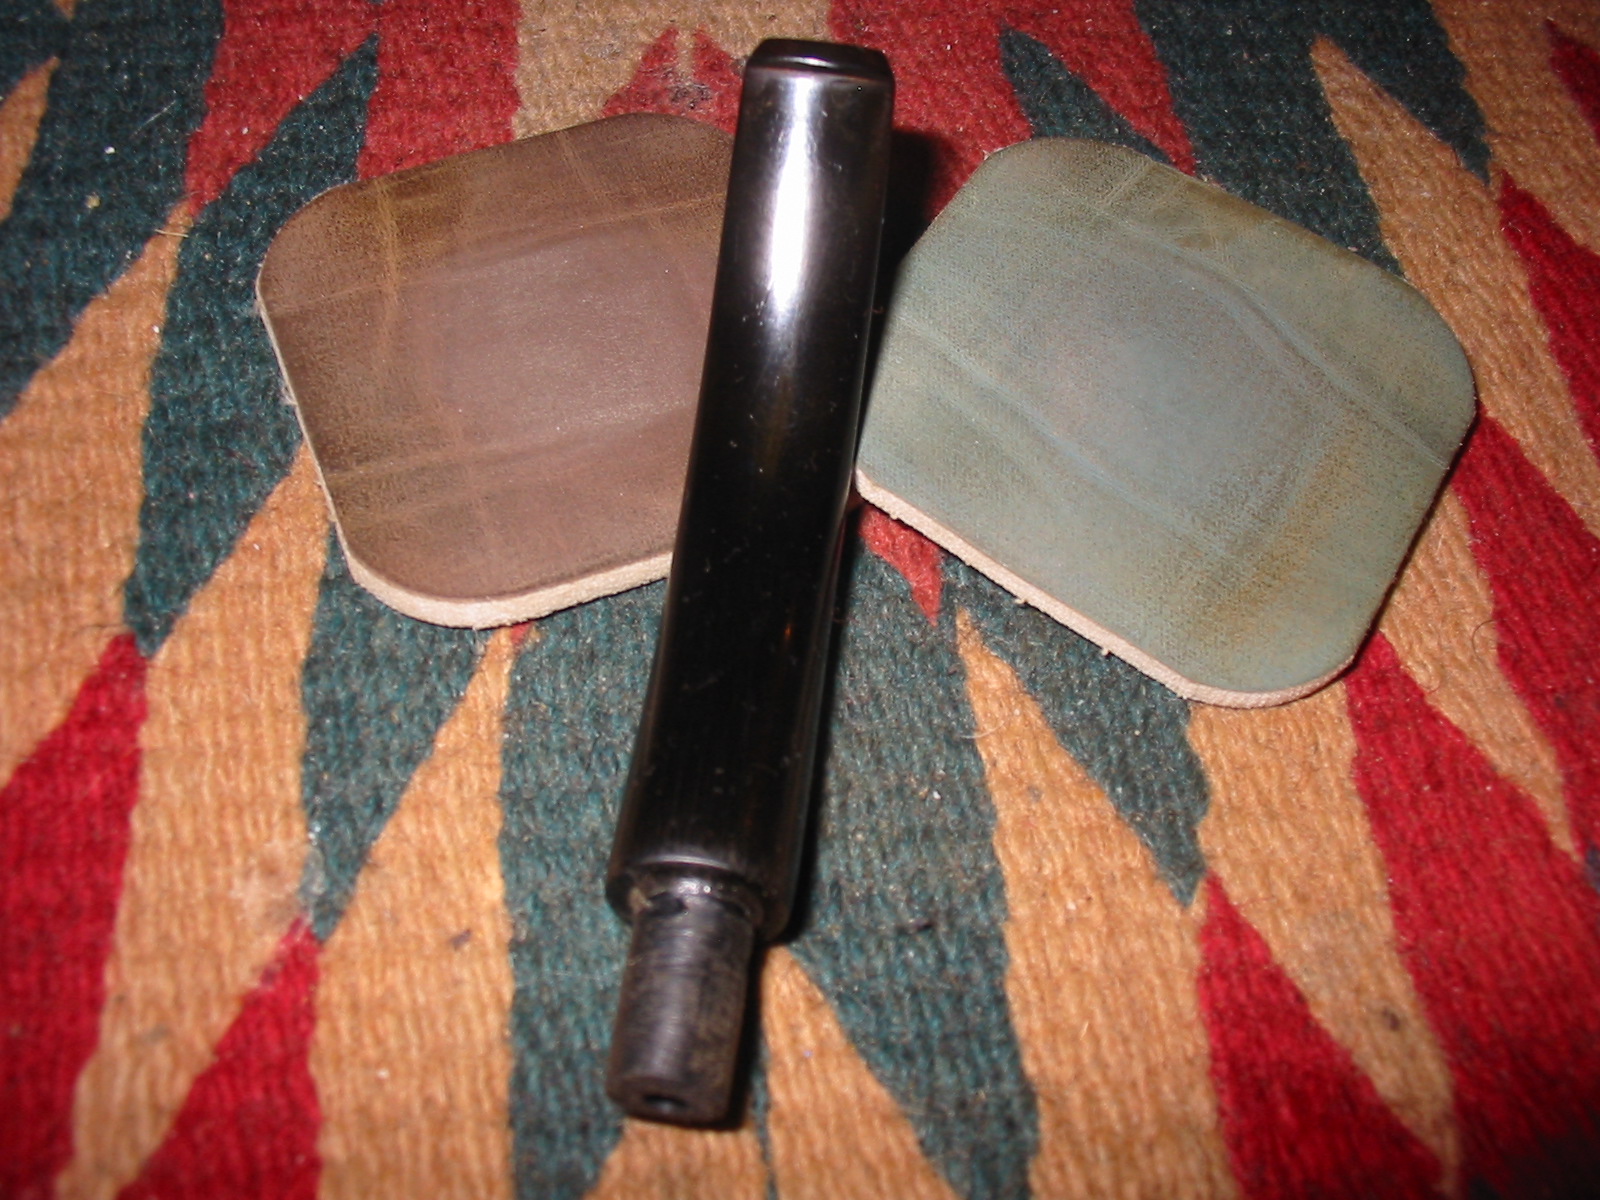
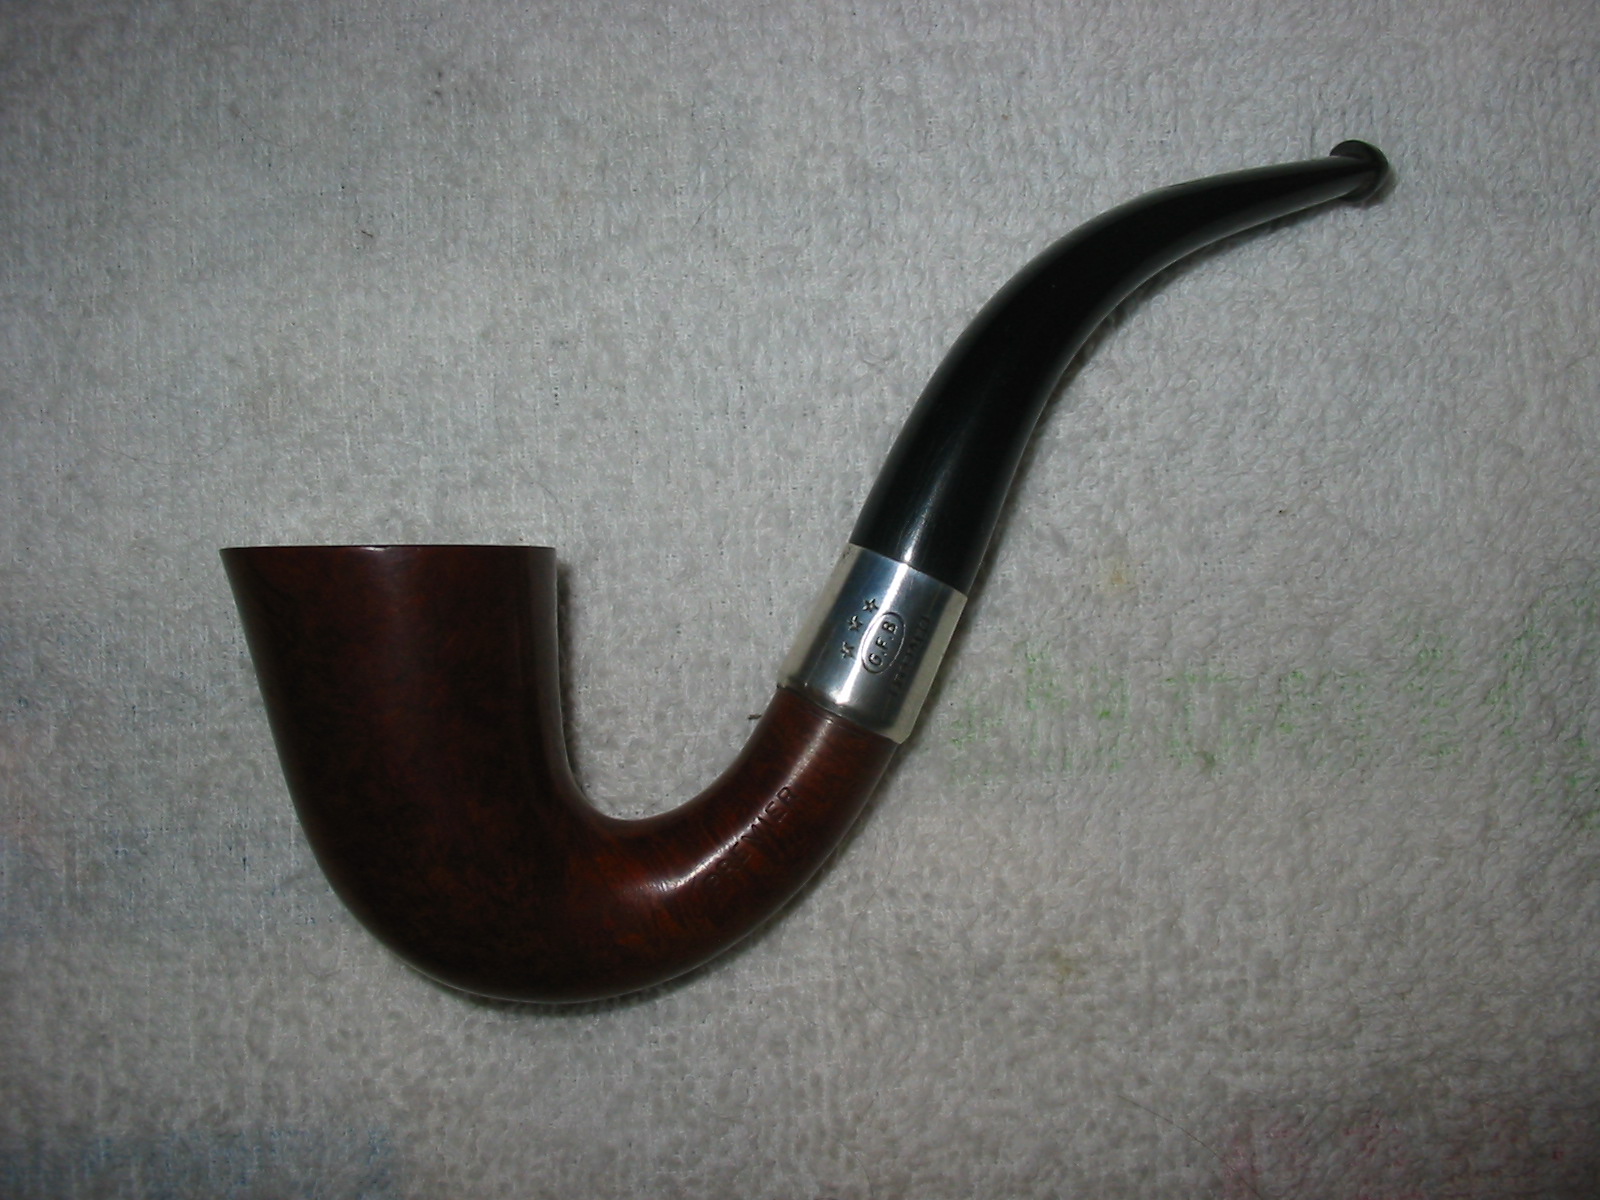
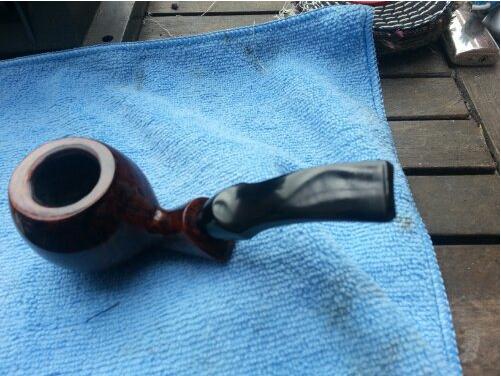
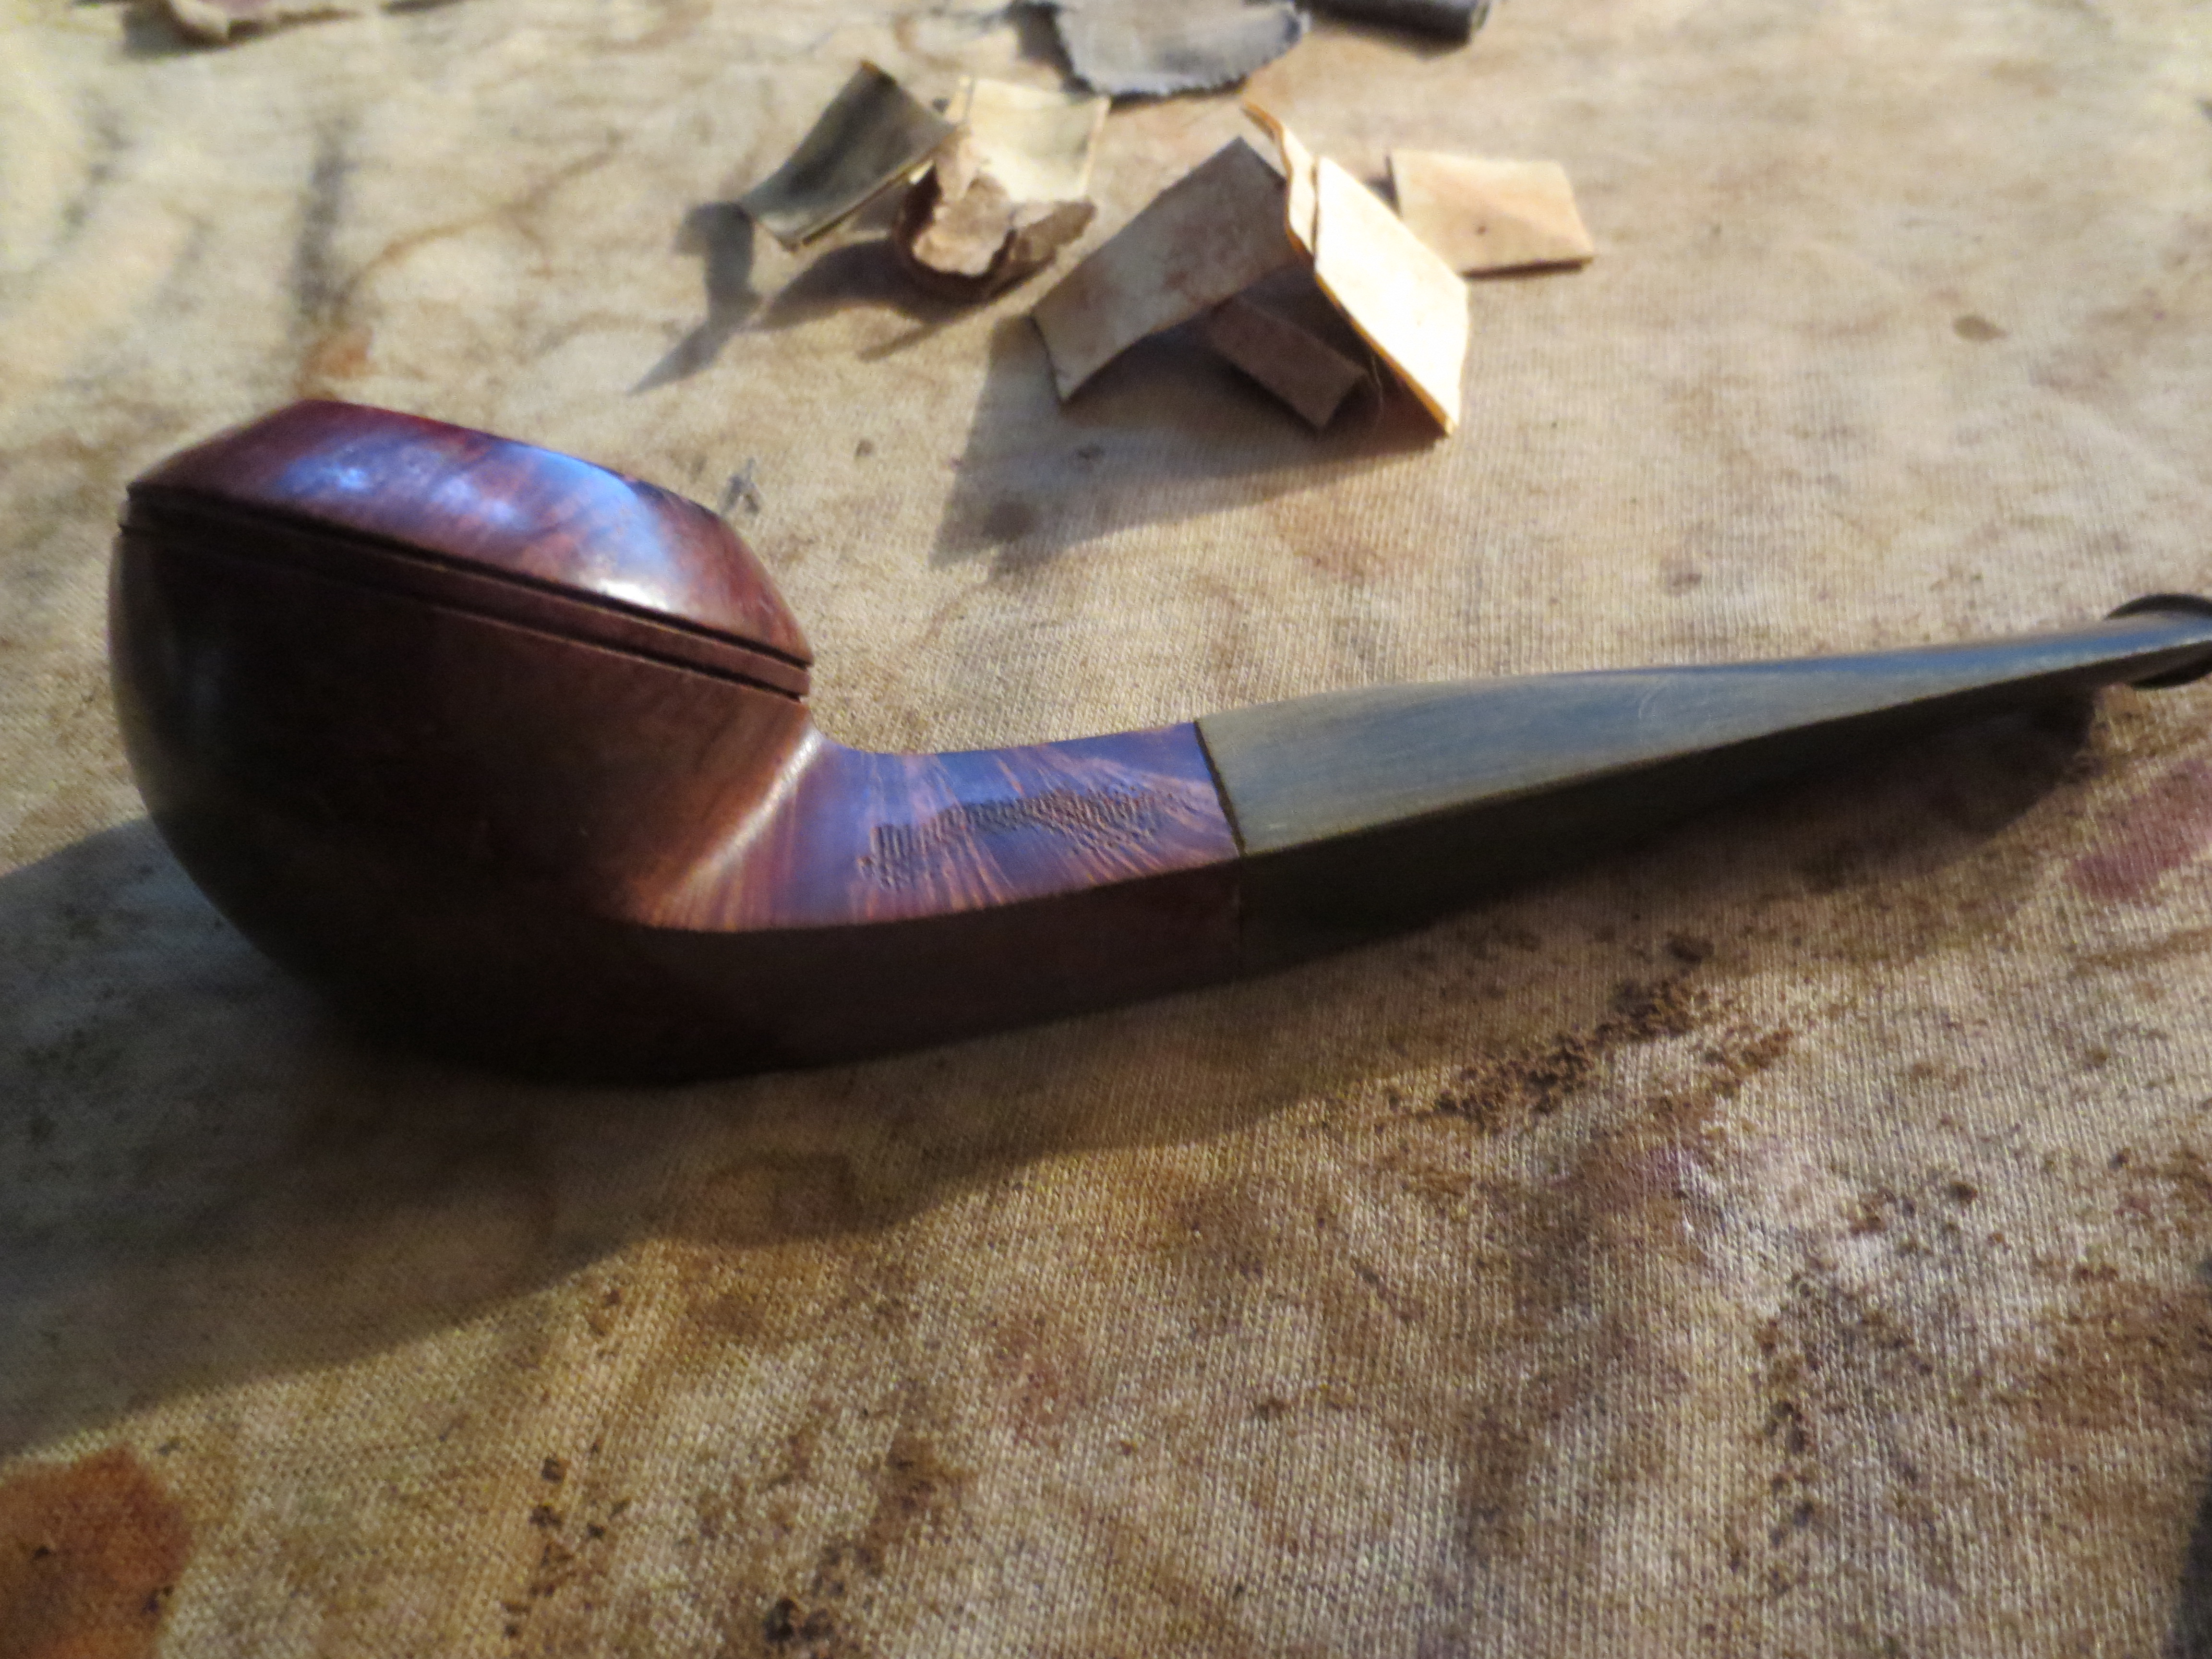
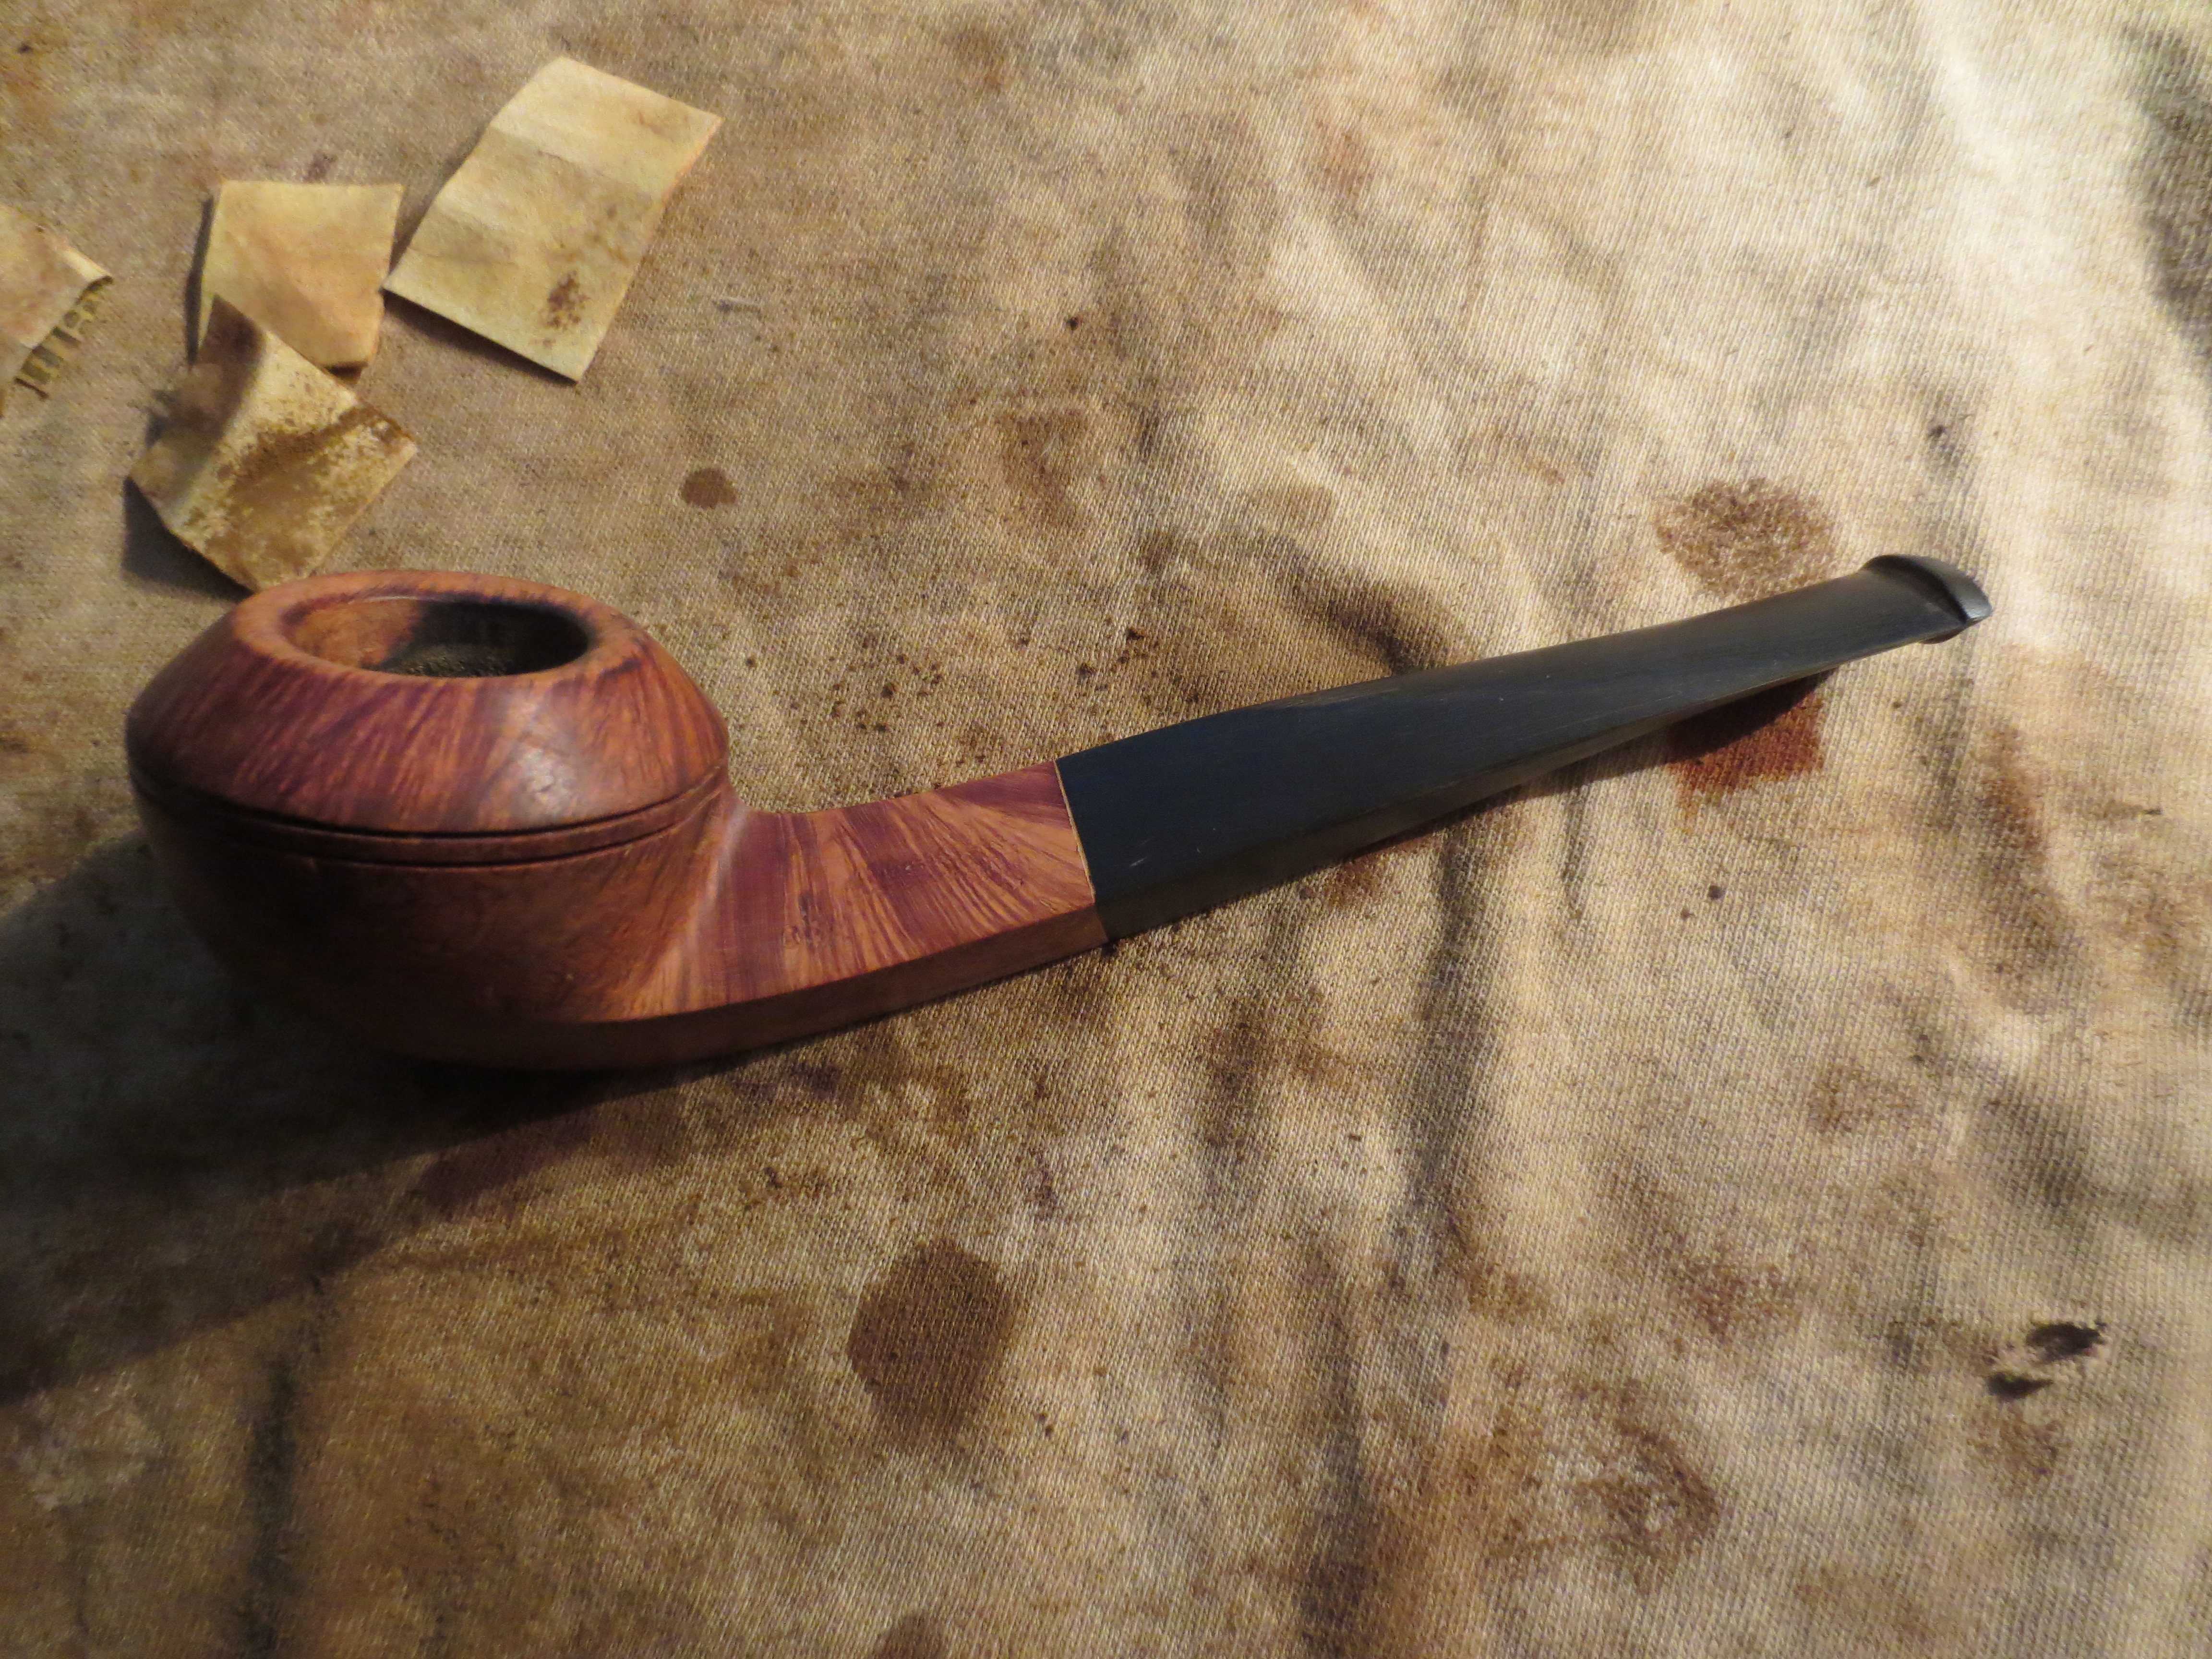
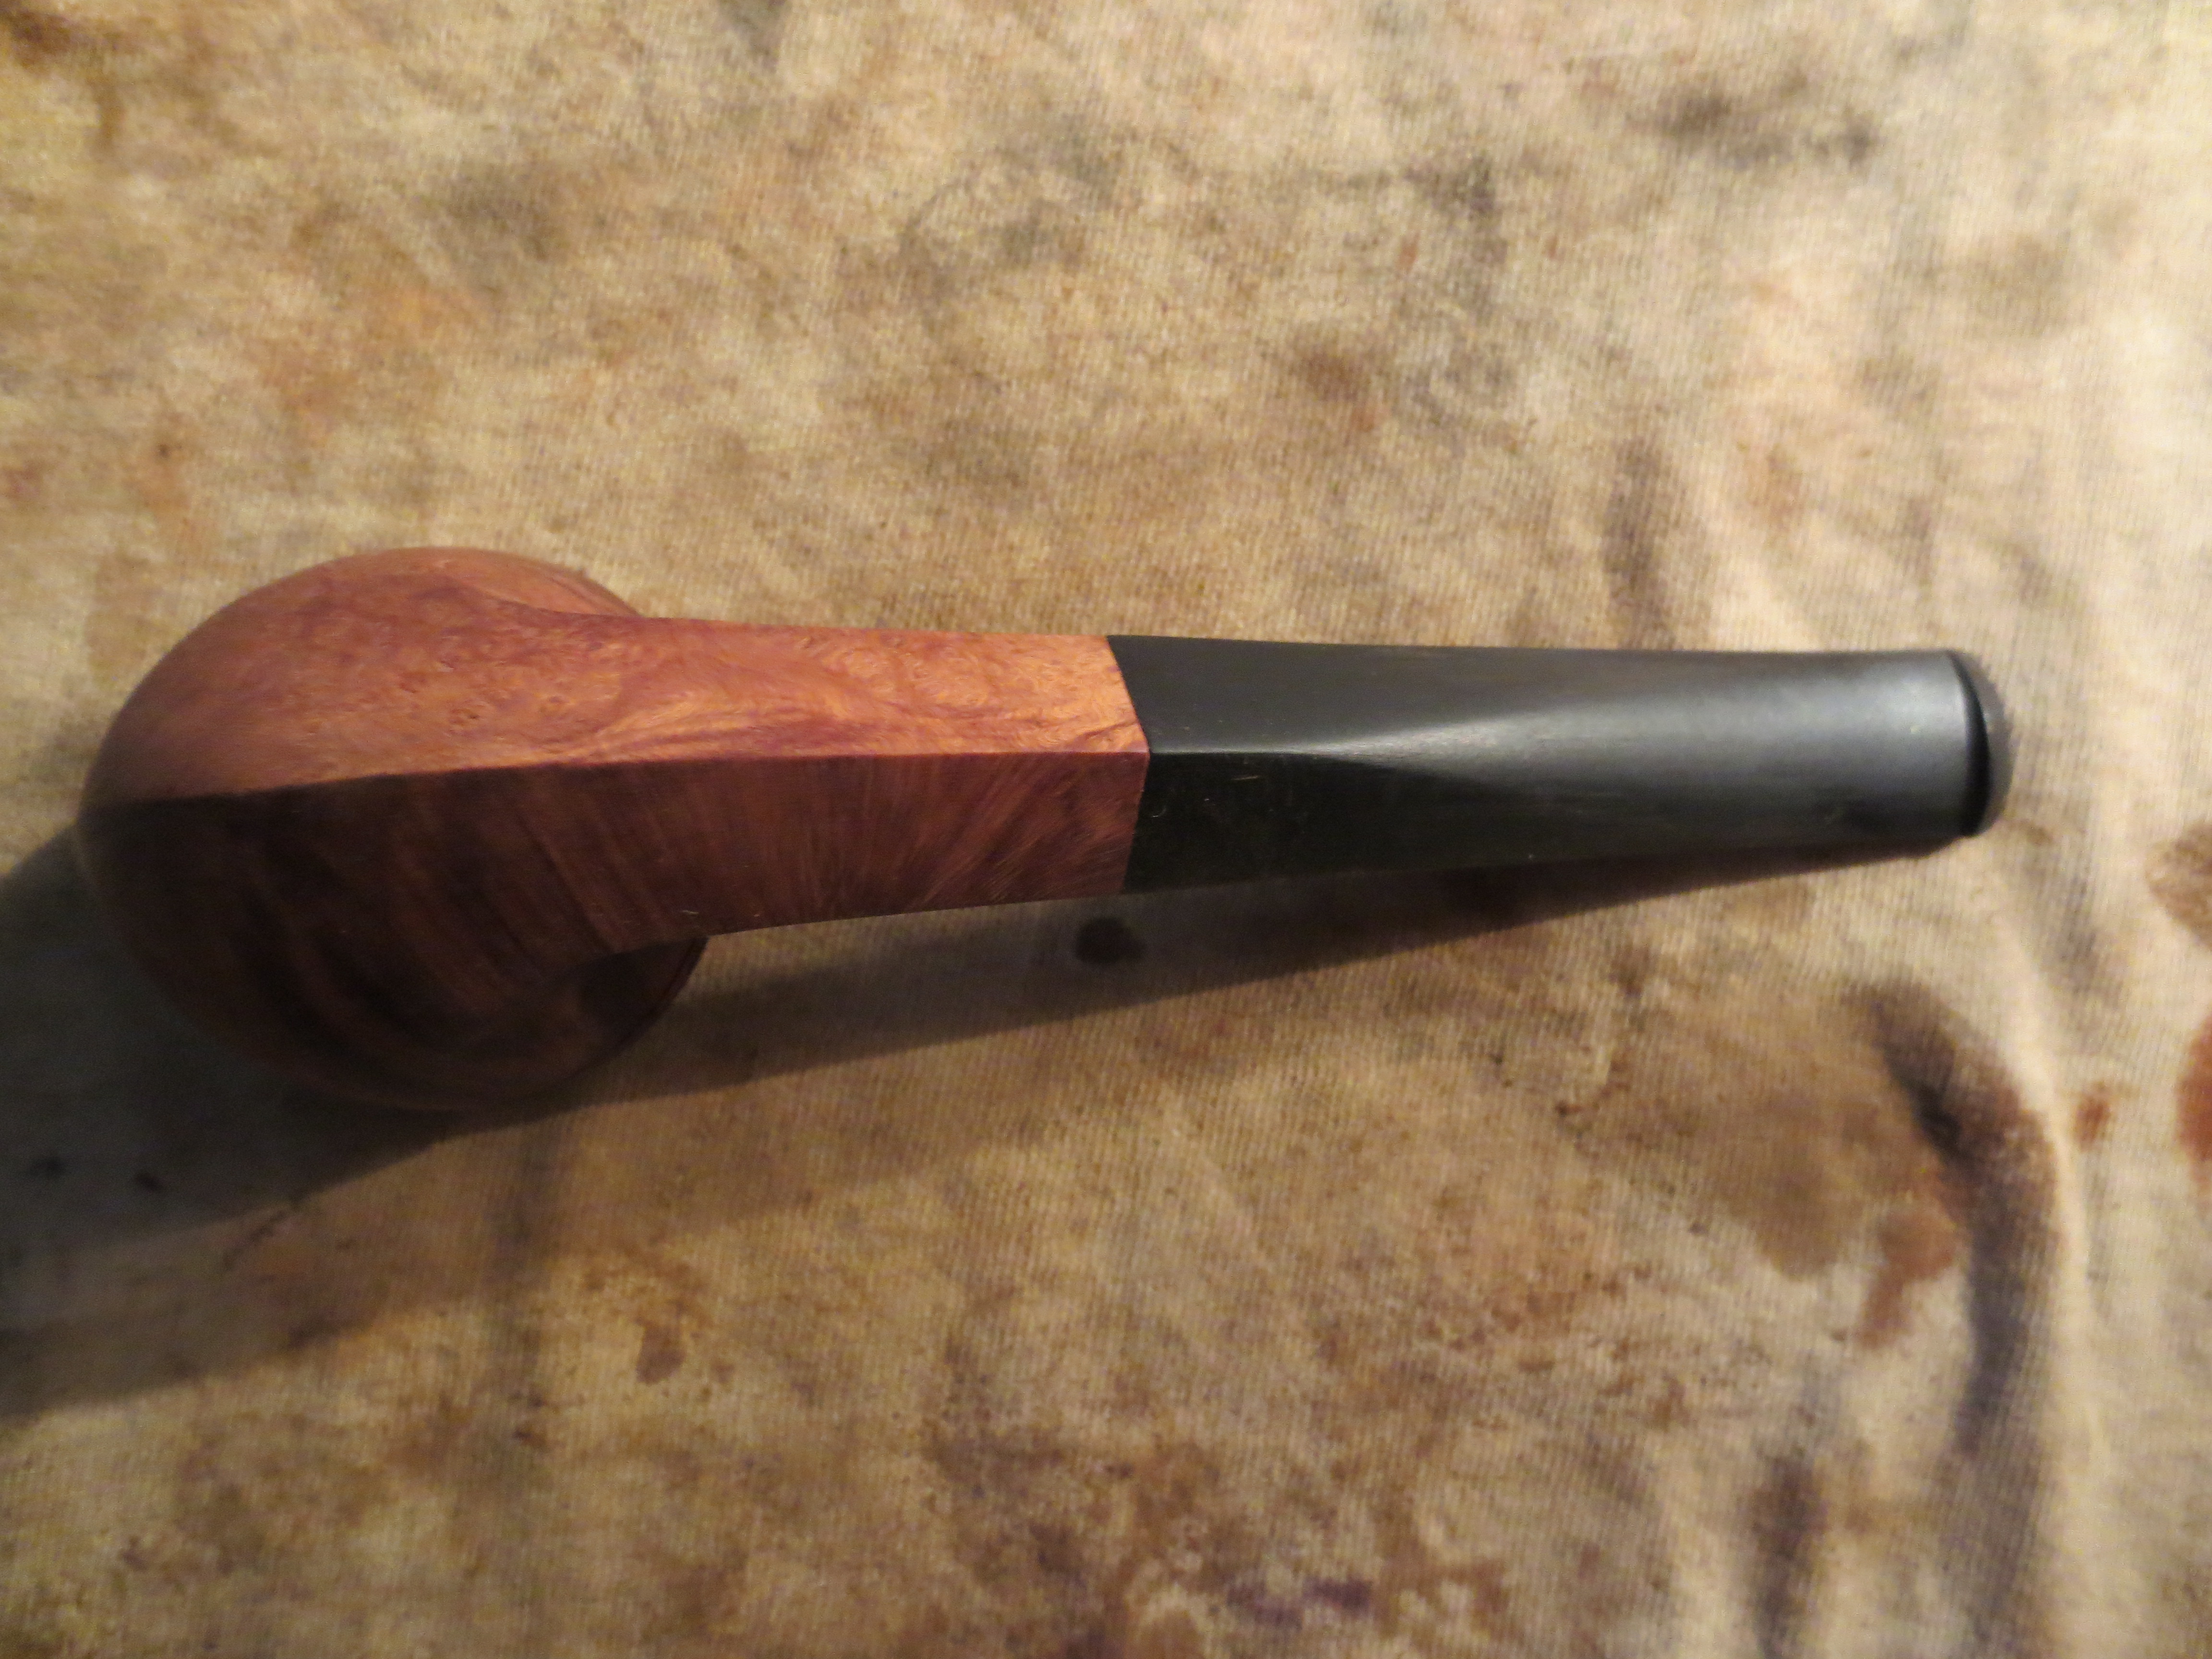
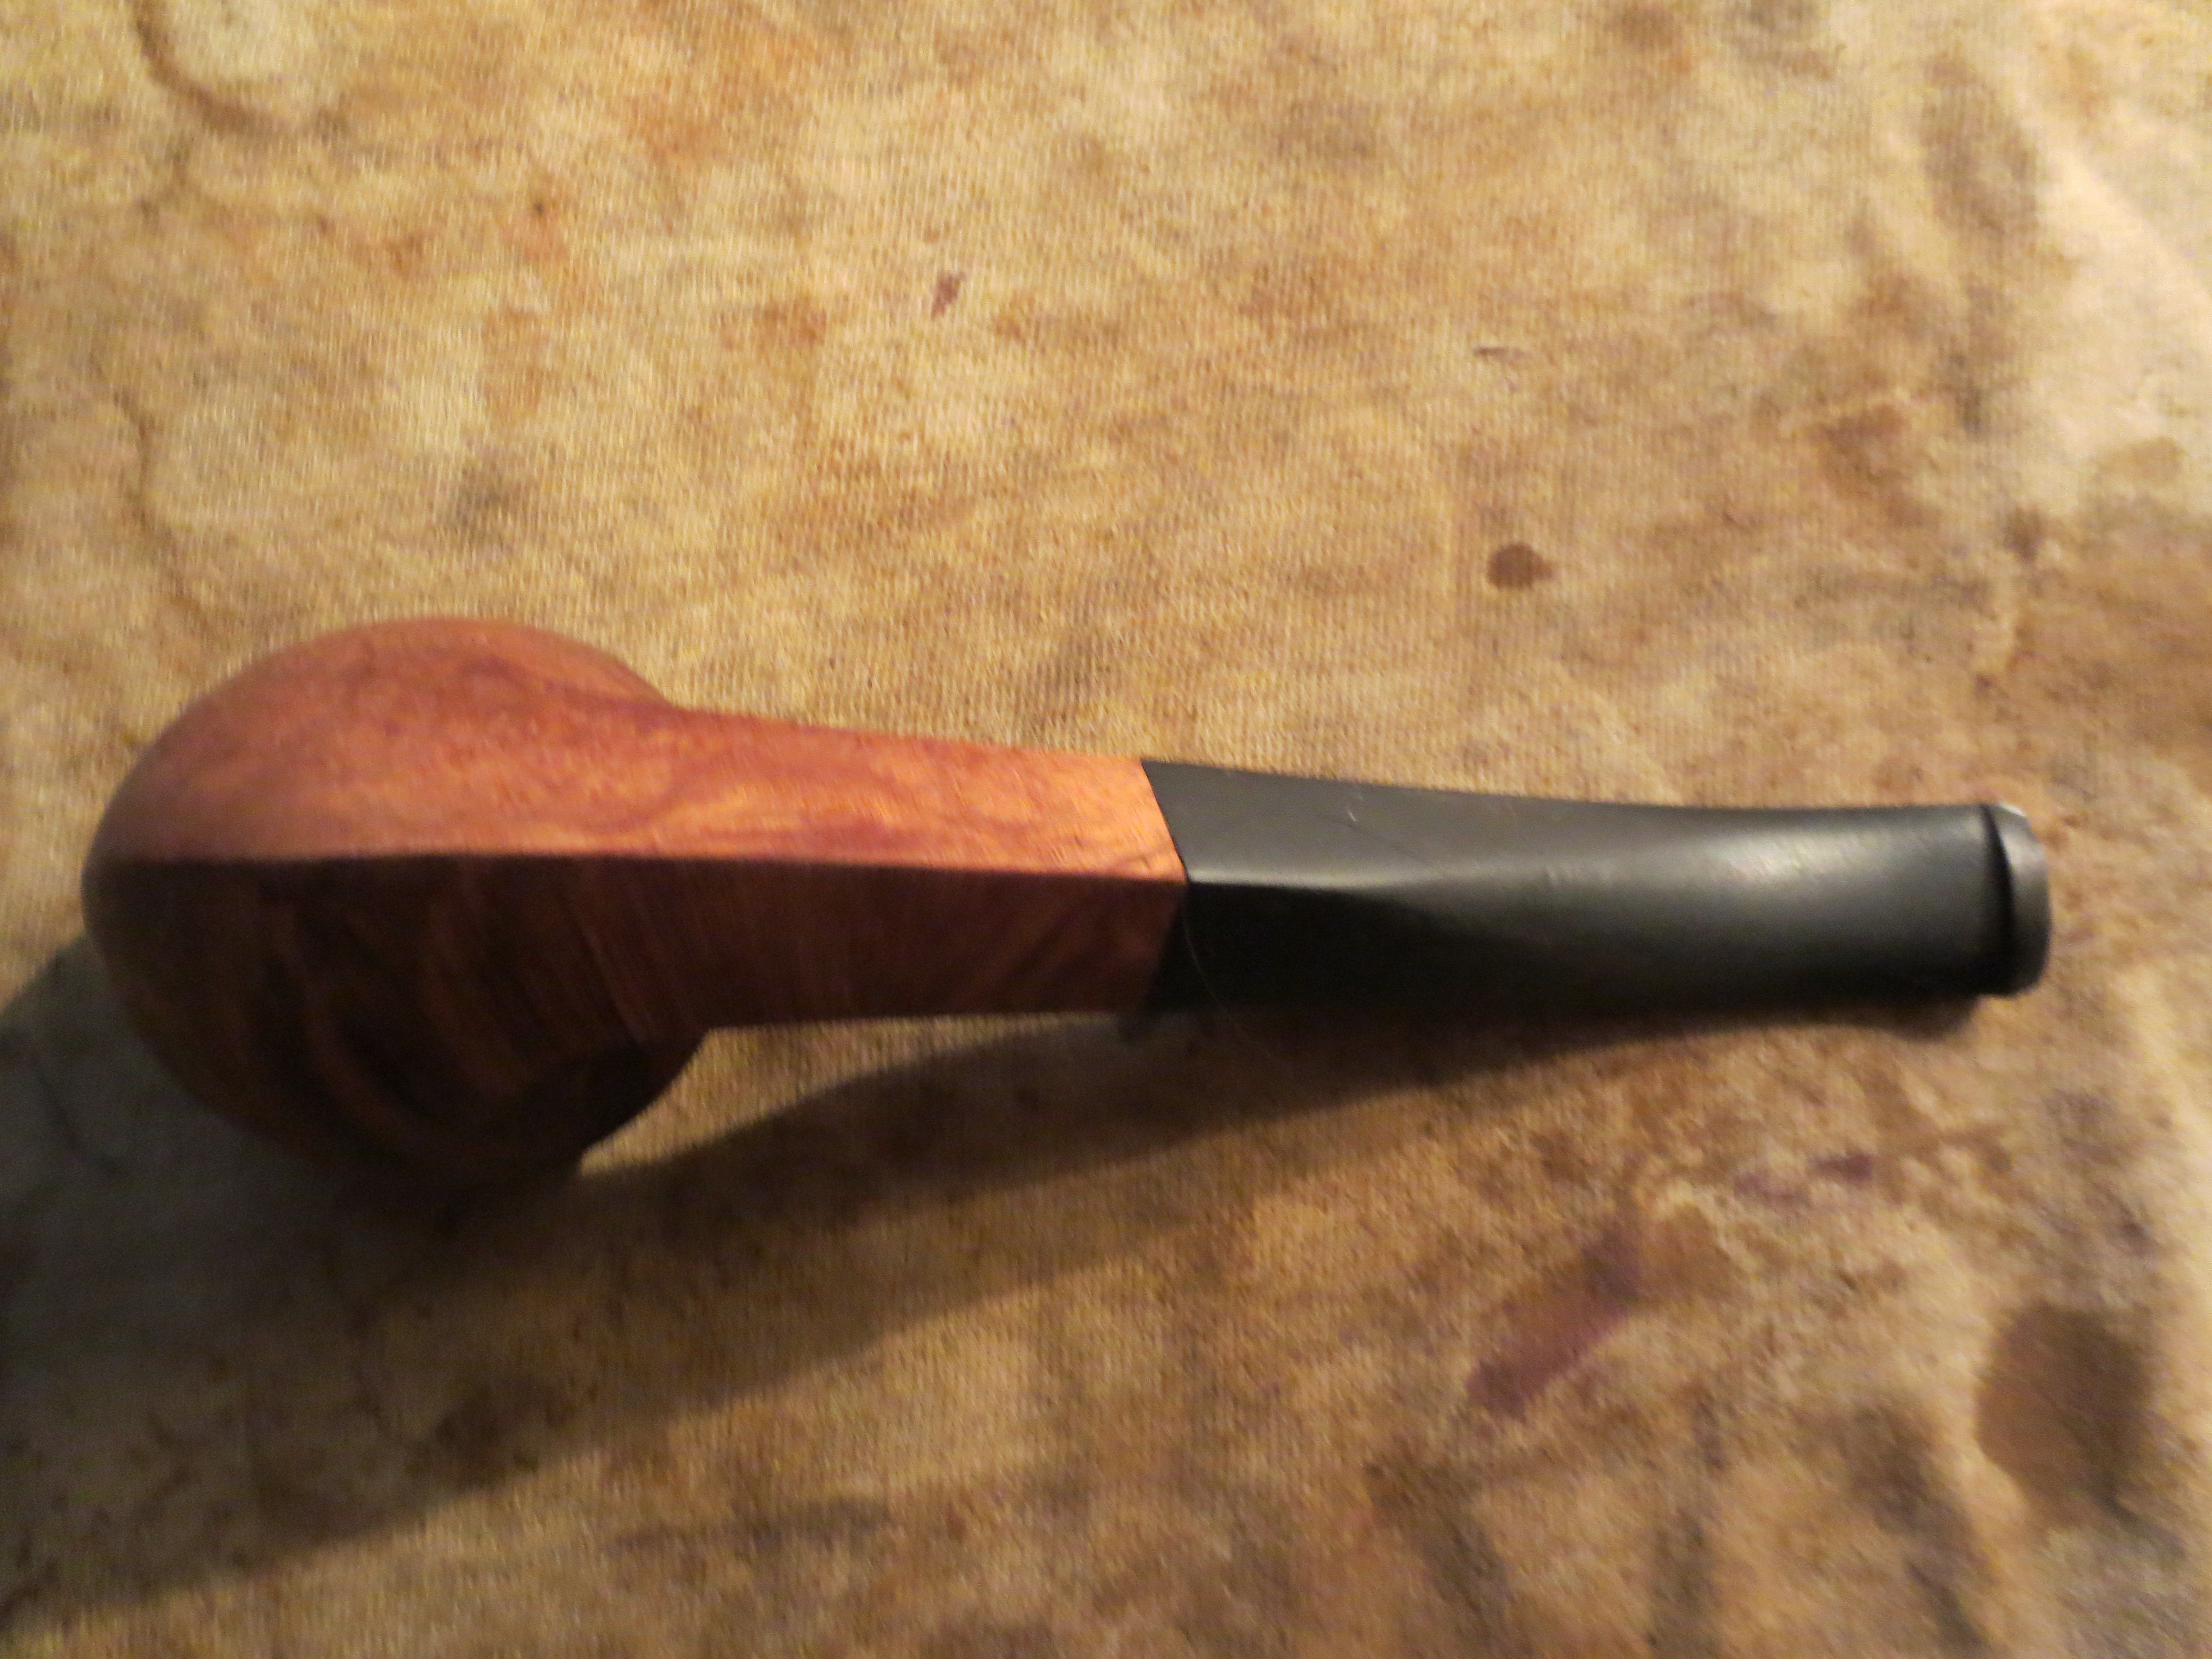
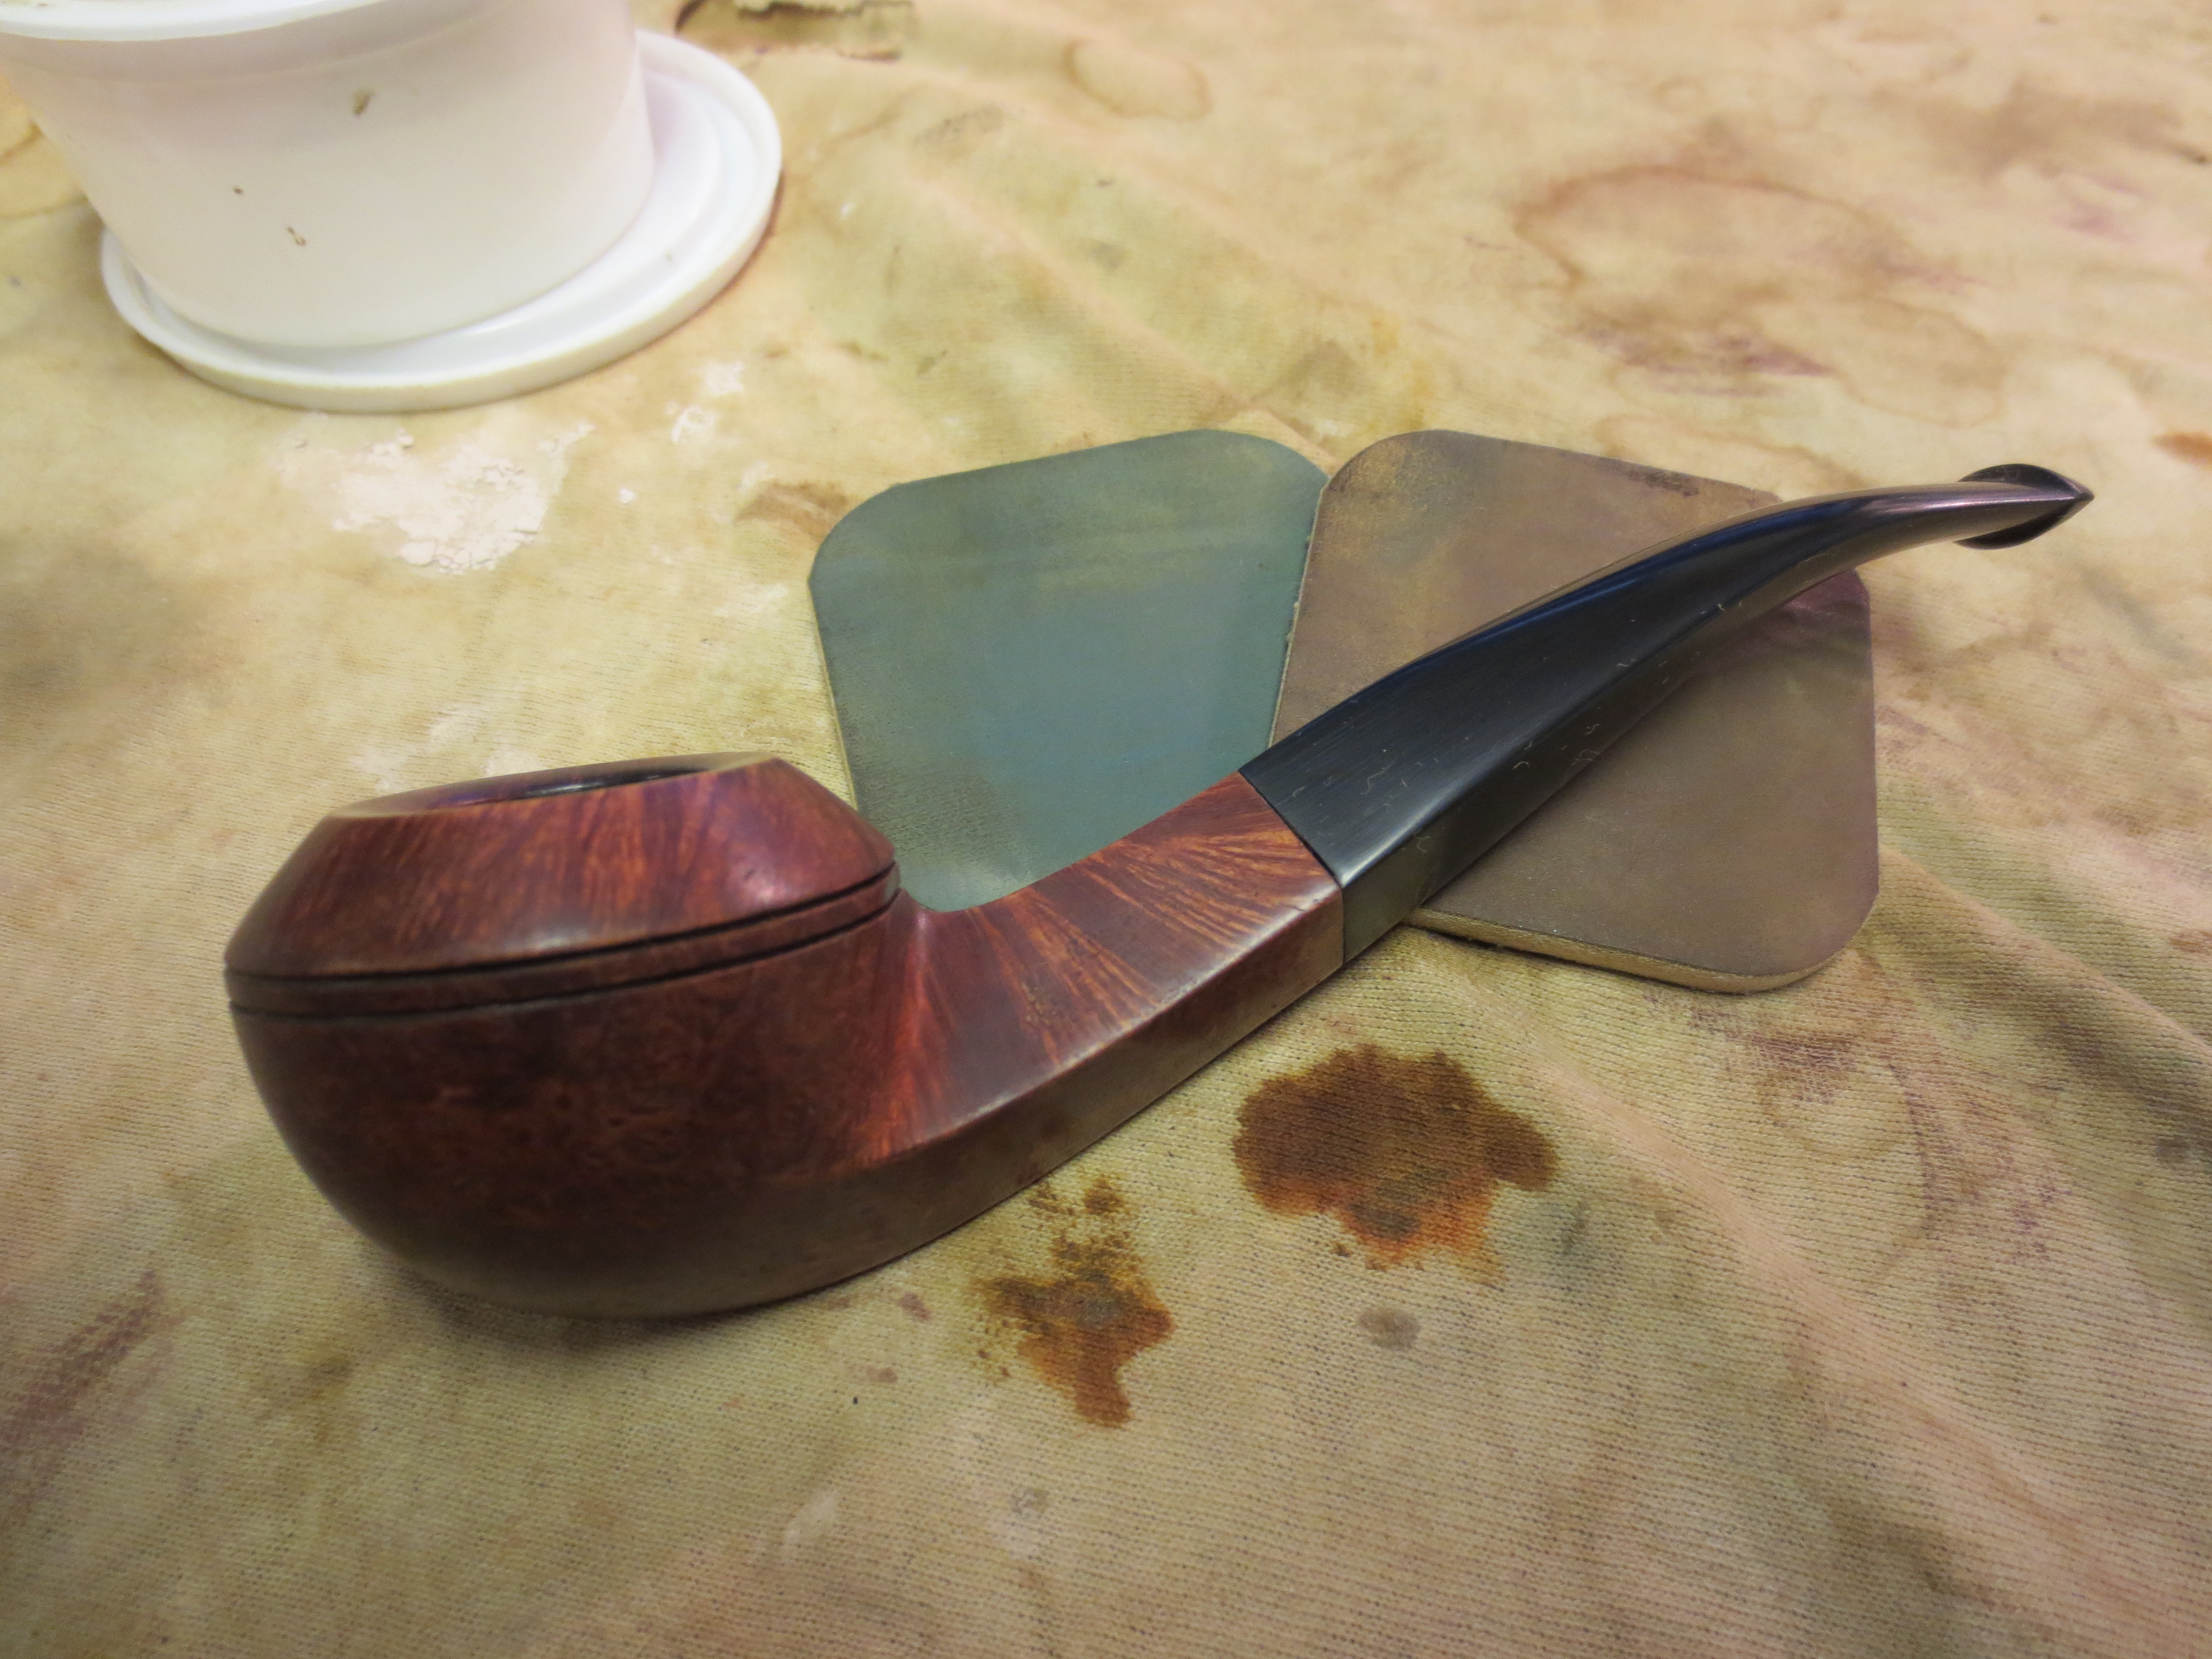
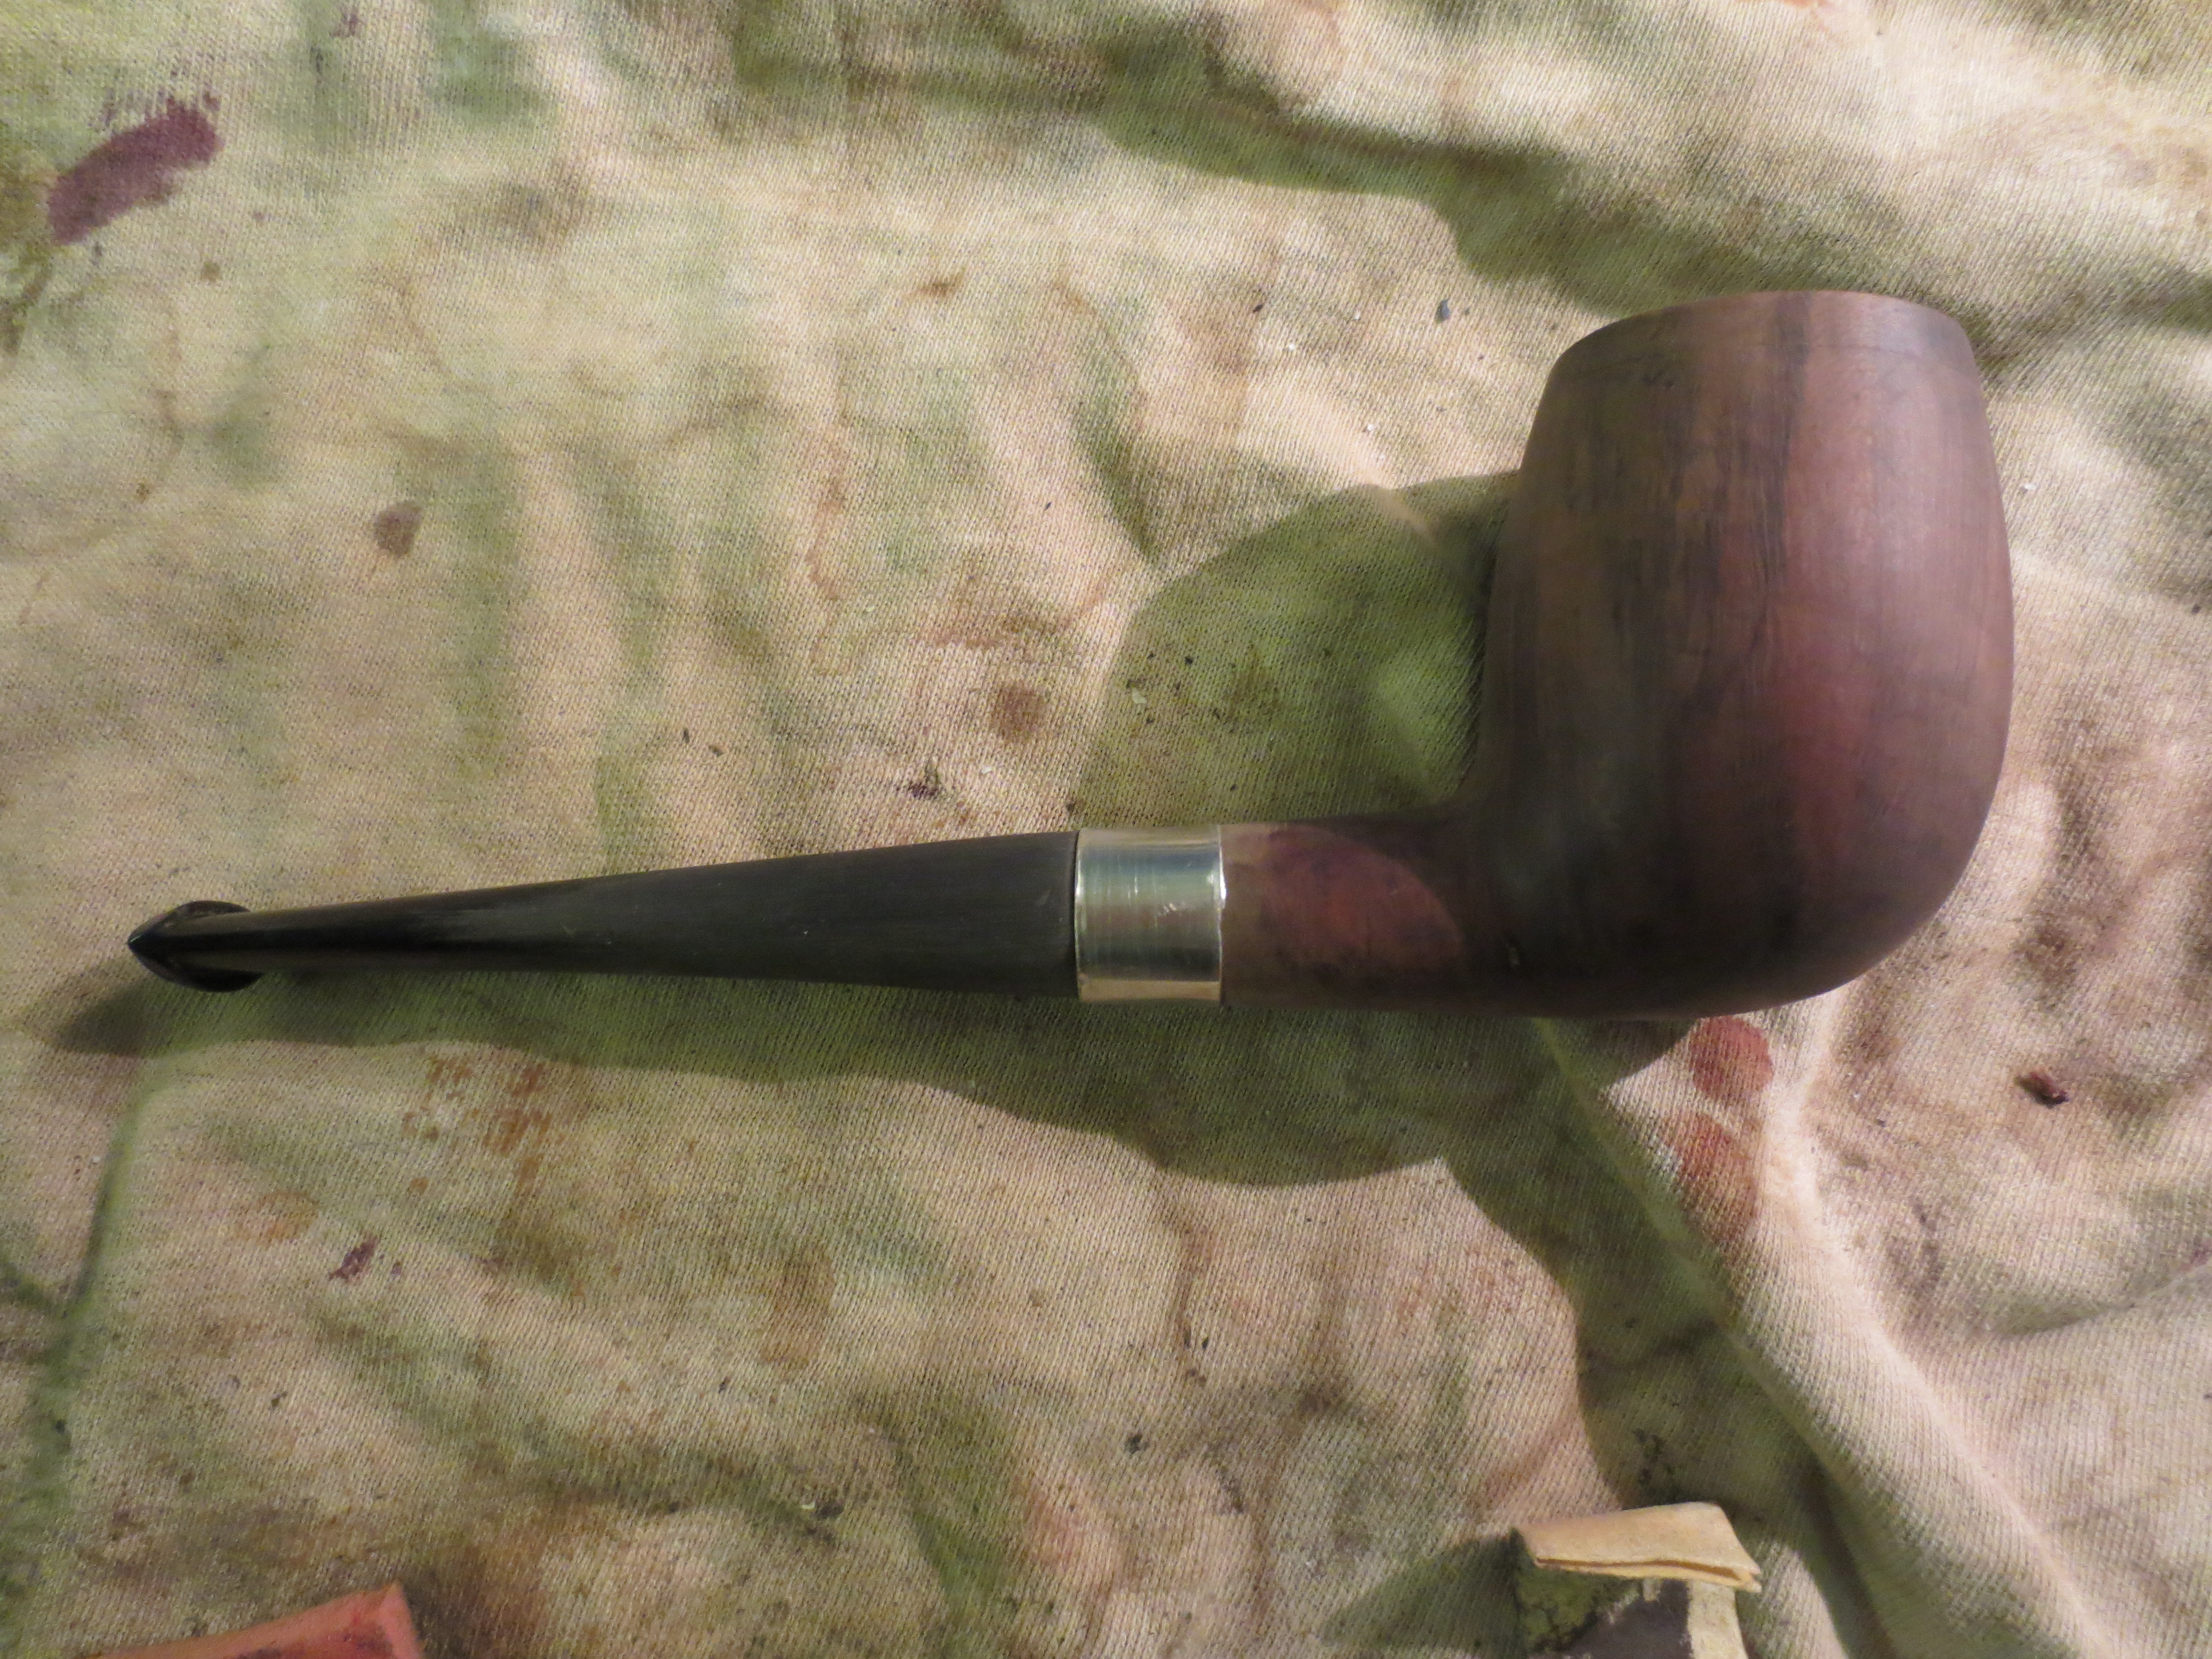
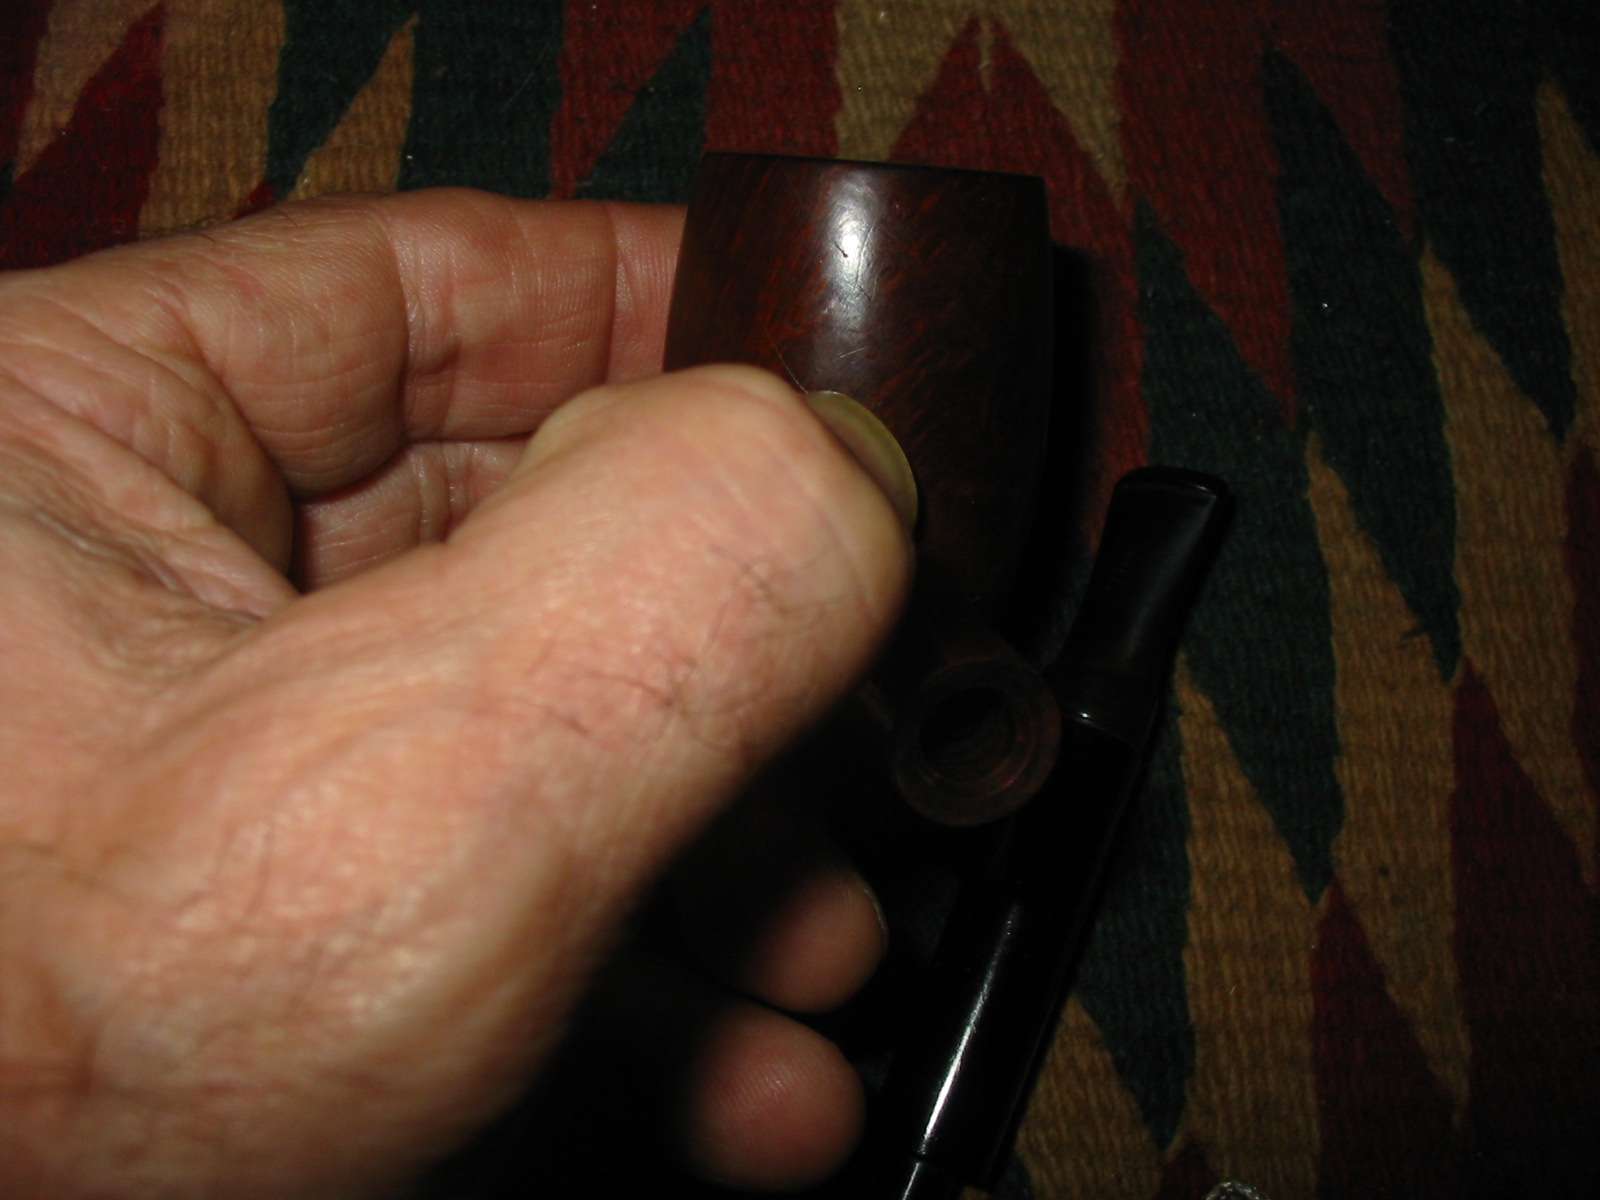
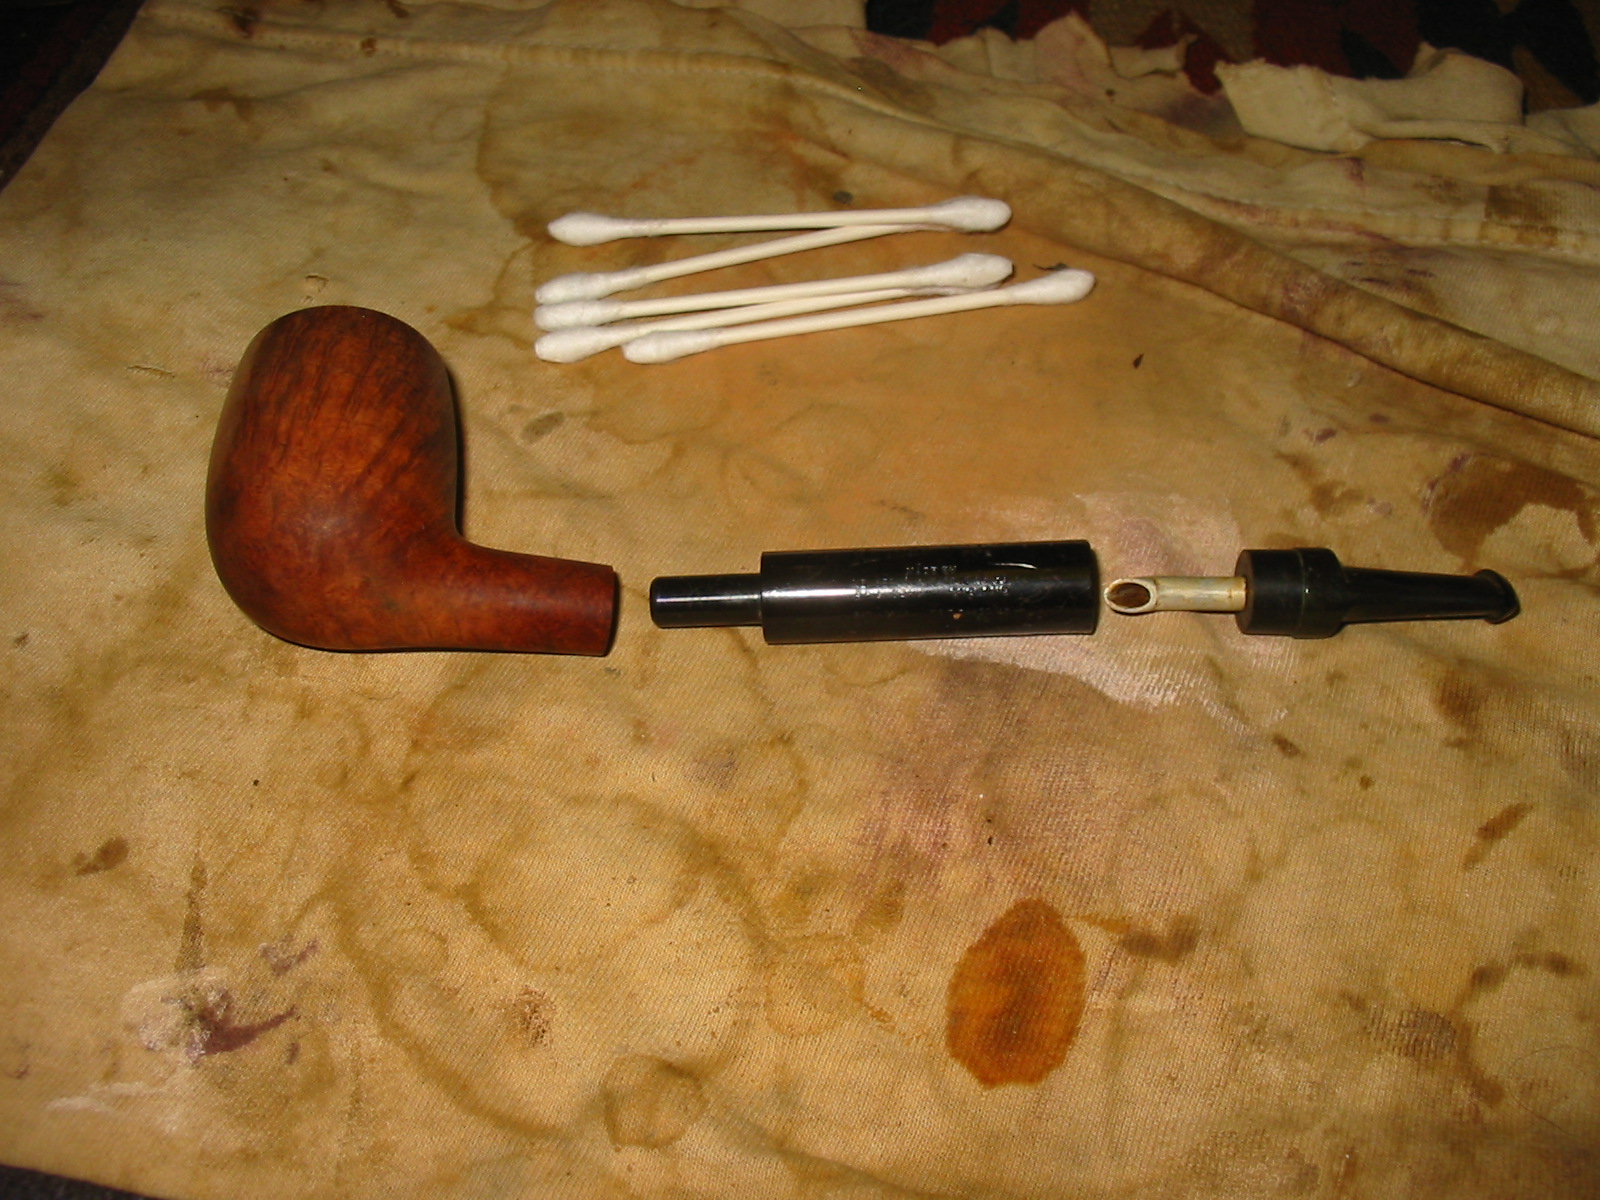
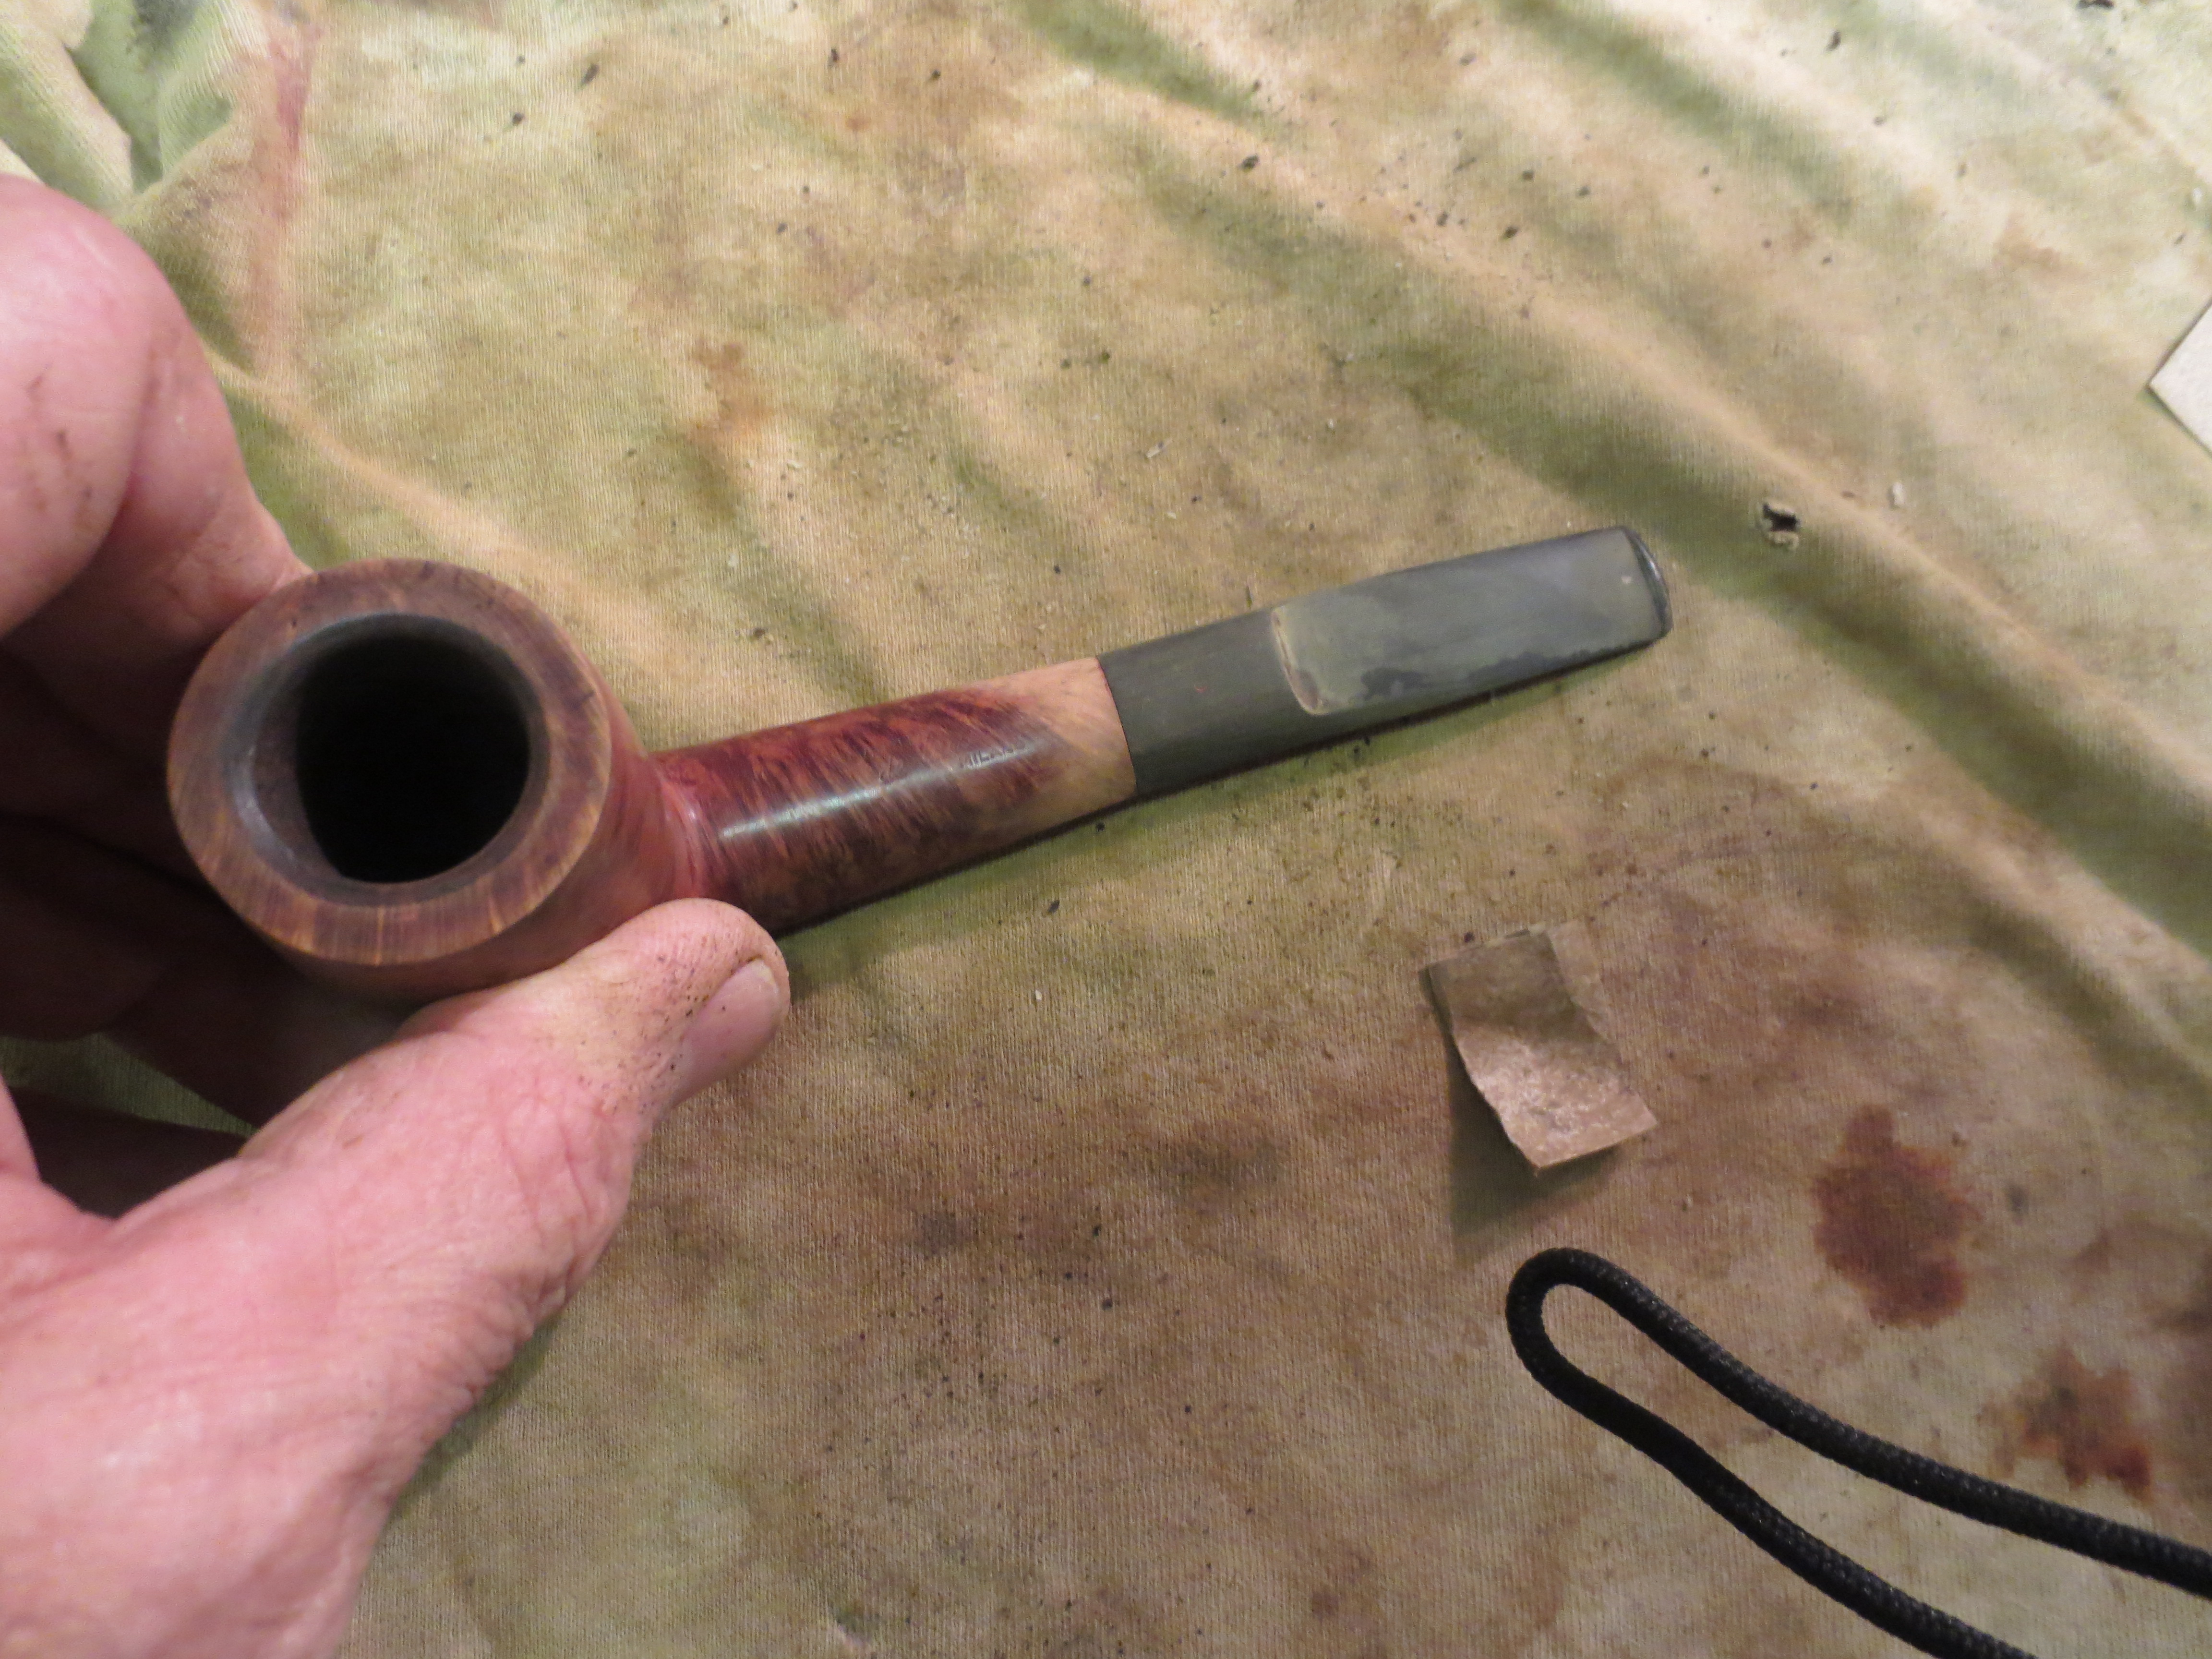
I sanded the tenon with 220 grit sandpaper until I had a good snug fit on the shank. The next four photos show the stem before I began to shape it to fit. The fit against the shank was good and tight. The look of the pipe and stem worked for me so I was good to go.

IMG_1326

IMG_1327

IMG_1328

IMG_1329

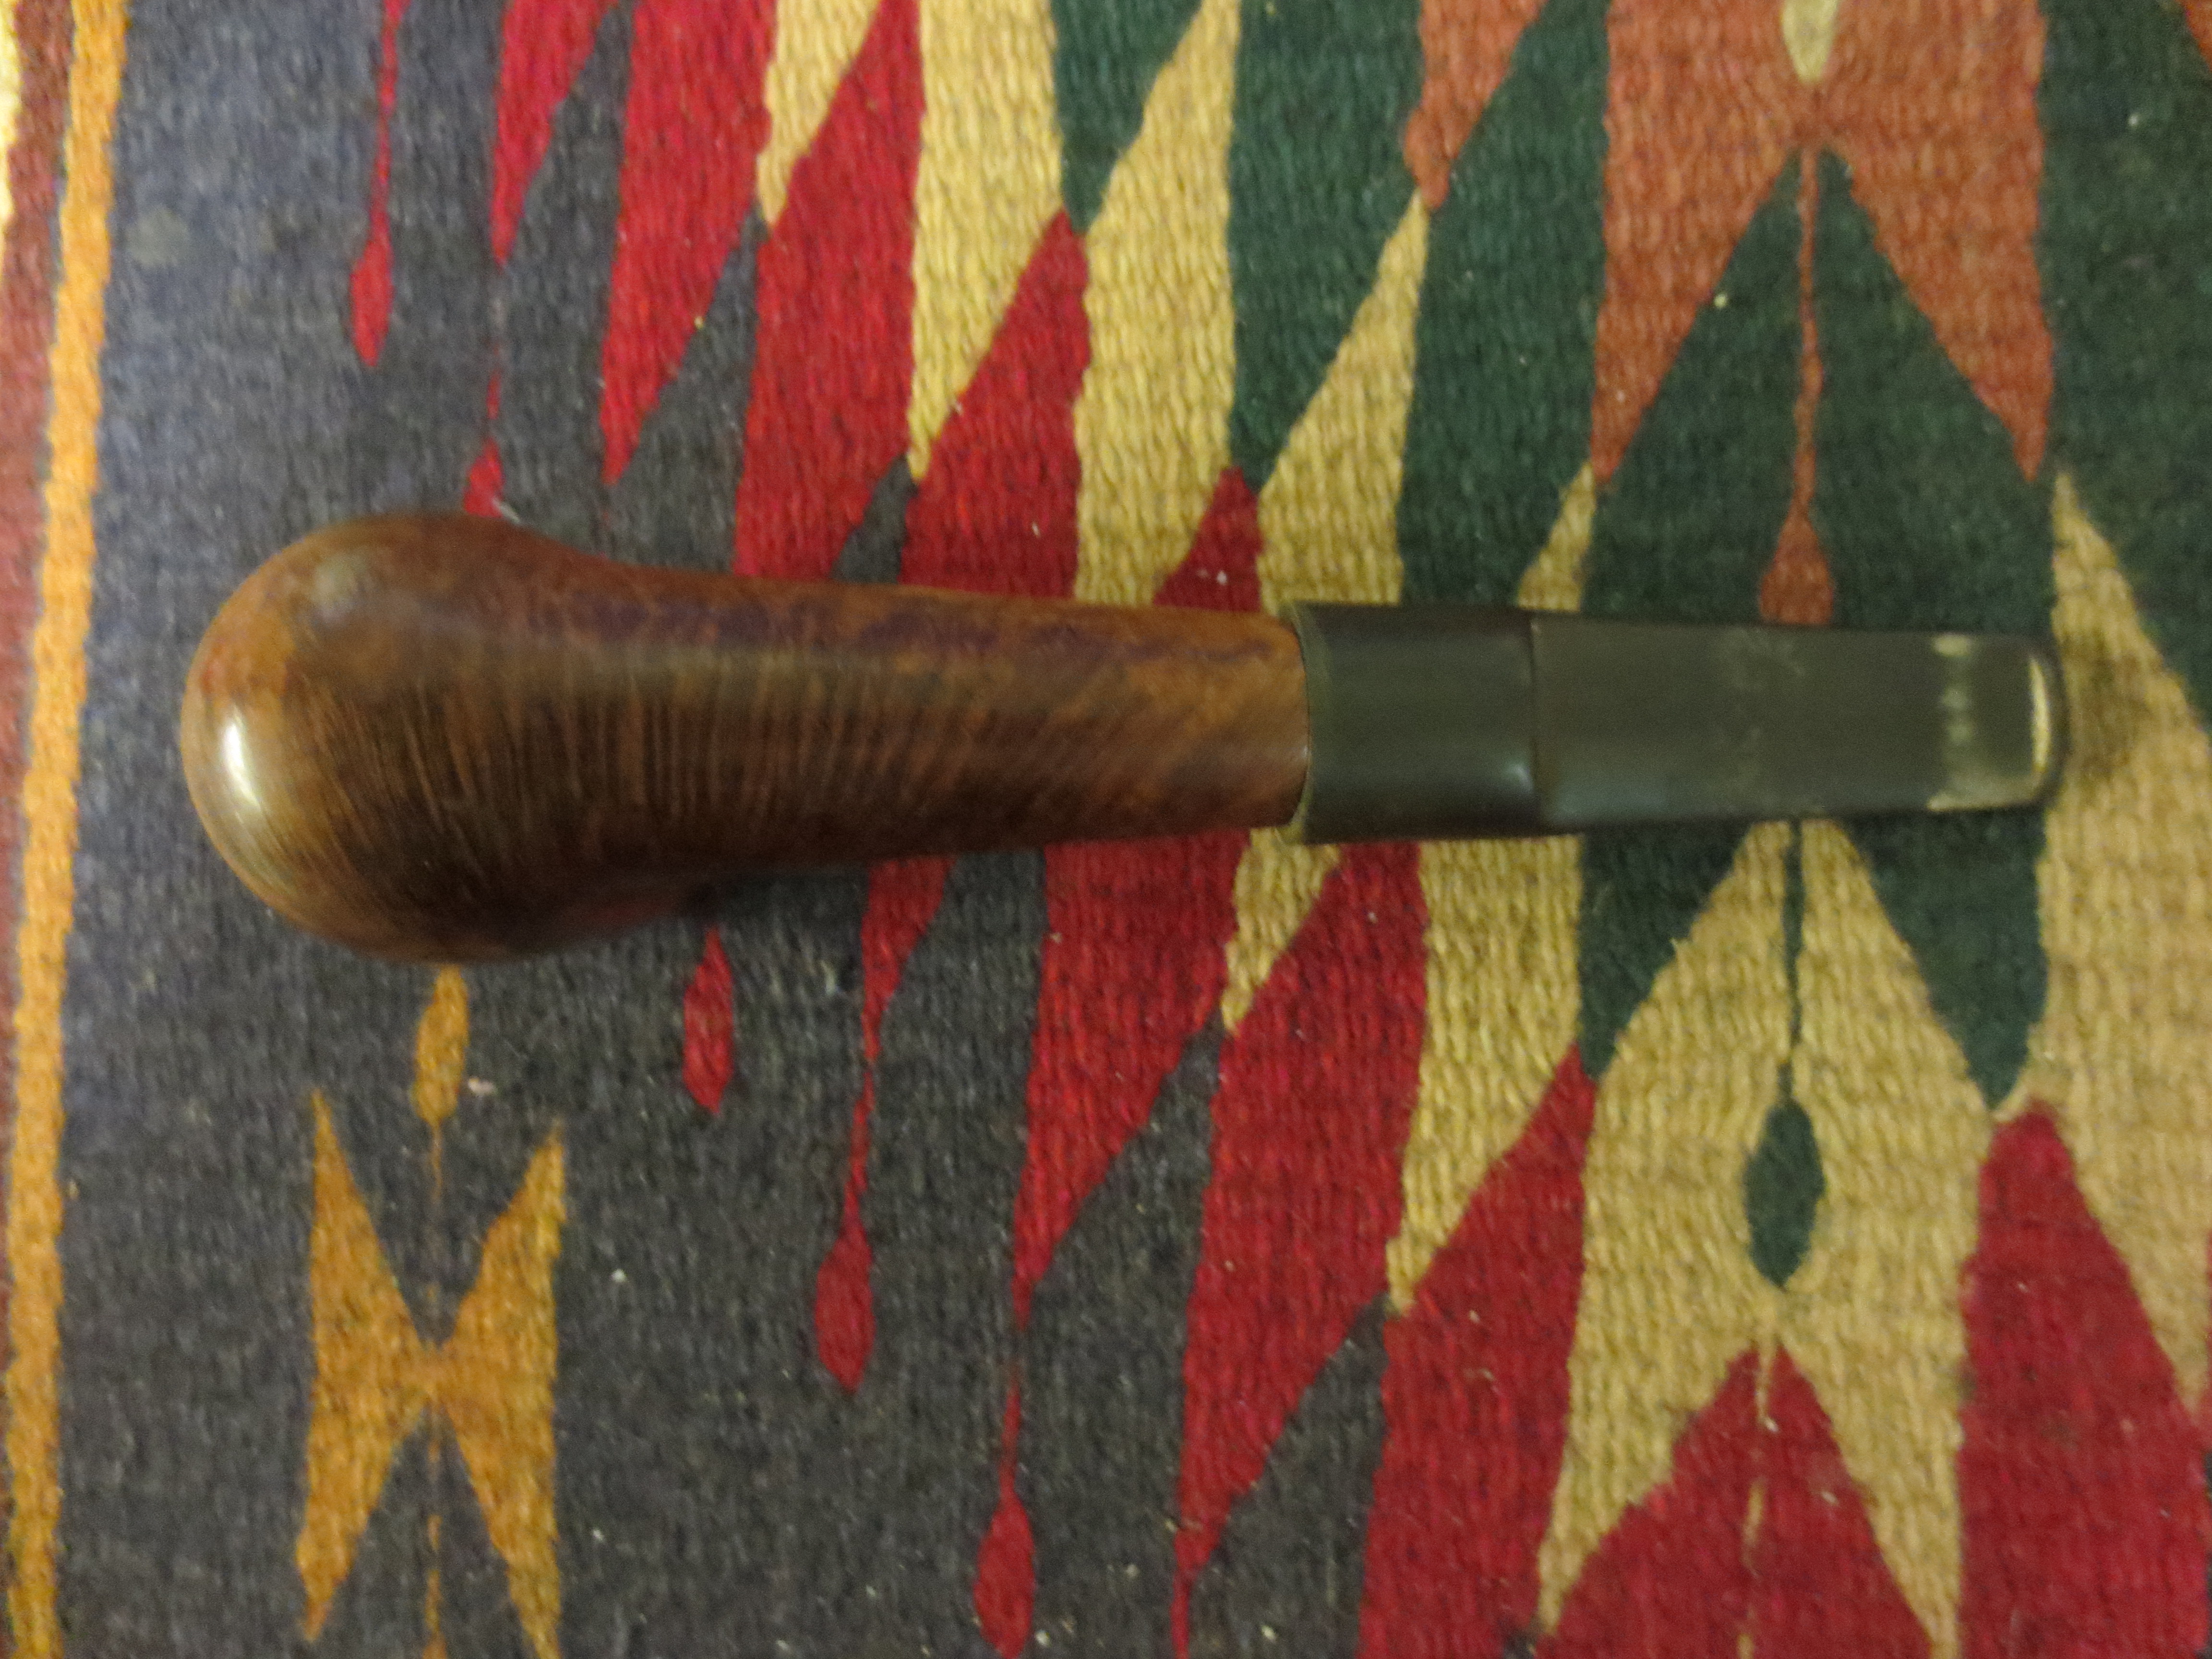
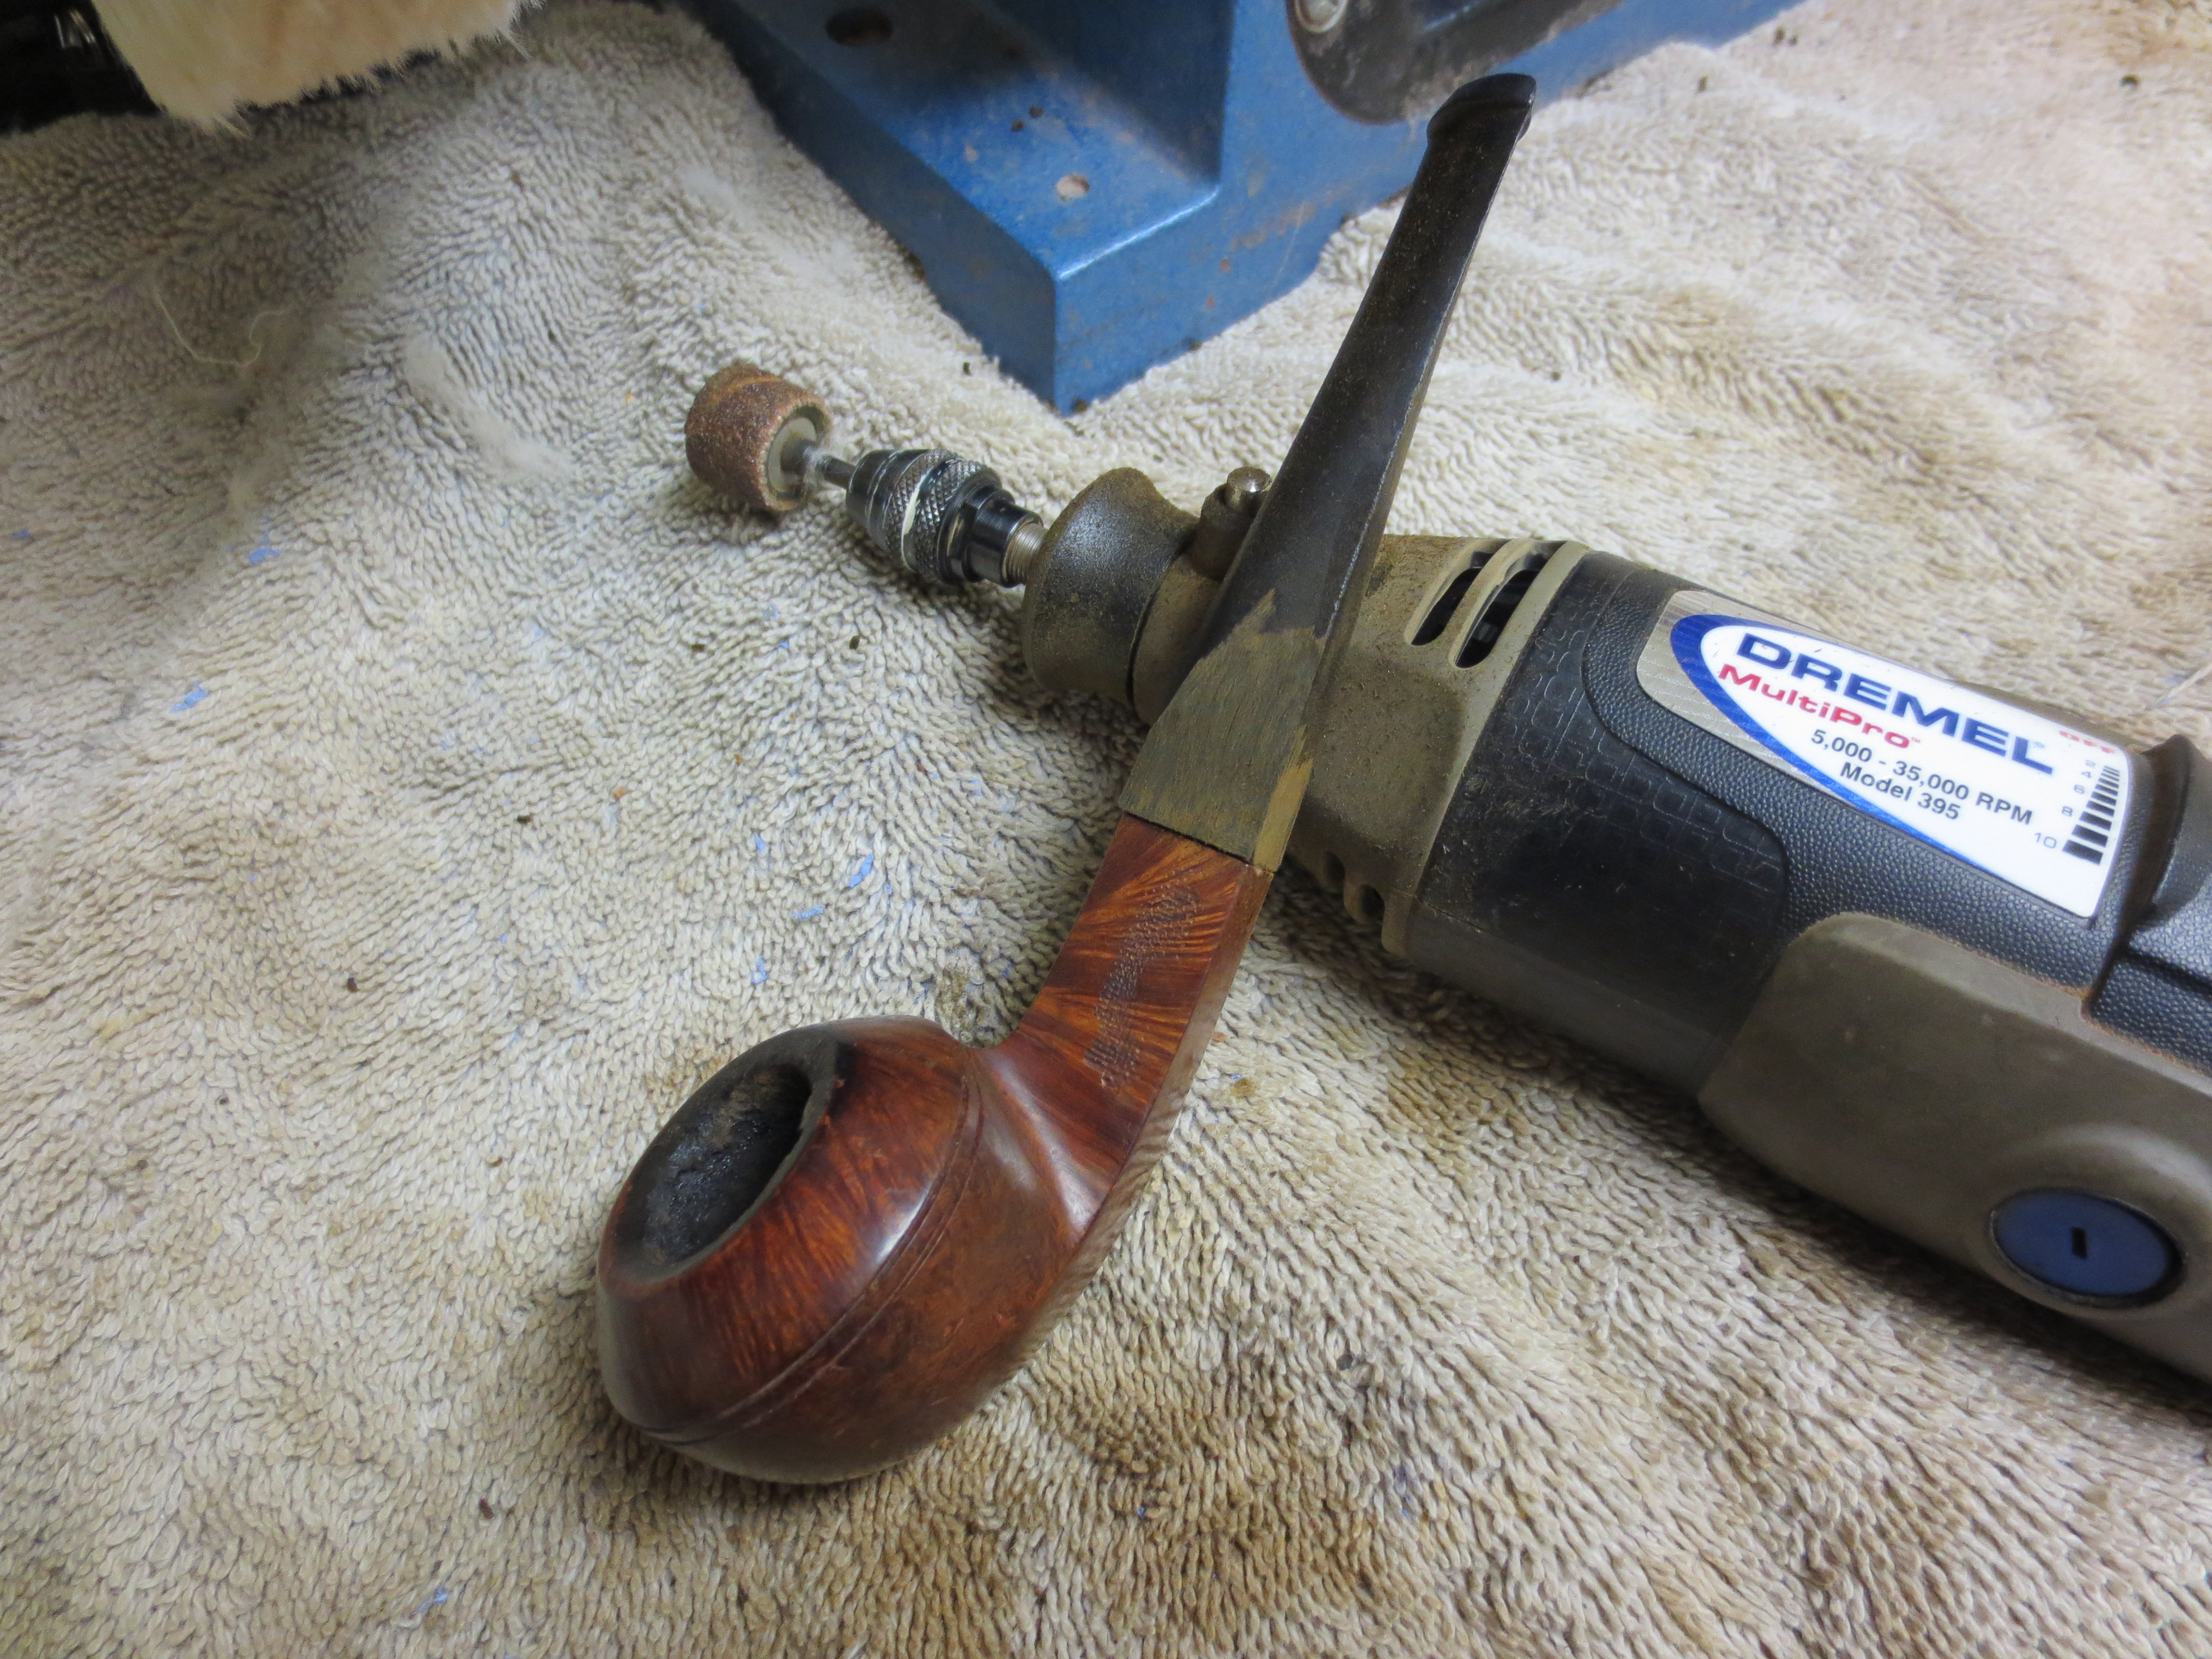
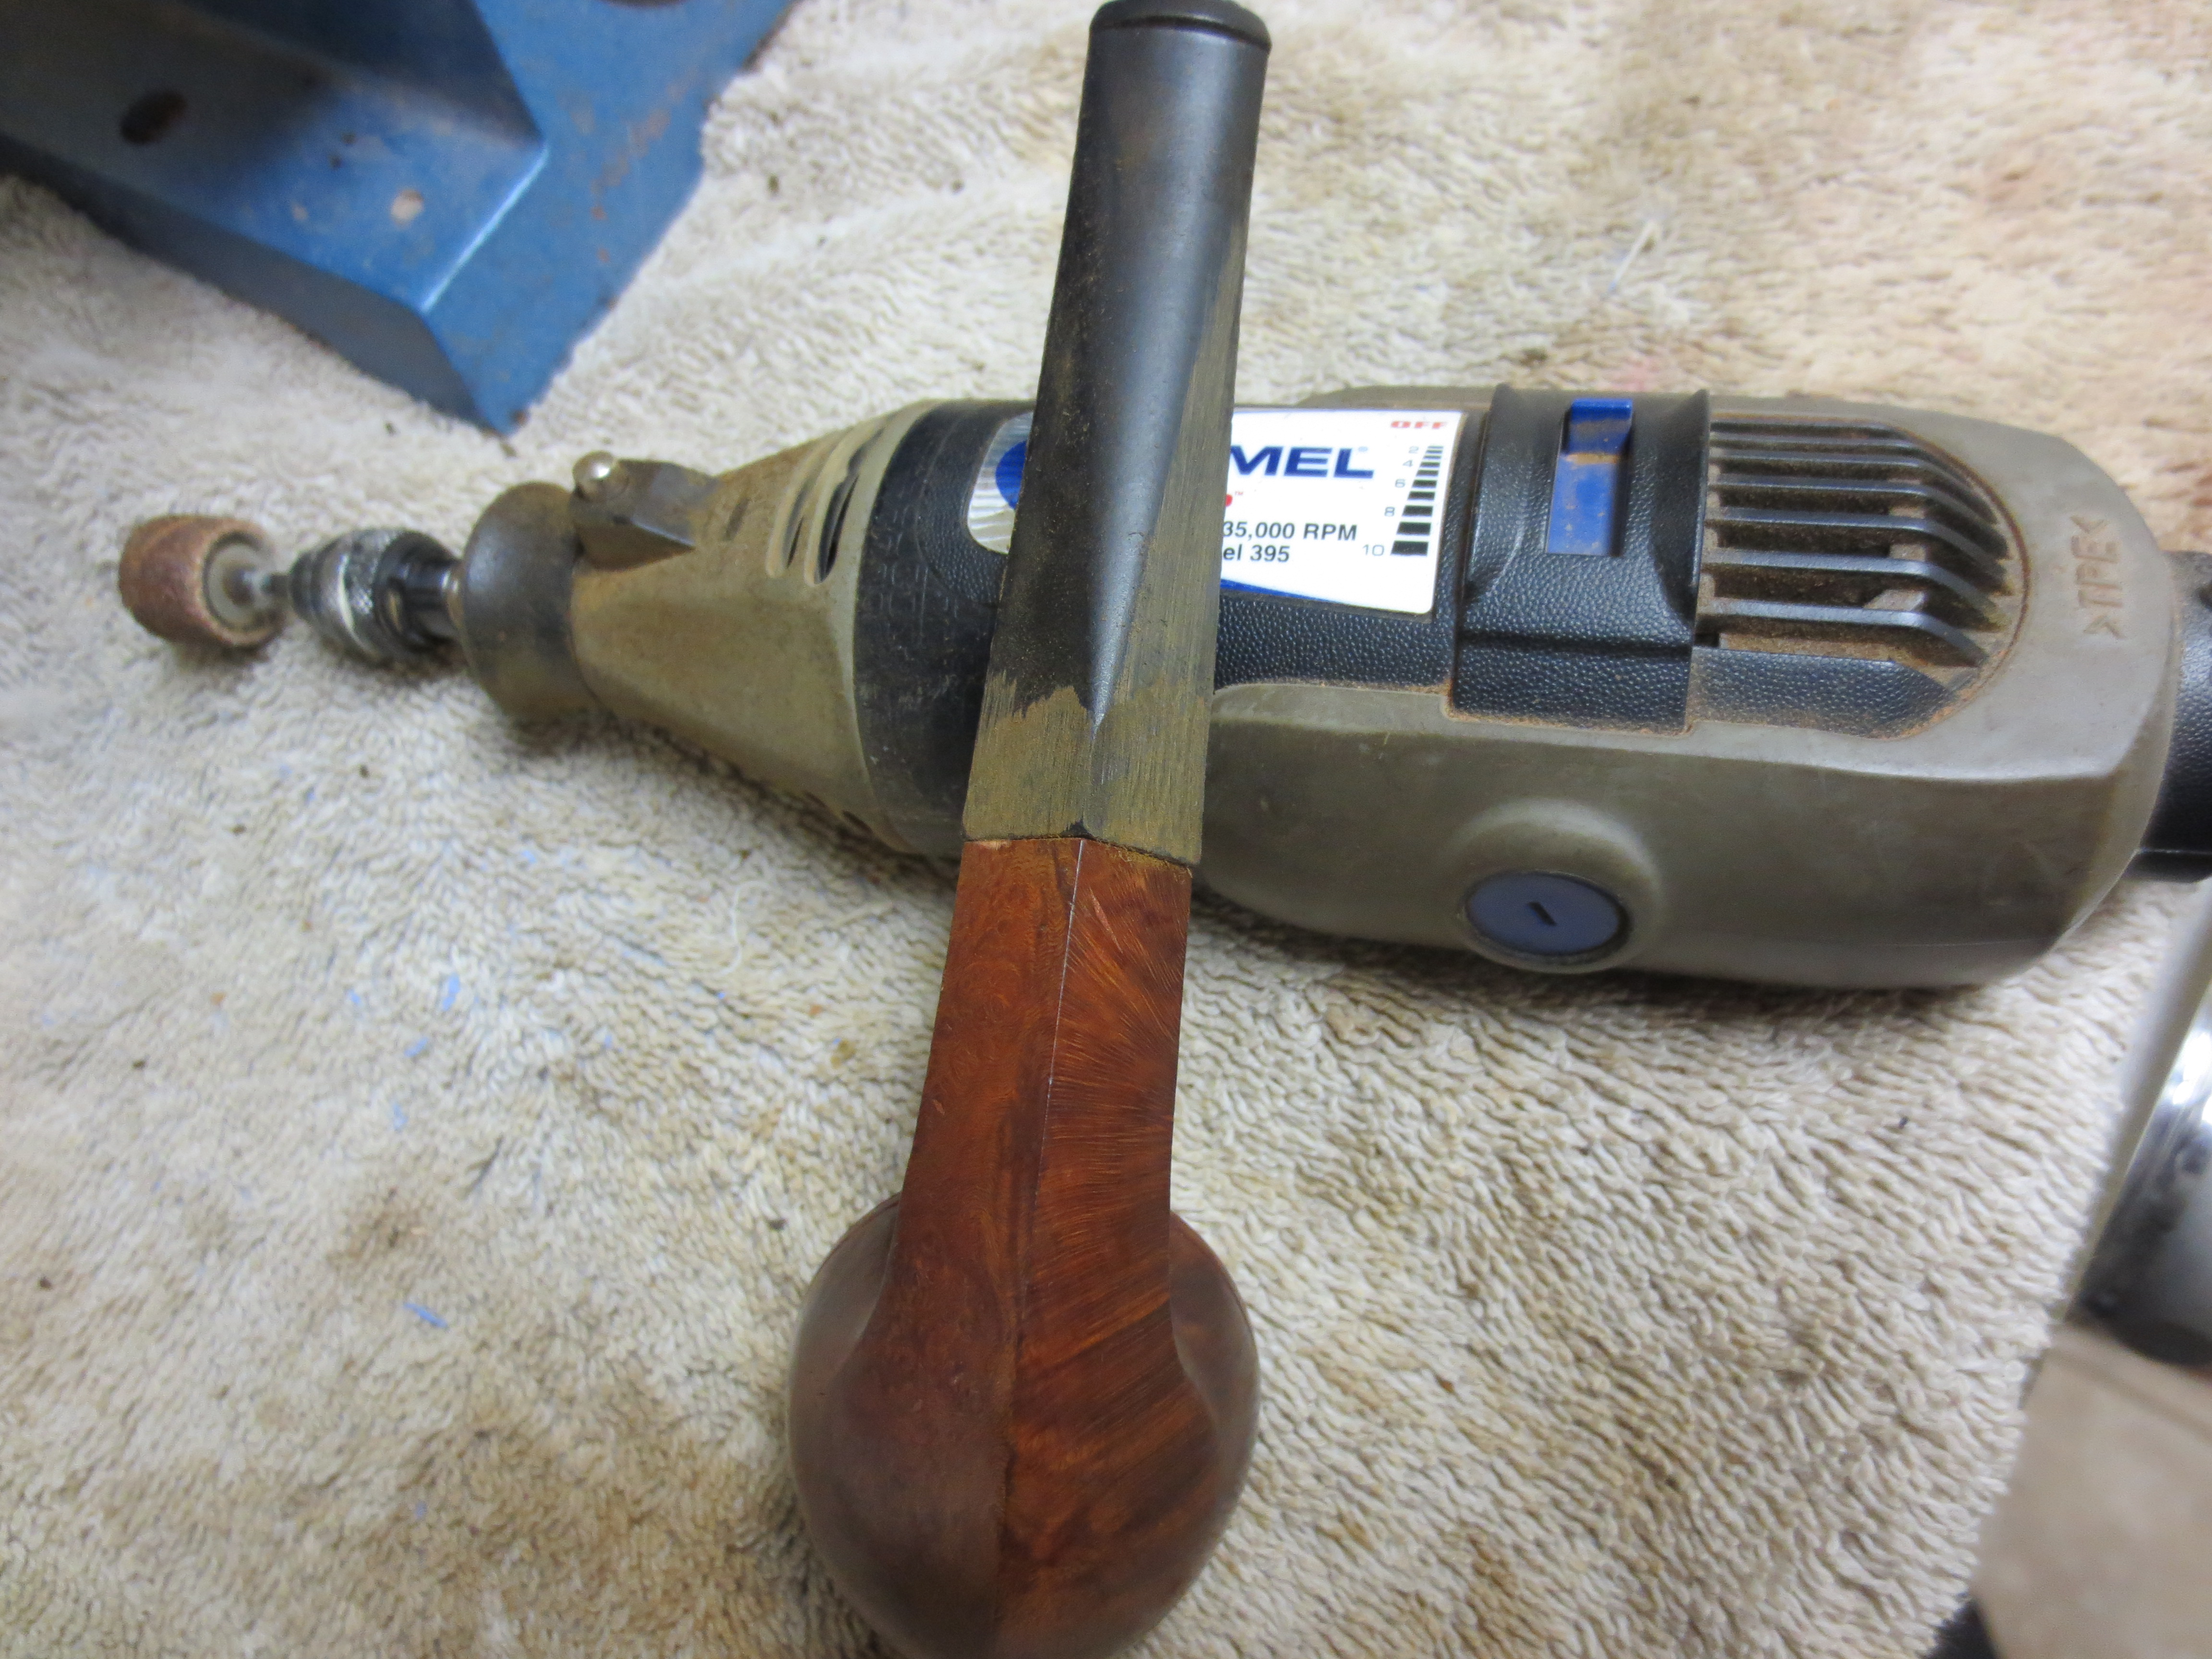
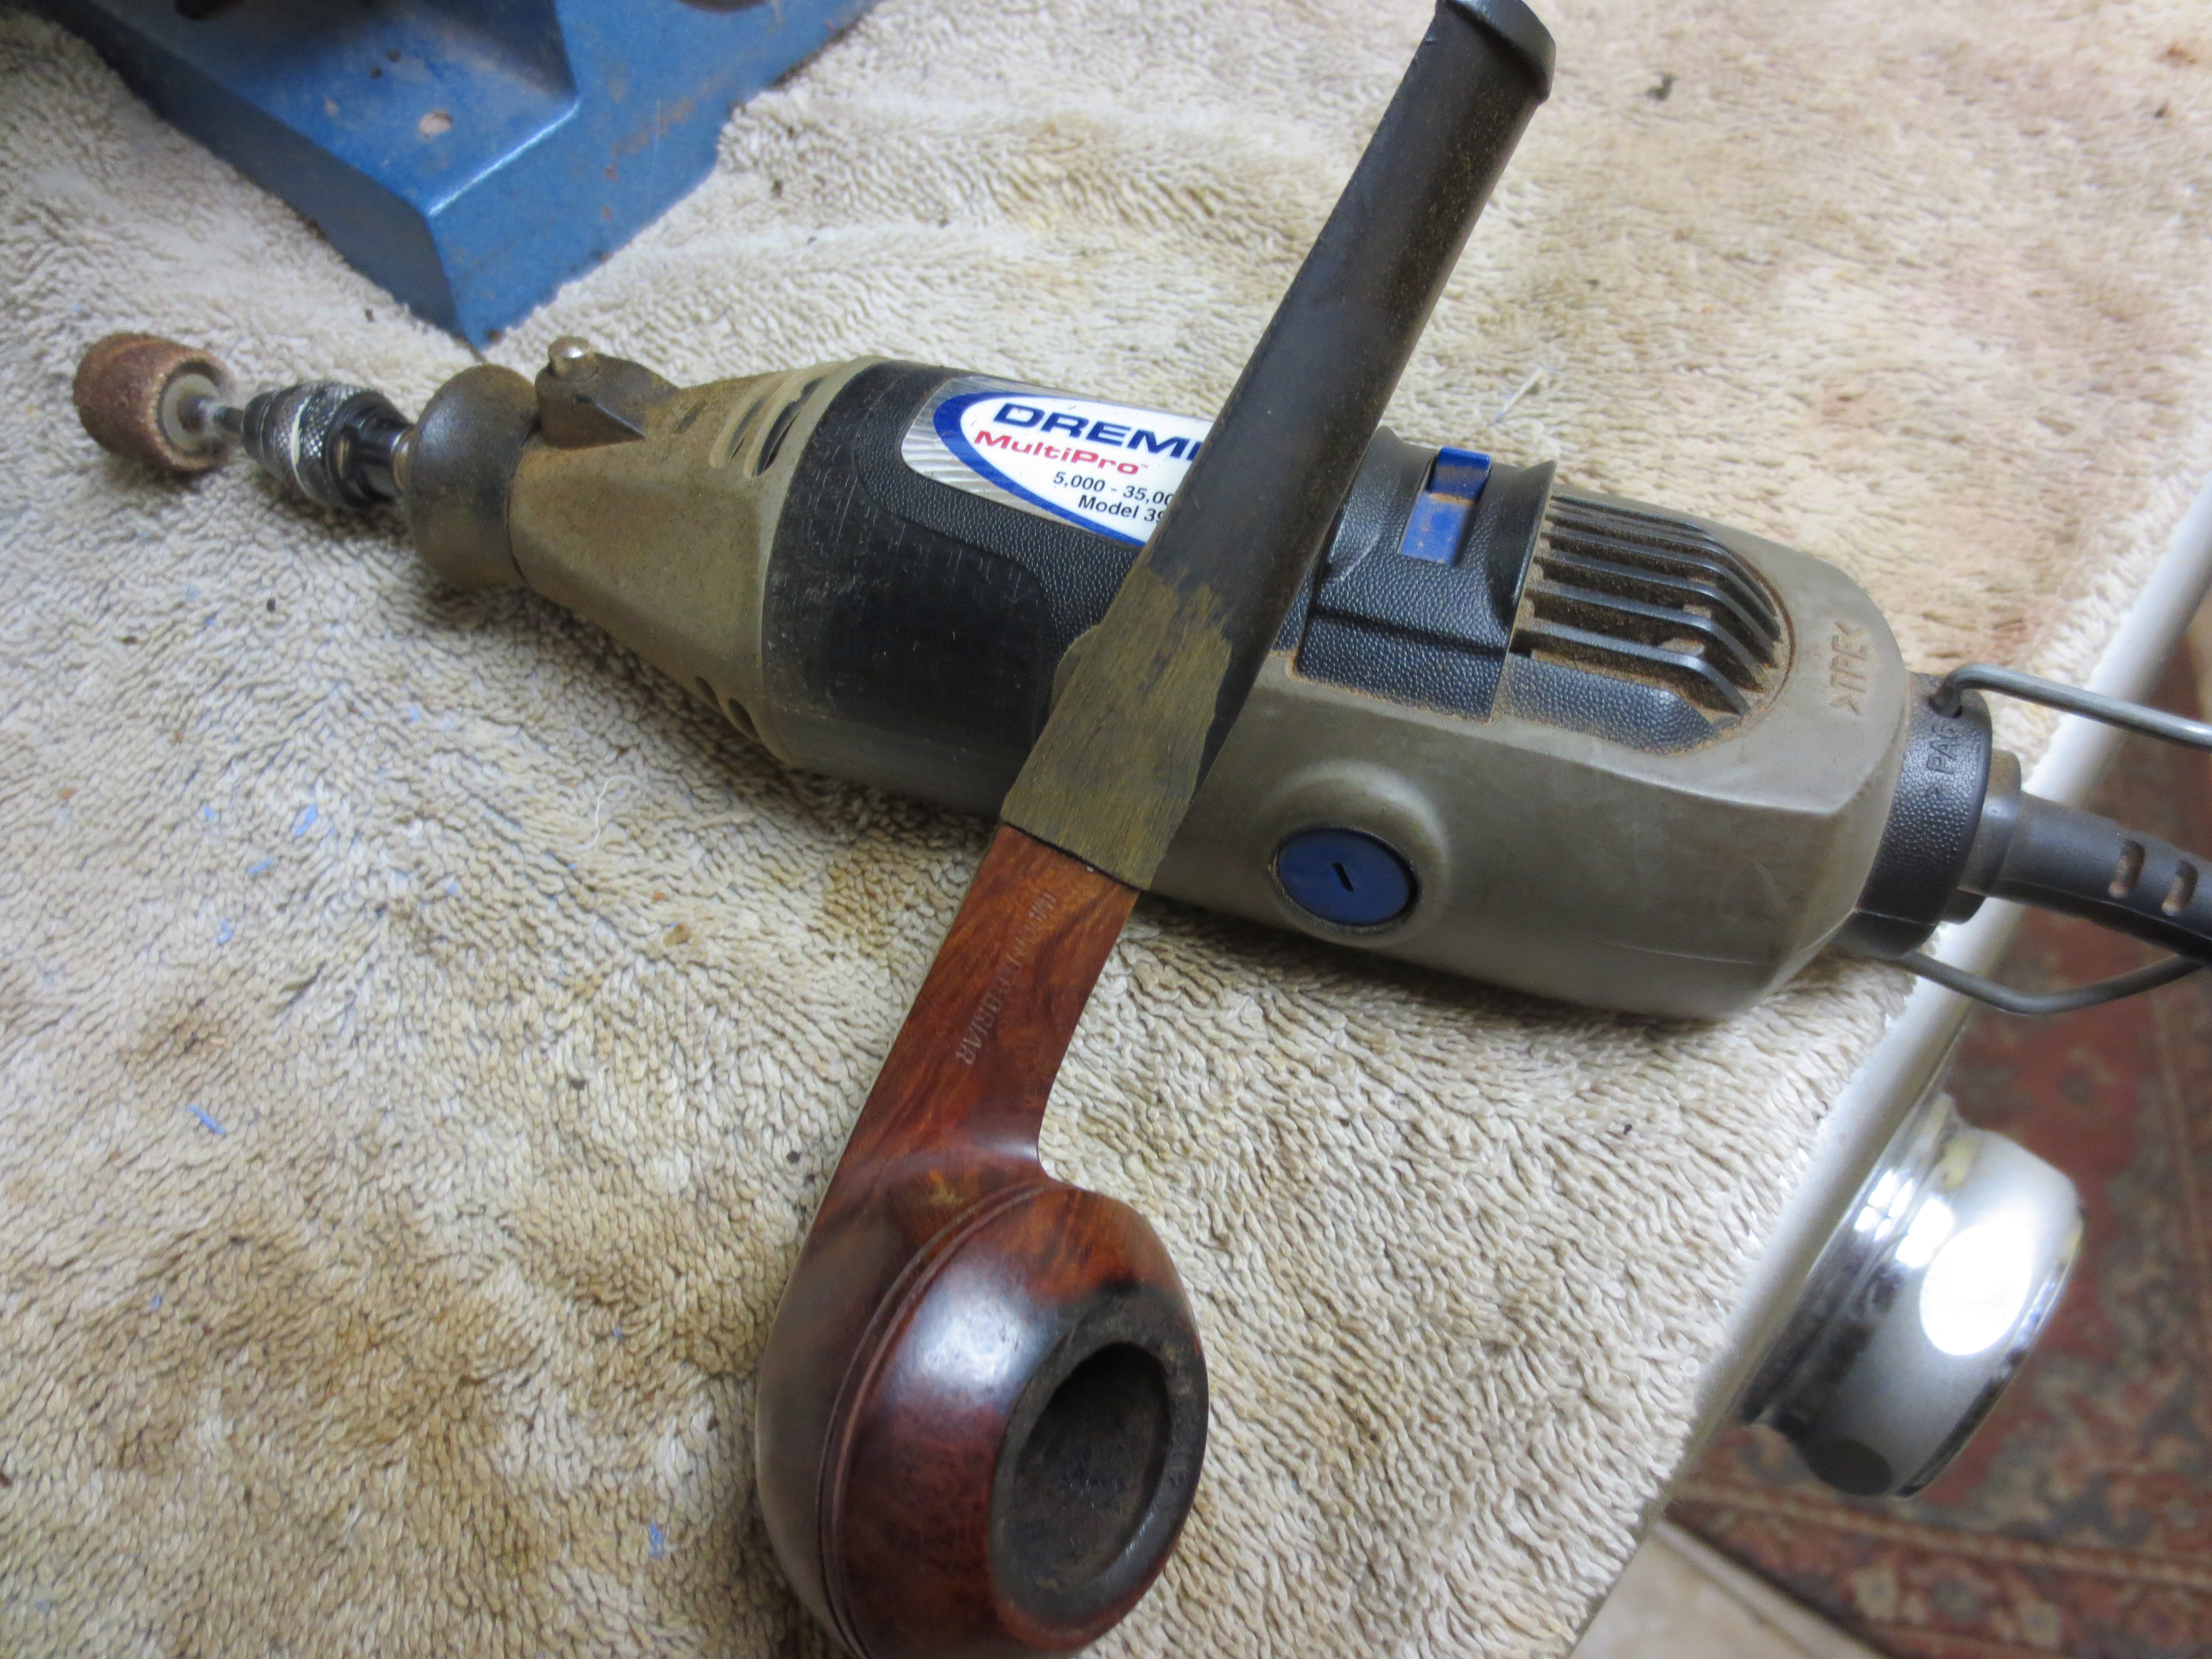
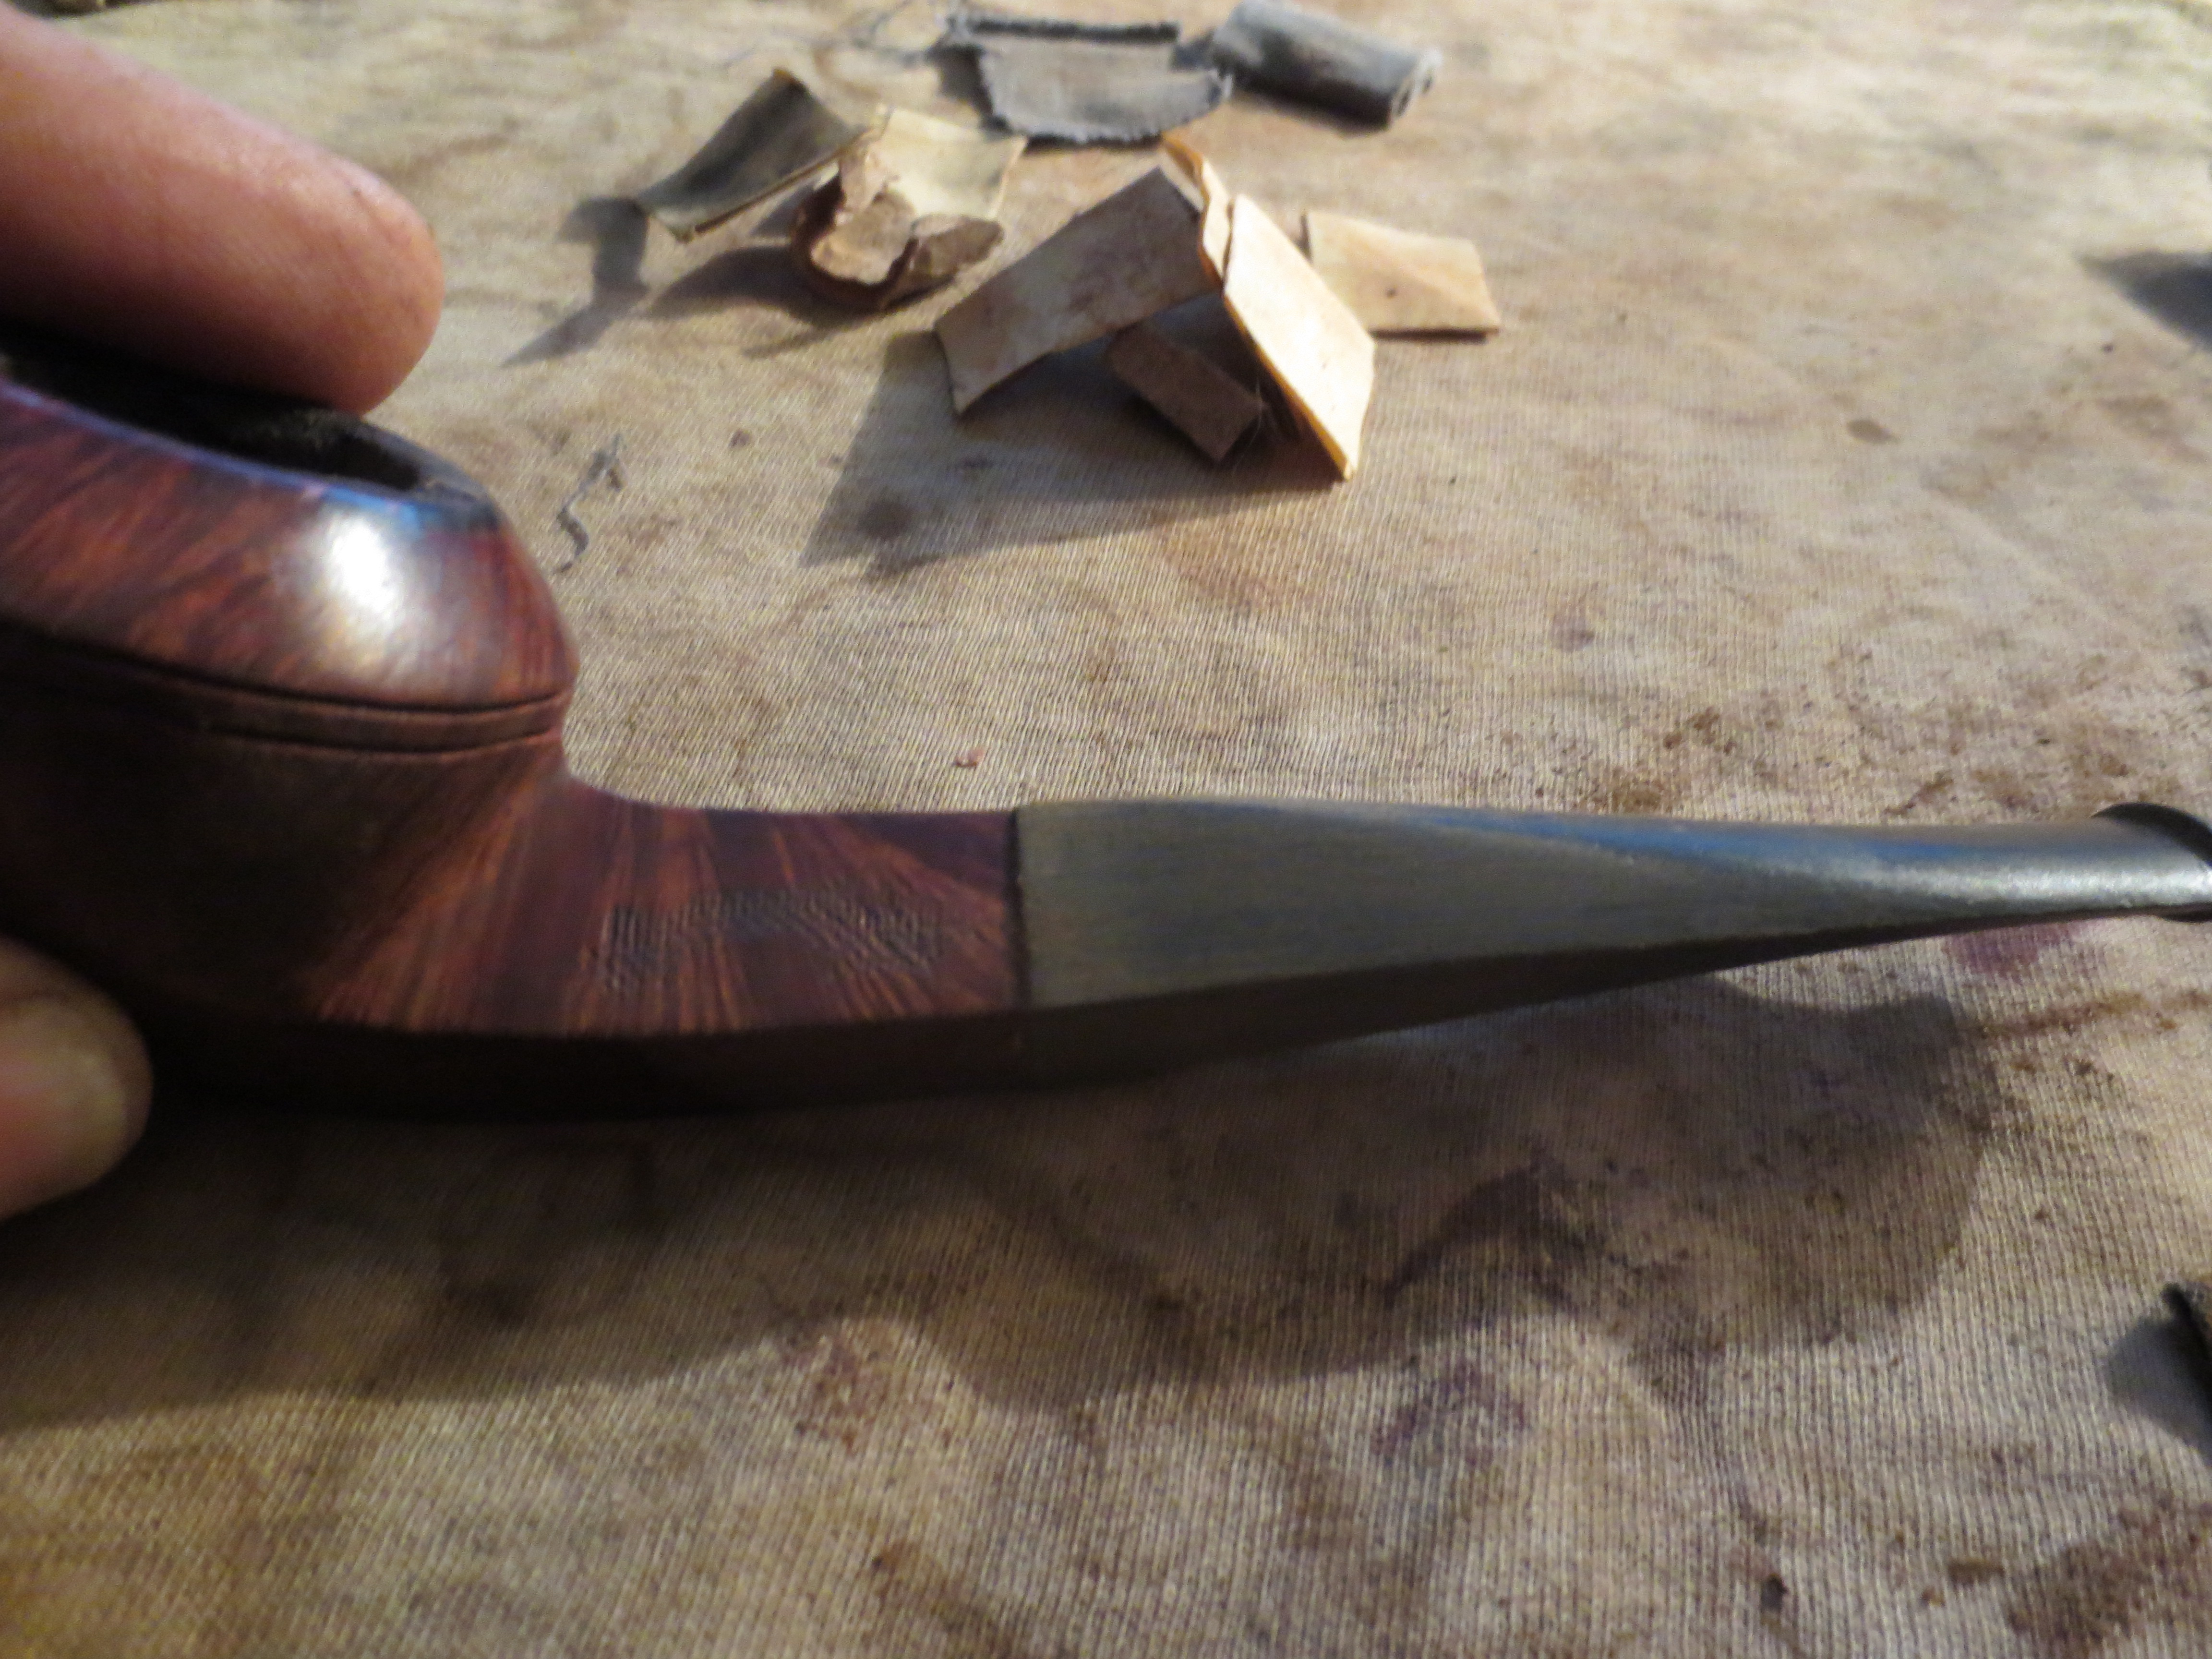
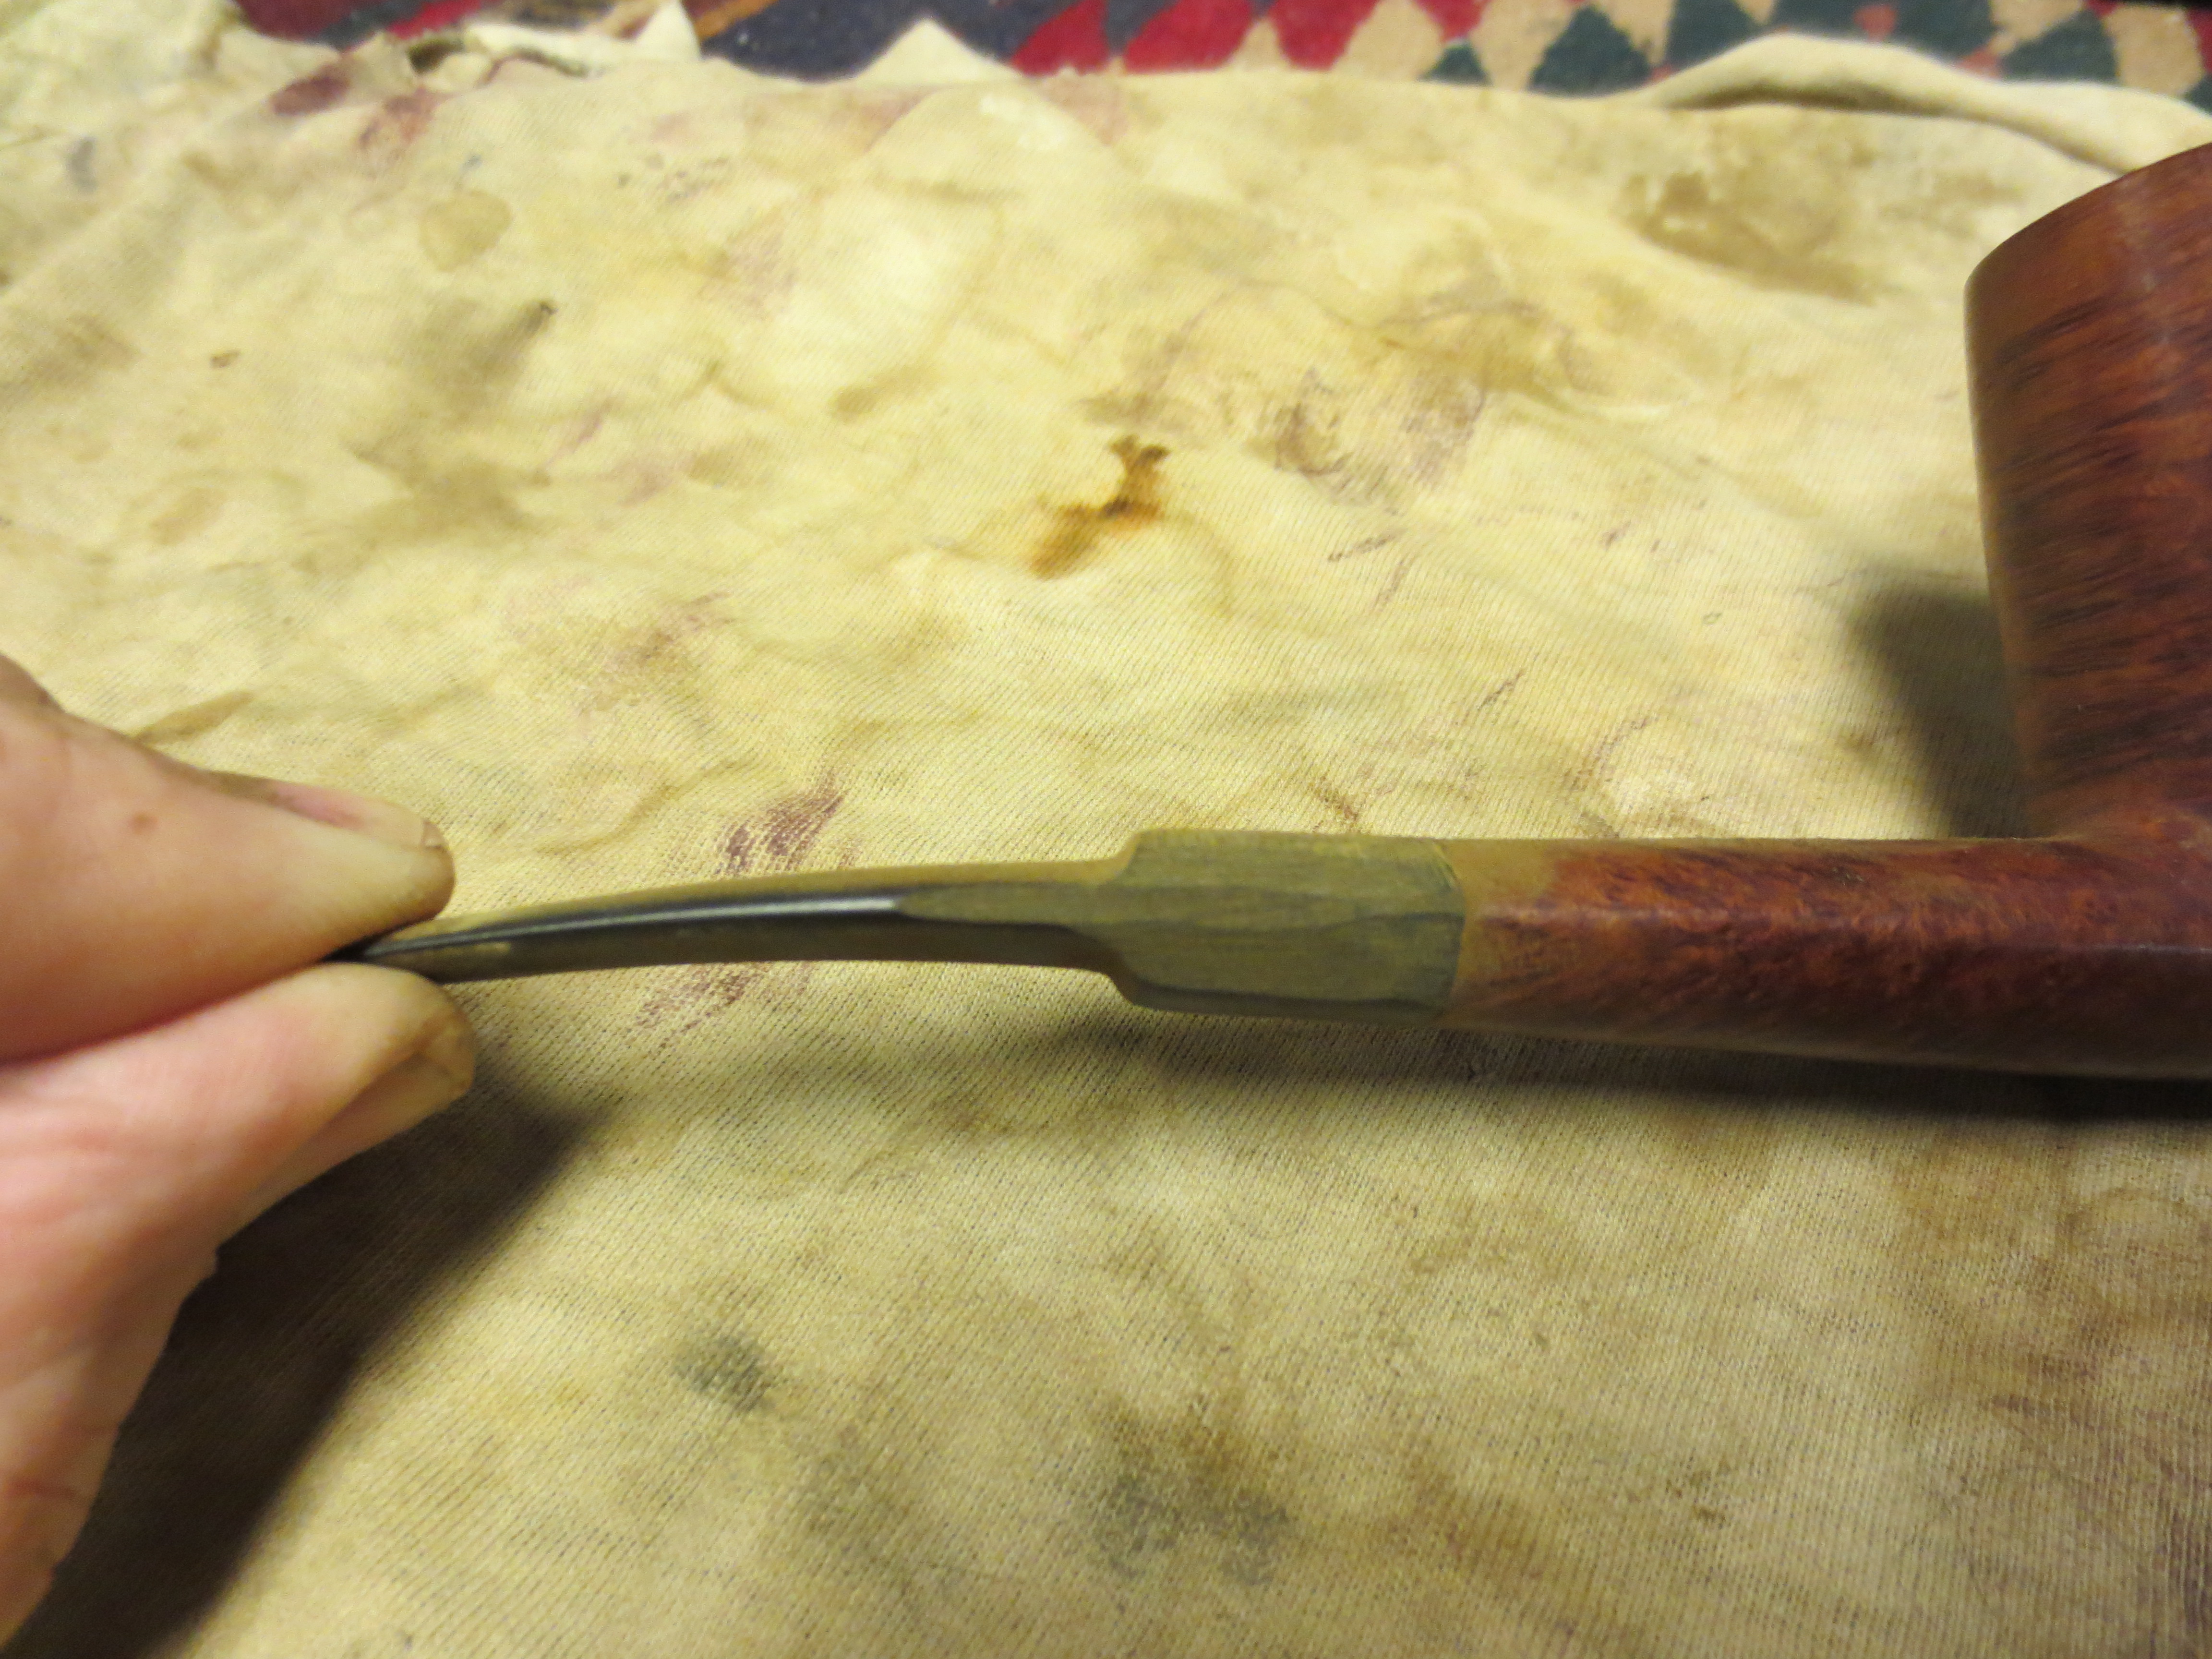
I do the initial shaping of a stem with a Dremel and sanding drum. I set the speed about mid mark on the speed control of the Dremel and slowly work at the surface of the stem. I do this initial shaping with the stem on the shank. I want to shape it as closely as possible to the shank shape before doing the finish shaping by hand. The next three photos show the stem after this initial shaping. There was still much work to do in bring the stem and shank to a proper fit and the width of the stem to a match with the taper of the shank. This work had to be done by hand using sandpaper and files.

IMG_1330

IMG_1331

IMG_1332

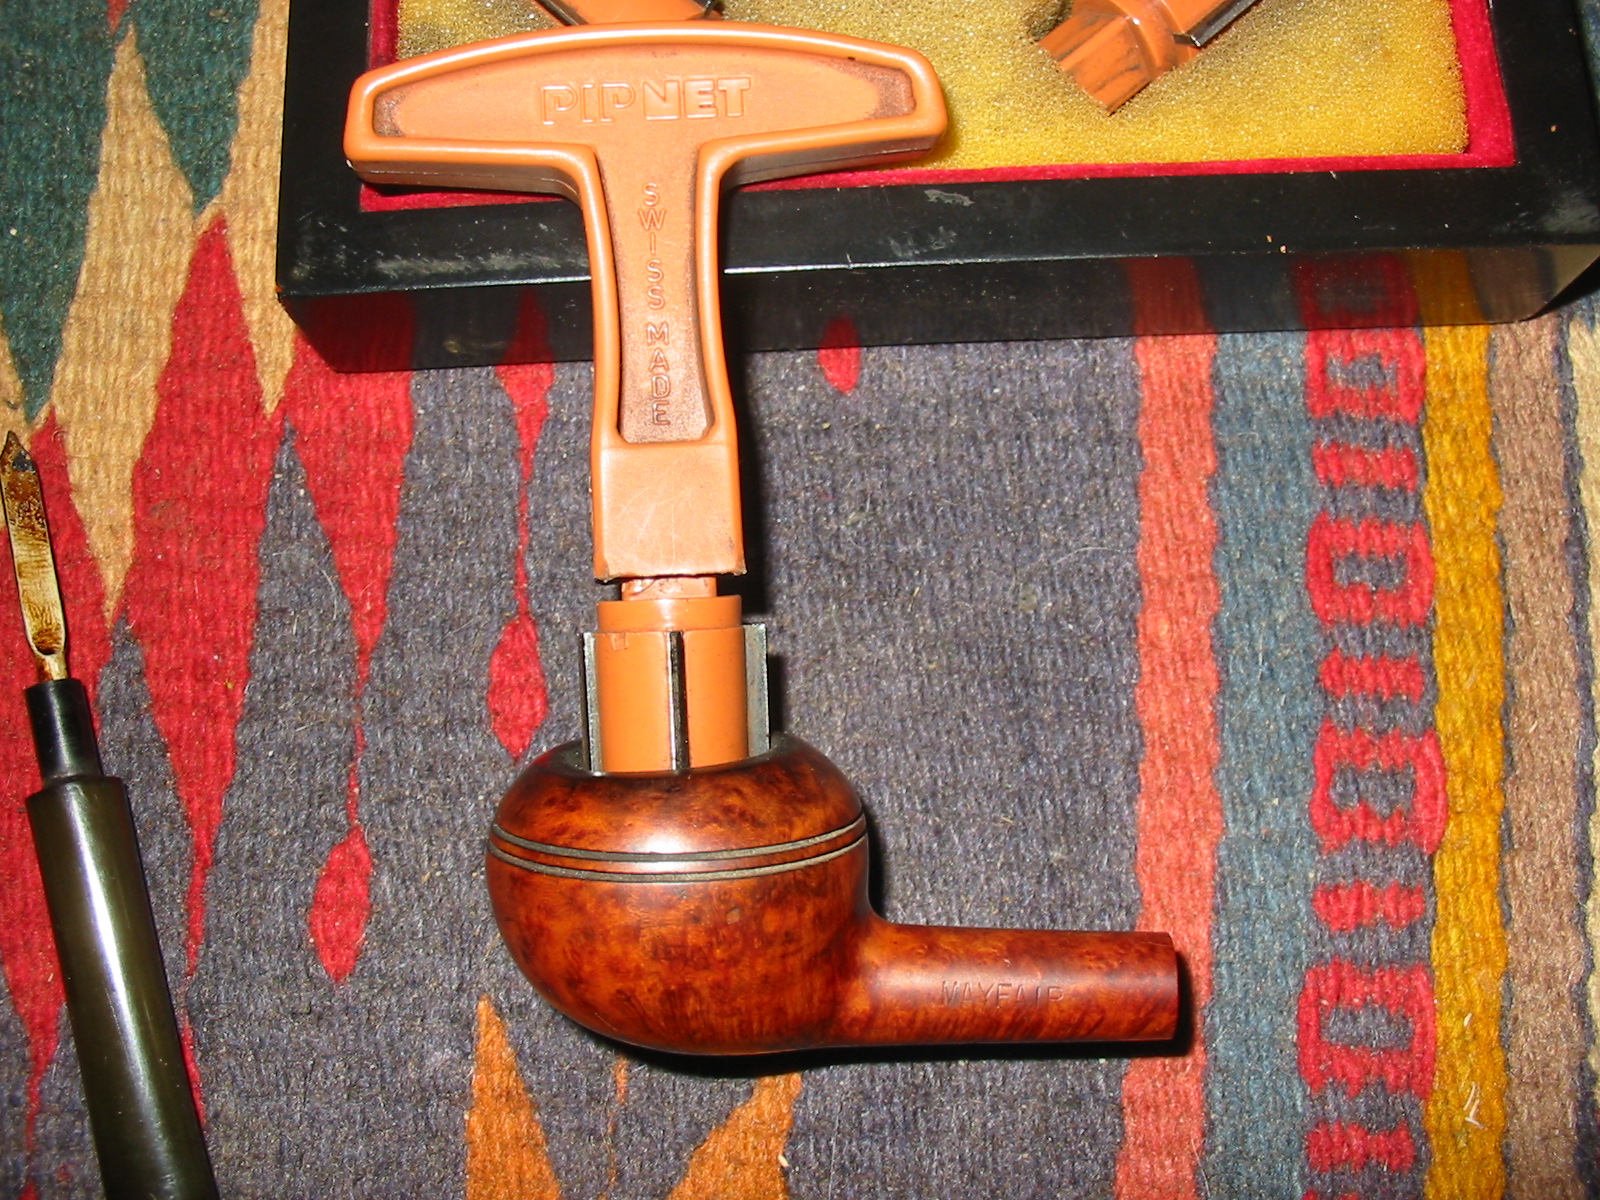
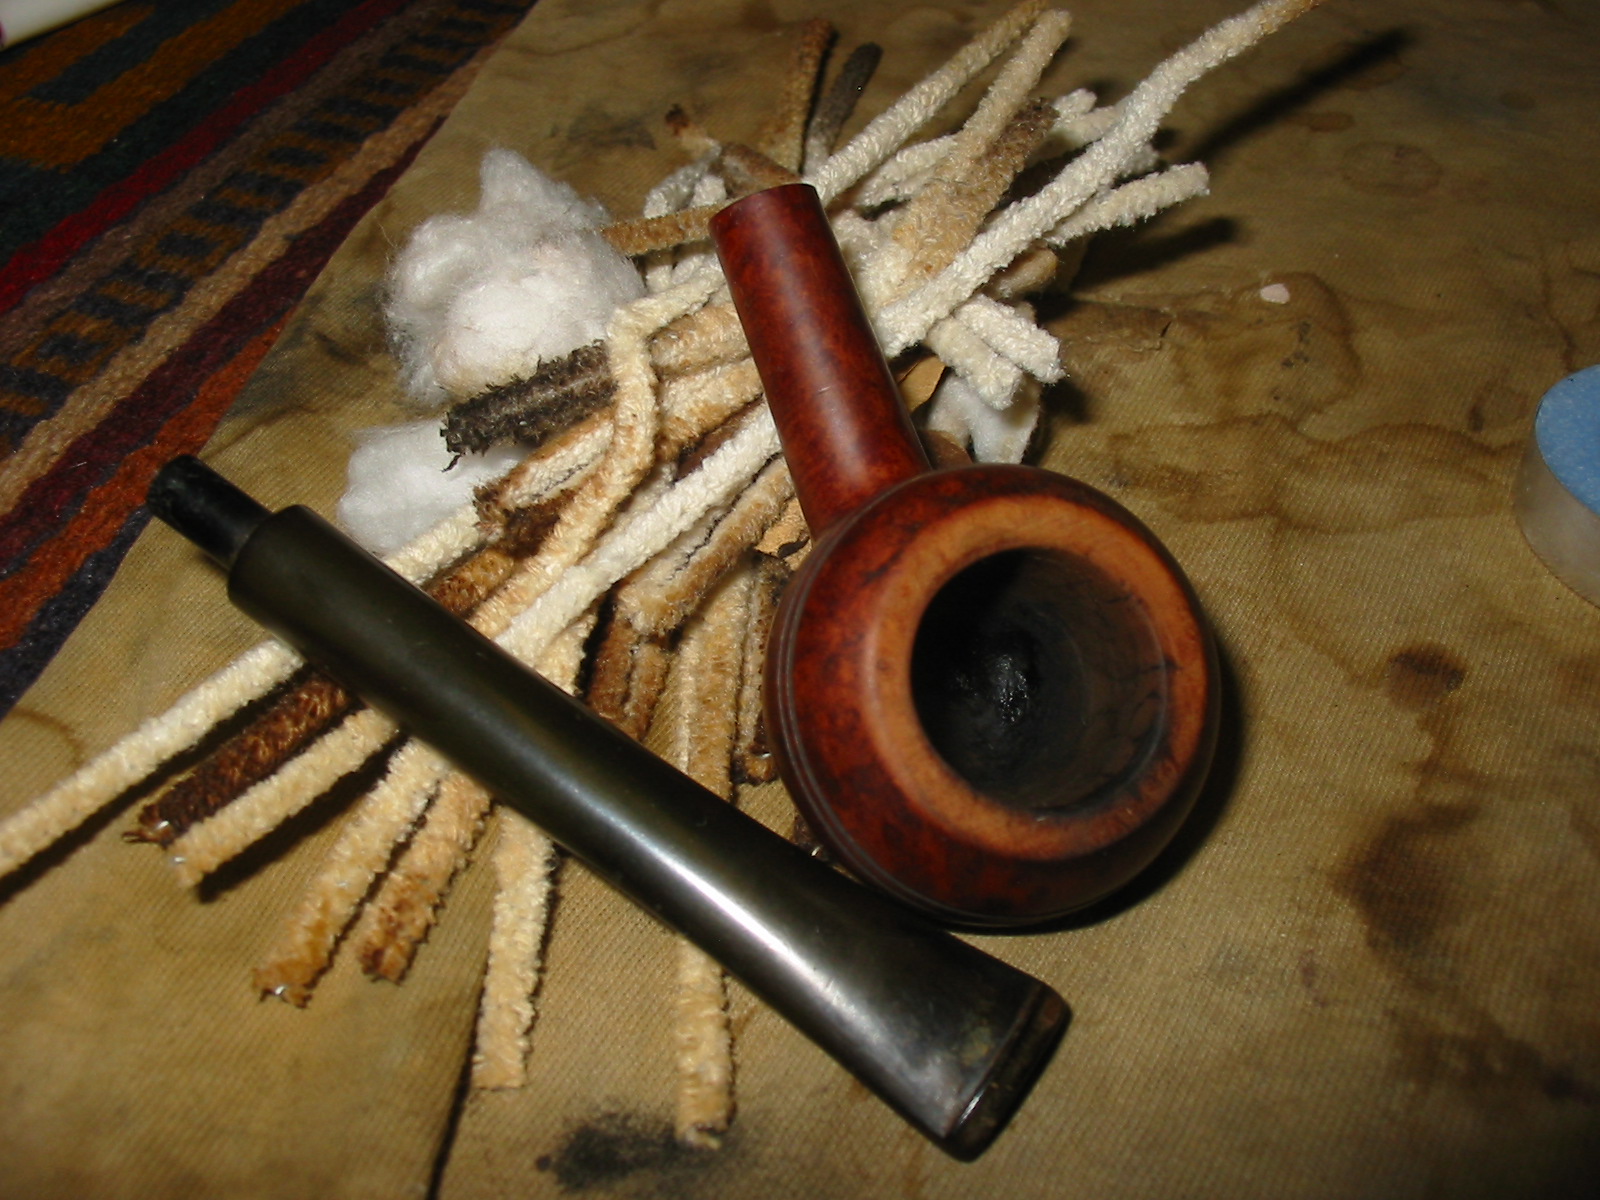
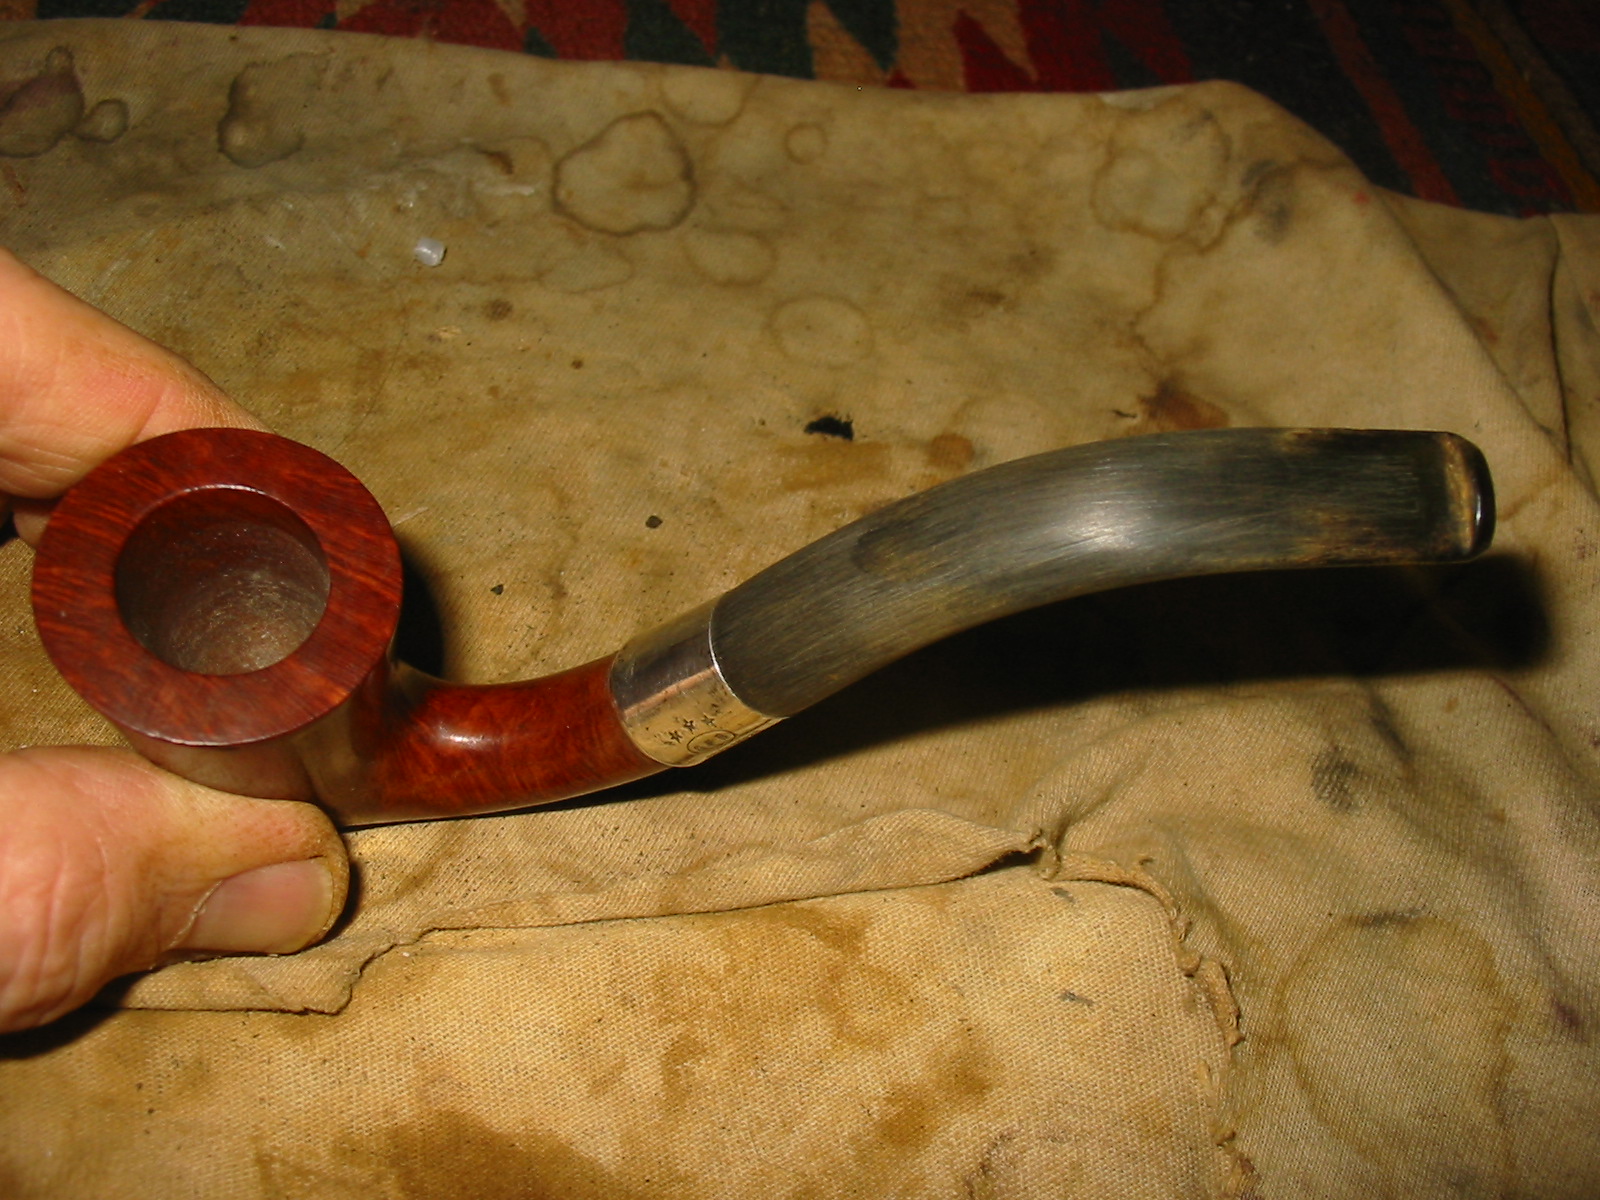
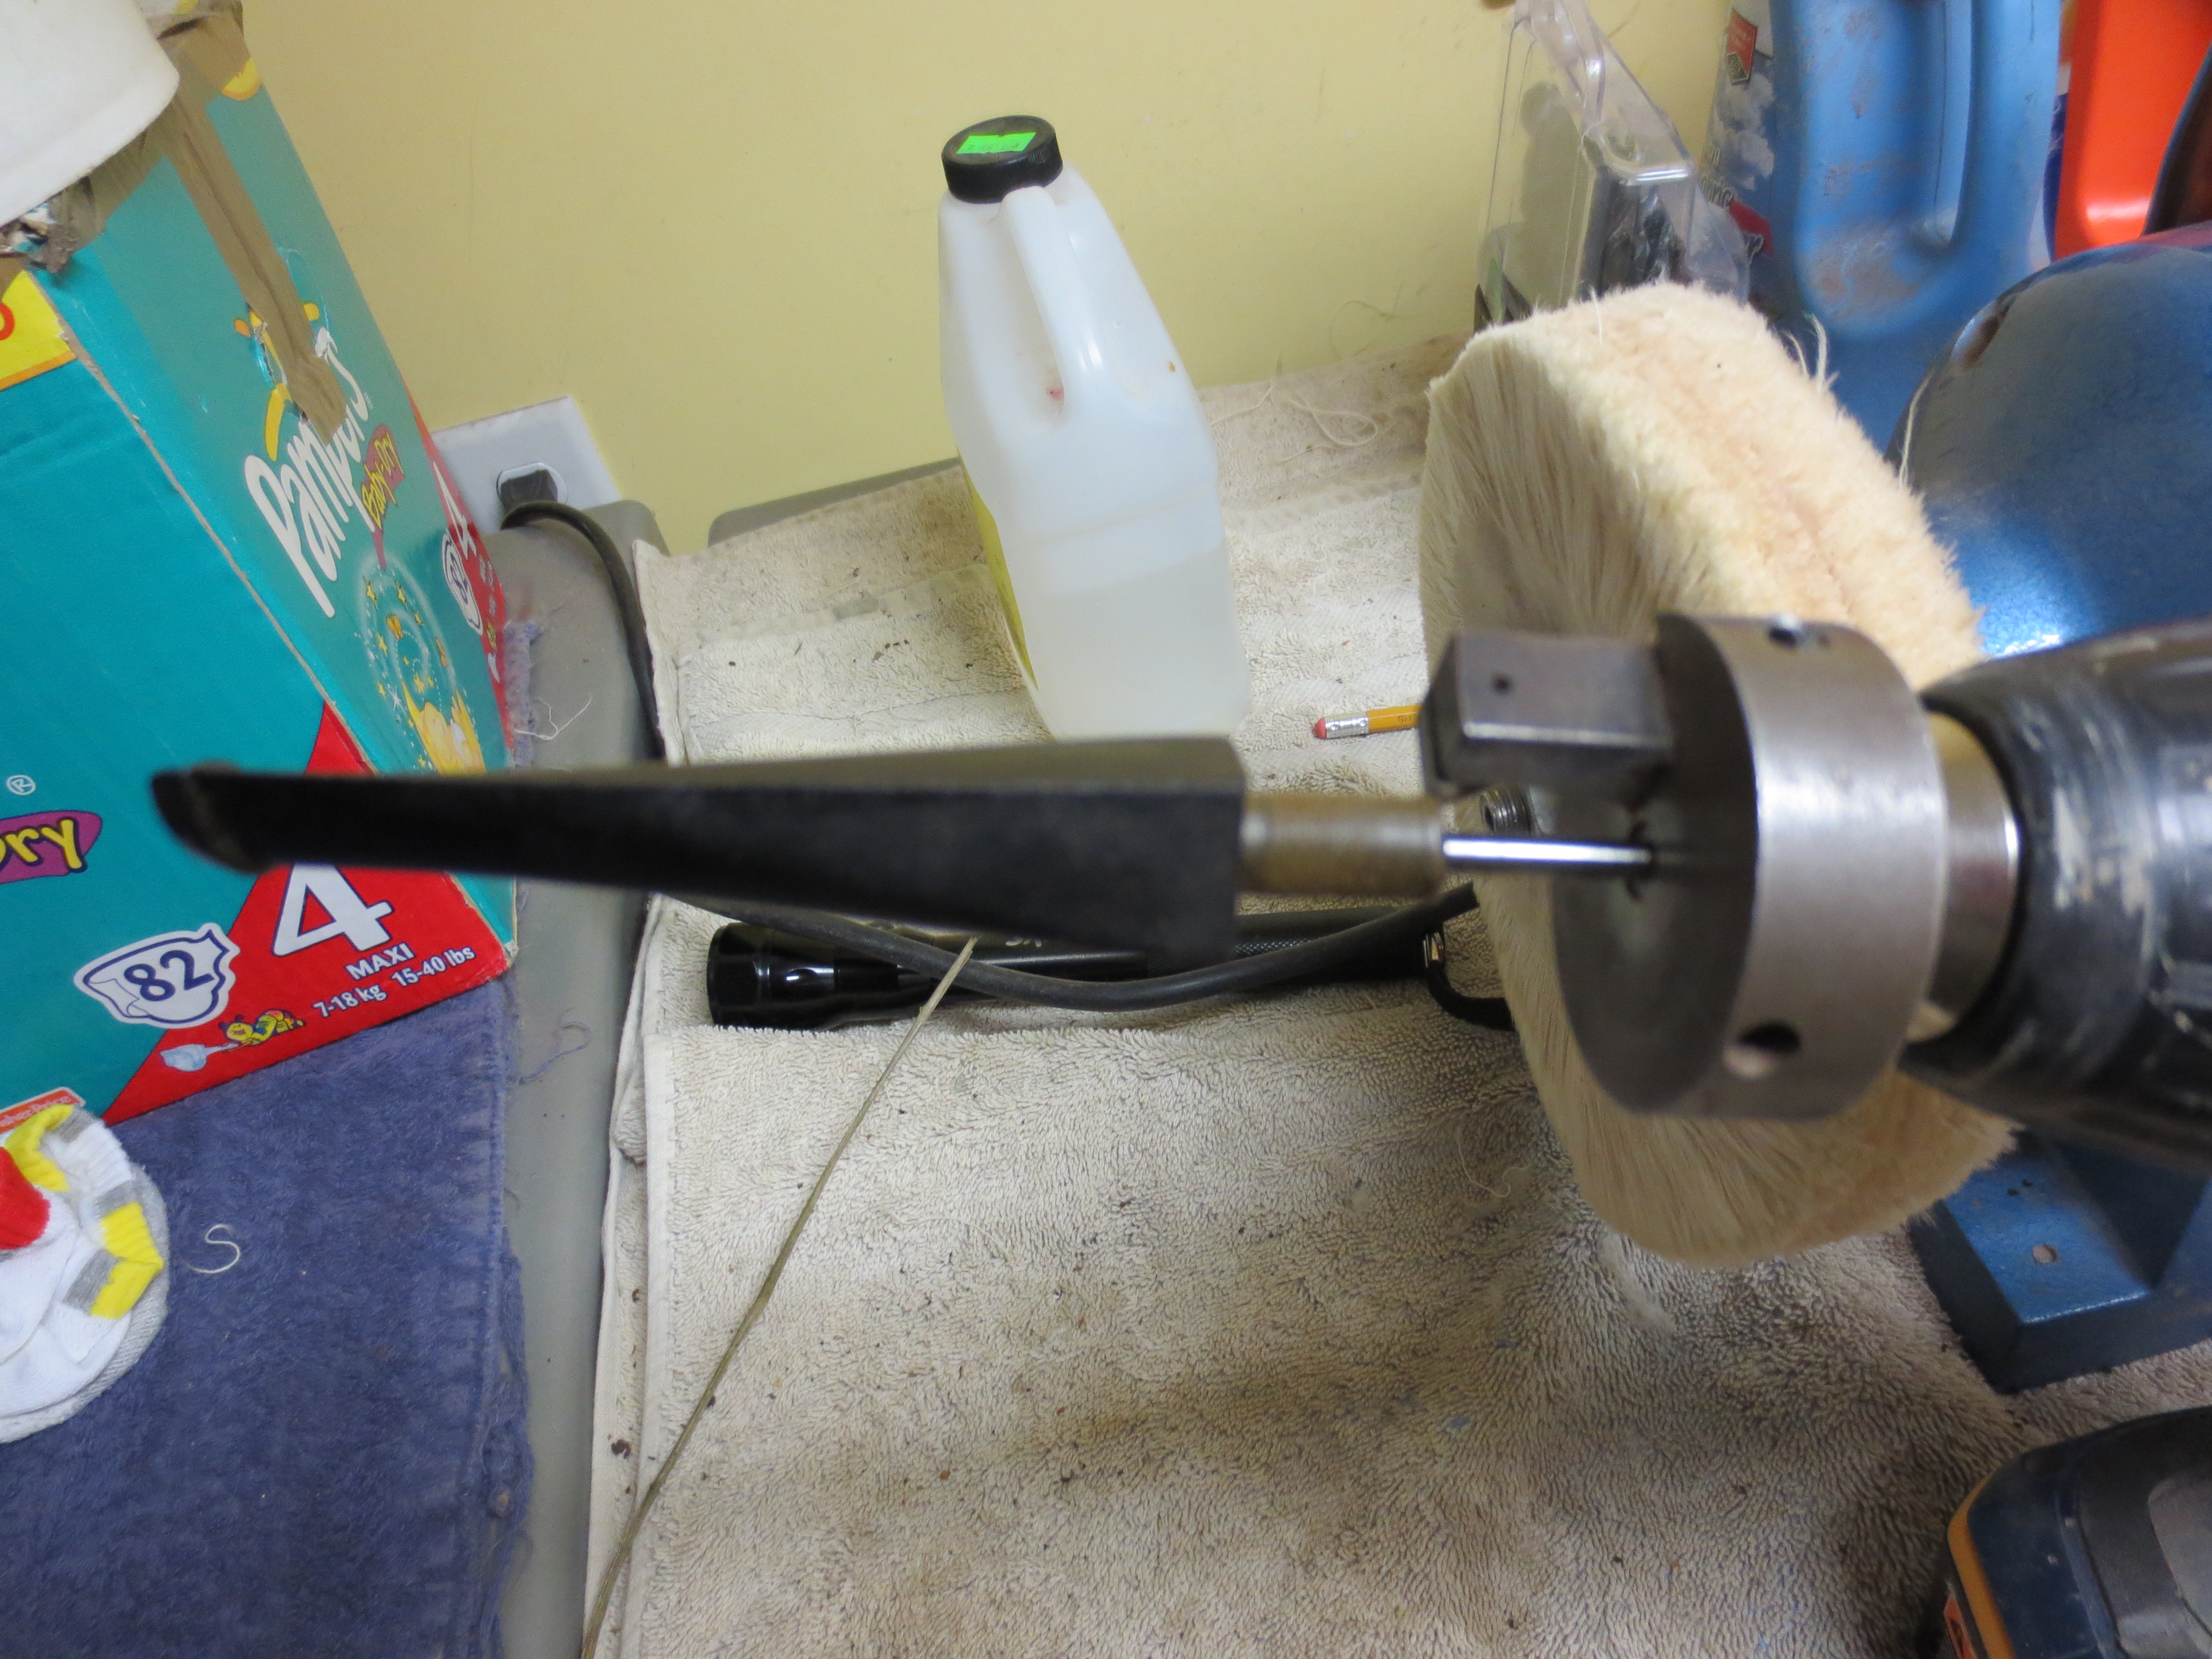
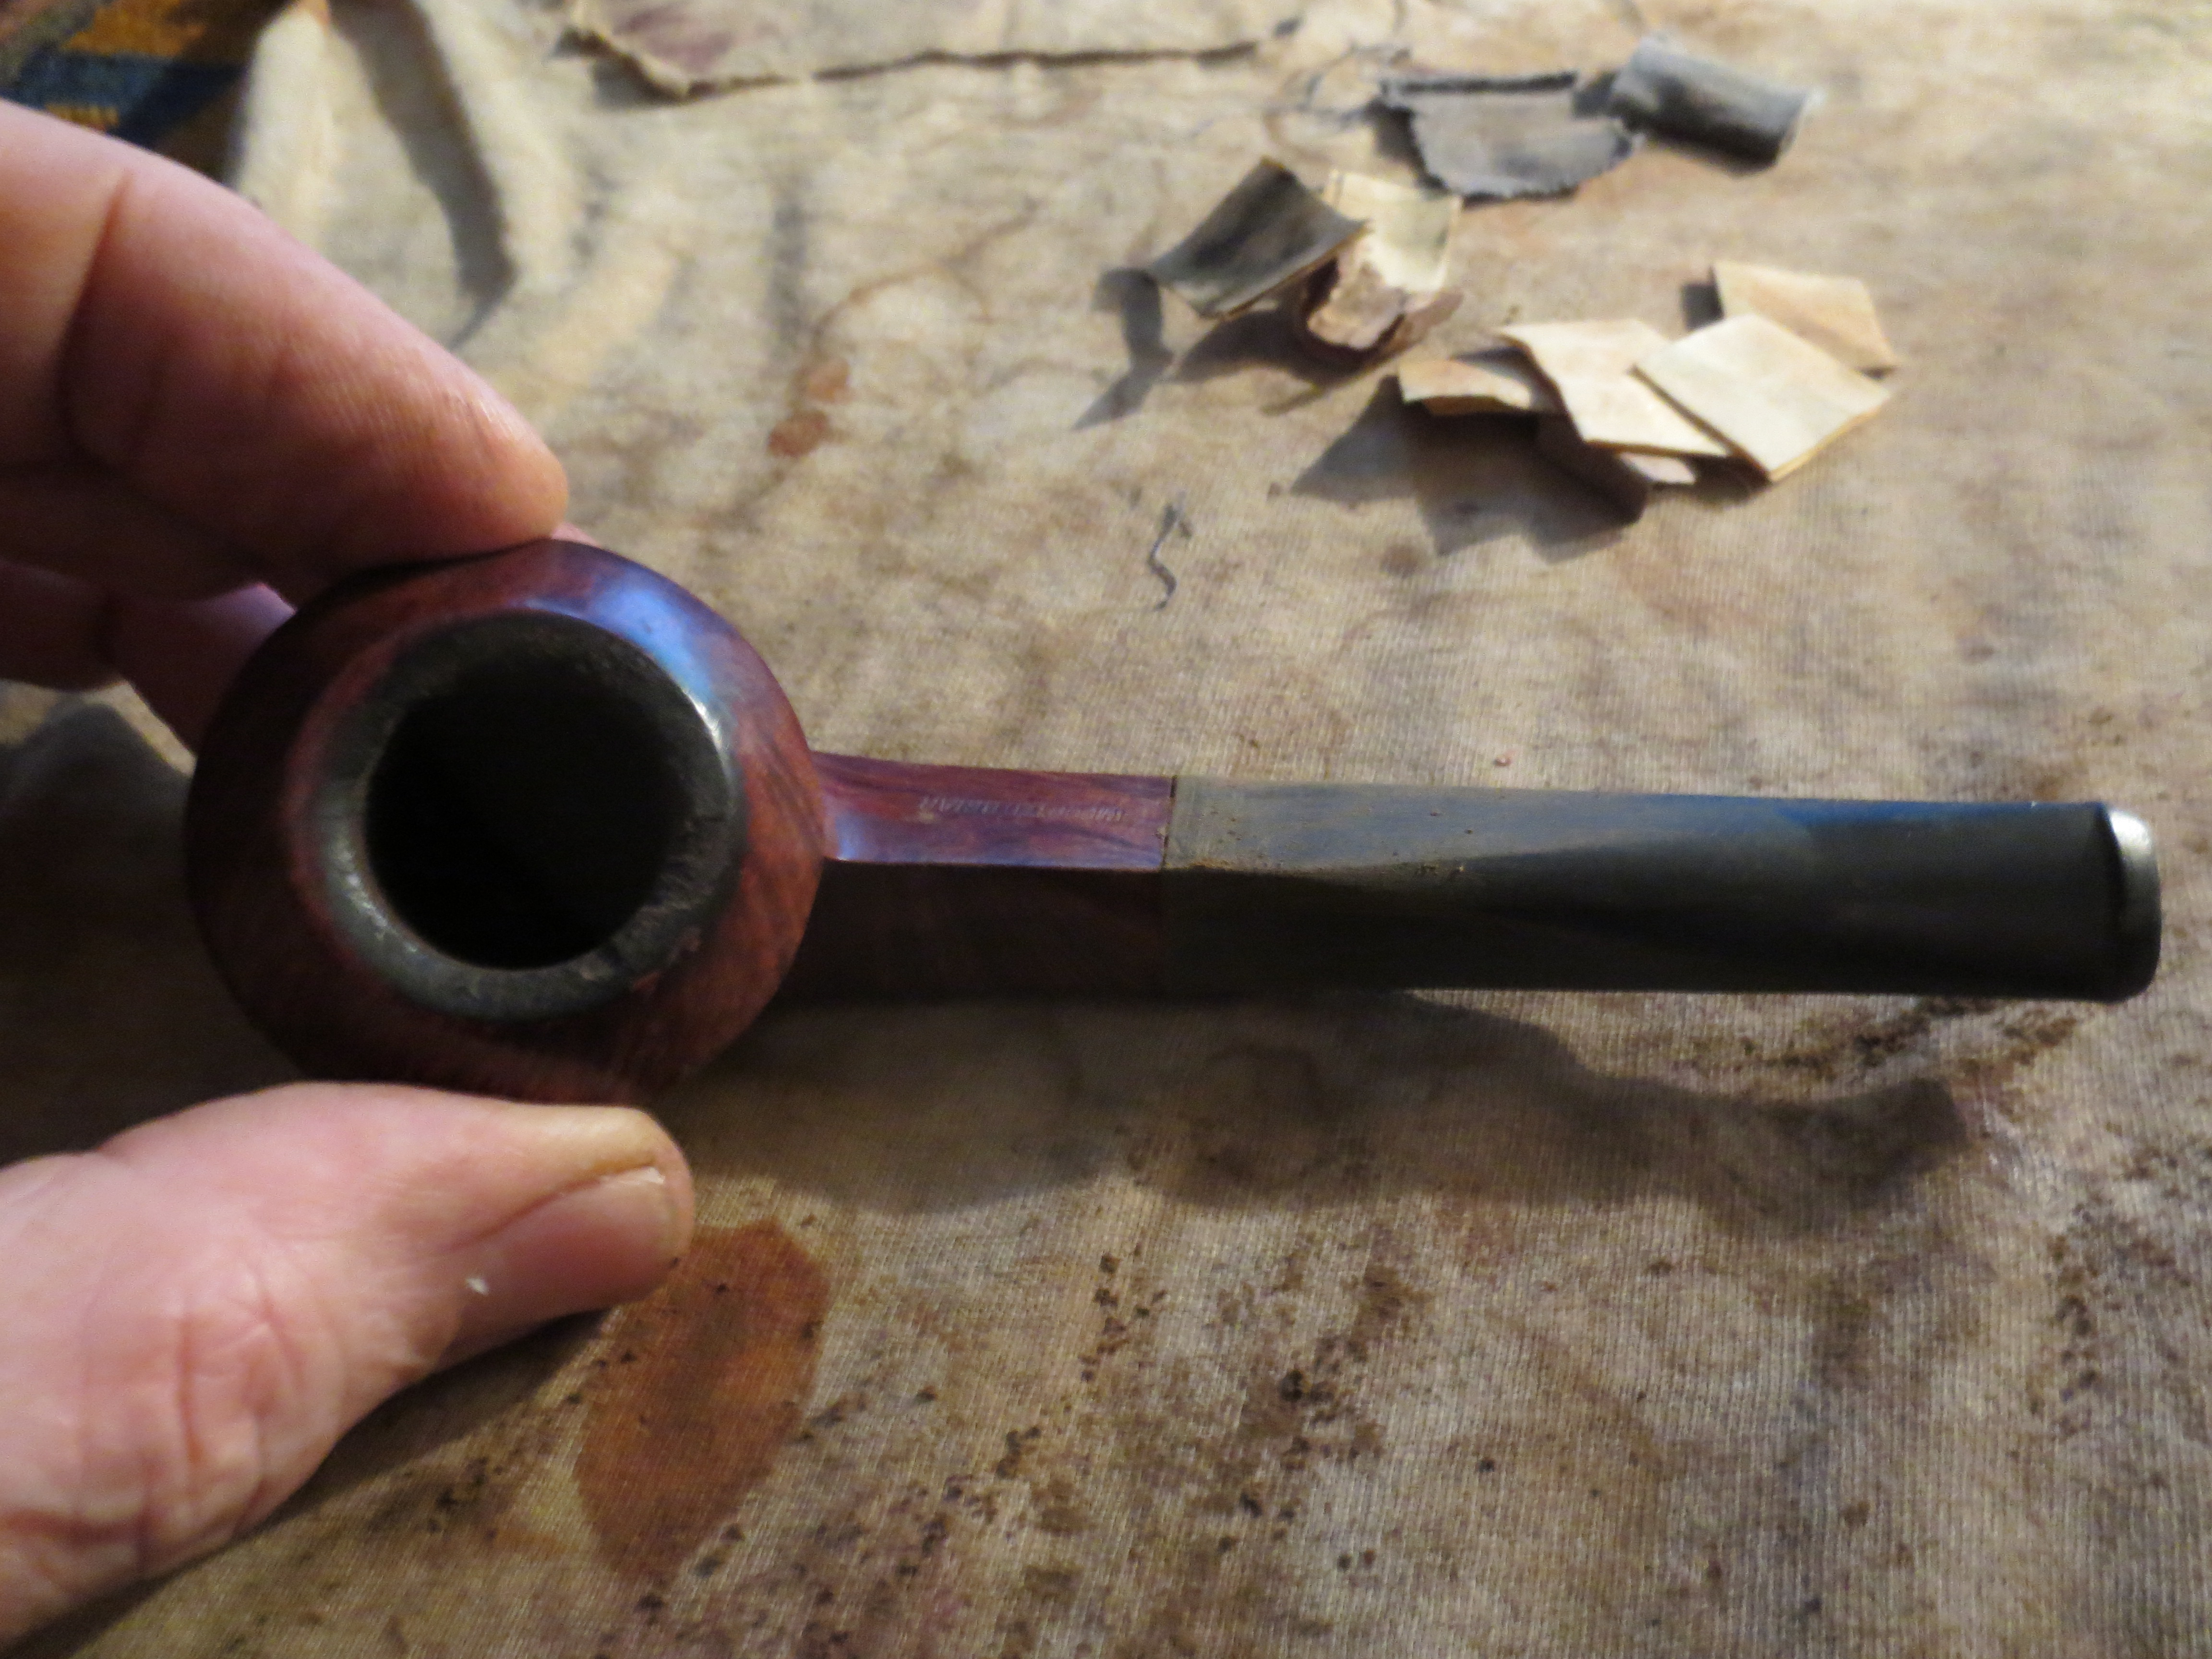
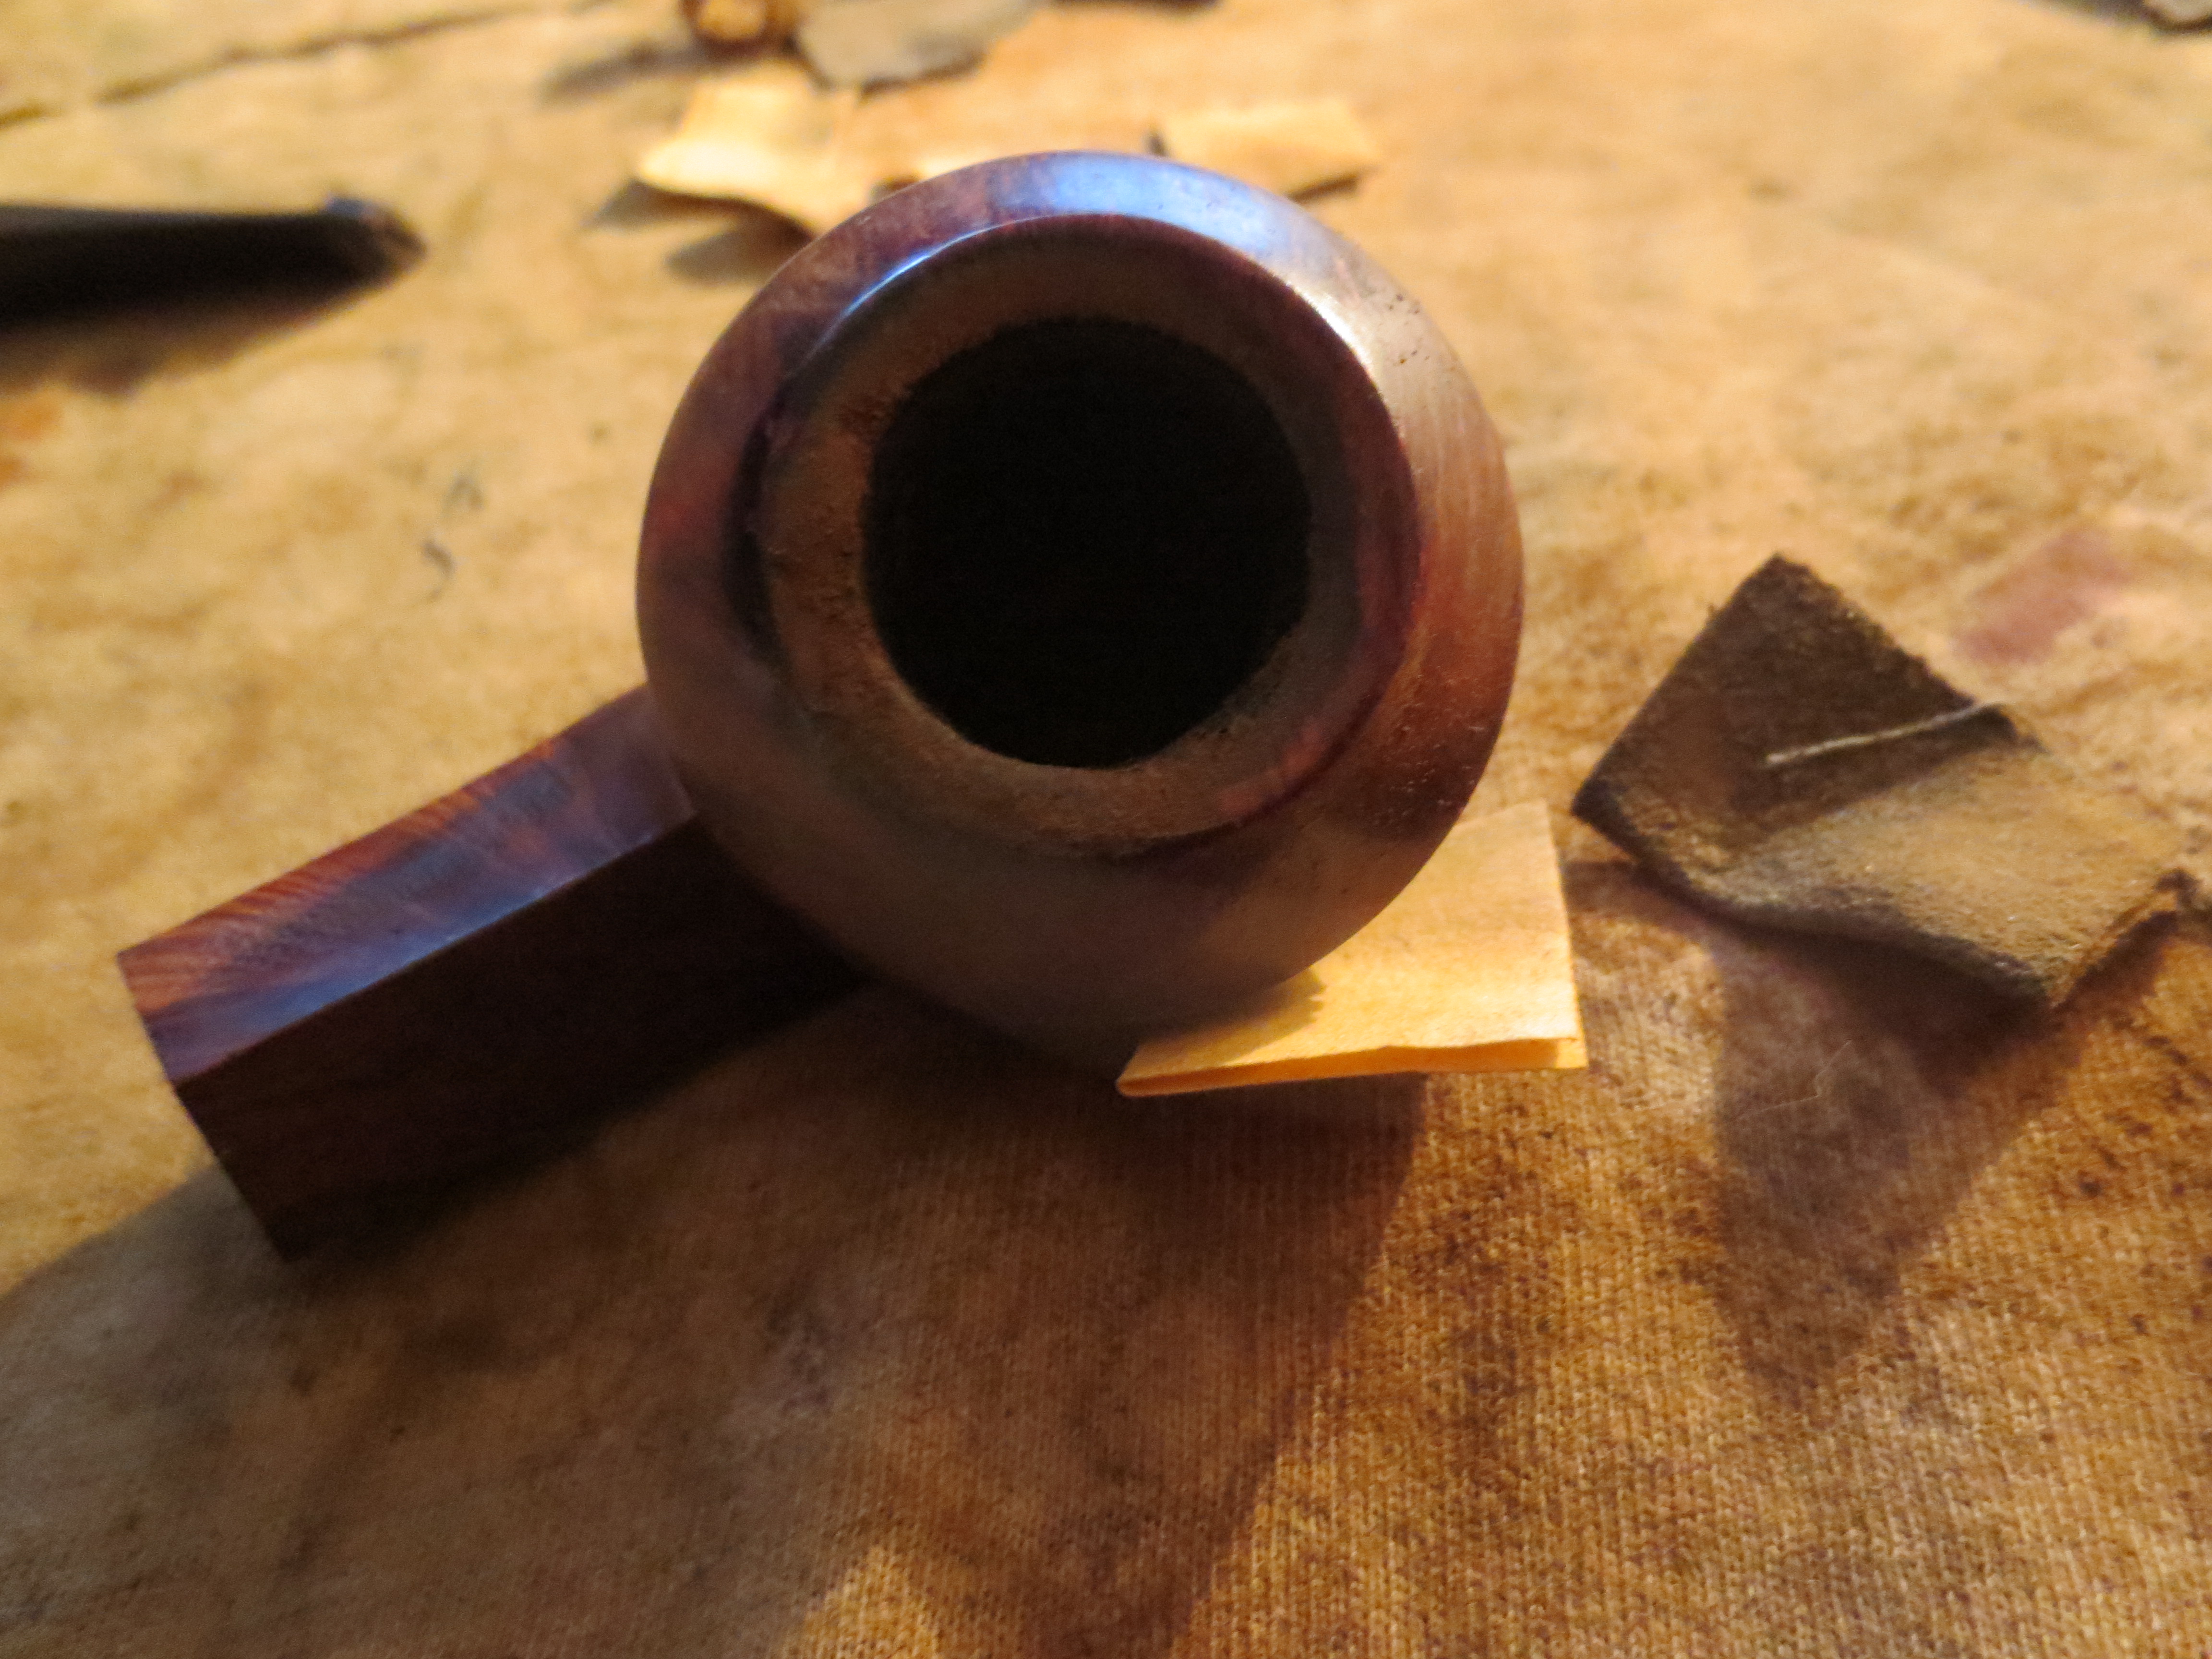
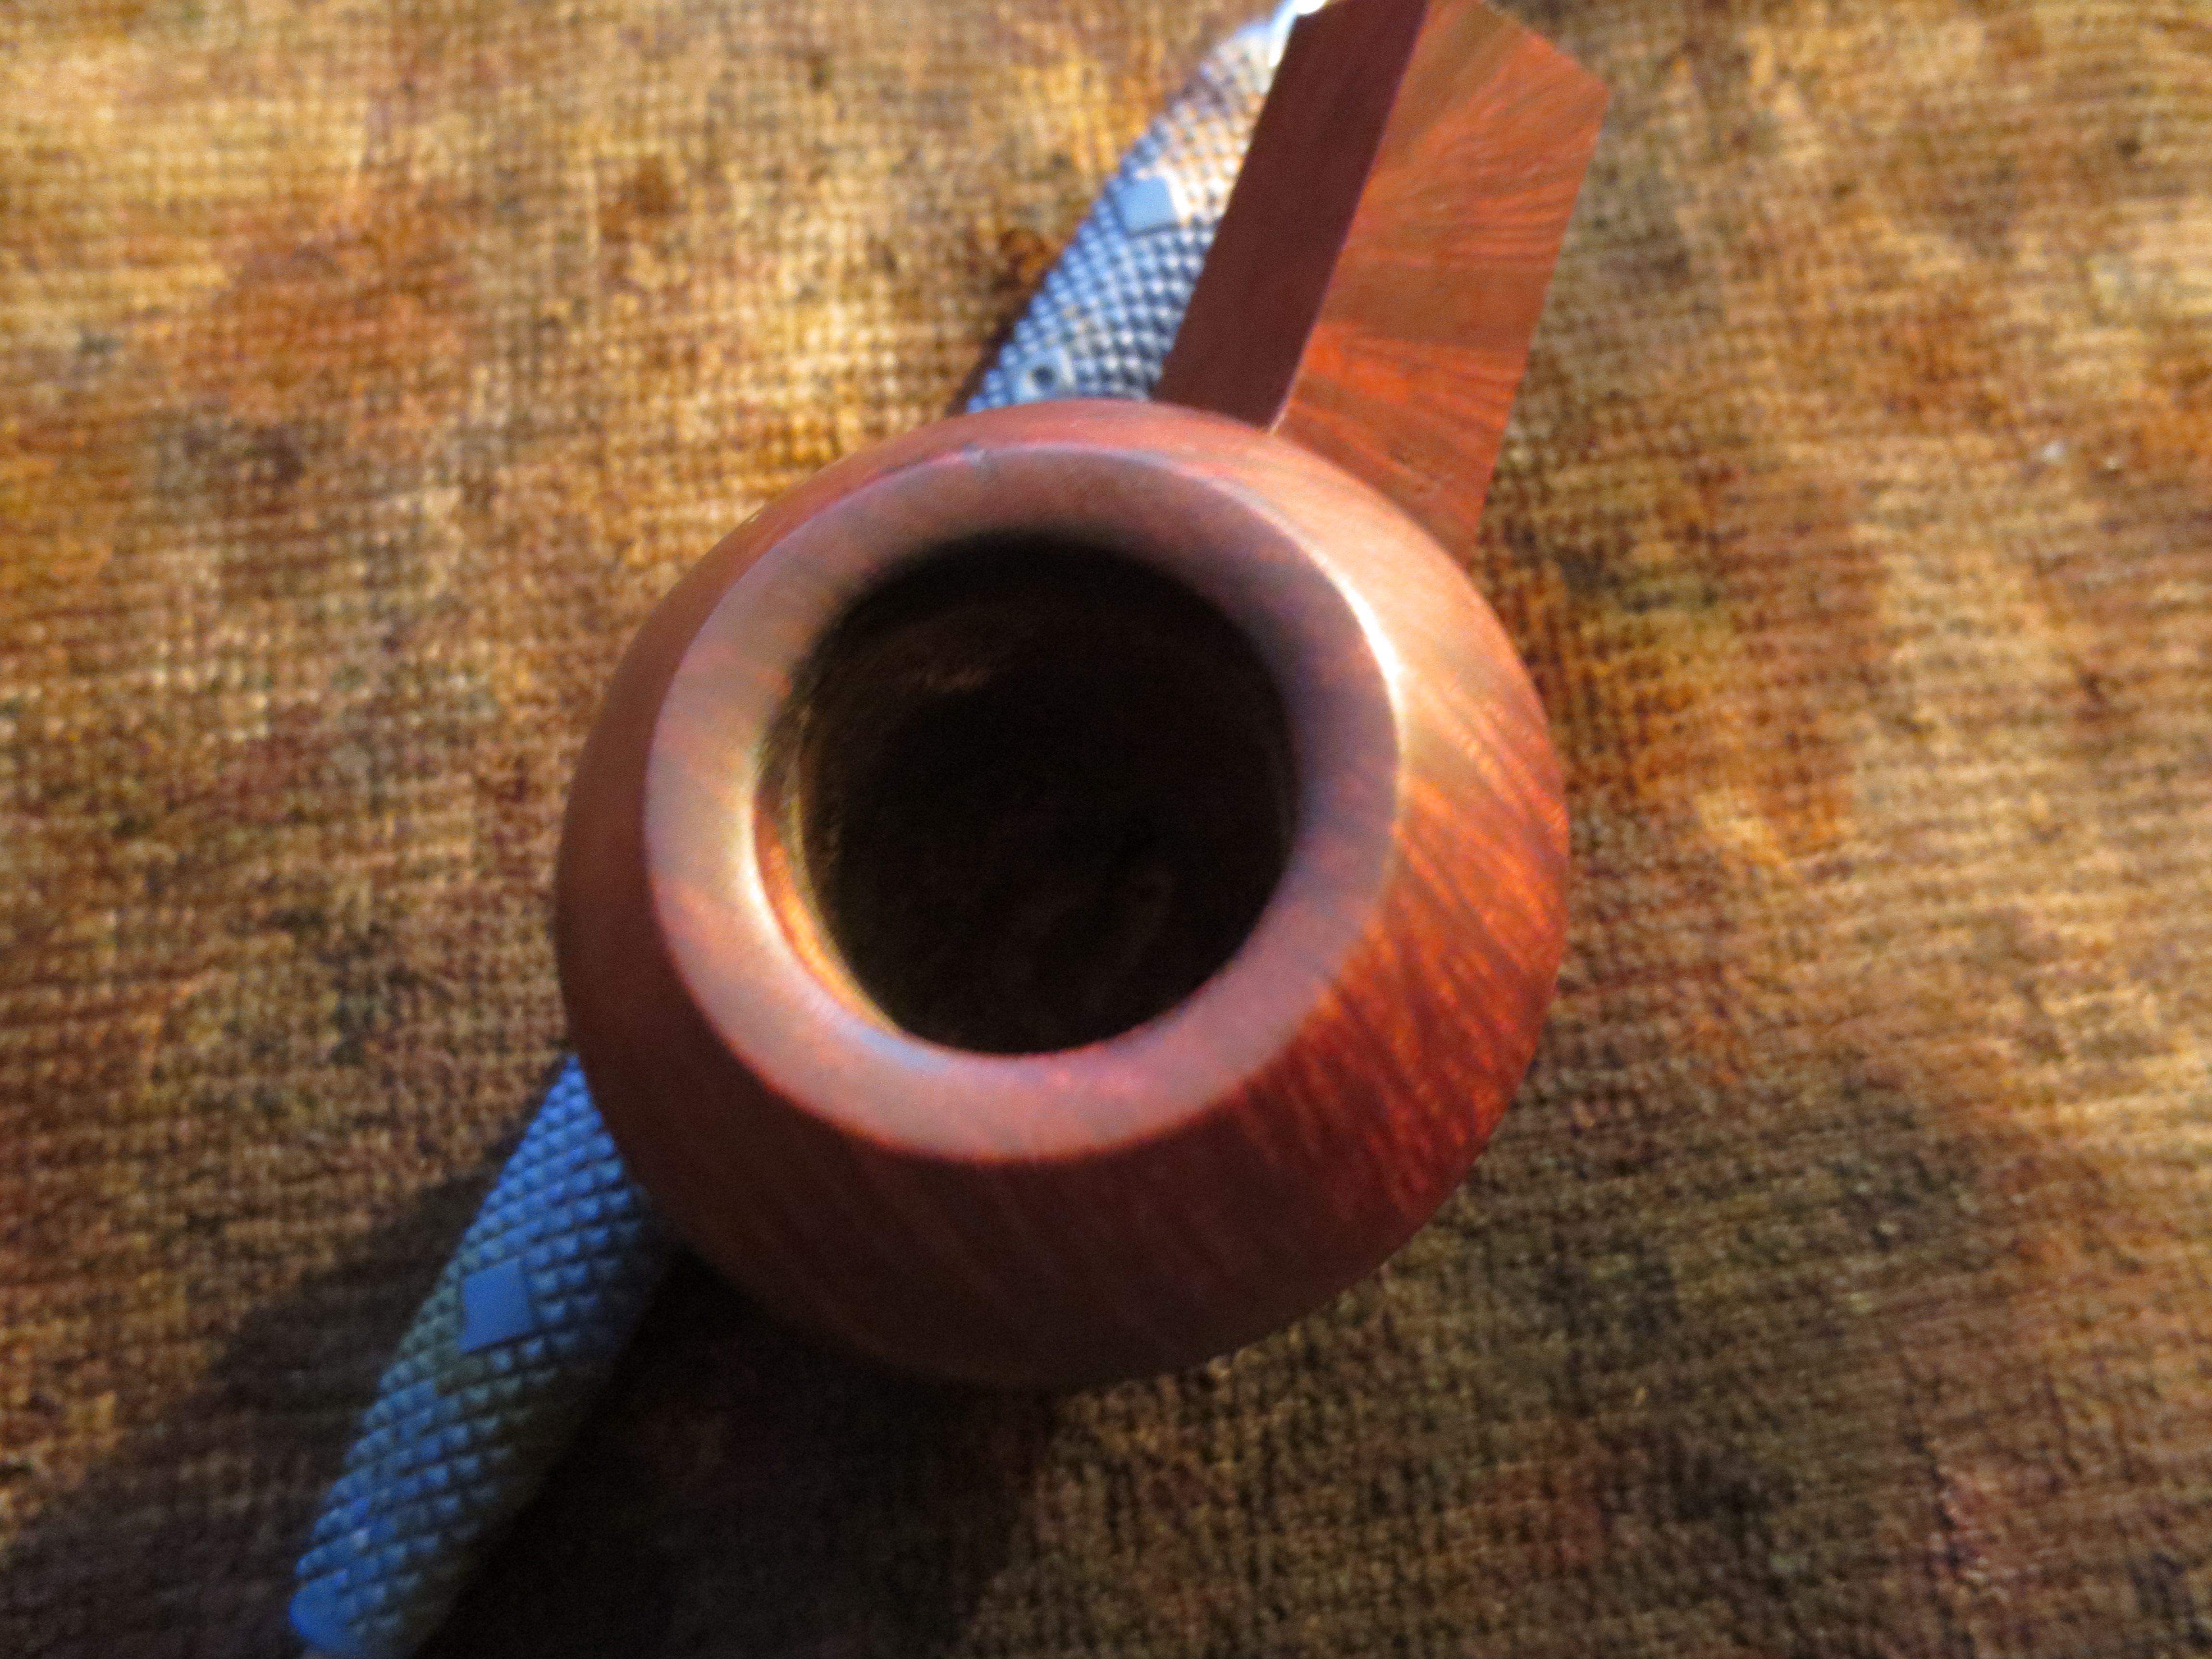
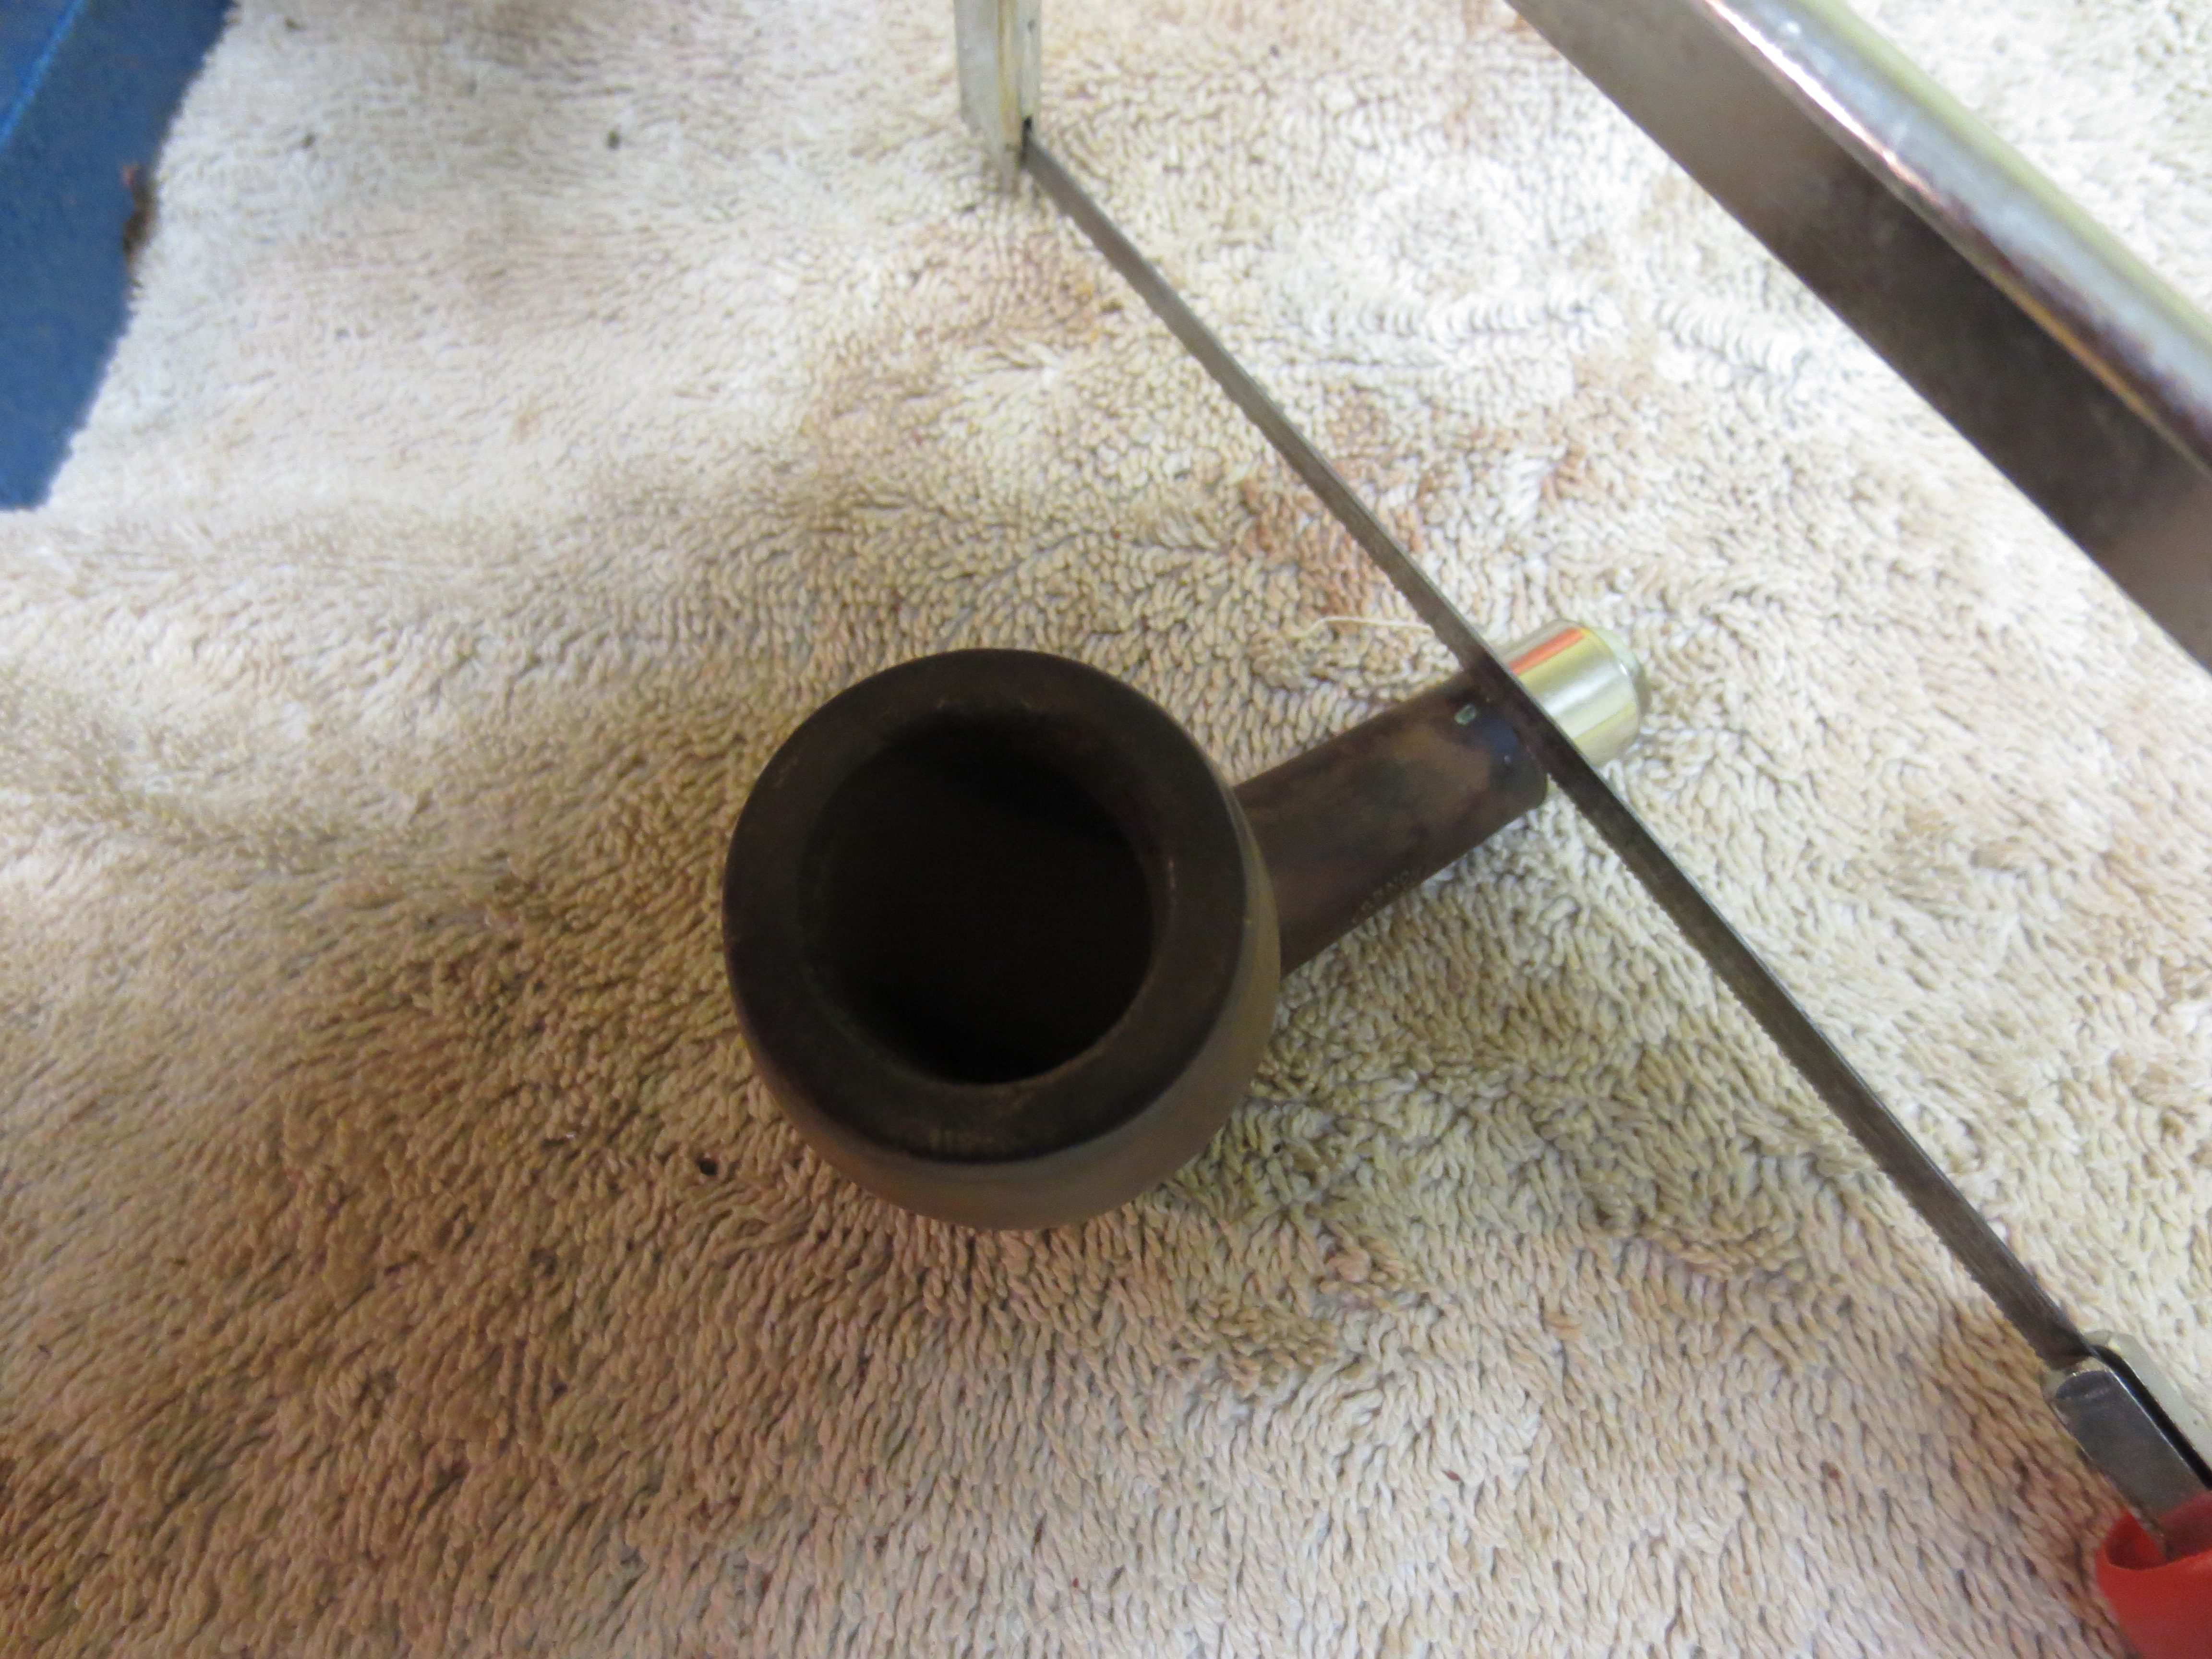
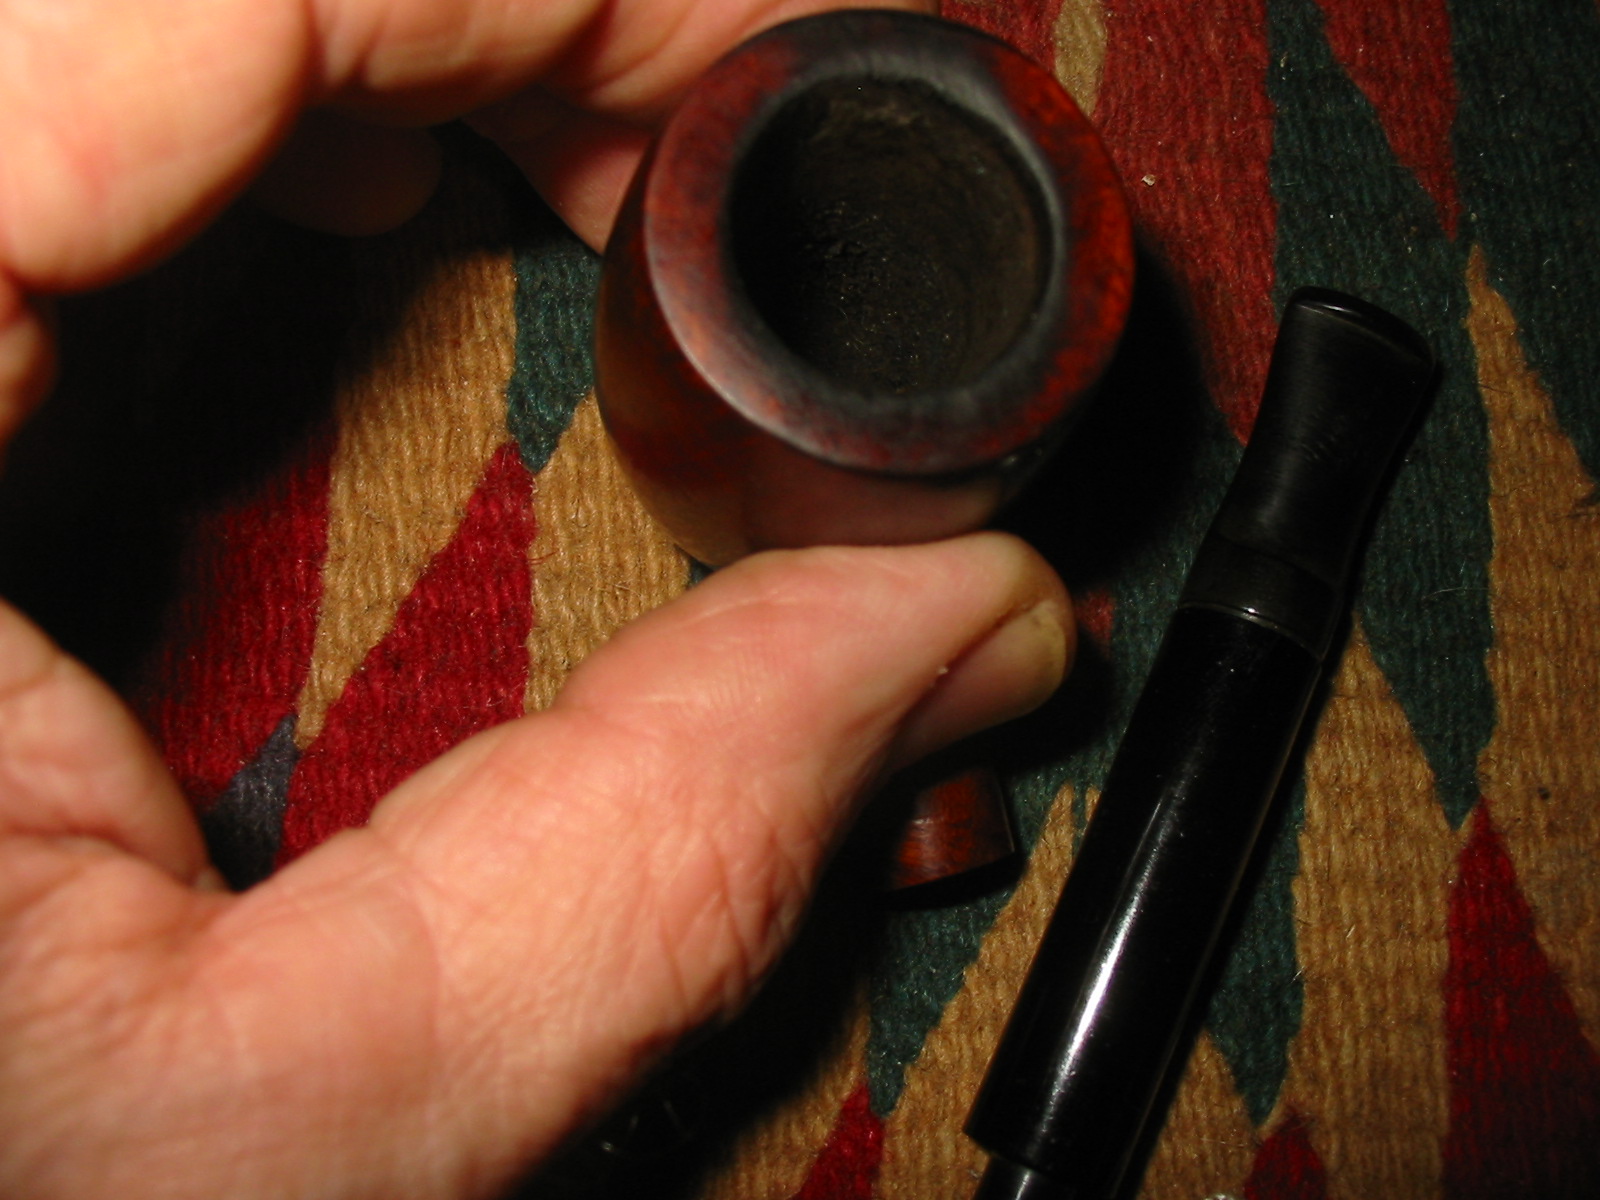
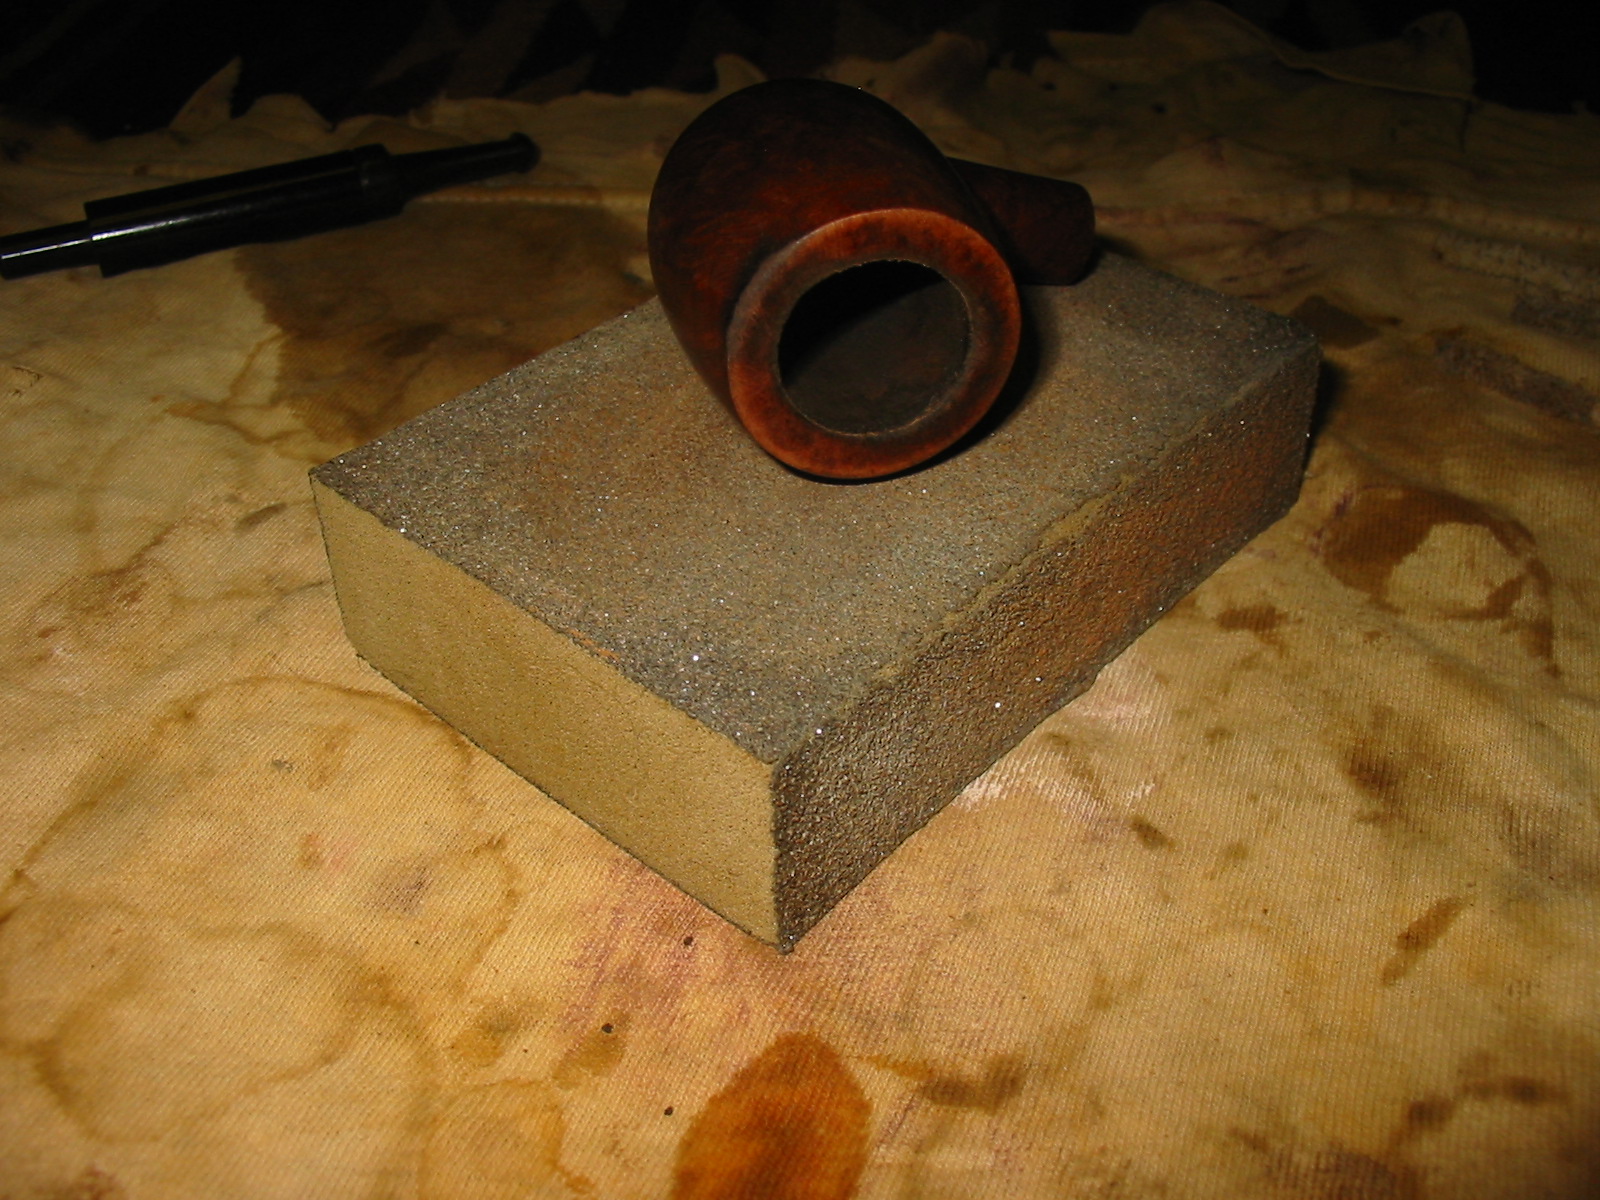
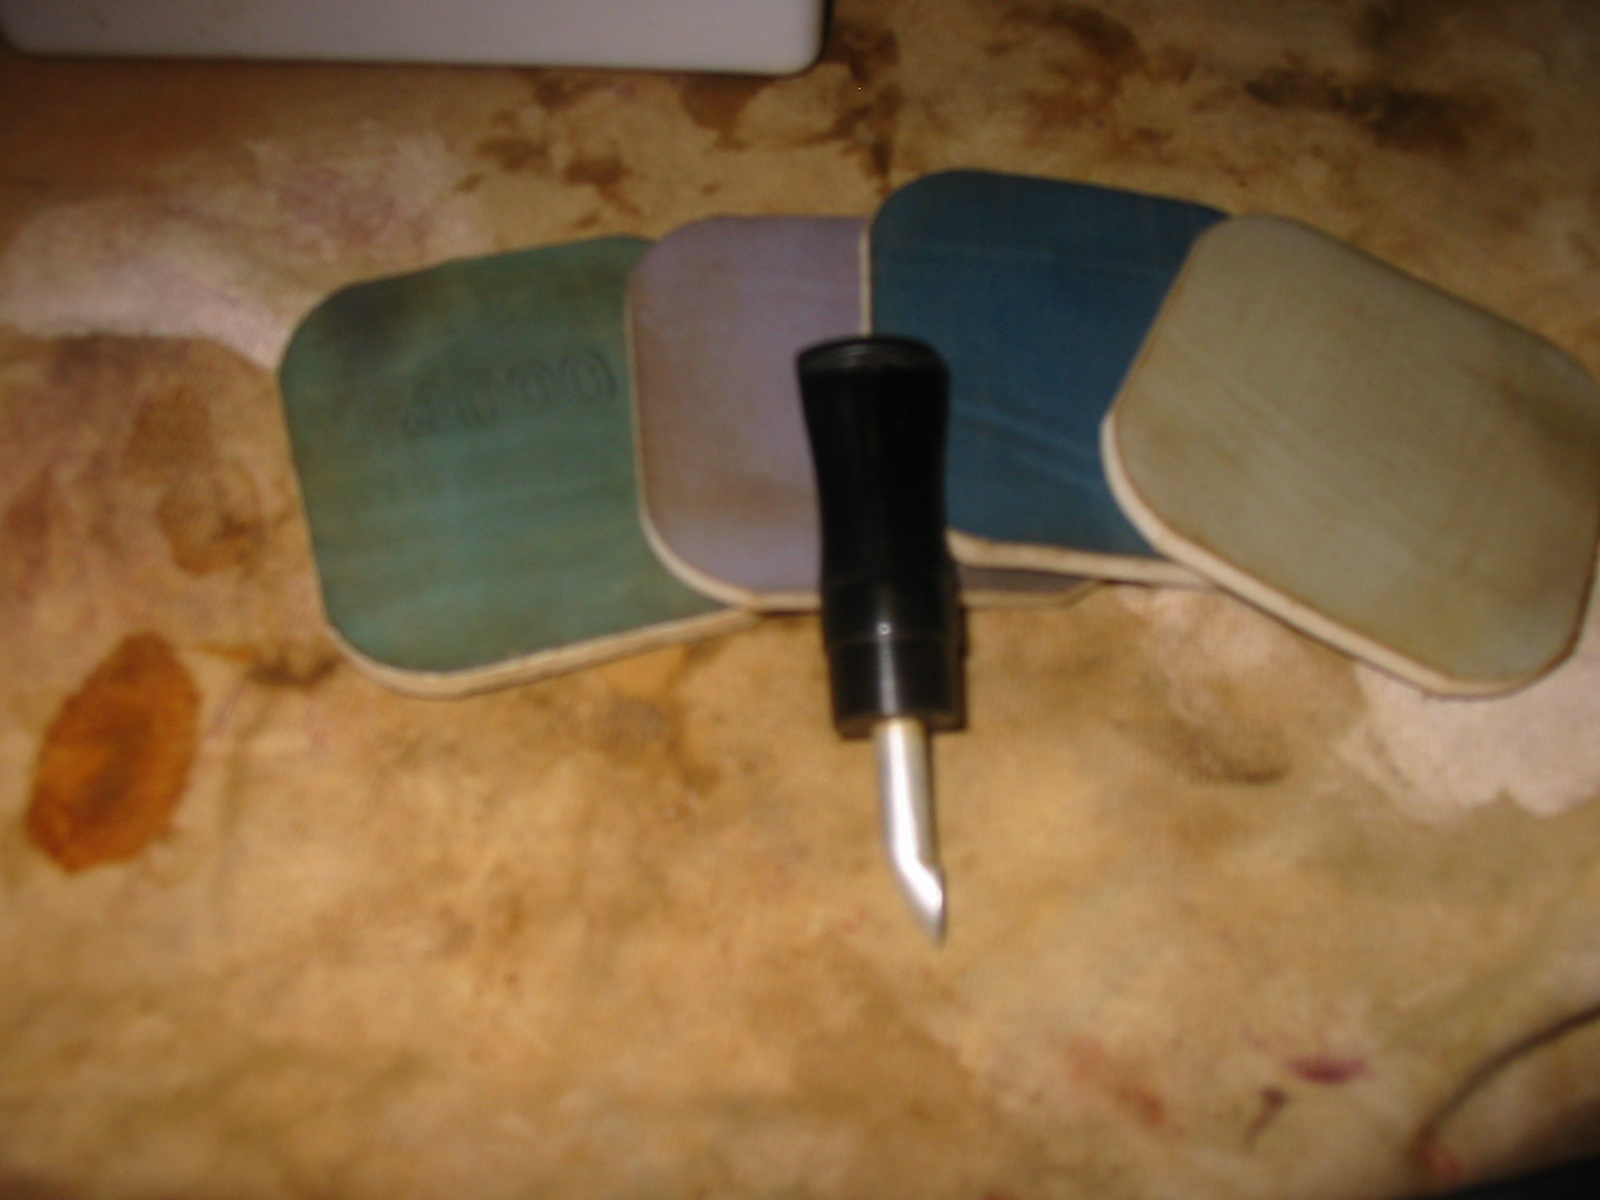
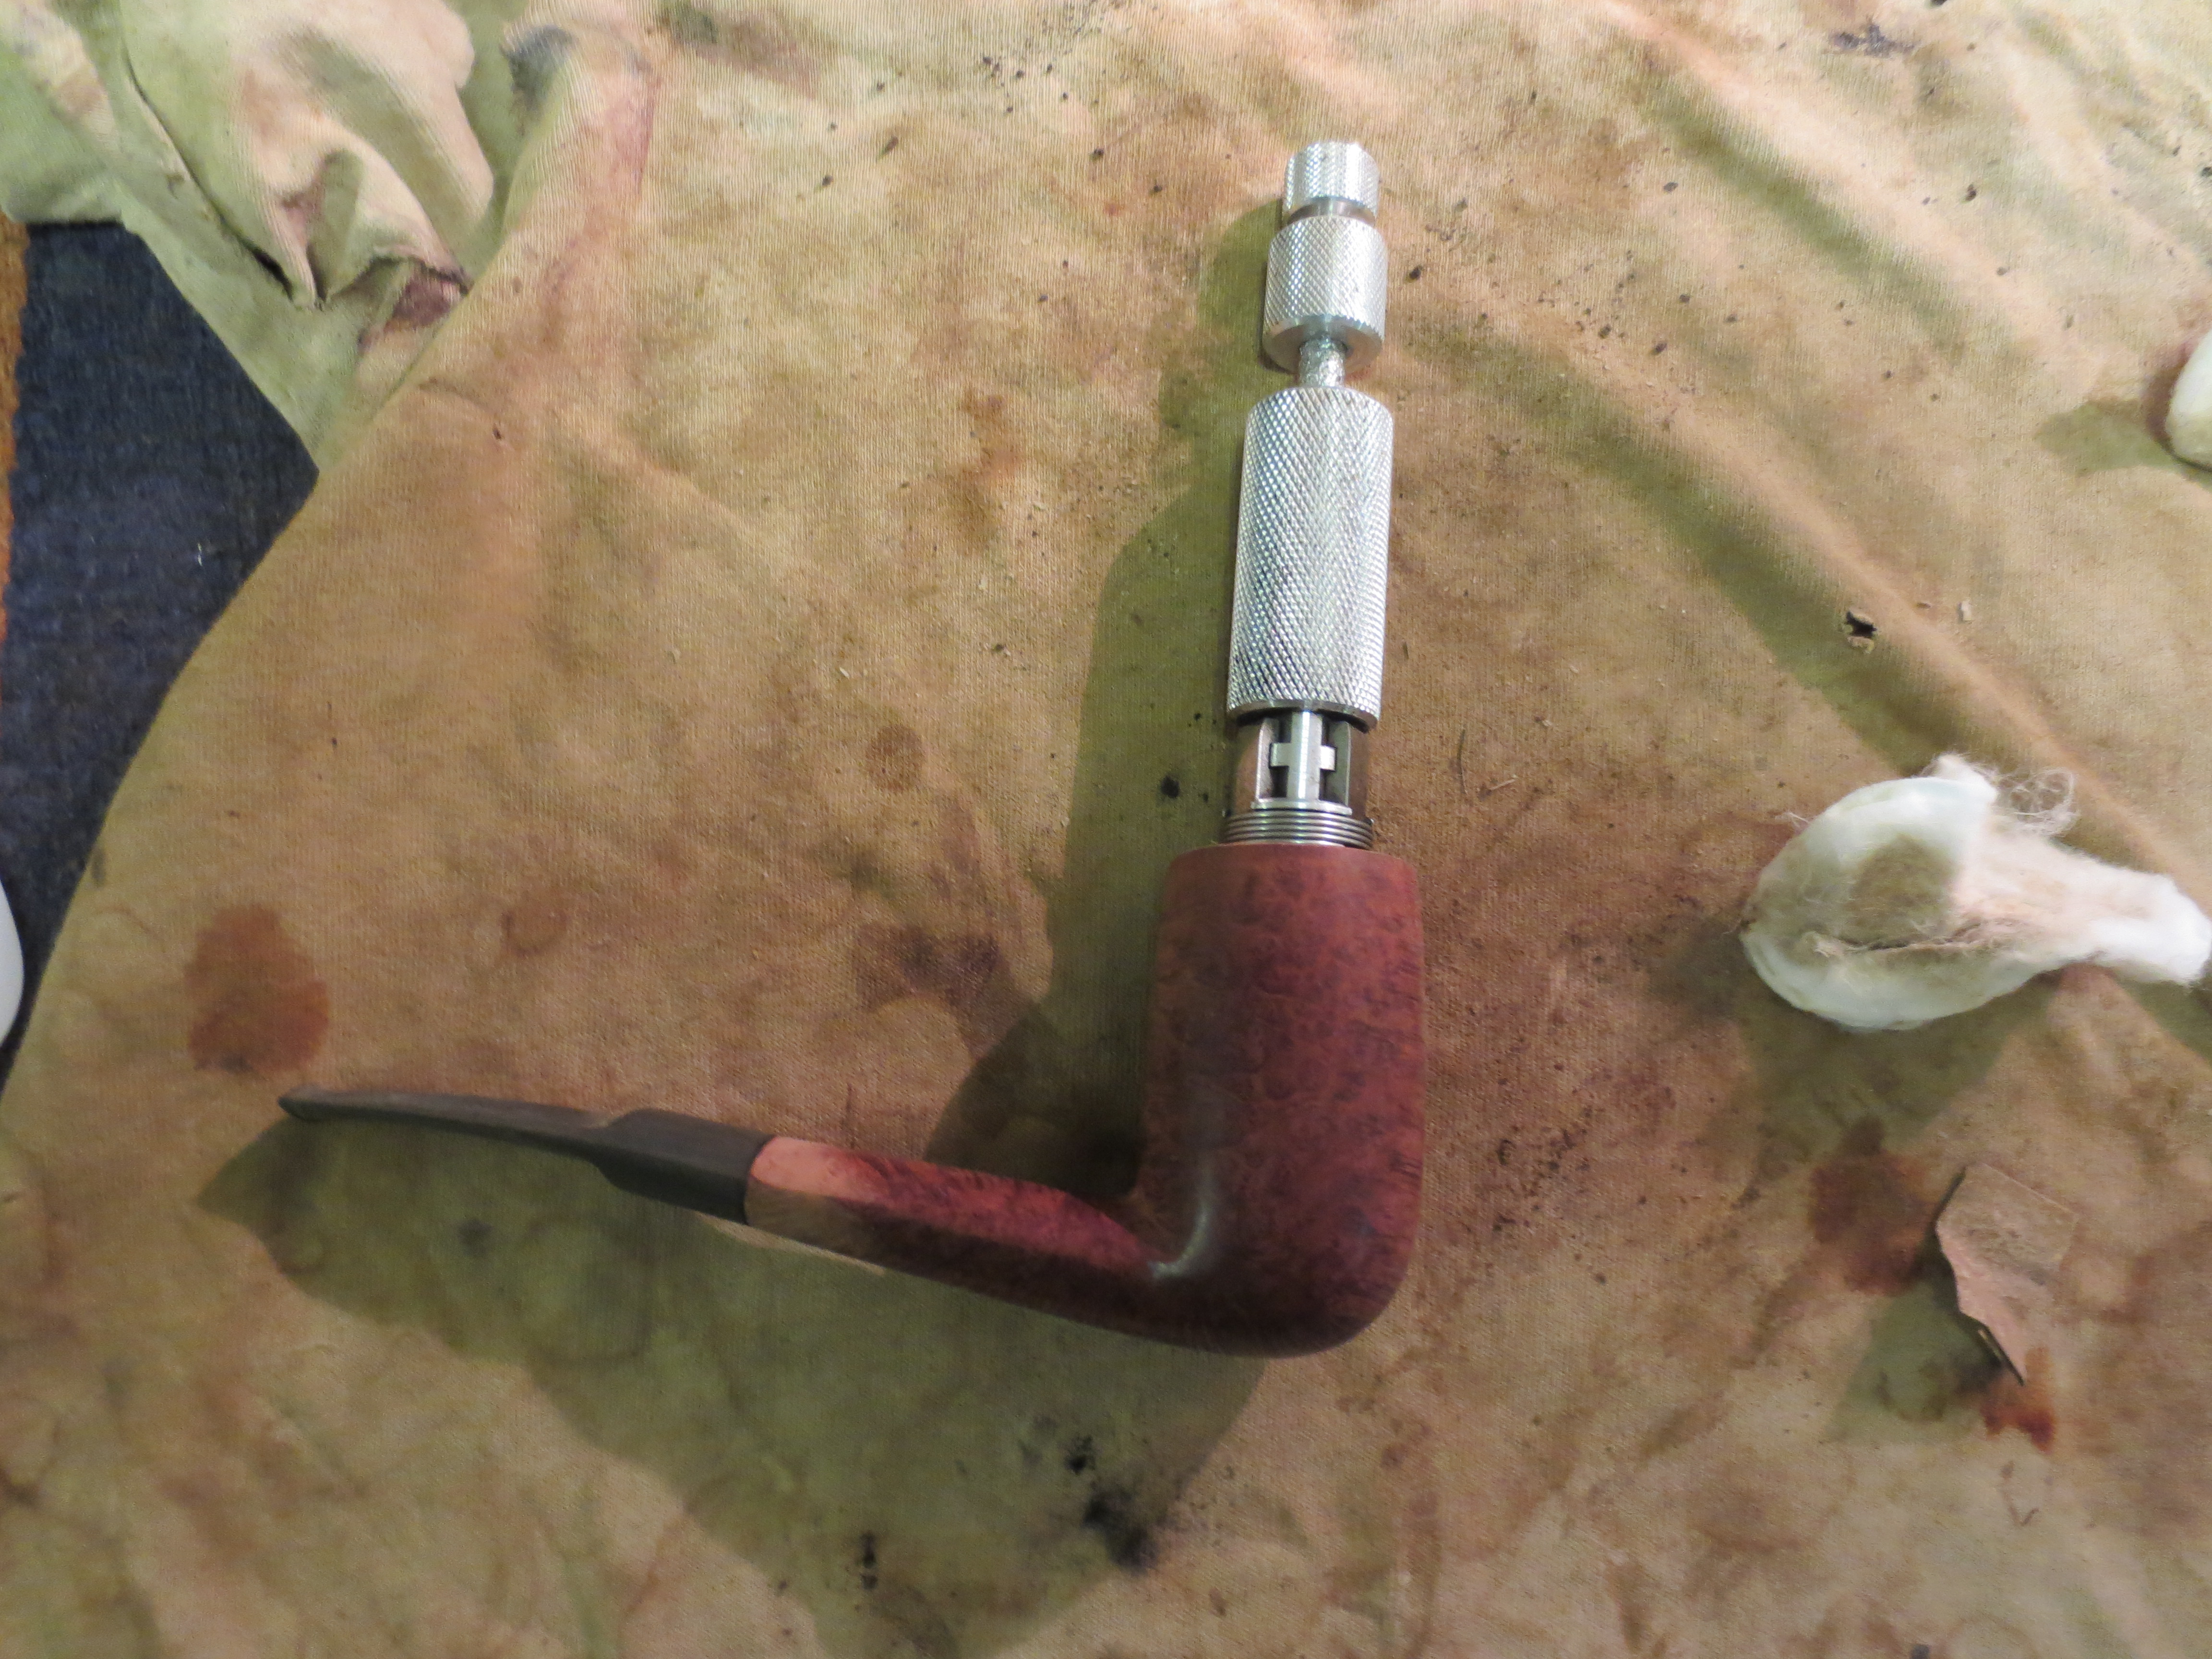
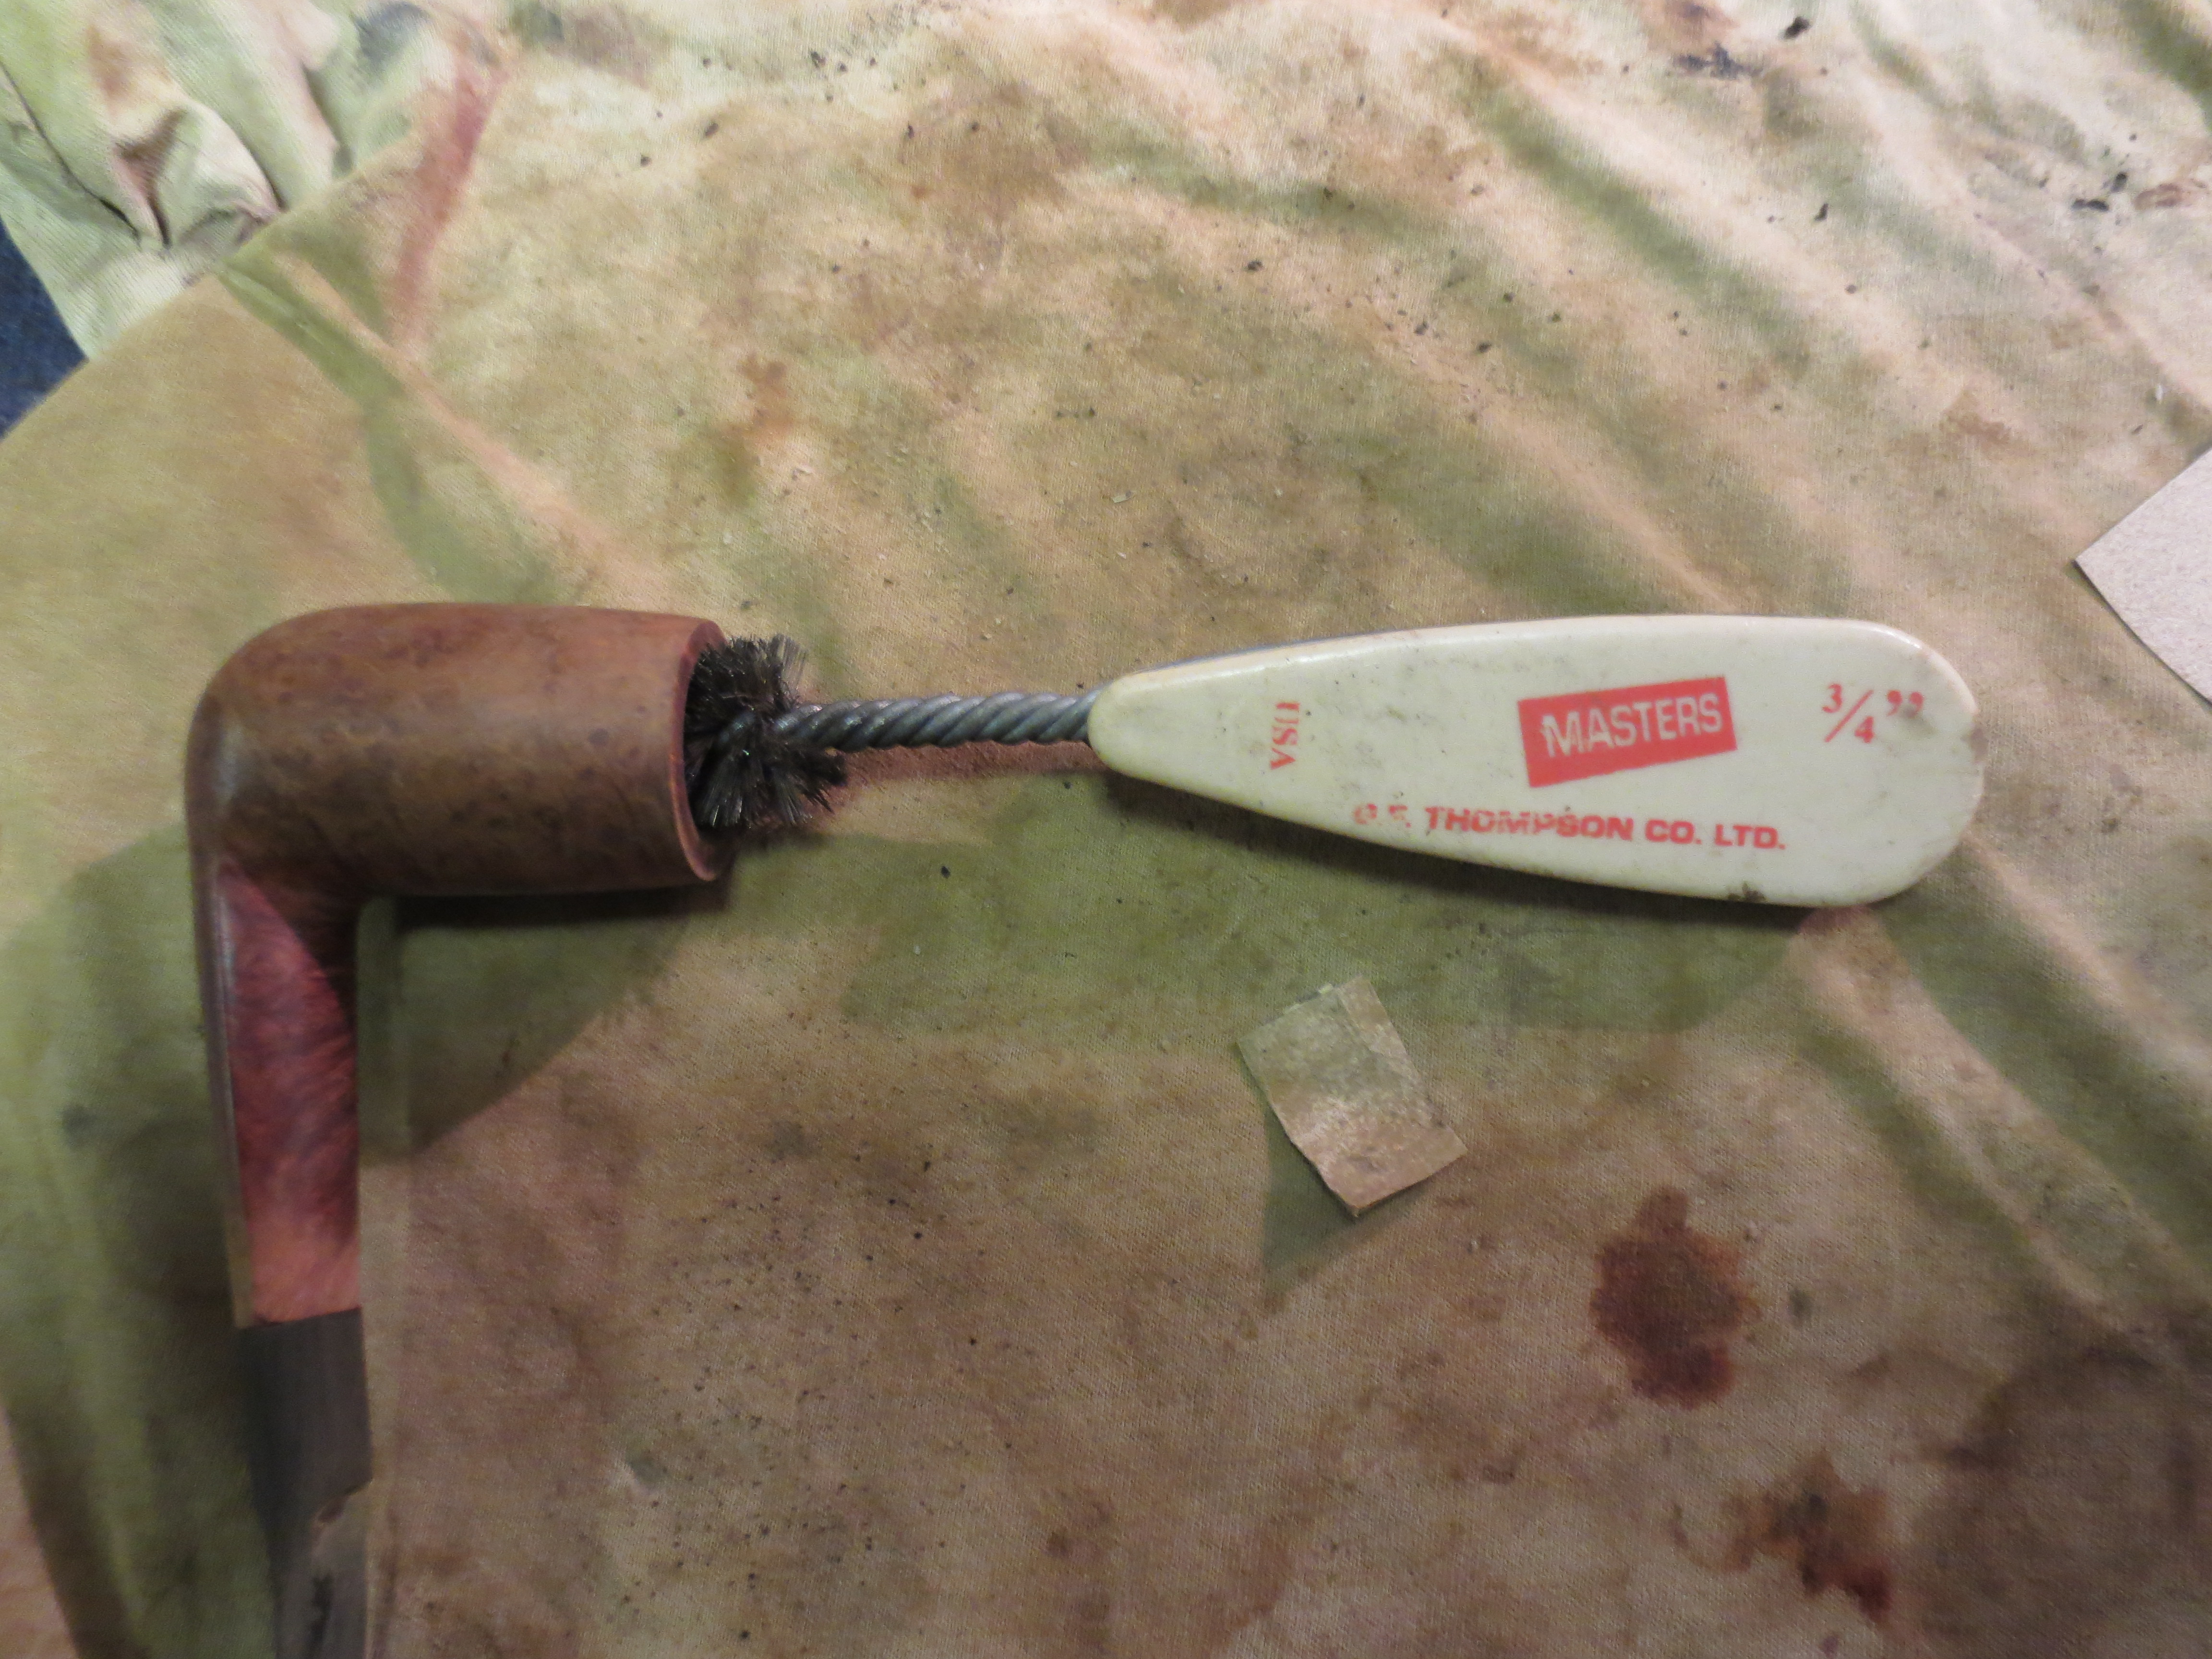
The depth of the bowl on this stack made it impossible for me to get to the bottom of the bowl with my reamers. The PipNet reamer went about 2/3 of the way down the bowl and the KleenReem or Senior reamer did the same. I have used a plumbing tool that is used to clean up pipe after cutting it to ream deep bowl. It is a ¾ inch cone shaped wire brush with a handle that I can turn into the bowl and go to the bottom to remove the cake evenly. It works exceptionally well for this purpose.

IMG_1337

IMG_1338

IMG_1339

IMG_1333

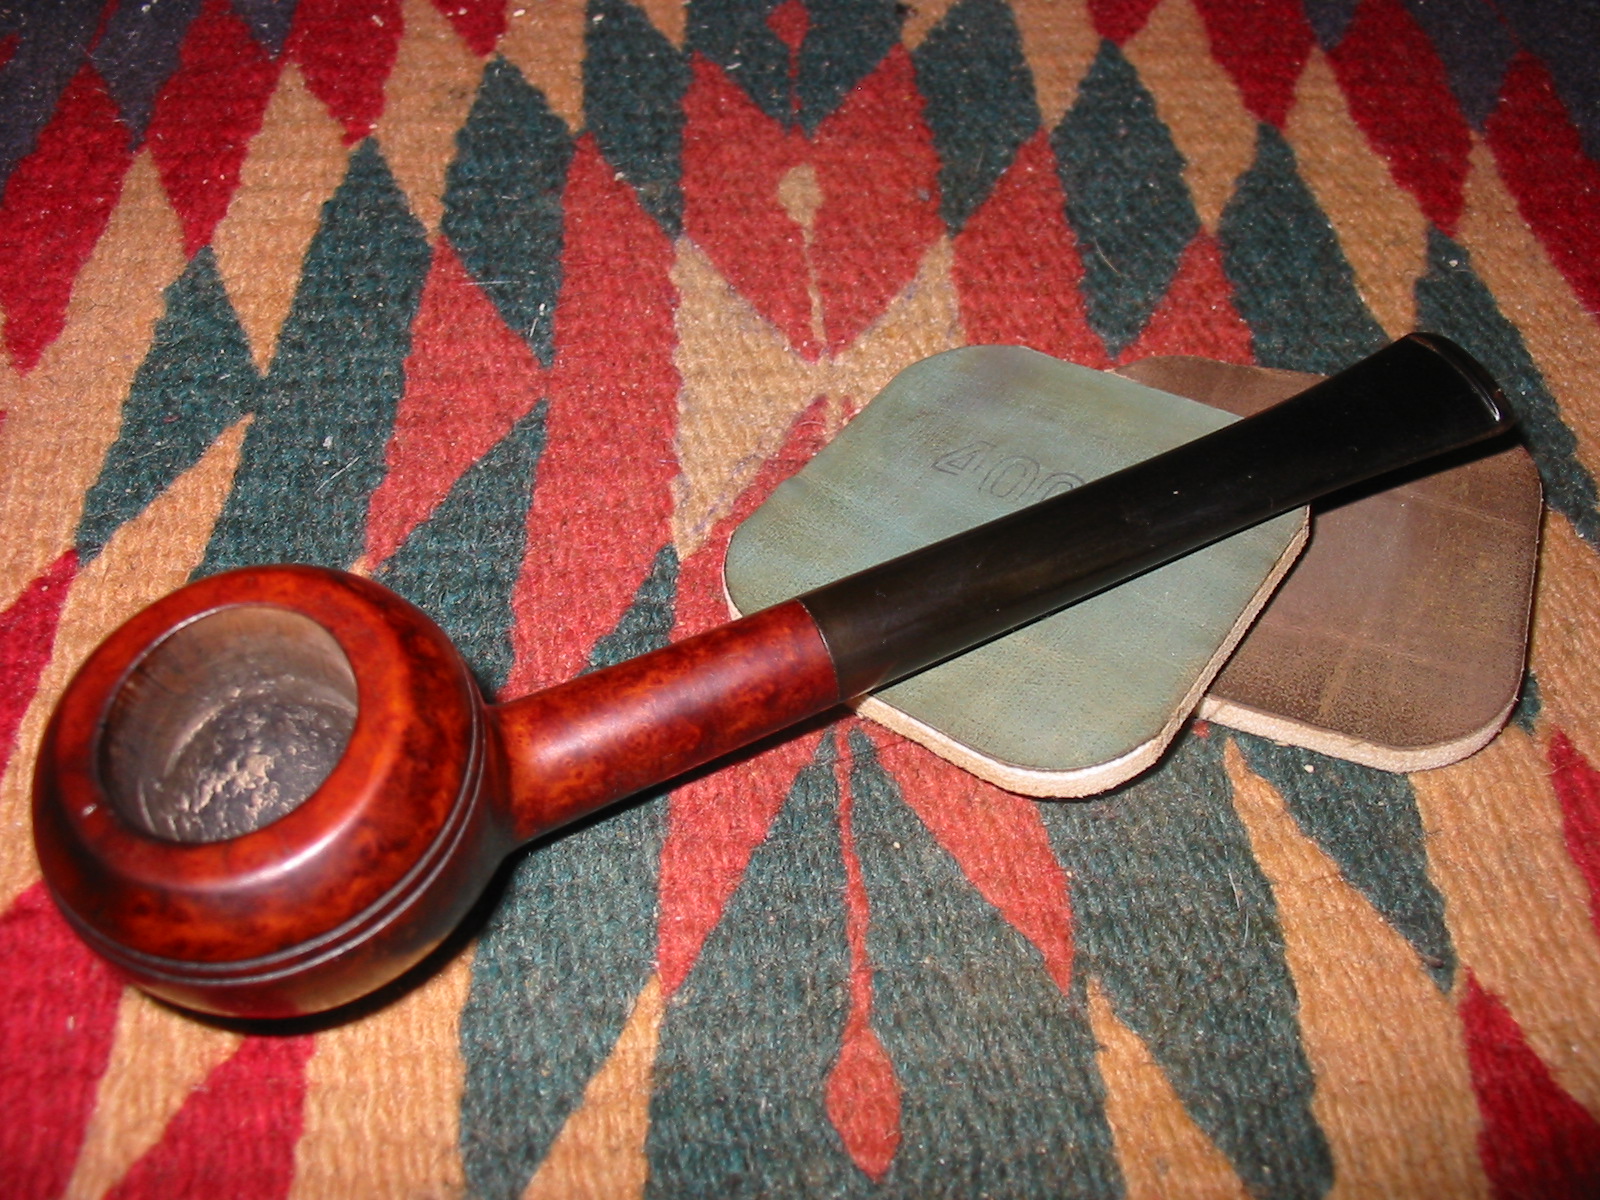
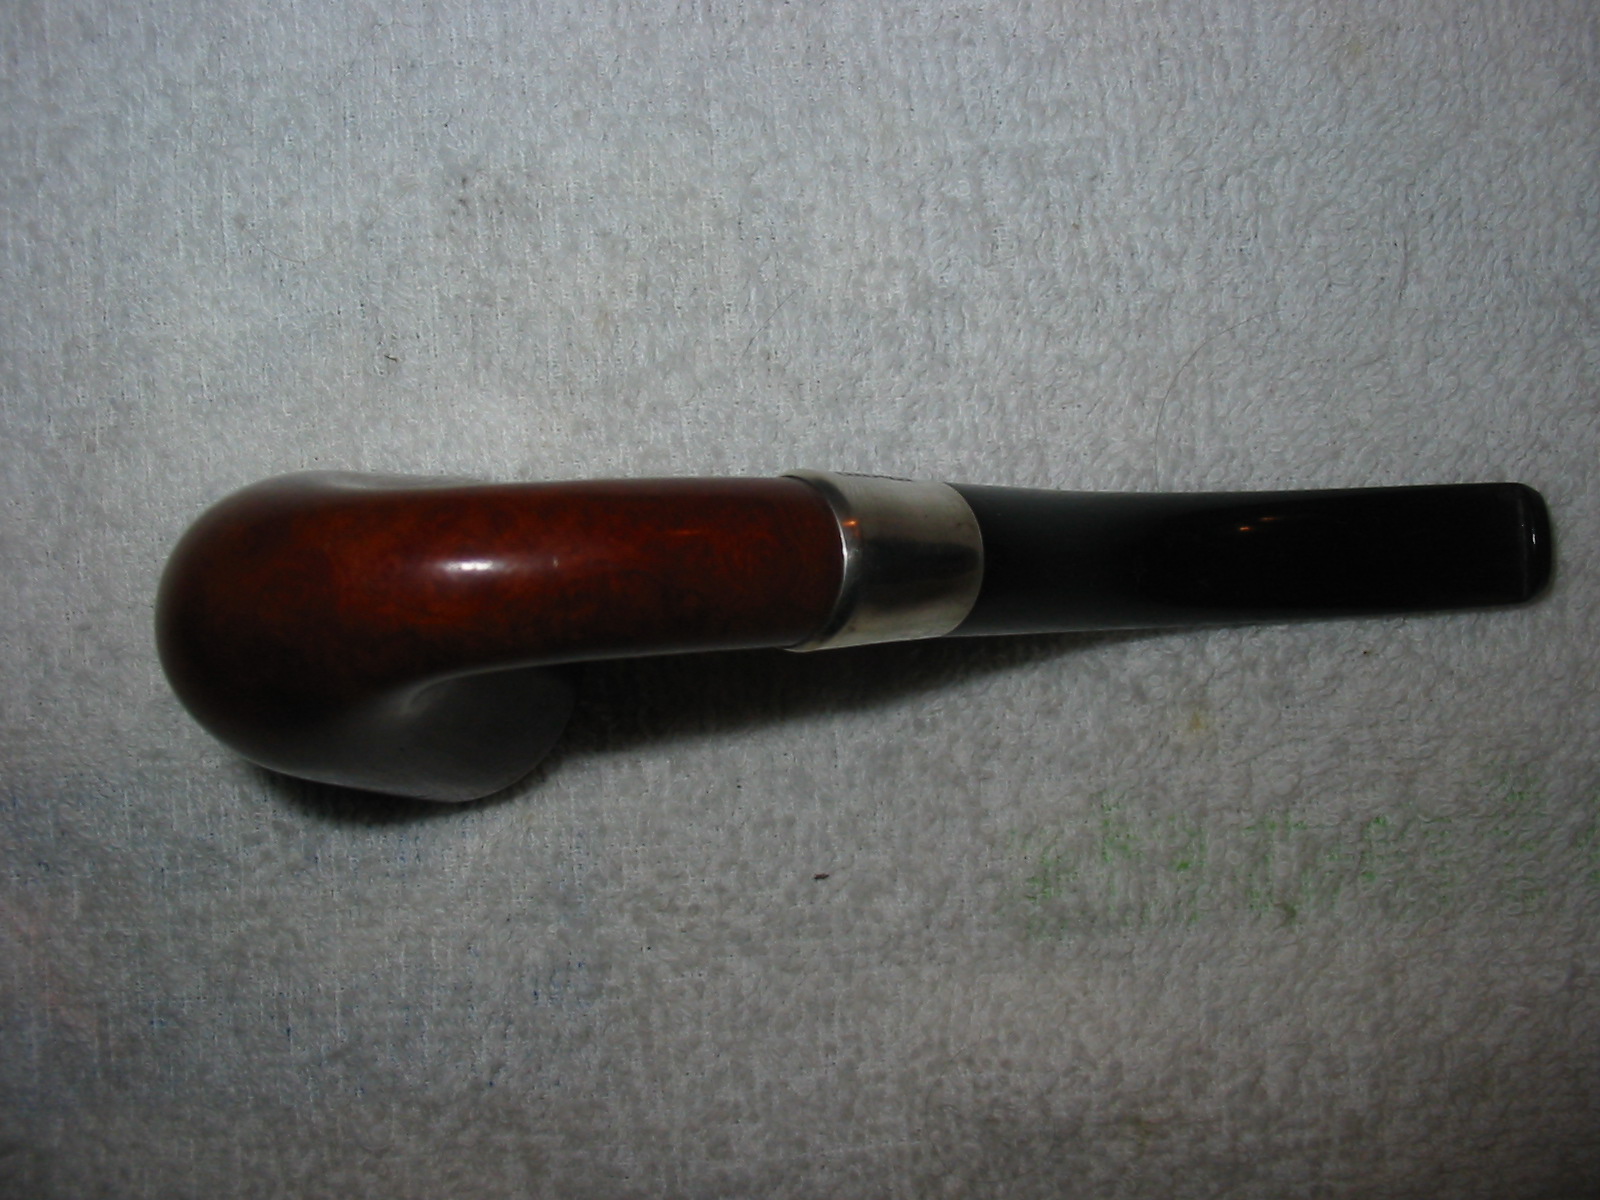
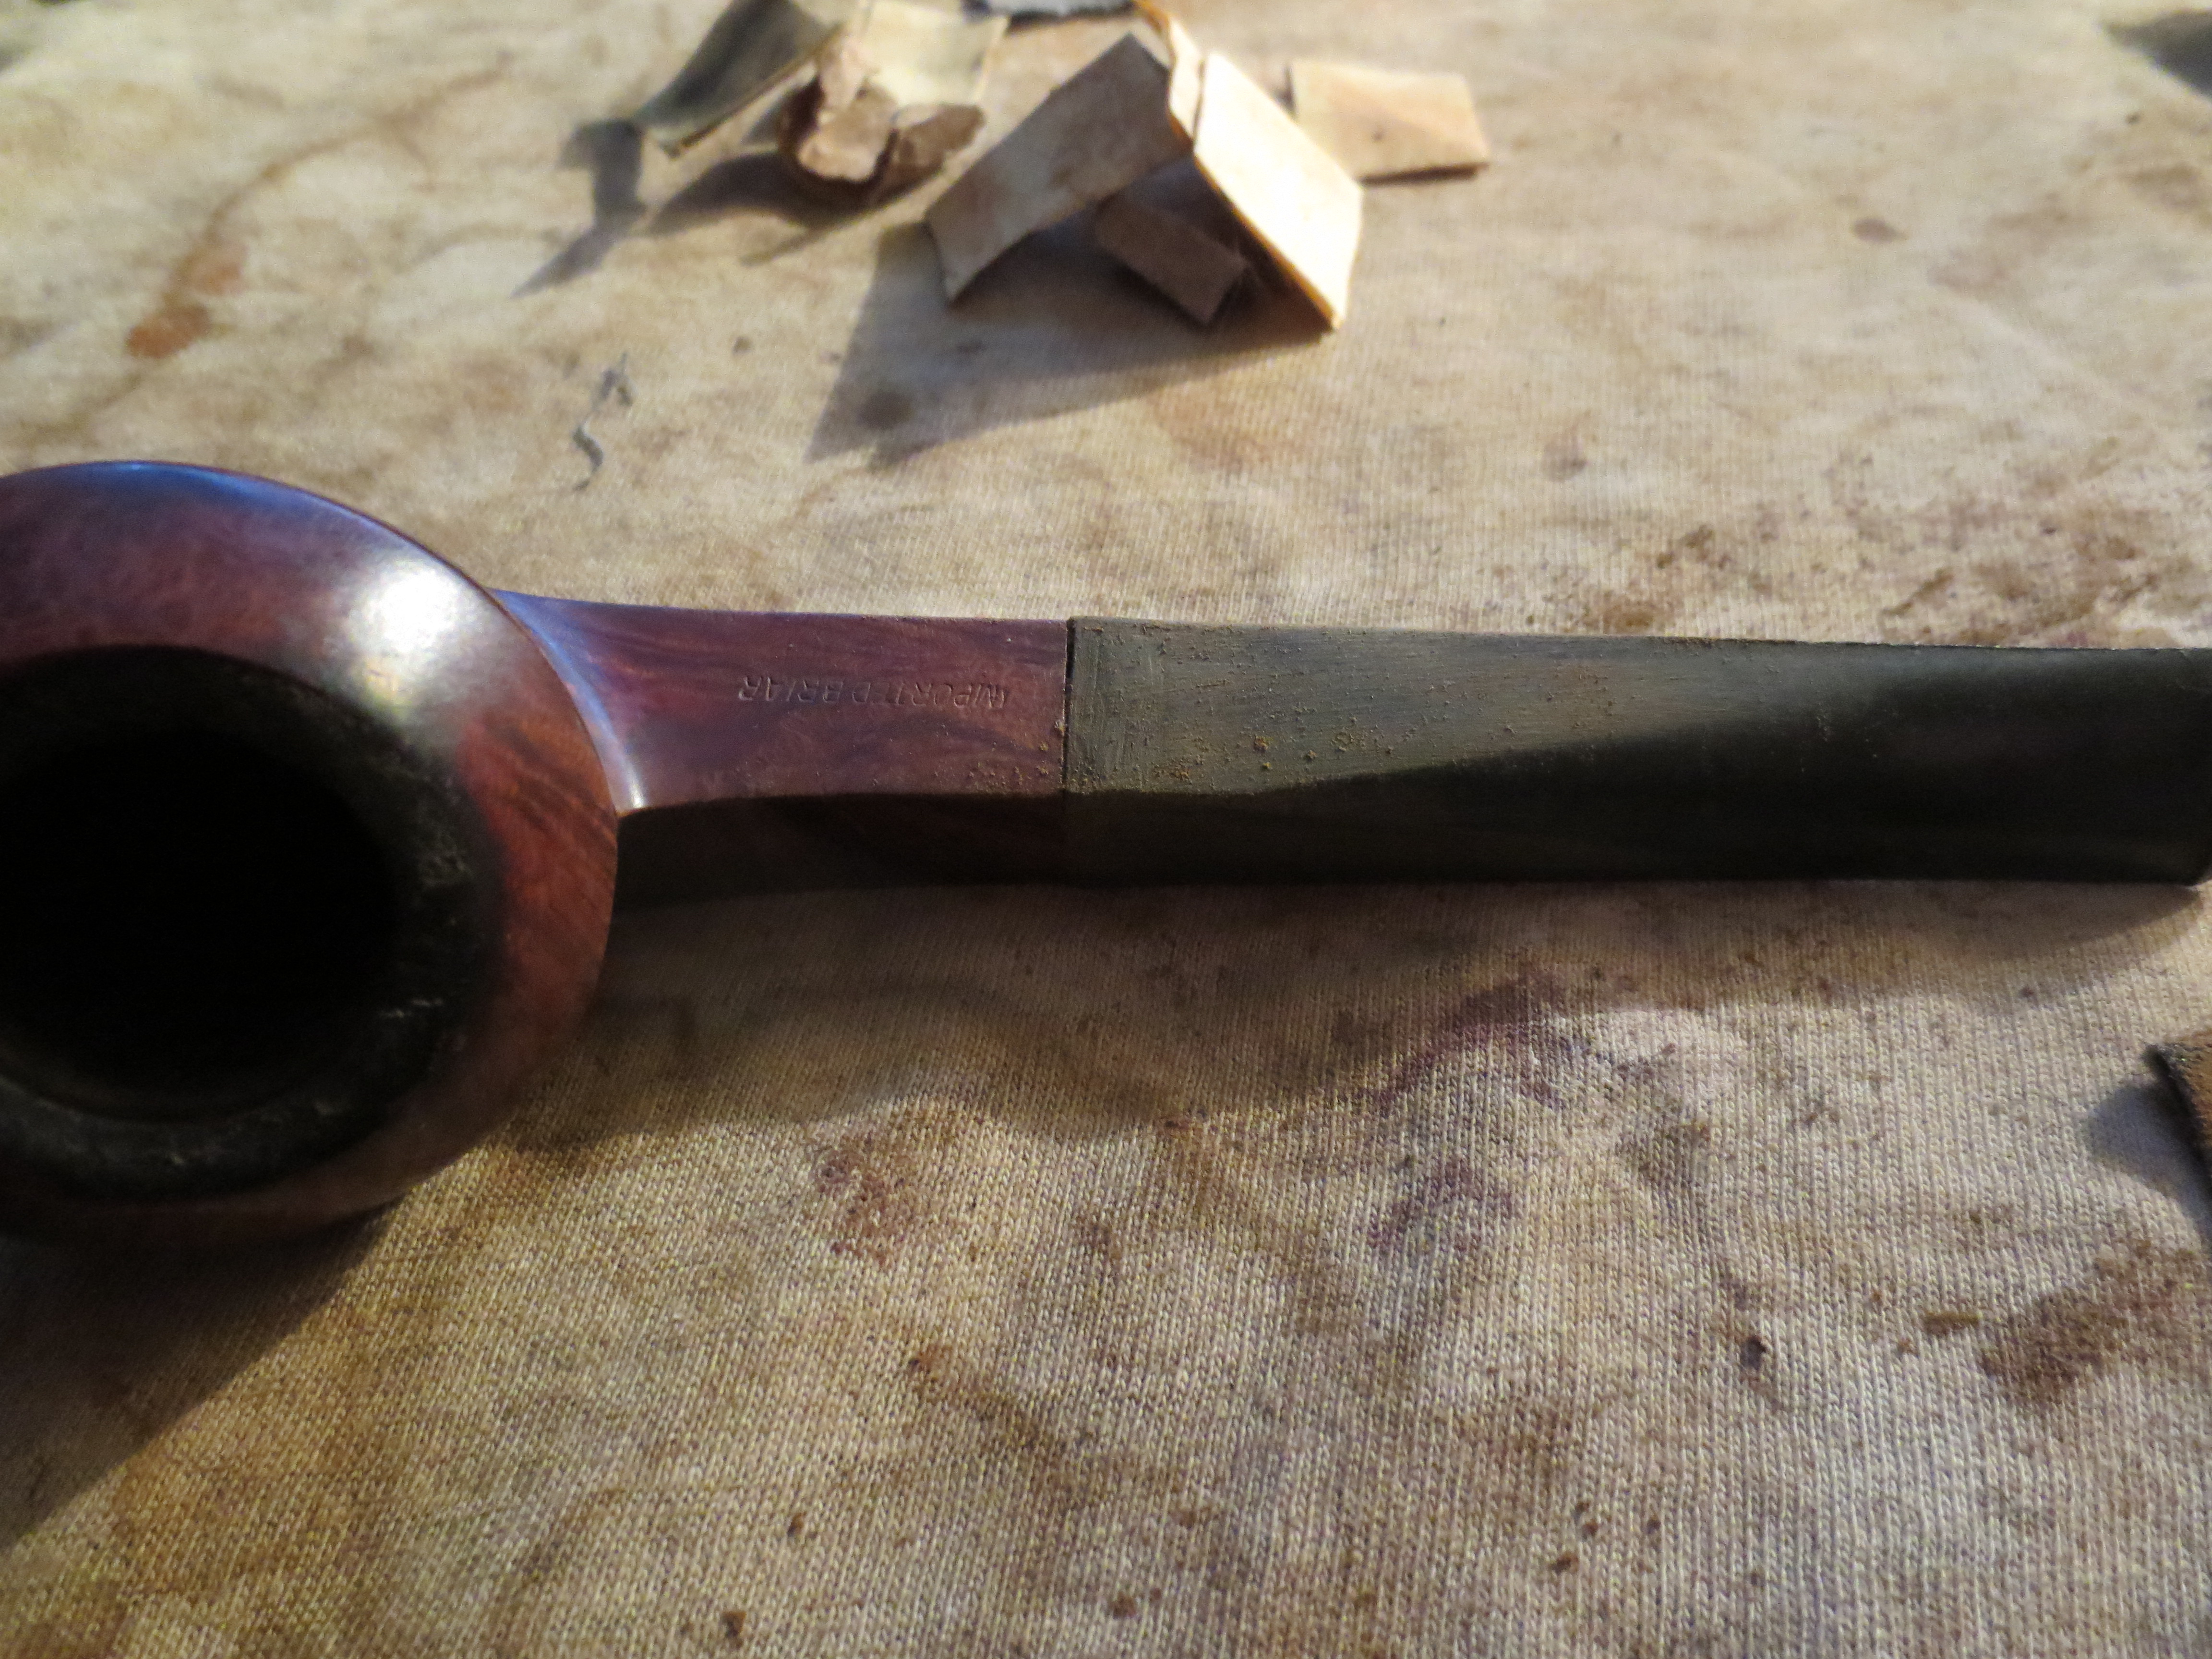
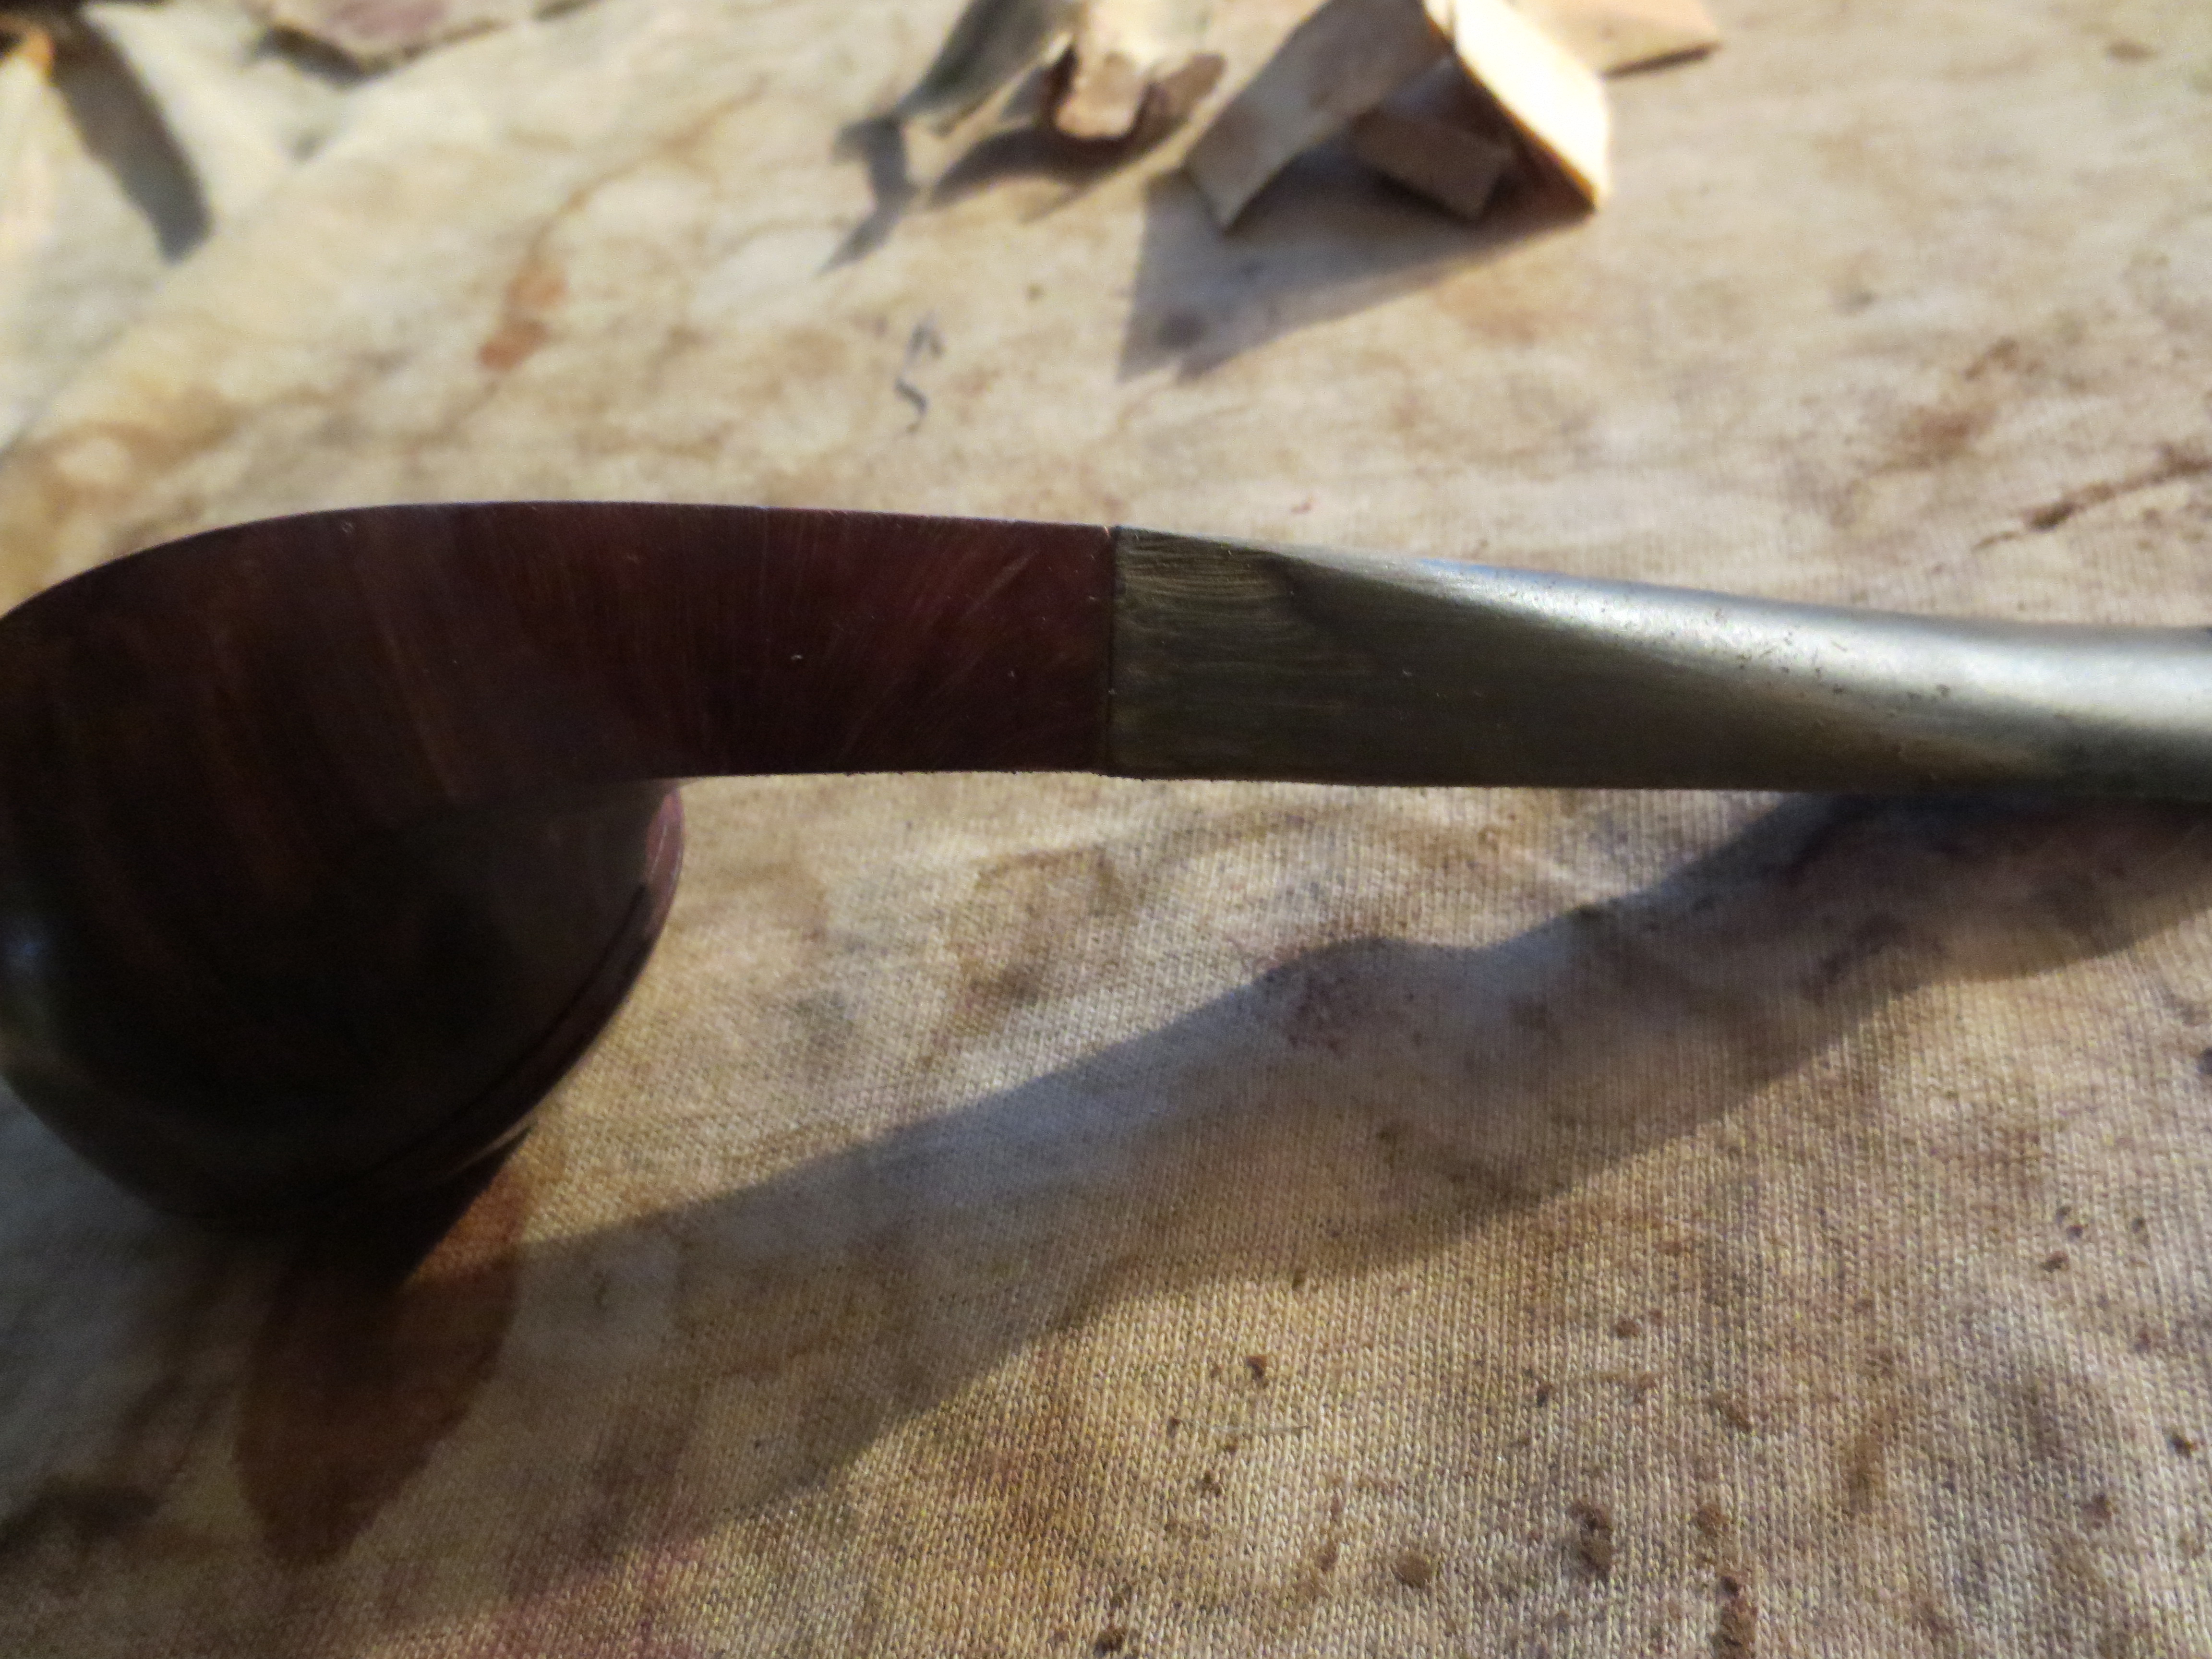
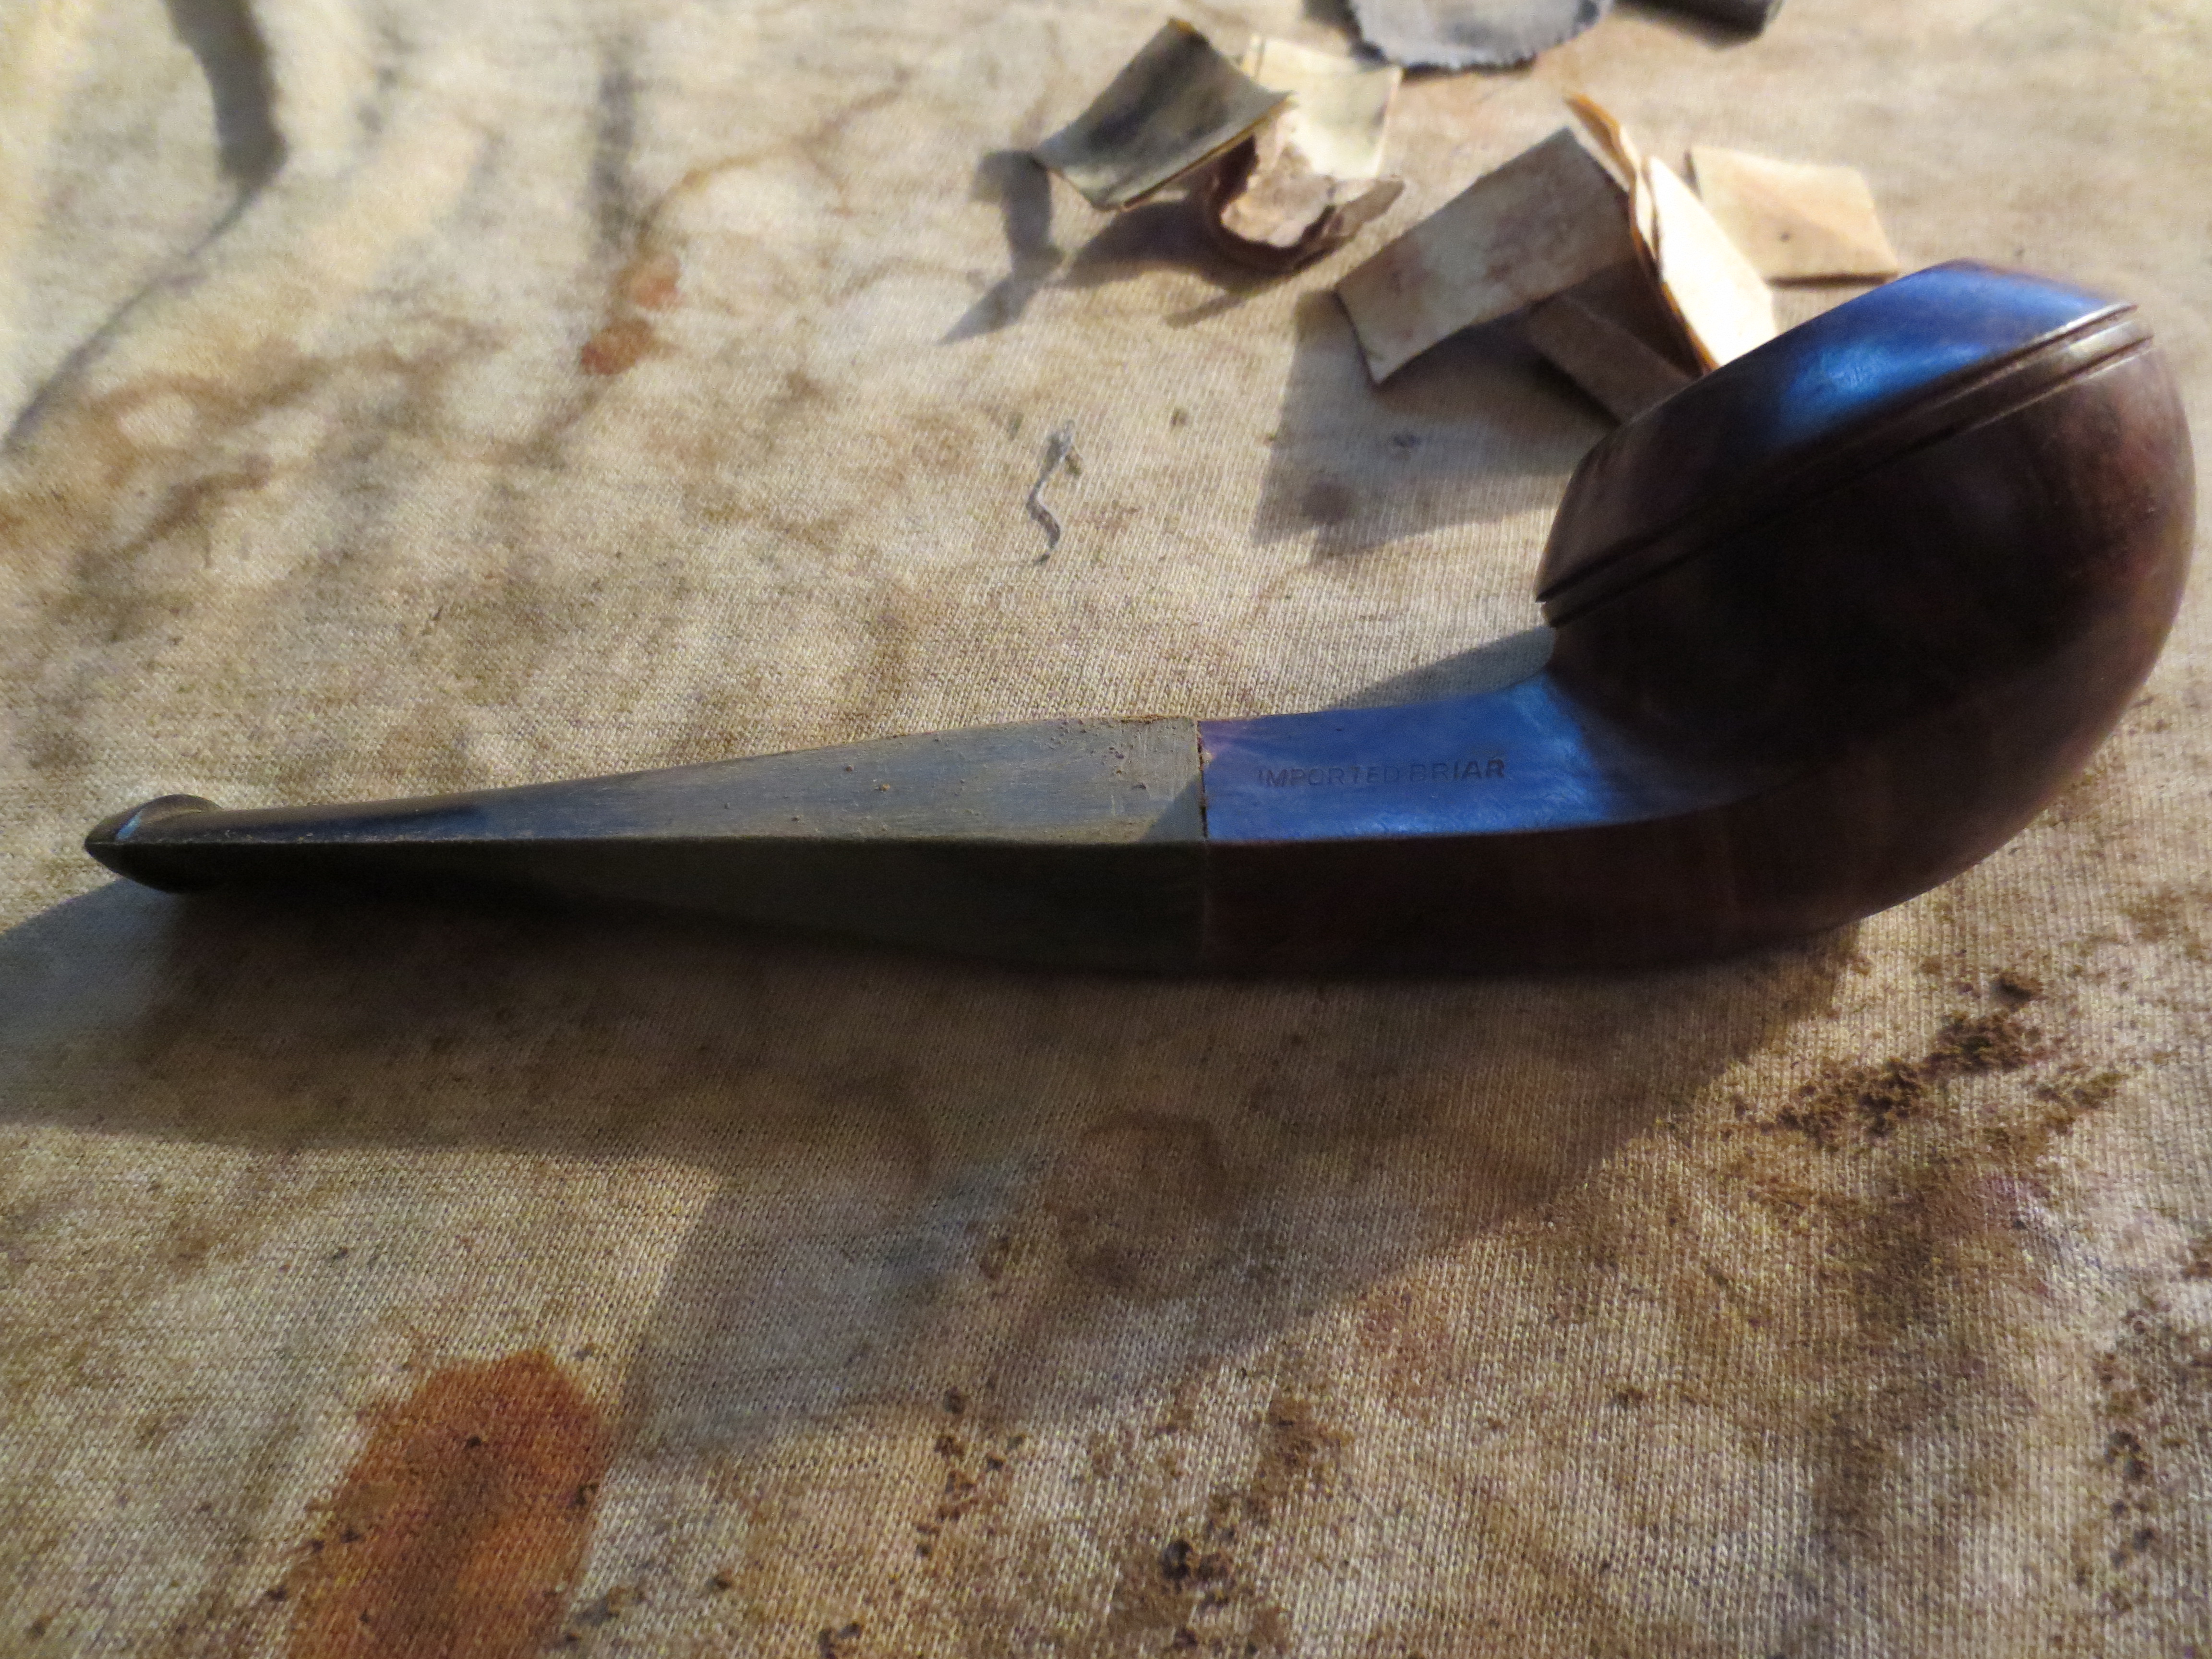
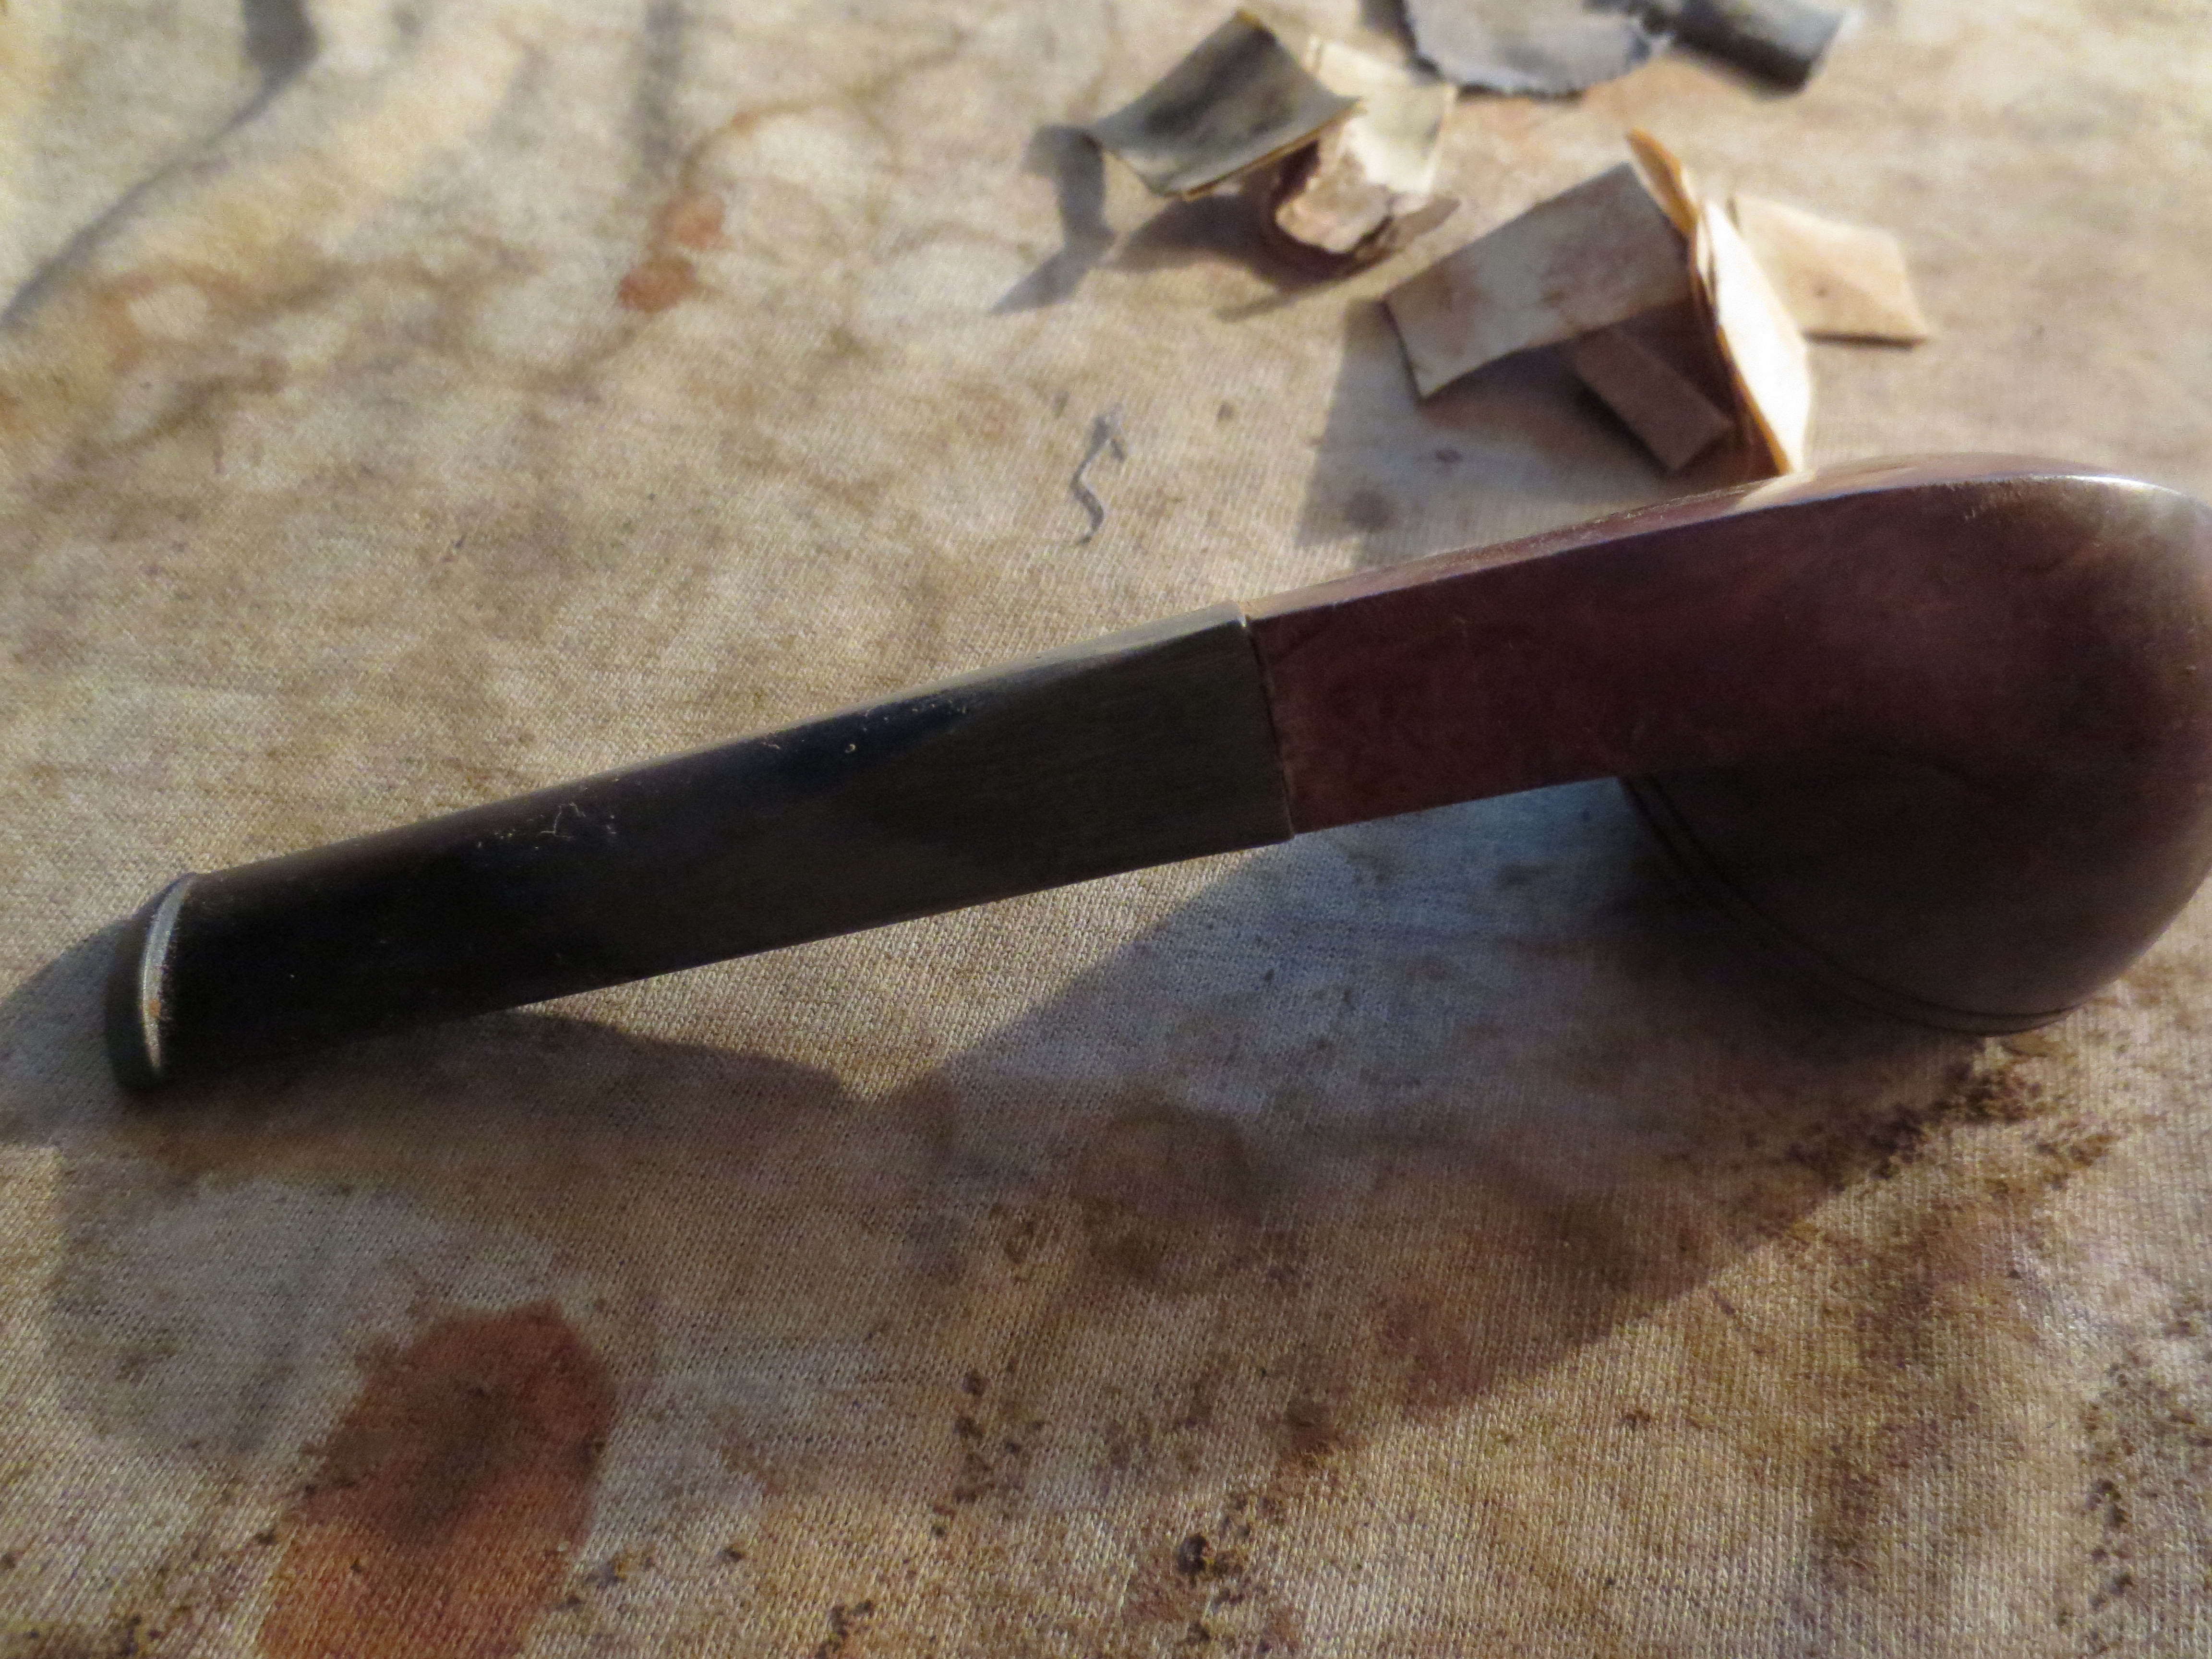
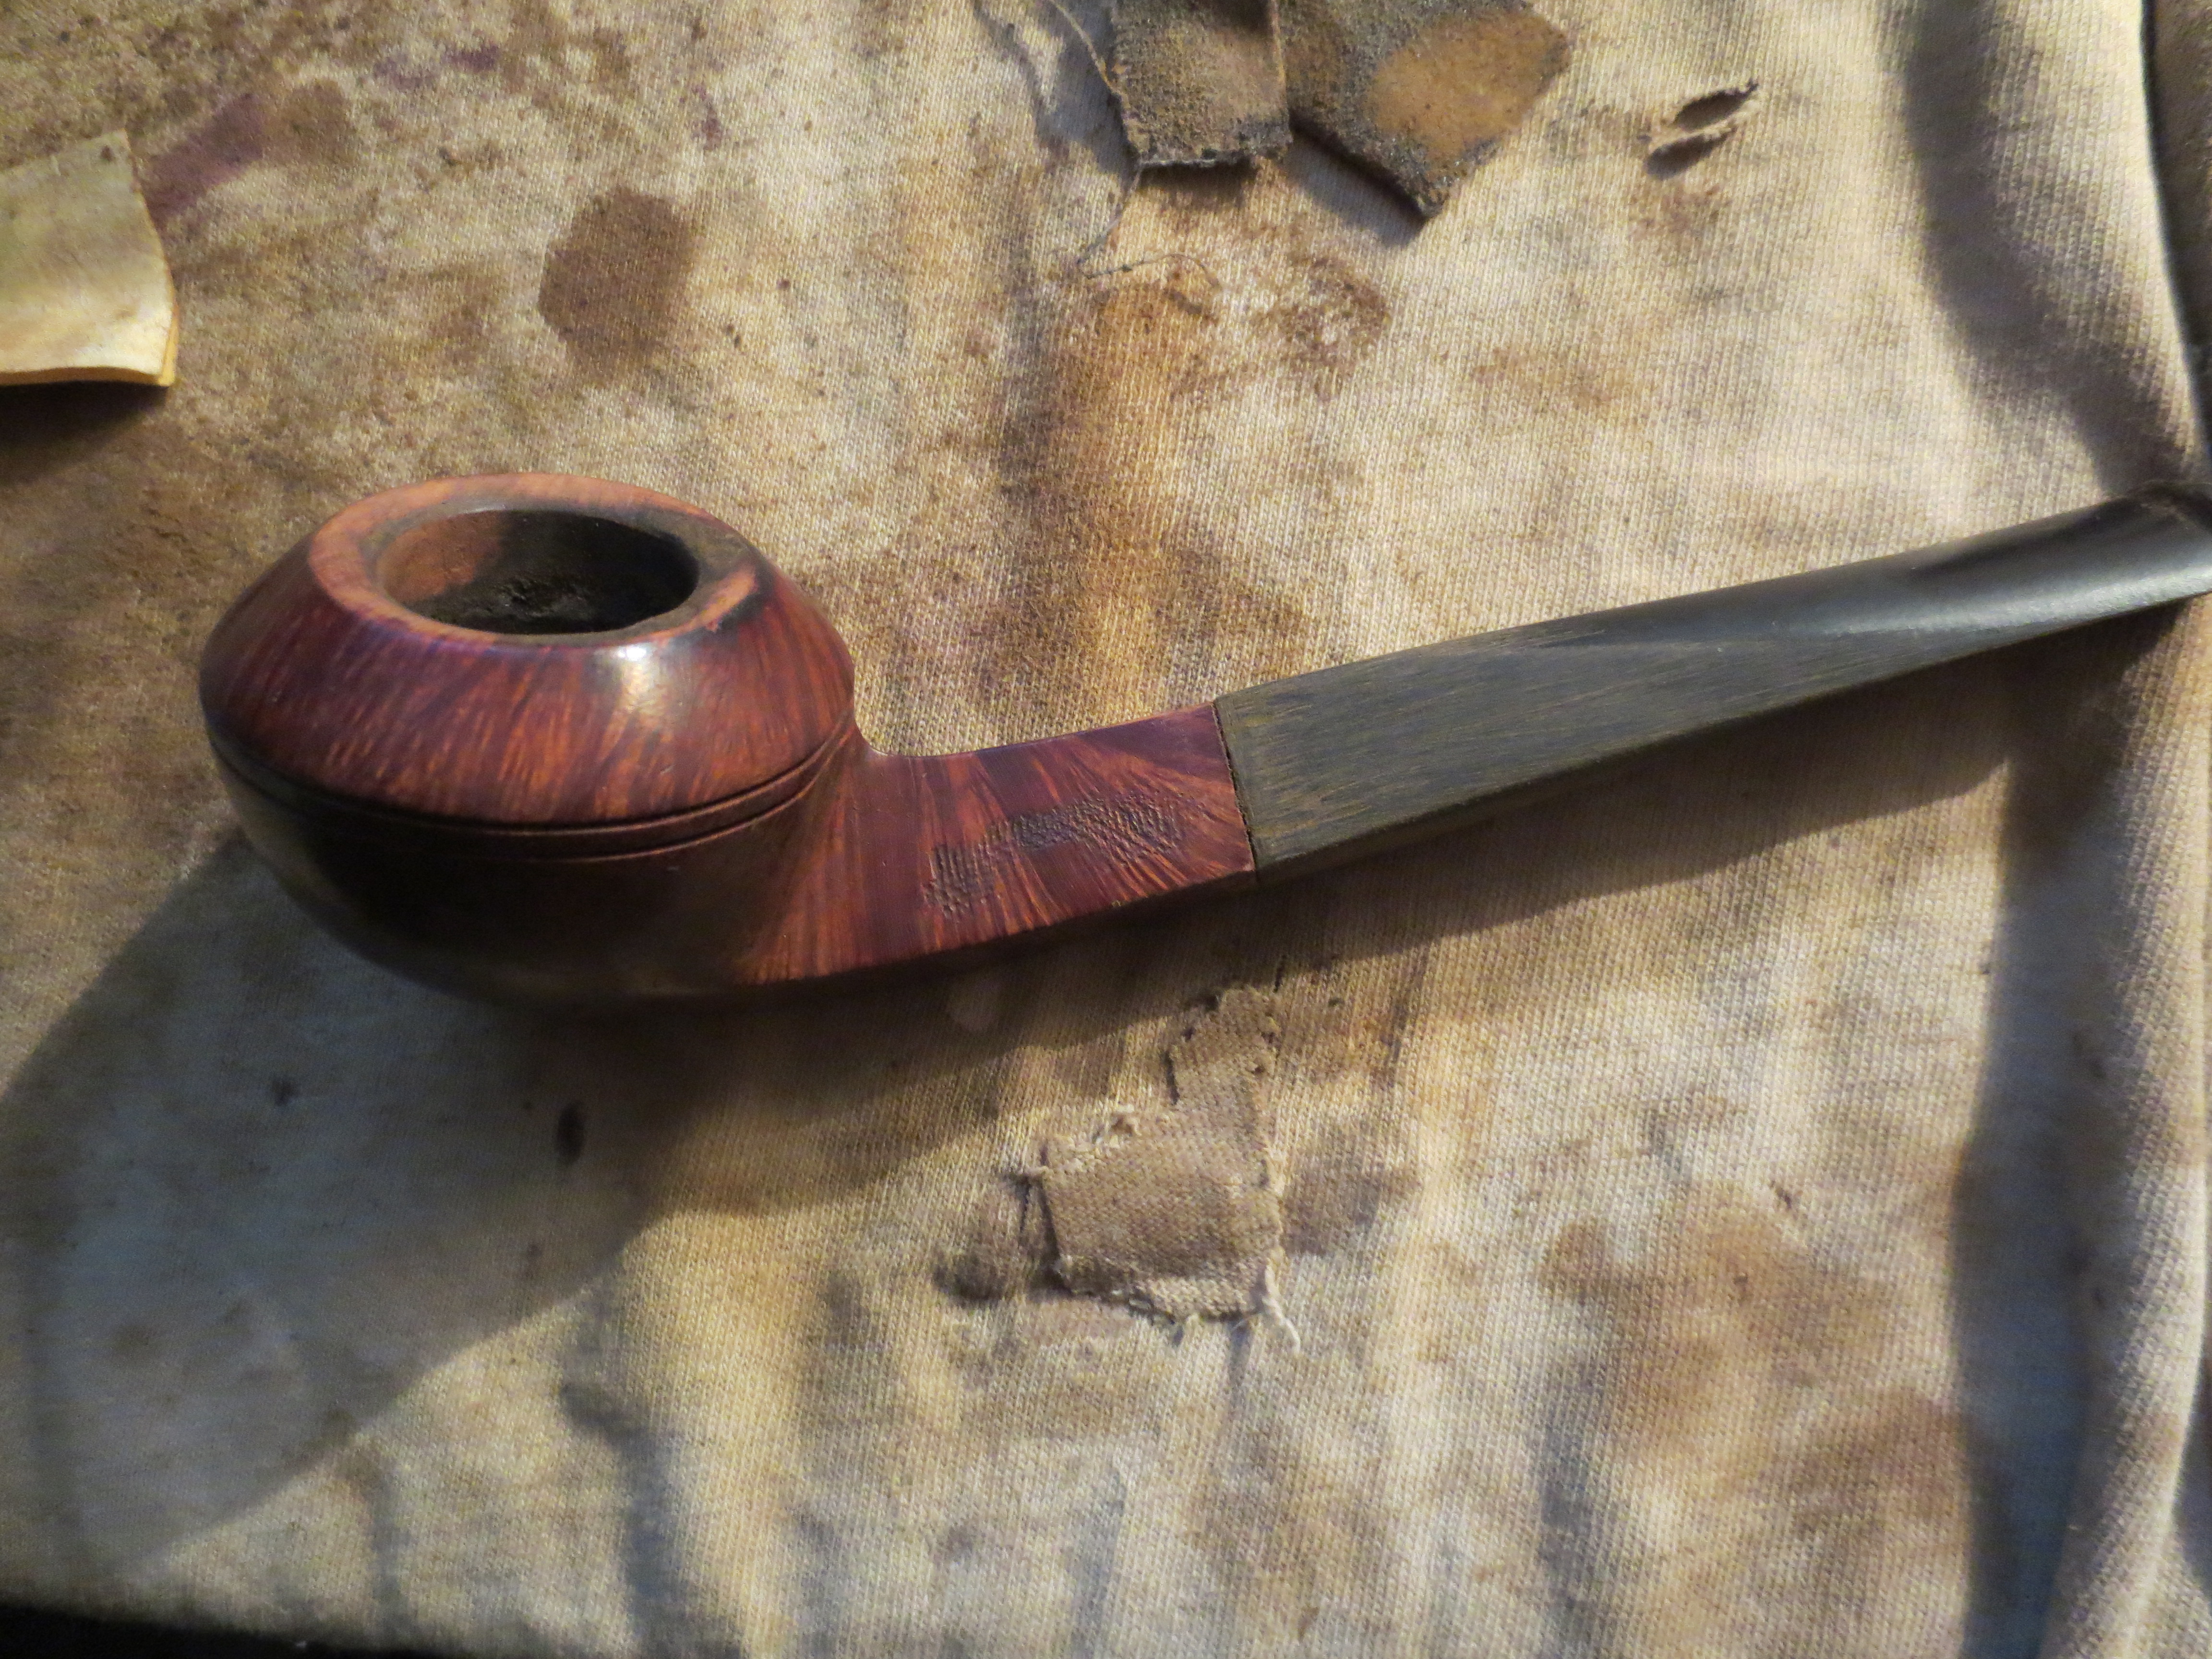
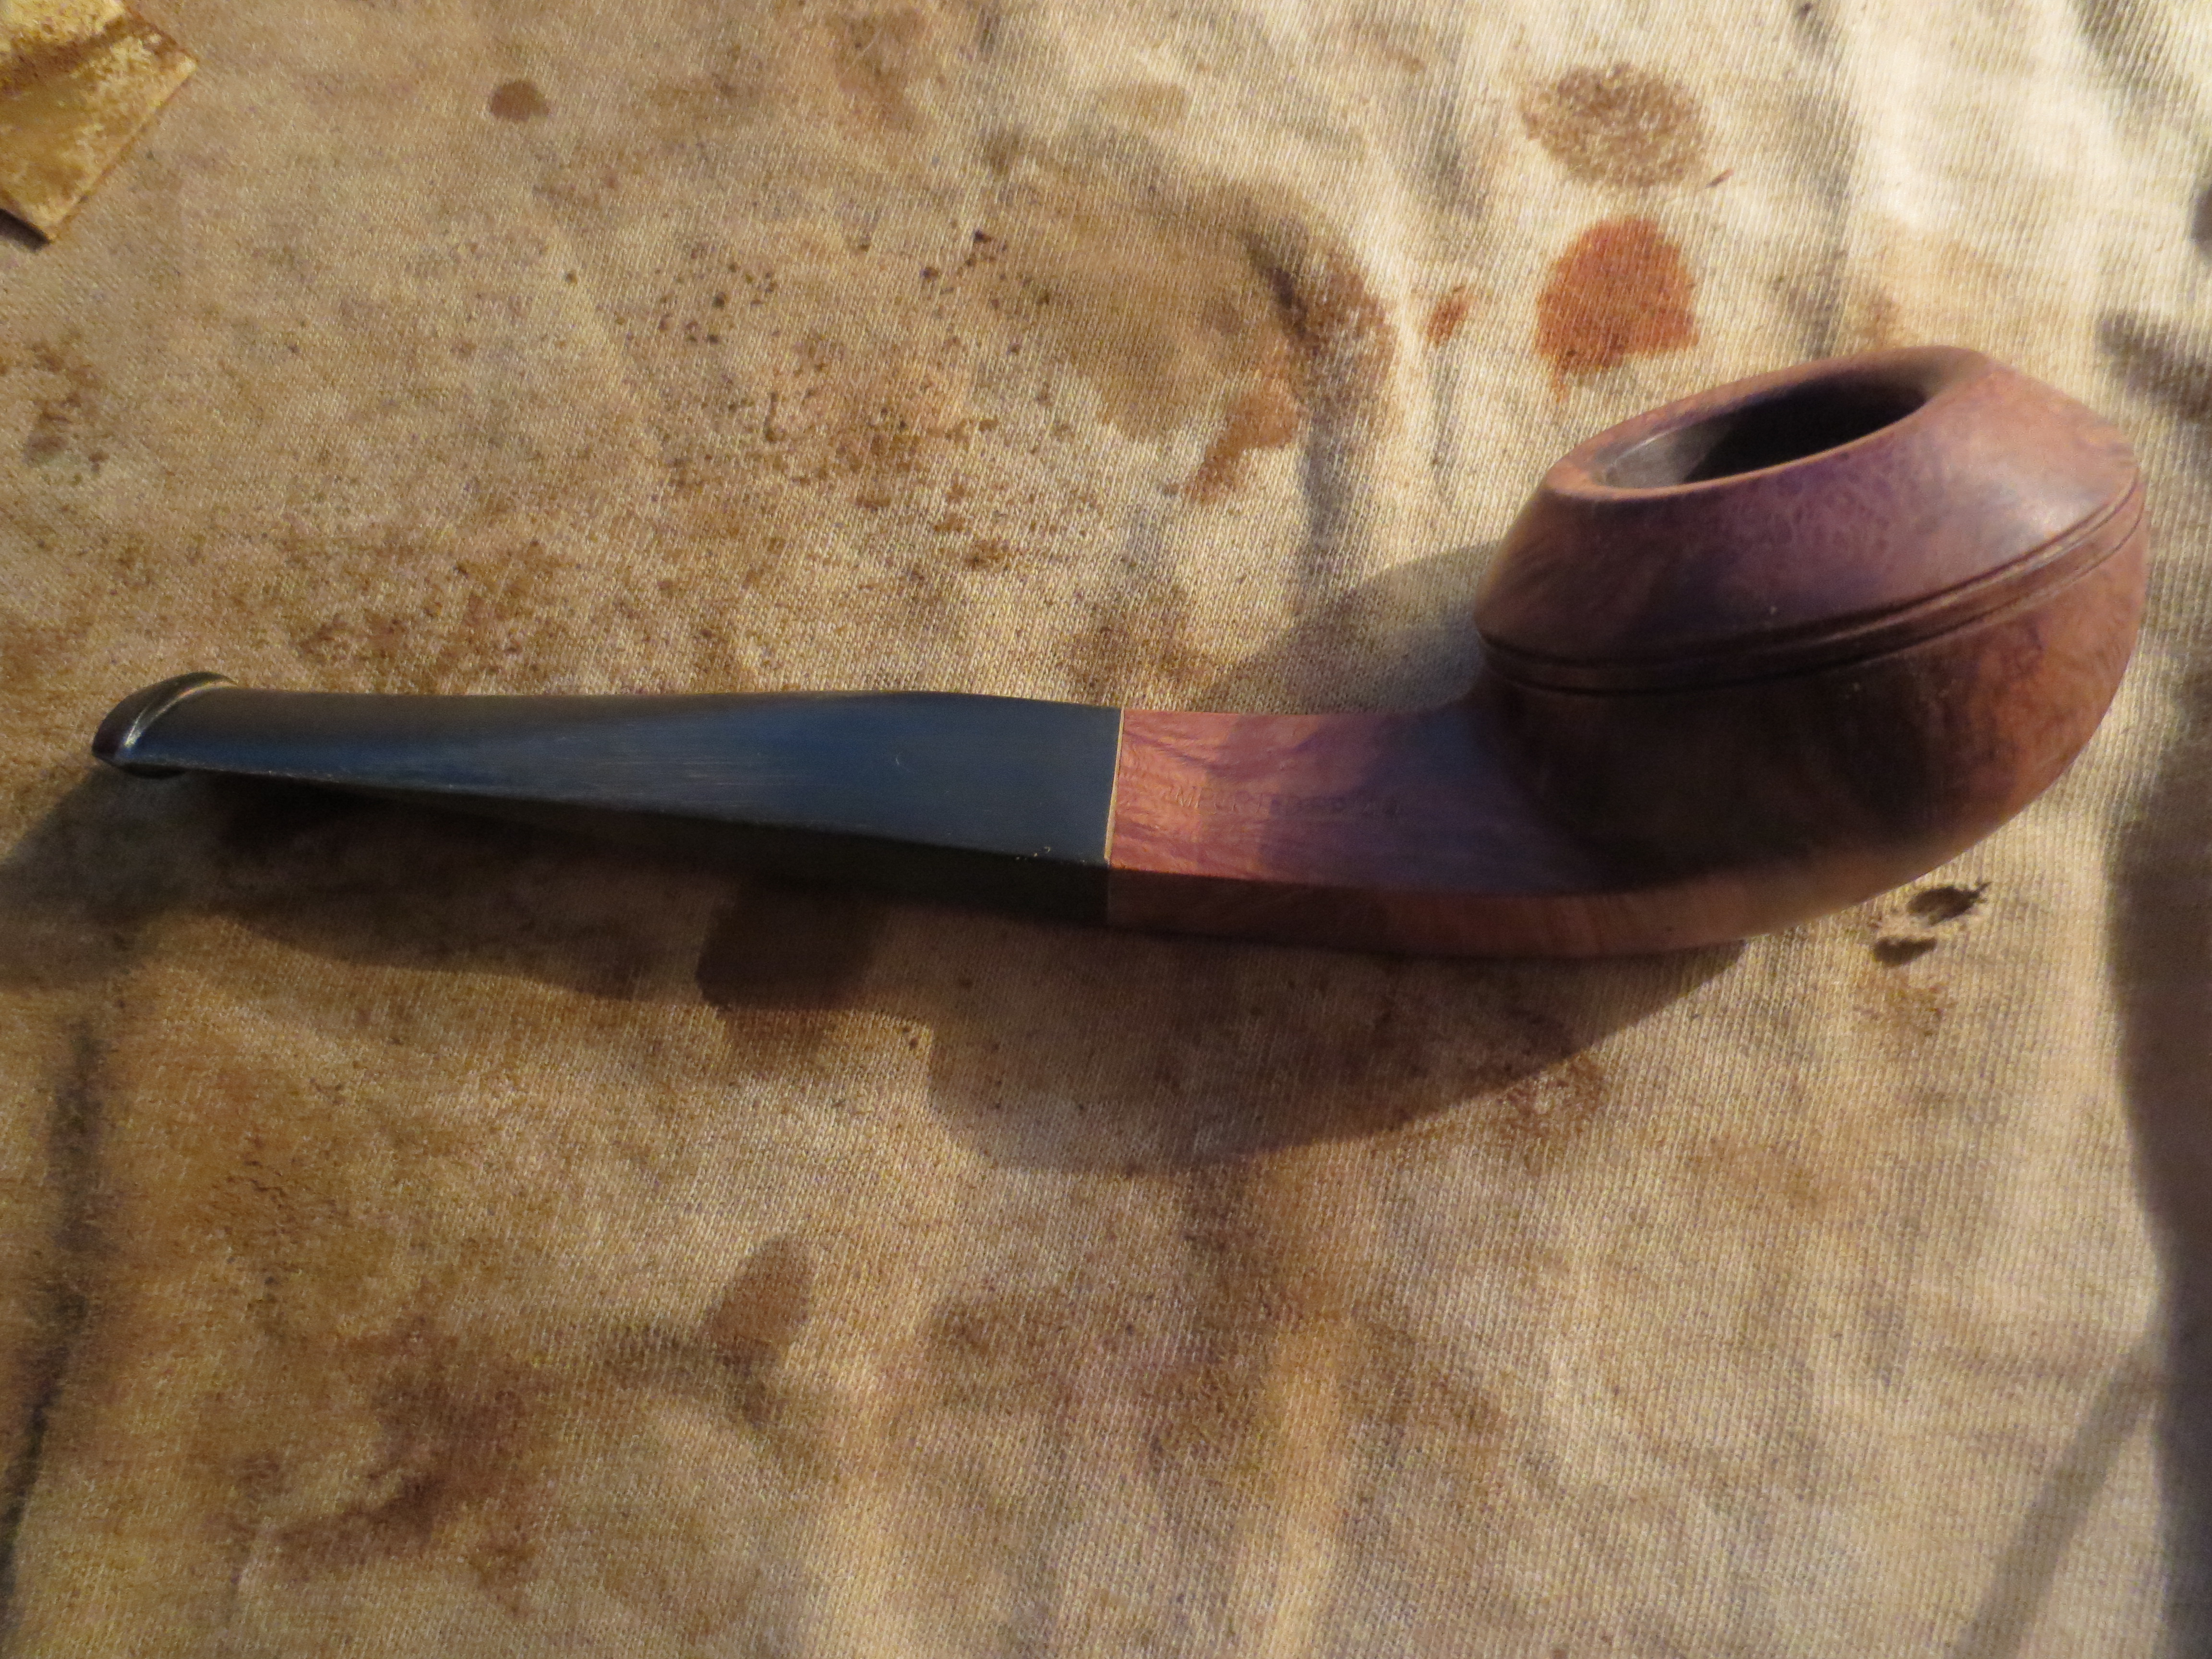
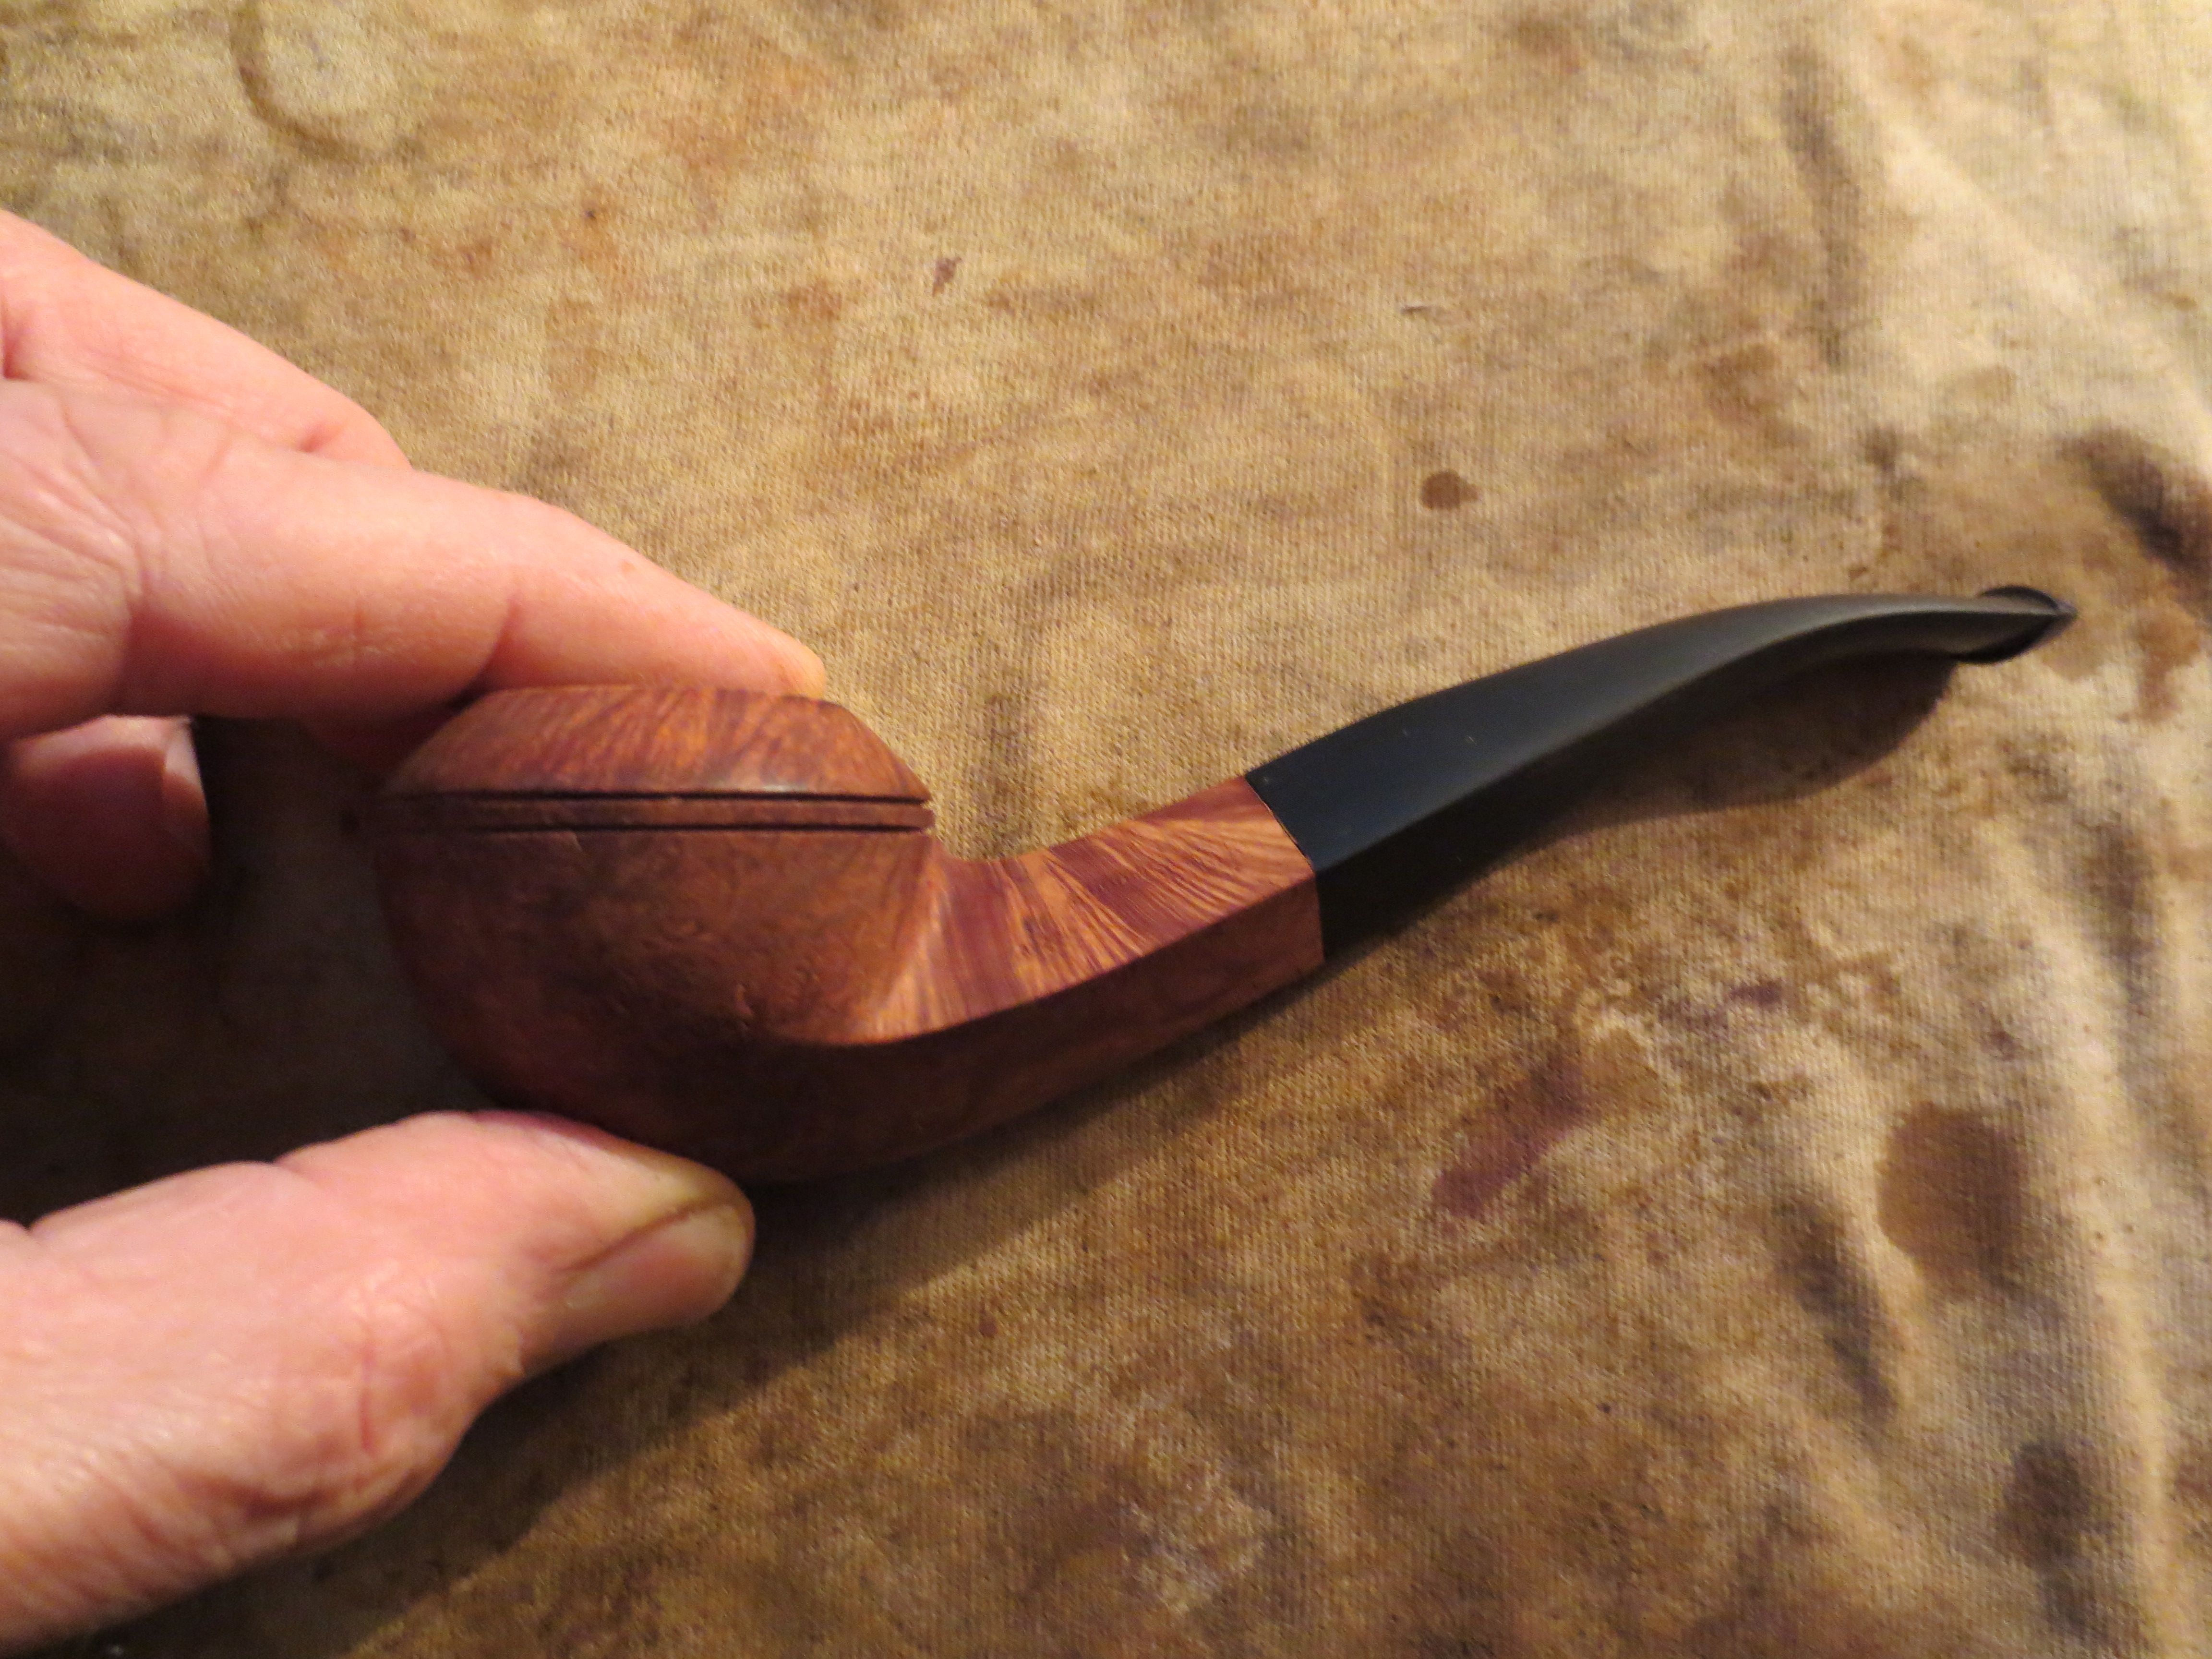
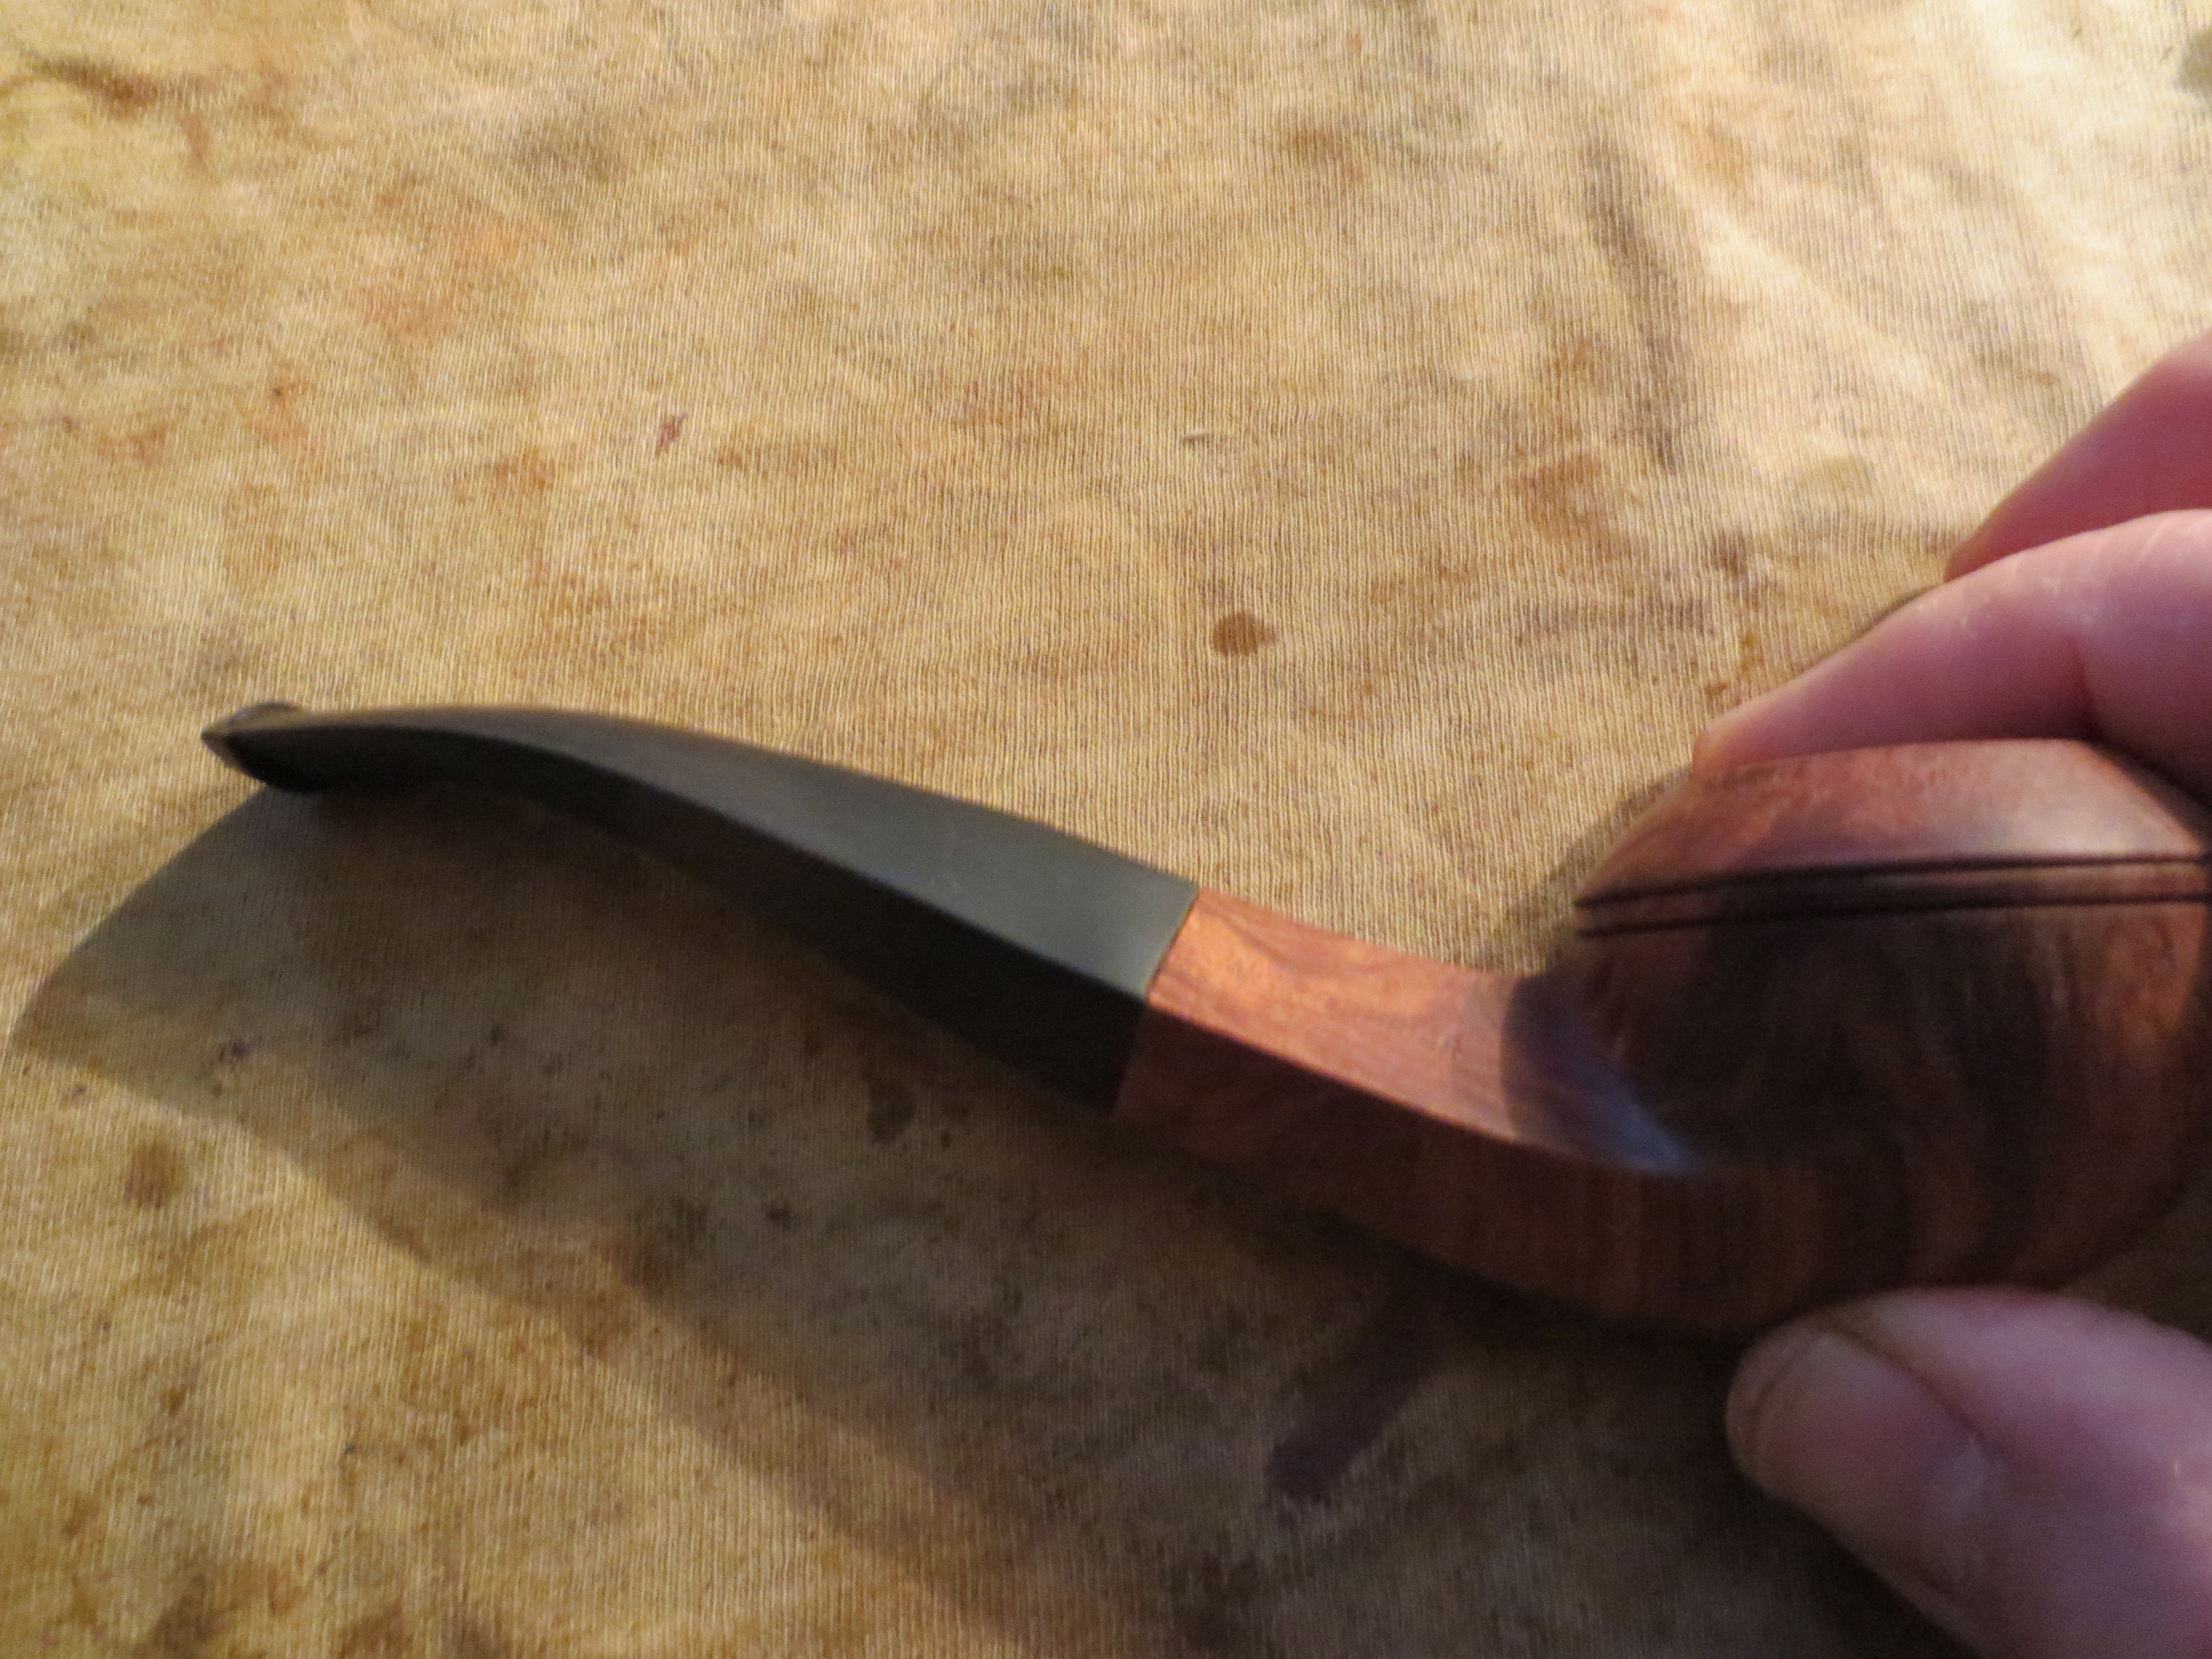
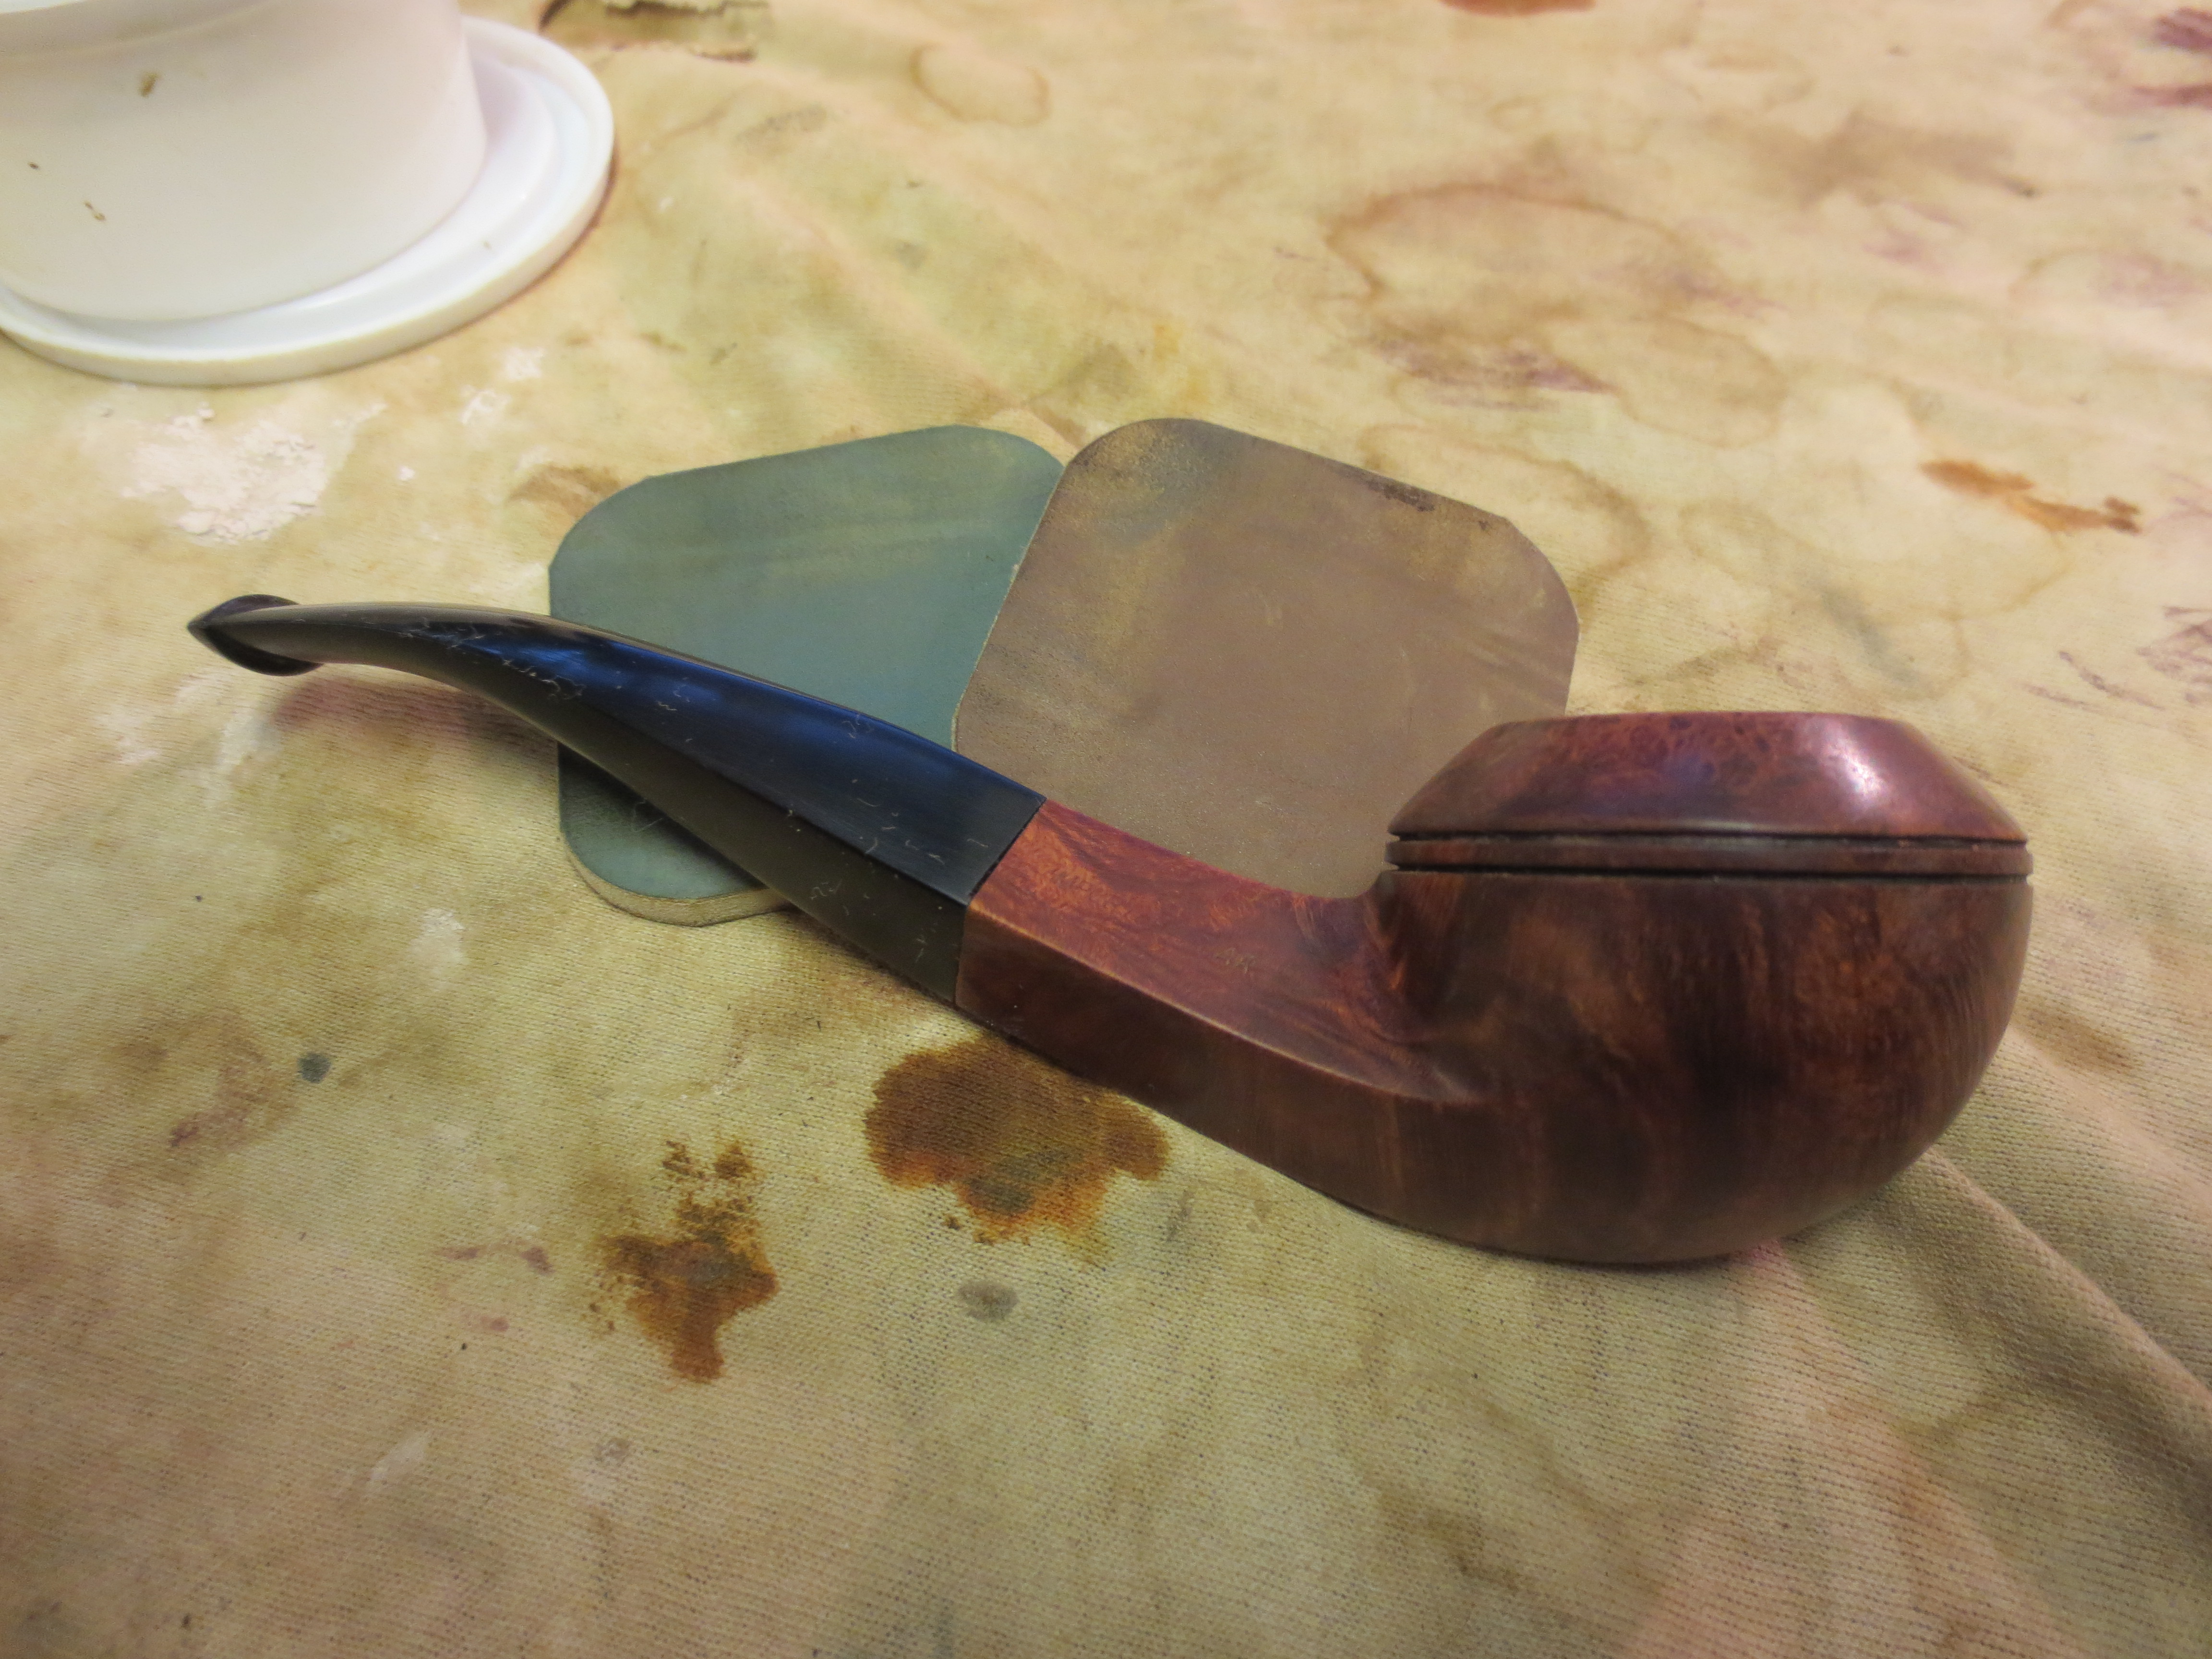
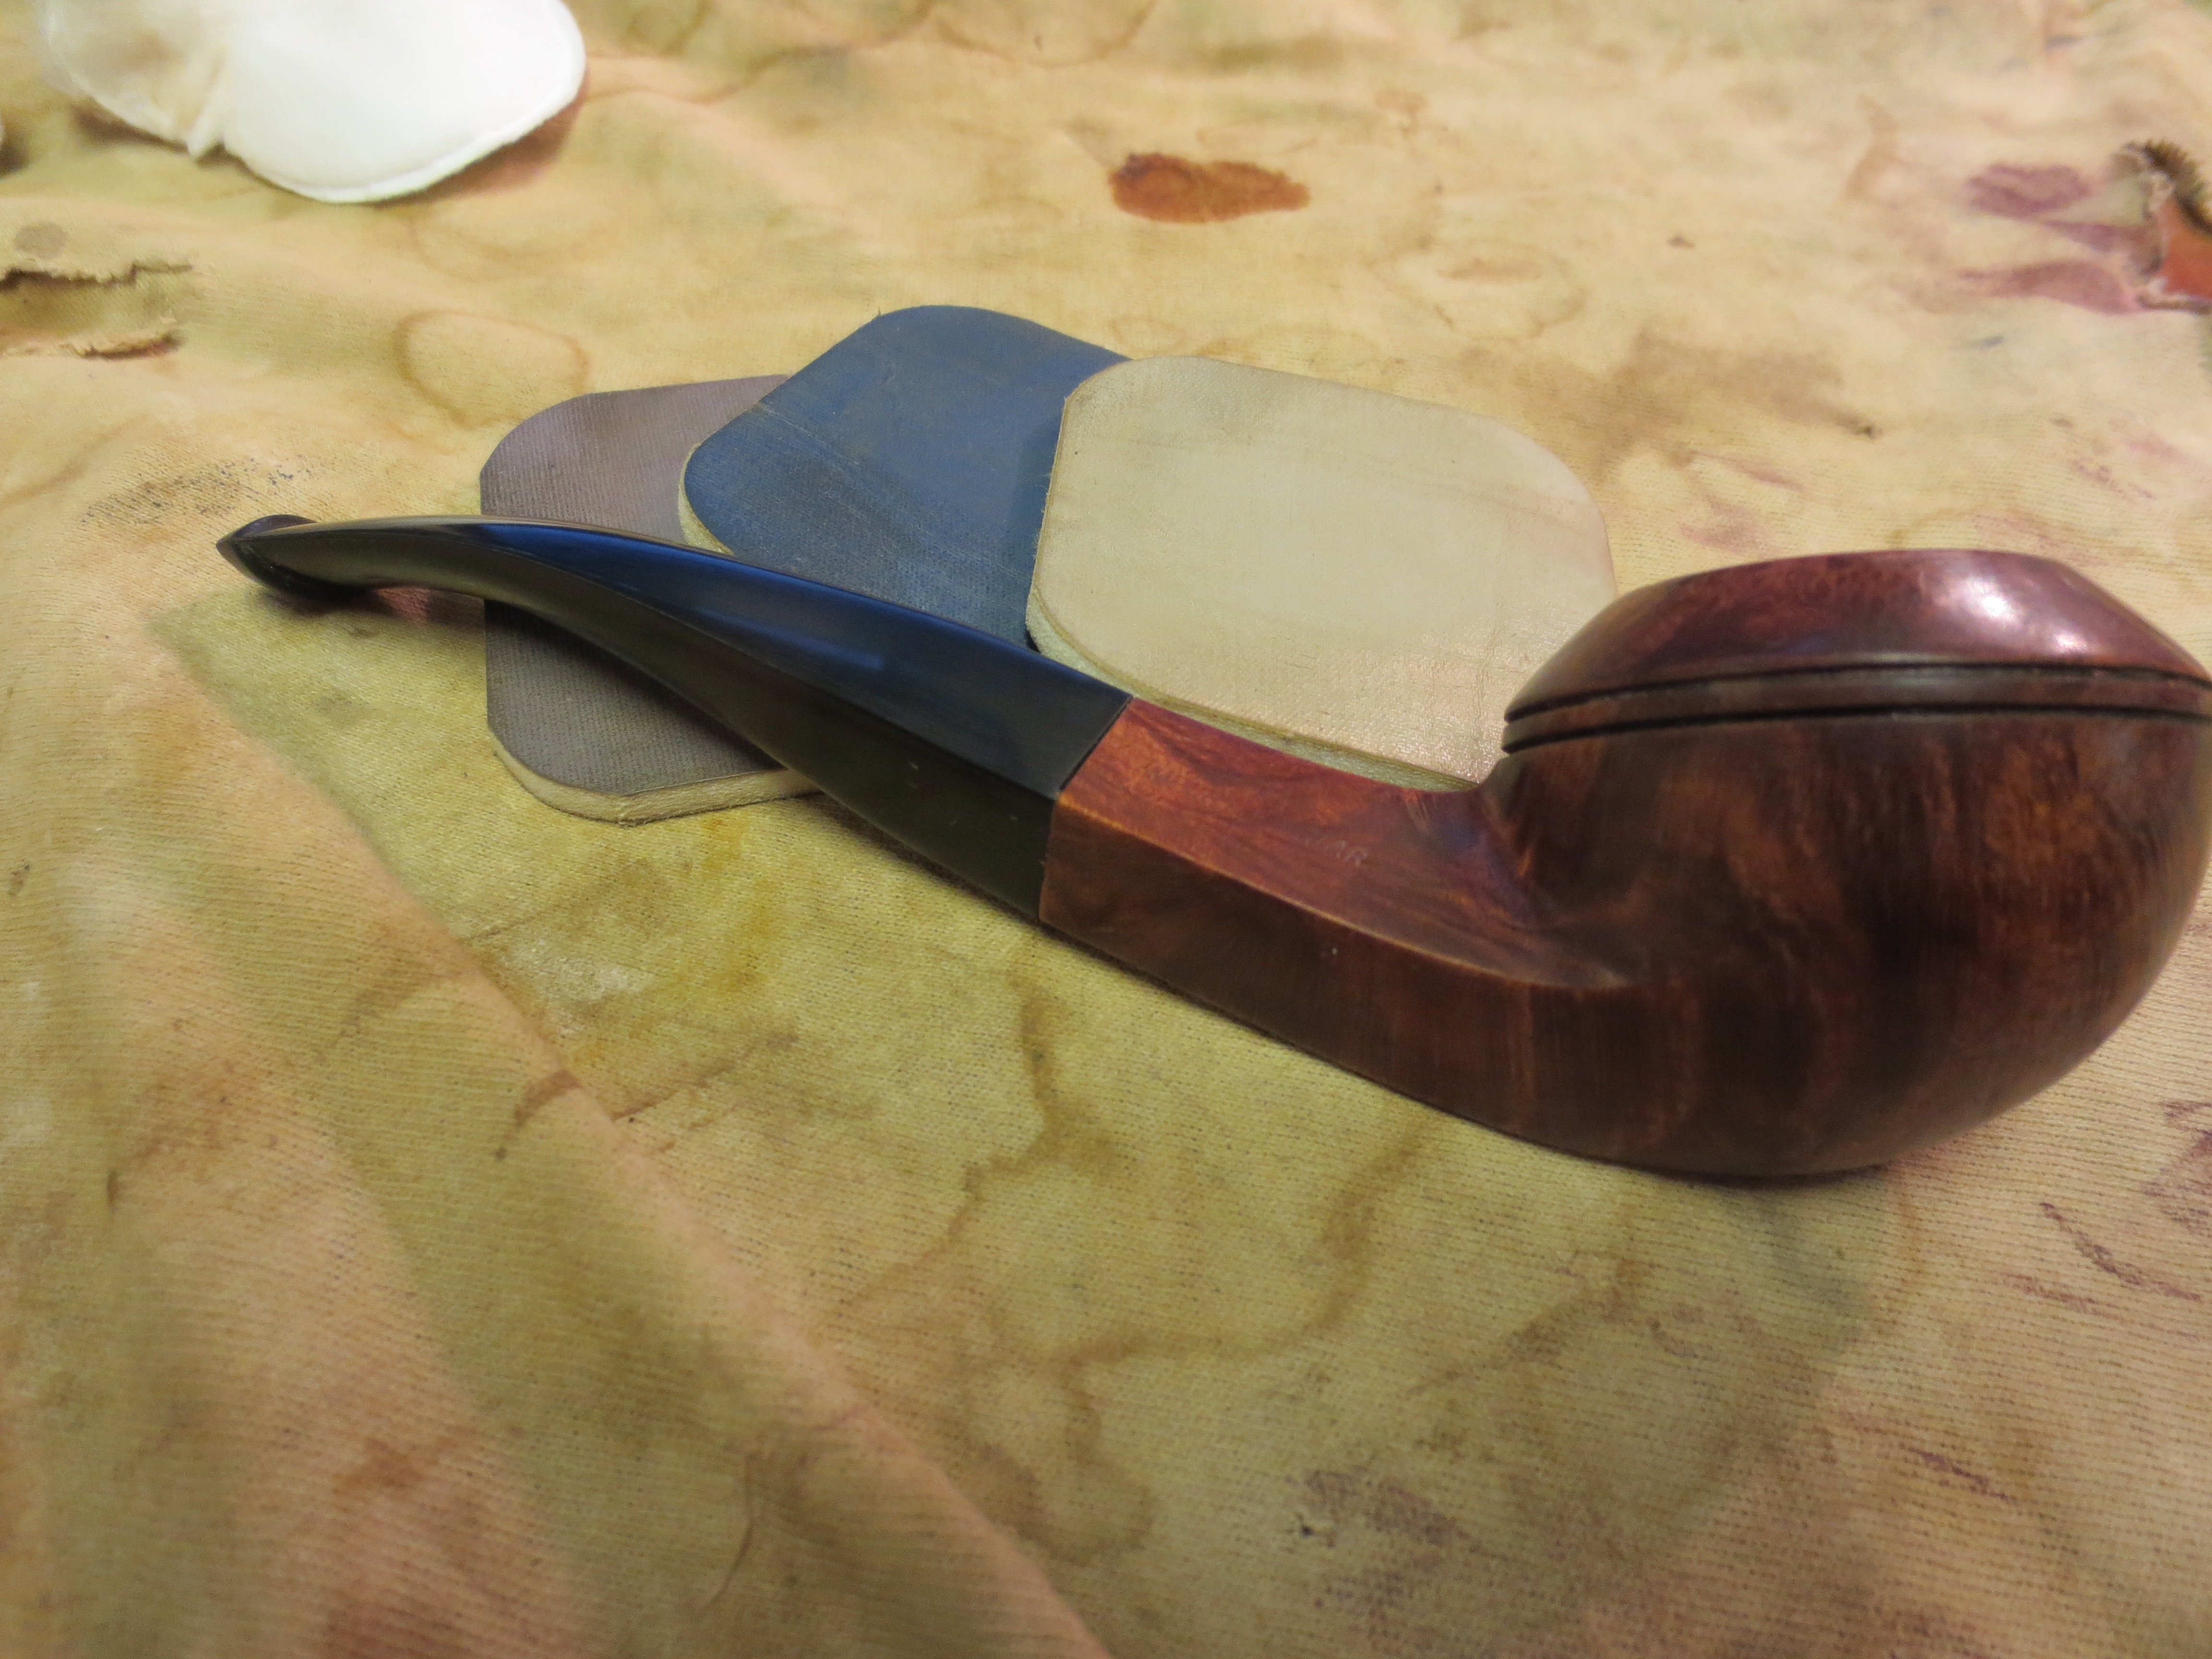
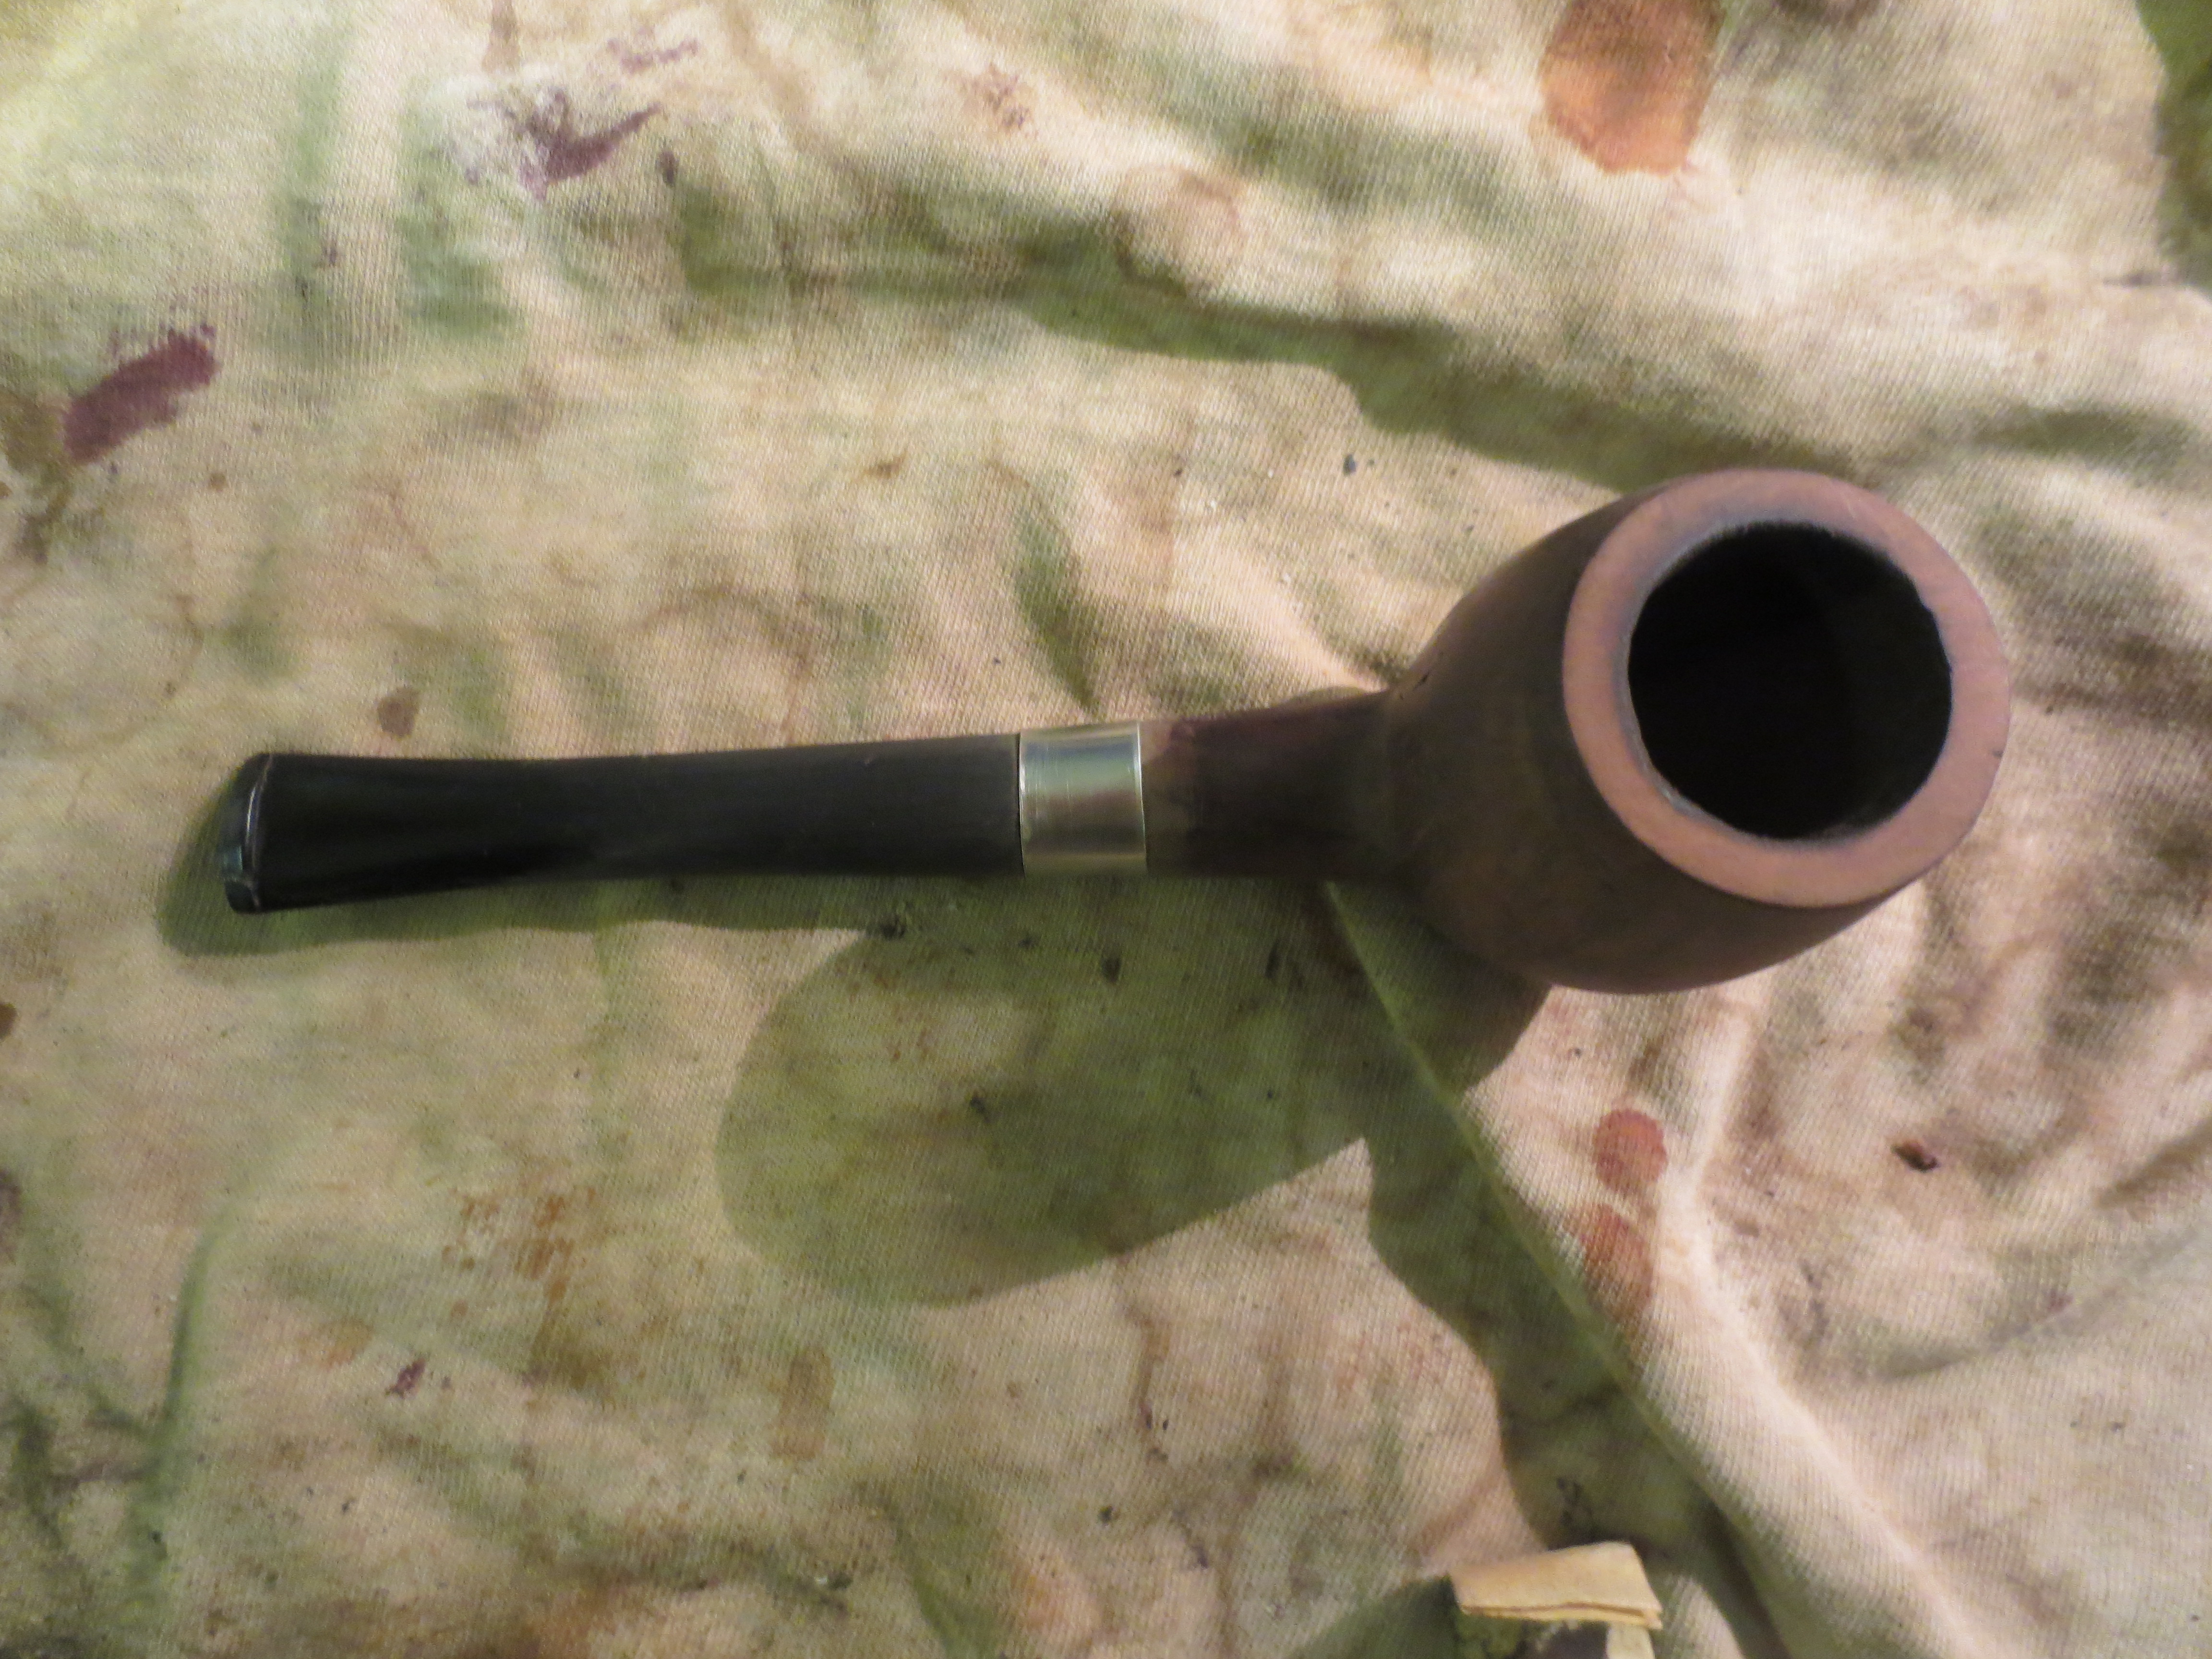
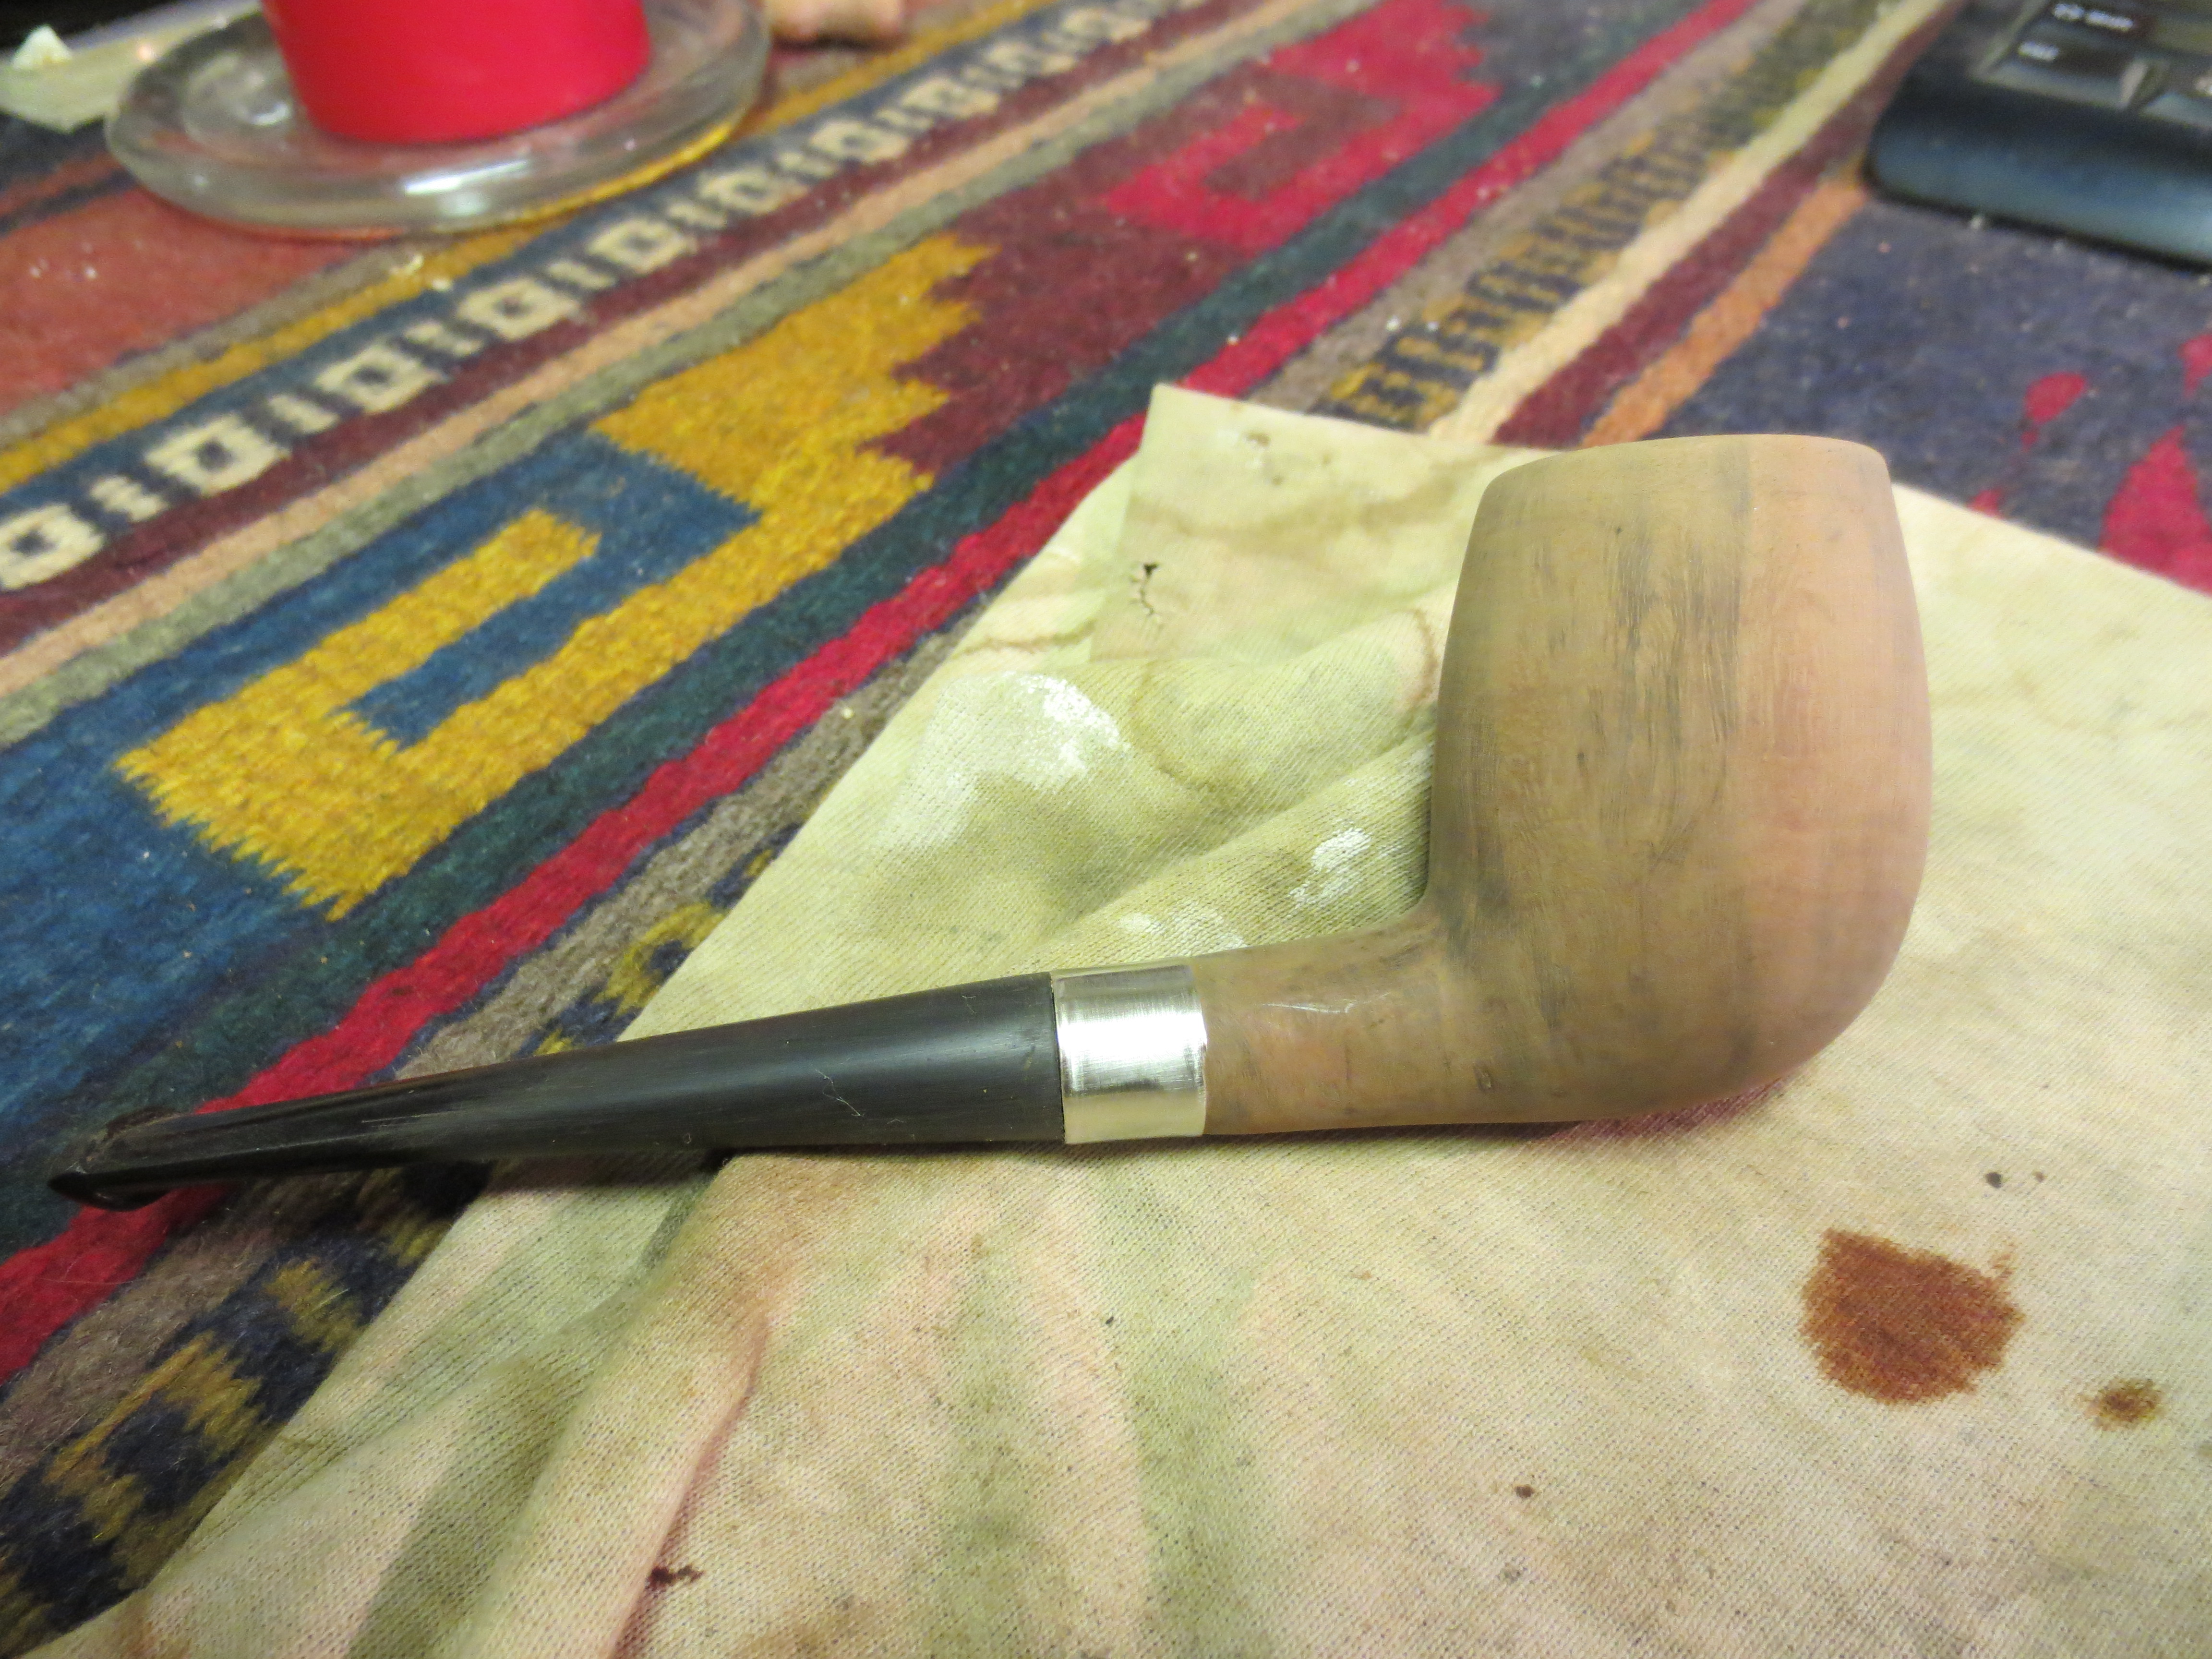
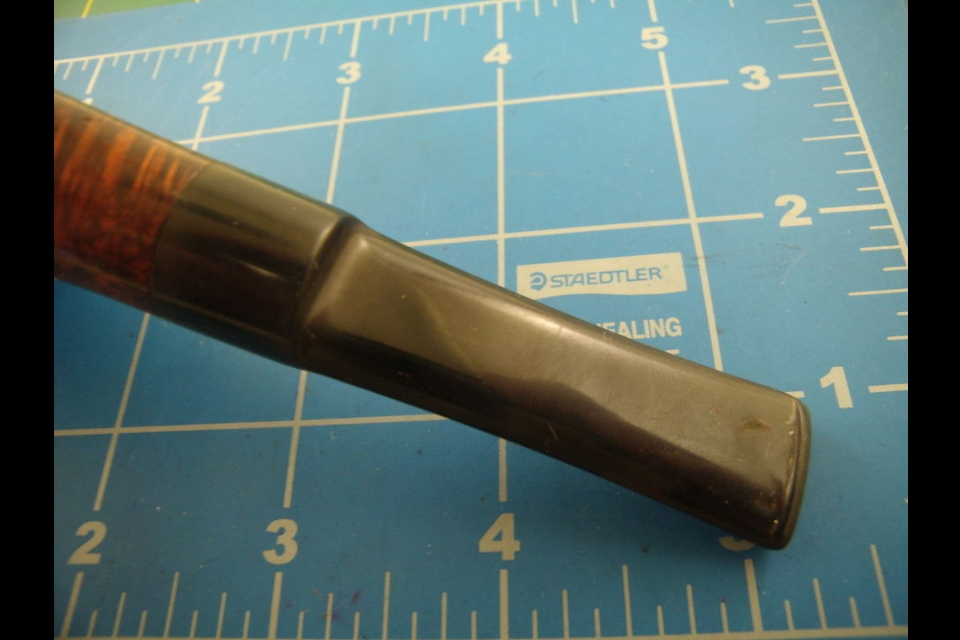
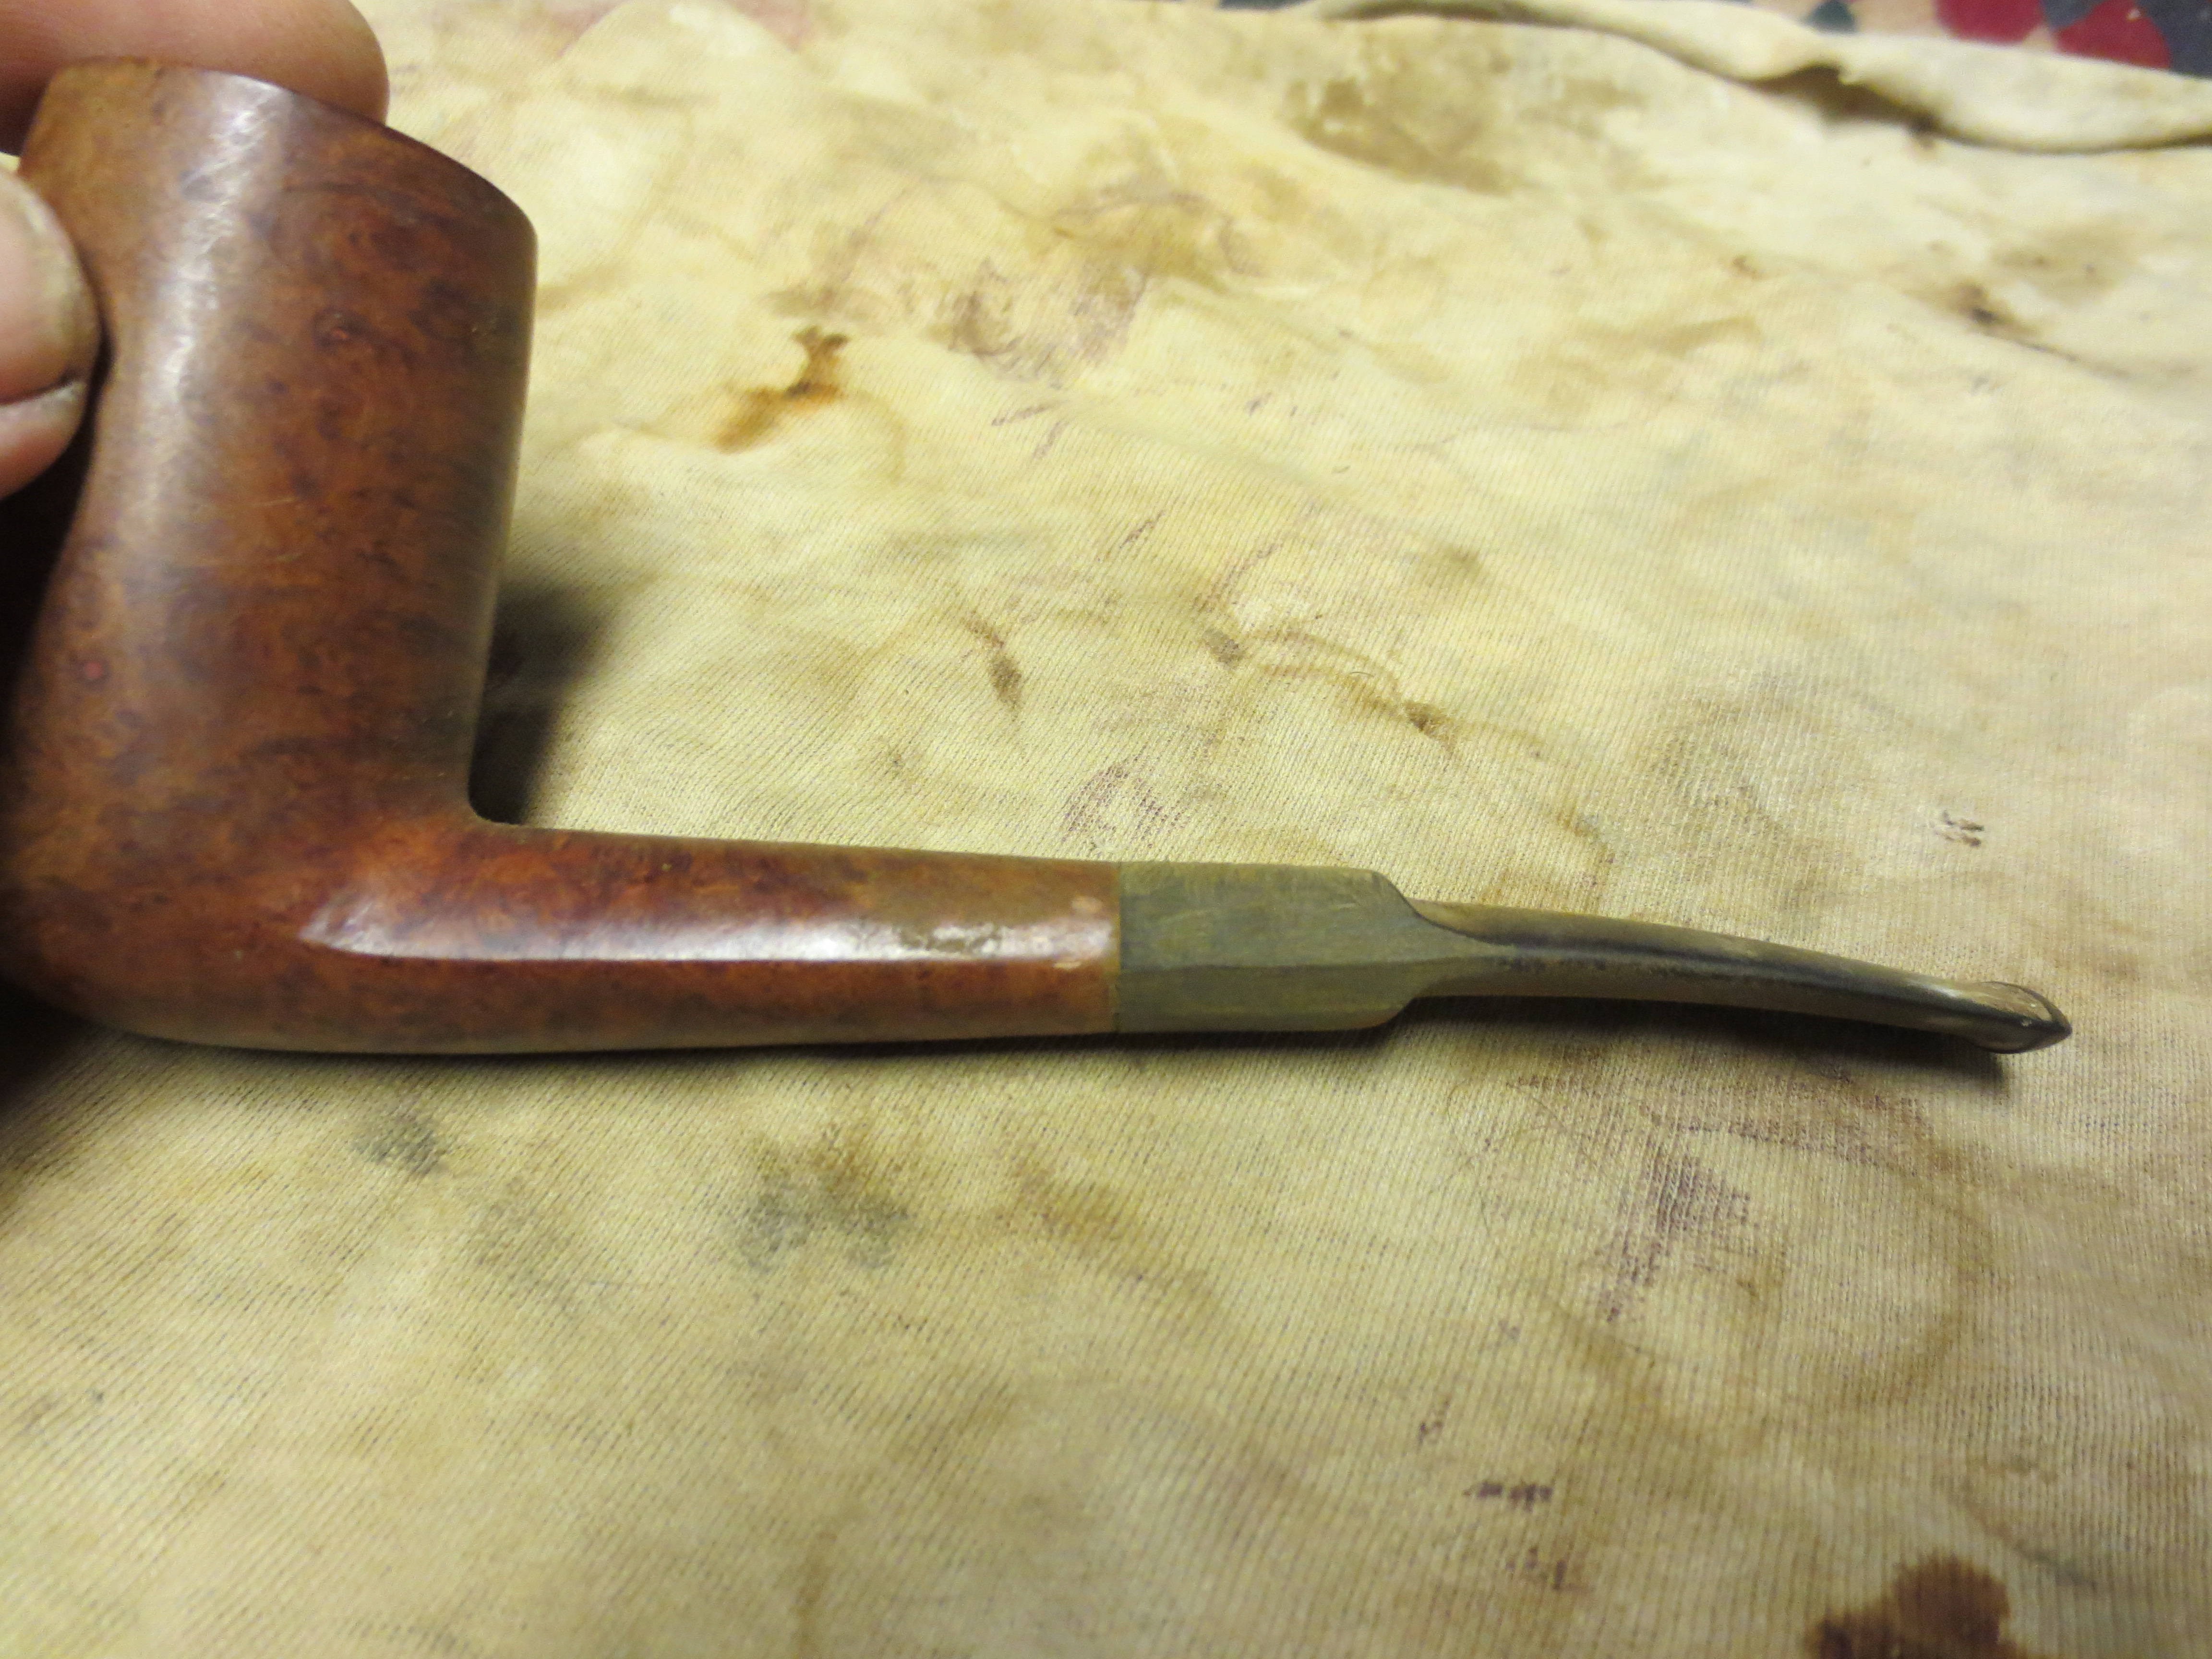
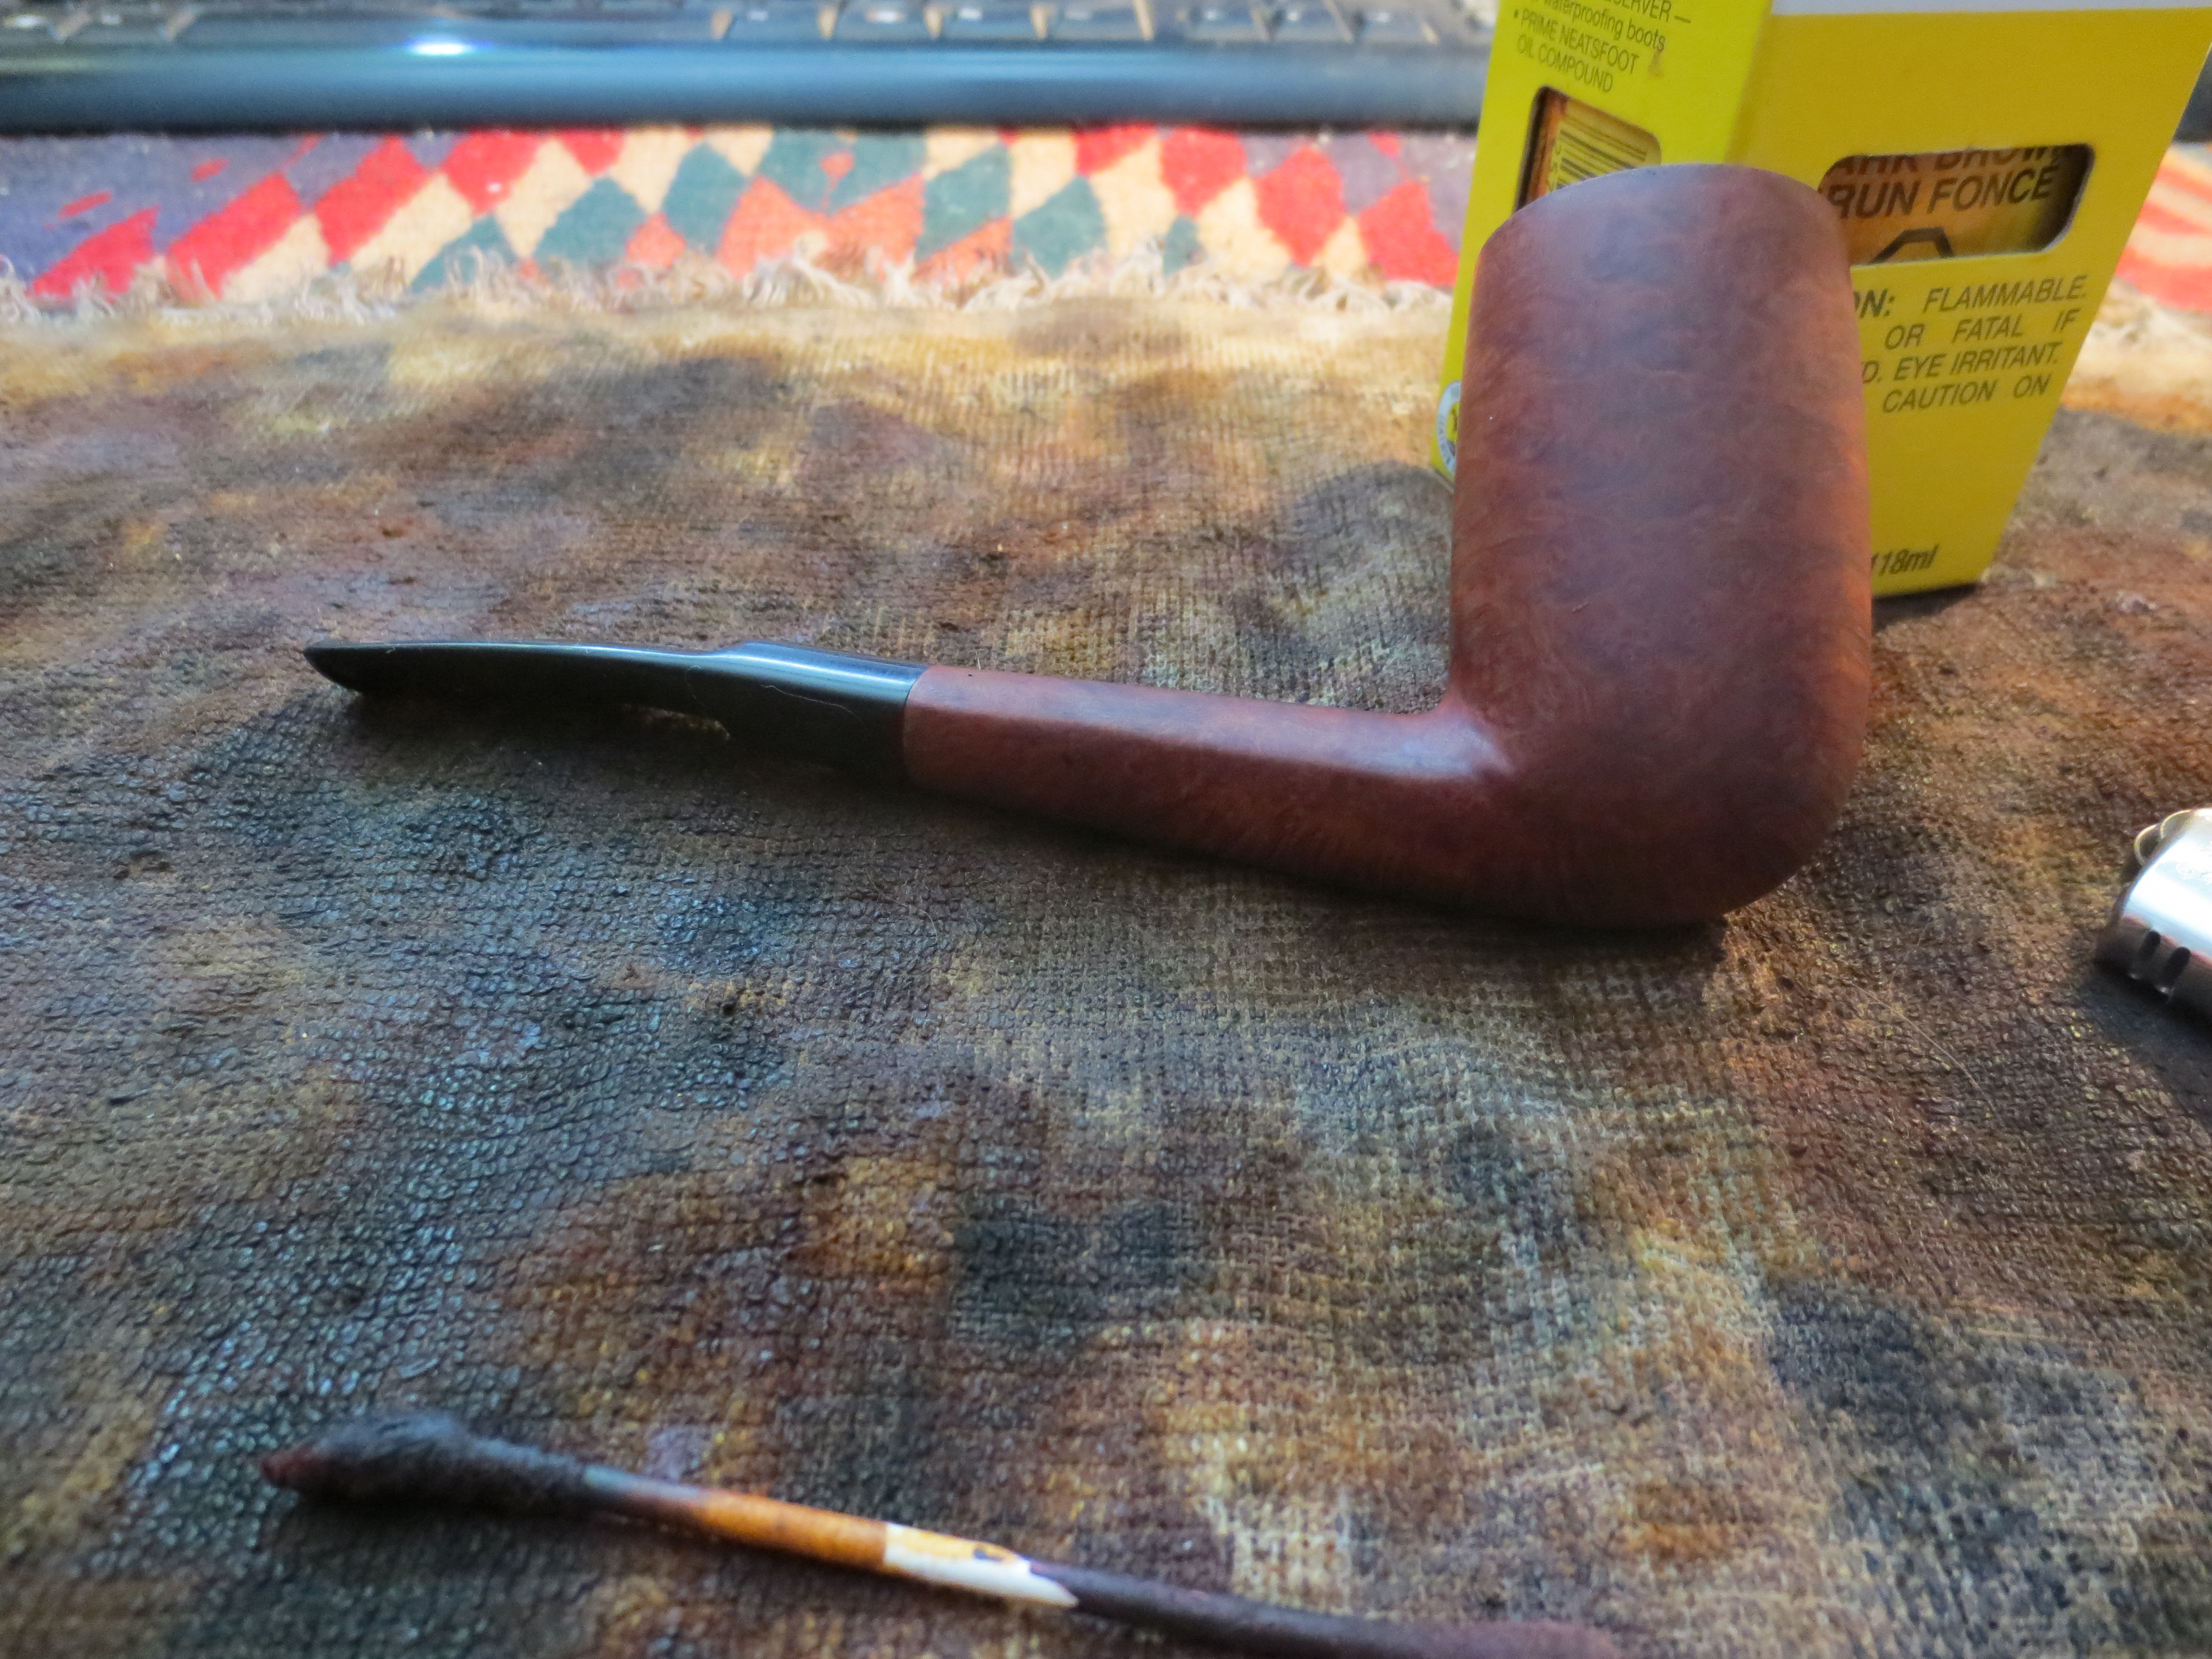
I cleaned up the rim of the pipe with 220 grit sandpaper and also worked on the shank stem fit with the same sandpaper. As I was planning to refinish the pipe bowl and shank I did not care if I removed a bit of the finish while sanding the stem and shank. The next three photos show the stem/shank fit after I had sanded it with the sandpaper. I really liked the look of the pipe at this point and only needed to do the stem polishing and the finish sanding and cleaning of the bowl.

IMG_1334

IMG_1335

IMG_1336

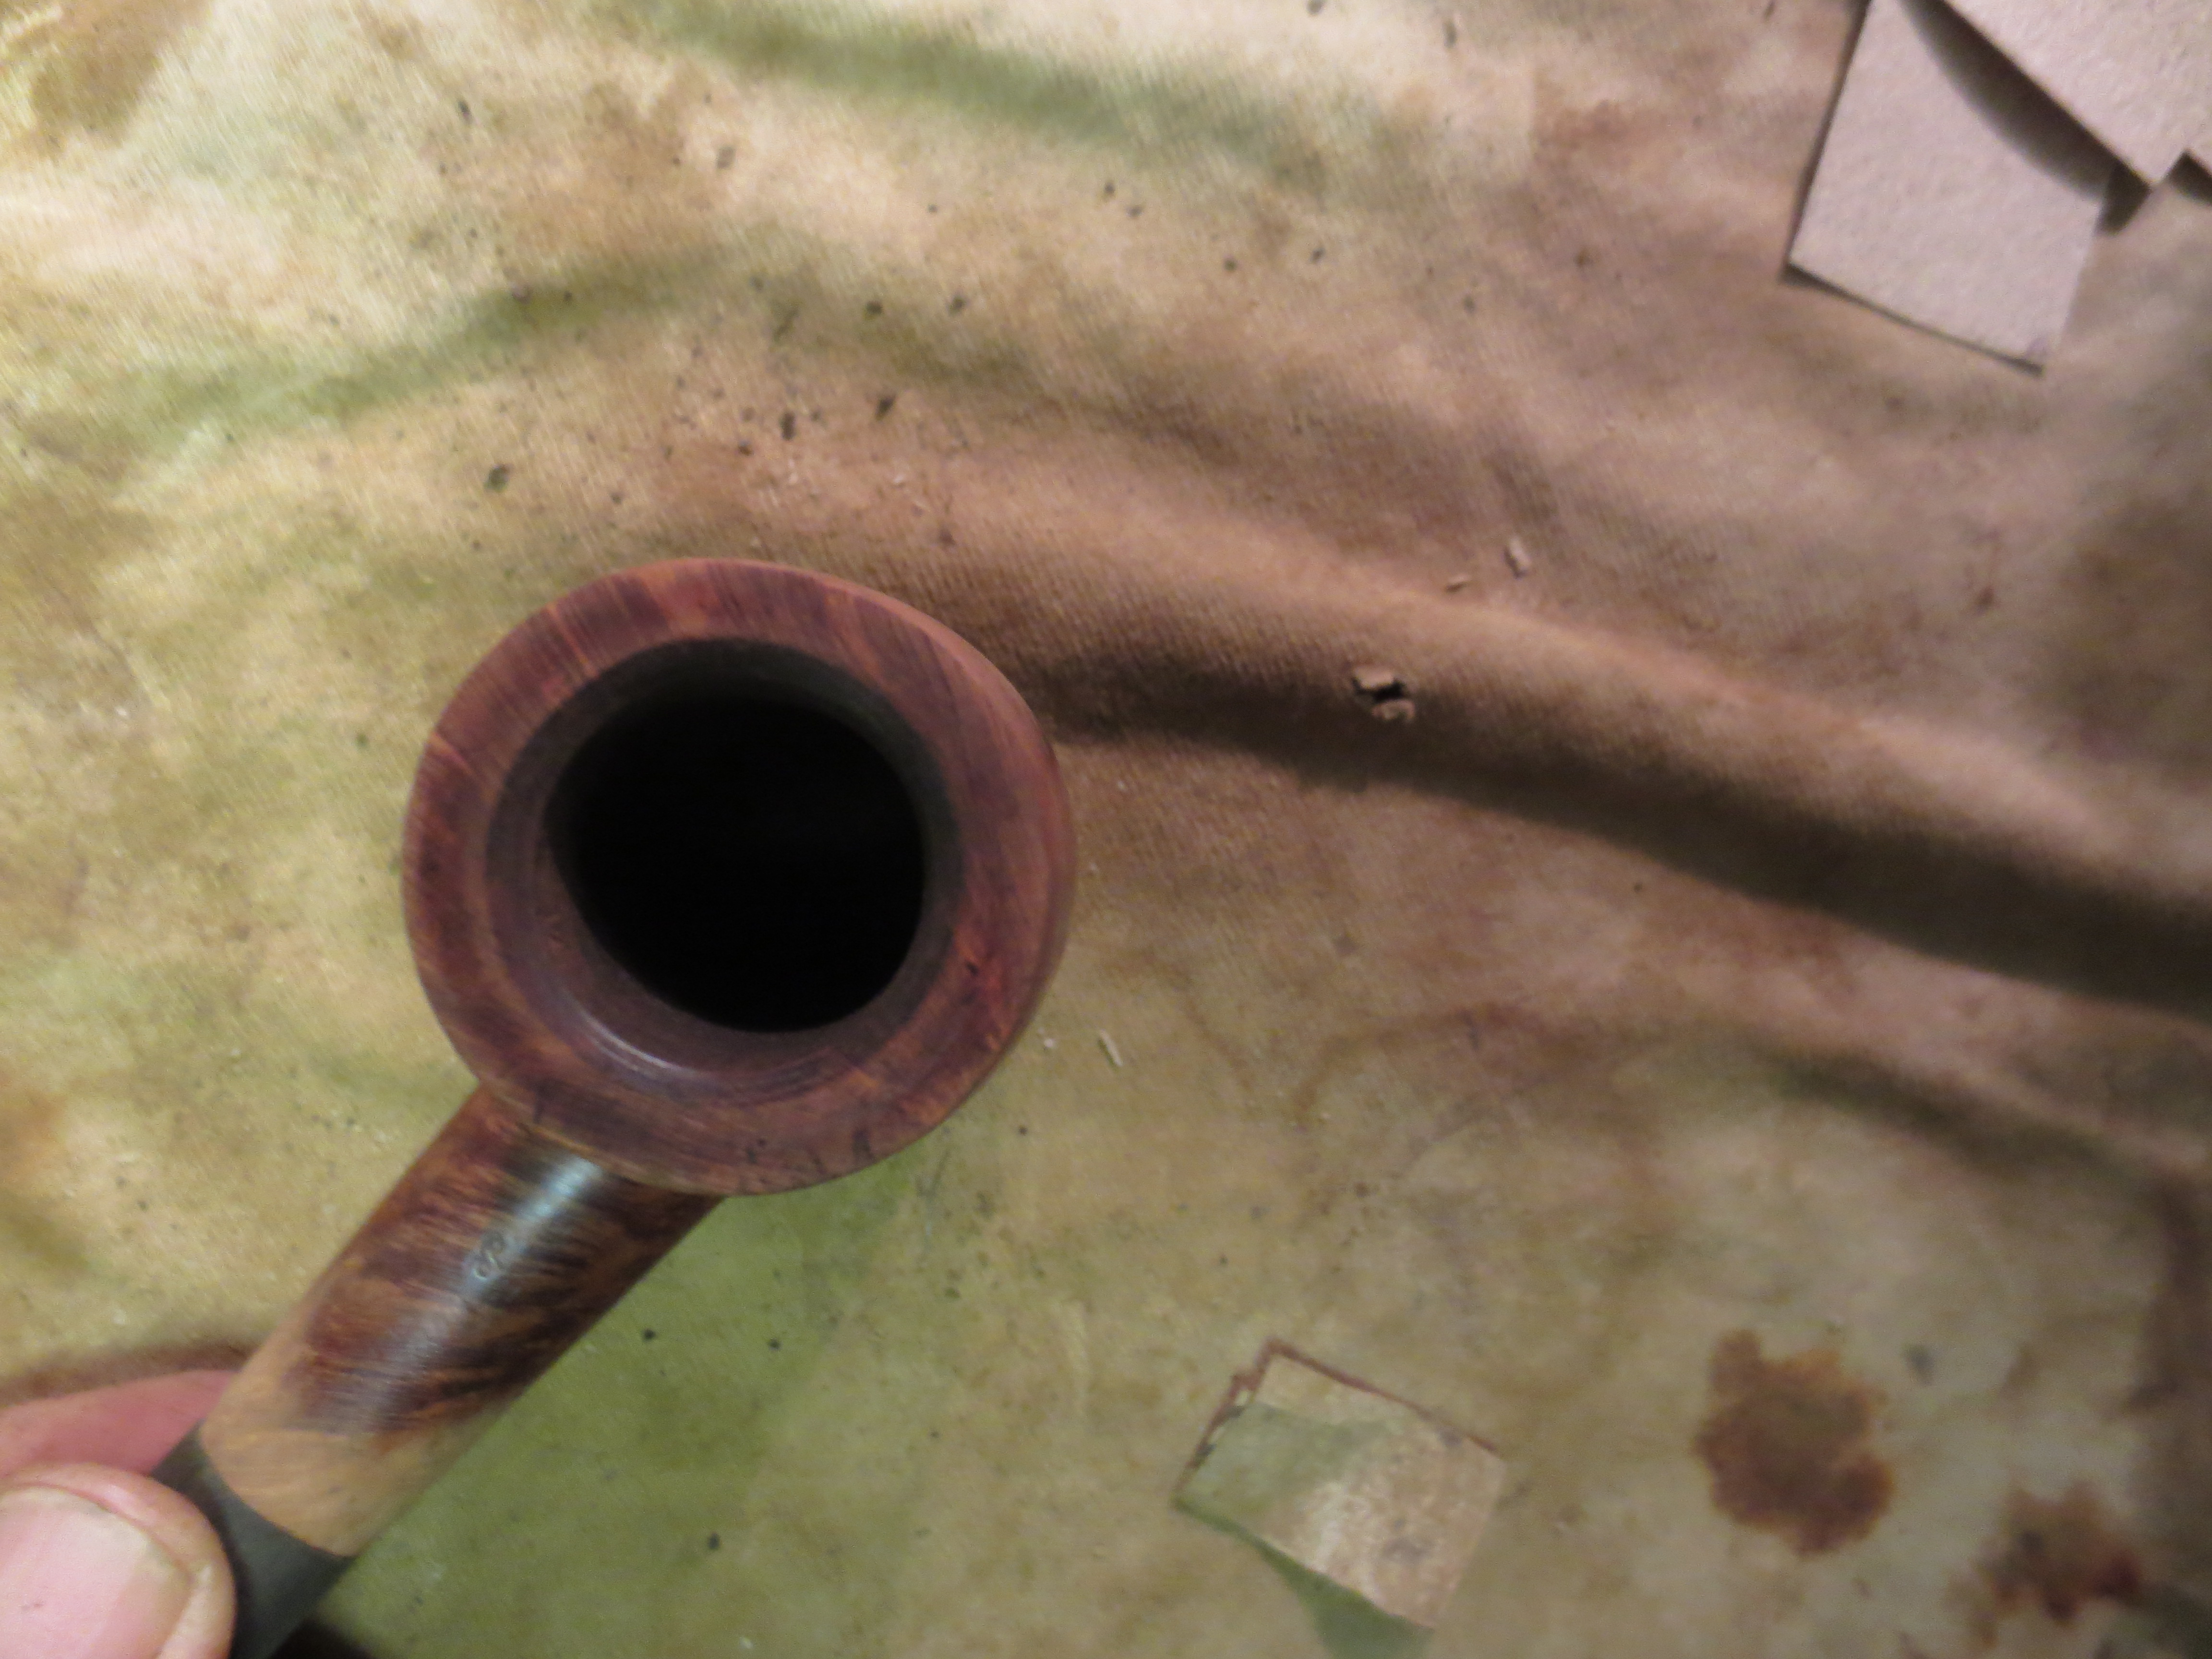
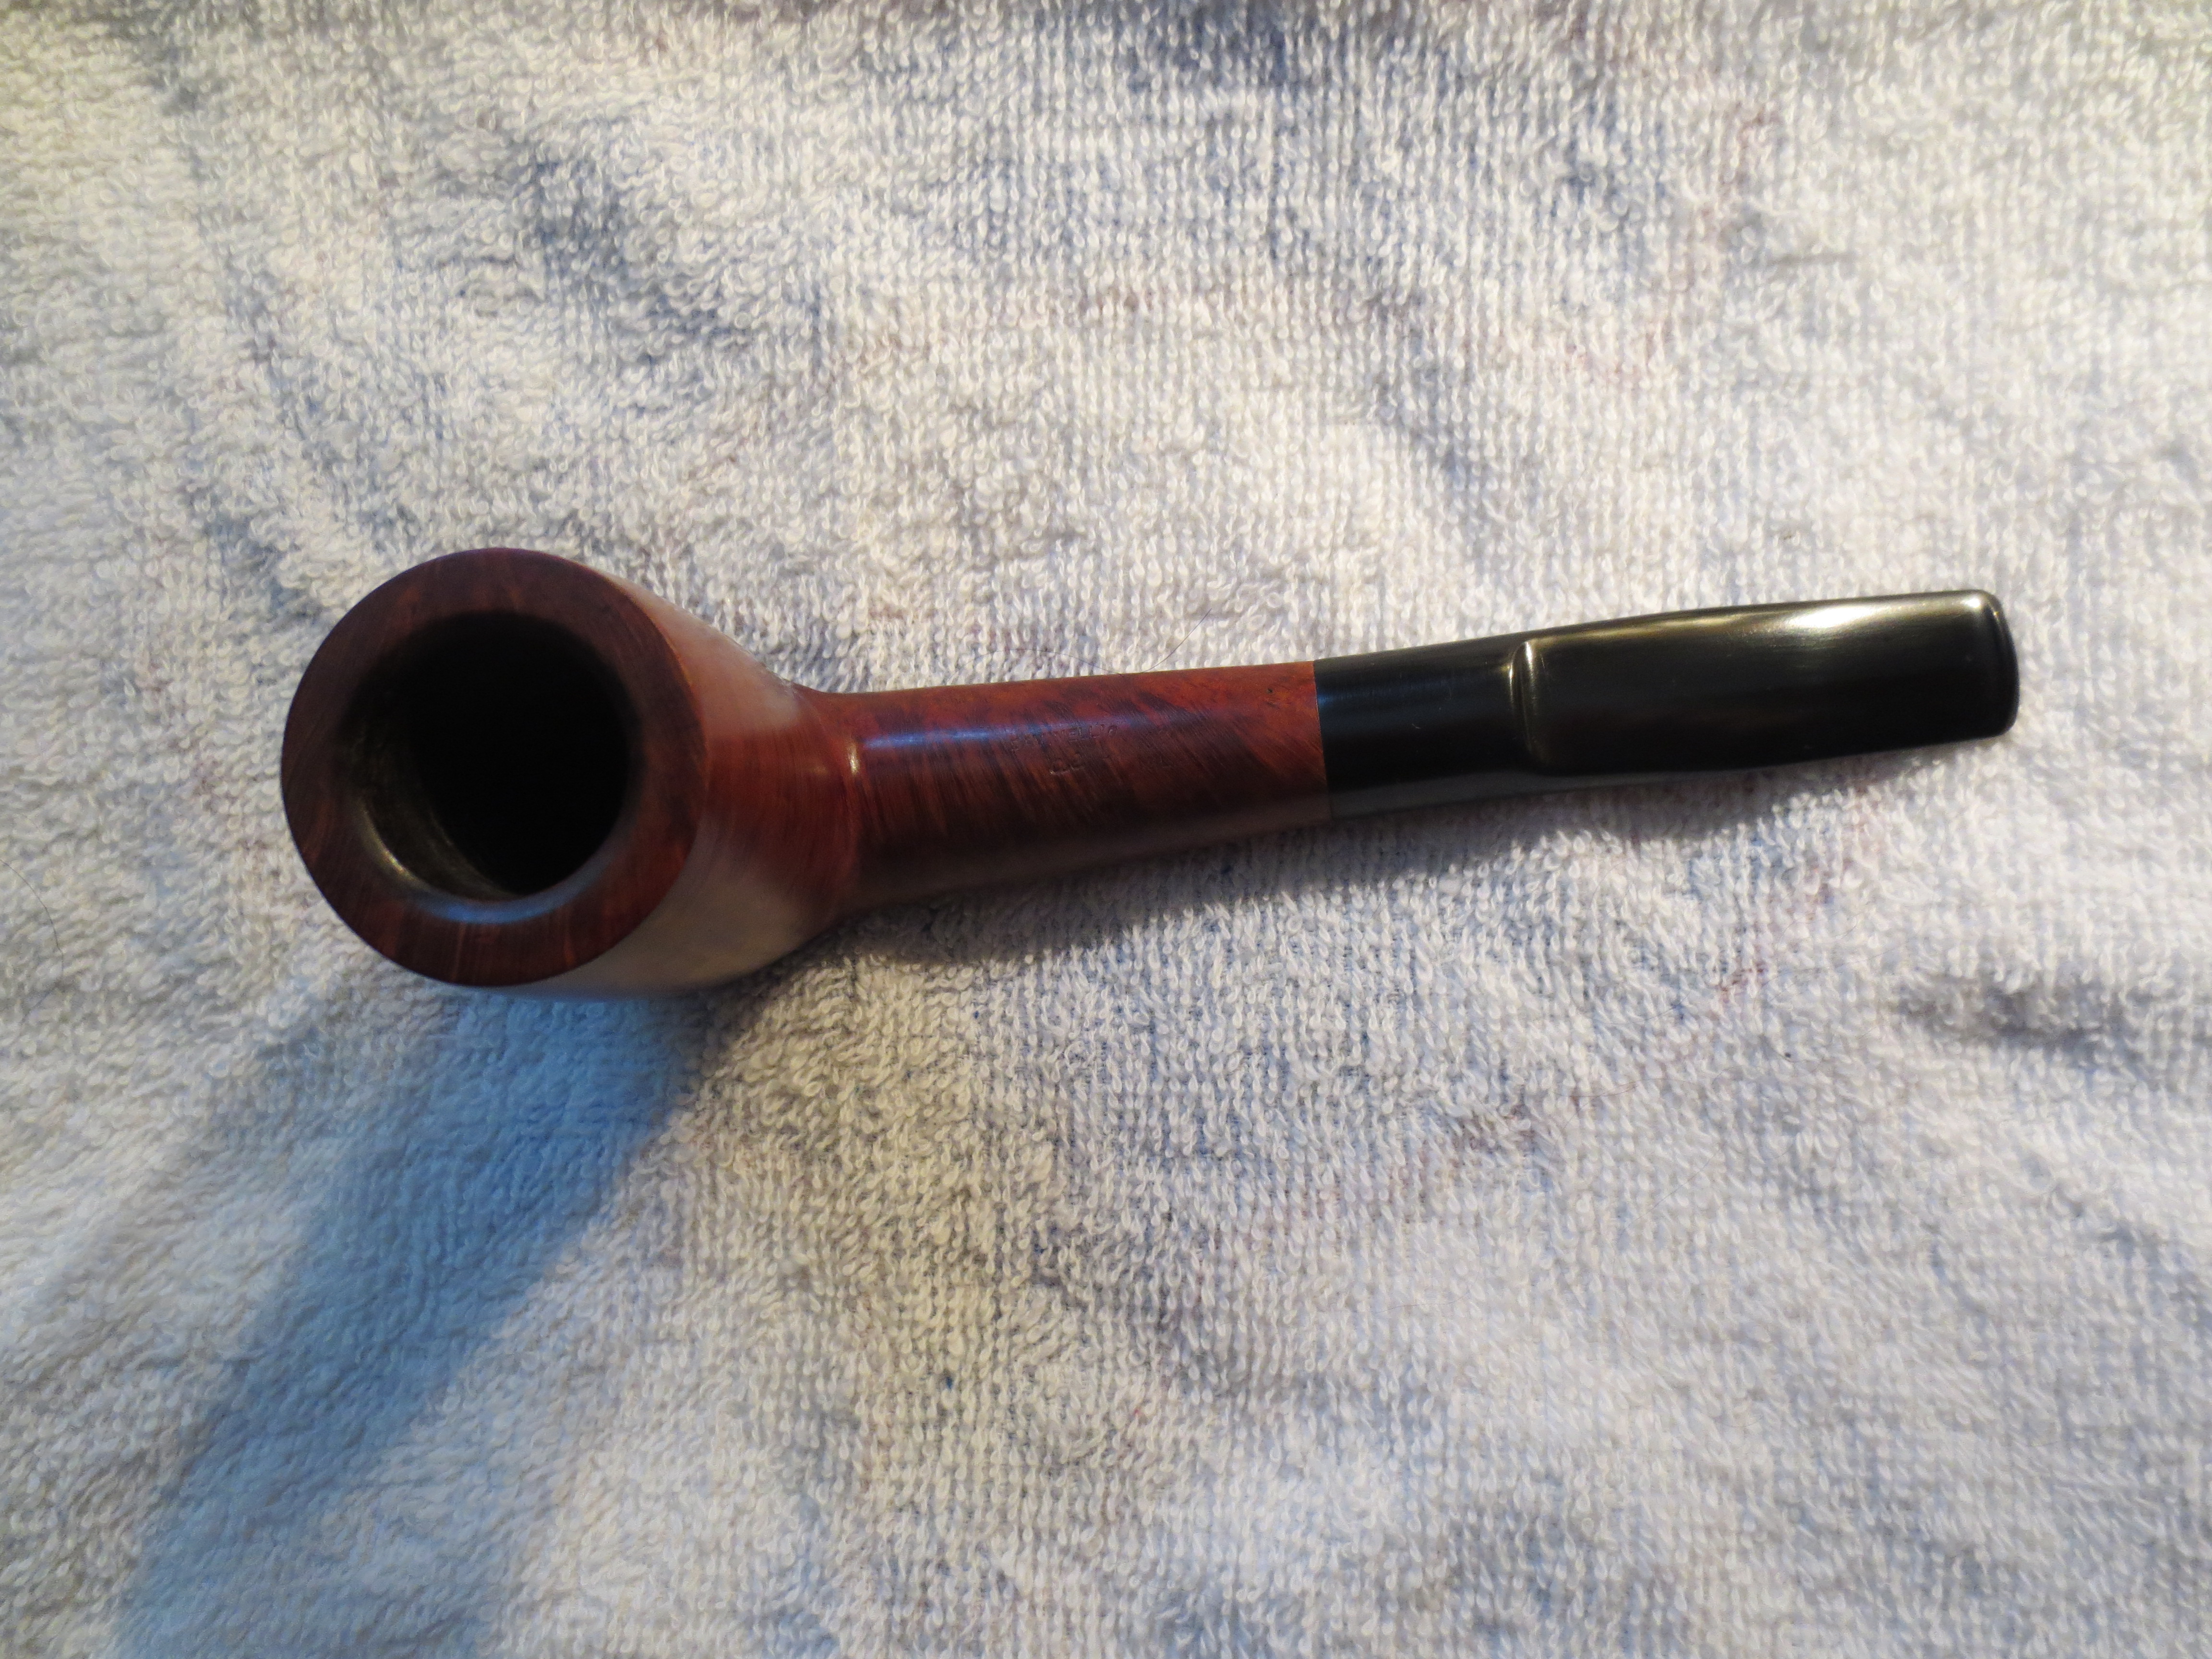
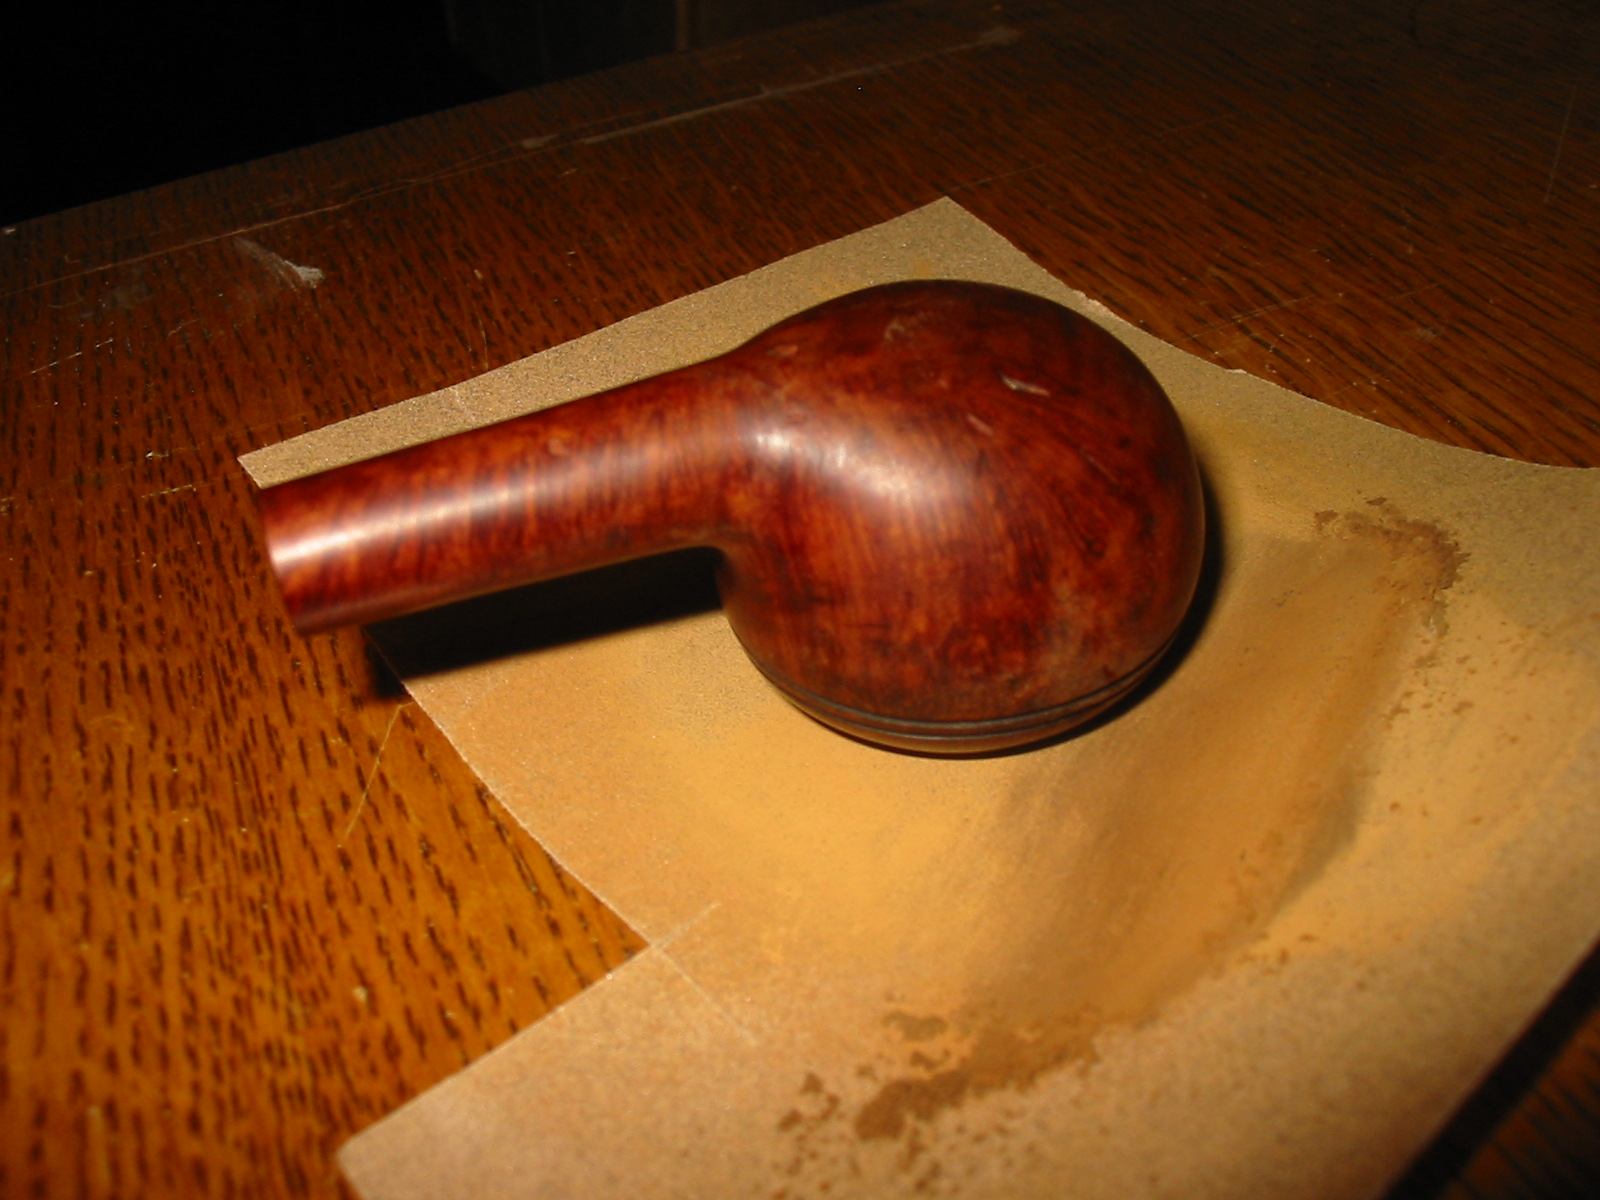
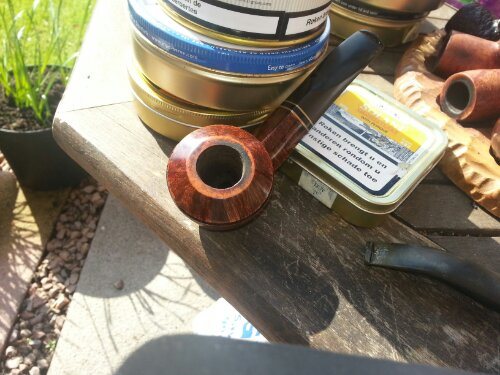
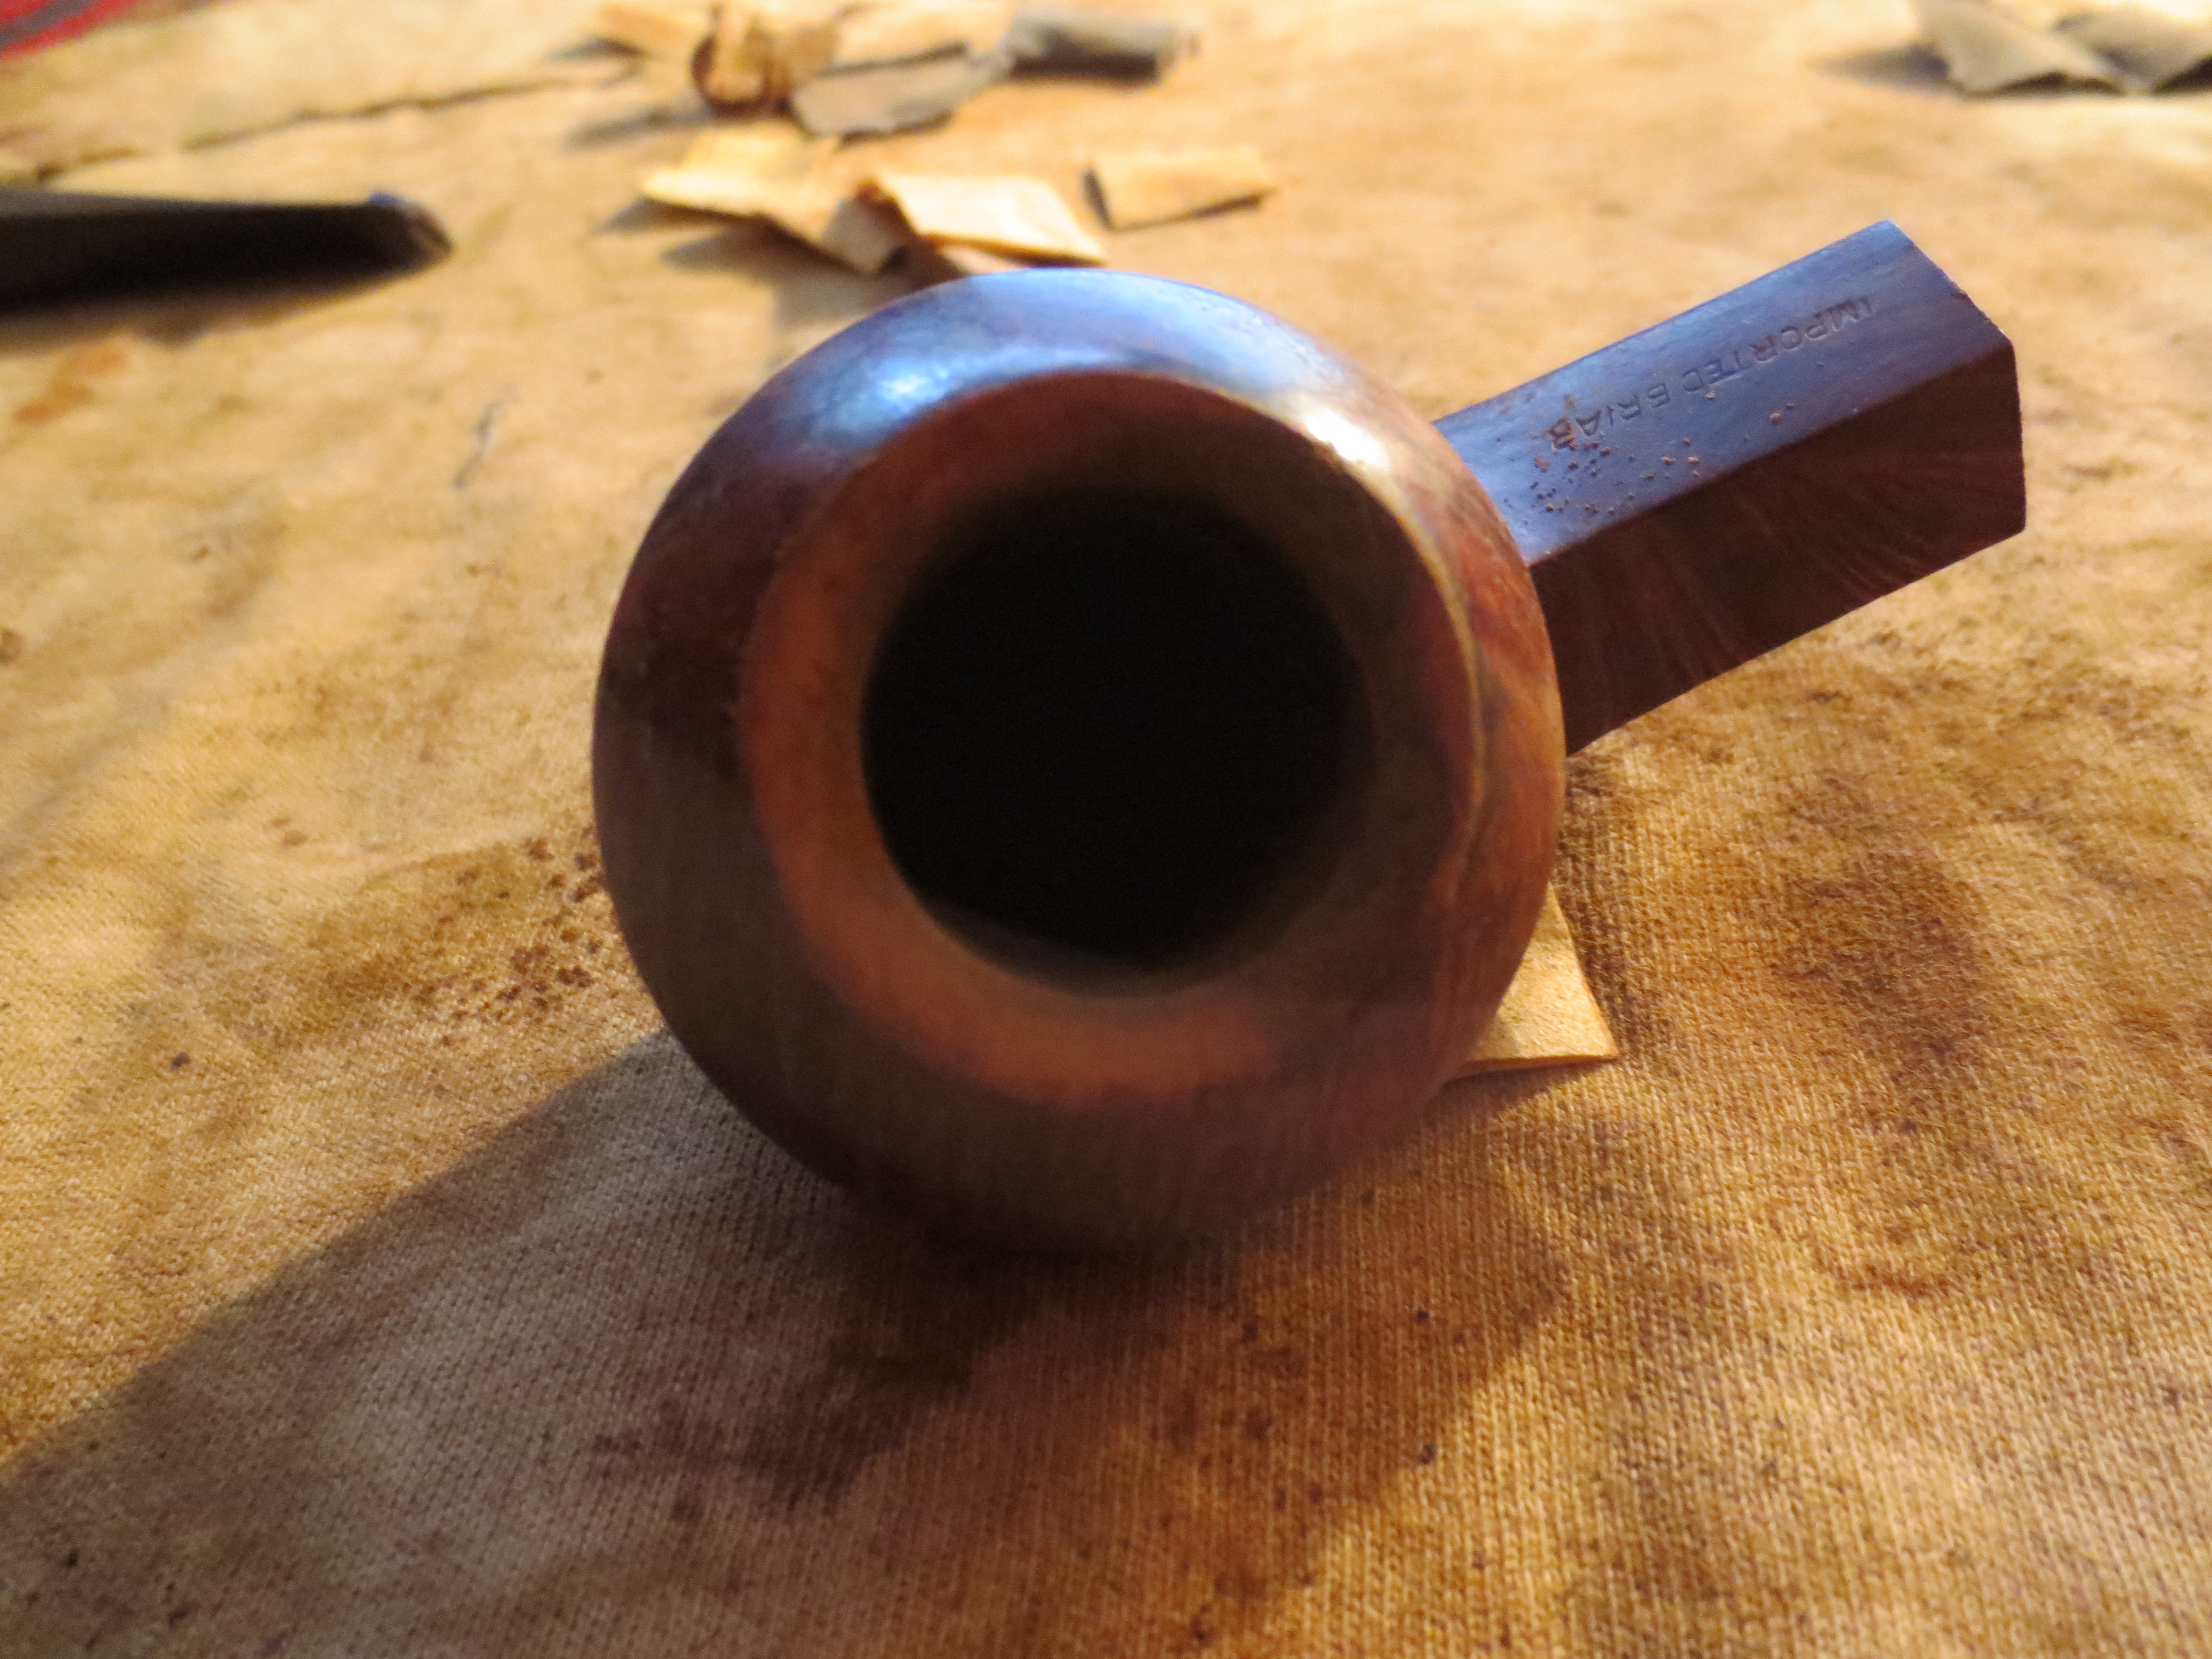
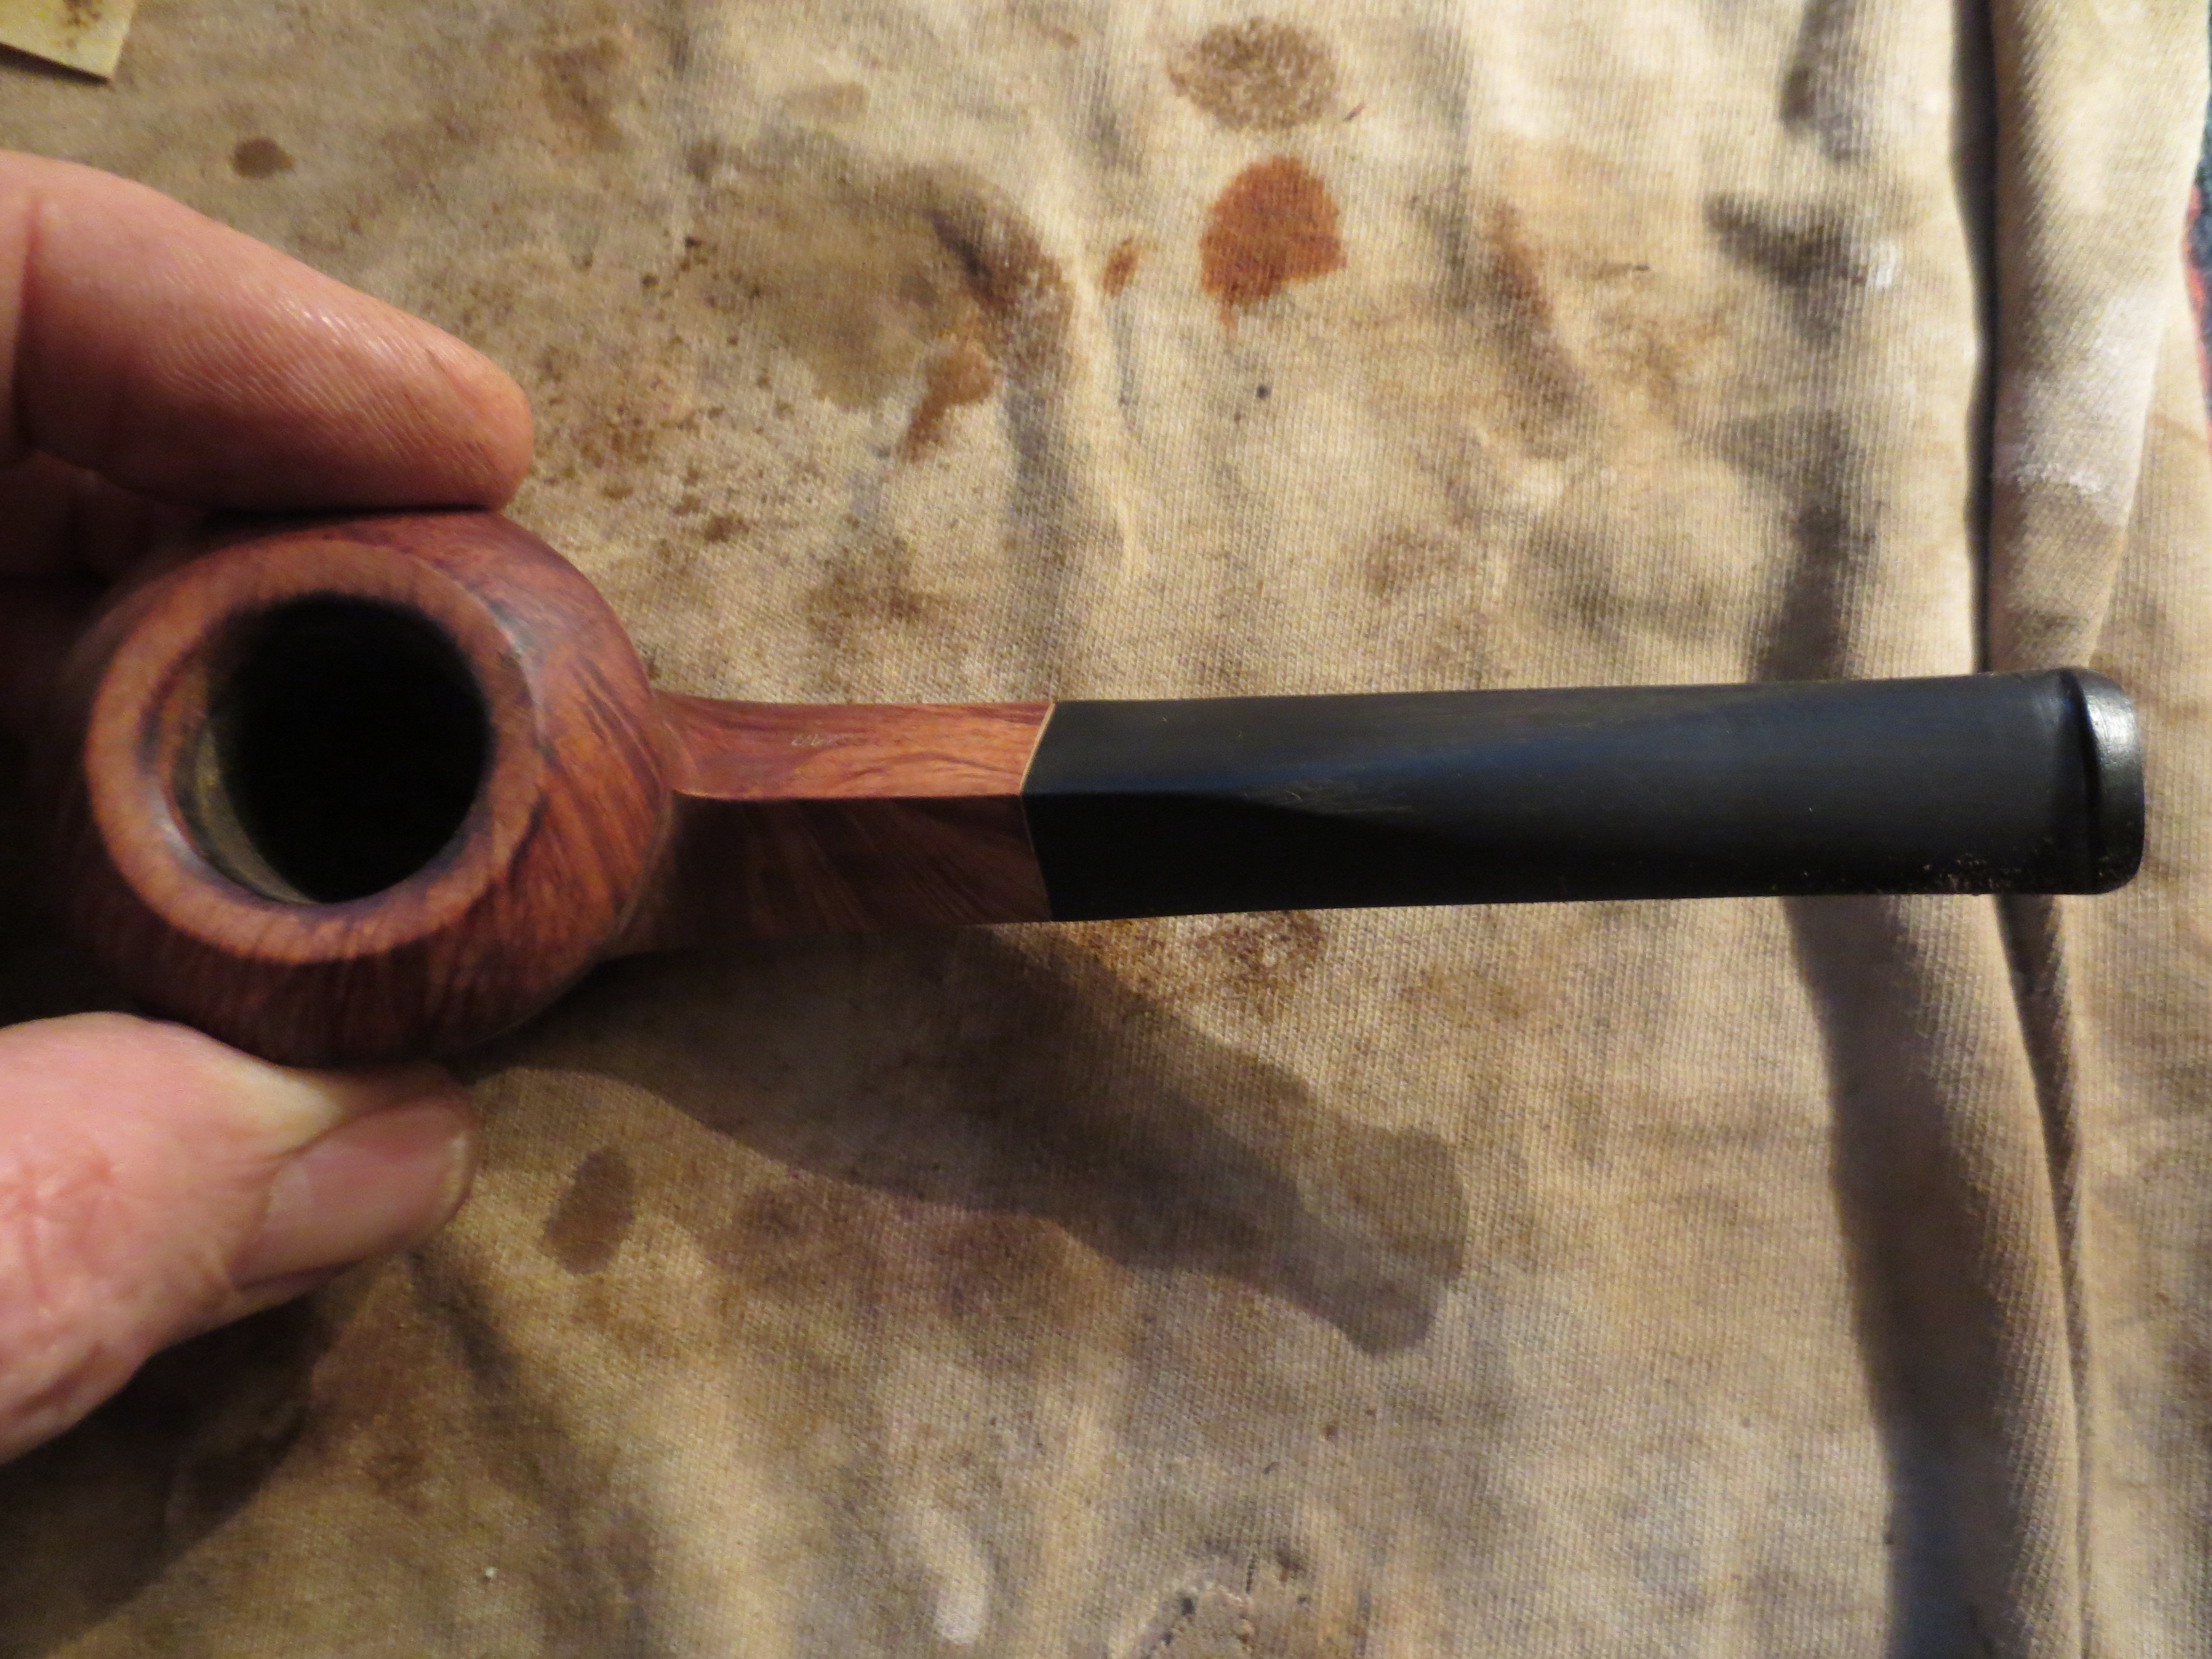
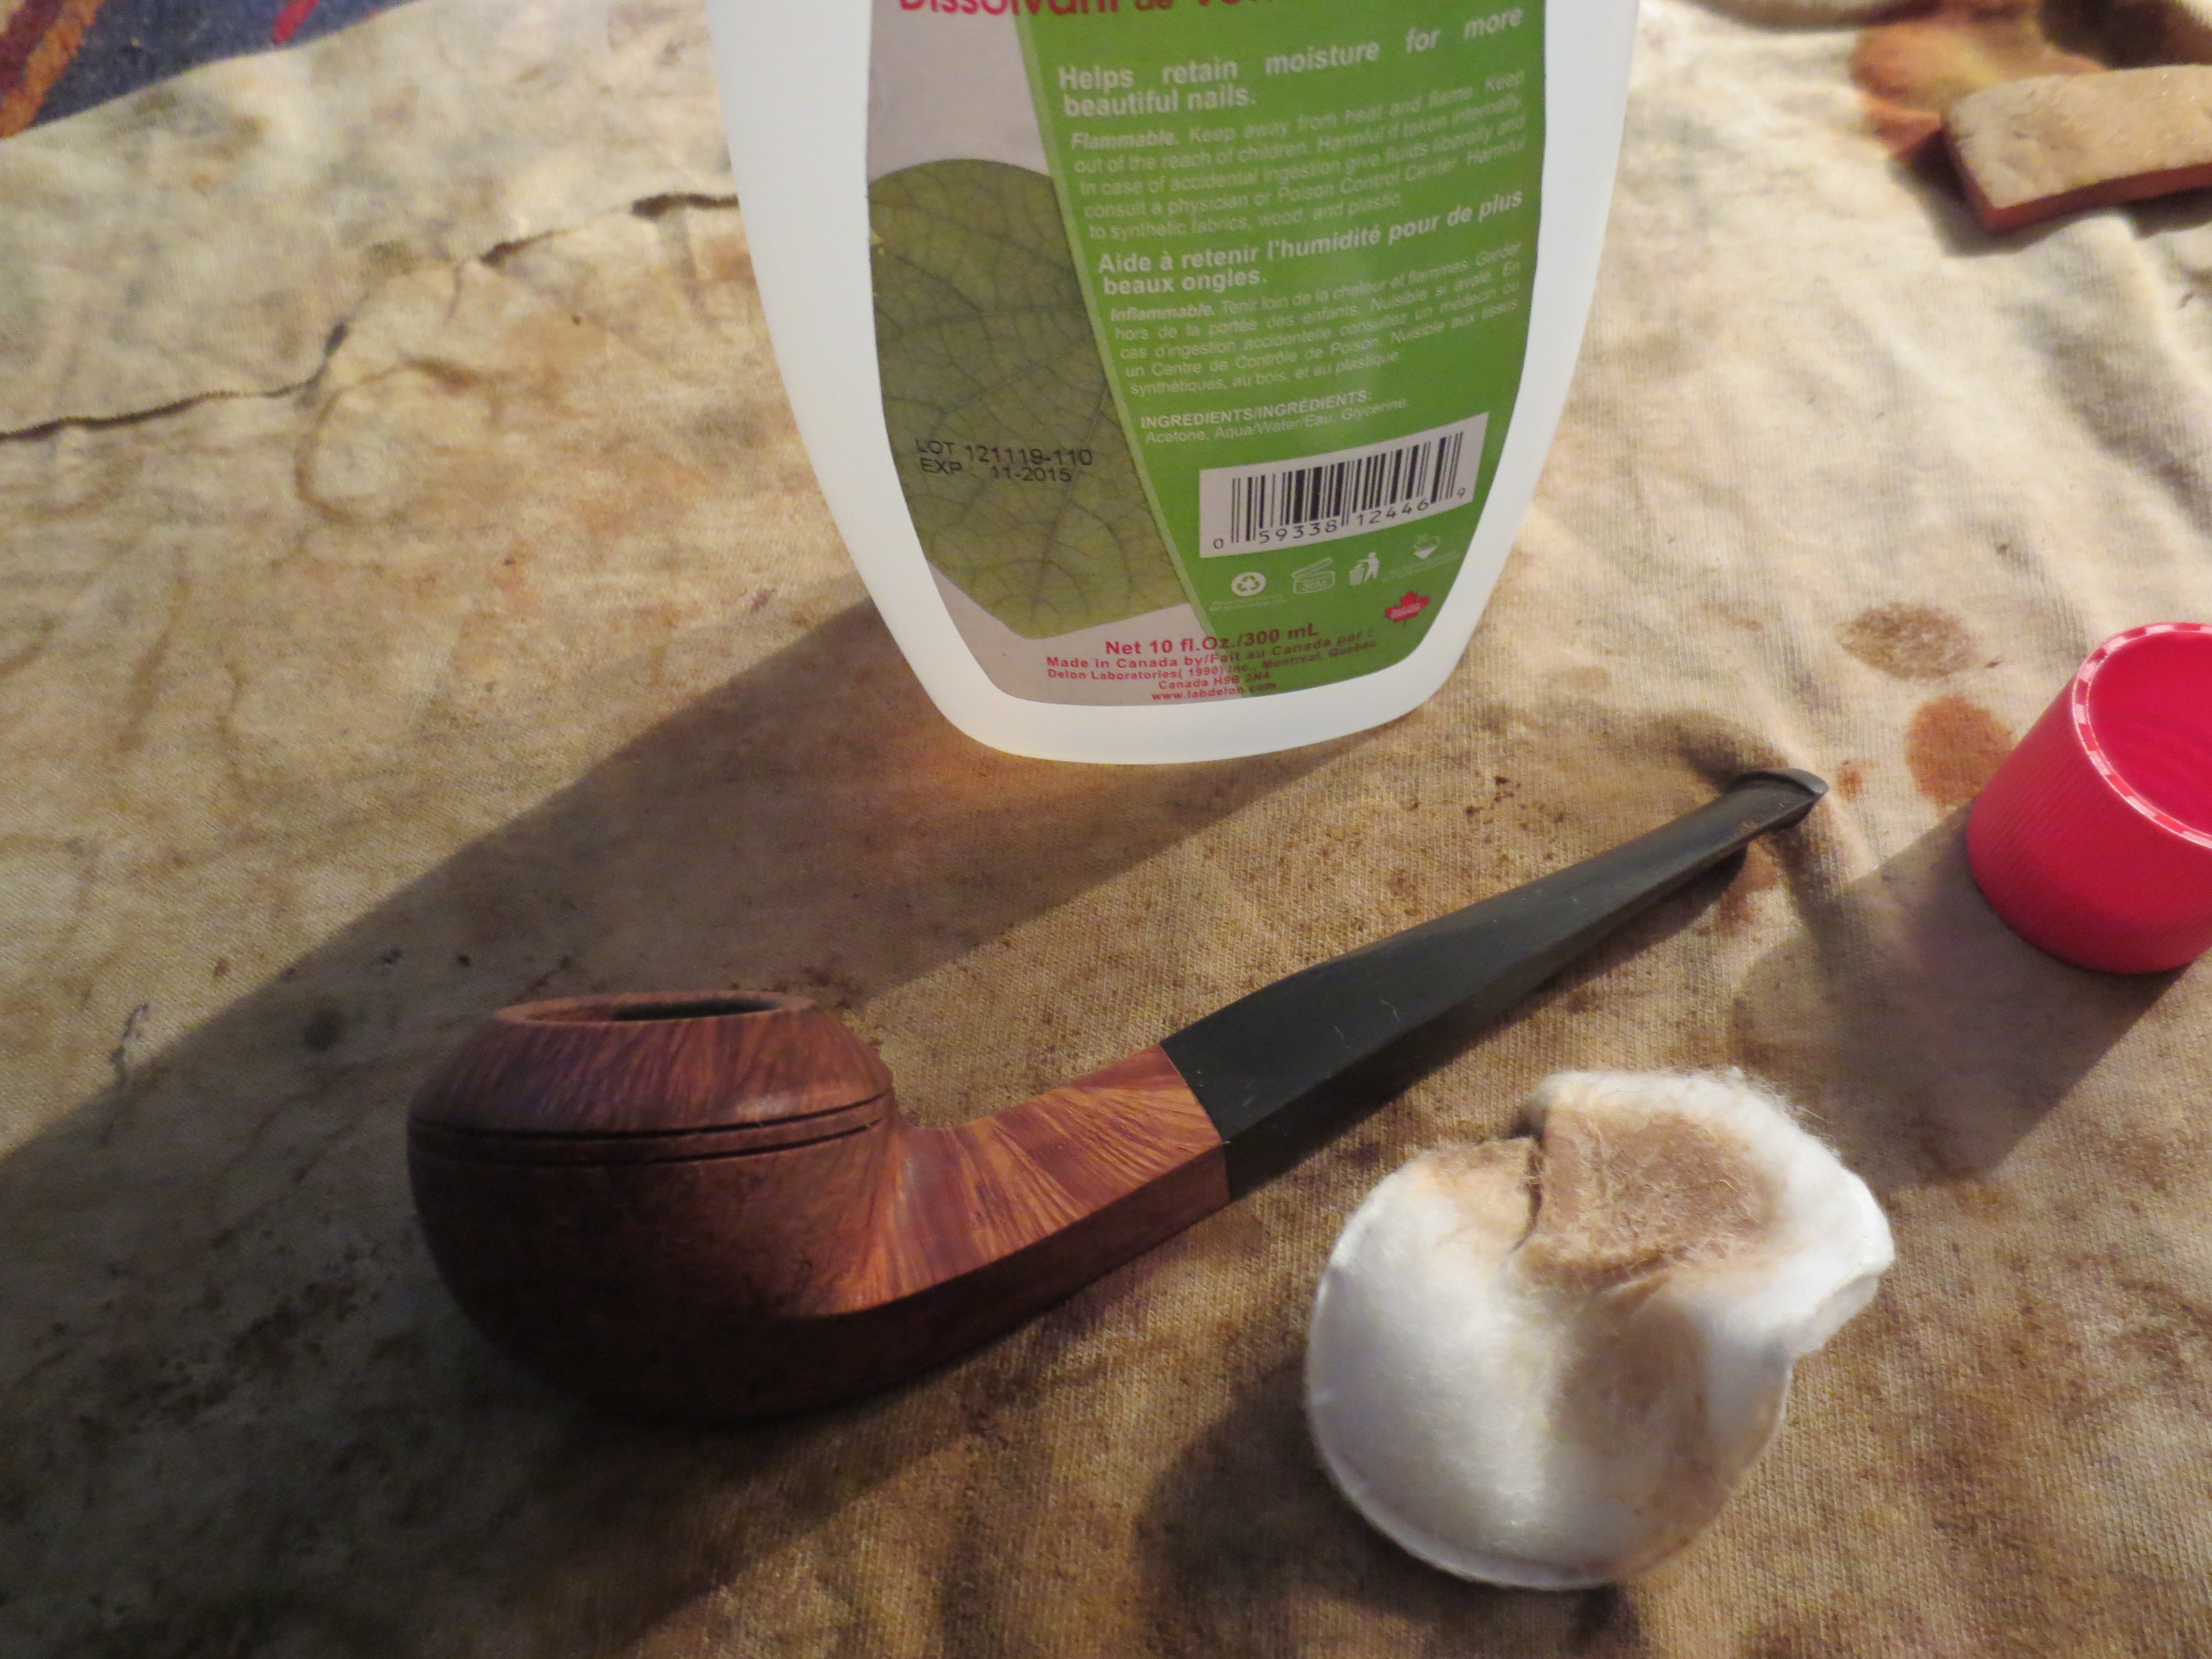
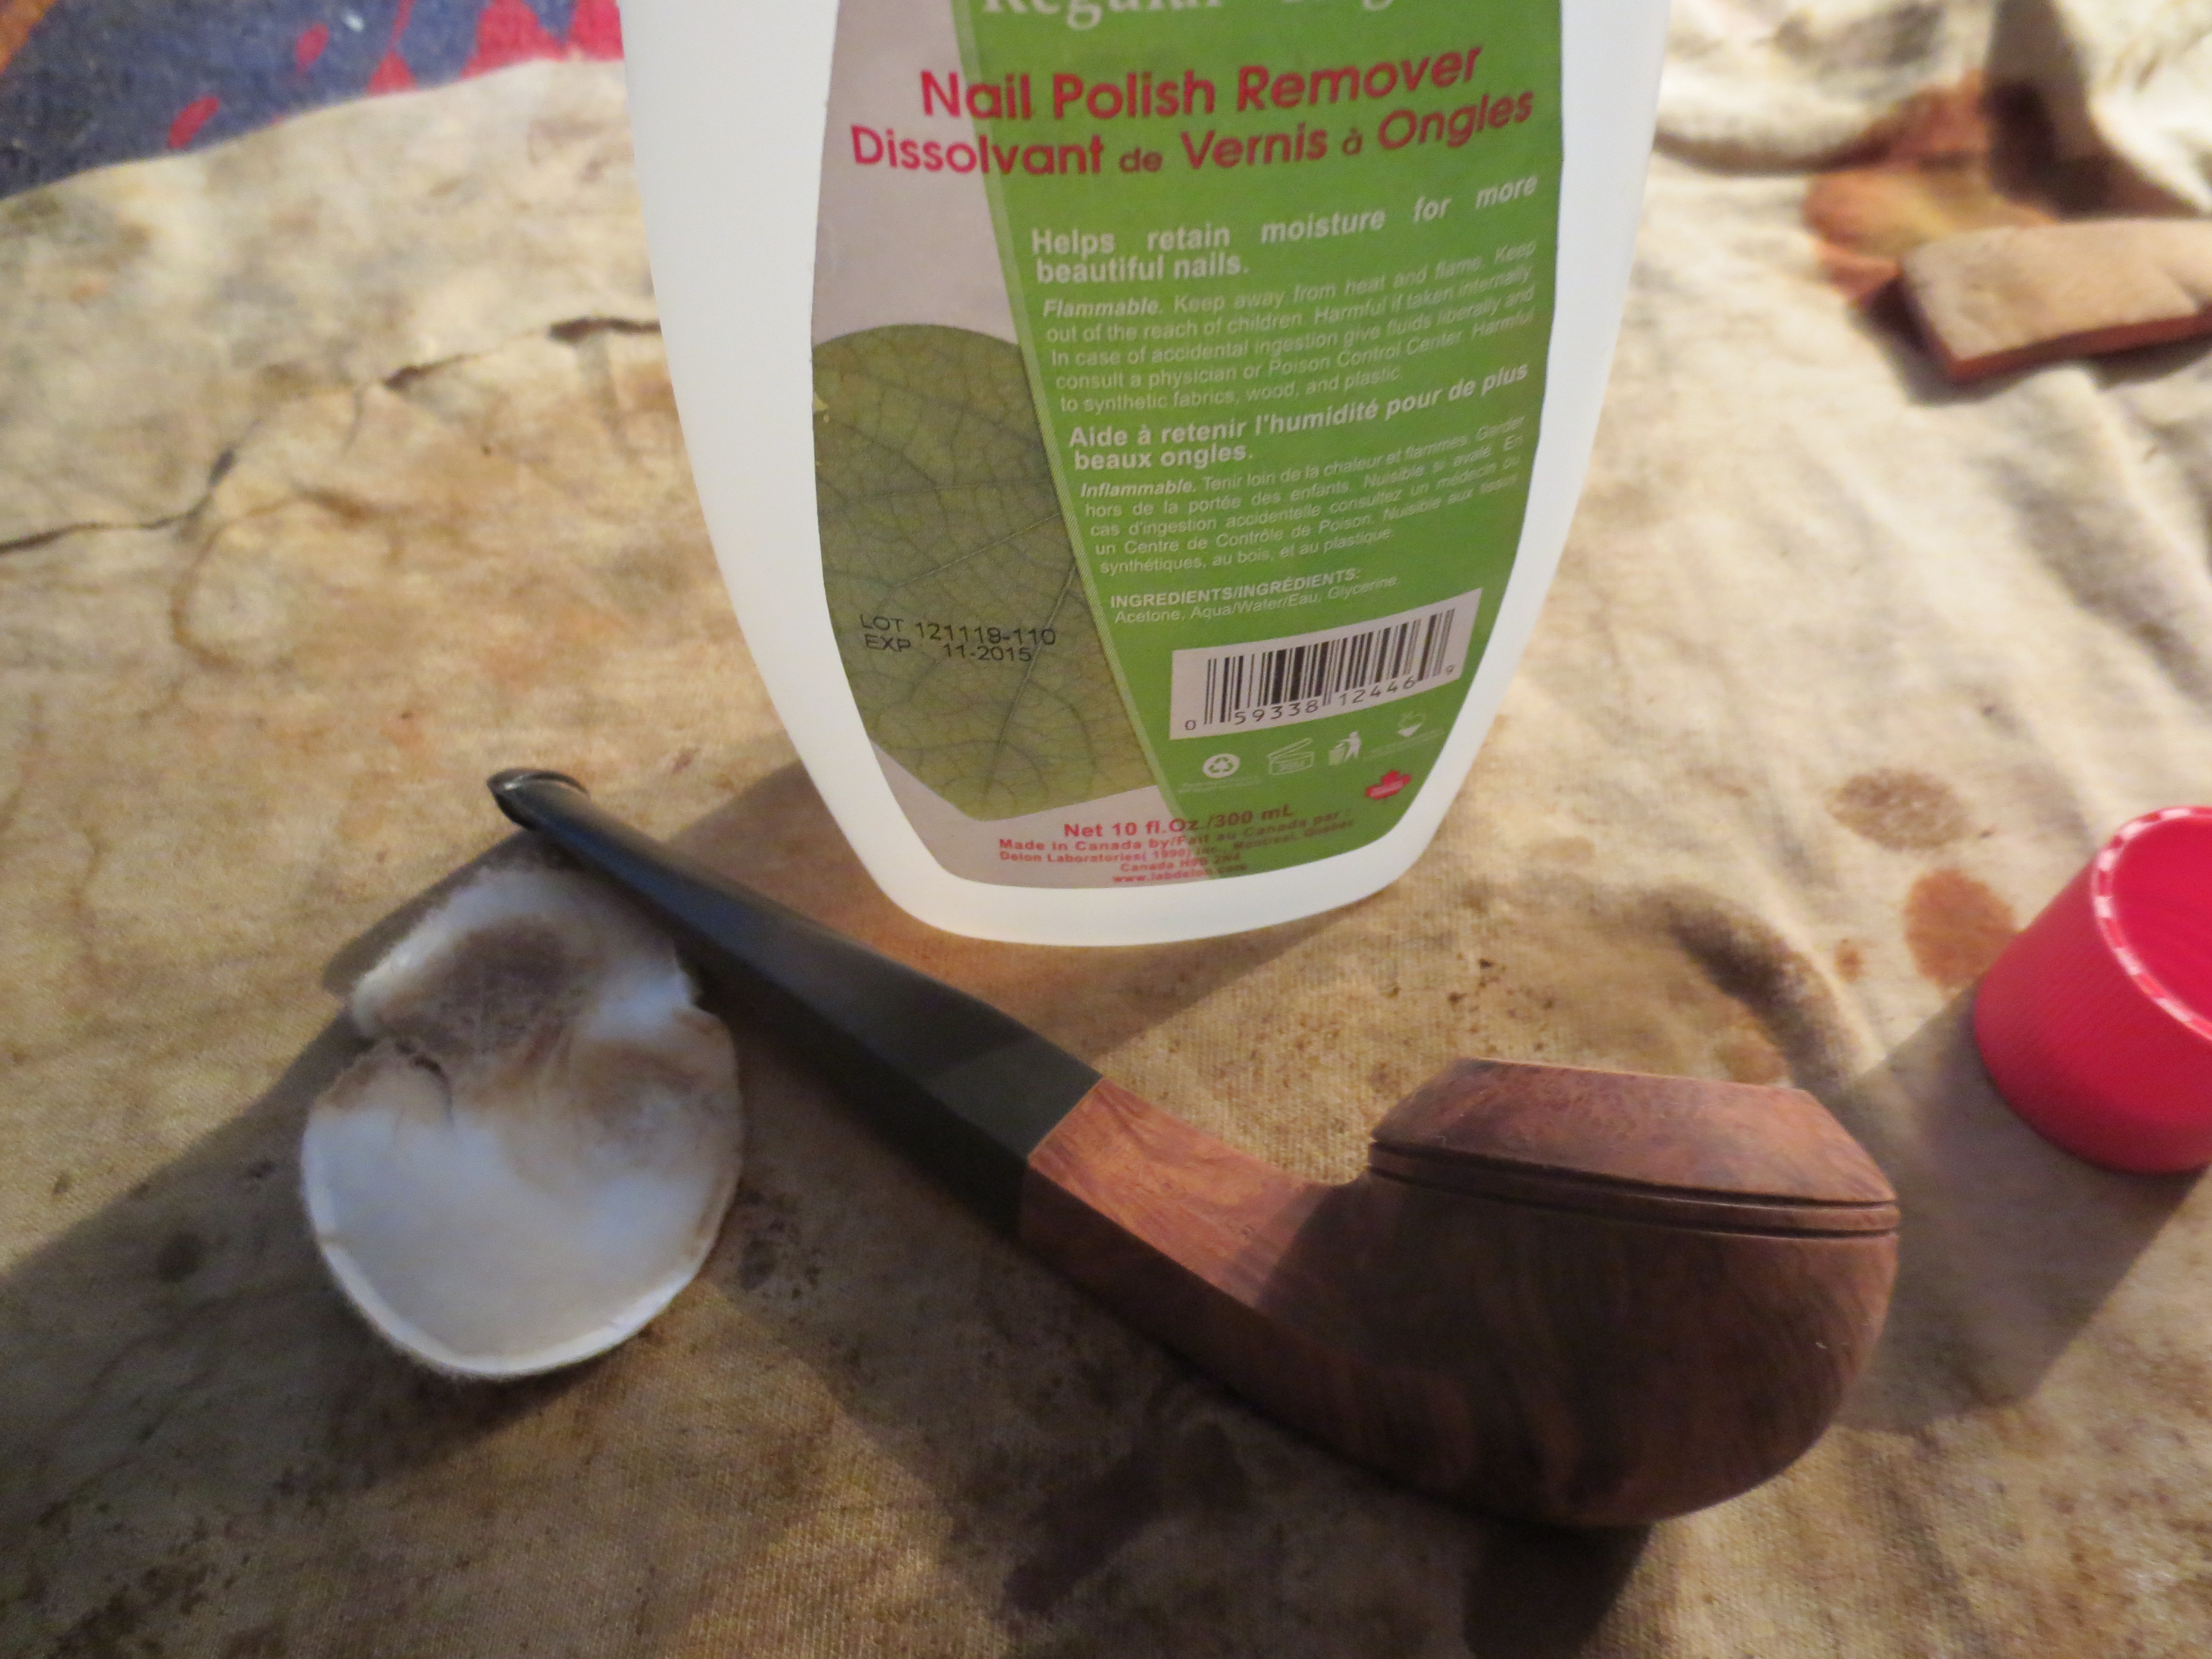
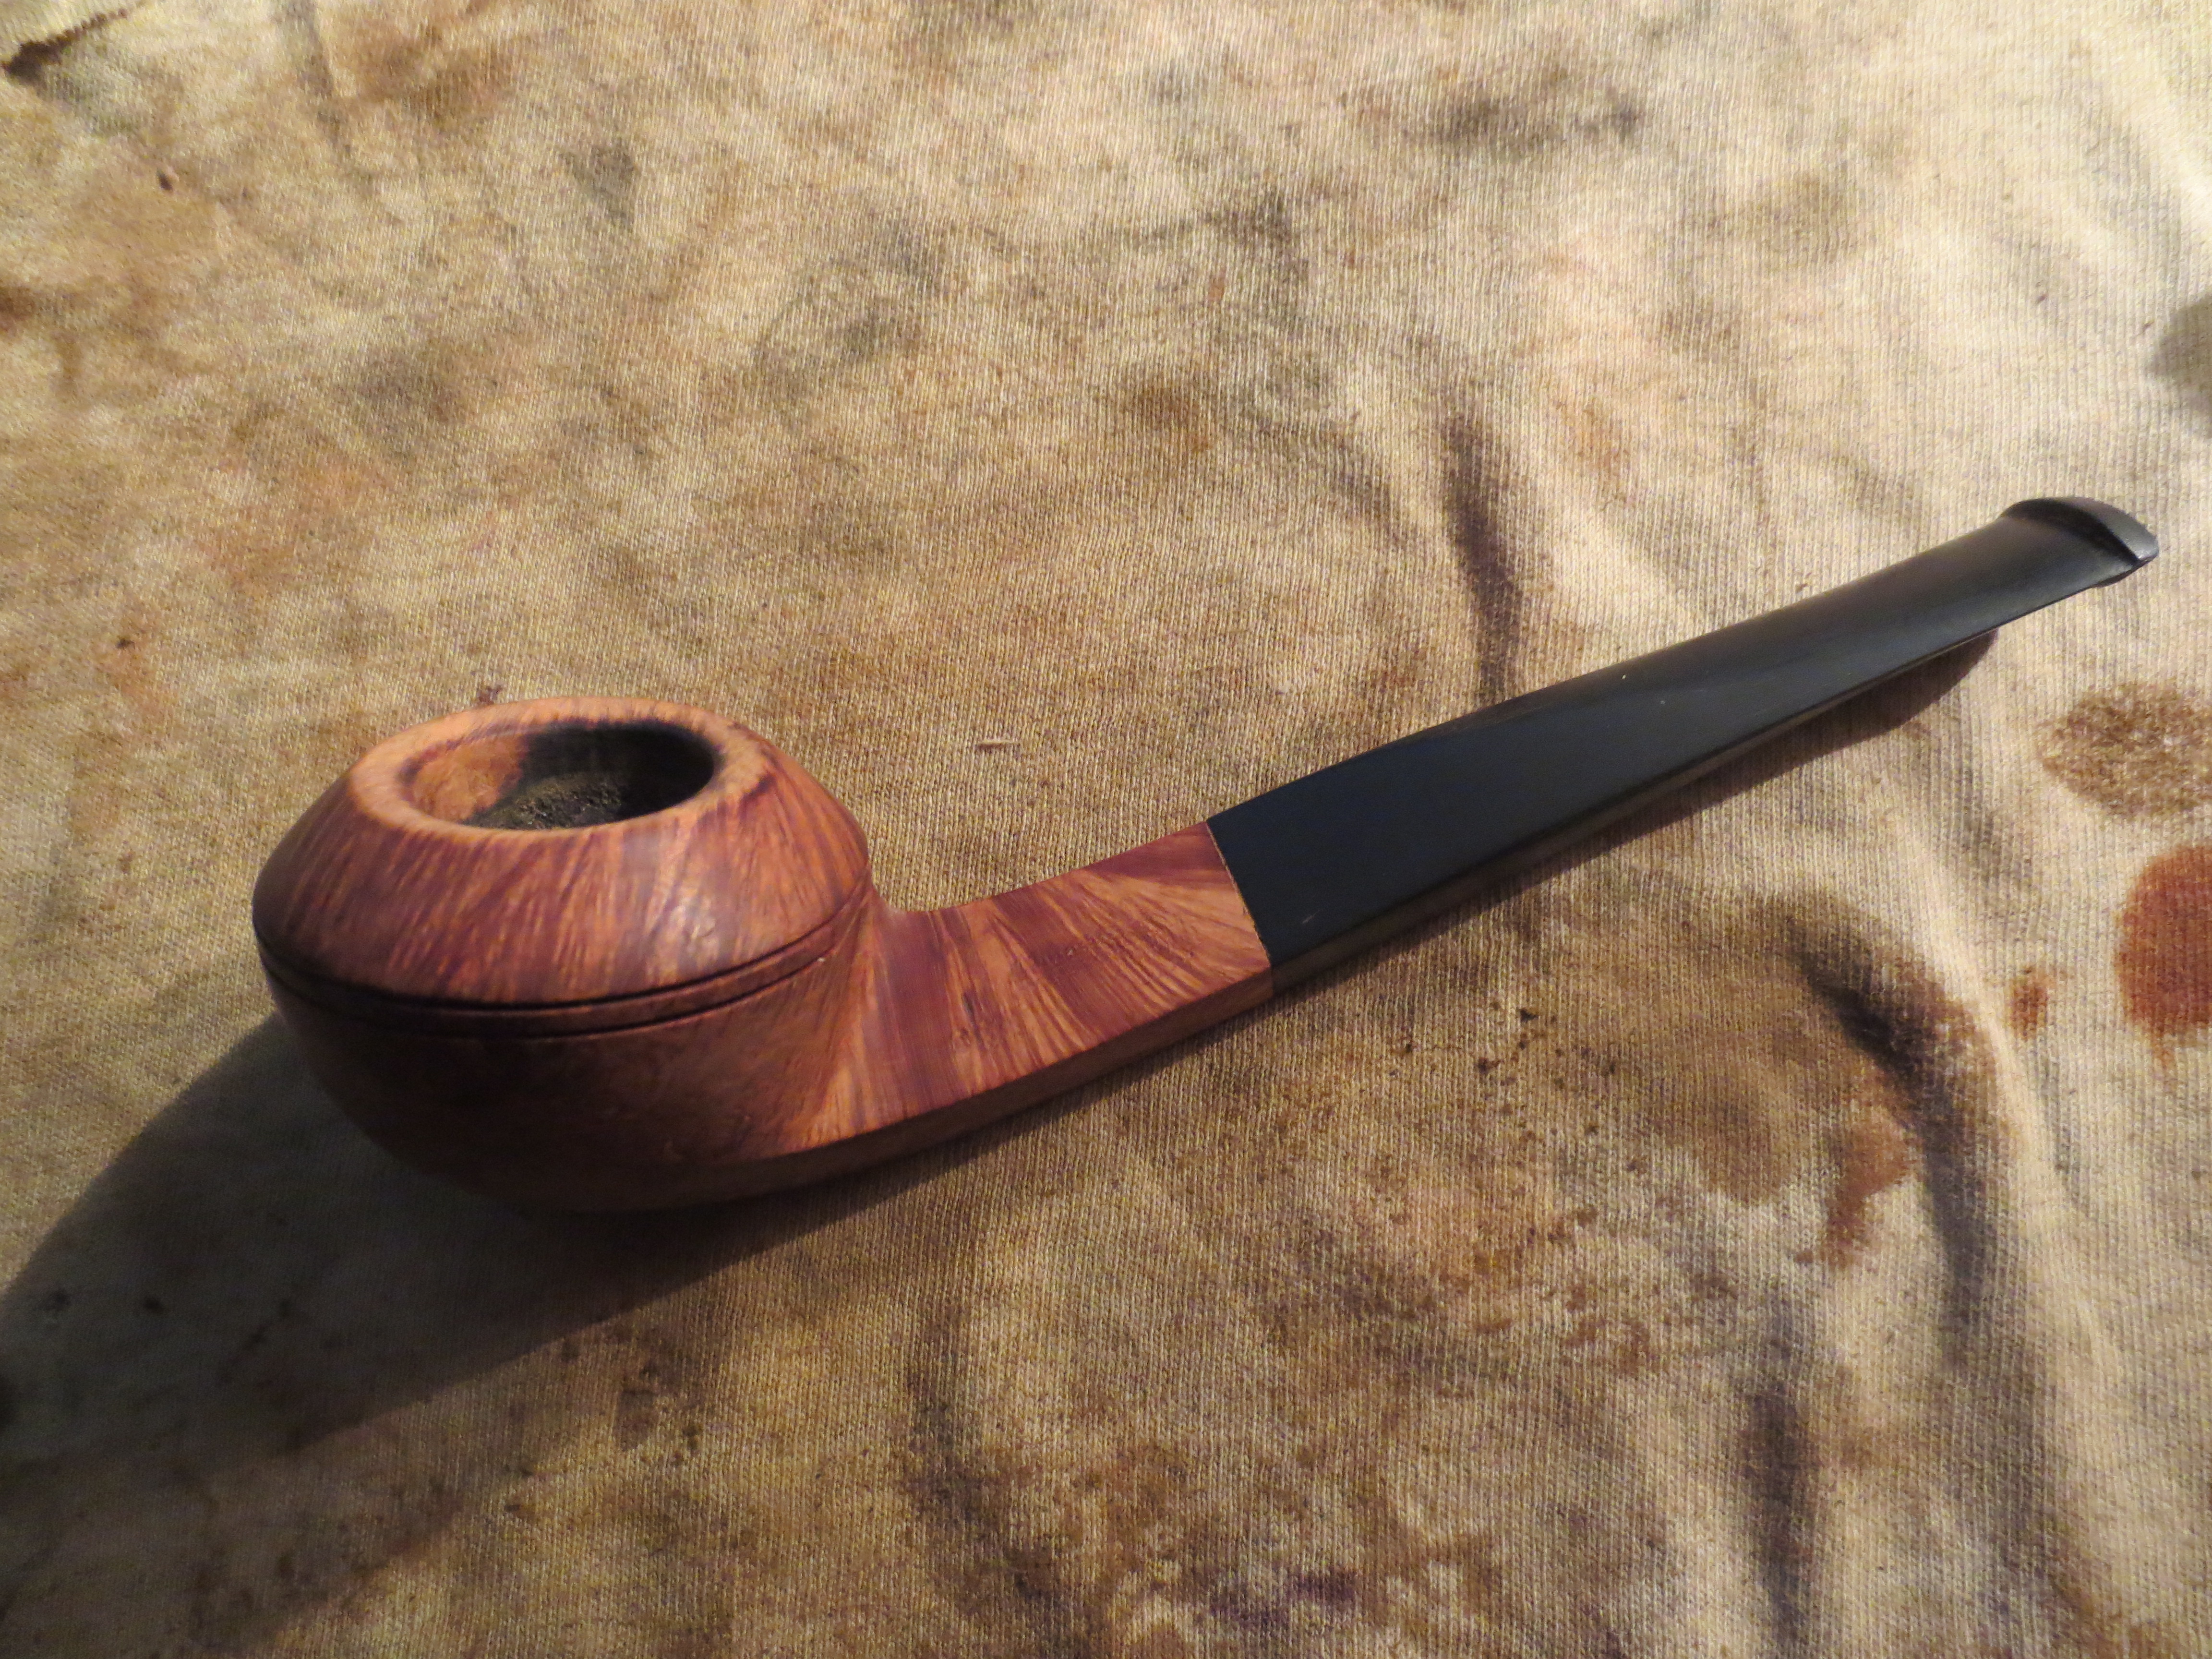
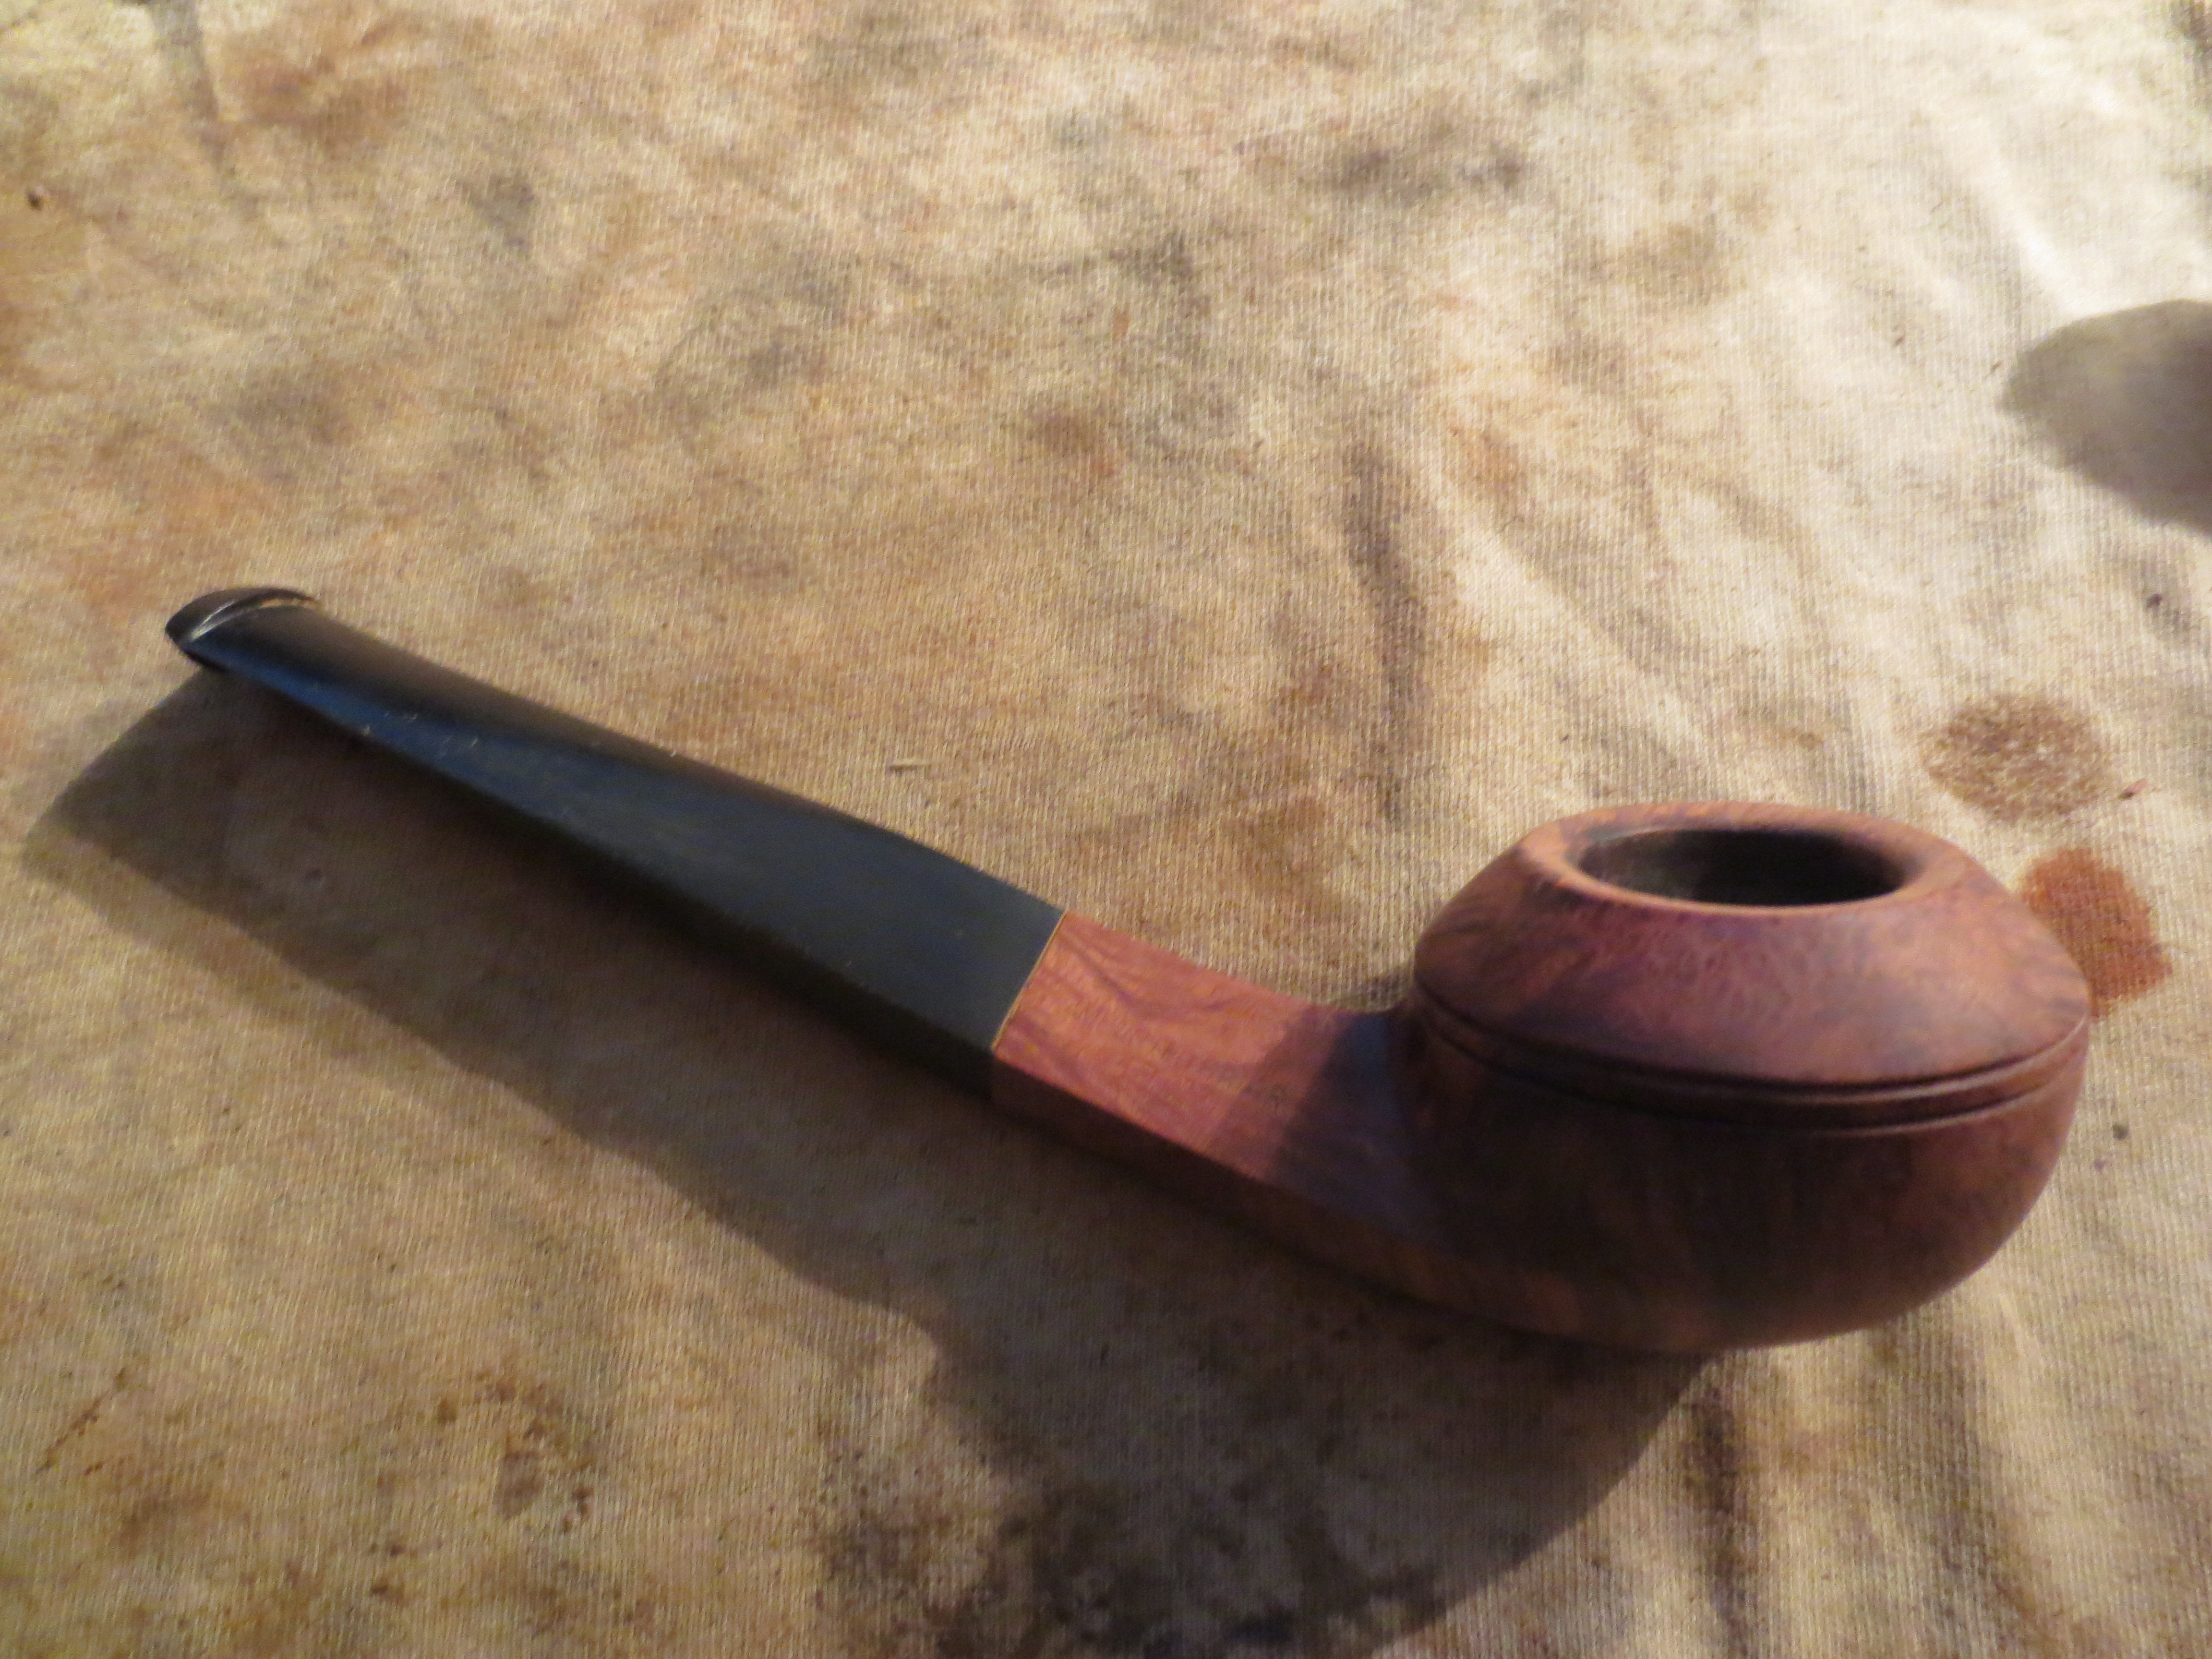
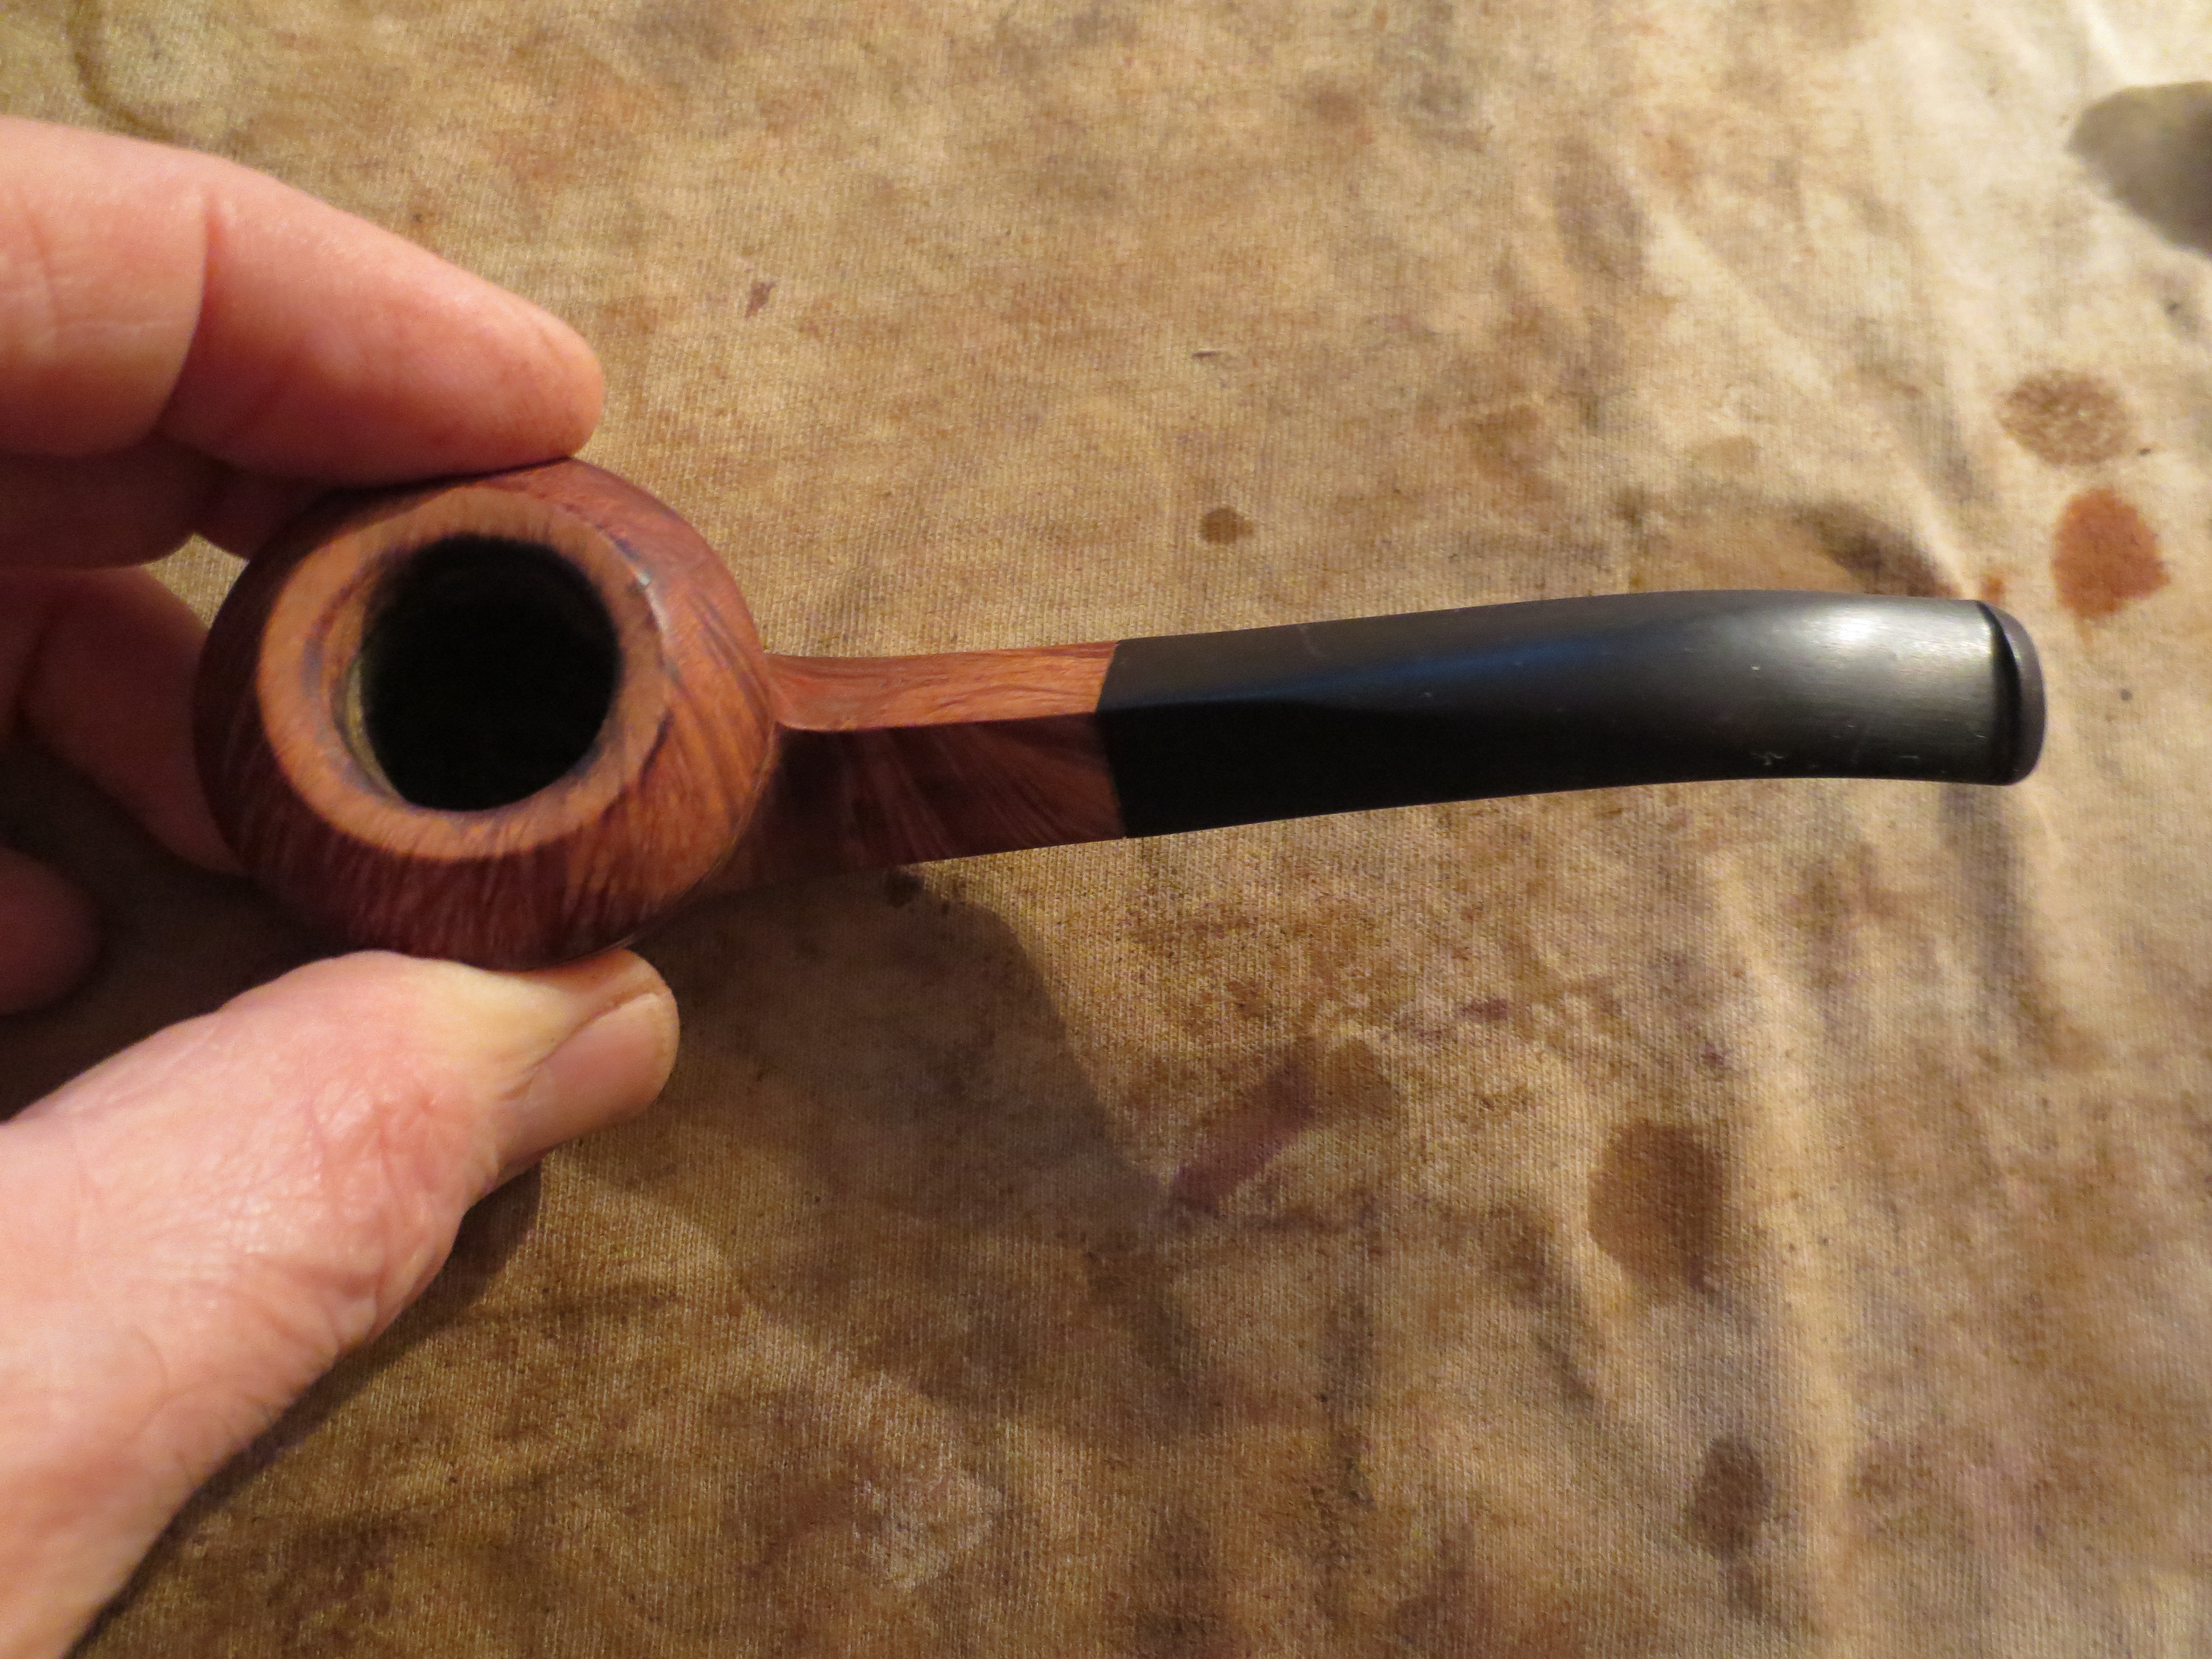
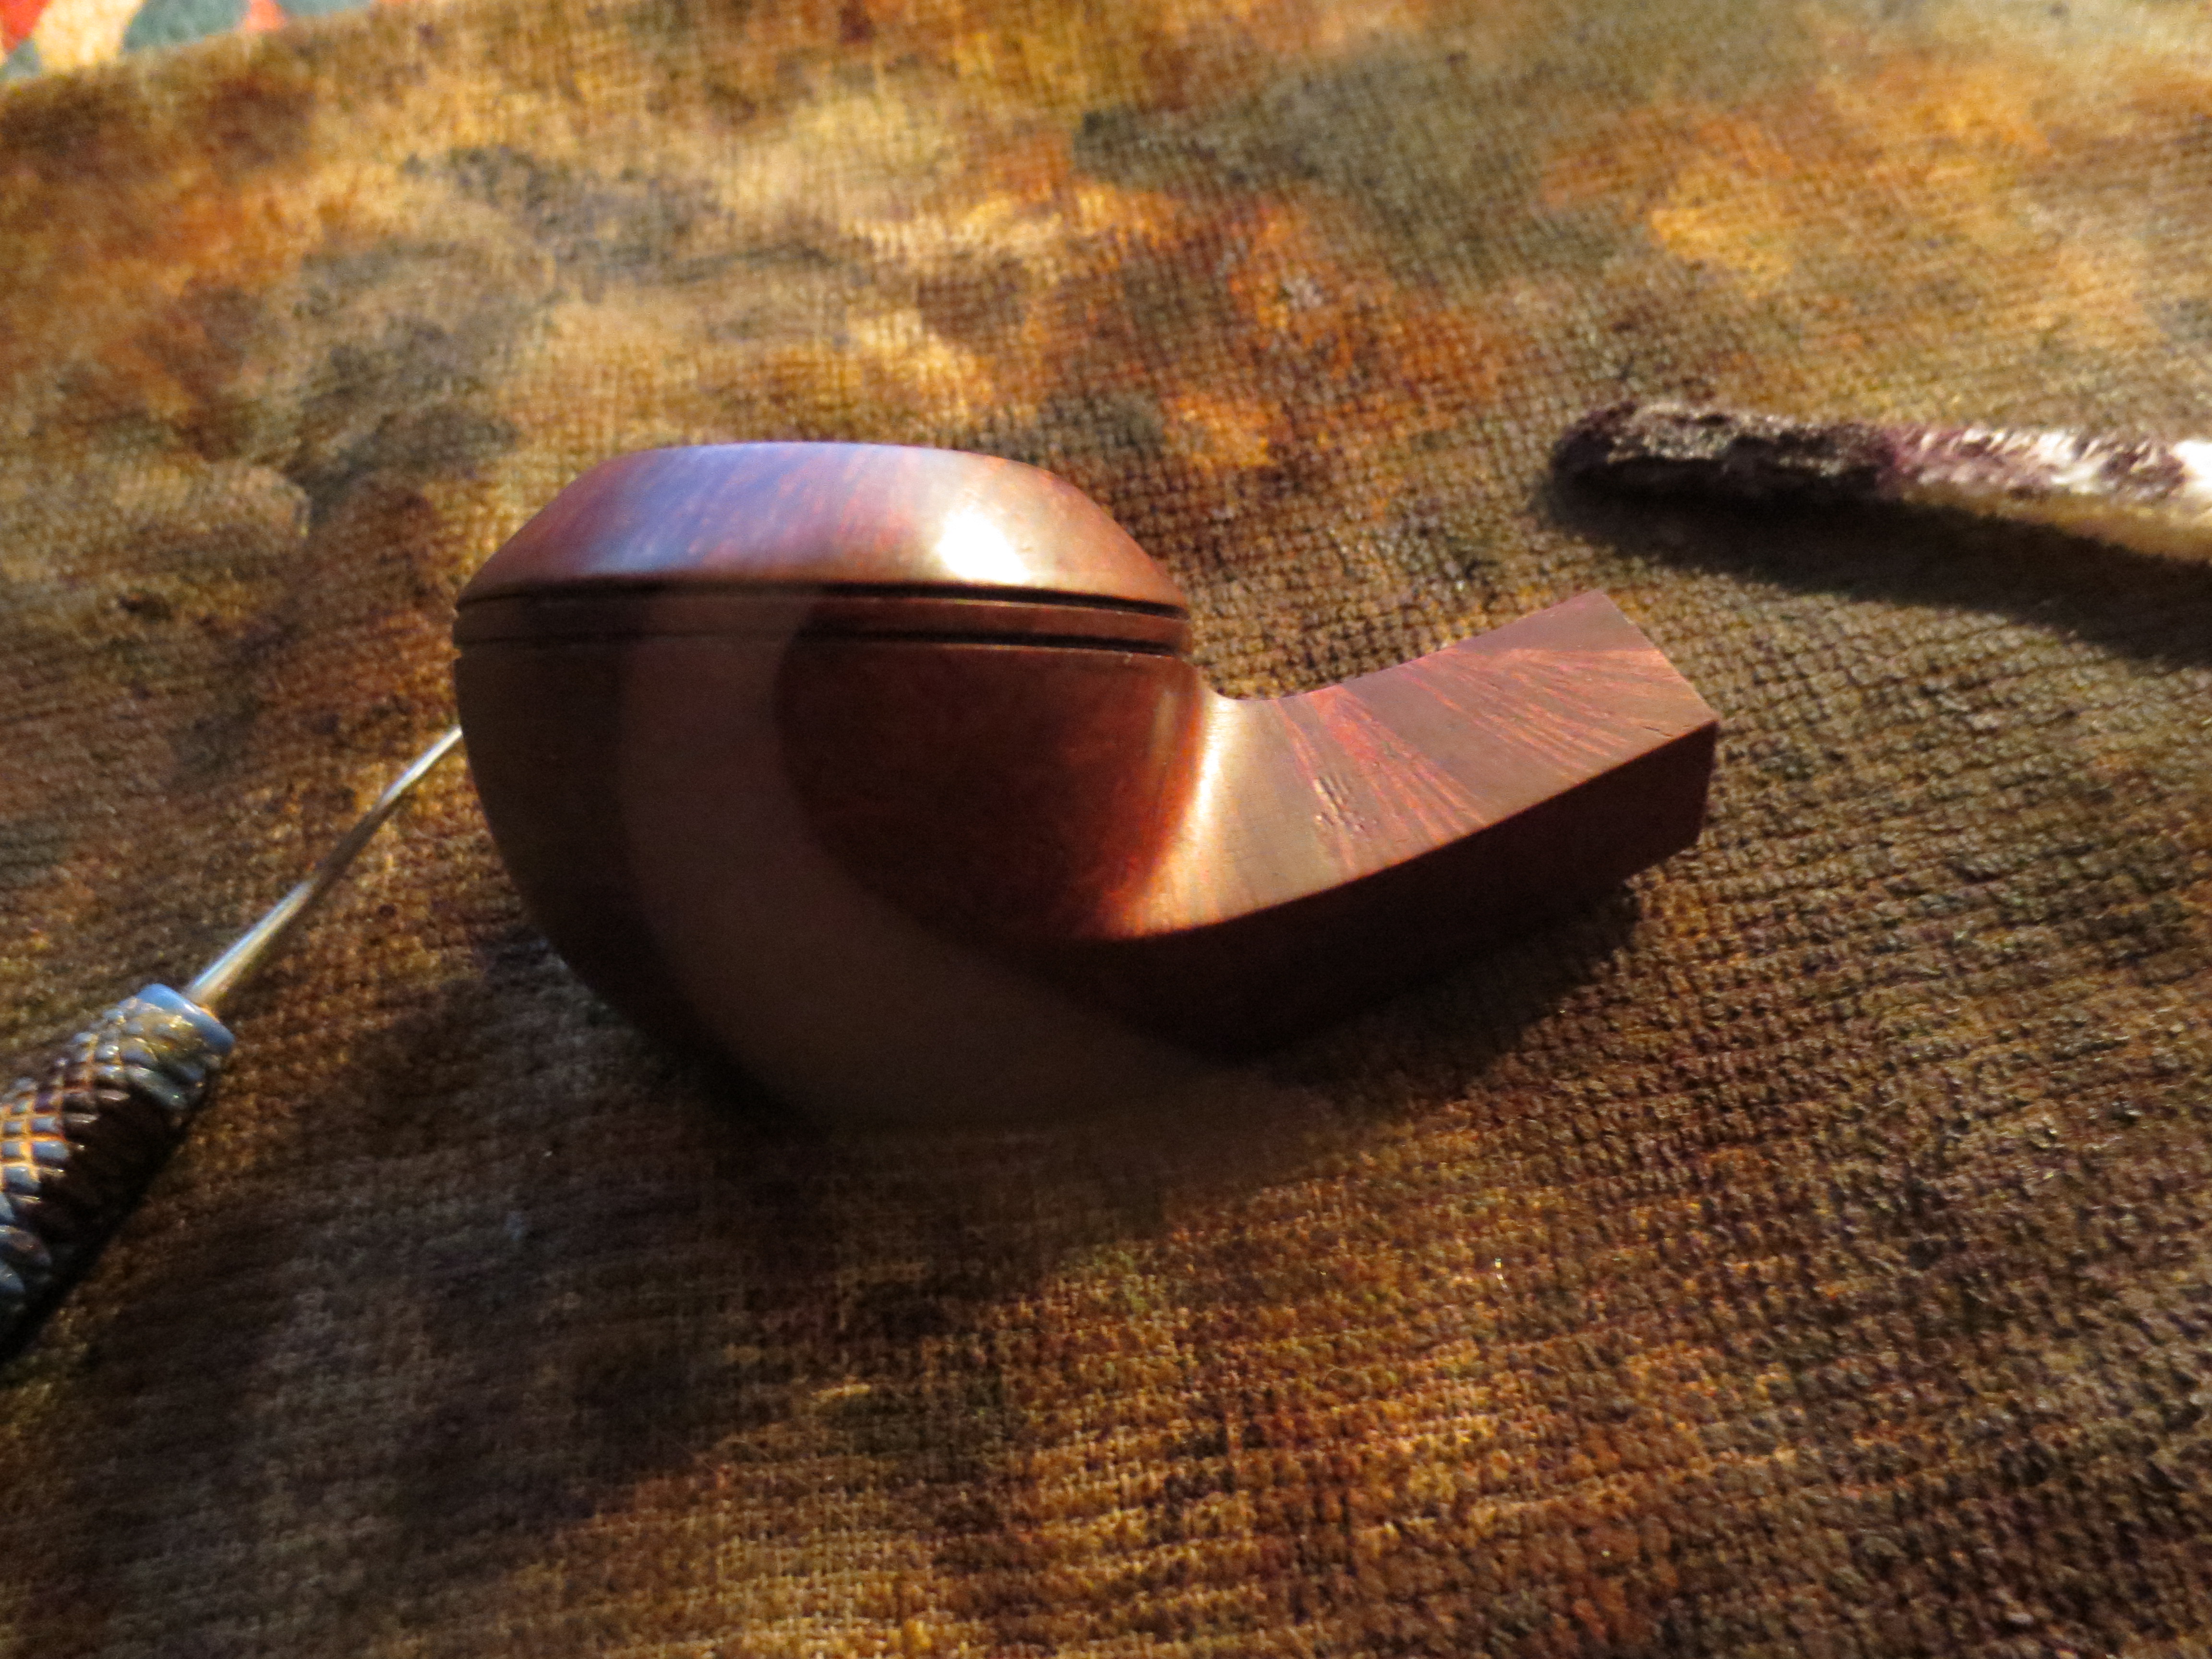
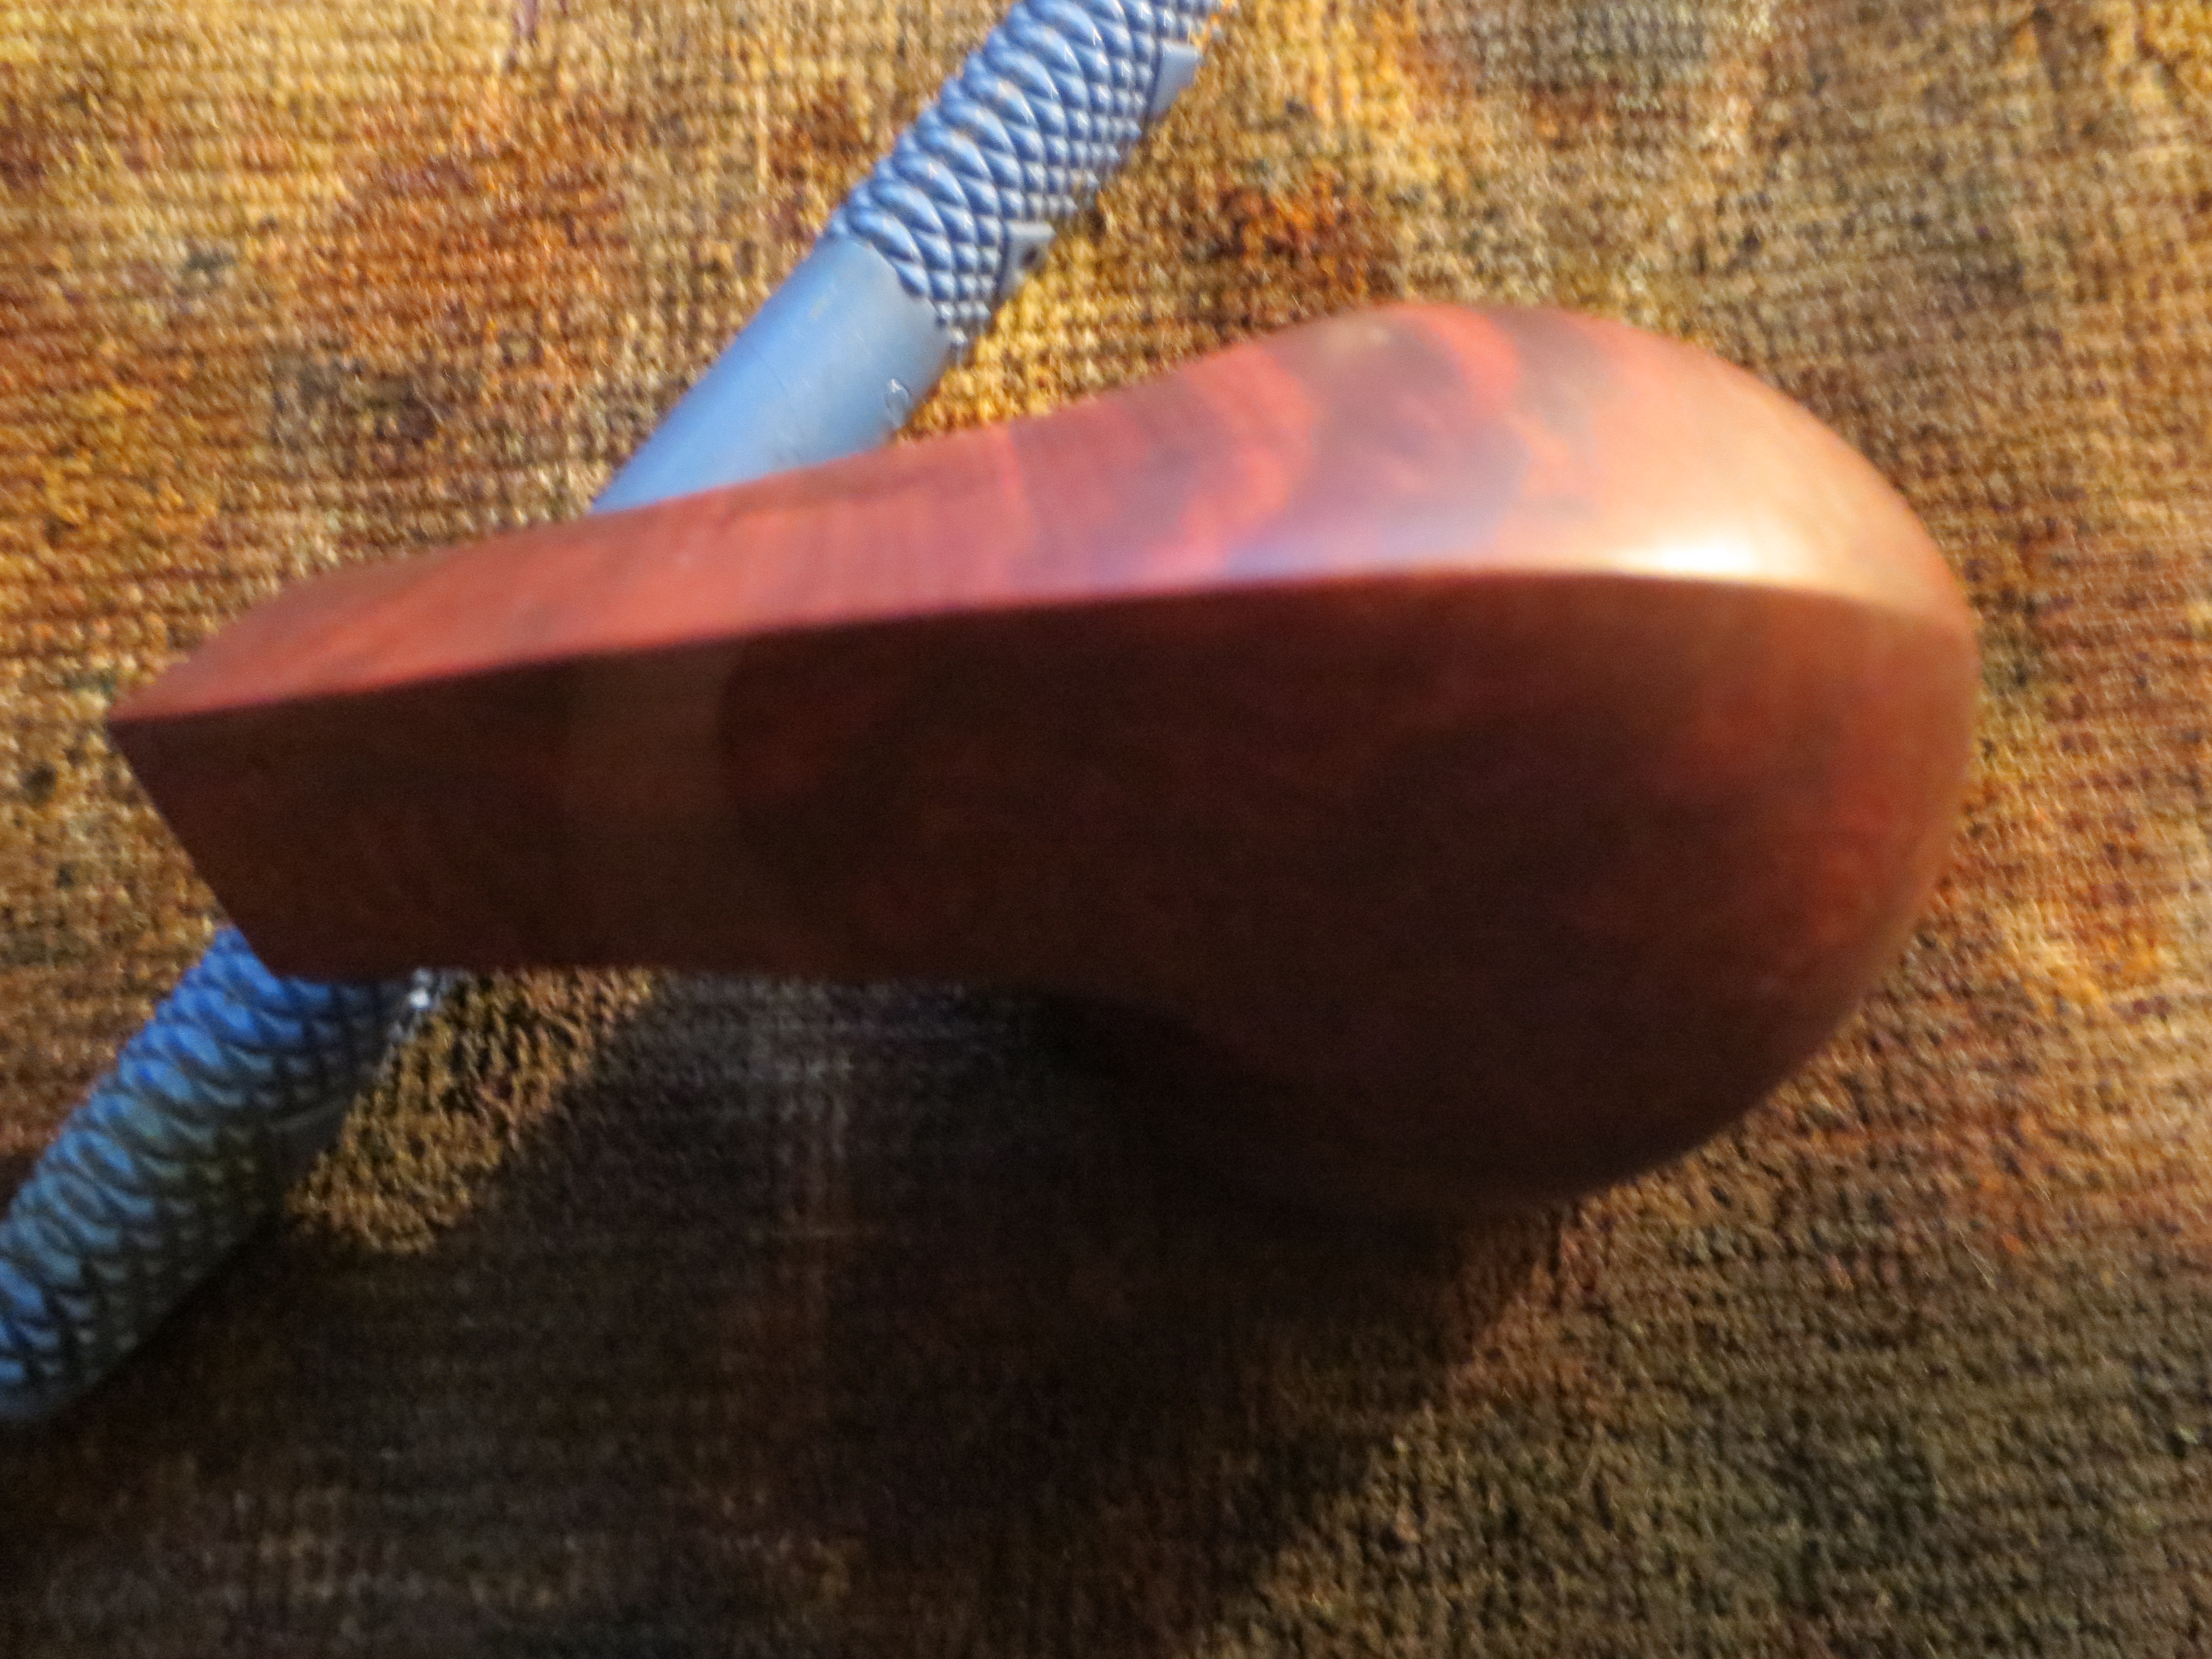
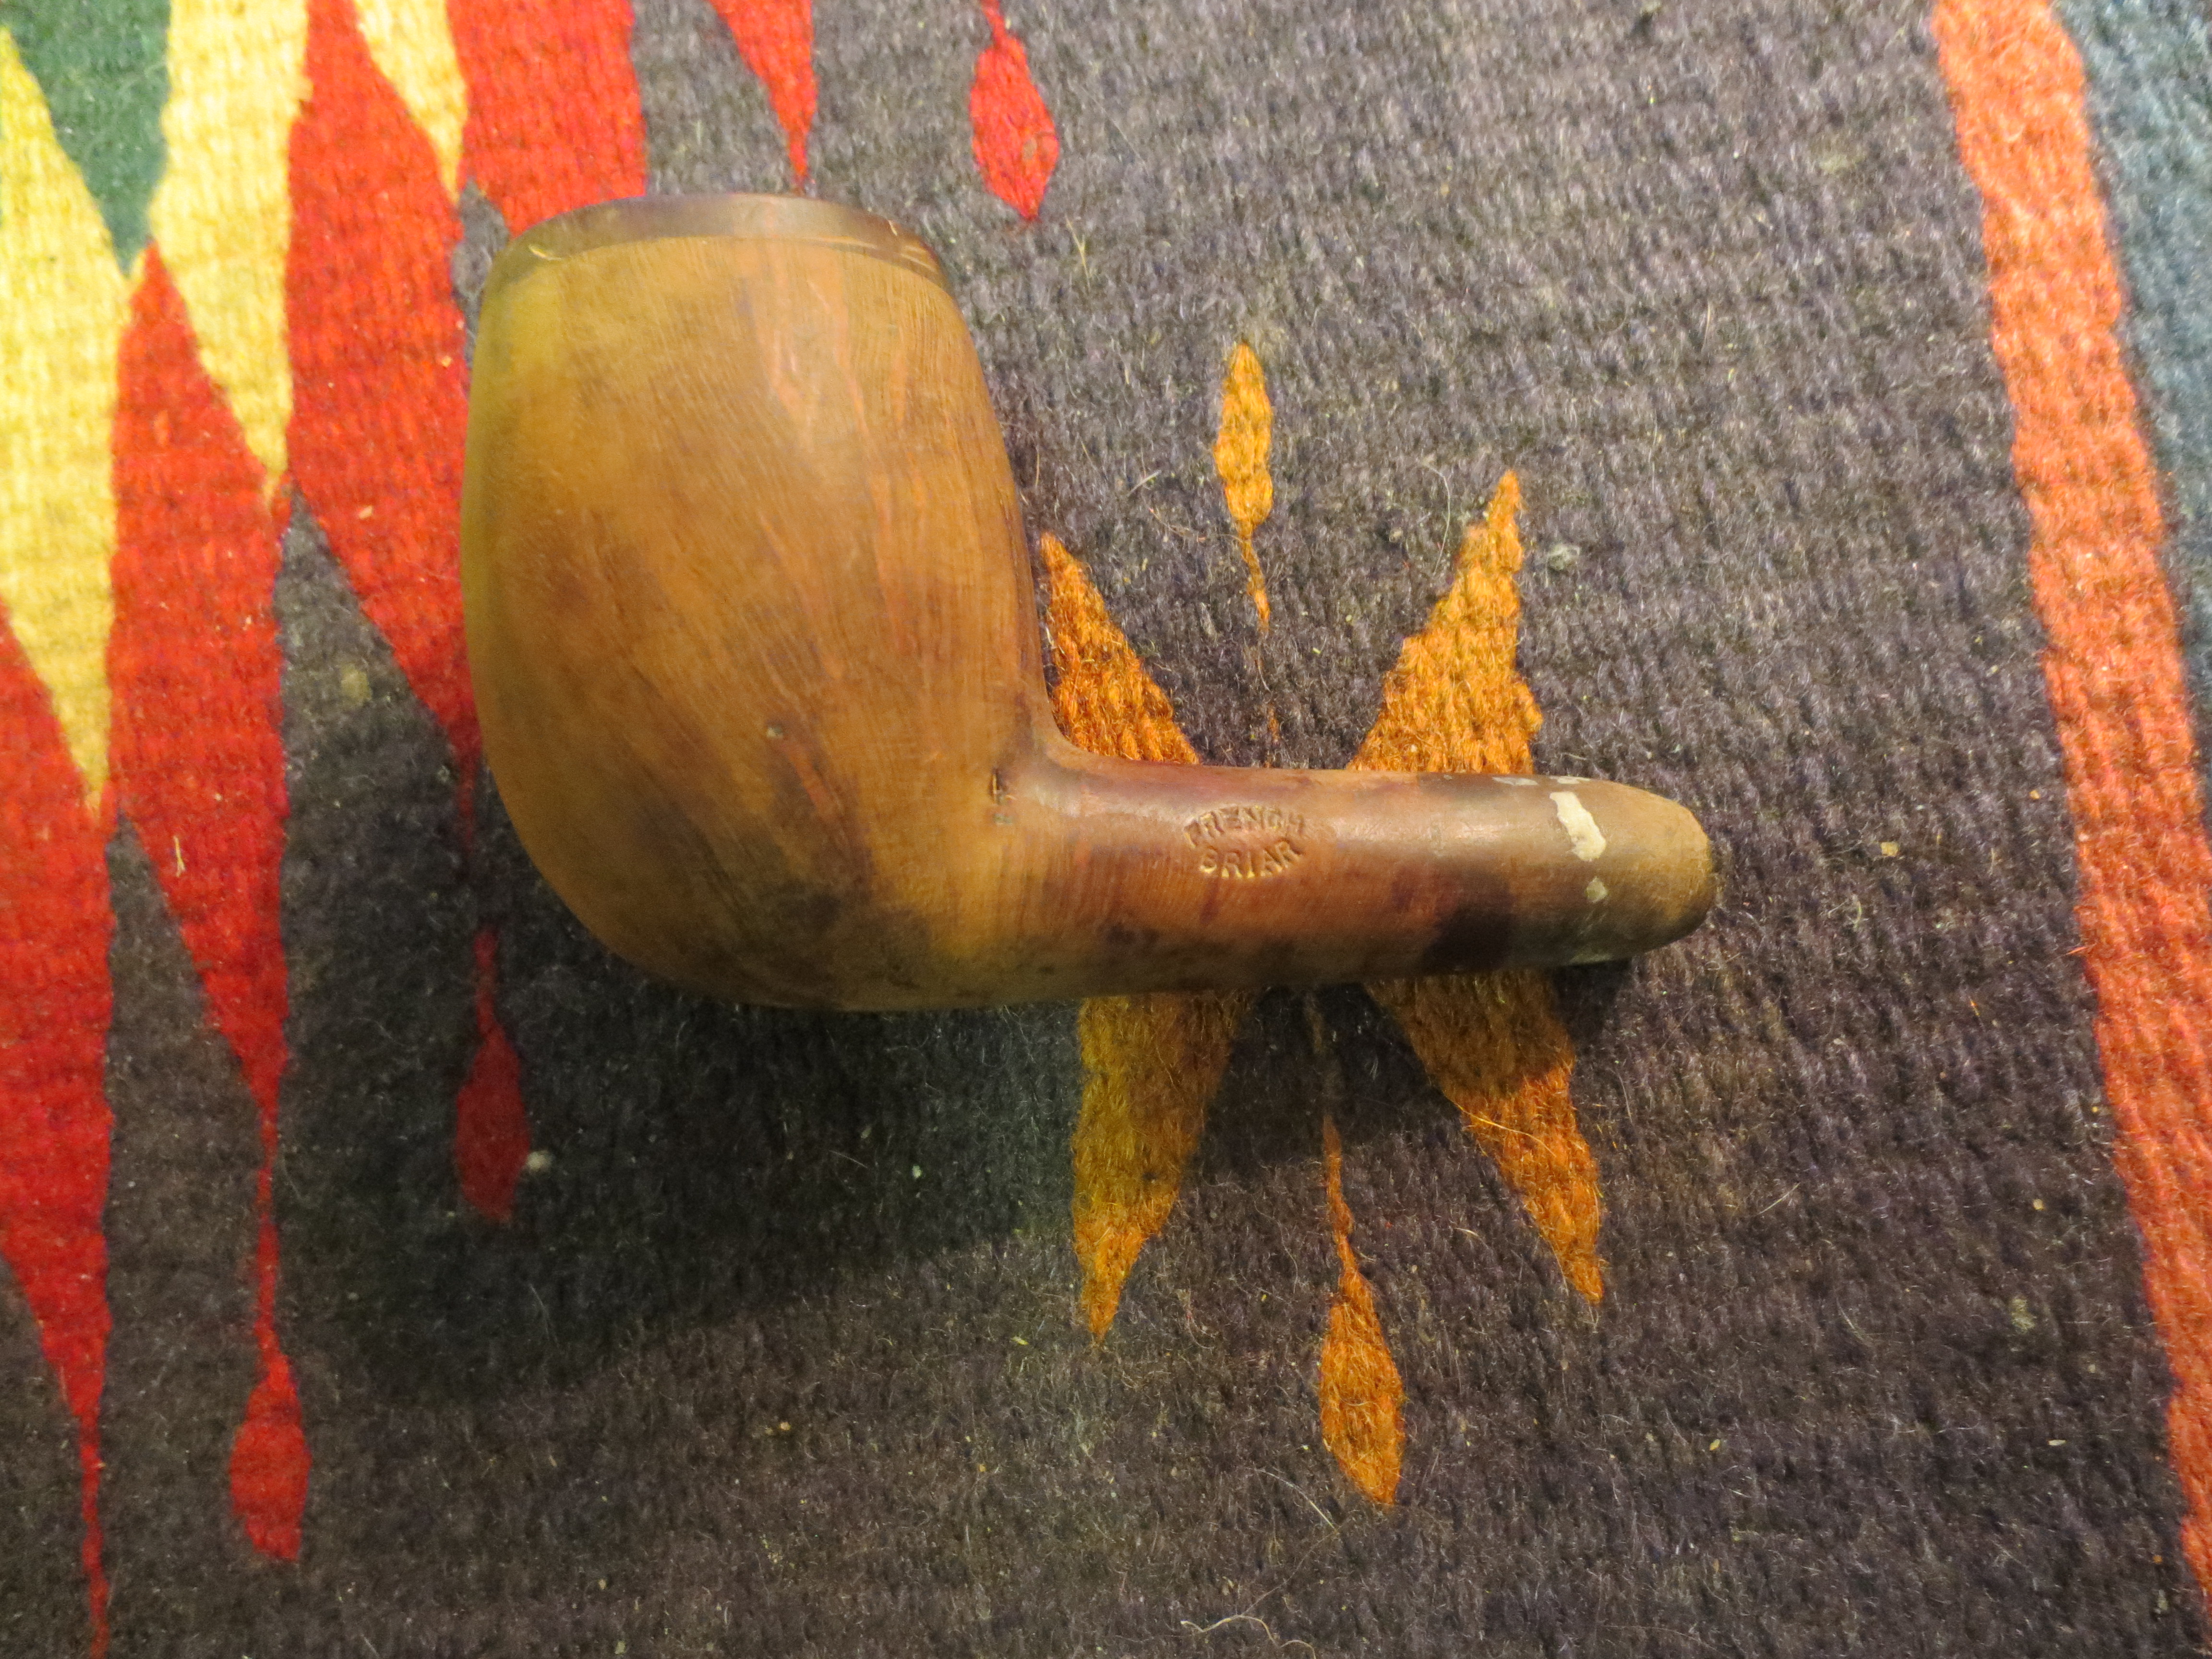
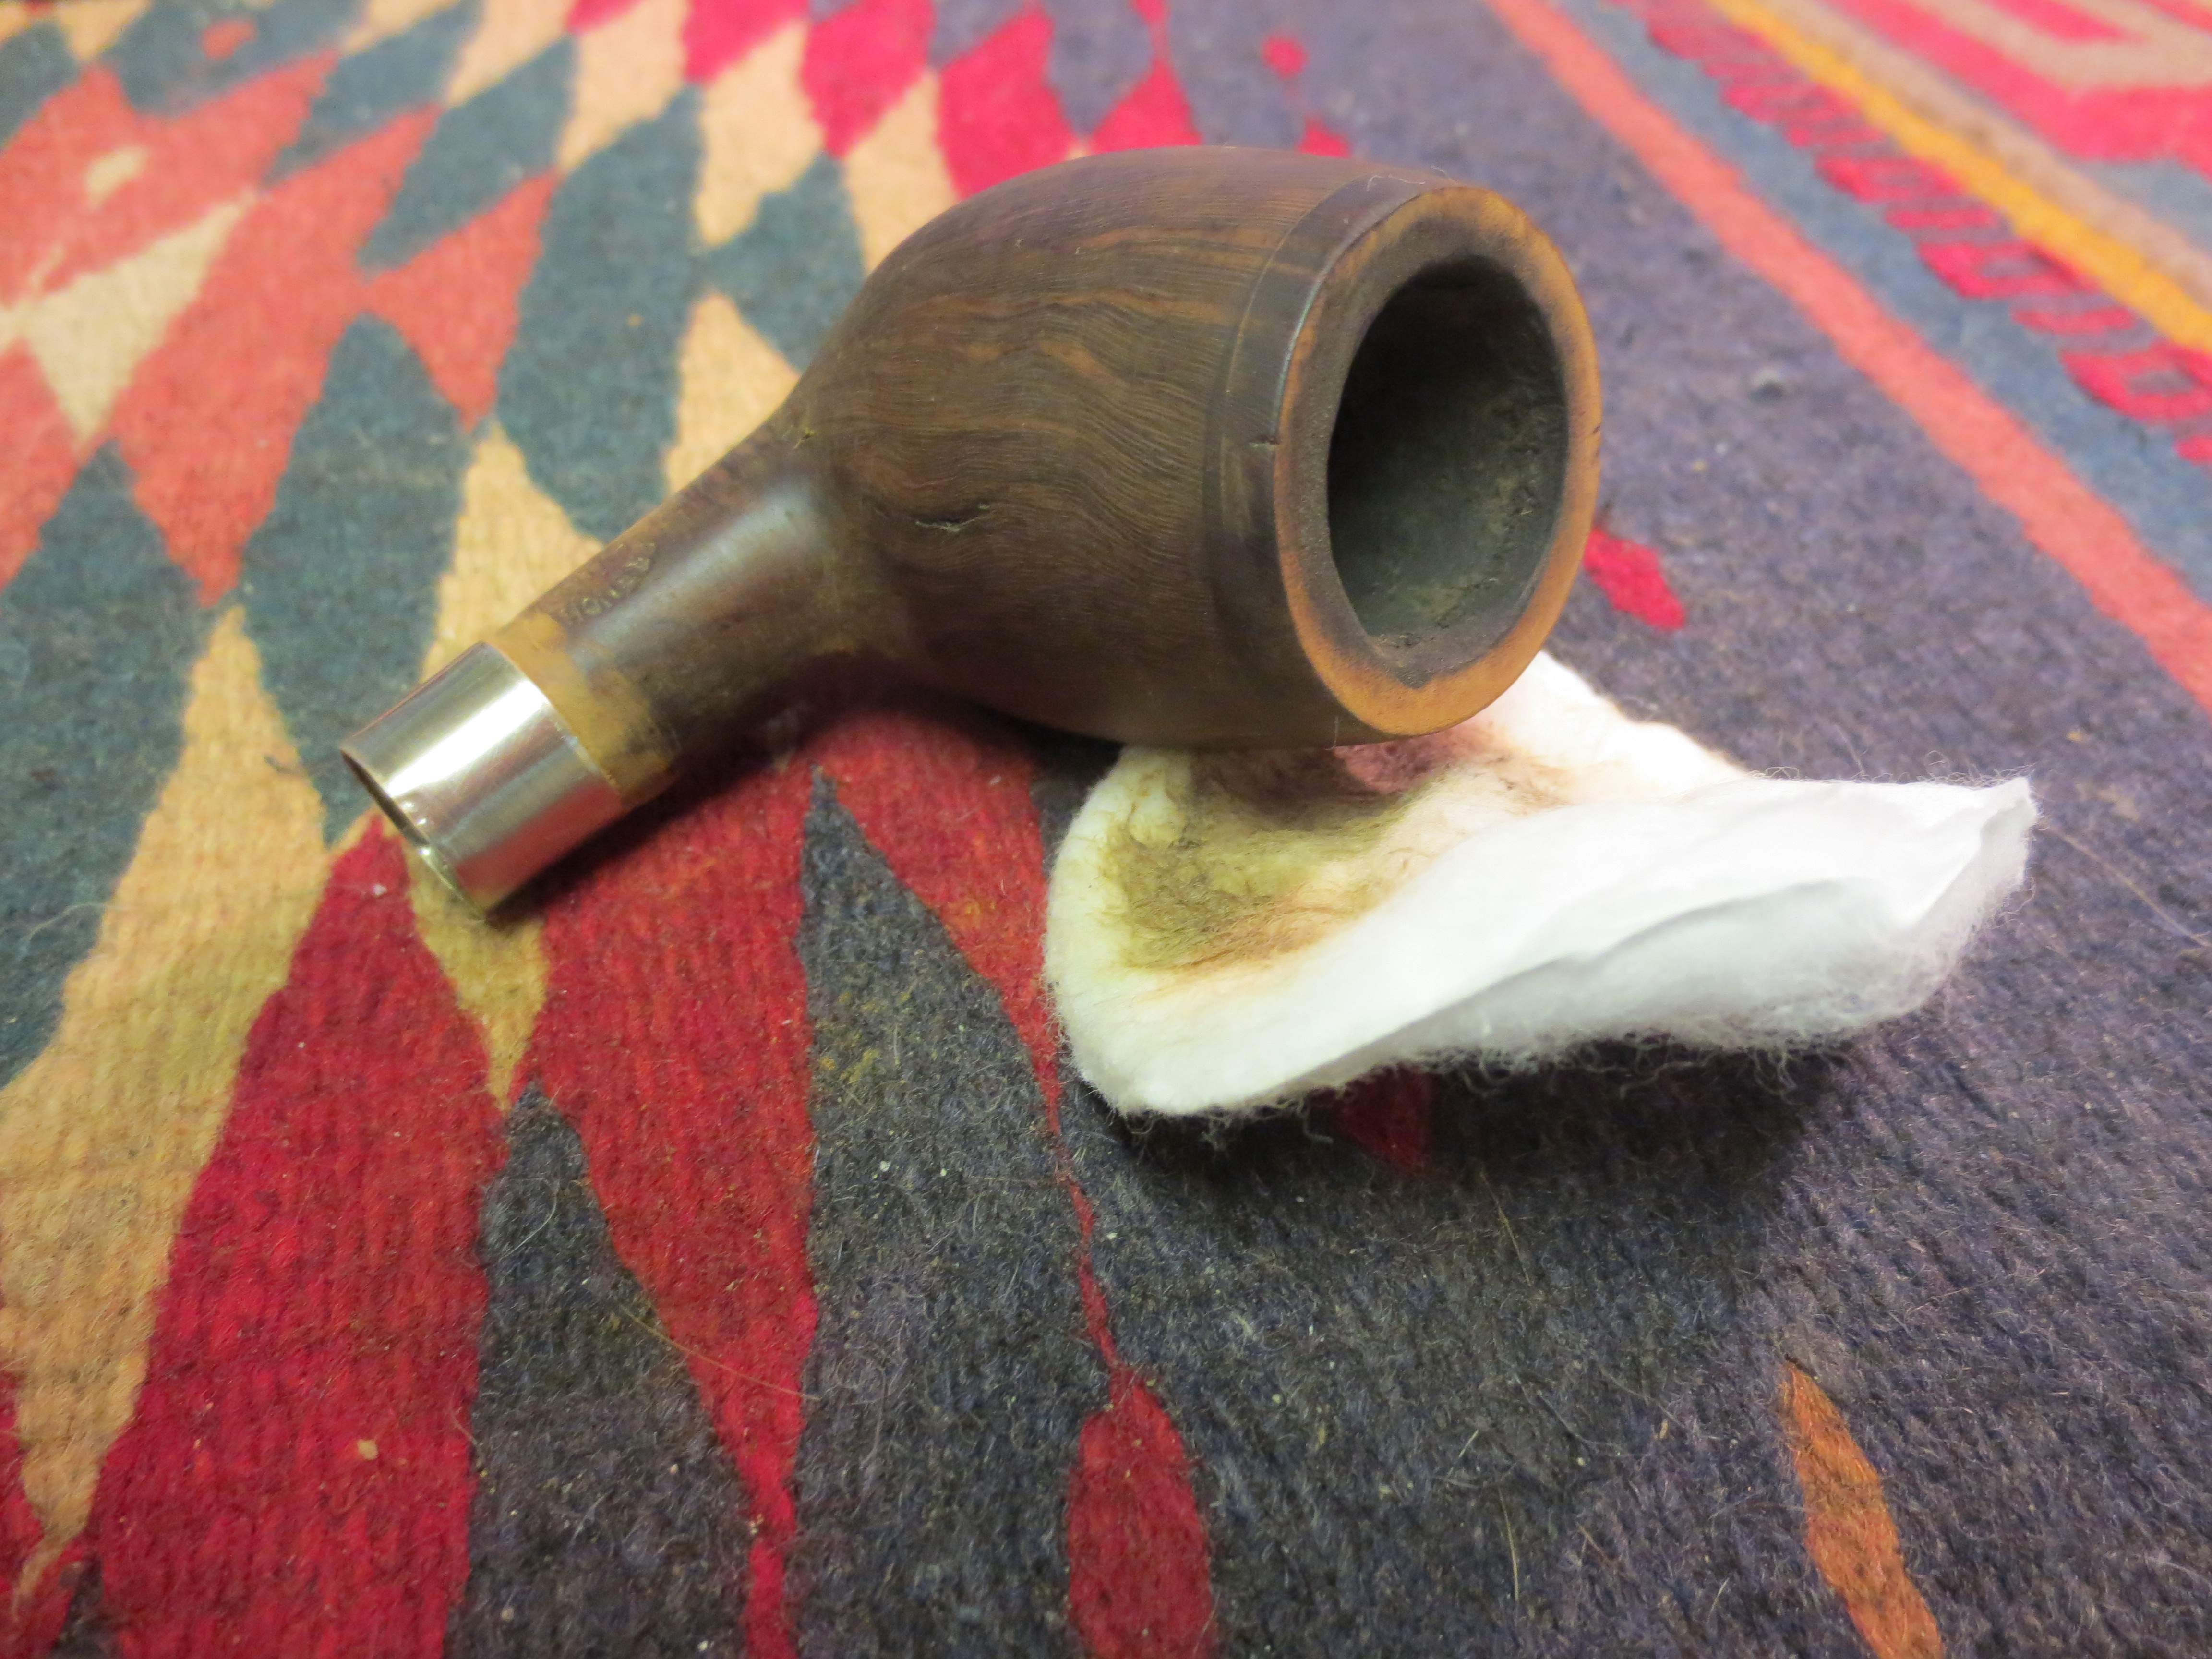
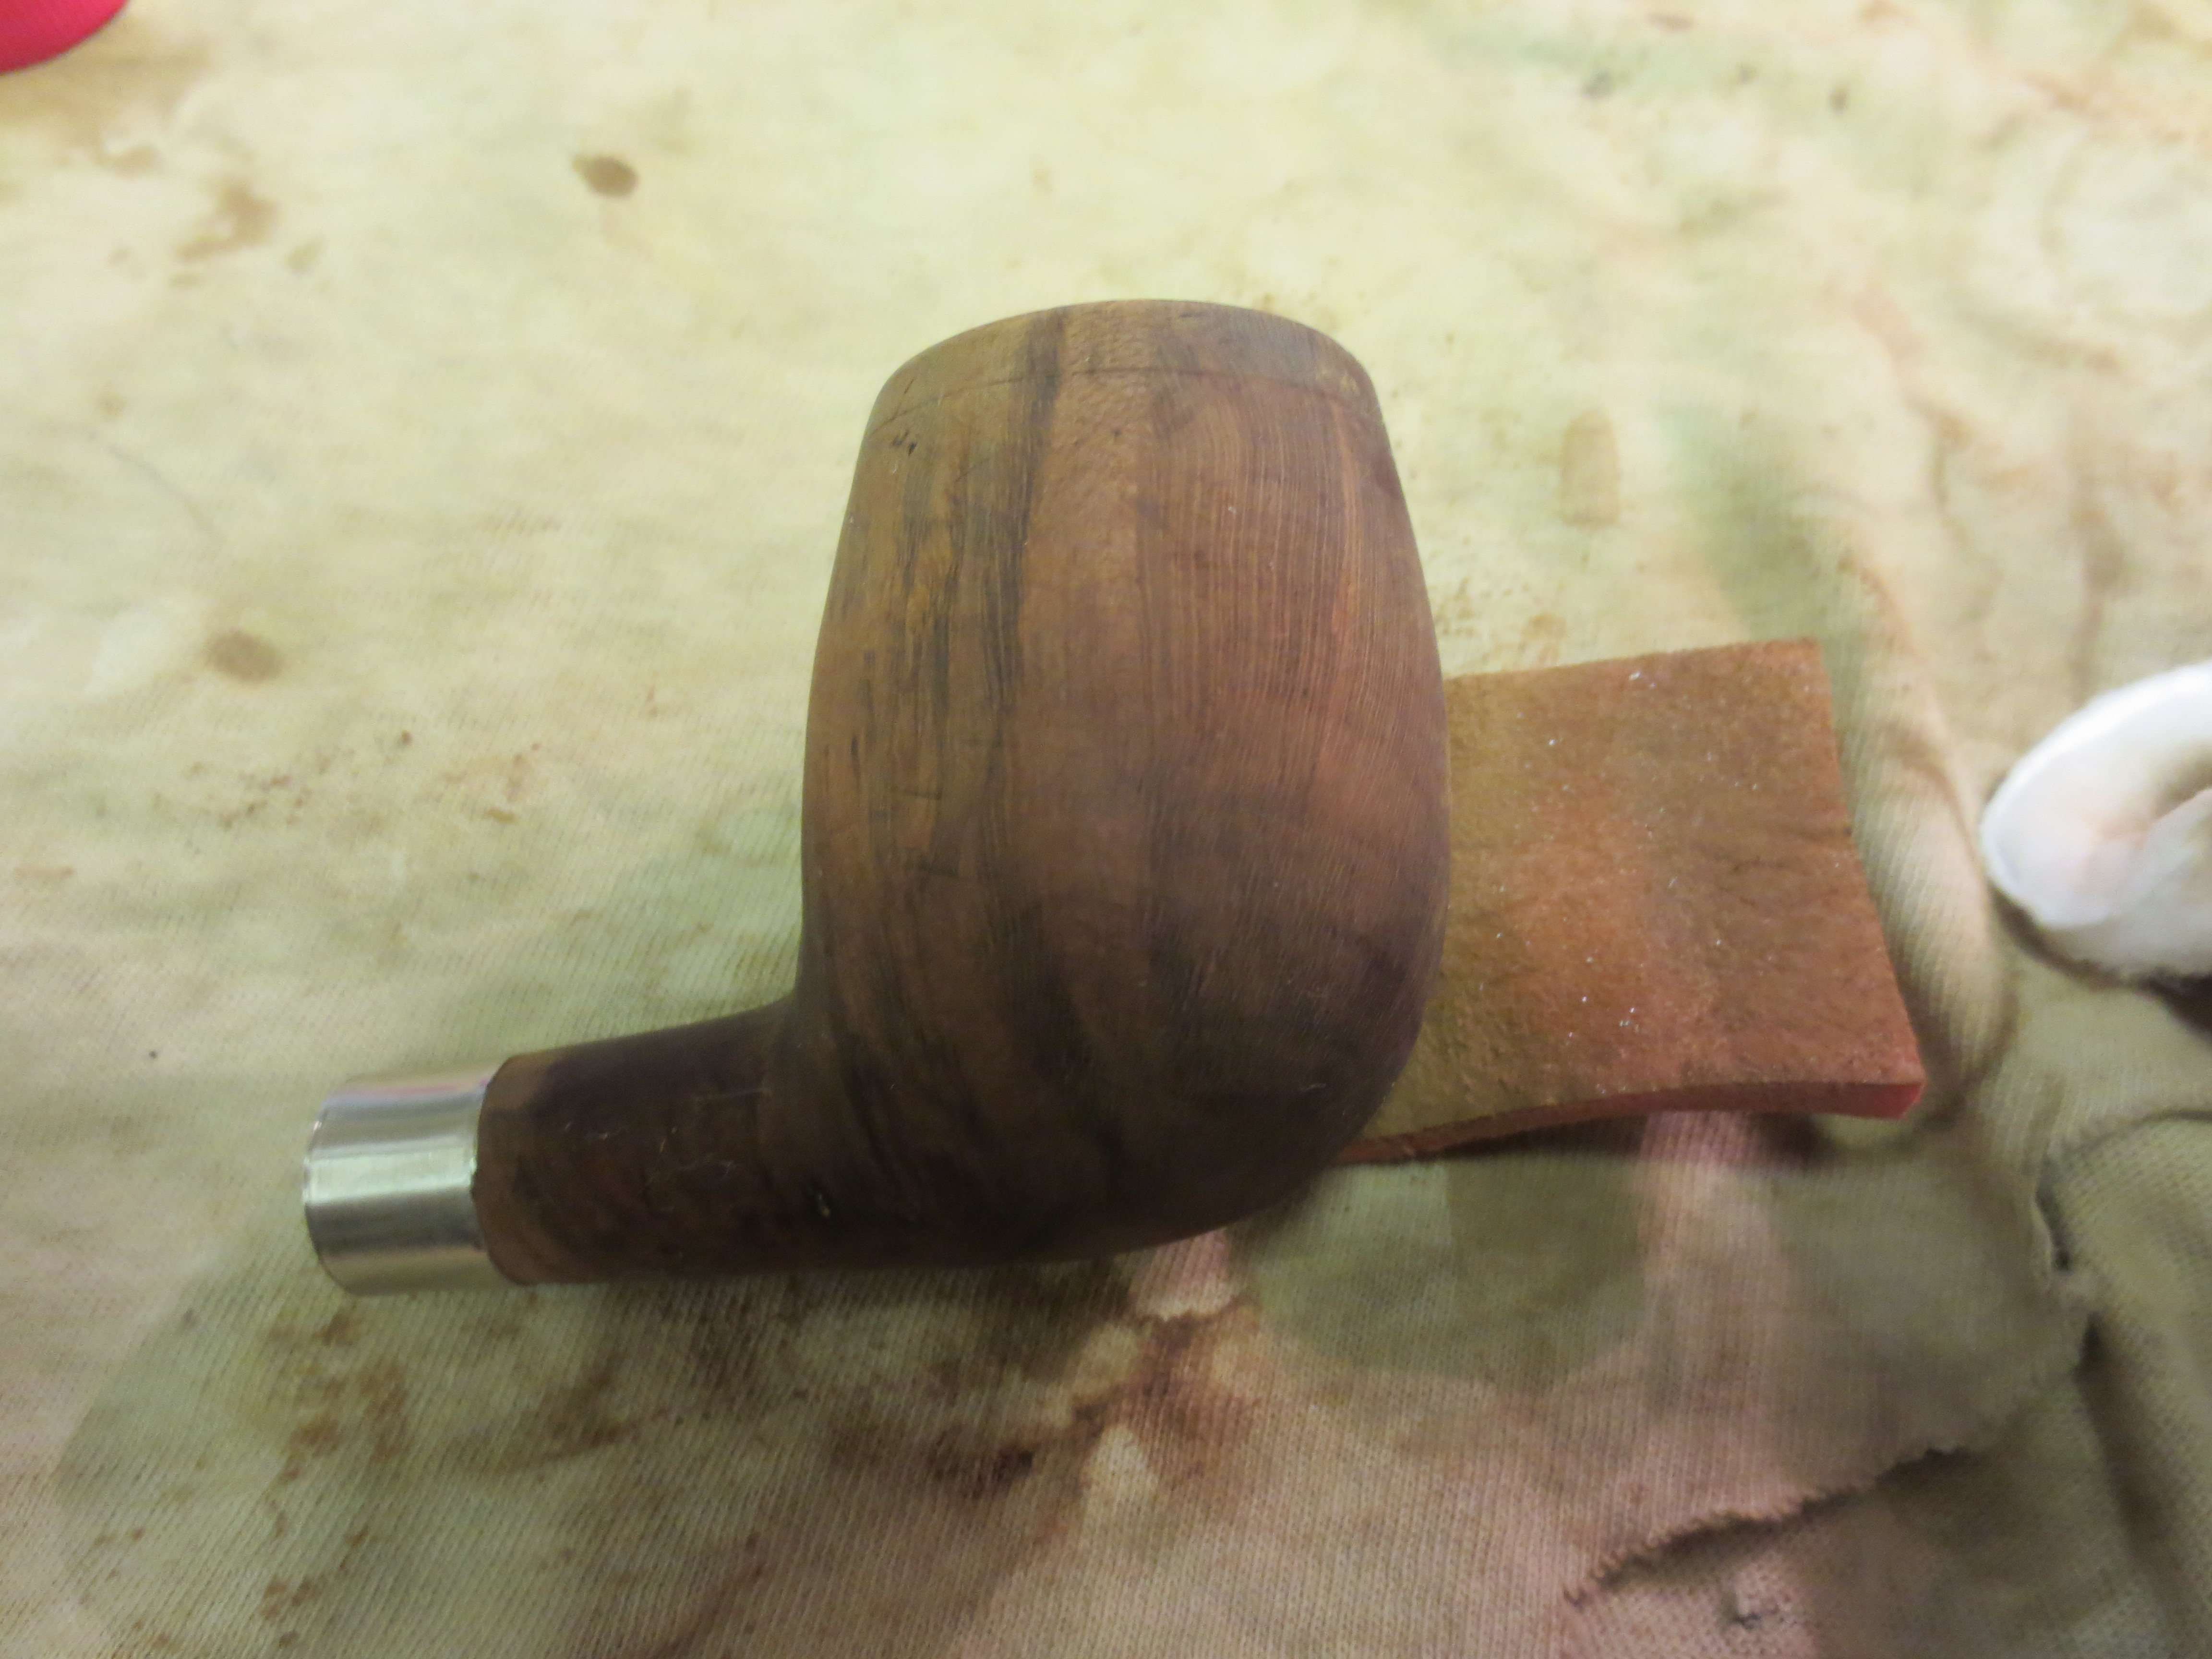
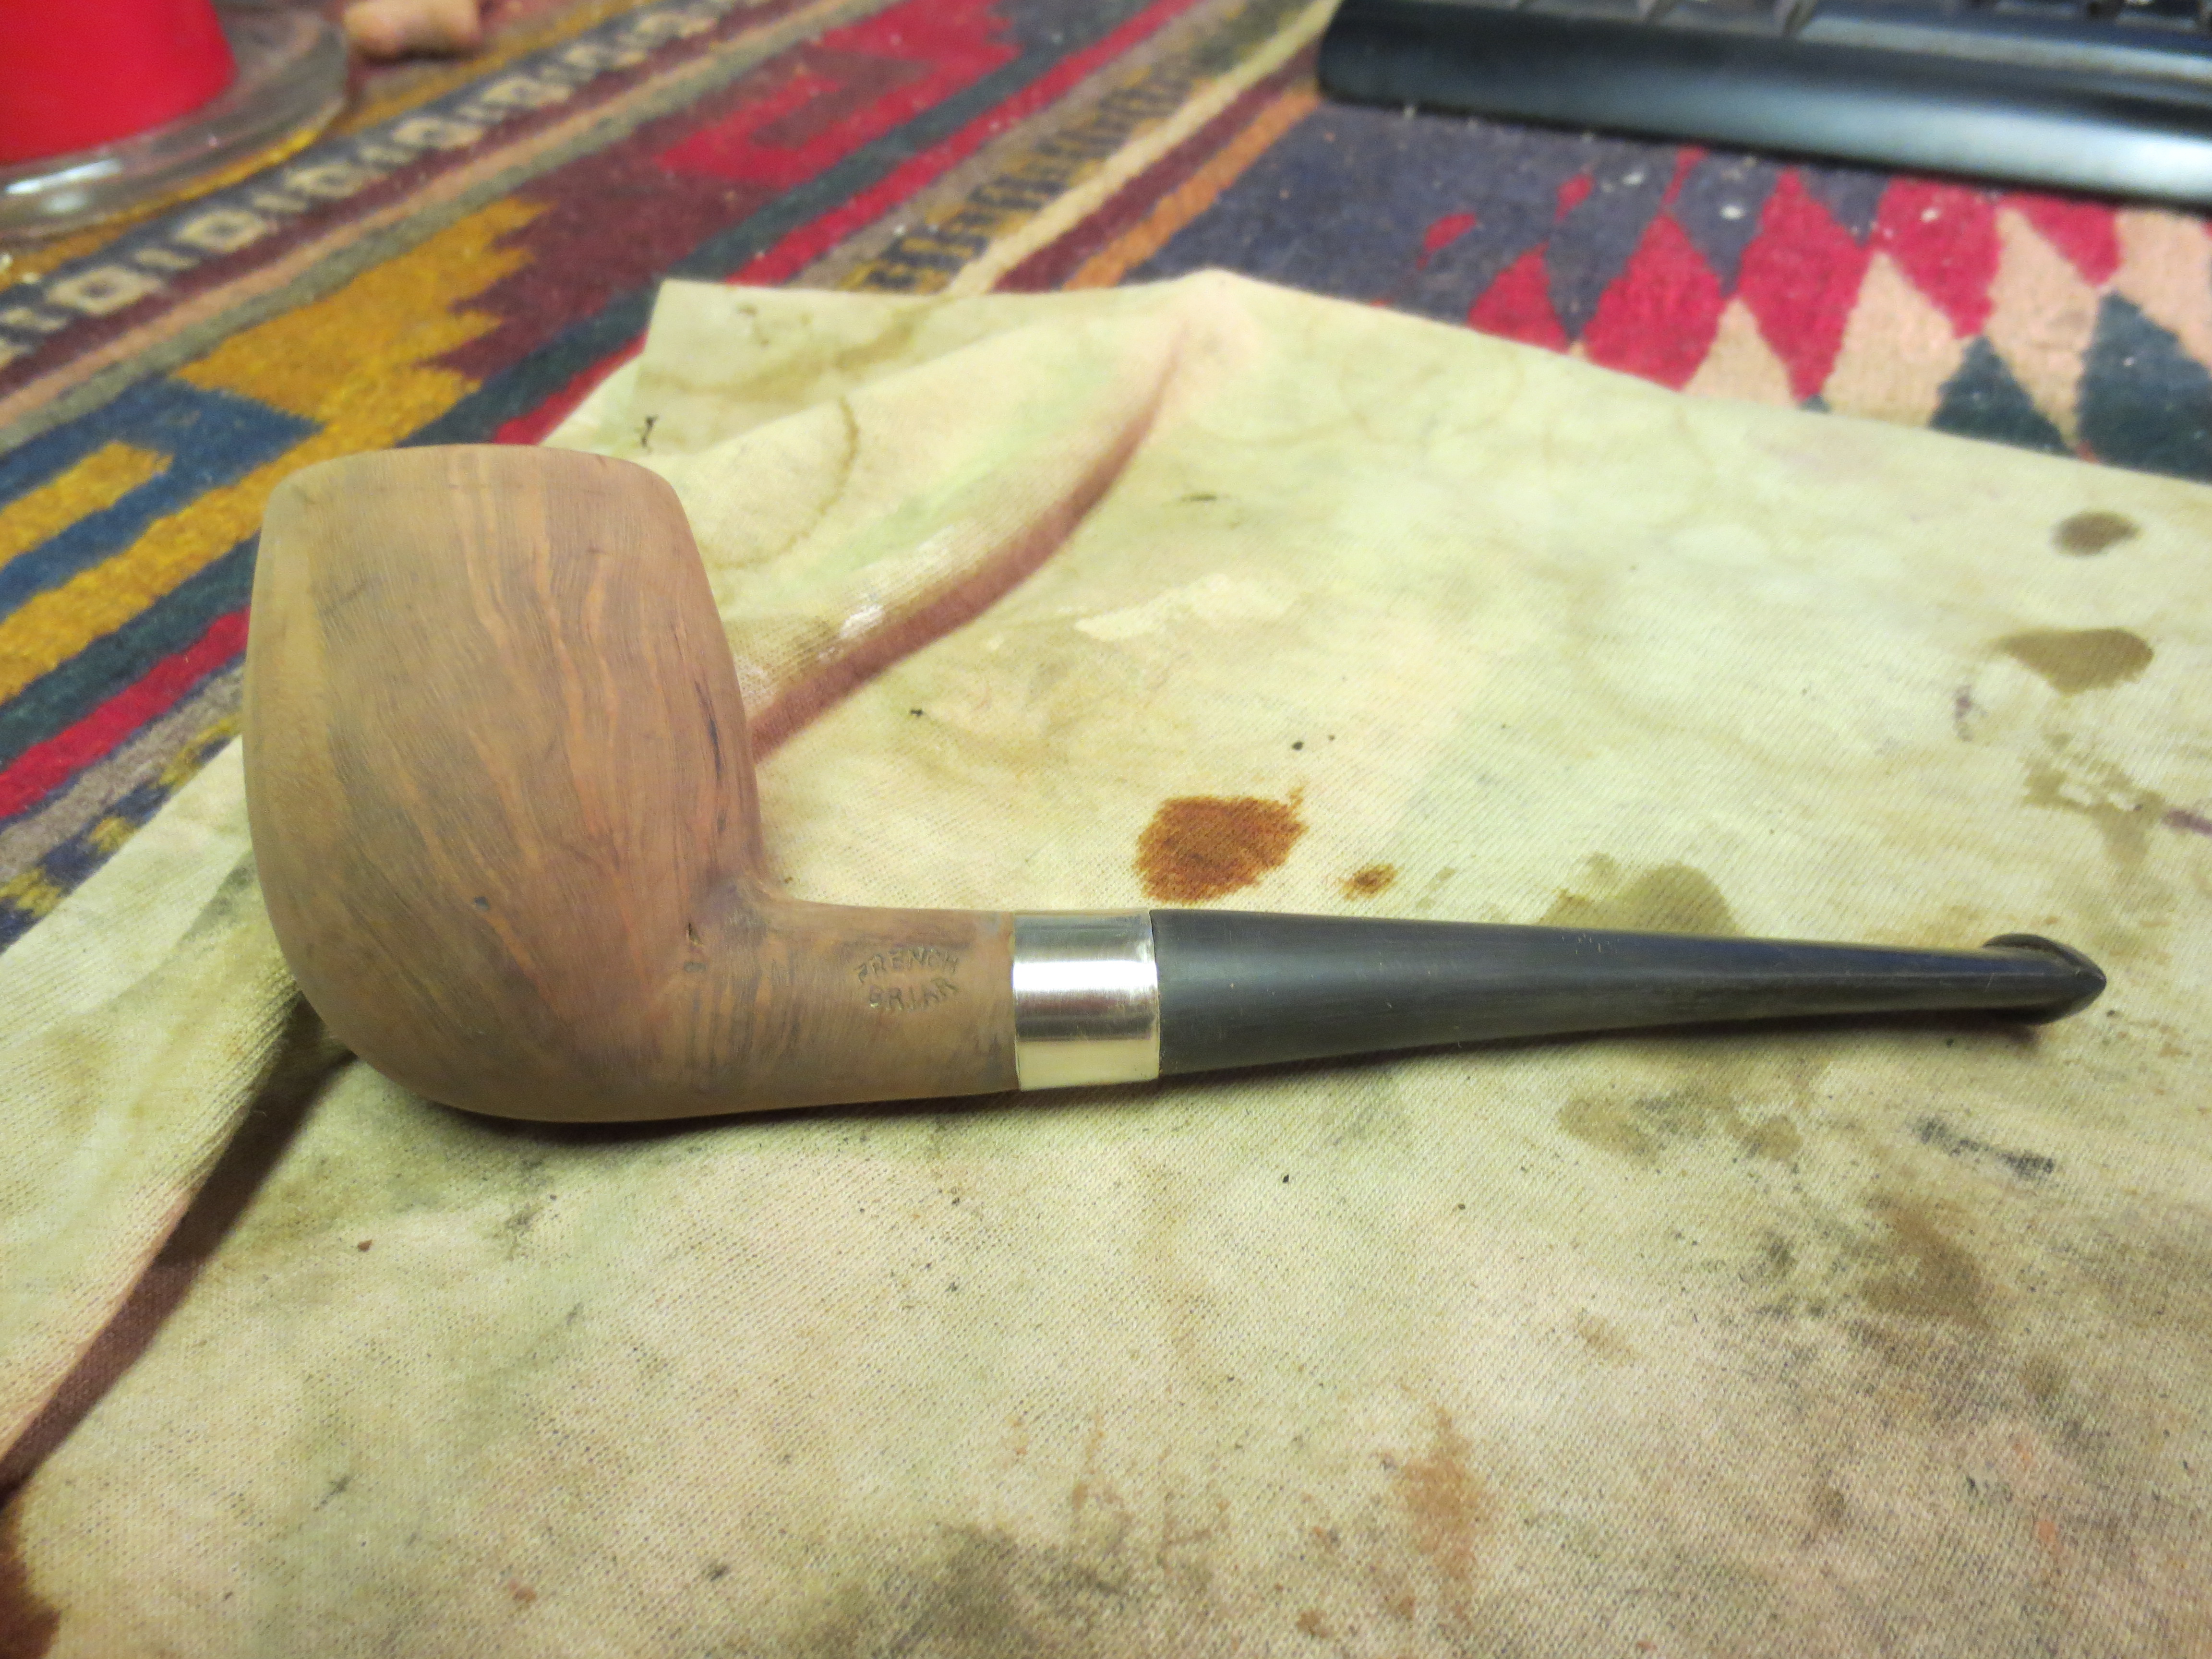
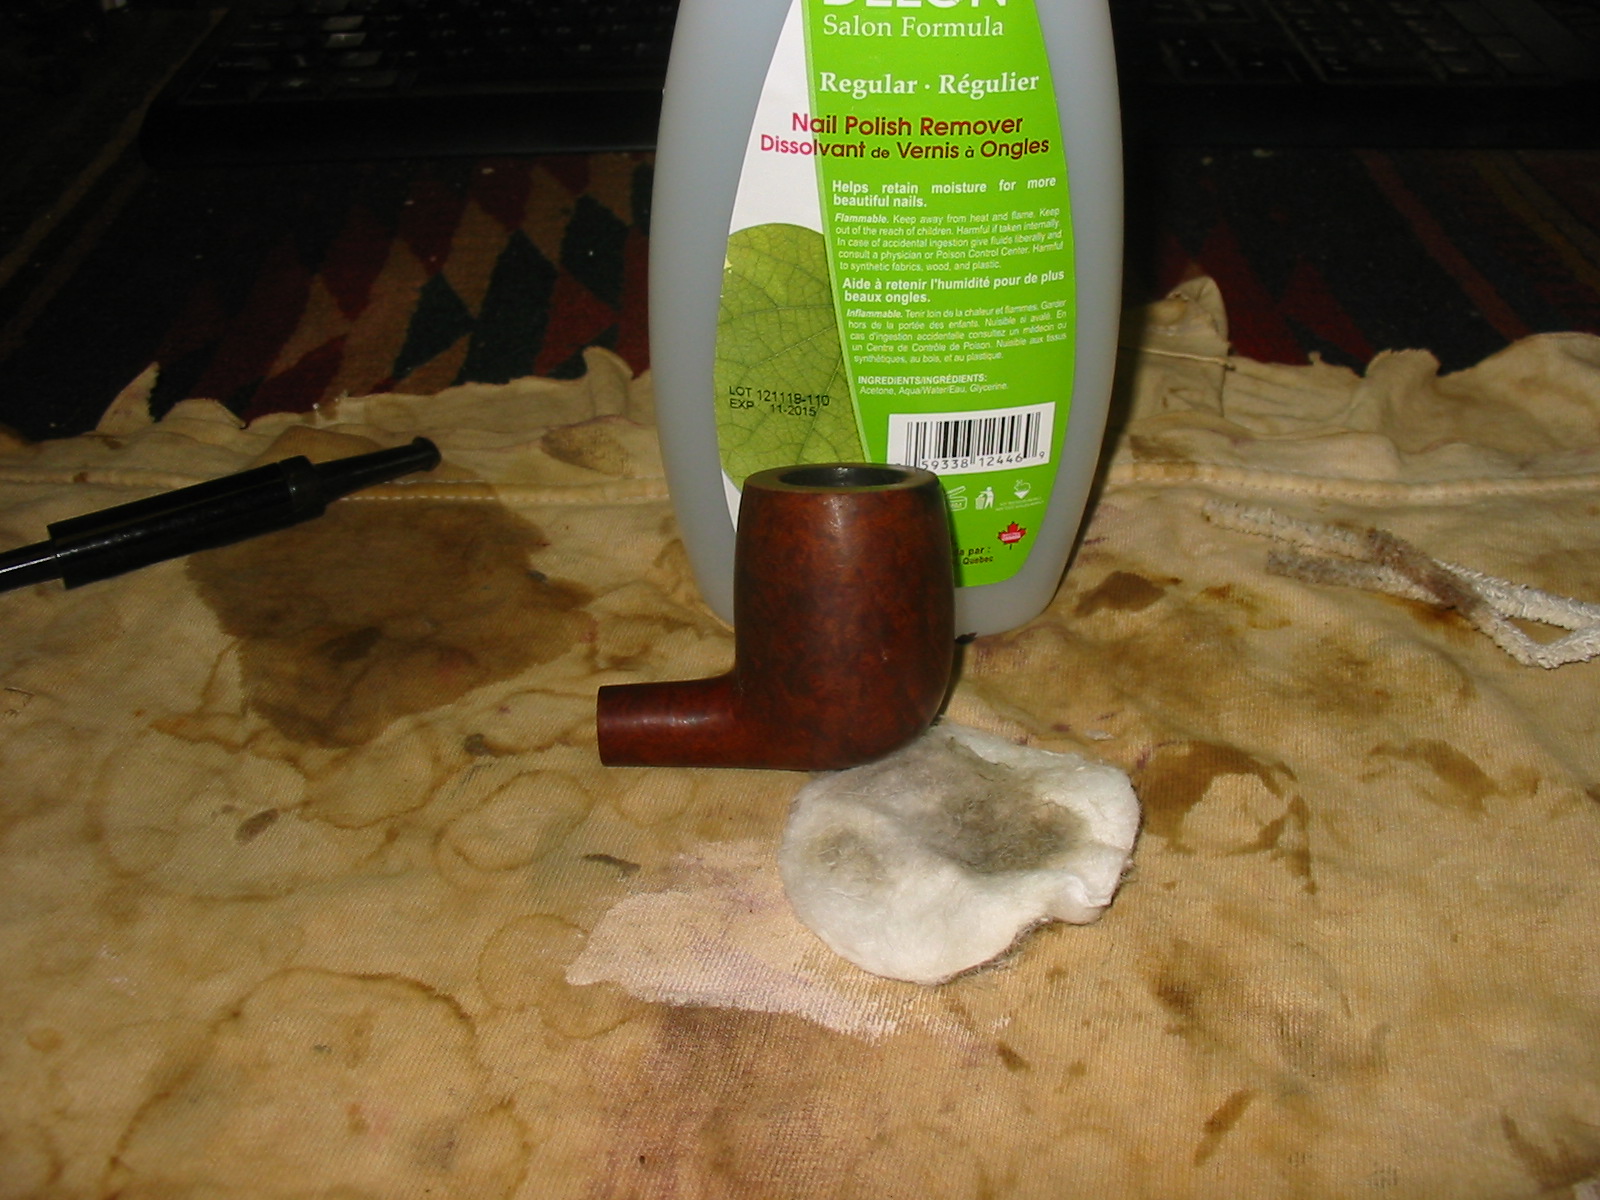
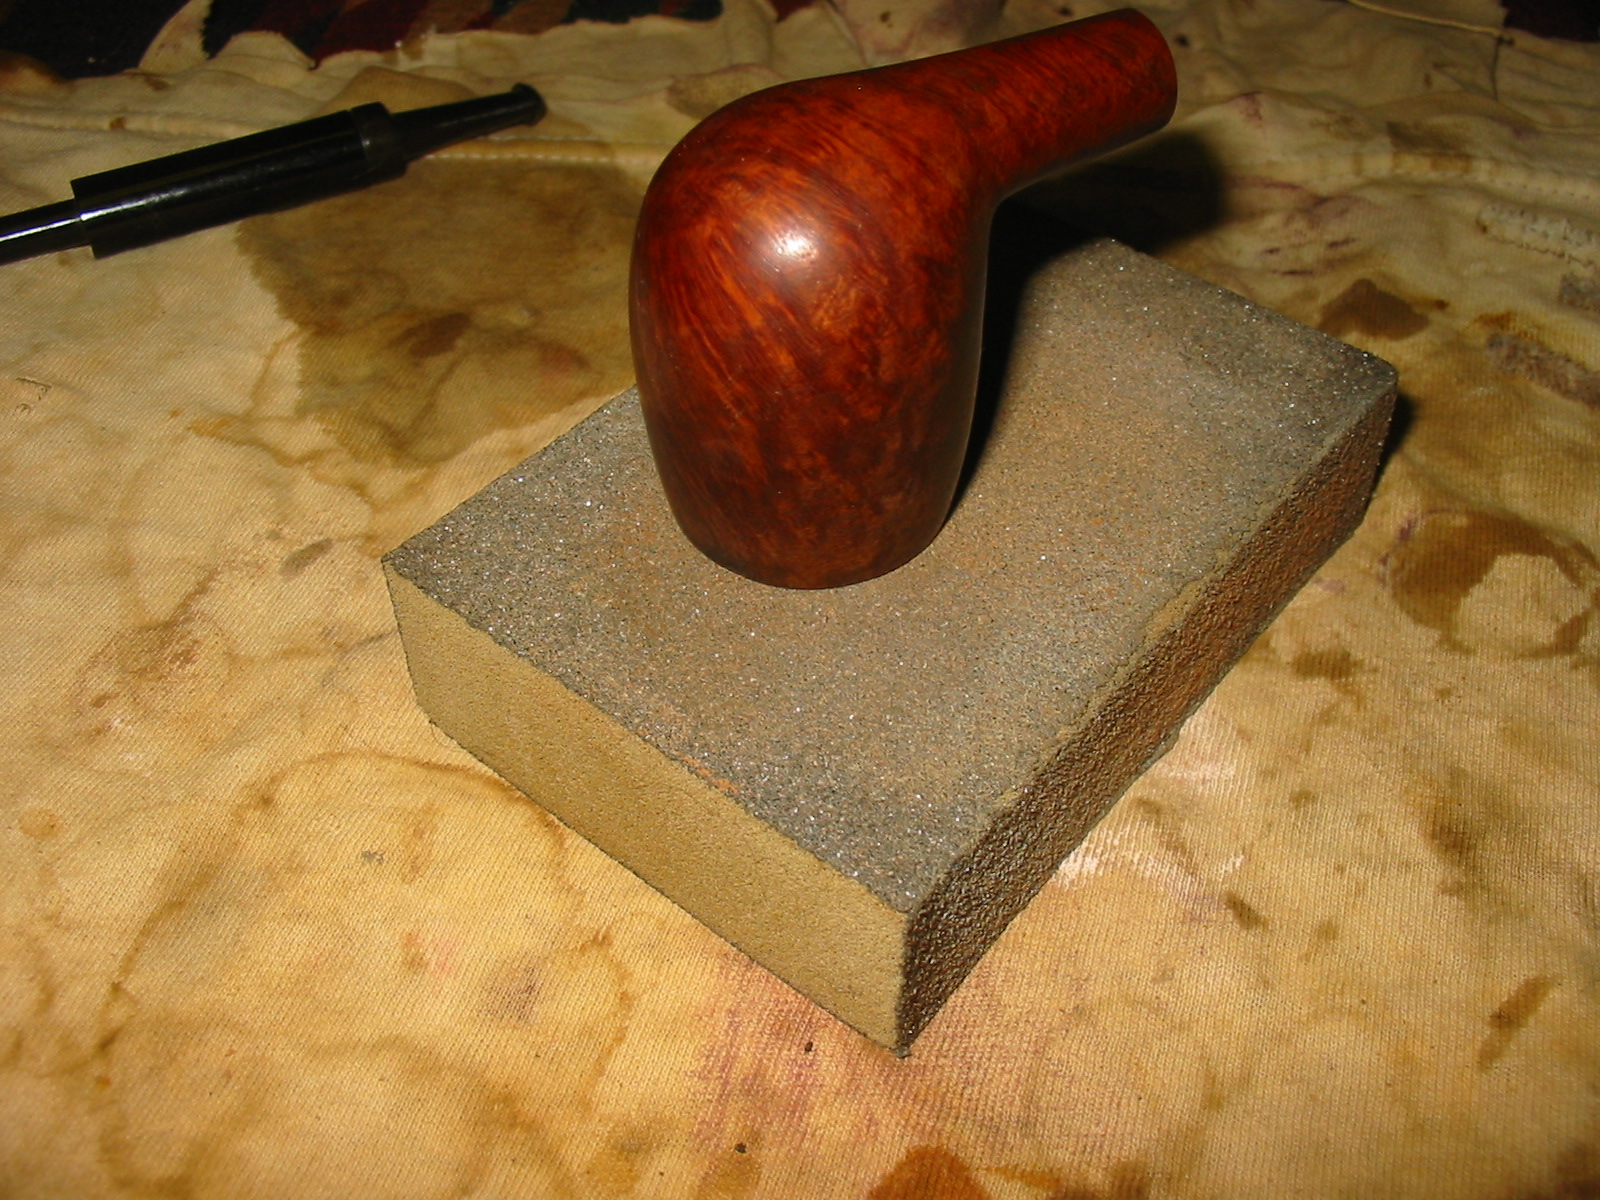
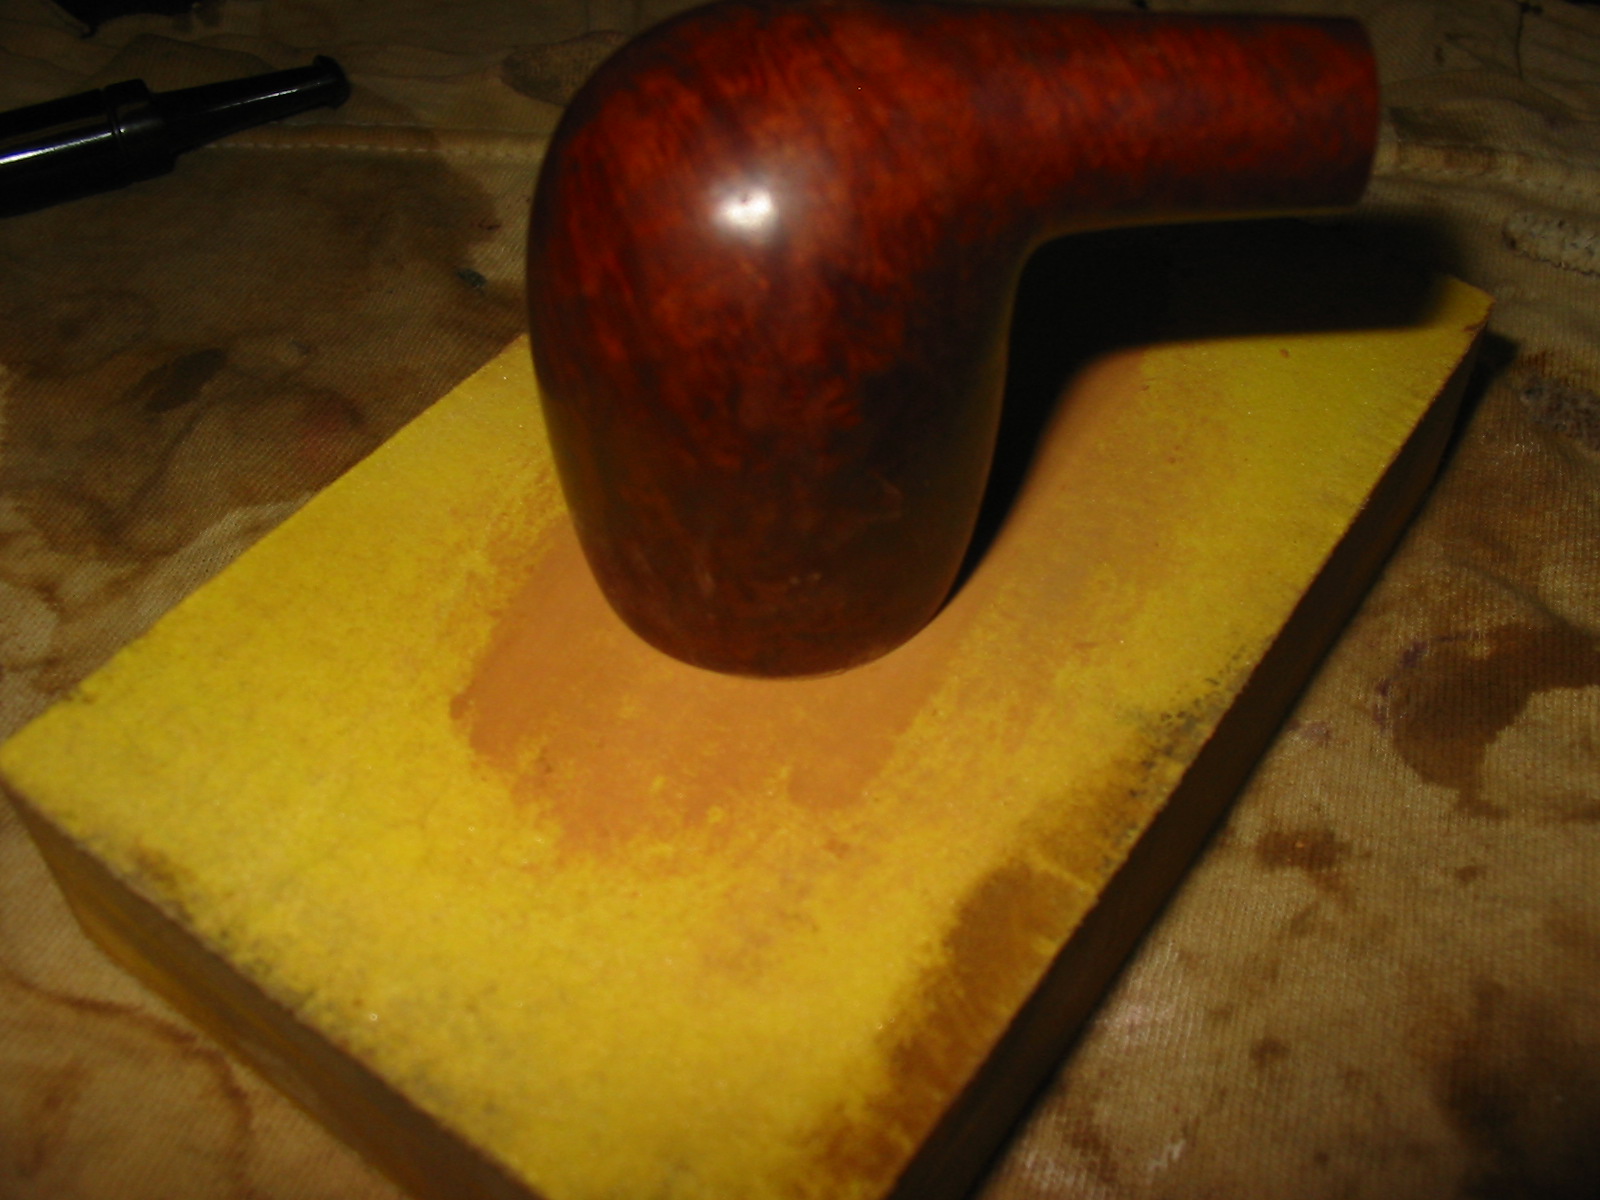
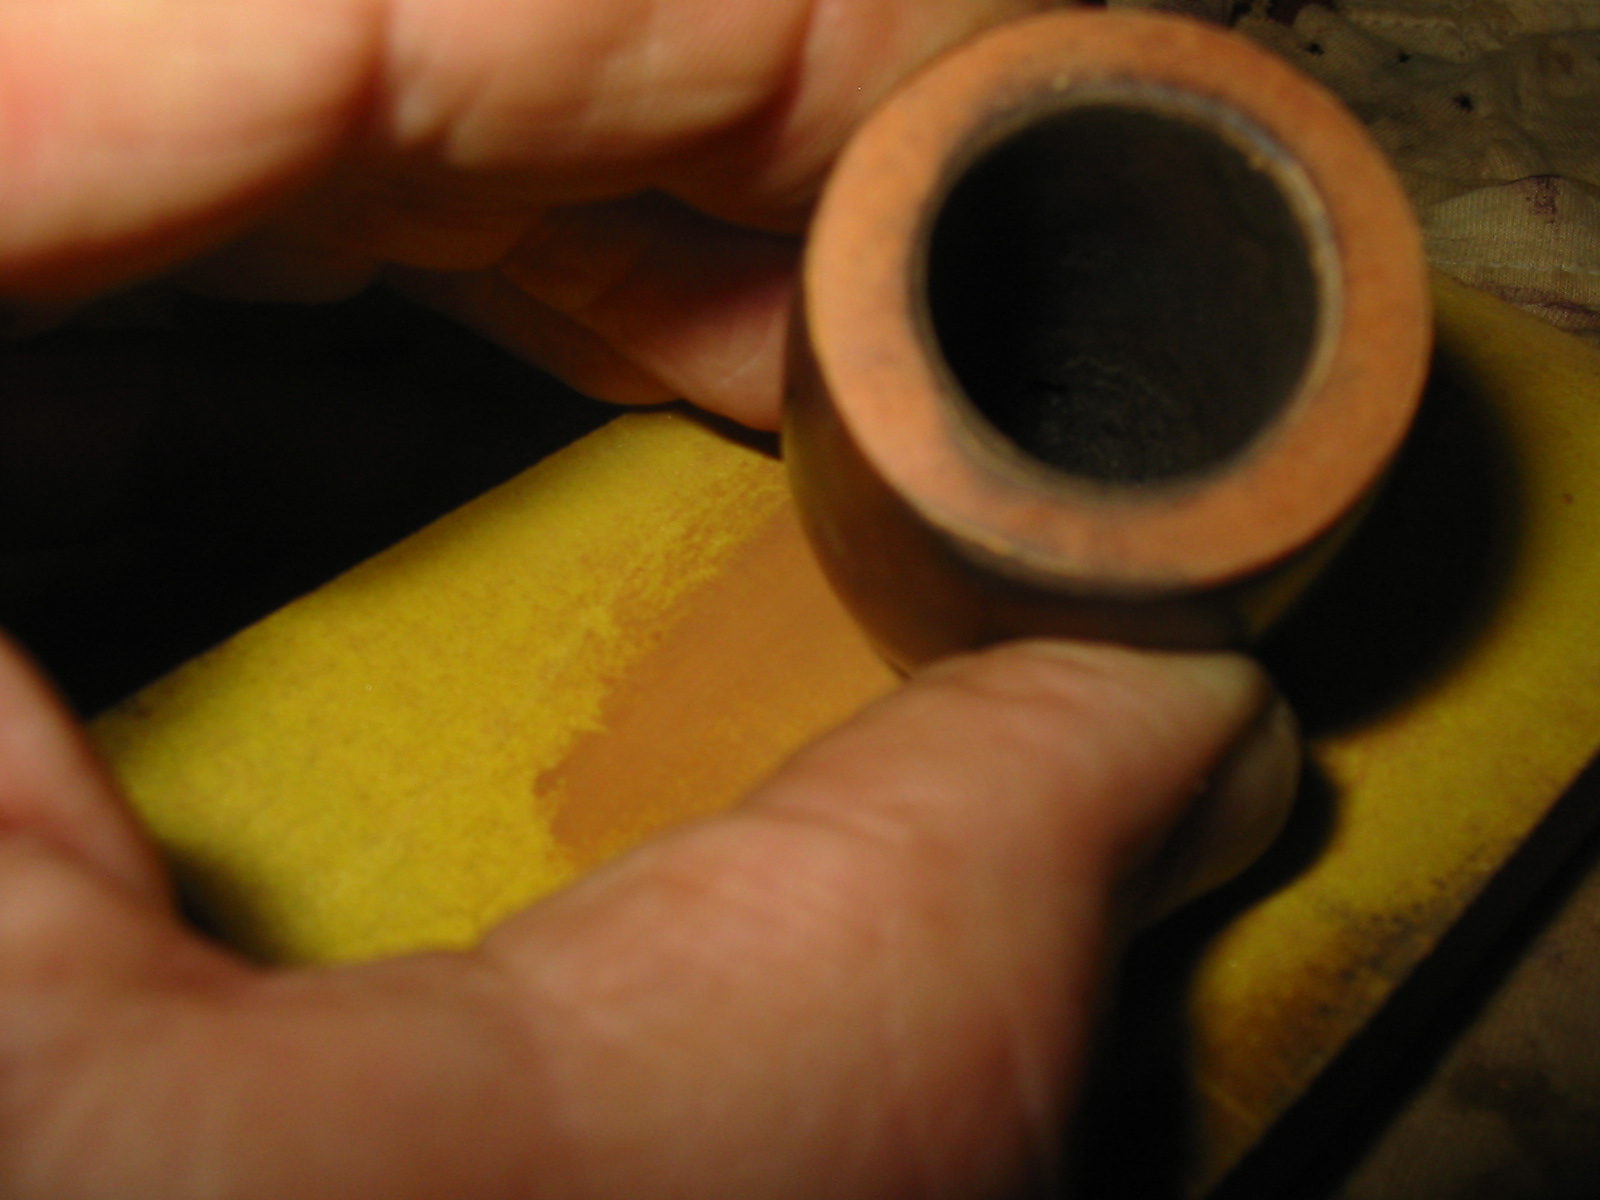
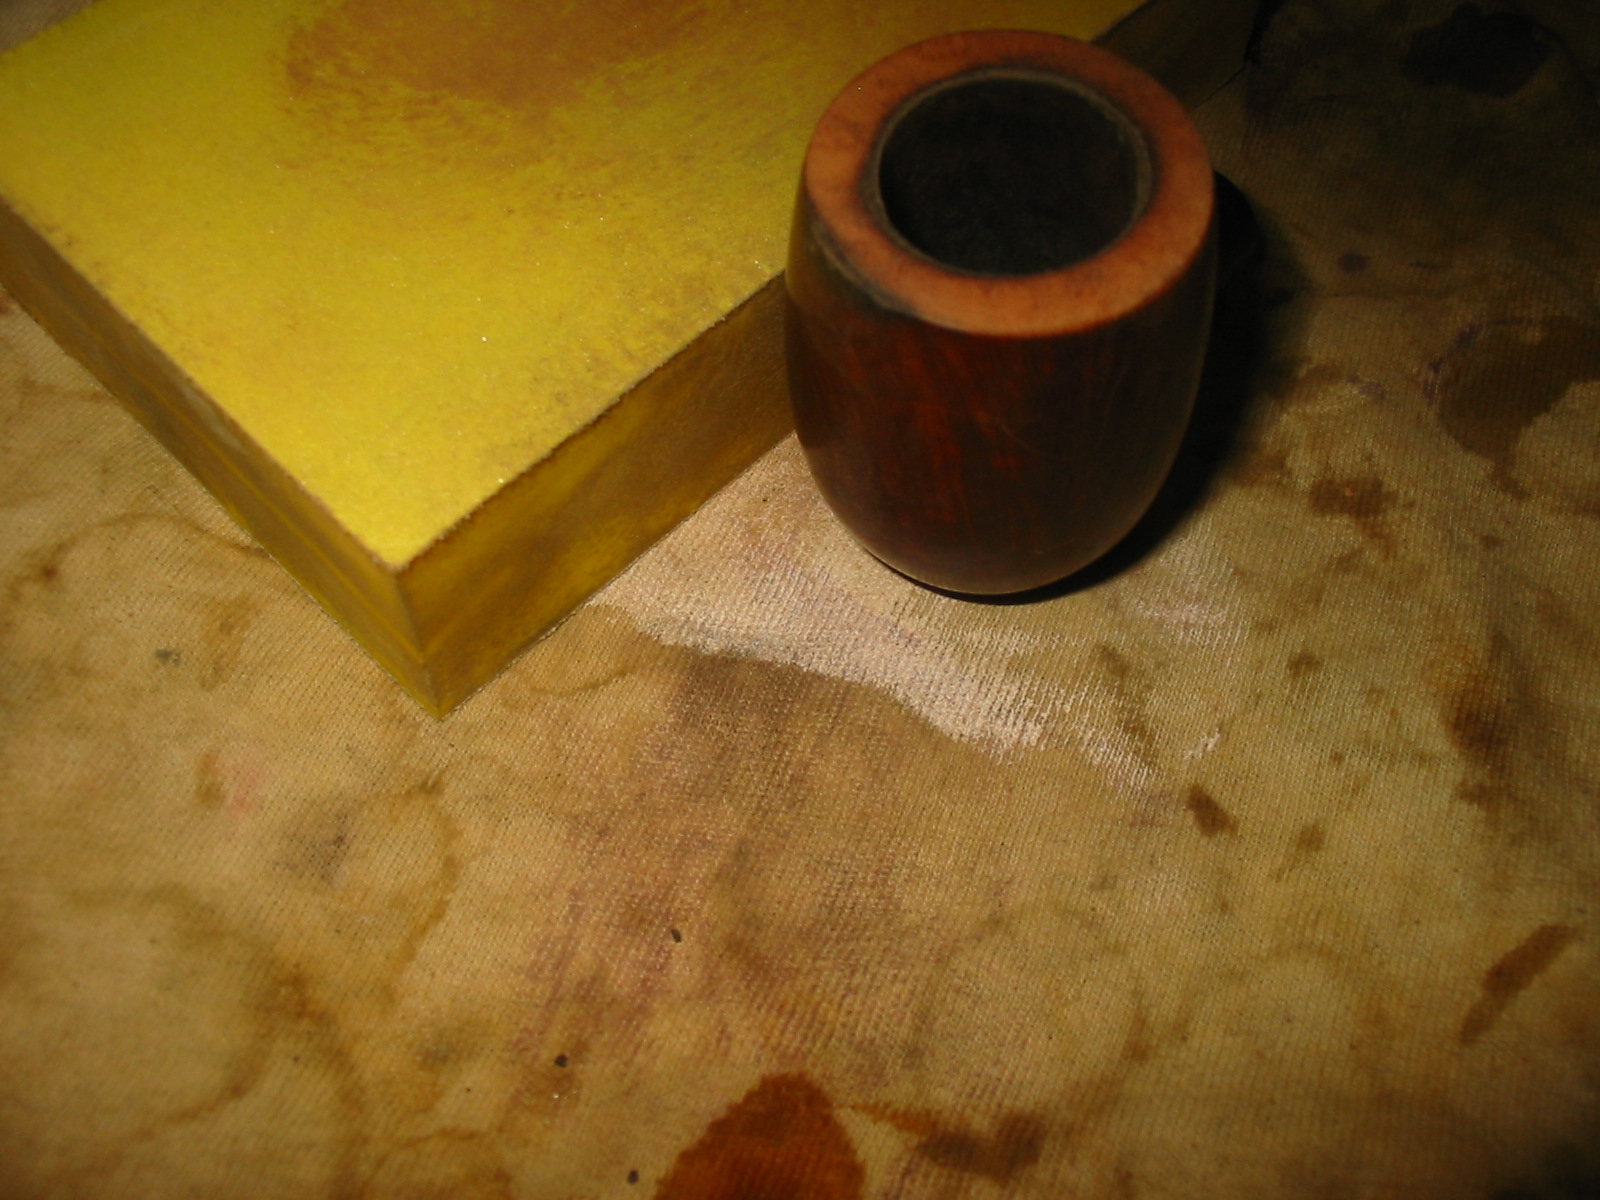
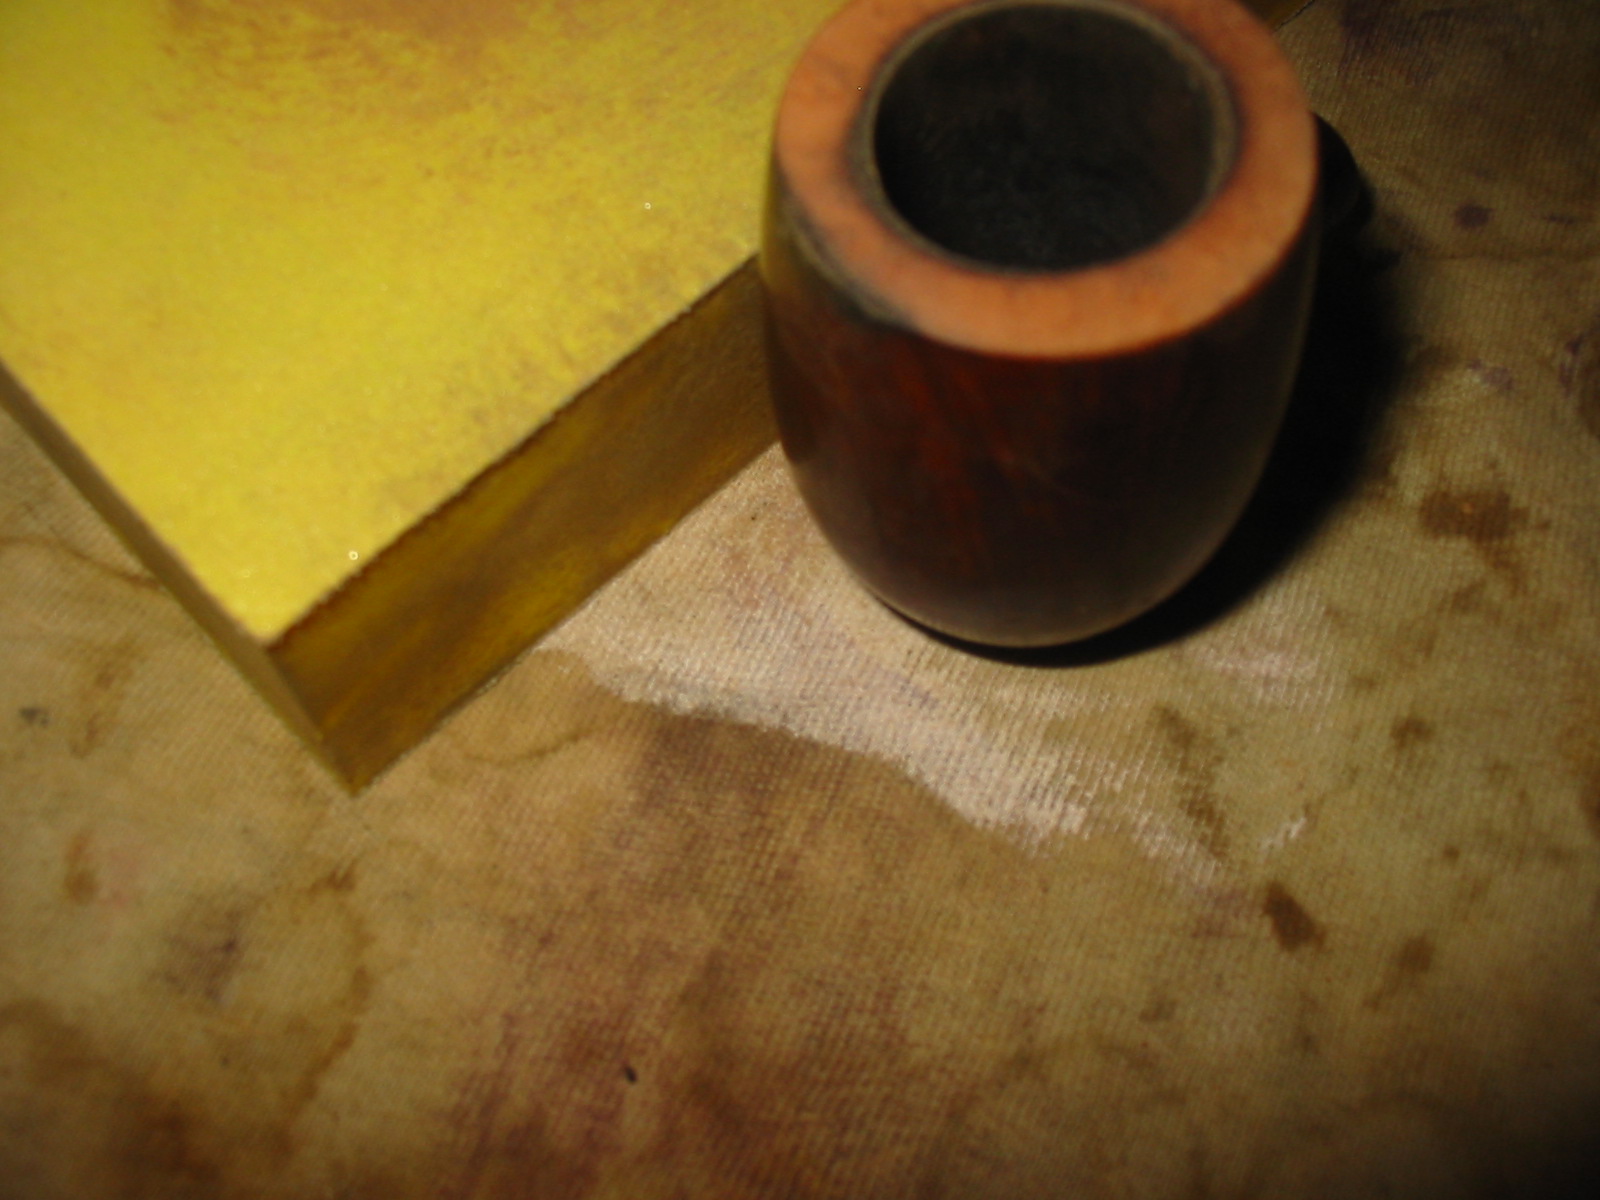
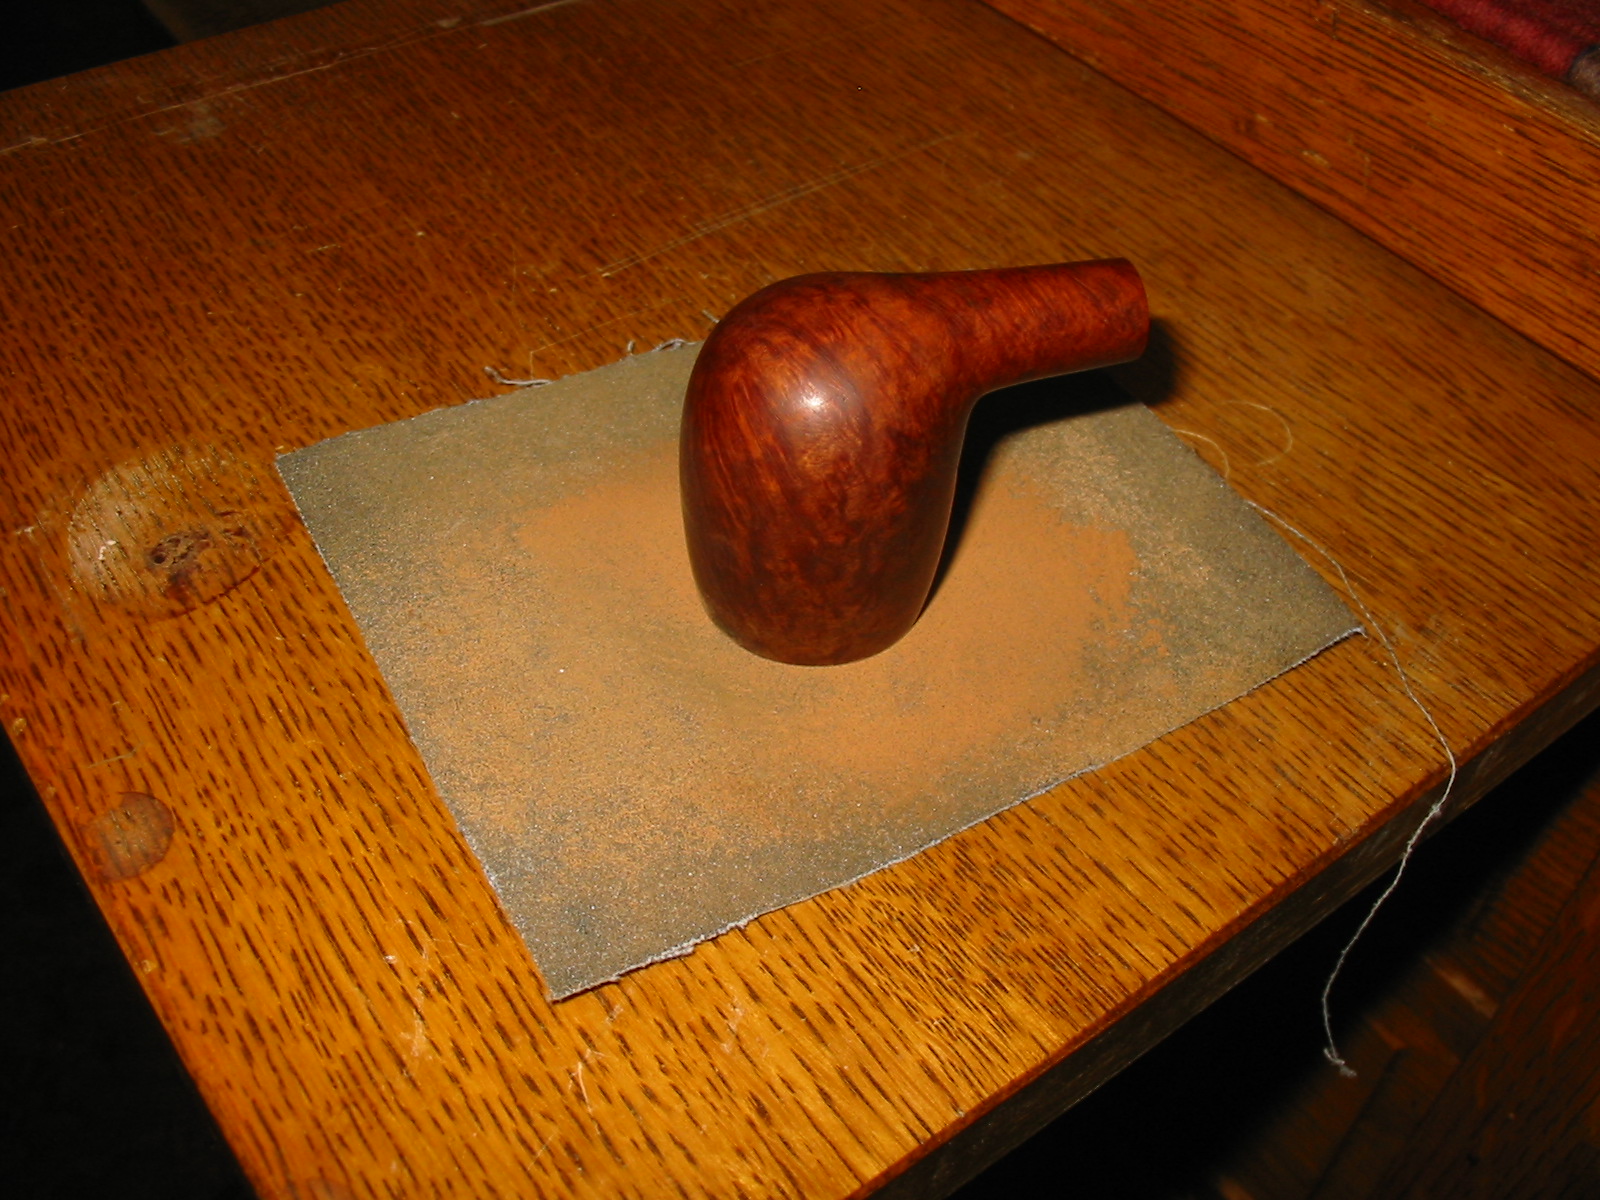
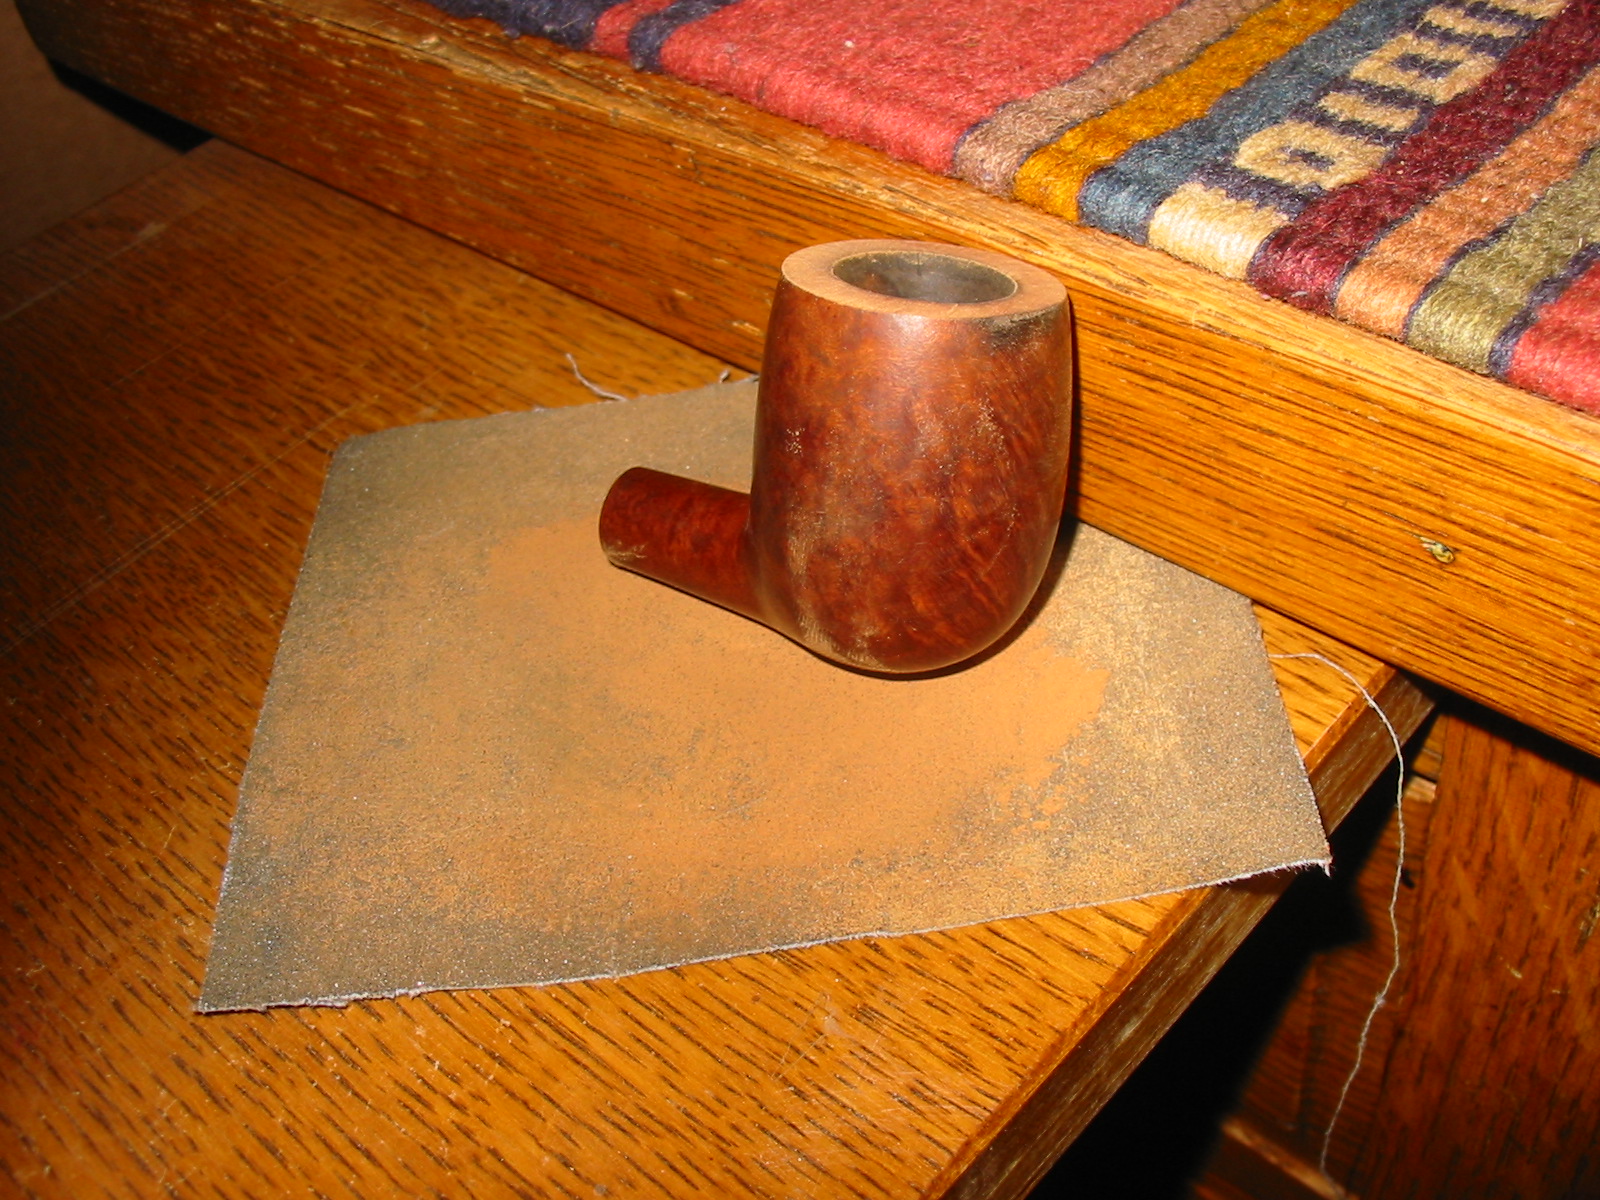
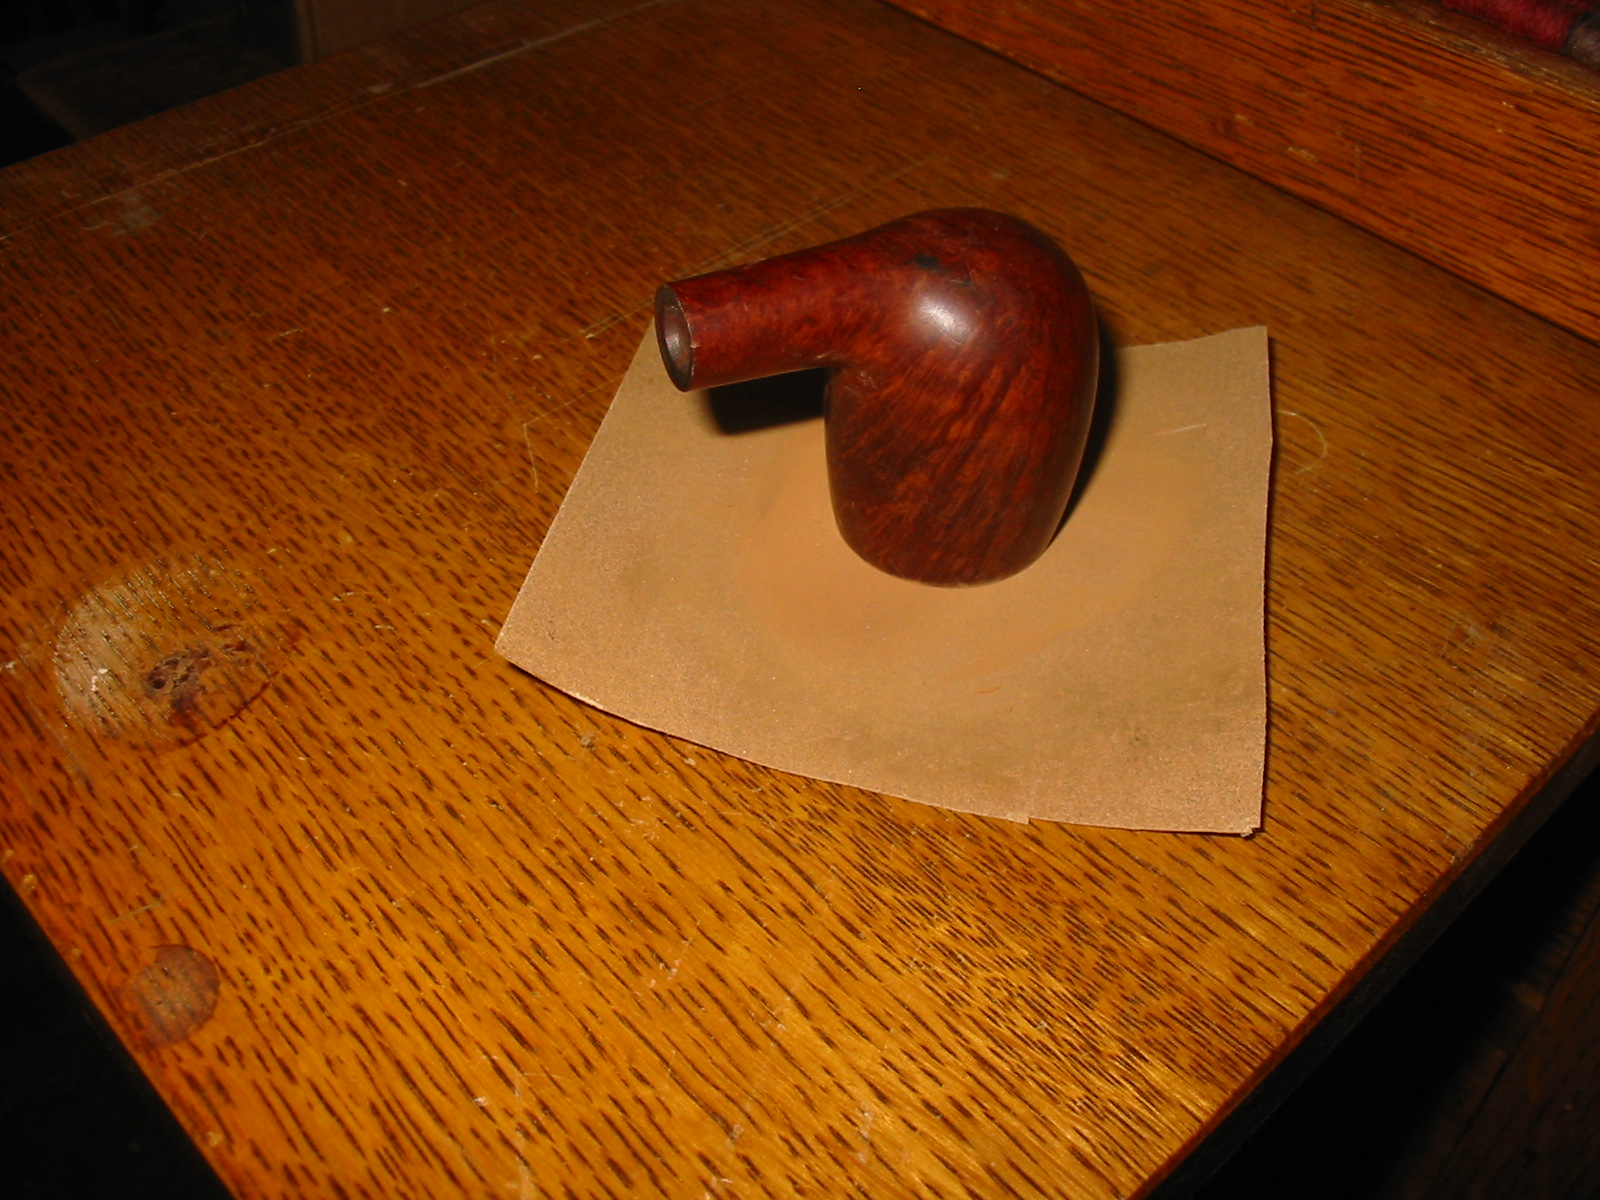
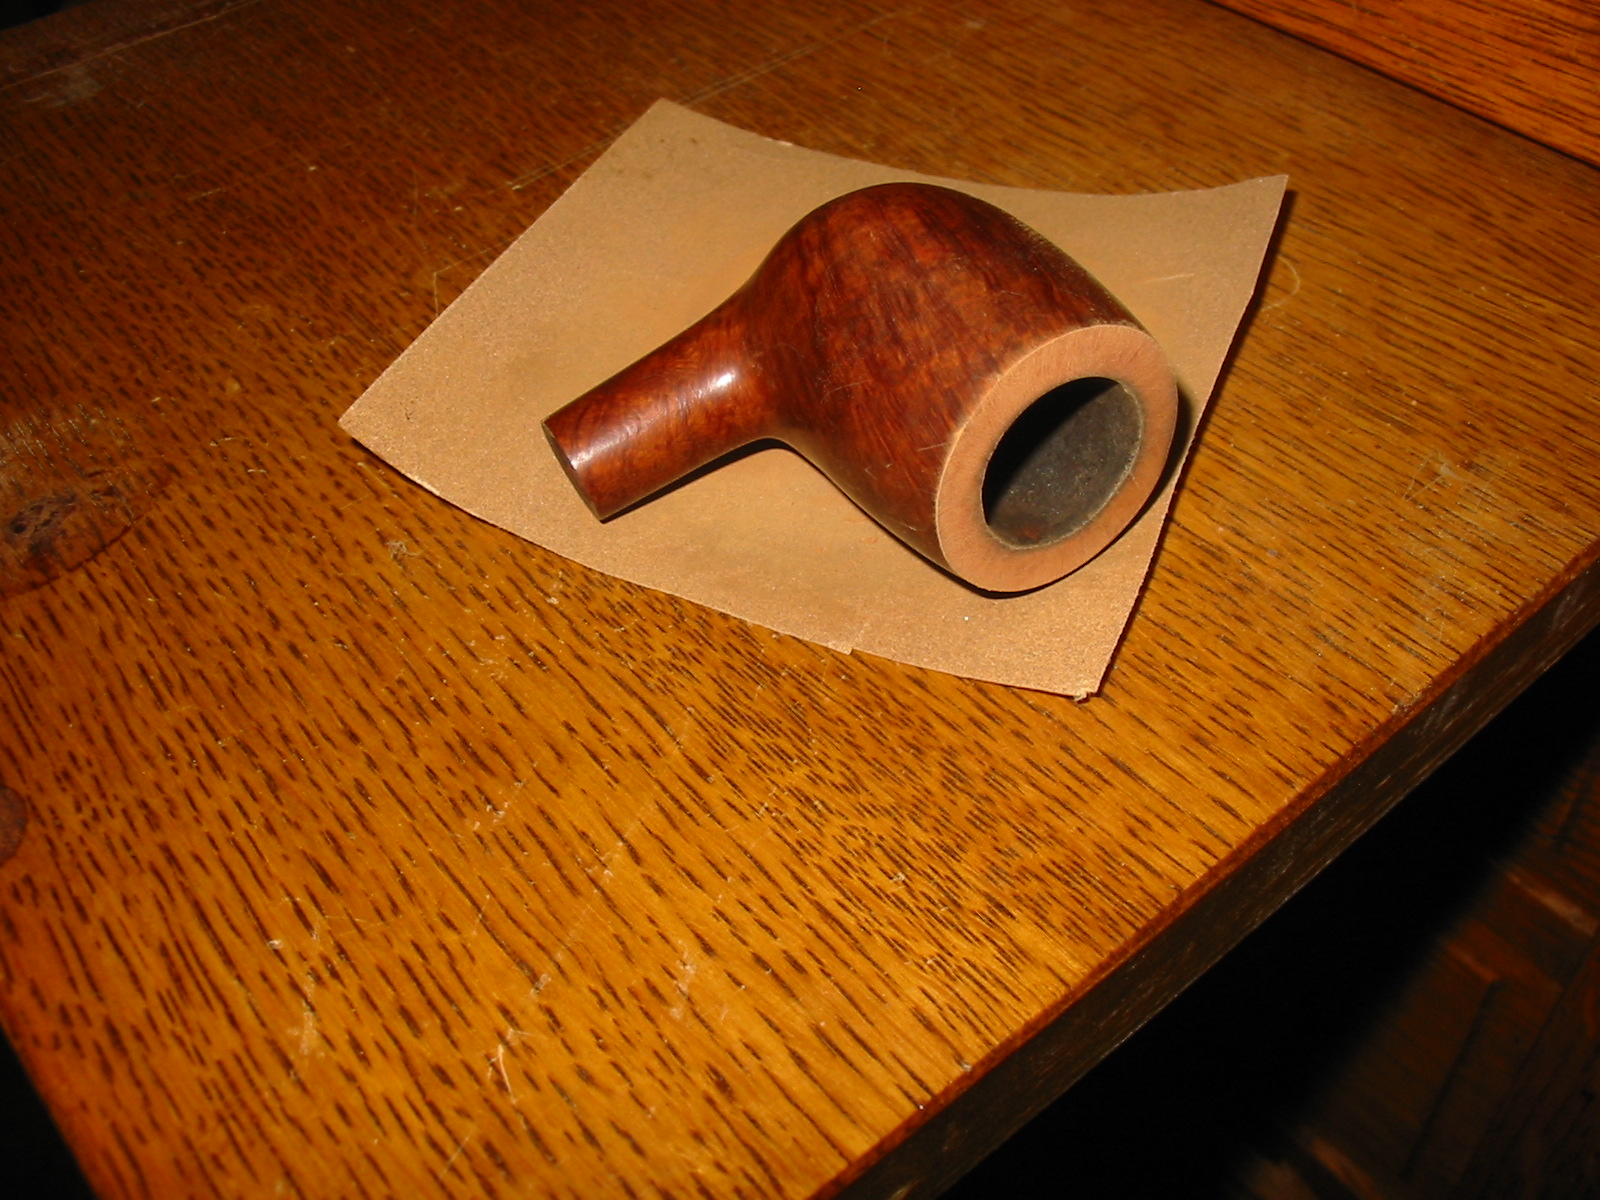
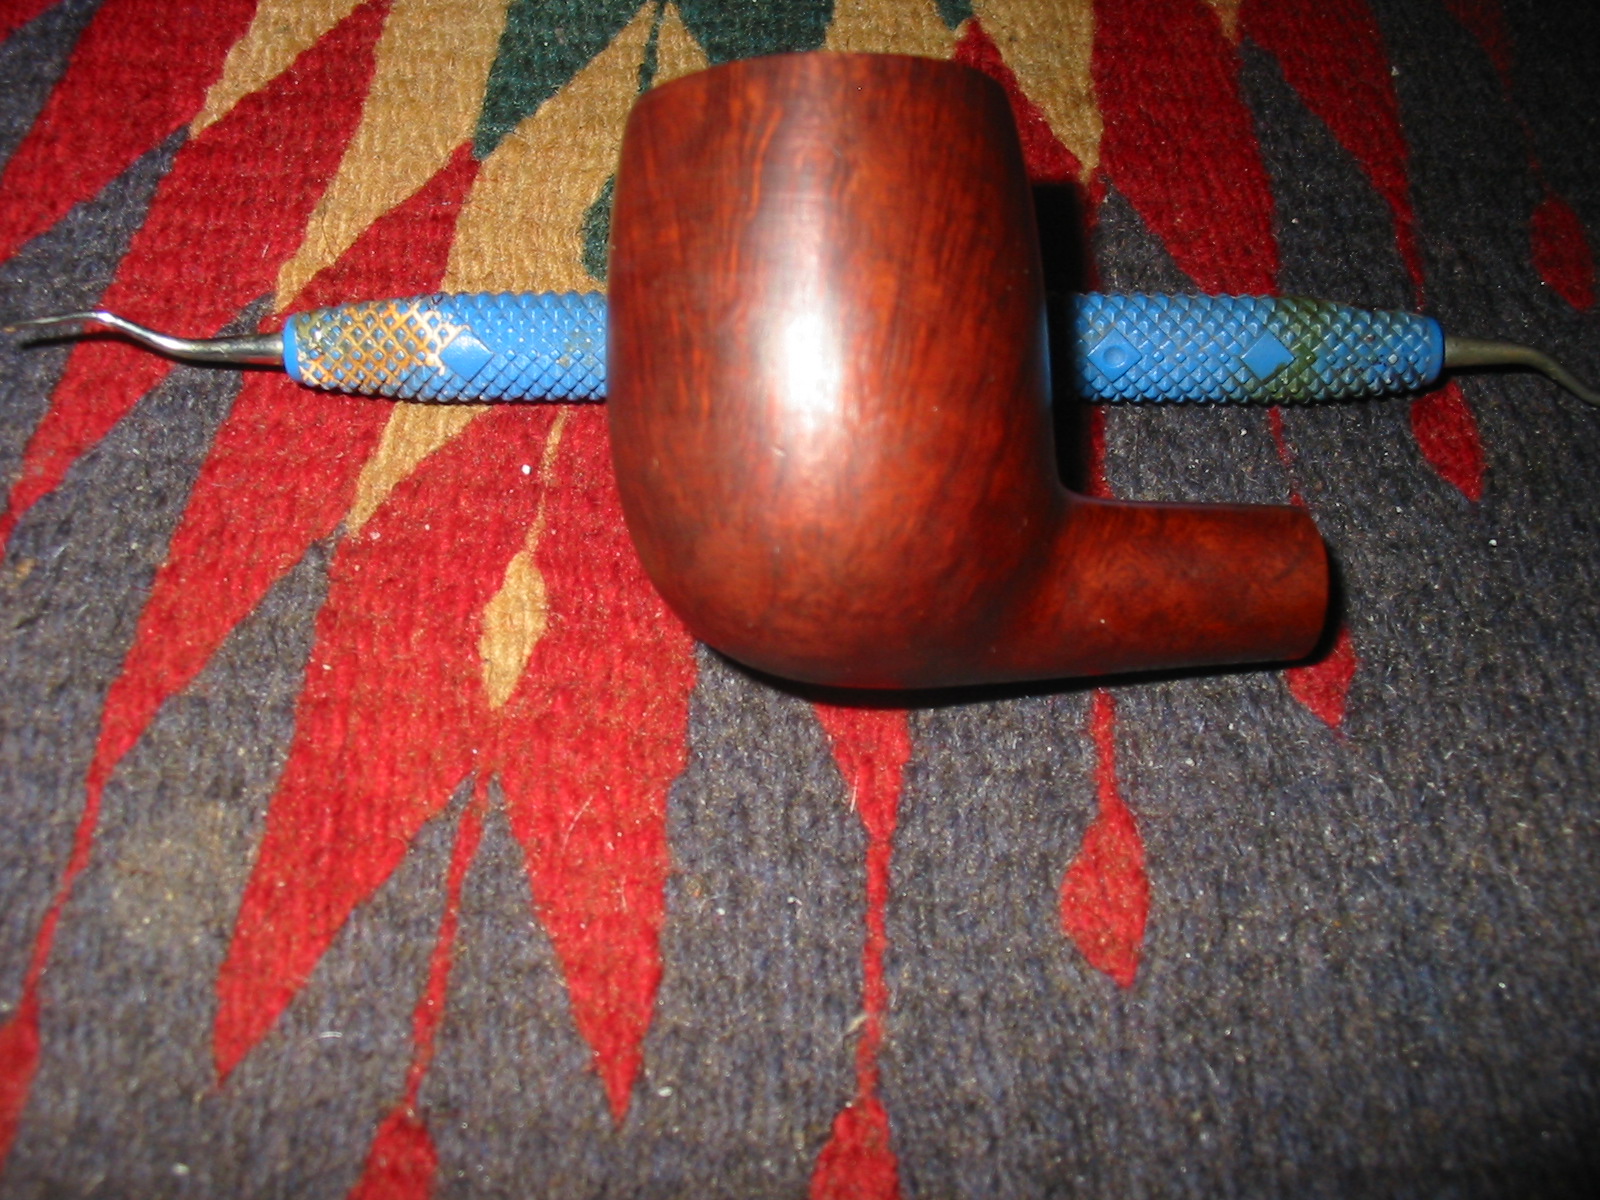
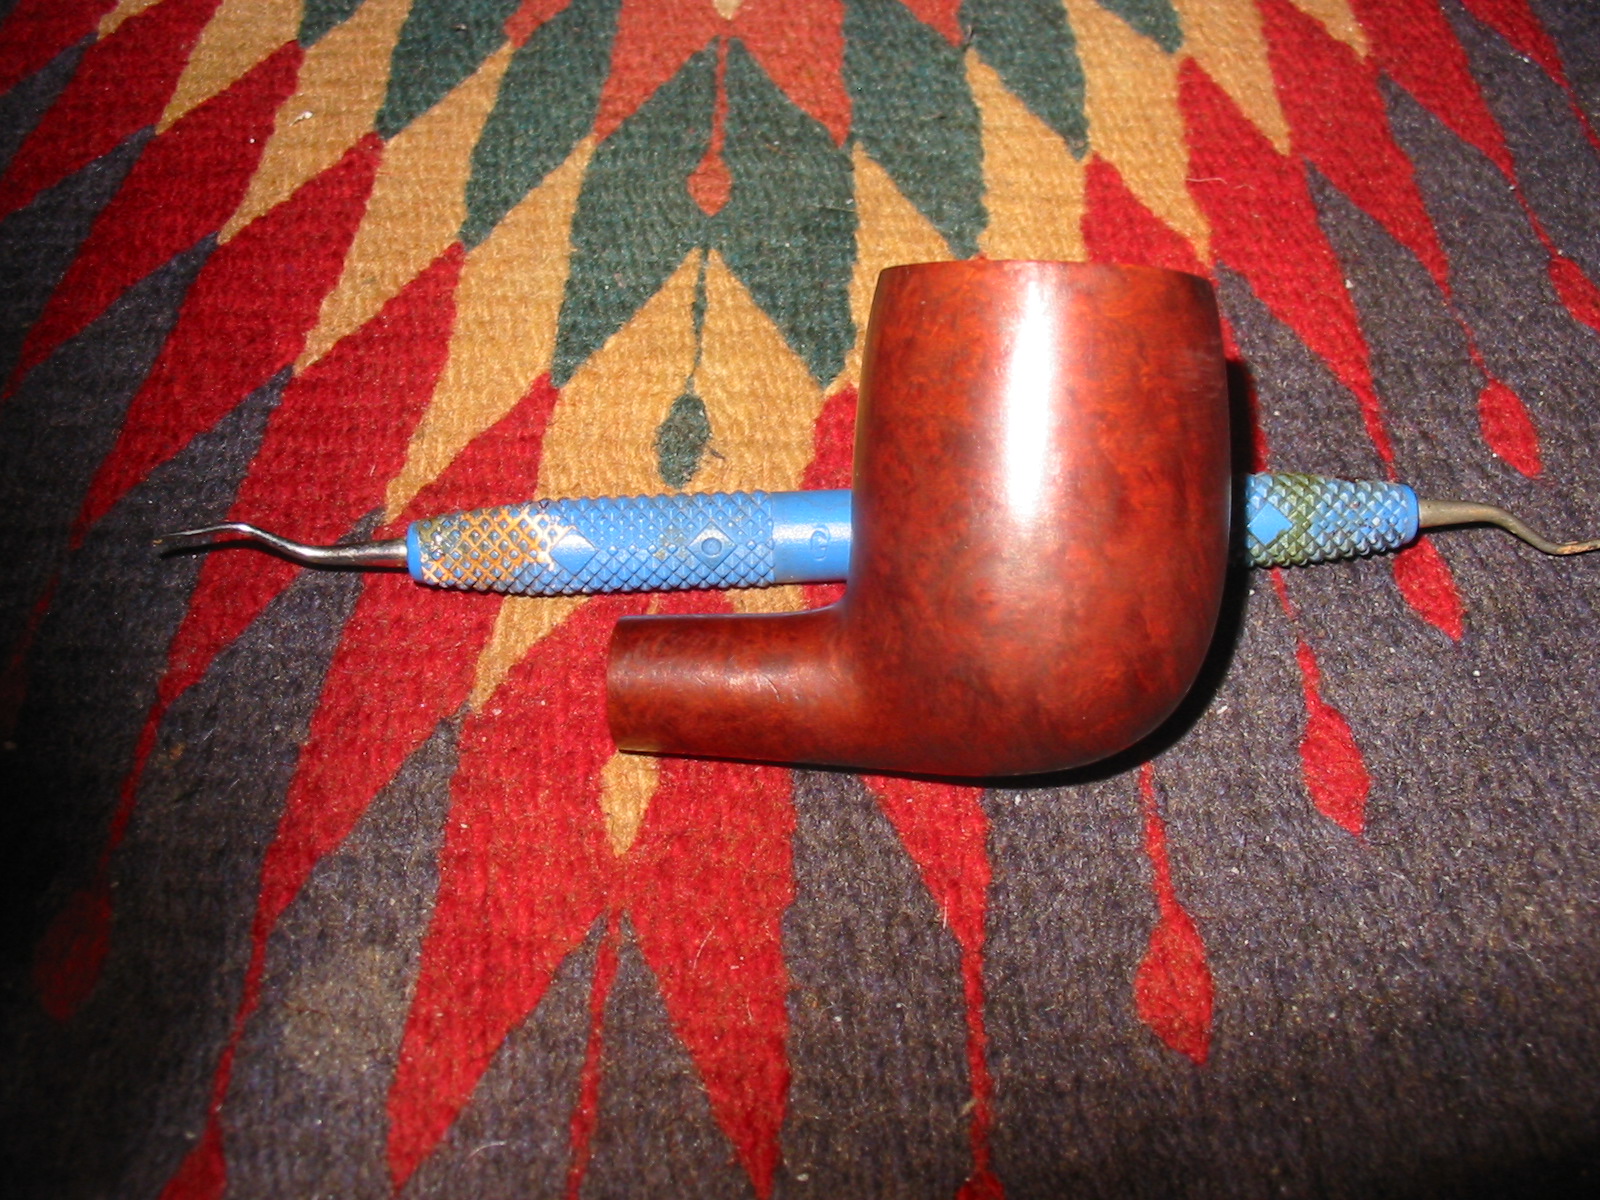
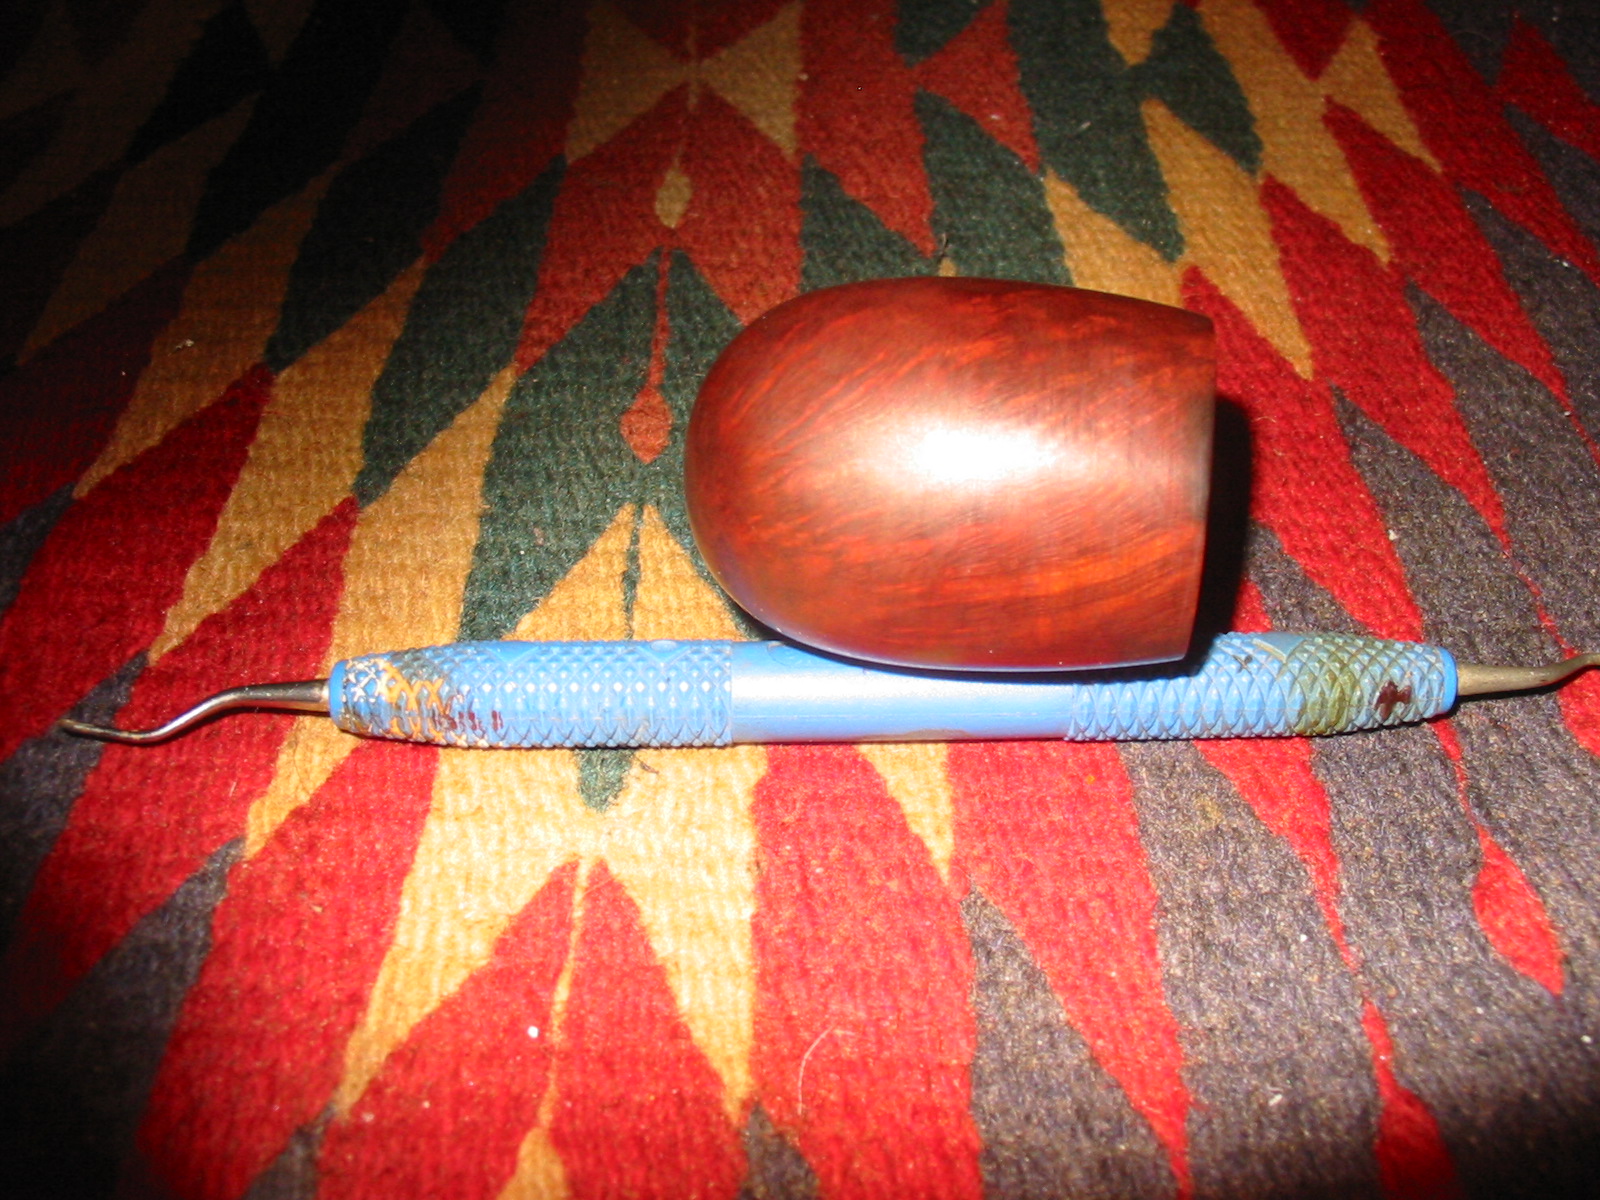
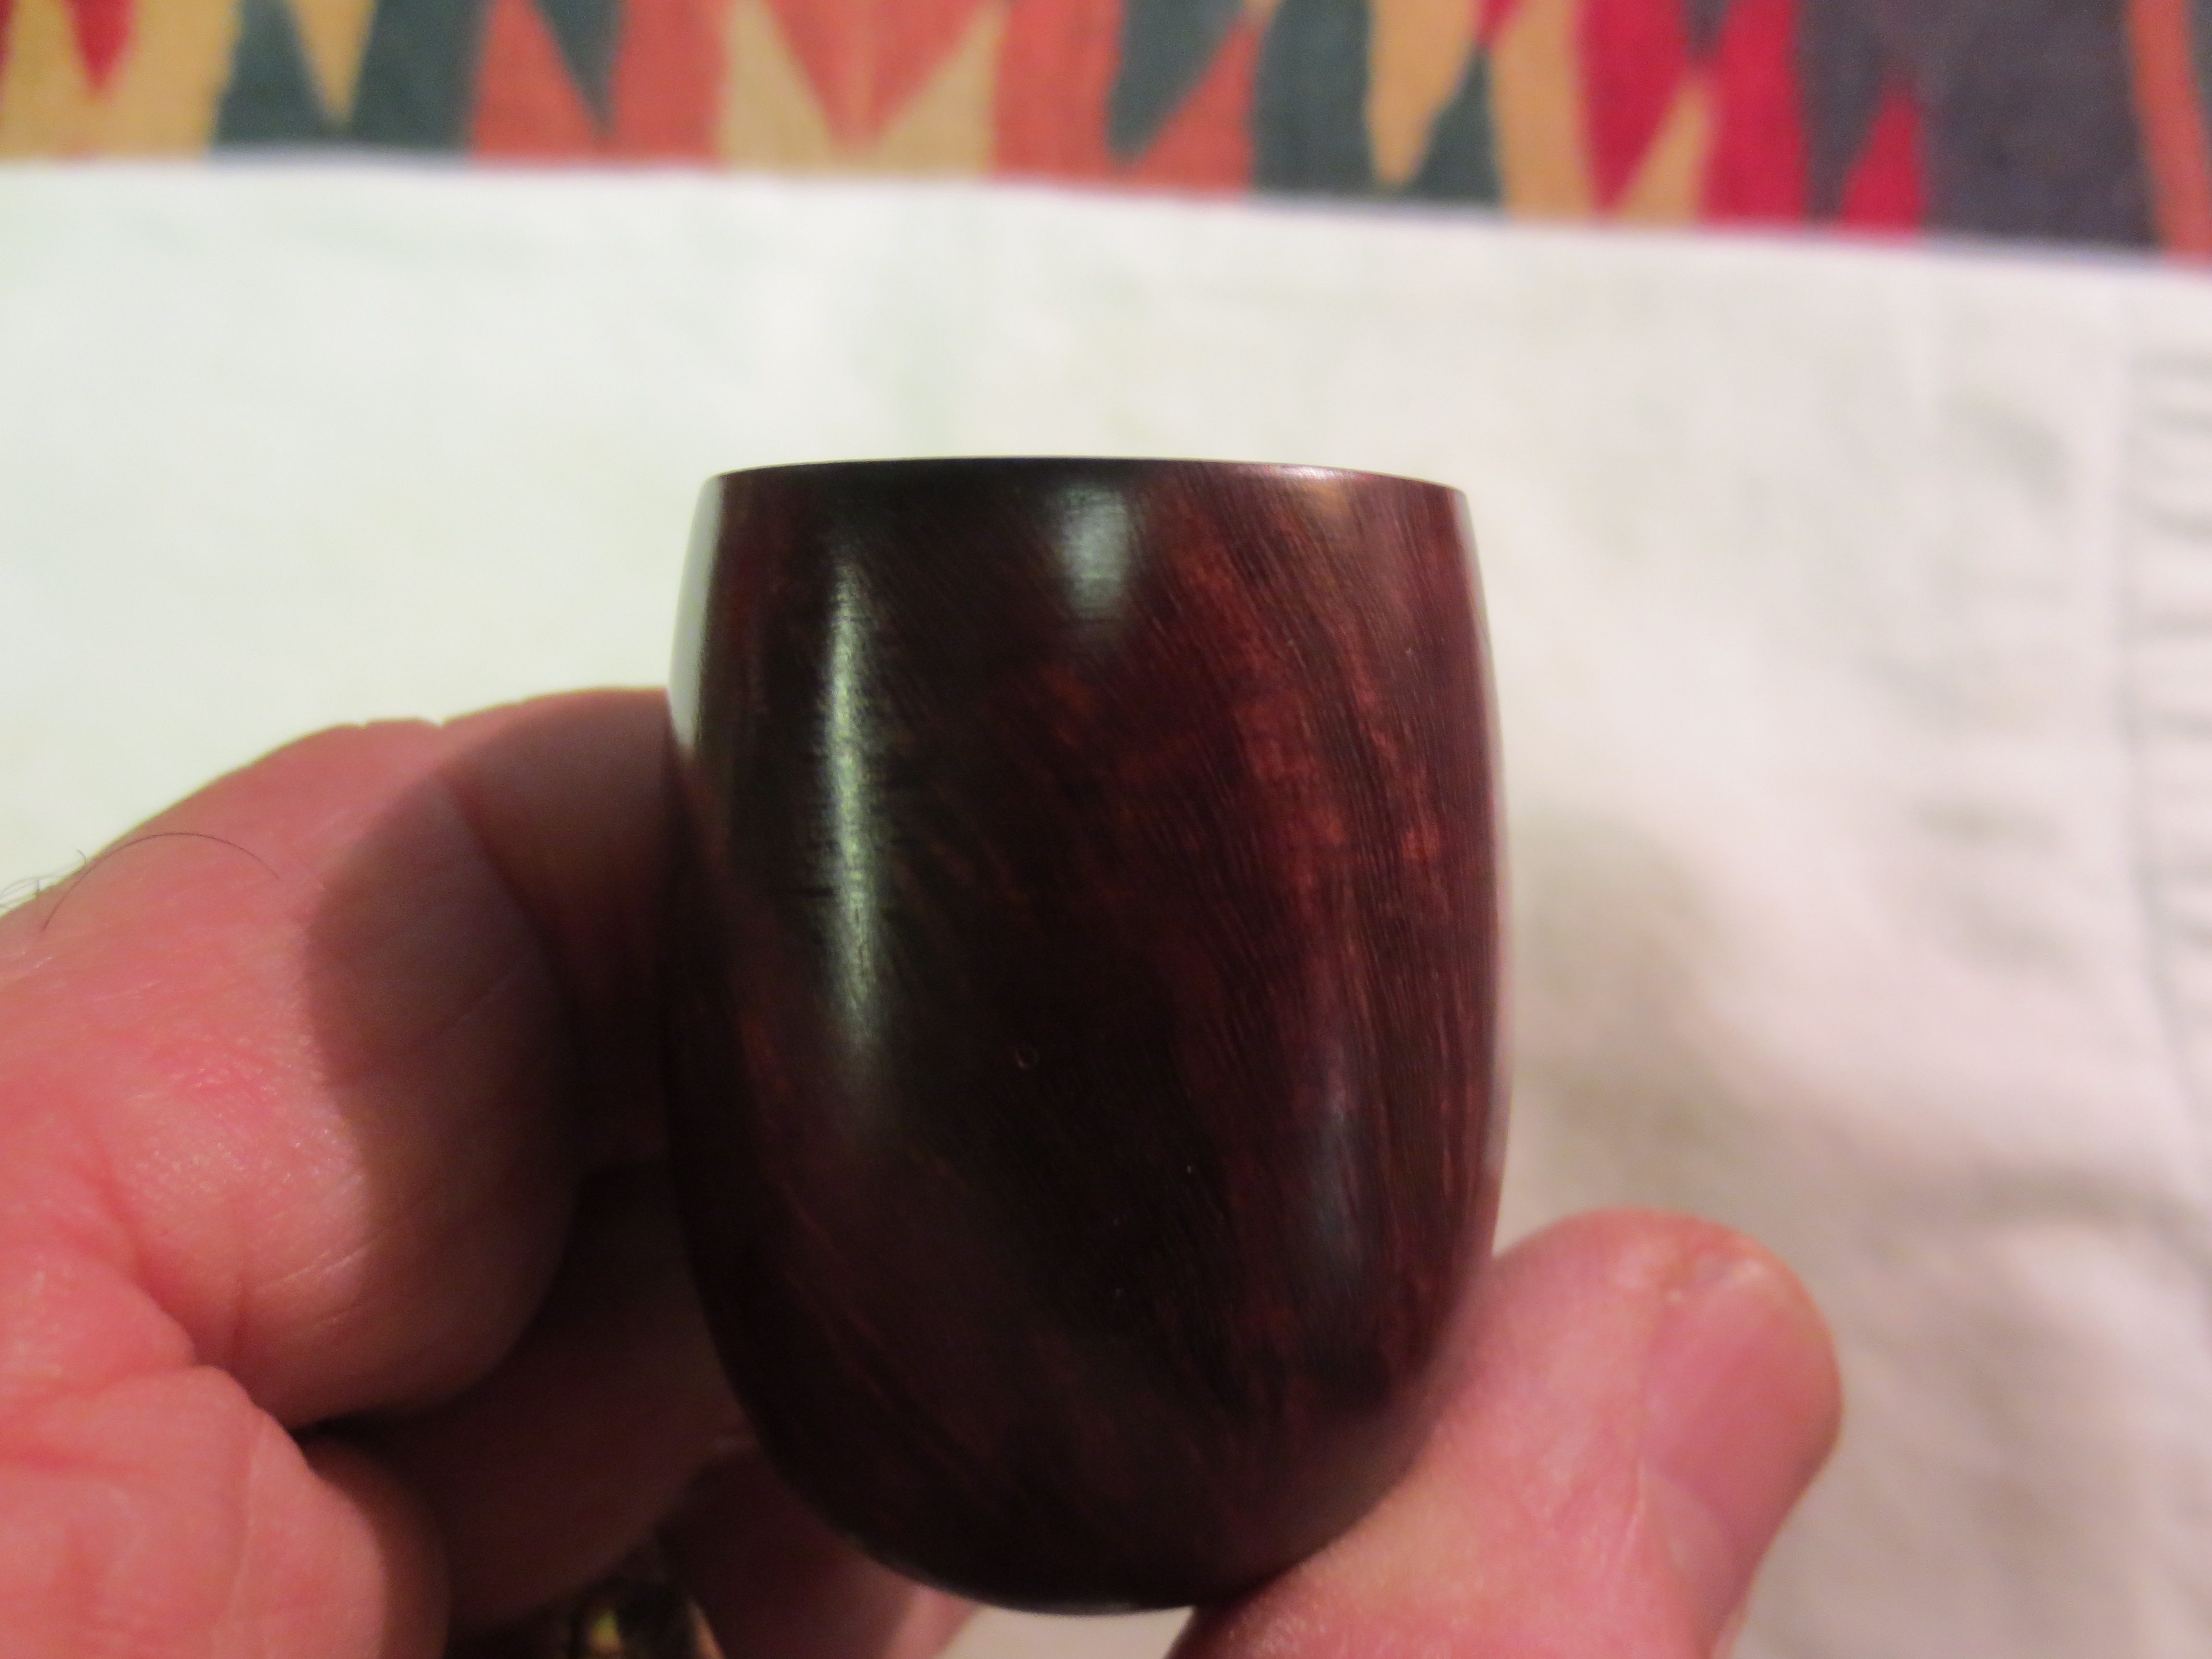
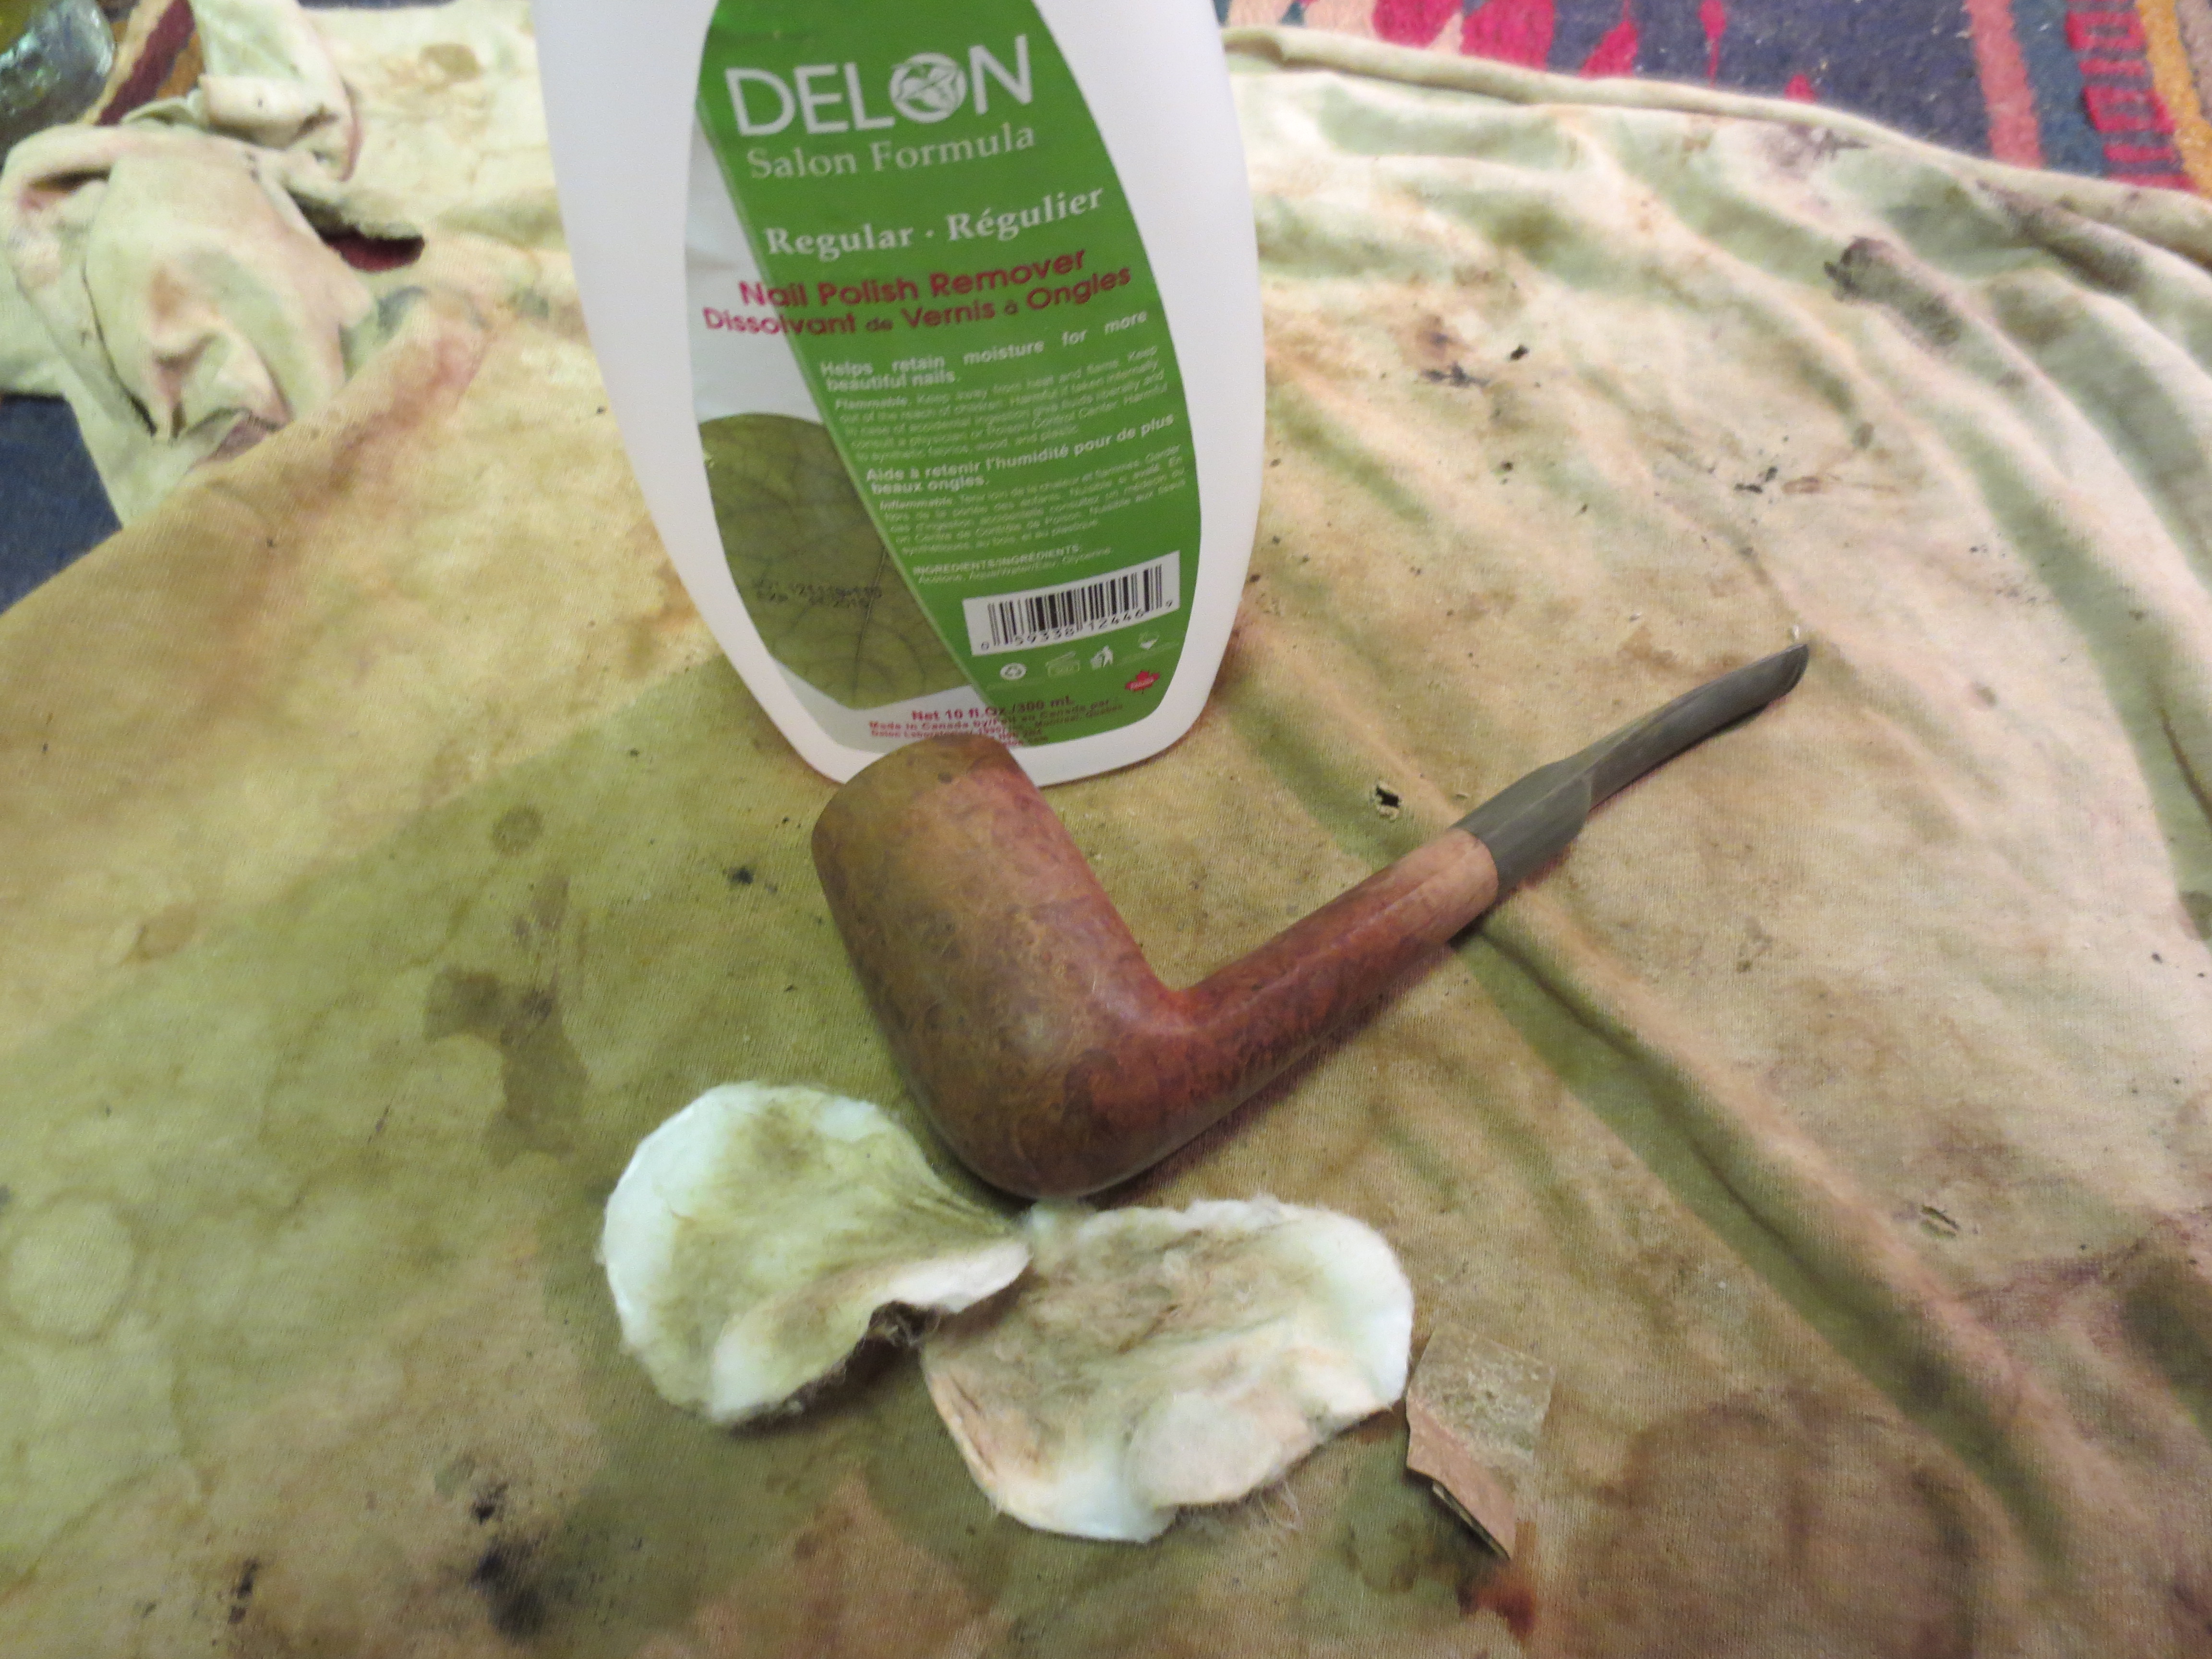
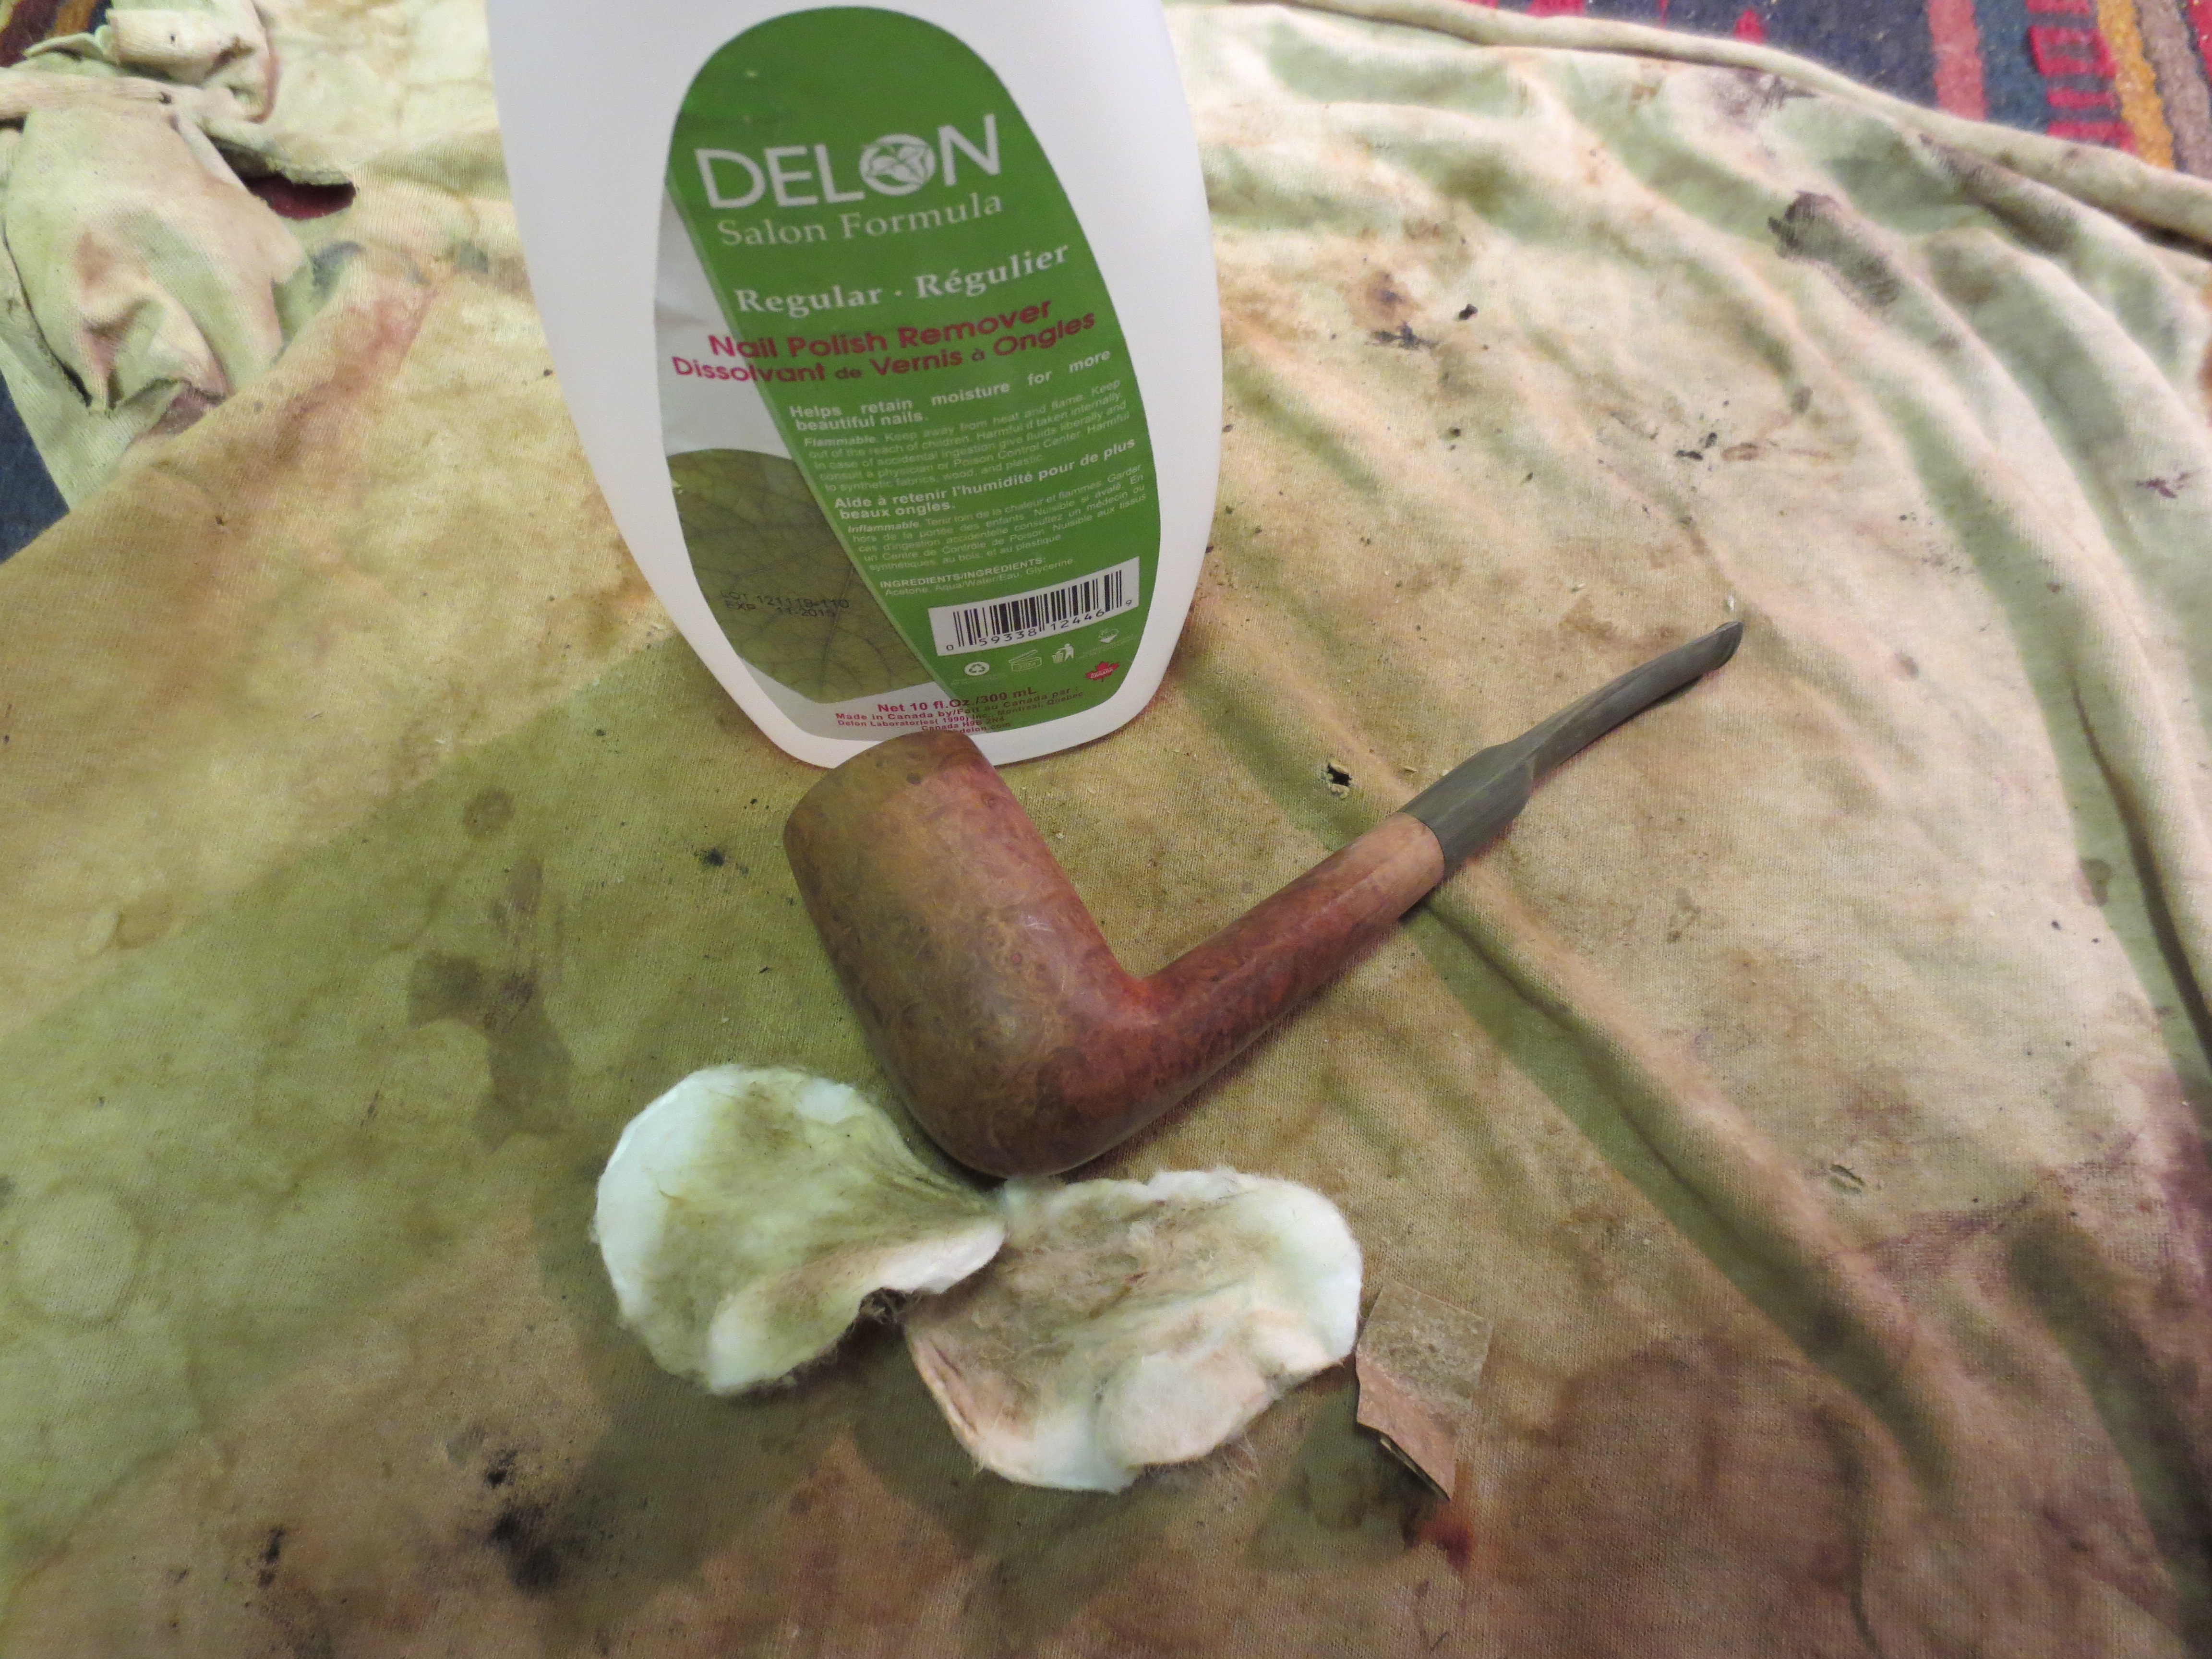
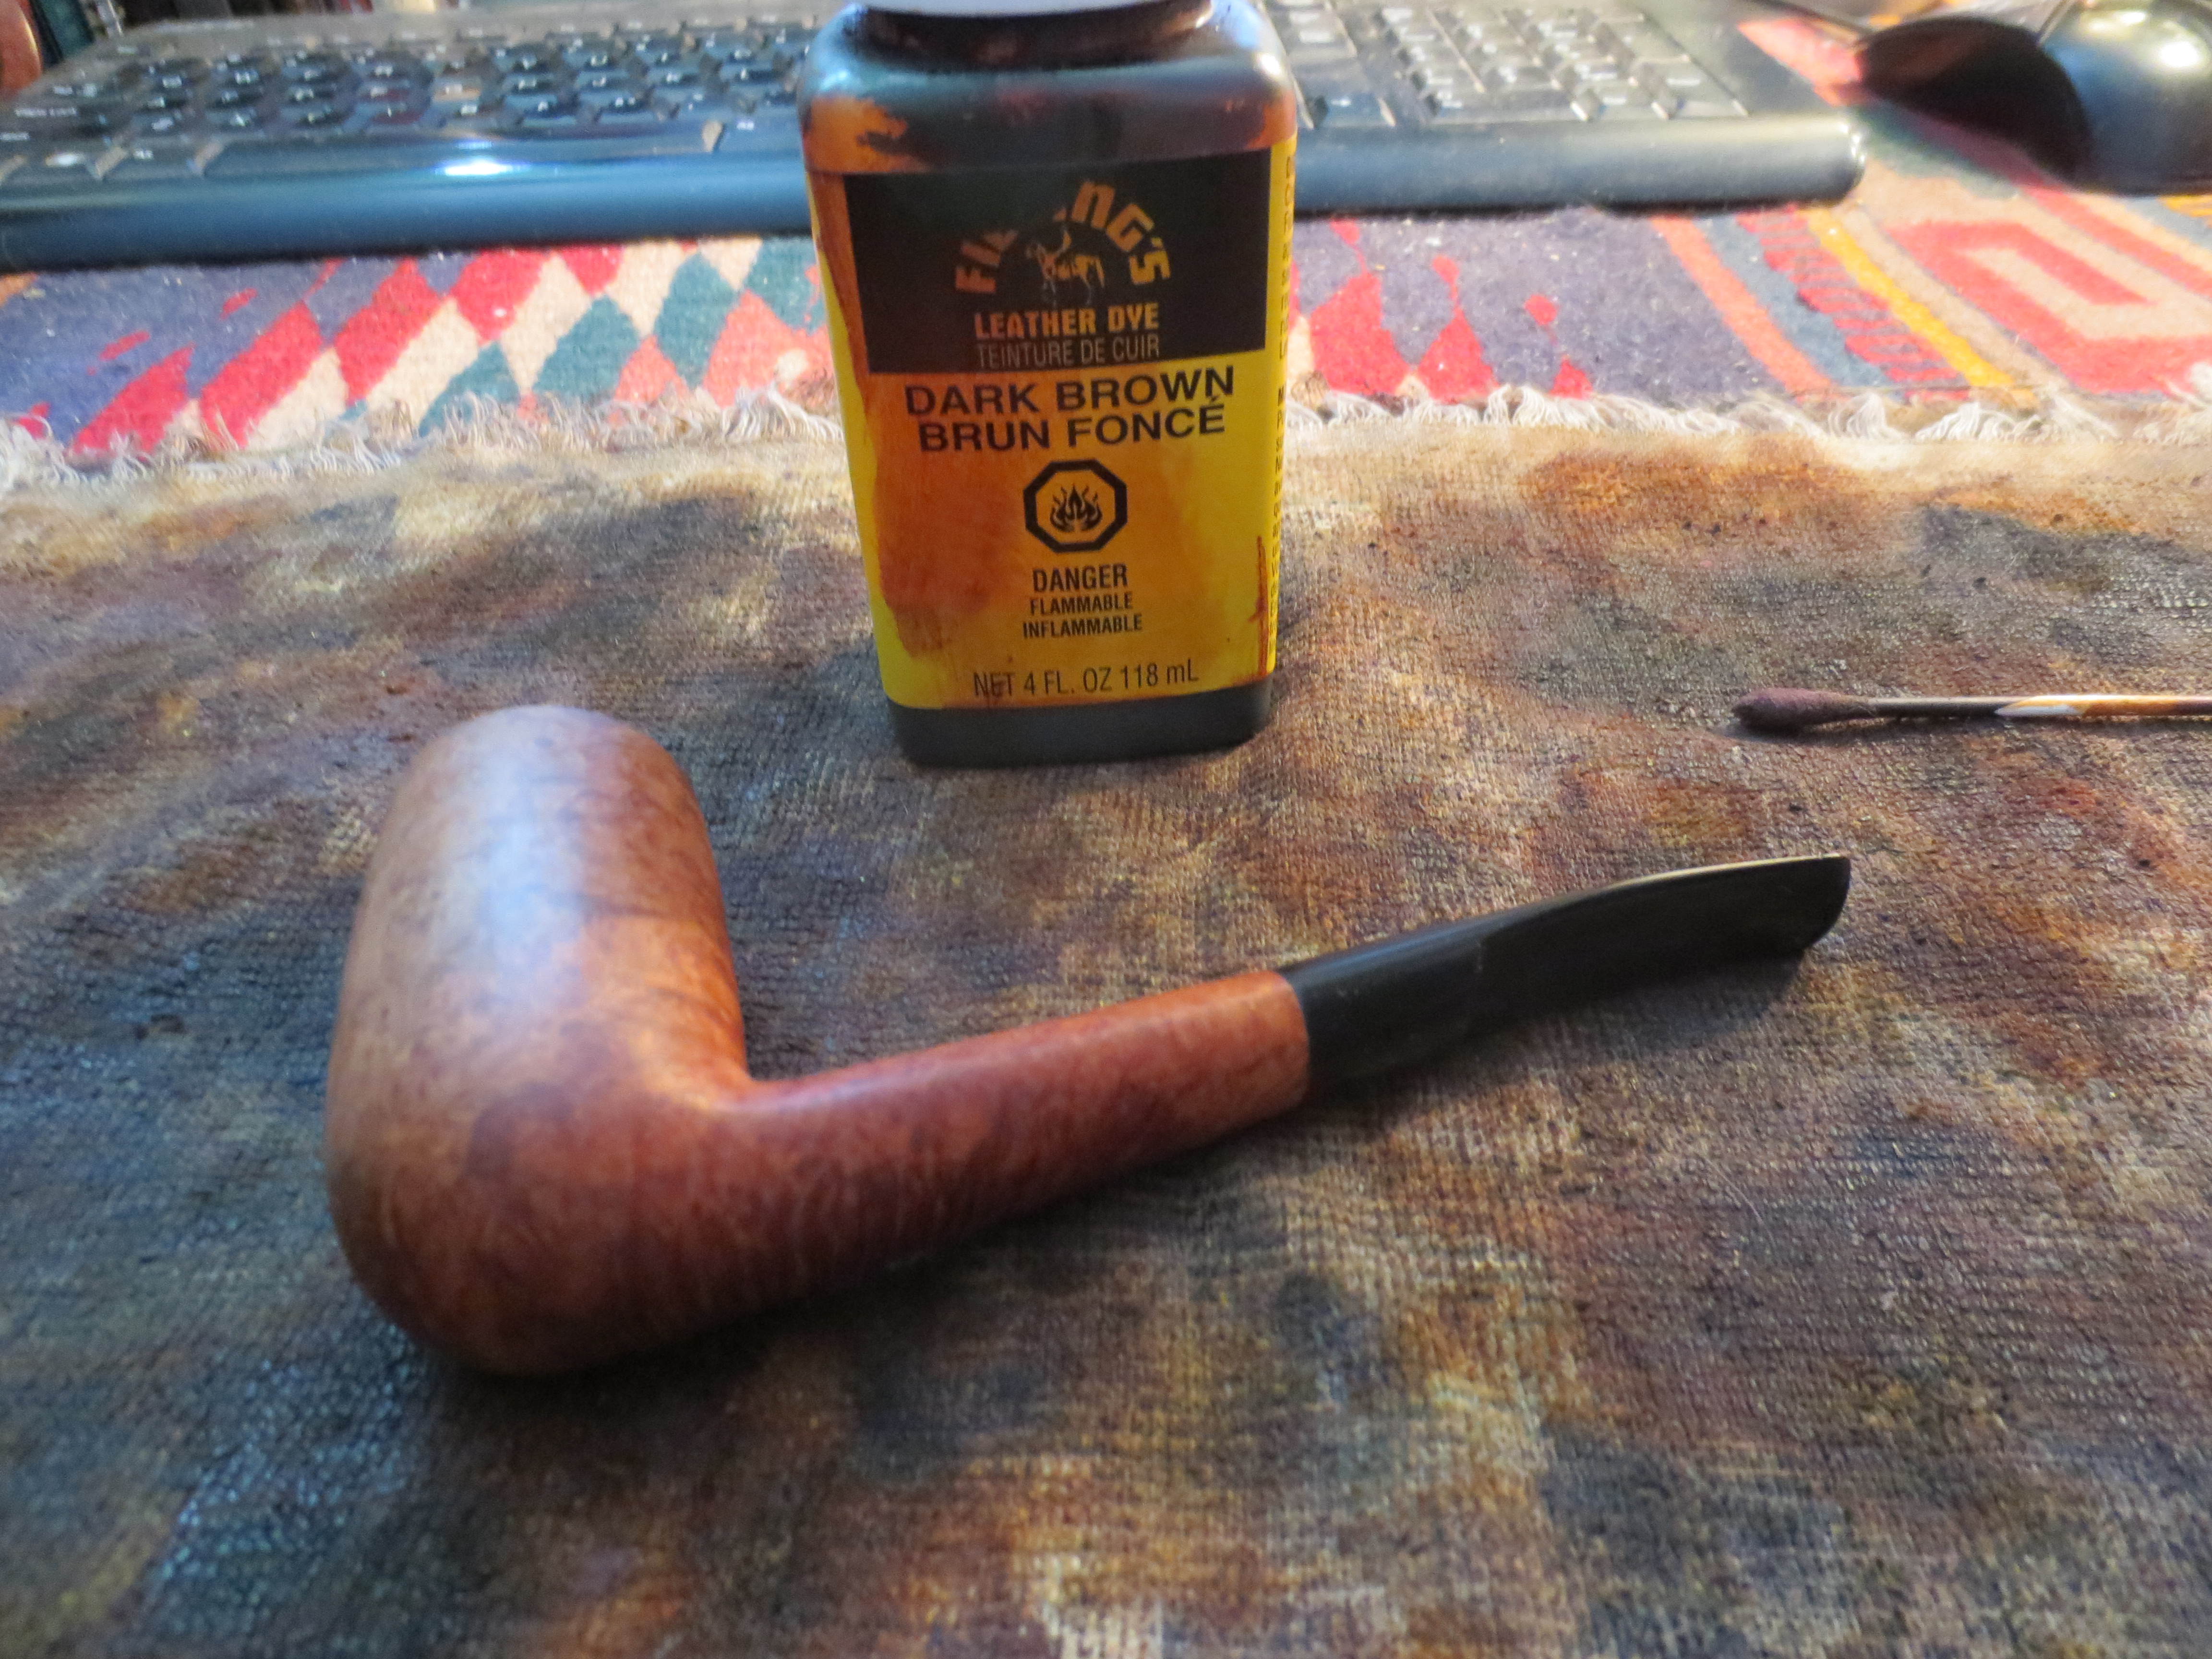
I used acetone on cotton pads to remove the finish on the pipe. I wiped it down until it was the same colour as the sanded portion of the shank. This would make blending the stain much easier to do. The first two photos below show the bowl after the initial wipe down with acetone. Photos 3-5 show the pipe after the finish has been removed from the pipe and it is ready to be stained.

IMG_1340

IMG_1341

IMG_1342

IMG_1343

IMG_1344

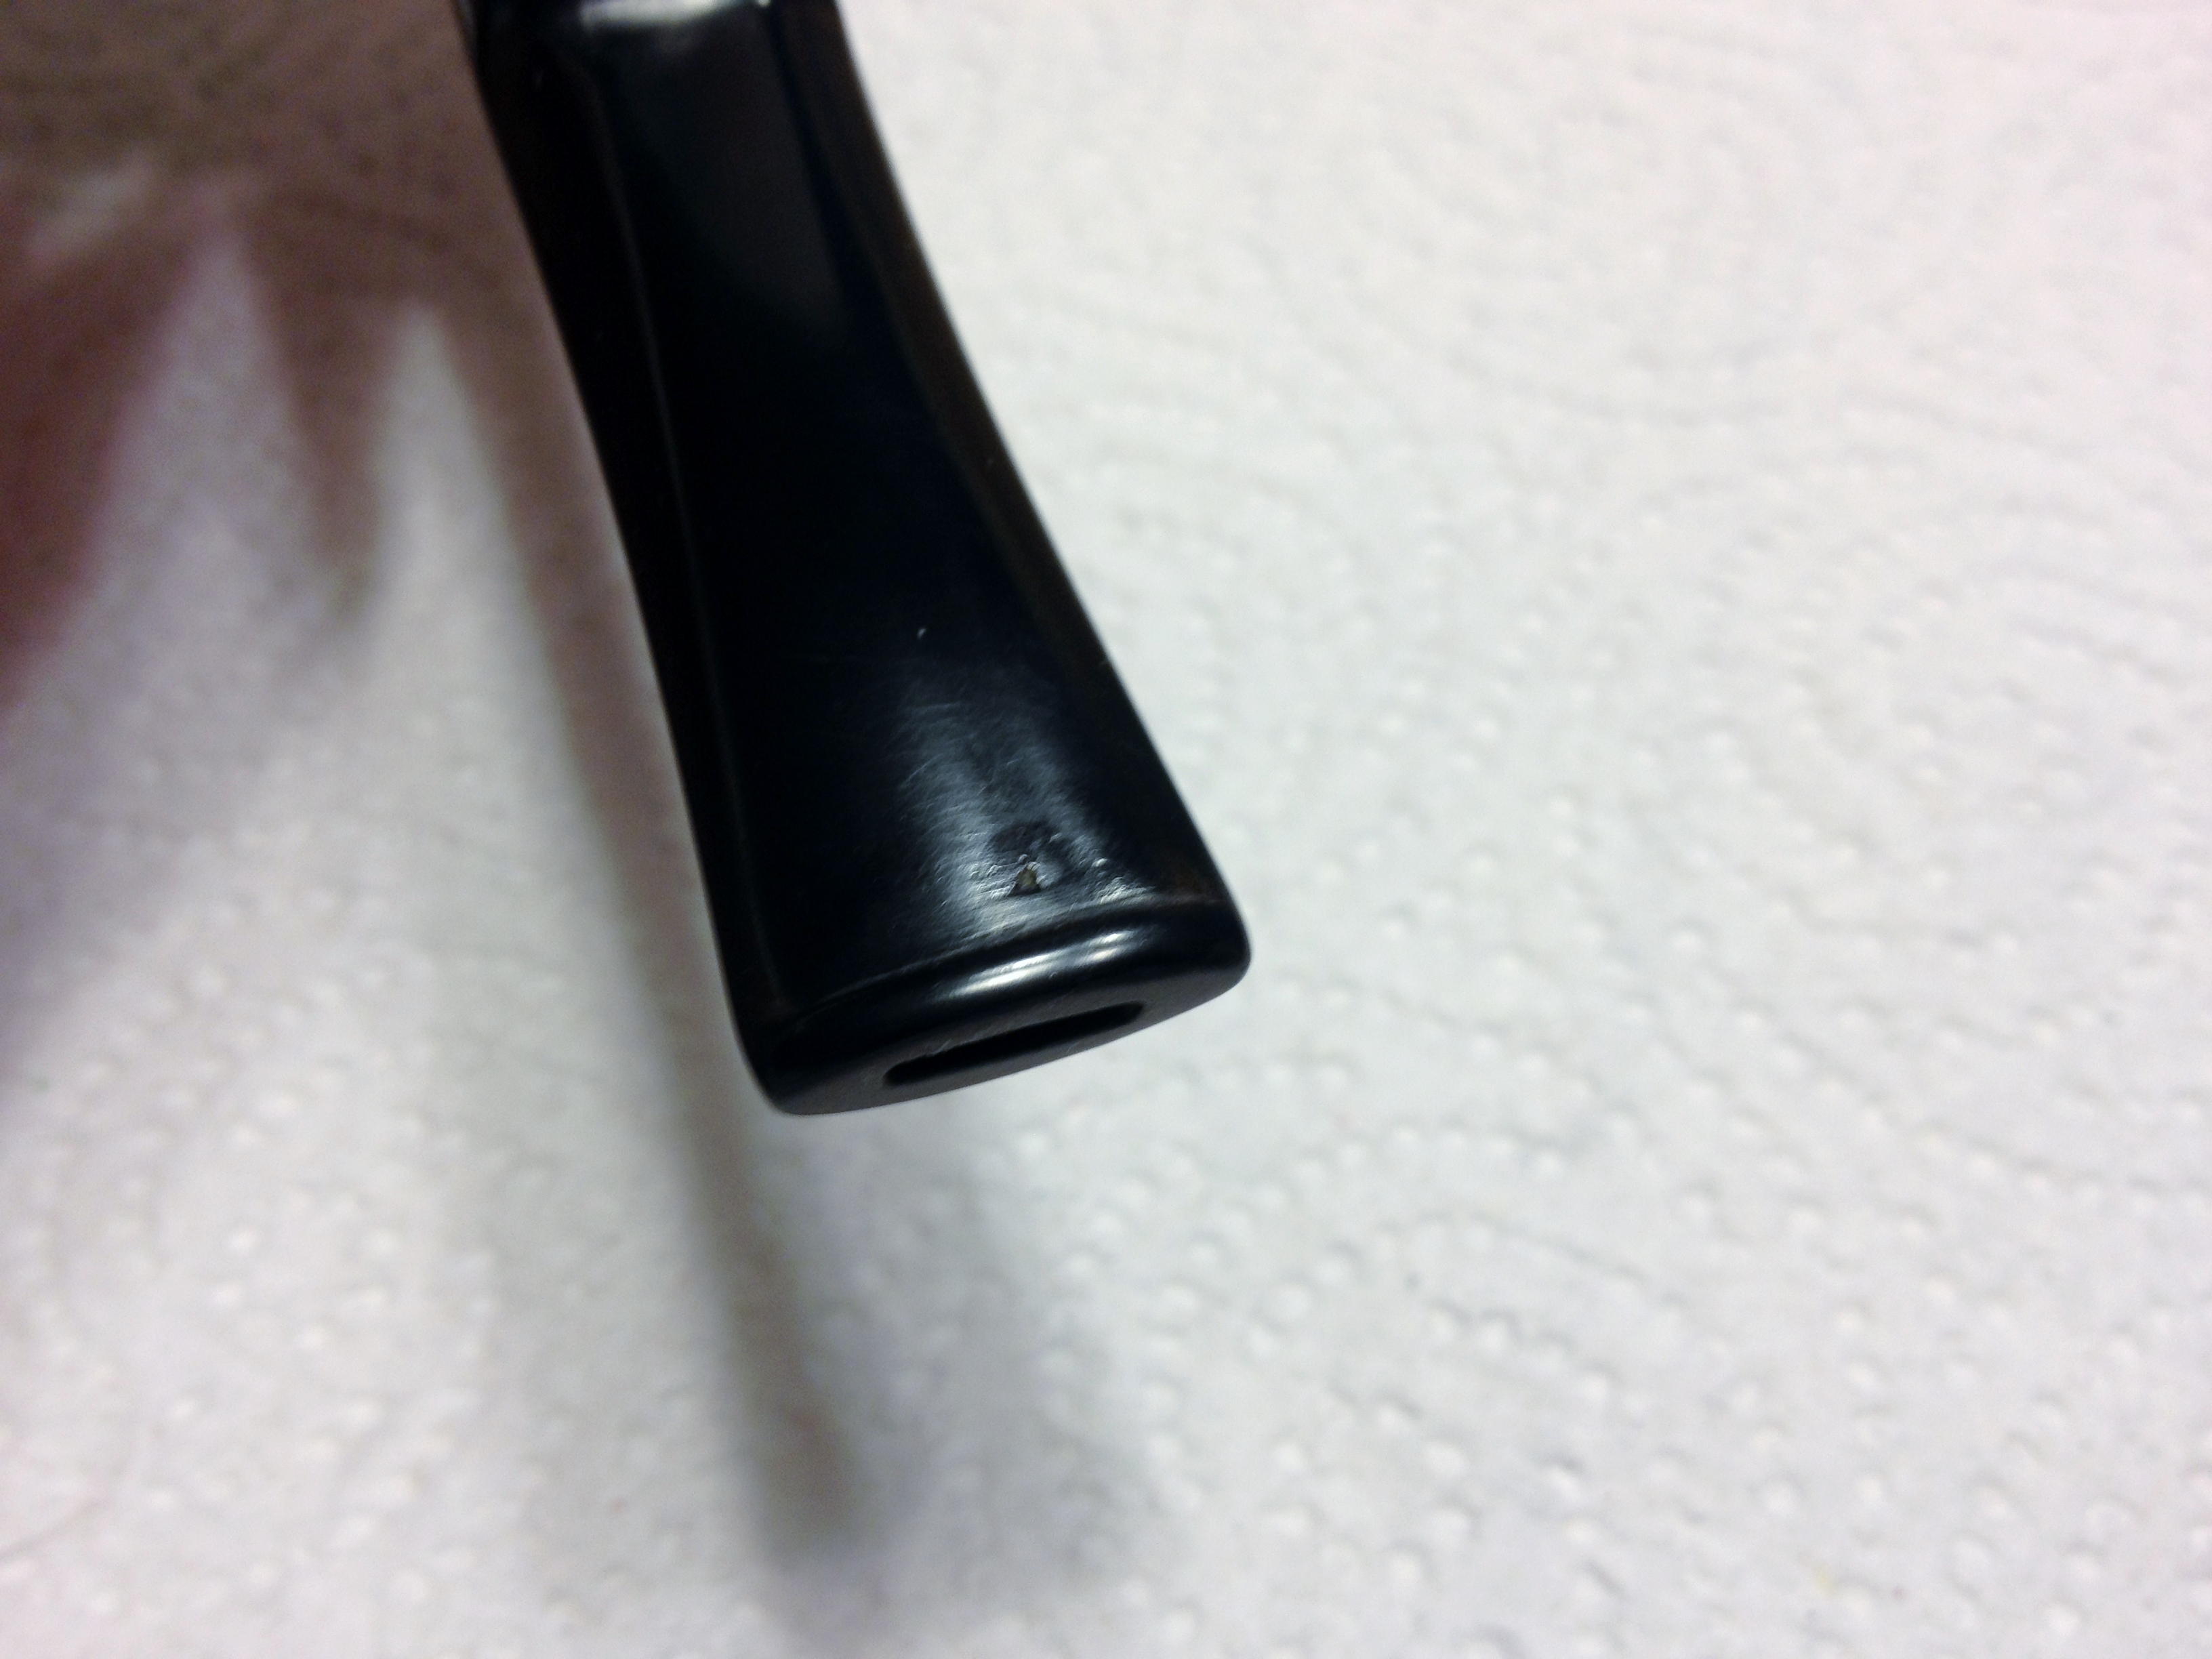
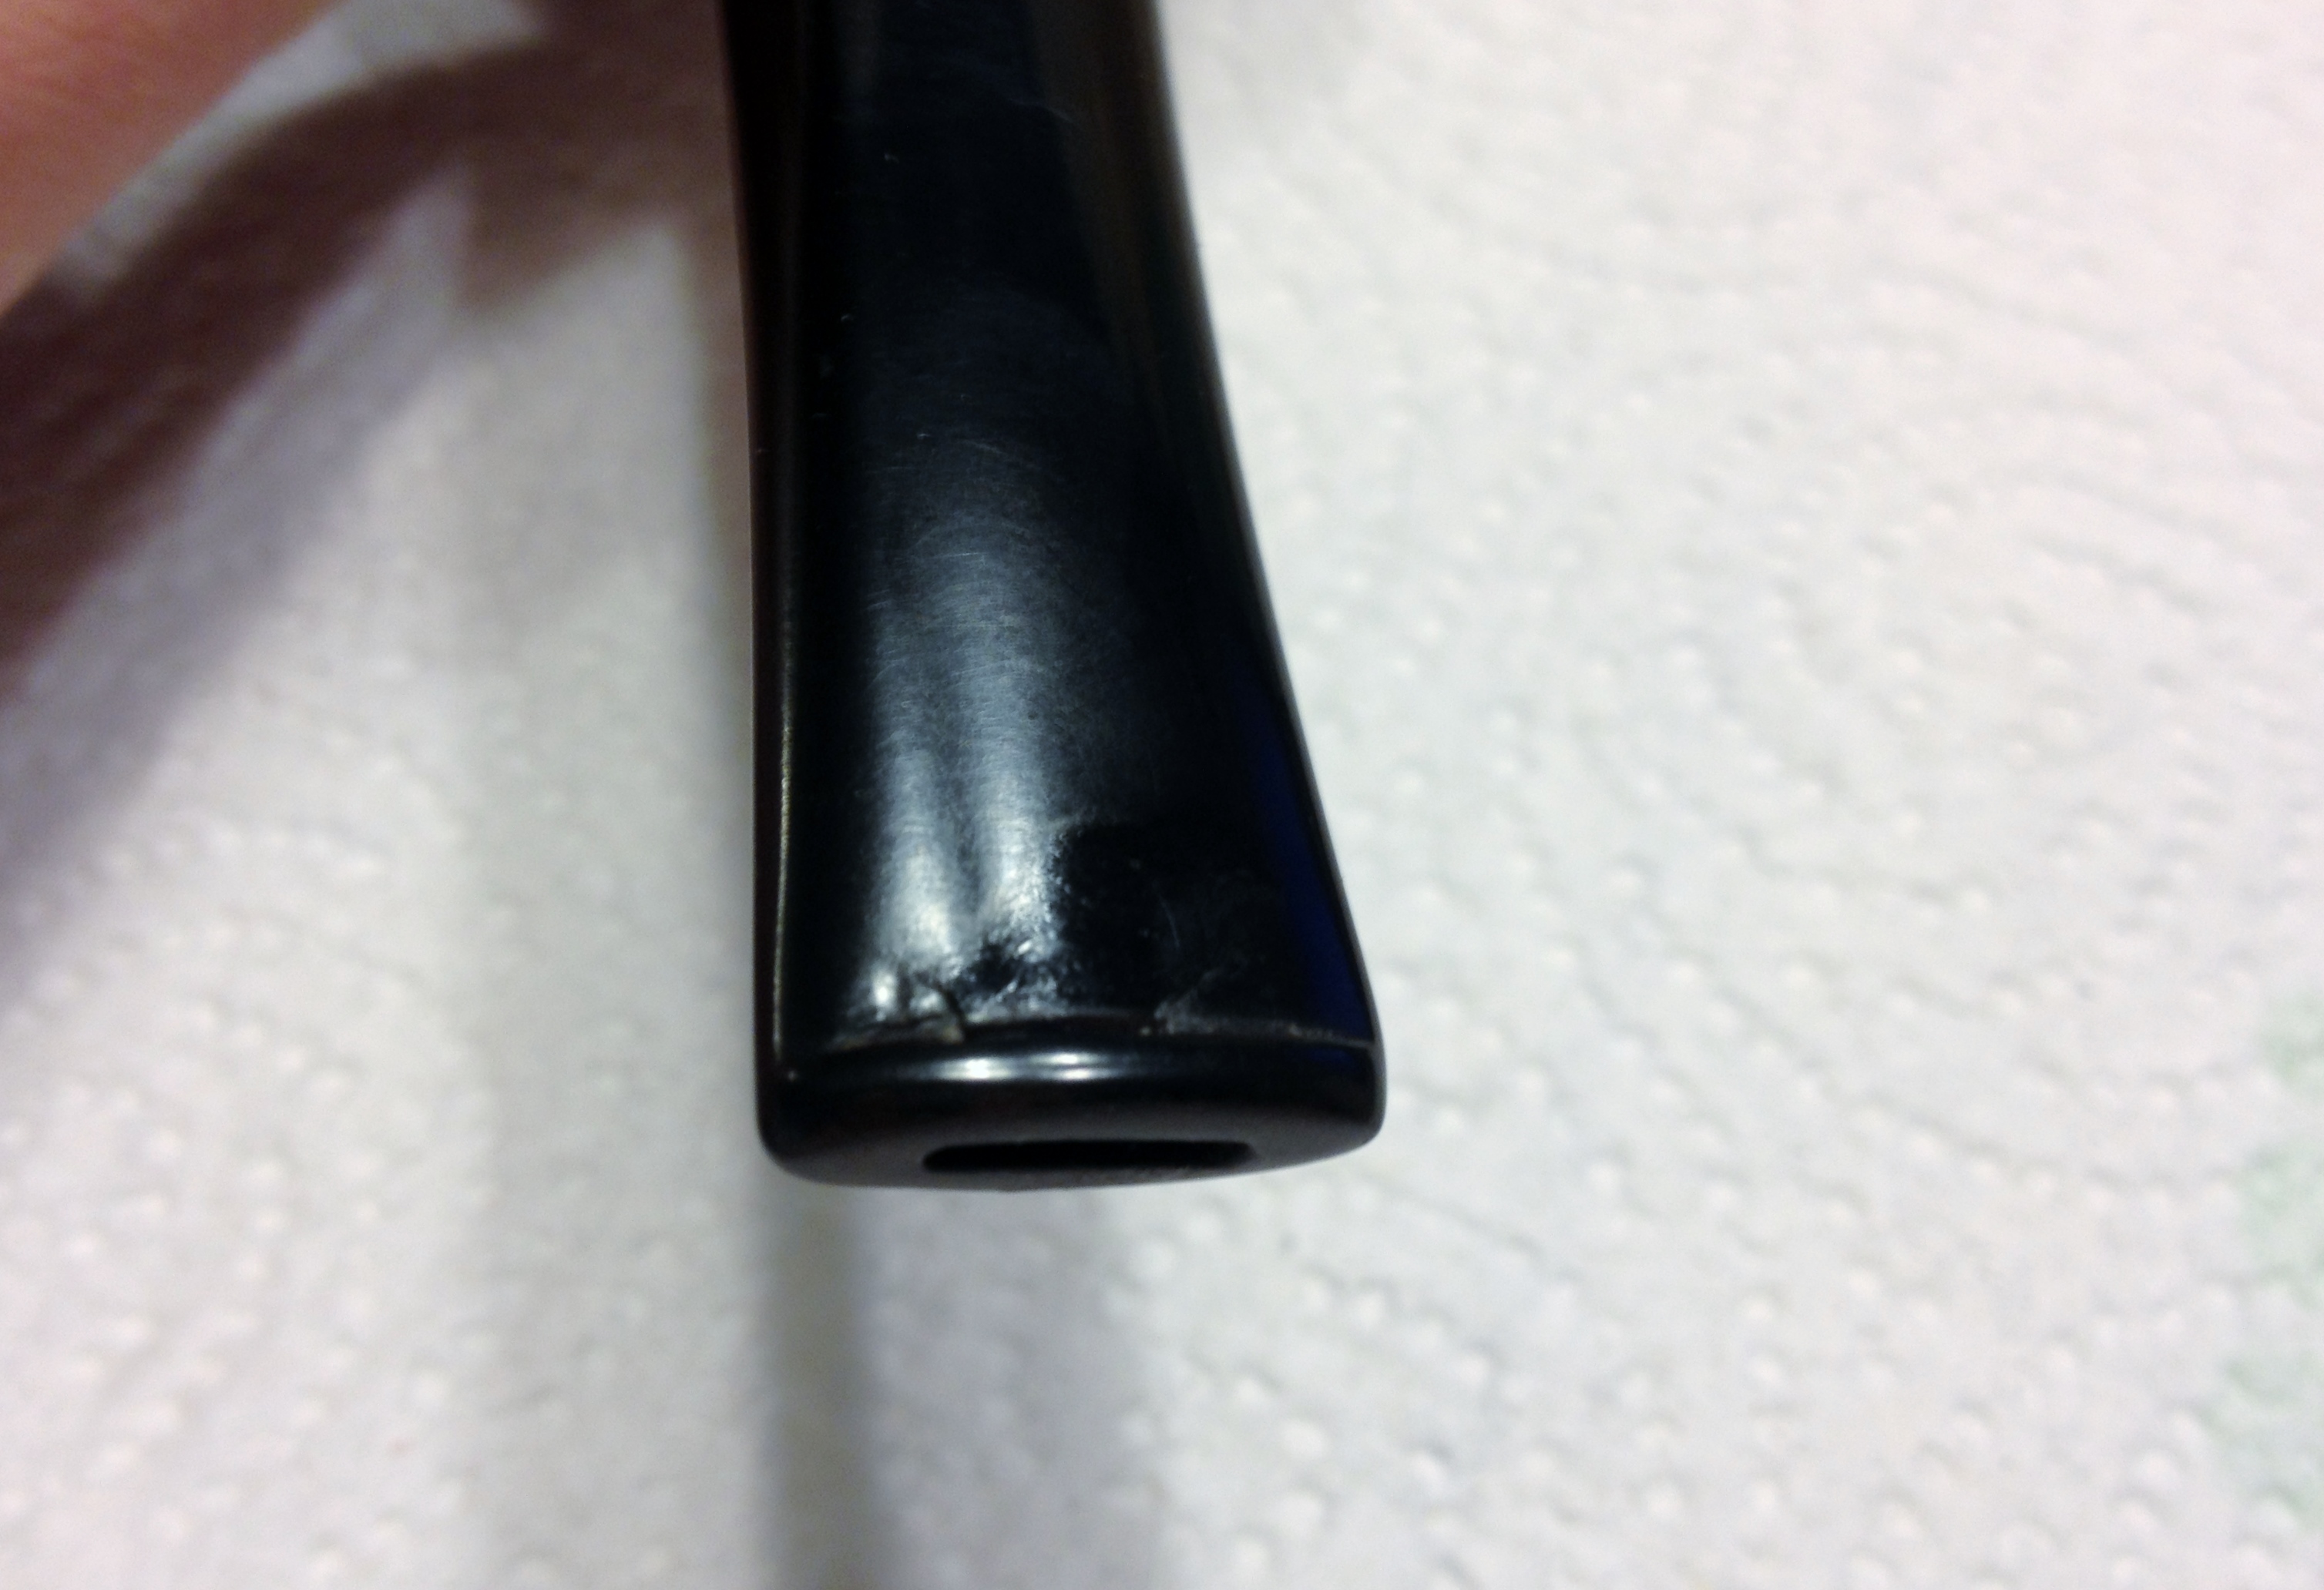
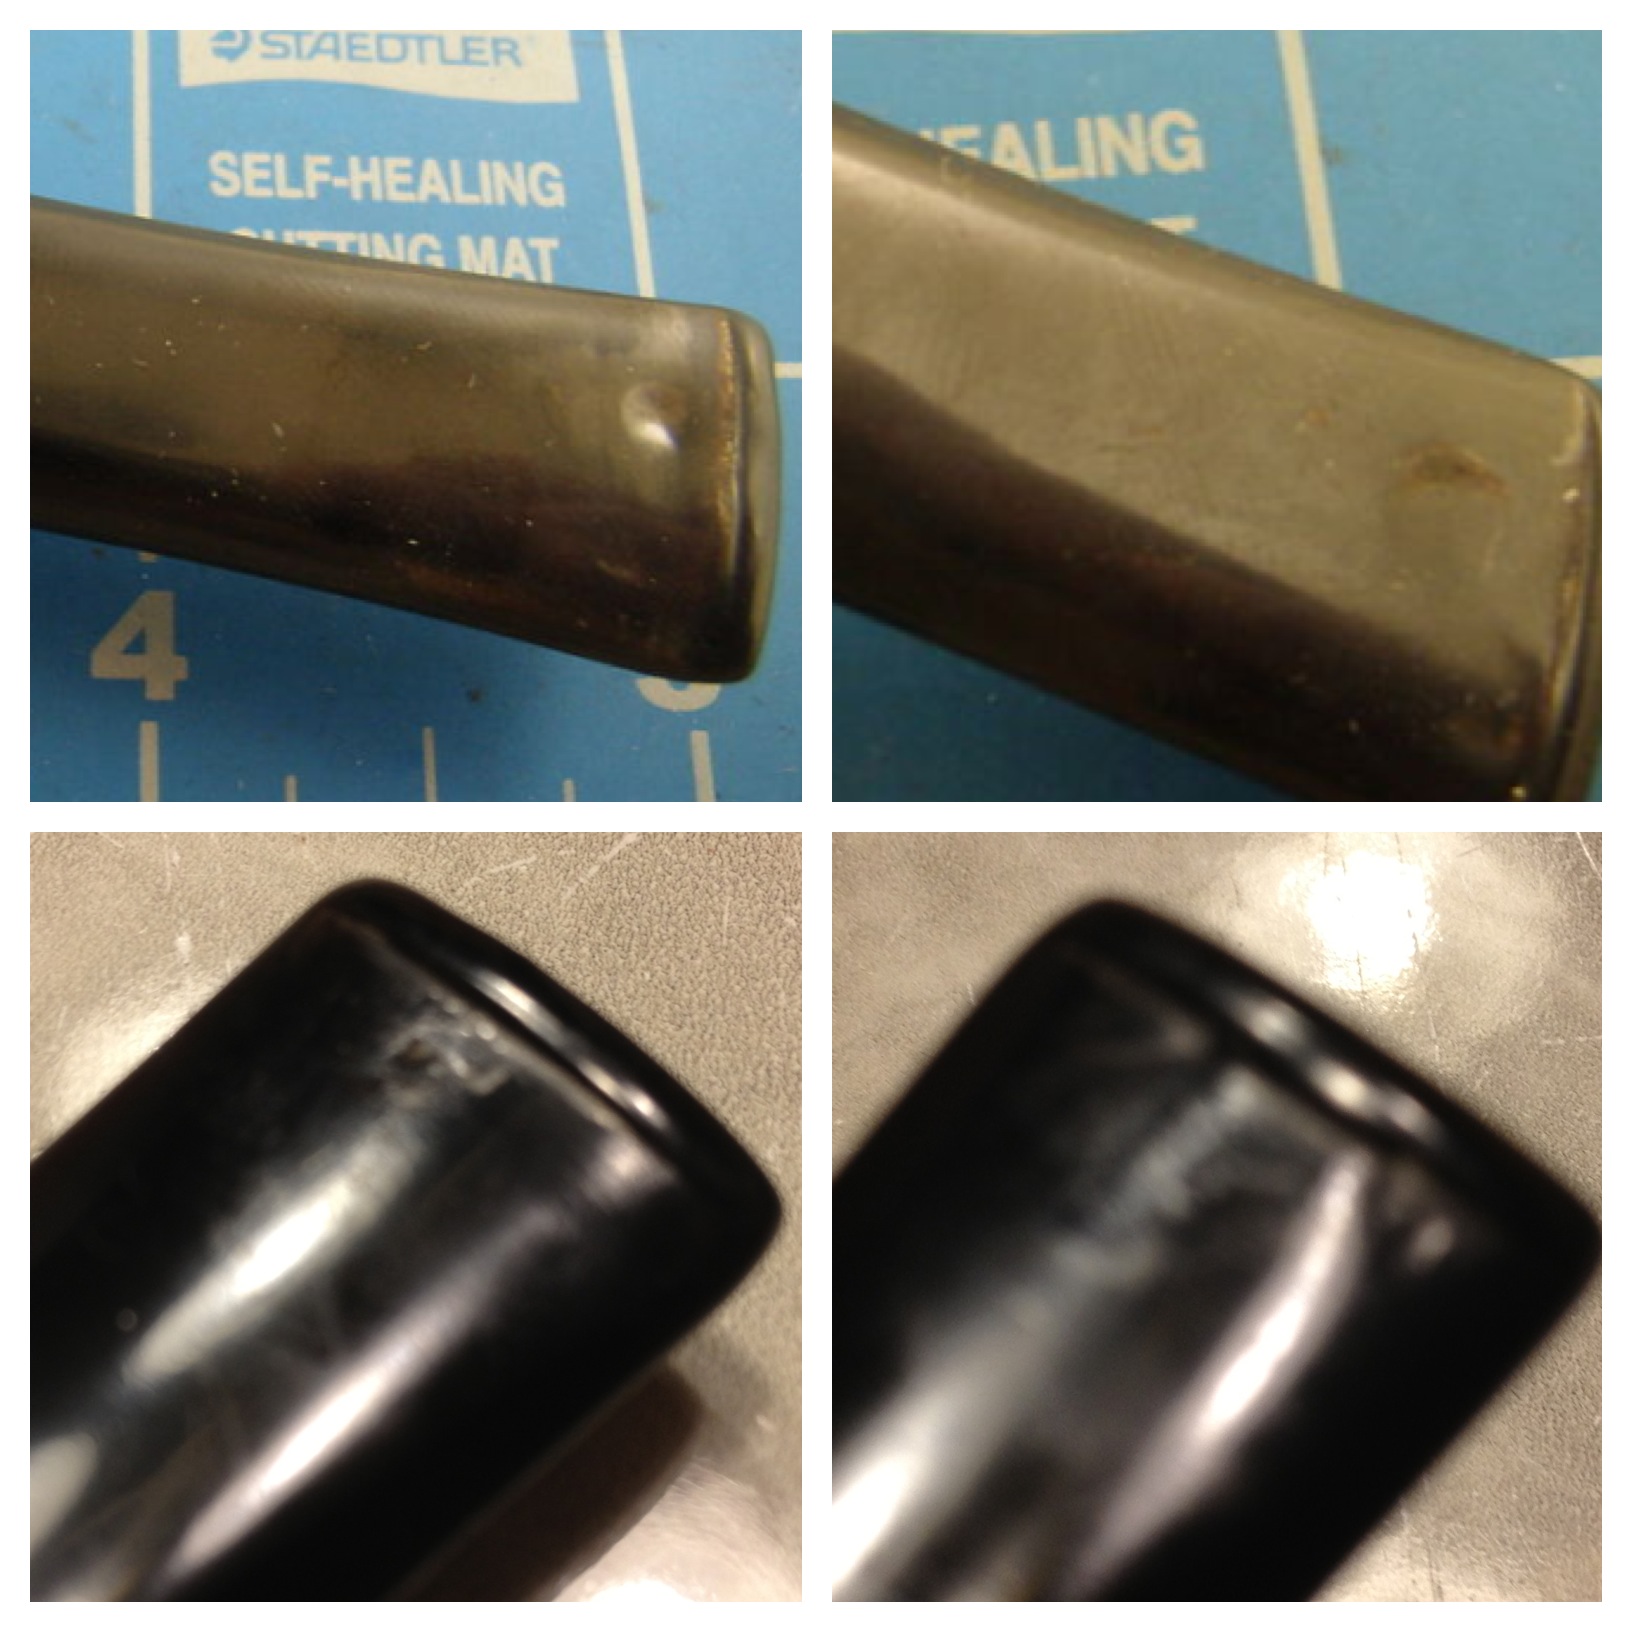
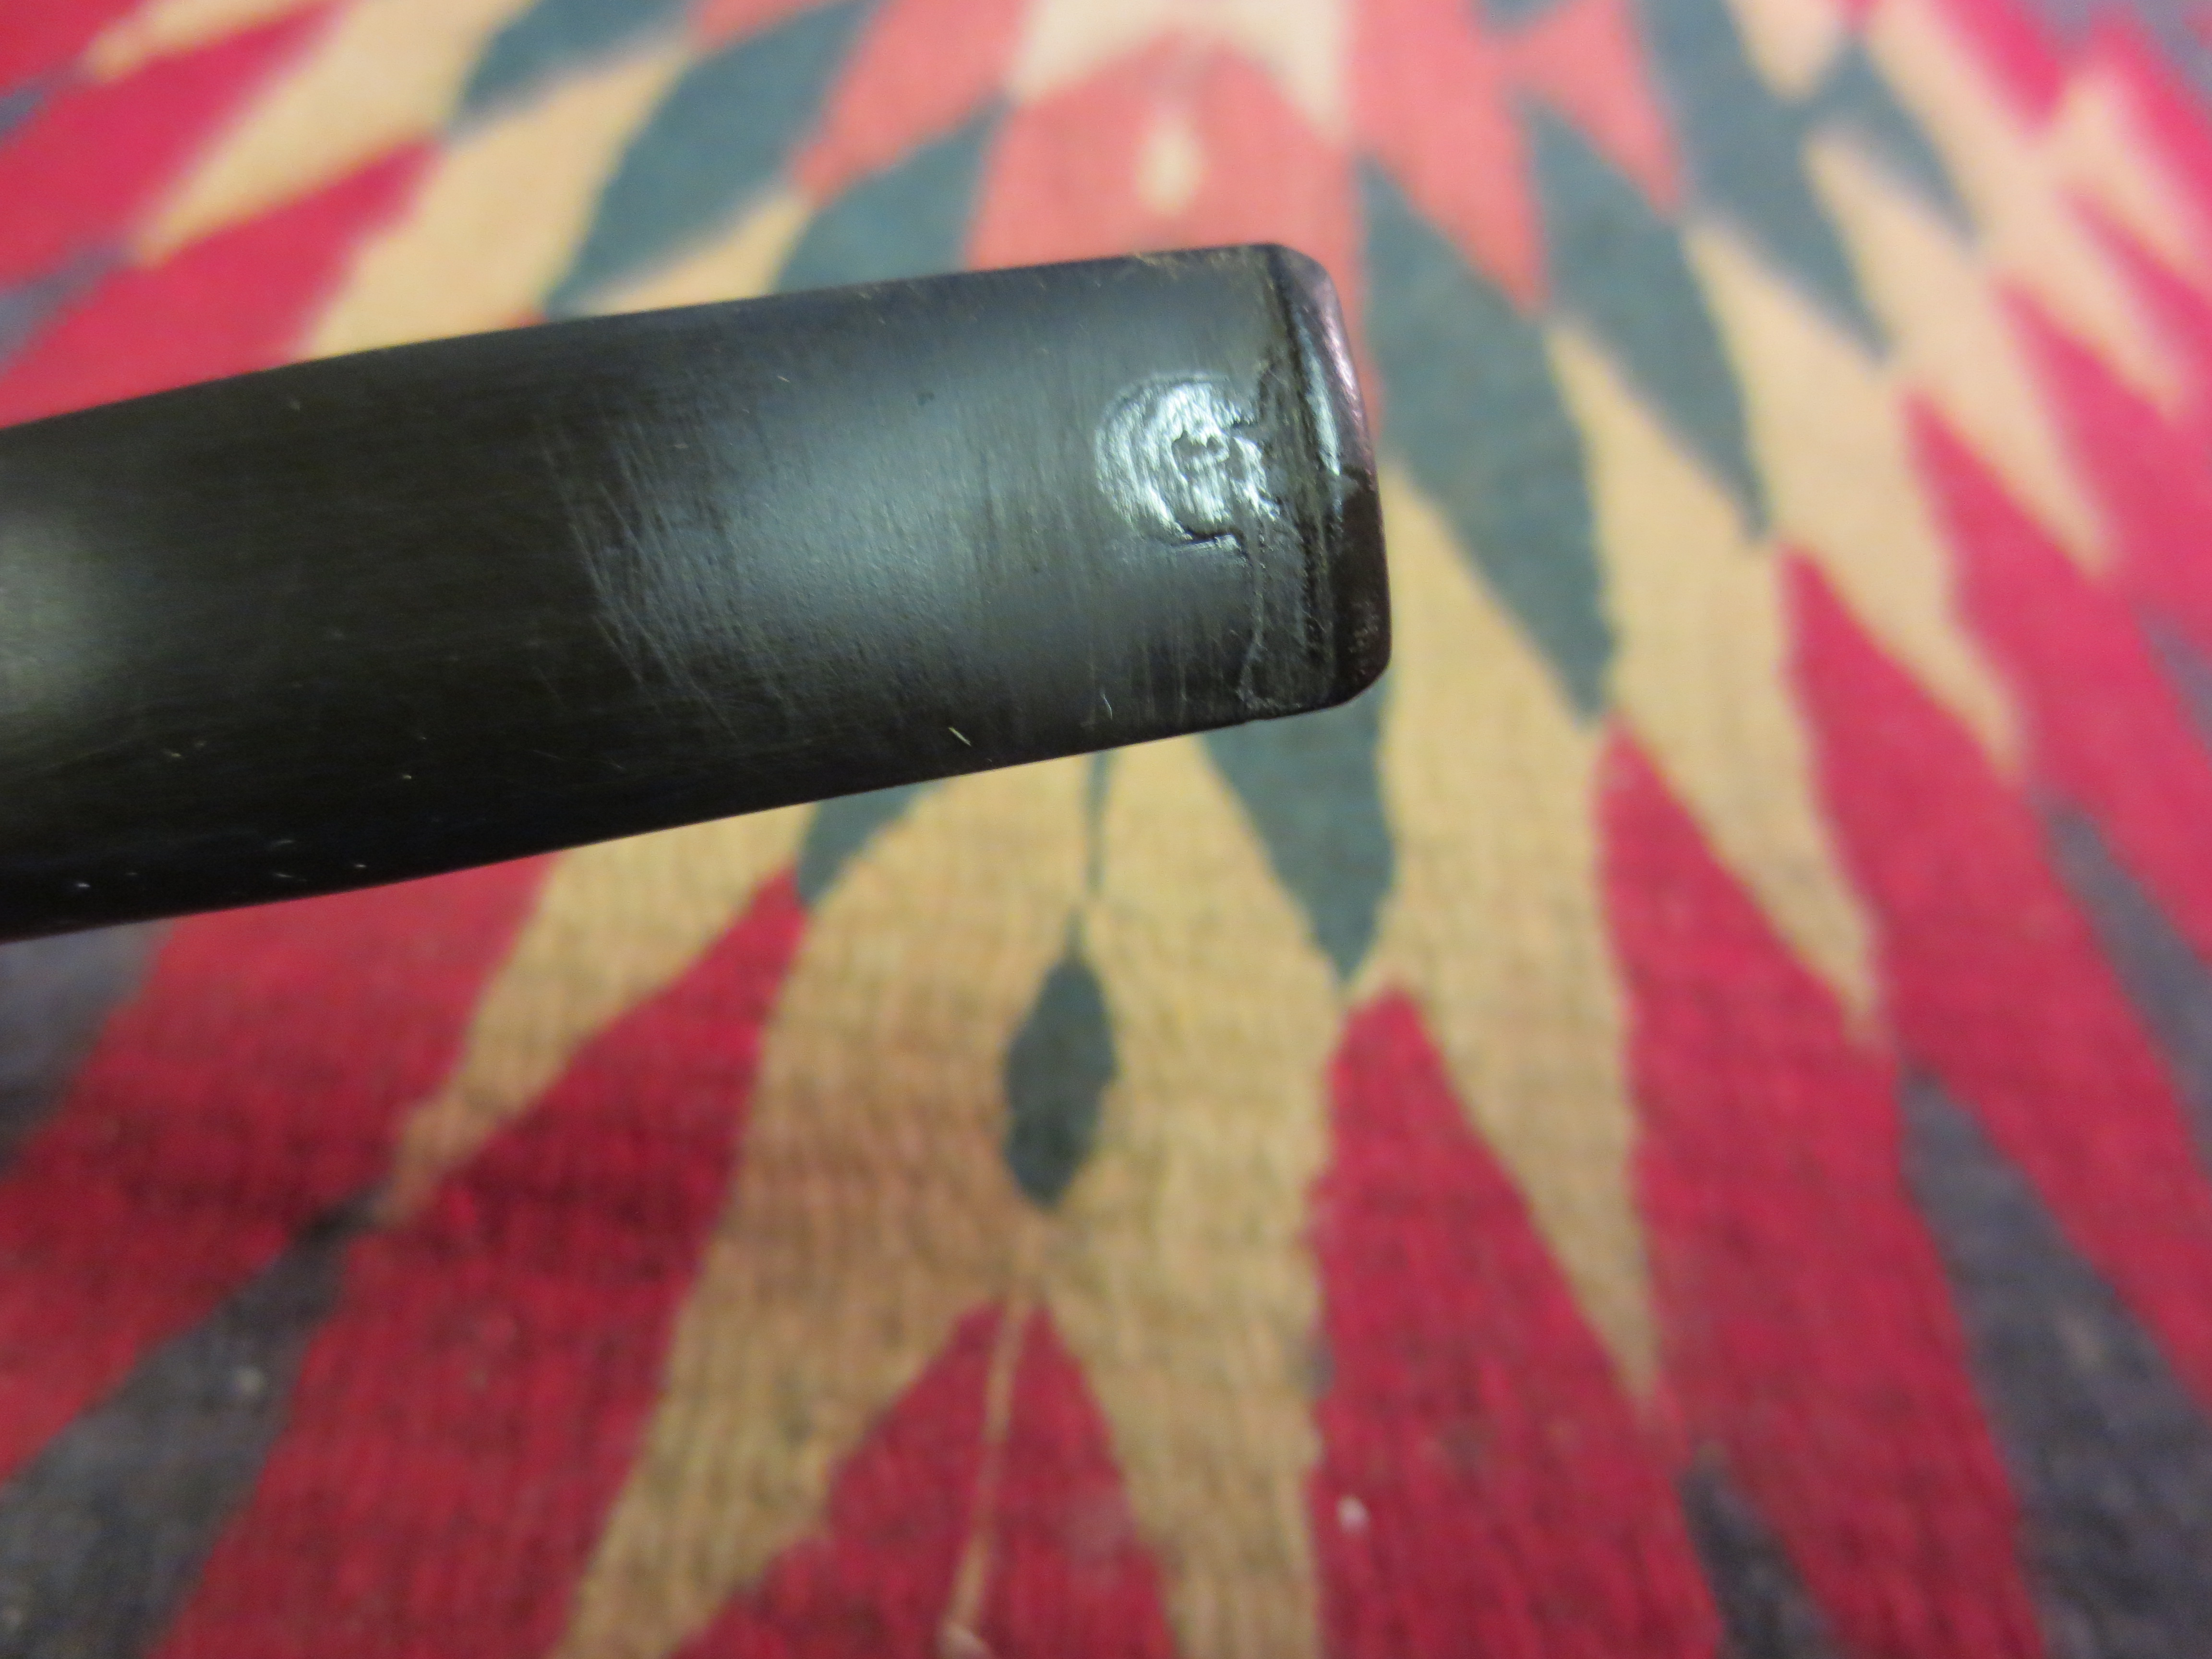
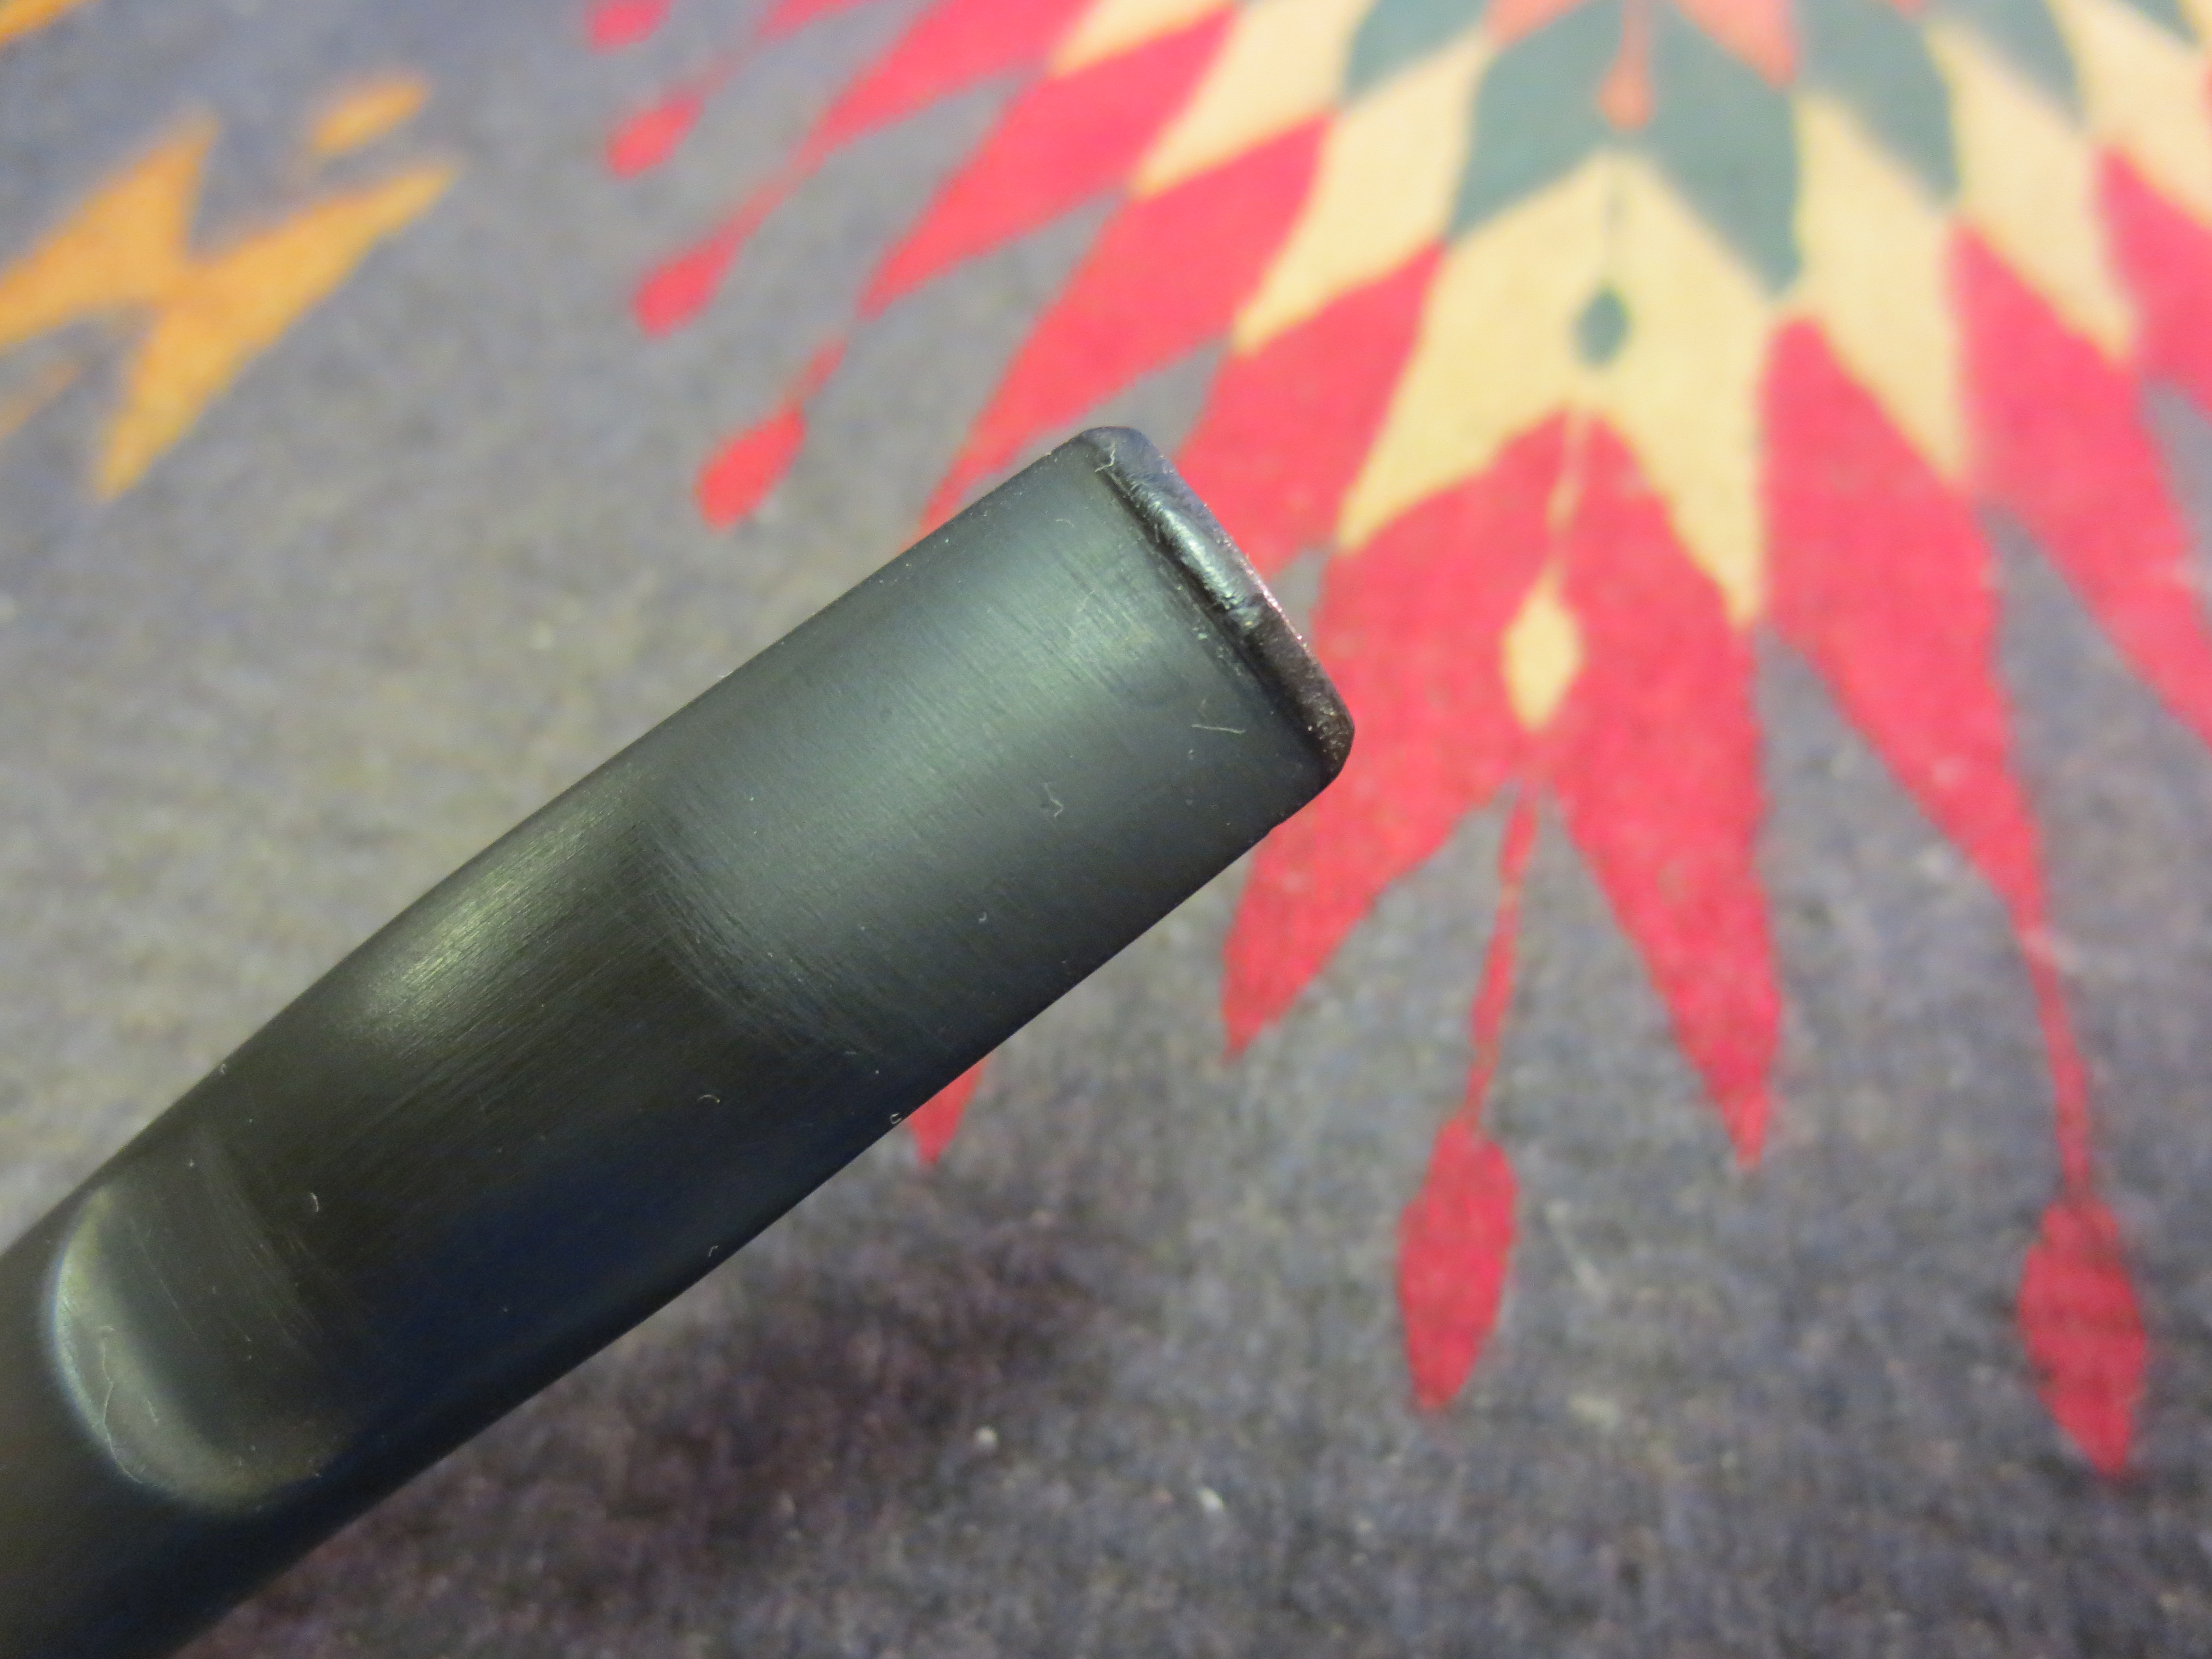
When I sanded the stem I found that there was one small tooth mark on the top of the stem near the button that no amount of heat would lift up. I sanded the spot with the 220 grit sandpaper until it was clean and then buffed it with Tripoli until it was very clear the breadth of the spot. I filled the indentation with clear super glue and sanded it once it was dry. The two photos below show the stem repair after the initial sanding and then after it was ready to be polished. Once the polishing was done the repair would be virtually invisible.

IMG_1345

IMG_1346

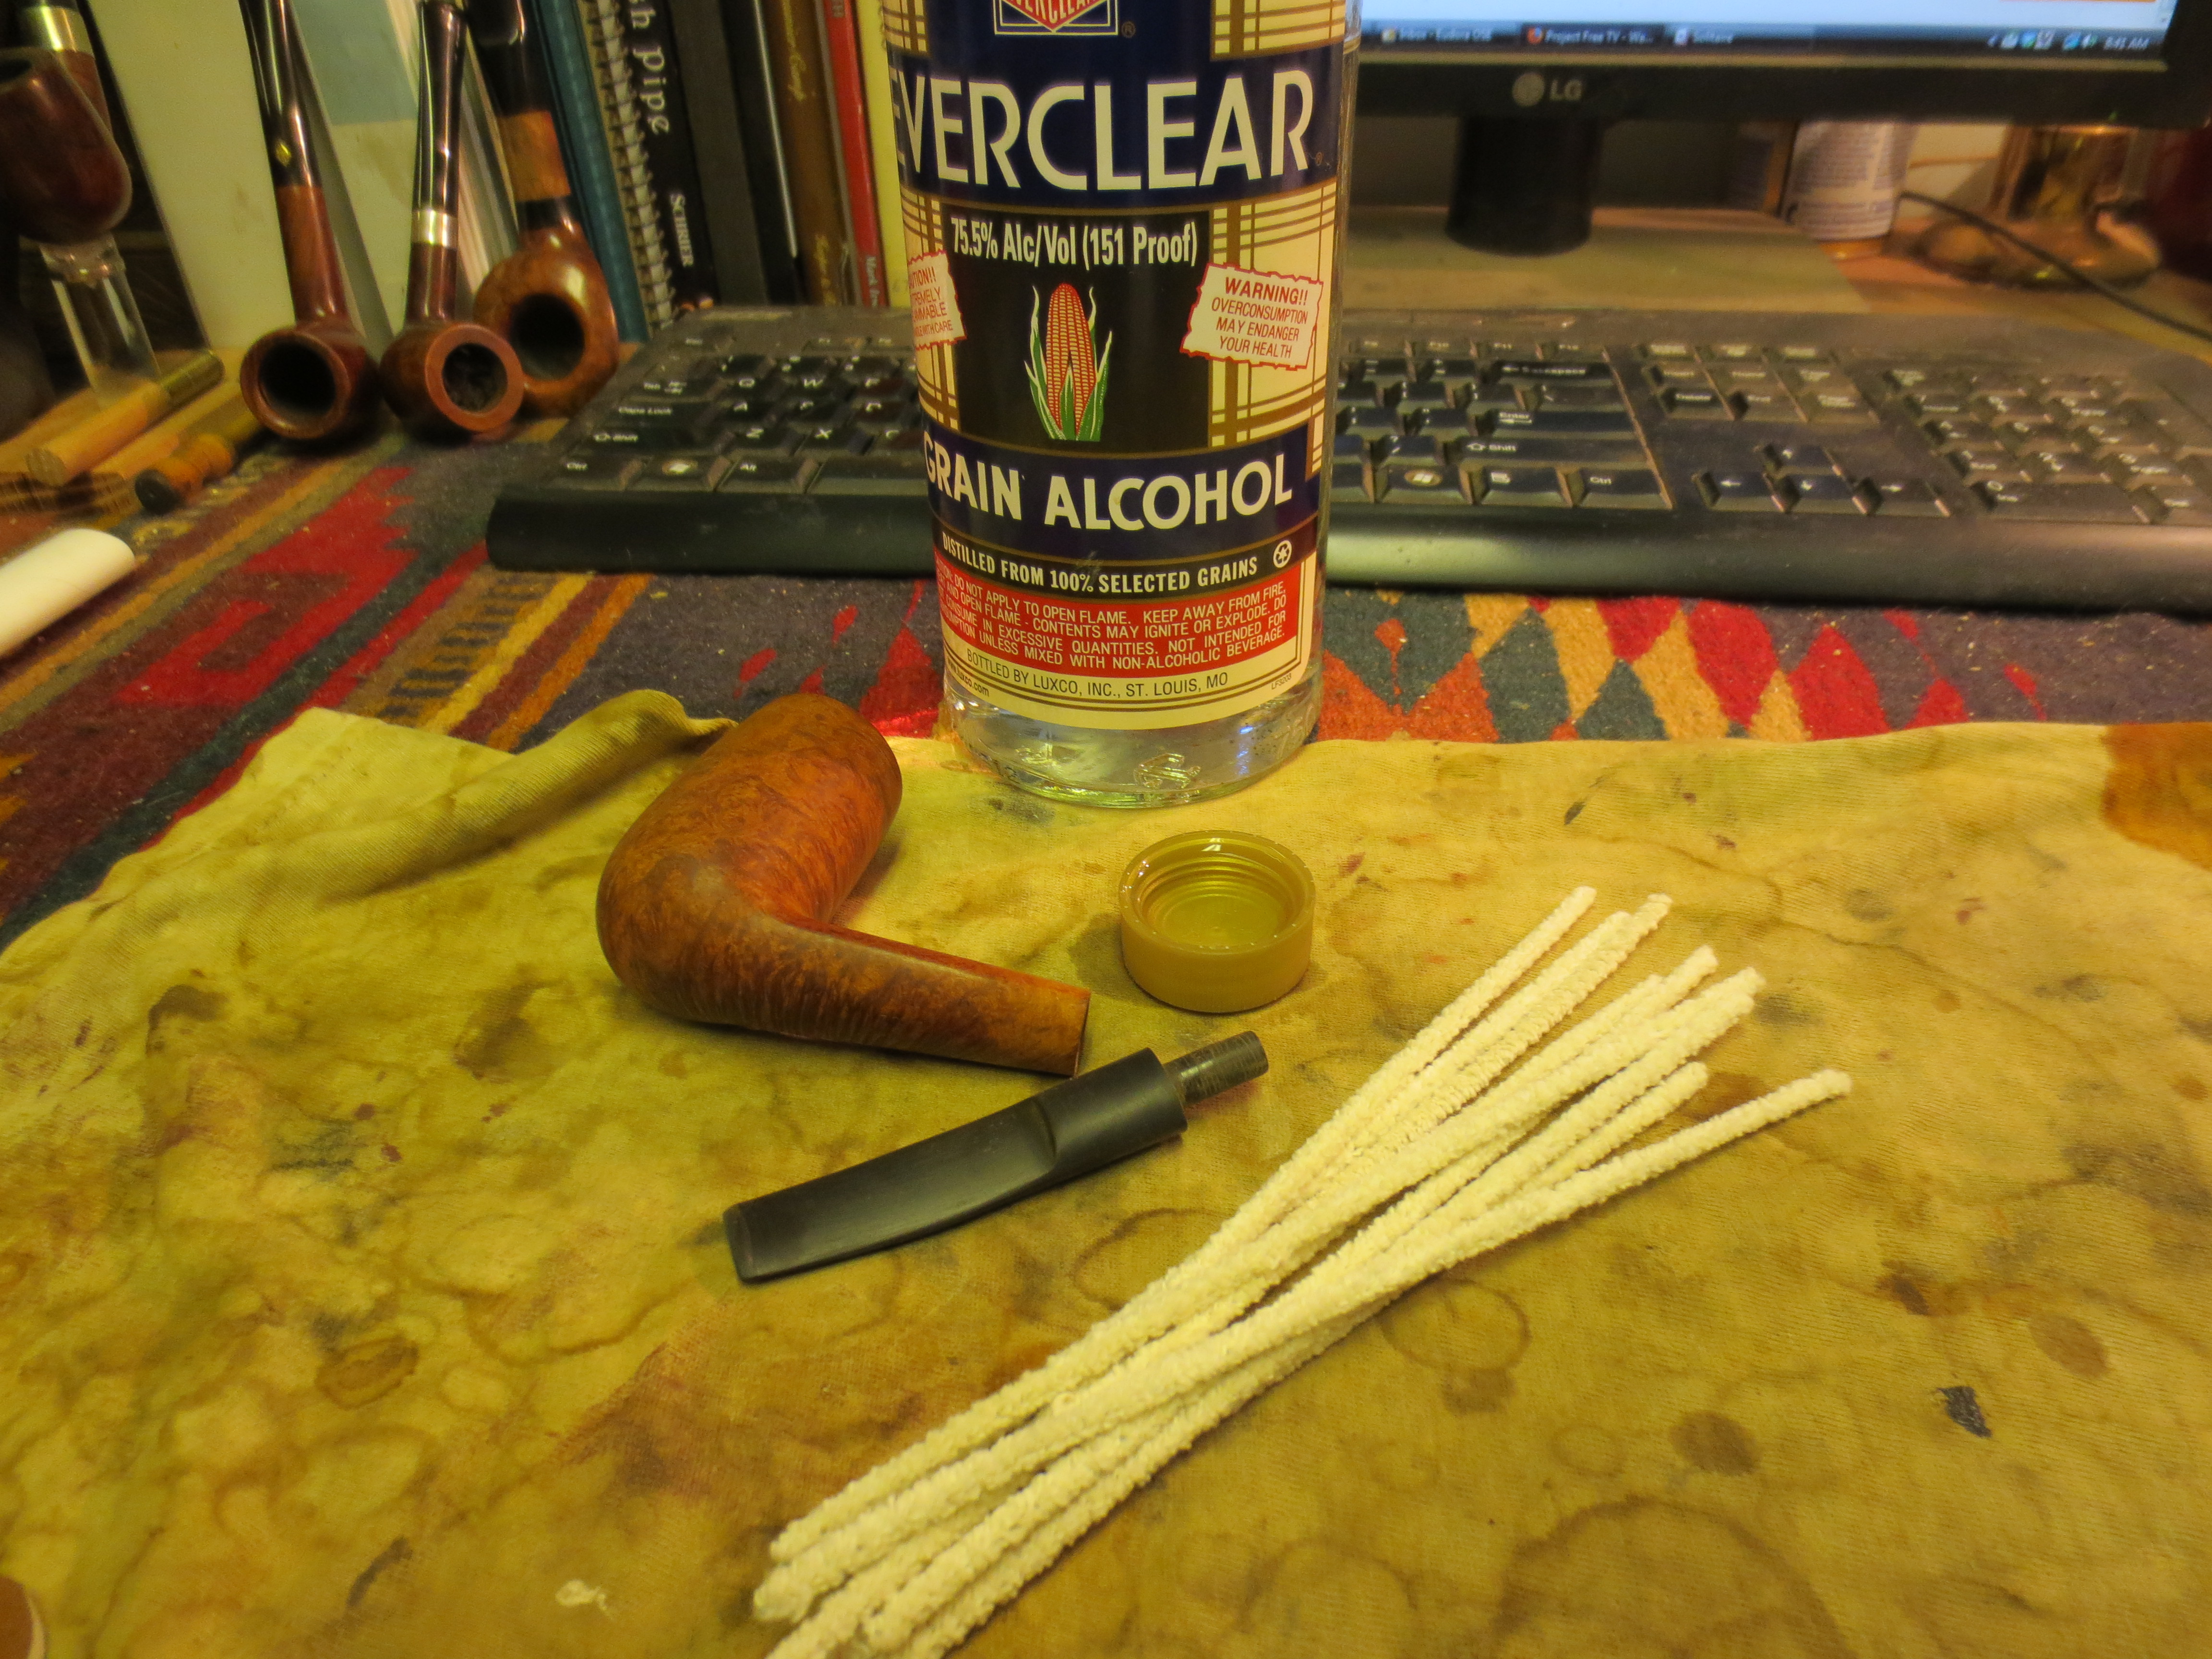
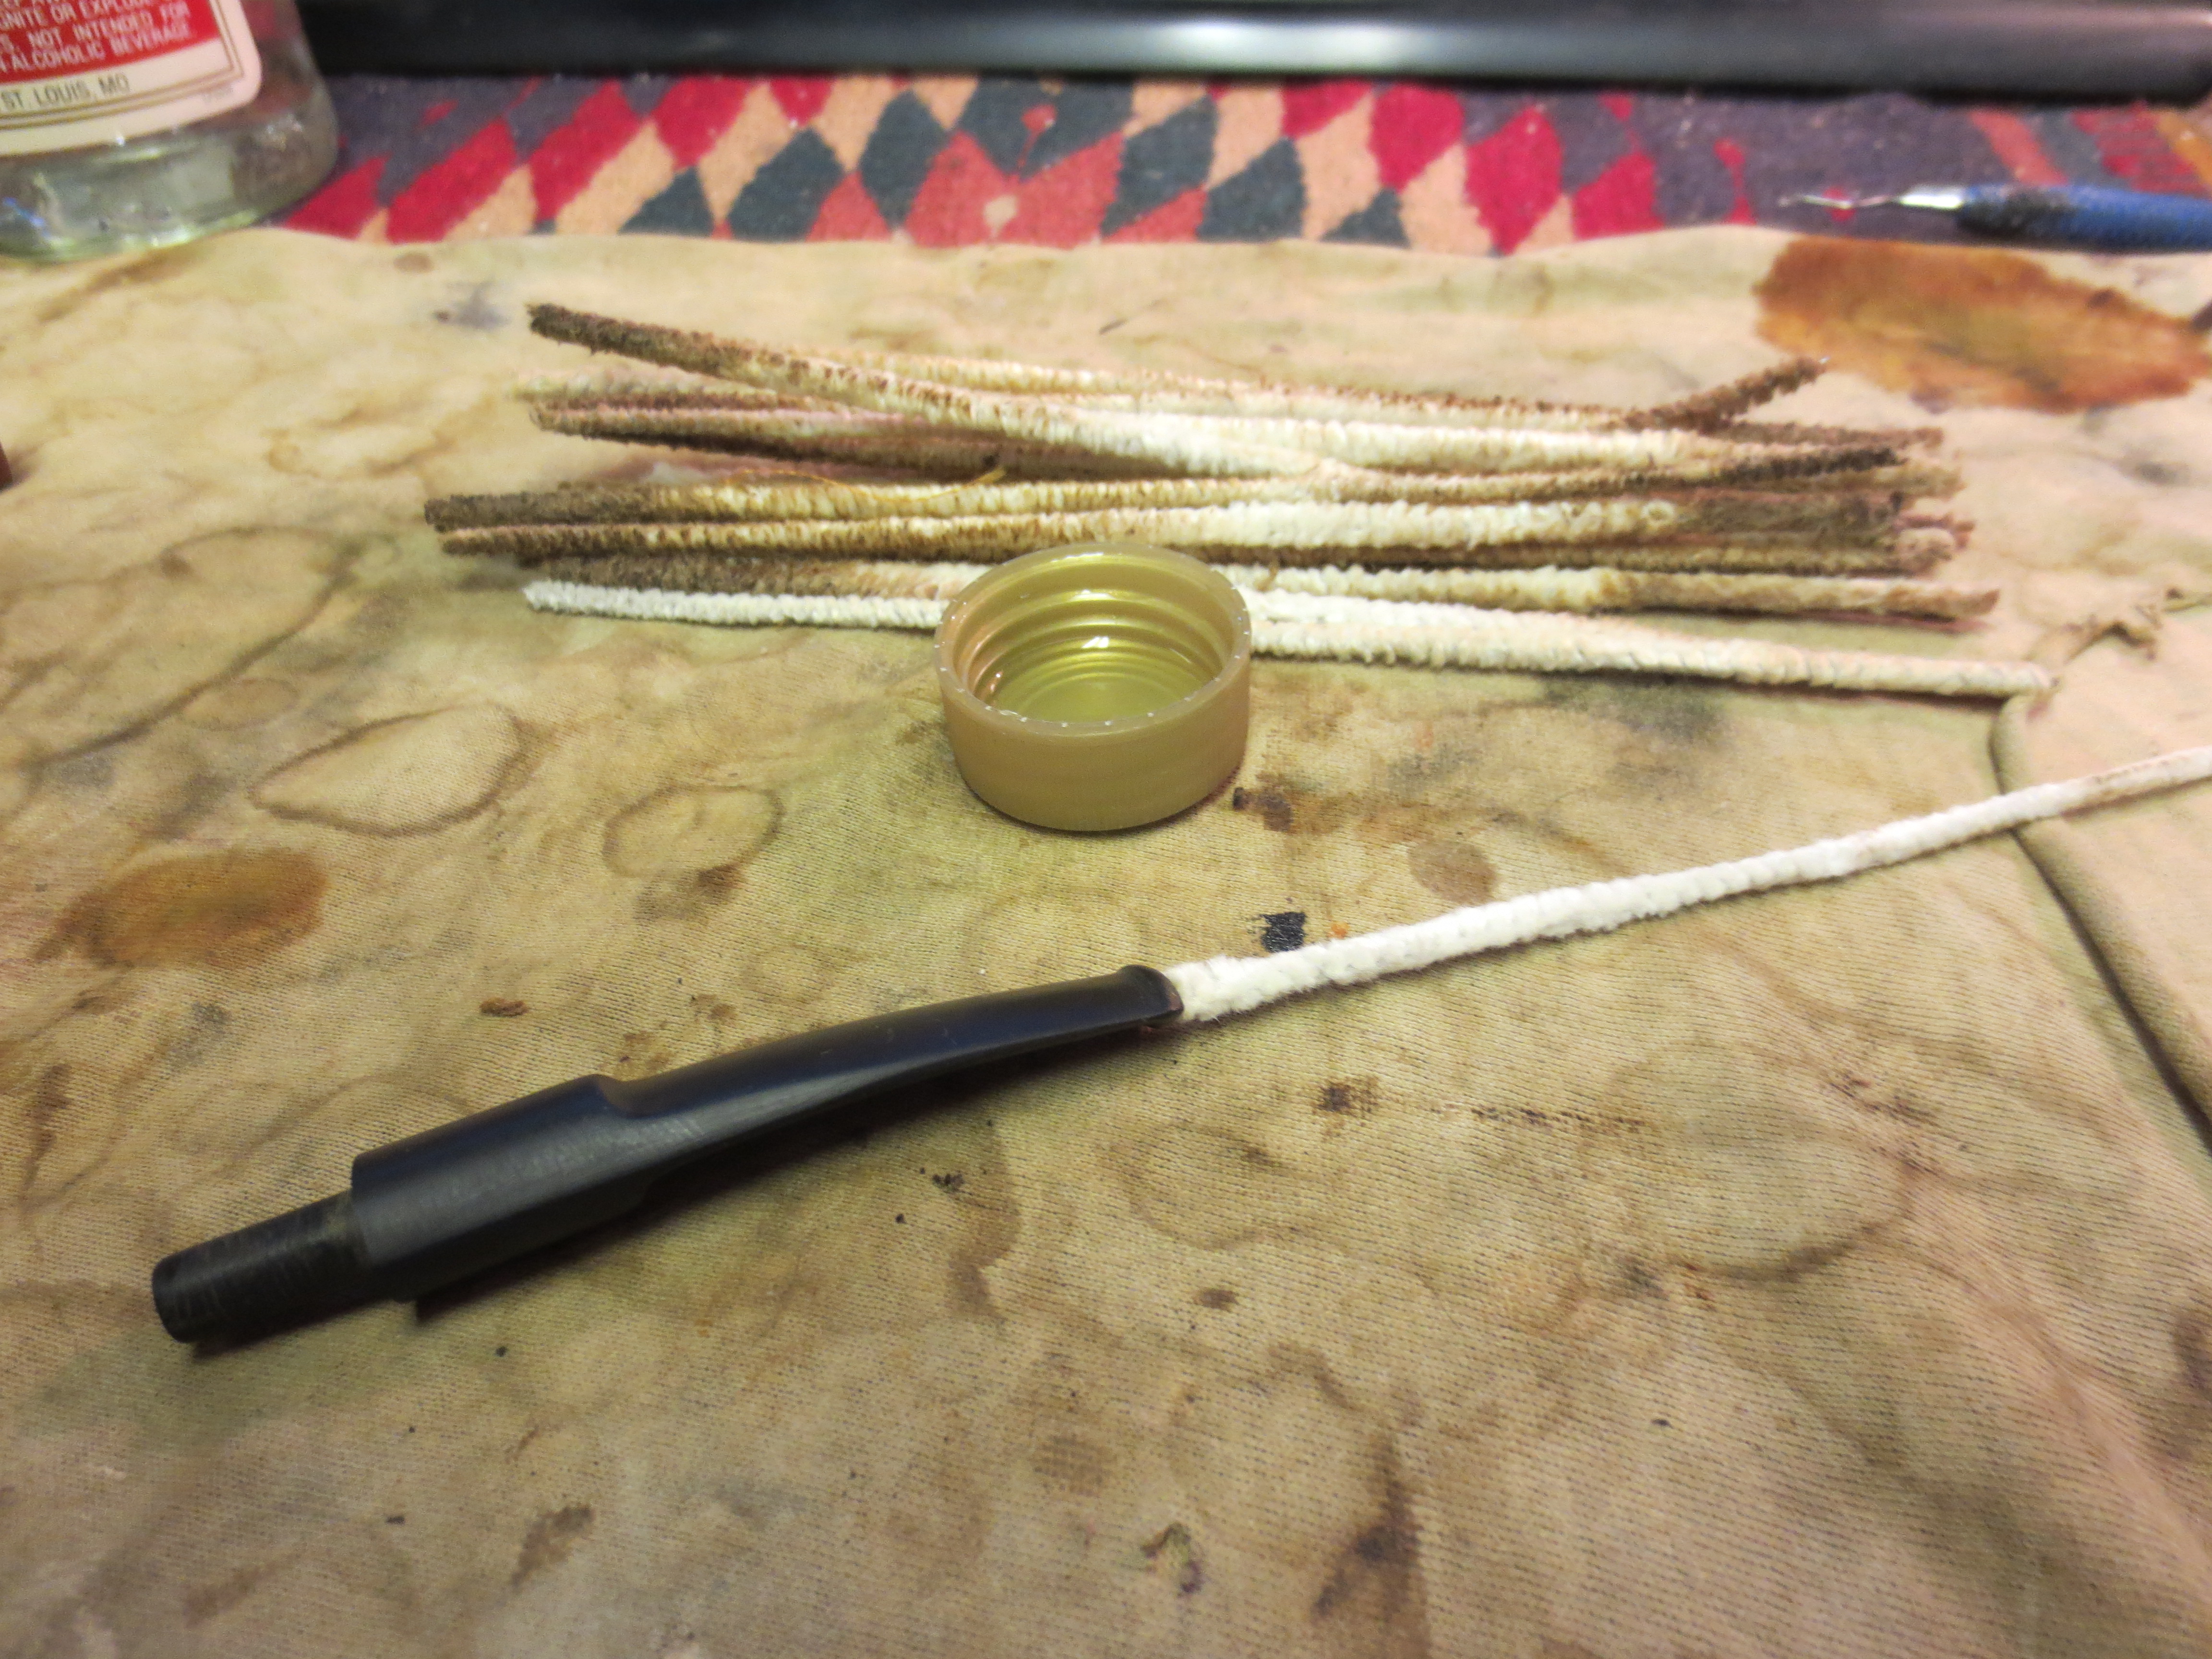
I cleaned the internals of the stem and the shank with pipe cleaners, cotton swabs and Everclear until the shank and the internals of the stem were clean. I used a dental pick to clean out the areas inside the button and the flare of the airway in the button.

IMG_1347

IMG_1349

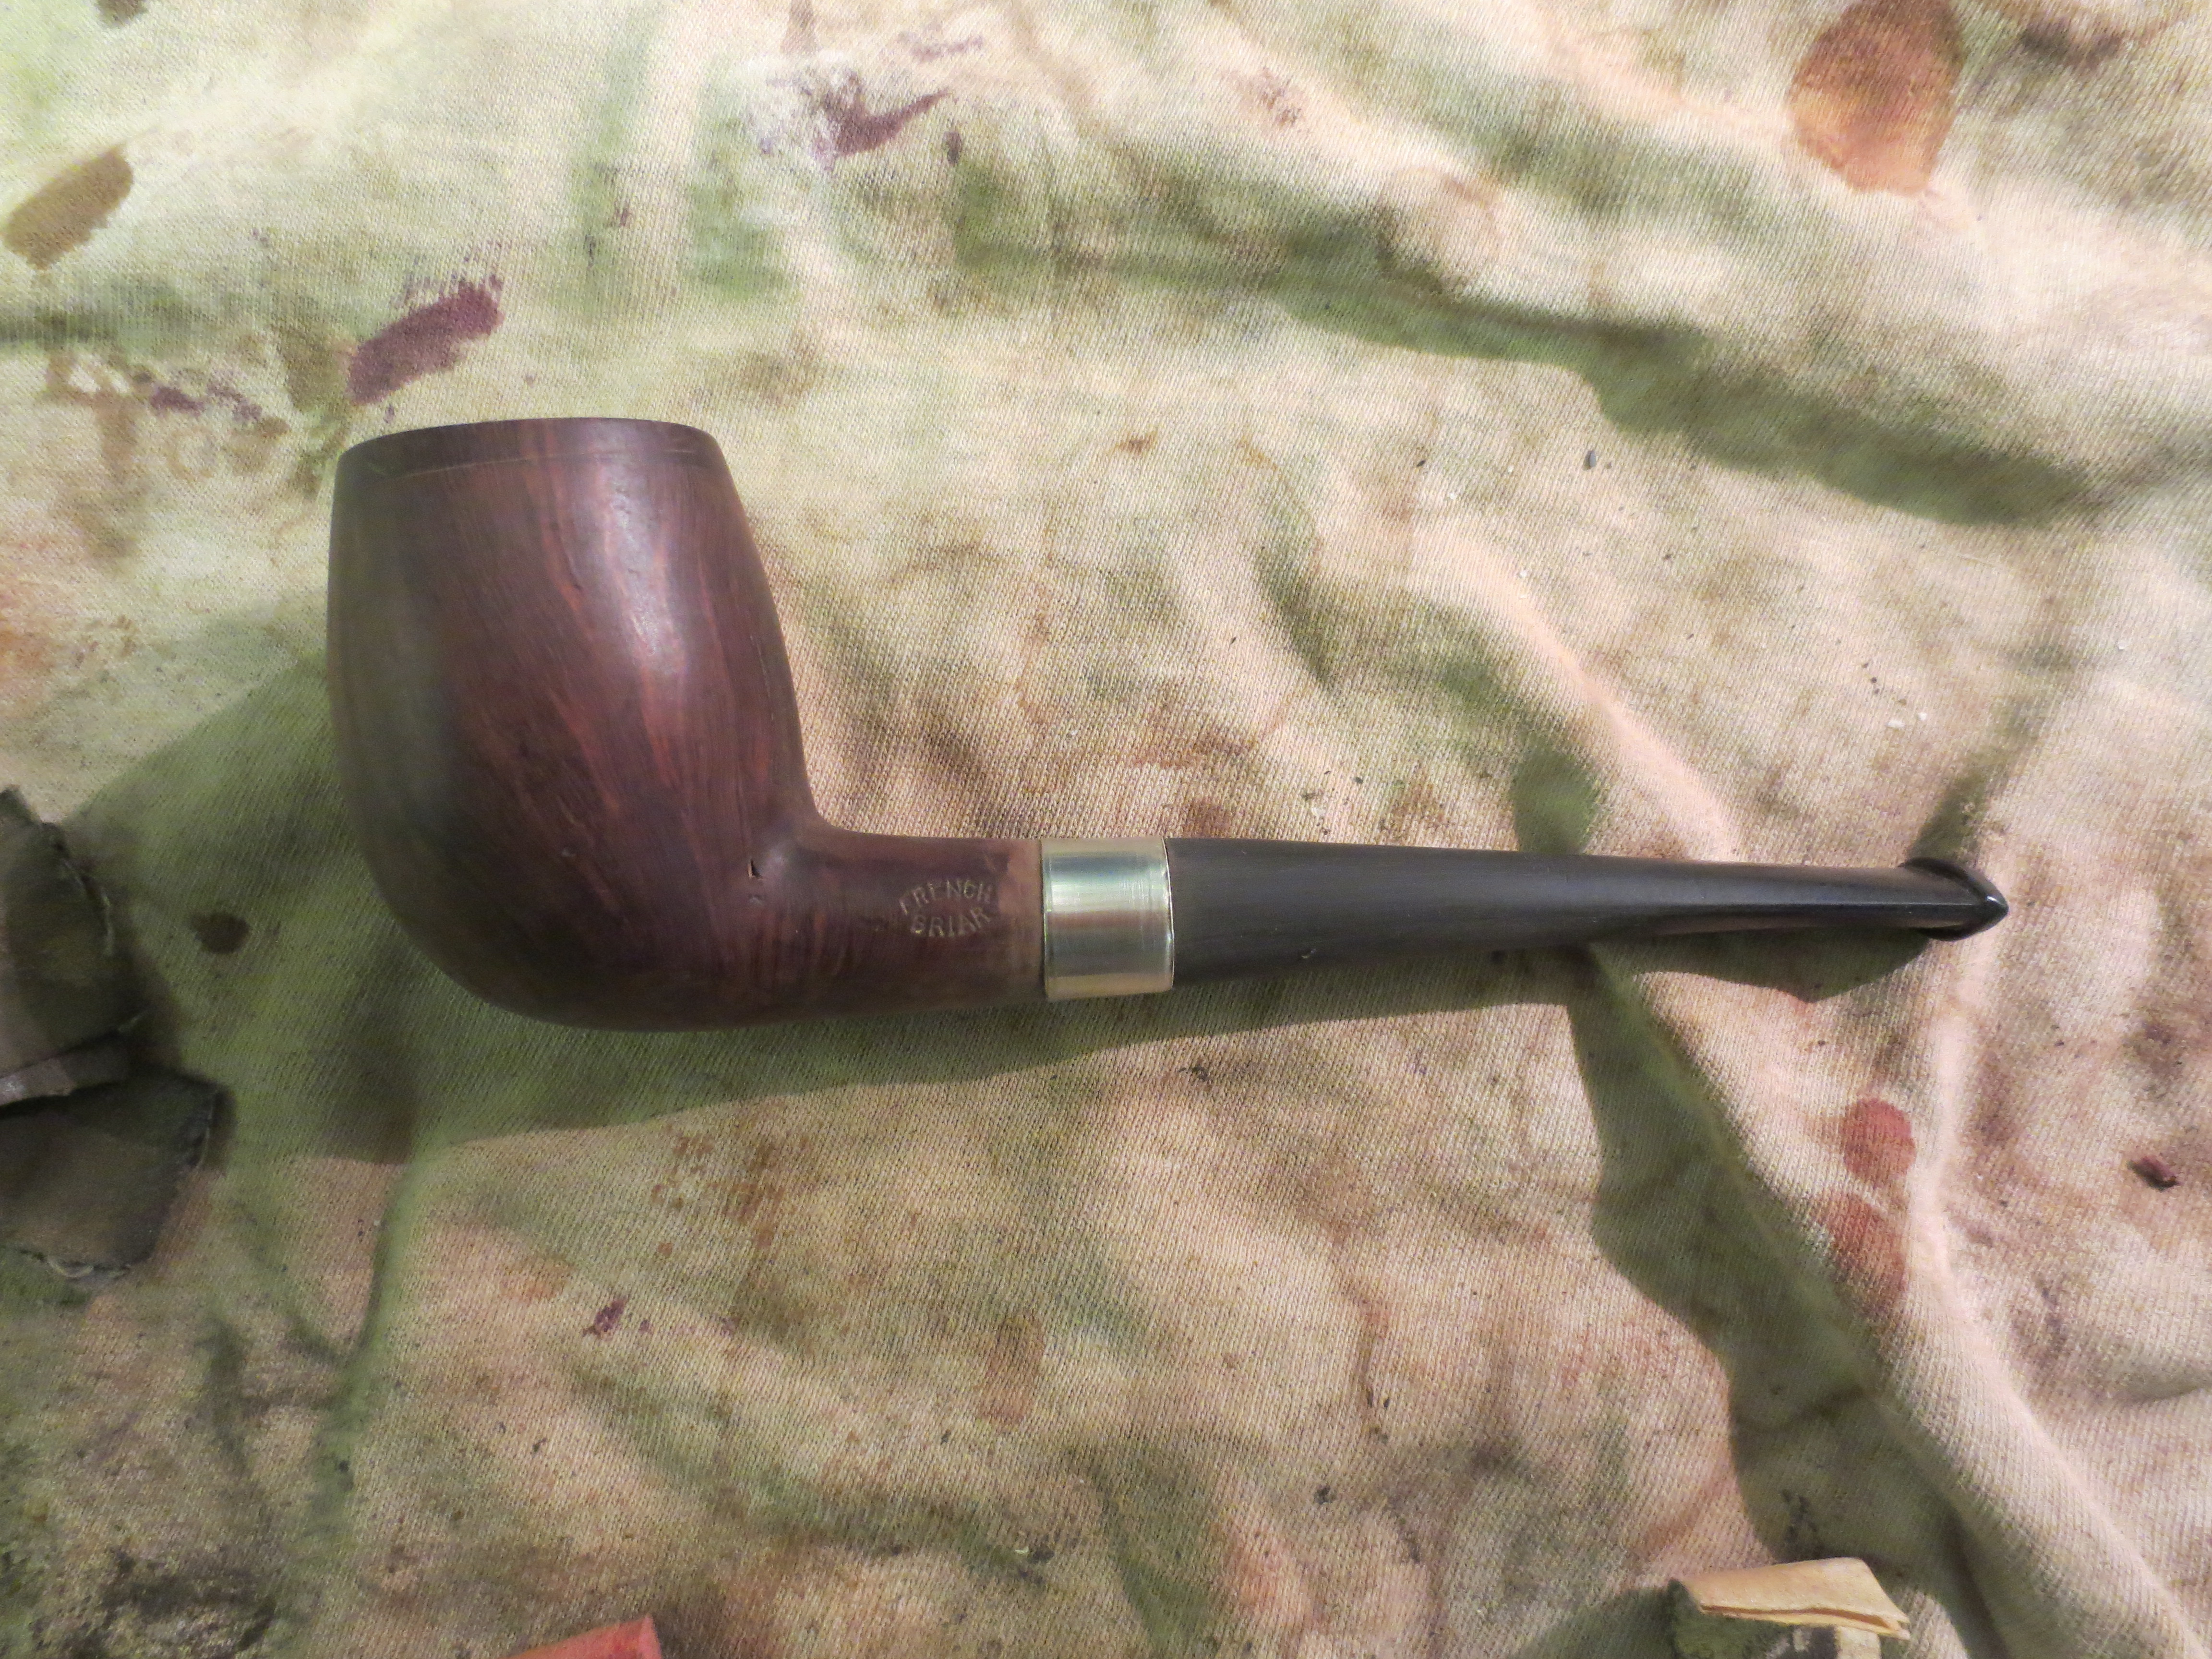
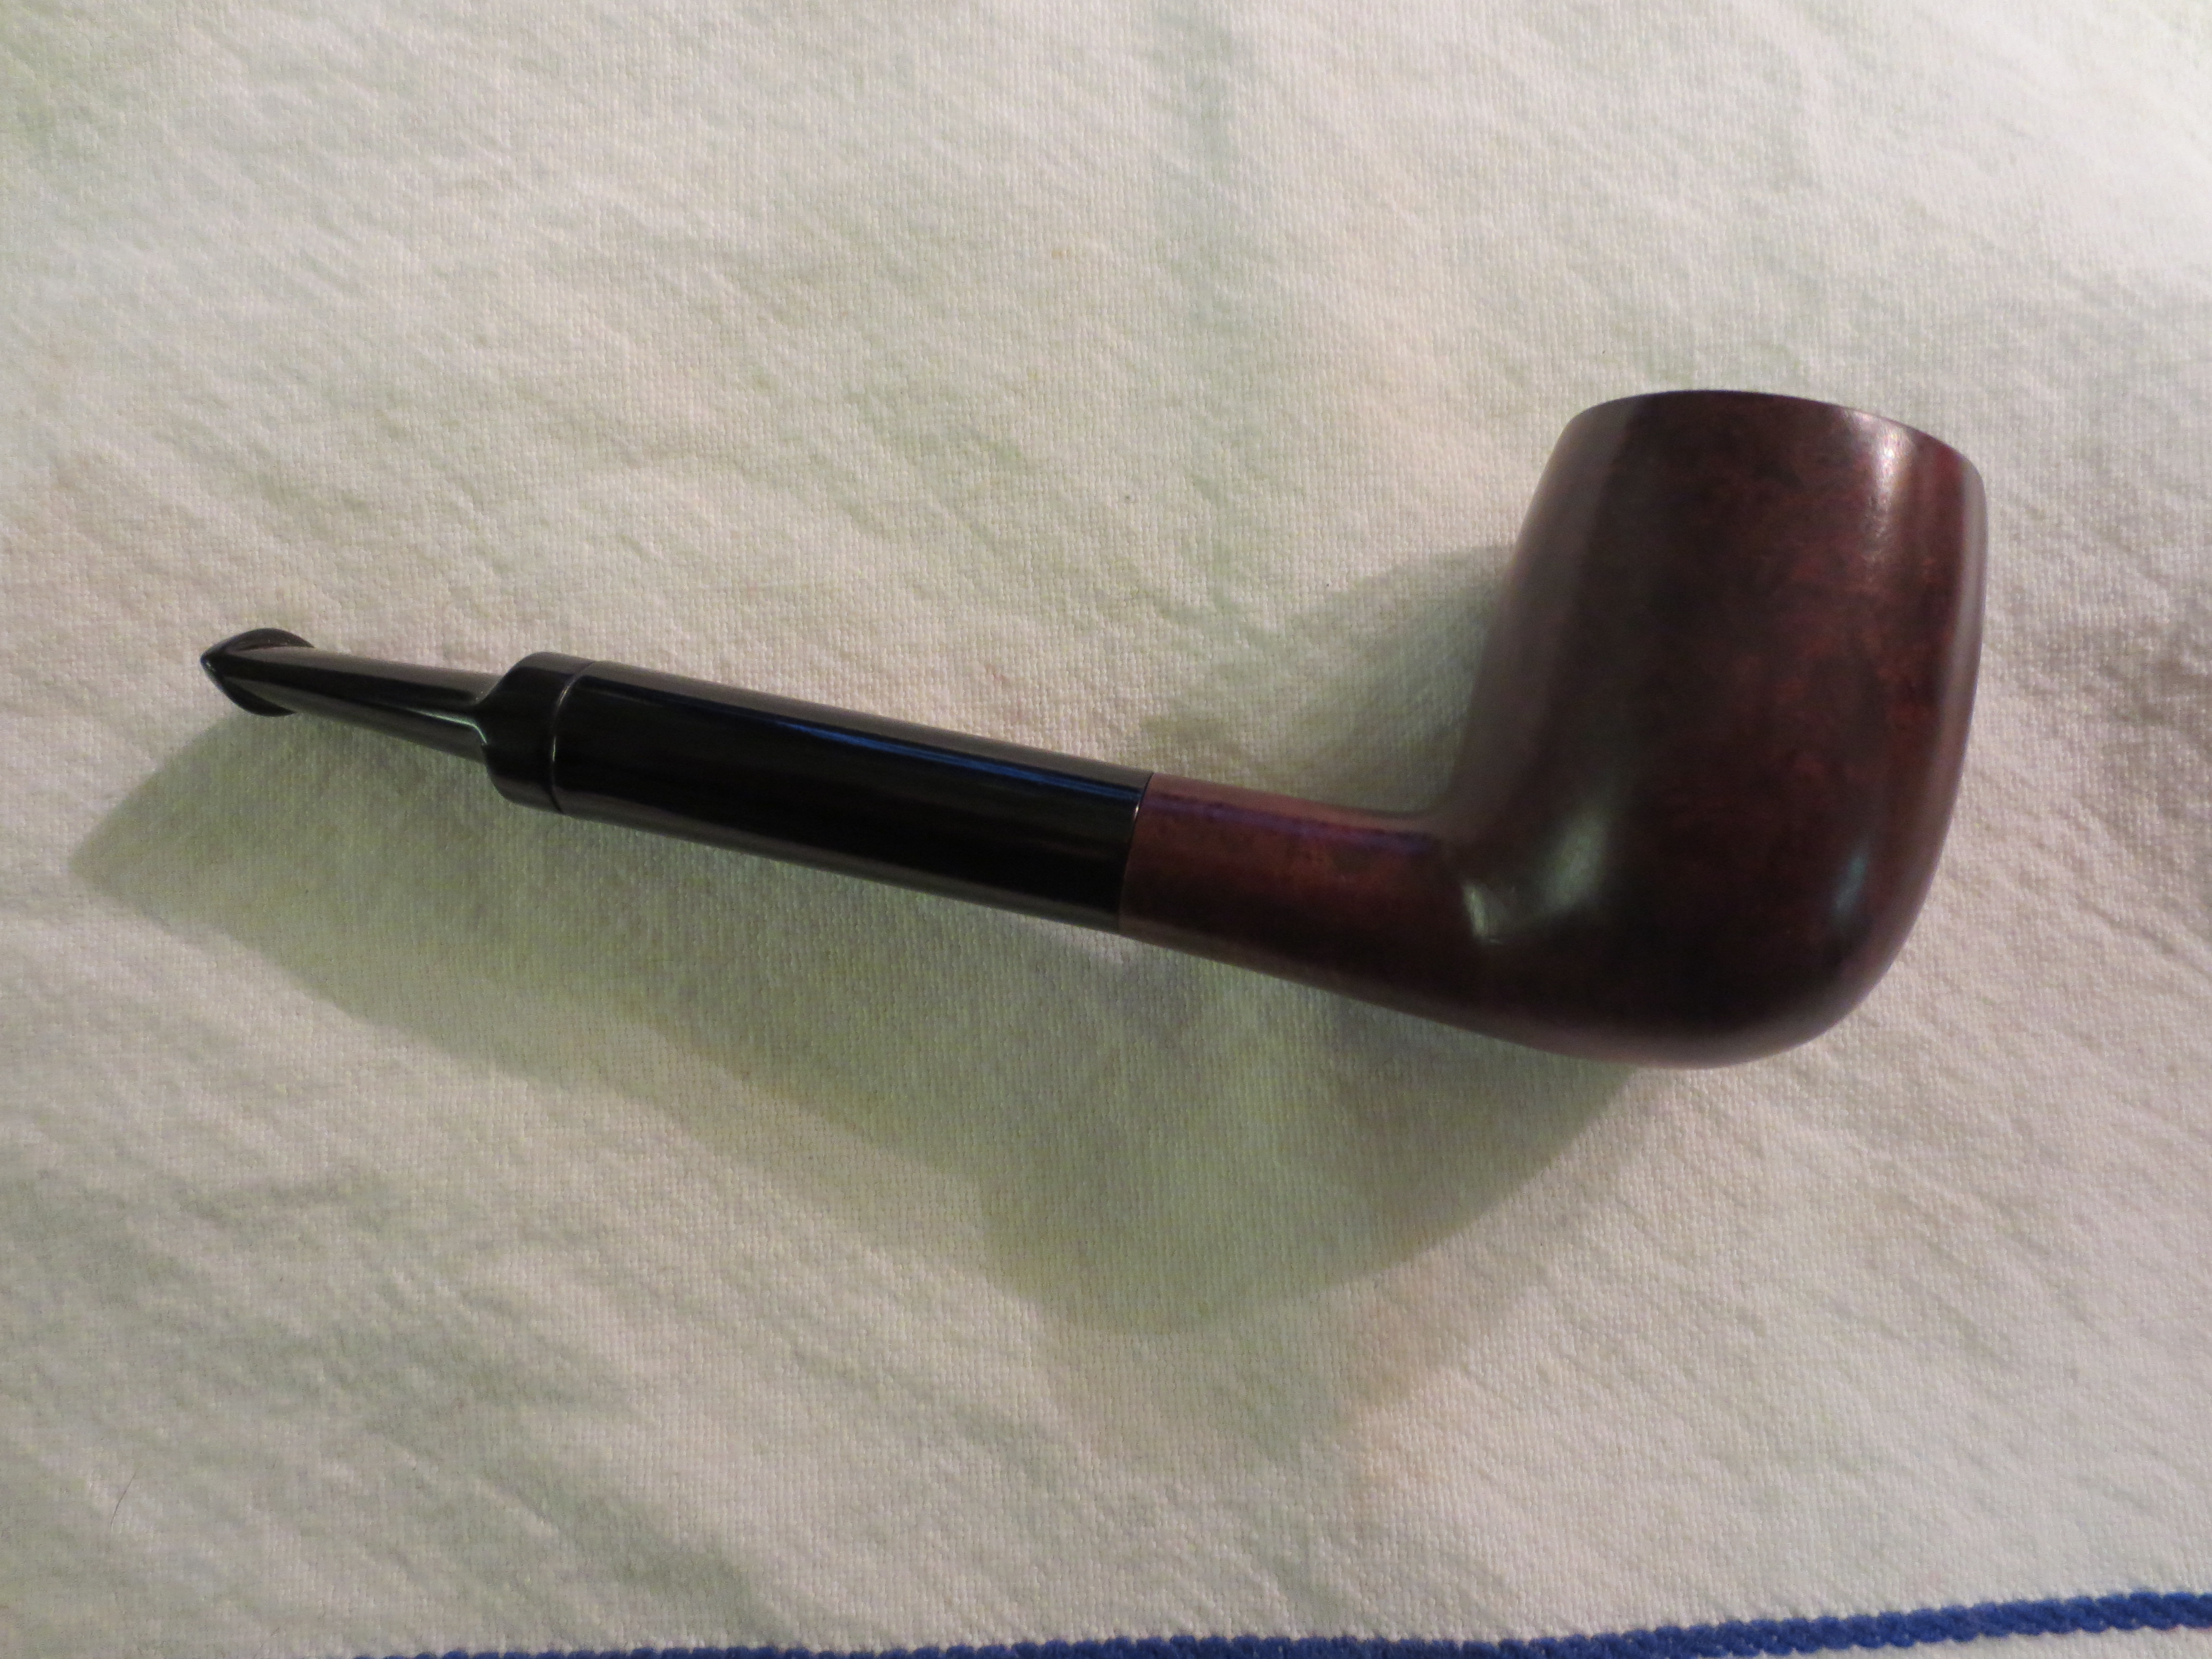
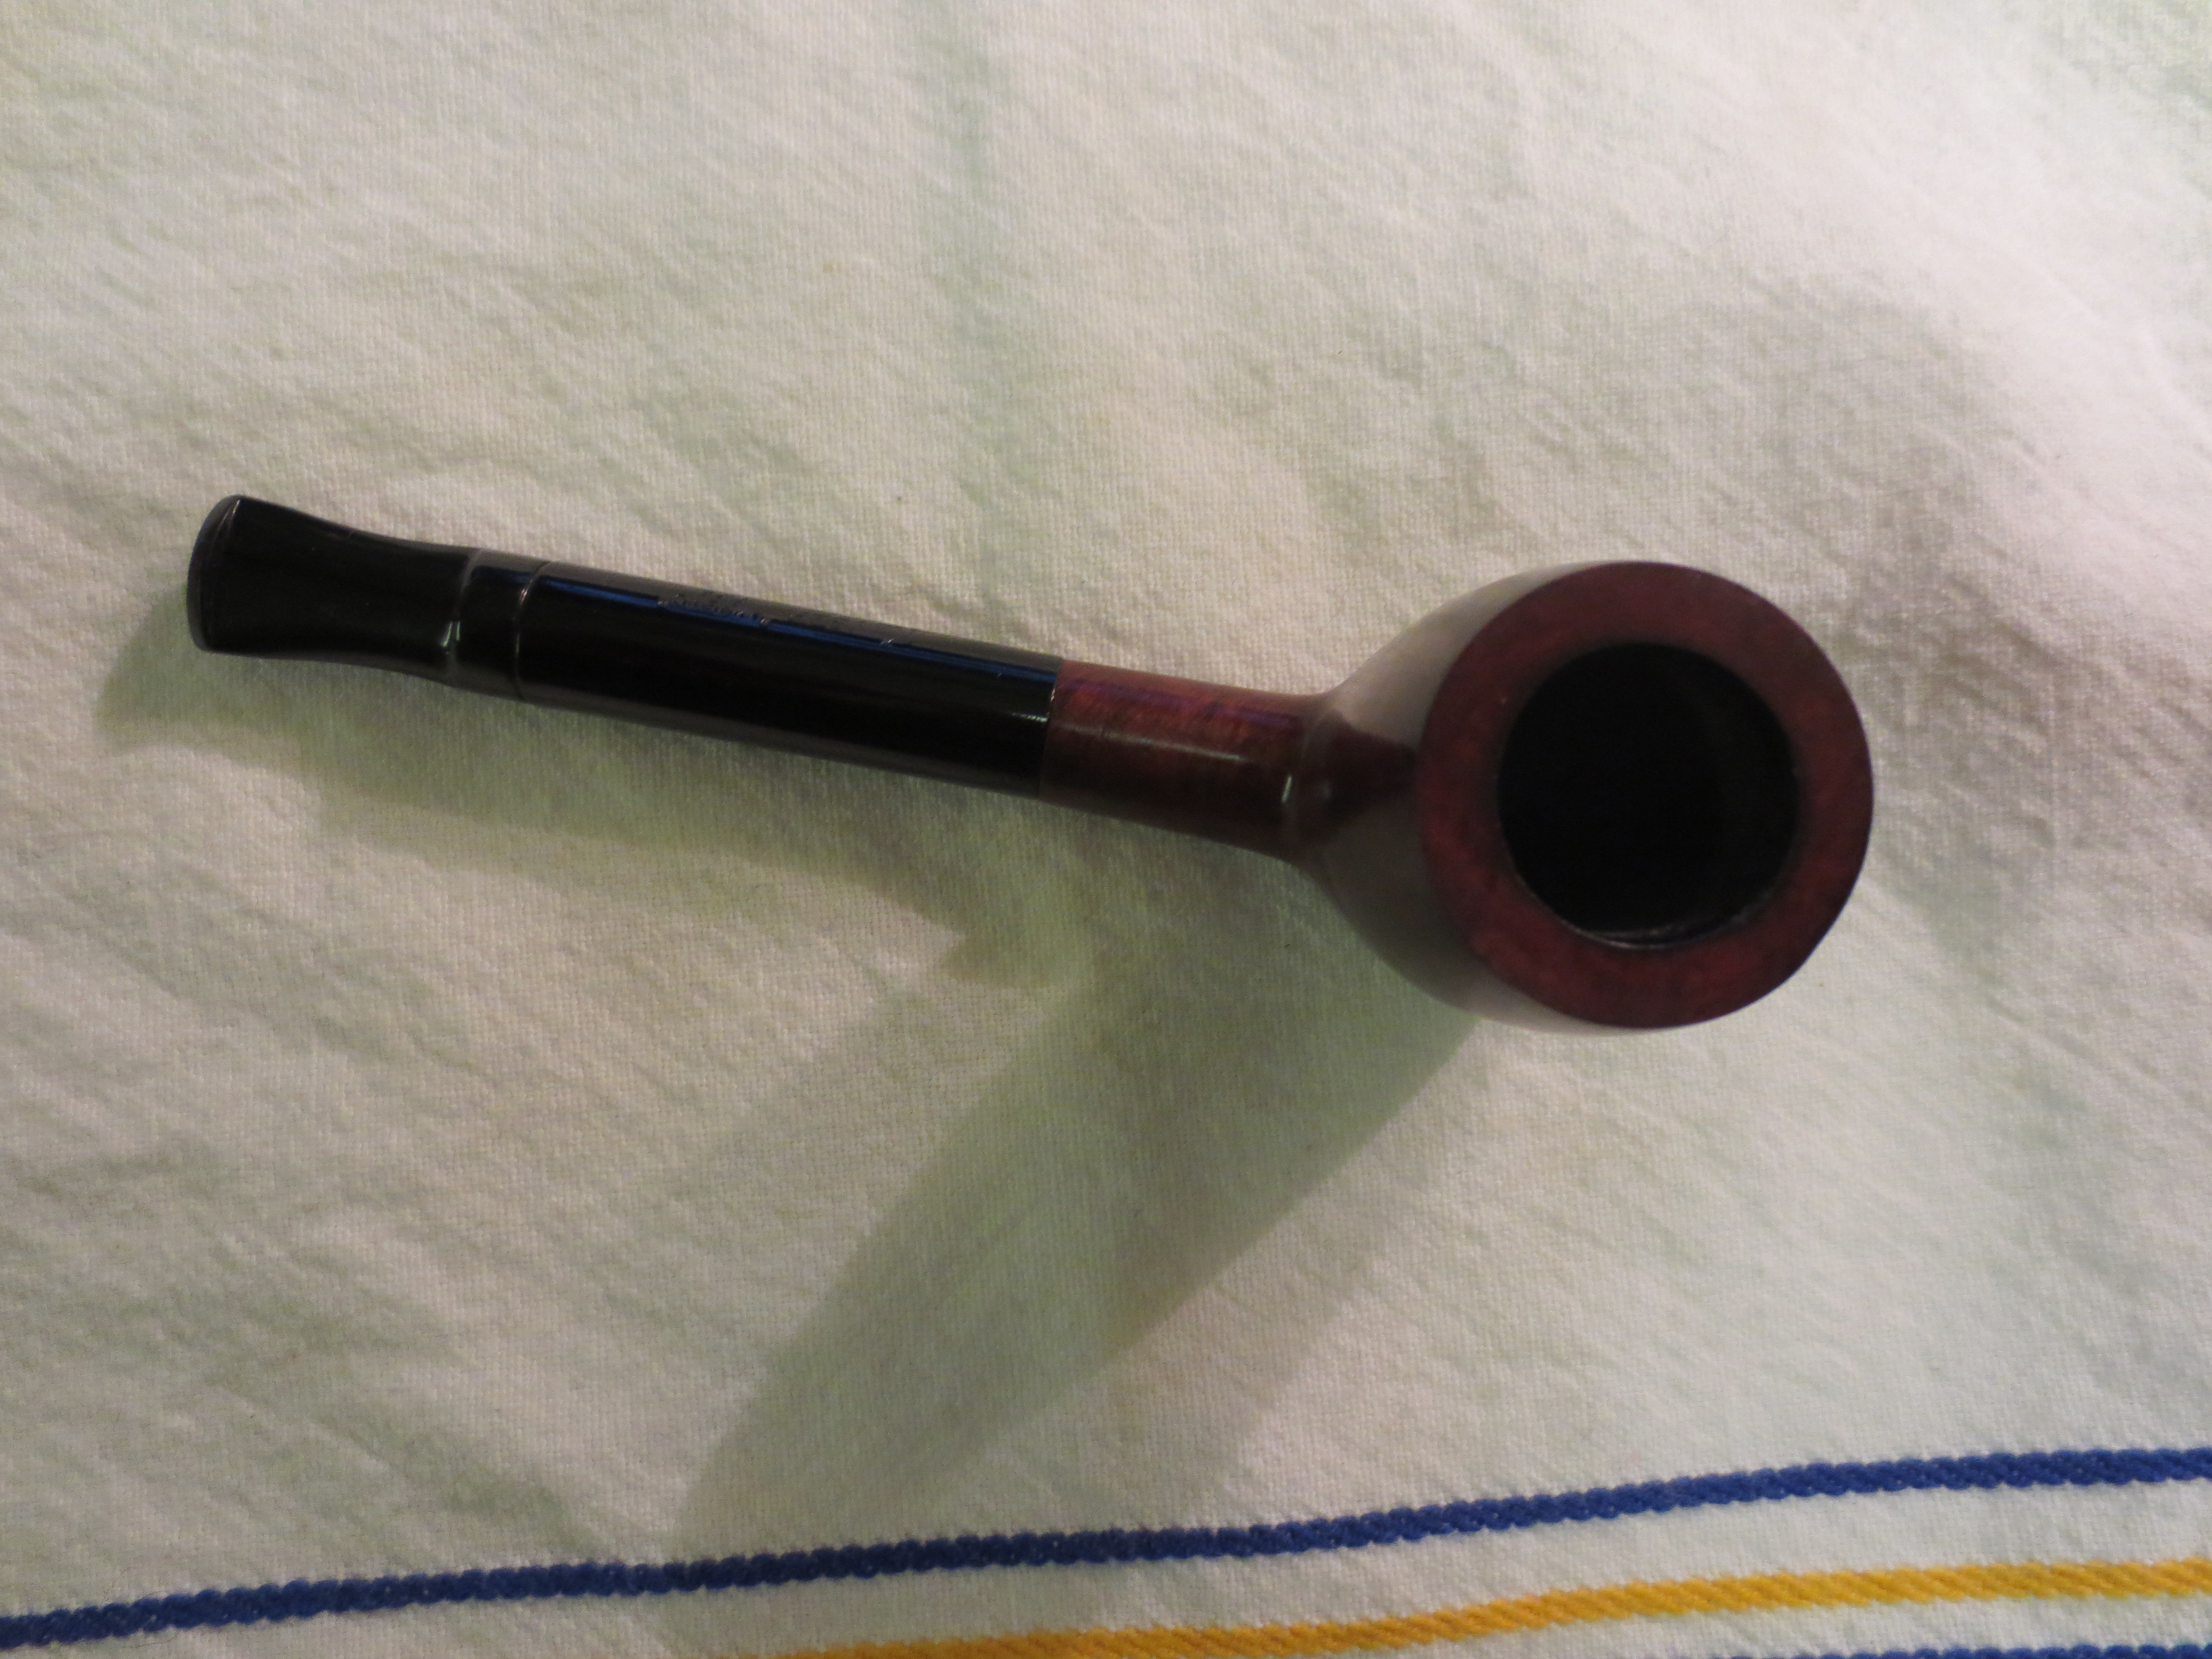
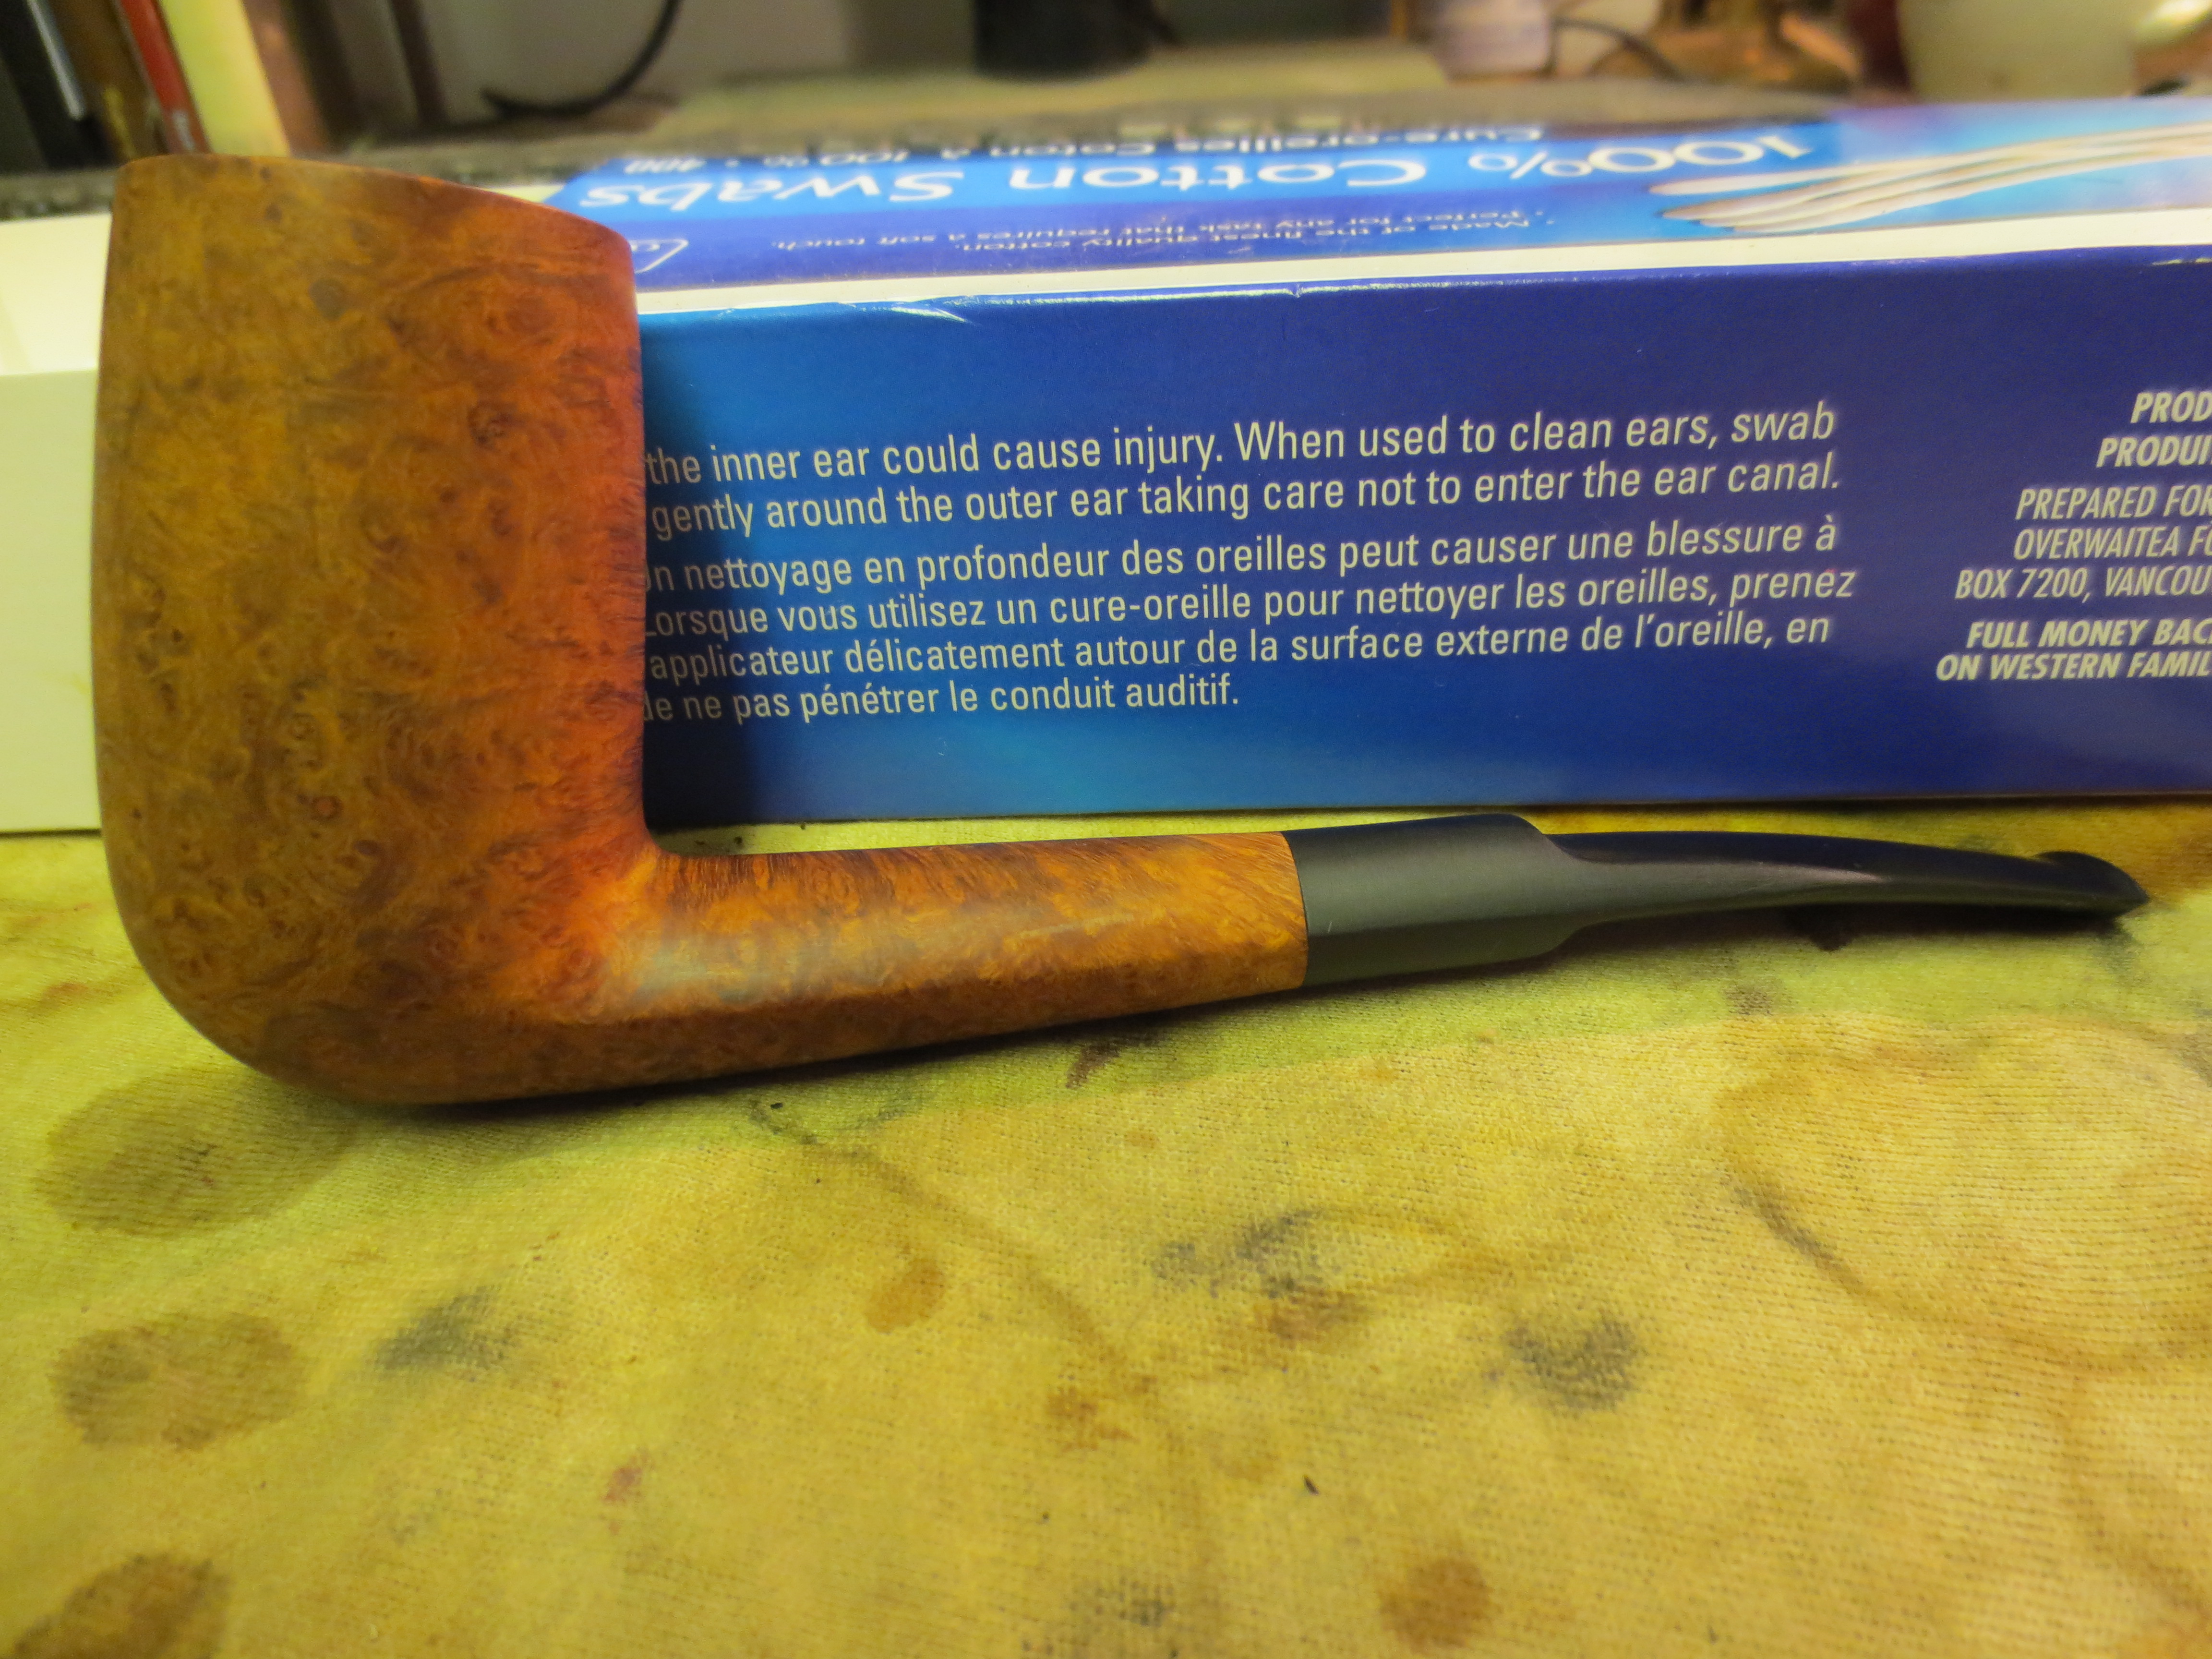
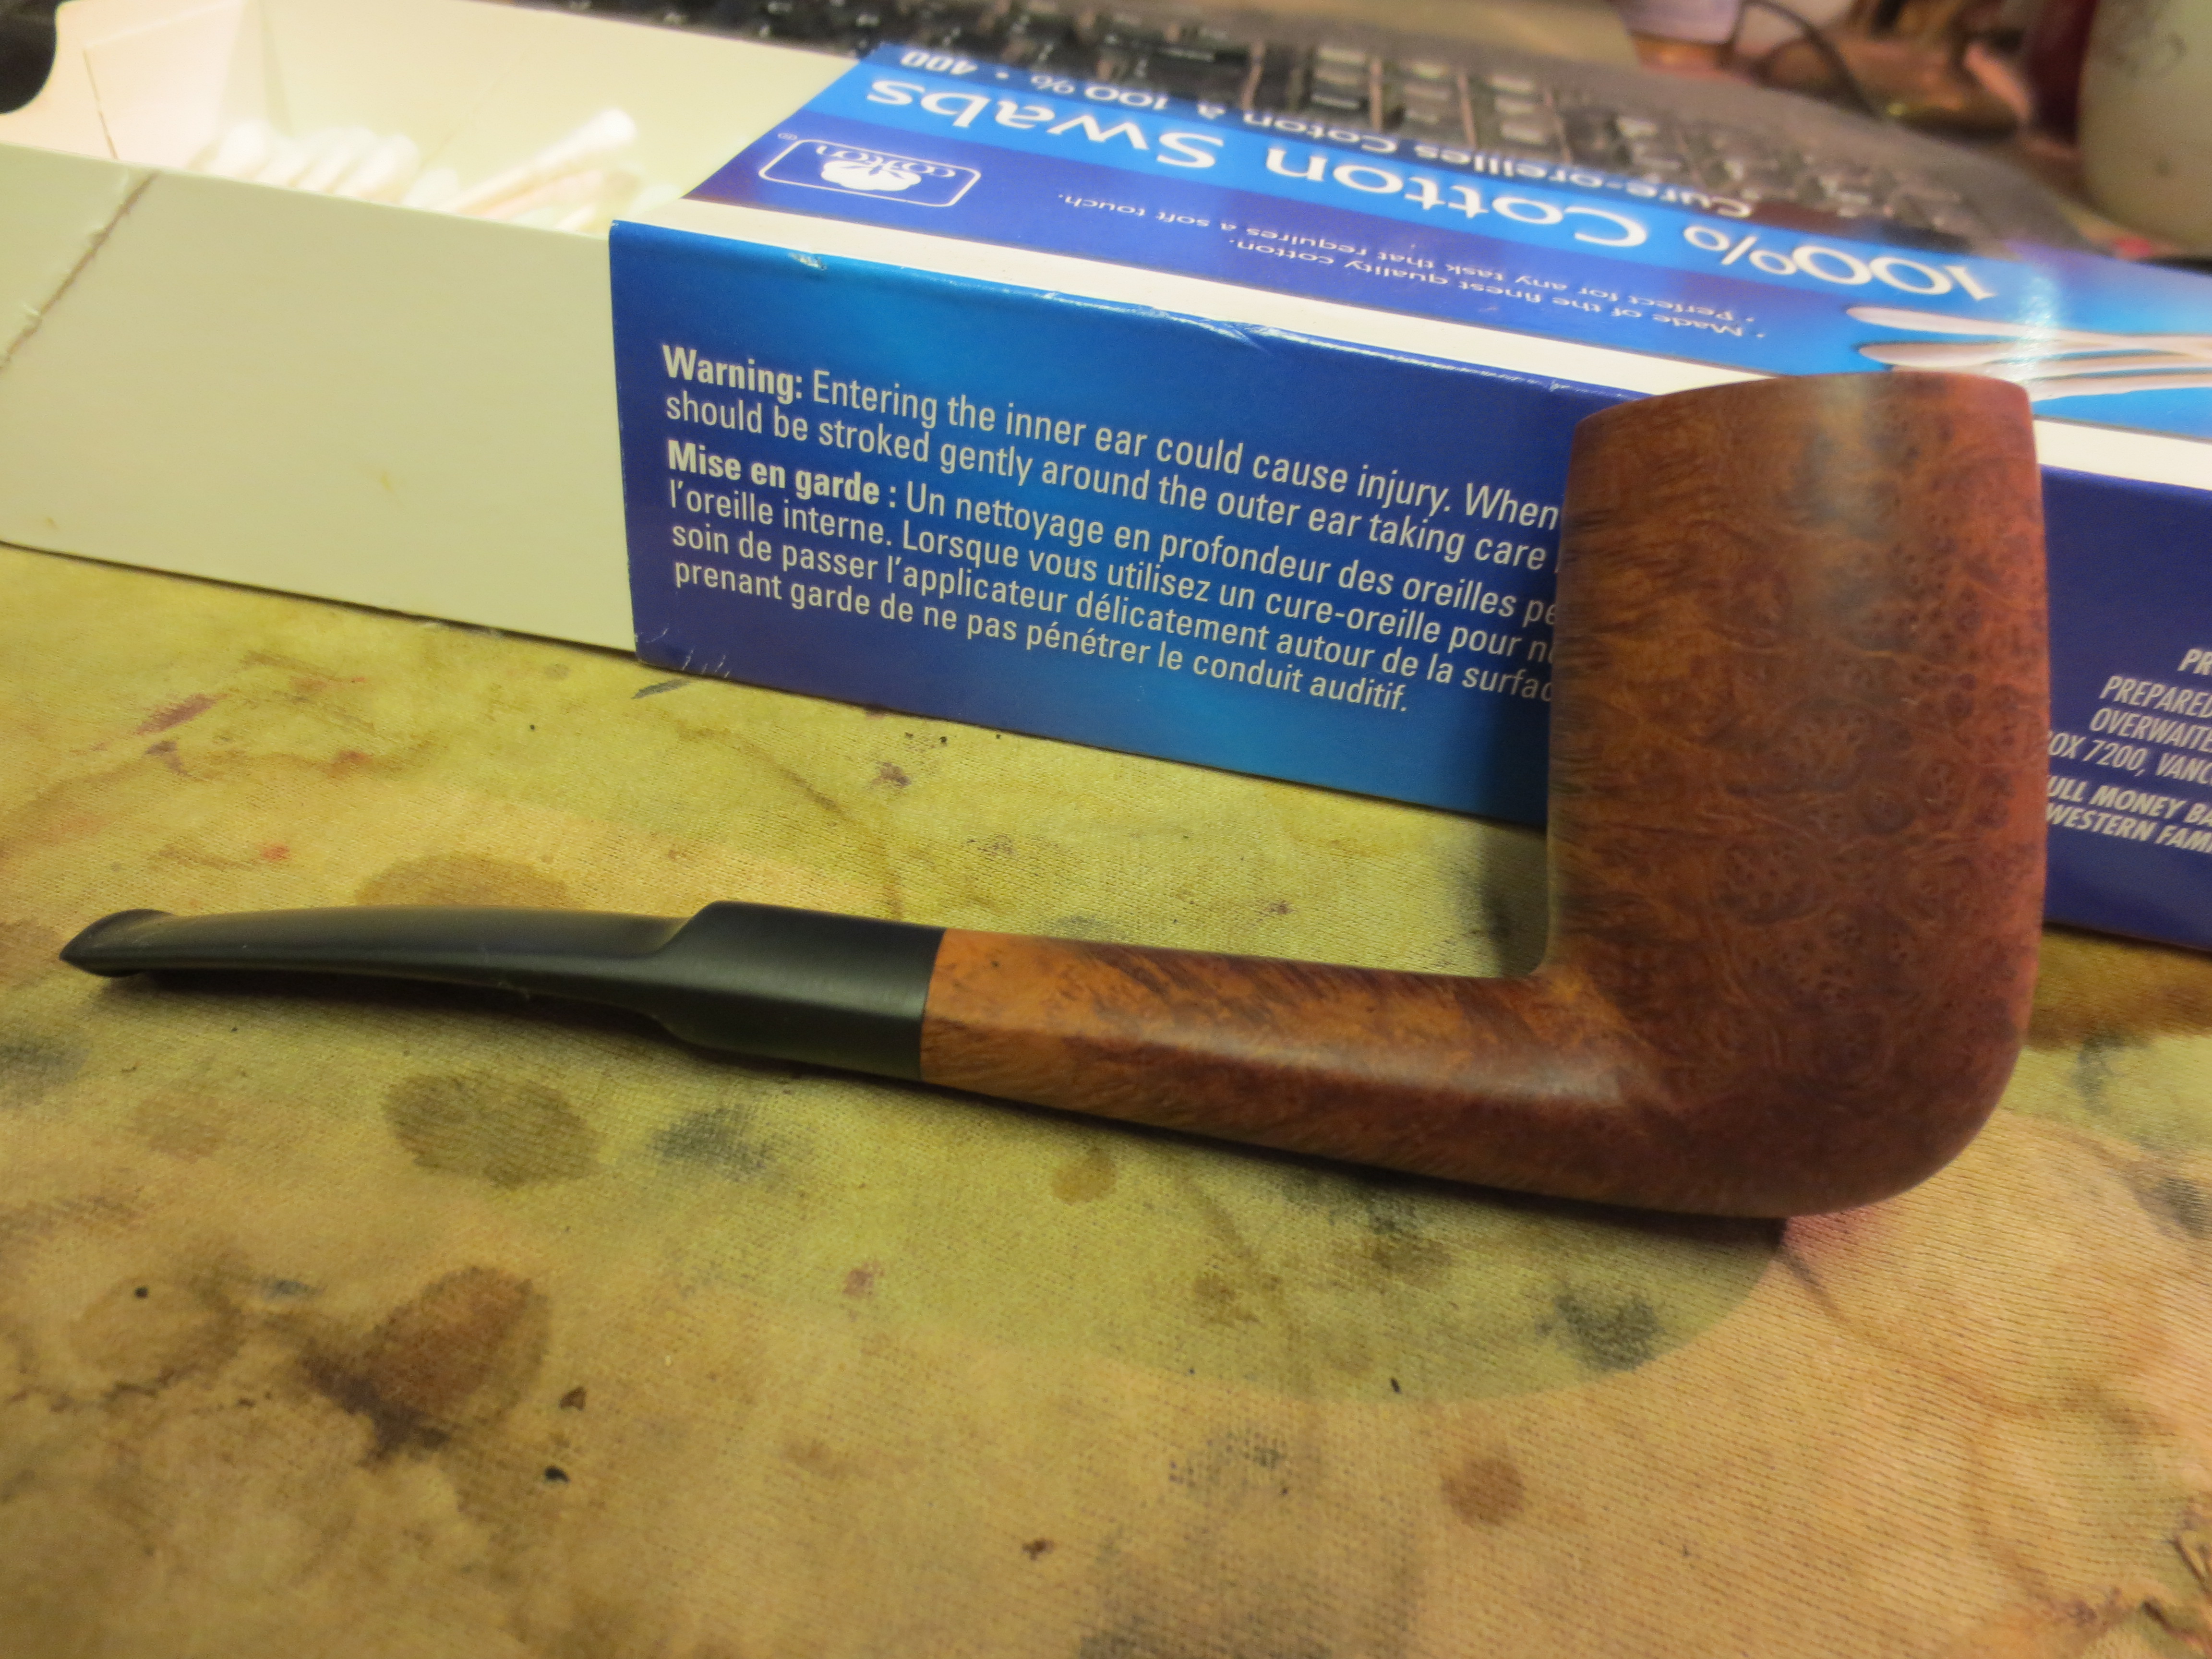
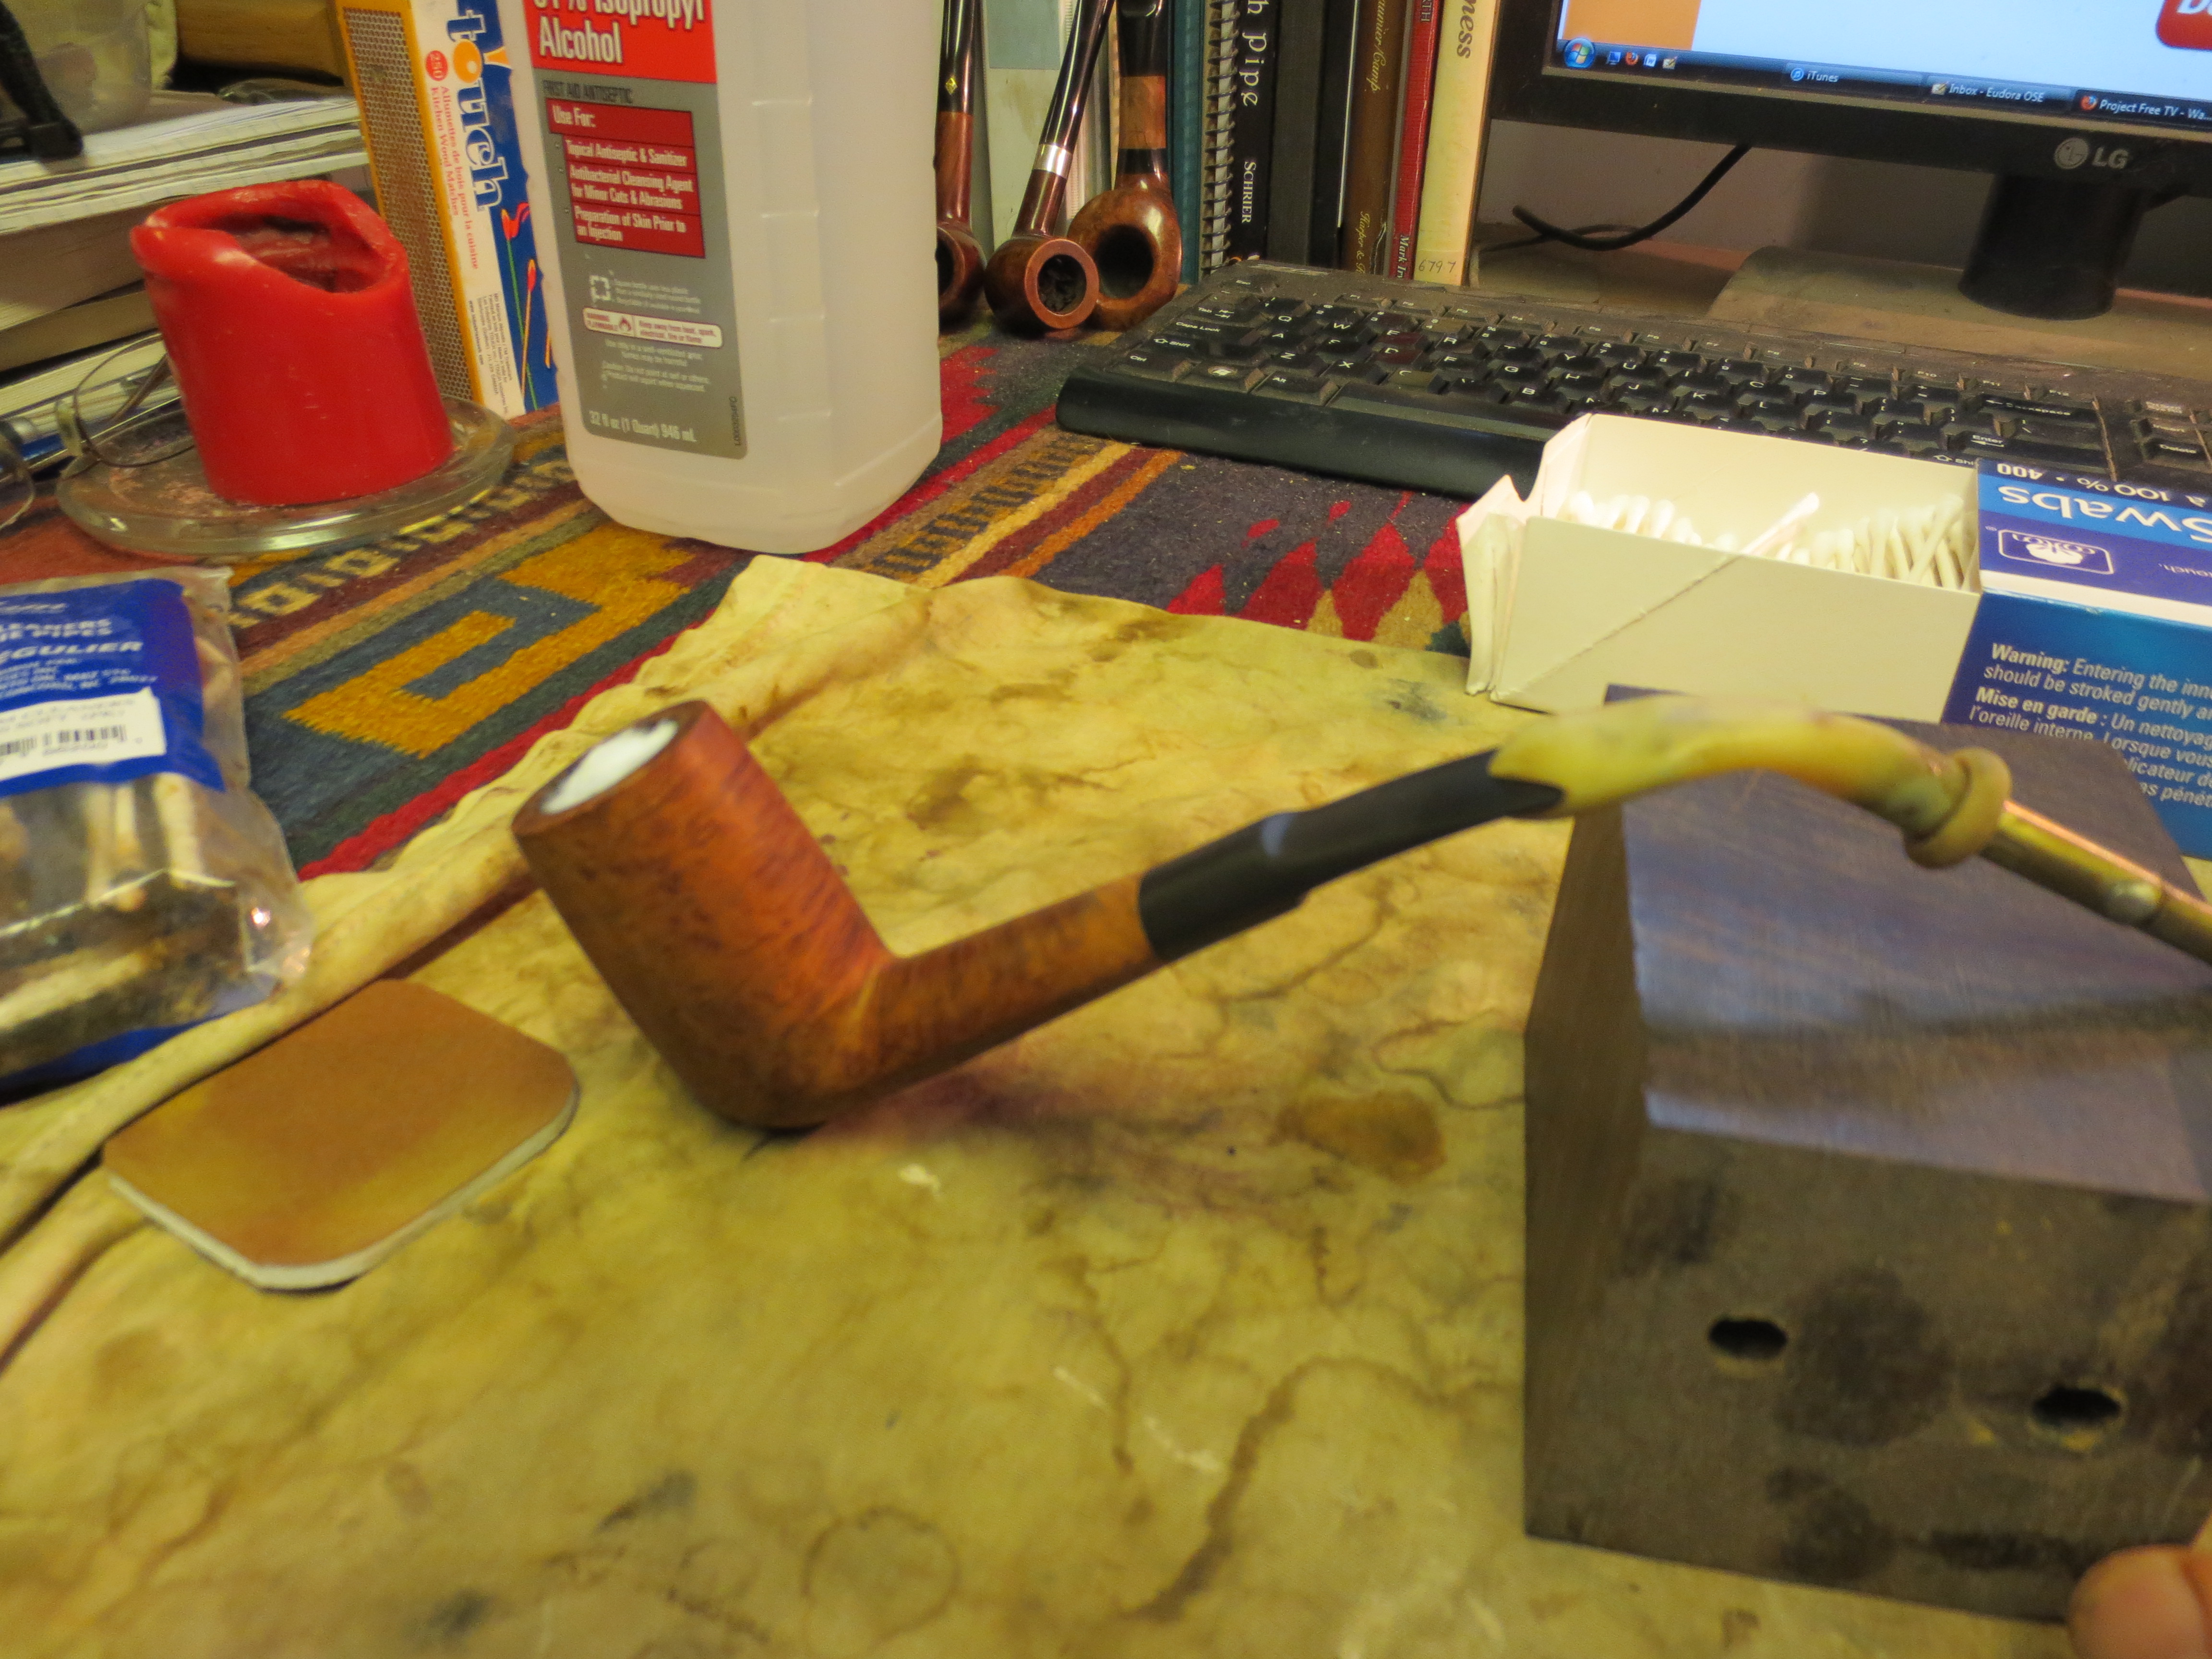
Once the insides were clean I wiped the bowl down with Everclear and removed any possible grime that I added to the surface in the cleaning process. The next three photos show the pipe after all of the cleaning. It is beginning to look like the stem and pipe were made together.

IMG_1350

IMG_1351

IMG_1352

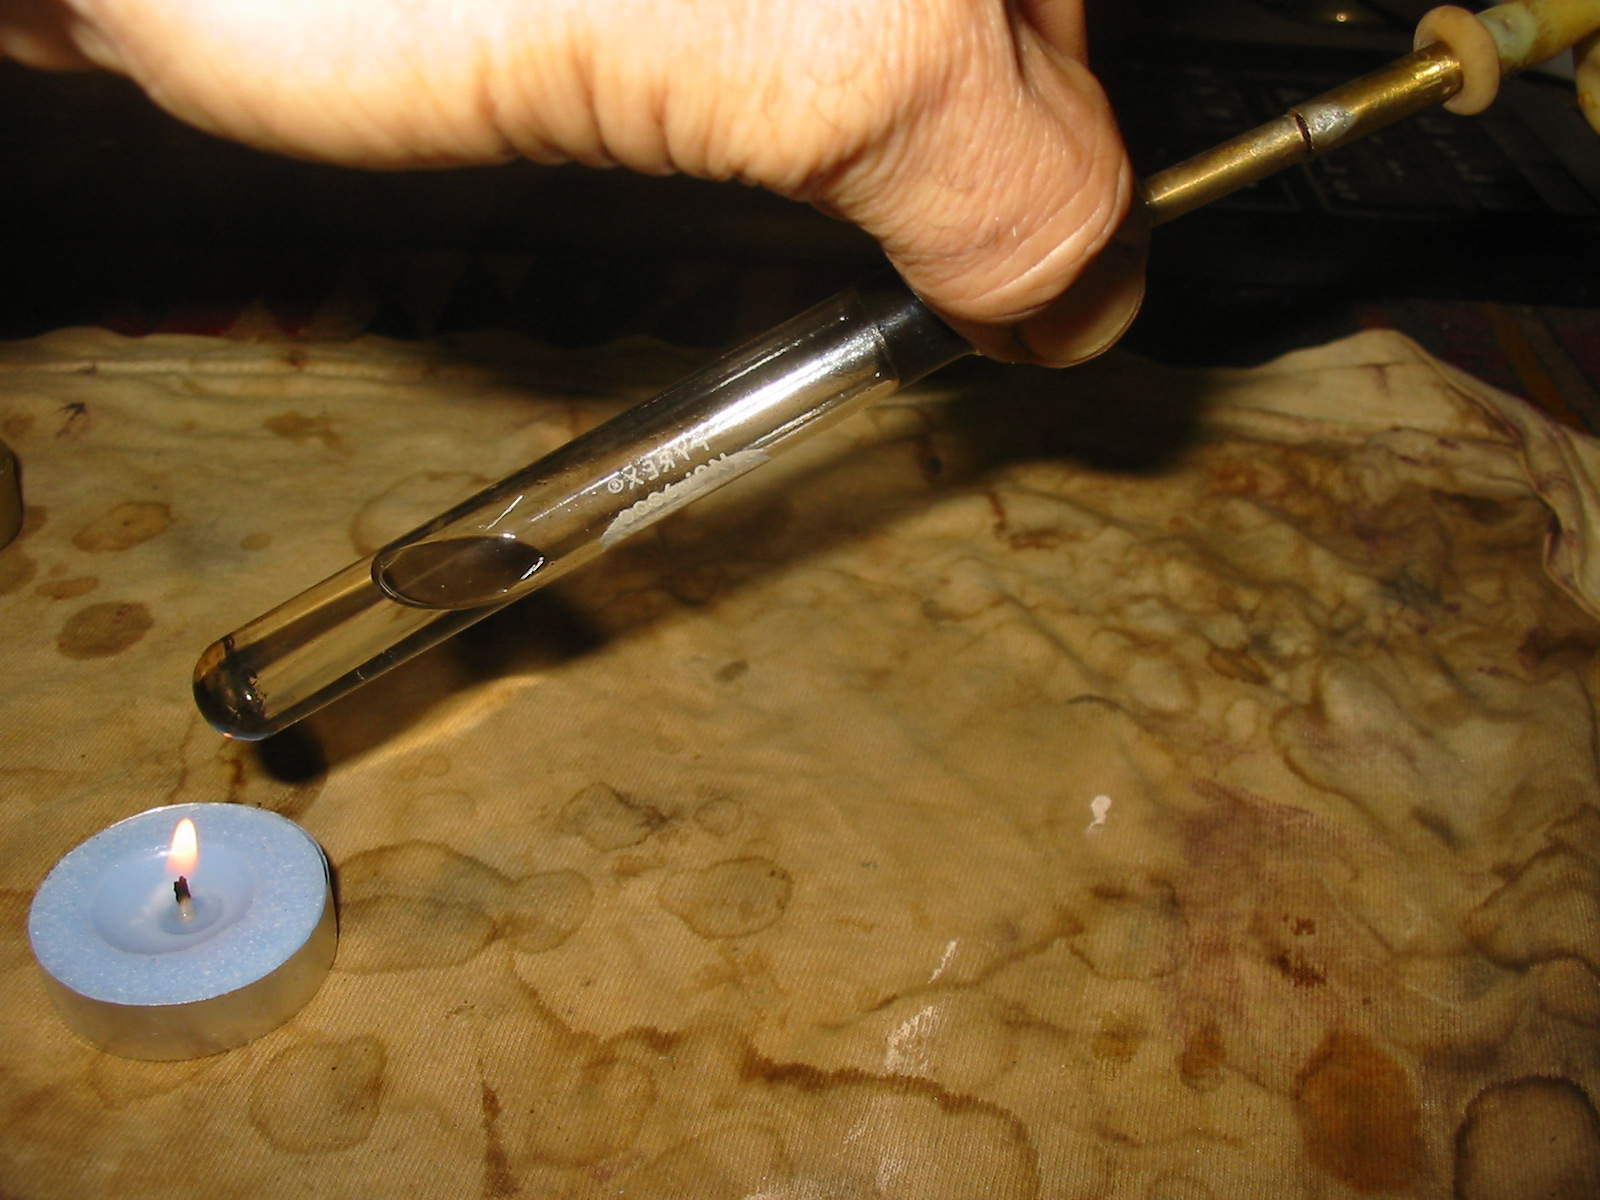
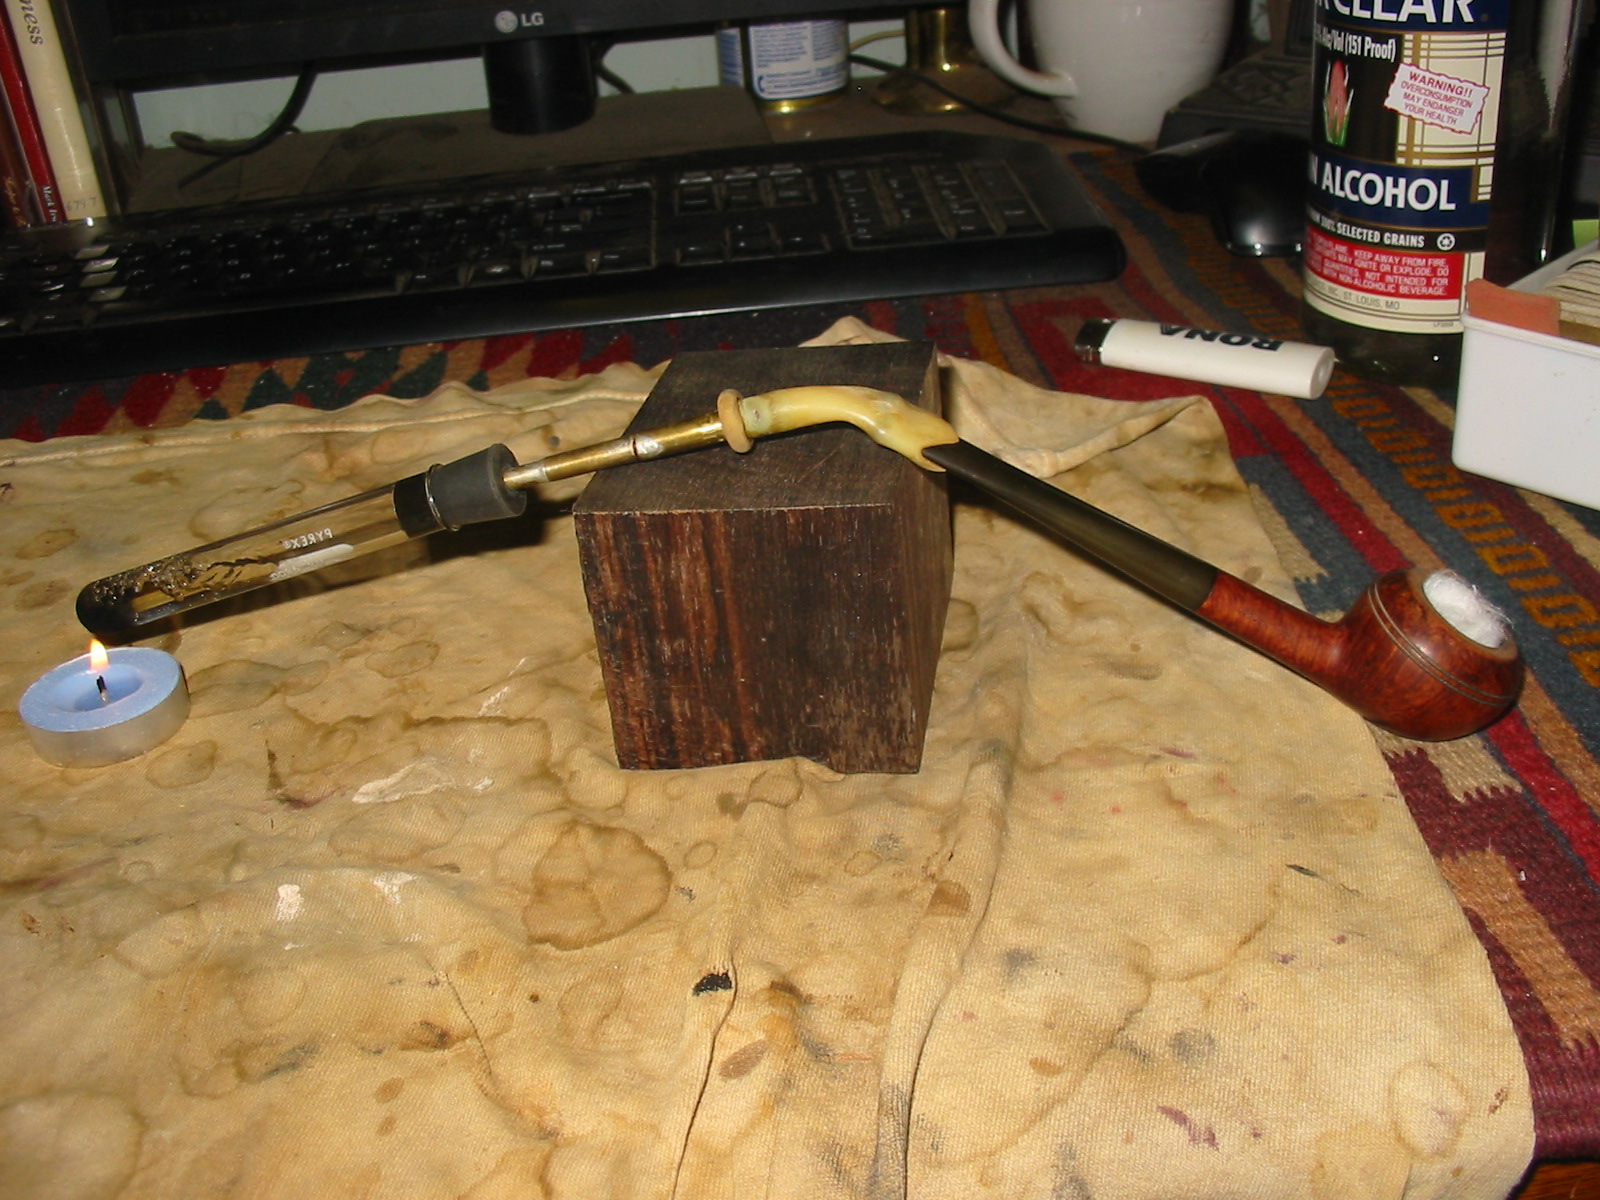
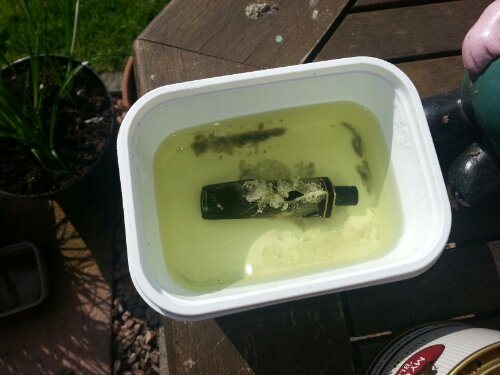
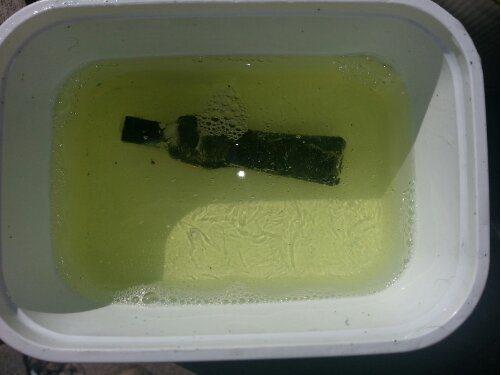
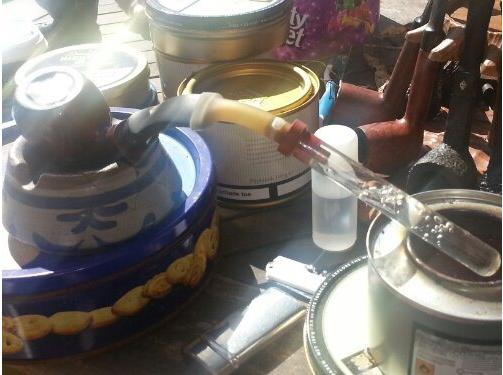
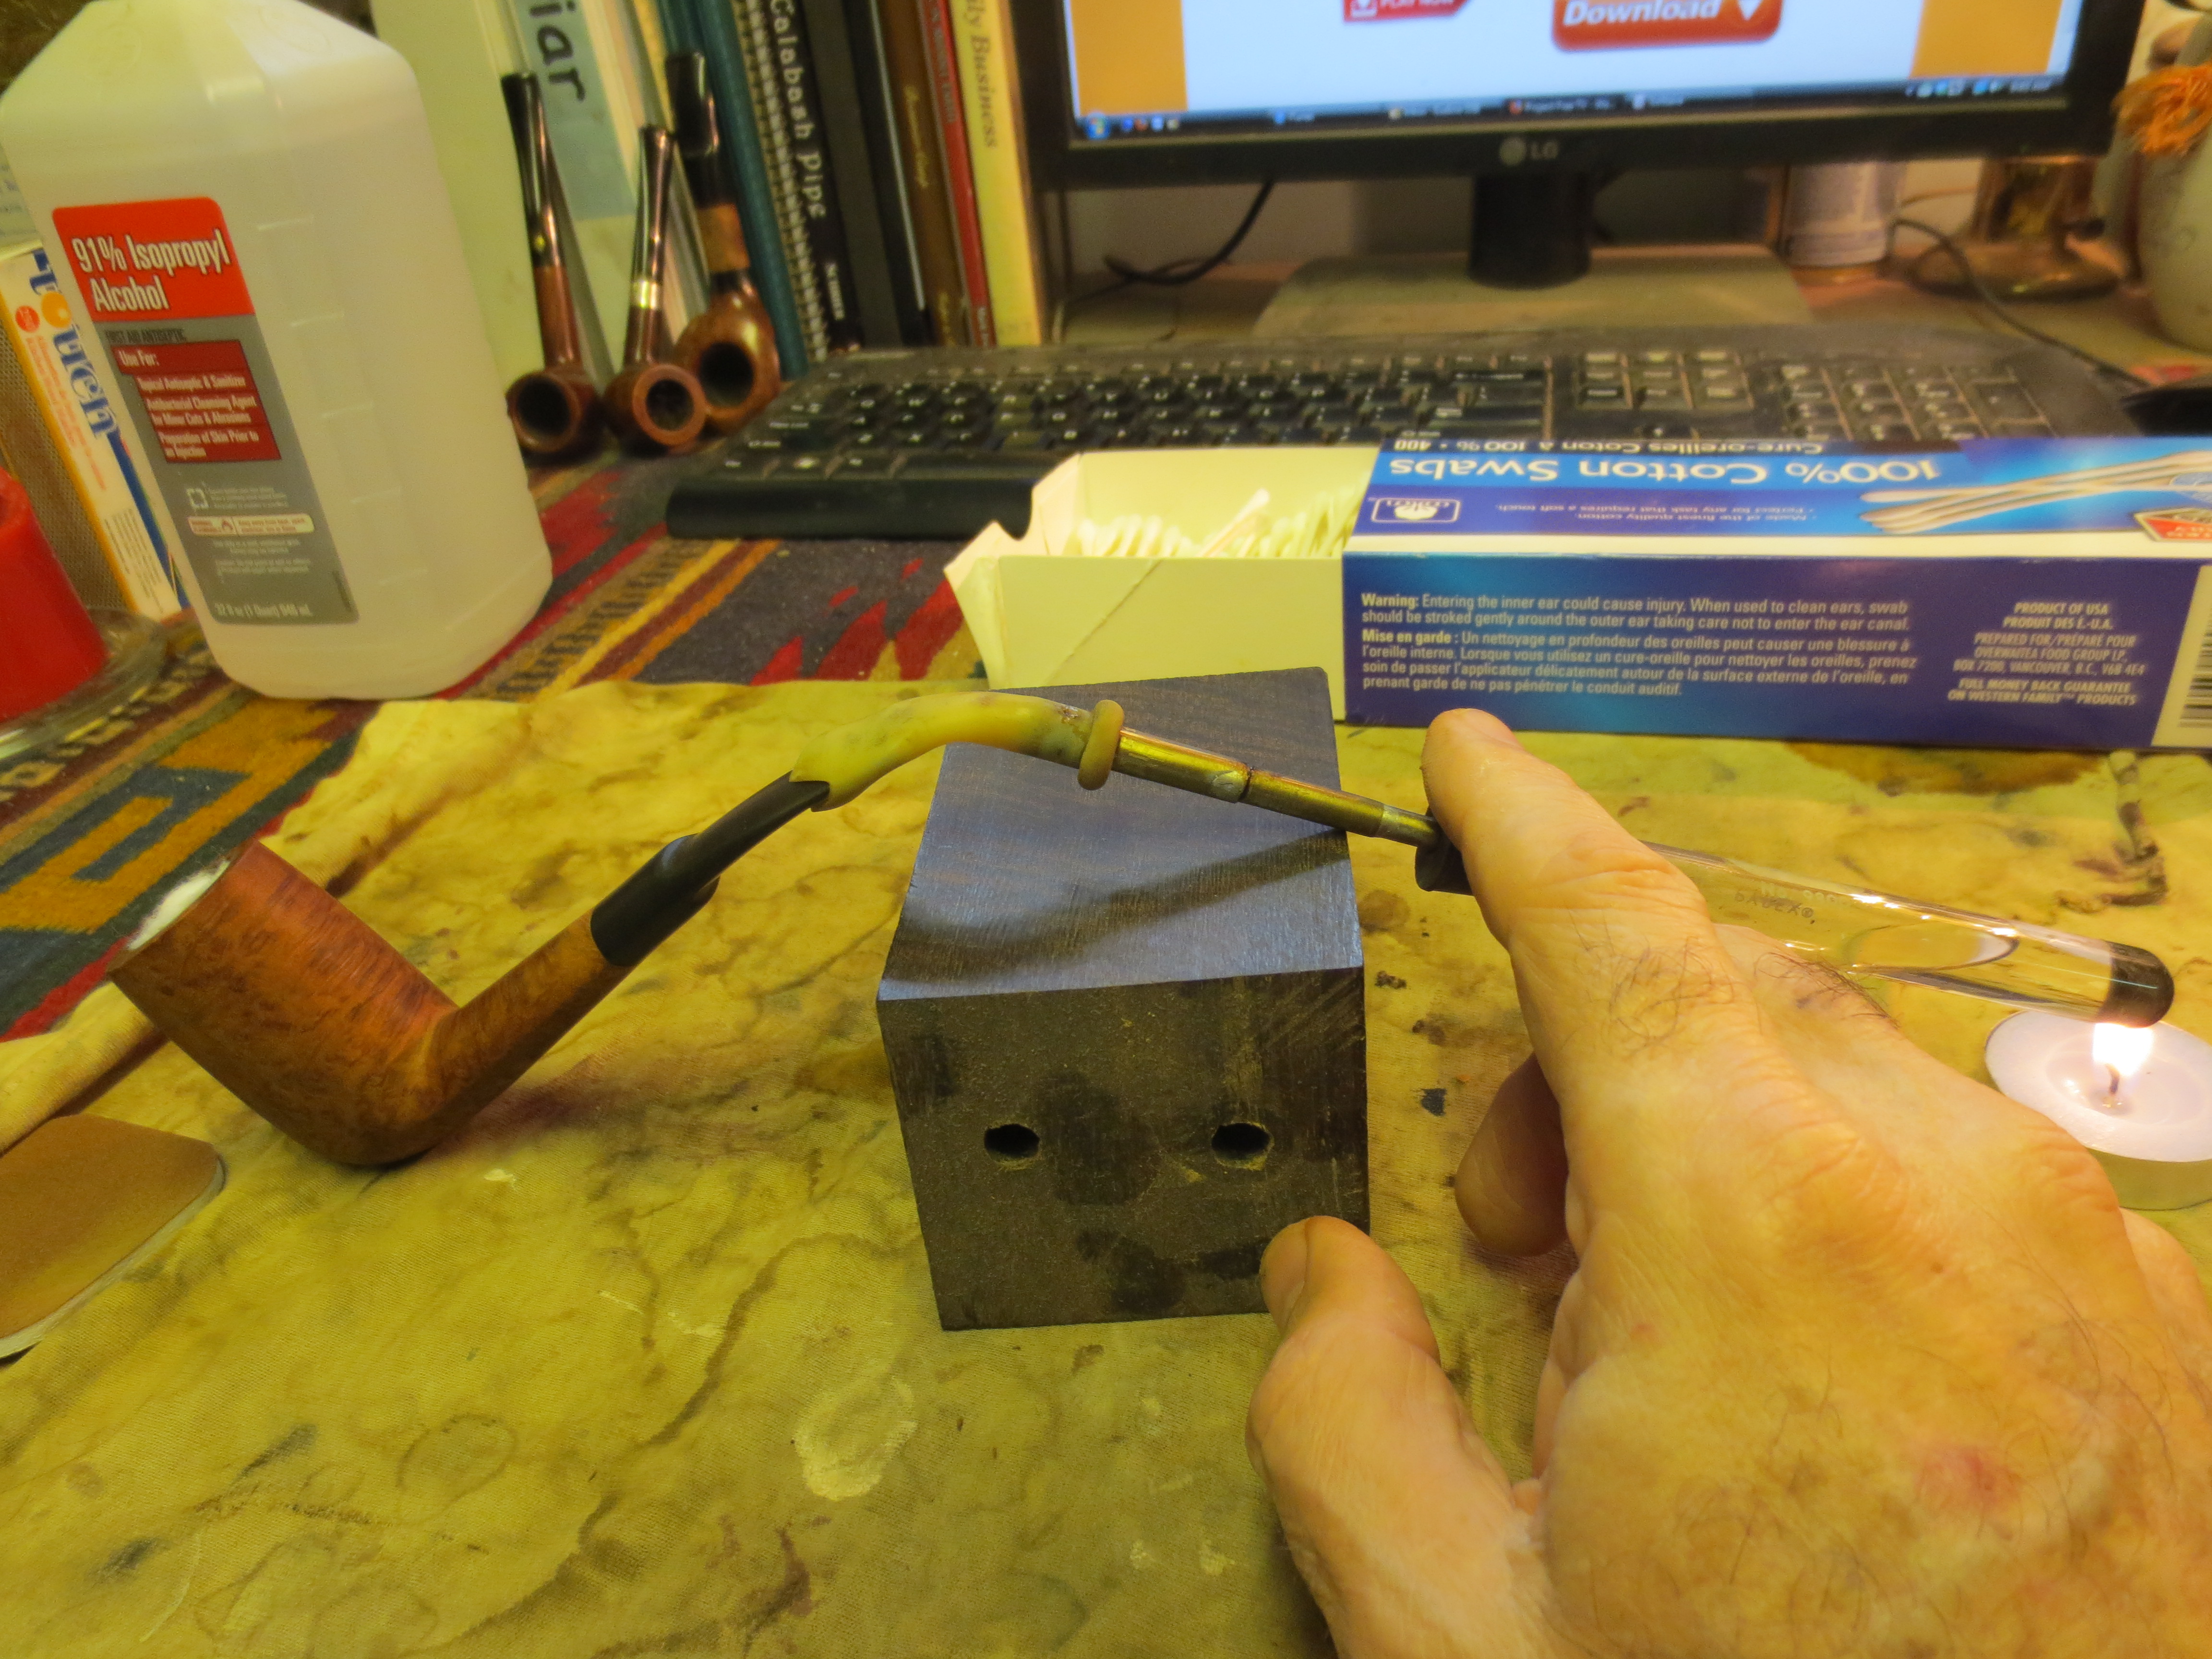
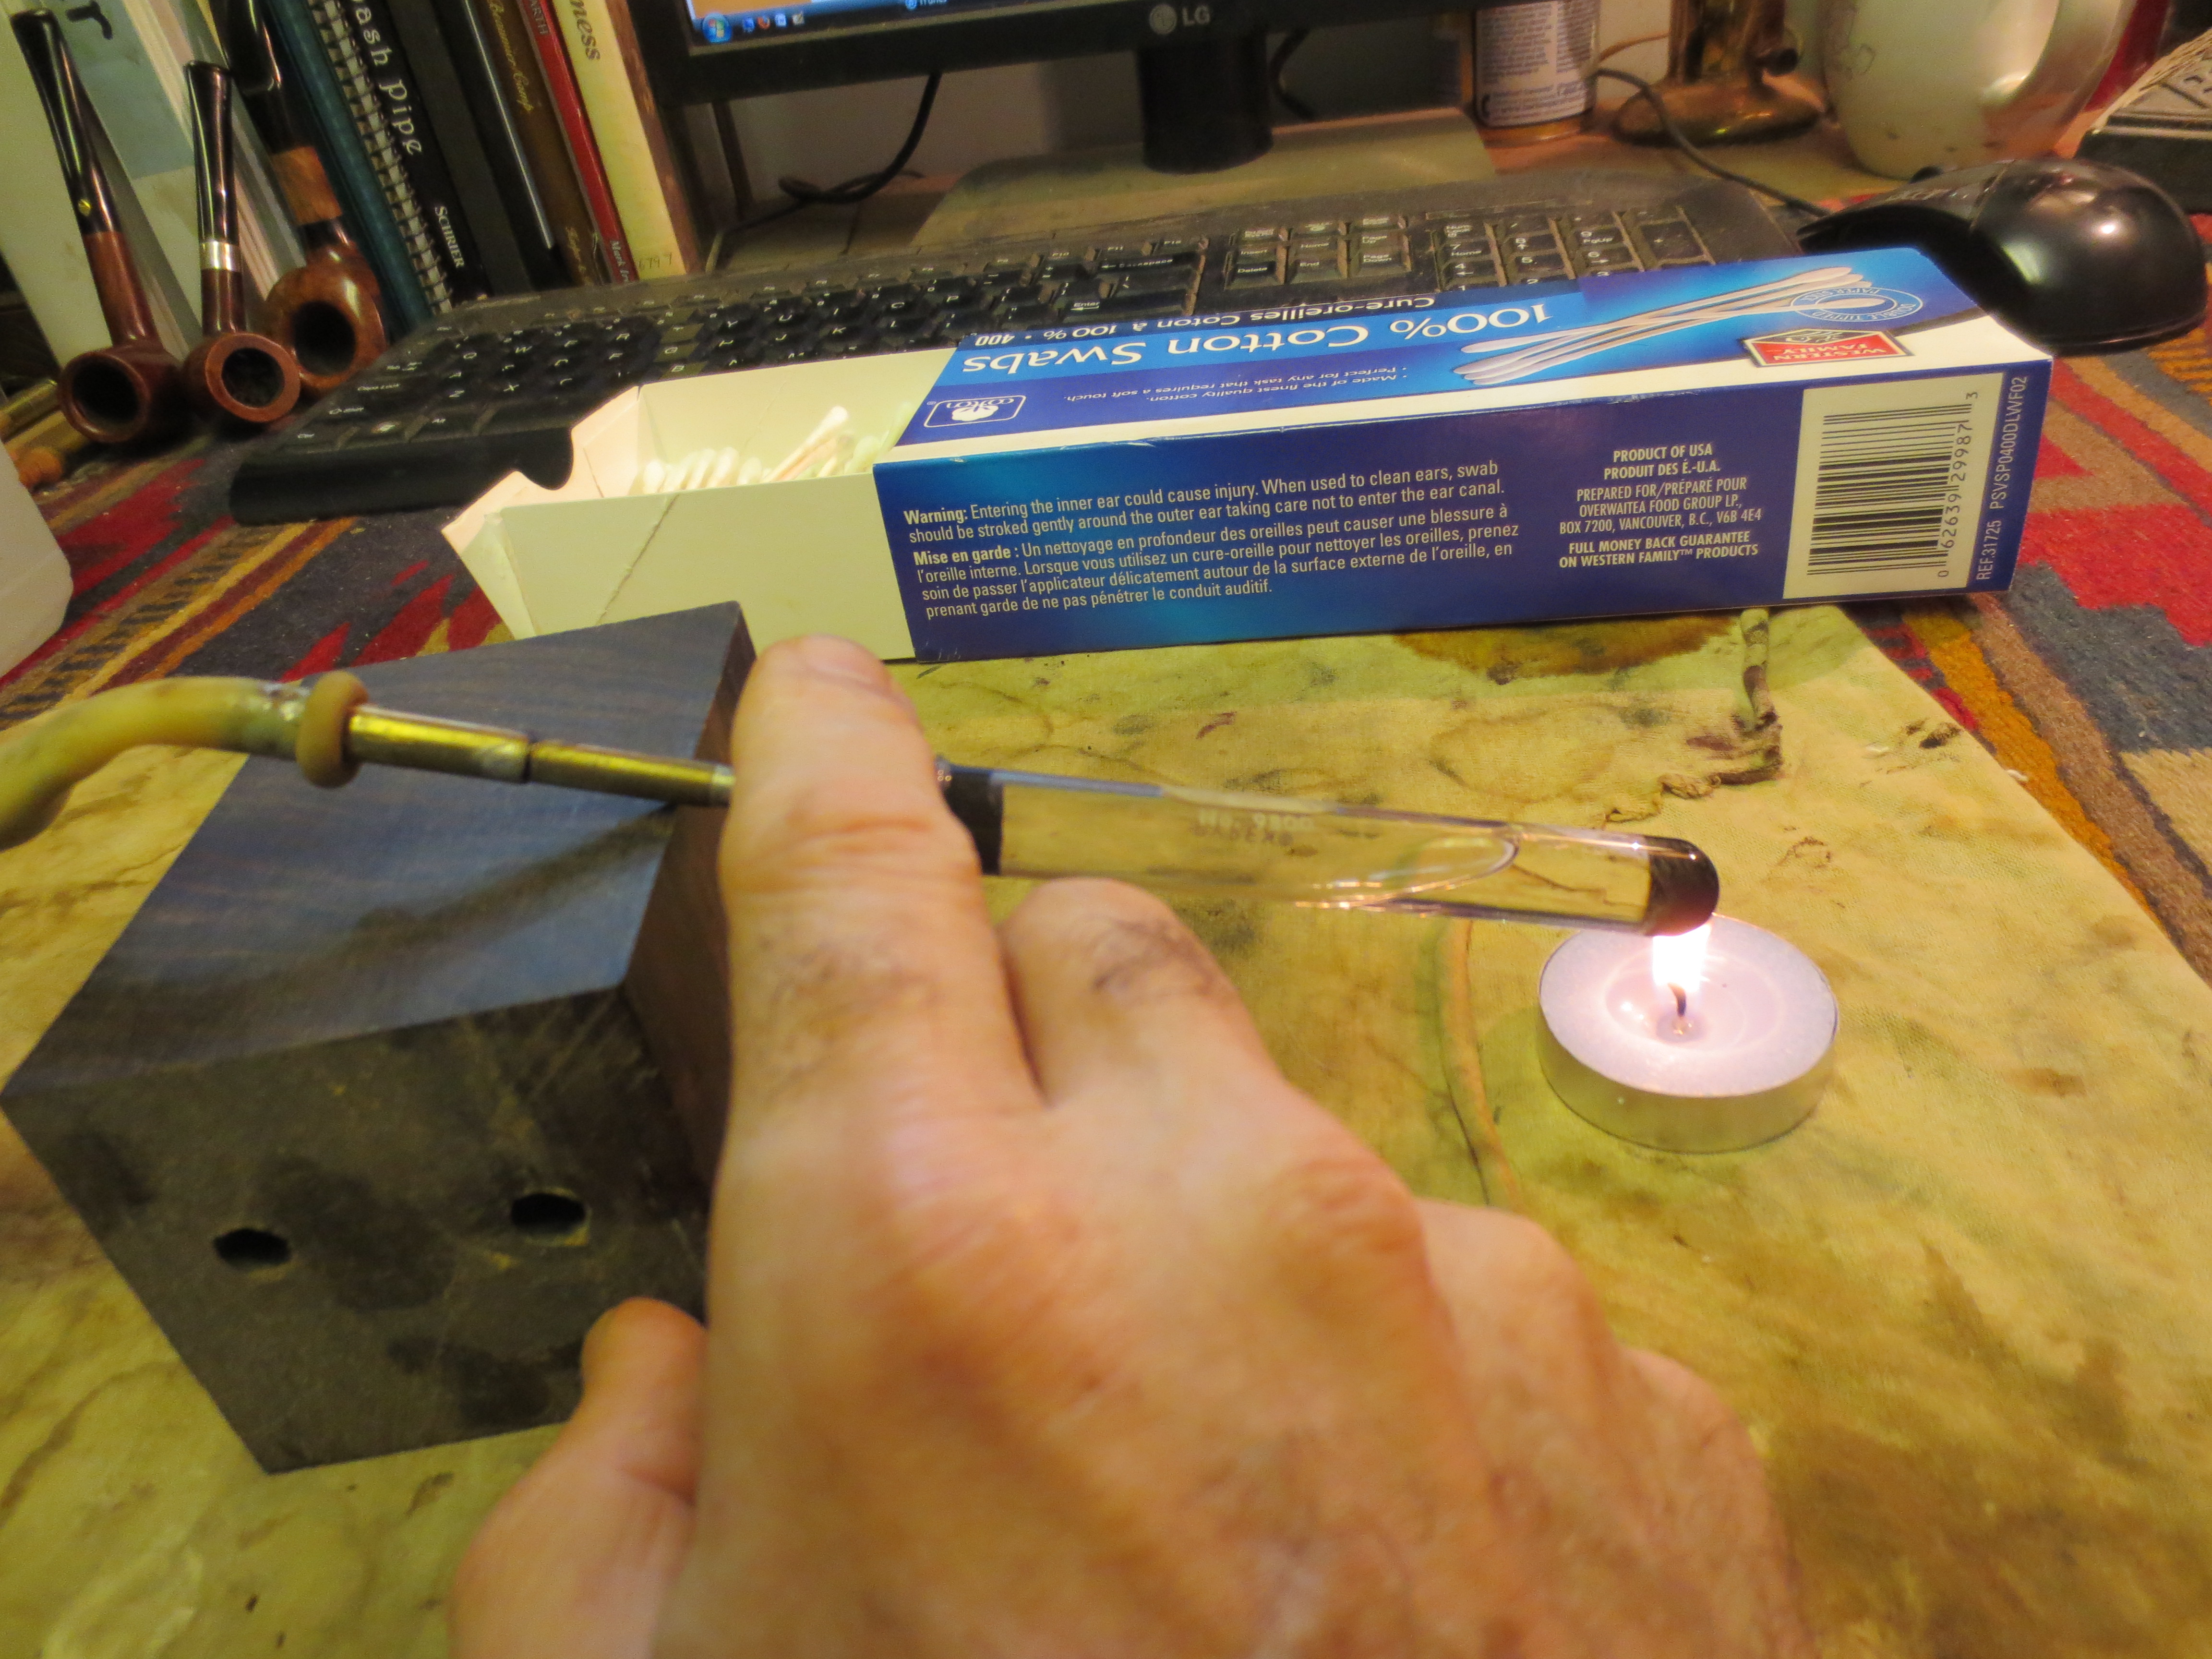
Because of the amount of grime that I cleaned out of the shank and the stem I decided to use a retort on it to give it a more thorough cleaning. The next series of three photos show the set up of the retort system. I use isopropyl alcohol in the test tube and heat the tube with a small tea light candle. I use a block of ebony that I have here to support the pipe and retort during the process. The alcohol is boiled through the pipe until it comes out clean. Generally this takes 2-3 fresh test tubes of alcohol.

IMG_1353

IMG_1354

IMG_1355

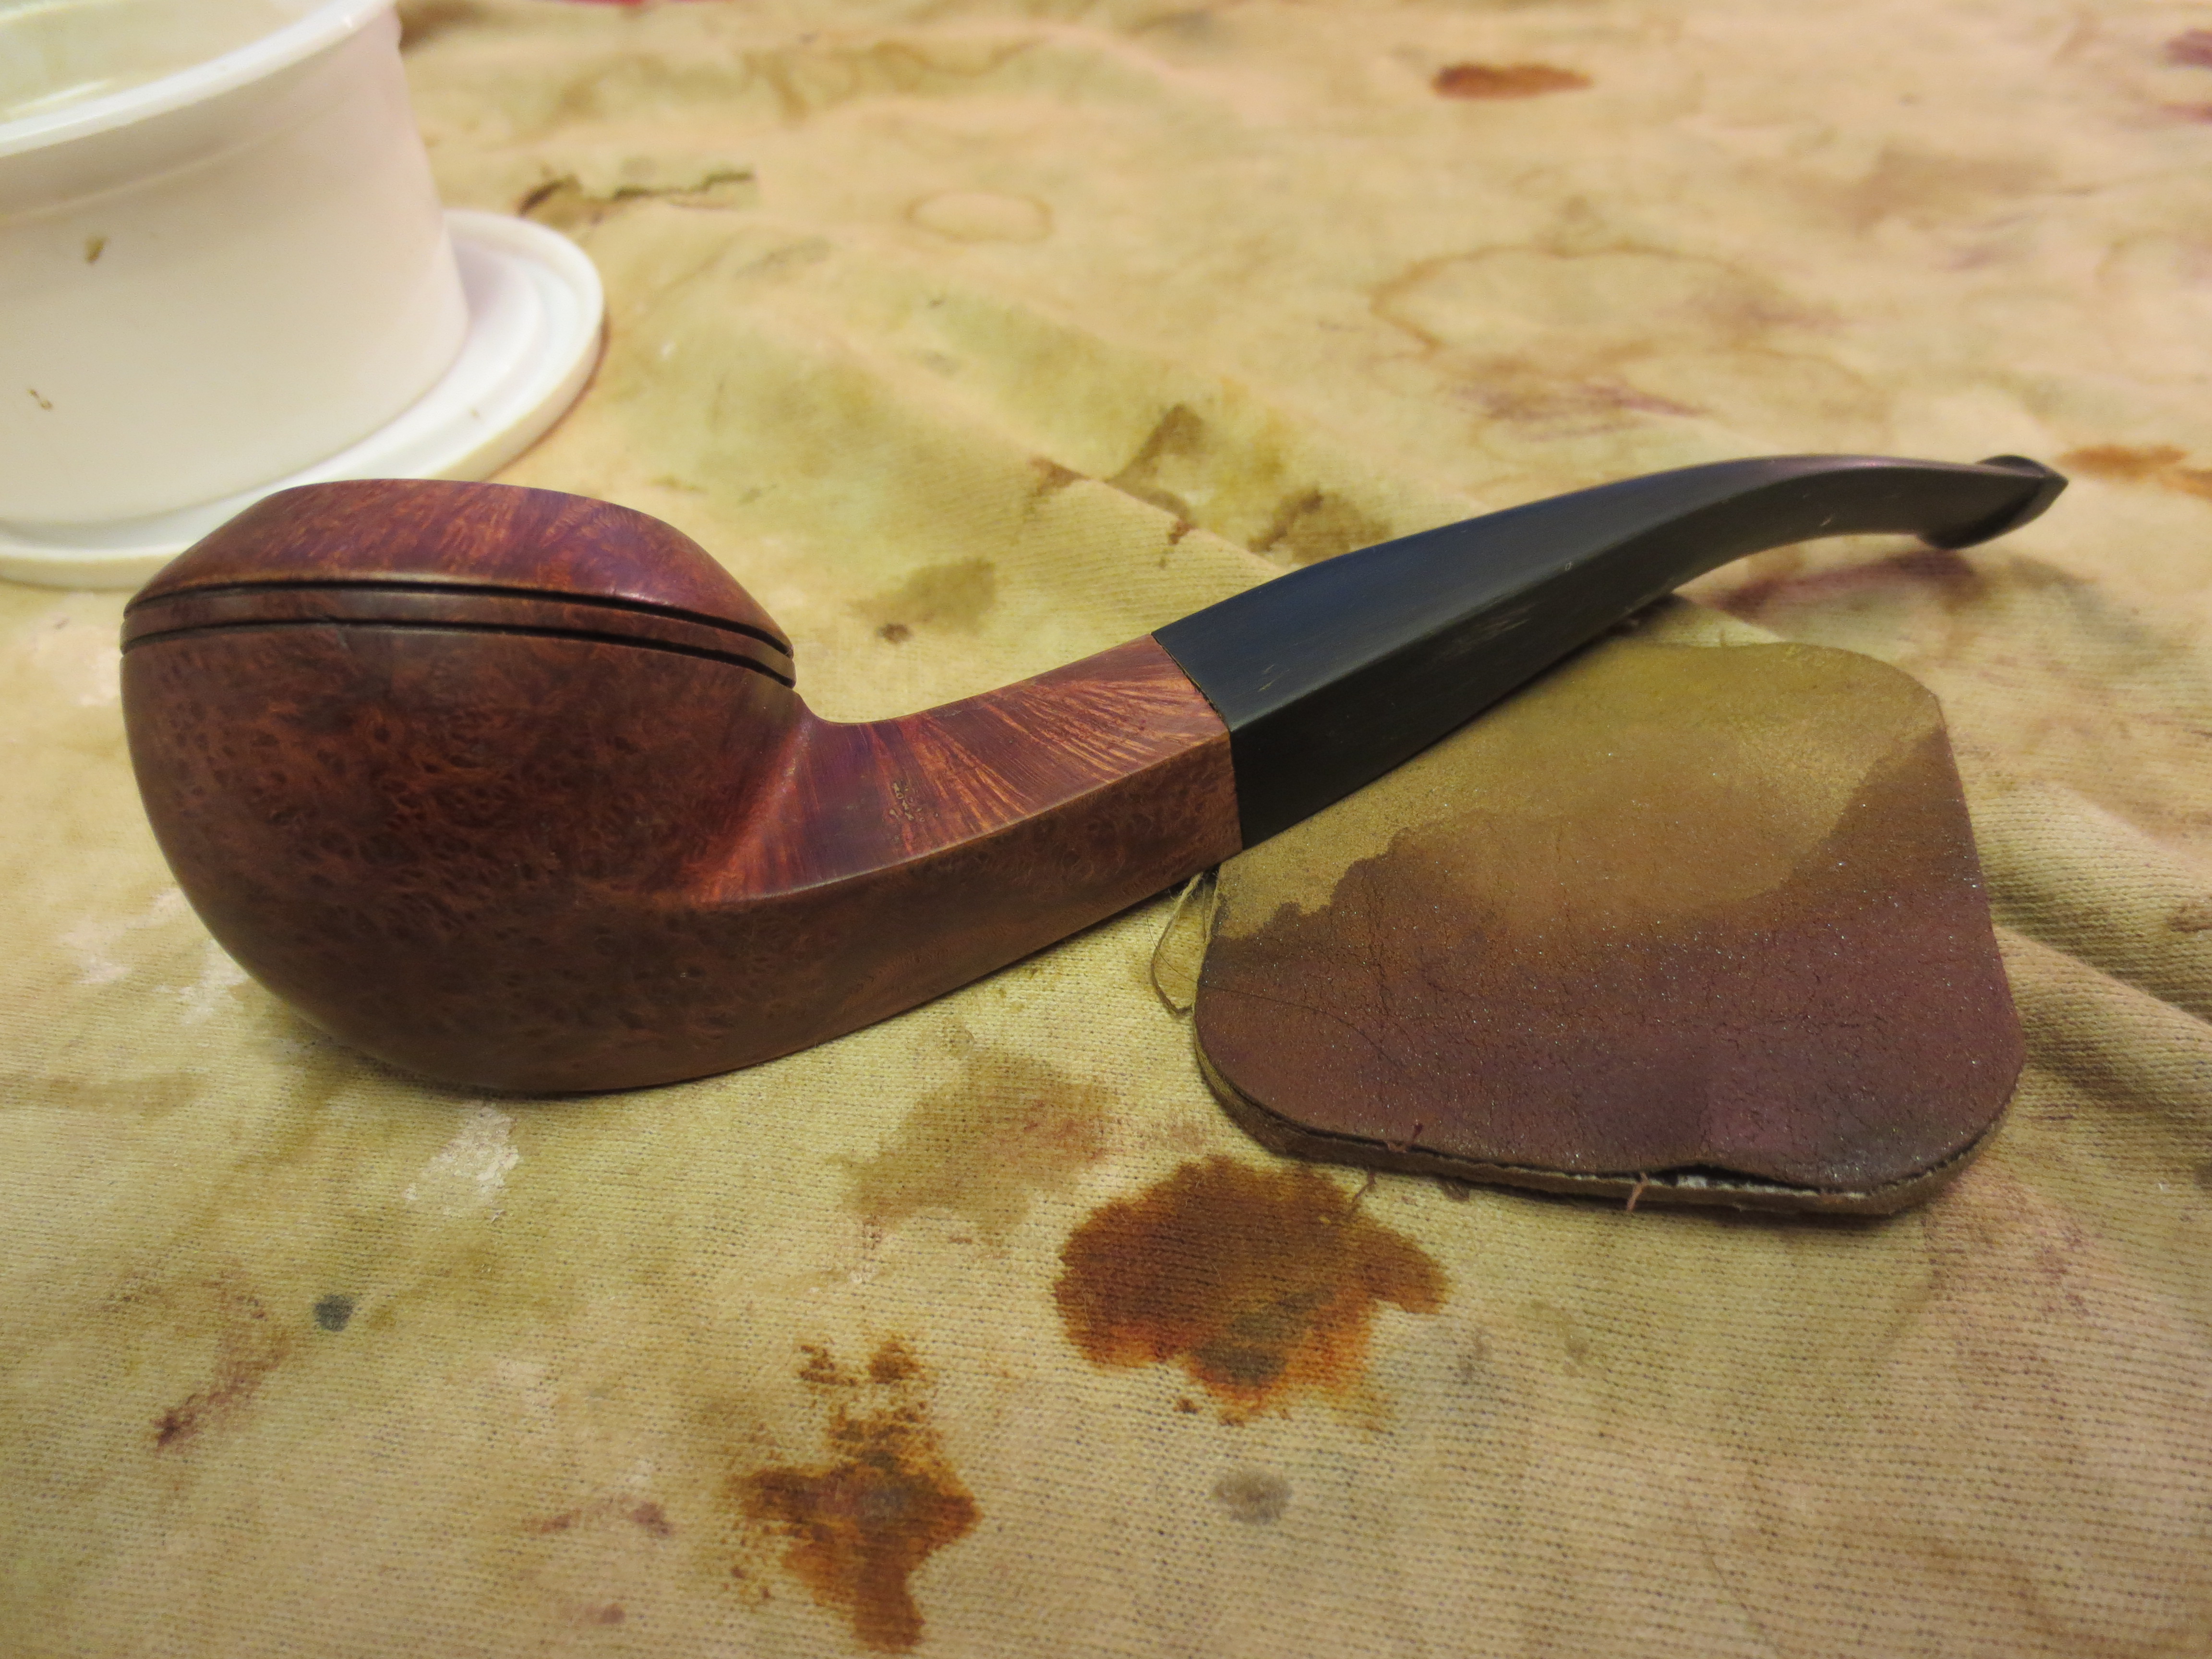
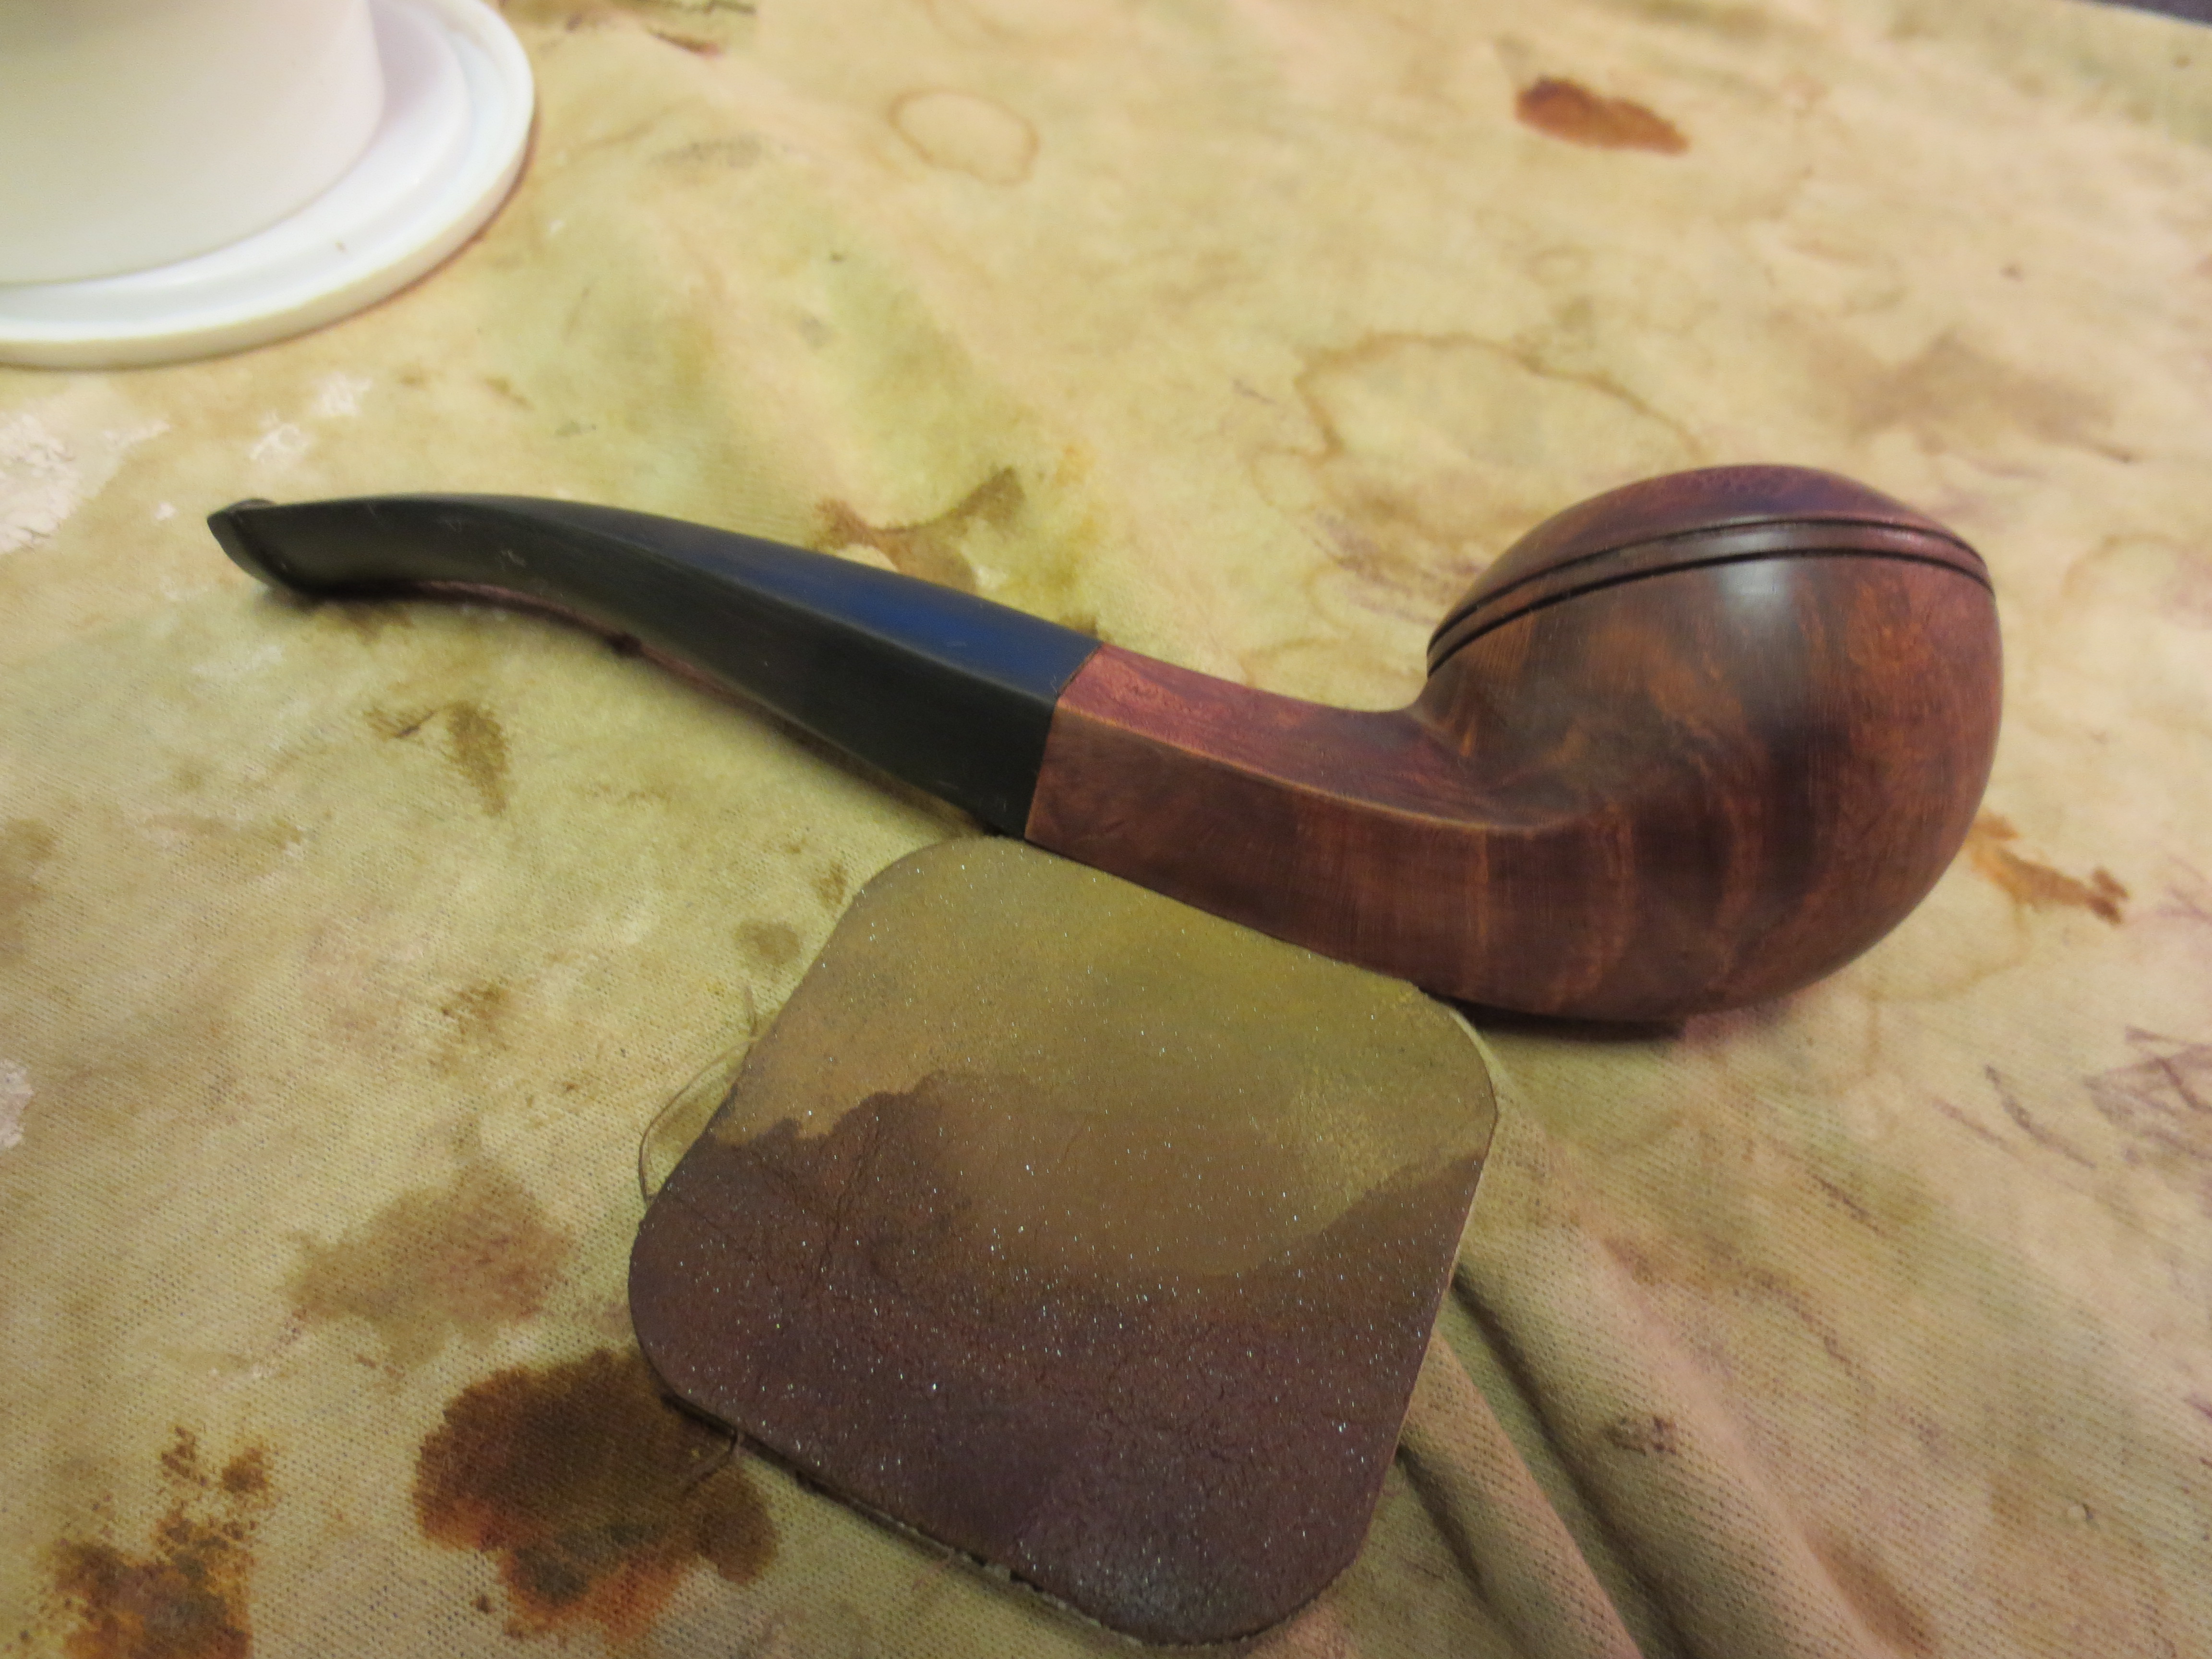
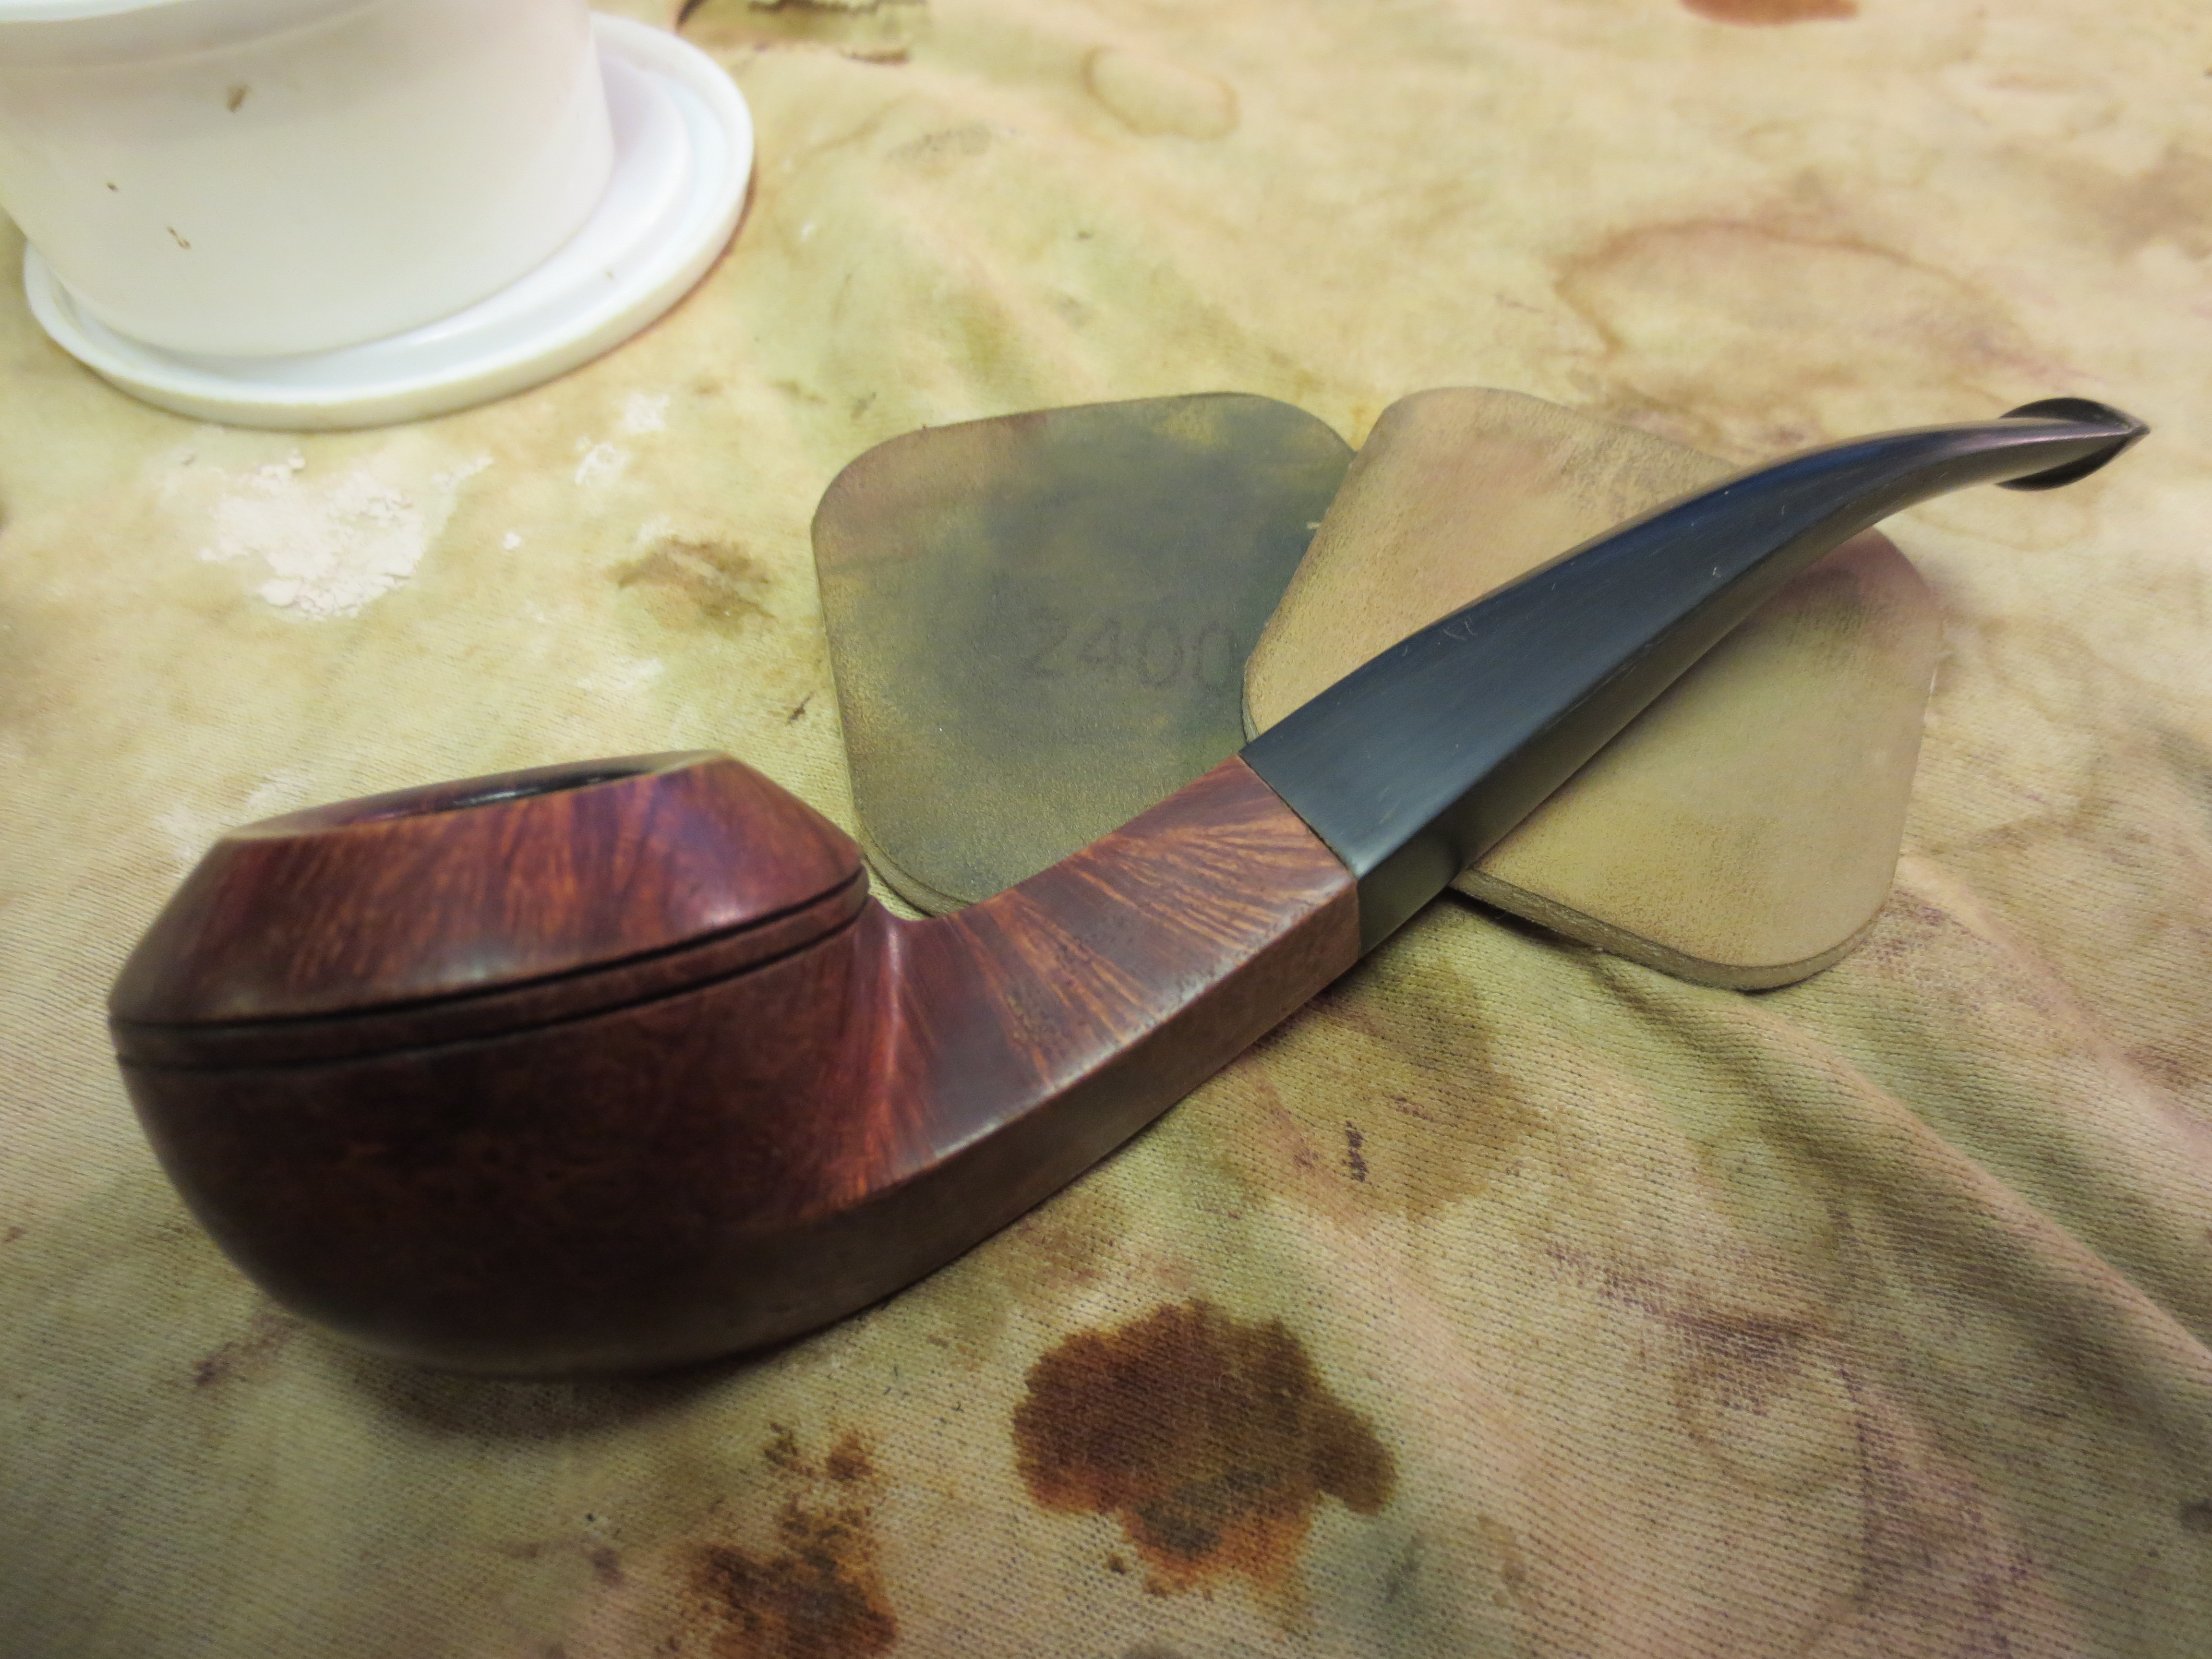
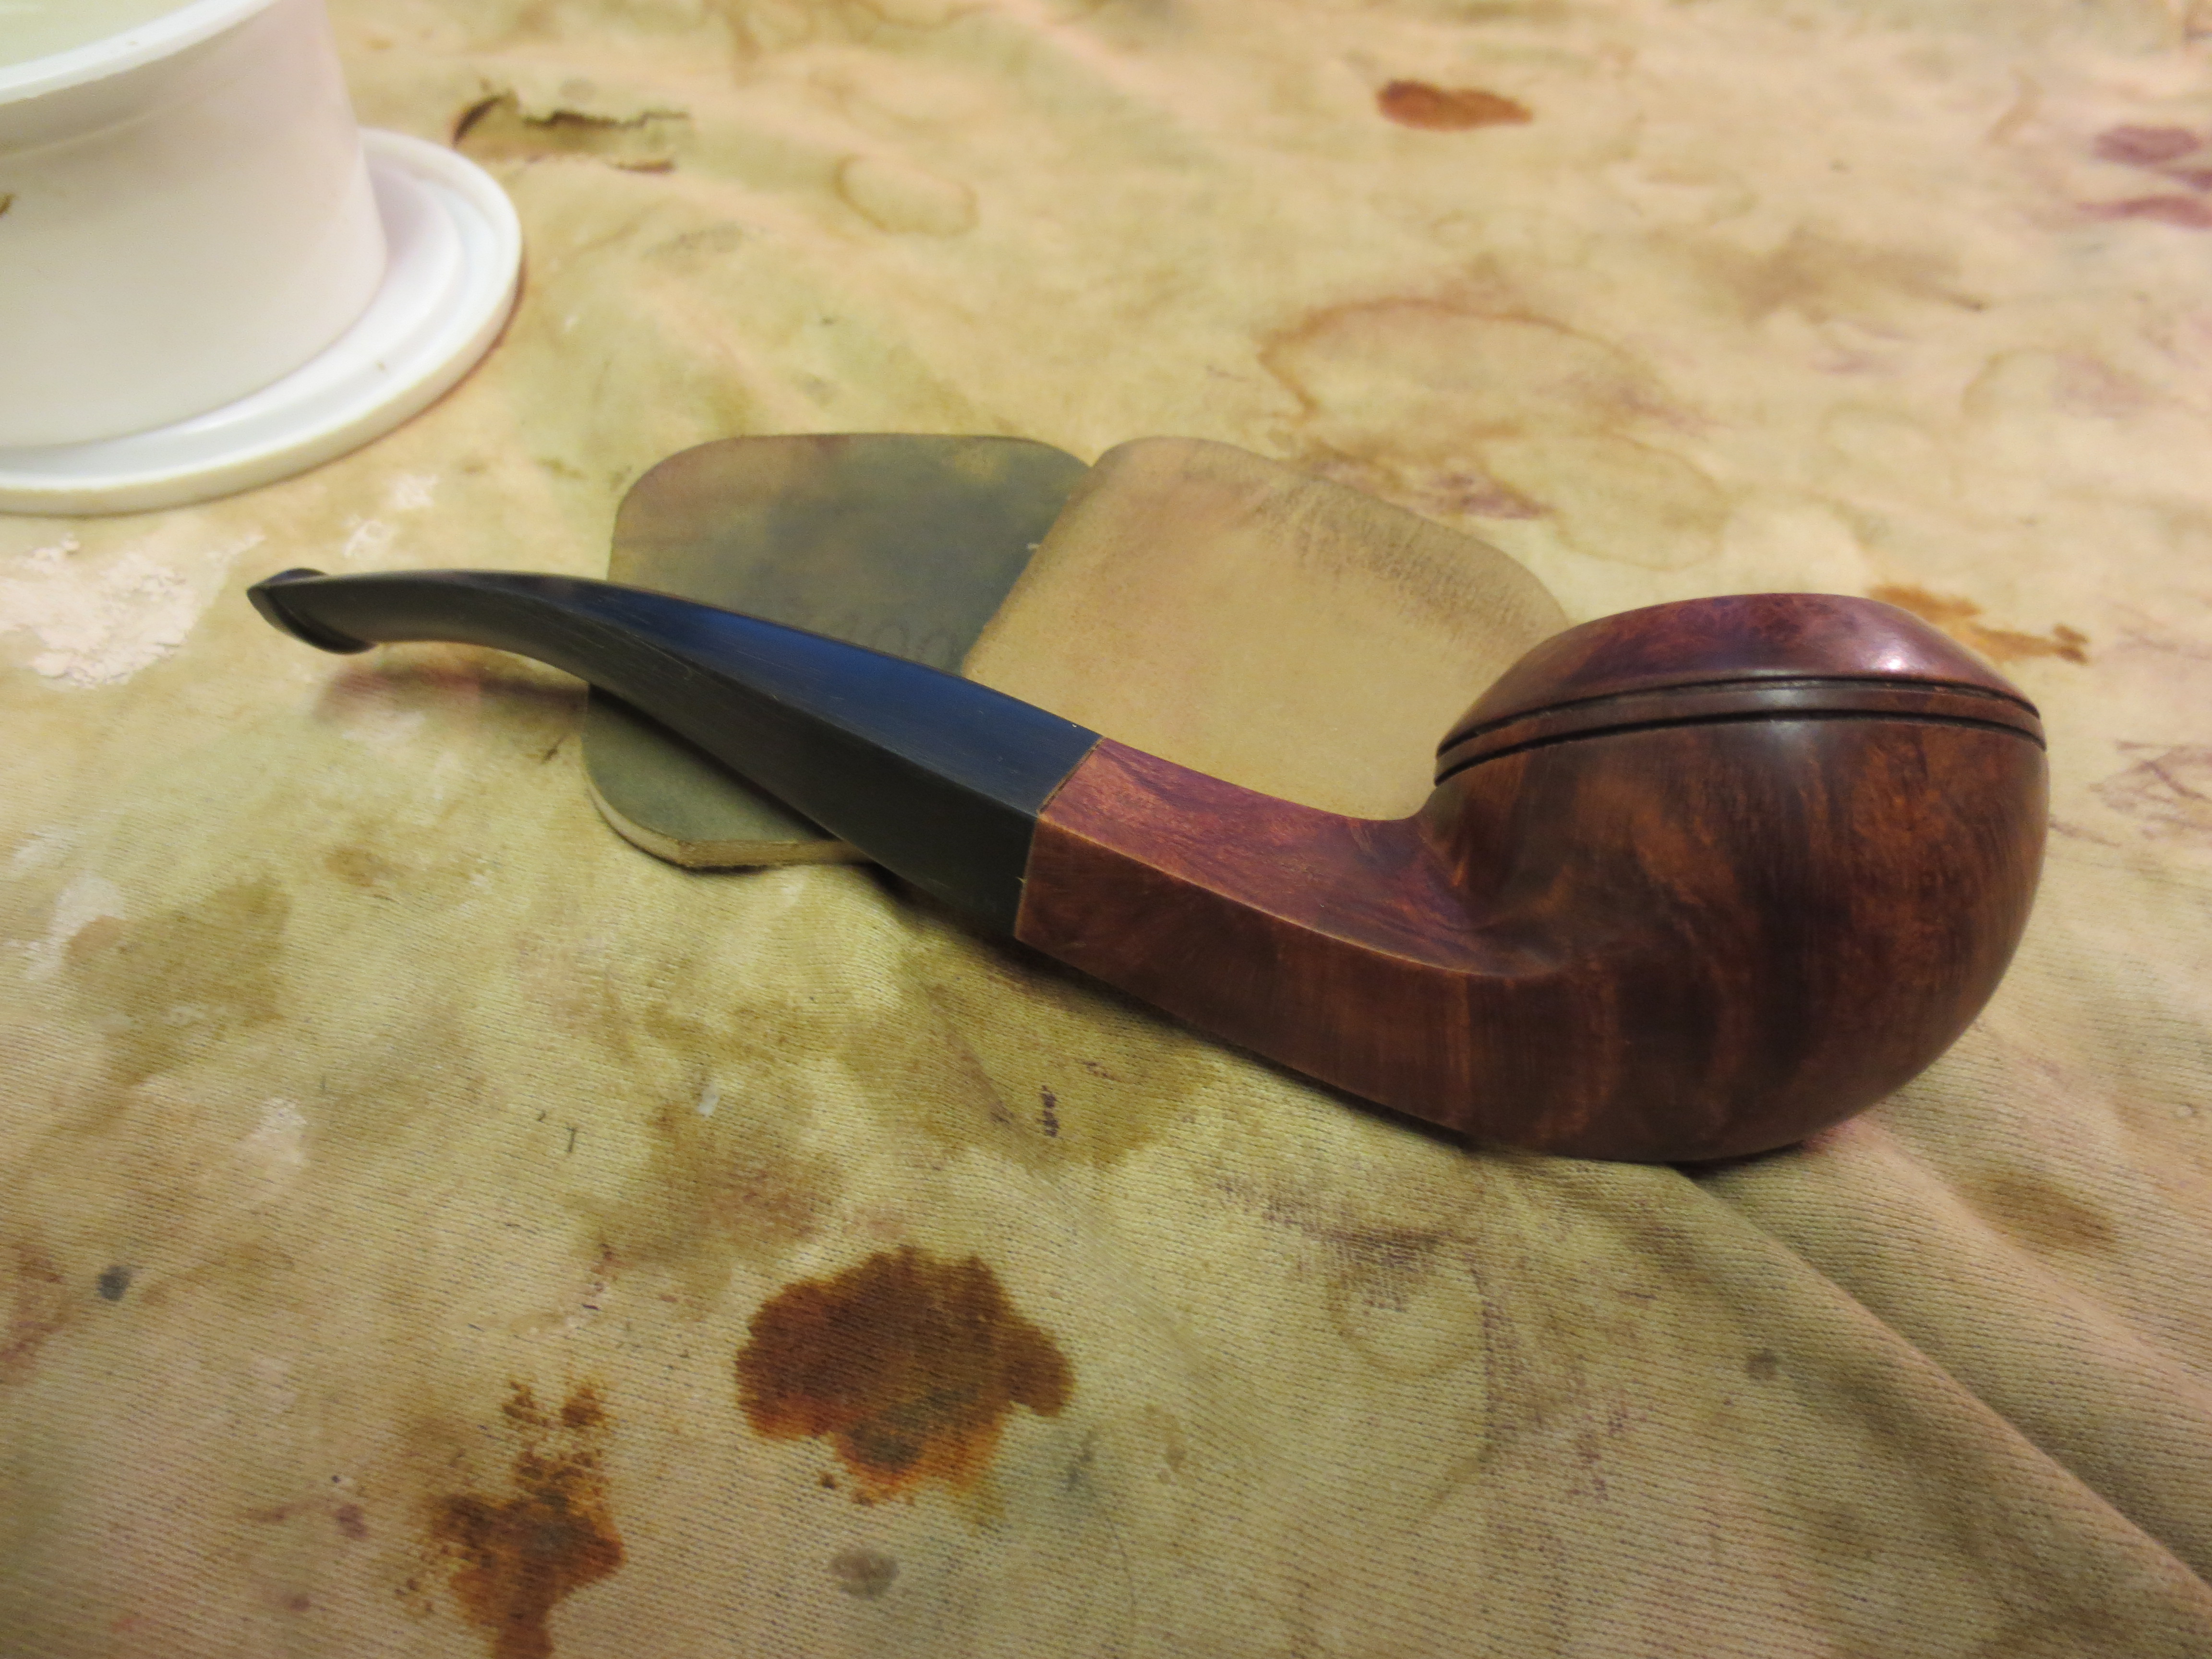
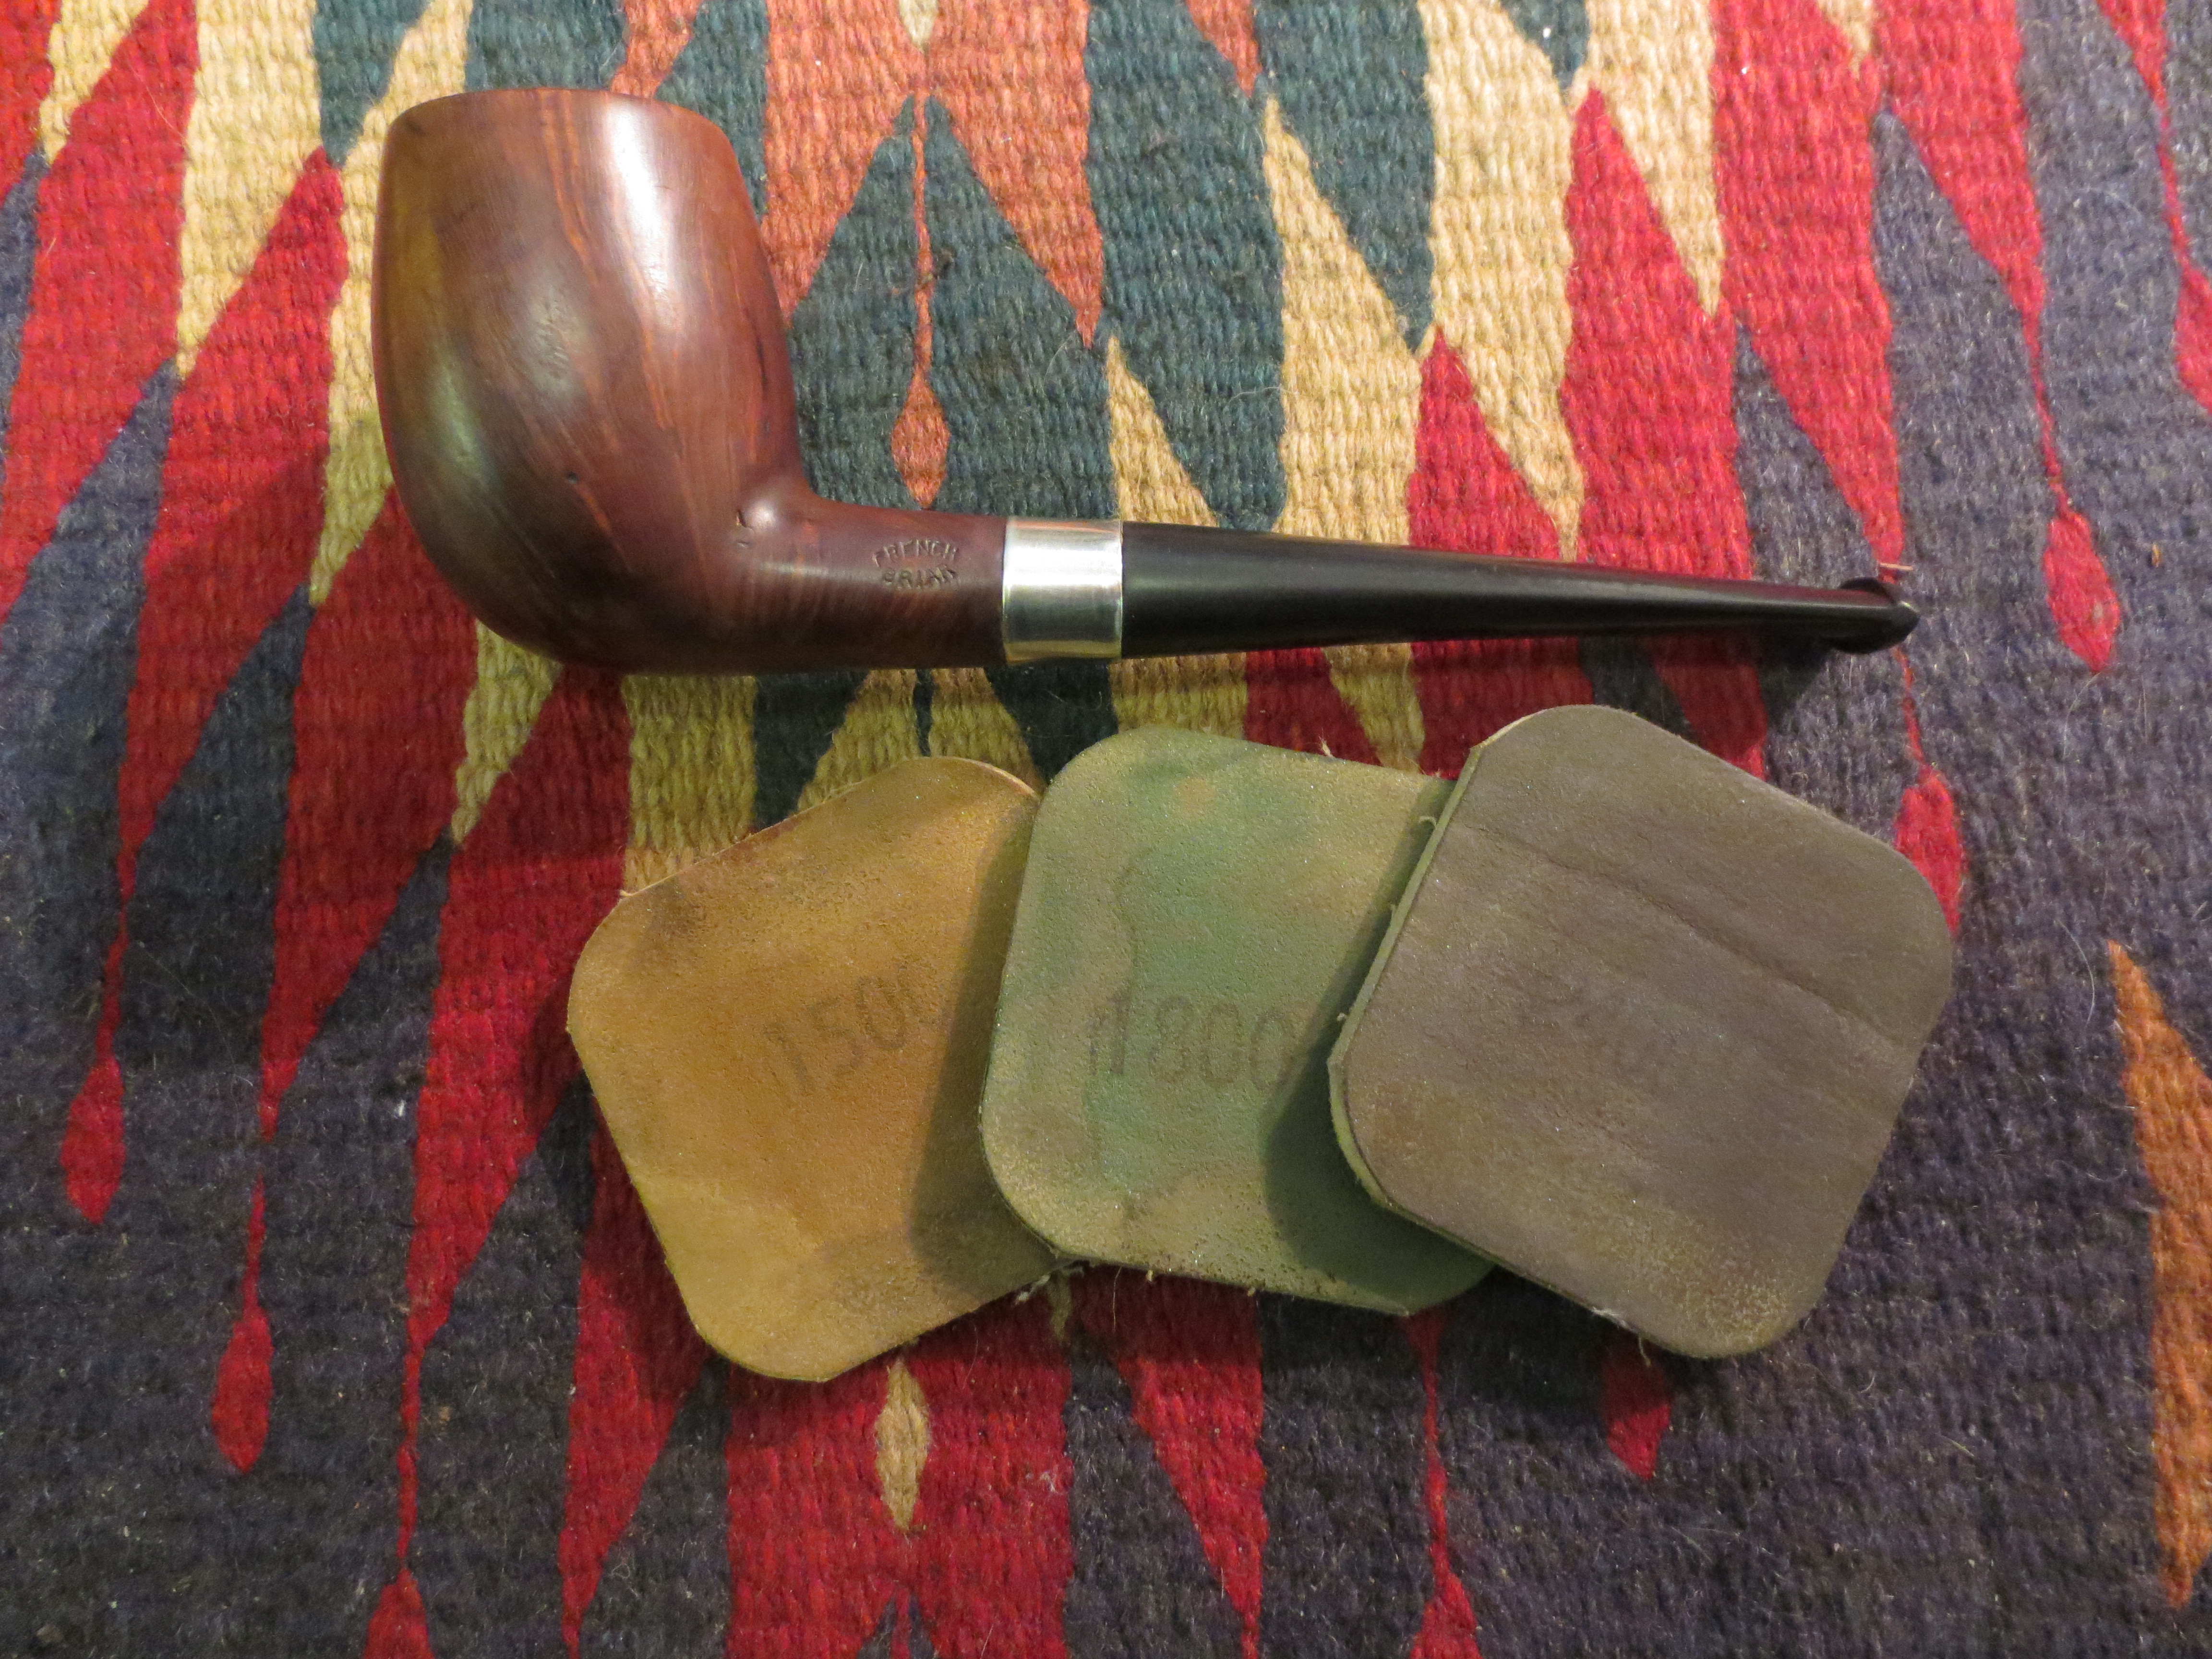
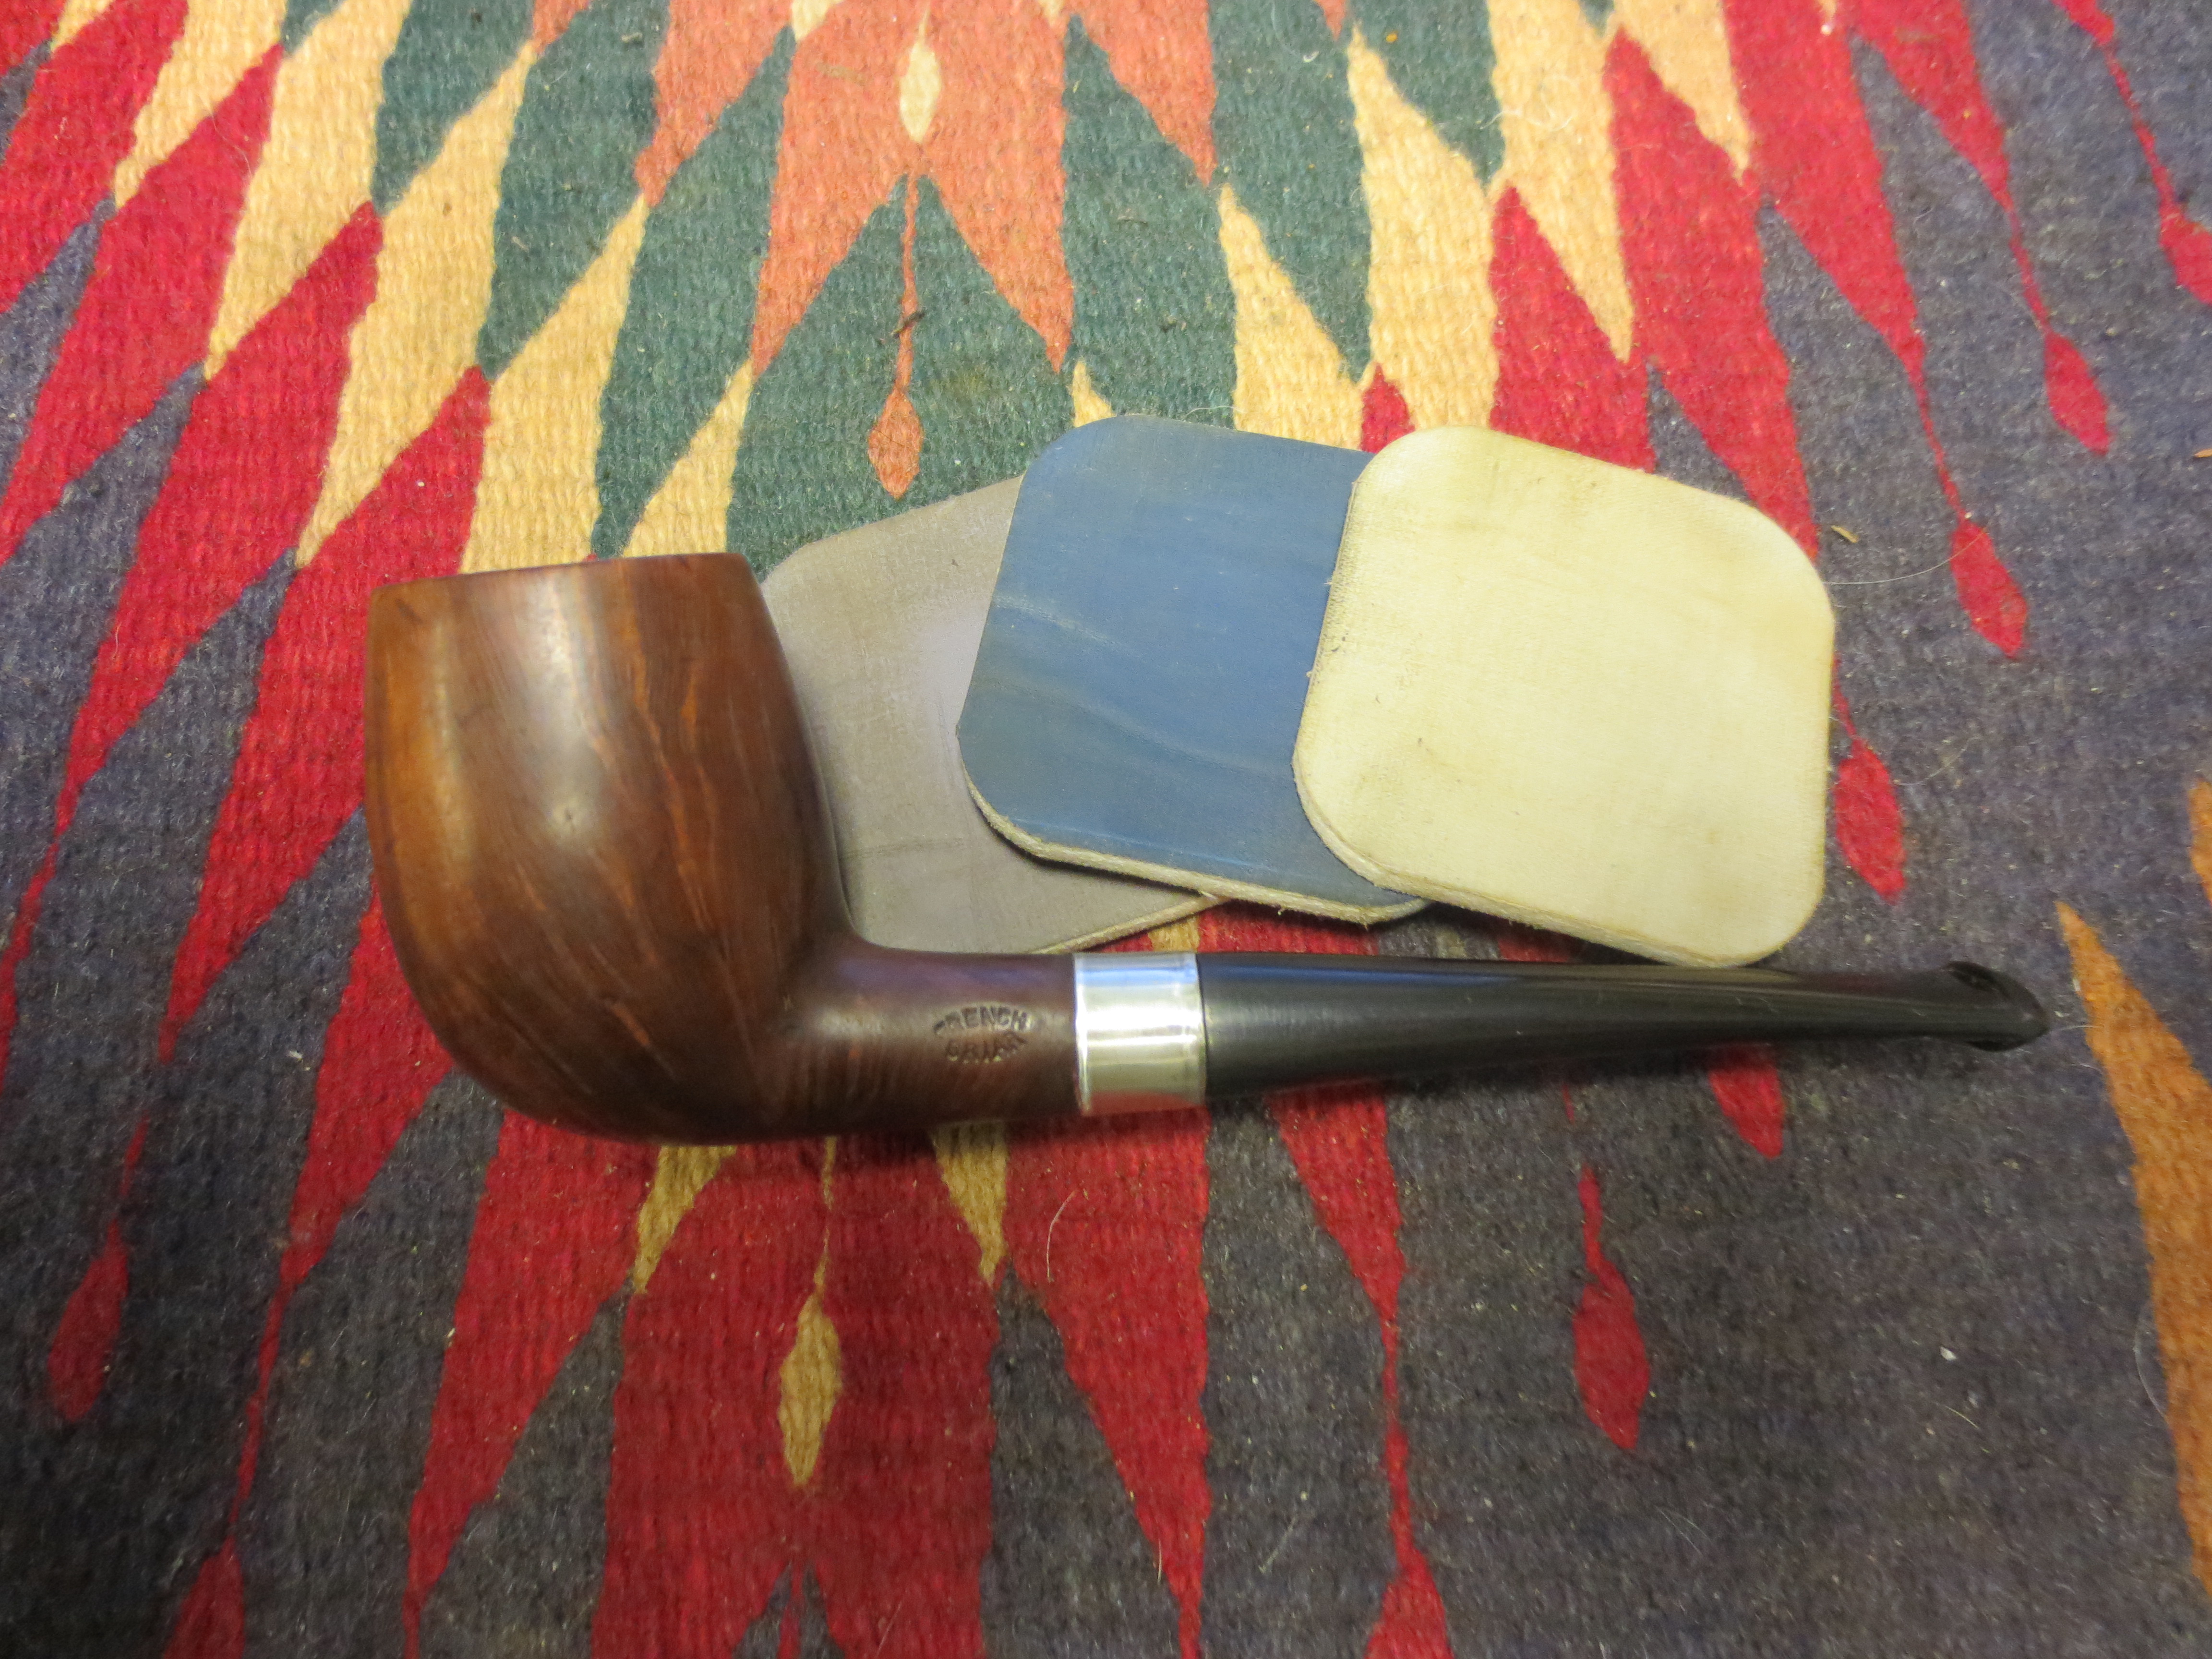
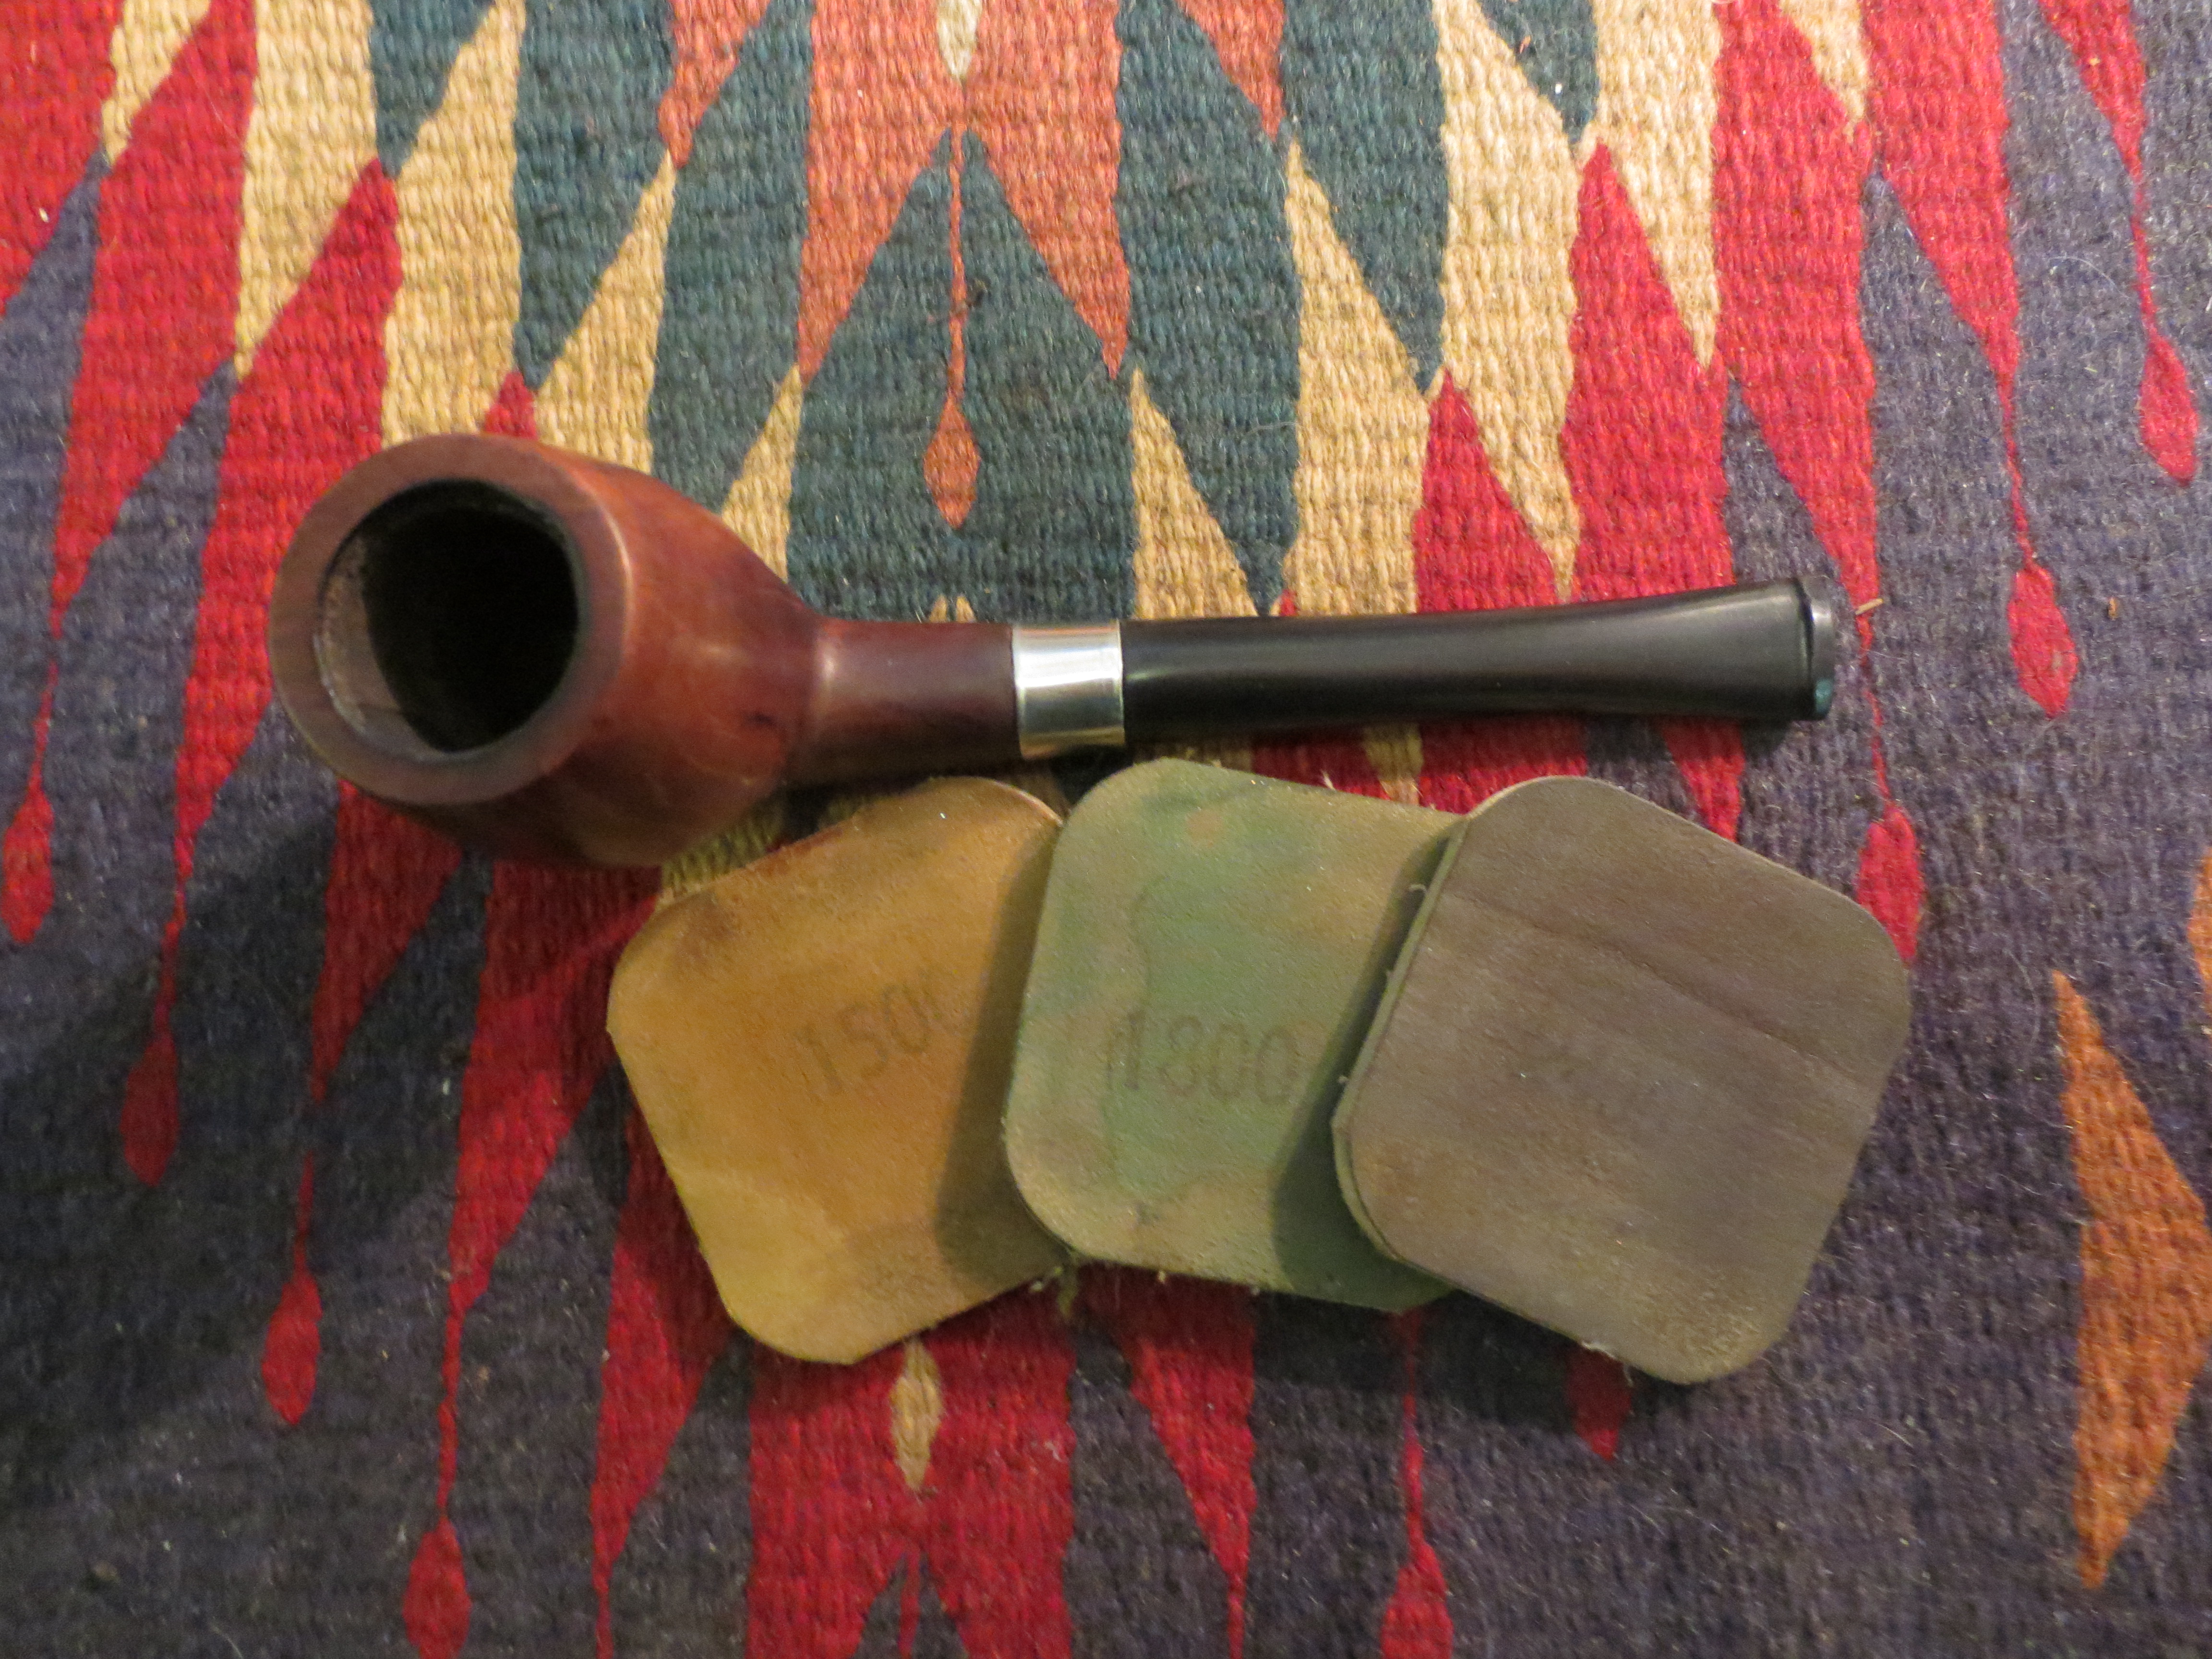
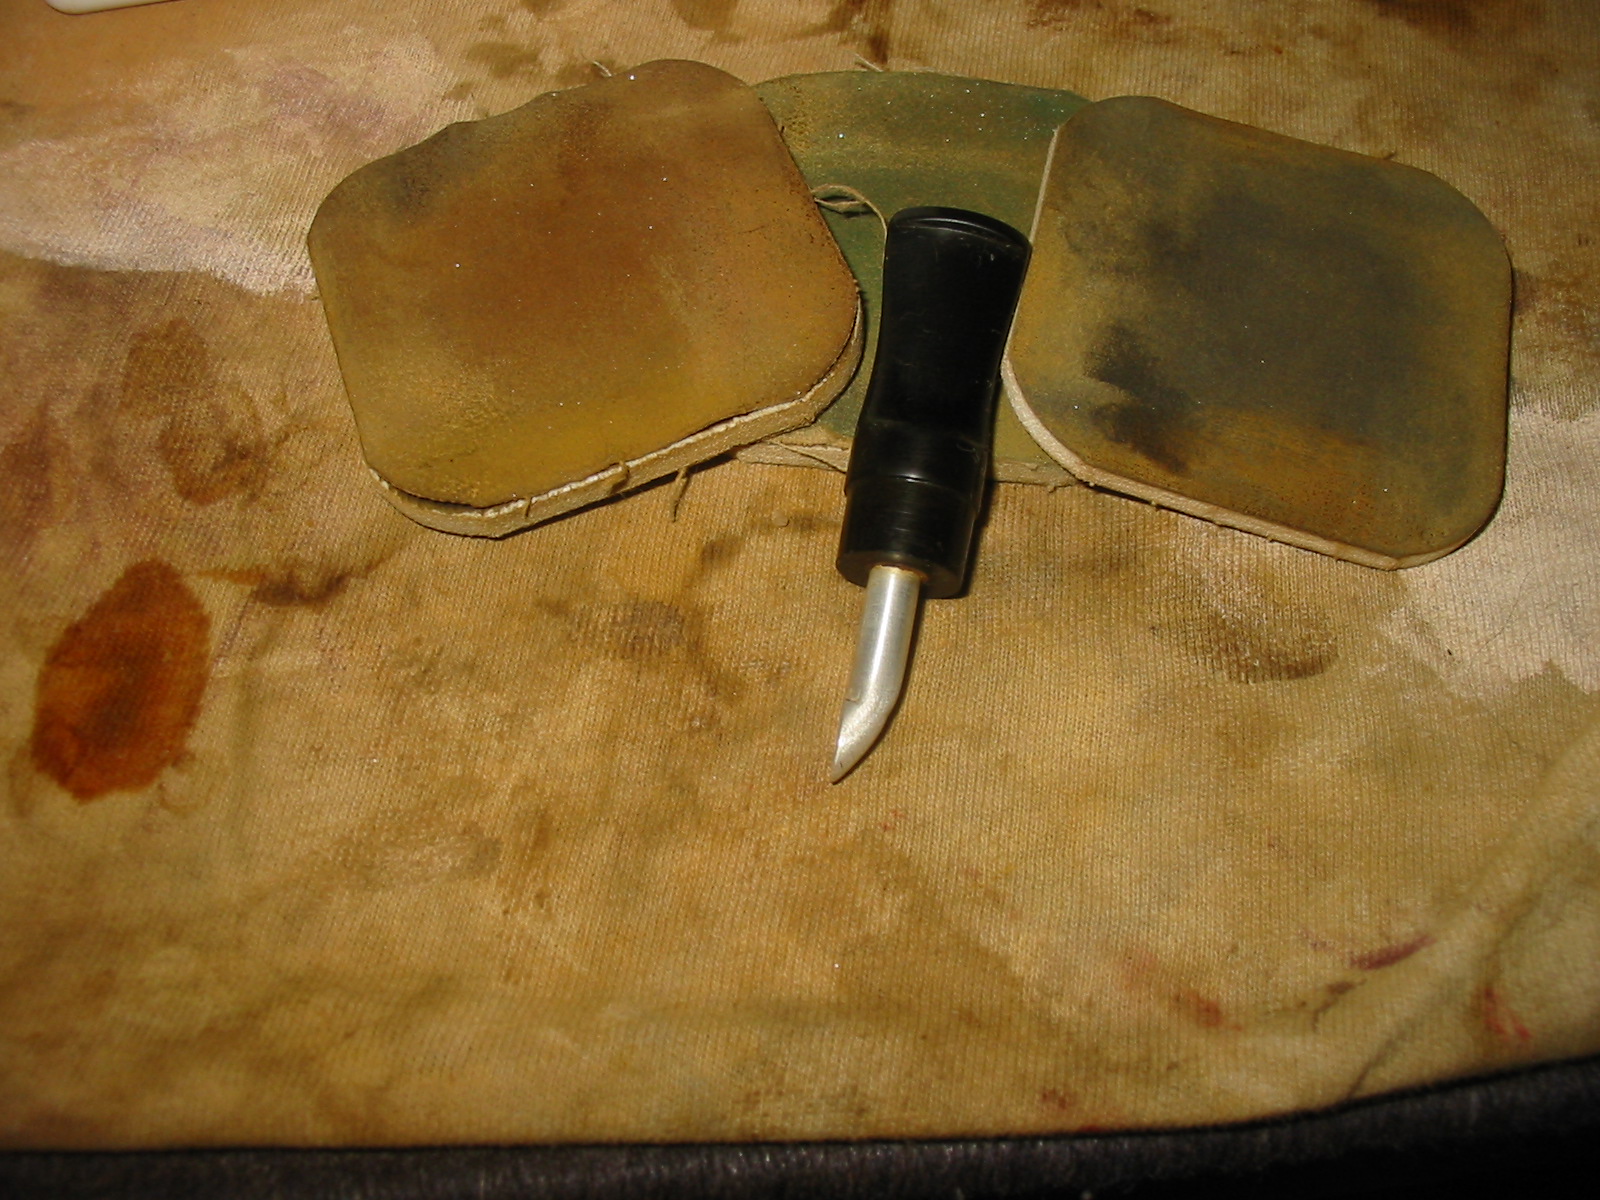
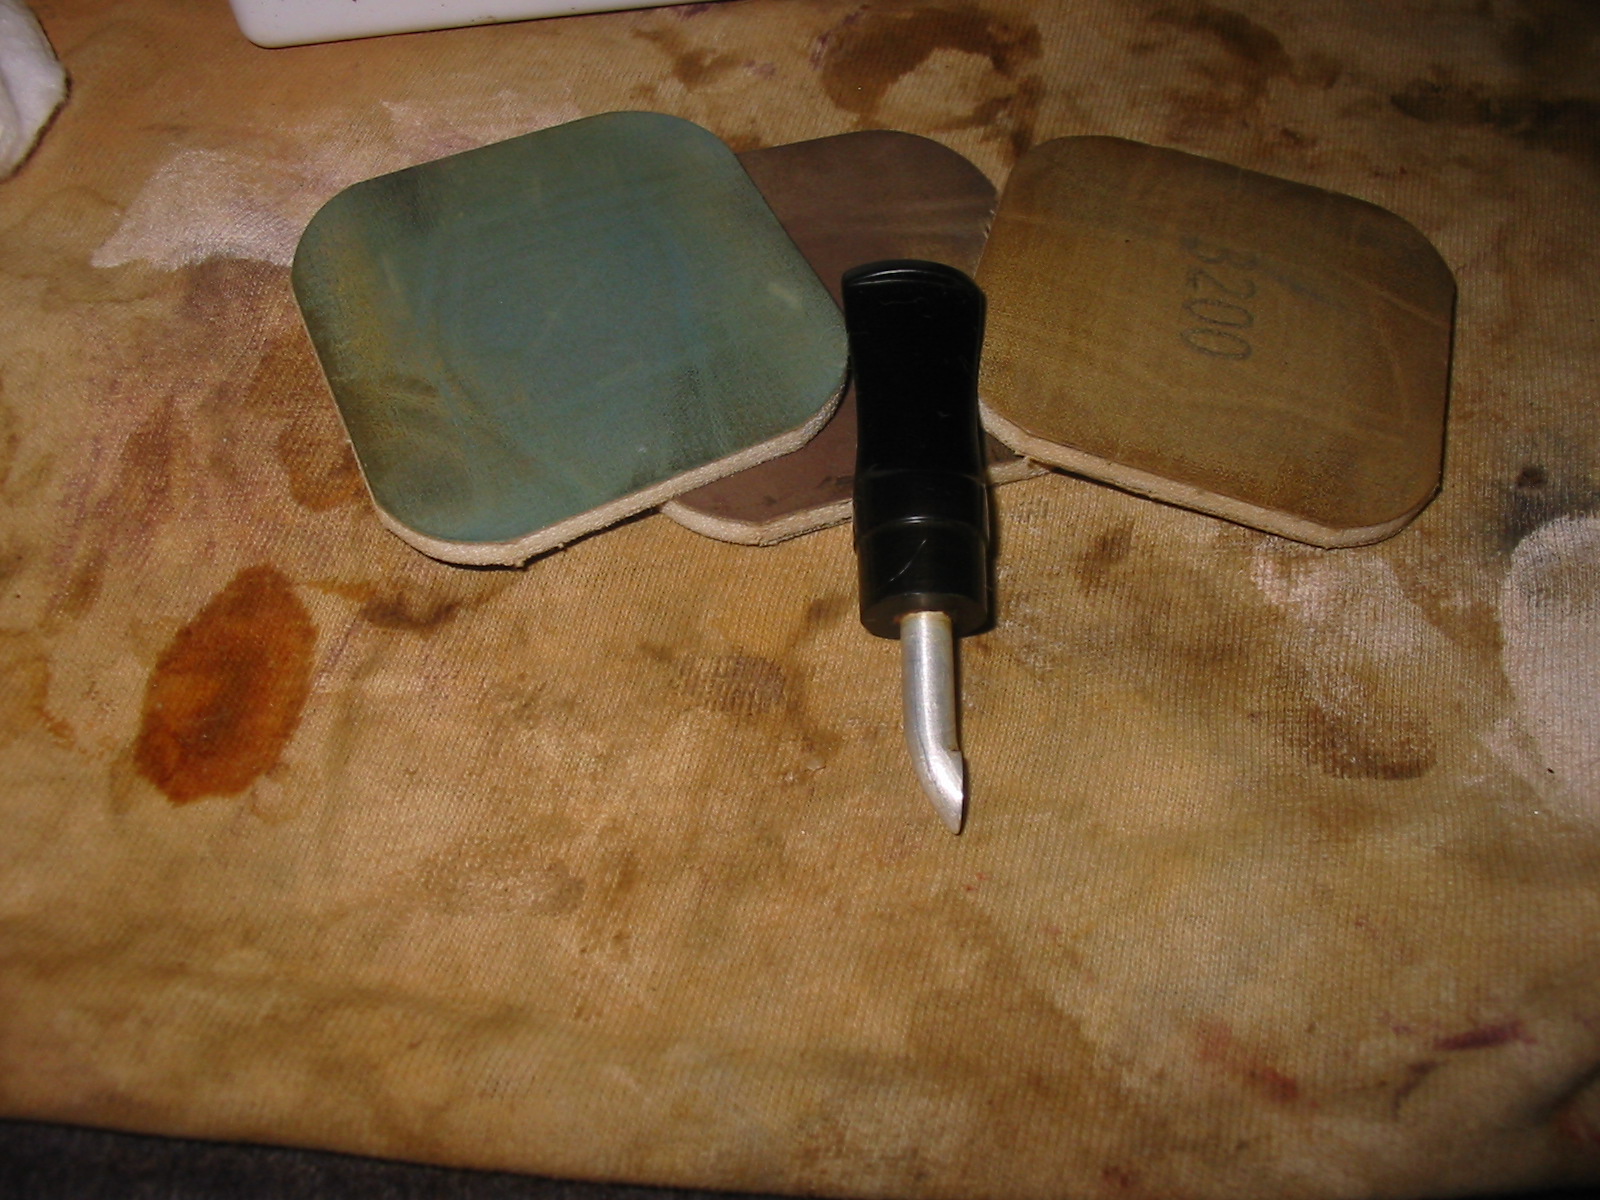
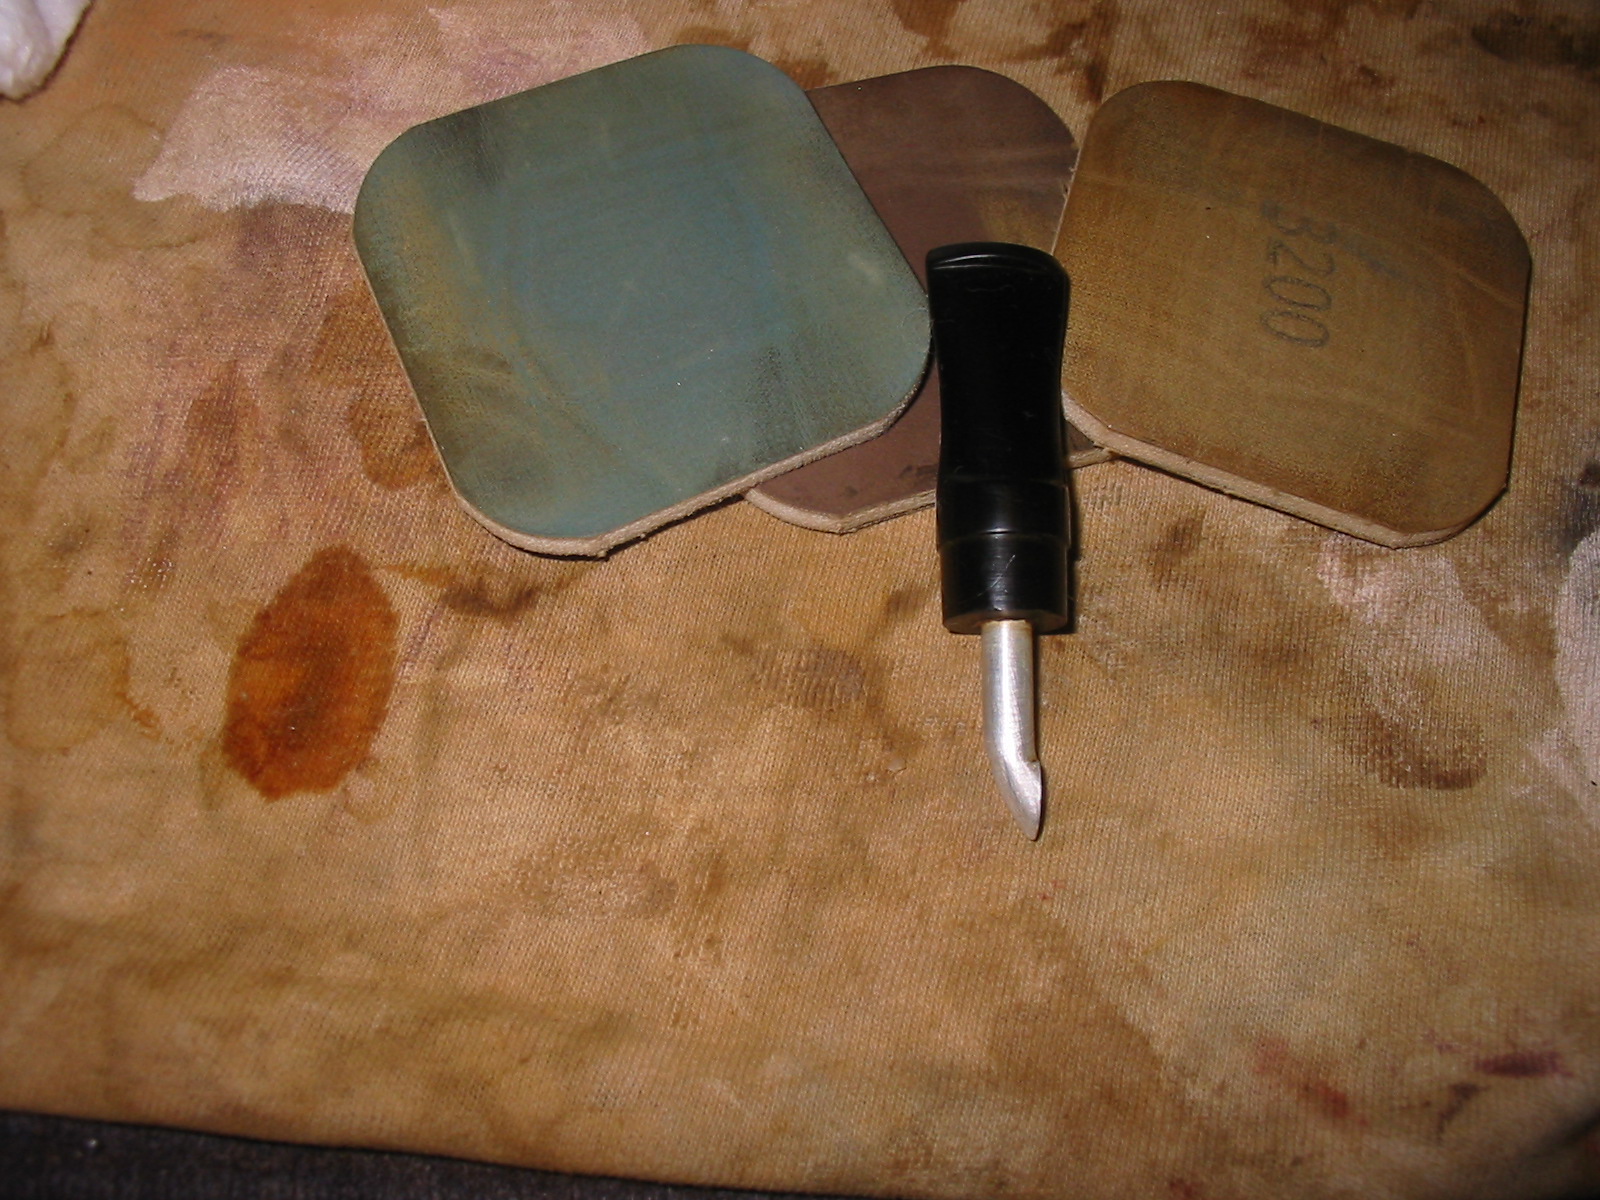
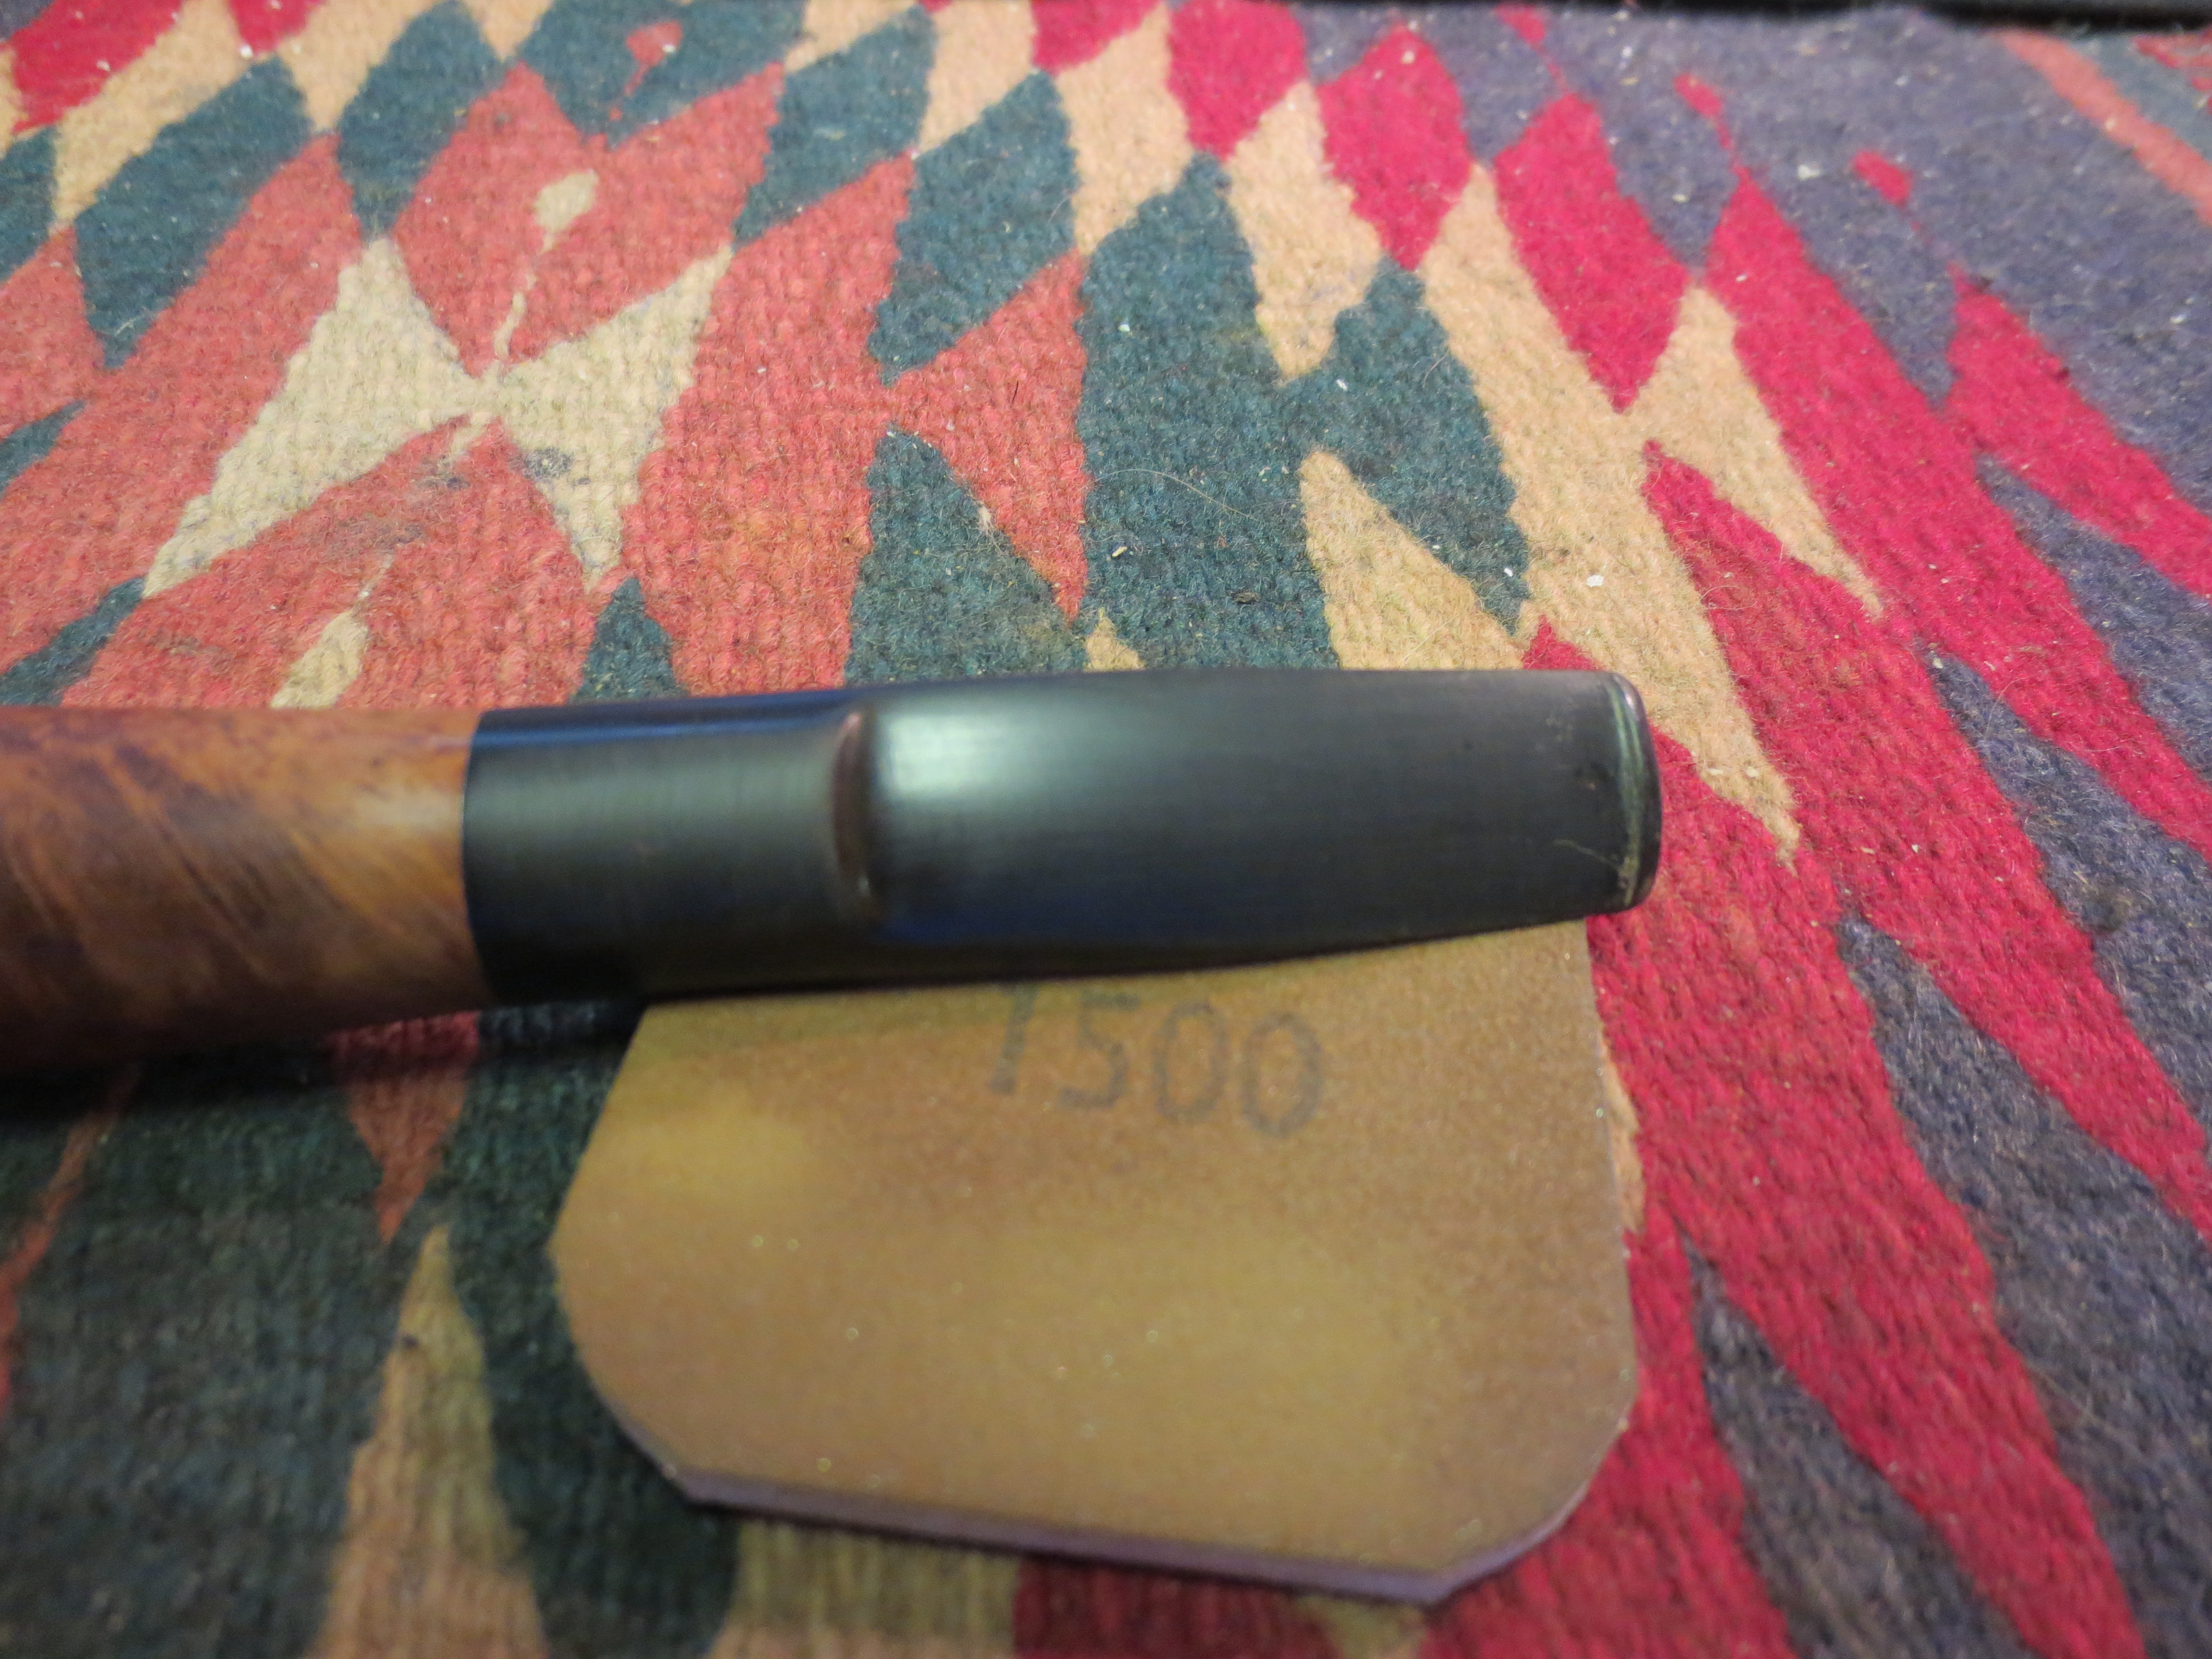
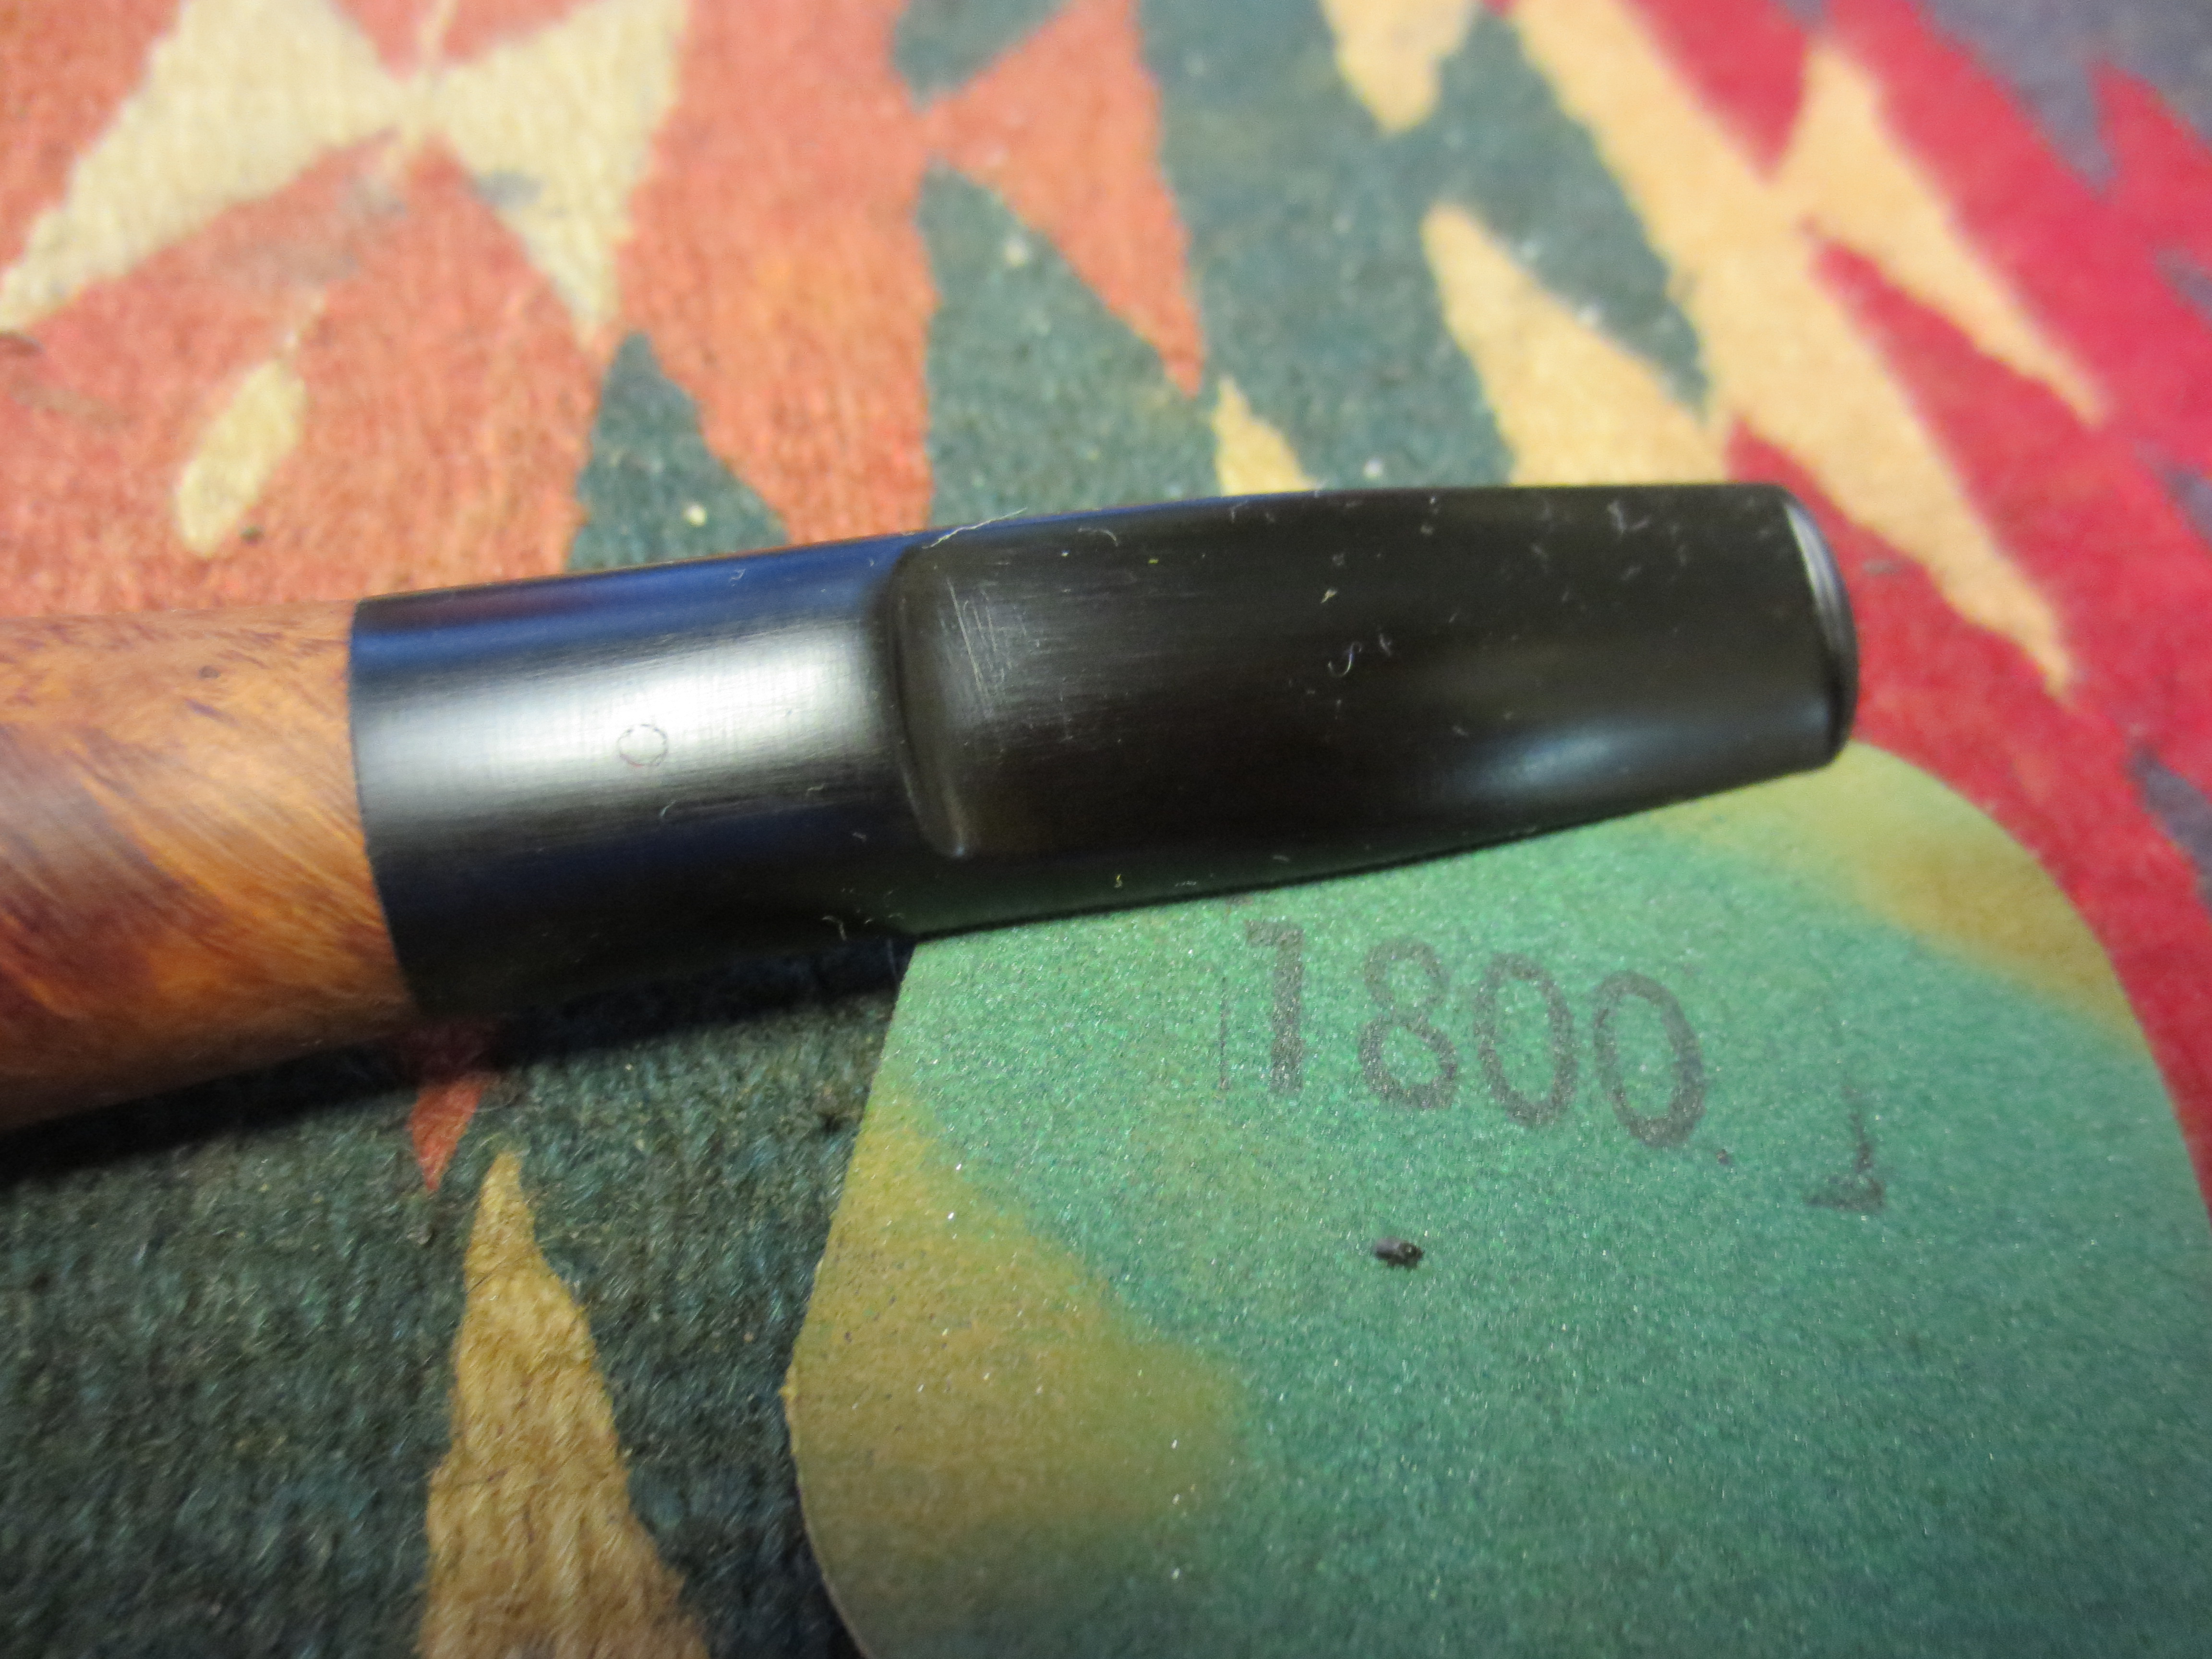
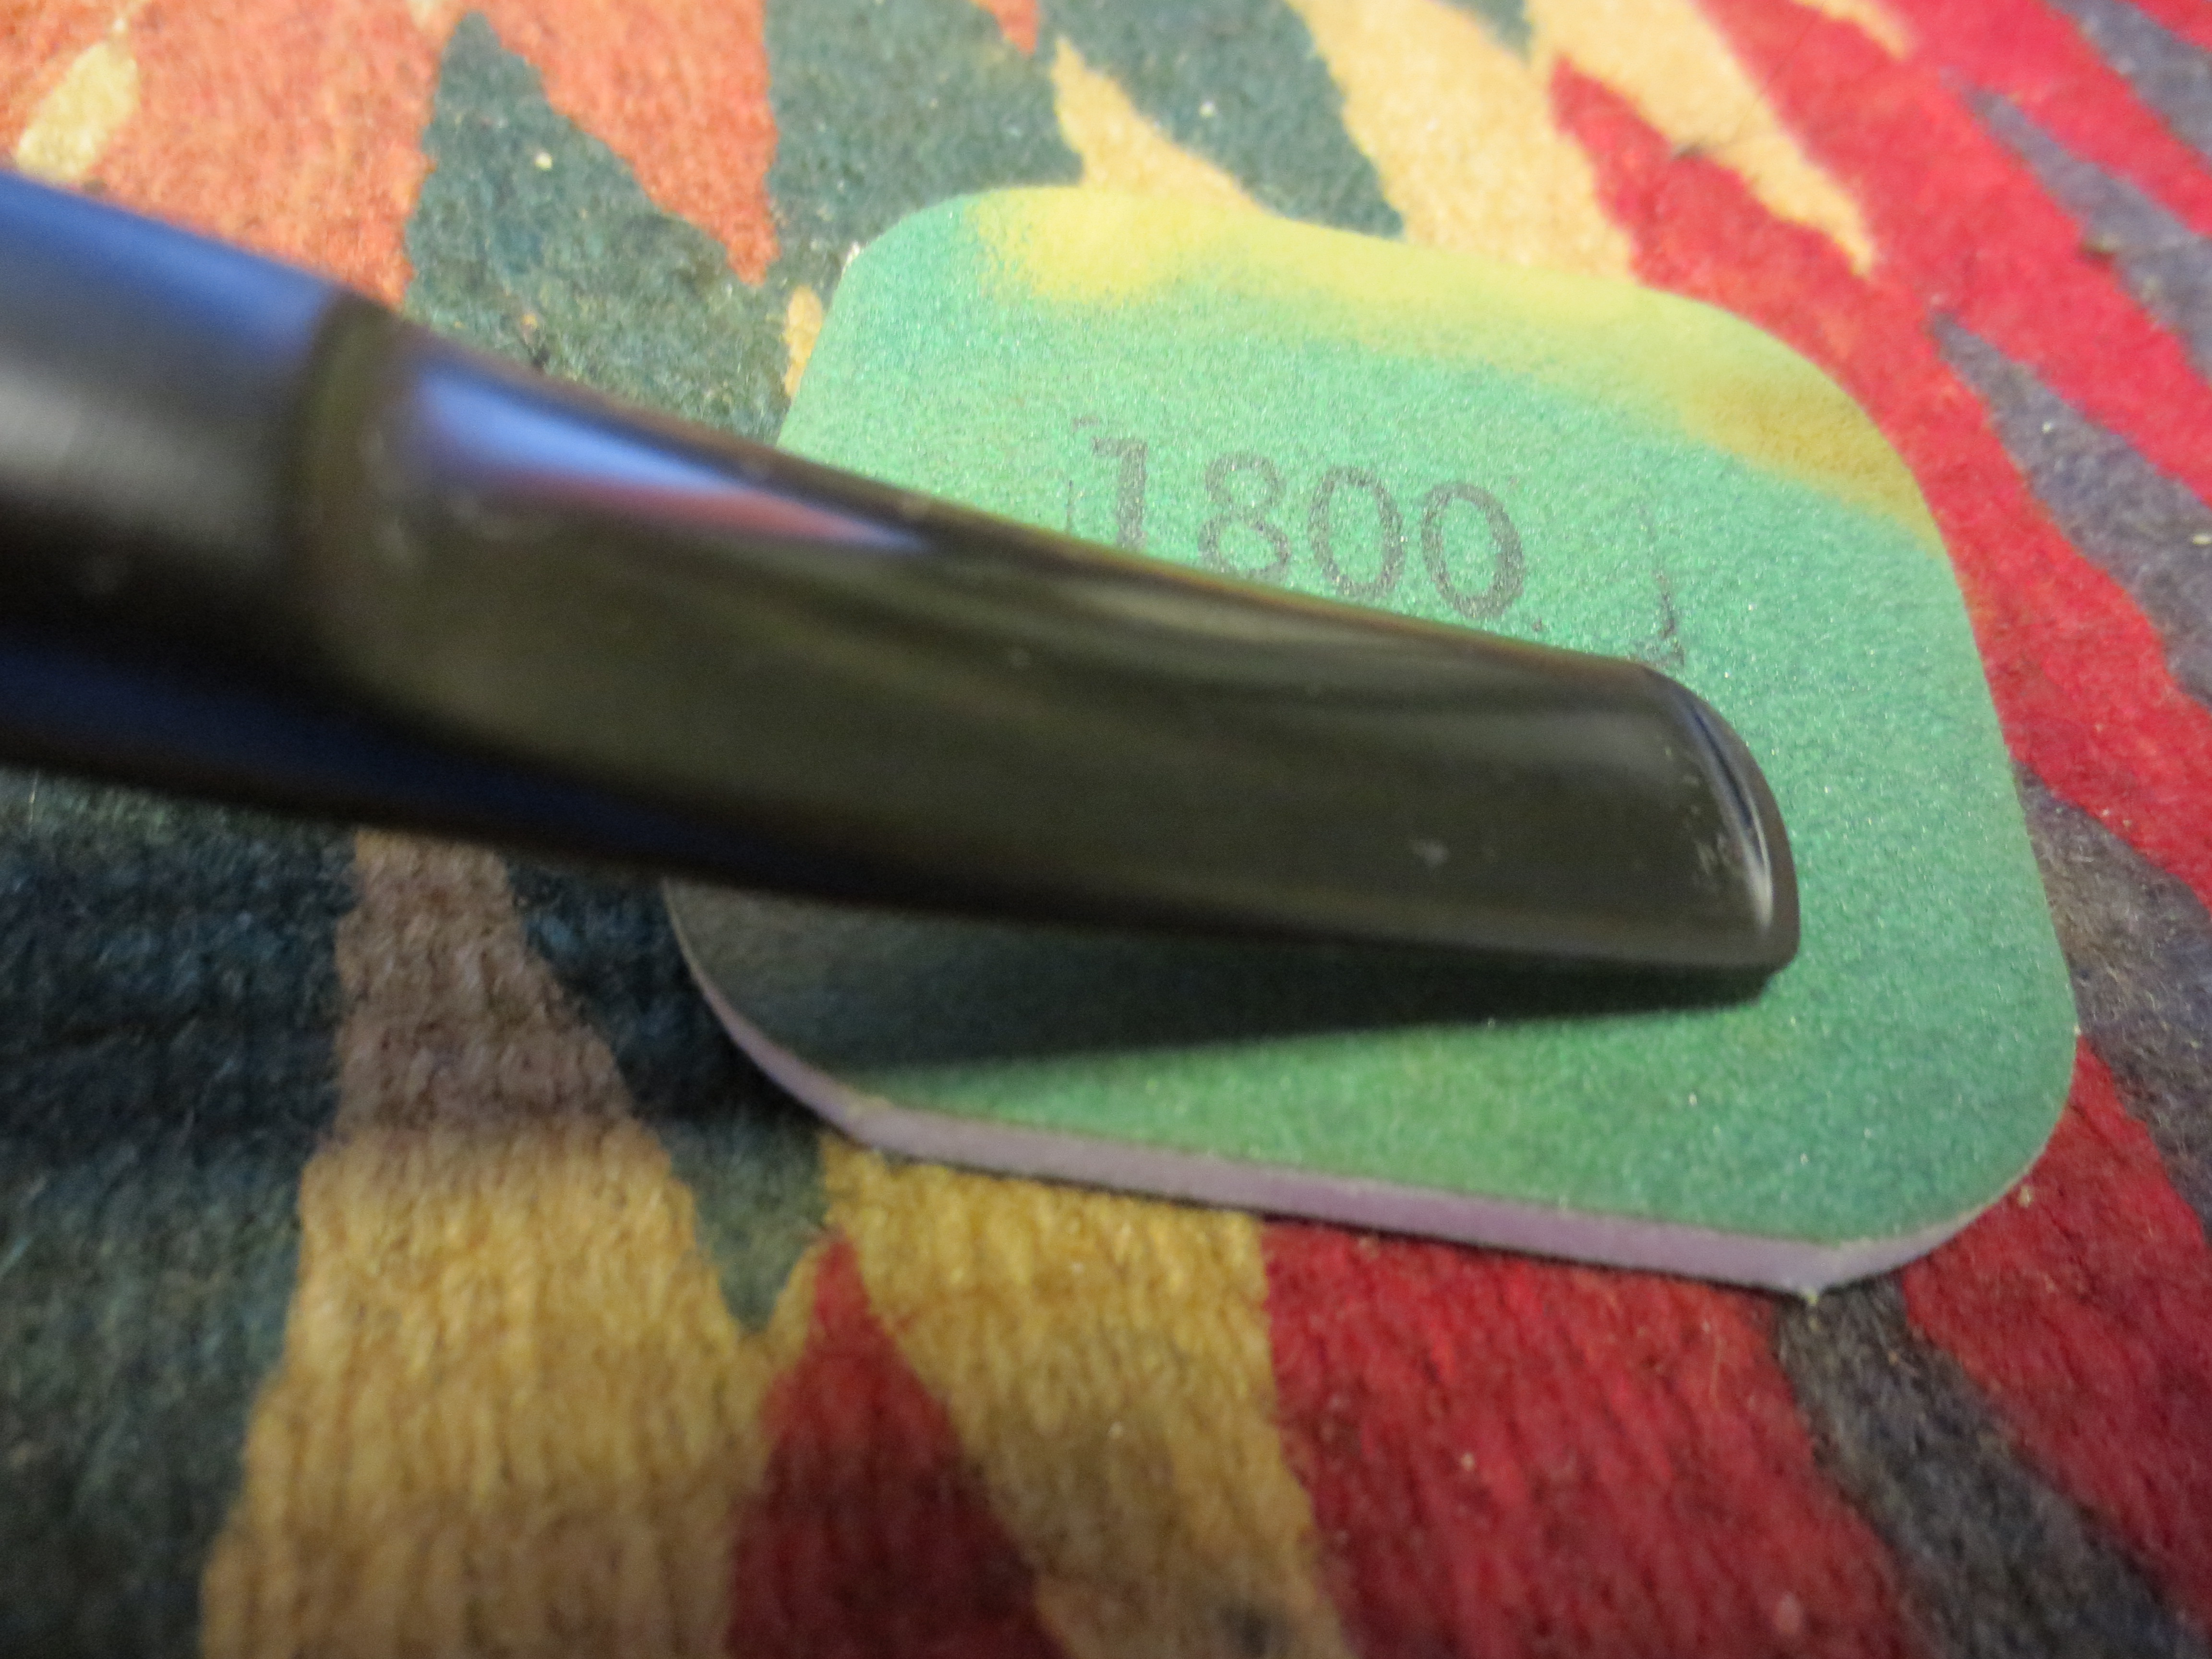
After removing the retort I cleaned out the bowl, shank and stem with pipe cleaners and cotton swabs a final time to remove any of the alcohol and oils that remained. I then sanded the stem with 1500 and 1800 grit micromesh sanding pads to begin polishing the surface and to remove any of the debris left from the surgical tubing on the stem.I continued to sand the stem with the micromesh sanding pads from 2400-12,000 grit in preparation for staining.

IMG_1356

IMG_1357

IMG_1358

IMG_1359

IMG_1360

IMG_1361

IMG_1362

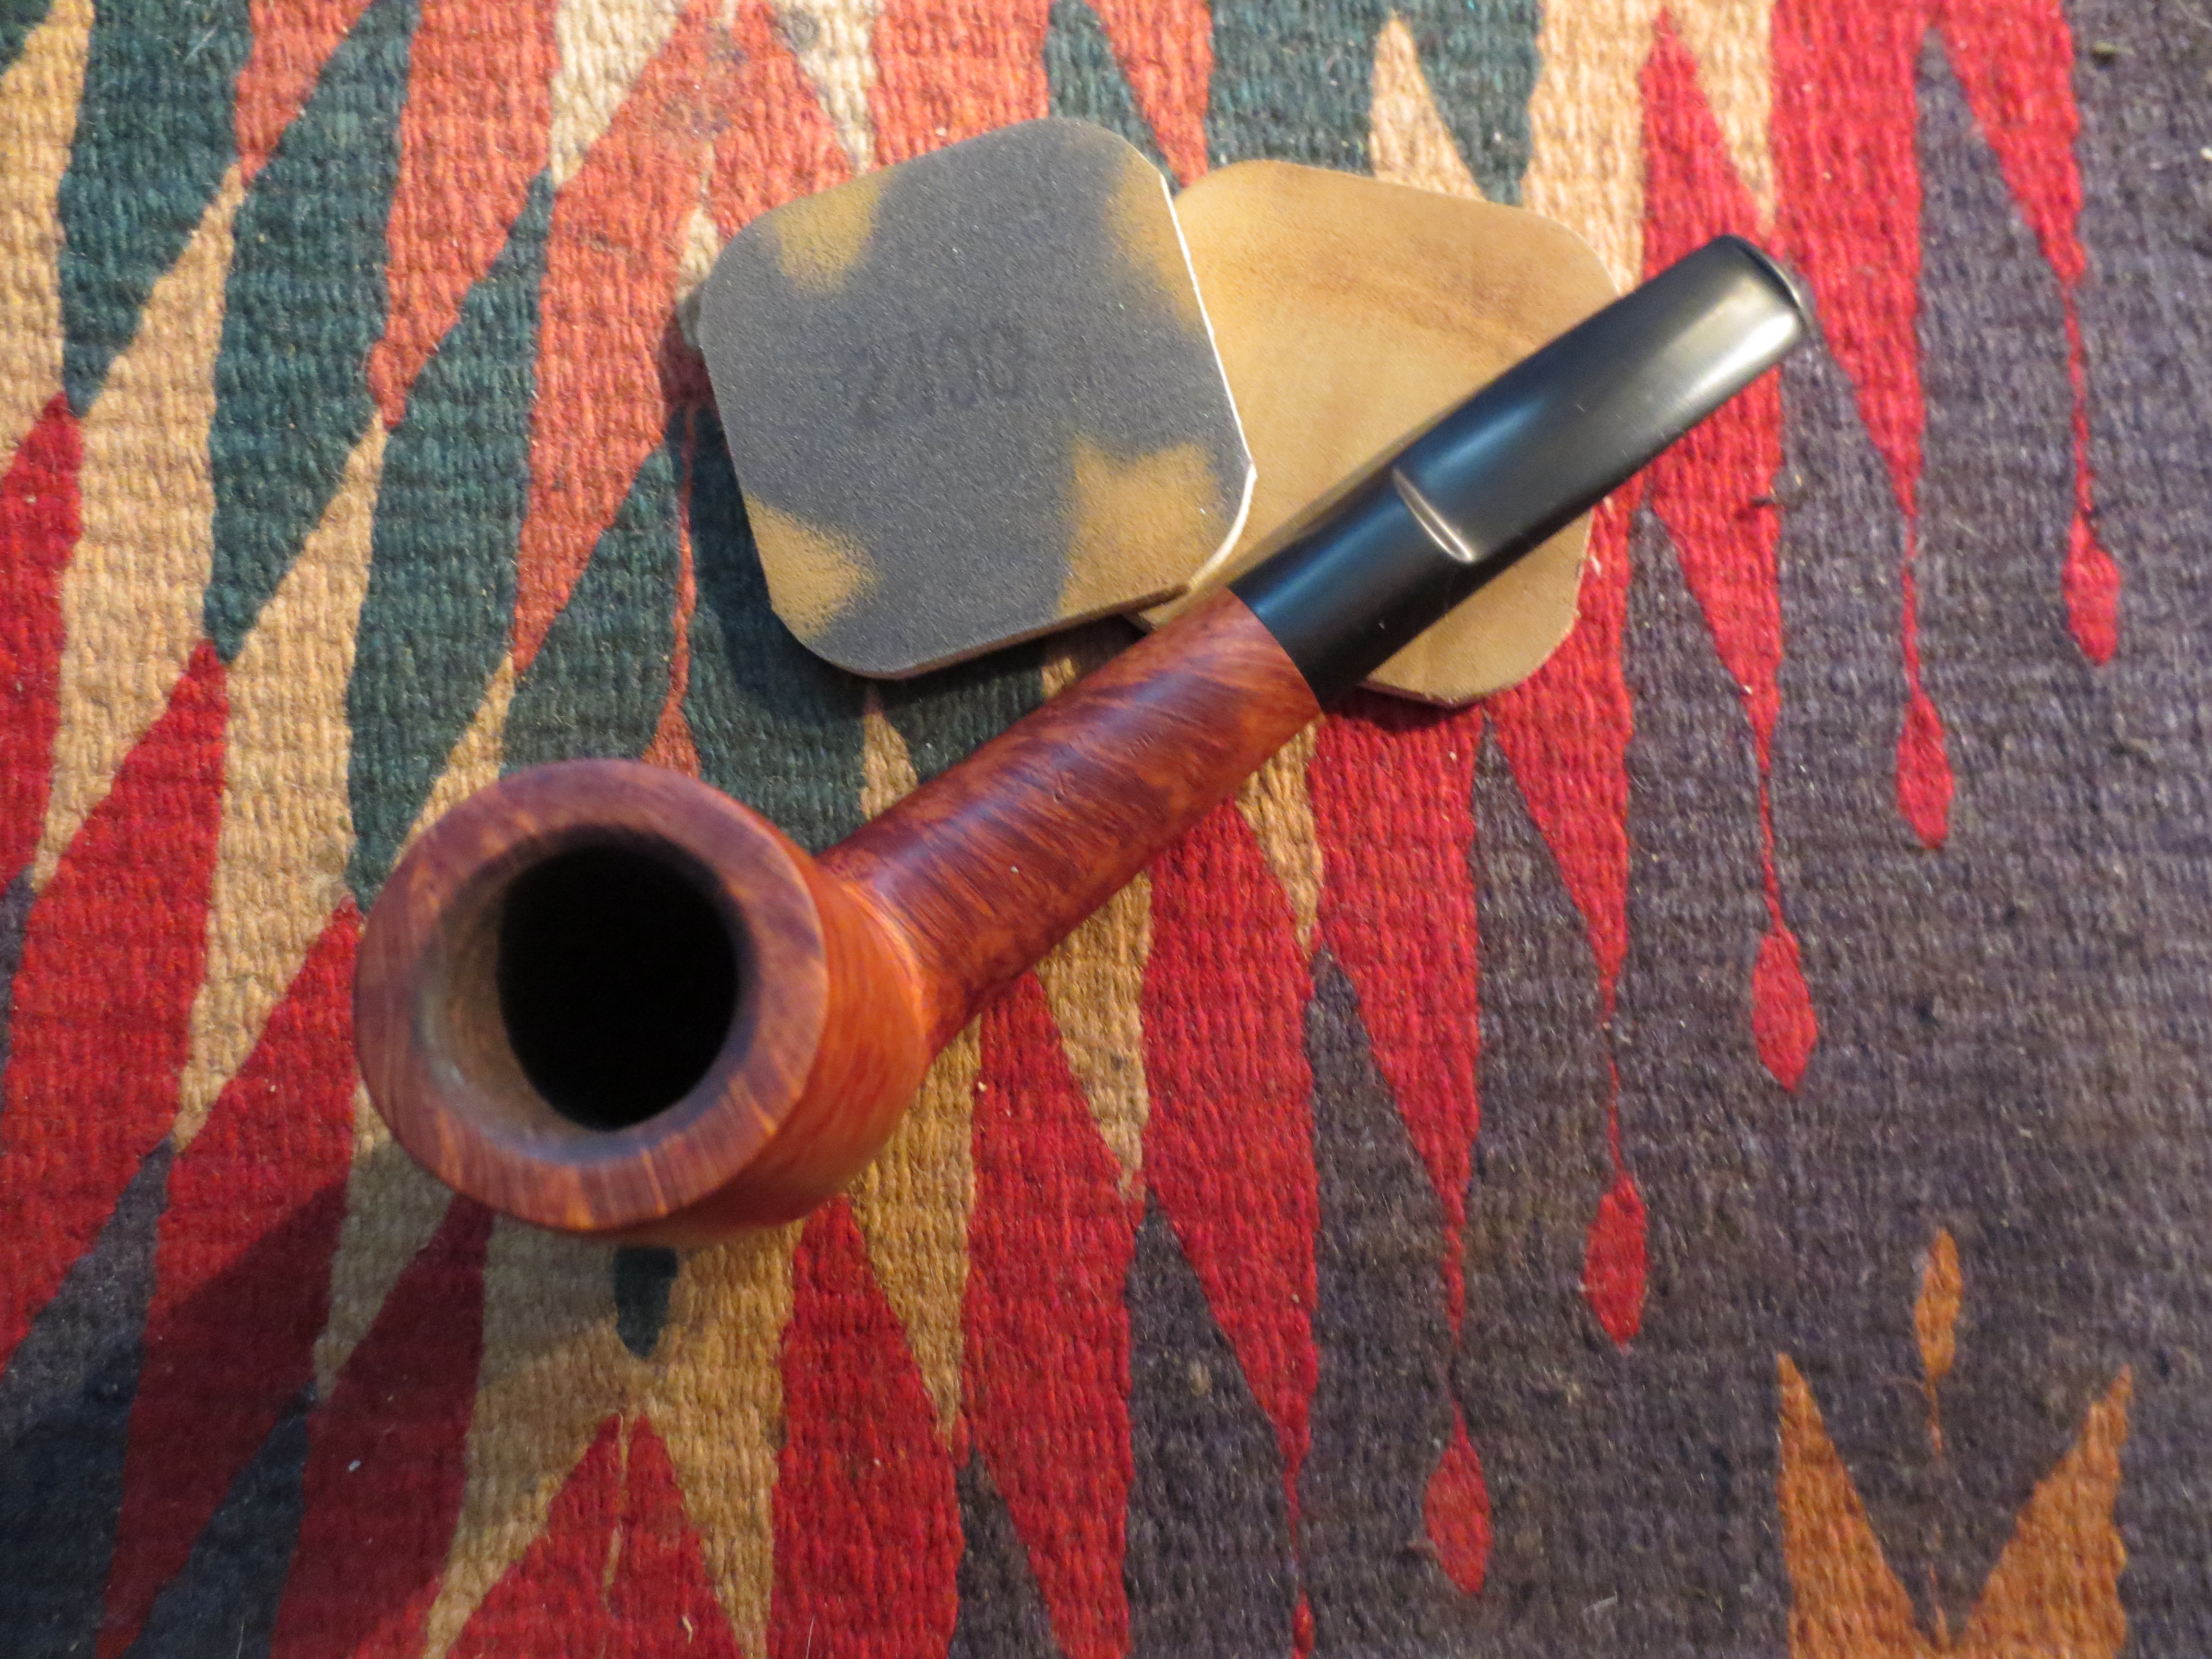
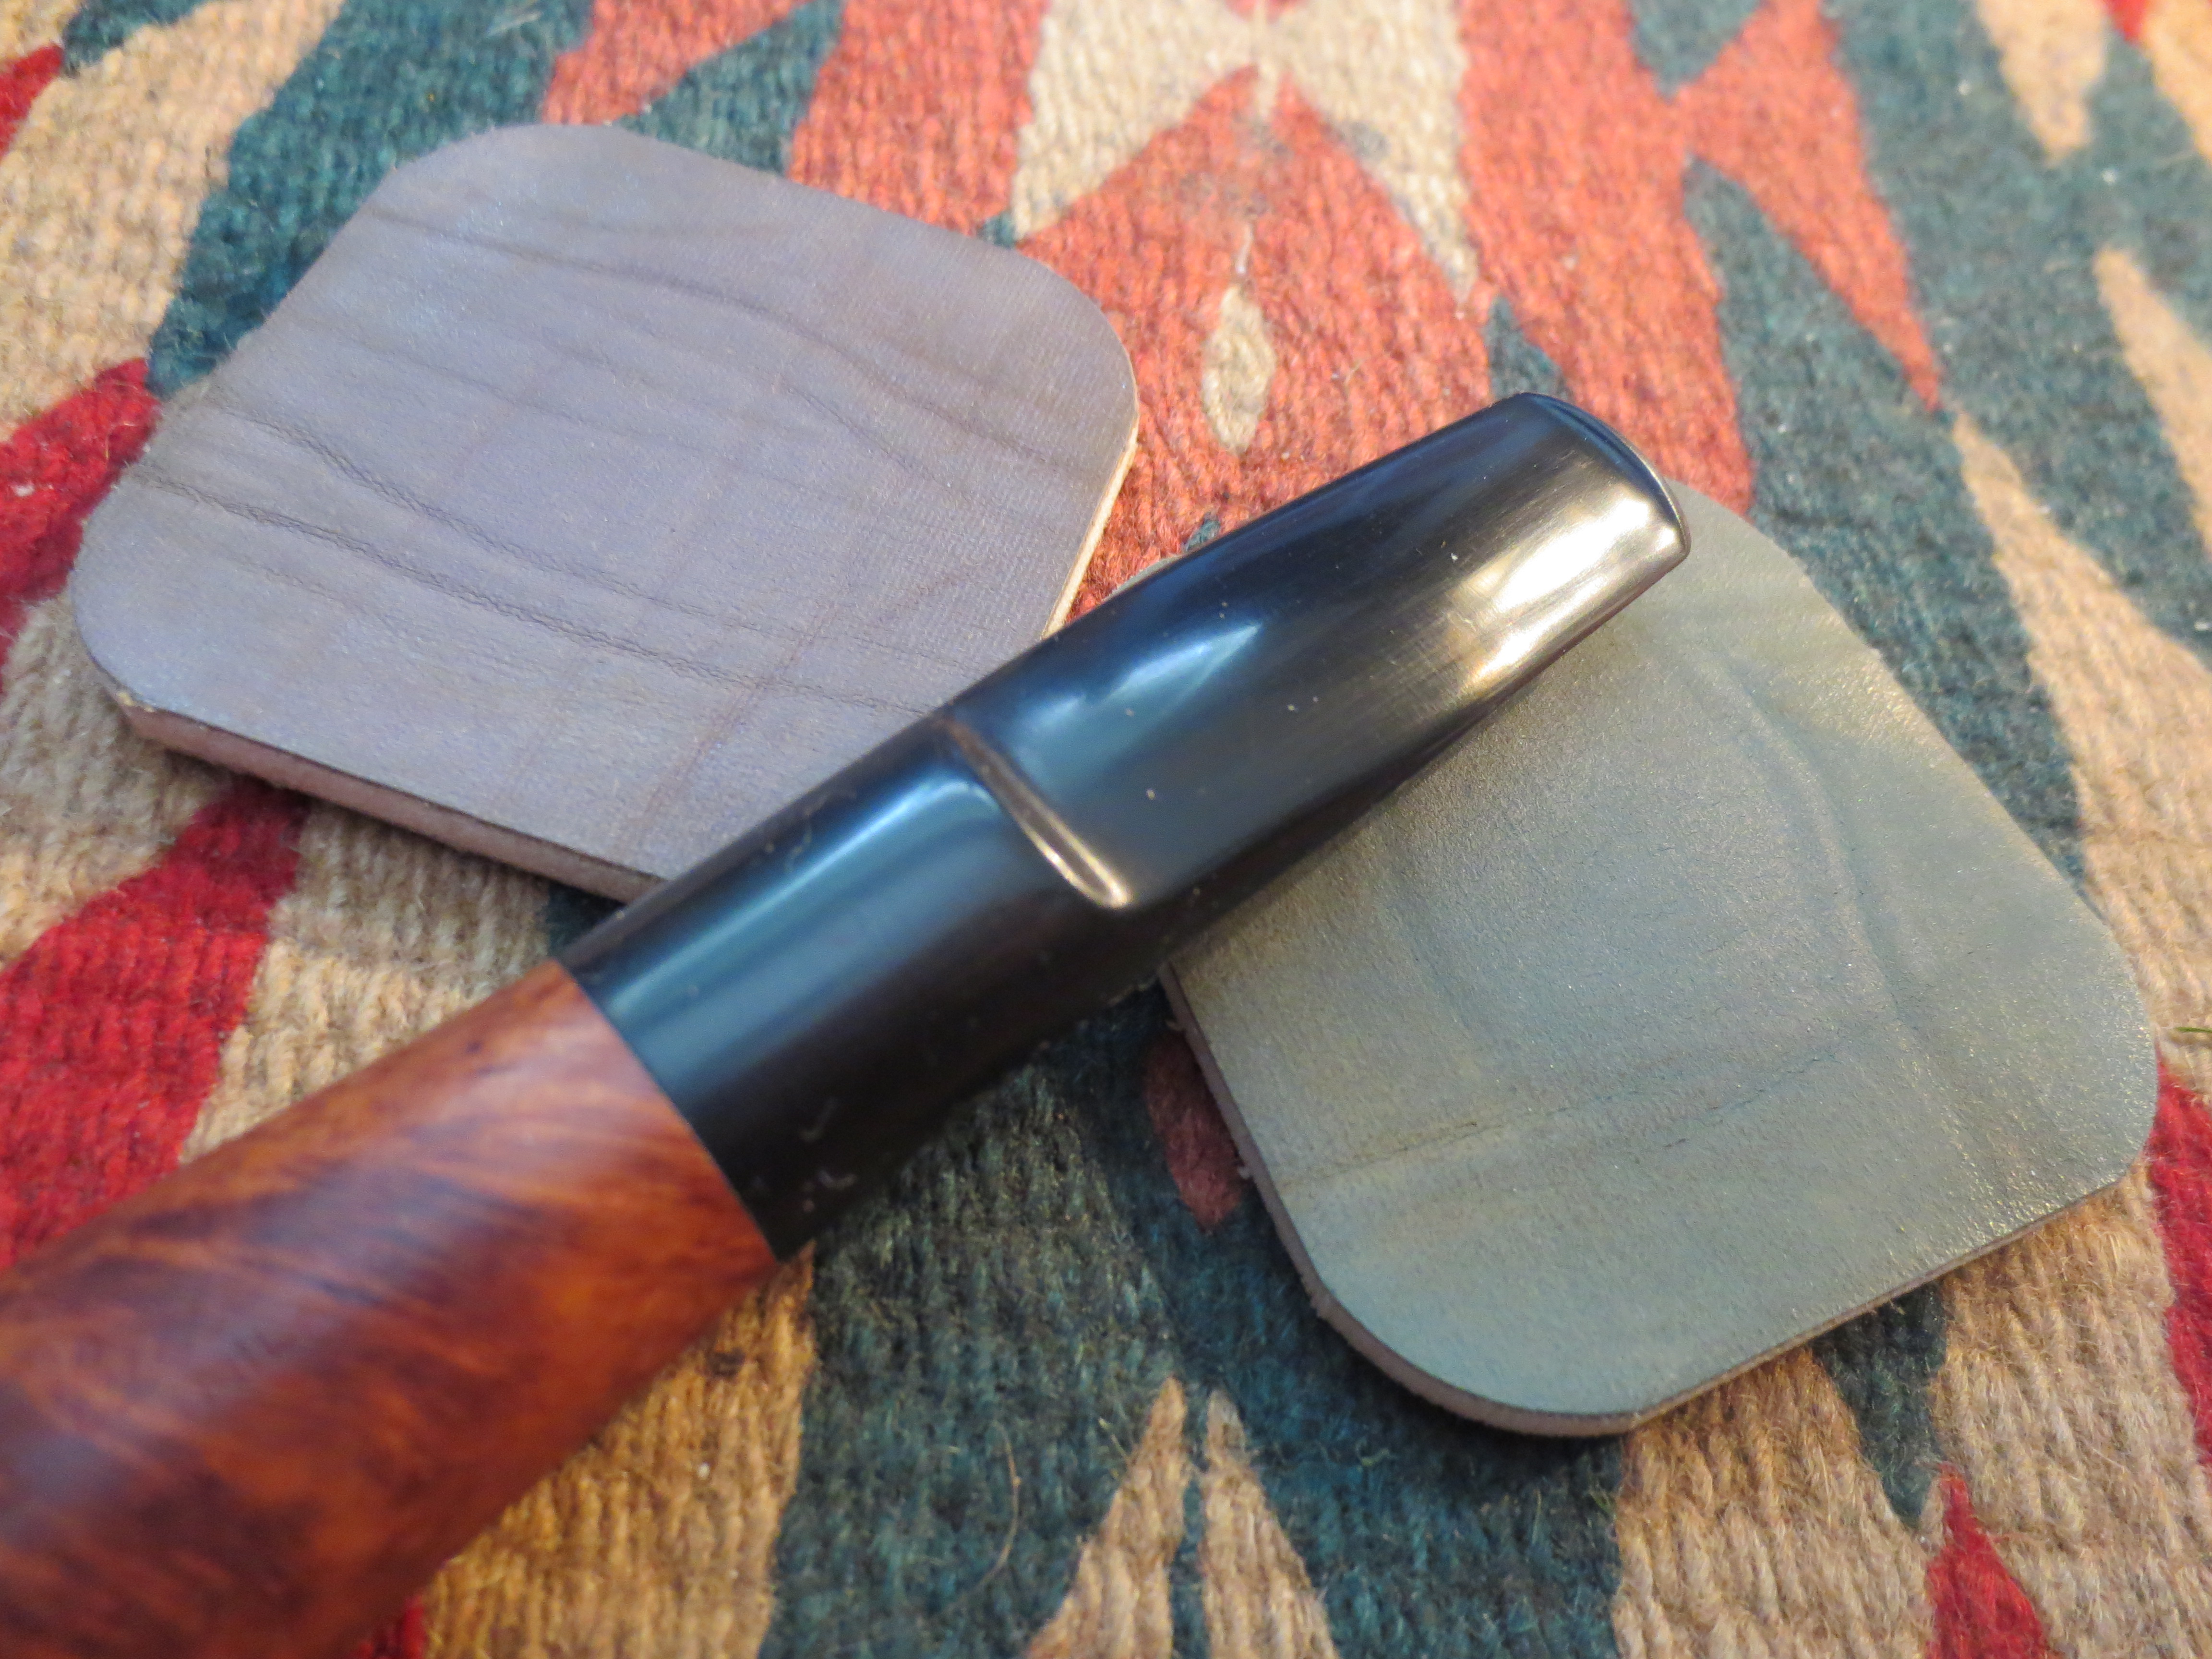
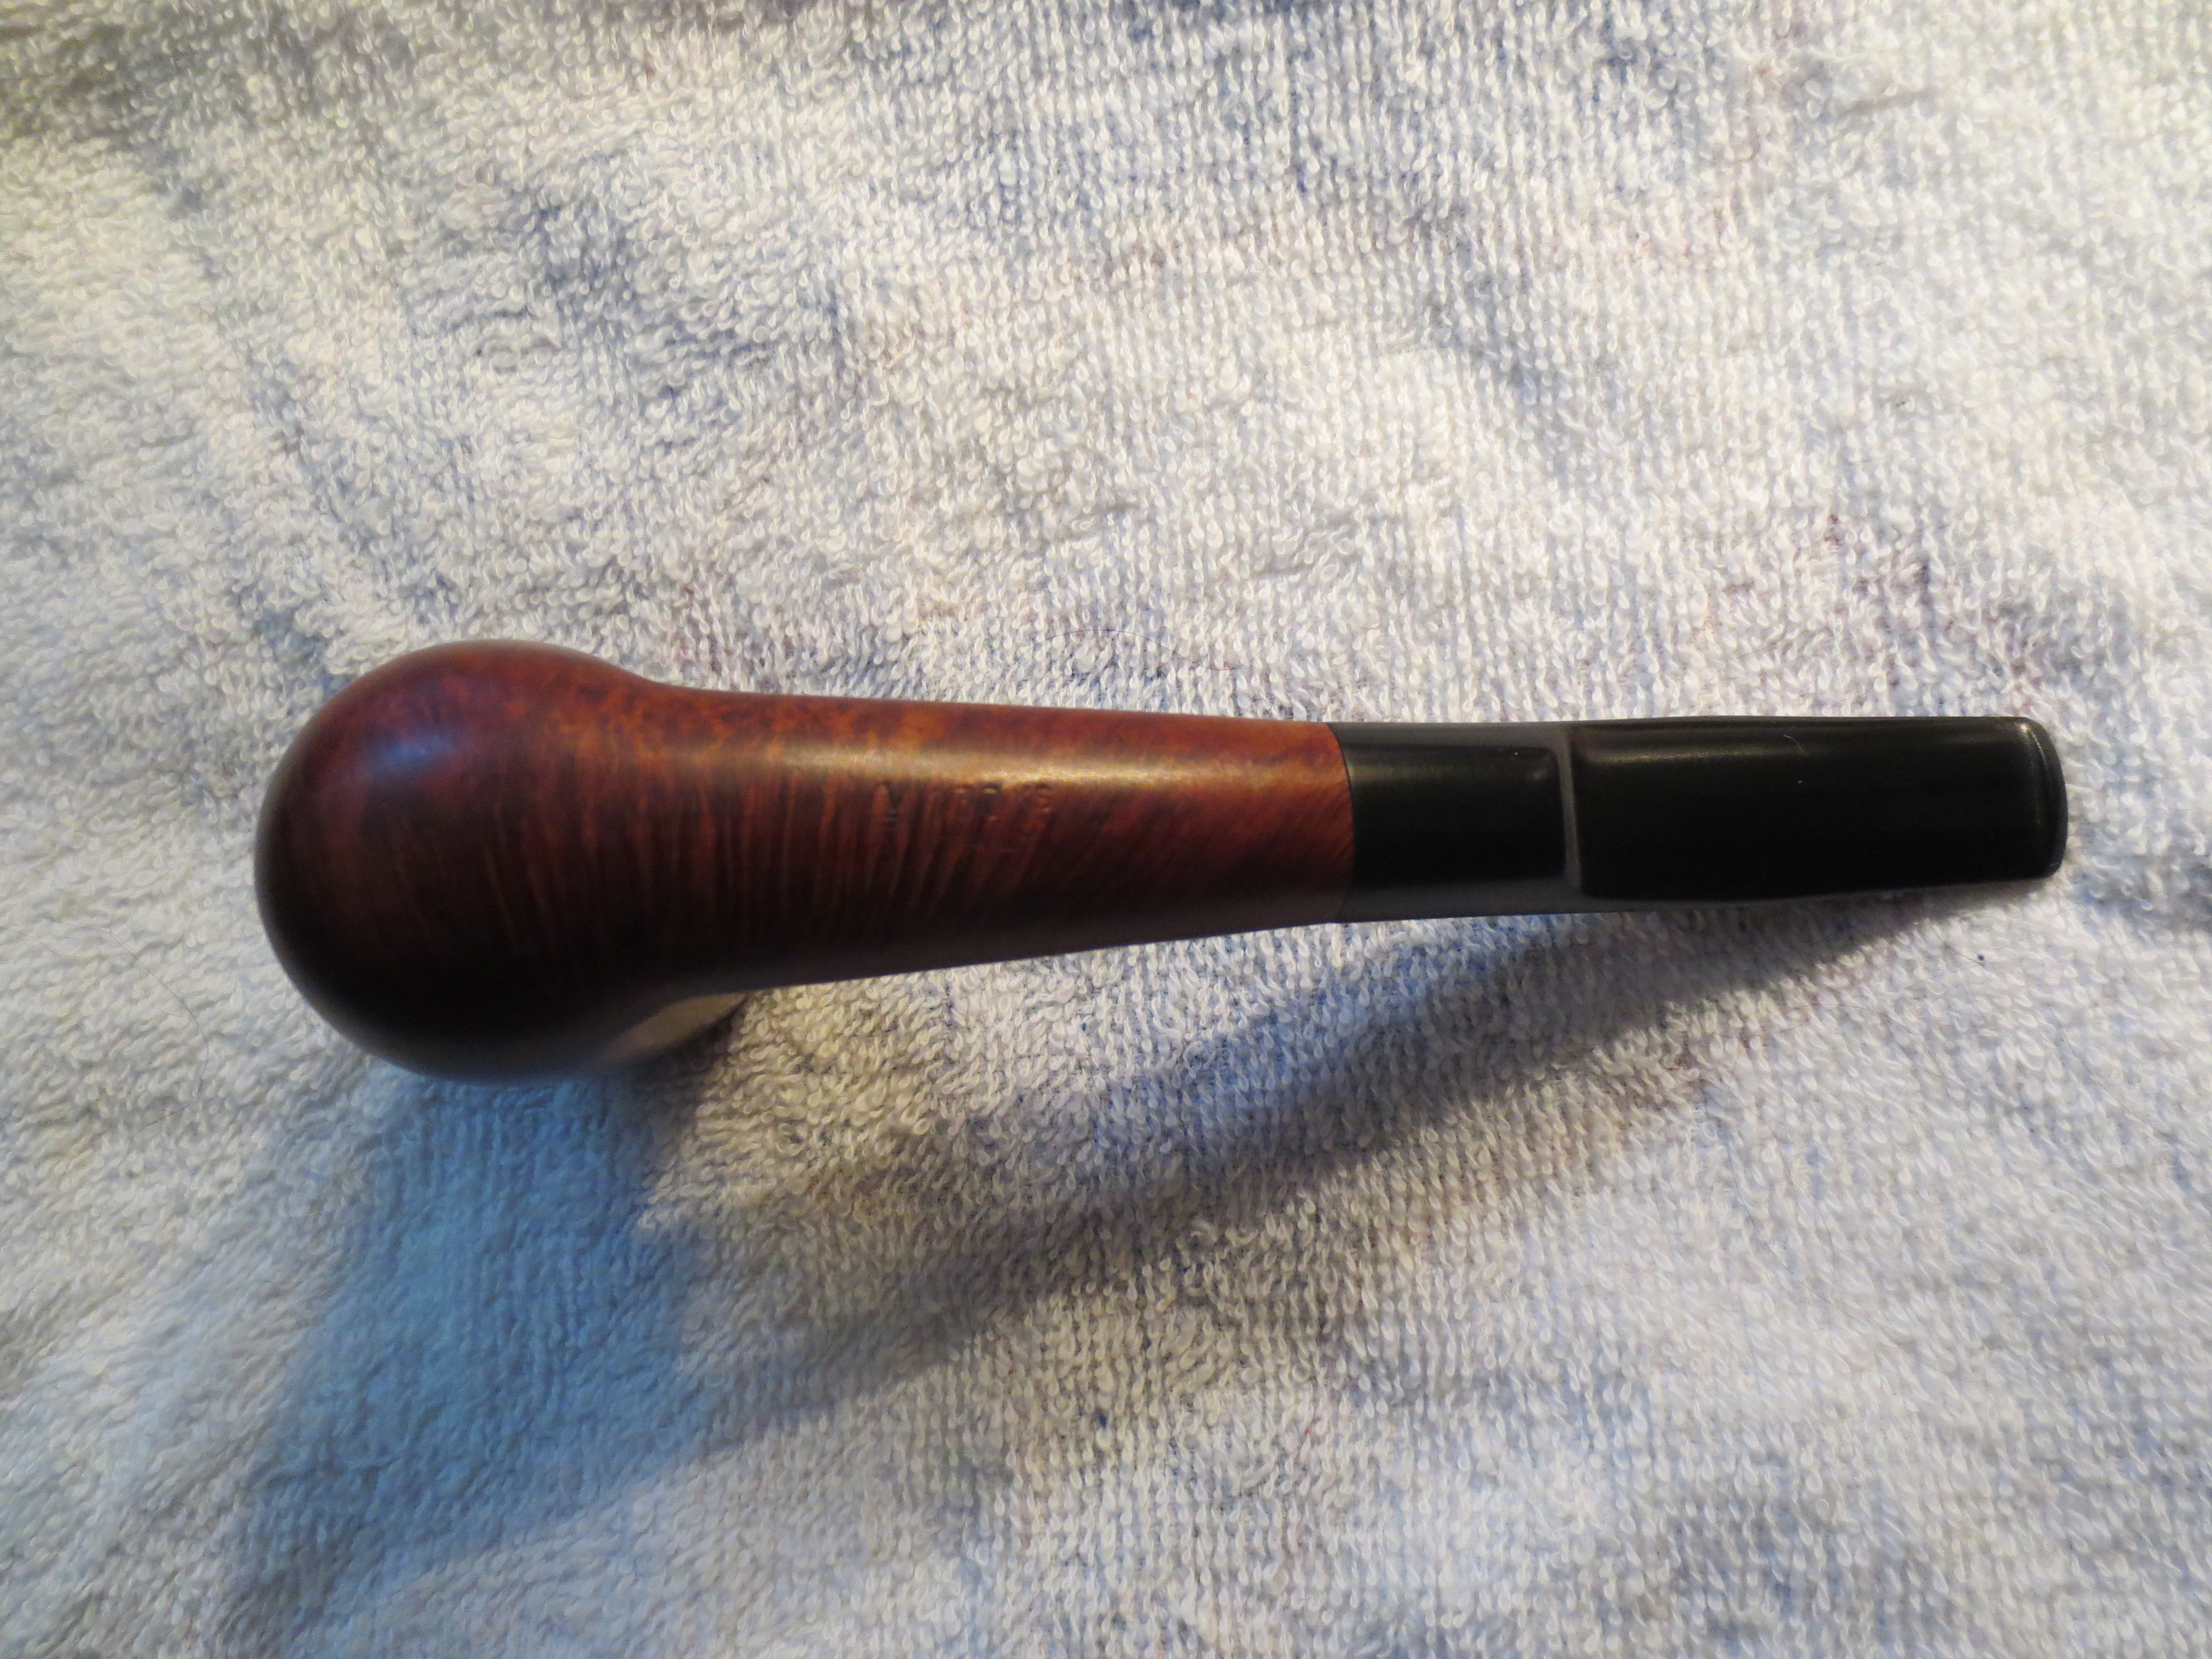
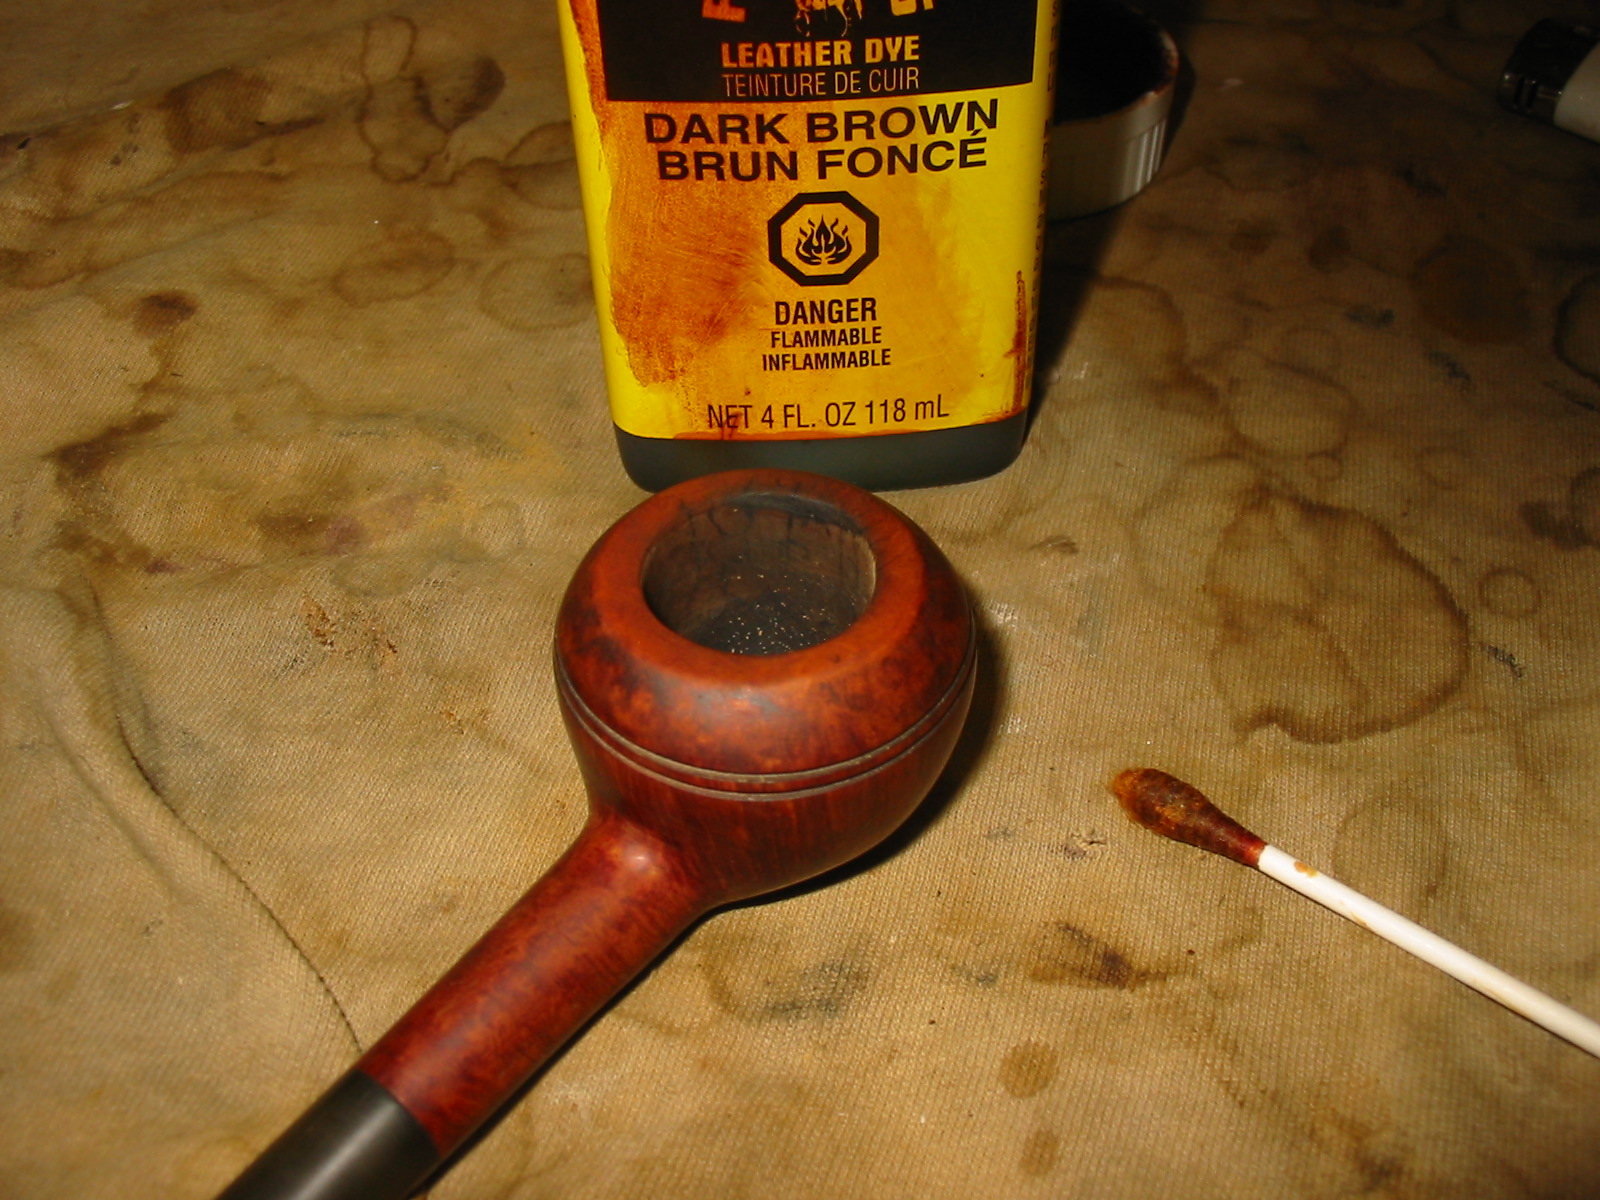
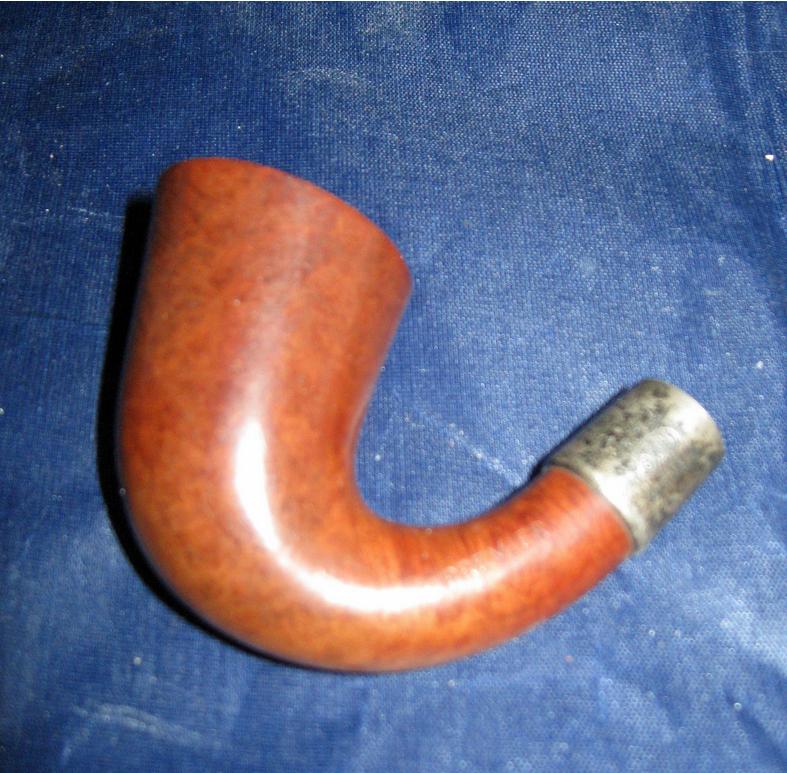
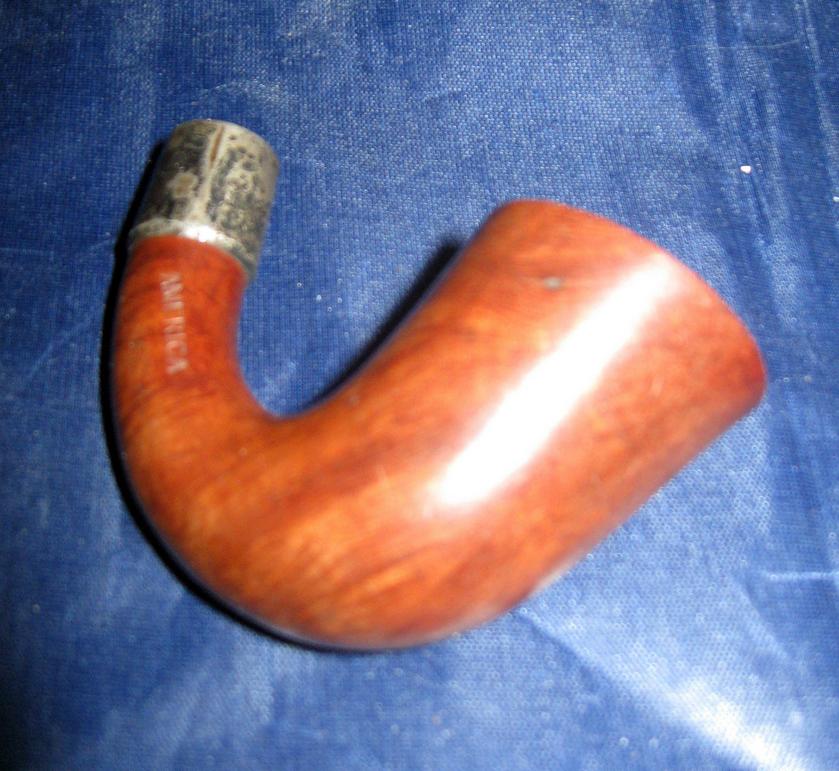
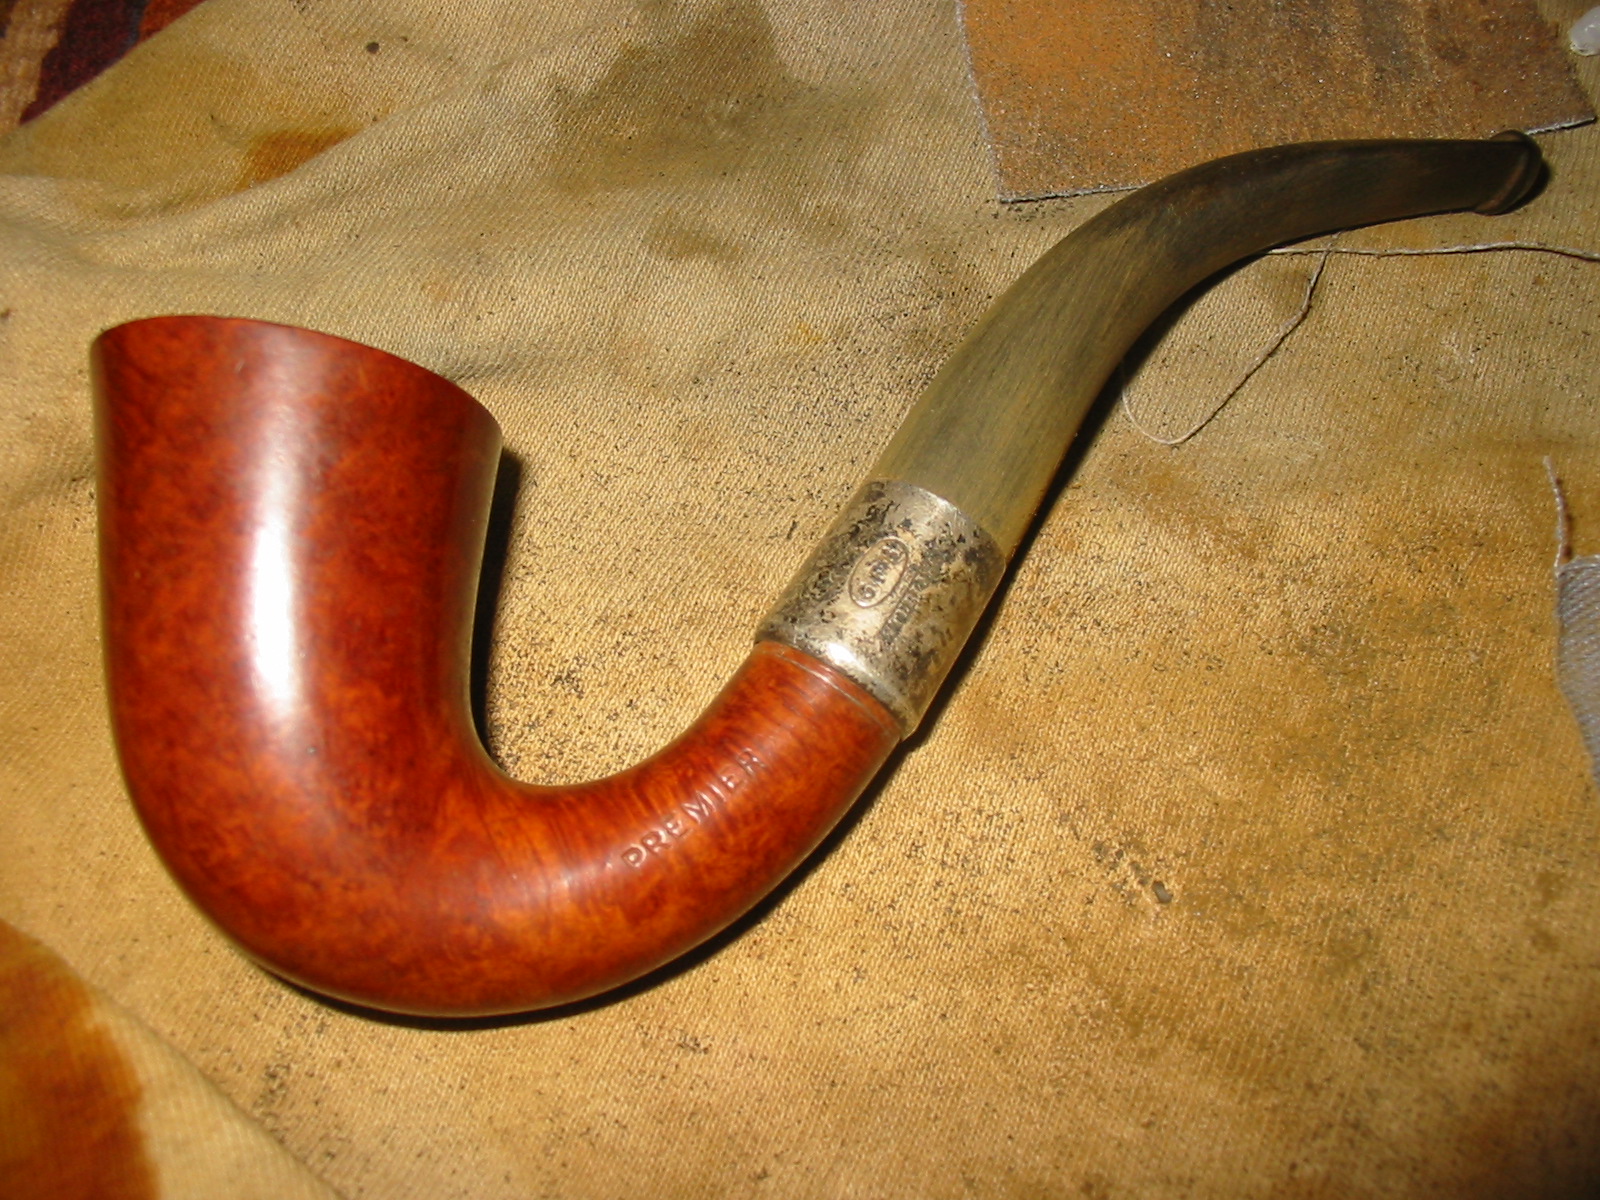
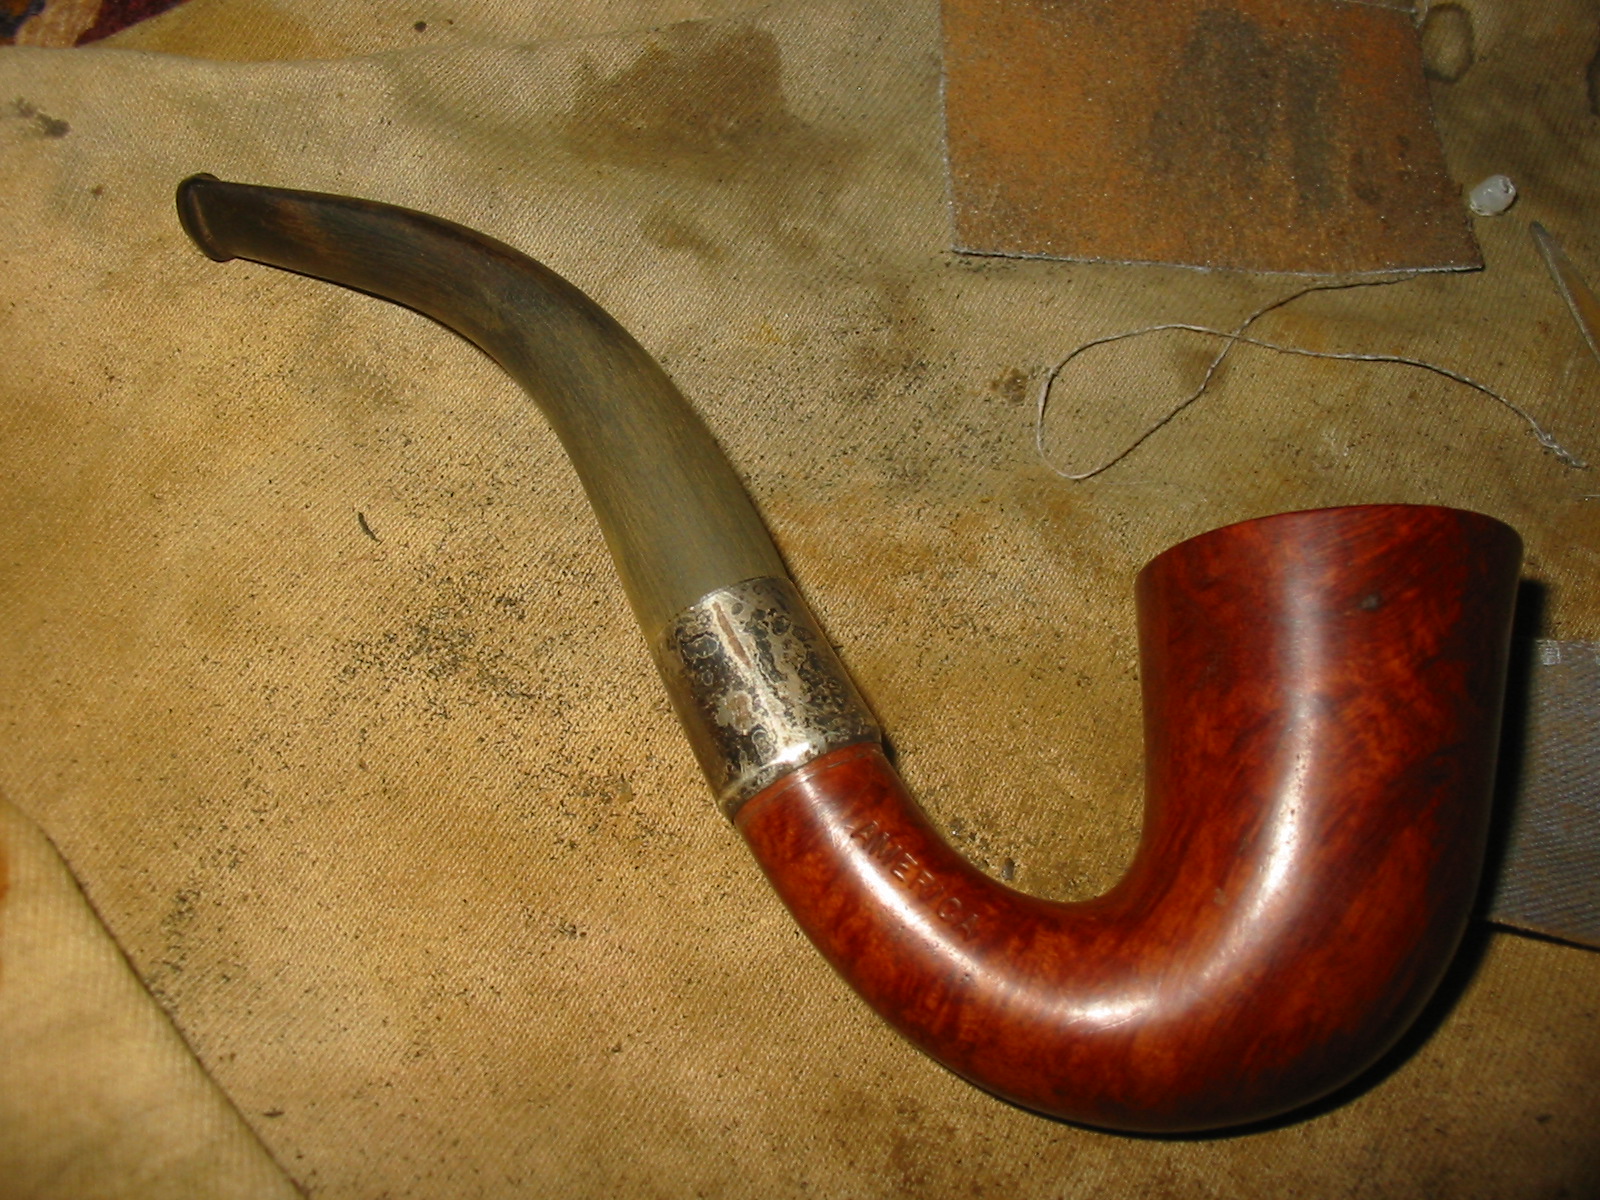
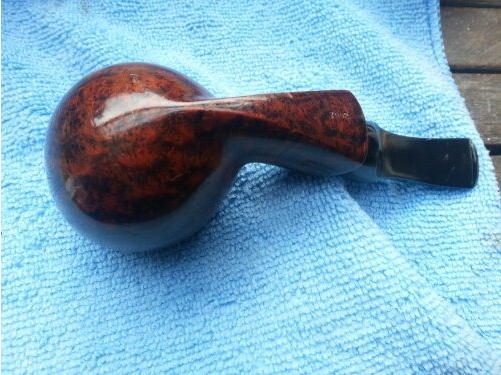
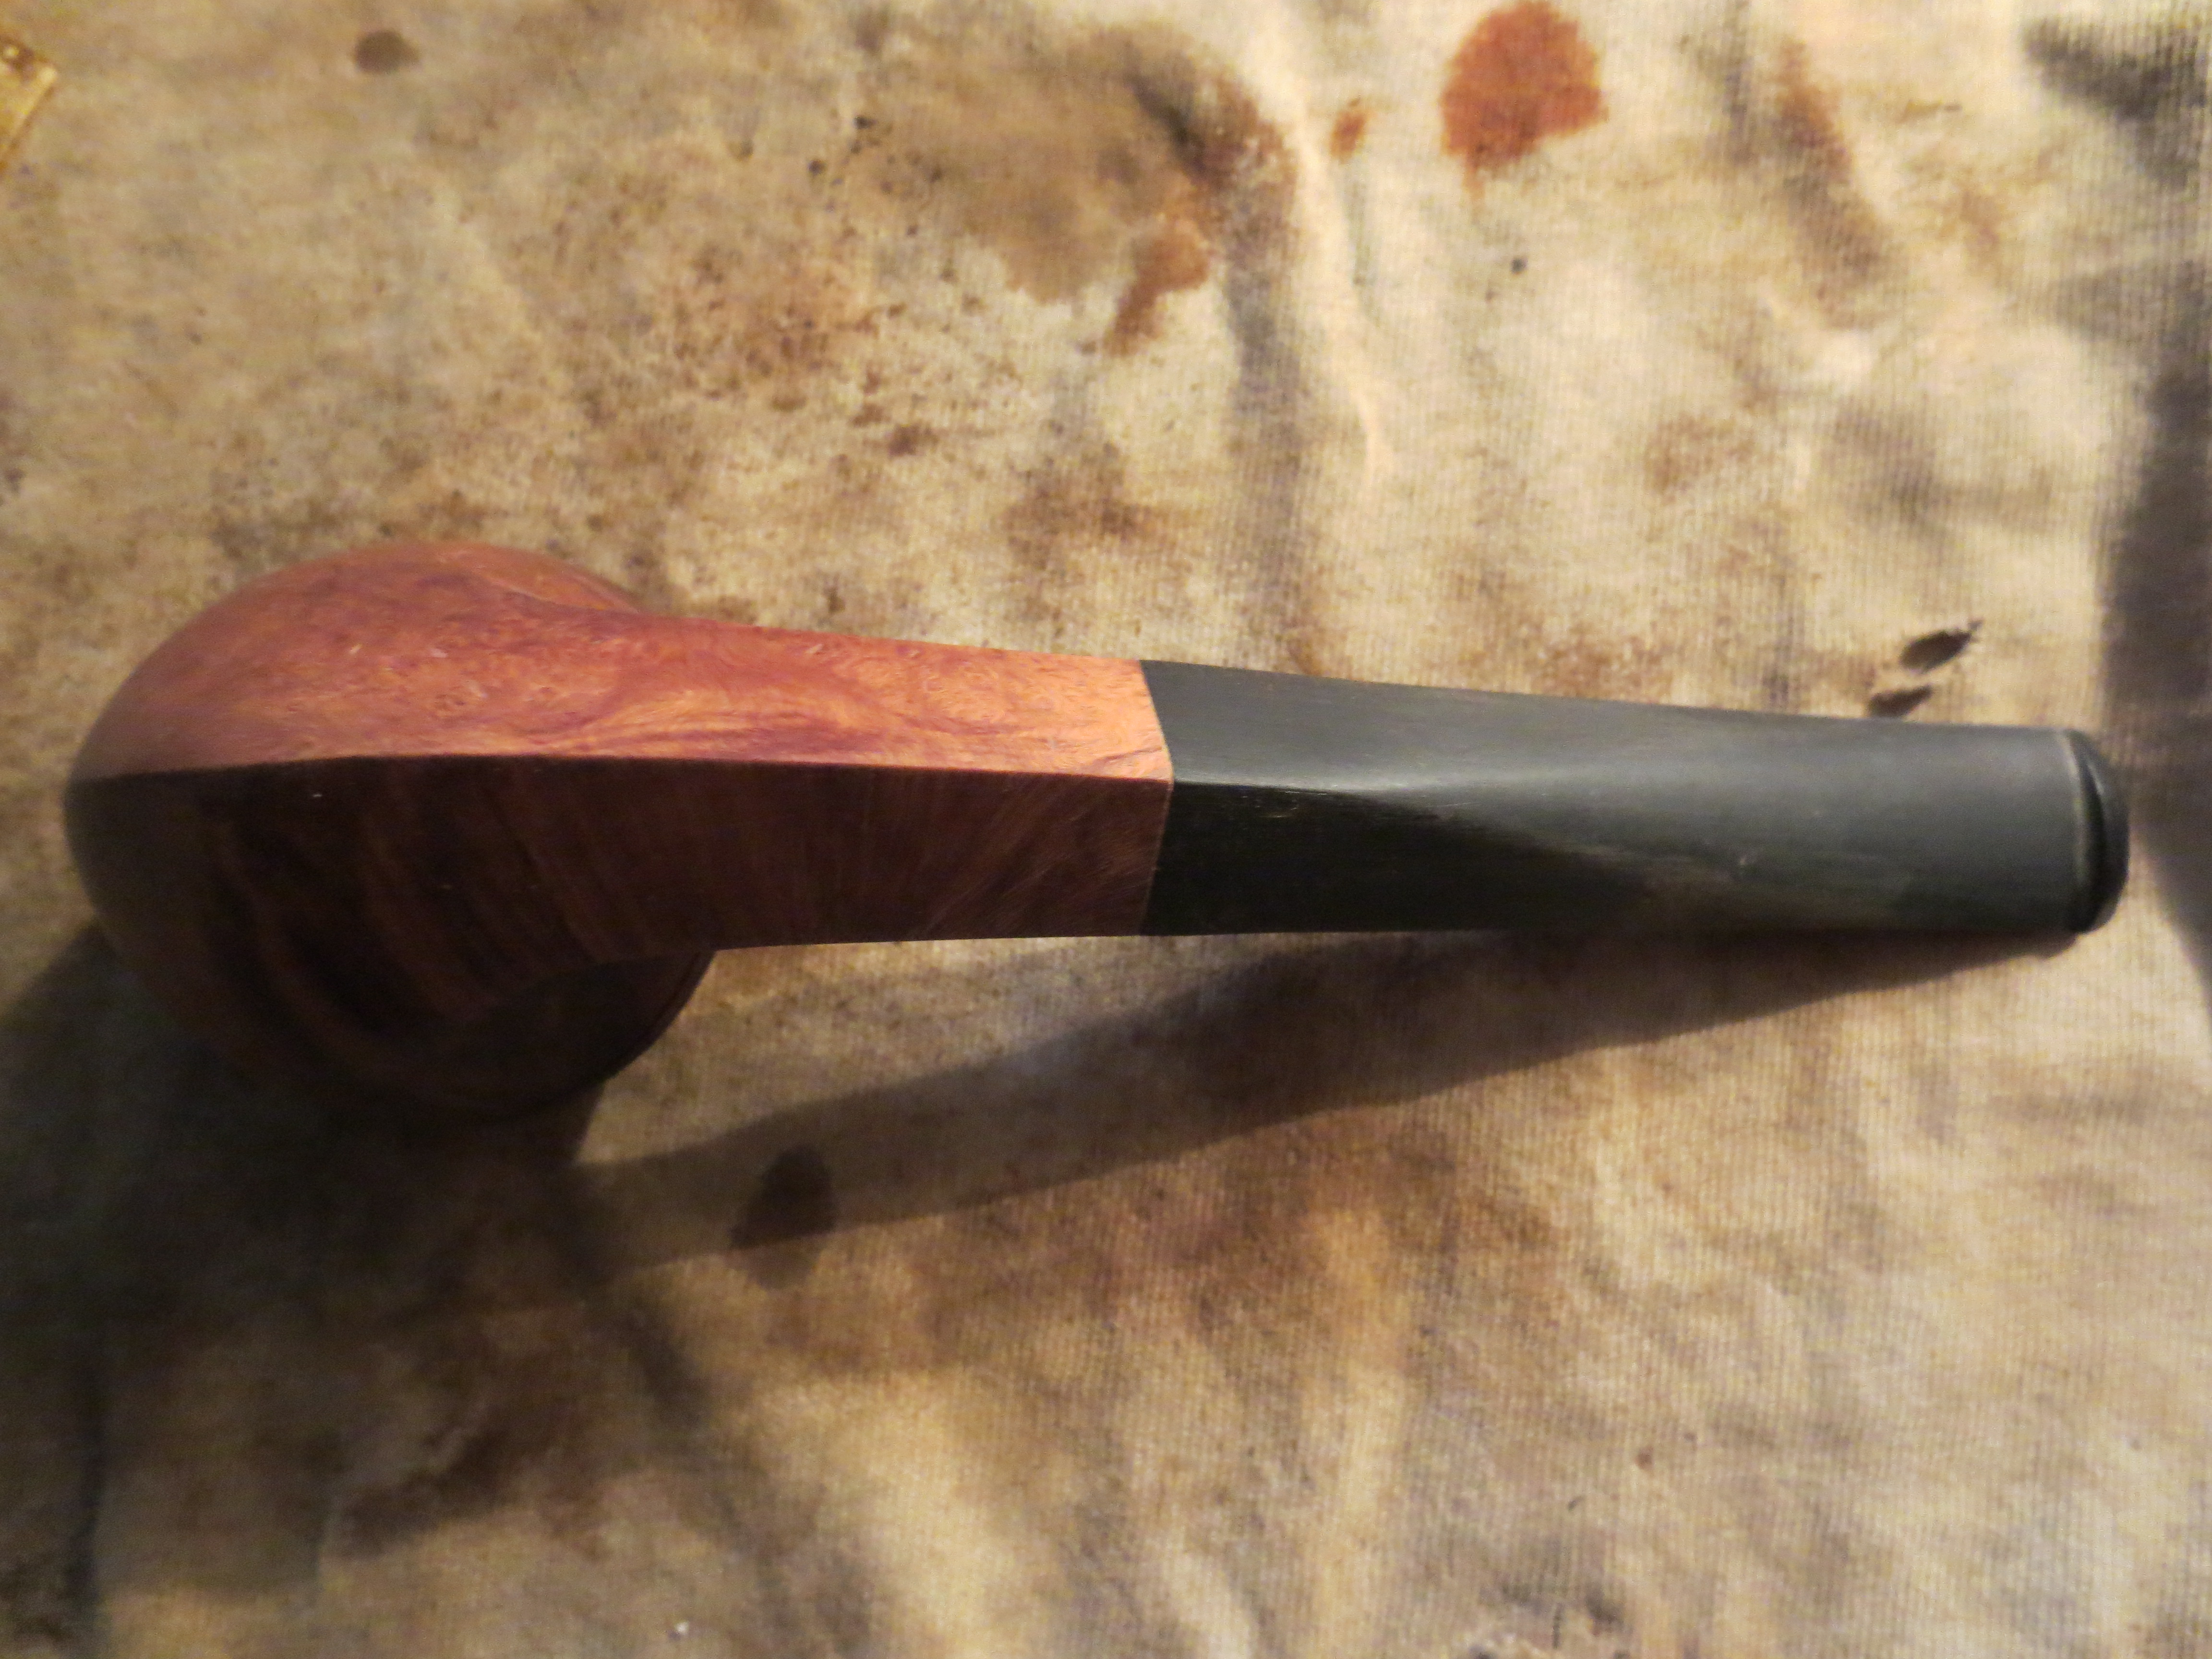
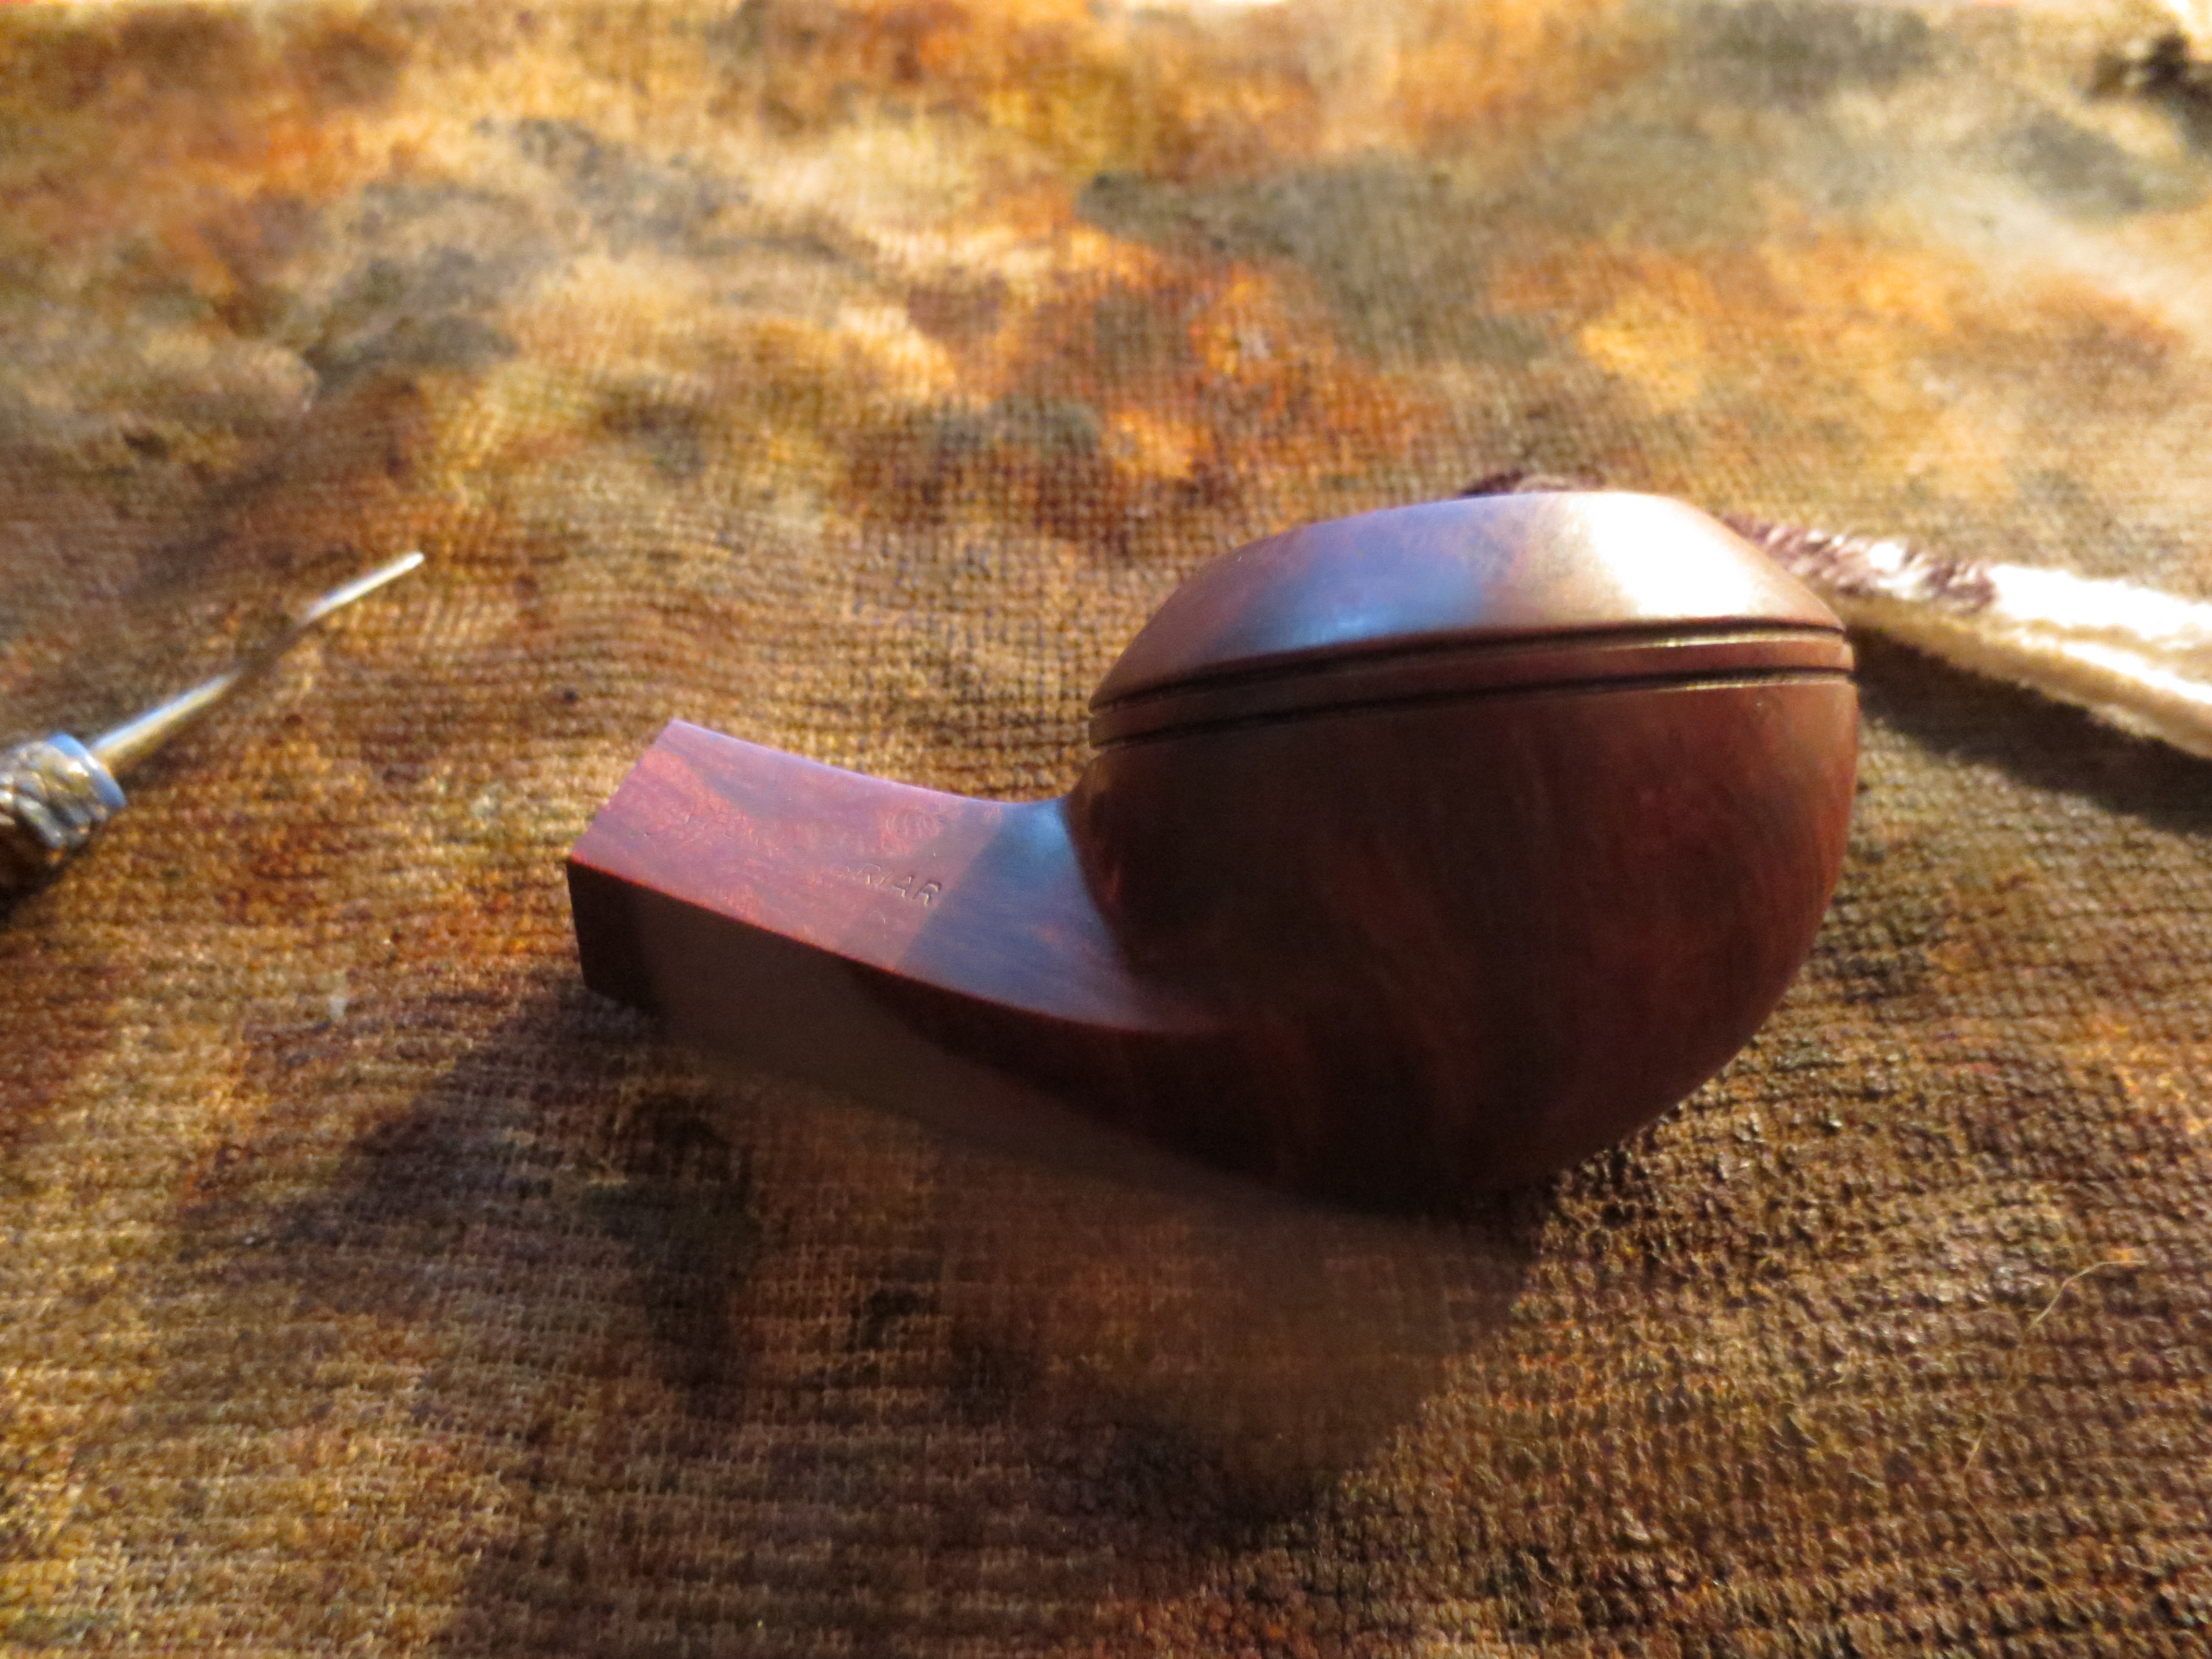
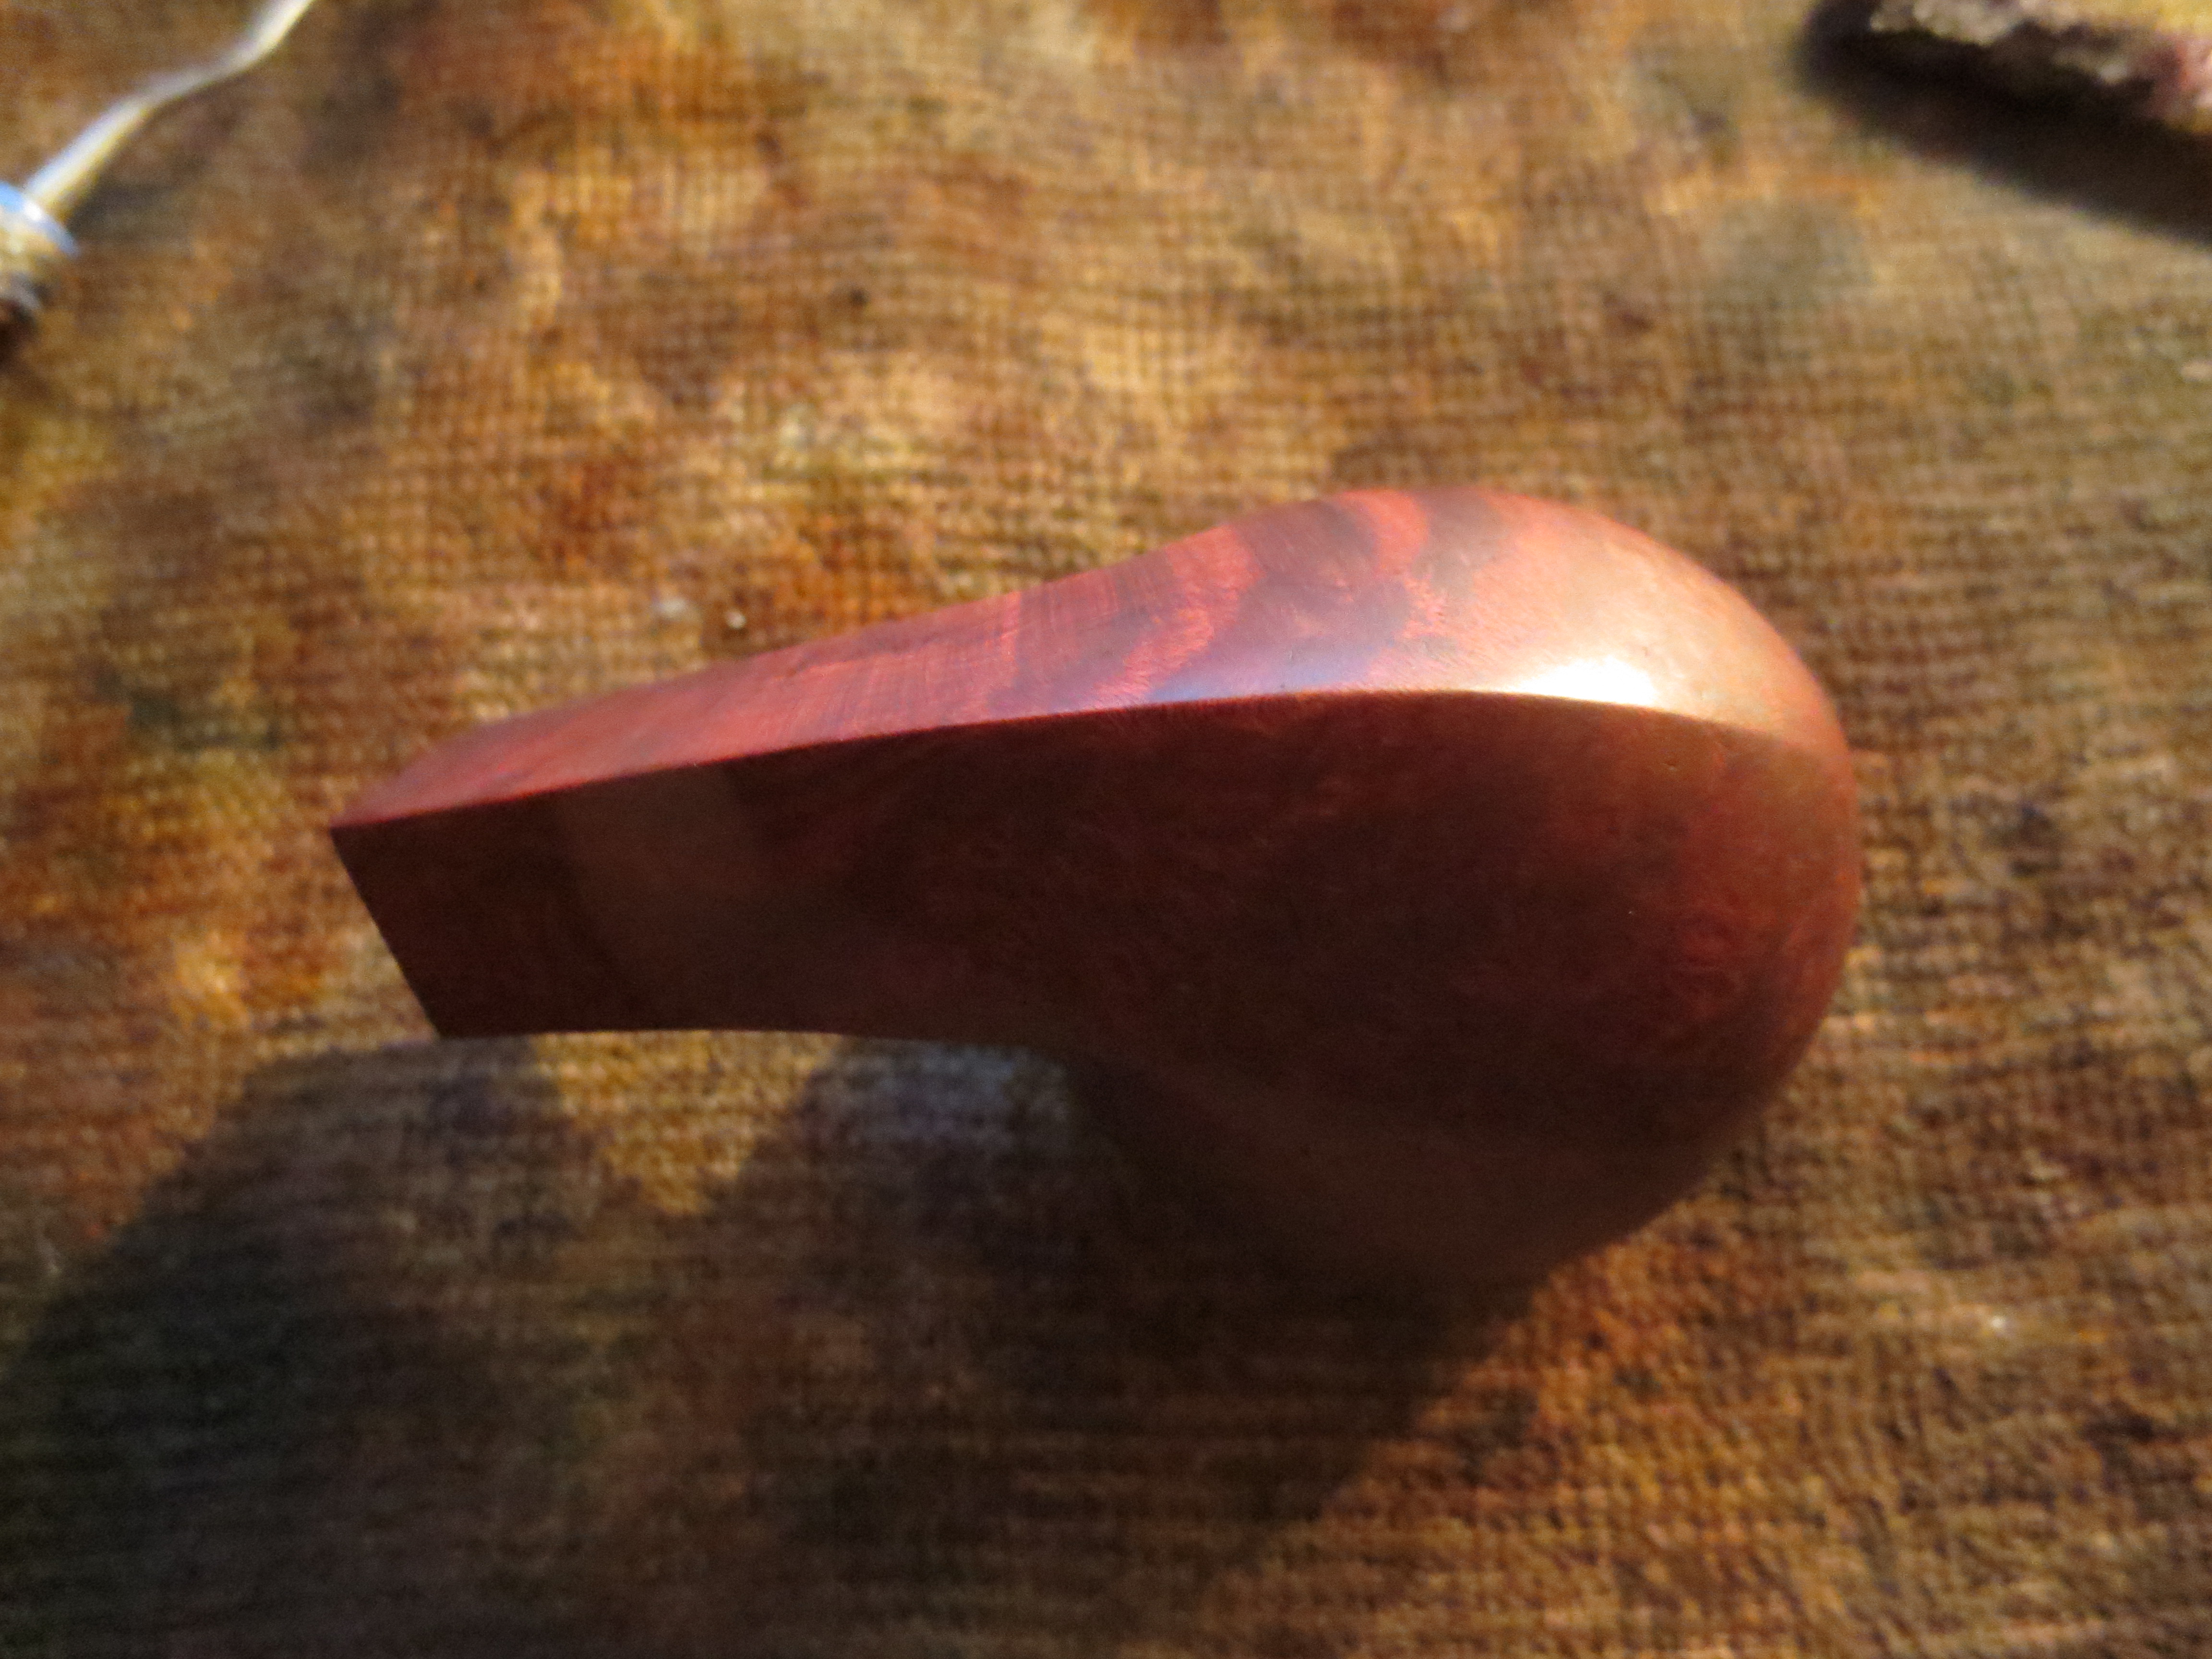
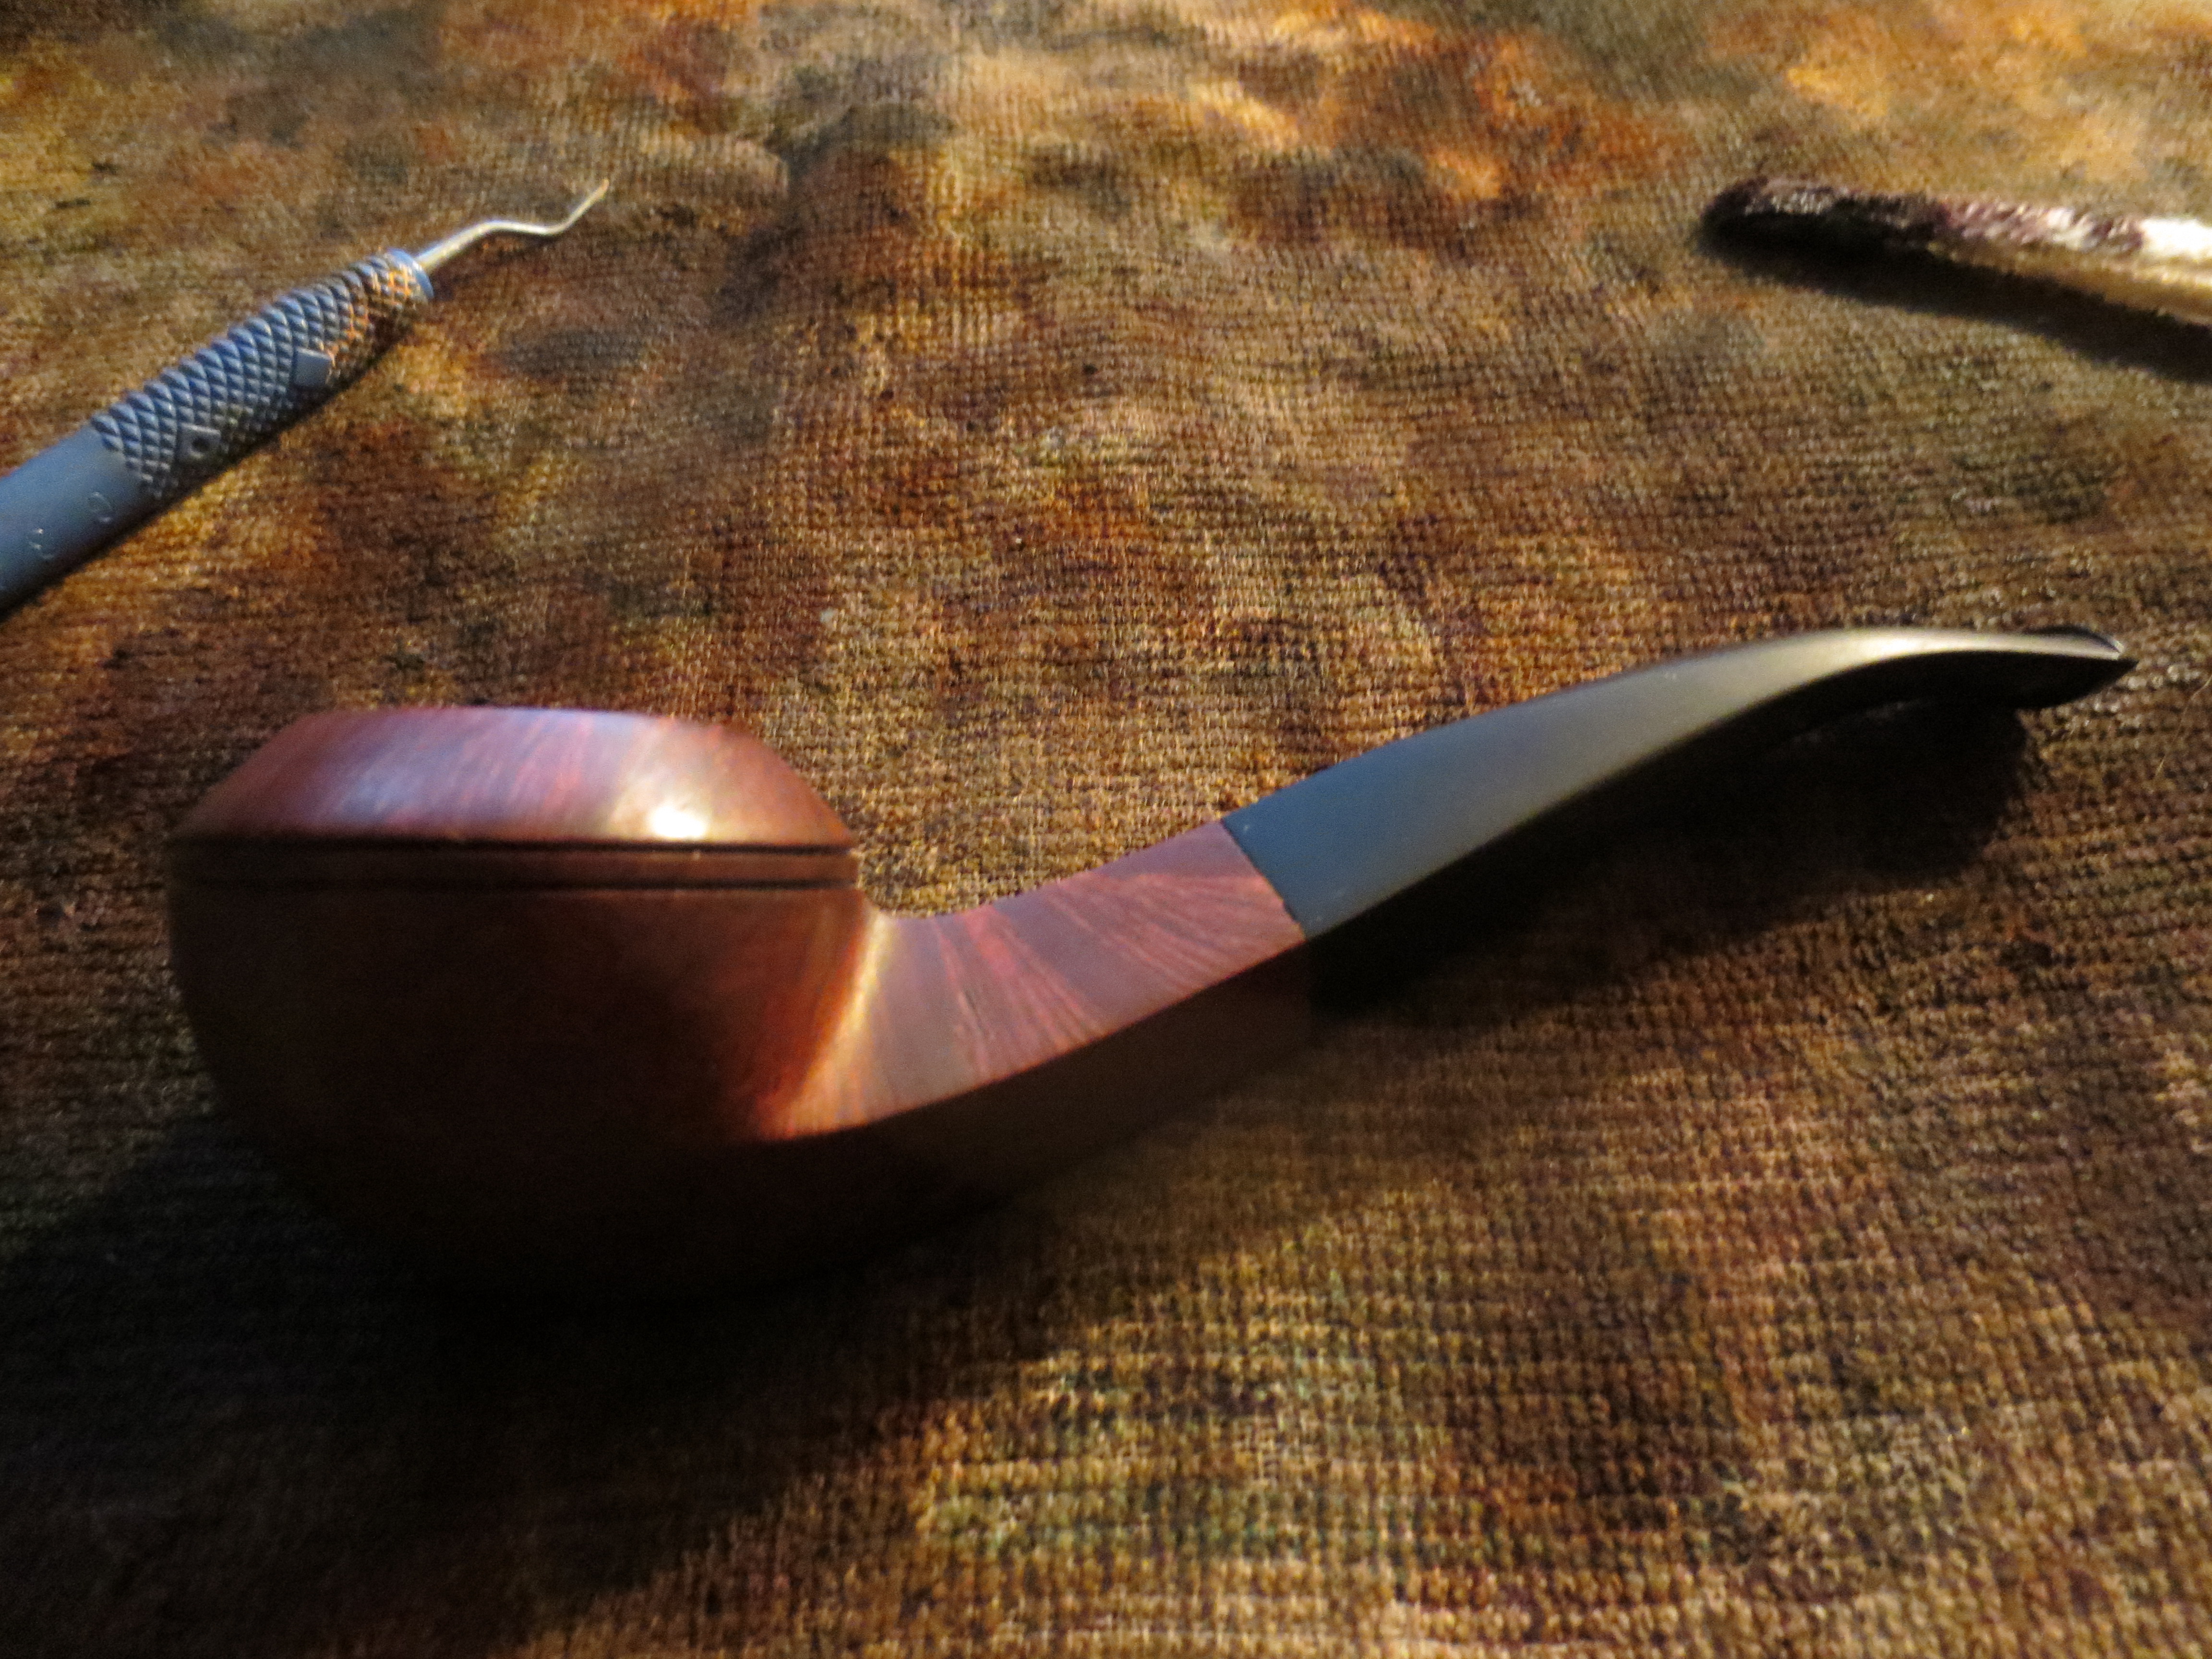
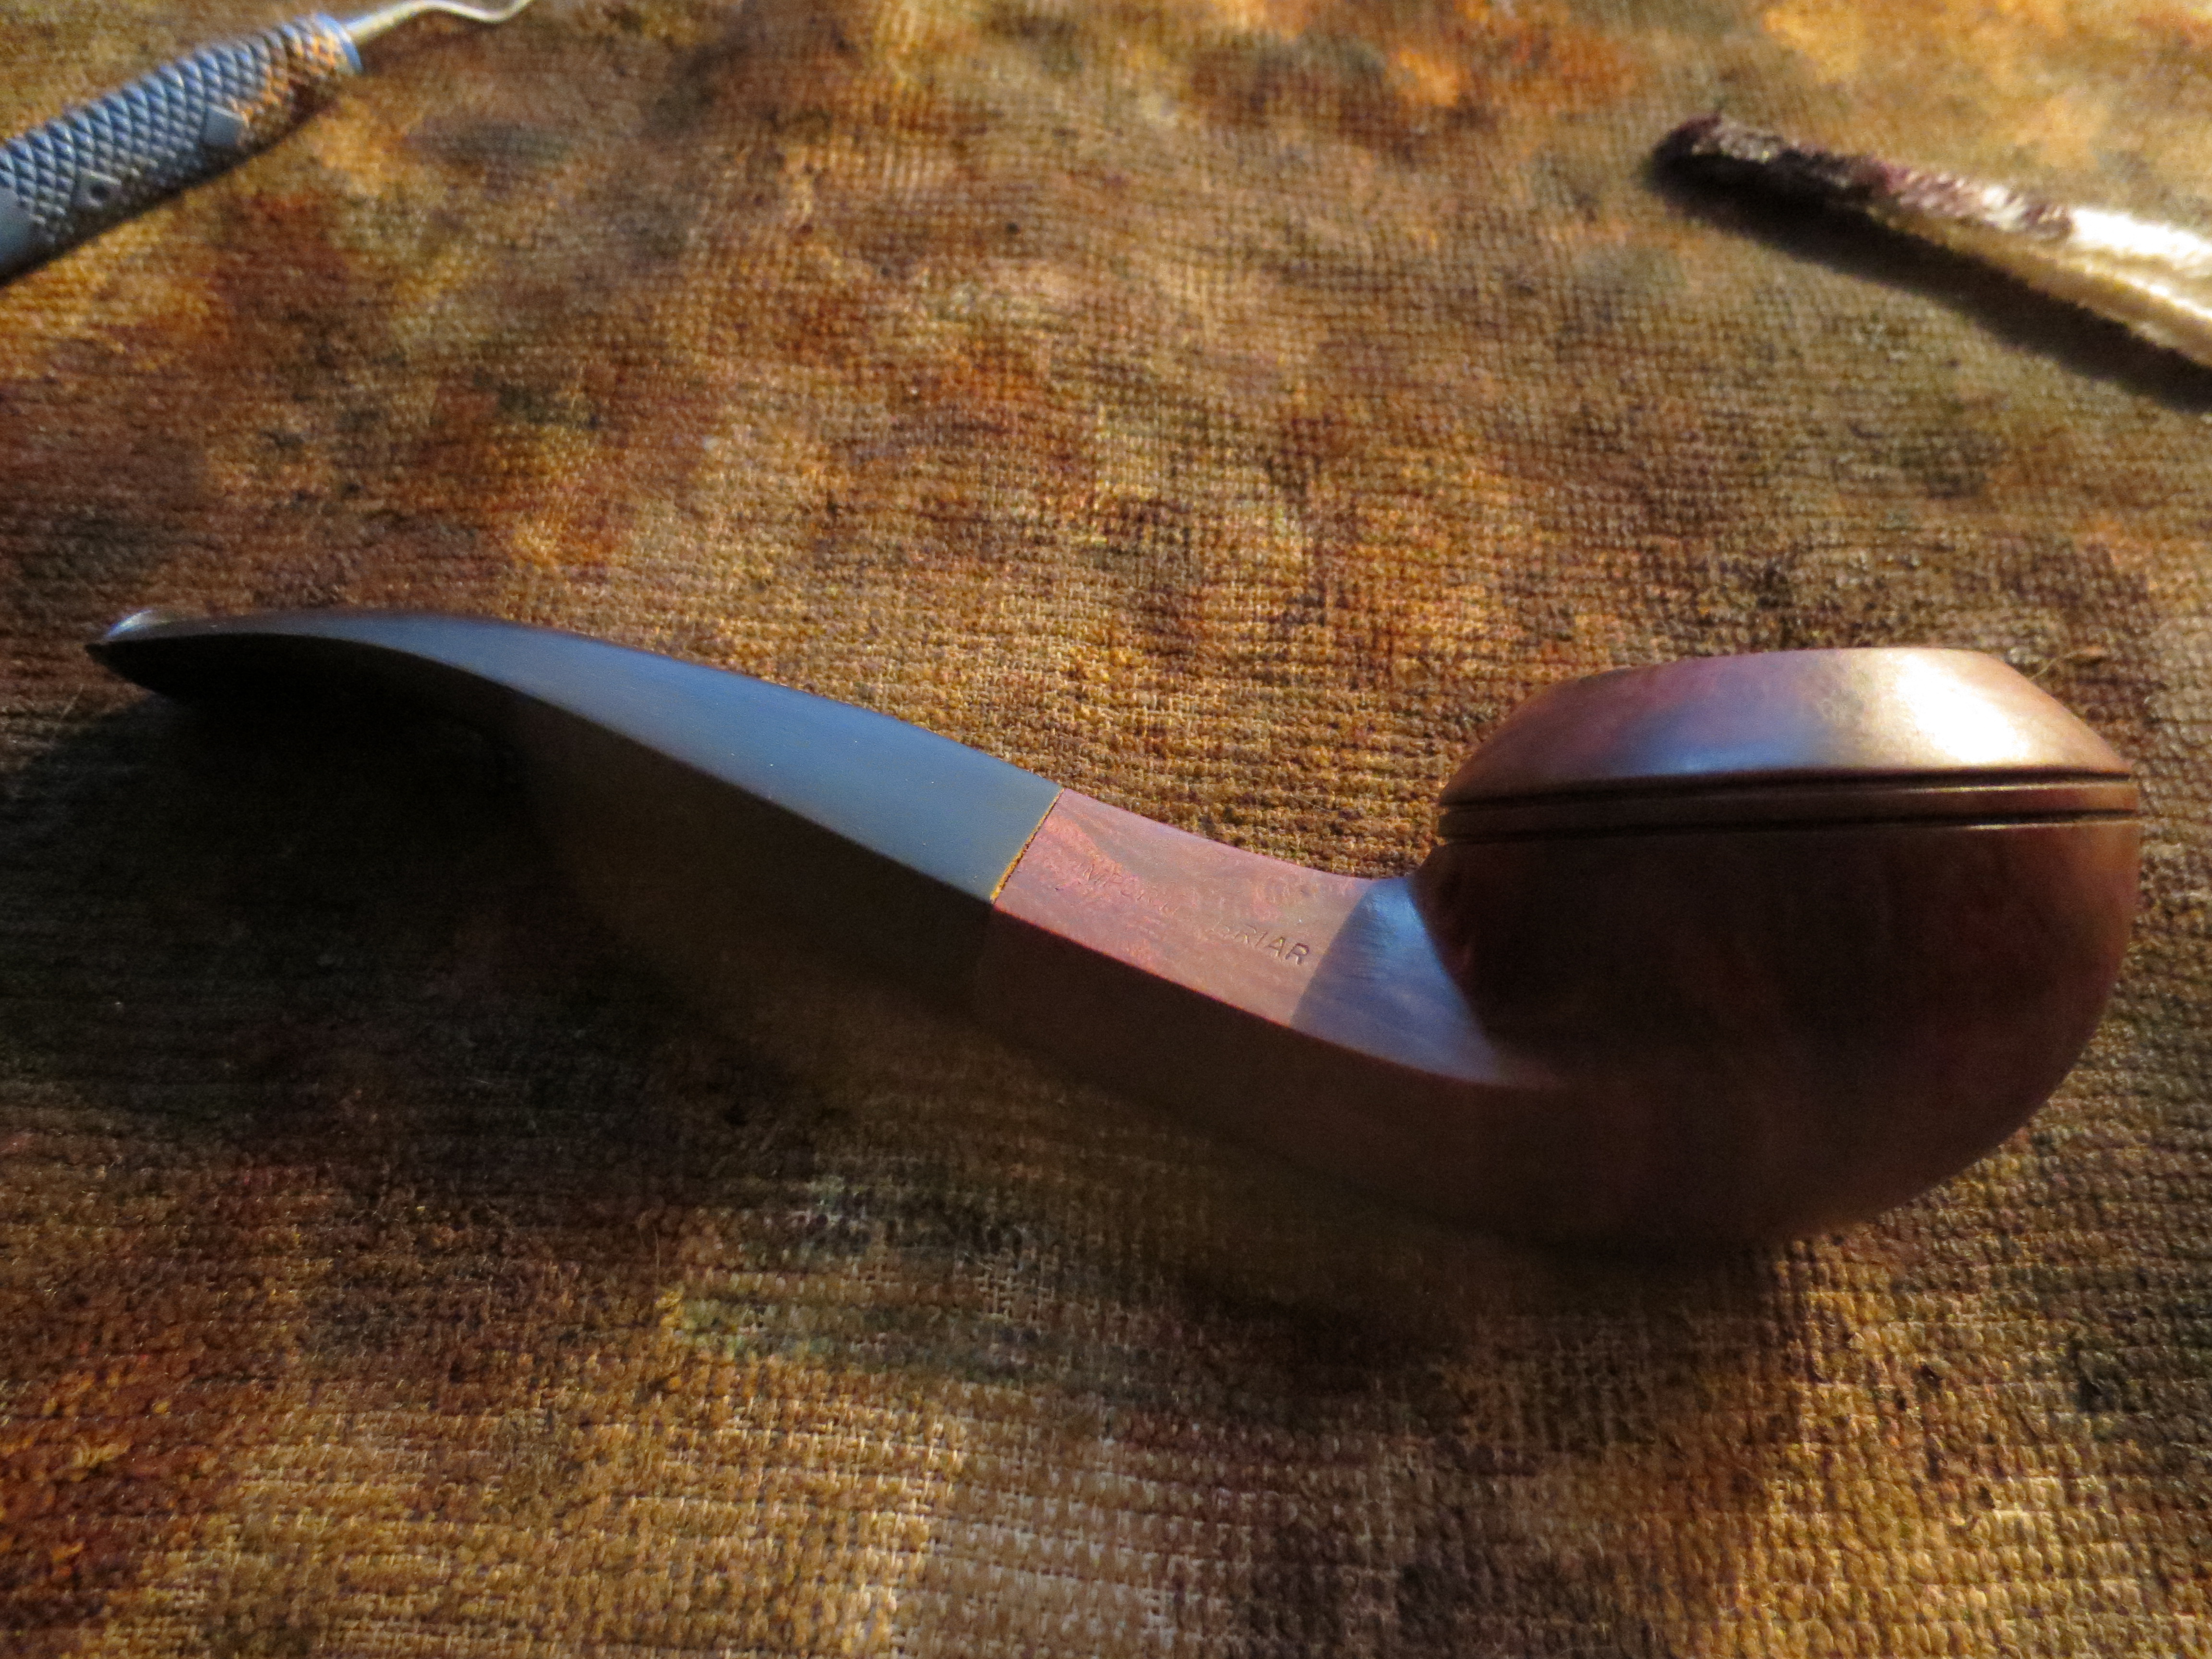
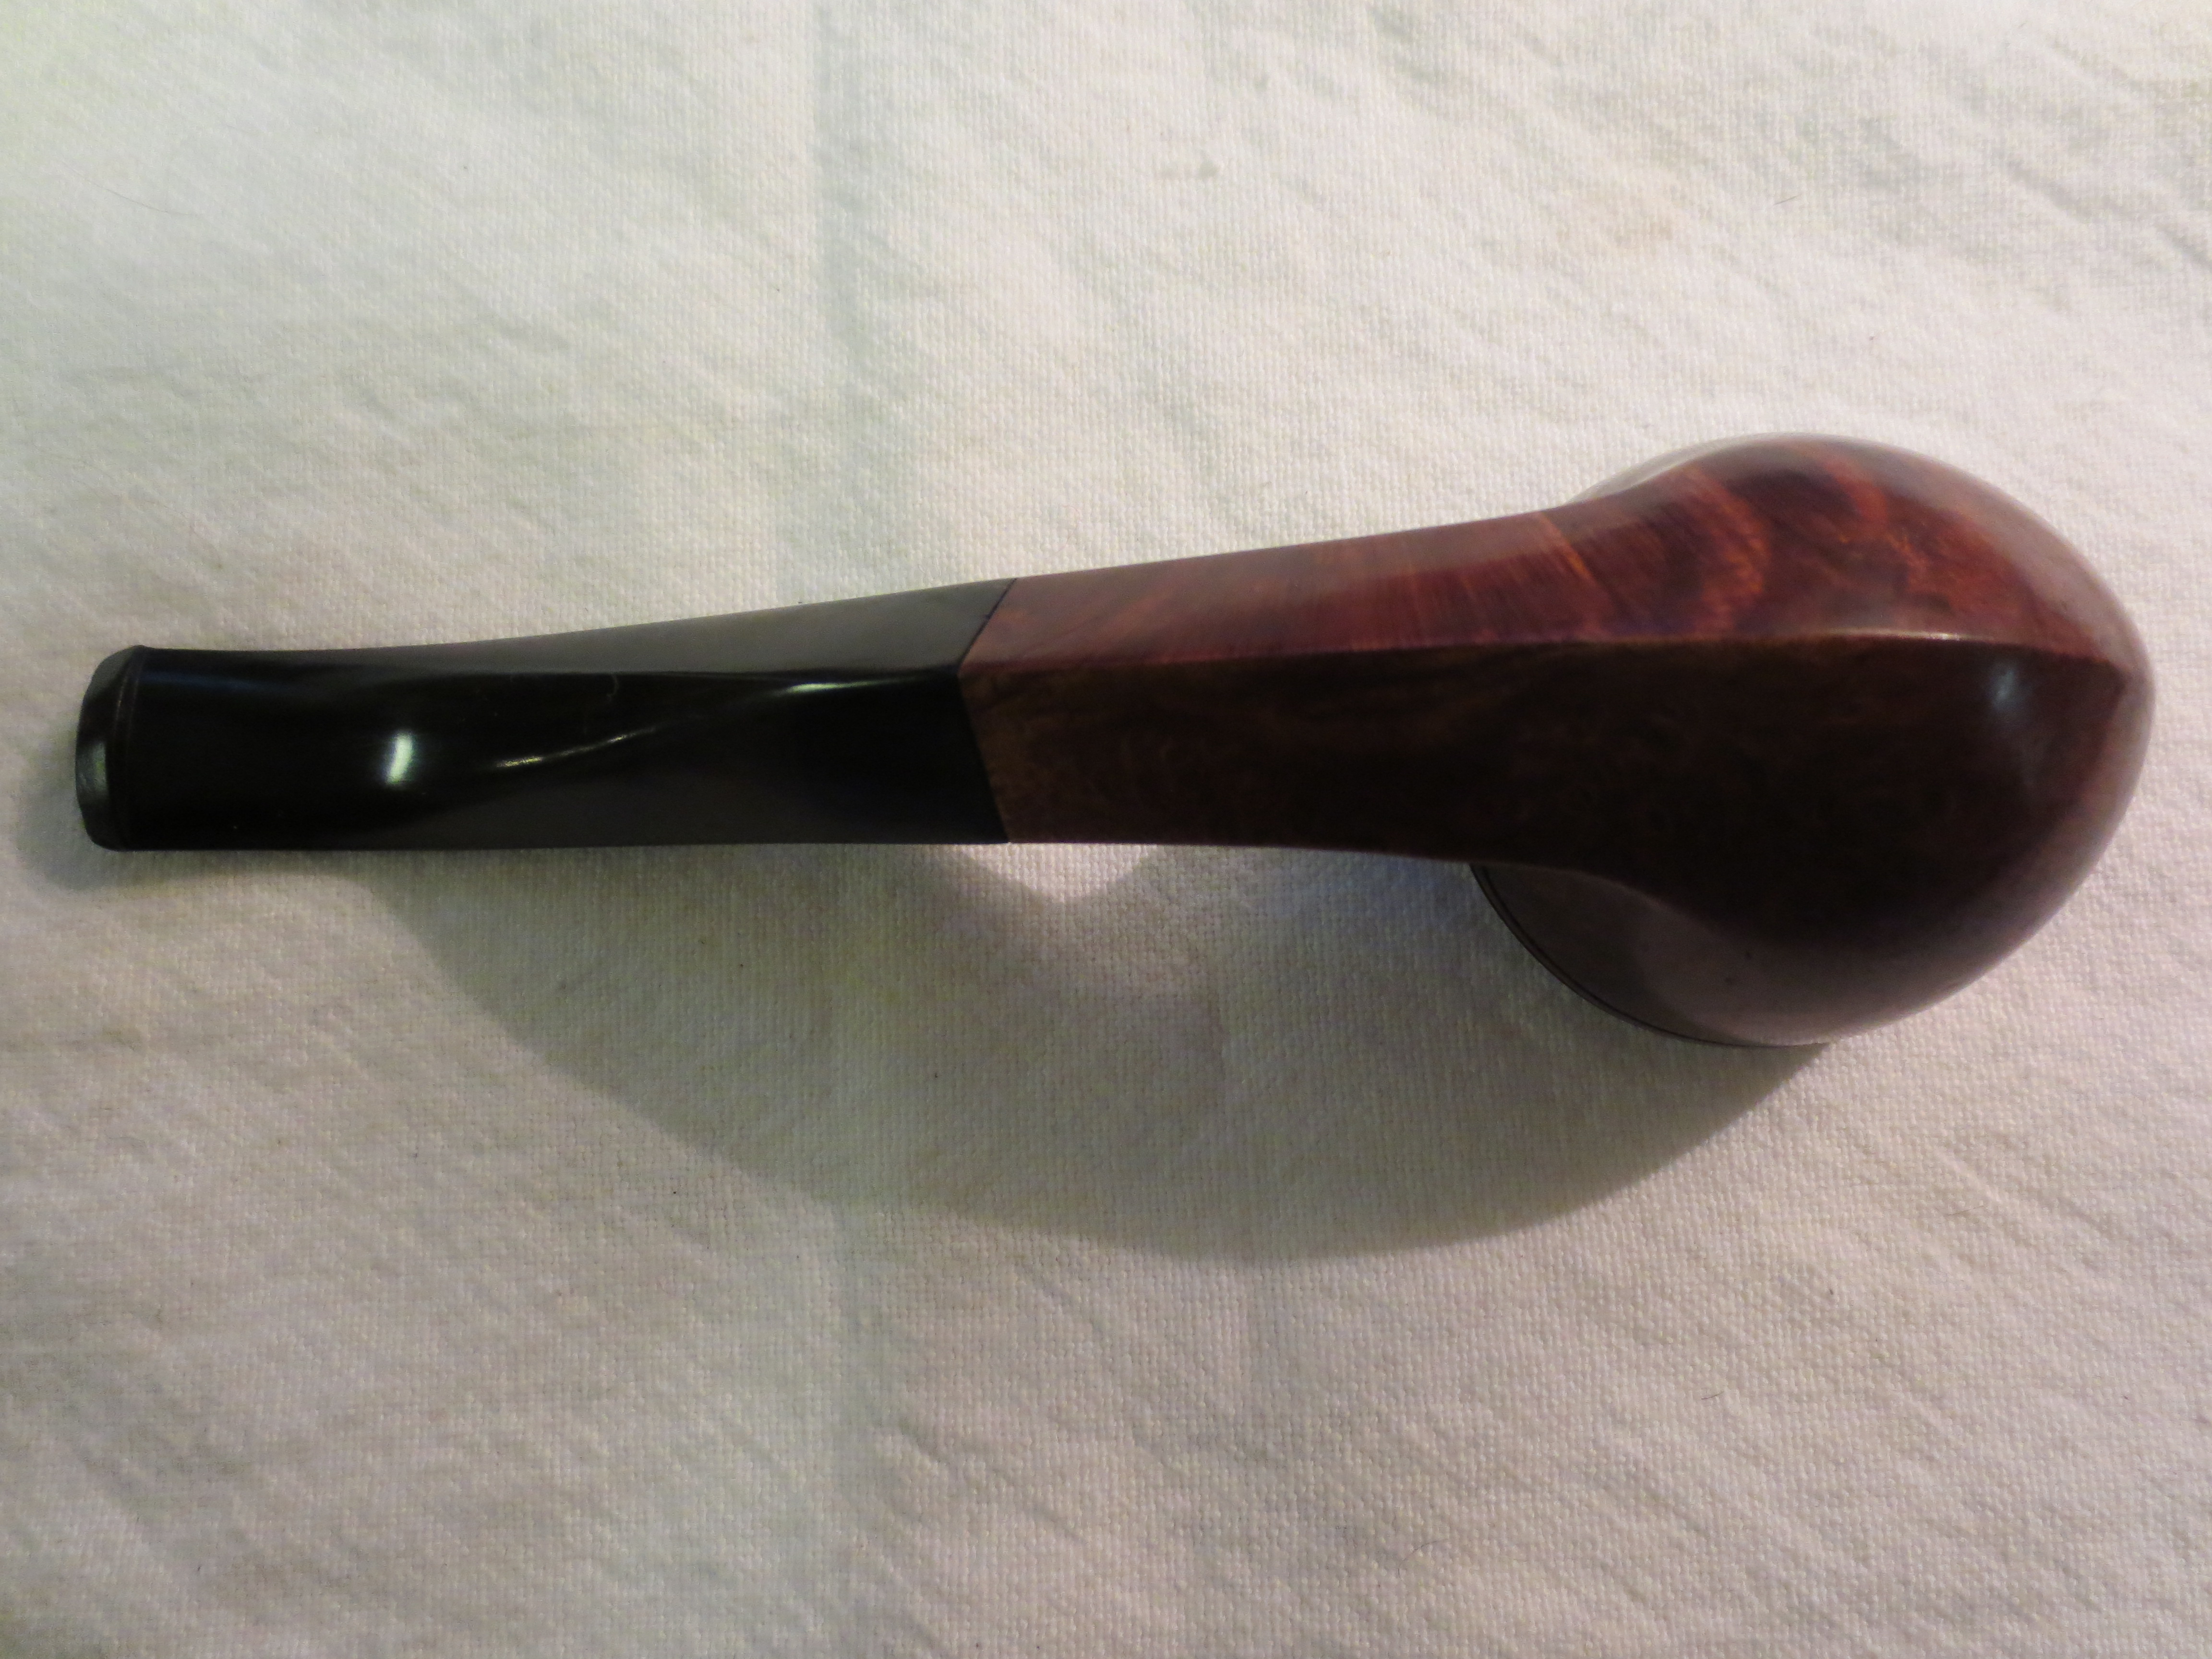
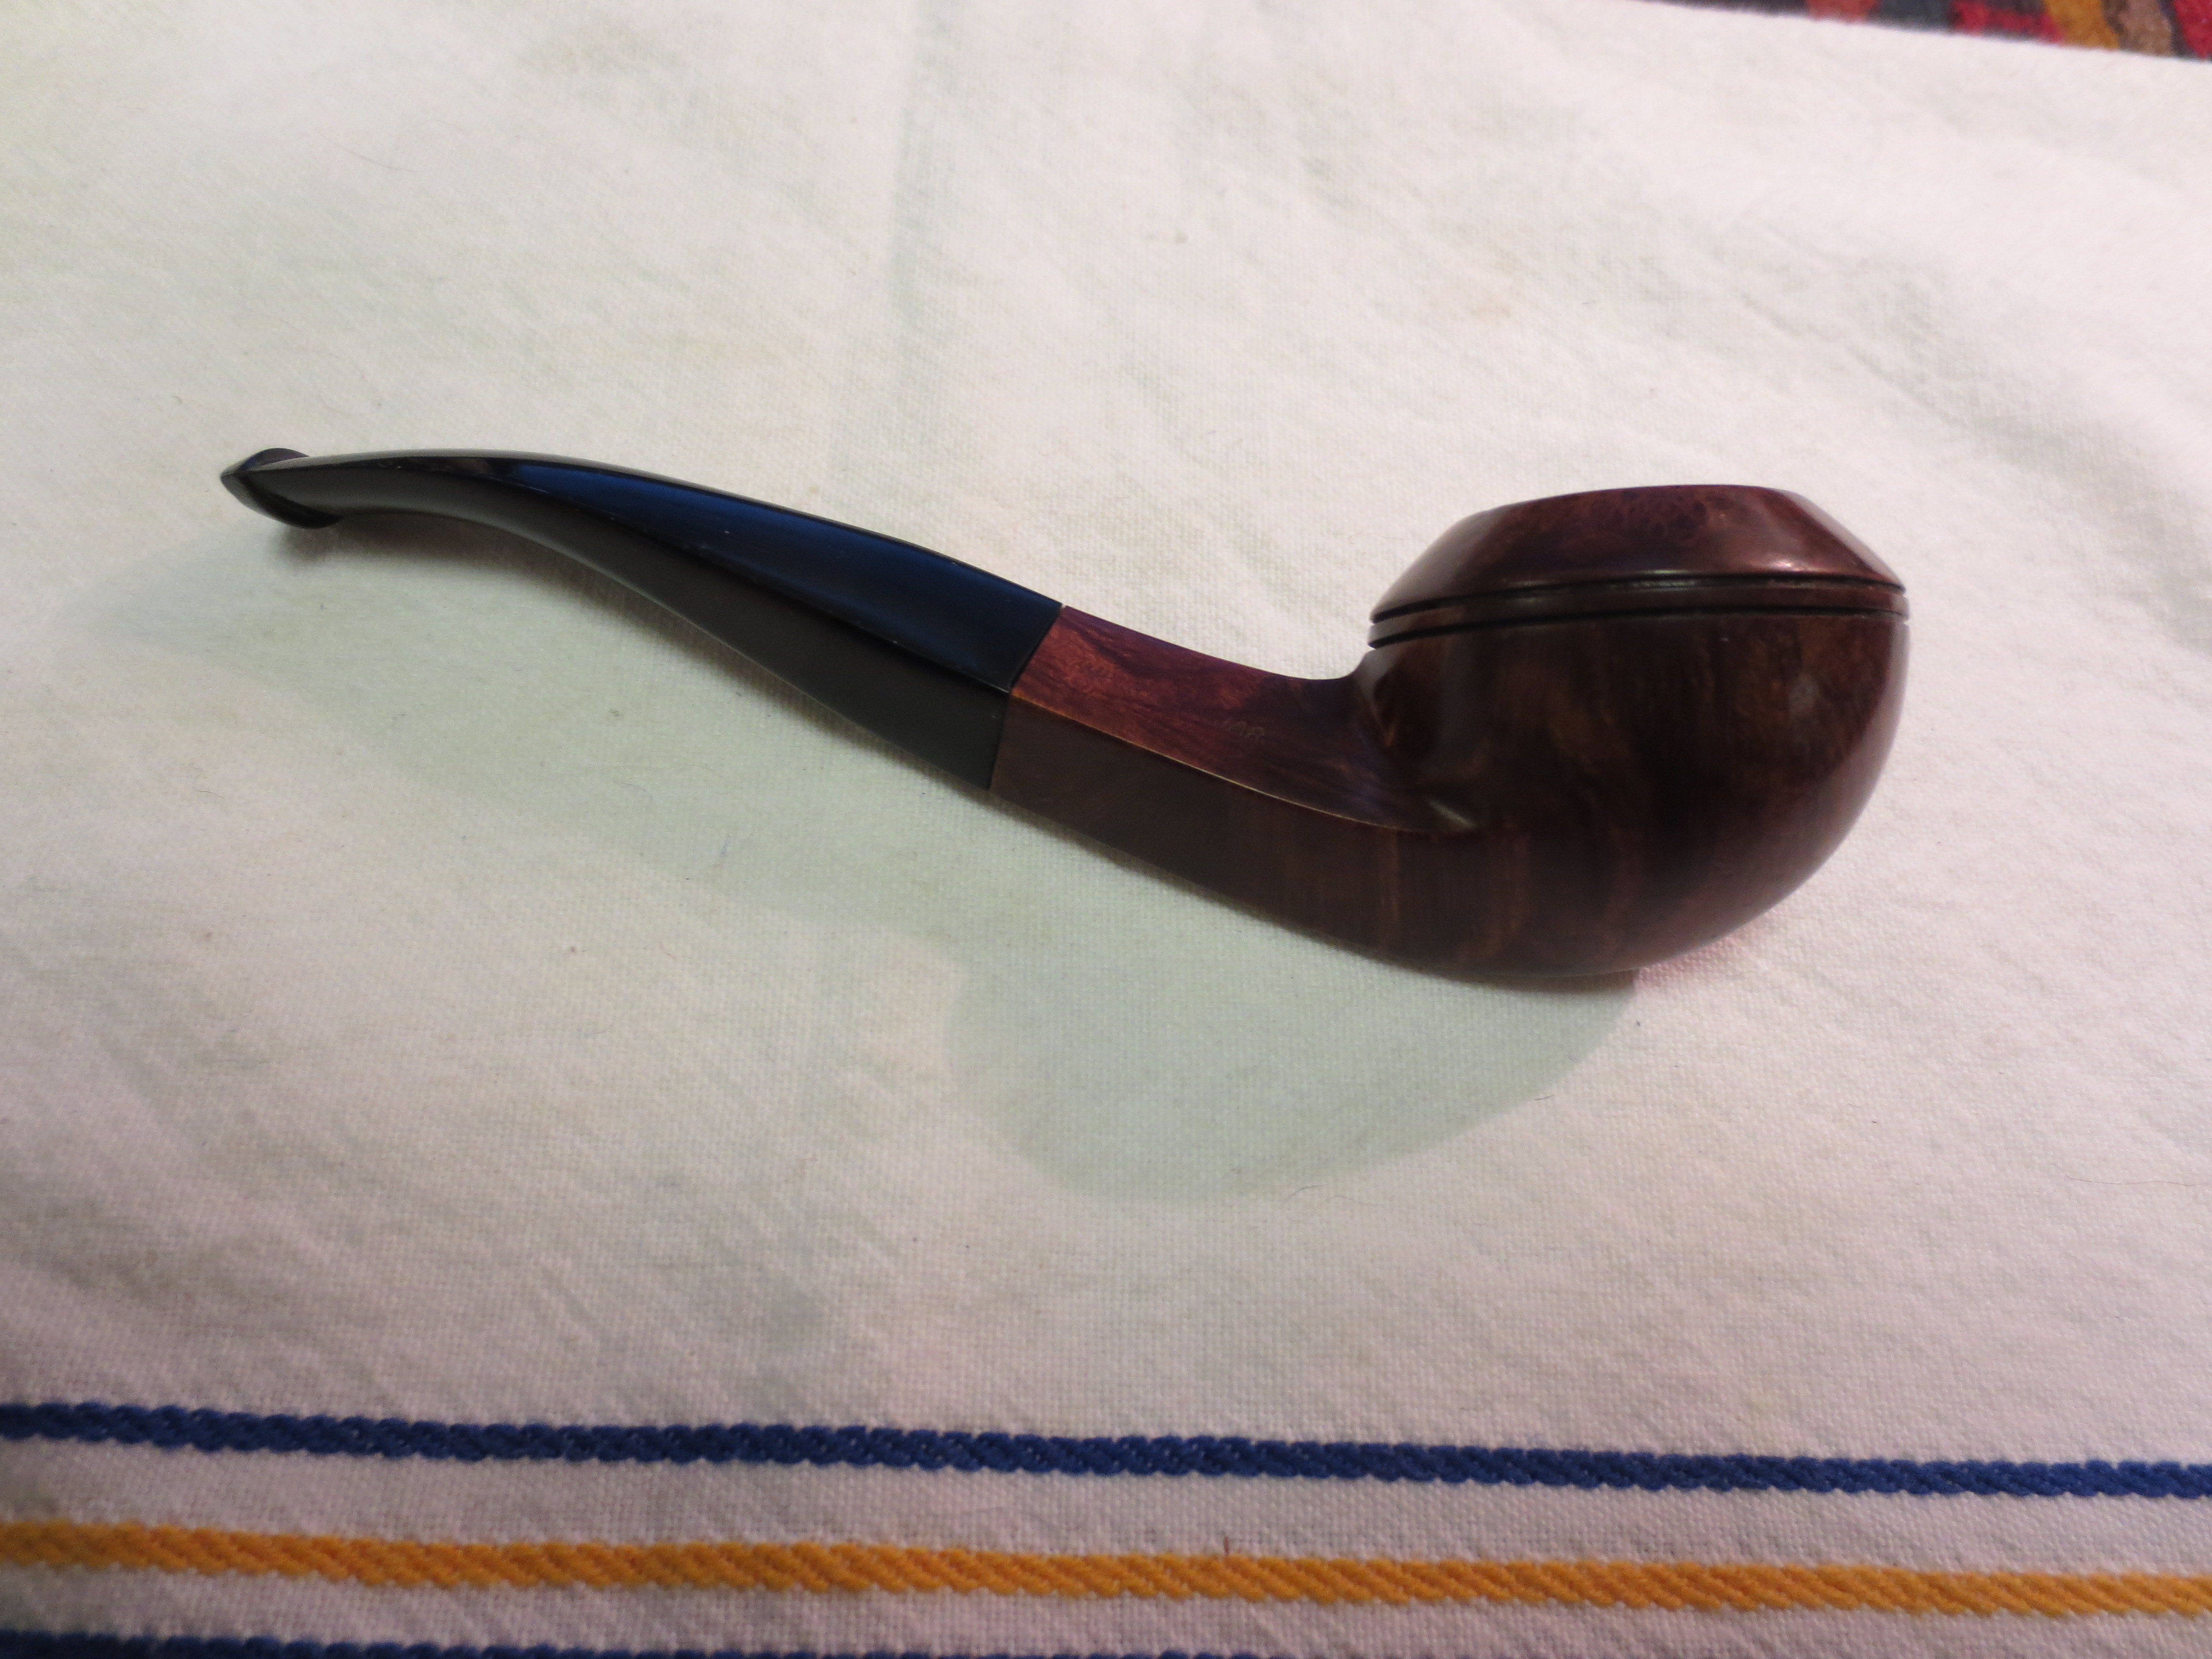
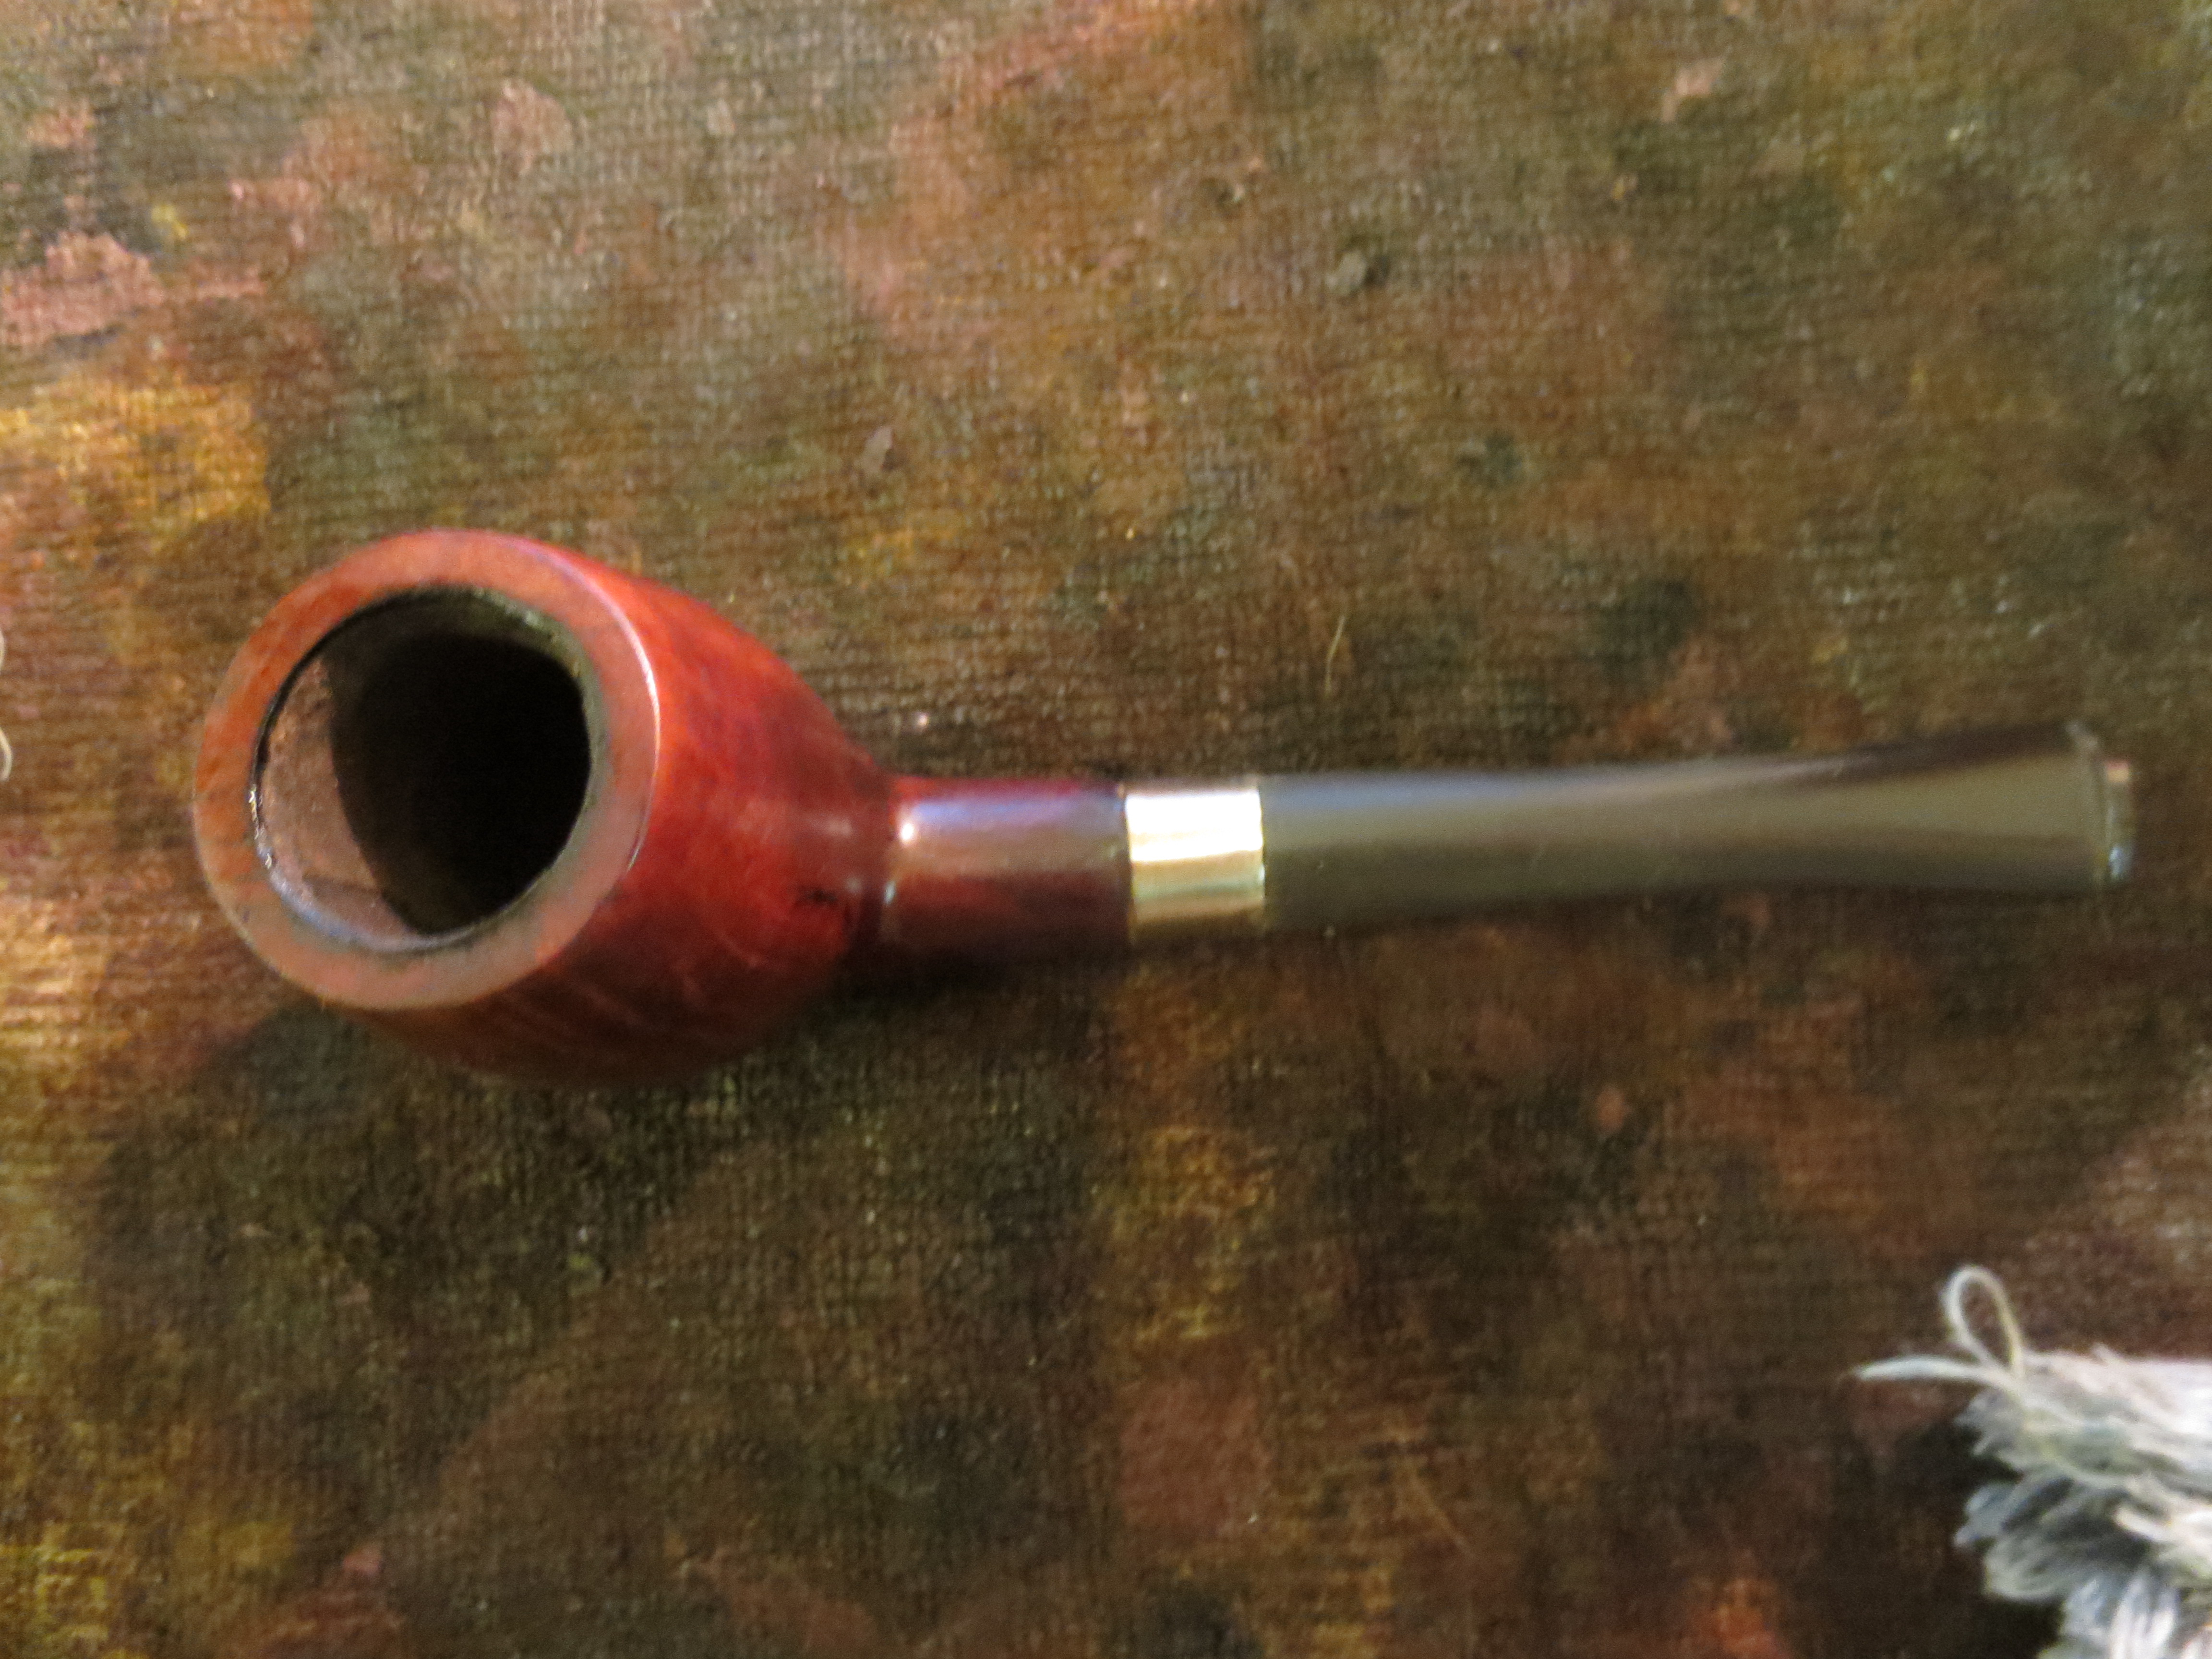
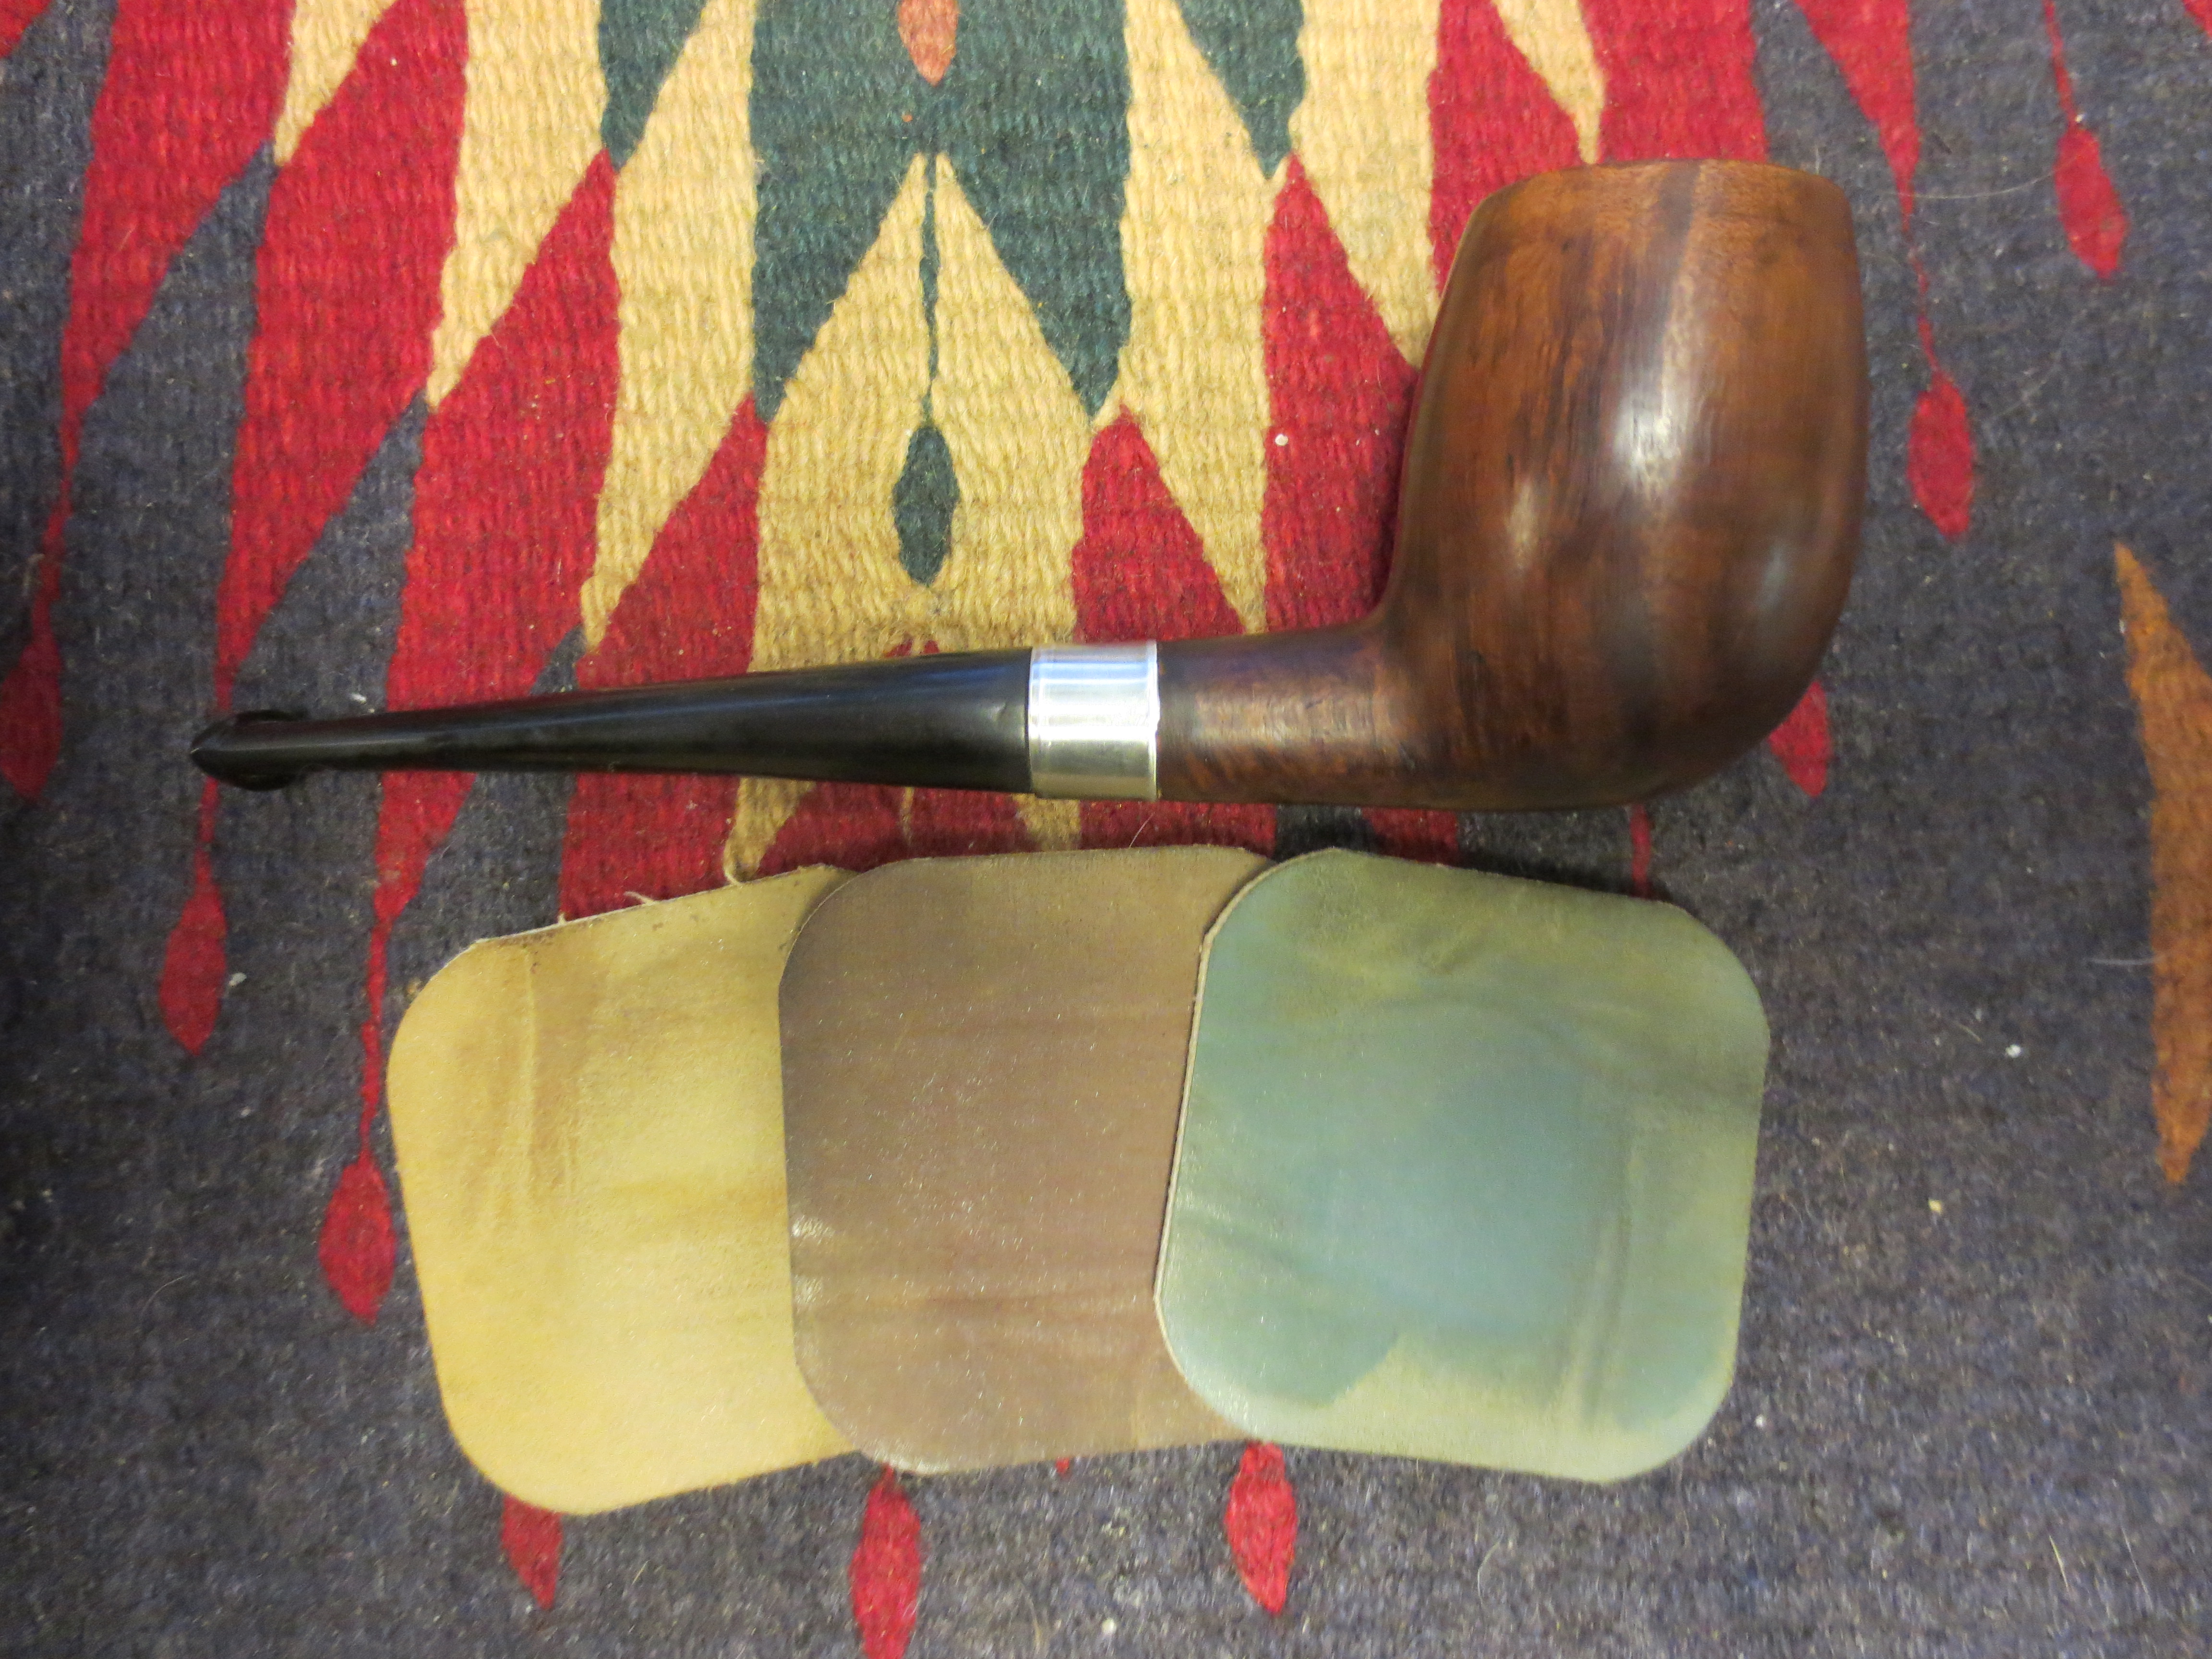
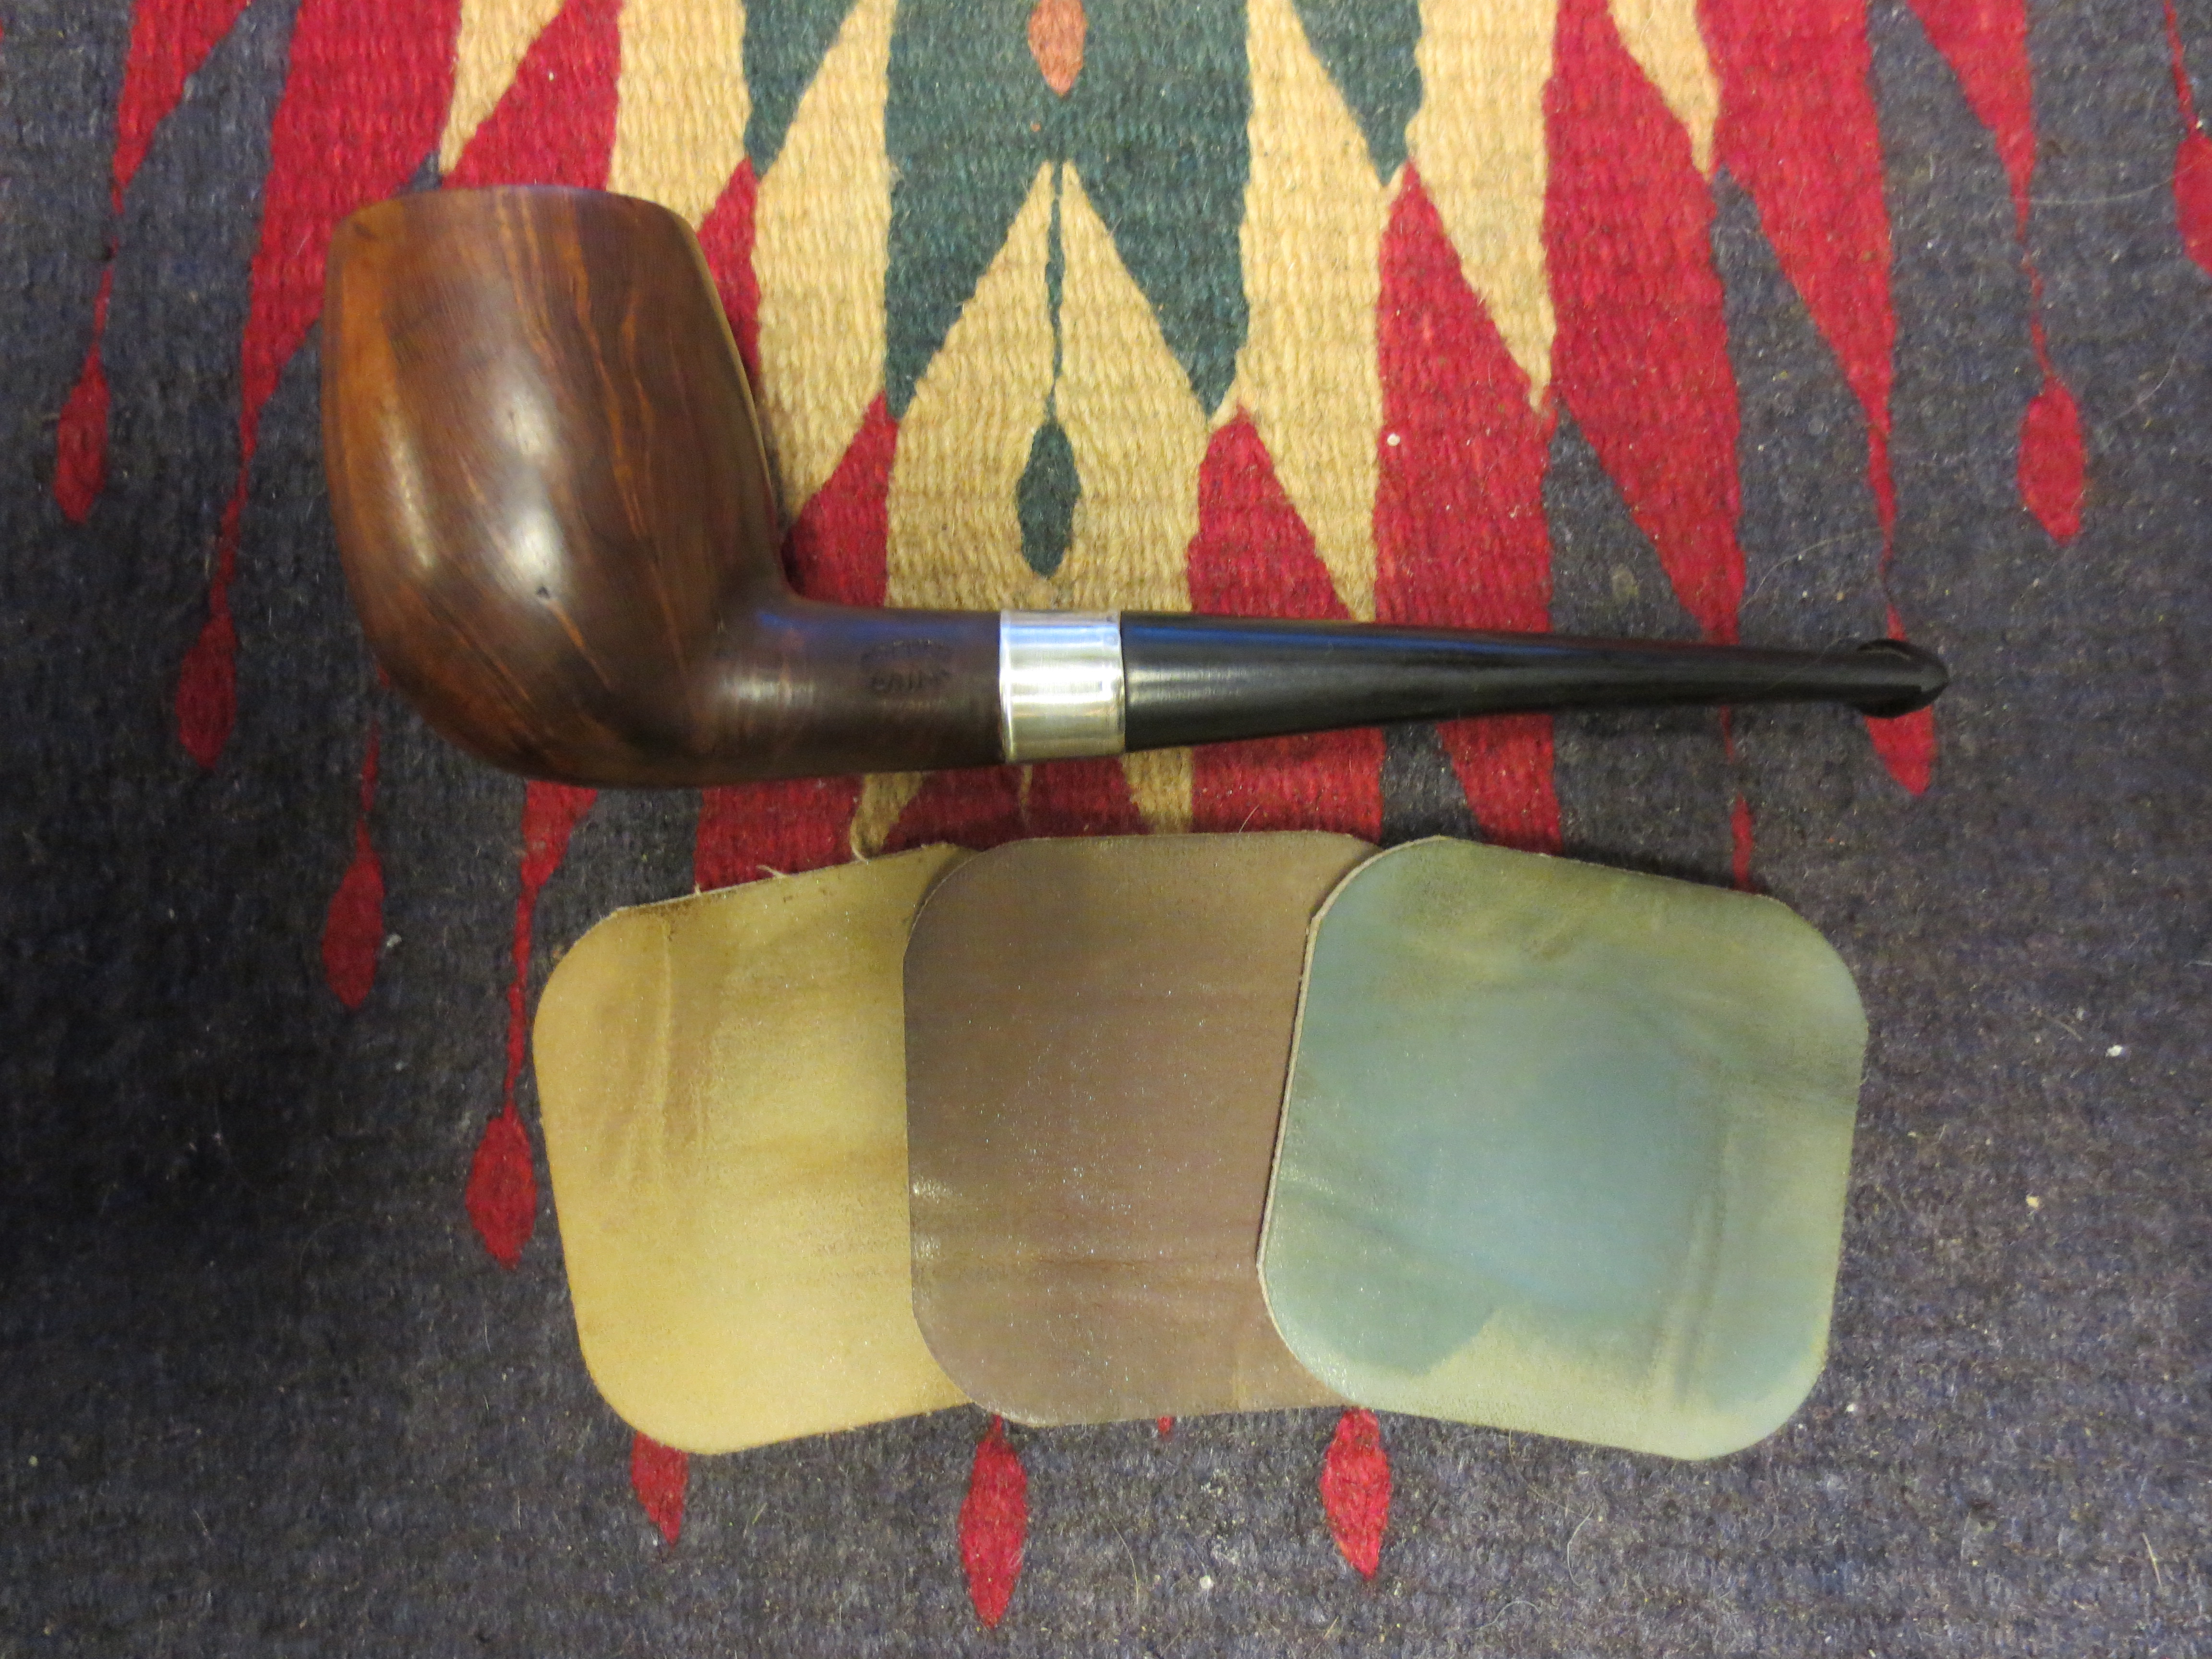
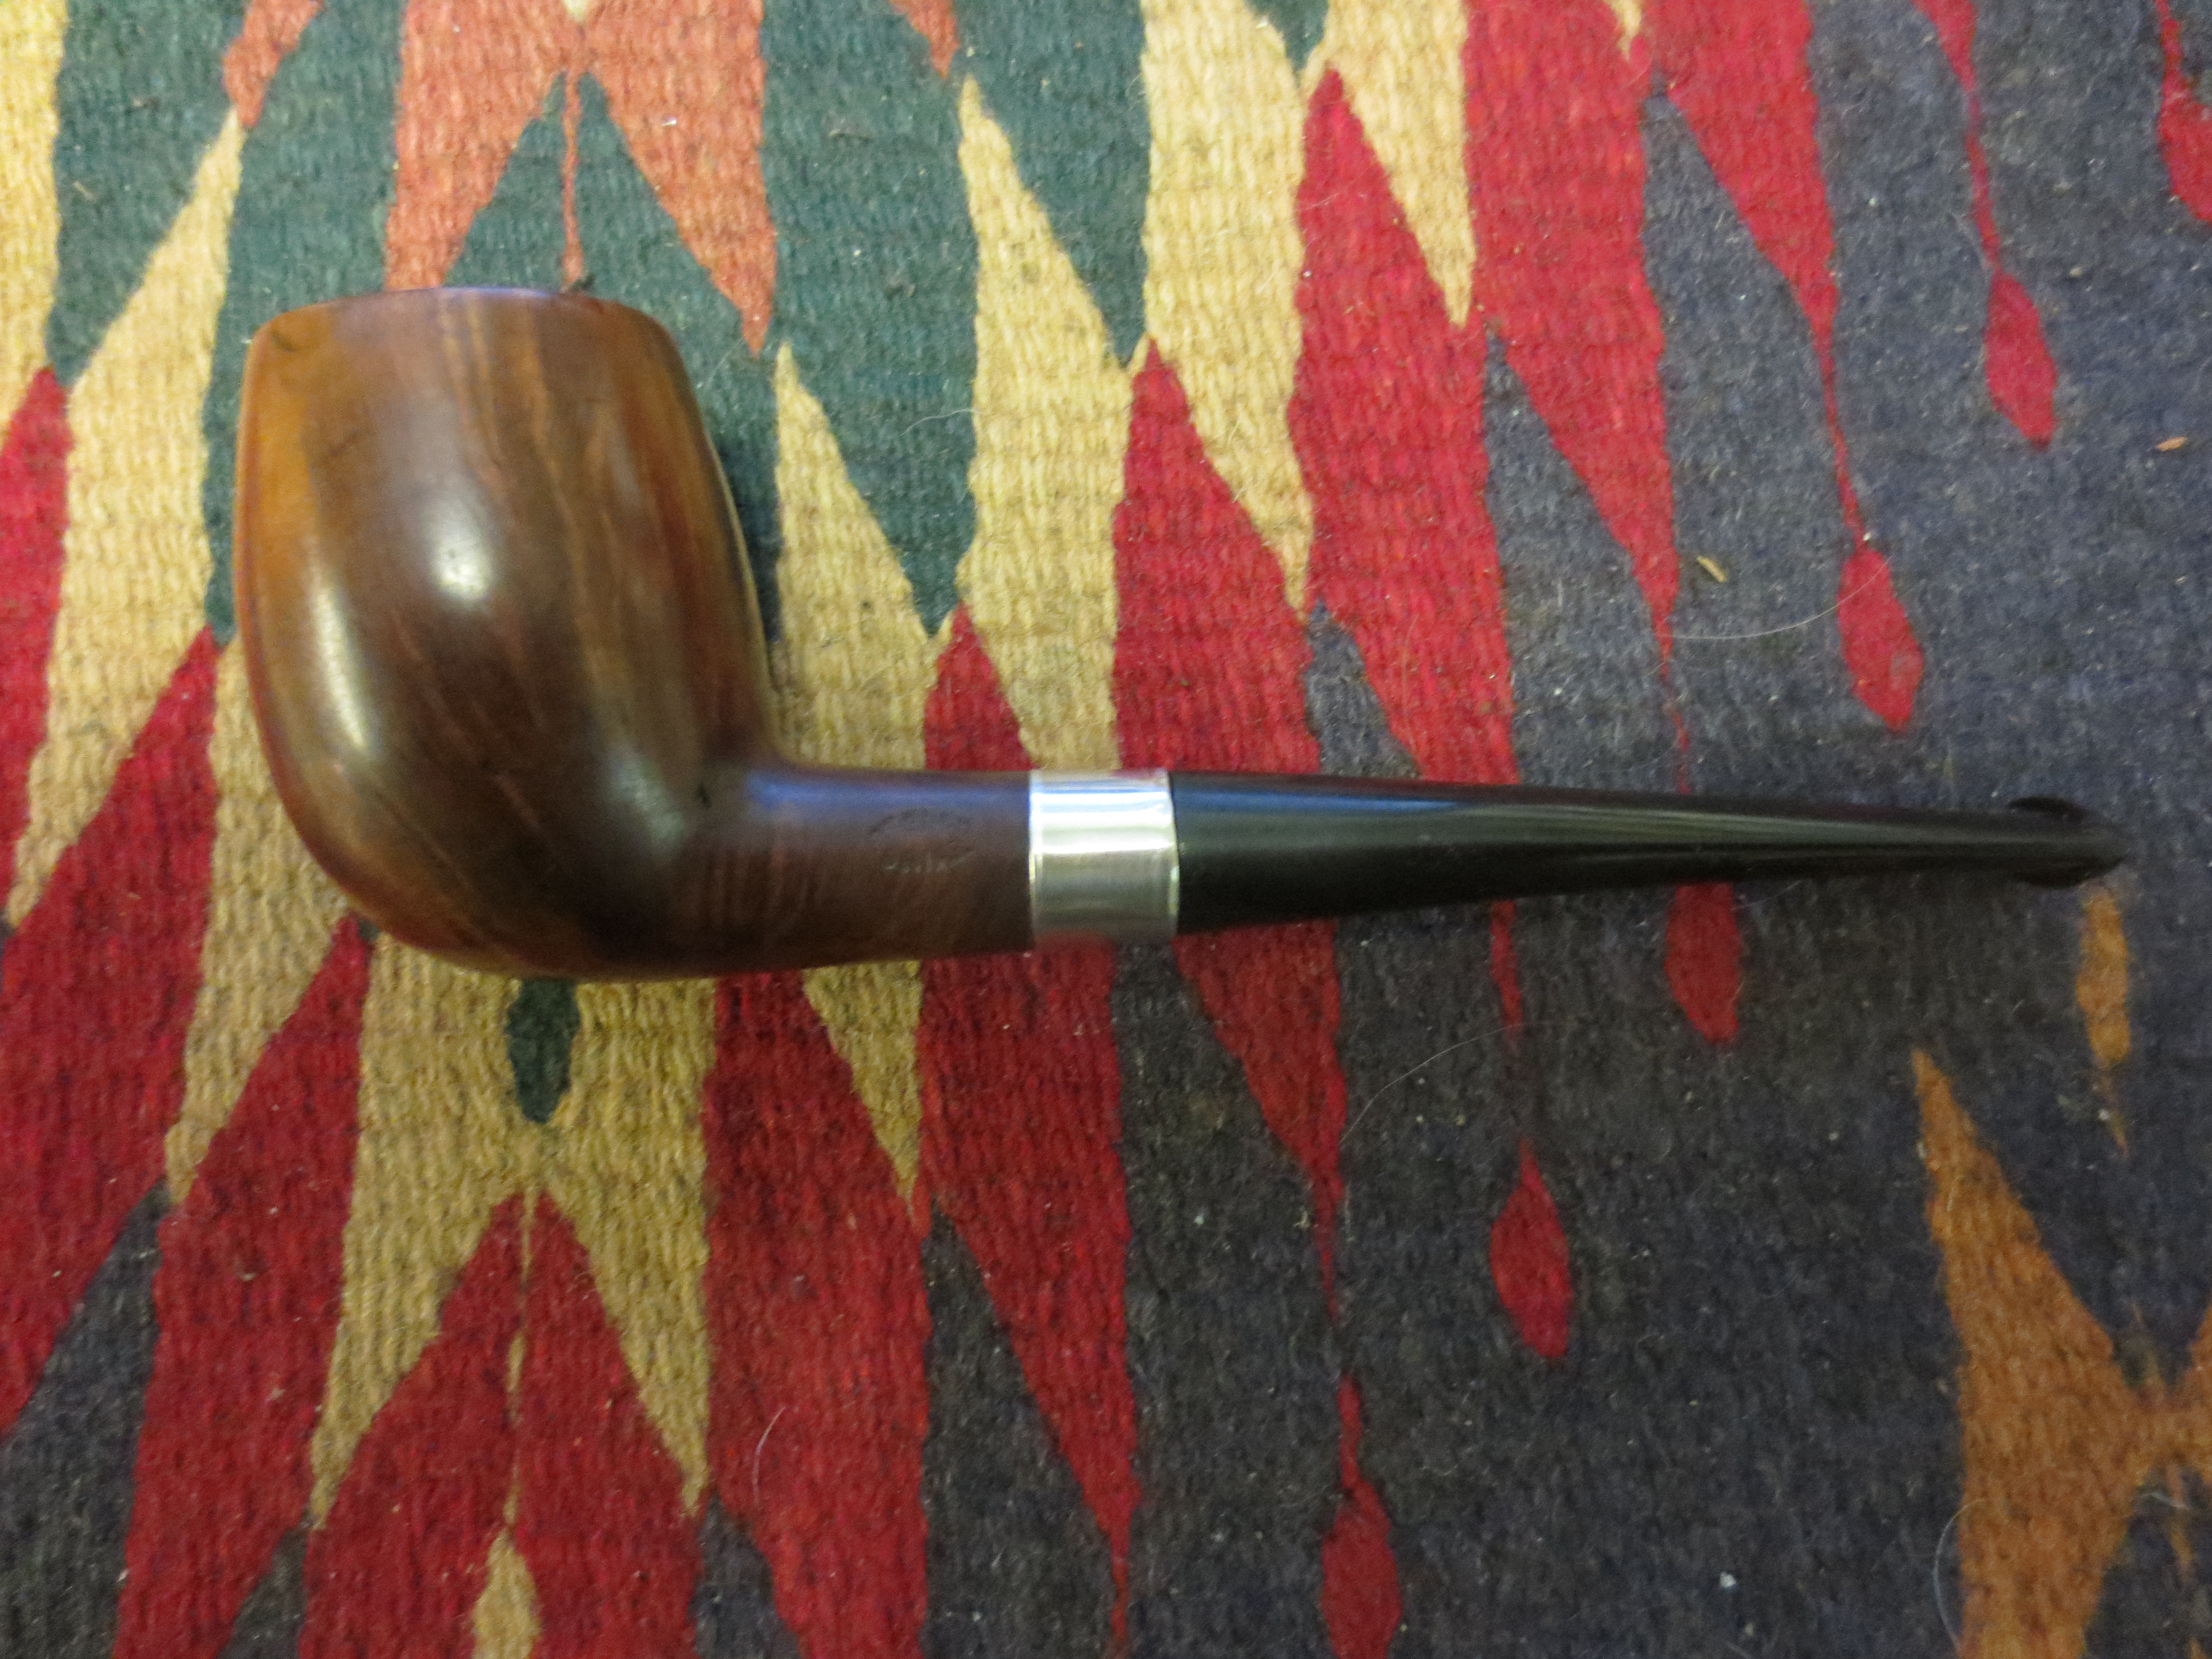
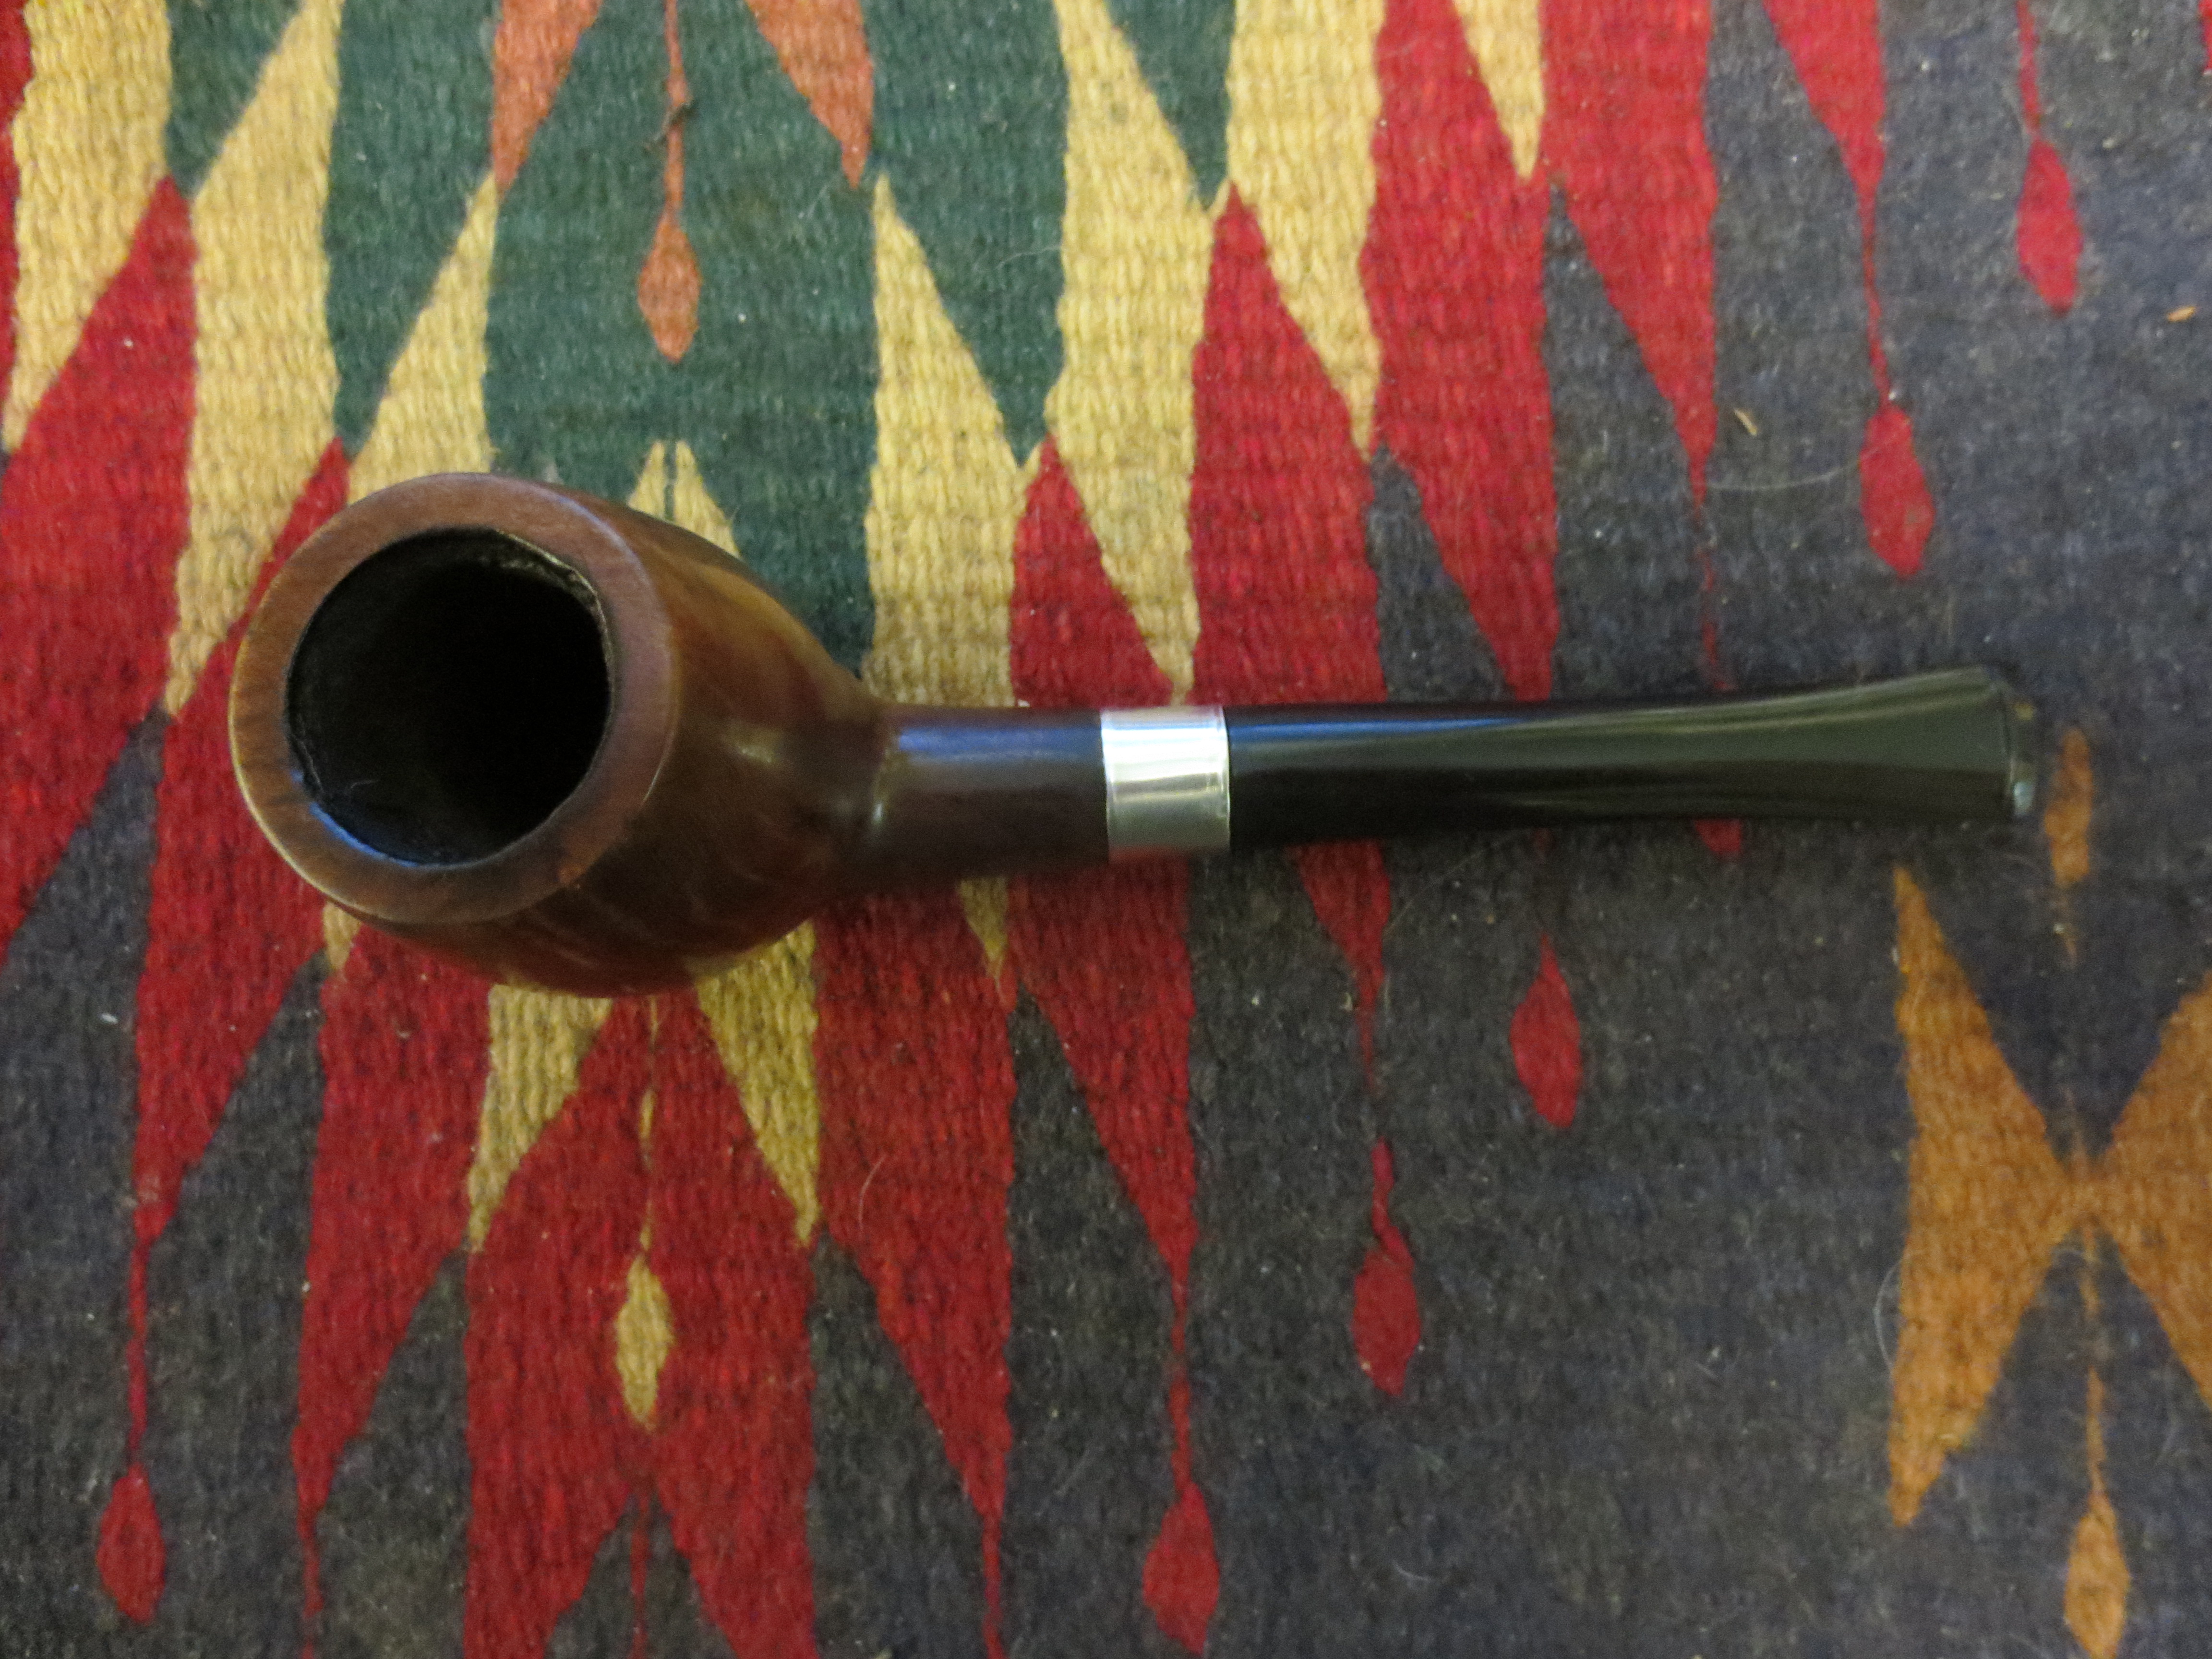
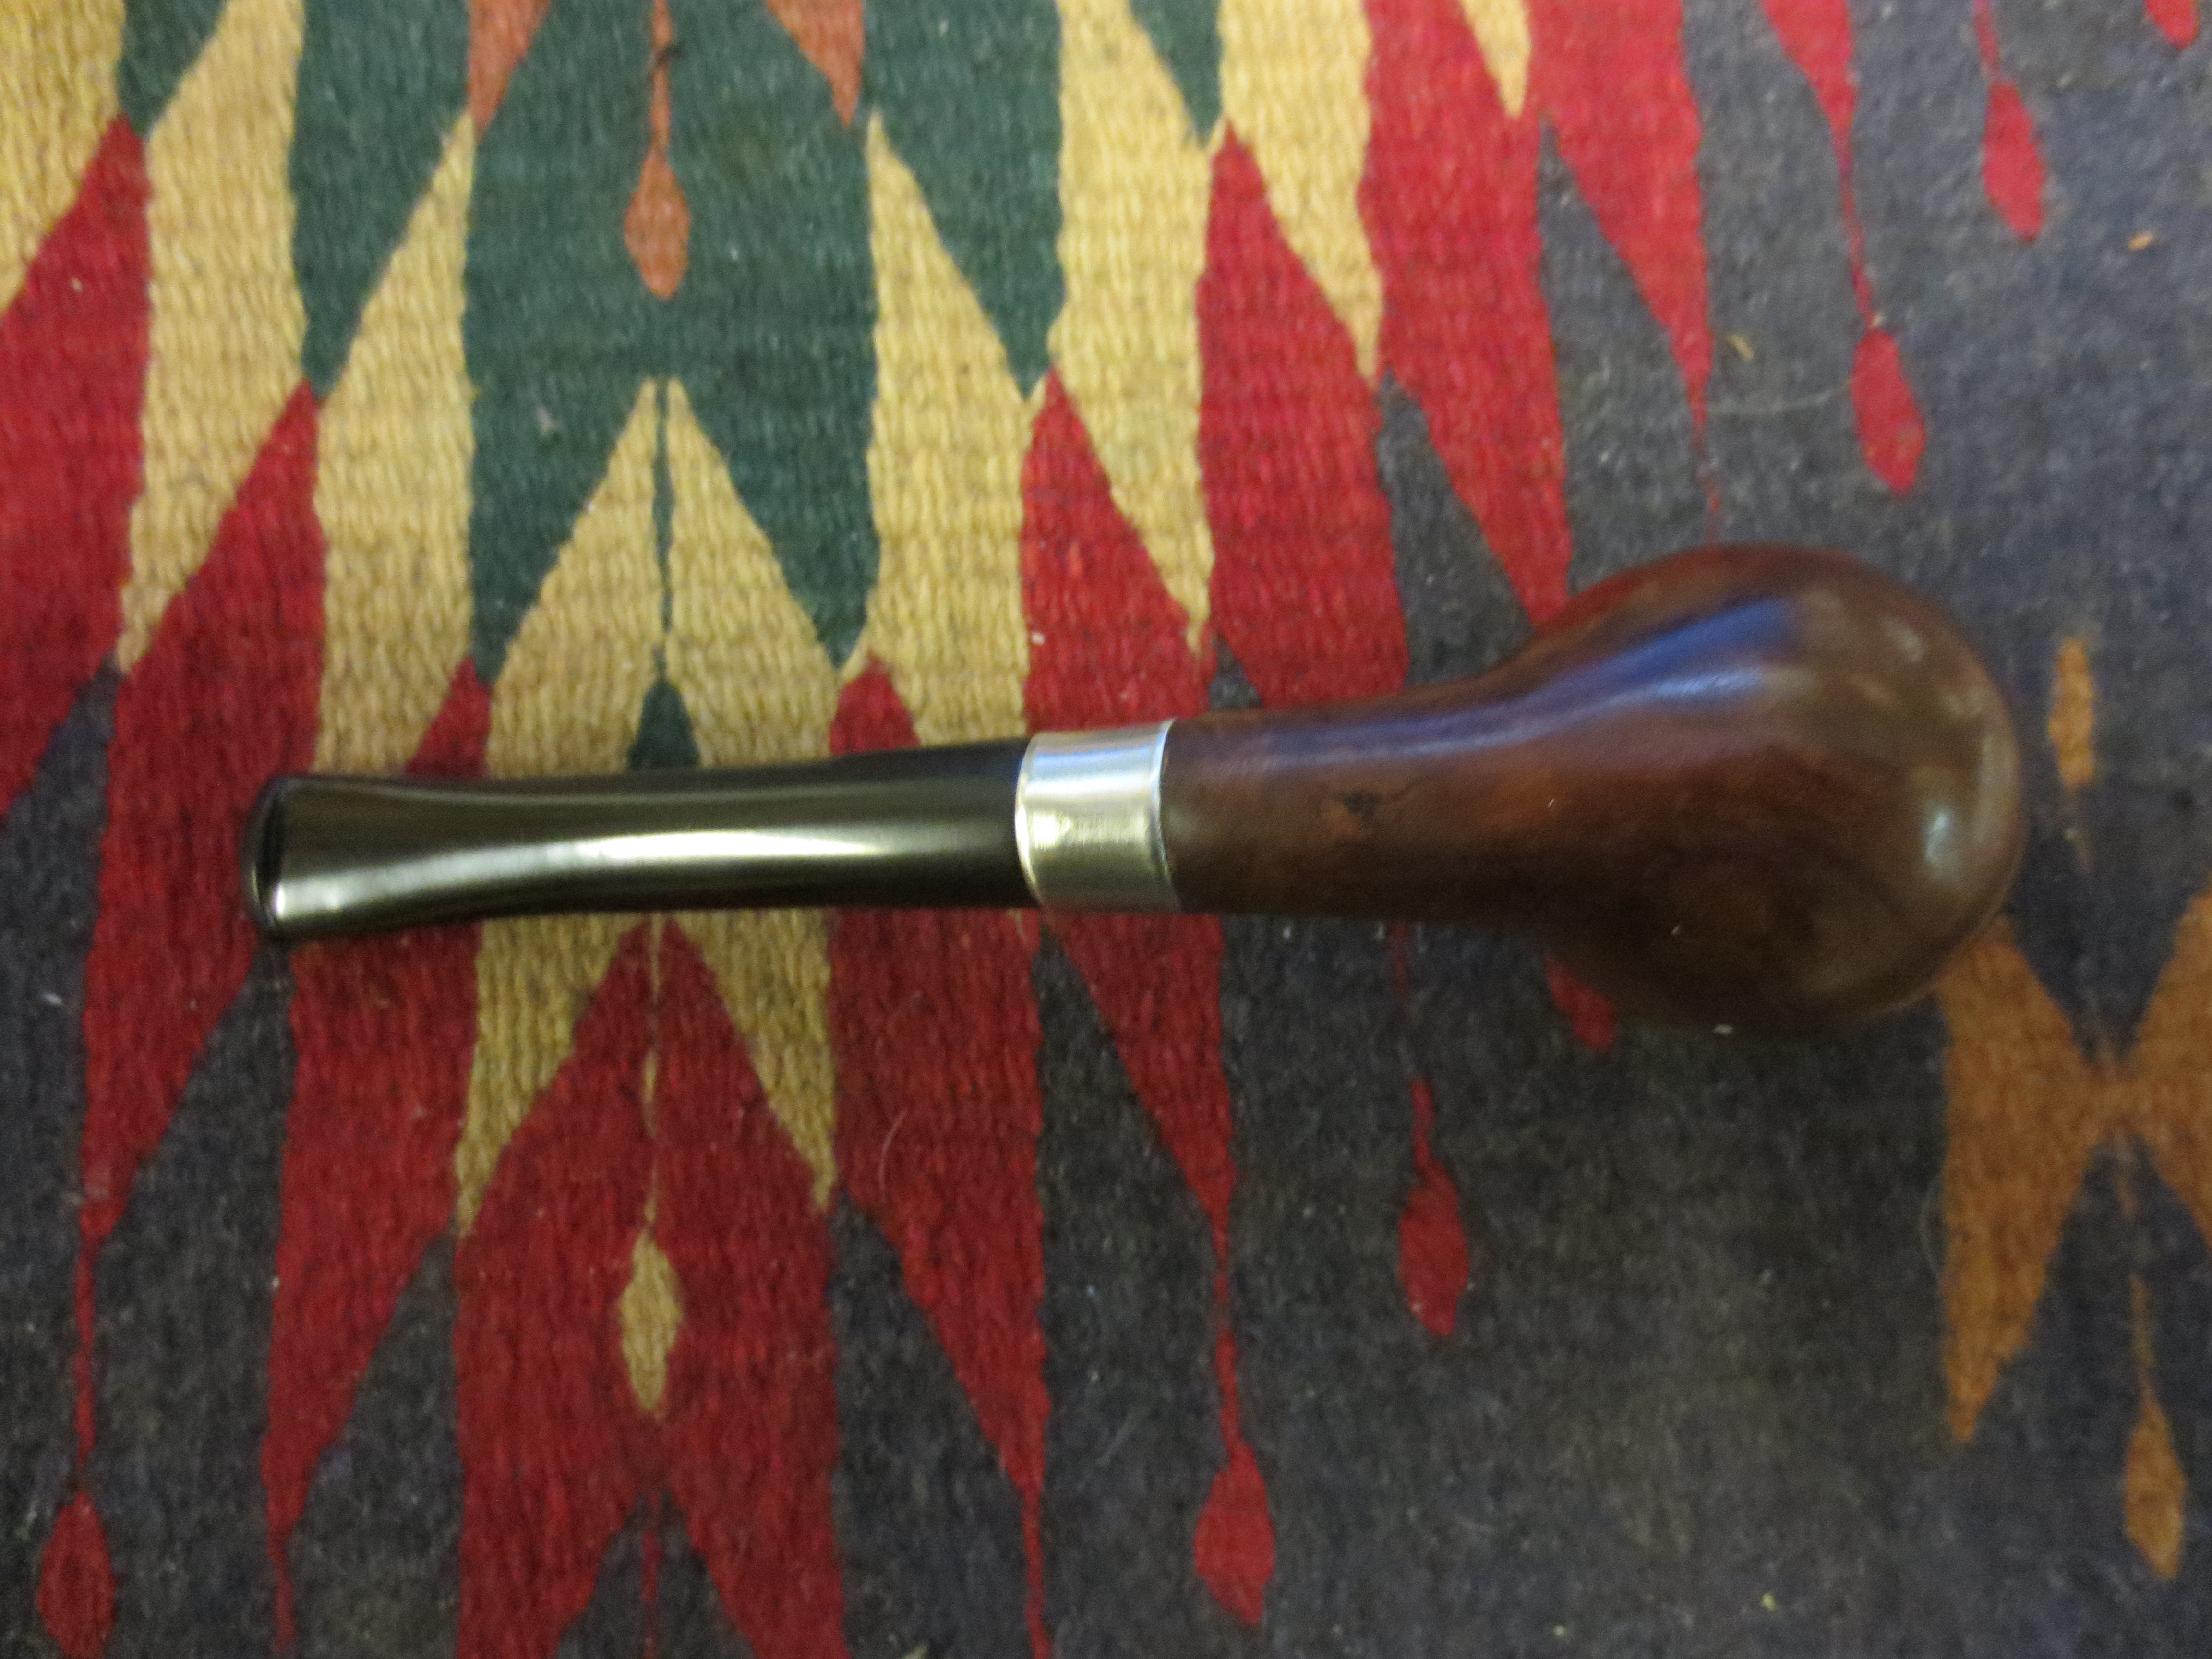
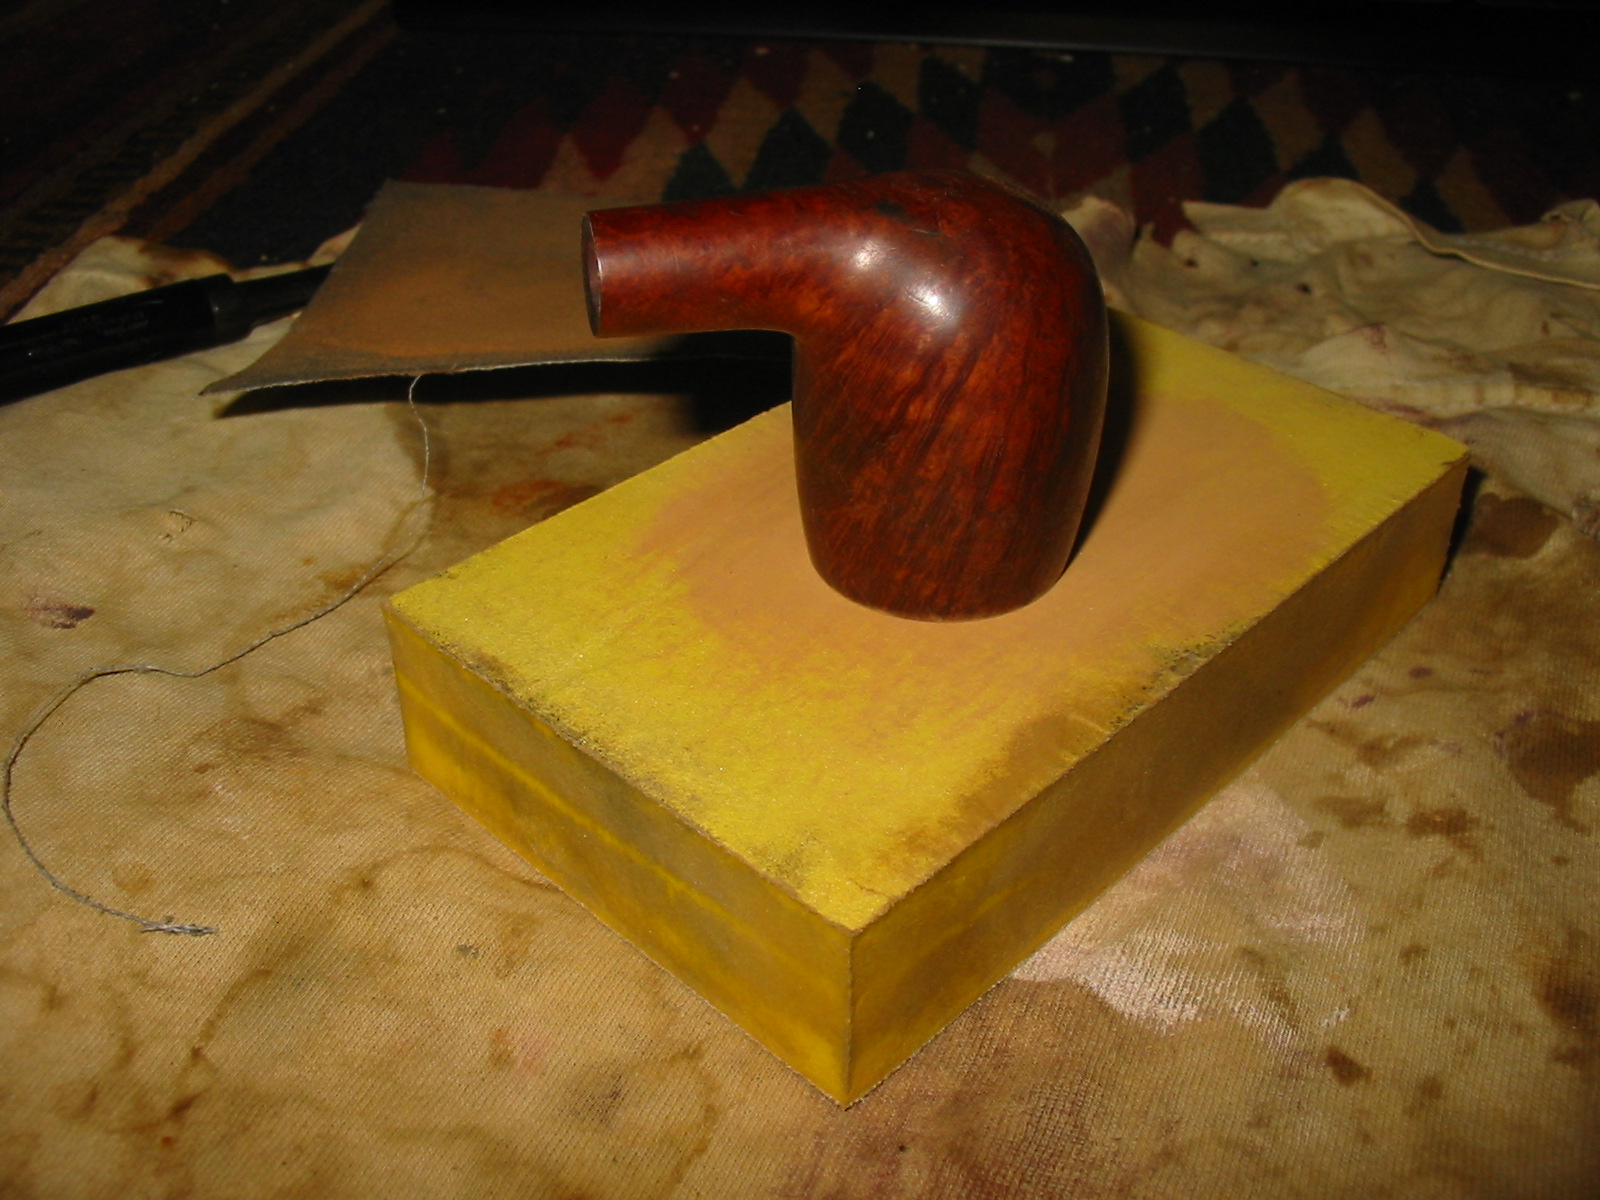
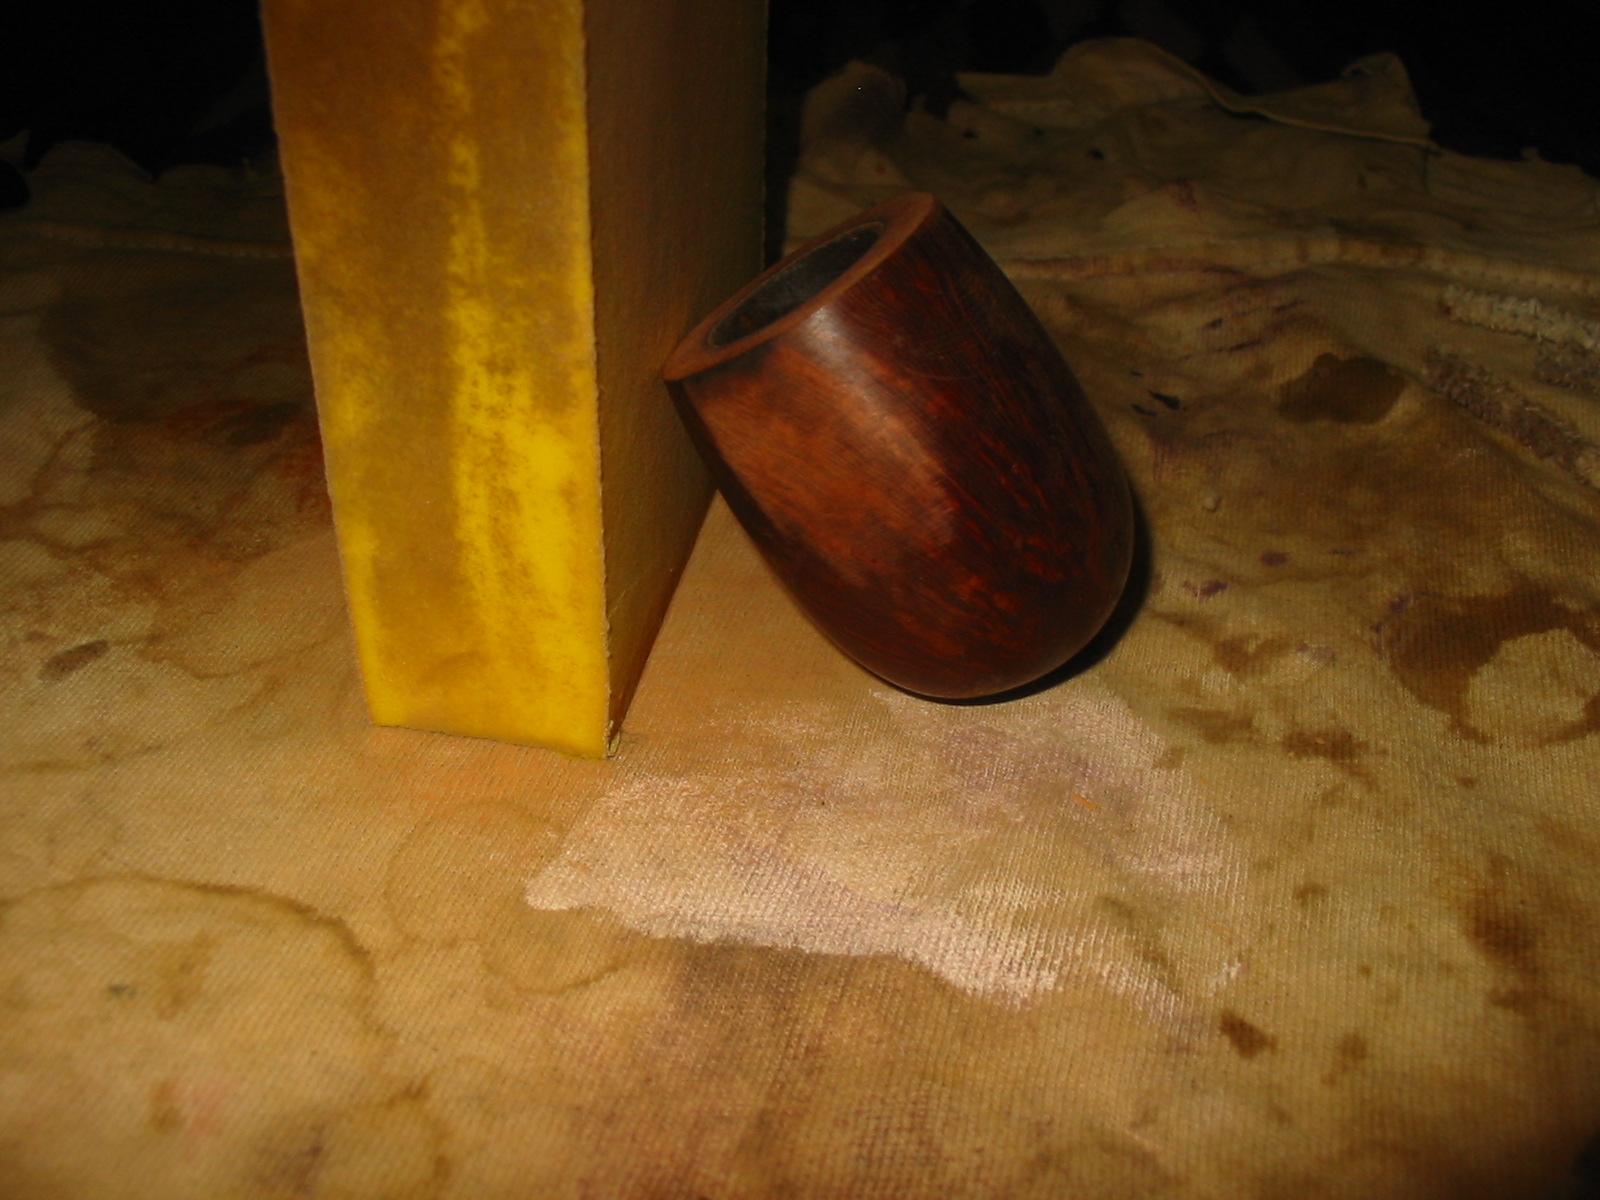
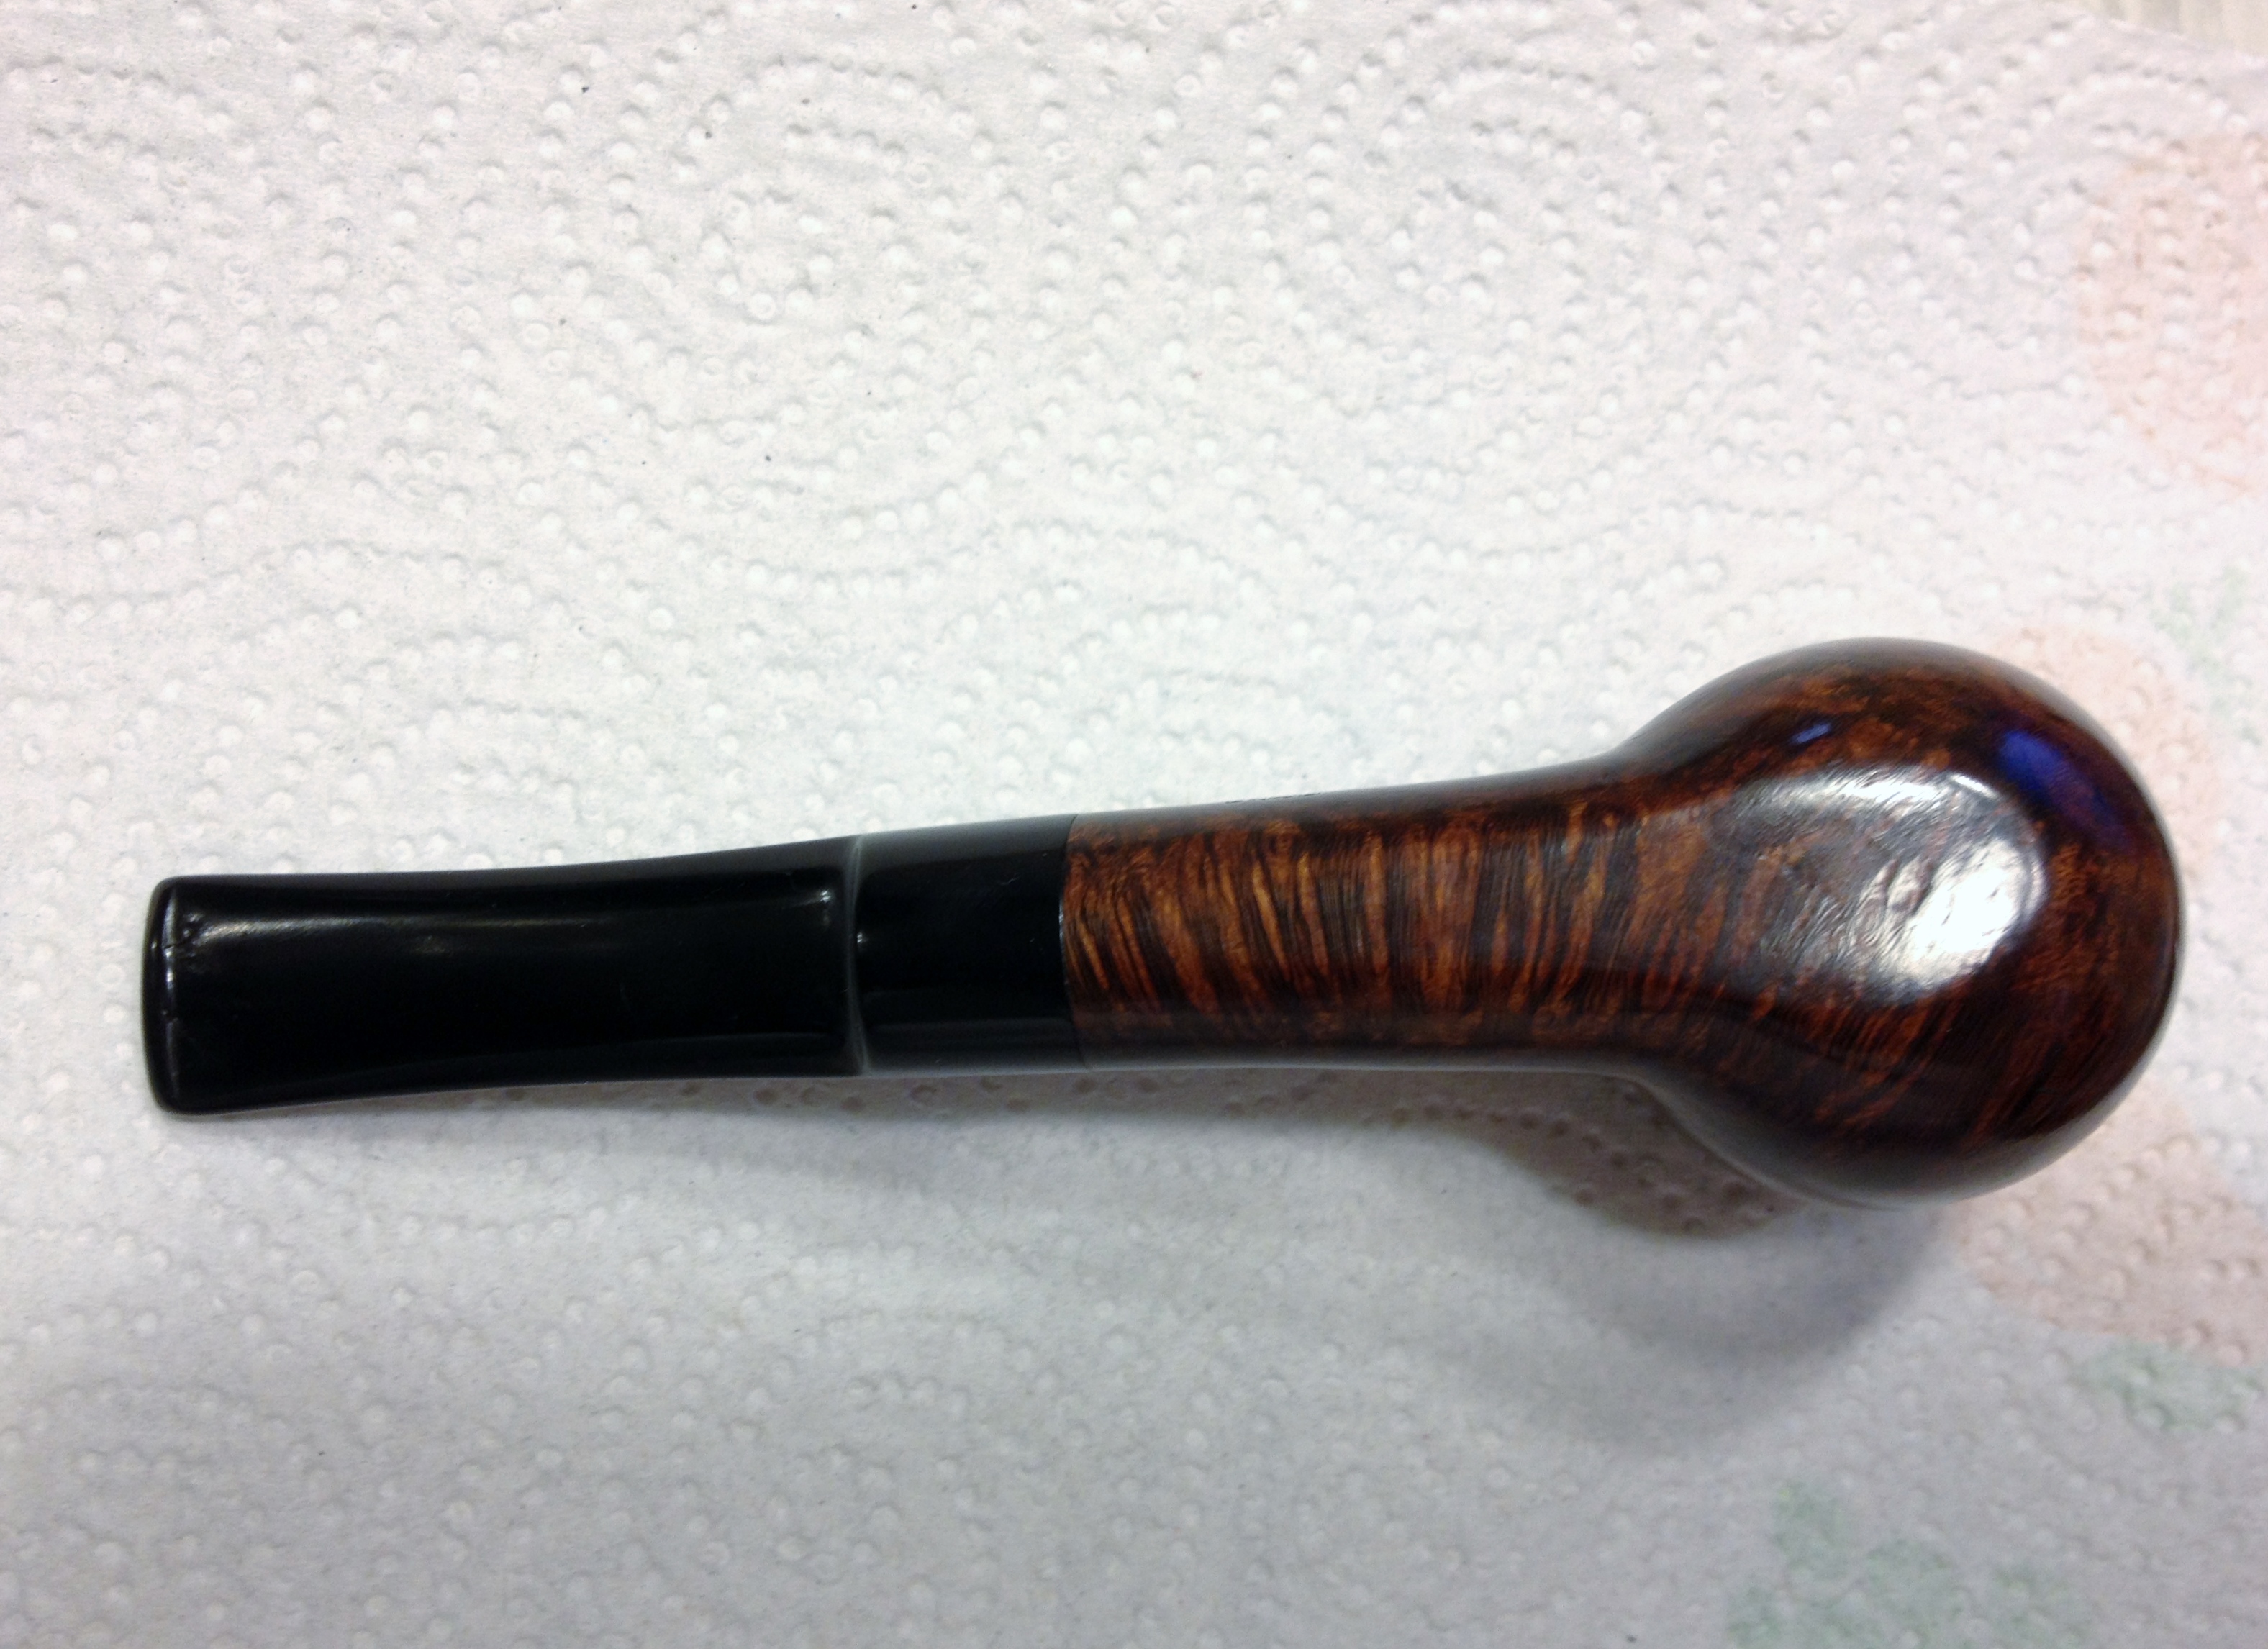
I stained the pipe bowl and shank with dark brown aniline stain mixed 2 parts stain to one part alcohol to get the brown colour that was previously on the pipe. I wanted it thin enough that the grain would really stand out and give the pipe a uniform look after the sanding. The pipe has some beautiful cross grain on the front and back of the bowl and the top and bottom of the shank with birdseye grain on the sides. I wanted the stain to highlight that. I stained the pipe, flamed it and restained and reflamed it to set the stain in the grain.

IMG_1363

IMG_1364

IMG_1365

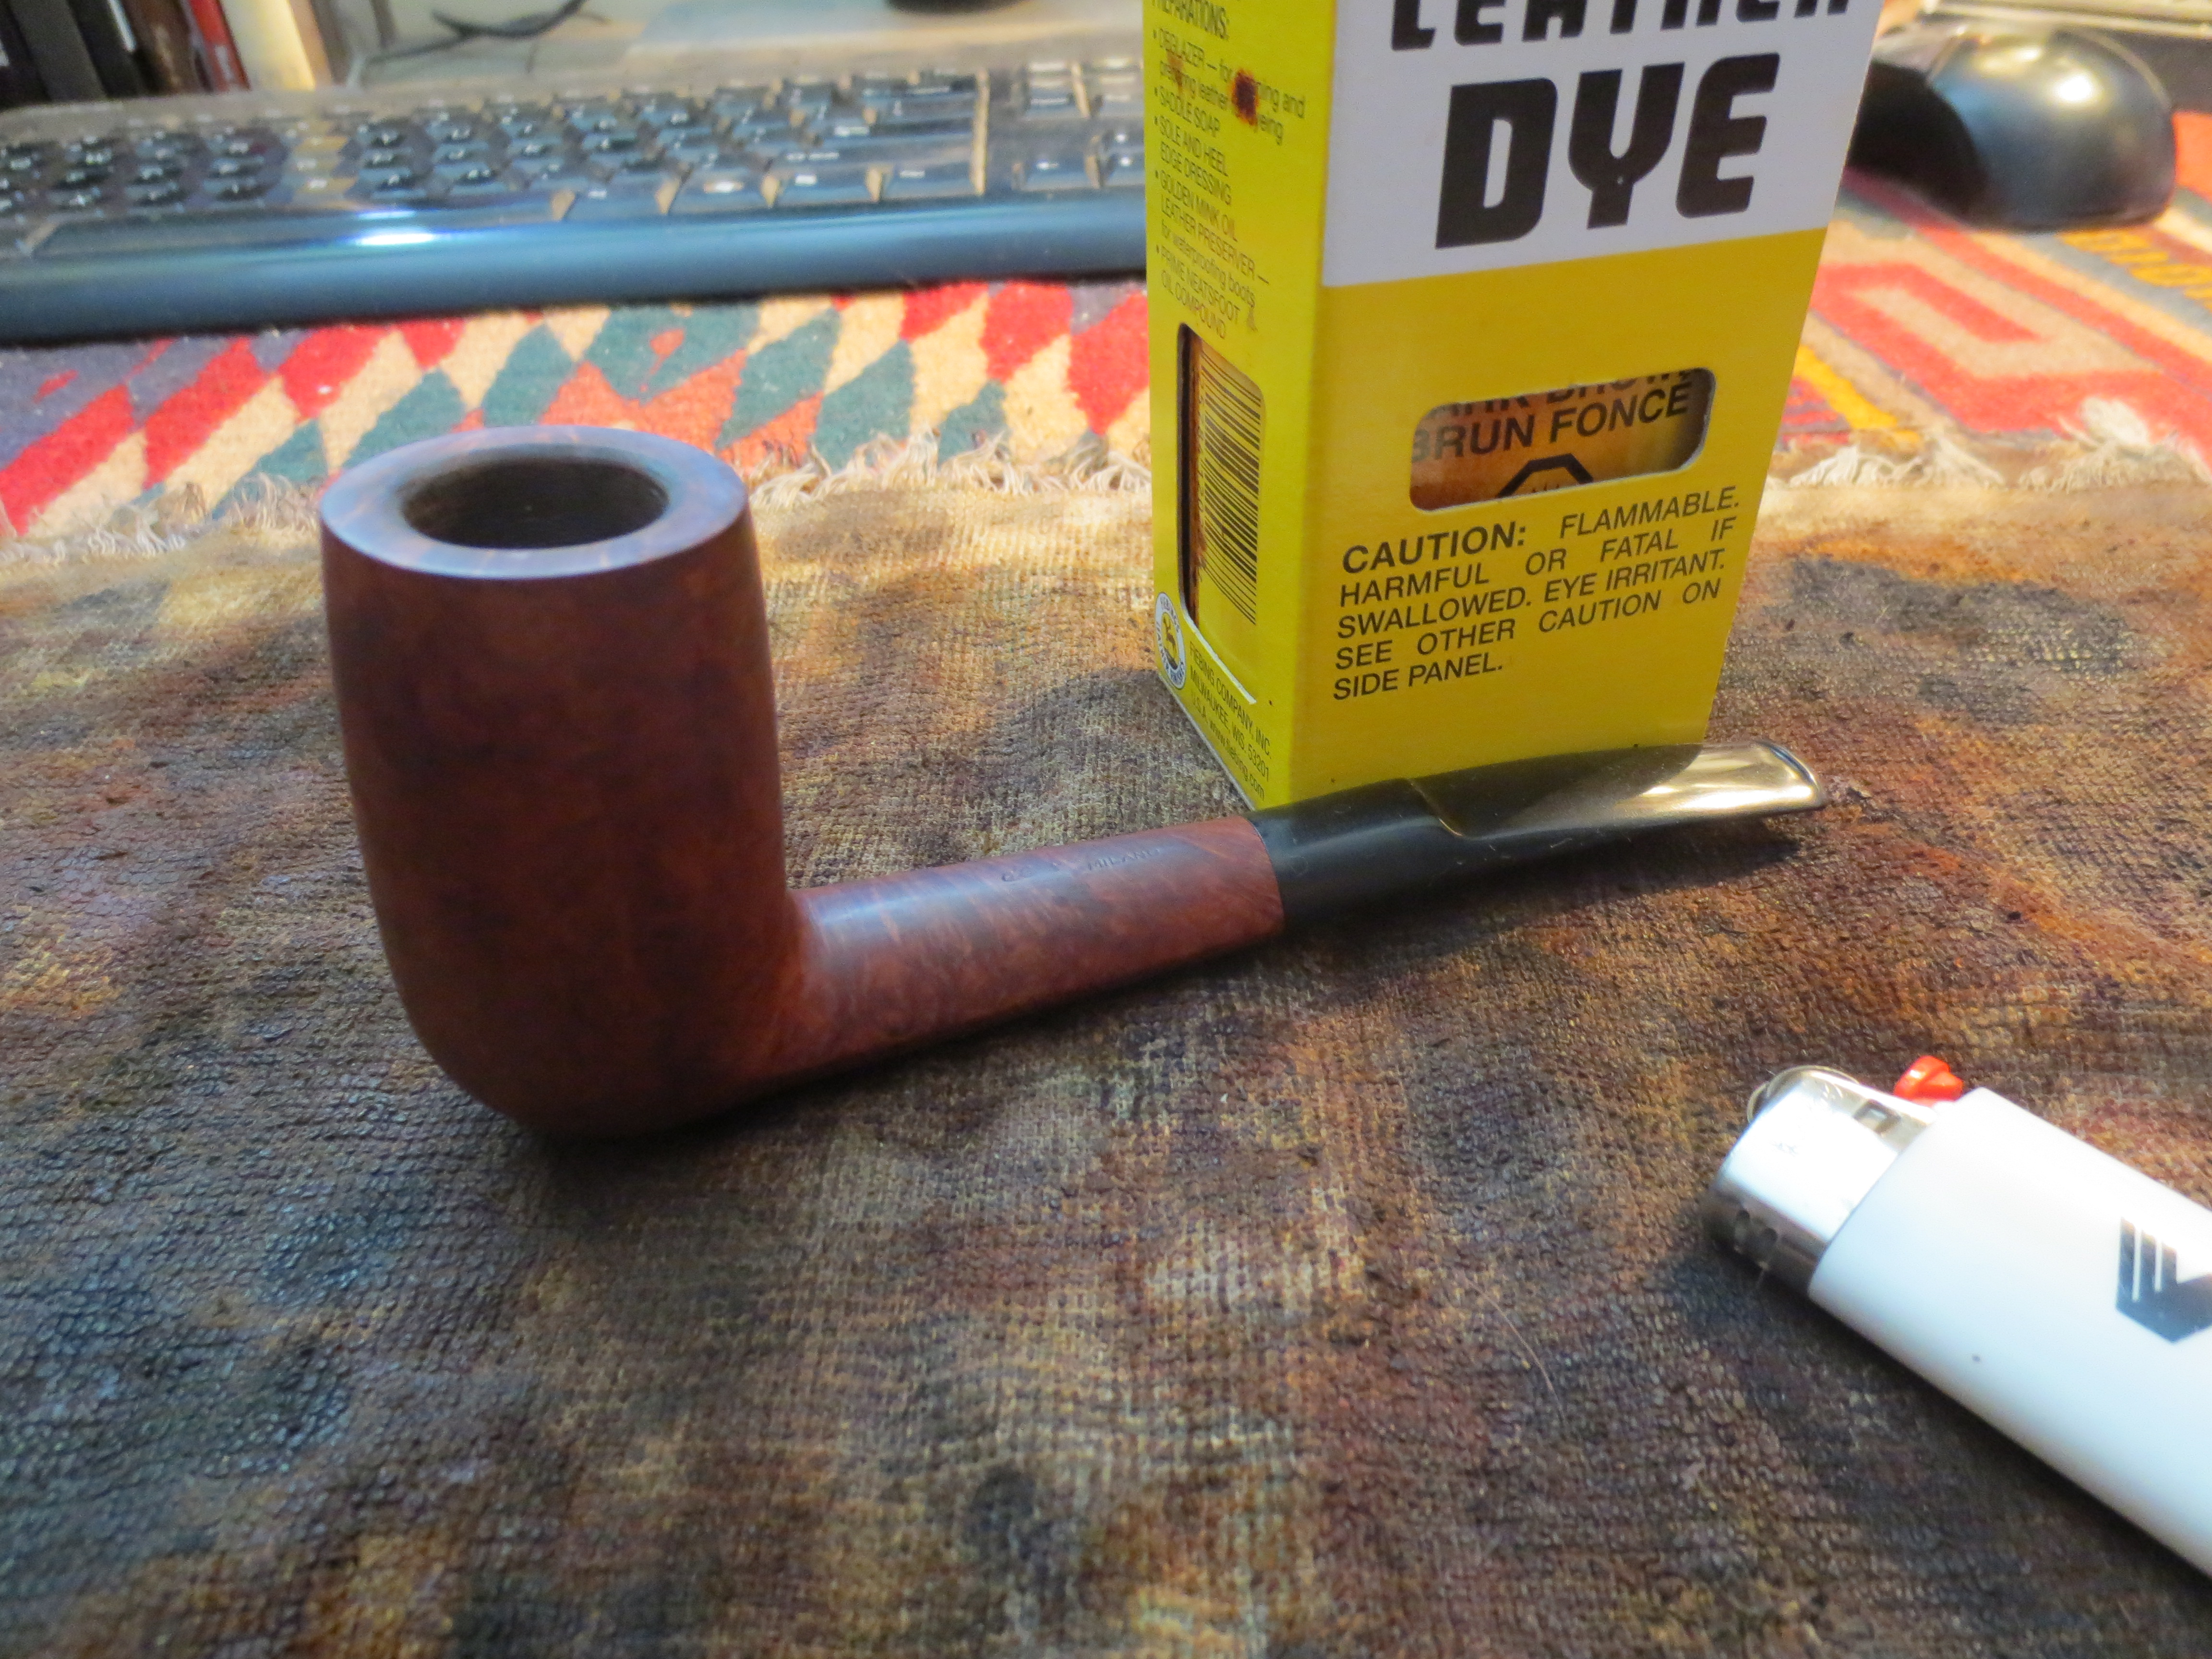
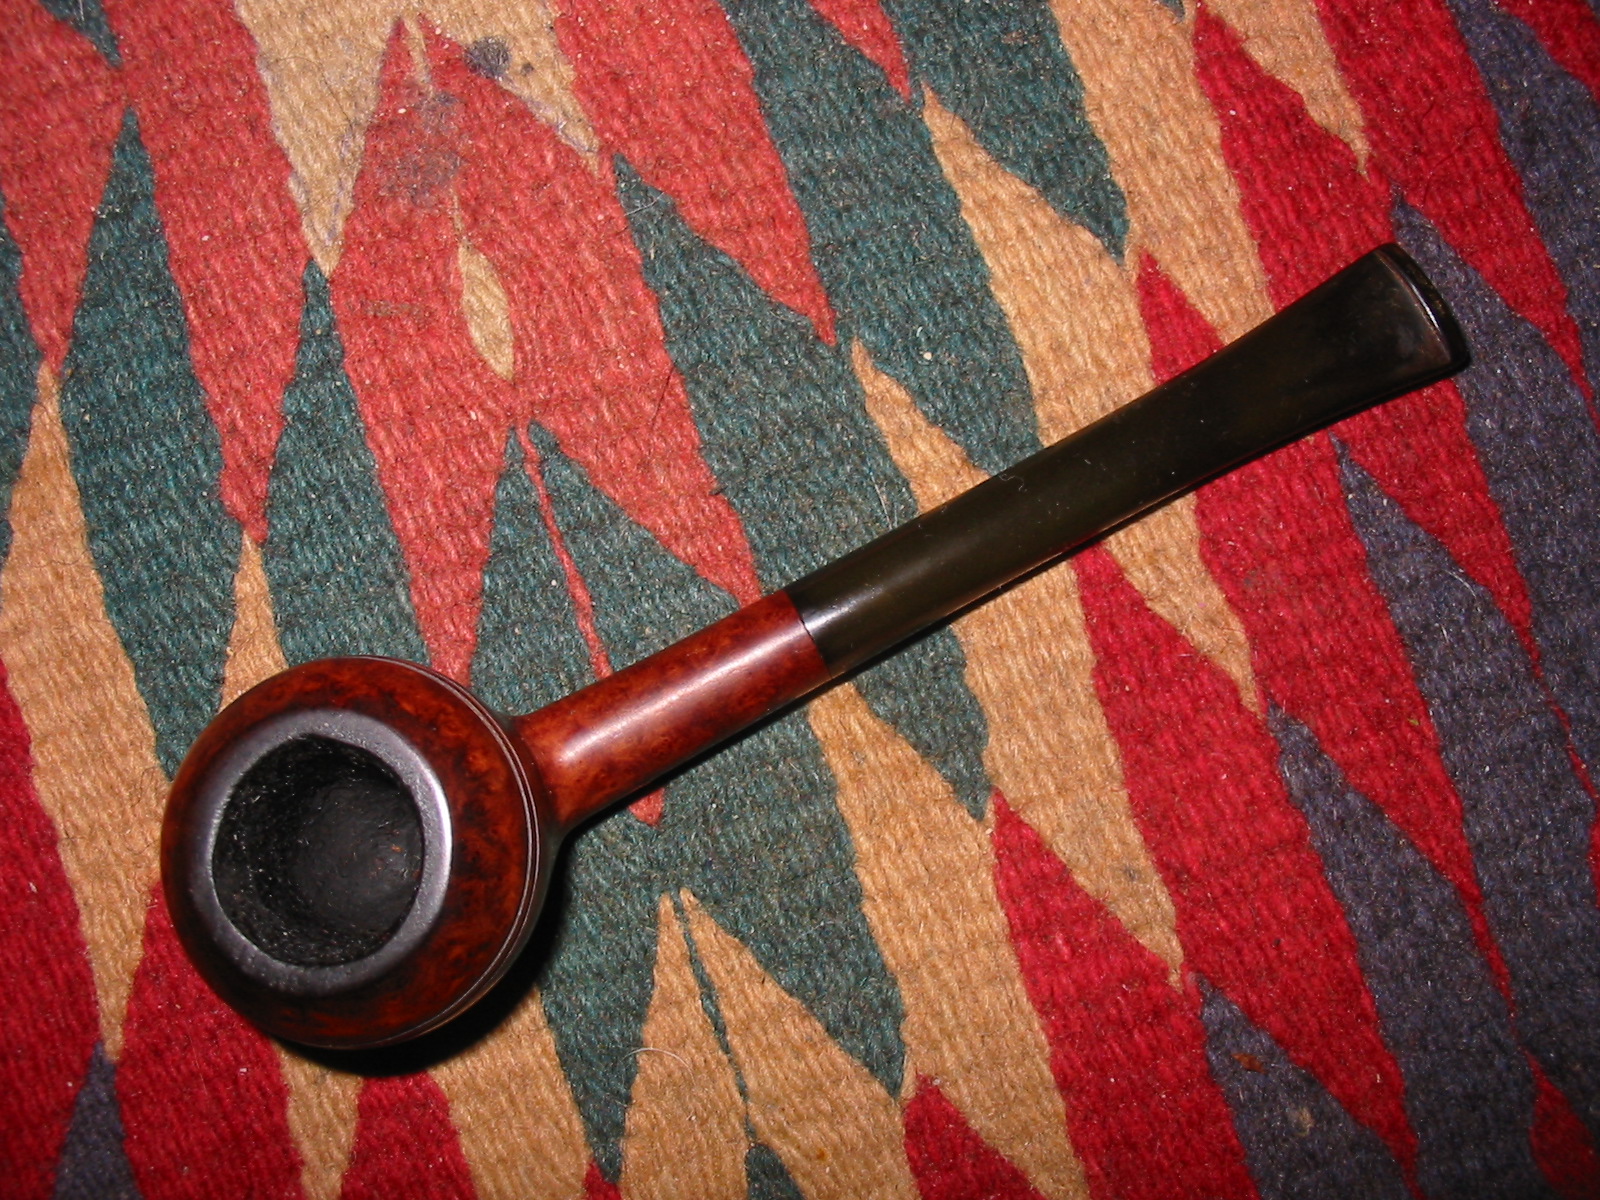
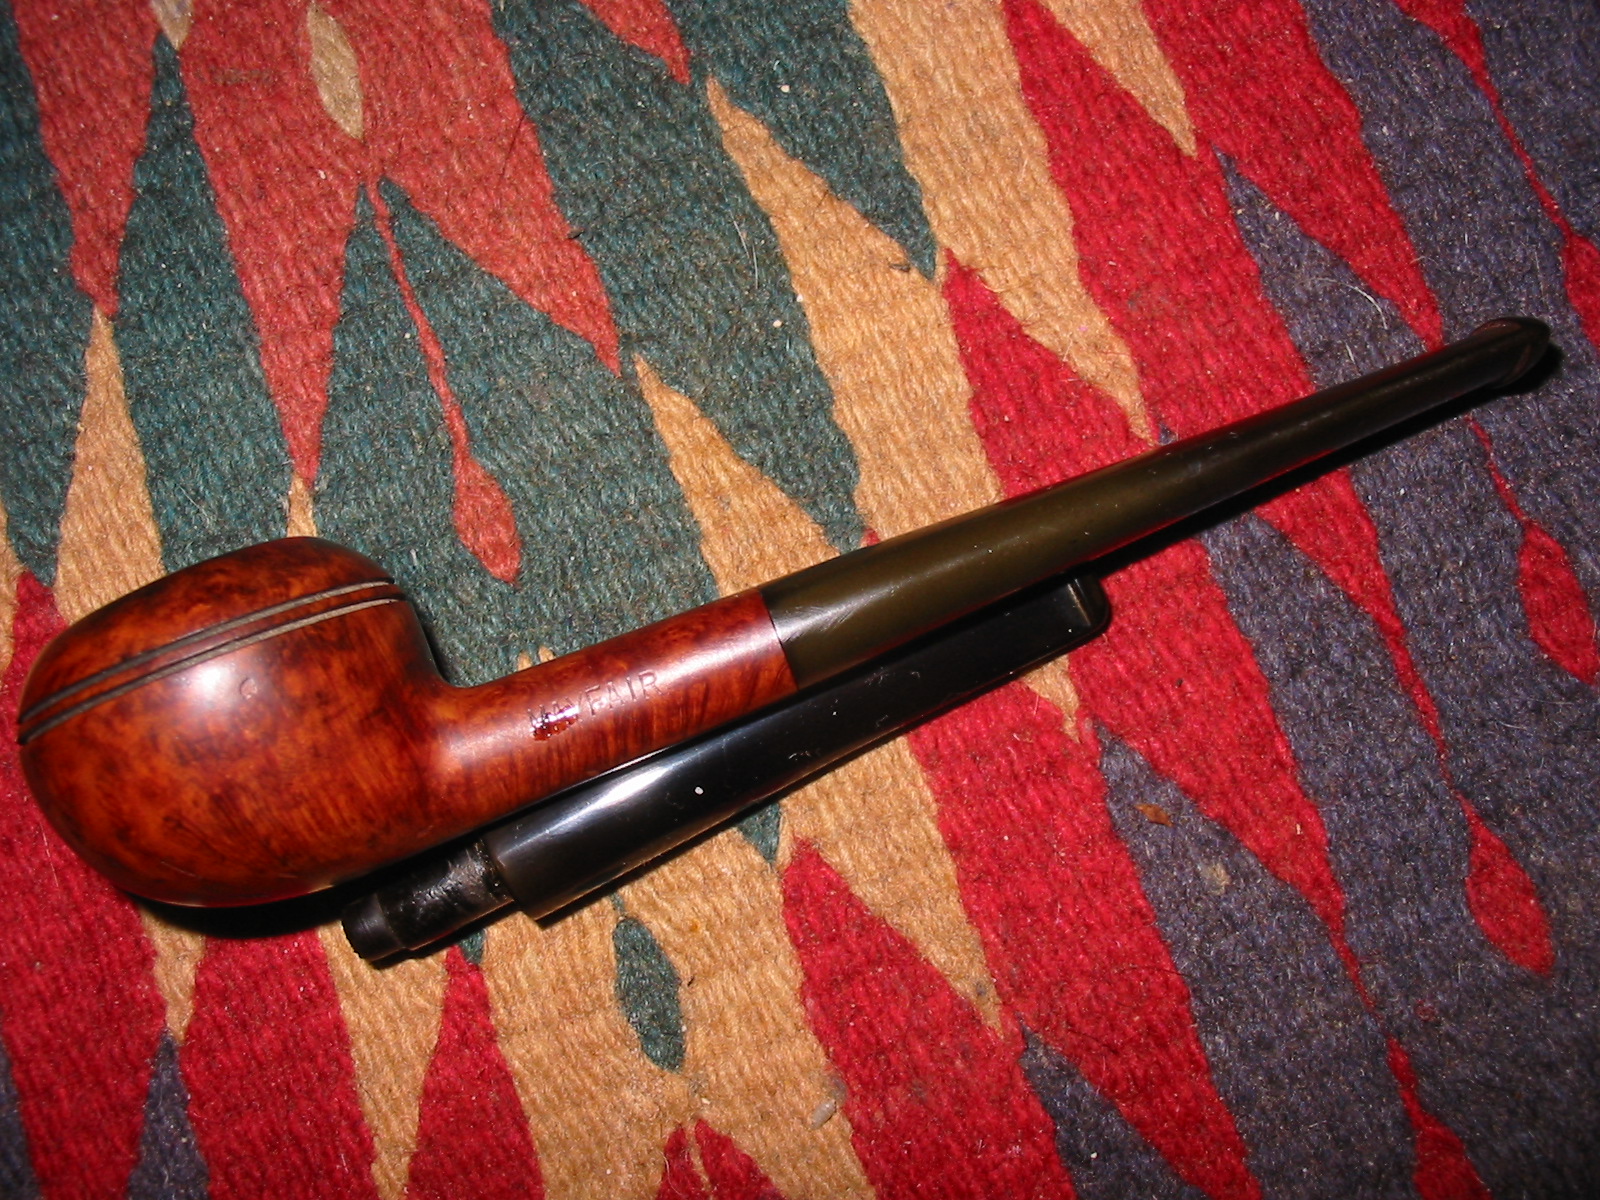
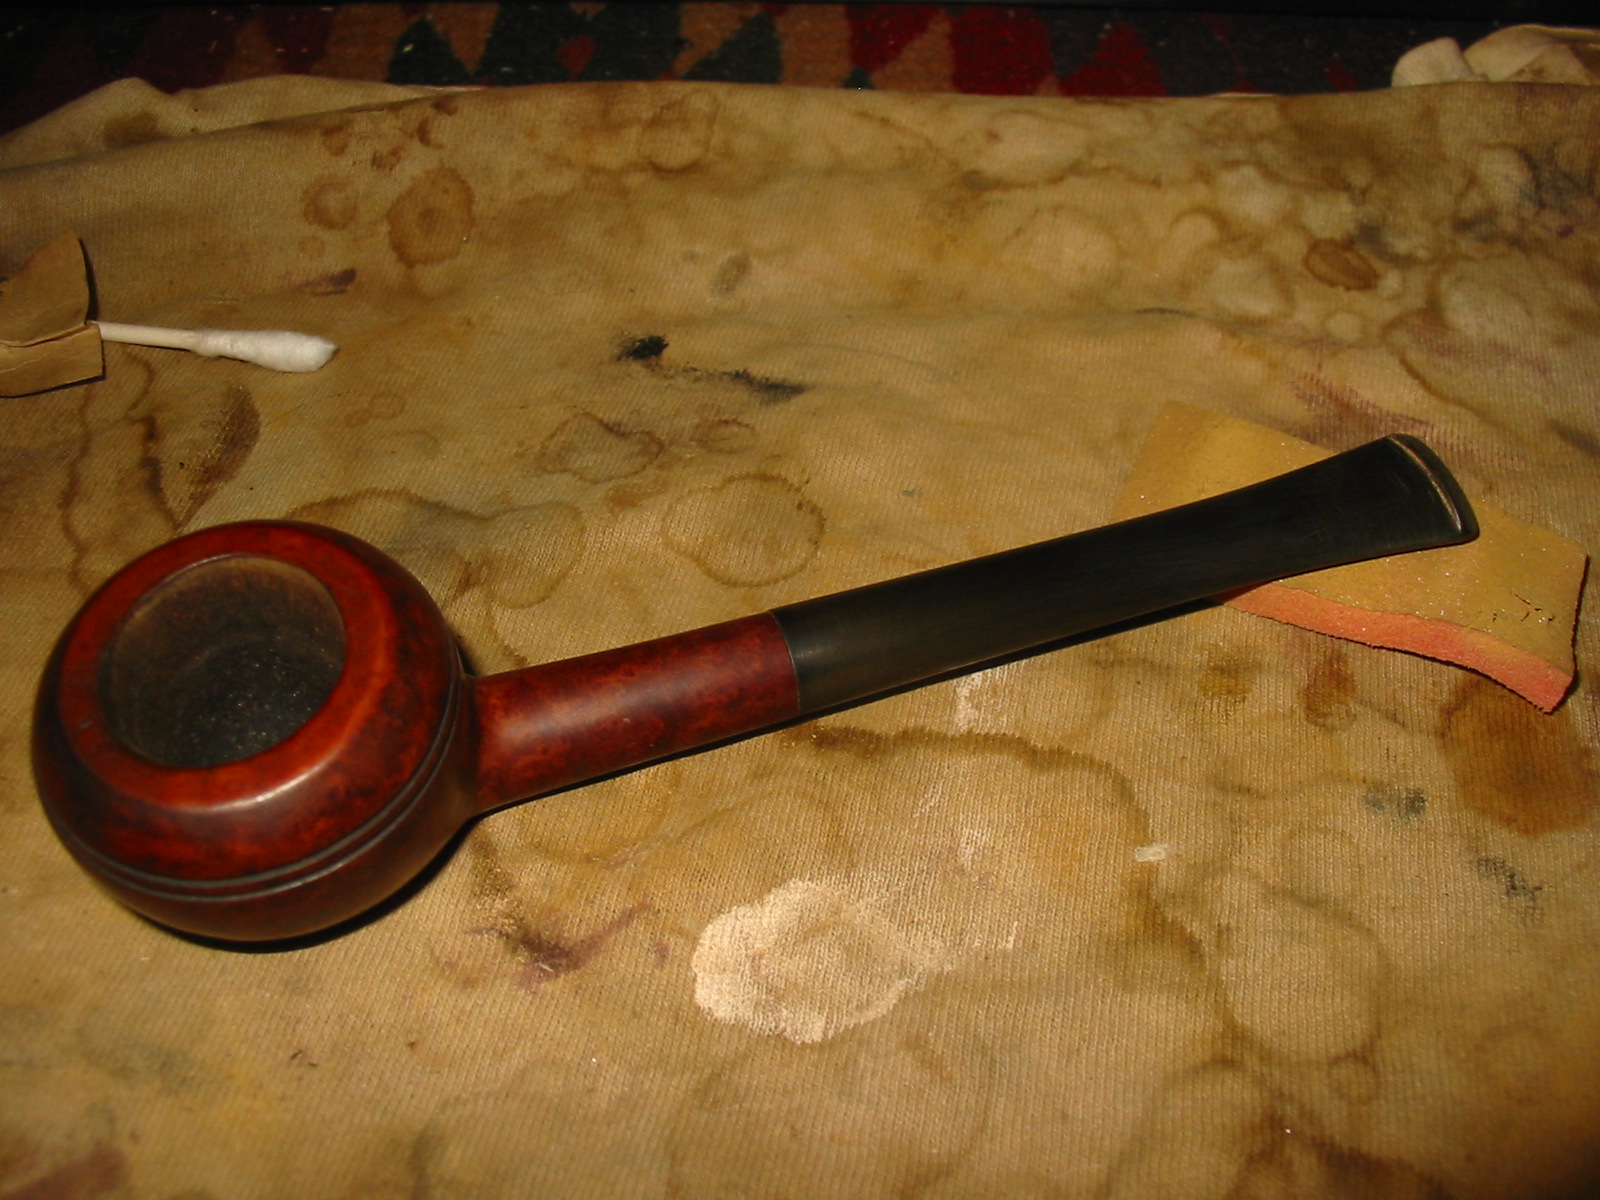
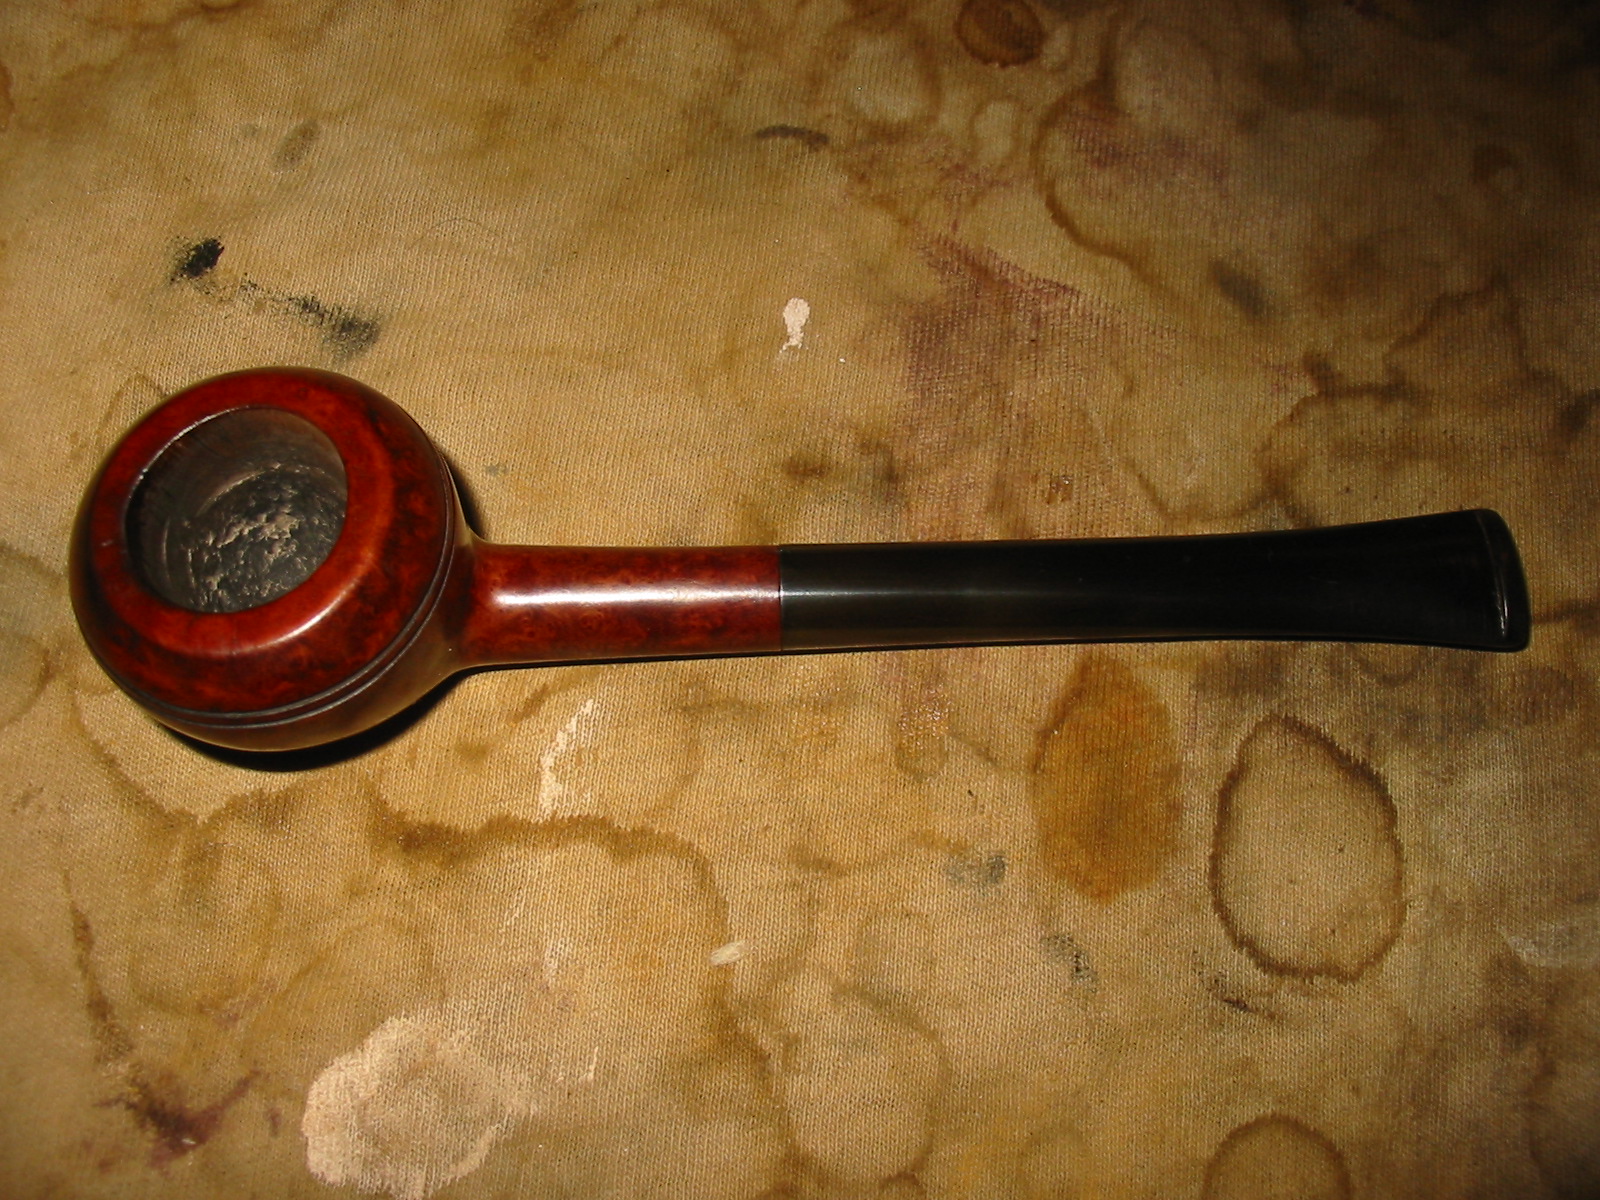
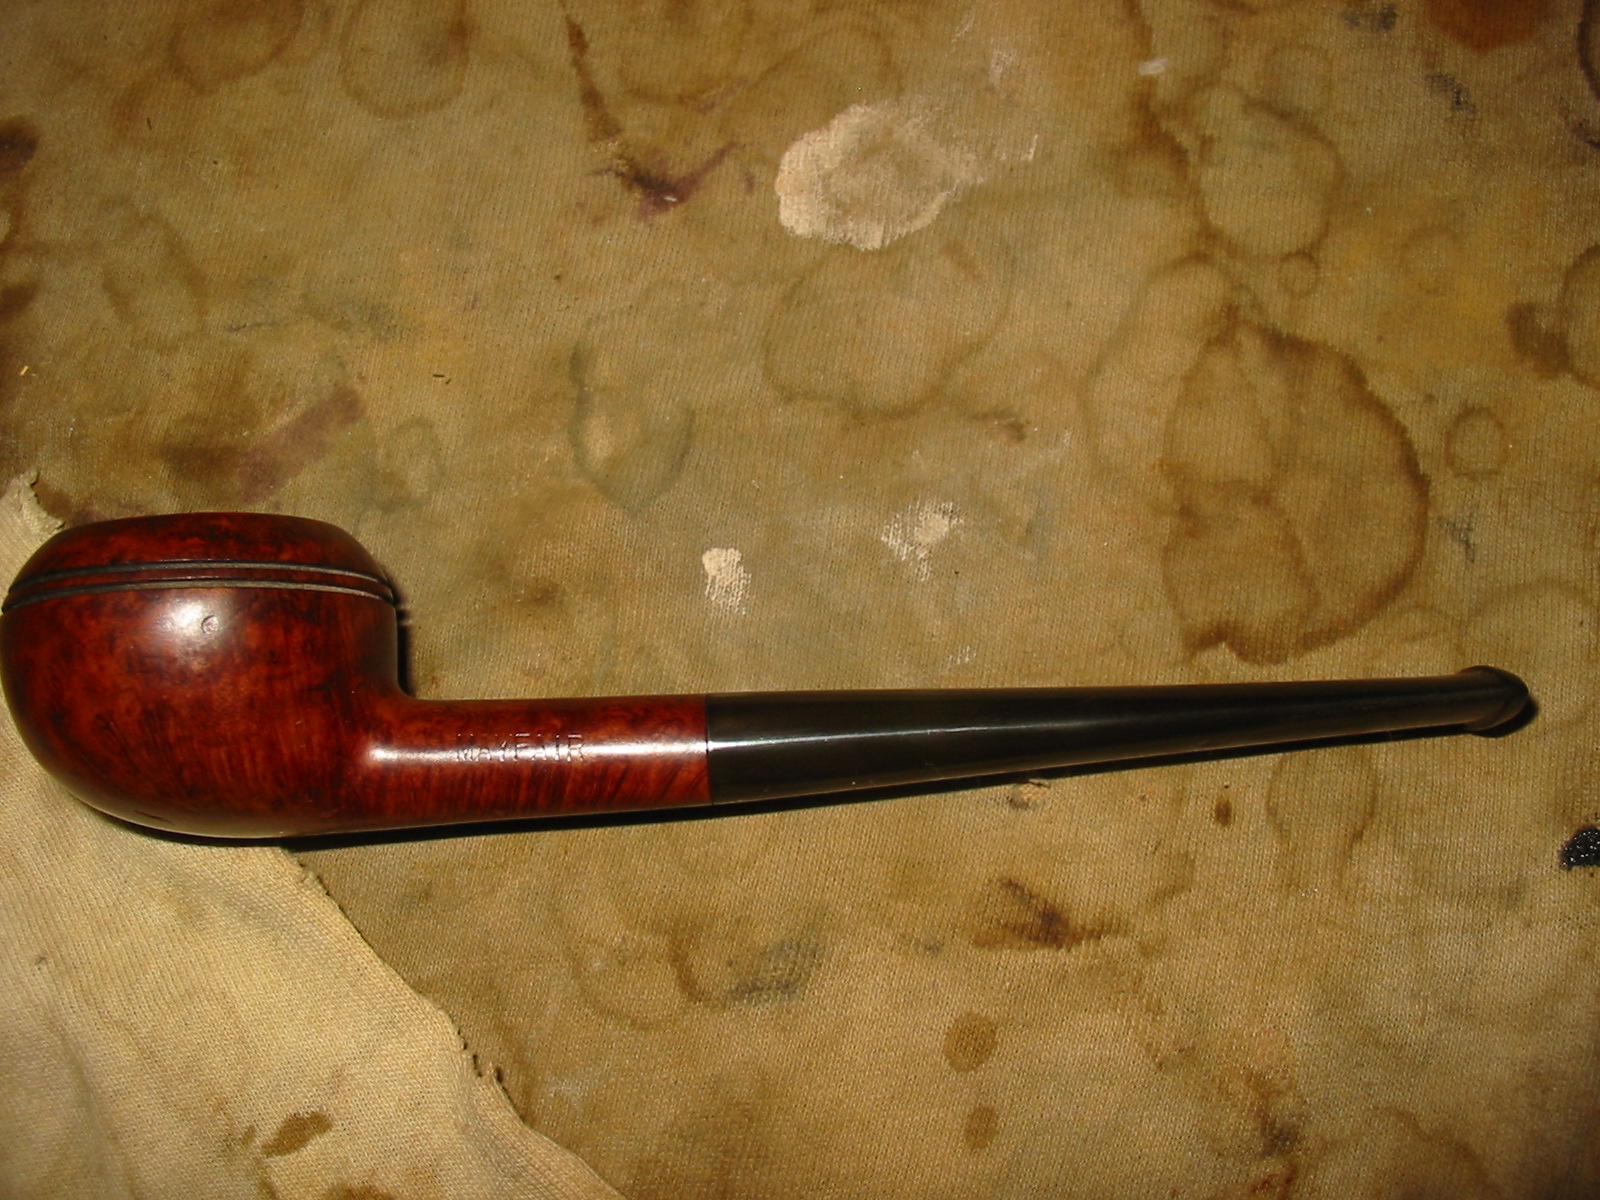
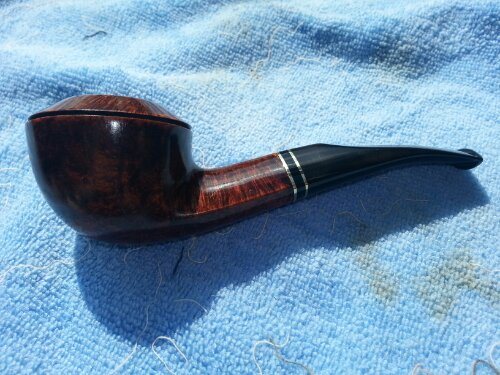
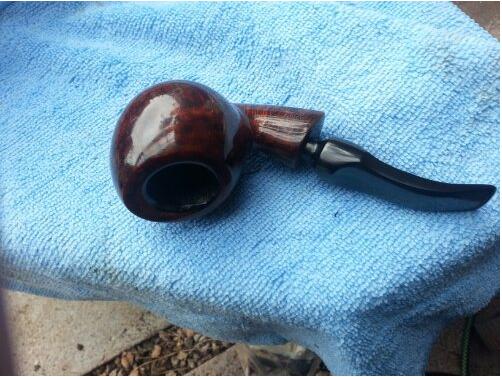
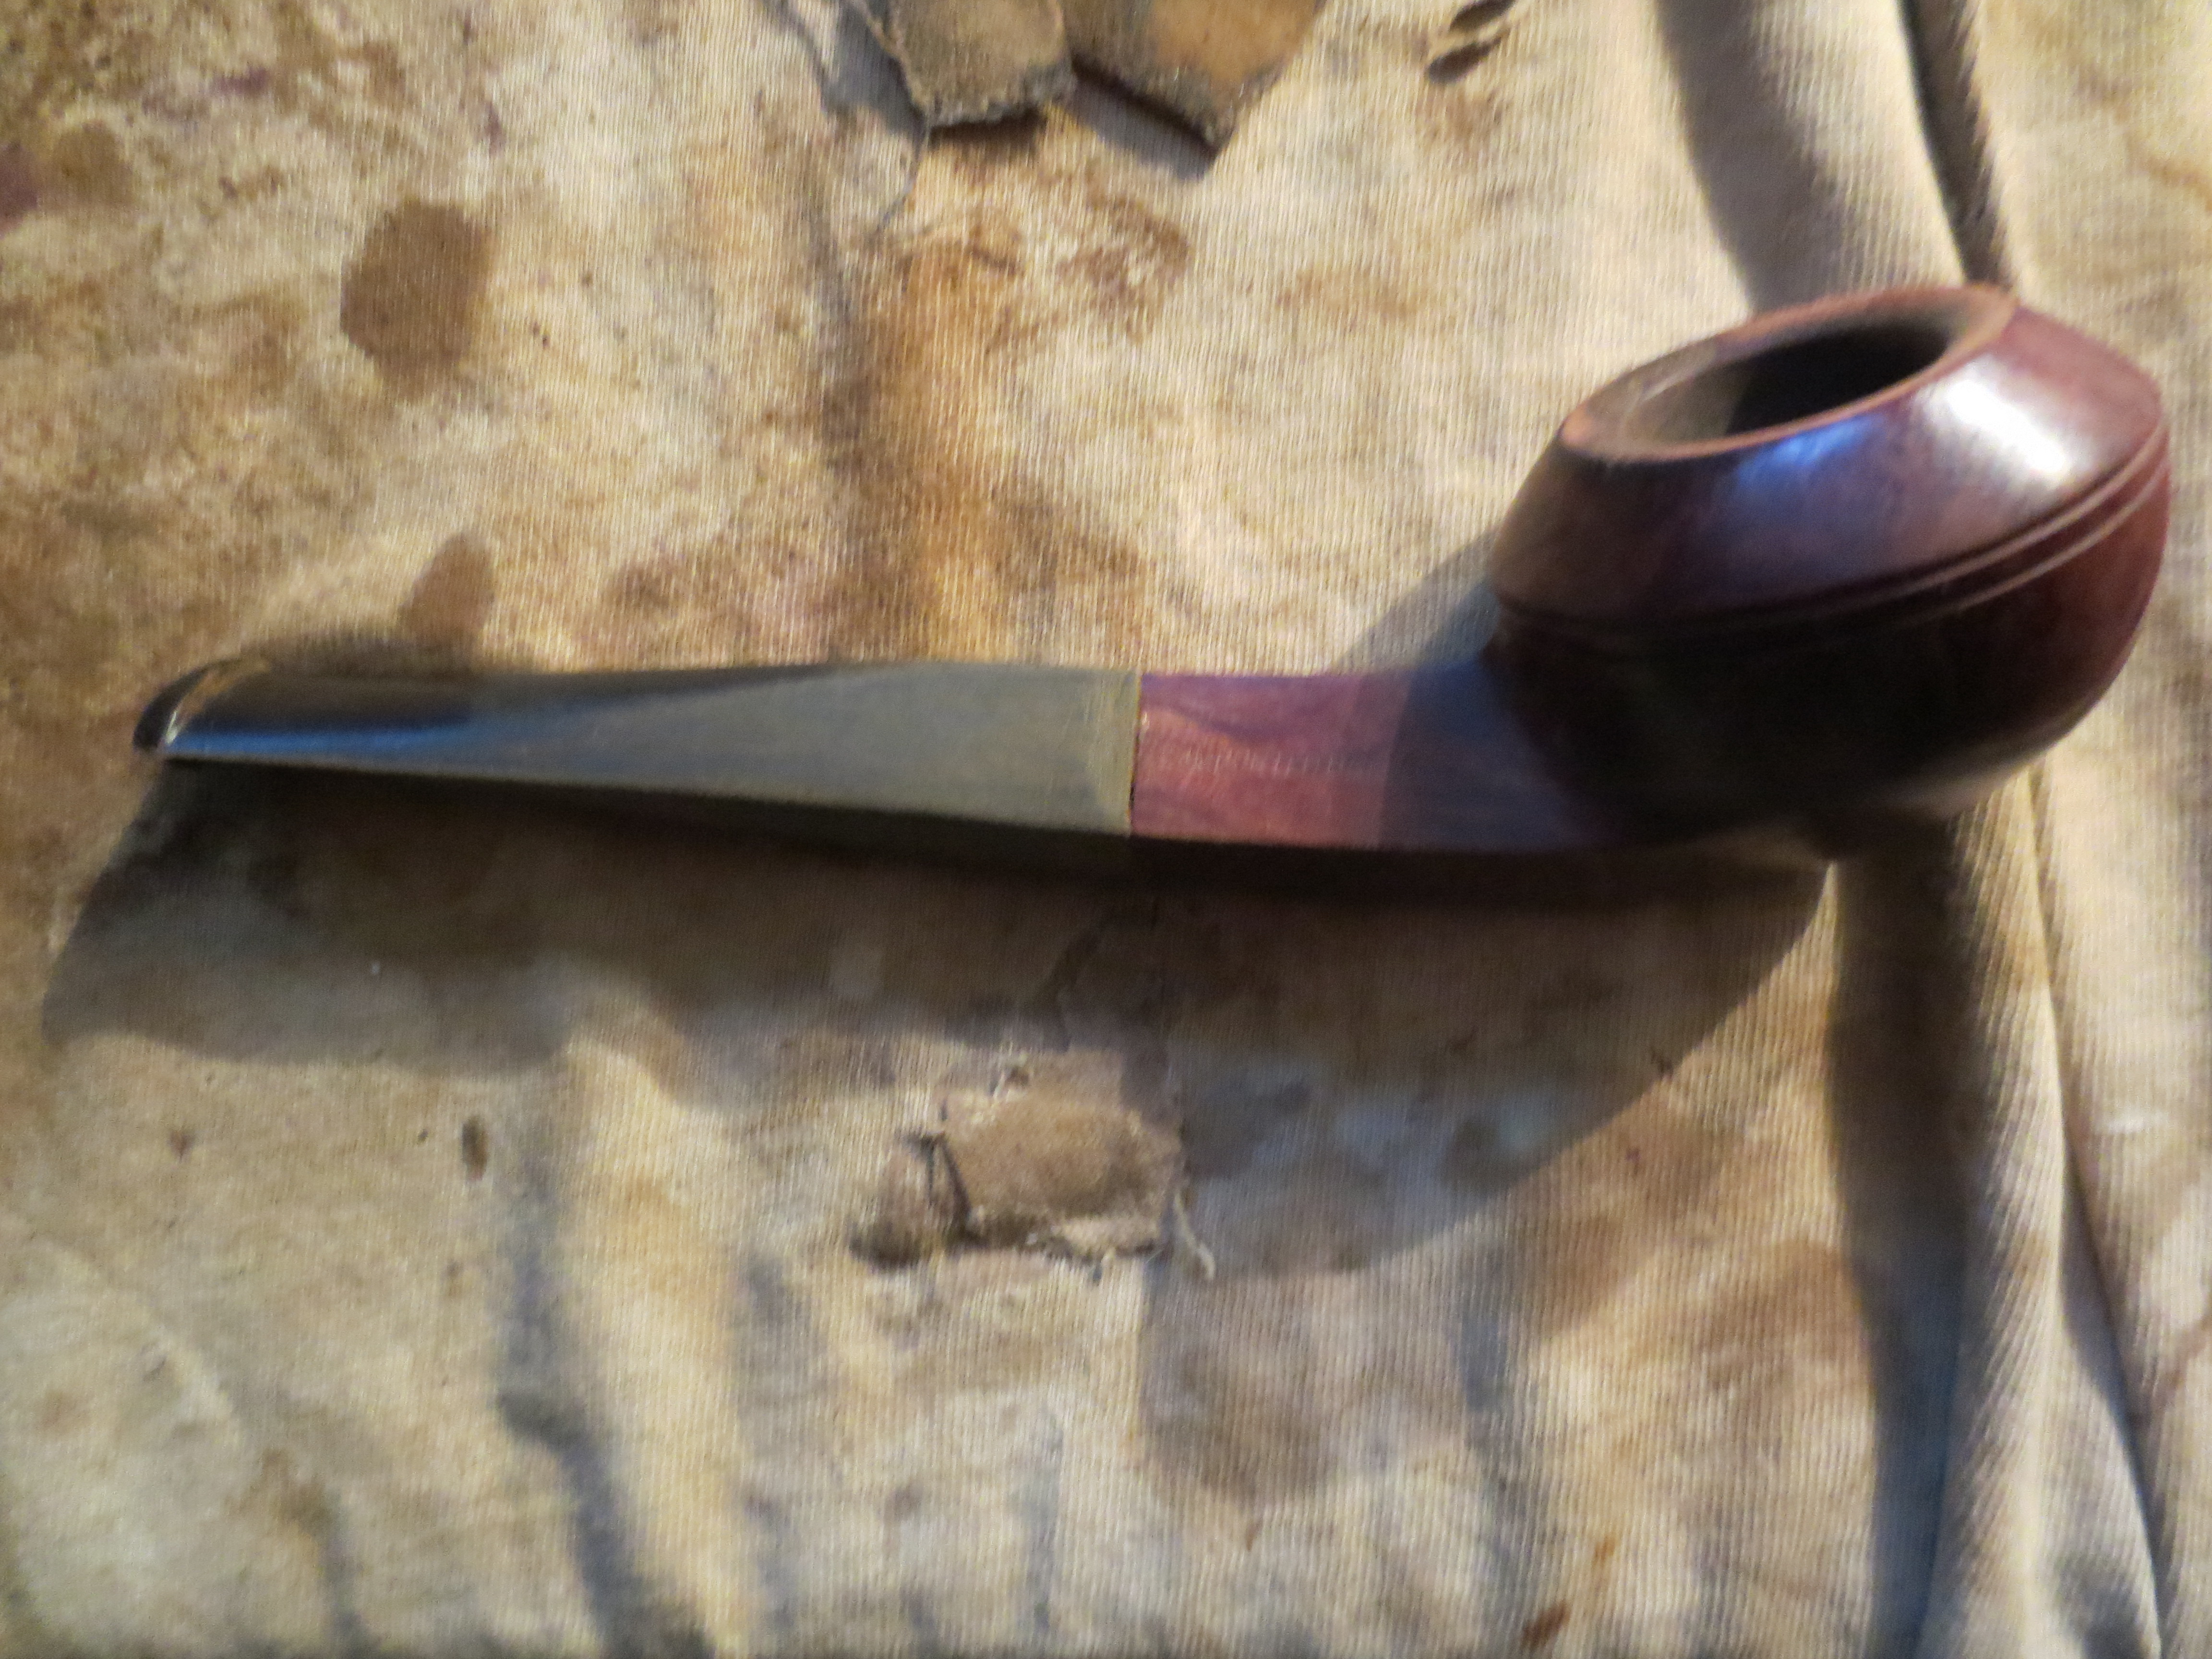
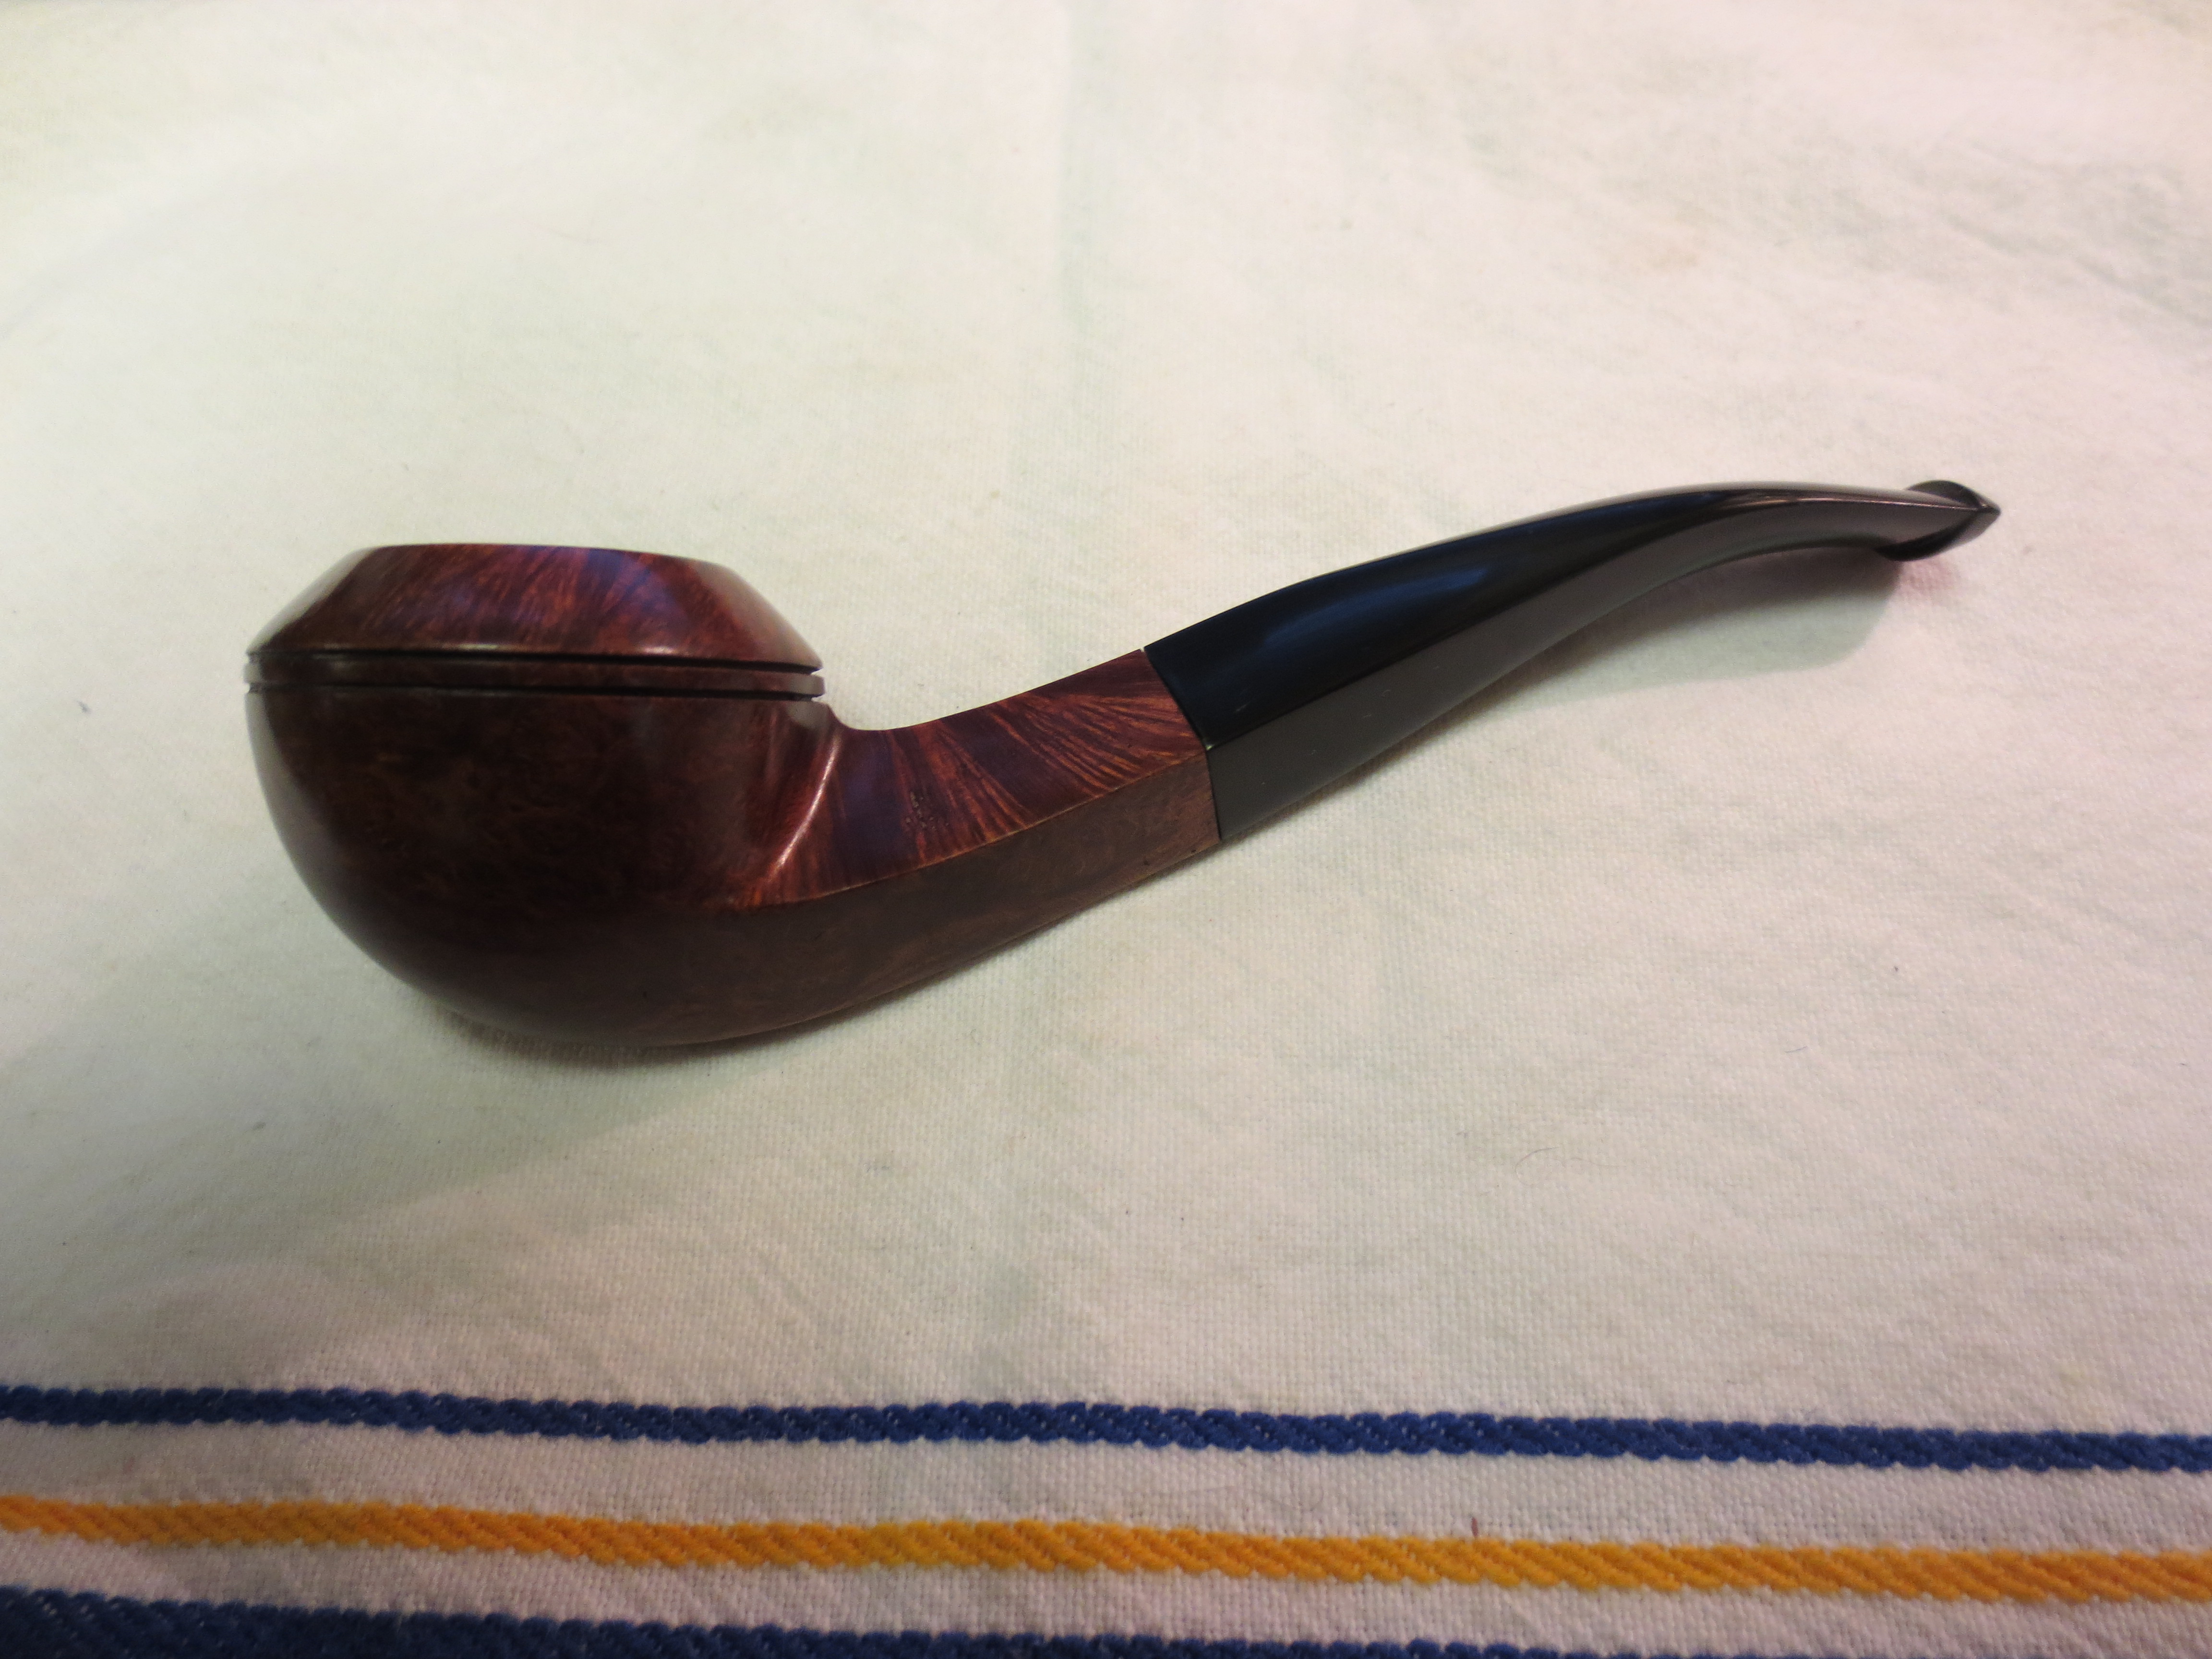
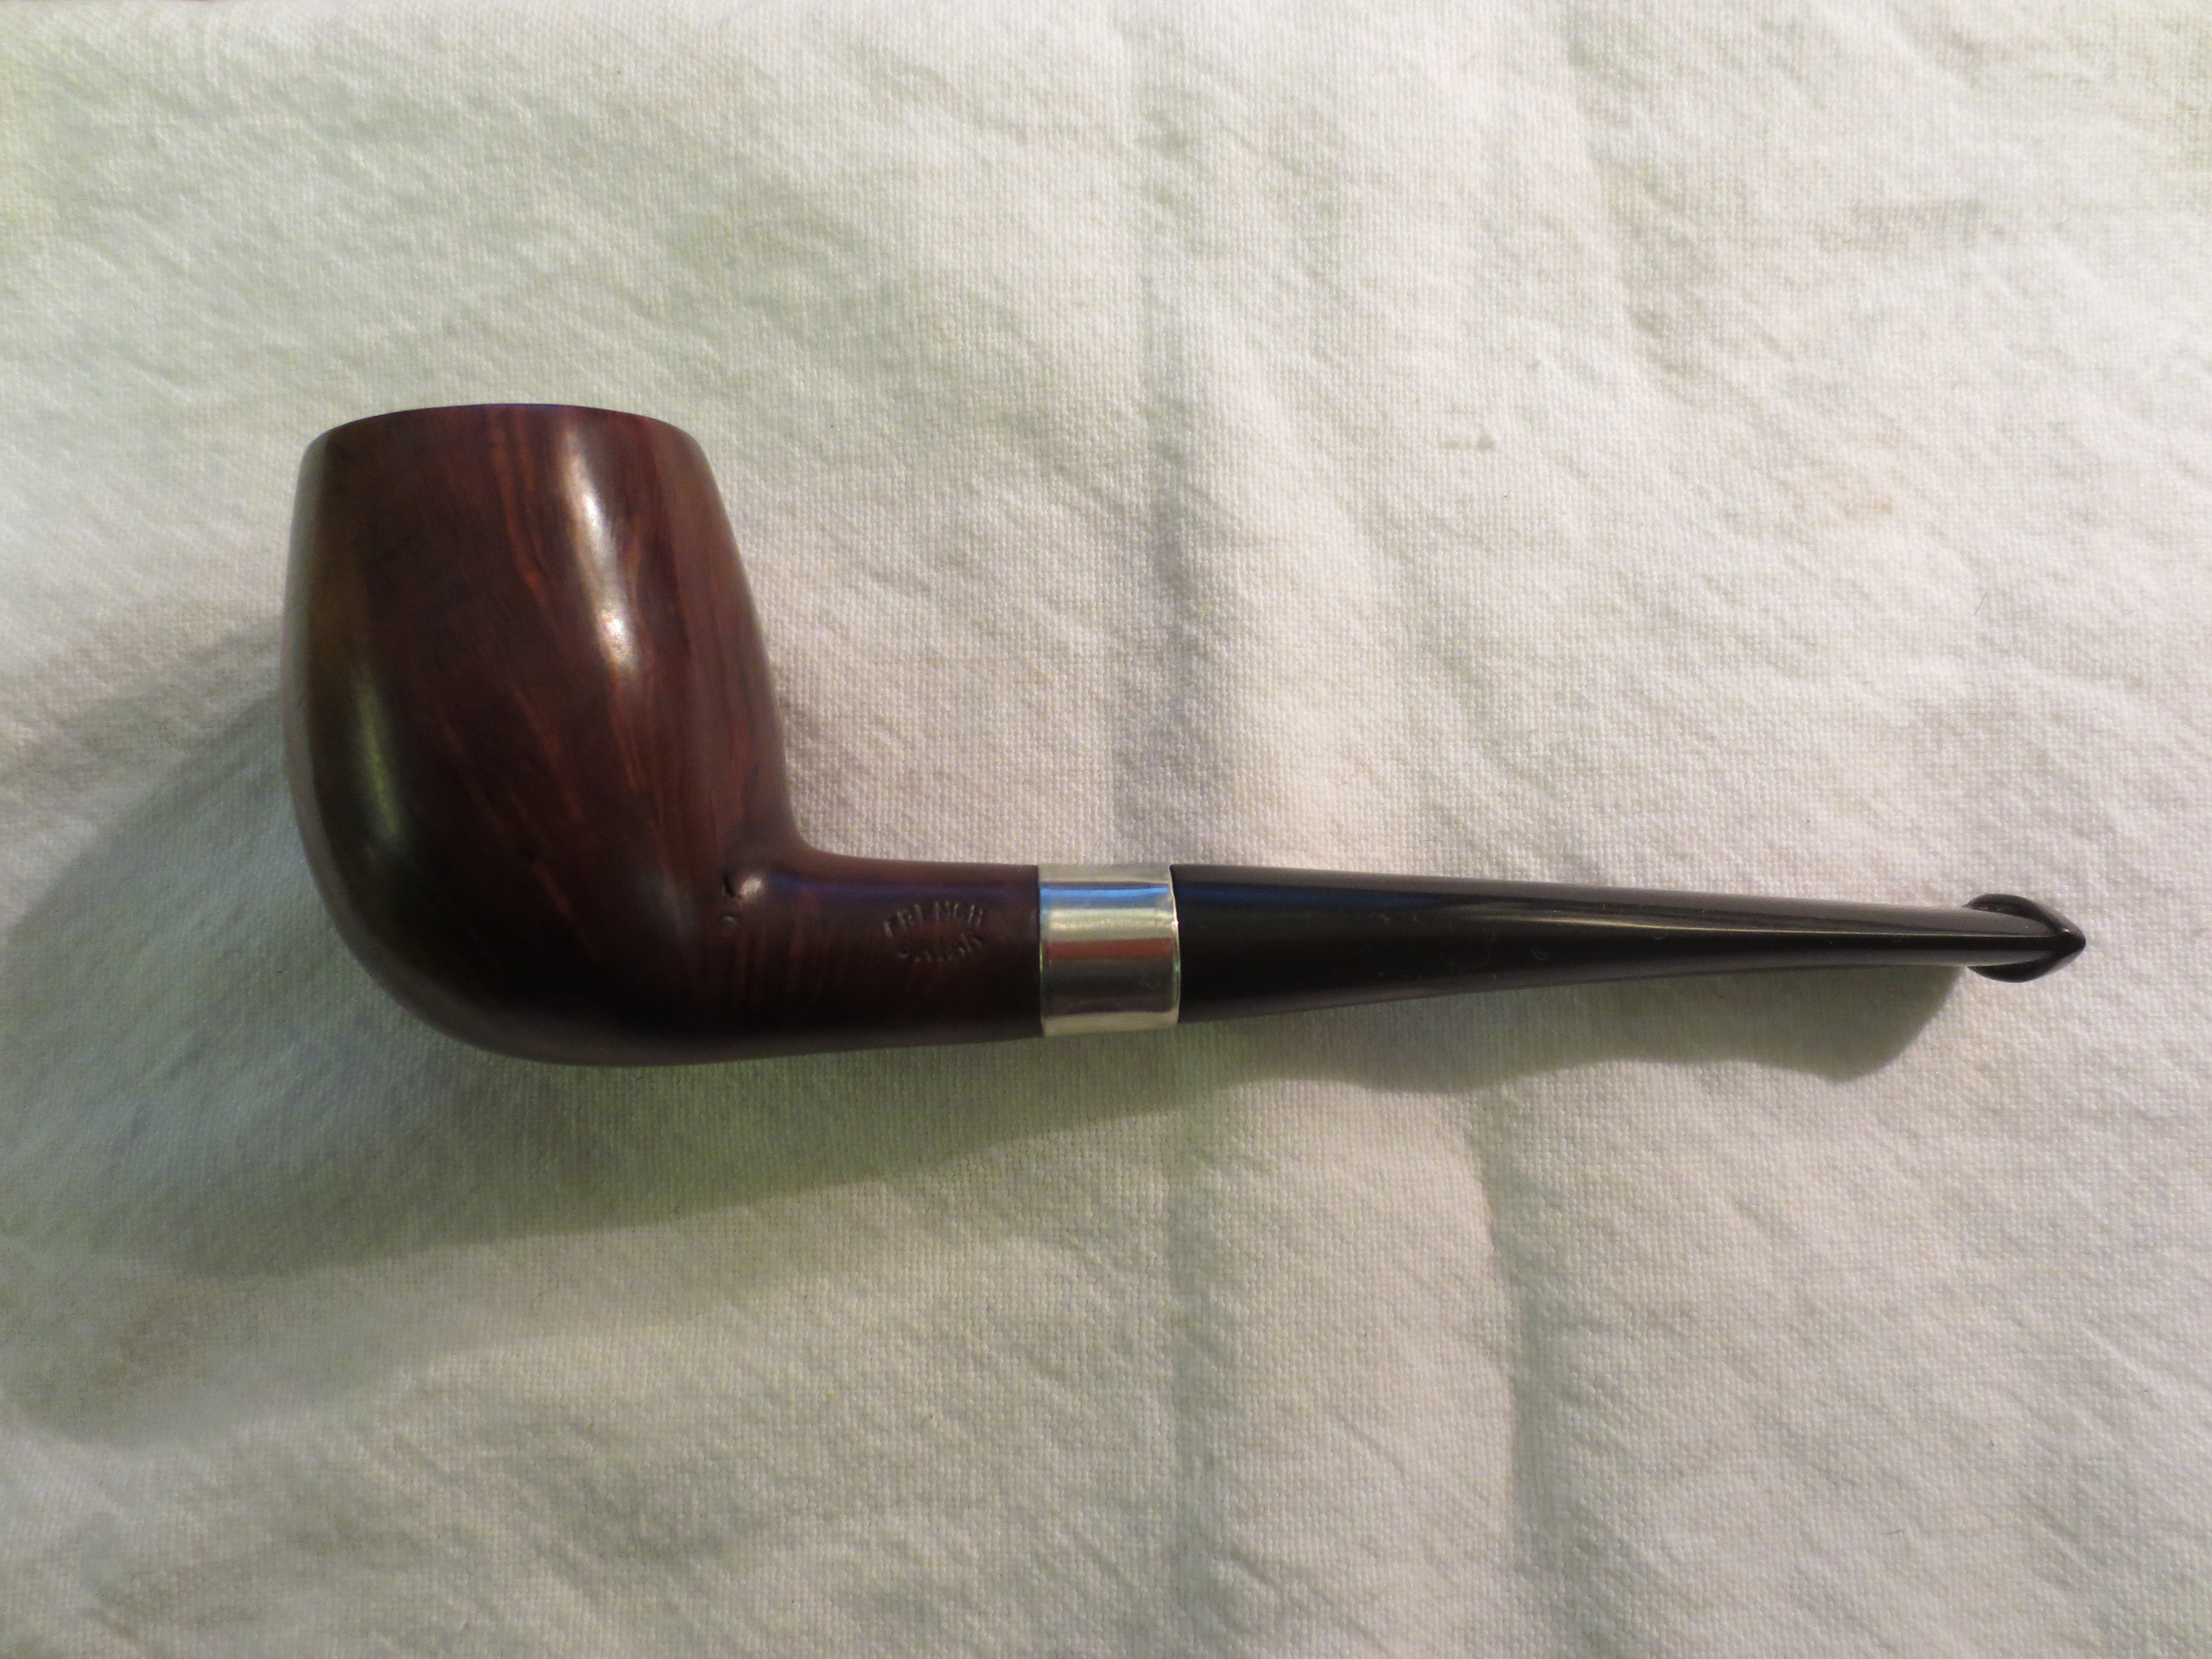
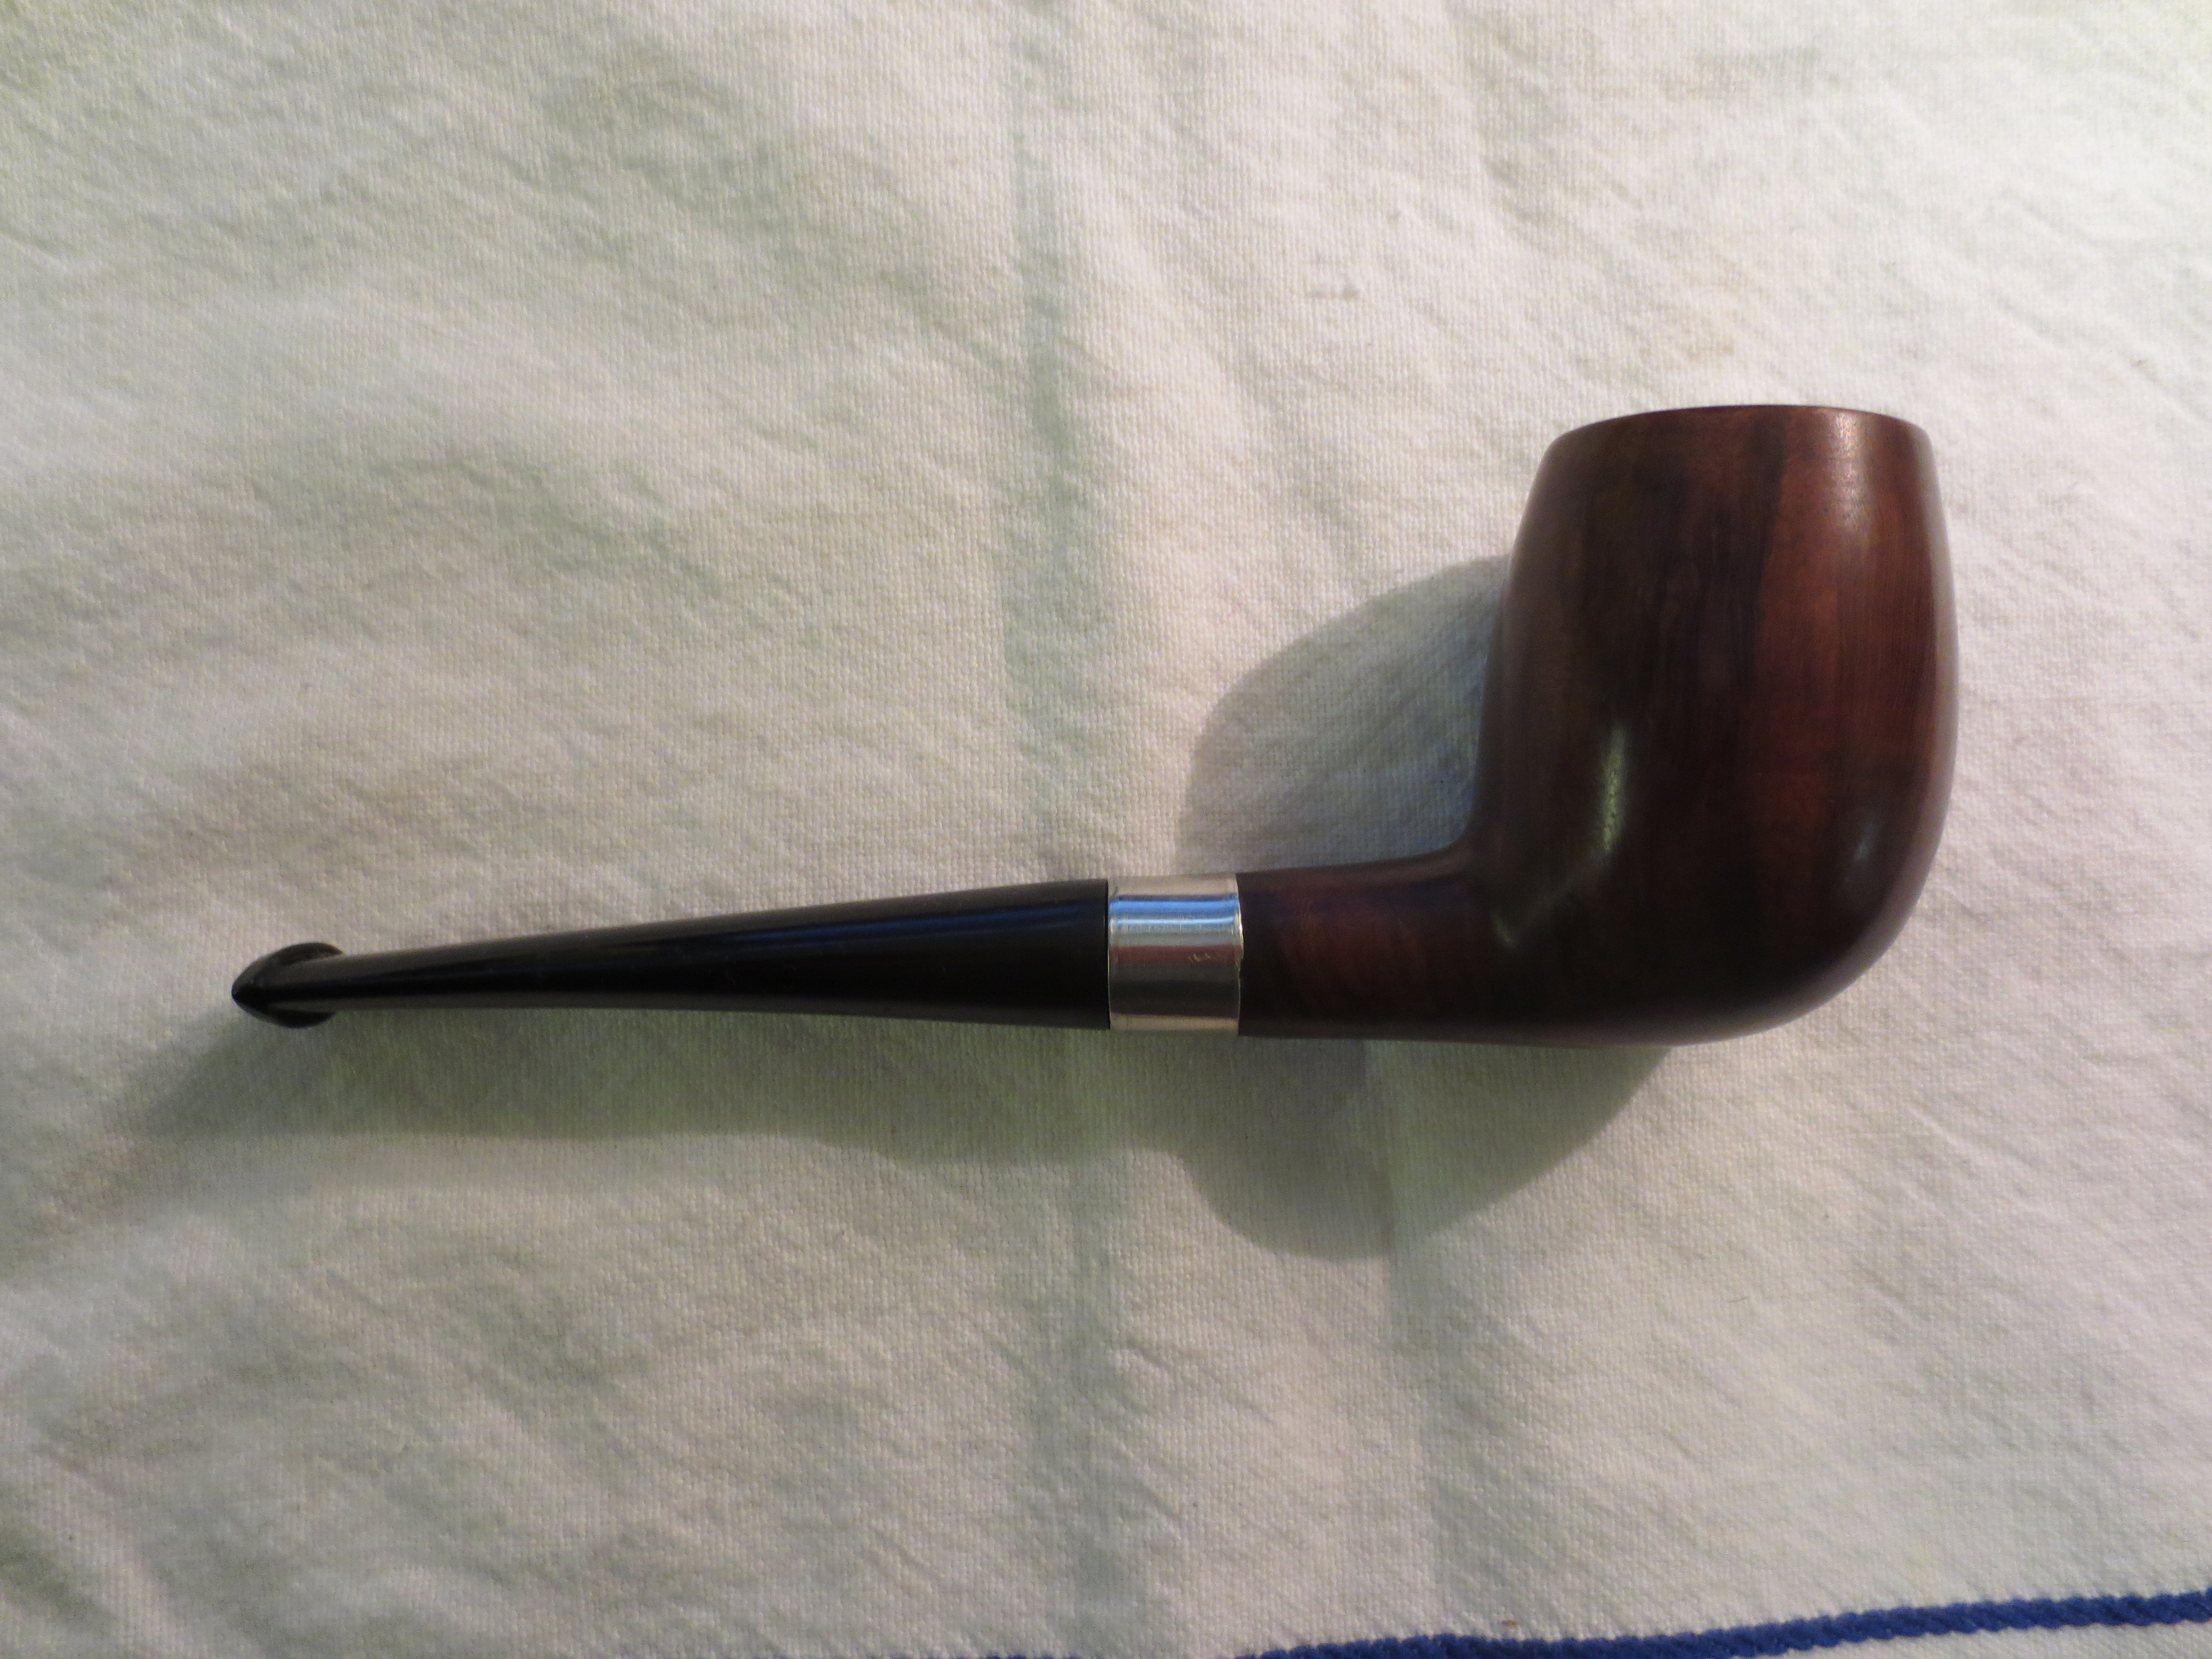
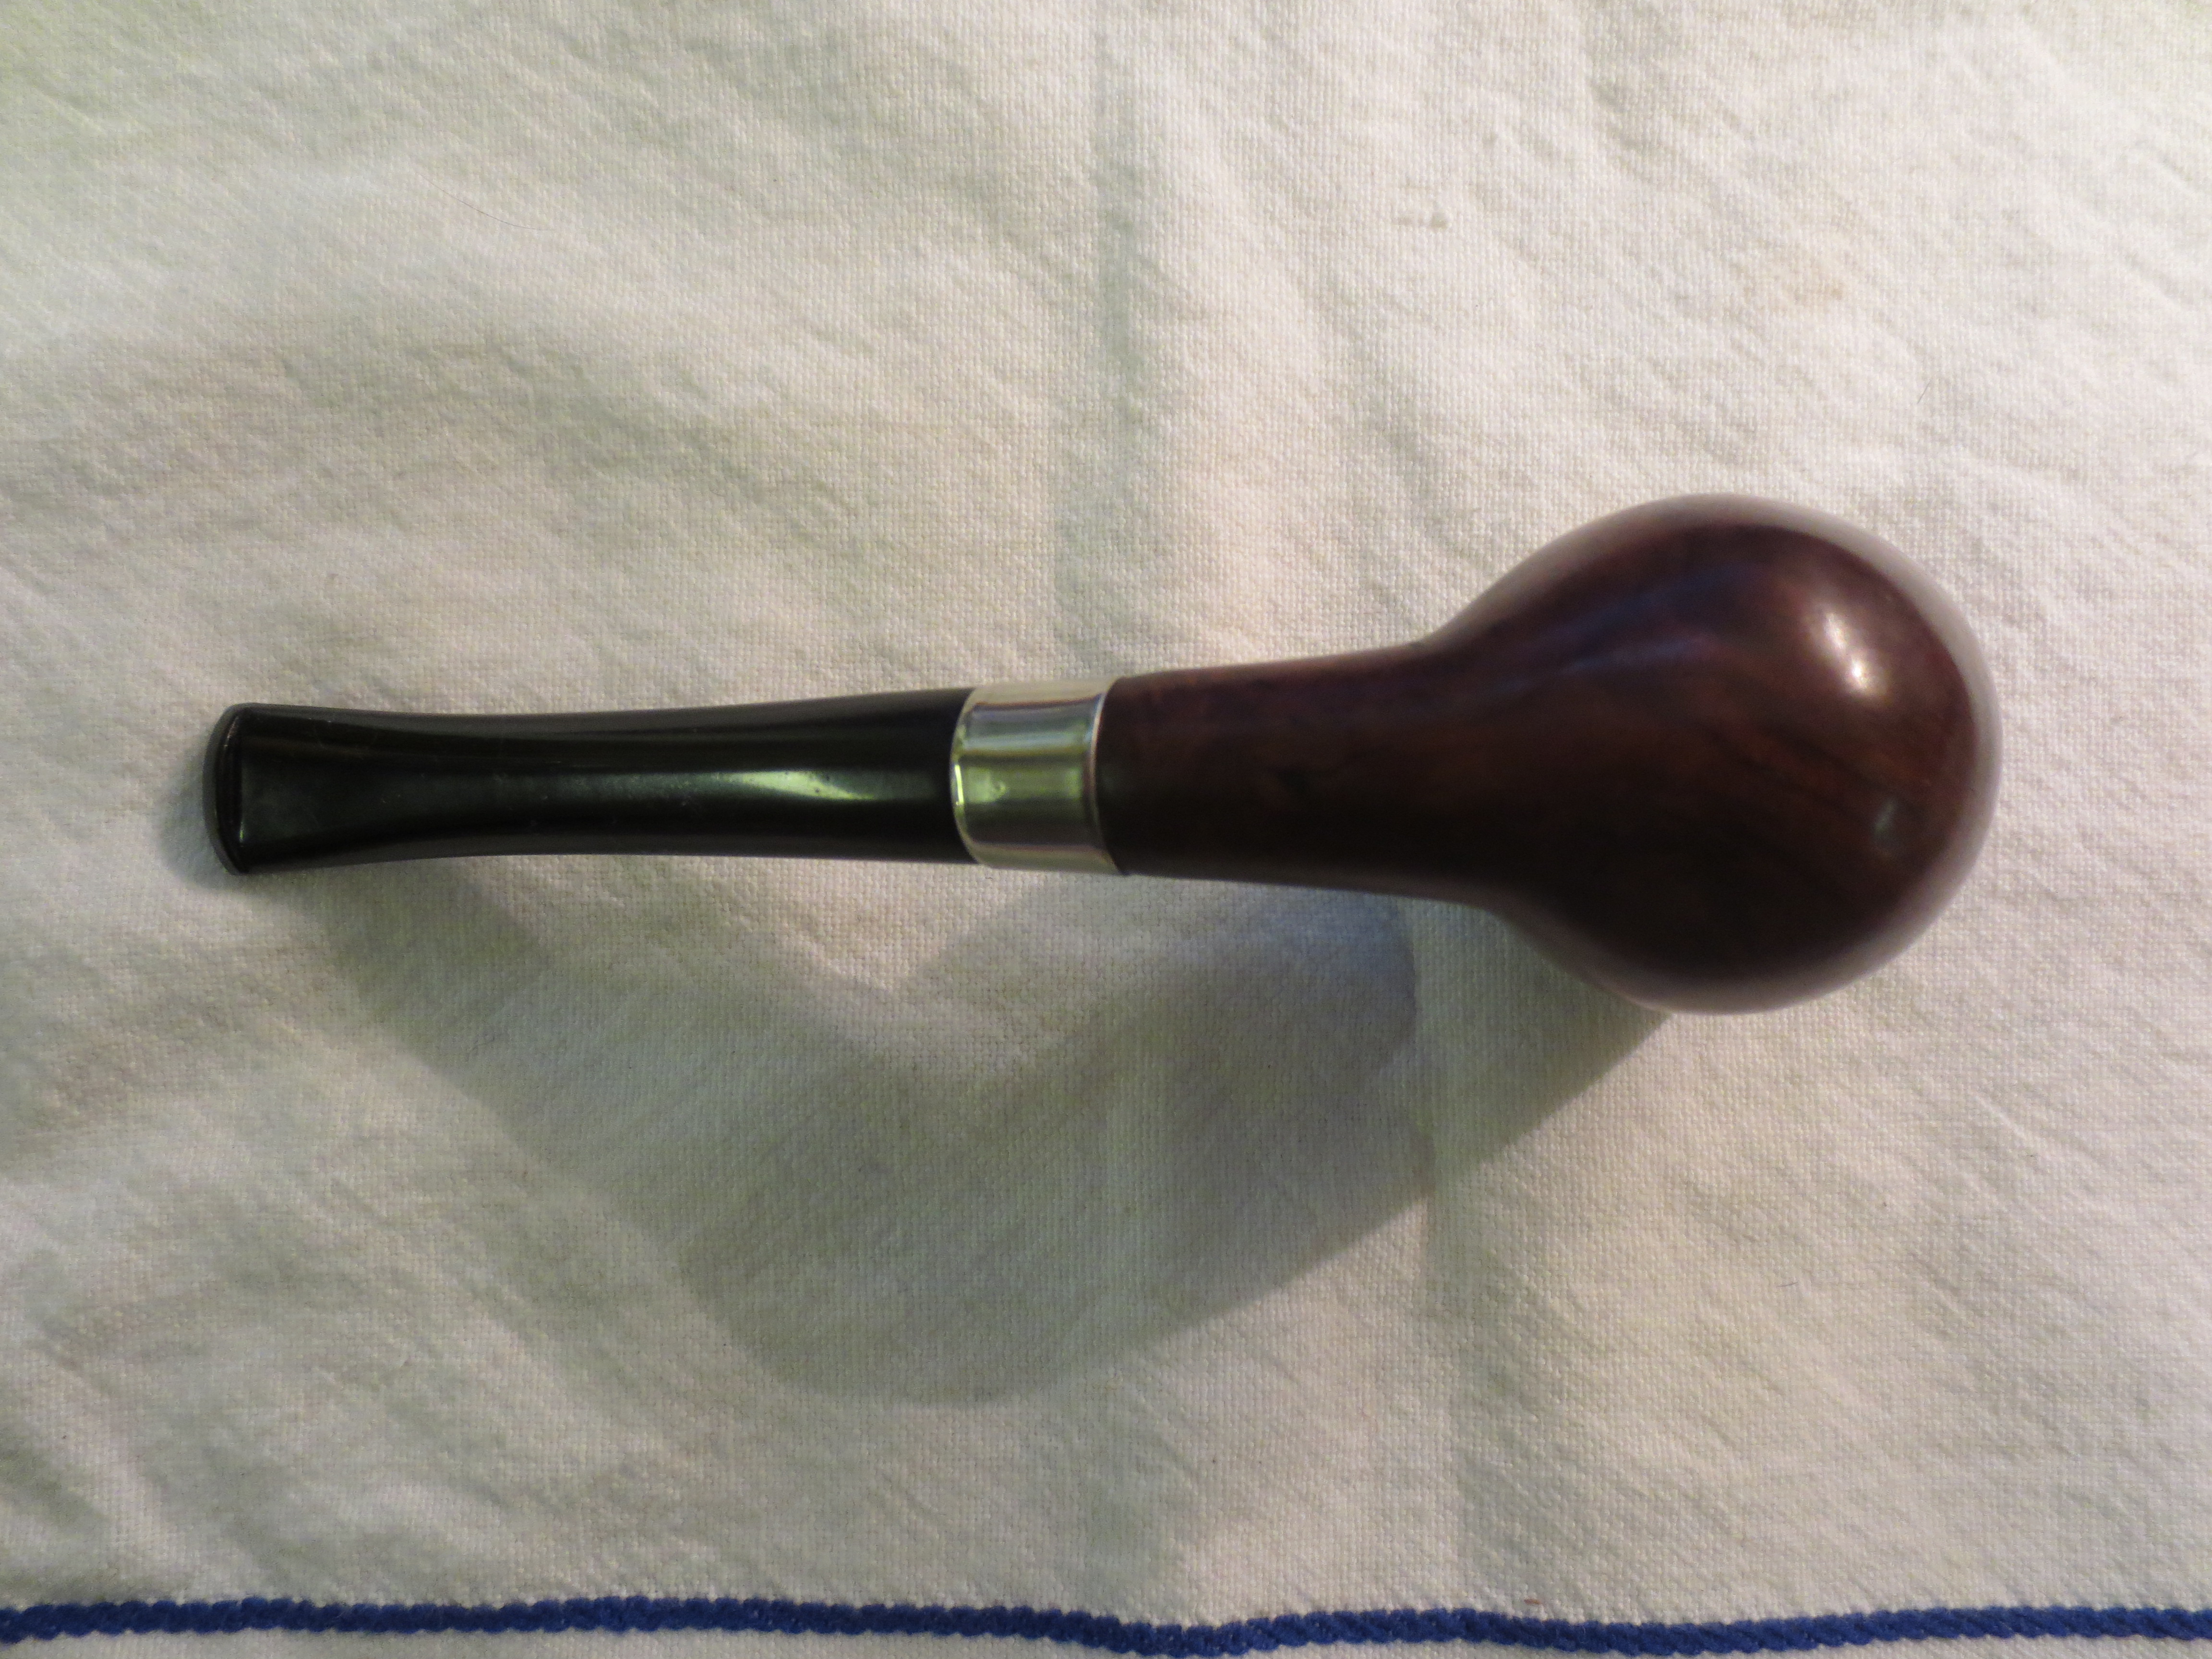
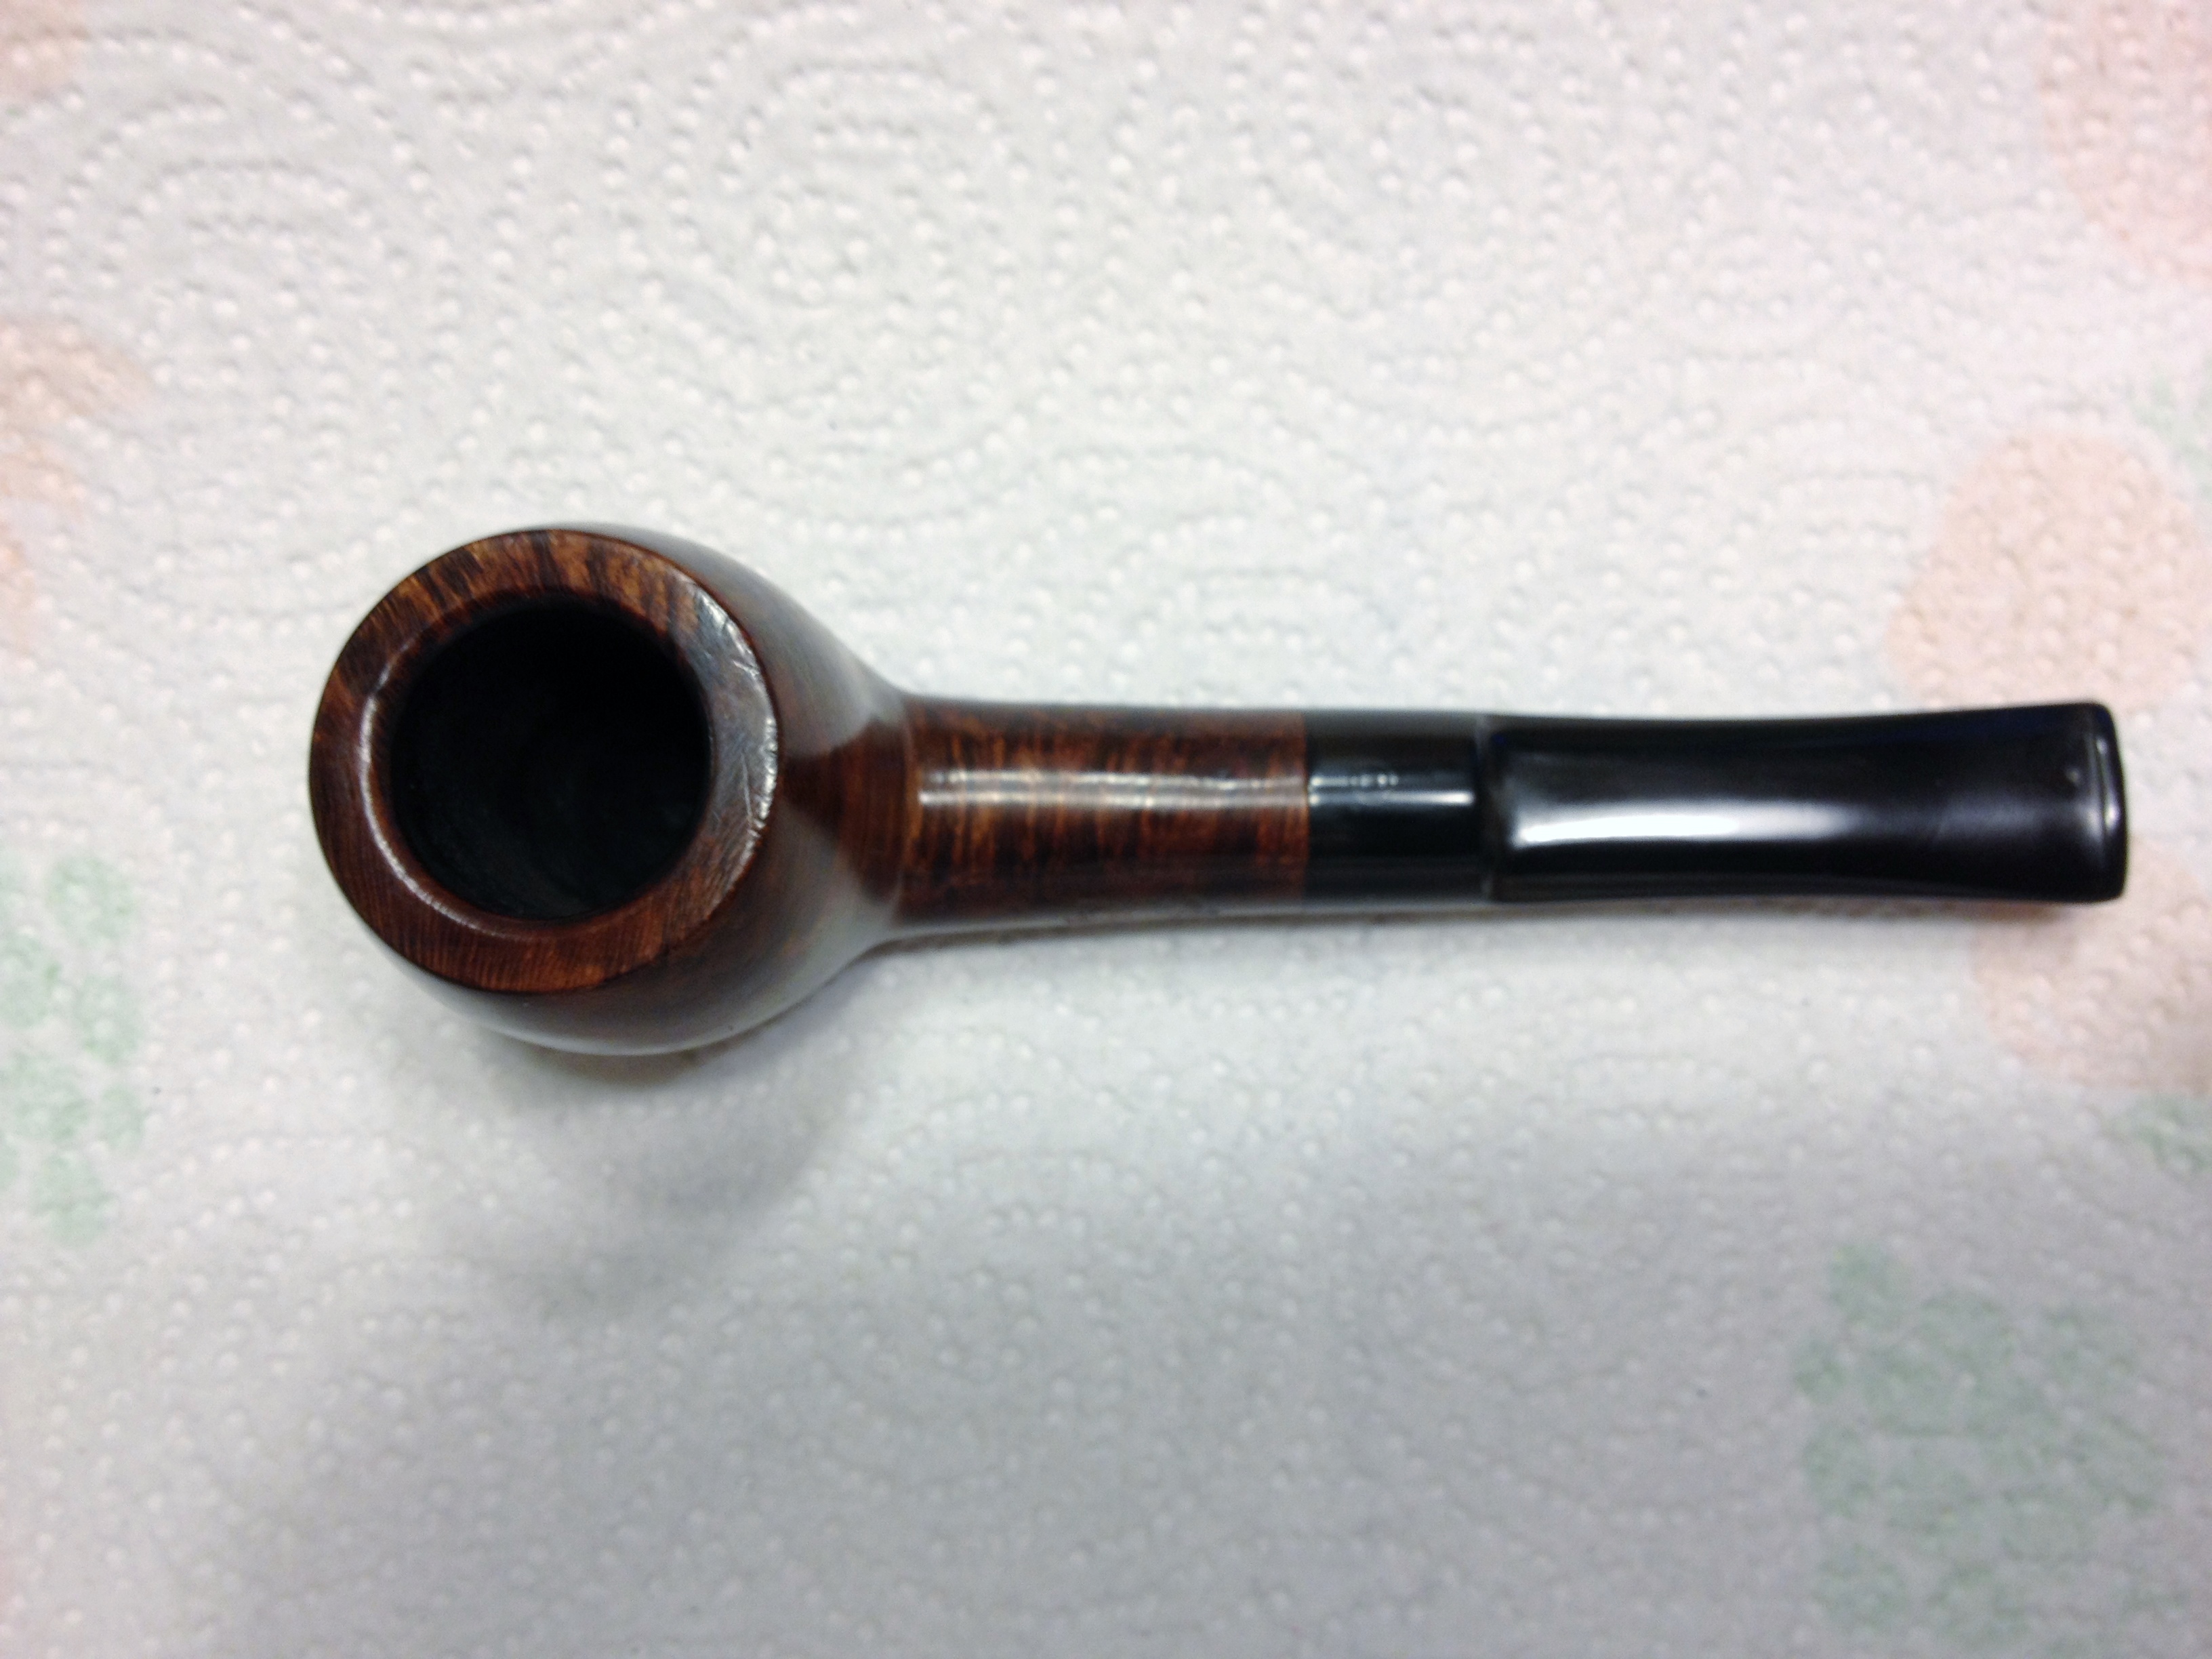
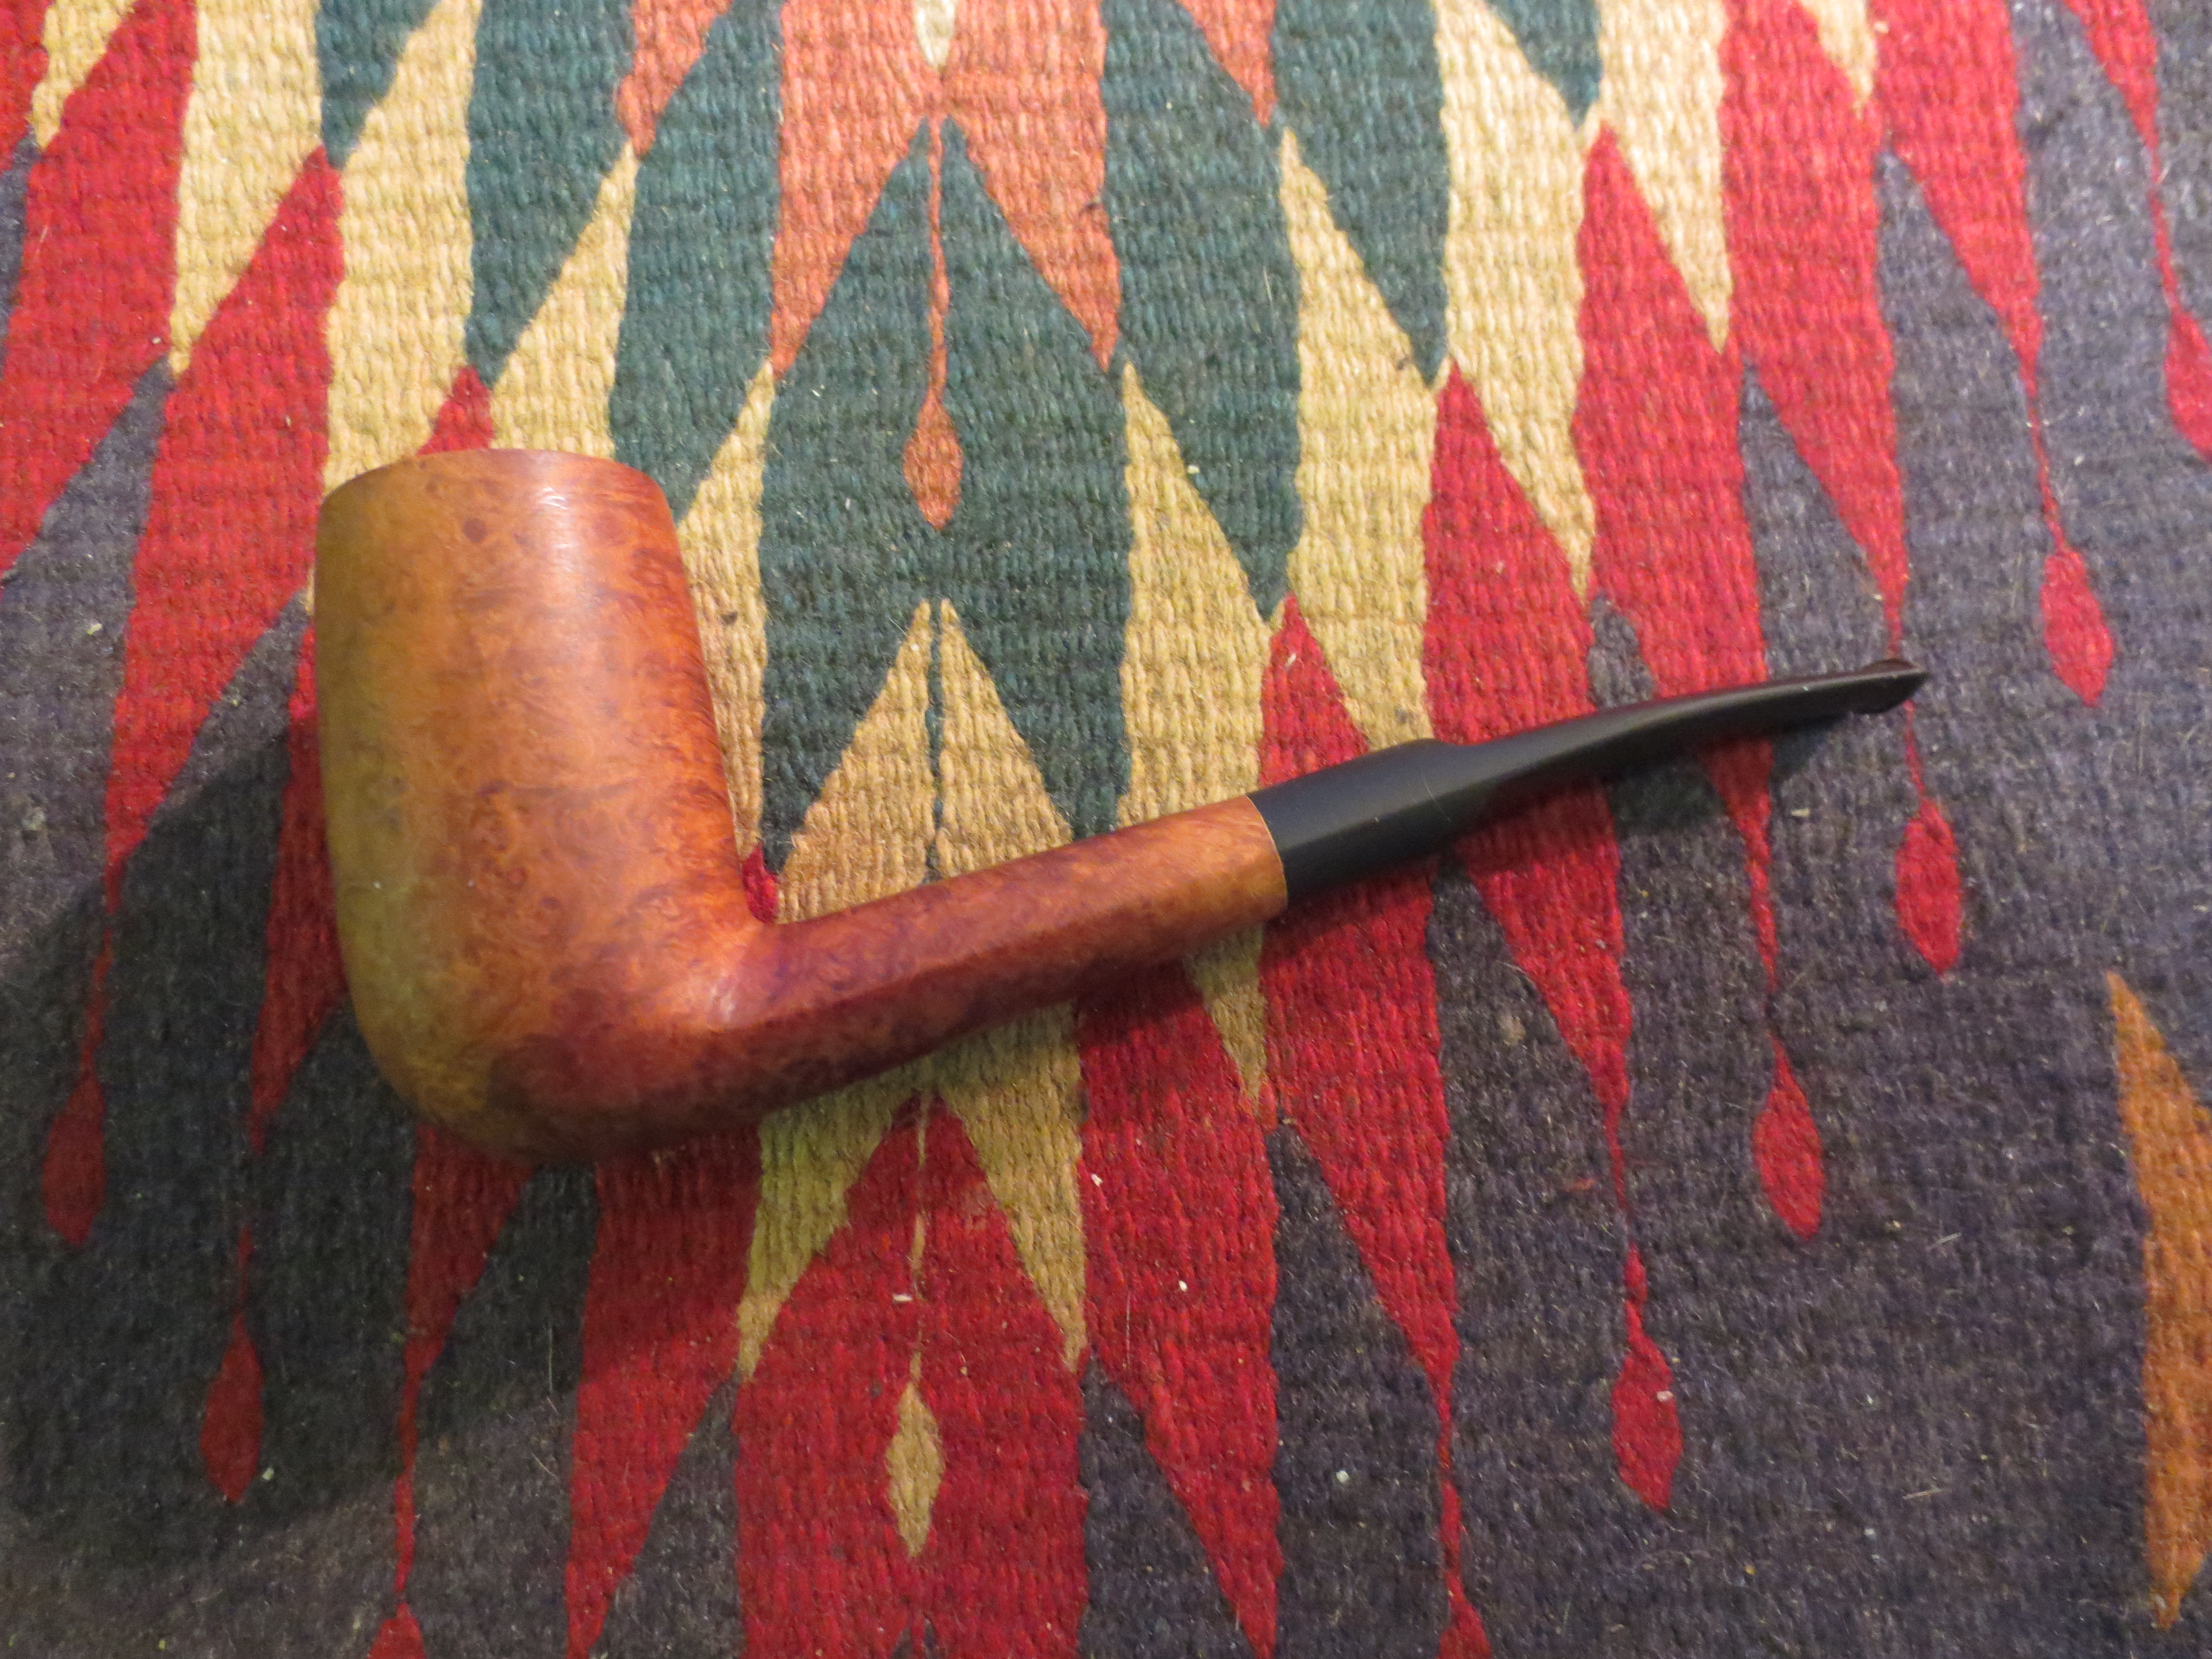
Once the stain was dry I took the pipe to the buffer and buffed the bowl and the stem with White Diamond to polish the stem and the stained bowl. Afterwards I gave it multiple coats of carnauba wax and buffed it with a clean flannel buff. For a final touch I hand buffed it with one last coat of wax and shoe shine brush. The final photos below show the finished pipe. It is cleaned, renewed and ready to go out to a good friend who loves this shape!

IMG_1368

IMG_1369

IMG_1370

IMG_1371

Beautifying a Sasieni Mayfair


Blog by Steve Laug

Yesterday I picked up this beautiful little Sasieni Mayfair. It is stamped Mayfair on the left side of the shank and London Made on the right side. The bowl was tarry with a sticky aromatic and the top had been burned on the front side and then poorly topped to get rid of the burn. This left the bowl slanted toward the front side where the burn had been. The rim was also covered with the aromatic goo. The stem was tight but I was able to remove it from the bowl at the shop and found the typical stinger apparatus intact. It was a flat metal blade that ended in a round tube that inserted into the tenon. The tube was slotted to allow the smoke to pass into the airway of the stem. The stem was slightly oxidized and had a tooth mark on the top and the bottom of the stem. Other than those things it was a nice piece of briar and the finish was actually in excellent shape. There were several small sandpits on the bottom of the bowl but they did not detract from the beauty. The shape is kind of a cross between a Prince and a Rhodesian. The shank is a pencil shank. Dimensions for this little pipe are: length 5 ½ inches, height 1 ¼ inches, bowl diameter ¾ inches, bowl depth ¾ inches, shank diameter 3/8 inches. The two photos below show the pipe as it was when I found it. We went for supper at a Mexican Restaurant and I took these photos on the table top.

IMG_0373

IMG_0374

This morning I went to work on it. I took the following photos on my work table. The first three show the externals of the pipe. The damage on the rim is visible as is the state of the bowl. In the third photo note the angle of the bowl top in comparison to the one above it in the second photo. The angles are different and the bowl top is slanted toward the left and the front of the bowl.
IMG_1101

IMG_1102

IMG_1103

I took the pipe apart to check on the internals and remove the stinger apparatus. The next two photos show the top and bottom of the stinger. It is also clear in these two photos the damage to the right inside edge of the rim as well. It is slightly out of round.

IMG_1104

IMG_1105

I reamed the bowl with a PipNet reamer using two different cutting heads. I start with one size smaller than the diameter of the bowl to start the reaming. I then follow-up using the correct size cutting head in the bowl. I find that it is easier to cut the cake carefully and not do any further damage to the roundness of the bowl.

IMG_1106

Topping the bowl on this one was a bit tricky. I needed to take down the back left side of the rim and even out the back side of the rim without removing any from the front edge. I used the flat hard surface that I always use for topping. I held the bowl with the back side pressed into the sandpaper and the front edge off the paper. I move the bowl right to left across the sandpaper checking to see the effect (photo 1 below). I did not want to make the top worse than it already was. Once I had the back left and right sides even and the front and the back even I was ready to do a slight topping on the bowl to even it up neatly (photo 2 below).

IMG_1107

IMG_1108

At this point I sanded the top a little more to clean off the burn damage on the front of the bowl. Once I had that minimized I sanded the top with a medium and a fine grit sanding sponge until the scratch marks were gone. I also used the Dremel to even out the diameter of the bowl and bring it back into round.
I then removed the stinger apparatus and cleaned it with alcohol and cotton pads. I picked the slot clean with the dental pick. I did not intend to use it on the pipe once it was clean so I put it away in case I sold the pipe and the new owner wanted the stinger.

IMG_1109

IMG_1110

I set up the retort and filled the test tube with isopropyl alcohol and boiled out the inside of the bowl and stem. The next four photos show the set up and the process. I heat the alcohol with a tea candle and once the alcohol has cooled from the boil it returns back to the test tube and carries the oils and tars of the bowl and shank with it. I repeated this process twice.

IMG_1111

IMG_1112

IMG_1113

IMG_1114

I cleaned up after the retort with pipe cleaners and Everclear. Both the stem and the shank were cleaned of all the internal grime. The pile of pipe cleaners in the picture below show the sheer volume of pipe cleaners used in cleaning up after the retort. Once this was finished the interior of the shank and stem were clean and pipe cleaners came out pristine.

IMG_1115

It was time to work on the stem. I ran the flame of a Bic lighter across the tooth marks on the topside and bottom side of the stem until they lifted. I then sanded the stem with 220 grit sandpaper to remove the remaining signs of the marks. And then I sanded the entire stem with a fine grit sanding sponge to remove the oxidation and to deal with the scratch marks from the sandpaper.

IMG_1116

IMG_1117

IMG_1118

I stained the top of the bowl with dark brown aniline stain that I thinned 2:1 with isopropyl to match the colour of the bowl and shank. I flamed it and then repeated the process until the colour was an exact match to the rest of the pipe.

IMG_1124

IMG_1125

I took the pipe to the buffer and buffed the bowl with White Diamond to shine up the bowl and the newly stained rim. I also buffed the stem with Tripoli and White Diamond at the same time to further shine the stem. The four photos below show the buffed and polished bowl and stem after the White Diamond buff.

IMG_1128

IMG_1129

IMG_1130

IMG_1131

I took the pipe back to my desk and sanded the stem with micromesh sanding pads. I worked through the various grits of micromesh from 1500-12,000 to polish the stem.

IMG_1132

IMG_1134

IMG_1135

IMG_1136

I gave the entire pipe another buff with White Diamond and then gave it multiple coats of carnauba wax and buffed it to a shine with a clean flannel buff. The final four photos show the finished pipe.

IMG_1137

IMG_1138

IMG_1139

IMG_1140

Restemming and Reclaiming an Older, Unsmoked GFB Briar Calabash


Blog by Steve Laug

I bought three unsmoked pipe bowls from the same seller on EBay. One of them was a GFB calabash. With the first of this brand I bought a while back I did some digging on the web and found very little information. So this time I did a bit more searching and I was able to get some information on the brand. Many of the links I found through Google took me to others who were looking for information on the brand. I came across one that gave the information that the GFB brand was an older French Trademark and that it came from Saint Claude, France. With that information I did a more focused search for GFB French Briar Pipes and came across a post that said GFB stood for Great French Briar – that seemed a little farfetched to me so I continued to look and finally came across the following advertisement from a Sears Catalogue. It shows a full page of GFB pipes and the header says GENUINE FRENCH BRIAR. That made much more sense to me and the pipes in the catalogue matched the ones that I have in my collection and the ones that I have seen. For me that gives a better picture into the meaning of the brand letters.

Genuine-French-Briar-Pipes-On-Parade

Armed with this new information I went to work on the GFB Calabash pipe bowl that I purchased. The bowl itself was in astonishingly great shape for being over 100 years old. The pipe was unsmoked – new condition. The bowl was dusty but raw briar. The shank was clean and also pristine. This was an unsmoked – new old stock pipe bowl. The silver band was very tarnished and loose. There was no stem to be found. I wrote to the seller and asked what had happened to the stems for this old timer and two others I purchased from them. I did not receive an answer. The first four photos below are the seller’s photos as the pipe appeared on EBay. The first two are out of focus but give an idea of the bowl shape. The last two give close up photos of the stamping and the clean bowl. It was pretty hard to know the size of the pipe from their information. But it looked to be of similar age as an older 1912 BBB Calabash I have so I put in a bid and won.

GFB1

GFB2

The right side of the shank is stamped America and the left side is stamped Premier. The band has three stars *** over the GFB in an oval and under that is the Sterling stamp. The stamping led me to assume incorrectly that this was an older American made pipe. I was wrong. The stamping America obviously is the name of the pipe.

GFB3

GFB4

I looked through my box of old stems to find one that would be not just a proper fit but of an age that was appropriate to this old pipe. I found one that did not have a tenon, it had either broken or fallen out somewhere along its journey. I have a bag of Delrin threaded tenons that I use regularly for replacing broken tenons. I chose the smallest one as it would fit the mortise with a little bit of work. The stem was oxidized but in good shape with no tooth marks or dents. The button was a slight slot and the stem was quite narrow at the button end. It would look perfect on the pipe once I had the tenon replaced.

IMG_0962

I drilled out the stem so that the threaded tenon would fit into it. I used a tap to thread the stem. The first photo below shows the drilled and tapped stem ready to receive the new tenon. I coated the threads with some black super glue and threaded it into the stem (second photo). The third and fourth photos below shows the tenon screwed into place. The tenon is now repaired. I needed to remove some of the Delrin to reduce the diameter of the tenon to get a good fit on the shank. I used my Pimo Tenon turner to do this. It was a little tricky in that the stem was bent but I proceeded slowly to turn it down until it was close. I finished reducing it by hand until it fit snugly in the mortise.

IMG_0964

IMG_0965

IMG_0966

IMG_0967

Once the stem fit snugly in the shank I needed to reduce the diameter of the stem in order to get a good match with the band on the shank. I sanded it with medium grit emery paper to bring it down to size. The next two photos show the stem in place. At this point the band had not been glued into place. It was still loose, so I removed the stem and used Weldbond white carpenters glue (which is non-toxic) to glue the band in place. I cleaned up the old glue lines on the shank with micromesh sanding pads.

IMG_0972

IMG_0973

The next four photos show the silver band after it had been glued in place and cleaned and polished with some Hagerty Tarnish Preventive Silver Polish. I have used this bottle for years and it works extremely well. I purchased it at a jewelry shop along with a polishing cloth that I used on the band as well. Once the band was polished the hallmarks were very visible. I have described the stamping on the band above. After shining they stood out clearly. I am not able to ascertain a date from the stamping as there are no date stamps. I also polished the bowl with a quick buff of White Diamond on the buffer and then I gave it multiple coats of carnauba wax.

IMG_0975

IMG_0976

IMG_0977

IMG_0978

With the bowl and band finished it was time to work on the stem. I sanded it with 220 and 340 grit sandpaper followed by sanding with a medium grit sanding sponge and then a fine grit sanding sponge. This series of sandpapers and sanding sponges has worked well for me in removing the scratches left by the emery paper as well as the remaining oxidation on the stem. I then sanded the stem with micromesh sanding pads from 1500-12,000 grit to bring out the sheen on the stem and polish it. Between the 4000 and the 6000 grit I polished the stem with Maguiar’s Scratch X2.0 plastic polish. I finished with the last grits of micromesh sanding pads. The next series of six photos show the progressive shine on the stem with the various grits of micromesh.

IMG_0983

IMG_0984

IMG_0985

IMG_0986

IMG_0987

IMG_0988

I buffed the stem and bowl with White Diamond and then gave the pipe several coats of carnauba wax. The finished pipe is pictured below in the last series of four photos. It is amazing that this old pipe has existed this long since it was made and has not been smoked. That will change soon!

IMG_0990

IMG_0991

IMG_0992

IMG_0993

Comoy’s The Guildhall London Pipe Liverpool Renewed


Blog by Steve Laug

The Comoy’s pipe pictured below was one of the pipes I picked up at an Antique Mall in Edmonton, Alberta. It was by far in the best condition of the three pipes I purchased that day. It also had the highest price tag – $30 of the three. It is stamped on the left side of the shank The Guildhall over London Pipe and on the right side it is stamped Made in London in a circle over England. The shape is stamped as 30. The grain on it is very nice with a few bald spots on the sides and front on the lower portions of the bowl. The contrast stain that is on these older Comoy’s pipes is extremely well done and it is what always draws me to them. The top of the bowl rim was covered with a little tar. The bowl itself was partially caked and a few tobacco remnants sat in the bottom of the bowl. The stem had tooth chatter and slight oxidation. When I picked it up the stem was on upside down so the three metal lines that were stem logos on these pipes was not visible. I was able to rotate the stem but it was tightly stuck in the shank. I did not want to damage the shank so I left it until I got home.
IMG_0302

IMG_0304
When I returned home from my trip and things settled down I took the pipe to the work table to refurbish it. I decided to take it apart to begin the process of cleaning it. The stem was tight in the shank and I needed to use the freezer technique to loosen it easily. The tenon is often easily snapped if you try to turn it when it is stuck. I put it in the freezer for 15 minutes and then it came out very easily. When I pulled it out of the shank it brought a lot of chunks of tar and oily buildup with it. The cloth on my worktable was littered with the black pieces that fell out of the shank. Once I had it out of the shank there was a stinger contraption that I have found is common in the older Everyman and Guildhall pipes. This one was covered thickly with tar and oil. It was pressure fit into the tenon but was tightly bonded to the vulcanite. I used a pipe cleaner with alcohol to scrub the inside of the stem and to also work around the exterior of the stinger. I scraped at the gunk that held it to the tenon and was able to remove much of the grit with a dental pick. I grabbed it with a piece of cloth and twisted and pulled at the same time. I kept the stem level during this process as I did not want to damage the tenon by pulling up as I tried to remove it. It finally broke free of the tenon and I laid it aside on the table top. I do not put the stinger back into a pipe that I intend to use. I tag the stingers and save them should I decide to sell the pipe in the future.
IMG_0757
I then cleaned out the shank and the stem with pipe cleaners and Everclear. It took a lot of pipe cleaners to remove the oils and tar from the stem and the shank. I cleaned it until they came out only stained but not covered in grime. I intended to use a retort on this pipe so my purpose was only to remove the heavy buildup on the surface in the stem and shank.
IMG_0758

IMG_0759

IMG_0760

IMG_0761
Once I had the interior relatively clean I took out my retort and hooked it up to the pipe. The retort is made up of a test tube and stopper with a permanently inserted brass tube to which a piece of surgical tubing is fitted on the end of the brass tube. The tubing fits over the stem. I put about ¾ of an inch to 1 inch of isopropyl alcohol in the test tube. I stuffed the bowl of the pipe with a cotton boll to stop the alcohol from coming out of the top of the pipe when I heated the alcohol. I lit a candle to heat the alcohol and boil it into the stem and shank. I began with a large candle to do the heating. The next series of seven photos show the first boil of the alcohol through the pipe. I let it boil for several minutes and then removed the test tube from the heat. As it cooled the alcohol was drawn back into the test tube. It was dark amber in colour and smelled strongly of old burned tobacco.
IMG_0762

IMG_0763

IMG_0764

IMG_0765

IMG_1109

IMG_1110

IMG_1111
I removed the tube from the flame, and once it had cooled I emptied the alcohol from the test tube, rinsed and refilled it. This time I chose to use a small tea light to heat the tube. It gave a better angle on the test tube and pipe. I boiled it again and when it cooled let the alcohol return to the tube. The series of five photos below shows the second boil and the amber fluid that filled the tube. I ran the retort a third and fourth time until the alcohol came out clear and then I knew the shank and stem were clean. I continue to boil the alcohol through the pipe until it is clean. The retort leaves a pipe smelling brand new once the alcohol smell has dissipated and the pipe dried out.
IMG_1112

IMG_1113

IMG_1114

IMG_1115

IMG_1116
I removed the retort from the stem and the cotton boll from the bowl of the pipe. Once it was removed I ran pipe cleaners through the shank and stem to remove any of moisture that may have been left behind and the pipe quickly dried out. It was time to clean the top of the rim of the pipe. Early on in the process I had examined it and found that the tars on the top were on the surface and that a good scrub with saliva on a cotton pad would remove the buildup quite easily. The next two photos show the cleaning of the rim with the cotton pads.
IMG_1117

IMG_1118
Once the rim was clean I buffed the pipe with White Diamond and gave the bowl and shank a first coat of carnauba wax. It was then time to work on the stem. I sanded the stem with 340 grit sandpaper to remove the tooth chatter and small dents in the surface of the vulcanite. I then wet sanded the stem with 1500-2400 grit micromesh sanding pads. The next two photos show the stem after the initial sanding with the 340 grit sandpaper.
IMG_1119

IMG_1120
The next two photos are randomly taken after I had sanded with the micromesh sanding pads 3200-12,000 grit. I dry sanded with these grits and the stem developed a shine and a depth to the blackness of the vulcanite. When I had finished sanding the stem I rubbed it down with Obsidian Oil to preserve the finish and then buffed it with White Diamond and finally multiple coats of carnauba wax.
IMG_1121

IMG_1122
The final four photos in this essay show the finished pipe. There is a bit of ghosting around the three bars in the photo that appear to be oxidation. The oxidation is gone. Rather what is happening is a reflection off the metal bars. In natural light the stem is a deep and rich black.
IMG_0778

IMG_0779

IMG_0780

IMG_0781

Refurbishing a Hilson Giant – Brian Devlin


Here is another post by Brian Devlin. I enjoy reading about and seeing photos of his refurbishing work. I am again posting this piece for your viewing. I wrote and asked Brian about more of his process in cleaning stems and rims and he answered with a pm on Smokers Forums. I have integrated that into the text of this piece for those who are interested in knowing more. Without further delay here is Brian’s article.

I picked up another eBay buy that needed a bit of work. This one was a dirty Hilson Giant badly charred rim and heavily oxidized stem. What it looked like when it arrived can be seen in the photo below.
wpid-20130507_093915
Once again I followed my process of cleaning and refurbishing. I begin by always cleaning the oxidation from the stem. I coated the stem spigot (tenon) and the Hilson logo with Vaseline to protect them from damage by the bleach soak.
wpid-20130507_094633
I then put the stem in the bleach soak. For this I use an old butter box half filled with a mixture of 50% bleach and 50% water and let it soak for 30 minutes. I have found that this amount of time in the wash works well to remove the oxidation.
wpid-20130507_0947172
I rinse of the stem and then reassemble the pipe. I attach it to a retort to clean out the inside of the bowl, shank and stem. I use 99.9% isopropyl with the retort. You can see how I set up the retort in the photo below. For the heat source I use canned heat (editor’s note: in North America Sterno makes a product that works very well for this. Great idea Brian!).
wpid-20130507_101458
The stem is pitted after soaking in the bleach mixture so I just buff with brown stick (middle cut) followed by white stick (finishing cut). For the rim I use white stick to polish the rim taking off the char build up. I finish by using Carnauba resin on an open mop (buffing pad) to finish the briar and the stem. It seems to stop the stem from oxidizing. I then buff the pipe and you have BRIAR REBORN!
wpid-20130507_113432

wpid-20130507_113713

wpid-20130507_113443

A No Name Bulldog Born Anew – New Look and New Stem


This little bent bulldog is the last of the briar stummels in the EBay lot I picked up. It is a nice little dog and I saved it for last as I find that the diamond shank stems are a bear to fit correctly. Bent diamond shanks are even harder in my opinion. I had quite a few stems to choose from in my can of stems so a new stem was not a problem. The issue really was getting all the sides and angles to line up and look right. Restemming these is a tricky proposition. This one had crosshatched stamping on the left side of the shank that obliterated the stamping of the name on it. On the right side it is stamped Imported Briar which I am assuming makes it an American made pipe. It had some nice grain under the dark stain and varnish coat. The bowl had a very poorly formed cake with many chunks missing. The rim was thick with a tar and oil build up but surprisingly was not dented or damaged by burns or over reaming. The end of the shank which would butt up against the stem was pristine with no damage or cracks. I love it when I can work on a pipe that does not need banding. It is a challenge to get a good clean fit on the stem. This would thus be a double challenge.

I chose a diamond shank tapered stem for the pipe. I had saddle stem galore and only two of these tapered stems. I love the look of a tapered stem on a bulldog so I decided to go with that one. It would not require too much of a bend in it so it would work well and look classy. I drilled out the airway to fit the pin on the Pimo Tenon Turning Tool and then turned the tenon to a close fit on the stem. I had to reduce the length of the new tenon as it was longer than the mortise on the pipe. I hand sanded the tenon to get a good clean fit on the shank and inserted it in place. Externally, it would need to be reduced on all sides to match the flow of the shank so there was work to do in fitting the stem.
IMG_0830

IMG_0831
I used my Dremel with a sanding drum to bring the sides of the stem down to almost match the shank. This was a bit tricky in that I did not want to cause dips in the surface of the stem but reduce each side until it was a close fit to the shank. It takes a light touch on the sanding drum to keep it horizontal to the stem and also keep it from hitting the shank and doing damage to the briar. I held the bowl in hand and worked the sanding drum both vertically and horizontally to the stem to remove the excess vulcanite. I worked on one side at a time until the fit was close then turned the stem and did the next side. I began on the top side of the stem and worked both top sides before turning the stem over and doing the underside. The next three photos show the shaping done by the Dremel. After doing this initial work on the stem it was time to take to the table and do the rest by hand.
IMG_0832

IMG_0834

IMG_0833
I began sanding with medium grit emery paper to remove the deep scratches left by the Dremel and to even out the surfaces of the stem. I sanded each side until they were smooth. I also sanded the peak of the stem on each side to make sure the peak matched the one on the shank of the pipe. The next seven photos show the progress of evening out the stem sides. When I finished with the emery paper I would go on to use various other grades of sandpaper and continue the process.
IMG_0835

IMG_0836

IMG_0837

IMG_0838

IMG_0839

IMG_0840

IMG_0841
As the rim of the bowl was chamfered into the bowl I worked on it with a folded piece of medium grit emery paper first followed by 320 grit sandpaper. I wanted to keep the chamfer clean and even so I held the paper to the angle of the chamfer on the cleanest part of the rim toward to the front of the bowl. The next two photos show the cleaned rim.
IMG_0842

IMG_0843
I went on to sand the stem with a fine grit emery paper to continue to bring the size down to meet the shank on the pipe (Photos 1 & 2). After I had the stem fairly close I switched to 320 grit sandpaper and sanded down the stem, the shank and the bowl. I decided to remove the cross hatching on the shank and clean up the finish. I wiped it down with acetone on a cotton pad to remove the finish and sanded until the finish was stripped and the shank and stem was smooth. The flow between the stem and the shank was a good match when I finished with this part of the work (Photos 3, 4, 5, & 6). An amazing grain was beginning to break out on the bowl and shank.
IMG_0844

IMG_0845

IMG_0846

IMG_0847

IMG_0848

IMG_0849
Once I had finished the fit of the stem to the shank and cleaned off the bowl with the sandpaper I wiped it down a second time with acetone to remove the remaining remnants of stain and to clean off the dust of the sanding (Photos 1 & 2). The remaining photos show the pipe after it was cleaned and ready to stain (Photos 3, 4, 5 & 6).
IMG_0850

IMG_0851

IMG_0852

IMG_0853

IMG_0854

IMG_0855
At this point I decided to bend the stem to the angle I wanted on the finished pipe. I set up my heat gun and turned it on to the lowest setting and held the stem above the heat until it was pliable. I have a wooden rolling pin that I use as a guide to bend the stem evenly so once it was soft I bent it over the rolling pin until the angle of the stem bend aligned with the curve of the bowl. I wanted the bowl to be level when held in the hand. Once the angle was right I cooled the pipe stem in cool water to set the bend. The next four photos show the stem after it was bent according to the angles I was aiming for. The grain on this pipe was calling out to me to come up with a stain colour and process that highlighted the grain.
IMG_0856

IMG_0857

IMG_0858

IMG_0859
I decided to stain the pipe with an oxblood aniline stain. I like it because it sets deeply in the grain of the pipe and when it is buffed off it still allows the grain to be seen. I also planned on sanding the finish with micromesh sanding pads to further highlight the grain patterns on the bowl. The next five photos show the stained bowl. I still needed to buff the pipe and lift the stain a bit from the briar.
IMG_0860

IMG_0861

IMG_0862

IMG_0863

IMG_0864
I reinserted the stem at this point in the process and hand buffed the bowl to get a good feel for the opacity of the stain (Photos 1 & 2). I then began to sand the stem and the bowl with the micromesh sanding pads. I began with 1500 and 1800 grit micromesh first. I wet sanded with these grits of micromesh (Photos 3, 4, & 5). The finish on the stem is smoothing out and the bowl finish is really beginning to show the grain and highlight the beauty of the piece of briar.
IMG_0865

IMG_0866

IMG_0867

IMG_0868

IMG_0869
I continued wet sanding with 2400 and 3200 grit micromesh sanding pads (Photos 1 & 2) and the grain began to pop and the stem began to shine nicely. I dry sanded with 3600 and 4000 grit micromesh sanding pads as I sought to polish the finish and the stem more fully. Photos 3 & 4 give an idea of the polish work that had been done by this point in the process. I finished sanding the bowl and stem with the remaining micromesh dry sanding pads 6000, 8000 and 12,000 grits. The resultant effect on the stain of the bowl was exactly what I had hoped for. The grain stood out clearly on the sides and shanks. On the left side of the bowl there is a nice birdseye pattern that is not as visible in the photos as it is in person. The pipe came out very nicely. Photos 5 & 6 show where things stood after the final polishing with the micromesh pads.
IMG_0870

IMG_0871

IMG_0872

IMG_0873

IMG_0874

IMG_0875
I buffed the pipe with White Diamond and then gave it multiple coats of carnauba wax to finish it. The finish came out nicely in my opinion and the feel of the pipe in the hand was perfect. I had to load a bowl of tobacco and give it a new inaugural smoke. I chose to load it with some 2009 Barclay-Rex Barclay Slice. I packed the bowl, picked up a tamper and lighter and headed outside into the yard with my spaniel. While he ran around and chased sticks and chewed them I relaxed and had a bowl. It is a great smoking little pipe. It is comfortable in the mouth and has an open draught. I like it. Now I need to decide whether to keep it or pass it on.
IMG_0876

IMG_0879

IMG_0878

IMG_0877

Reworking and Reshaping an Old French Briar (CPF?) Billiard


Blog by Steve Laug

This old timer was one of the pipe bowls that I picked up in that EBay lot that had others with the French Briar stamping. The others had the same stamping but also had been stamped CPF on the shank or on the end cap. This one was missing the end cap so it remains a bit of a mystery as to its maker. It was also stemless. From the photos below you can see that at one point in its life it also had a rim cap that was also missing. What was left was the line around the top of the bowl and a darkened rim where the silver cap had covered it. The end of the shank was in pretty good shape but the likelihood of finding another end cap that fit or in making one was pretty low for me. The four photos below show the general state of the pipe when it came to my desk top. The finish was gone. There were several visible fills that stood out. It was one that I had to give a little thought about how I was going to tackle it. I knew that I would have to modify the shank and rework the bowl. I would also have to redrill the mortise way and fit a stem for the newly formed pipe. Ah well… let’s begin the work.
IMG_0789

IMG_0792

IMG_0791

IMG_0790
After many failed attempts over the years to get a good straight cut on the shank and end up with a smooth and even mortise I finally figured out a way with my limited tools to accomplish that. I slip a nickel band on the shank to the place that I want to cut it off. I use the band as a guide for my hacksaw to follow. So far this method has worked for me and left me with some nice evenly cut shanks. The next three photos show the process from start to finish.
IMG_0793

IMG_0795

IMG_0794
After cutting off the shank I sanded the area where the new band would be fitted. I used my Dremel with a sanding drum to begin the process of cutting back the shank to receive the band and finished by hand sanding it with medium grit emery cloth. I set up my heat gun on it end stand, slipped the band in place and set the heat on low to warm the band so that I could press it into place. The next two photos show that process.
IMG_0796

IMG_0797
With the band in place I wiped down the bowl with acetone on a cotton pad to clean off the grit and the remnants of the finish on the pipe. After I had cleaned the bowl I topped the rim with a medium and fine grit sanding pad to remove the damage to the rim edges. The next four photos show that process. During that time I also used superglue and briar dust to fill the obvious sand pits on the bowl (at the back of the bowl near the shank and on the underside). I sanded them once they were dry and was able to blend them into the bowl quite well. In the first photo below you can see the first large sand pit clearly. It was quite long and fortunately flowed with the grain so that it was easy to blend in with the briar dust and superglue. The one on the bowl bottom was a bit more difficult to blend in. In either case both are now smooth surfaces that the finish sanding would blend in as much as possible.
IMG_0798

IMG_0799

IMG_0800

IMG_0801
I sanded the bowl with a medium grit sanding sponge to remove the damage caused by the rim cap and to remove the darkened line around the top of the bowl. The next series of three photos show how the bowl is shaping up after initial sanding. The wood is stamped French Briar but as I work it I am wondering. It is very hard, dense wood with interesting grain. It is very light weight and the feel of the sanding dust and the wood itself calls this into question for me. Maybe it is only a question of age on the pipe as it is probably from the late 1800’s or early 1900’s.
IMG_0802

IMG_0803

IMG_0804
I inserted the stem and took it to the buffer to see what it looked like at this point after buffing. I buffed it with Tripoli. The next four photos show the pipe after buffing. There was a natural reddish colour to the wood that came out more and more as I sanded it.
IMG_0805

IMG_0808

IMG_0807

IMG_0806
After buffing the pipe I reamed it with my PipNet reamer to clean out the crumbling and broken cake that was on the surface of the bowl (Photo 1). I sanded it some more and then wiped it down with an alcohol dampened cotton pad and prepared tit for restaining (Photos 2 & 3).
IMG_0809

IMG_0811

IMG_0810
I receive regular tweets from Grant Batson, pipemaker. In one of the latest he wrote of experimenting with Danish Oil in finish the bowl of a pipe. I have several cans of that around from my refinishing furniture days so I decided to use some medium walnut coloured Danish Oil on this bowl. The next four photos show the stained pipe. I had yet to buff it or polish it at this point in the process. I just rubbed on the Danish Oil and then rubbed it off.
IMG_0812

IMG_0815

IMG_0814

IMG_0813
I set the pipe aside for the evening so that the finish had a chance to dry well. This morning I worked on the stem and the bowl with the micromesh sanding pads. I used all grits that I have available from 1500 – 12,000 grit to sand both the bowl and the stem. The next series of six photos shows the progressively developing shine on both the stem and the bowl.
IMG_0816

IMG_0821

IMG_0820

IMG_0819

IMG_0818

IMG_0817
After finishing with the micromesh sanding pads I took it to my buffer and buffed it with White Diamond. I find that this buffing with a light touch really sets the shine to a glossy finish. The next four photos show the pipe after buffing. I still had to put on the wax but the shine is very evident.
IMG_0822

IMG_0825

IMG_0824

IMG_0823
The final series of four photos show the finished pipe. I gave it multiple coats of carnauba wax and buffed it with a soft flannel buffing pad. I am pleased with the way it turned out. The pipe is ready for smoking and should provide service for many years to come.
IMG_0826

IMG_0827

IMG_0828

IMG_0829

Restoring a Unique Edition of the Keyser Hygienic System Pipe


I picked up this Keyser Hygienic on EBay because it caught my eye. I have three other Keyser Hygienic pipes and they are all very similar in terms of the system. They are briar bowls and shanks with an aluminum mortise with a tube in the centre running to the airway in the bowl. This is matched with a military mount stem with a tube with a down turn on it that fits into the airway in the mortise. The swirling smoke rolls around the inside of the mortise where the moisture in the smoke condenses on the sides of the aluminum mortise. The cooled air is drawn into the down turned tube in the stem and it delivers a cool, dry smoke. The system is fairly straightforward and simple. The genius of the design is that any stem fits any pipe of the same size. Replacement stems are easily purchased and all that is necessary is the size of the pipe and the replacement will be a ready fit.
Keyser Pipes
But this new Keyser was unique in all ways. The system design seems like a prototype of the original or maybe a step toward the ones that I have. It is composed of a short shanked briar bowl and a metal tube that has a normal vulcanite tenon. This sits in the shortened shank. Inside the tube is a second tube that extends ¾ of the way up the barrel. The inner tube is the extension of the airway in the tenon. The stem is a short pressure fit stem with a shoulder that allows it to ride on the end of the outer tube. On the end of the stem is a down turned short tube that draws air in to the mouth piece from the condensing chamber of the tube. It is a fascinating design. It is that uniqueness that caught my eye – that and the stamping/engraving on the outer tube which reads as follows:

KEYSER HYGIENIC PIPE
Made By
Keyser Manufacturing Co.
Brighton England
Pat Appns Brit 34B20/47
US 6067474/48
Can 581101

The next series of seven pictures shows the pipe as it appeared in the EBay webpage. The seller did a great job describing the current state of the pipe and the areas of concern. The seller notes some of the scratches on the outer tube and the darkening of the rim. He also noted the tooth chatter and scratch marks on both the top and underside of the stem.
Keyser1

Keyser2

Keyser3

Keyser4

Keyser5

Keyser6

Keyser7
When the pipe arrived I unpacked it and examined it. There were indeed tooth chatter/marks on both the top and bottom of the stem. There was a cigarette burn mark on the bottom of the shank where it meets the bowl. It was not a deep burn and there was no charred wood just a dark mark. The rim itself also had some issues. While the surface was not charred there was a burned area on the front inside of the bowl and on the front outside of the bowl. It looked to be damage from a lighter used in the same place repeatedly over time. The remainder of the finish was in pretty good shape but the entire pipe would need to be stripped in order to address the burn marks on the rim and the side of the shank. The inside of the bowl and shank were very clean. The pipe had not been reamed but there was a light cake that smelled like an aromatic. The barrel was tight on the shank but I carefully was able to remove it. The vulcanite tenon on the end of the barrel was undamaged but the airway was closed in with tars. The way the tenon was attached to the barrel was interesting. The end of the barrel was bonded to a circular plug of vulcanite with the tenon an integral piece of the part. The stem was frozen in the barrel and could not be removed. The button on the stem was unmarked and the tooth marks were actually mid stem on the top and bottom sides. The vulcanite stem was oxidized and would need to be cleaned. The next four photos show the items that I have pointed out in this paragraph.
IMG_0507

IMG_0508

IMG_0509

IMG_0510
I was able to remove the barrel and tenon from the shank of the pipe by carefully twisting the barrel free of the shank. I always hold tightly to the shank with one hand right next to the shank and then twist with the other hand. I try to maintain equal pressure on all points so that the shank is not strained or cracked in the process. The next photo shows the tenon on the barrel. It is almost the same length as the shank and the airway is lined up very closely to the airway in the bottom of the bowl. I cleaned out the mortise with cotton swabs and Everclear and found that it was quite clean. I also cleaned out the barrel from both ends but was not able to get a pipe cleaner to go all the way through the pipe from button to tenon.
IMG_0511
The next three photos show the front of the bowl and the extent of the burn marks on the front outside of the bowl and the front inside of the rim. These were two areas that would need to be worked over to minimize the burn marks on the finished pipe.
IMG_0512

IMG_0513

IMG_0514
I used my PipNet reamer to ream out the soft aromatic cake in the bowl and then recleaned the shank and the inside of the bowl with pipe cleaners and Everclear to remove the carbon dust that came from the reaming process (Photo 1 below). I wiped down the outside of the bowl and shank with a cotton pad and acetone to remove the finish on the pipe (Photo 2 below).
IMG_0515

IMG_0516
The next series of fourteen photos show the topping of the bowl to remove the burned area on the inside of the rim and the front outside edge. The burn had rounded the outside edge and made it appear out of round when looking at it from the top. I wanted to top the bowl enough to bring the top view back into round, minimize the wood damage in both spots and clean up the sharp edge of the bowl. I used two different sanding sponges – medium grit (black coloured sponge) and a fine grit sponge (yellow coloured sponge) both pictured below to start the process. I went on to use medium grit emery paper on the hard board to further top the bowl and ended with 320 grit sandpaper on the board. I polished the finish of the topped pipe bowl with the fine grit yellow sanding sponge. I also worked on the burned area that extended down the front of the bowl with the two sanding sponges.
IMG_0517

IMG_0518

IMG_0519

IMG_0524

IMG_0525

IMG_0526

IMG_0528

IMG_0529

IMG_0530

IMG_0531

IMG_0532

IMG_0533

IMG_0534

IMG_0535

IMG_0536
While I was working on the bowl I put the barrel and stem unit in the freezer to try to break loose the stuck stem. I have found that the varying contraction time of the metal and vulcanite will often loosen the stem. Once it was in the freezer for 30 minutes I could easily remove the stem and give the inside of the barrel and the stem a thorough cleaning with pipe cleaners and cotton swabs dipped in Everclear. I cleaned them until both came out clear. The next five photos show the broken down stem and the tube on the end of the stem that I was talking about above. There is one photo of the barrel but it is too dark to see the inner tube.
IMG_0537

IMG_0538

IMG_0539

IMG_0542

IMG_0543
Once the stem and barrel was clean it was time to deal with the tooth marks and chatter on the stem itself. I sanded the top and the bottom with 320 grit sandpaper to remove the marks and the chatter. None of them were too deep. They were more of a ripple like effect on the surface of the vulcanite. I sanded them flat to the surface of the stem and then went on to sand the stem with micromesh sanding pads from 1500-12,000 grits. The next four photos show the progress of the shine.
IMG_0544

IMG_0545

IMG_0546

IMG_0547
After shining the stem with the micromesh I took it to the buffer and buffed the stem with White Diamond and then rubbed it down with Obsidian Oil and finished it with a coat of carnauba wax. I put the stem back in the barrel and lined up the stem with the stamping on the side of the barrel. I gave the entire barrel and stem another coat of carnauba wax and hand buffed them. The next three photos show the assembled barrel and stem unit polished and ready to put on the bowl once it was restained and ready.
IMG_0548

IMG_0549

IMG_0550
I sanded and resanded the bowl with fine grit sanding sponges and then sanded it with micromesh sanding pads from 1500-3200 grit. I wiped it down with acetone between sandings and again when I was finished to prepare it for staining. The next three photos show the prepared pipe ready for staining. The burn mark on the bottom of the shank is gone with very little sanding and no change to the shank surface itself. The one on the front of the is minimized and the one on the rim is also virtually gone. The bowl is ready for a new finish coat.
IMG_0551

IMG_0552

IMG_0553
I restained the bowl with an oxblood aniline stain, flamed it and restained and reflamed it. I rubbed it down with a cotton terry cloth to smooth out the stain and then took it to the buffer. I always buff with my thumb in the bowl to ensure that the buffer does not grab the bowl from my hand and launch it against the wall. I rotate it slowly in my hand and with a light touch buff the shank. I am careful not to apply too much pressure and round the shoulders on the shank. I normally do not buff with the stem off the bowl but in this case I did not want to risk buffing off the black paint on the barrel so I chance the buffing on the bowl alone. The next three photos show the buffed bowl before polishing.
IMG_0554

IMG_0555

IMG_0556
I reassembled the pipe and then hand buffed it with multiple coats of carnauba wax and polished it with a shoe brush. The stem and bowl have a great shine and the bowl has some beautiful grain on it. I look forward to smoking this one and comparing it with my other Keyser Hygienic pipes. The final four photos below show the finished pipe. I have yet to do the research on the patent information on the barrel but I am hoping to find out a bit of history on this piece.
IMG_0723

IMG_0724

IMG_0725

IMG_0726
From the photo of the bottom of the bowl and shank above you can see that the burn mark there is eliminated in its entirety. Also in the photo of the rim above and the one of the front of the bowl below you can see that the burn mark is gone and what remains is blended into the stain.
IMG_0728

Irwin’s (GBD Second) 9448 Refurbished


Blog by Greg Wolford

I picked this Irwin’s 9448 up not too long ago expecting it to be an easy clean up, which was partly right and partly wrong, and knowing it was a GBD second it should be a great pipe for the money. From the seller’s photos I figured a little heat to lift the tooth dents, some light sanding and then micro meshing and the stem would be good to go. The stummel I figured would need to be cleaned, soaked in an alcohol bath and retained. Here are the photos from the seller:

Seller's Photo

Seller’s Photo

IMG_5457 (2) IMG_5458 (2) IMG_5459 (2) IMG_5460 (2) IMG_5461 (2) IMG_5462 (2)

I forgot to take my own photos when the pipe arrived and during the process so only the seller’s before and my after photos will be shown. The process went as follows though:

The stummel was in better shape than I anticipated: it was dirty and did have a few dents to raise but was in really good condition overall. The stem was another story: the tooth dents were much deeper than the photos showed or than I had expected. I knew that this stem was going to require filling the dents and thought over a few options, which I have more to say on later here. So, I decided to start with the stummel.

After reaming the bowl and cleaning the shank, I began by wiping the pipe down with acetone on disposable cotton pads, and went through many of them. After get most of the dirt and wax off, I took some cotton swabs dipped in 91% isopropyl alcohol and began to work off the heavy build up on the rim. It was a slow process but as the layers came off I could see the rim was in very nice shape and didn’t need topped. Once all the gunk was off, I took a few more passes over the entire stummel with a couple more cotton pads wet with alcohol to make sure all the finish and dirt was removed. I then turned my attention to the dents: one on the front of the bowl, two on the bottom near where the curve of the bowl met the flat “sitter” area, and a couple on the rim.

I used my heat gun to heat up the end of an old kitchen “butter knife” and a wet scrap rag to produce the steam to raise the dents. All of them came out fairly easily except for one on the “sitter” portion and it took several applications of steam to get it out. But it did finally raise.

At this point I went to the buffer to see what the stummel looked like. I buffed it with some Tripoli and then again my hand with an old t-shirt. I saw then that the pipe had good color under all the dirt, it had just been hidden. And the steam had done its job very nicely, too, giving me a pretty well smoothed out stummel. There was one fill on the left side of the bowl but not a large one and it didn’t really stand out to my eye so I decided to leave it alone. I wiped it down with one more alcohol pad to remove any trace left from the Tripoli and then decided to not sand or re-stain it; the color was really nice and the grain showed in a nice contrast. So I set the stummel aside to work on the stem.

I began by heating the stem, with a pipe cleaner inserted to make holding, moving and not damaging the airway easier. The dents lifted some but, as I expected, were too deep to come anywhere near level. So now it was time to try some patching or filling of the dents.

A while back Al, another contributor here on the blog, had mentioned he had used cigar ash to fill in a few dents but that they were still visible repairs. I have been experimenting with a couple of ideas that so far have not made any great improvements over just using super glue alone. I thought that on this one I would try to make a patch with carbon reamed from the pipe. The carbon is much darker, a real black, than ash so I thought this might make a better repair. I worked in layers, packing in the carbon, applying a drip of super glue, allowing it to dry, sanding it back down with an emery board and repeating; I think I did three rounds on each side of the stem, trying raise the dents slowly and make them stronger in the long run. After the last application on the underside, I began to work with my needle files, then emery boards, 320 grit wet sand and finally onto micro mesh, wet sanding 1500-2400. I then applied the Novus 2 plastic polish, rubbing it on and off with cotton pads. The remaining grits of micro mesh I used dry through 12,000. Finally I used the Novus 2 again, applied the Mother’s Back to Black with my fingers and let it dry before buffing it off with another cotton pad. The final step was to polish it with the Novus 1 plastic polish. Now it was time to reassemble the pipe and take it back to the buffer. At this point I knew the patch wasn’t as good as I’d hoped it would be: it was better, I think, but it was also still noticeable.

I buffed the stummel with Tripoli again before I reassembled the pipe and buffed the entire pipe with white diamond. I then applied several coats of carnauba wax to the pipe and buffed it out with a new soft cloth wheel. This is what the pipe looks like now, cleaned up (except for the fact I smoked it before I took the photos) but without any new staining done to it.

After

After

IMG_5493 IMG_5492 IMG_5491

The bit area does look a lot better and it is smooth, almost; apparently the layering technique wasn’t my best idea as a small piece of the top patch came off at some point, probably on the buffer. Next time I will not work in layers but more like a briar-dust fill and do it all at once, which be faster, too. I do wish it were less noticeable on the whole,though.

IMG_5494 IMG_5495

Before and After

Before and After

I have a few other ideas about trying to get a less visible patch that I may pursue. However, now that I know I can get black super glue, already made, that may be my future course. But the “can I do it myself ” part of me wants to keep experimenting so we shall see. If any of you readers have any ideas on making these repairs less visible I’d be most appreciative if you would share them in the comments section.